William Morris Inspired - Part III
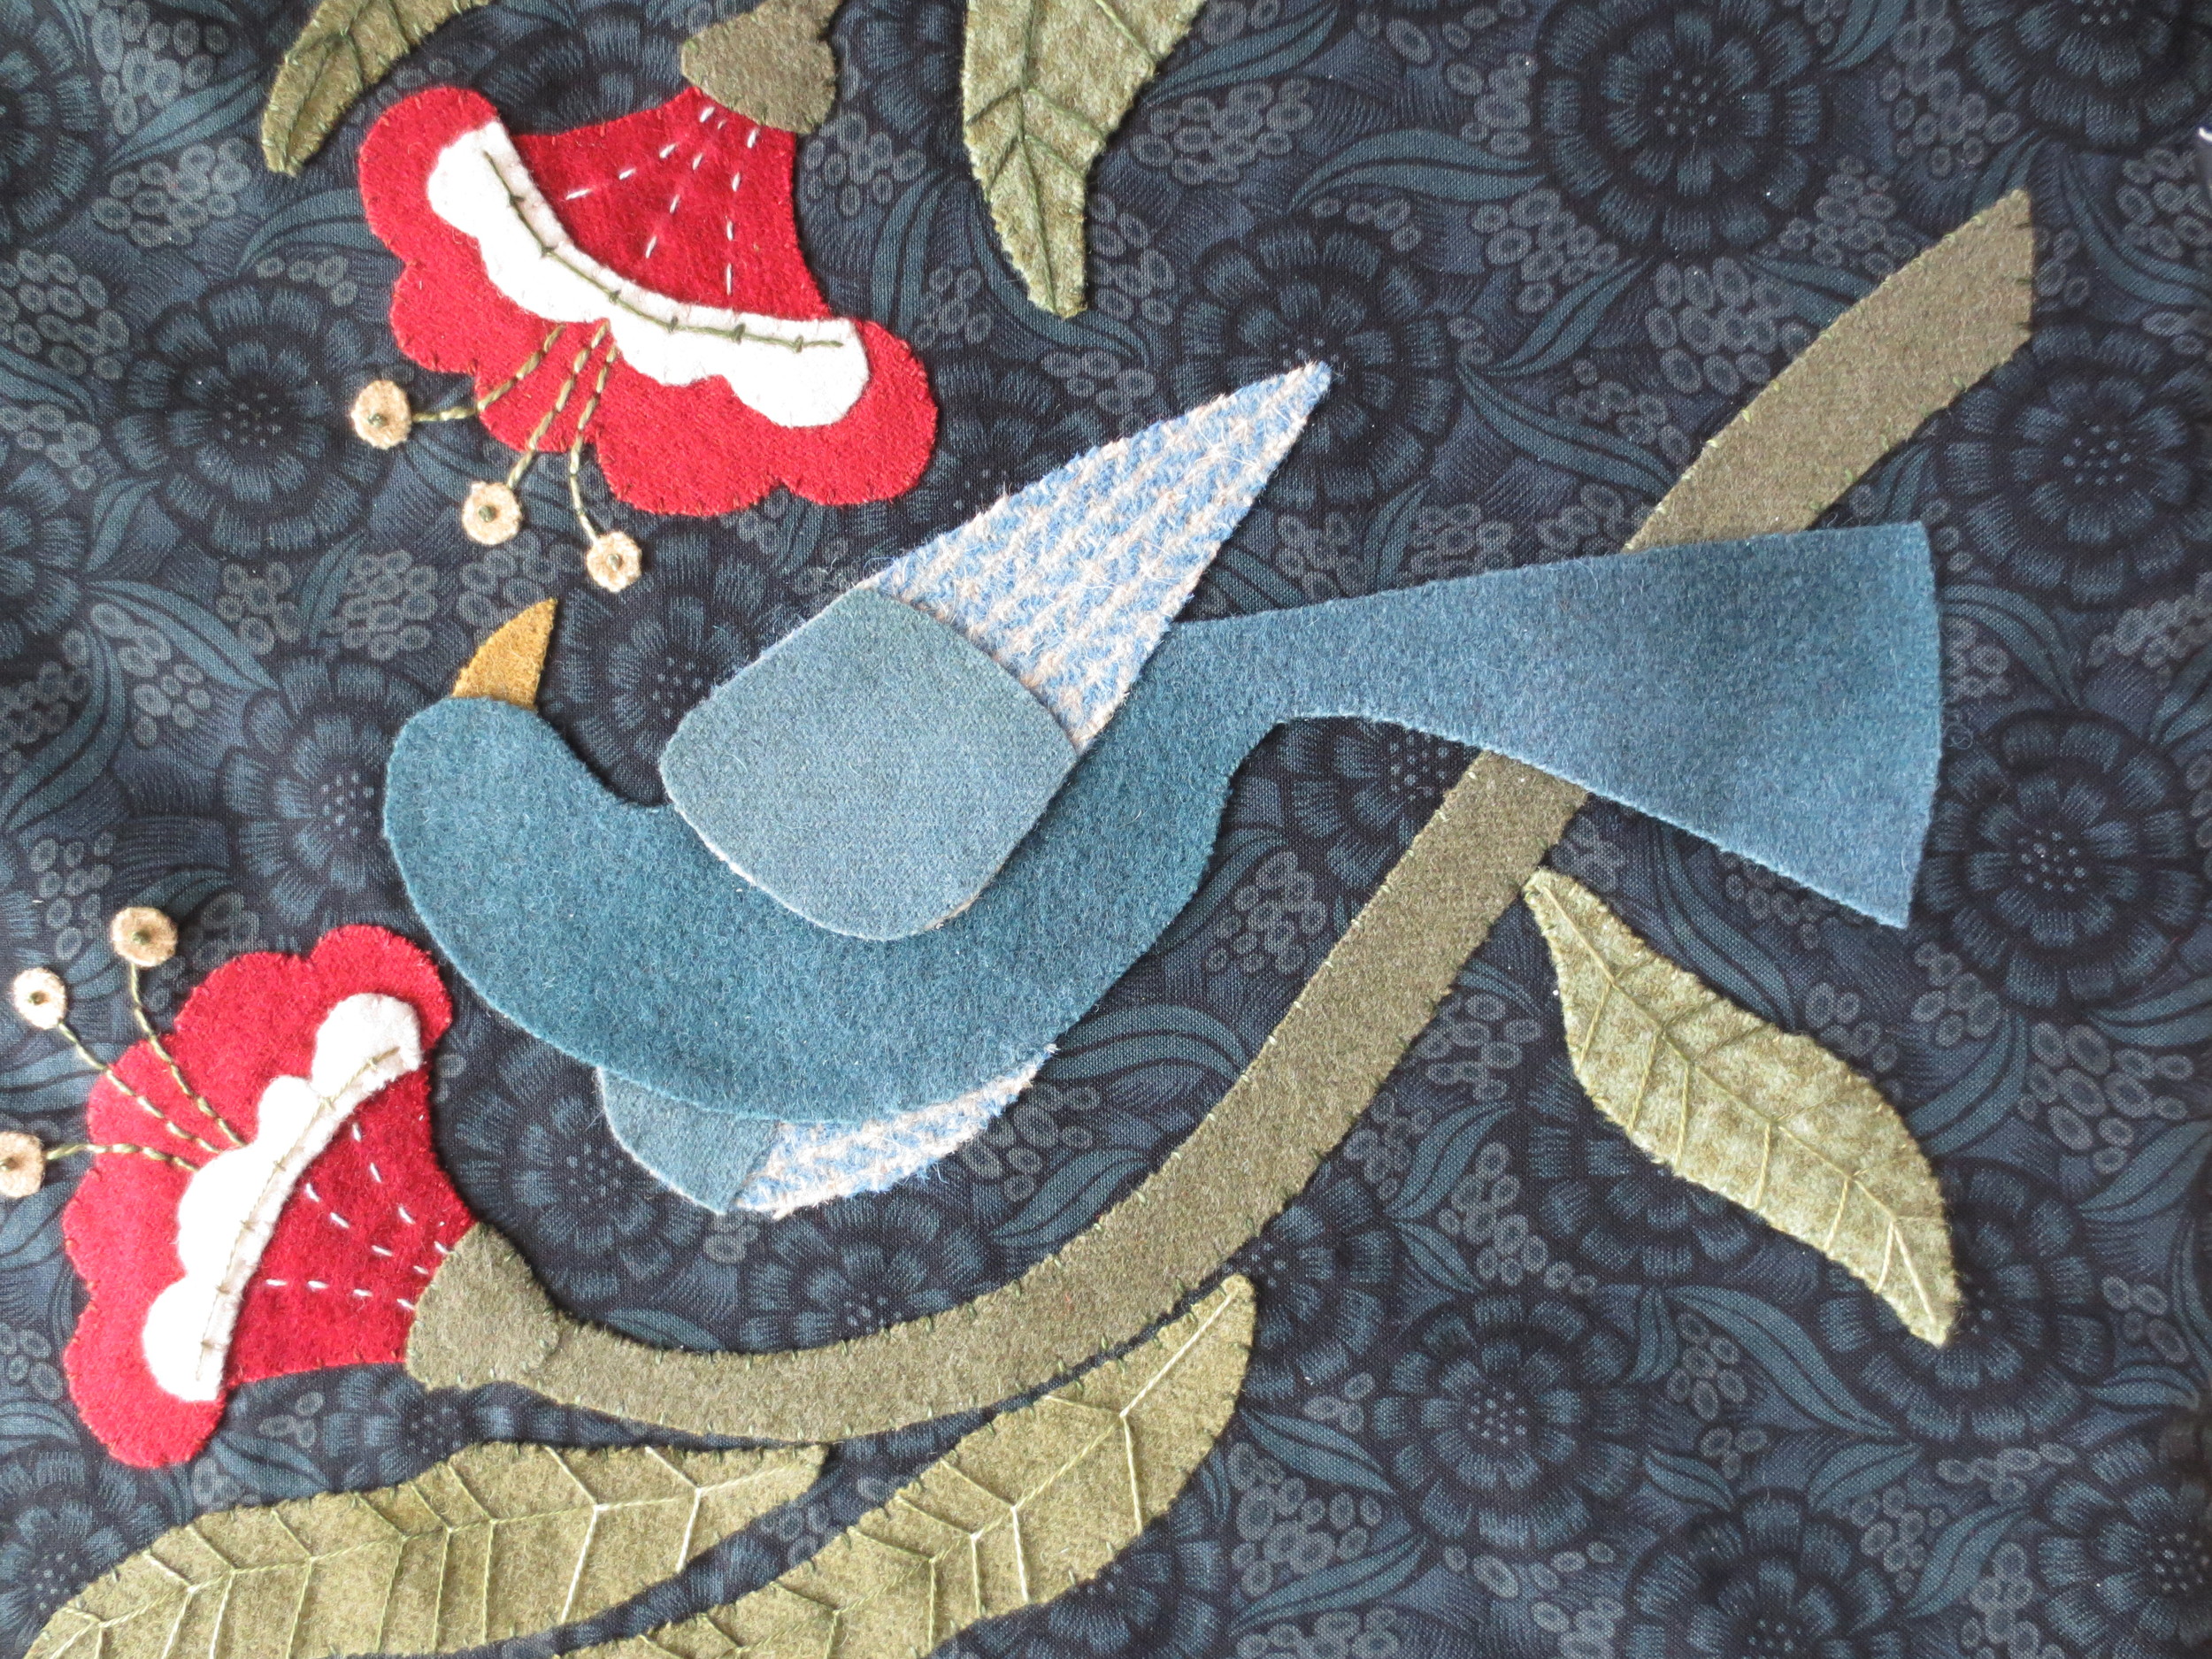
We will be working on the bird in this post. Use your stitch guide if you need some extra help.
Instructions
Use one strand of perle cotton, size 12 unless otherwise noted.
1. Return the background to the lightbox/layout, making sure the flowers and stems line up. Position the bird body, wings, wing caps, and beak according to the layout. Pin in place.
2. Fuse with steam.
Positioning the bird
3. Whip stitch all the pieces using thread to match wool colors.
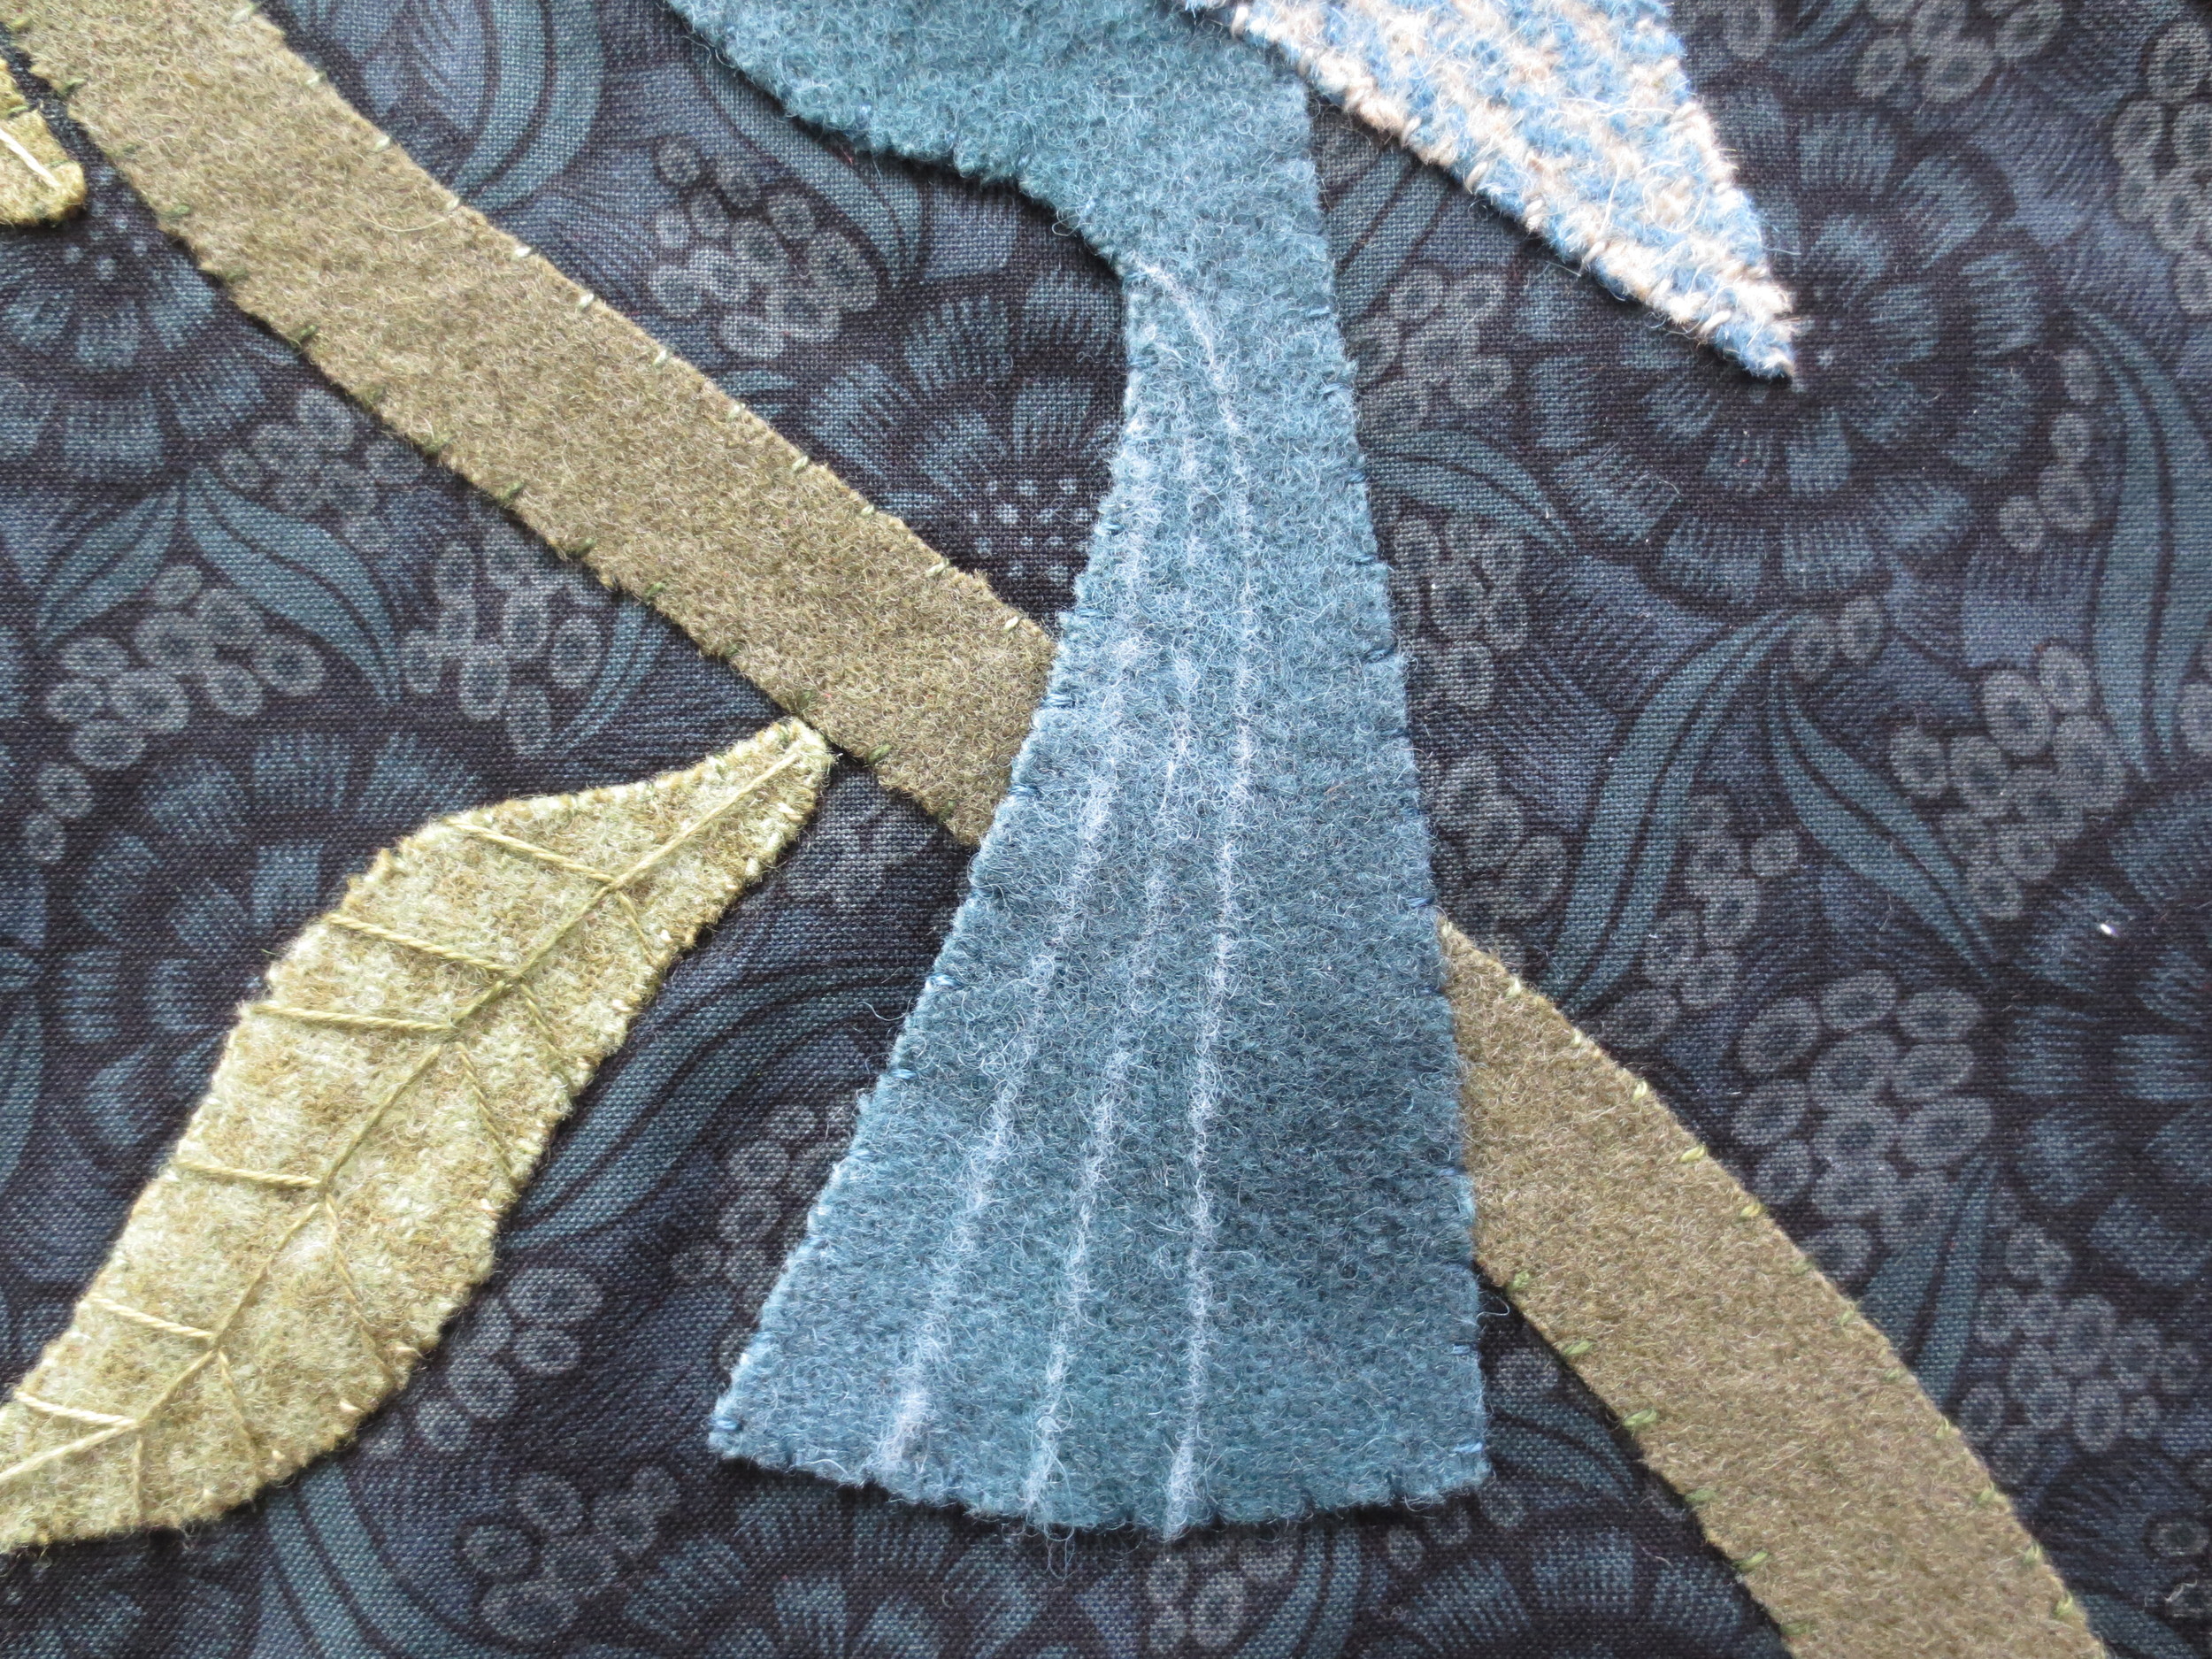
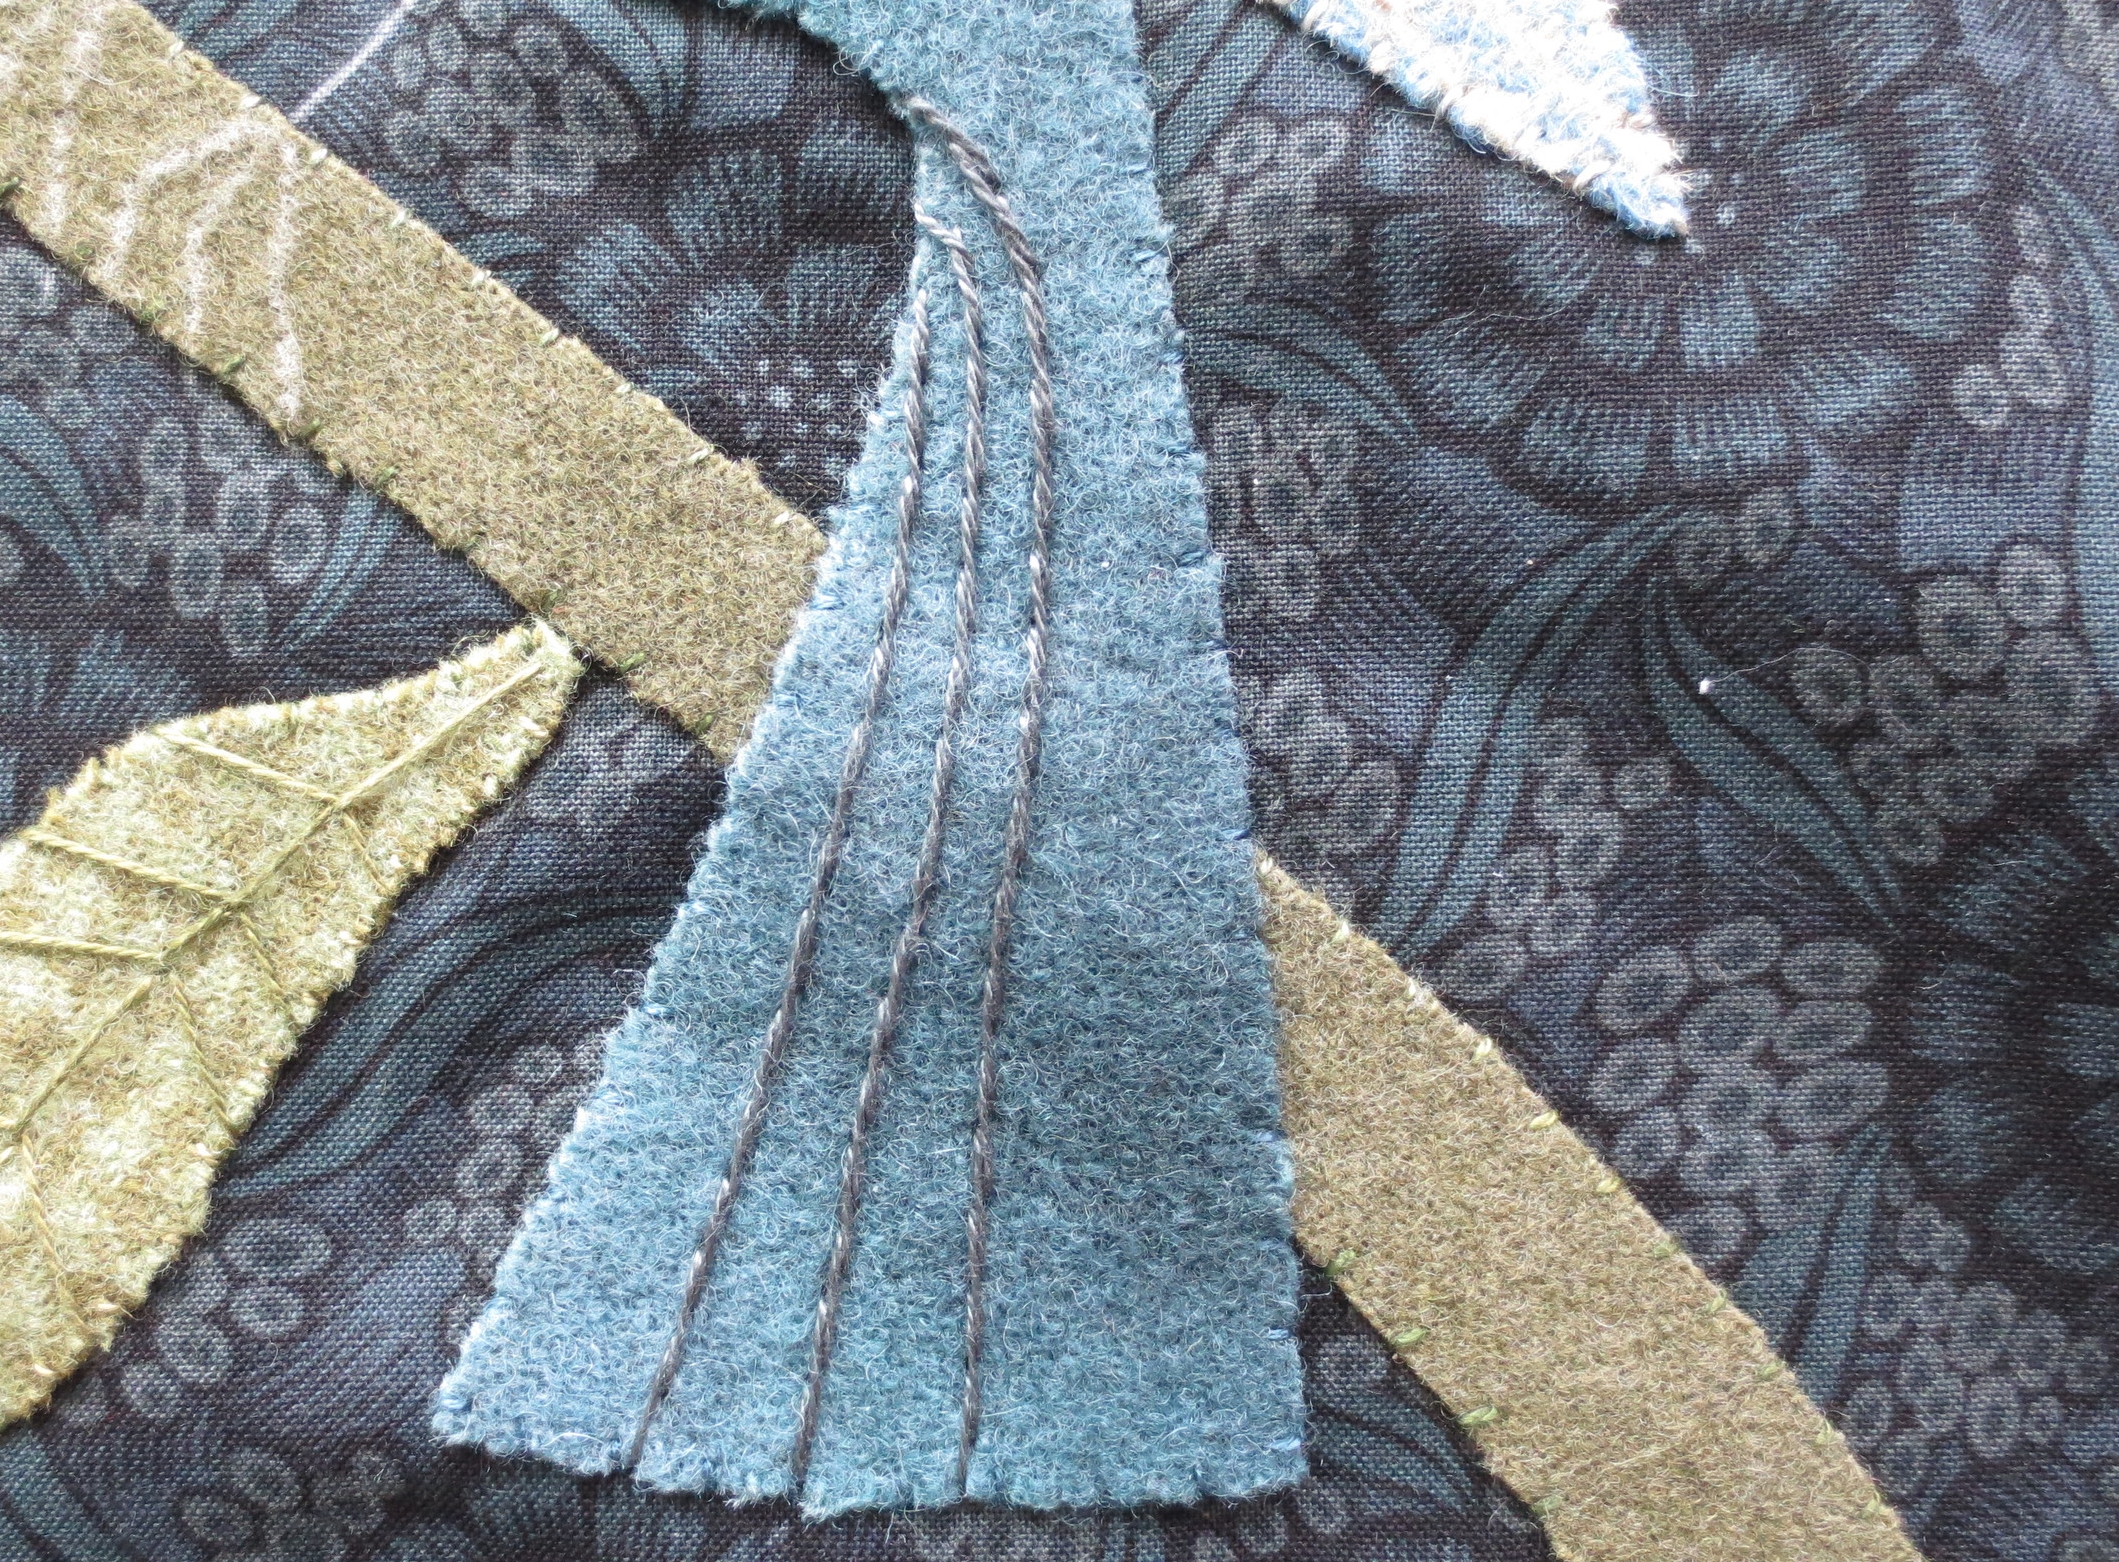
4. Tail
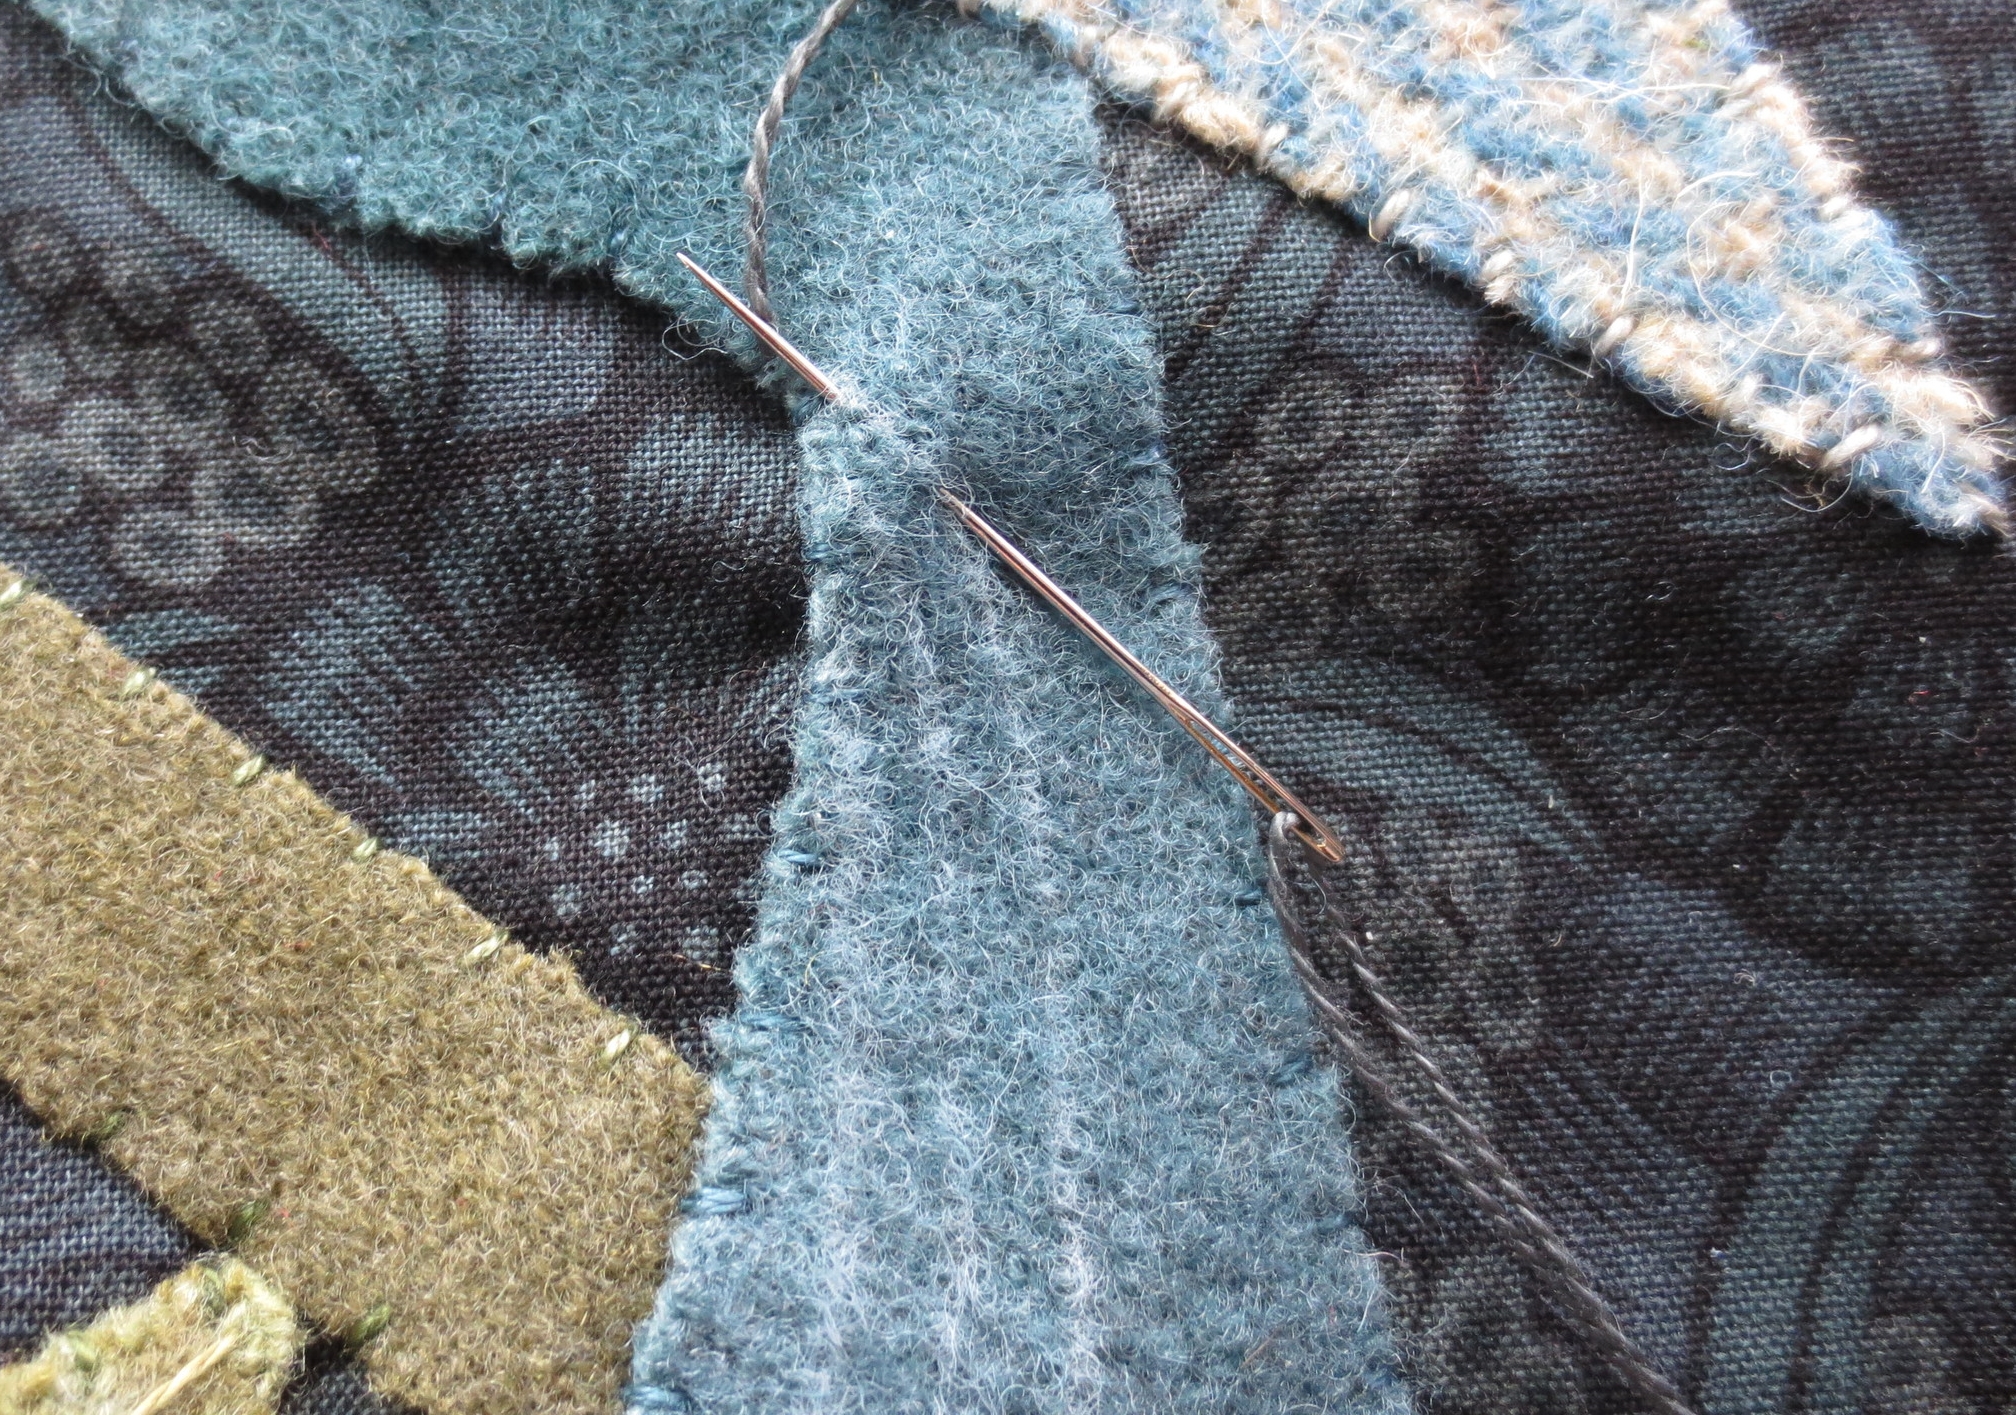
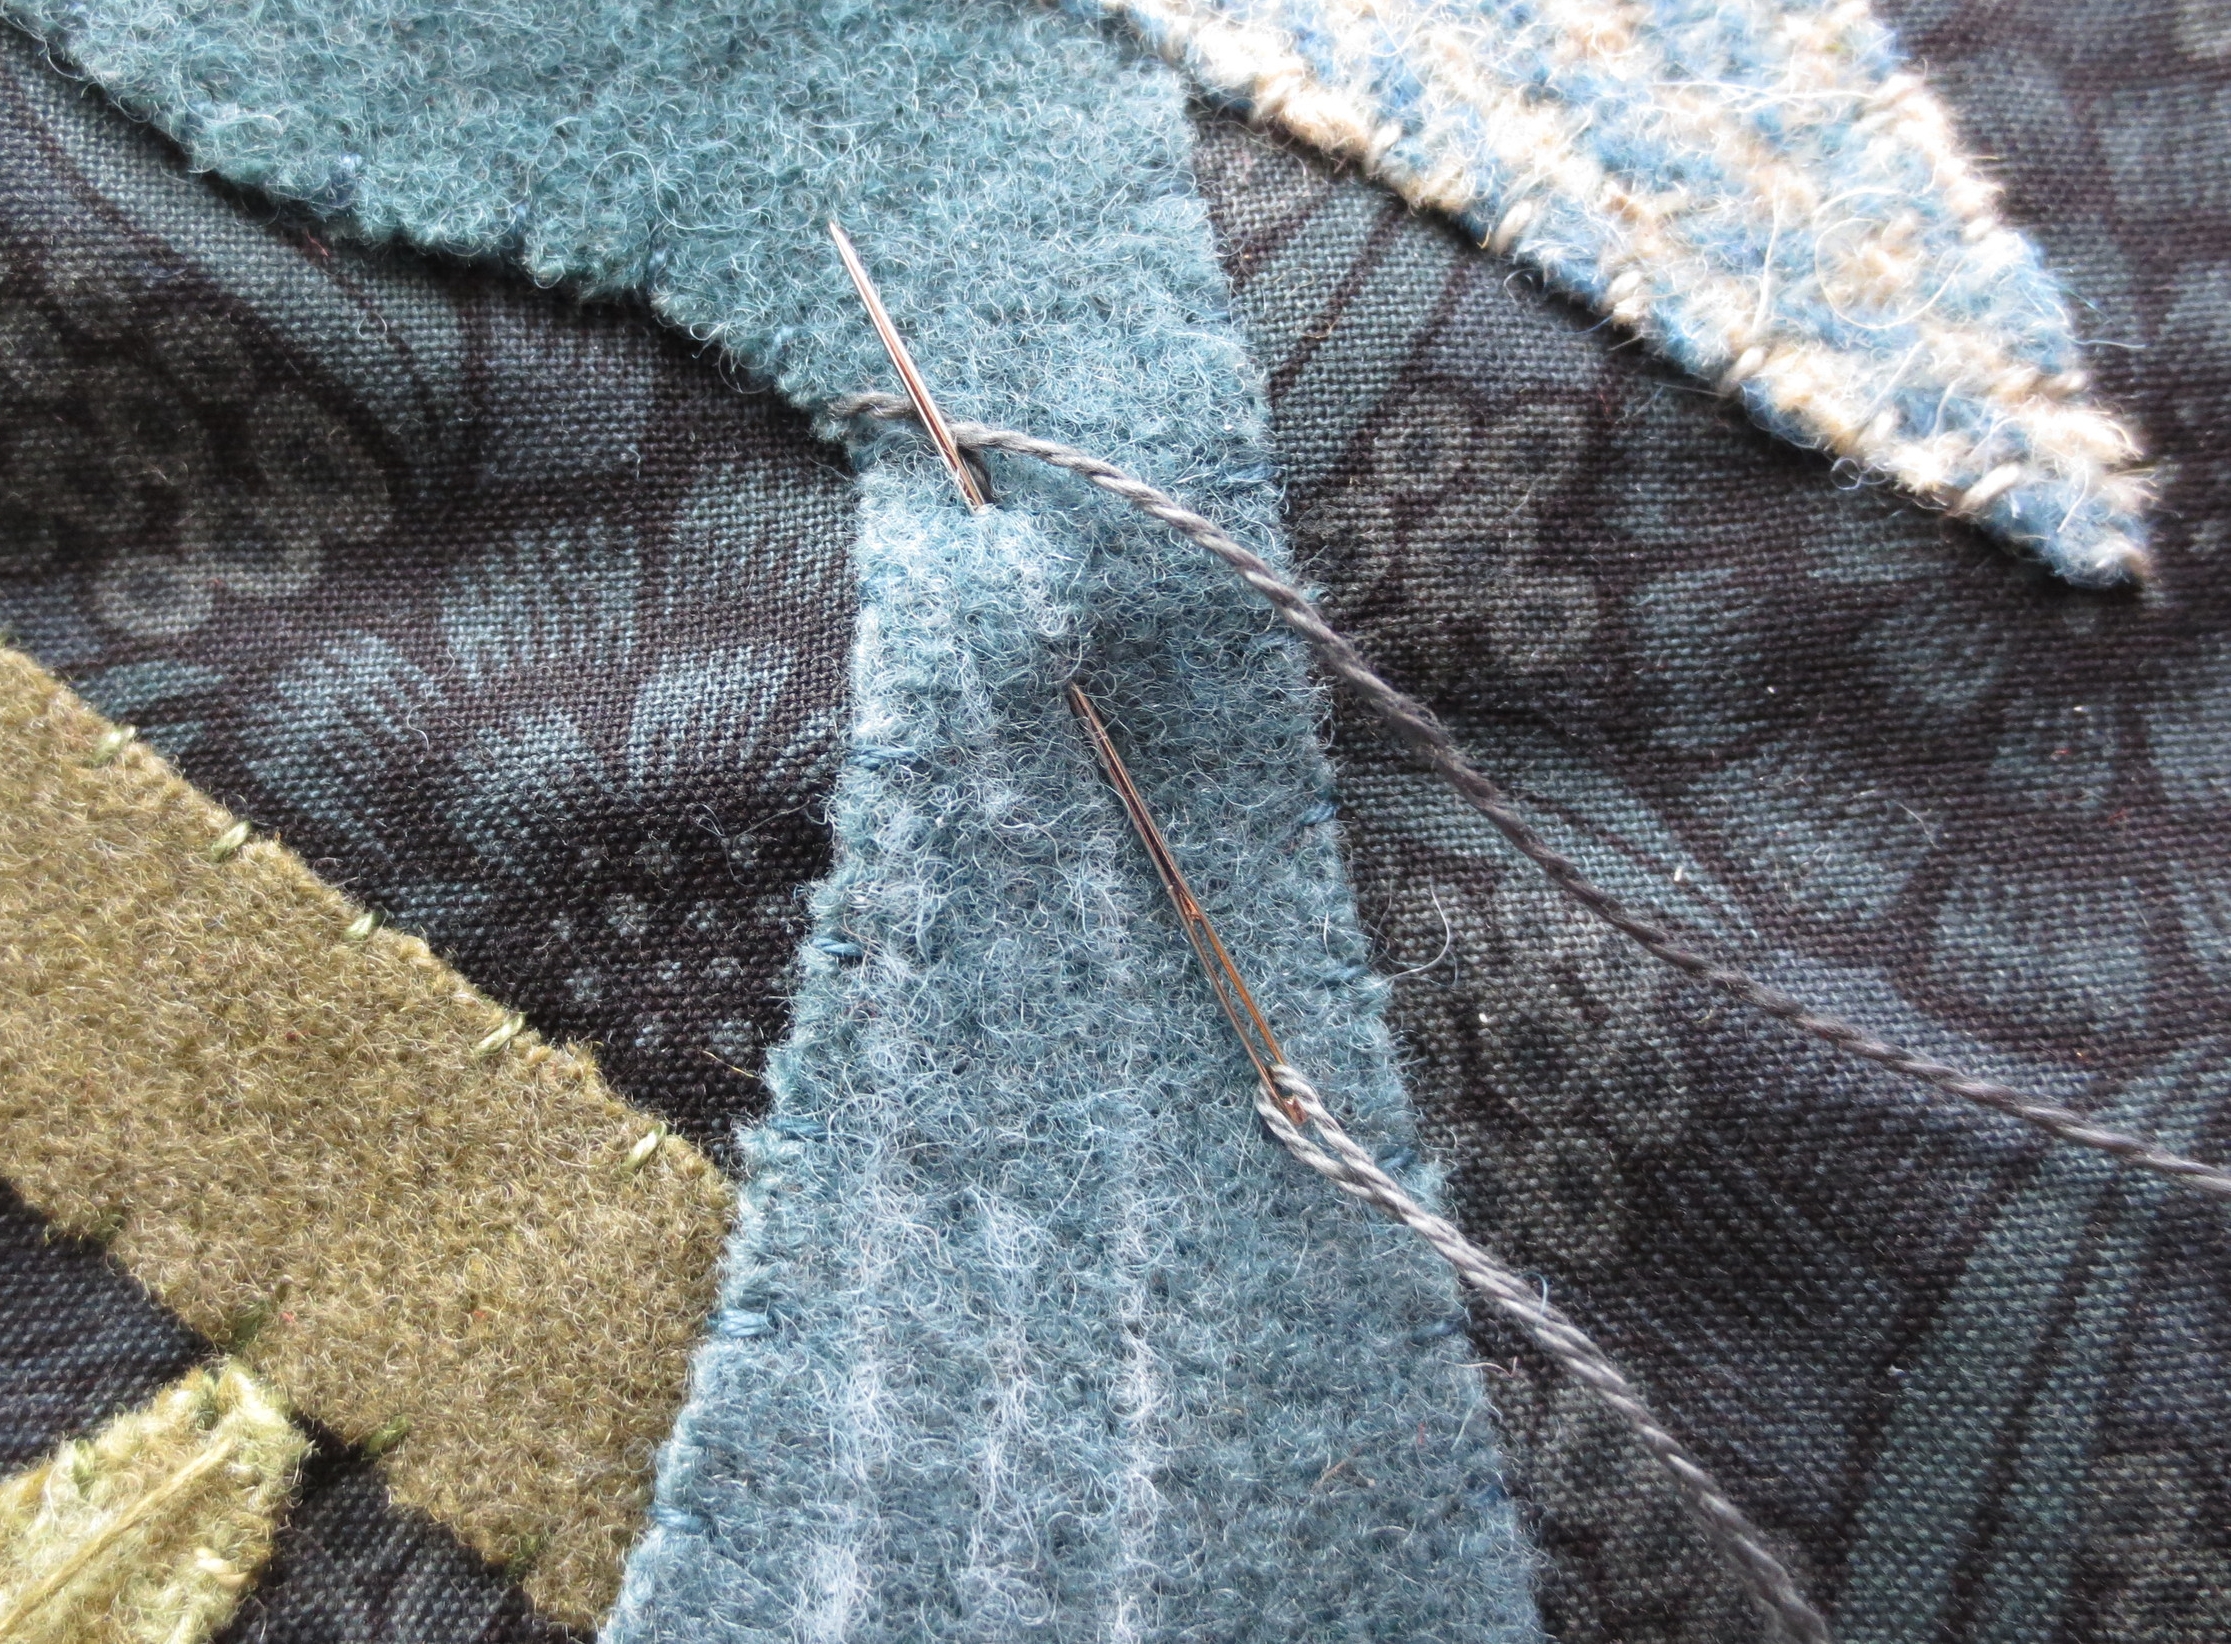
- Draw three lines on the tail using the layout as your guide.
- Use a thread that is slightly darker than the wool to stem stitch over the lines (I used a dark grey-blue).
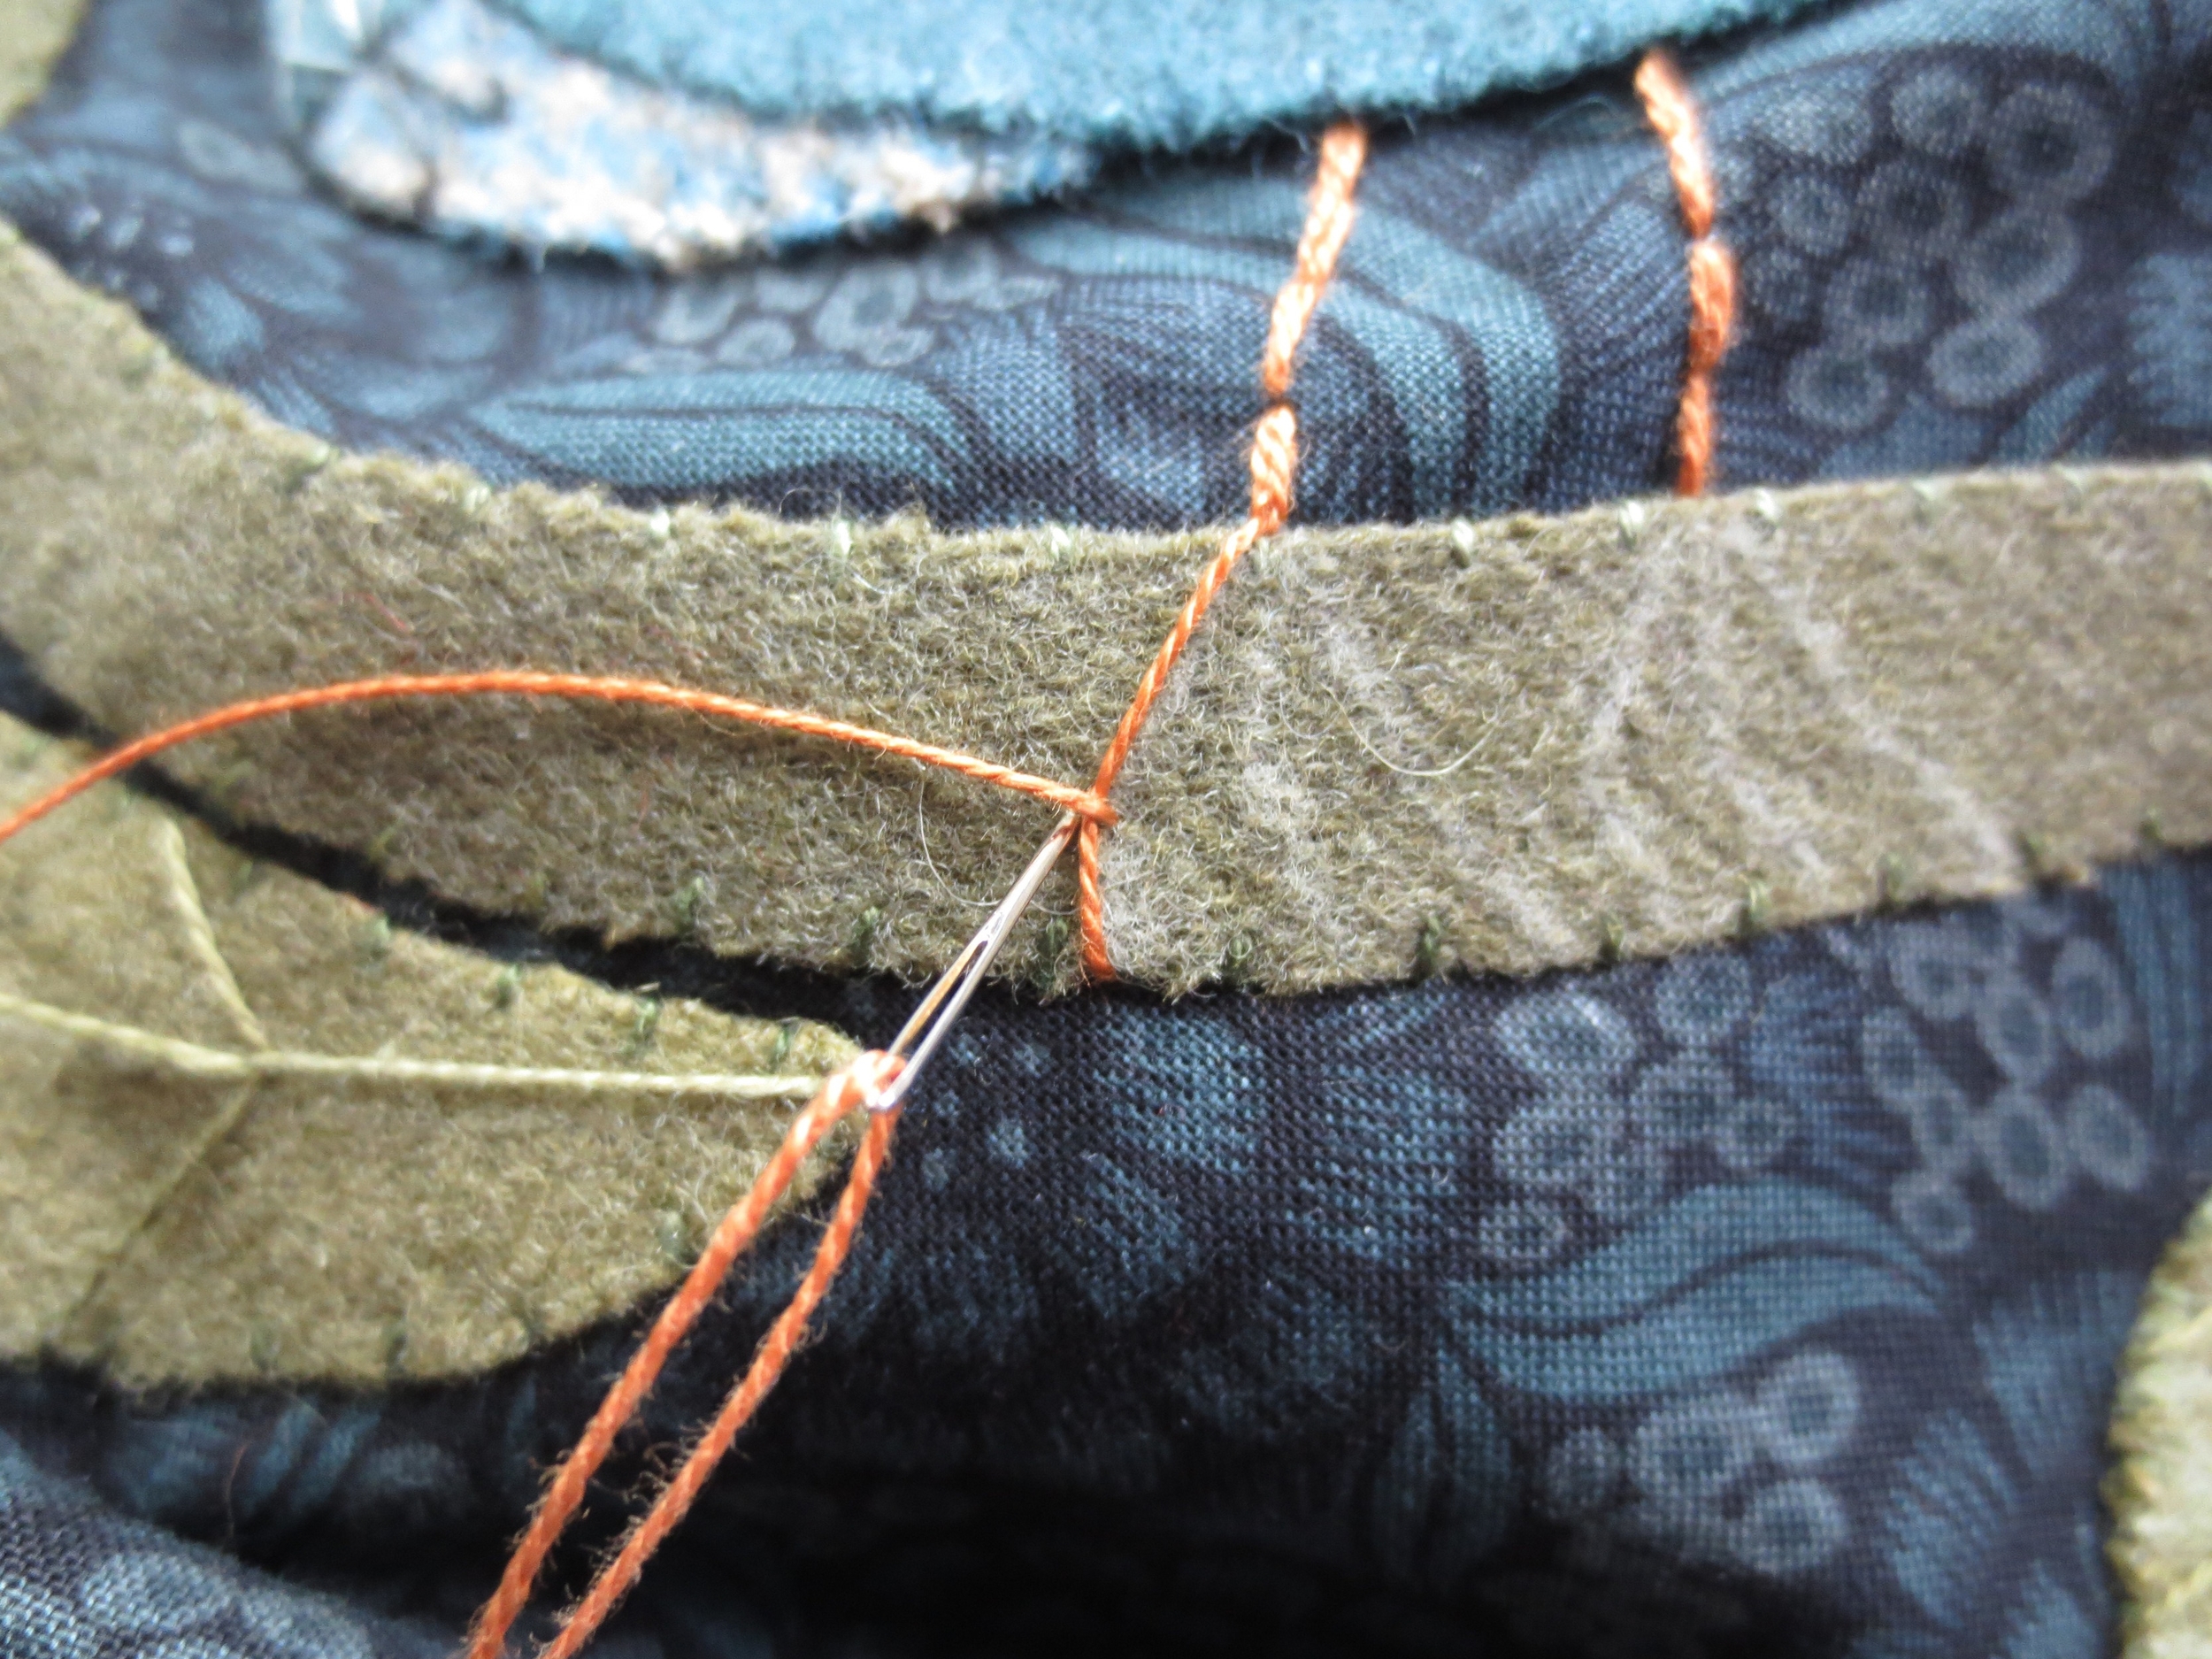
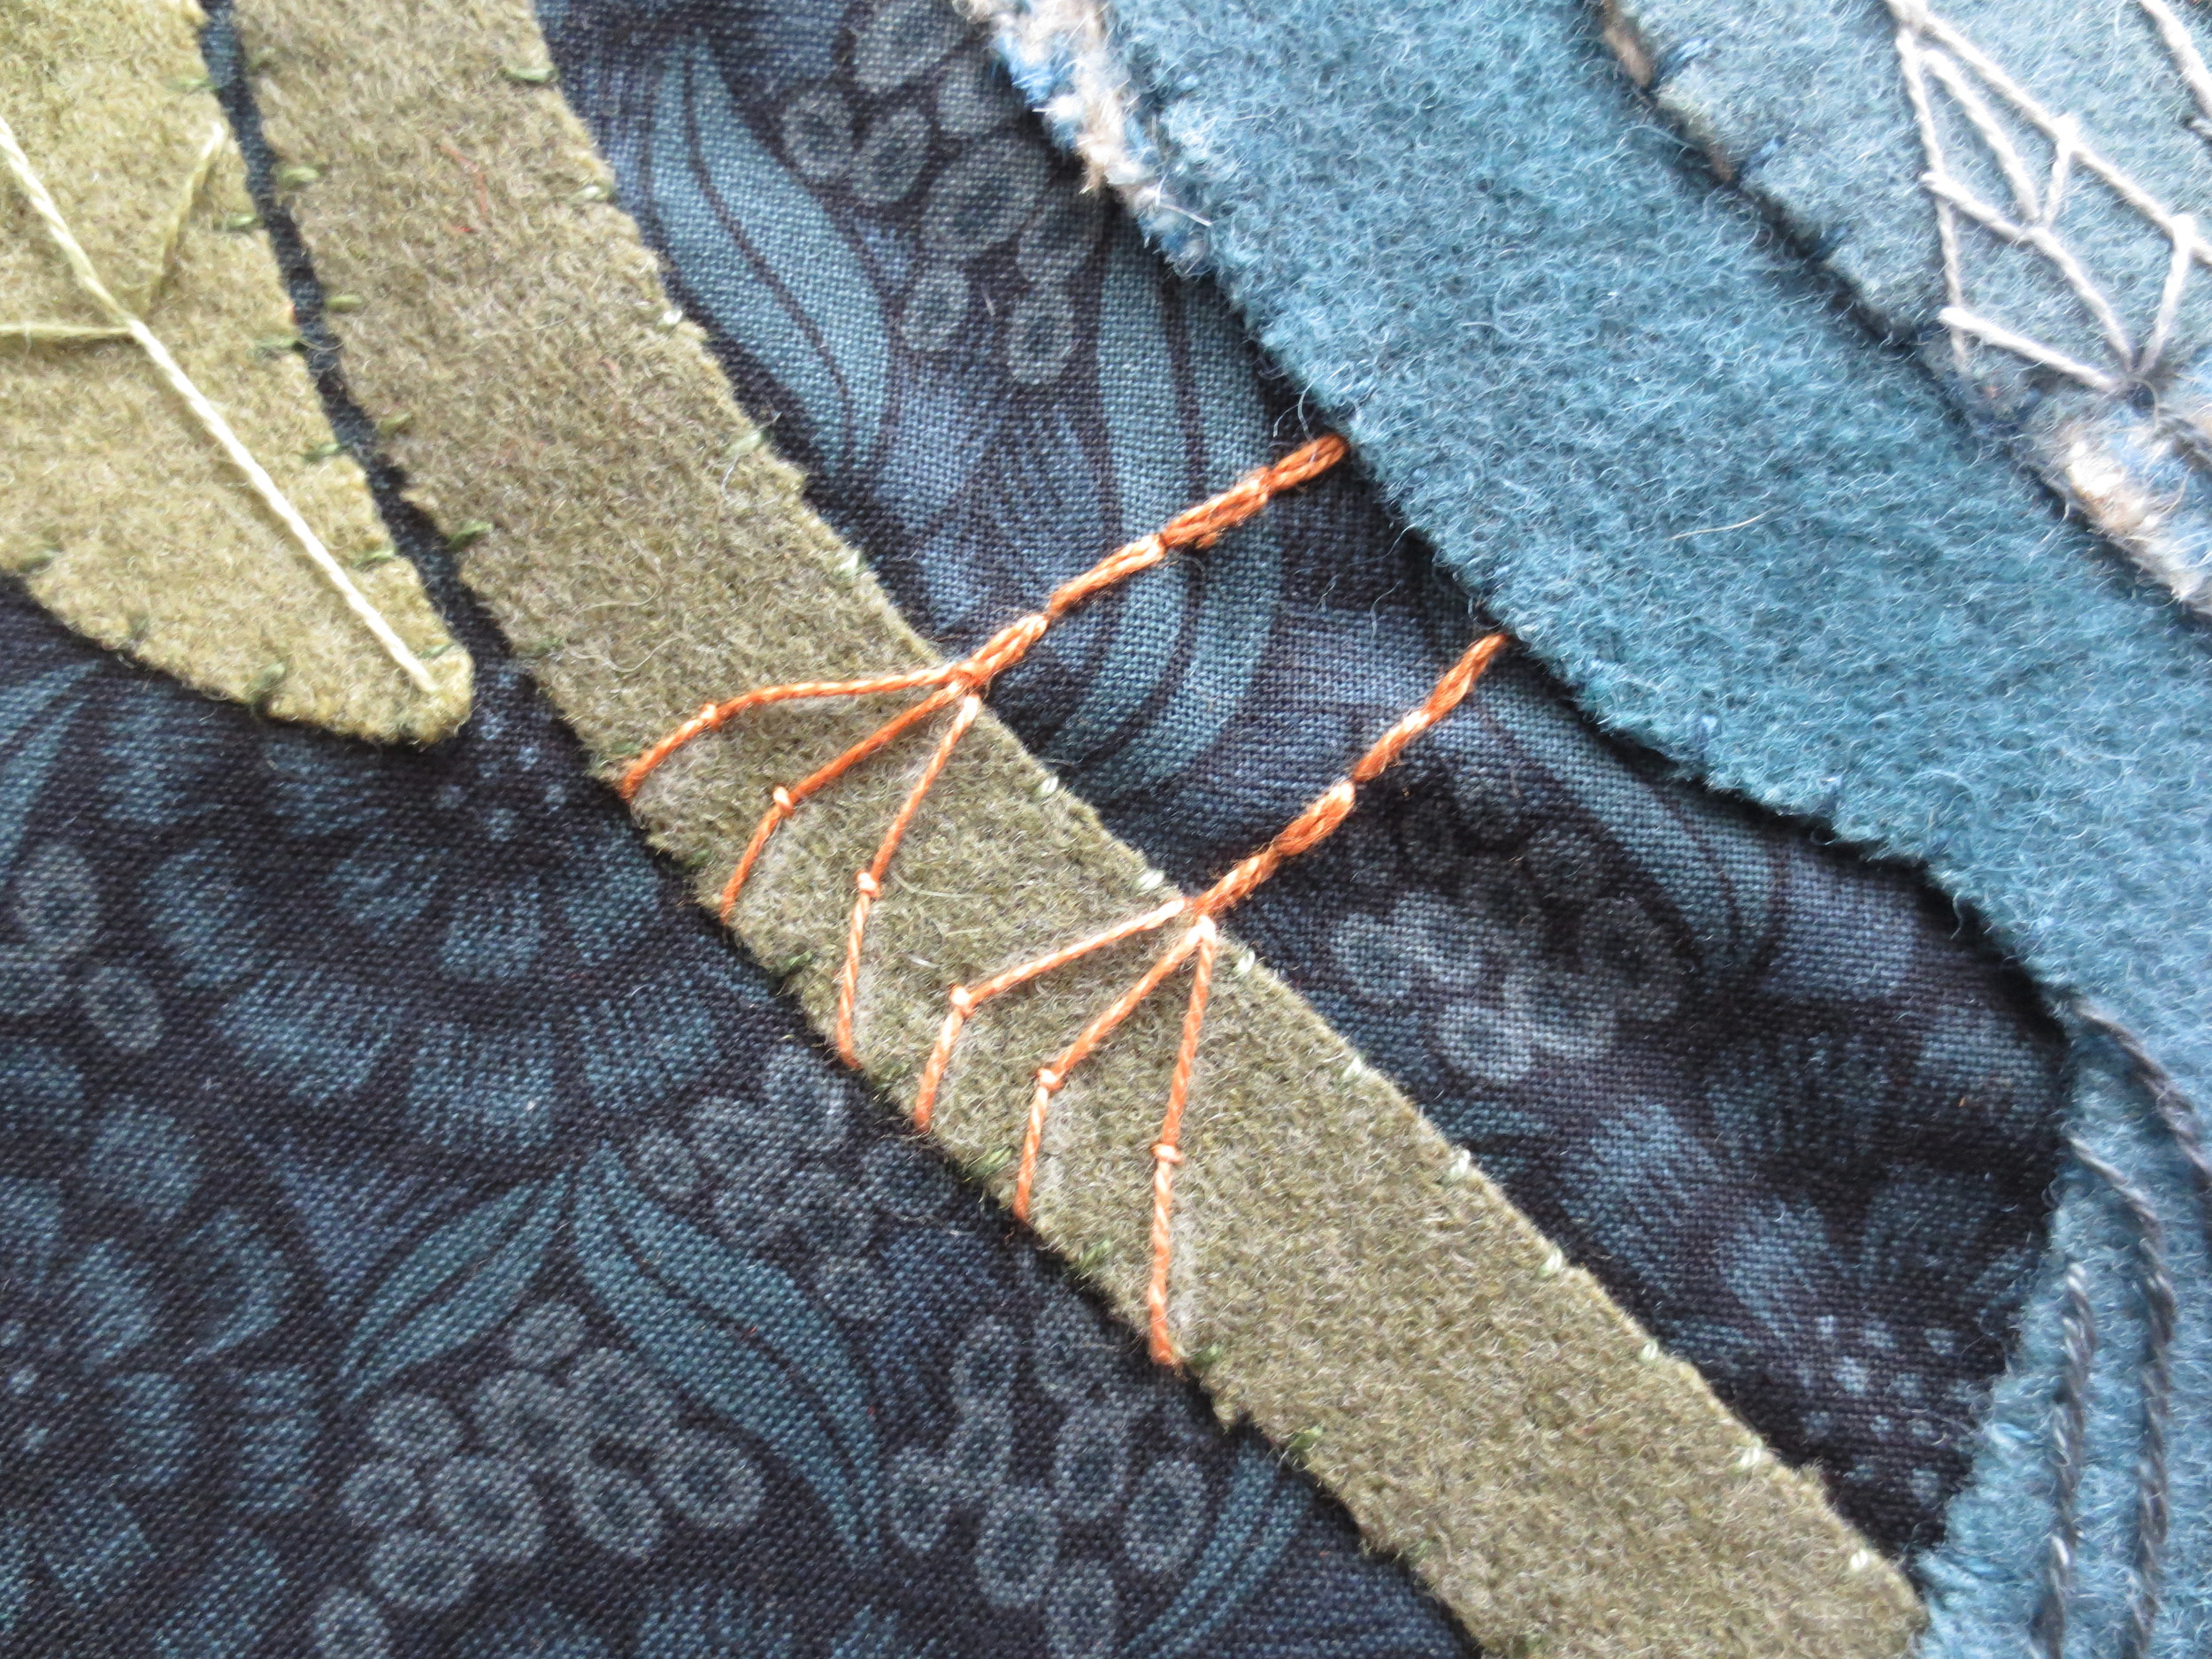
5. Legs and feet
- Draw the bird legs and feet using the layout as a guide.
- Back stitch over the lines for the legs using 2 strands of orange thread.
- Use 1 strand of the same thread to make a wide fly stitch for each toe. Bring the thread up at the end of the leg, down at the end of the toe, and up again at the knuckle. Tack the thread down at the knuckle. Repeat for the rest of the toes.
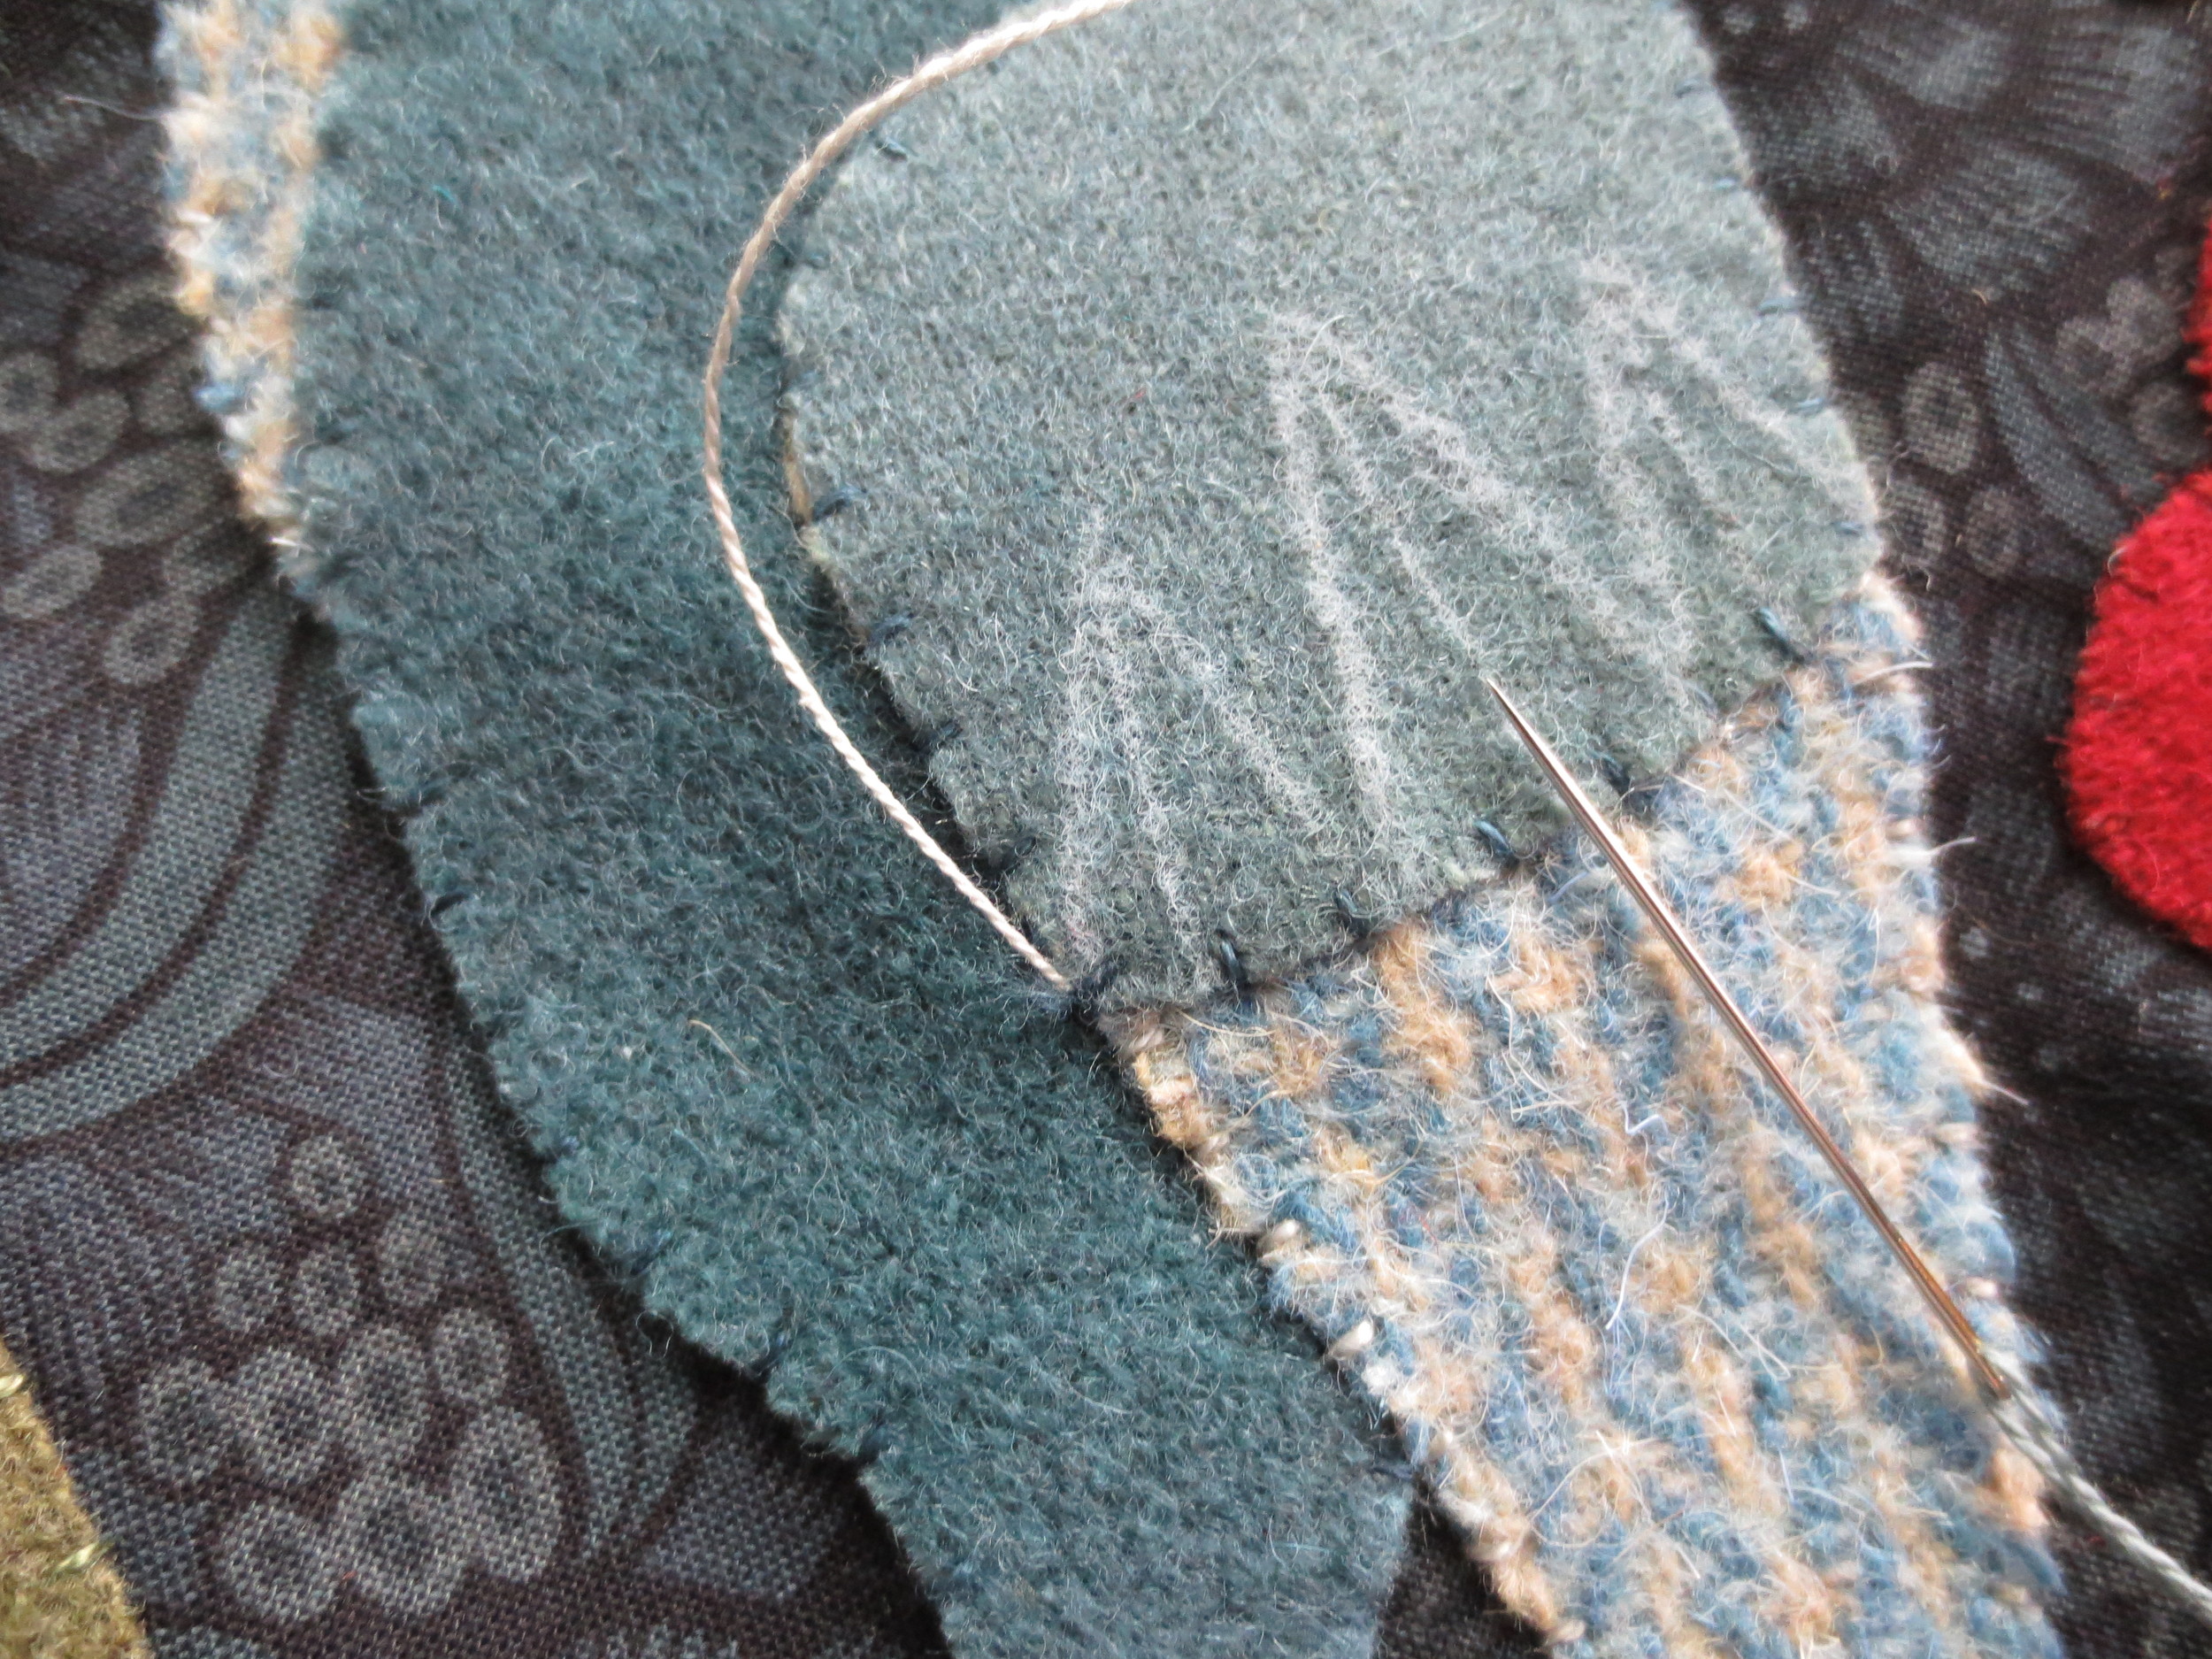
6. Wings
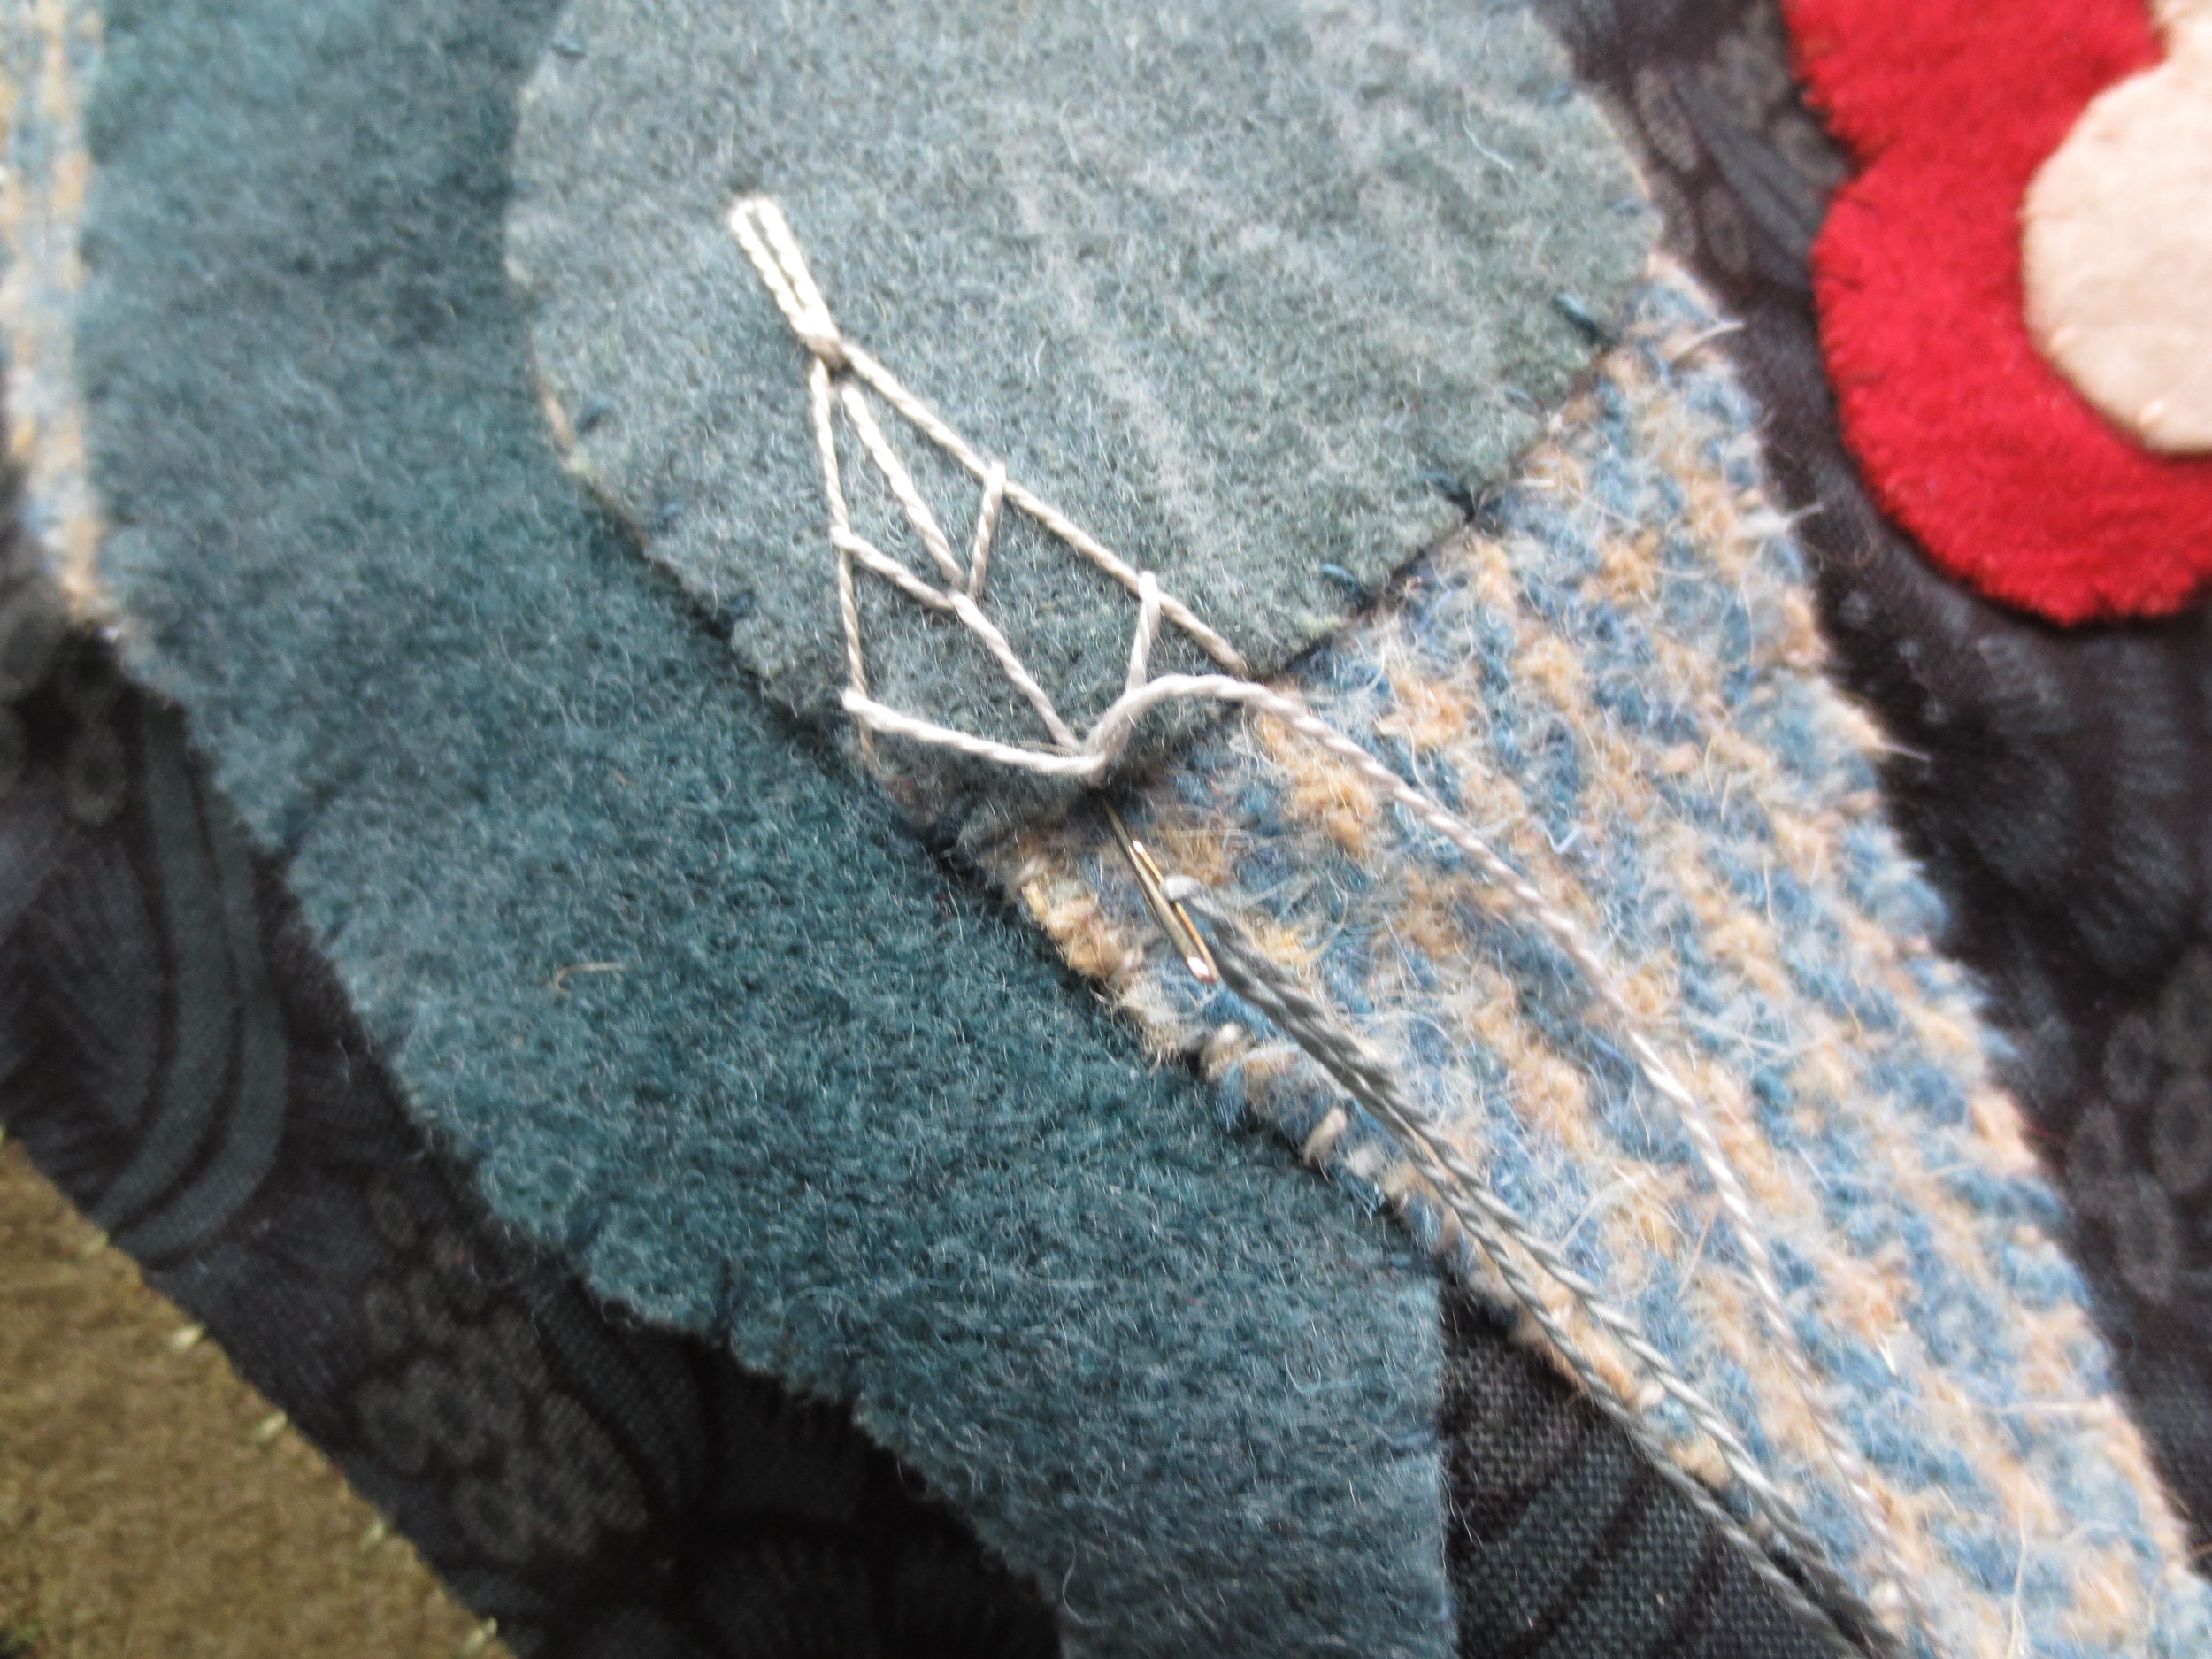
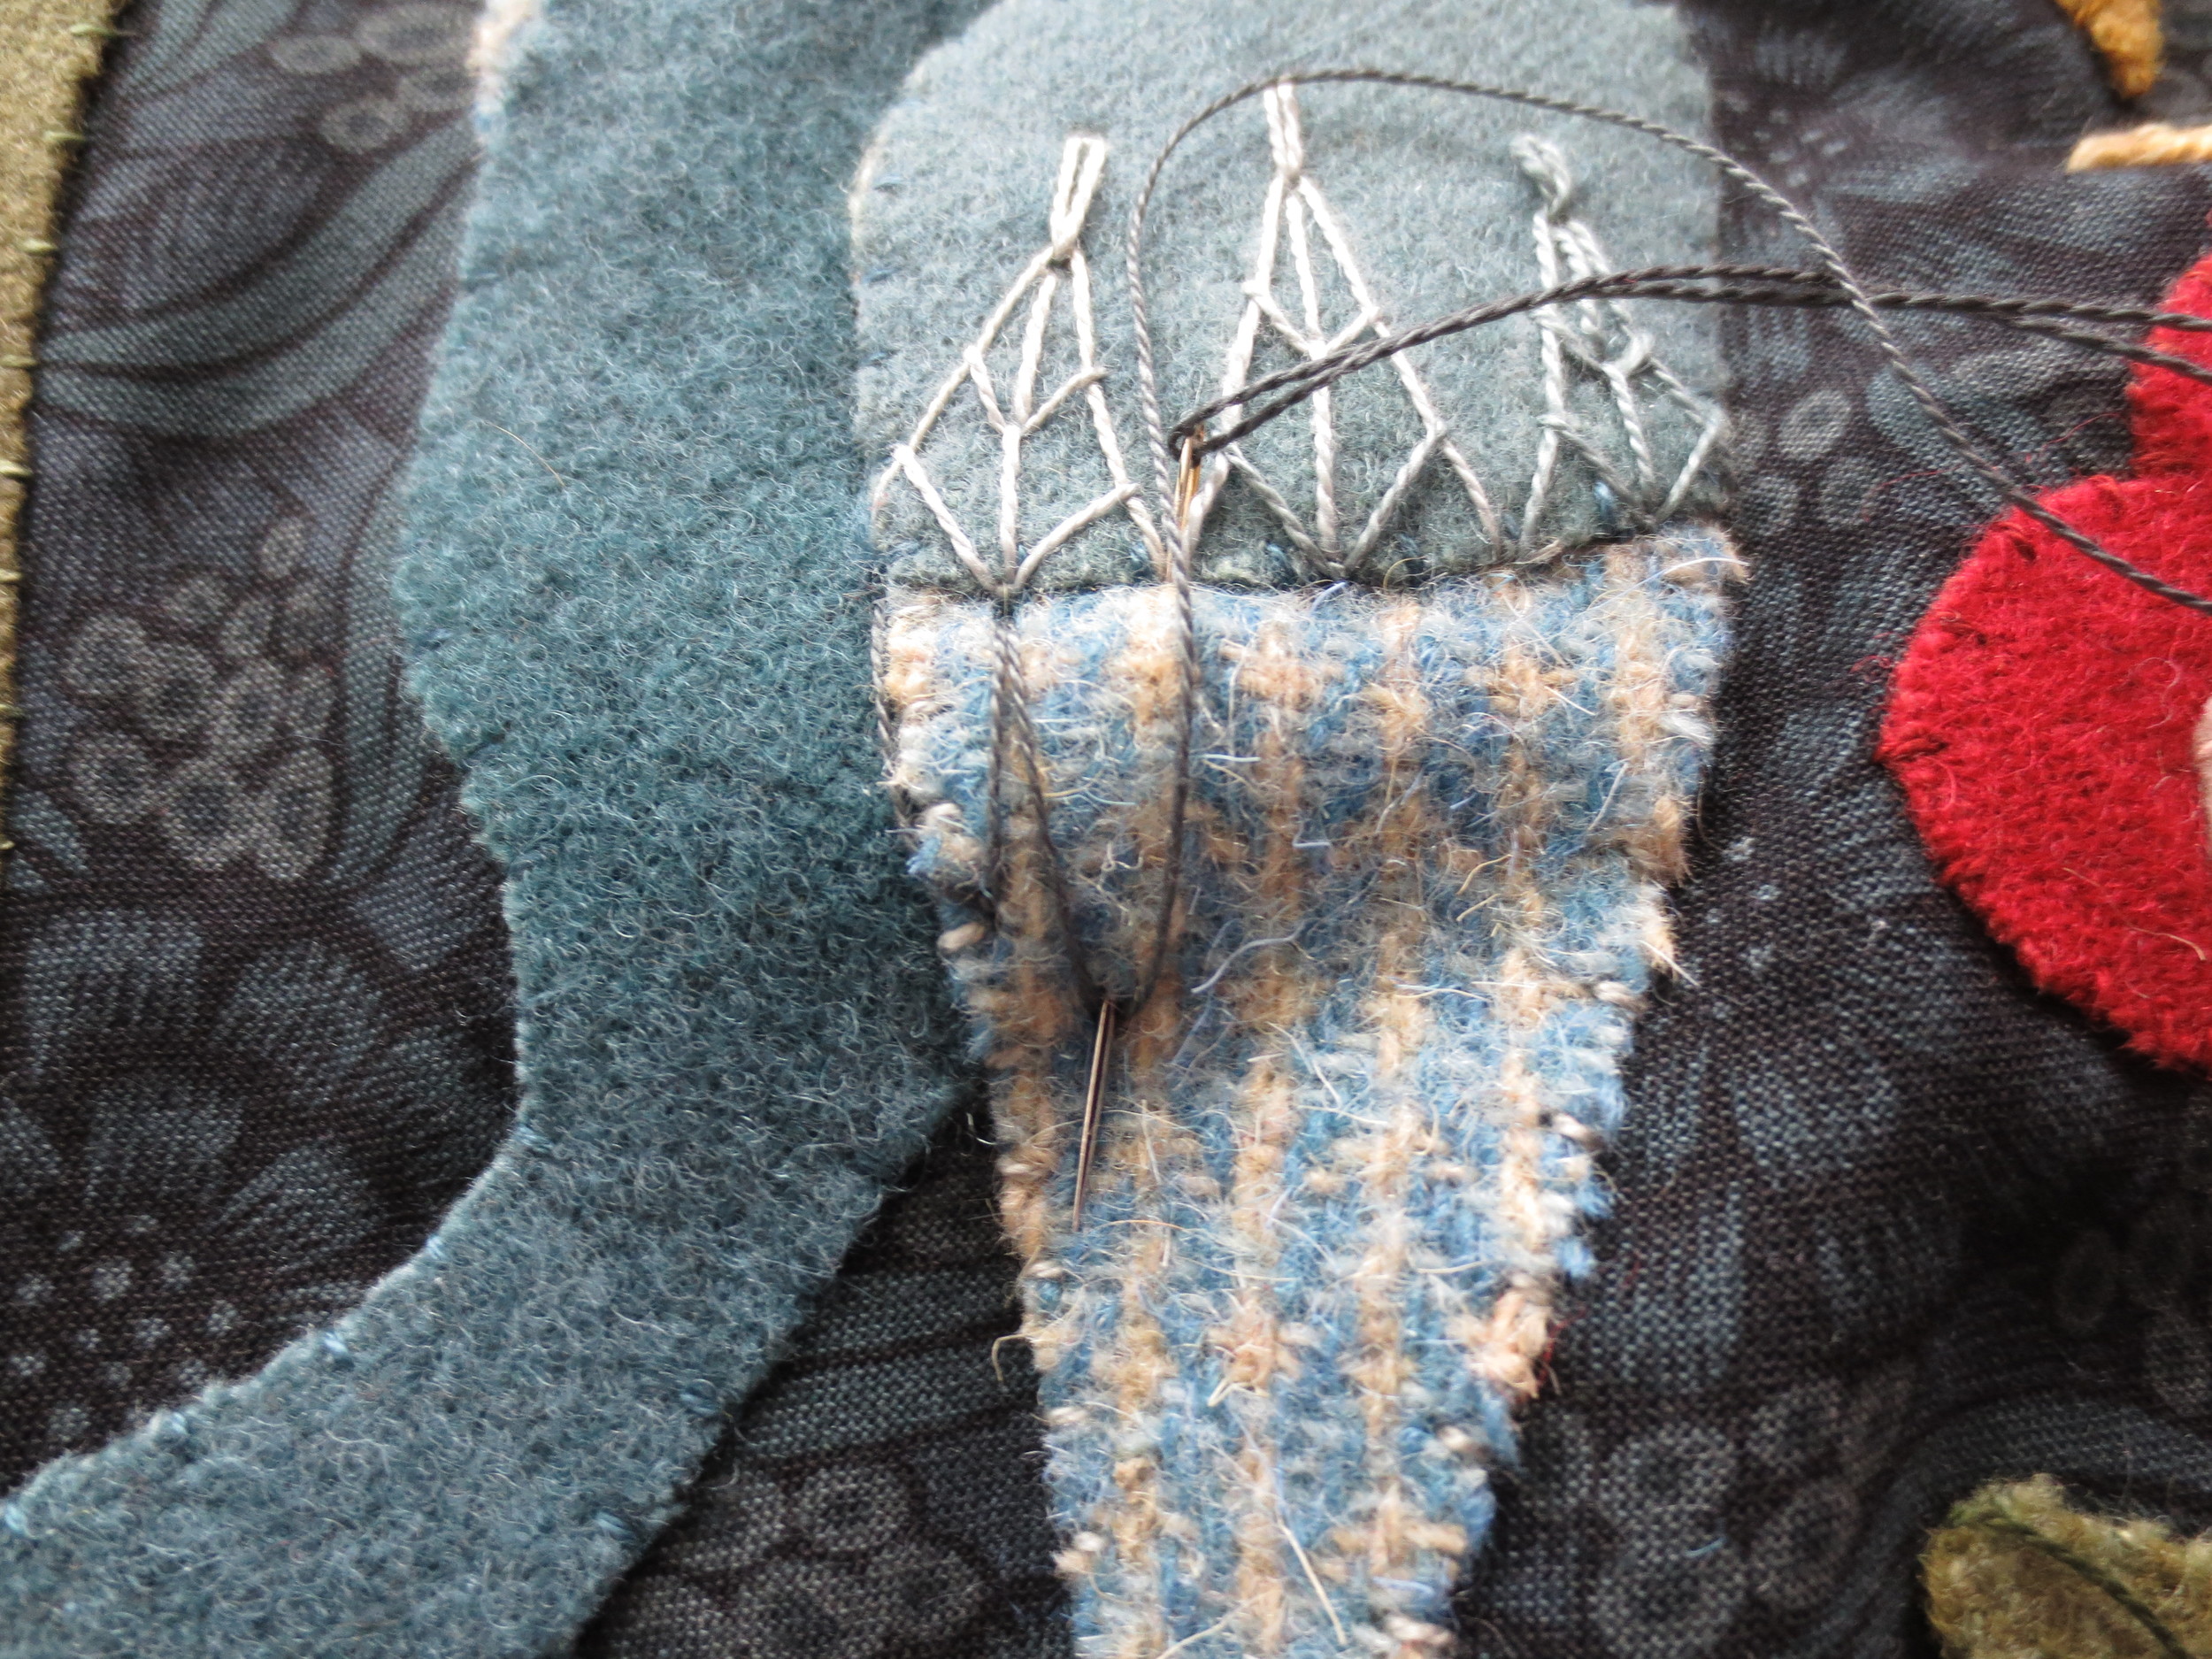
- Draw 3 triangles, each with a vertical bisecting line, on the wing cap of the larger wing.
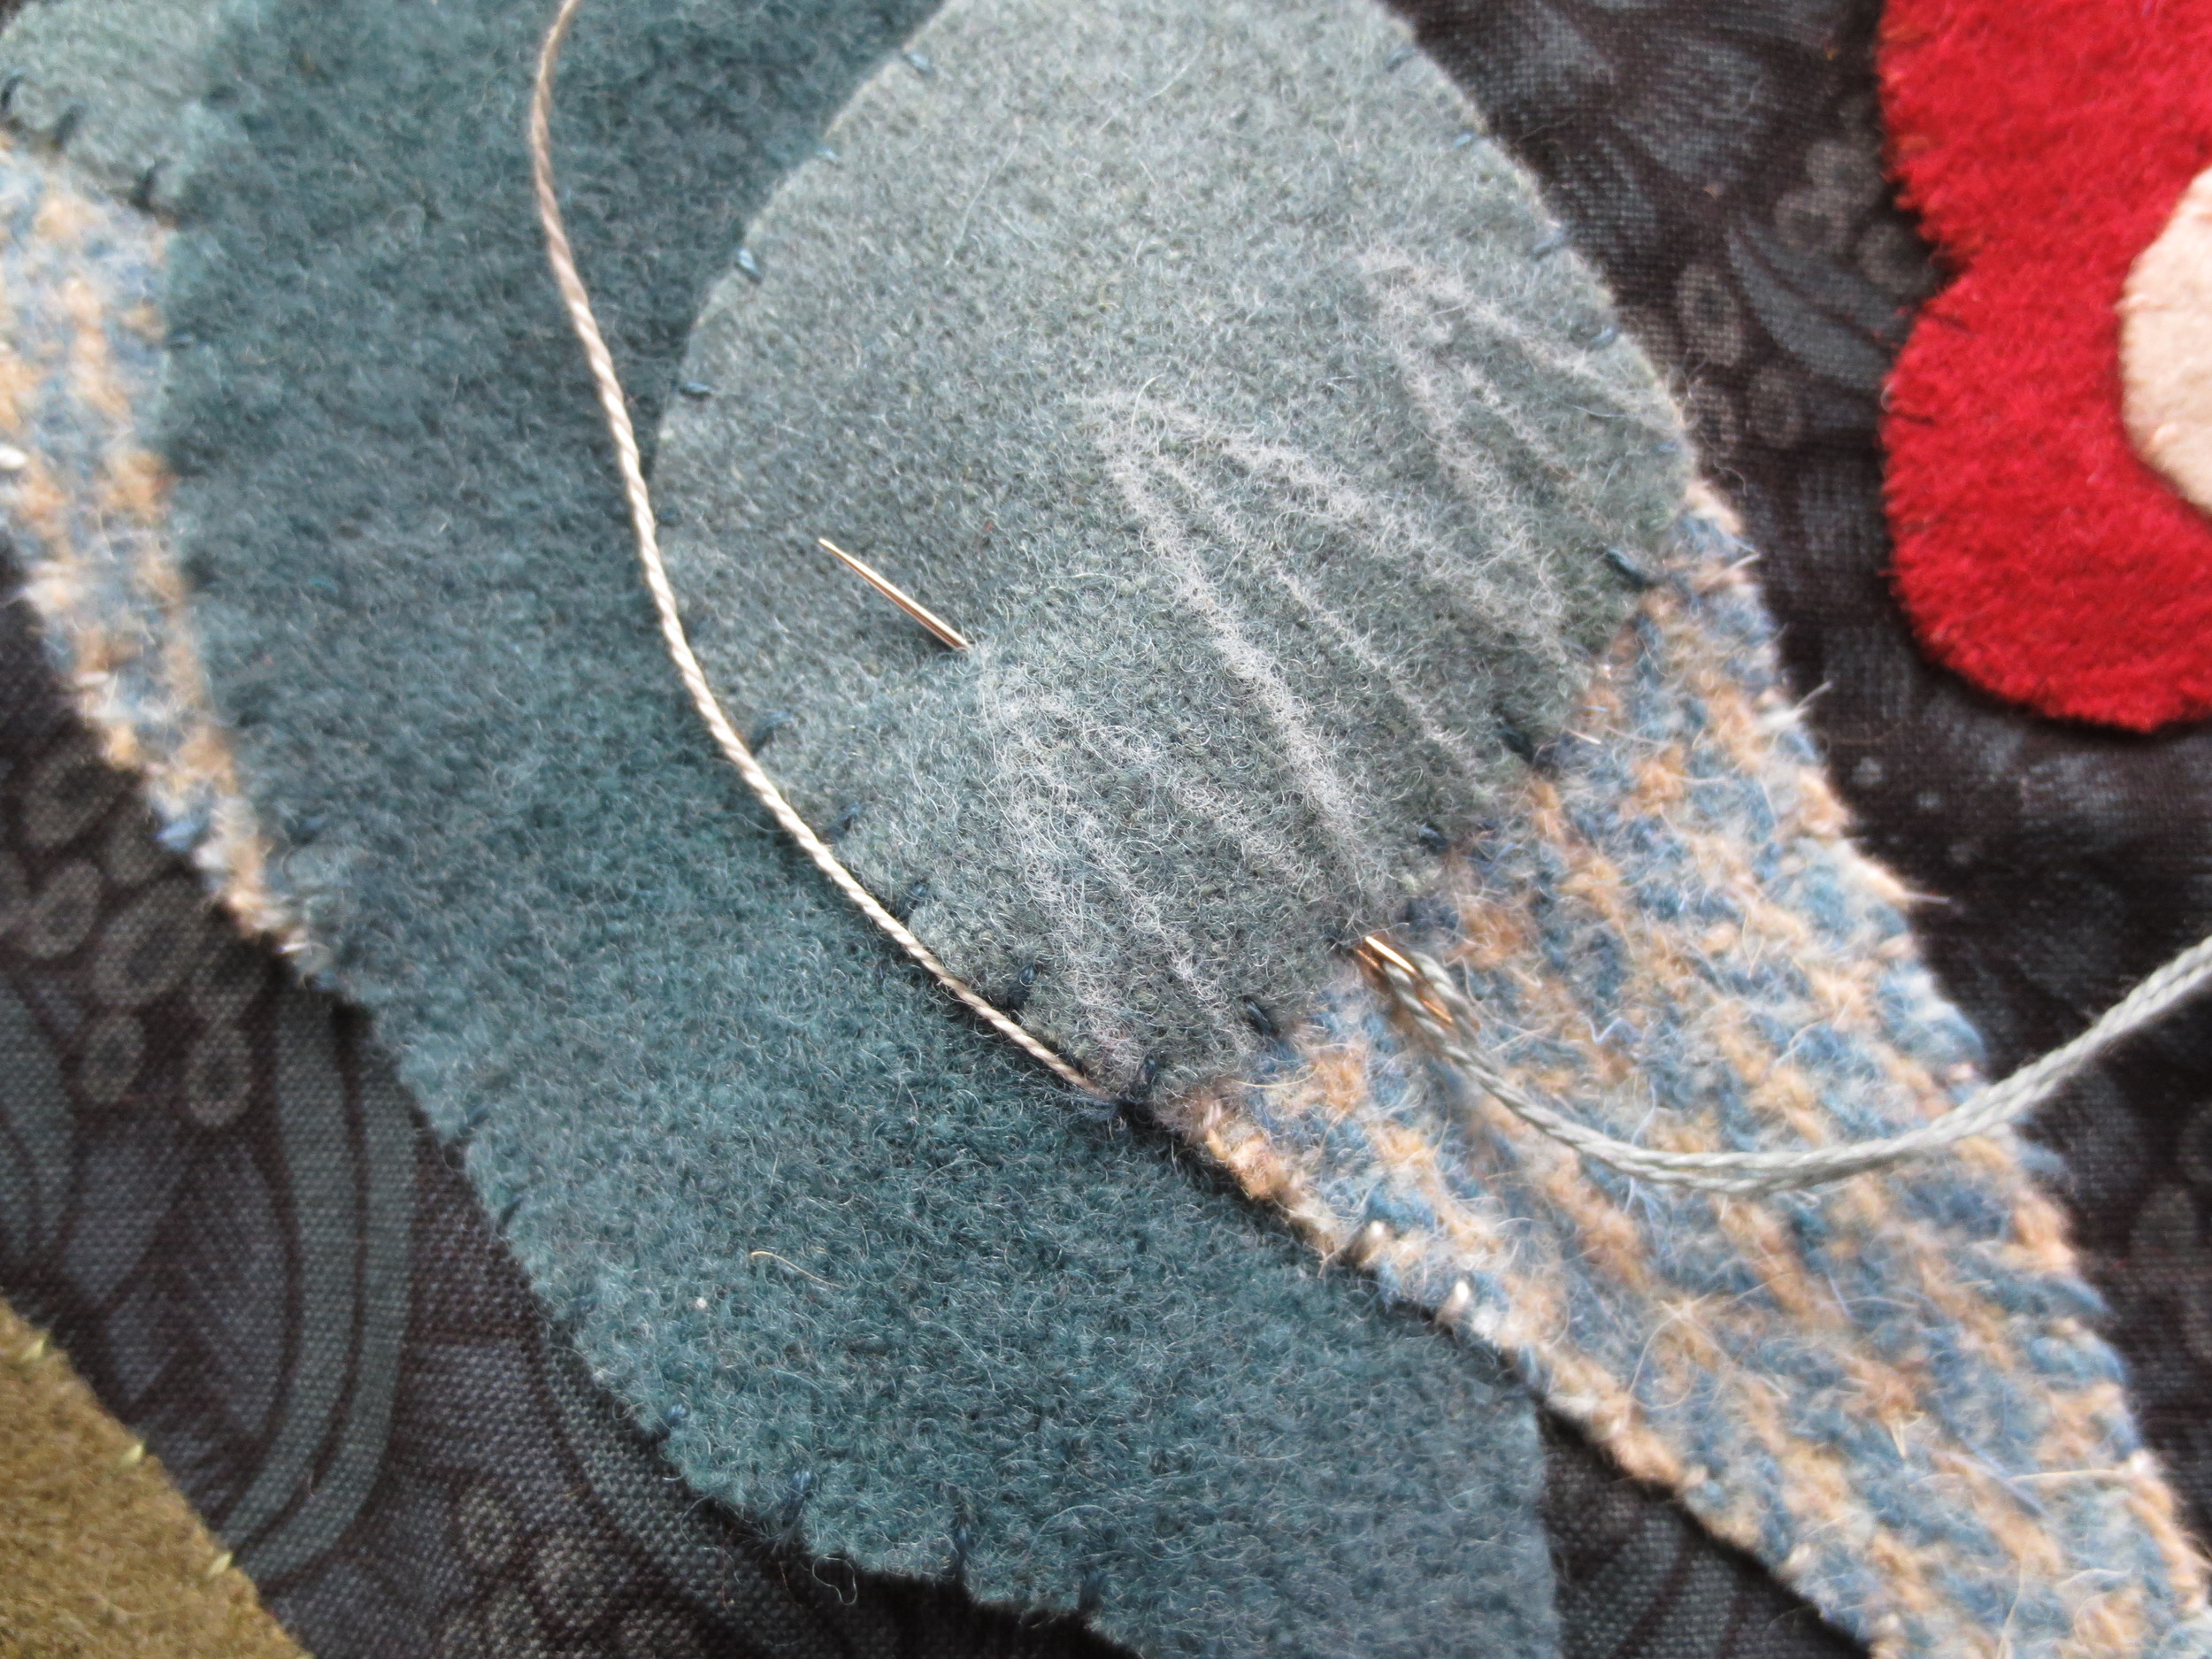
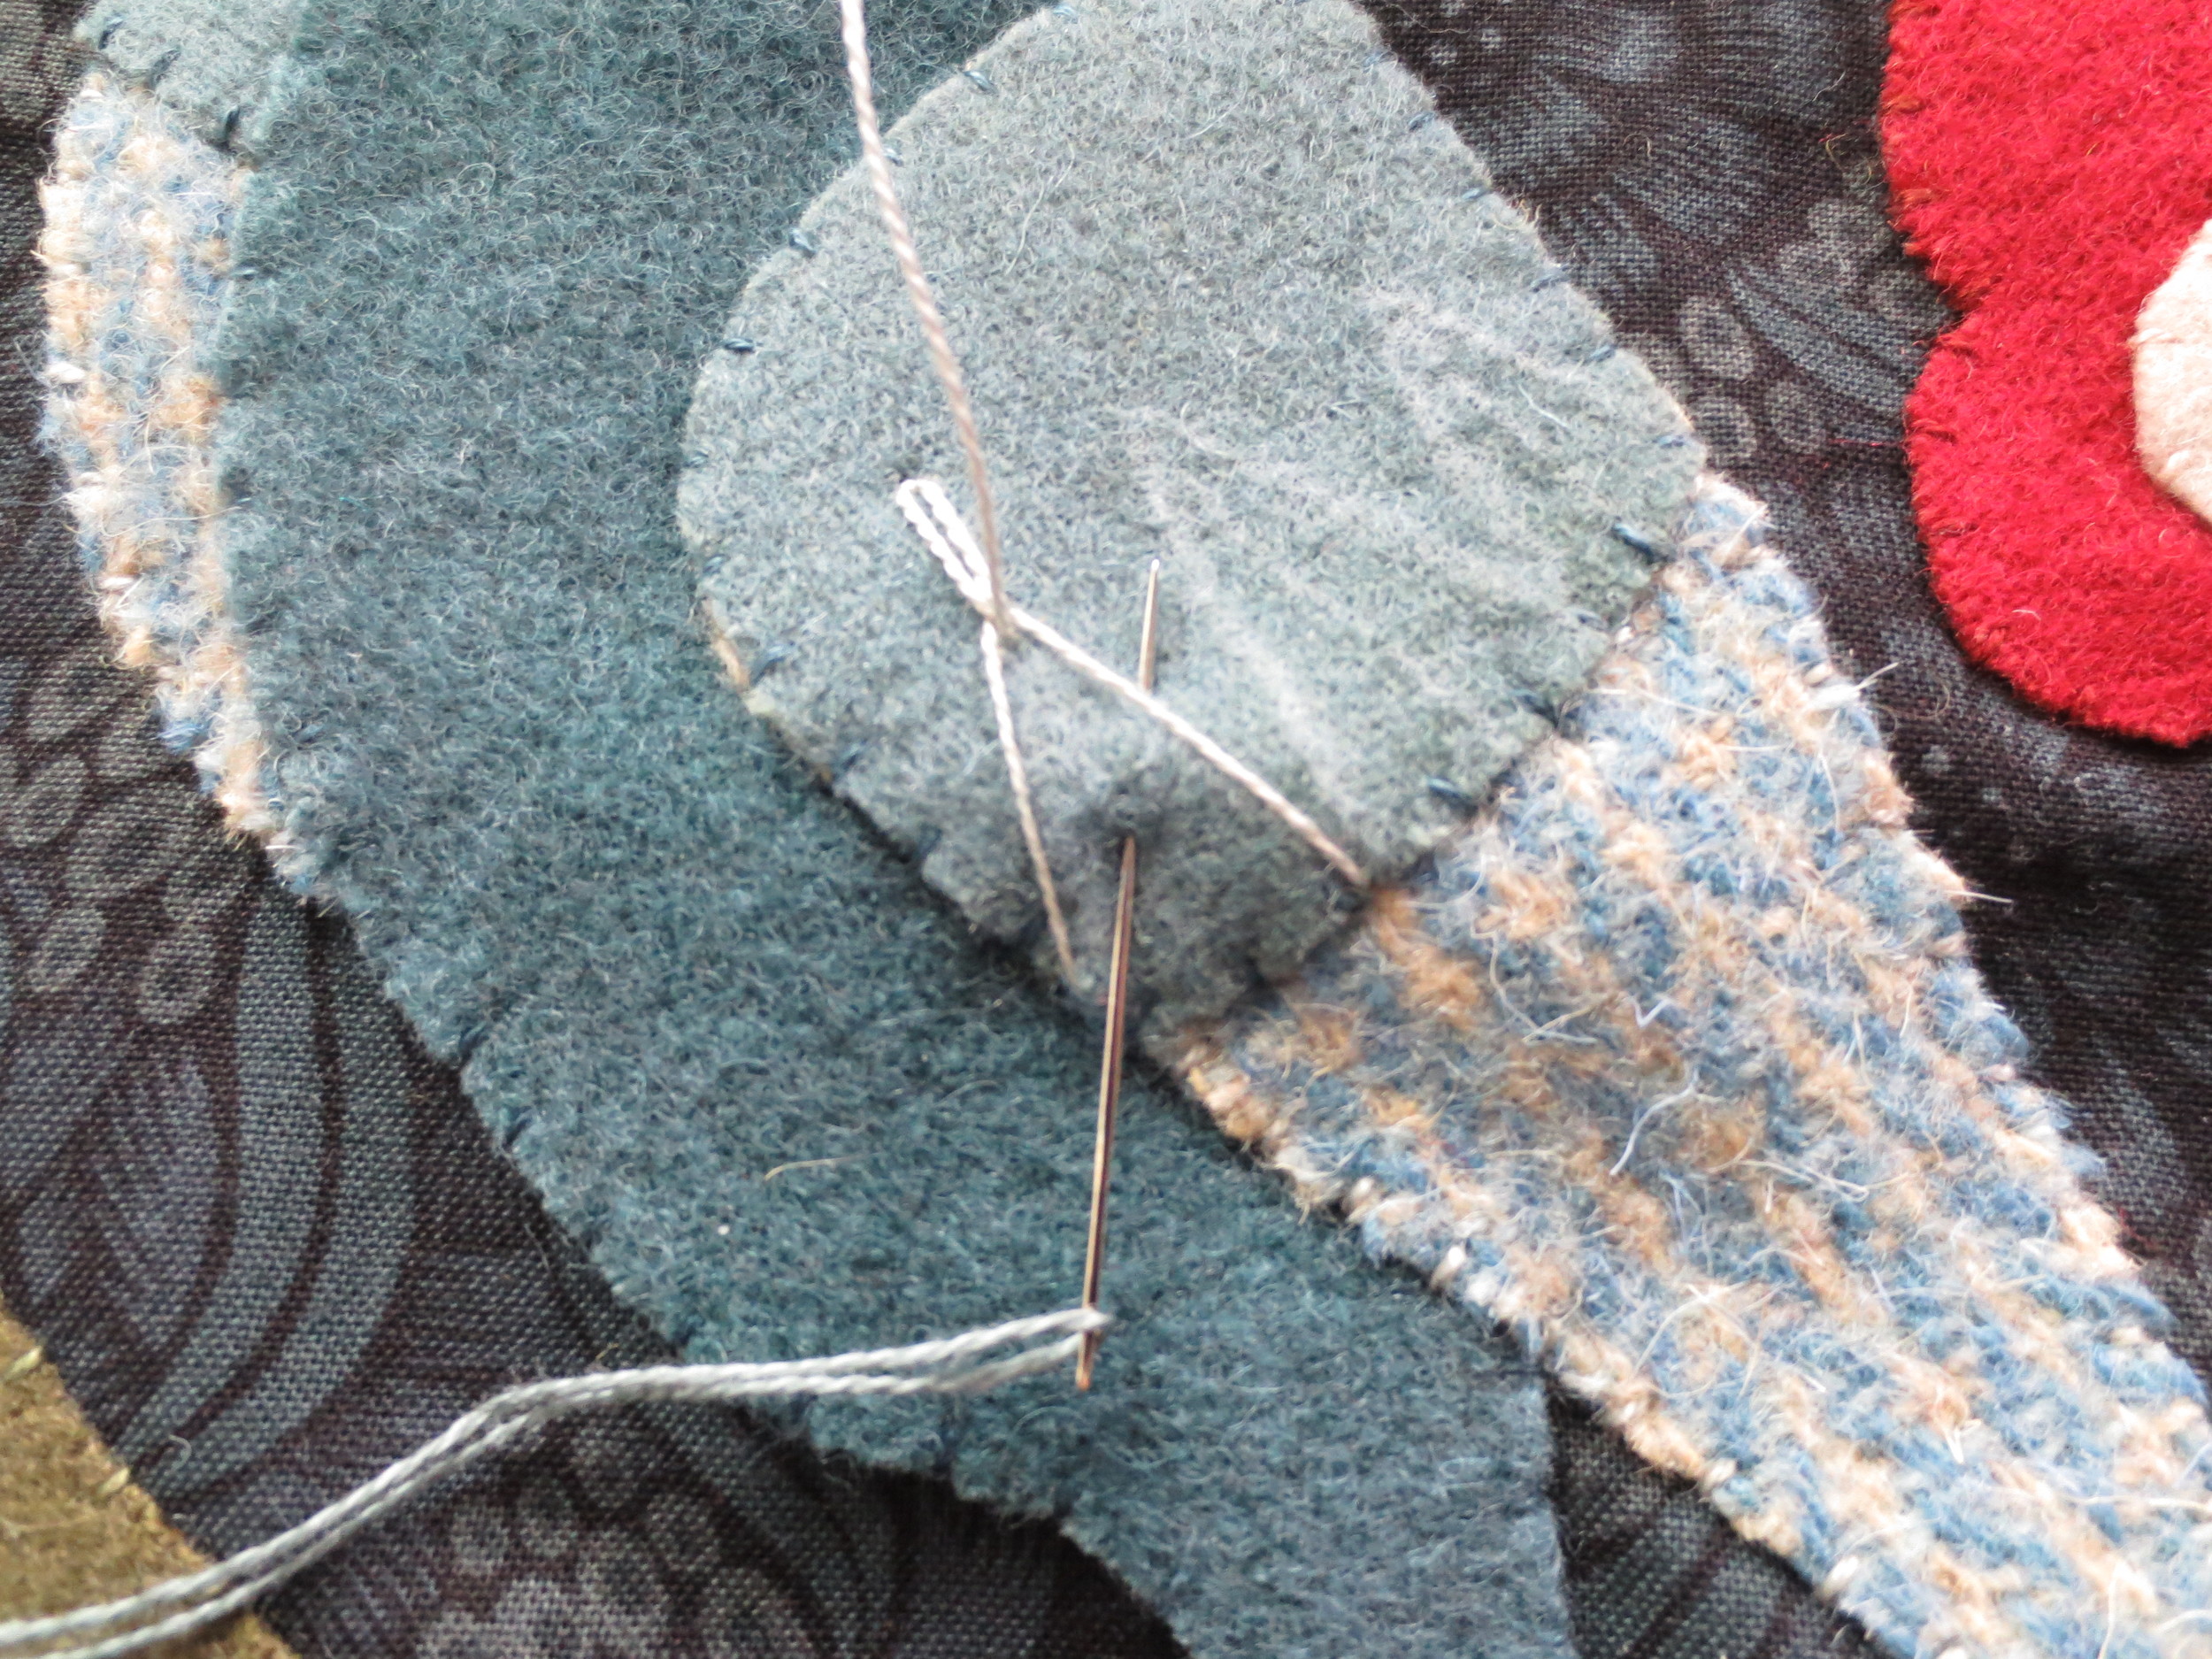
- Use a light blue thread ( I used a lovely variegated thread, Valdani O578) to stitch a combination fly/lazy daisy stitch. Begin with the fly stitch by bringing your needle up at the bottom left corner, down at the bottom right corner, and up again at the apex of the triangle, looping the thread around the needle. Pull the thread through.
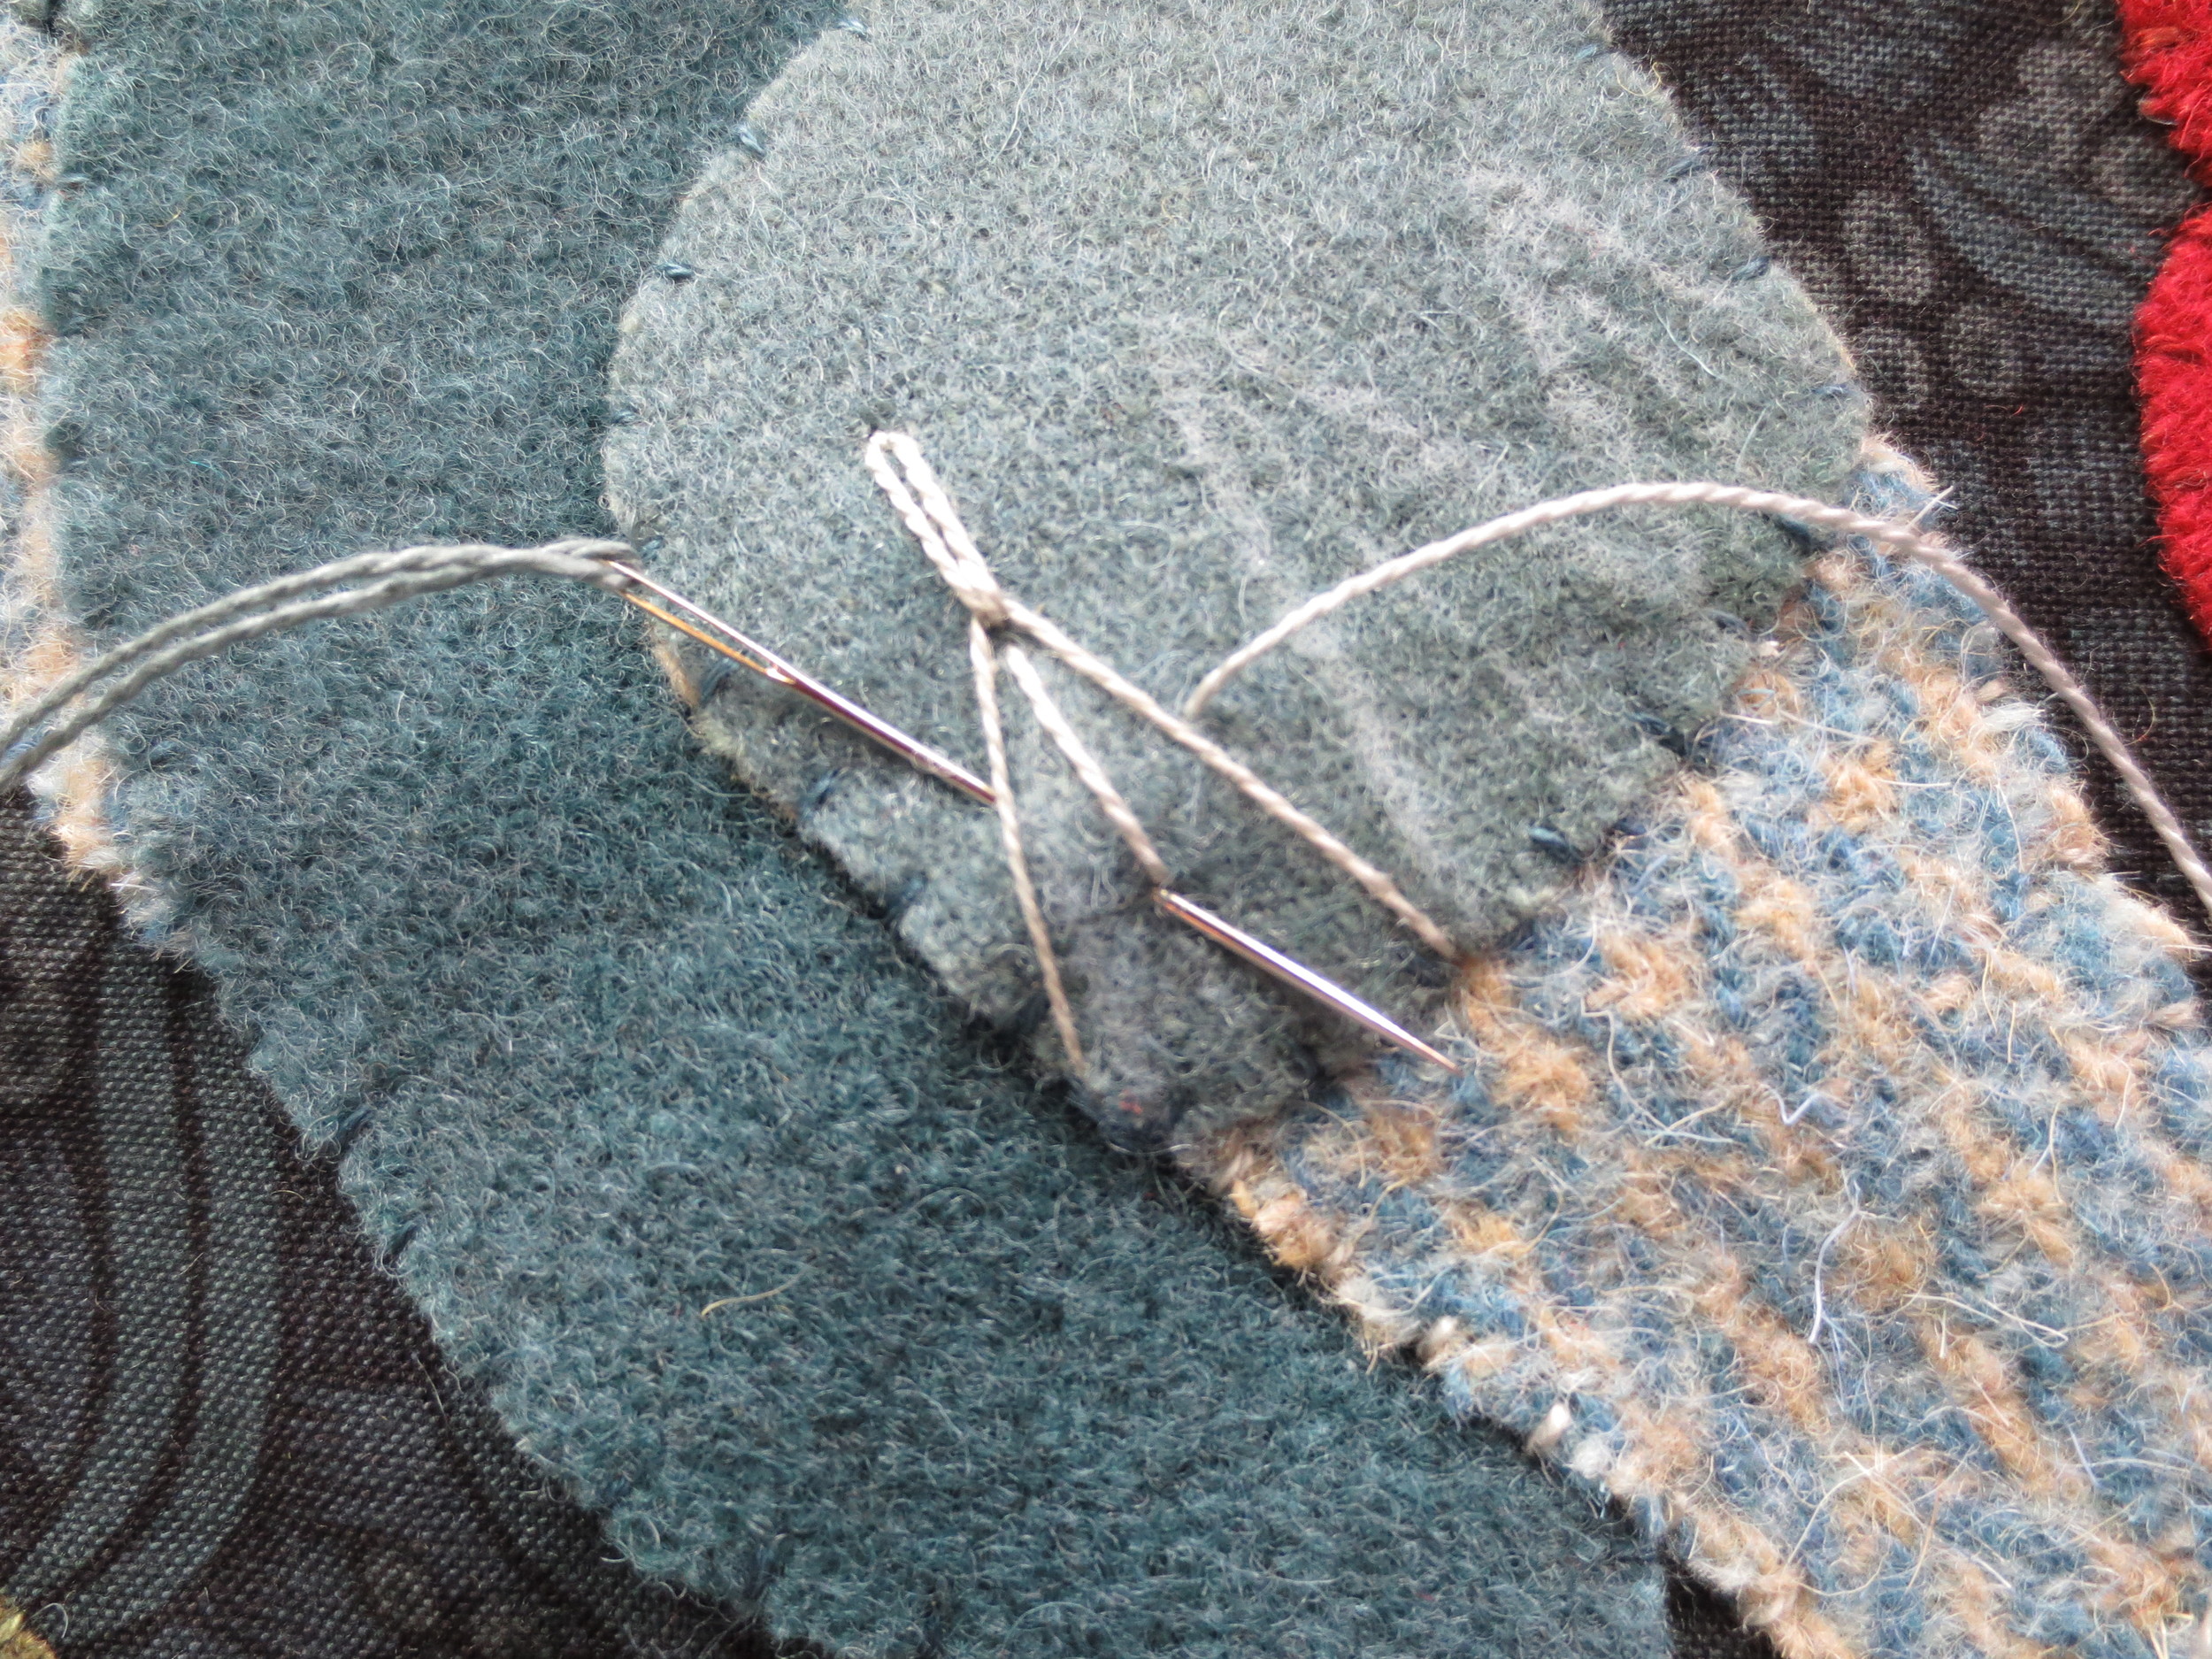
- Make a lazy daisy stitch on the top of the triangle.
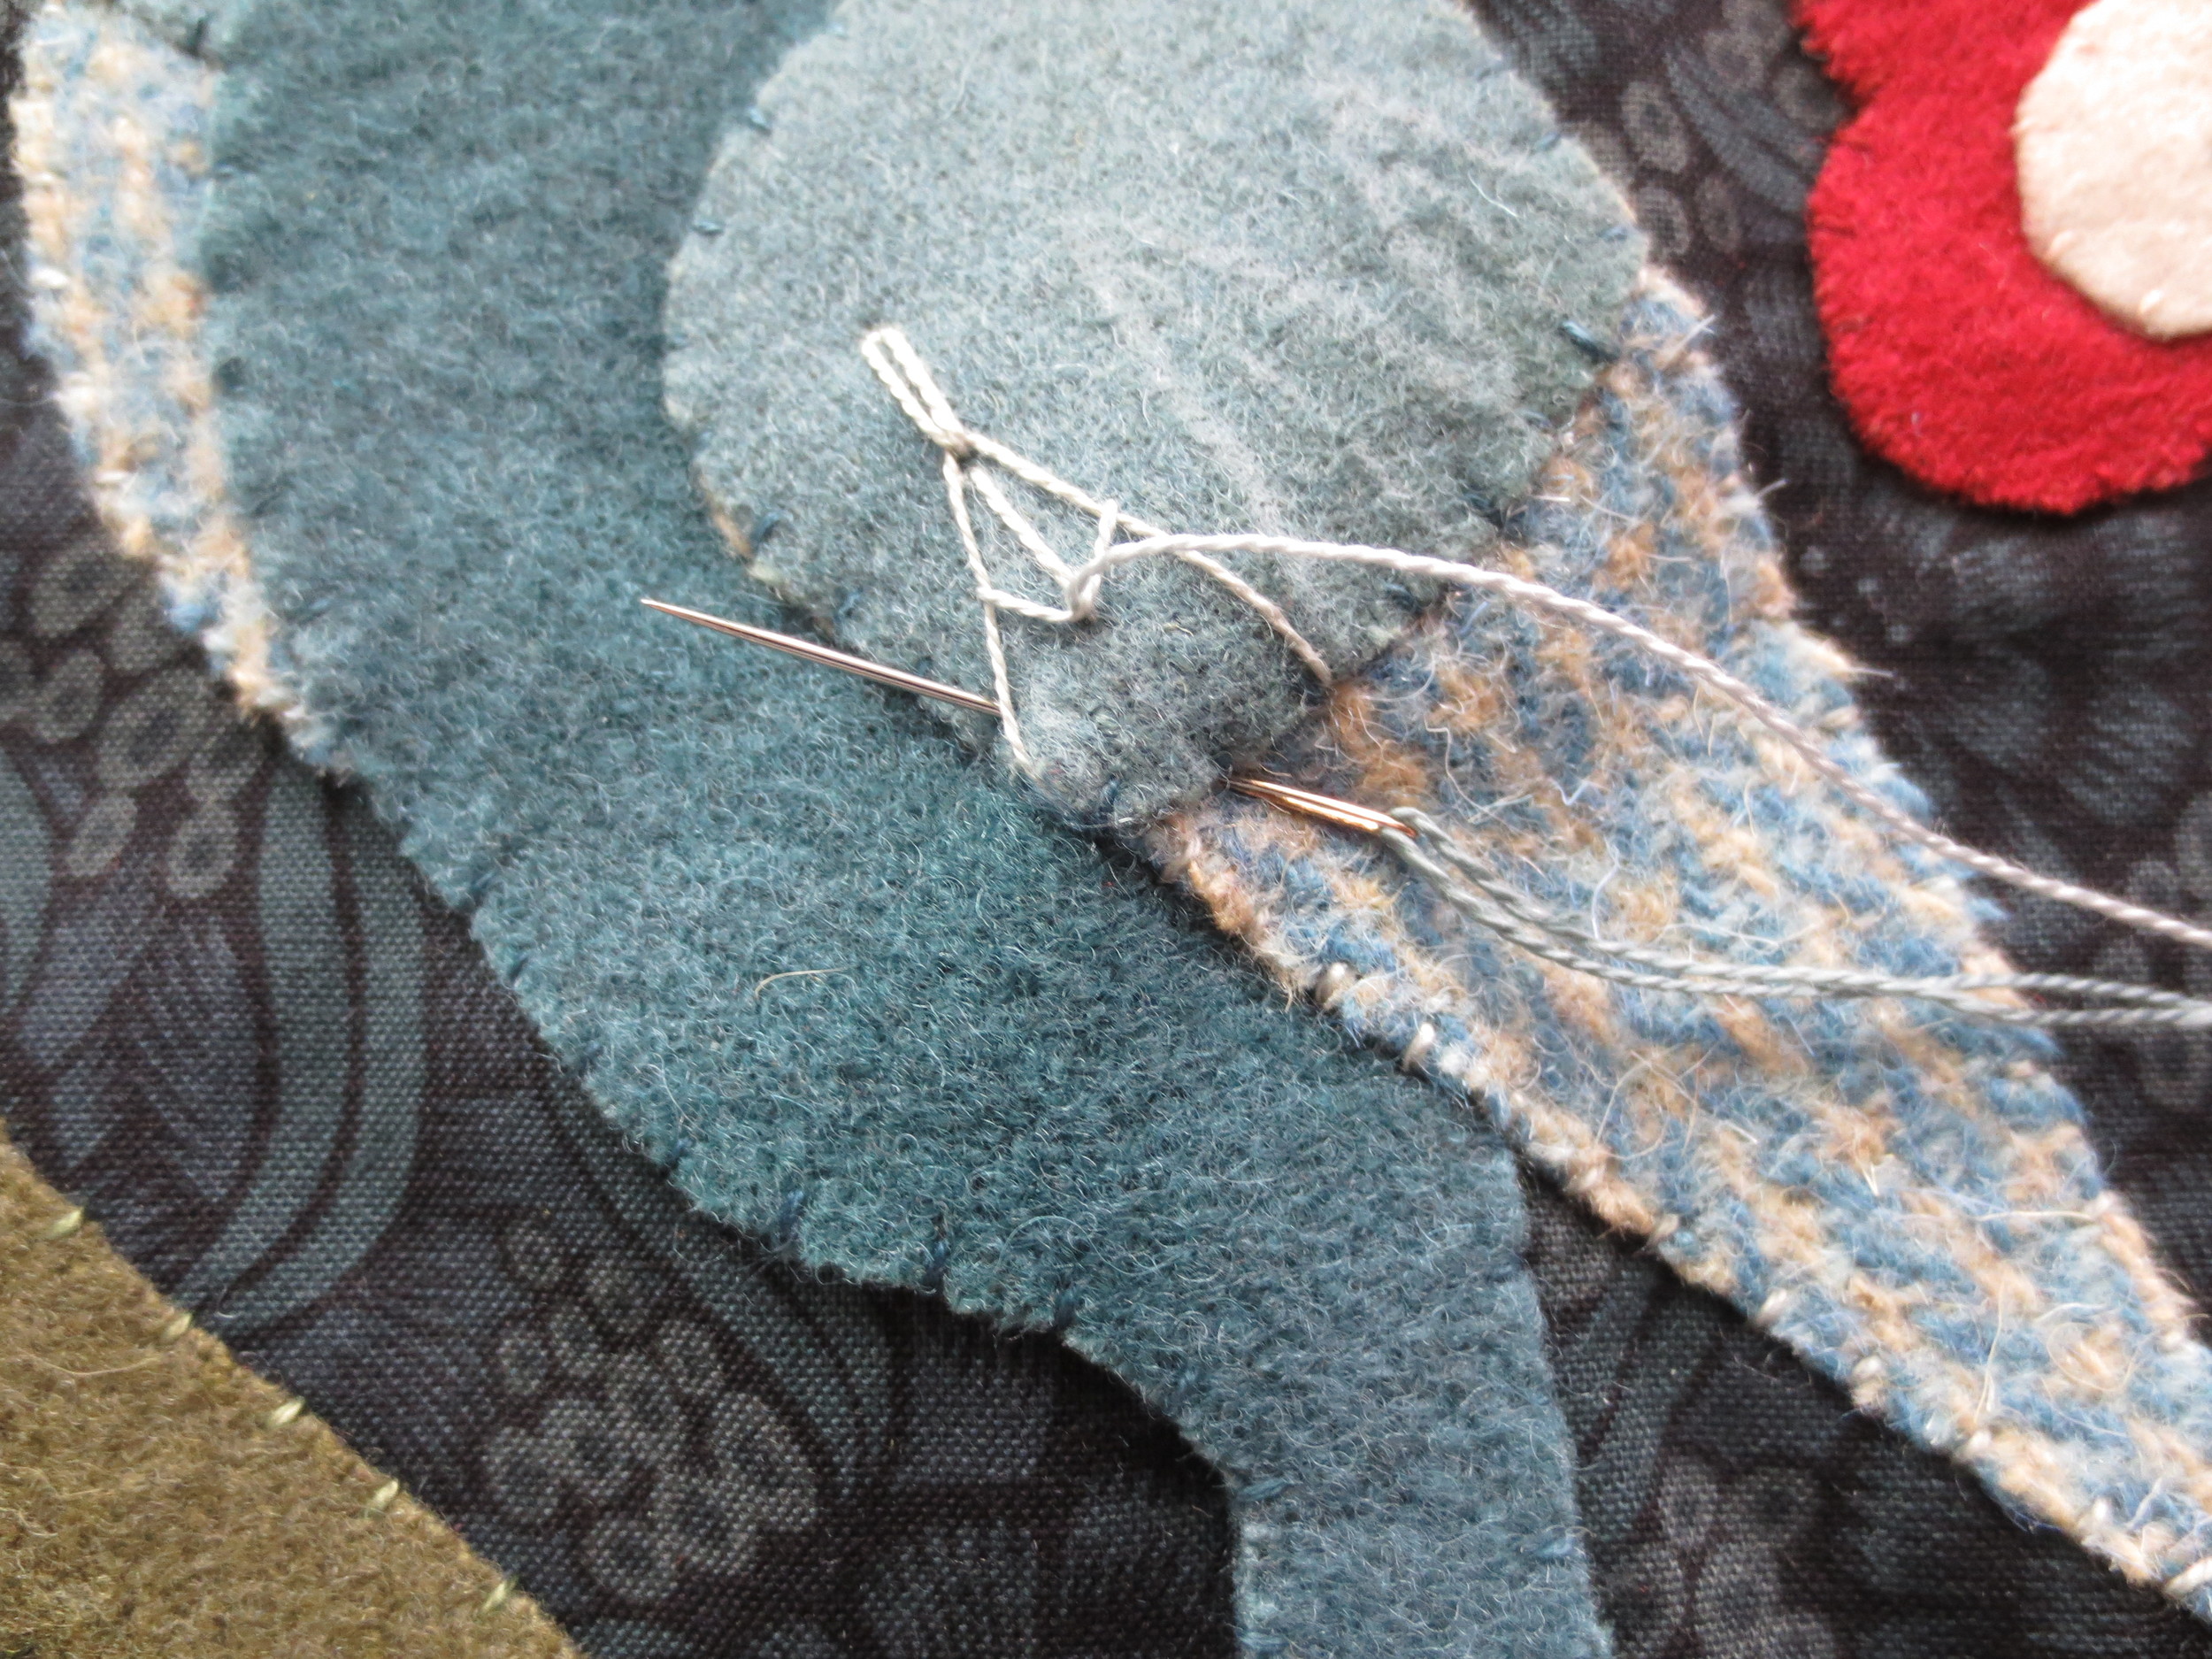
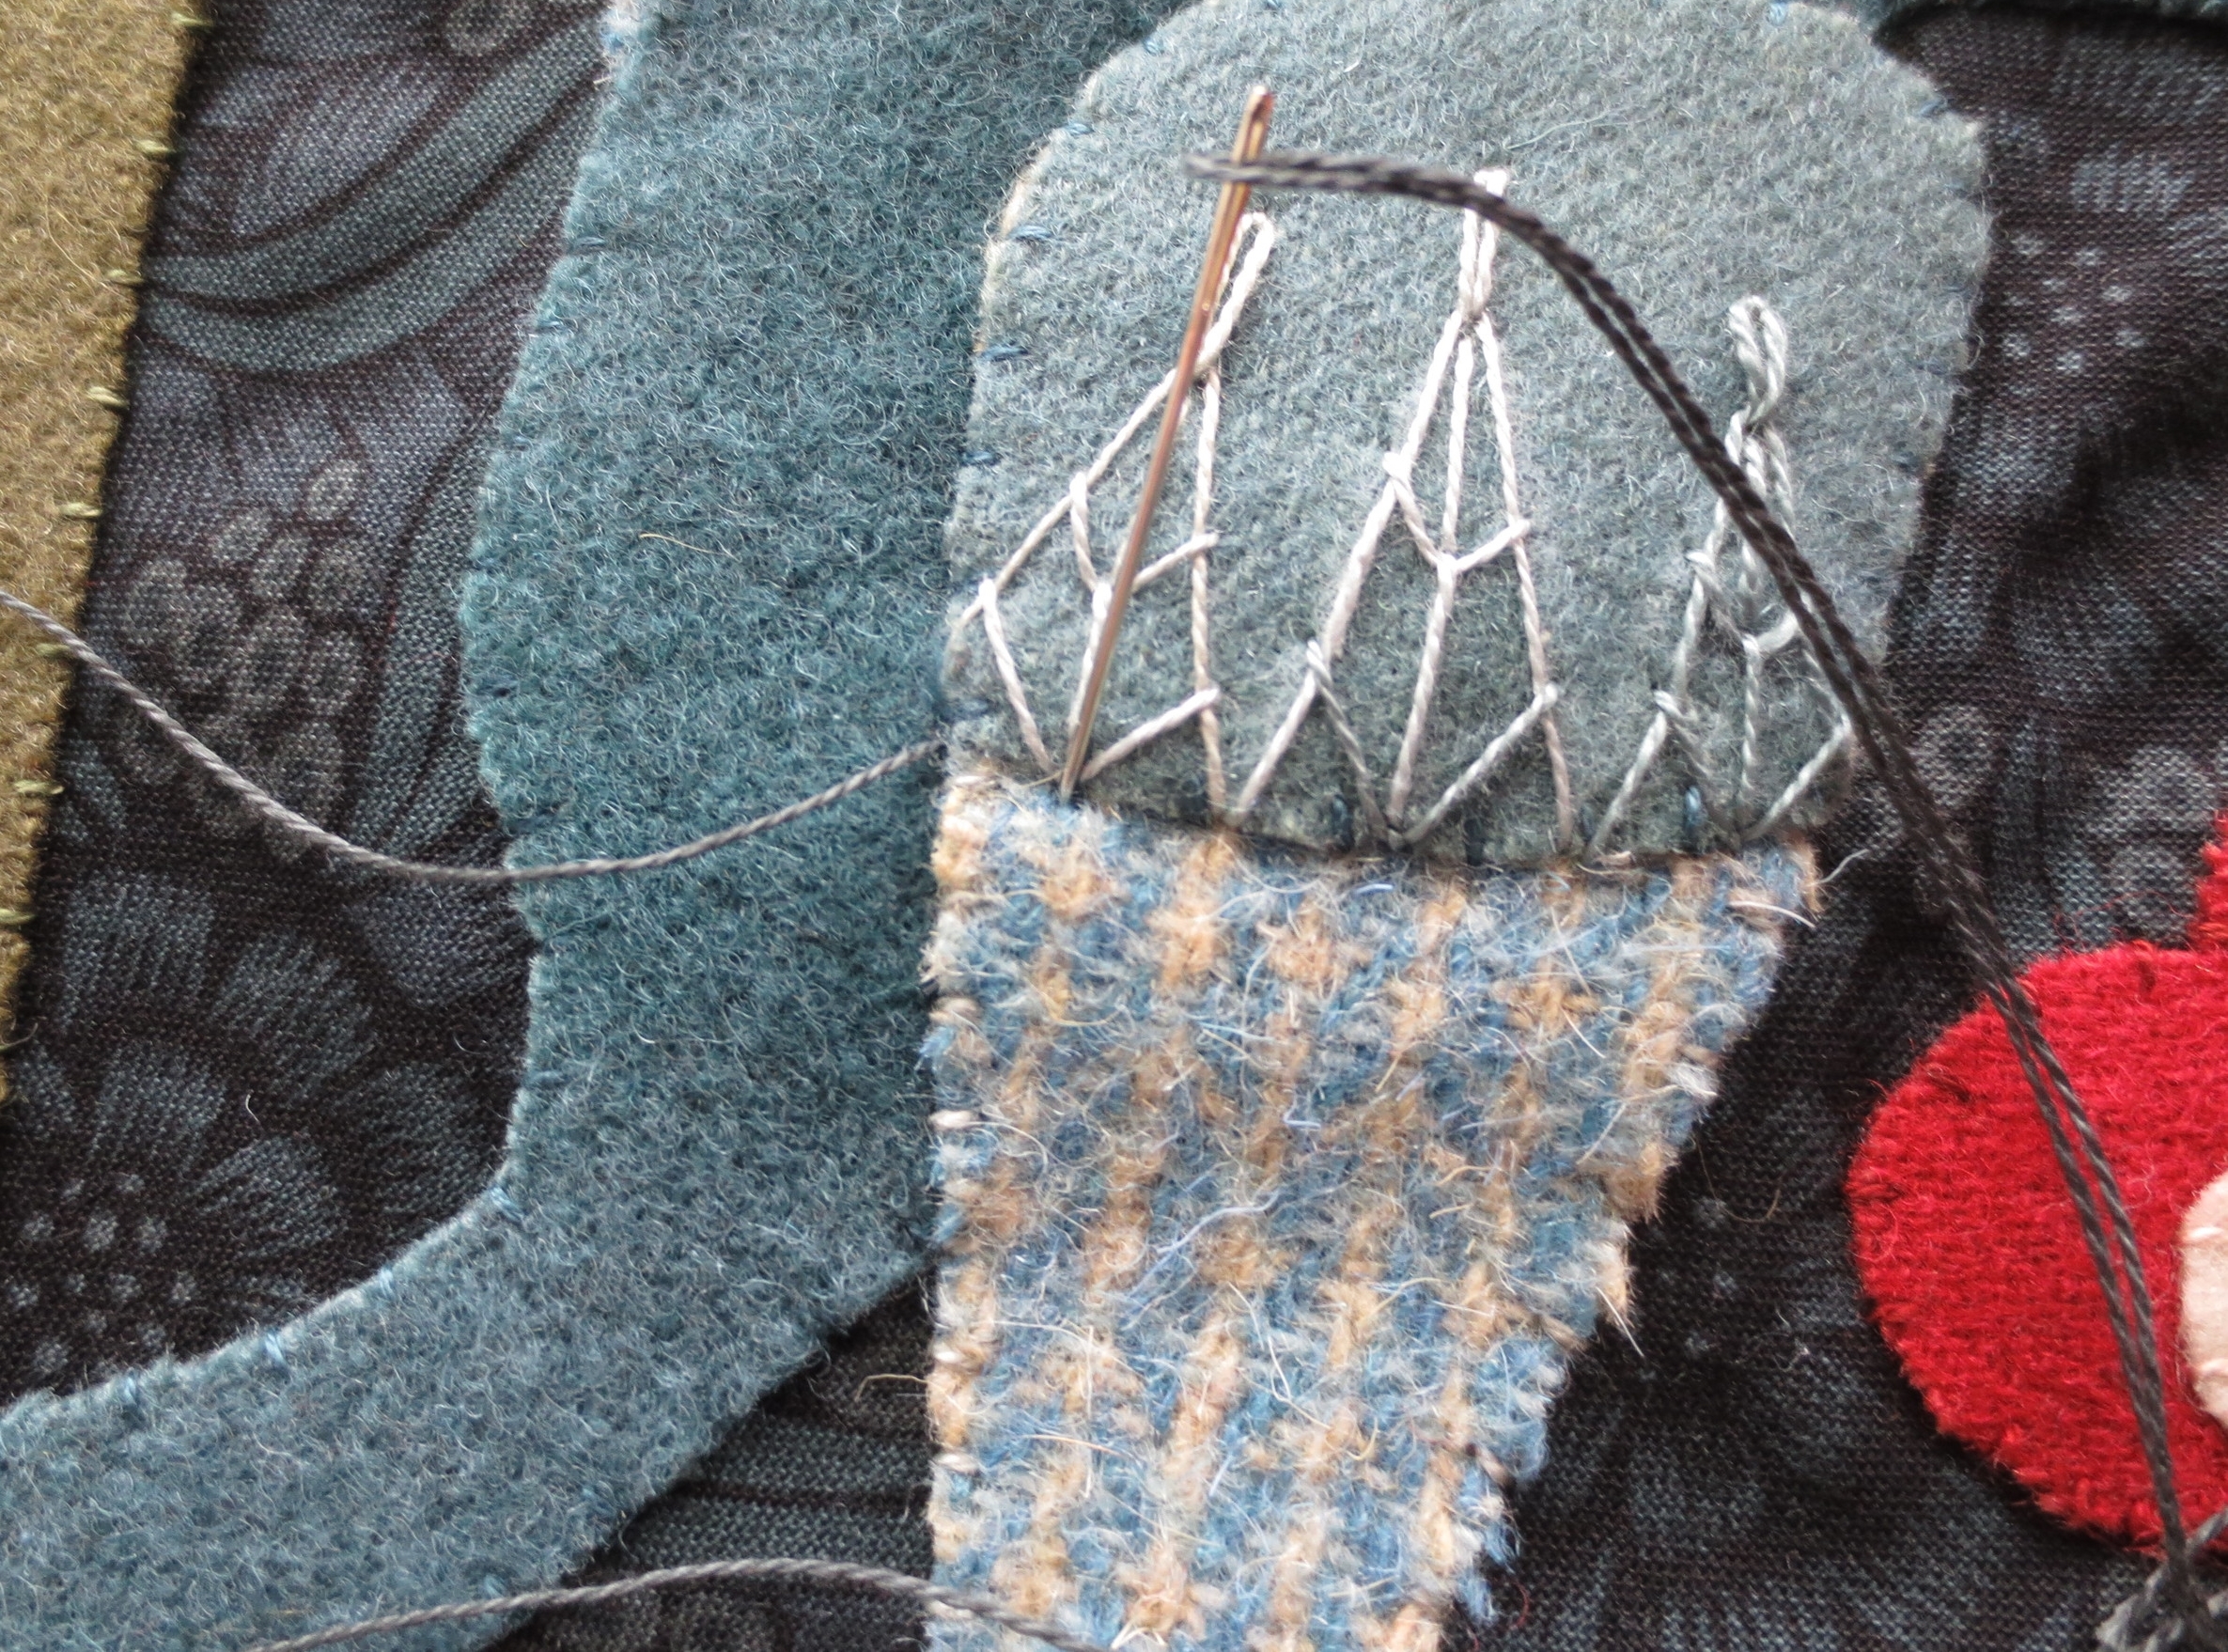
- With the same thread, make a closed fly stitch inside the triangle. Bring your needle up just below the apex of the triangle, down about halfway on the bisecting line, and up again on the outside of the right side of the triangle. Pull the thread through. Insert the needle down on the left side of the triangle directly accross from the exit point on the right, and up again at the halfway point on the bisecting line. Repeat the stitch sequence once more with the end point being the bottom edge of the wing cap.
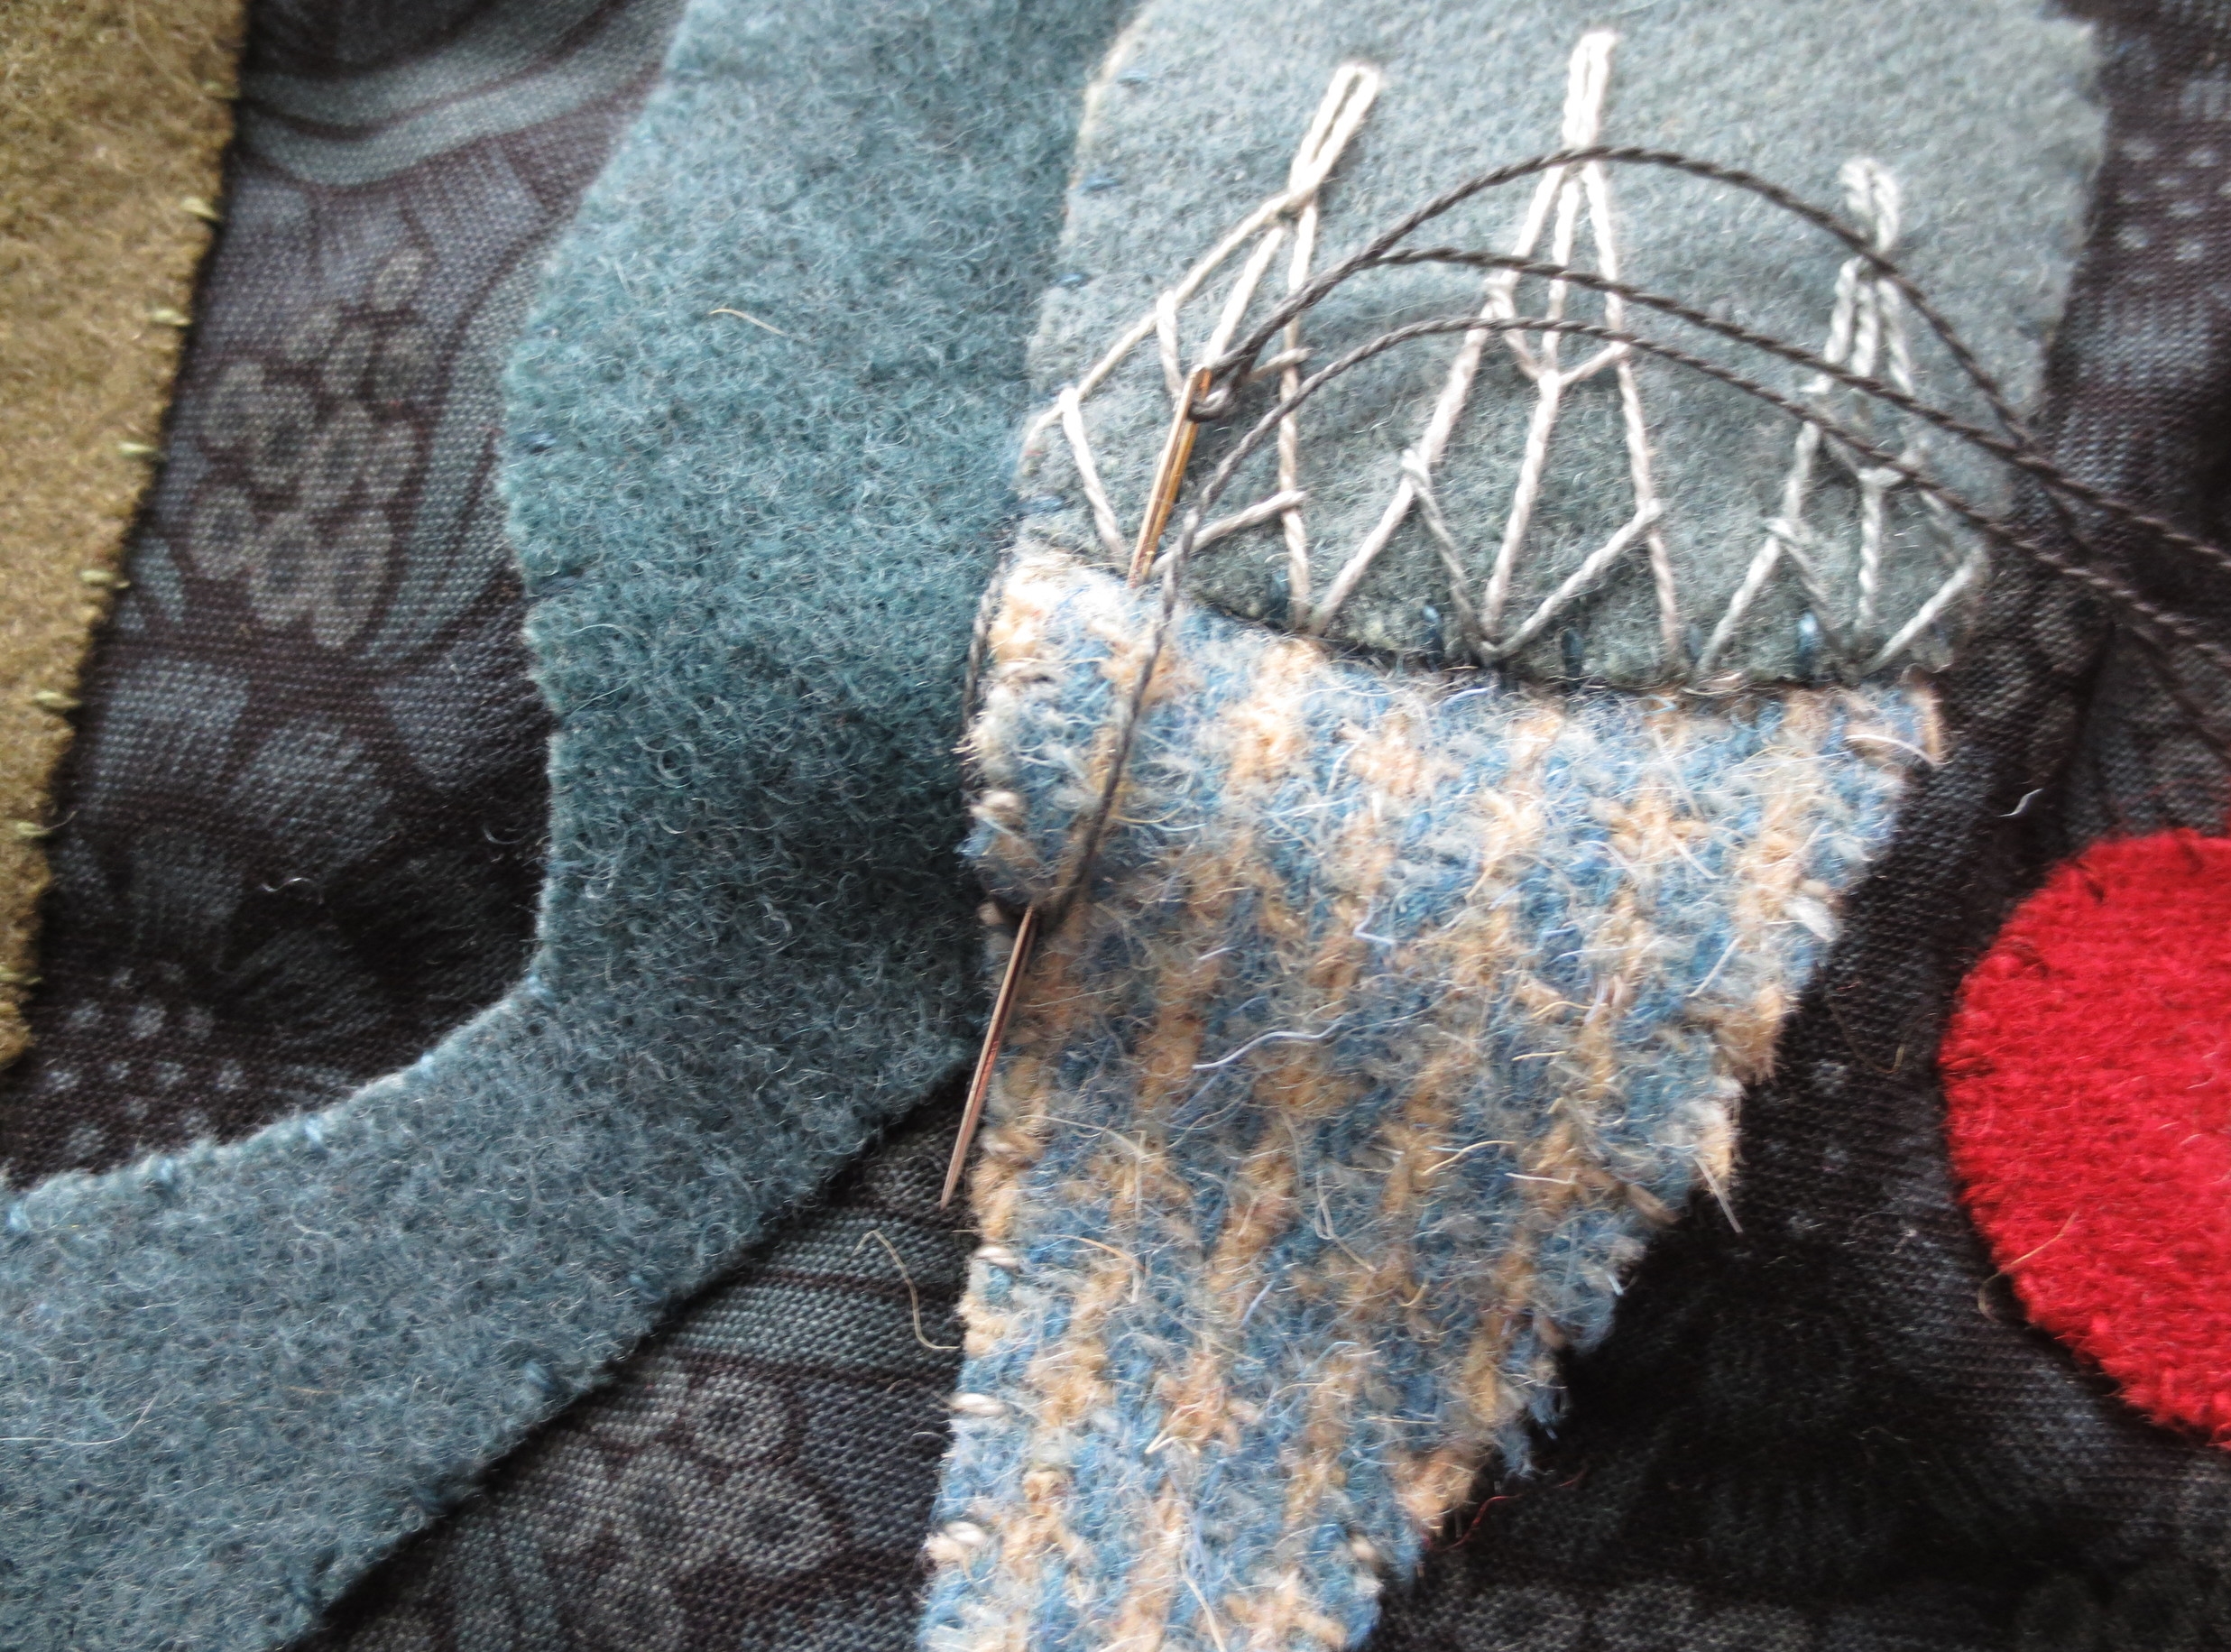
- Repeat the stitch sequence for the remaining triangles.
- Draw one triangle on the small wing and repeat the stitch sequence.
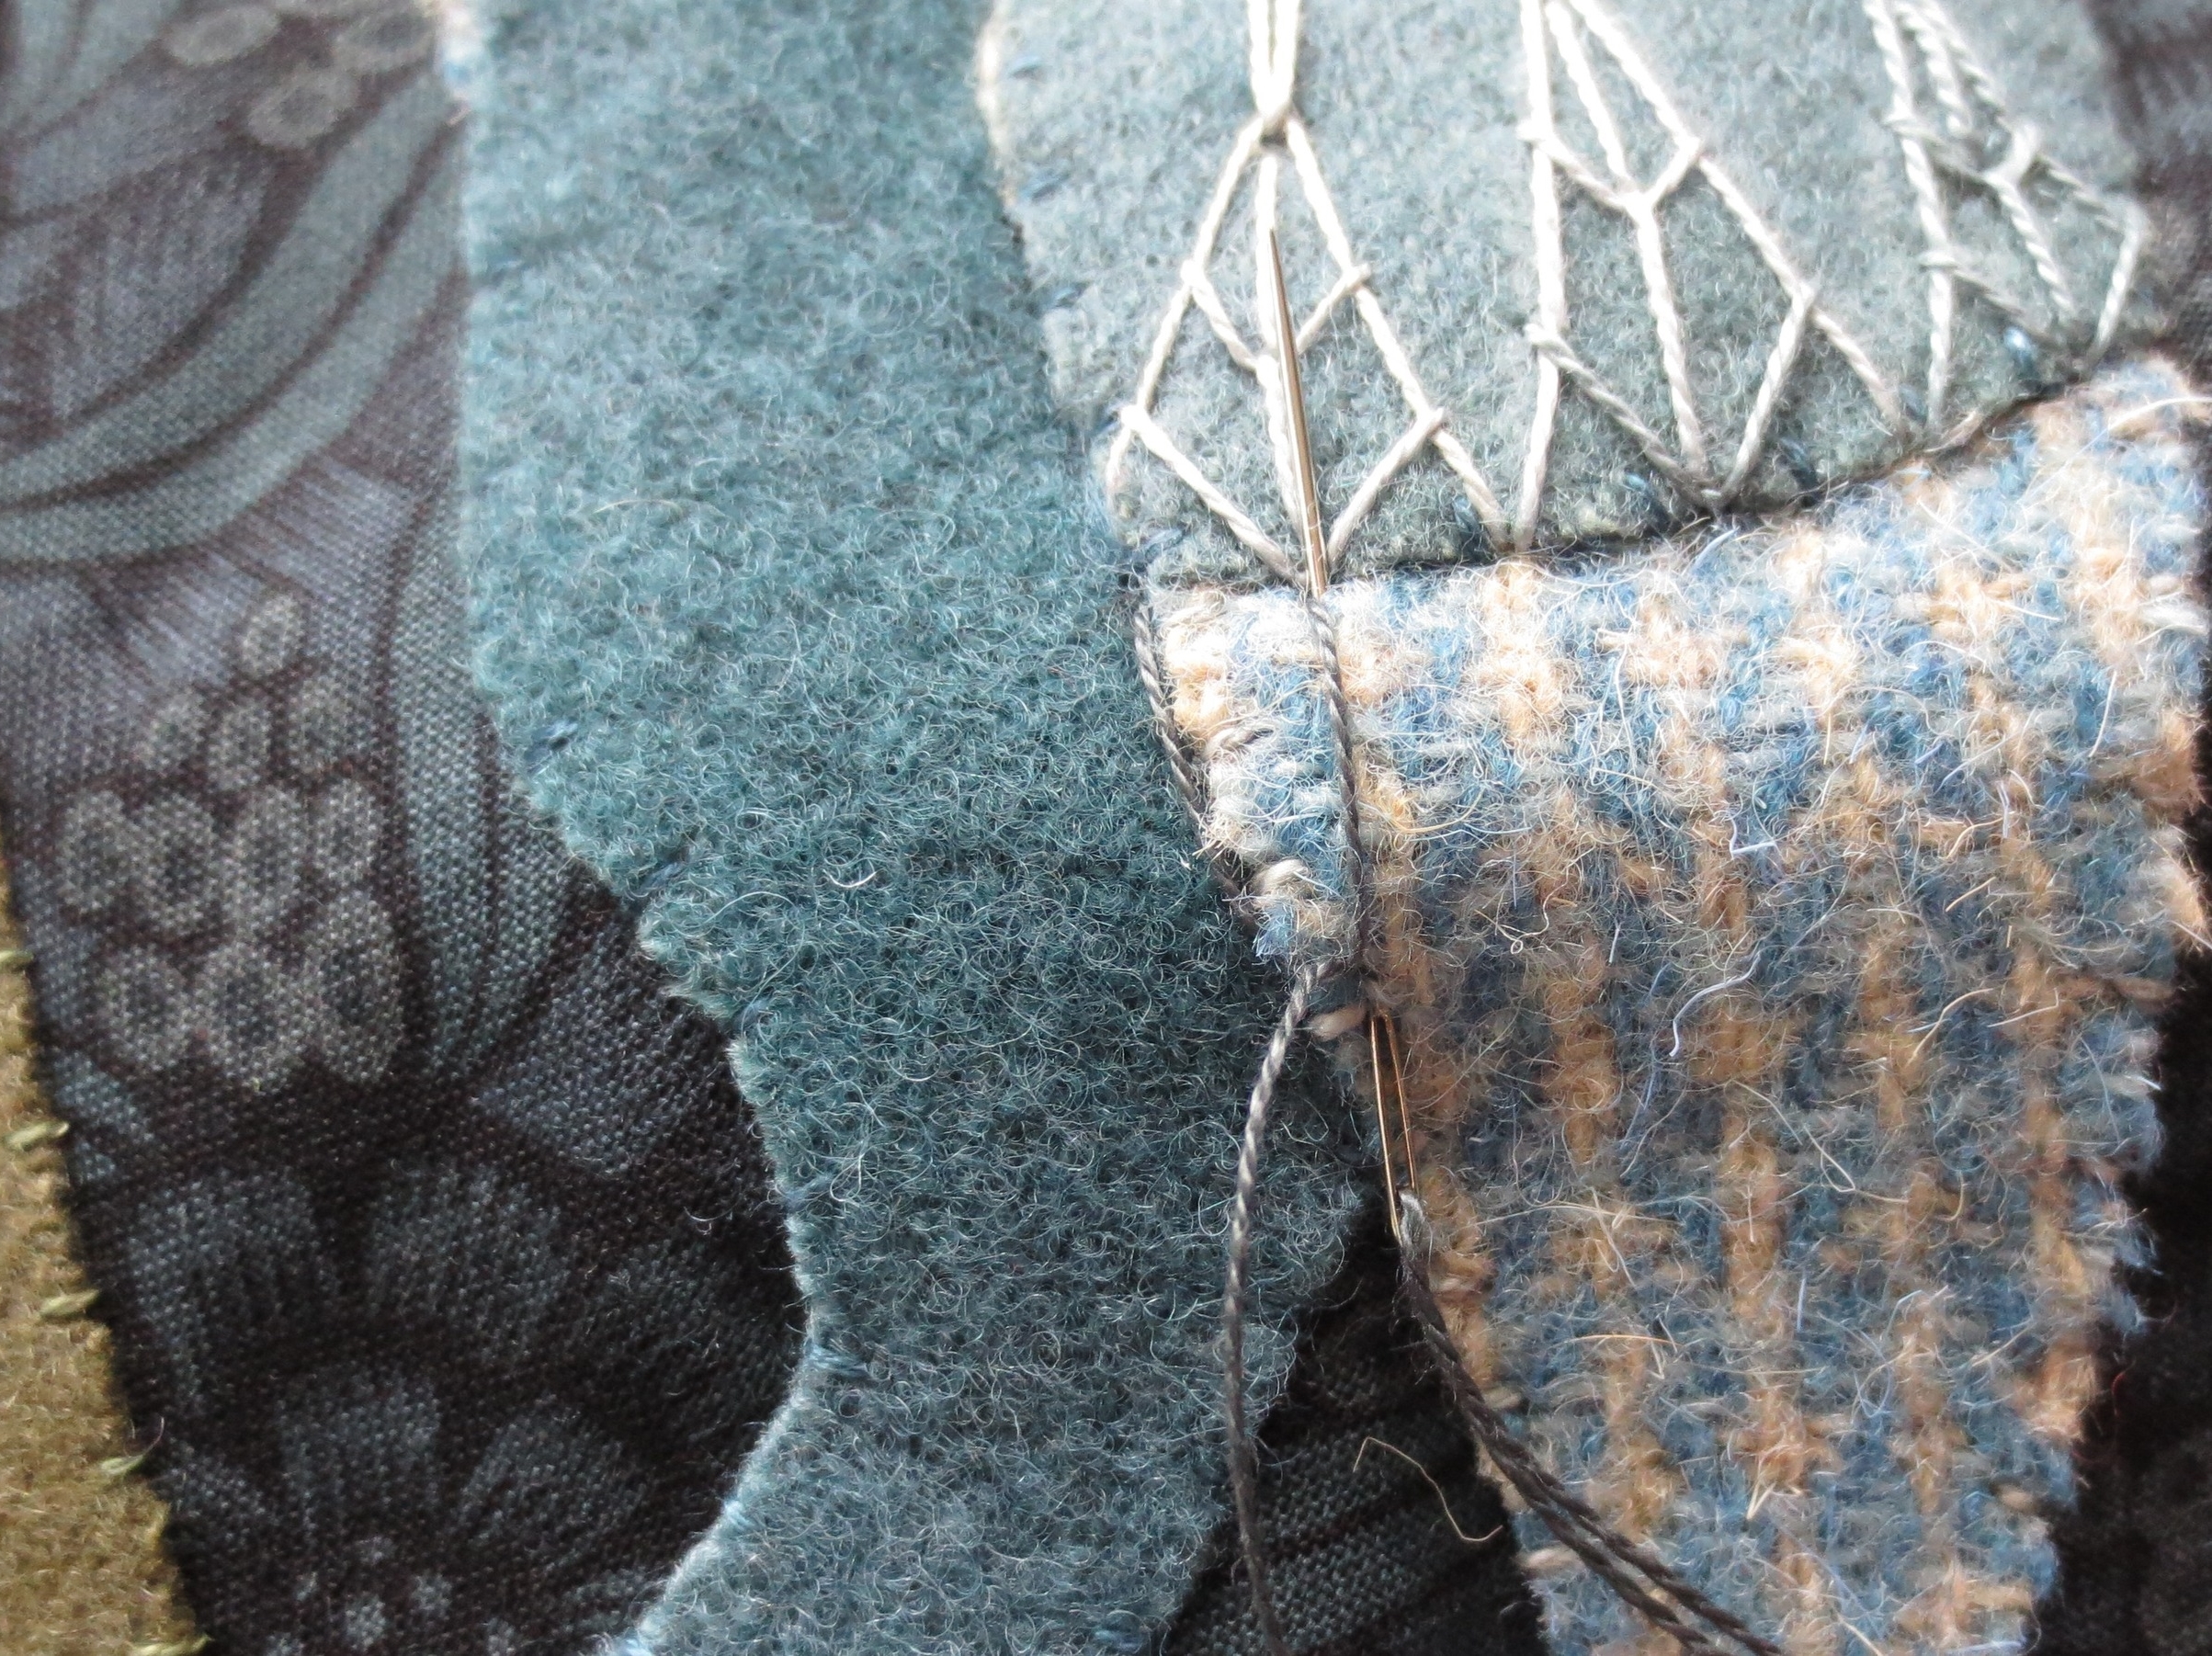
- Use a dark grey-blue thread to stitch 6 fly stitches below the wing cap. The width of each fly stitch is determined by the triangle above it. Bring your needle up at the upper left side of wing just below the wing cap, down at the point where the bisecting line from the triangle above meets the wing cap edge, and up again about 5/8" along the wing, looping the thread around the needle. Repeat the stitch sequence five more times, varying the length of each fly stitch (see layout).
- Repeat the stitches on the small wing.
- Eye
- osition the eye on the head using the layout as your guide, and fuse in place.
- Whip stitch using matching colored thread.
- Use the dark grey-blue thread to make a french knot in the middle of the eye.
Almost done! The berries will be in the next post.


