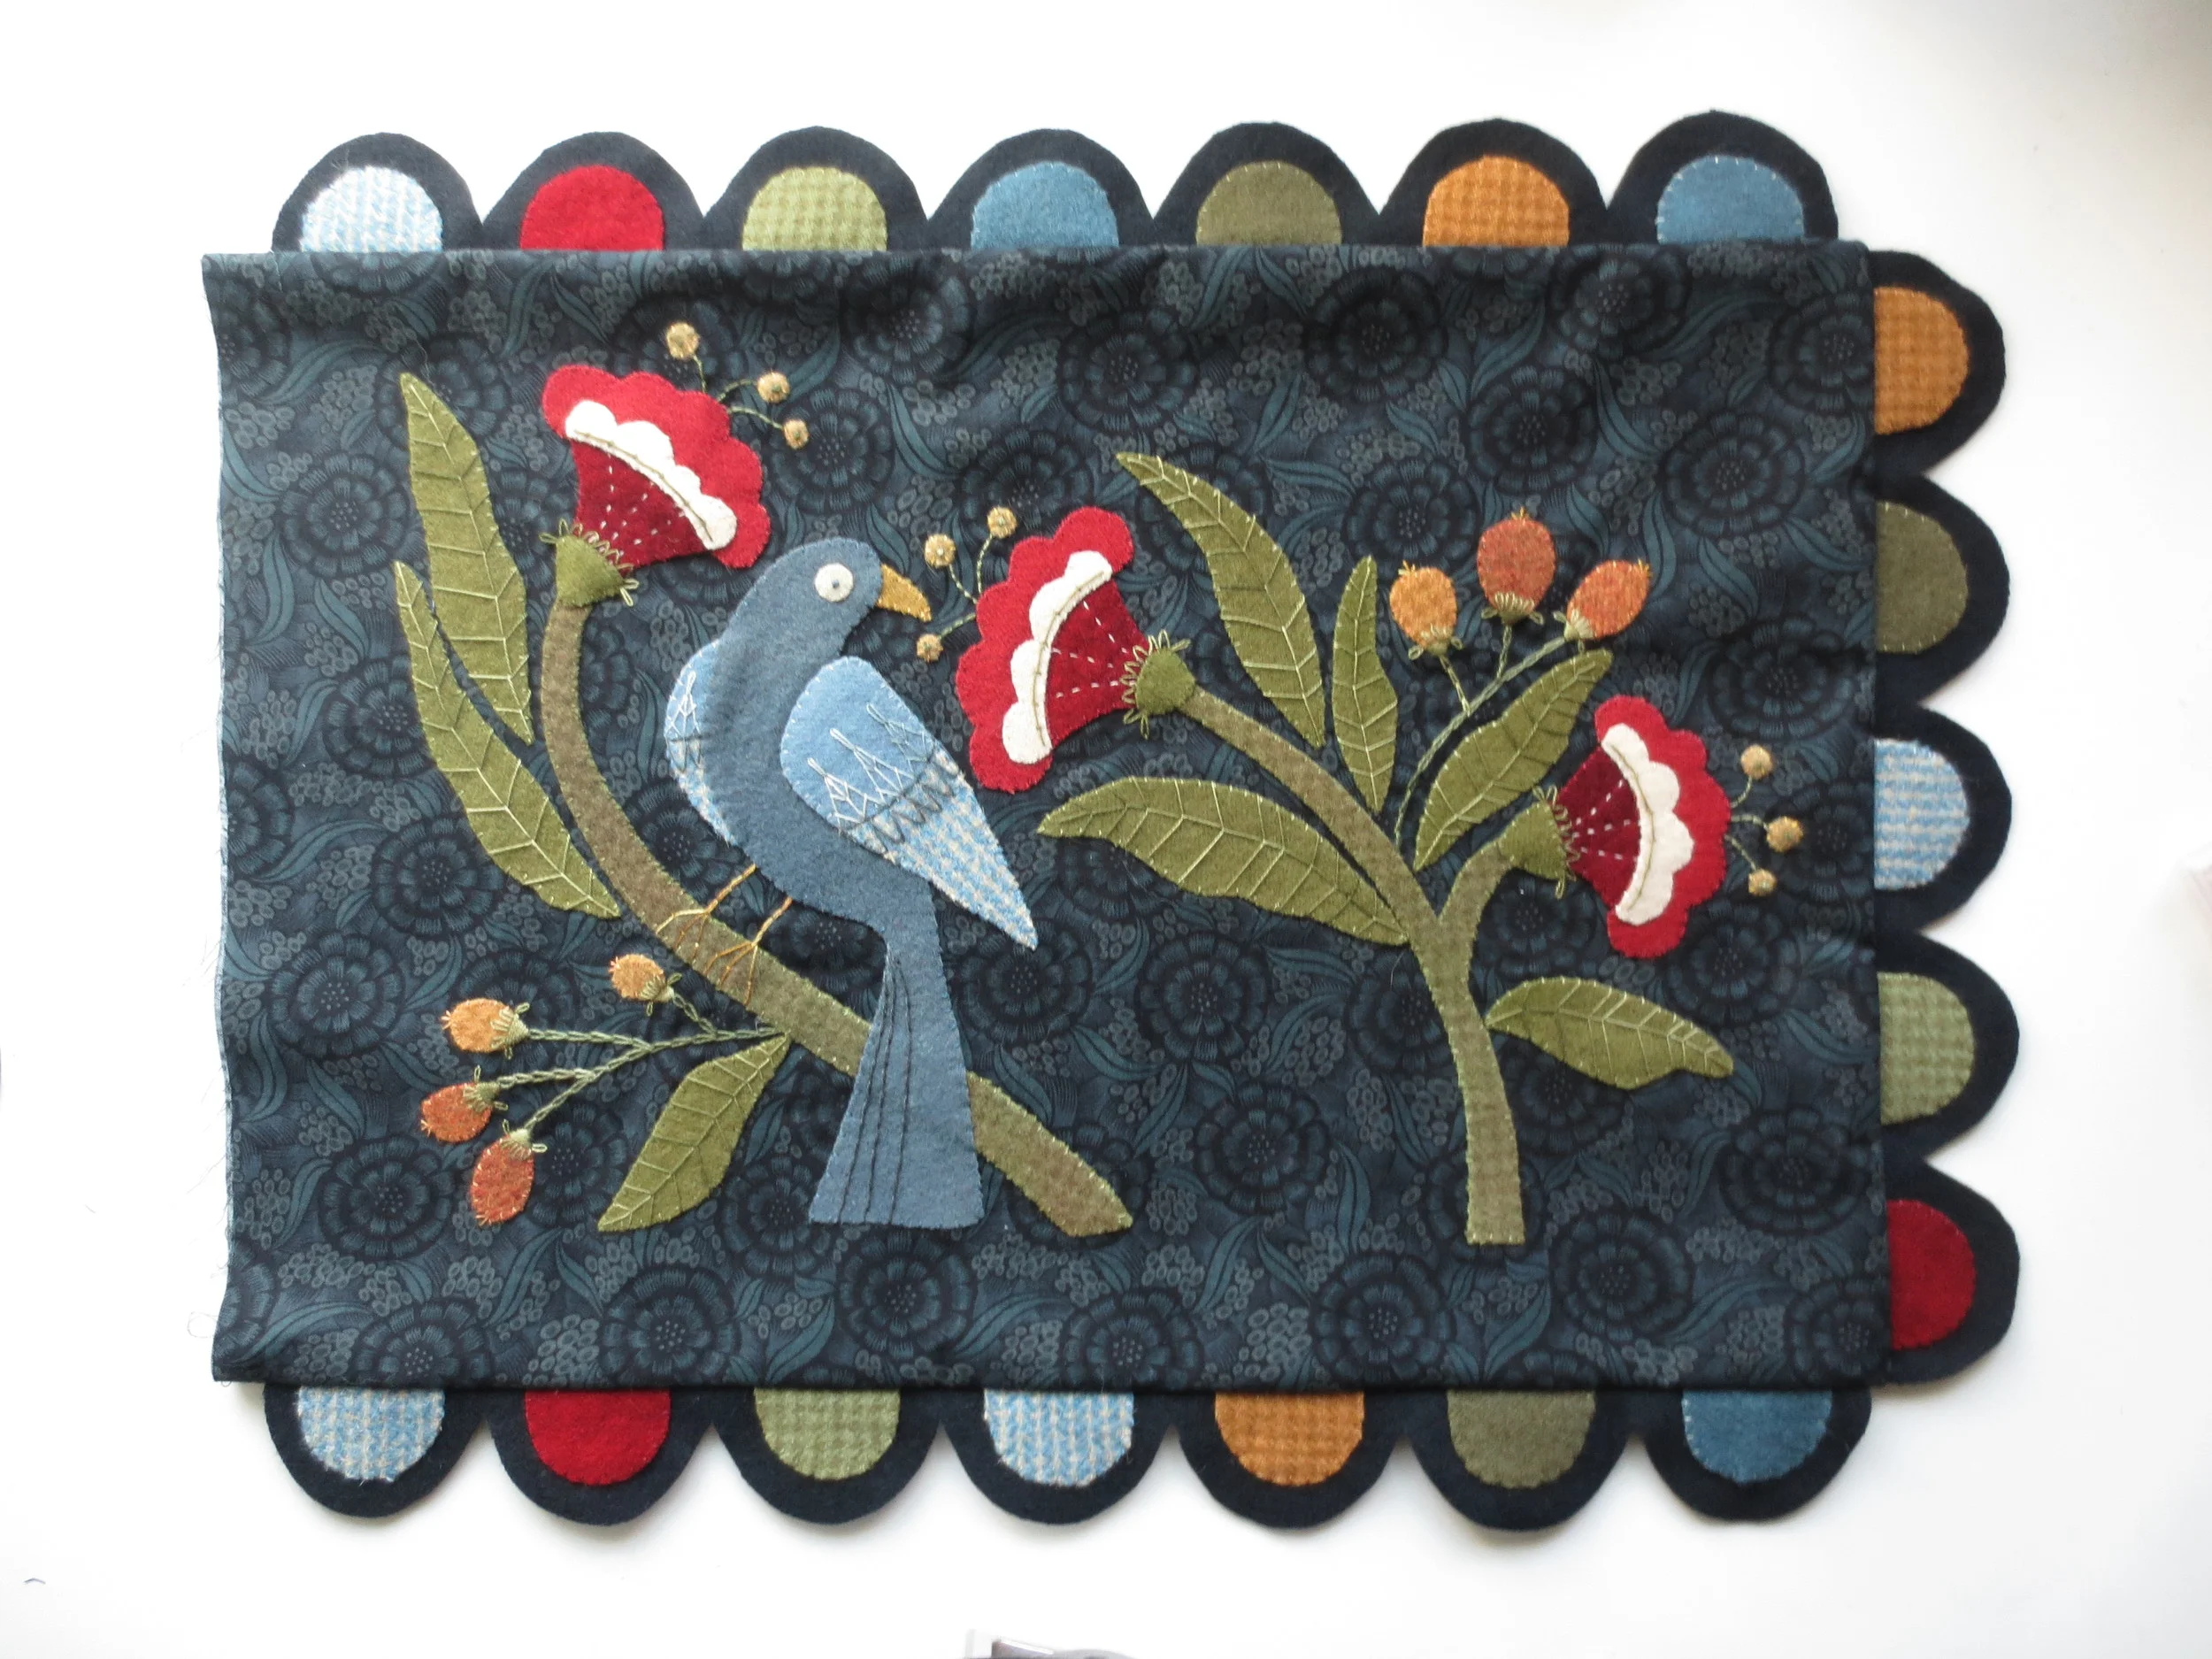
William Morris Inspired - Part VI
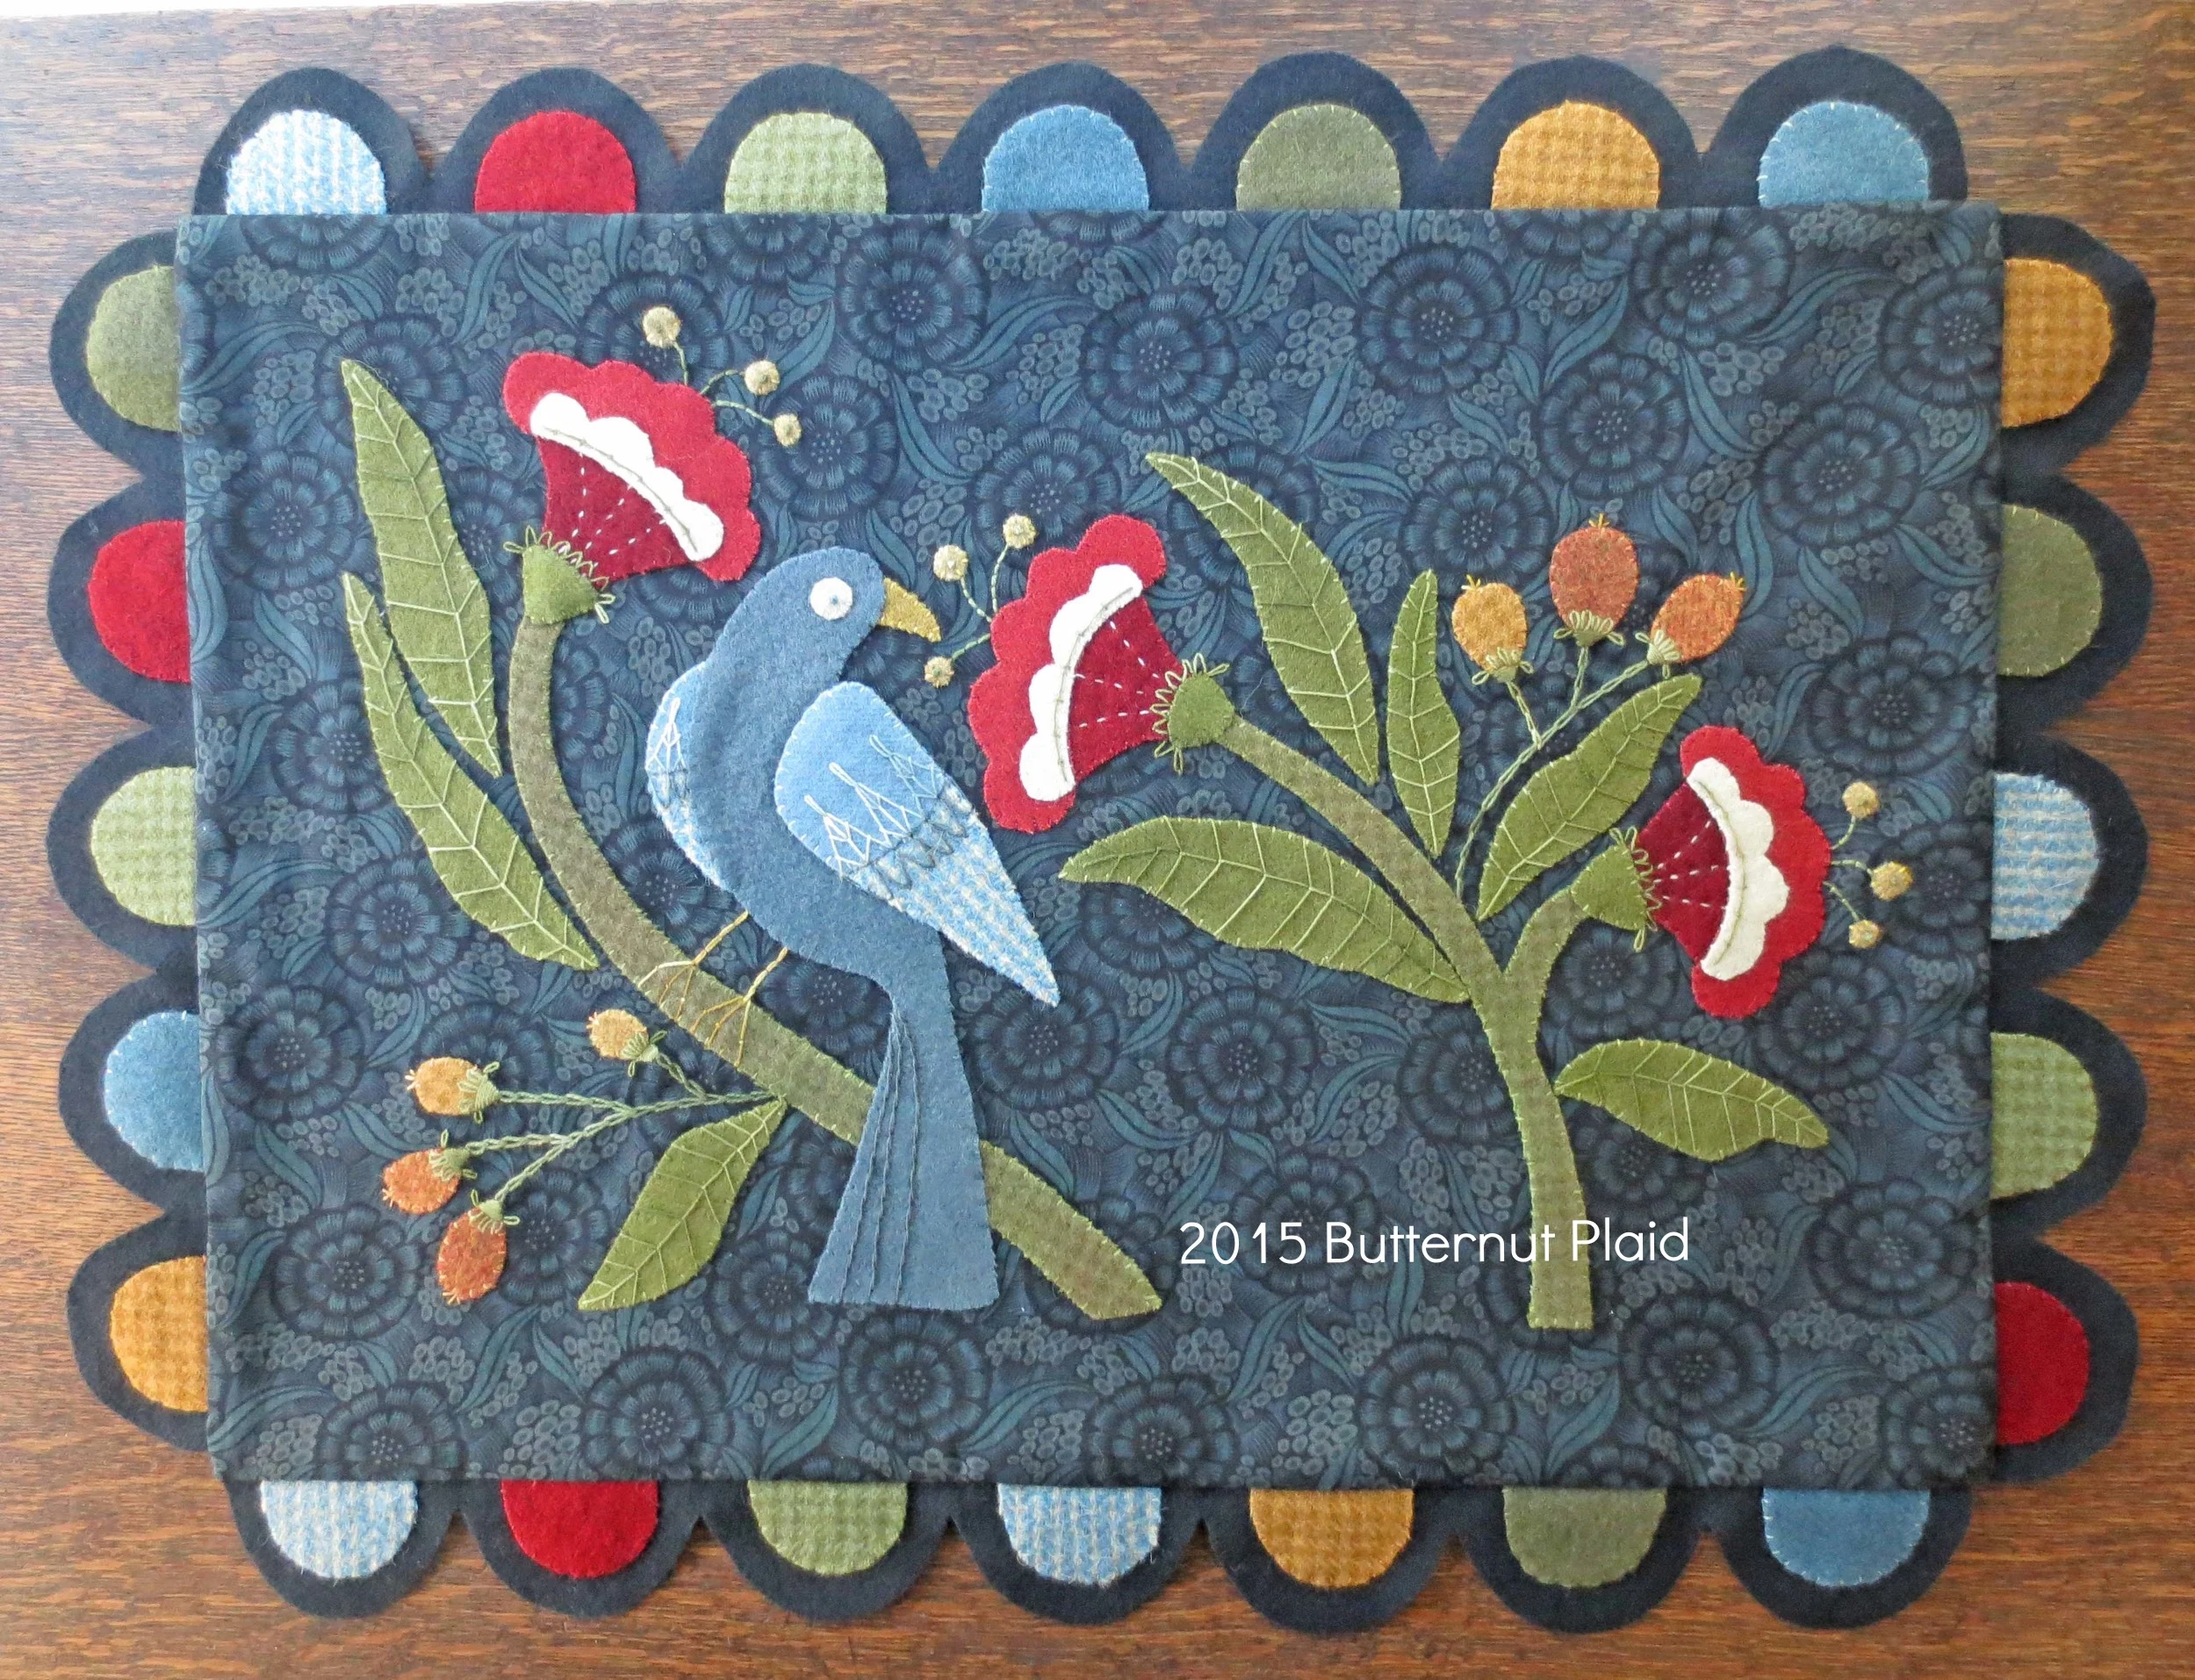
Finally! The last post for William Morris Inspired! This is for those of you who decided to make your applique into a table rug.
You will need:
- Fabric - 14 1/2" x 20 1/2" black print ( You can use the leftover fabric that you used for the applique background).
- Felted wool
- 10" x 22" black - border tongues
- 4" squares - six colors ( I used pieces left over from the applique) - inside tongues
3. Perle cotton, size 12 or embroidery floss in colors that match the wool colors
4. Chenille needle, size 24
5. Freezer paper
Instructions
- Download the pattern for the border William Morris Inspired - Table Rug. This is an oversized pattern (11" x 17"). If you don't have an oversized printer you will need to download it to a flash drive and have a print/office supply store print it out for you.
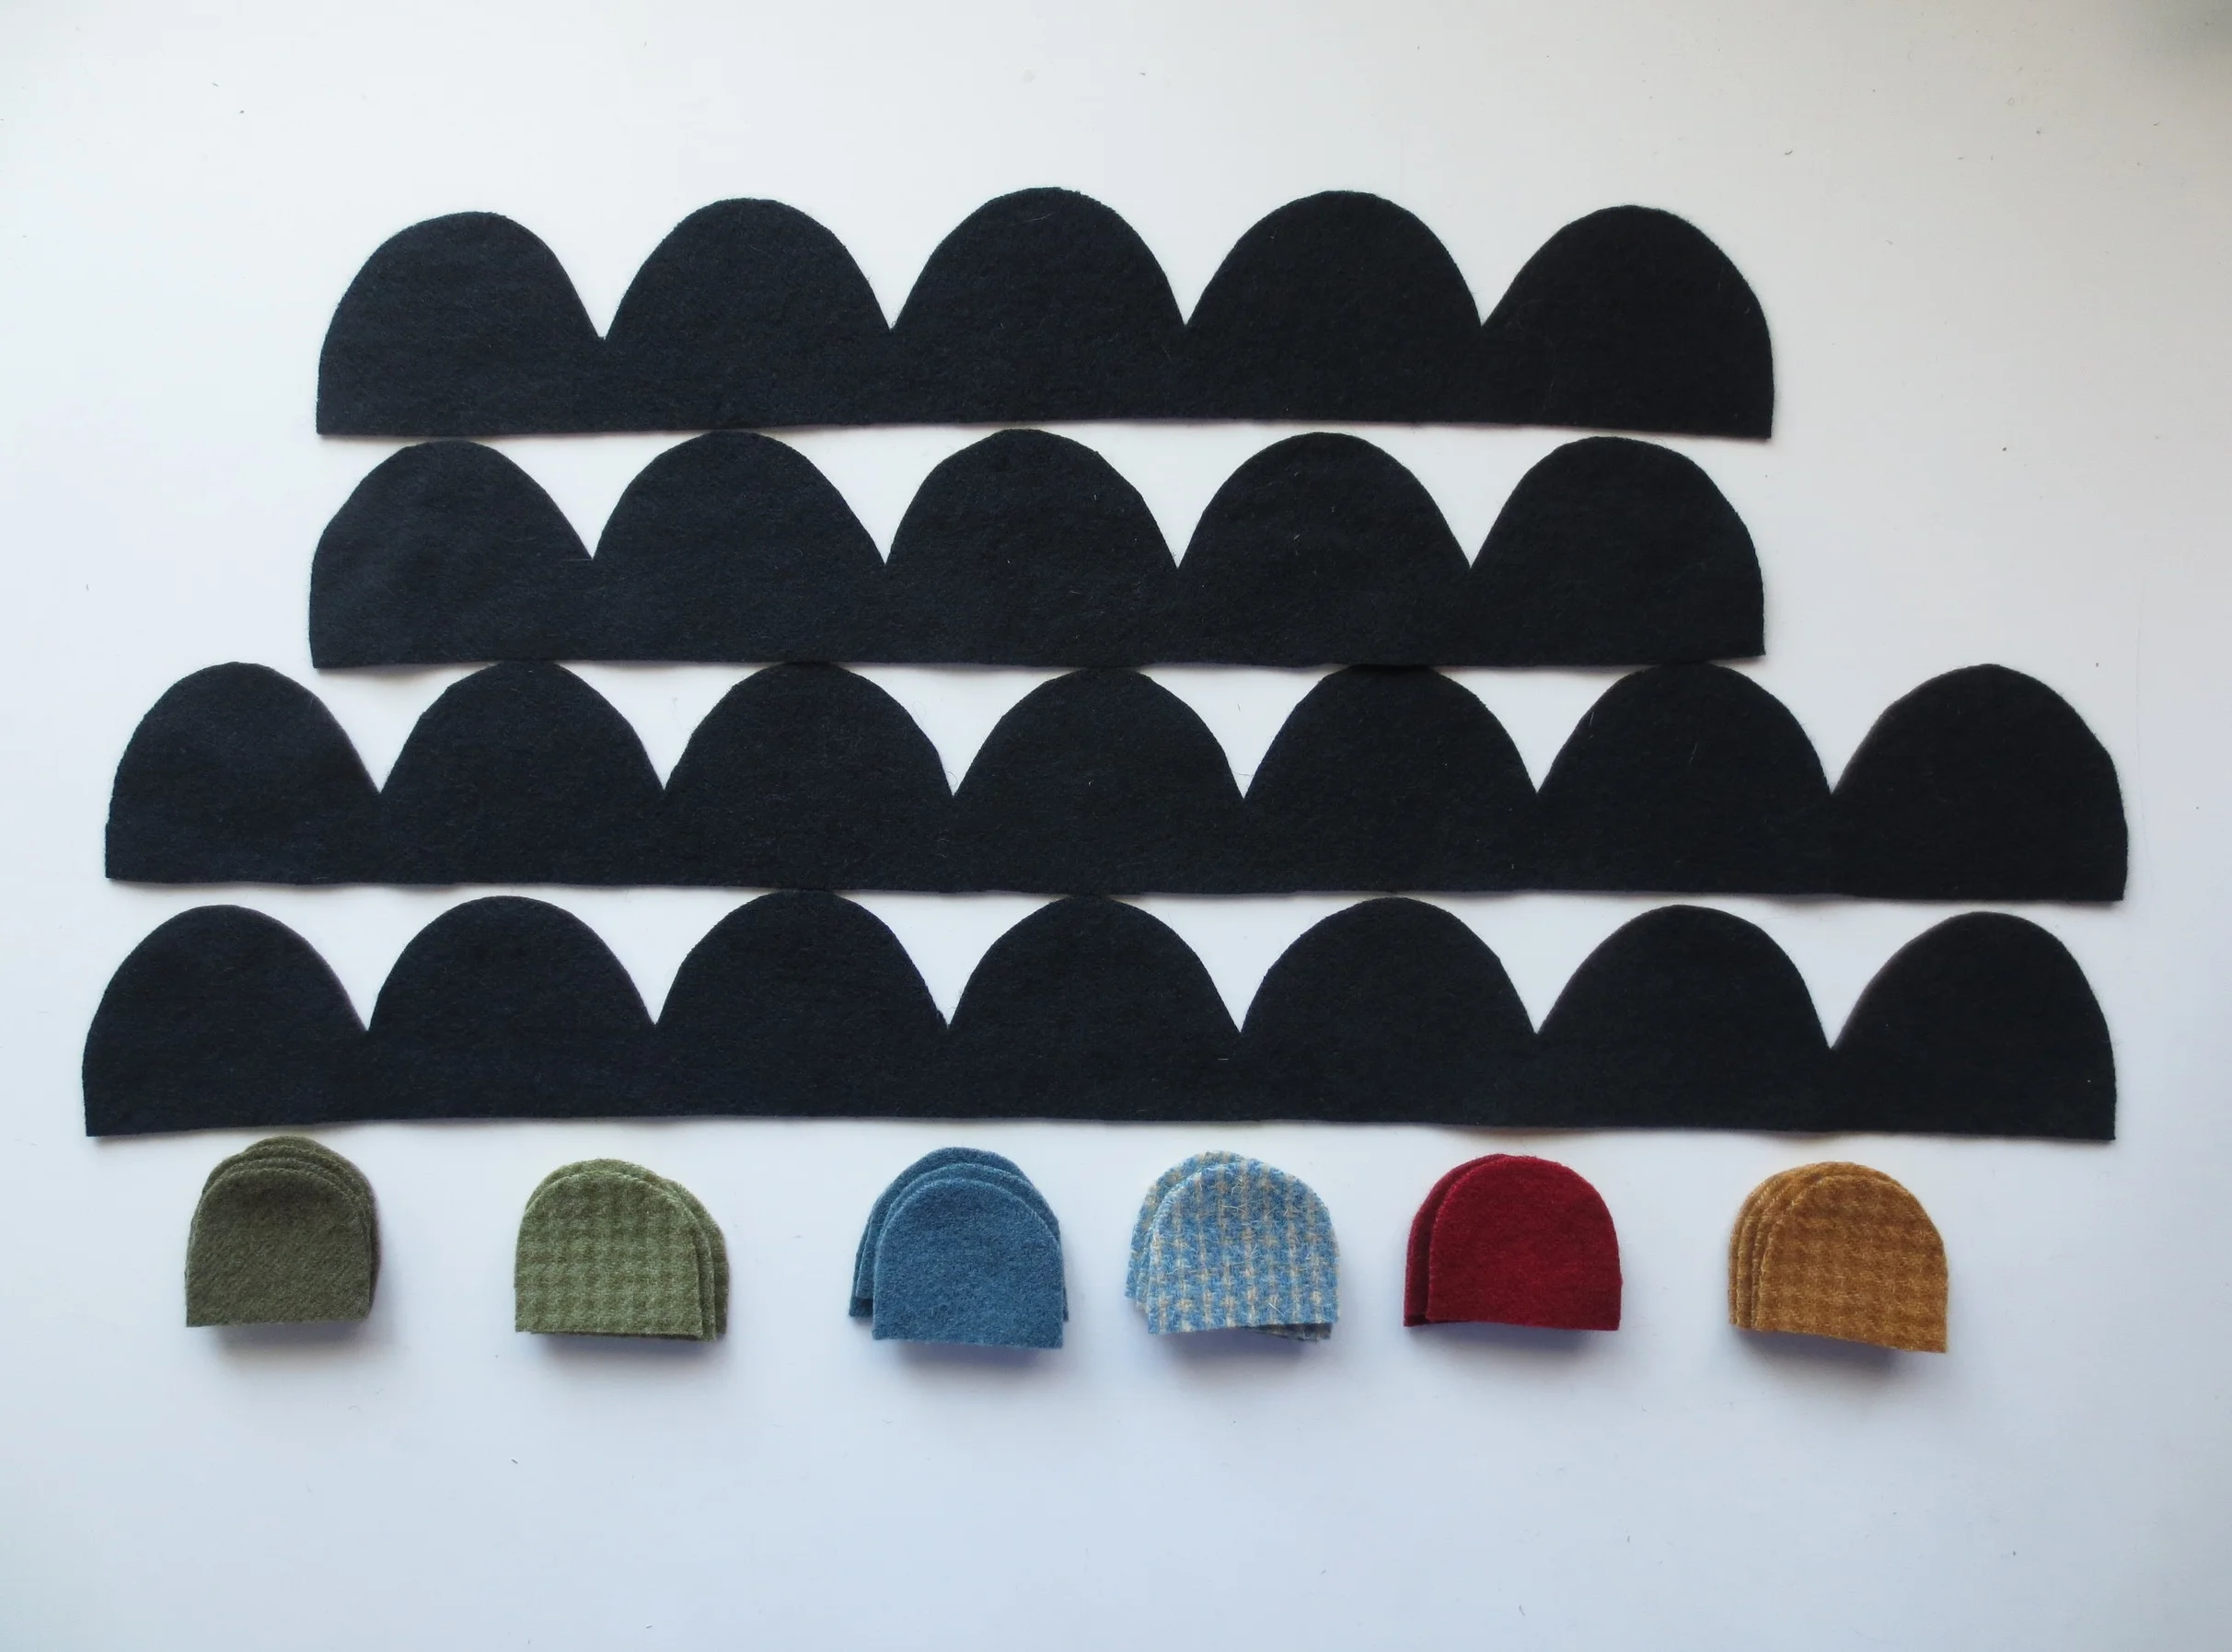
- Trace the patterns onto freezer paper and cut out.
- Iron freezer paper patterns onto designated wools and cut out.
You should have 4 border strips and 24 tongues in six colors.
4. Trim applique front to 14 1/2" x 20 1/2".
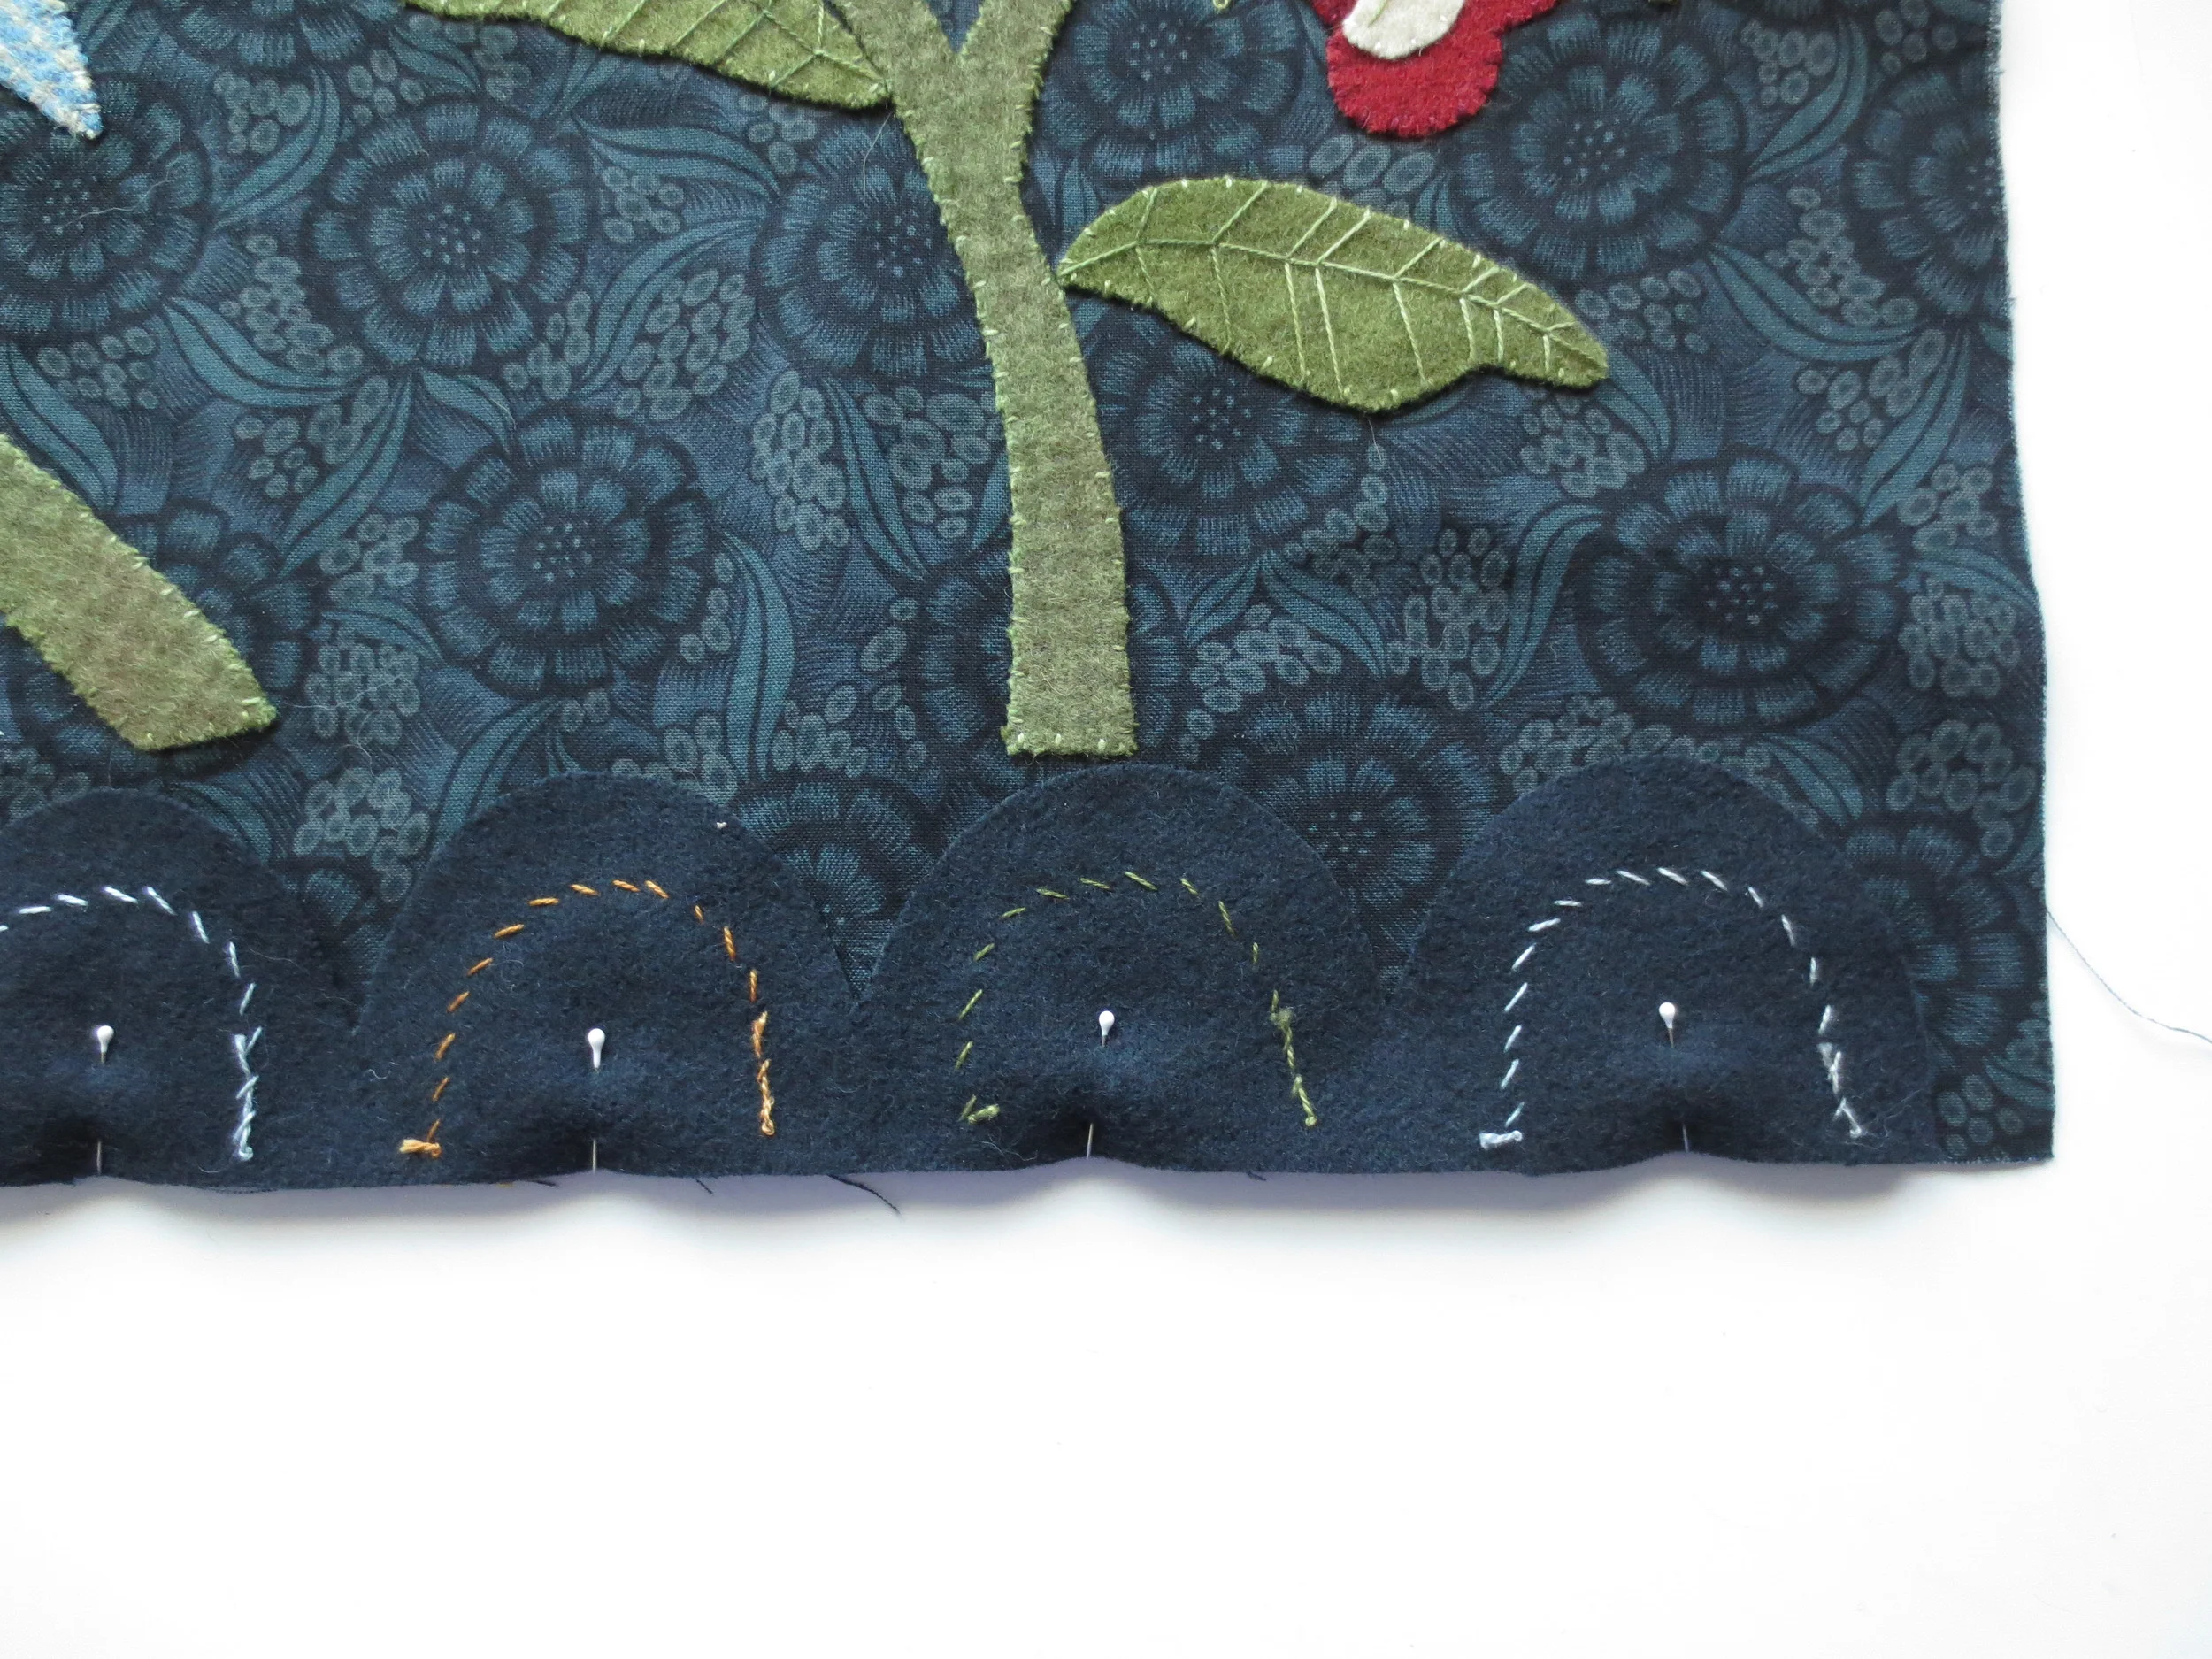
5. Pin colored tongues to border pieces. The tongues are arranged randomly. Lay them out around the appliqued front to find what suits you best.
6. Whip stitch each tongue with matching colored thread. Use one strand of perle cotton, size 12 or two strands of embroidery floss.
7. Place the appliqued front face up. Pin a border strip (face down) to the top, right and bottom sides of the appliqued front. You should have about a 3/8" border on each side.
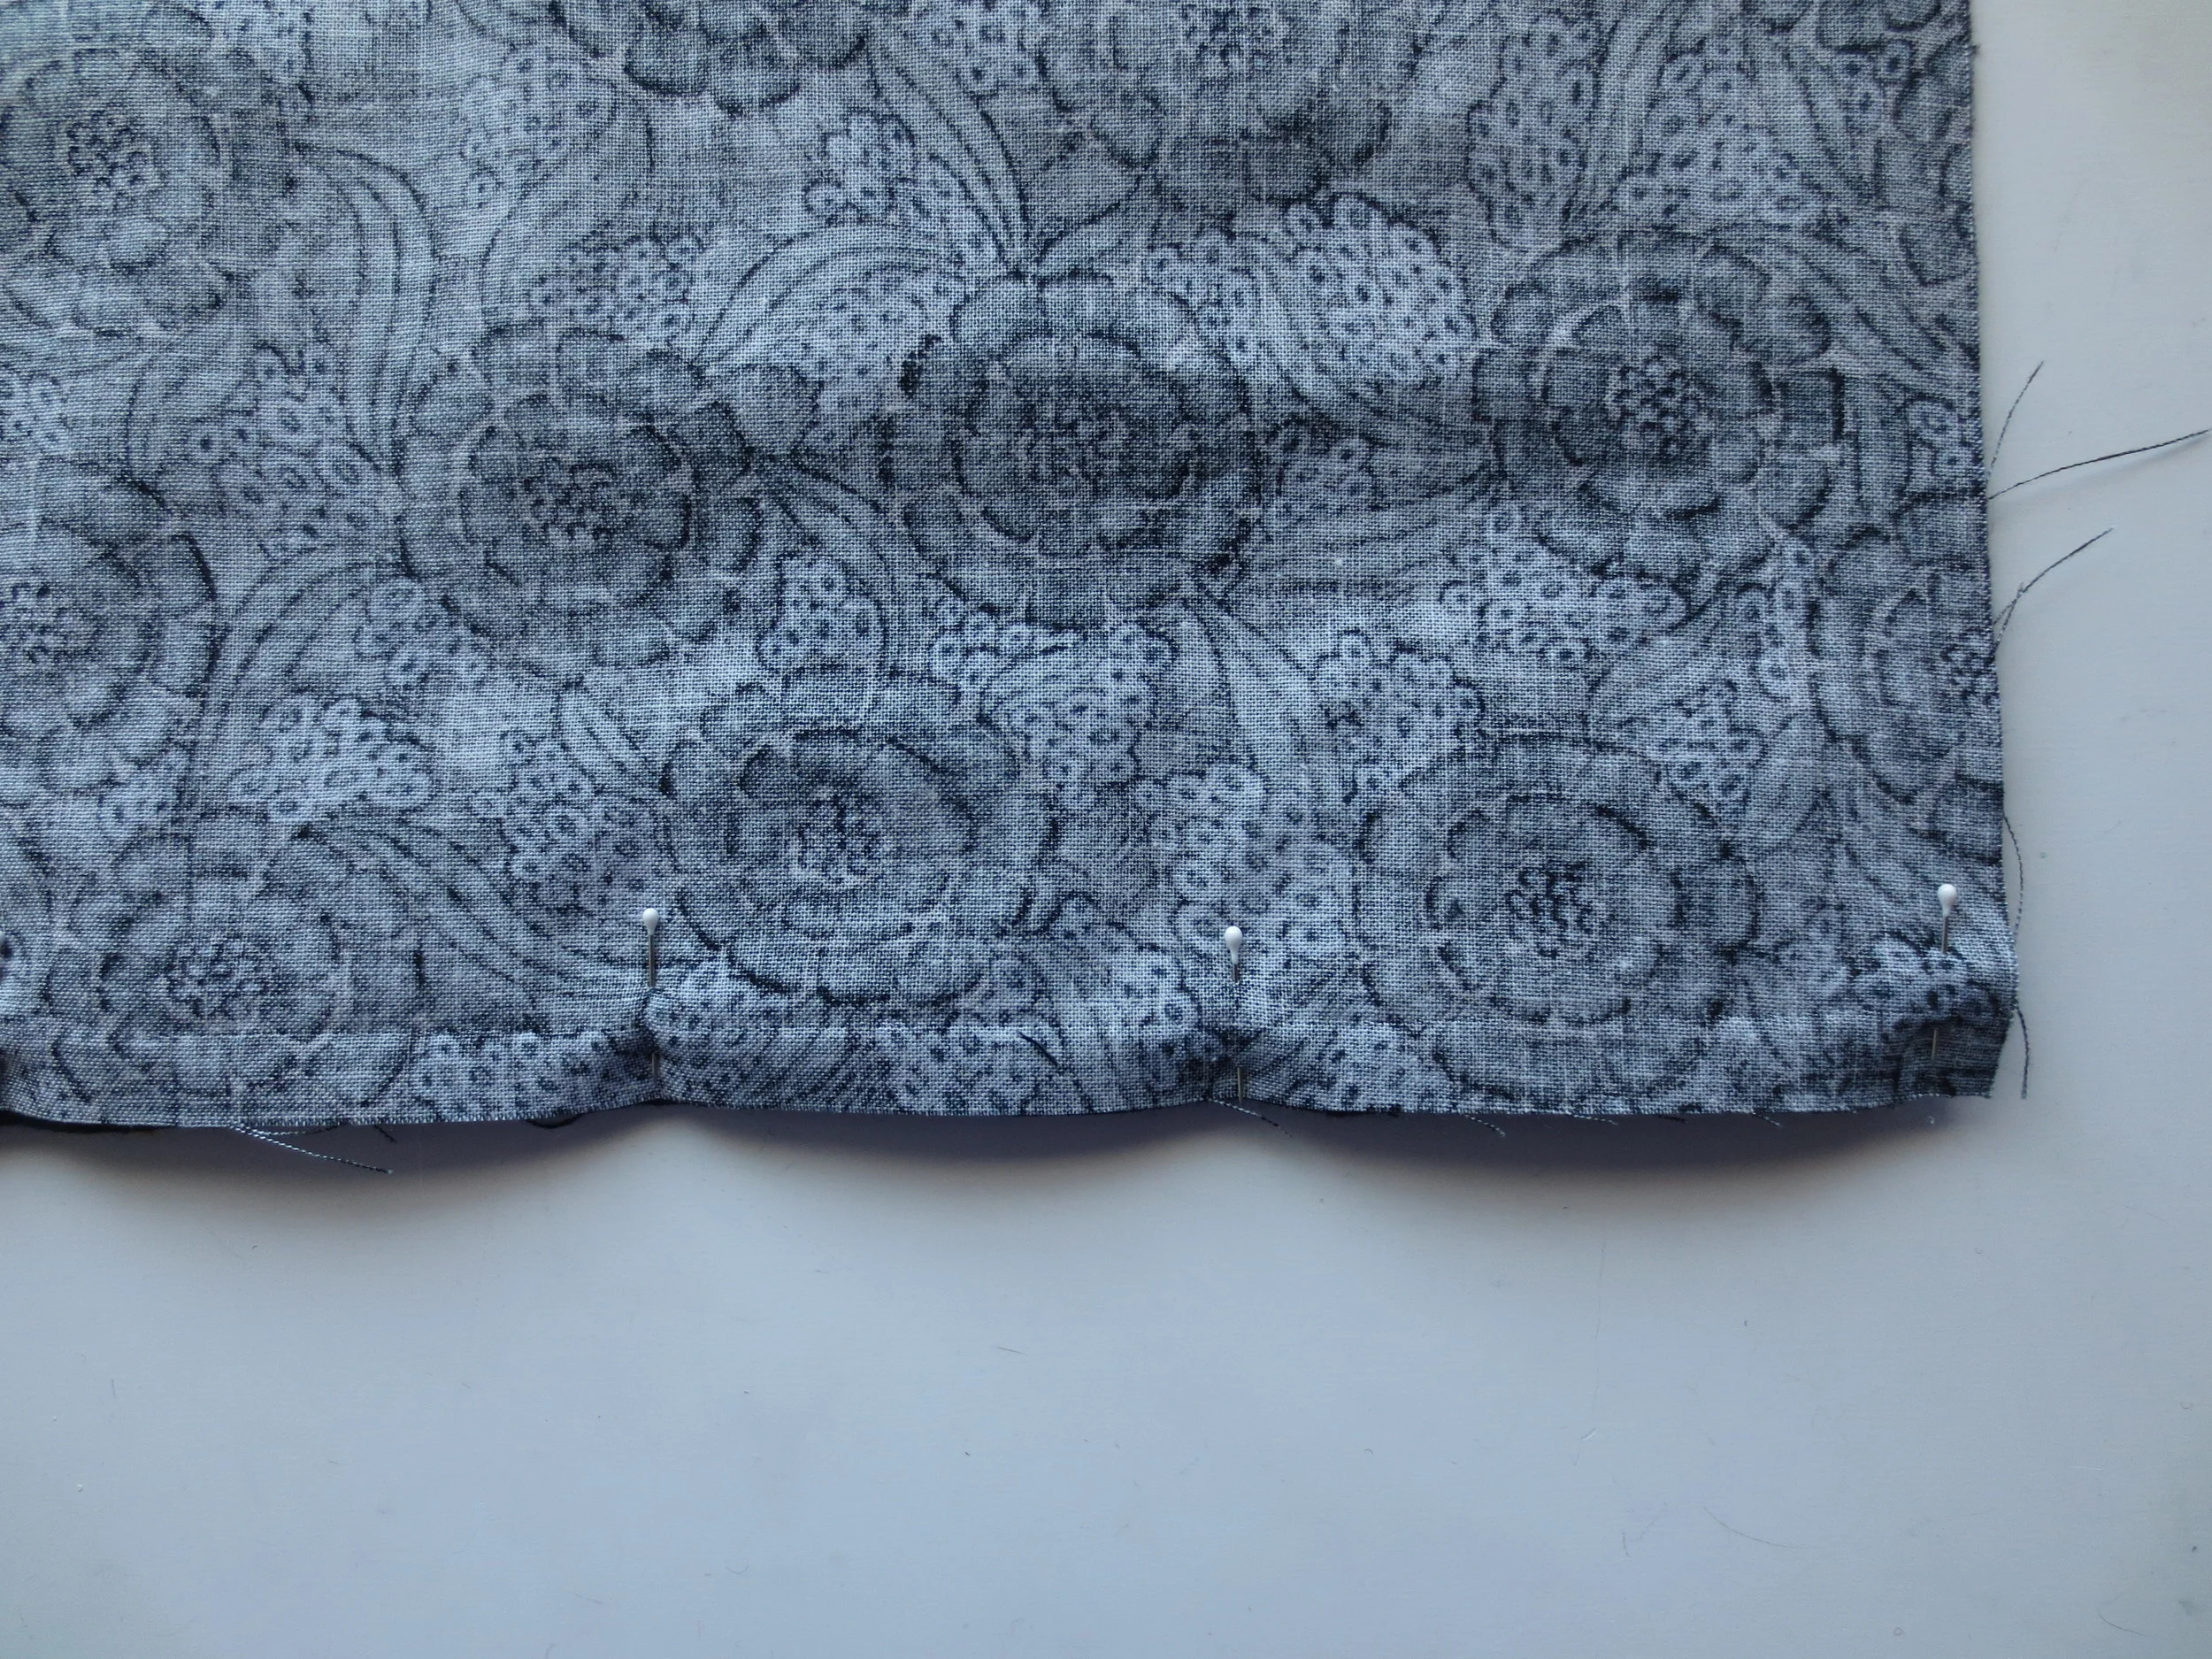
8. Lay the backing fabric (face down) on the appliqued front and pin in place.
9. Sew the backing, border and front together along the three sides using a slightly larger 1/4" seam (about 2 threads wider). Remove all pins and turn right side out.
10. Pin remaining border to left side of appliqued front.
Note: Don't pin the back! Just the front and the border.
11. Sew the front and border together using a slightly larger 1/4" seam (about 2 threads wider).
12. Flip the table rug over so that the back faces up. Fold under the unsewn back edge so that the fold just covers the seam you created above. Pin in place.
13. Whip stitch the edge closed with black thread.
14. Press.
Voila! Project Complete!

