A Little Love in Your Heart
Hello everyone. I haven't posted in a while because I had a little incident with a rotary cutter. I cut off a significant portion of my left forefinger tip while I was making my Christmas cards. Ten stitches! Ouch! I am awaiting delivery of a chainmail glove (really) and suction cup handle for my ruler so I can get back to quilting. Thankfully, I have been able to do some hand stitching using my other digits. However, typing has been a little more challenging.
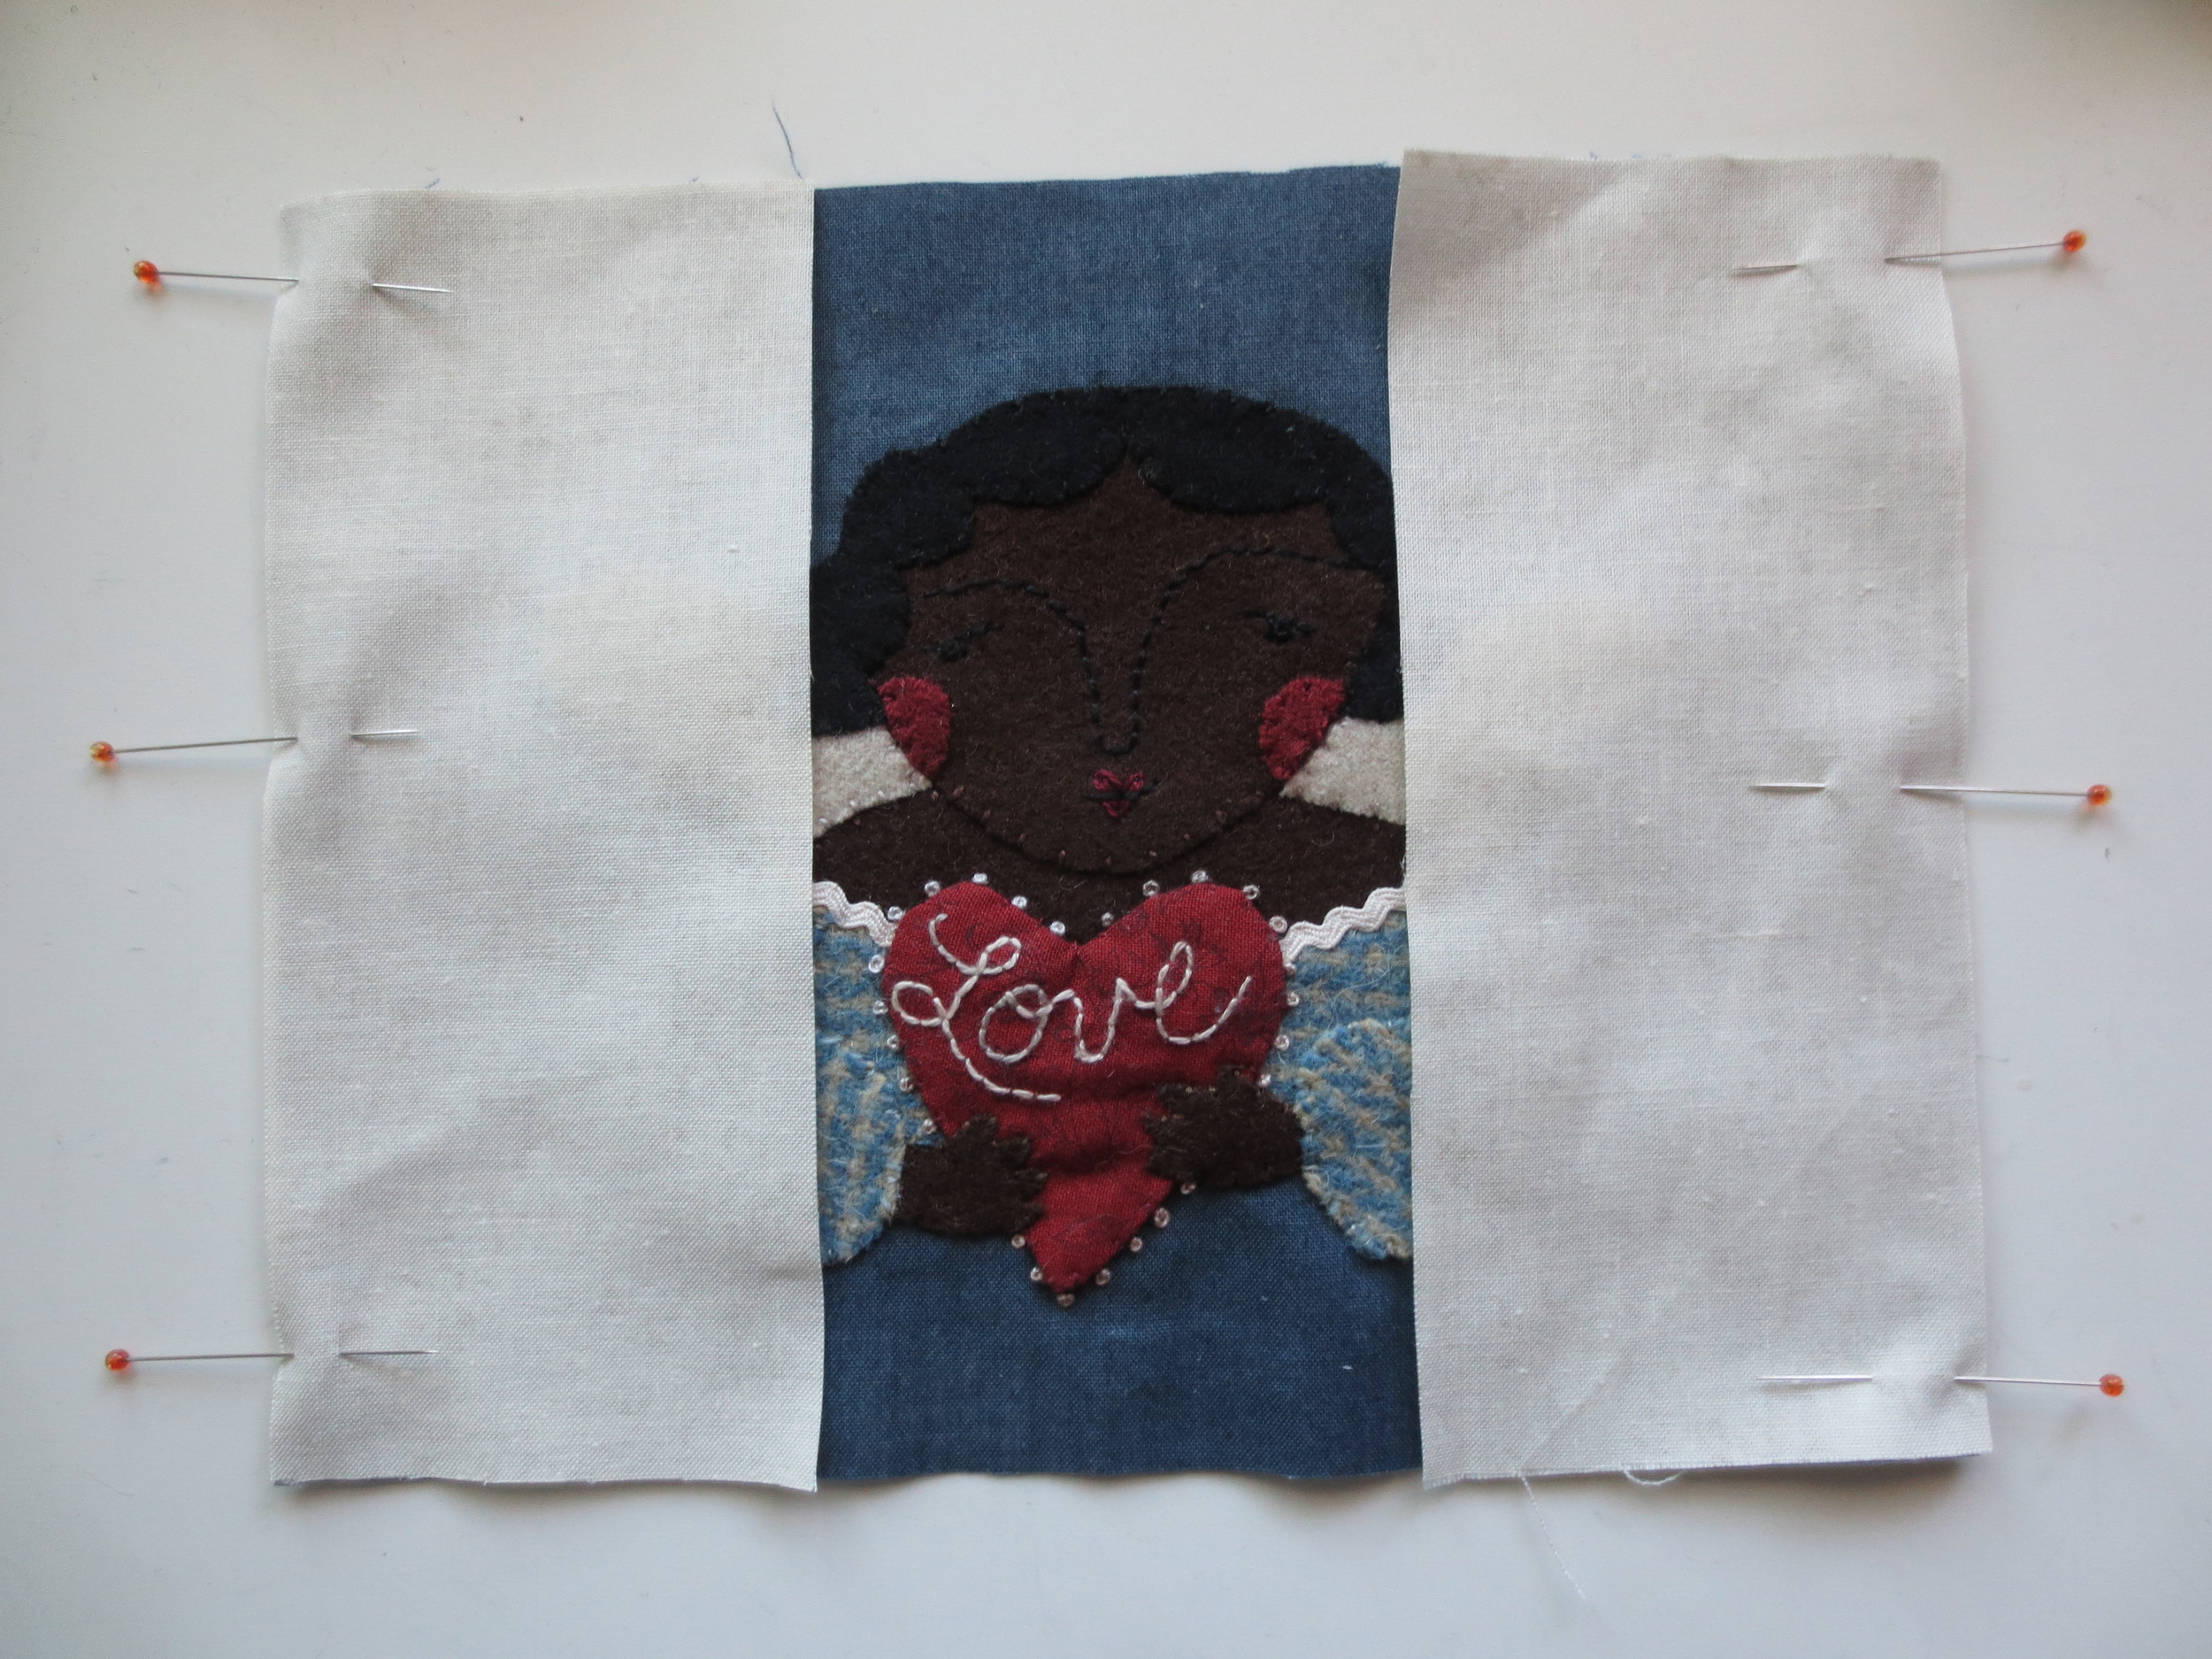
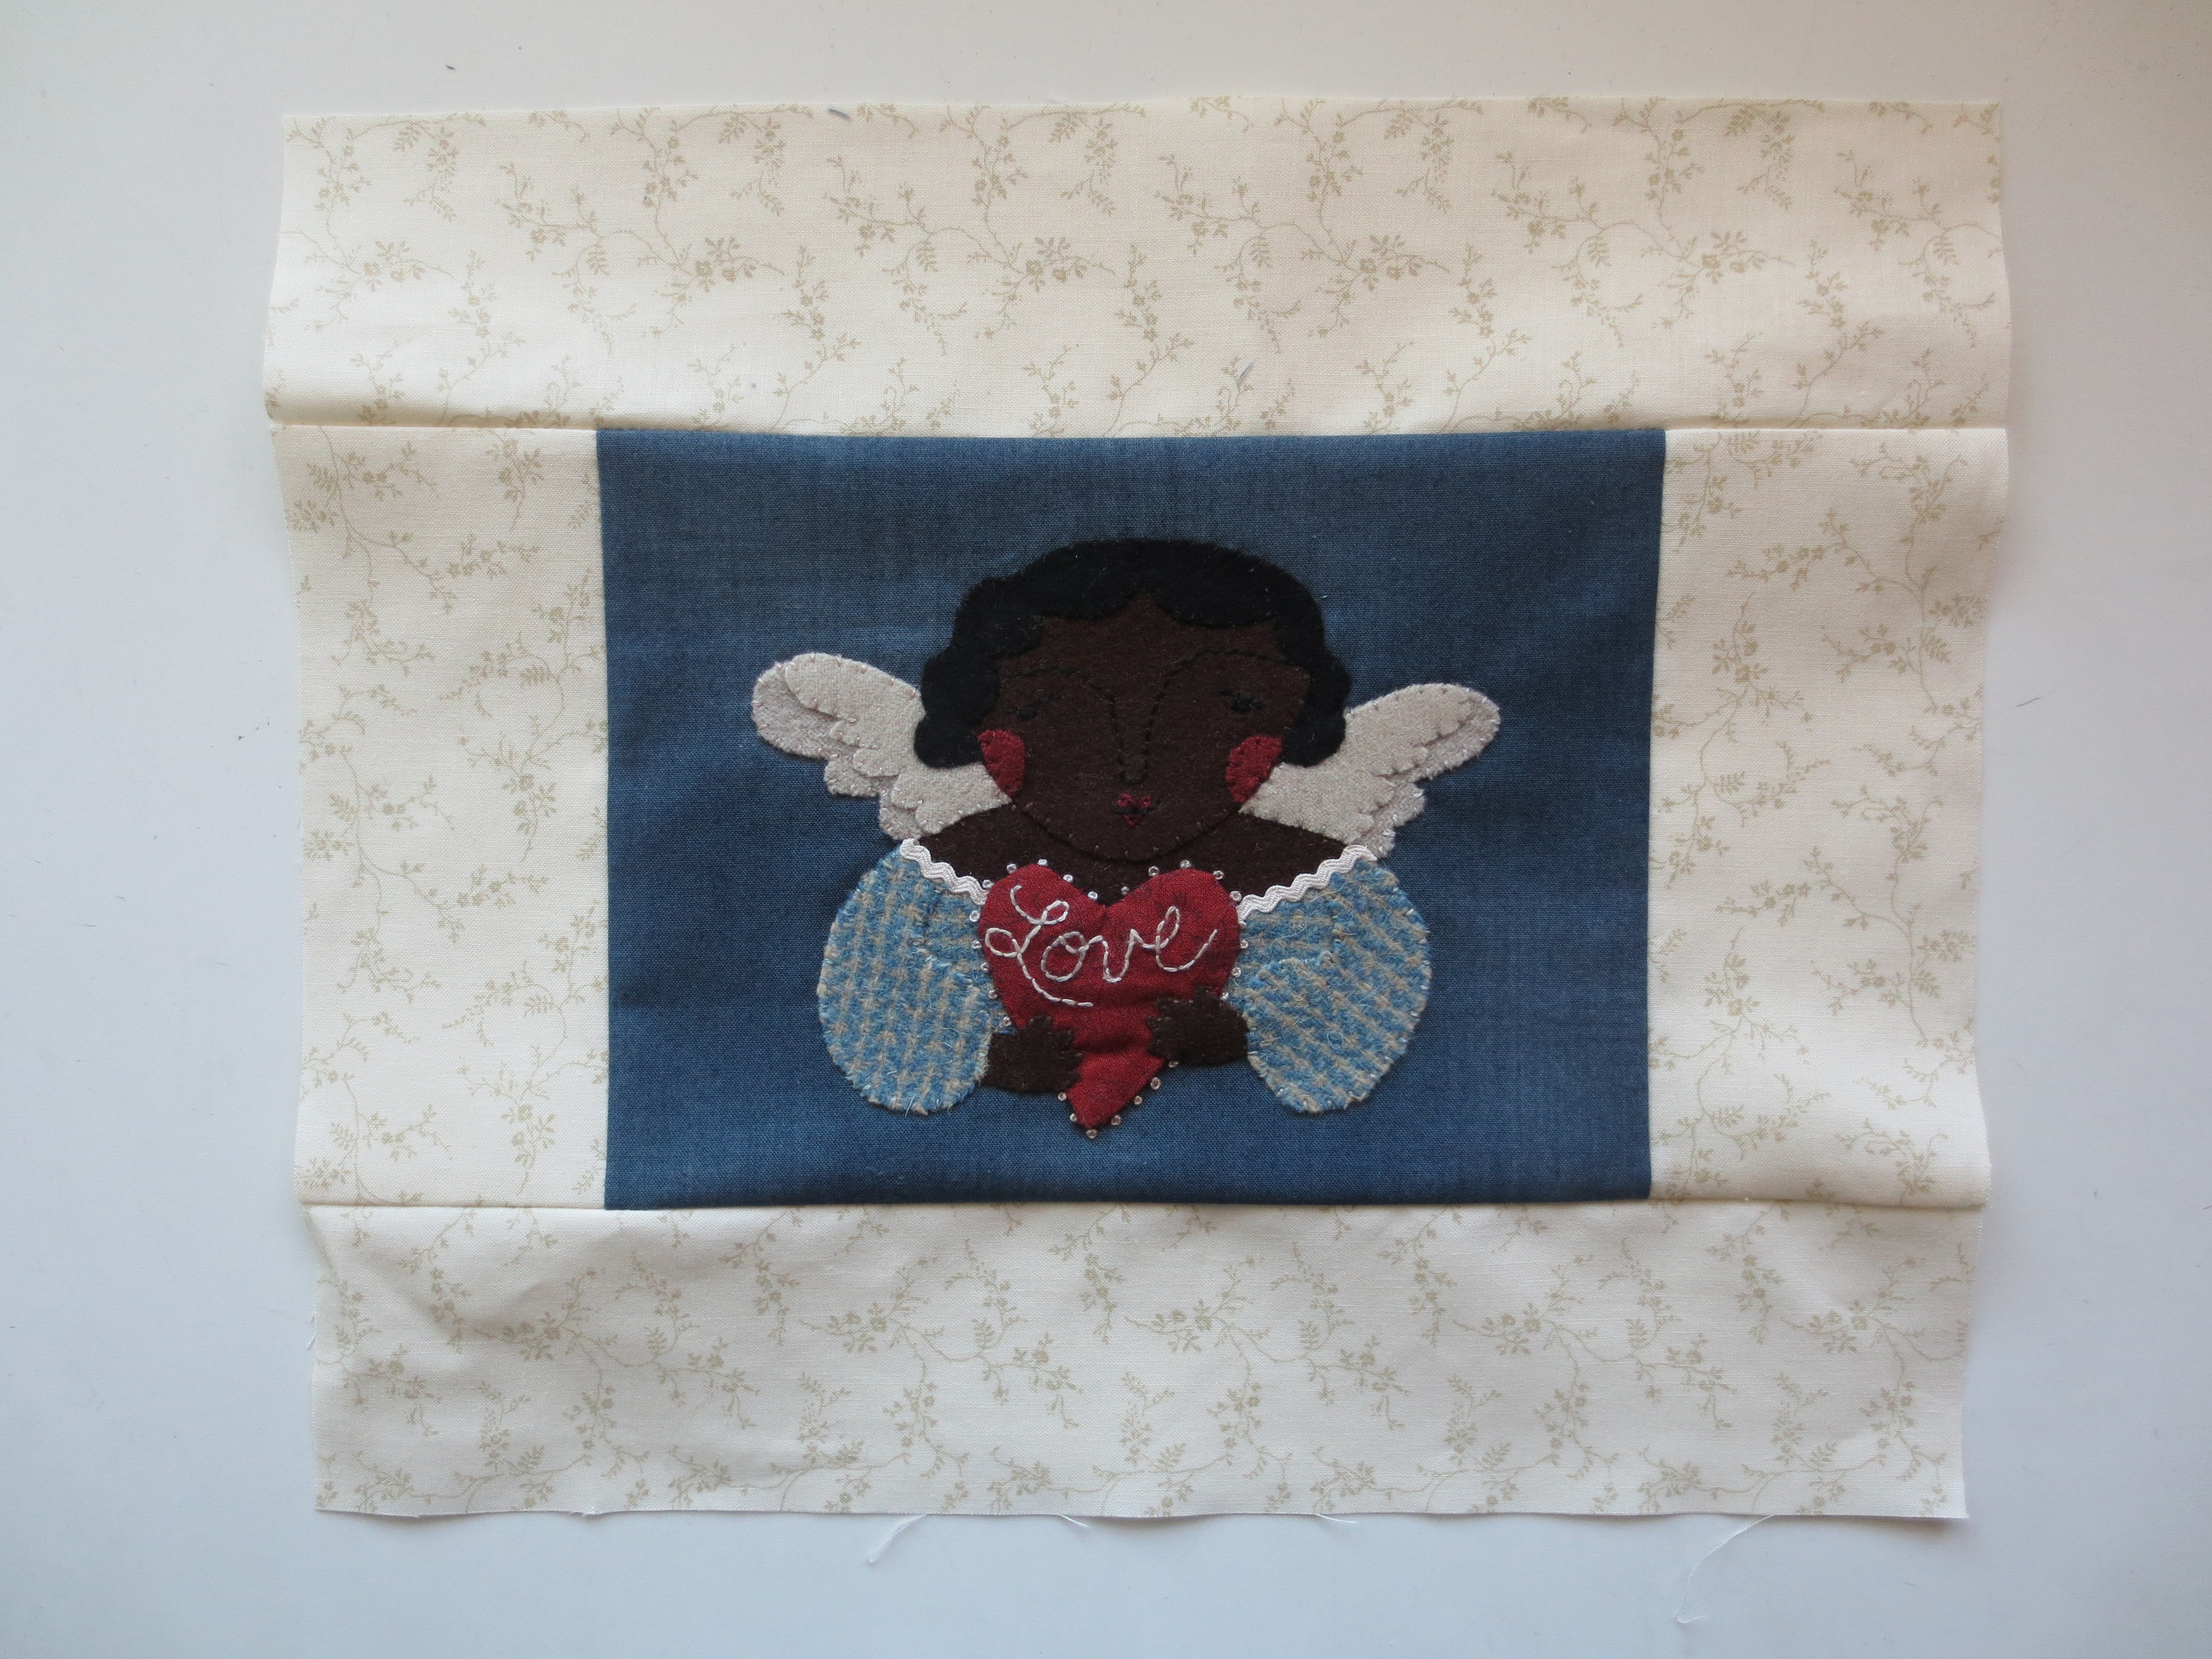
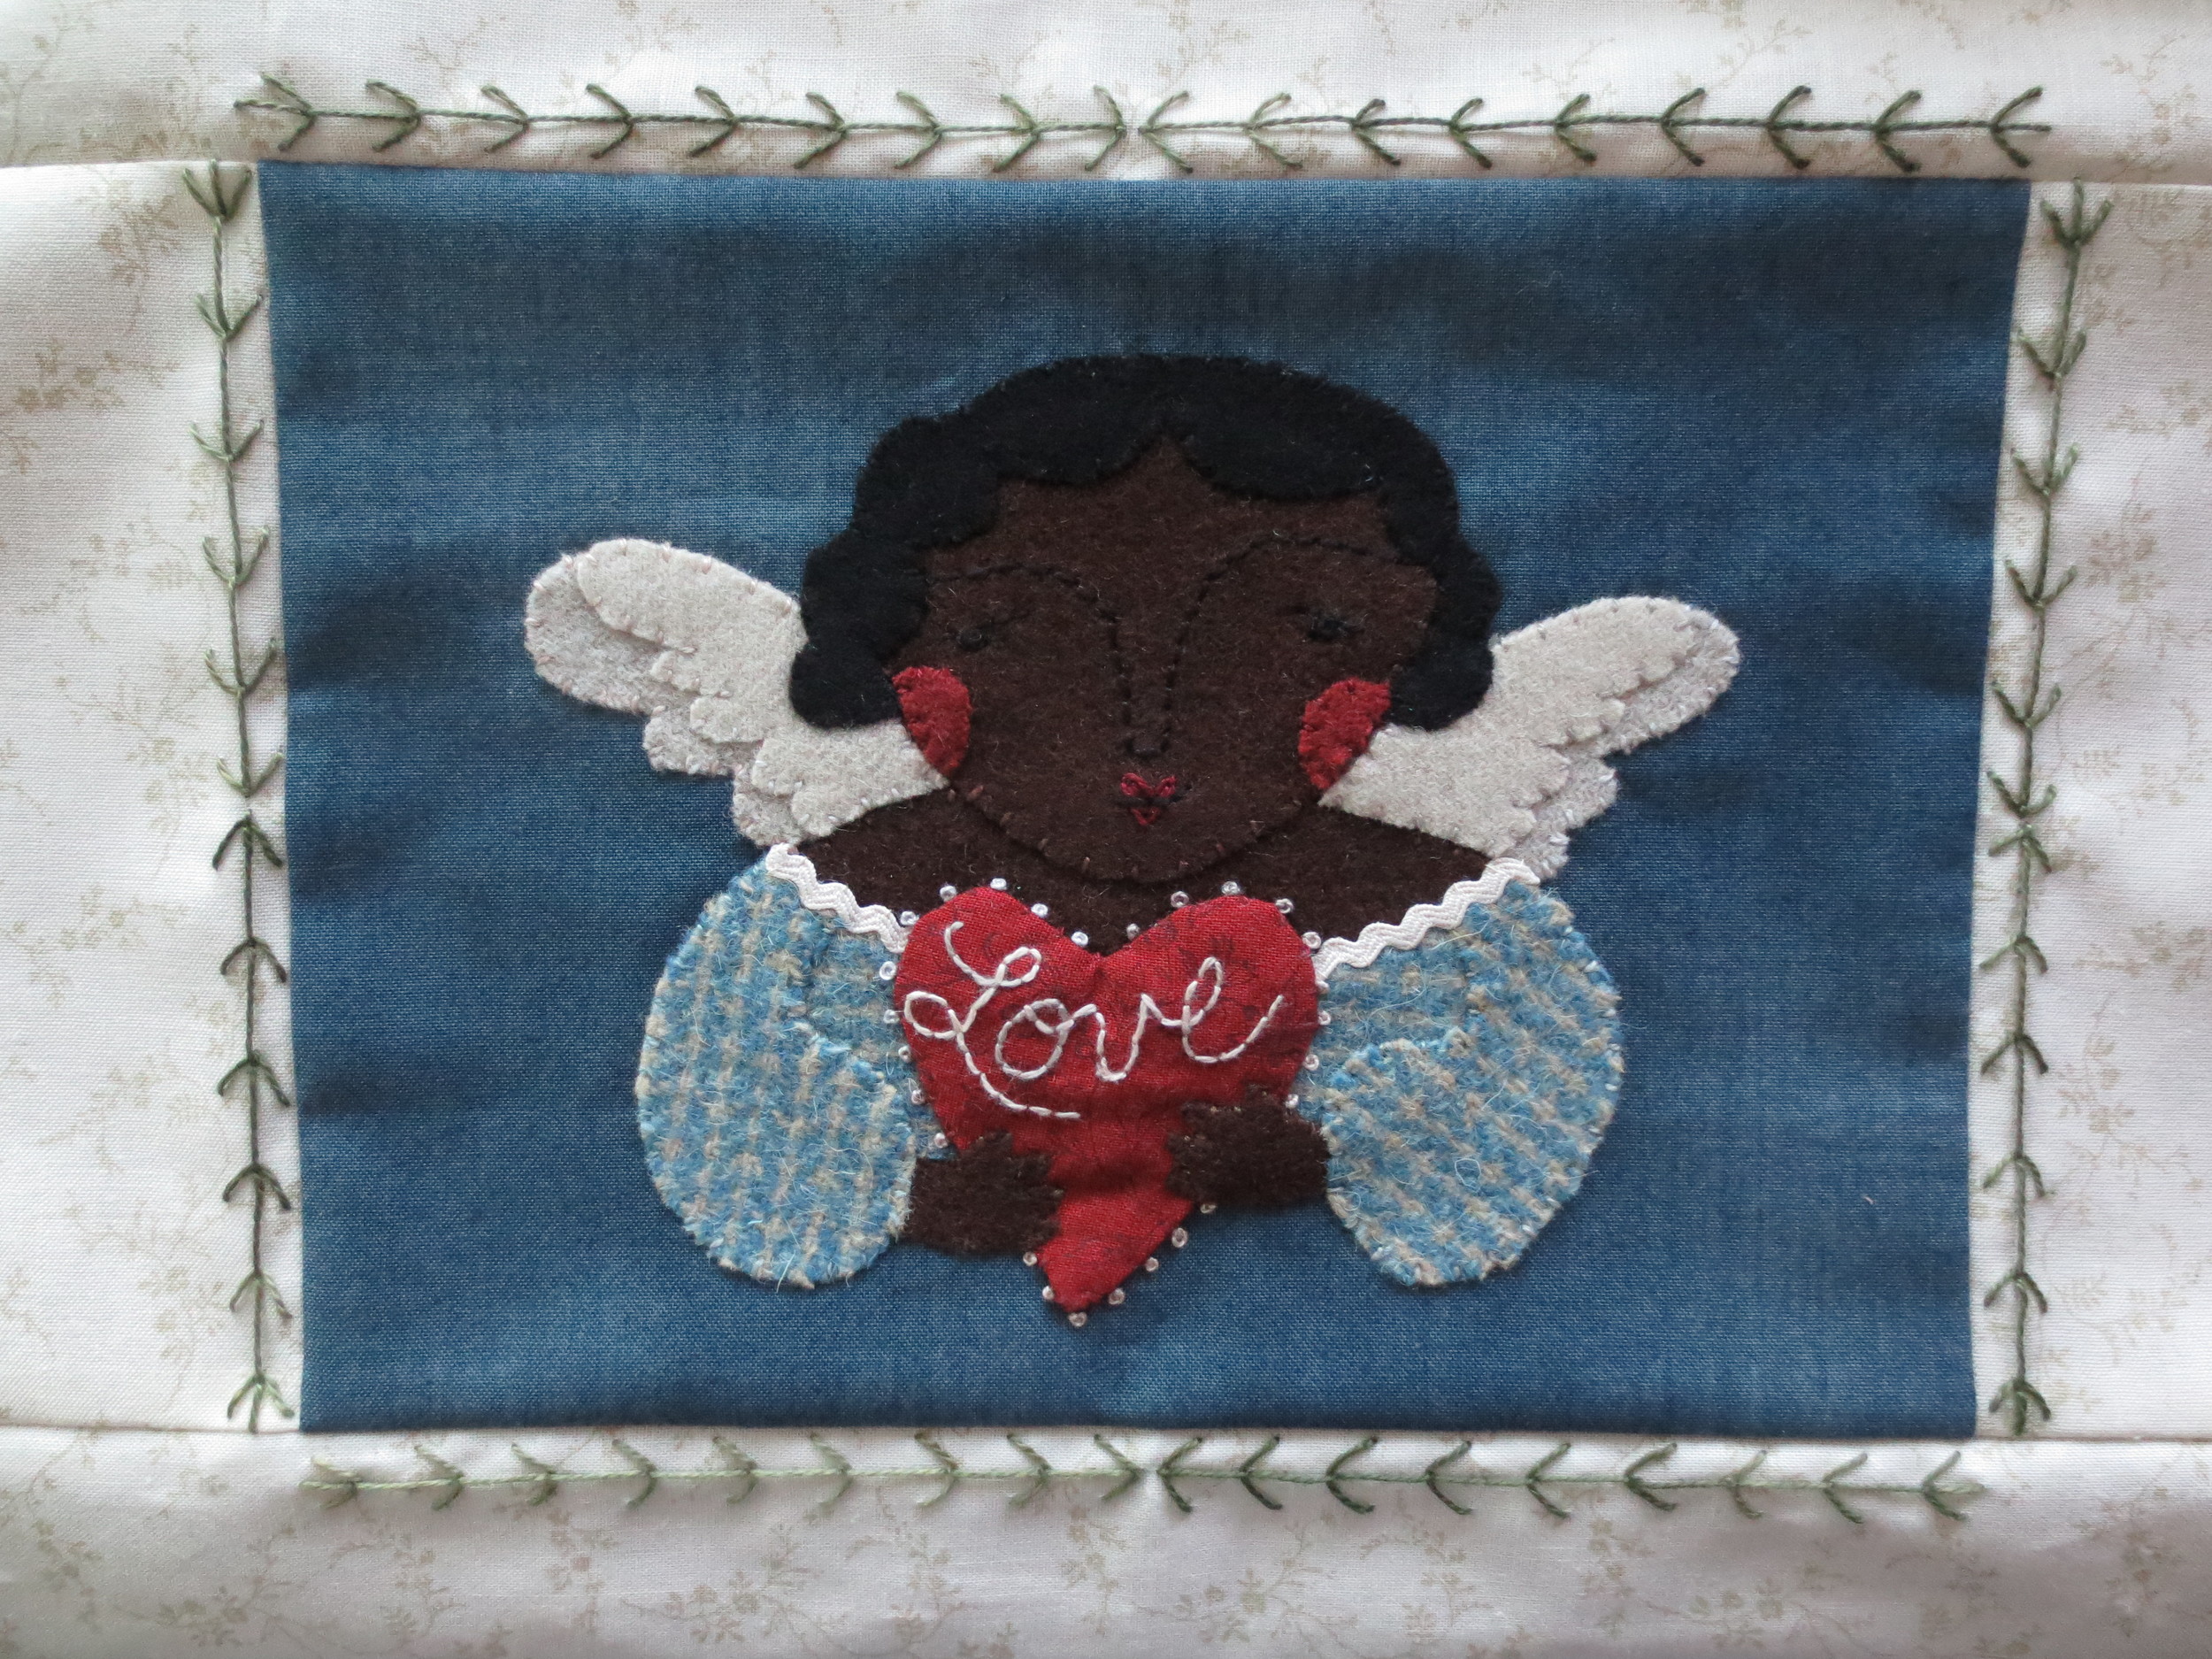
I thought I would start this year's blogging off with a little angel to brighten your day. You can make one to frame, or make several to make into a quilt. You can personalize it with your choice of hair, skin, and dress colors. You can also stitch different words on the heart (e.g., hope, peace, faith). Be creative and Happy Stitching!
You will need:
1. Fabric - quilting cottons
- Background - 8" x 10" blue
- Border - One fat quarter off-white print
- Heart - 4" x 8" red with a subtle print
2. Felted Wool
- Hair - 2 1/2" x 4" of your color choice
- Face, chest, and hands - 5" square of your color choice
- Bodice and sleeves - 5" square of your color choice
- Top wings (left and right) - 3" square off-white (Make sure color is different than skin color.)
- Bottom wings (left and right) - 3" square light beige (This should be slightly darker than the top wing.)
- Cheeks - 1" square of pink (This will vary depending on the skin and hair color. Darker pinks work better for darker skin tones.)
3. Thread - Use 2 strands of embroidery floss or one strand of perle cotton, size 12 unless otherwise noted.
- Use colors that match your wool colors - whip stitching of face, hands, hair, wings, and dress
- Use a color that will contrast with skin color - eyebrows and nose ( I used brown for the light skinned, brown haired angel and black for the brown skinned, black haired angel.)
- Valdani perle cotton, color #O538 - heart embellishment ("Love" and French knots) and wings
- Valdani perle cotton, color #O503 - lips, heart and border embellishment
- Valdani perle cotton, size 8, color #O575 - border embellishment
- Valdani perle cotton, size 8, color black - facial features (eyebrows, eyes, nose, and line through lips)
- Sewing thread that matches rick rack color
4. Miscellaneous
- 3/16" rick rack - 4 1/2" length off-white
- Fusible web (feather-weight)
- Chenille needle - size 24
- Applique needle - size 10 (use to applique rick rack)
- Fine point chalk pencil or Iron-Away marking pen (both light and dark)
- Stencil plastic ( A clear plastic lid of a take-out container can be used in place of this.)
- Fine point sharpie - to mark on stencil plastic
- Light box or bright window
- 8" x 10" frame (optional) Aarron Bros. "Hudson" used in model
- Steam iron - for fusible web
- Sewing machine - to attach border
Instructions
1. Download Valentine Angel Layout and Heart Pattern, Valentine Angel Pattern, and Stitch Guide (if needed).
2. Cut out background piece to 8" x 10". (This will be cut down to 7" x 9" after it is appliqued.)
3. Cut border as follows:
- Cut three 3" x 22" strips from your fat quarter.
- From these strips:
- Cut two 3" x 7" strips.
- Cut two 3" x 14" strips.
- Set border pieces aside until final assembly.
- From these strips:
4. Embroidered Heart
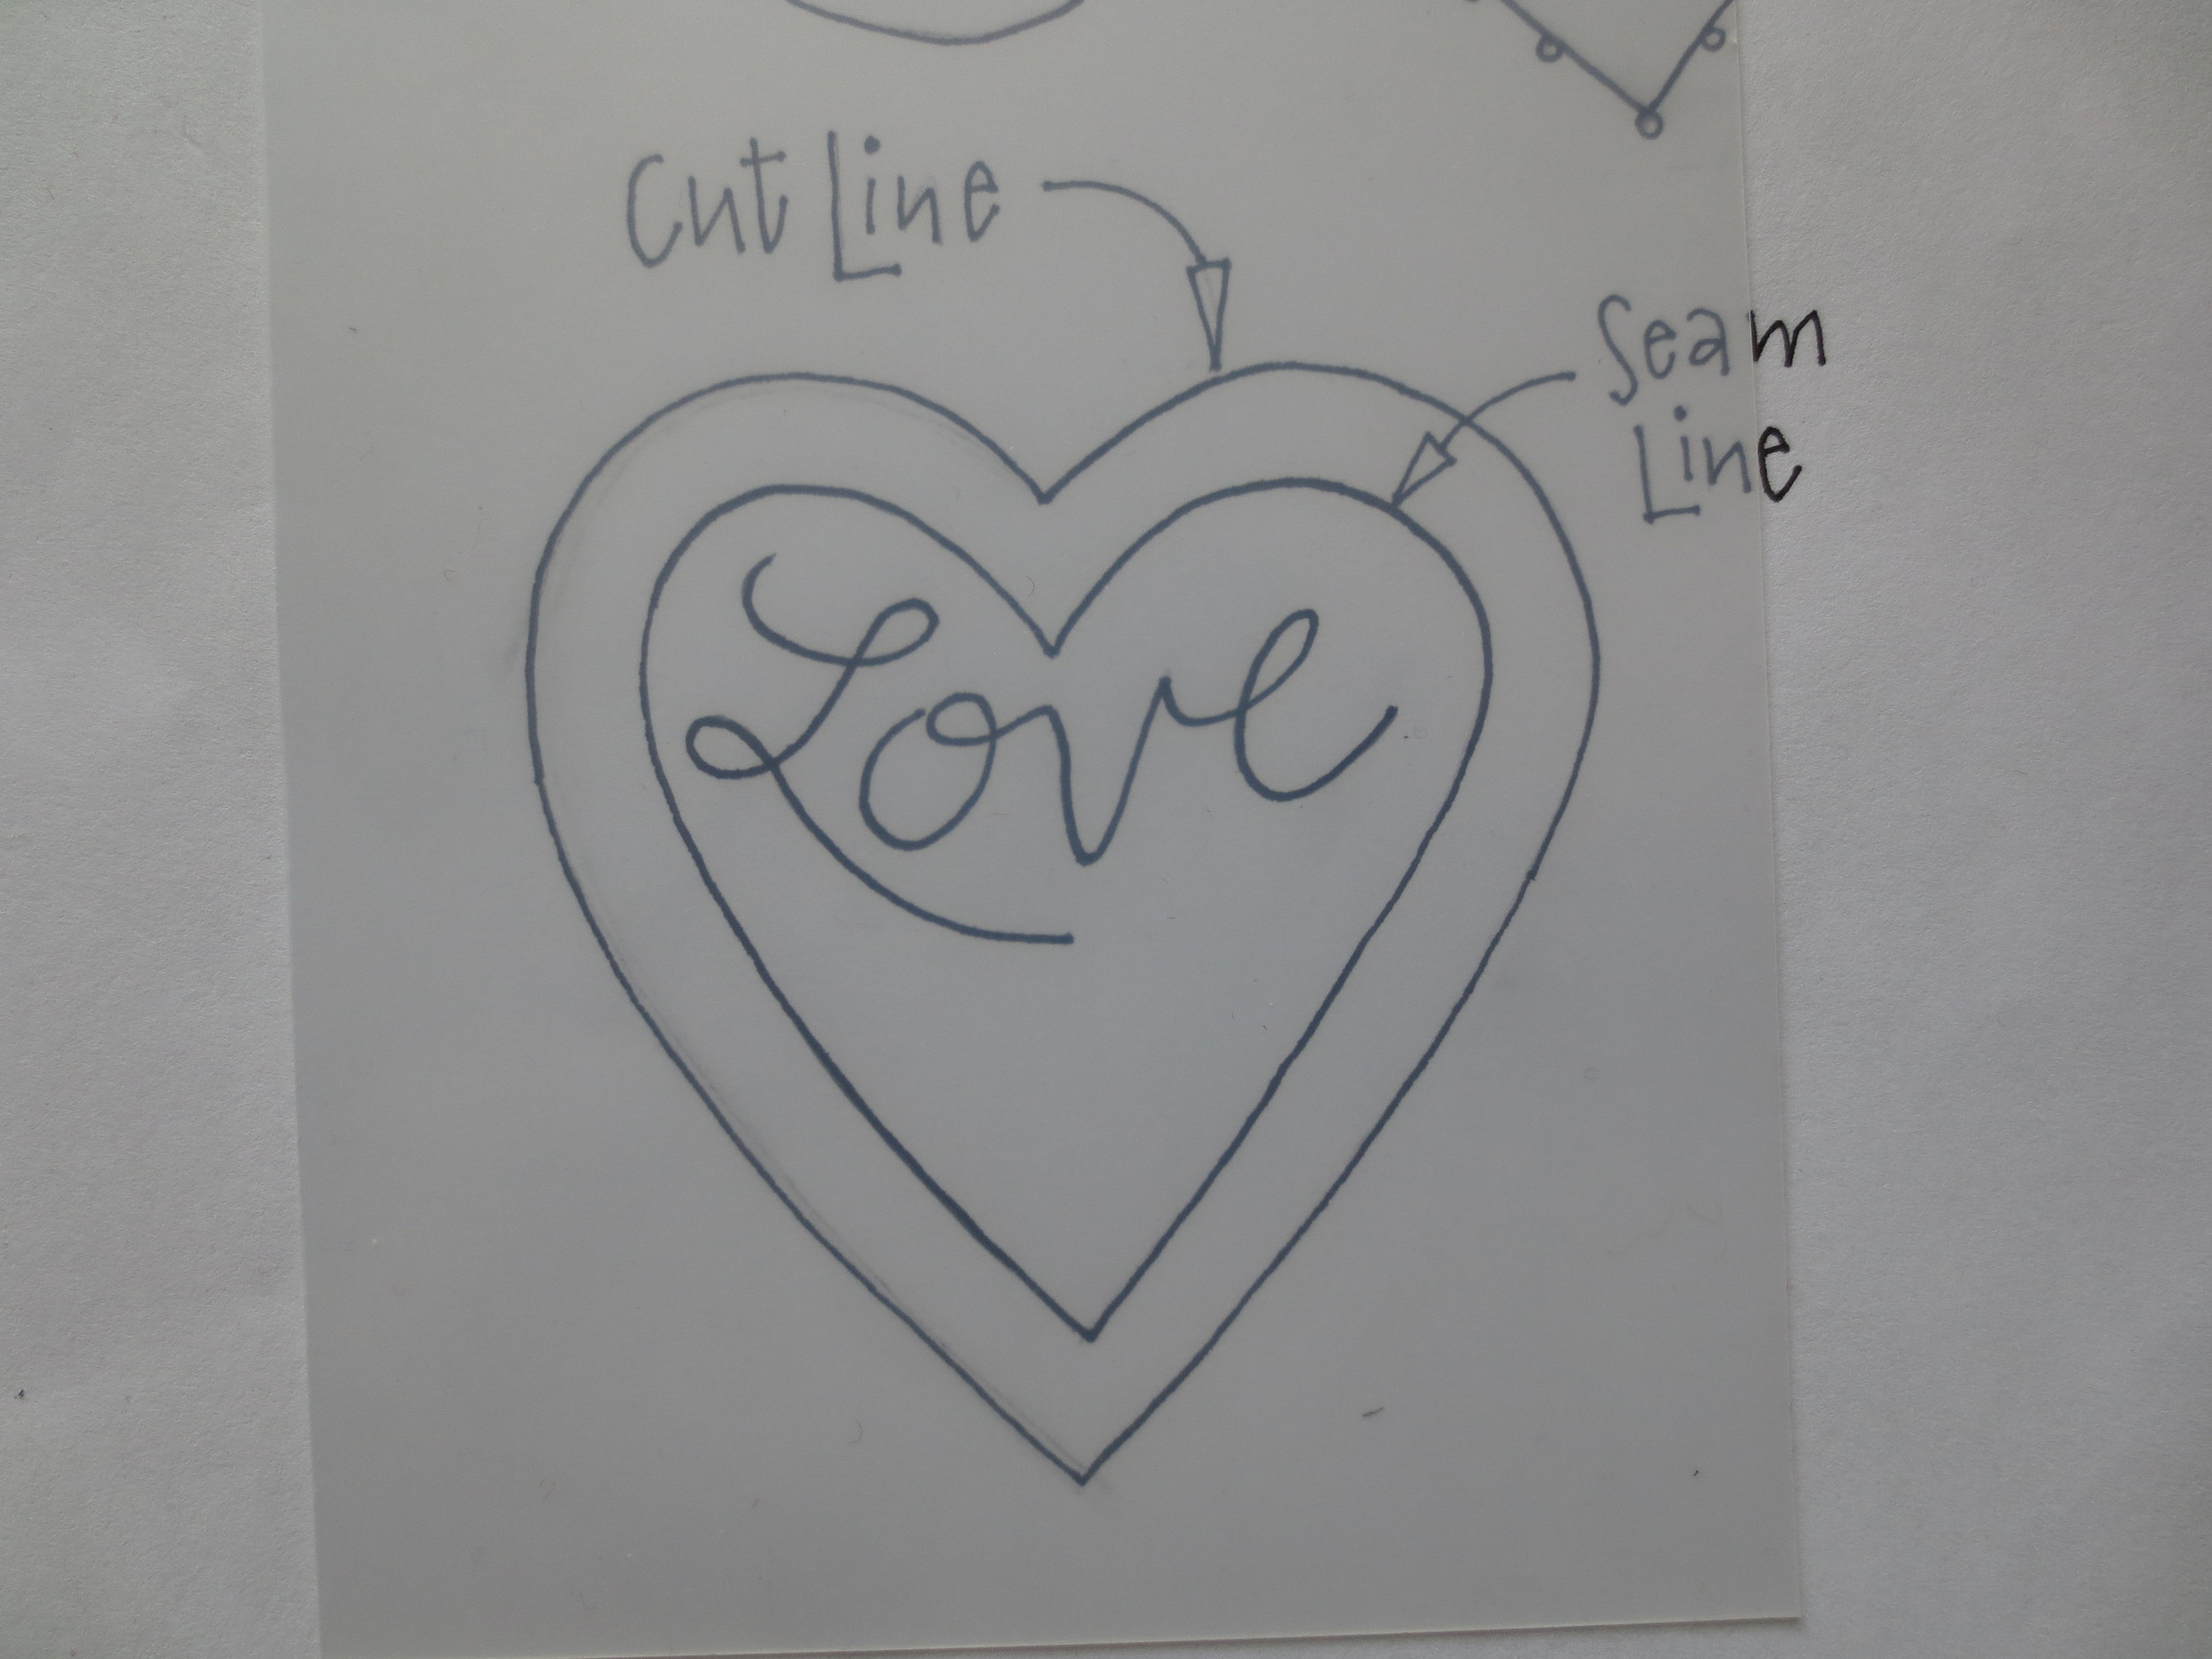
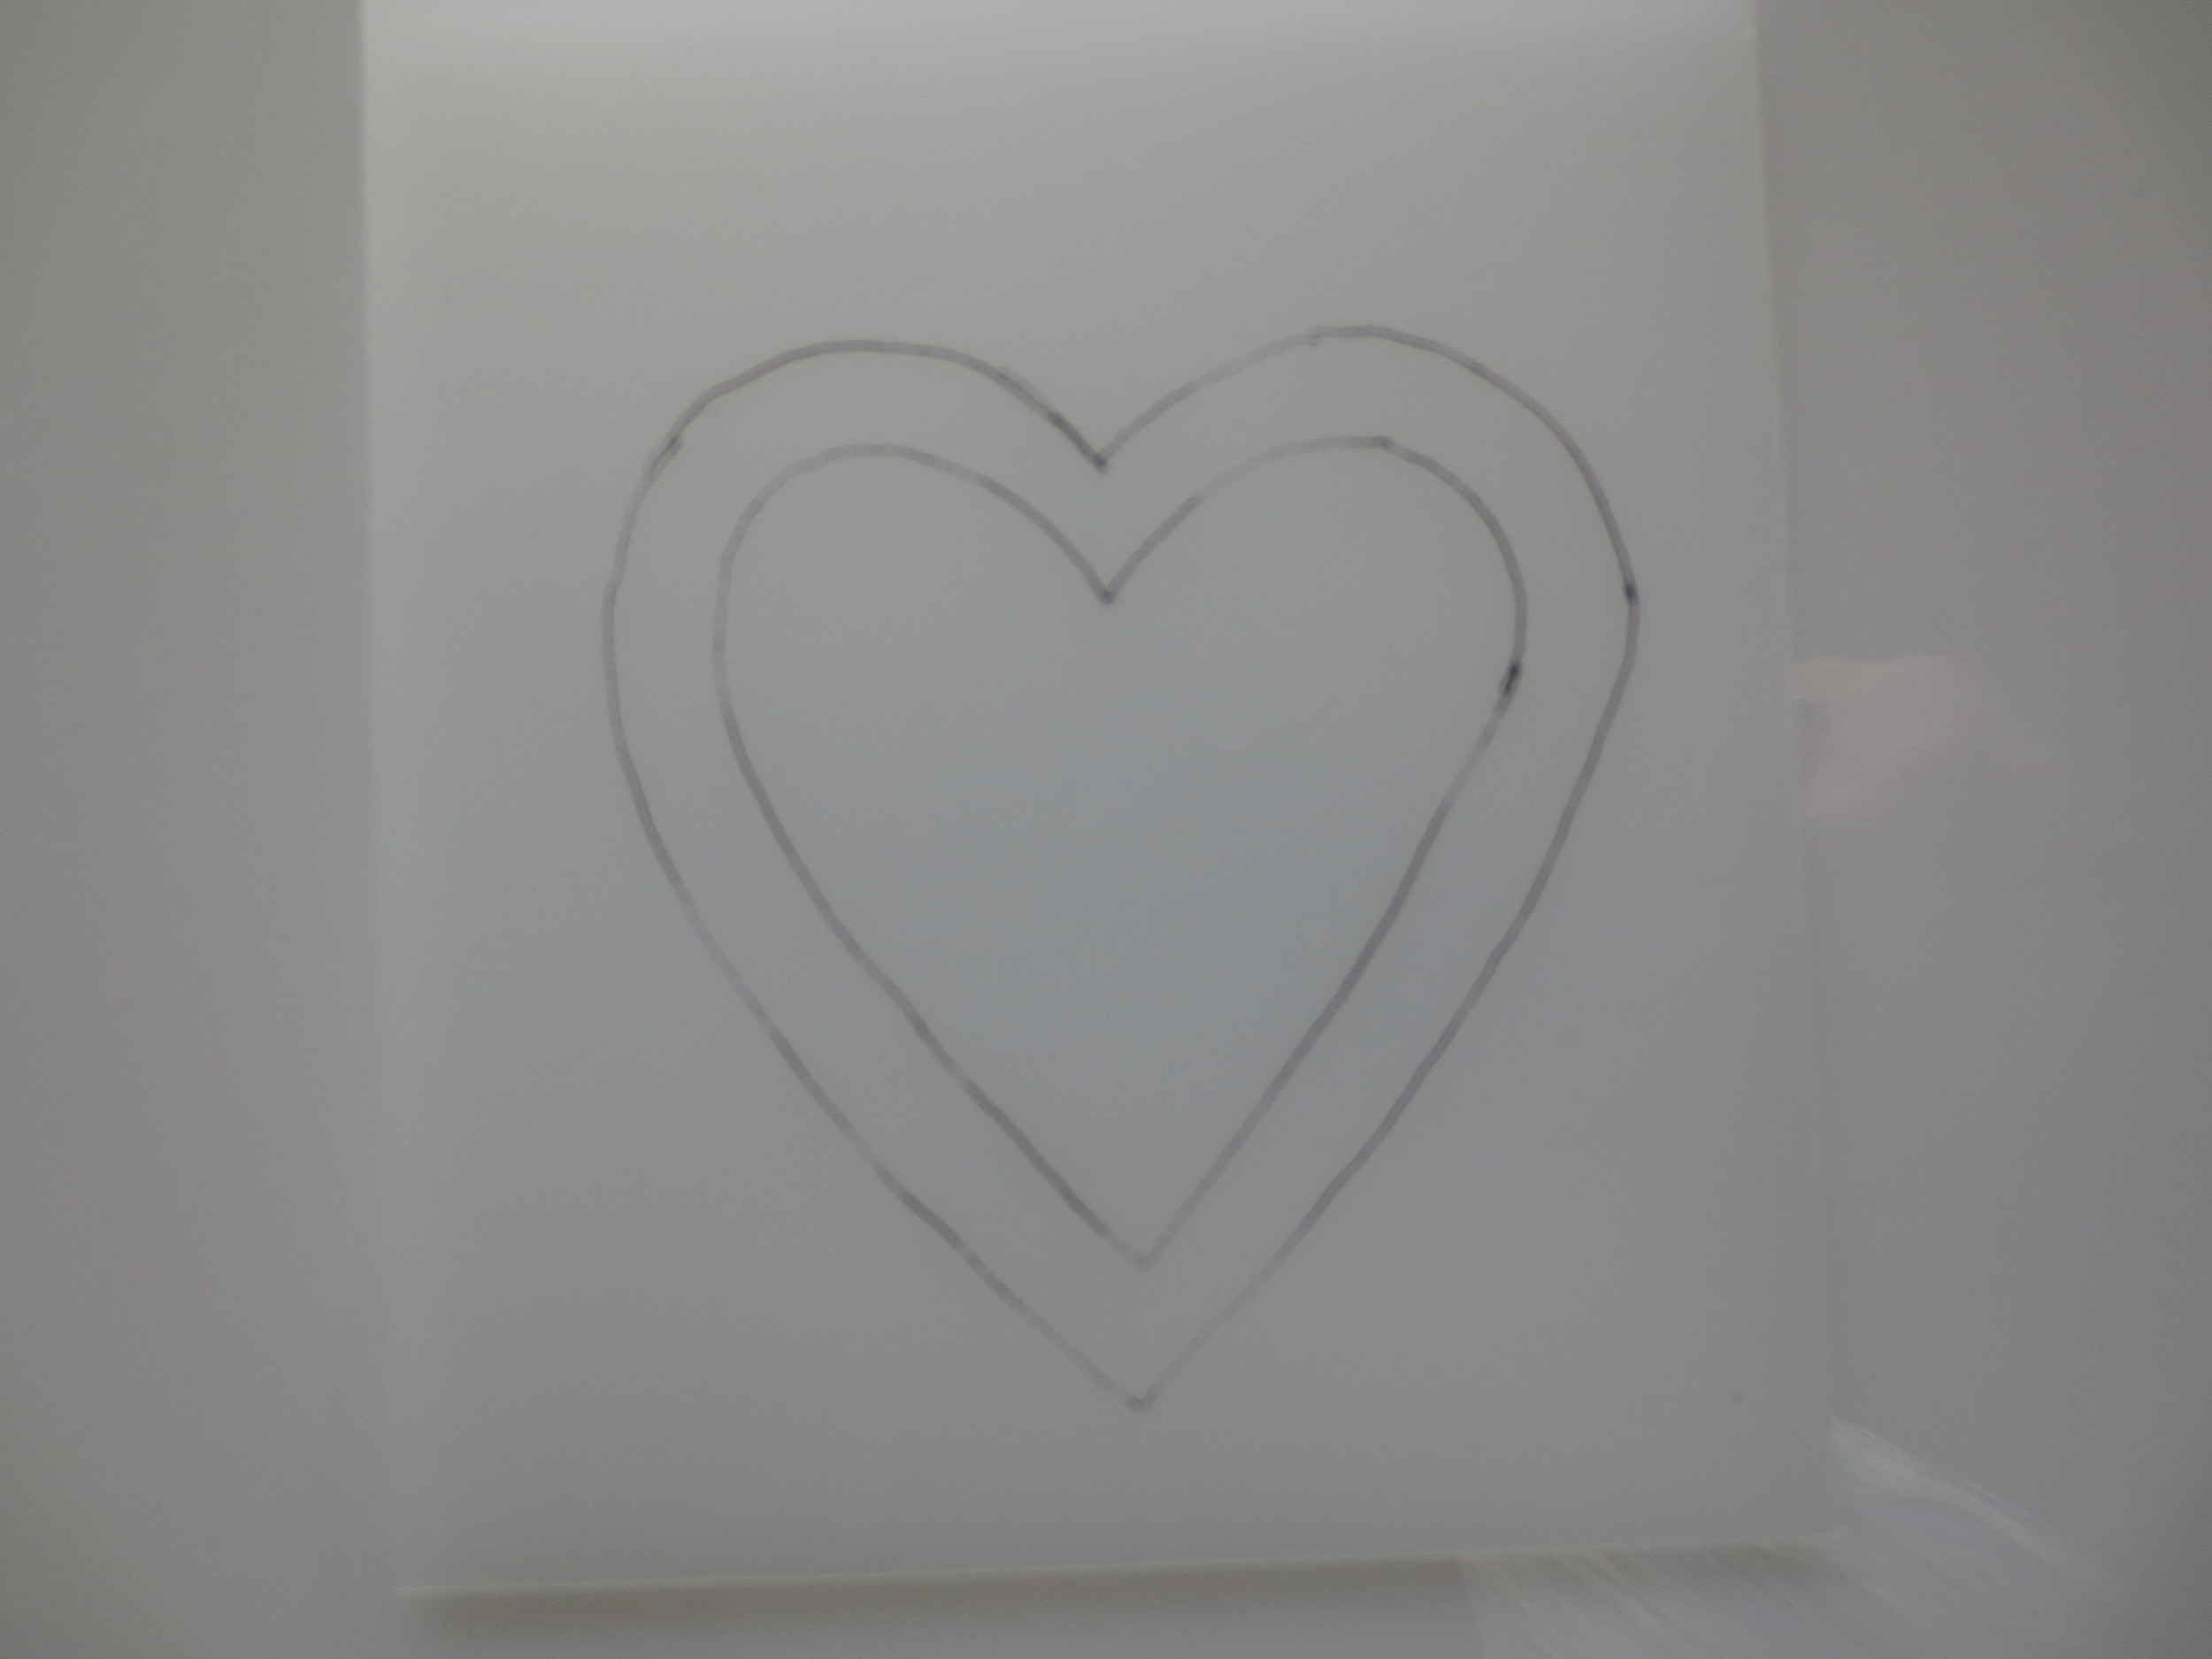
- Trace the cutting and sewing lines of heart on the stencil plastic. Cut out along cut line. Set aside.
- Fold the 4" x 8" piece of red fabric in half making a 4" square. Finger press fold.
- Place heart pattern on your light box or tape to bright window.
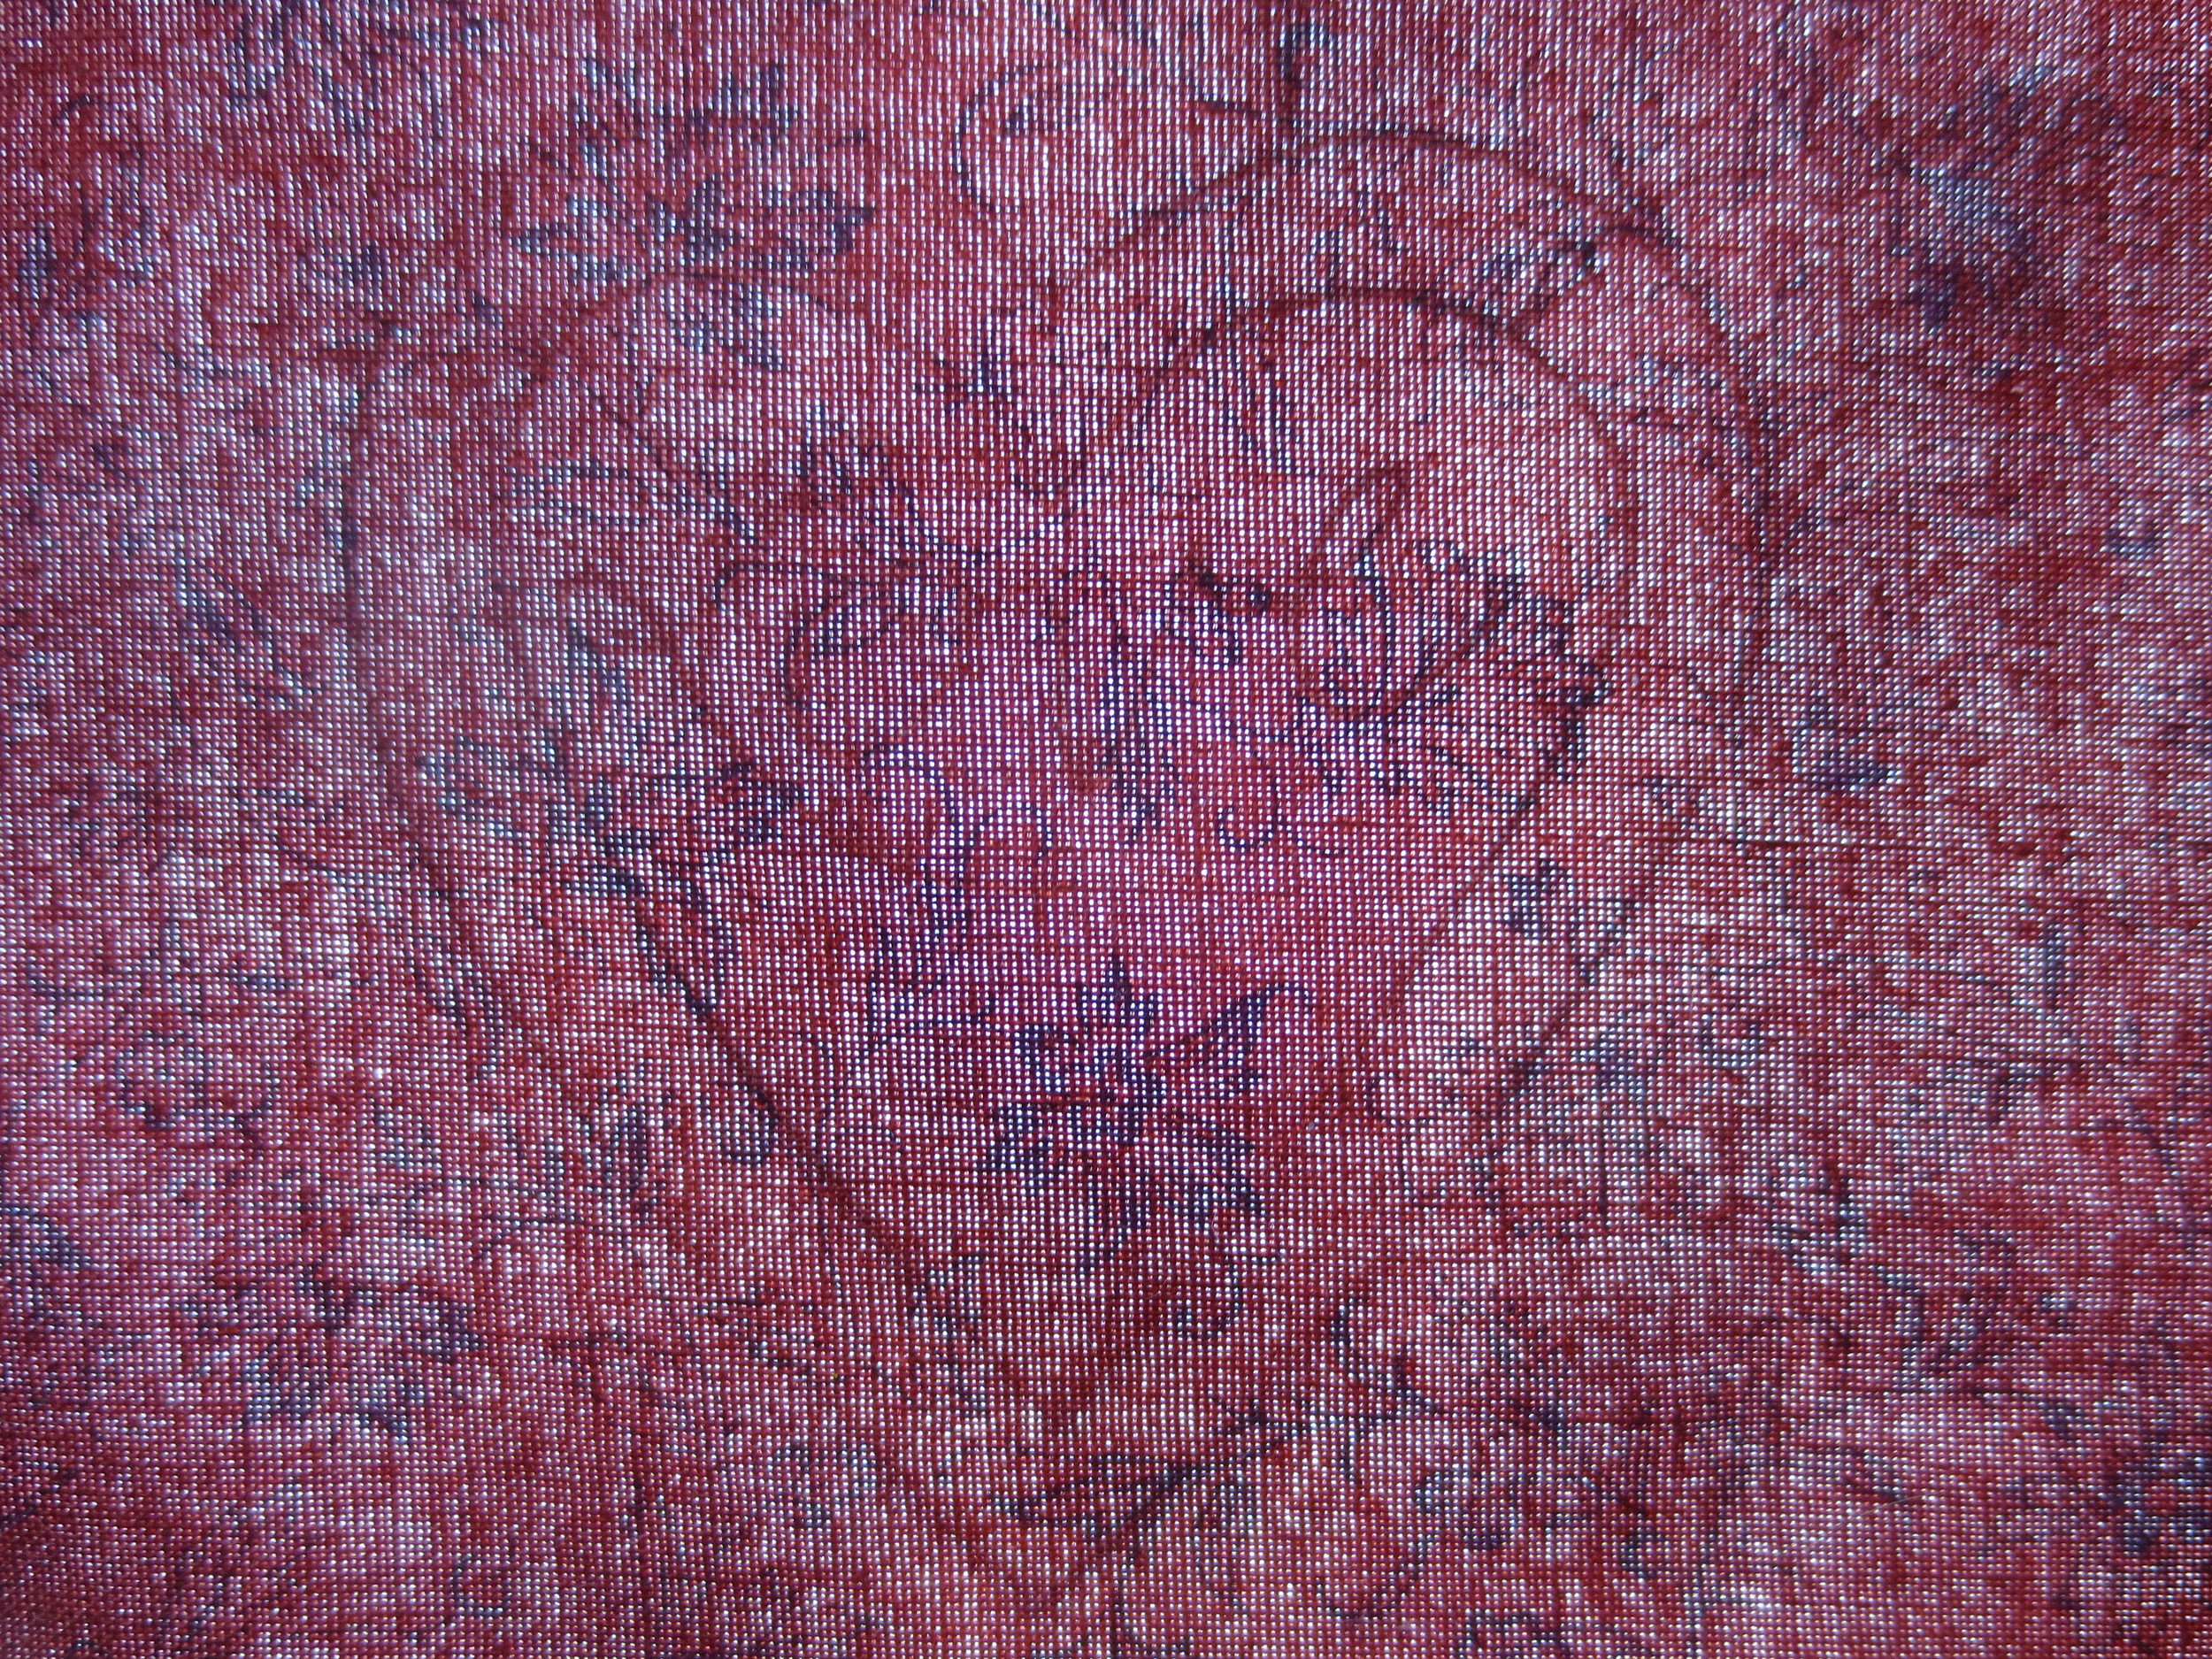
- Unfold heart fabric, and place on top of the heart pattern (right side up), centering the "Love" on one of the 4" x 4" sides.
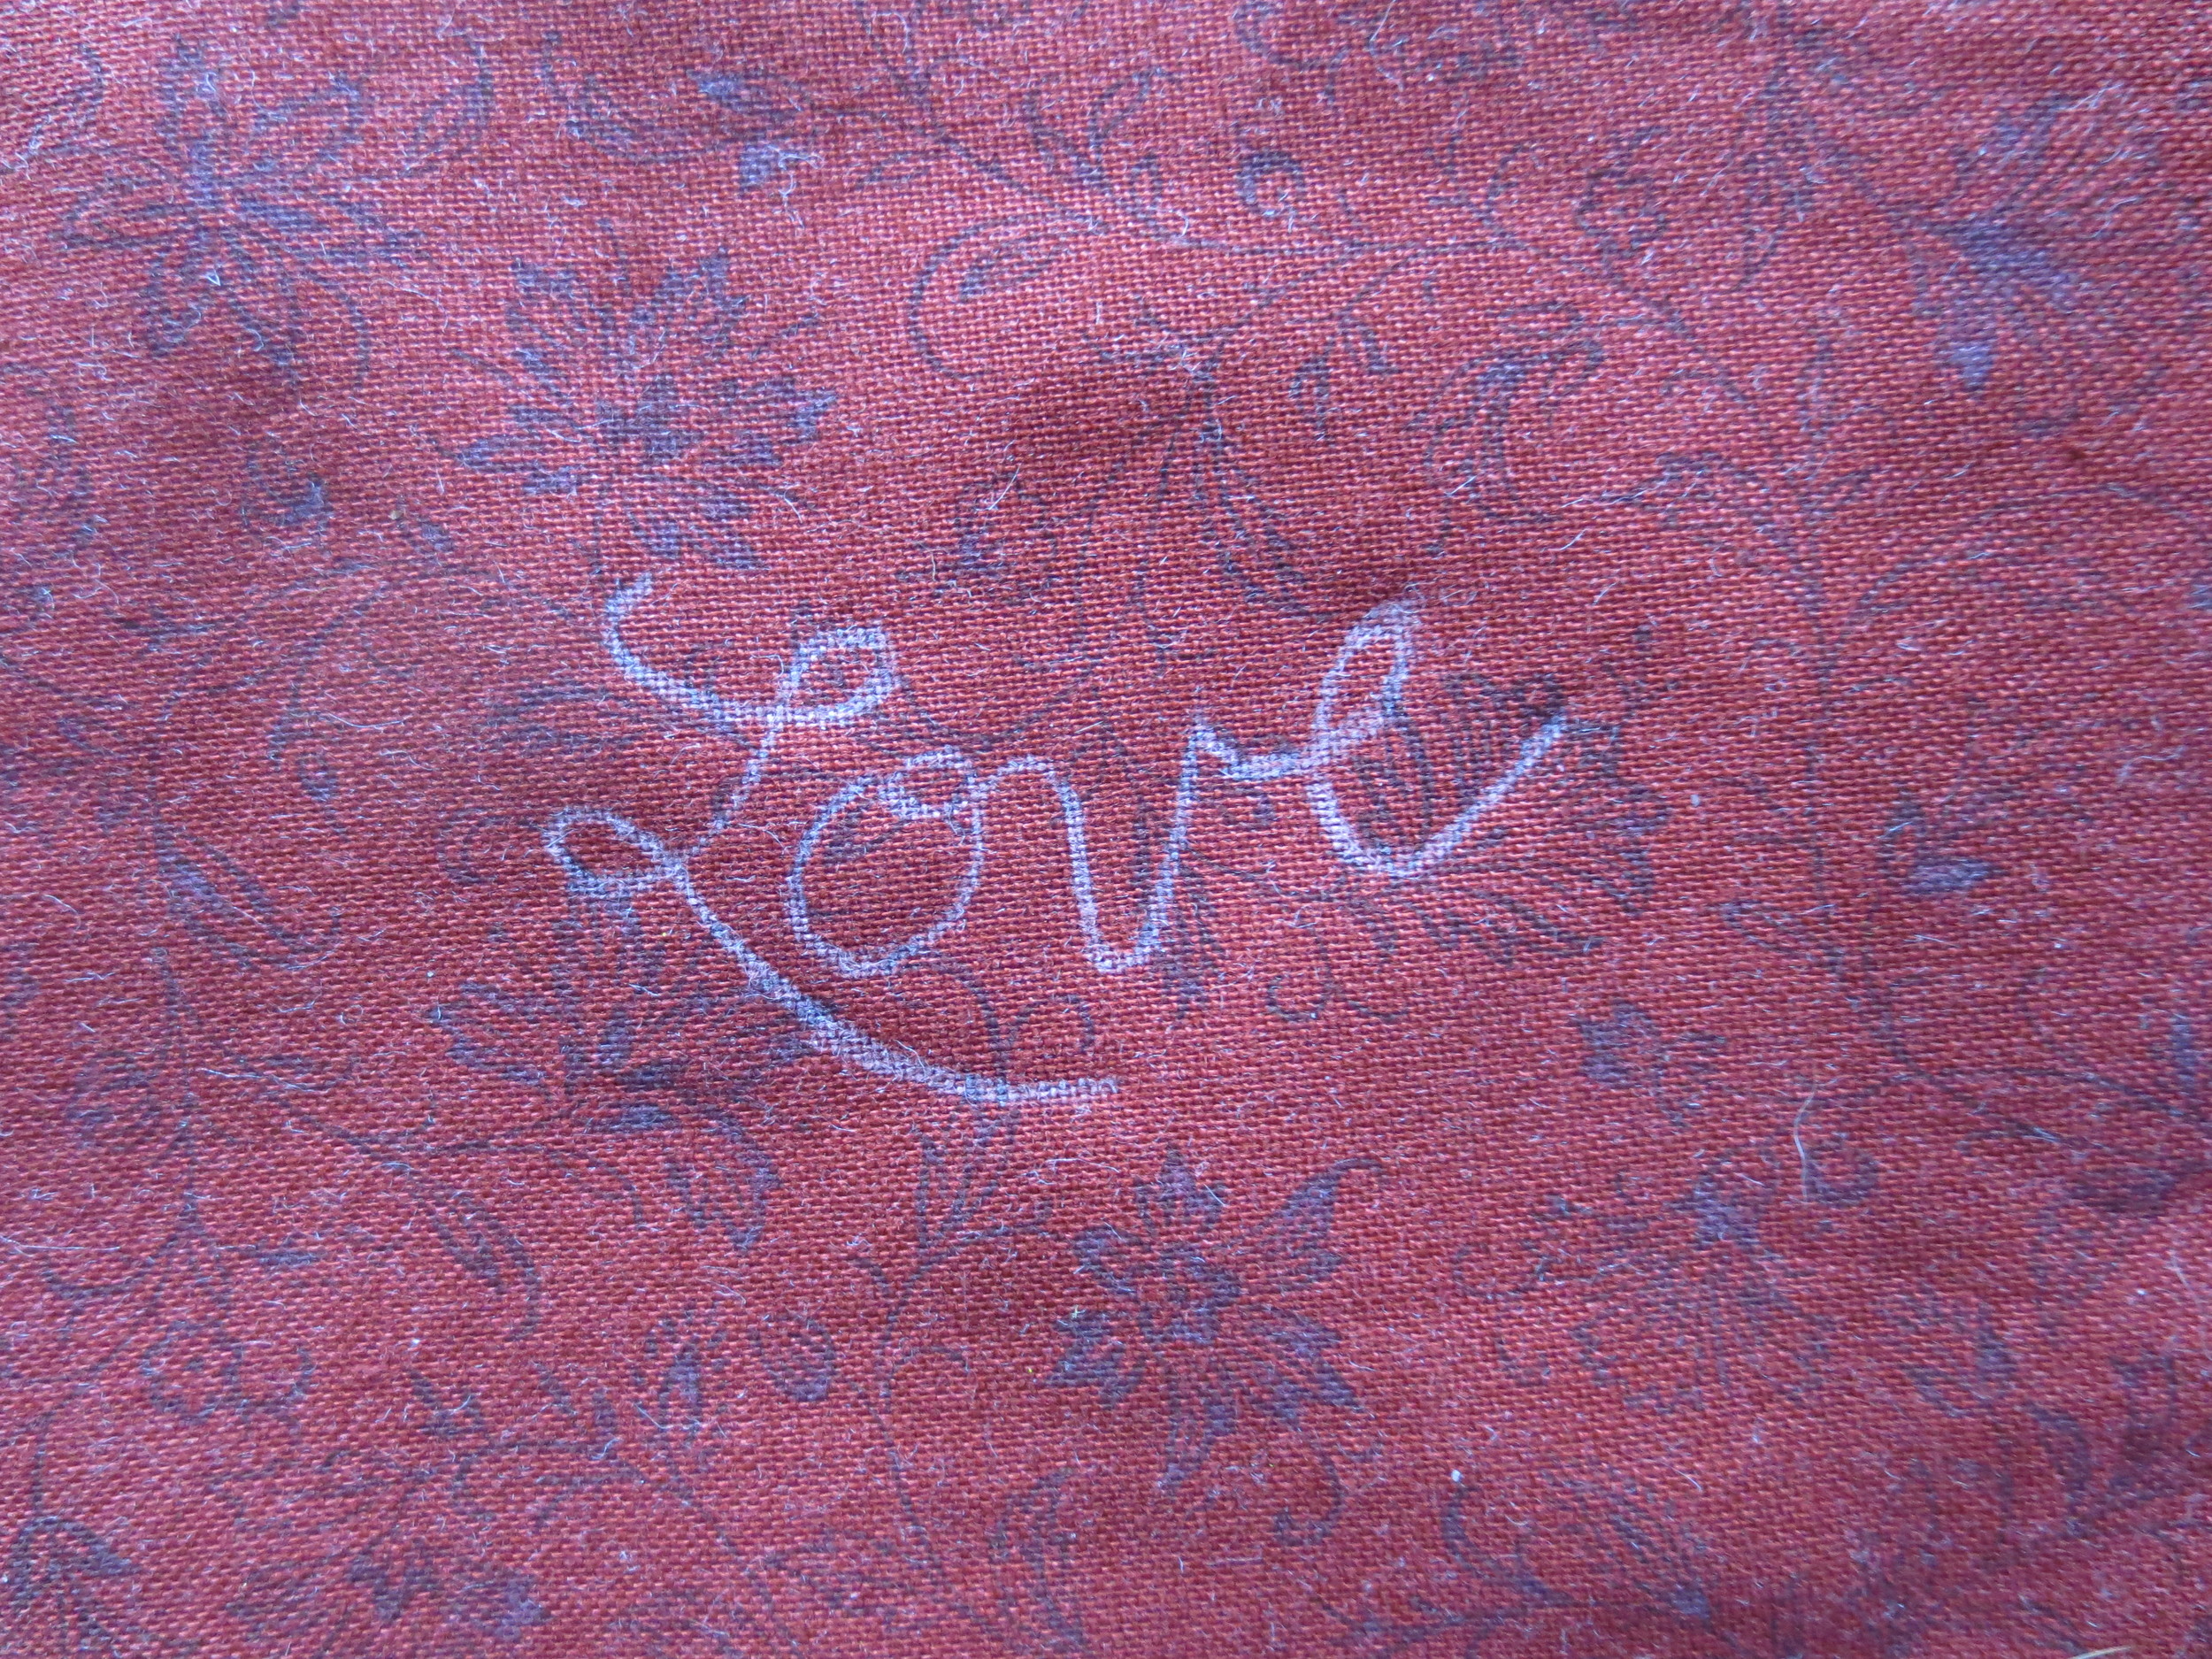
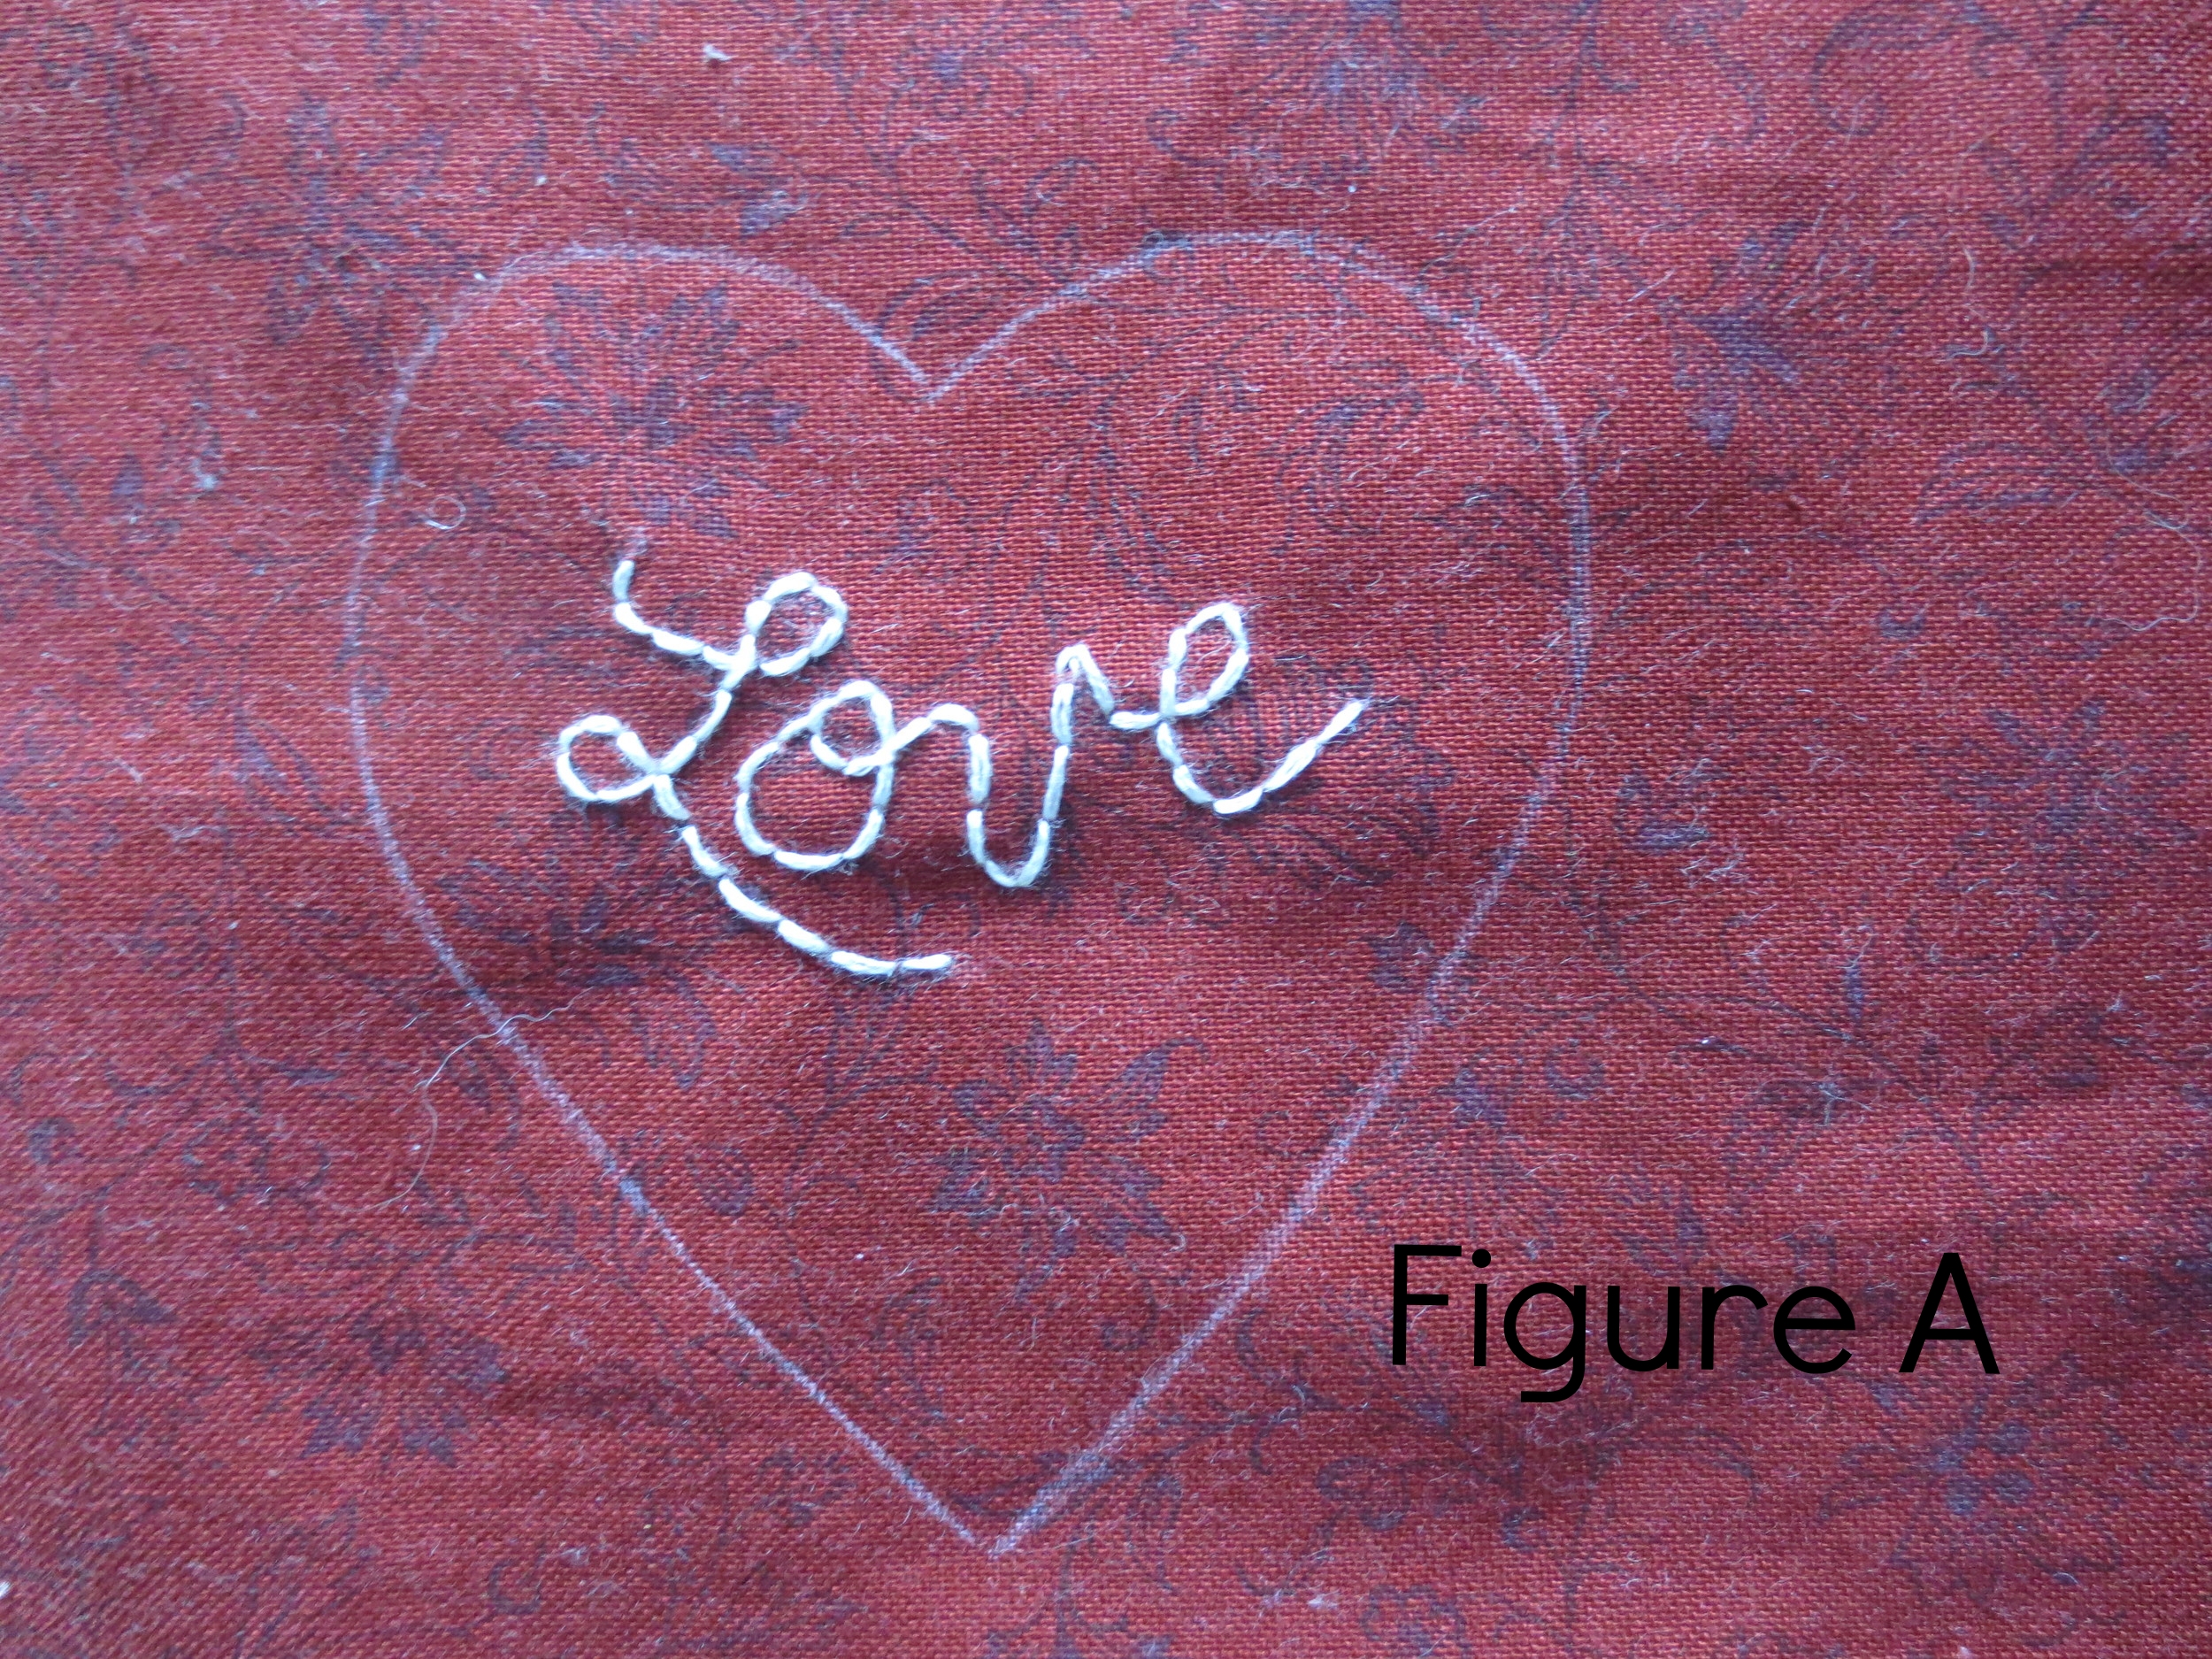
- Use a chalk pencil or white marking pen to trace "love" on the fabric.
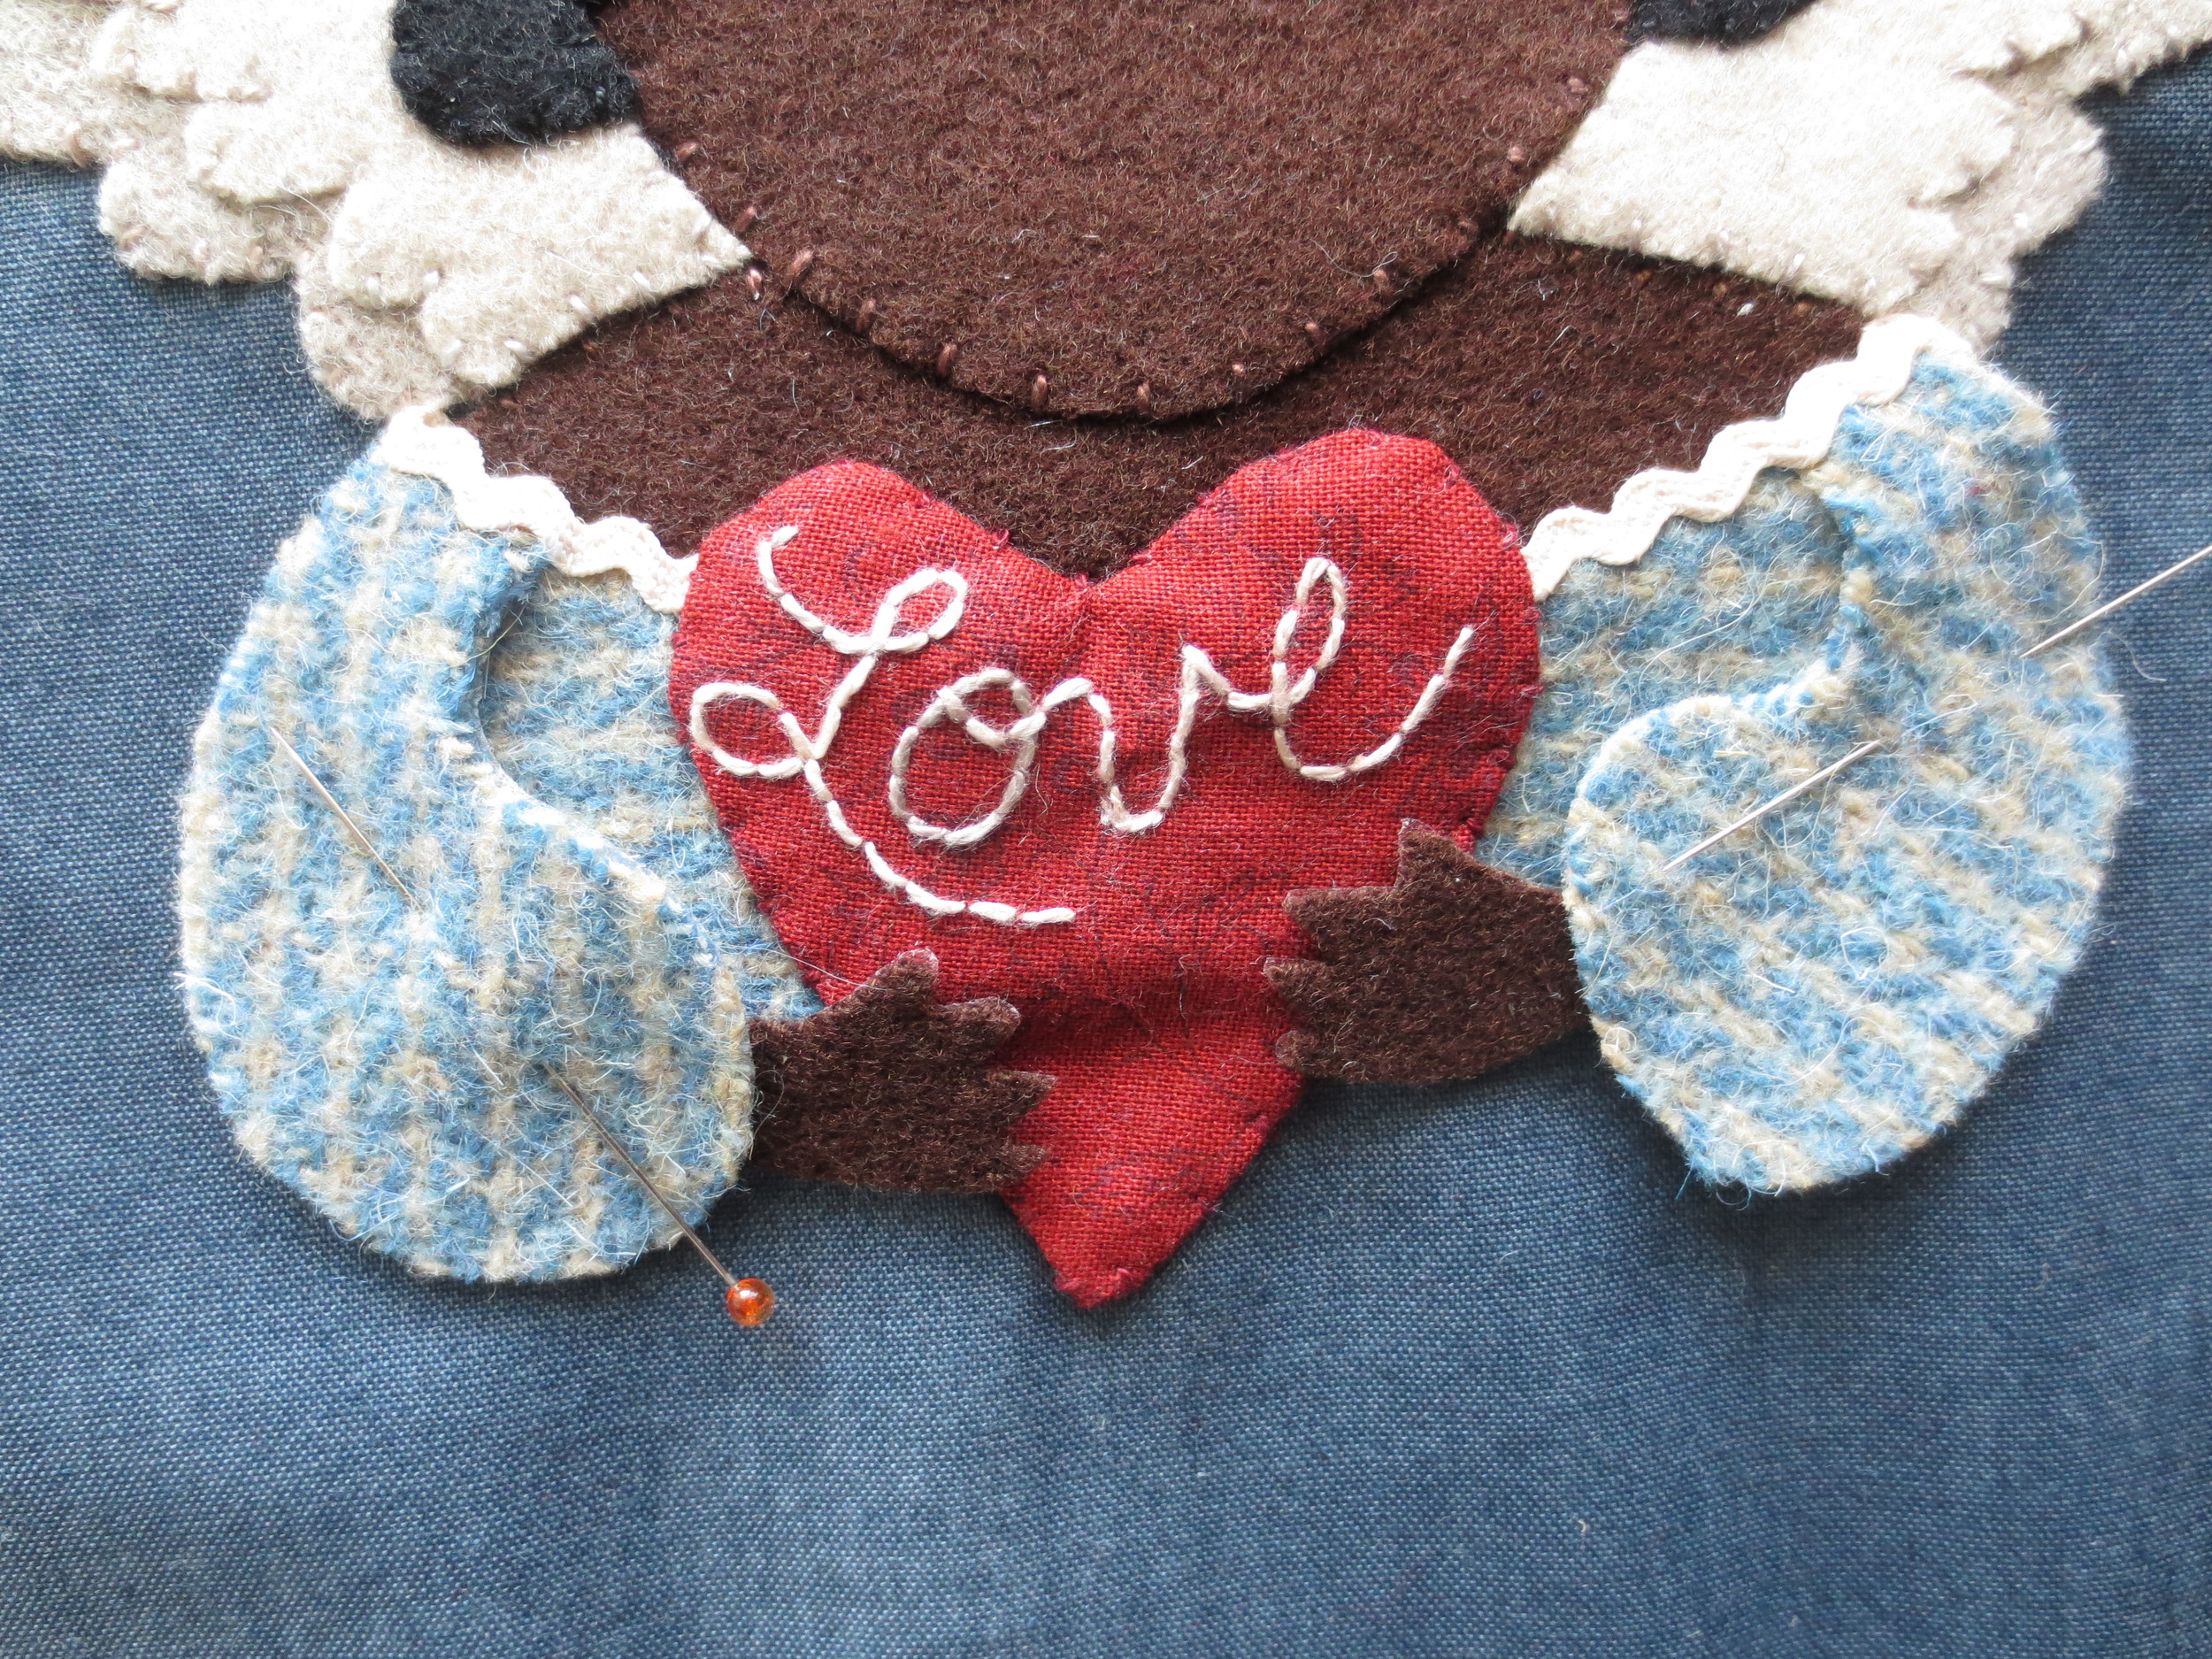
- Back stitch "love" using one strand of perle cotton, color #O538.
- Place the heart stencil on top of the "love." Trace the heart cut line around the word (Figure A).
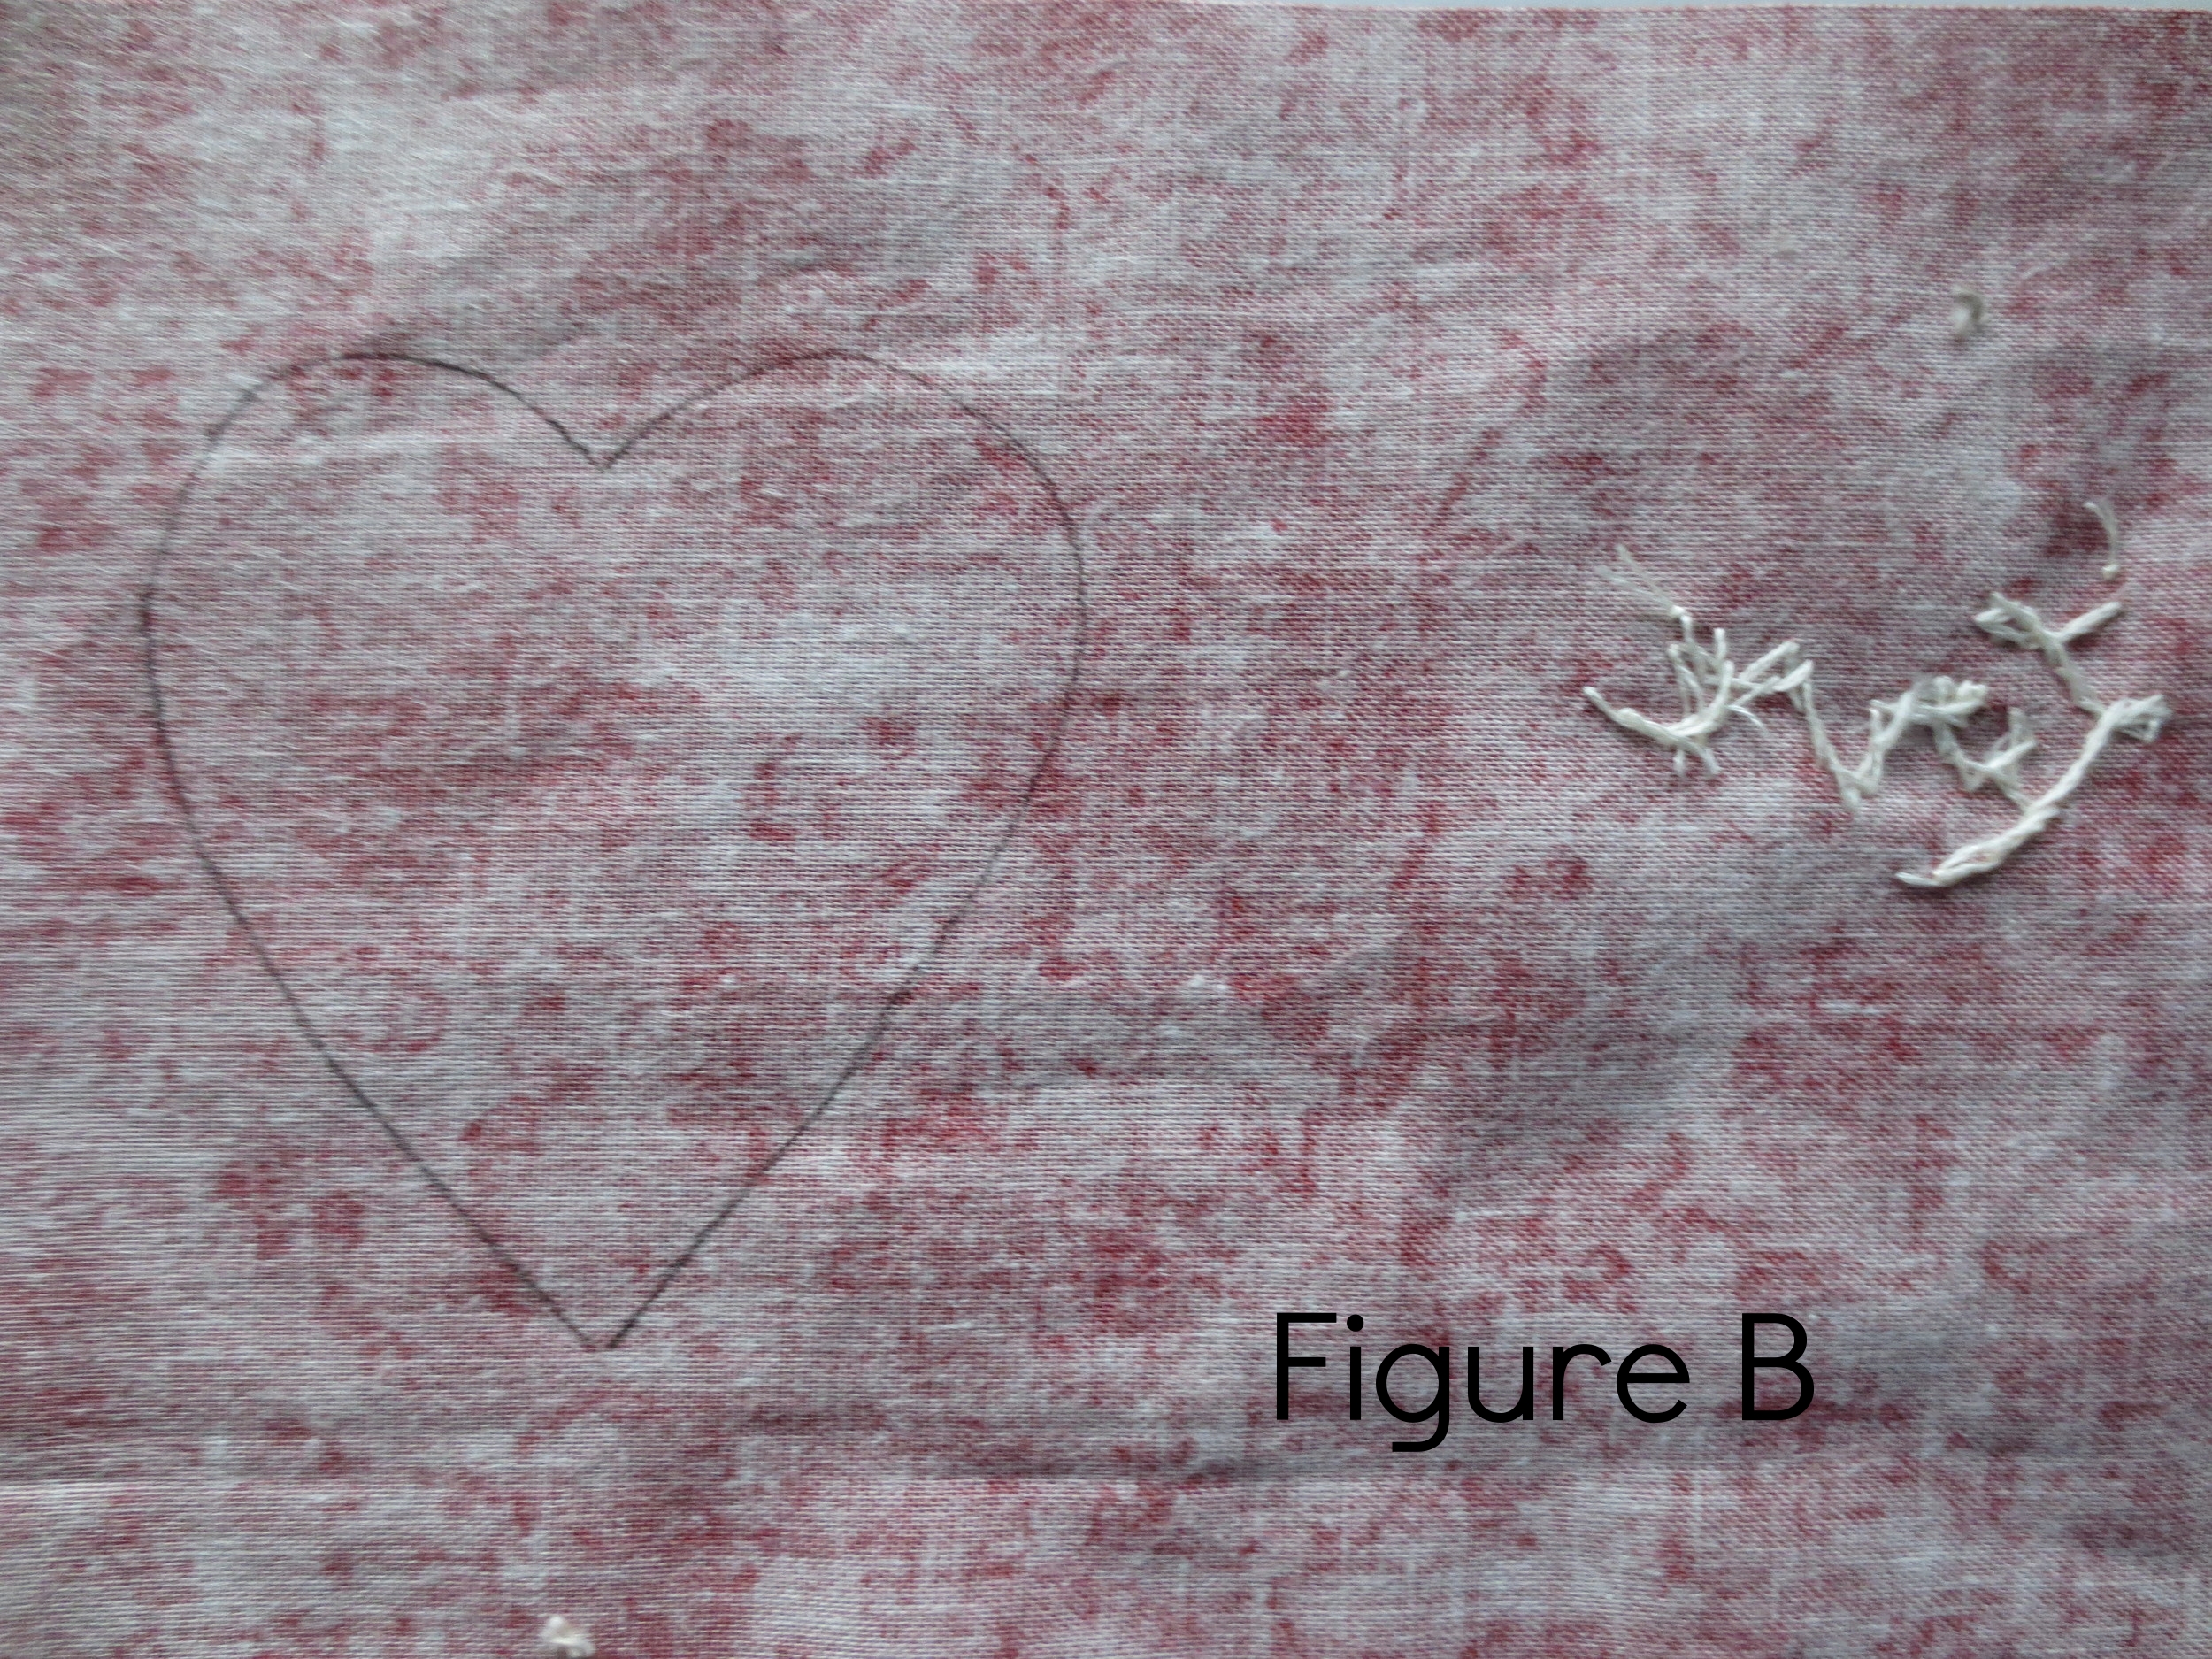
- Flip the fabric over (wrong side up). Trace another heart onto the remaining 4" side. (This will be the back side of the heart.) Make sure you leave room between the front and back (Figure B). Why do you flip the fabric over before you trace the heart back? Well, the heart is not totally symetrical, so in order to have the edges match up you will need to do this step.
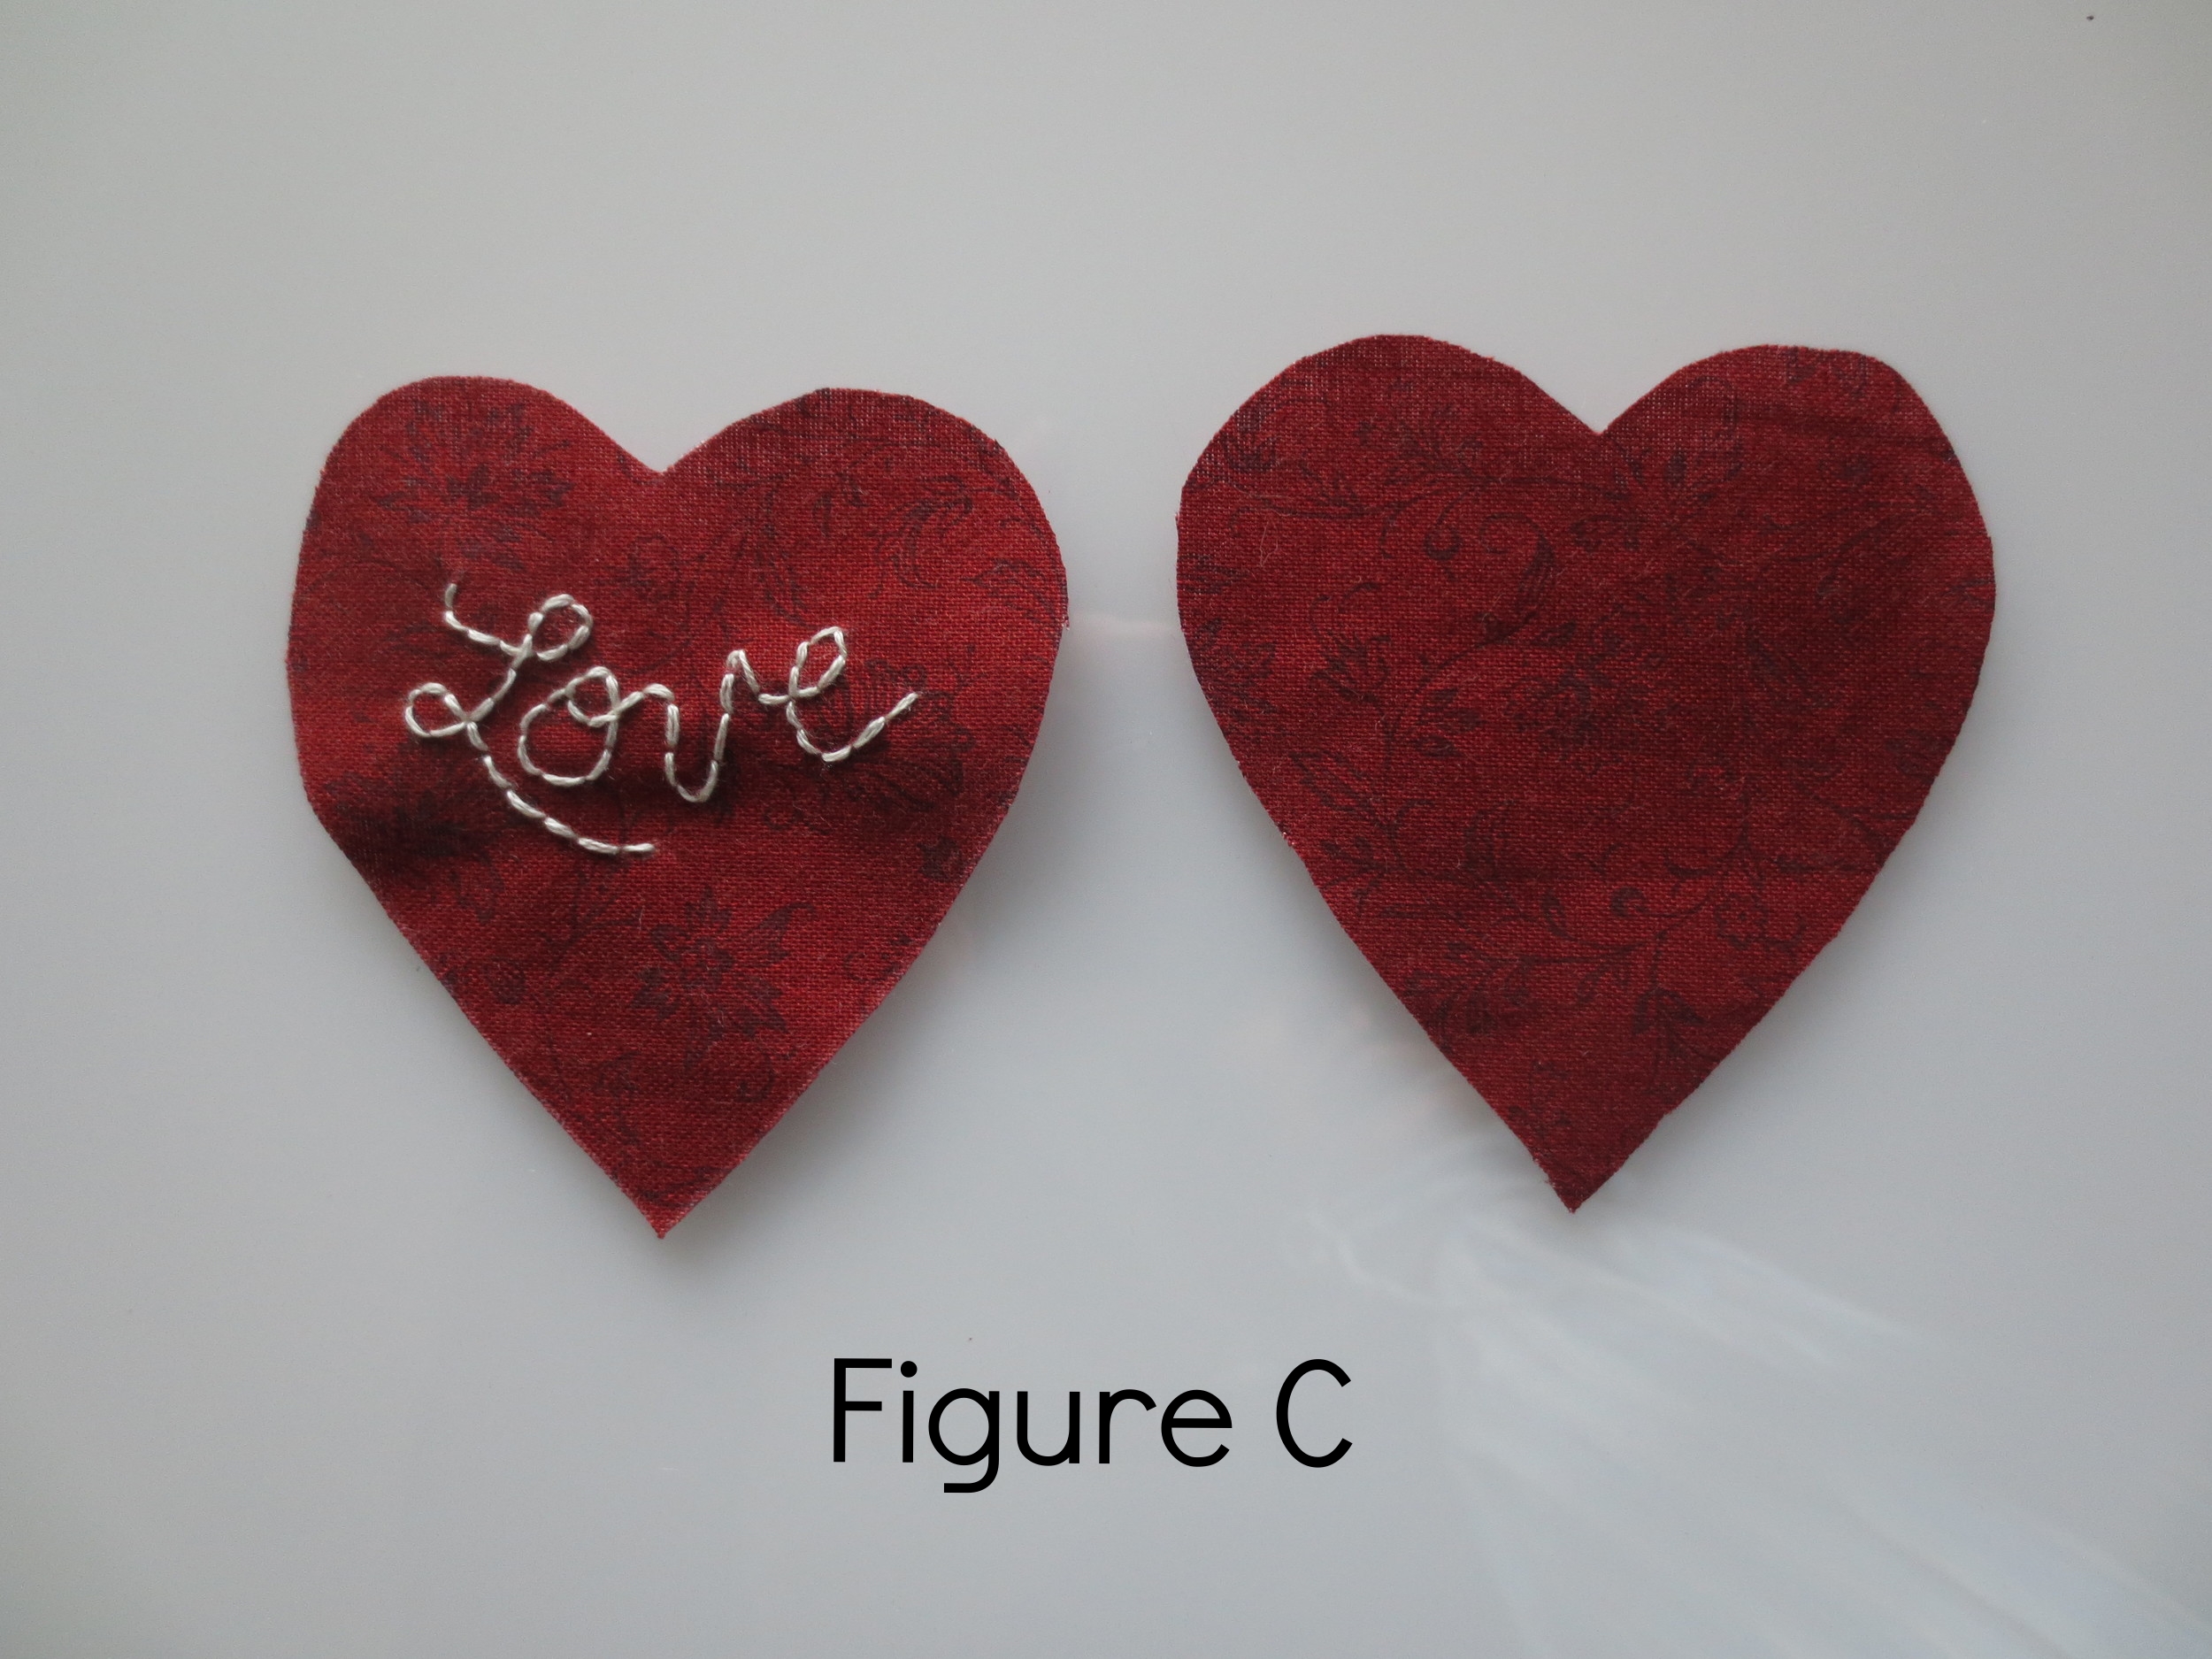
- Cut out the front and back of the heart (Figure C).
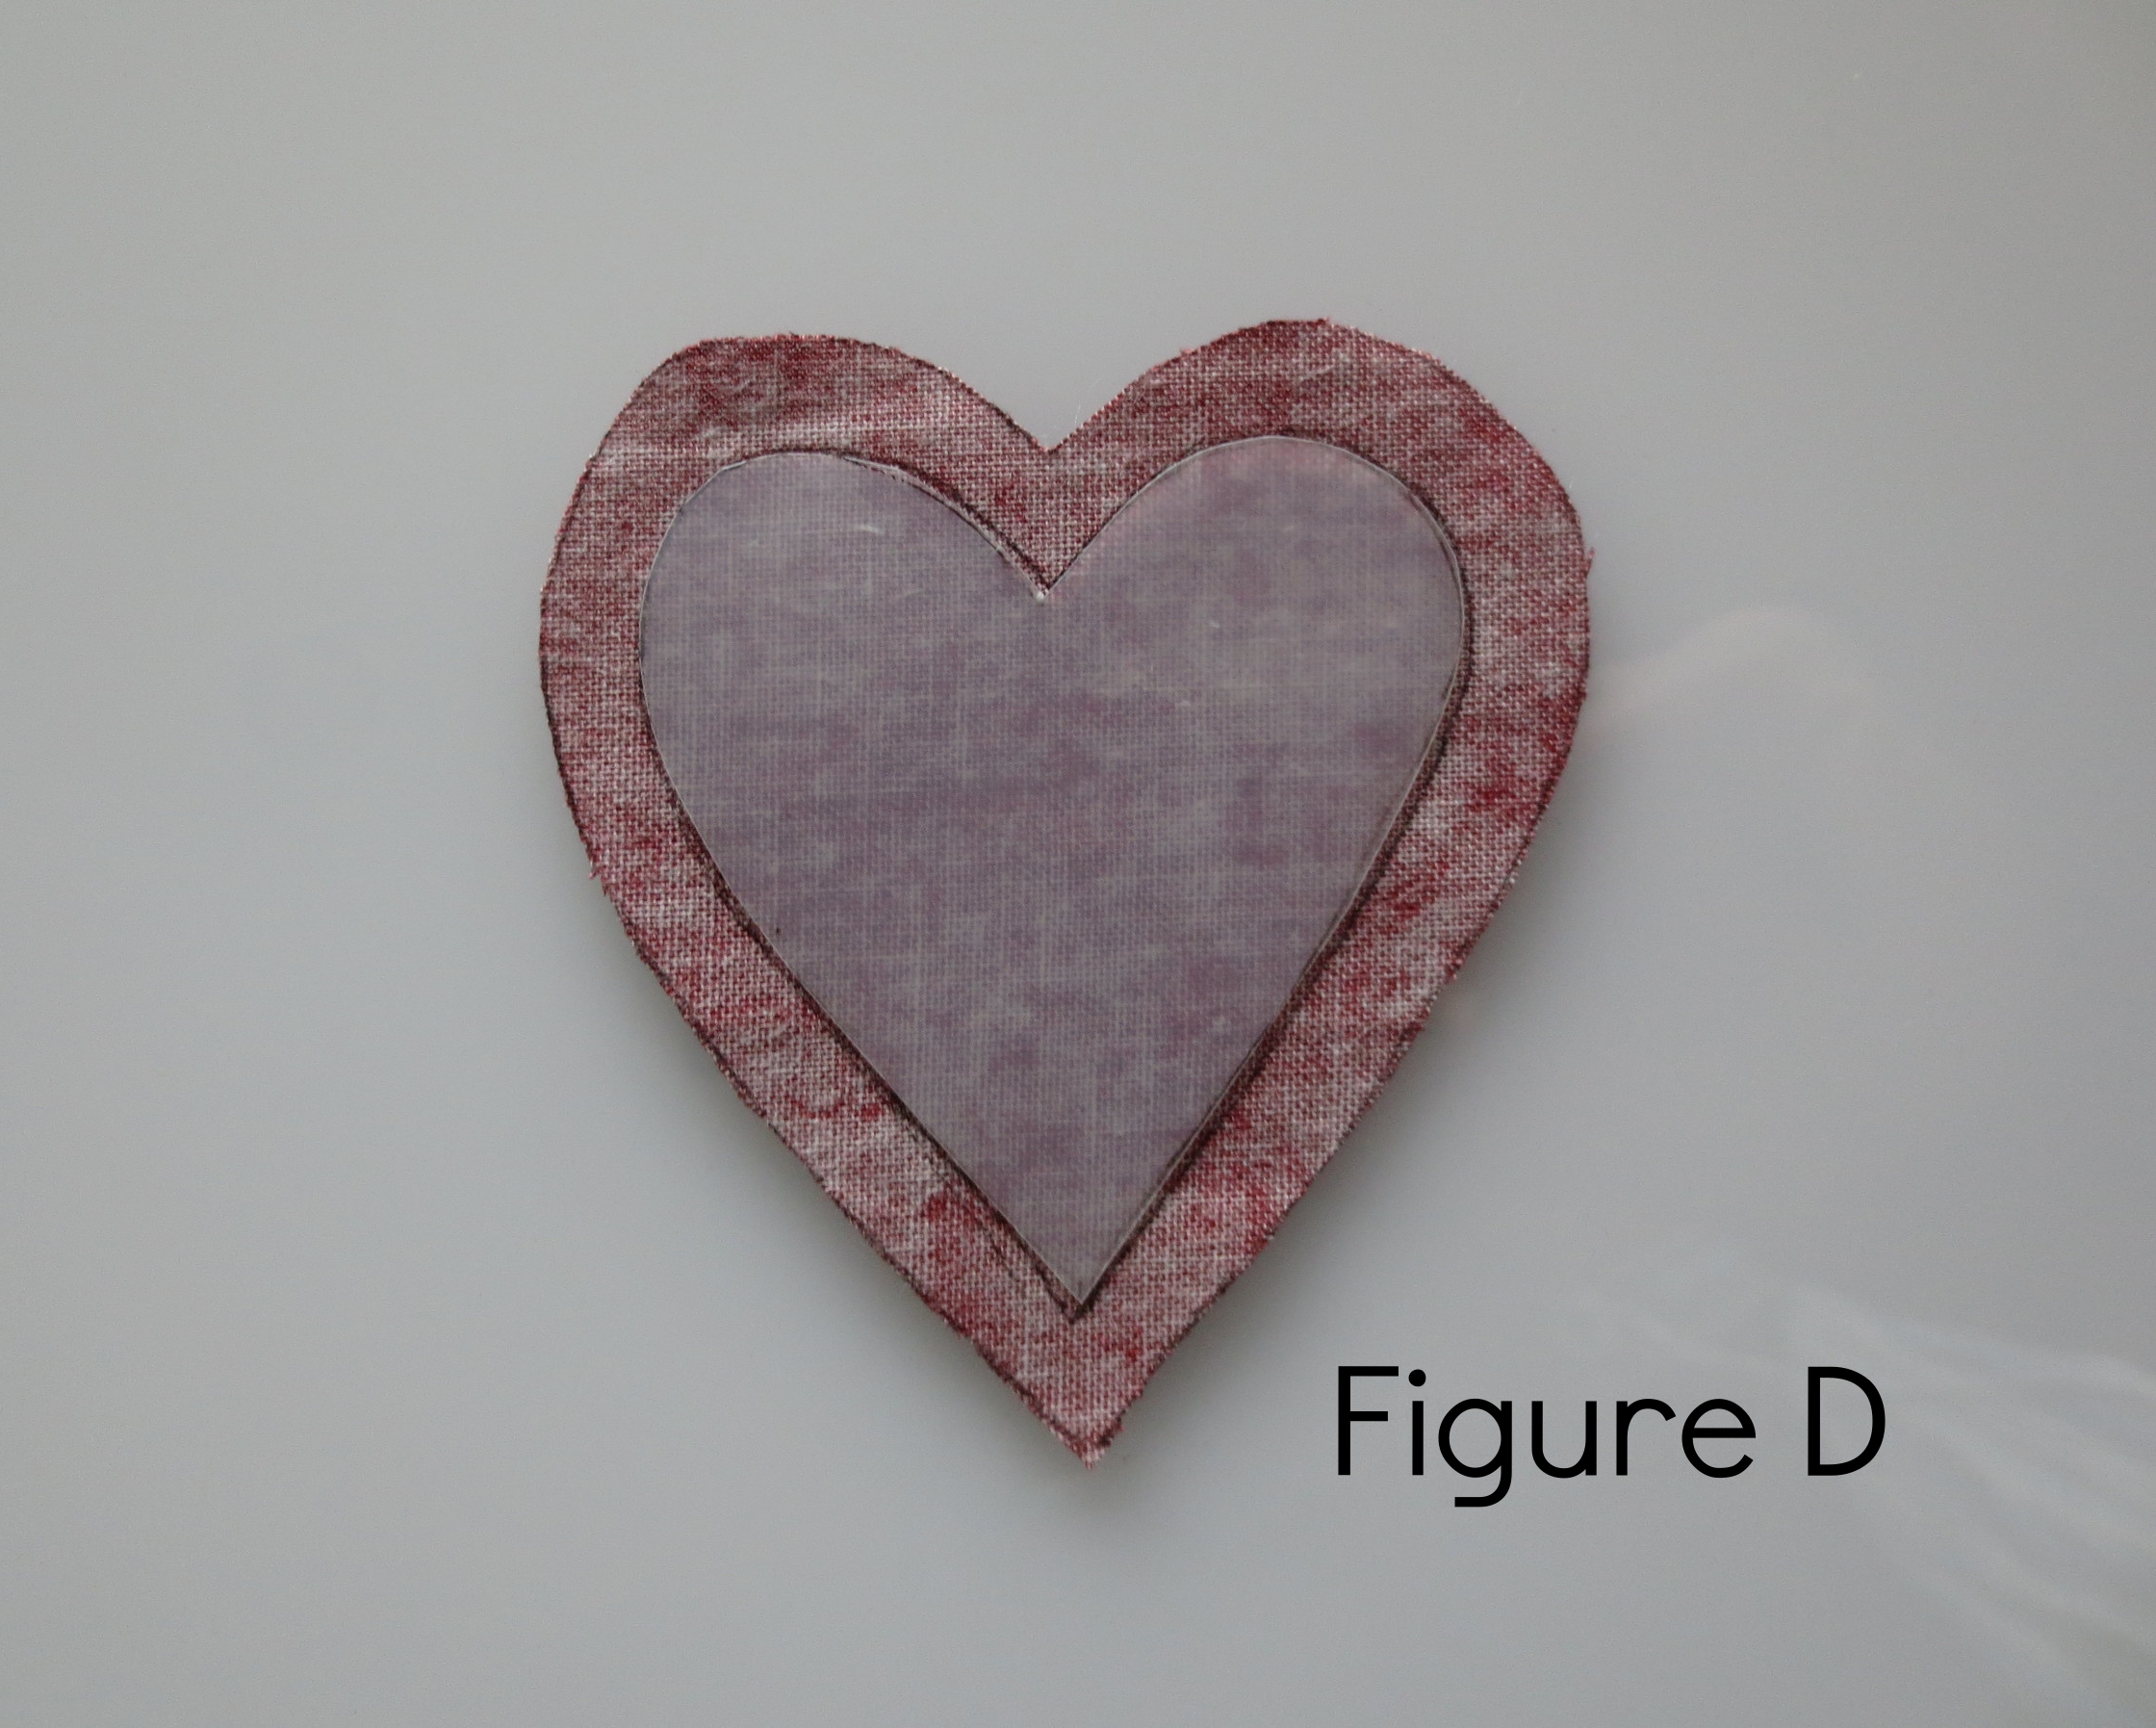
- Cut out the stencil heart along the seam line. Use this to mark the seam line on the back side (wrong side) of the heart (Figure D).
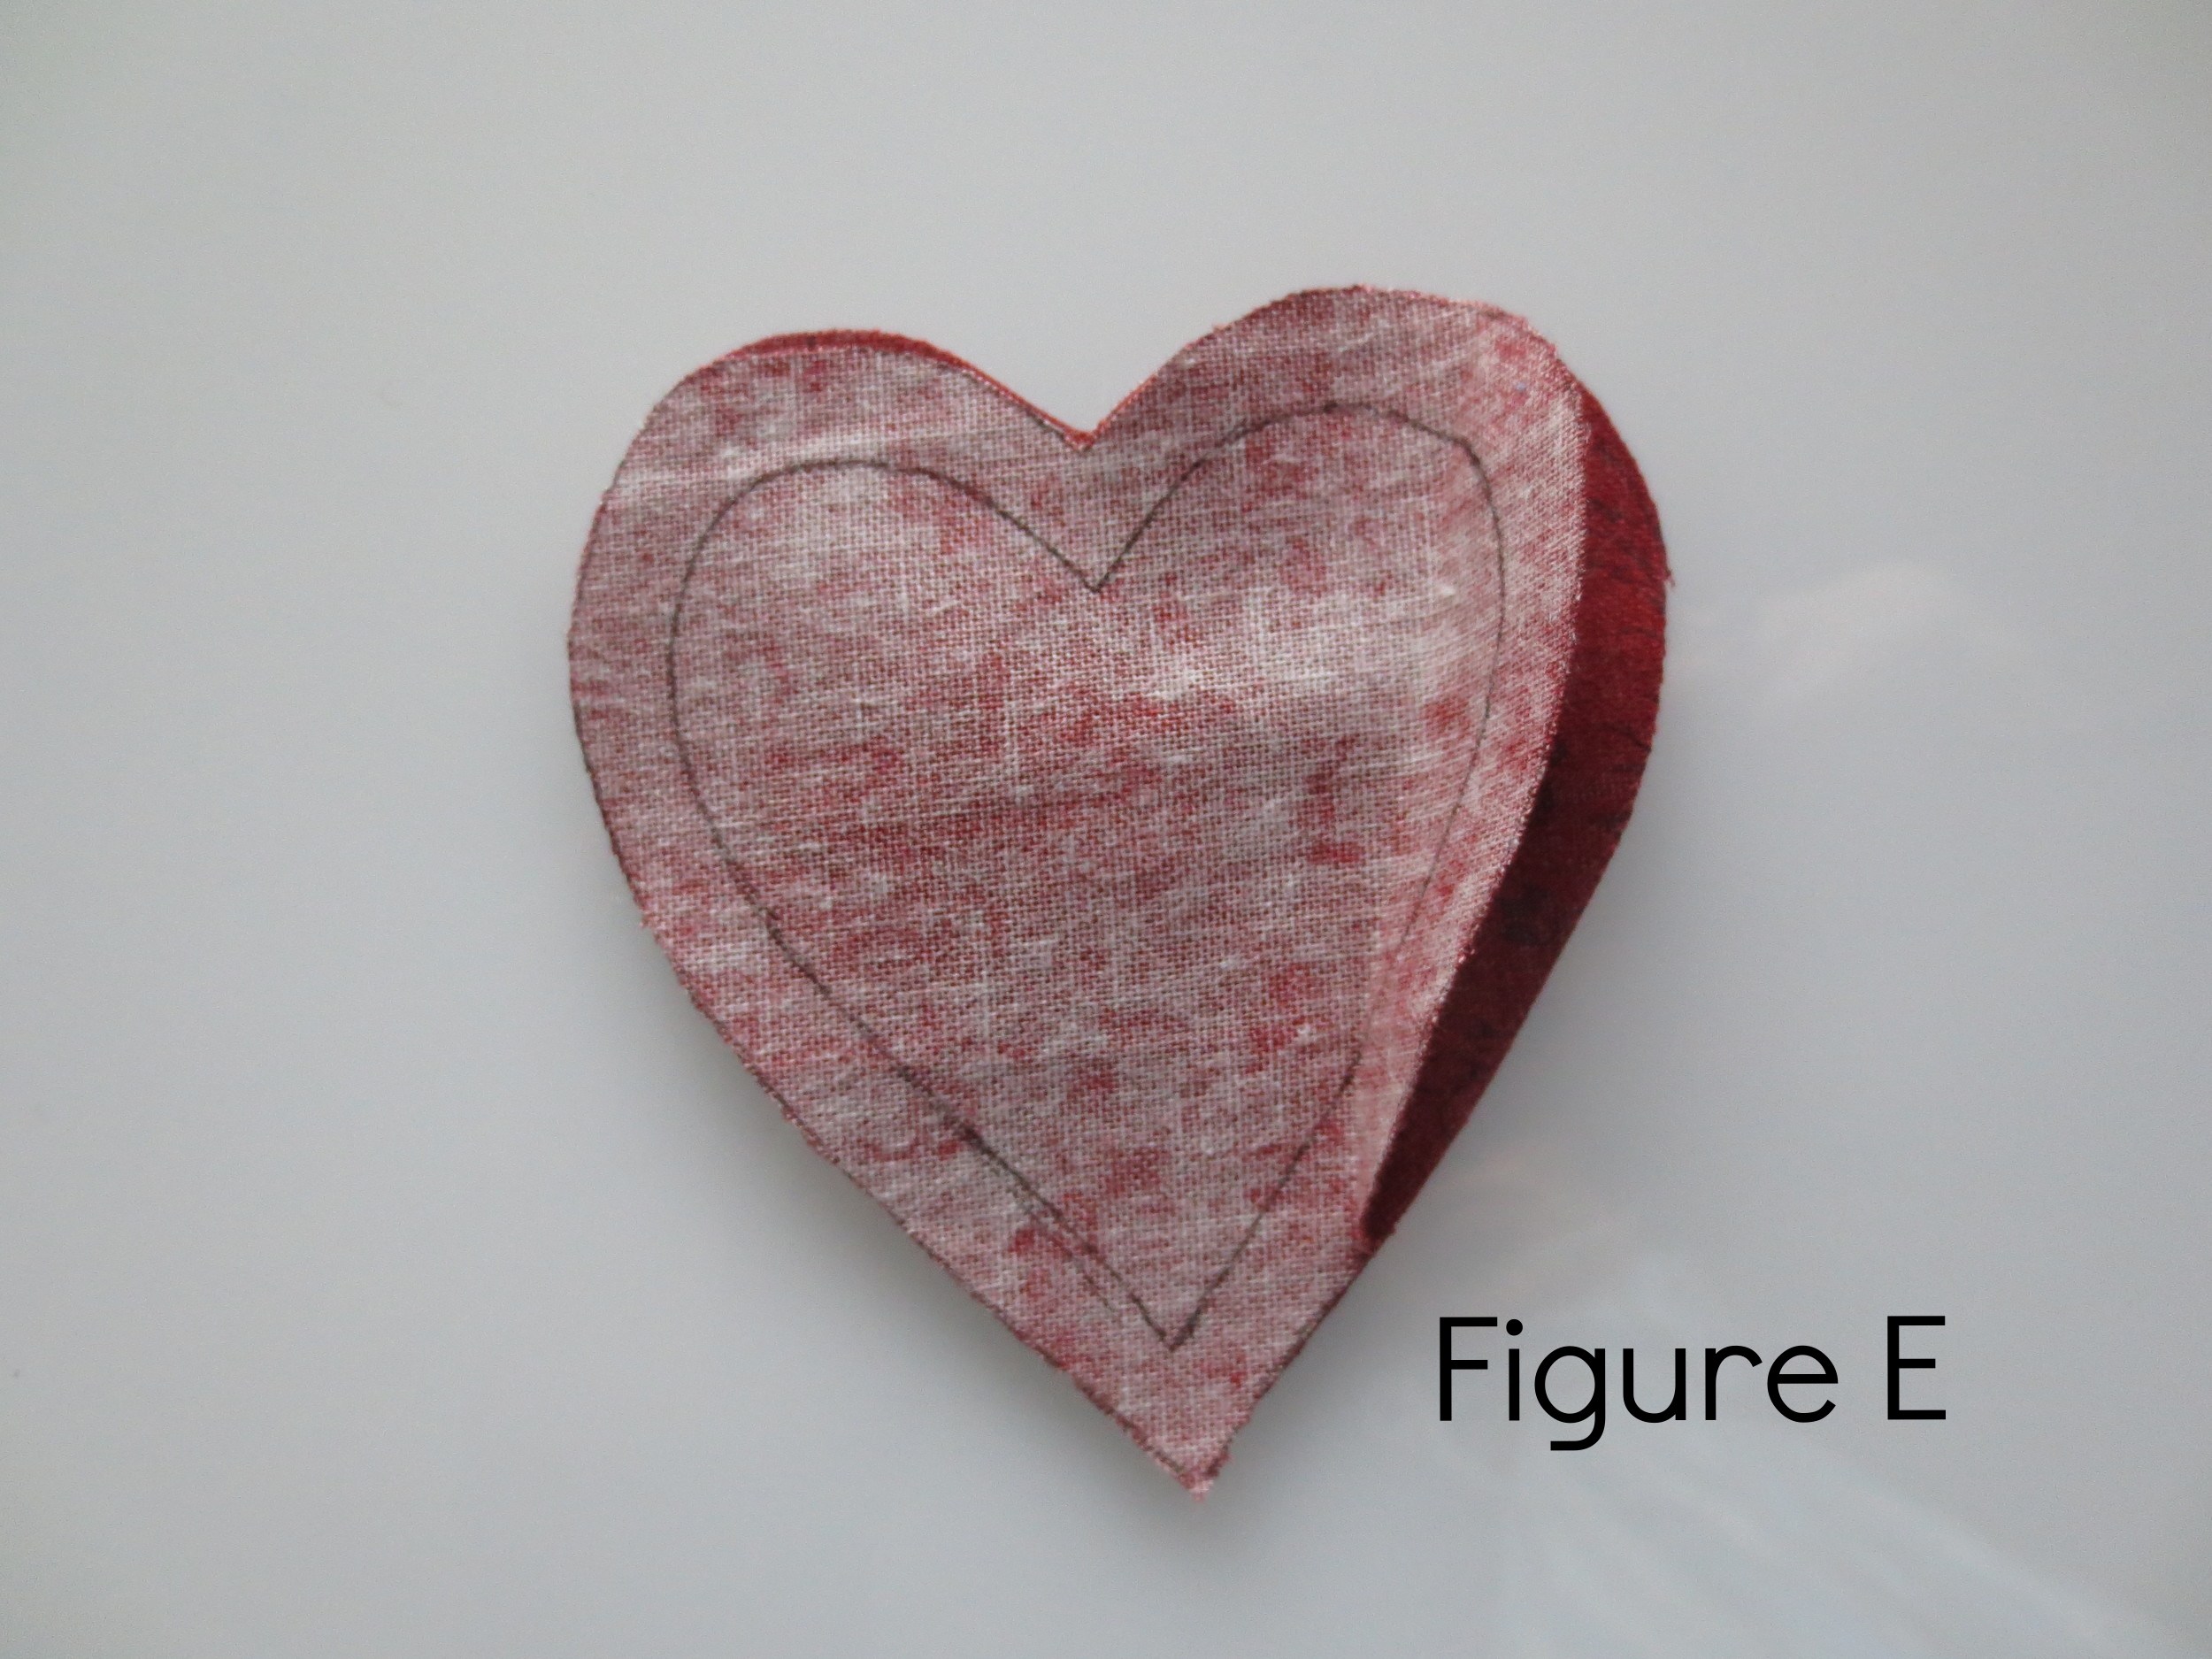
- Layer the front and back with right sides together (Figure E). Pin together.
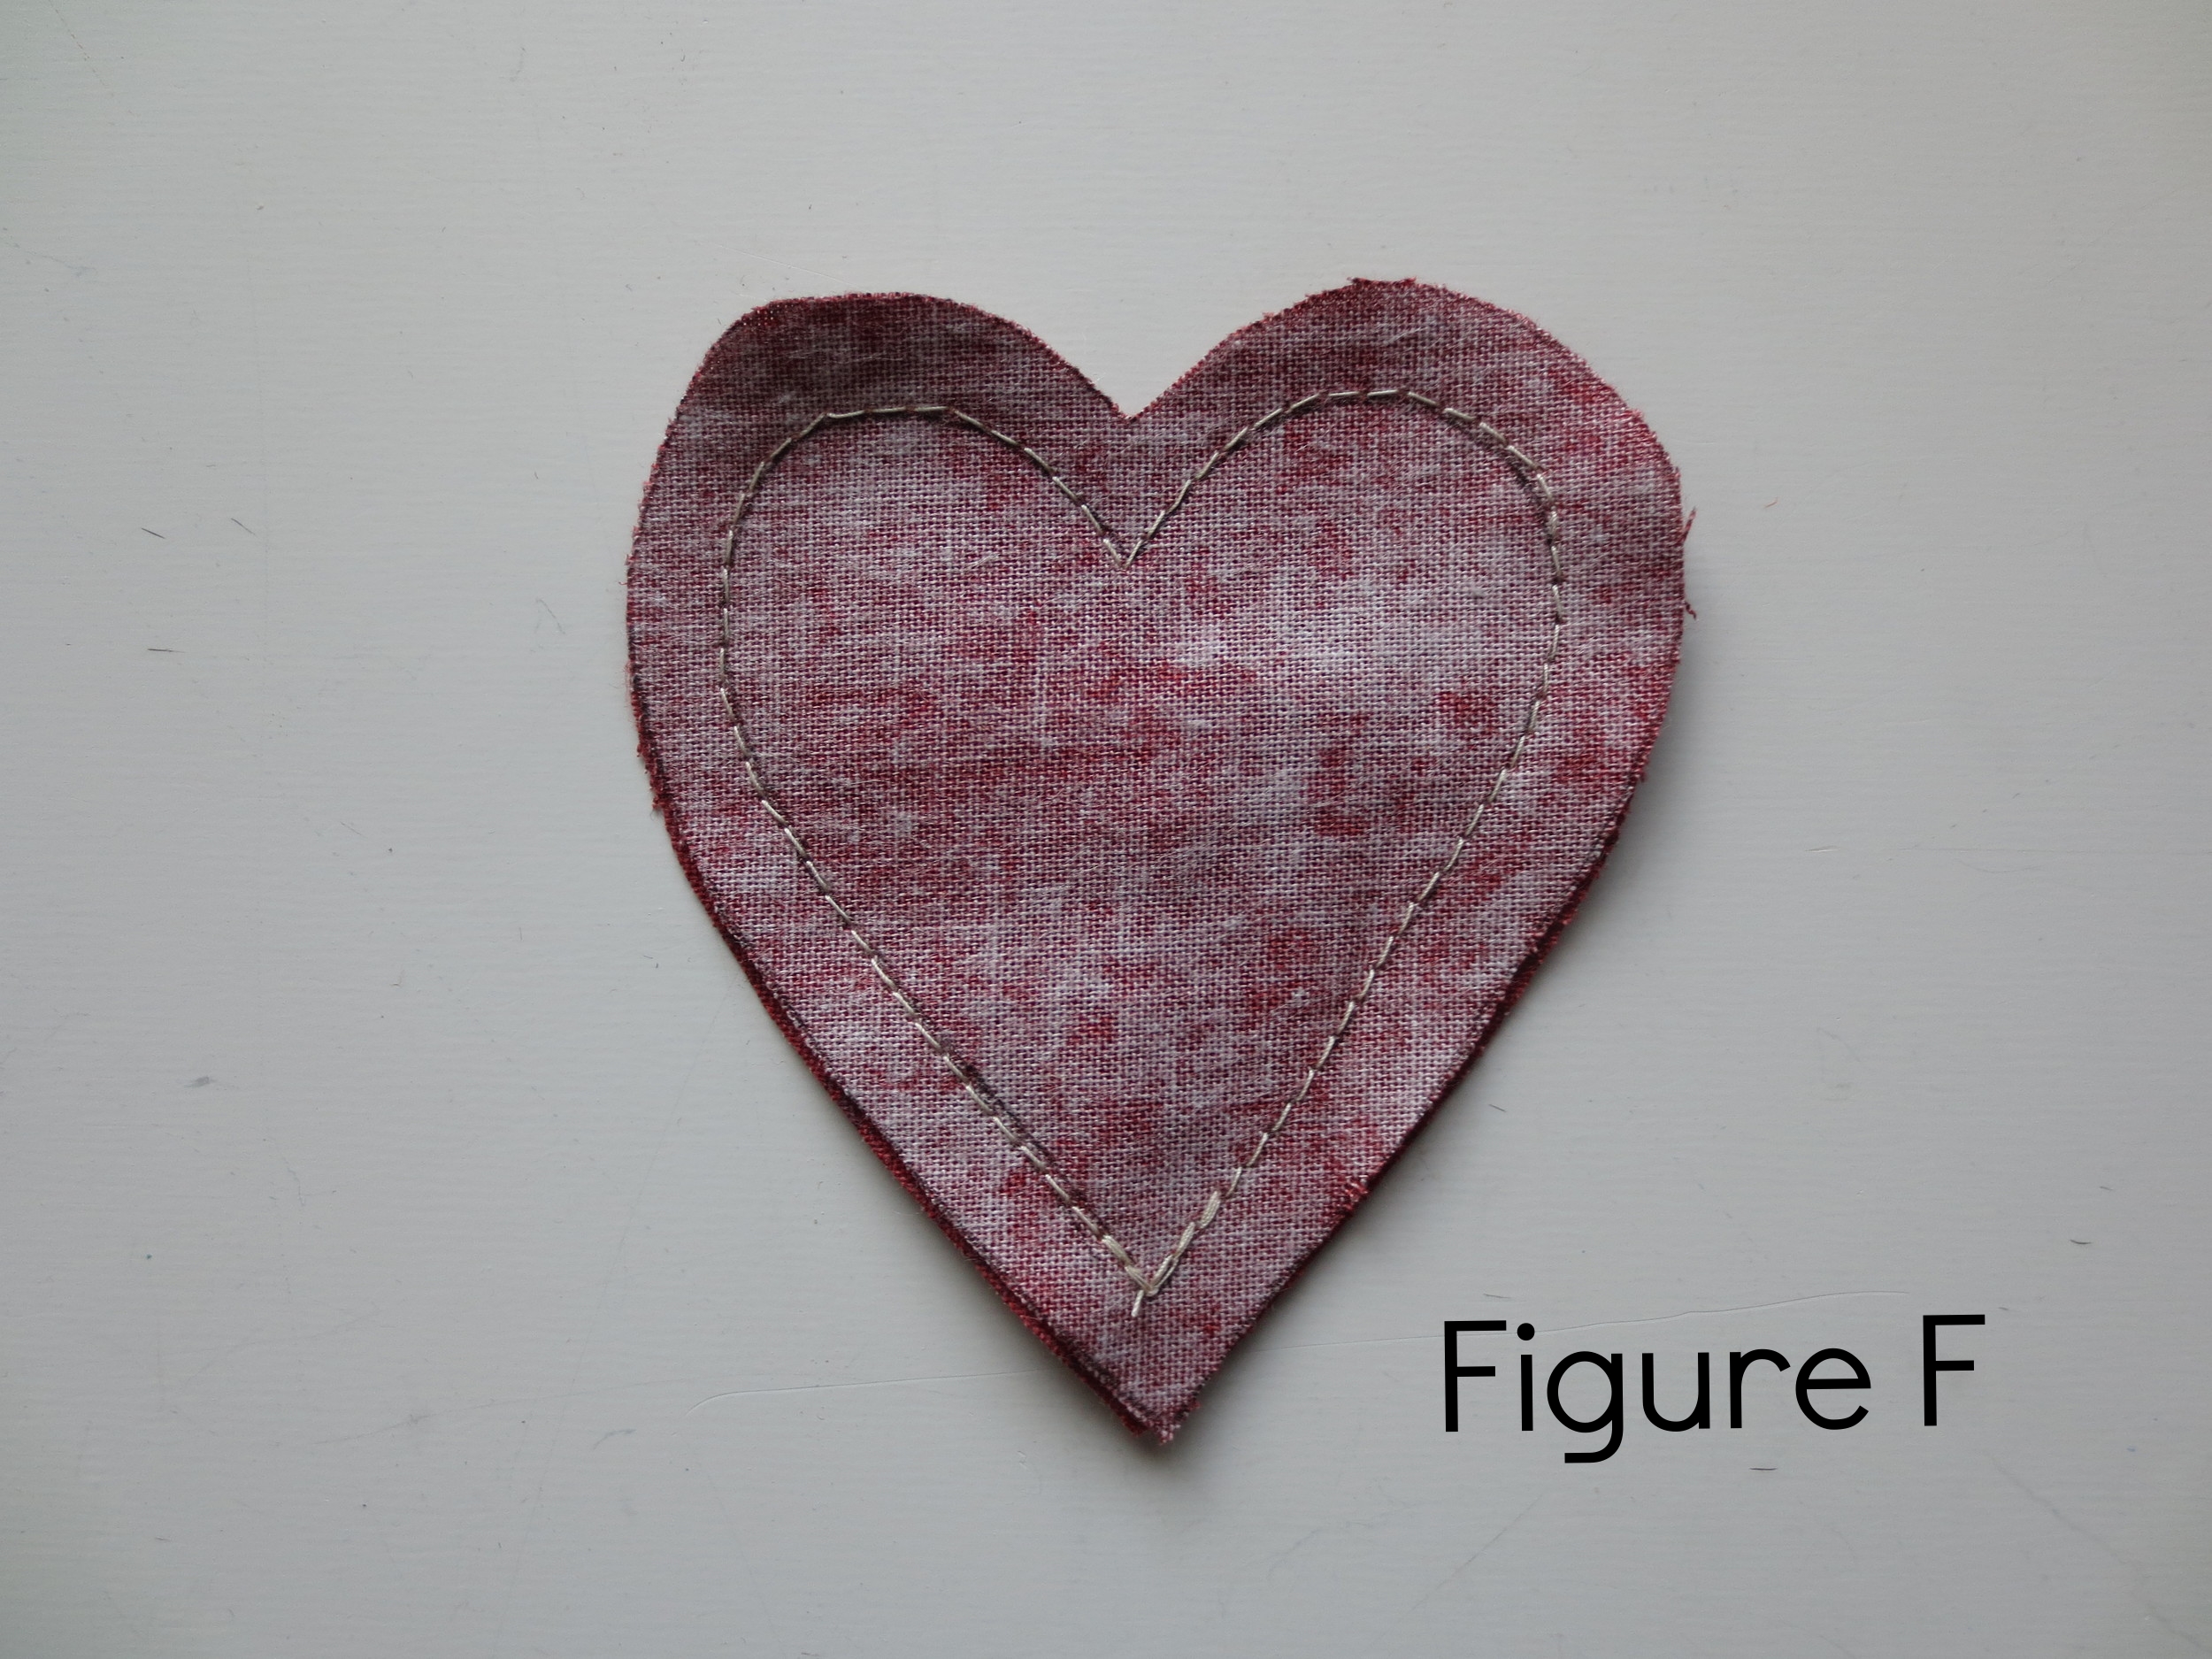
- Stitch over marked line (Figure F).
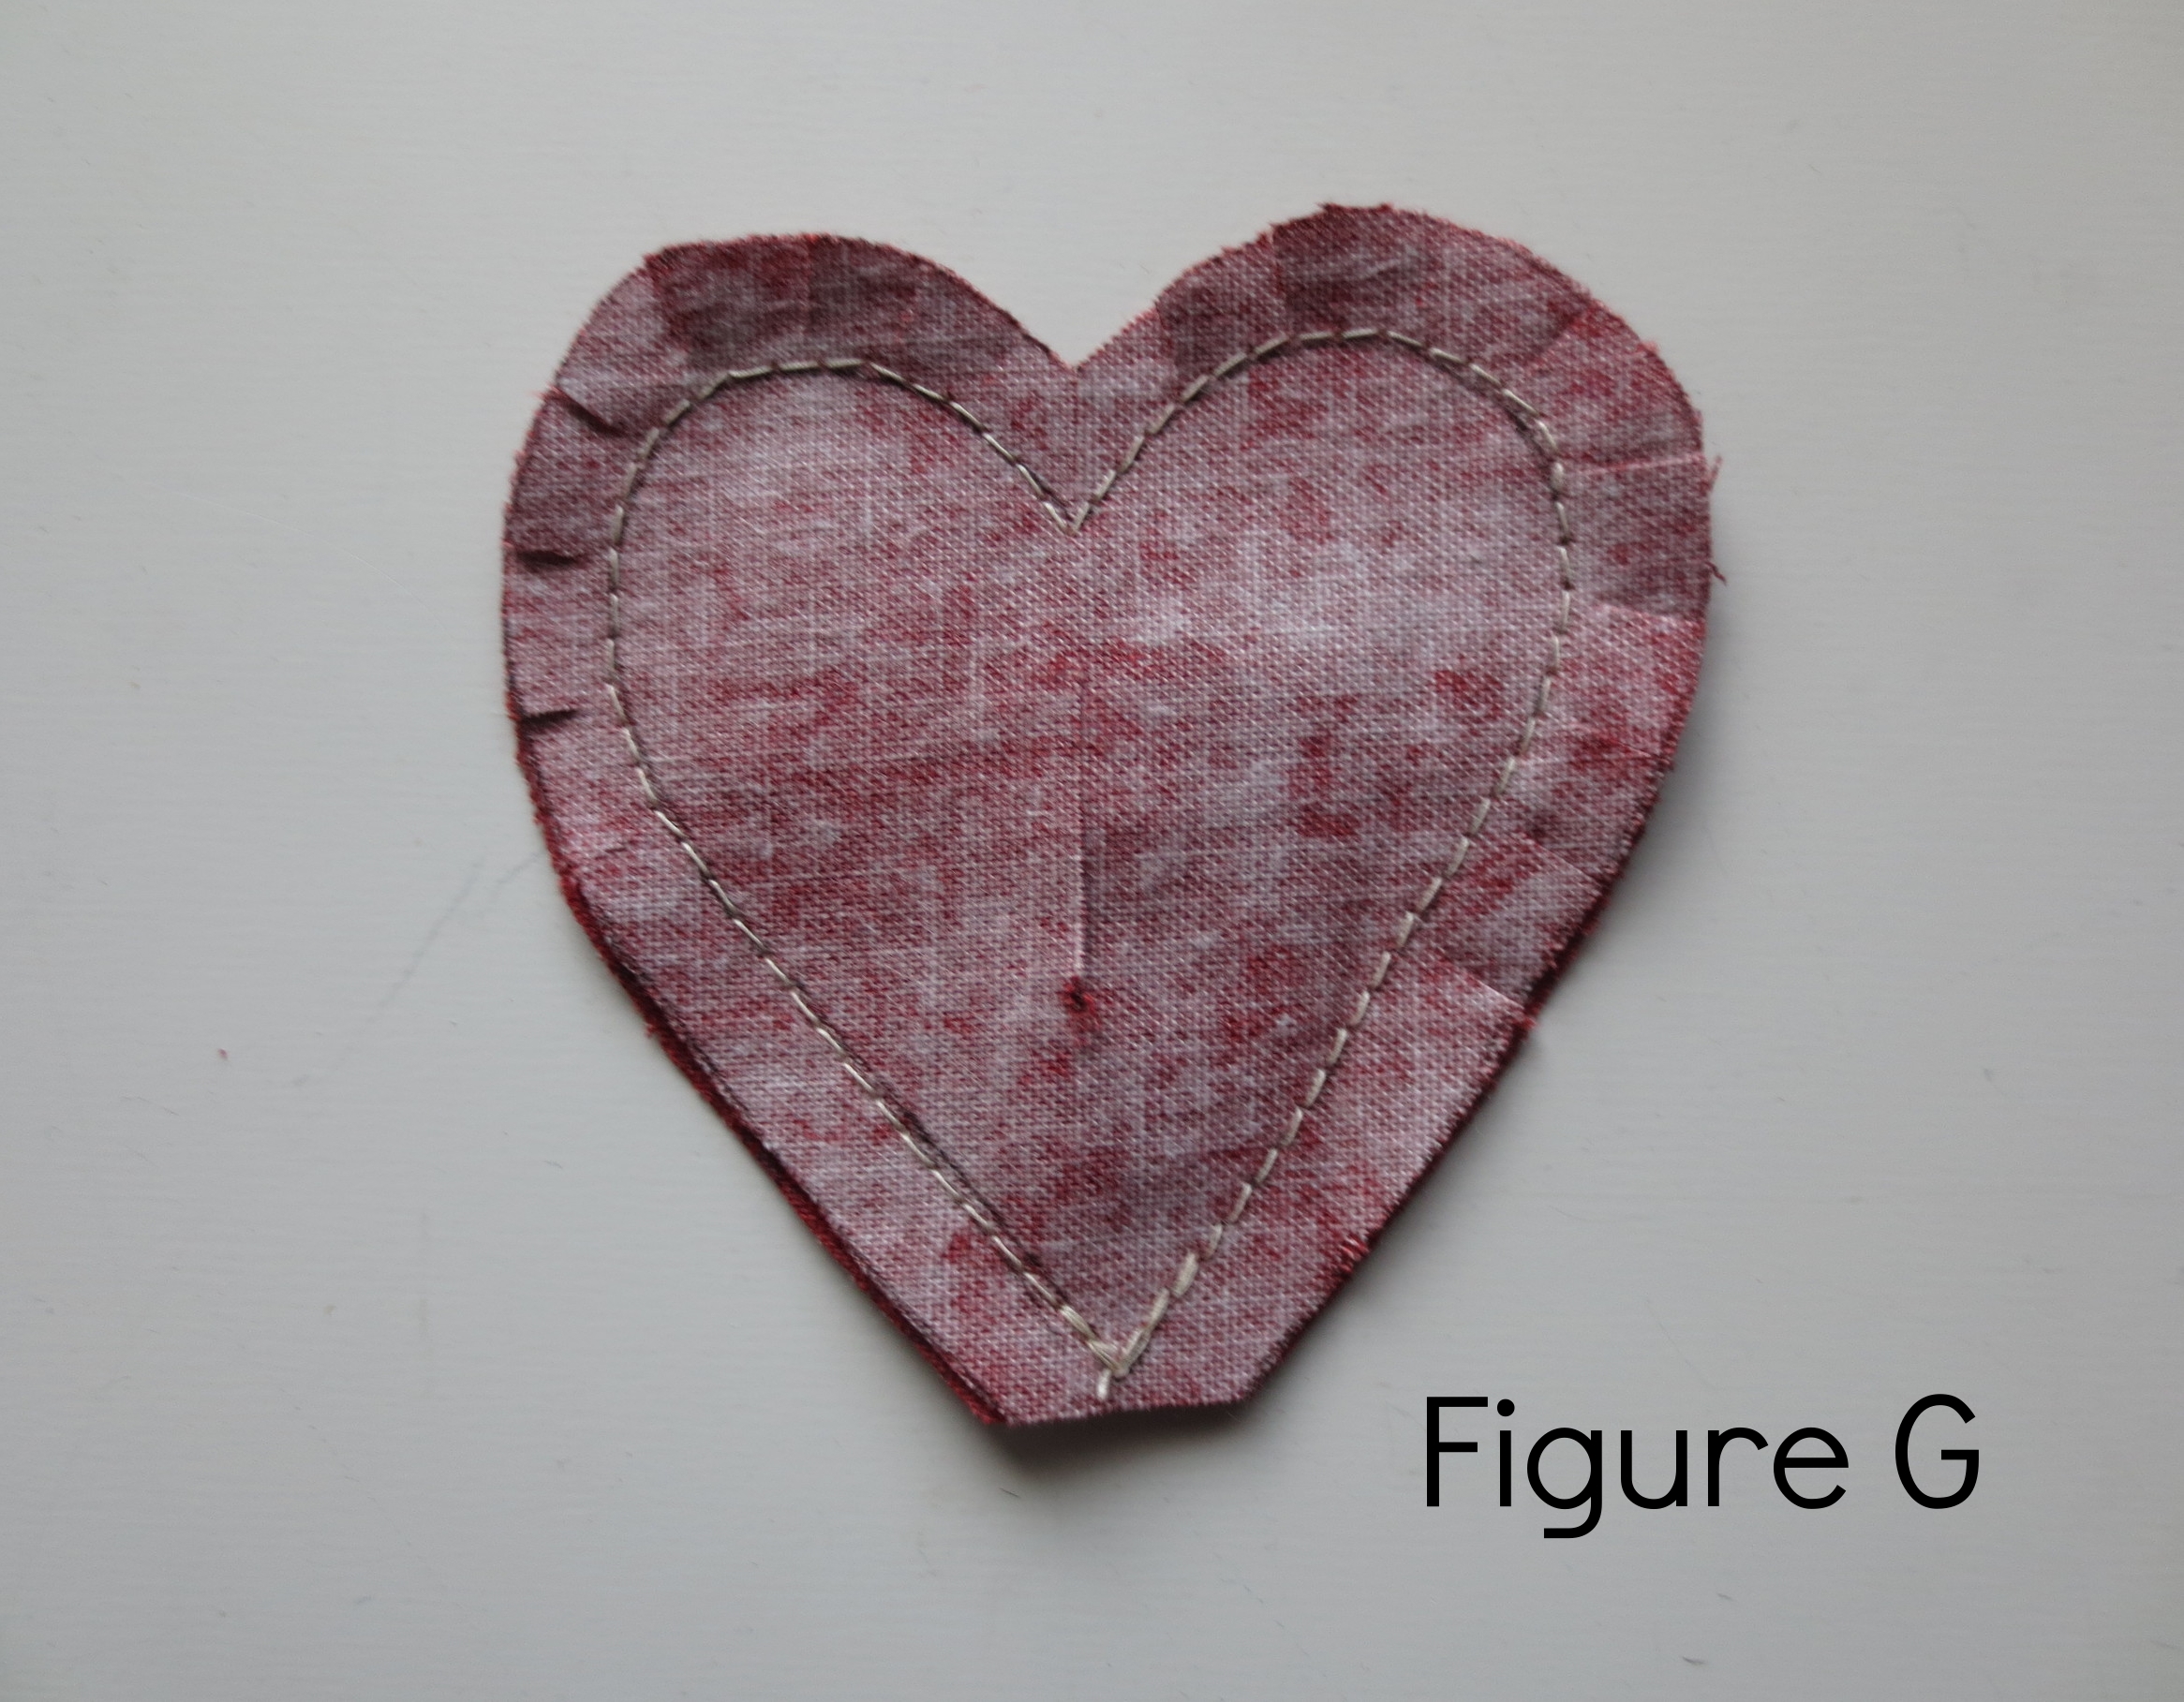
- Clip curves and cut off tip of heart (Figure G).
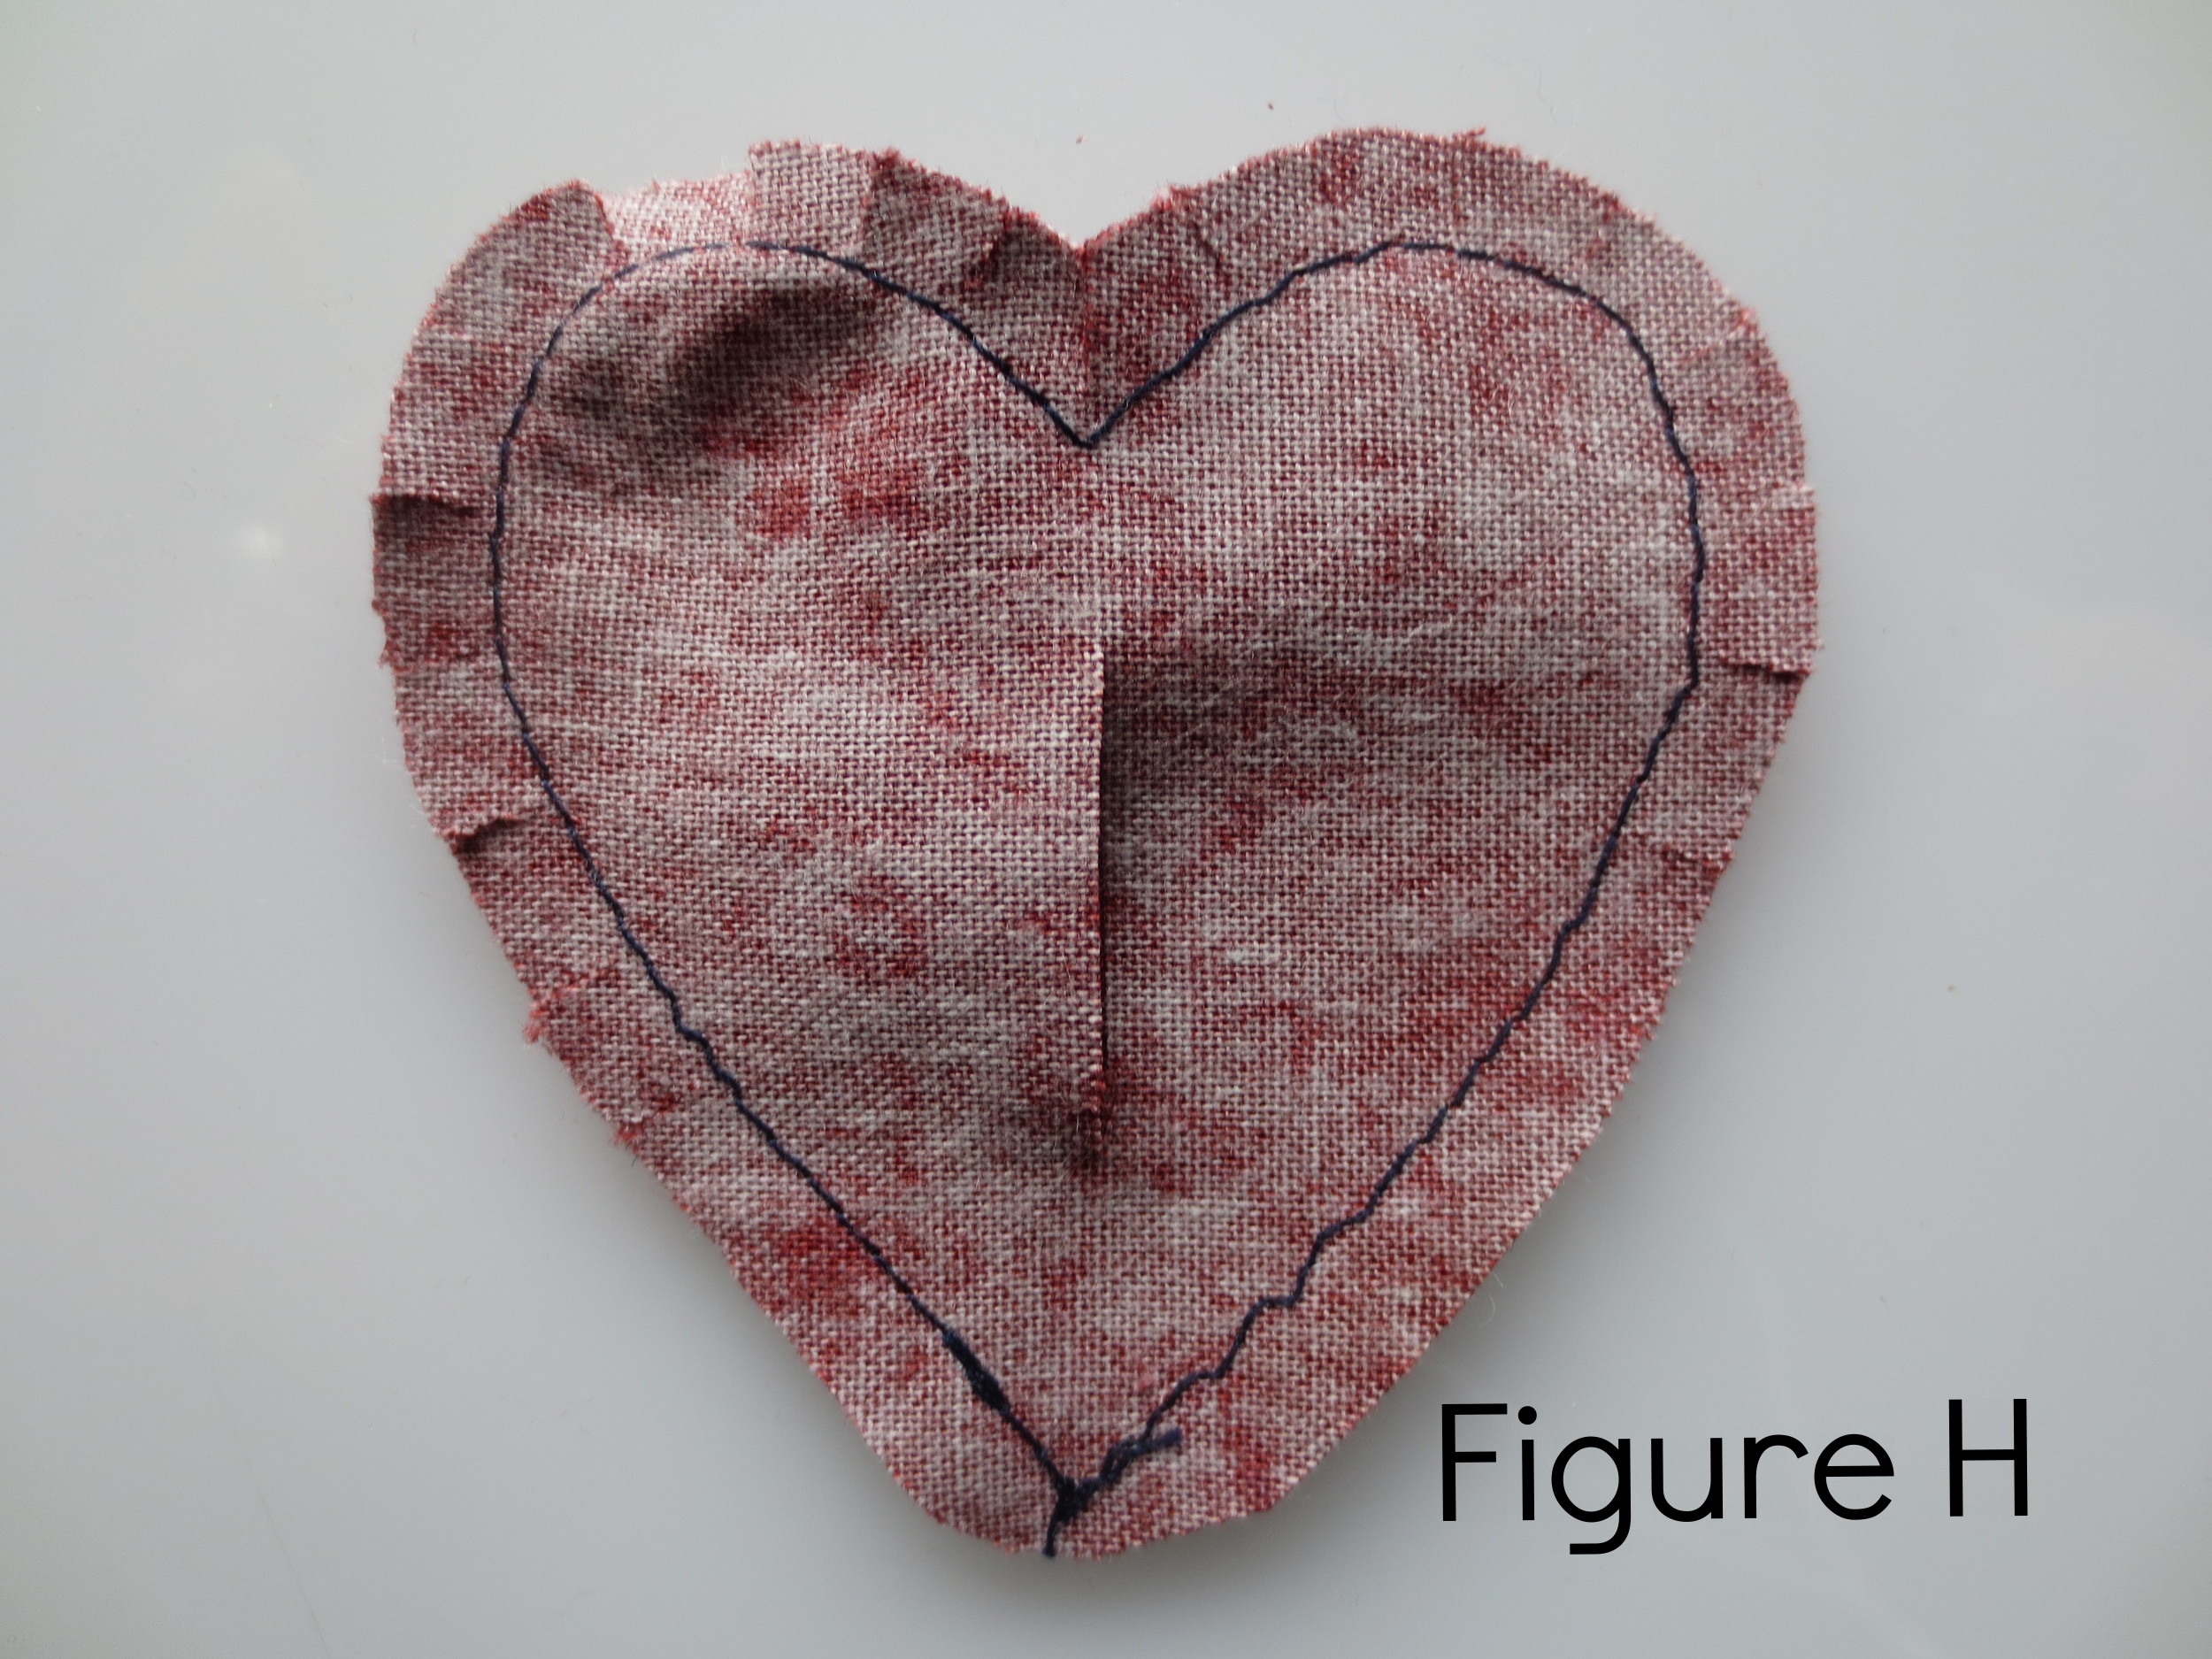
- Cut a 1" slit in the back of the heart (Figure H).
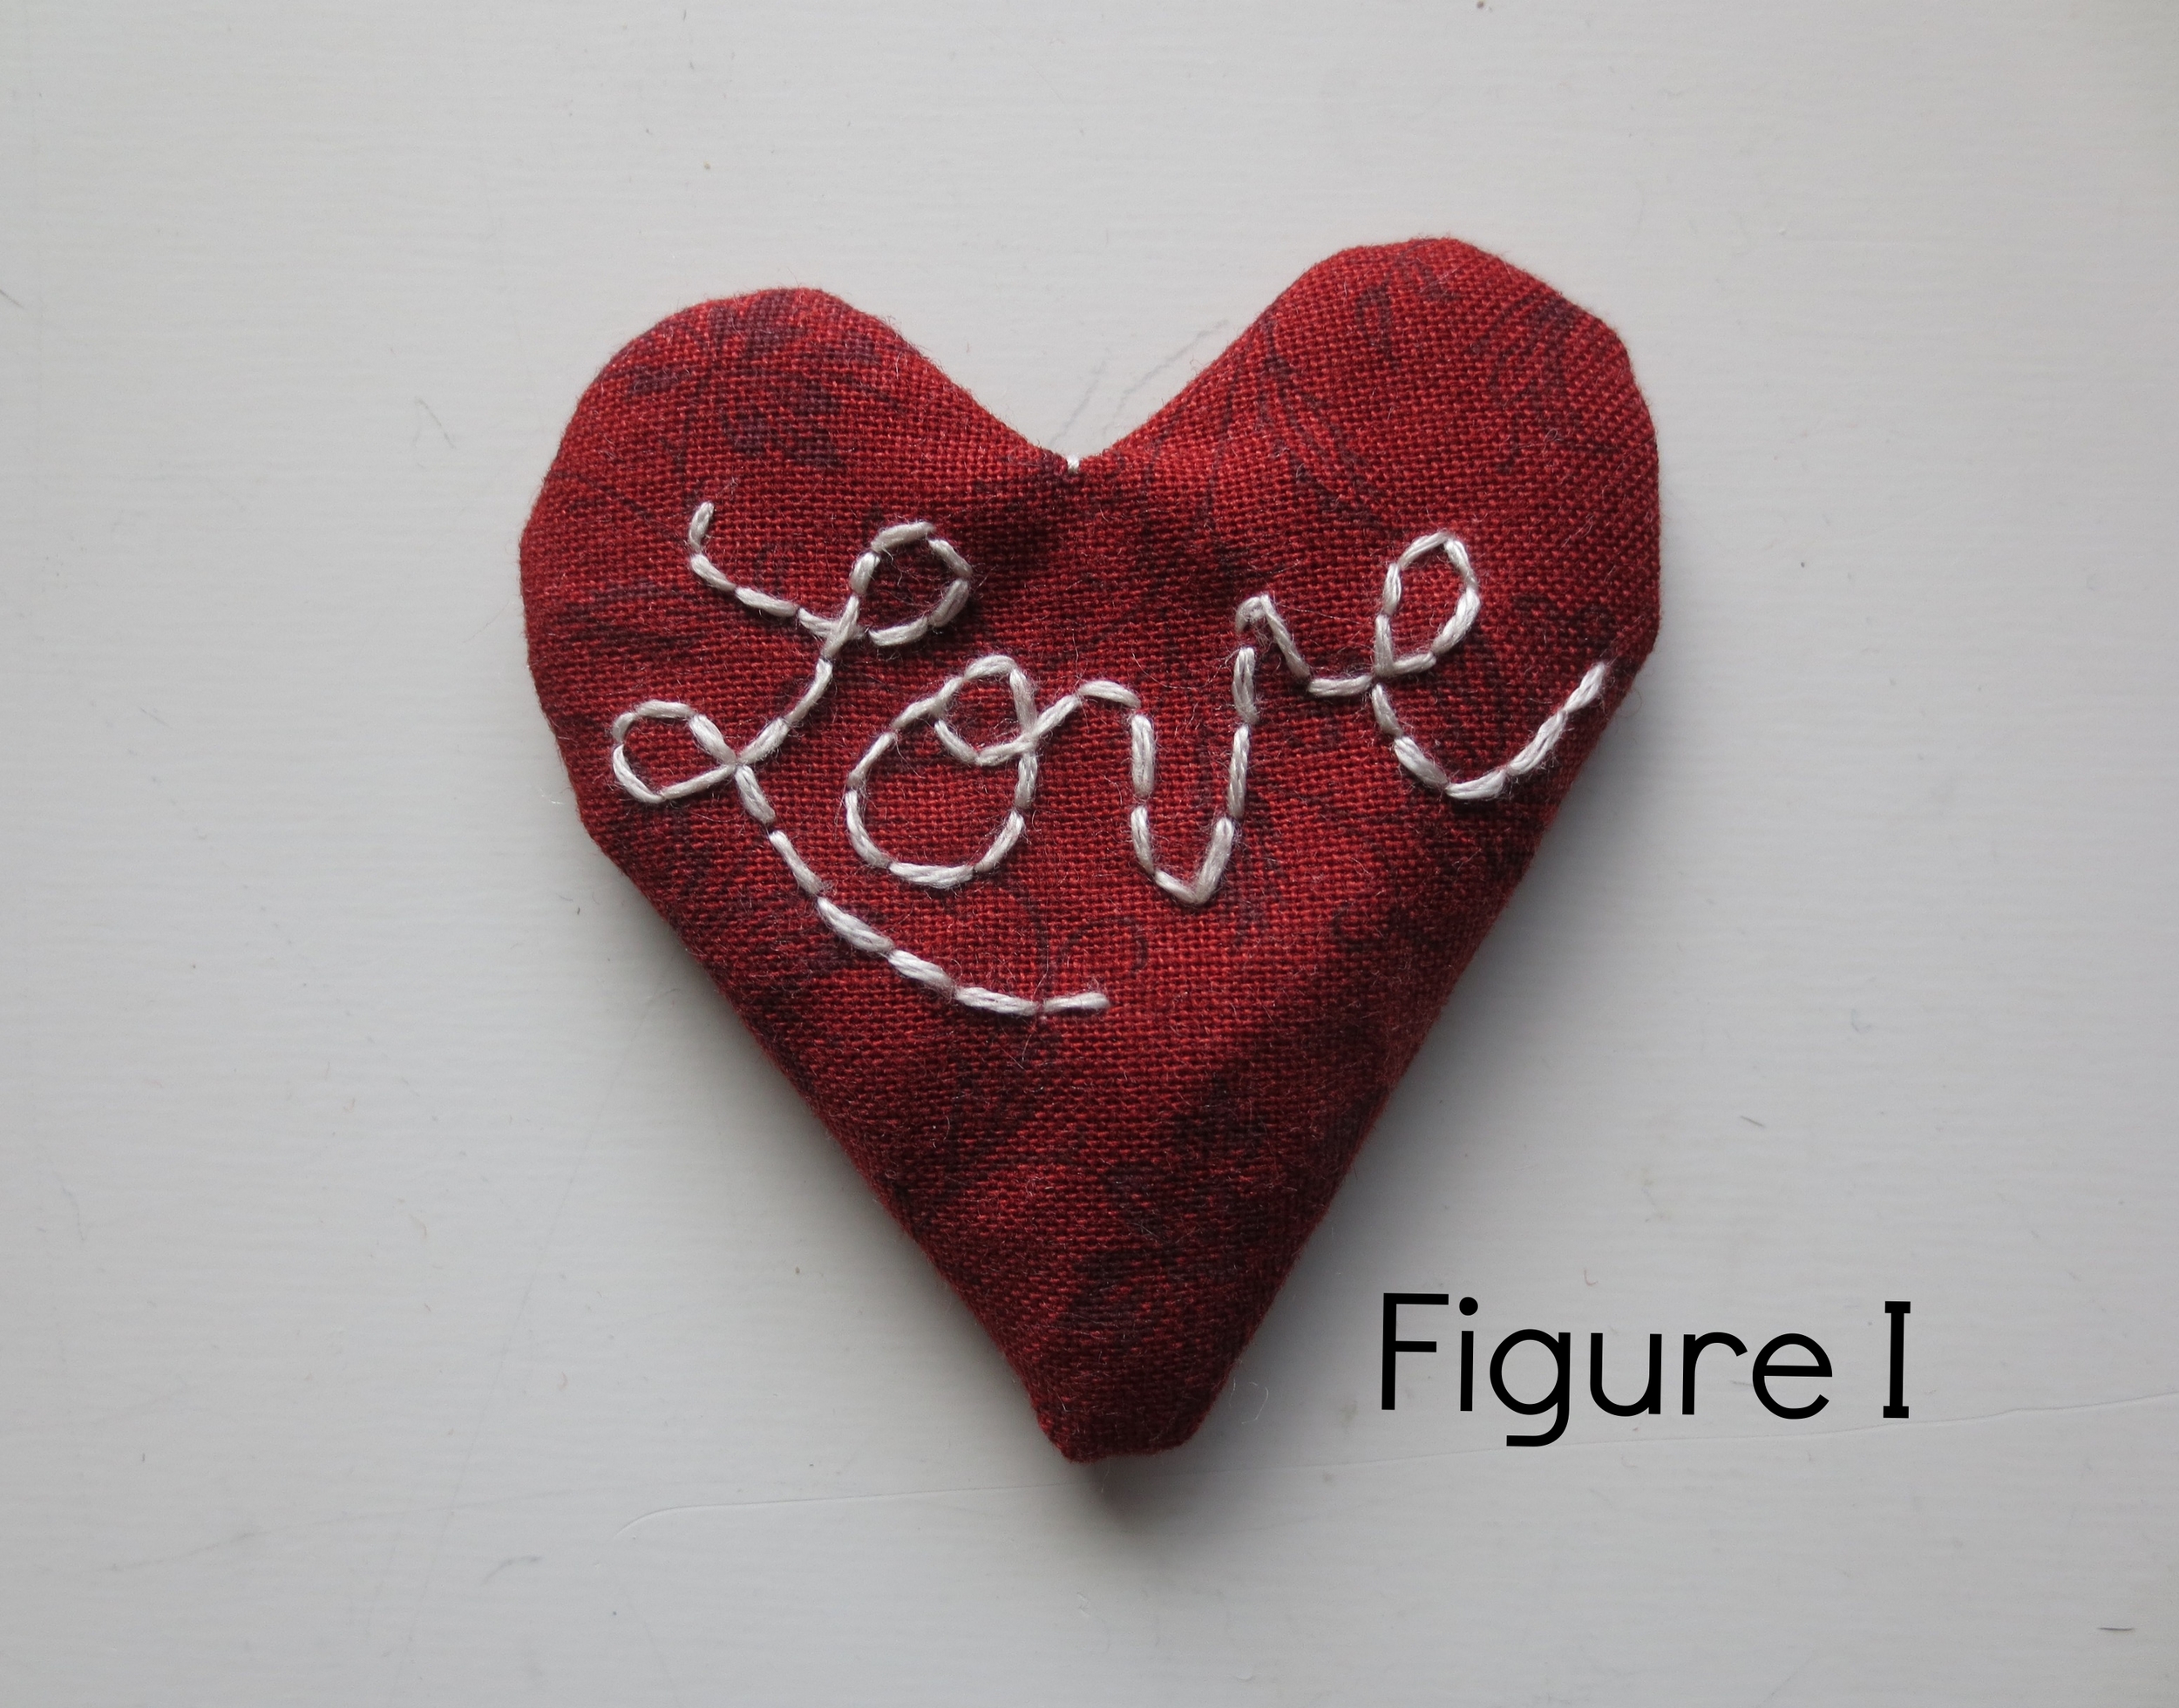
- Turn heart inside out by pulling the inside through the slit. Use a bone folder or pointer to make the edges smooth (Figure I) . Press.
- Set aside until needed.
5. Applique
- Trace pattern pieces onto fusible web. Cut out pieces approximately 1/8" larger than pattern, and fuse (using steam) to desired wool. Cut out wool pieces along pattern outline.
- Remove paper backing from chest, face, hair, bodice, and top and bottom wings.
- Layout chest, face and wings on background fabric. Fuse in place using steam.
- Position hair and bodice (bodice slightly overlaps chest). Fuse in place.
- Use matching colored thread to whip stitch all pieces in place.
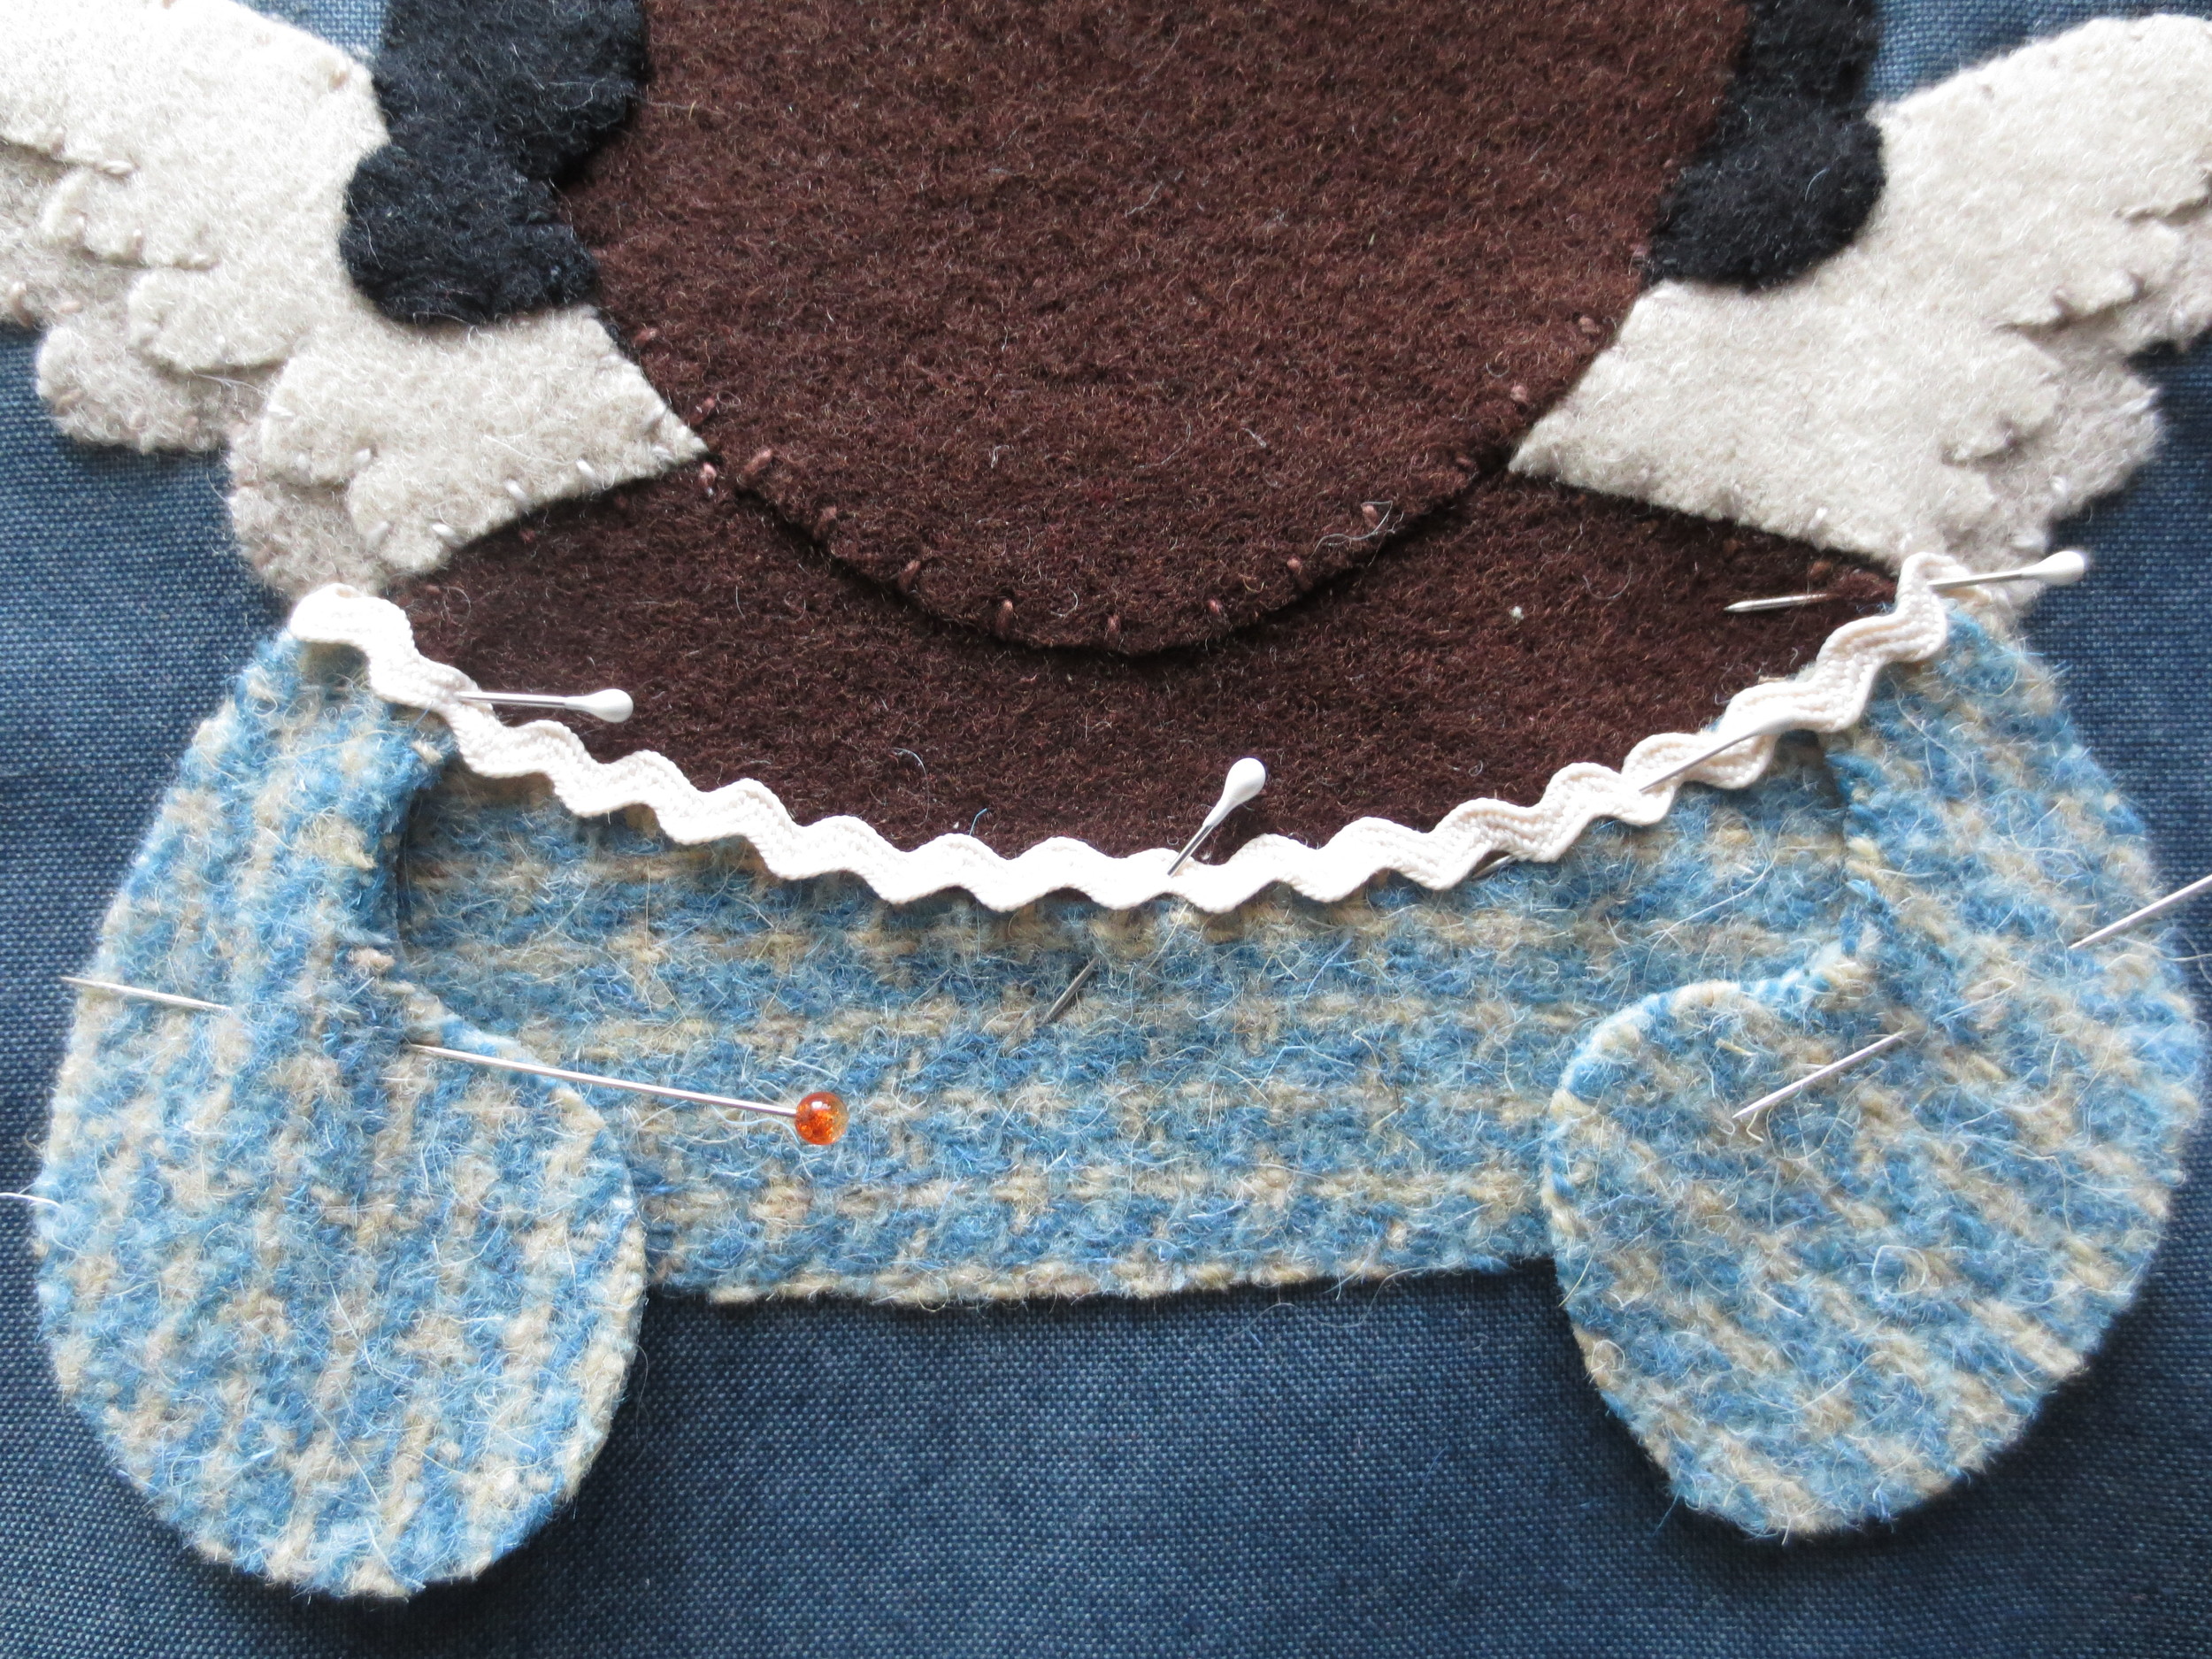
- Layout sleeves and heart. DON'T FUSE! Pin sleeves in place. Remove heart.
- Layout rick rack (folding ends under sleeves) along the bodice top, pinning in place to secure.
- Use an applique needle and sewing thread to whip stitch rick rack.
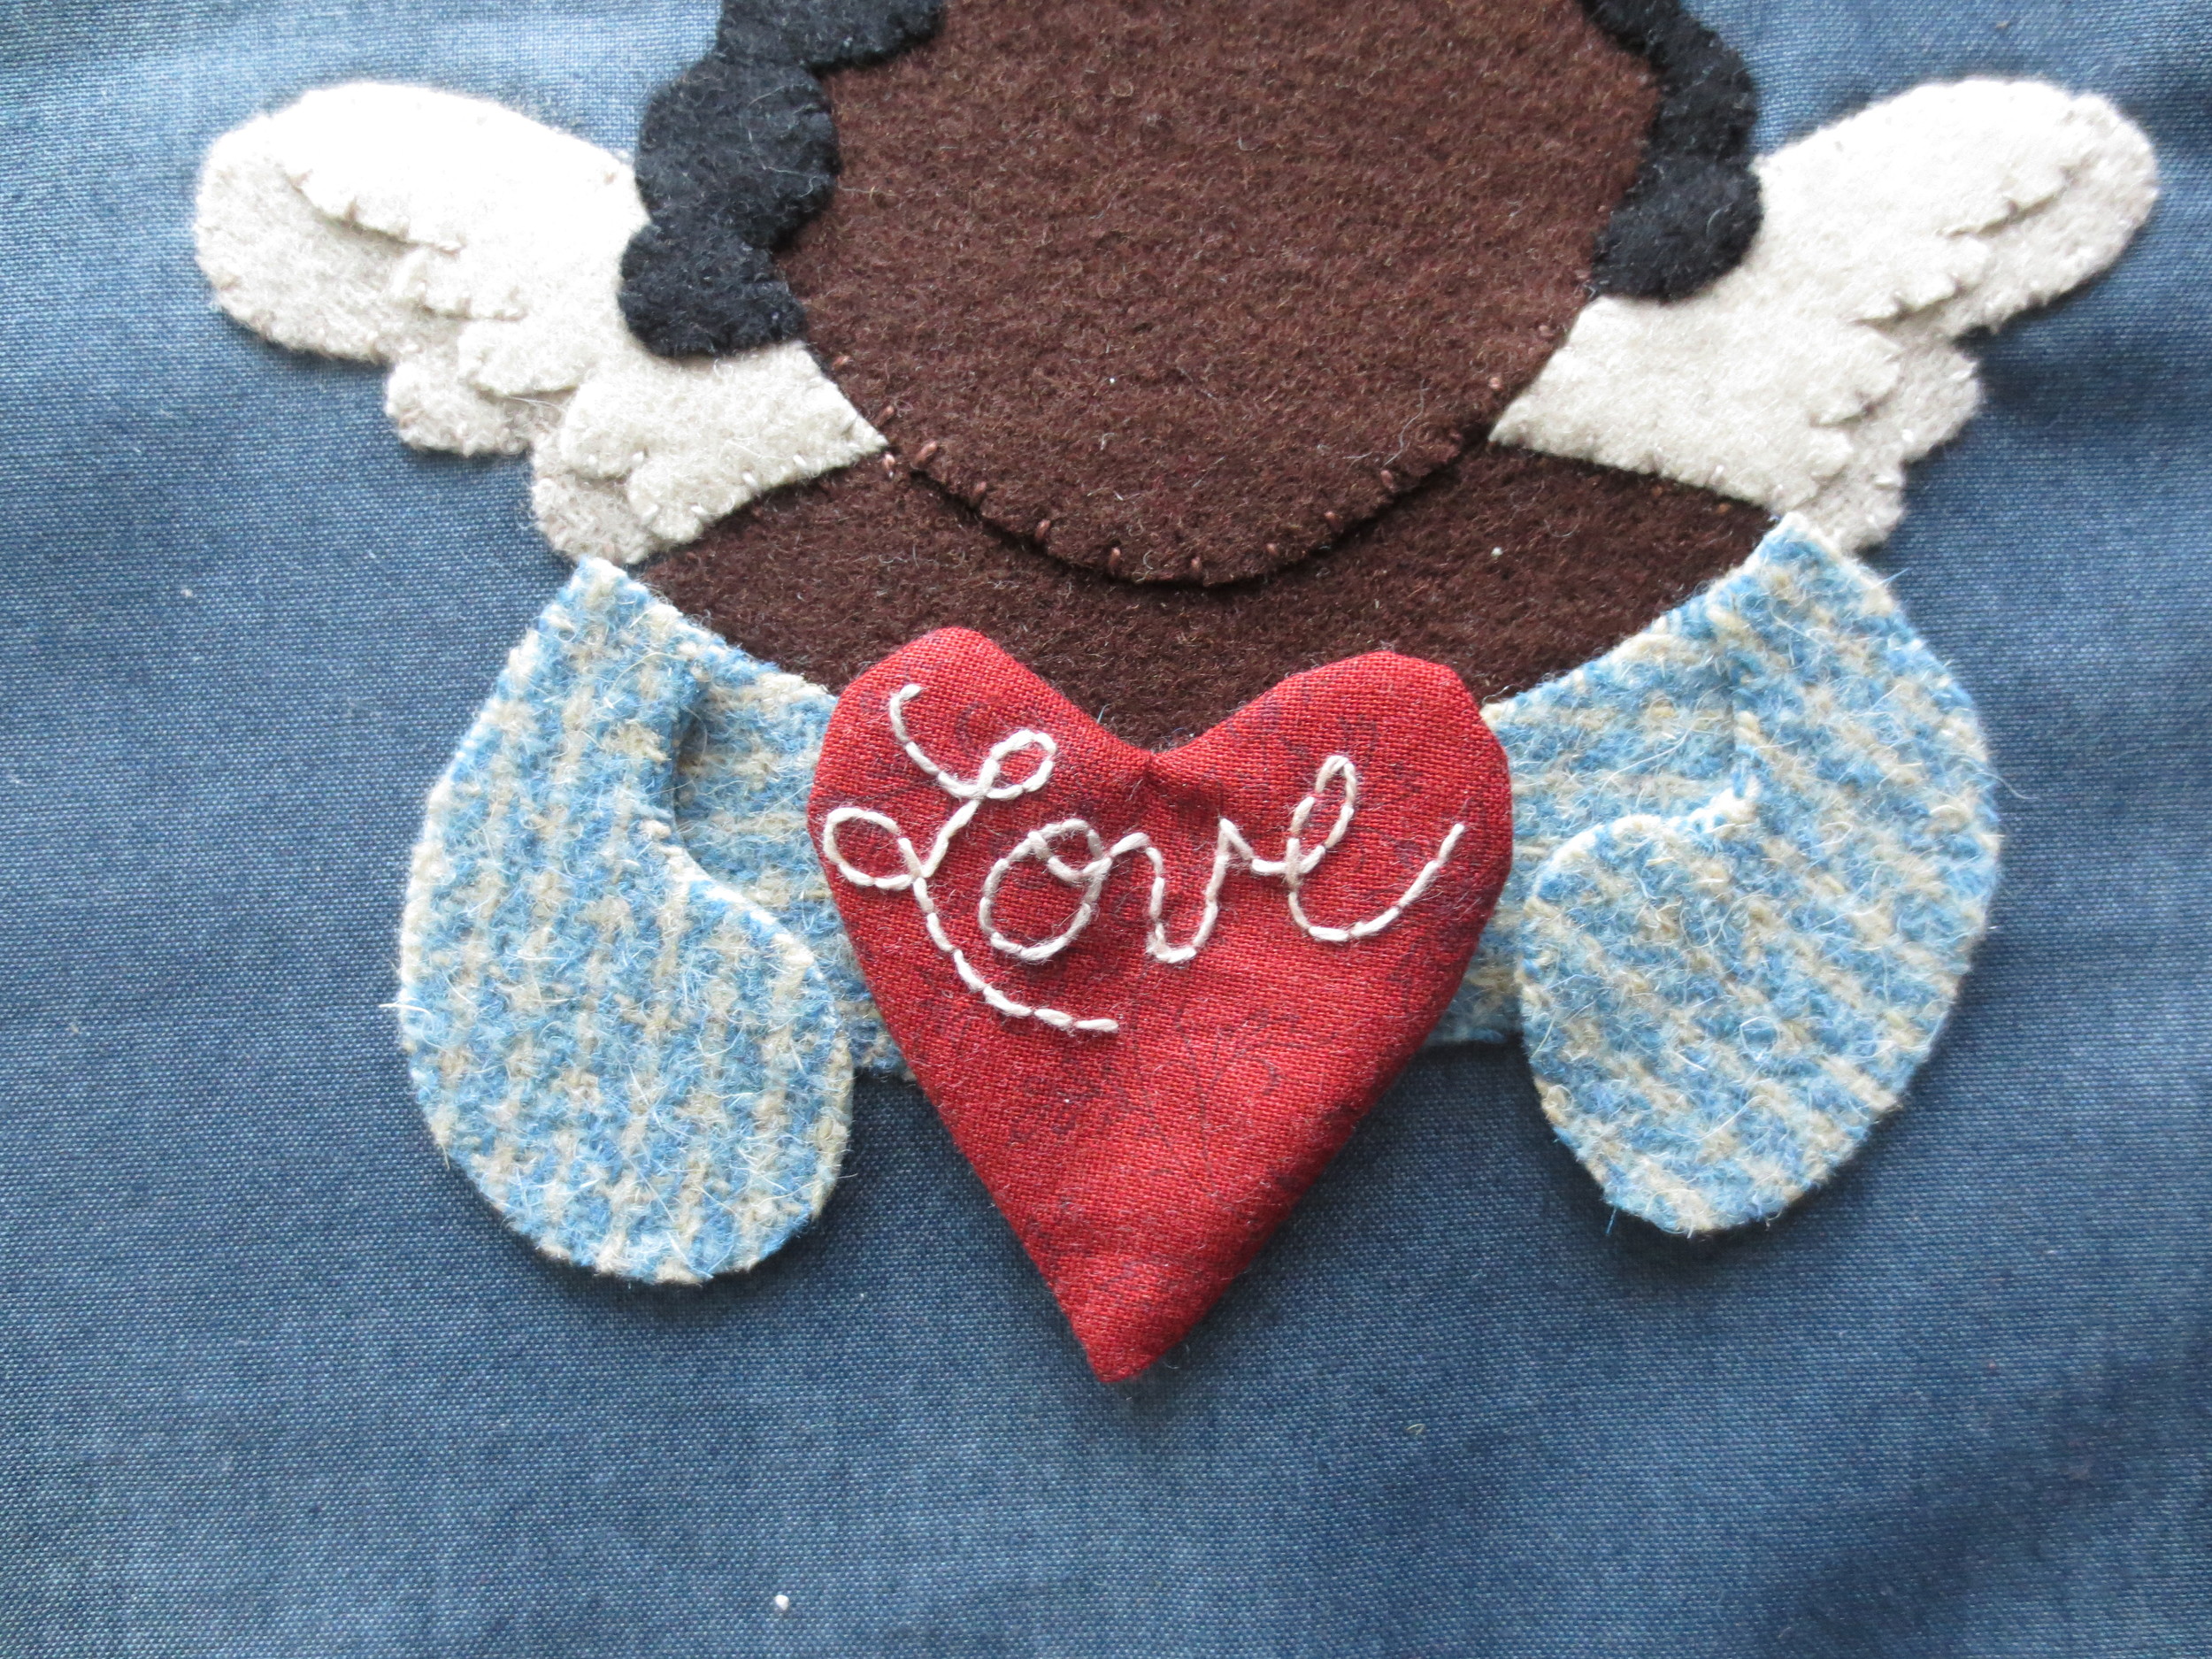
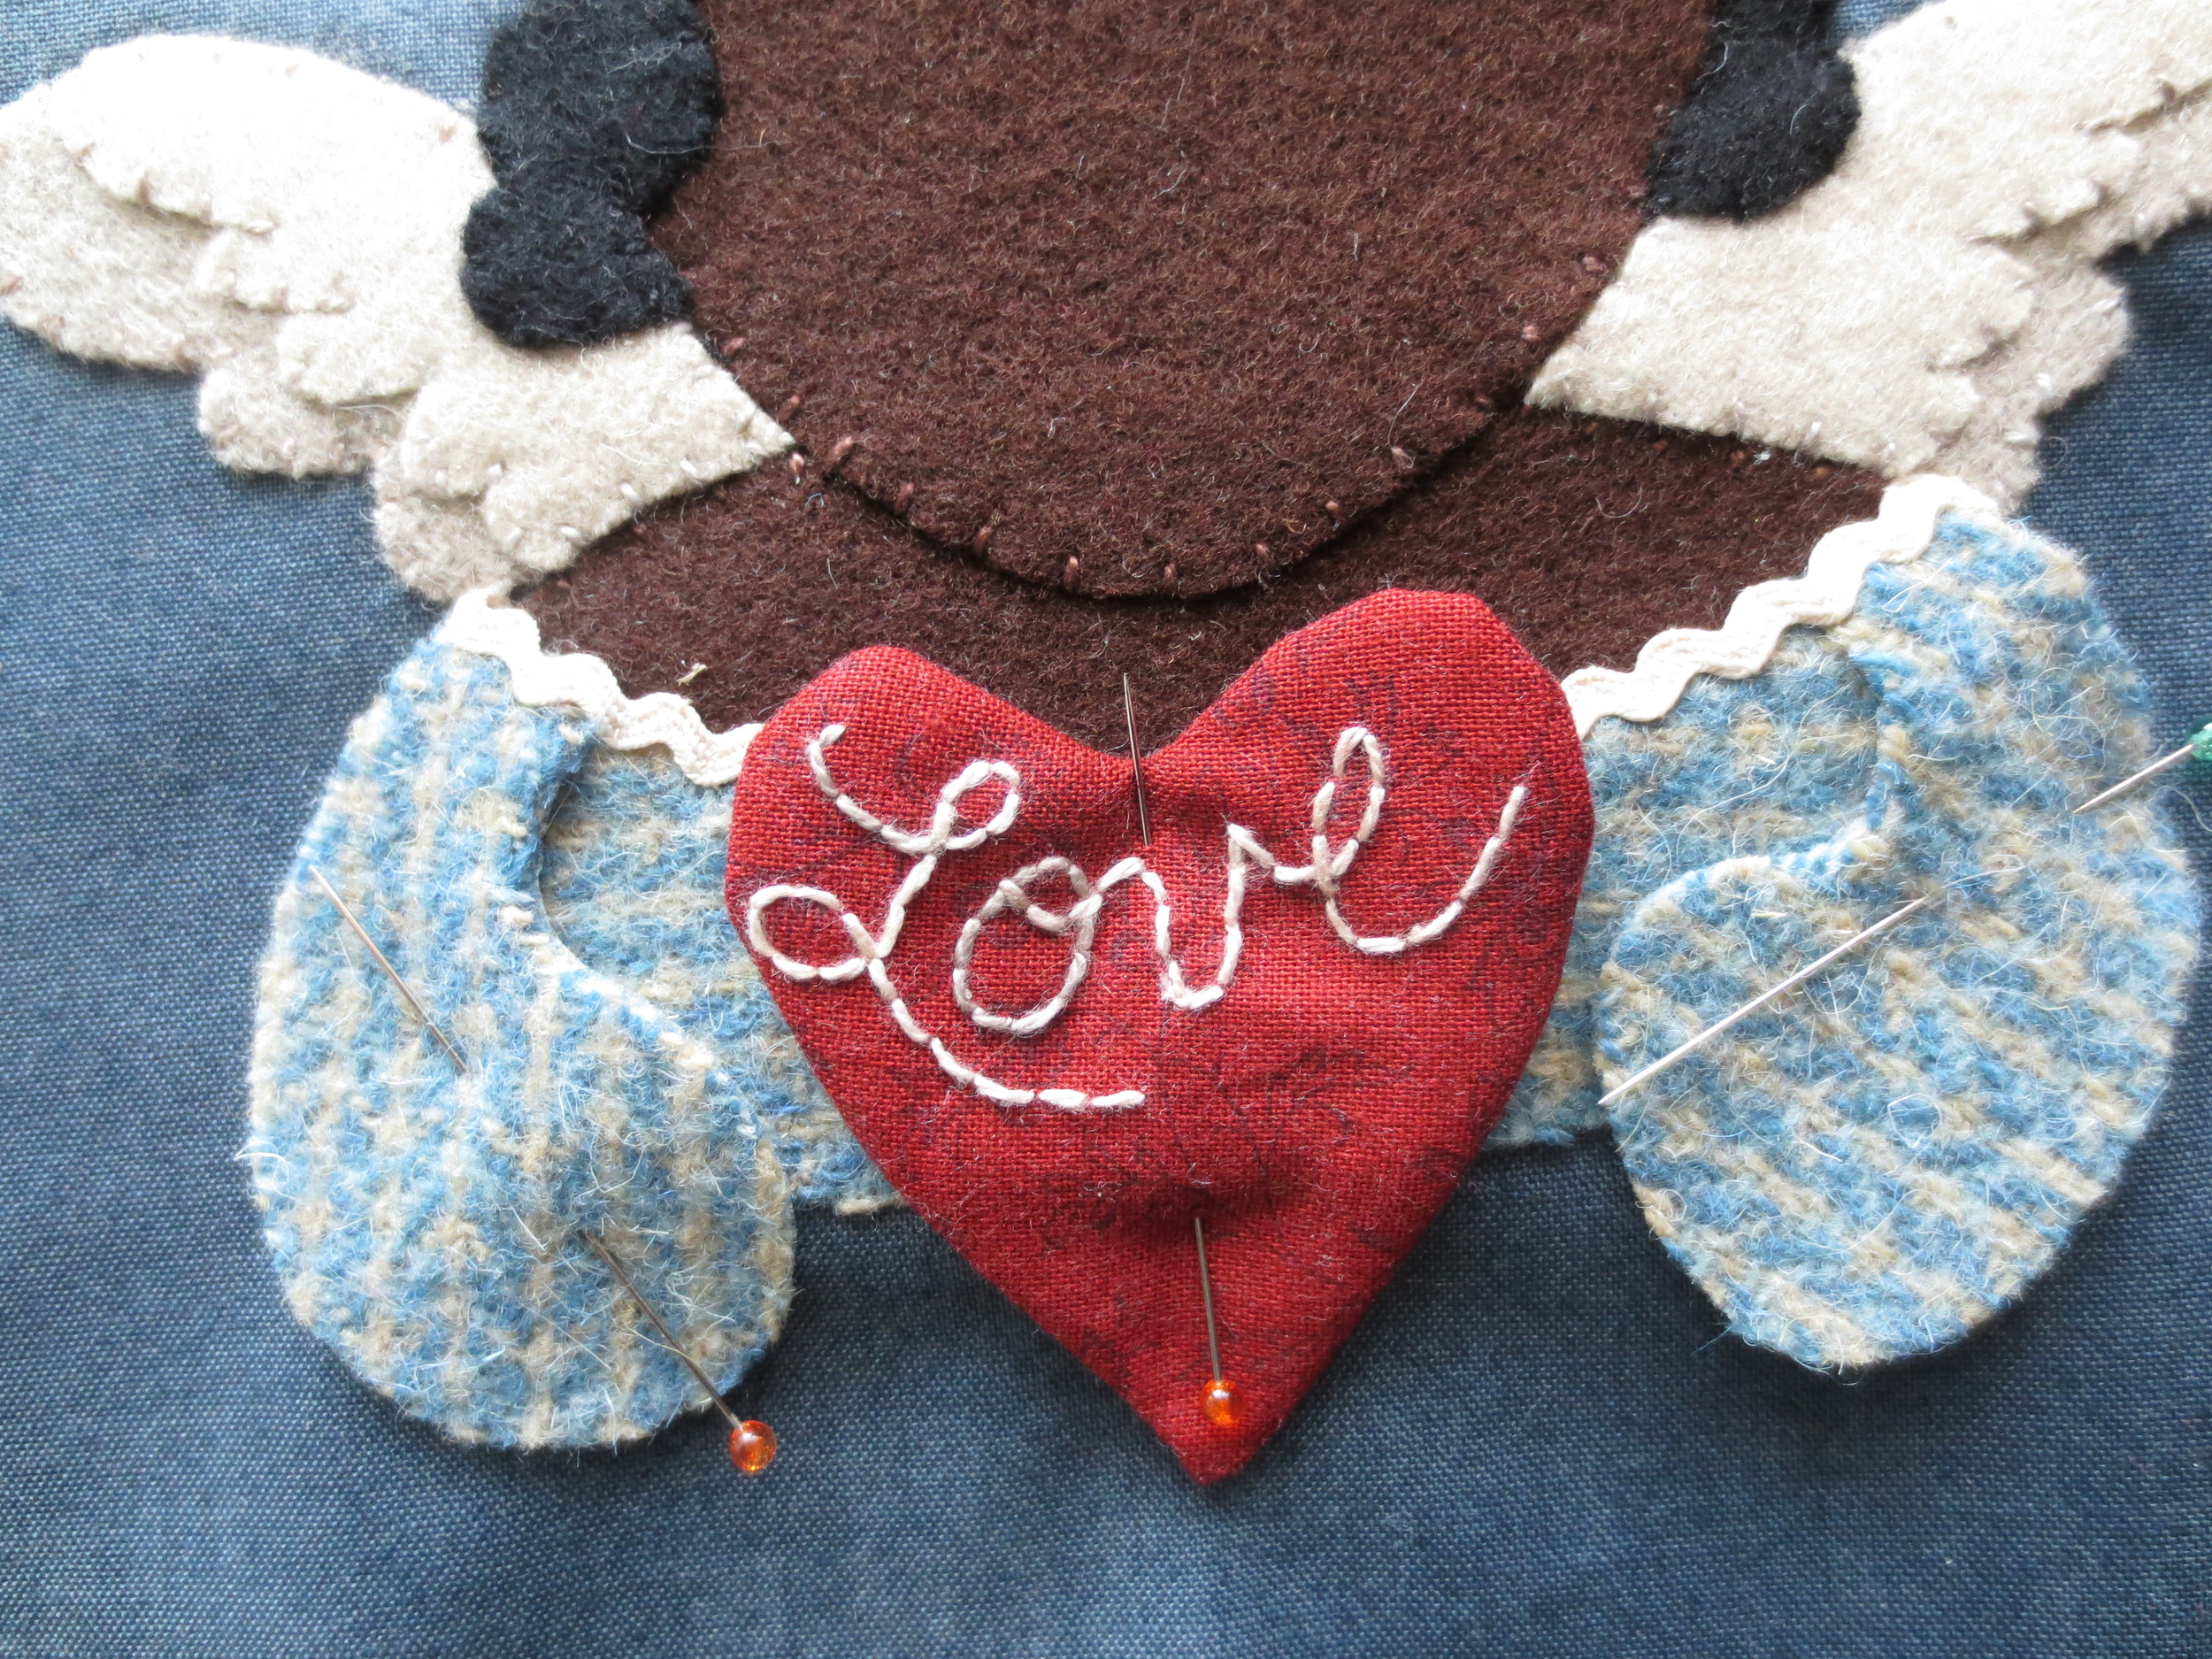
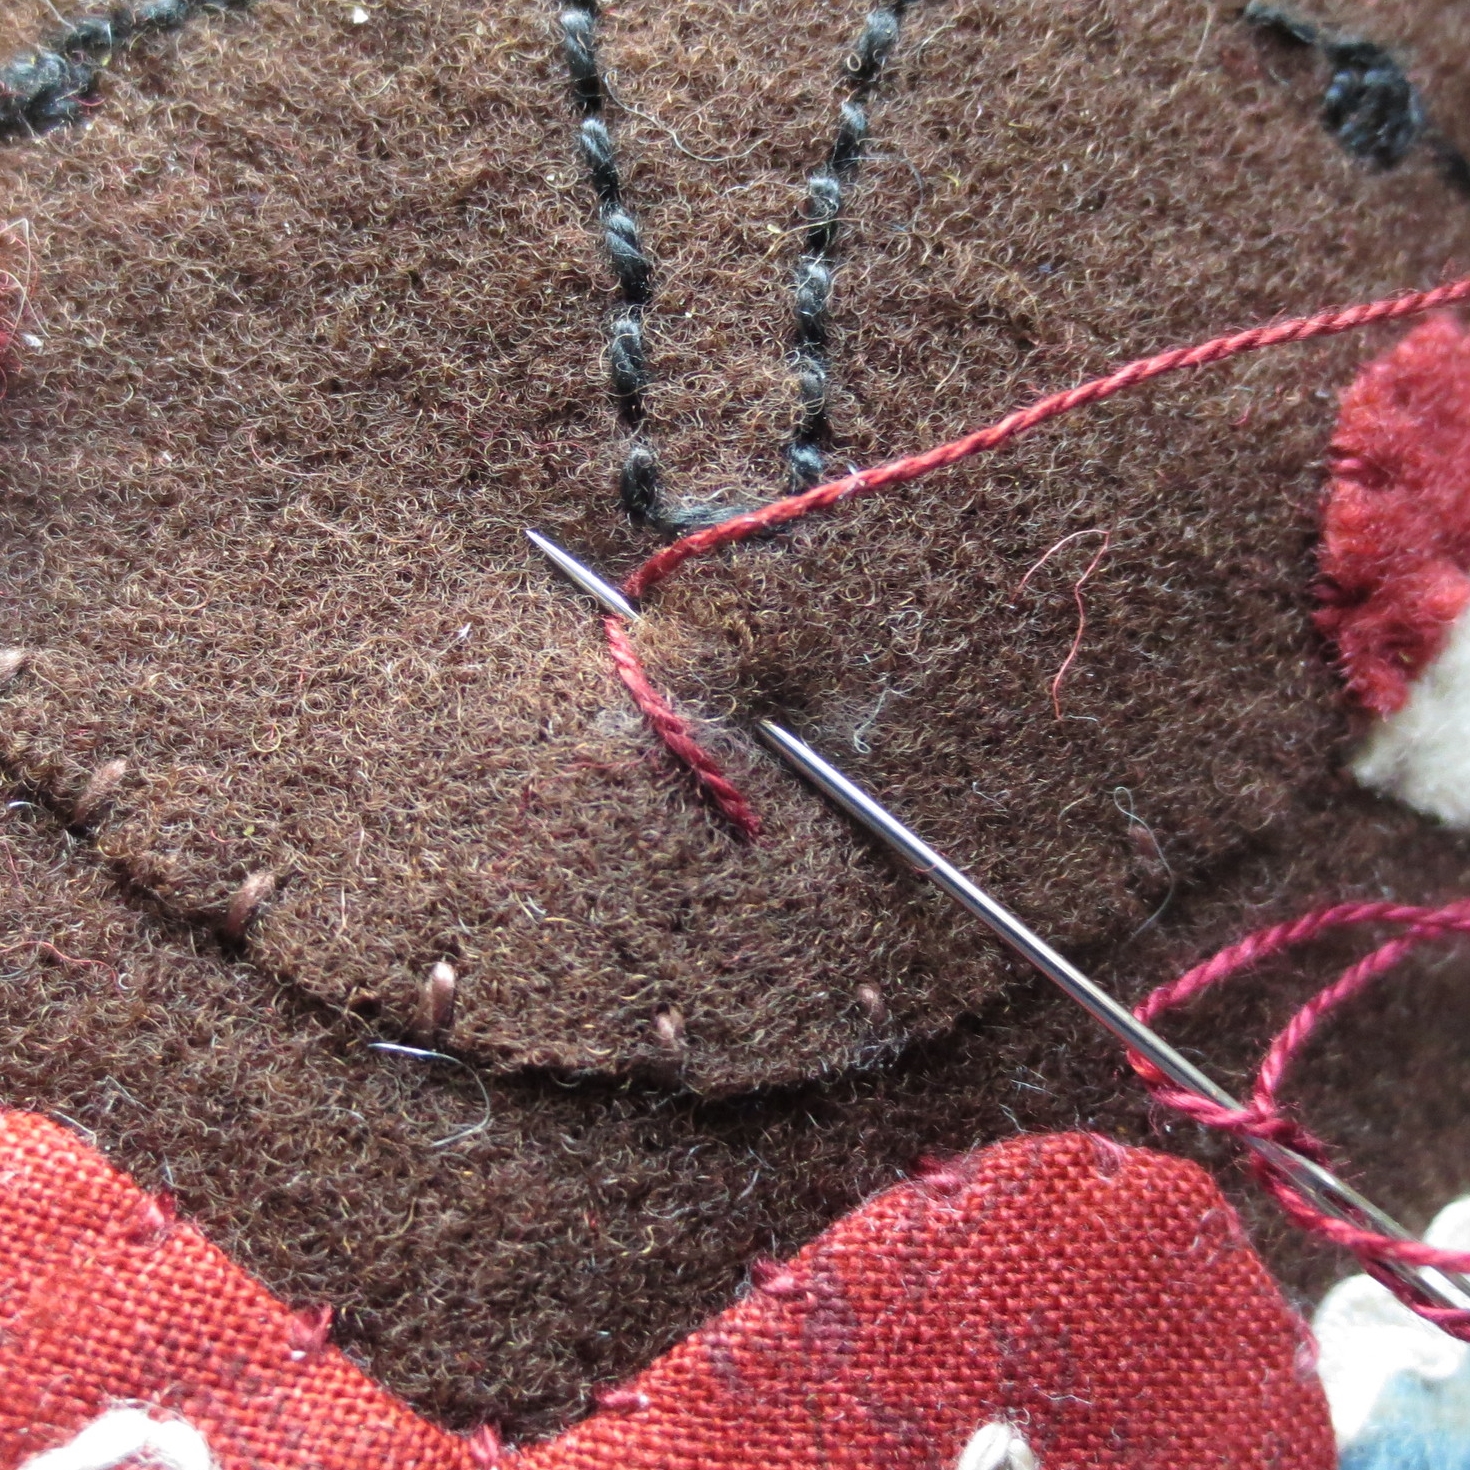
- Replace heart, pin to secure, and whip stitch in place using matching colored thread.
- Position hands on heart. Fuse hands and sleeves in place.
- Whip stitch hands and sleeves with thread that matches wool colors.
- Stitch French knots around perimeter of heart using #O538.
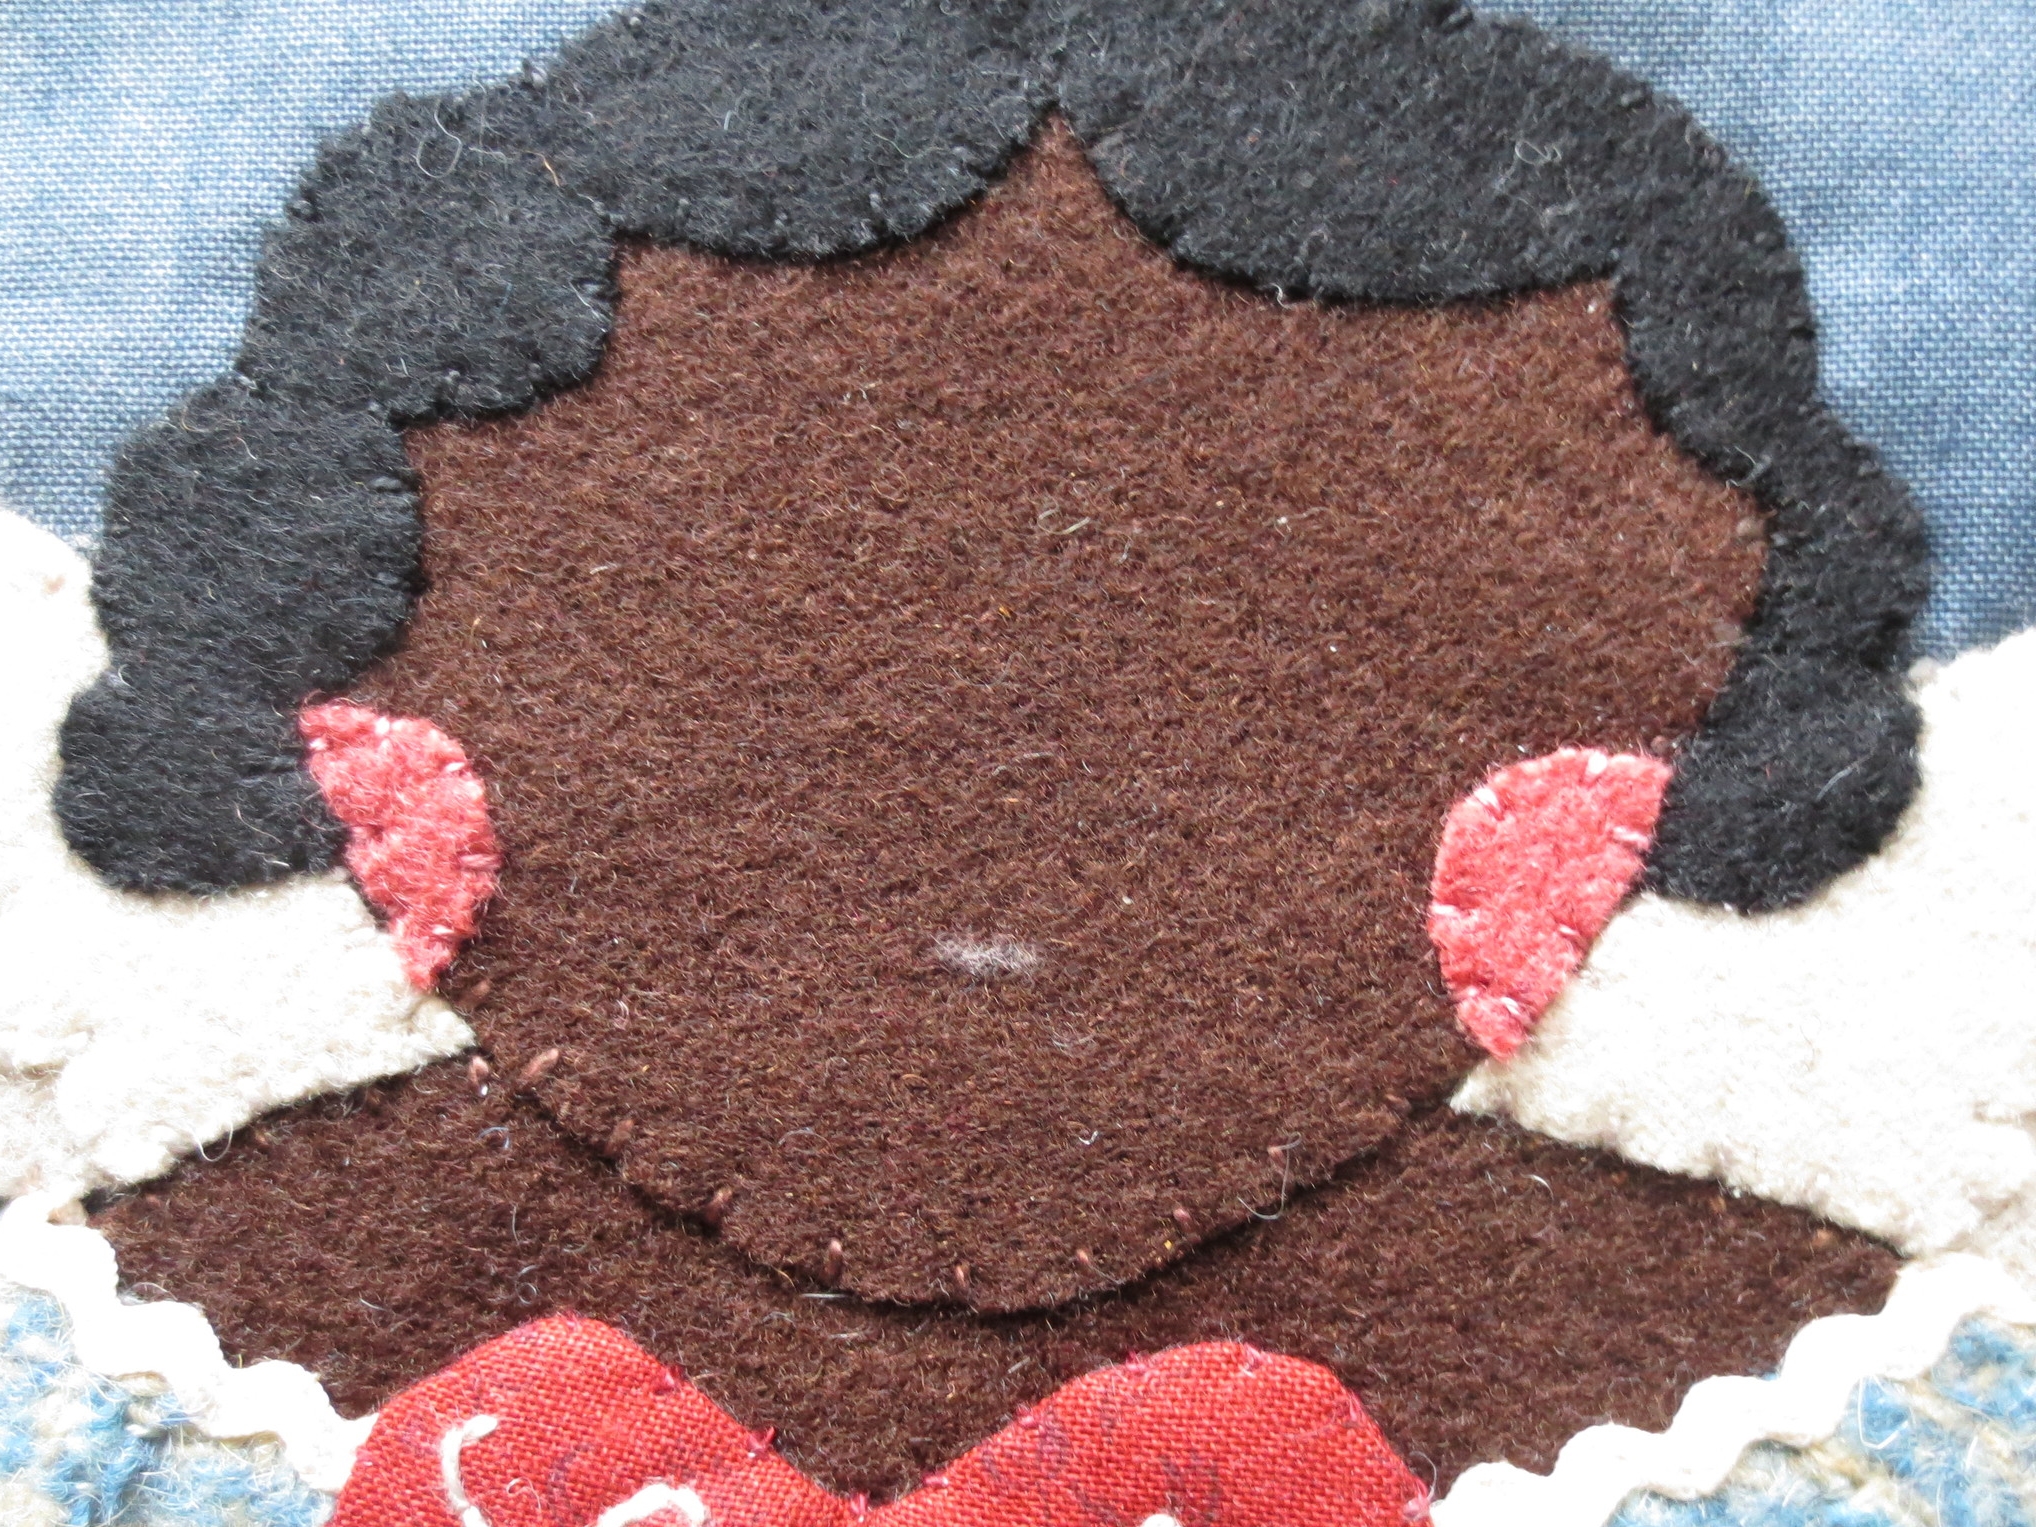
- Remove paper backing from the cheeks, noting which is right and left, and position on face. Fuse in place.
- Whip stitch cheeks with matching colored thread.
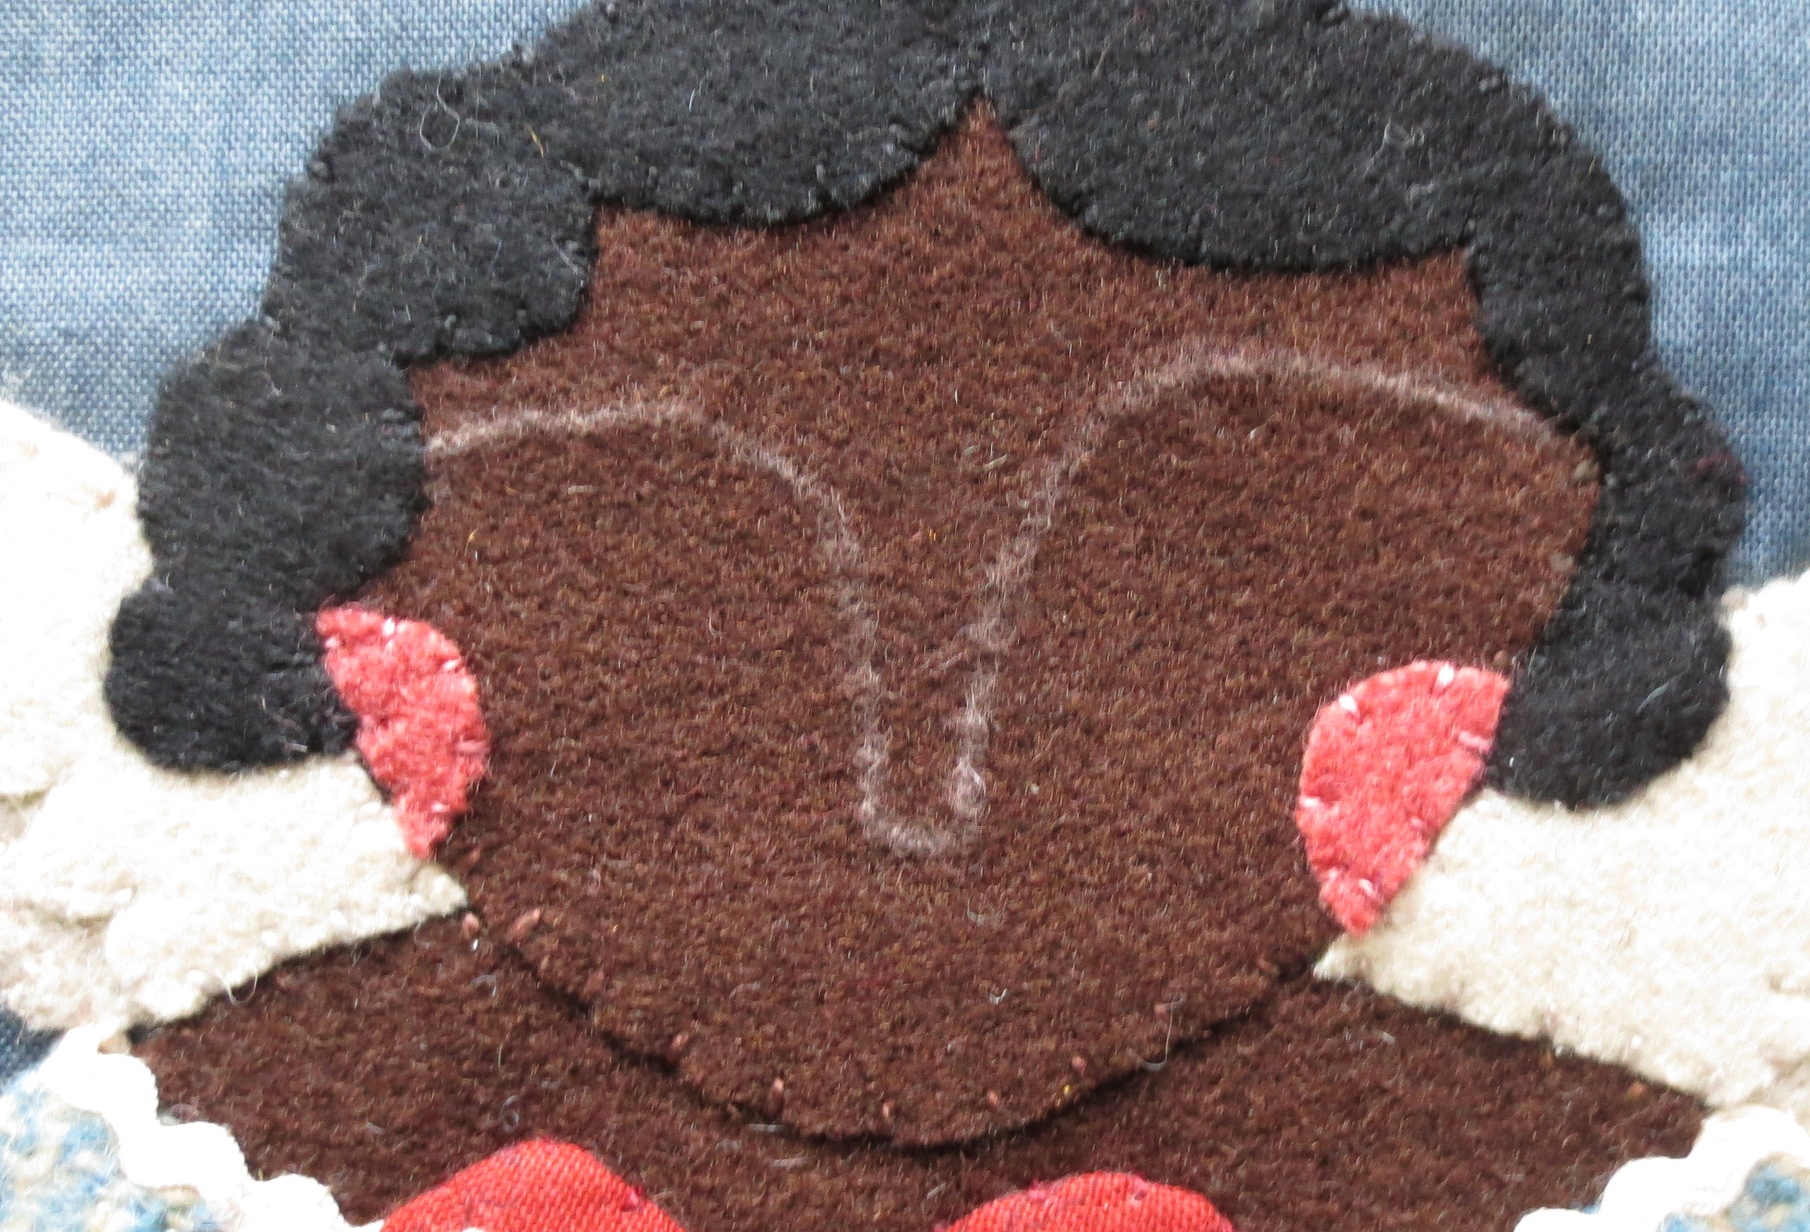
- Draw the bottom of the nose approximately 1/2" from the bottom of the chin.
- Draw the sides of the nose and eyebrows, noting where the eyebrows touch the sides of the head.
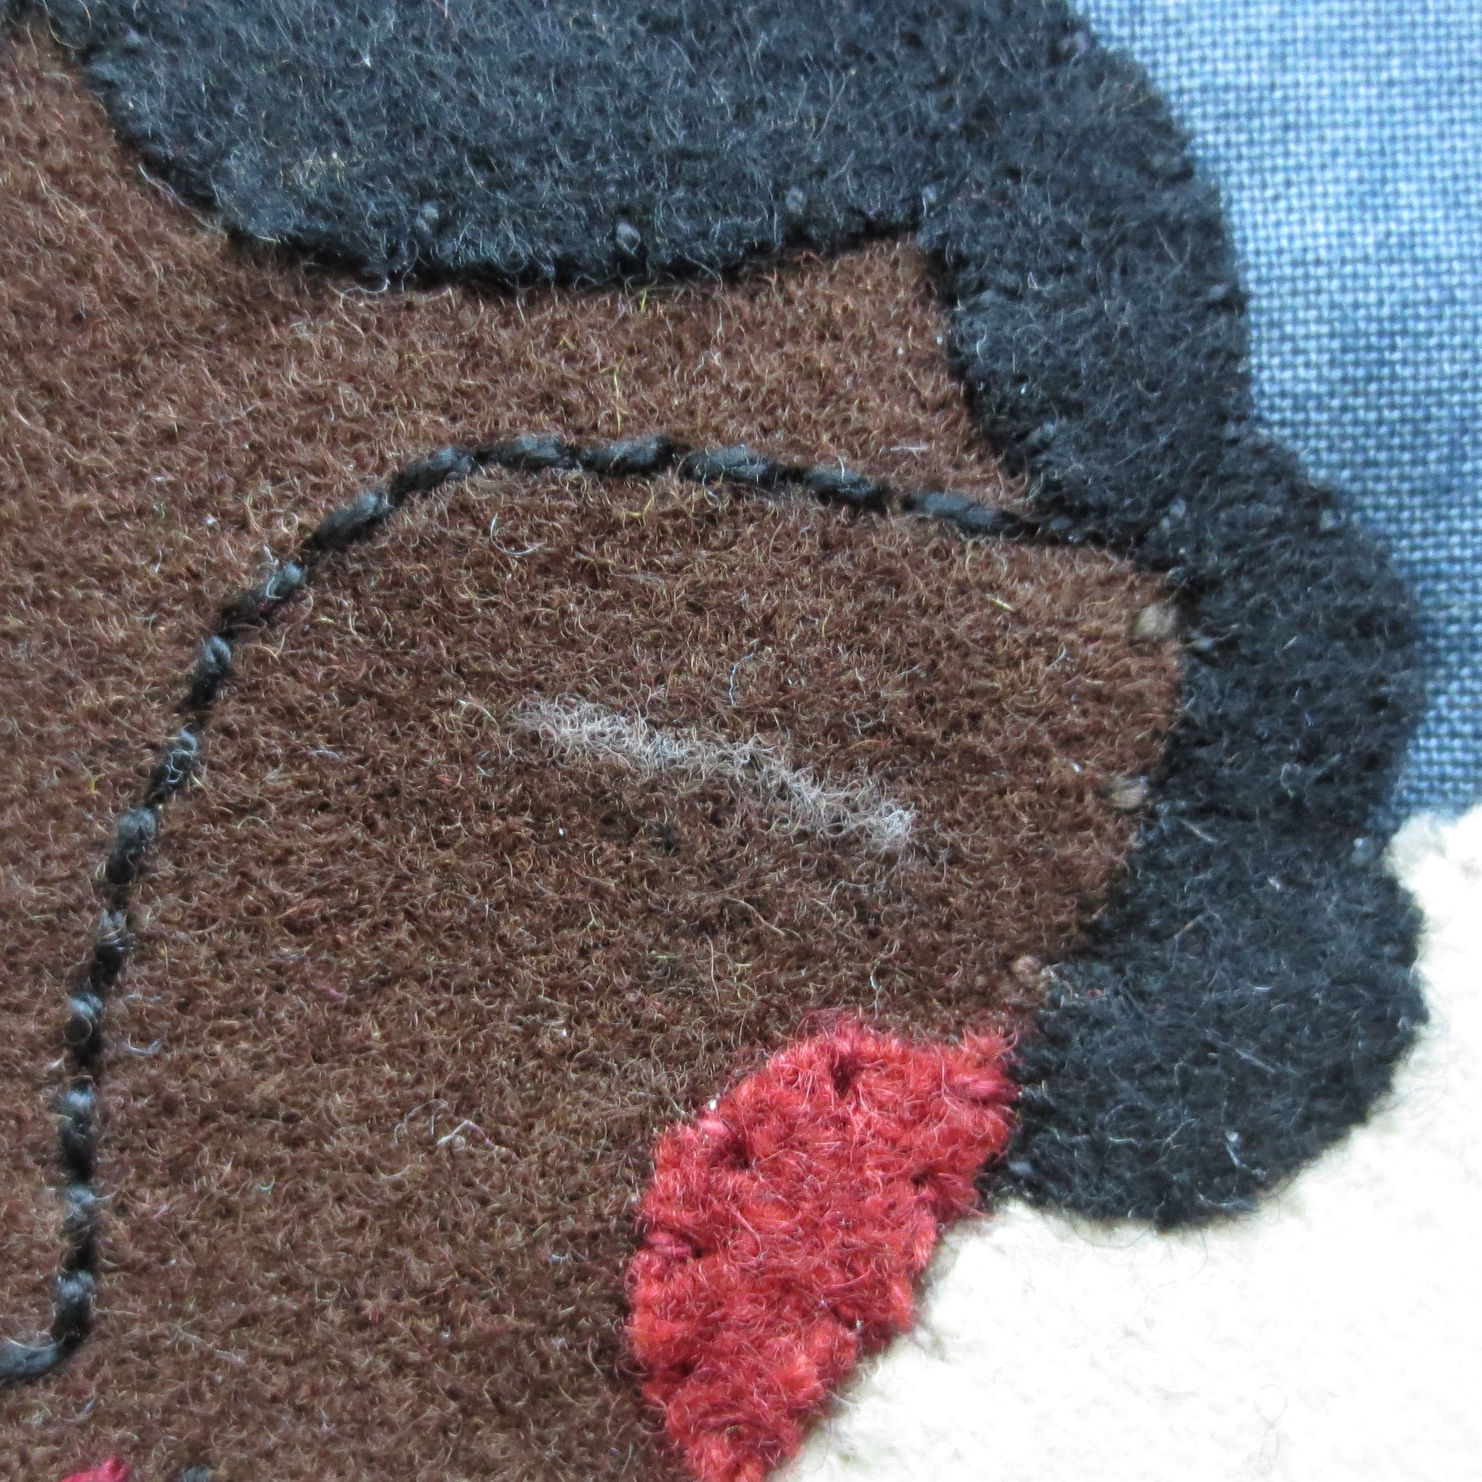
- Use contrasting thread to back stitch over the lines.
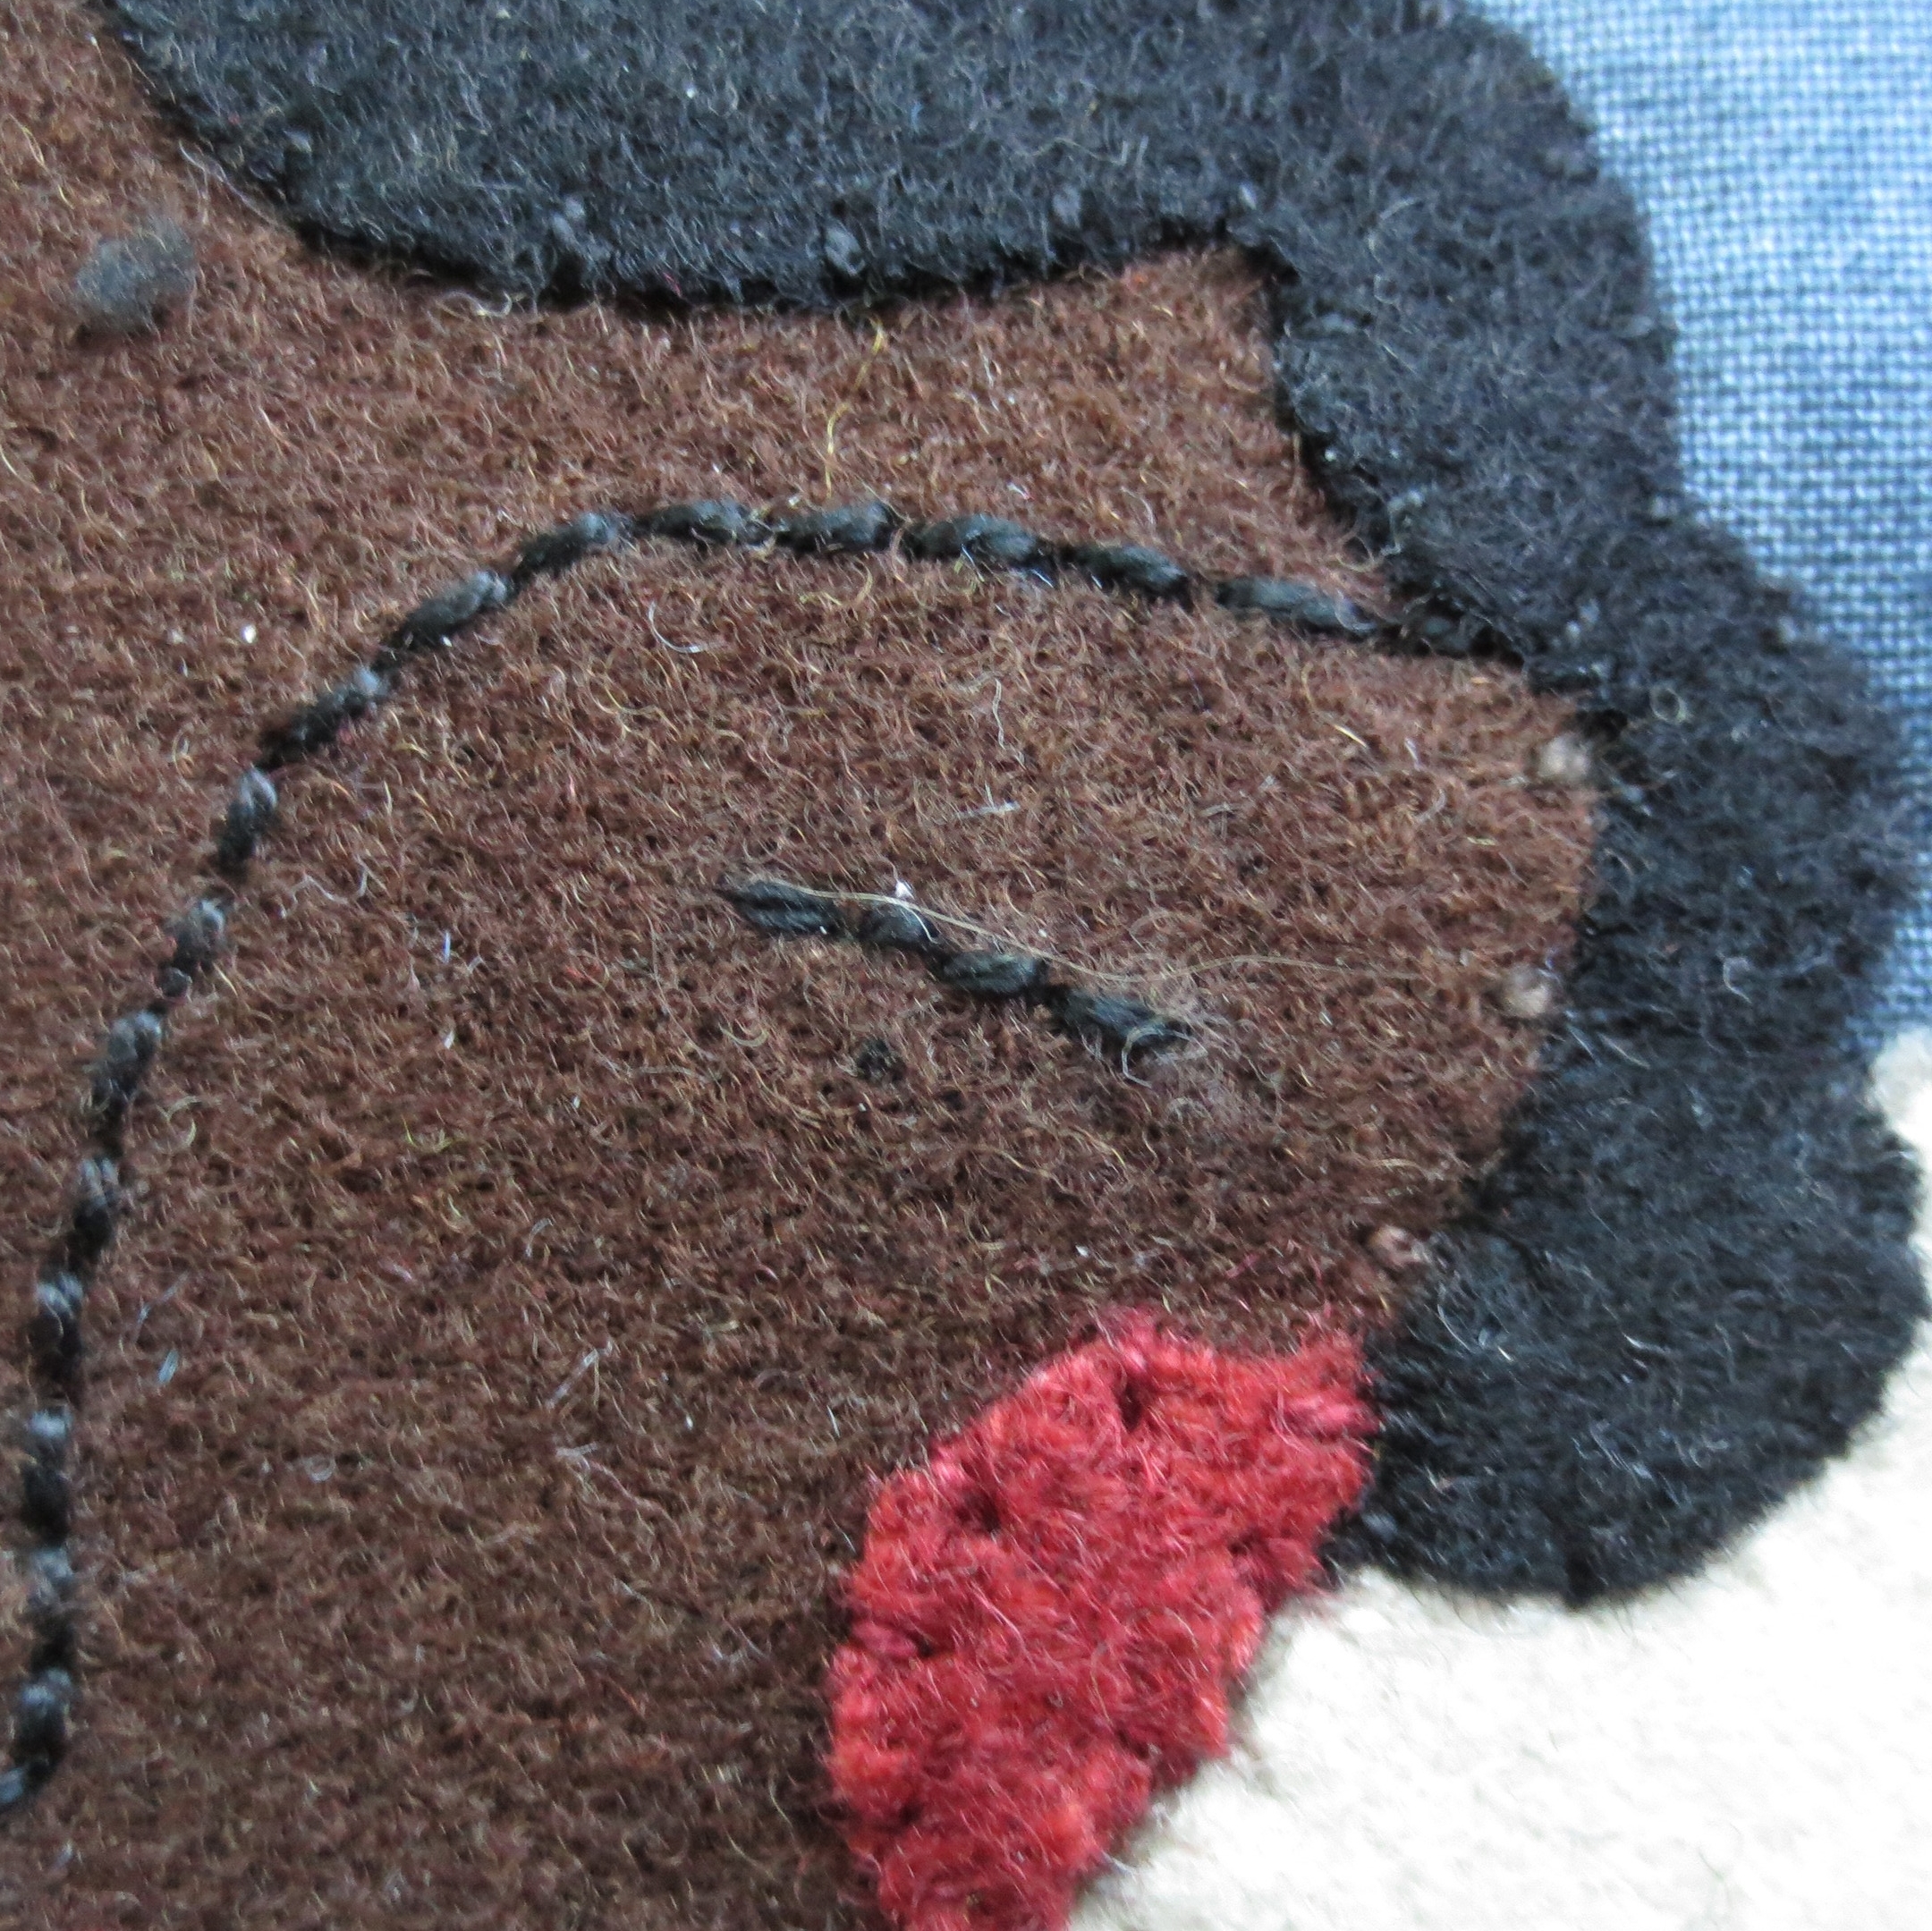
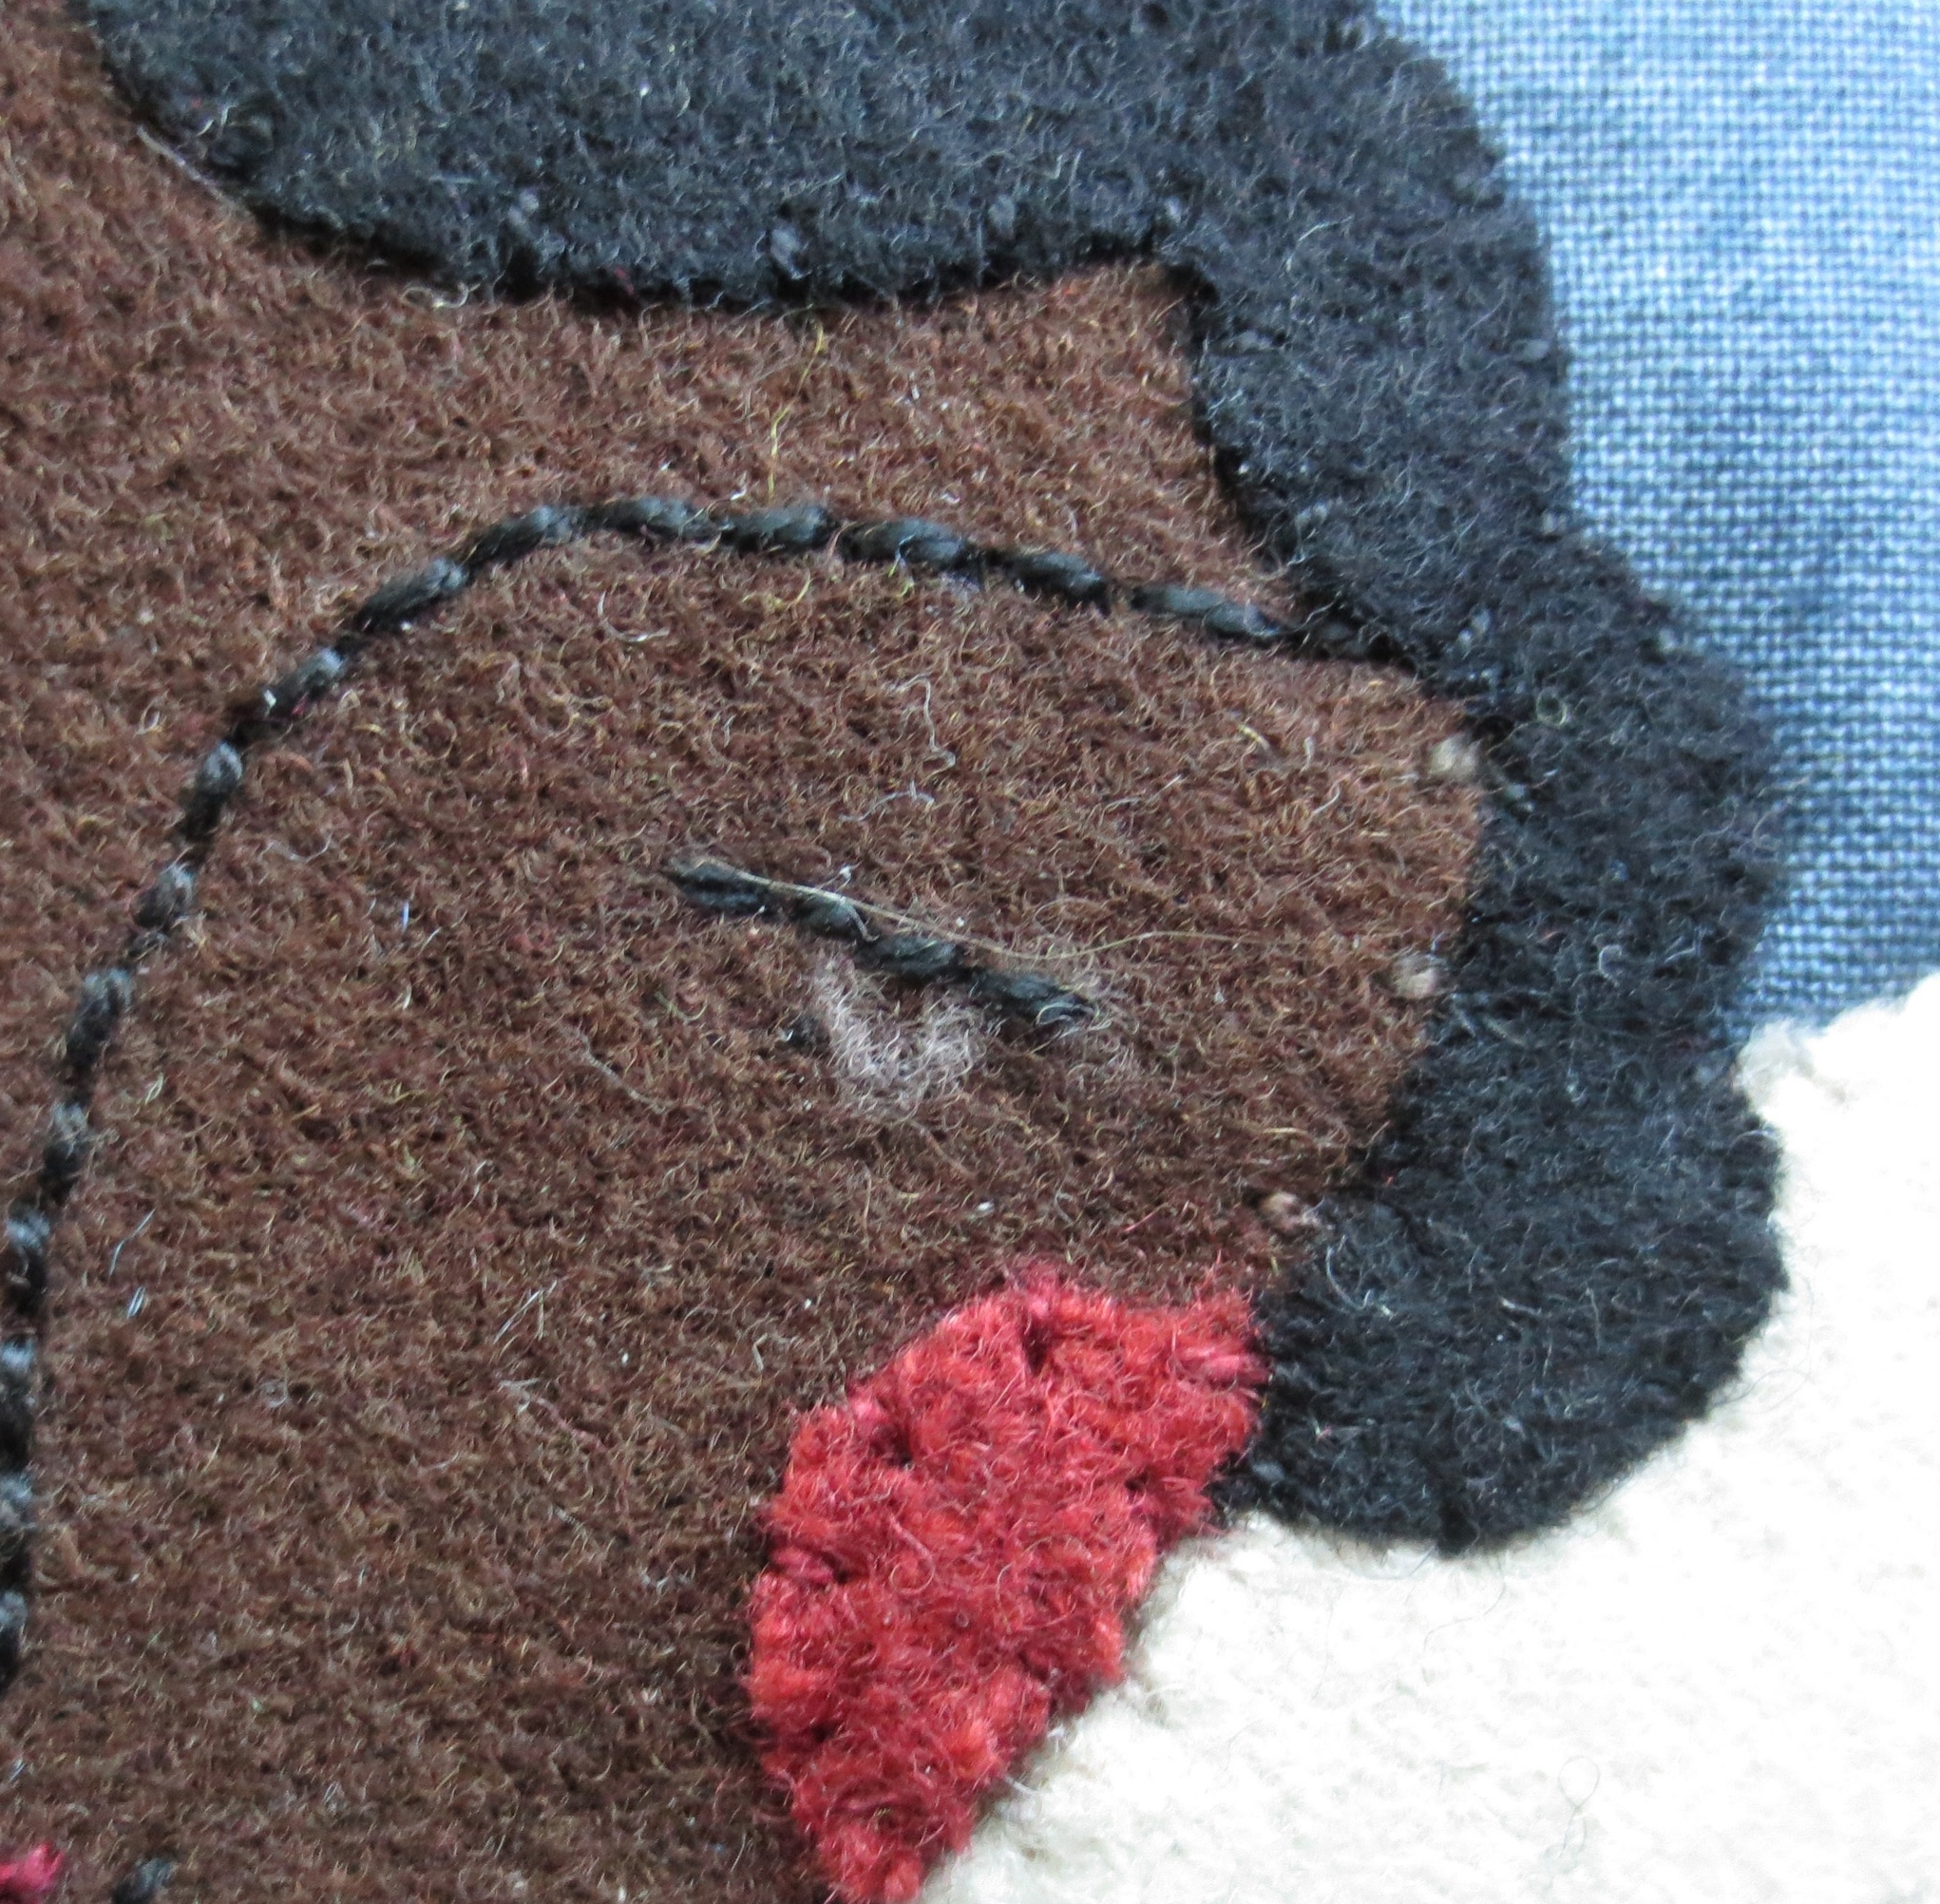
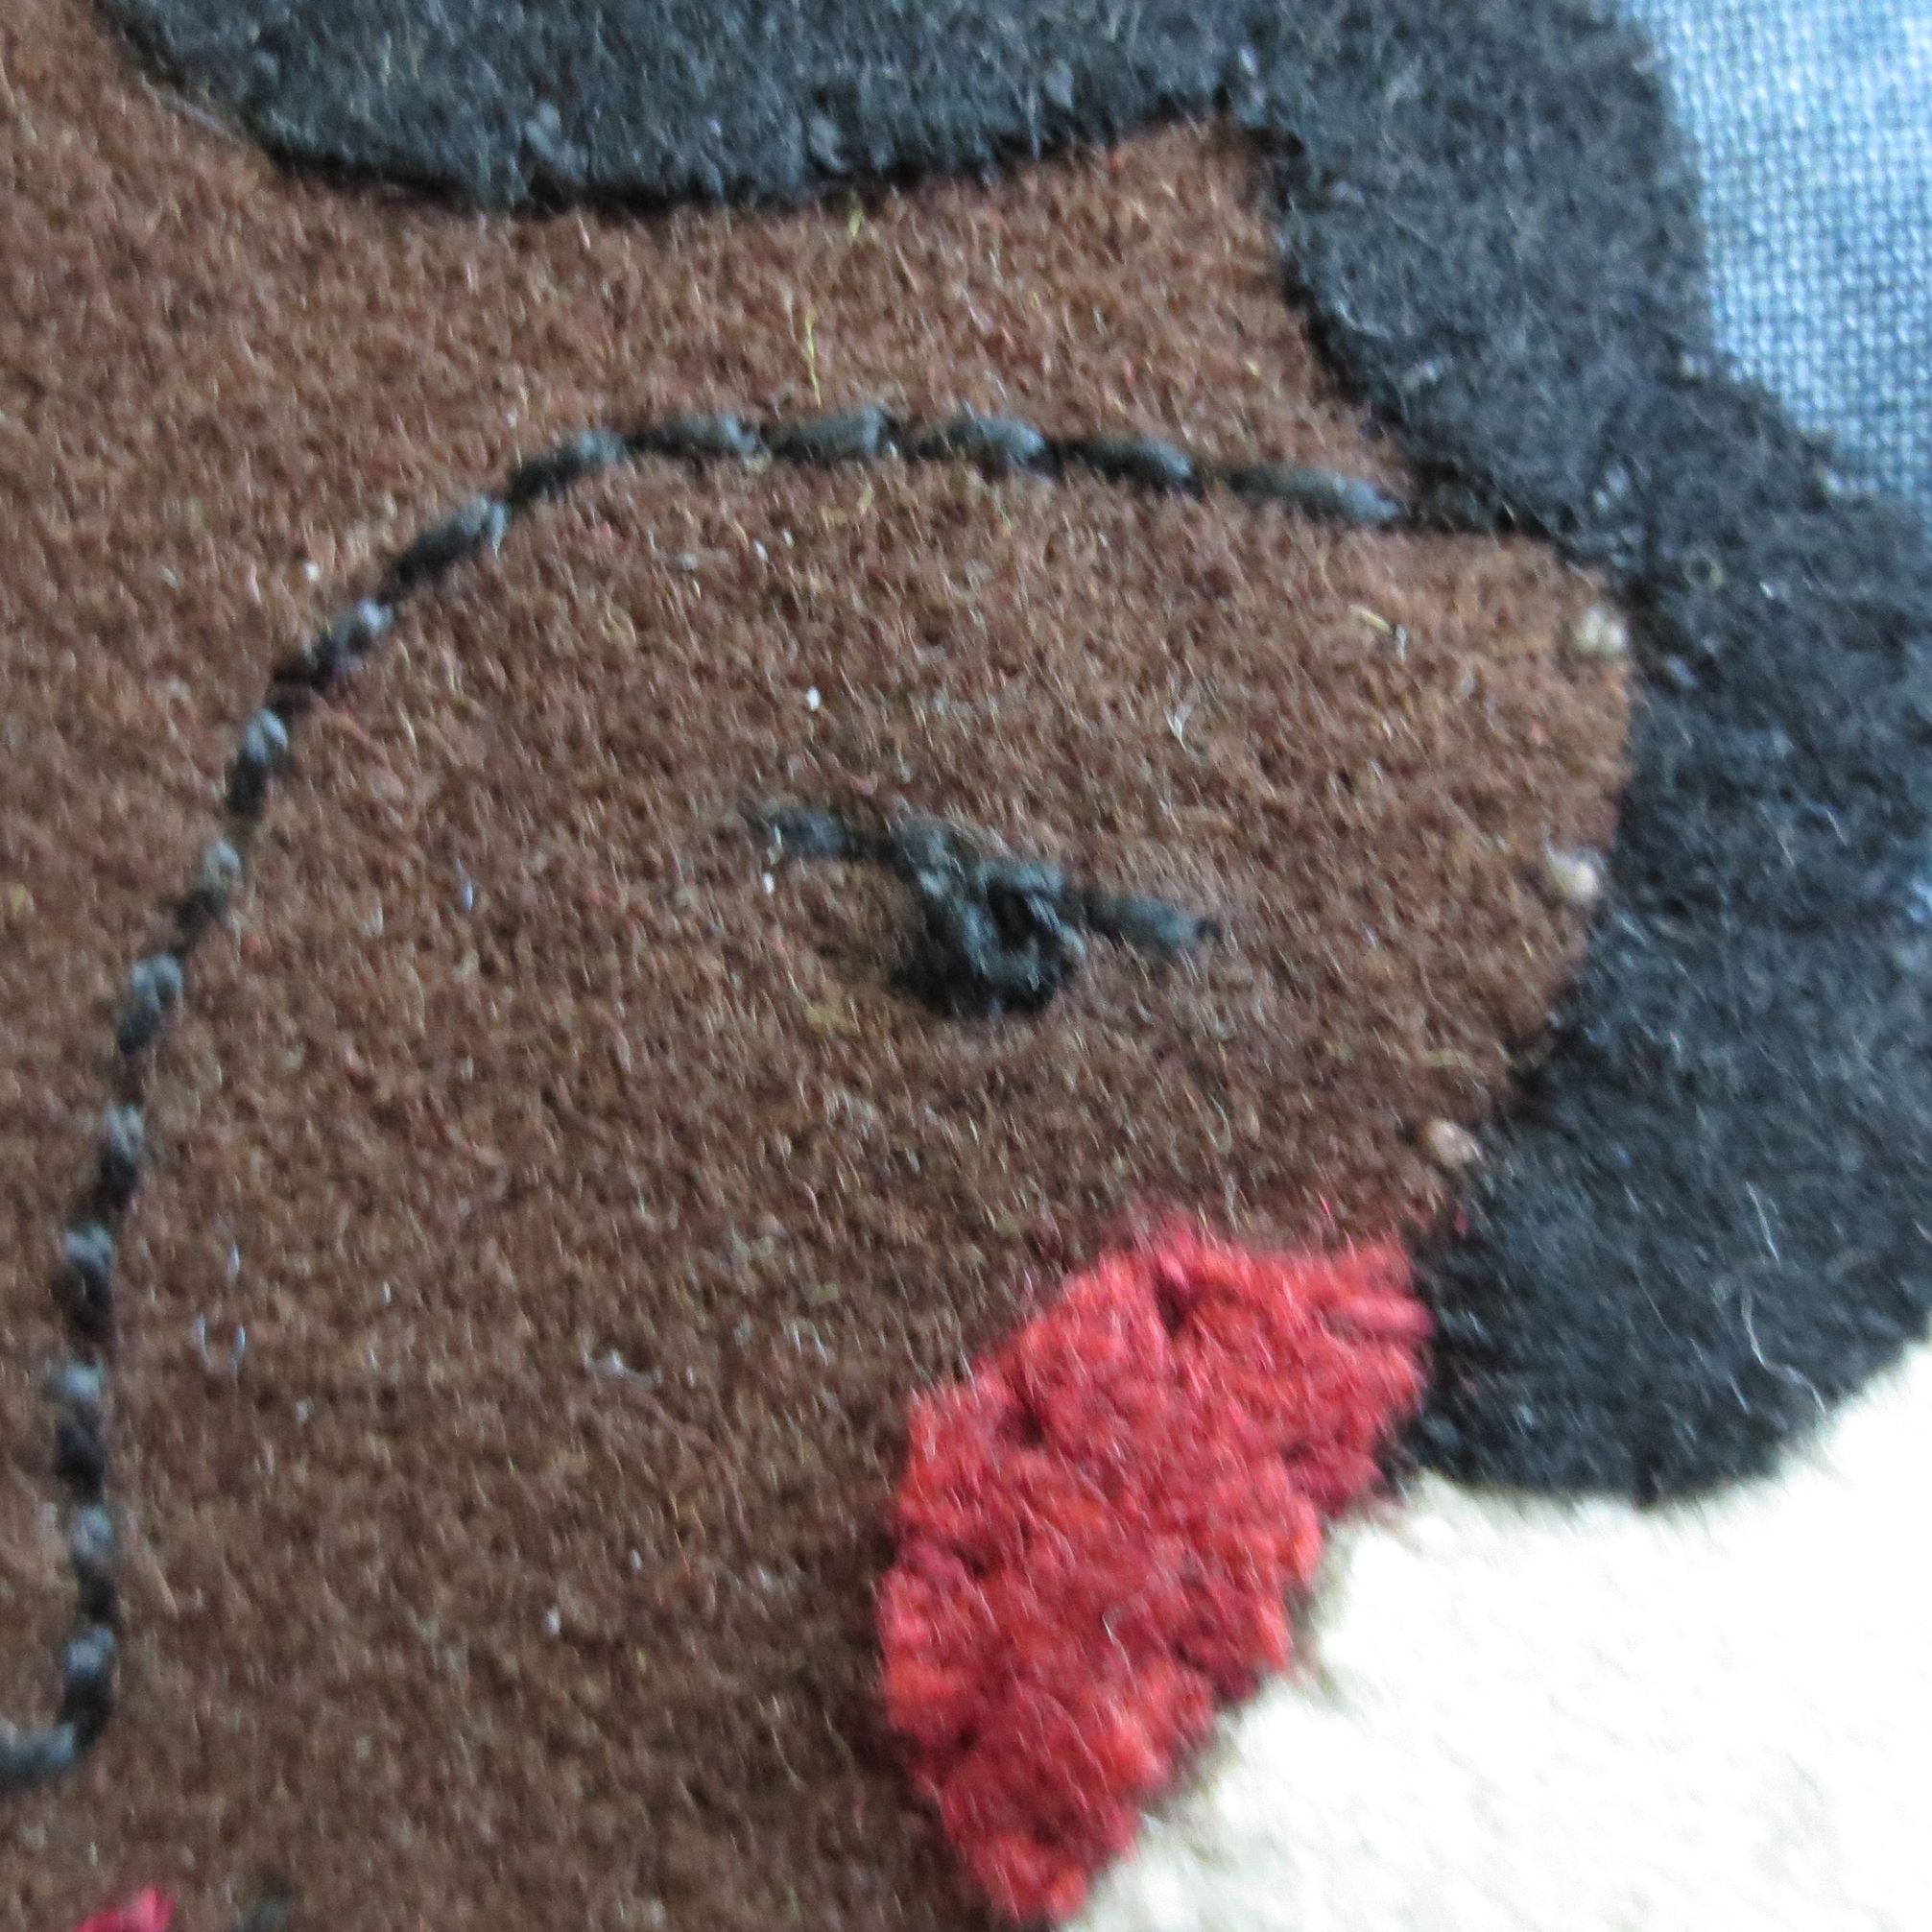
- Draw slanted lines for eyelids. Backstitch over lines (about 4 short stitches) using the same thread used for the nose and brows.
- Stitch three back stitches creating a small box shape below the center of the eyelid. Stitch a large (wrap twice) French knot in the center of the box for the eye.
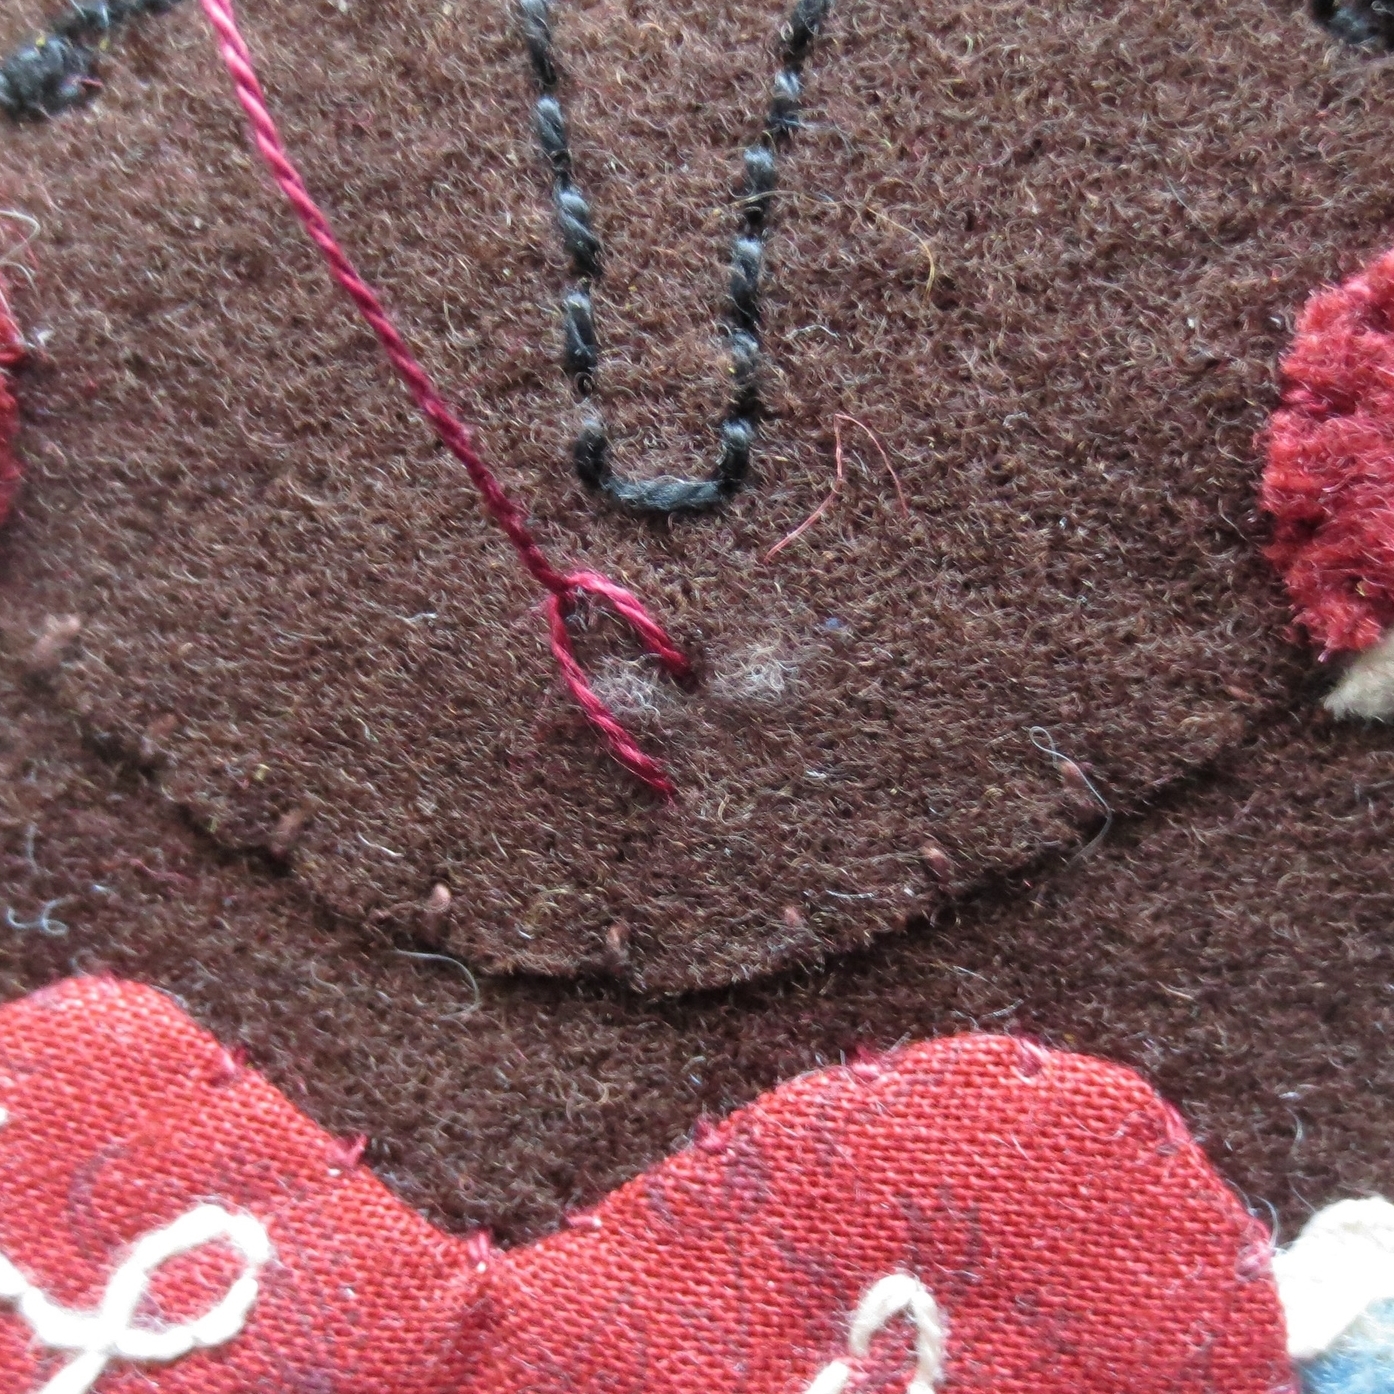
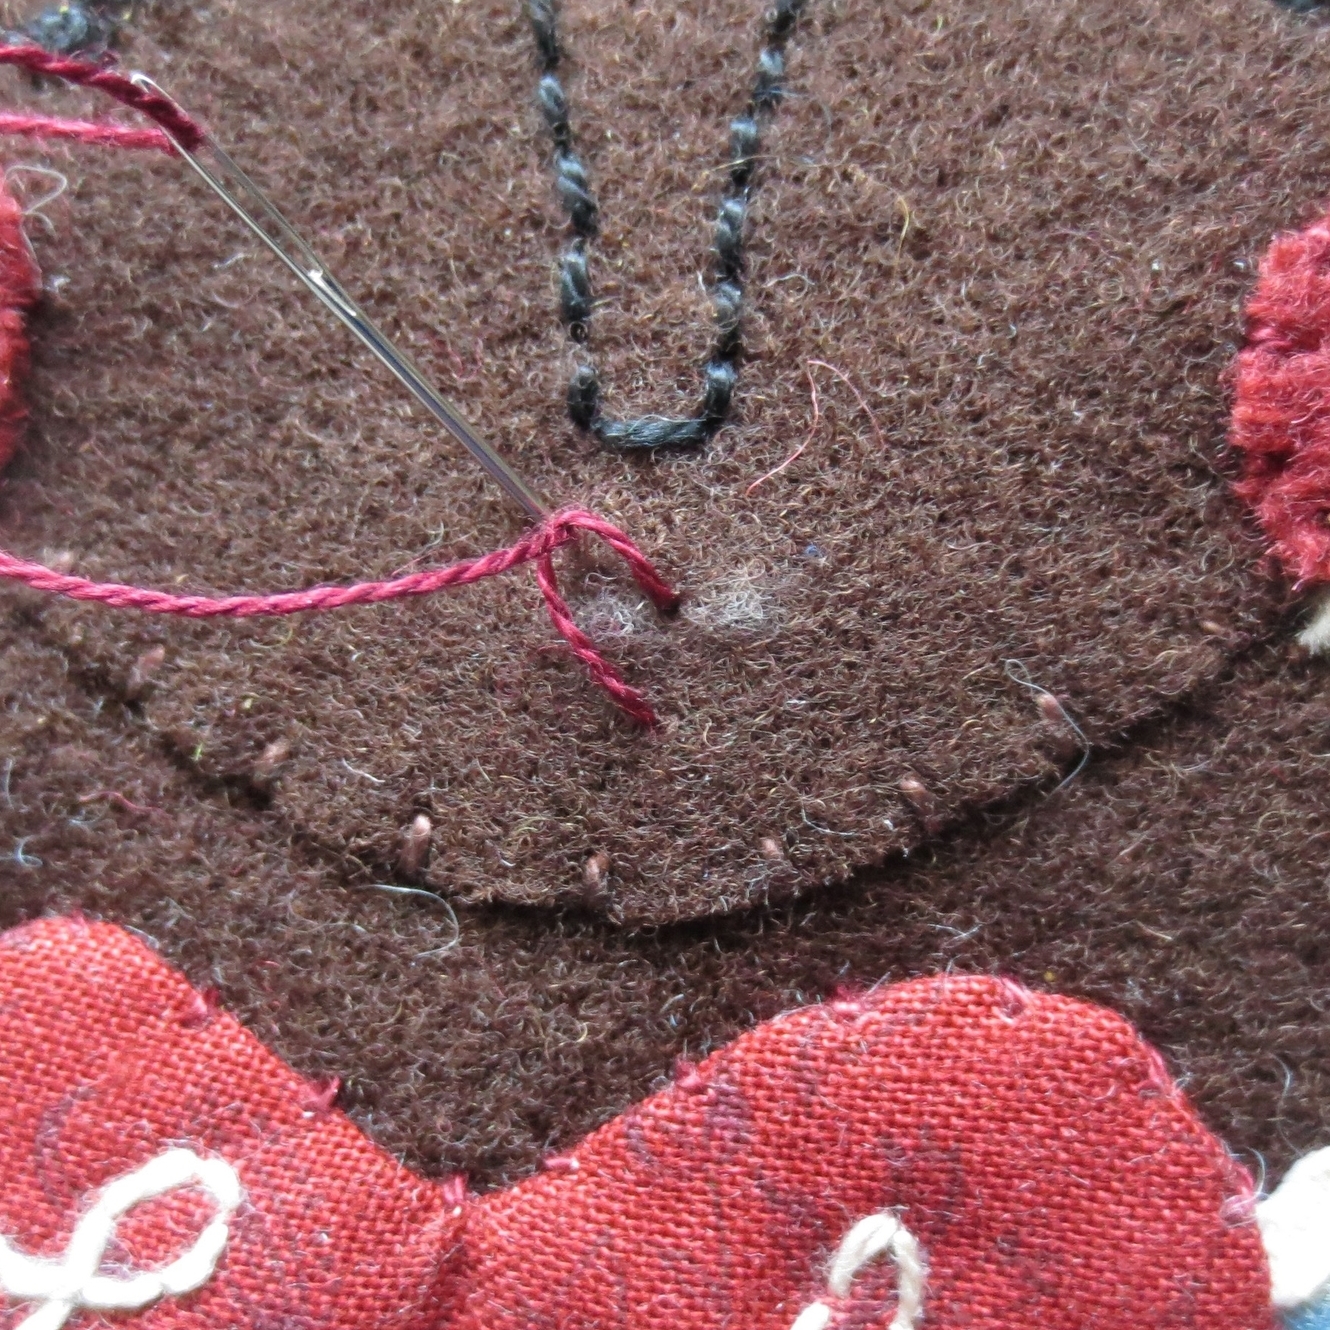
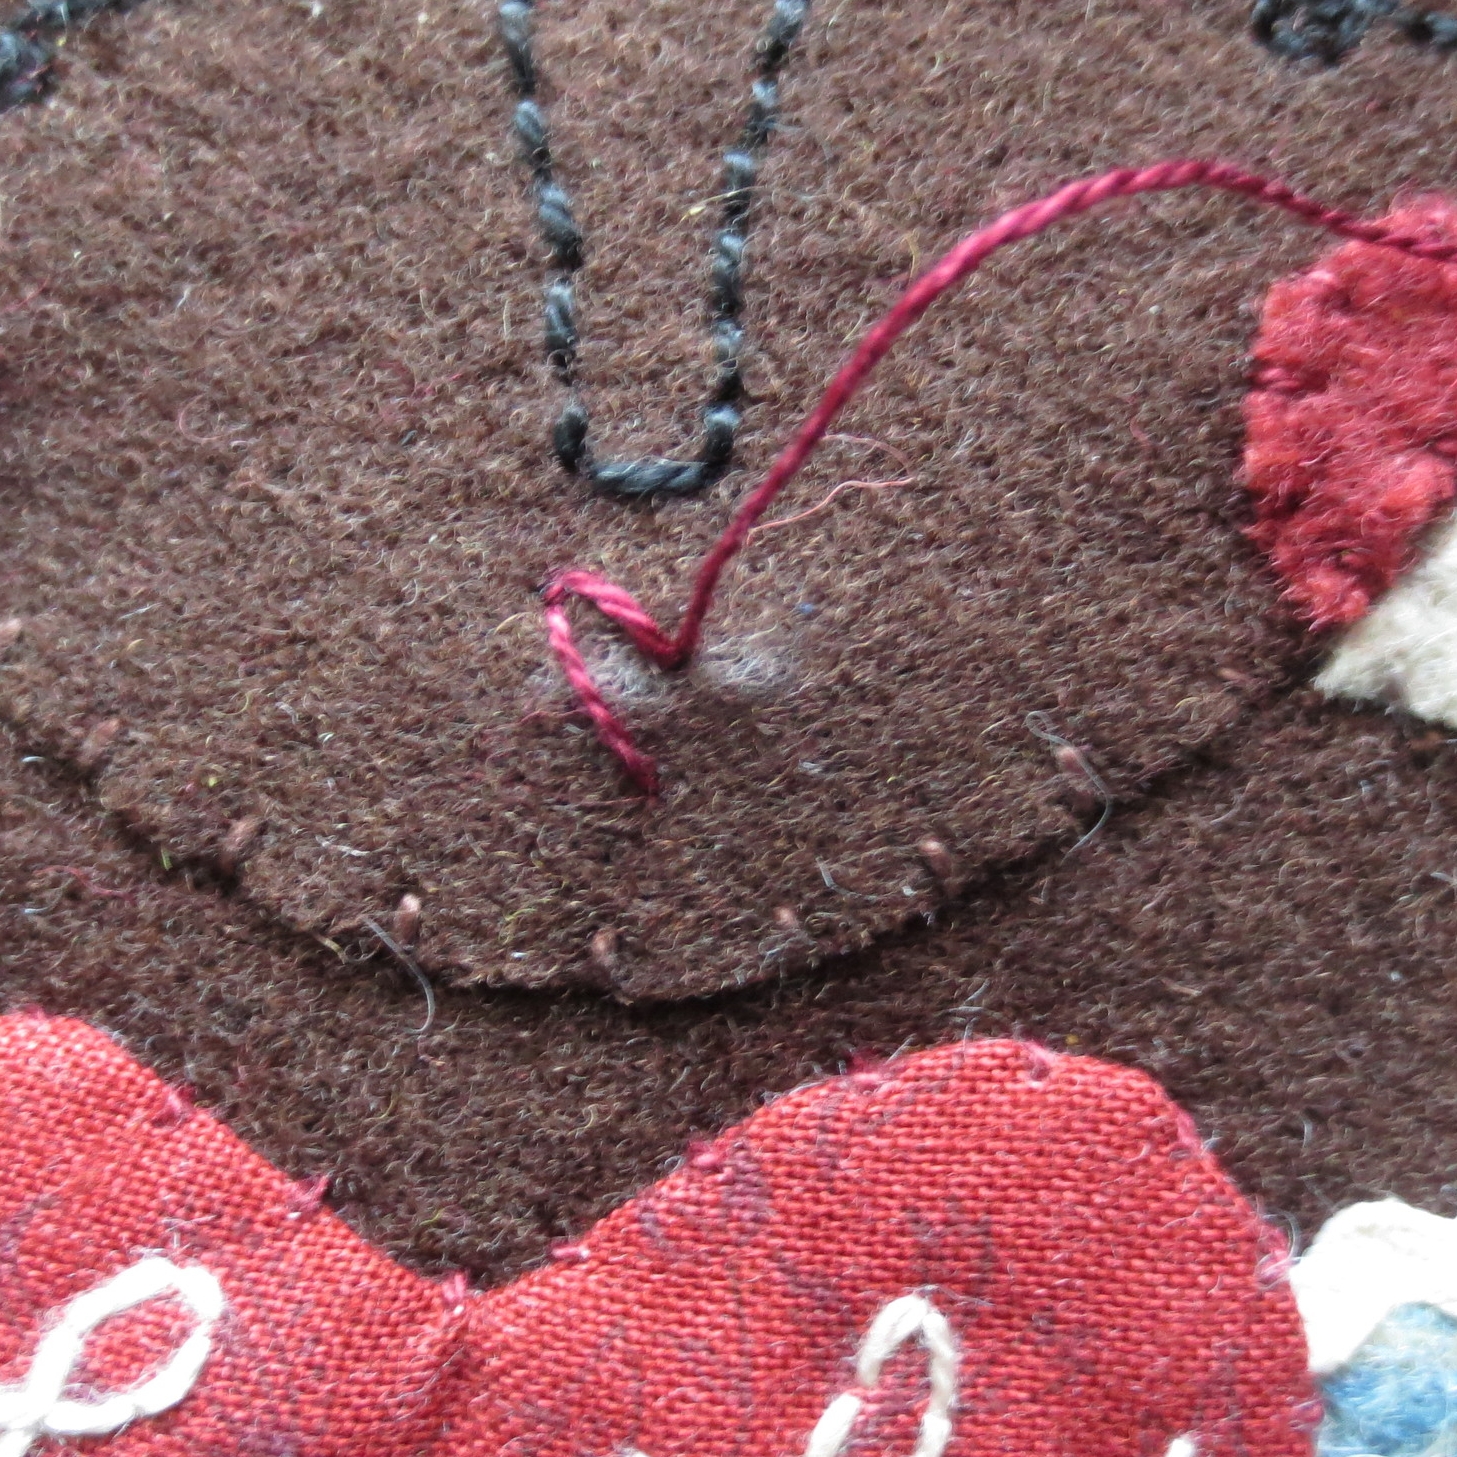
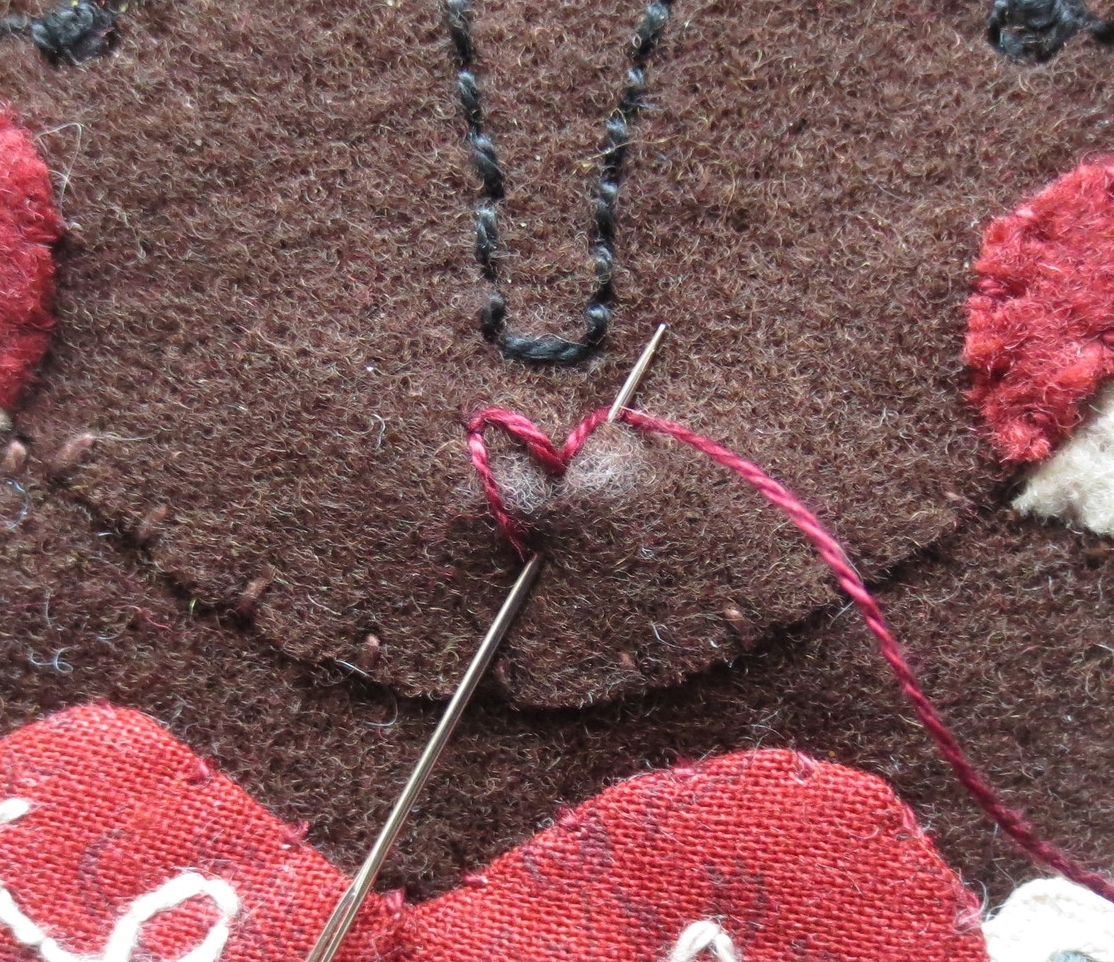
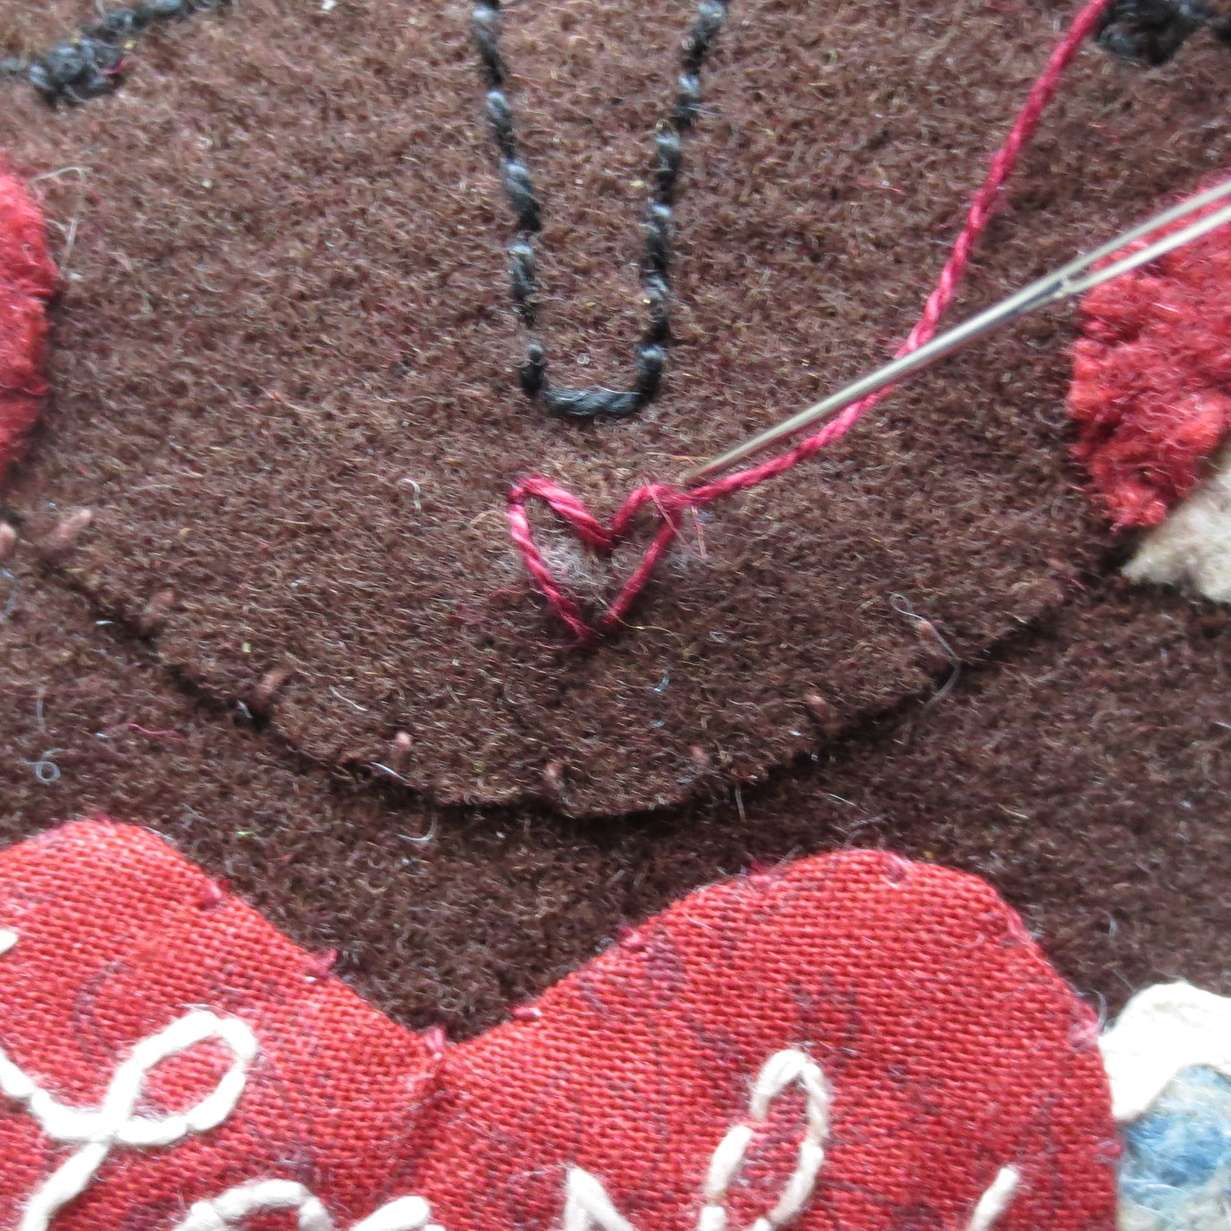
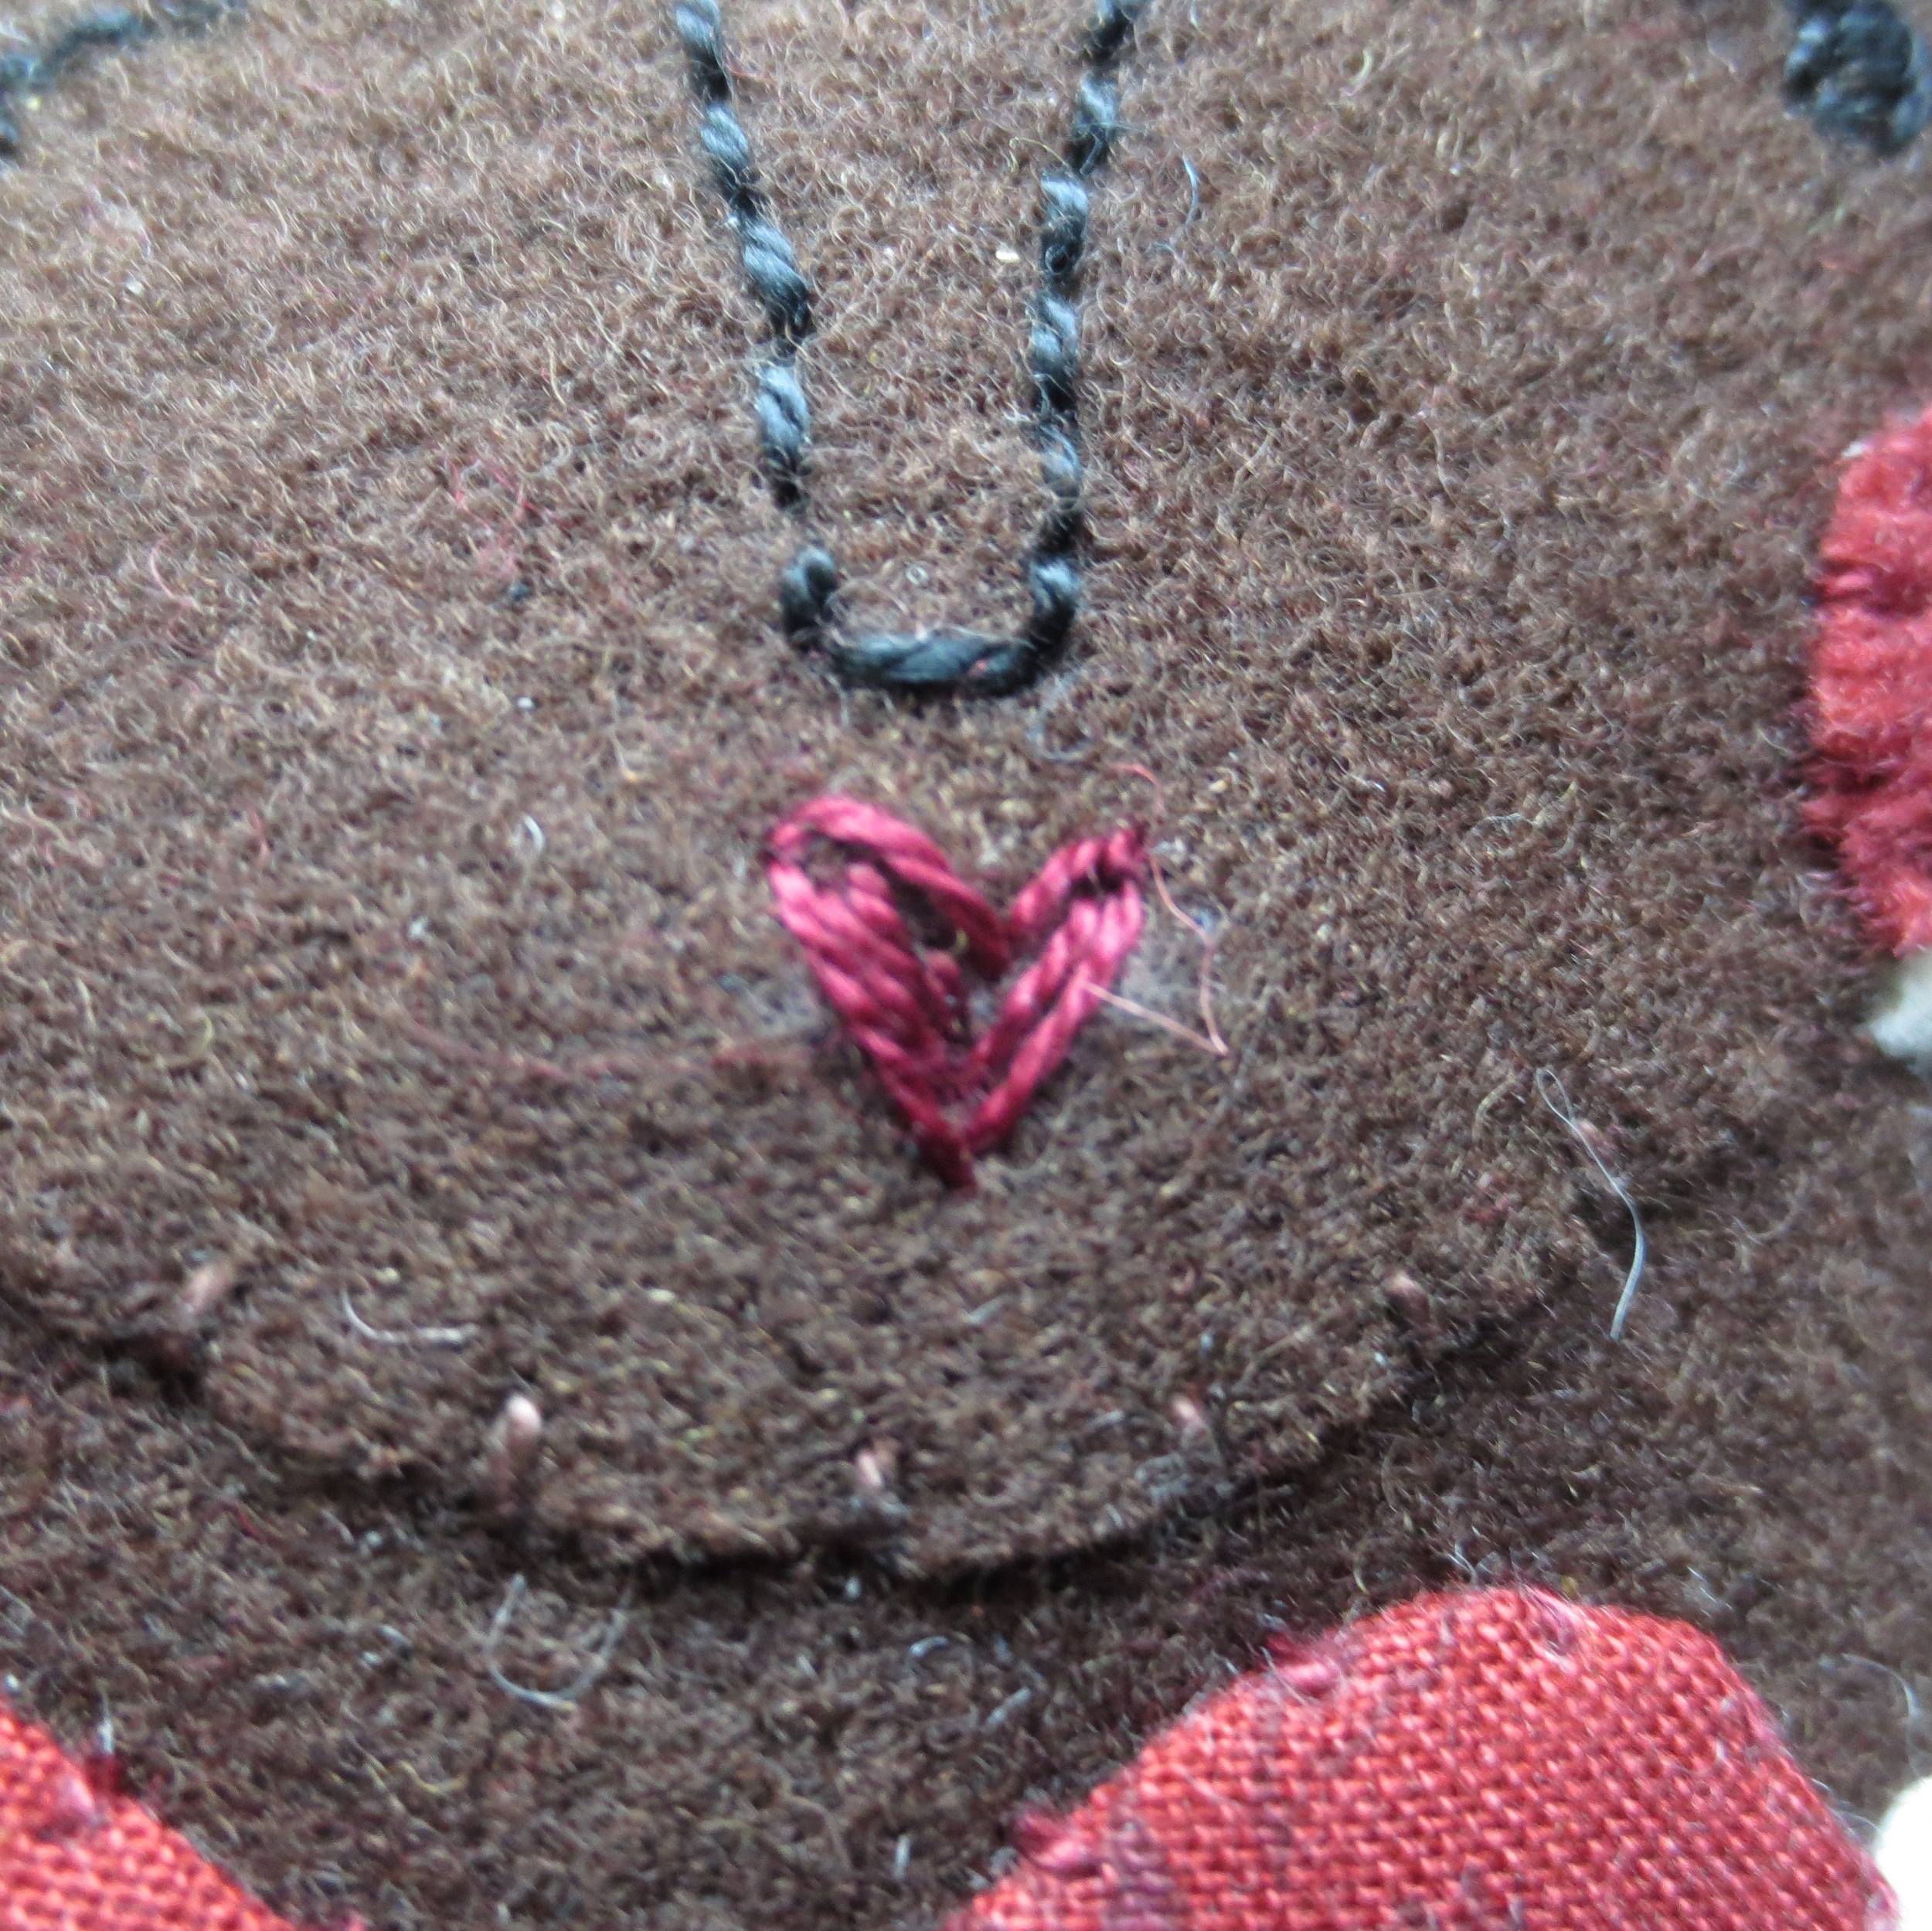
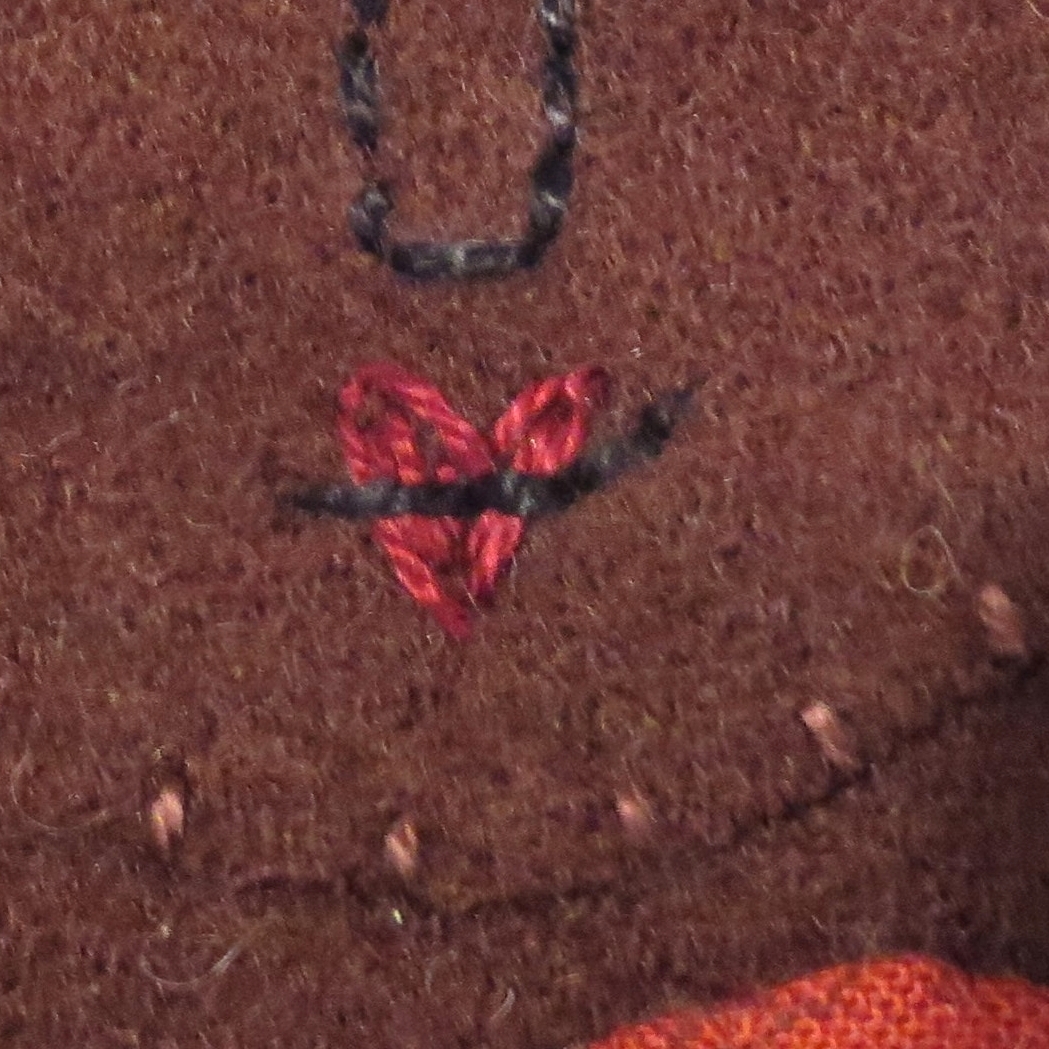
- Use #O503 to stitch the mouth. This stitch is like a fly stitch with one of the "wings" longer than the other. Begin by bringing your needle up approximately 3/8" below the bottom of the nose. (This will be the bottom of the mouth.) Pull your thread through. Insert your needle down approximately 1/4" directly above the point you came up at, then bring the needle back up approximately 1/8" to the left and 1/8" above the insertion point, wrapping your thread behind the needle. Pull the thread through. Insert the needle down again on the other side of the thread to tack down the lobe of the heart. Repeat for the the remaining lobe beginning at the mouth's center.
- Fill the mouth in with a few straight stitches. This doesn't have to be perfect, so don't stress about making it so.
- Use the same thread that was used for the eyes to backstitch a short, upturned line through the mouth.
6. Assembly
- Press appliqued piece.
- Trim to 7" x 9". The space between the top of the head and the cut edge is 1 1/8". The space from the each wing to the edge is 1 1/2". These measurements may vary depending on your own preferenc
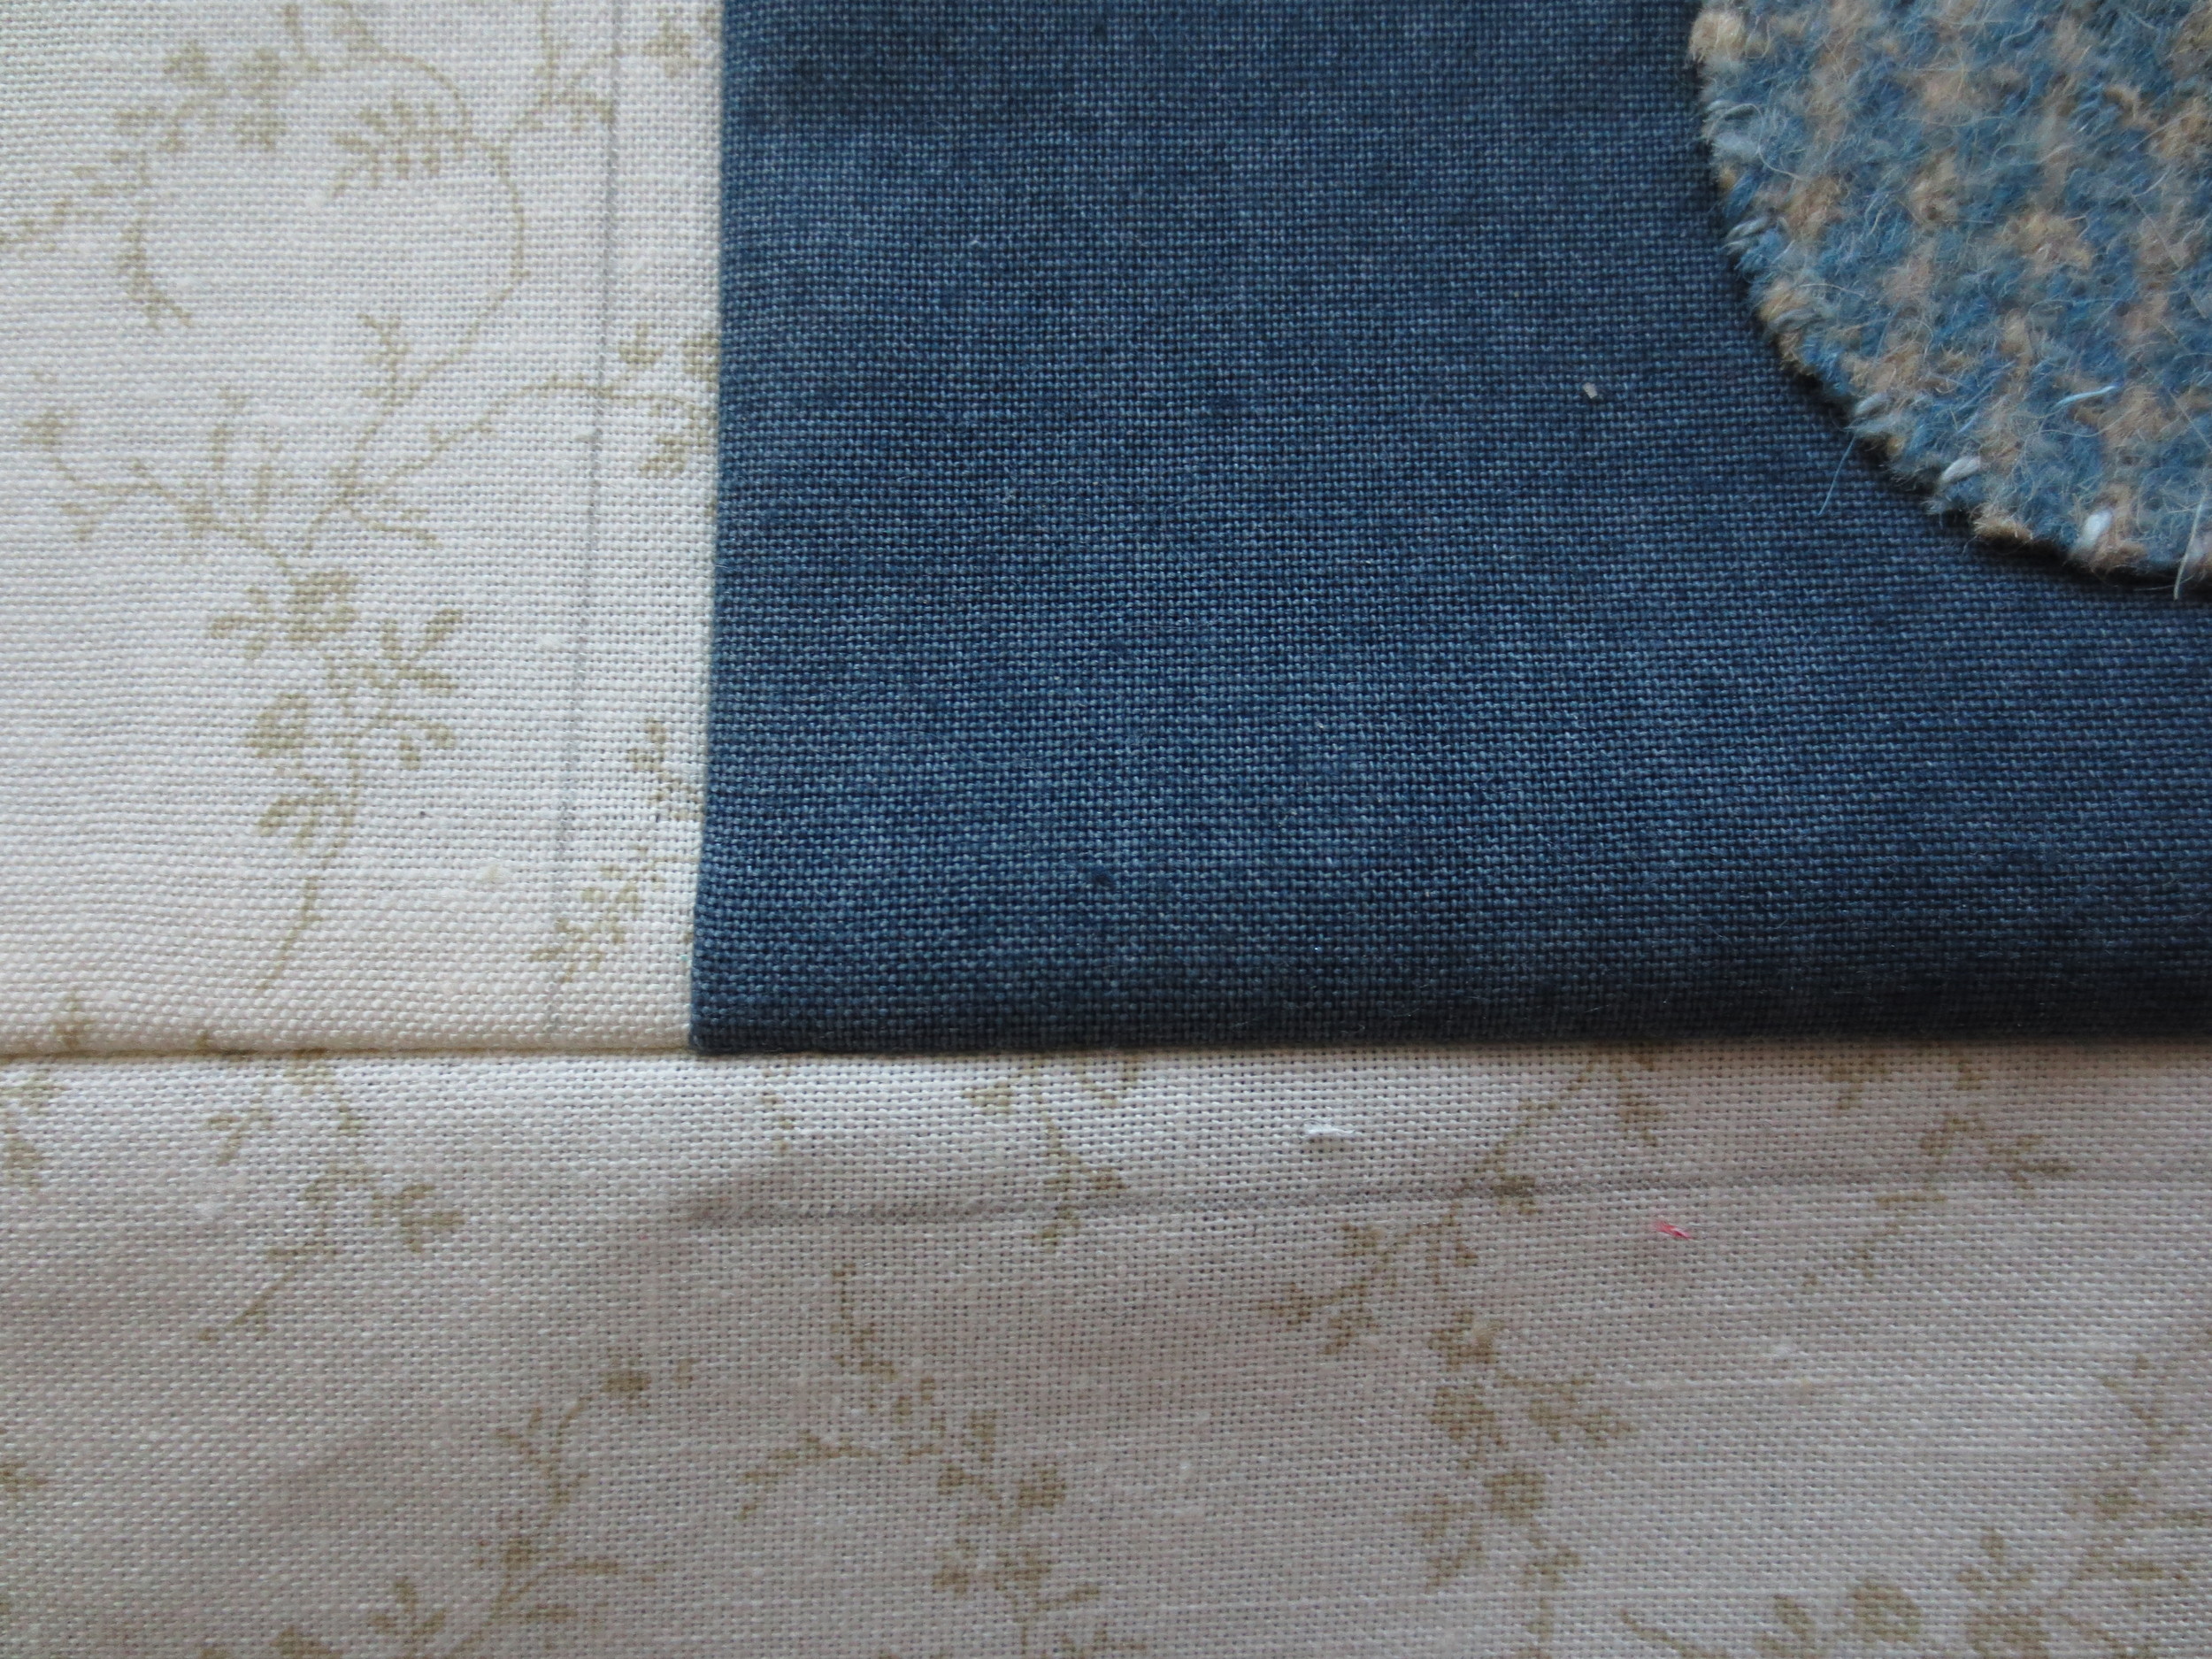
- Layer and pin the 3" x 7" borders (wrong side up) to the sides of the appliqued piece (right side up). Stitch using a 1/4" seam. Press toward appliqued piece.
- Attach the top and bottom borders the same way and trim excess to square up with sides.
- Press toward appliqued piece.
- Using a dark chalk pencil, draw guide lines 1/4" from the appliqued fabric edge. Place a dot in the center of each border guide line.
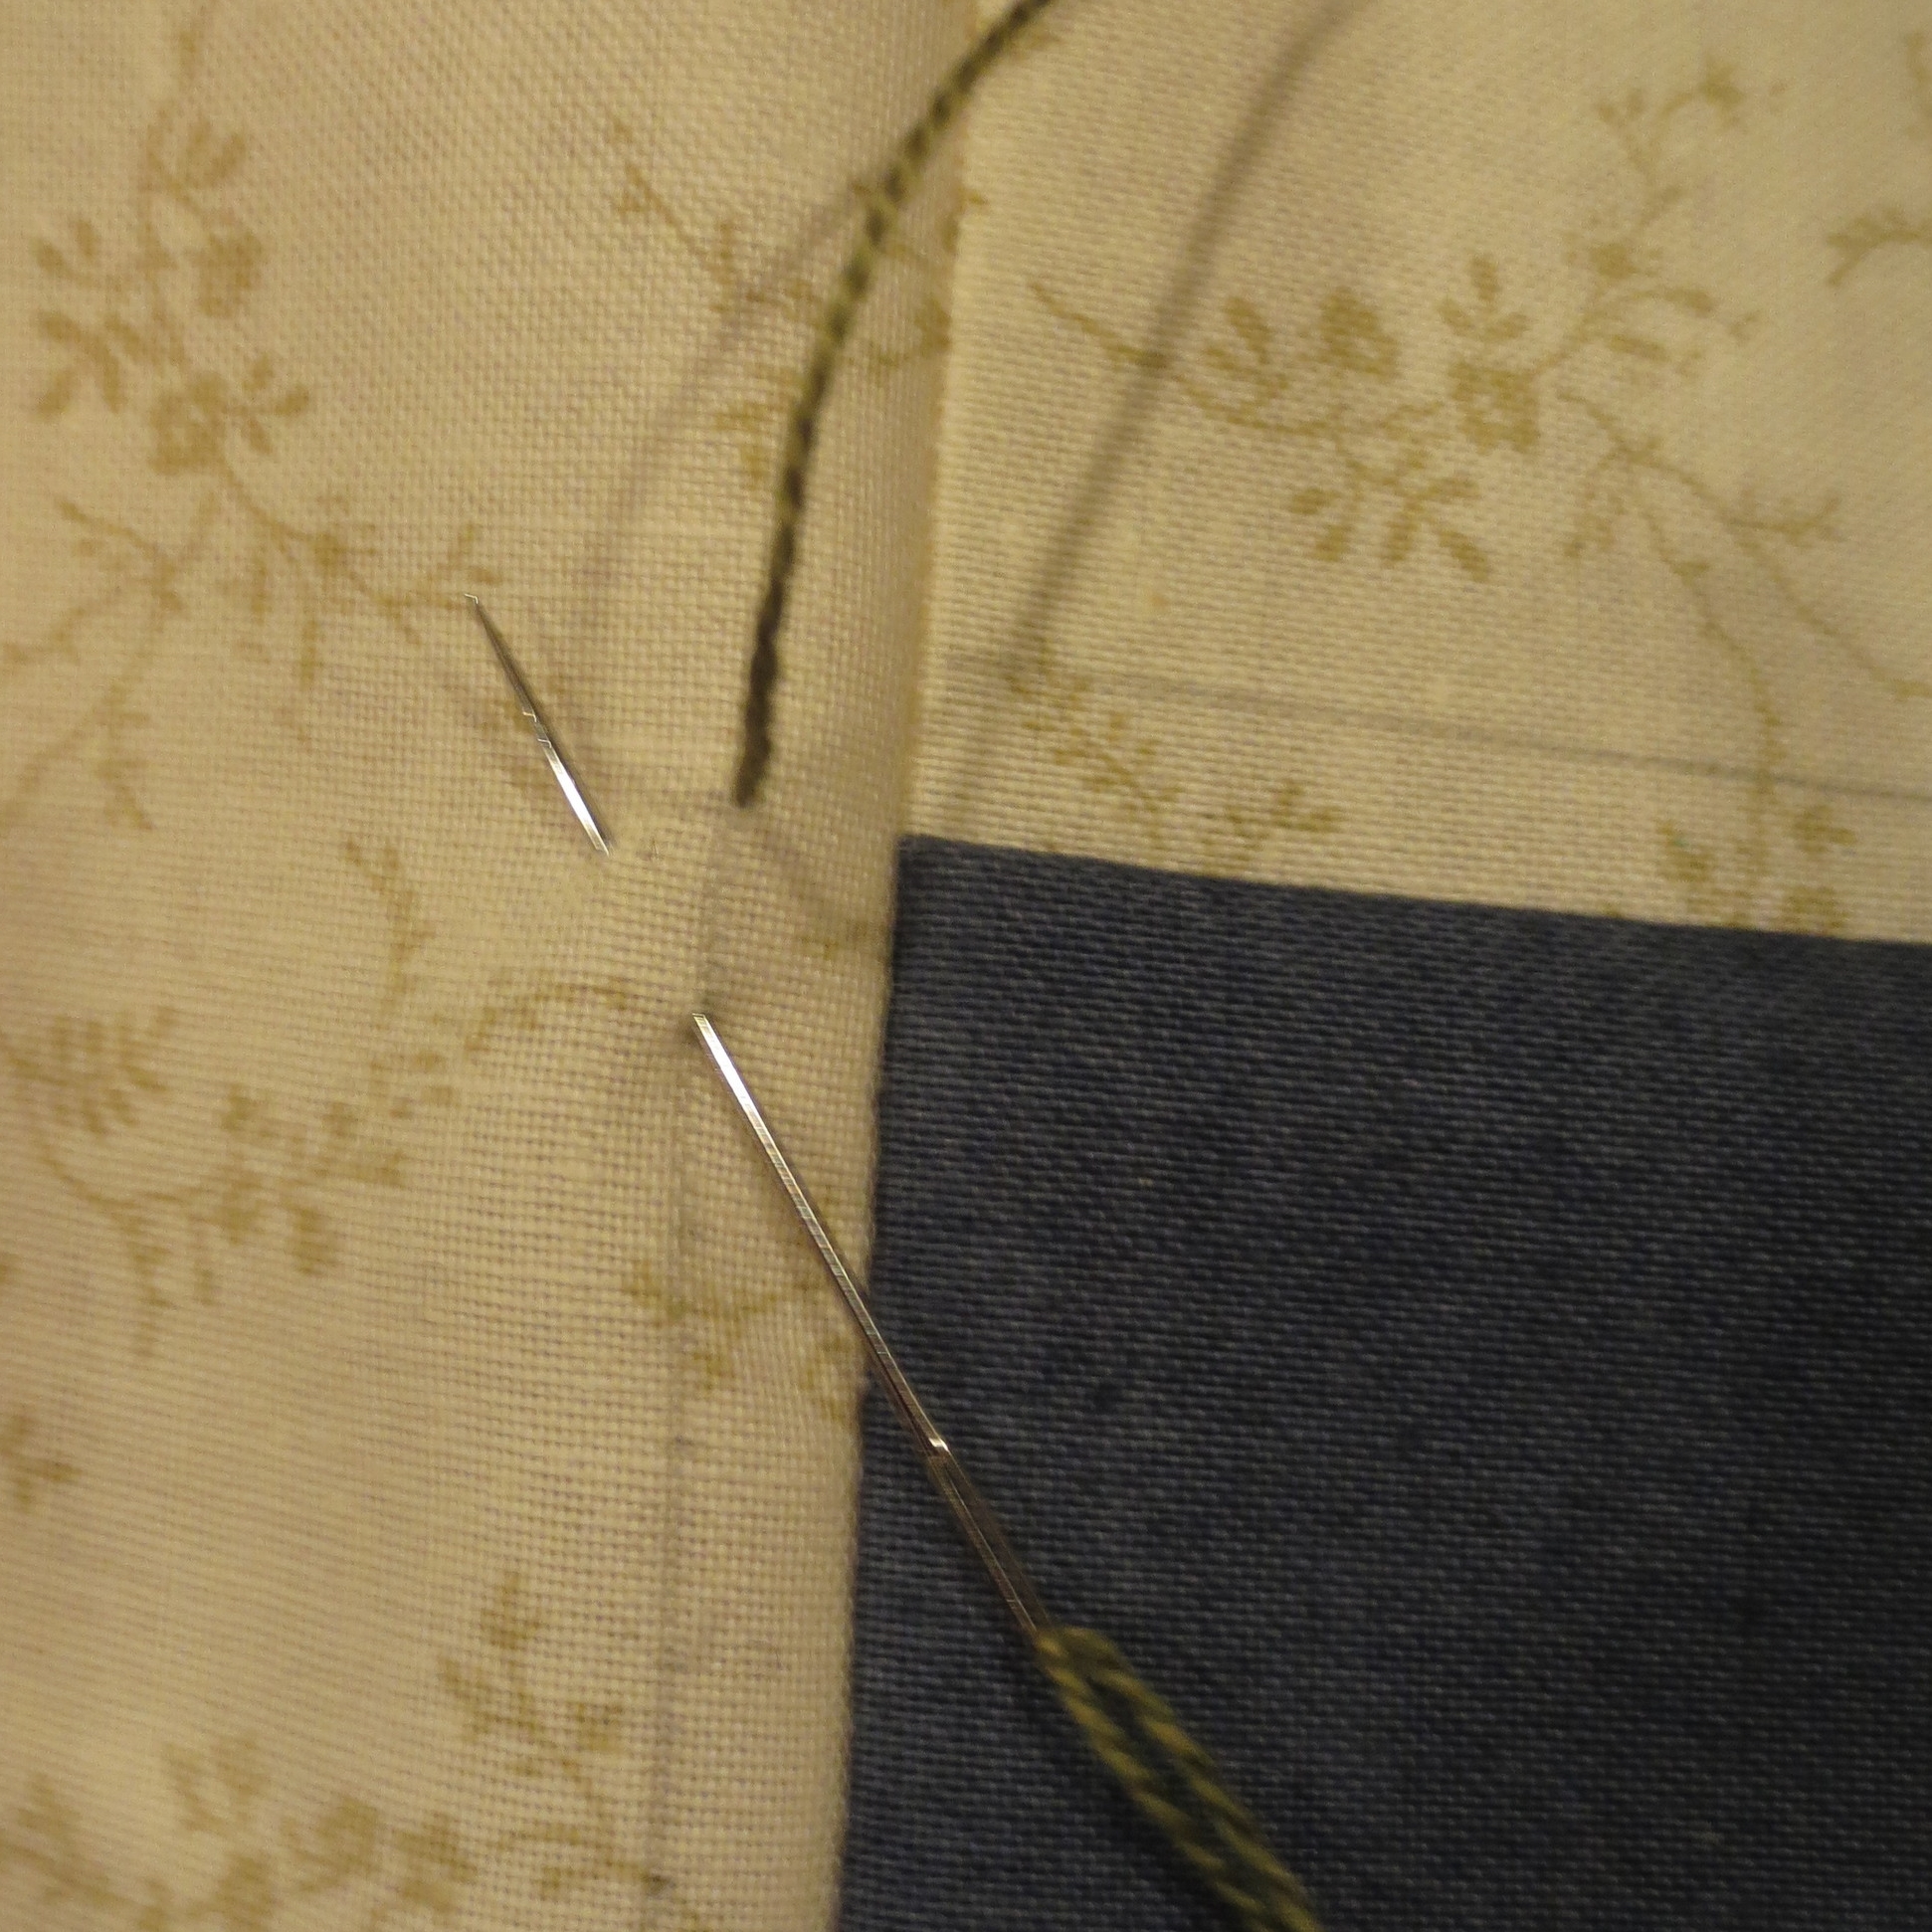
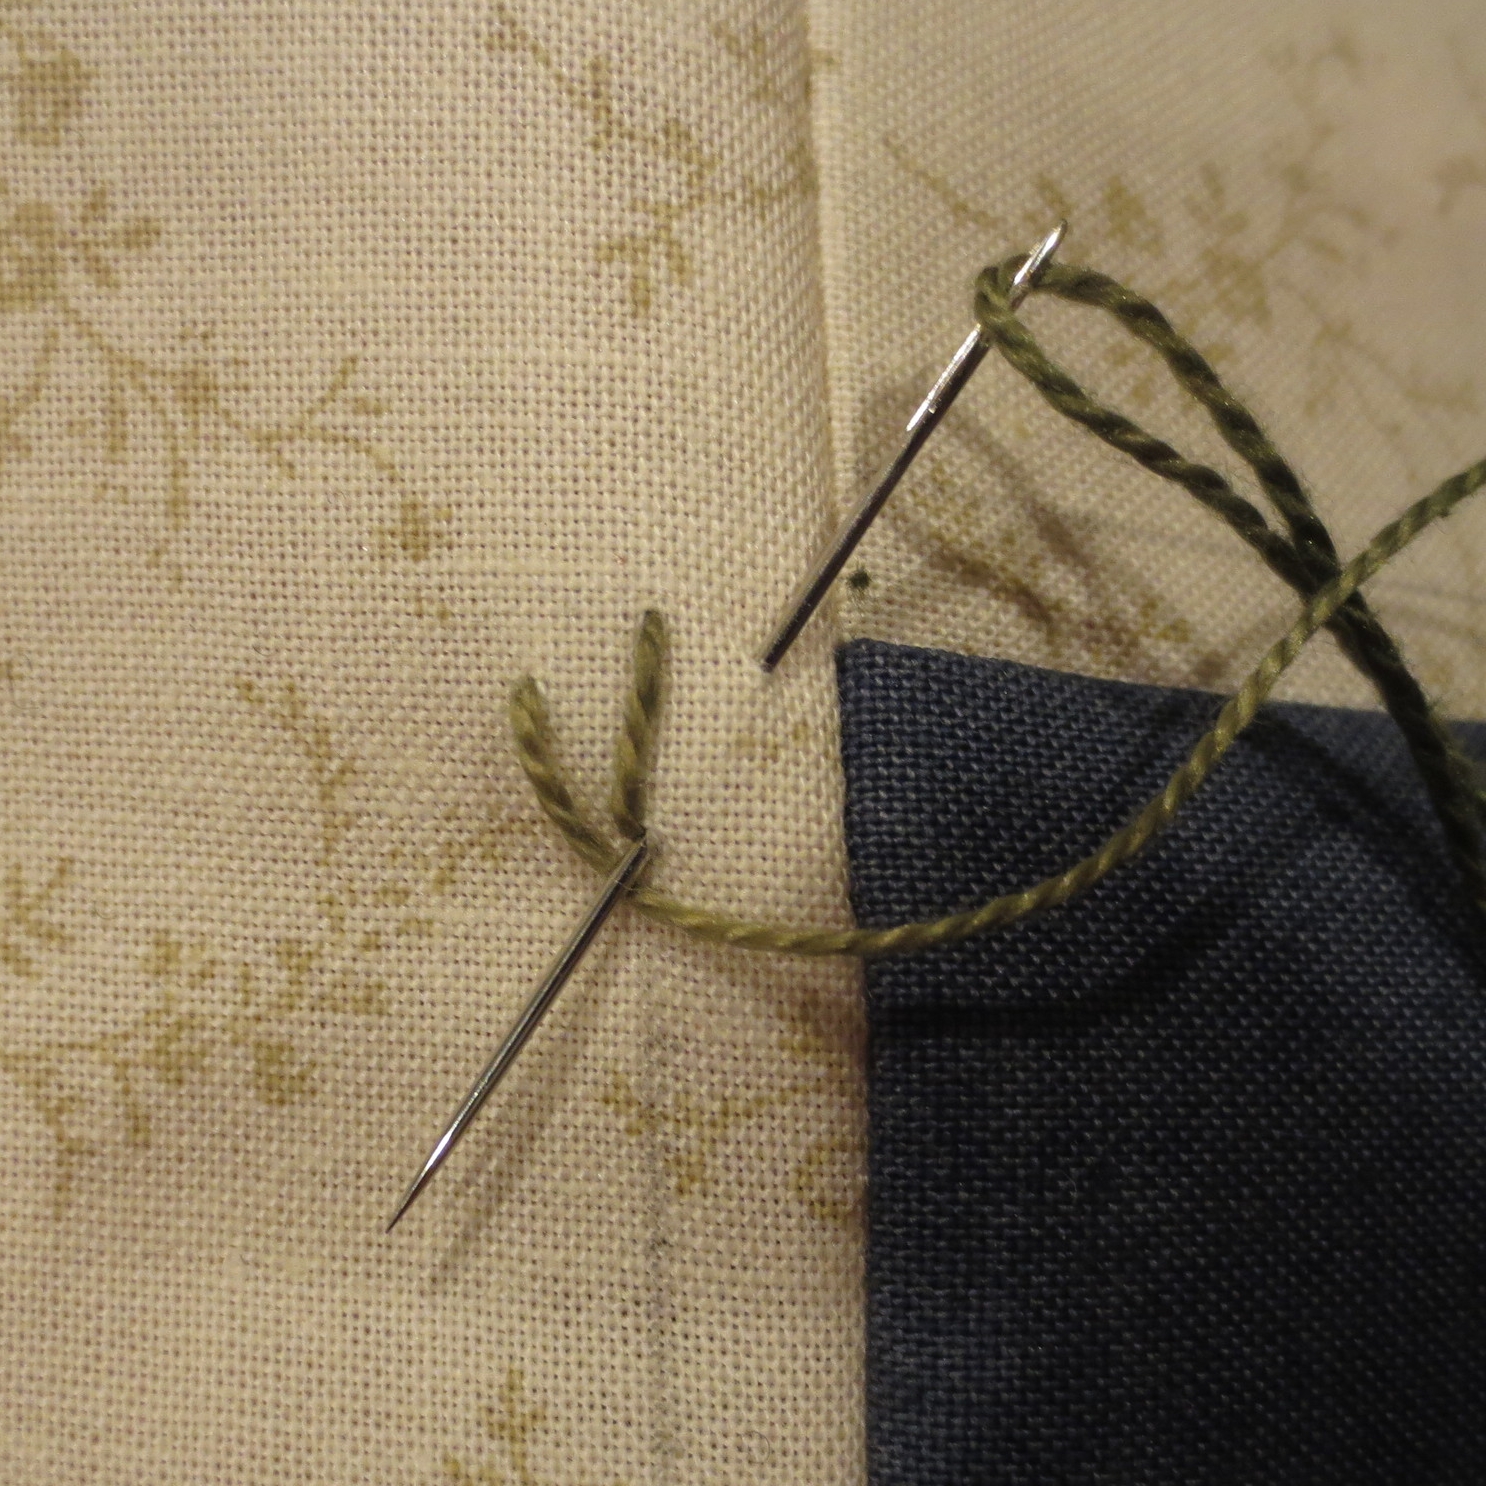
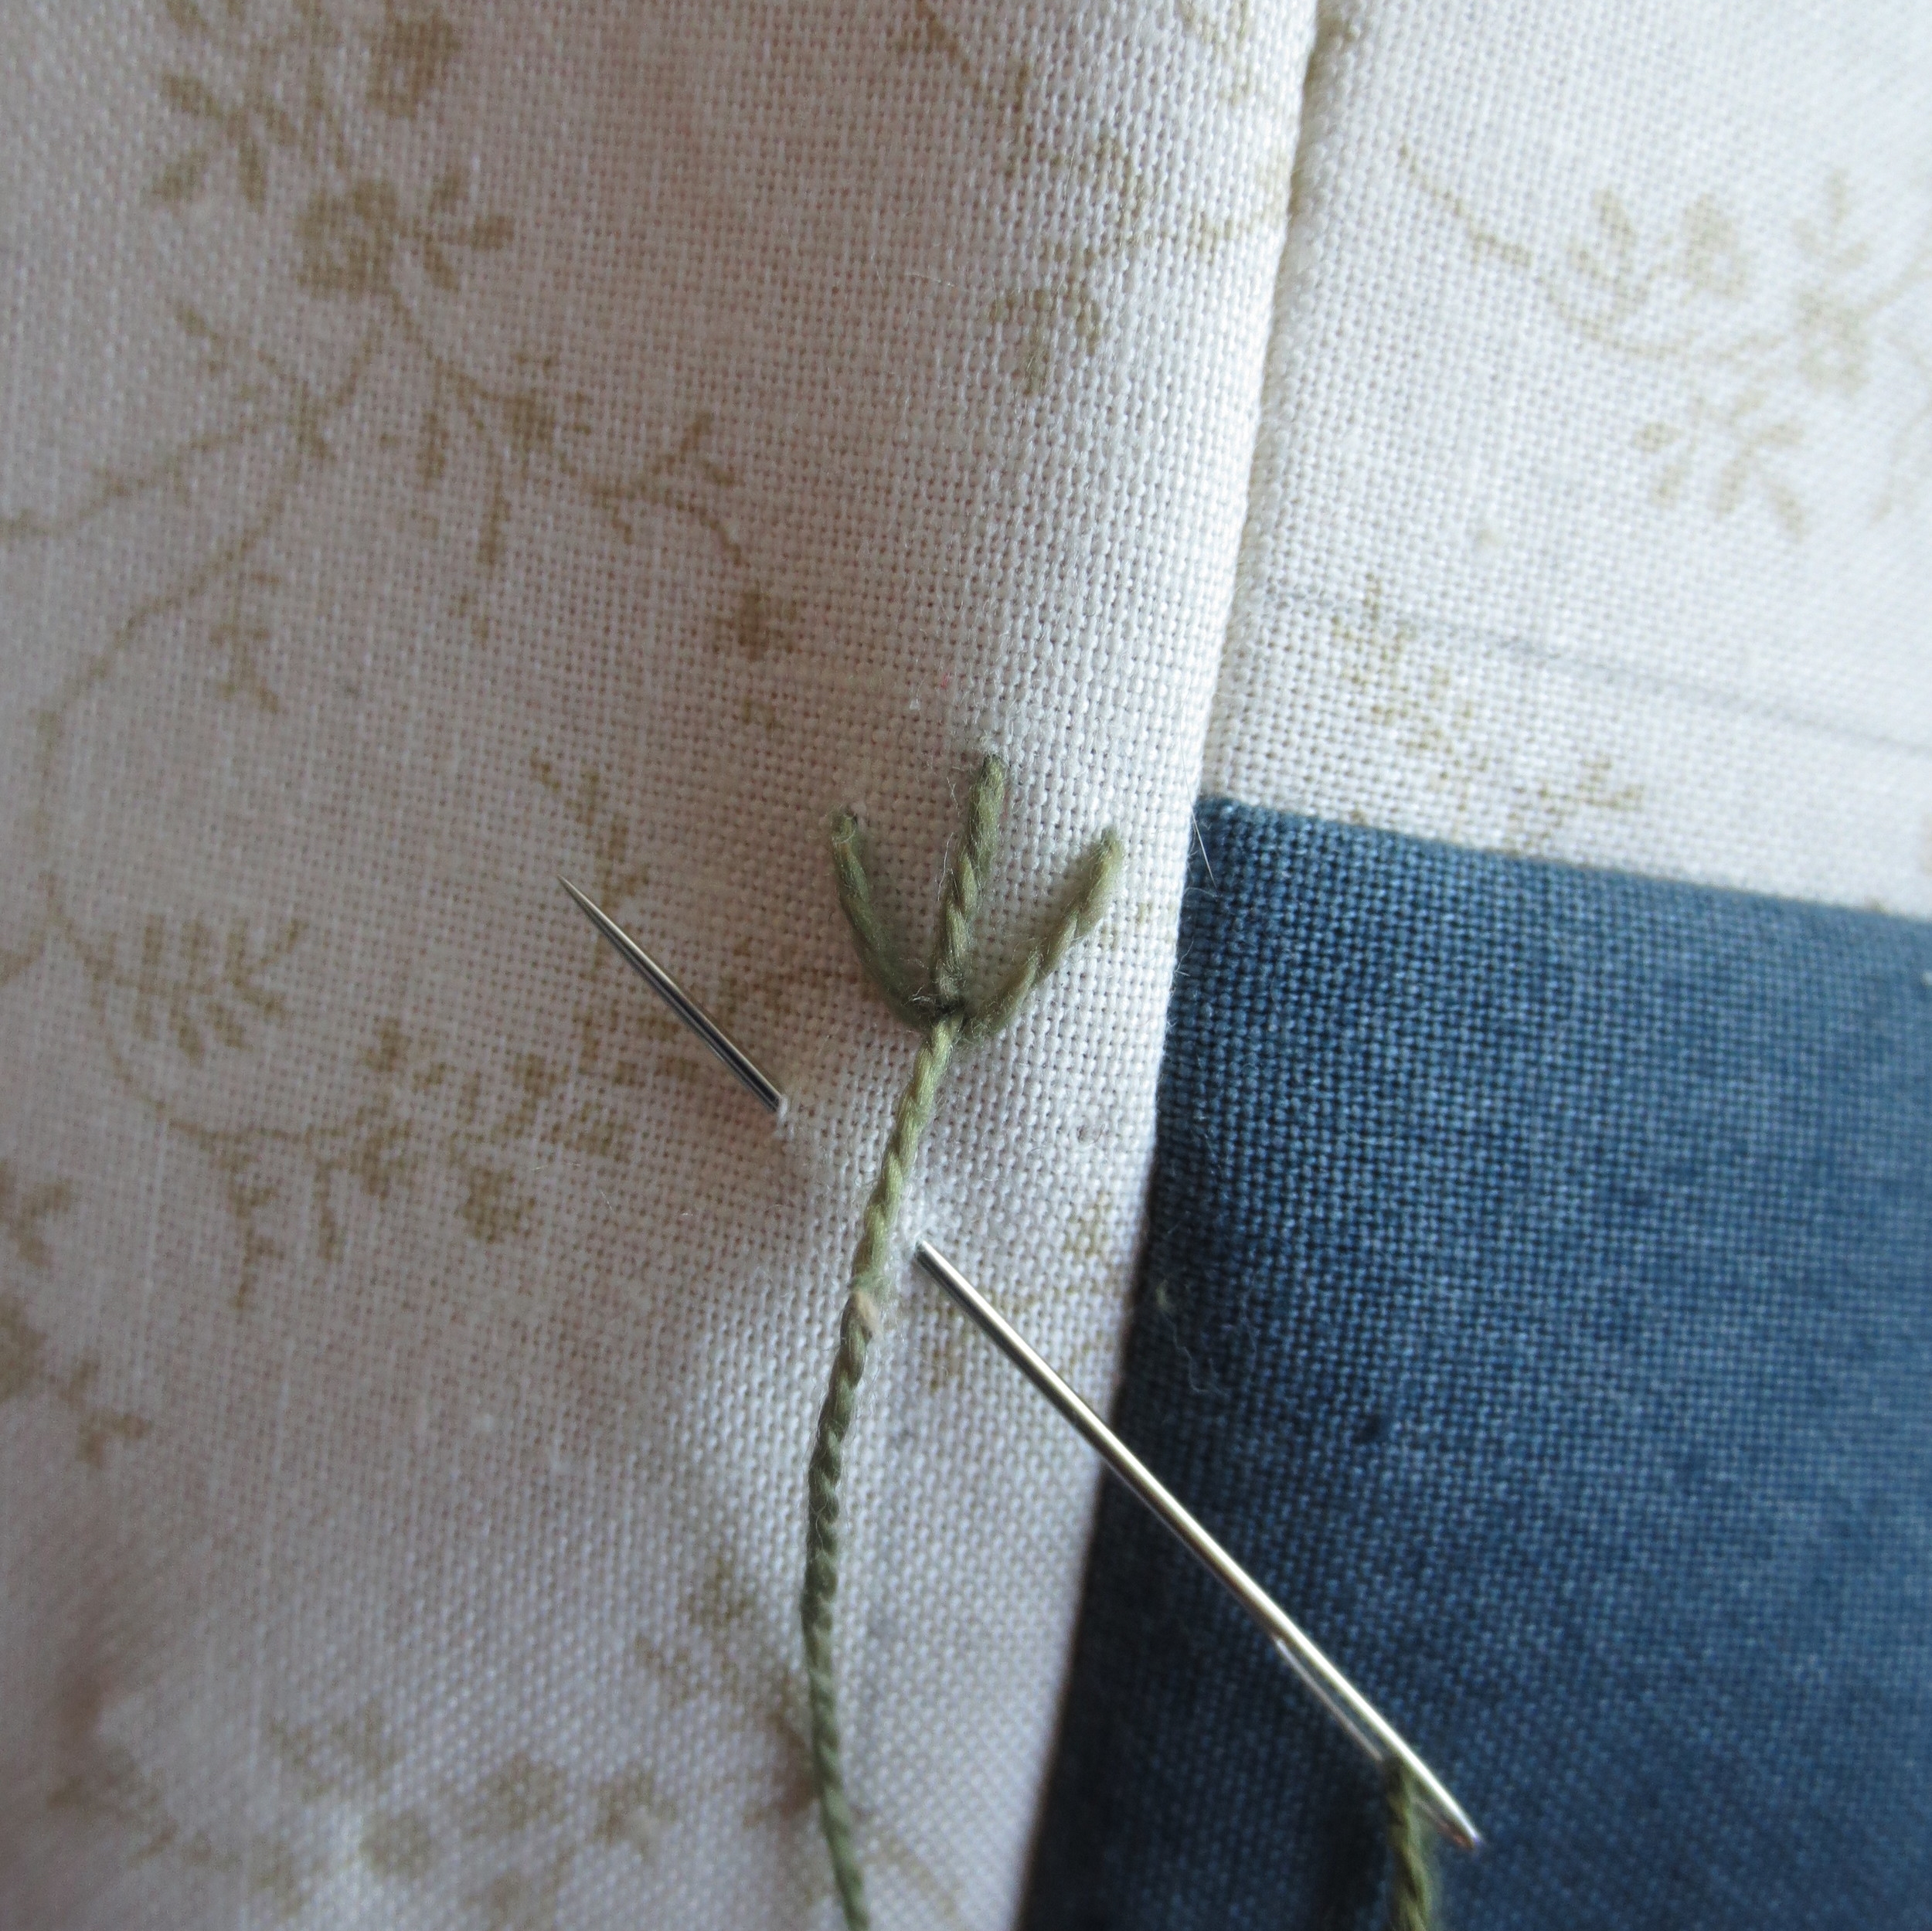
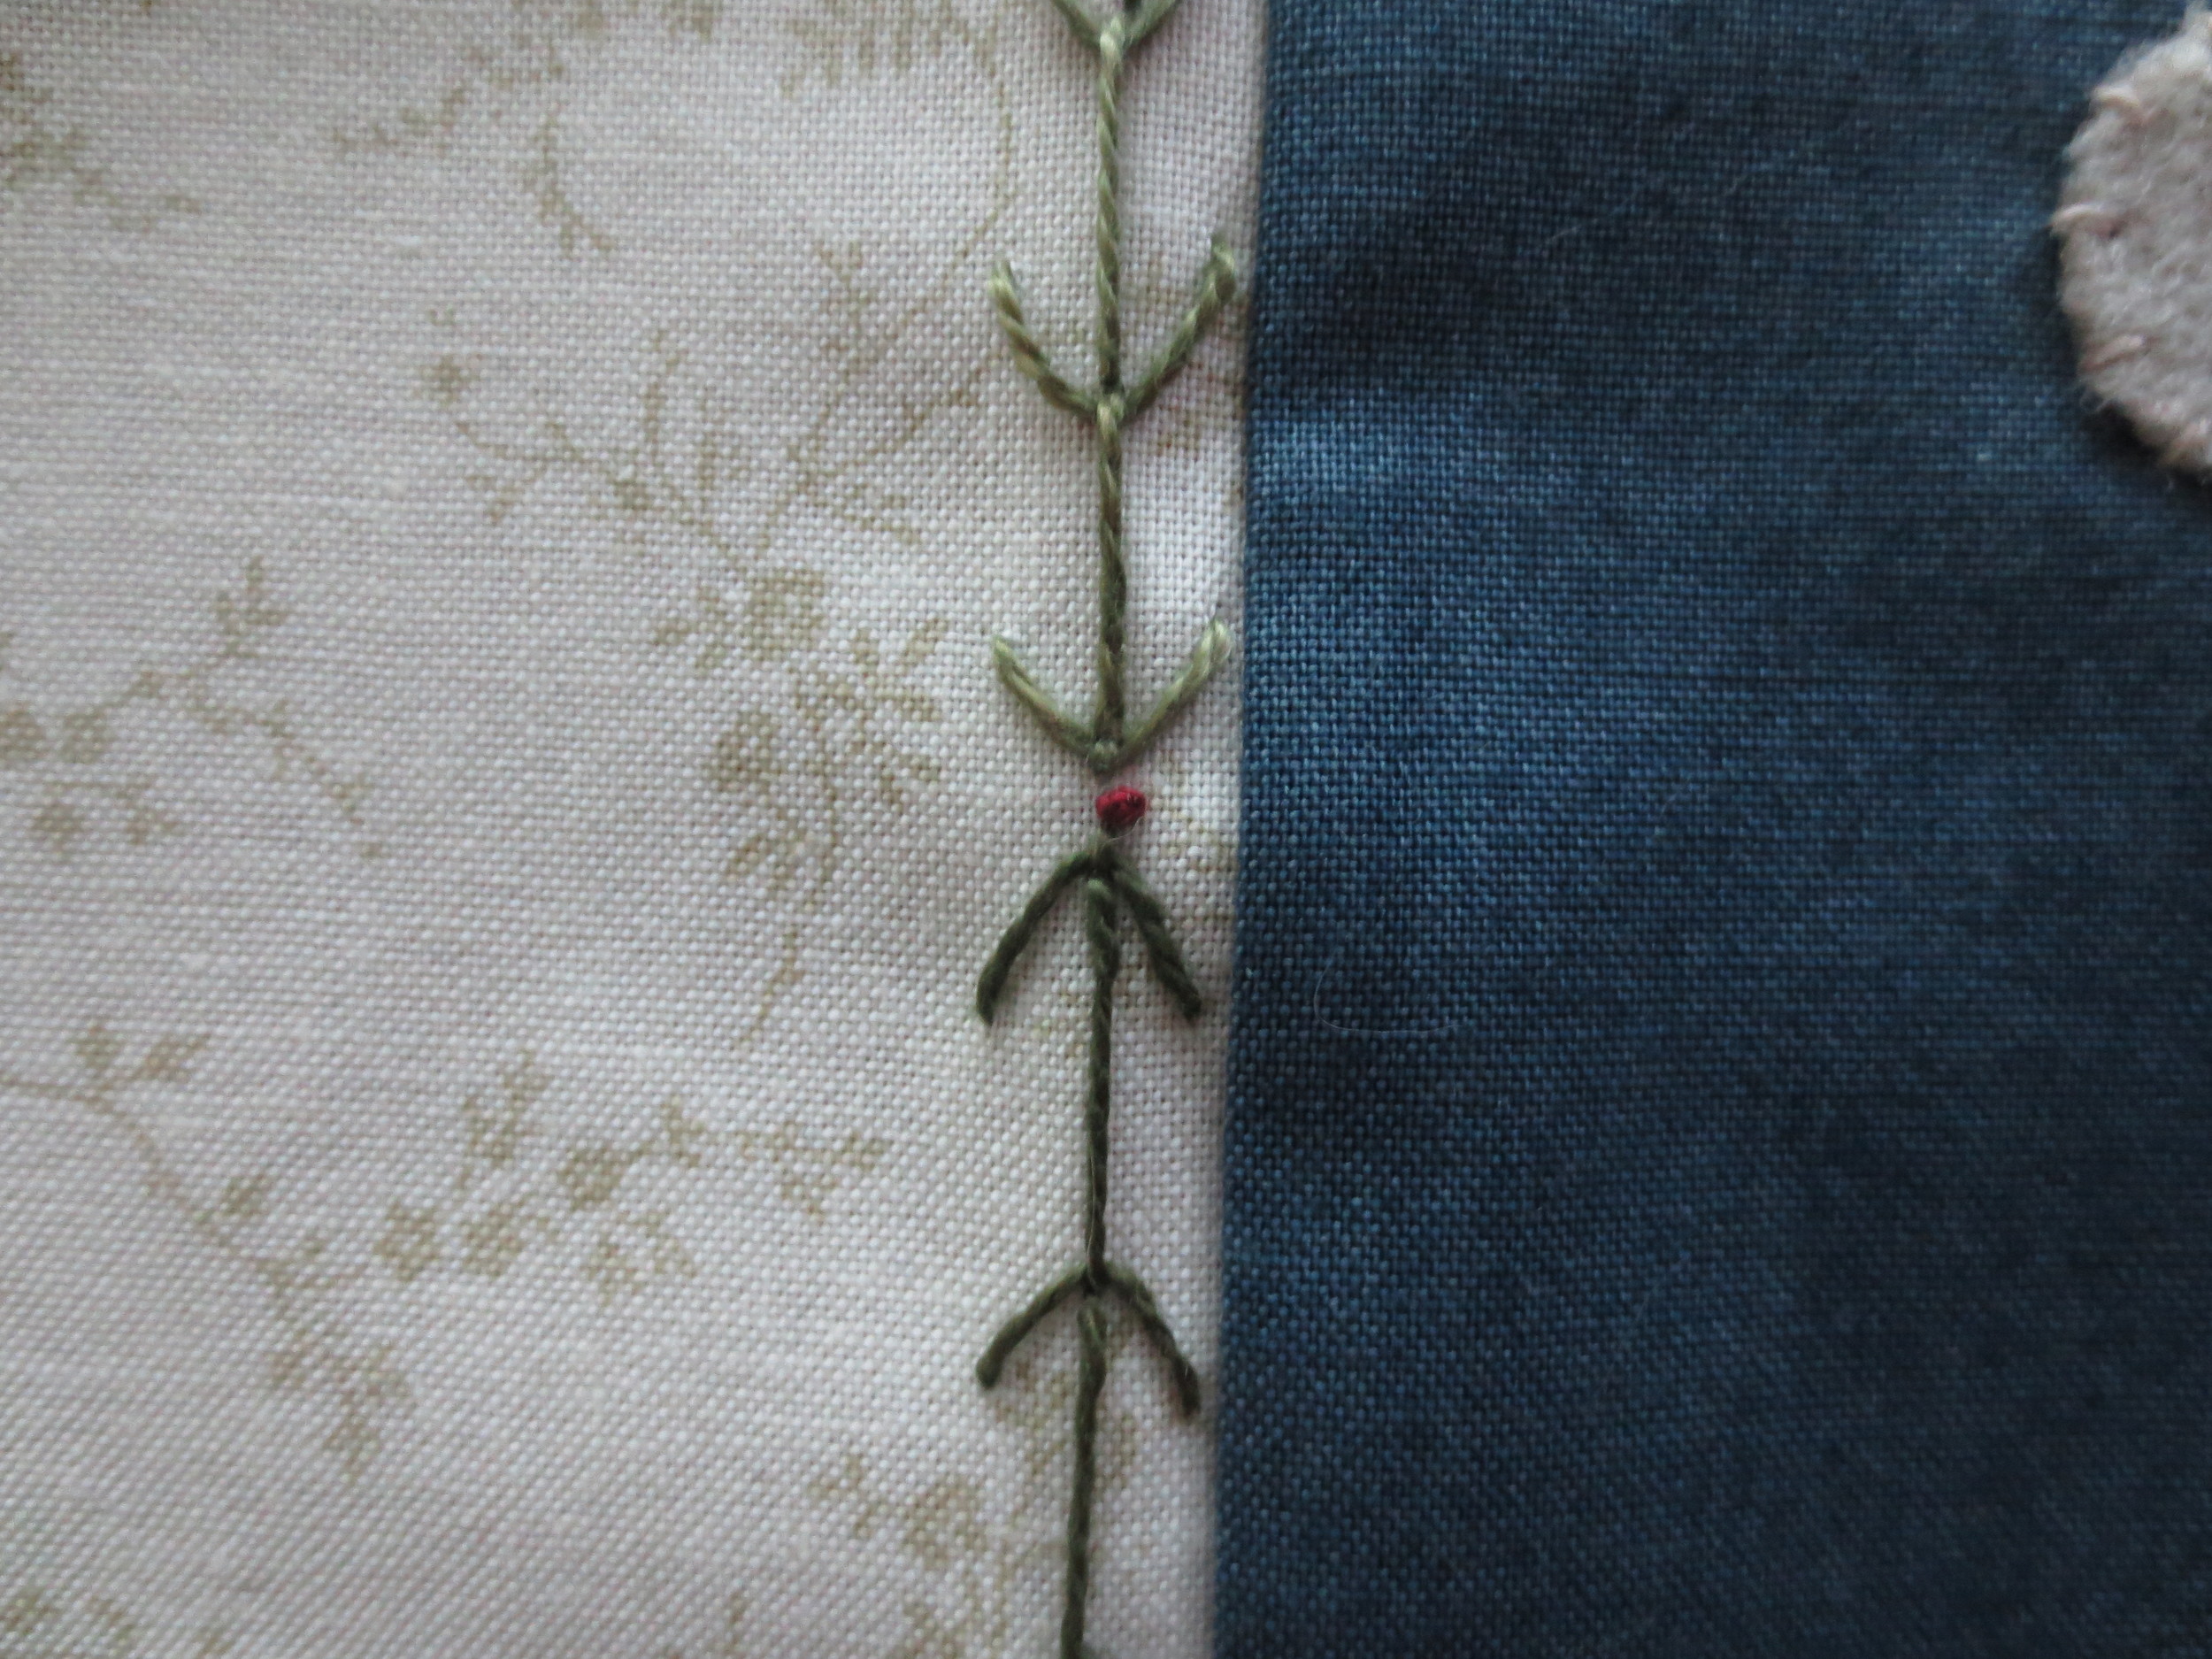
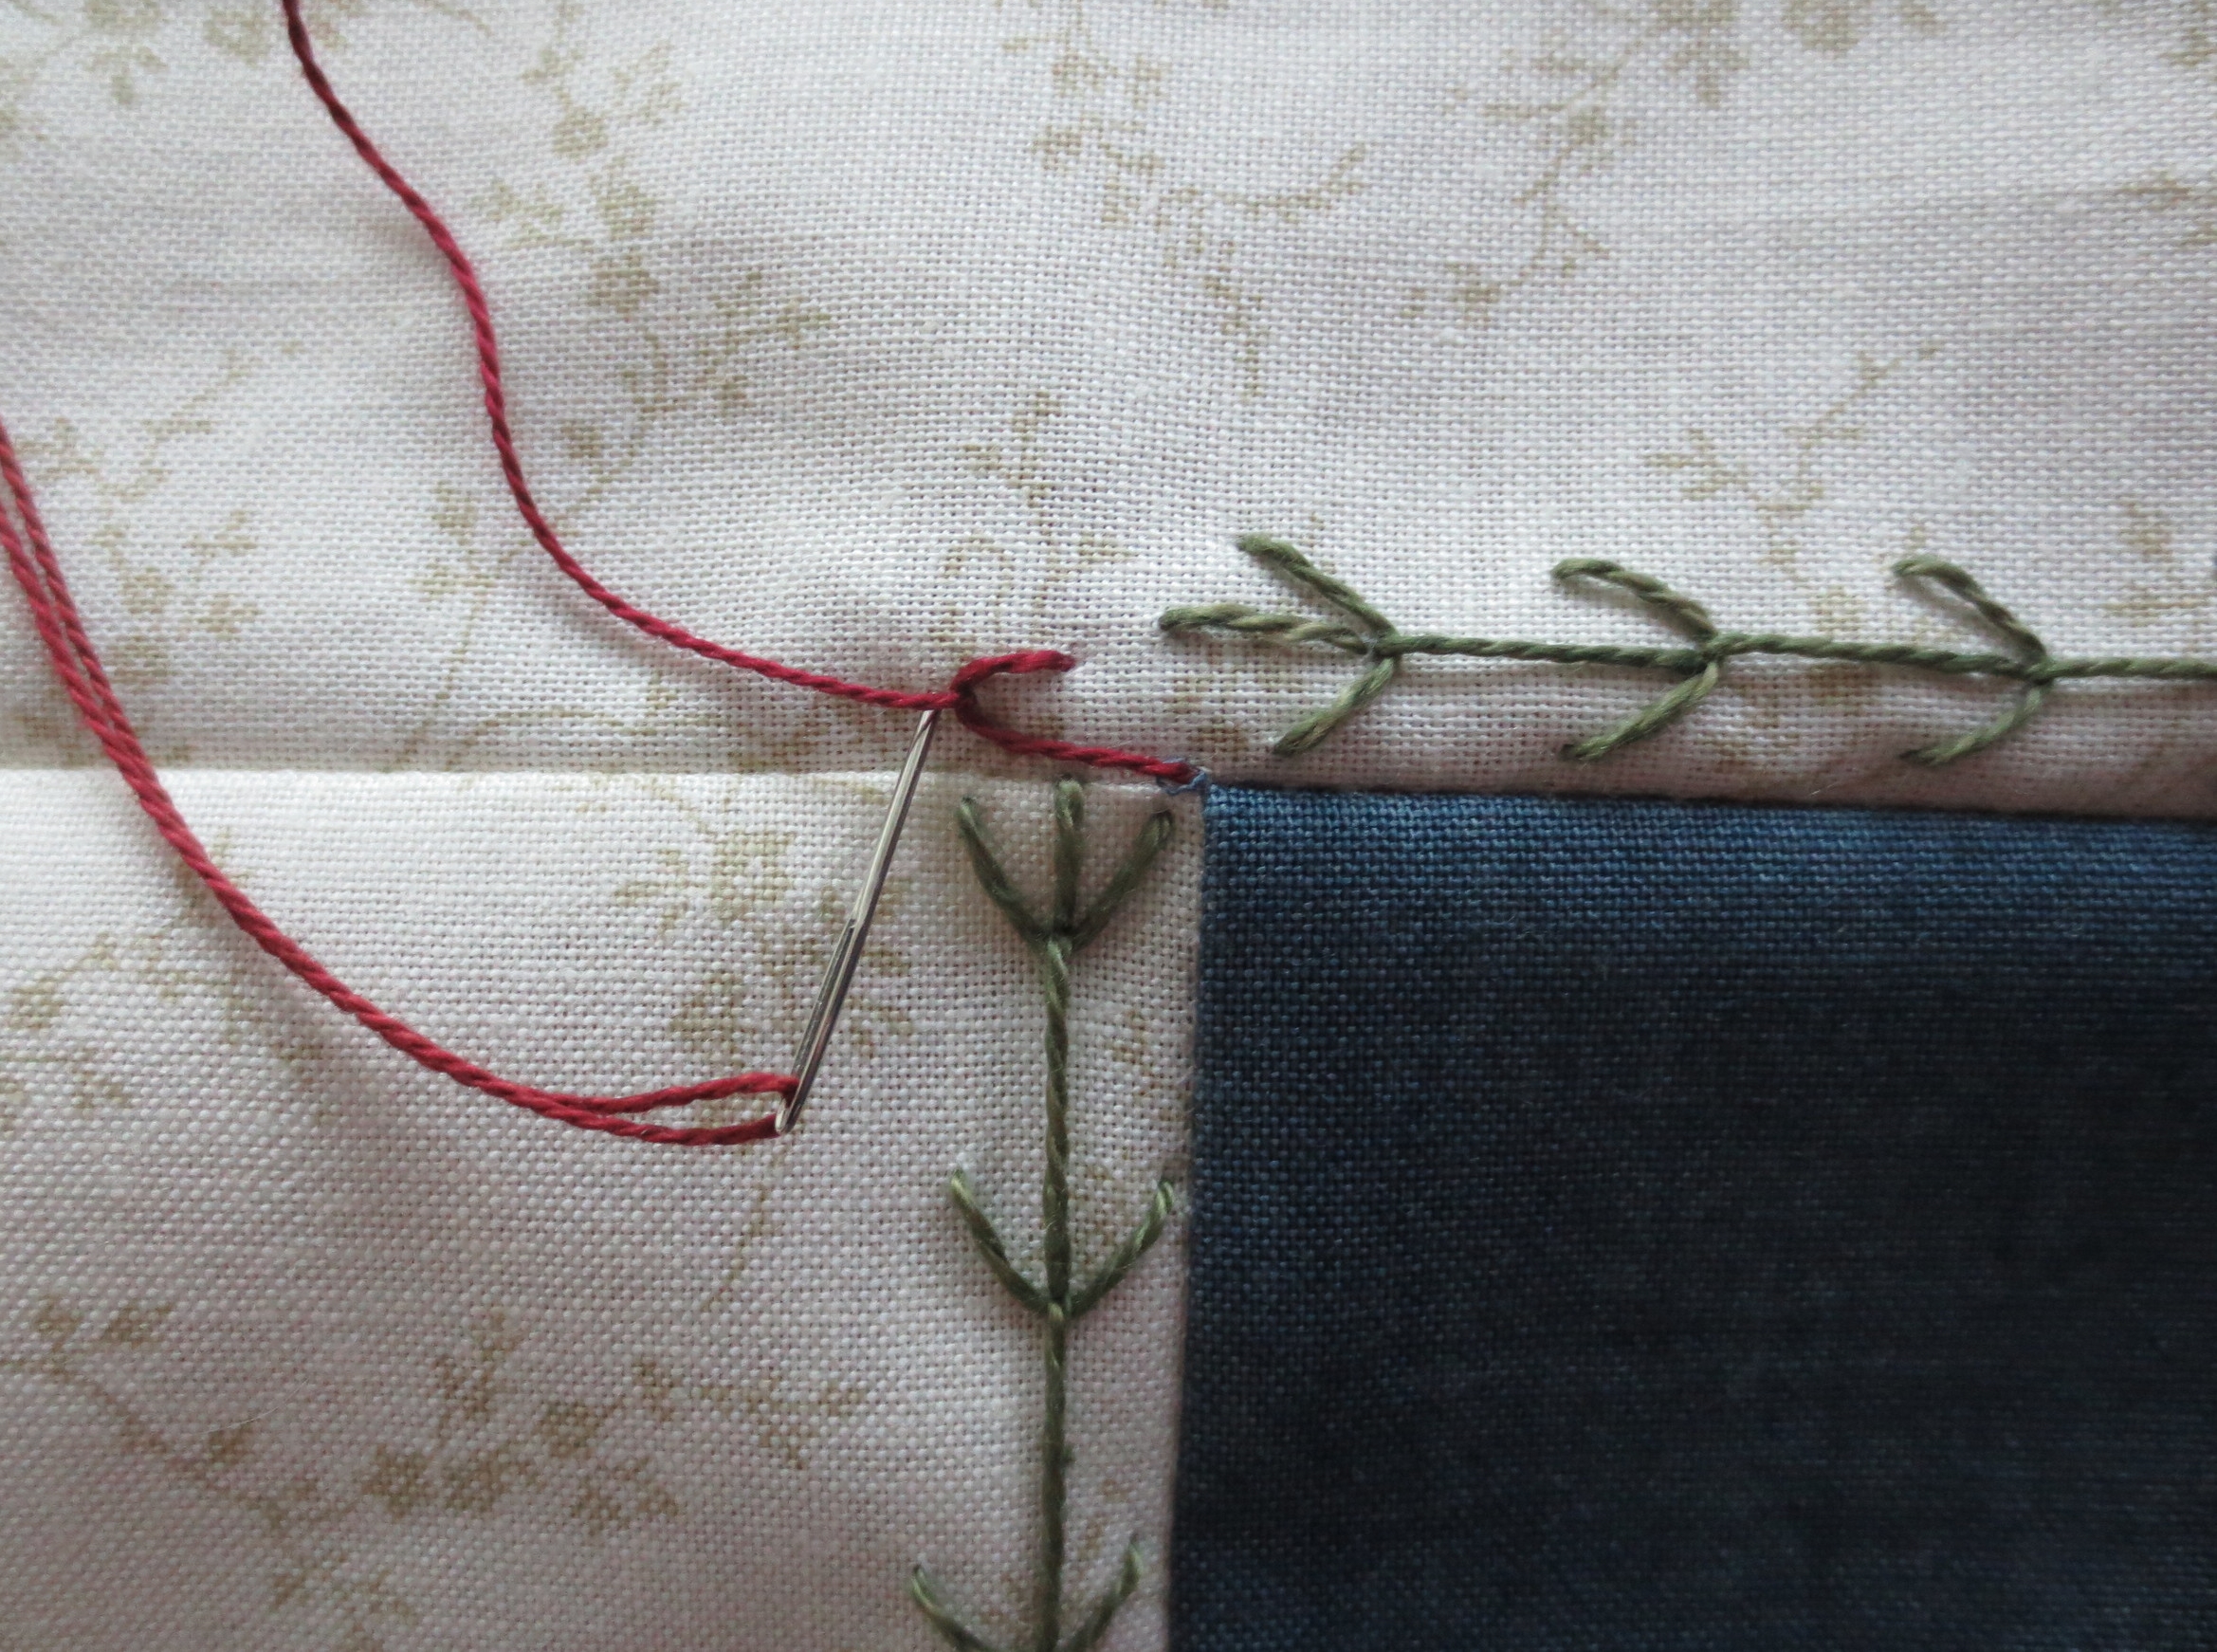
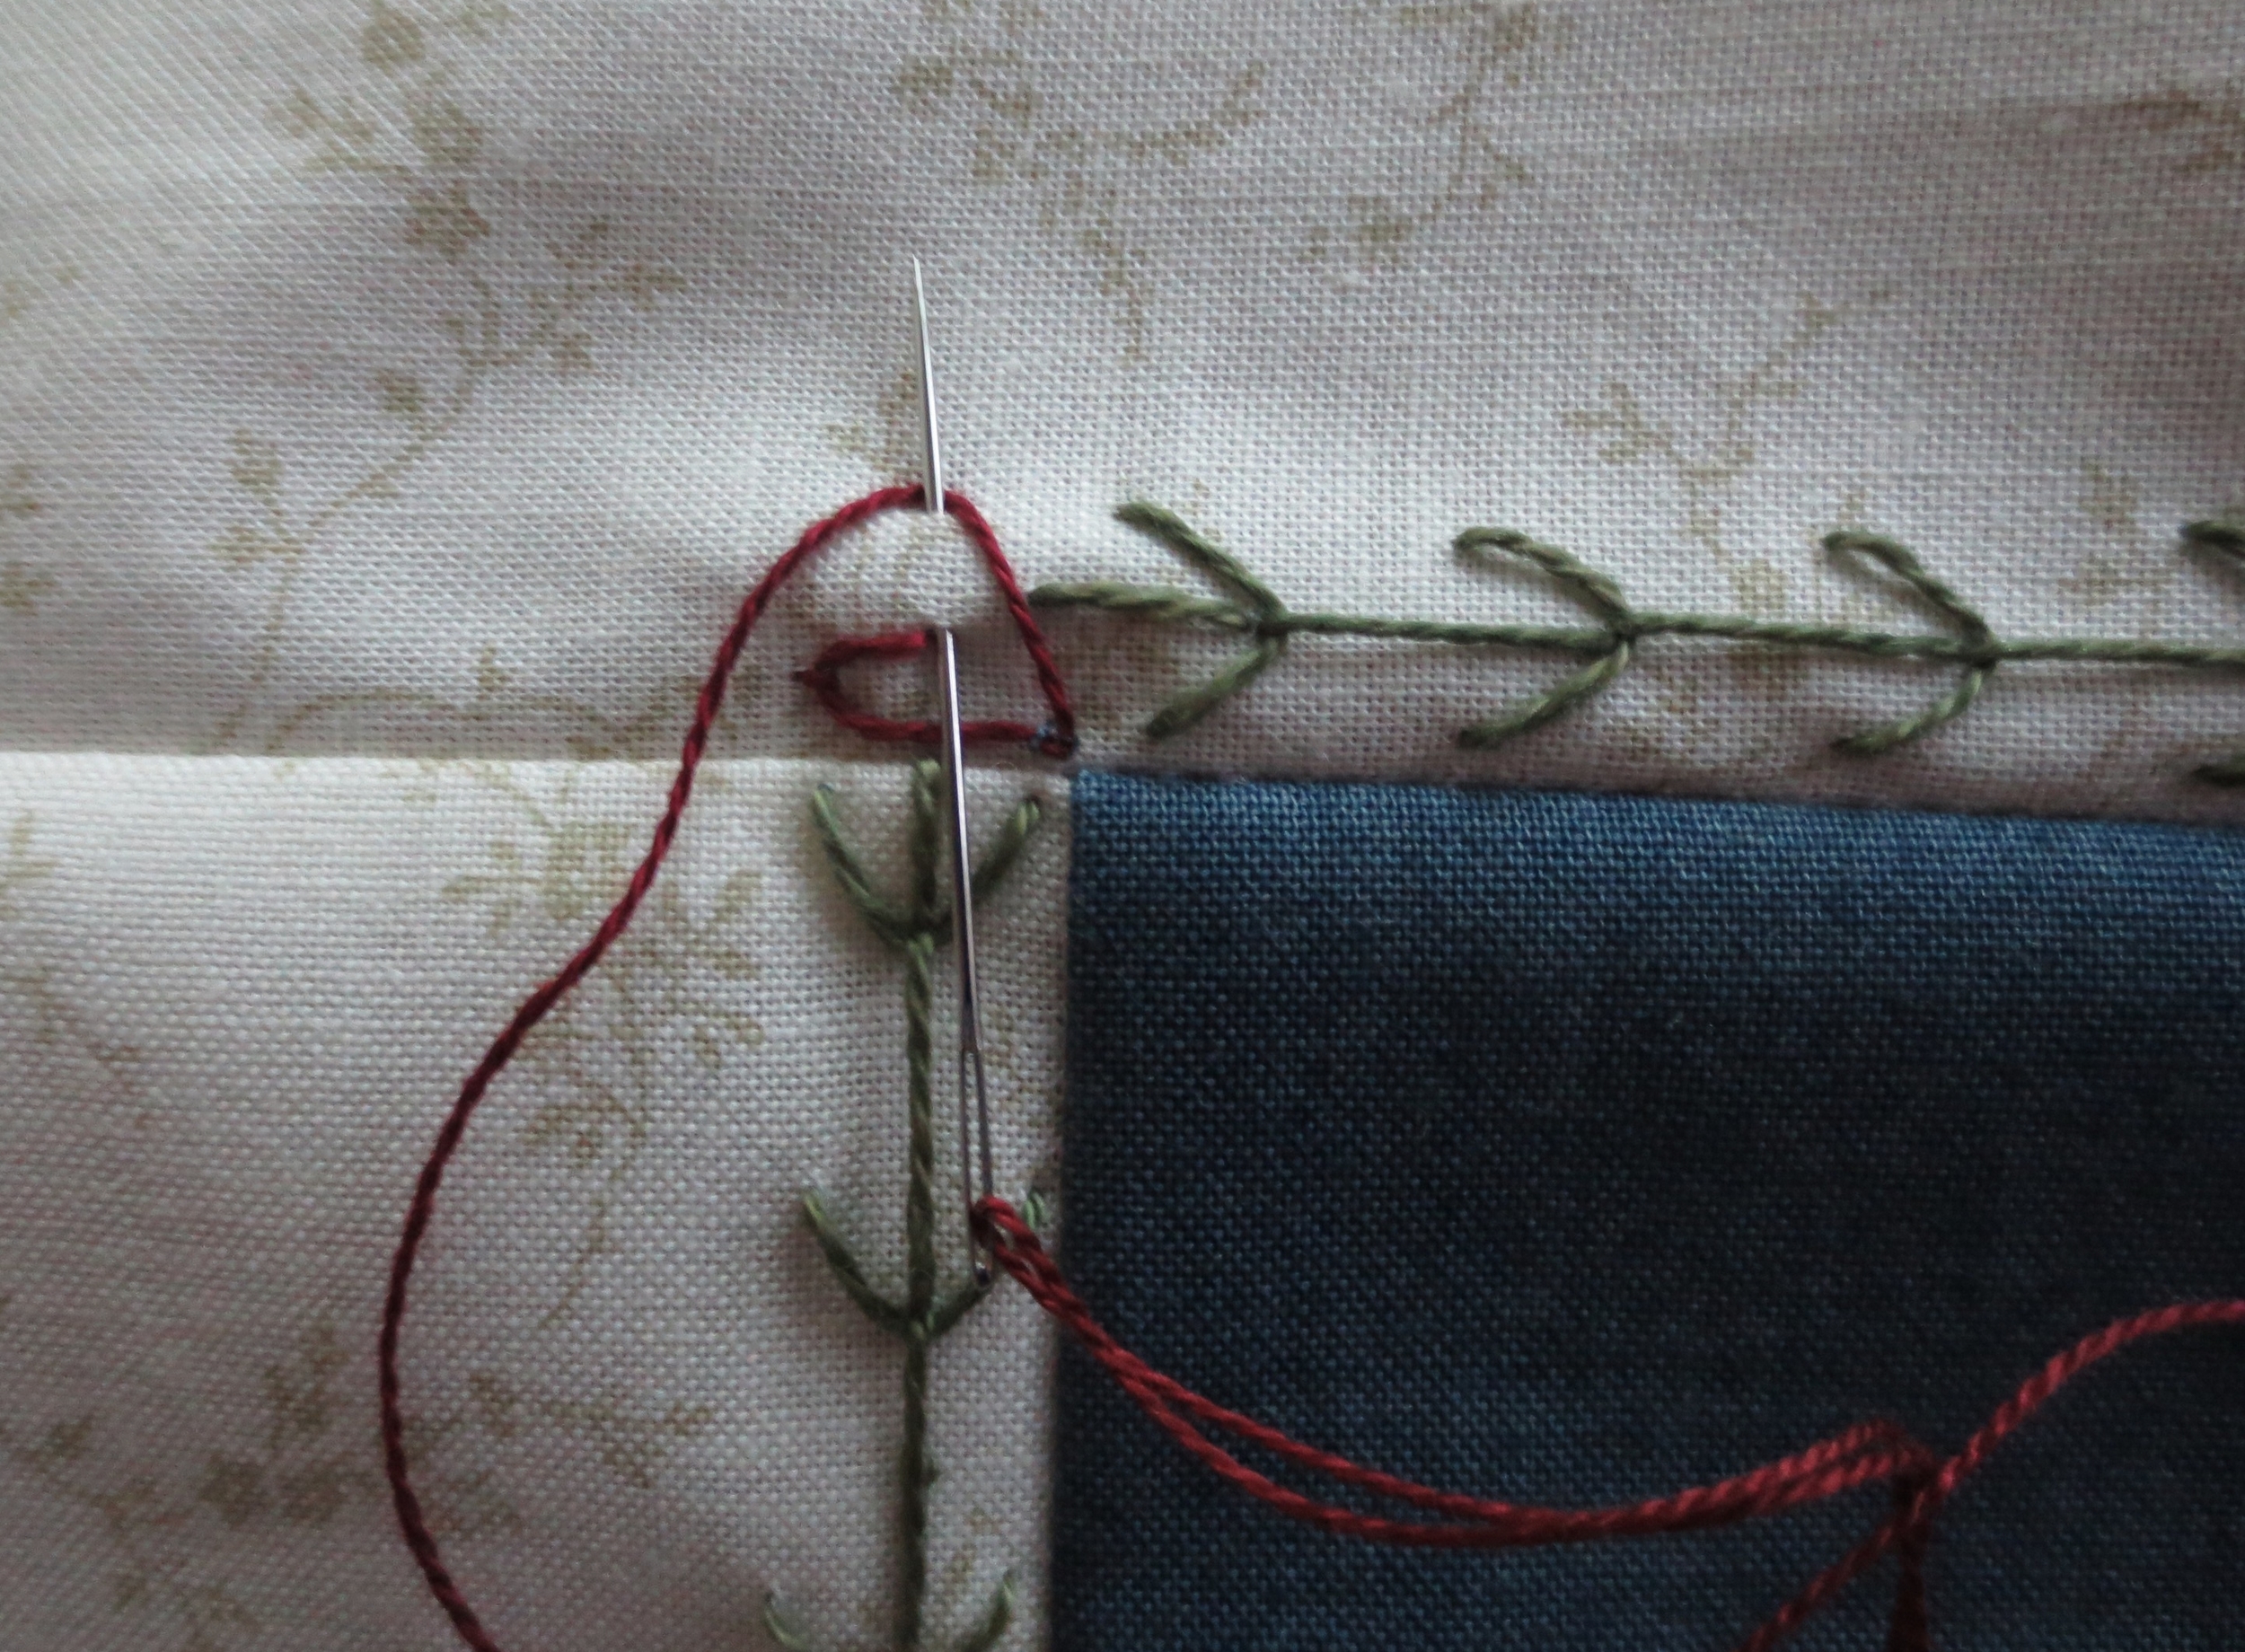
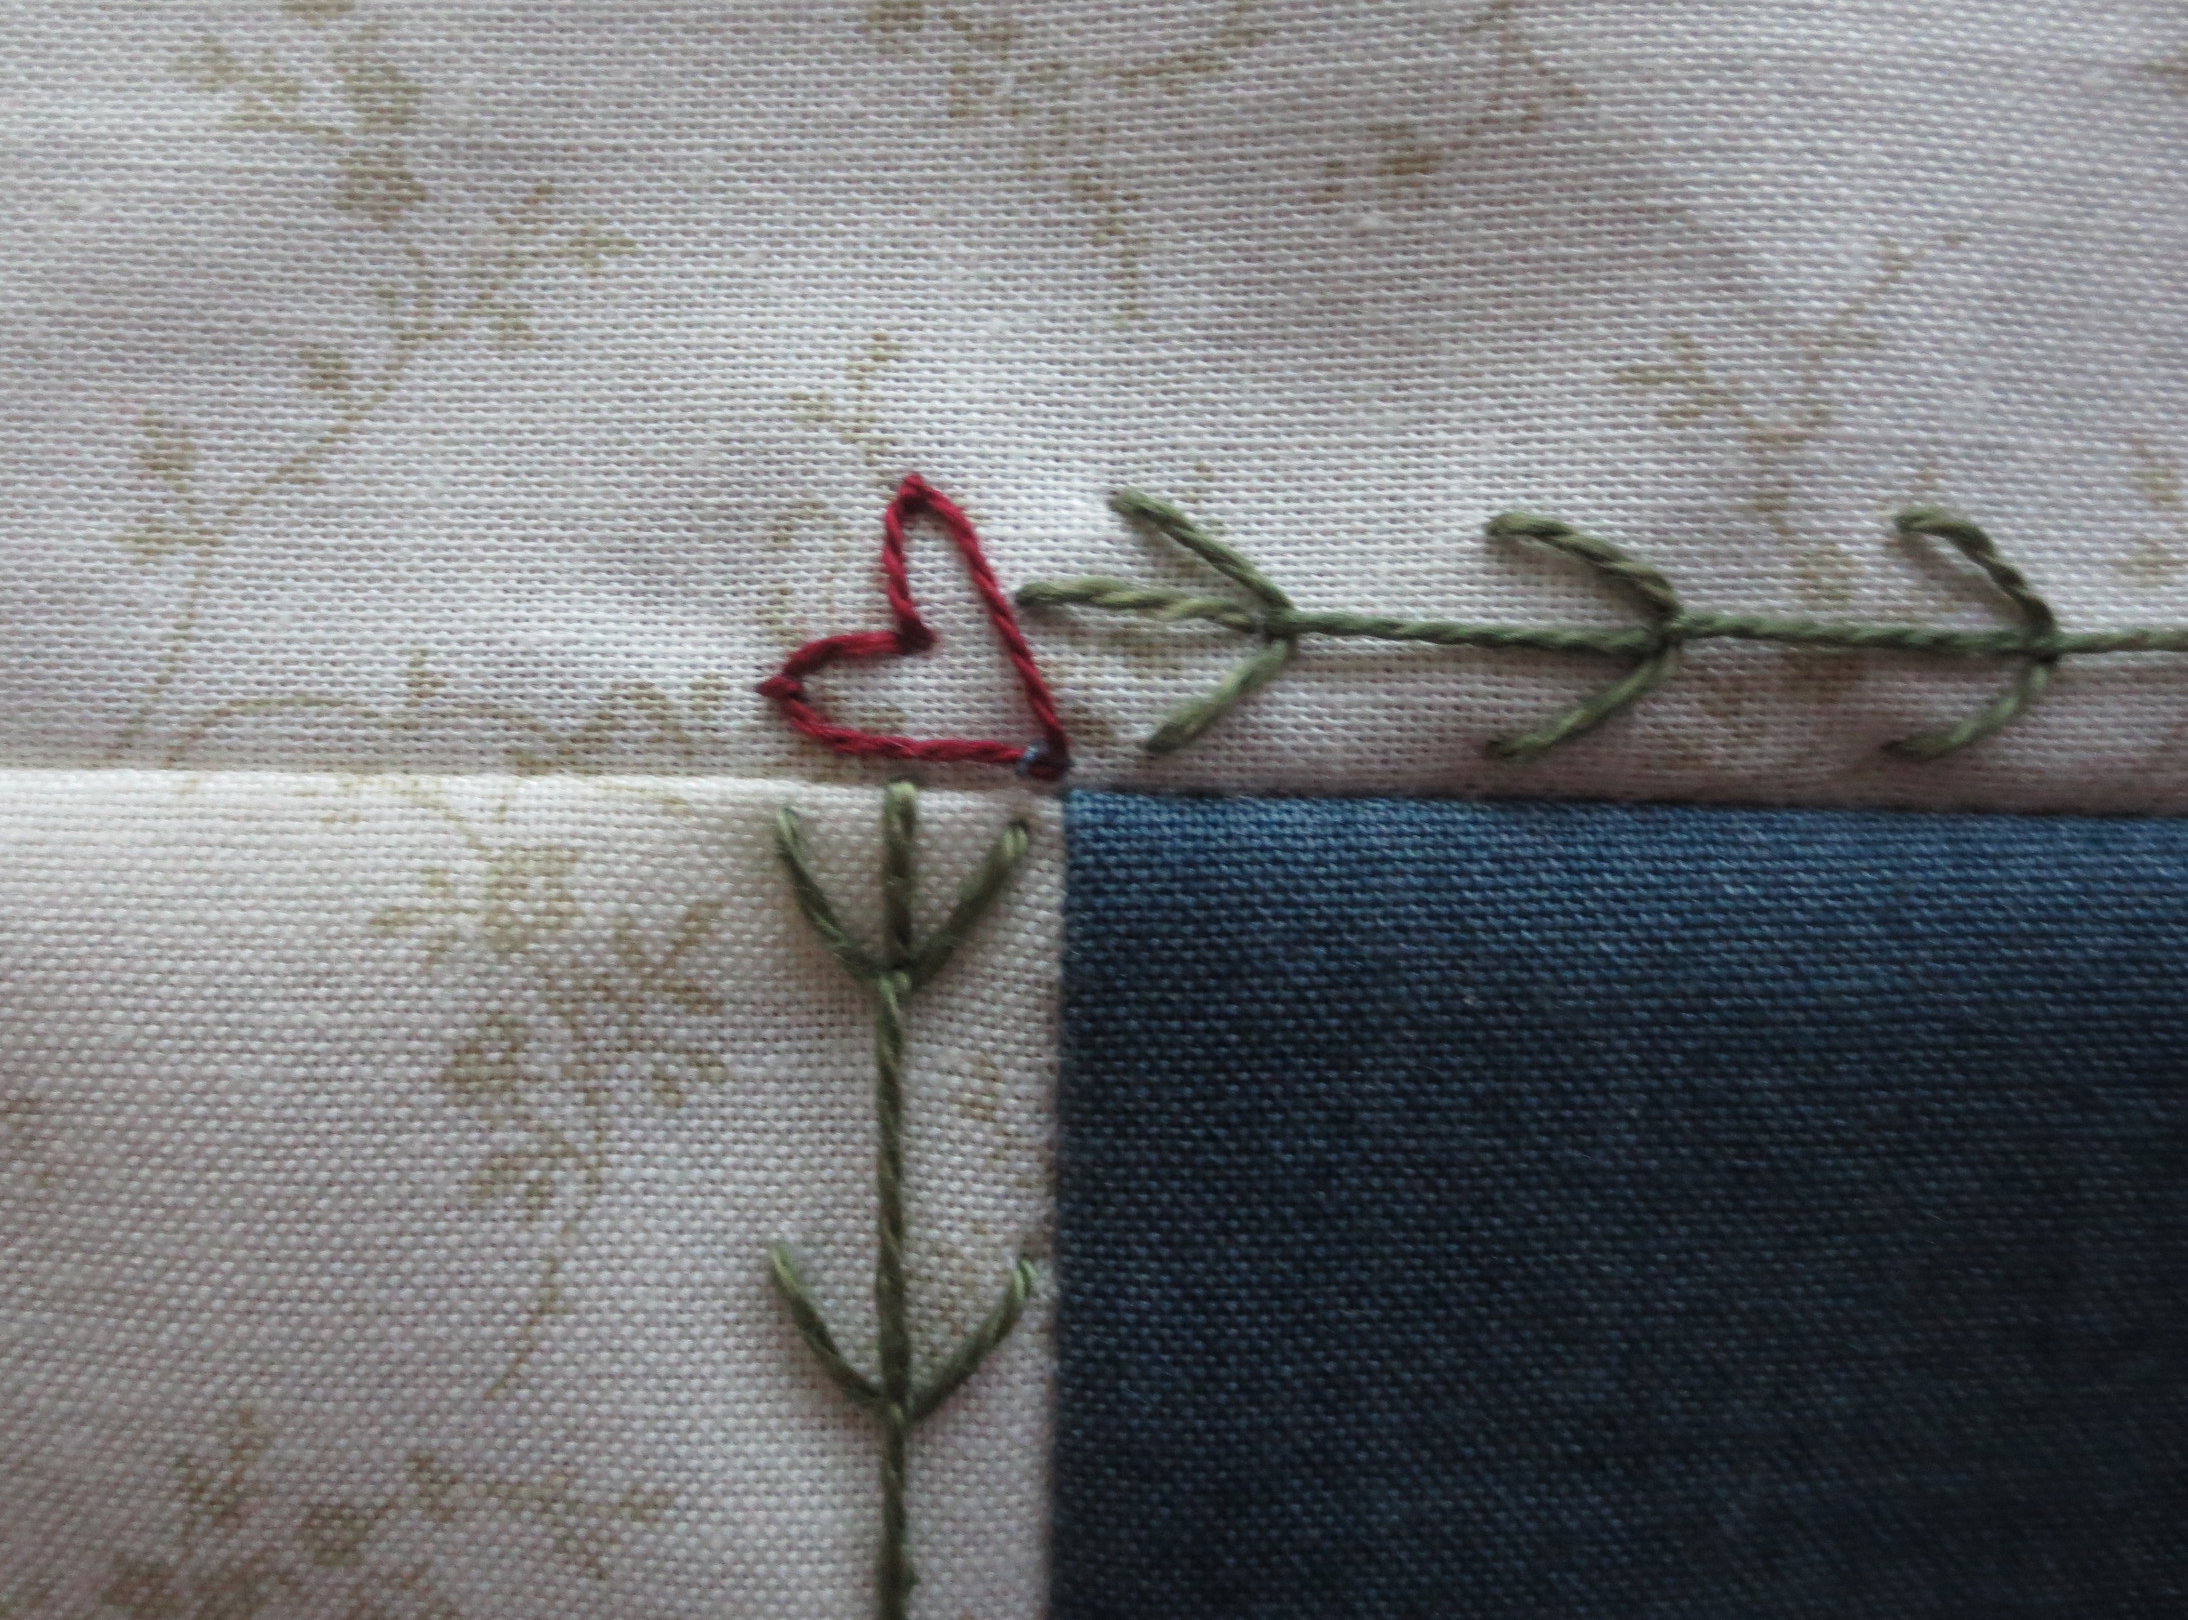
- Use perle cotton, size 8, color #O578 to stitch a closed fly stitch over the the lines. Refer to the stitch guide for further instructions. The spacing of the fly stitches will vary with the top and side borders. I stitched nine stitches on either side of the center dot on the top and bottom borders, and six stitches on either side of the center dot on the side borders. Begin with the first fly stitch 1/4" from the start of the stitch. Tack the last stitch, ending at the center dot. Reverse the direction of the stitches for the opposite side of the center dot.
- Use #O503 to stitch a large French knot on each center dot.
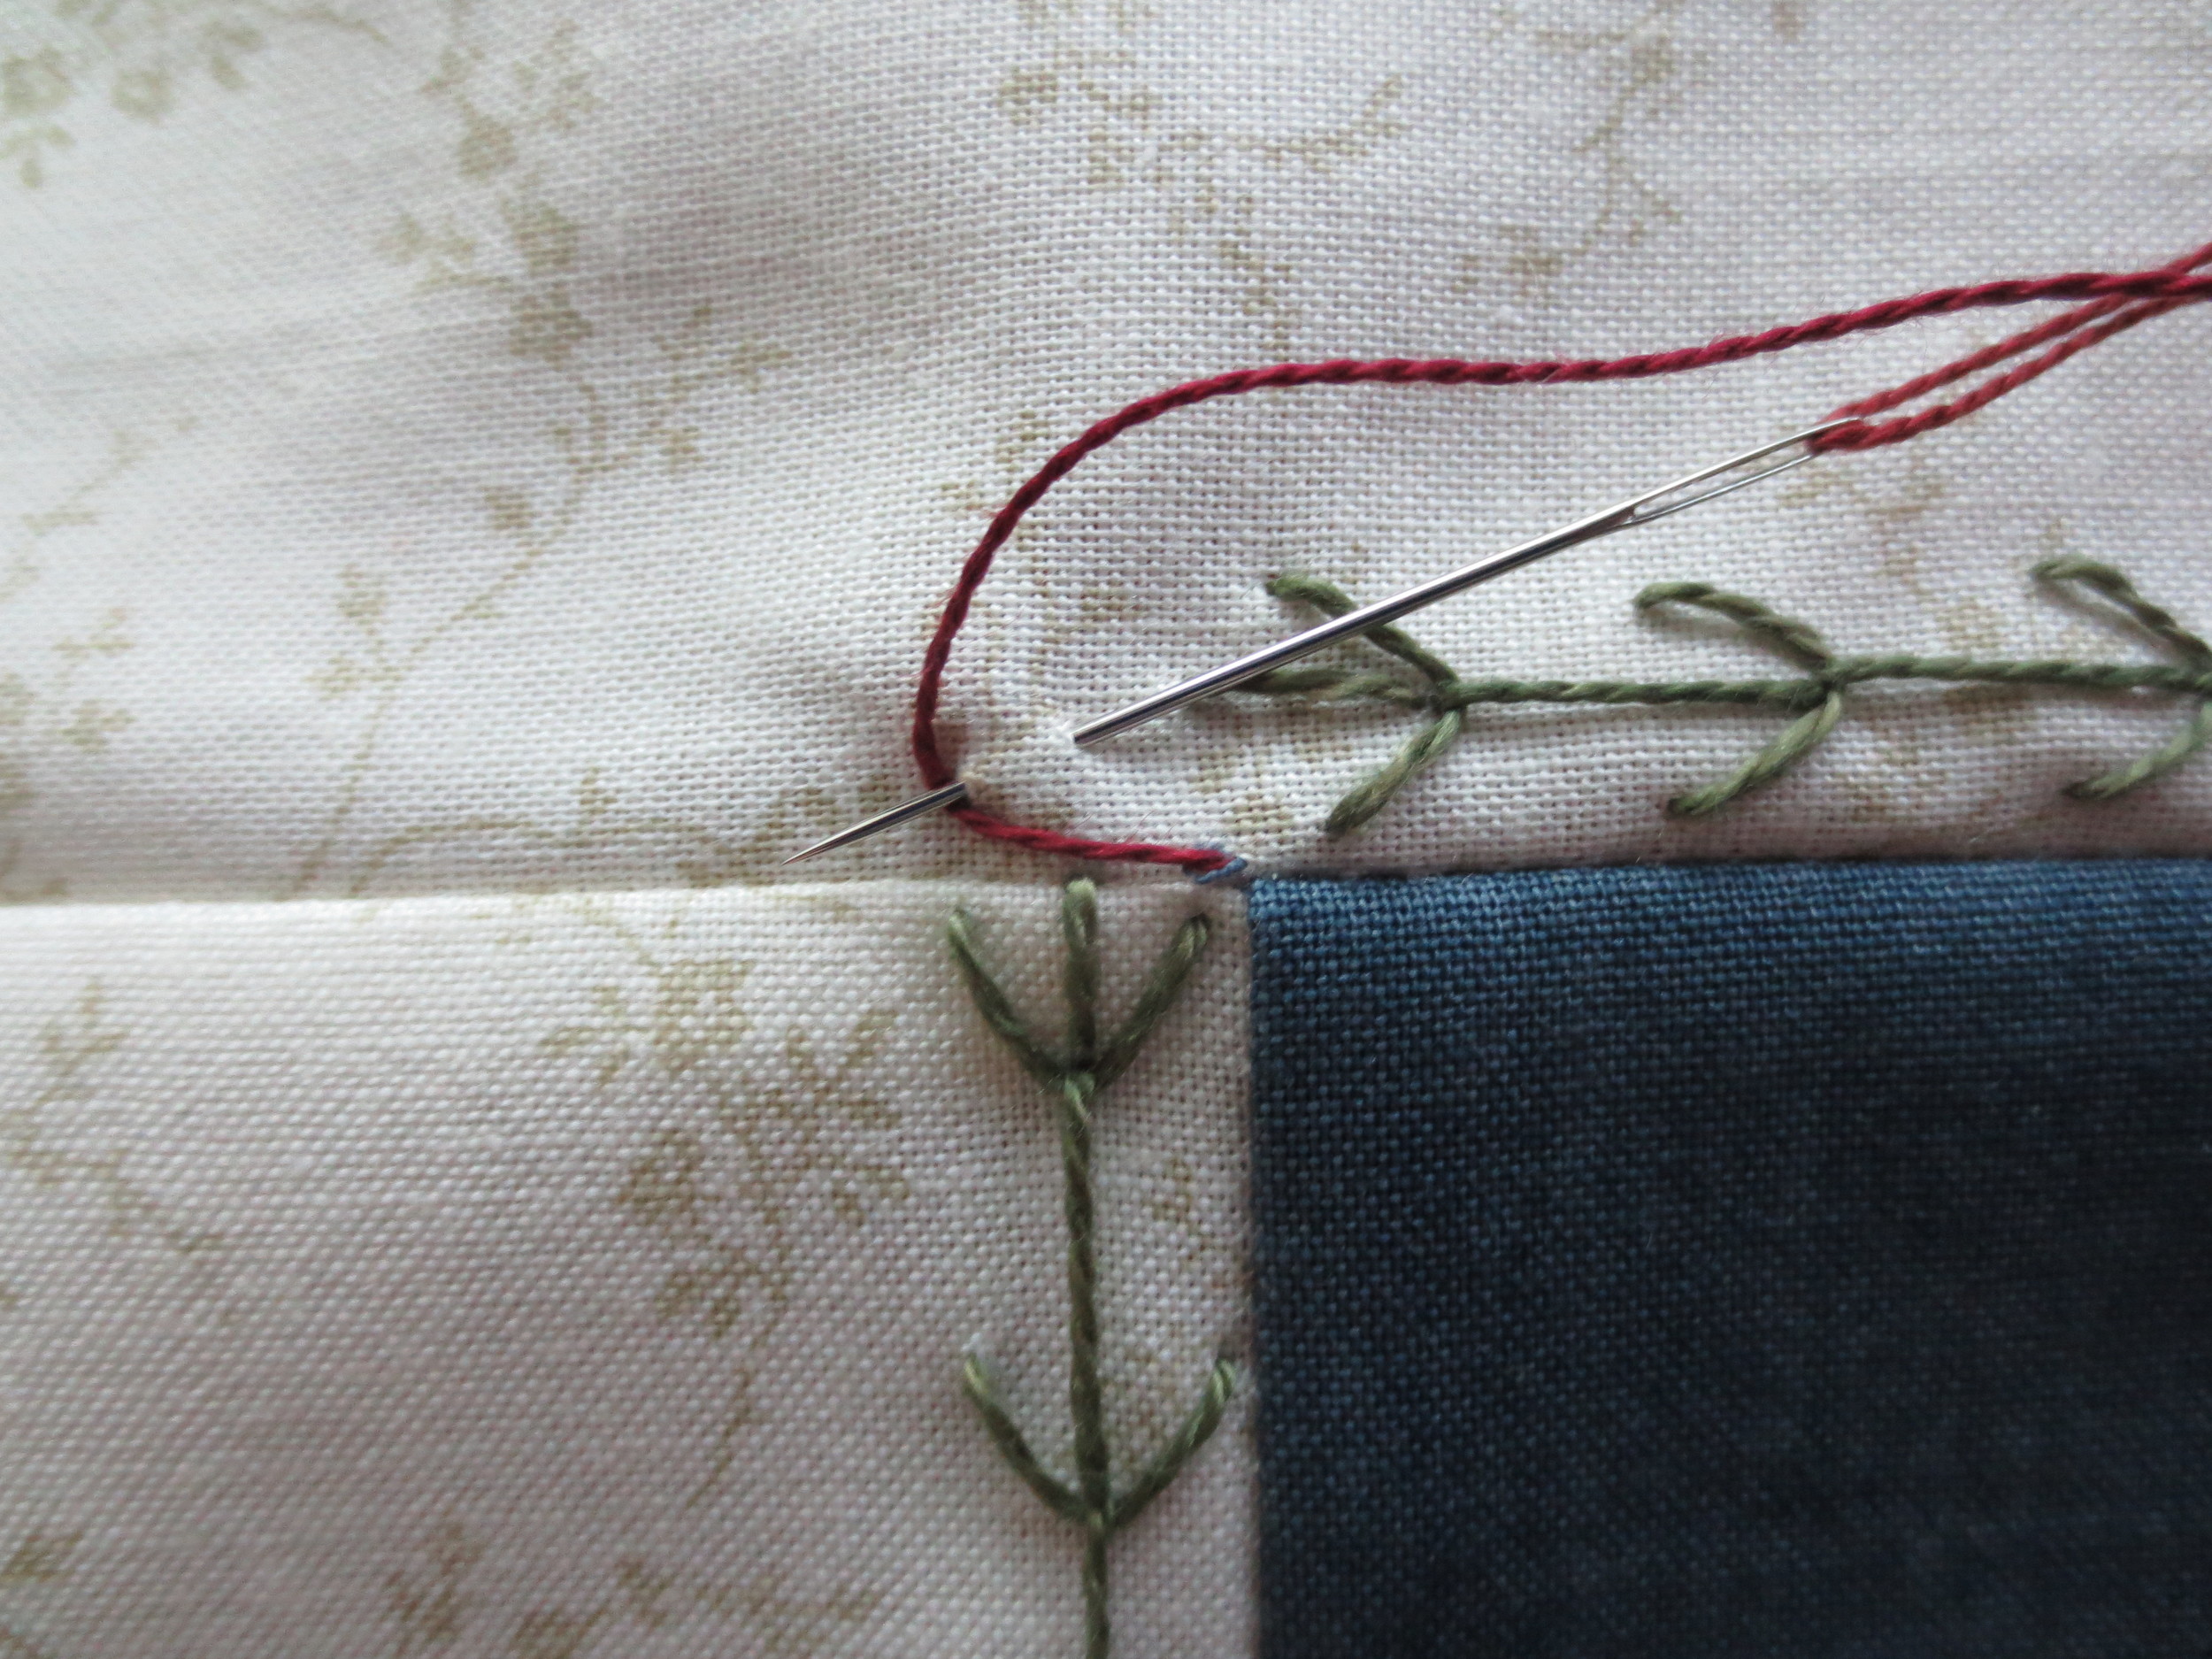
- Use the same thread to stitch a heart in each corner of the picture.
- Press.
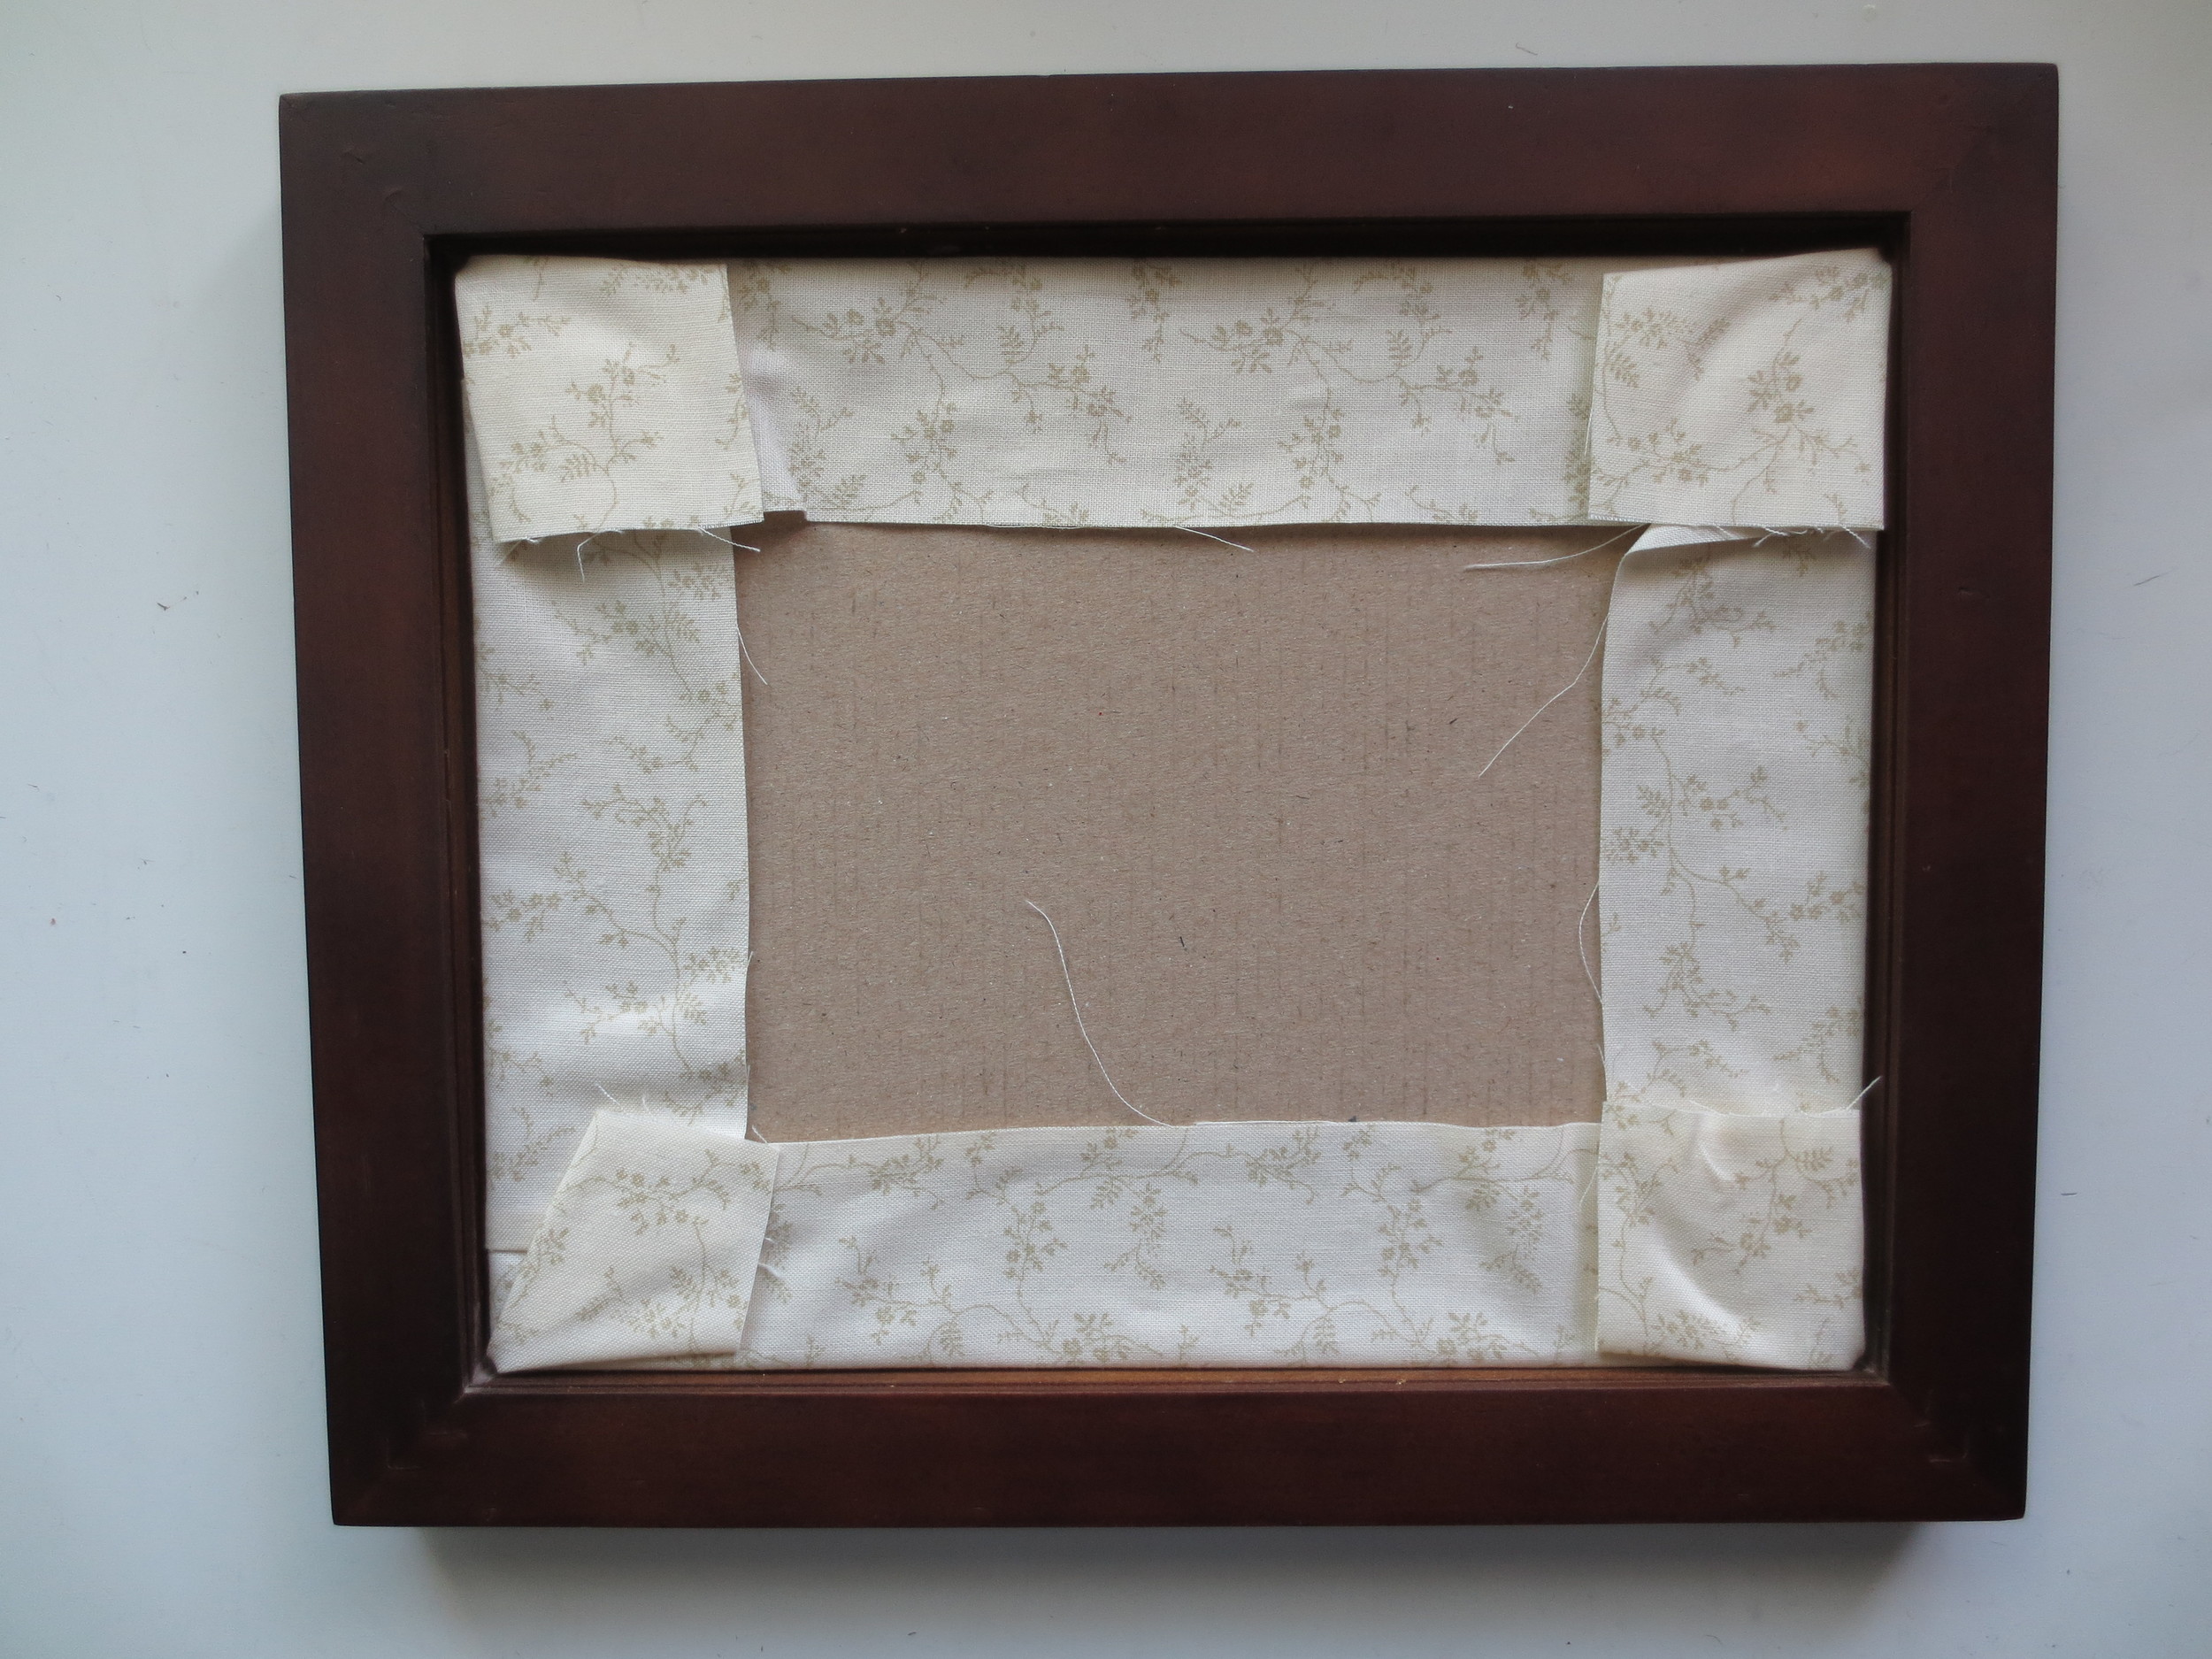
- I made this to frame instead of a quilt square. I centered the cardboard backing that came with the frame on the back of appliqued piece. Then I folded the edges inward and secured them with double stick tape.
- Enjoy!


