Tomato Mania
Tomato Mania Mockingbird
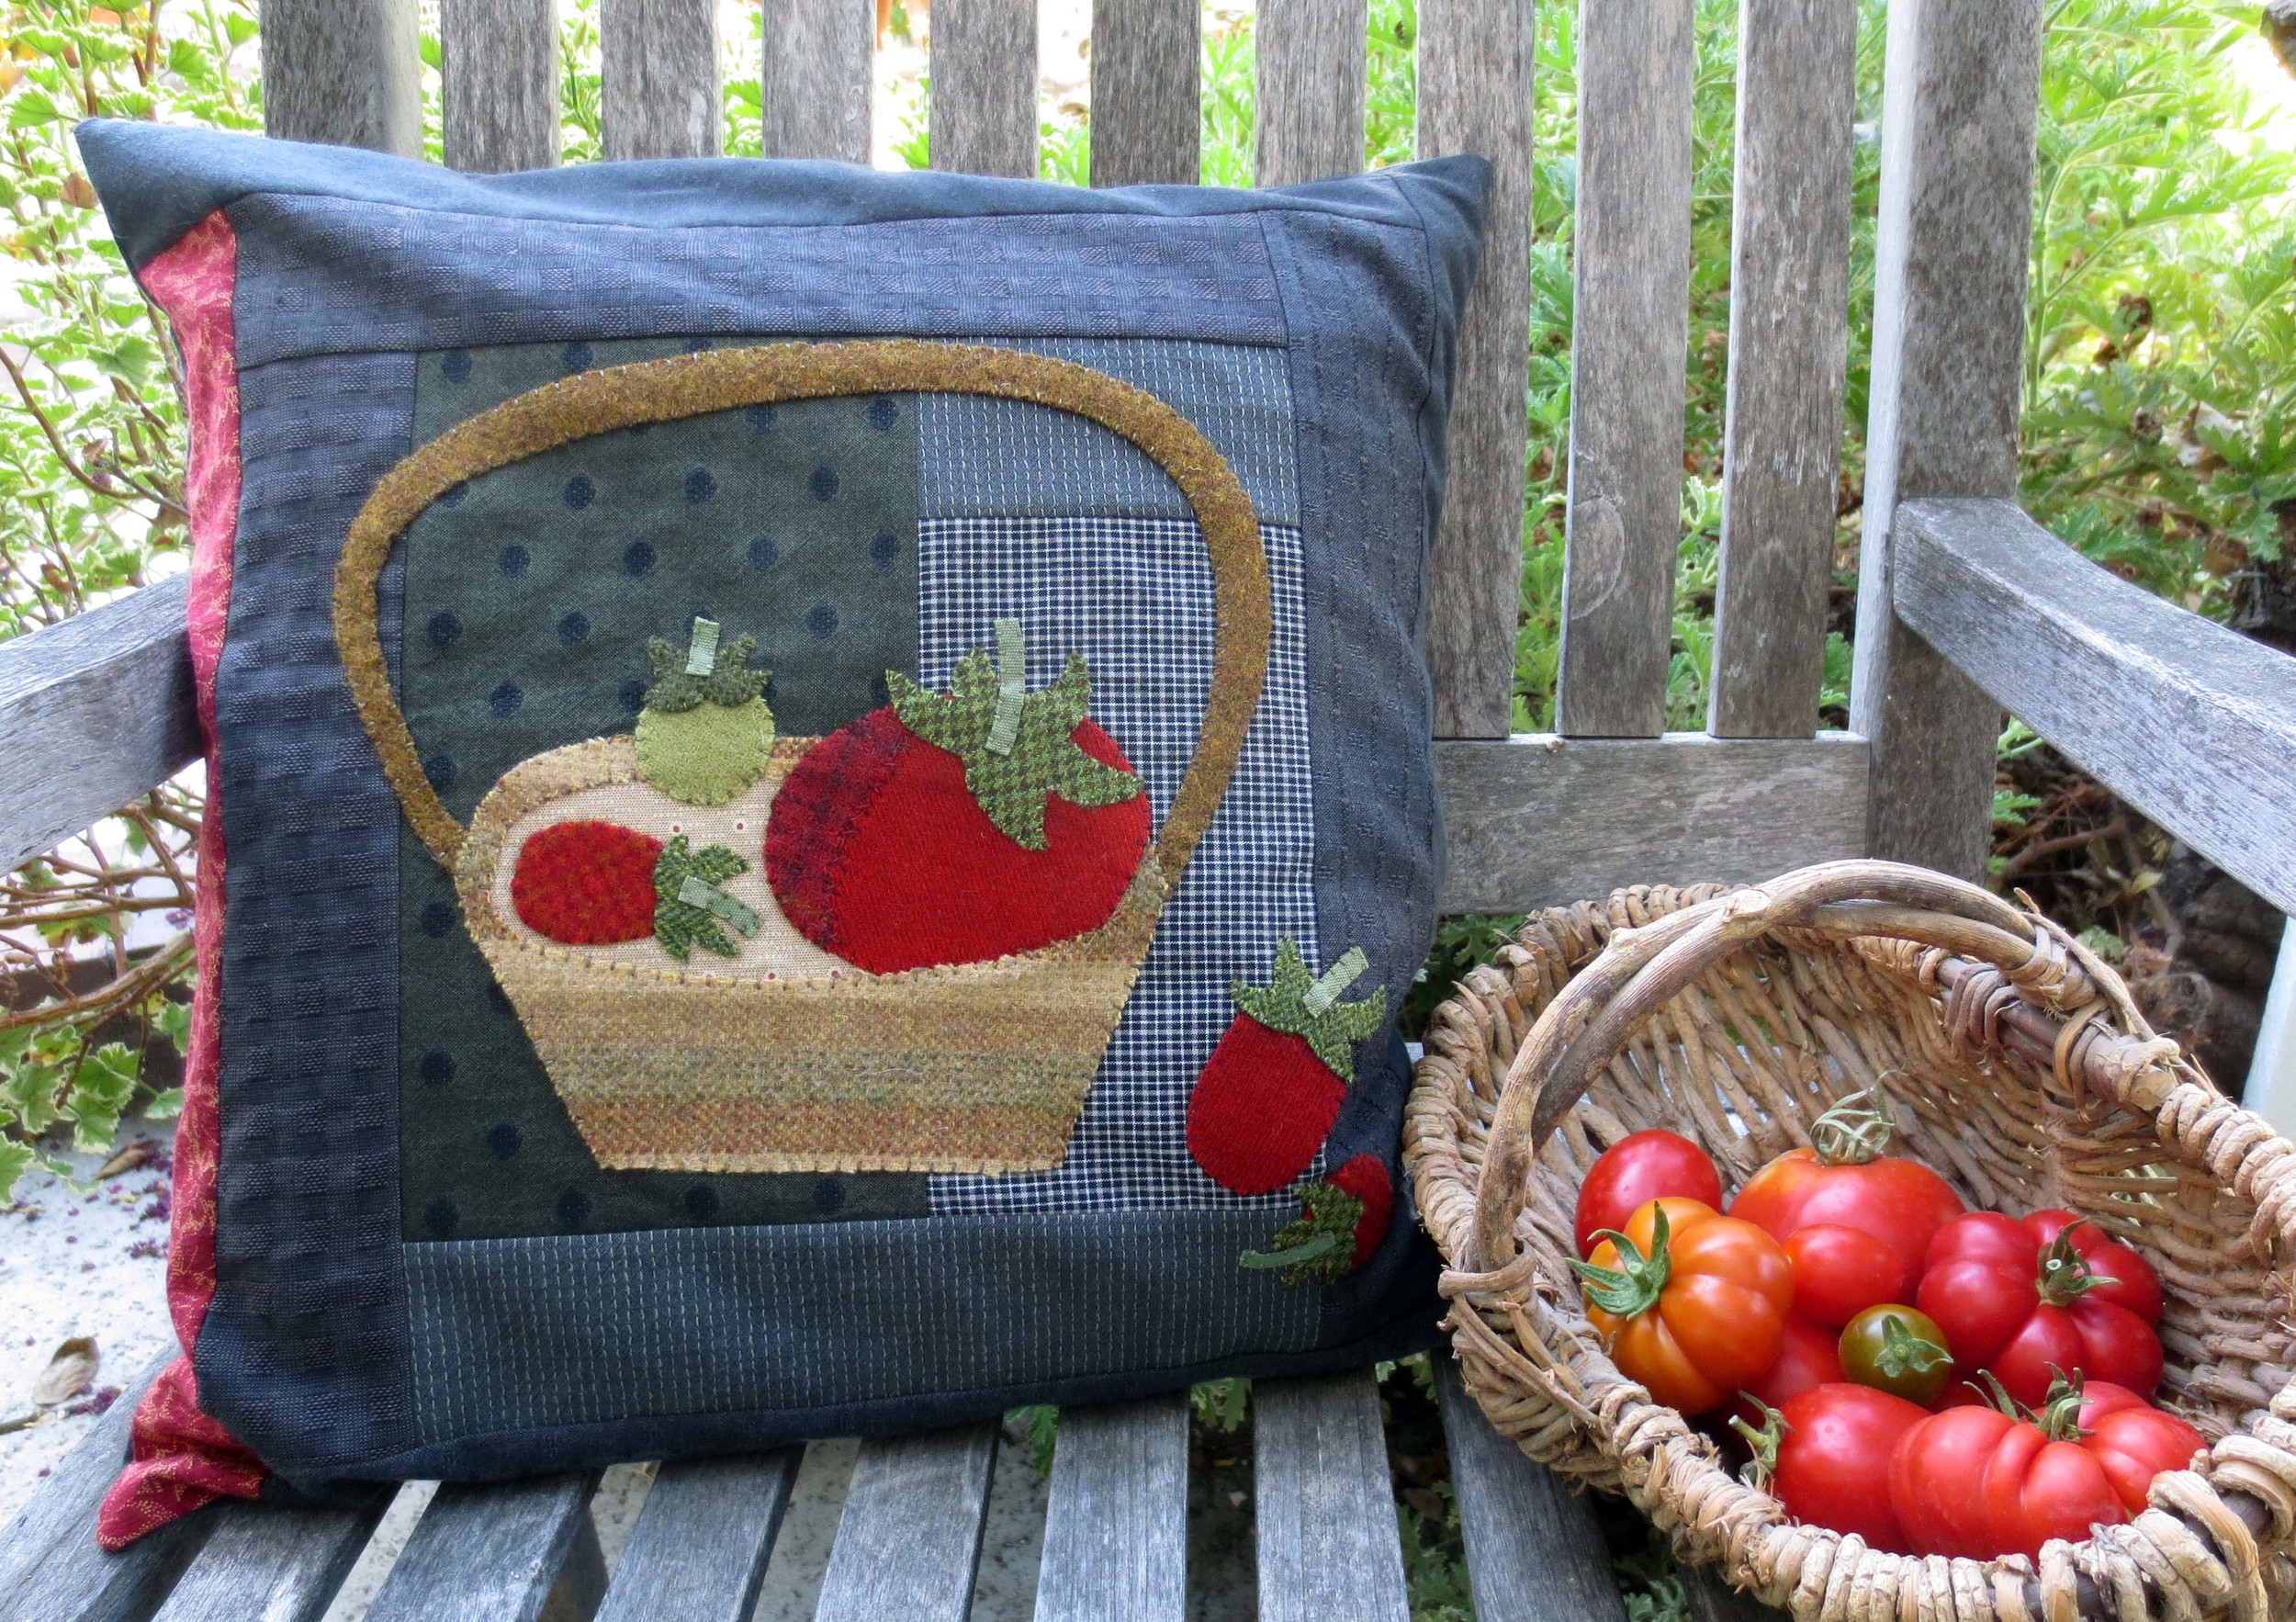
The inspiration for these pillows began with a basket of tomatoes from my garden and the ever present mockingbird who closely monitors the ripening of my tomatoes.
Tomatoes from my garden
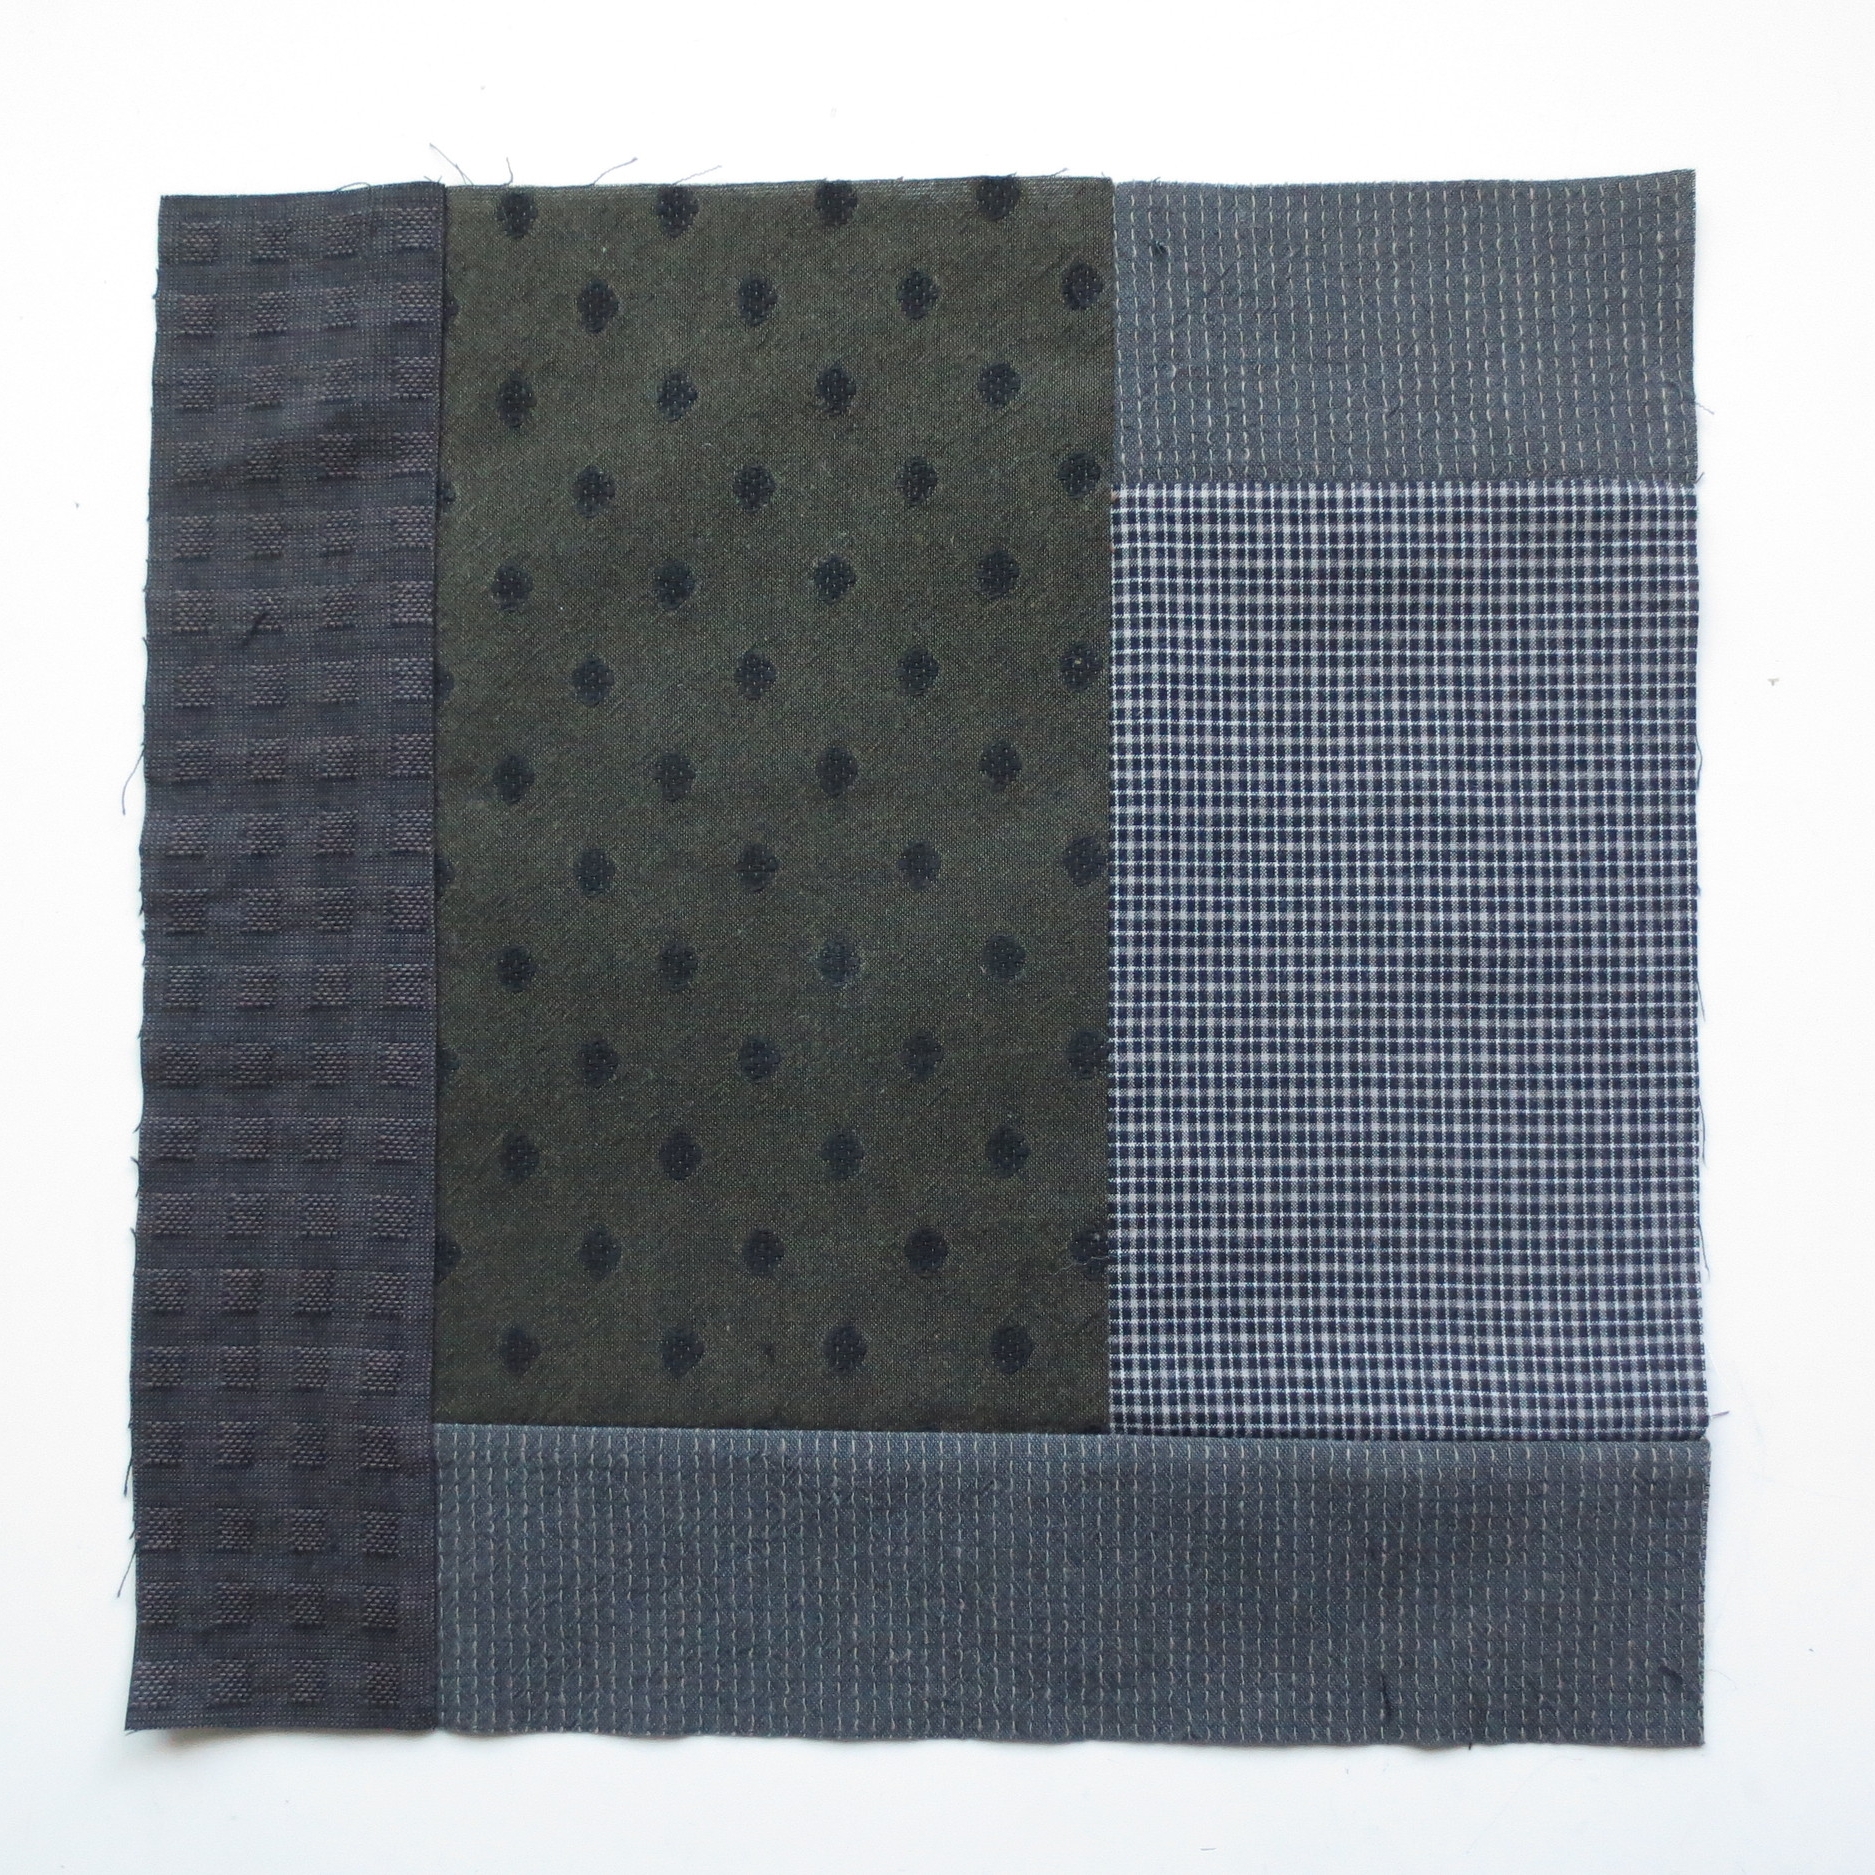
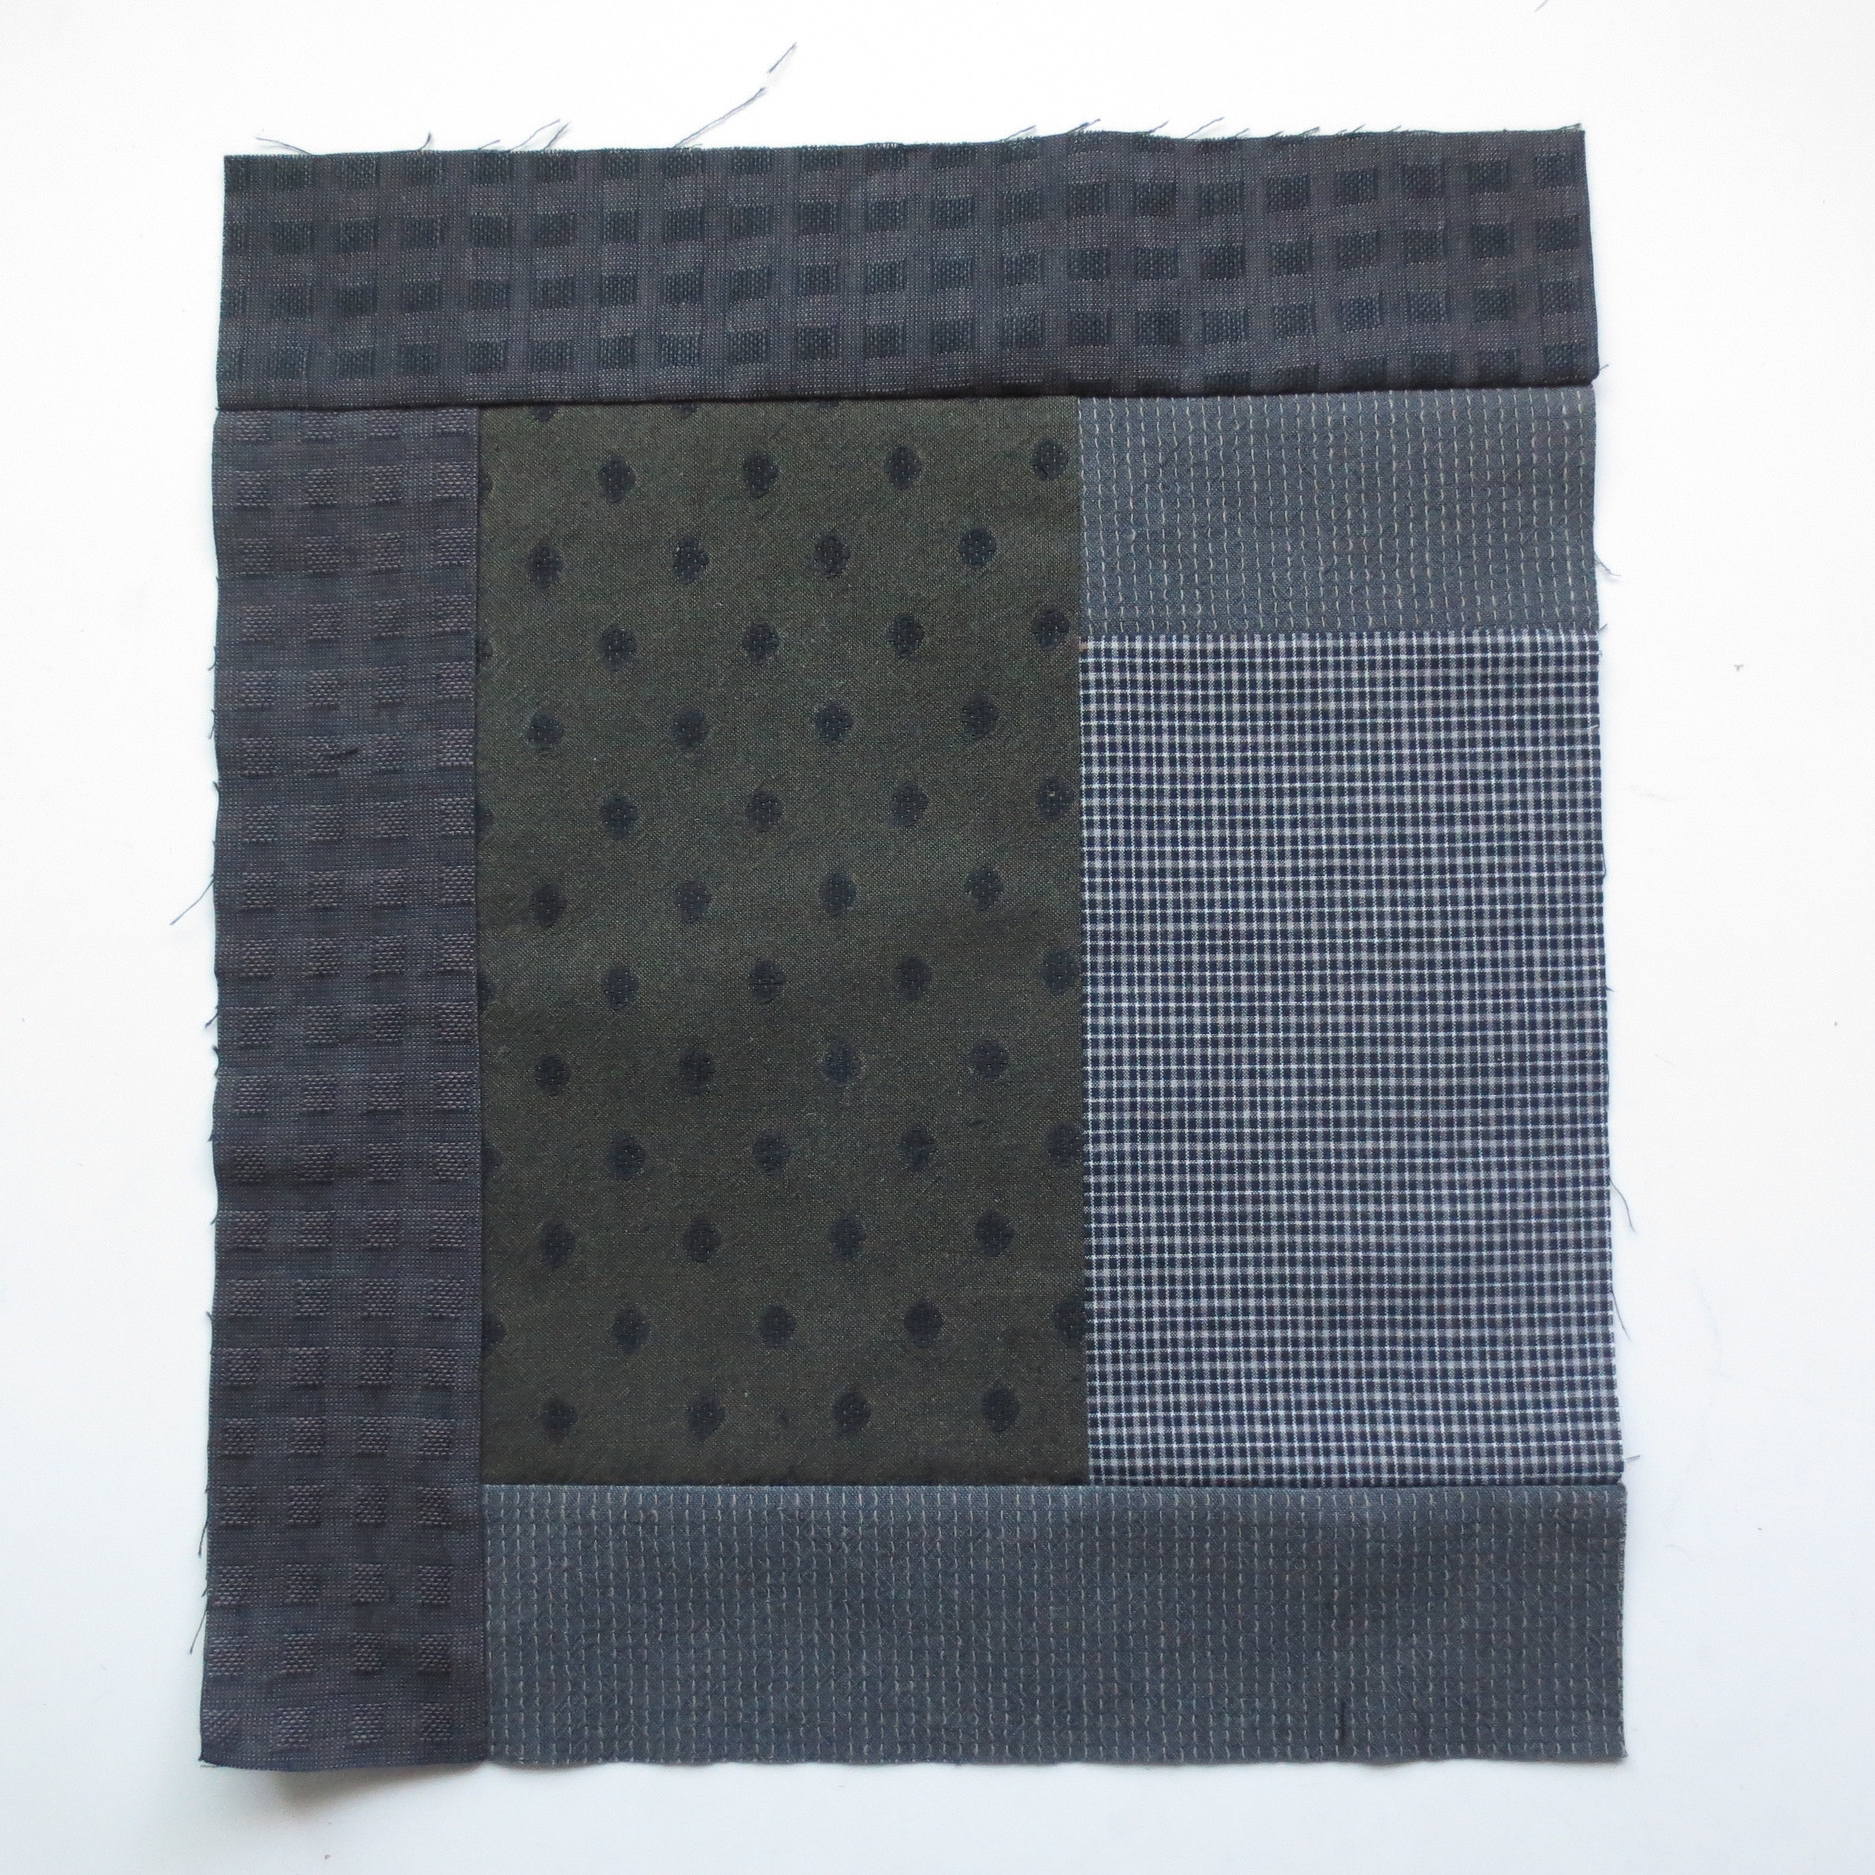
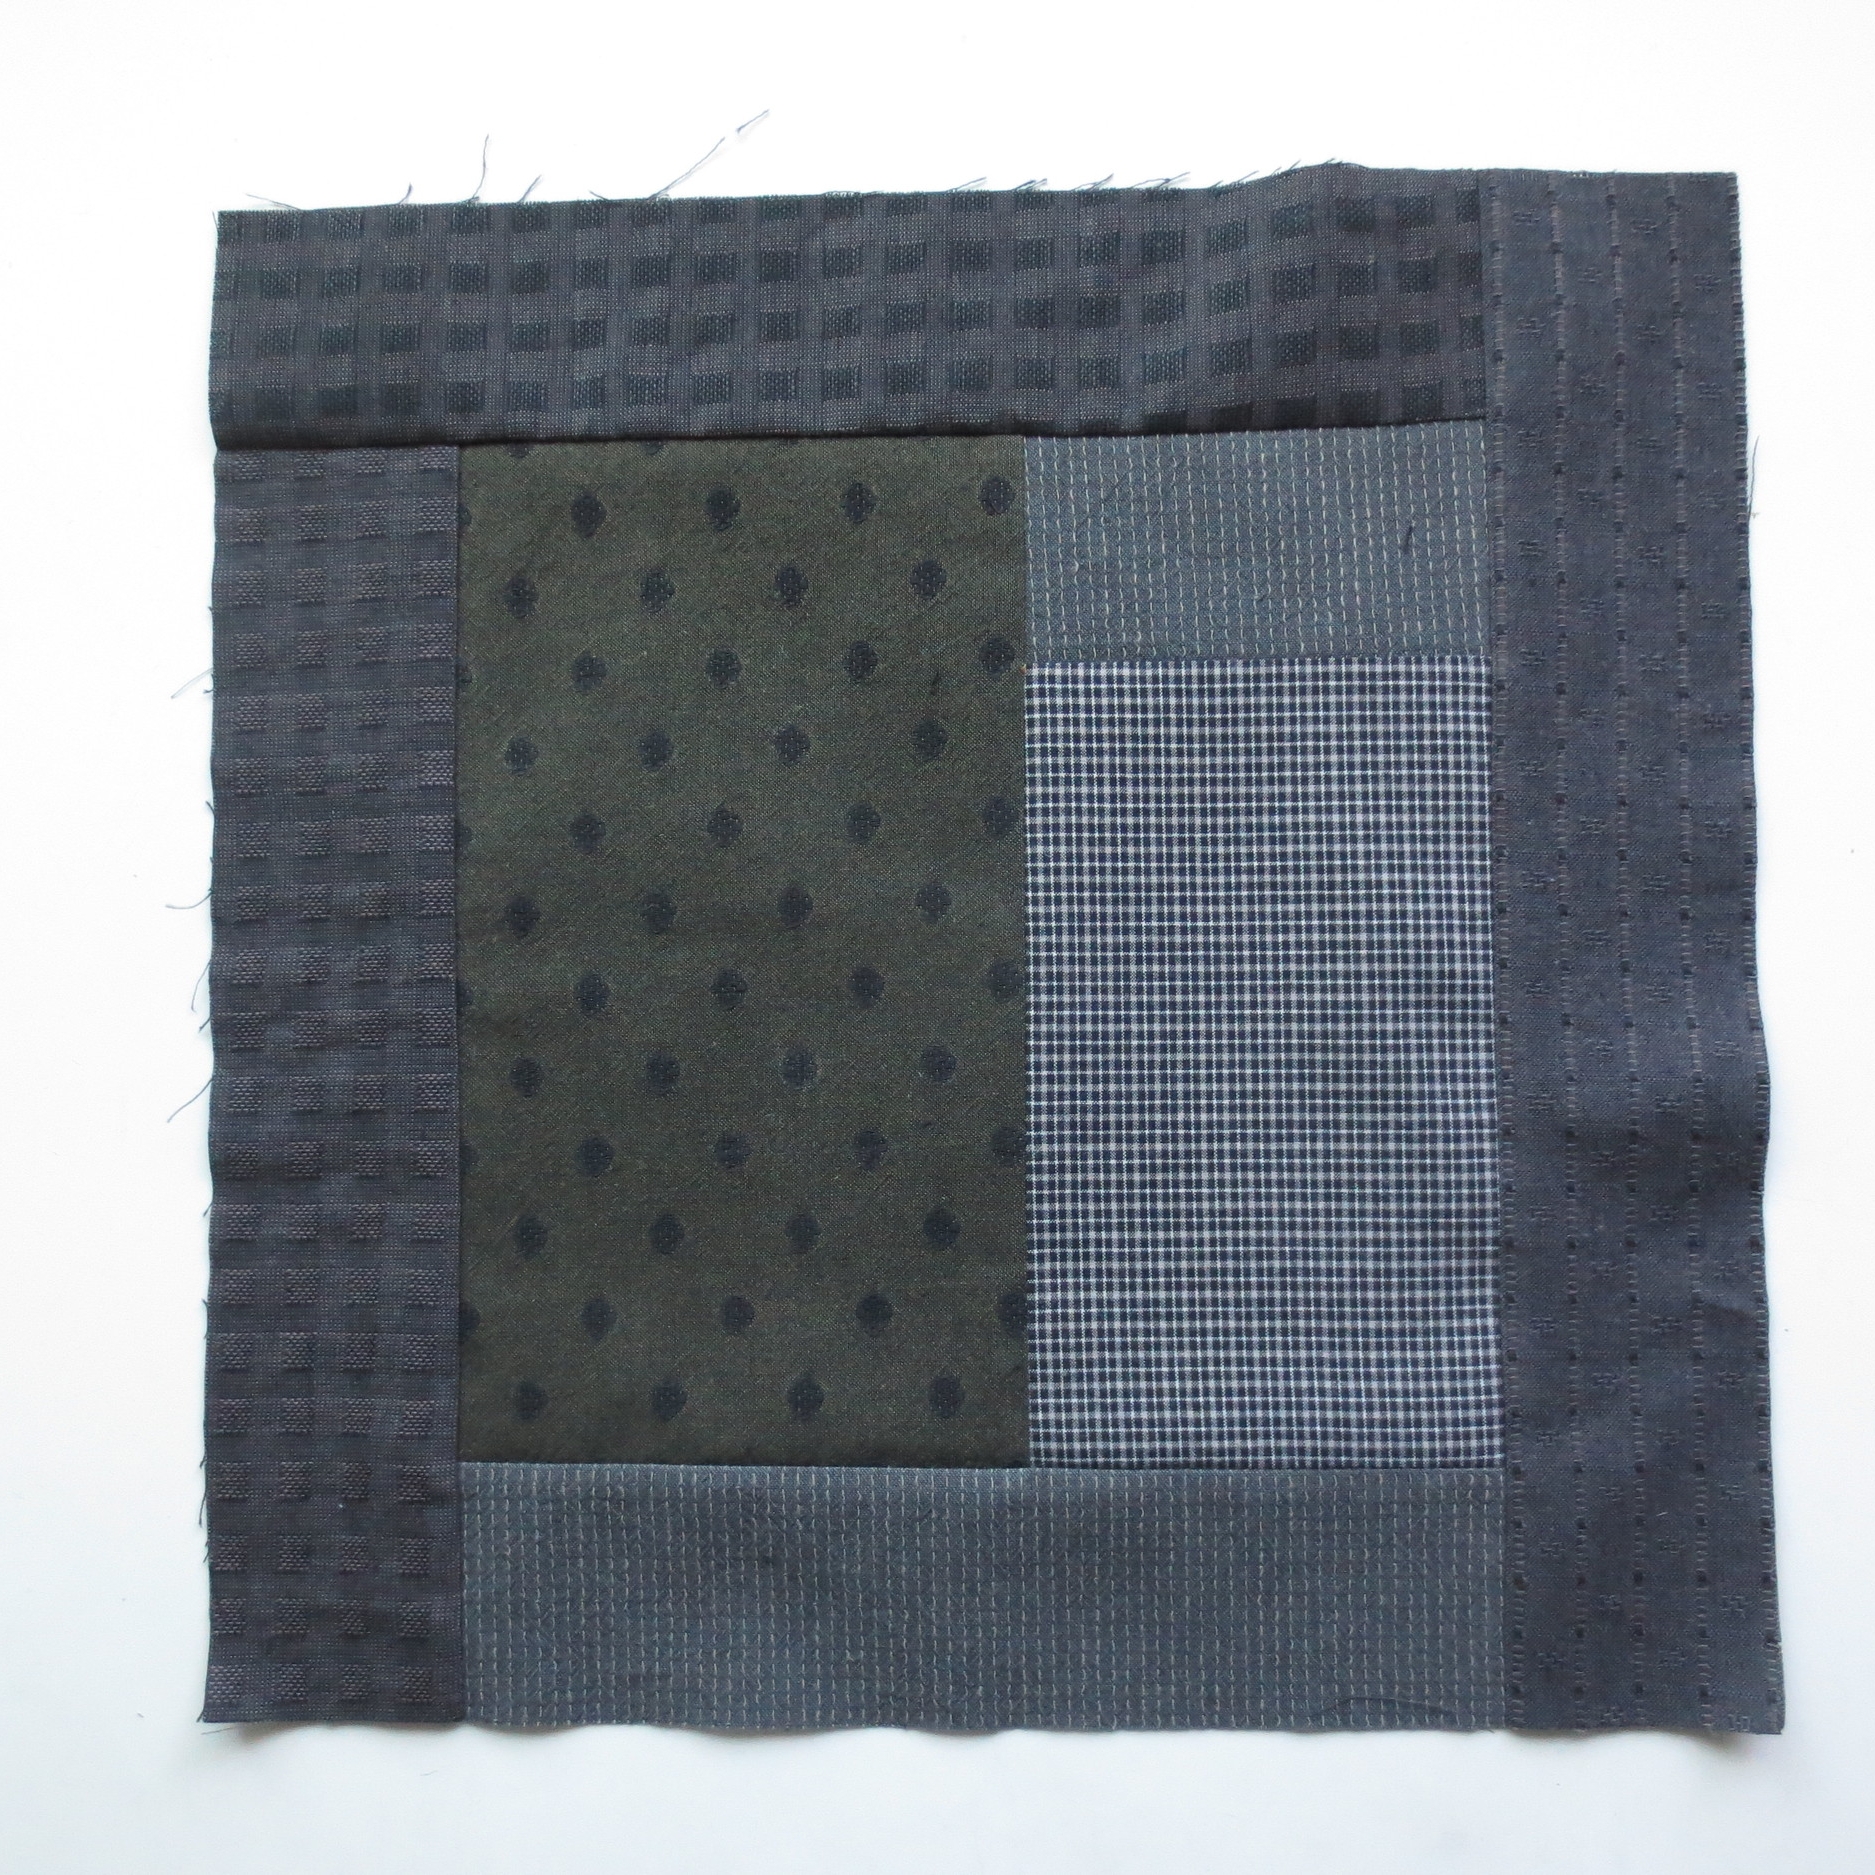
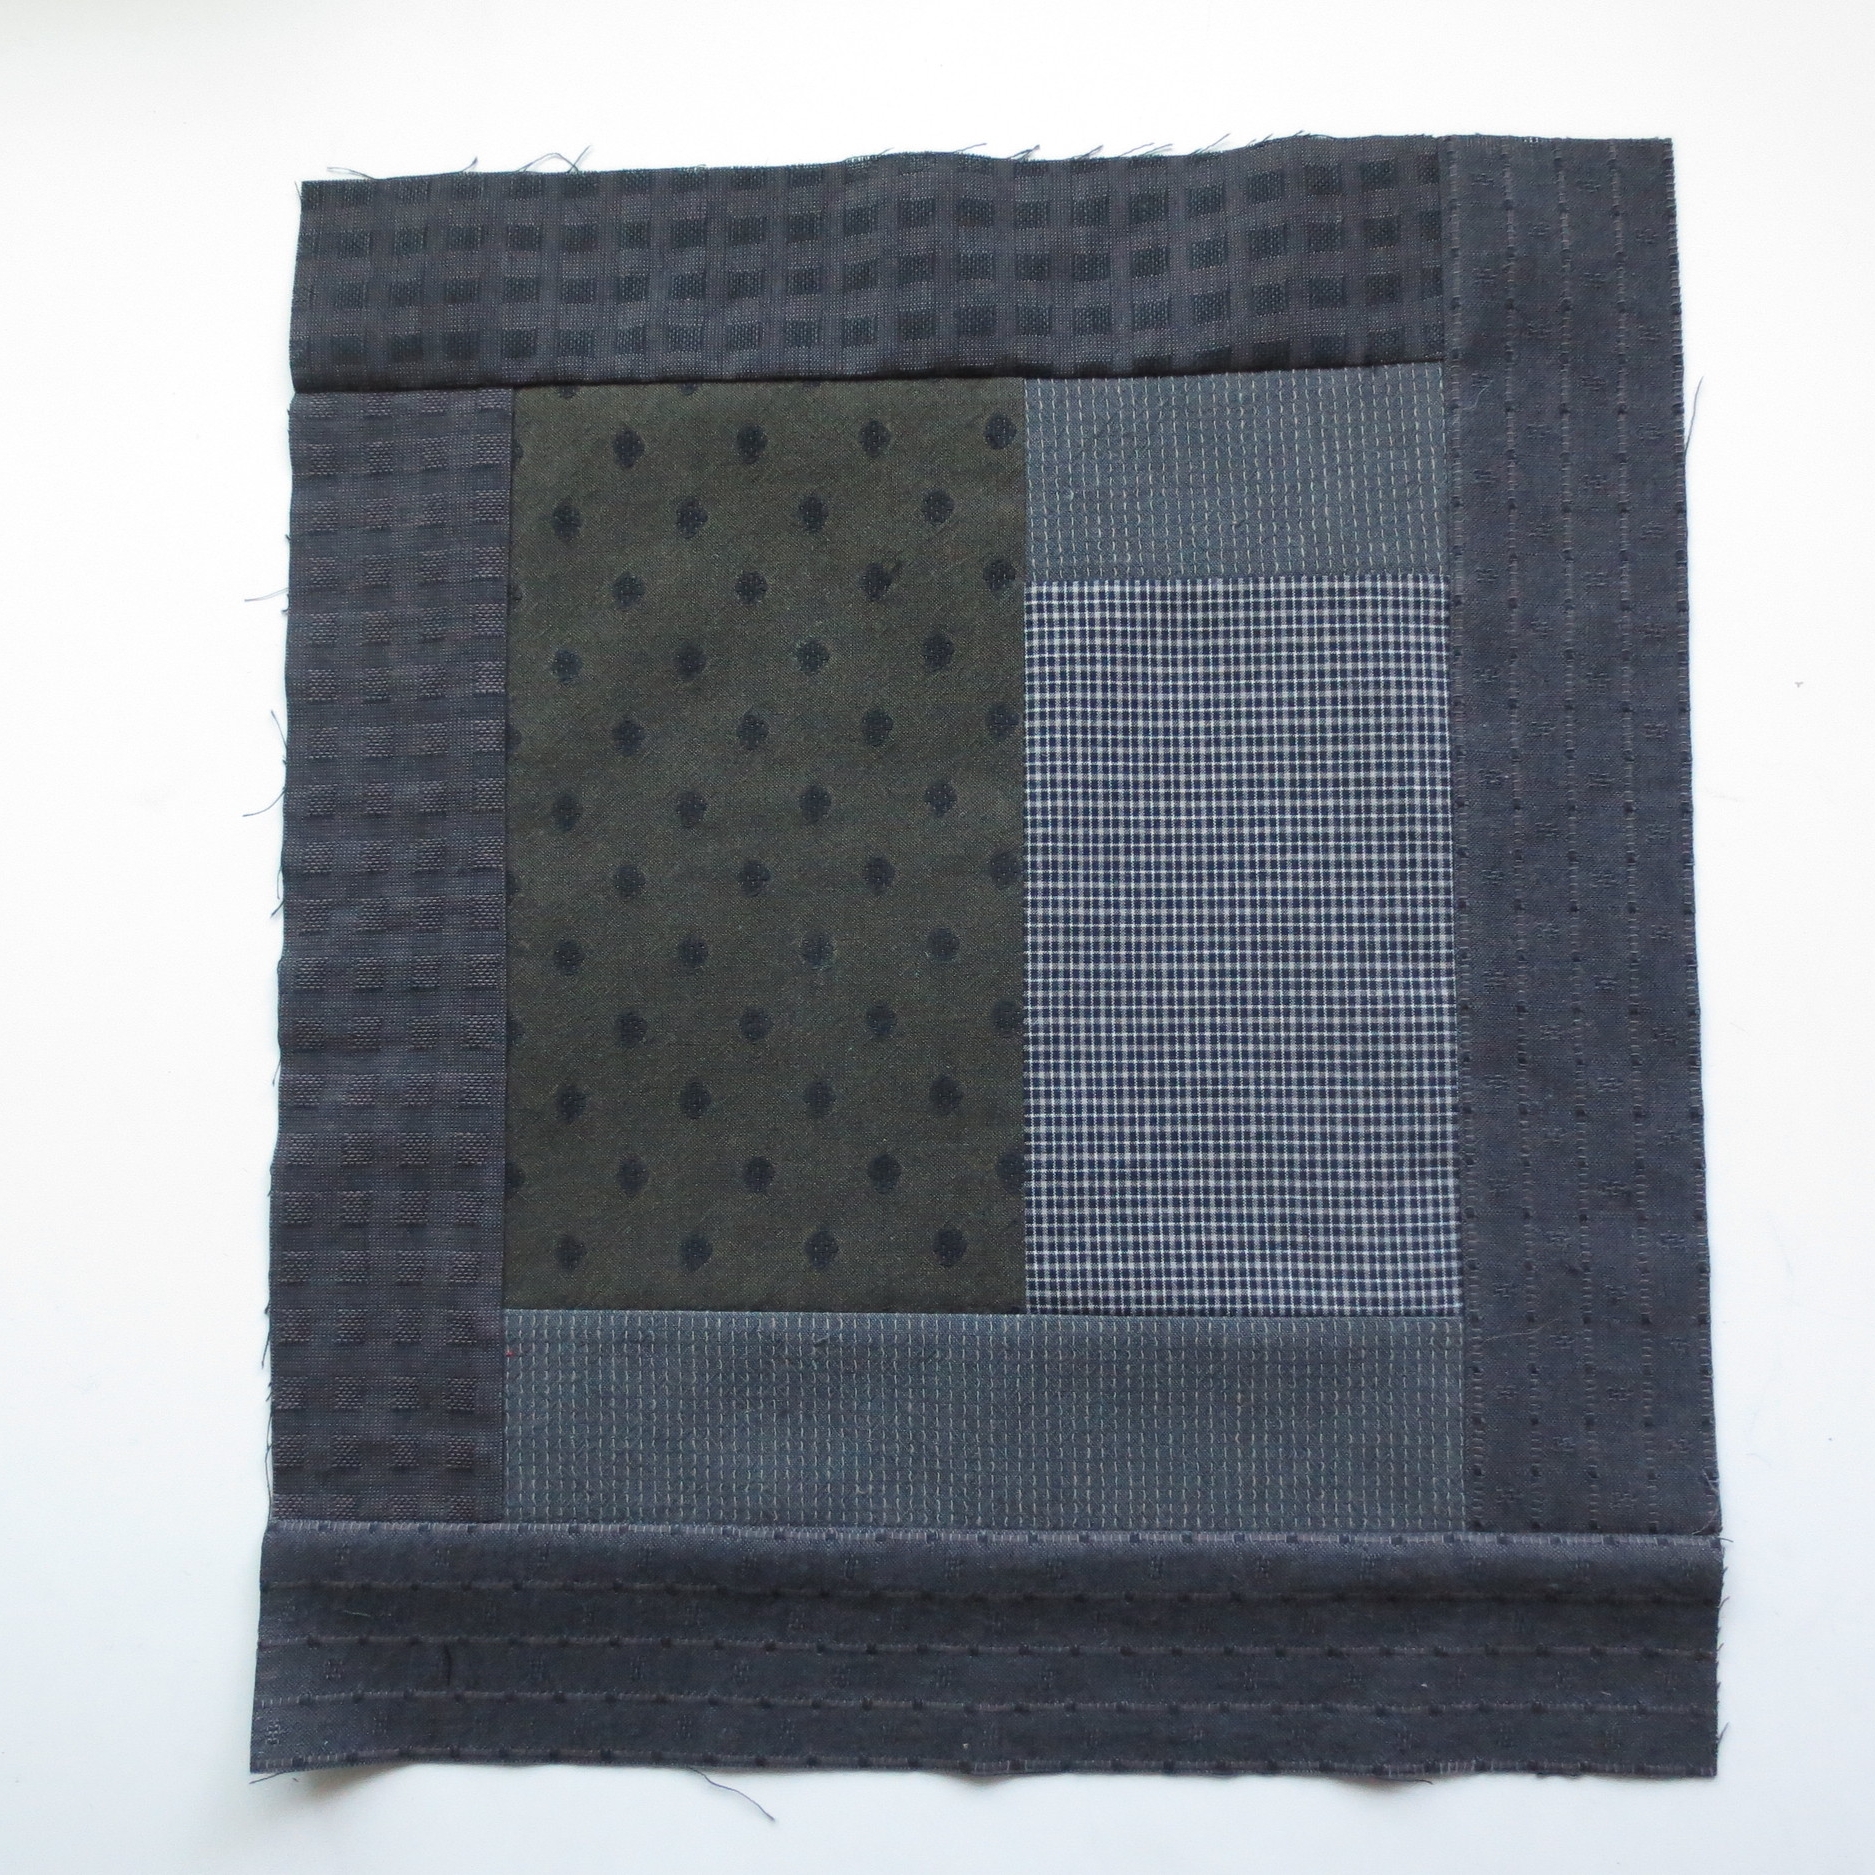
The background for both pillow designs is basically a Log Cabin block with a 3-piece center square. The block is made with seven different fabrics, A-G. I used various woven fabrics and a bit of red print from my stash.
Use the diagram below as your sewing and cutting guide.
You will need:
Fabric - requirements for each pillow
- Four different fat eighths of black or dark grey - B1 & 2, C, D1 & 2, E1 & 2
- One fat quarter black or dark grey - G1 and G2
- One fat eighth black/white check - A
- One fat eighth red print - F
- One fat quarter print or solid for backing
Felted Wool
I have bought my wool from various sources. There are several online vendors that you can purchase small amounts of wool from. Some of the vendors I recommend are:
The Merry Hooker Woolens http://themerryhookerwoolens.com/
The Old Tattered Flag http://www.theoldtatteredflag.com/
The Rusty Crow http://www.rustycrow.com/
- Basket
- Basket - 5 1/2" x 8"
- Tomato A1 and D - 5" x 5" (solid)
- Tomato A2 - 2" x 3 1/2" (plaid)
- Tomato B - 2" square
- Tomato C and E - 2" x 4 1/2"
- Tomato Caps A & E - 4" x 5"
- Tomato Cap B - 2" square
- Tomato Caps C & D - 2" x 3"
- Basket handle - cut an 18 1/2" long strip with a rotary cutter, but not a ruler, so it be uneven. The strip should be about 3/4" wide at the widest point and taper to approximately 1/4" wide on both ends. You will be manipulating this piece into a curve, so try to cut it slightly diagonally accross the grain of the wool. It doesn't have to be a 45 degree angle because wool will stretch, but a diagonally cut piece of wool stretches better than a piece cut straight on the grain.
*Fabric requirements for basket - 3" x 7" cotton print for the inside of the basket. I used a piece of fabric for the inside to add a textural difference, and also because fabric has a greater range of pattern choices than wool. A floral or newsprint would look nice here.
- Mockingbird
- Body - 4" x 9"
- Wing - 2 1/2" x 7
- Beak - 1" x 2"
- Tomato part A - 3 1/2" x 4"
- Tomato part B- 2" x 3 1/2"
Ribbon Stems and trim
*I overdyed the sage colored ribbon from Studio Carta with a little dark green Rit dye.
The amounts listed are for both pillows.
- 1/4" wide green cotton ribbon - 12" http://www.shopangelaliguori.com/products/wood-spool-of-5-yards-cotton-ribbons-2-8-width
- 1/4" wide brown cotton ribbon - 7" http://www.shopangelaliguori.com/products/wood-spool-of-5-yards-cotton-ribbons-2-8-width
- 3/16" baby rick rack - 5" http://www.elegantstitches.com/RickRack.htm
Thread
- Perle cotton, size 12 in colors that match wool and ribbon colors - I used variegated Valdani perle cotton threads https://www.valdani.com/product_details/5. You can also use two strands of embroidery floss instead of perle cotton.
Miscellaneous
- Featherweight fusible web
- Chenille needle, size 24
- 16" square pillow form
- Sewing machine
- Rotary cutter and mat
- Steam Iron
- Sewing machine
Instructions
1. Download Tomato Mania Basket Layout, Tomato Mania Basket Pattern 1, Tomato Mania Basket Pattern 2, Tomato Mania Mockingbird Layout, Tomato Mania Mockingbird Pattern, and Butternut Plaid Stitch Guide (if needed).
2. Background assembly - Double this if you are doing two pillows.
- Cut each fabric and stack them in alphabetical order with "A" on top.
- A - 4 1/2" x 7 1/2"
- B1 - 2 1/2" x 4 1/2"
- B2 - 2 1/2" x 9 1/2"
- C - 5 1/2" x 9 1/2"
- D1 - 2 1/2" x 11 1/2"
- D2 - 2 1/2" x 11 1/2"
- E1 - 2 1/2" x 13 1/2"
- E2 - 2 1/2" x 13 1/2"
- F - 2 1/2" x 15 1/2" (red print)
- G1 - 2 1/2" x 15 1/2"
- G2 - 2 1/2" x 17 1/2"
- Sew fabric A to B1. Press.
- Sew C to A/B1. Press. This is your three piece center block.
Sew B2 to the bottom of this center block. Press and trim if needed.
- Sew D1 to the left of this block. Press and trim (if needed). Then sew D2 to the top. Press and trim.
- Sew E1 to the right of the block. Press and trim (if needed).
- Sew E2 to the bottom of the block. Press and trim (if needed).
- Now add strip F (red) on the left side. Press and trim (if needed).
- The final two! Sew strip G1 to the top and G2 to the right side. Press and trim. The block should be about 17 1/2" square.
3. Applique - Use one strand of perle cotton, size 12 unless otherwise noted.
- Basket
- Trace pattern pieces onto fusible web and cut out leaving 1/4" border all around pattern piece. Fuse onto designated wools and cut out along tracing lines.
- Layout the basket, basket inside, handle and tomatoes A1/A2, D and E. Do this on your ironing board, so you don't have to move it.
- Pin handle in place making sure about 1/4" of each end is tucked under the basket rim.
- Make sure the two parts of tomato A are closely butted up against each other.
- Remove tomatoes D and E.
- Fuse Basket, basket inside, and Tomato A1/A2. Use steam from your iron.
- Whip stitch basket handle.
- Whip stitch basket and outside of tomato A1/A2.
- Use a cross stitch to join part A1 to A2.
- Layout the remaining tomatoes and their caps including A1/A2's cap. Fuse in place.
- Whip stich the tomatoes and caps.
- Cut the ribbon stems as follows:
- A1/A2 - 1 3/4"
- B - 3/4"
- C and D - 1 1/8" each
- E - 1 1/4"
- Layout the ribbon stems, folding under each end about 1/8", then pin in place.
- Whip stitch each stem.
- Mockingbird
- Trace pattern pieces onto fusible web and cut out leaving a 1/4" border all around tracing line.
- Because the bird is so large and I don't really like the stiffness that the fusible imparts on large pieces, I cut out the interior of bird fusible web, leaving about a 1/4" inside border.
- Fuse onto designated wools and cut out along tracing line.
- Cut two ribbon legs:
- 3"
- 2 3/4"
- Cut rick rack into two 2 1/2 pieces.
- Cut ribbon stem into a 1 1/2" piece.
- Layout bird body, wing, beak, legs; tomato and tomato cap. Use the picture and layout guide for positioning. Do this on your ironing board, so you don't have to move it before you fuse.
- Remove tomato cap and stem, and bird's wing.
- Pin rick rack onto wing and sew it with your sewing machine using black thread. Trim off excess leaving about 1/4" on each end to turn under.
- Return wing to bird
- Fuse the tomato and the bird body, wing, beak. Don't forget to tuck the ends of the rick rack under the wing before you fuse.
- Whip stitch the outer perimeter of the tomato.
- Use a cross stitch to join tomato part A to B.
- Whip stitch legs, turning under bottom edges about 1/4".
- Whip stich bird's body, wing and beak.
- Fuse tomato cap to tomato and whip stitch in place.
- Pin stem to cap, turning under ends about 1/4", and whip stitching in place
4. Pillow Assembly
- Cut a piece of backing fabric into a 17 1/2" square or whatever measurement your pillow top ended up being.
- Place right sides together and sew a 1/2" seam all around, leaving a 8" opening on one side.
- Clip corners and turn inside out.
- Insert pillow form and whip stitch opening closed.
- Voile! you are finished.
Happy Stitching!

