Flowers From My Garden Part II
This post will cover the selection and cutting of the wool applique pieces for block #1 of the Flowers From My Garden Quilt. Hopefully, it will give you a few ideas for your wool choices. I'm also including the layout, patterns, and supply list for those of you who have already made your wool selections.
The colors shown above are the colors I chose. There are two types of flowers in the vase, so I chose the complimentary colors of blue and orange. The colors I chose for the leaves are actually much more yellow than they appear in the photo. The vase is a neutral blue/black.
Choosing fabric and wool colors is often the most time consuming part of creating a wool applique project. I am crazy about plaids, so most of my projects include lots of them. I usually cut a few different samples to audition, but sometimes what I thought, initially, looked good together ends up in the scrap box. Most of the wools you will need for this project are scrap sized, so get your wools together and let's begin.
What you'll need:
Download the layout, pattern sheet #1, and pattern sheet #2. The layout is 75% of the original size (It's not necessary to have it full size, but it's helpful if you are using a light box to lay out your pattern pieces). The patterns are printed in reverse for use with fusible web. Many of the stitches that we will be using are available in the Stitch Guide.
- 10'' length of 4mm wide green ribbon - stems of flowers A and B (I used a cotton twill, but a silk ribbon would do nicely.)
- 15" length of 1/4" wide green ribbon - stems of flowers C, D, and E
- Felted Wools for Flowers and leaves - These are just suggested colors, yours may vary.
Note: If you choose not to use fusible web, make sure your wools are a tight weave and are well felted.
- 5 1/2" x 7" blue/black - vase and butterfly body
- 1" x 4" tan and cream houndstooth - vase interior
- 3" square green plaid - leaves 5, 6, & 7
- 3" x 4" army green solid - leaves 3, 5, 6, & 7
- 3 1/2" x 4" dark yellow-green - leaves 1, 2, & 4
- 3" x 5" medium blue plaid - flowers A, B, E2, & D2
- 3" square medium blue stripe - flower C
- 3" x 6" orange/red plaid* - flowers E & D
- 3" x 5 orange stripe* - flowers A1, B1, C2, E1, & D1
- 2" square gold - flowers A2, B2, C1, D3, & E3
- 2 1/2" x 3 1/2" off white - butterfly wings
- 1 1/2" black and white small check - butterfly wing spots
*I needed a larger piece of wool because I fussy cut the pattern piece. Read on to learn how I did it.
- Light weight fusible web such as Vilene Melt Fuse or featherweight Heat n Bond.
- Chenille needles - size 22 and 24
- Size 12 perle cotton, or embroidery floss to match wool colors.
- I used Valdani, color #O518 for the leaves, stems, Flowers D and E, and the backstitching on the vase.
- I used black for the vase and butterfly body.
- I used gray for the butterfly antennae and wagon wheel embellishment on the bottom of the wings. Note: If you use a gray that works well with your blue flowers you will only have to buy one color for both.
- I used #O178 for the butterfly wings and body stripes.
- Size 8 perle cotton that matches your vase color. I used #P11 to stitch the vase handles.
Choosing colors and cutting out your pattern pieces
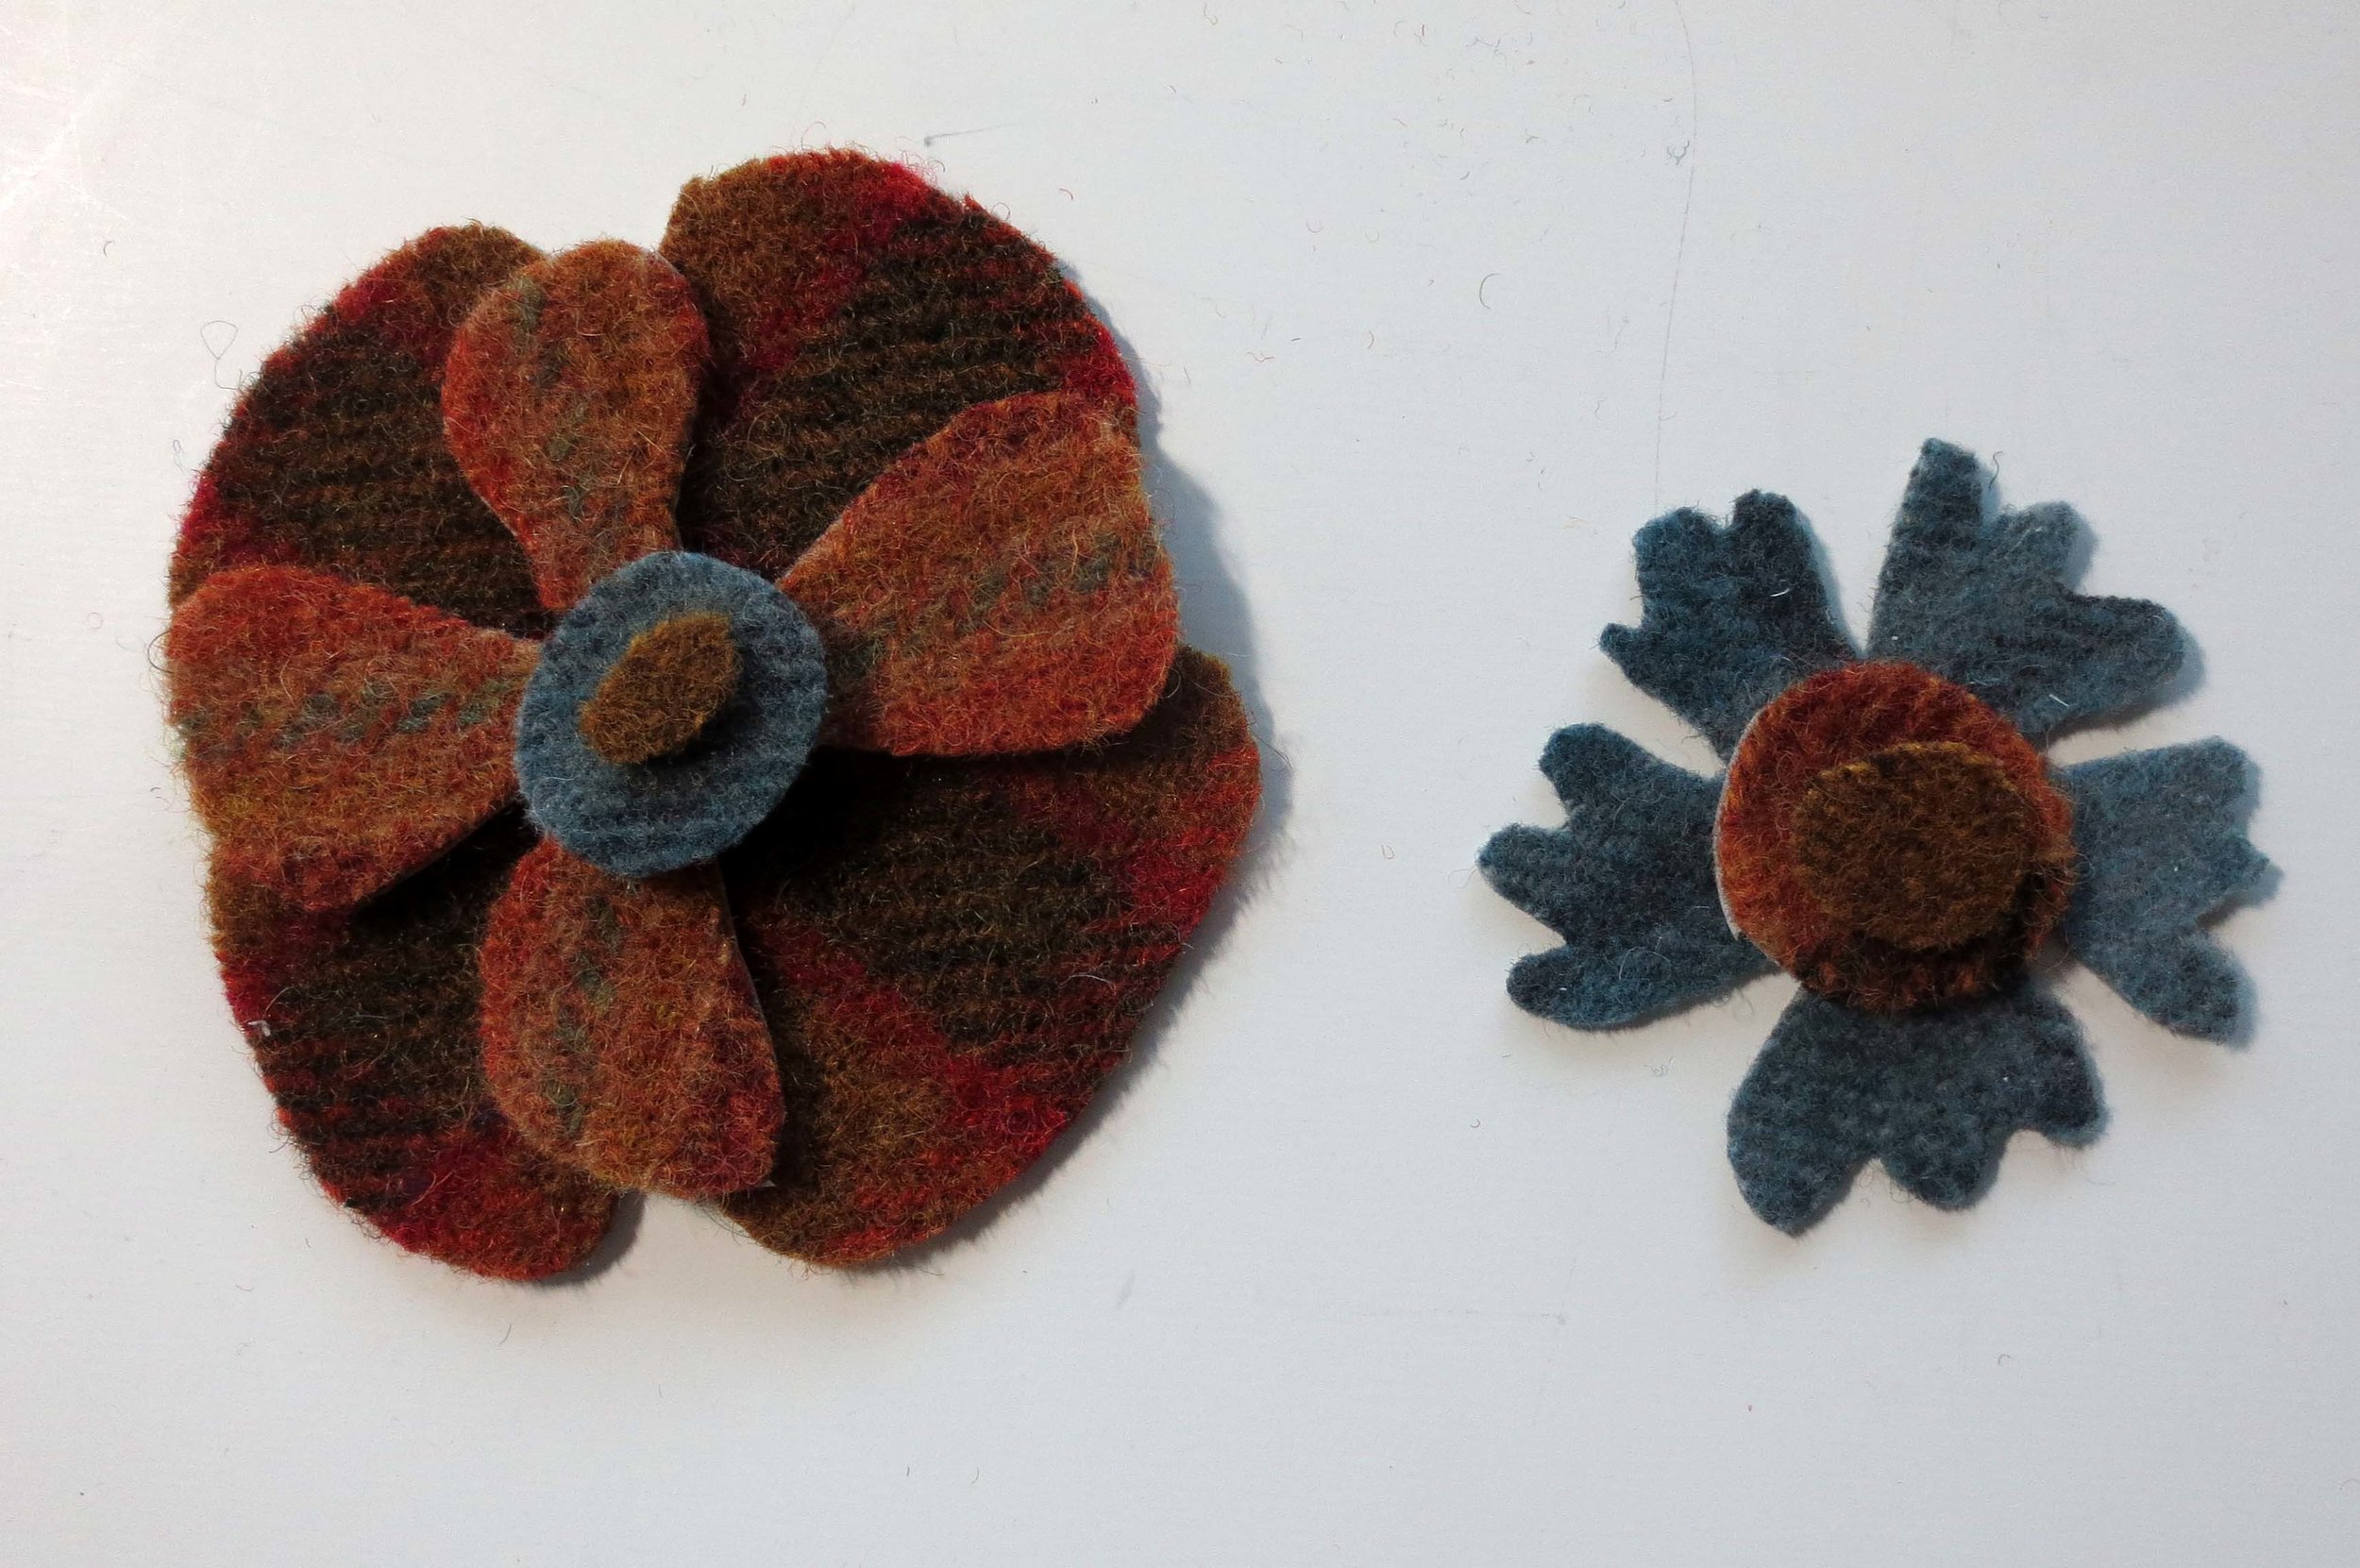
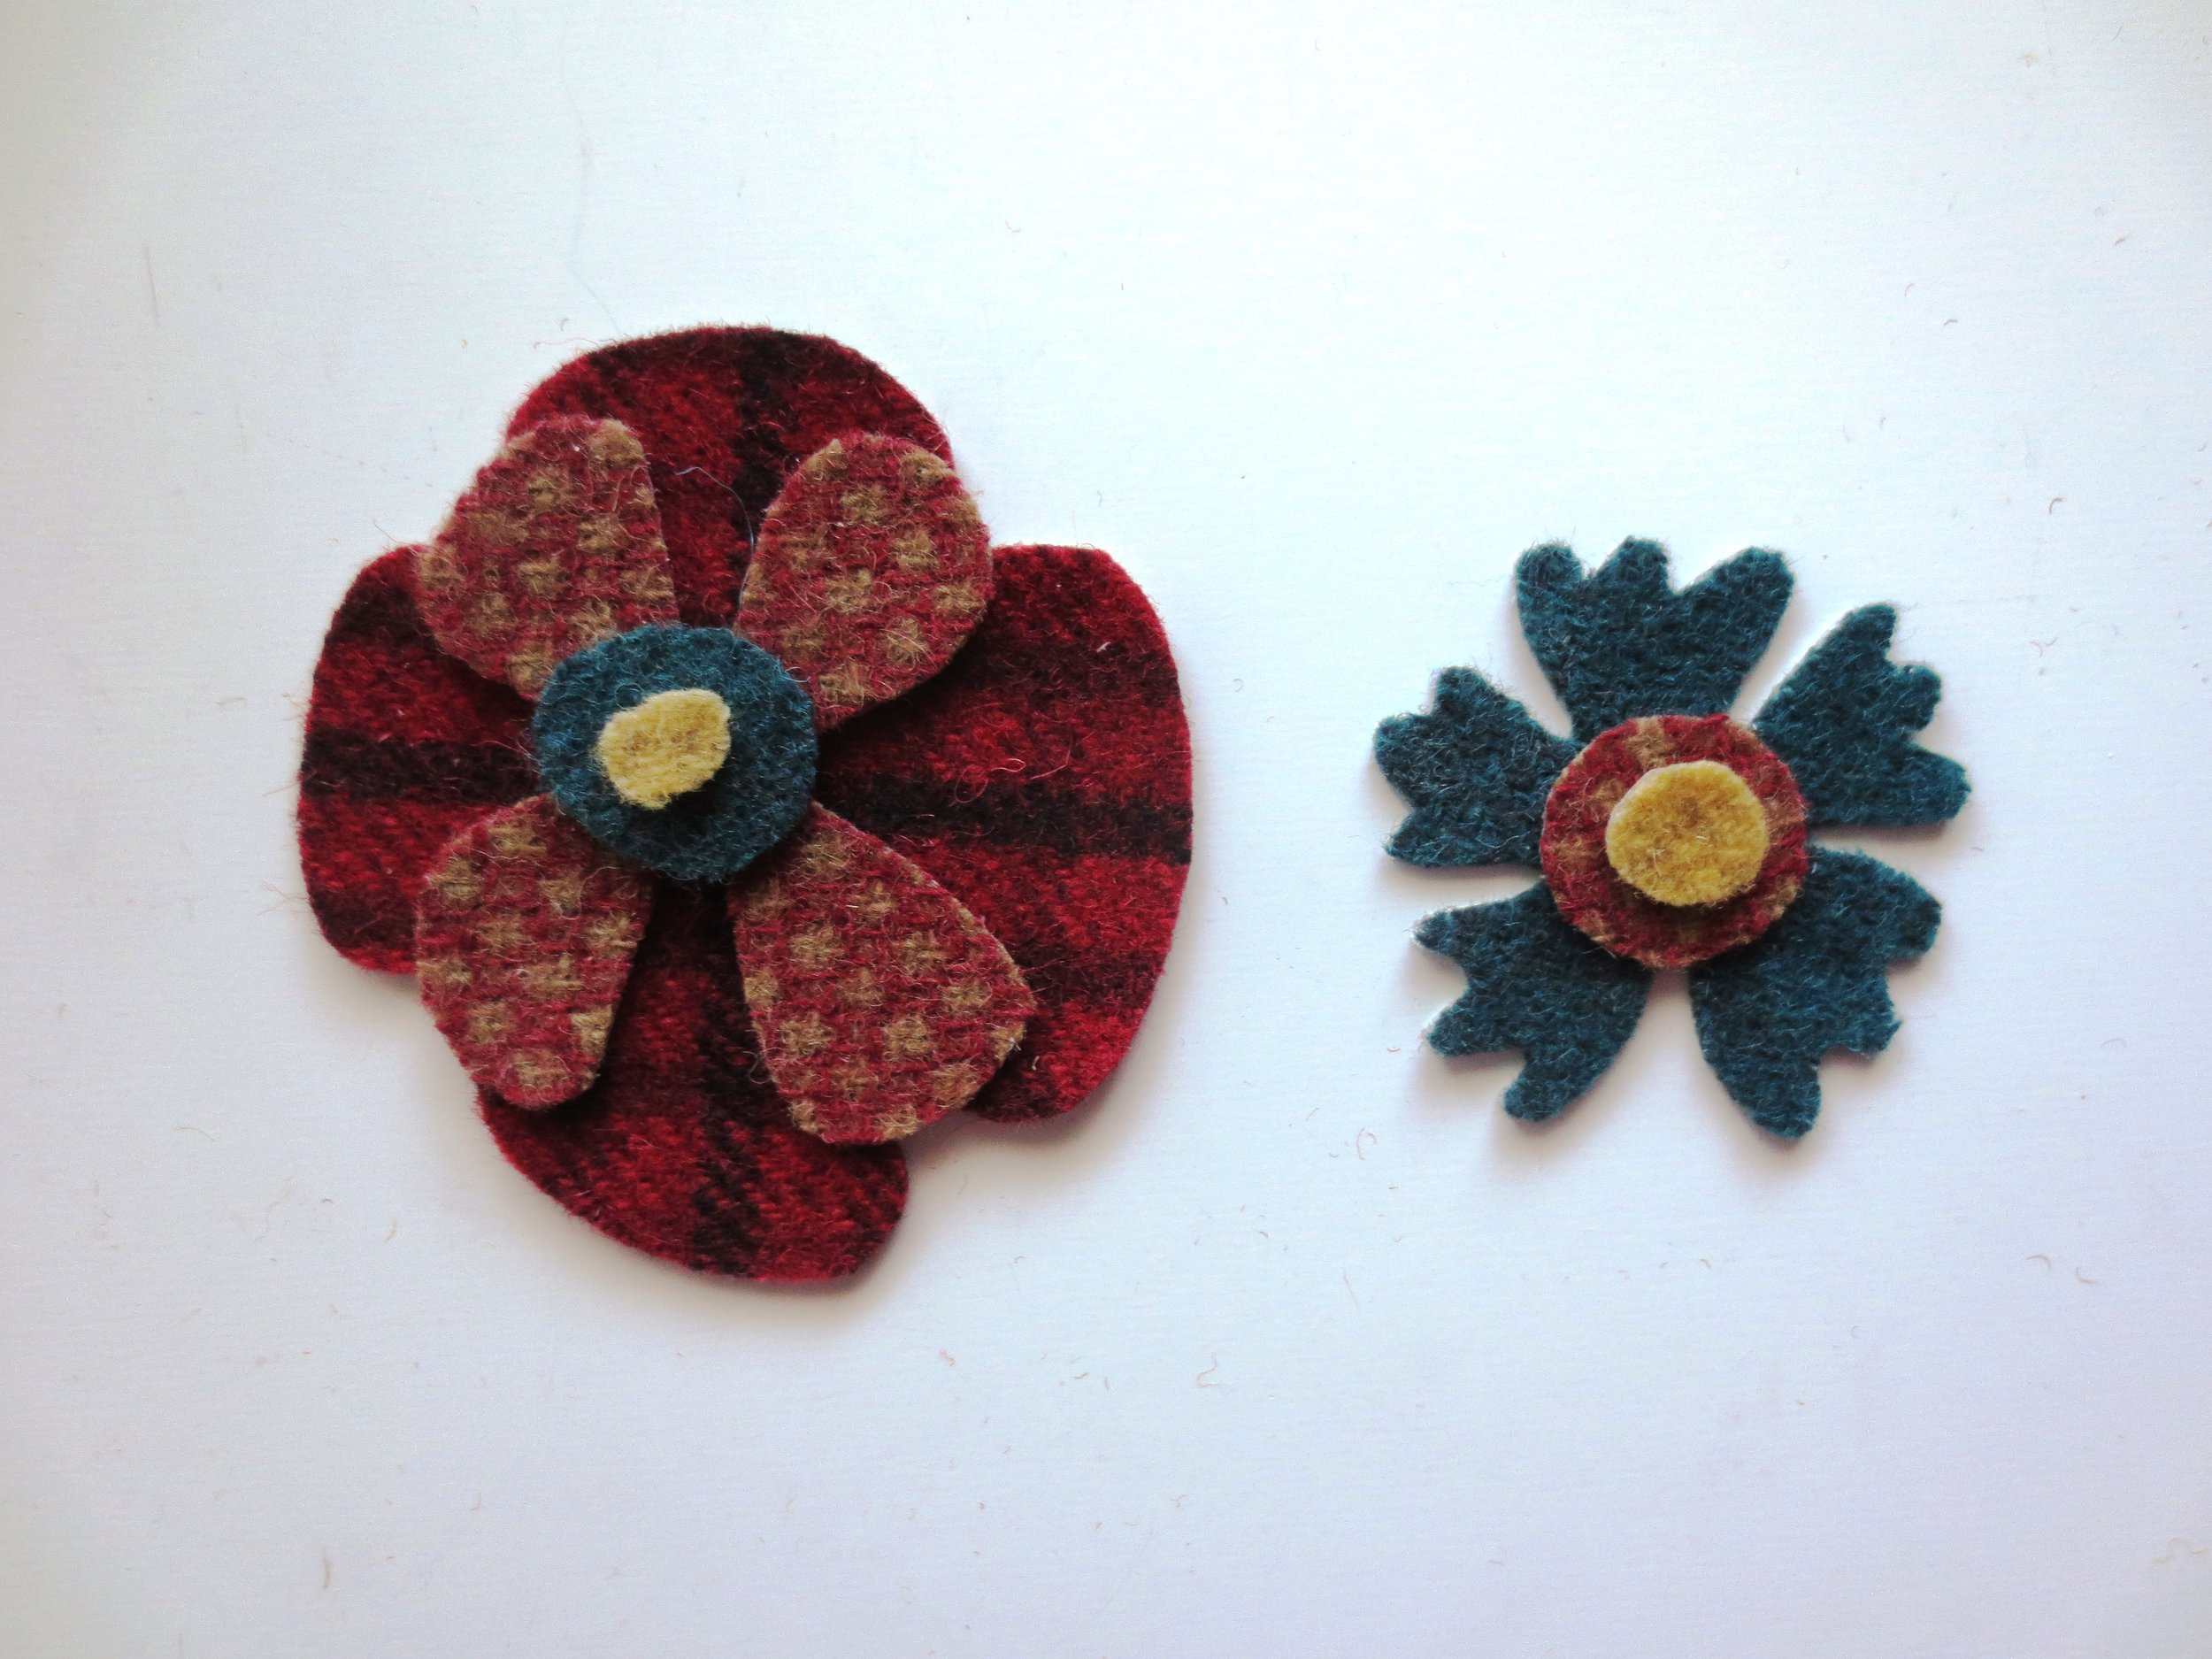
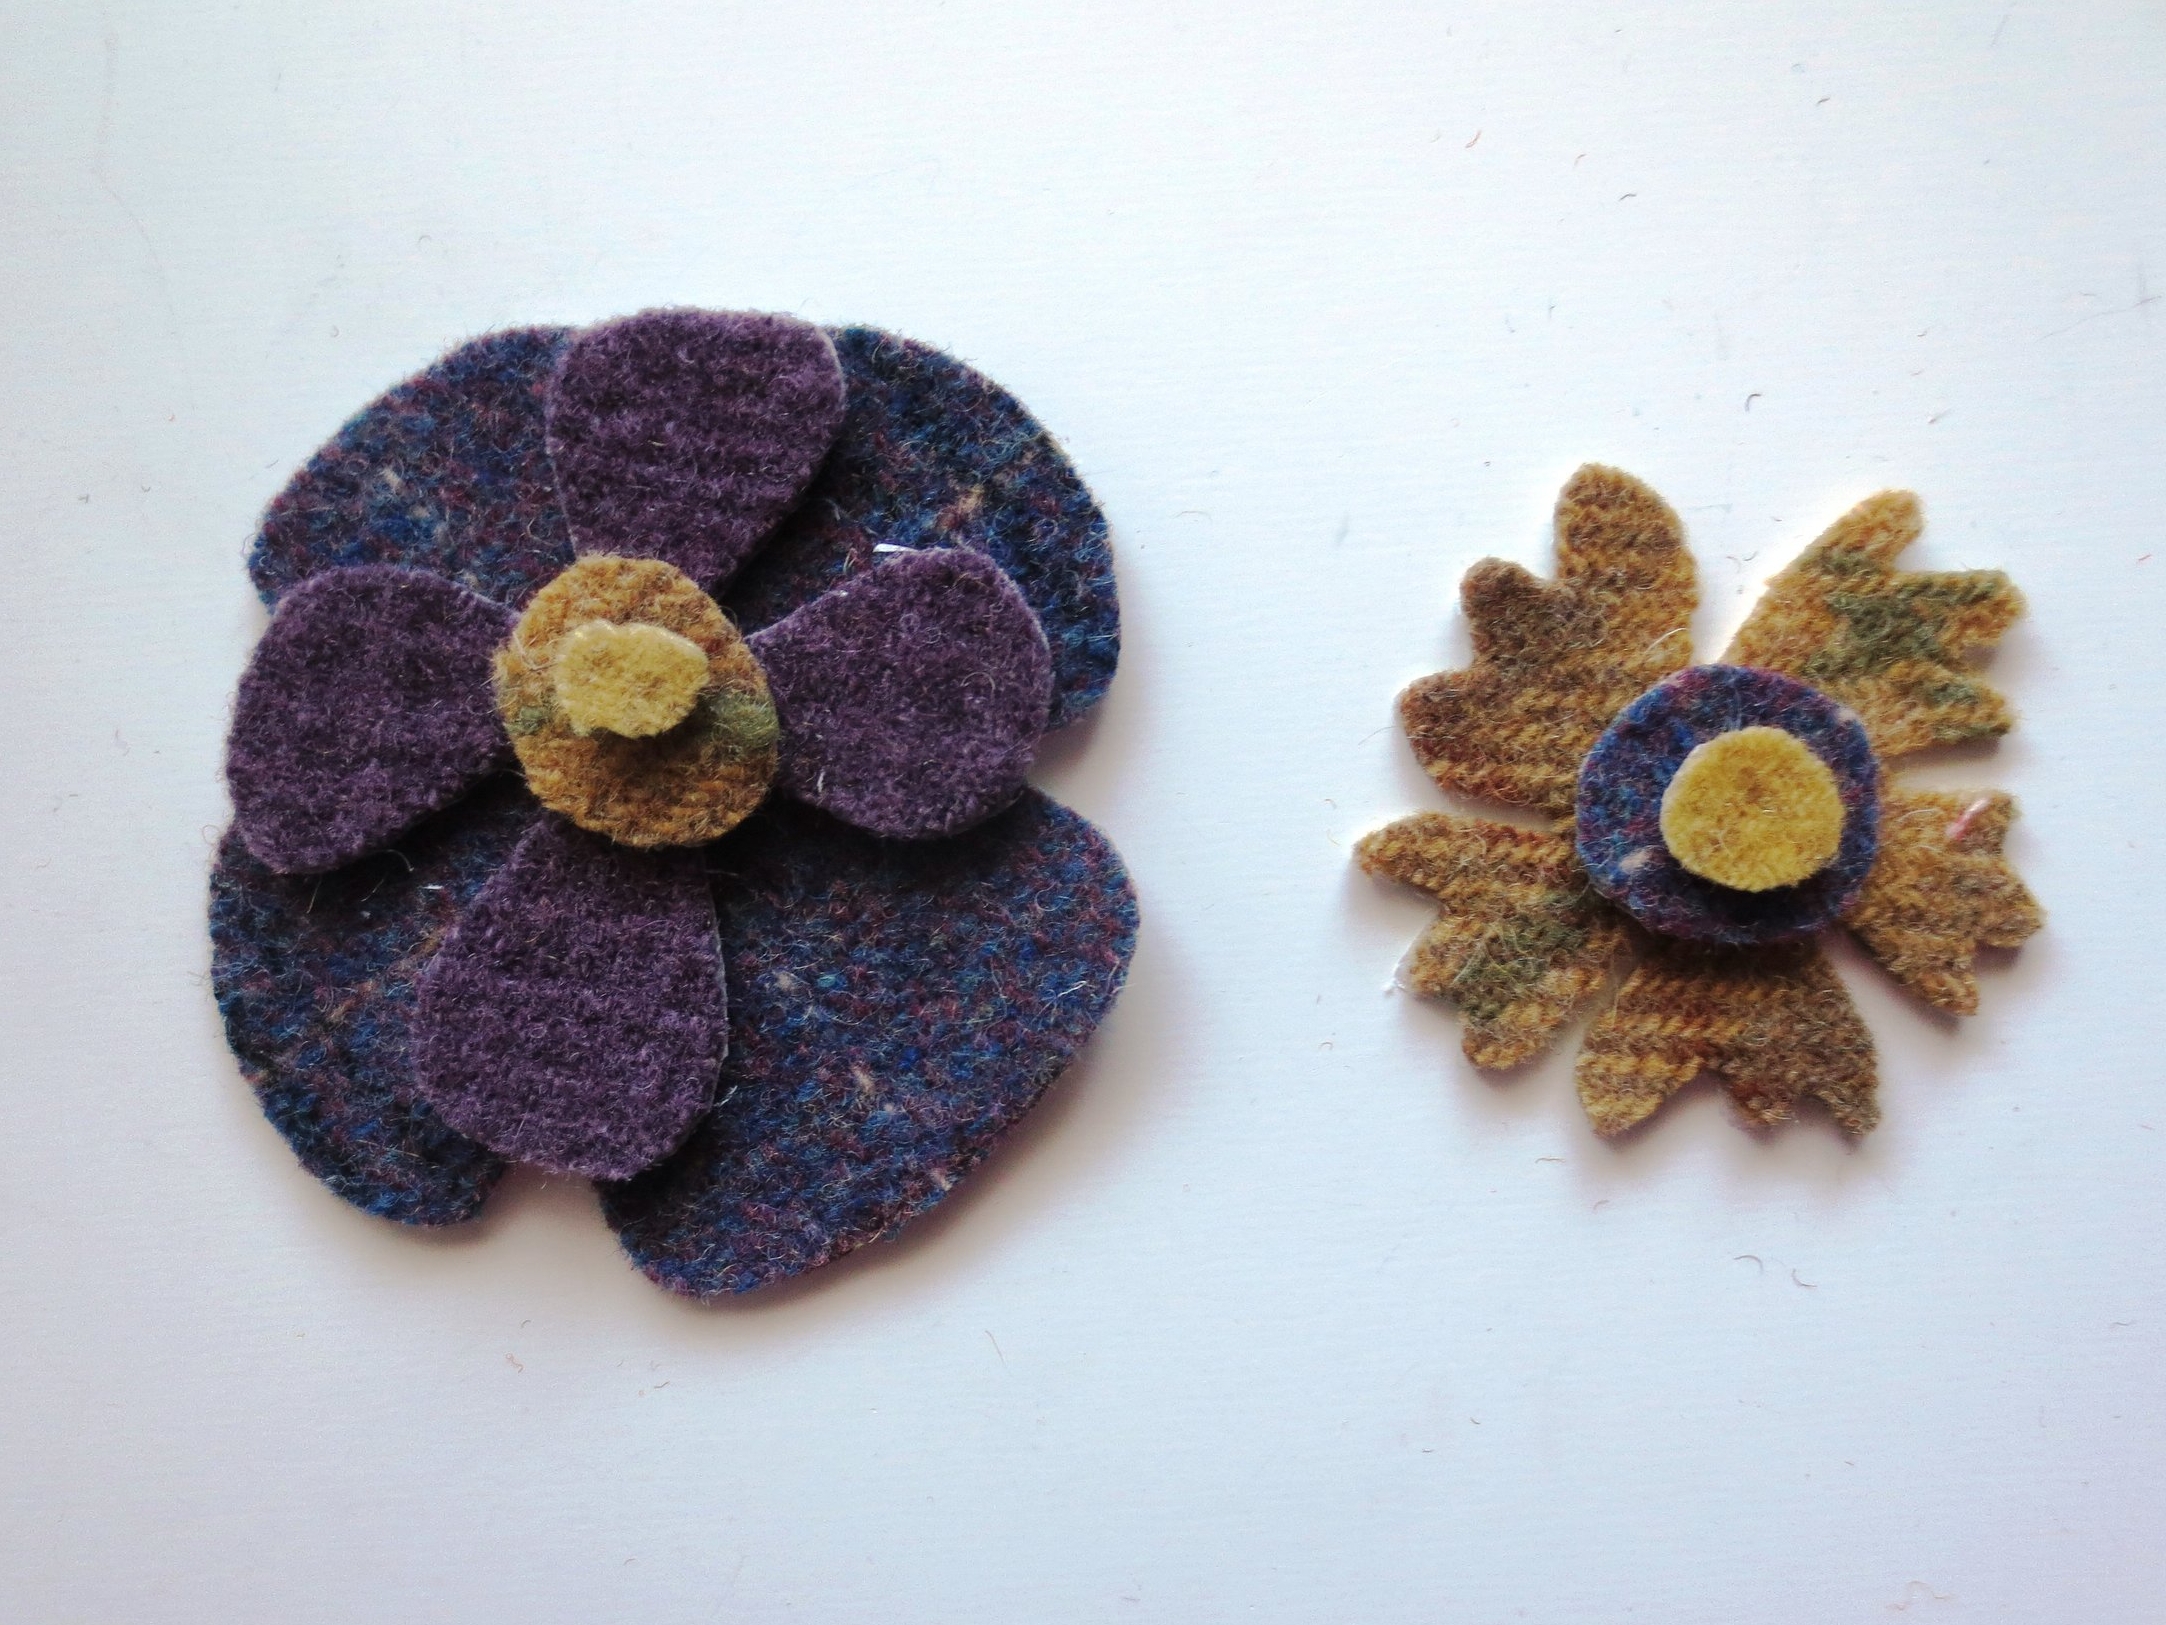
- Here are some examples of the color combinations you can use for your flowers. They are all complimentary color combinations: orange/blue, red/teal, blue violet/gold
After you have chosen your wools:
- Trace the pattern pieces onto fusible web ( The patterns are printed in reverse for use with fusible web). Cut out patterns leaving about an 1/8" border around each outline.
- Fuse the patterns onto designated wools and cut out along outlines.*
*Fussy cutting - Sometimes I want a specific section of the fabric for my applique, so I "fussy" cut the applique (see below).
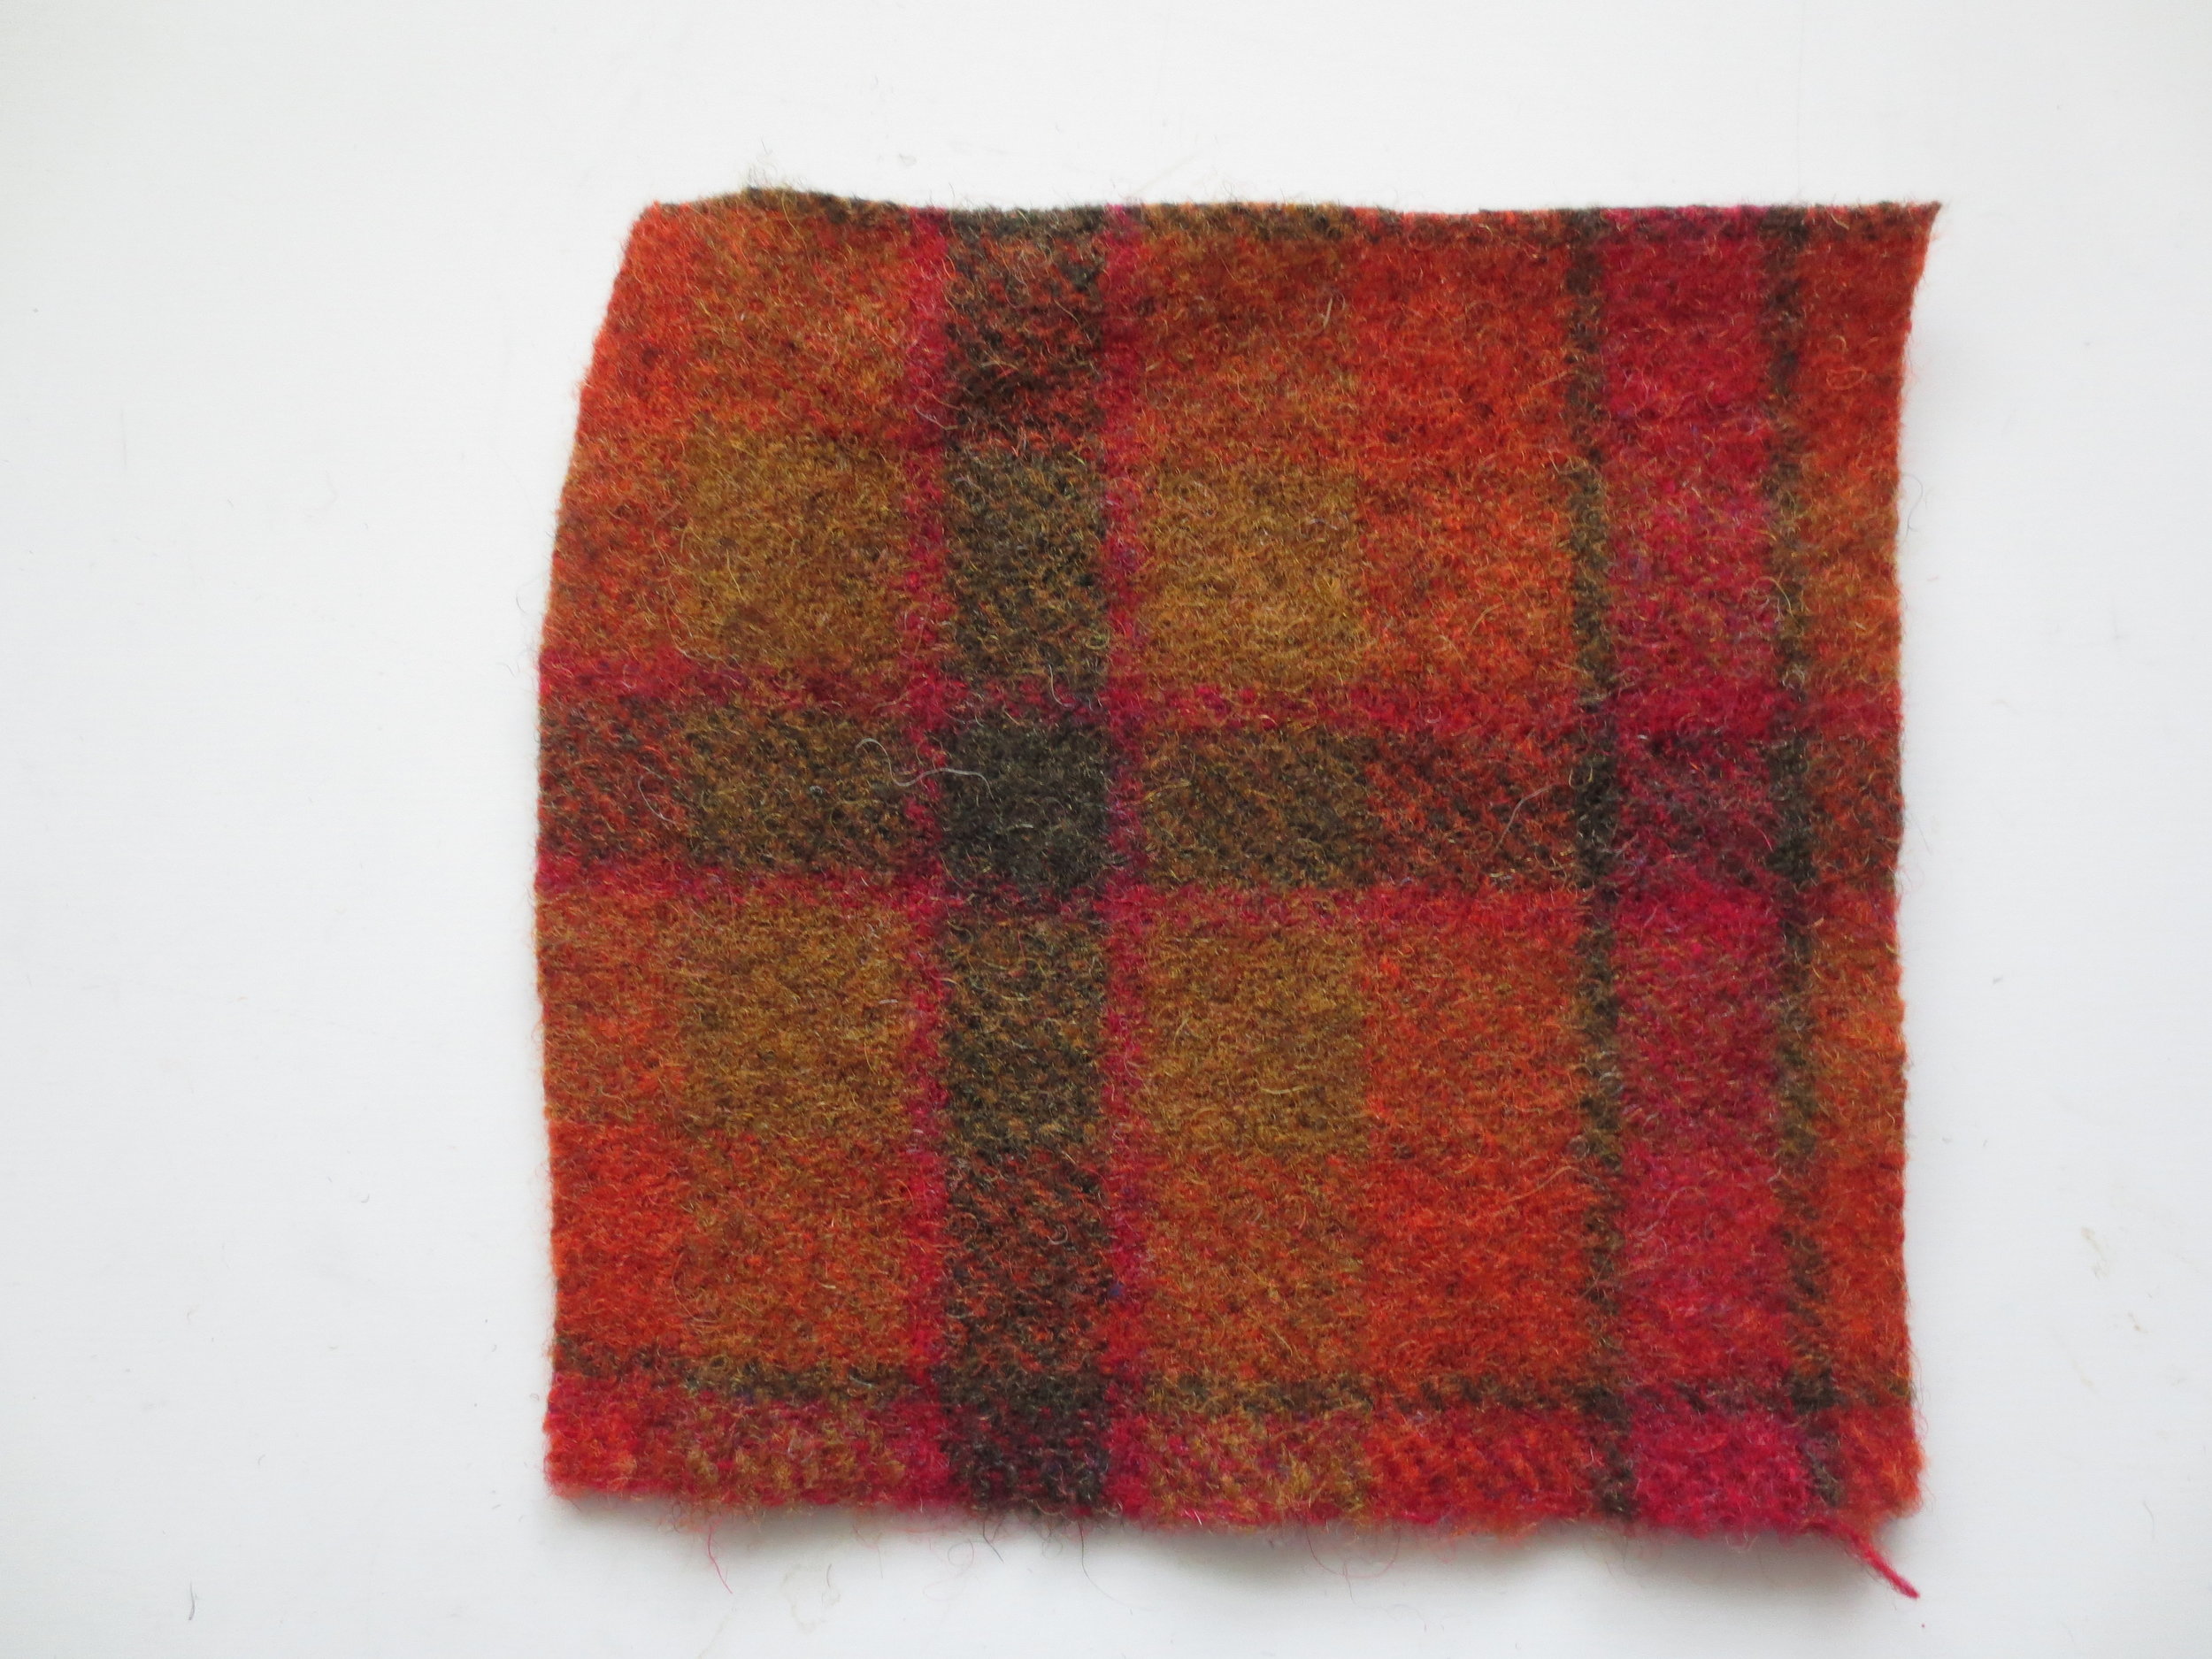
See how the pattern of the plaid makes a "plus" sign? I liked that section of the plaid, so I laid my flower pattern over the top of that "plus" sign so that each petal would contain one of the arms of the "plus" sign.
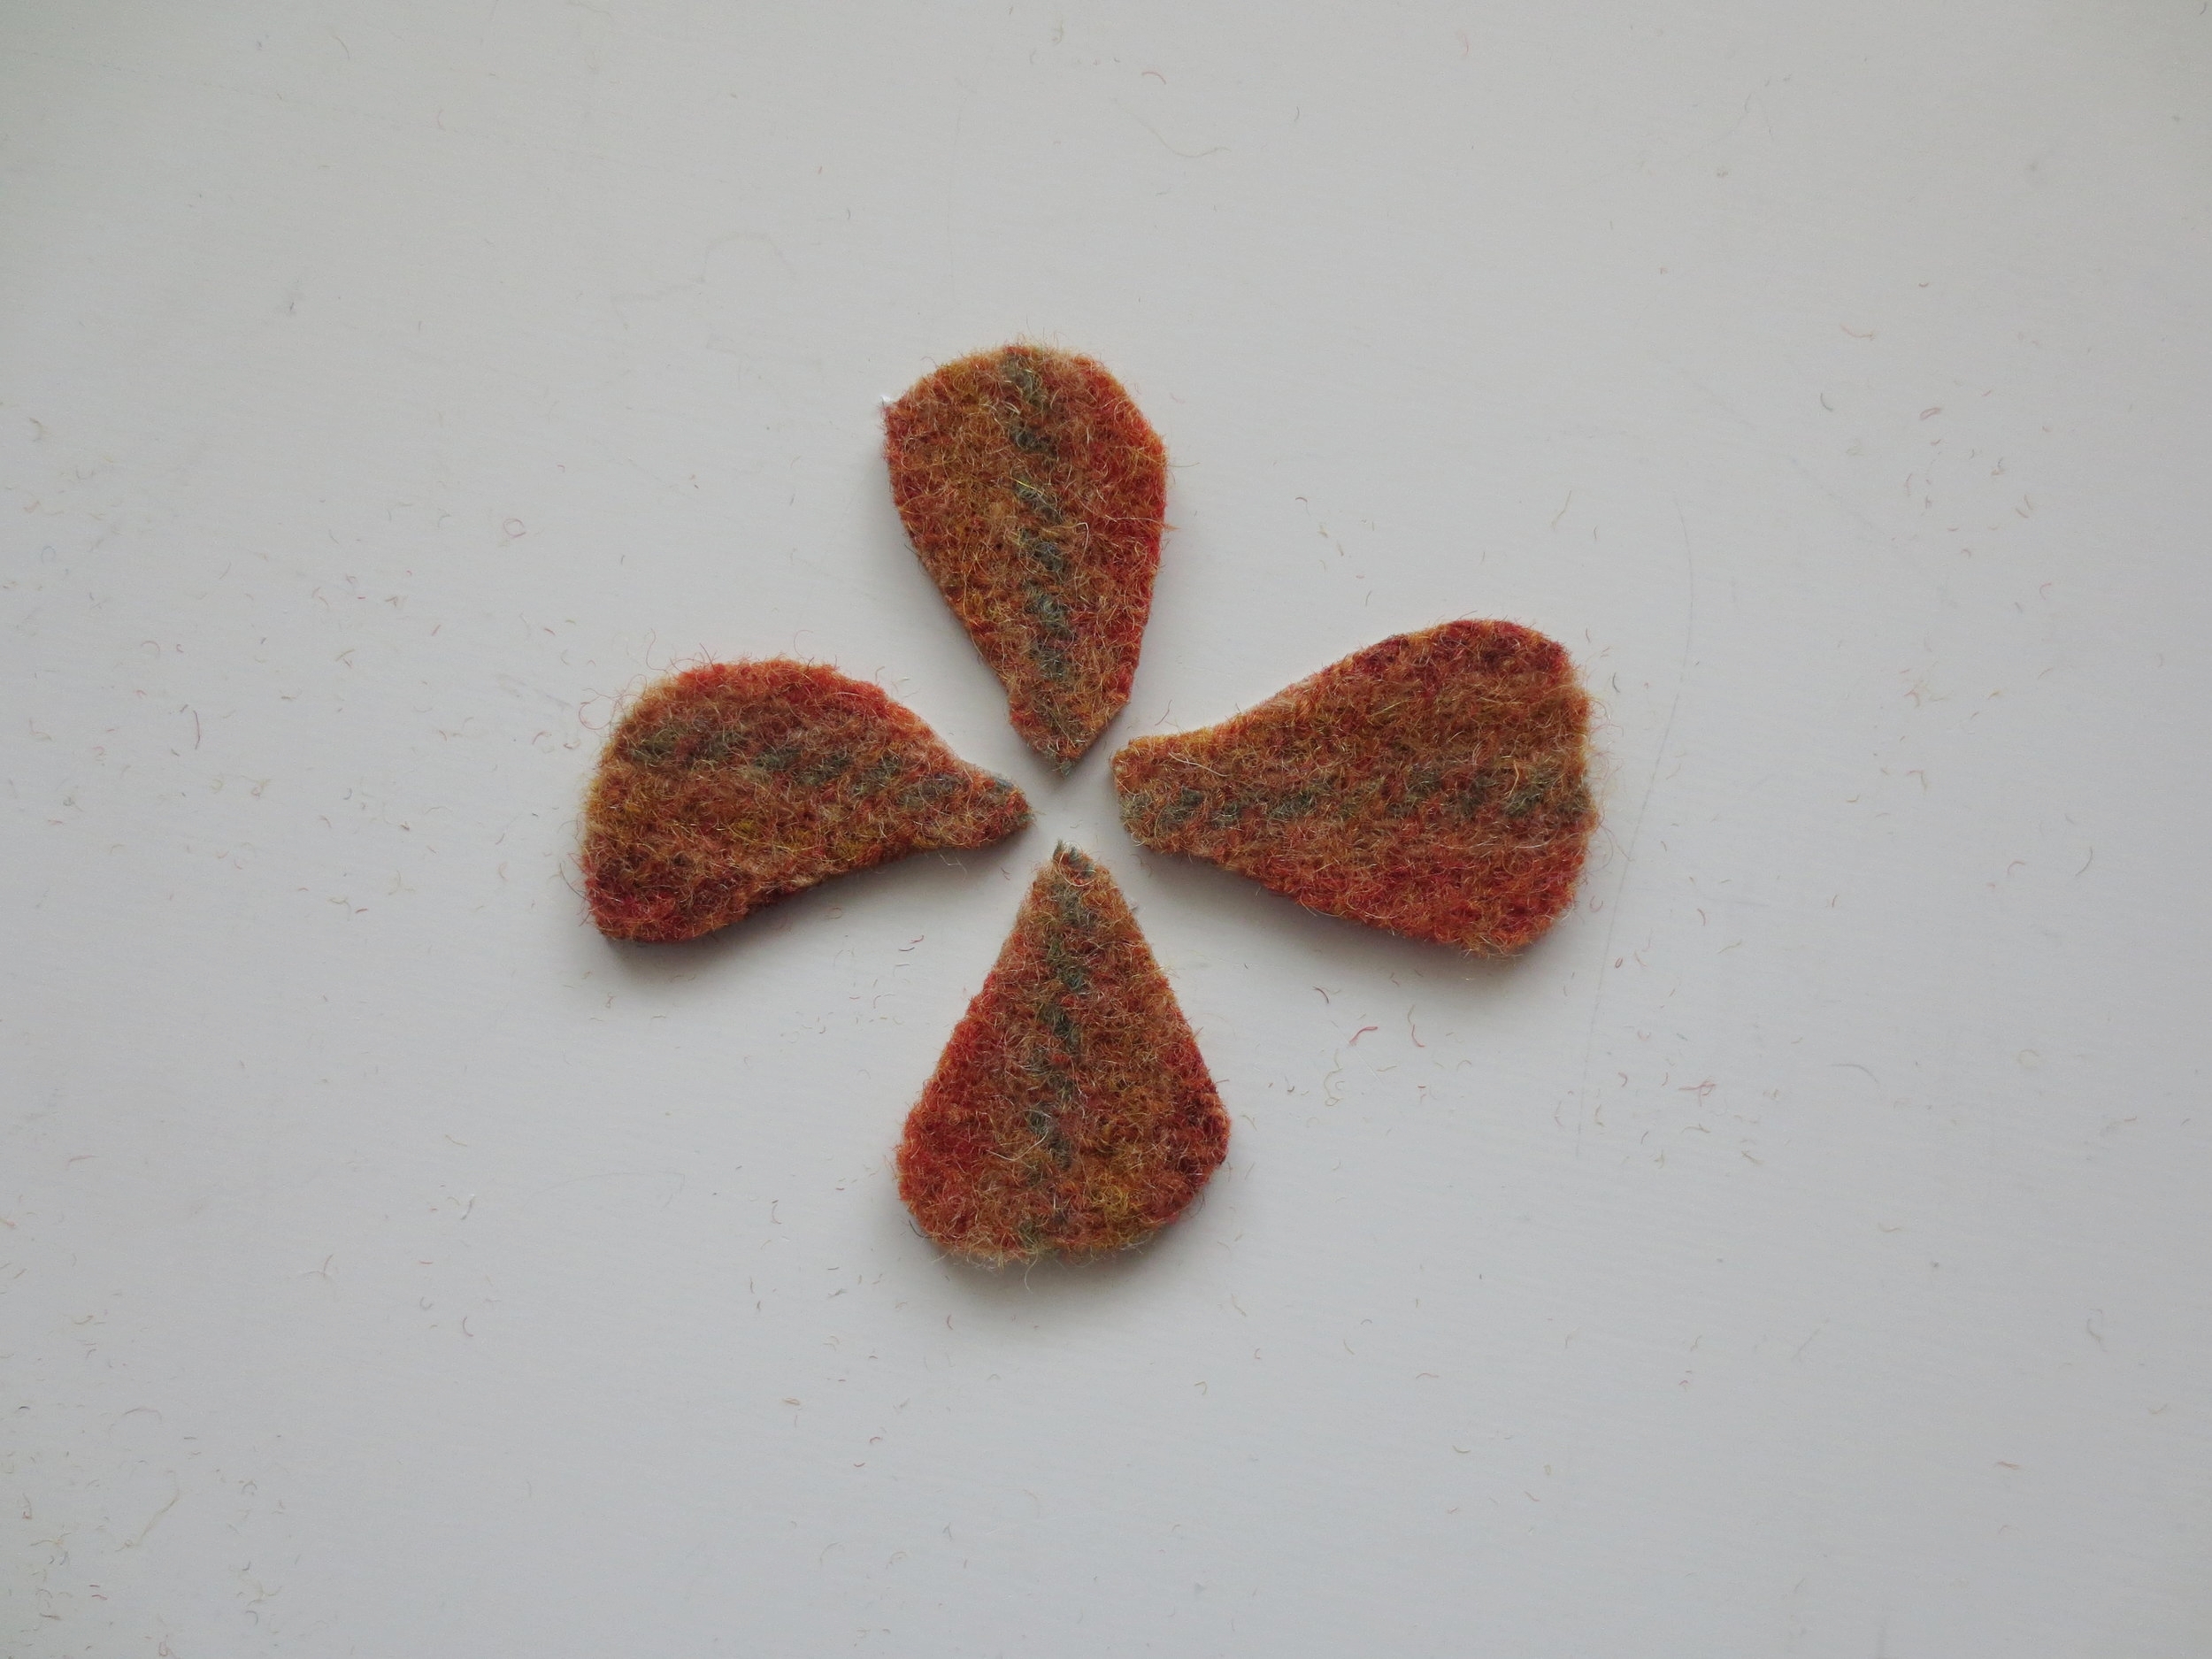
I also decide to fussy cut the top petals using striped fabric.
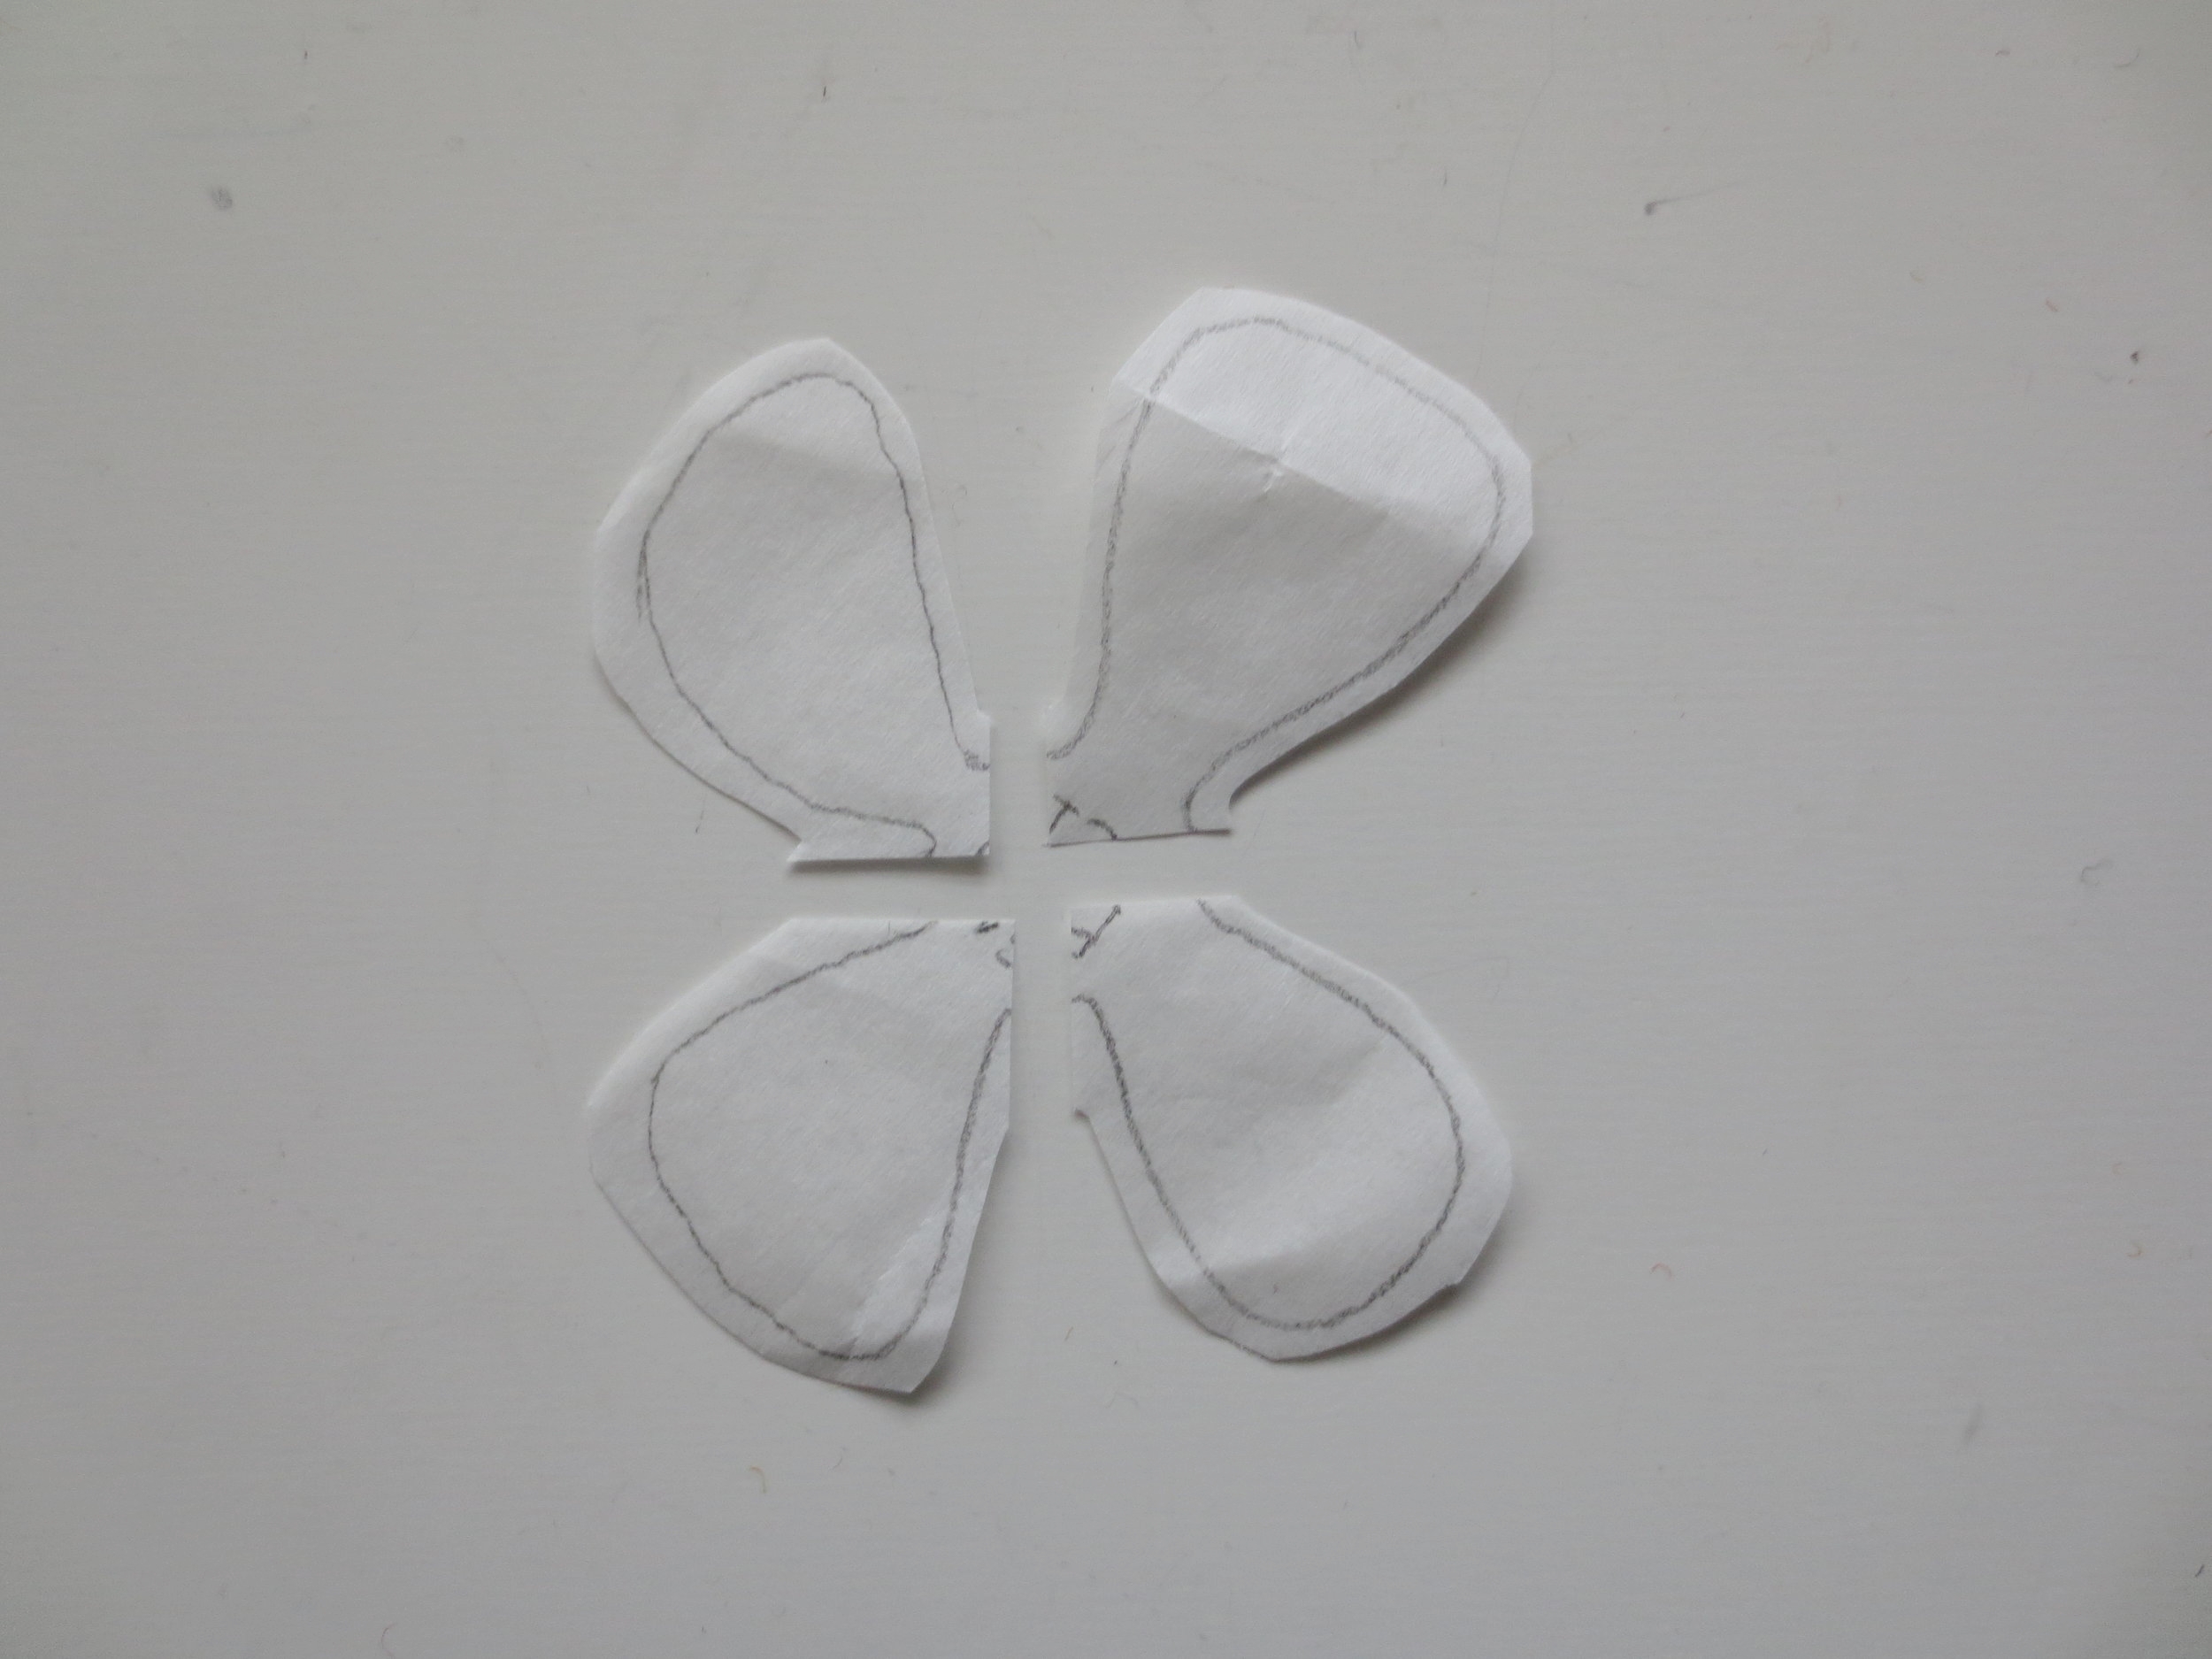
First I cut the four petals apart.
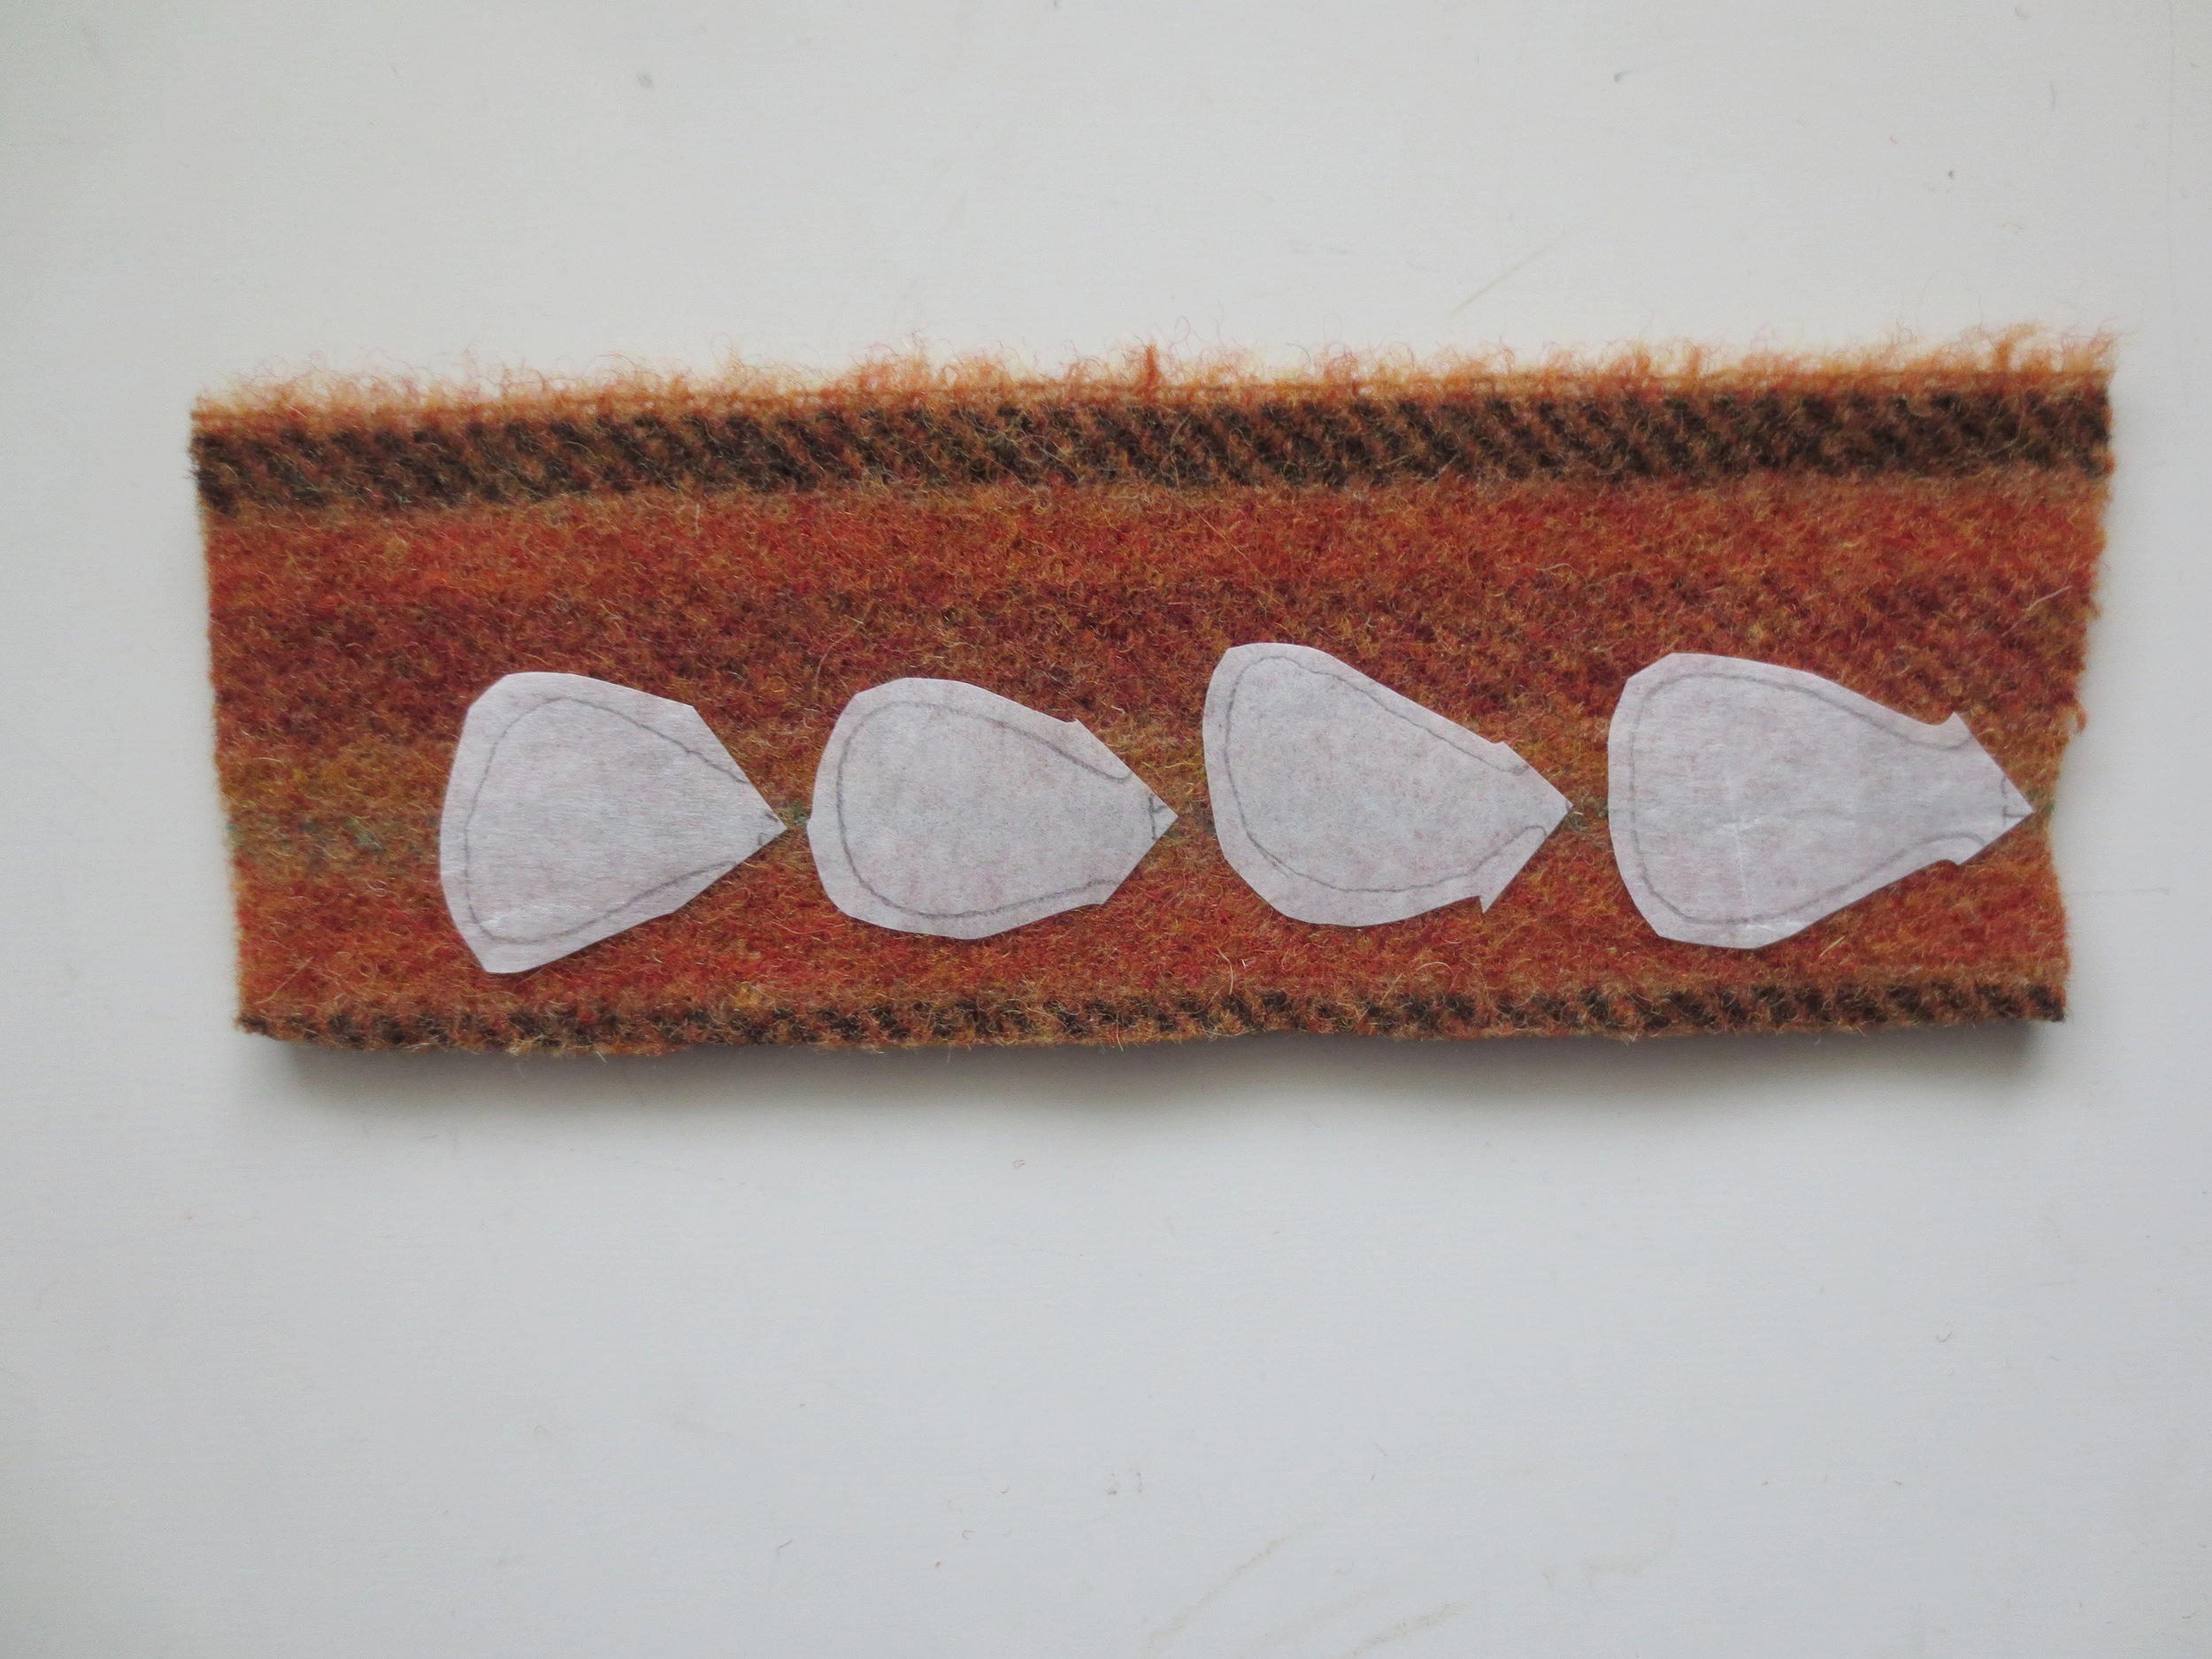
Then I fused the petals onto a section of the striped wool that I thought would contrast nicely with the bottom petals.
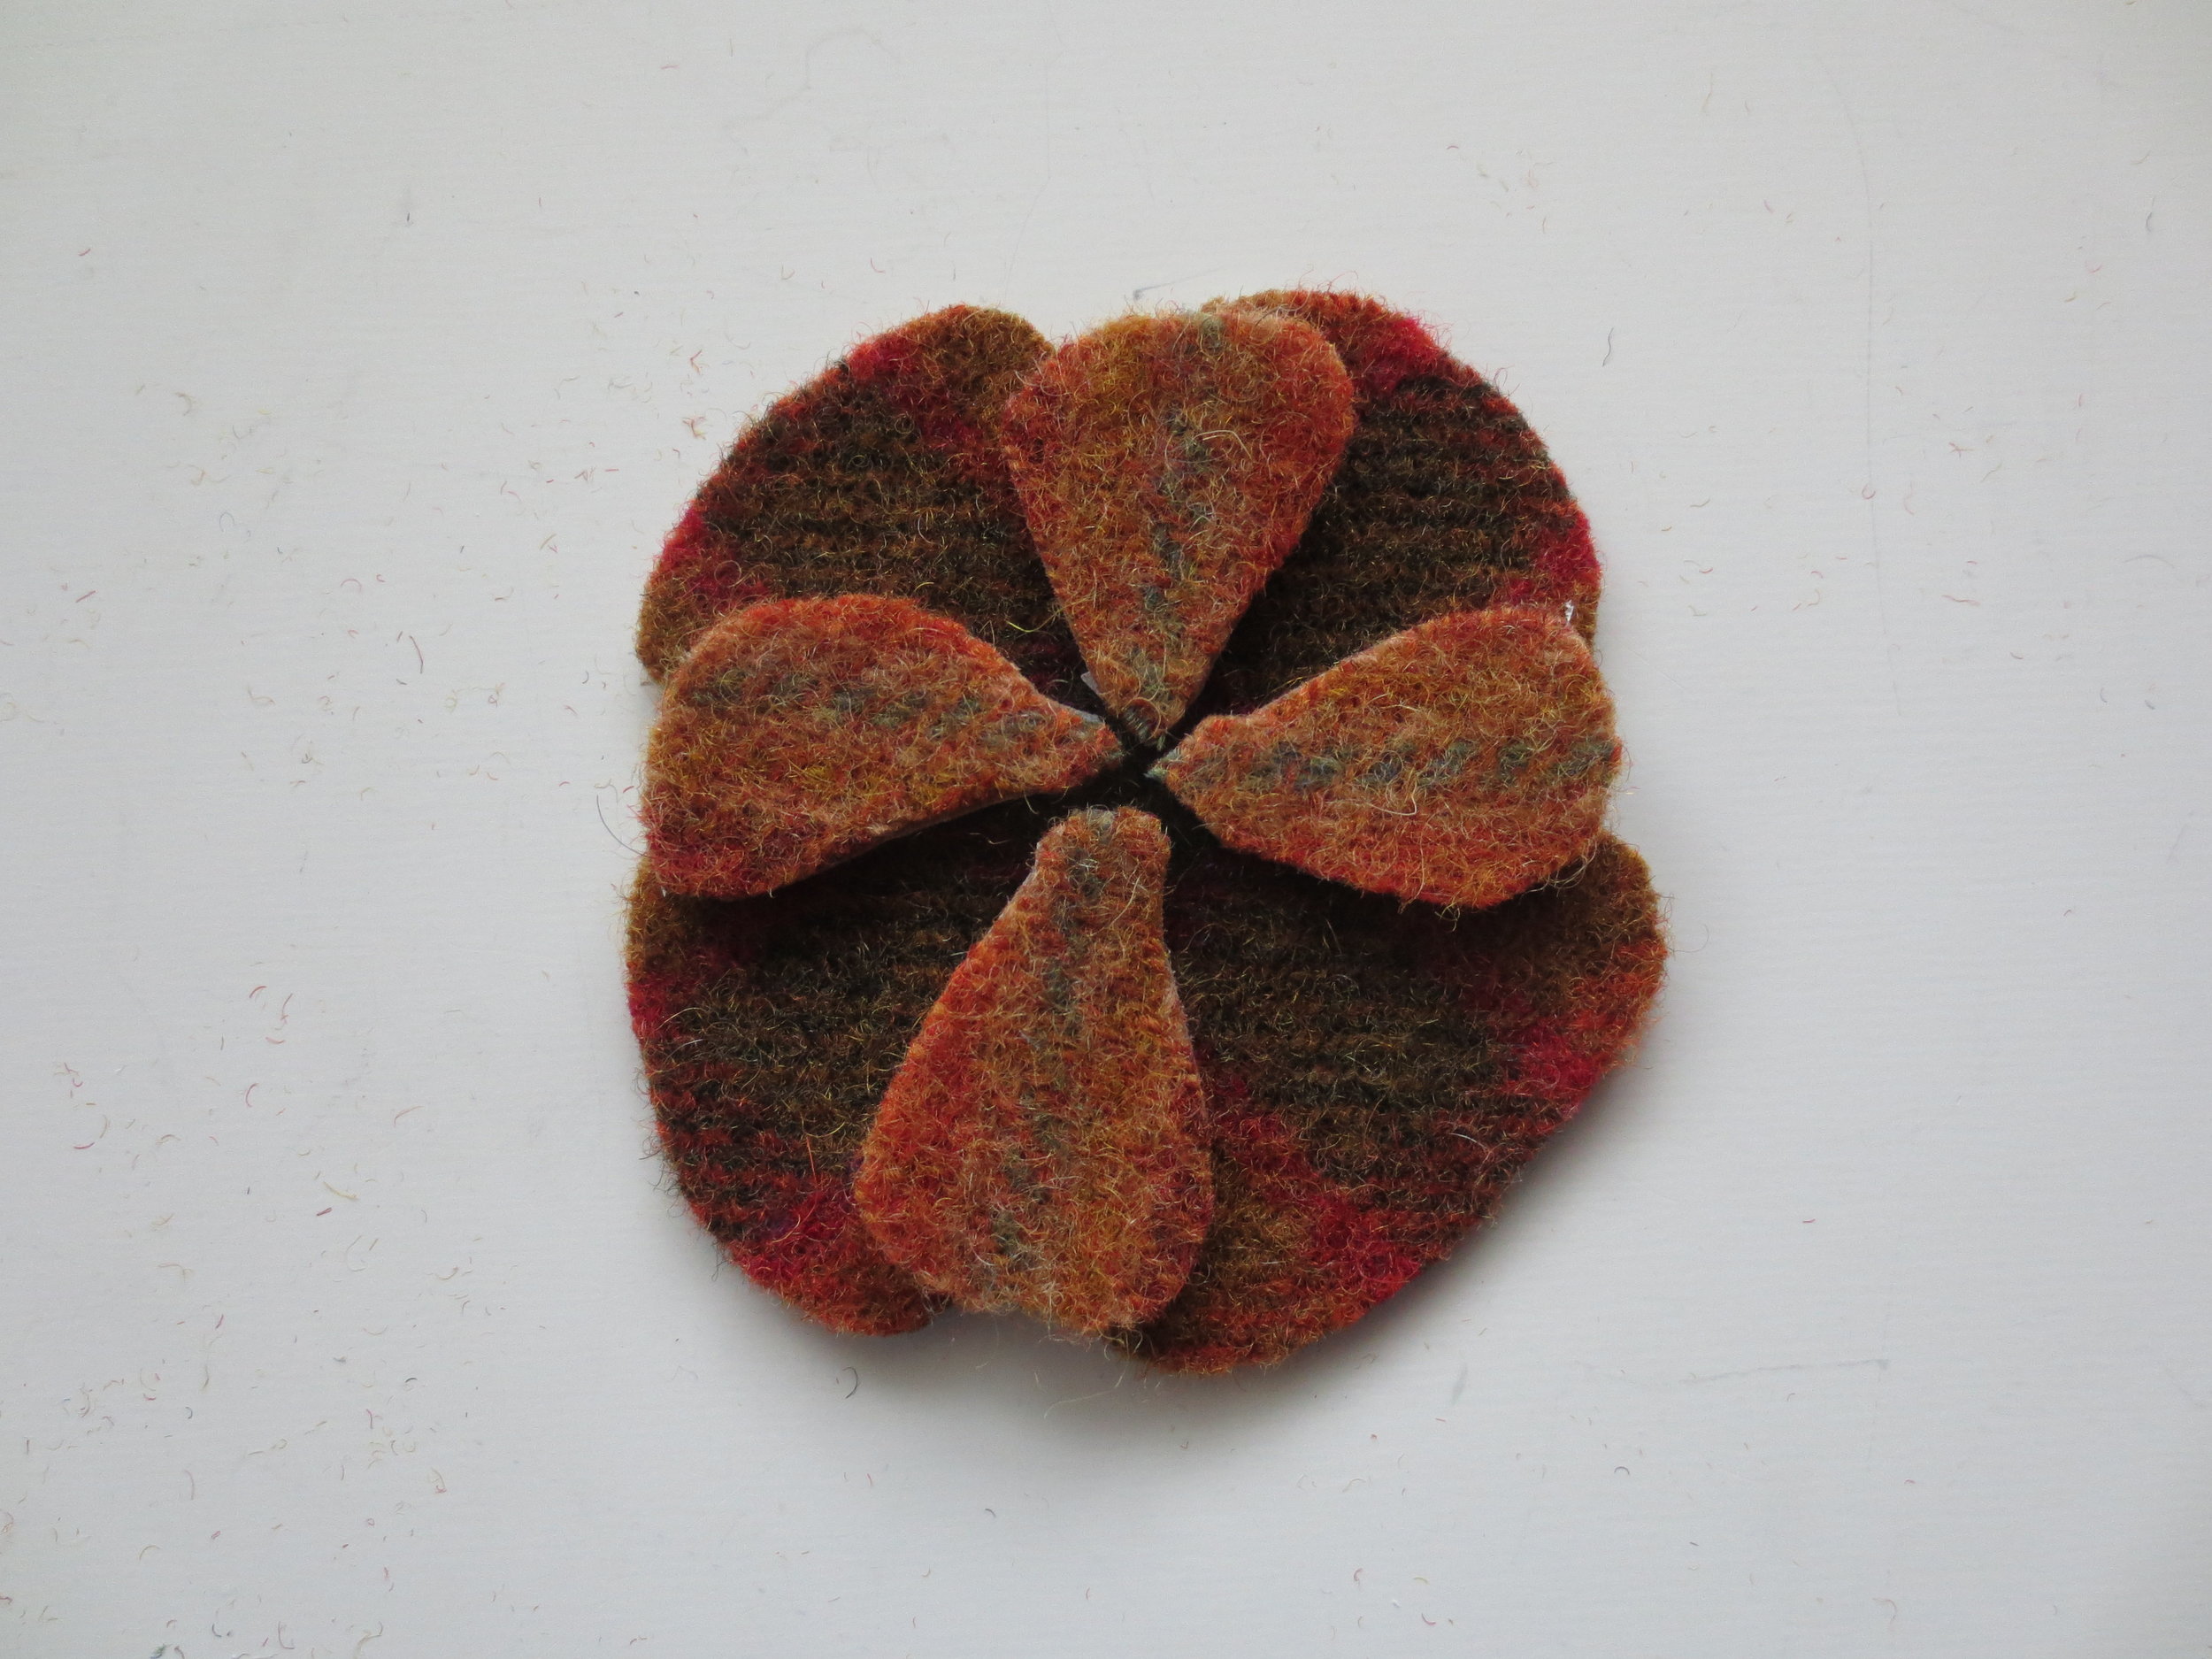
I cut these out and reassembled the pattern on top of the bottom flower petals.
A solid colored orange would also have worked (see below), but fussy cutting provided a subtle gradation of oranges and the thin blue line down the center of each petal.
Cutting the leaves
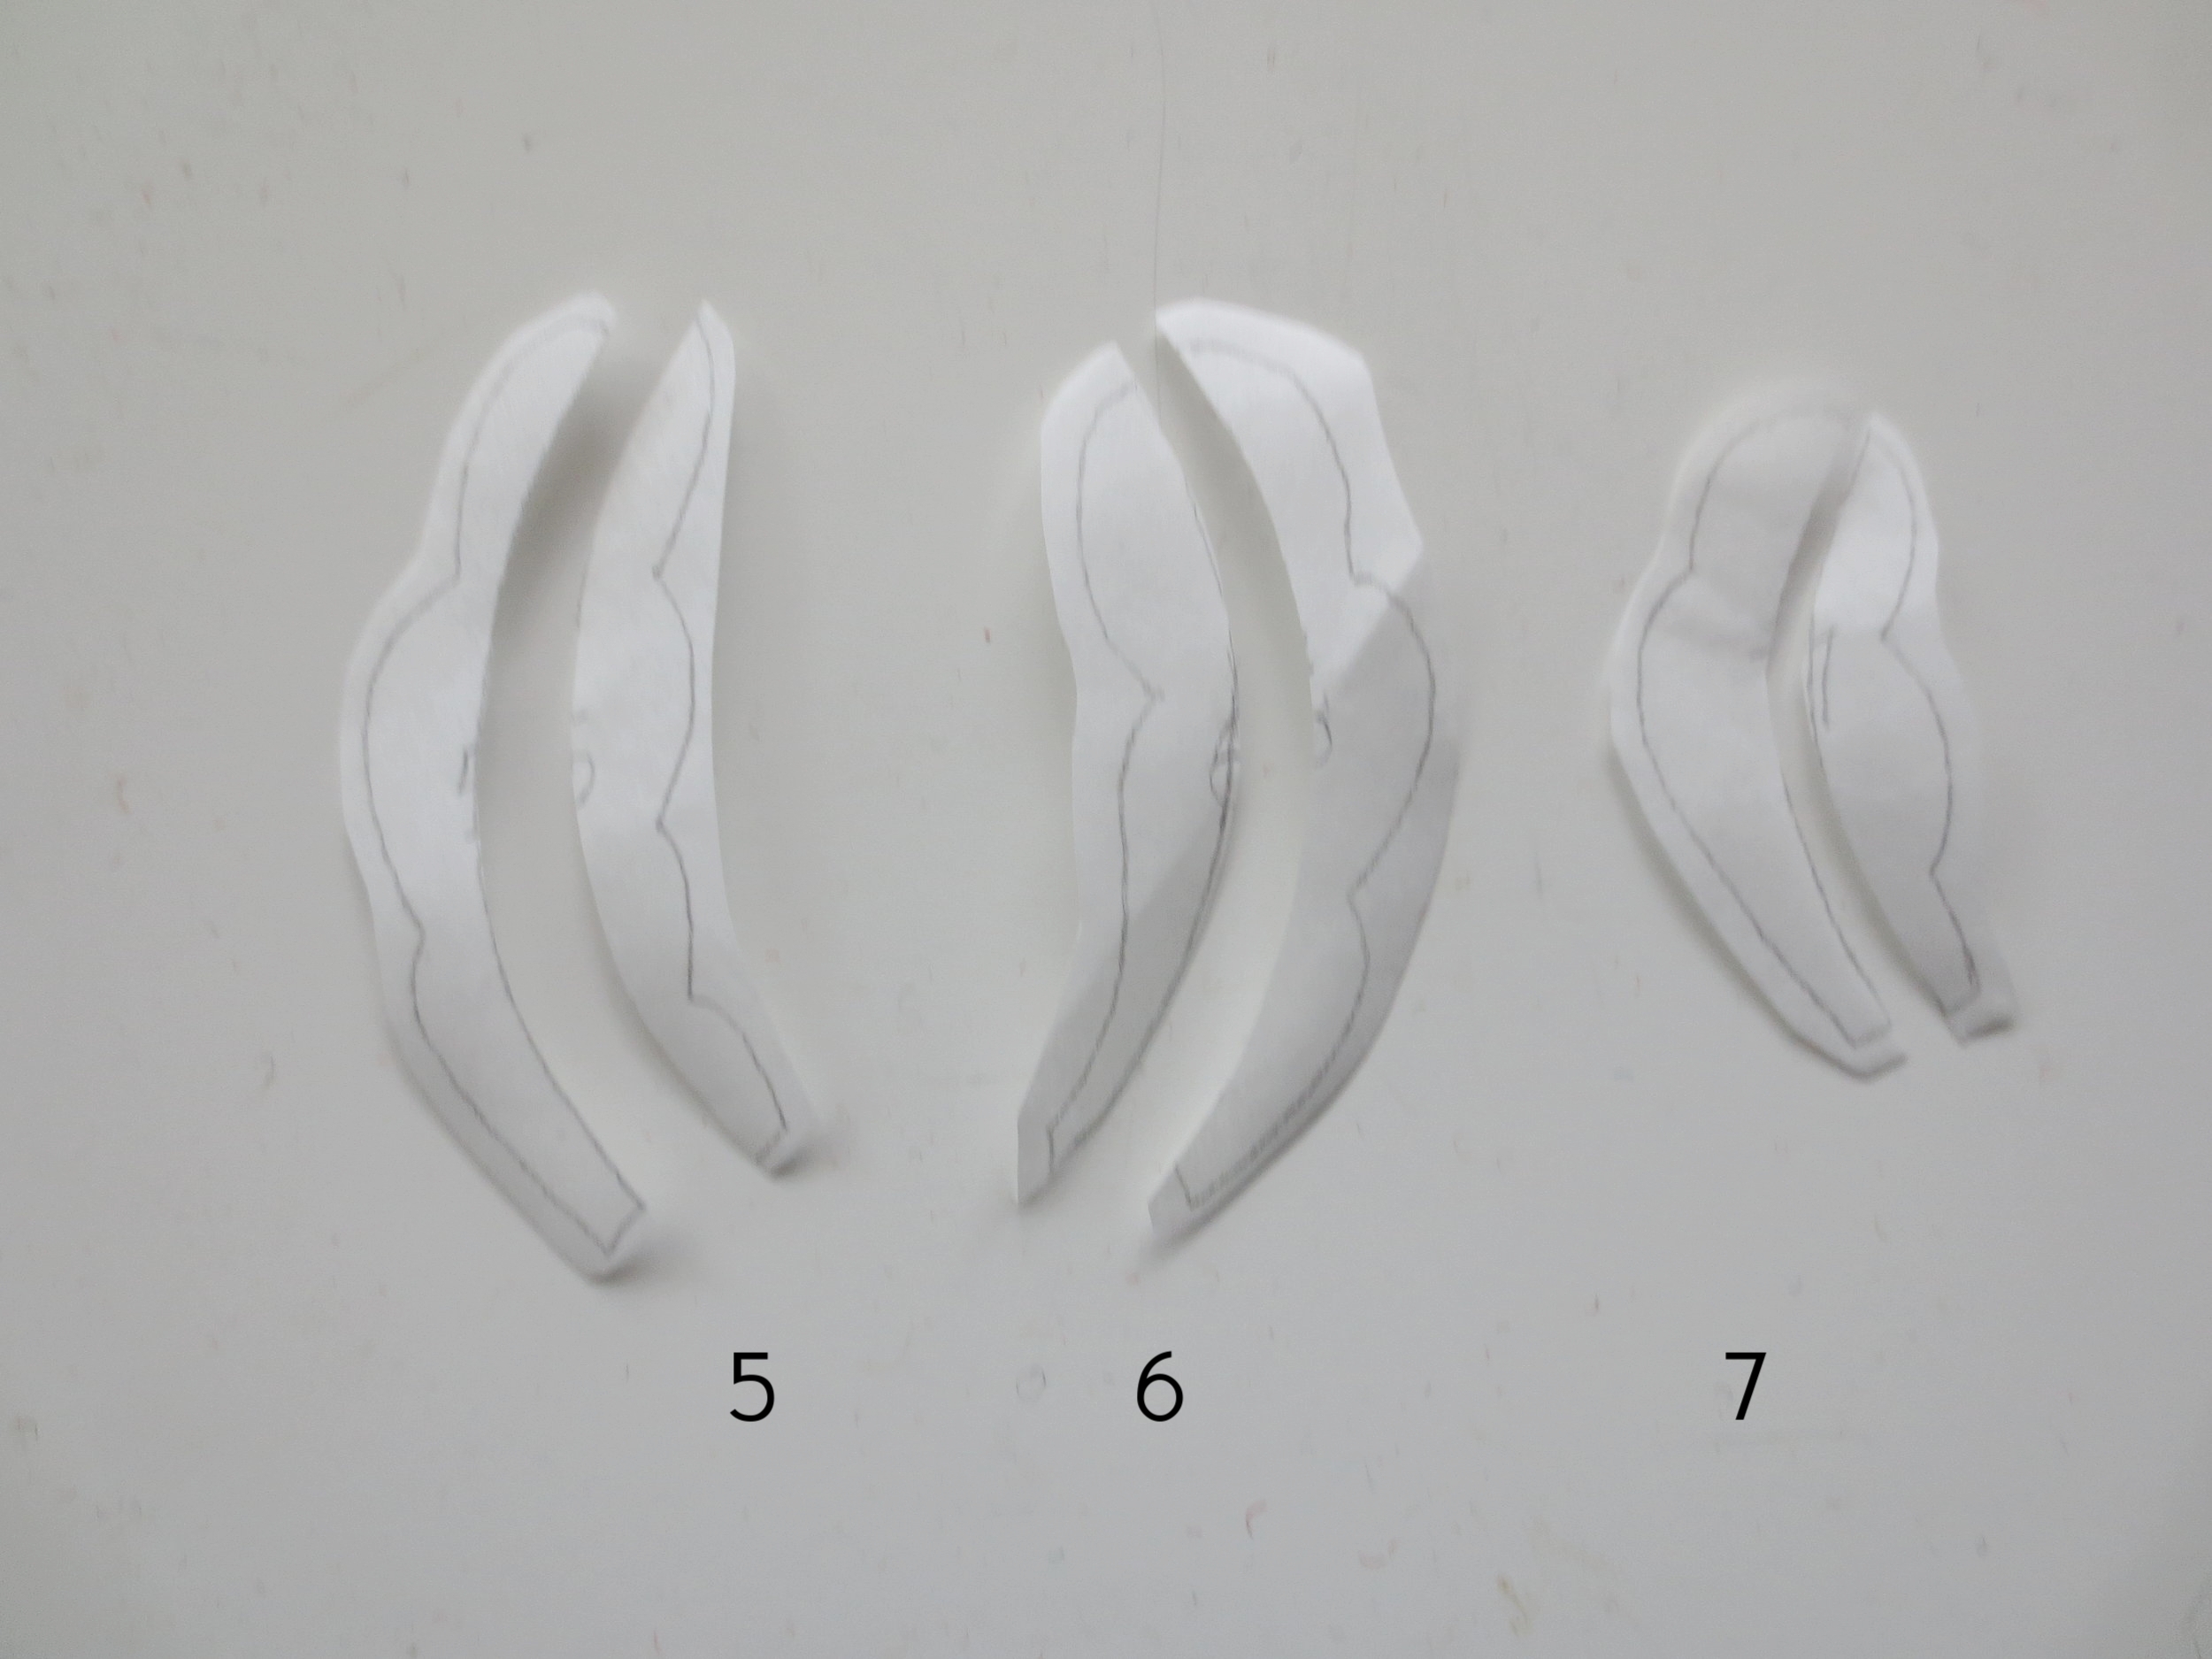
- The leaves of flowers D and E are bicolored. They need to be cut apart, fused to two different colored wools and reassembled (see below). I used a solid green and a complimentary green plaid. Note what side the plaid is on in each leaf. This is kinda tricky because the fusible is backwards. A little hint: The plaid is on the outside curve of leaves #6 & #7, and on the inside curve of leaf #5.
Stay tuned for the next post that will cover layout and stitching.


