Keeping It All Together in the New Year
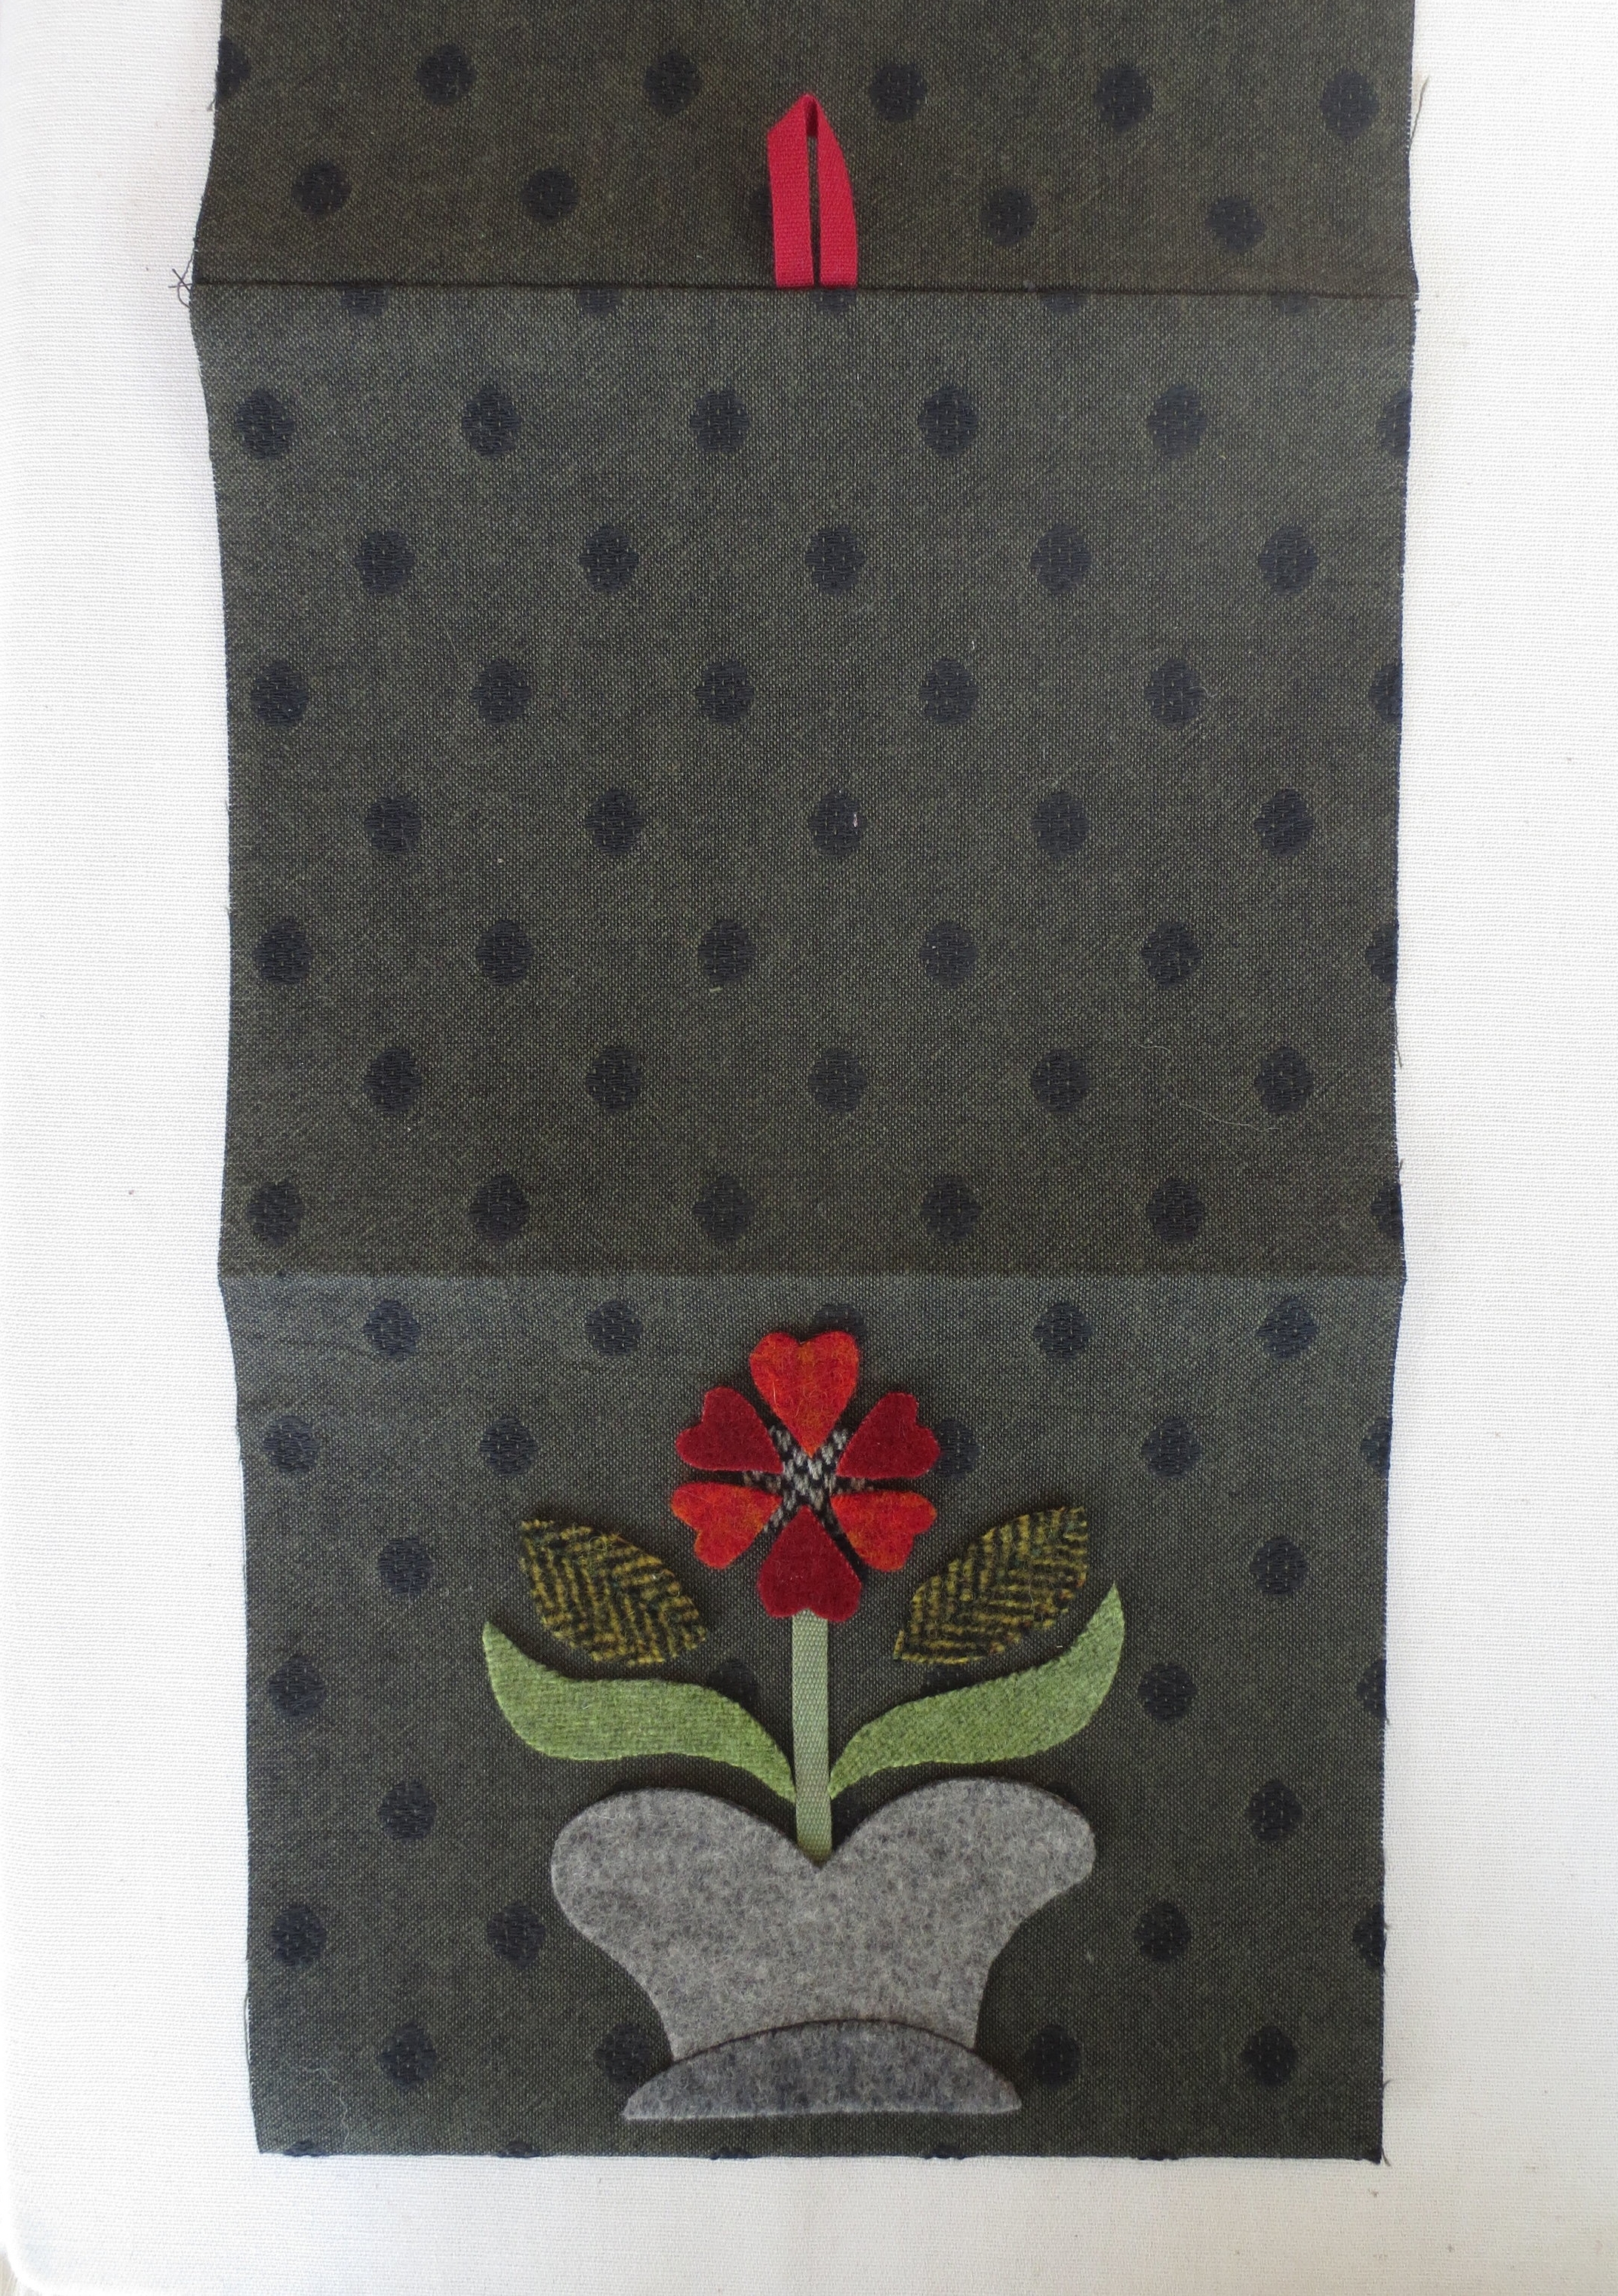
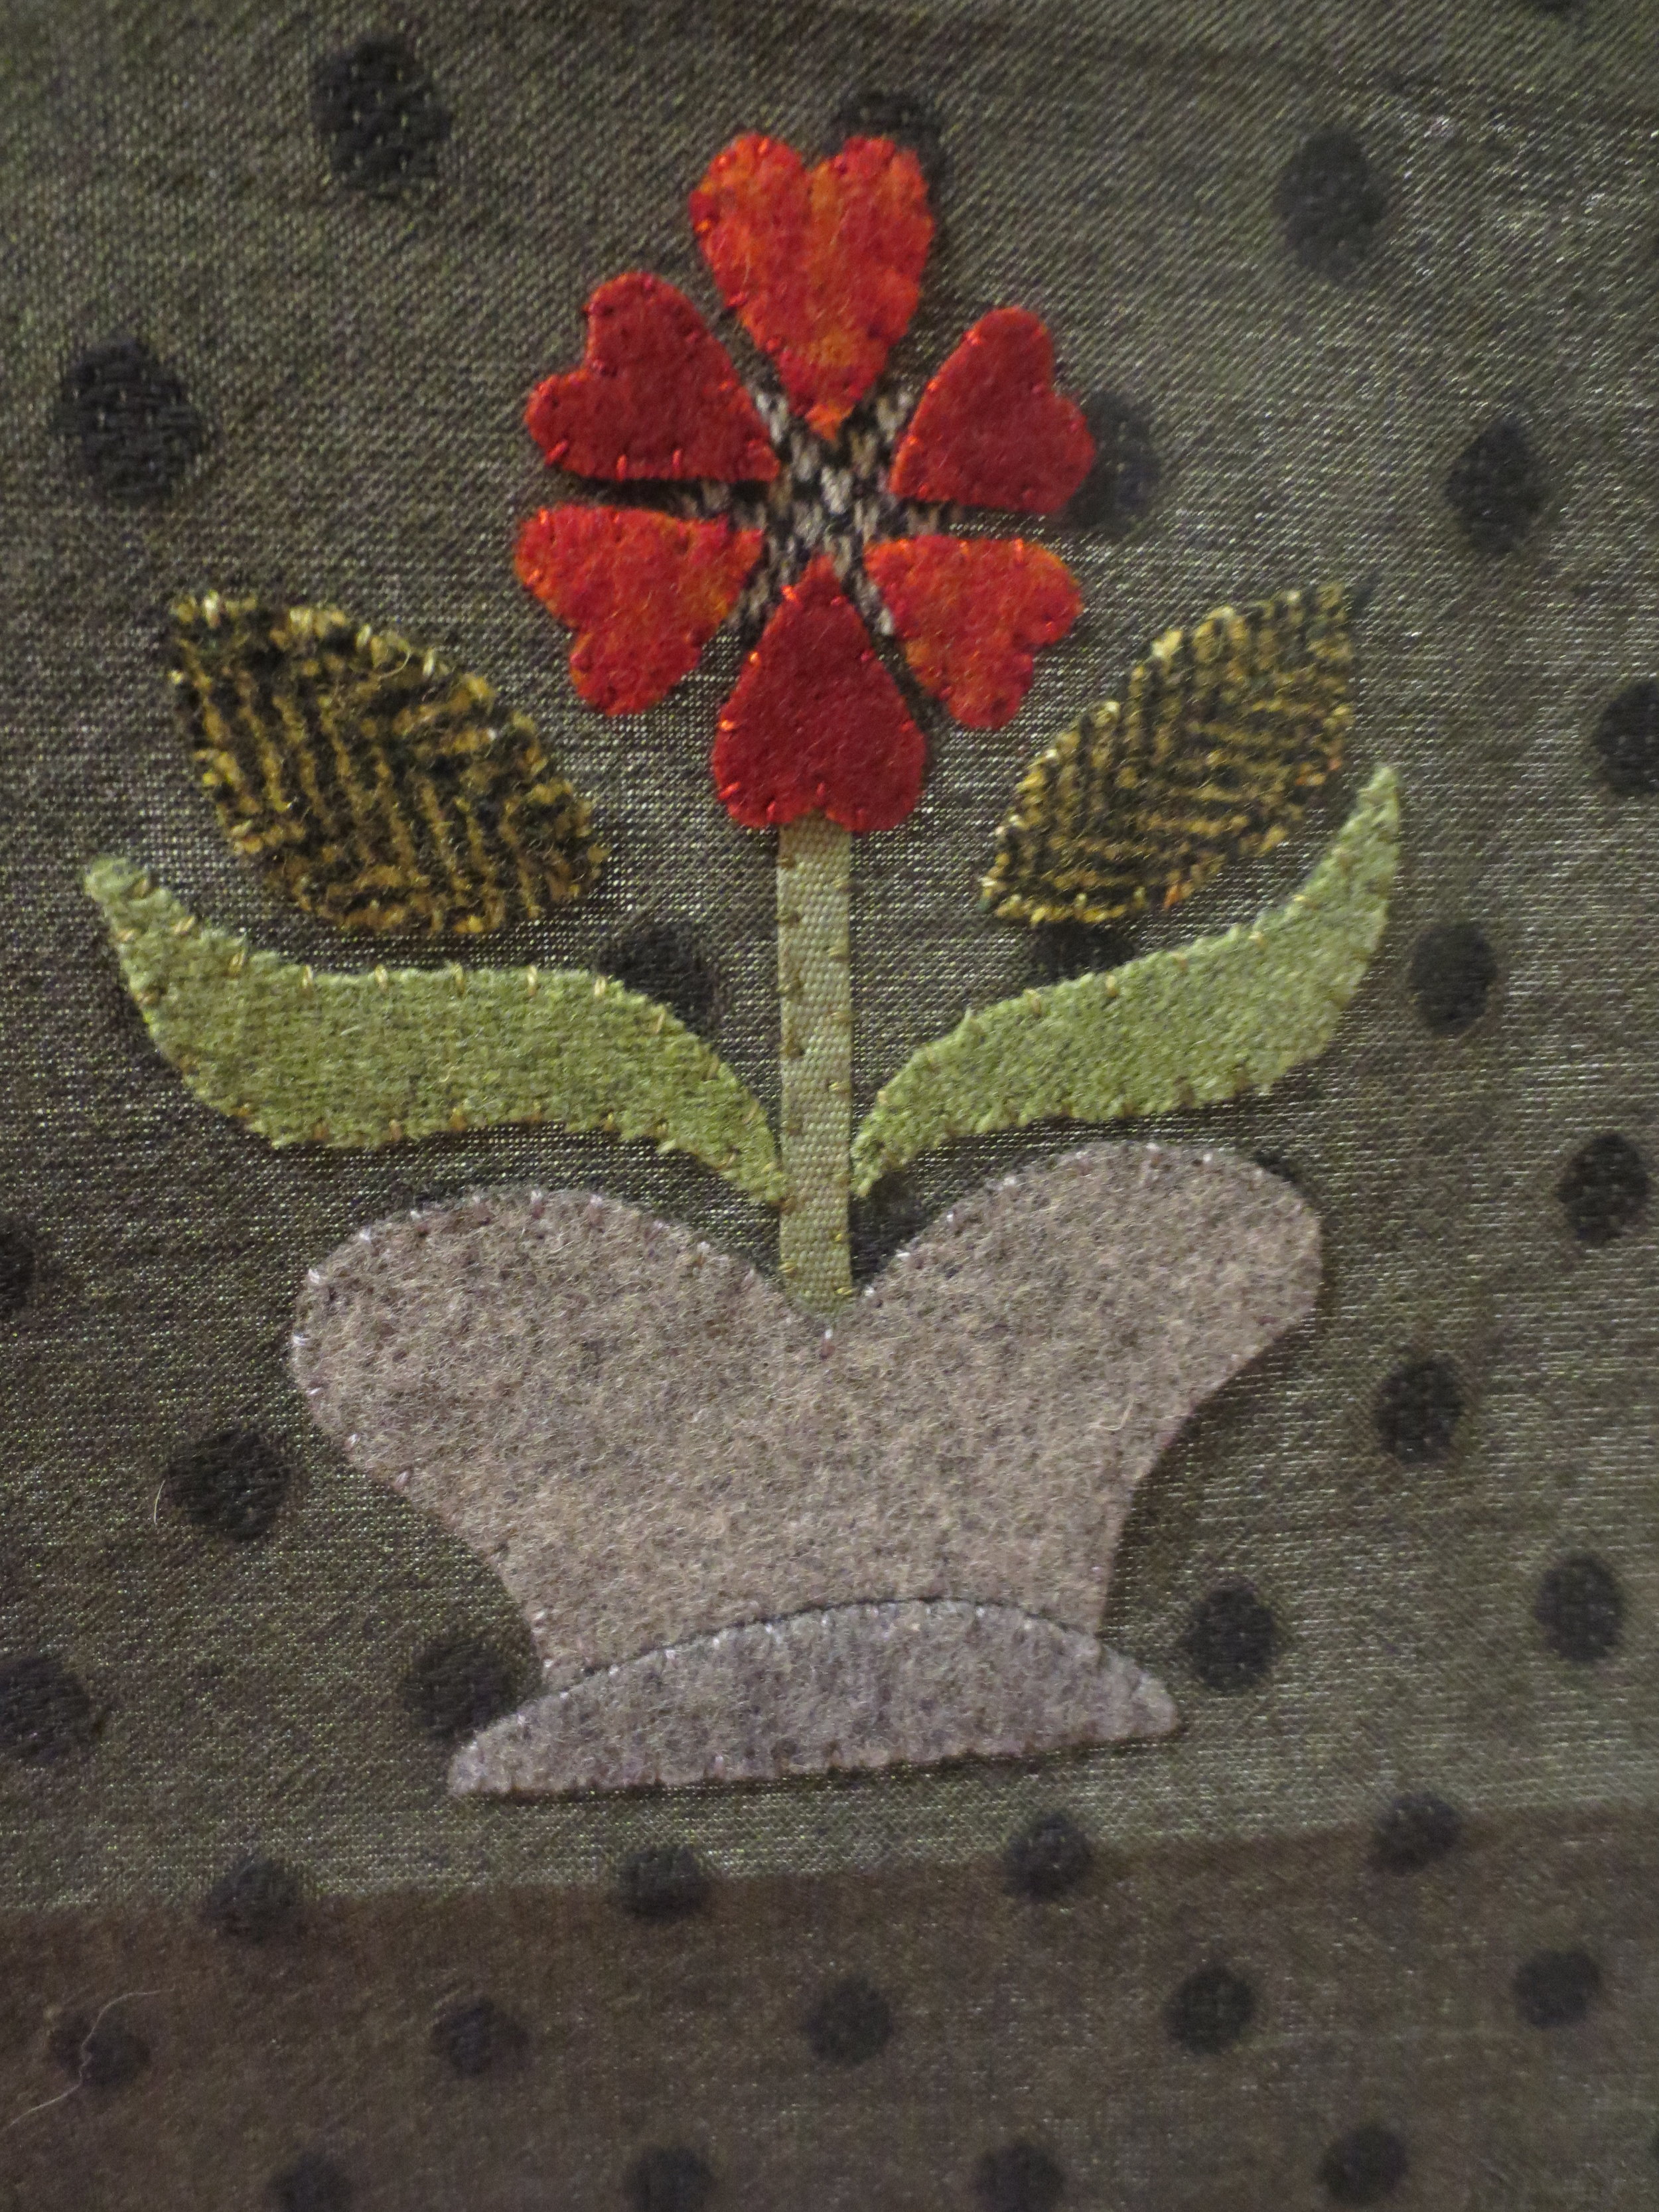
Front cover of needle and scissor keep
Happy New Year everyone!
I thought I'd start out the new year with needle and scissor keep pattern. It will be divided into two separate posts. The first will cover the wool applique outside front and back covers and the second will be the construction of the interior components.
The design is based on two wooden butter stamps from the 19th century that I saw on Ebay.
You will need:
Fabric
Note: Use fabrics for your lining and scissor pocket that complement the colors of your applique. I used gray that matched my vase color and red that matched my flower. The color of your cover need not be black. I chose black because I am partial to it and it will show less dirt over time.
Fabric #1 - 1 fat quarter (18" x 22") cover - I used a black woven fabric that I believe is a Diamond Textile fabric.
Fabric #2 - 1 fat quarter lining - I used Pondicherry by French General, #13783.
Fabric #3 - 1 fat eighth (9" x 22") scissor keep pocket - I used a Marcus Fabrics Bonnie Blue Basics by Paula Barnes.
2. Wool or felt
4" square of medium gray - Vase and bird body
3" light gray - bird wings
1" x 3" dark gray - vase bottom
1" x 1 1/2" yellow green - leaf C
2 1/2" square grass green - leaves A,D,E, and lower leaves of the front cover flower
2" square dark green - Leaf B and the upper leaves of the front cover flower
2 1/2" square black and gray check - bird's tail, flower center
2" square deep red - tail feathers
3. Thread - The following colors are just suggestions. You will need colors that match and complement your wool colors. I used a mix of embroidery floss and perle cotton because that's what I had on hand. Use 2 strands of floss and 1 strand of perle cotton usless otherwise noted.
DMC floss, #414 (light gray) - flower vase, bird body, wings, and wing feather embellishment
Valdani perle cotton, size 12, #M43 (variegated red) - Flower petals, vase and bird body embellishments, bird tail feathers
Valdani perle cotton, size 12, #O519 (variegated green) - leaves and branch on back cover
Valdani perle cotton, size 12, #O153 (antique gold) - leaf and flower embellishments, vase handles, bird's legs
Valdani perle cotton, size 12, #893 (dark gray) - vase and bird embellishments
DMC floss, #420 (orange brown) - bird's legs and beak
Valdani perle cotton, size 8, #311 (robin's egg) - vase, flower, and bird embellishments
4. Miscellaneous
1/4" wide cotton ribbon - The color of the loop ribbon is dependent on the color of your flower. My flower is deep red, so my ribbon is deep red.
4 1/2" deep red - button loop, scissor stop
2" pale green - flower stem
1/2" antique brass, shank button
Feather weight fusible web - Vilene Melt Fuse or Heat 'N' Bond
Pellon Craft-Fuse, #808
Fine line chalk pencil (Bohin mechanical pencil or Clover marking pen)
Chenille needle, size 24
Pinking shears
Sewing machine
Steam iron
5. Layout and Pattern - download here.
6. Stitch guide - download here (this is the same stitch guide used for most of previous projects).
Instructions
1. Preparing the applique pieces
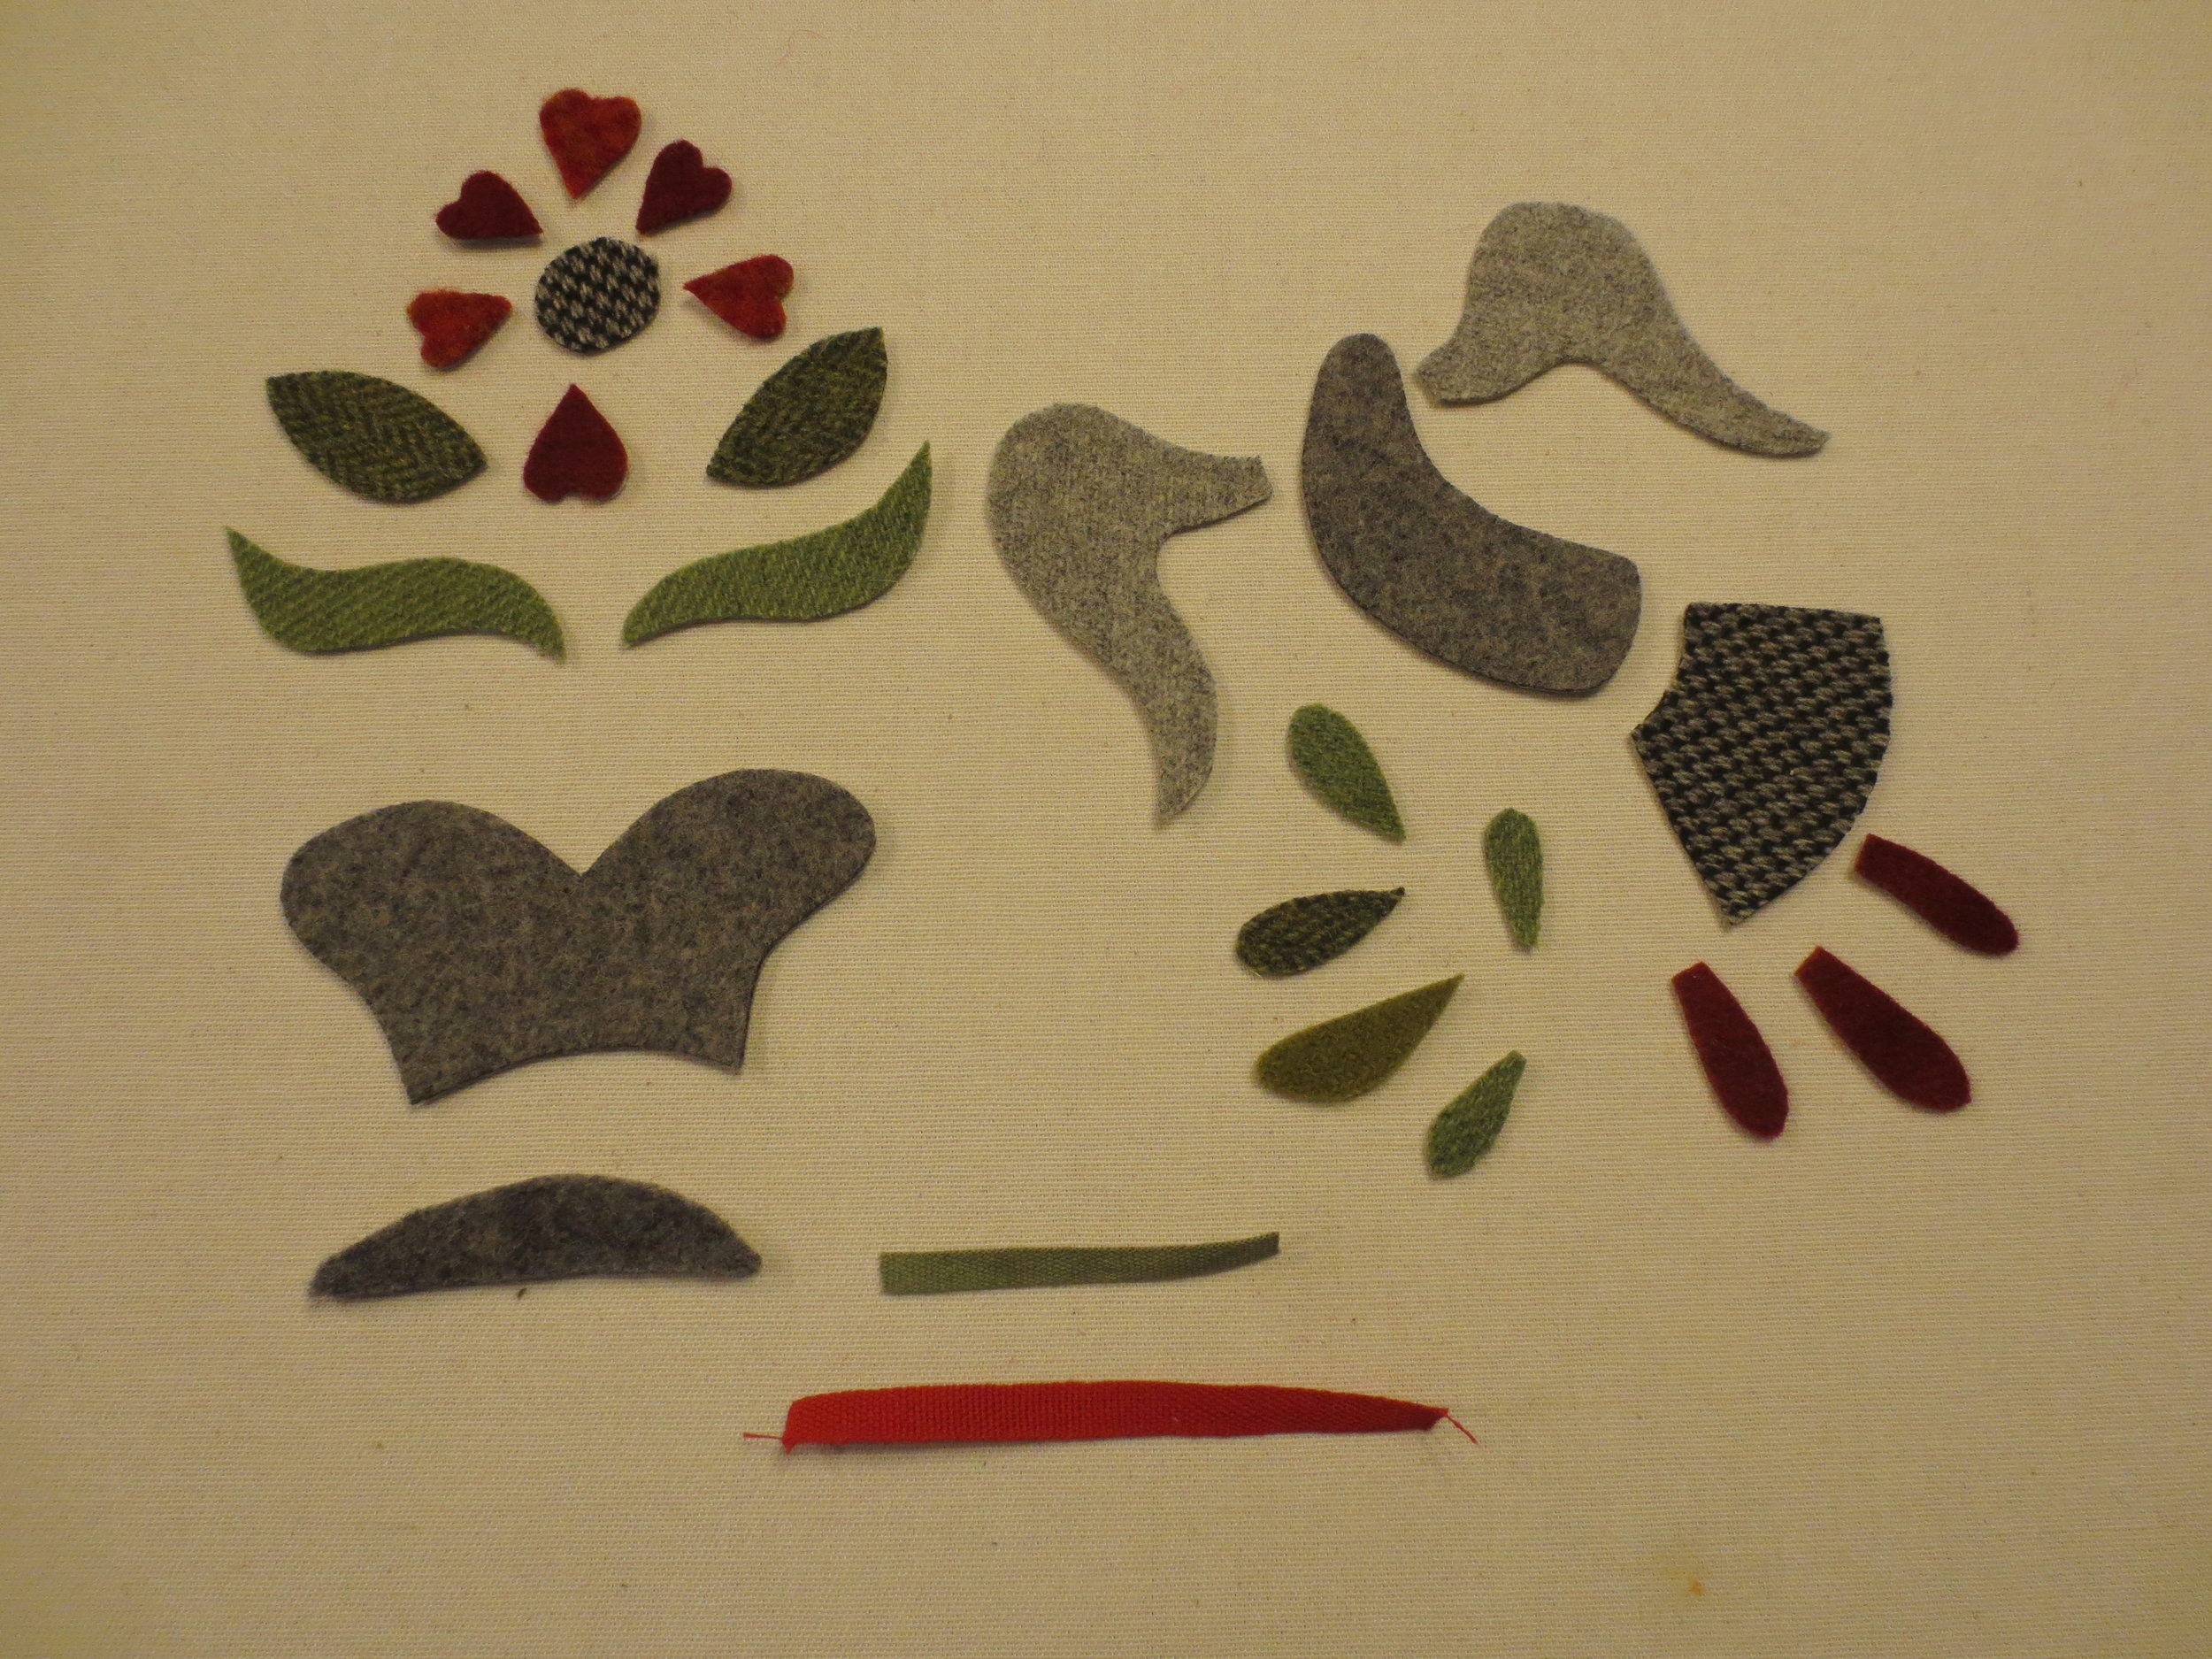
Trace patterns onto fusible web (images are already printed in reverse for use with fusible web), and cut out leaving a small 1/8" border around each.
Fuse patterns onto designated wools using manufacturers instructions.
Cut out wool pattern pieces along outlines. Set these aside until needed
*Hint - Put these little pieces in a zip-loc bag or labeled envelope, so you don't lose them.
2. Cutting
Fabric #1 - one 6 1/2" x 20"
Fabric #2
one 6 1/2" x 19 1/2"
one 3 1/4" x 11 1/2"
one 5 1/2" x 8 1/2"
Fabric #3
one 3 1/4" x 11 1/2"
one 5 1/2" x 8 1/2"
Pellon Craft-fuse - 6 1/2" x 20"
Red ribbon - one 3 1/4" length (reserve remaining piece for interior of scissor keep)
Set aside everything except the Pellon Craft-fuse, fabric #1, and the 3 1/4" piece of ribbon.
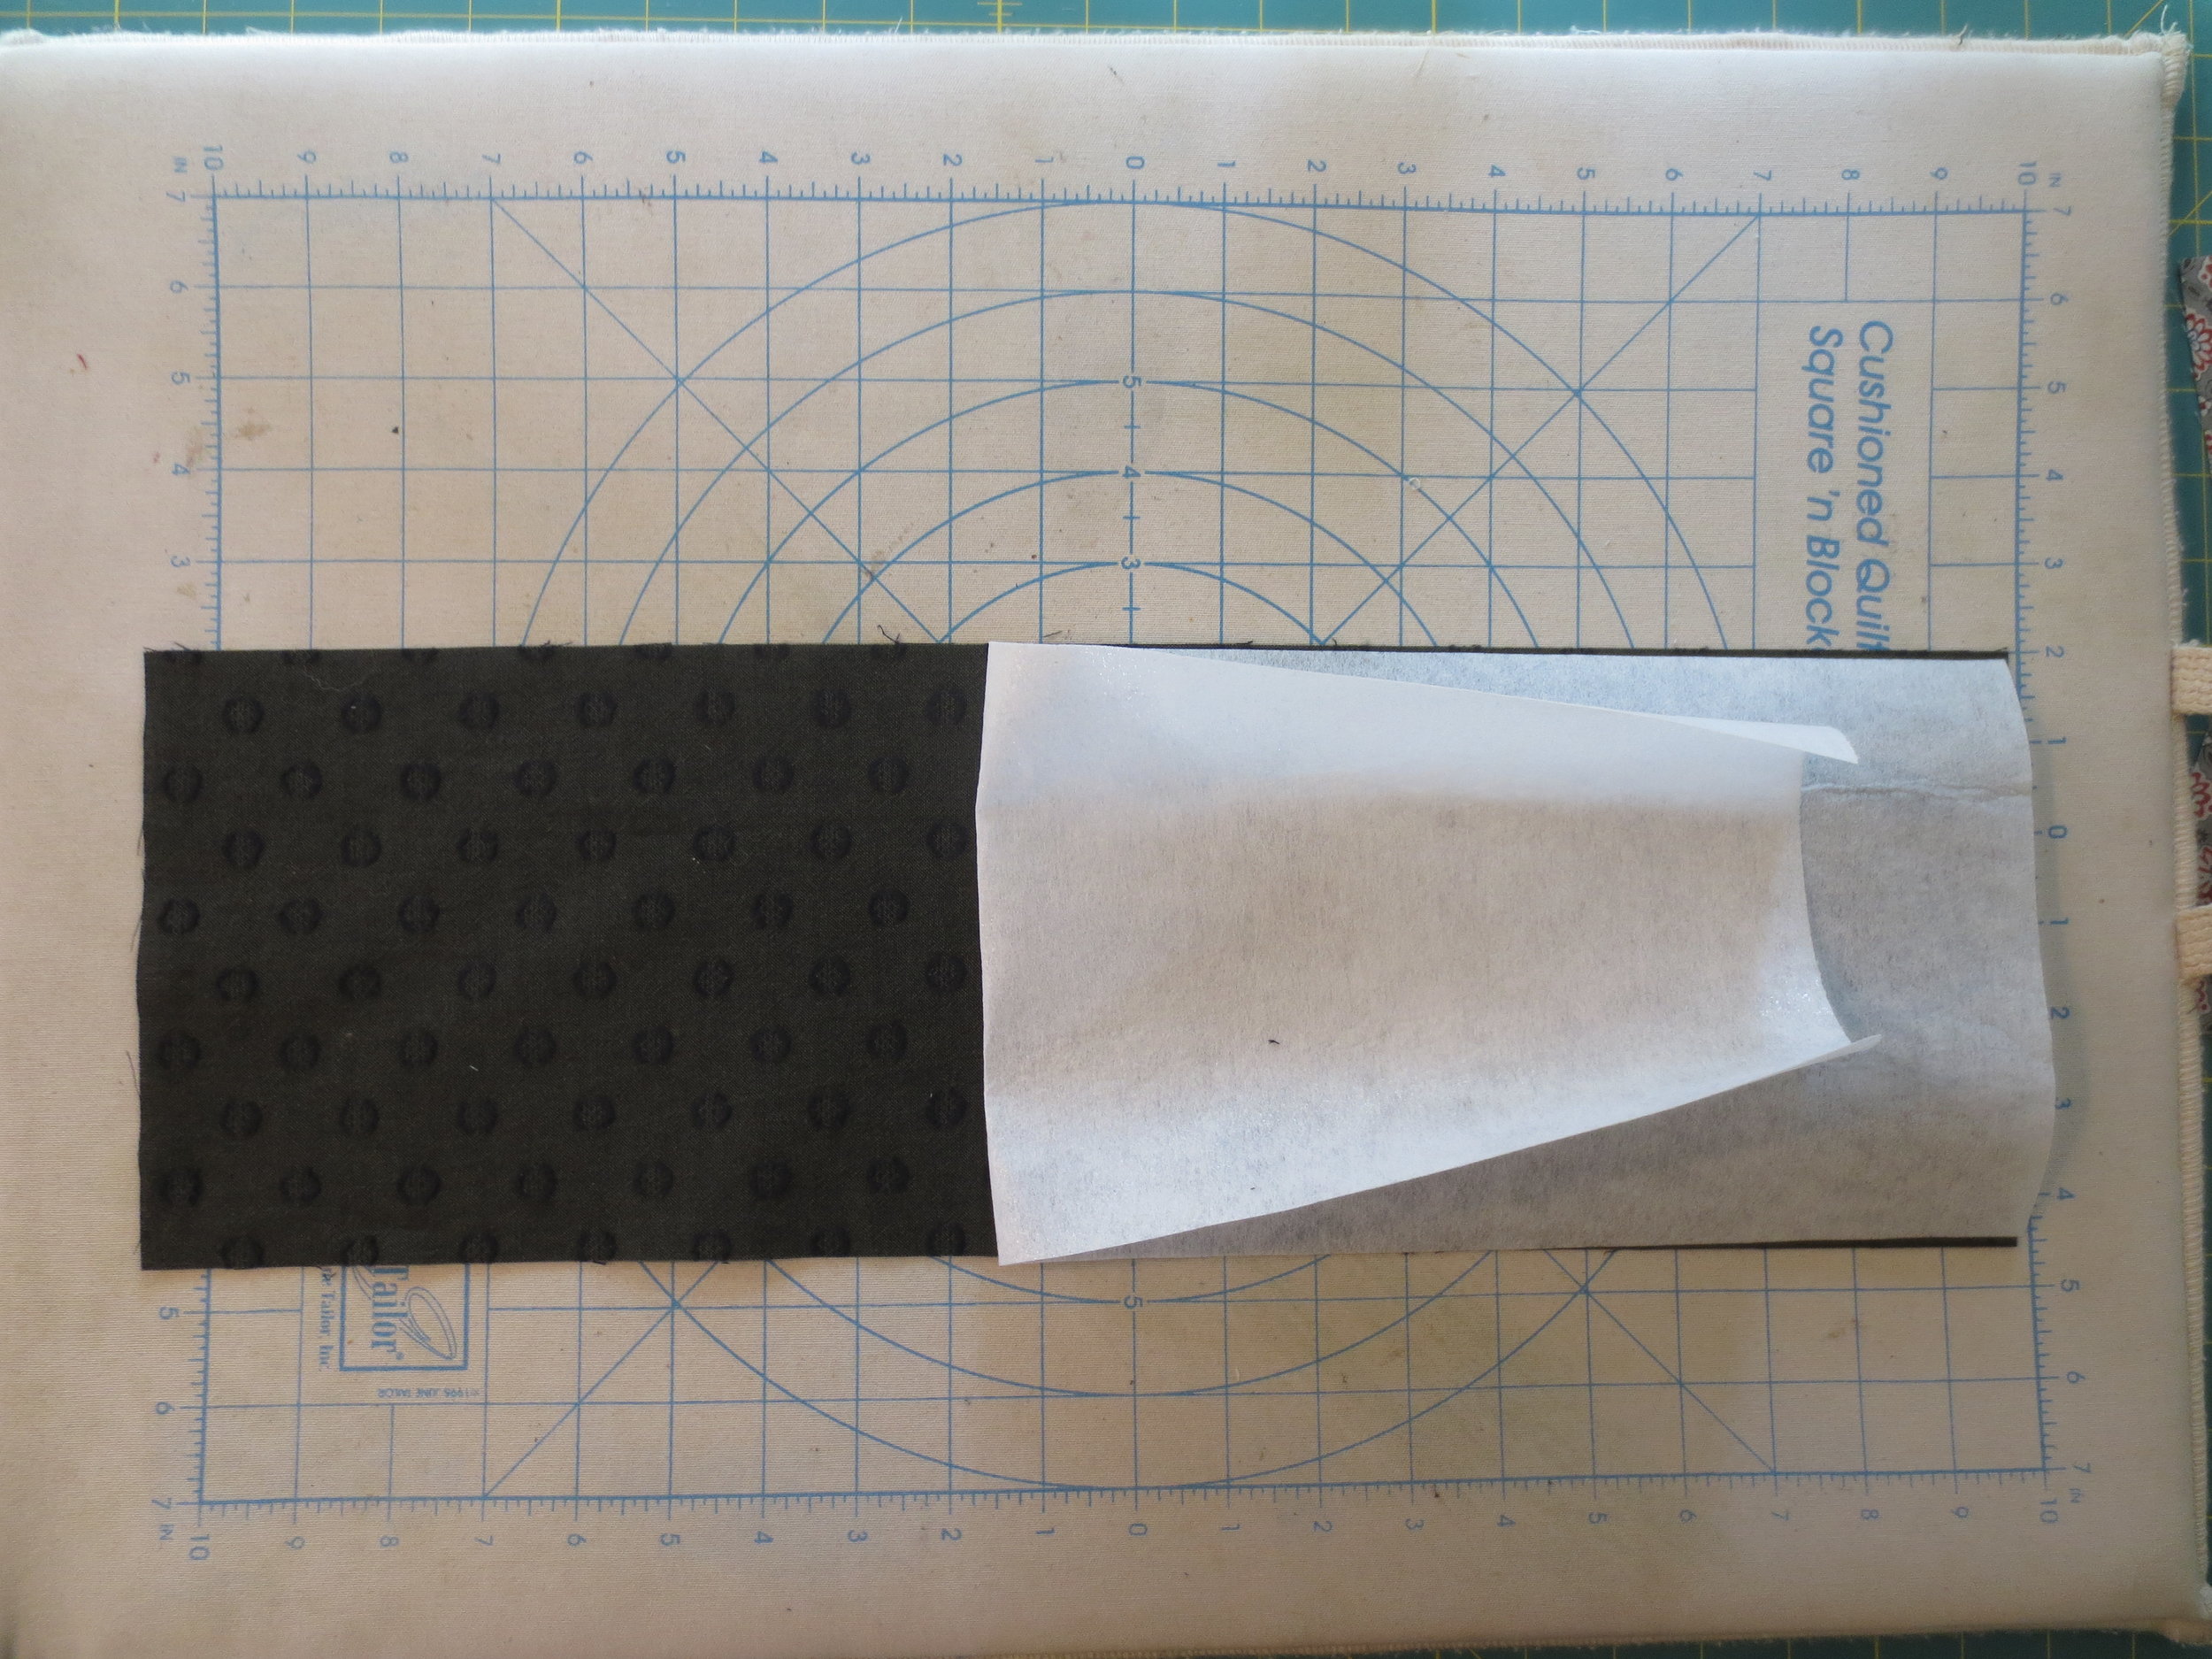
3. Fuse Pellon Craft-fuse to wrong side of fabric #1 using steam. Flip it over and iron with steam from the fabric side also. This will be your background for your applique.
4. Cut a 4 3/4" piece off one end of the background to create one 4 3/4" x 6 1/2" piece and one 6 1/2" x 15 1/4" piece.
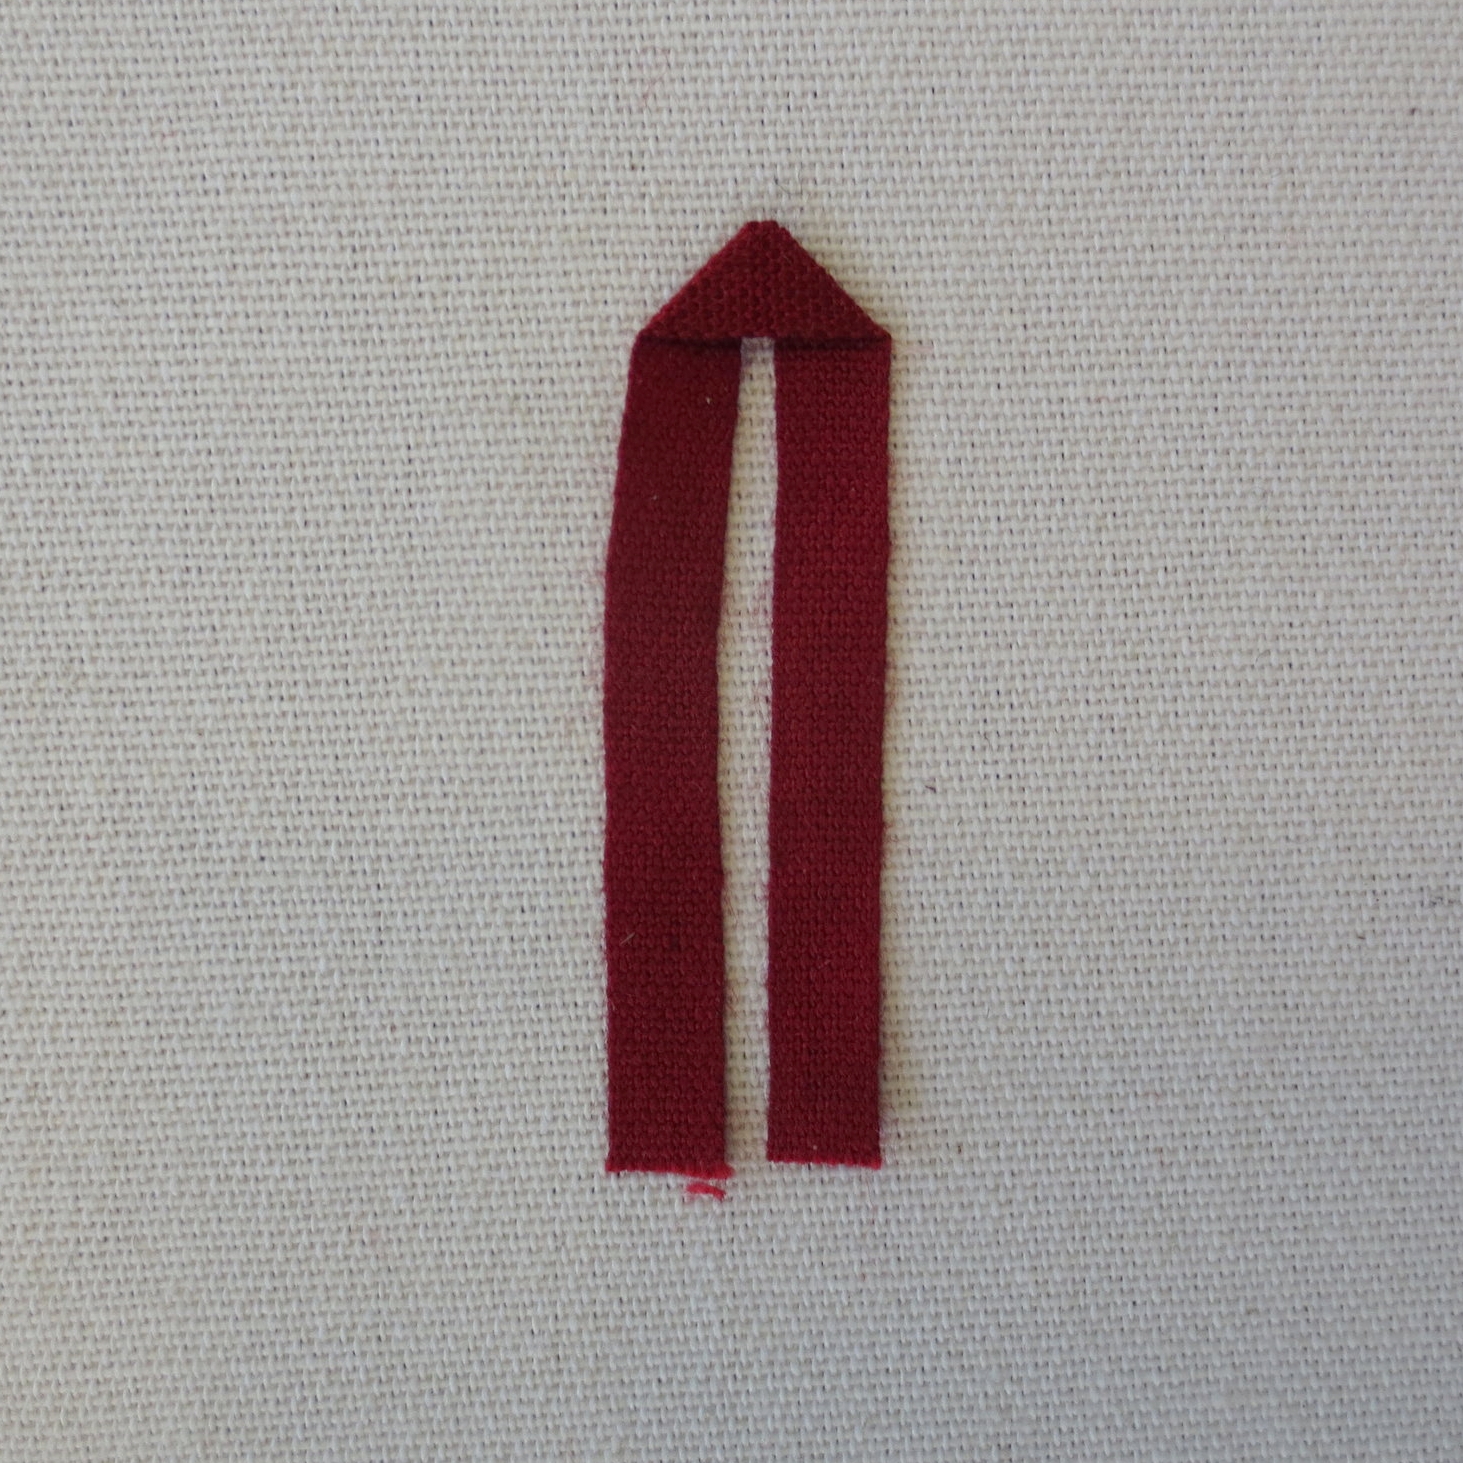
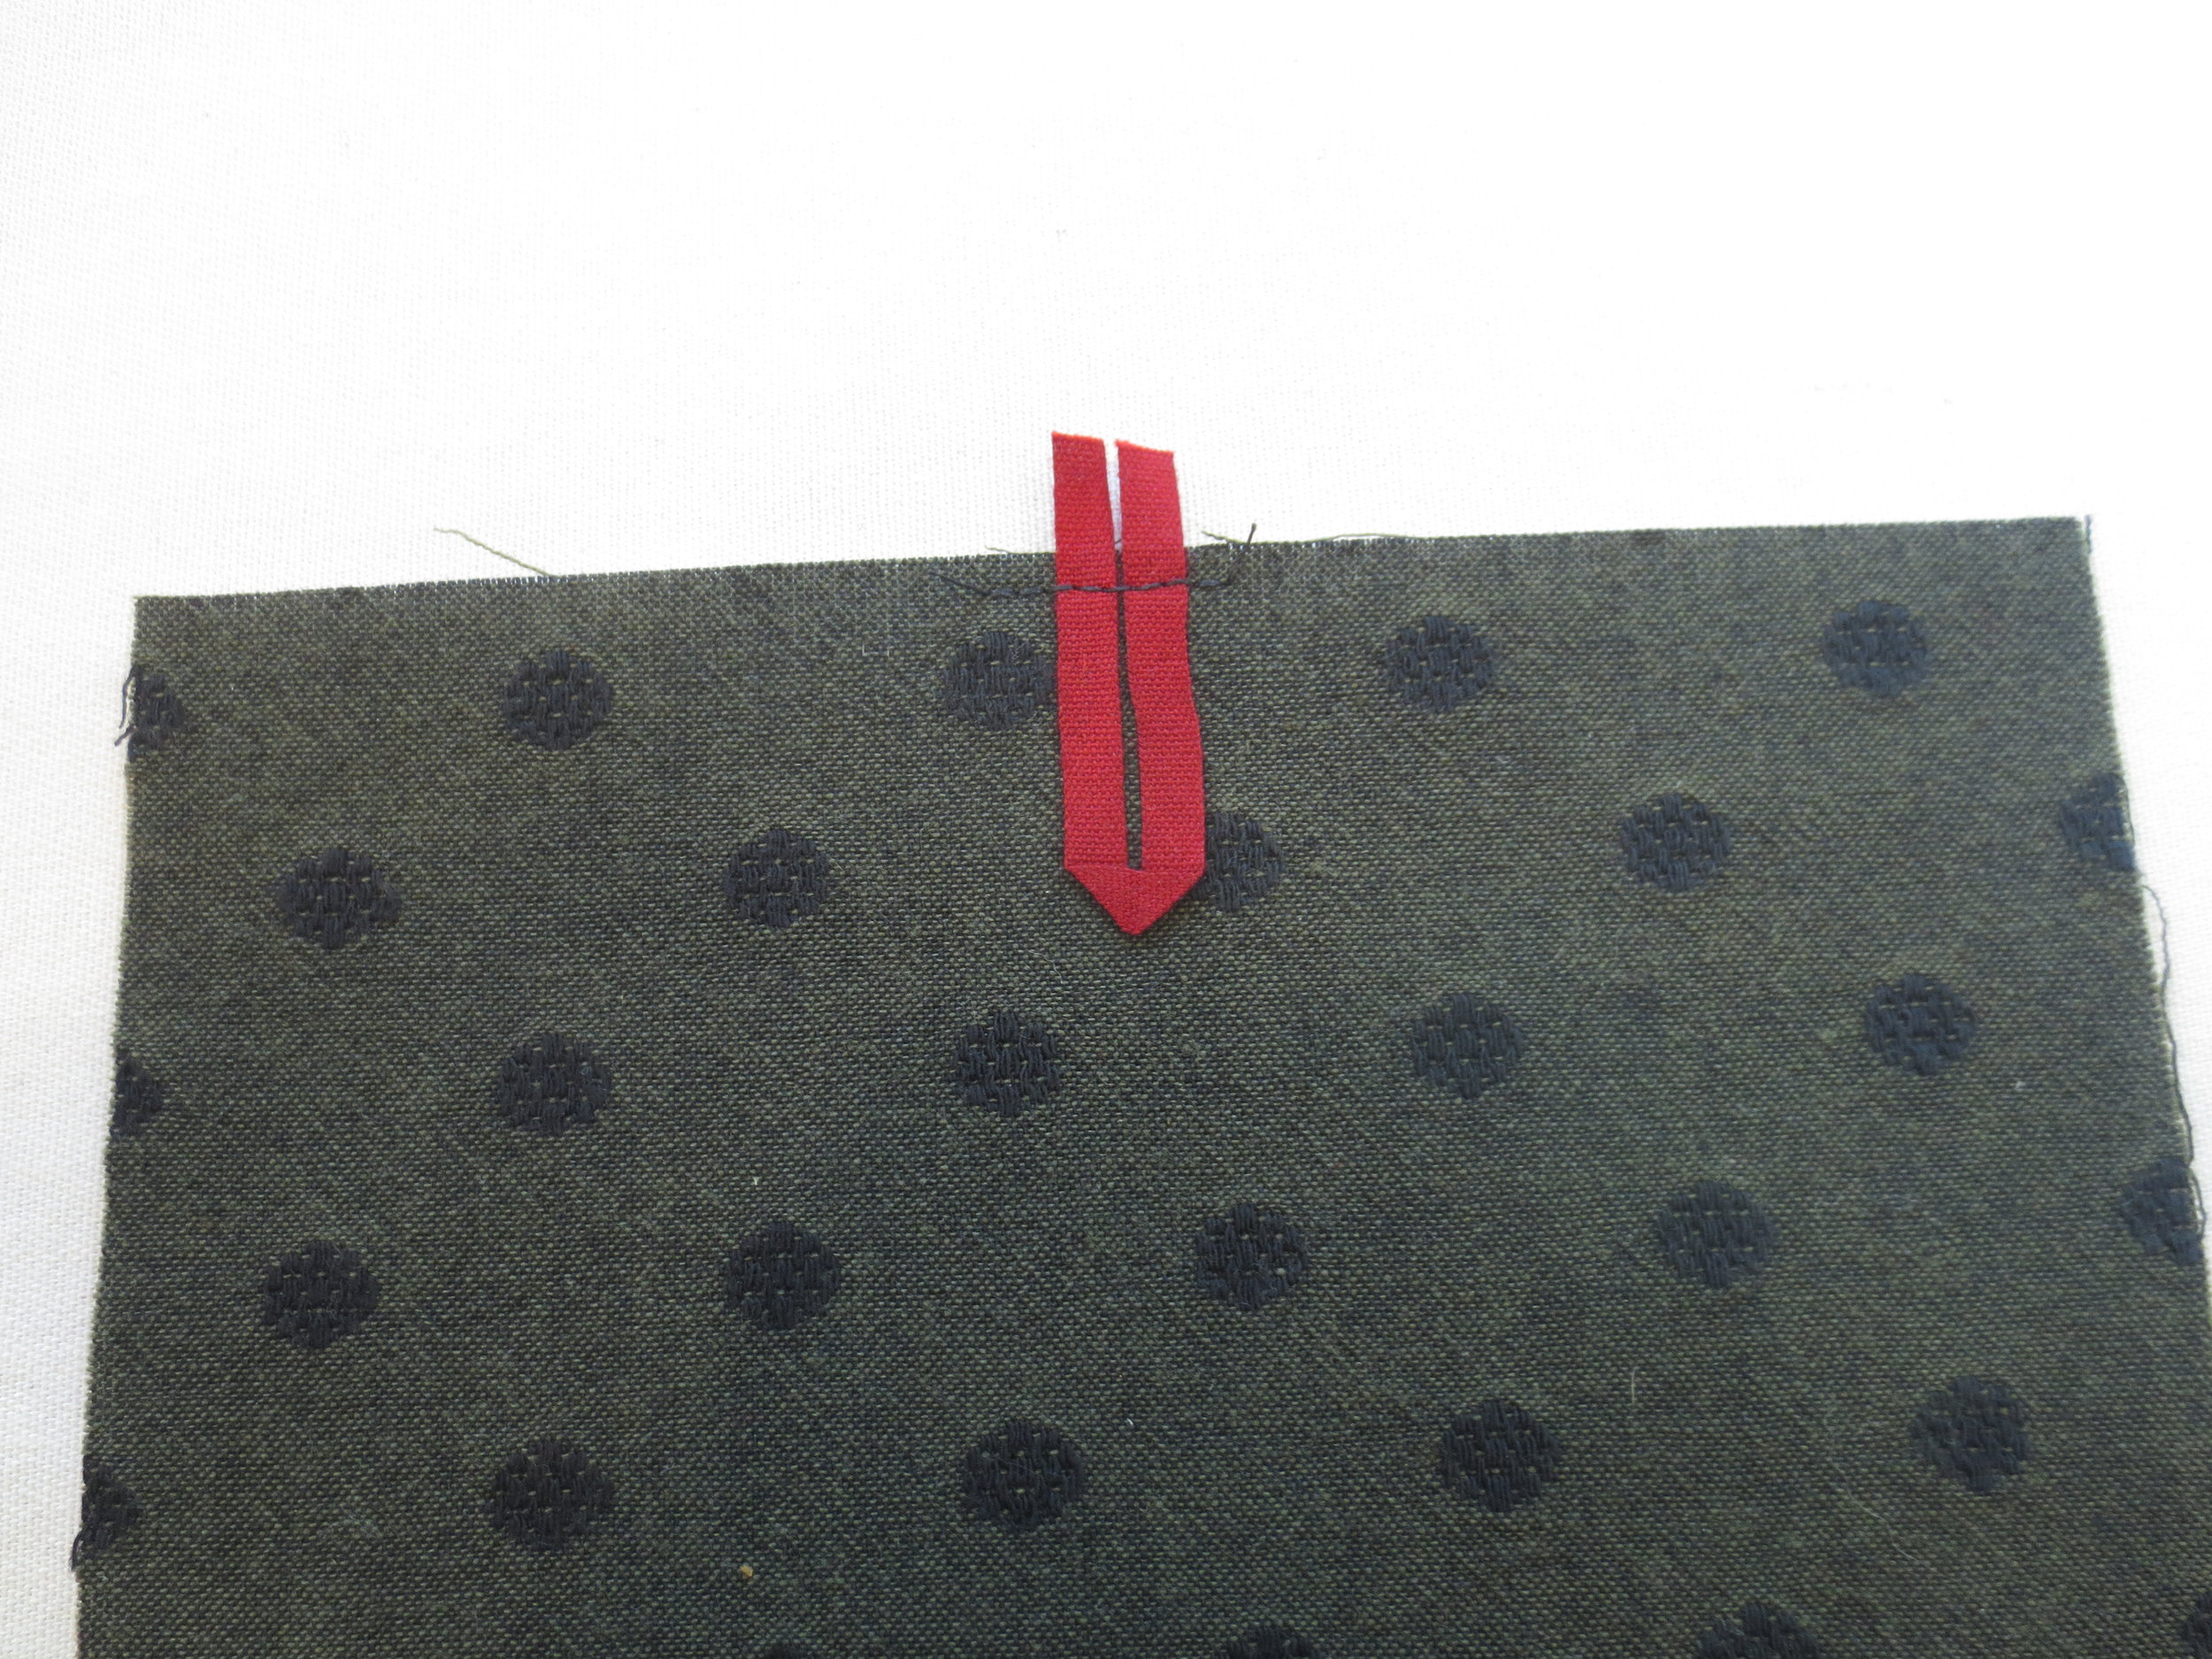
5. Fold the ribbon in half and bring the one side forward to create a arrow (see below).
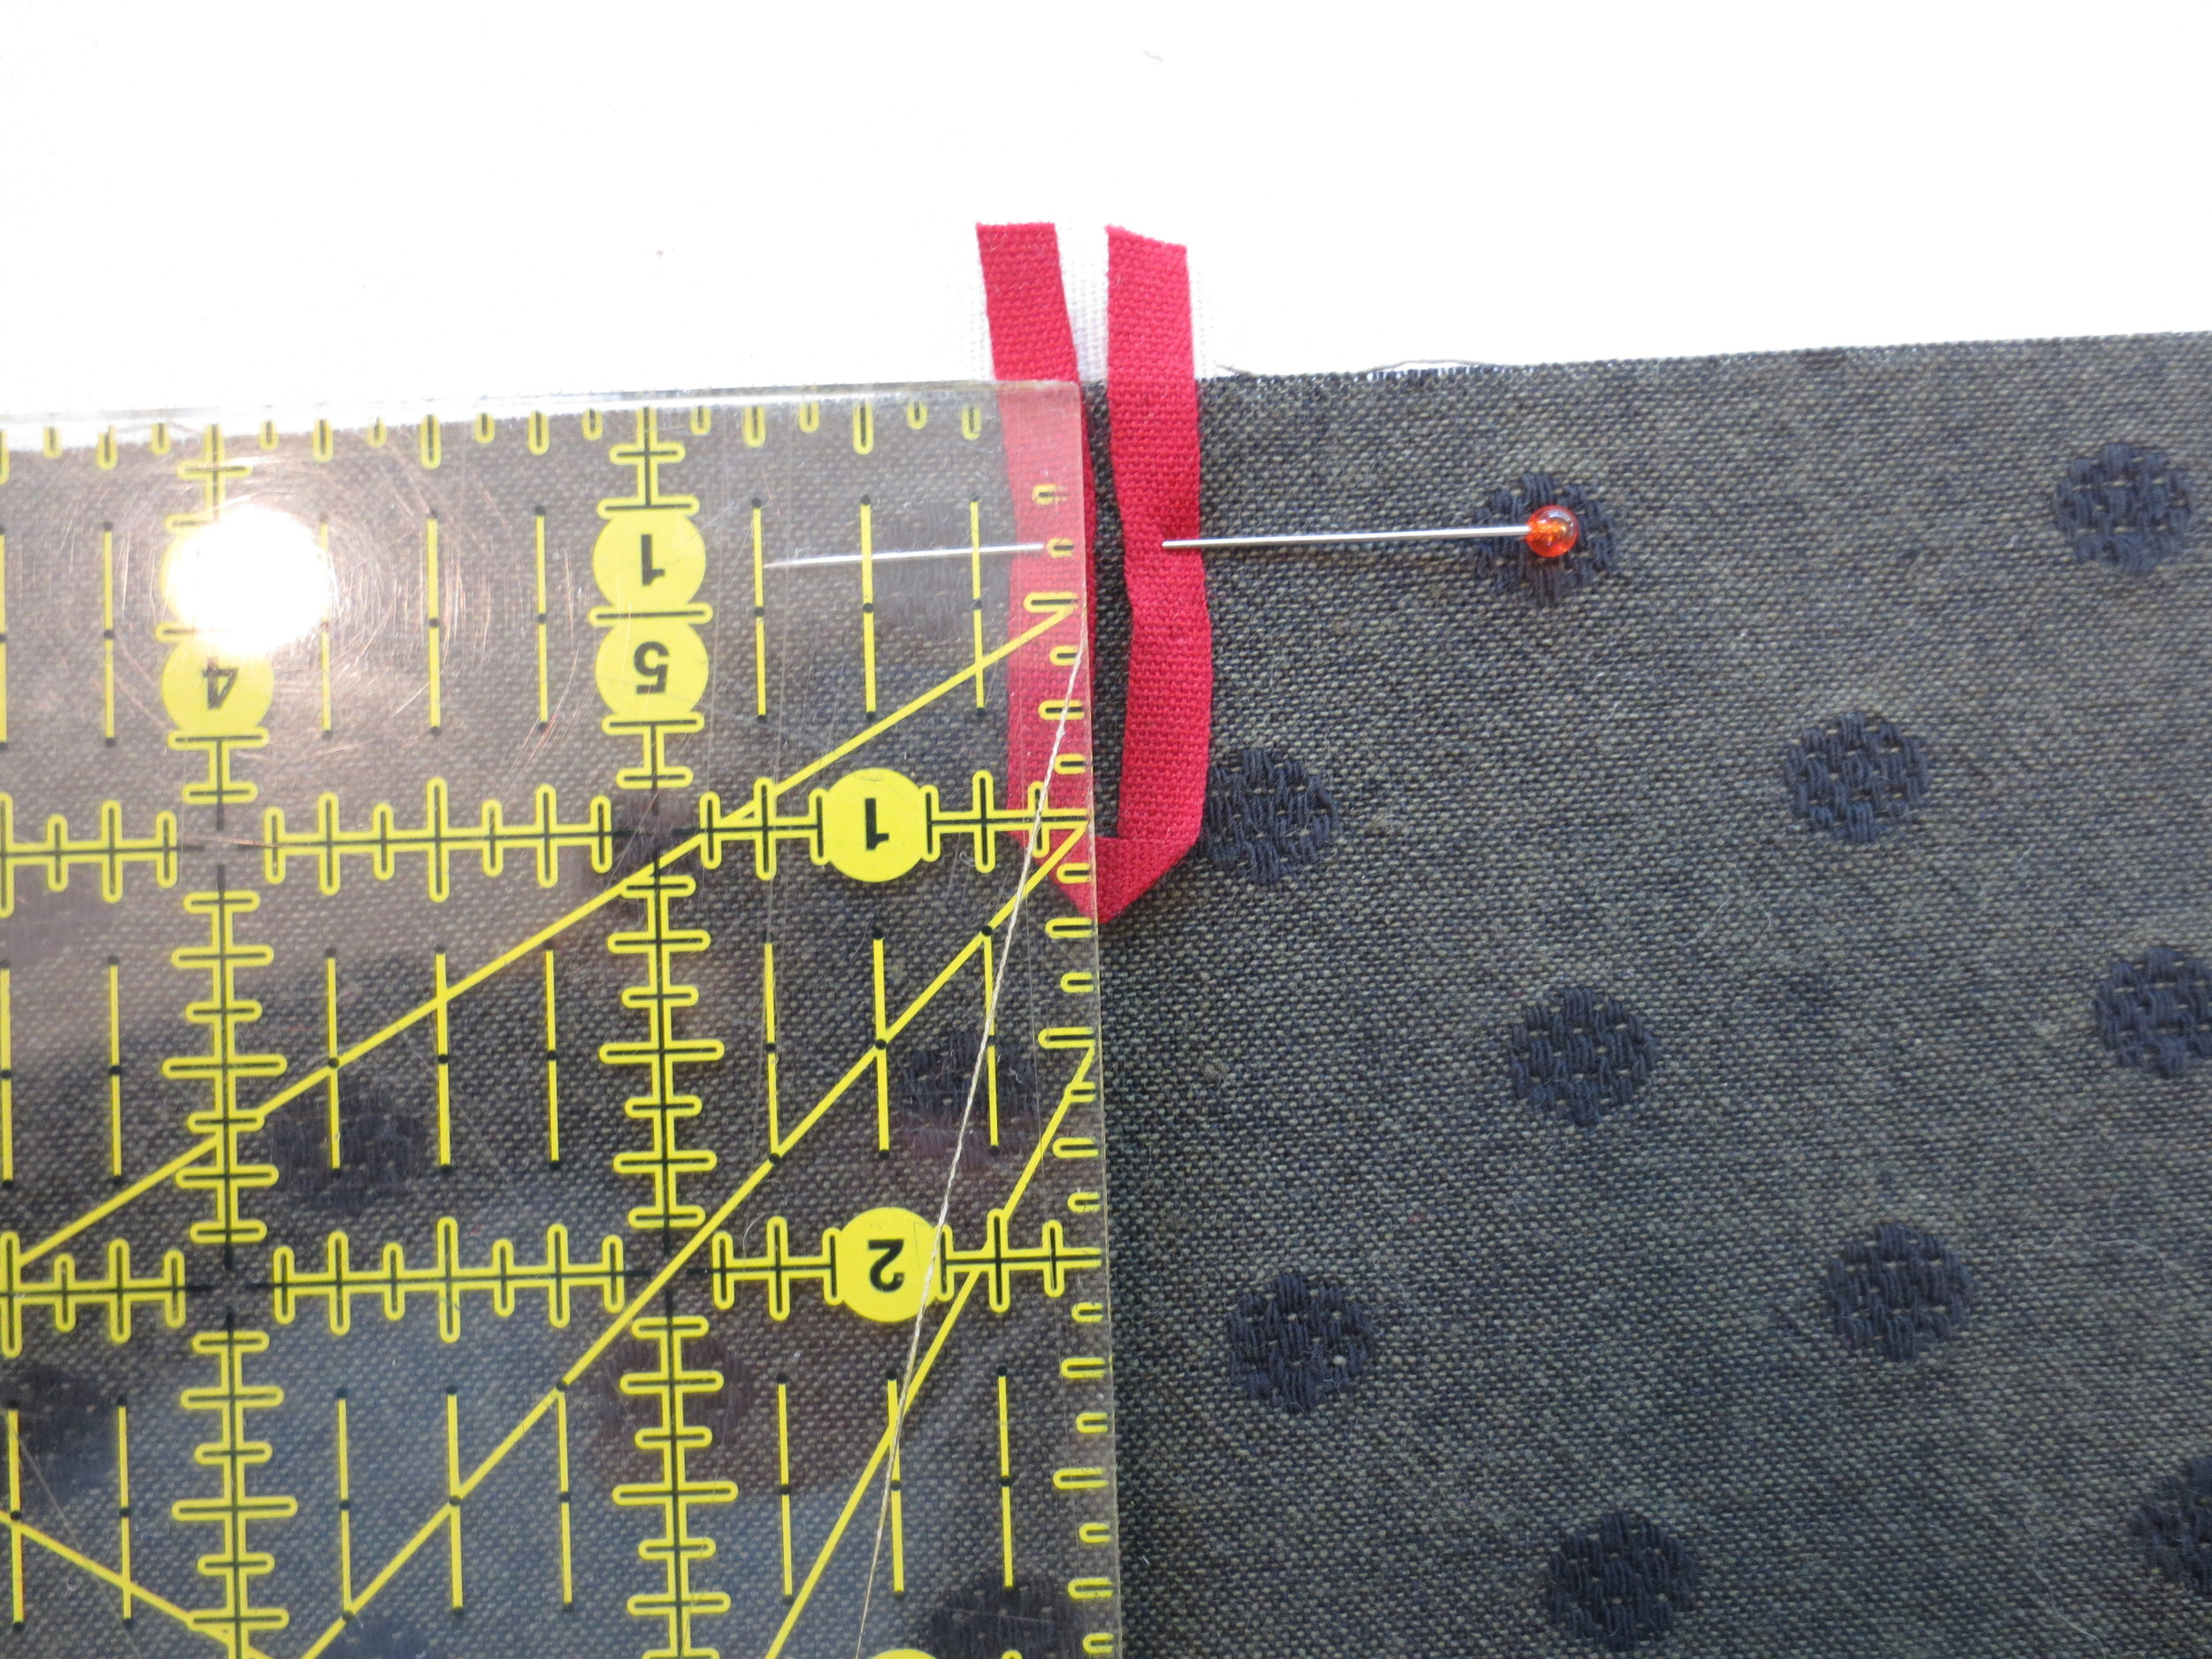
6. Pin the ribbon to the center of one of the 6 1/2" sides of the larger background piece as shown below.
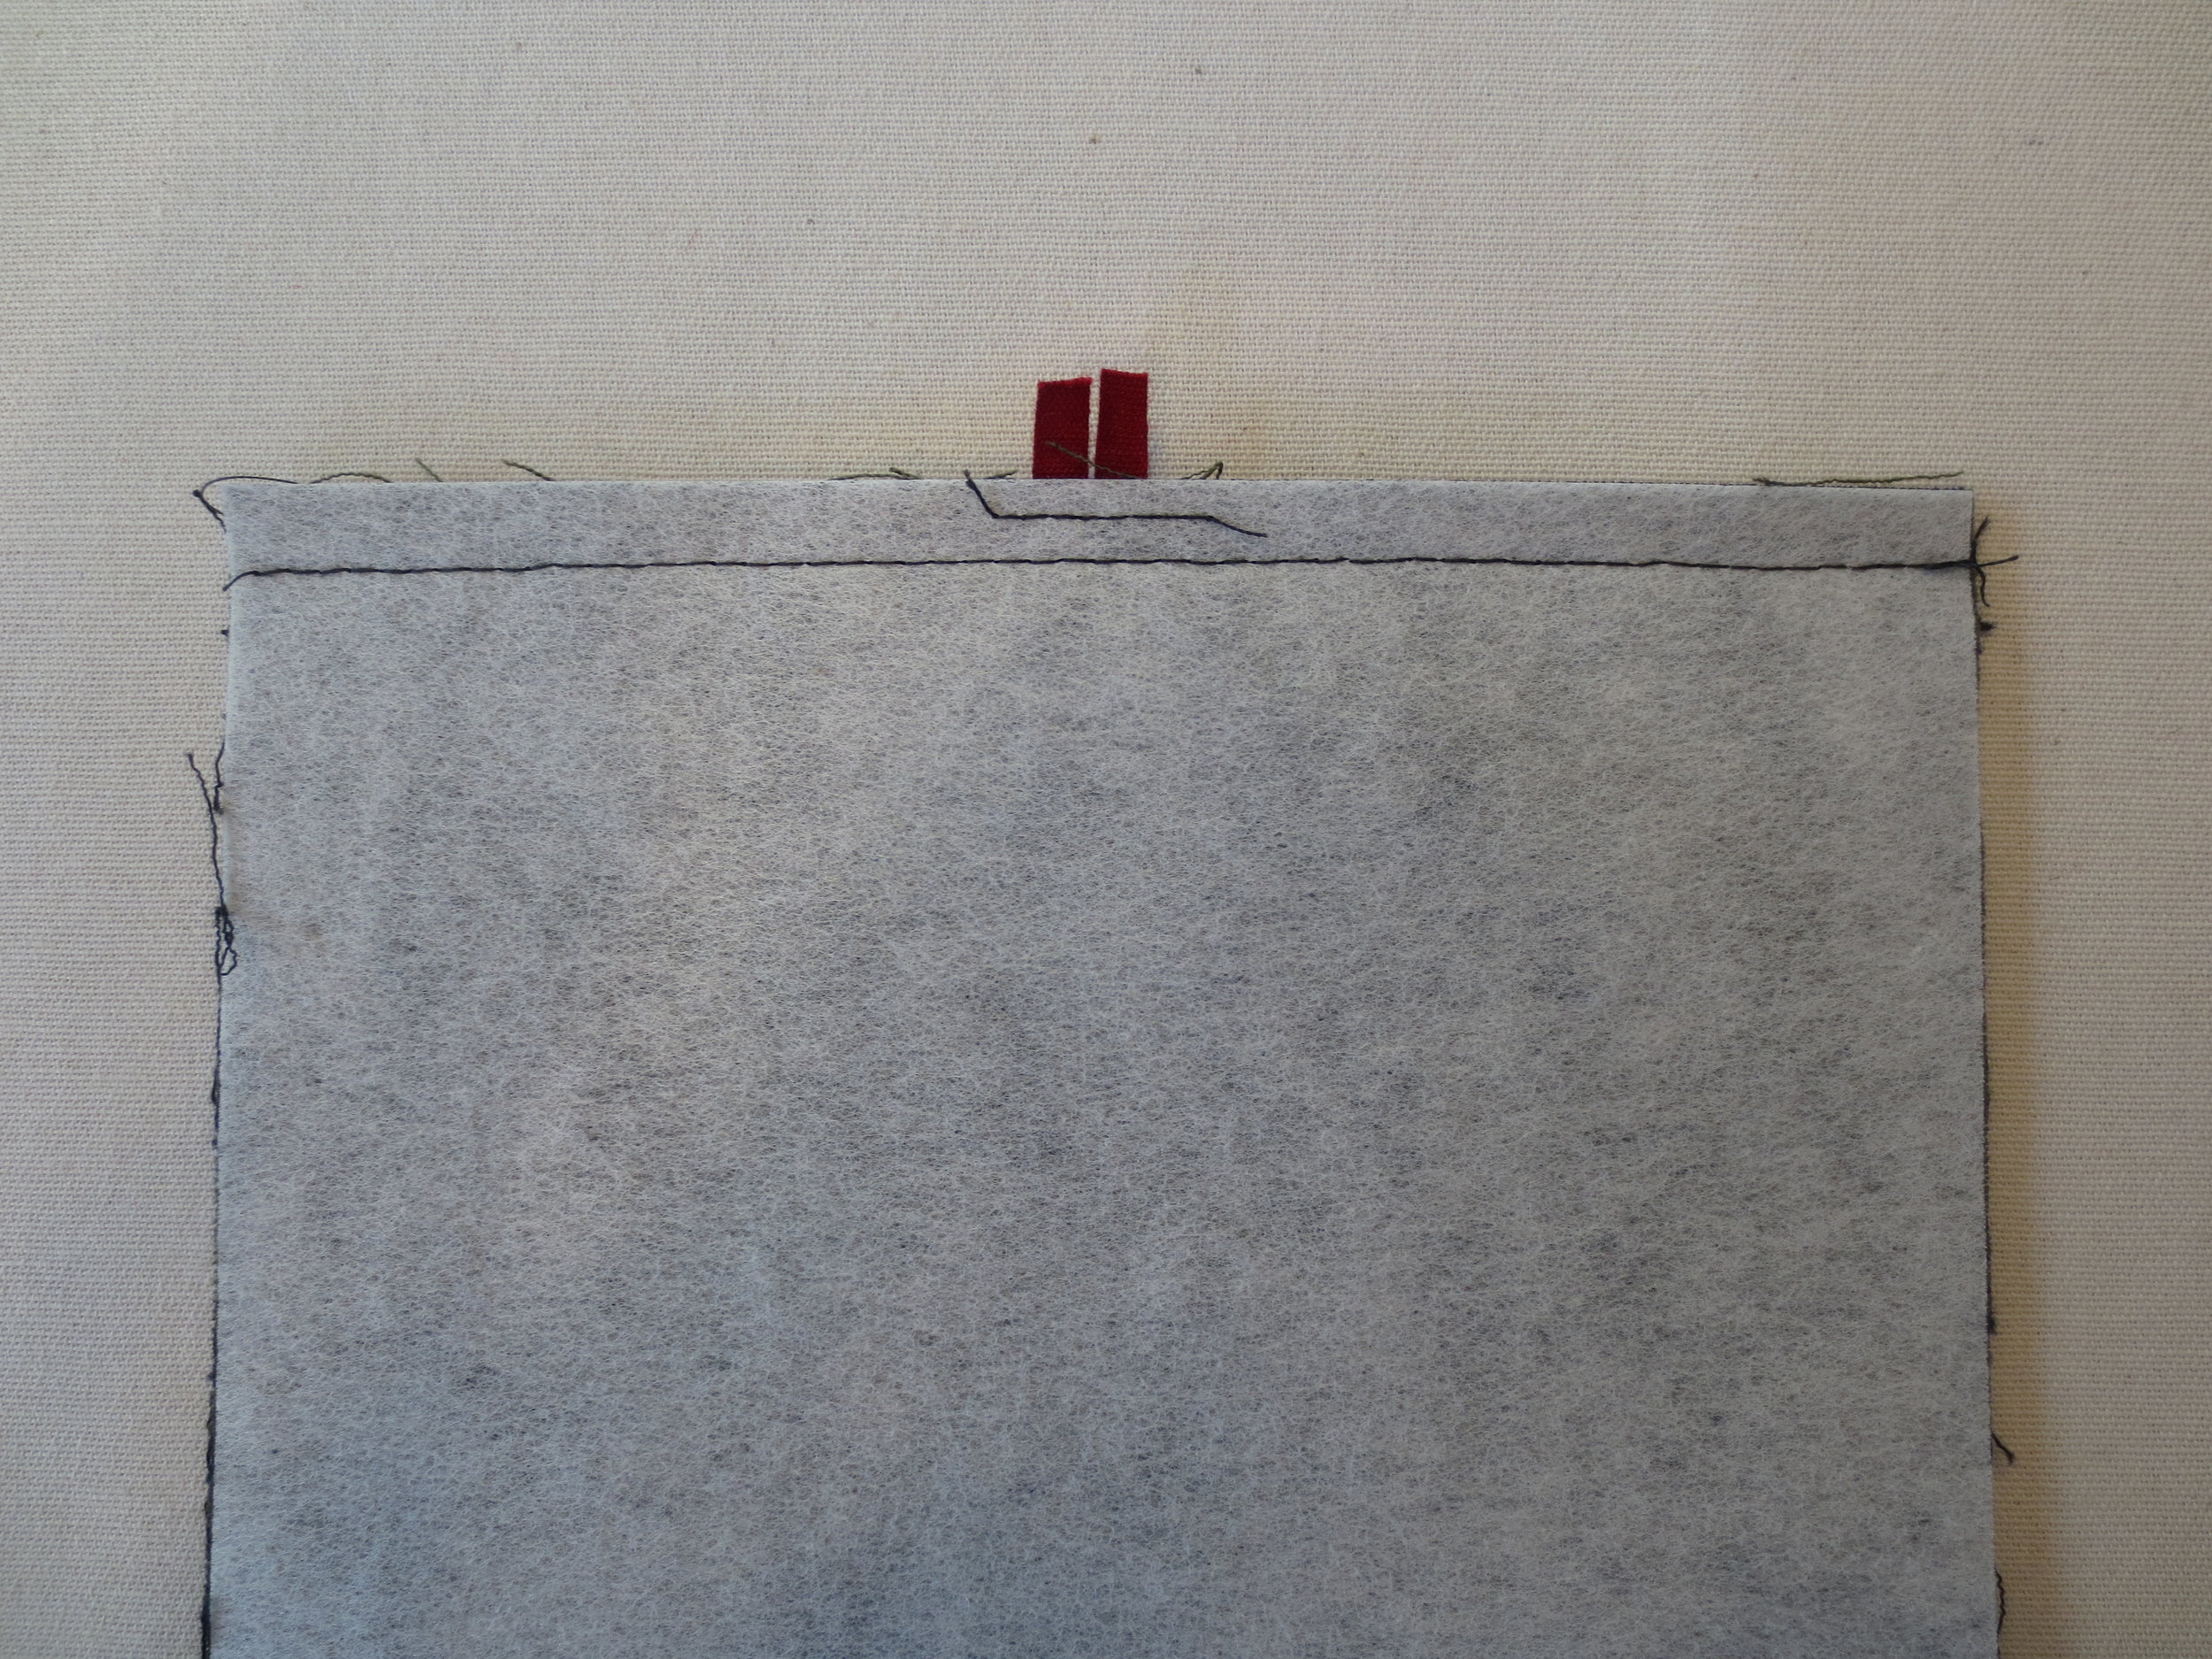
7. Stitch the ribbon in place approximately 1/8" from the edge.
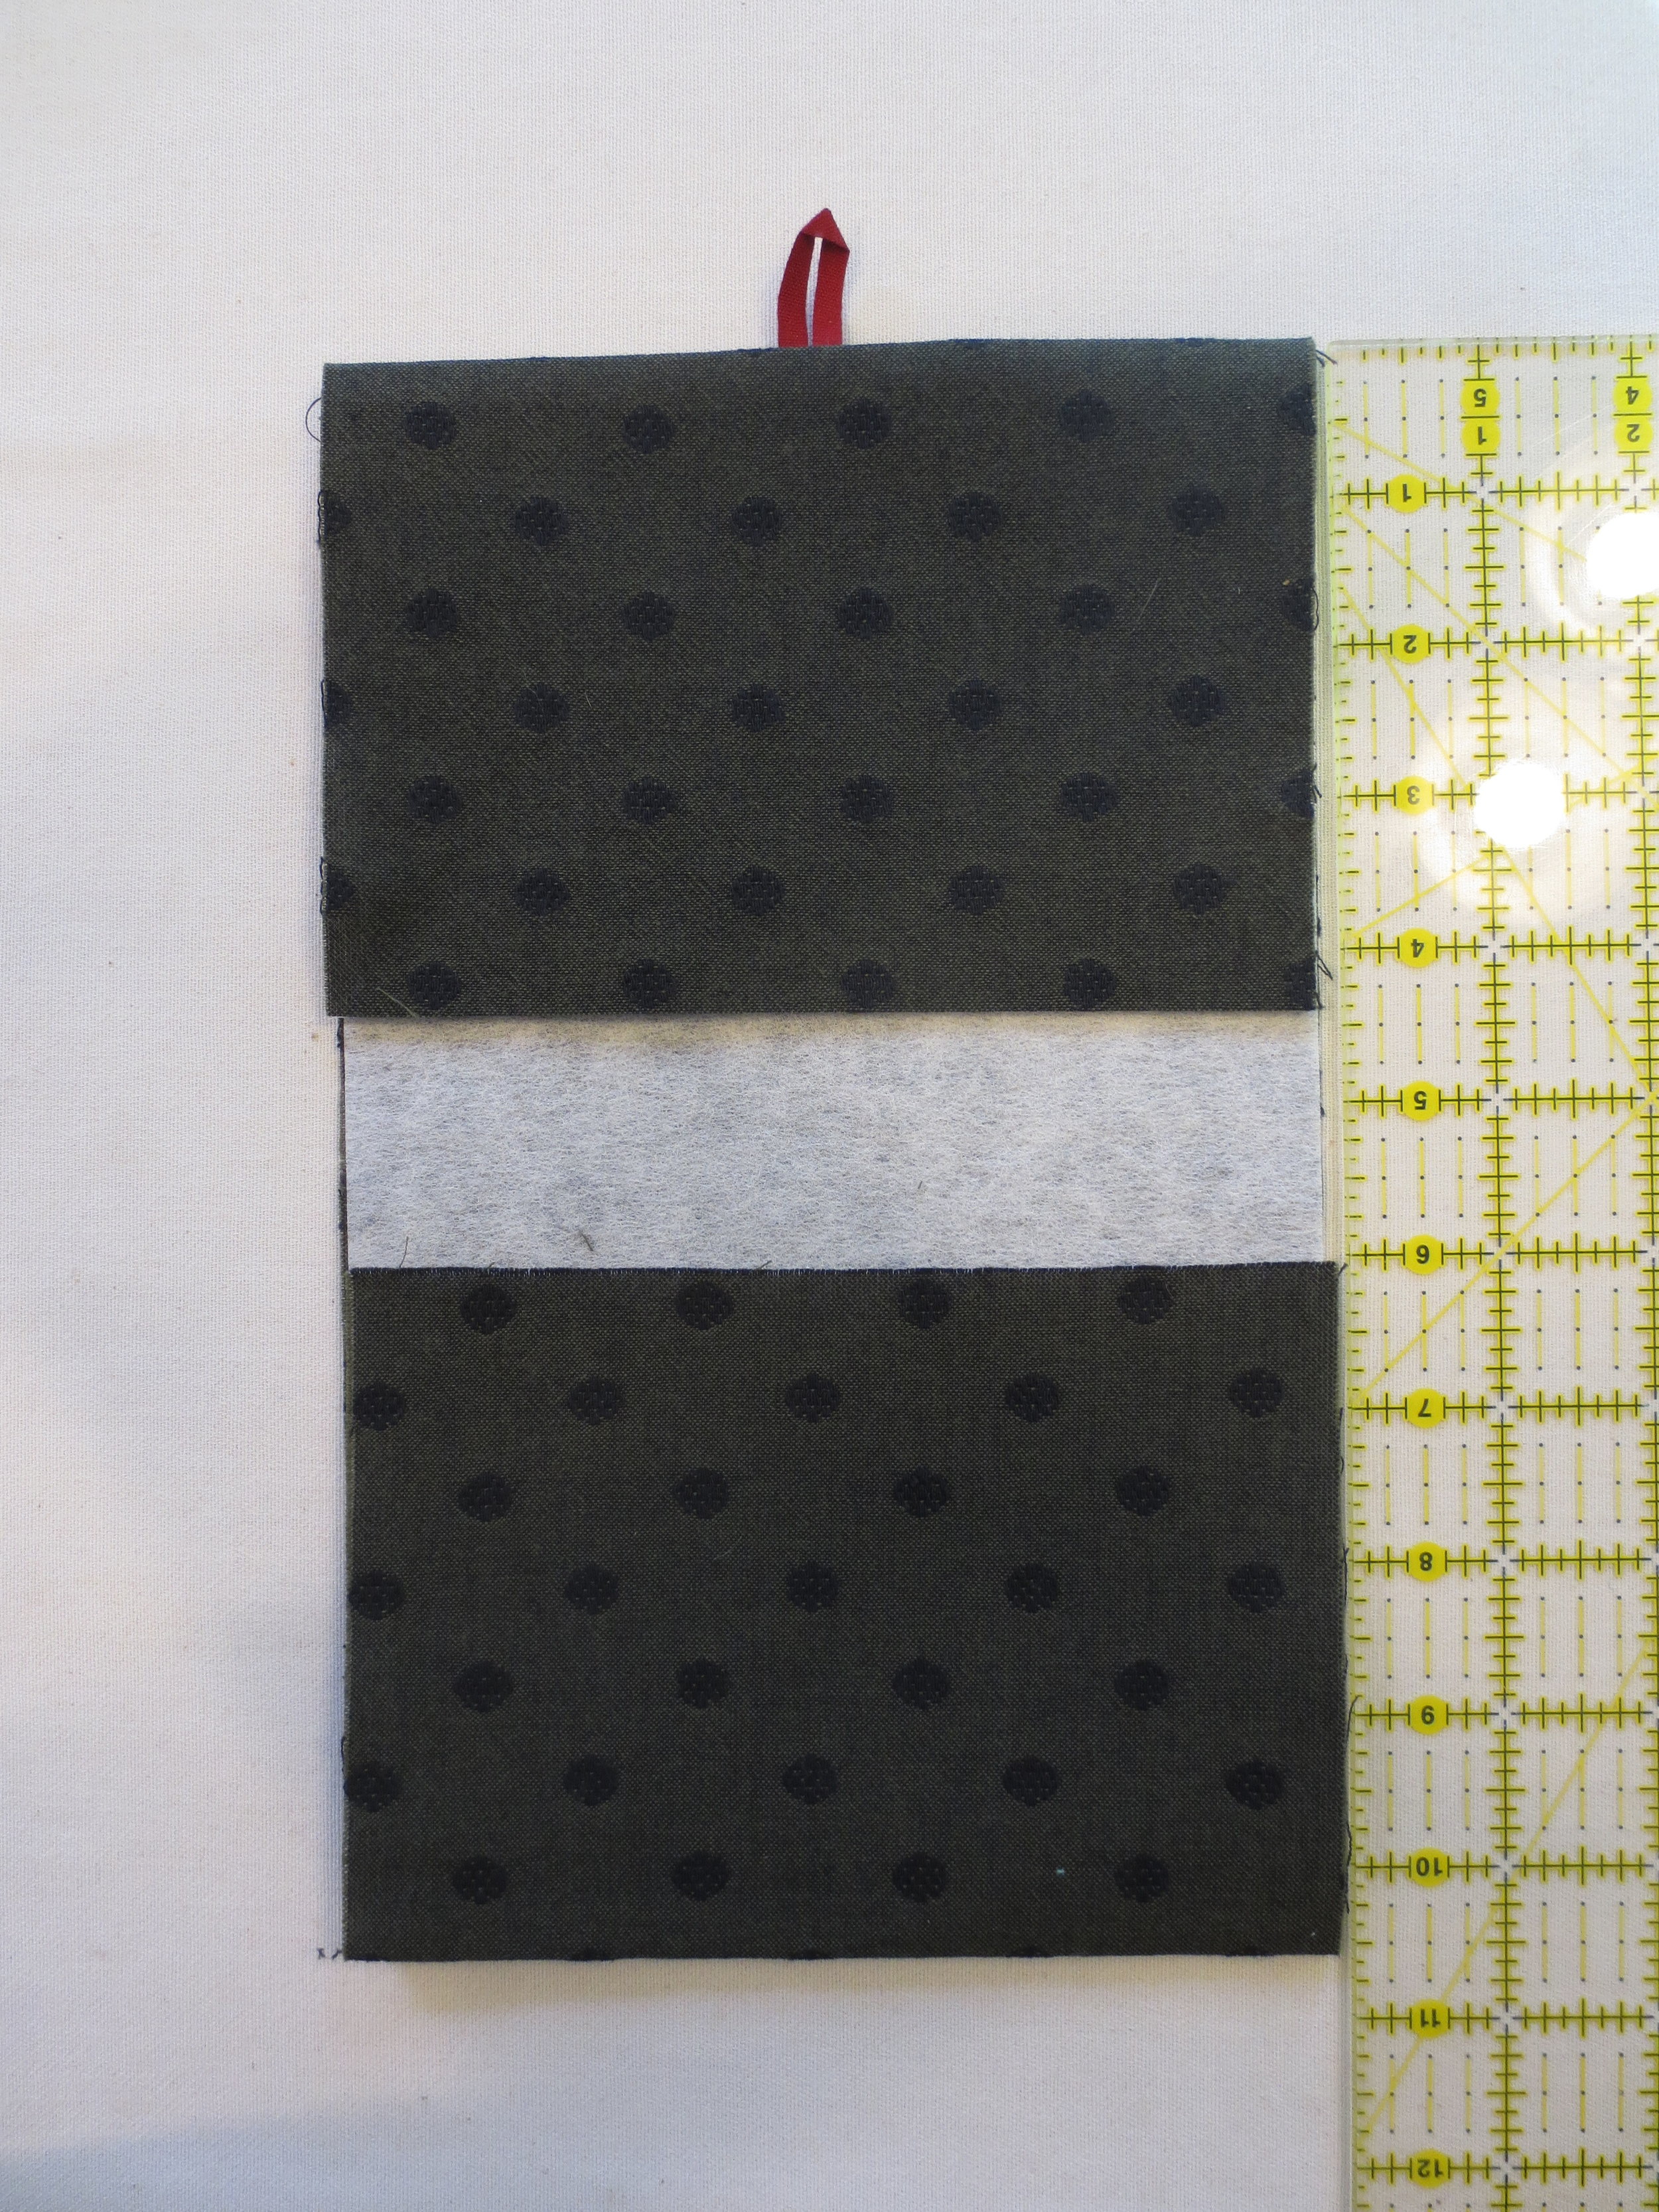
8. Place the smaller background piece on top of this, lining up edges, pinning in place, and sewing a 1/4" seam along the 6 1/2" side (see below)
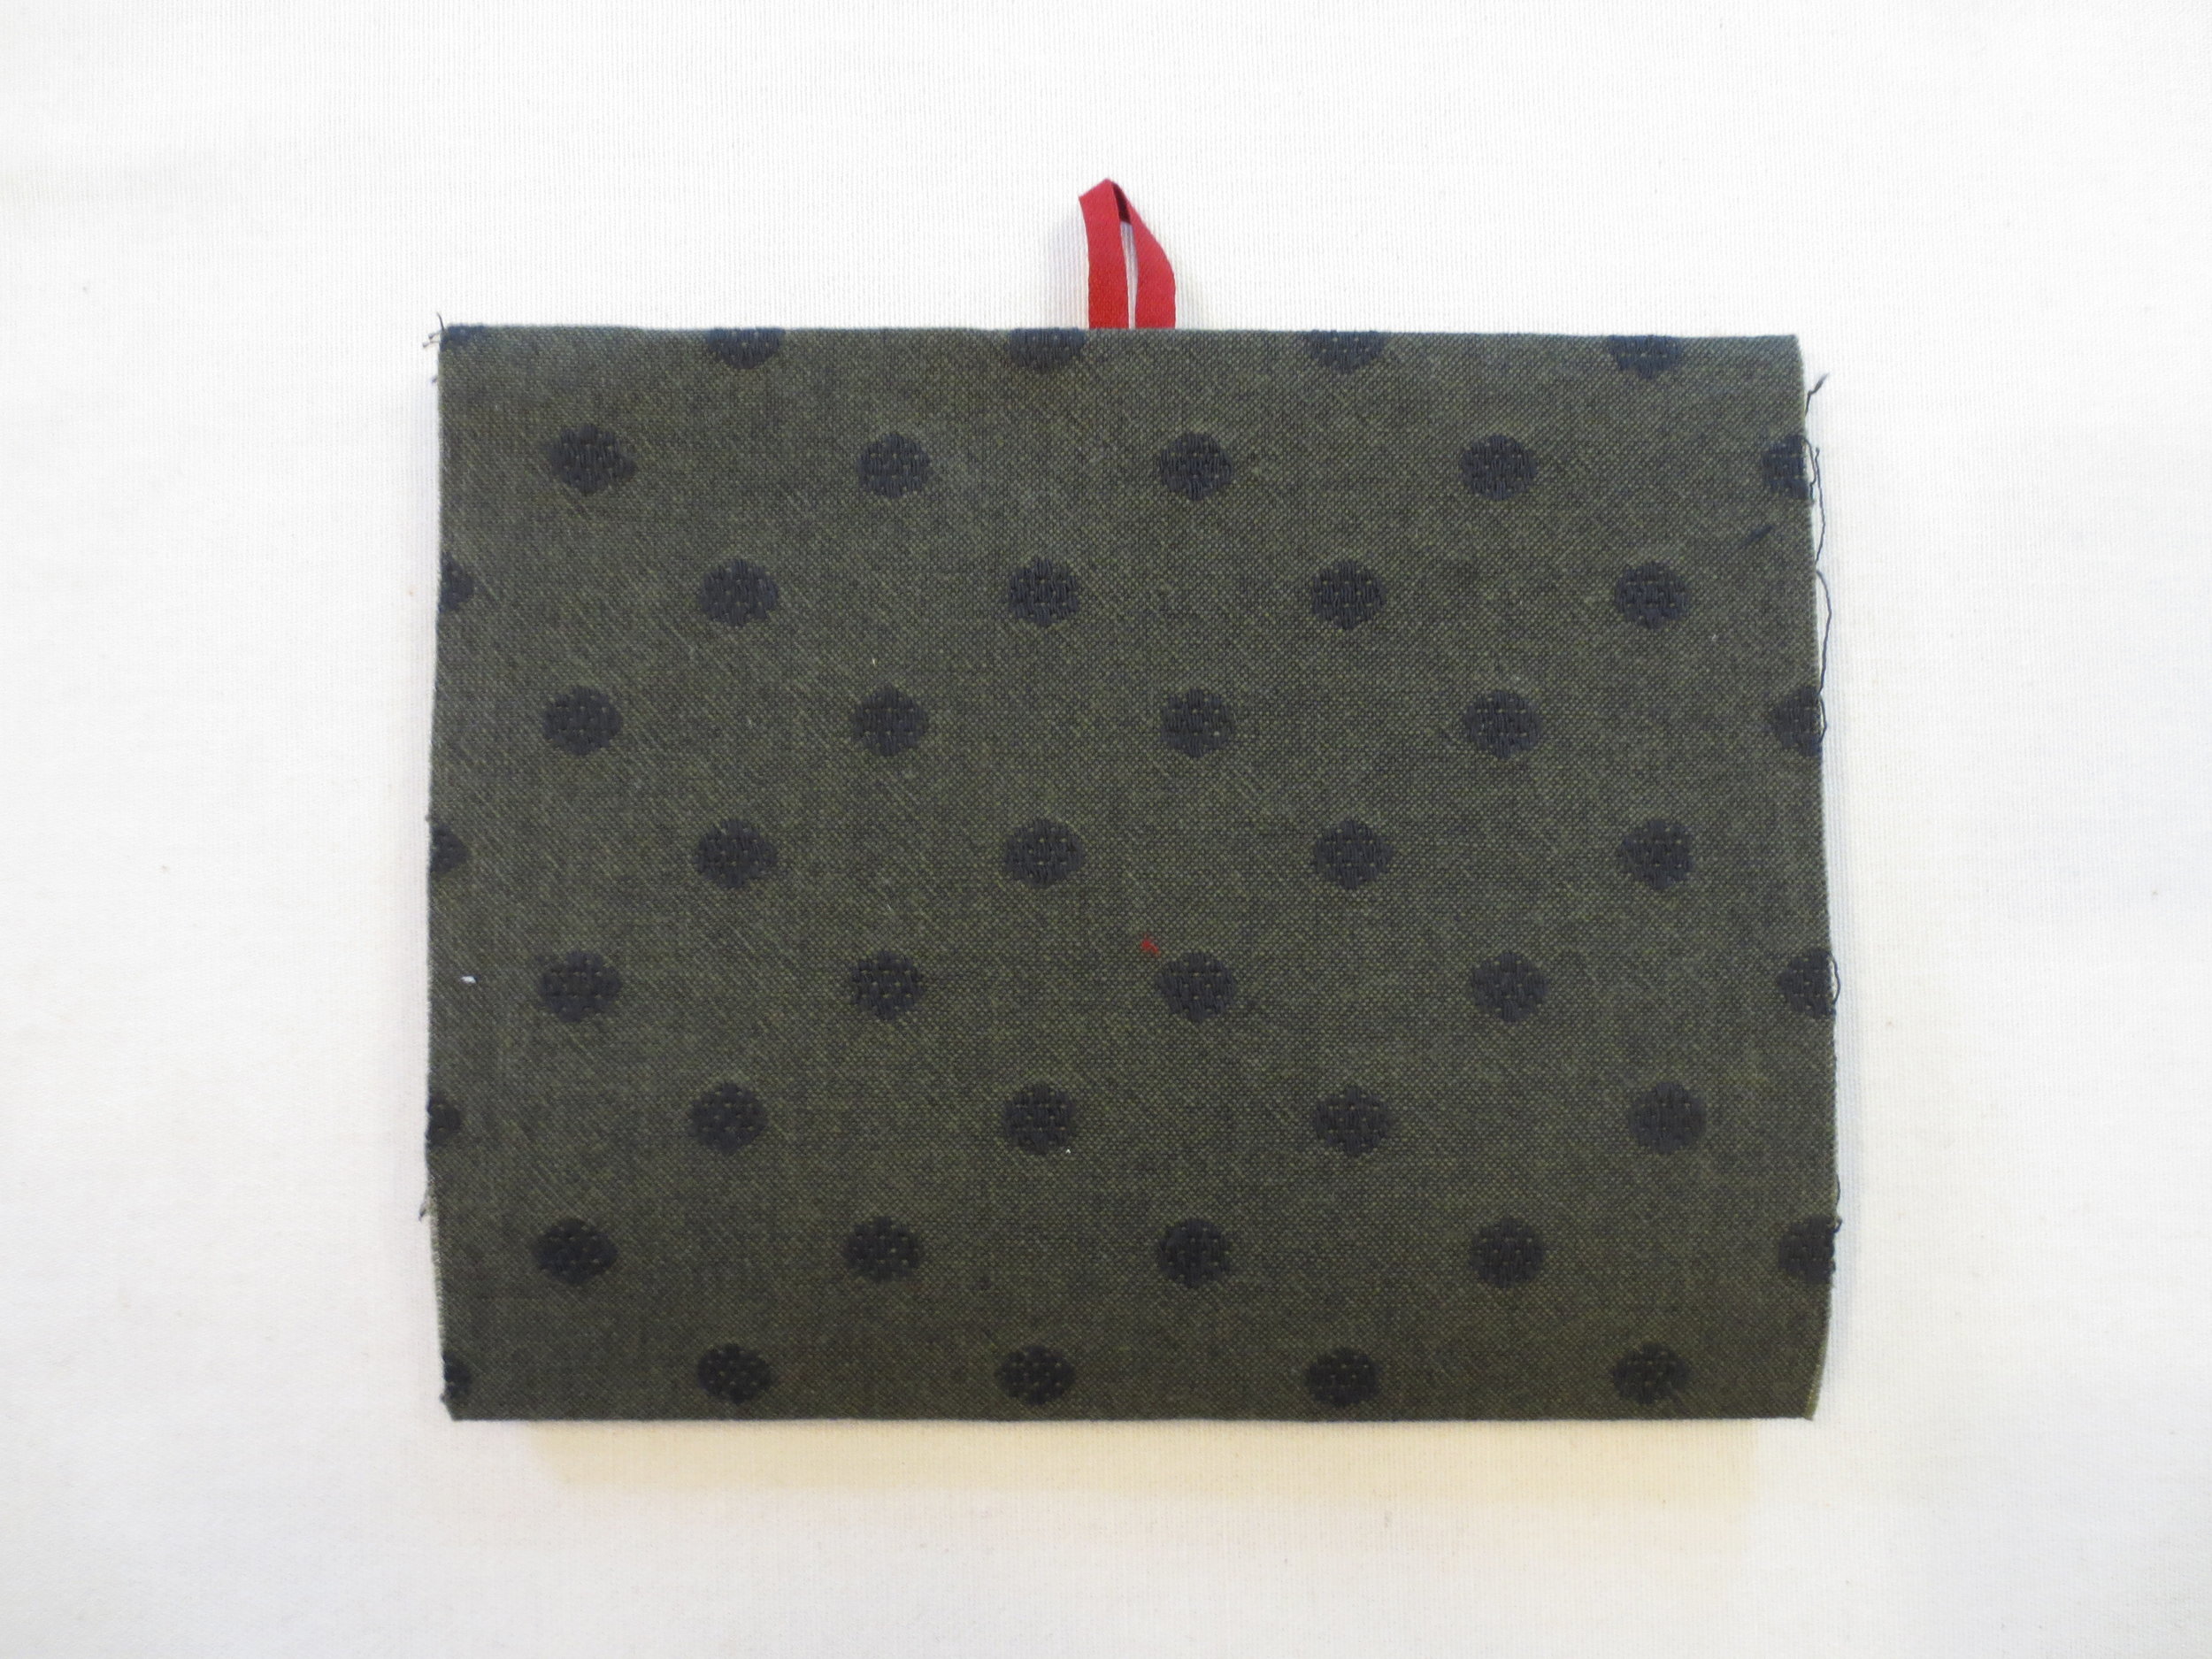
9. Fold this along the seam, wrong sides together and finger press. Fold the opposite side in 4 1/2" and press both sides with the iron.
10. Fold this again, with the two previously folded sides aligned. Press with iron.
11. Now unfold this. The creased lines form the outline of each of the areas we will be working on.
12. Make sure you know what section is what. If you need to pin little notes onto each section, so you don't mix them up, do so. I made a critical error ( i mixed the front with the back) when I first began writing the instructions for this post, so labeling is advised.
13. Applique
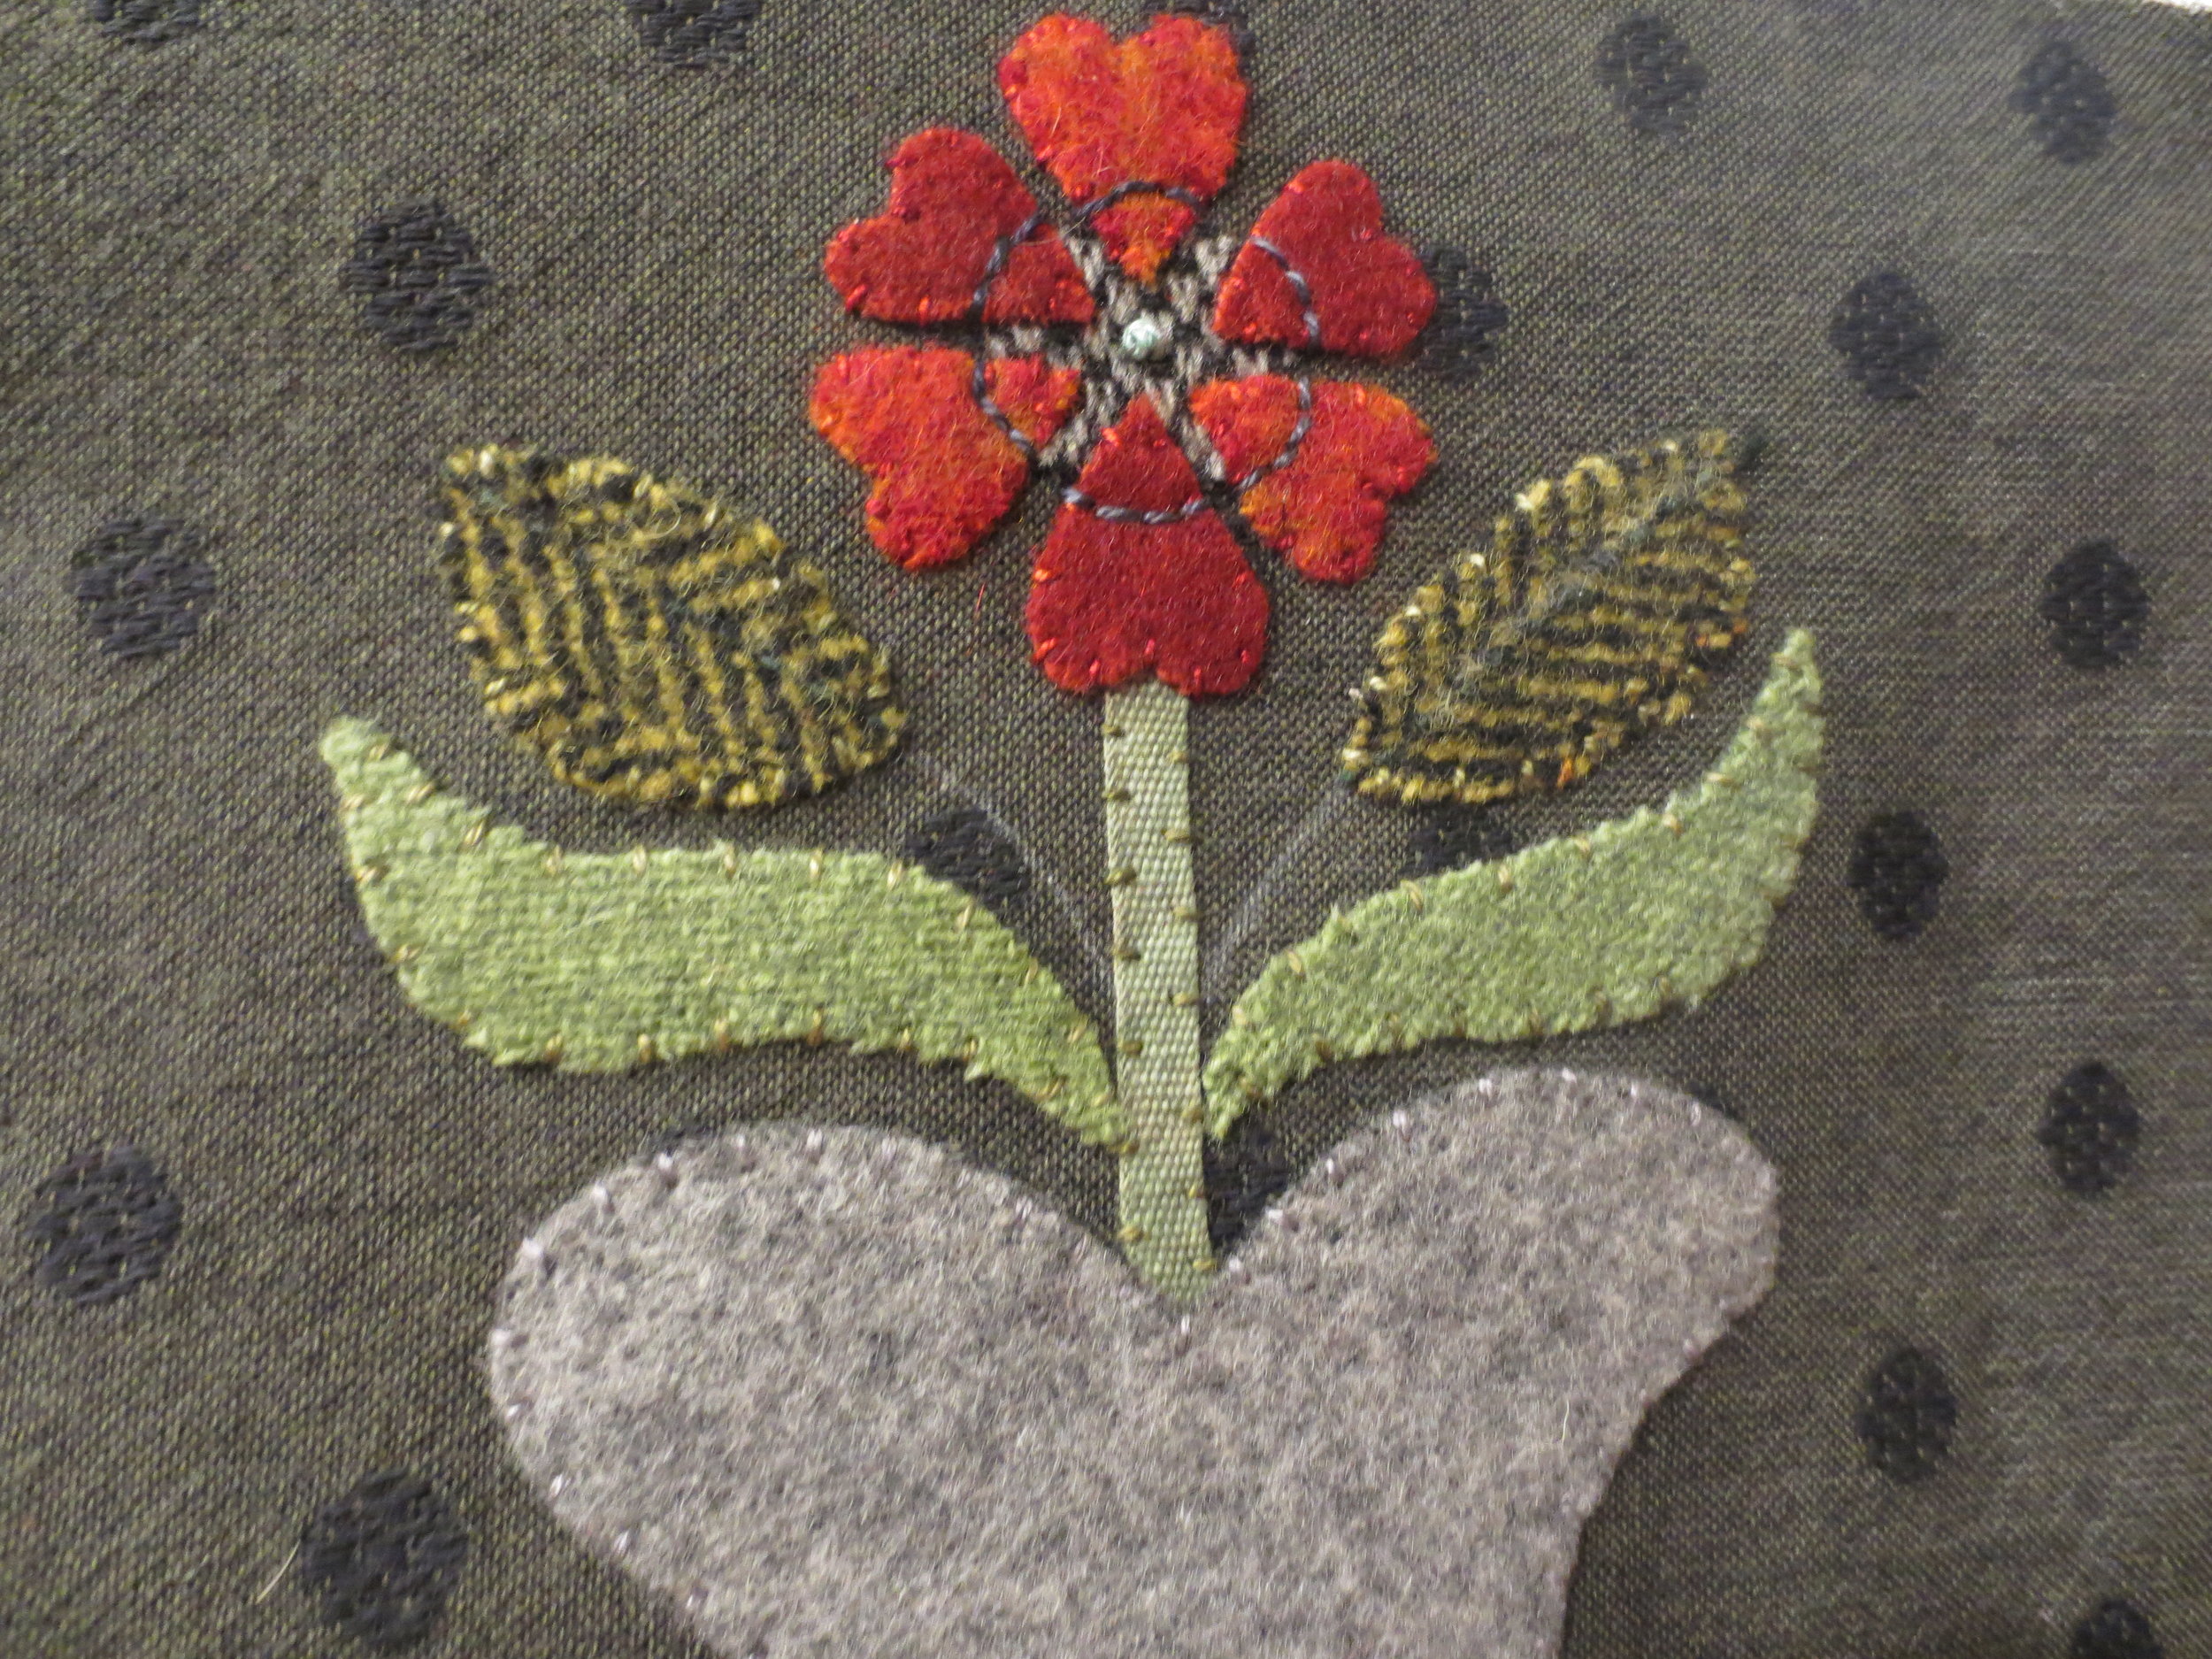
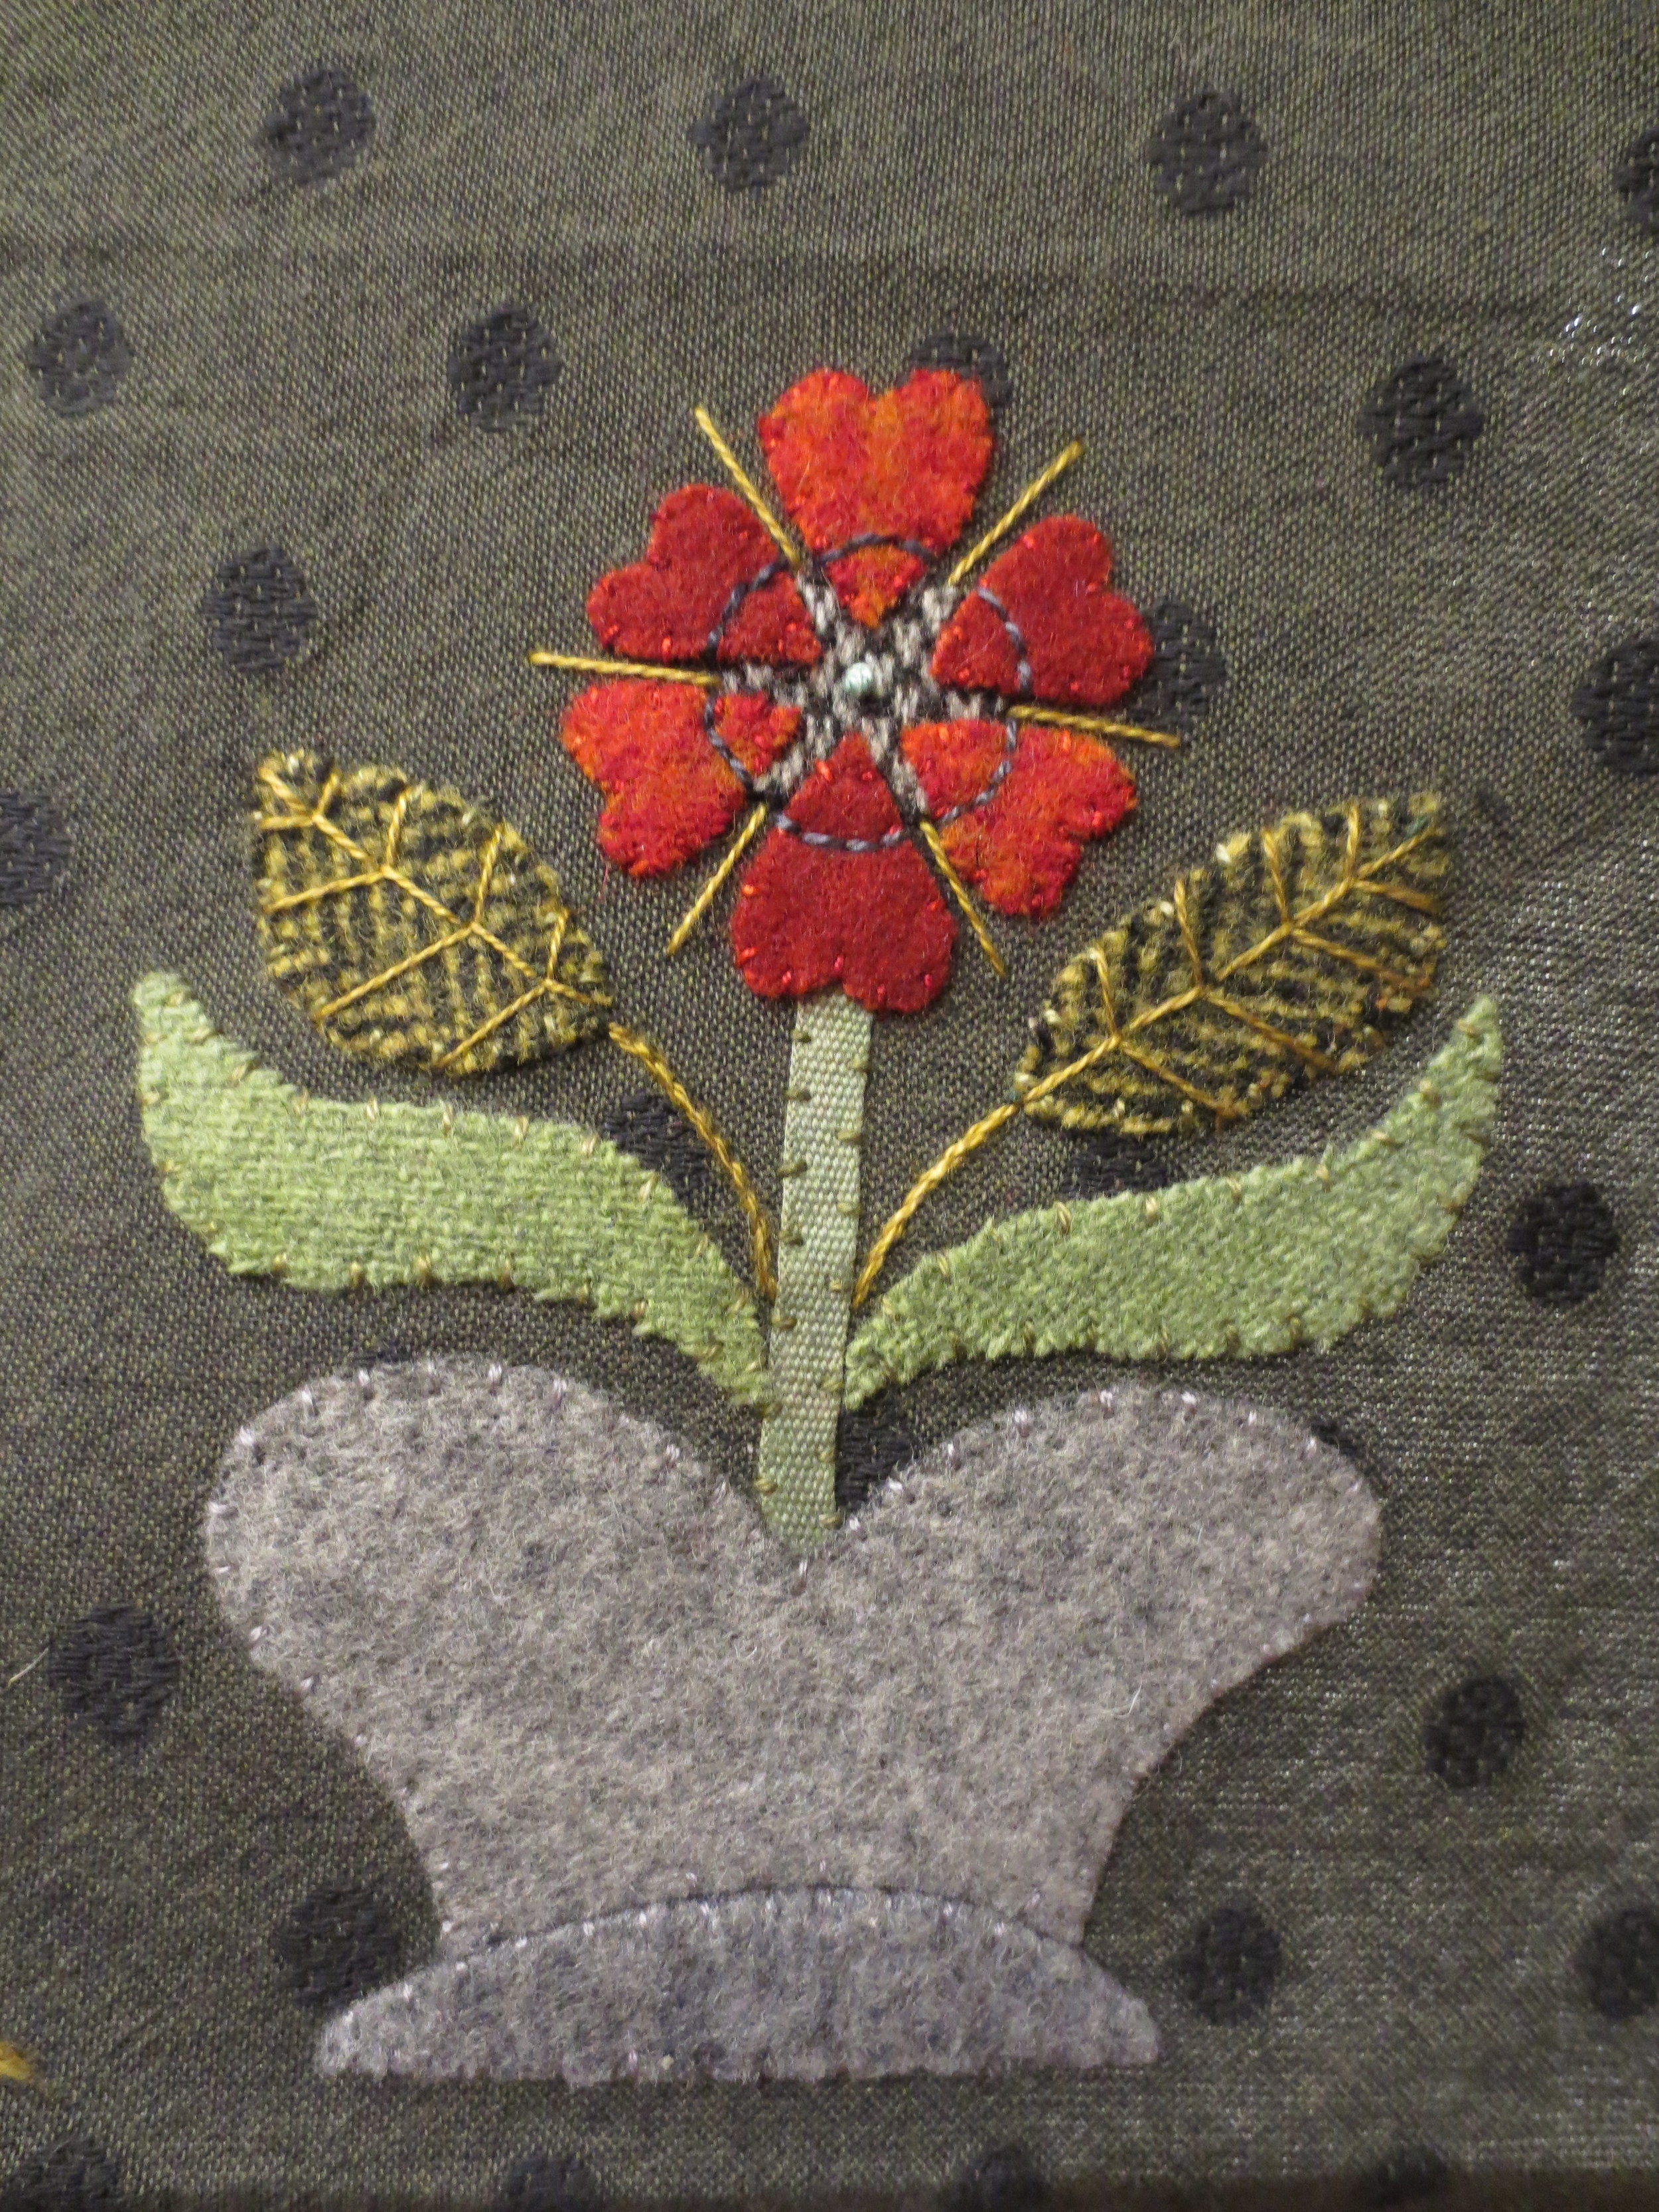
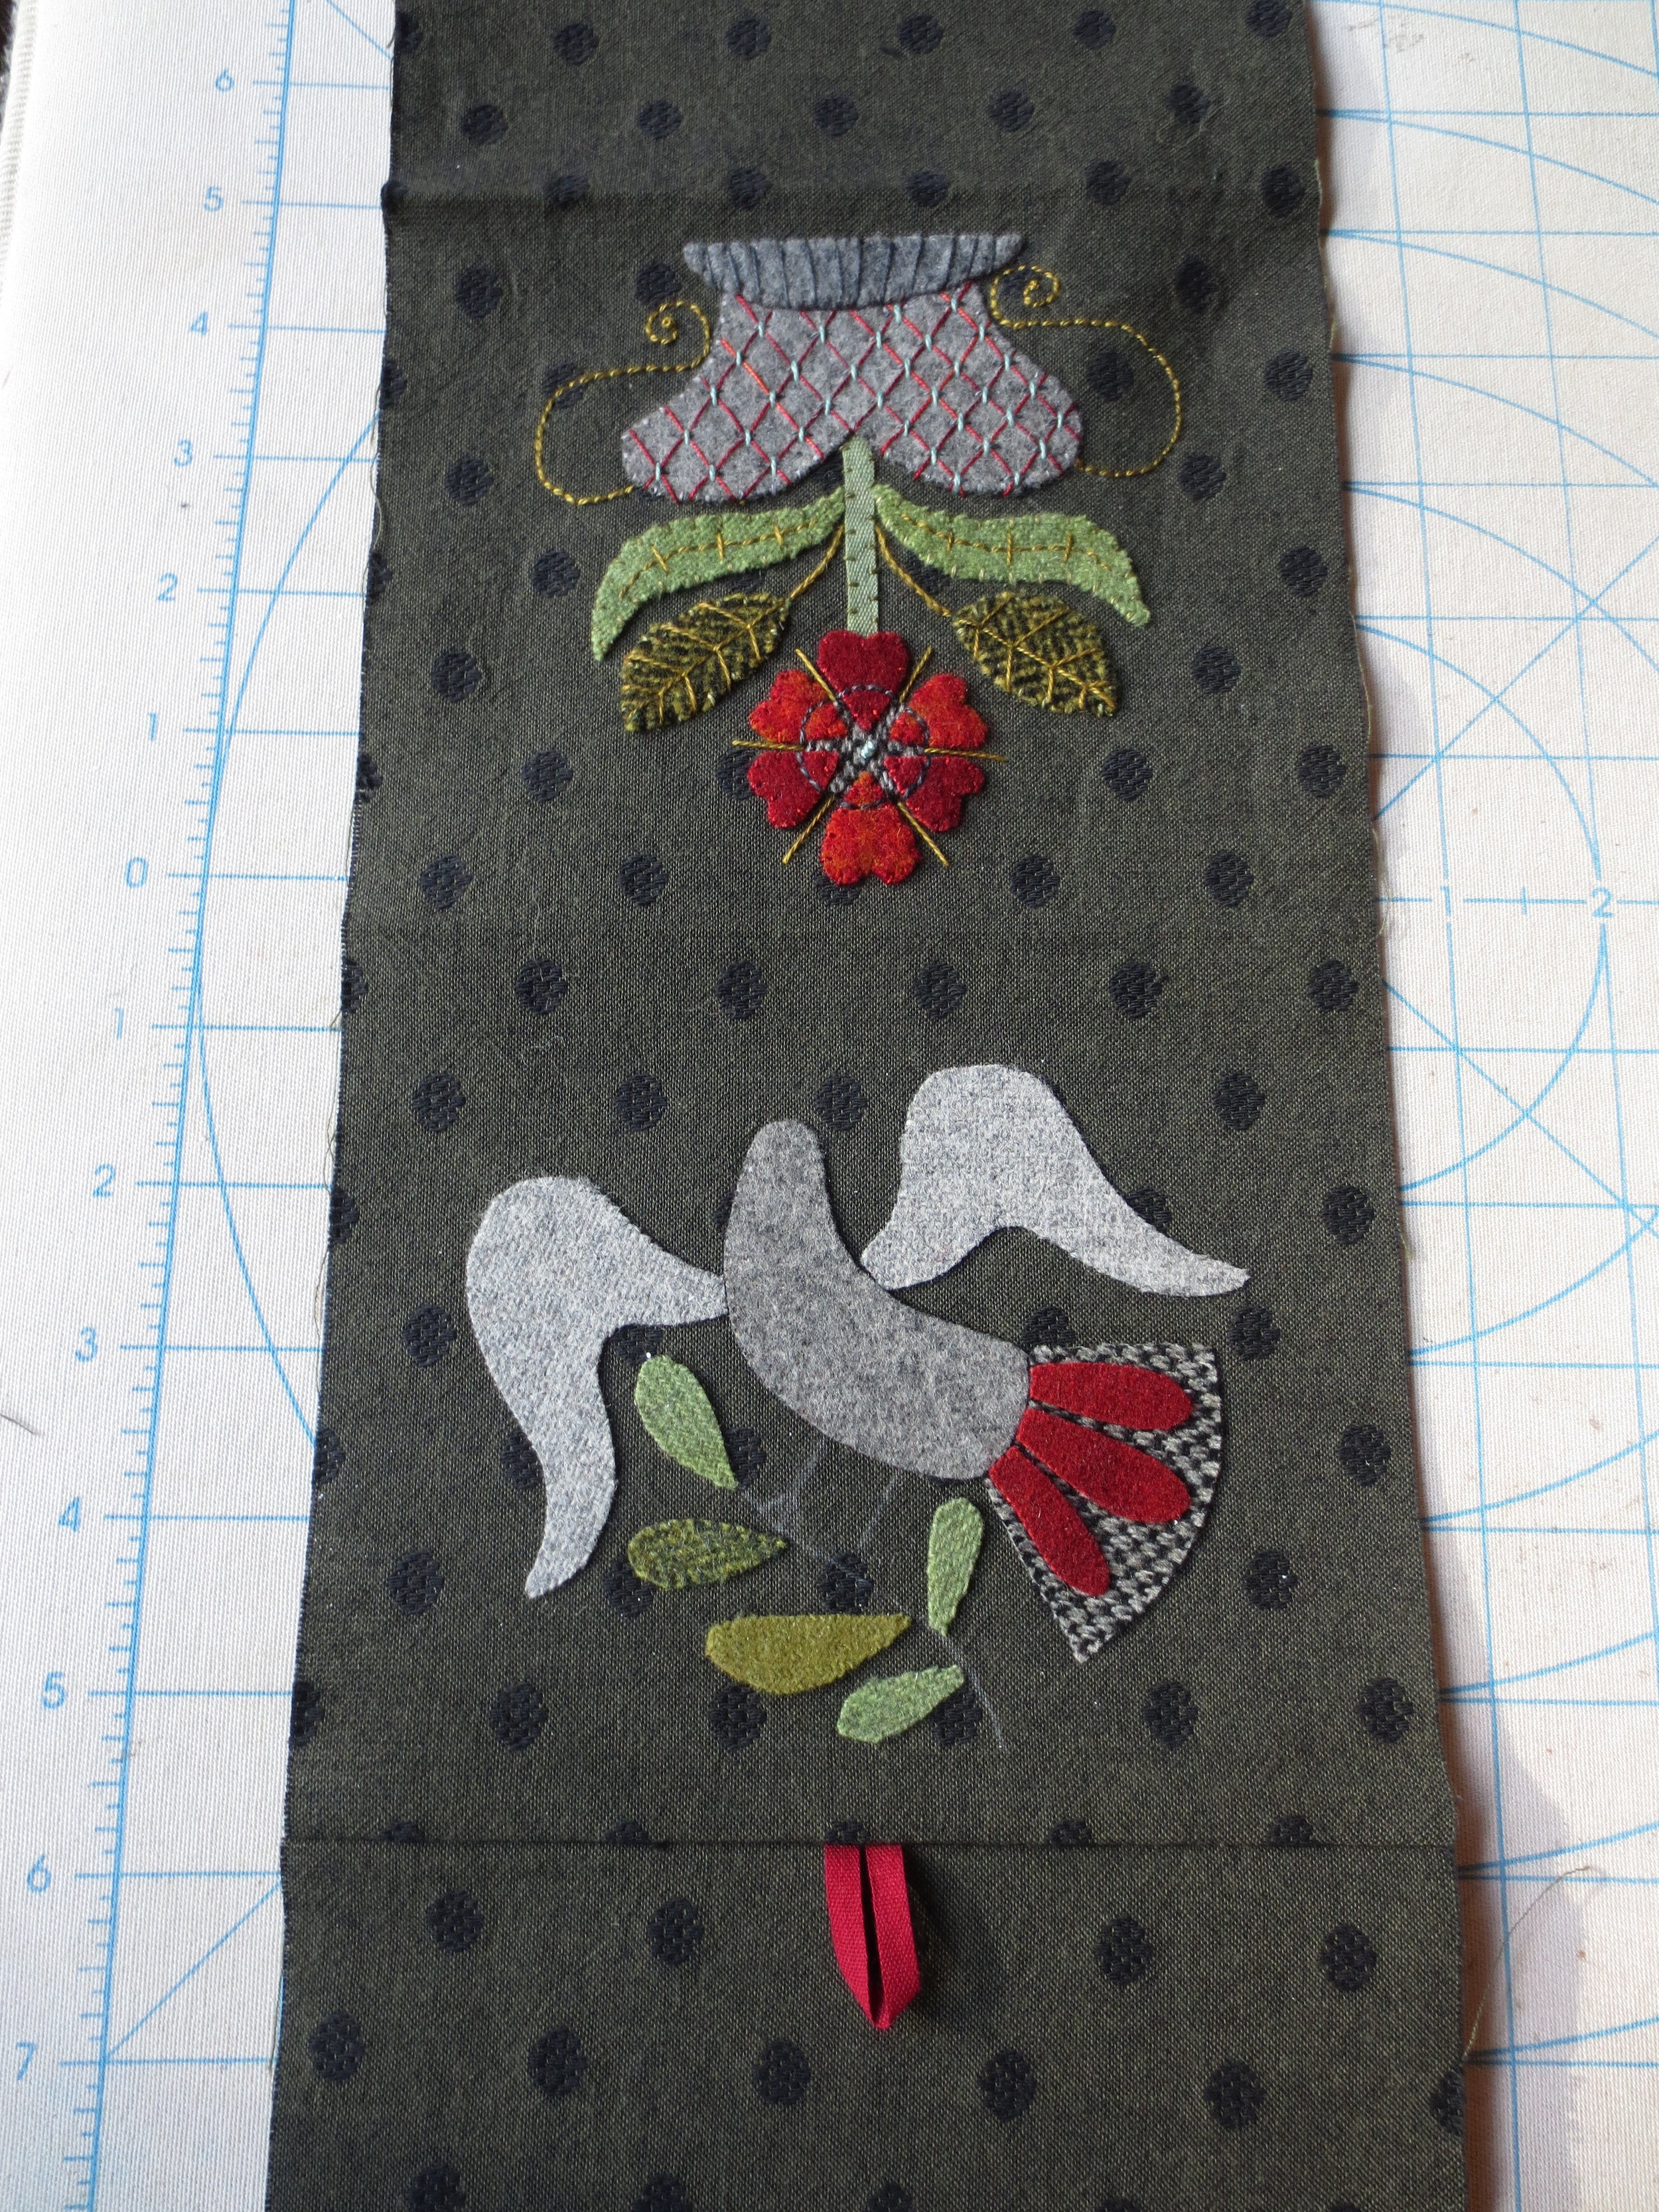
Position the vase, flower, flower stem, and leaves as shown. The bottom section of the background is folded under so that the bottom border is clearly defined. It will be unfolded when you begin stitching.
*Hint - Tuck the ends of the ribbon flower stem under the wool pieces, leaving approximately 1 1/2" visable. The bottom of the vase is approximately 3/8" from the creased line.
When you are happy with your positioning, fuse in place using steam.
Unfold bottom section and whip stitch all pieces with thread that matches the wool colors. Begin with the smallest pieces first.
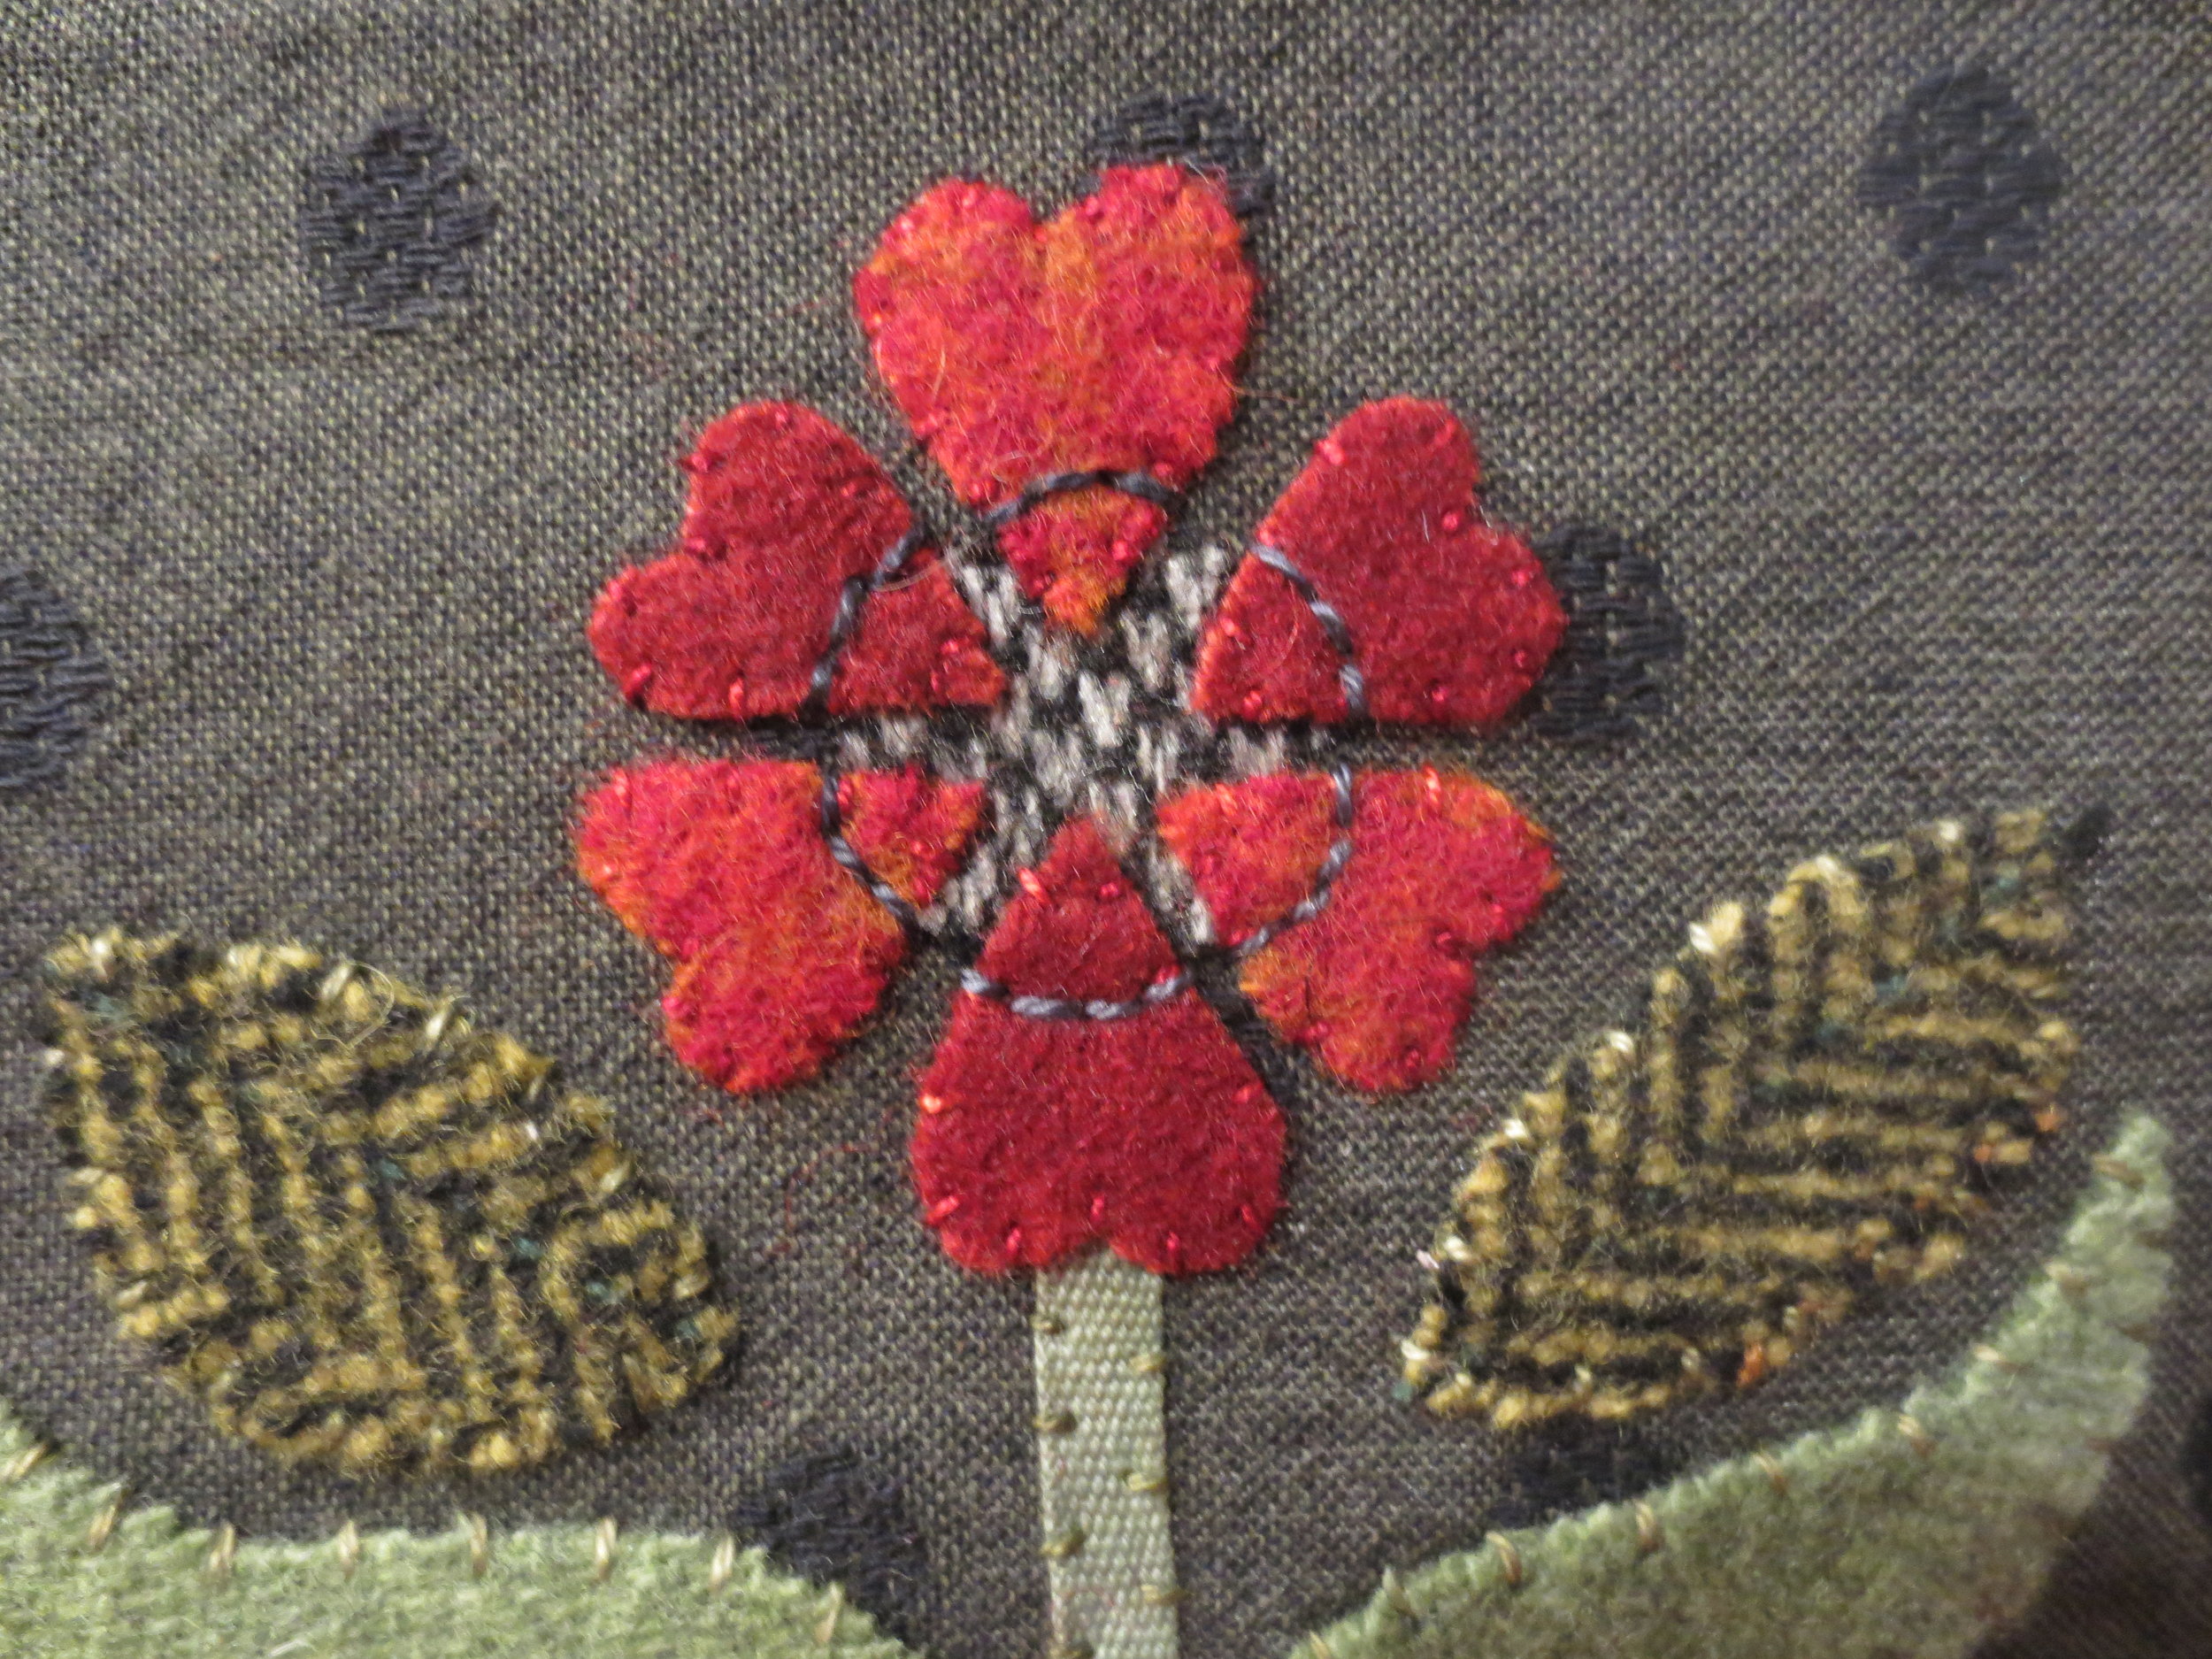
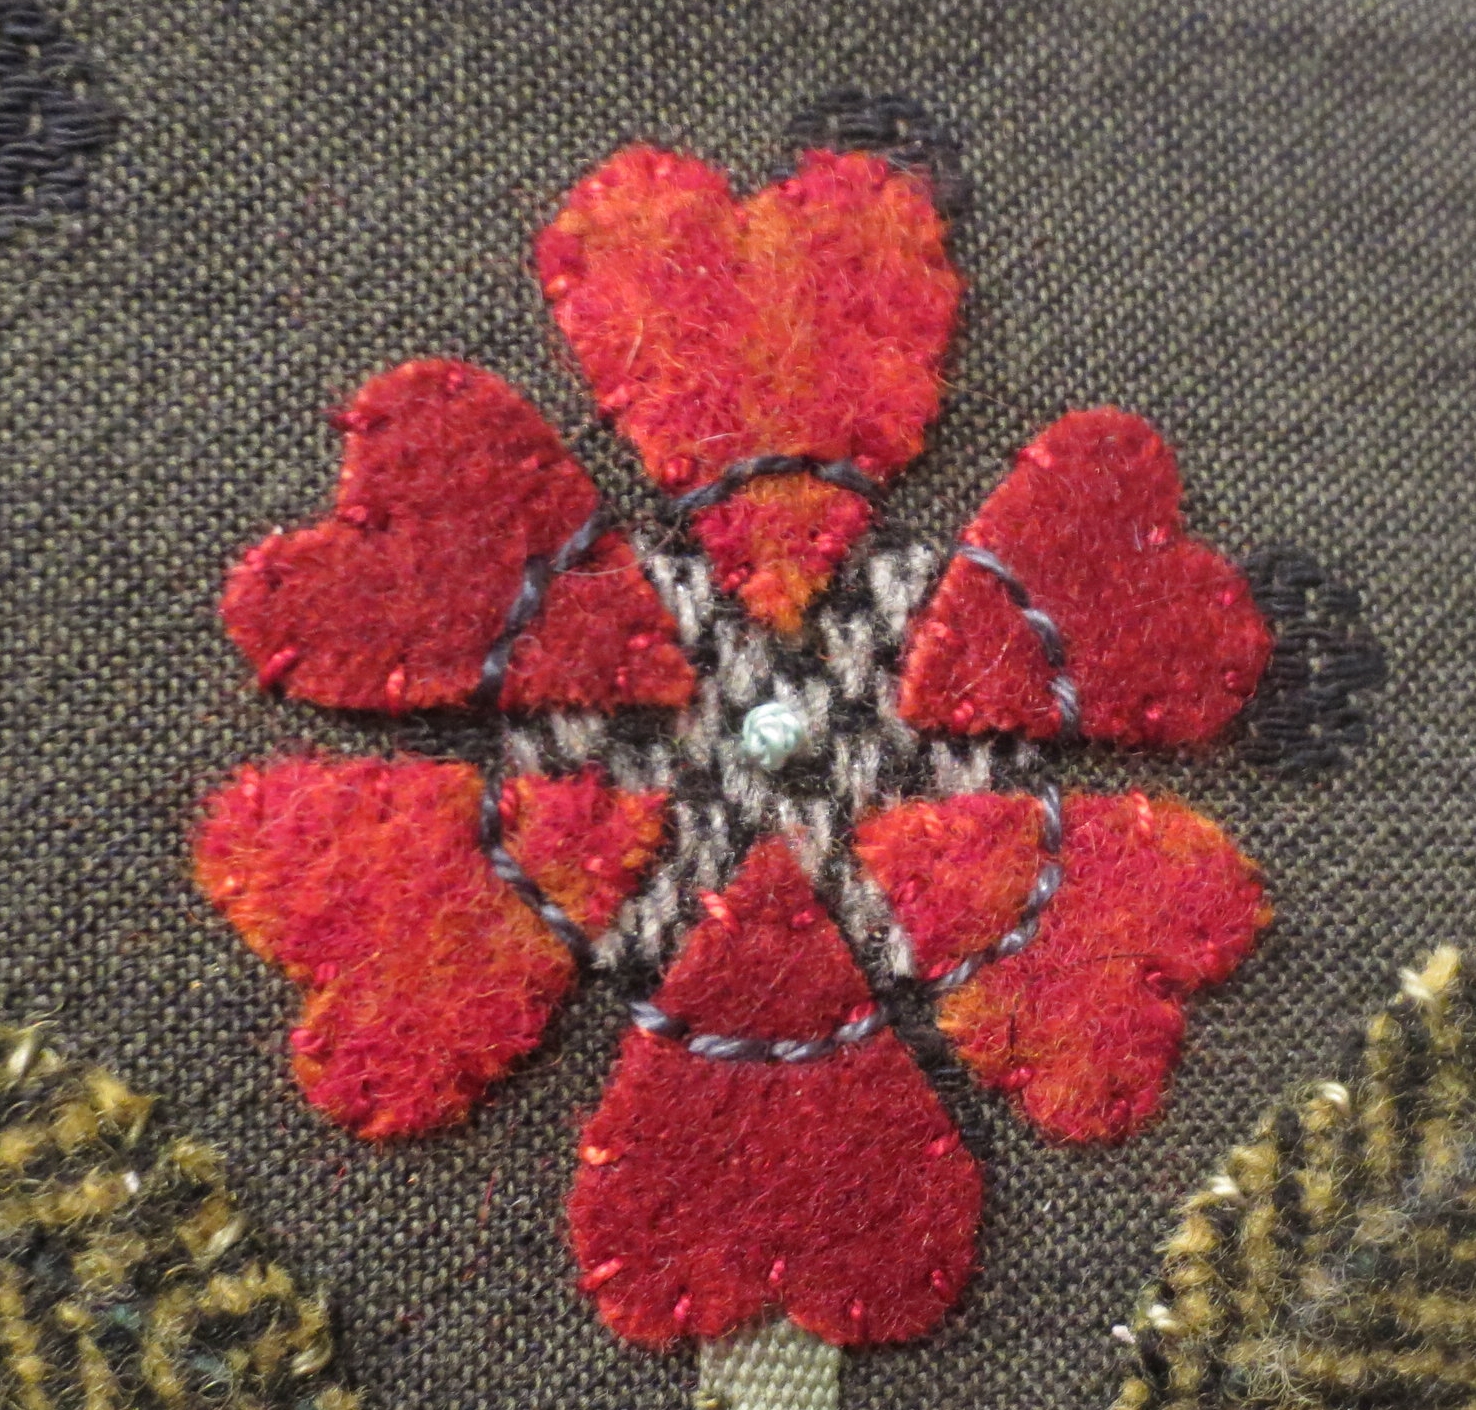
Use your chalk pencil to draw an outline of the flower center on the flower petals.
Back stitch over the line with Valdani #893.
Make a large French knot (4 loops), using Valdani #311, in the center of the flower.
Use a chalk pencil to draw the central veins of the leaves, and the stems of the upper leaves.
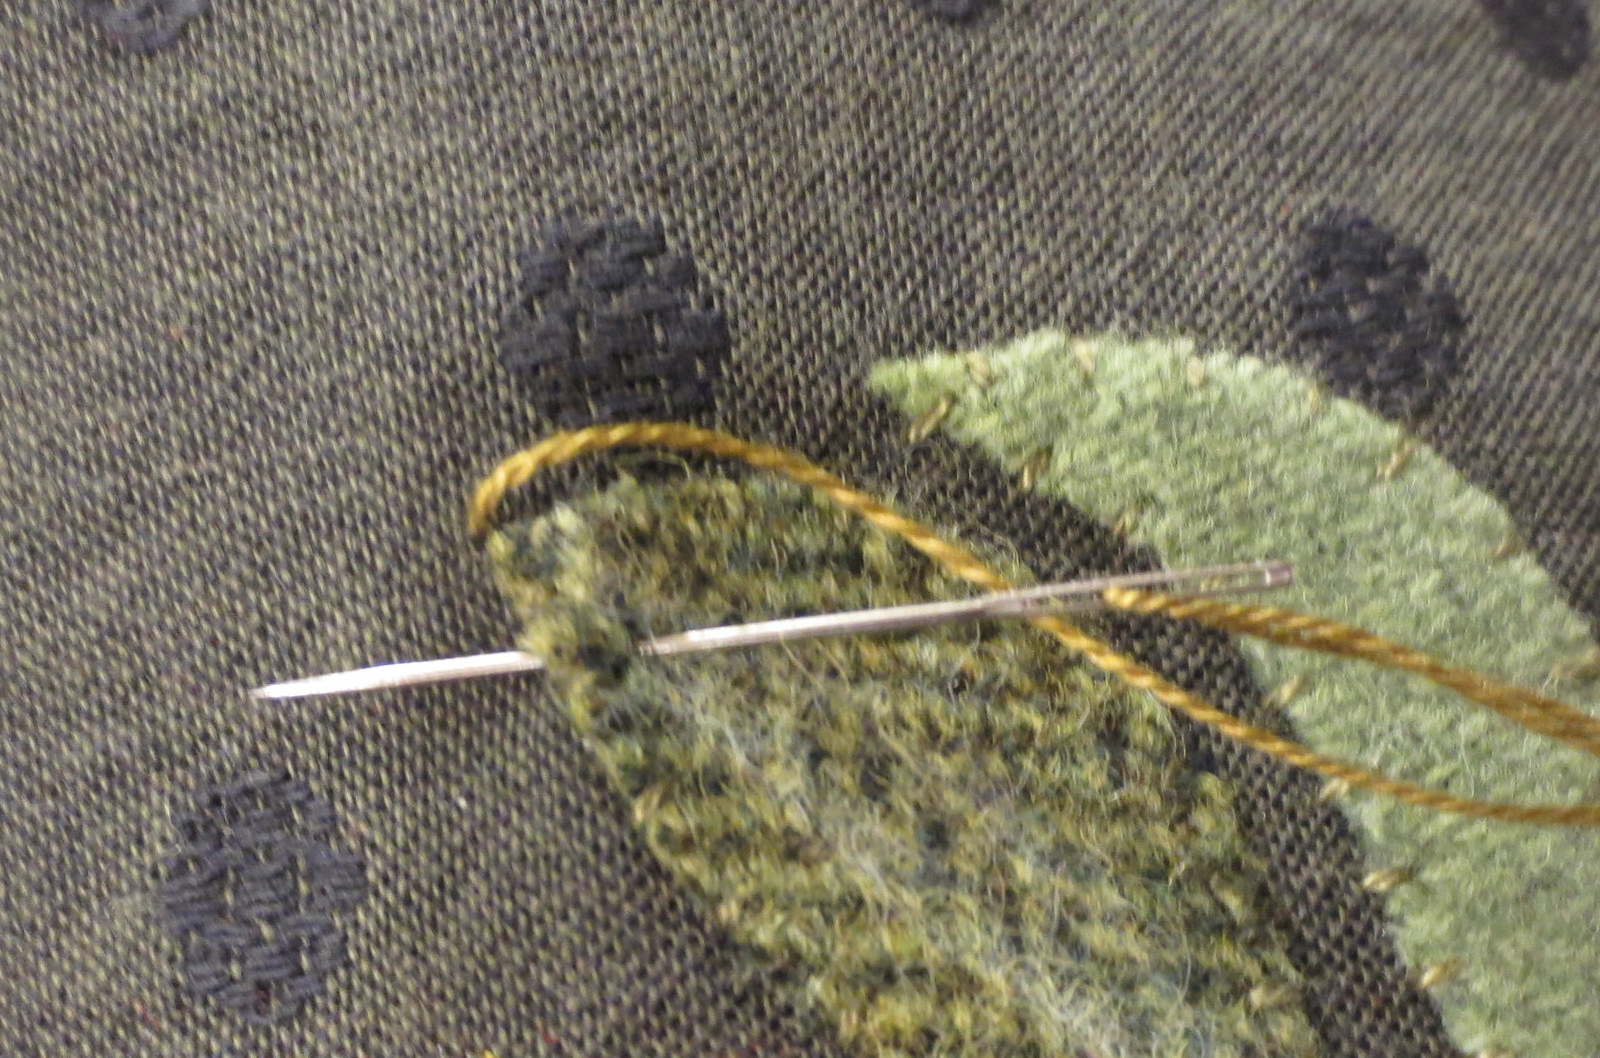
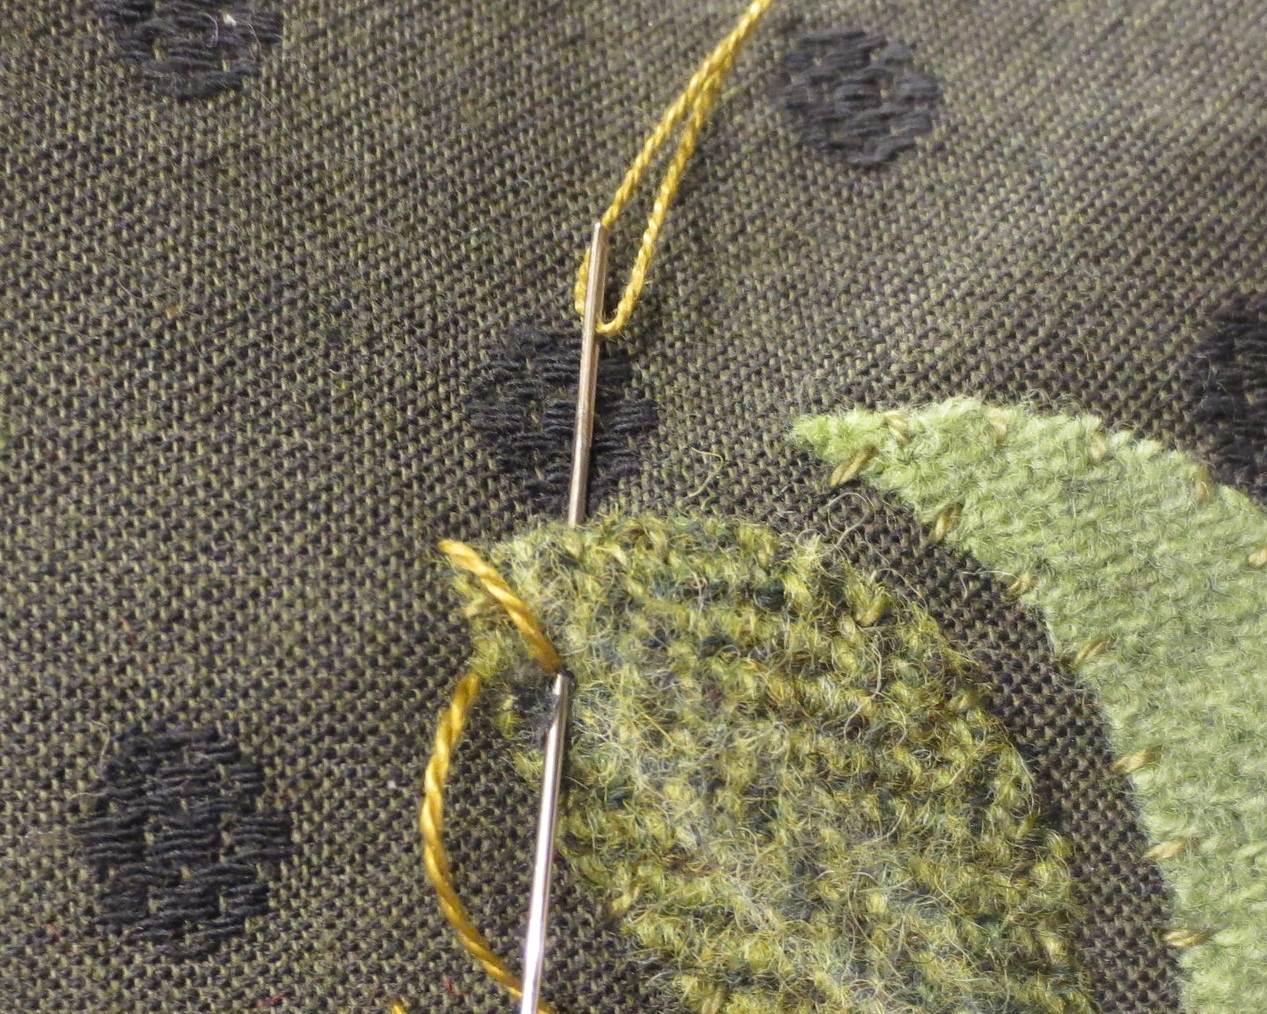
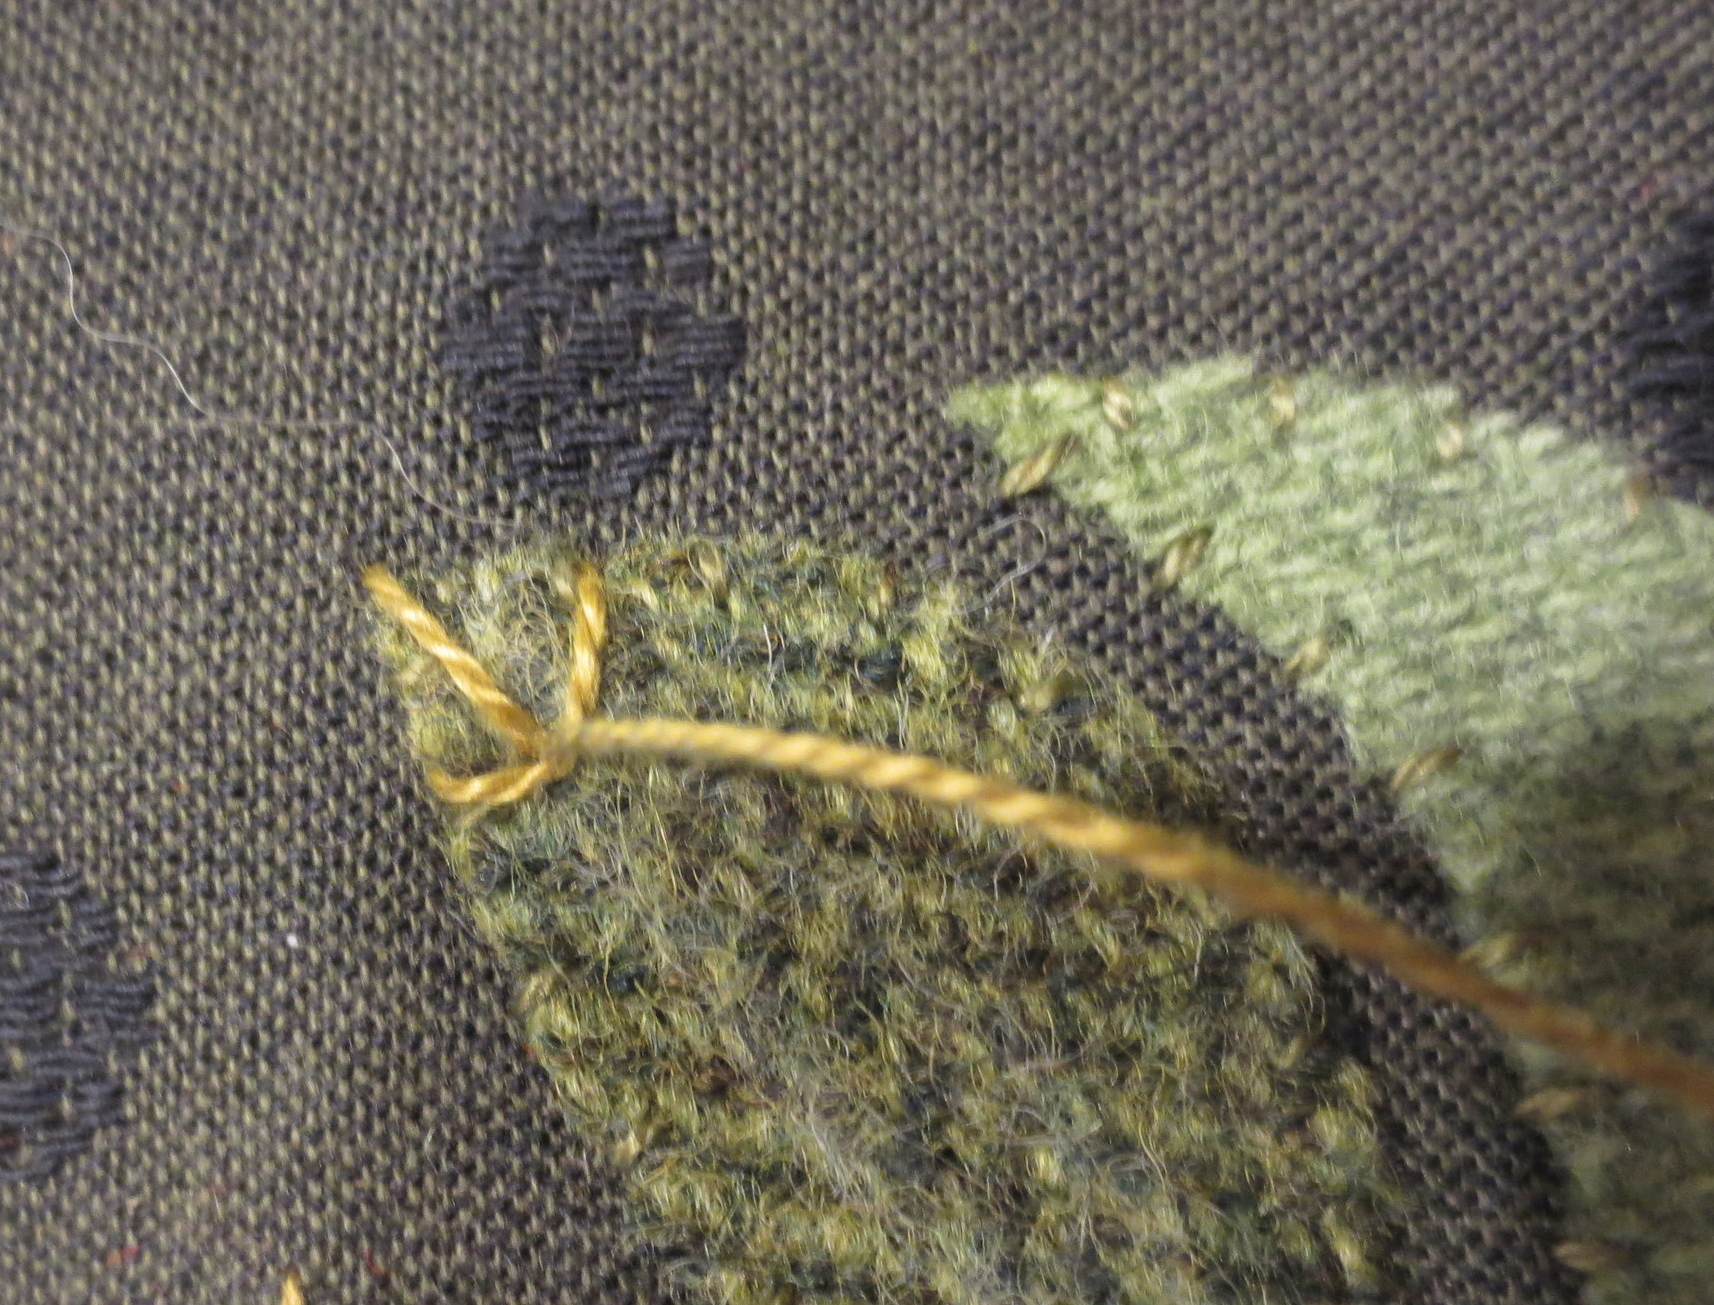
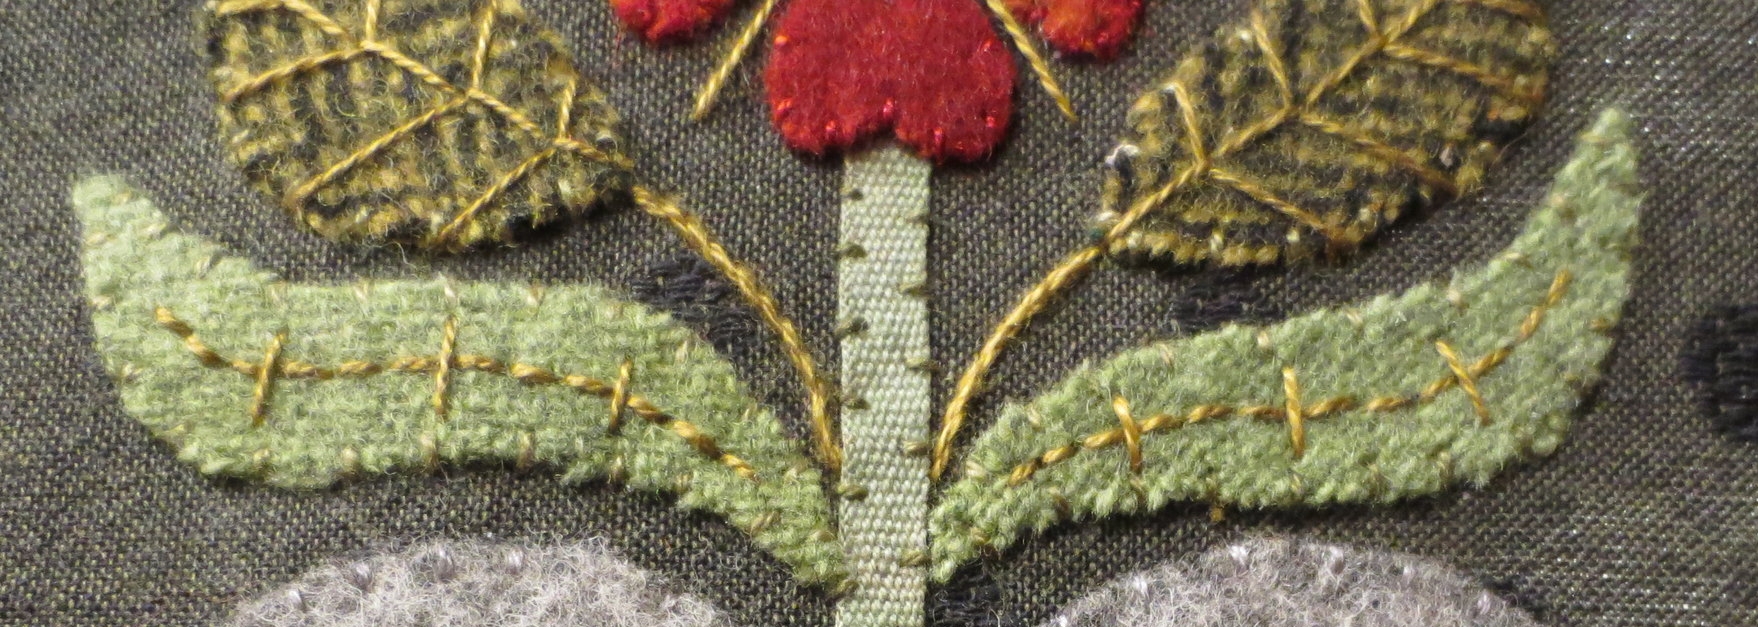
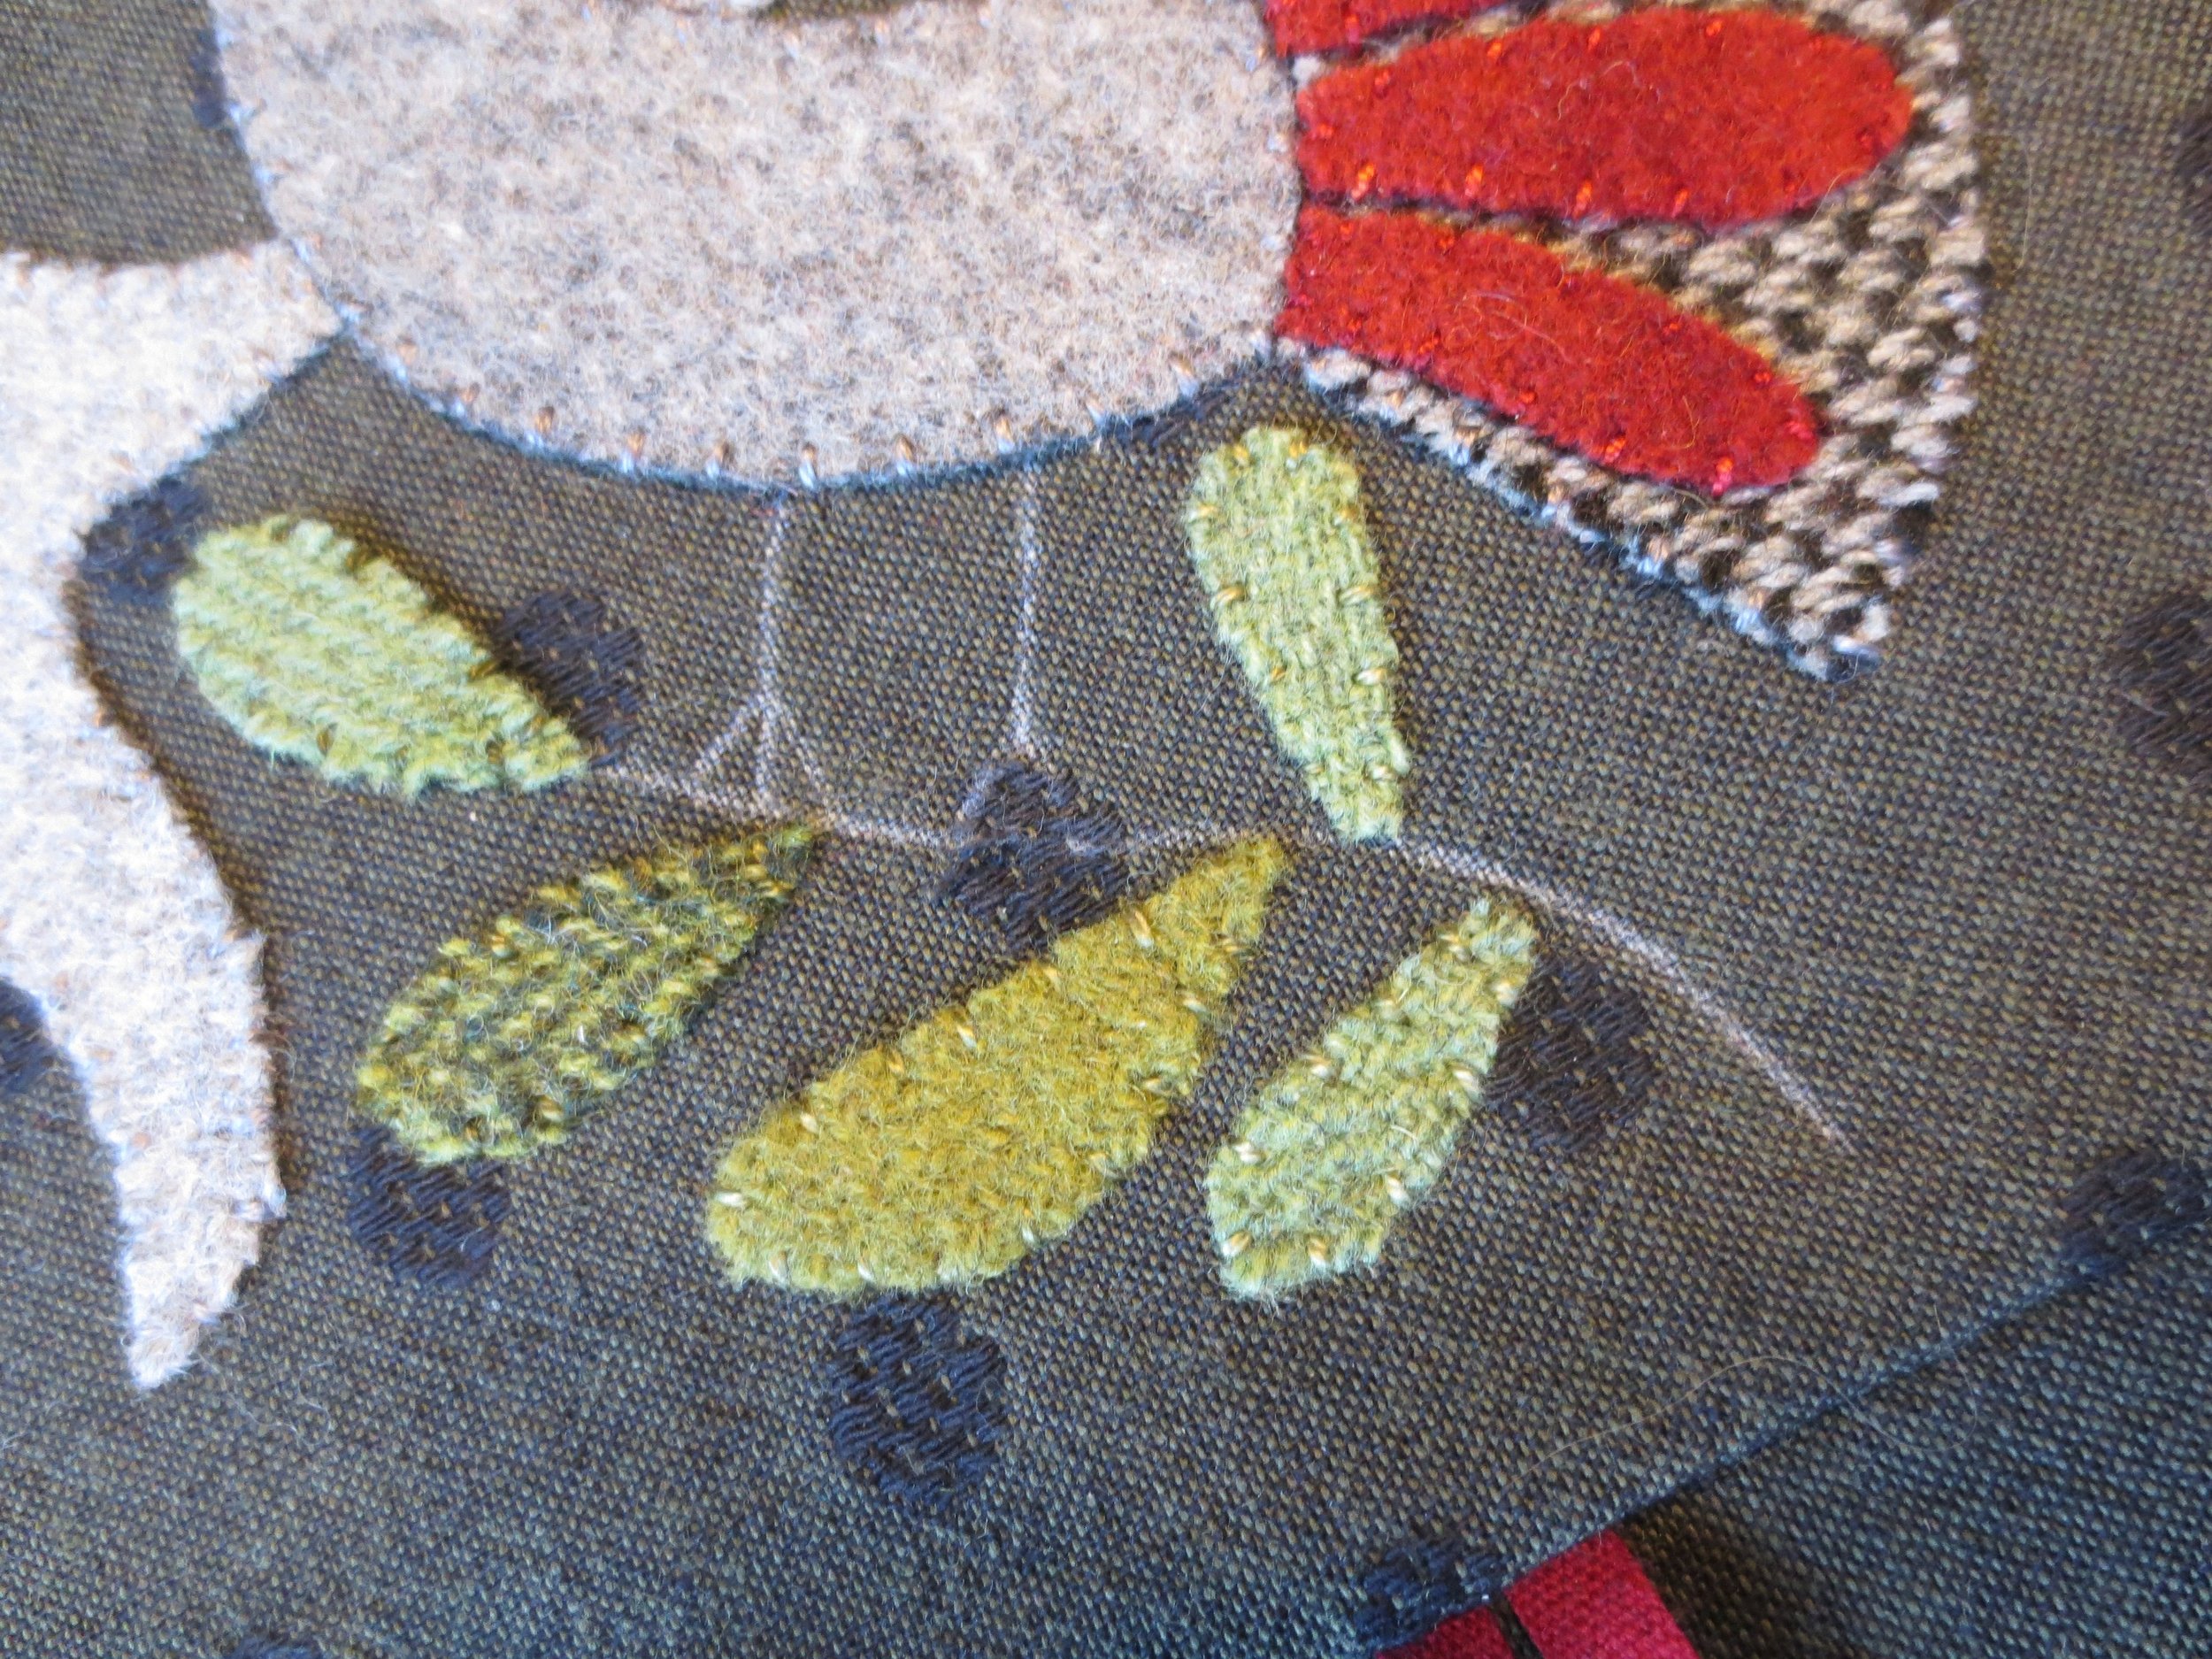
Use Valdani #O153 to stitch a closed fly stitch leaf vein on each of the upper leaves. See stitch guide and images below.
Use the same thread to stem stitch the stems. The stitches are small, approximately 1/16".
Use the same thread to make long straight stitches extending from the flower center out slightly beyond the flower petals.
Draw the center veins of the lower leaves and back stitch over the lines with Valdani #O153.
Make three small straight stitched side veins with the same thread.
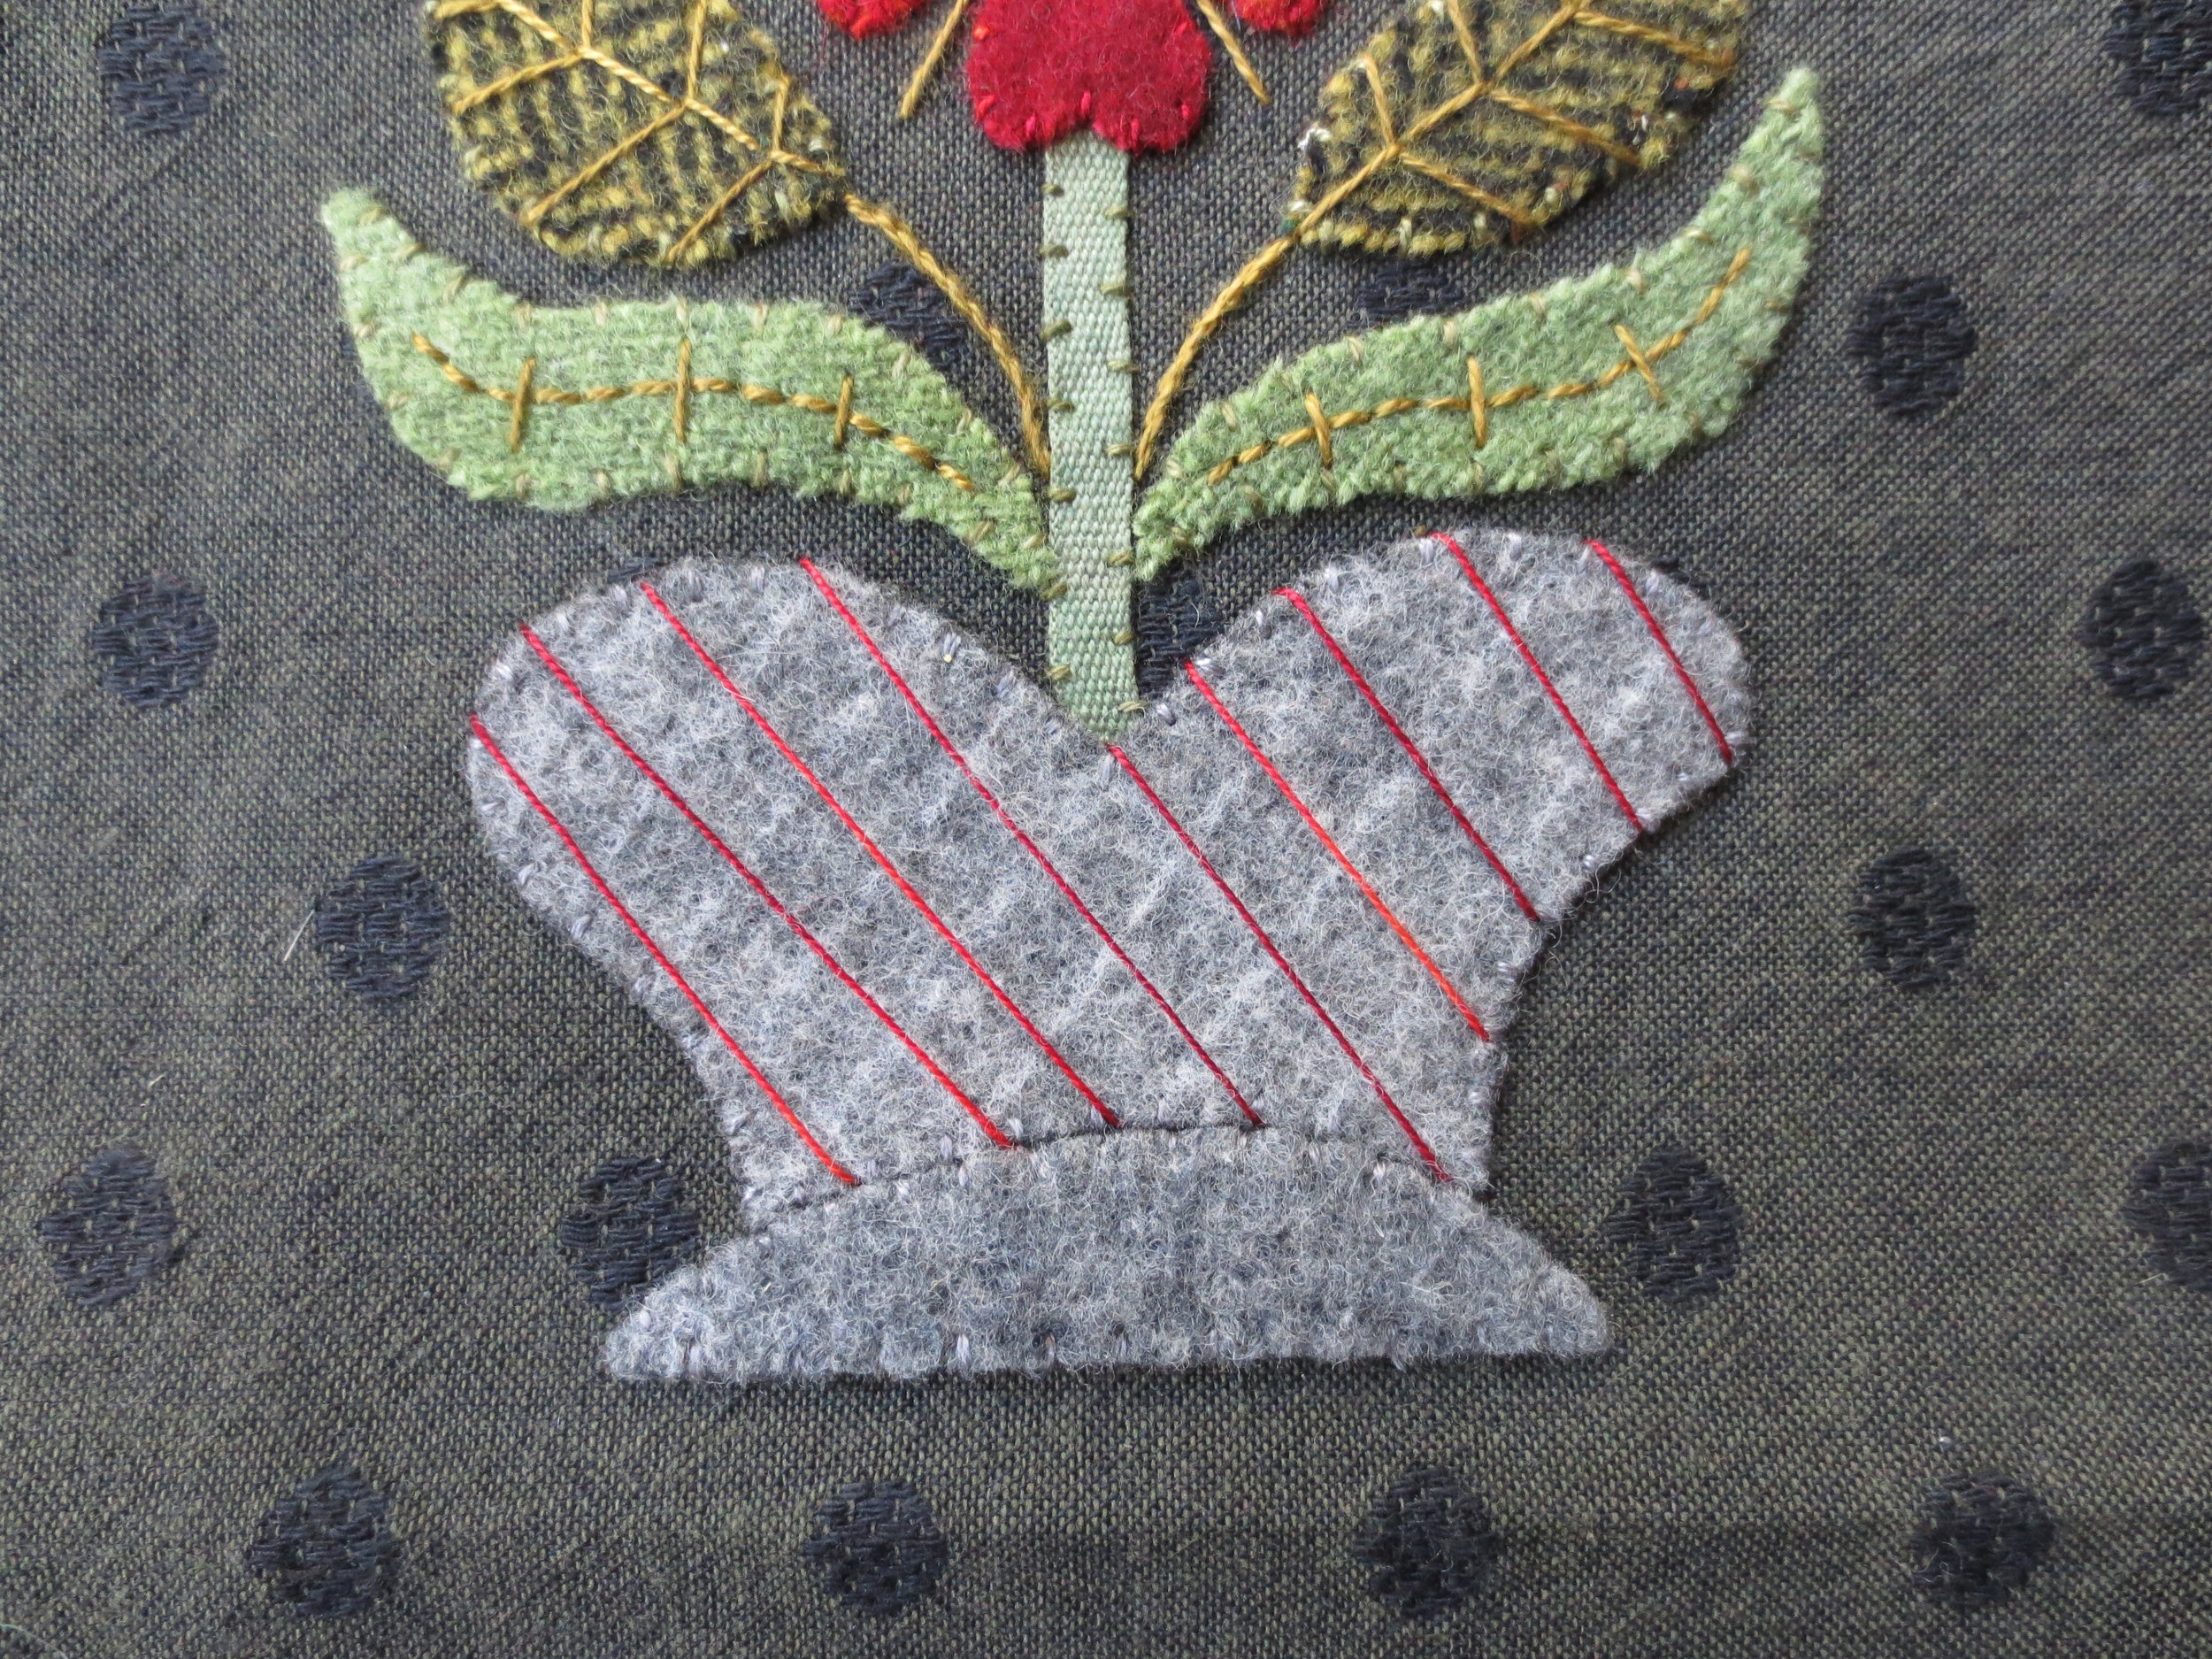
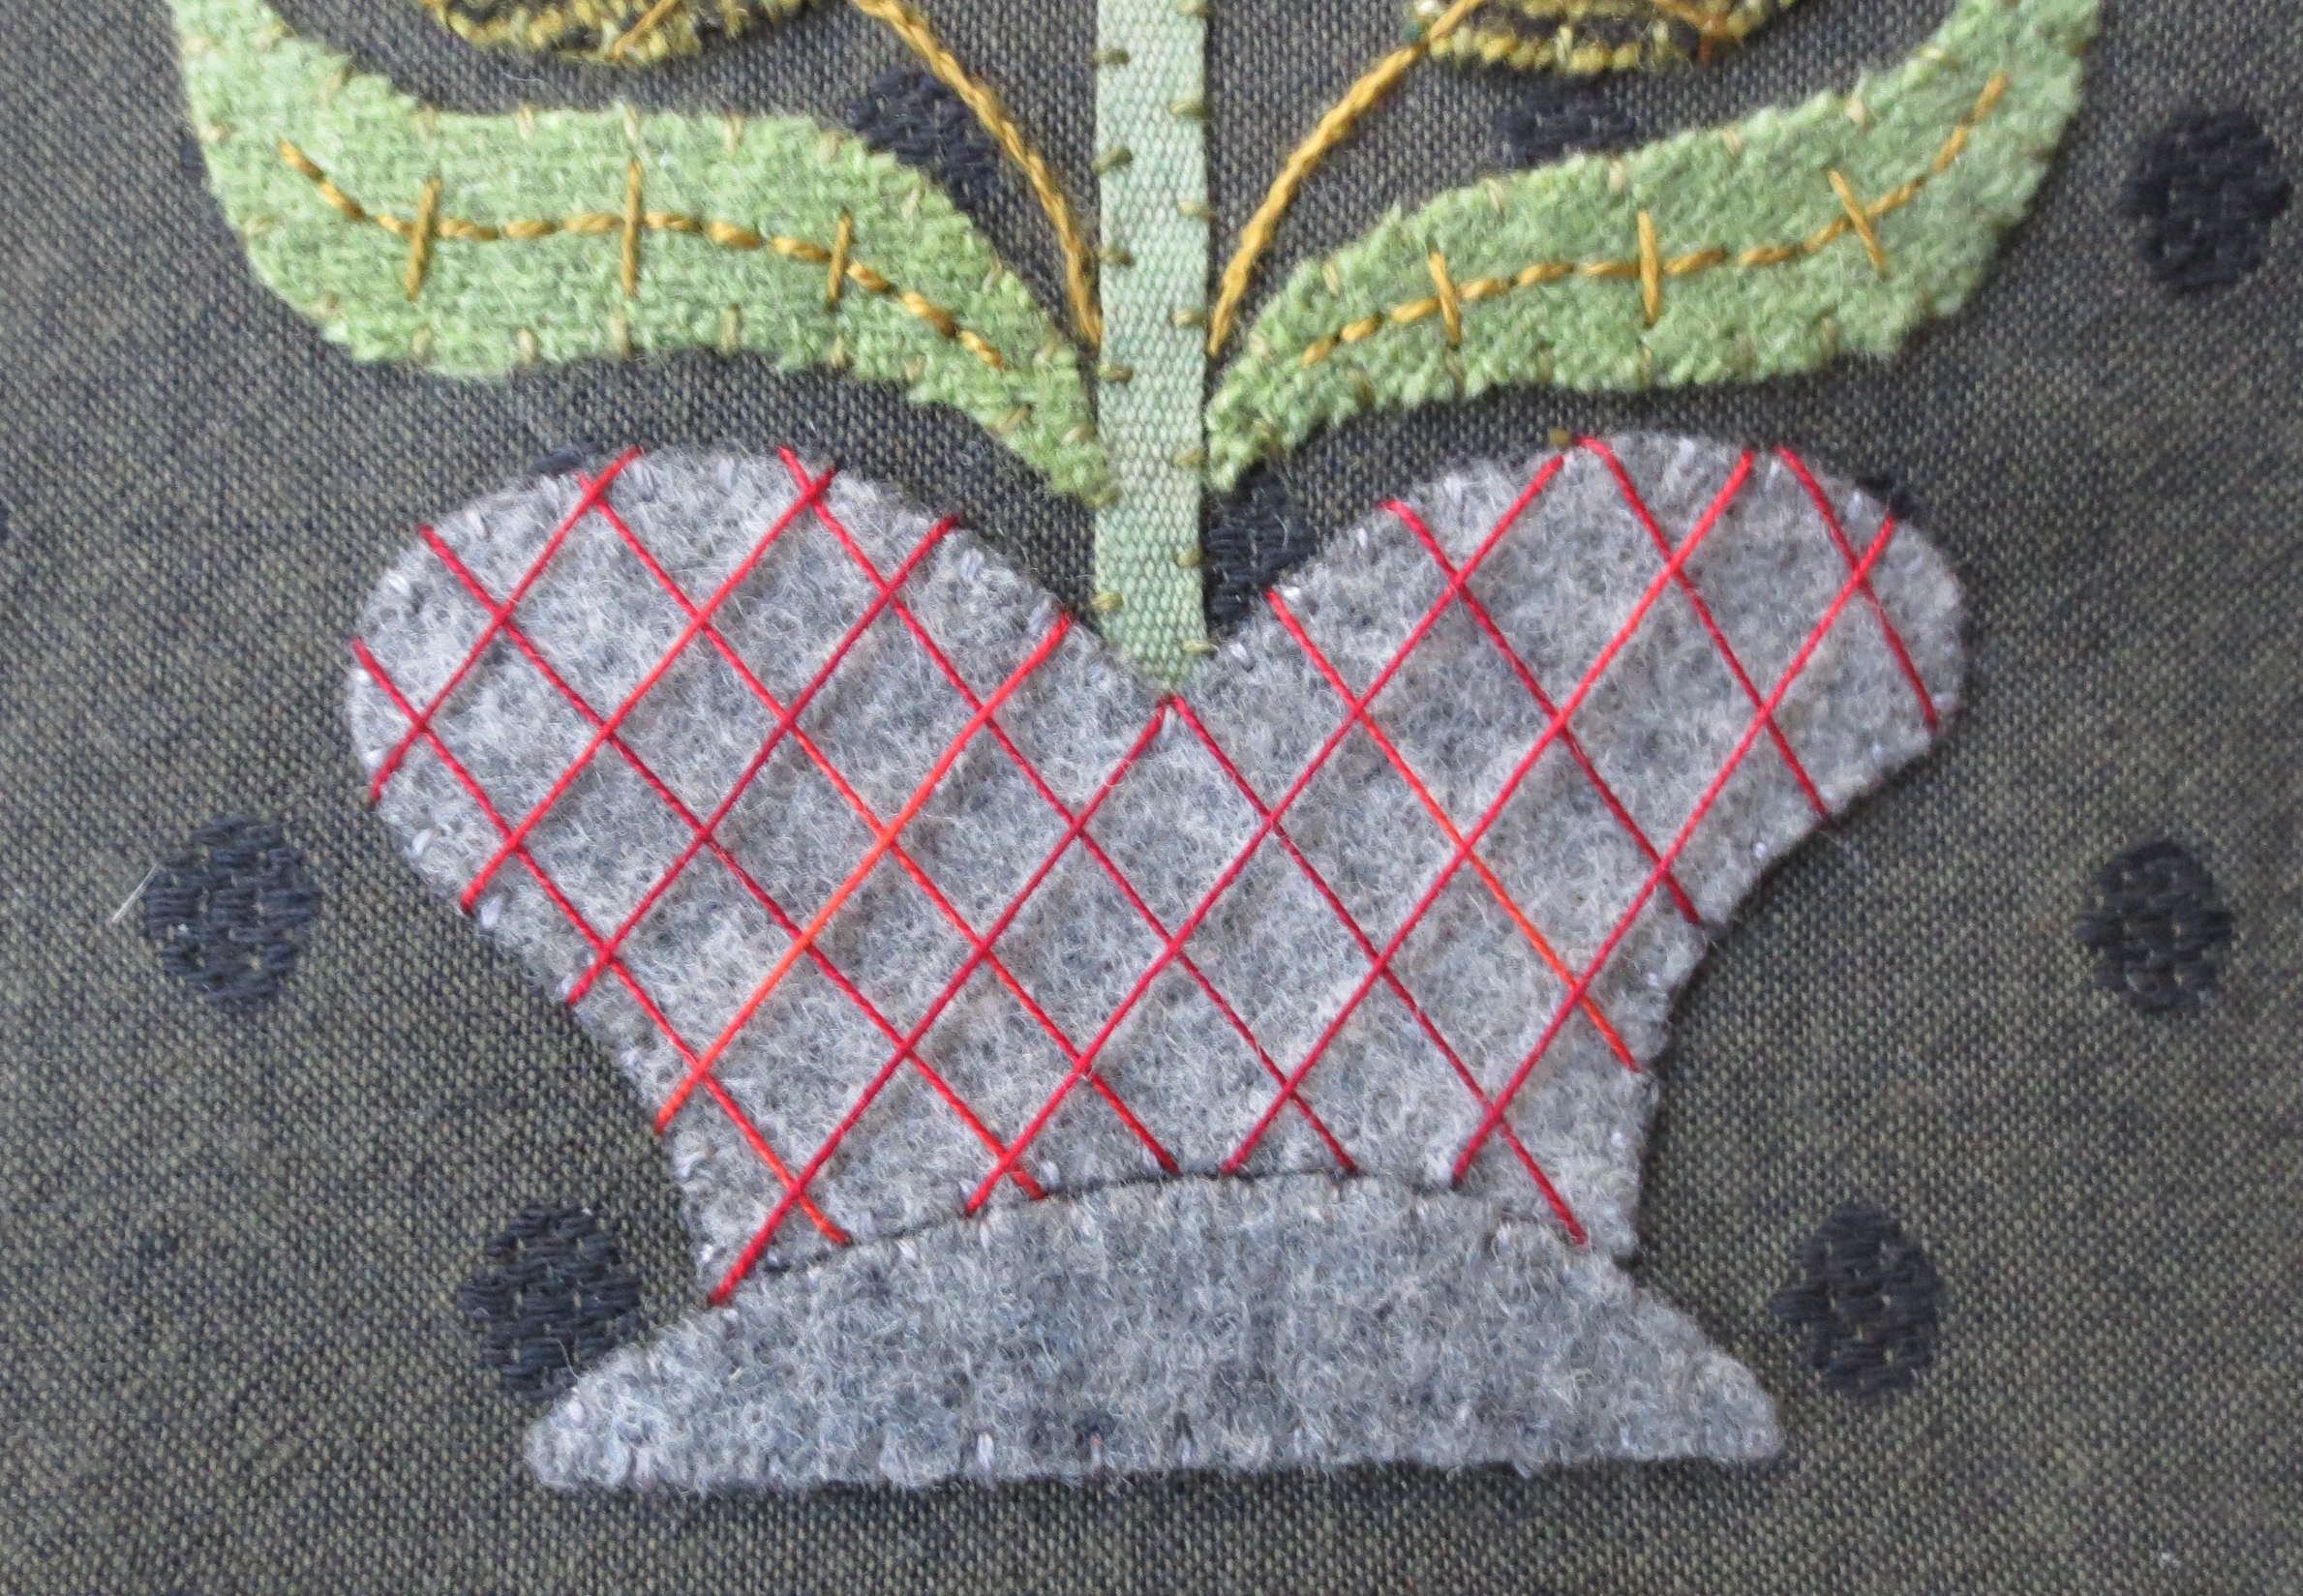
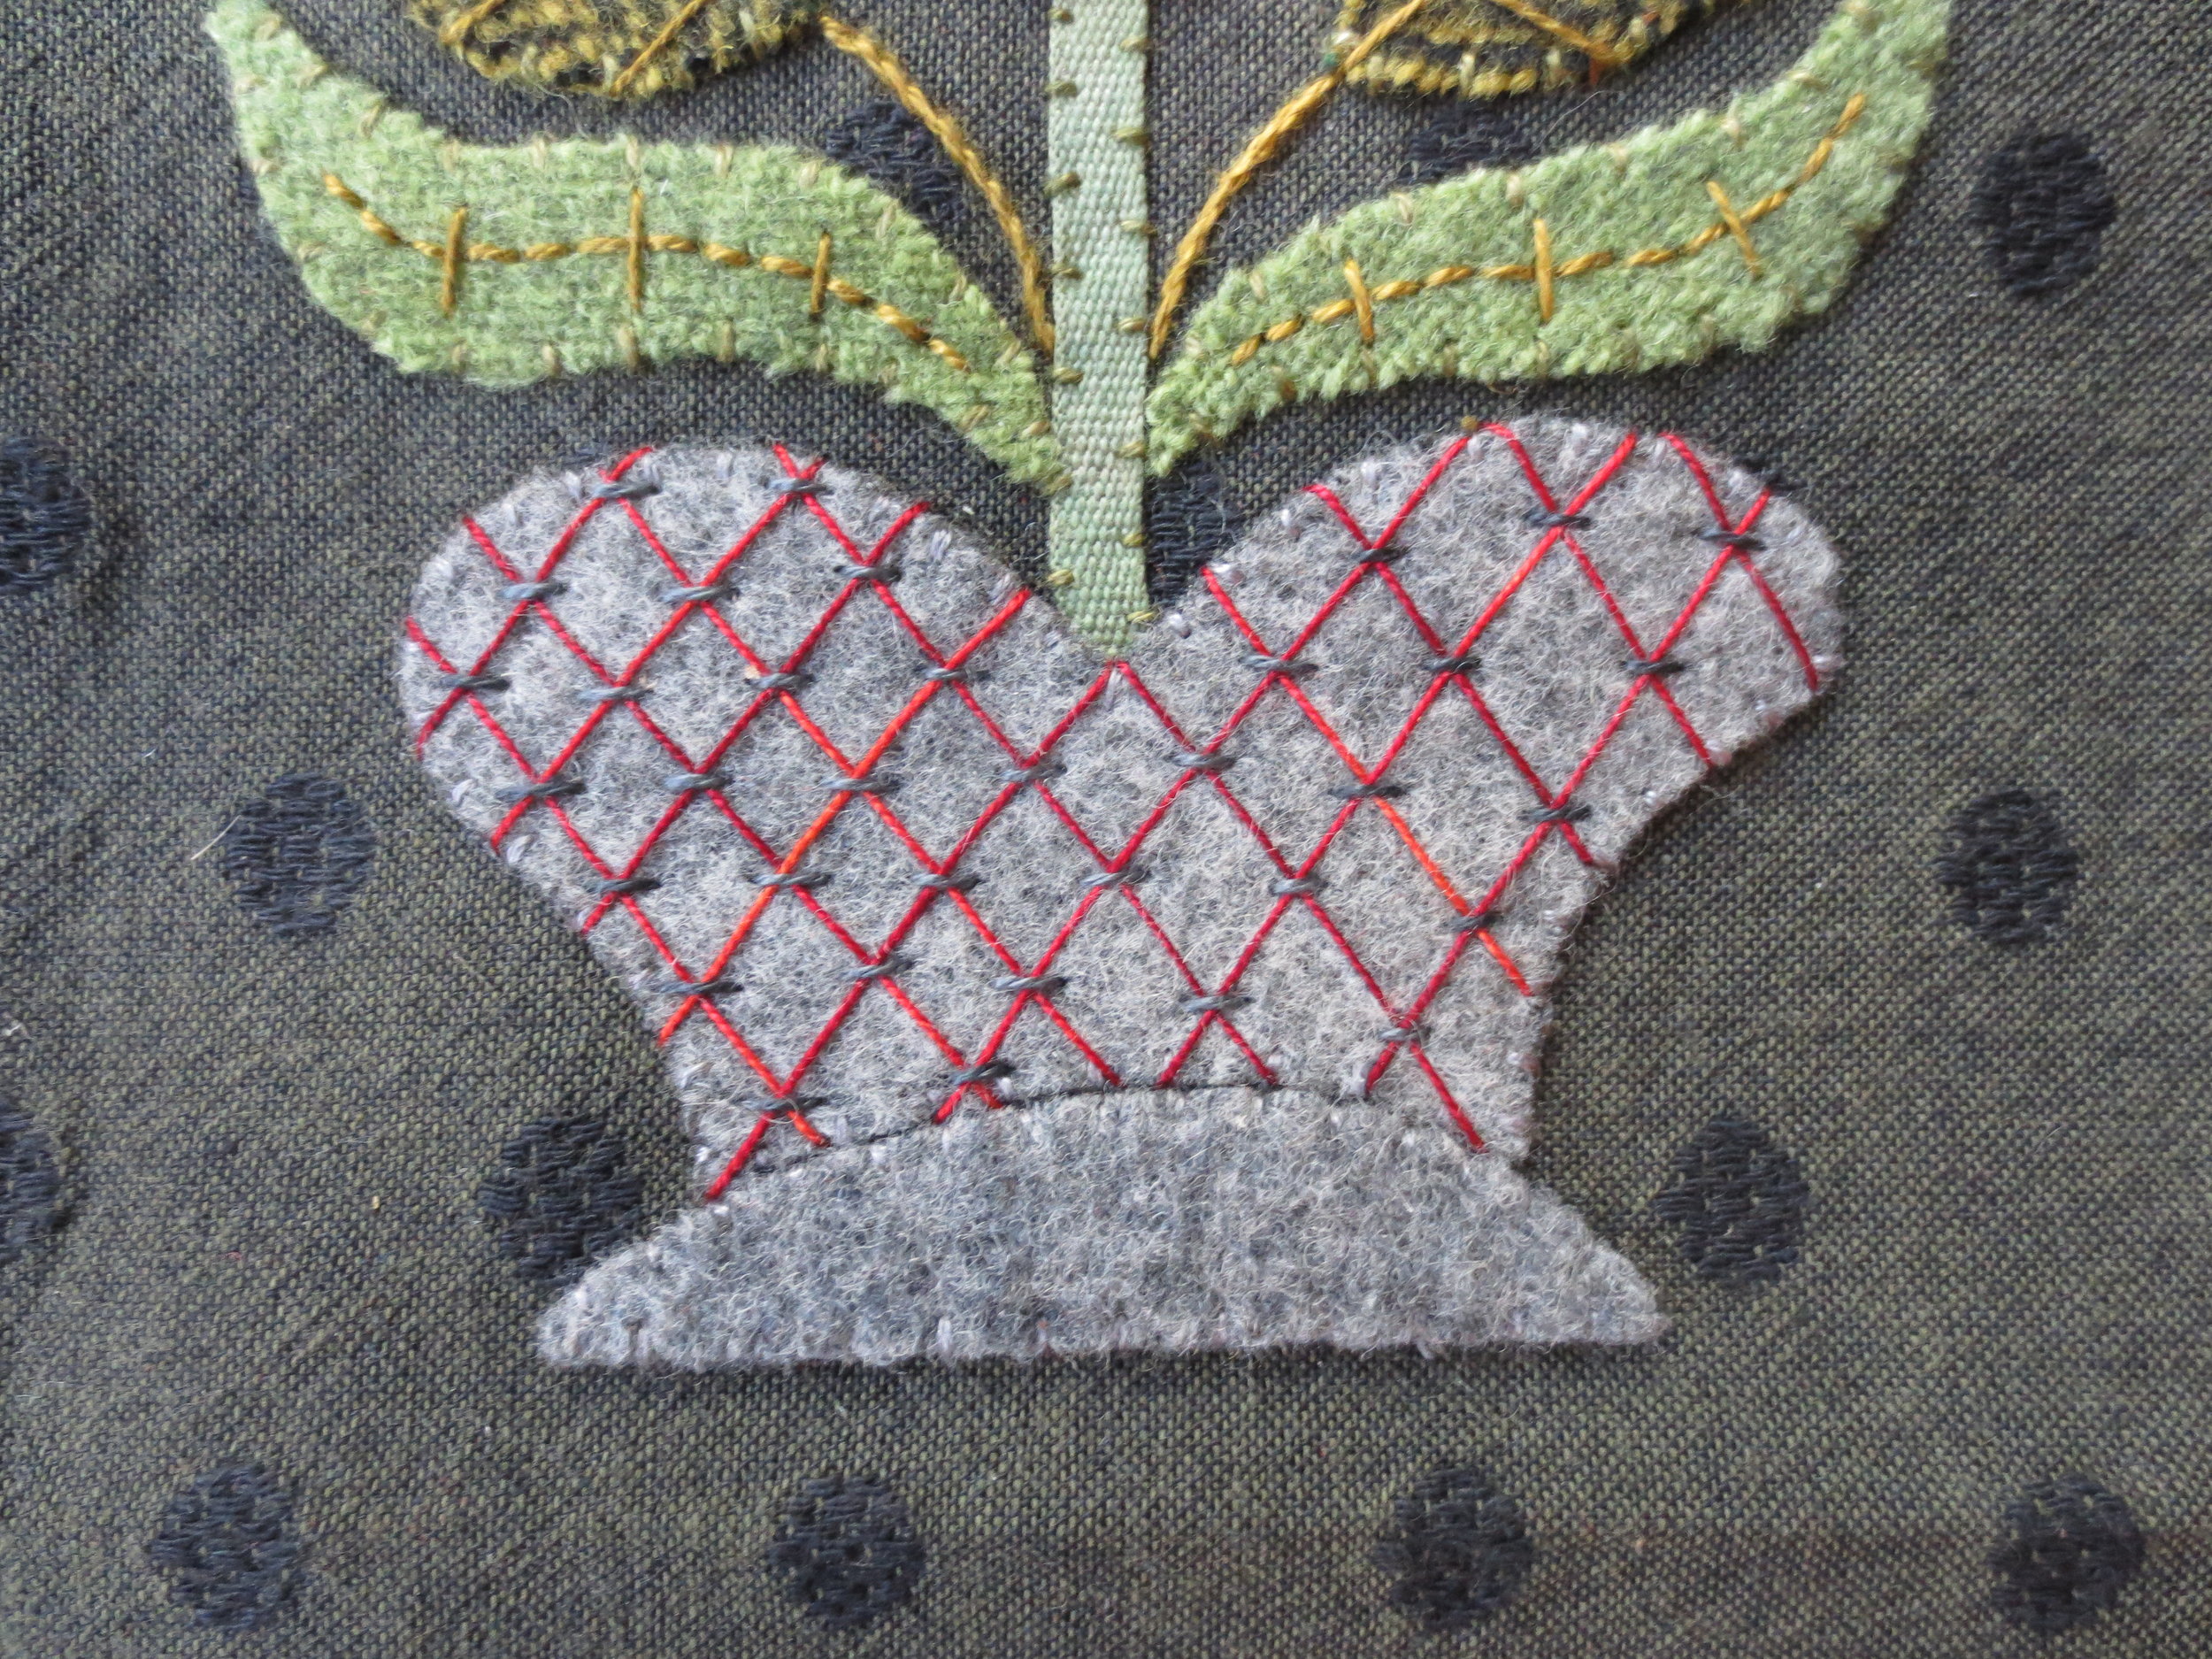
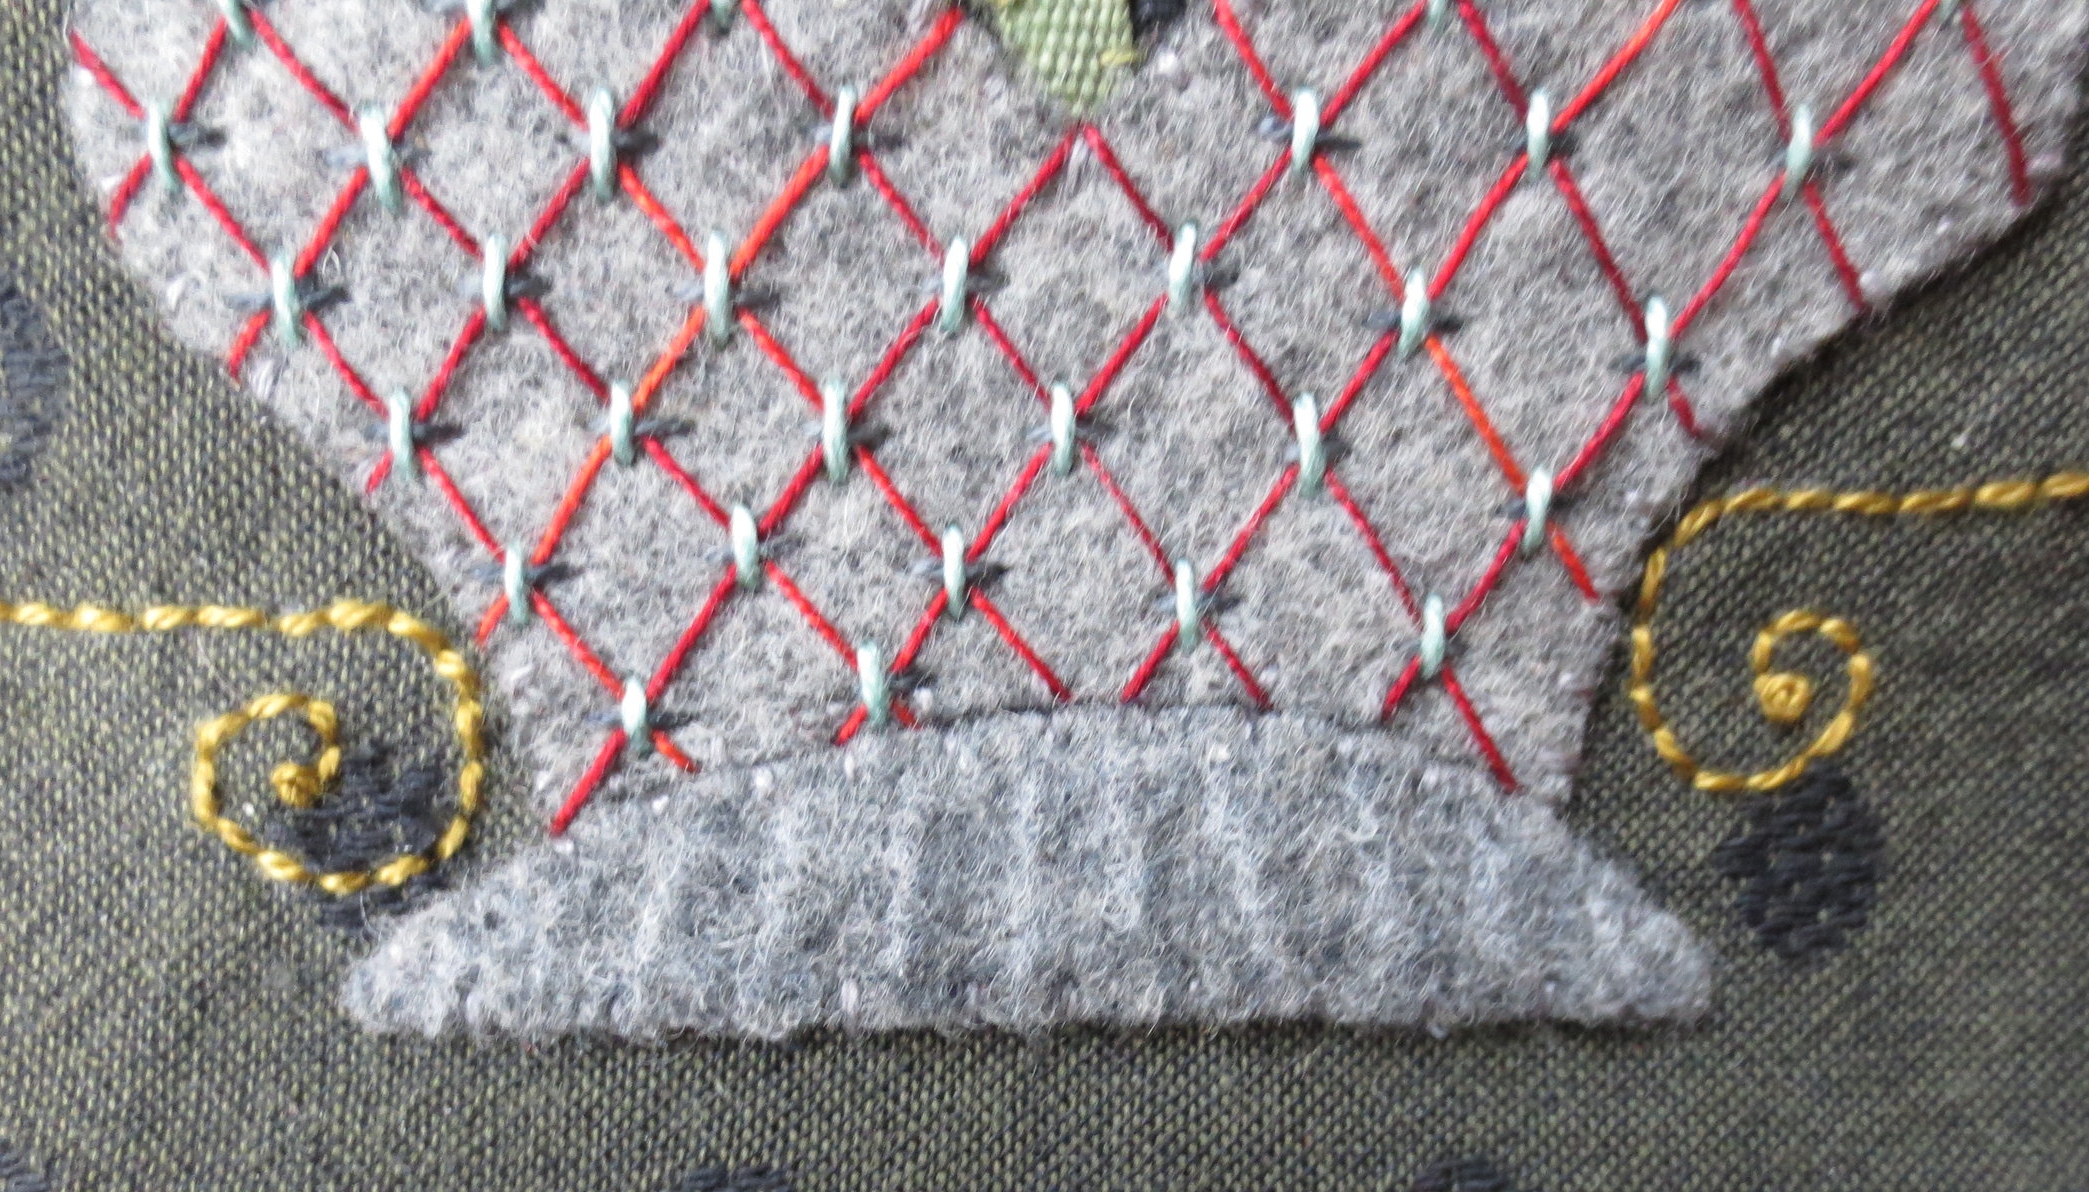
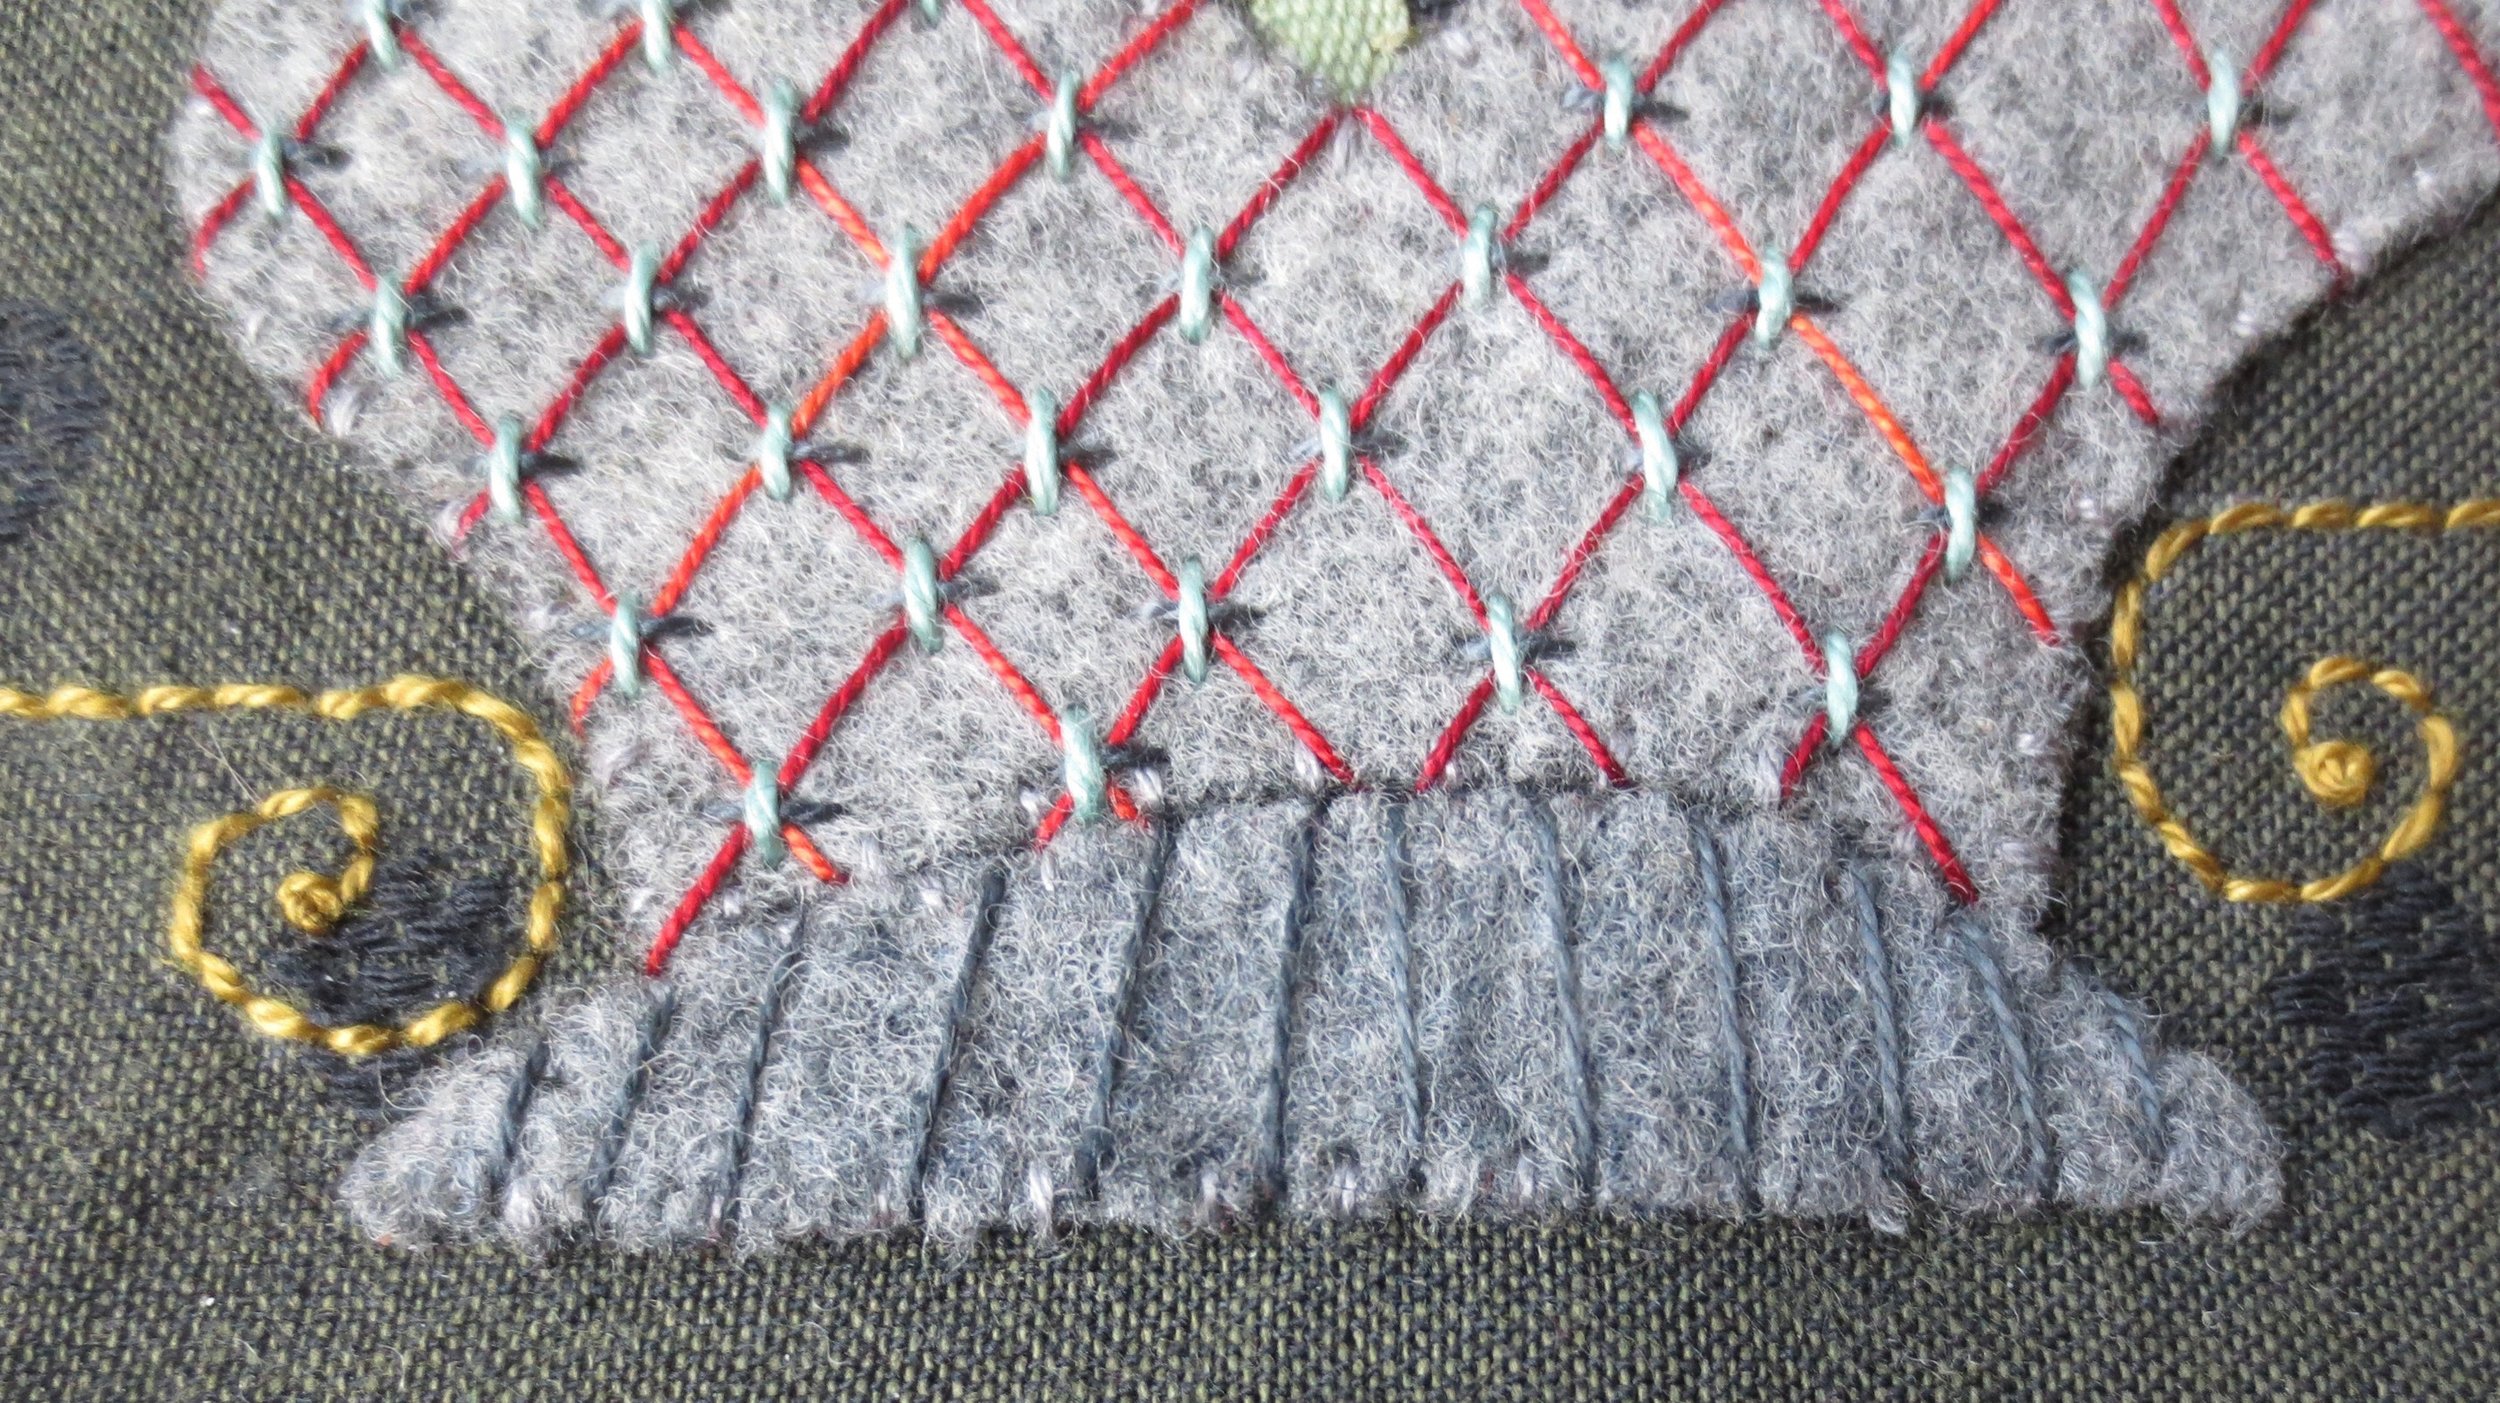
Use a chalk pencil to draw the diamond grid on the vase.
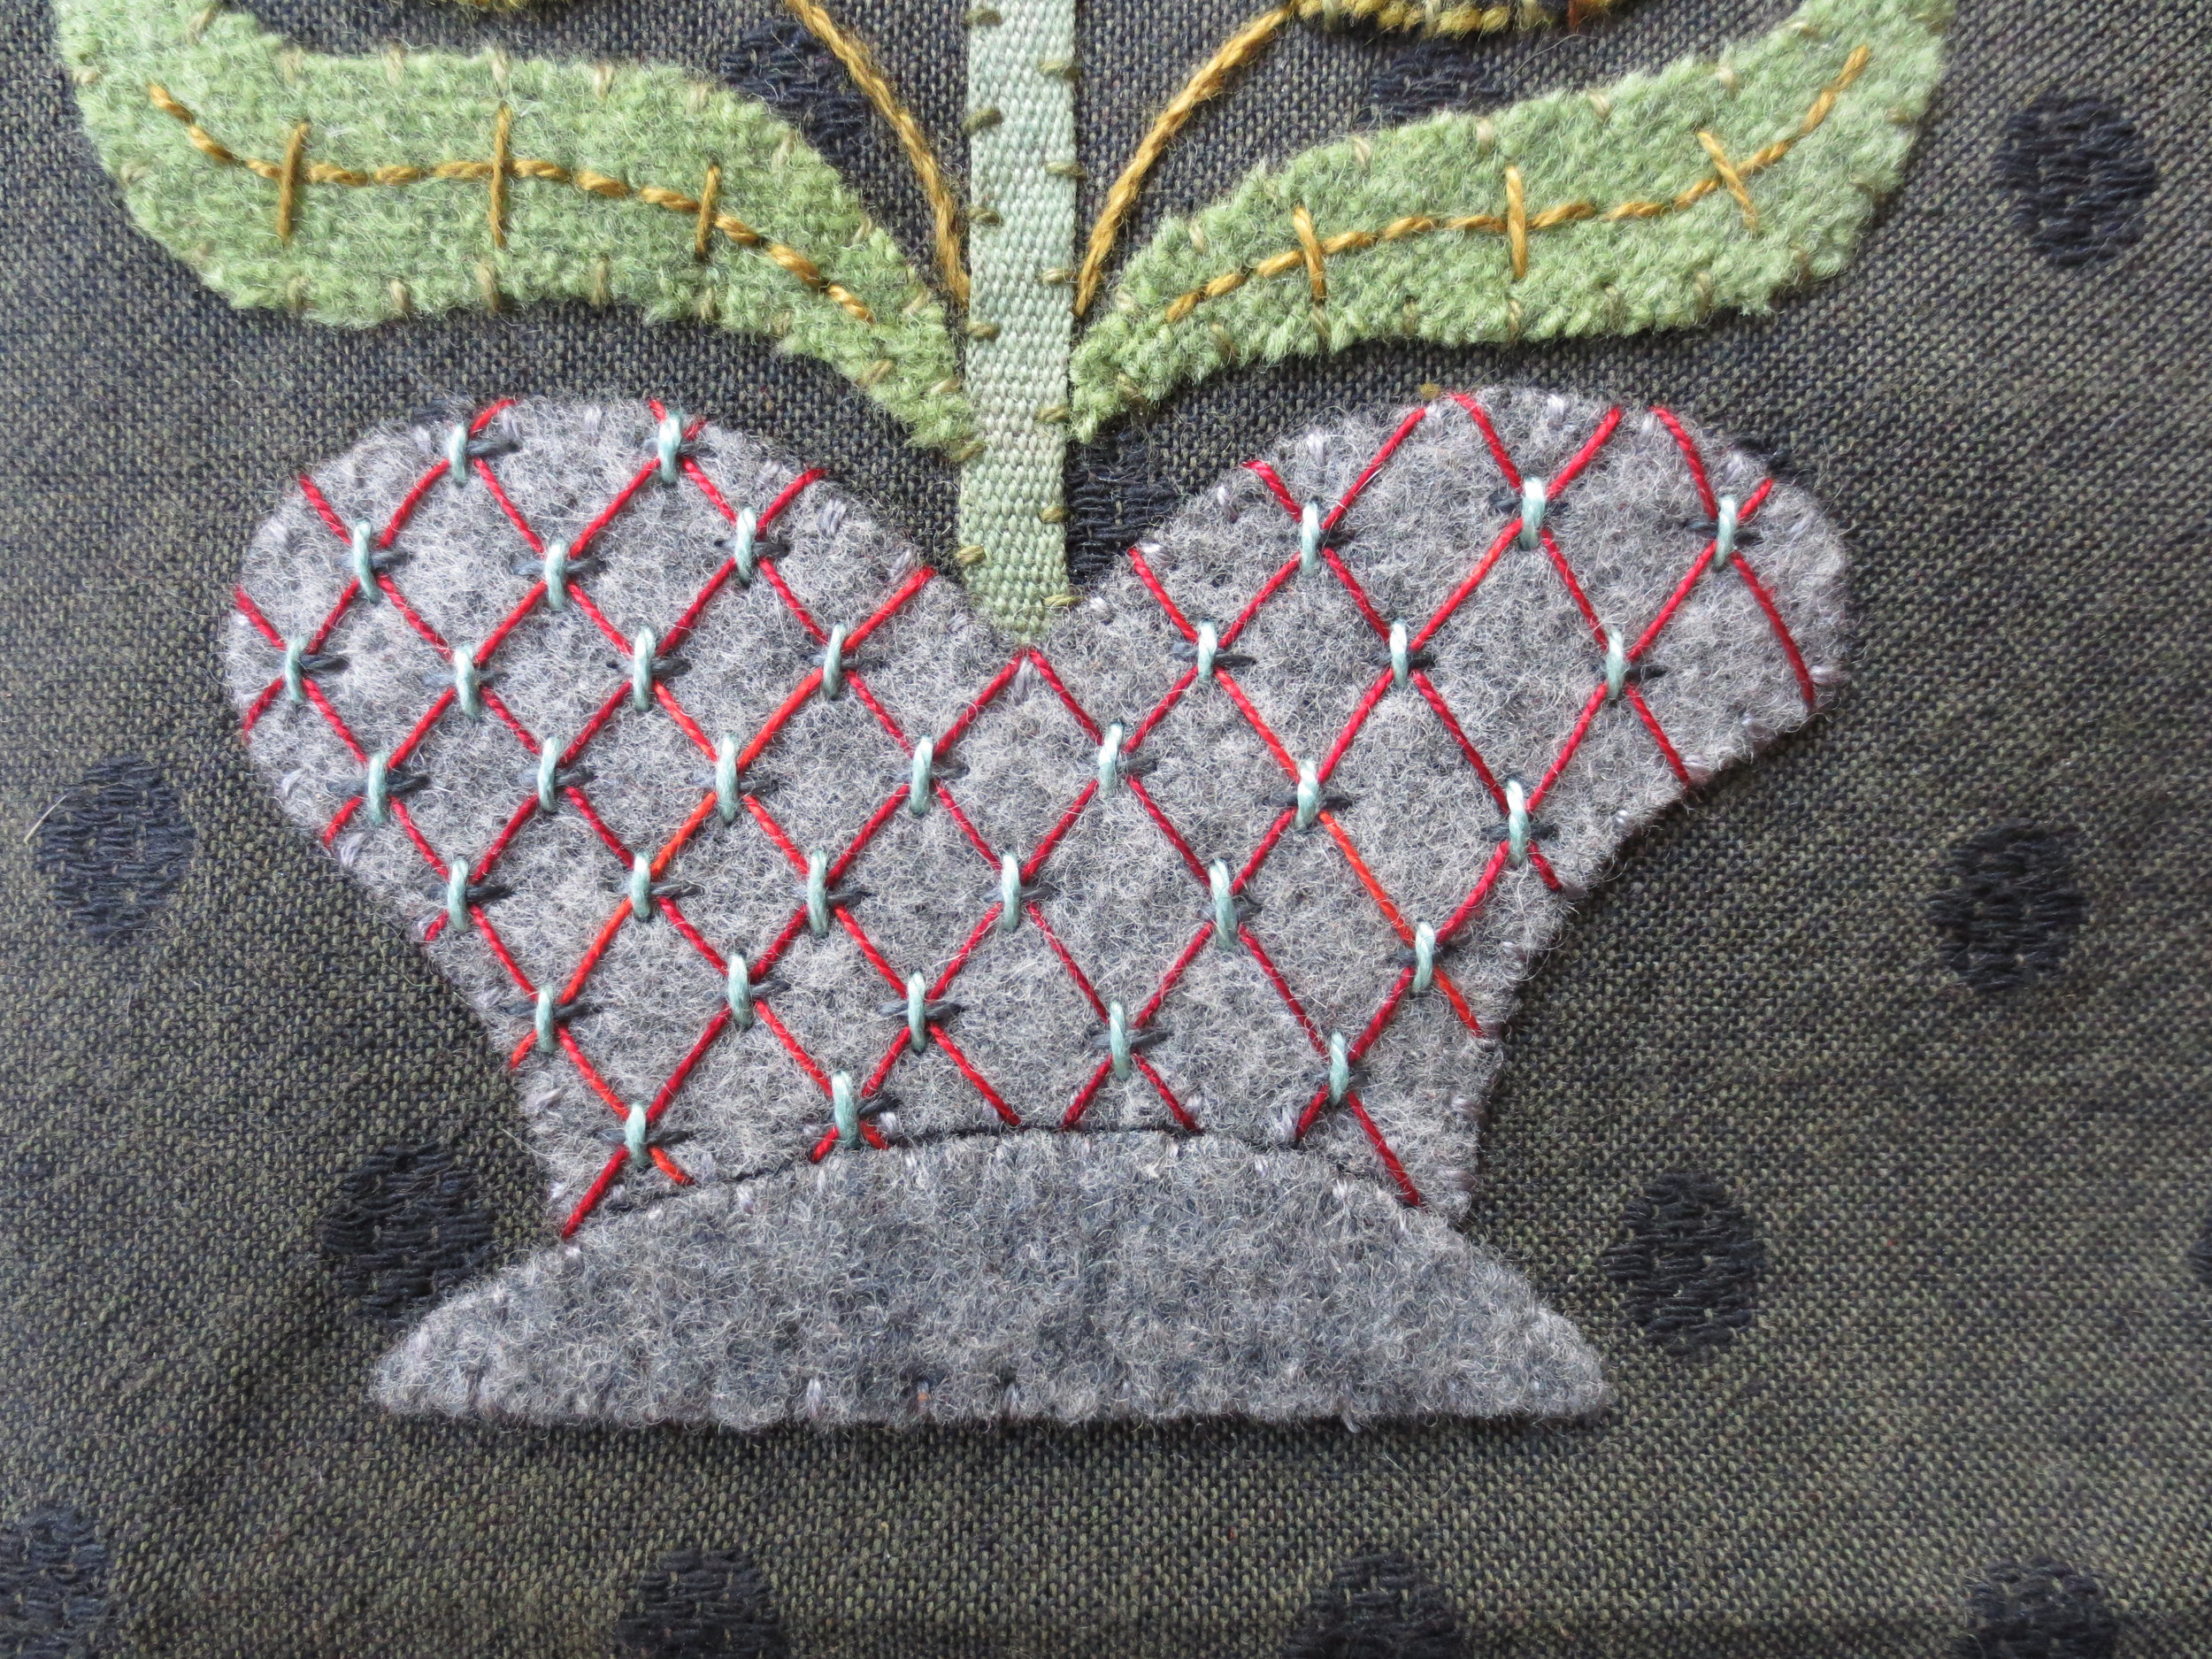
Use Valdani #M43 to straight stitch over the lines. This is a variation of the square laid stitch, called a diagonal laid stitch.The stitches begin and end off the edges of the vase. Begin at one side of the vase and complete all the same directional stitches unti you reach the other side, then begin the stitches that angle the opposite direction, crossing over your first stitches.
Now we need to tack down those intersections. Use Valdani #893 to make small (1/8") horizontal stitches across each intersection.
Use Valdani #311 to stitch small (1/8") vertical stitches perpendicular to the previous horizontal stitches.
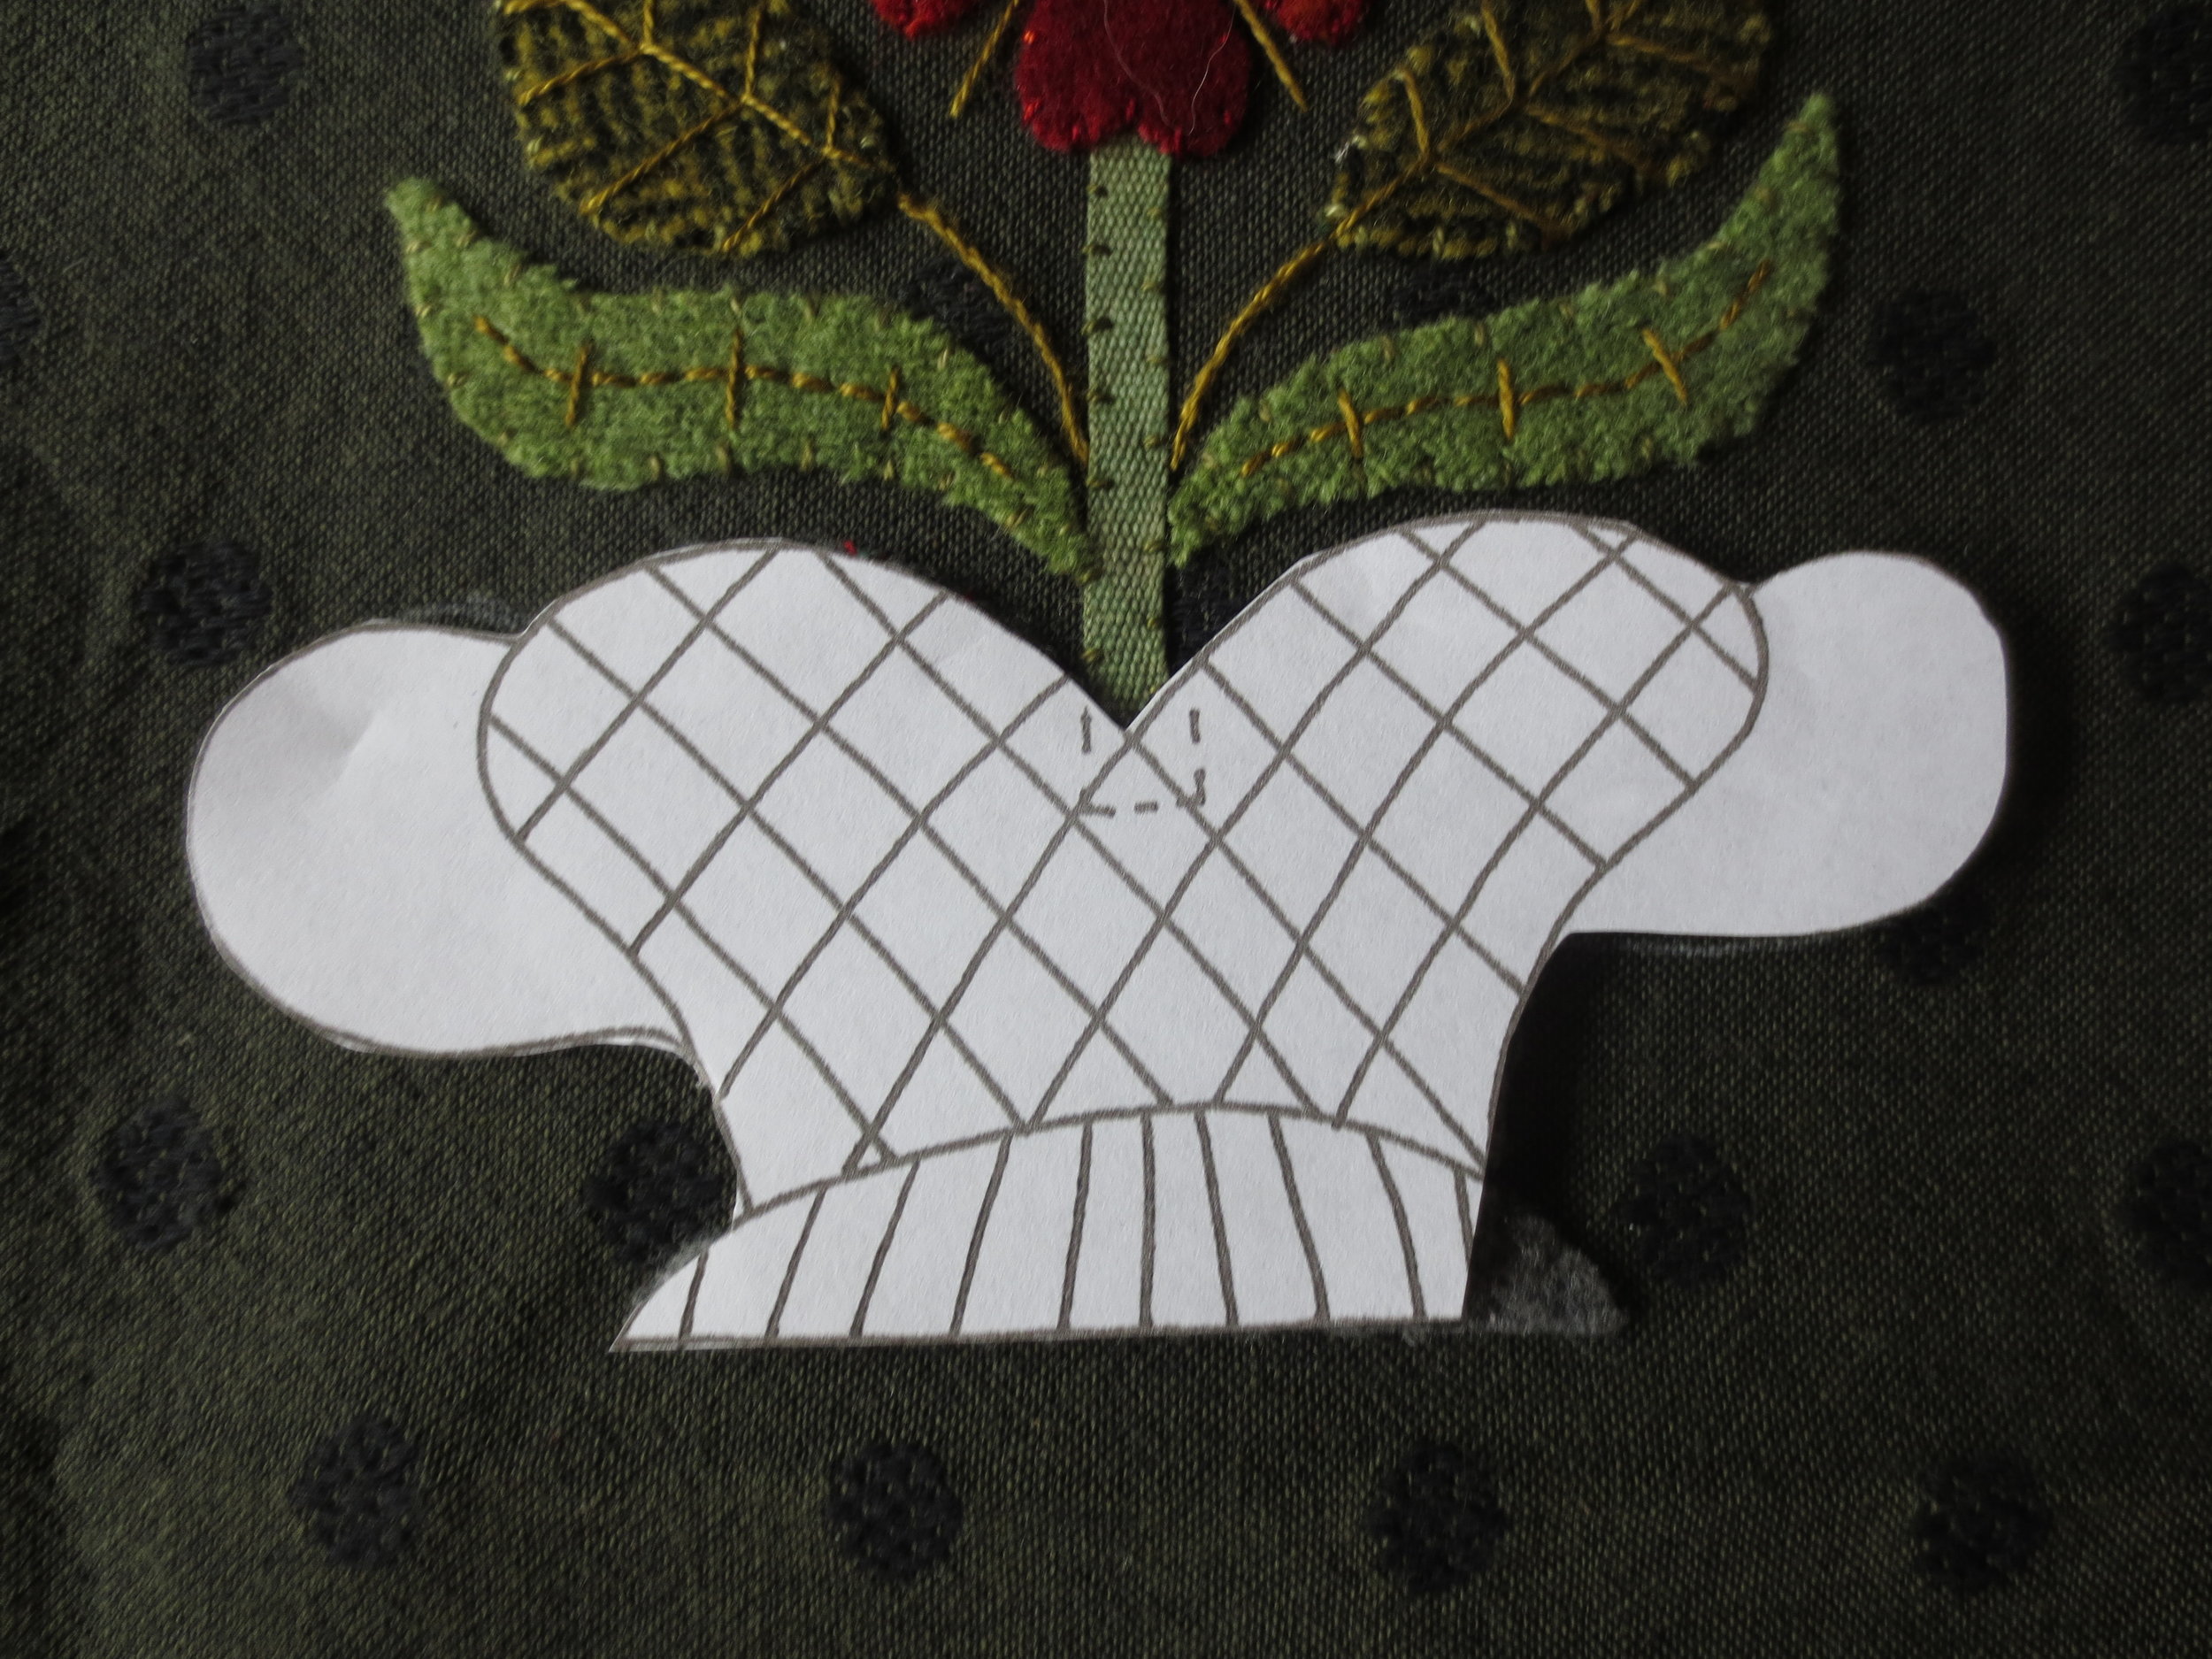
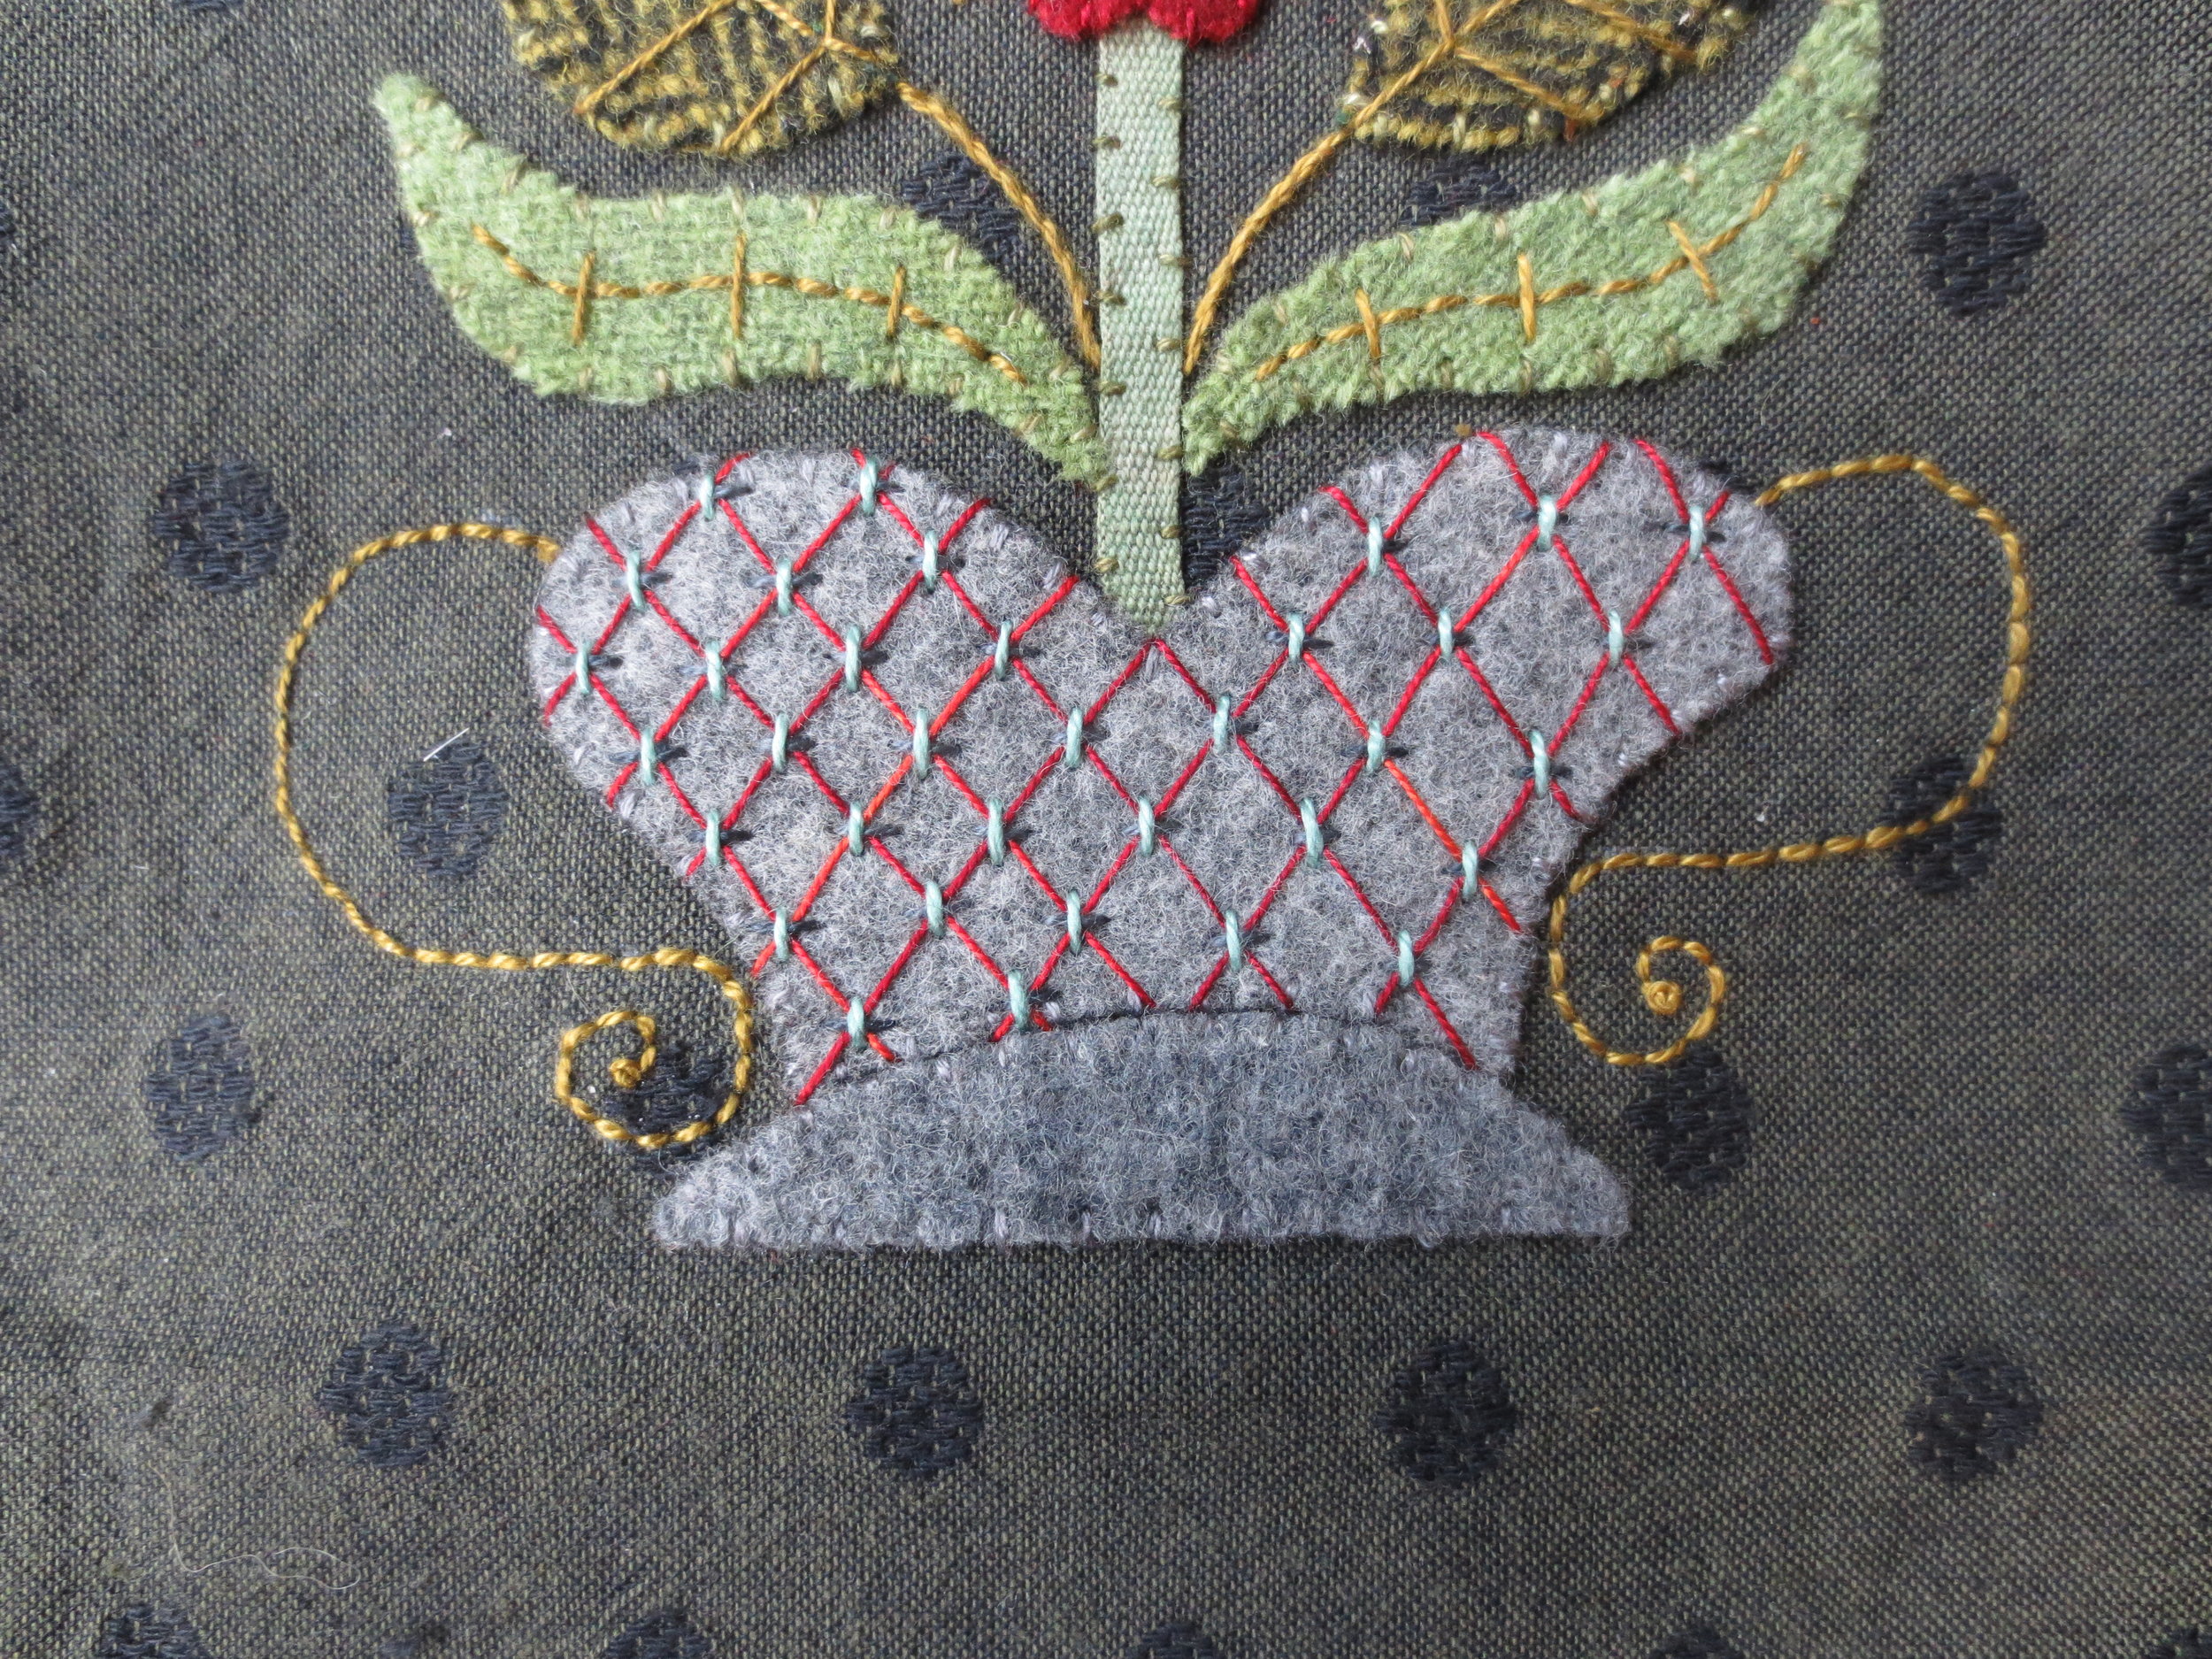
Draw the handles on the sides of the vase. If you need extra guidance on placement you can he make an additional copy of the layout and cut out the handles and use them as templates (see below). You will still have to draw the bottom curve.
Back stitch over the lines with Valdani #O153.
Use the same thread to make a french knot at the end of each handle.
Draw guide lines on the vase base. Straight stitch over the lines with Valdani #893.
You can add your initial and the date on each side of the vase if desired. I drew my initials on the left side and the date on the right, then I back stitched over the lines with the same floss I whip stitched the vase with (DMC #414).
The front is almost done!
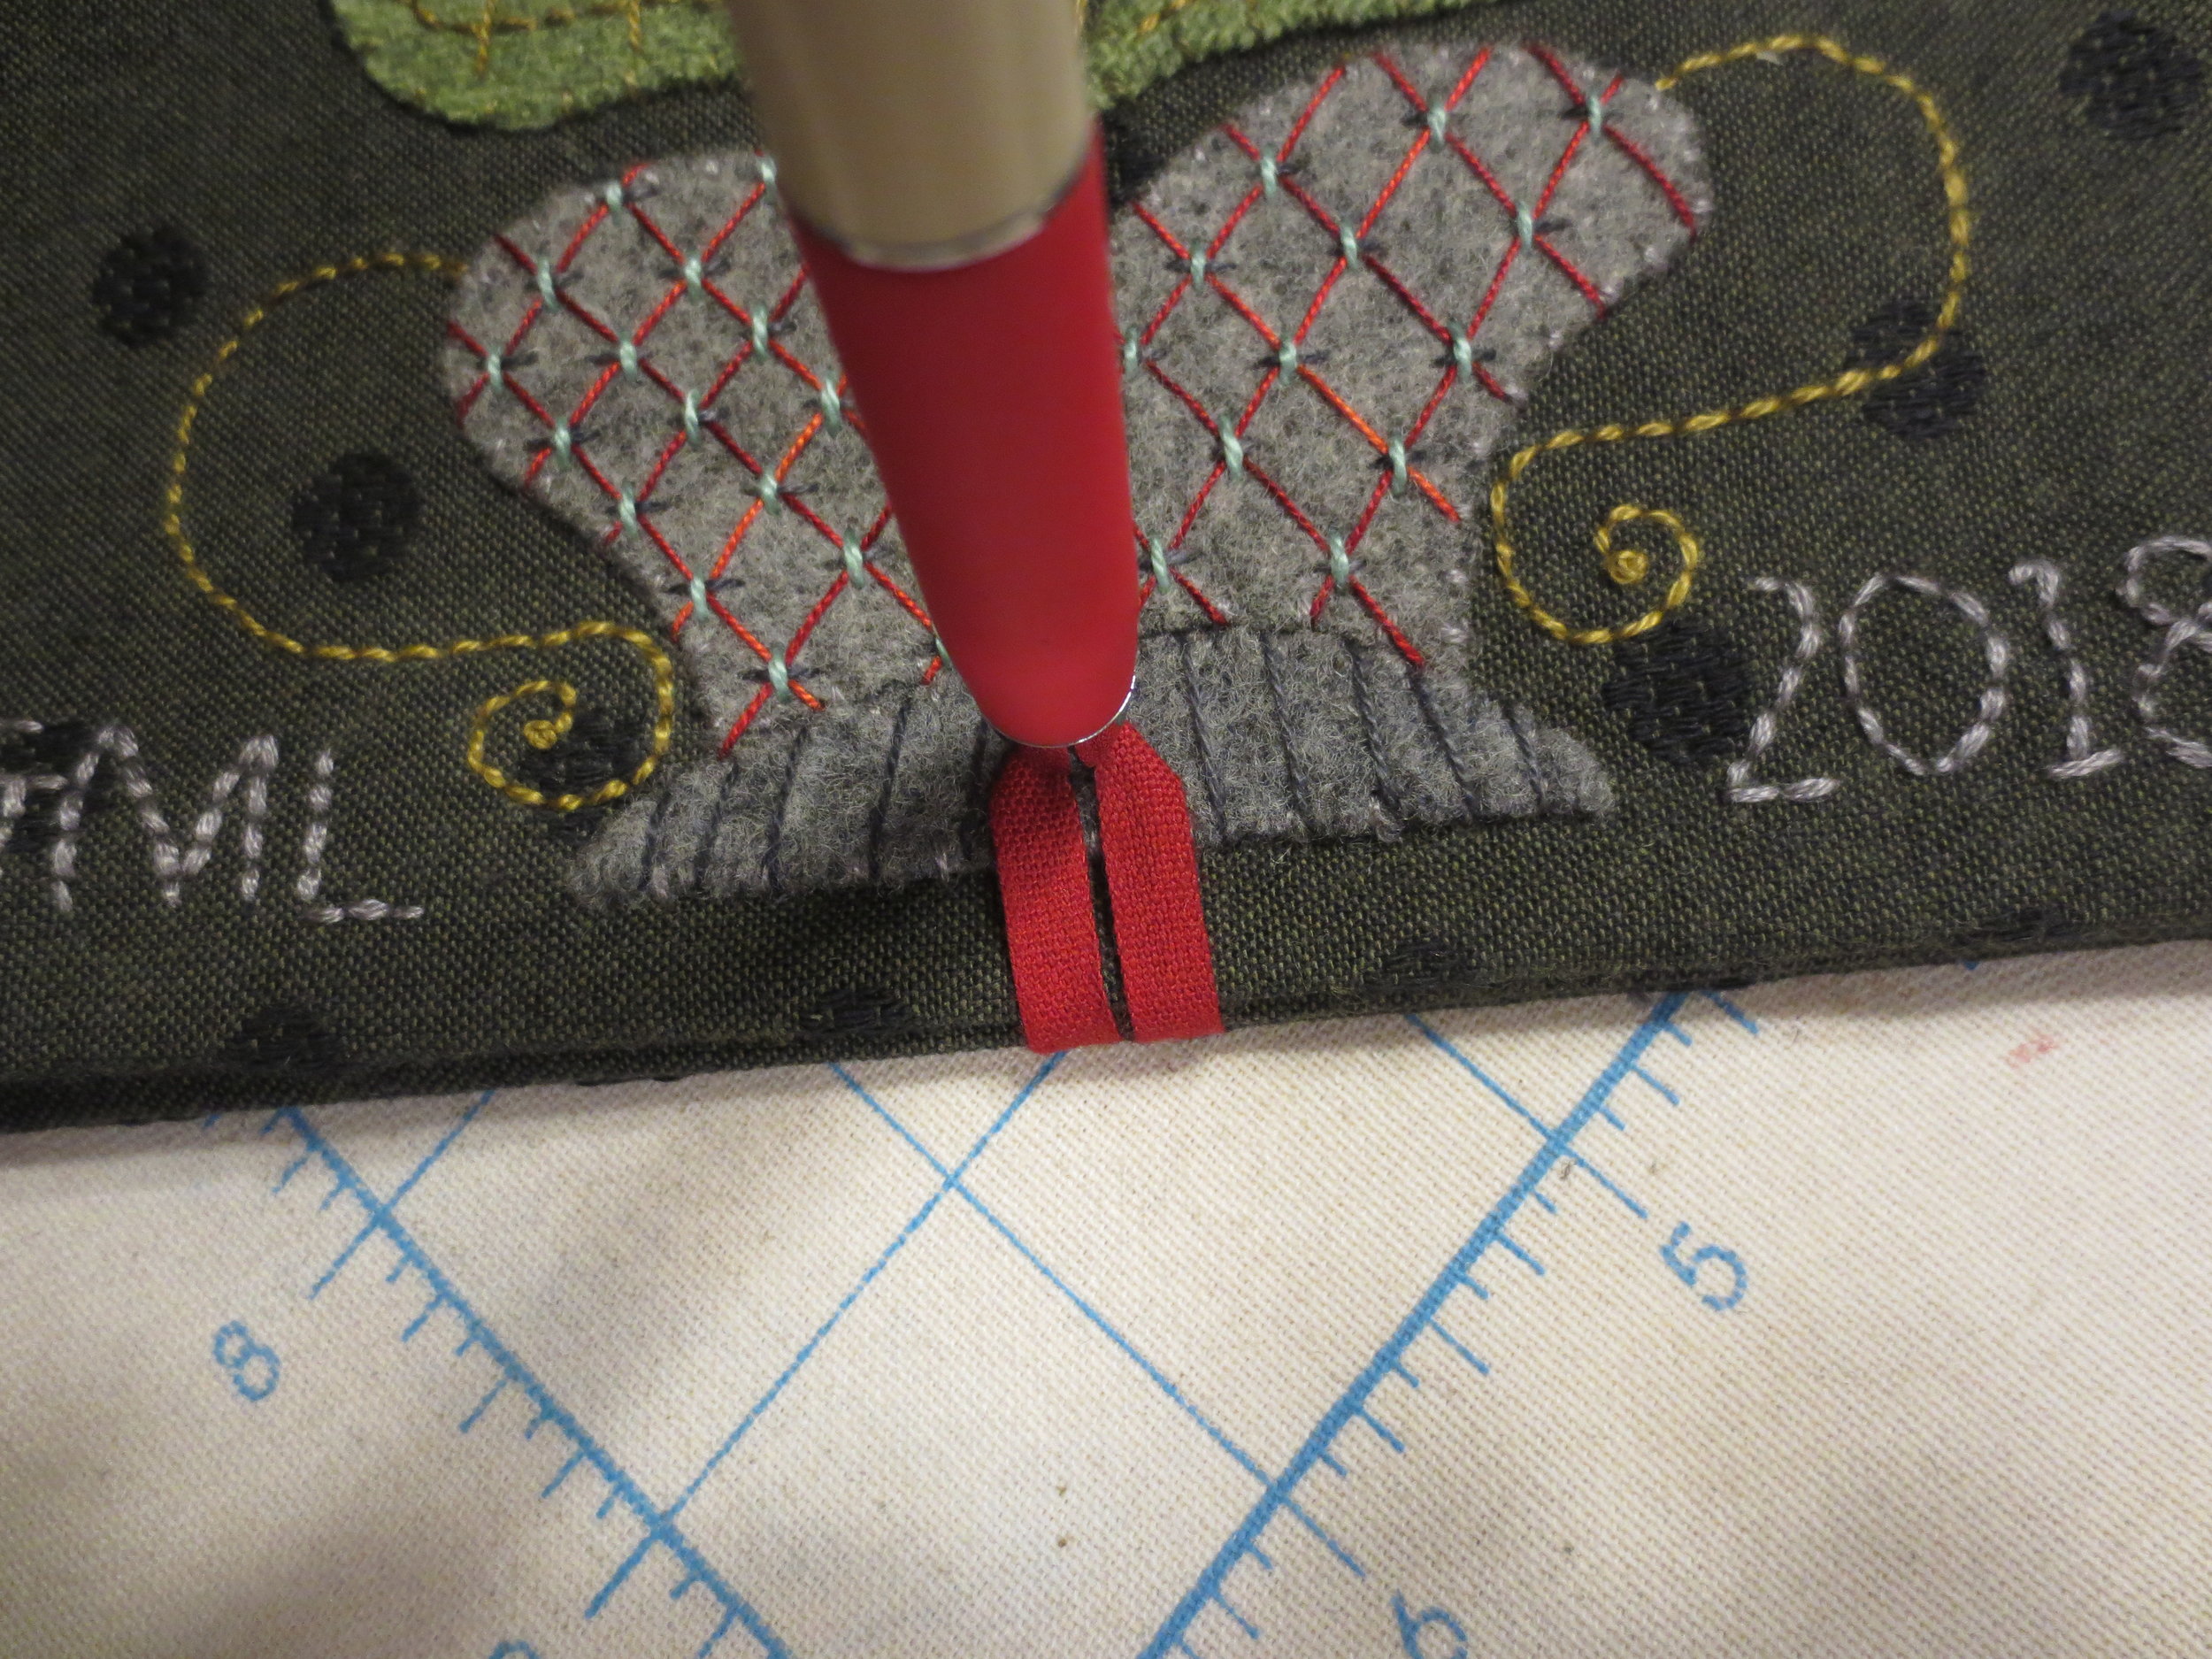
Now fold under both ends of the background with the front of the "keep" up.
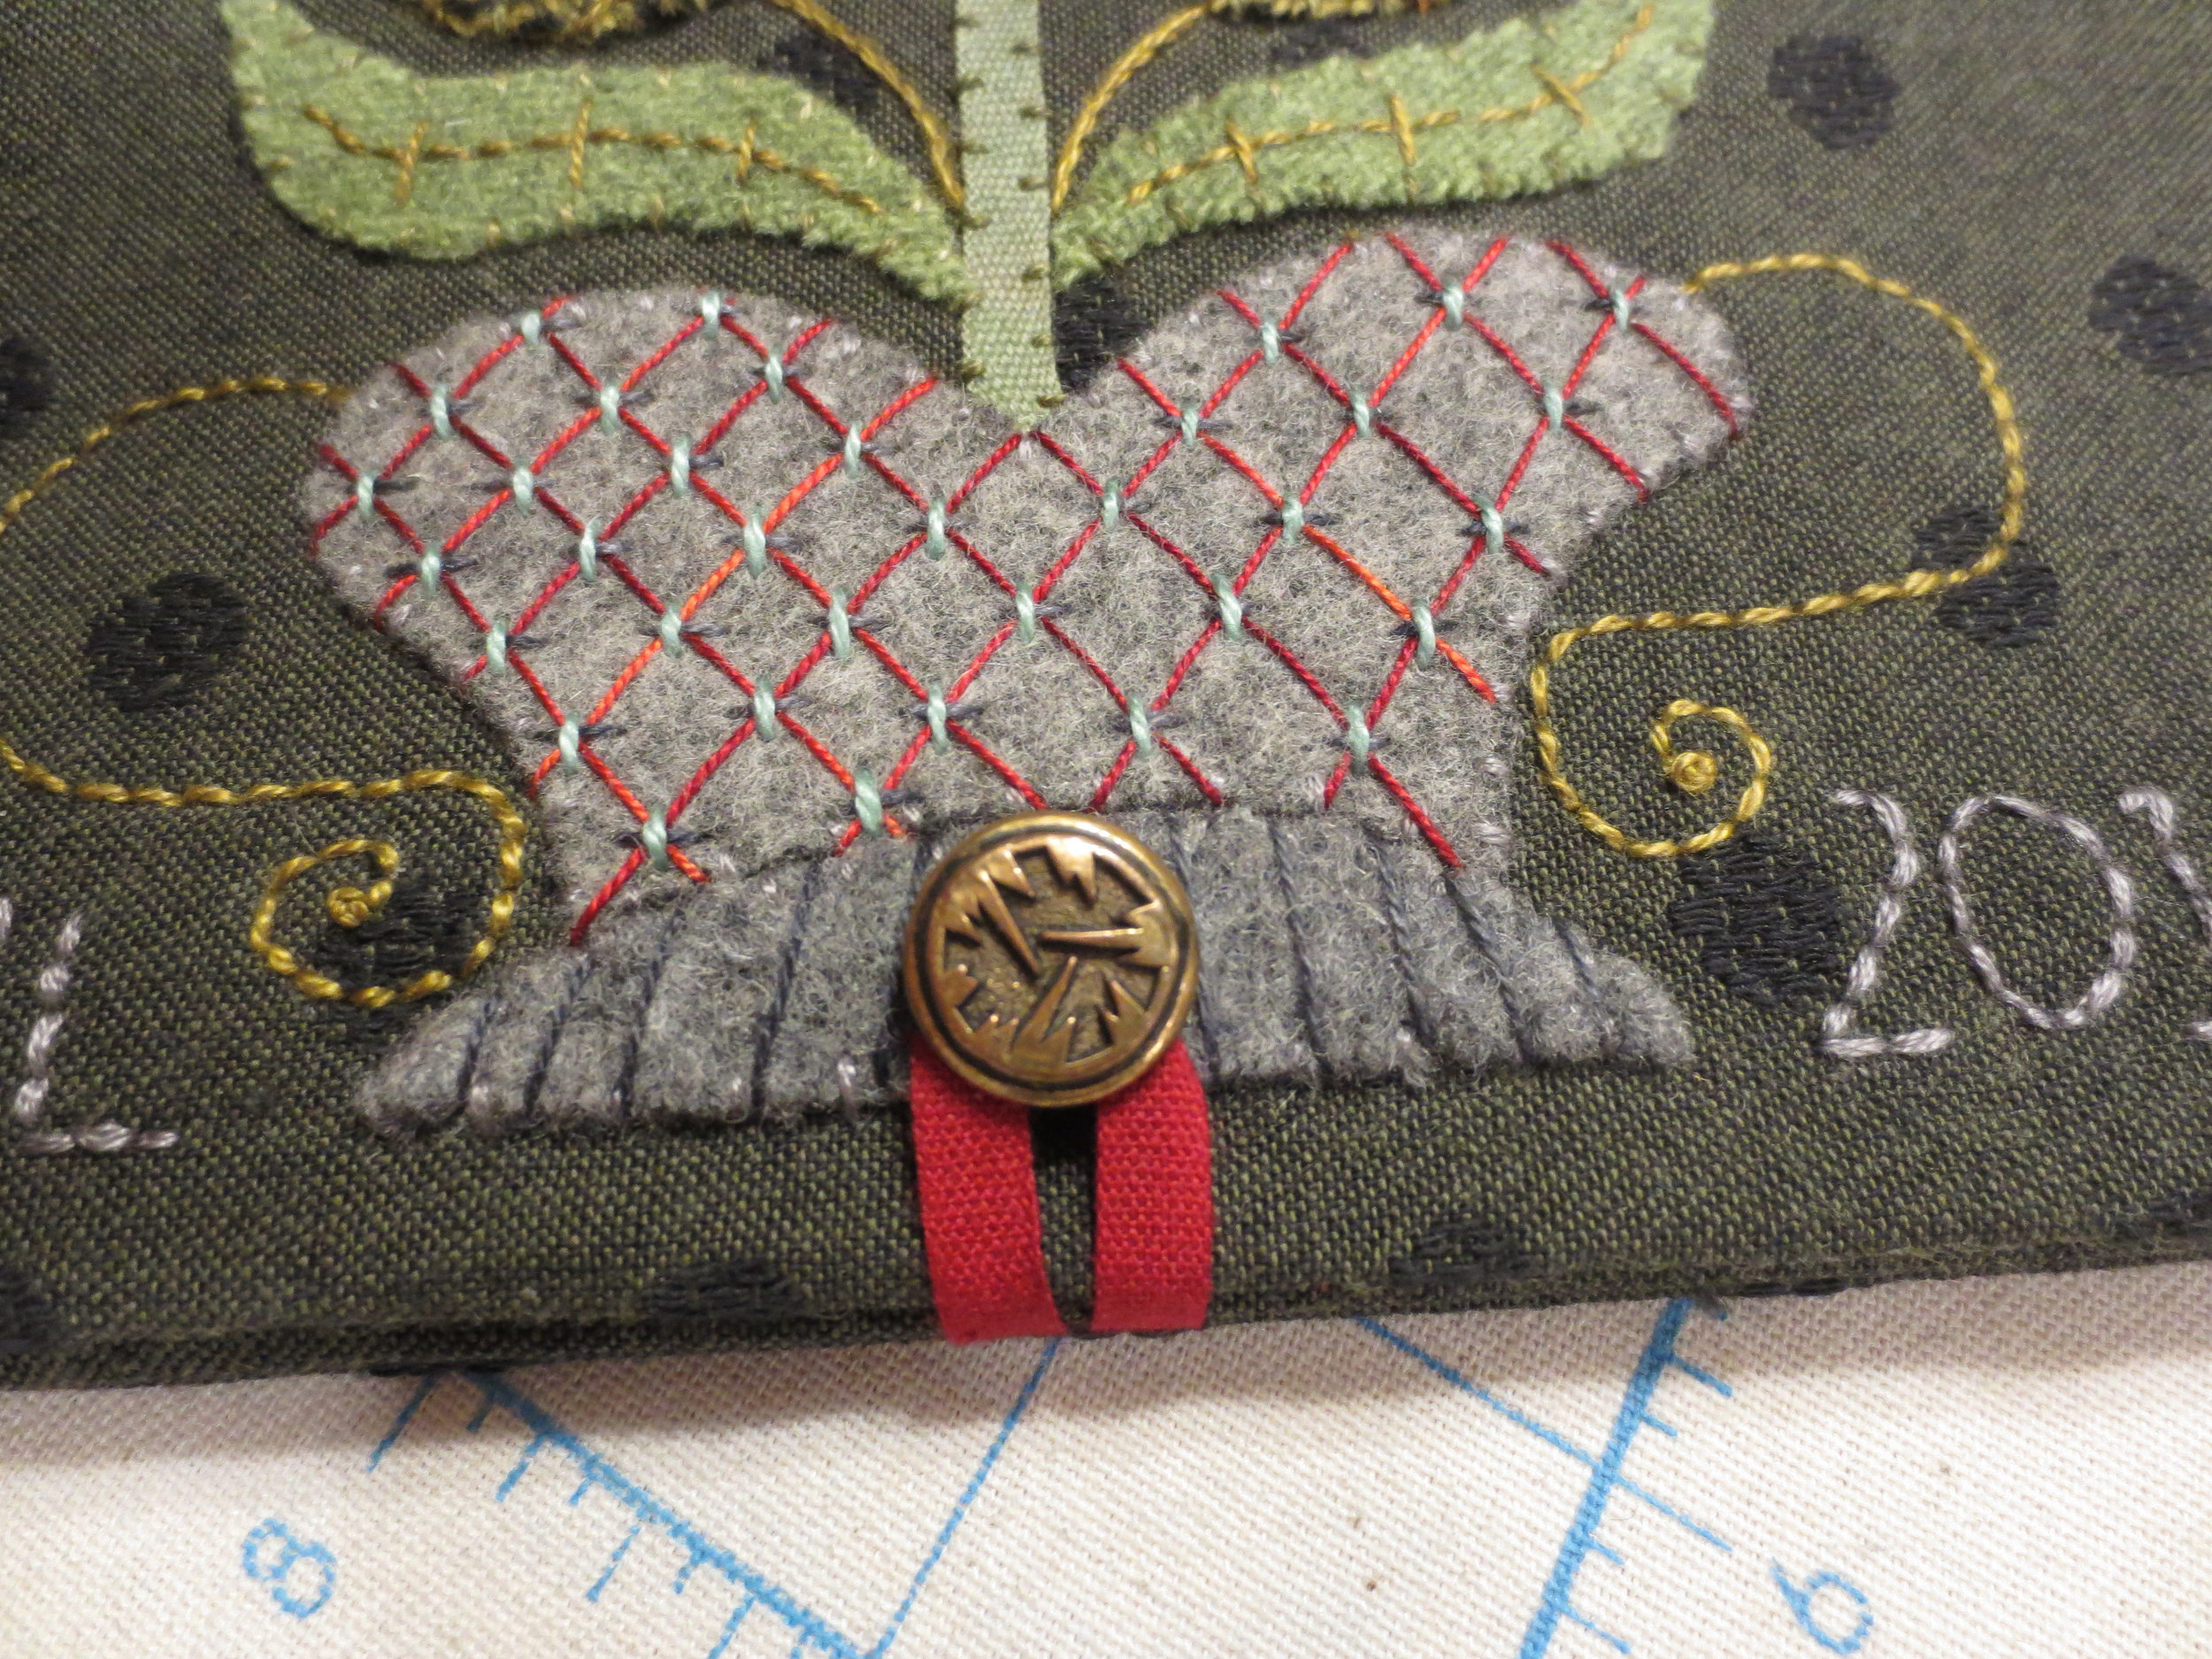
Bring the ribbon loop around to the front and mark the point in which the shank of the button will sit.
Unfold the background and sew the button to the bottom of the vase.
Let's do the back of the "keep".
Unbutton the loop and flip the "keep" over. The center fold will be the top of the back cover and the ribbon loop will be the bottom.
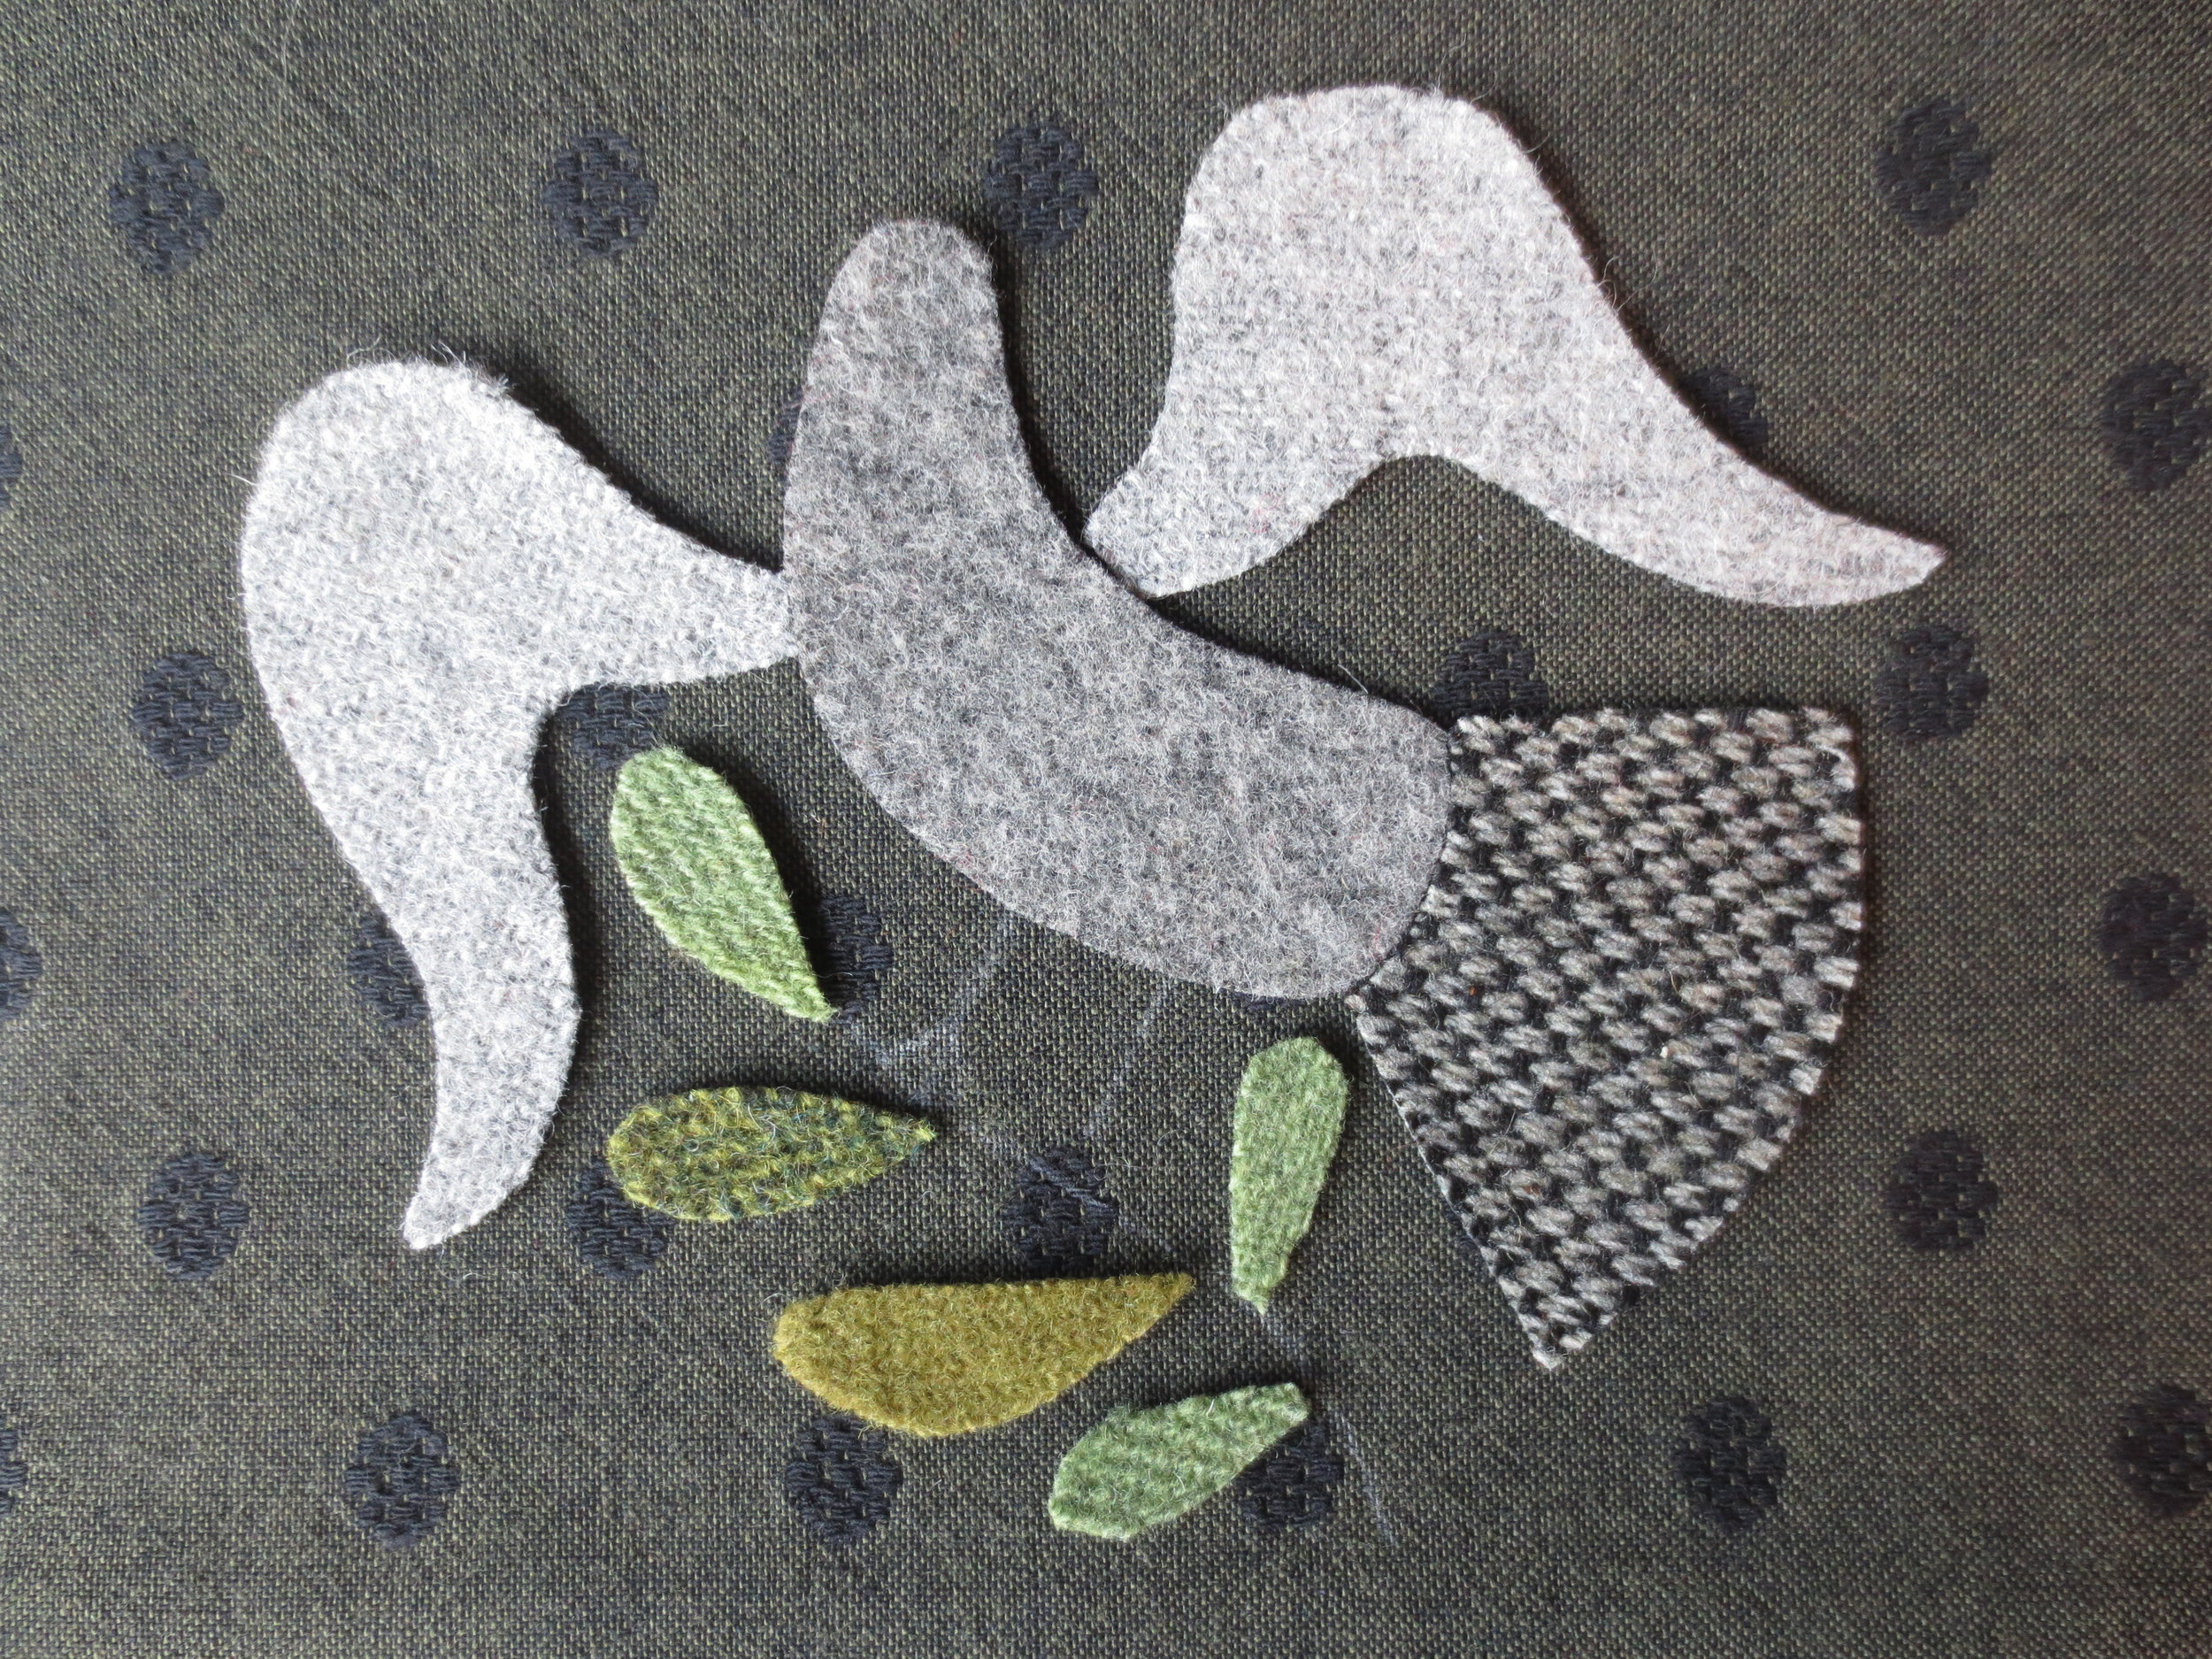
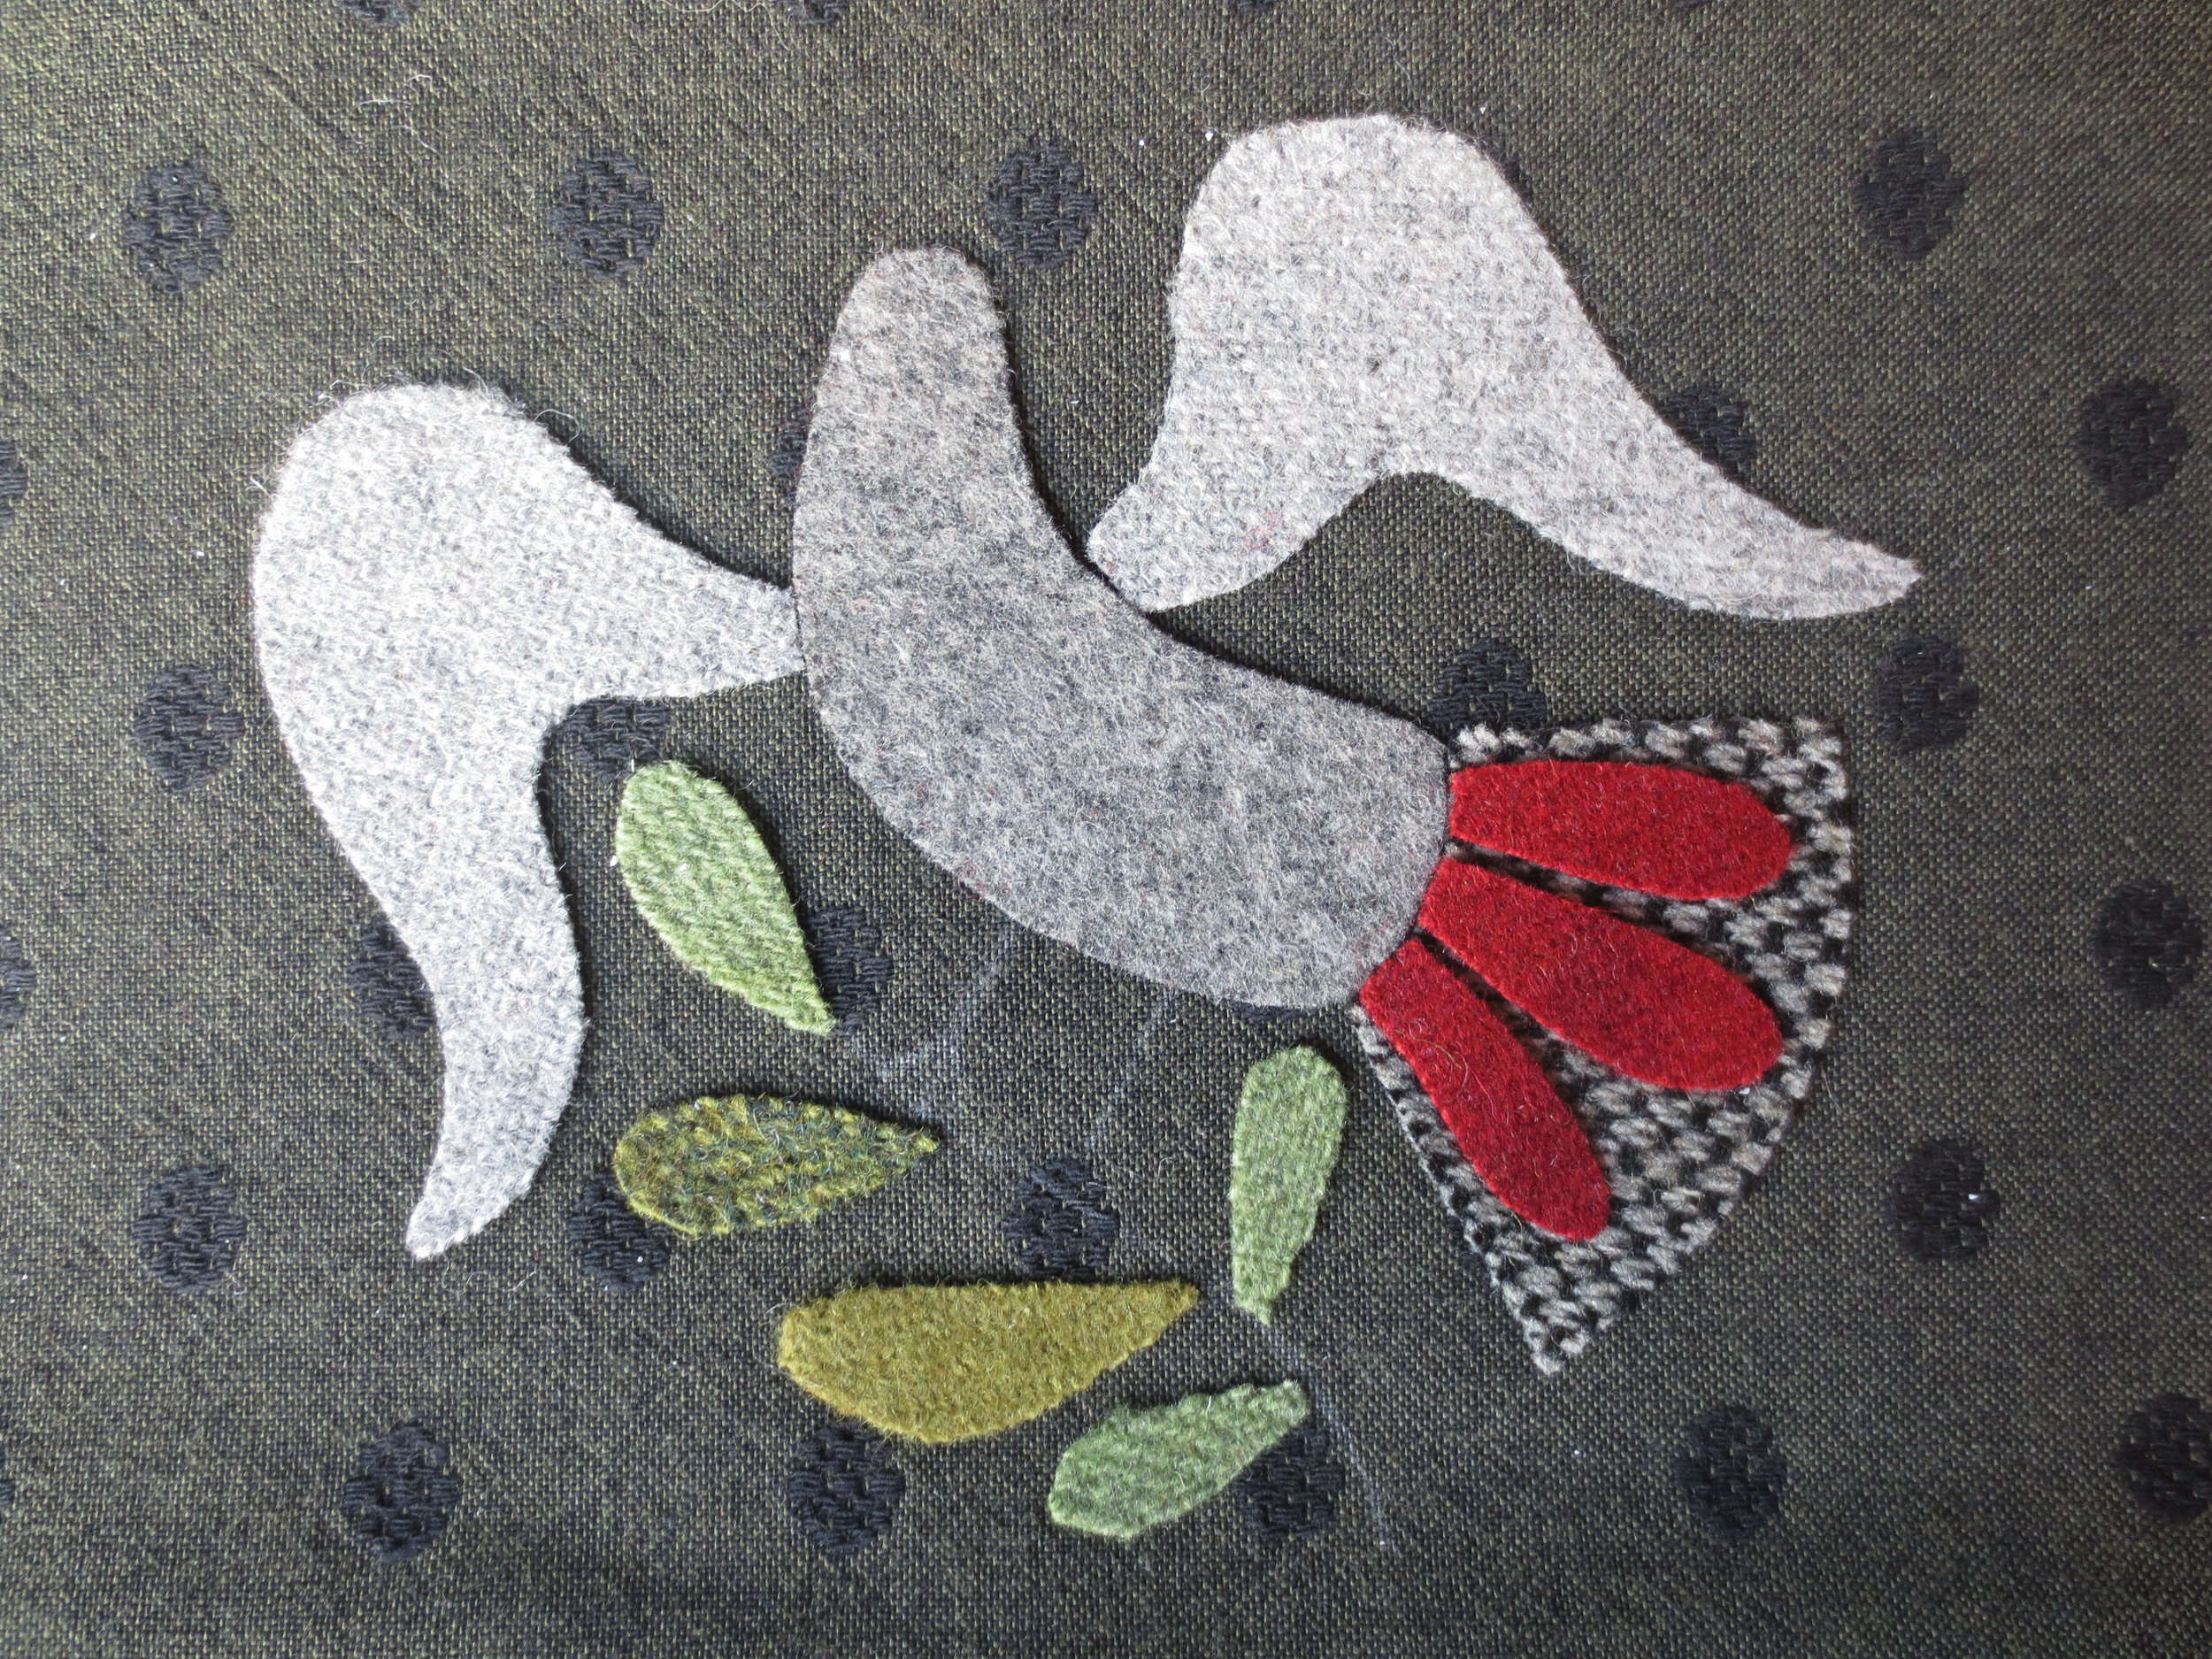
Position the bird and leaves as shown below, using the layout as your guide (I tentively sketched in the stem and legs of the bird so I could position the leaves).
When you are happy with your layout, fuse in place using steam.
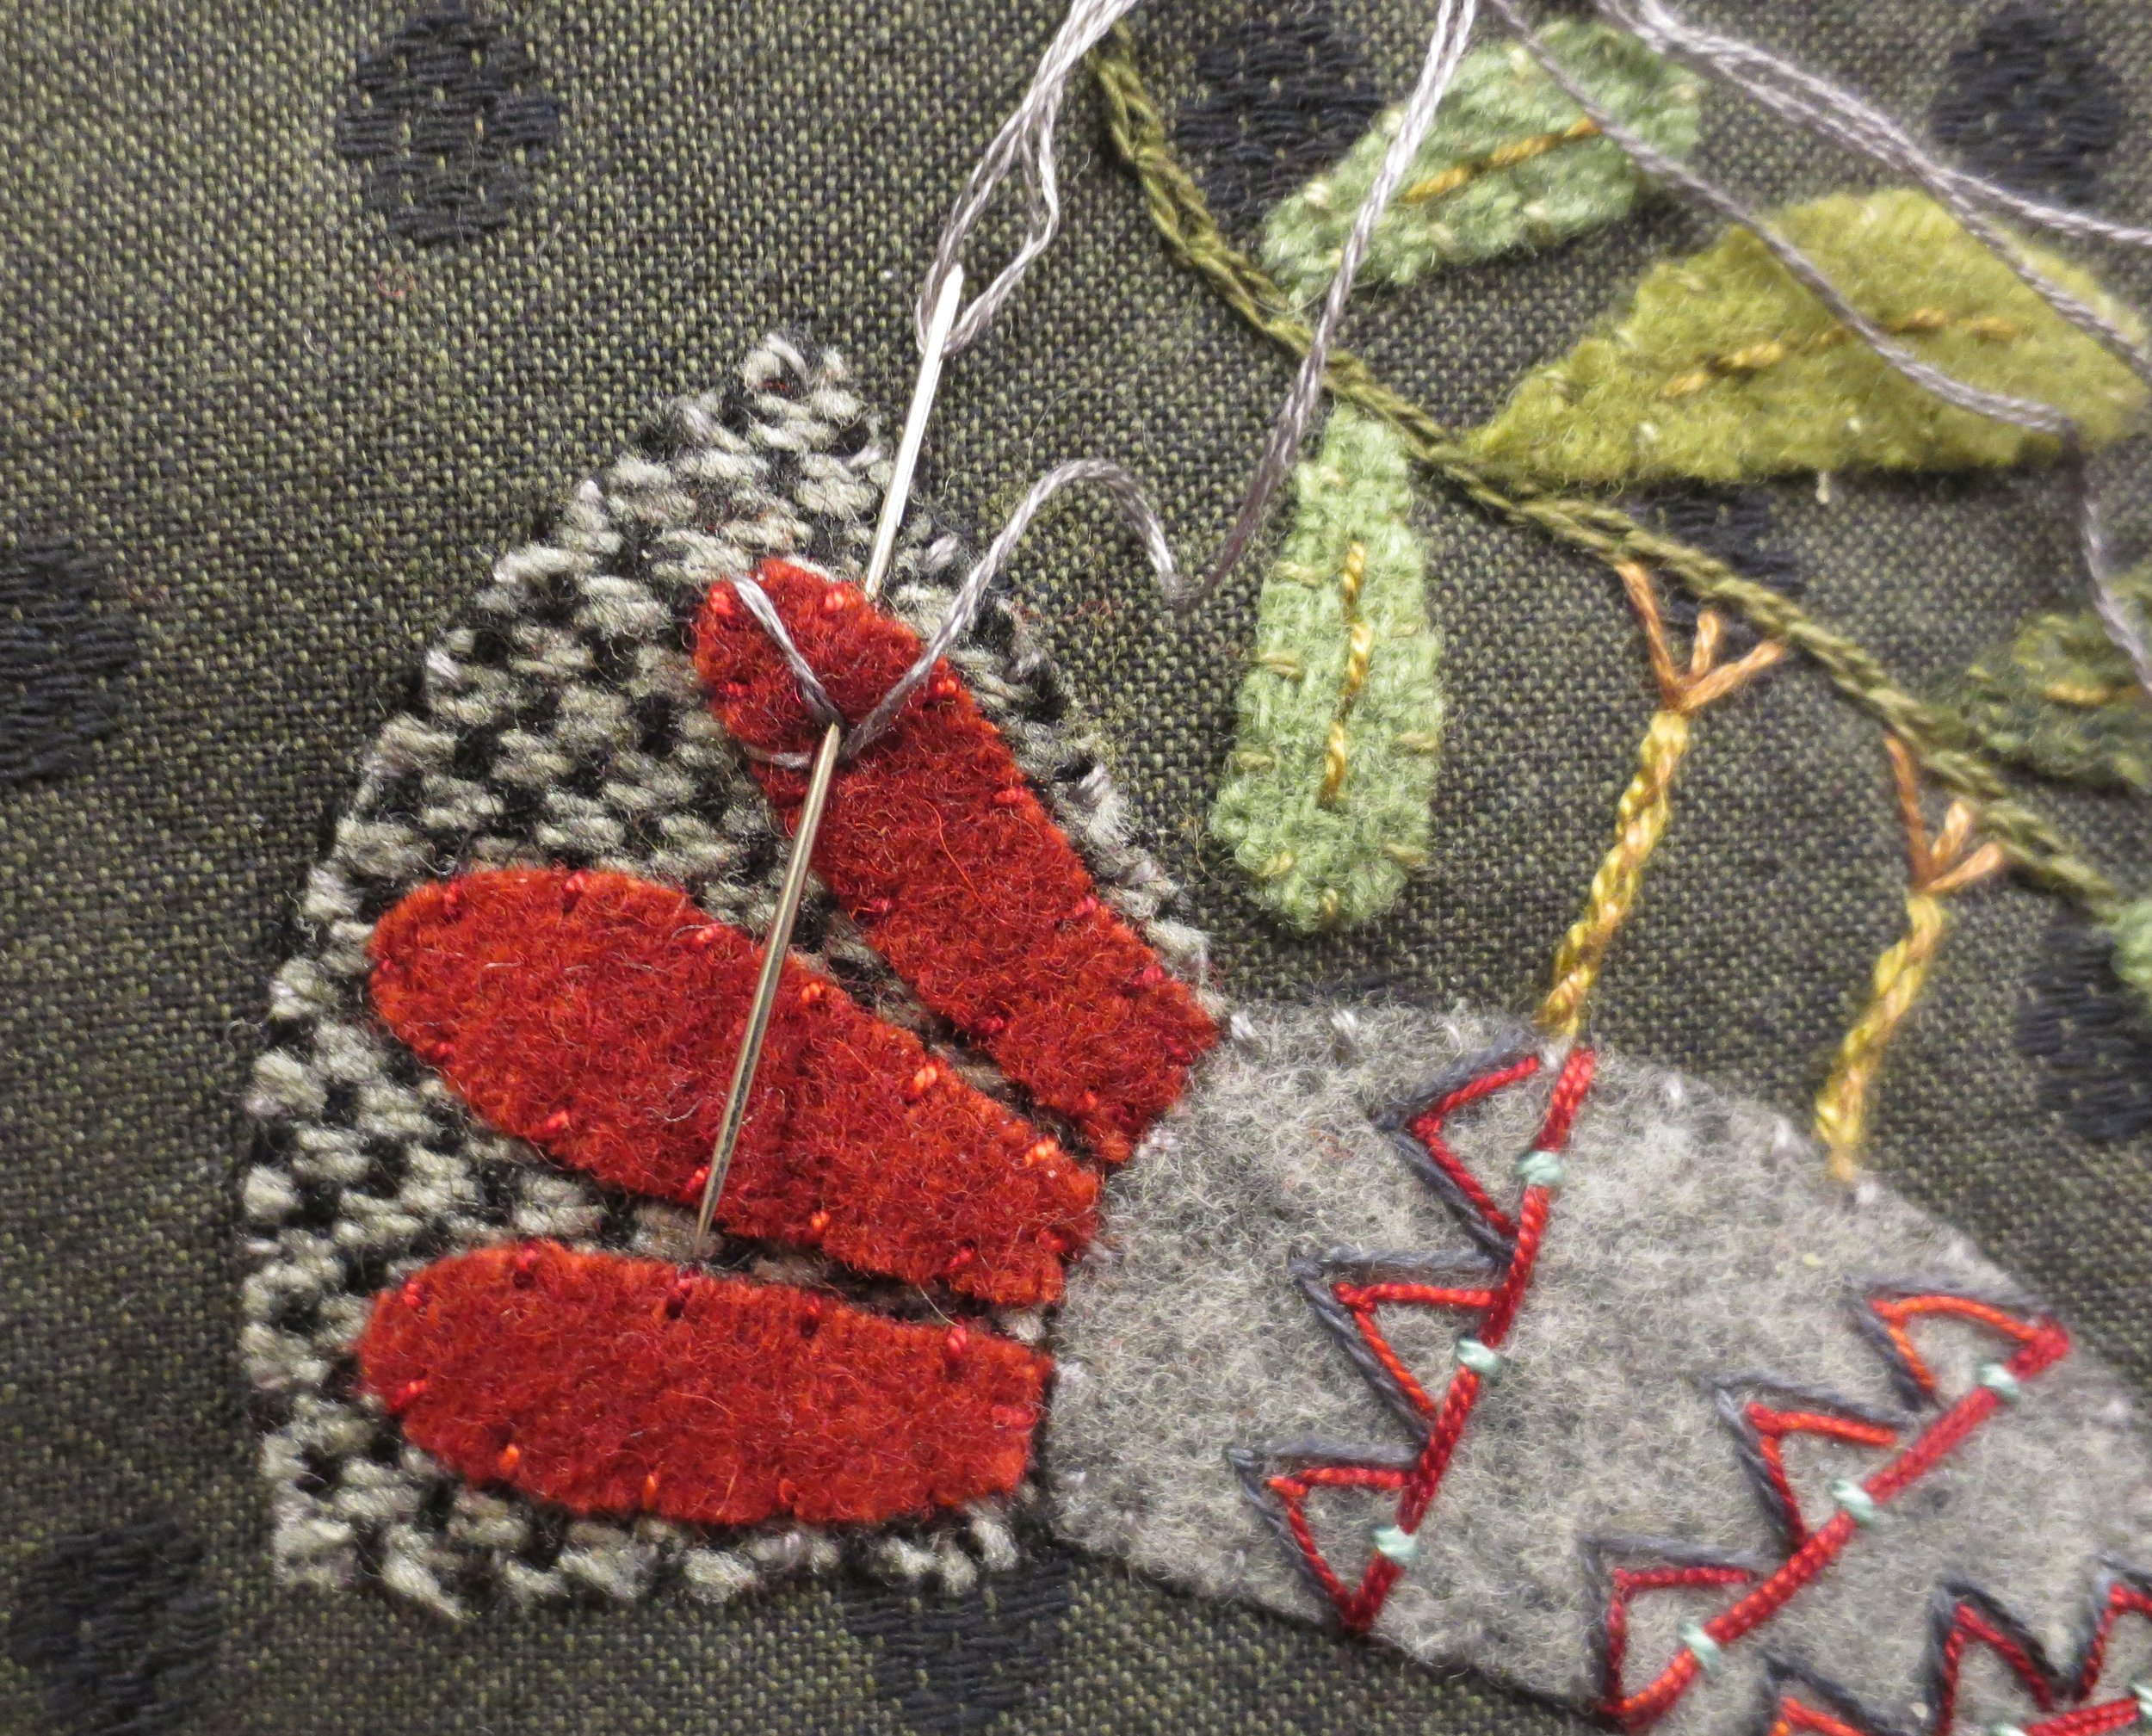
Add the tail feathers and fuse in place.
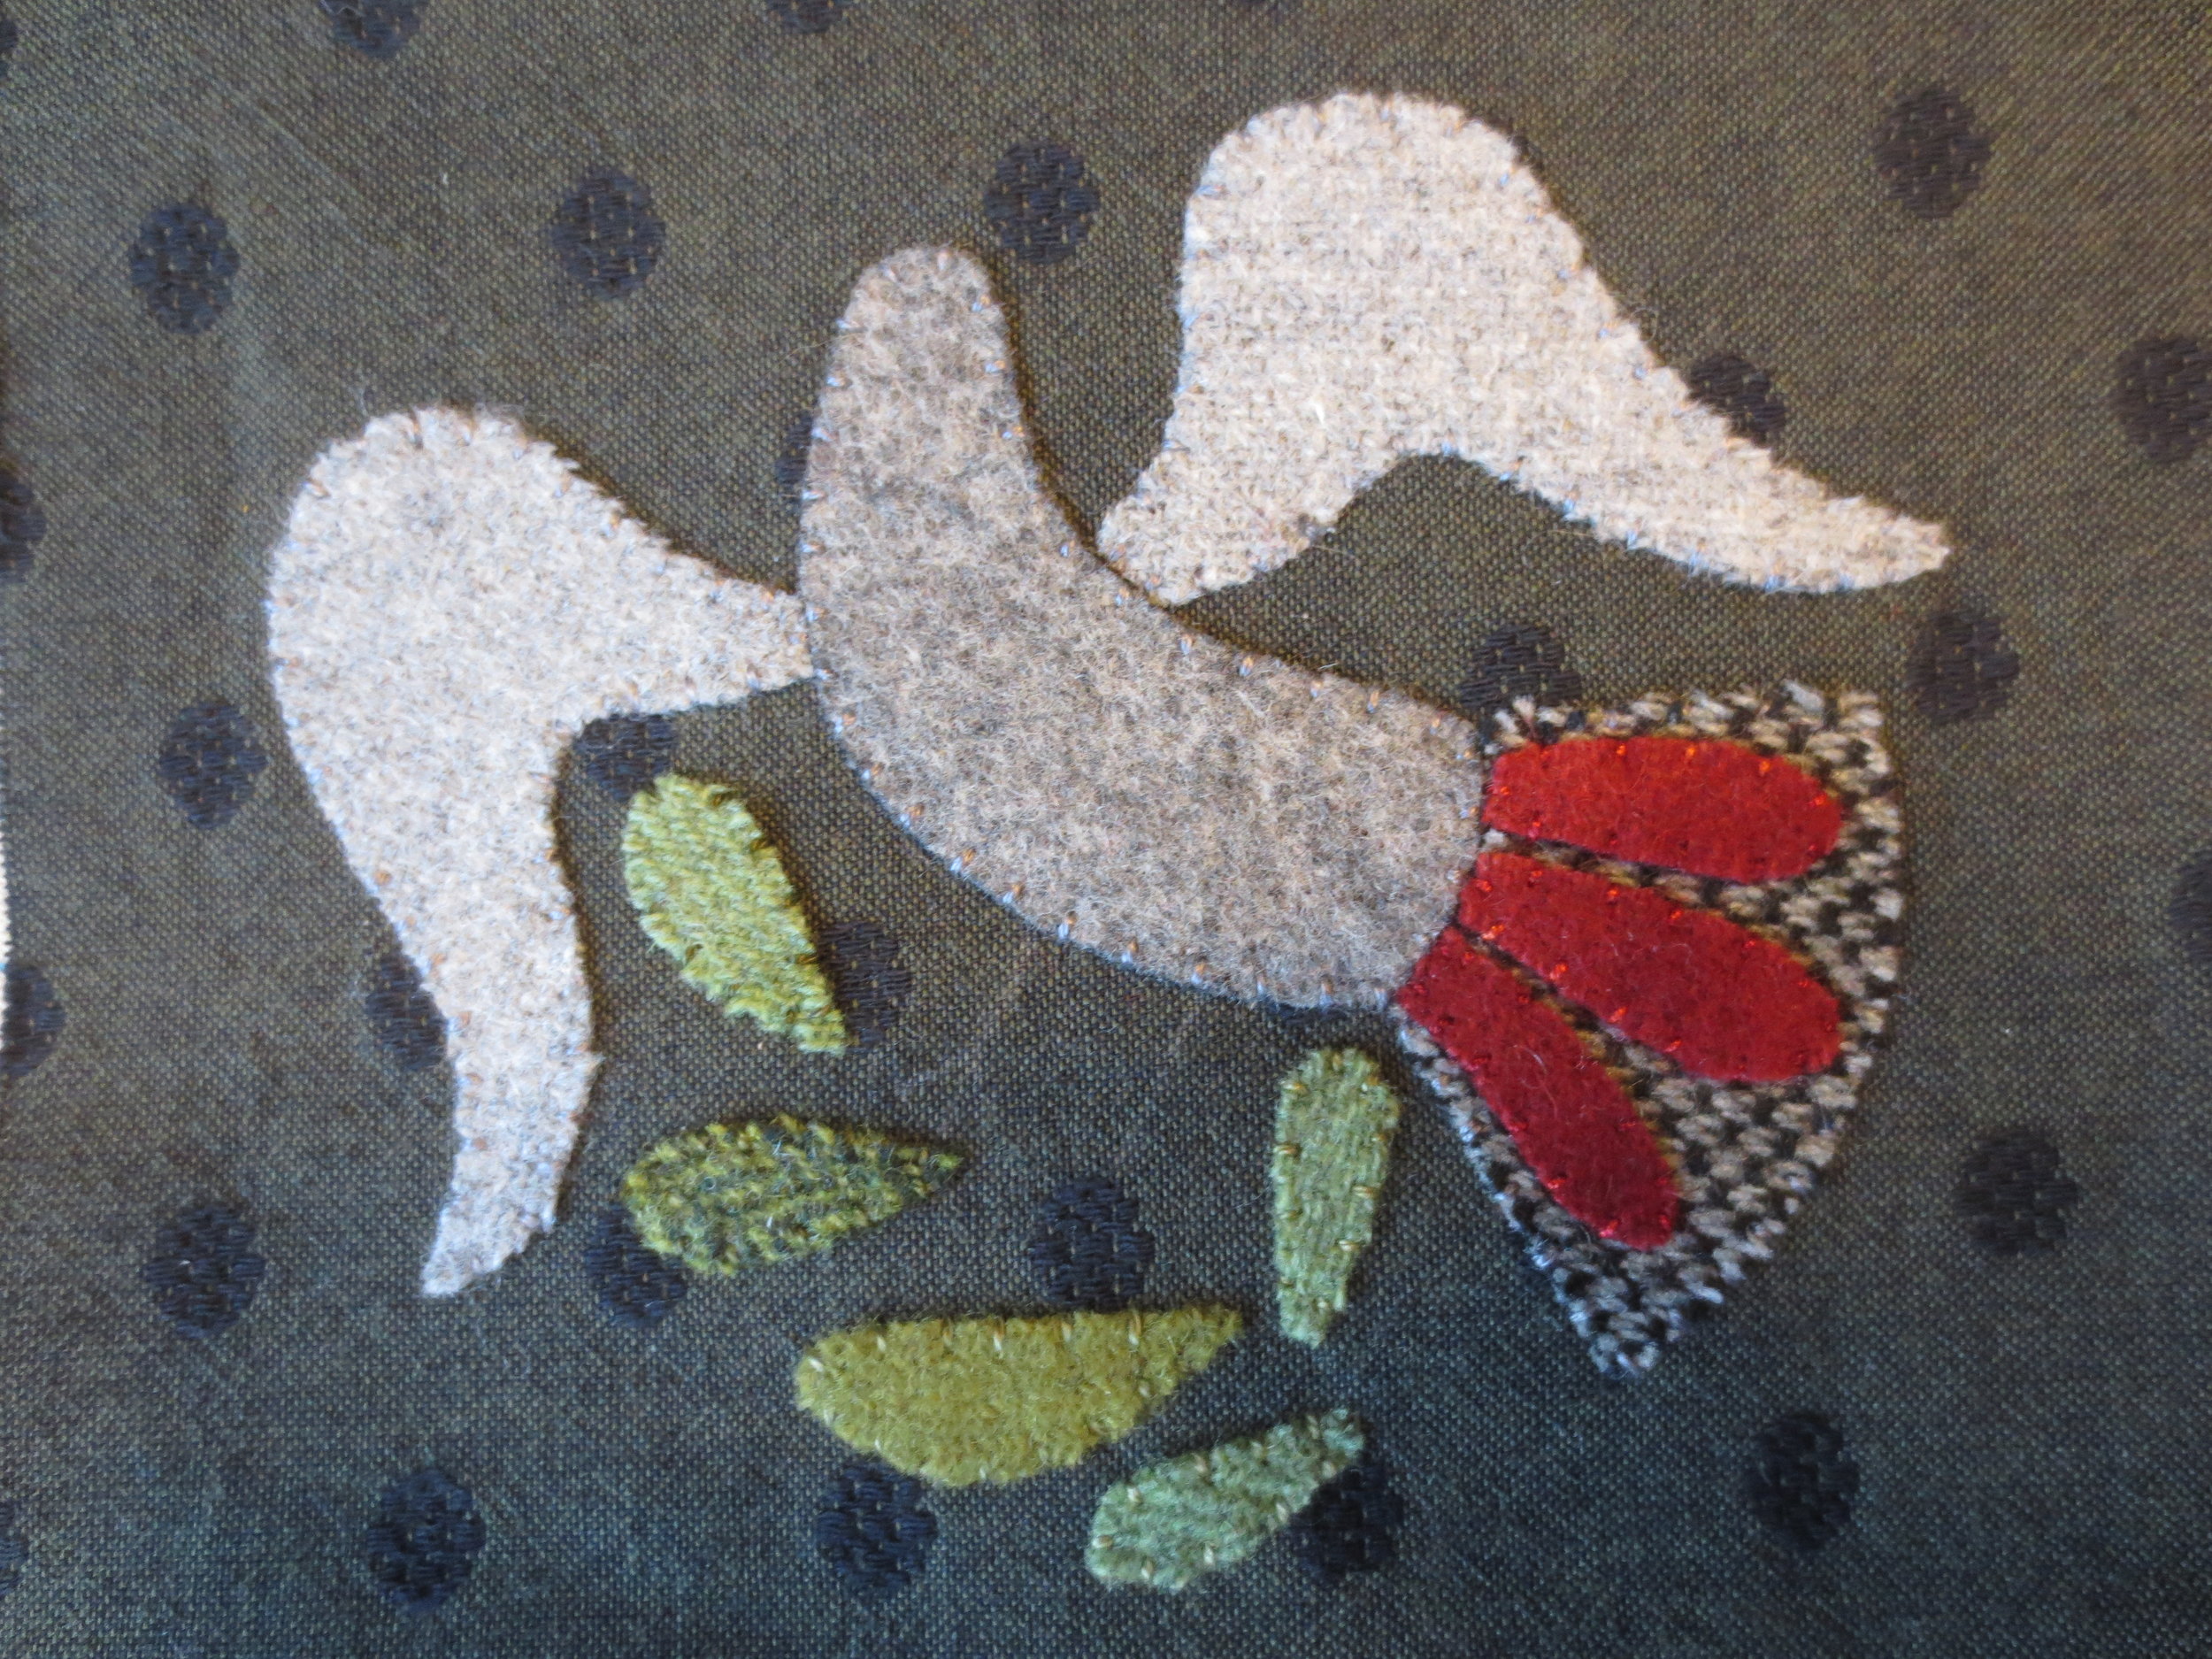
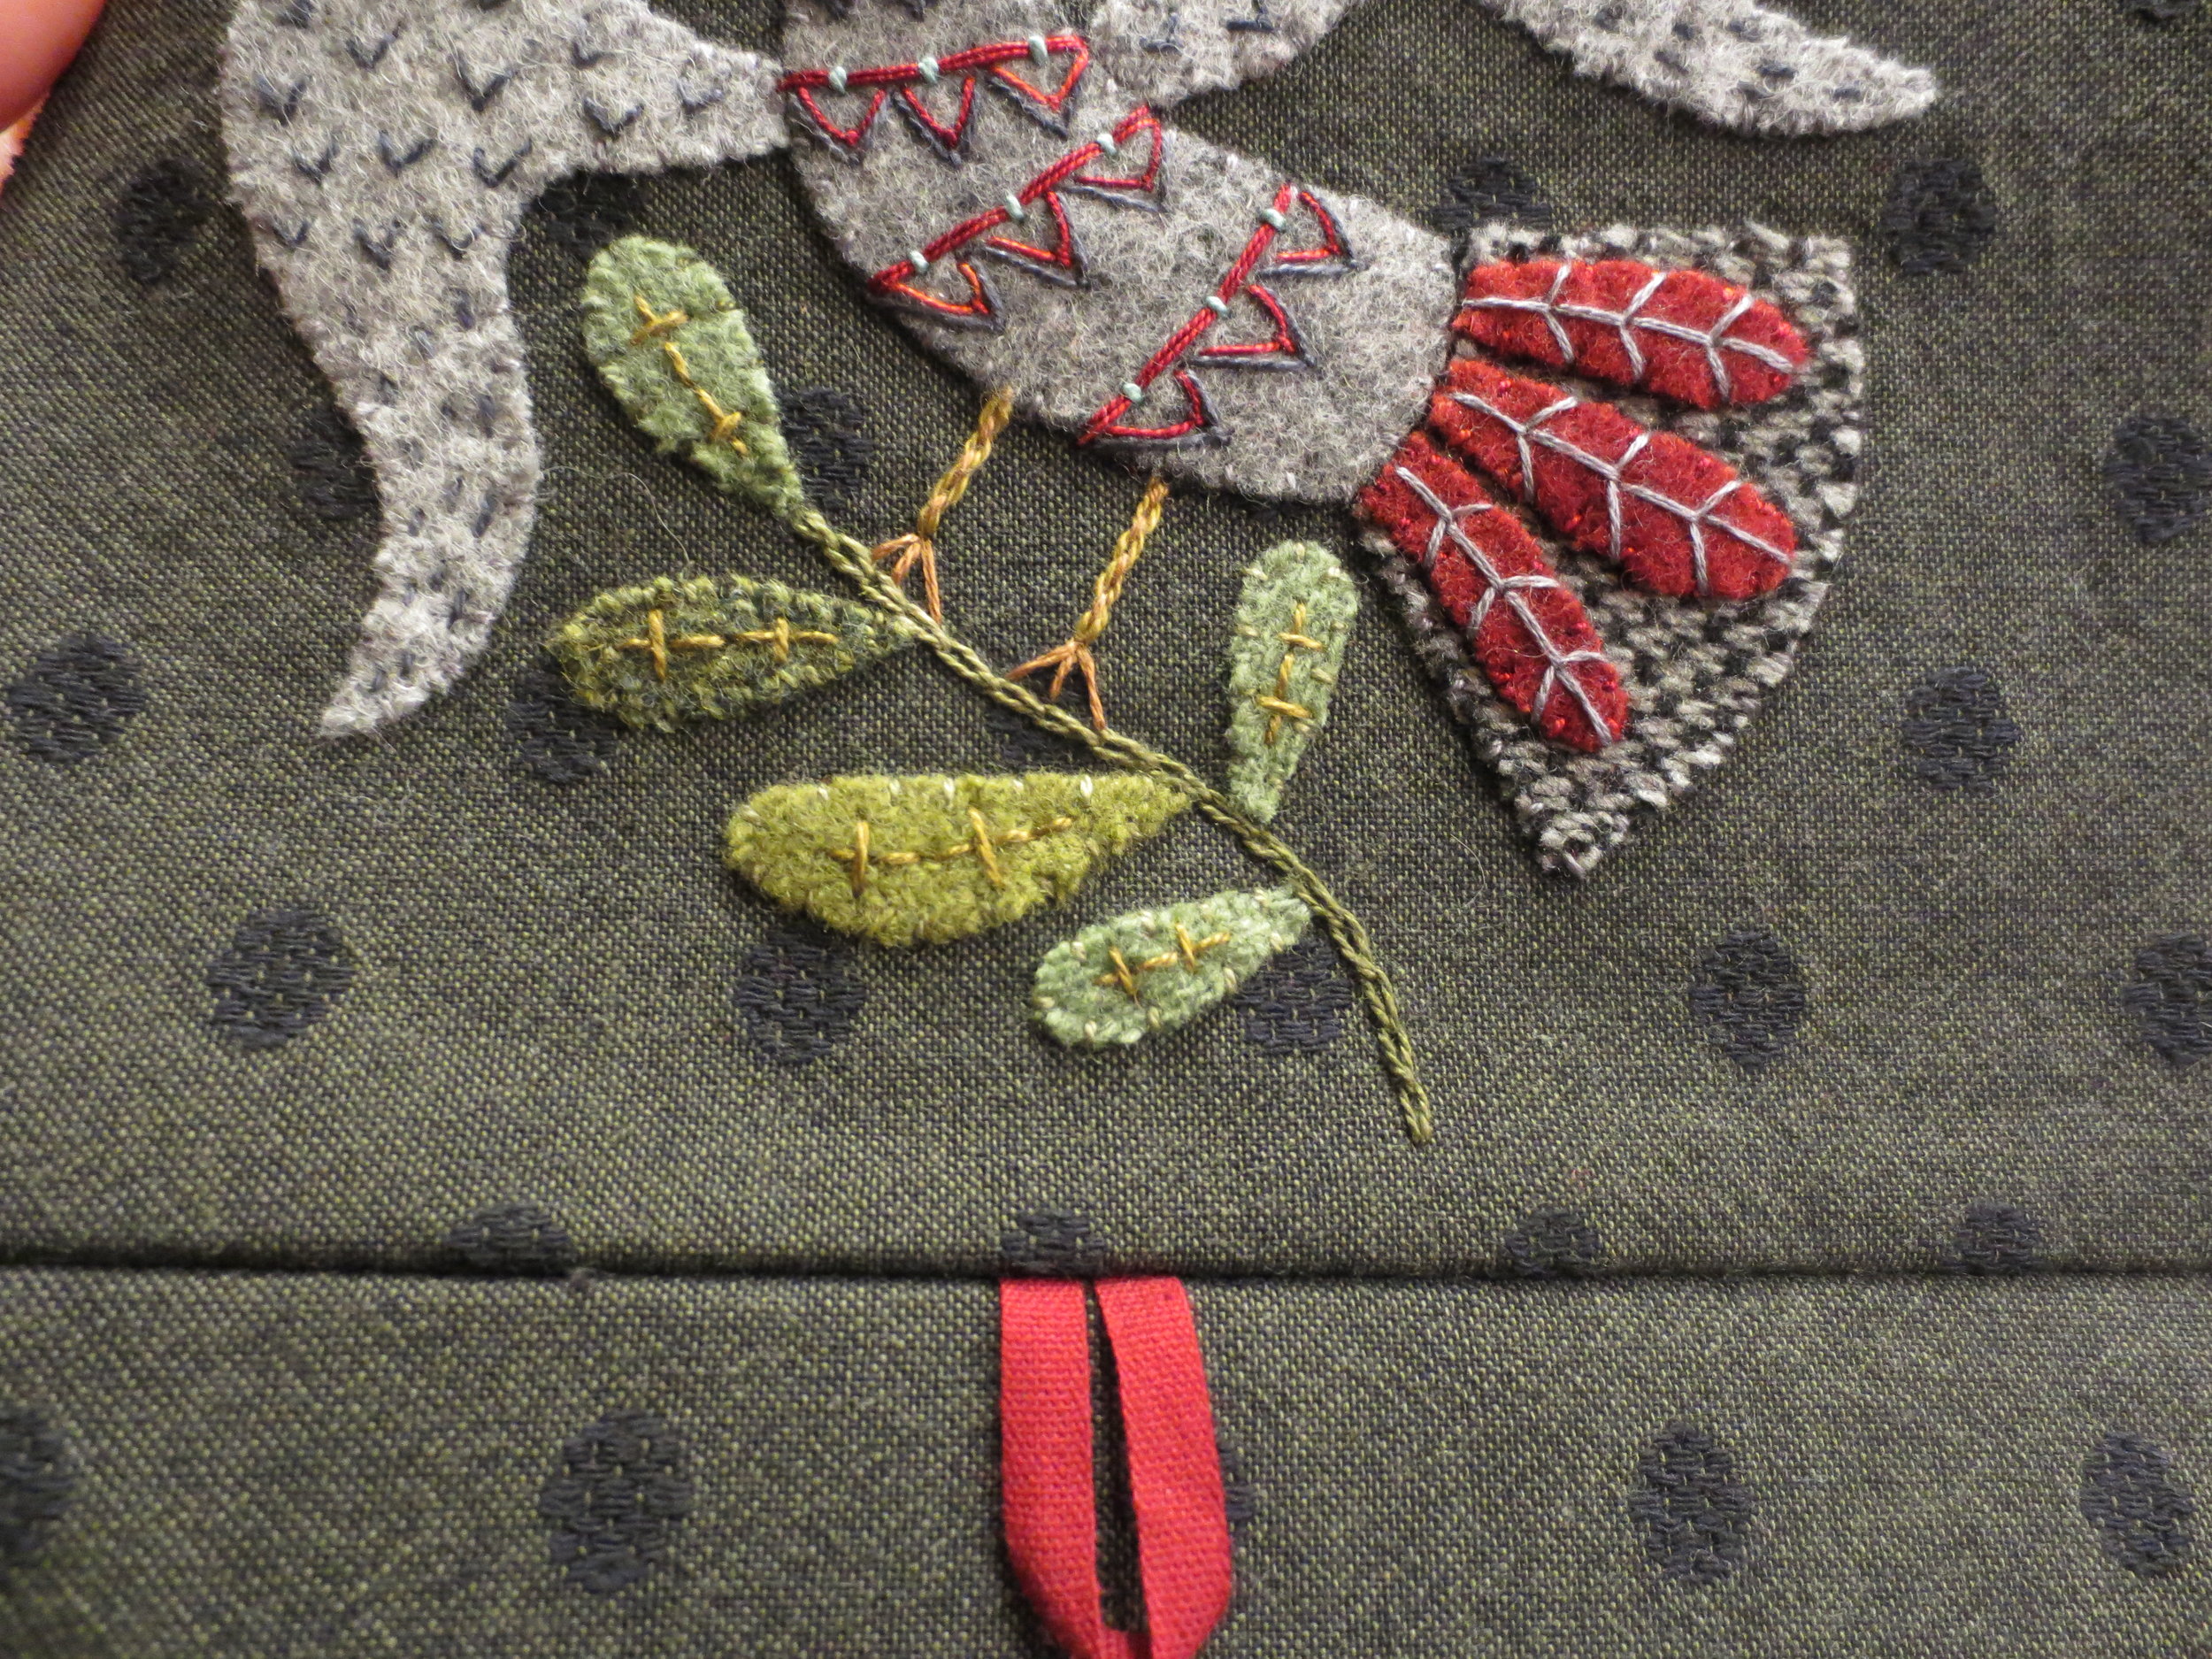
Unfold the "keep". It should look like this:
Whip stitch all the pieces with thread that matches your wool colors.
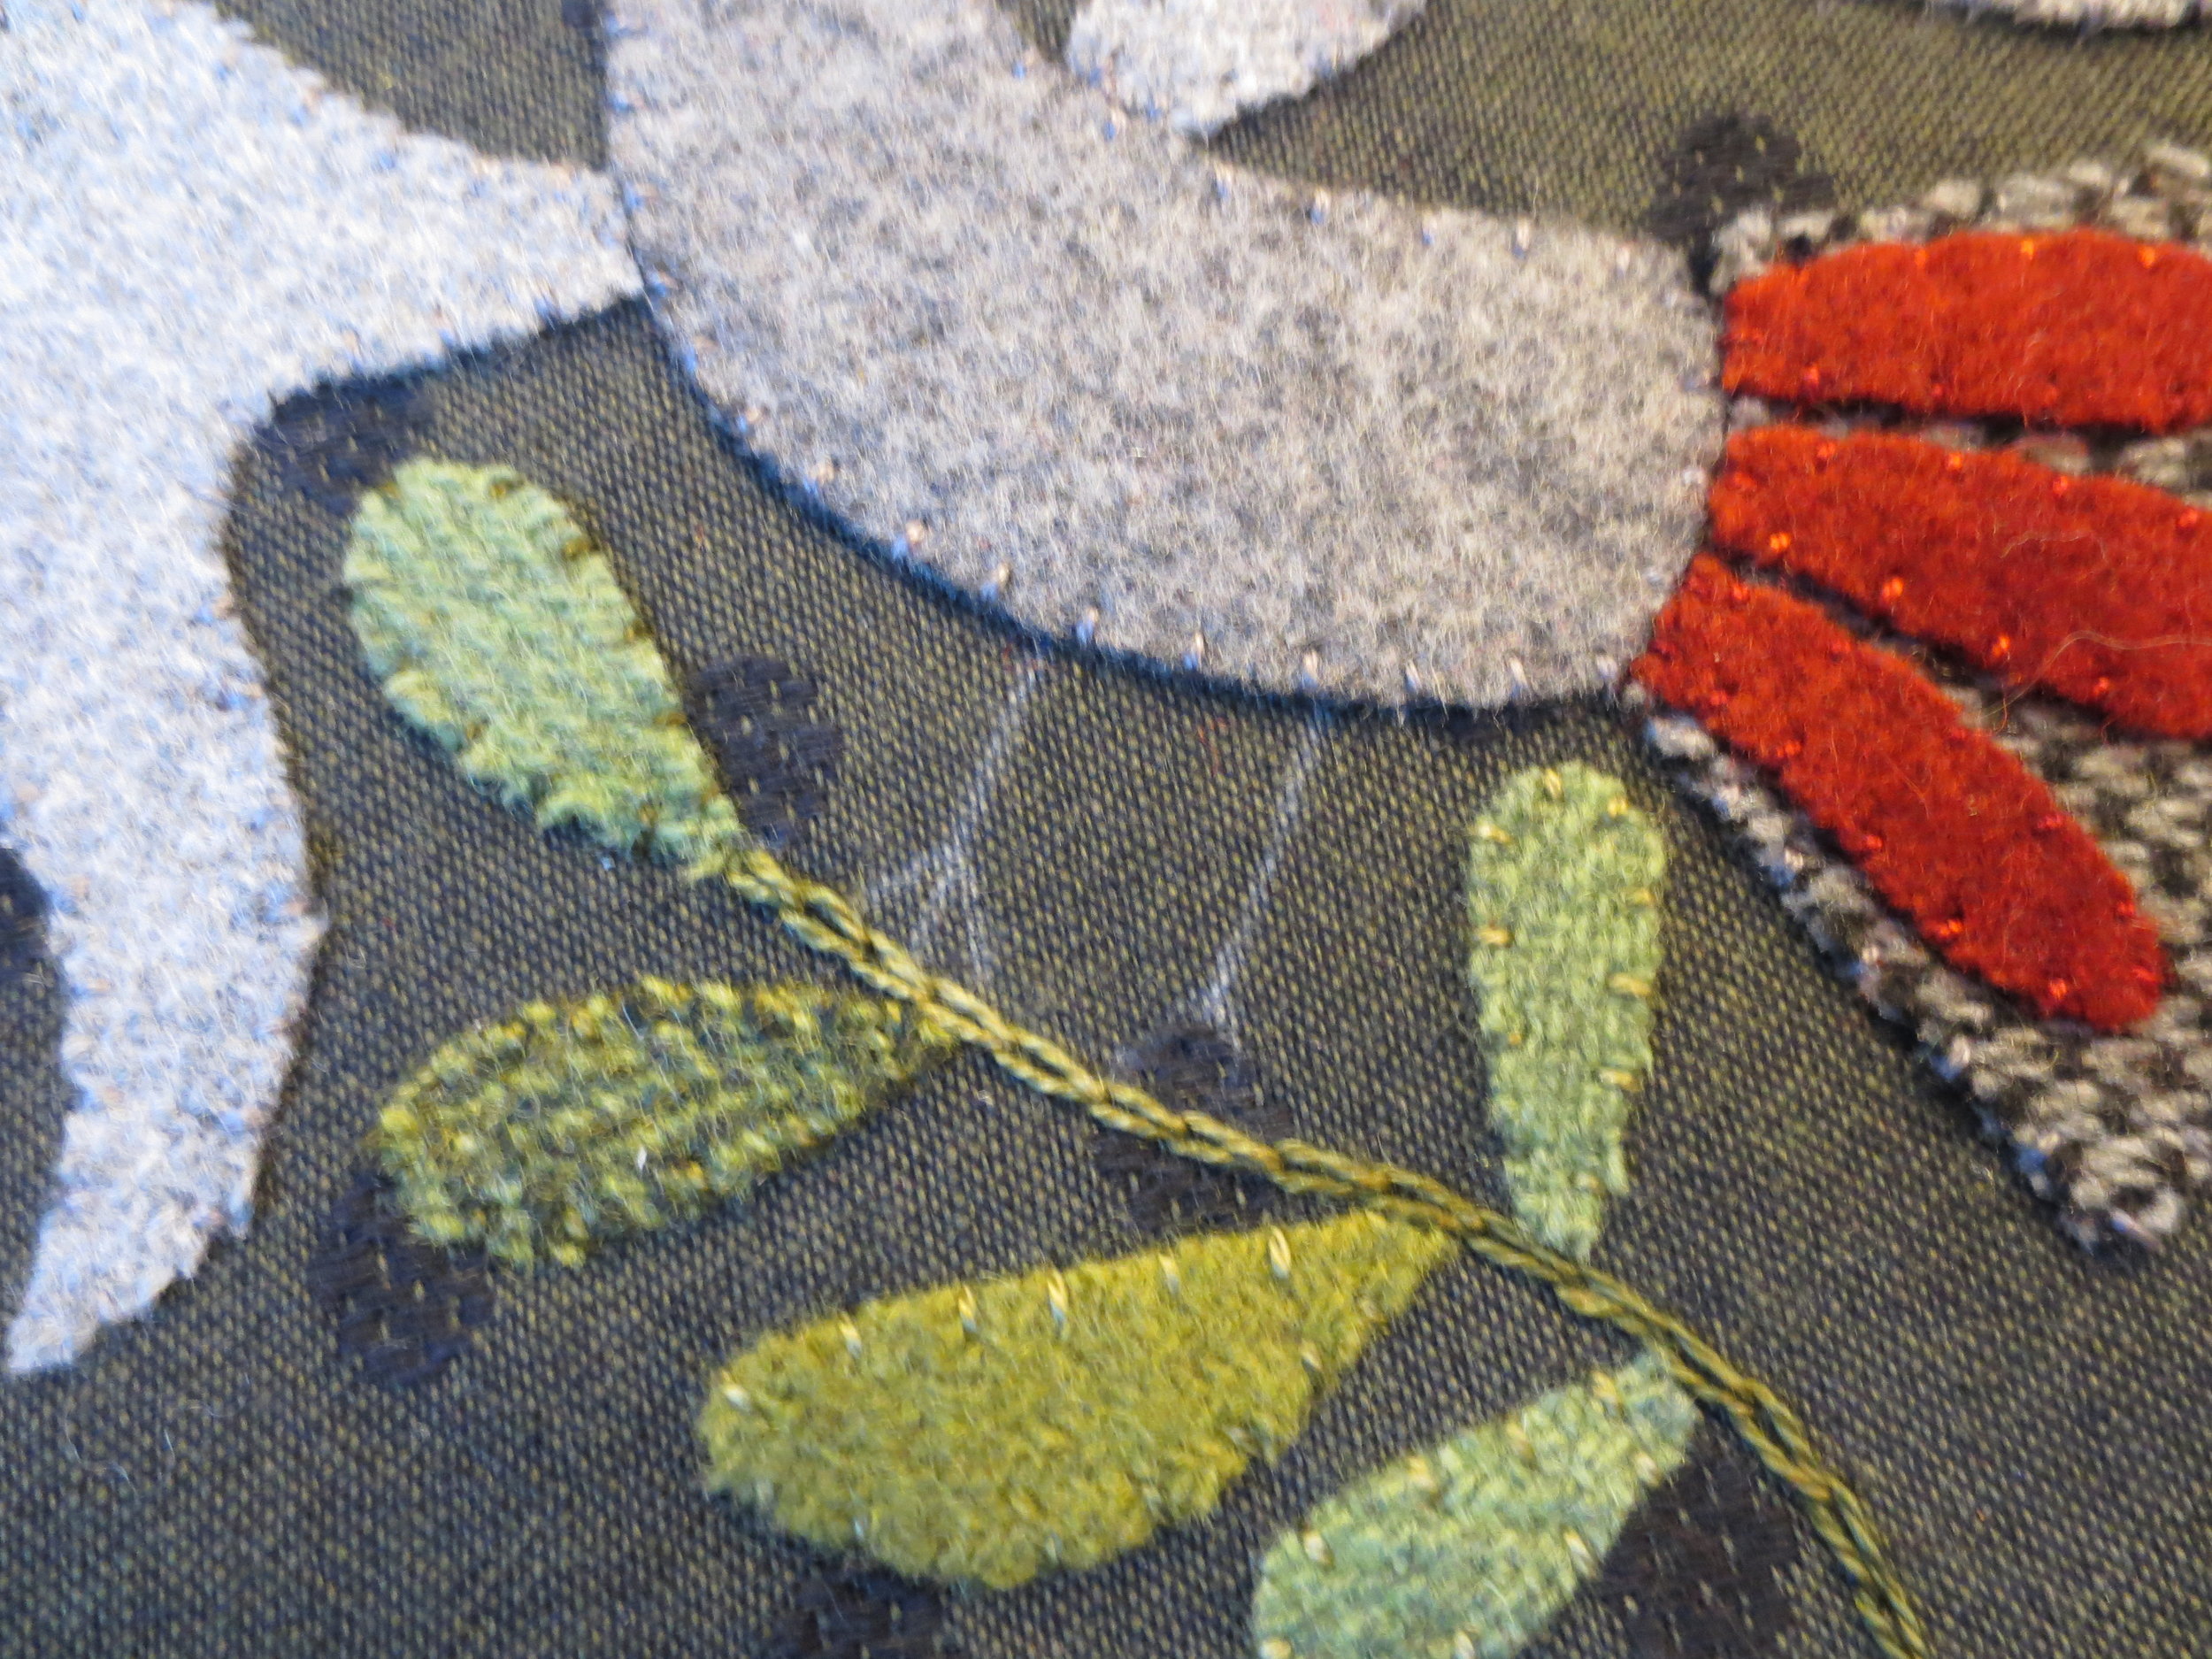
Draw the stem and bird legs.
Use Valdani #O519 to chain stitch the stem.
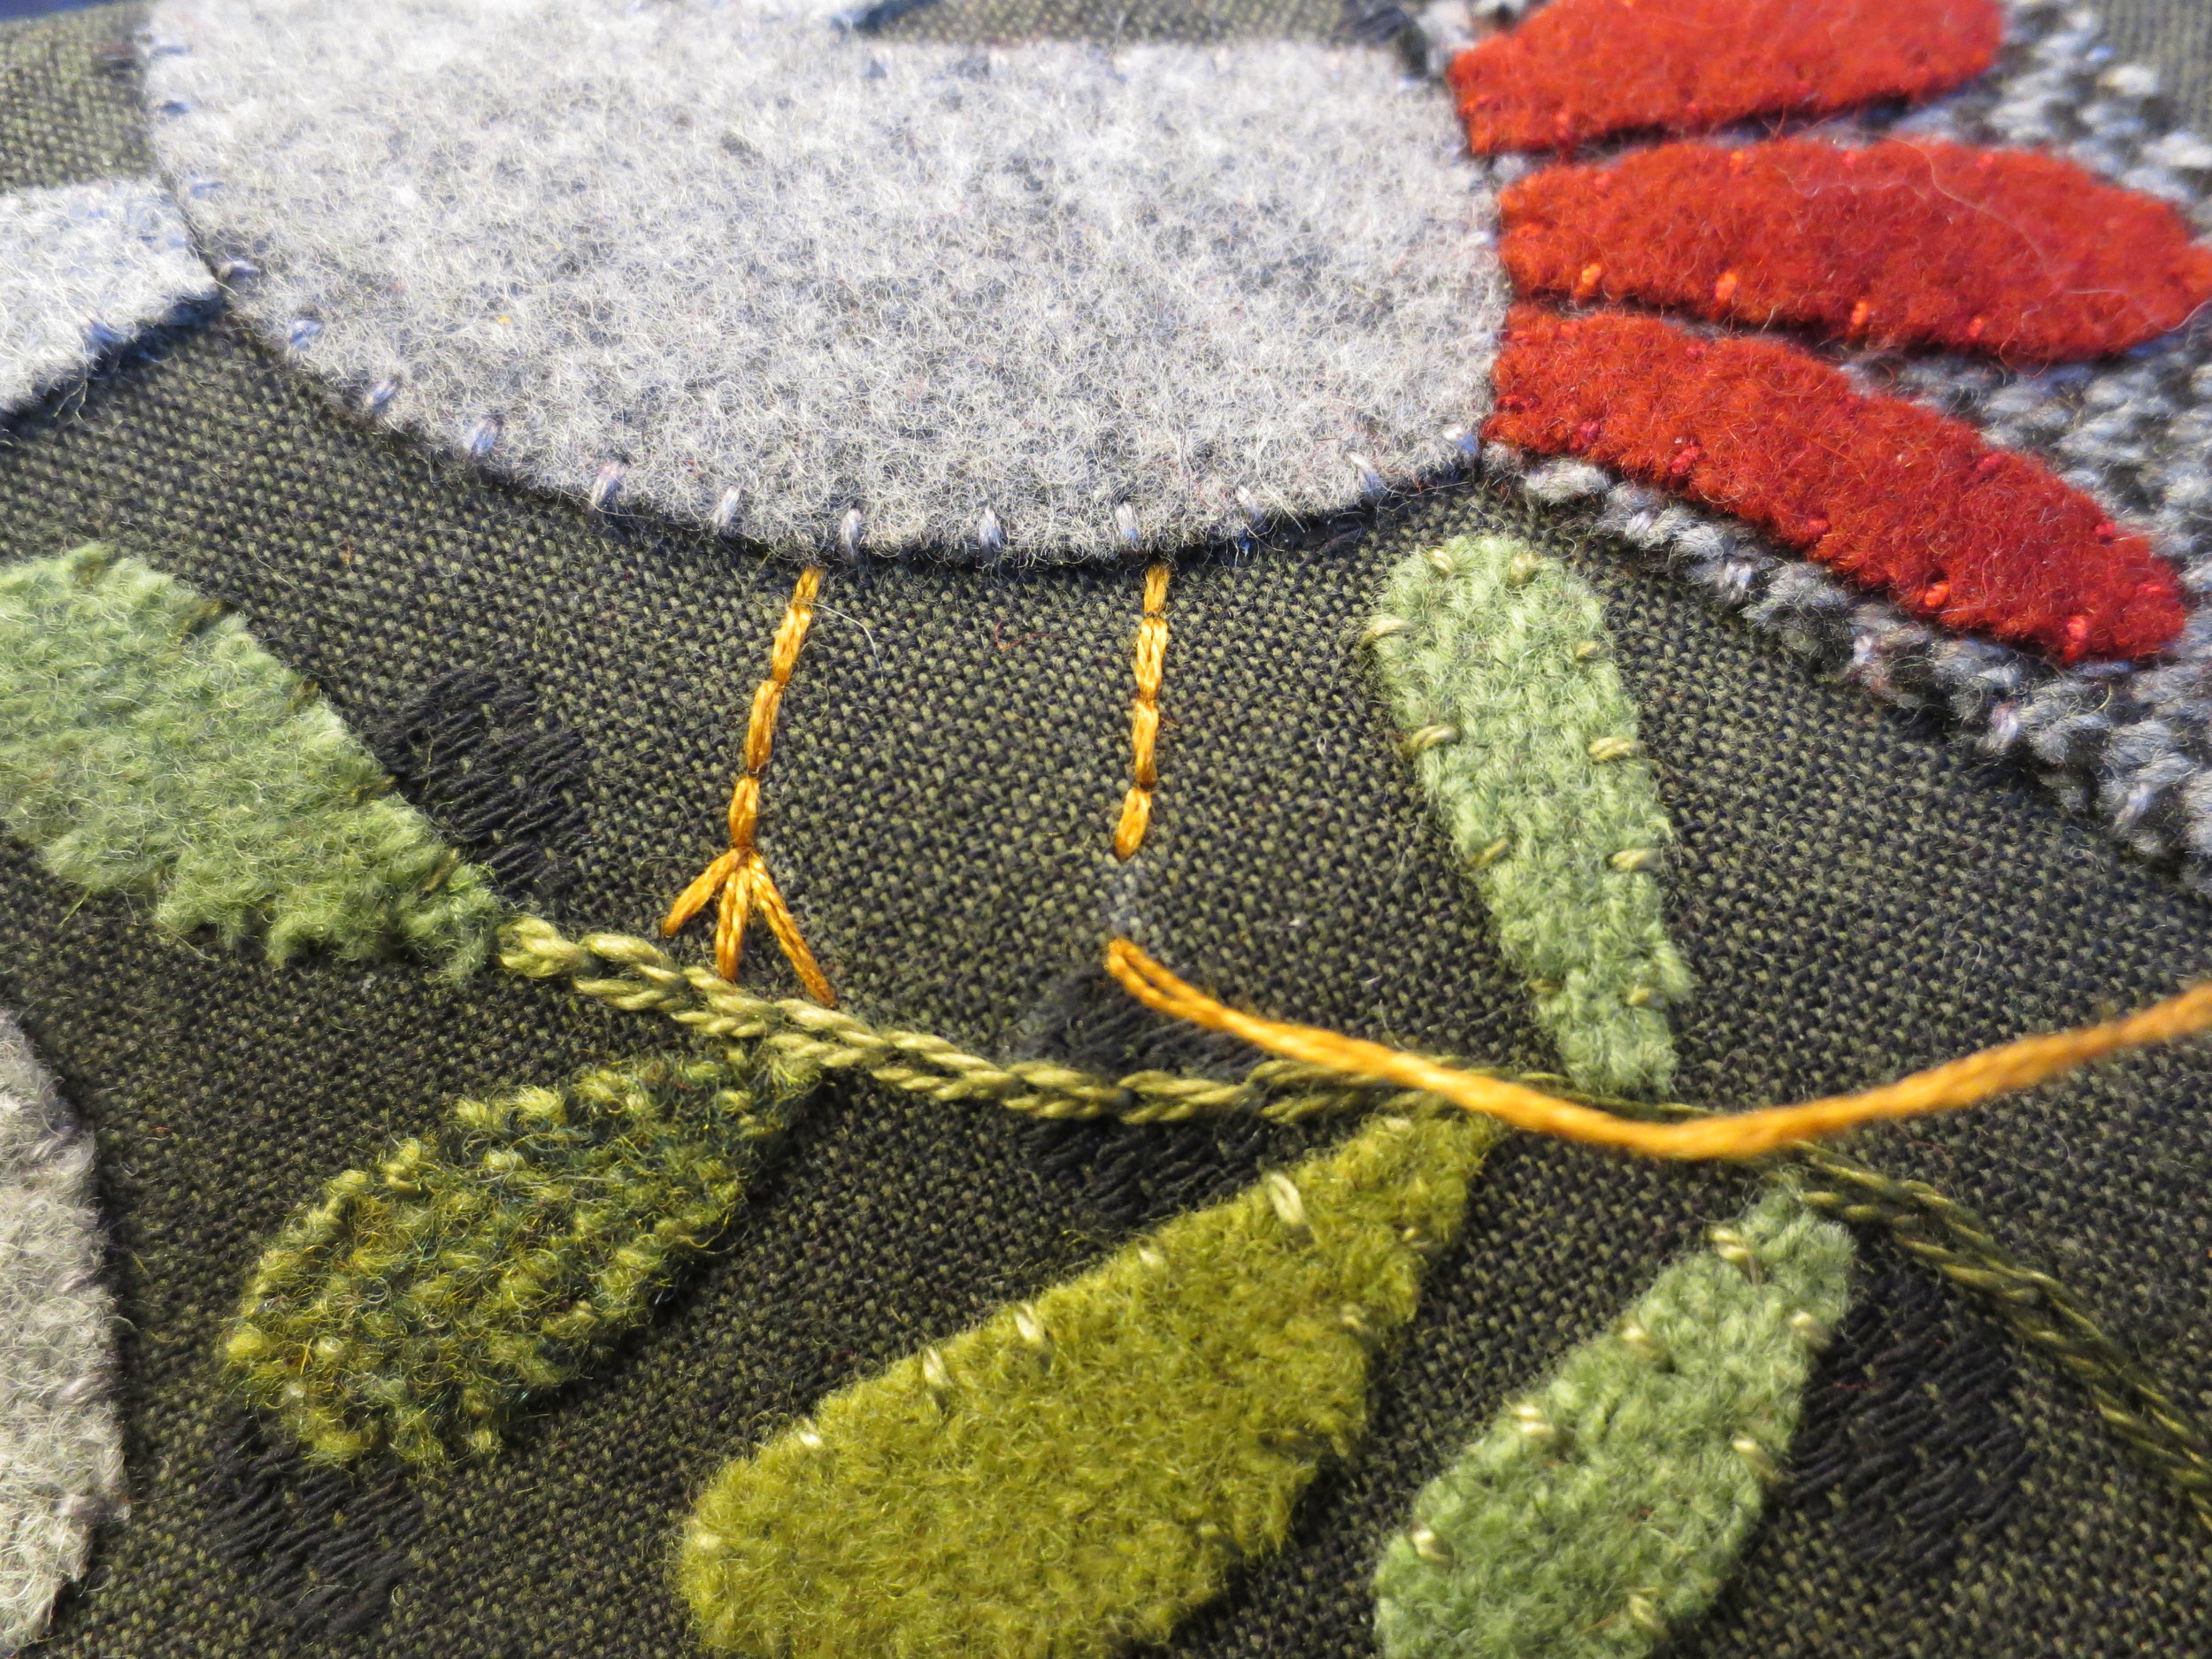
Back stitch the legs and middle toes with DMC floss #420 (2 strands).
Use a straight stitch to make each of the side toes.
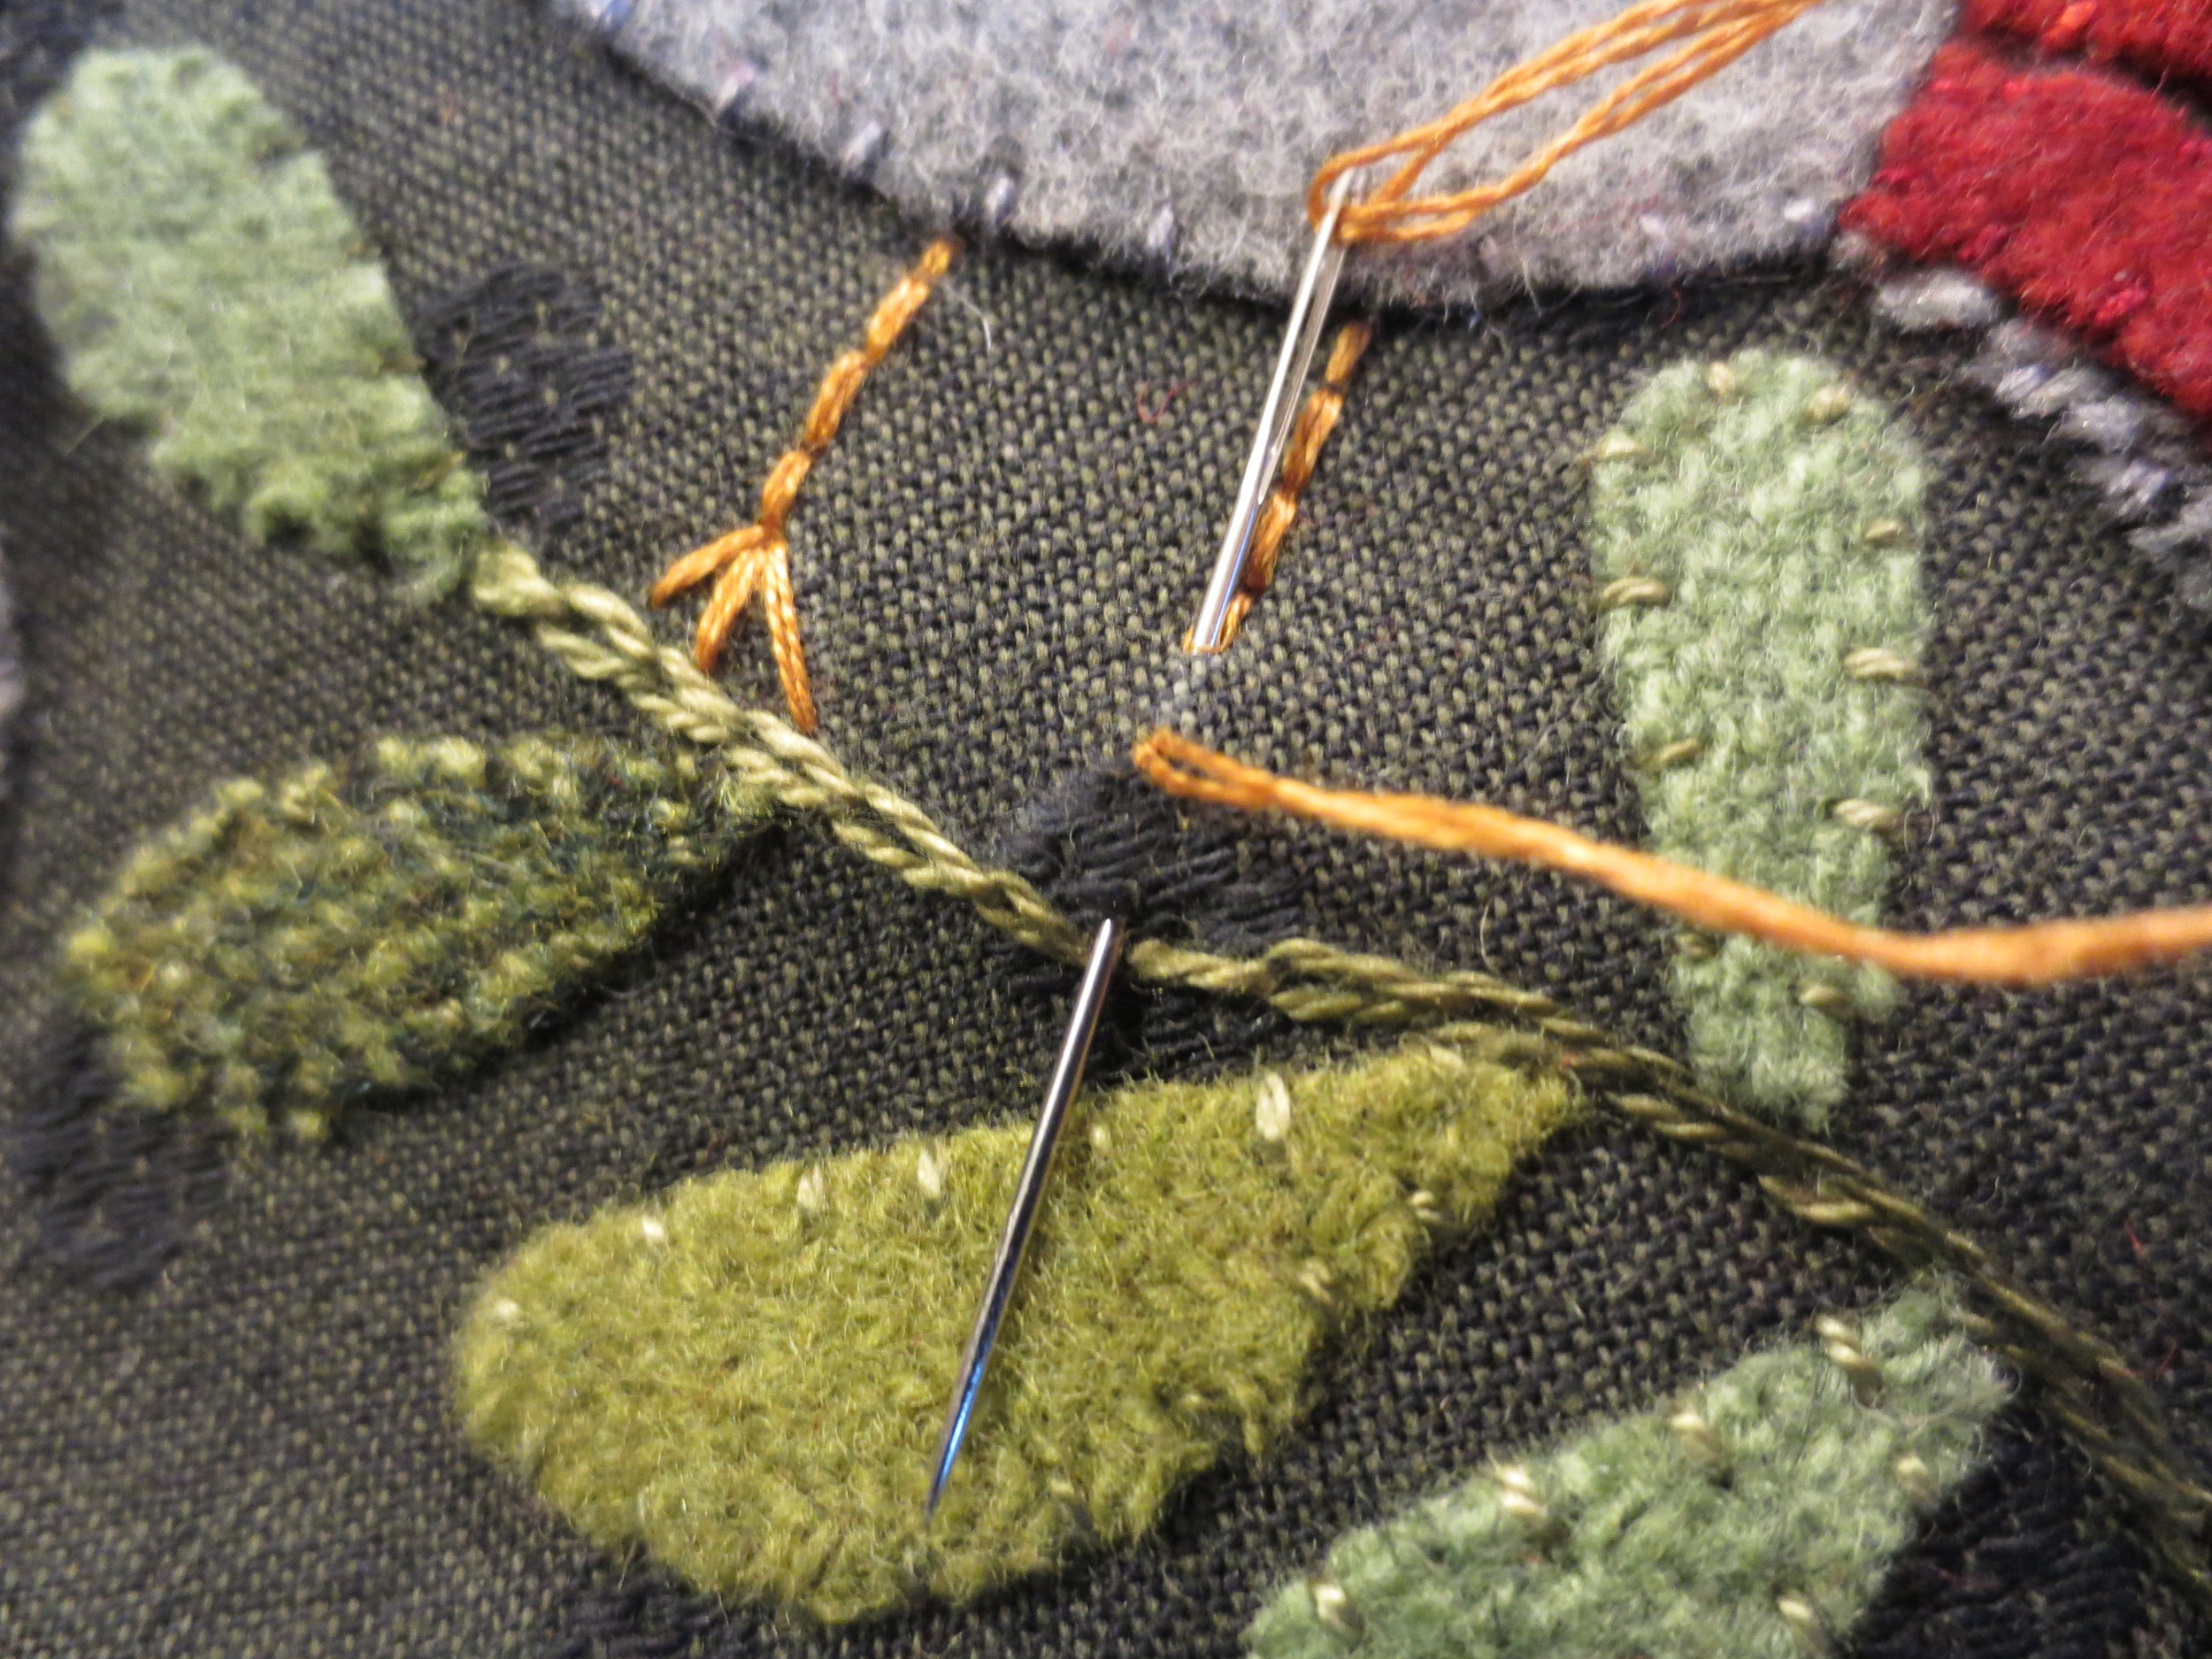
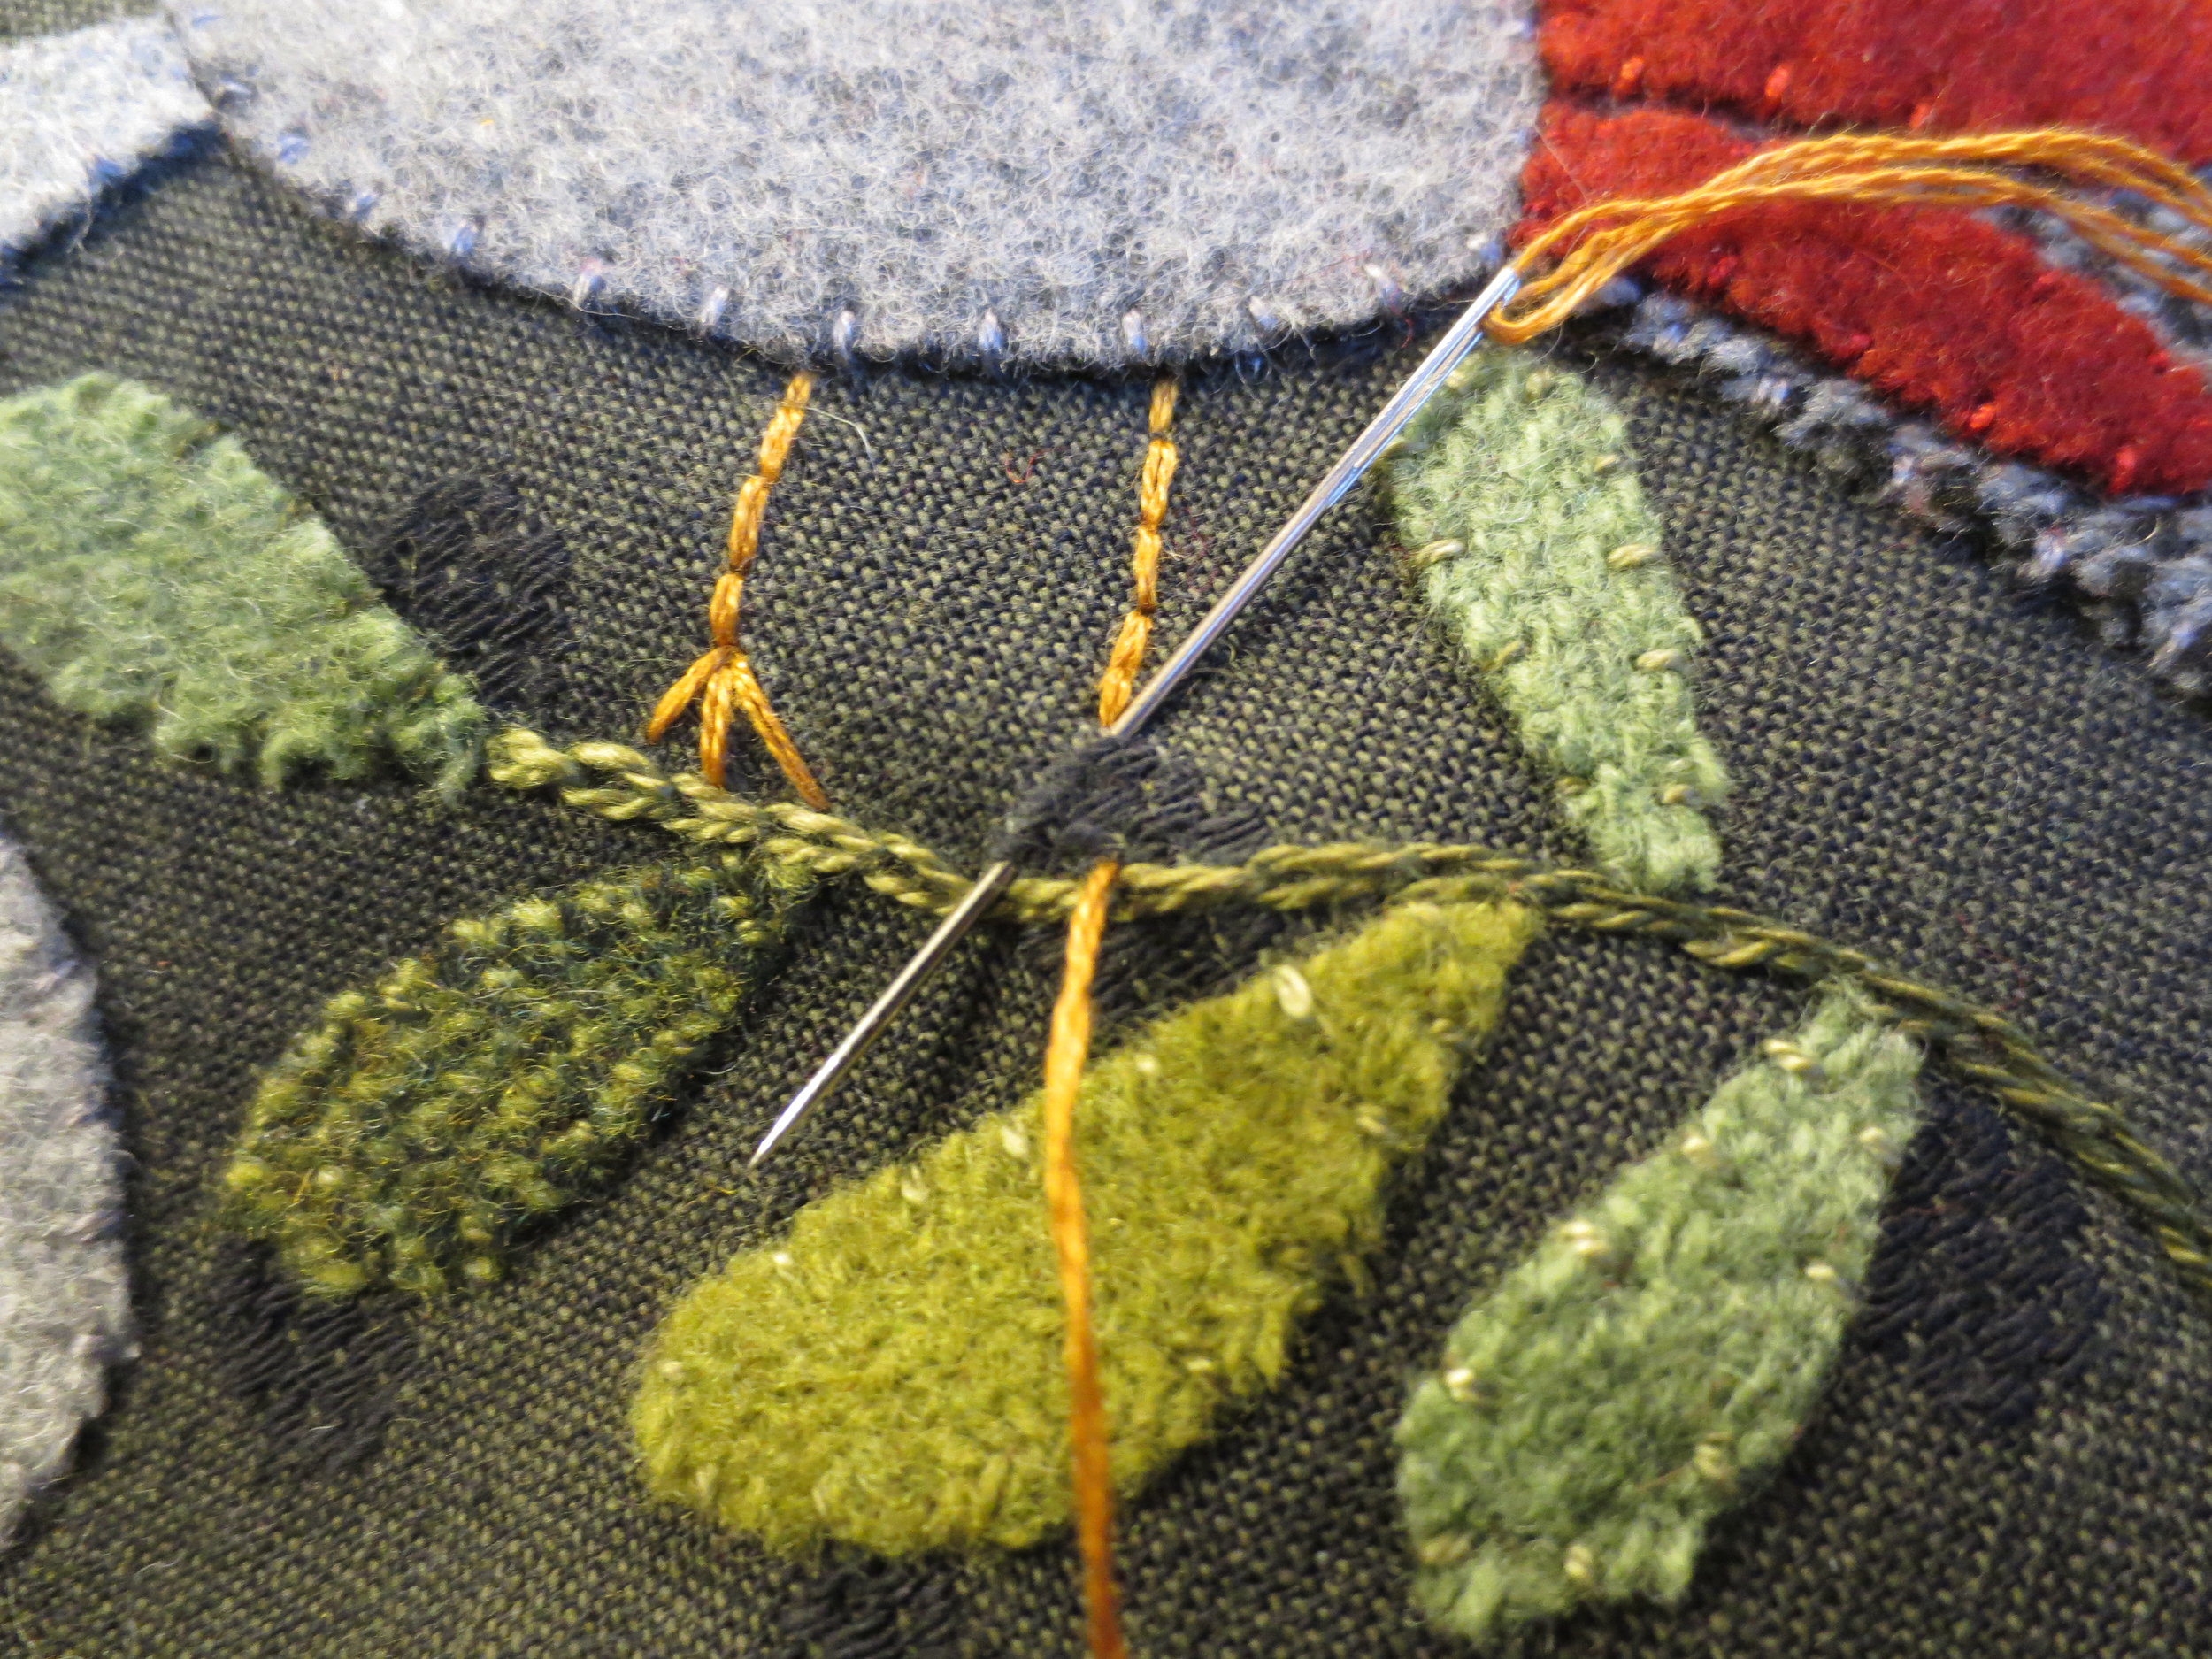
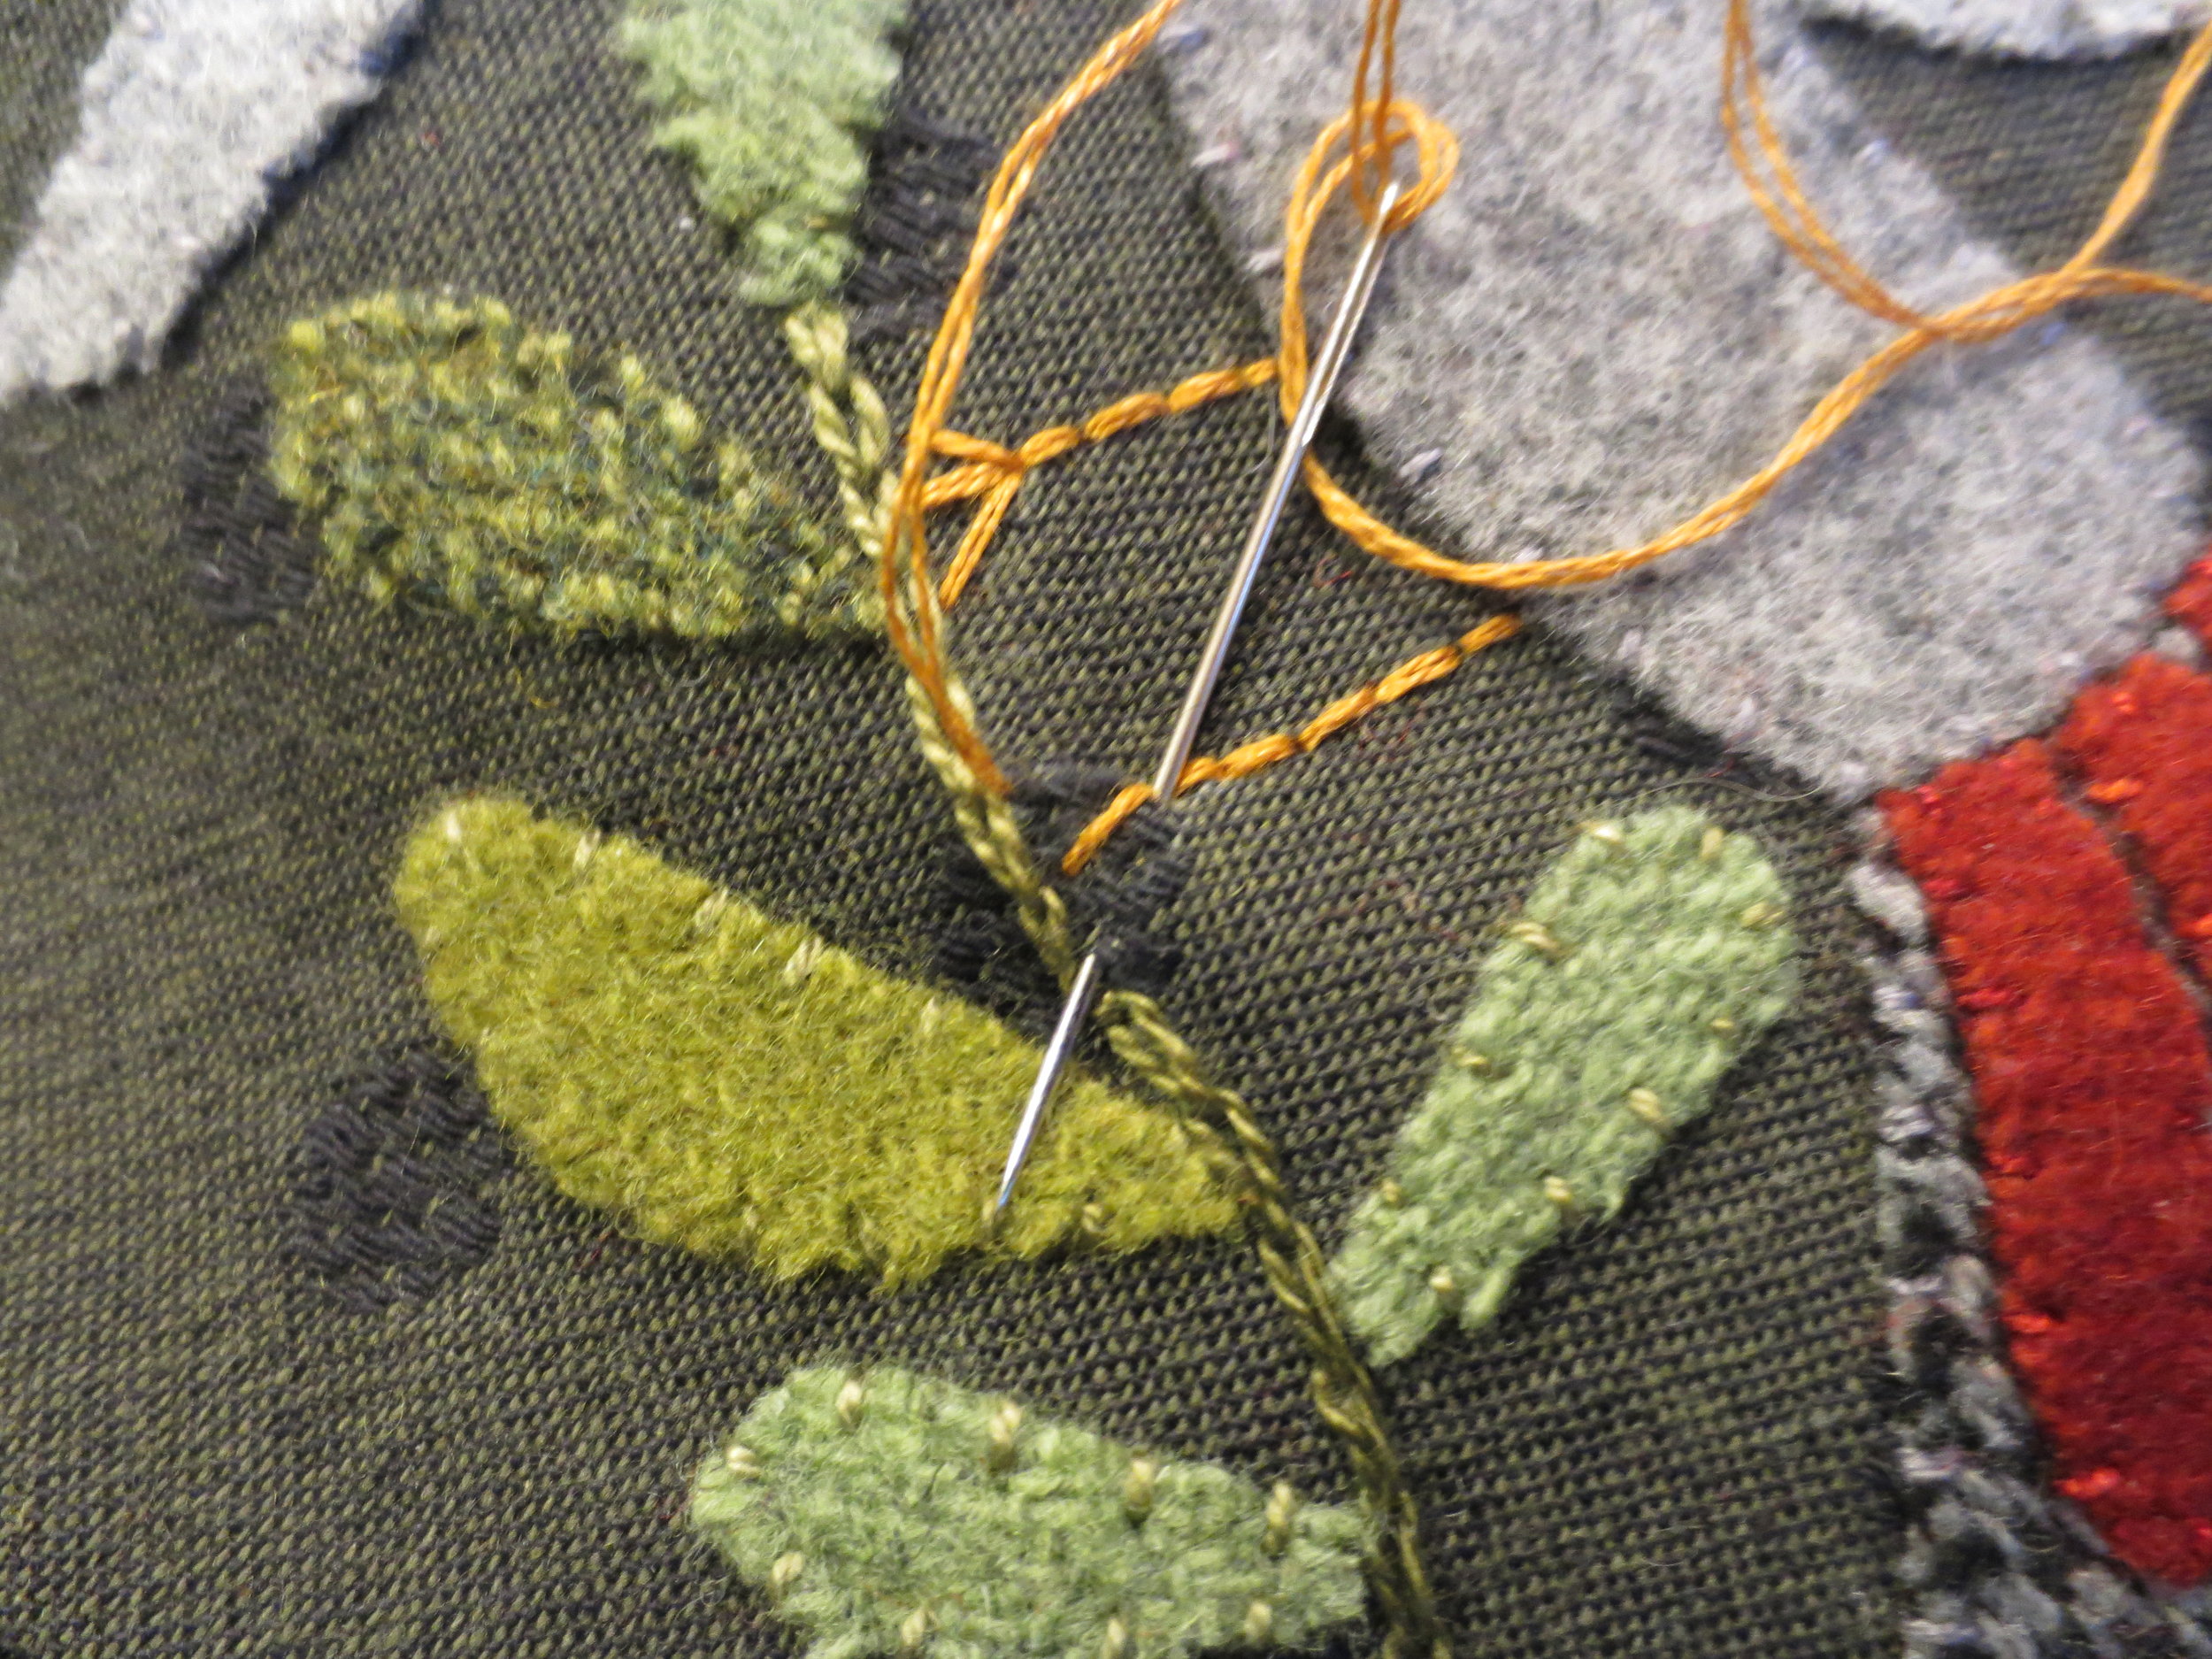
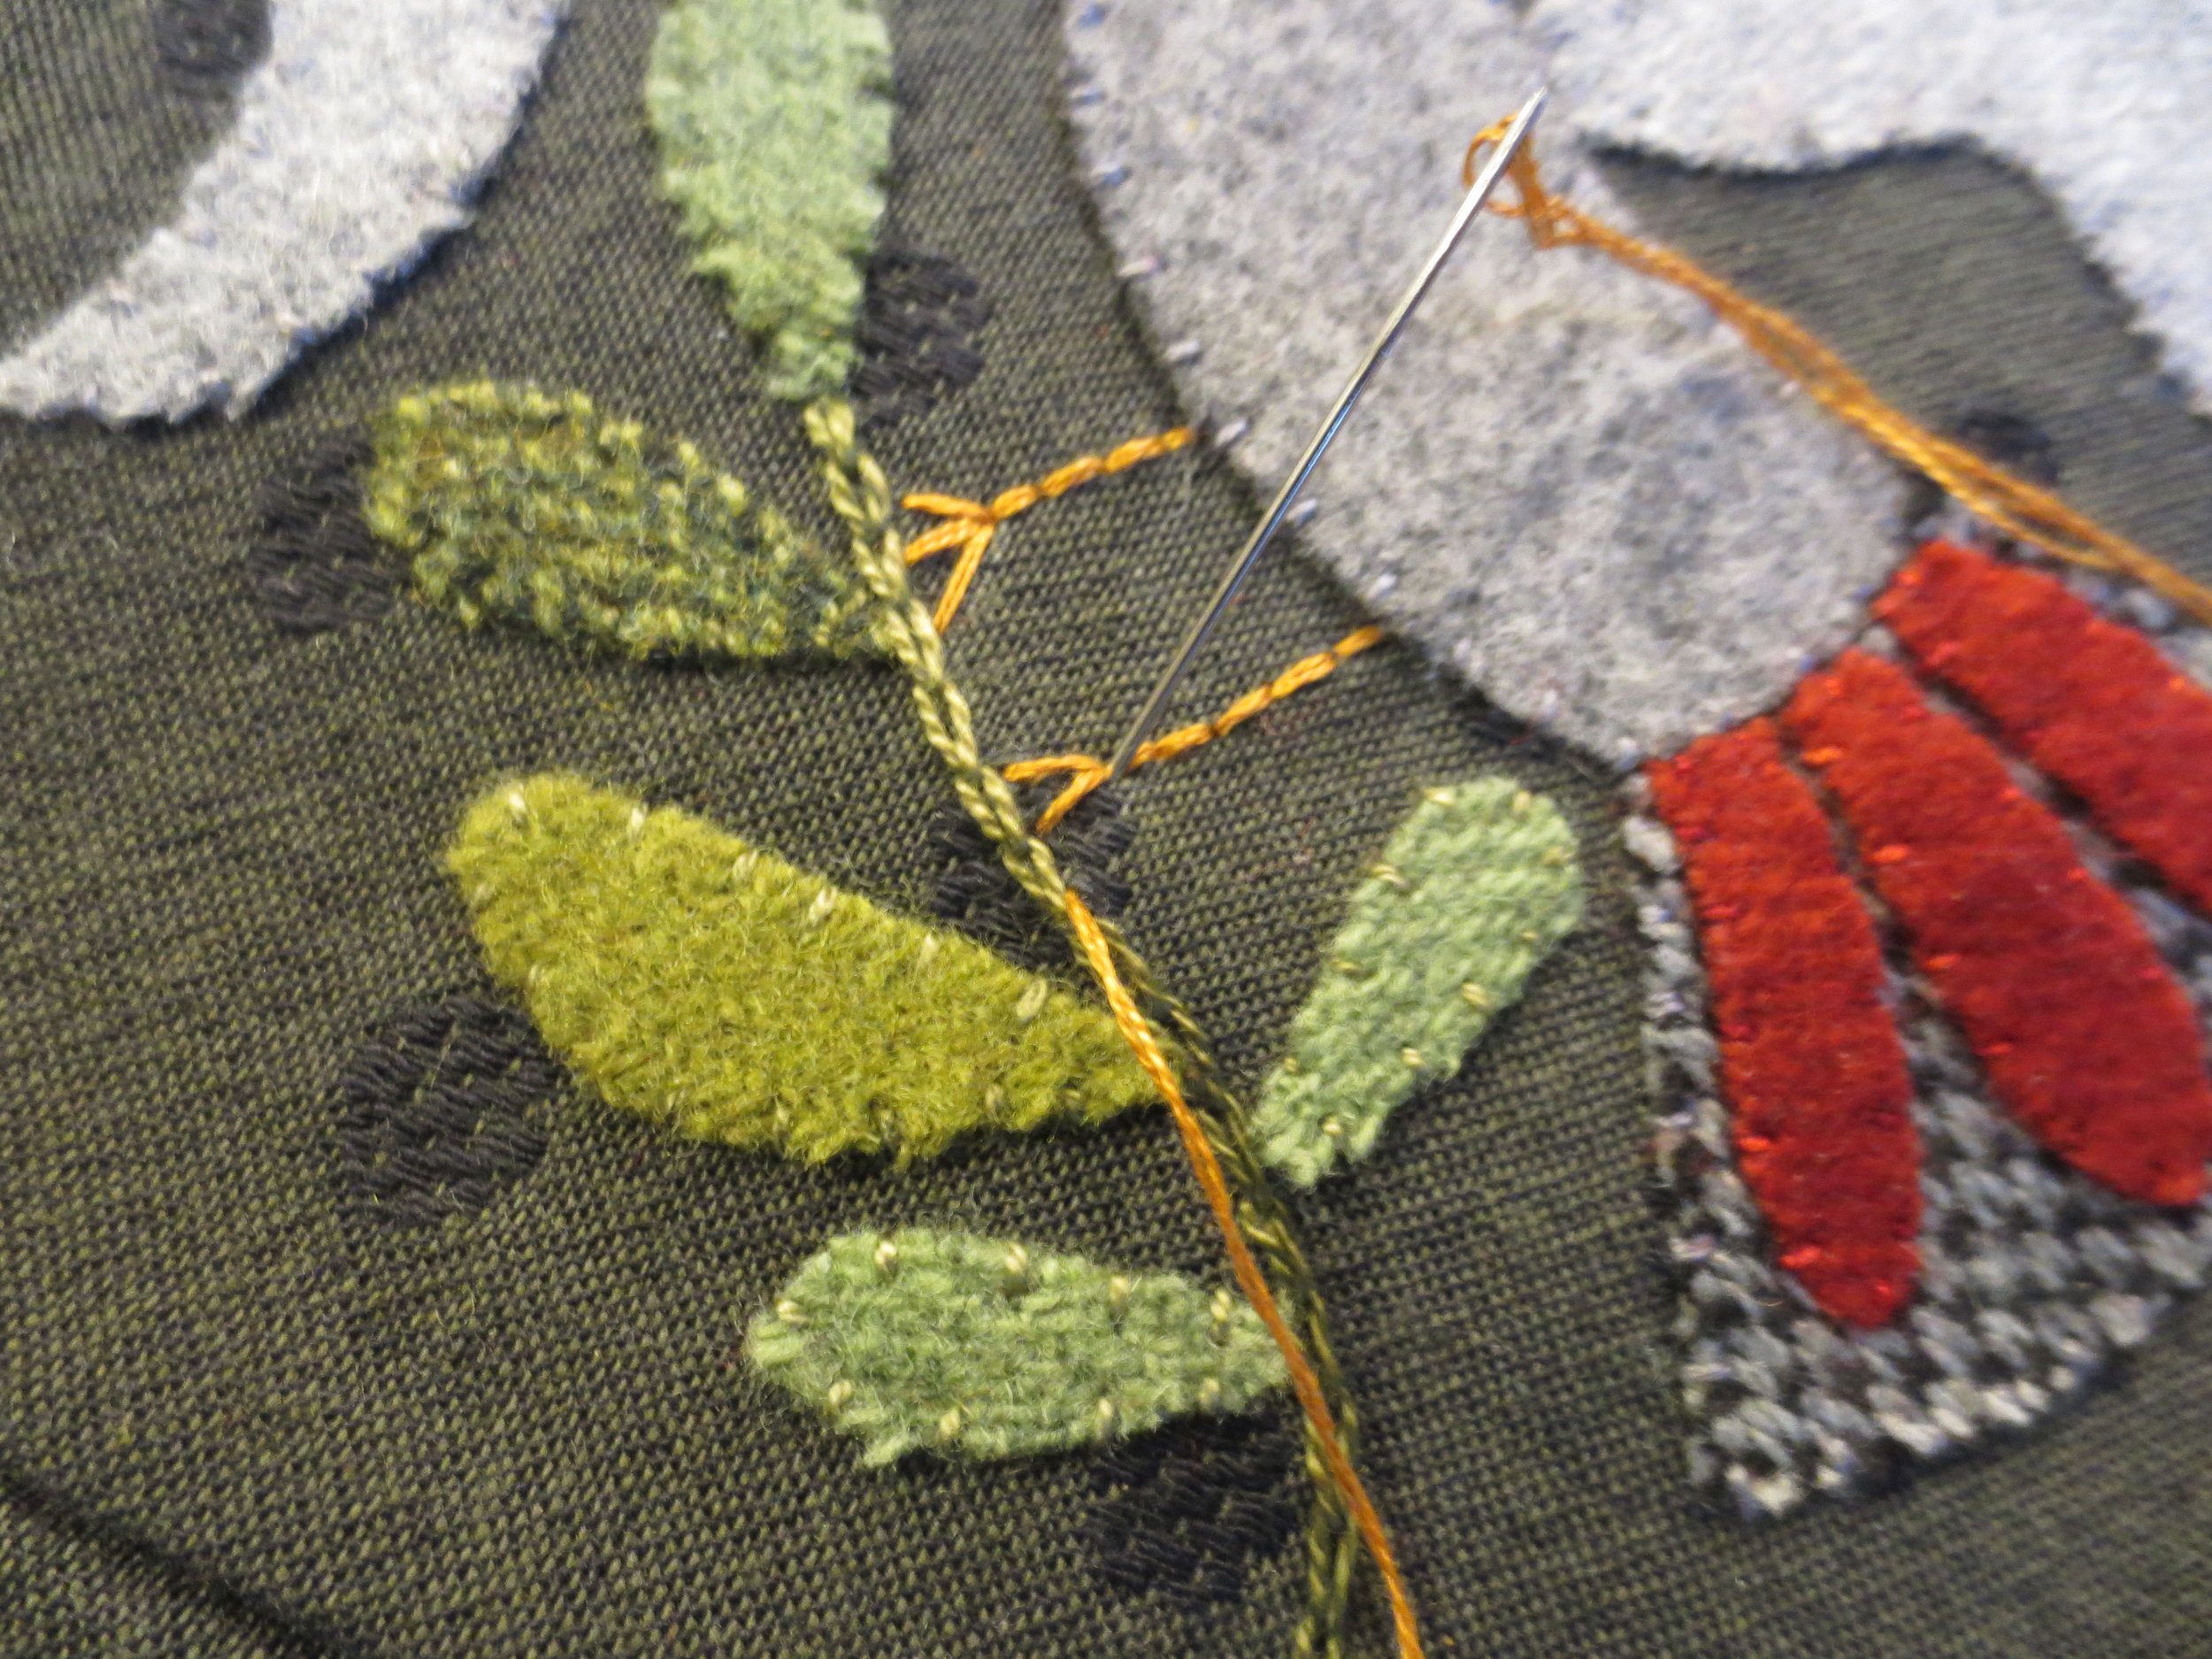
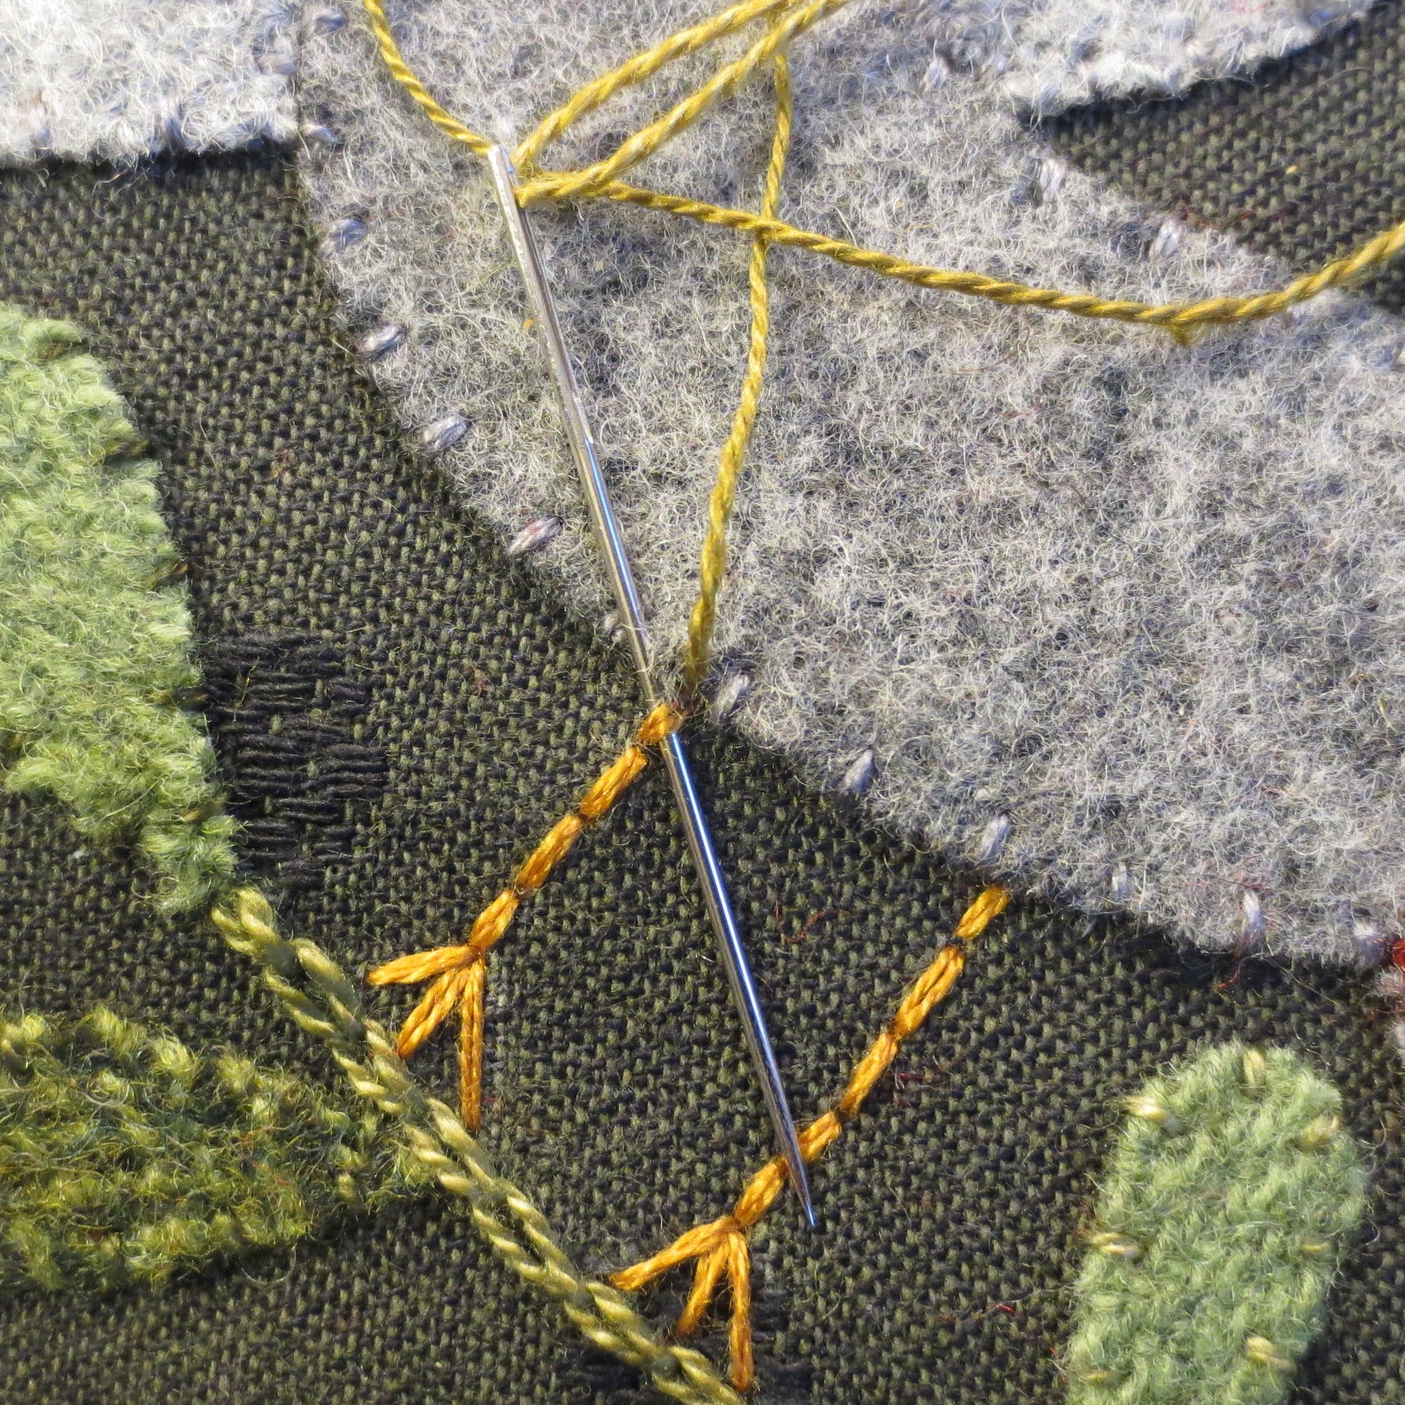
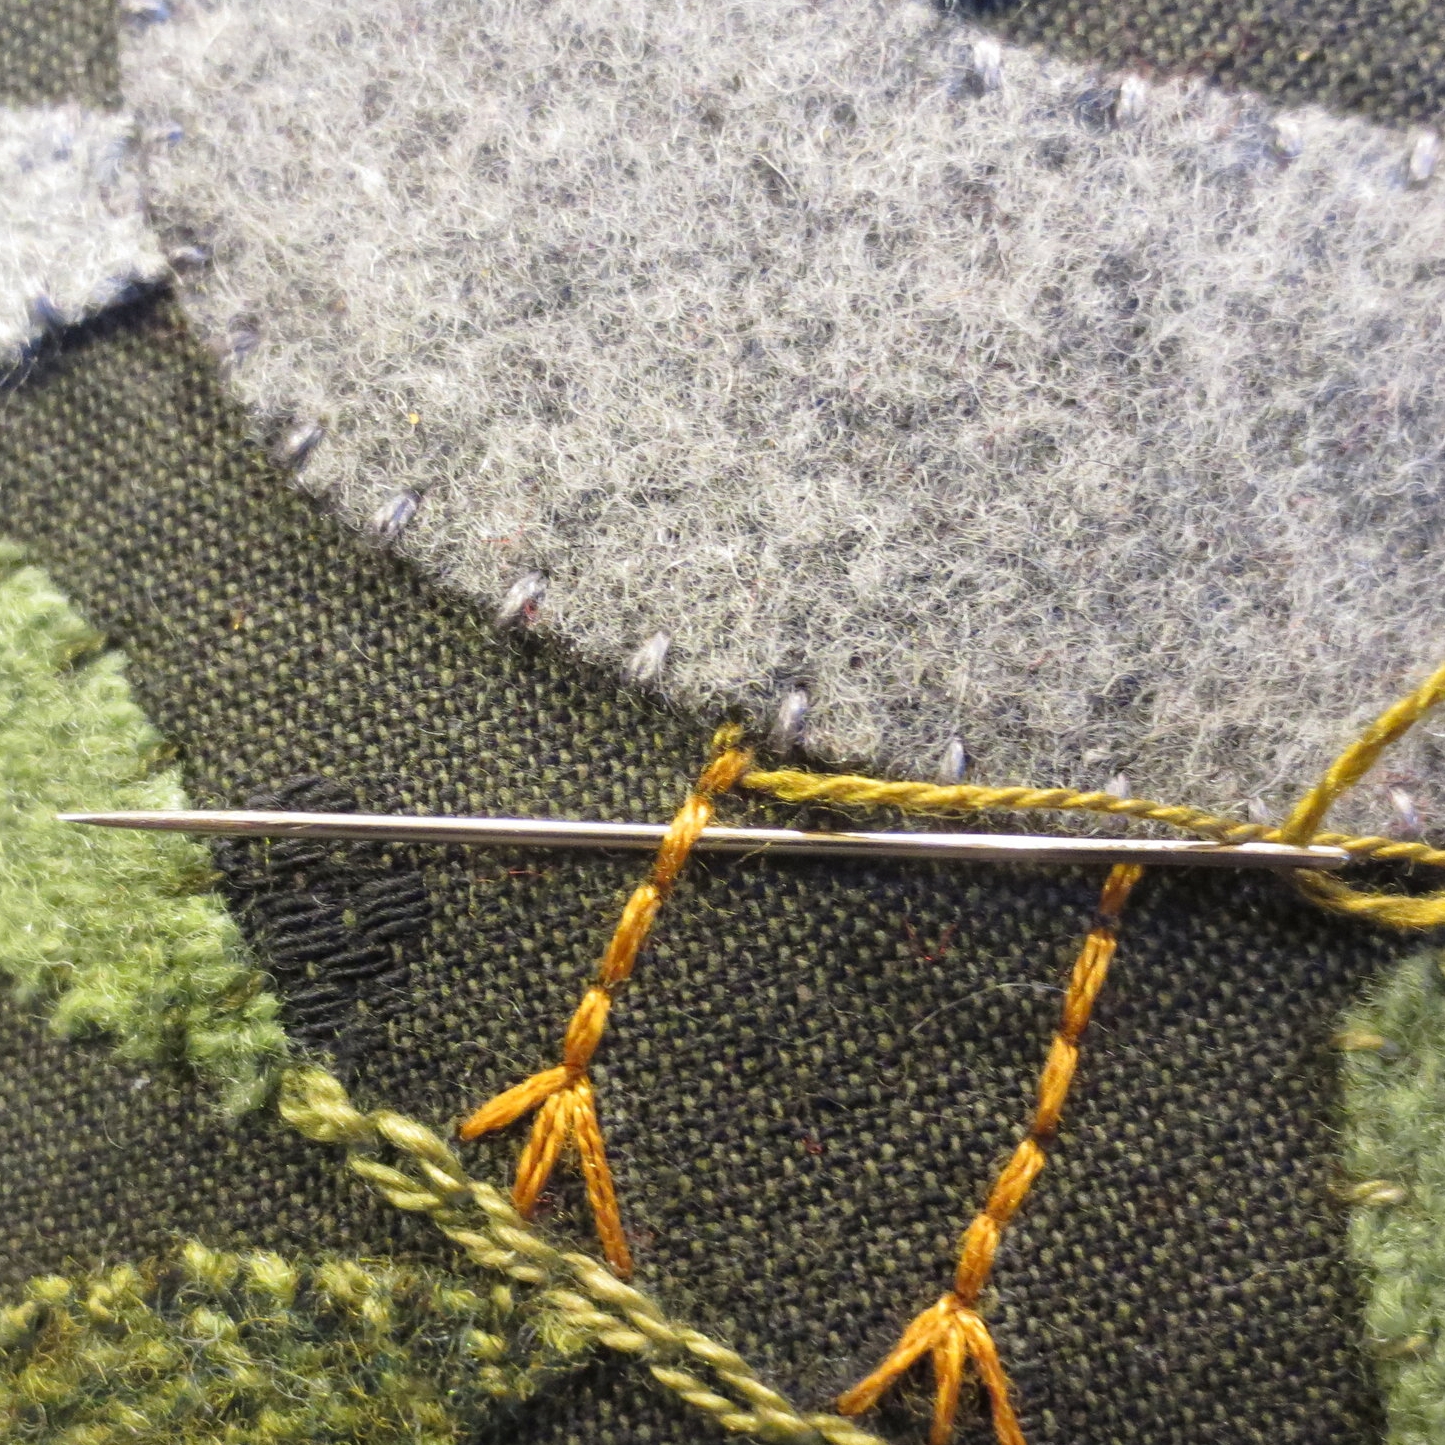
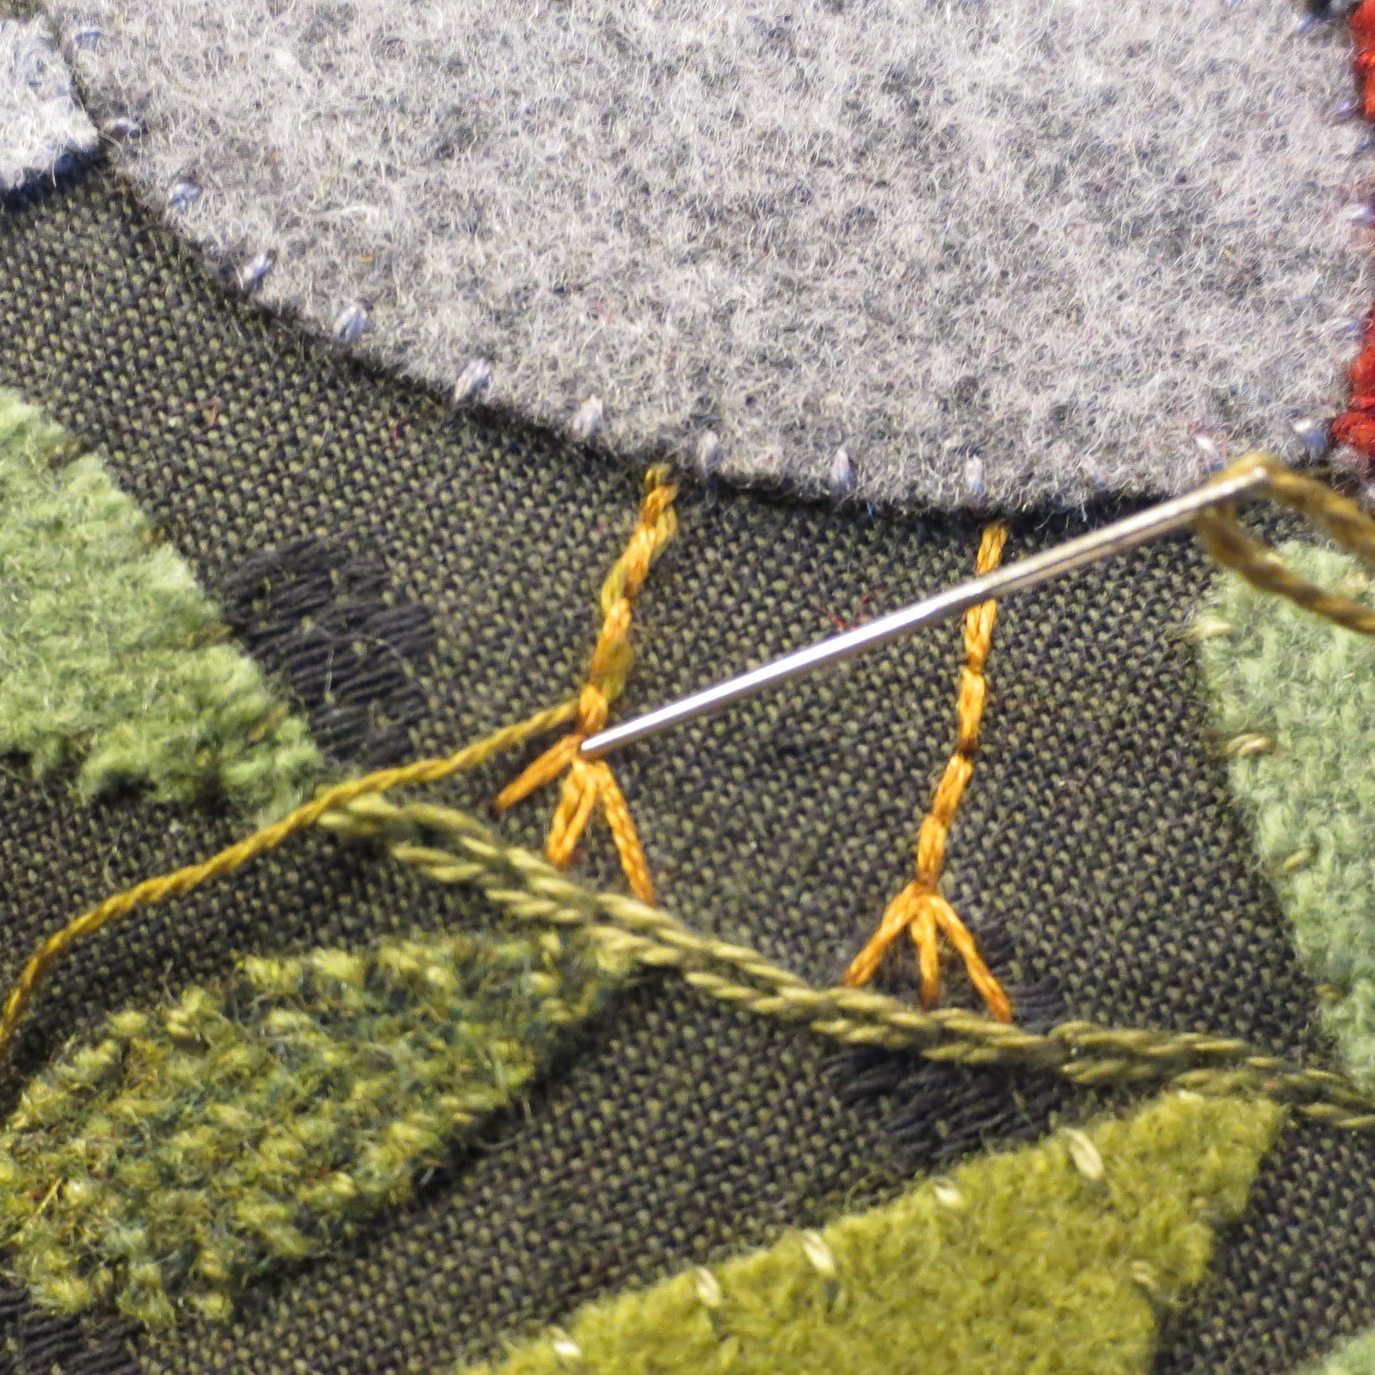
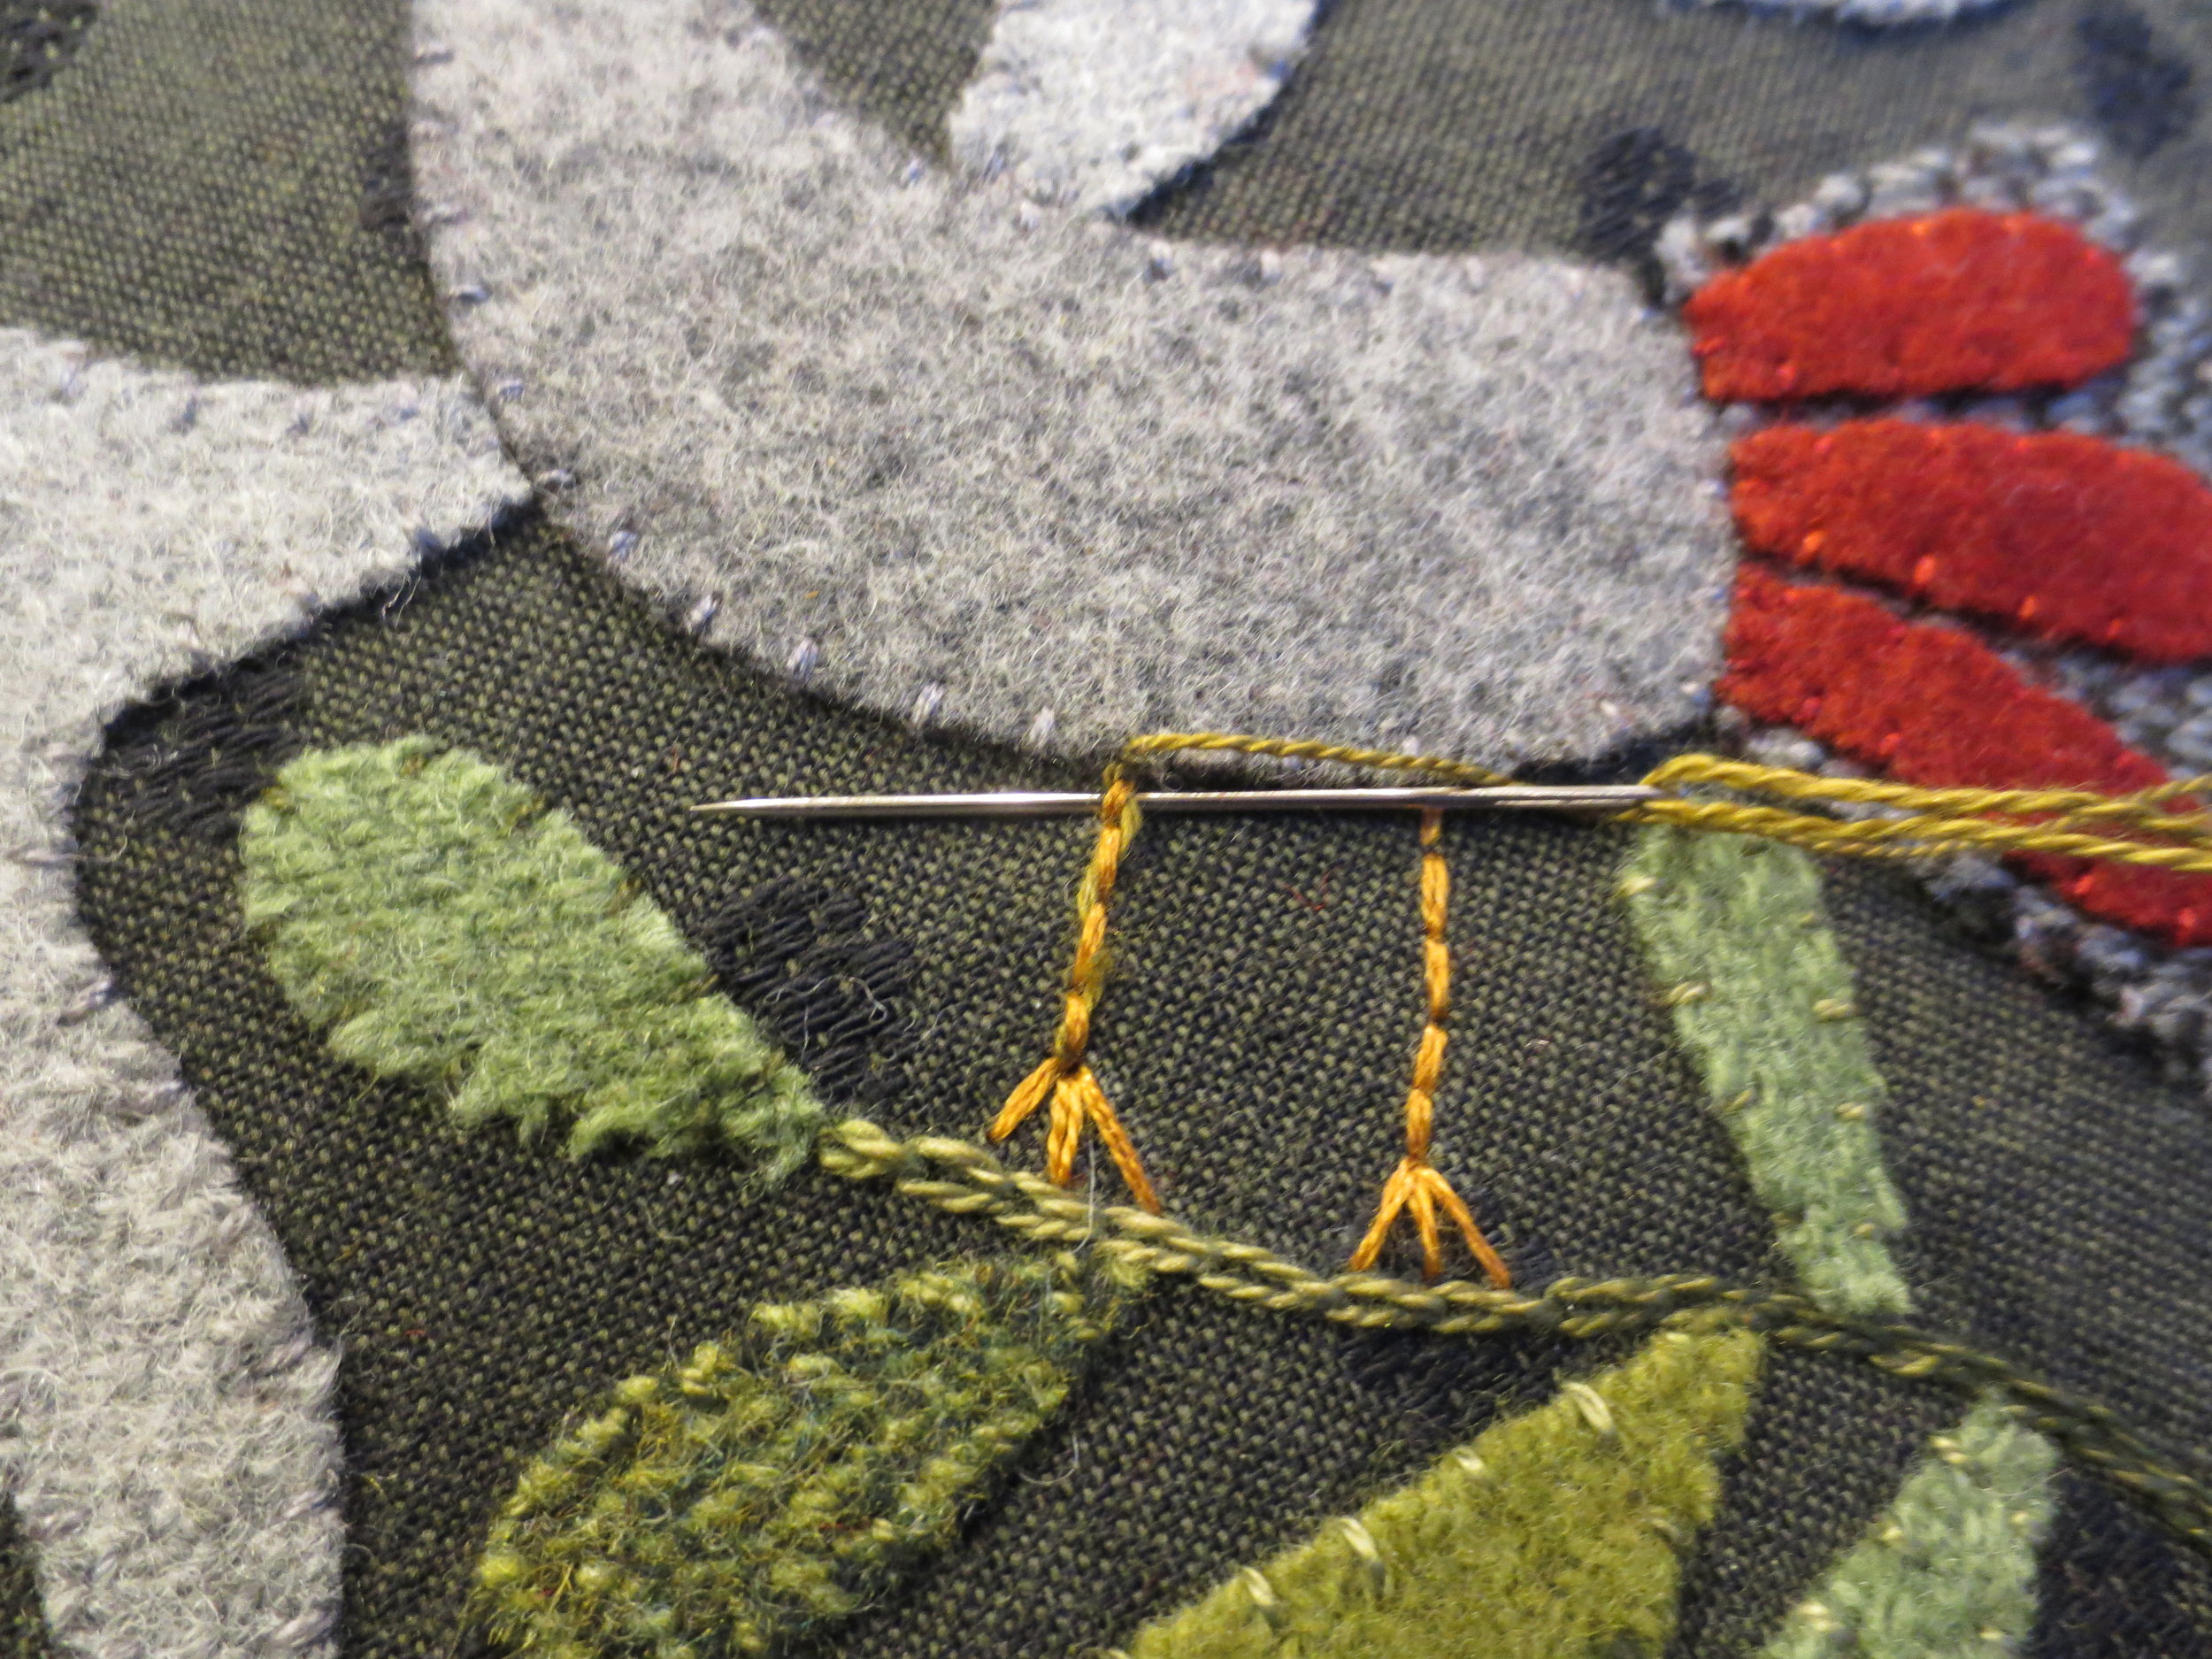
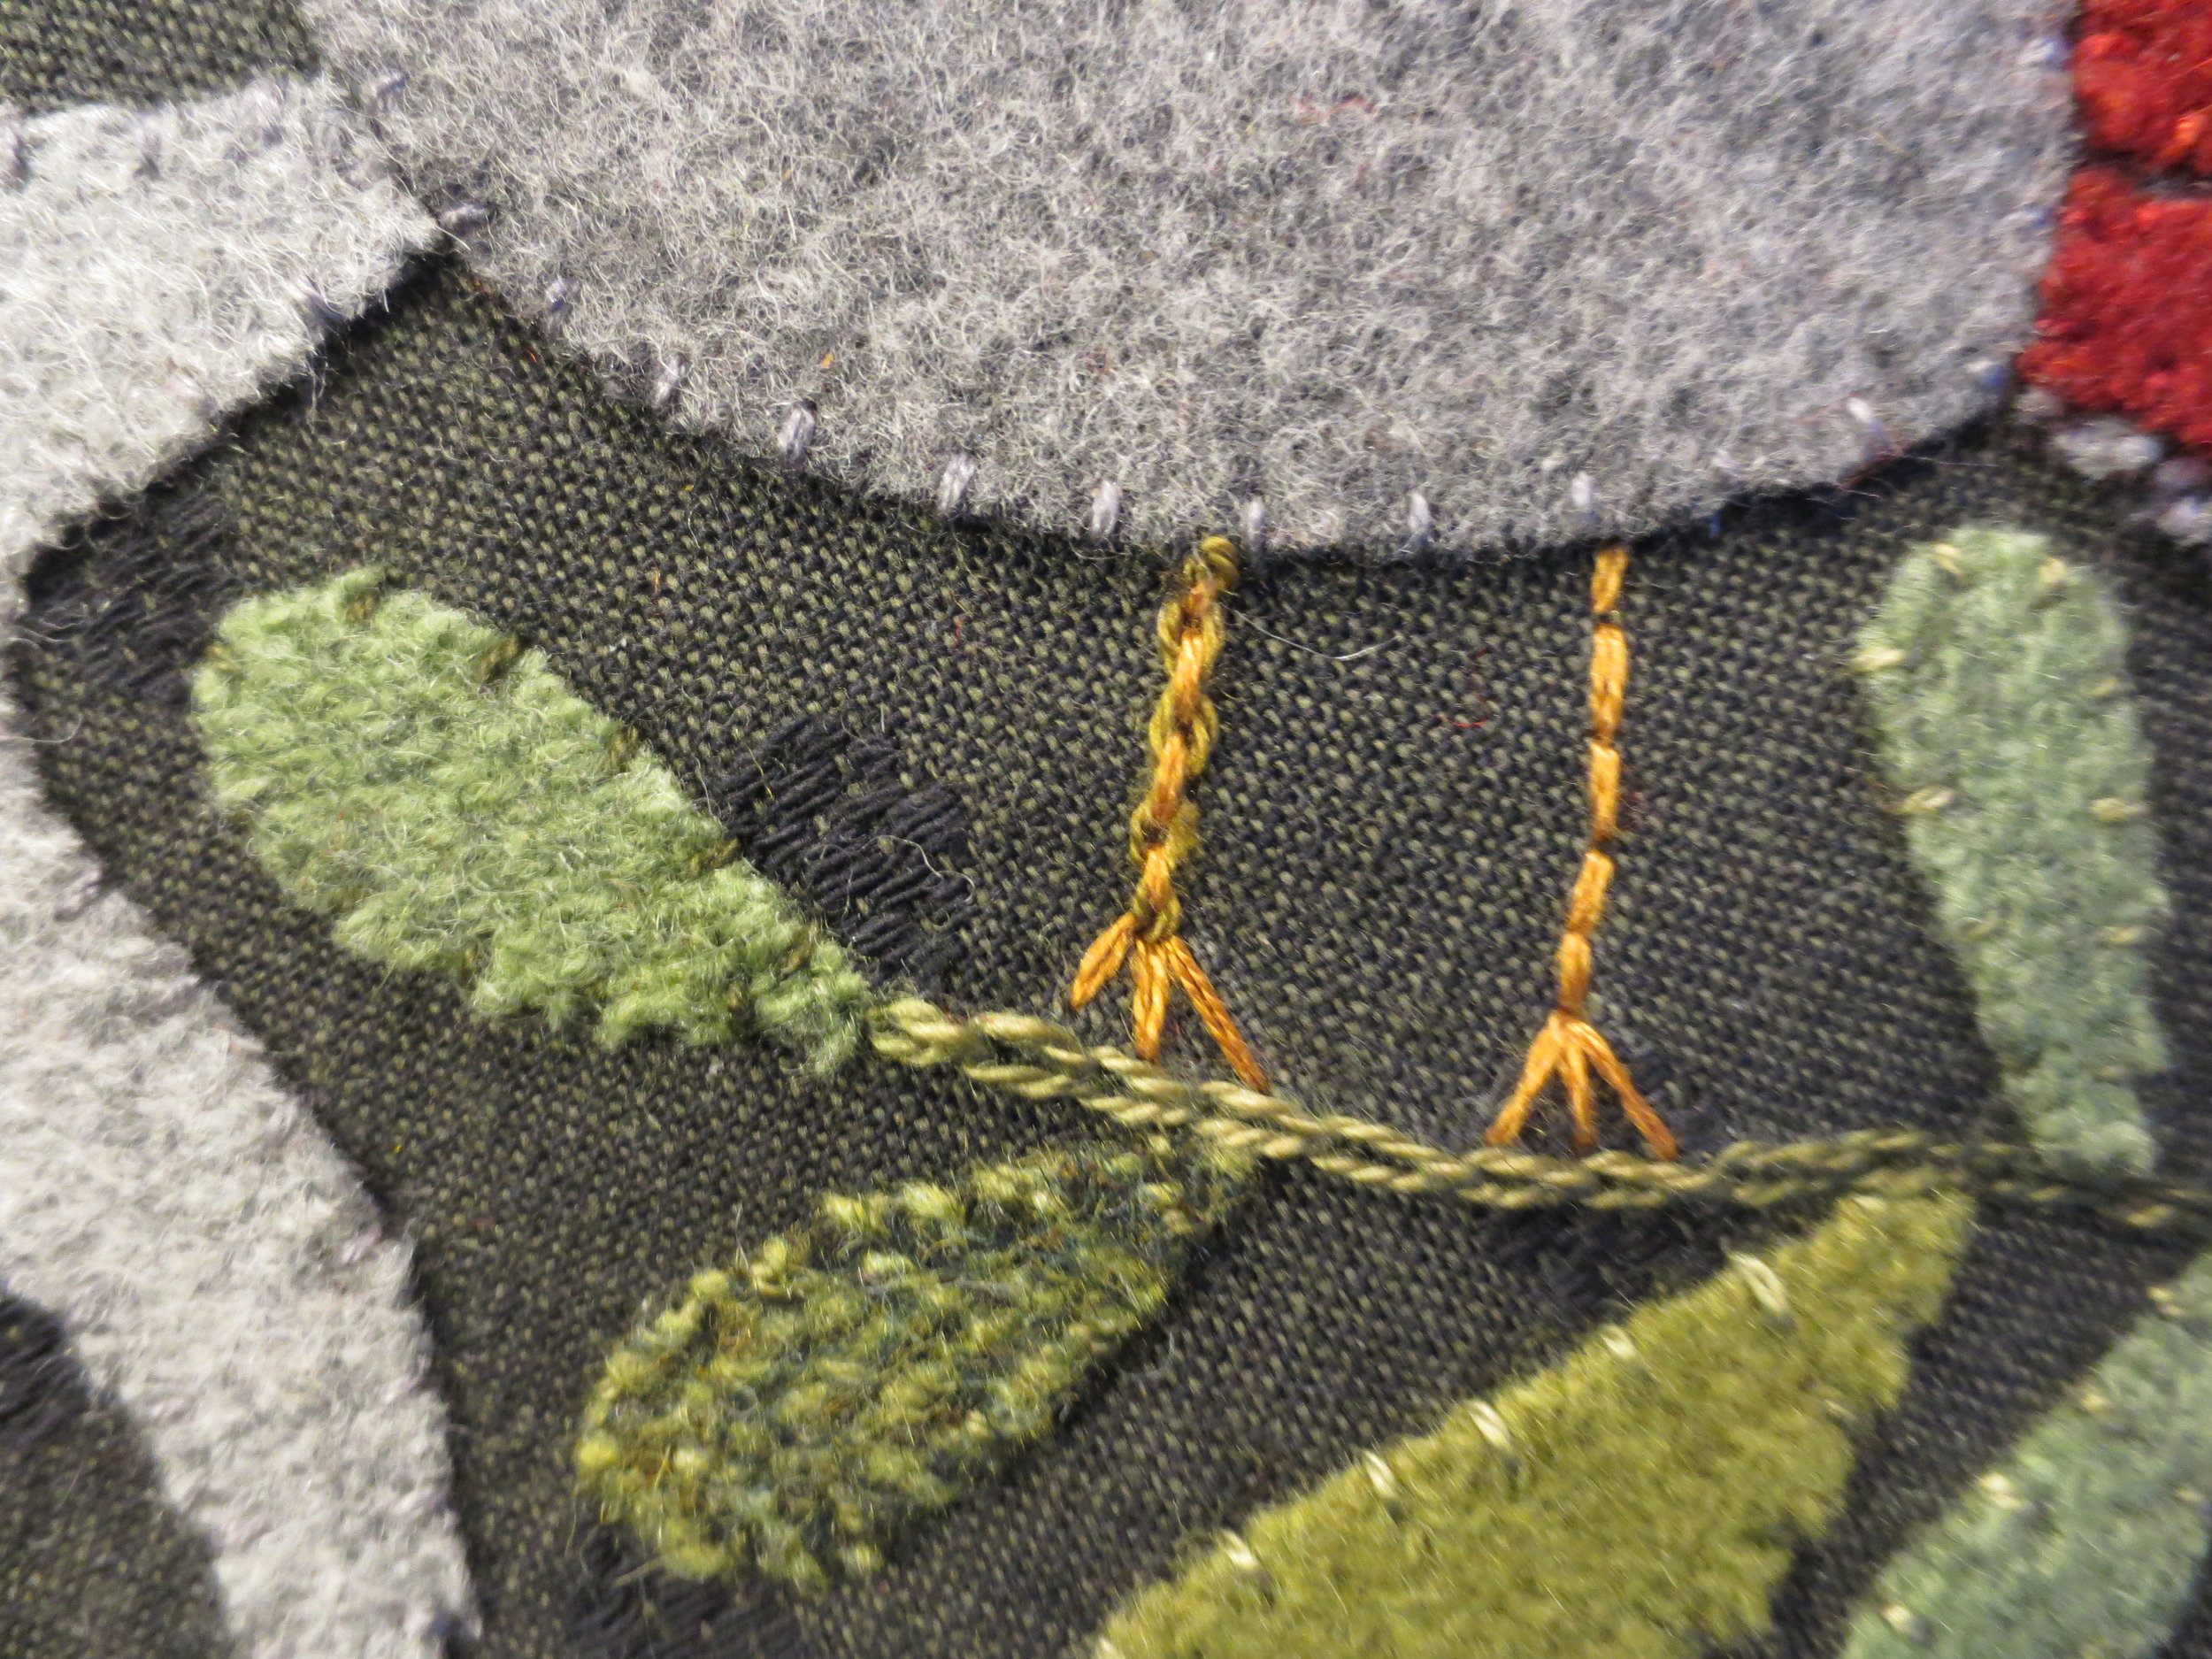
Use Valdani #O513 to weave in and out of each back stitch. This is called a Threaded back stitch. Bring the needle up at the top of the leg. Insert the needle under the first stitch and pull the thread through. Insert the needle under the second stitch from the opposite side of the first stitch and pull the thread through. Continue to thread all the back stitches, then finish by inserting the needle into the base of the foot and pulling the thread through to the back of the fabric.
Repeat this stitch, but thread the back stitch from the opposite side. This is called a Double Threaded Back Stitch.
Repeat both stitches on the second leg.
Back stitch the center veins of the leaves with Valdani #O153.
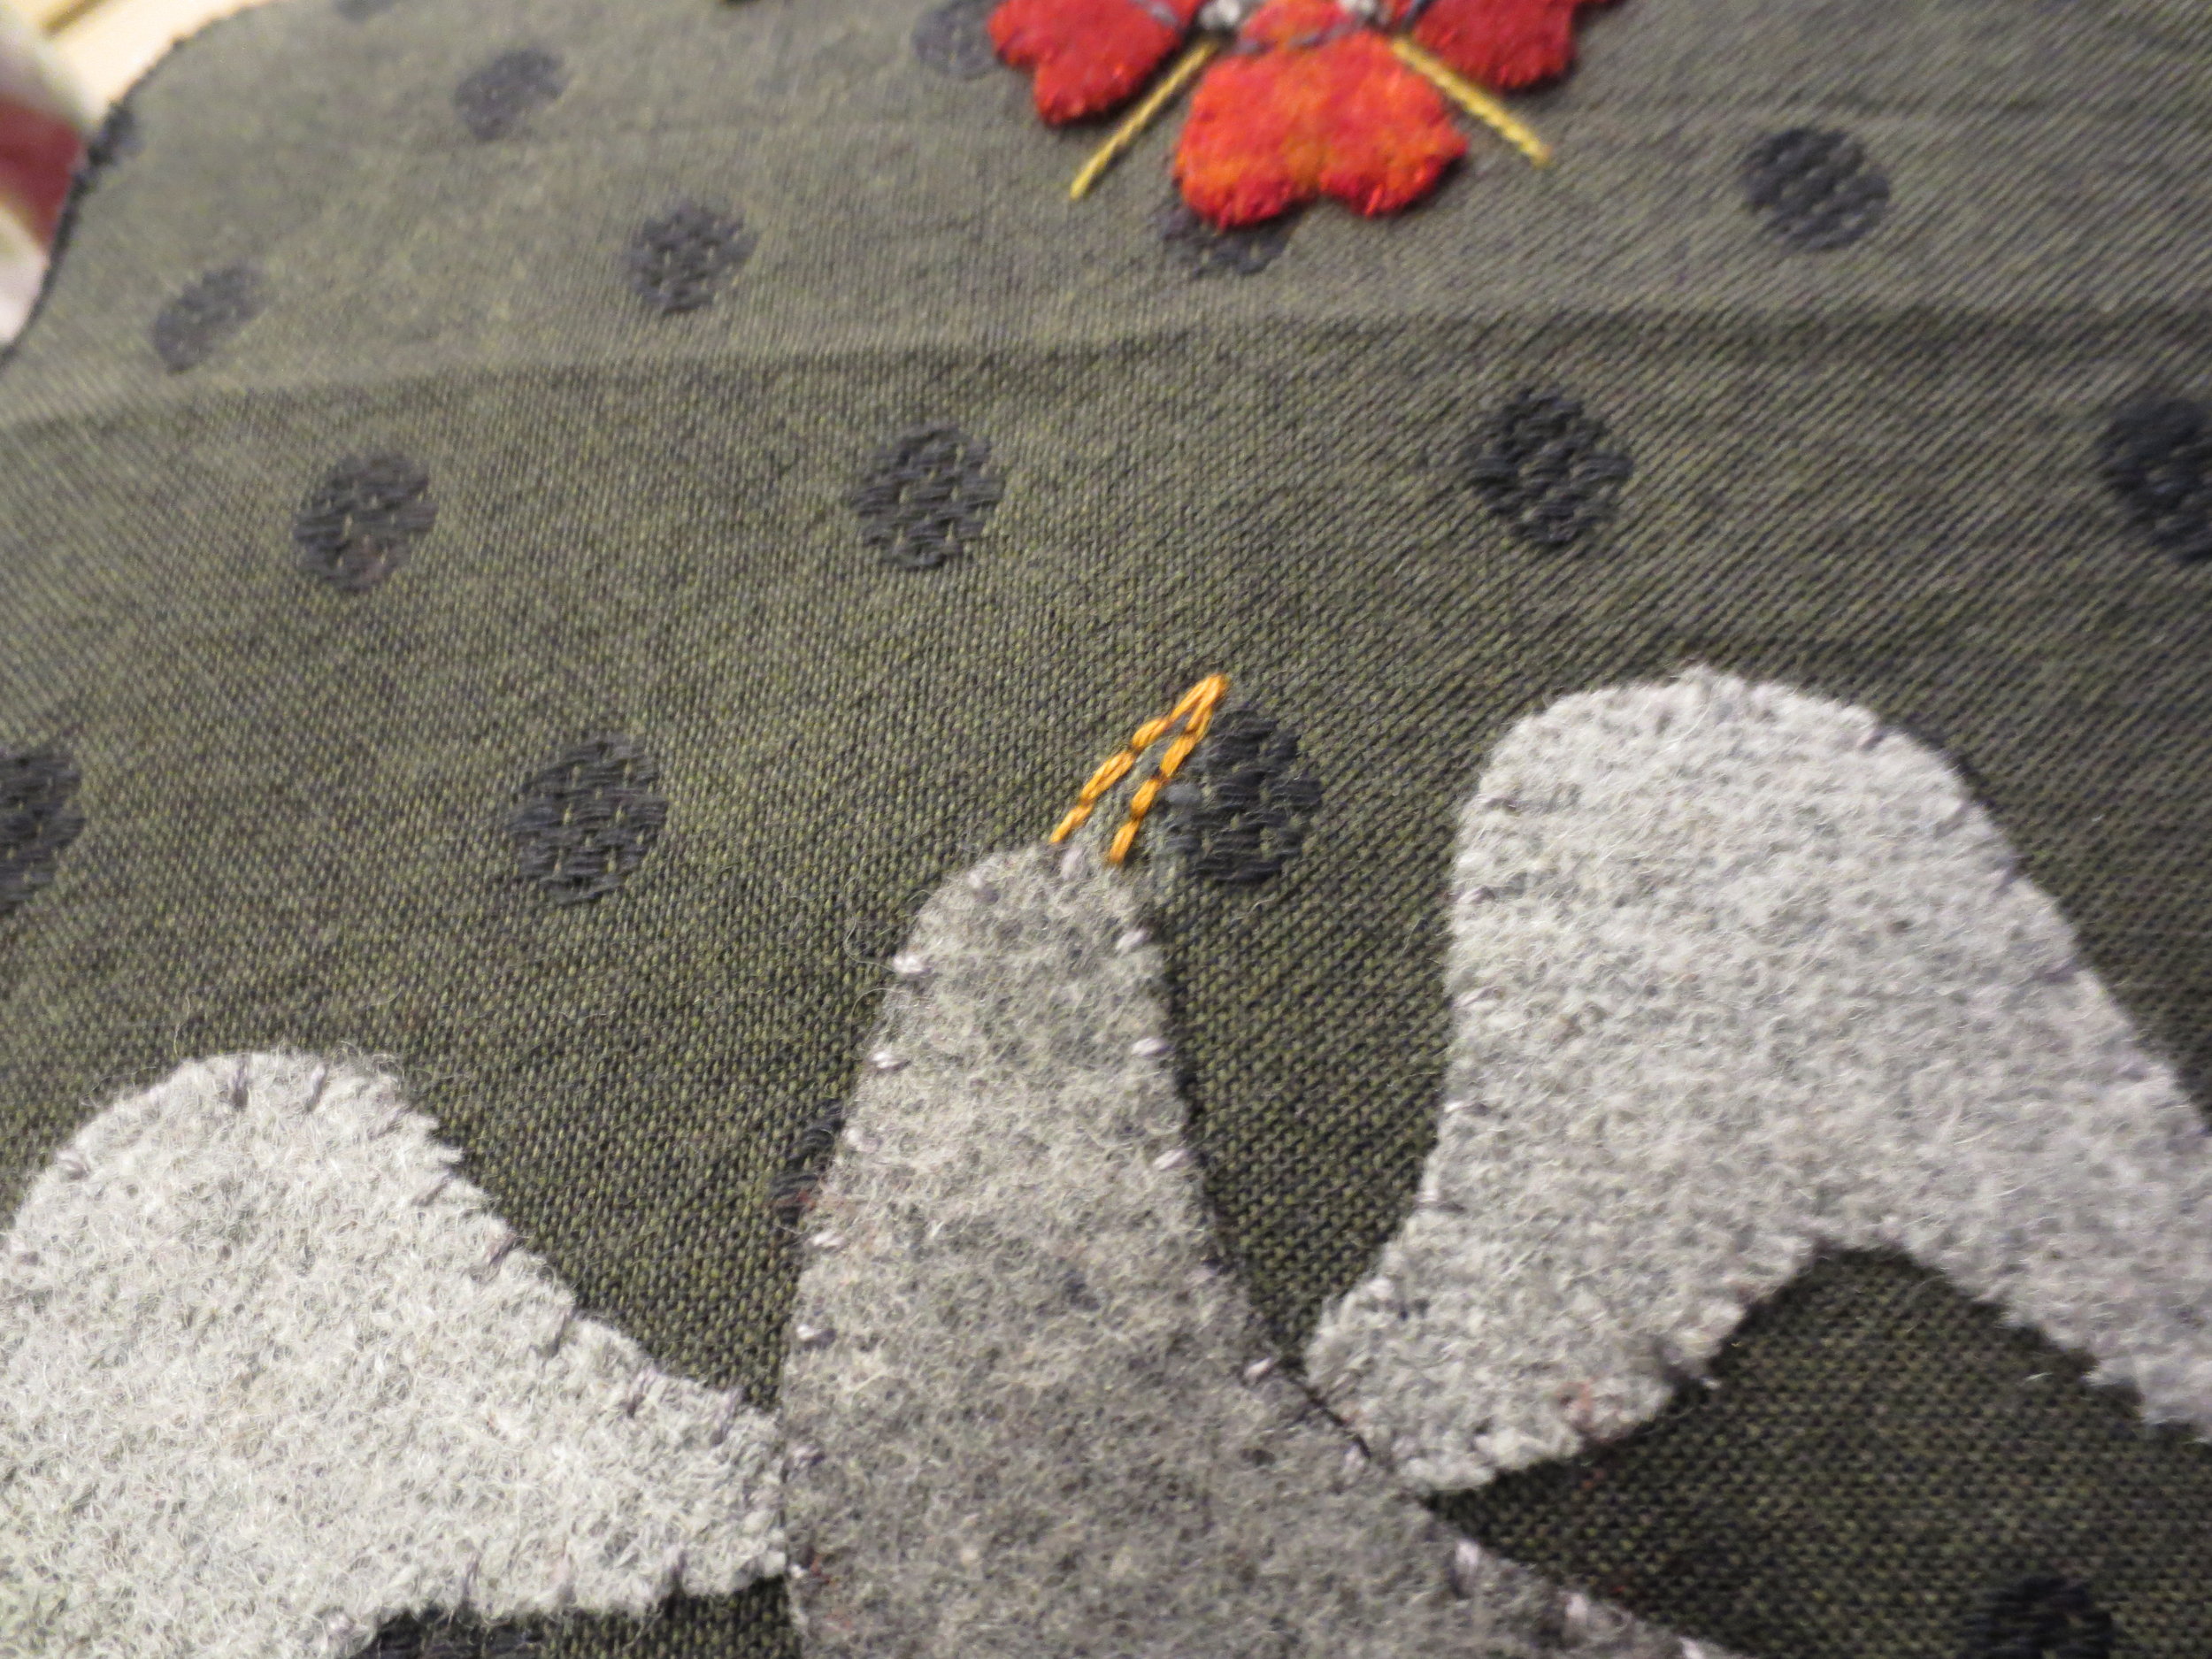
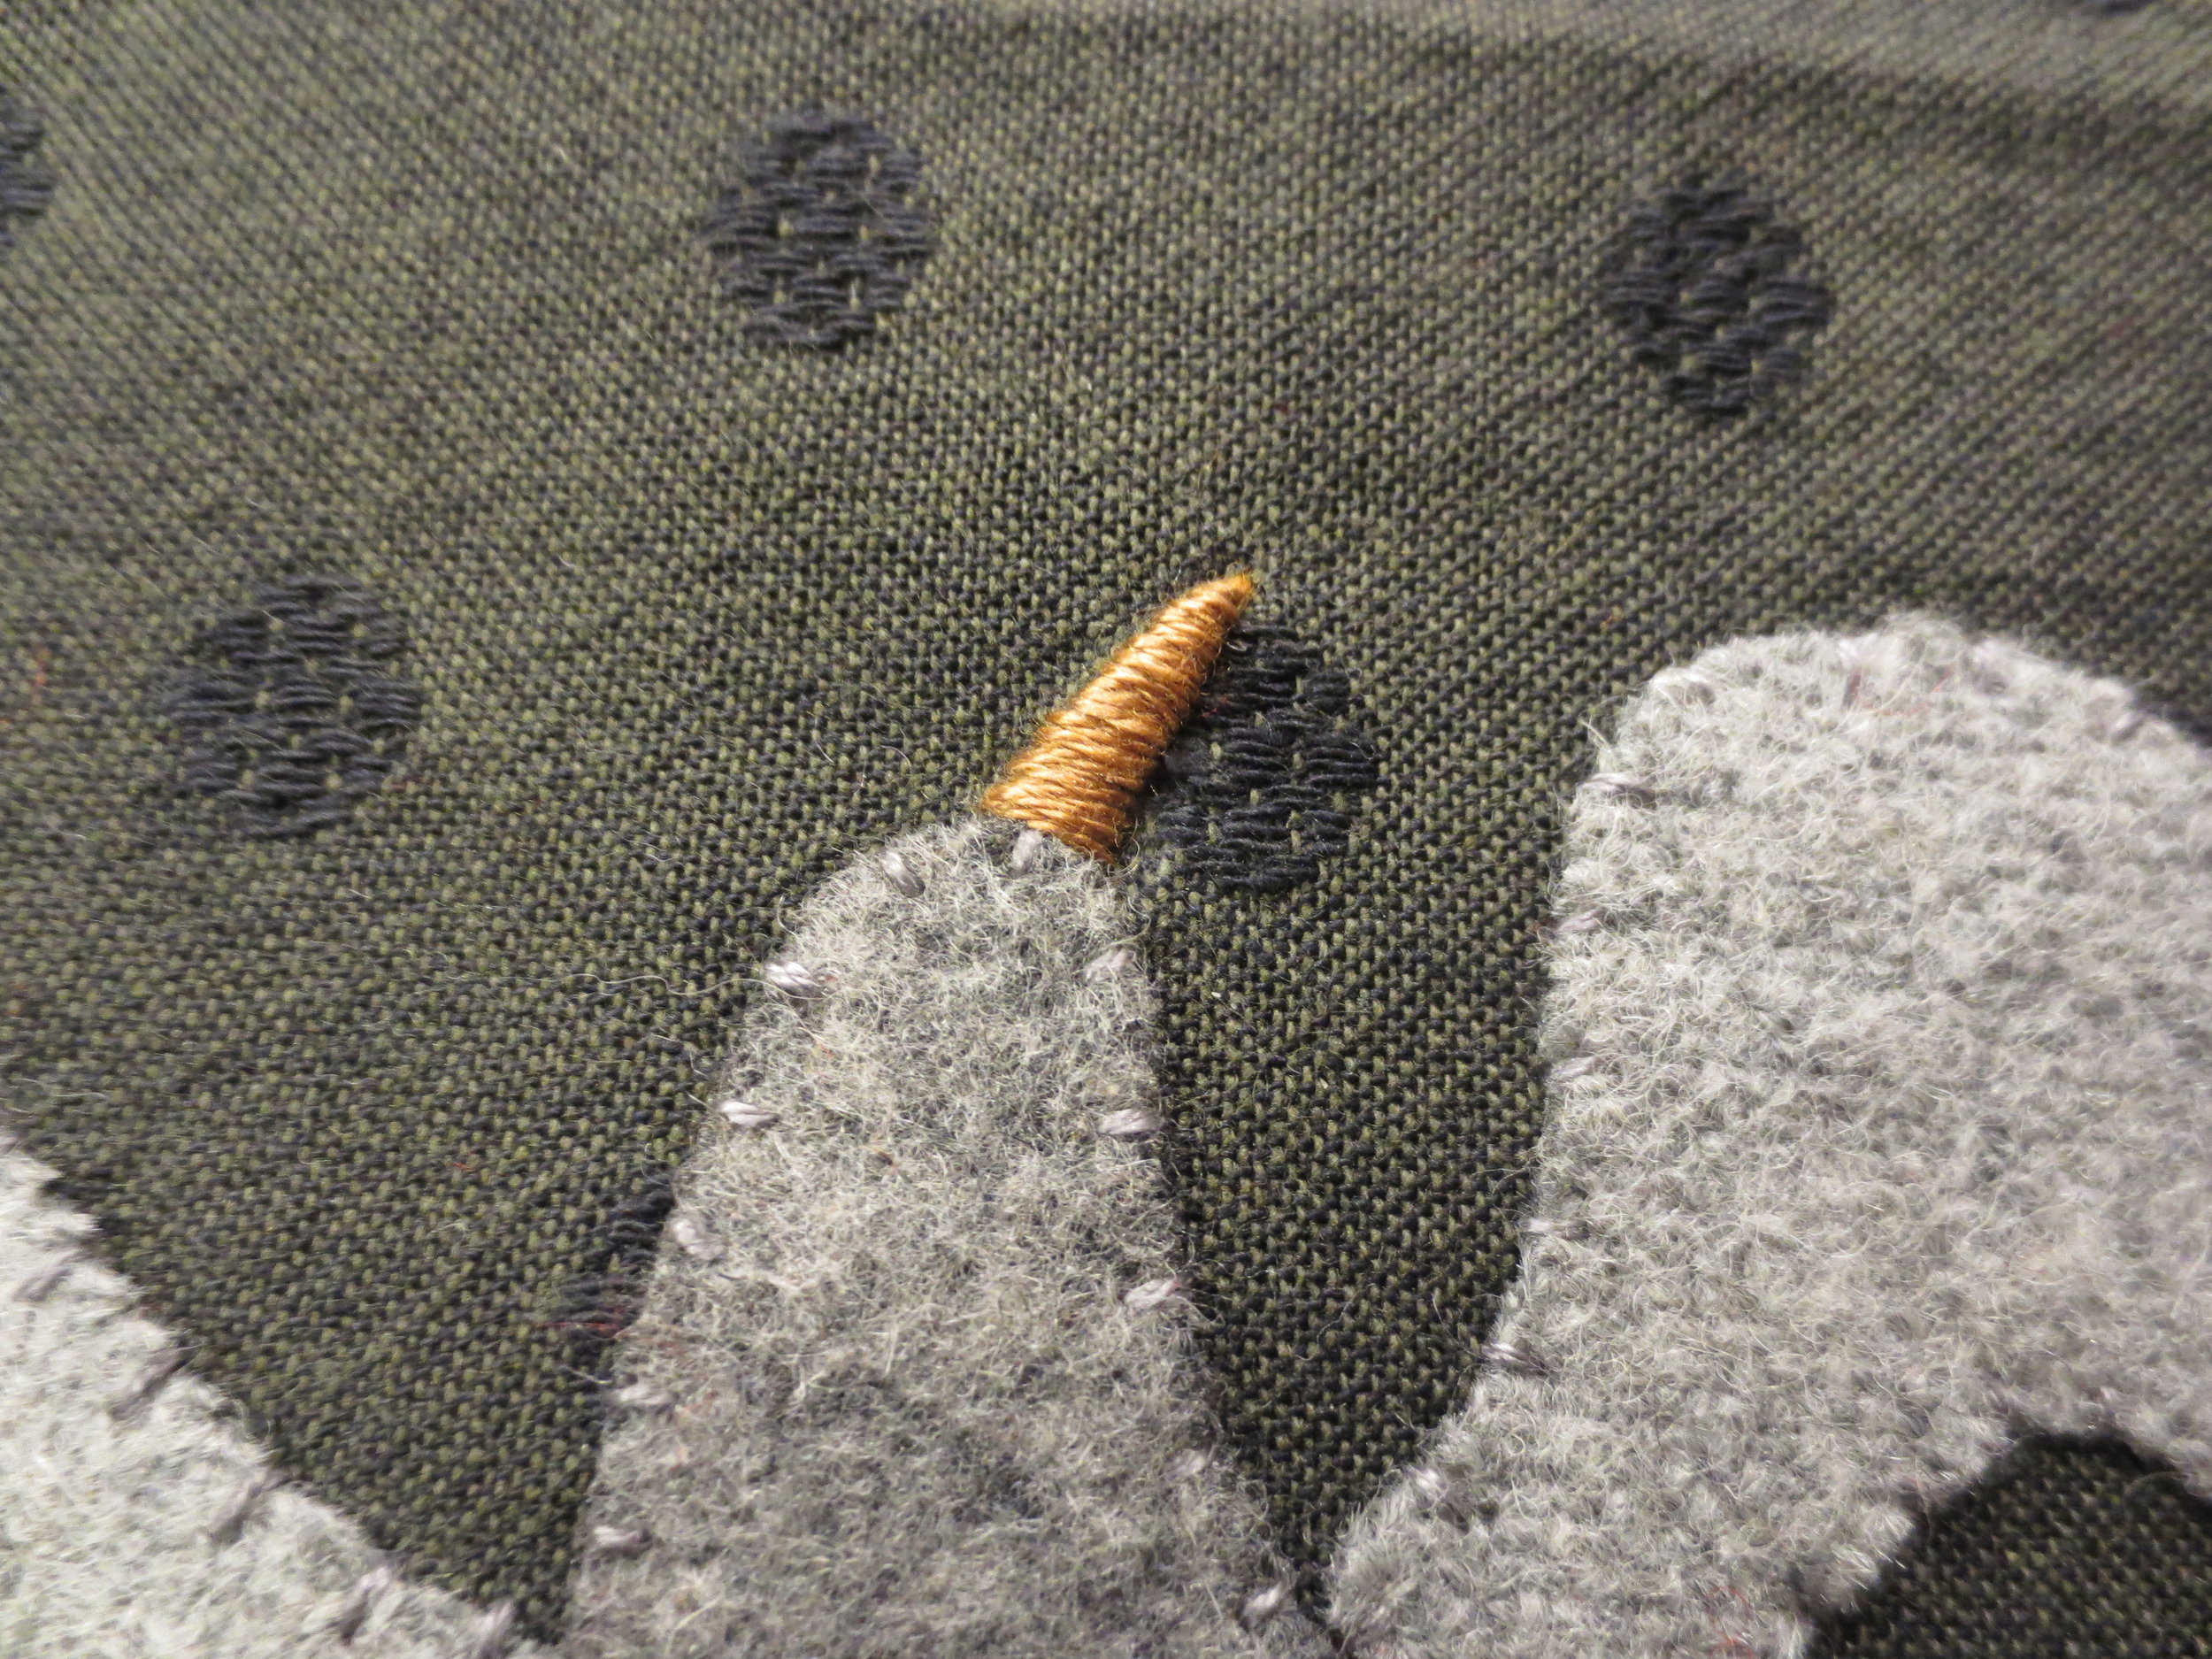
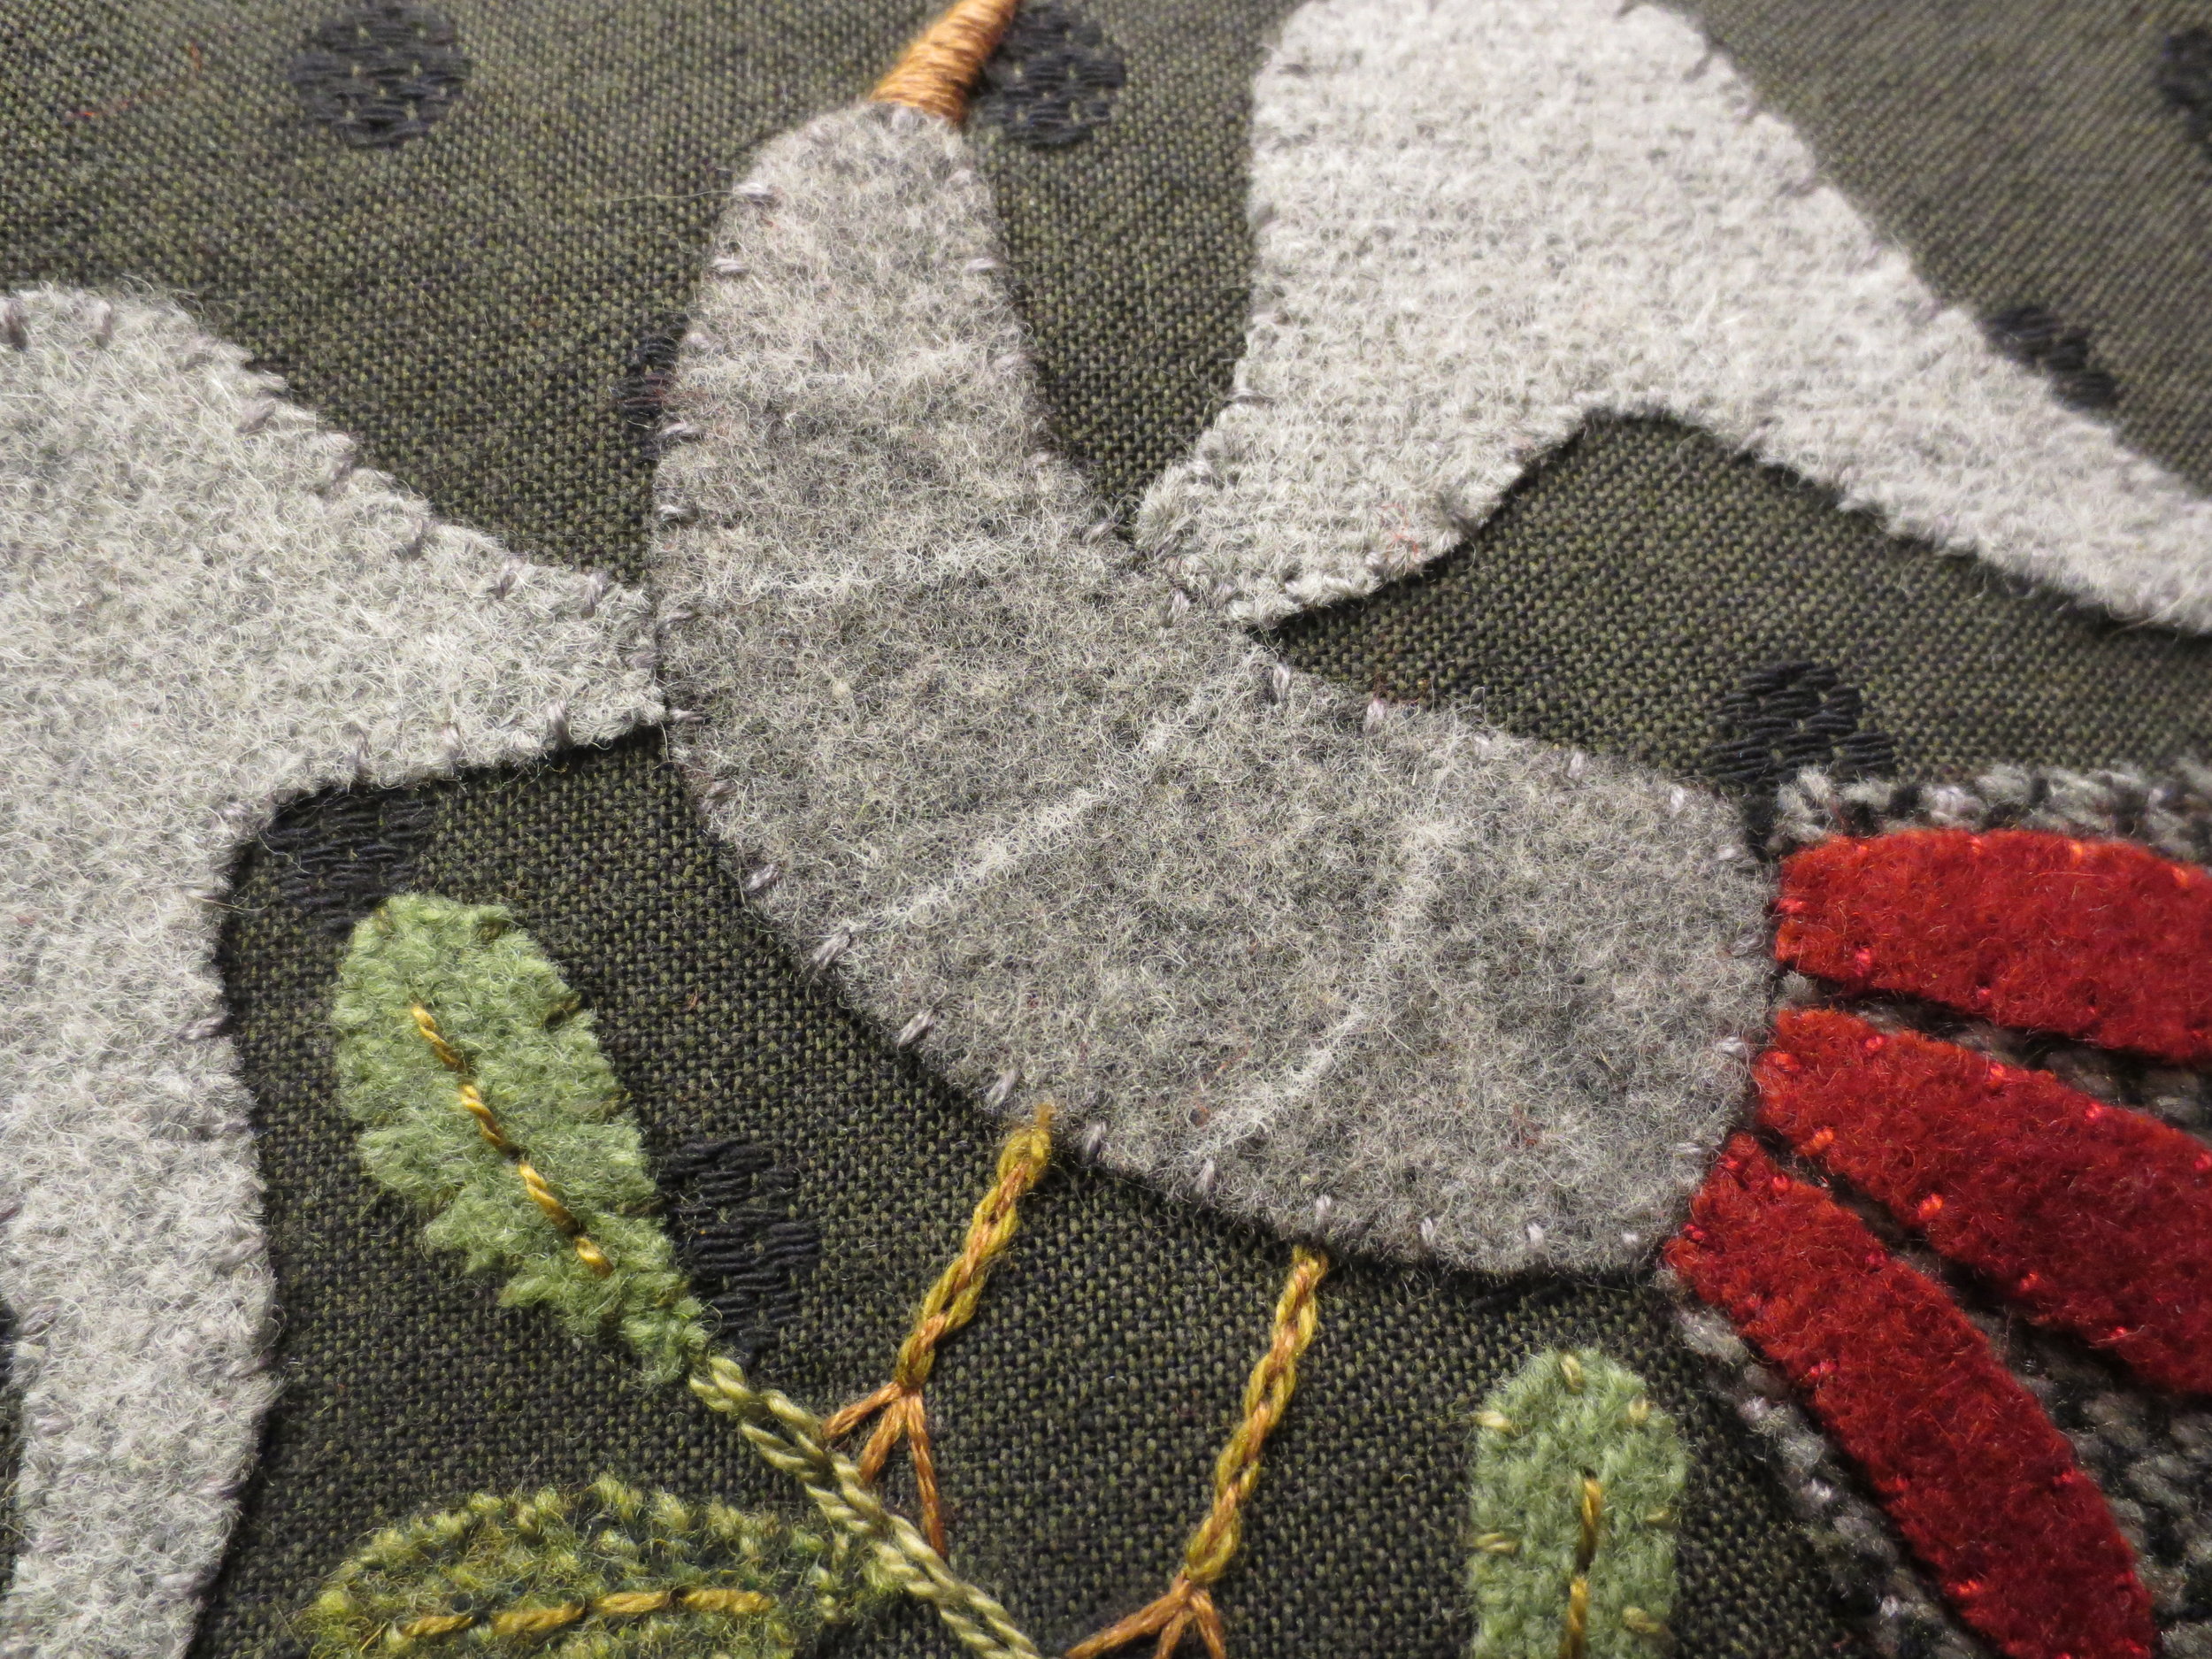
Draw the bird's beak and then back stitch an outline using DMC floss, #420 (2 strands).
Satin stitch the beak with the same thread.
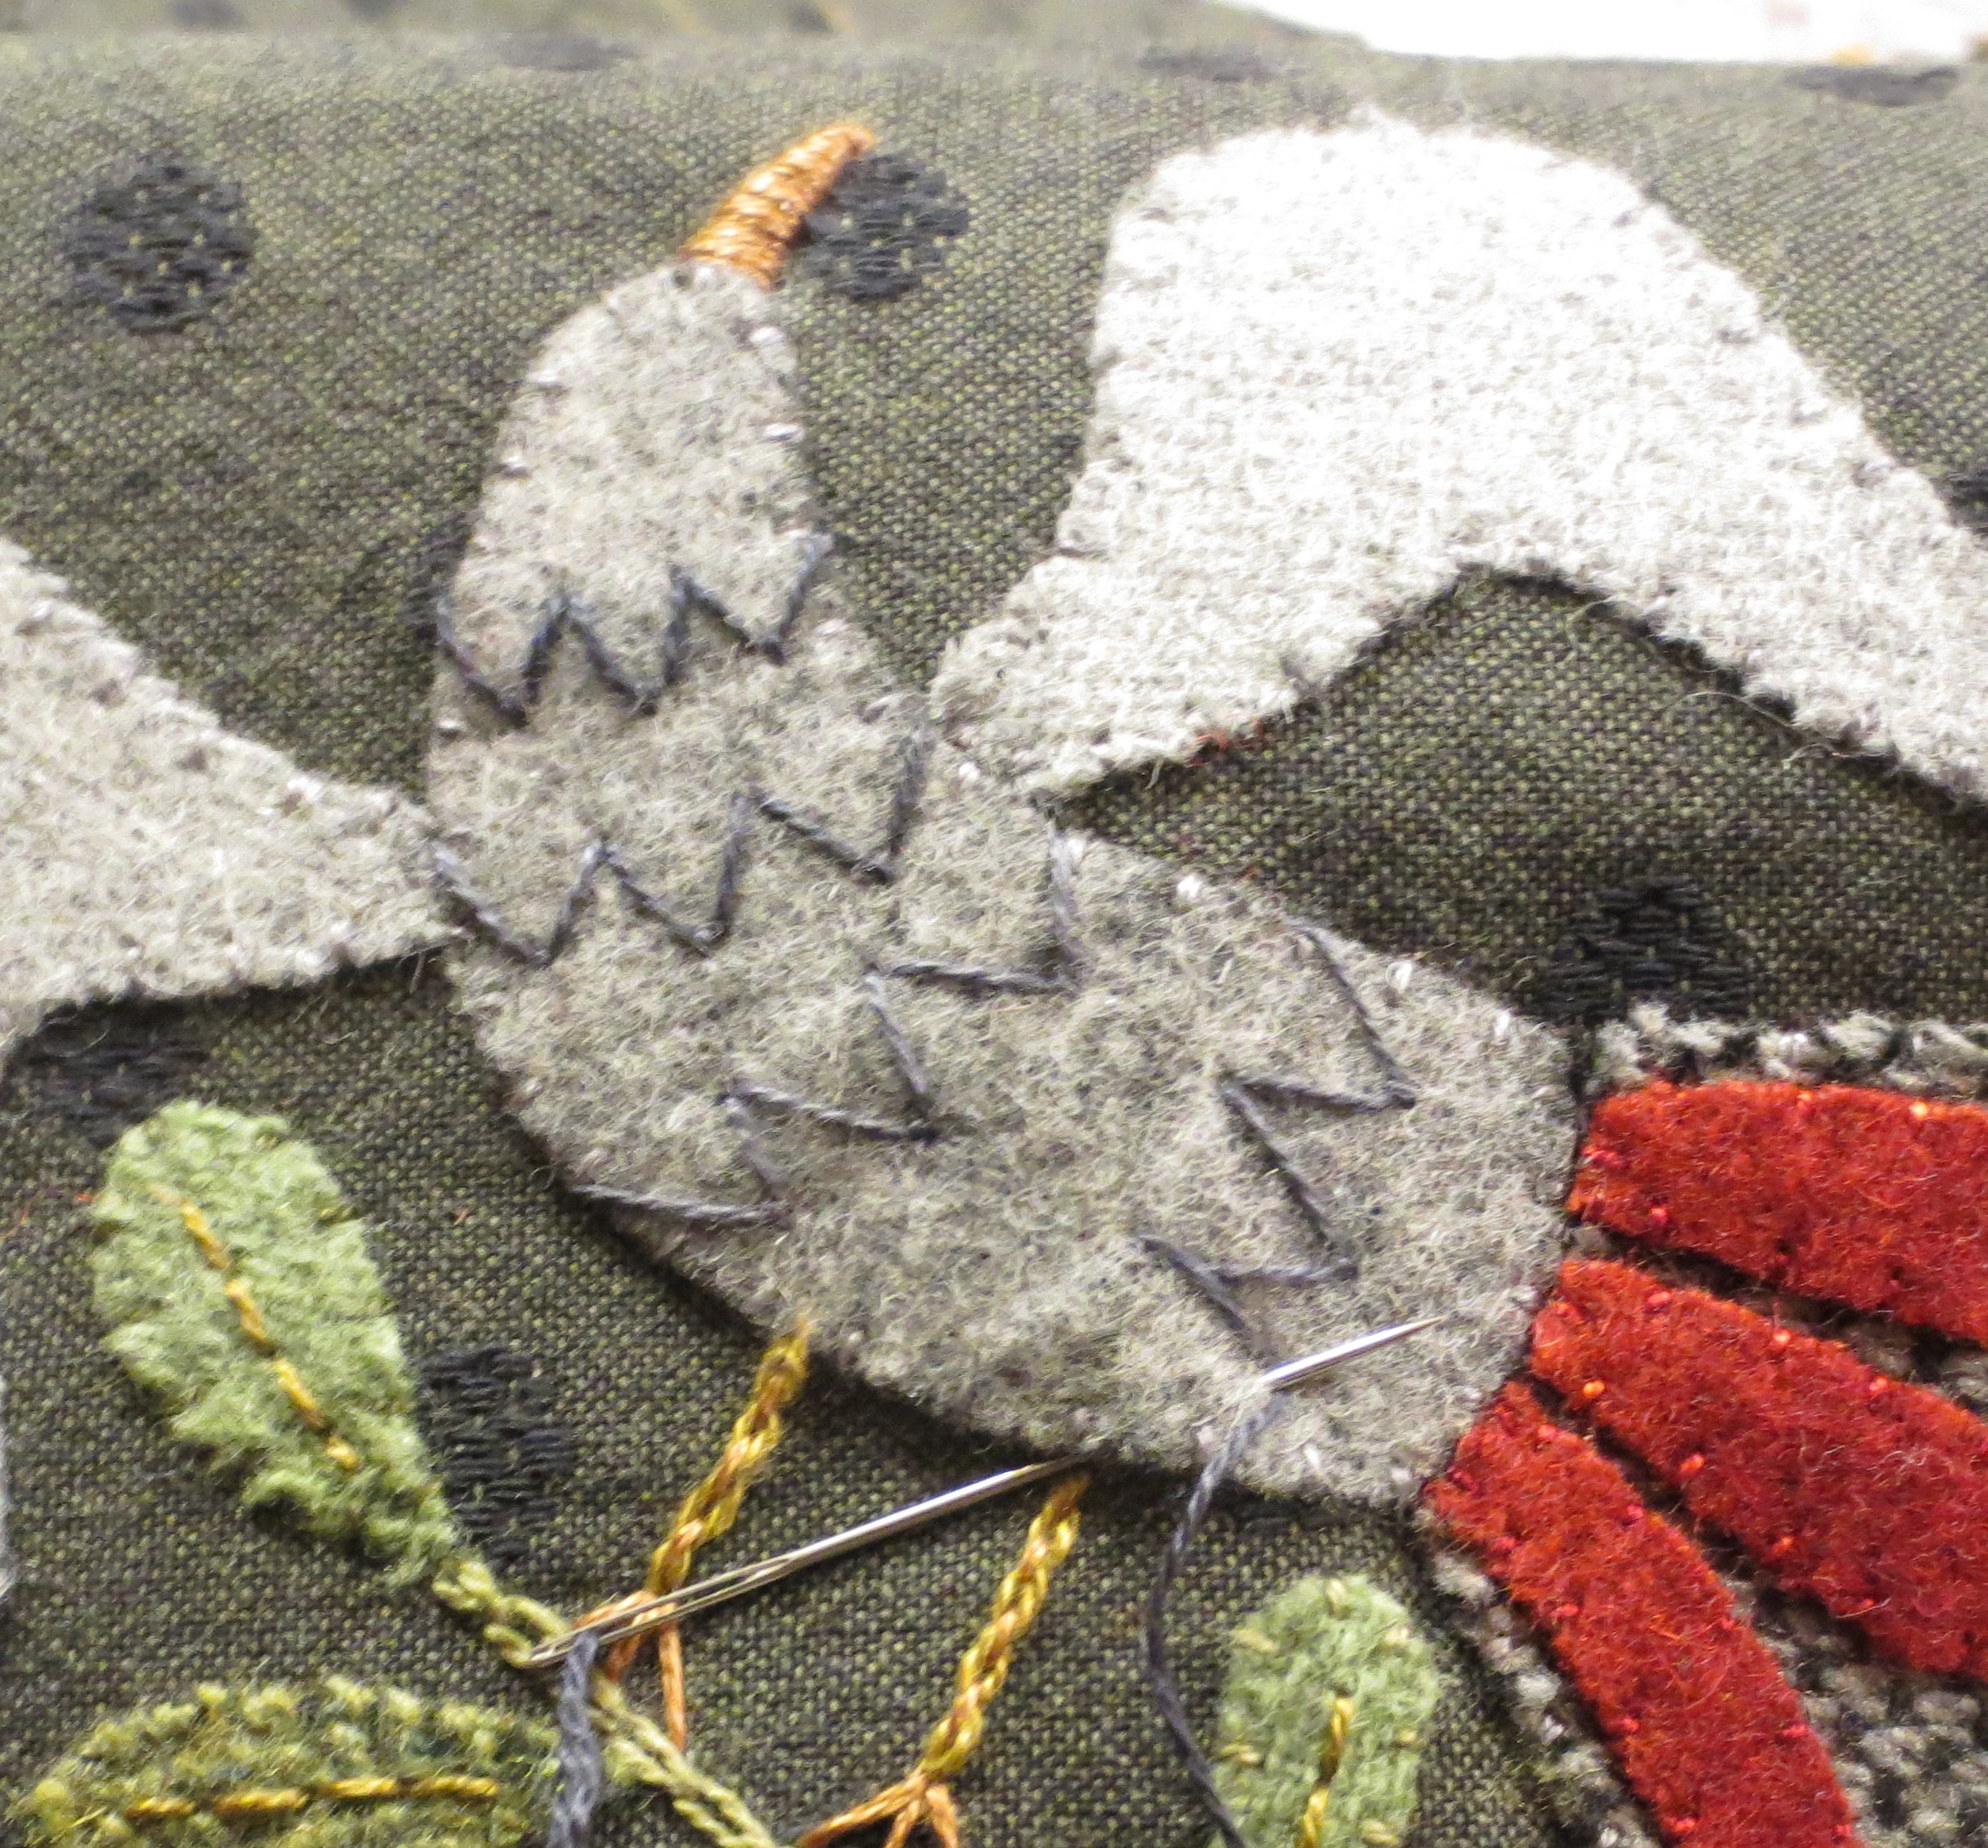
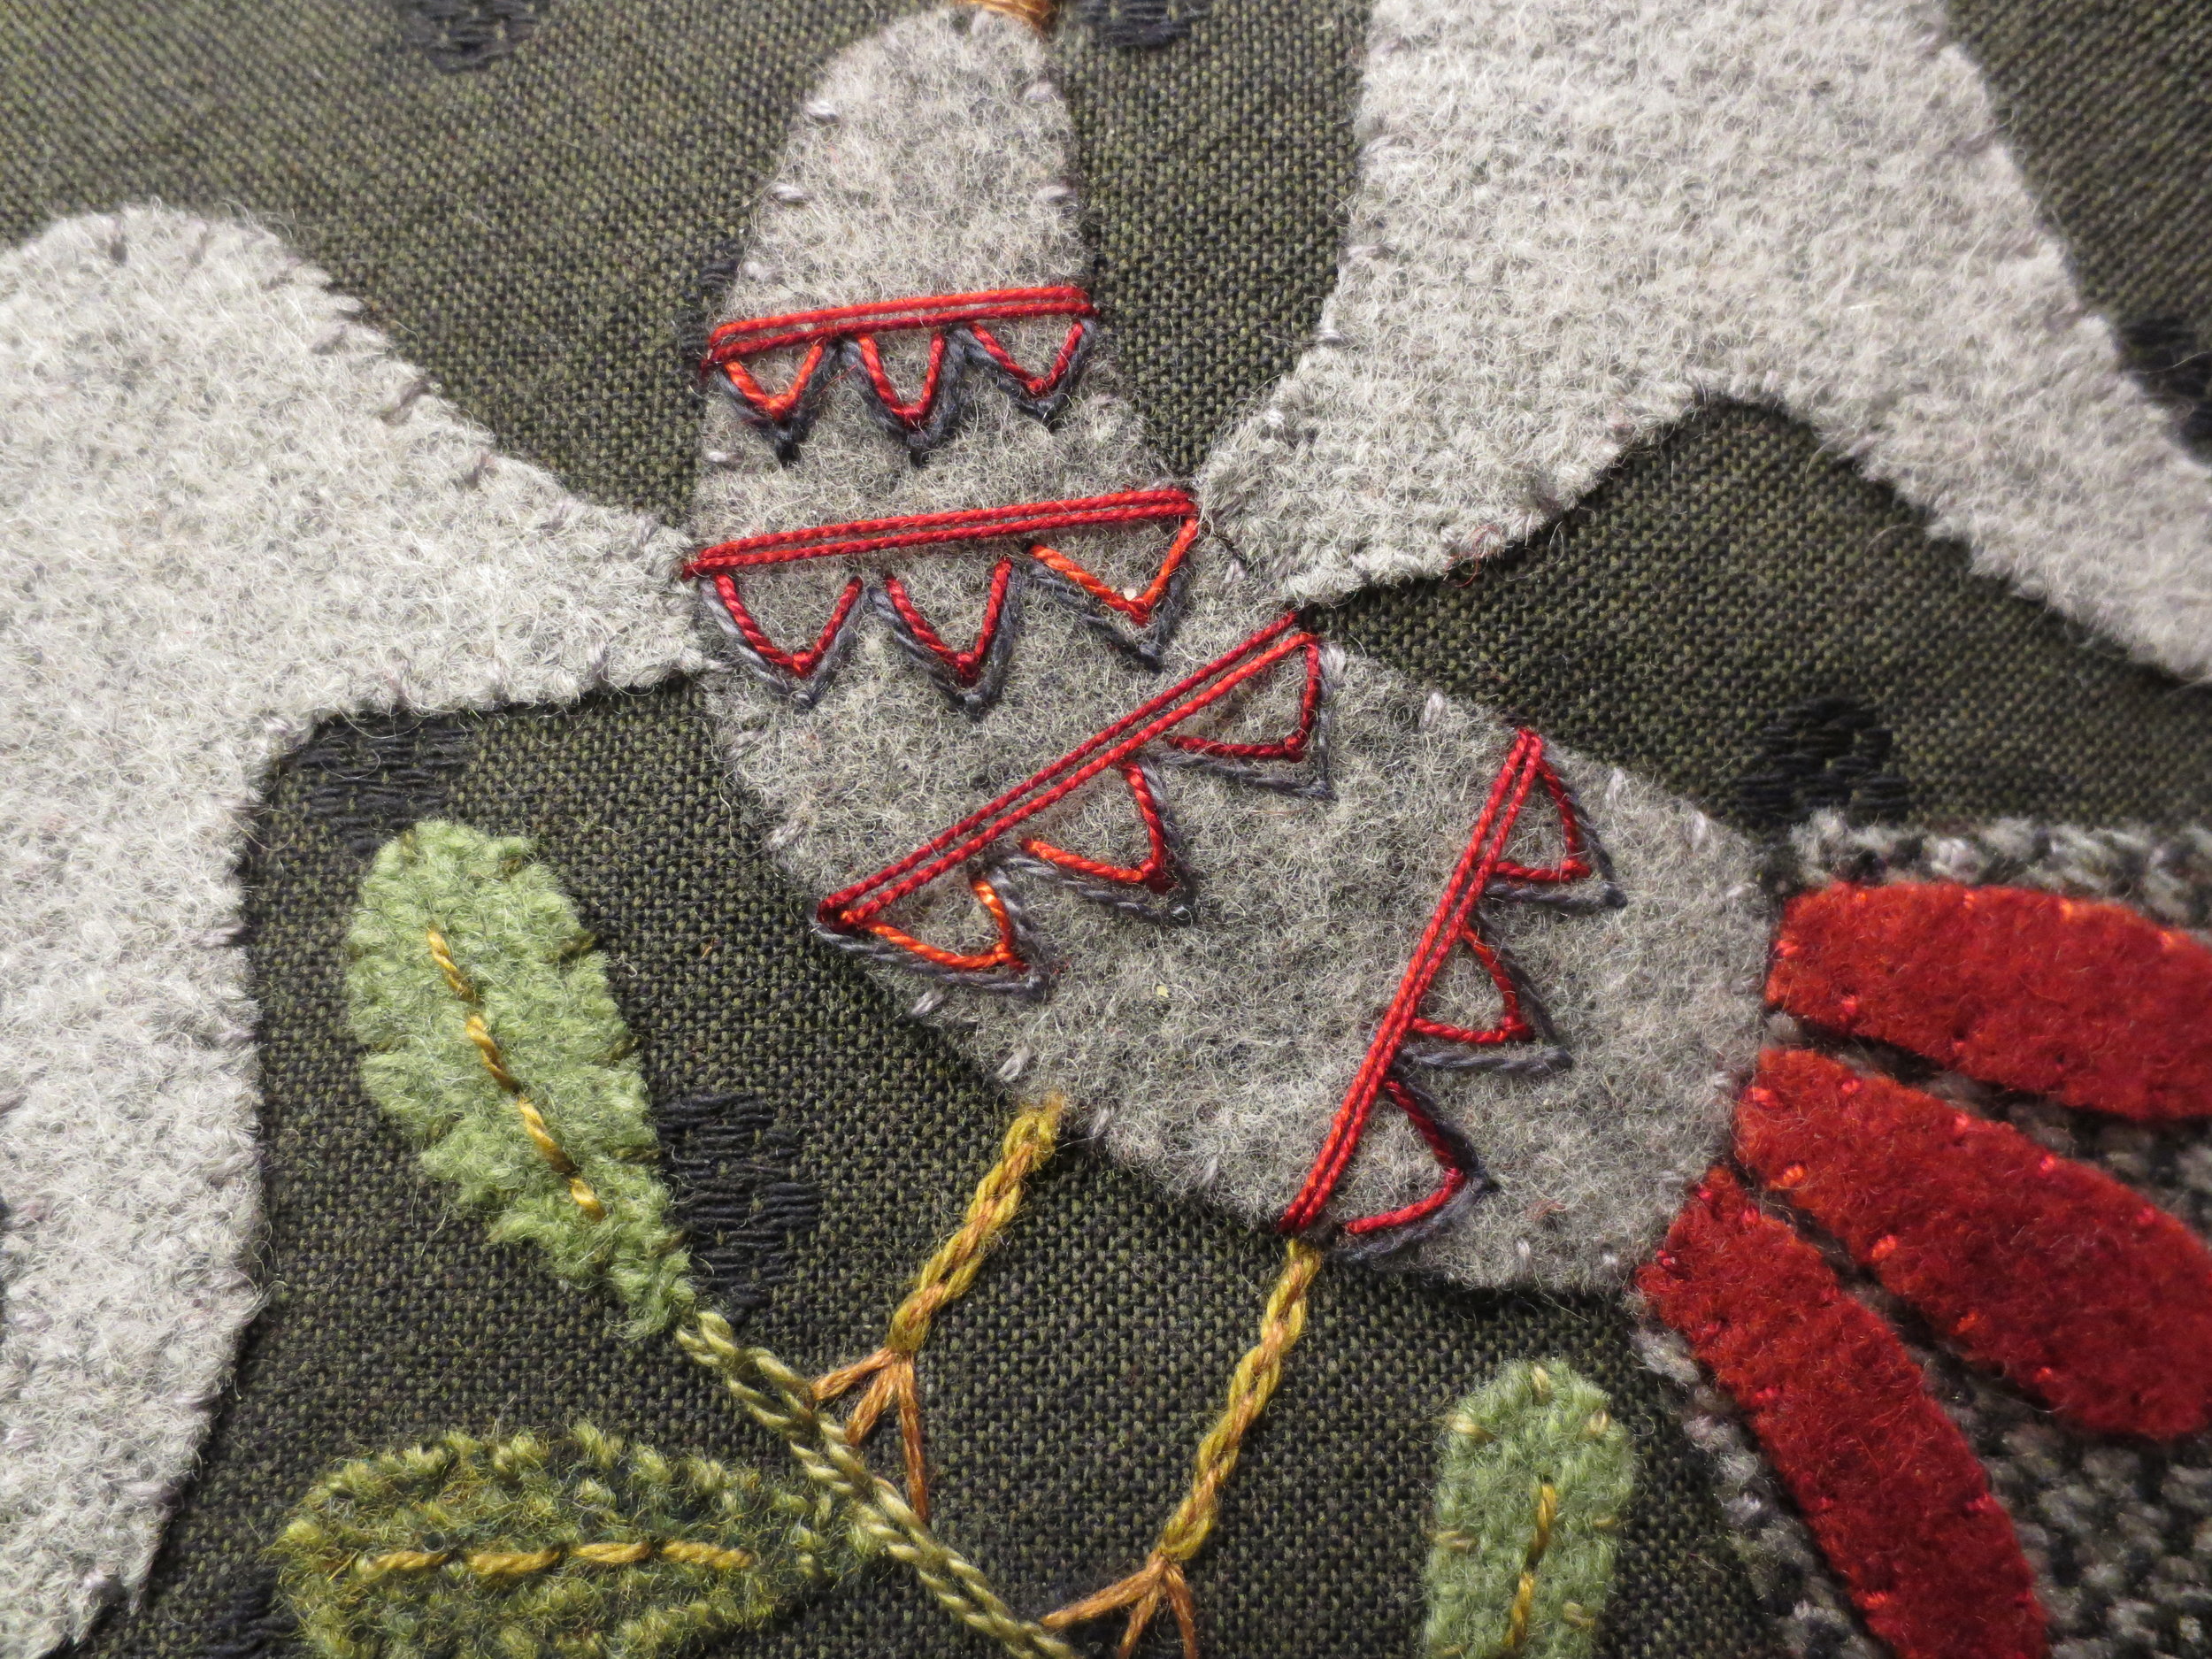
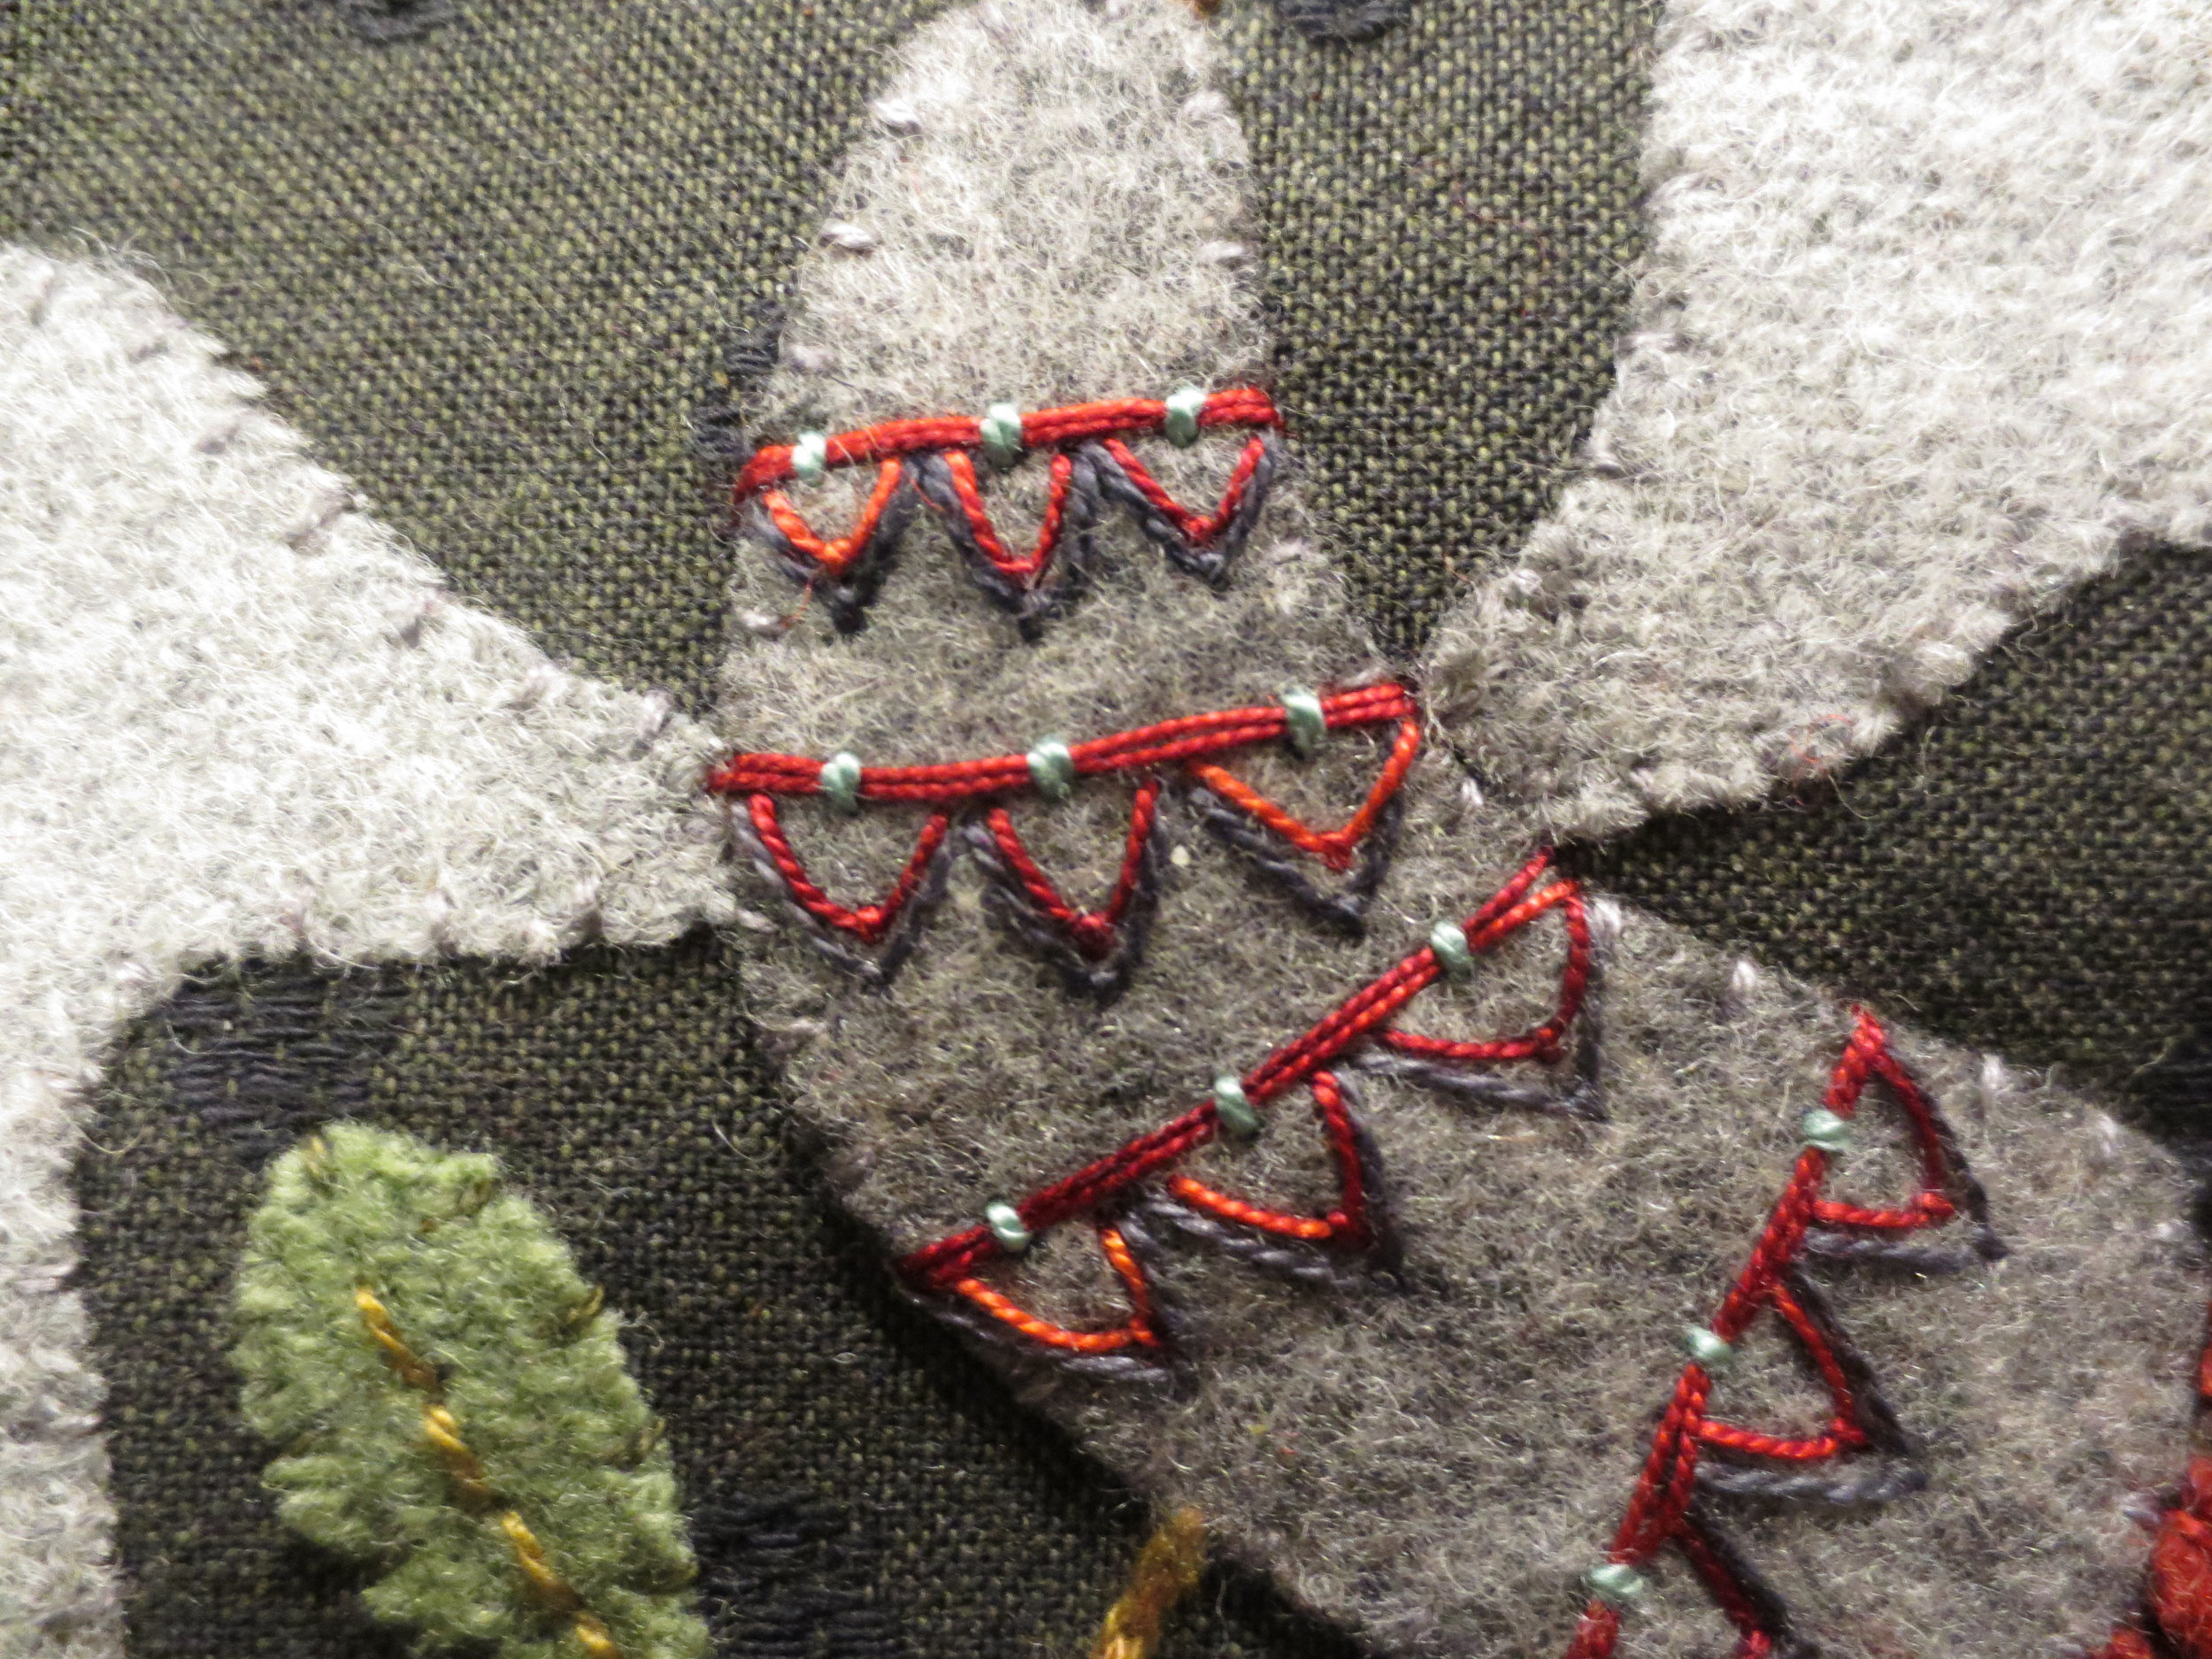
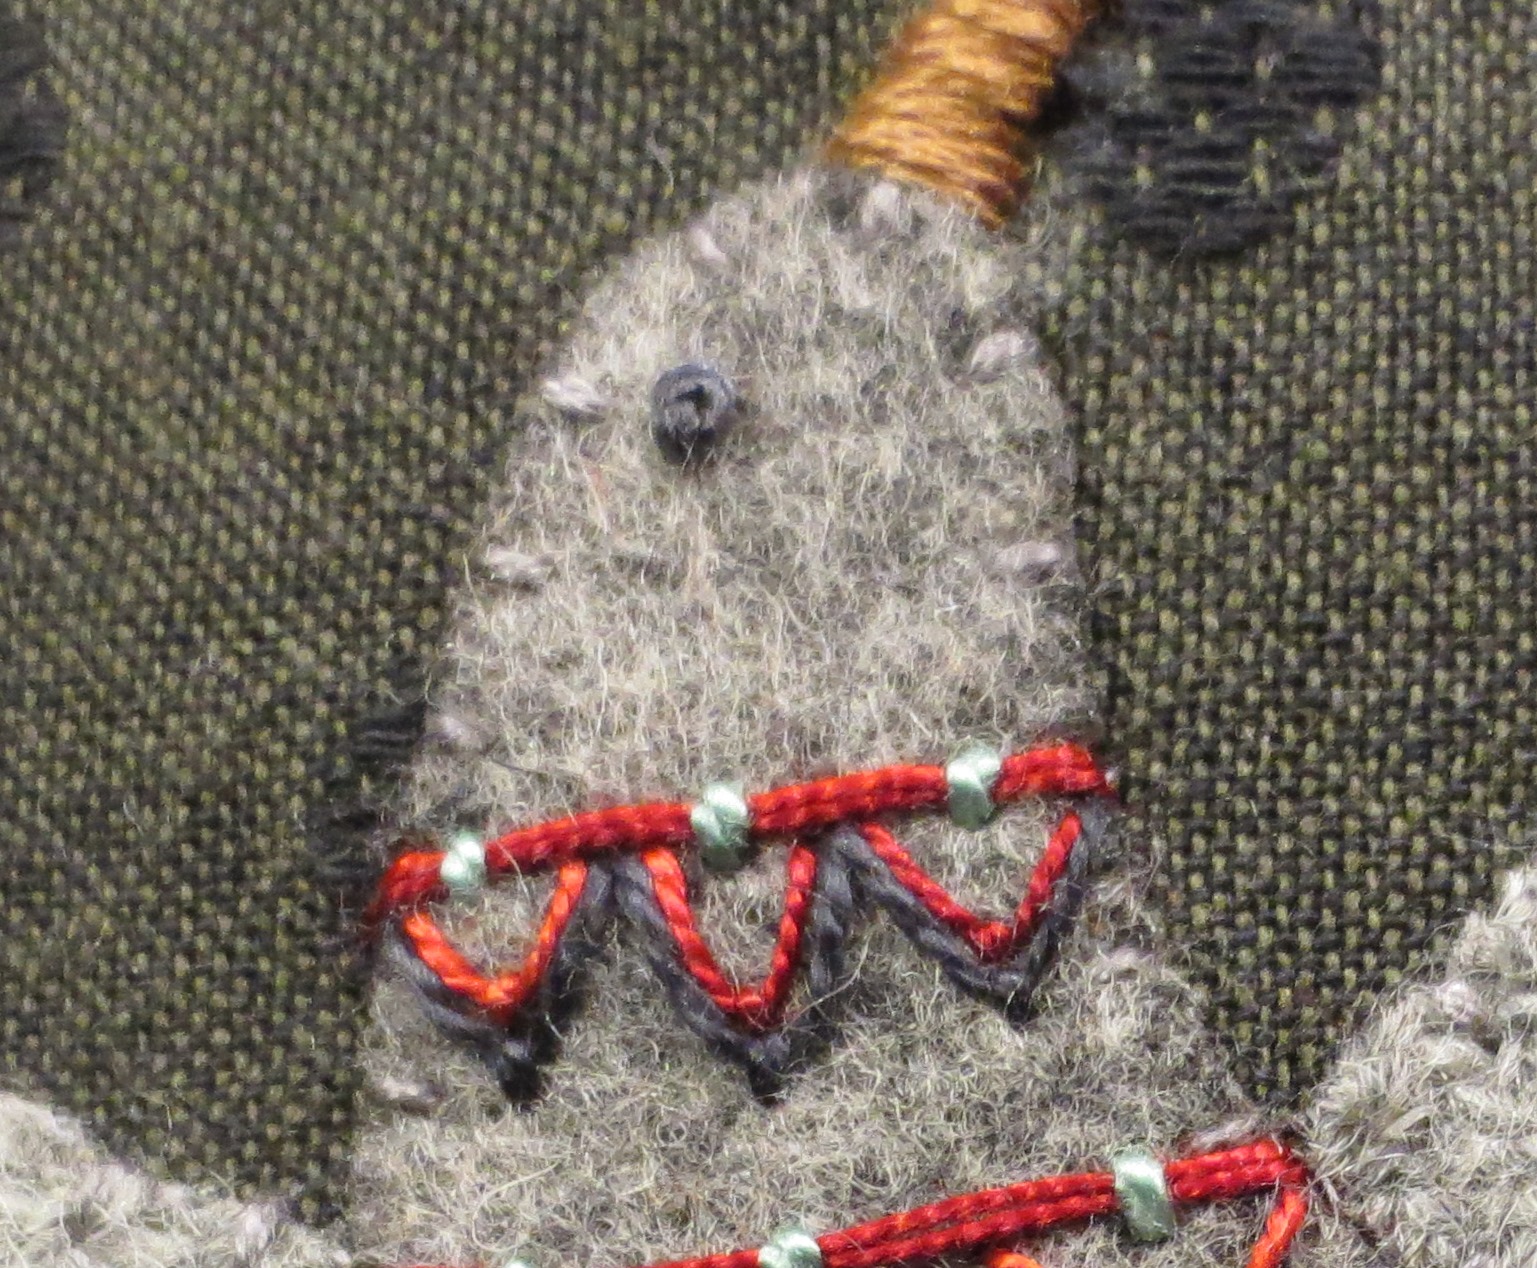
Draw four guide lines for the body embellishments (see layout for placement).
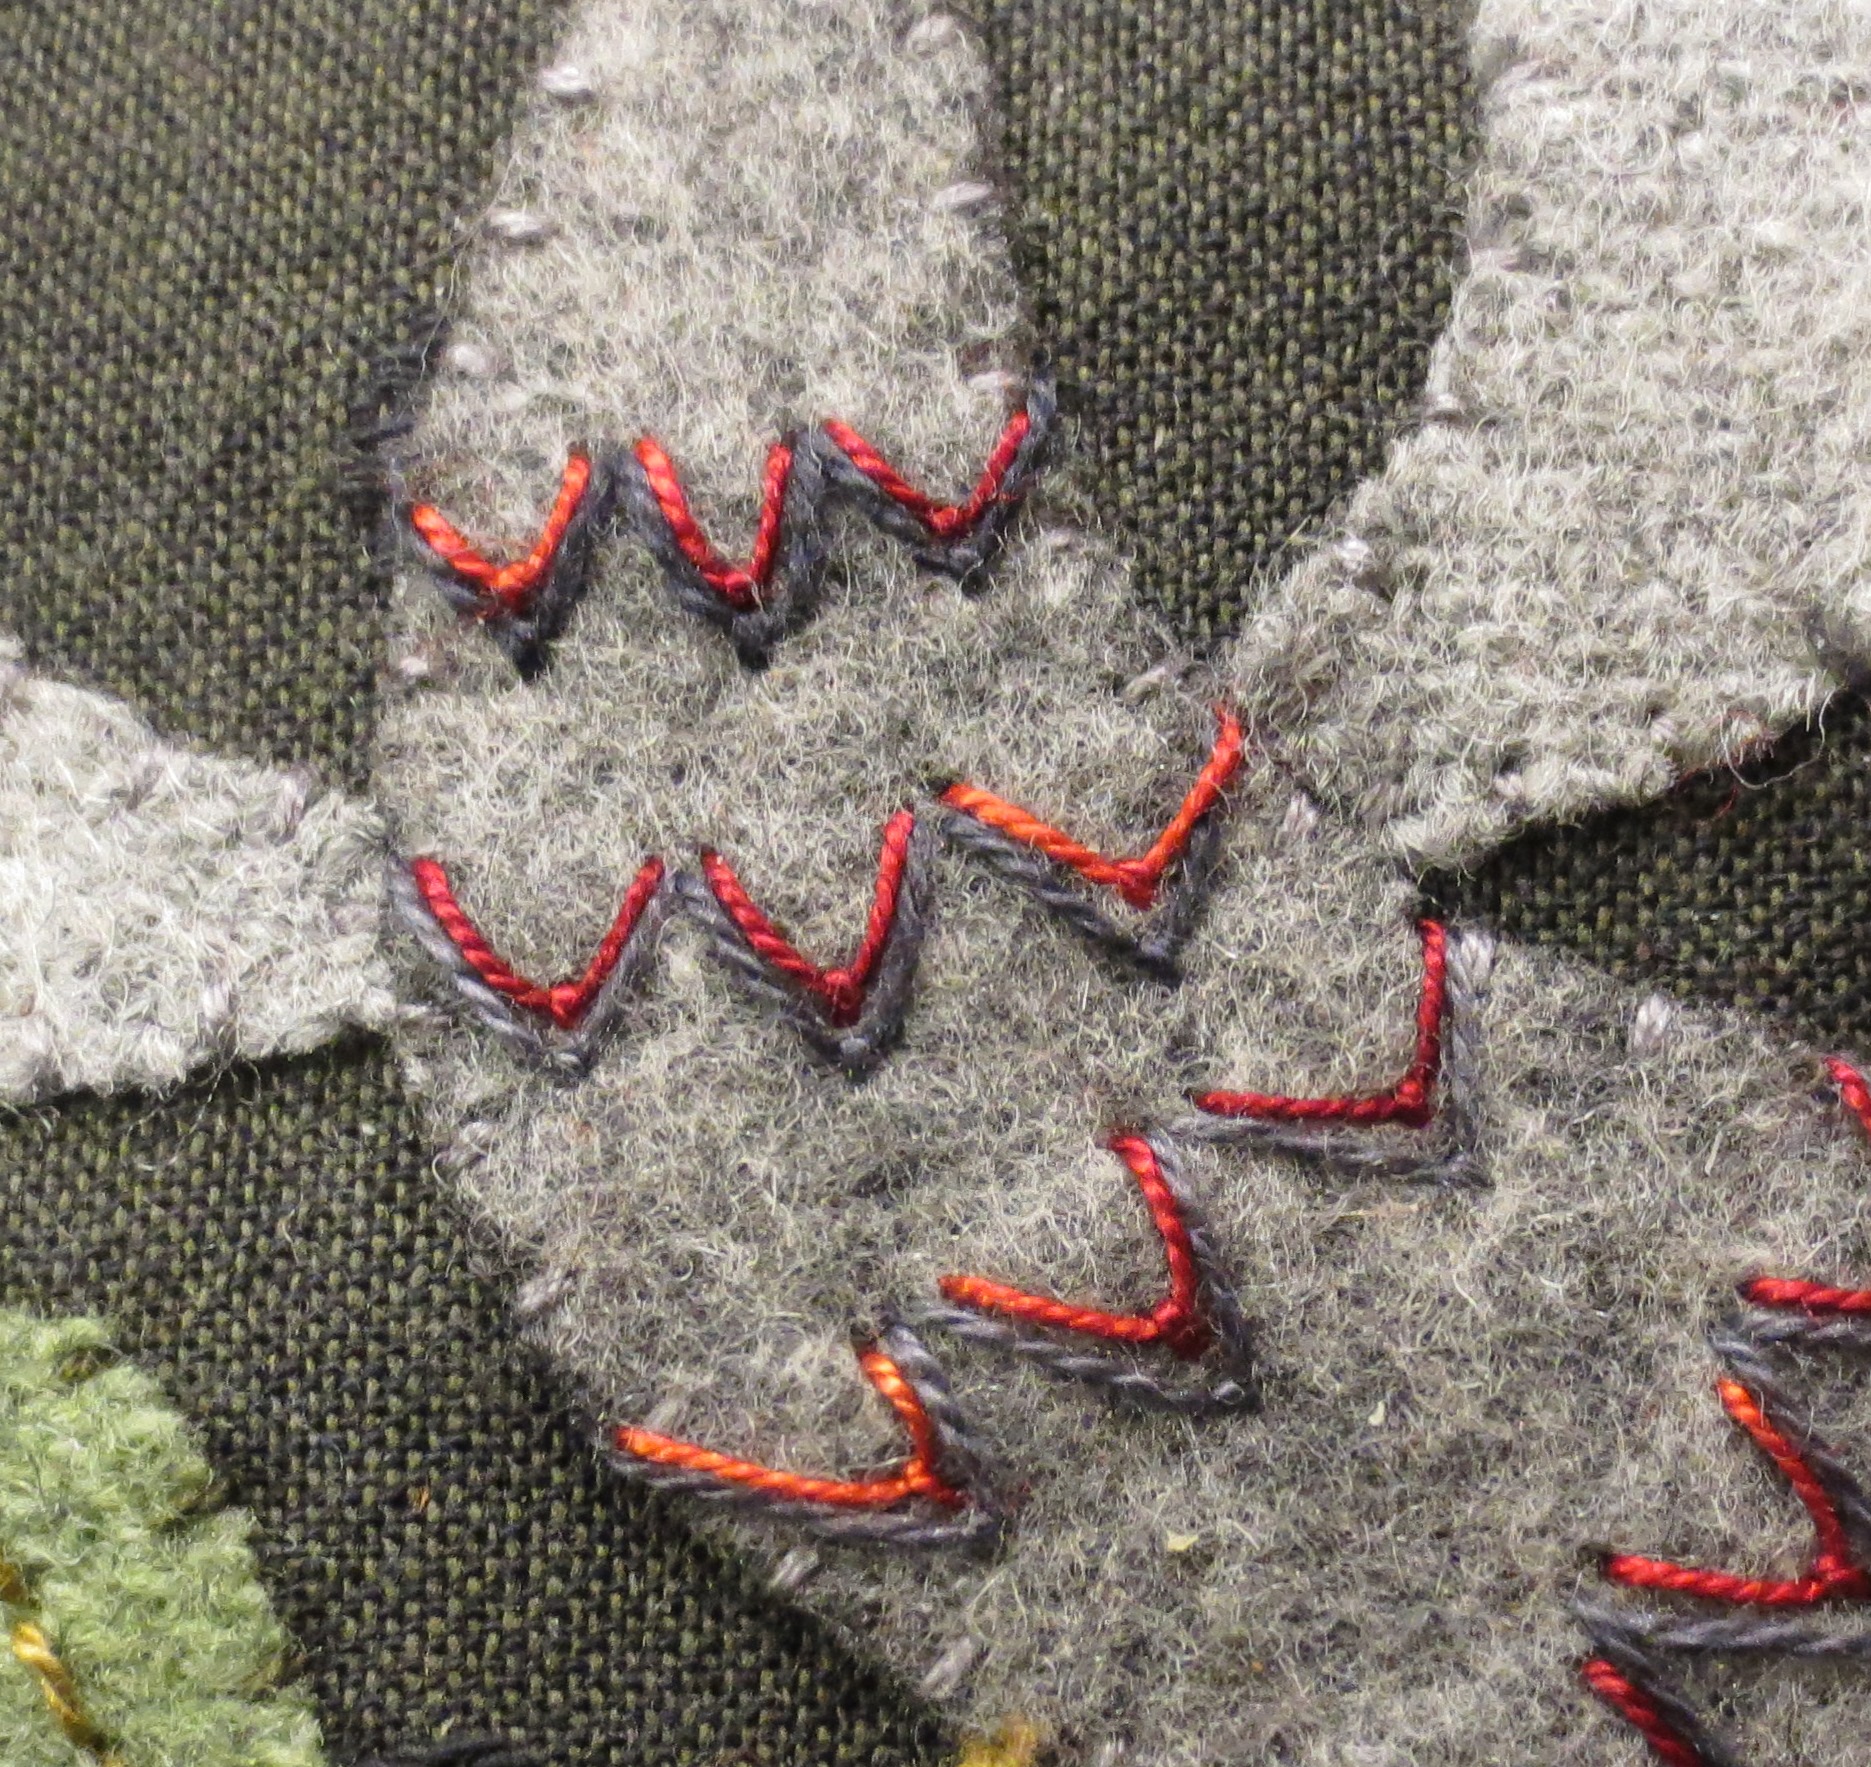
Stitch three fly stitches under each guide line using Valdani #893.
Stitch three smaller fly stitches inside the first fly stitches using Valdani # M43.
Use Valdani #M43 (2 strands) and #311 to make a couching stitch across the top of each trio of fly stitches.
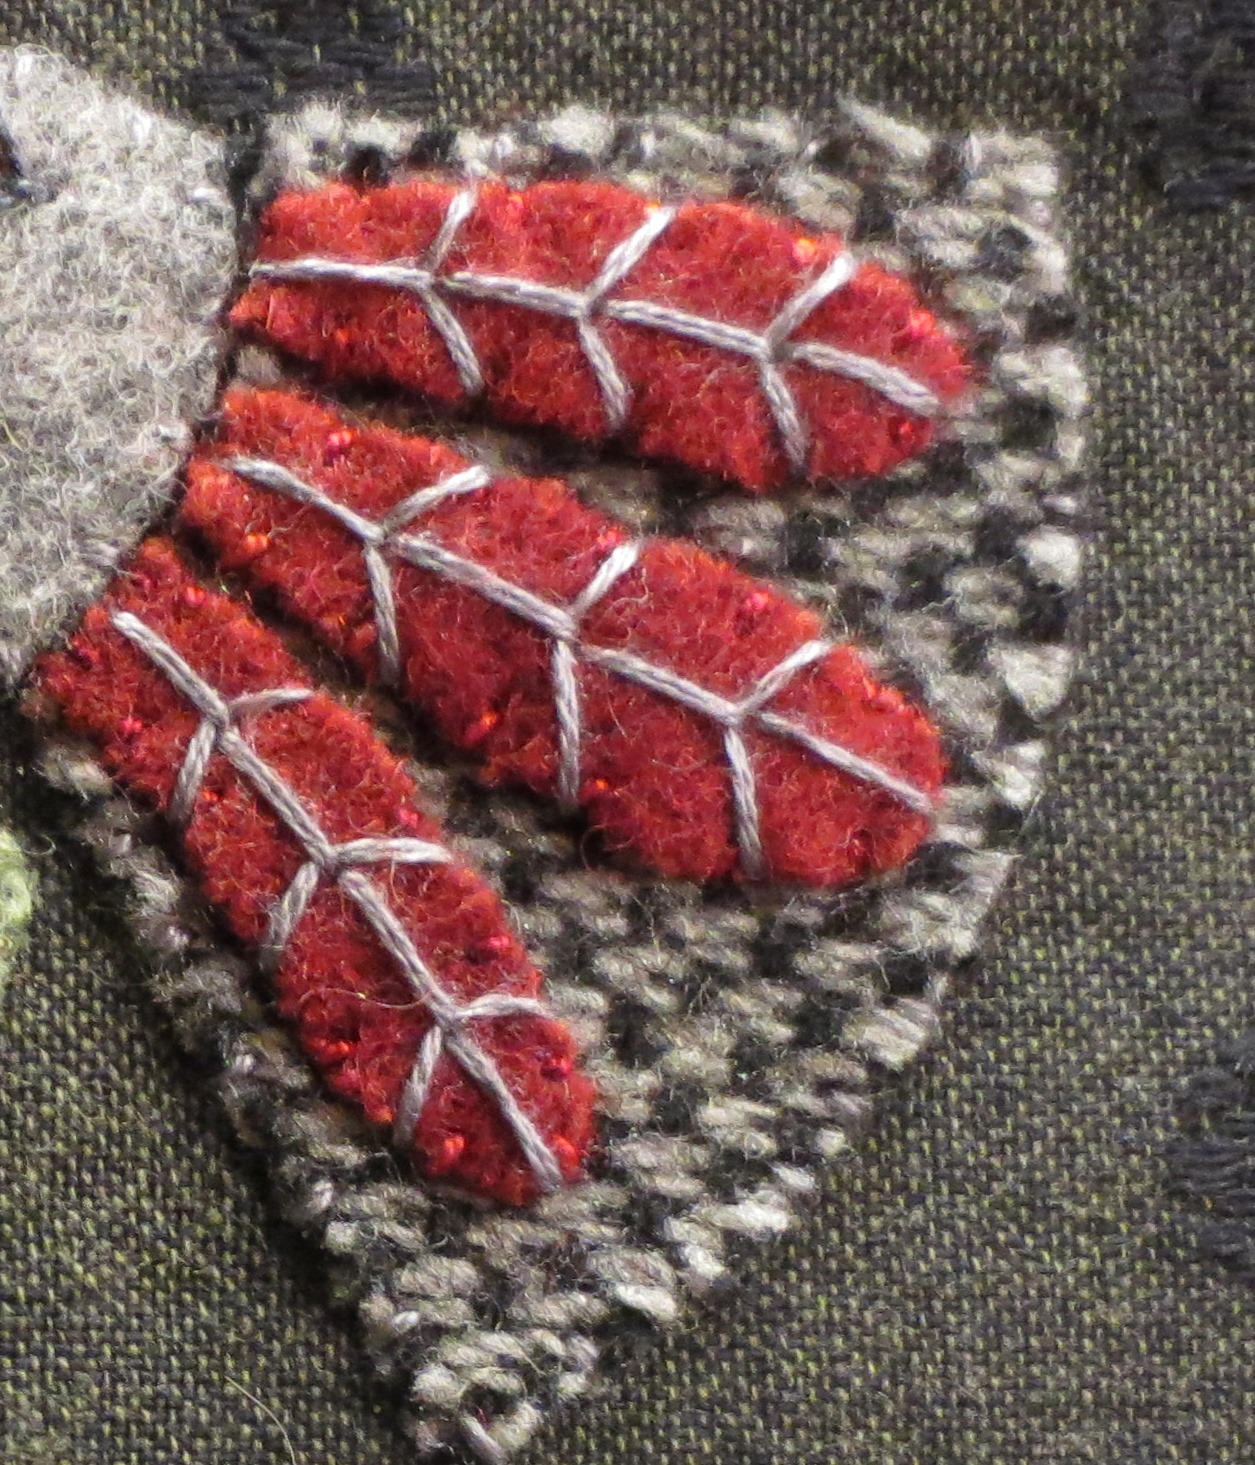
Use DMC #414 to make a closed fly stitch with three sets of branches on each of the tail feathers.
Use Valdani #893 to make a french knot eye ( use layout for placement guidance).
Use the same thread to make a series of randomly placed fly stitches in the upper half of each wing.
Stitch three rows of small running stitches in the bottom half of each wing (see layout for placement).
Stitch two straight stitches across each central vein of each leaf using Valdani #O153.
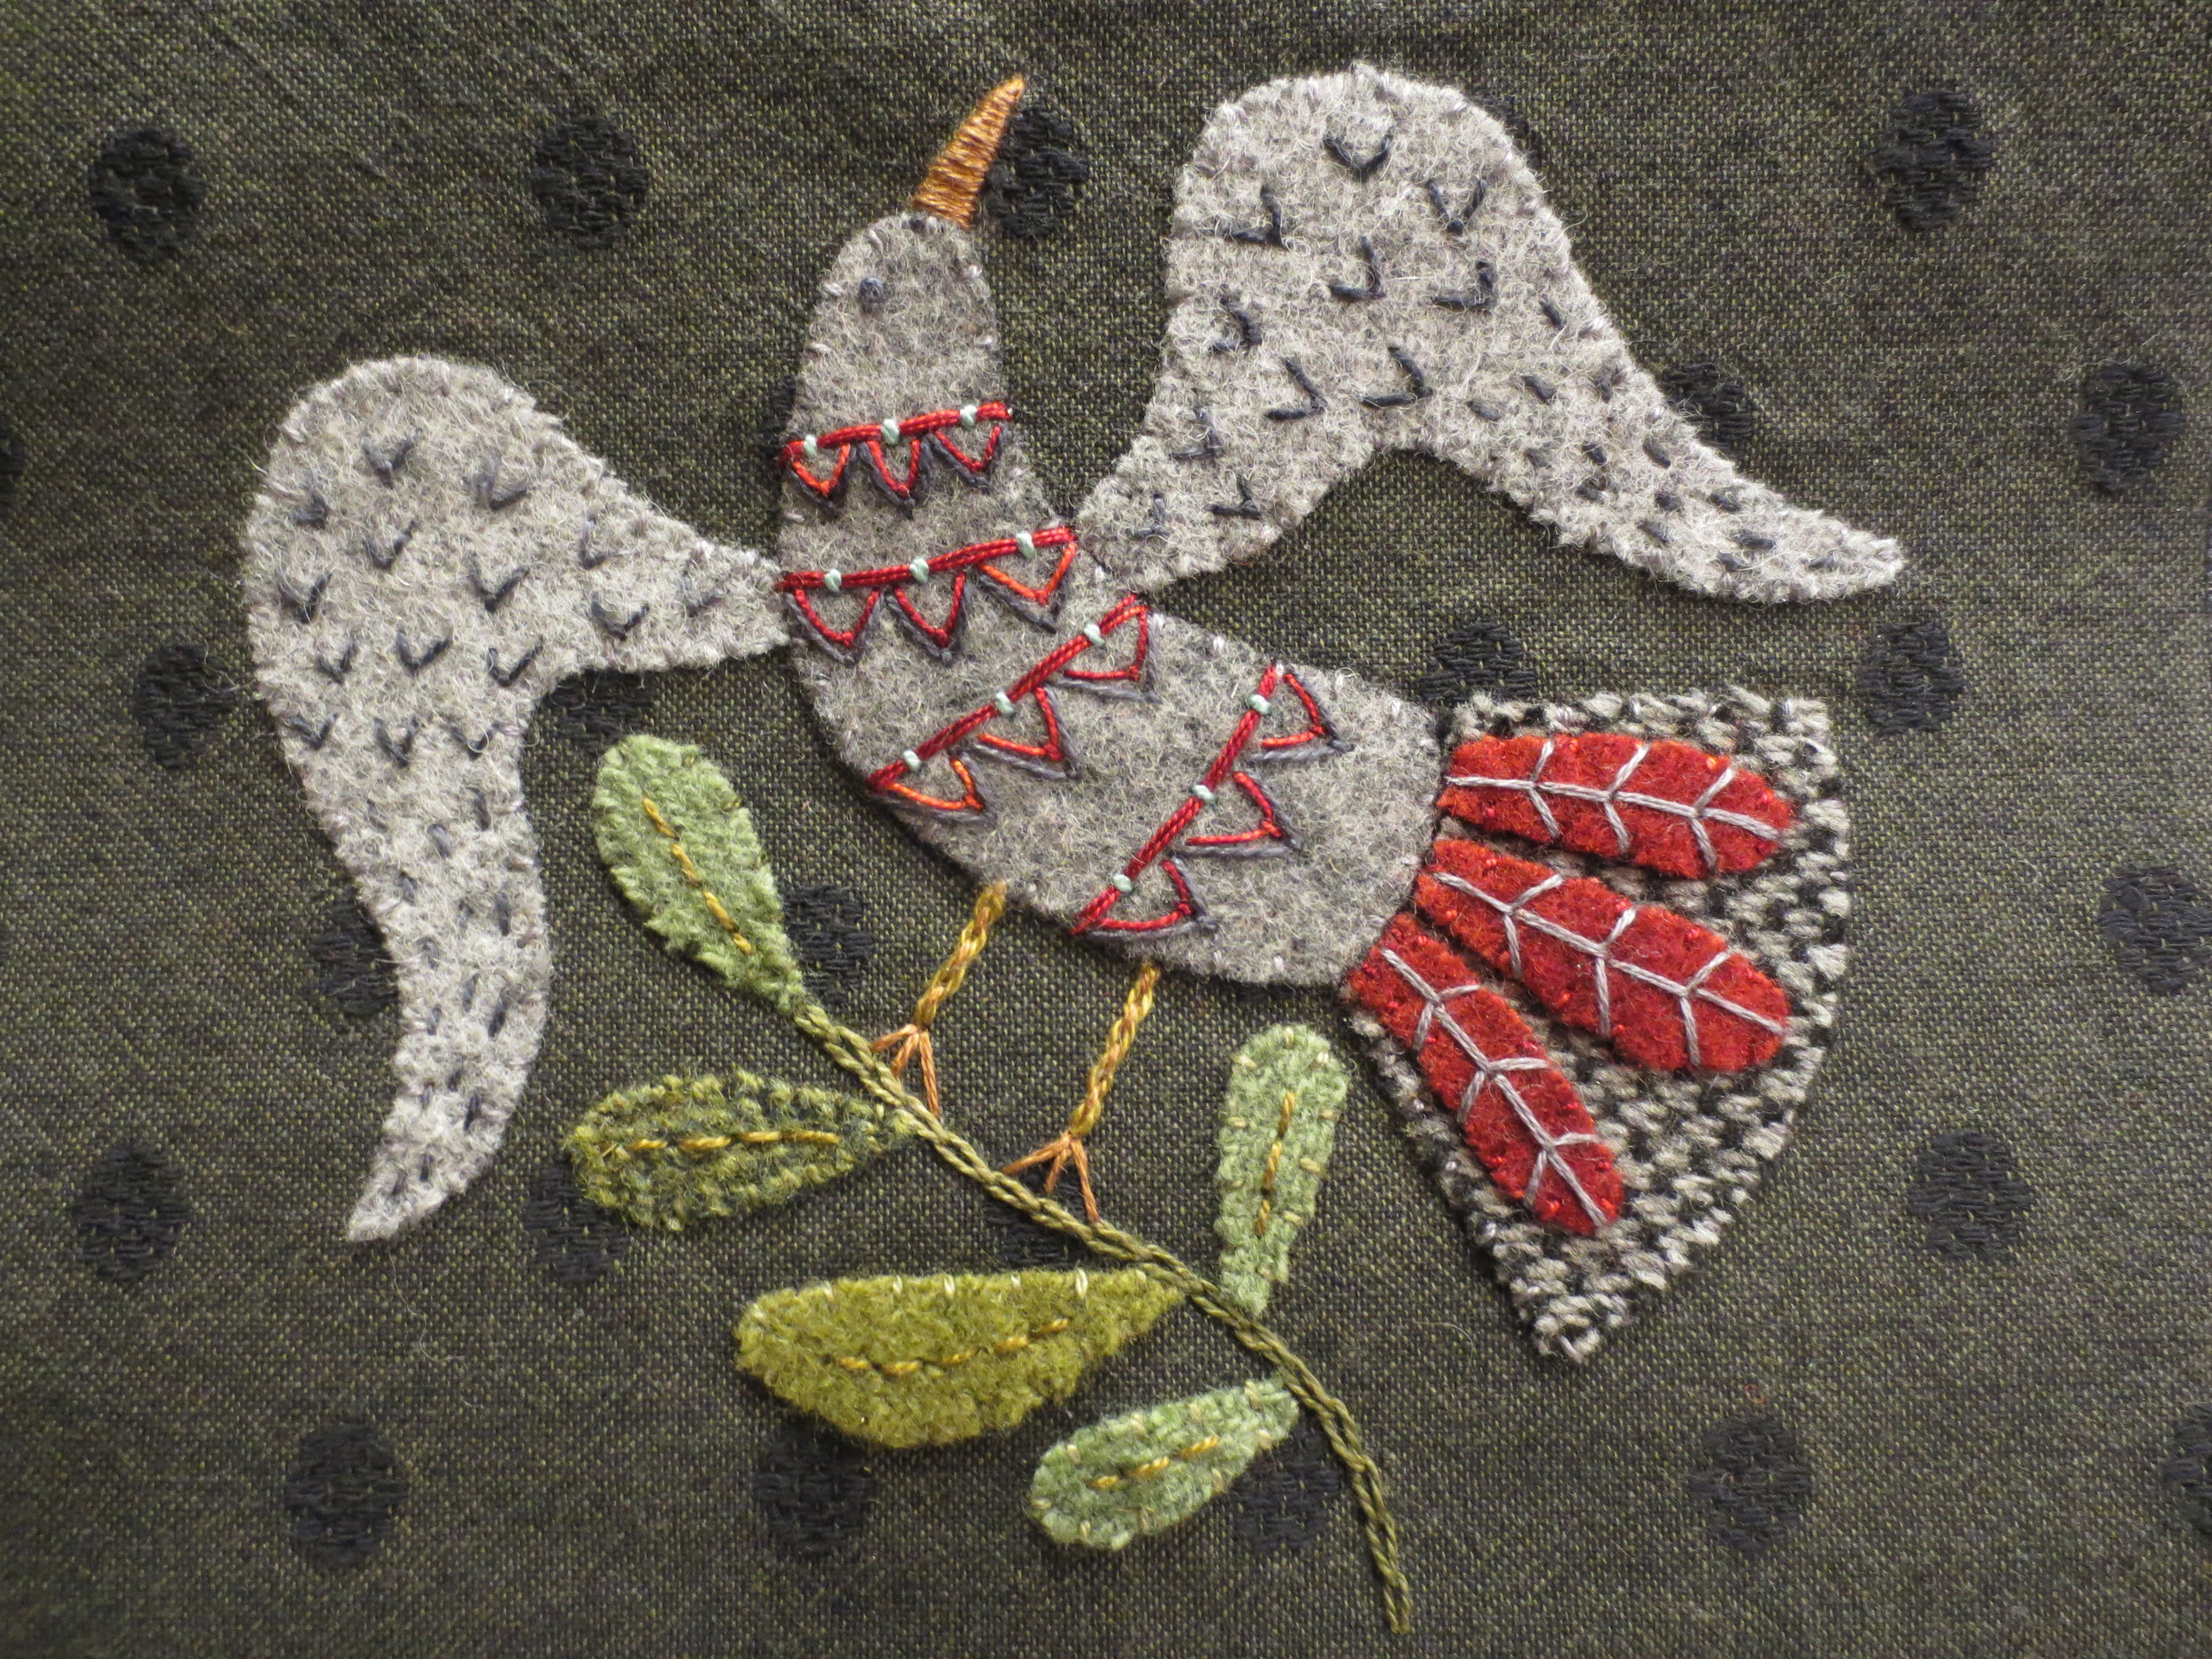
The applique section is done!
Back cover of needle and scissor keep


