Blooming Hearts Wool Applique Pillow
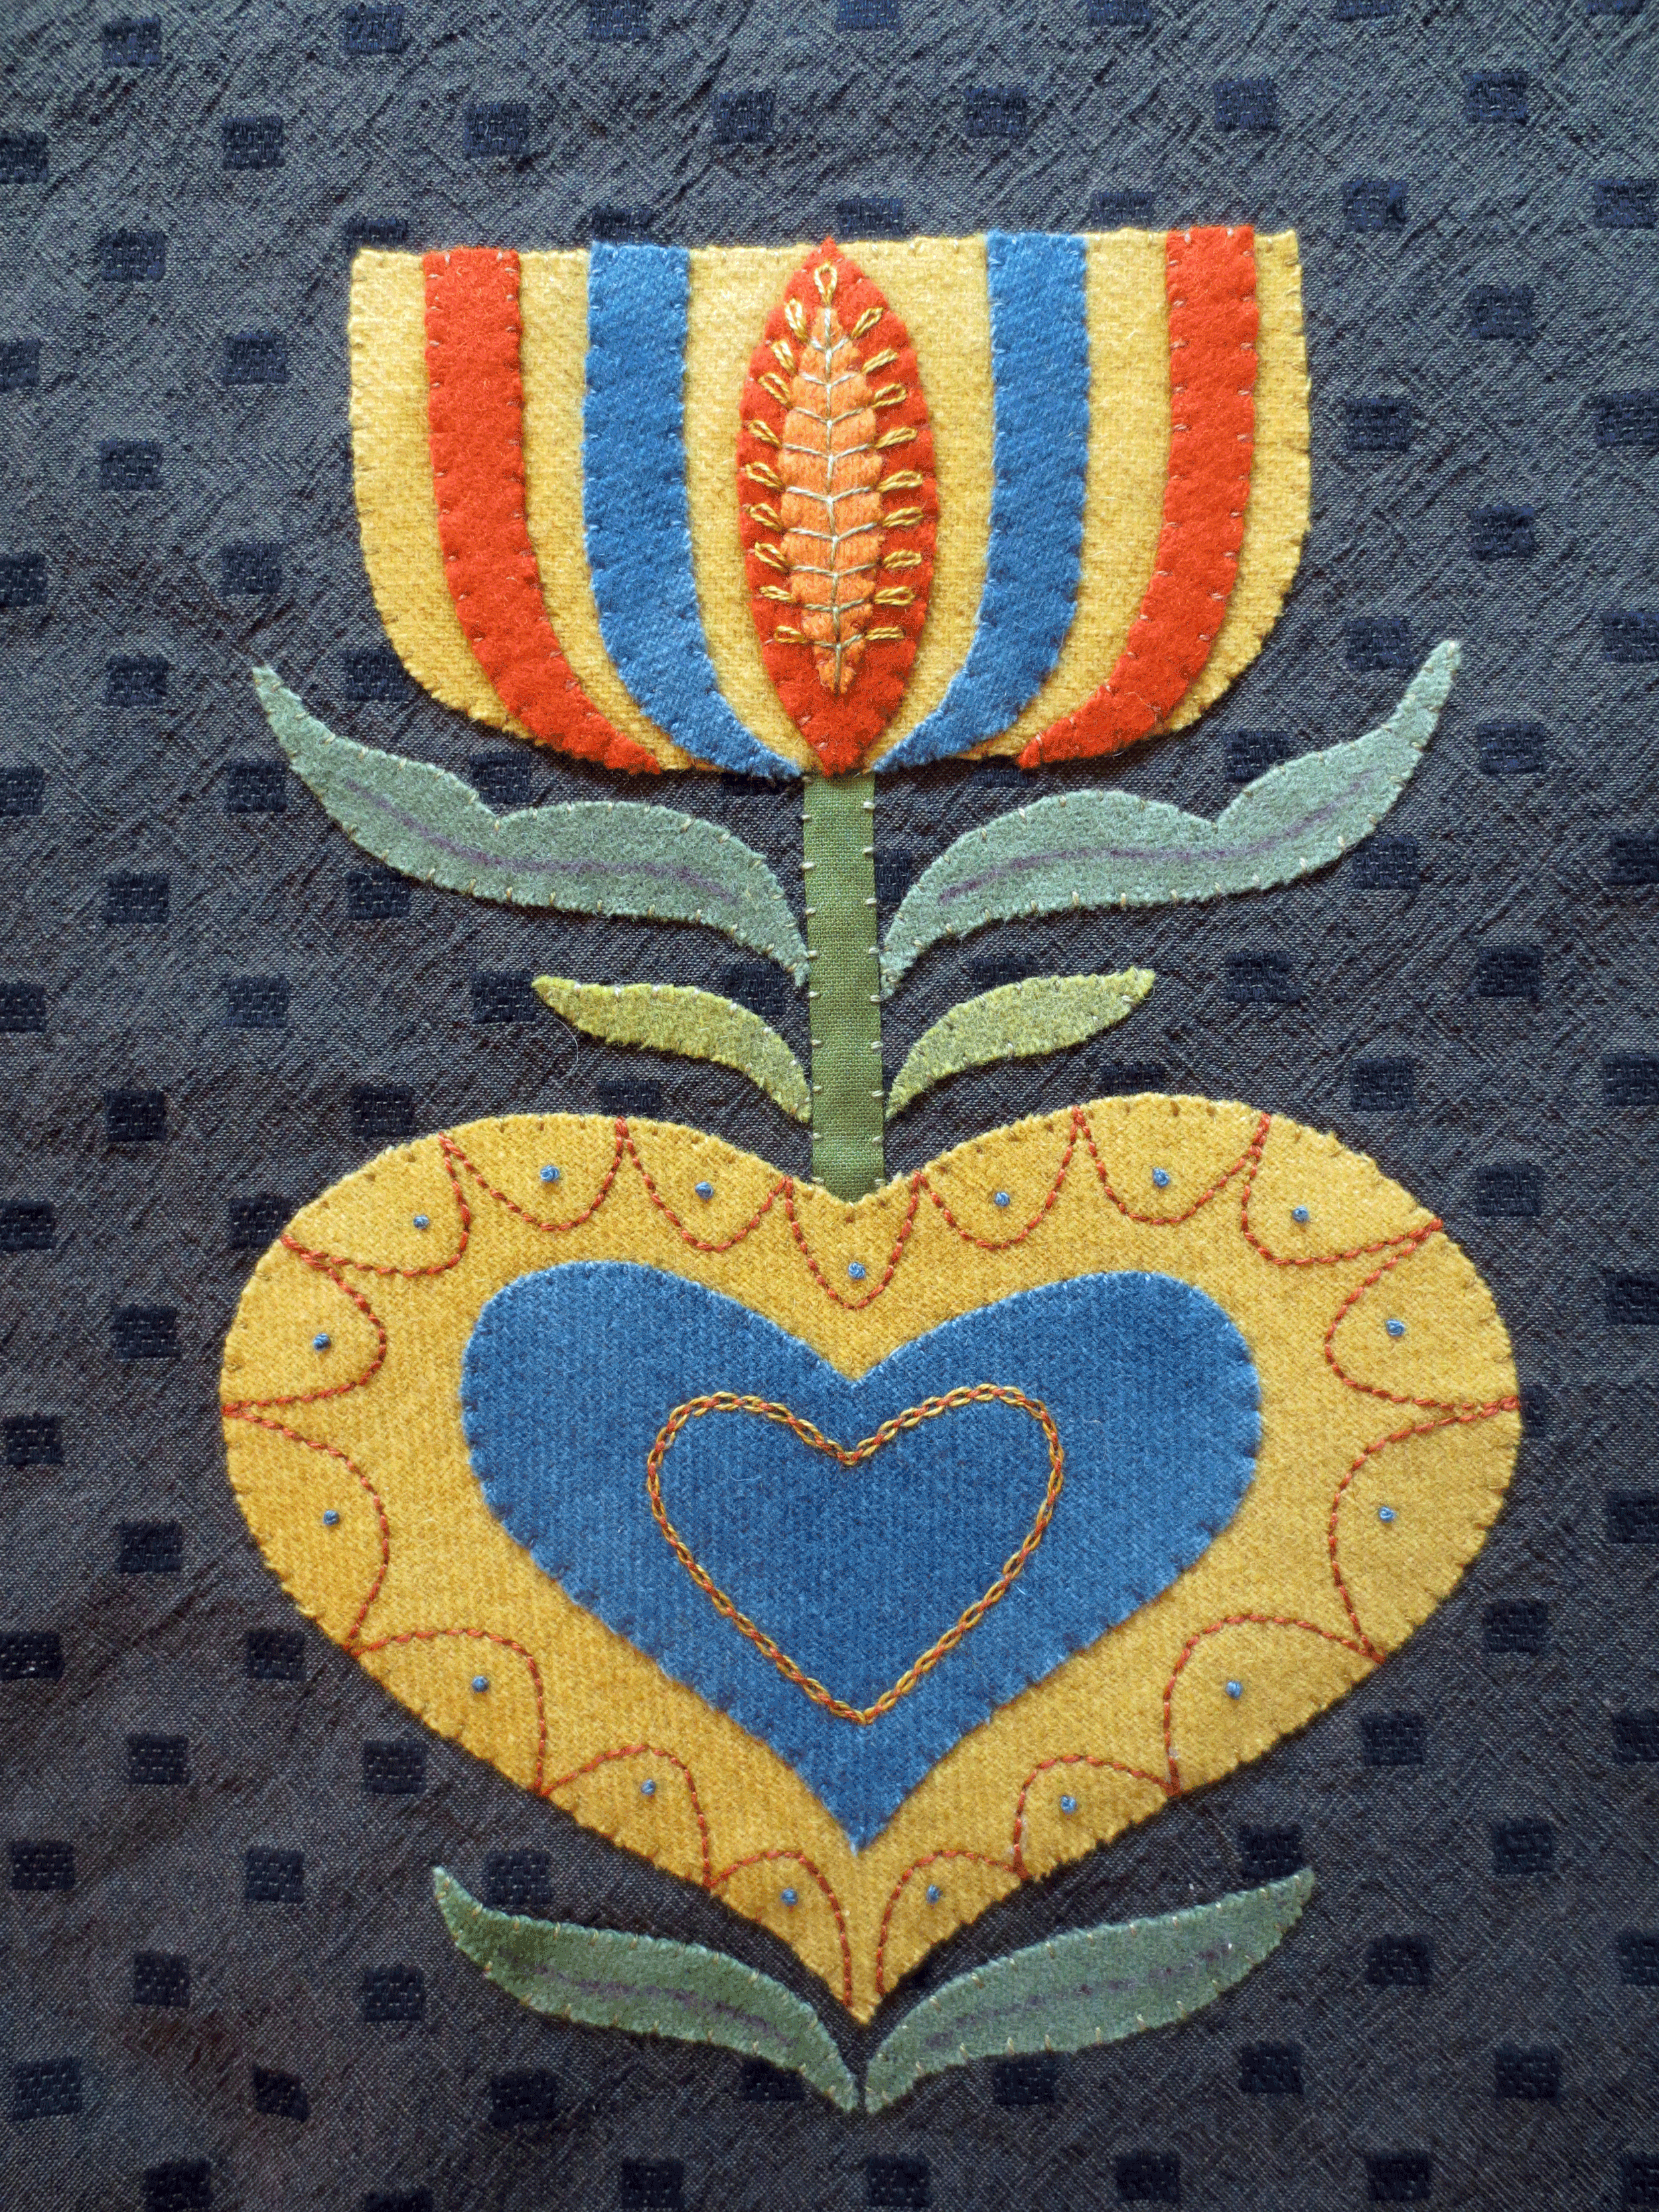
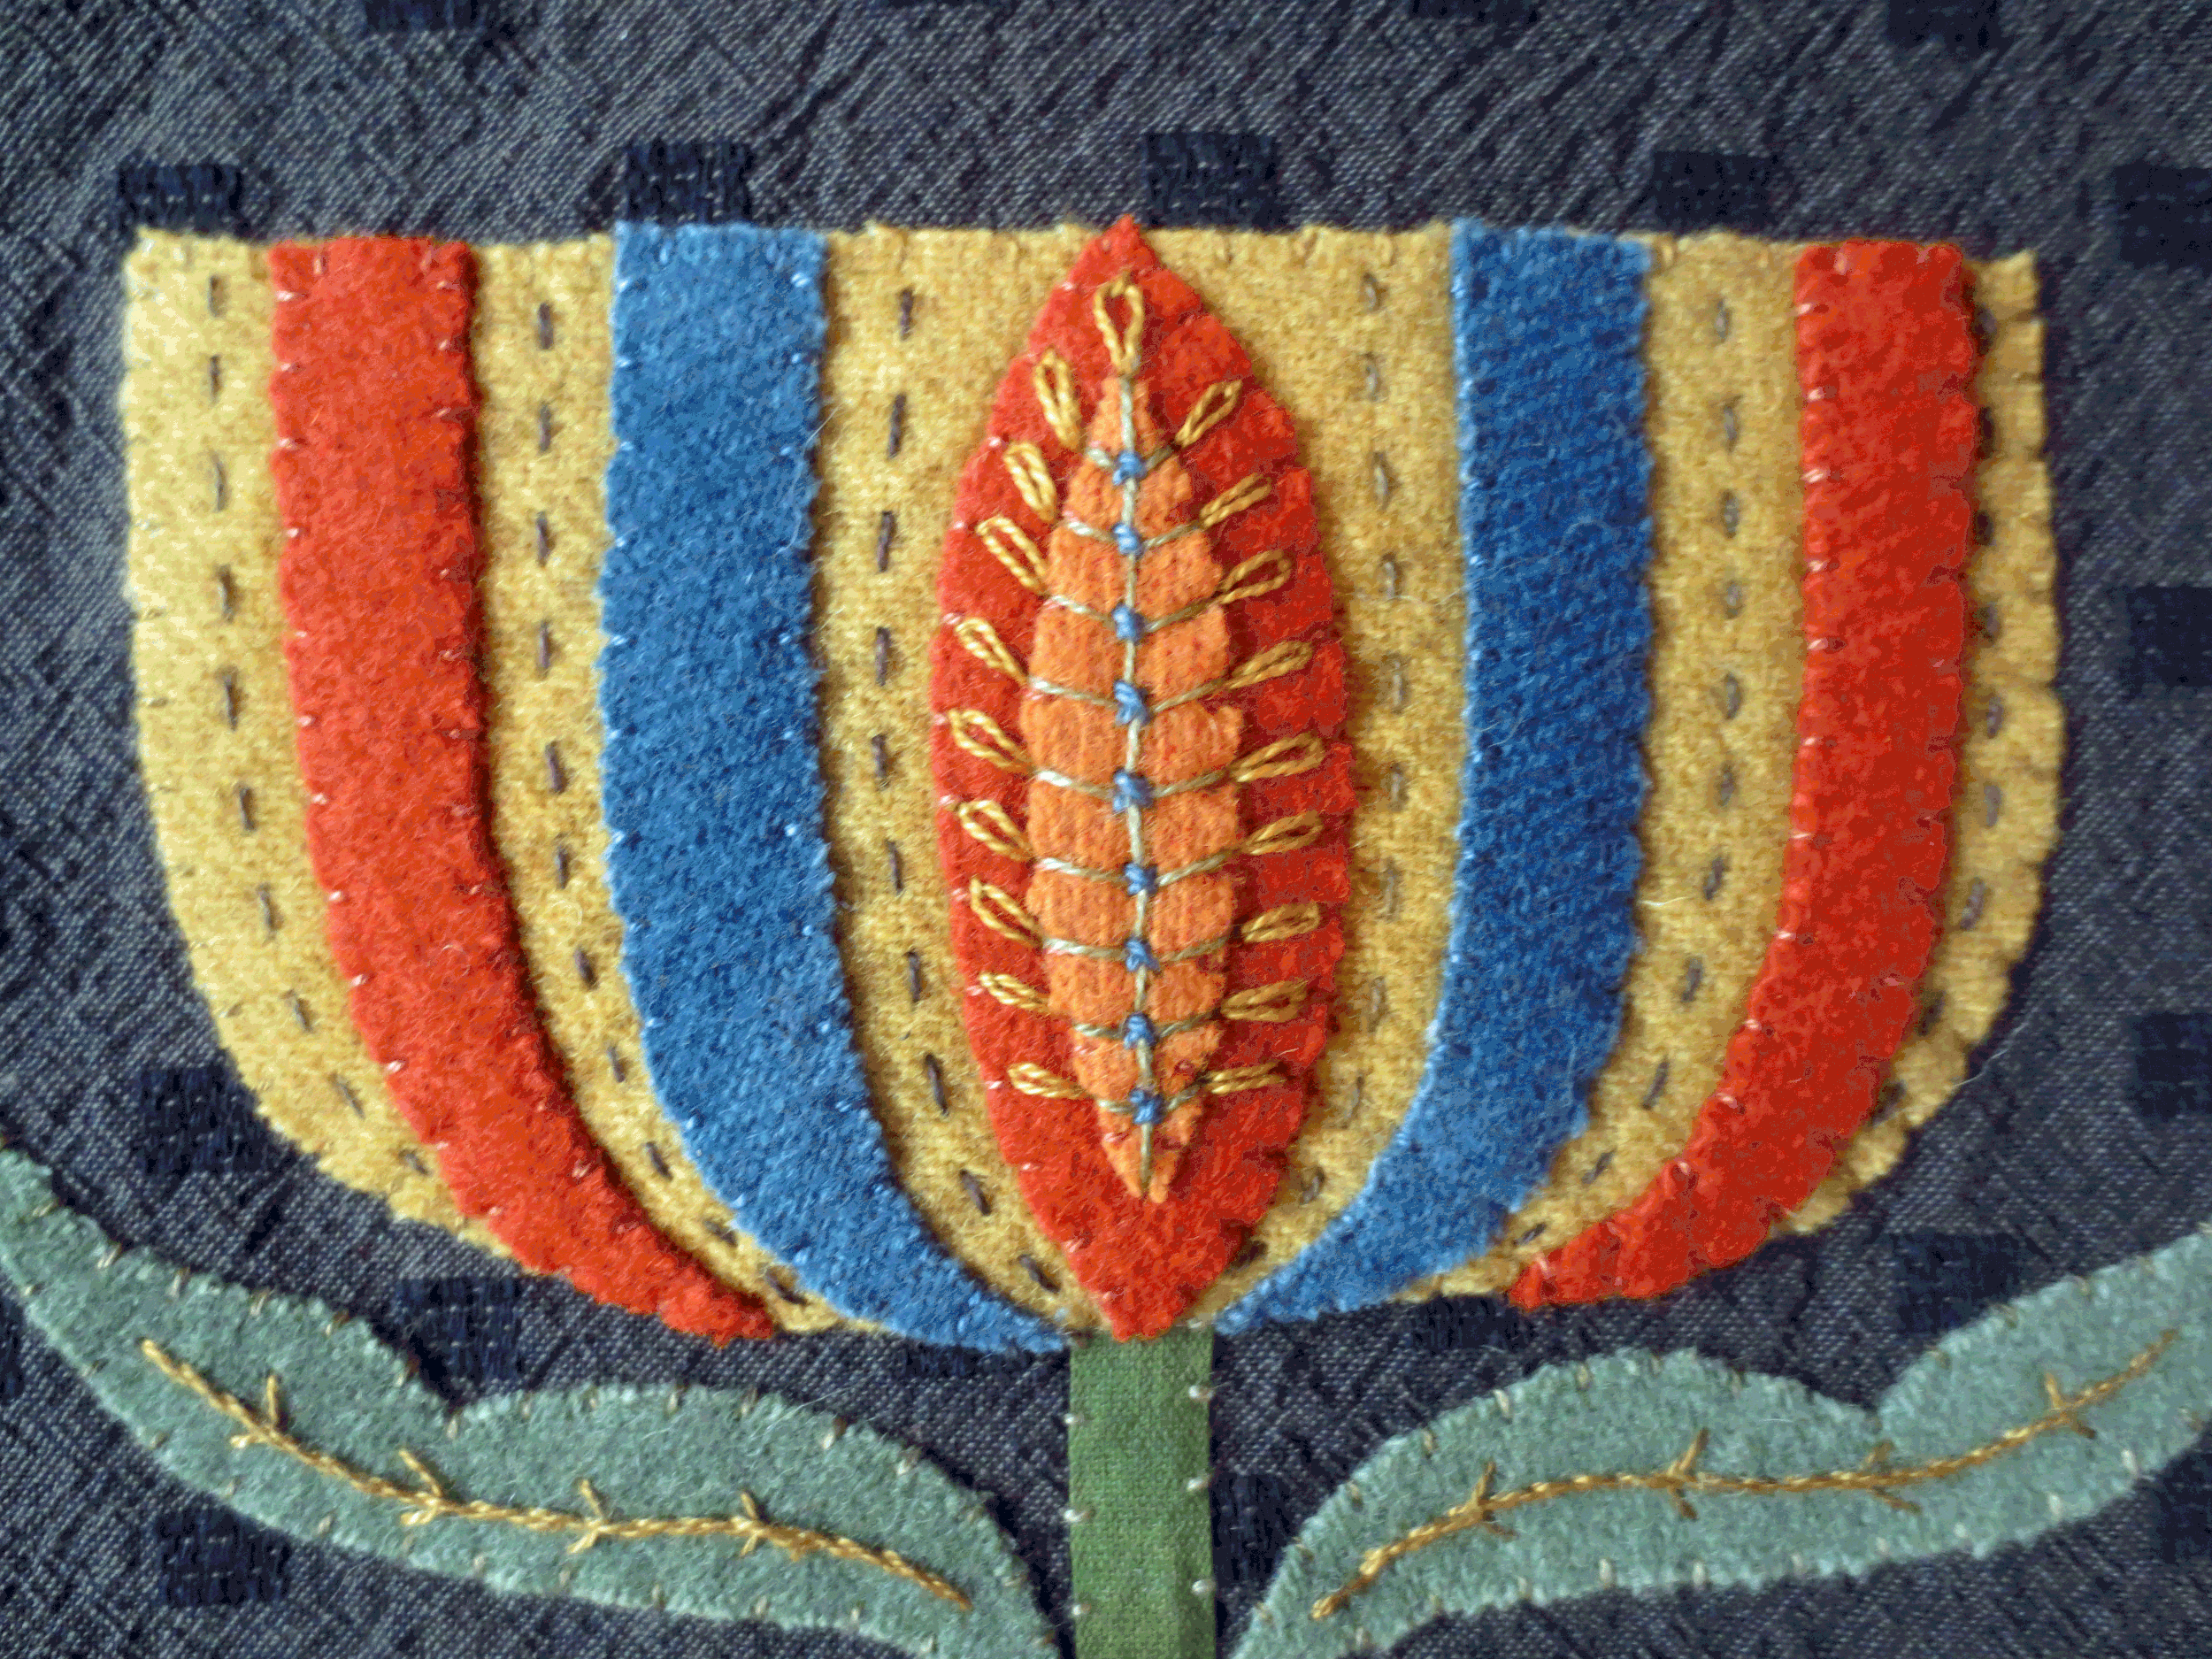
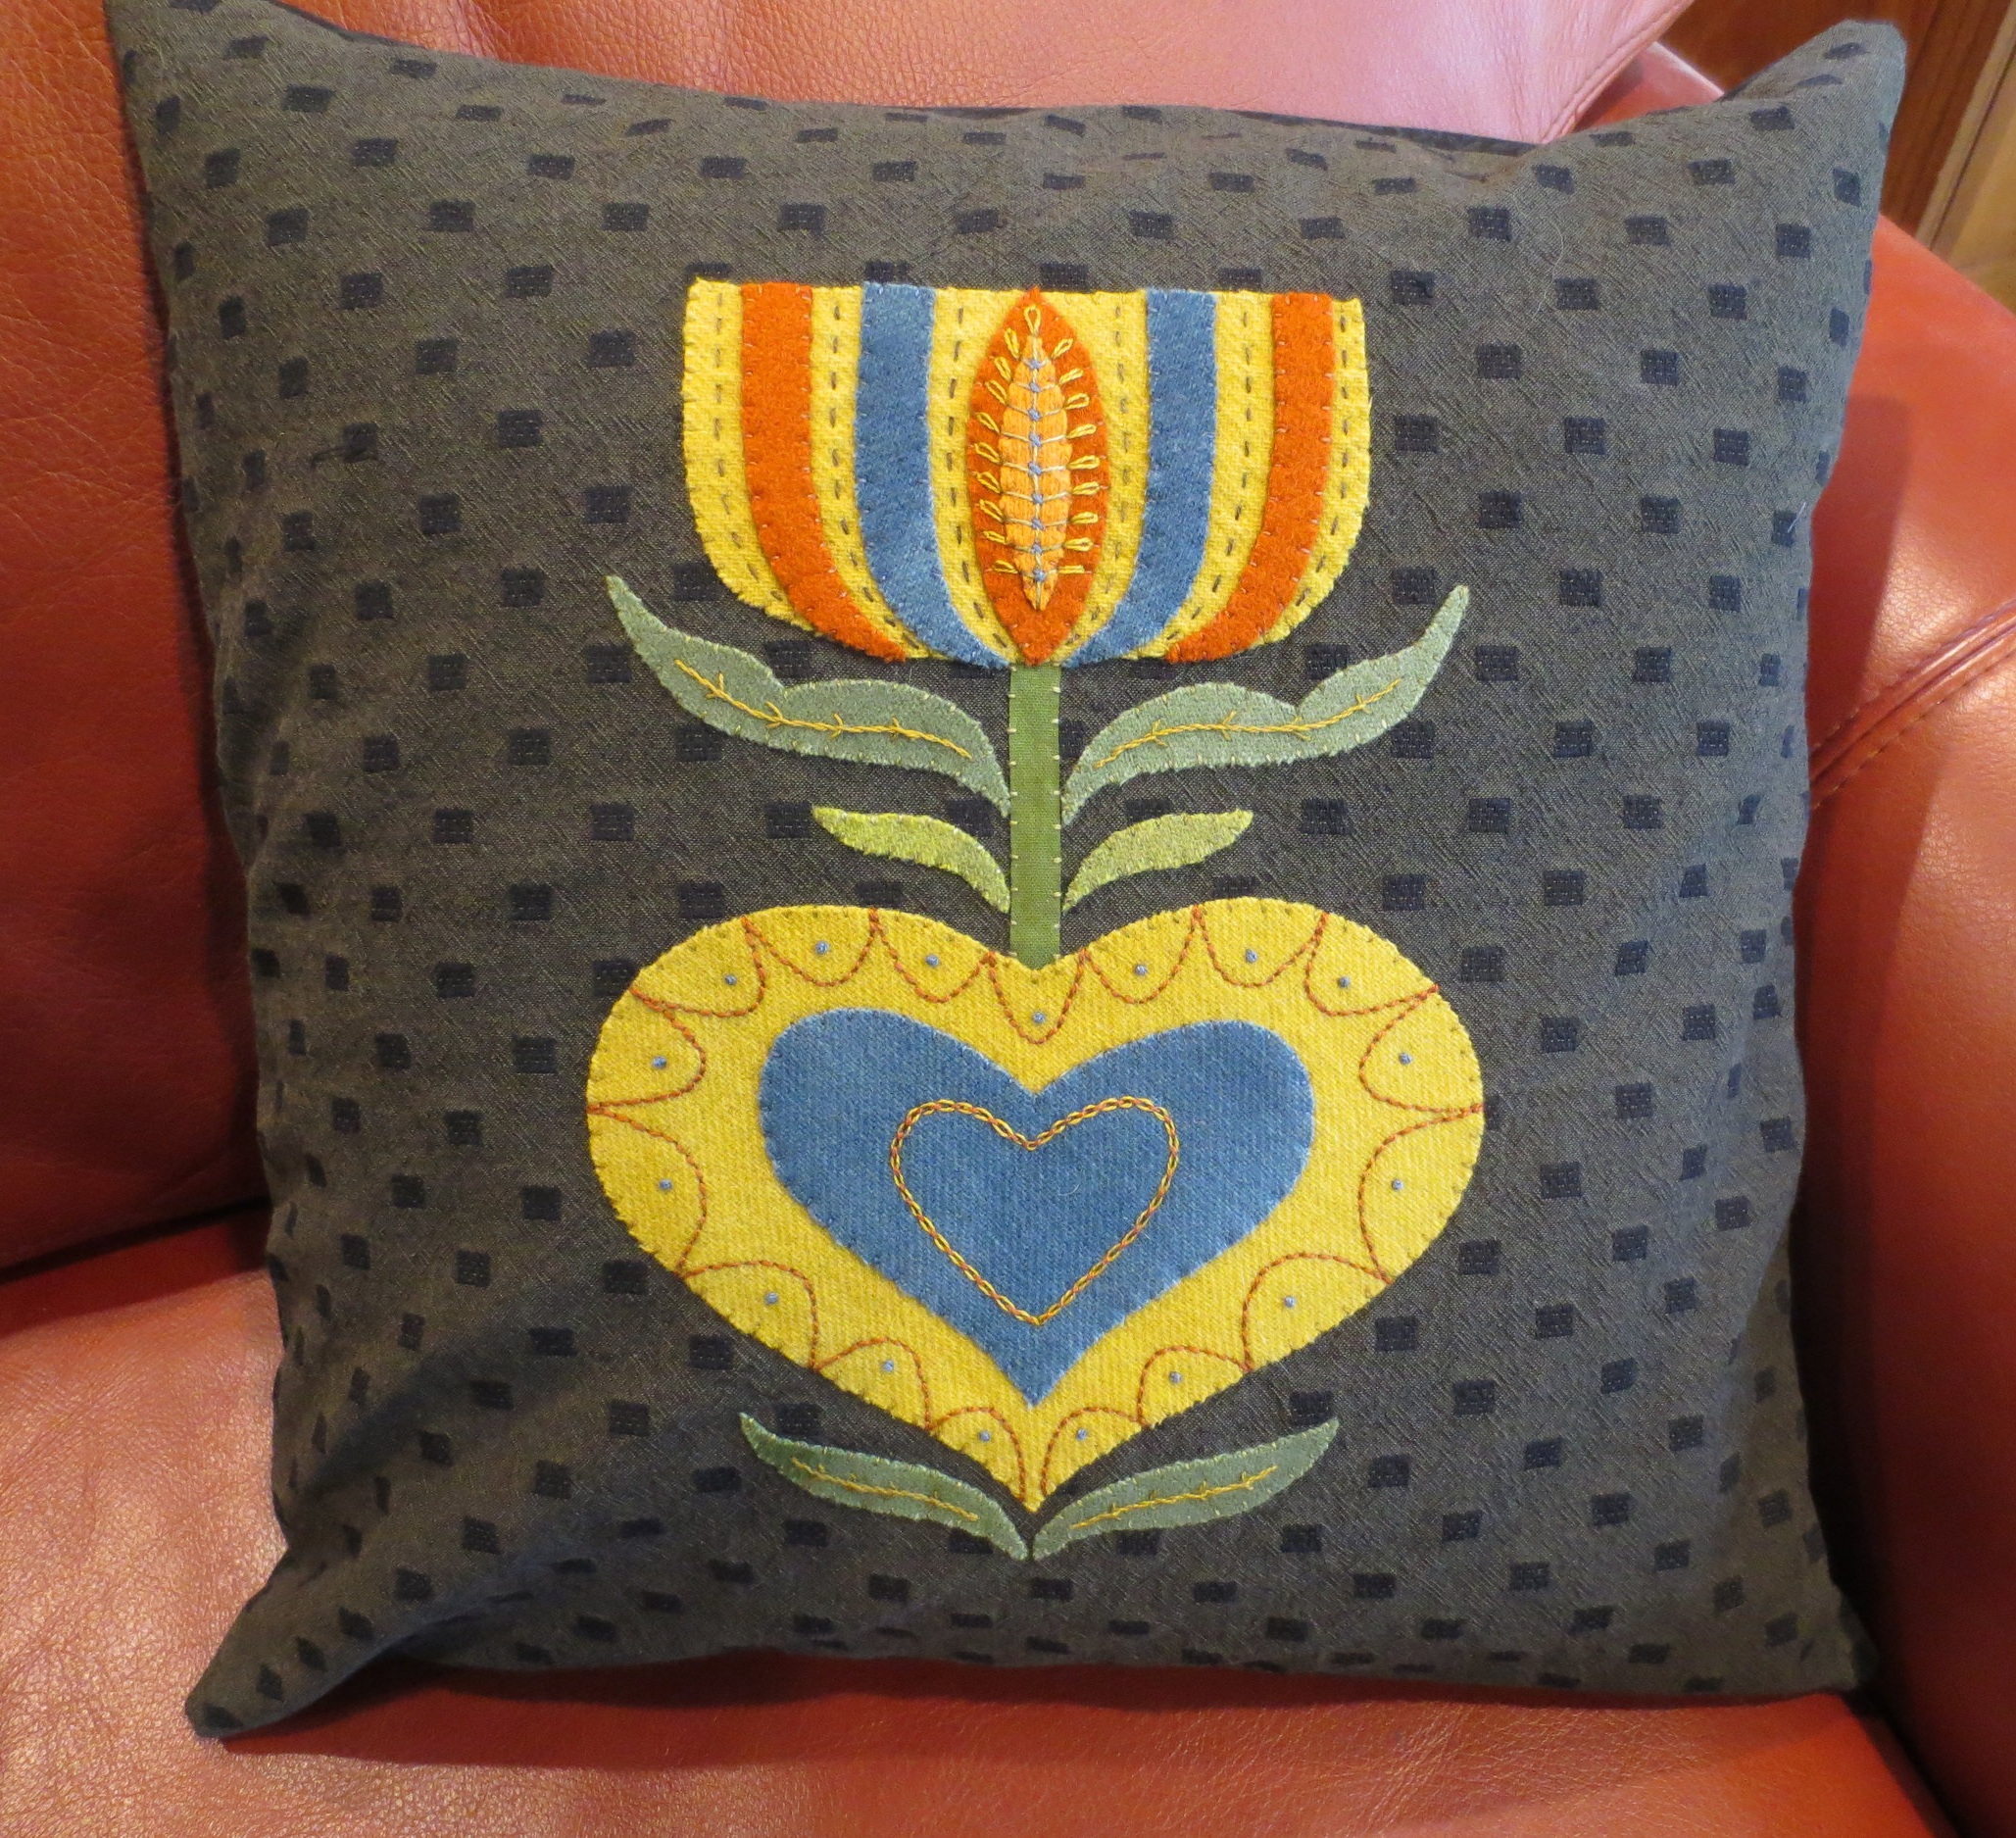
Many of the designs I create are inspired by folk art, especially early American folk art. The inspiration for this design was an early 19th century Pennsylvania German Fraktur . The original design contained a double heart with German script (fractured lettering) in the center, and a very spiky looking tulip blooming above it. This is a very simplified version of it.
I tried to use colors that were true to the Fraktur style. They used bold golds, oranges, greens, and blues. The lettering, outline, and embellishment was probably Iron gall ink which looks dark brown in many of the old frakturs.
I made this into a 16 inch square pillow which you can view at the end of this post. The negative space seems a bit overwhelming for the design, so a 14 inch square pillow insert might have been a better fit. I’ve written the instructions for a 16 inch pillow, but if you wish to scale down to a 14 inch you will need to cut your background and backing fabric to 16 inches instead of 18 inches.
Enjoy!
You will need:
Background for applique - 18 inch black textured cotton
Backing
Fabric A - One 1 1/2 inch x 18 inch green print (use a color that matches one of your flower colors)
Fabric B - One 4 1/2 inch x 18 black textured cotton (the same fabric used for the background)
Fabric C - Two 8 inch x 18 black textured cotton (different from background print)
Wool - Use felted wool or wool felt
8 inch square golden yellow - flower and large heart
5 inch x 6 inch blue - small heart, flower stripes
3 1/2 inch square dark orange - large flower center and flower stripes
1 inch x 2 1/2 inch light orange - small flower center
4 inch square green - leaves 1,2,5 & 6
2 inch square light green - leaves 3 & 4
Thread - Use colors that match the colors of your wool. I have listed the colors I used, but your color choices may vary.
Perle cotton, size 12
Valdani - O217 (Yummy Pumpkin), ( O510 (Terracotta Twist), 152 (Gold), 871 (Dusty Blue Light), O519 (Dusty Leaves)
Perle cotton, size 8
DMC #920
Miscellaneous
21 inch length of 3/8 inch wide green cotton ribbon
Featherweight fusible web like HeatnBond featherlite
Fine tip Sharpie marker
Chenille needle - size 24
Steam iron
Sewing machine
14 inch pillow insert
light box - optional
Instructions - Use one strand of thread unless otherwise noted.
Use a light box or bright window to trace pattern images onto fusible web. Images are reversed for use with fusible web, so there is no need to reverse the image before tracing.
Cut out pattern pieces leaving a small border around each design.
Fuse pattern pieces to designated wool fabric and cut out along traced lines.
4. Cut a 3 inch piece of ribbon. Set the rest aside.
5. Lay out the large heart, ribbon stem, and flower using the Layout as your guide. Tuck the stem under the heart and flower so that the visable portion of the stem measures 2 1/4 inches. Fuse in place using steam.
NOTE: Remember how I mentioned my pillow is 16 inch square? The background seems a little large doesn’t it?
6. Whip stitch the ribbon first with #O519.
7. Whip stitch leaves with the same thread.
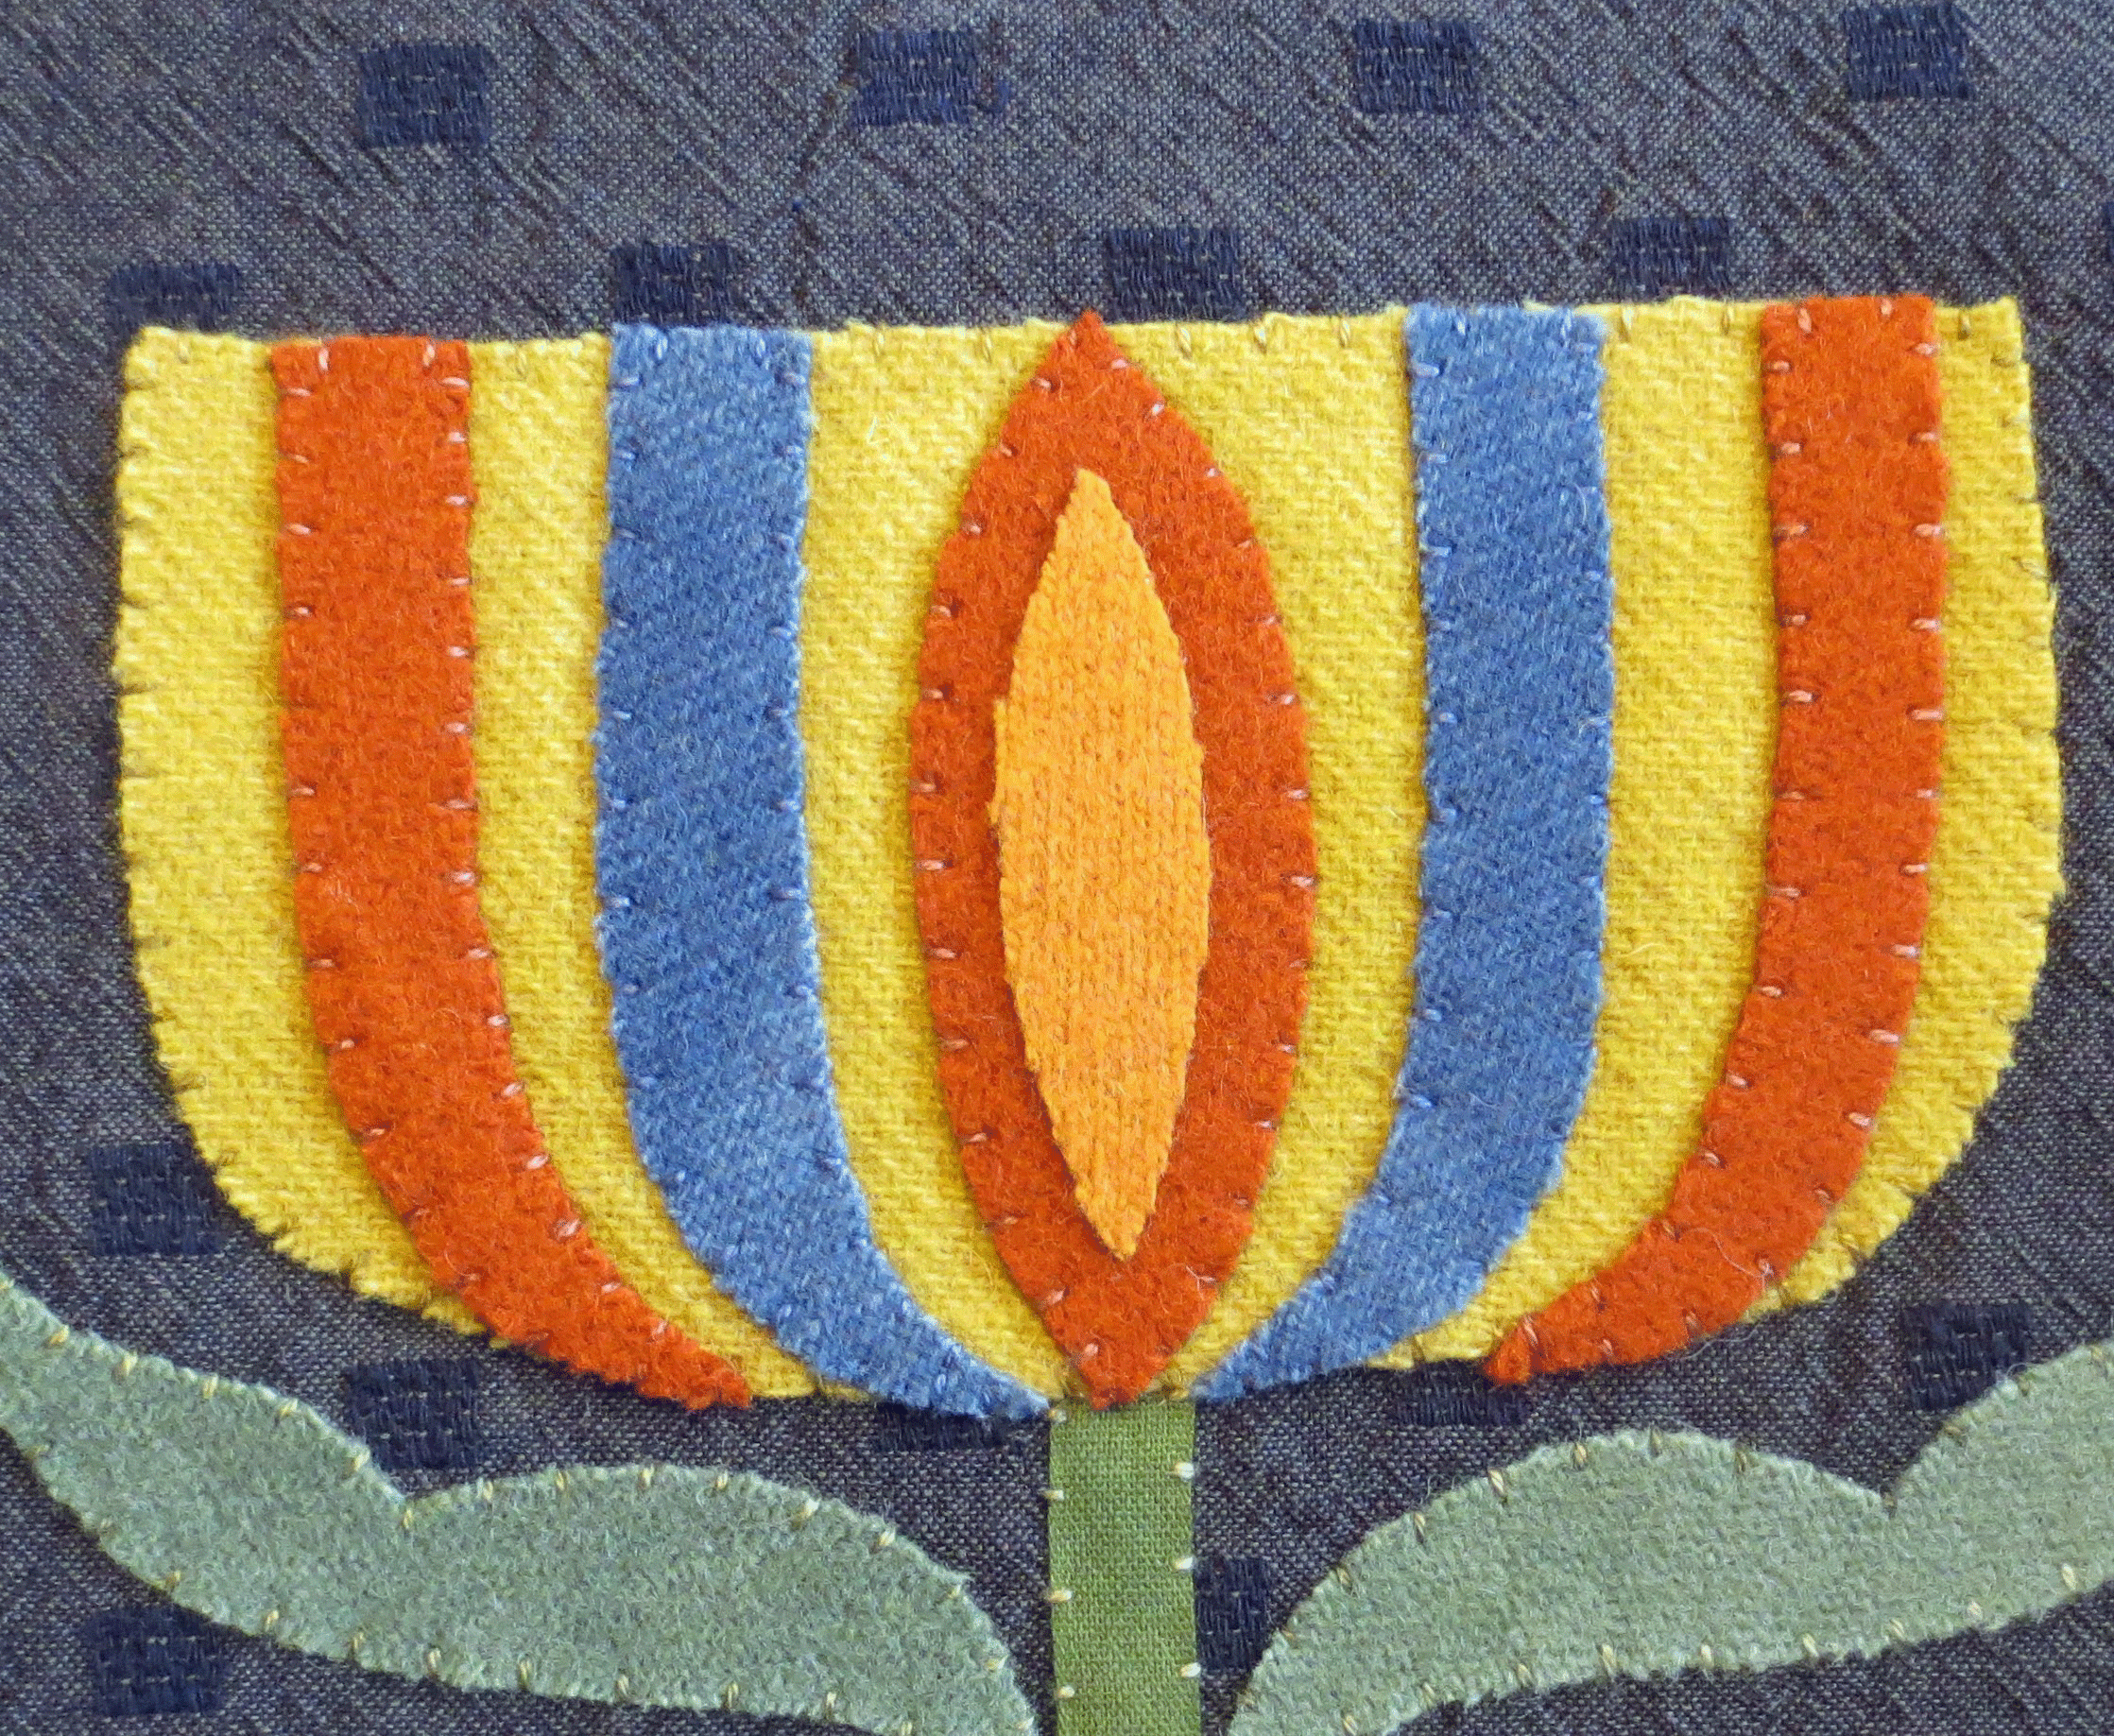
8. Whip stitch flower and heart with #152.
9. Position the remaining leaves using the Layout as your guide, and then fuse them in place using steam.
10. Whip stitch leaves with #O519.
11. Lay out the flower stripes, large flower center, and small heart. Fuse in place using steam.
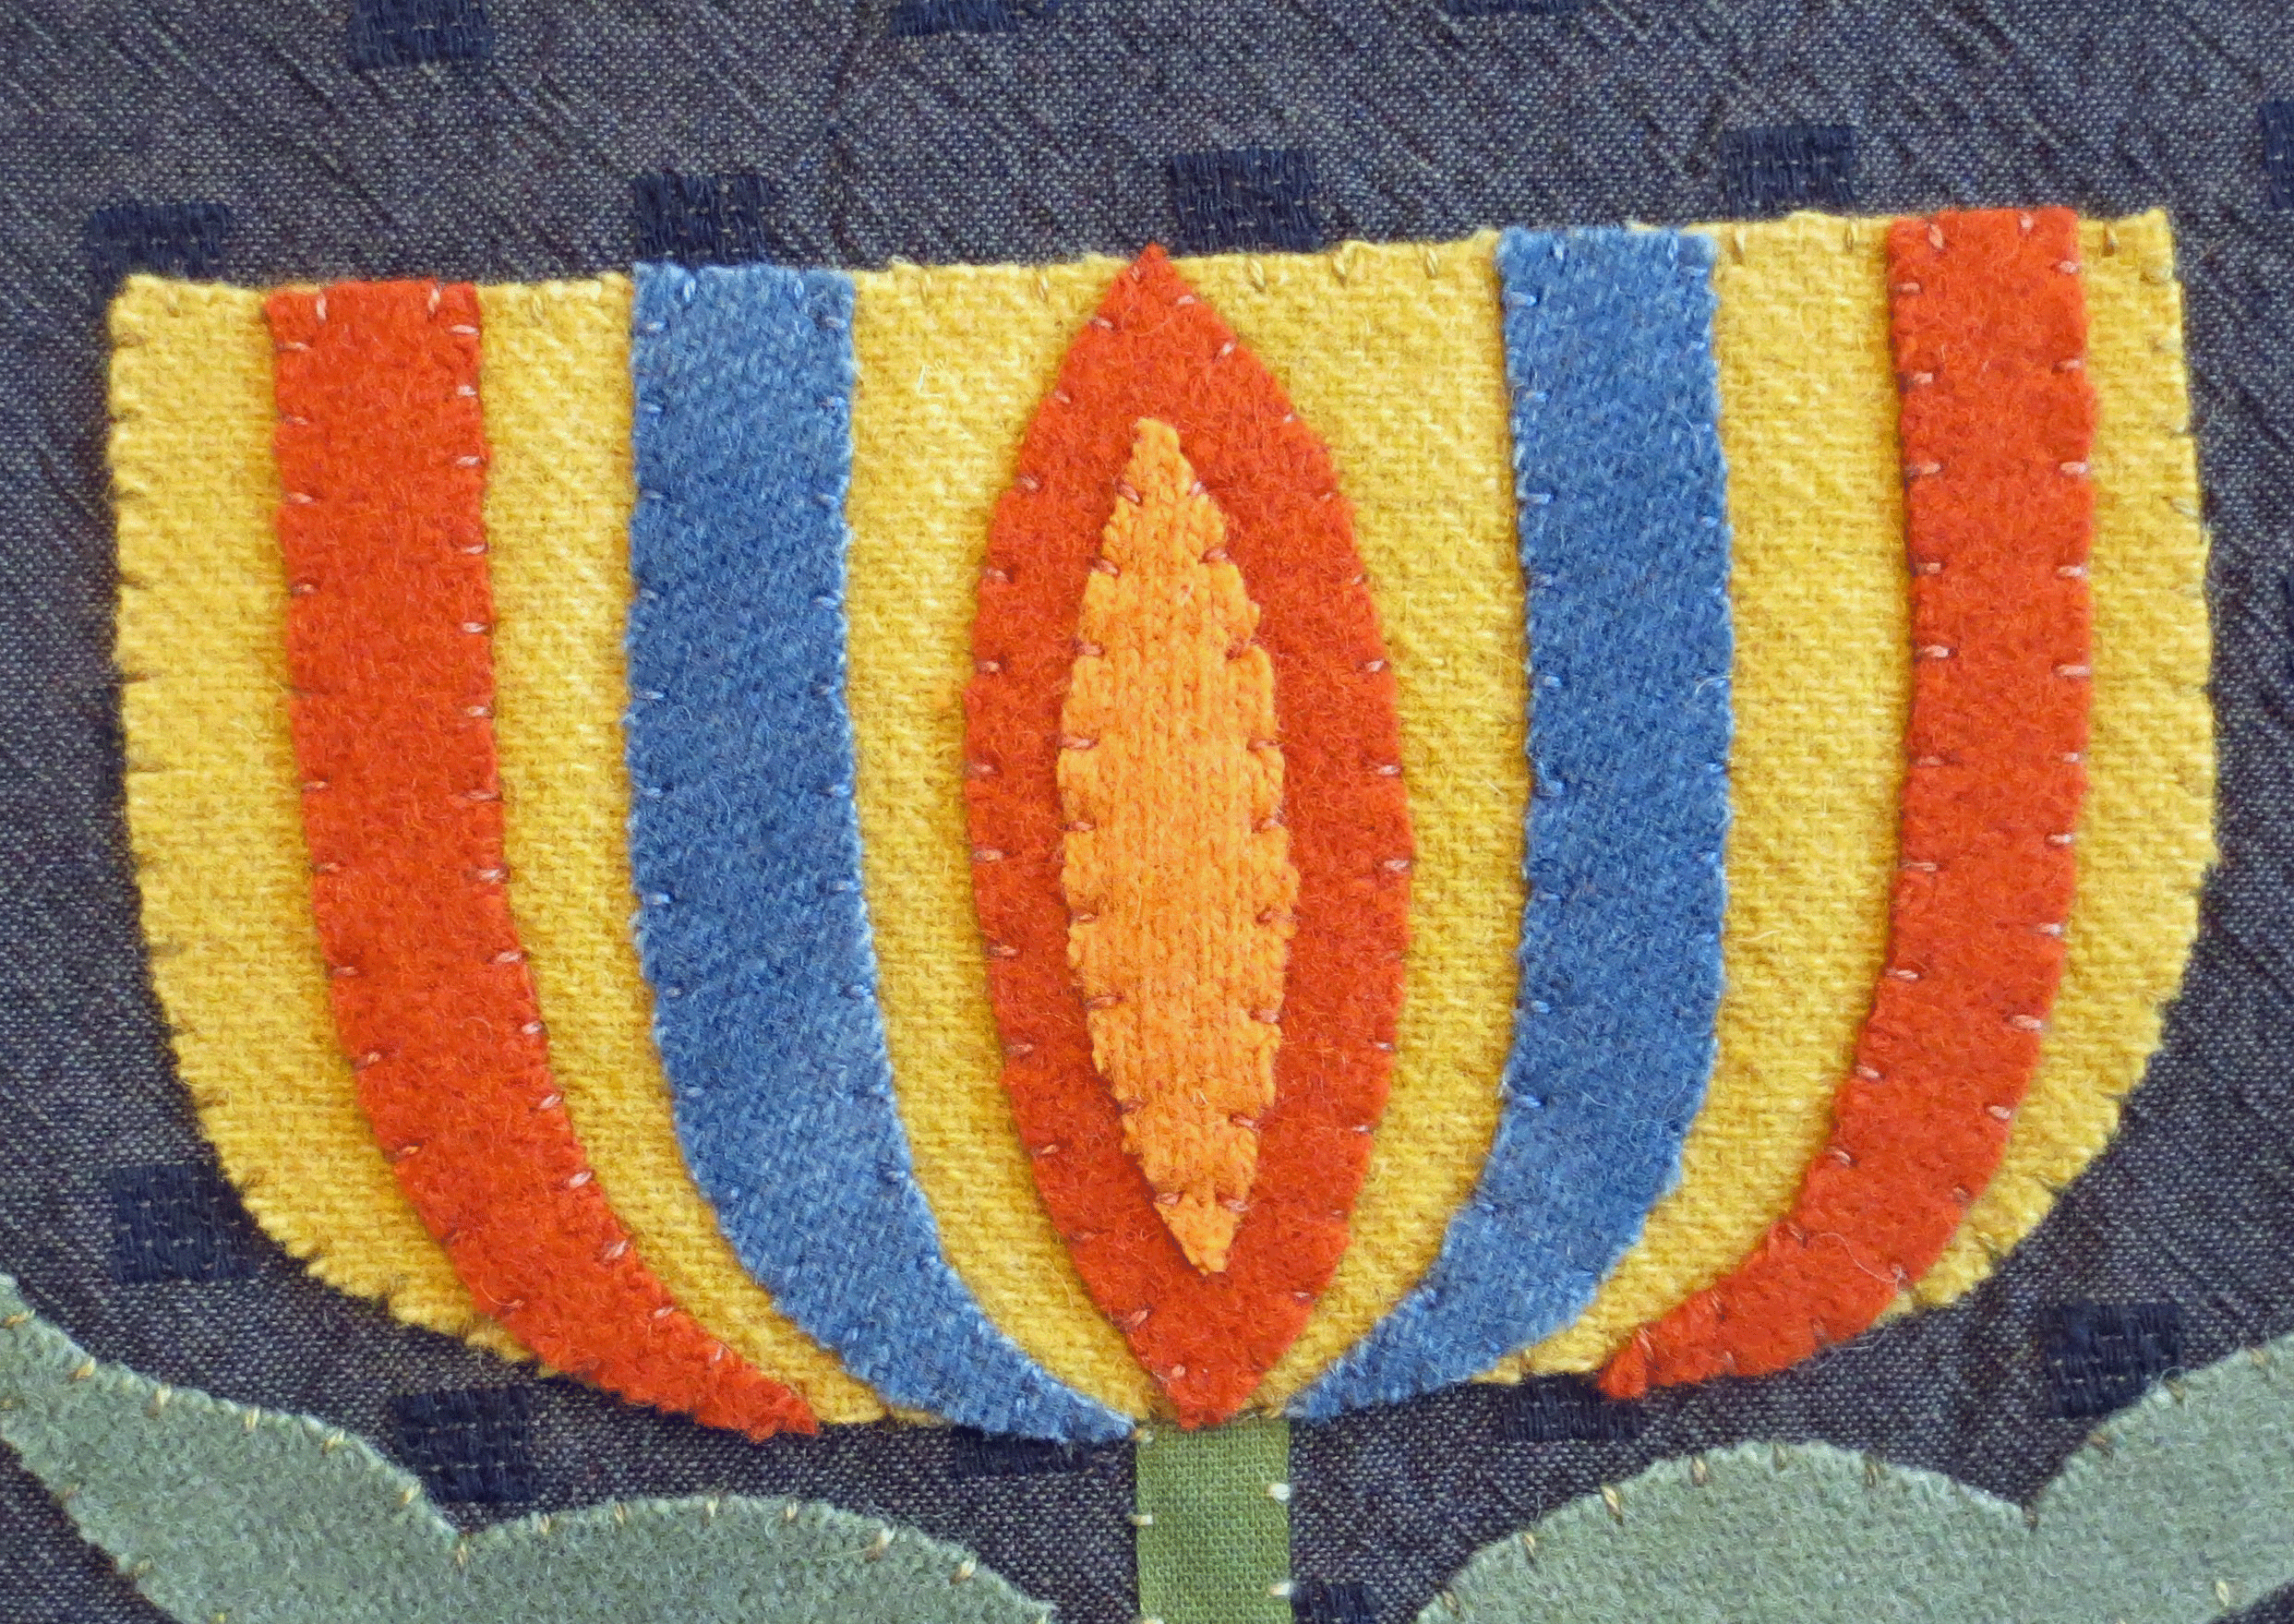
12. Whip stitch heart and blue flower stripes with #871.
13. Whip stitch orange flower stripes and large flower center with #O510.
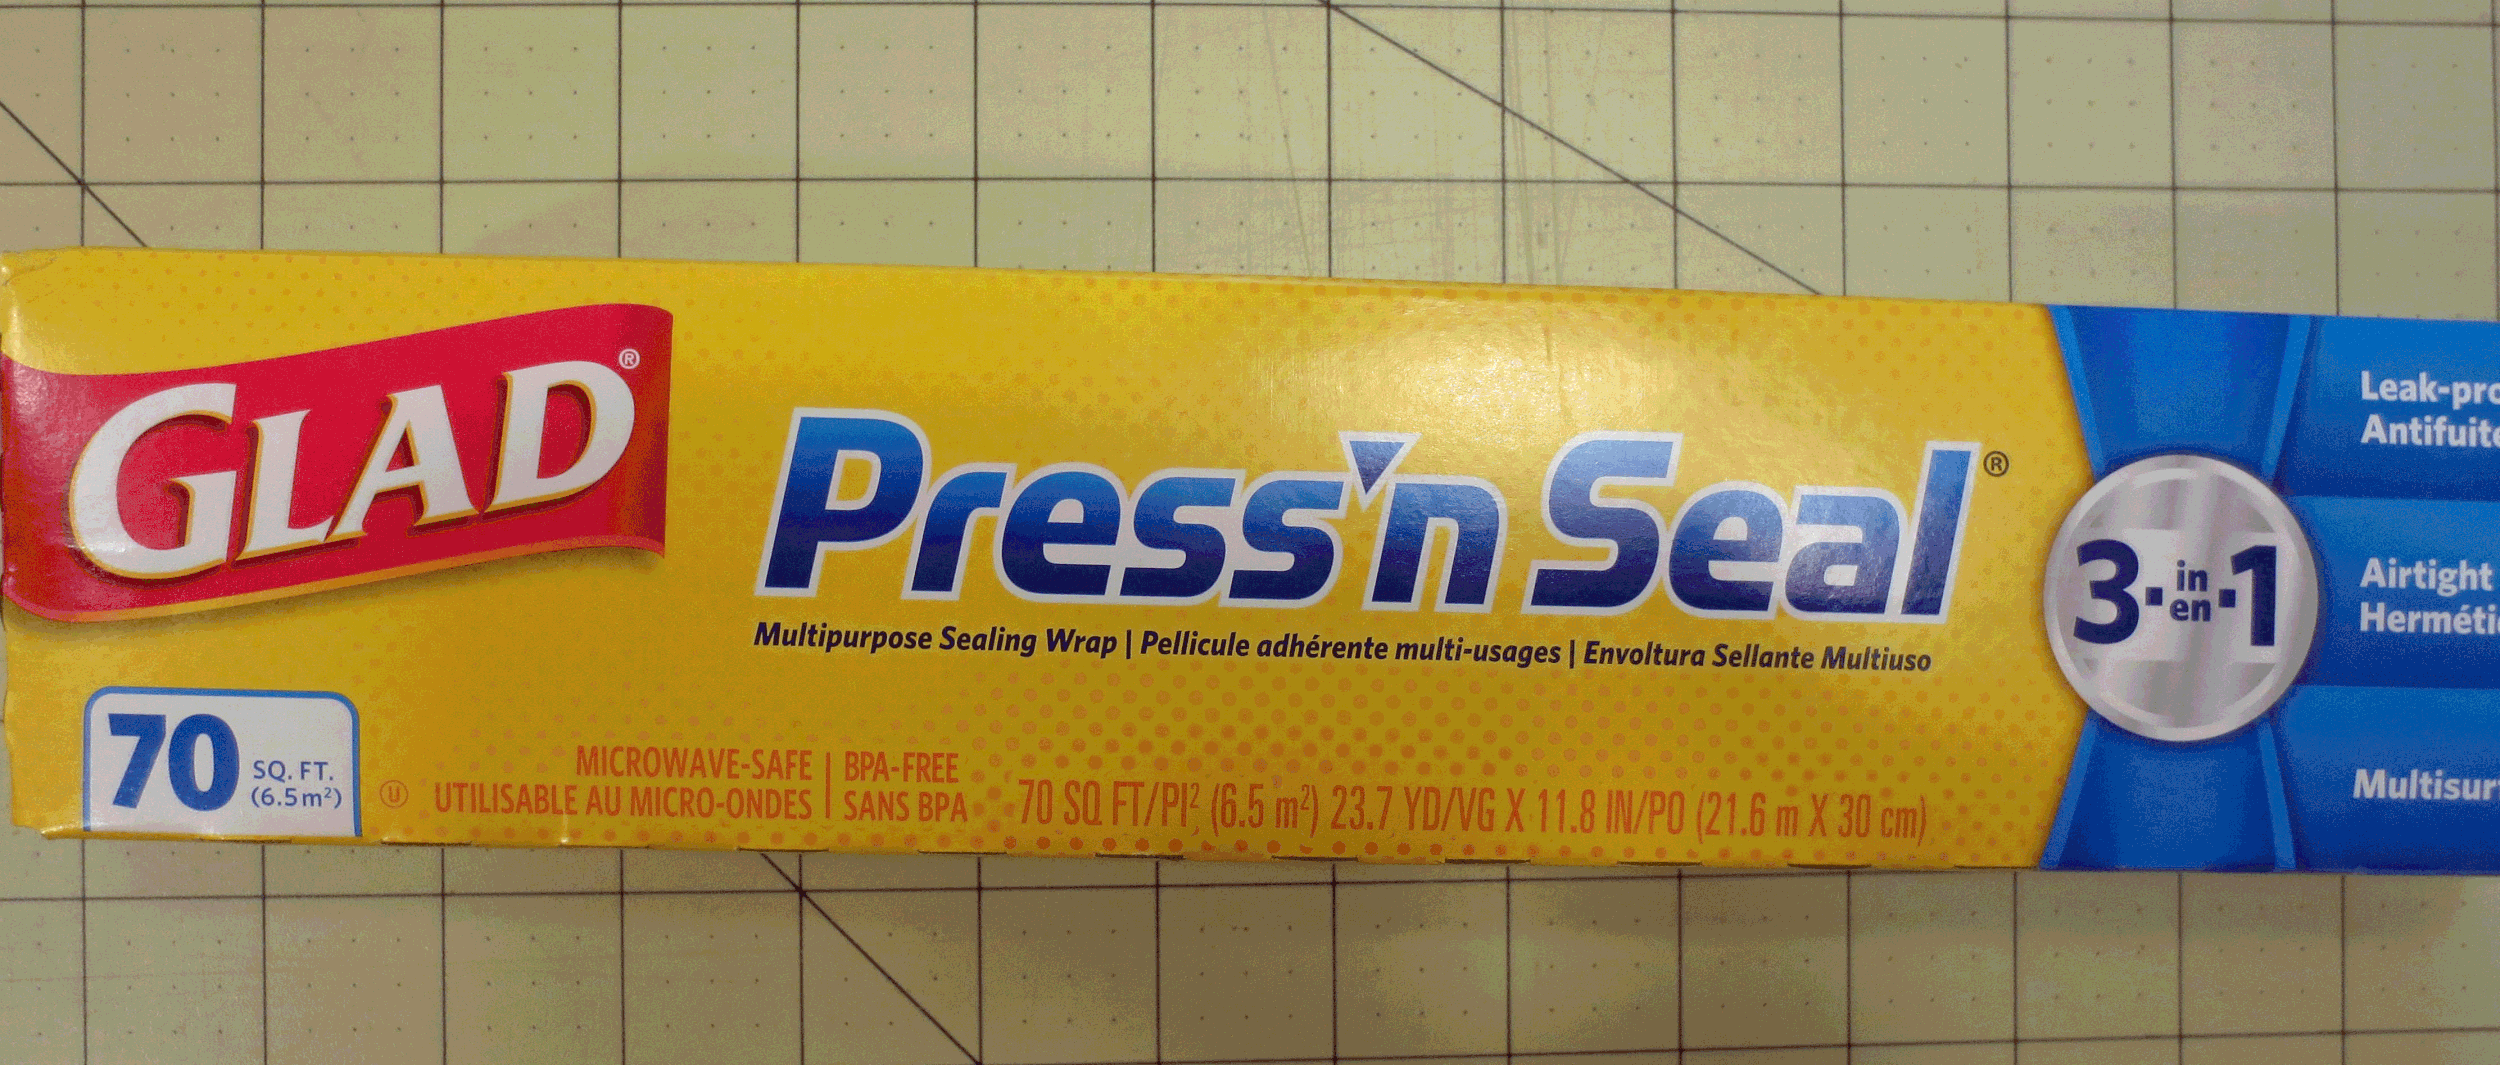
14. Cut a piece of Glad Press ‘n Seal large enough to cover the large heart.
15. Lay the Press ‘n Seal on top of the Layout, and trace the design around the large heart, and the small center heart using a fine tip sharpie marker.
16. Remove the Press ‘n Seal from the Layout, and then press it on top of your project.
17. Use DMC #920 to back stitch over the “hills” around the large heart.
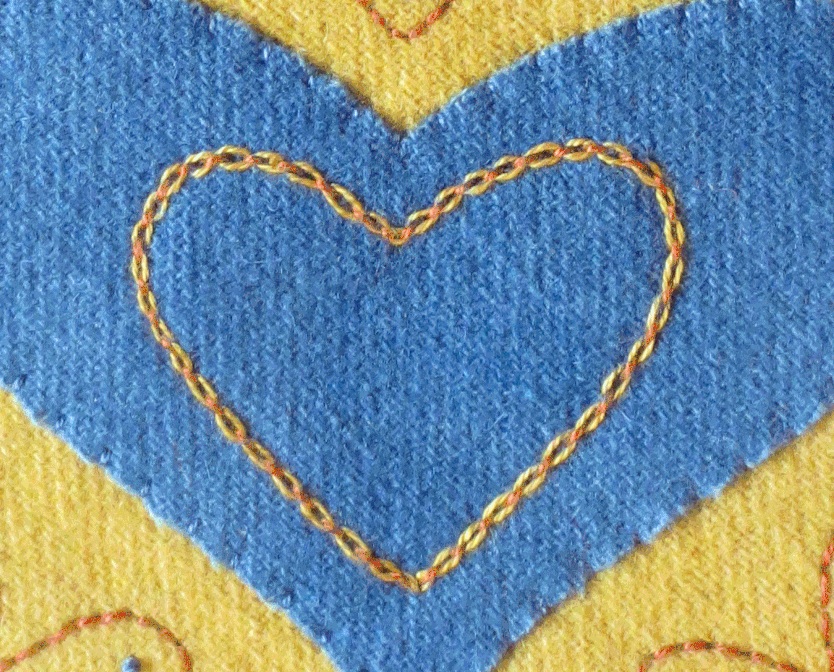
18. Use the same thread to back stitch the center heart.
19. Use #871 to make french or colonial knots around the large heart.
20. Gently pull the Press ‘n Seal away from your stitching. You may need to use tweezers to remove small pieces of Press ‘n Seal that get stuck.
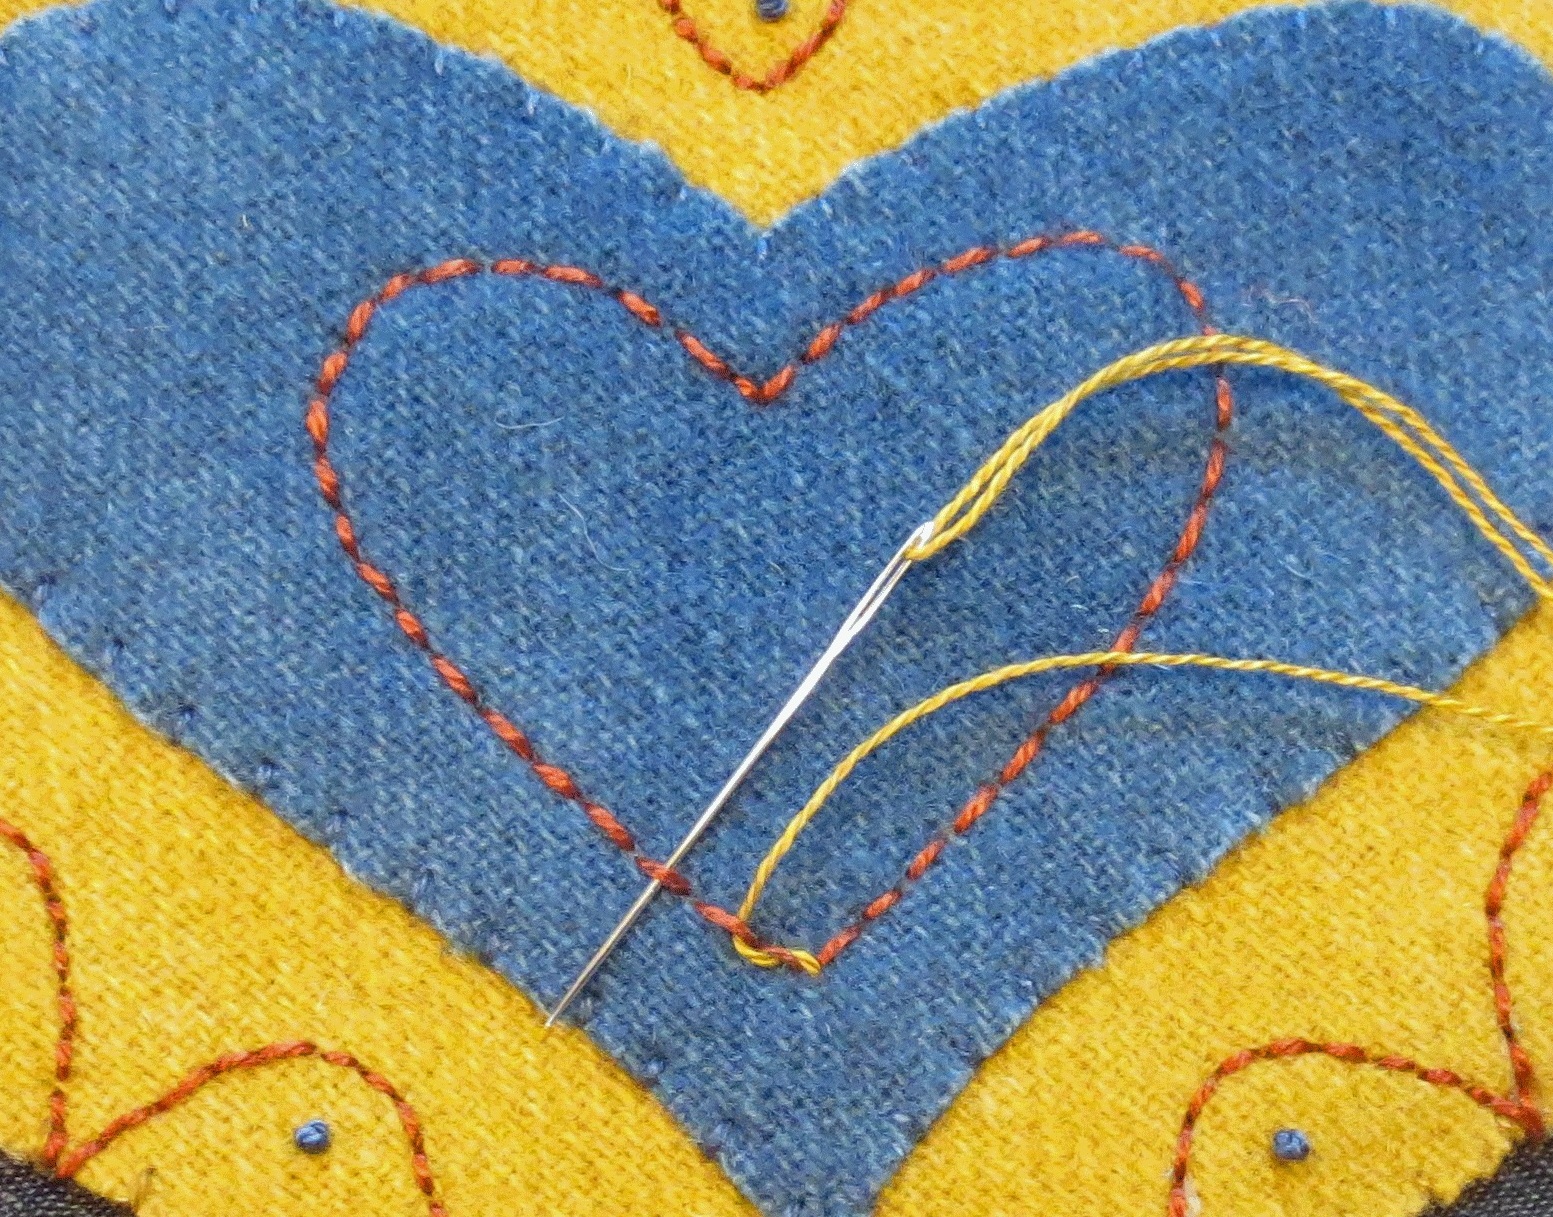
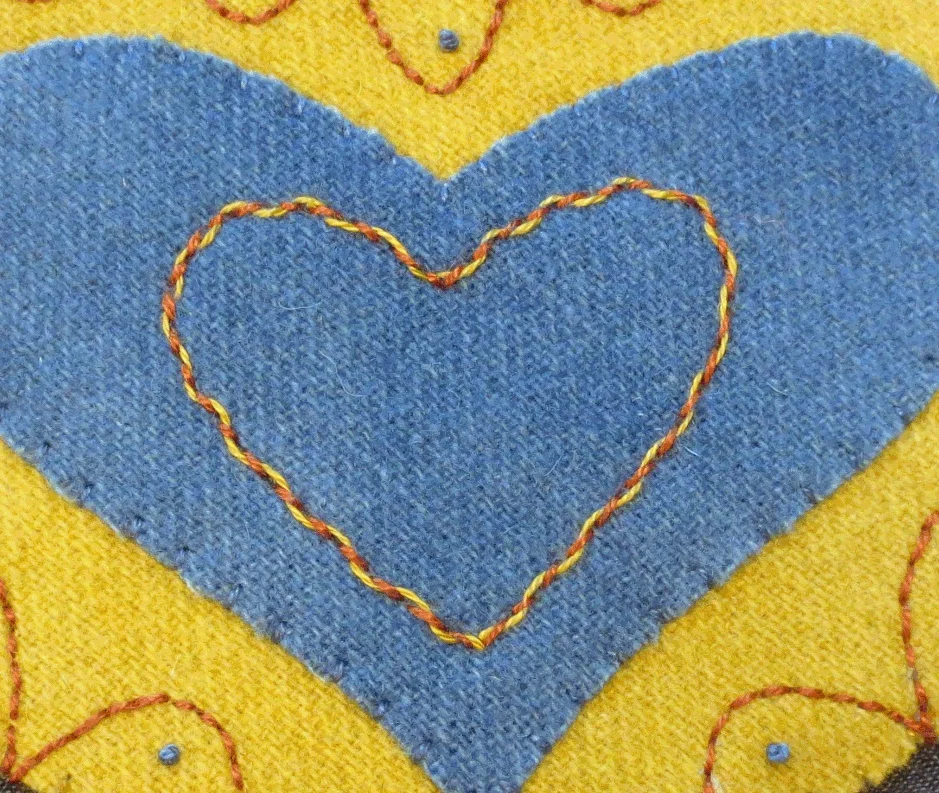
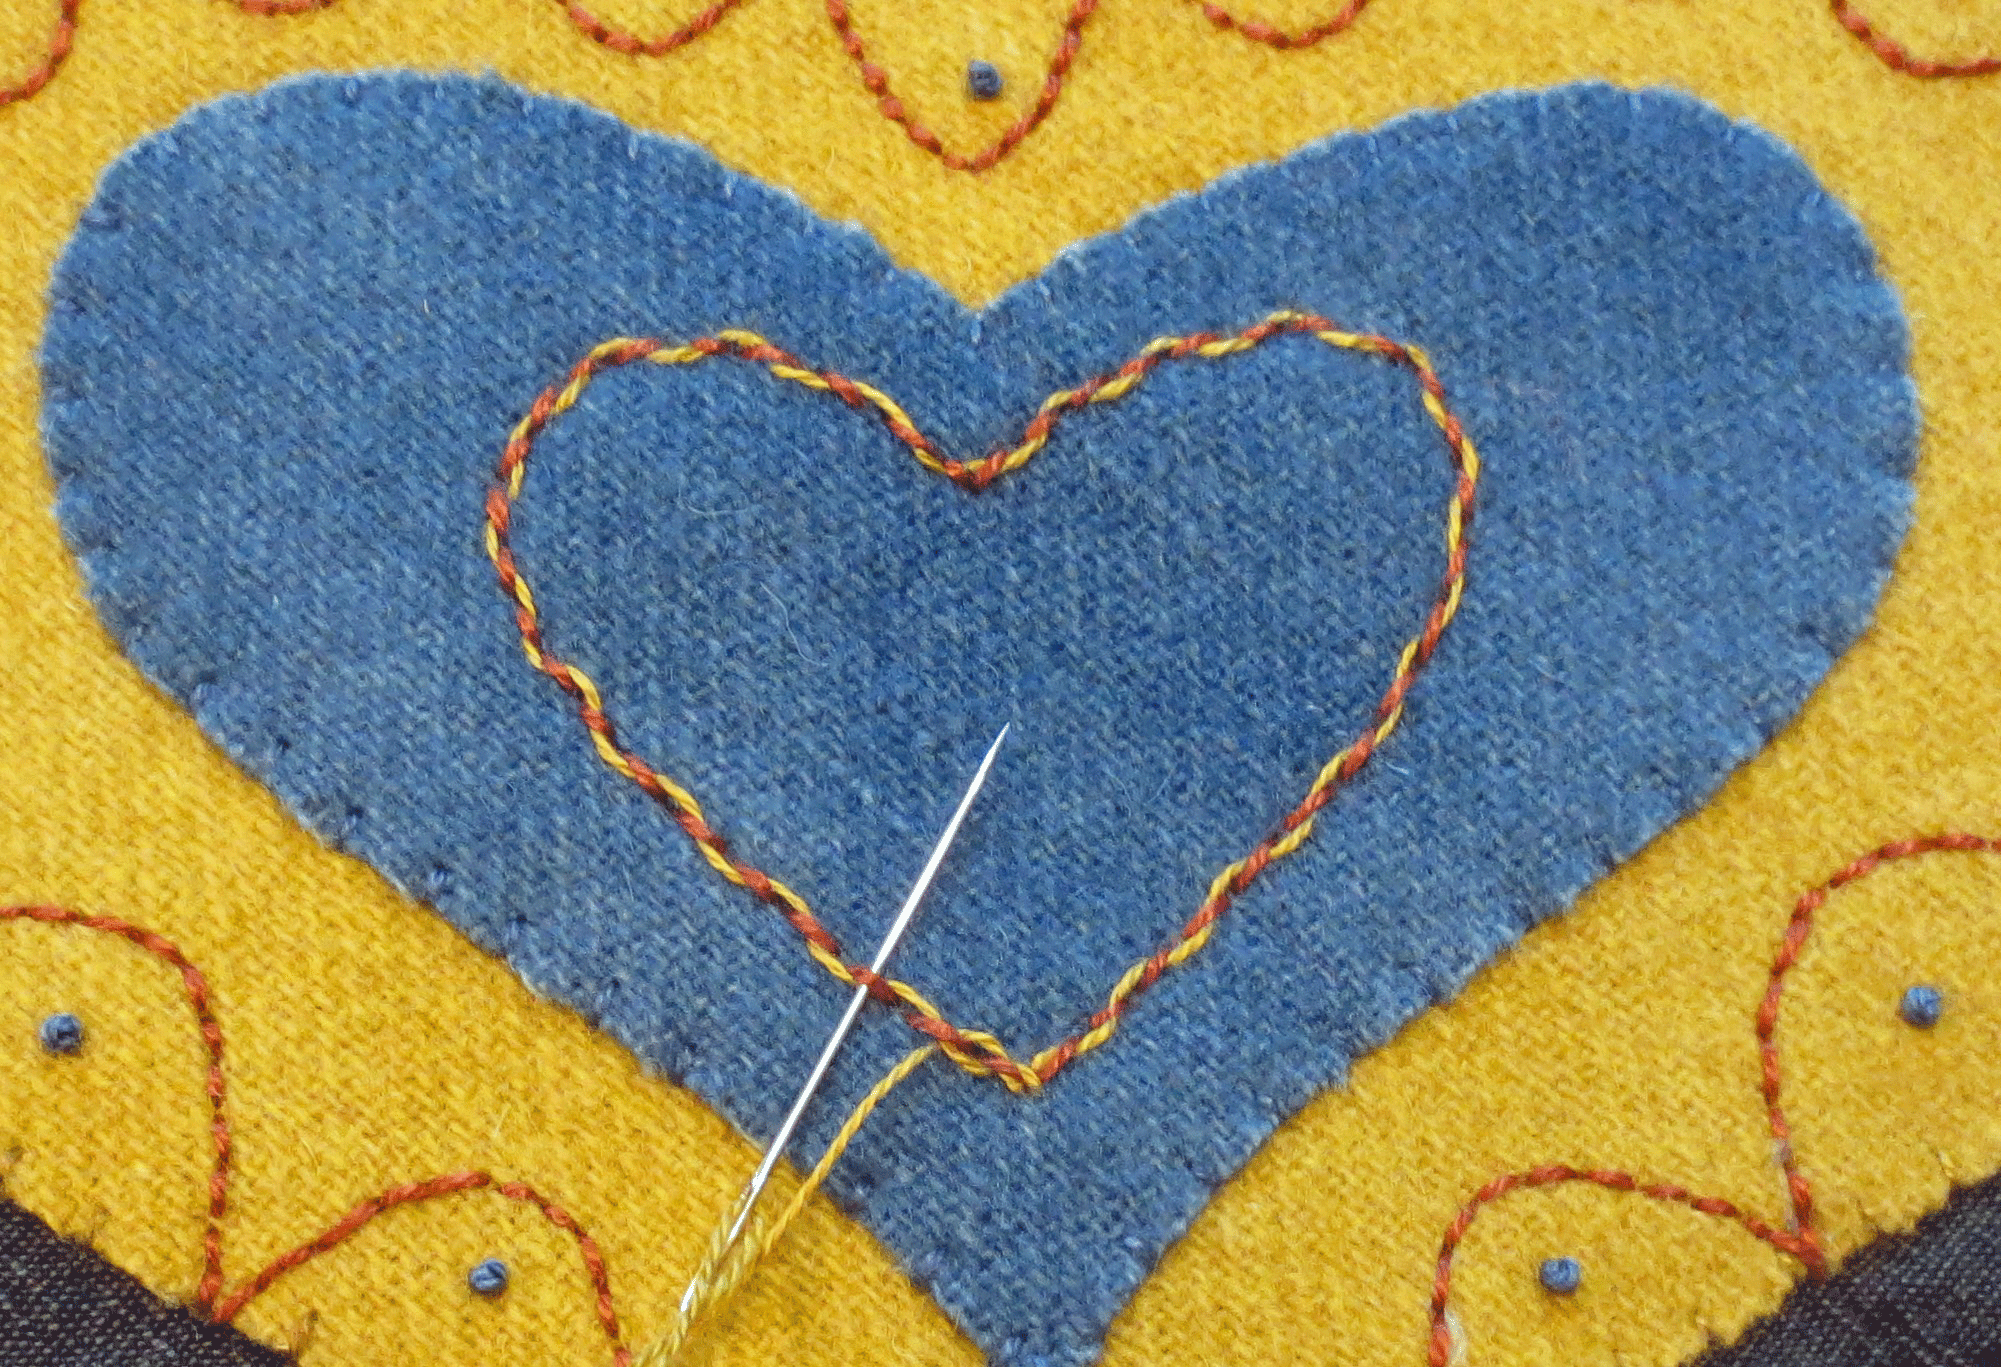
21. Use #152 to make a double threaded back stitch around the center heart. Begin by bringing your thread up at the base of the heart. and then thread #152 through the back stitches to make a single threaded back stitched heart.
22. Bring the thread up again at the base of the heart, and then thread #152 through each back stitch in the opposite direction.
23.Fuse the small flower center on top of the large flower center.
24. Whip stitch the small flower center using #O217.
25. Use a air erasable fabric marker to draw the veins of the leaves using the Layout as your guide.
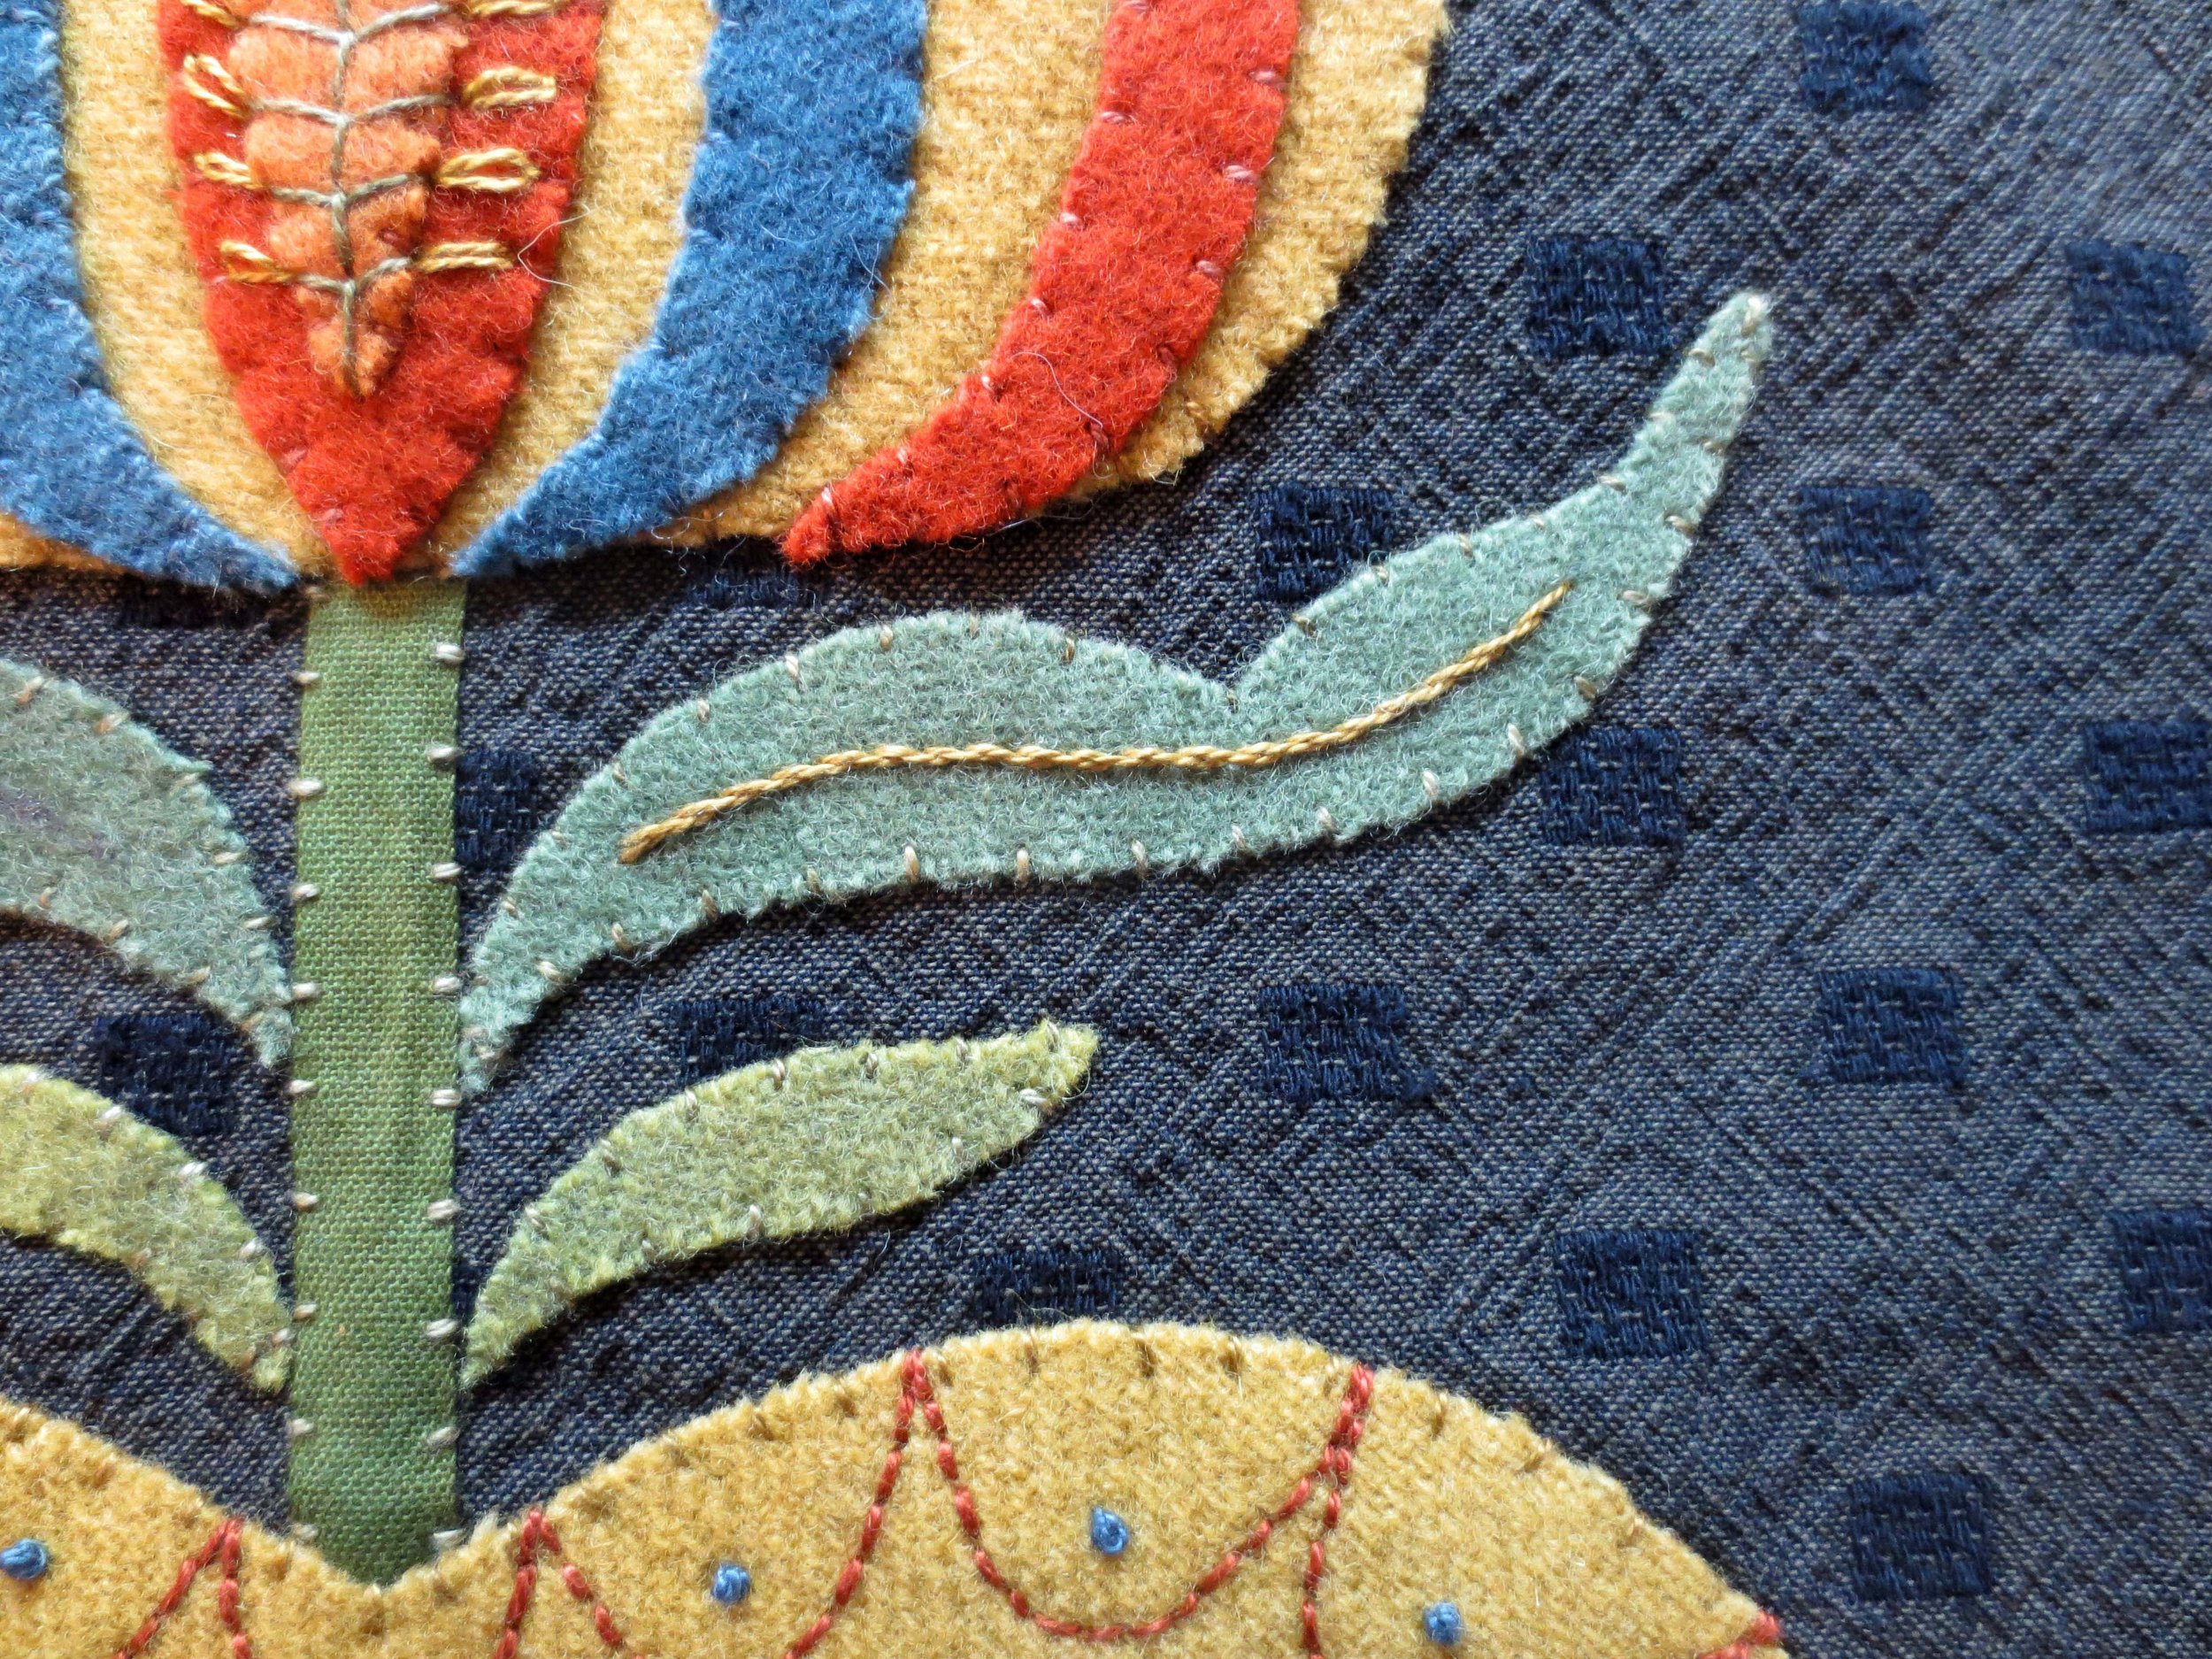
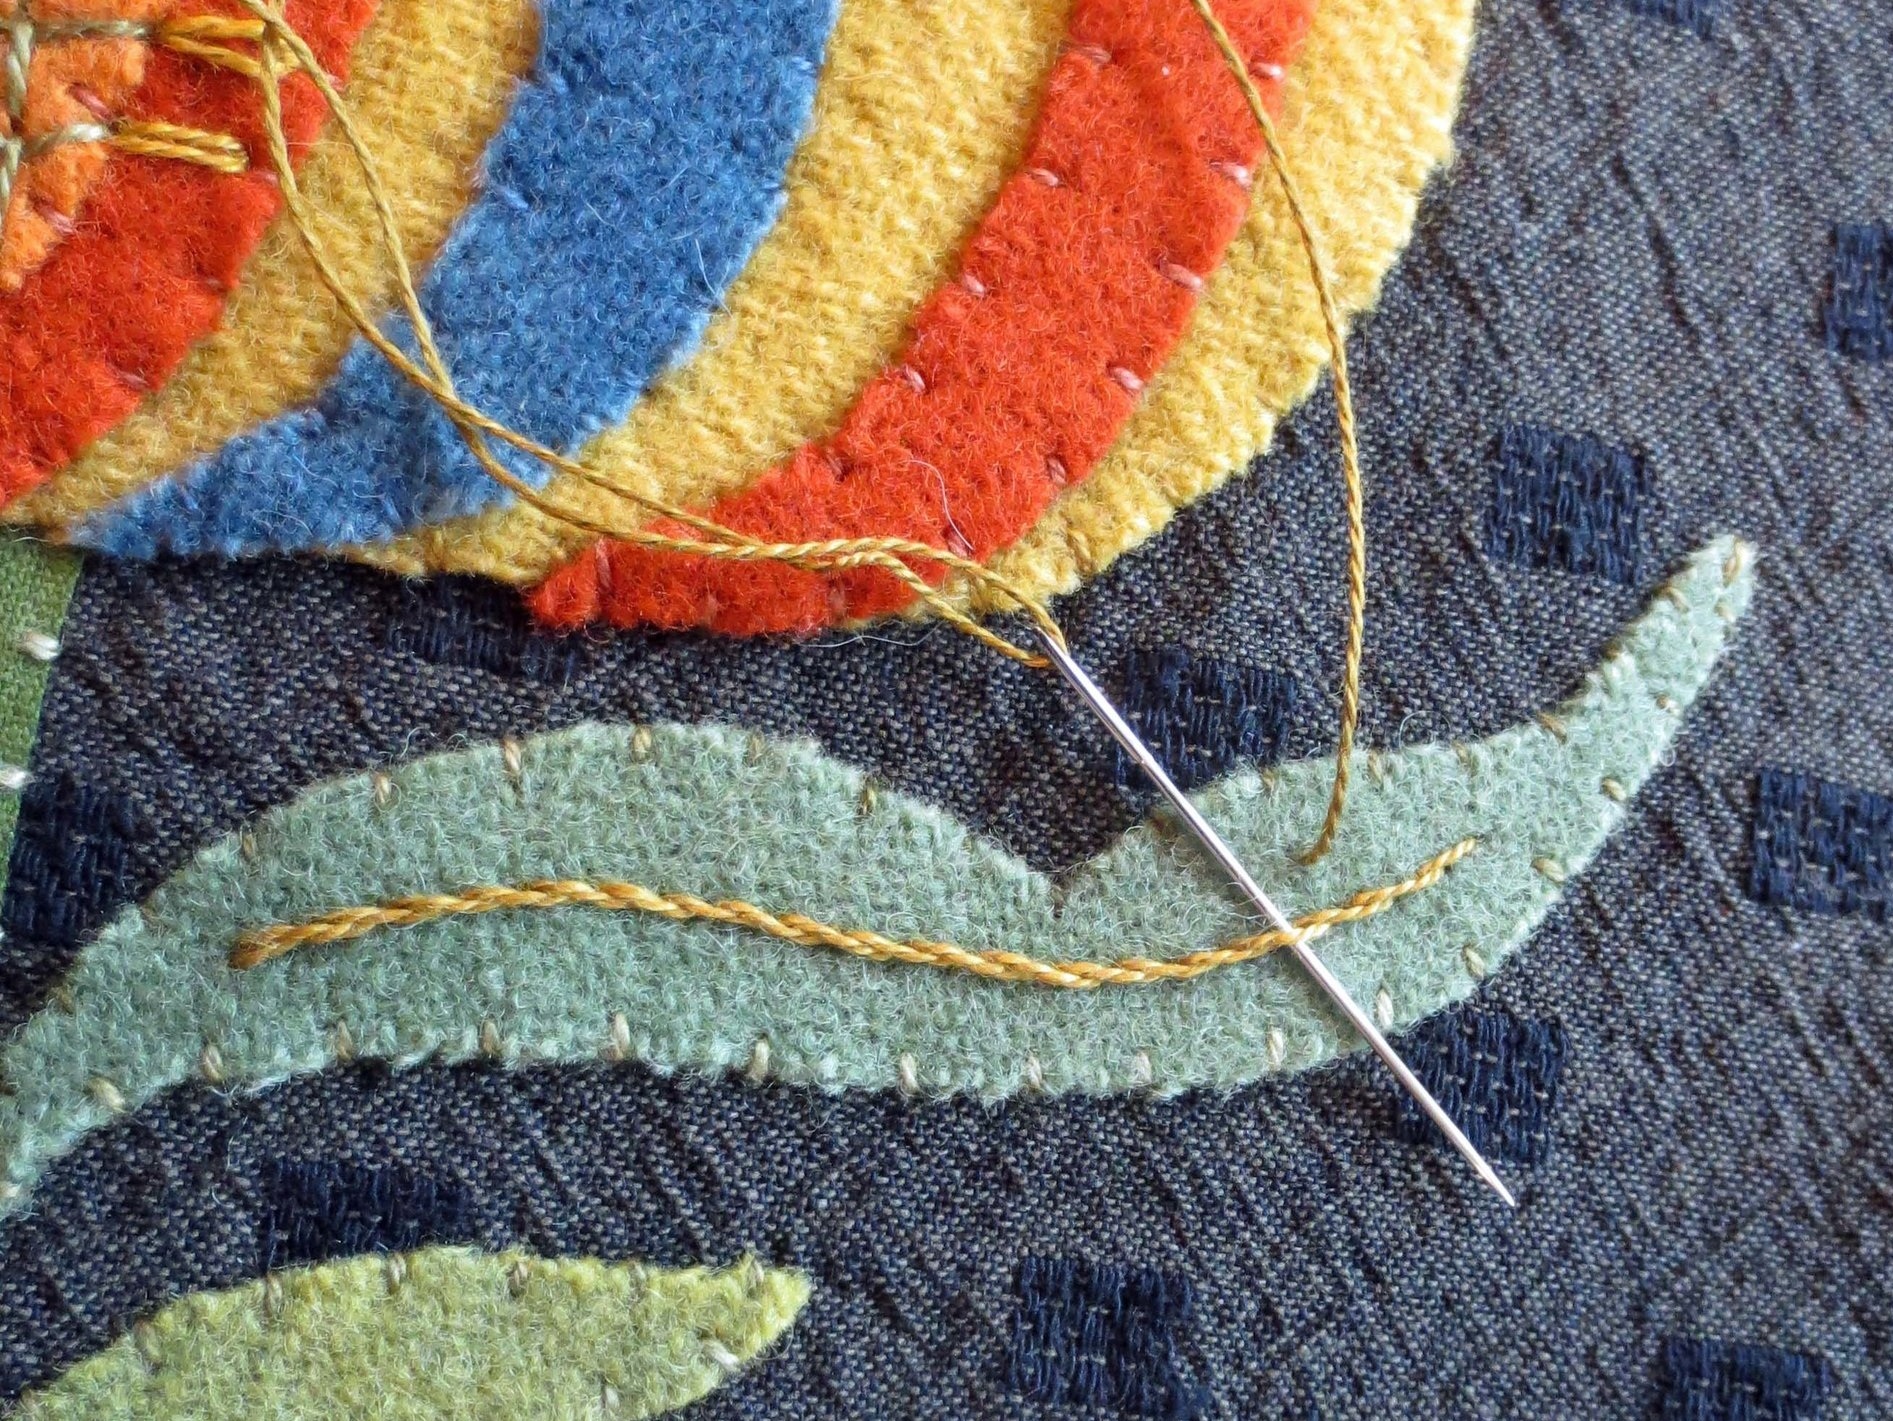
26. Stem stitch over the lines with #O518.
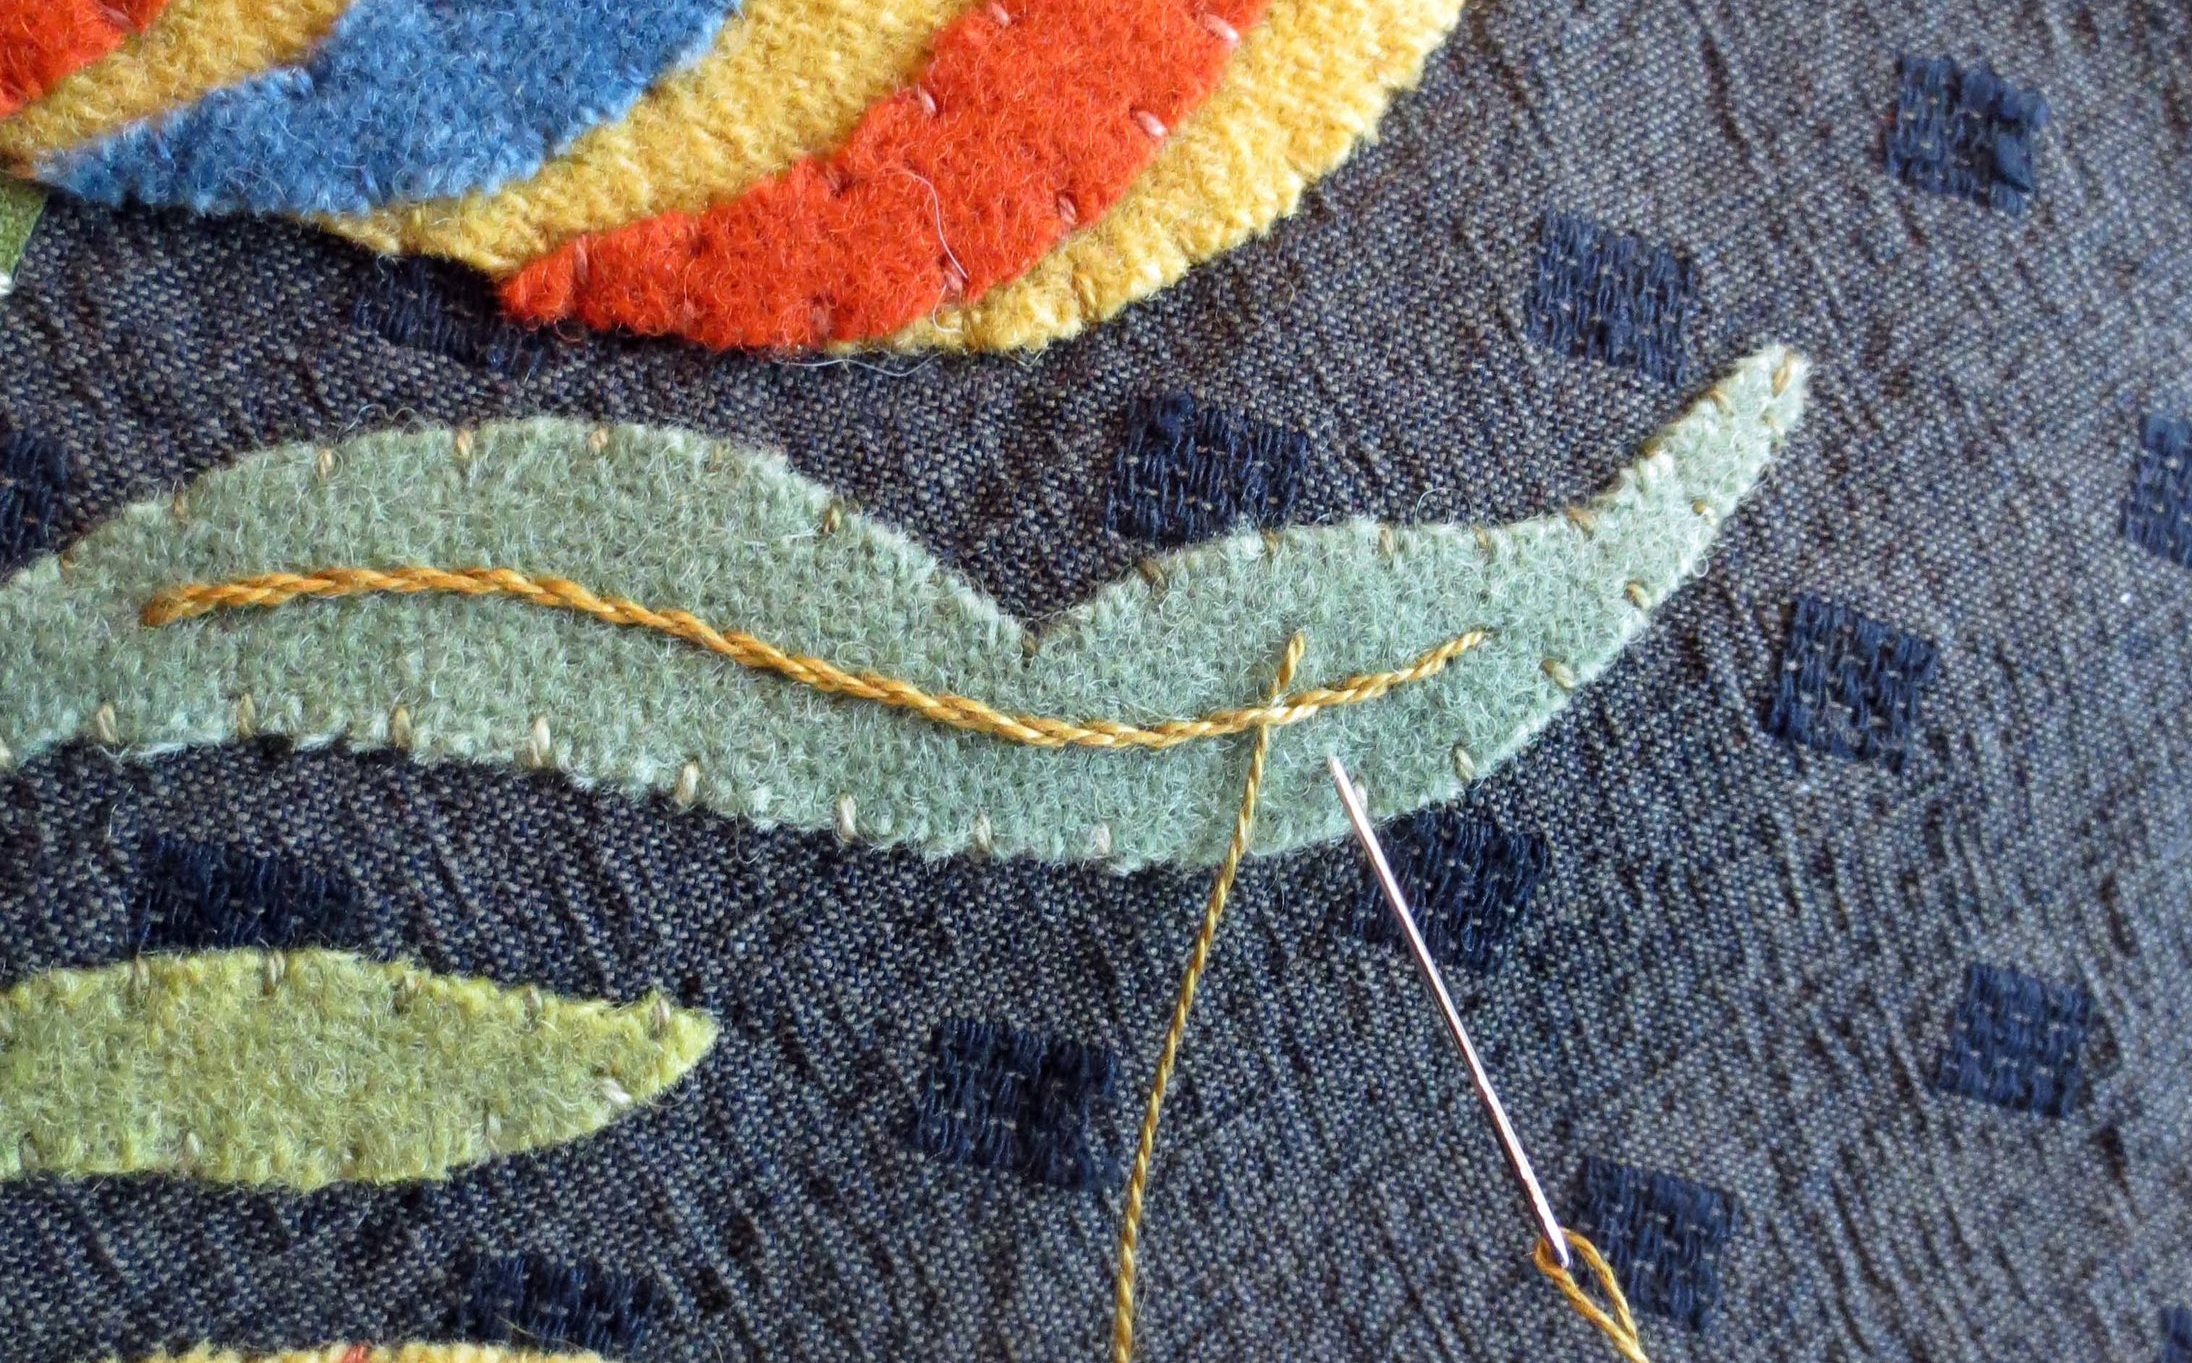
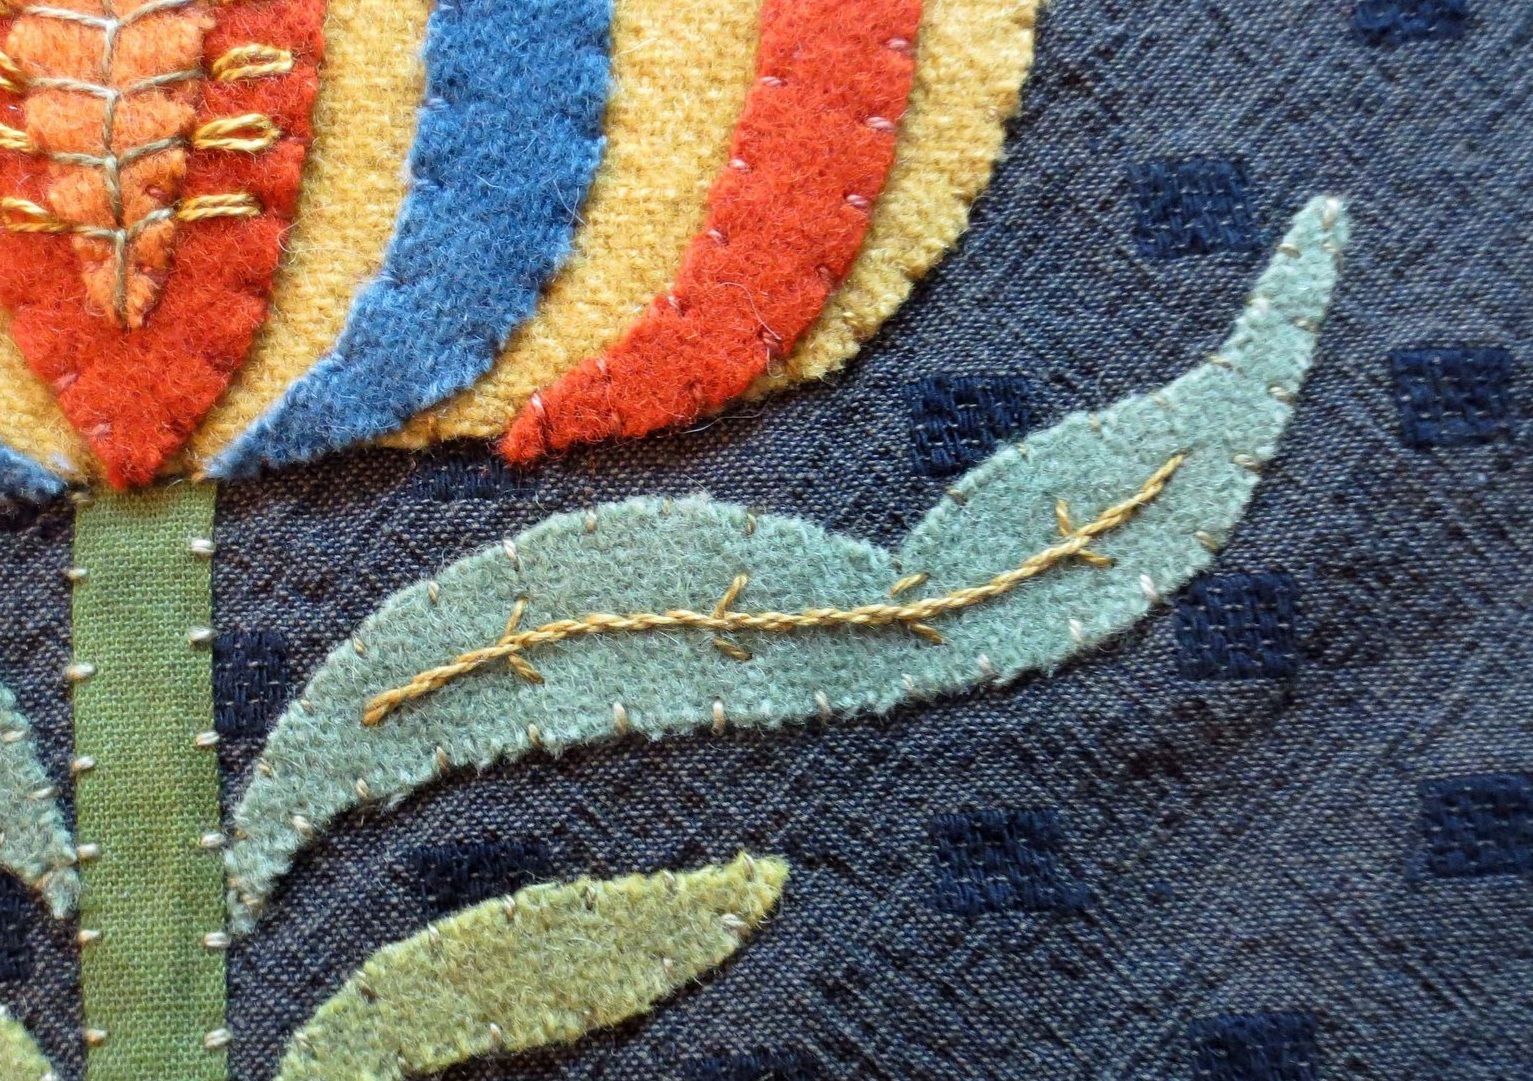
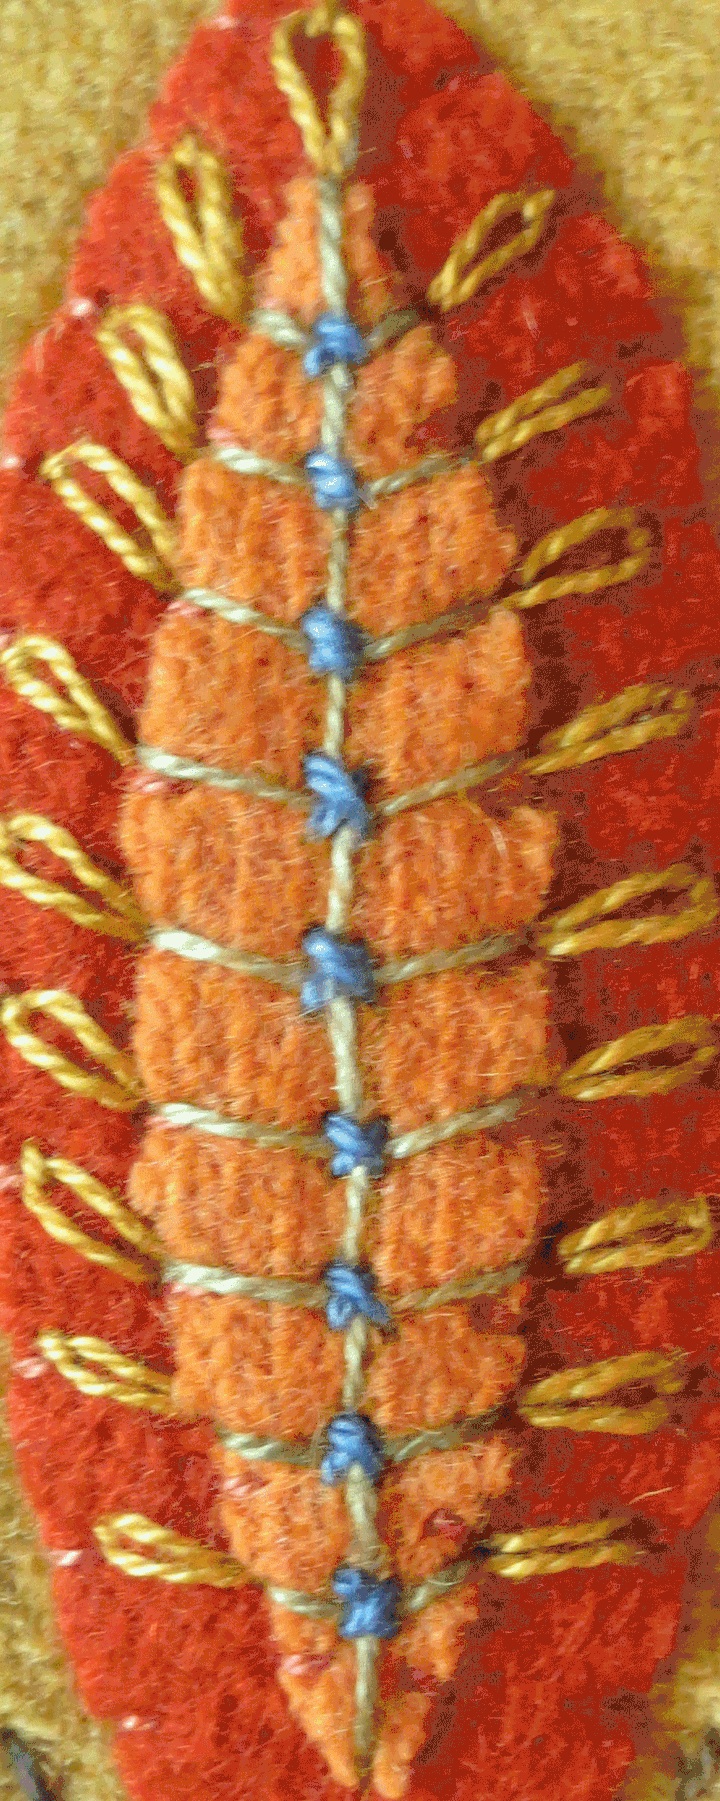
27. Make the side veins by bringing your thread to the front of your project 1/8 inch from the central vein, and then slide your needle under the central vein at a slight angle, pulling your thread through, and then inserting your needle 1/8 inch from the central vein on the opposite side creating a wide “V” shape.
Note: I made four side sets of side veins, but the layout shows only three. You can decide how many works for you.
28. Use #871 to make small cross stitches over each fly stitch branches on the small flower center.
29. Use #O518 to make a series of running stitches in the gold sections of the flower.
The applique is finished!
30. Pillow construction
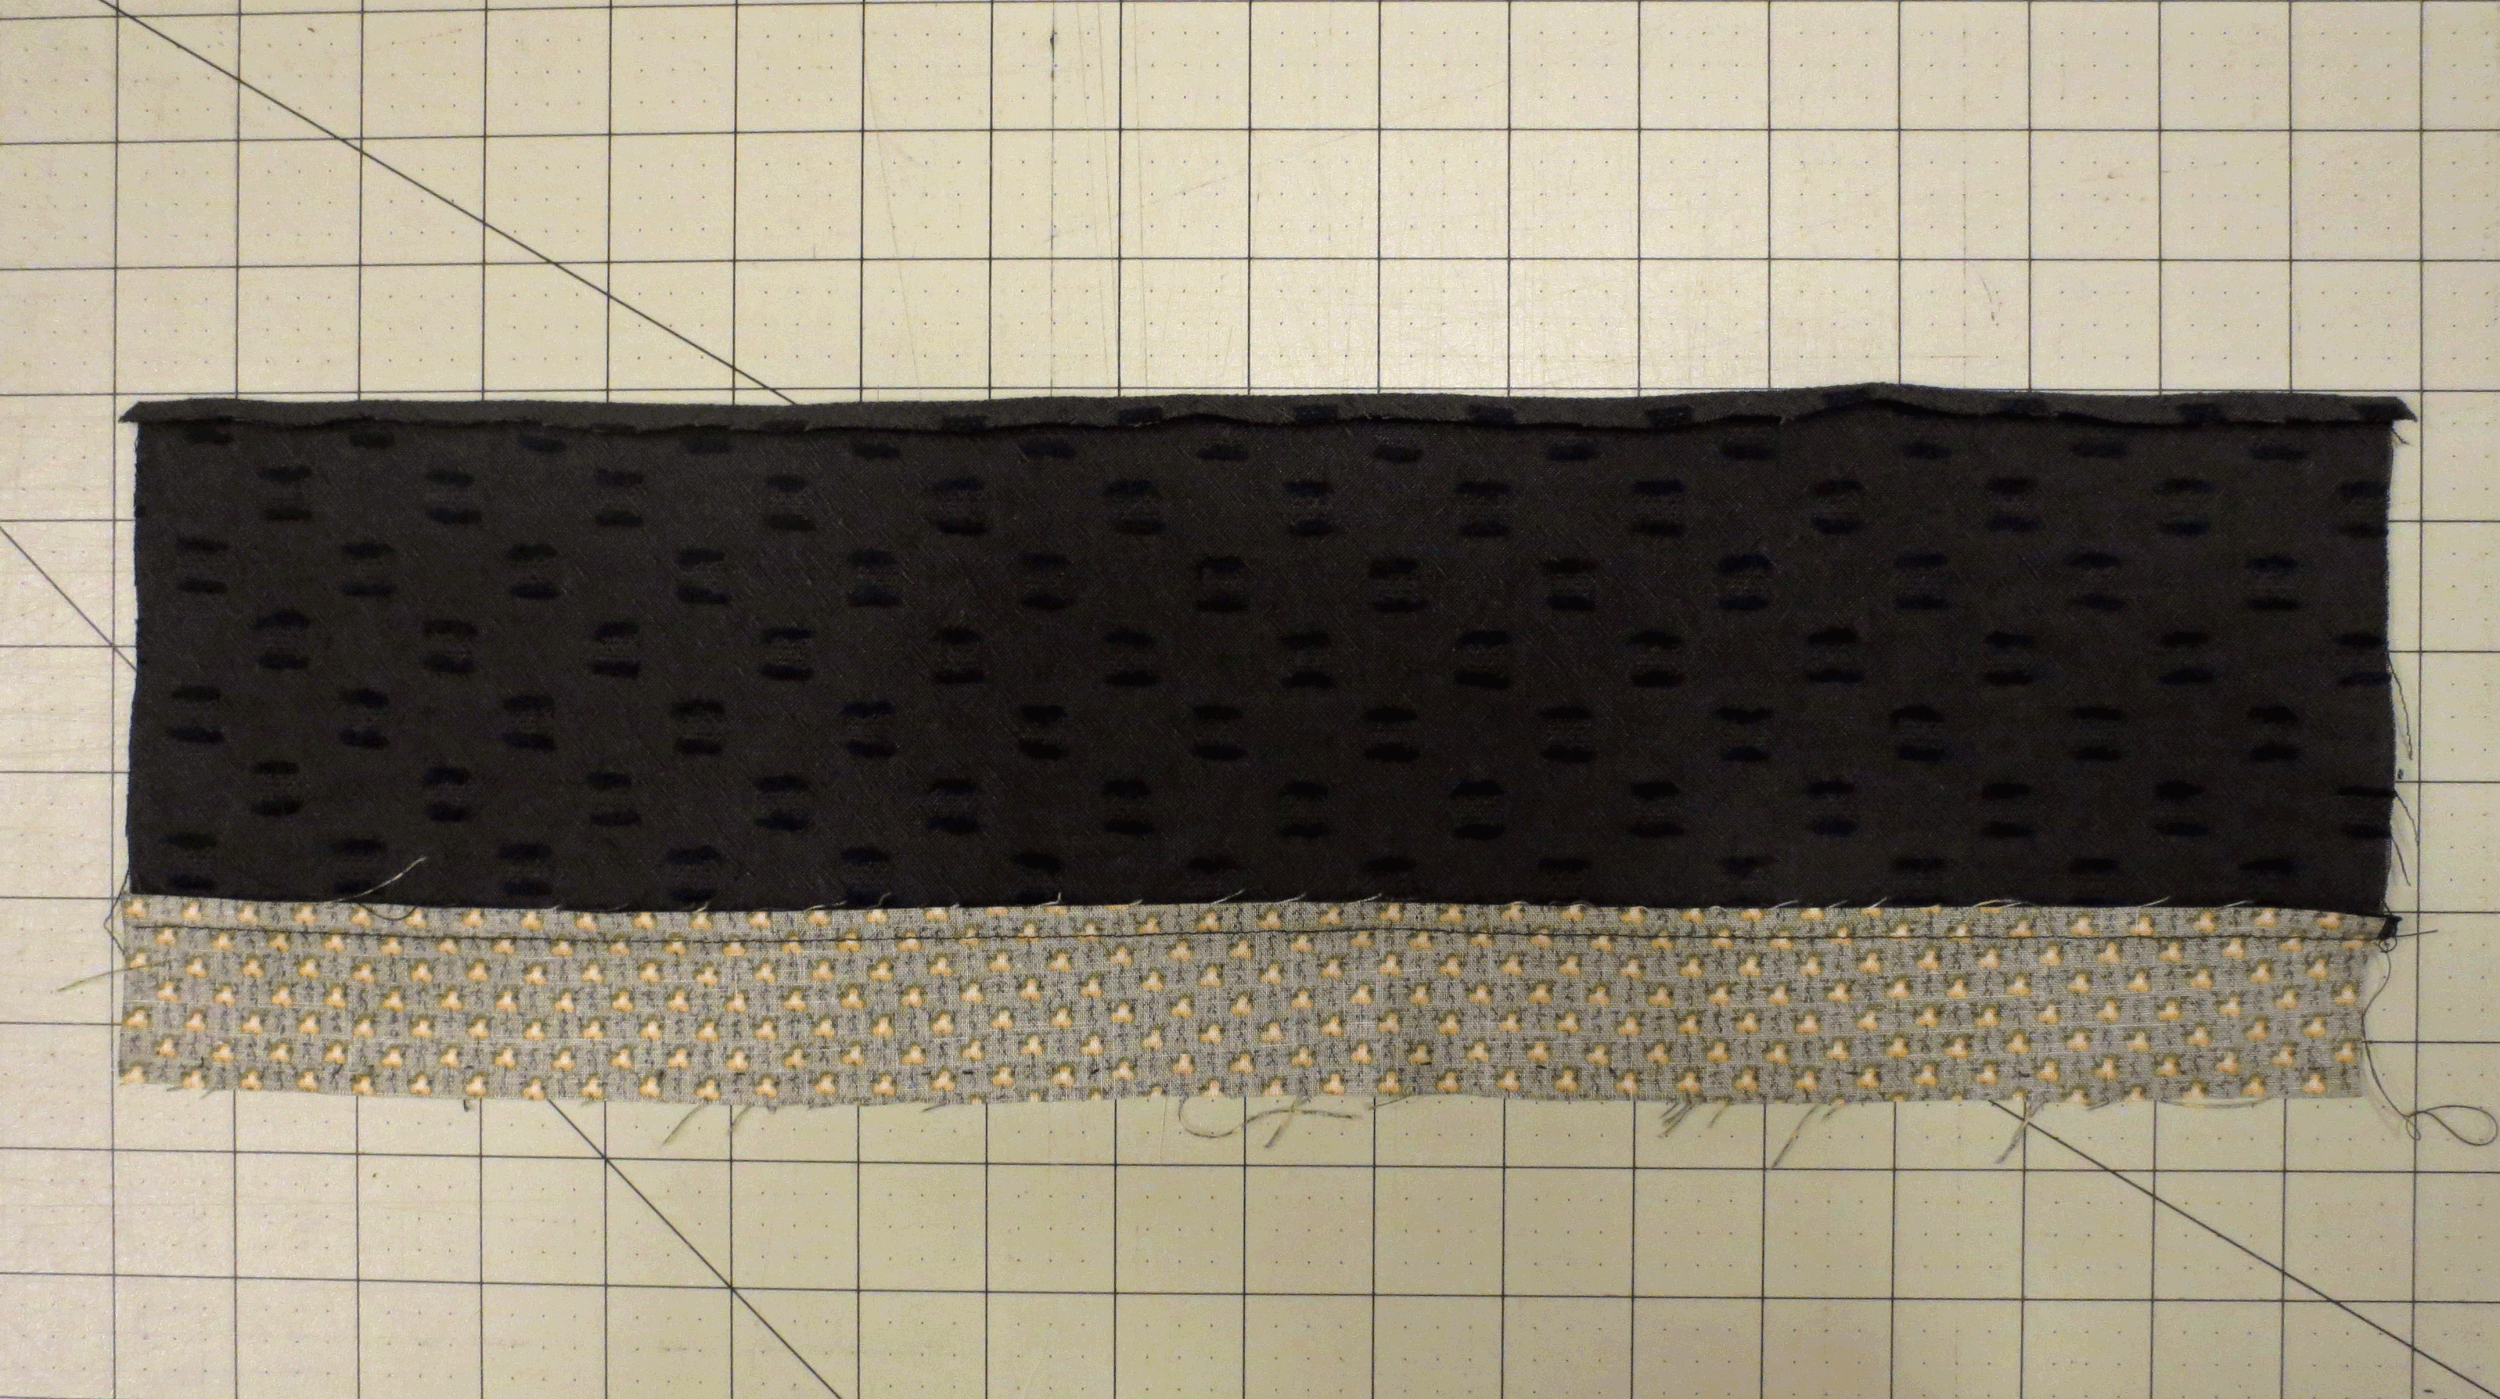
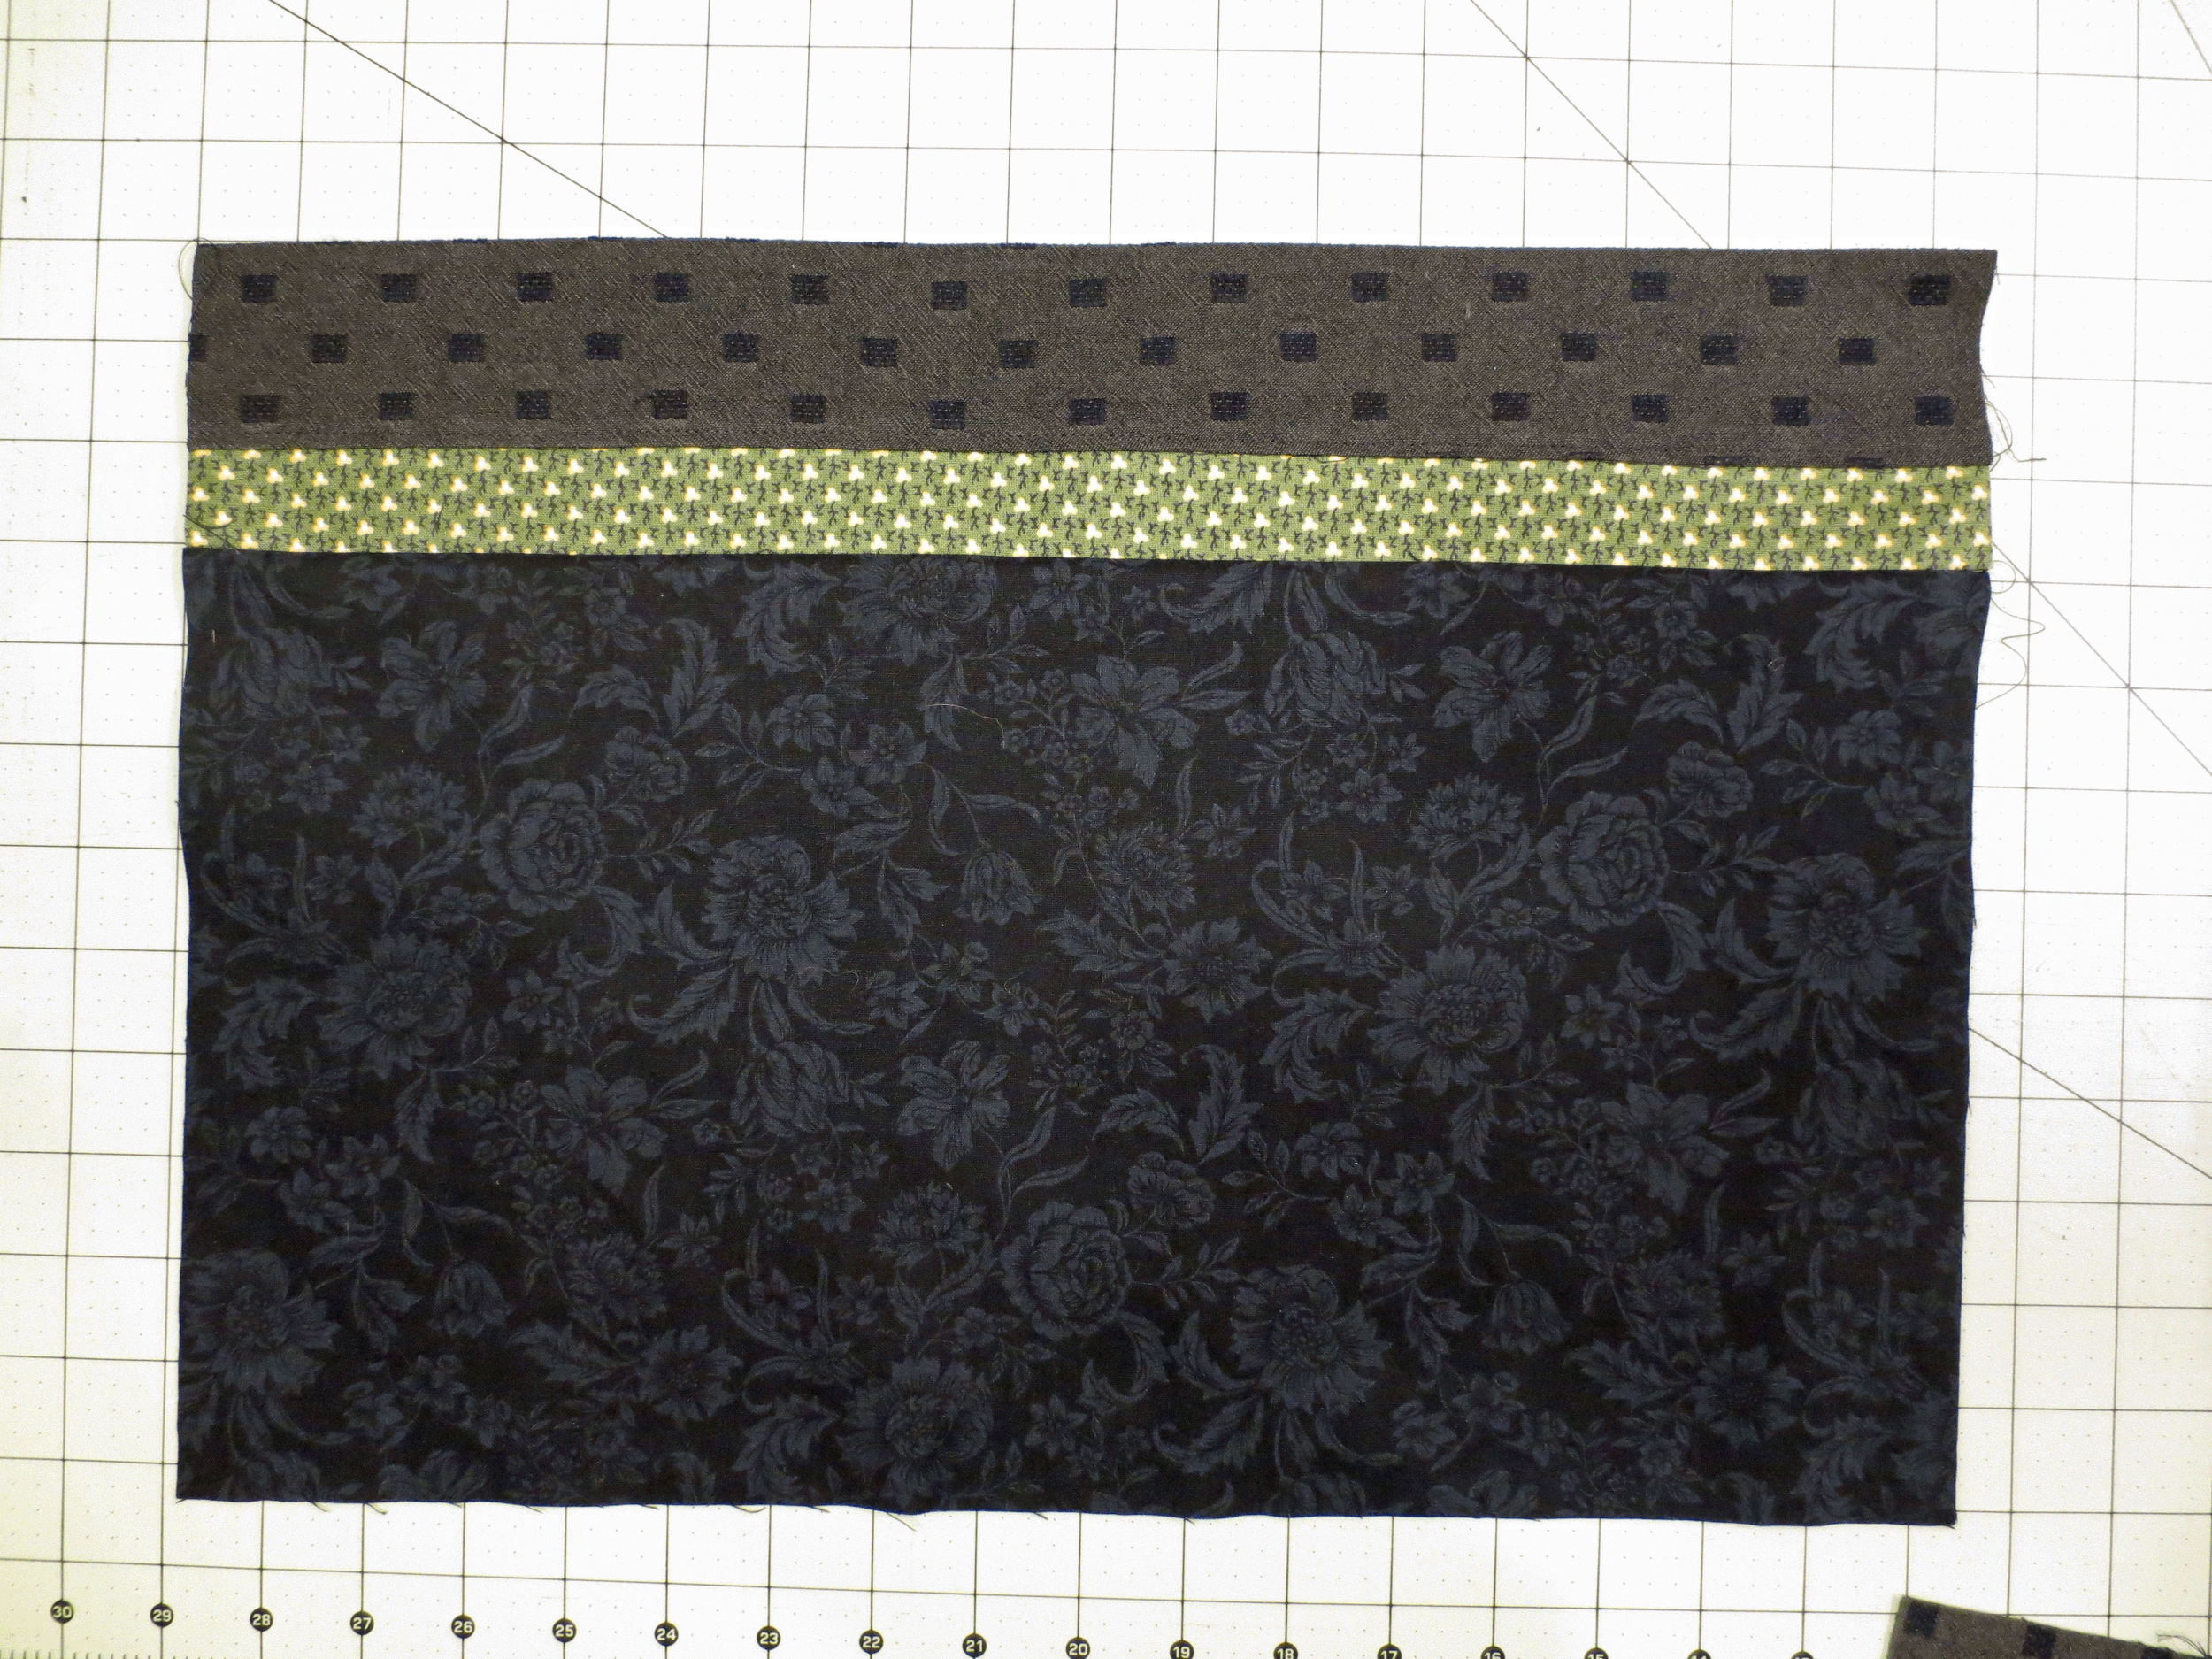
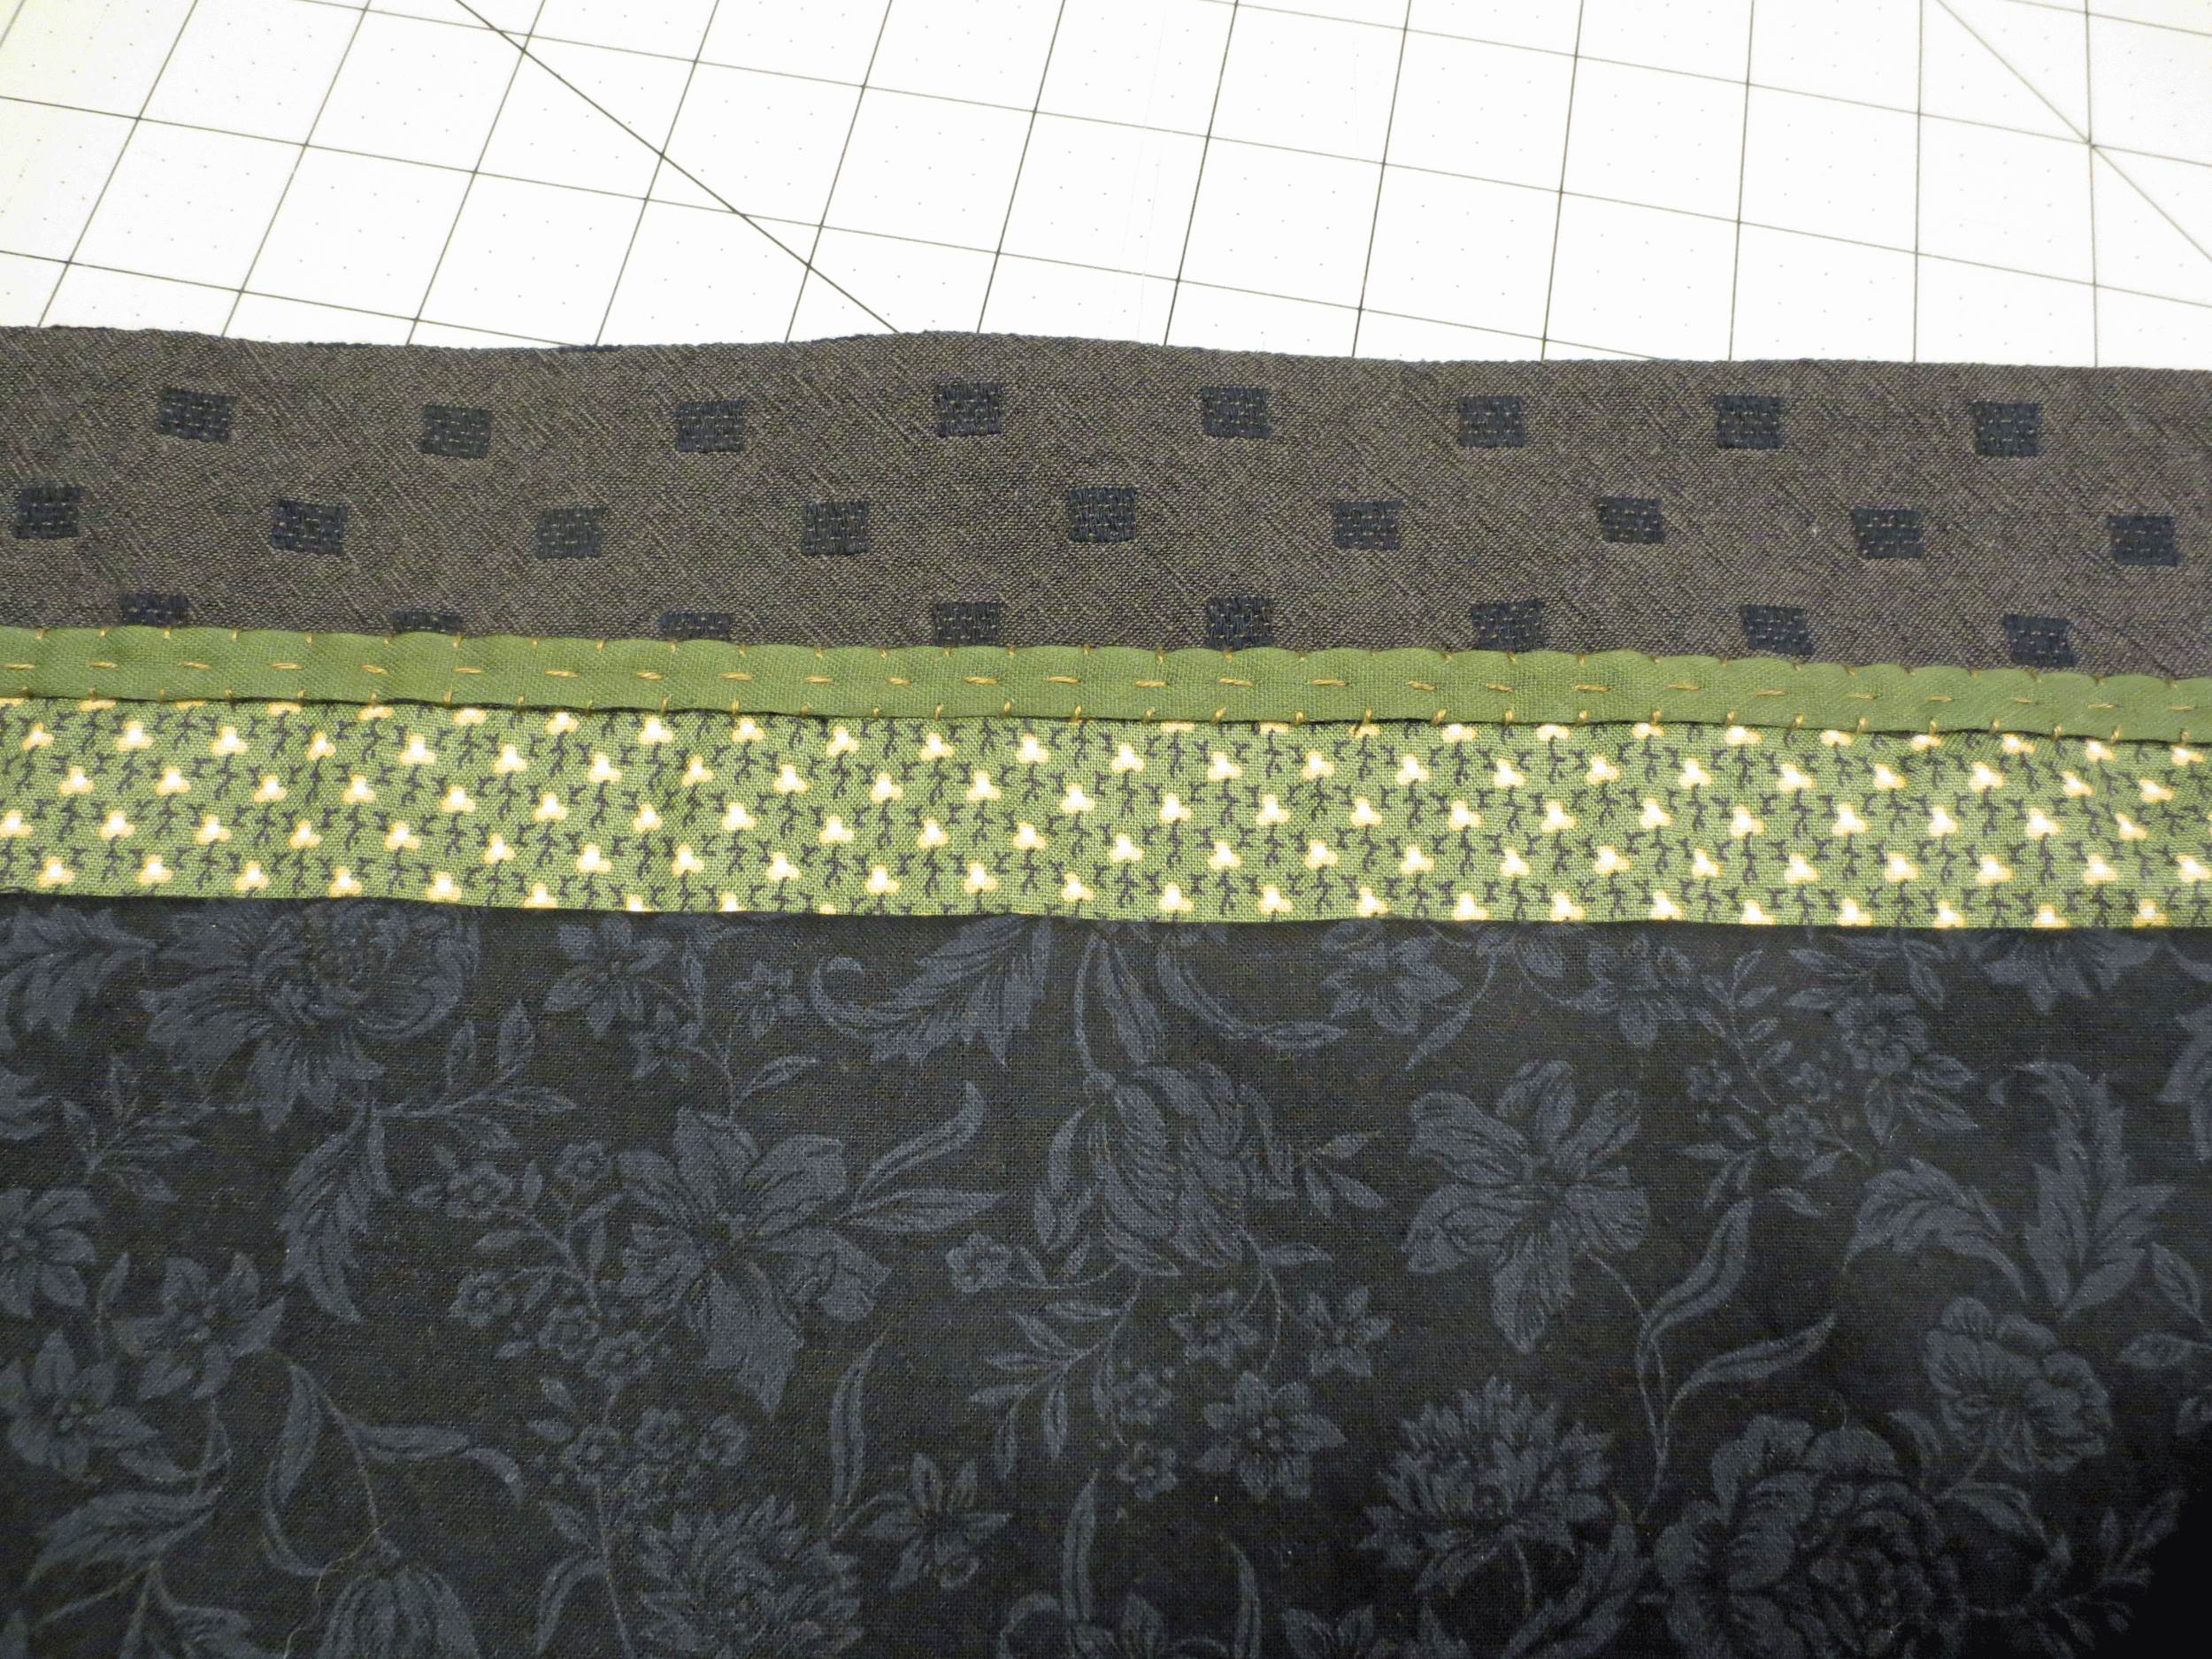
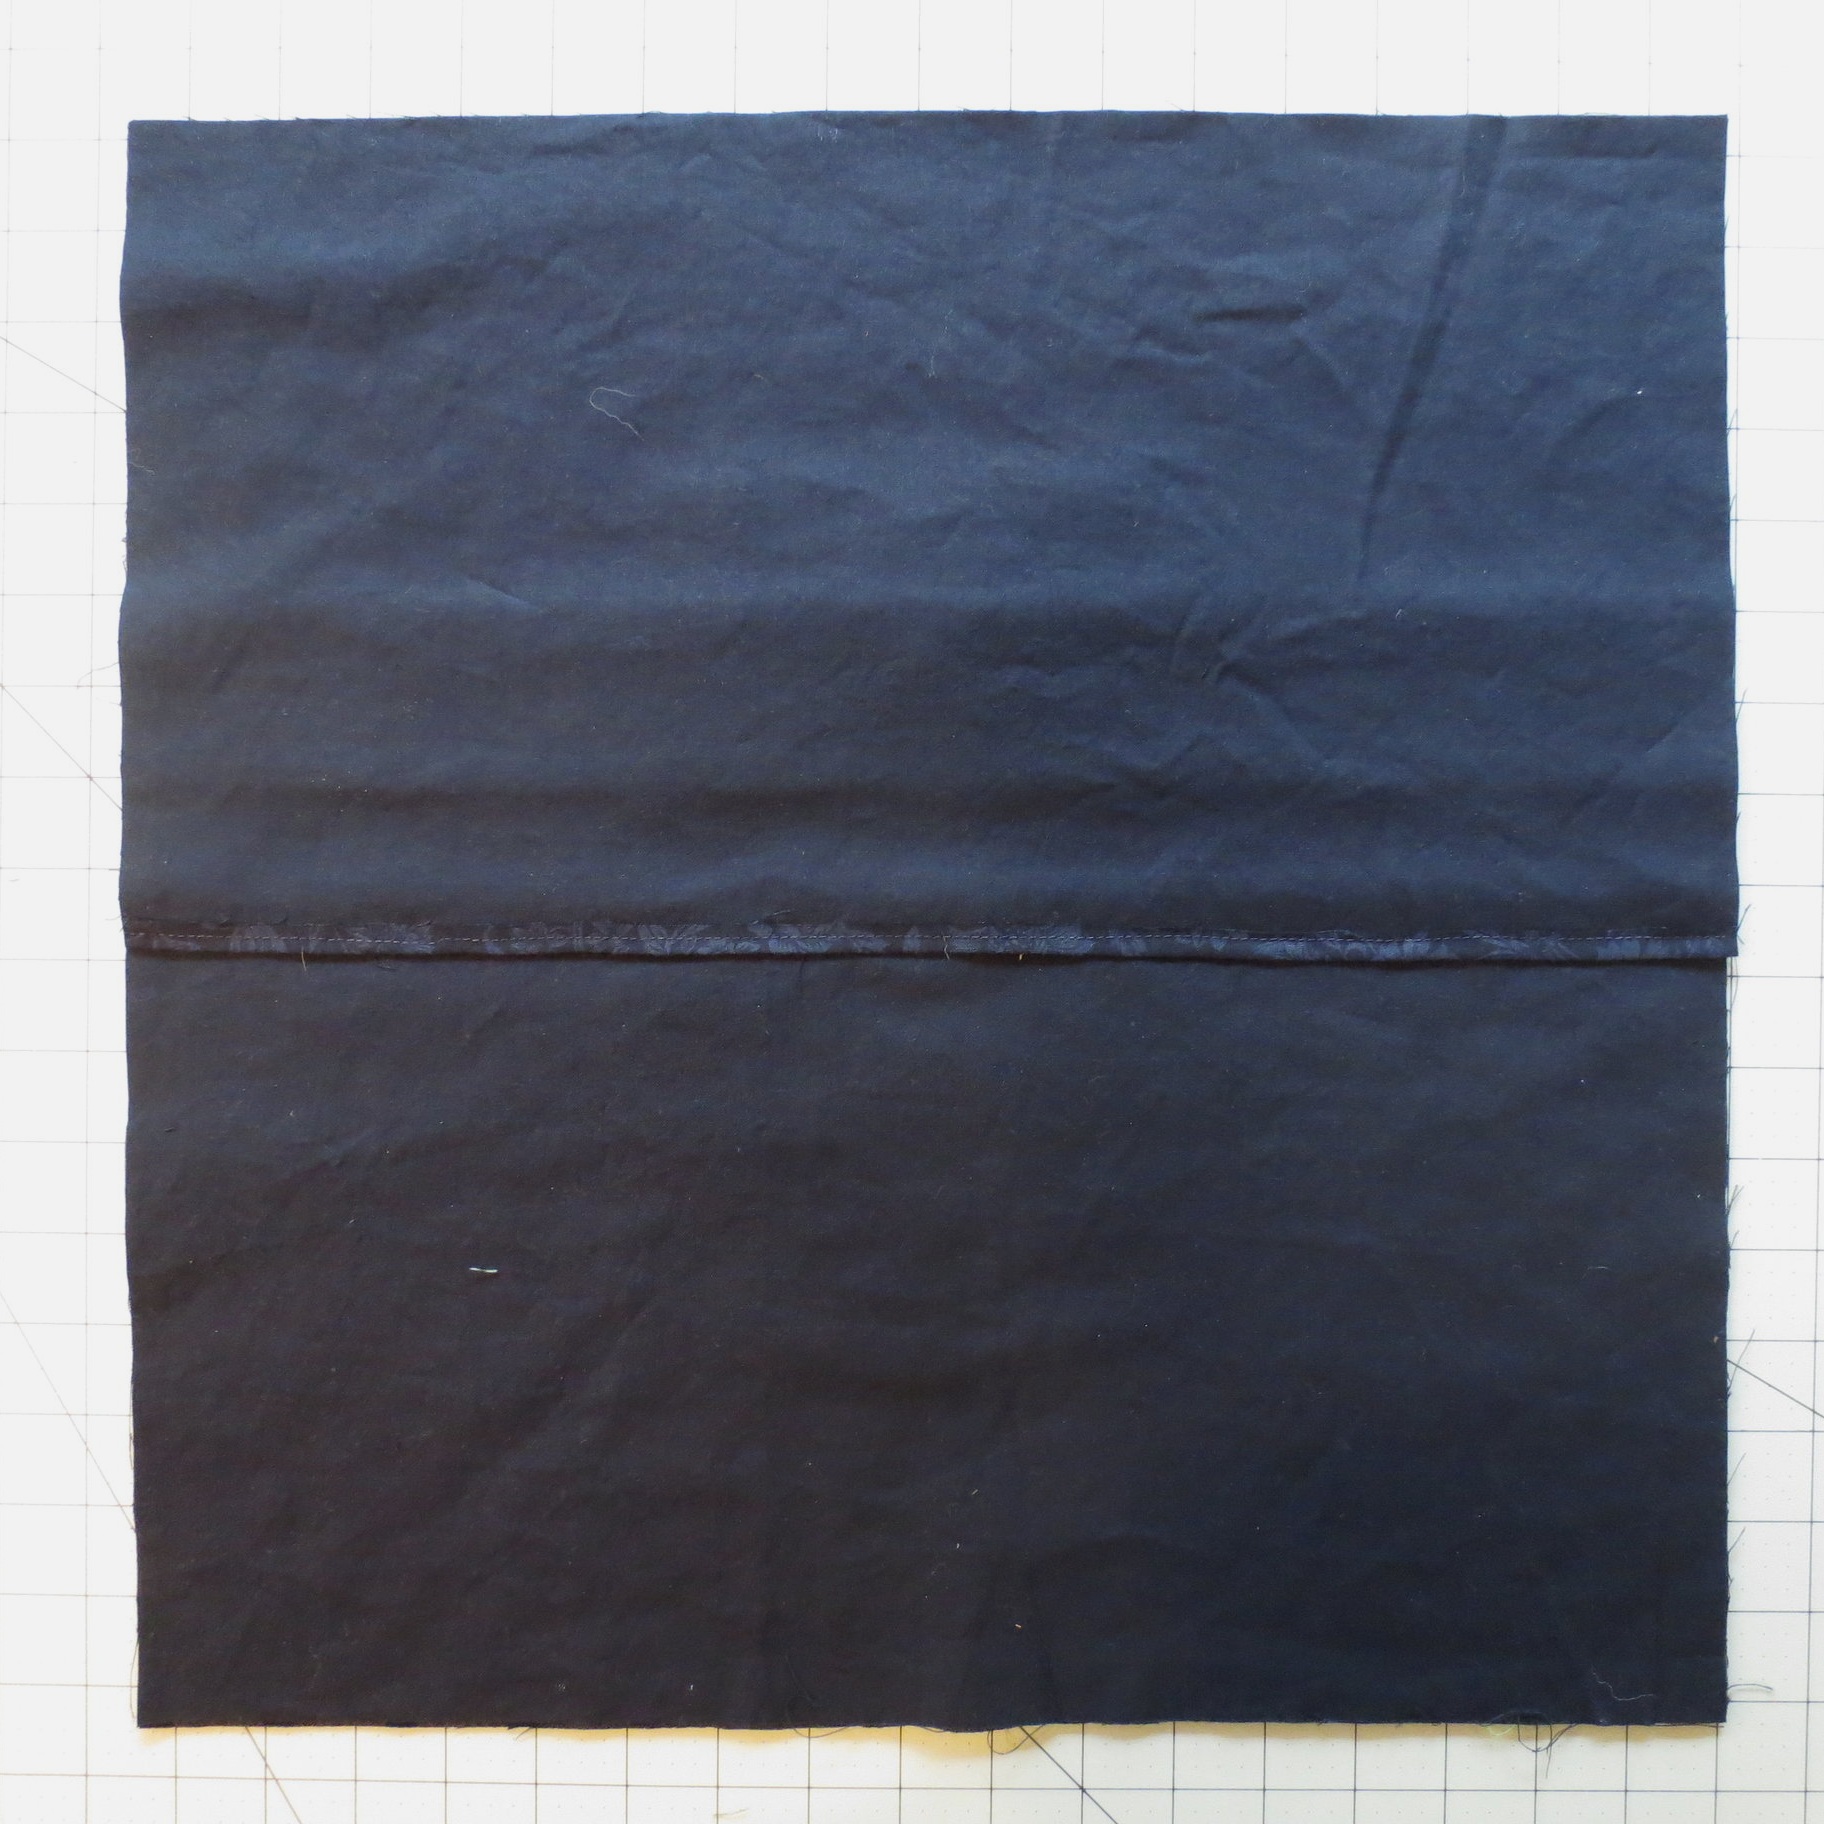
Sew Fabric A to Fabric B lengthwise using a 1/4 inch seam.
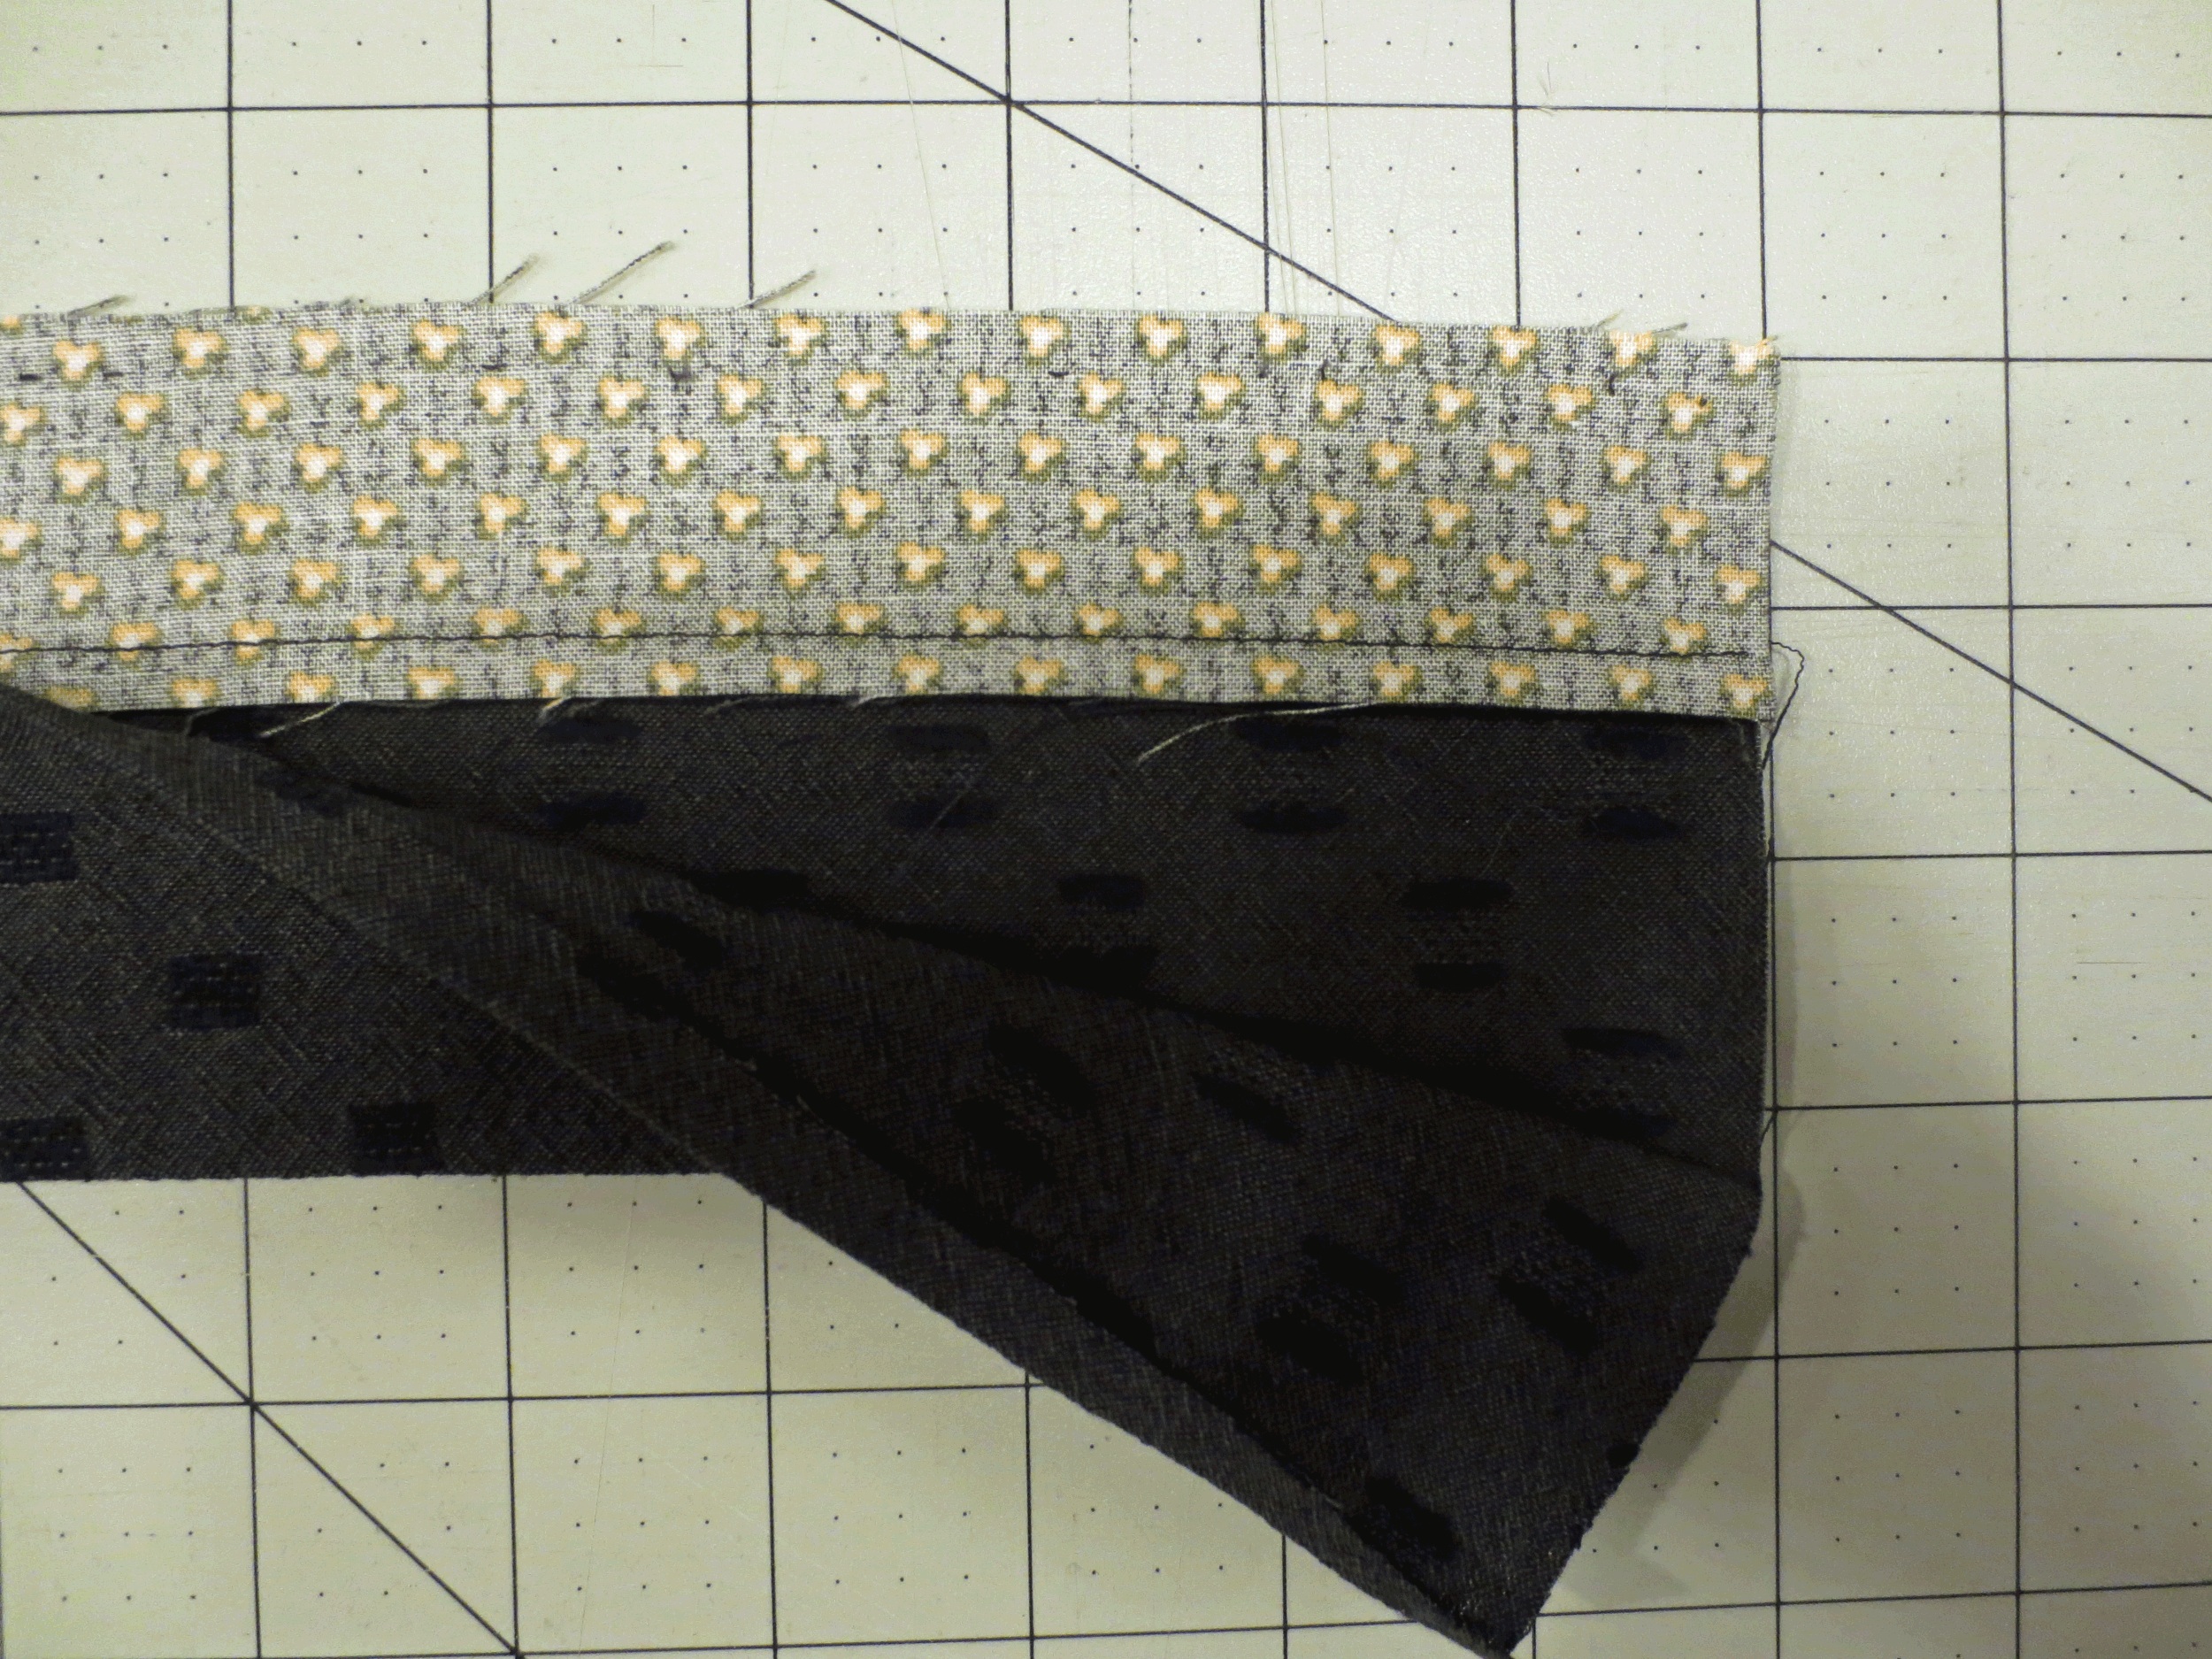
Turn under ( toward wrong side) and press the long end of Fabric B 1/4 inch.
Fold again, in half, lengthwise so that the 1/4 inch folded end aligns with the sewn line between Fabric A and Fabric B. Press, pin, and then whip stitch to secure.
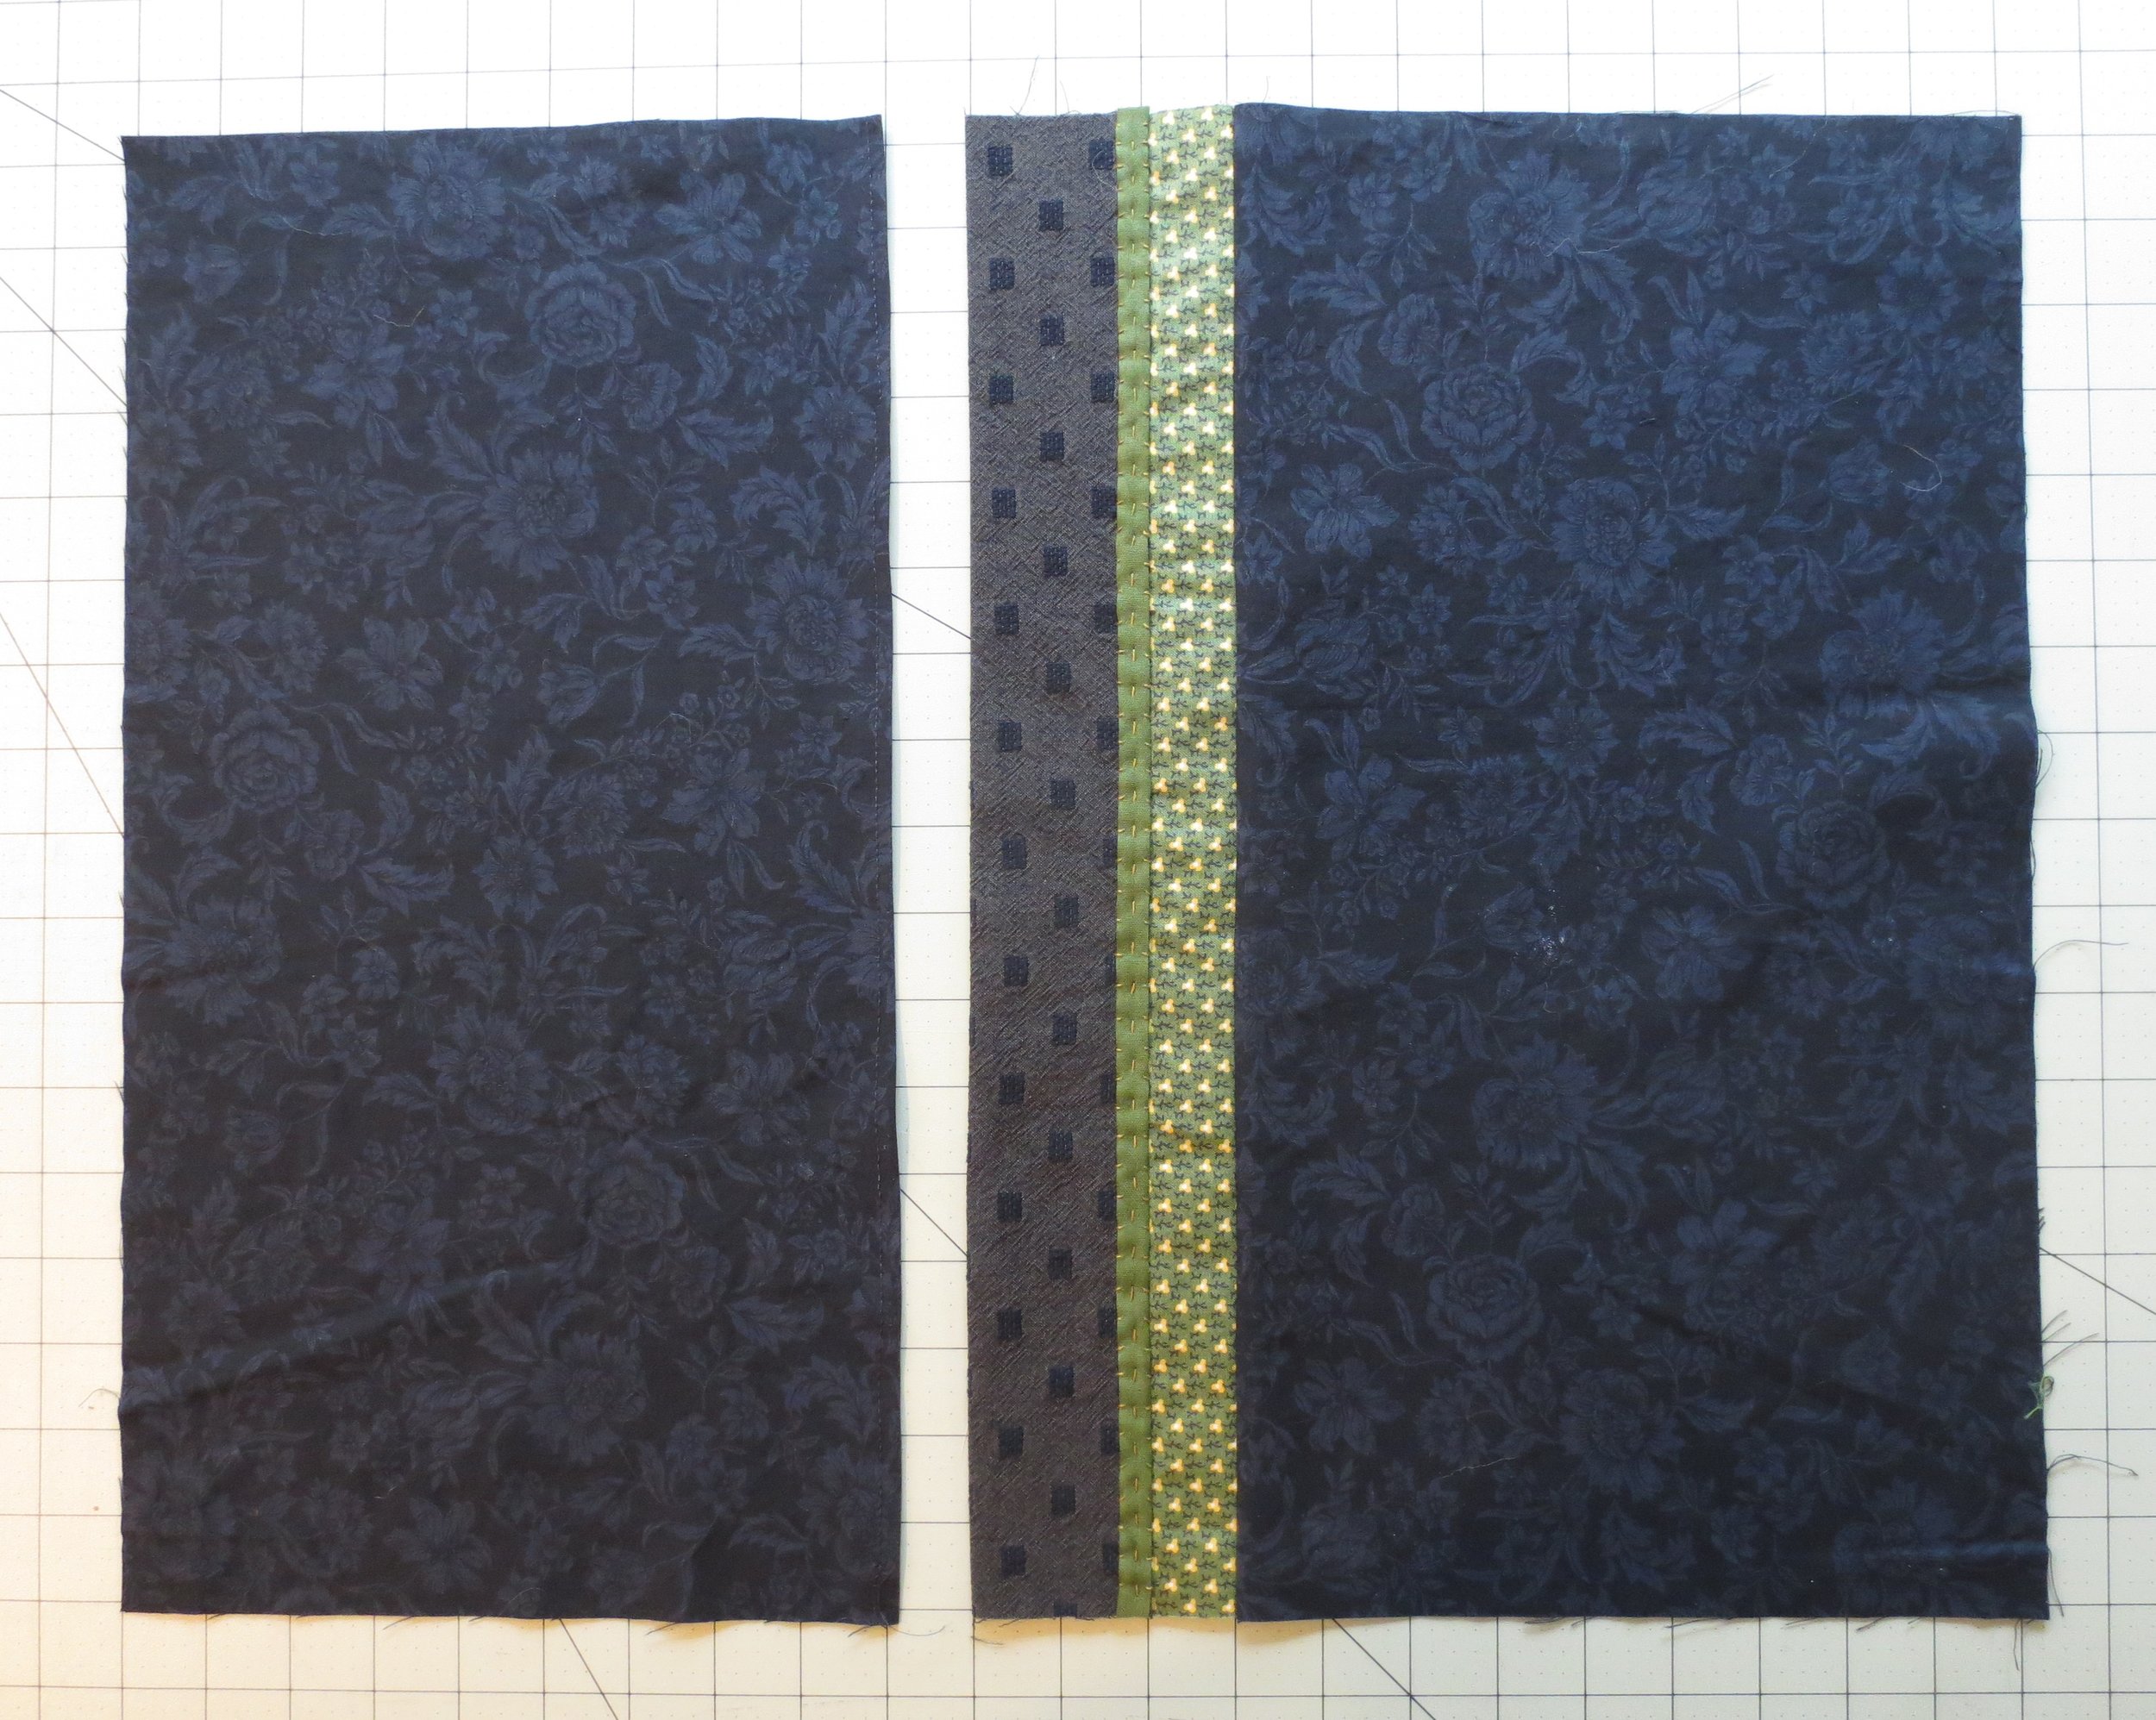
Sew Fabric B to one of the Fabric C pieces using a 1/4 inch seam.
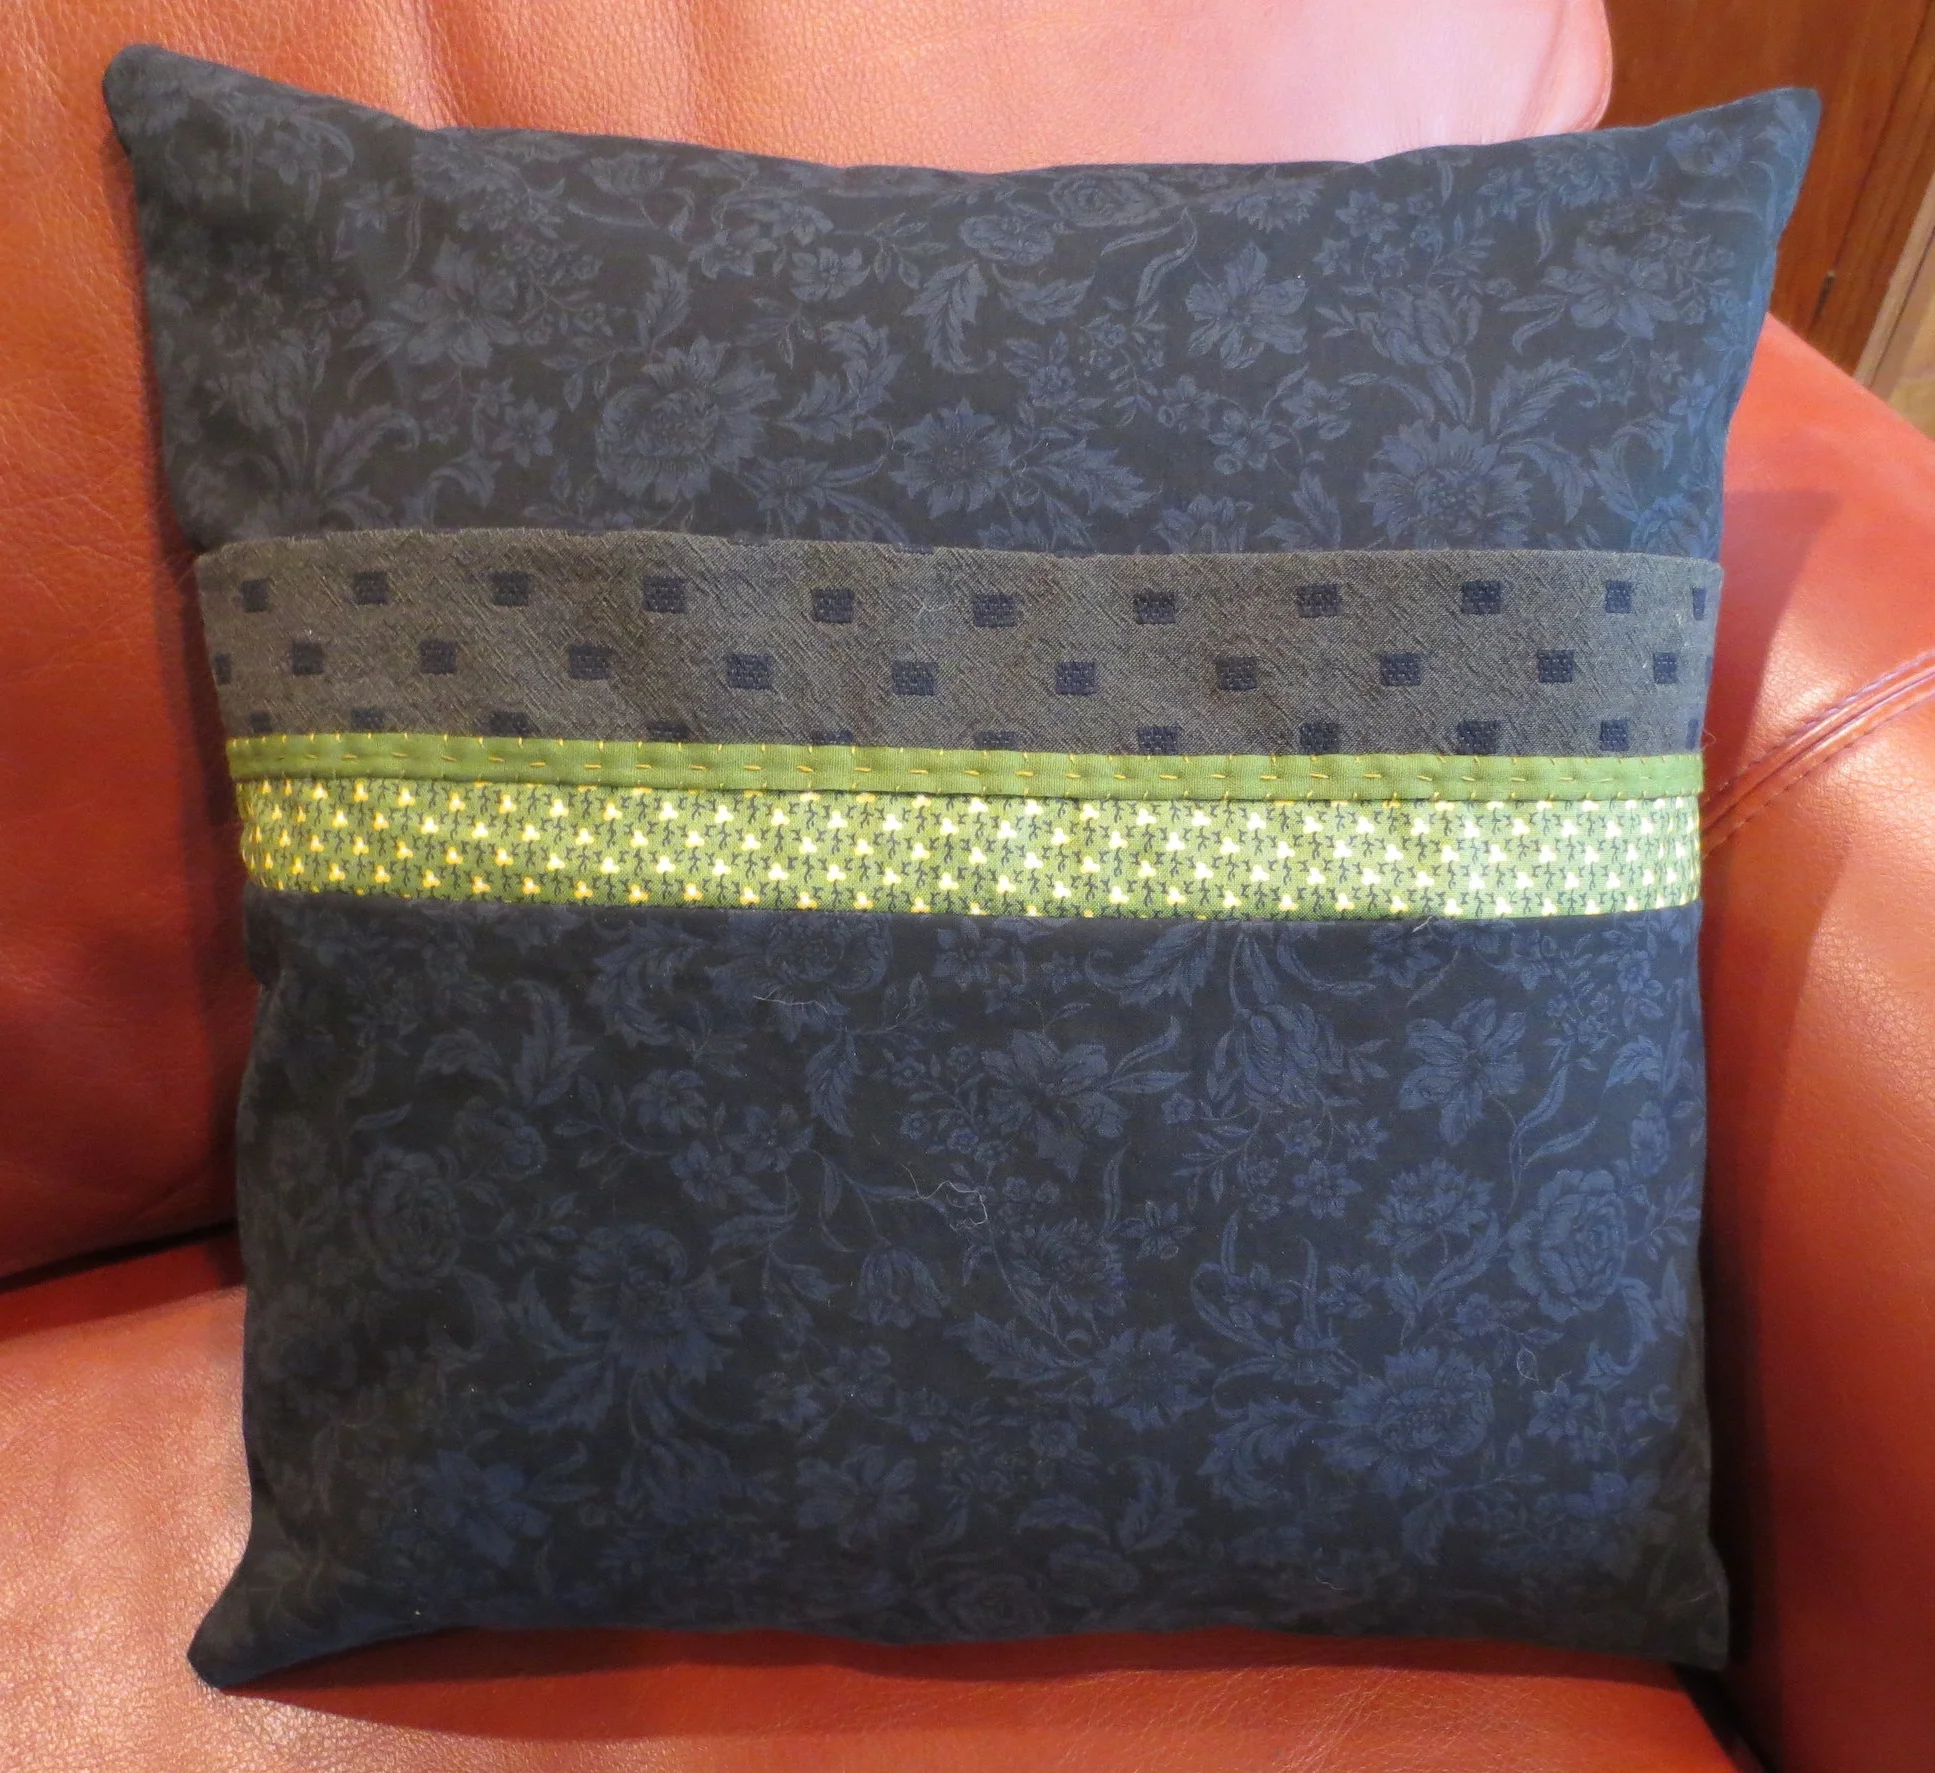
Lay the remaining 18 inch piece of ribbon on top of the top seam line between Fabric A and Fabric B. Pin in place.
Use #152 to whip stitch both sides of the ribbon.
Use the same thread to make a running stitch down the center of the ribbon.
This will be one side of the the envelope pillow back.
Let’s make the opposite side of the Pillow envelope back.
Turn under and press one long end of the remaining Fabric C 3/8 inch.
Top stitch 1/4 inch from folded edge.
These two pieces will make up the envelope back of your pillow.
31. Pillow assembly
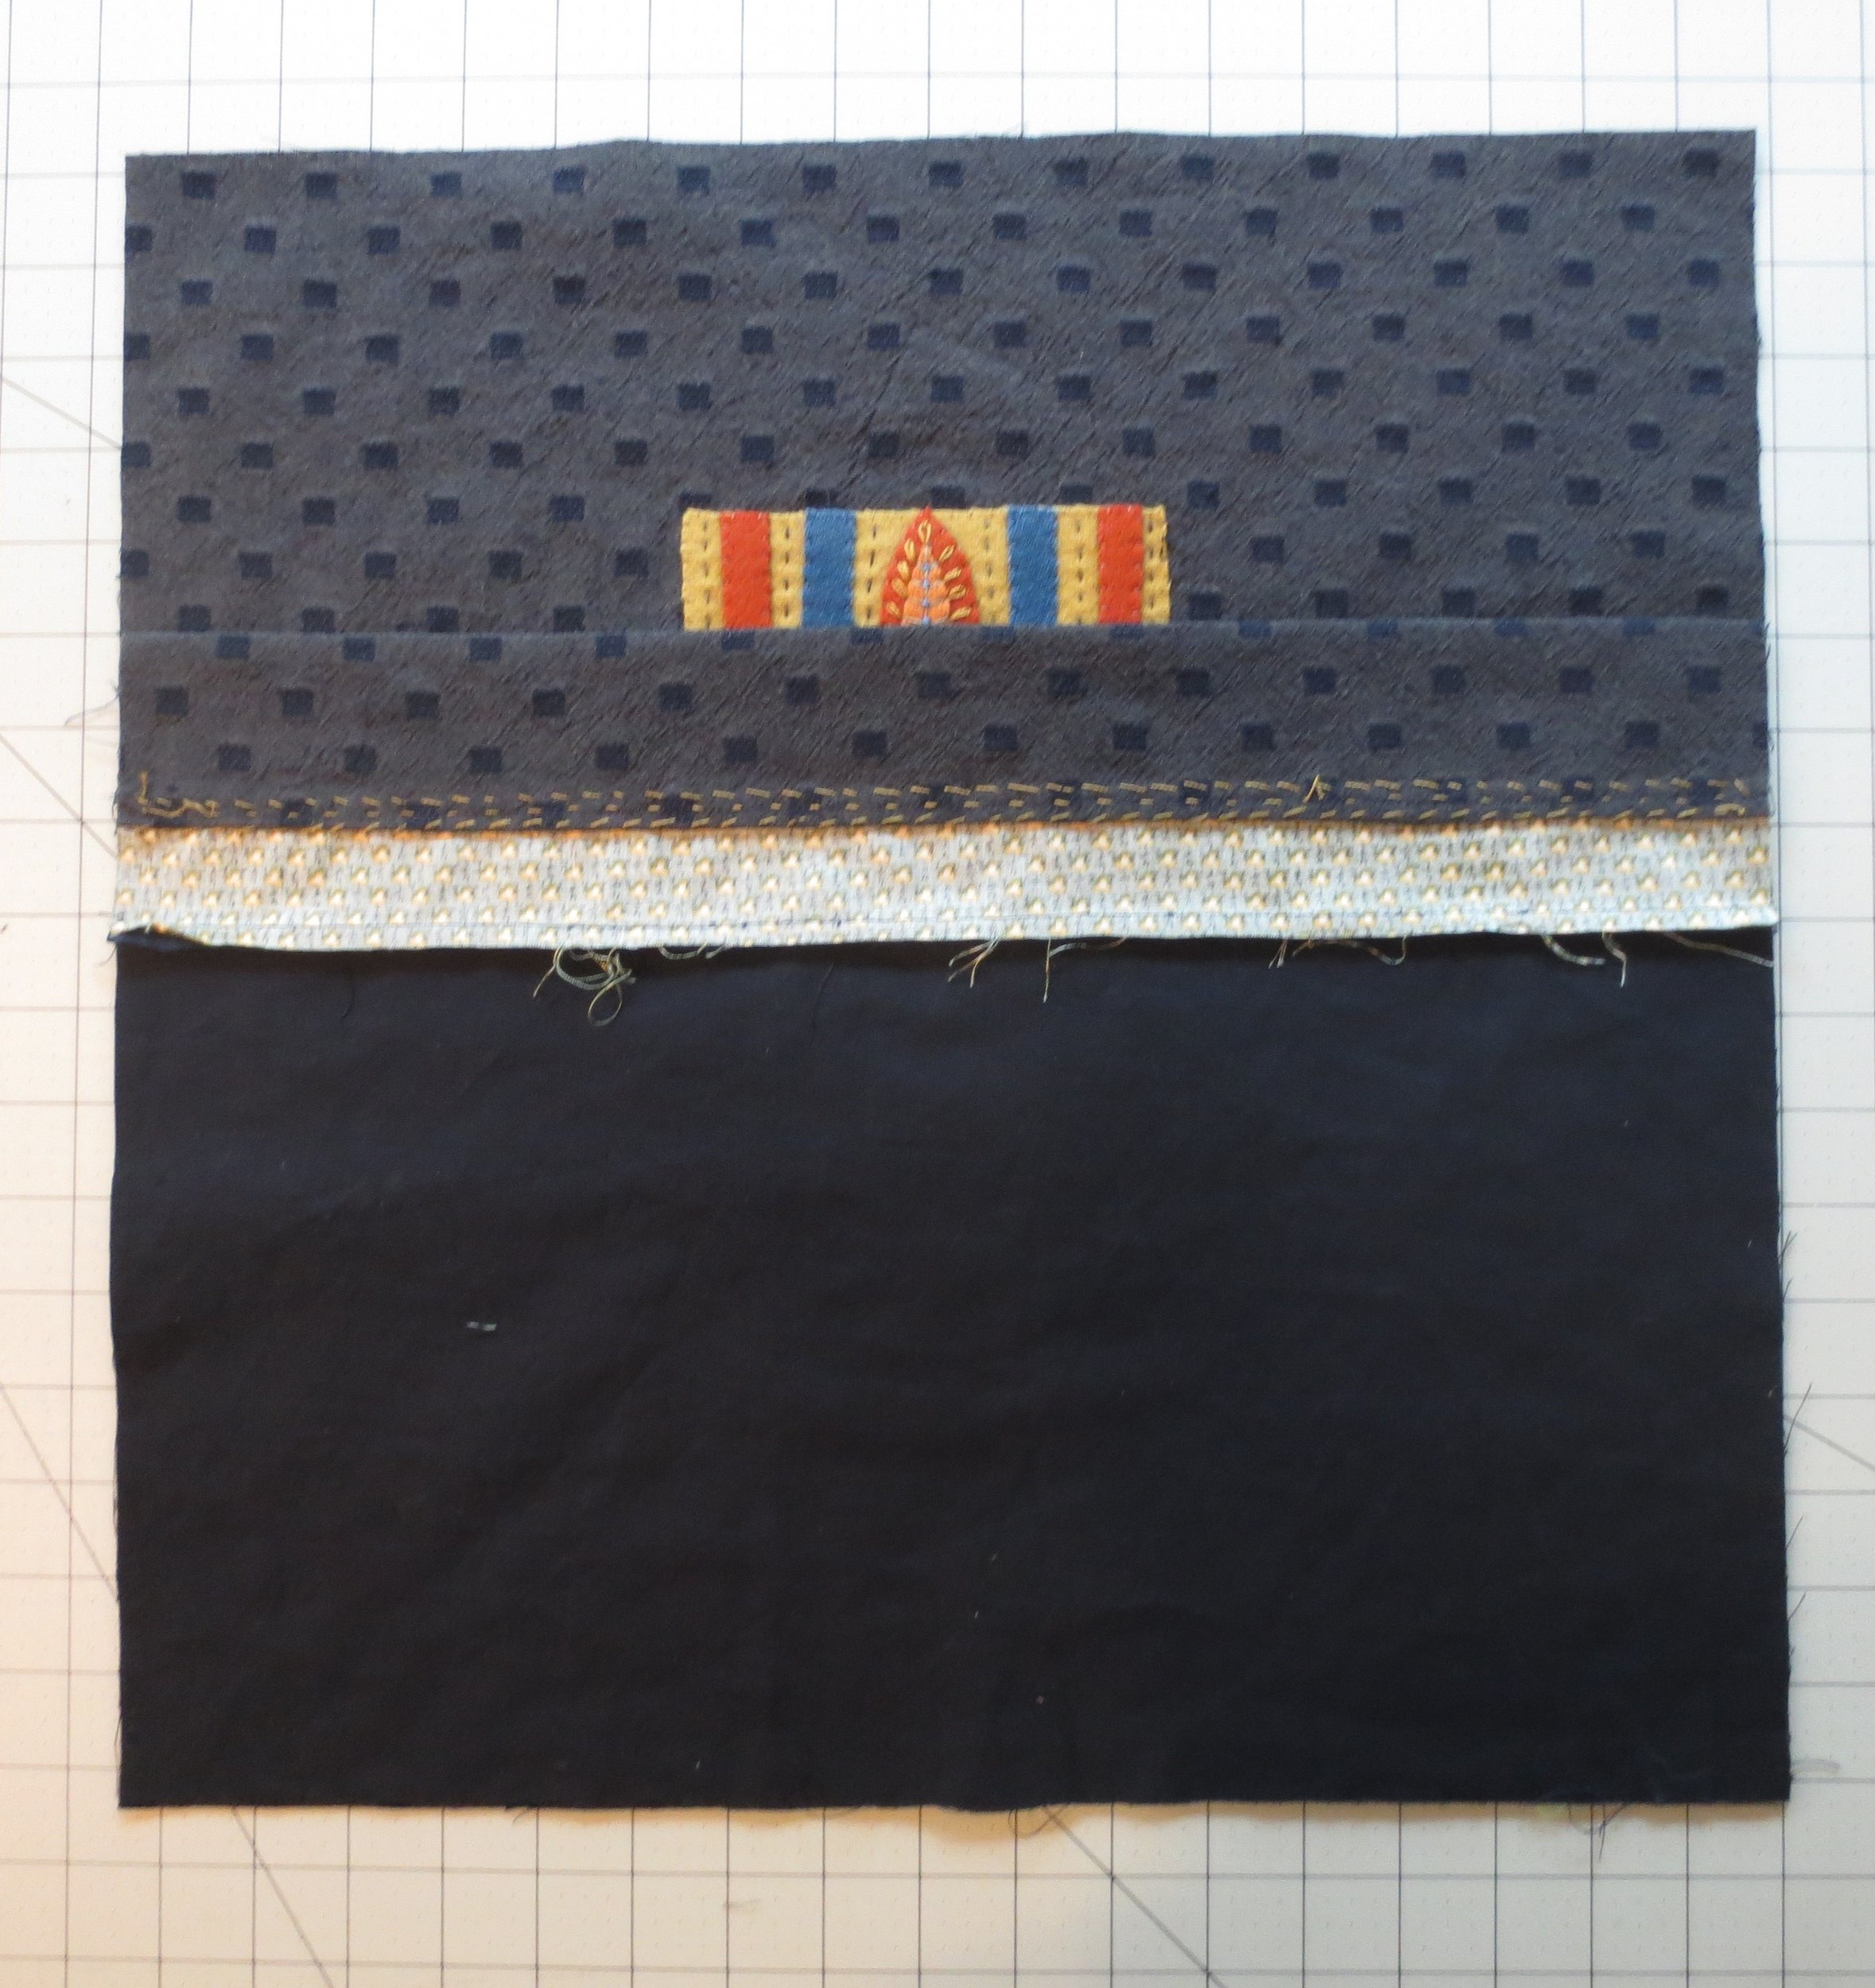
Lay your appliqued front right side up.
Place your pieced envelope back, right side down, on top of of your appliqued front, aligning the selvage edge of the envelope back with the bottom edge of the appliqued front.
Place the remaining back piece, right side down, on top of the appliqued front, aligning the selvage edge with the top edge of the appliqued front.
Pin outside edges, as well as envelope edge.
Sew 1/2 inch seam around outside edge.
Sew a zig zag stitch around the selvage edge to prevent fraying.
Remove pins and turn right side out.
Press, and insert pillow form.
Happy Stitching!


