BIRDS OF A FEATHER BOM - BLOCK #3
The new year has arrived with little fanfare. It’s been year like no other for many of us. And I will not be sad to see it end. With luck, hard work and self-sacrifice, compassion and charity, I hope the world will begin to heal. Take care of yourself, think of others, and if you can take care of someone else.
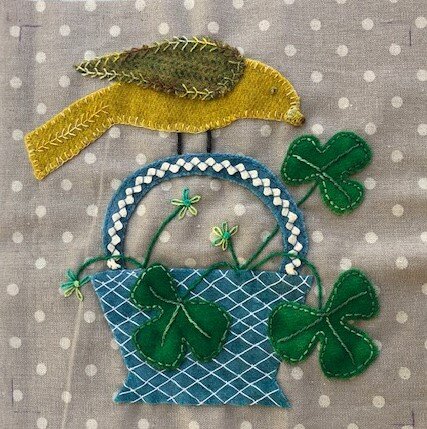
This month’s block features a basket of shamrocks and my version of a yellow warbler. I hope it will bring some luck to you all.
If you are just joining the BOM check out the first BOM blog post for the basic supplies and instructions. This post will cover block #3 only.
Let’s begin.
SUPPLIES
Wool or Wool Felt Requirements - Colors are only suggestions
Basket - 3” x 5” brown plaid
Basket Handle - 3” x 5” brown
Bird Body - 2” x 6” yellow
Wing - 2” x 4” yellow/brown check
Shamrocks - 2 1/2” x 6 1/2” green
Thread - suggested colors
Note: Many of the threads used for whip stitching the wool pieces can also be used for flowers and stems.
Whip stitch - Embroidery floss or perle cotton, size 12 in colors that match your wool colors
Beak and Eye - Embroidery floss or perle cotton, size 8 orange brown ( I used a variegated orange/brown perle 8)
Lazy Daisy Flowers - Embroidery floss or perle cotton, size 8 dark orange, yellow, and green
Shamrock Veins - lighter shade of green ( I used a variegated green/peach floss)
Flower and Shamrock Stems - Embroidery floss or perle cotton, size 8 in two colors (I used green and brown)
Basket Embellishment - Use the same thread used to whip stitch the bird.
INSTRUCTIONS
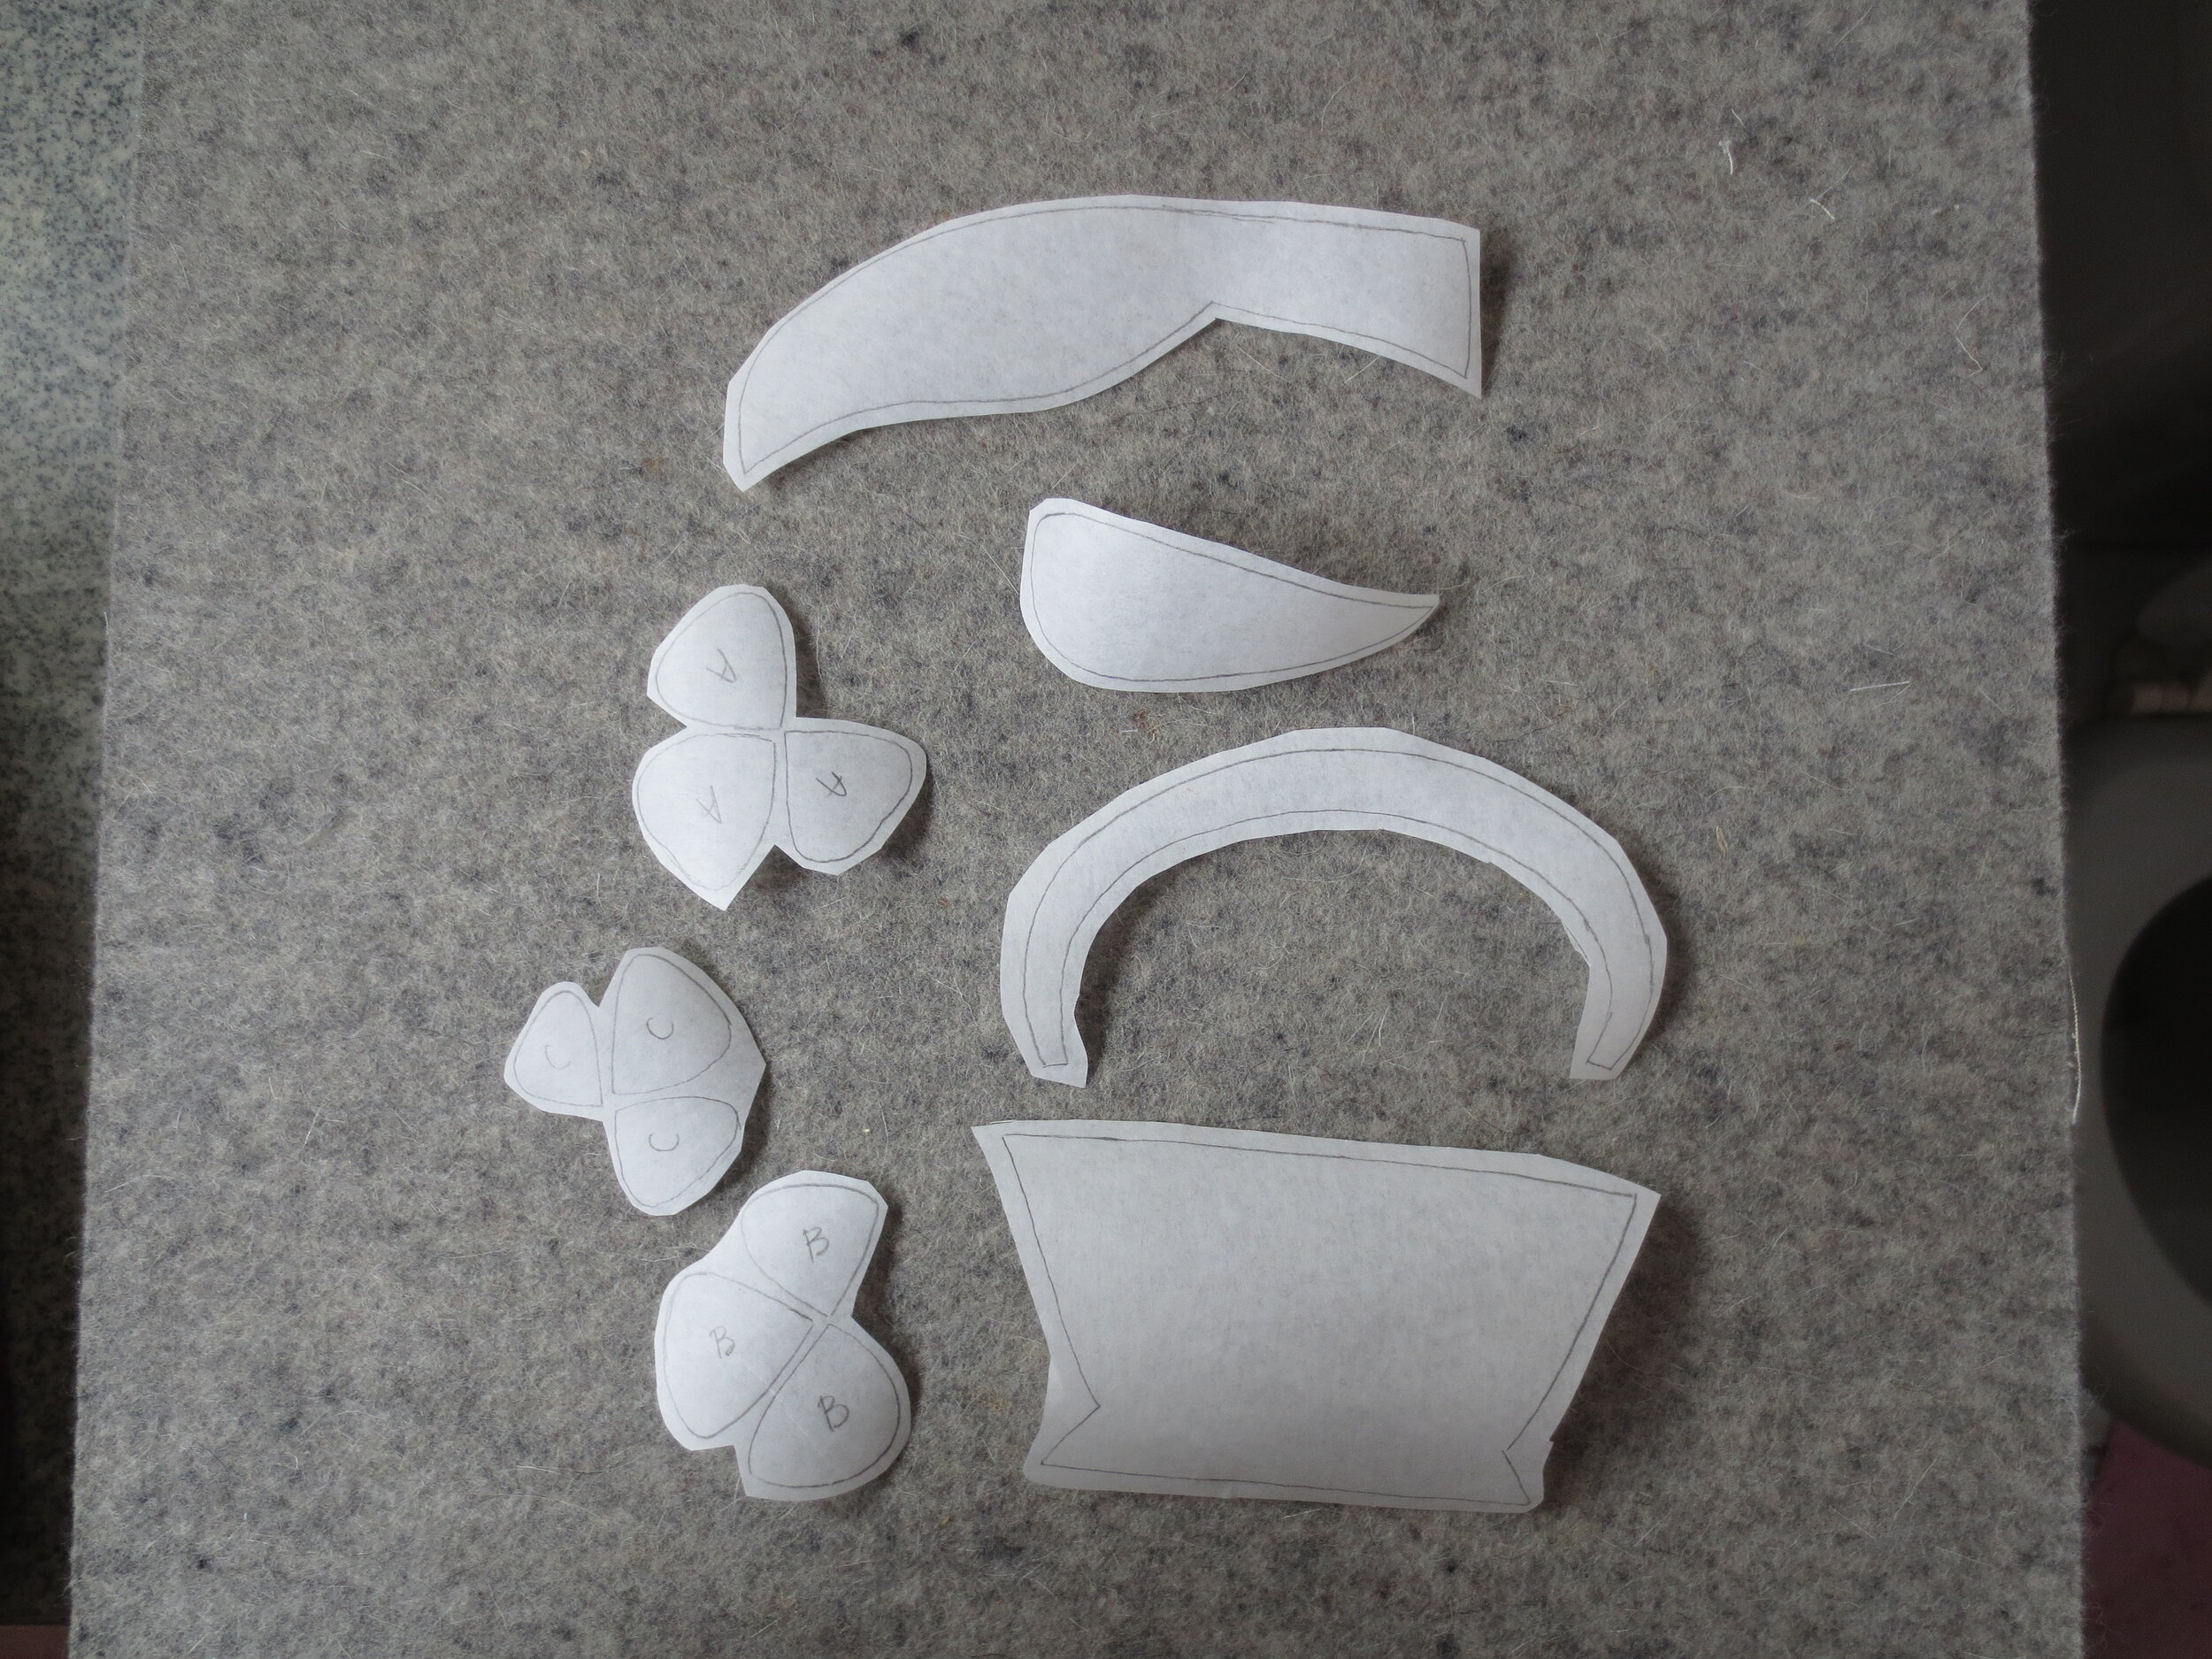
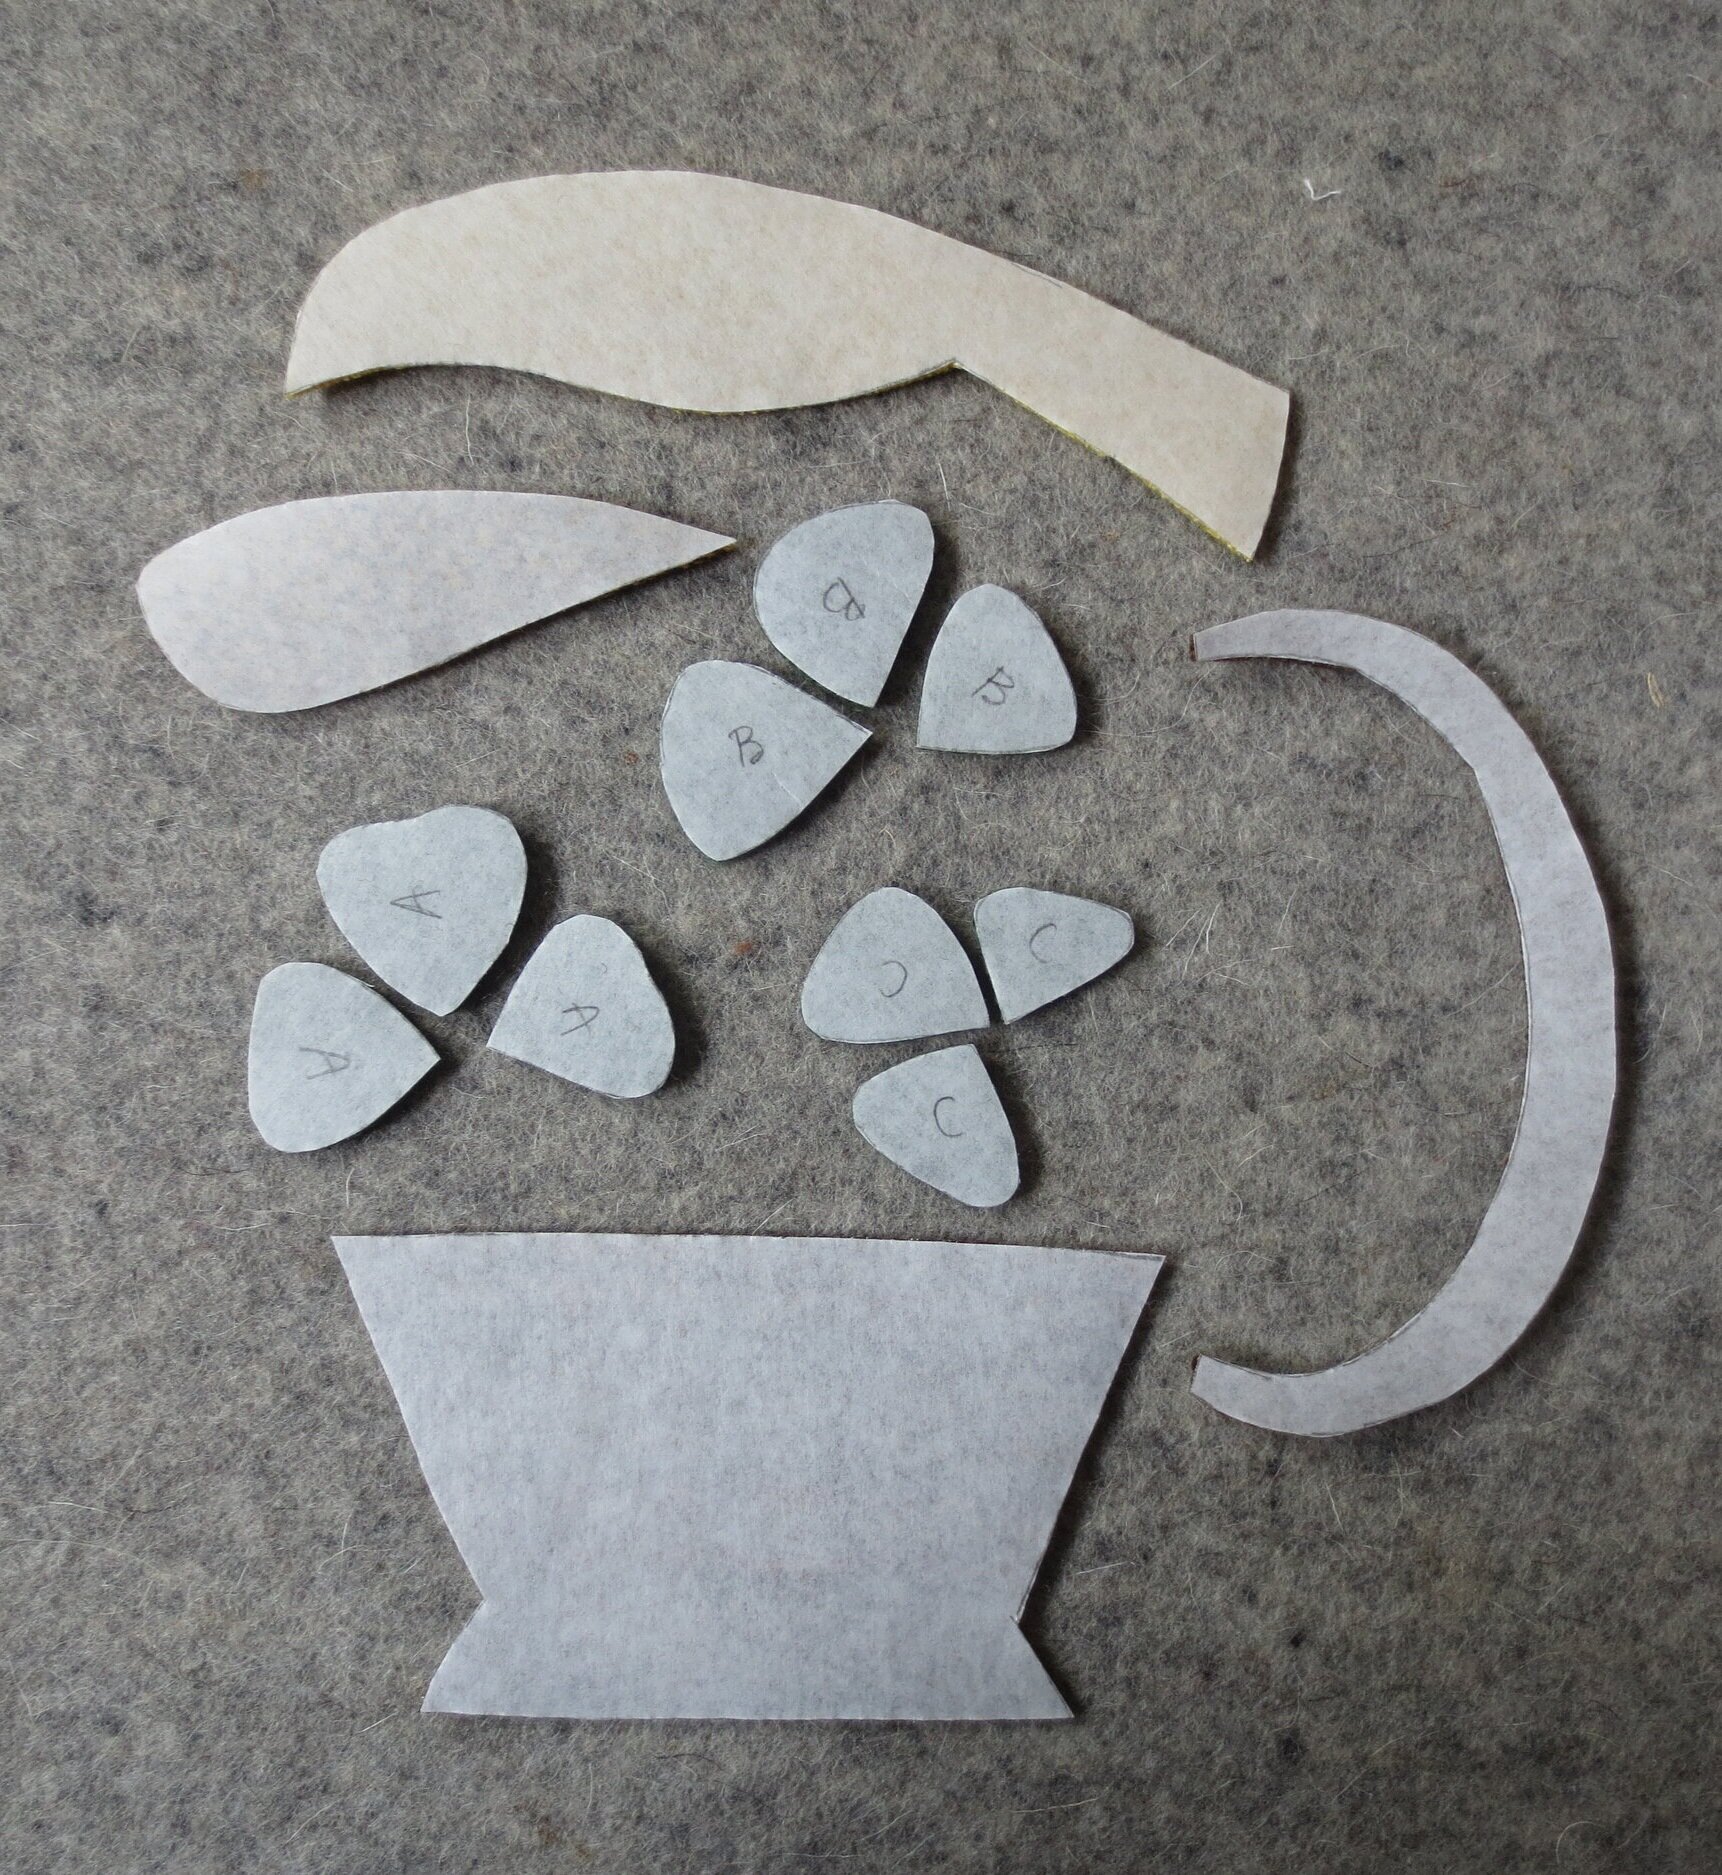
Trace the reversed images of the patterns onto fusible web. and then cut out leaving a small (1/8”) border around each pattern. If you are using the separated shamrock version of the pattern, I suggest that you label the shamrock leaves prior to cutting them out.
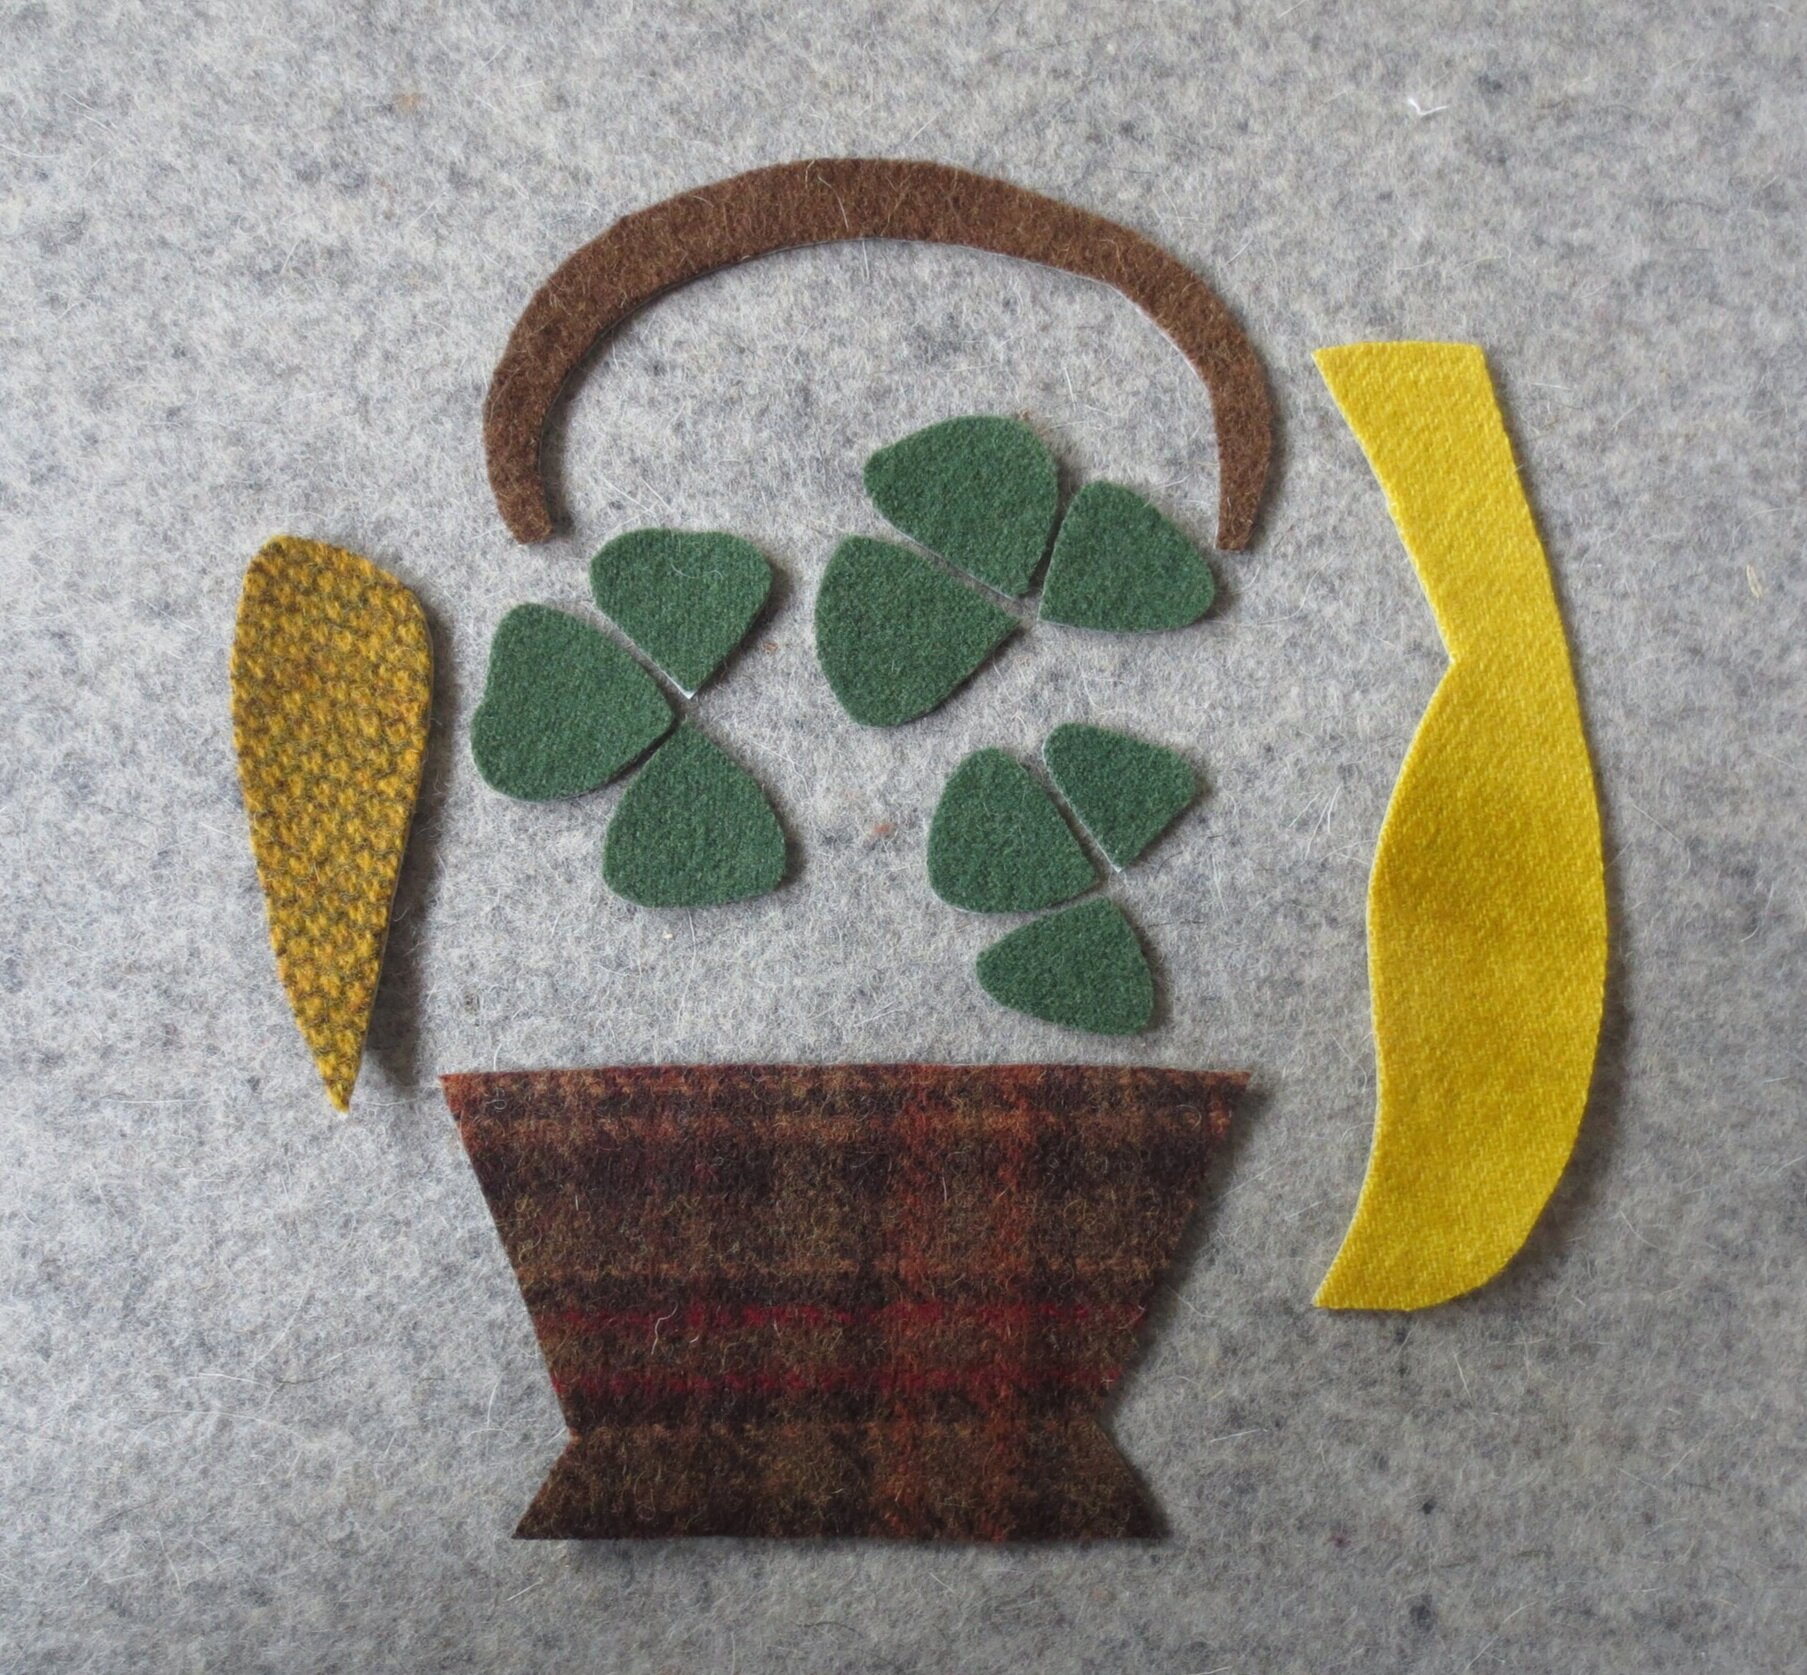
2. Fuse pattern pieces onto designated wools, and then cut out along traced lines.
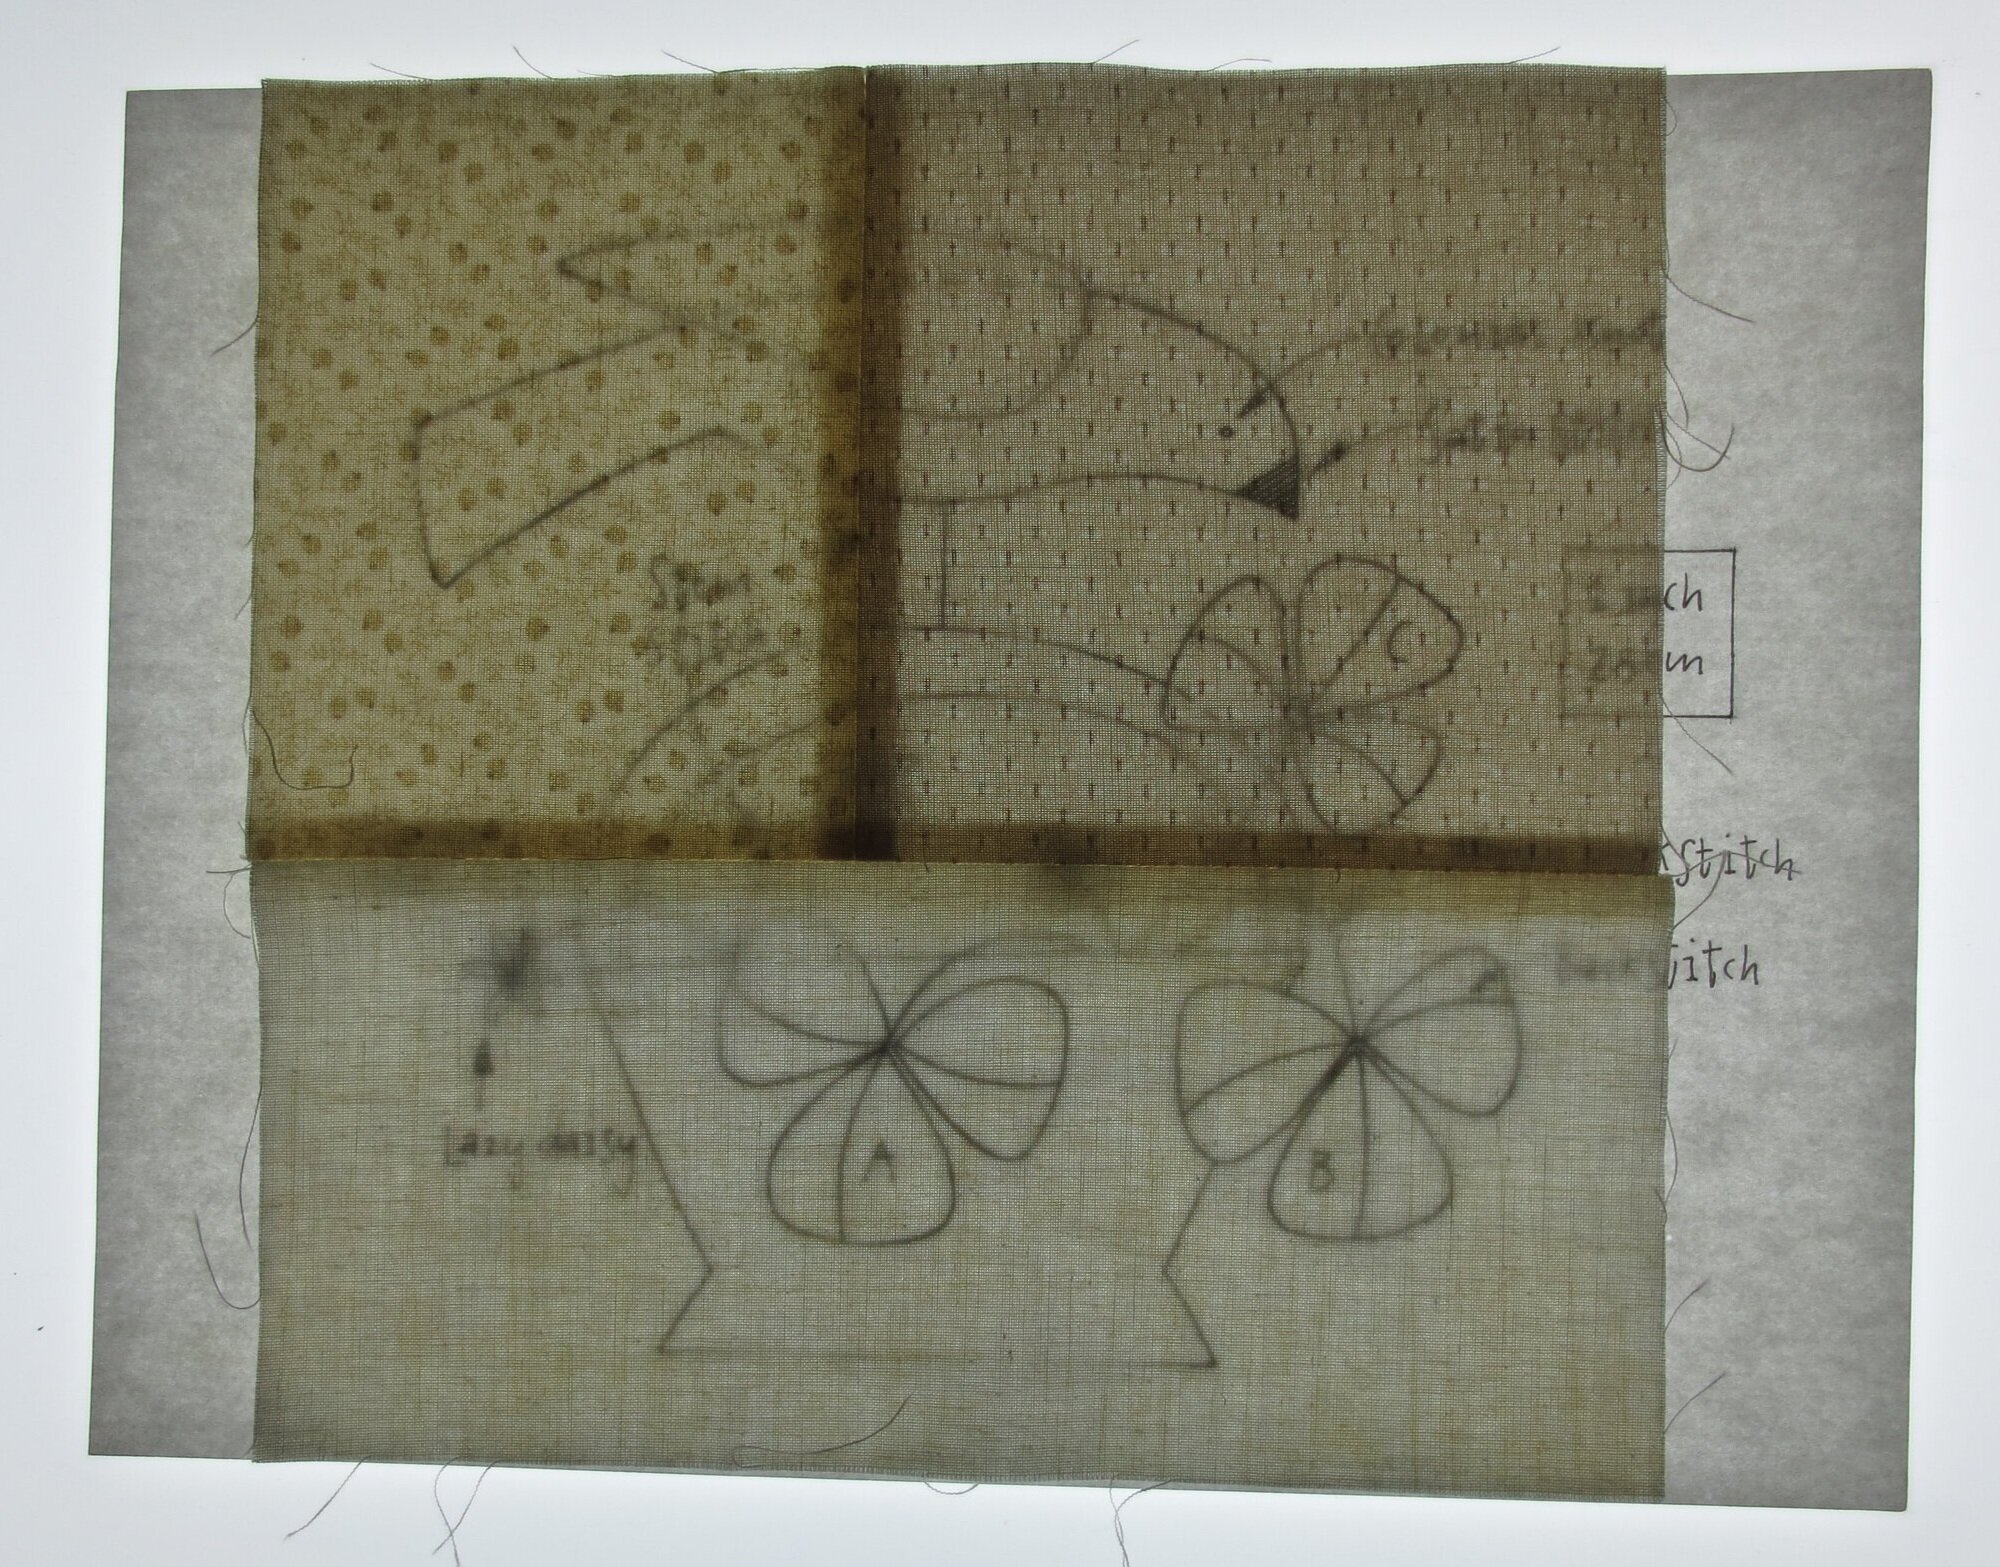
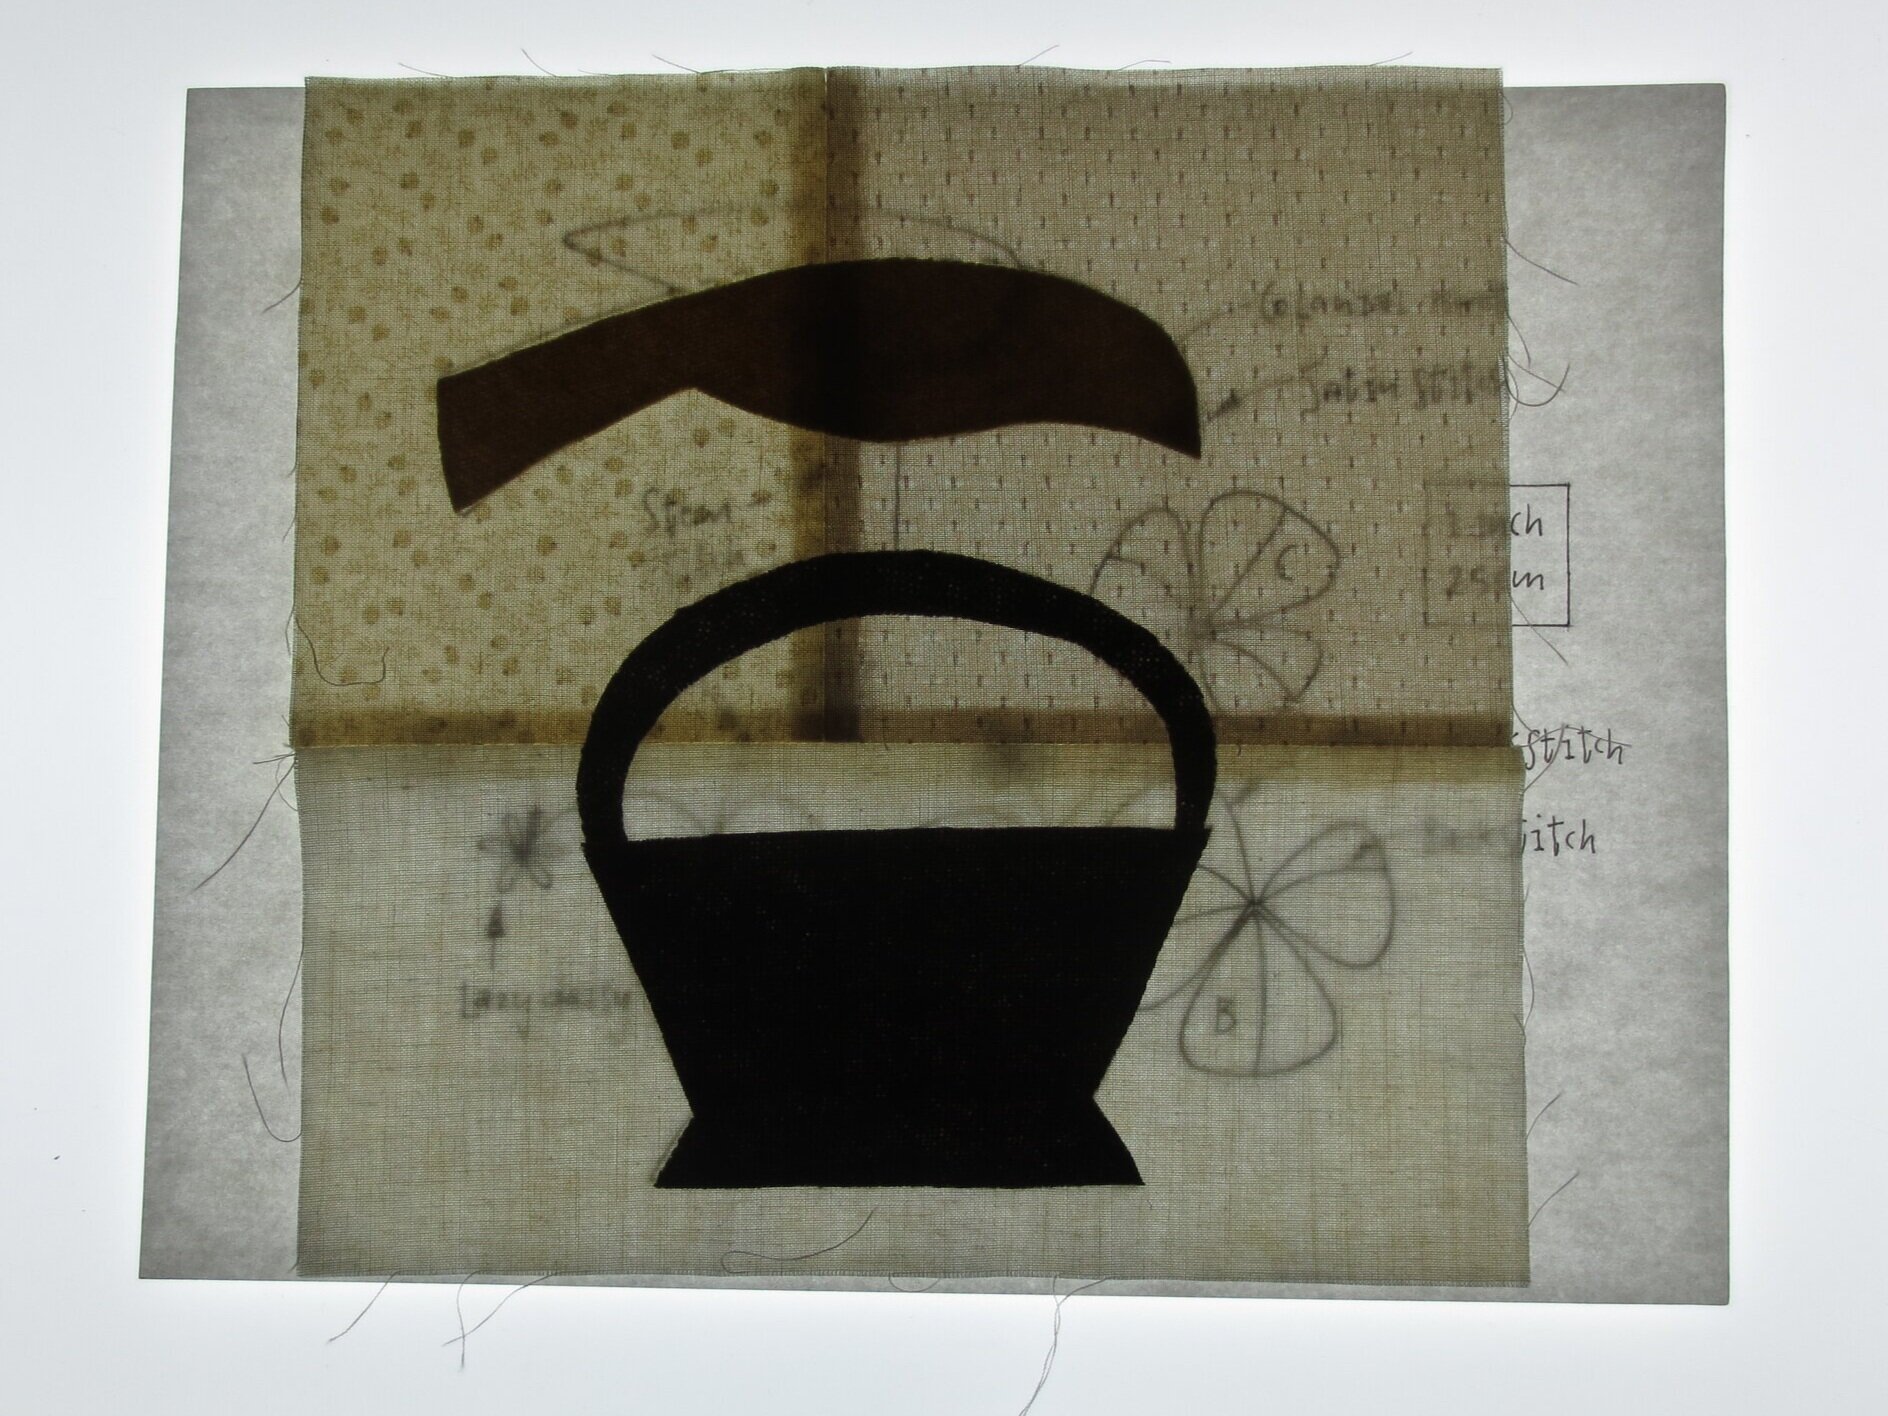
3. Position the basket, basket handle, and bird body onto the background block. Use the layout as a guide for correct position. I used the layout and my lightbox to accurately position the pattern pieces. Tuck the ends of the basket handle underneath the basket top.
4. Fuse in place using steam.
5. Position the wing and shamrocks using the layout as a guide, and then fuse in place using steam.
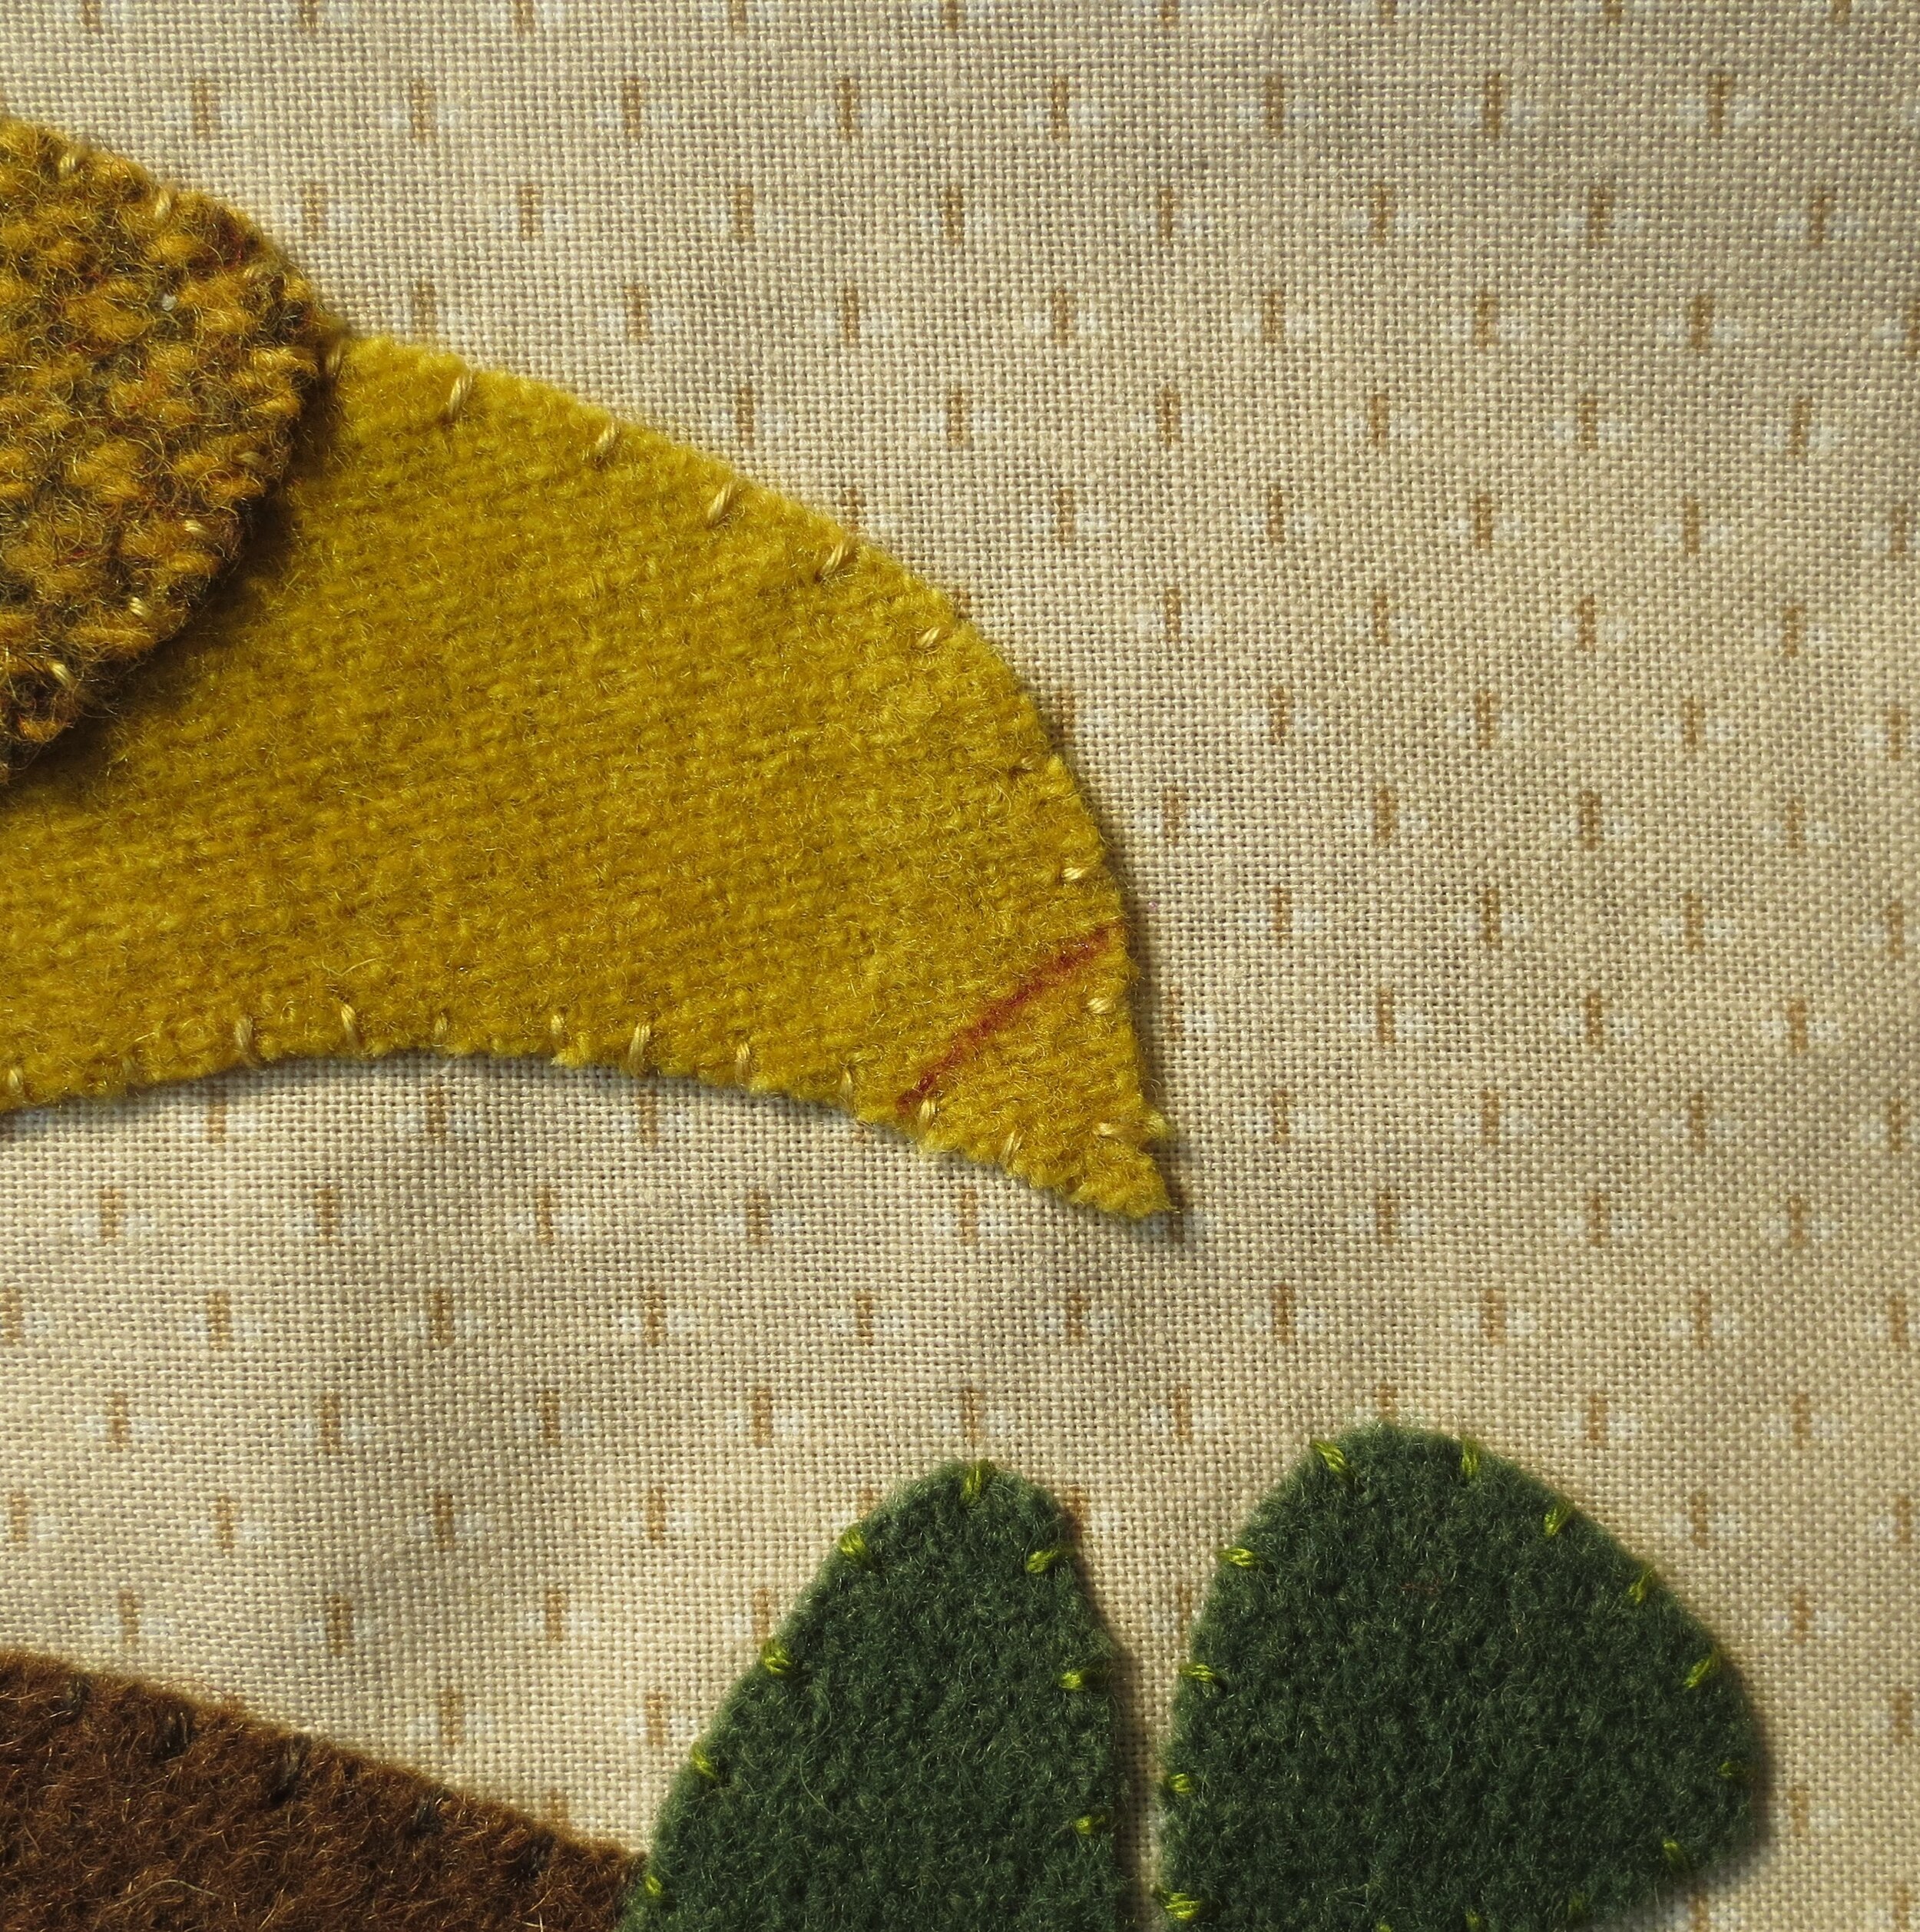
6. Whip stitch the pattern pieces using 2 strands of embroidery floss, or 1 strand of perle cotton, size 12.
7. Use a fabric marker to draw the bird’s legs.
8. Use 3 strands of floss, or 1 strand of perle cotton, size 8 to stem stitch or chain stitch over the draw lines.
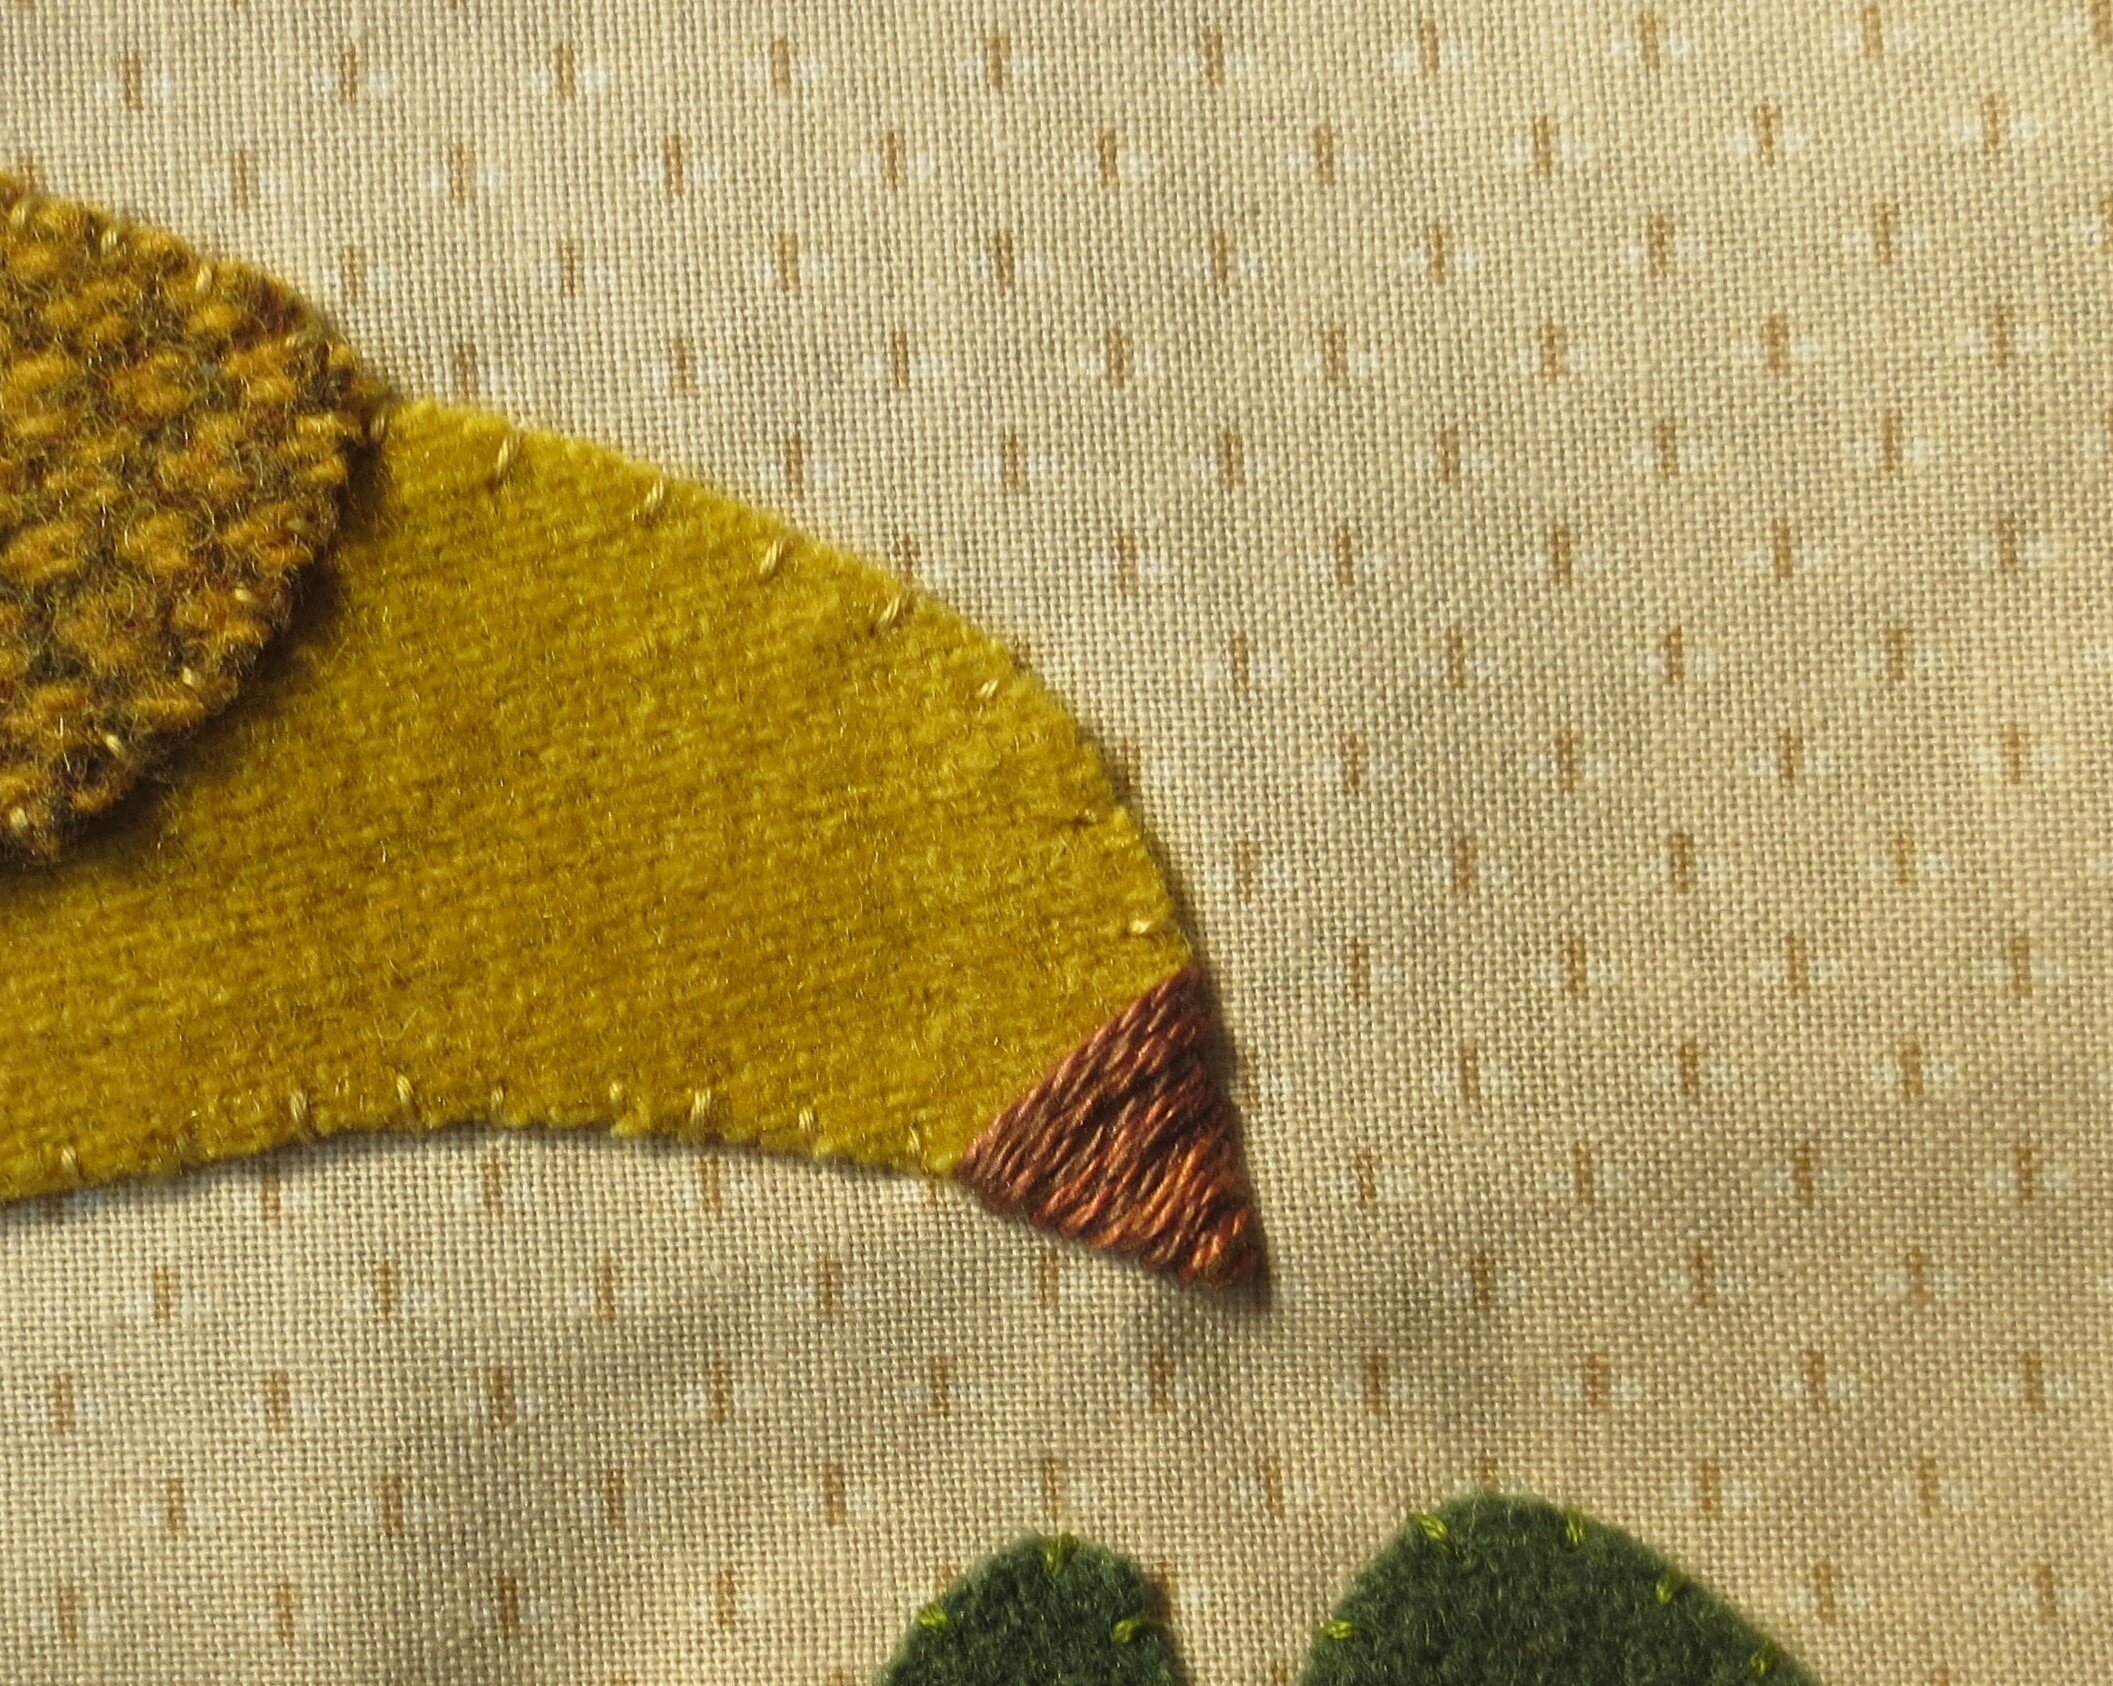
9. Draw a line where the beak will be using the layout as a guide. Use the same thread that you used for the legs to satin stitch the beak.
10. Use the same thread to make a colonial knot eye.
11. Draw the stems of the shamrocks and the flowers using the layout as a guide.
12. You have a choice here. You can use 3 strands of floss or 1 strand of perle cotton, size 8 to stem stitch or woven back stitch (also called a threaded back stitch) the stems. I used a green that matched my shamrocks to back stitch my stems. I also picked out the color of thread I would use to weave or thread through the backstitch I just made.
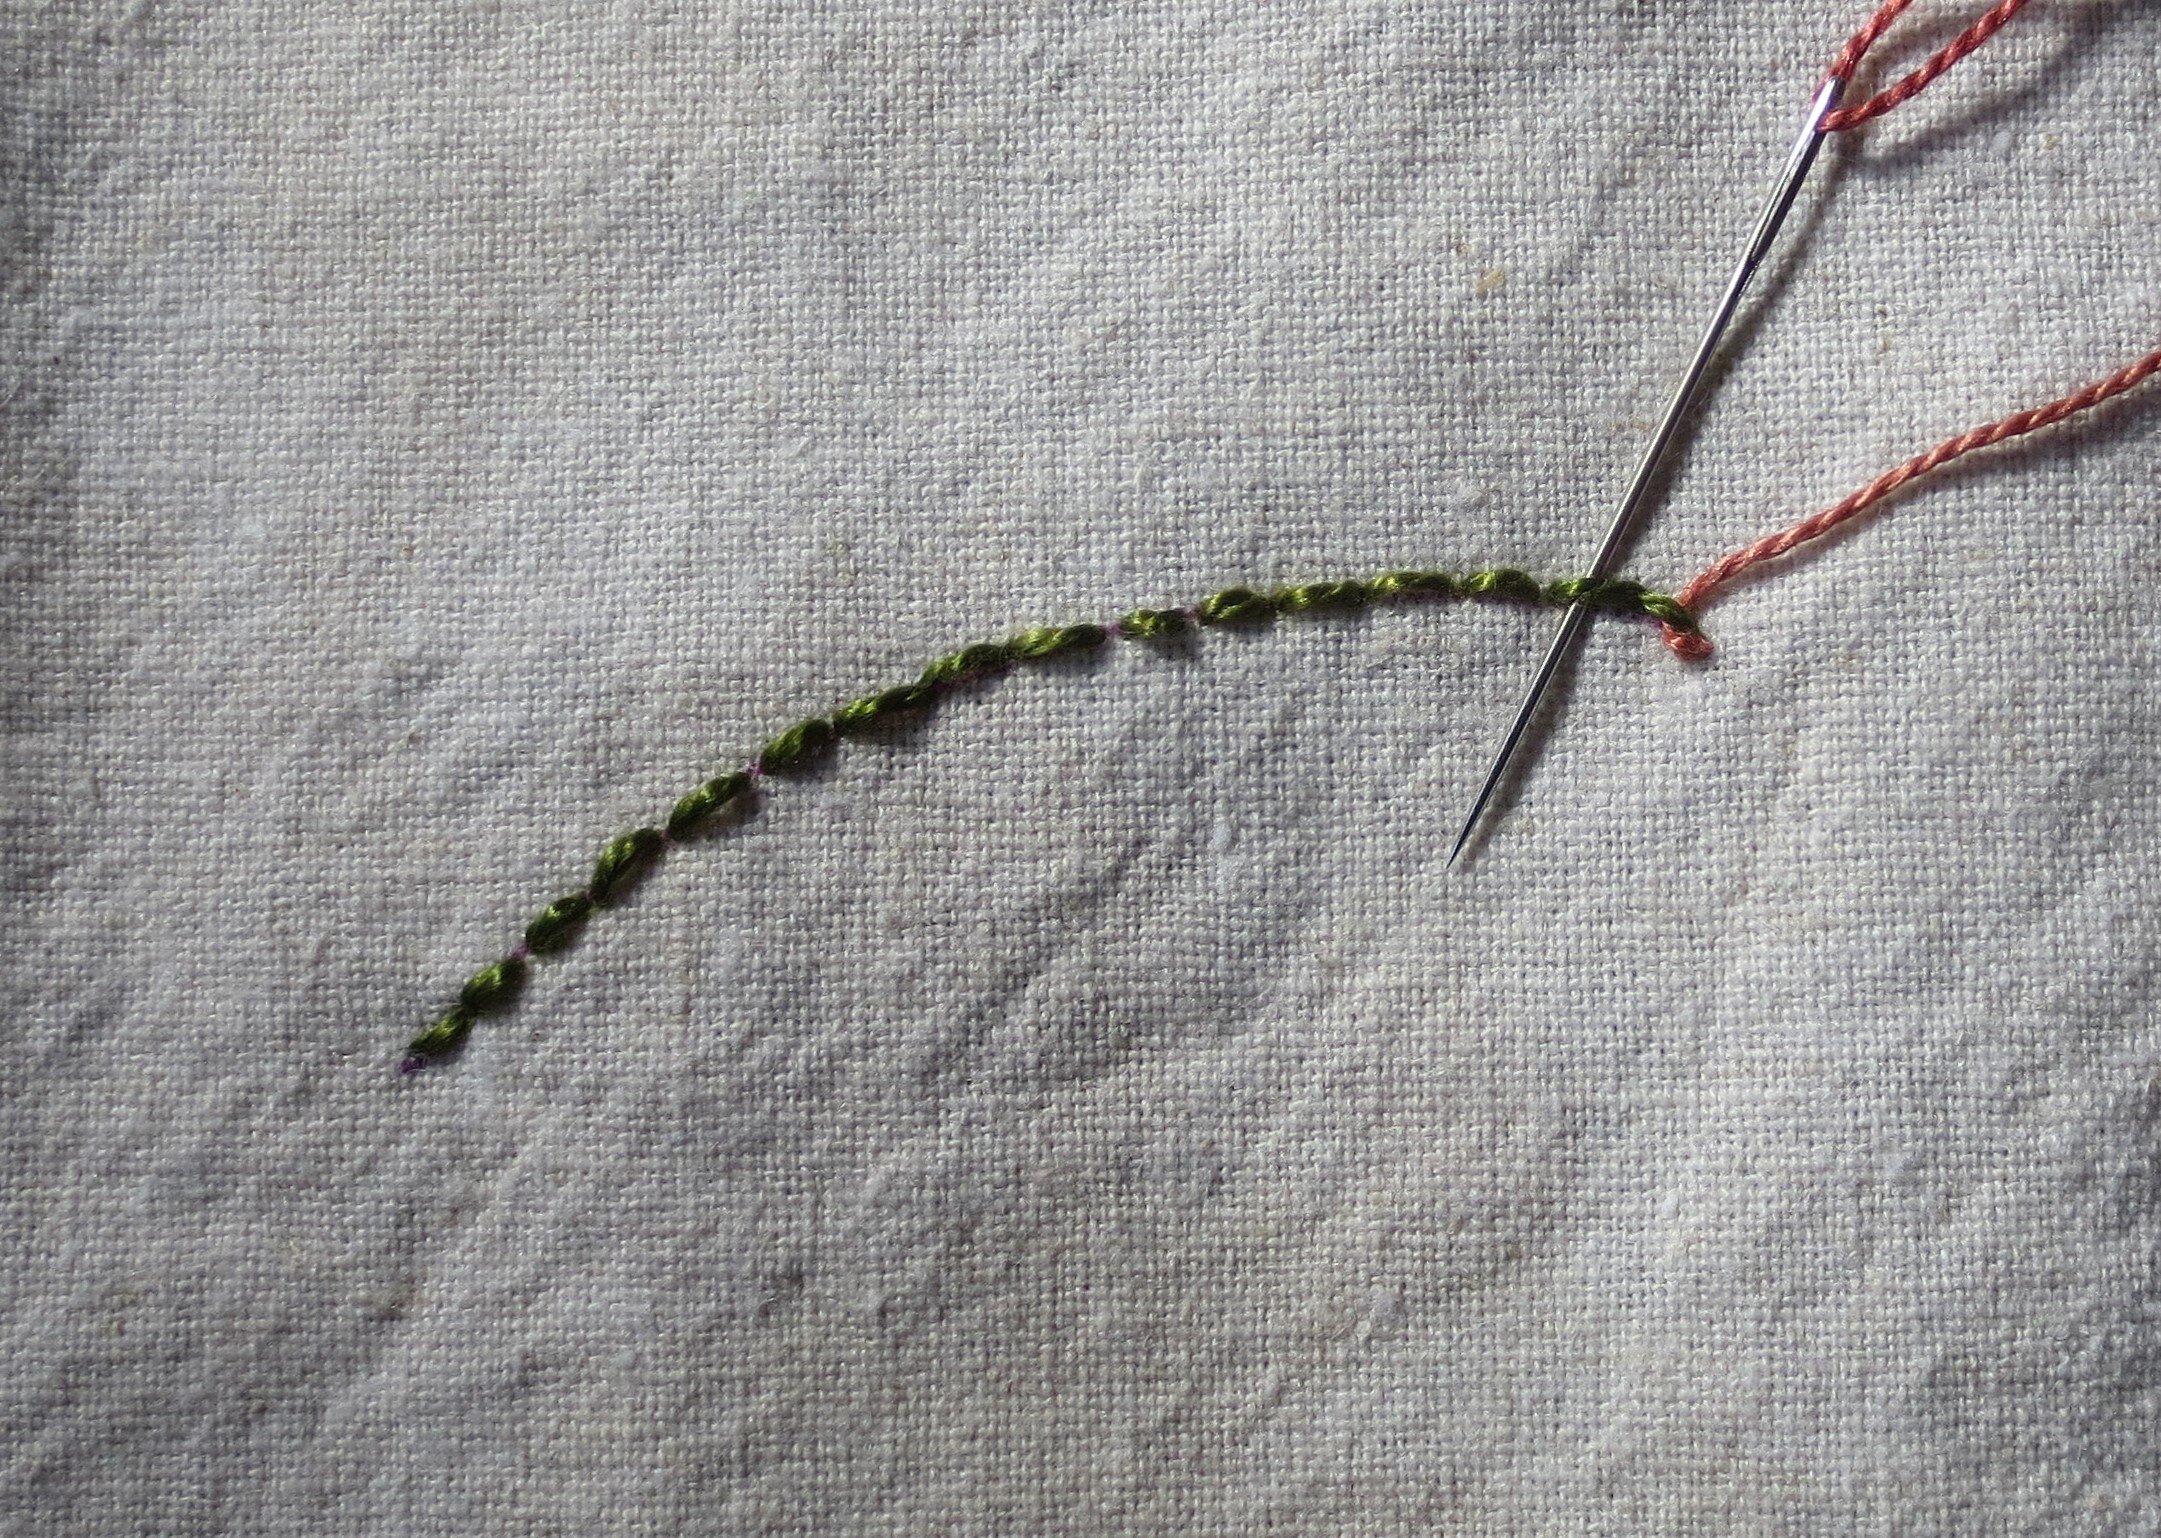
13. What is a woven or threaded backstitch? Here’s a simple tutorial.
Draw a line.
Back stitch over the line.
Bring a contrasting thread up at the star of the backstitch.
Slide the needle under the first backstitch and pull the thread through.
Working from the opposite side, slide the needle under the next backstitch and then pull the thread through.
Continue weaving the thread through each back stitch alternating sides.
After threading the last backstitch insert the needle as close to the end of the last backstitch as possible. This is called a woven or threaded backstitch.
Now, if you want to make a double threaded backstitch bring the needle up adjacent to the last stitch, and then begin weaving the thread through the backstitches from the opposite side. Note: I flipped the fabric around so I can work right to left.
14. Use 3 strands of floss or 1 strand of perle cotton, size 8 to stem stitch the flower stems.
15. Draw the veins in each of the shamrock leaves. You may need to use a lighter colored fabric marker if your leaves are dark.
16. Use 3 strands of floss or 1 strand of perle cotton, size 8 to stem stitch over the drawn lines. I used a variegated green/peach floss.
17. Use 3 strands of floss or 1 strand of perle cotton, size 8 to make 5 lazy daisy stitches at the ends of the flower stems. I used the same thread that was used for the beak. Make sure you leave room for the flower center.
18. Using a contrasting color (I used yellow) make a single straight stitch inside of each lazy daisy loop to fill it in.
19. Use 3 strands of floss or 1 strand of perle cotton, size 8 to make a colonial knot in the center of each flower.
20. One last stitch! Draw a line between the basket and the basket base.
21. Backstitch over the line with 2 strands of floss or 1 strand of perle cotton, size 12. I used the same gold thread that I used to whipstitch the bird.
Block #3 is complete!
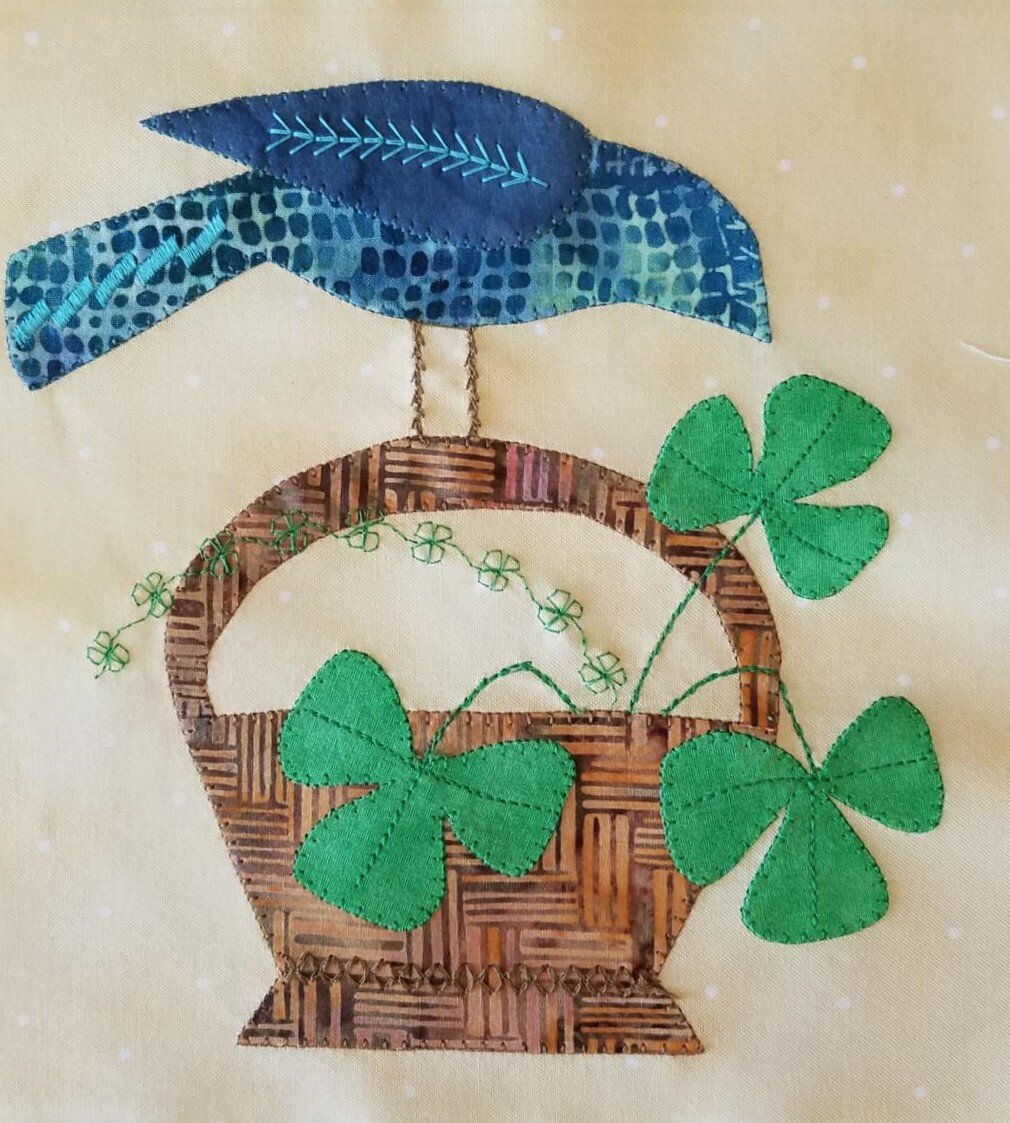
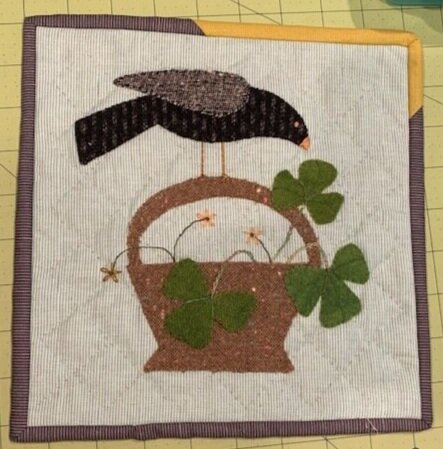
Here’s some of the work of the Wooly Gals Friendship Group. They are such creative ladies!
Happy Stitching!


