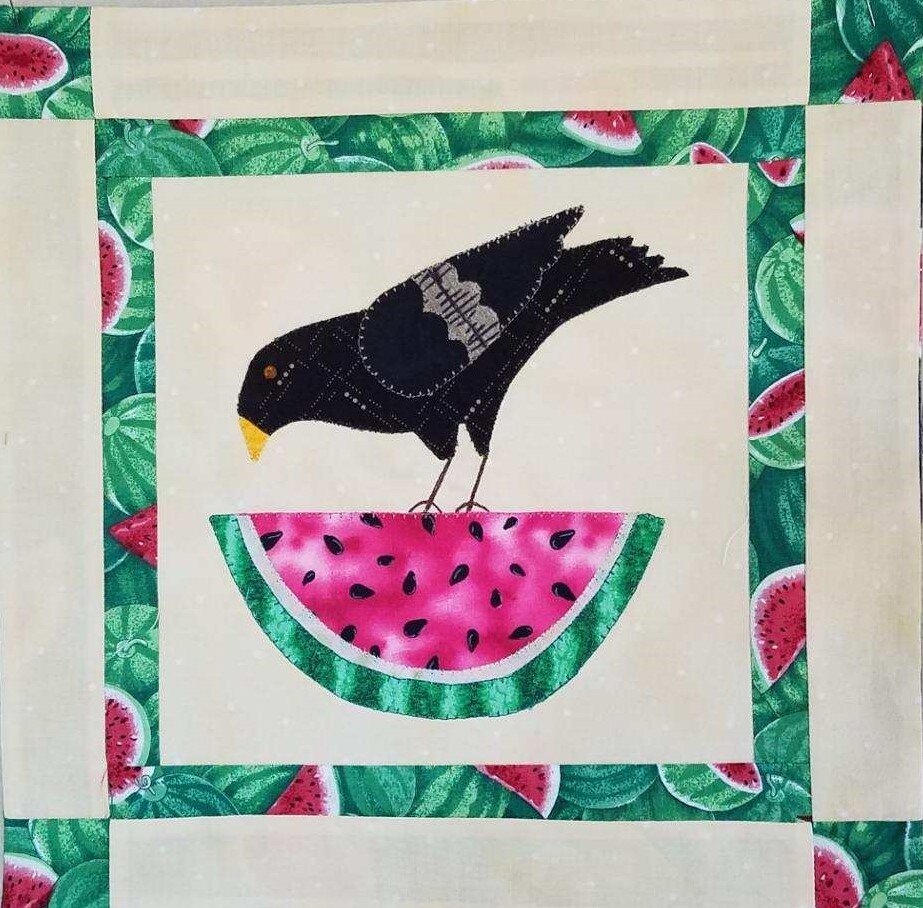
BIRDS OF A FEATHER BOM - BLOCK #8
“Summer afternoon—summer afternoon; to me those have always been the two most beautiful words in the English language.”
― Henry James
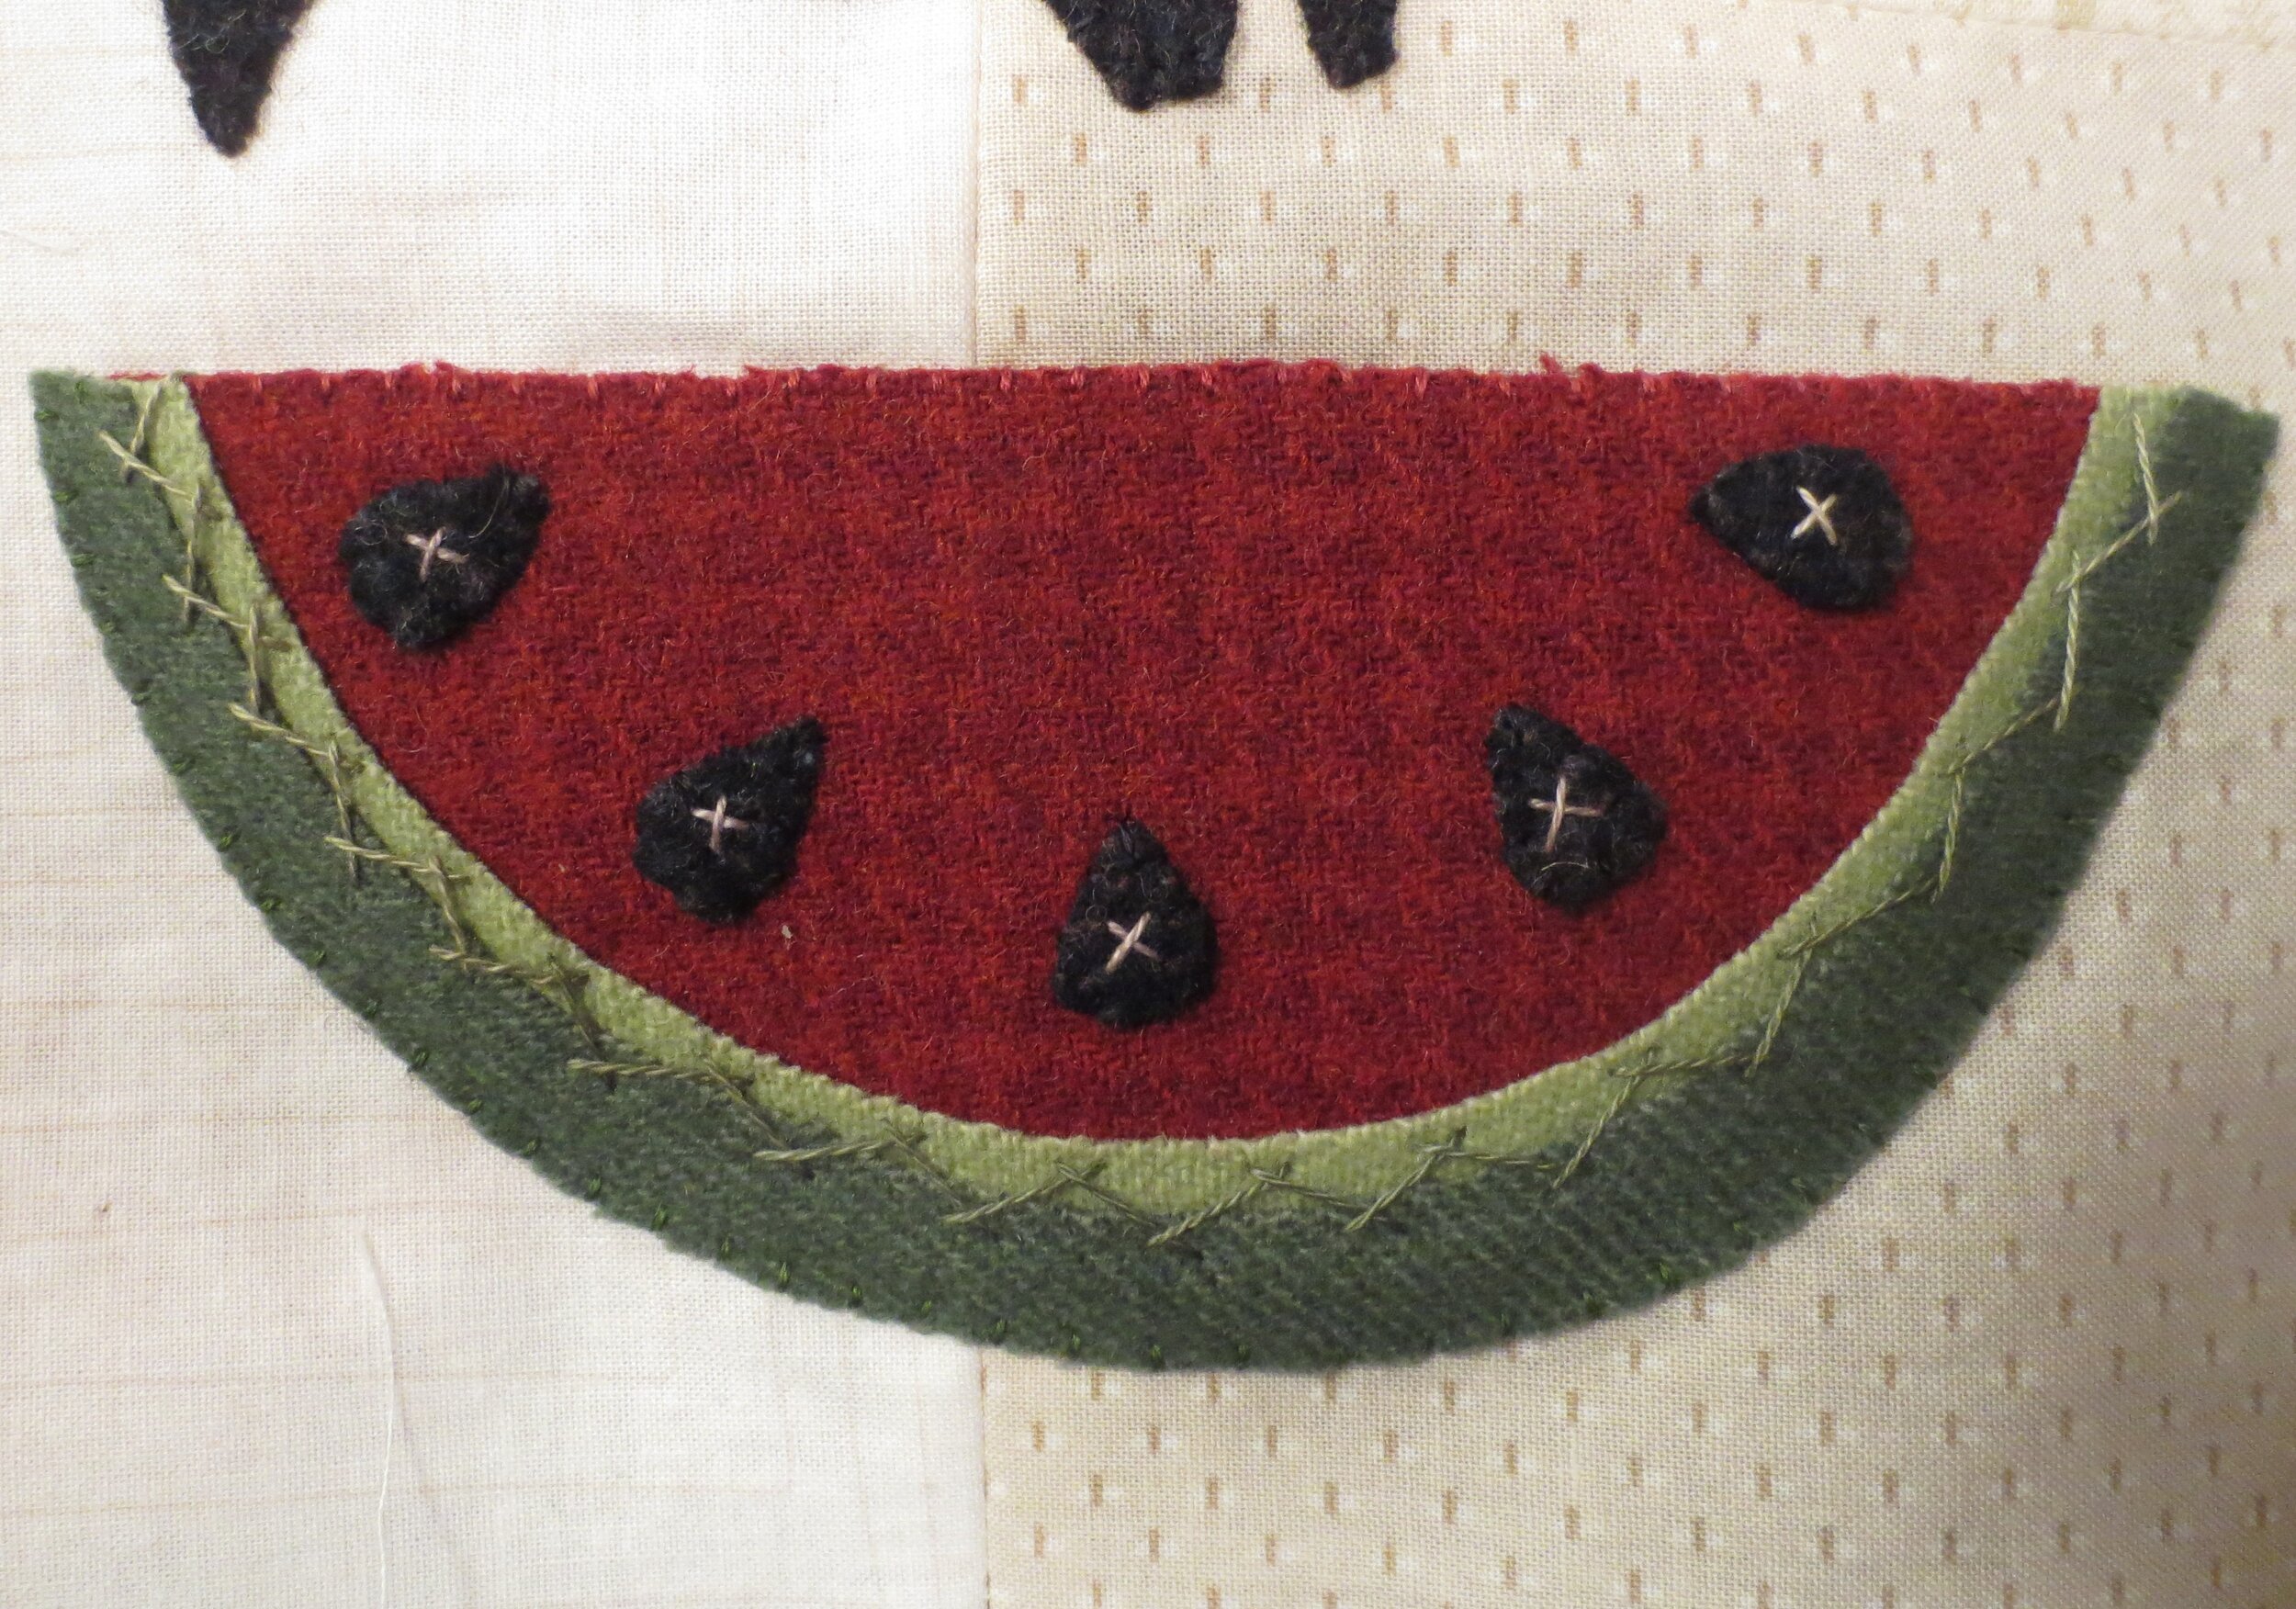
It’s not quite summer, but let’s celebrate for times yet to come. Block #8 features a redwing blackbird perched on a juicy slice of watermelon - a perfect welcome to my favorite time of year.
If you are just joining the BOM you will find general information about block size, and supplies needed on the blog post for block #1. The information that follows is for block #8 only.
Let’s begin.
Supplies
Fabric Requirements - Suggested colors
Background fabric - 9” x 9” linen/cotton blend or quilter’s cotton
Wool Requirements - Suggested colors
Blackbird body and watermelon seeds - 3 1/2” x 8”
Blackbird wing - 2” x 4” black and grey herringbone
Wing cap #1 and watermelon #1 - 3 1/4” x 7 1/4”Dark red houndstooth
Wing cap #2 - 2” x 2” gold
Watermelon #2 - 3” x 6 1/4” pale yellow green
Watermelon #3 - 3 1/2” x 7” Dark yellow green
Thread Requirements - Suggested colors
Embroidery floss or perle cotton, size 12 in colors that match your wool colors
I used:
Valdani #O511 Black Sea
Cosmo #655 Dark Mauve
Cosmo #635A Dark yellow green
DMC #831 Green bronze
DMC # 729 Honey gold
Perle cotton, size 12 #H202 Withered green
Perle cotton, size 12 #O538 Cottage smoke
Instructions
Trace the reversed image of the patterns onto fusible web.
Cut out the pattern pieces leaving a small (1/8”) border around each.
Fuse pattern pieces to designated wools, and then cut out along traced lines.
4. Position the bird and watermelon #1 using the layout and lightbox for precise placement.
5. Fuse in place using steam.
6. Position the wing and watermelon#2 using the layout as a guide.
7. Fuse in place using steam.
8. Position wing cap #2 and seeds.
9. Fuse in place using steam.
10. Position wing cap #1 and watermelon #3.
11. Fuse in place using steam.
12. Use 1 strand of Valdani perle cotton, size 12 #O538 to stitch a single small cross stitch in each of the seeds.
13. Use 2 strands of floss that matches your wool colors to whip stitch everything (including seeds) except the rind of the watermelon.
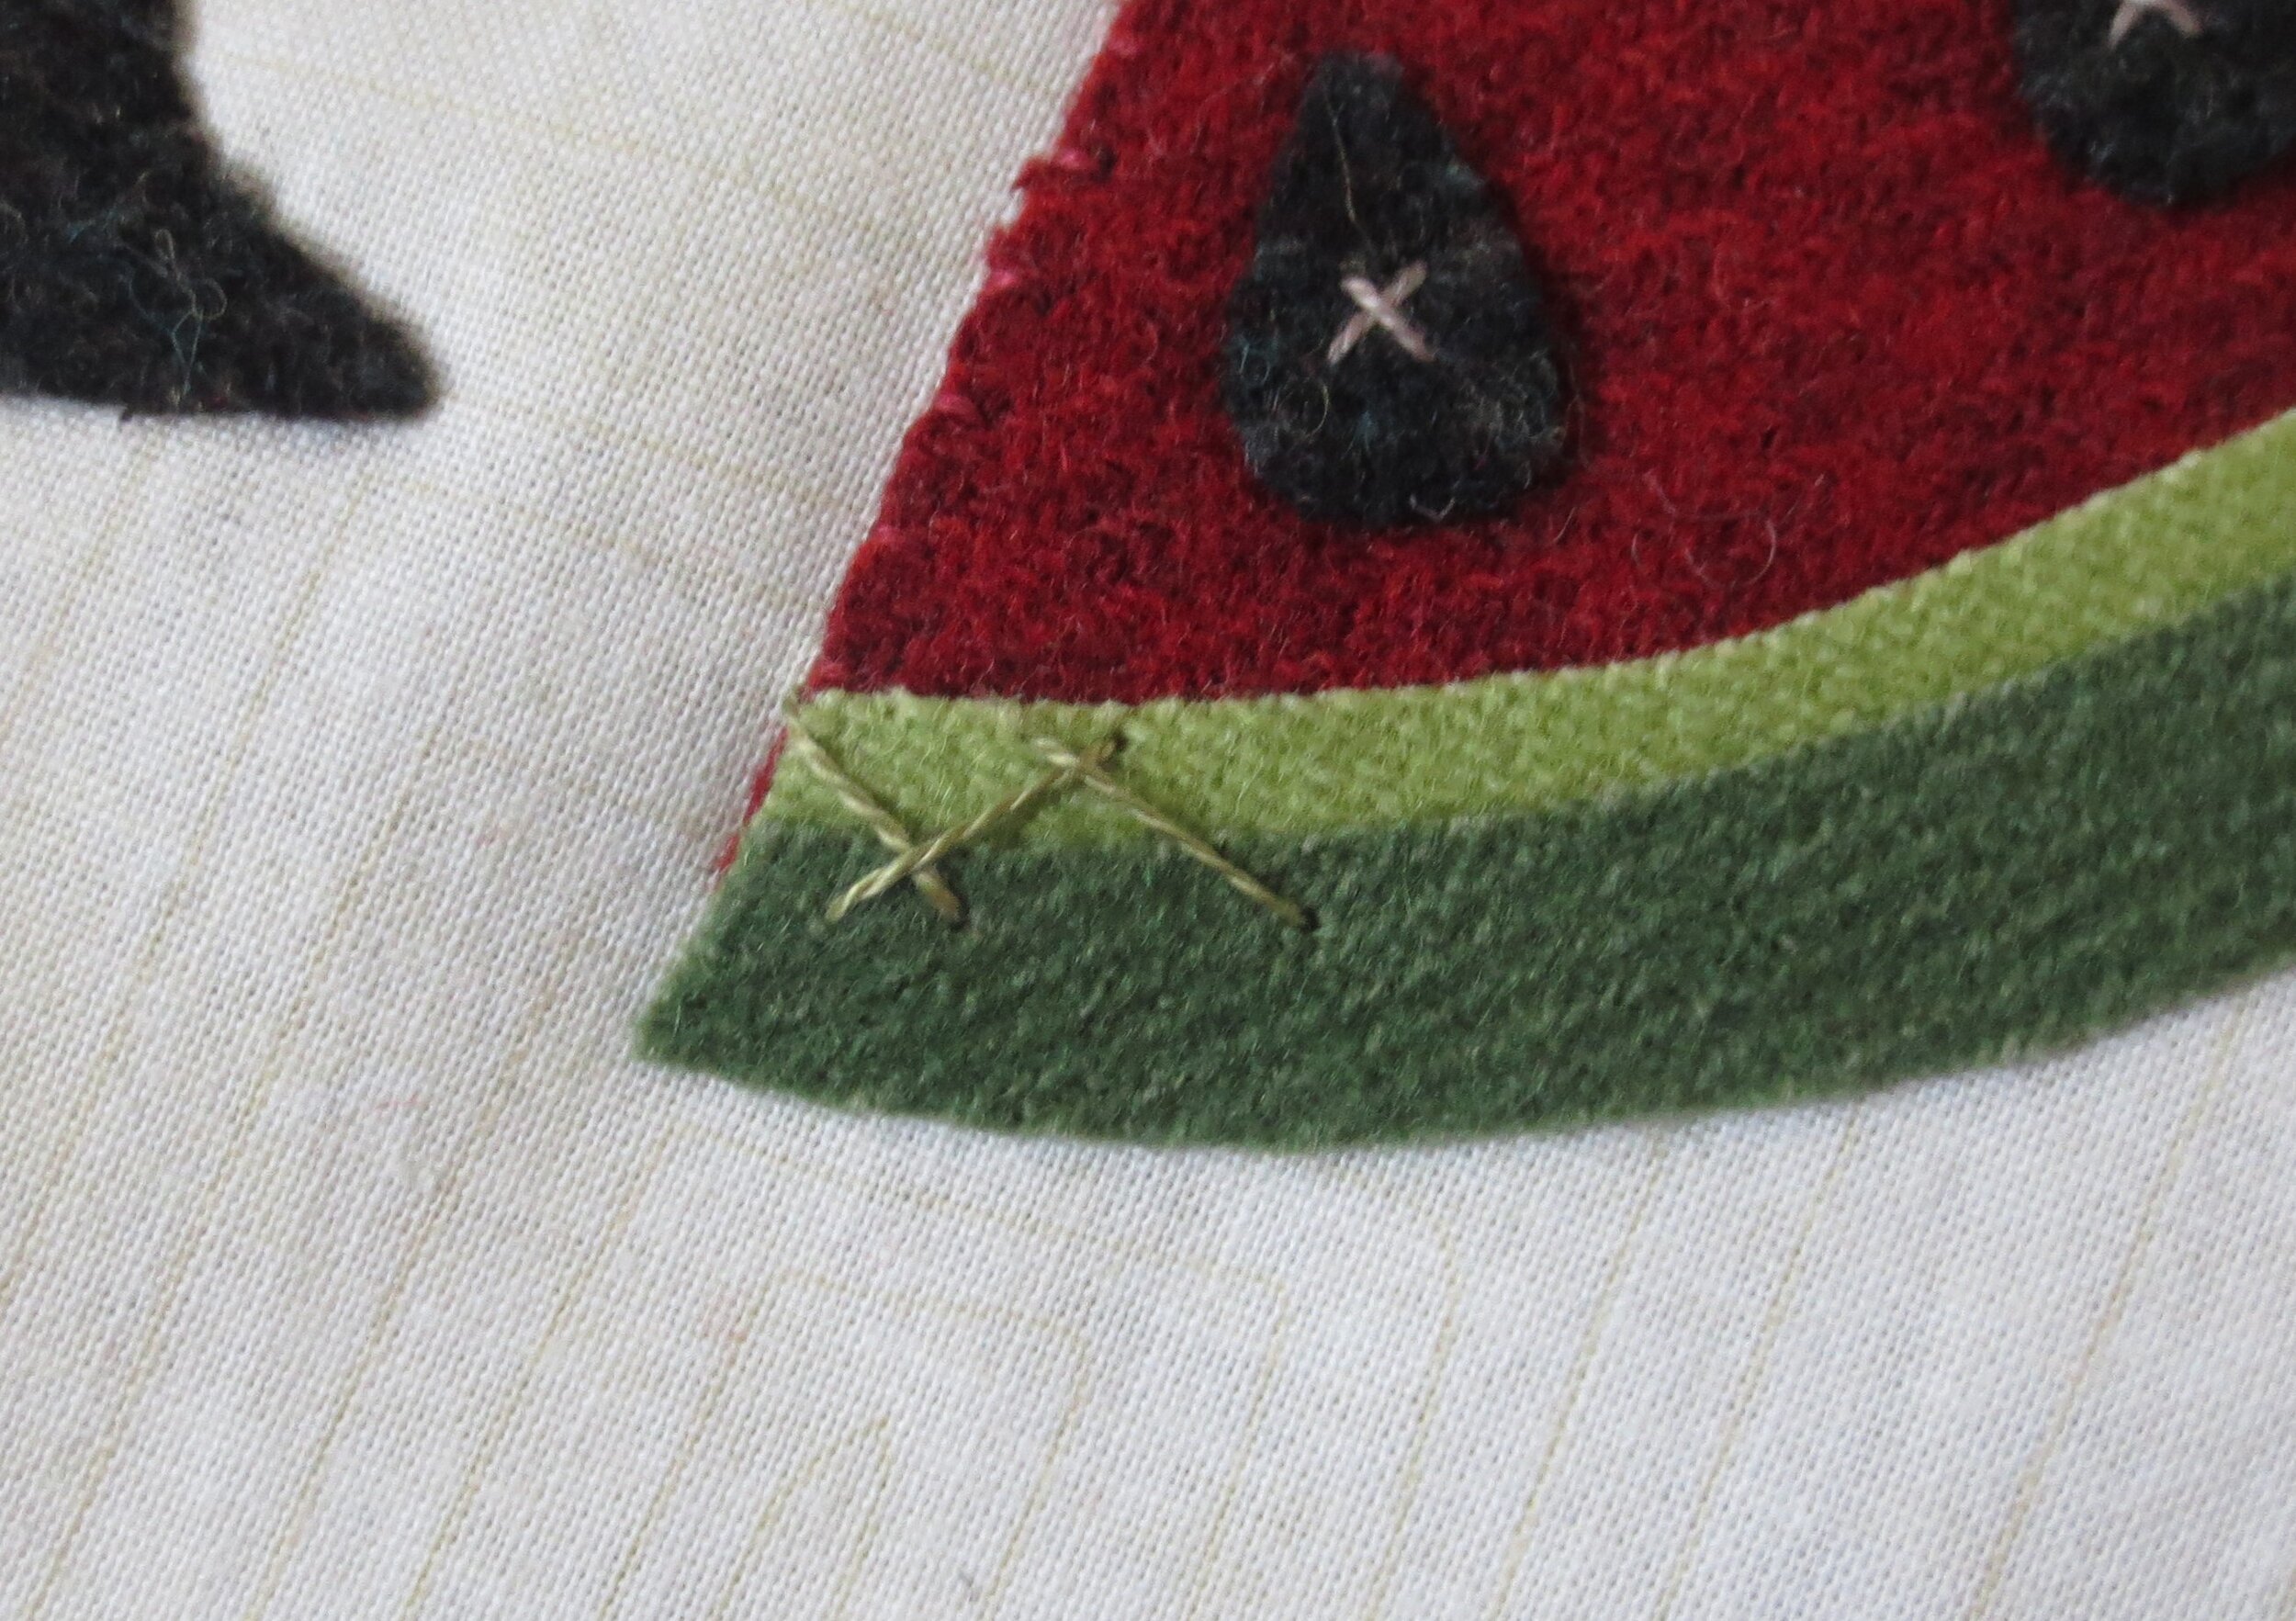
14. Use 2 strands of matching colored floss to whip stitch the outer perimeter only of rind #3 (dark green).
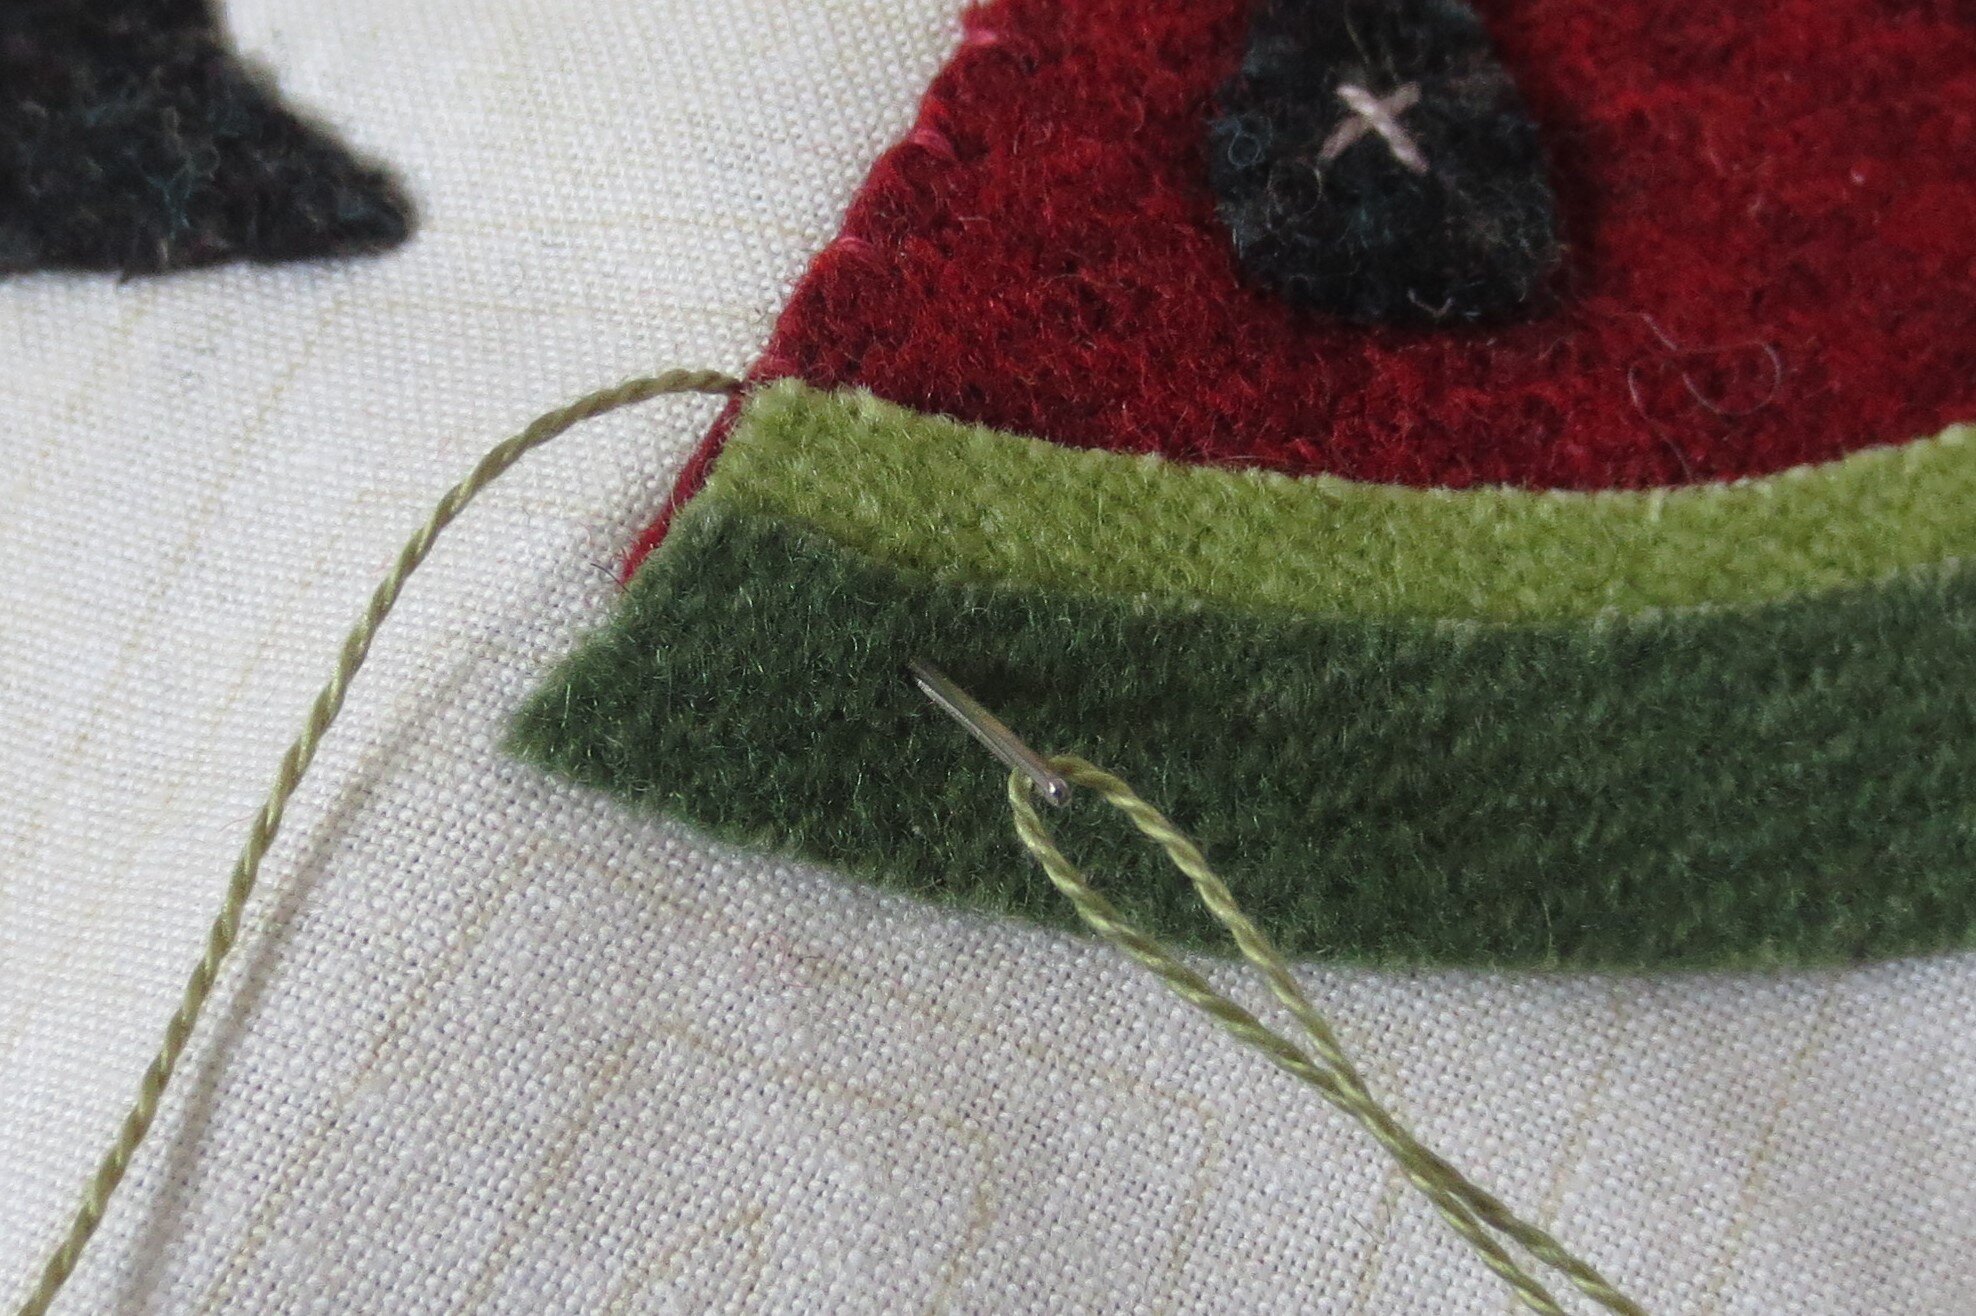
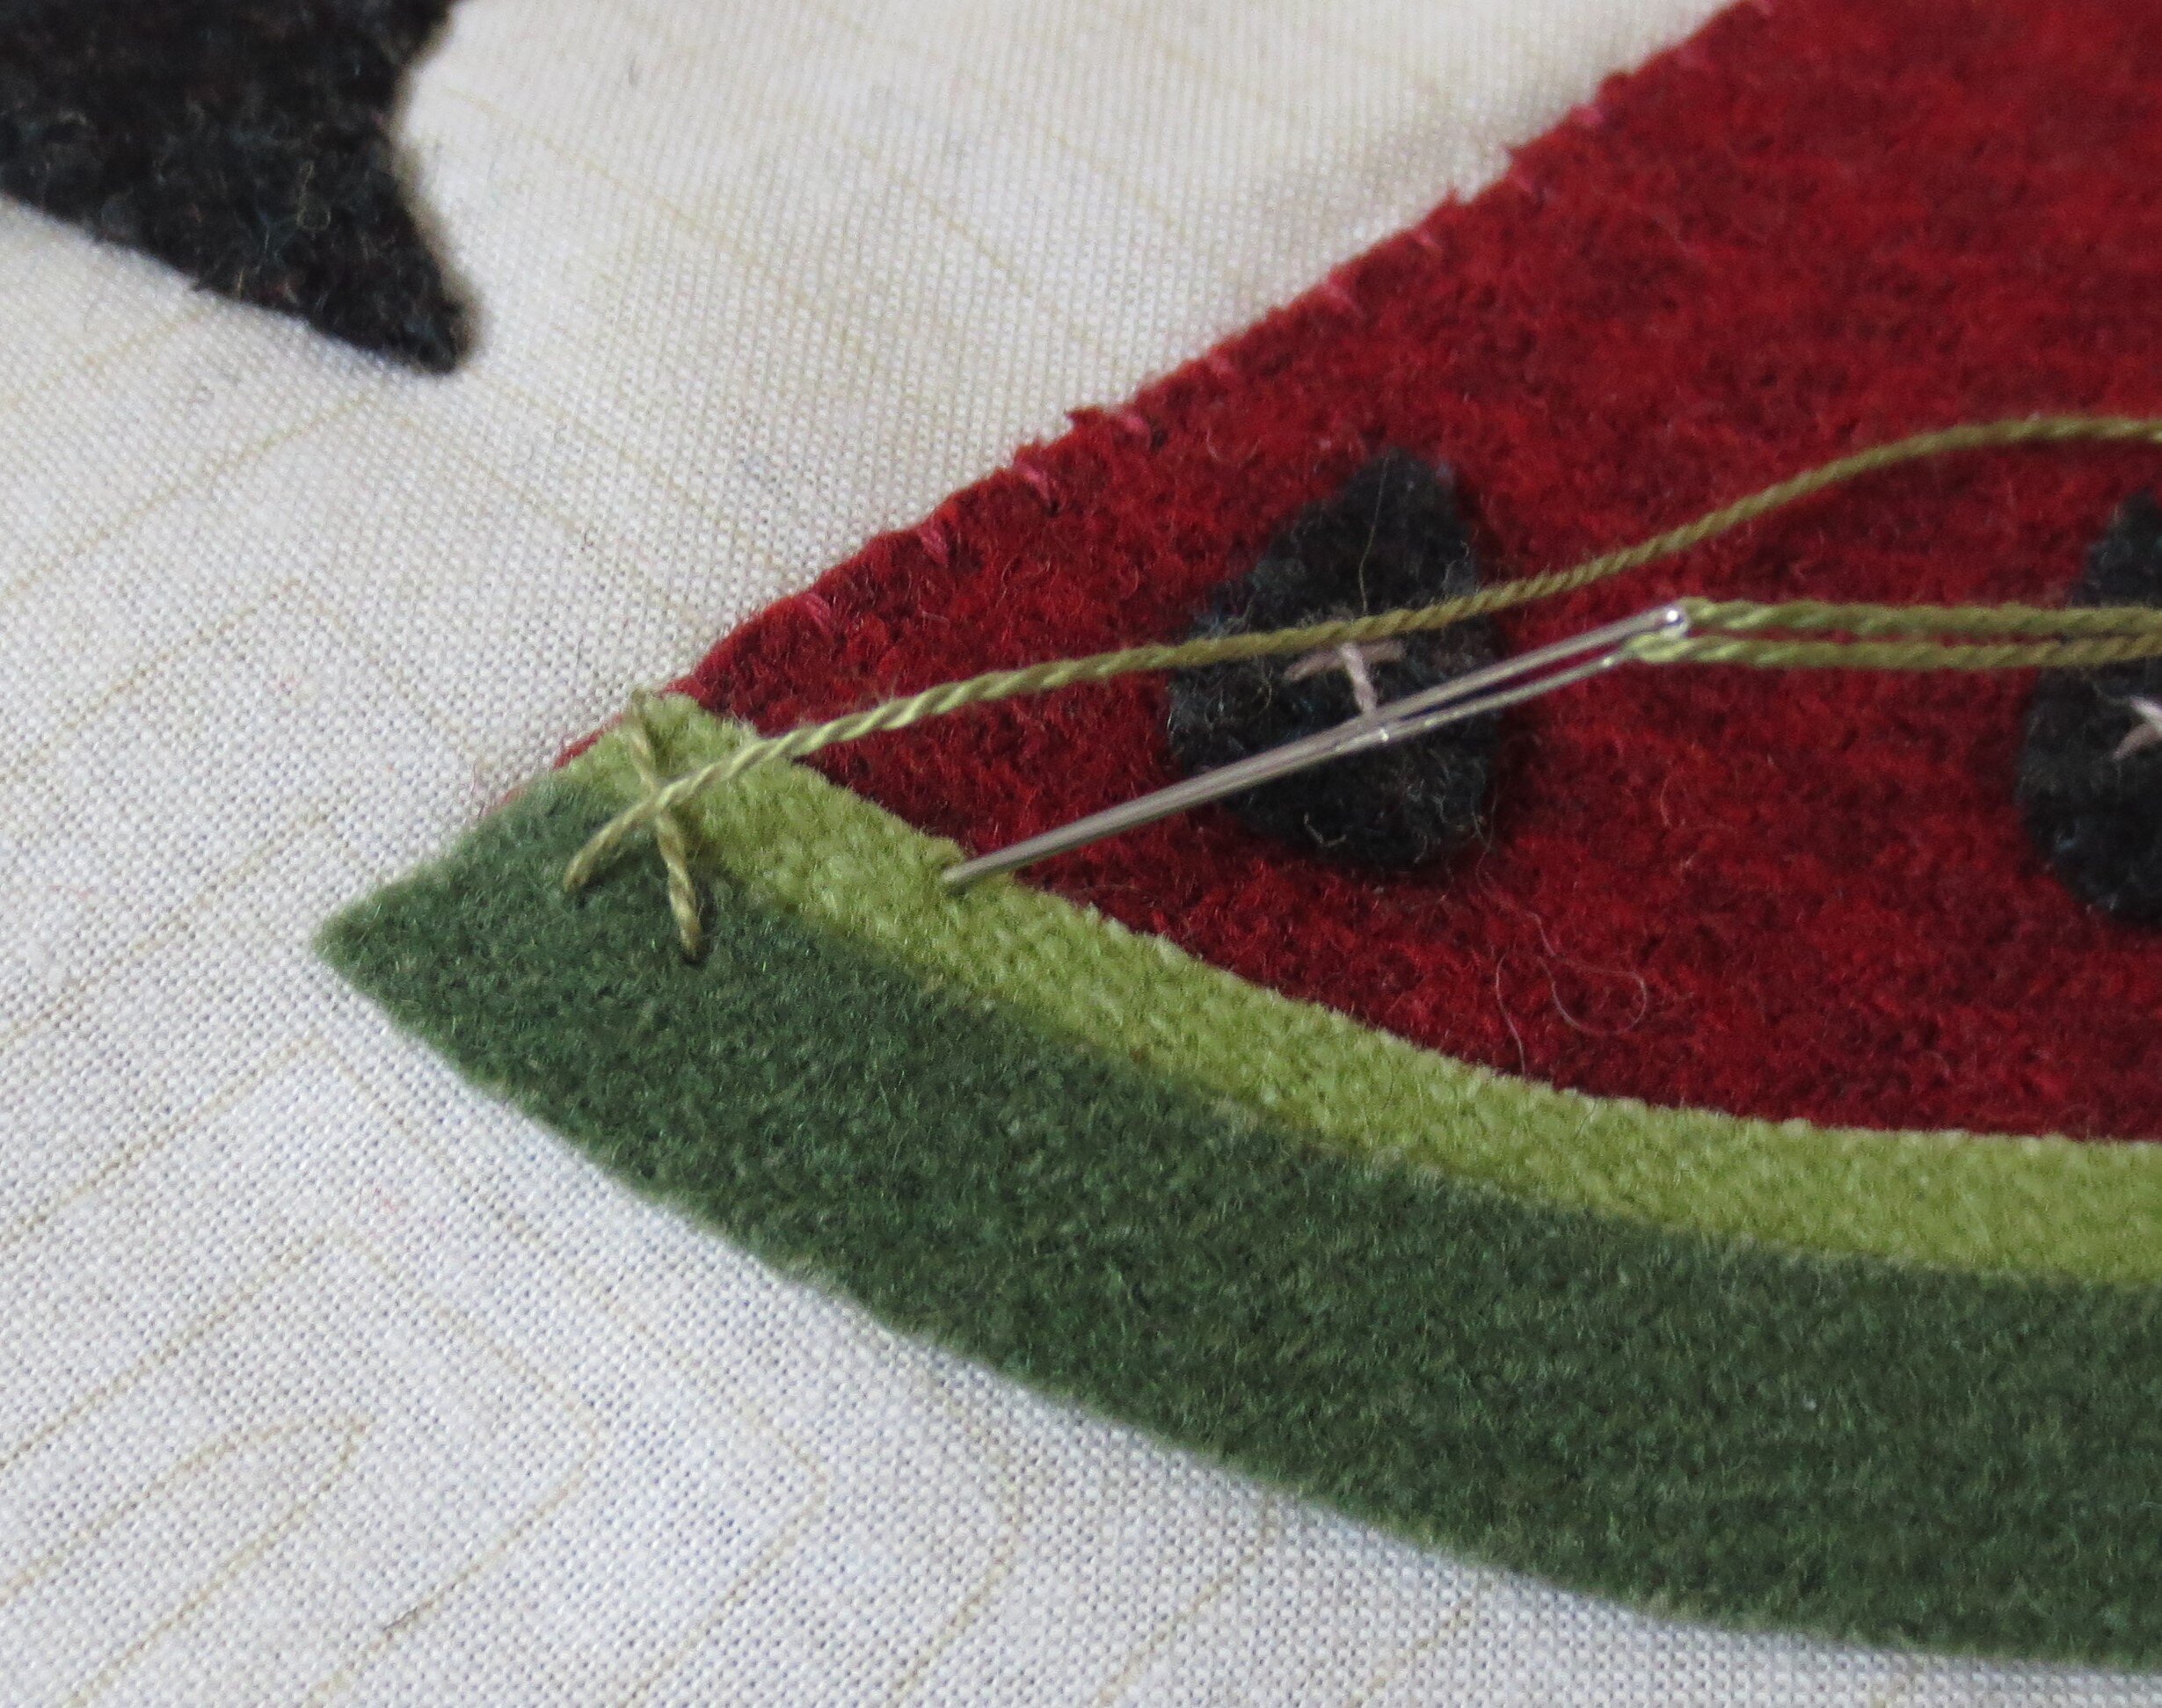
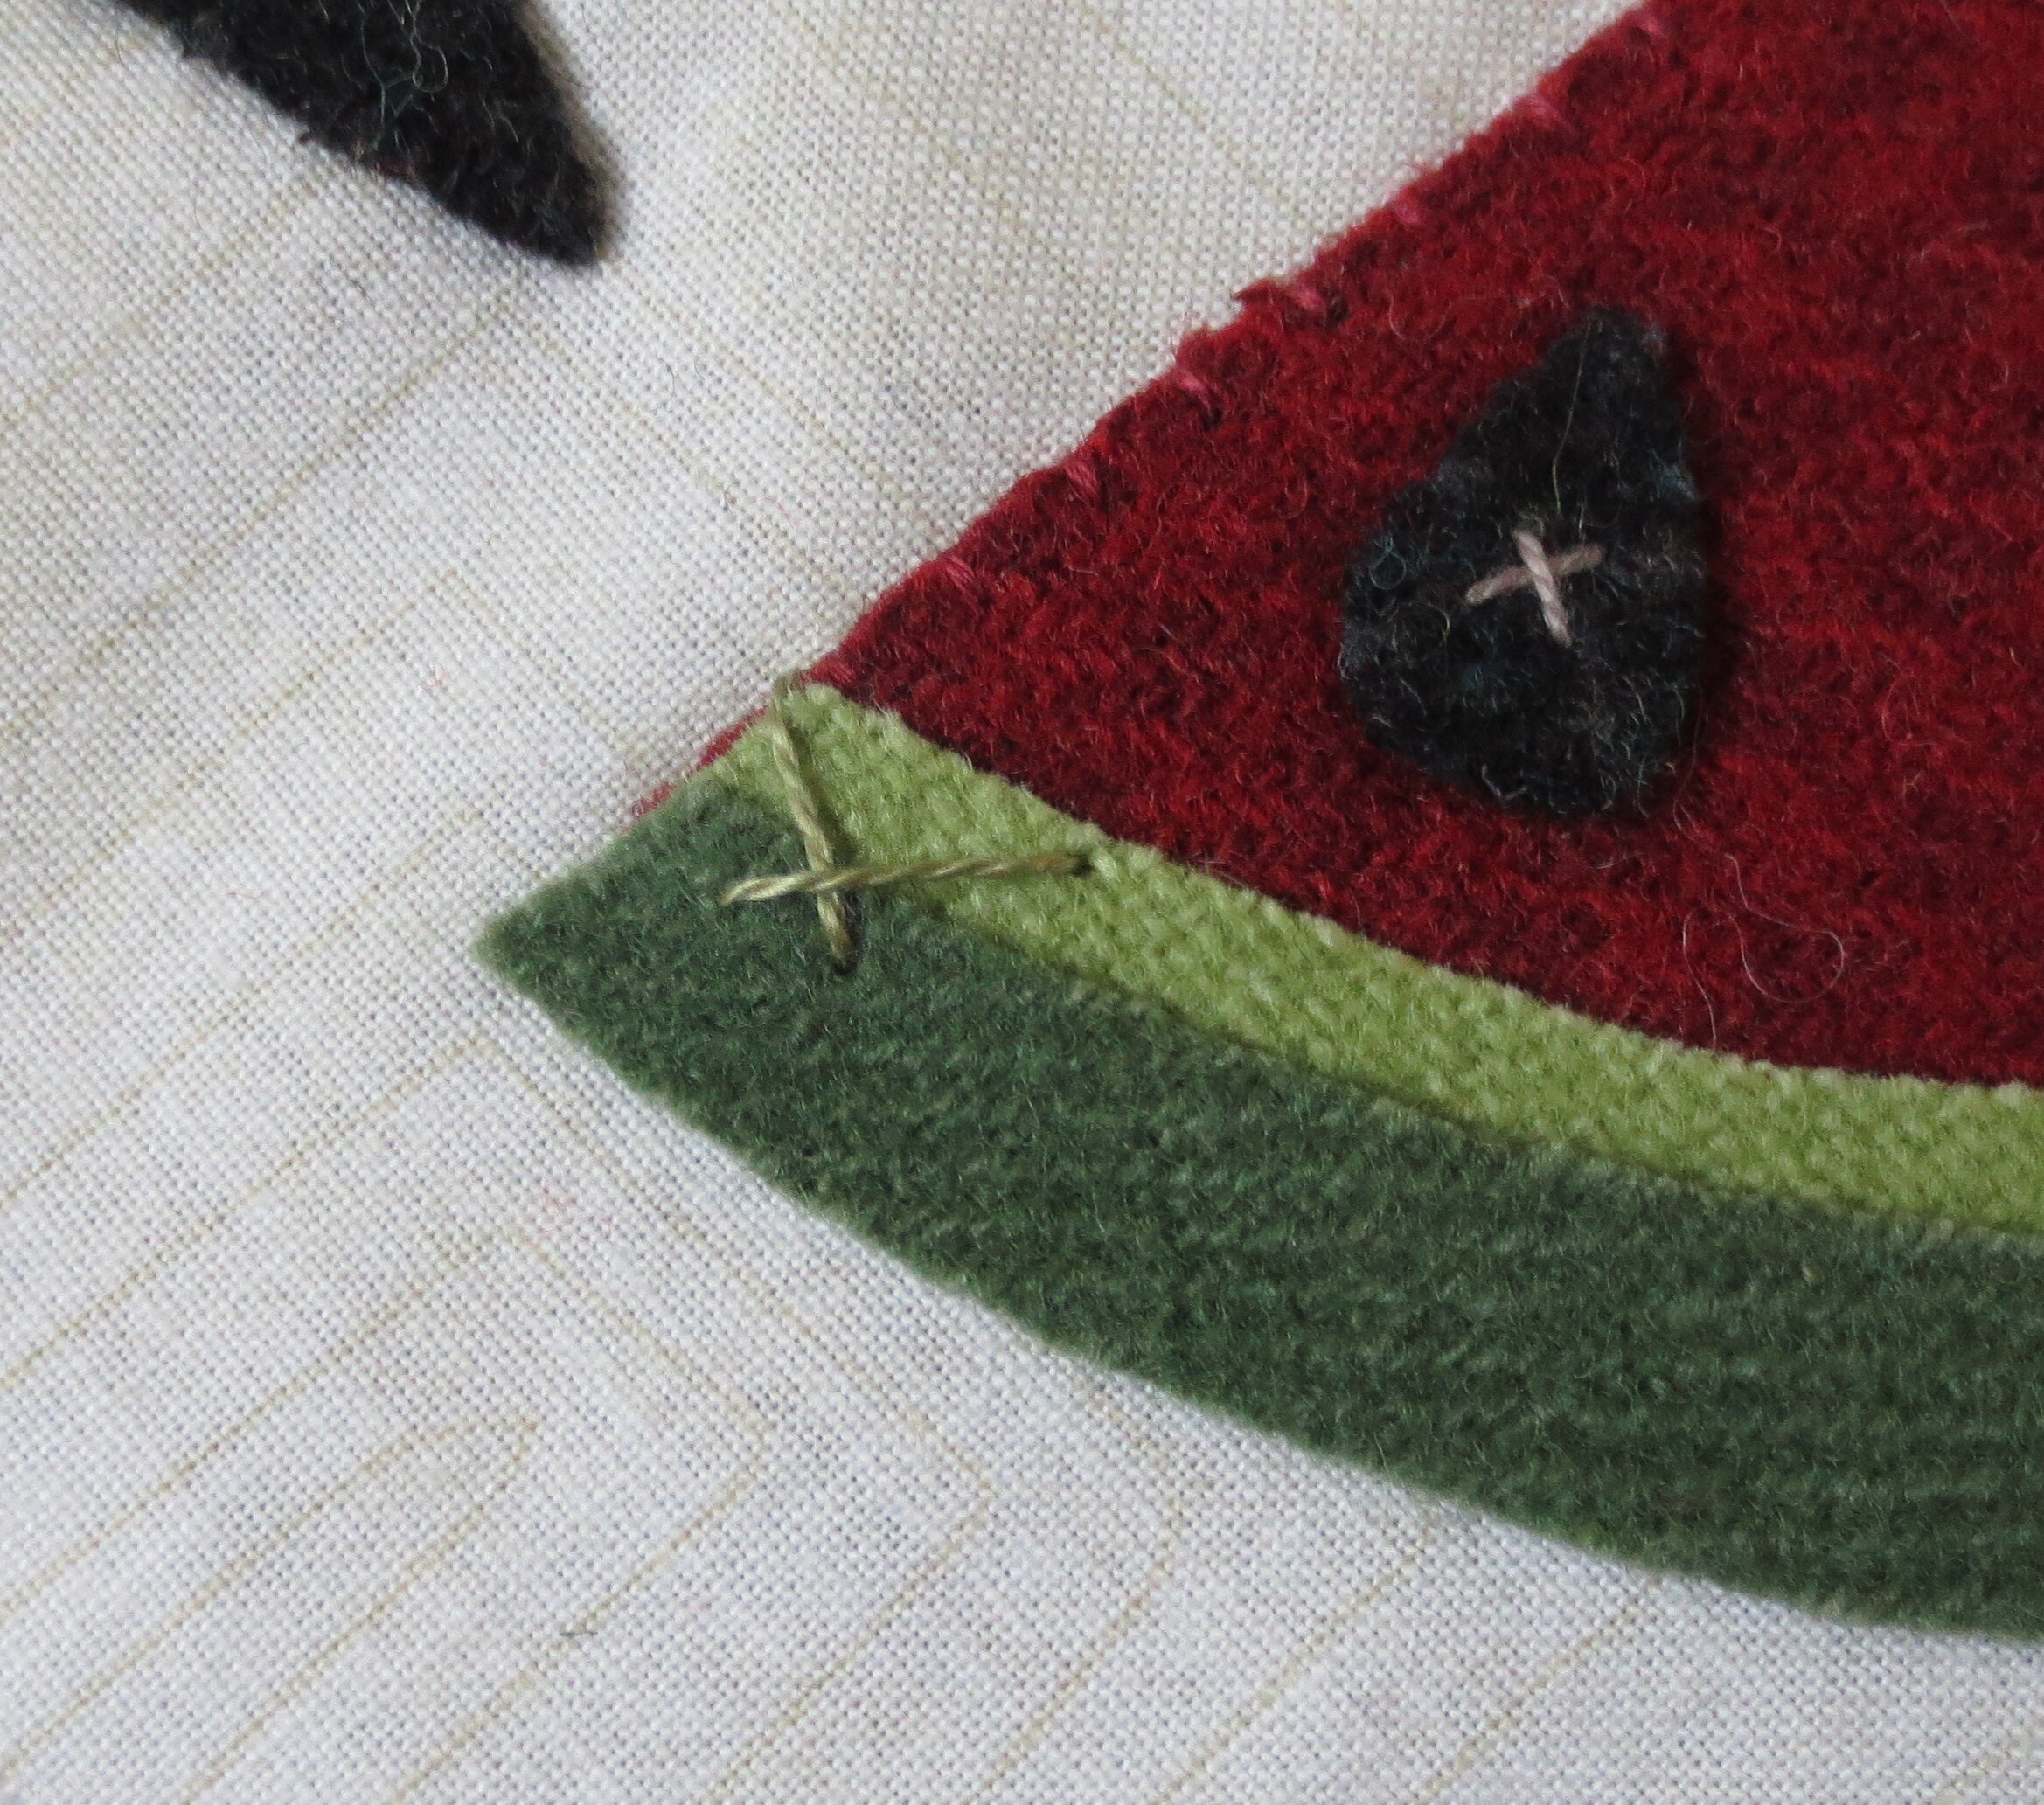
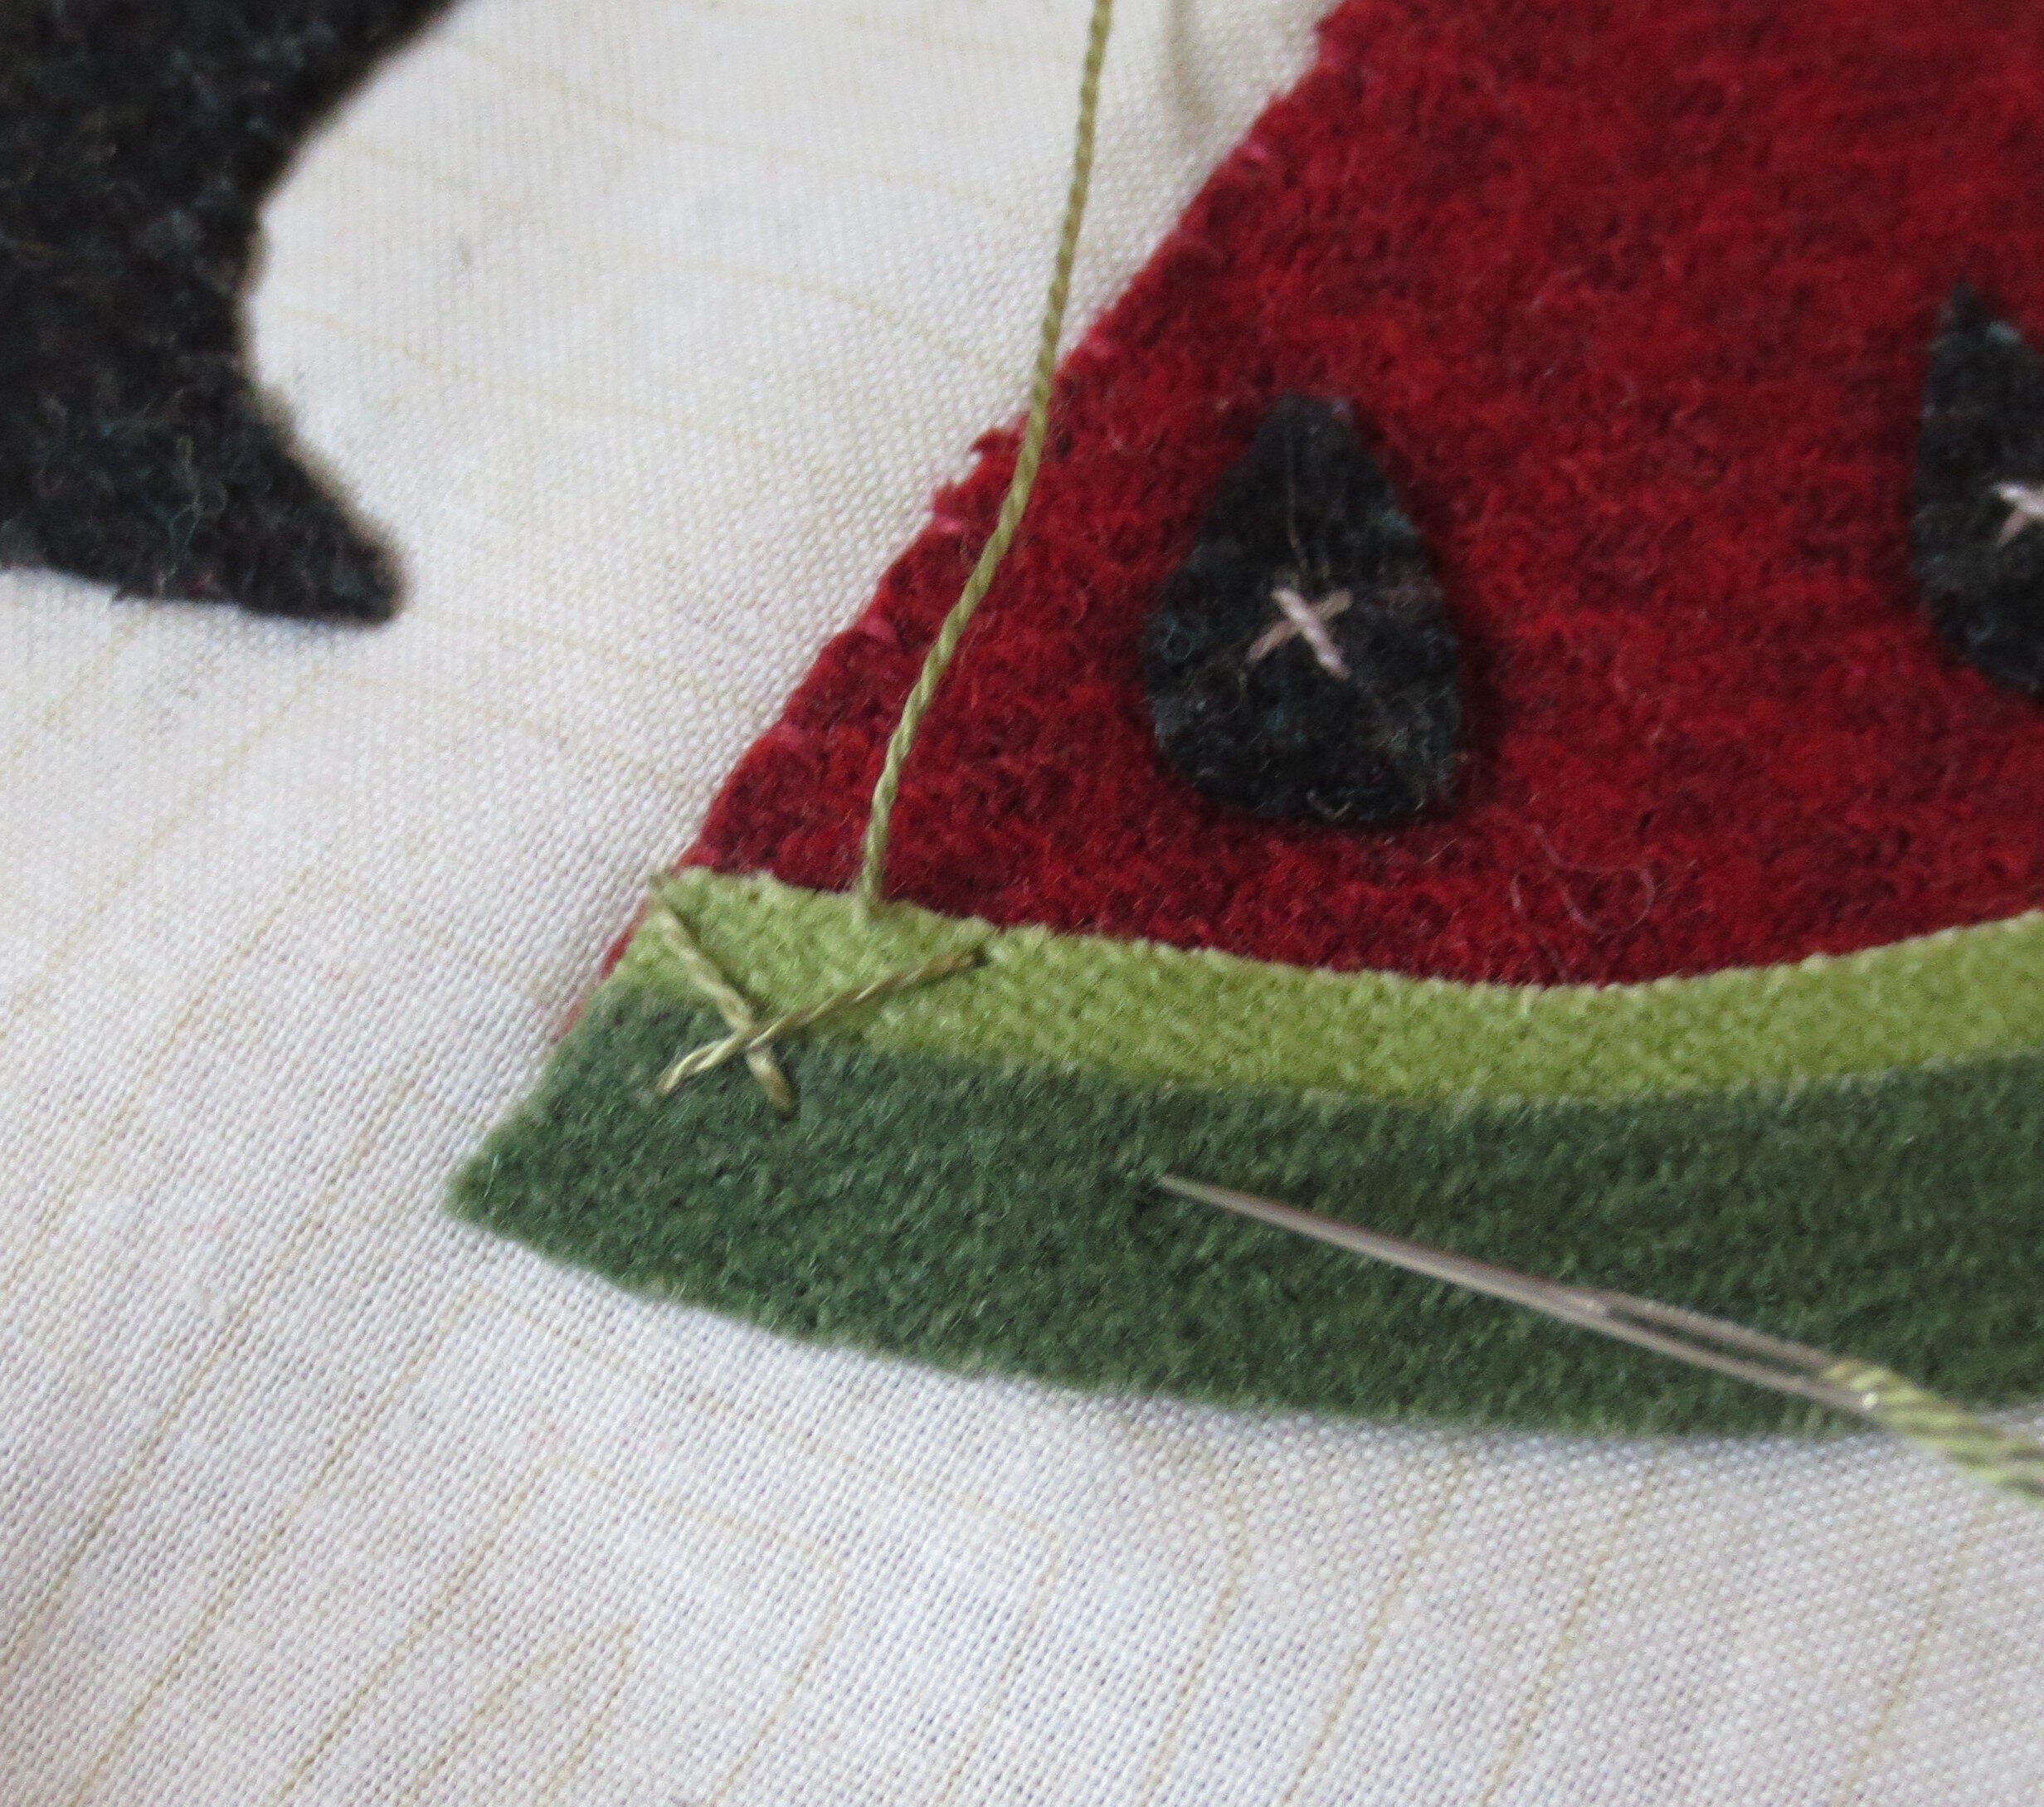
15. Use 1 strand of Valdani perle cotton, size 12 #H202 to stitch a herringbone stitch between the watermelon rind sections.
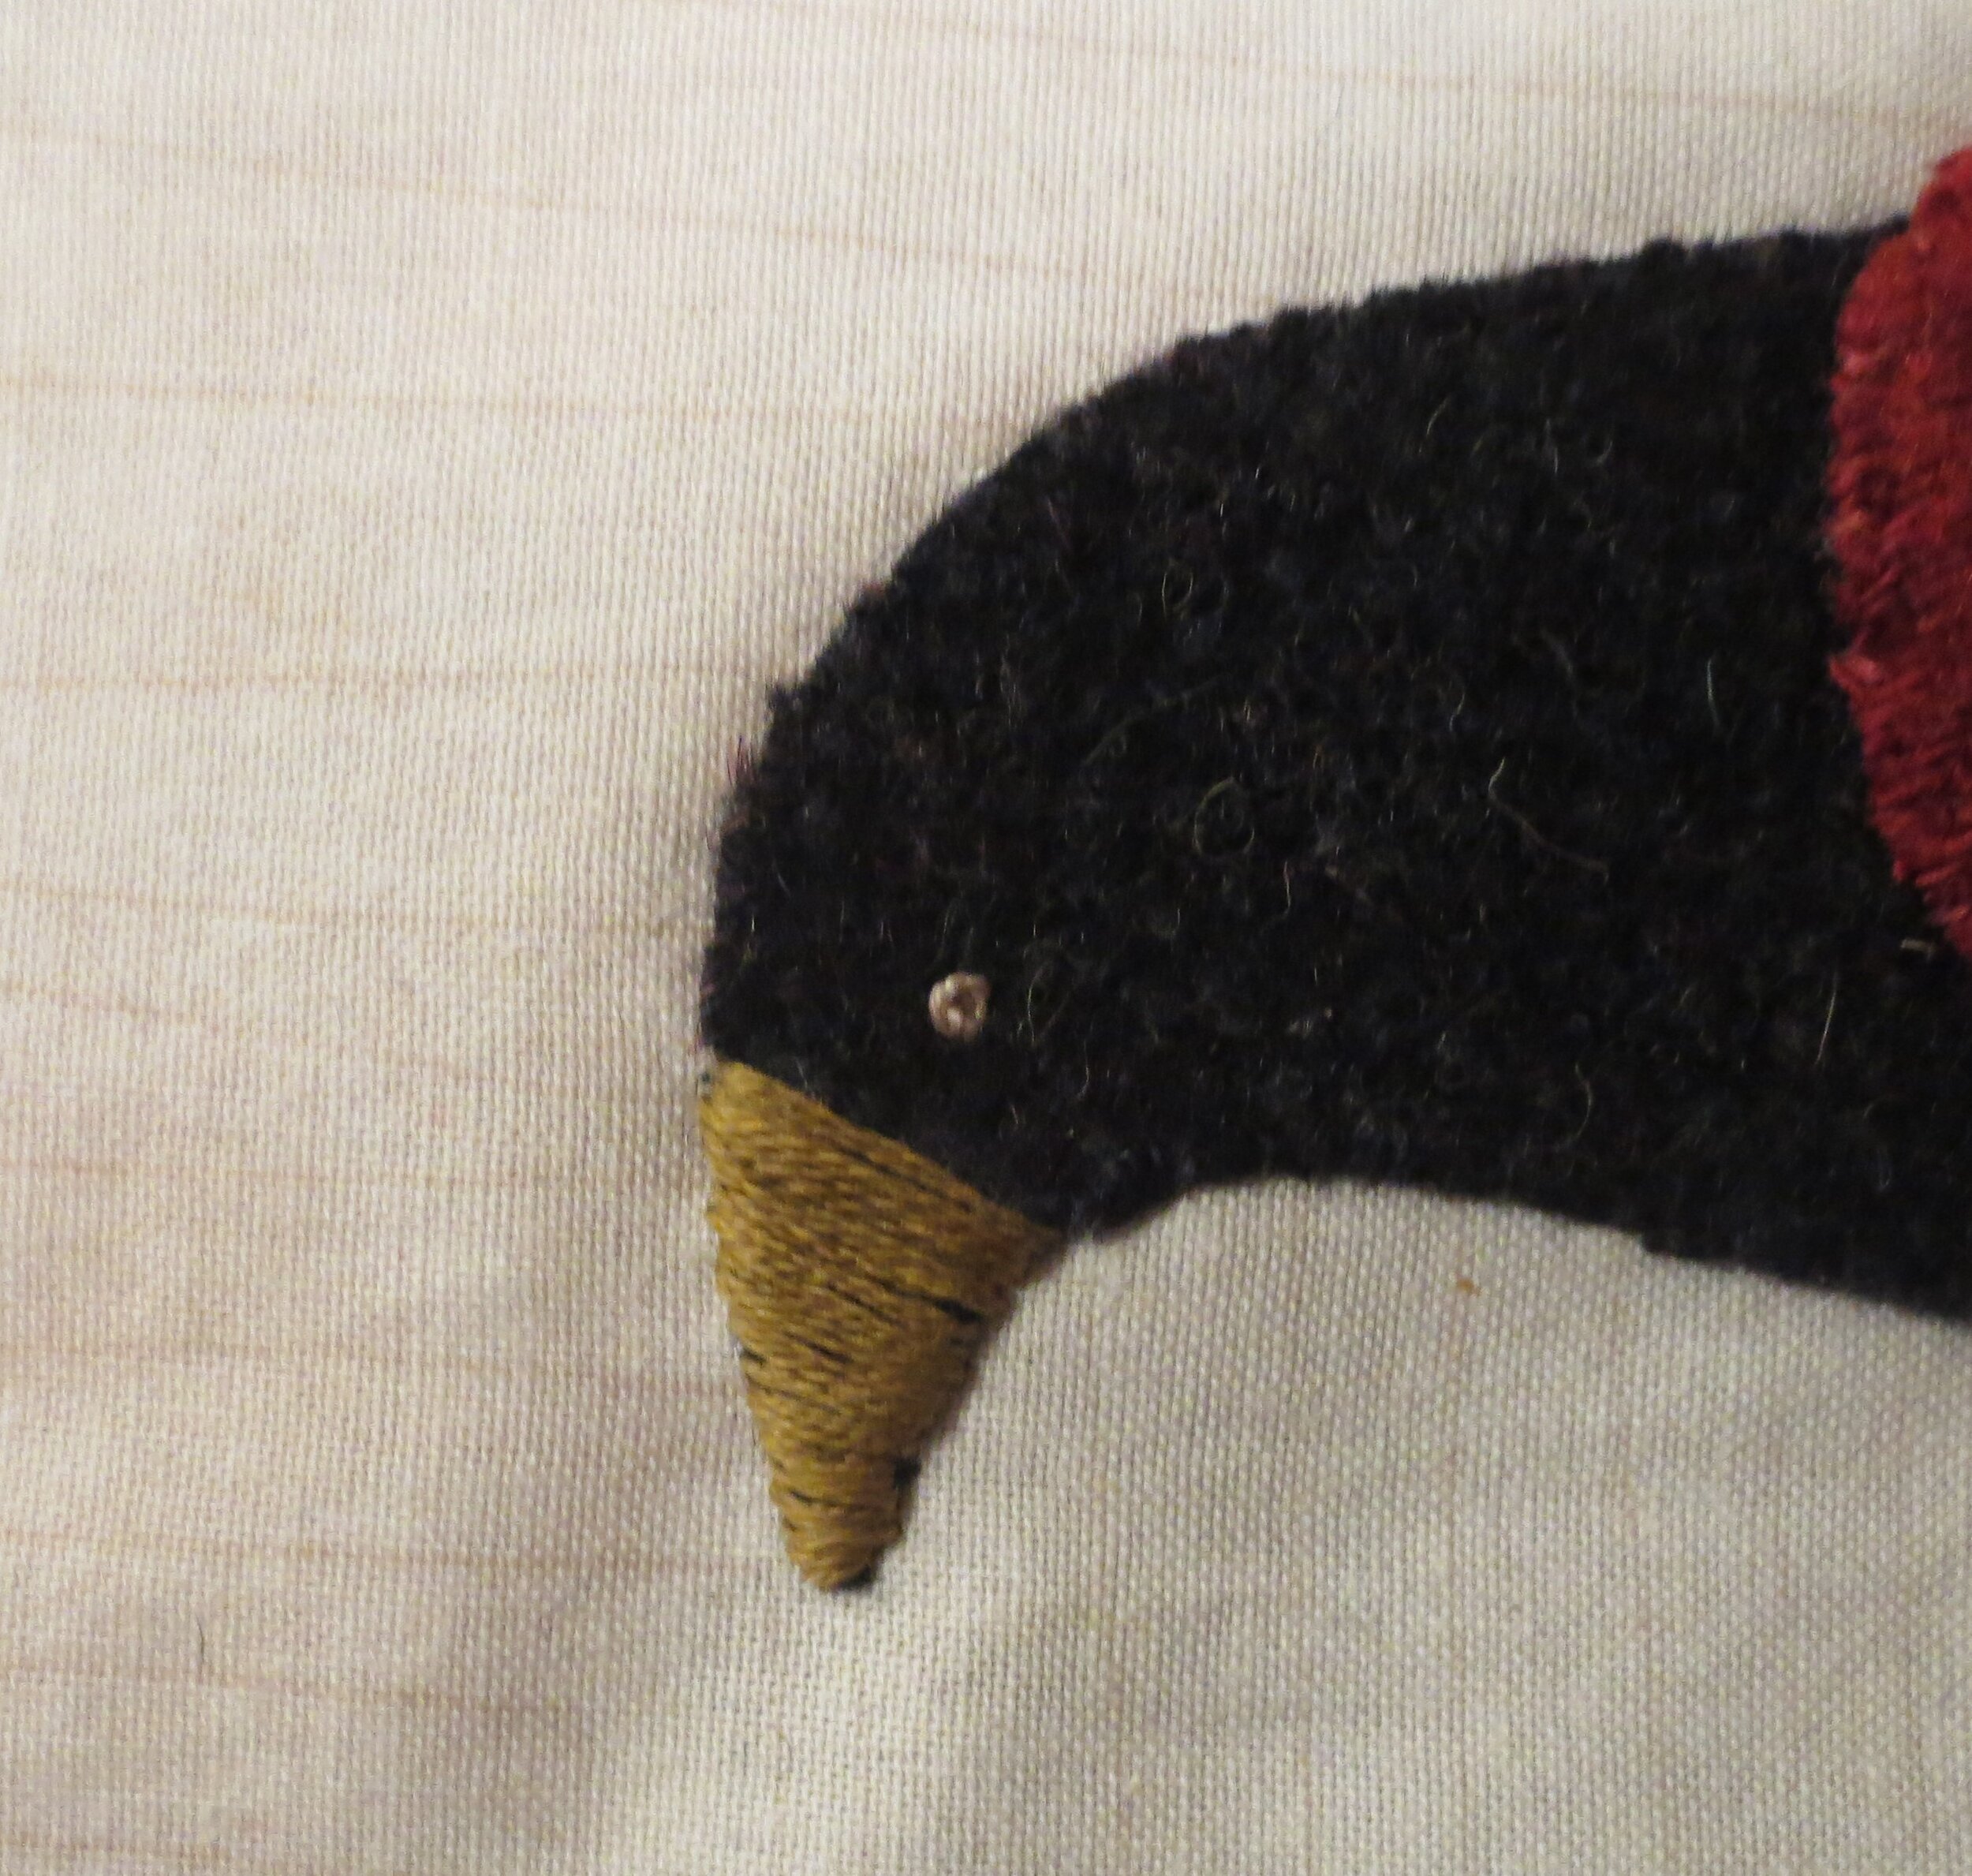
16. Use a chalk pencil to draw a guide line for the beak. Some of you may have opted to use a wool beak. If so, skip to step 18.
17. Use 3 strands of green bronze floss (DMC #831) to satin stitch the beak.
18. Use the same thread to stitch a colonial/French knot eye.
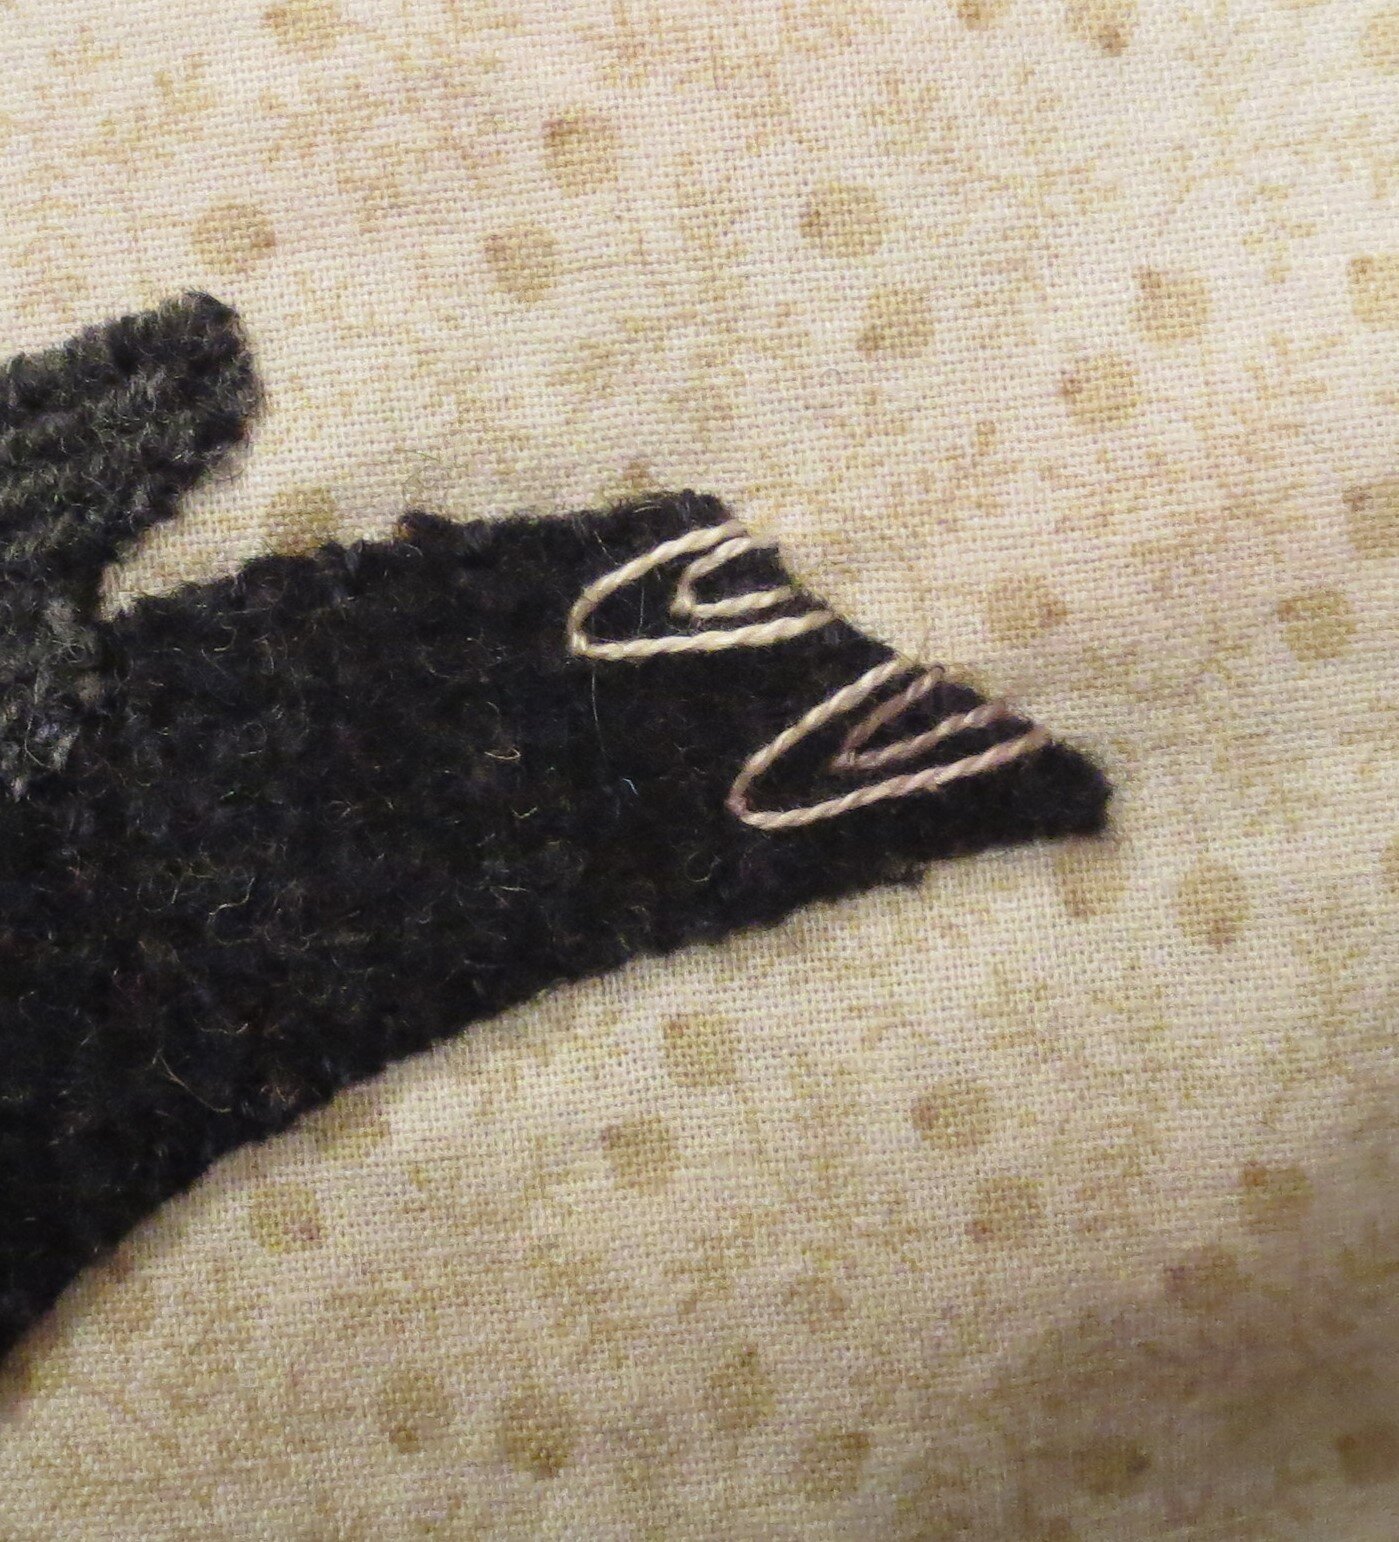
19. Use a chalk pencil to mark the tail feathers using the layout as a guide.
20. Use 1 strand of Valdani perle cotton, size 12 #O538 to stitch 2 pairs of fly stitches over the chalk pencil guide lines.
21. Use an air erasable marker or chalk pencil to draw the bird’s legs. Use the layout and lightbox for proper placement.
22. Use 3 strands of green bronze floss to stem stitch over the drawn lines.
Block # 8 is finished!
Well done! Only one more block to go!
Block #8 of the BIRDS OF A FEATHER BOM
Here are some blocks from the Wooly Gals Friendship Group.
They are so clever! I’m so lucky to be a party of the group.


