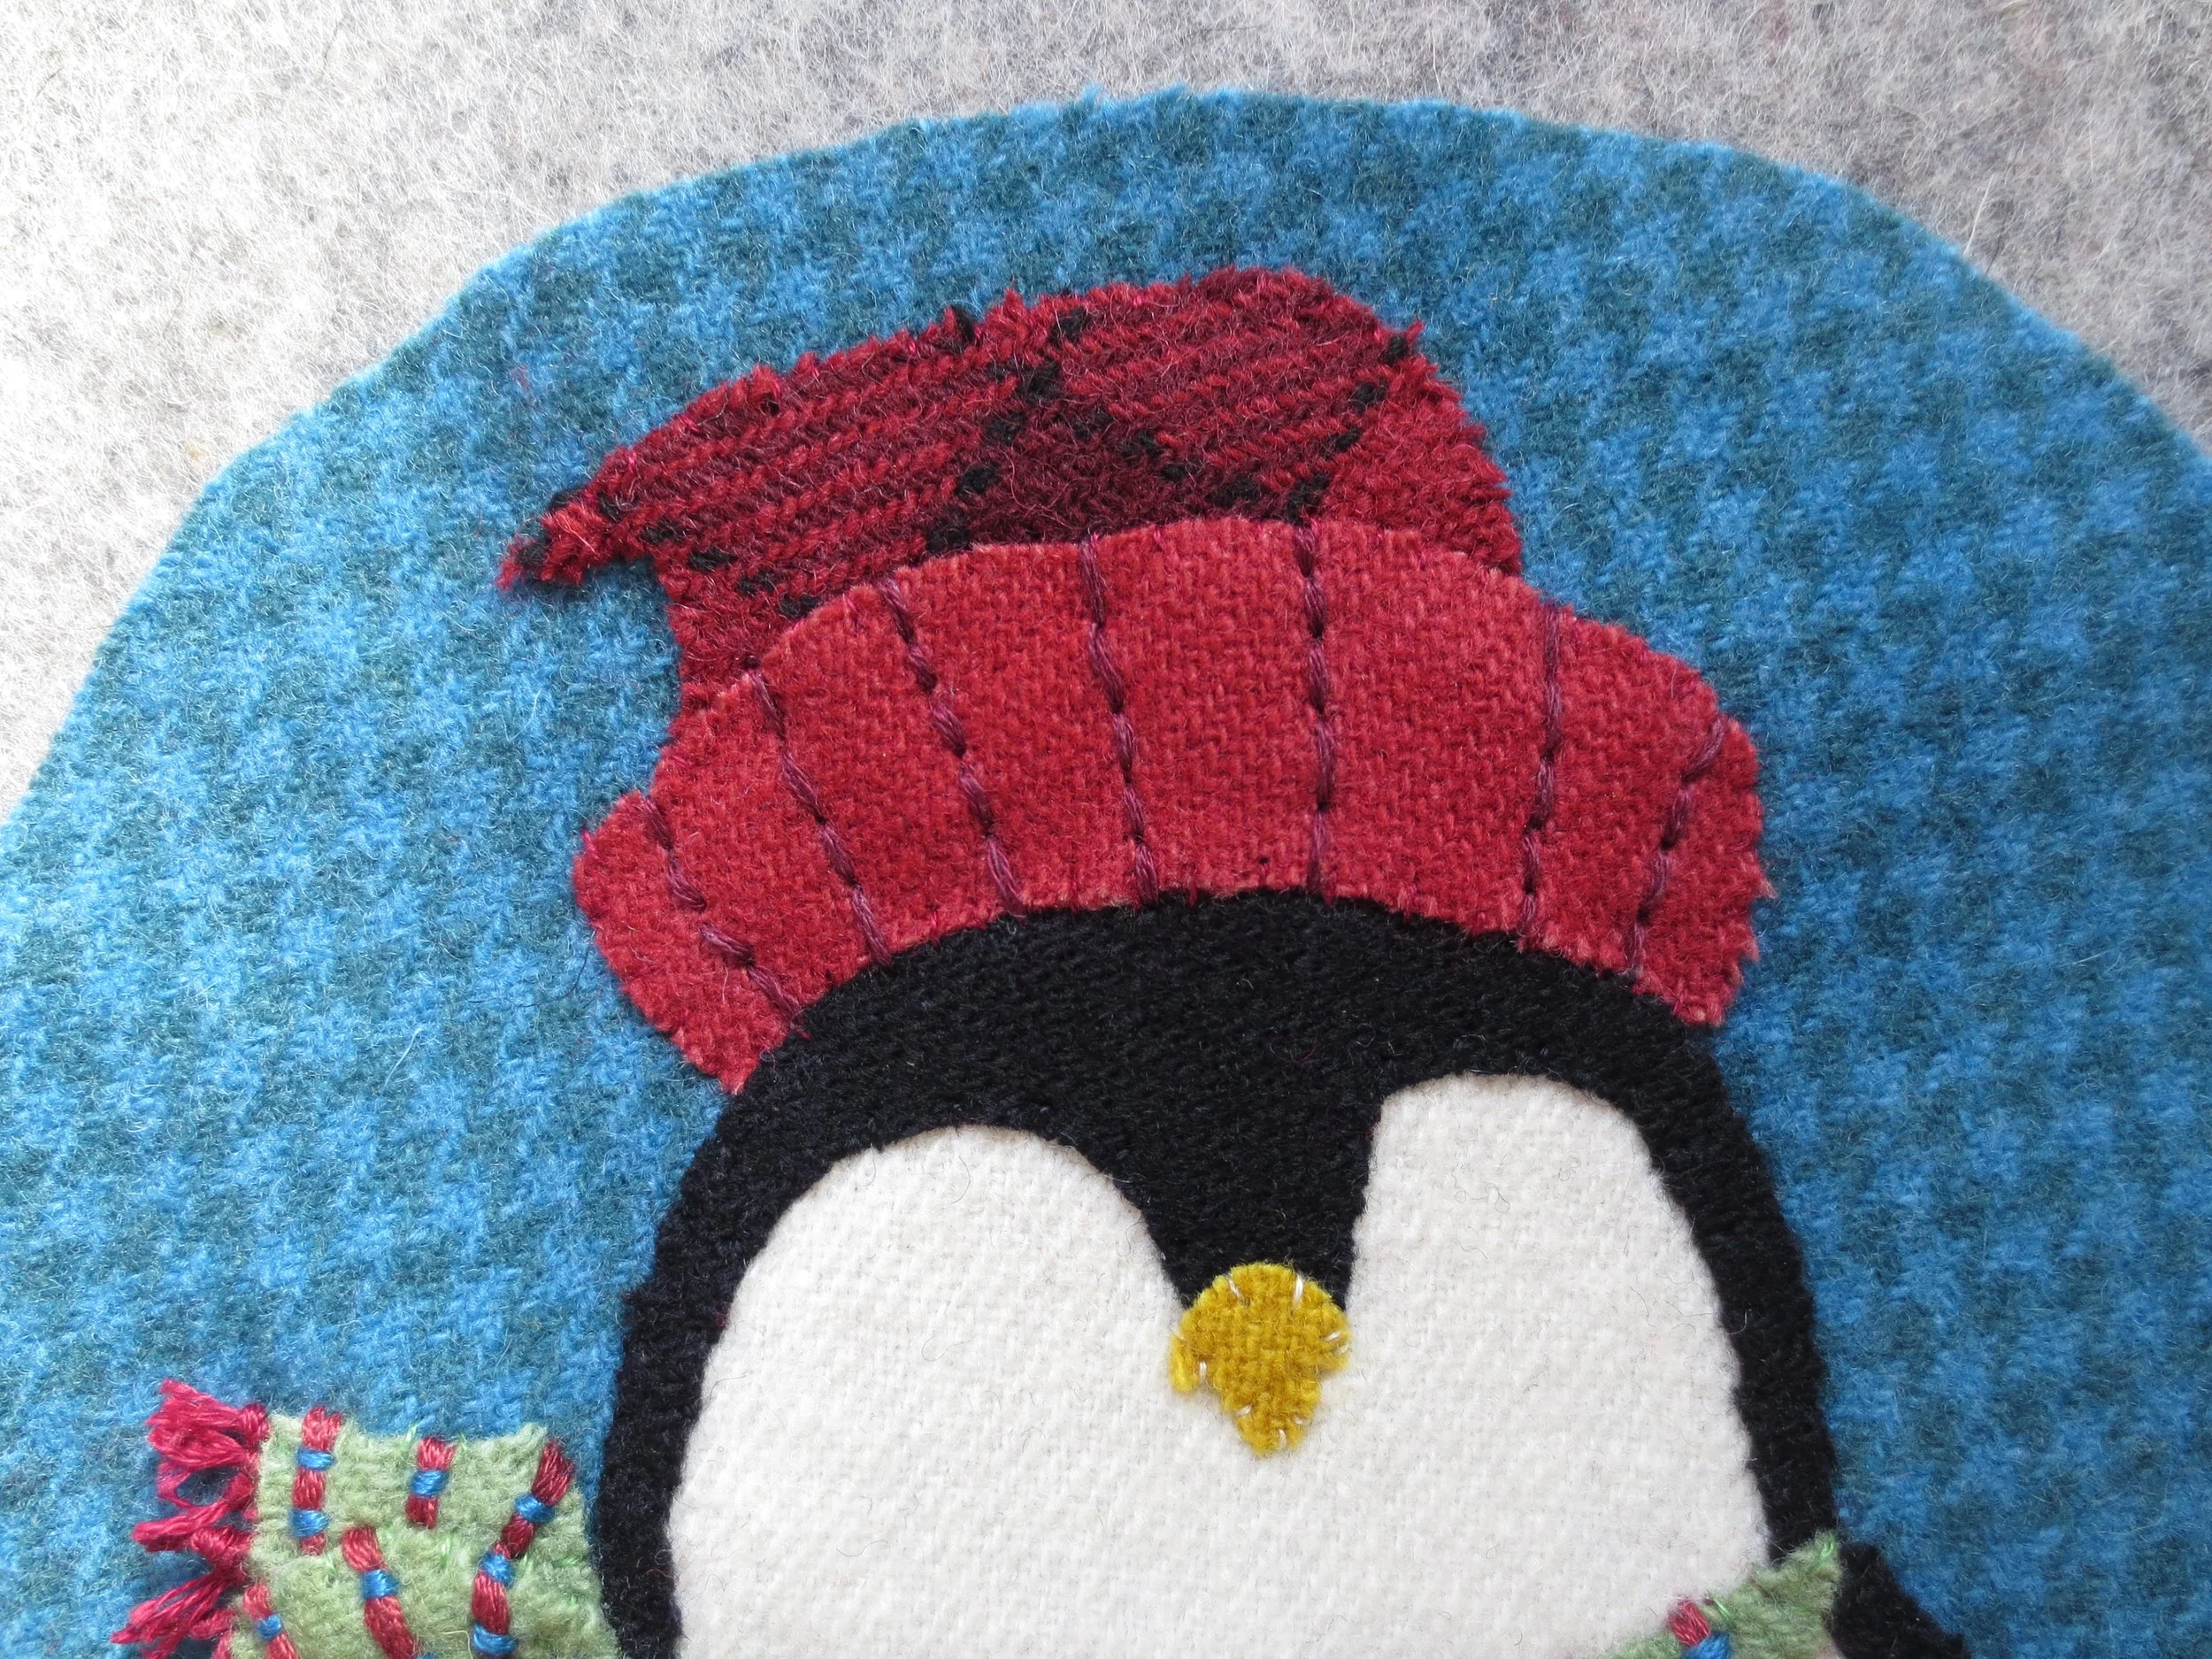
Penguin Christmas Ornament
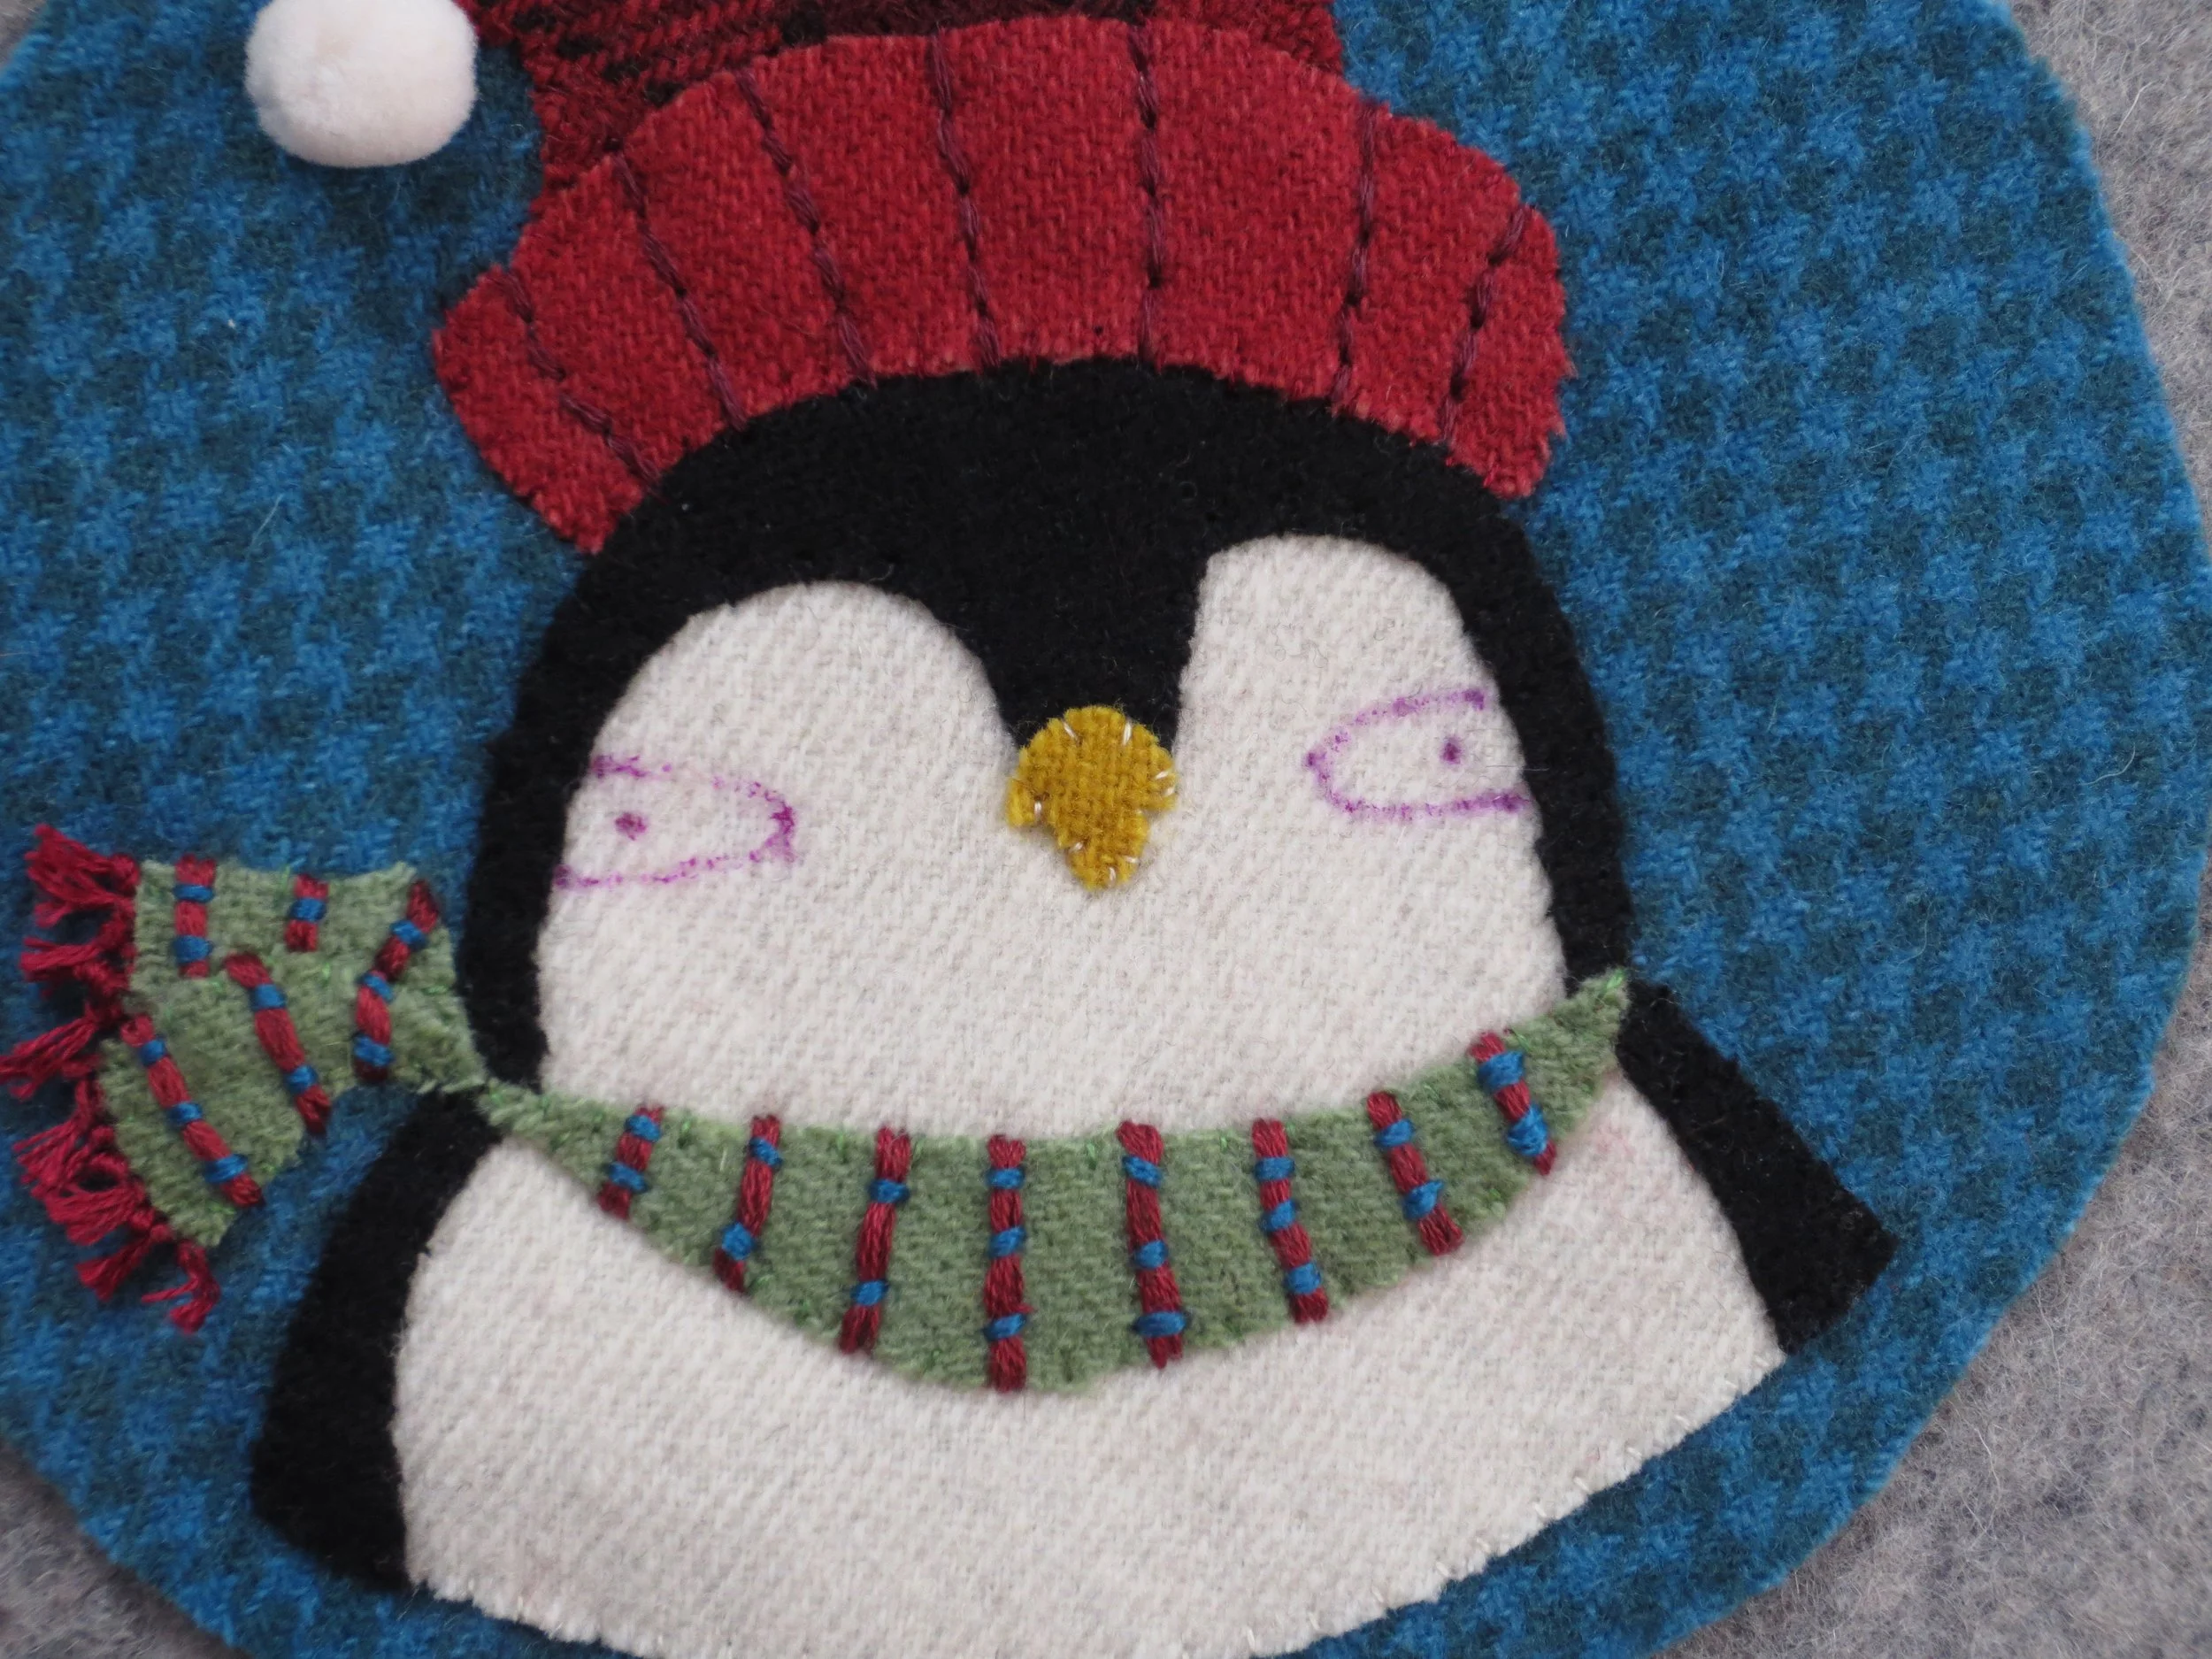
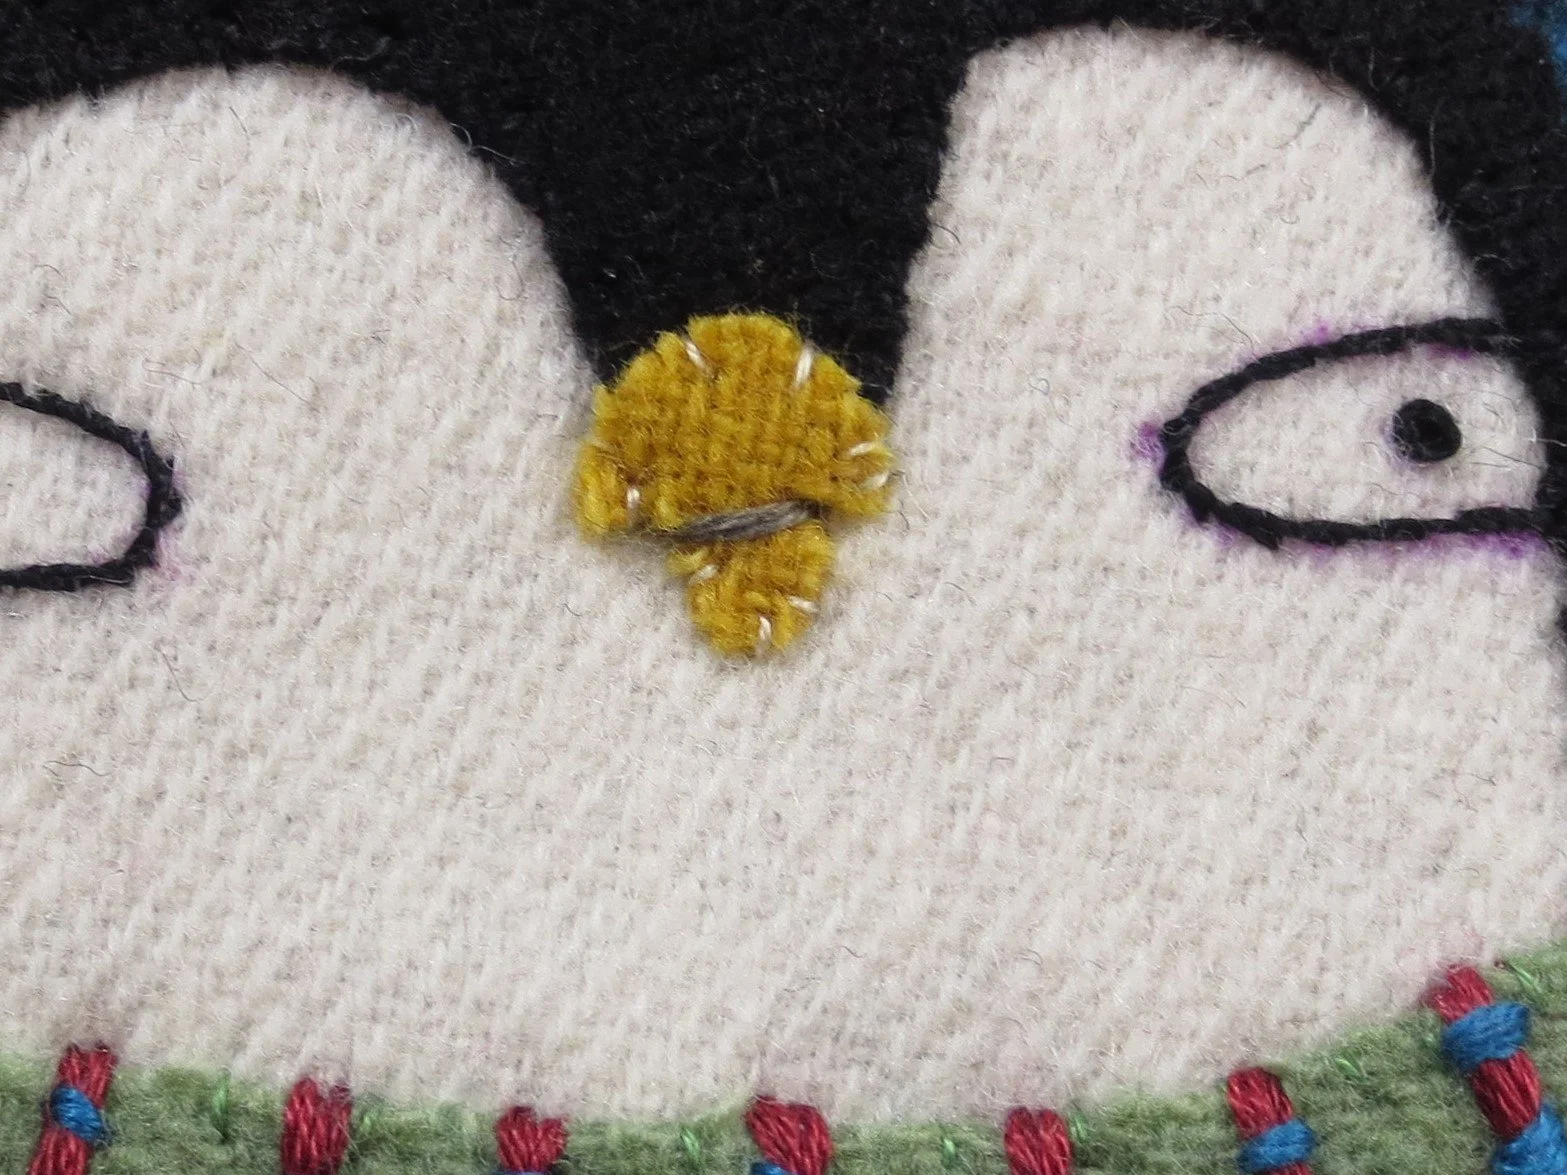
It’s that time of year again. Time to make another ornament for our Christmas tree. This year I decided on a penguin for my ornament design. They don’t reside in the North Pole with Santa, but they do remind me of snowy winter days. And how can anyone object to an adorable penguin chick?
This ornament is a companion to the Santa, Snowman, Nutcracker, and Reindeer ornaments from prior years. The size is the same as the Santa, 5” x 5 1/2”.
Happy Stitching!
Supplies
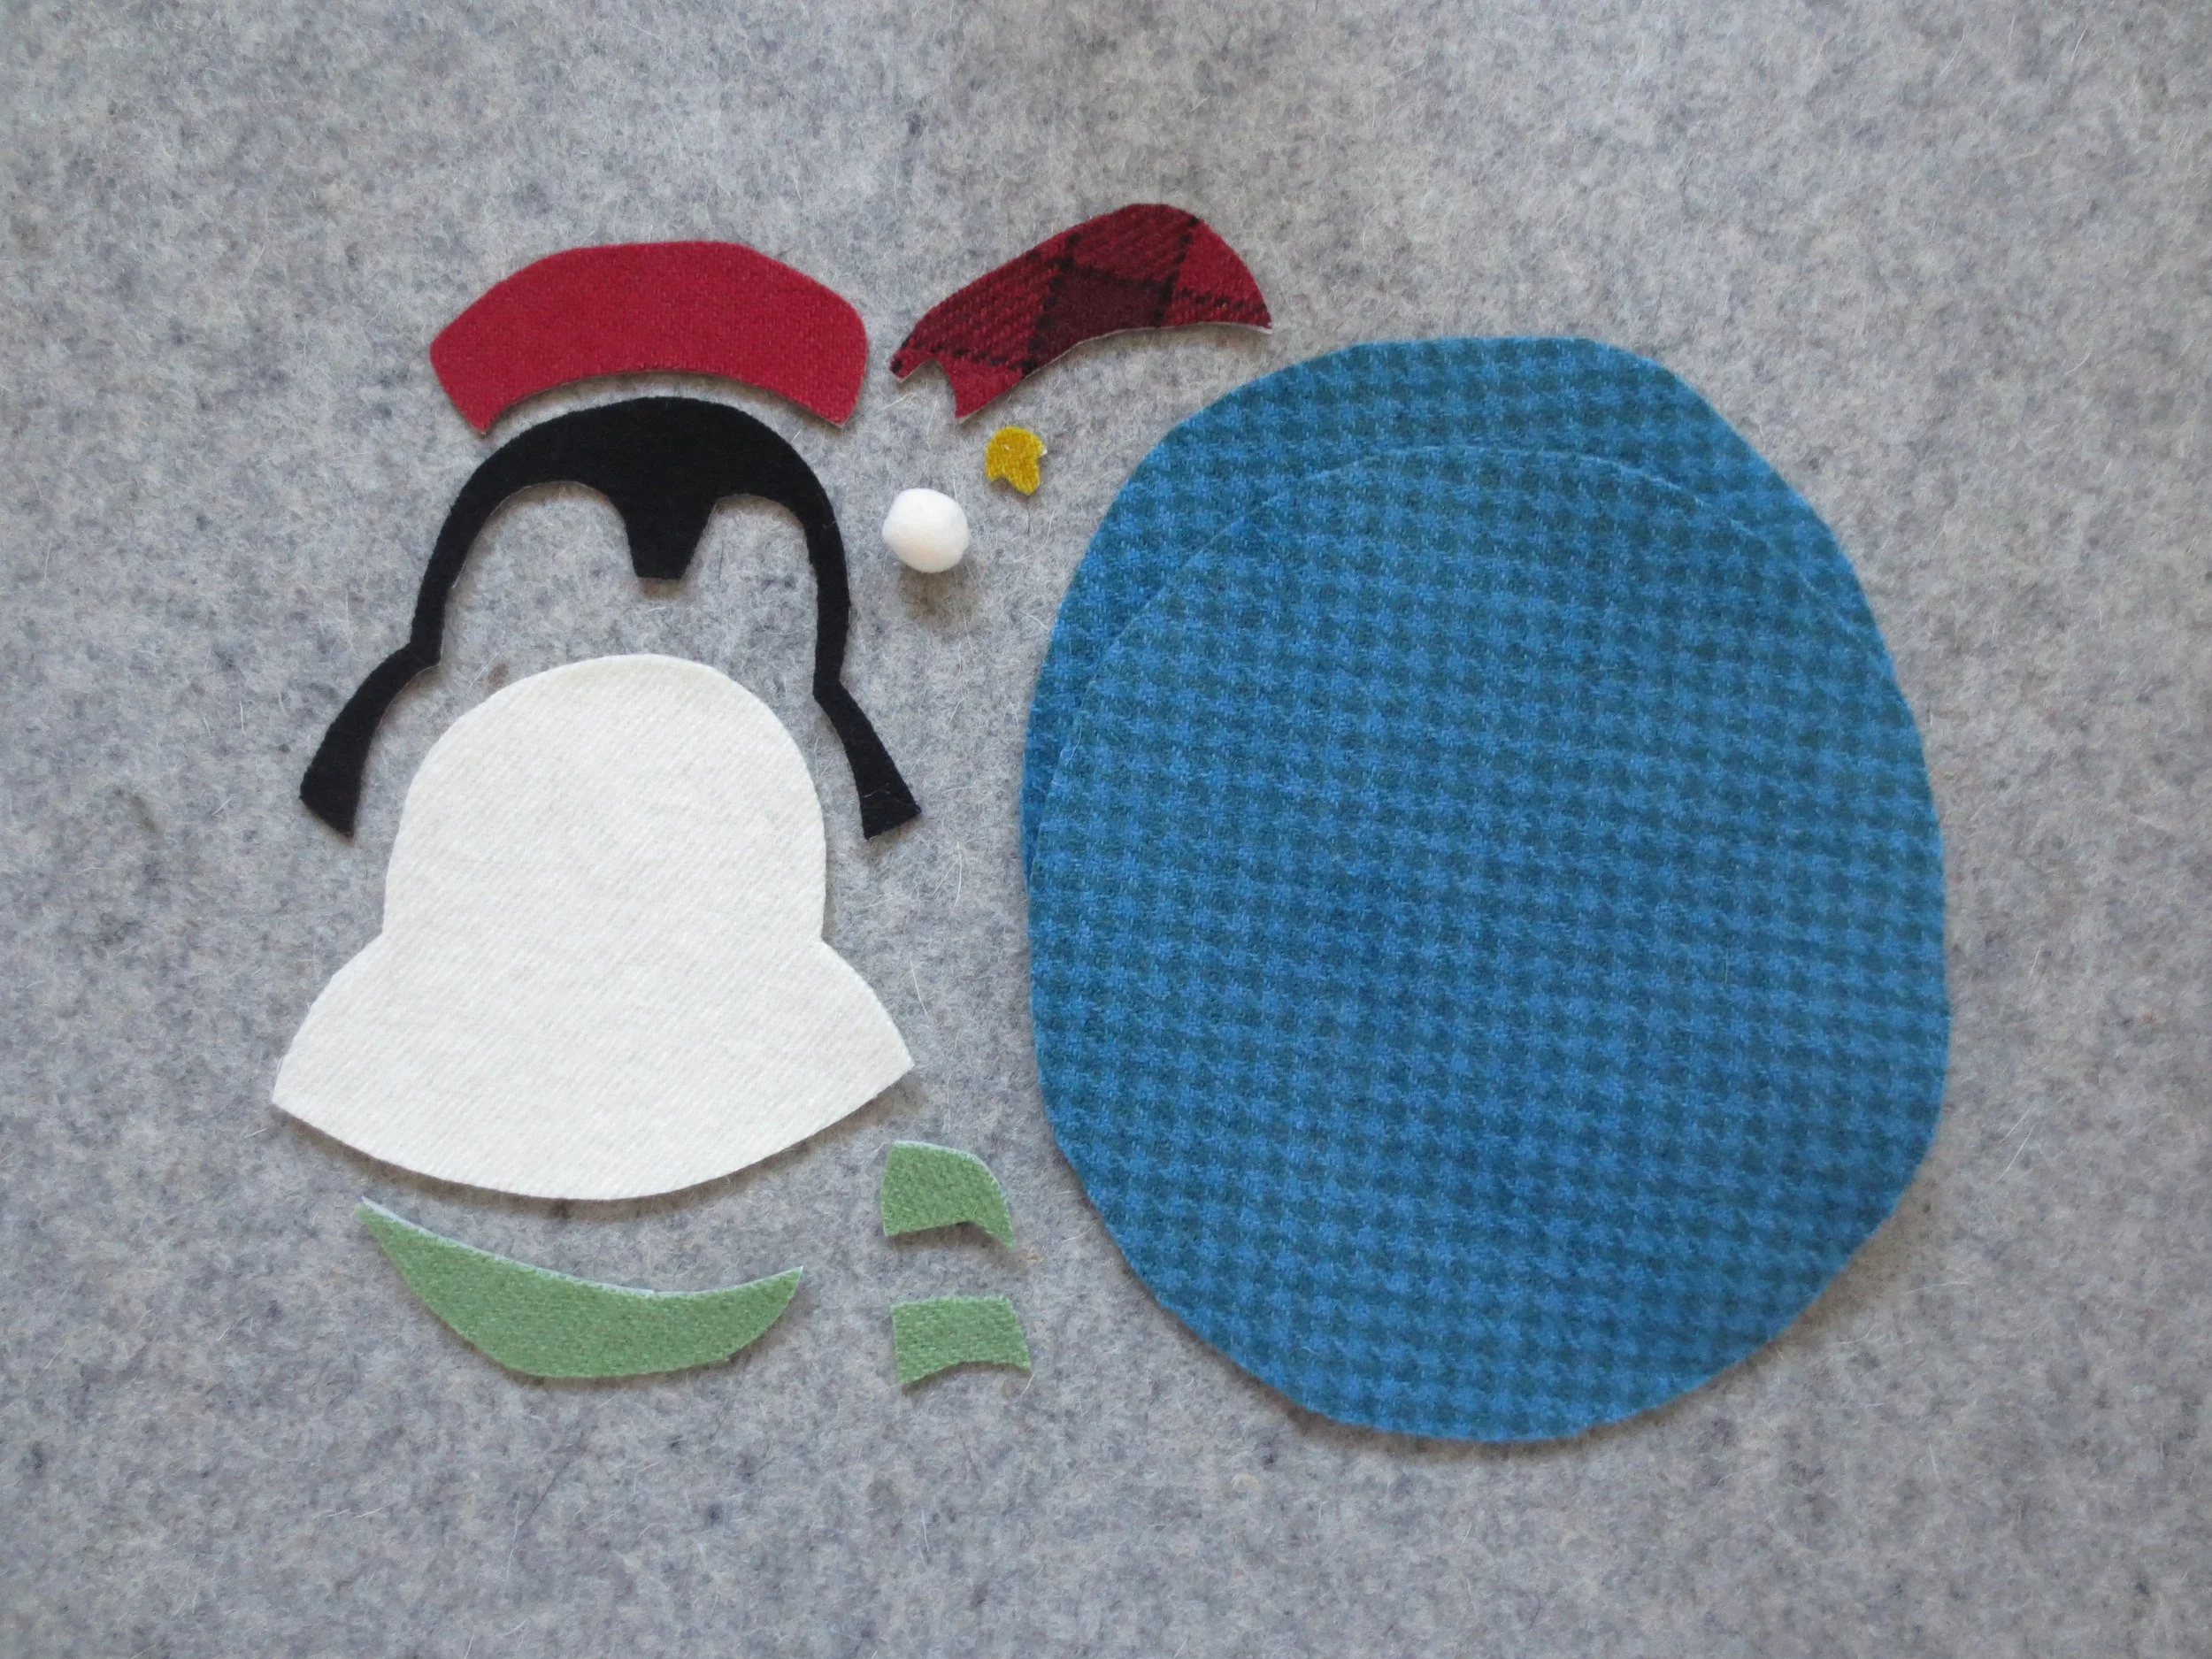
Felted wool or wool felt (suggested colors)
Background - 6 1/2” x 14” teal houndstooth
Head and chest - 4” x 4” off-white
Hood and wings - 4” x 4” black
Hat band - 2” x 3 1/2” red
Hat - 1 1/2” x 3” red/black plaid
Scarf - 2” x 3” green
Thread
6 strand embroidery floss
red to match hat color (this can also be used for the scarf stripes and fringe)
dark red for ribbing in hat band
green to match scarf color
black
off-white
gold
medium gray for the line between the upper and lower beak
teal to match background
black perle cotton, size 8
Miscellaneous
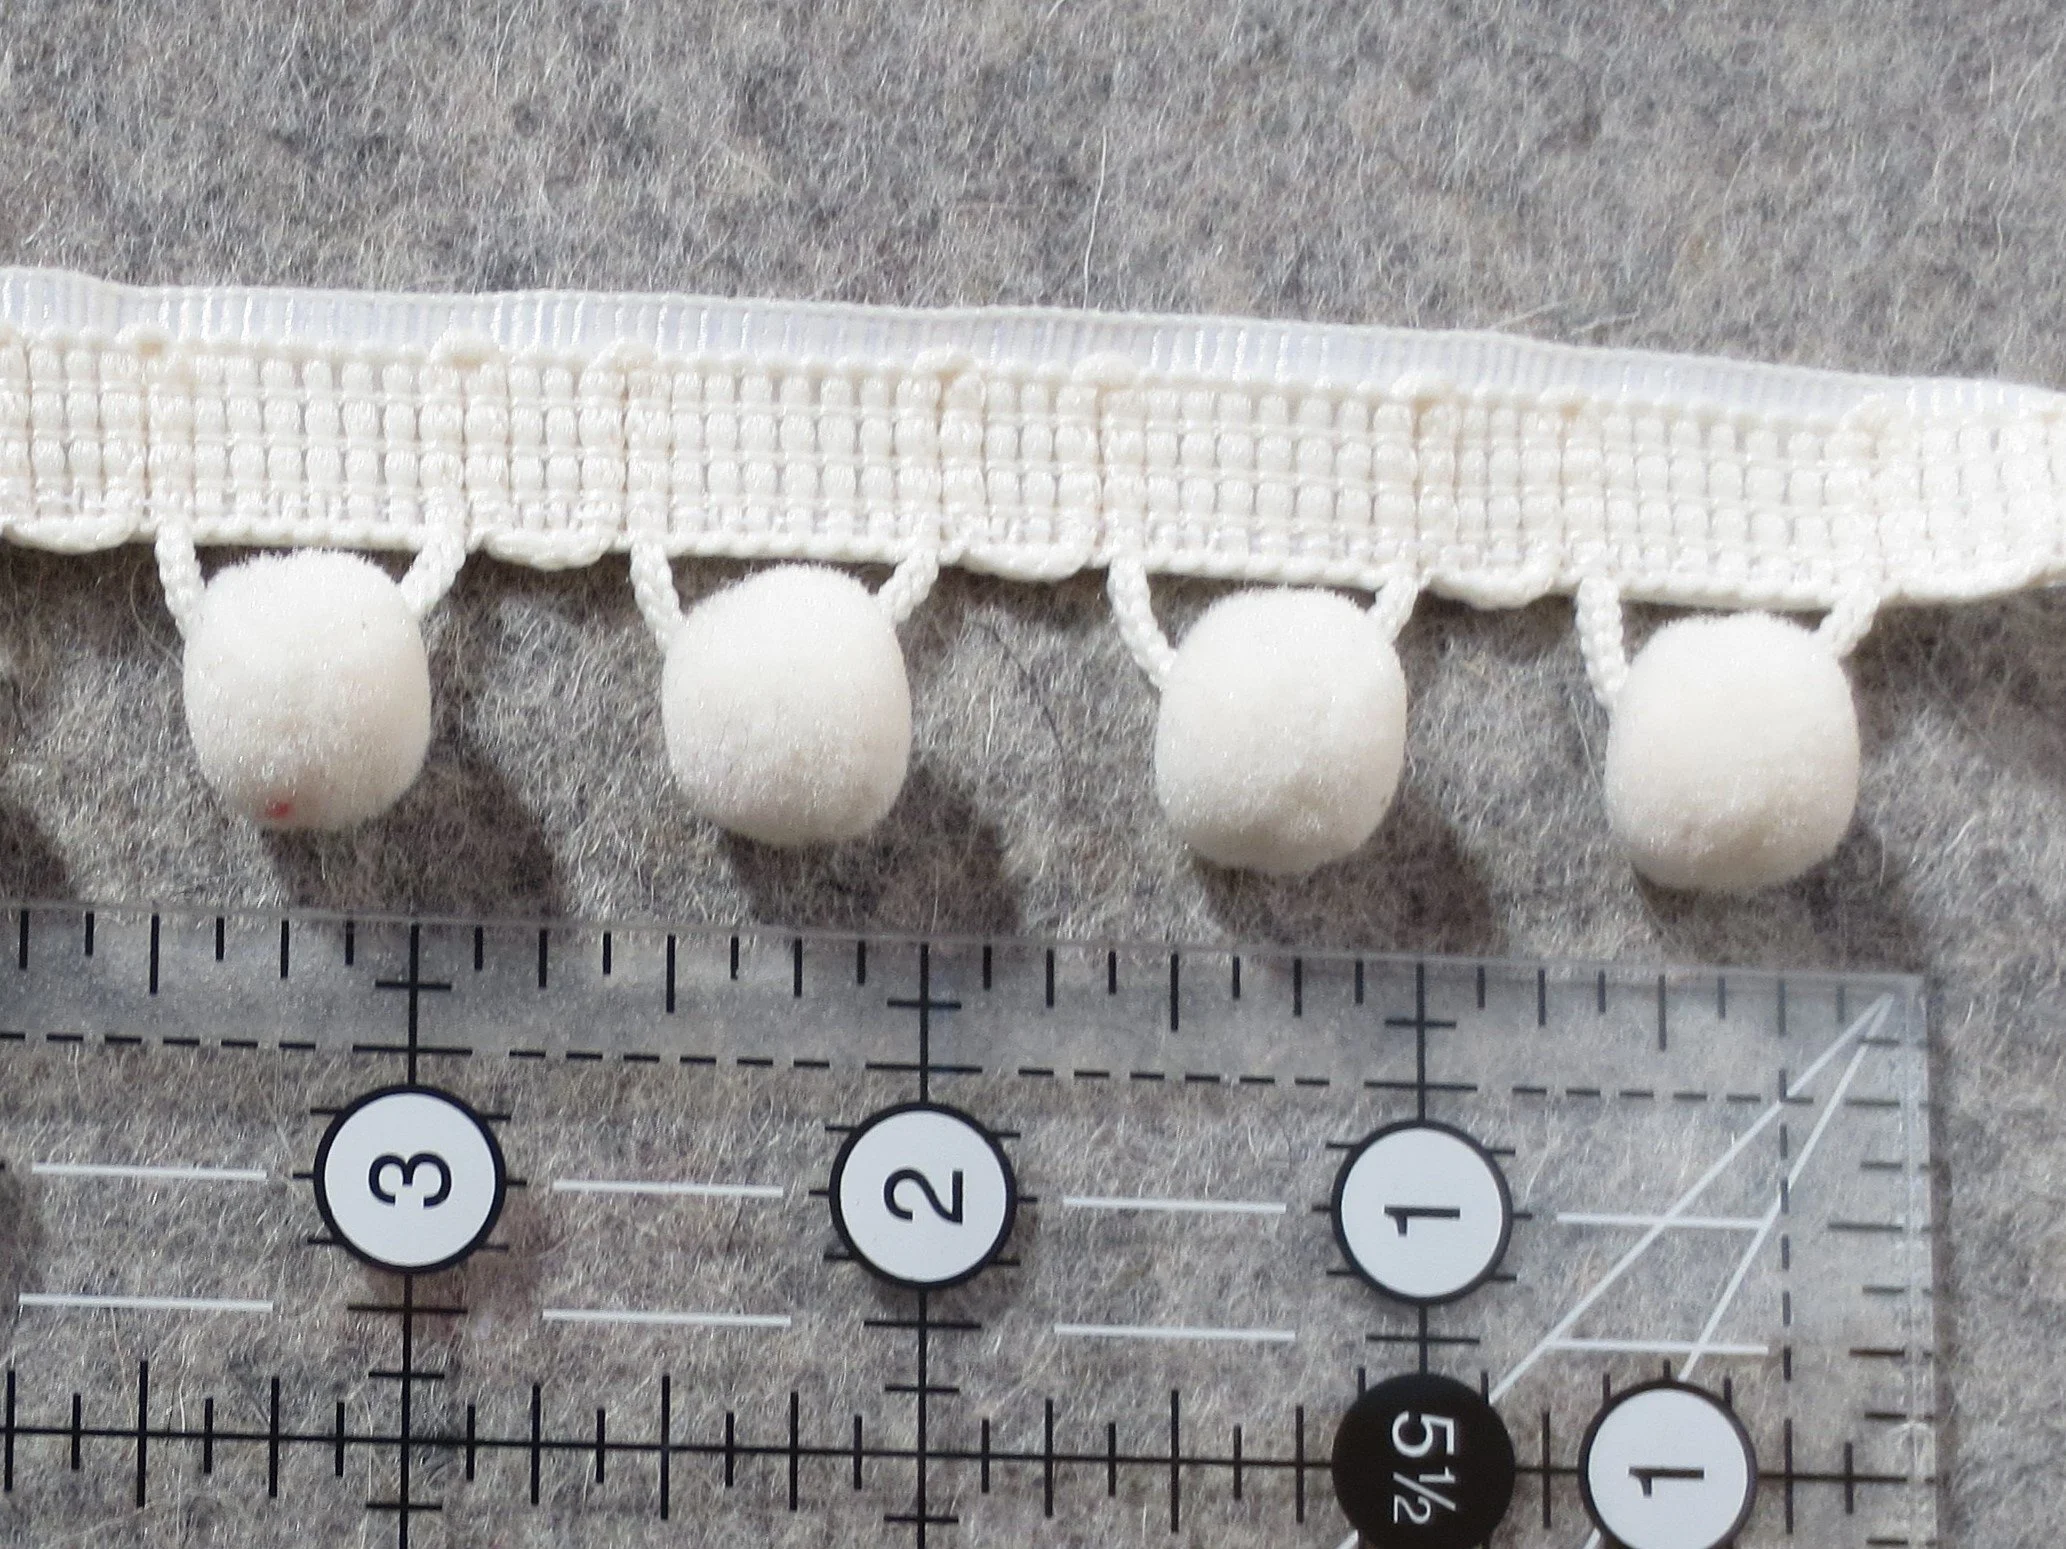
One off-white pom pom 1/2” diameter ( These are not sold separately. They are sold as ball fringe yardage)
Fusible web - feather weight like HeatNBond featherlite
Chenille needles - size 24 and 22
Freezer paper (This can be found in your local grocery store) - Optional (used to make background oval)
Air erasable fabric marking pen like Clover ( I use this for lighter fabrics)
Fine tip chalk pencil like Bohin (i use this for darker fabrics)
Steam iron
Pillow stuffing like Poly-fil
Instructions
Trace all patterns (except background) onto fusible web. Images are already reversed for use with fusible webbing.
Cut out pattern pieces leaving a small (1/8”) border around each.
Fuse pattern pieces onto wool according to manufacturer’s instructions.
Cut out wool applique pieces along drawn lines. Set aside until needed.
Make a copy of the pattern page 2, and then cut out the background pattern along the drawn line. Note: A freezer paper pattern can be made instead. Trace the background pattern onto freezer paper, and then cut out the pattern leaving a small (1/8”) border.
If you are using the plain paper pattern use the following method of cutting the background.
Note: You will be cutting 2 pieces of fabric.
Fold the 6 1/2” x 14” background fabric in half.
Pin the pattern to the folded background.
Cut out along outline.
Freezer paper method
Cut the background fabric in half to make two 6 1/2”x 7” pieces.
Iron the freezer paper pattern onto one of the background pieces.
Cut out the pattern along the traced line. Carefully peel away the freezer paper.
Iron the freezer paper pattern onto the remaining background fabric.
Cut out the pattern.
Cut a single pom pom from the ball trim. Clip the attached strings. Set aside until needed.
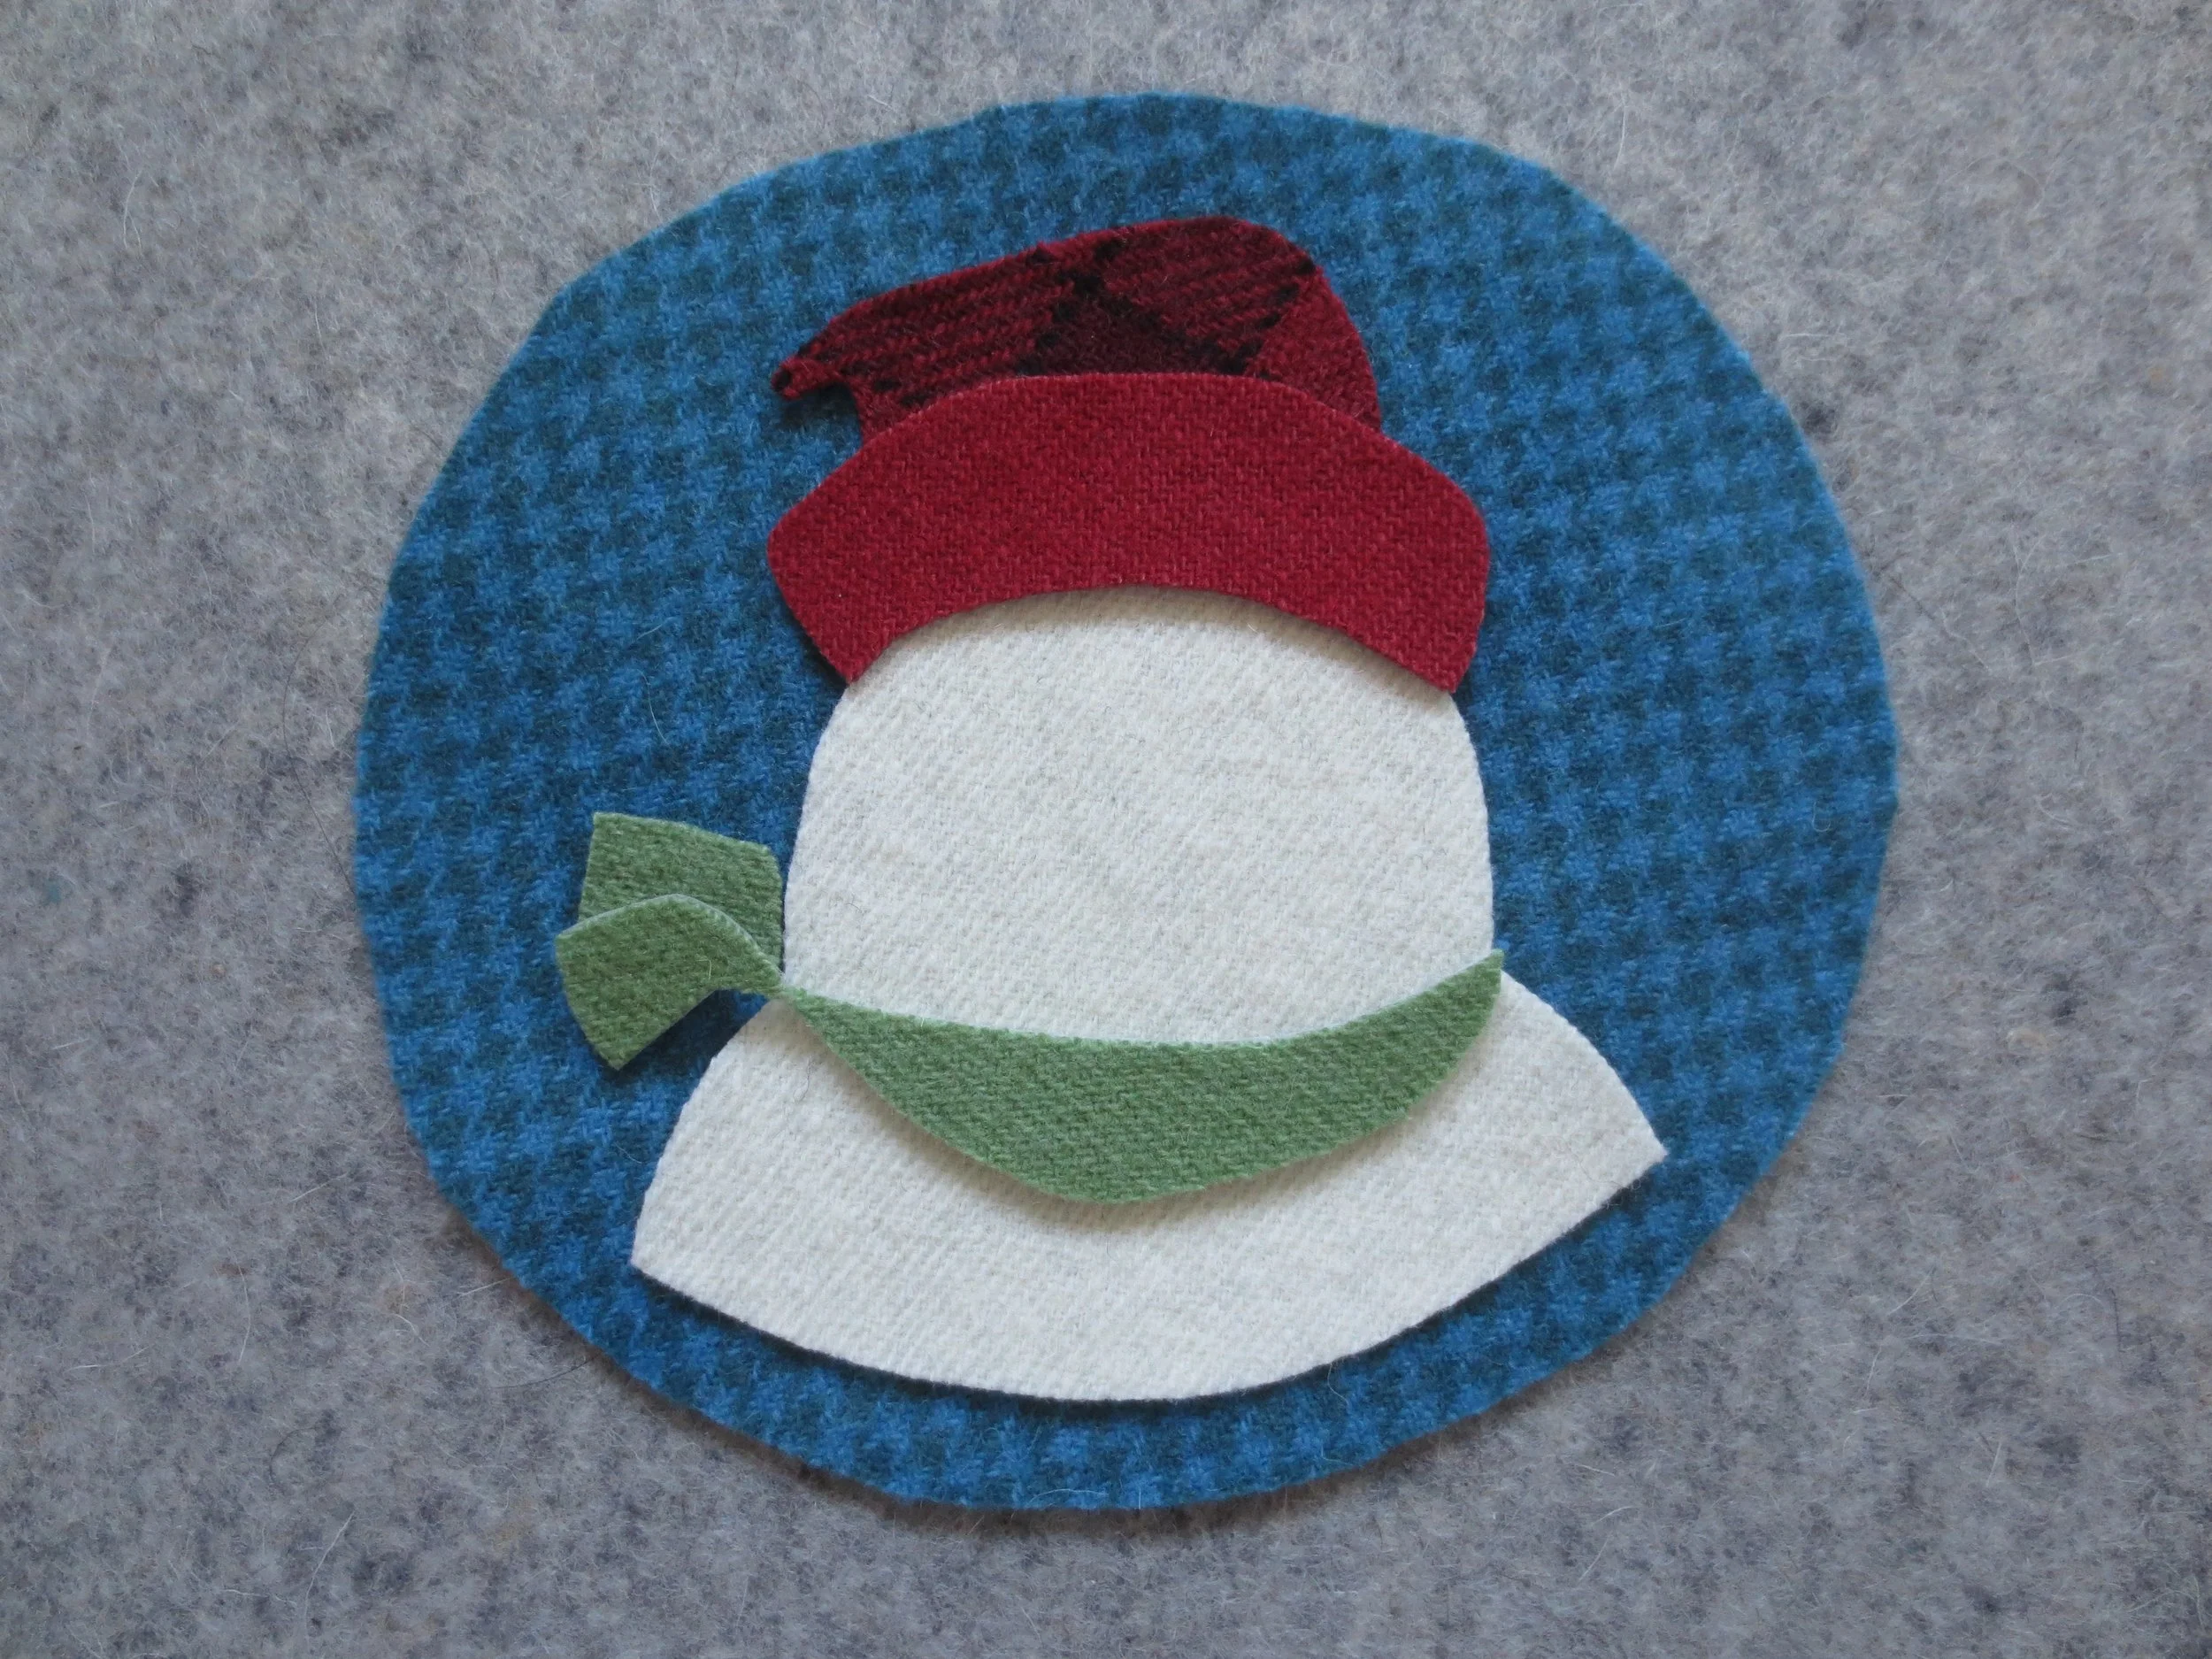
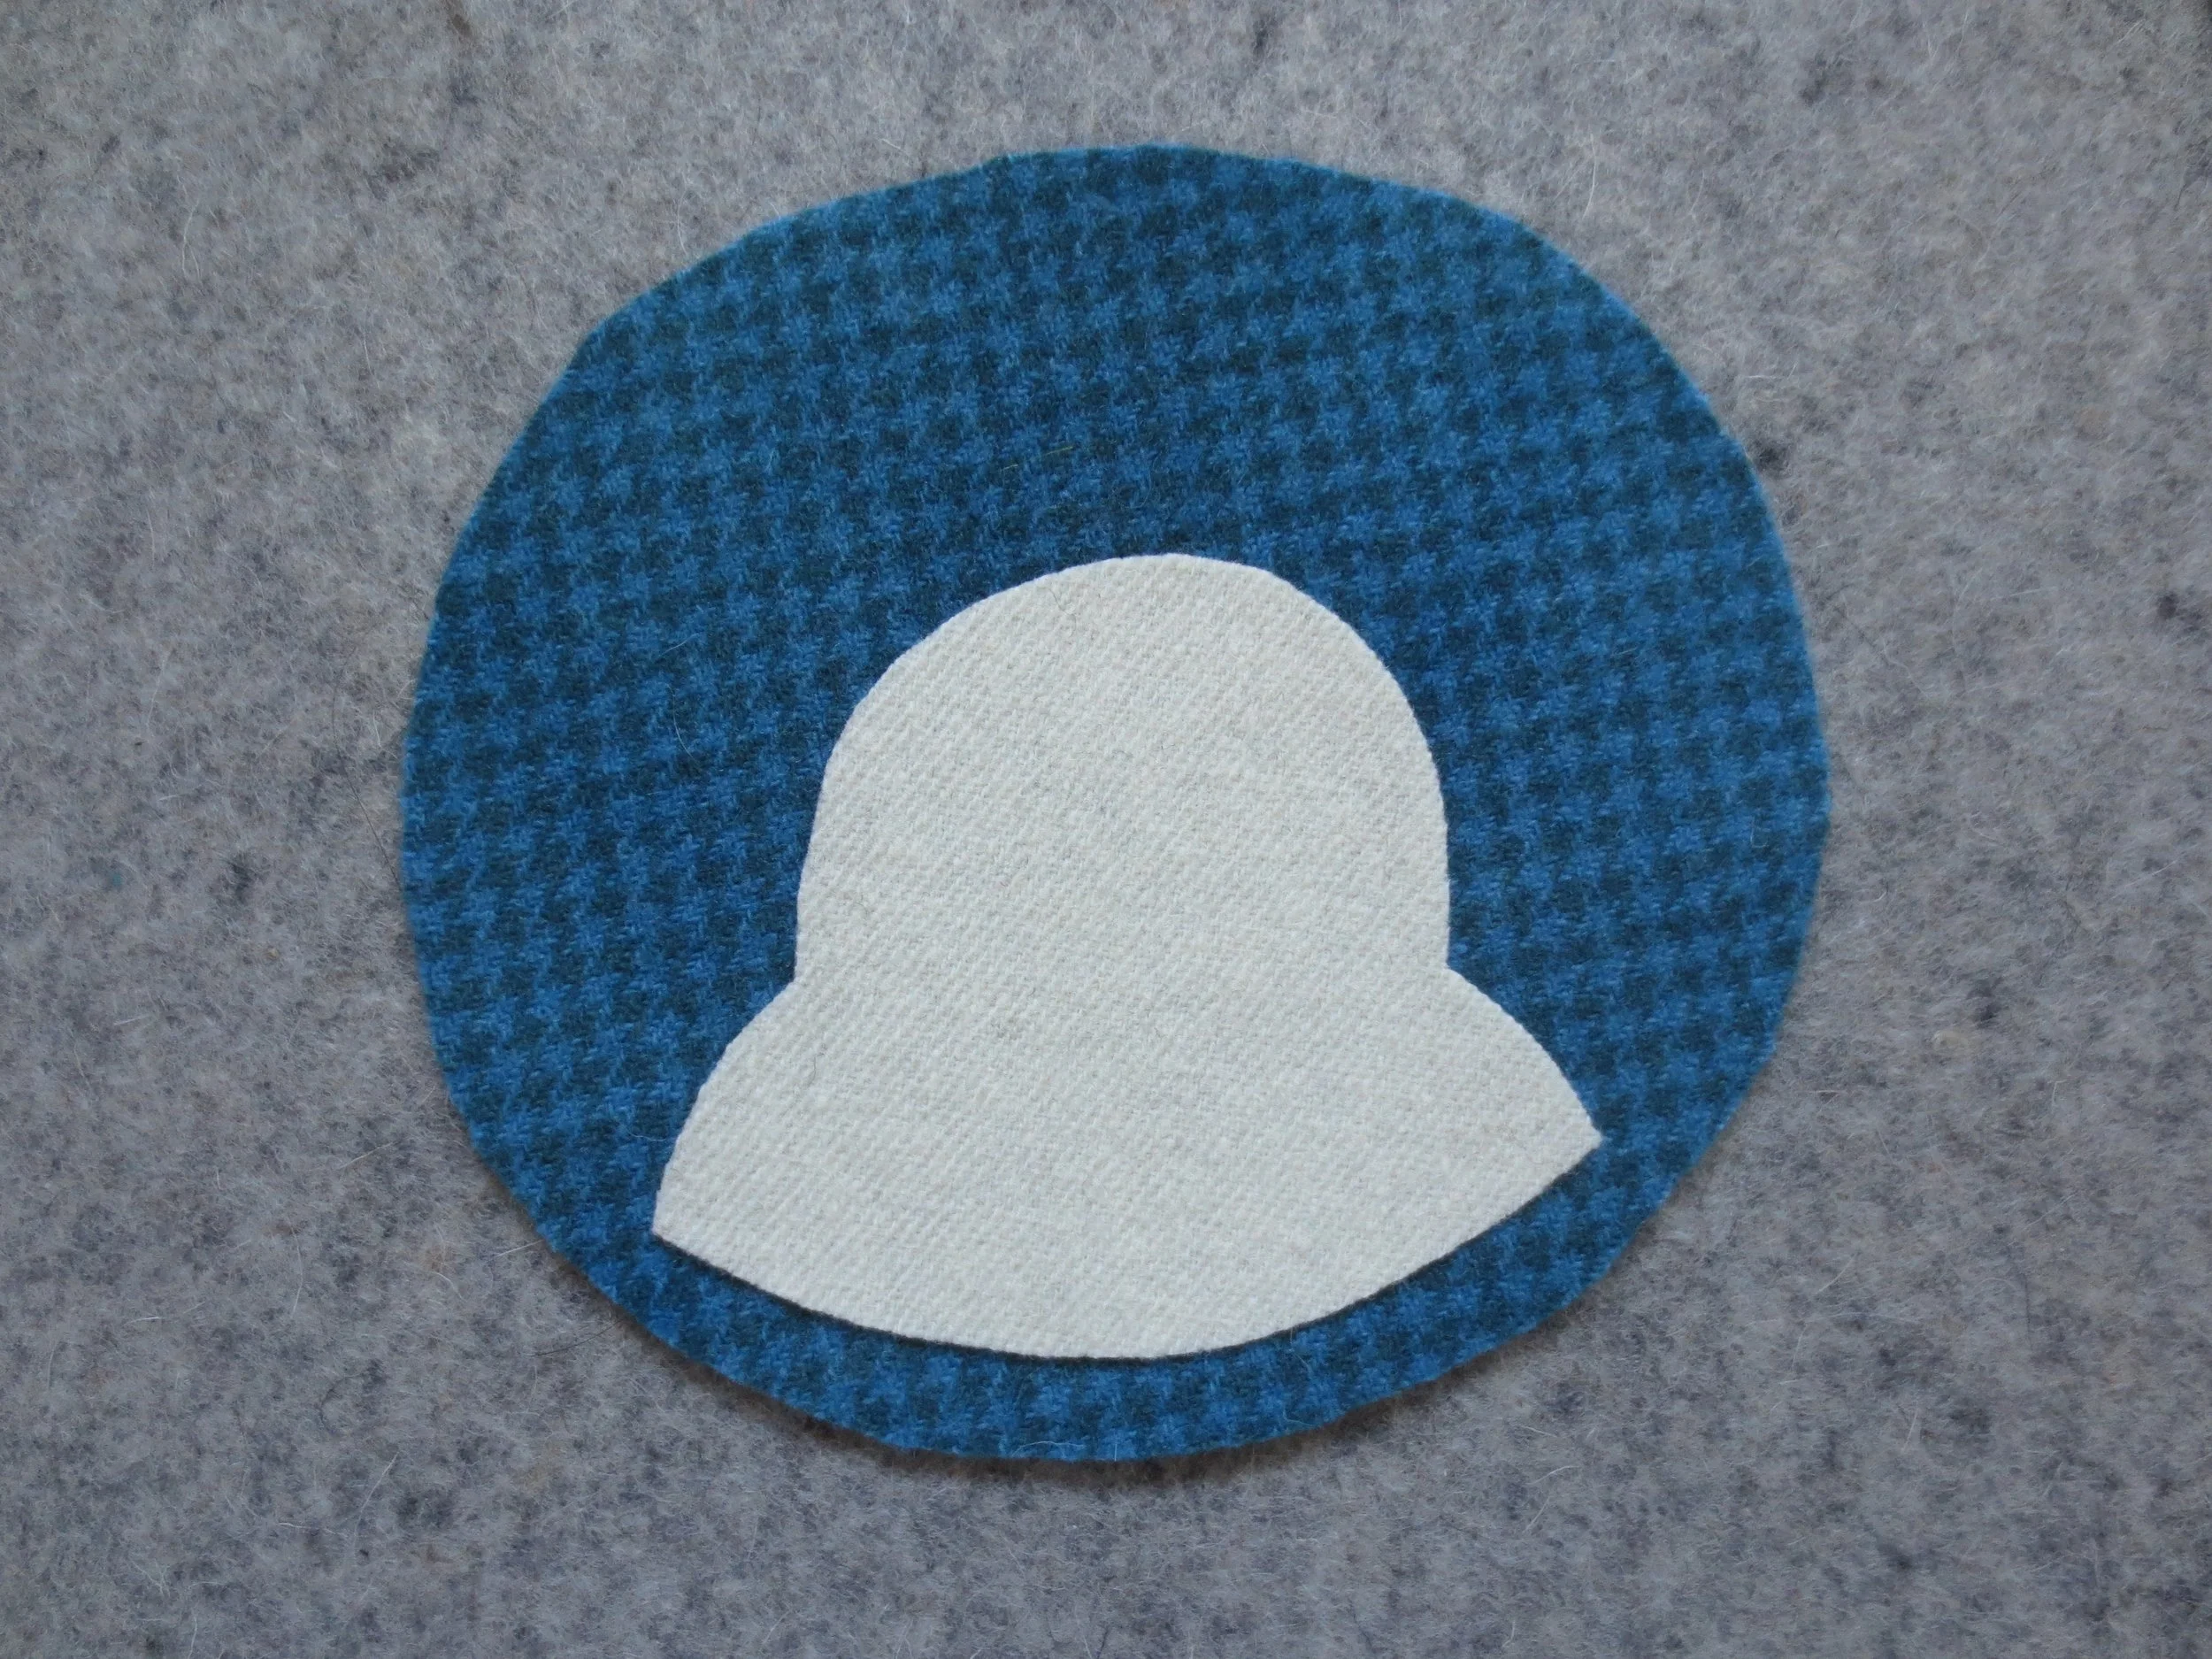
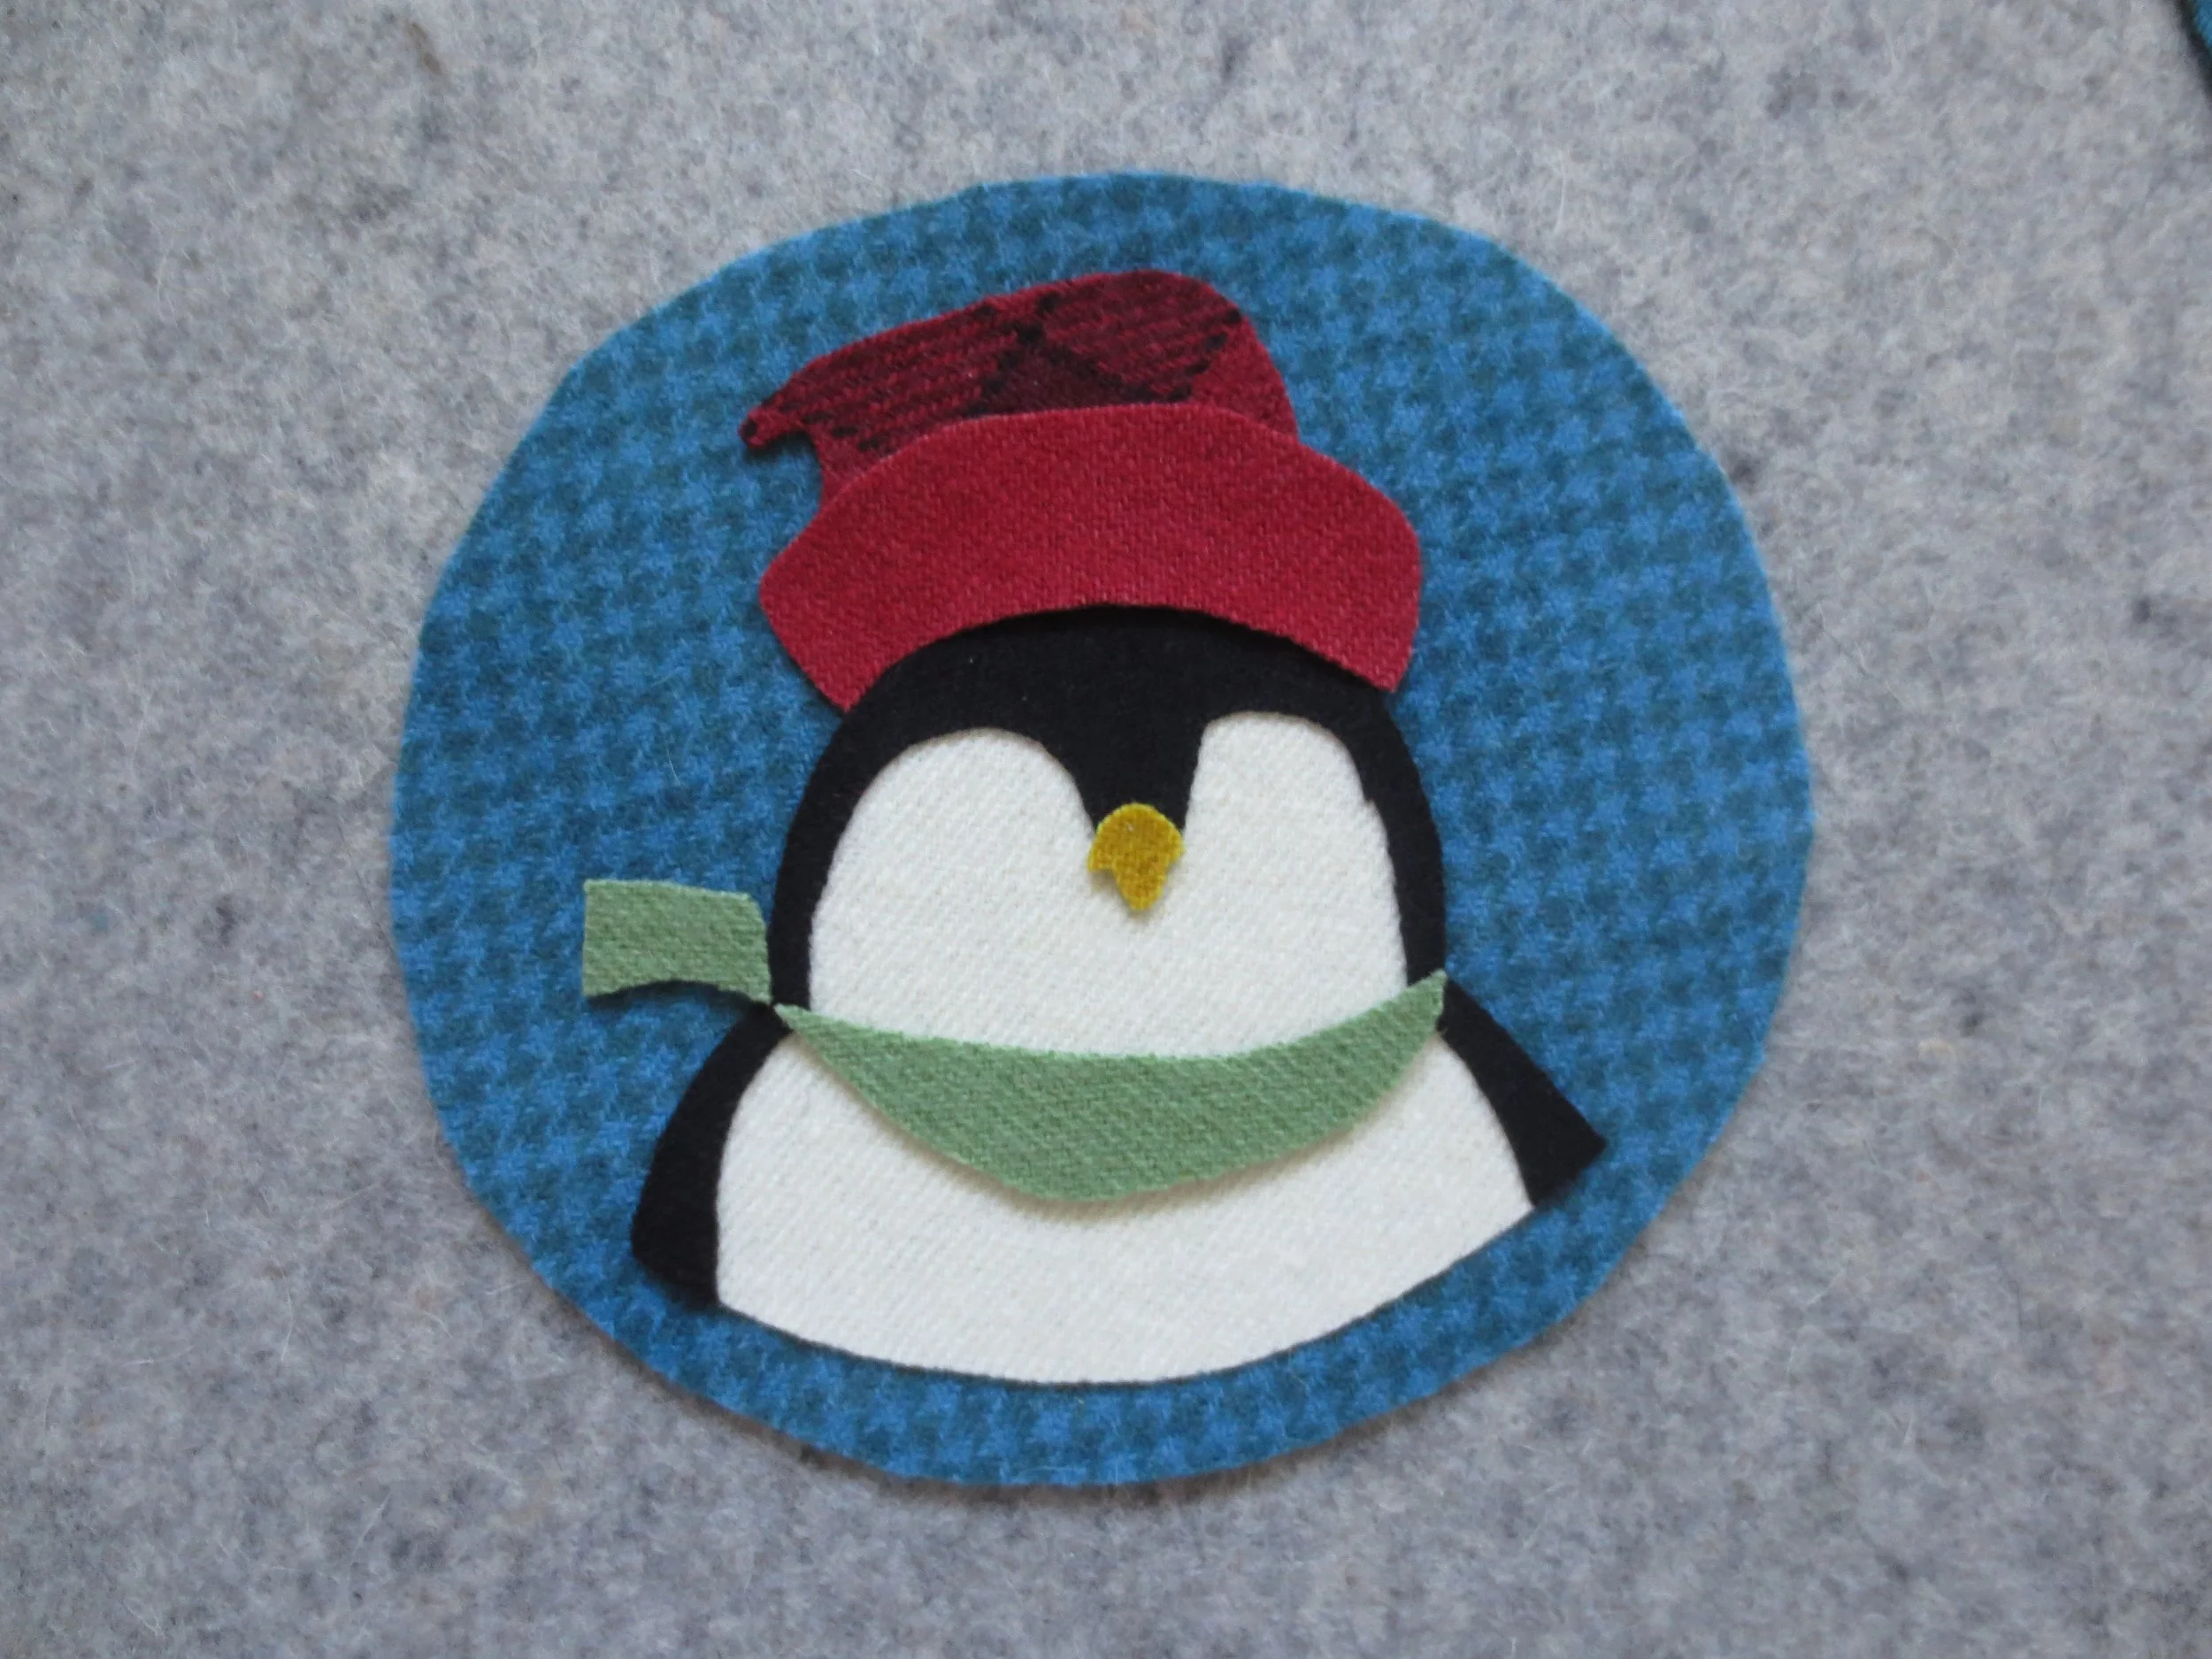
9. Position the head/shoulder piece onto the background using the layout as a guide. Position the scarf and hat also, but do not fuse. When you are happy with your layout remove the scarf and hat, and then fuse the head/shoulder piece in place.
10. Position the black hood/shoulder piece and then fuse in place.
11. Position hat, beak, and scarf minus the top of the end of the scarf. Fuse in place.
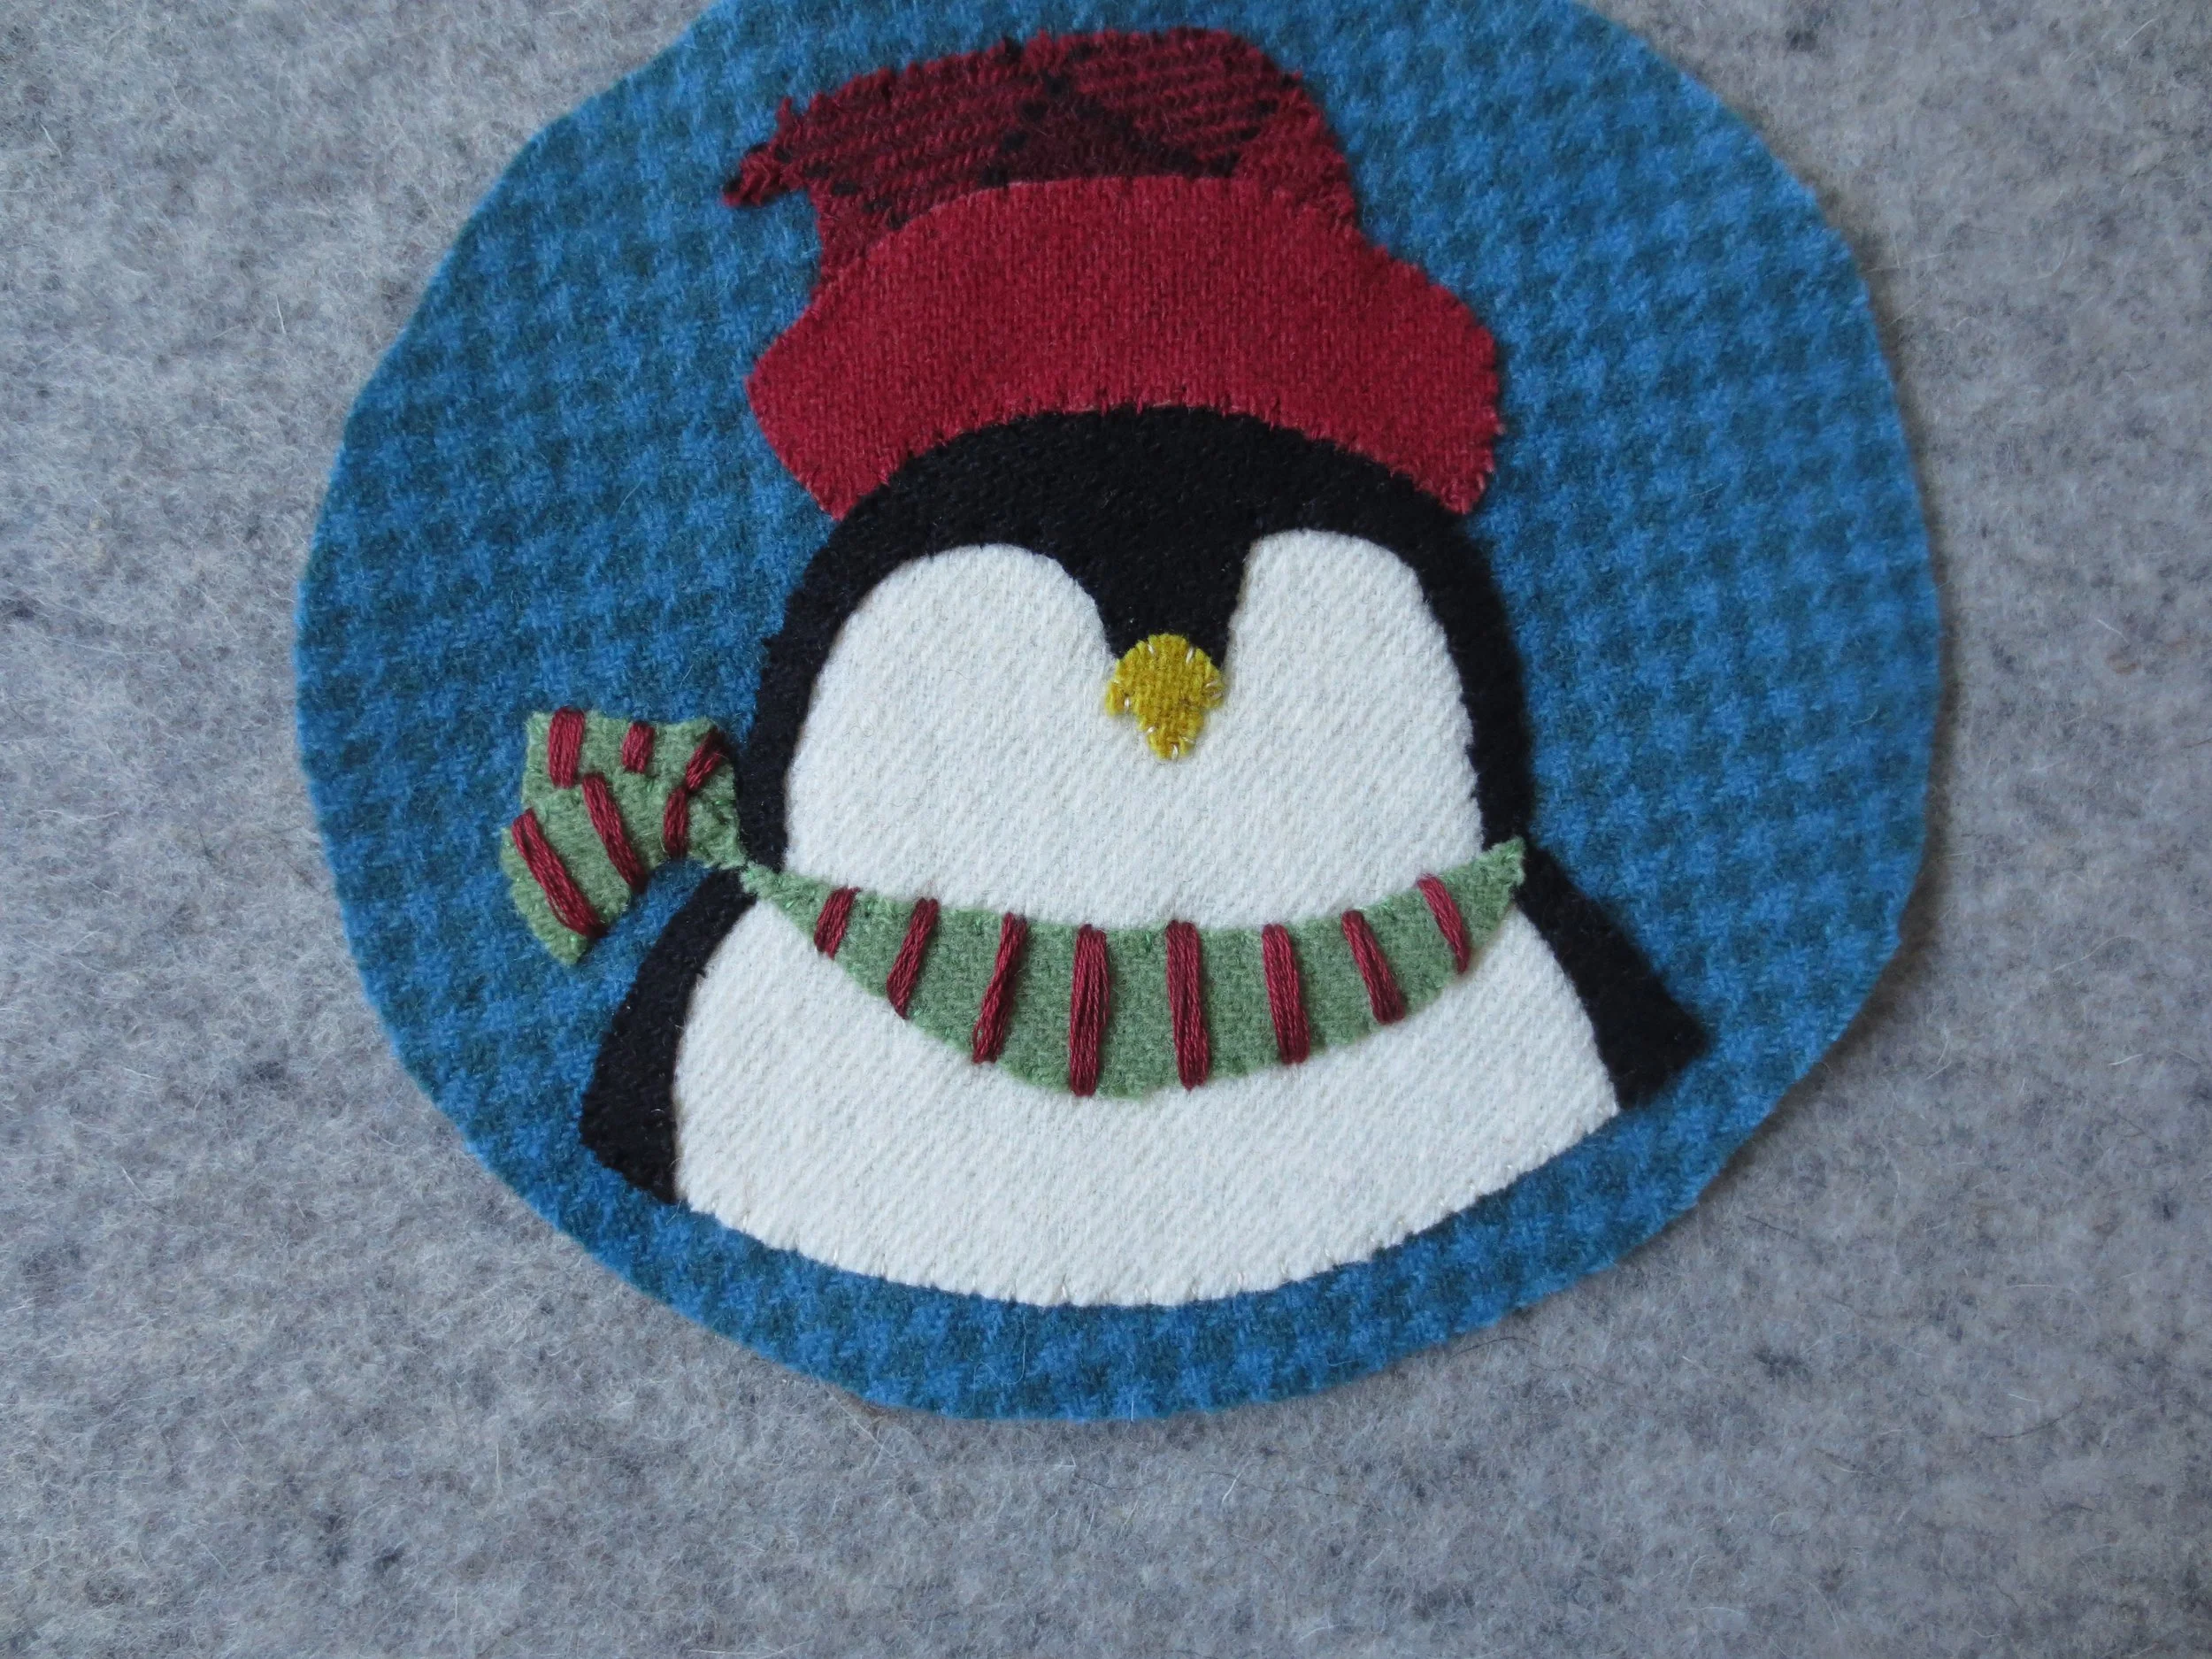
12. Position the top end of the scarf, and then fuse in place.
13. Whip stitch all the wool pieces in place using 1 strand of embroidery floss in colors that match the wool.
14. Use a chalk pencil or air erasable marker to mark the stripes onto the scarf using the layout as a guide.
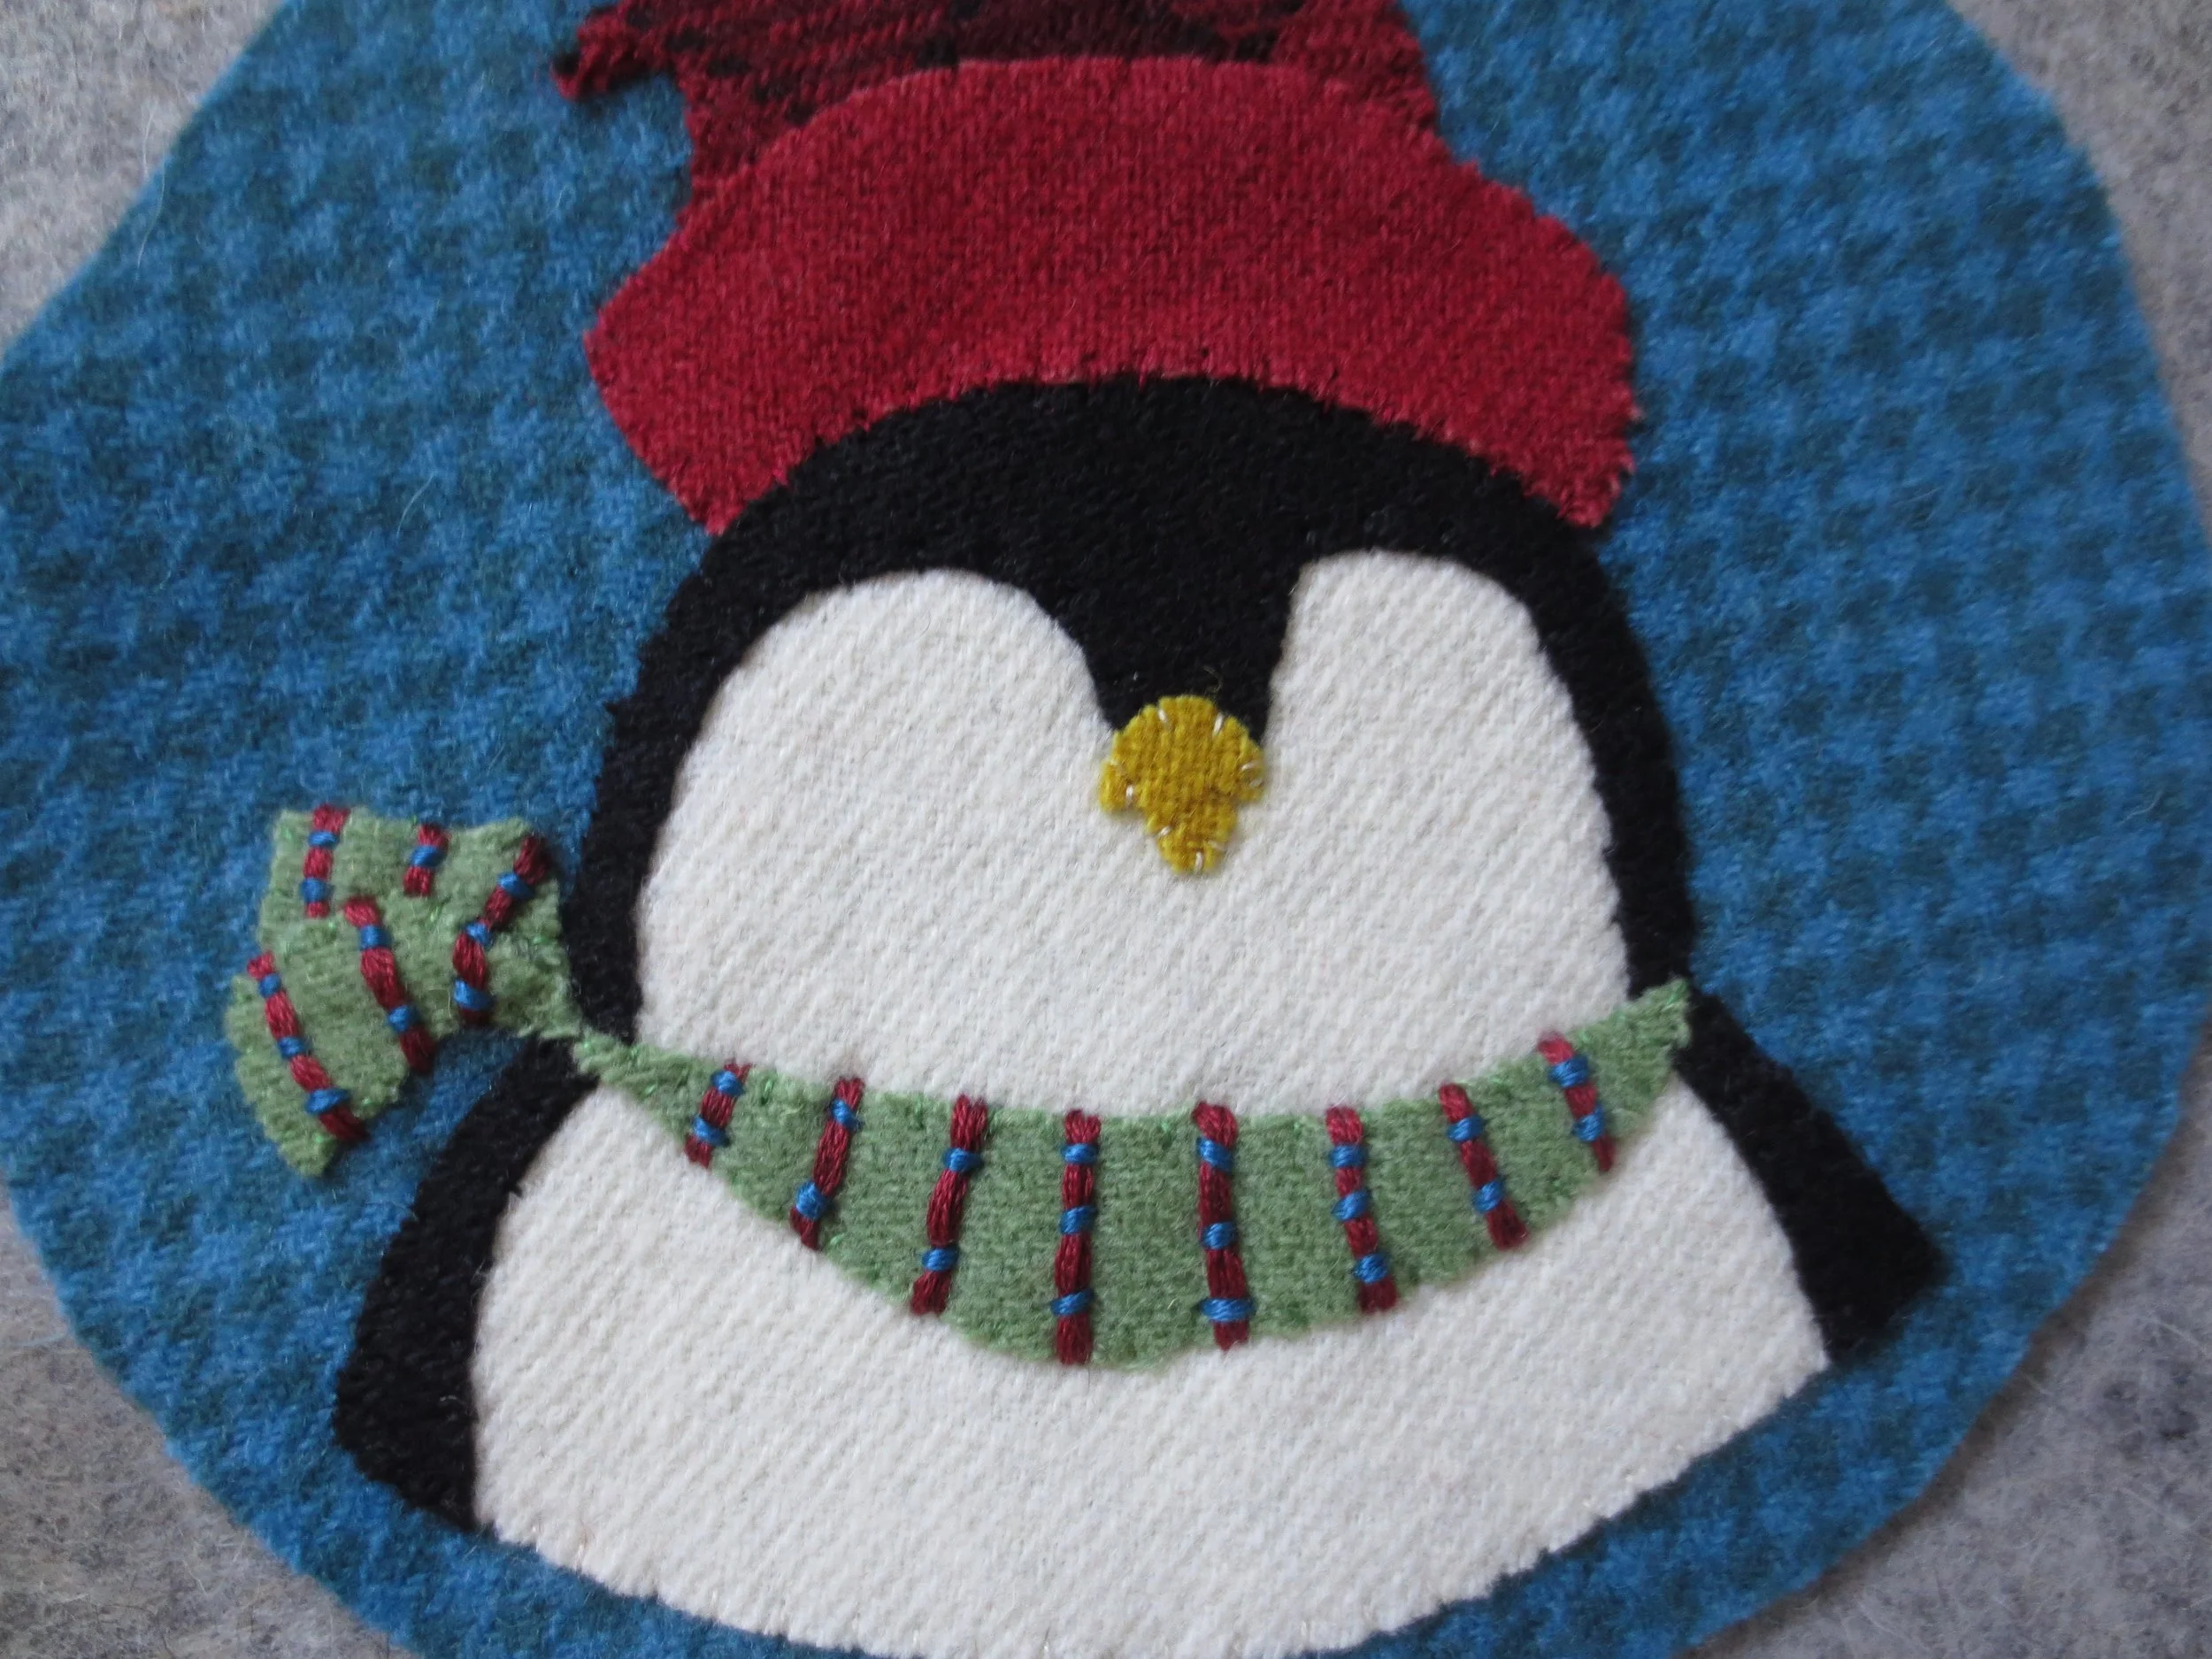
15. Use 6 strands of red floss to make a single straight stitch over the chalk lines.
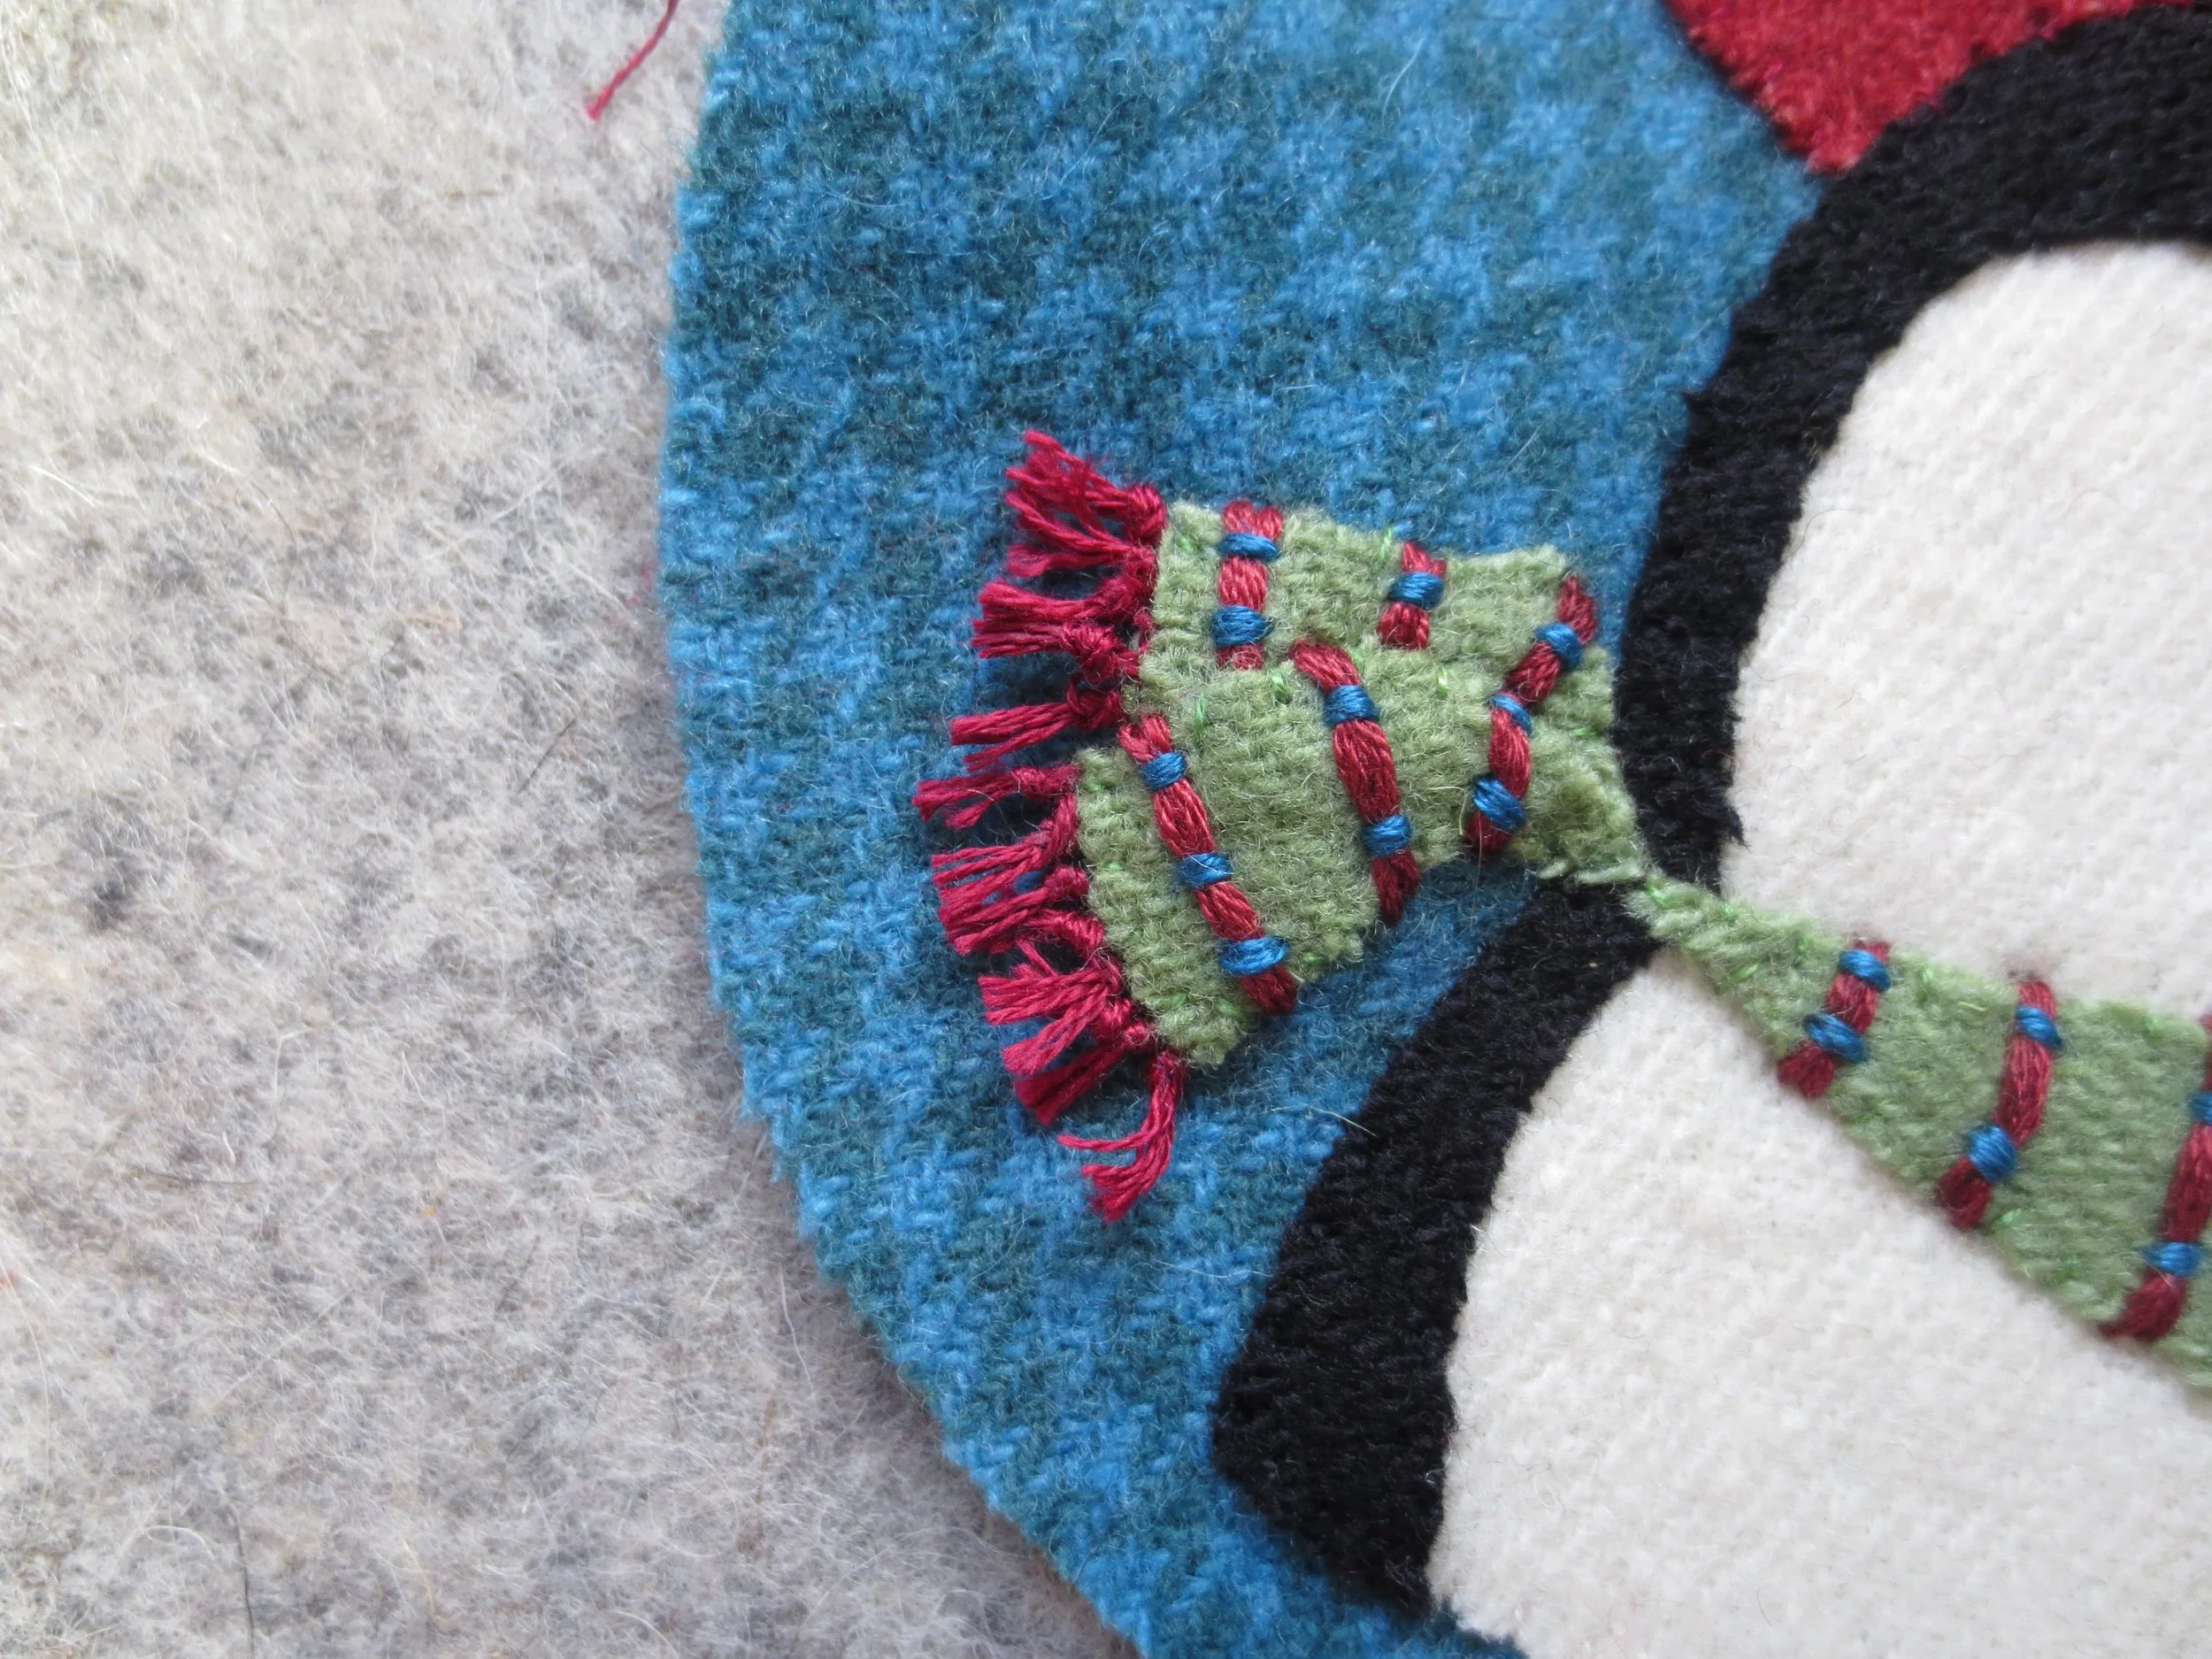
16. Use 3 strands of teal blue floss to couch the straight stich lines.
17. Use 3 strands of floss to make the fringe on the end of the scarf. This is made by bringing the thread up from the back and then making a knot flush with the fabric, and then cutting the thread about 3/8” from the knot. Make 5 -8 of these for each end of the scarf.
18. Use a chalk pencil or air erasable marker to draw the ribbing on the had band.
19. Use 3 strands of dark red floss to back stitch over the drawn lines.
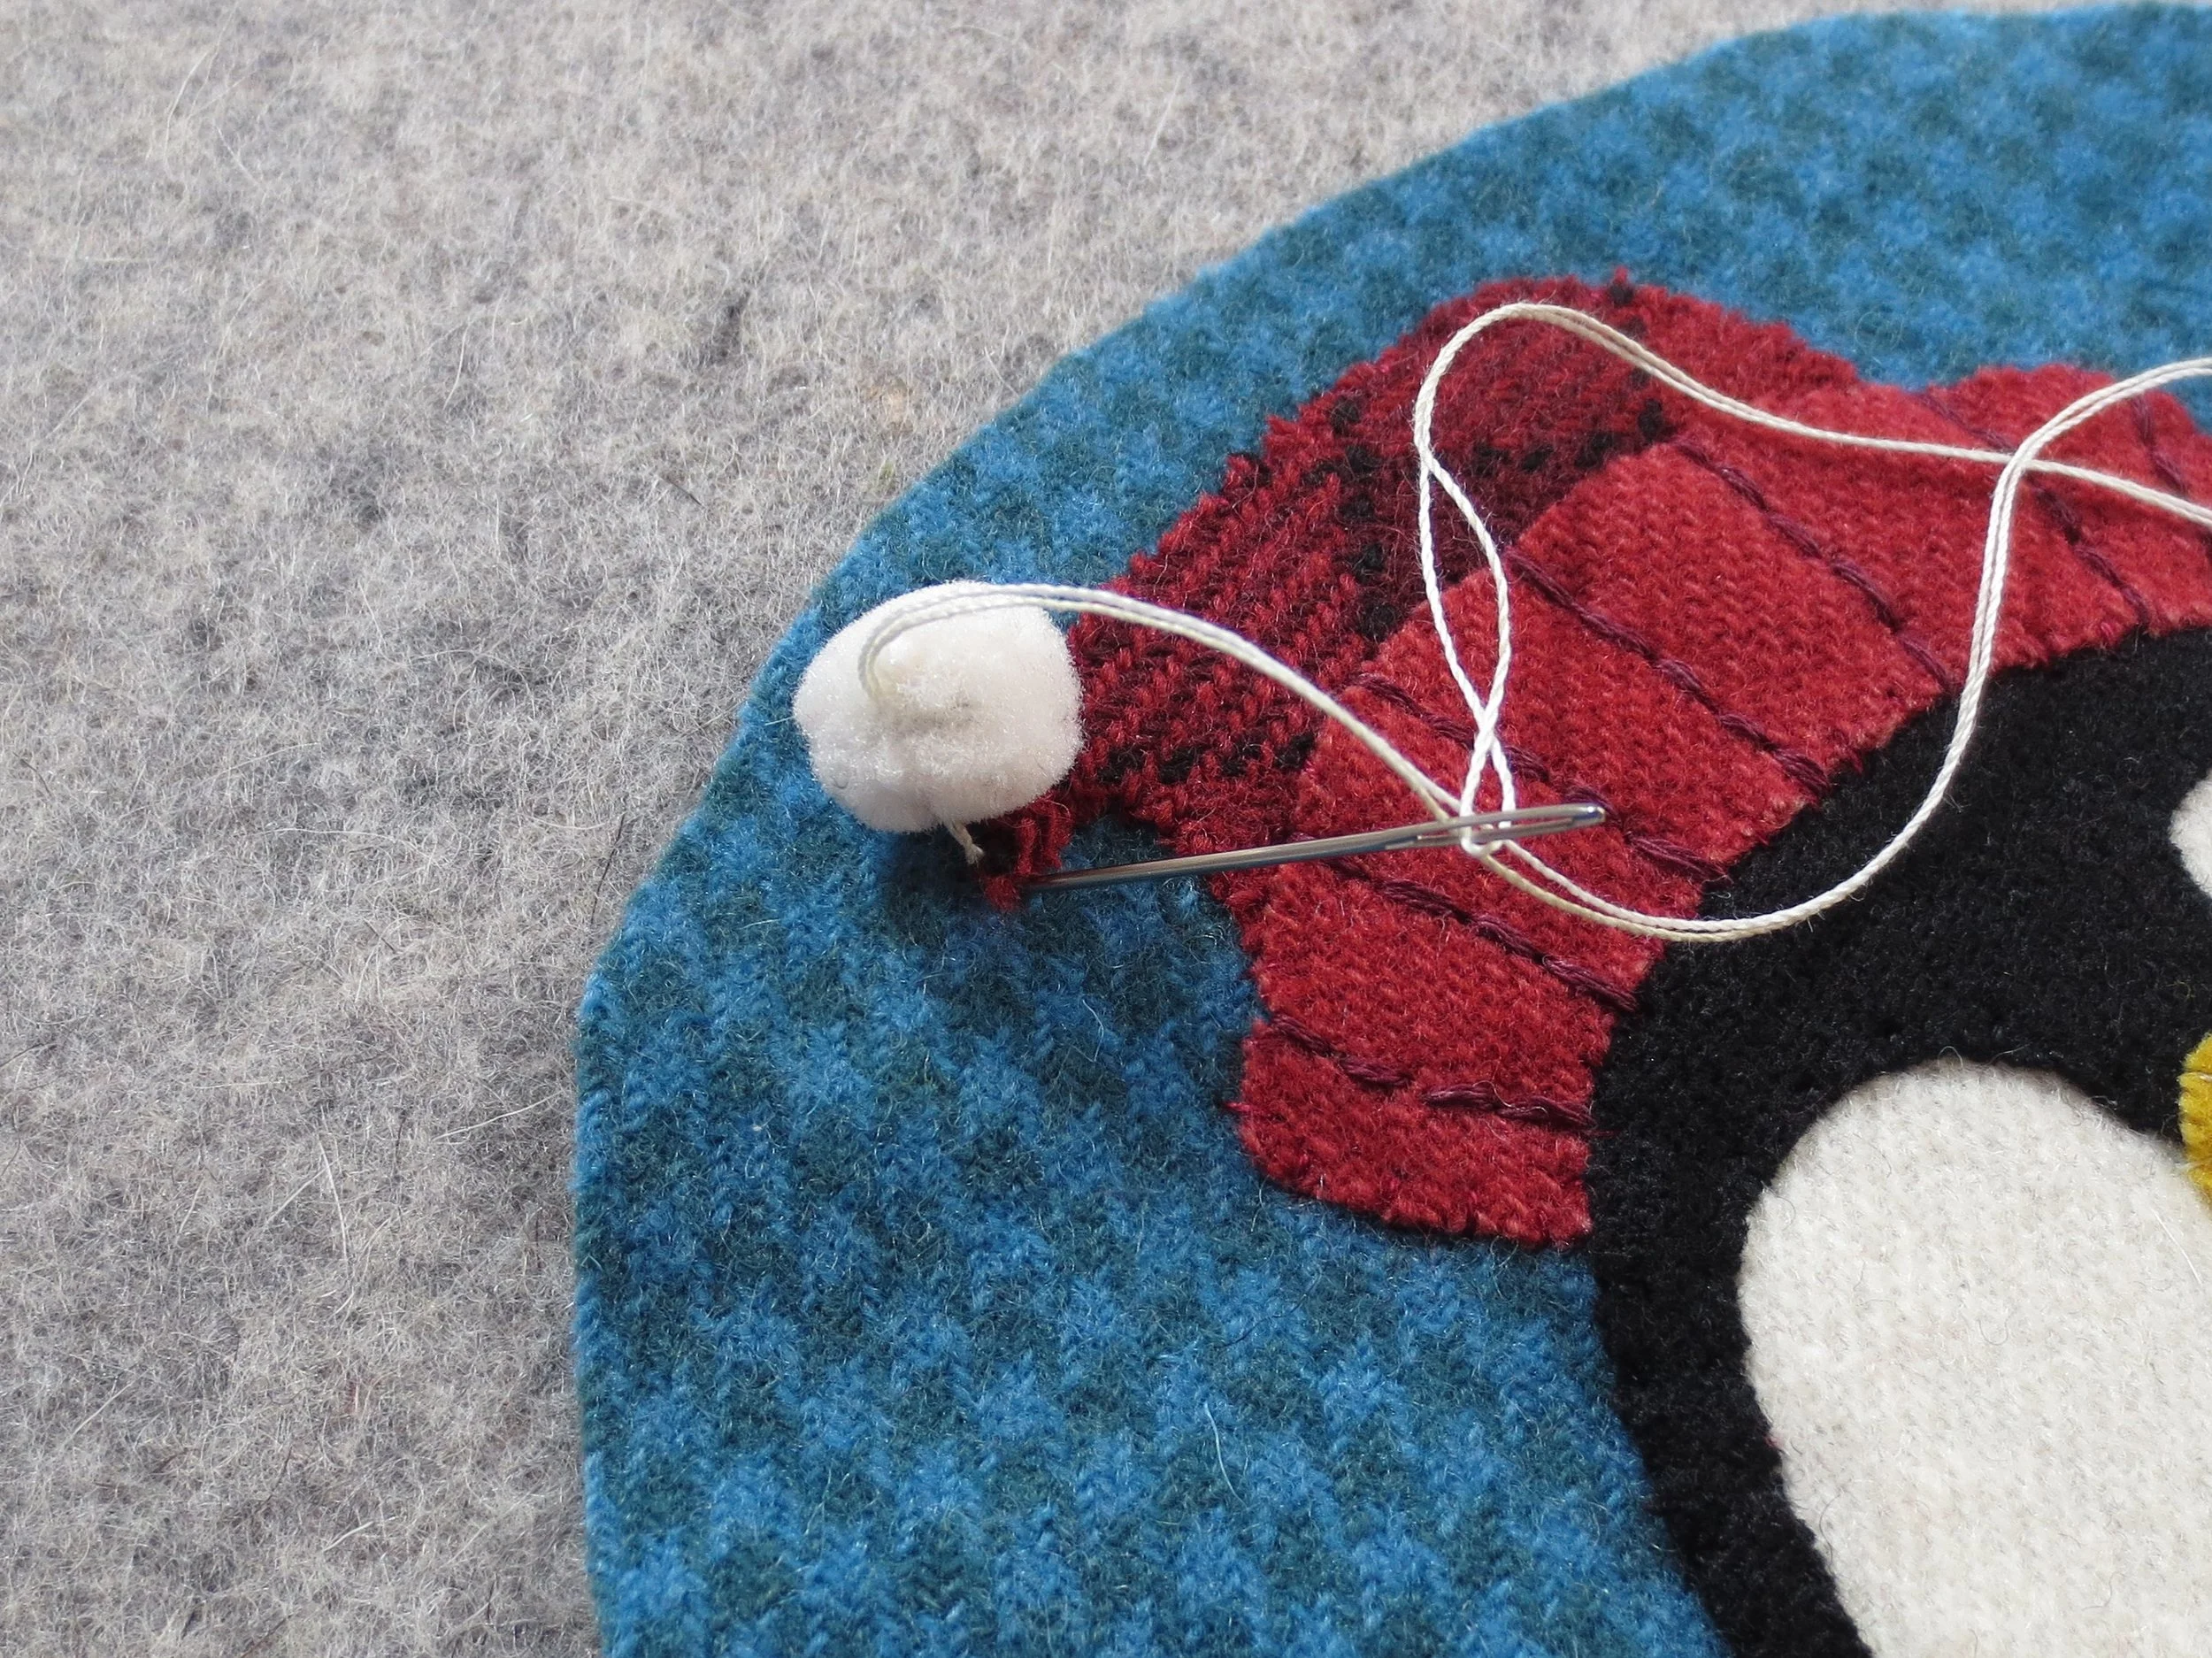
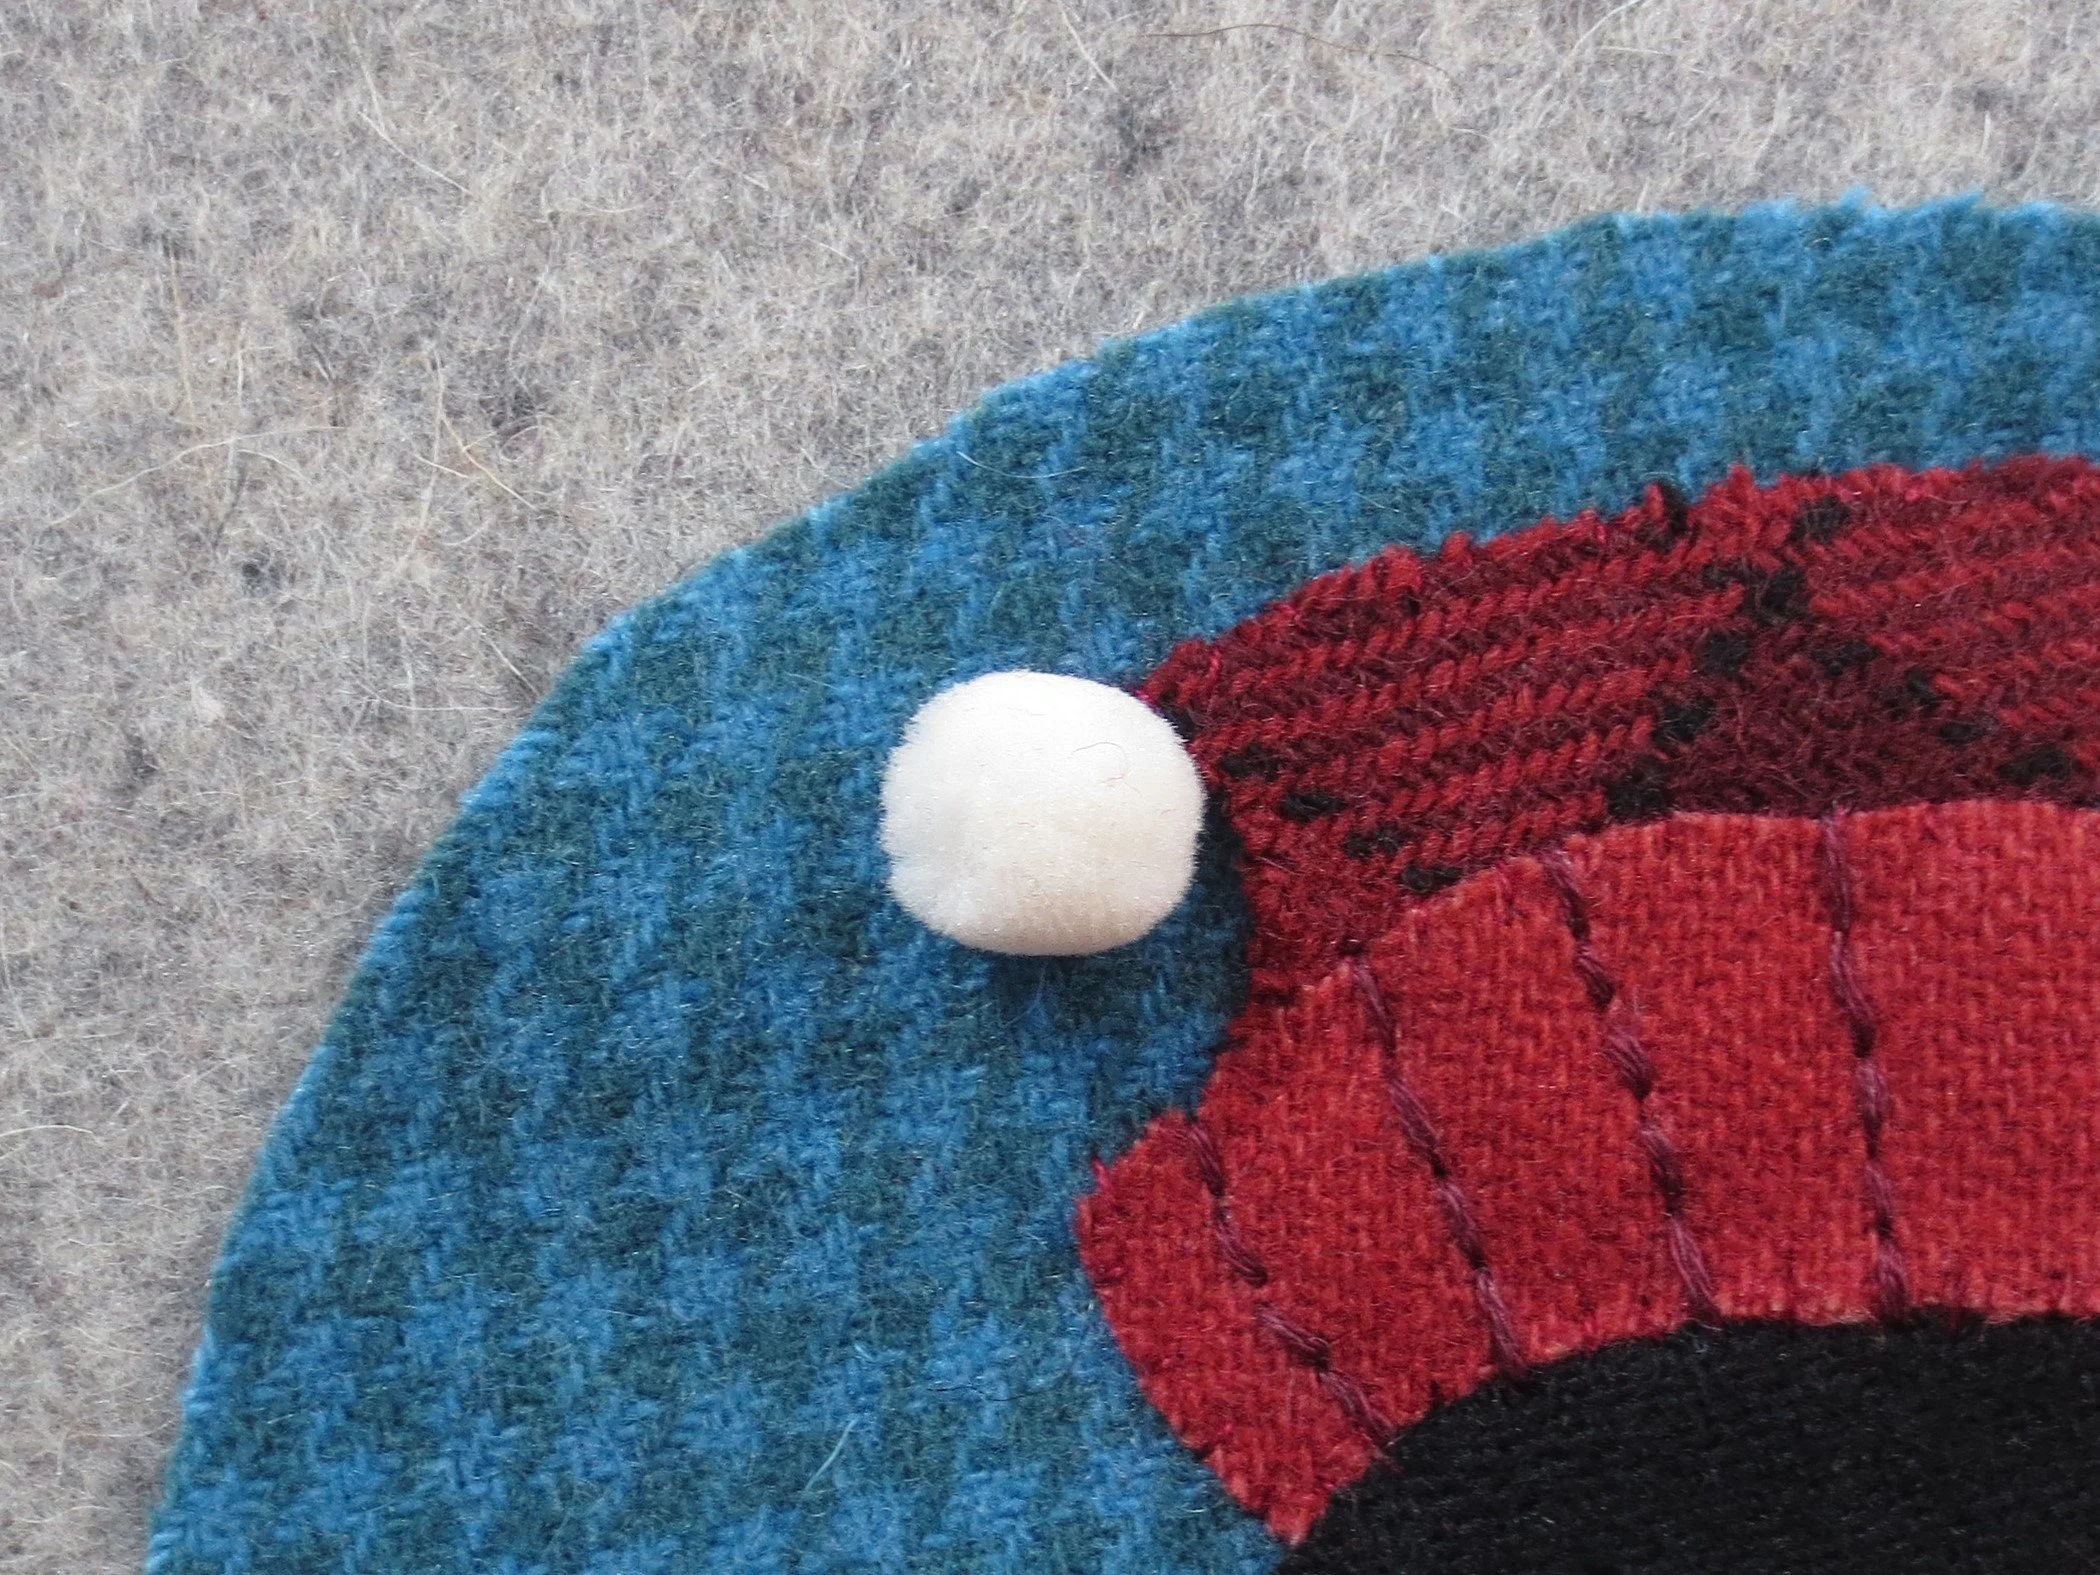
20. Use 2 strands of floss to attach the pom pom to the top of the hat.
Knot the end of the strand.
Bring the needle up at the base of the hat.
Insert the needle into the pom pom and pull the thread through so that the pom pom is flush with the top of the hat.
Insert the needle back into the top of the hat pulling the pom pom snuggly against the fabric, and then make a double knot on the back.
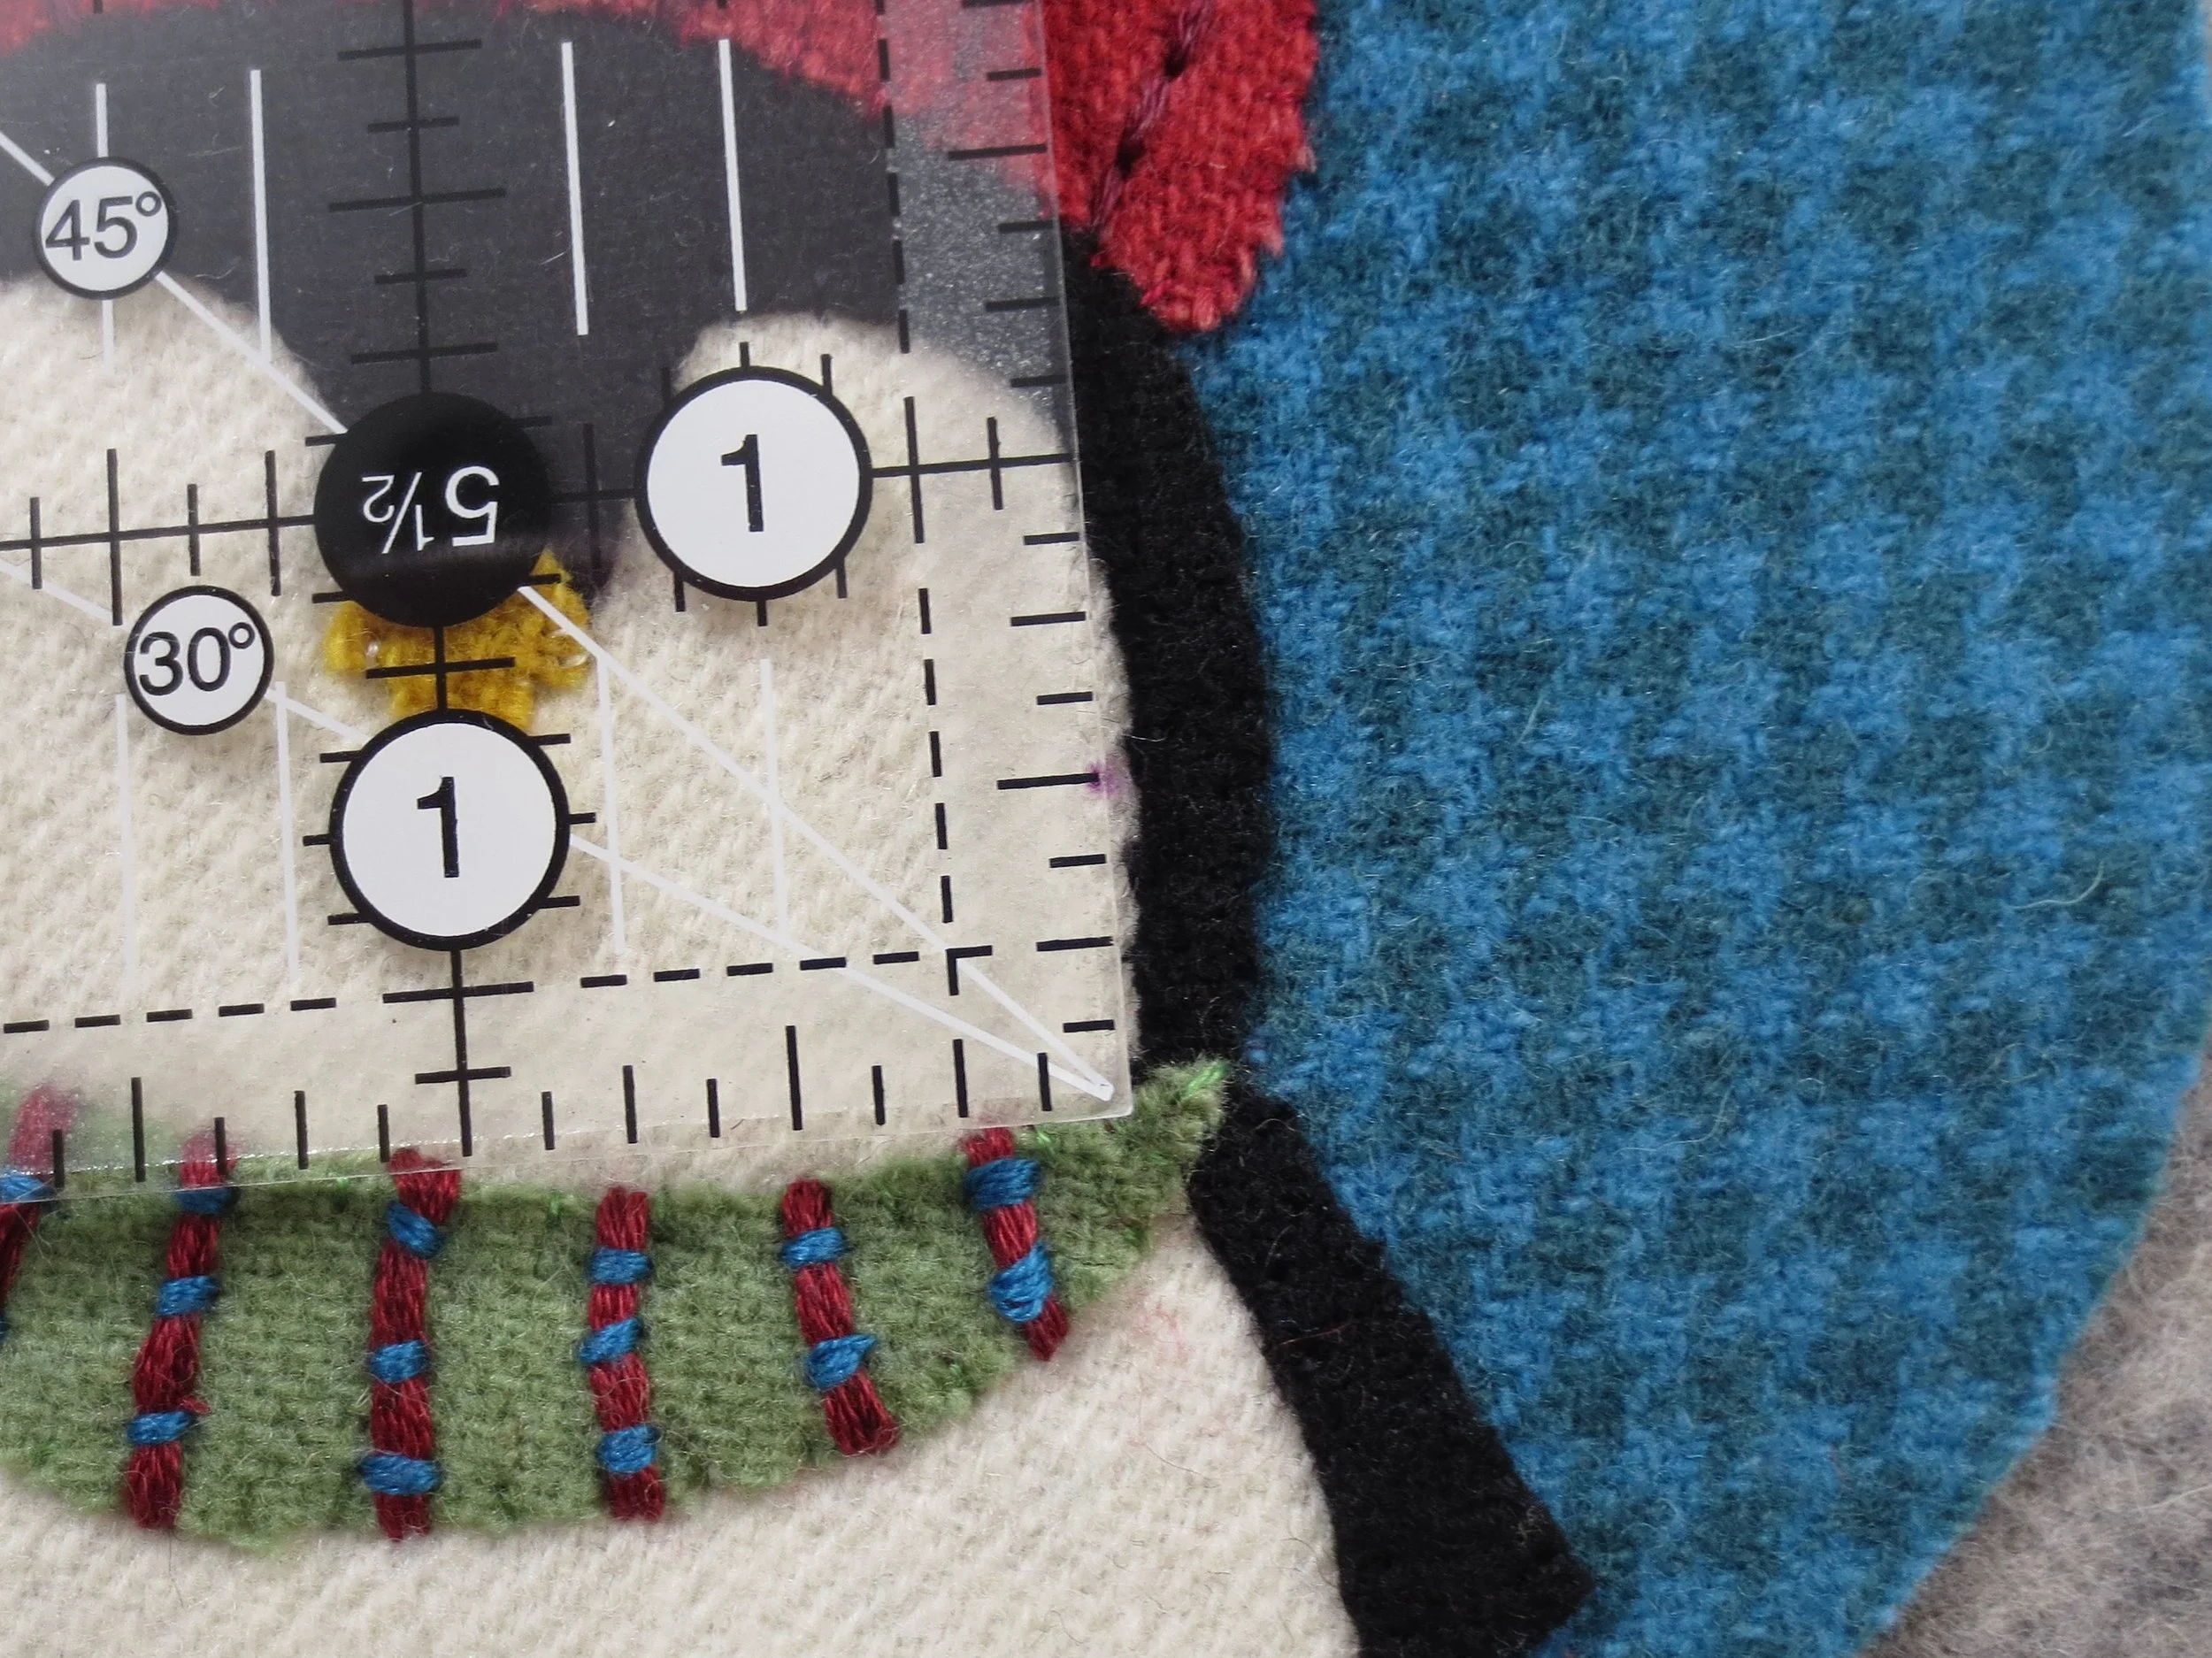
21. Now let’s work on the eyes.
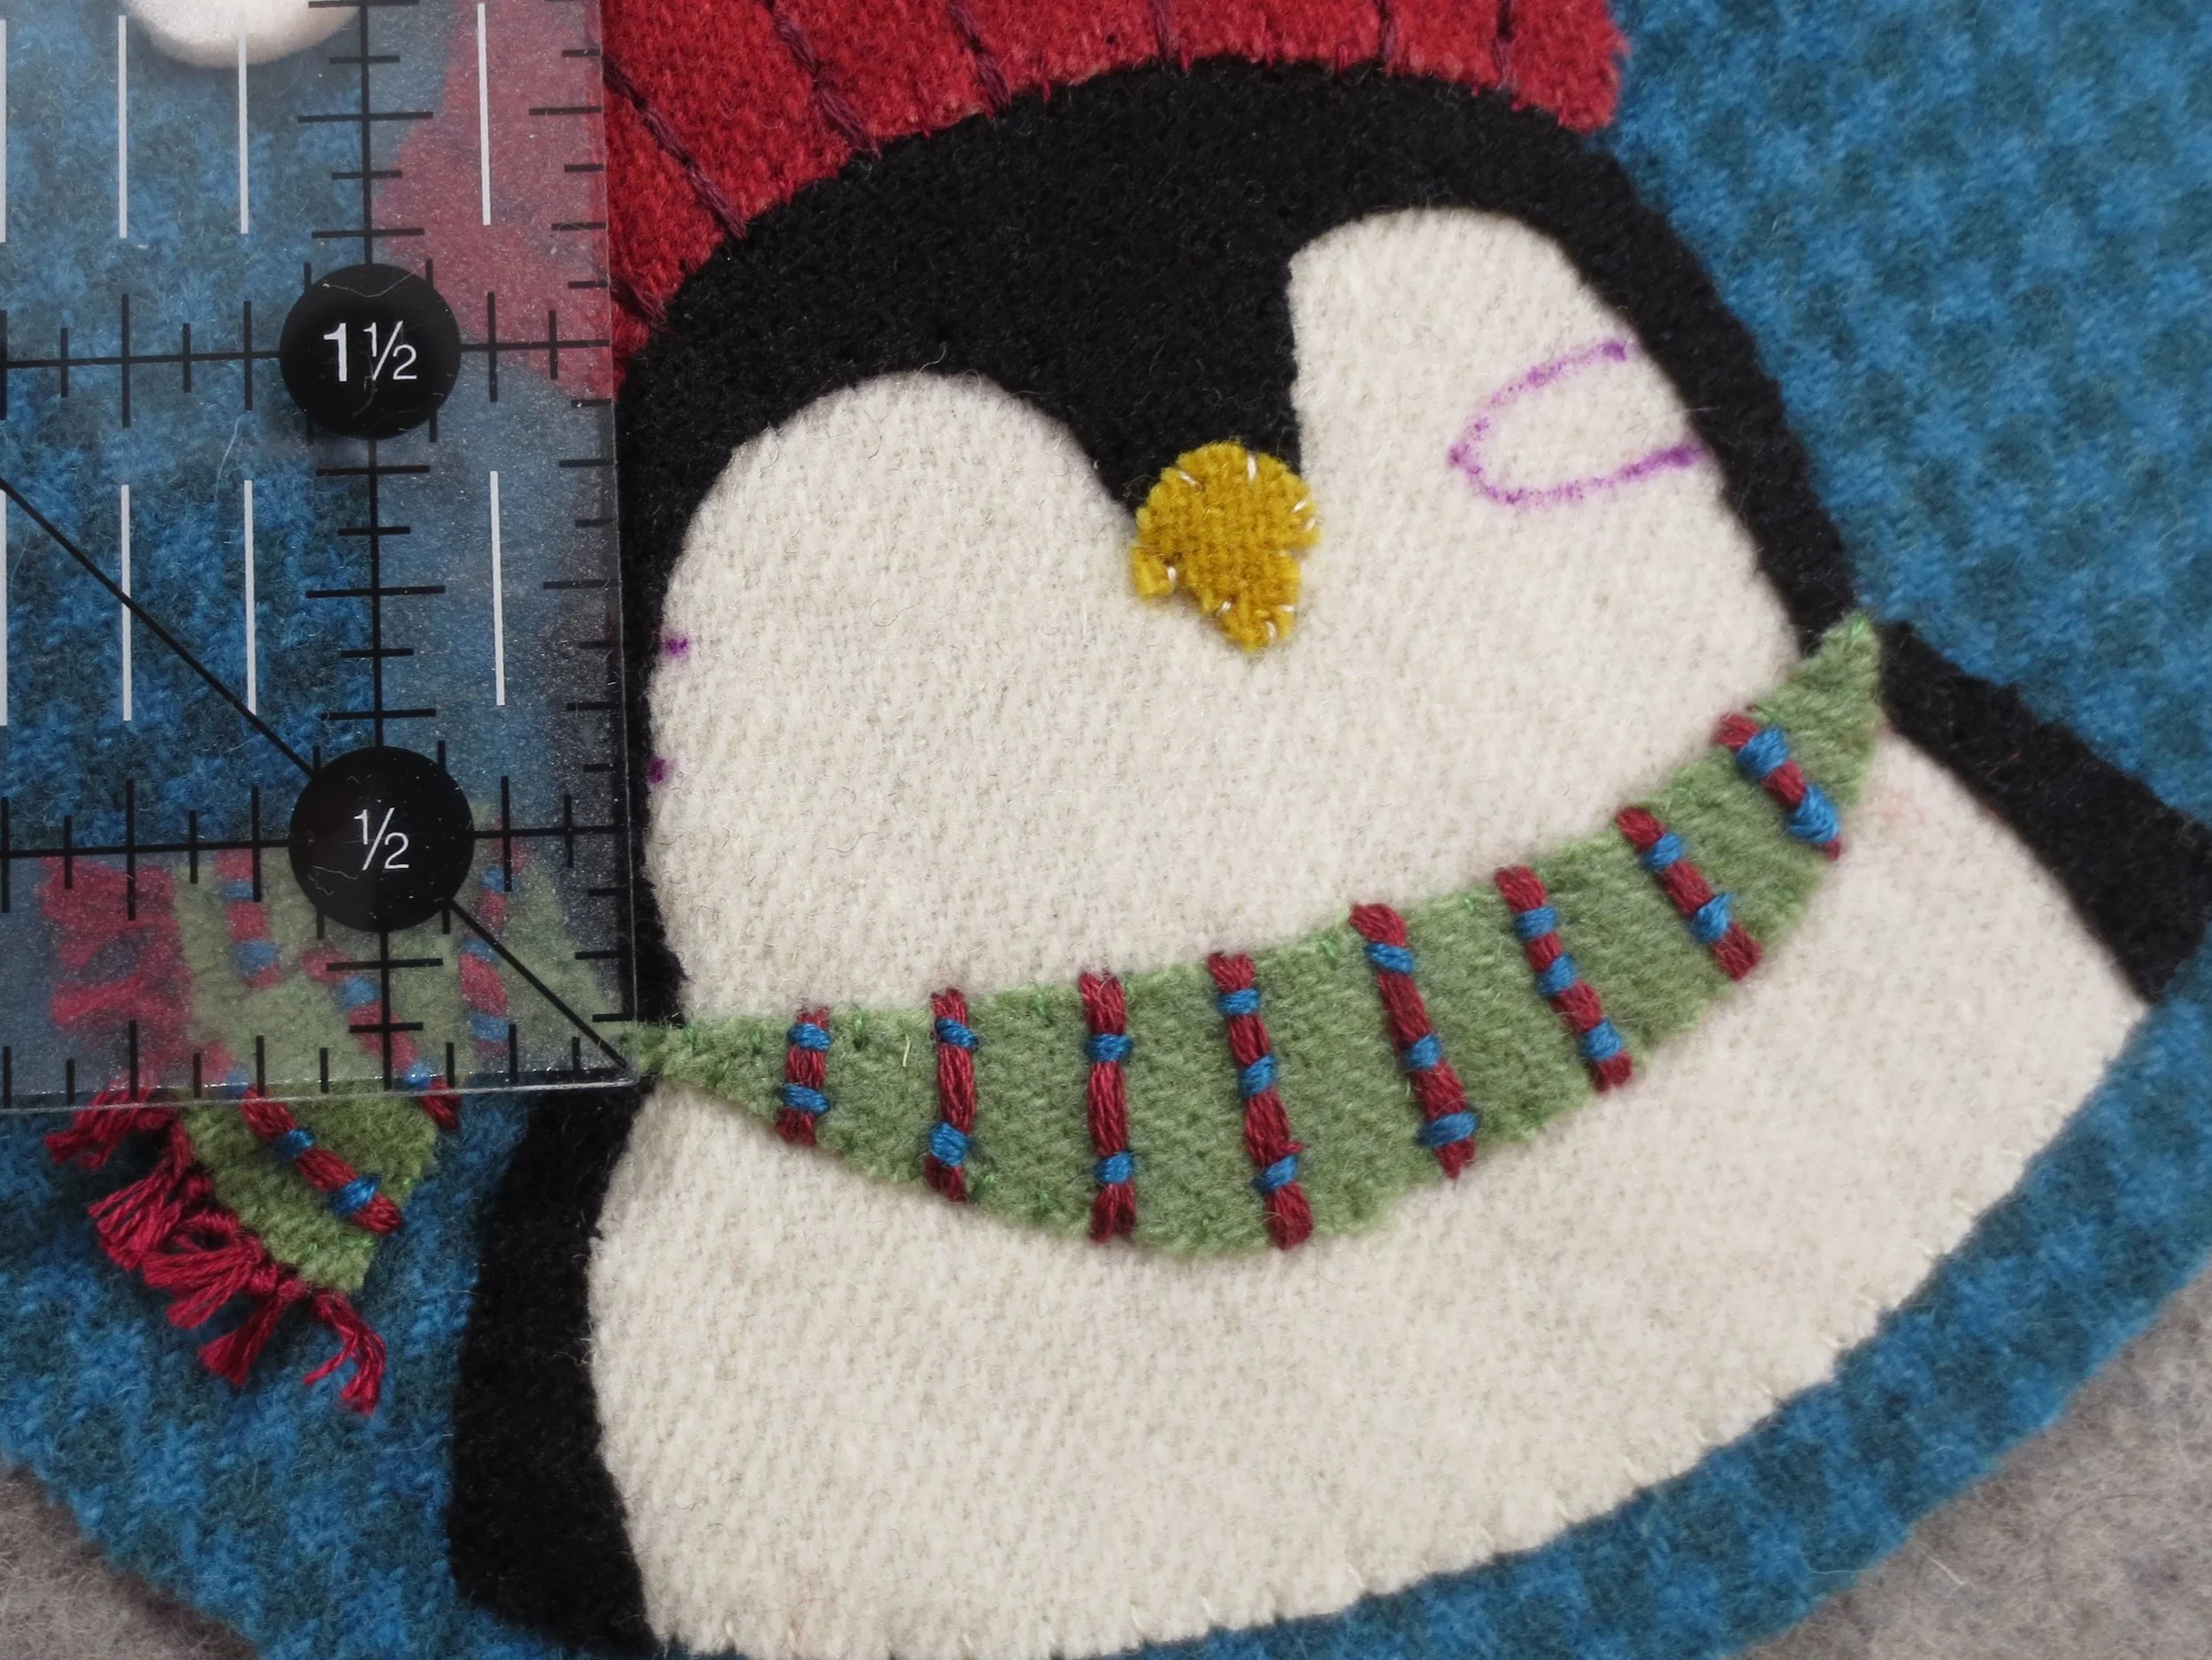
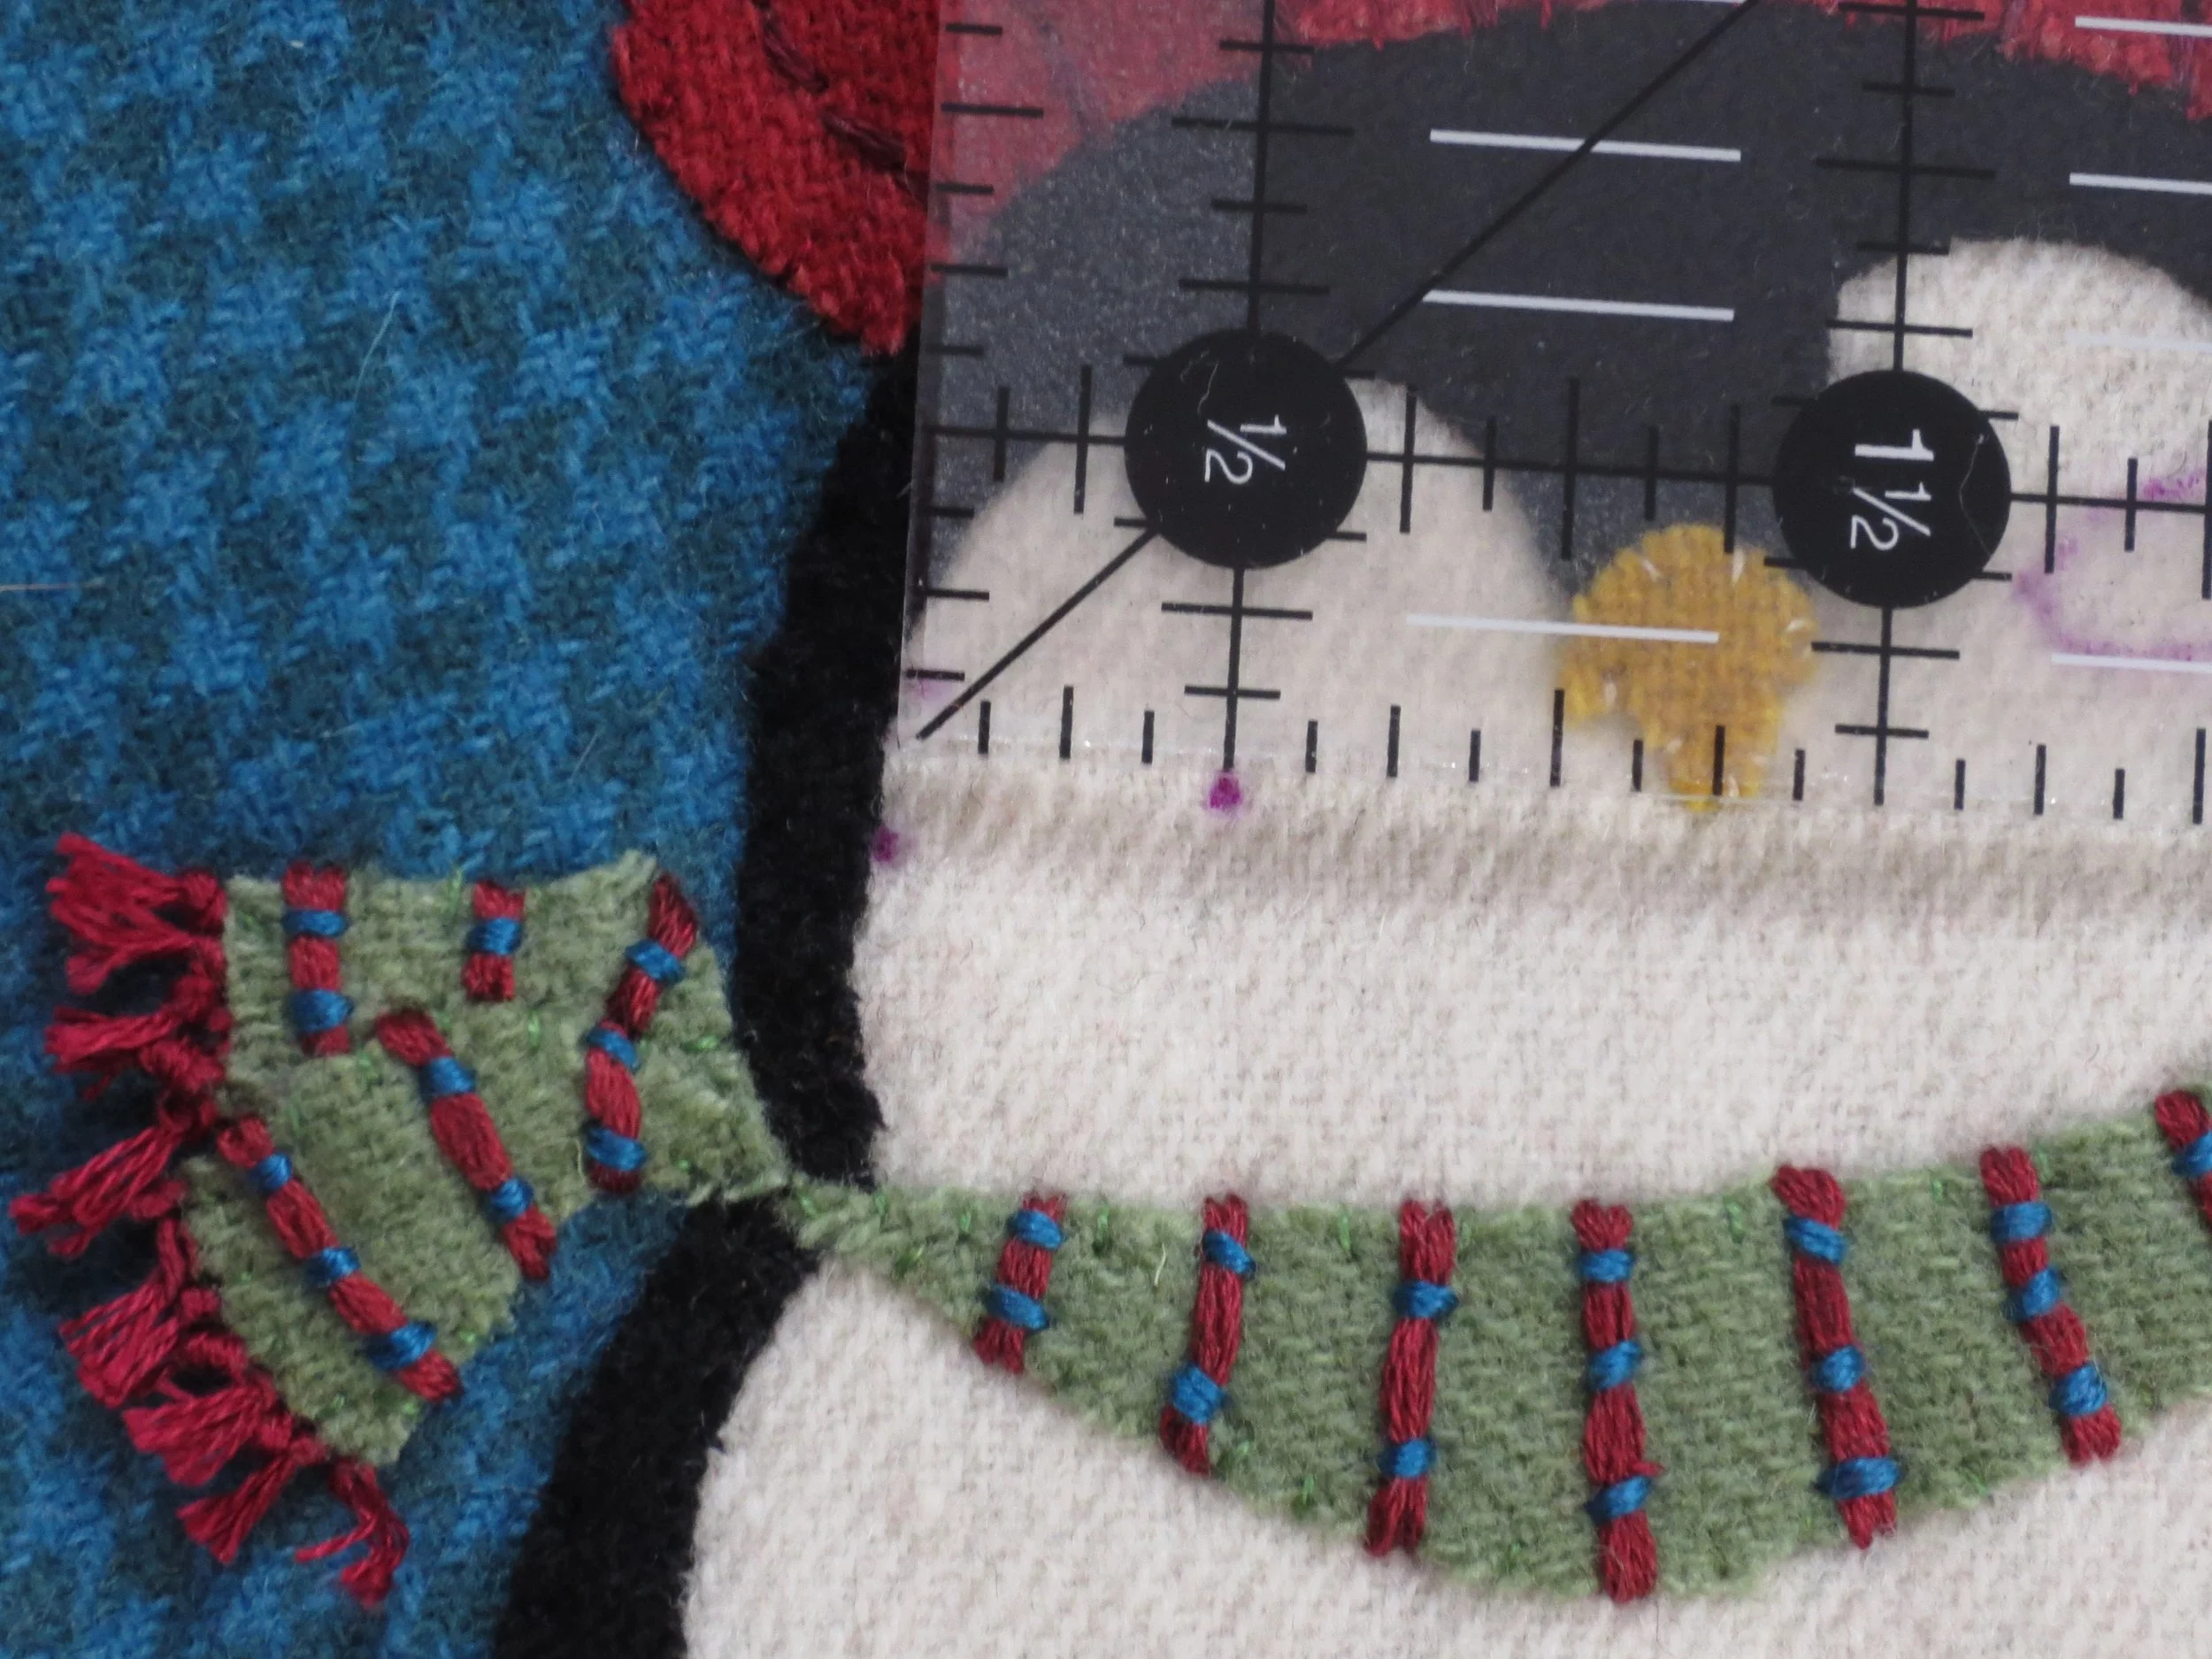
Measure 1/2” up from the top edge of the scarf and then make a dot with an air erasable marker.
Make a second dot just a bit more than 1/4” above the first dot.
Now place your ruler between the 2 lines and make a third dot 1/2” from the first dot. This will mark the width of the eye.
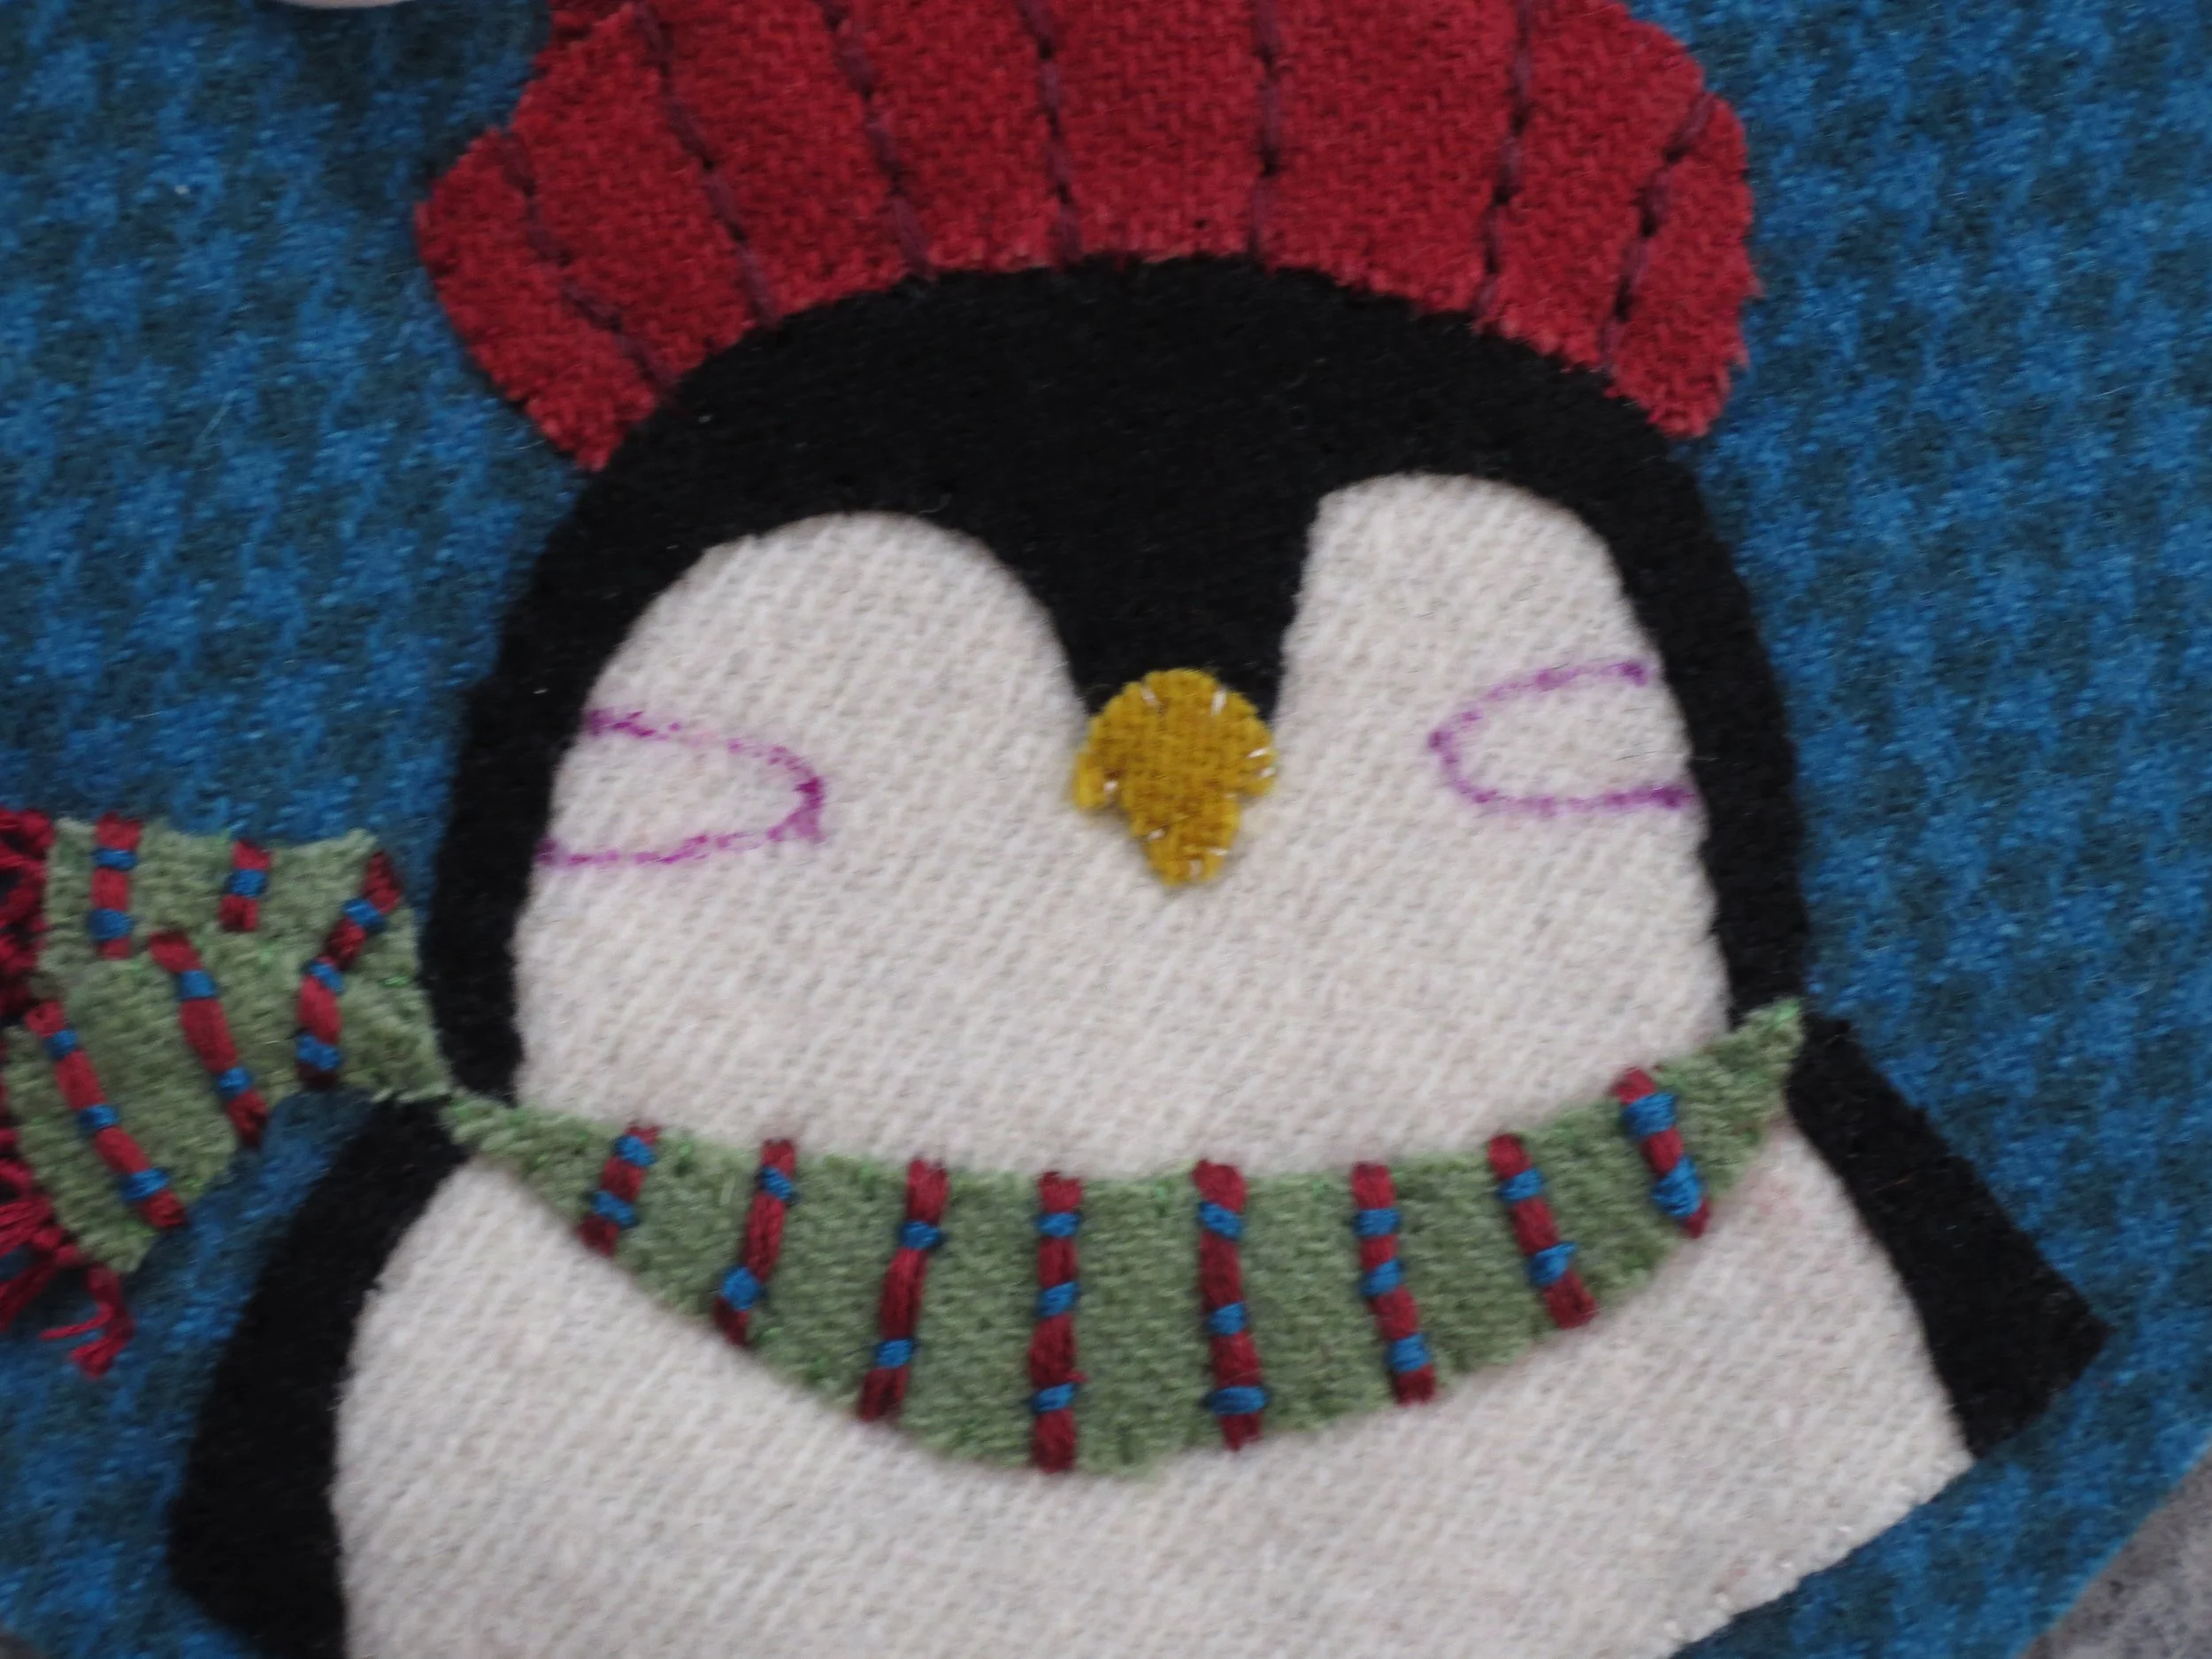
Now connect the dots to make the outline of eye.
Repeat the steps above to mark the other eye.
Add dots to complete the eyes. Use the layout as a placement guide.
Use 2 strands of black floss to stem stitch over the lines.
Use 3 strands of black floss to make French knot eyes.
22. Use 3 strands of medium gray floss to make a straight horizontal stitch to mark a line between the top and bottom of the beak.
Voila! You have finished the applique portion of the project.
Use the ornament construction instructions from Tis The Season to learn how to stuff, stitch, and hang your ornament.


