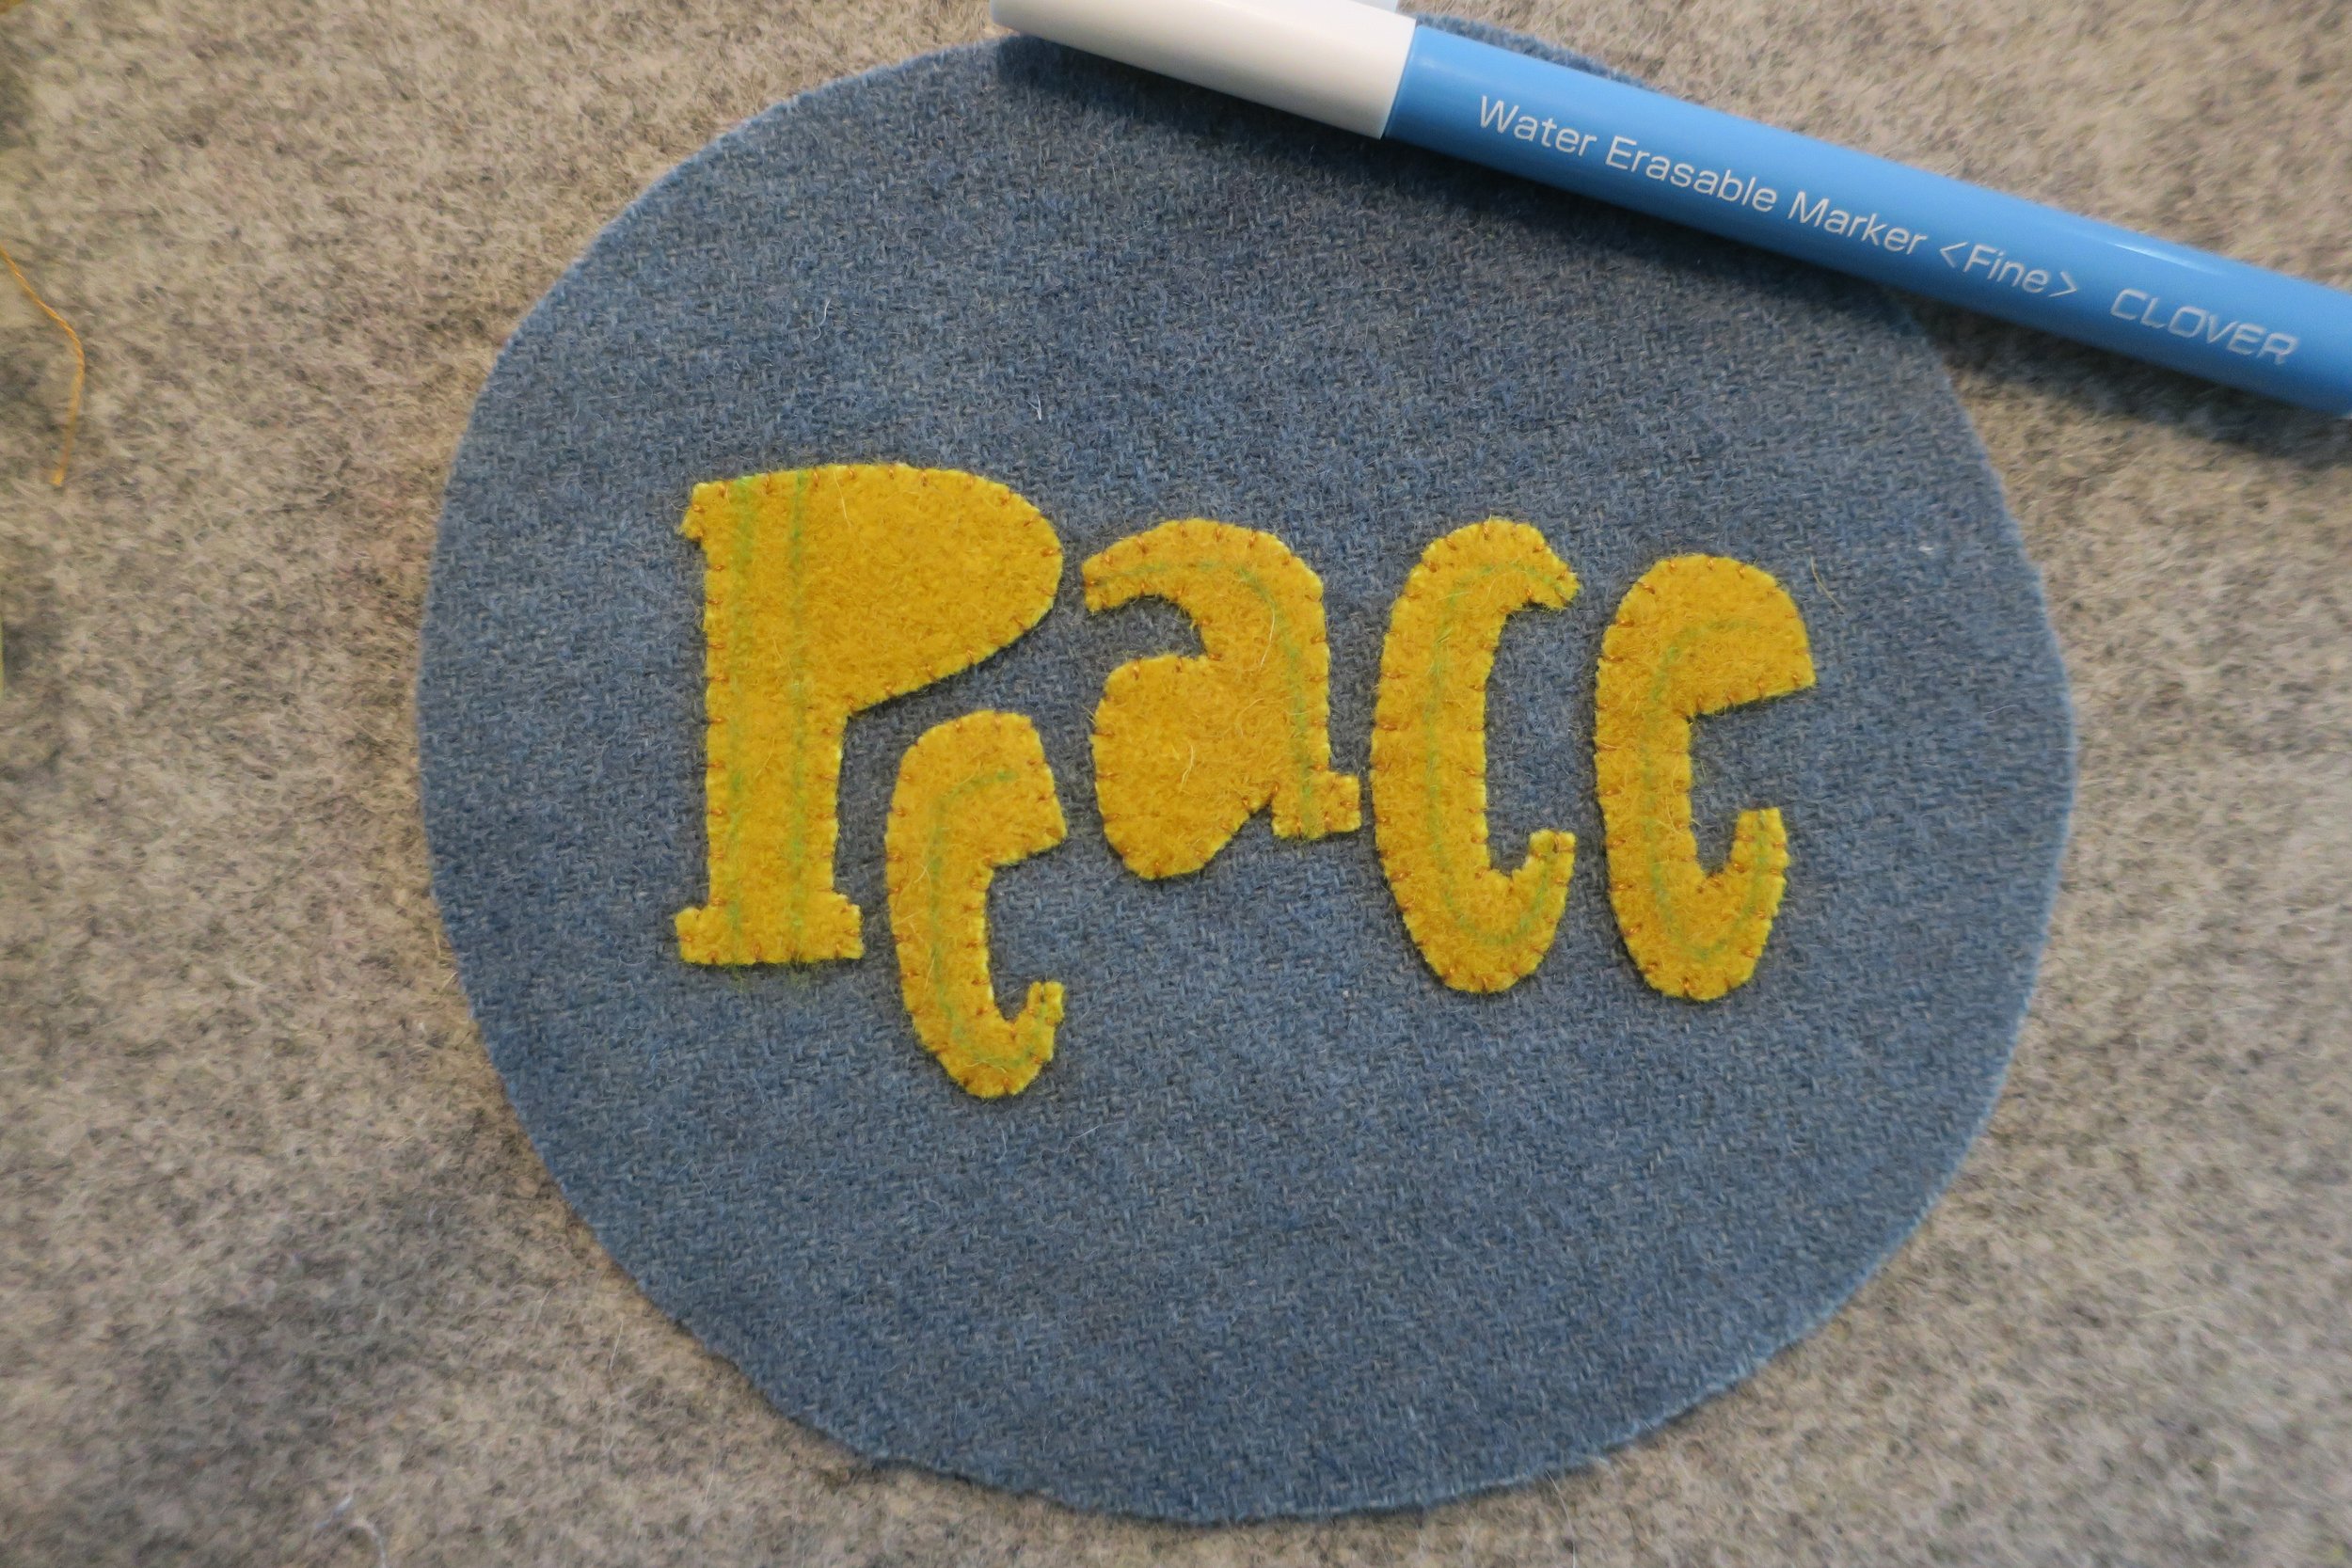
PEACE
Peace ornament - Back View
It’s ornament time again. Although I haven’t been blogging most of this year, I really couldn’t miss my yearly Christmas ornament tutorial.
This design is the same size as the angels, snowman, santa, and nutcracker. So it makes a nice companion to all of those. The finishing of the ornament is the same. Refer to Tis the Season for finishing.
Happy Stitching!
Supplies
Butternut Plaid Stitch Guide - This is a basic guide for most of the stitches used in this project. Step by step instructions for any new stitches are included in this tutorial.
Felted wool or wool felt - suggested colors
Background - 7” x 14” ocean blue
Peace - 2 1/2” x 5” golden yellow
Dove - 3” x 3 1/2” white
Olive and holly leaves - 2 1/2” x 4” each of 2 shades of green.
Thread
Embroidery floss
colors that match wool colors (white, golden yellow, green) for whip stitching the wool pieces in place
green color lighter than leaf color for making the veins of leaves
dark gray for the dove’s eye
light gray for feathers
Perle cotton, size 8
variegated green (House of Embroidery #54B ) for olive branch, peace embellishment and blanket stitch border
variegated purple ( House of Embroidery #62B) for olives
variegated red for holly berries ( This appears to be a House of Embroidery thread, but I failed to label the card, so I’m not sure what color number it is.)
NOTE: Beads (purple for the olives and red for the holly berries) can be substituted for the purple and red perle cotton. You will need a beading needle and matching floss or sewing thread.
Miscellaneous
Lightweight or featherweight fusible web such as Heat’N’Bond or Vilene meltfuse
Freezer paper
Steam iron
Chenille needle, size 24
Chalk marking pencil (white) for marking dark wool
Pencil to trace designs
Water erasable marking pen to mark light colored wools
Polyester fiberfil, wool, or cotton stuffing for inside of ornament
20 gauge silver wire for hanger (approximately 10”)
Instructions
Trace background pattern onto freezer paper. Also trace the outline of the olive branch wreath ( this will be cut out later). You will only need to make one (1) pattern because freezer paper patterns can be used several times before they lose their adhesive quality.
2. Use a dry iron to adhere the freezer paper pattern to desired wool.
3. Cut out pattern along traced line.
4. Remove the freezer paper pattern, and then repeat steps 2 and 3 for the second background. Set the pattern aside for later use.
5. Trace the applique pattern pieces onto fusible web. The images are already reversed for use with fusible web. Label all the leaves.
6. Cut out each of the pattern pieces leaving a small border (1/8”) around each of them.
7. Fuse pattern pieces onto desired wool using a dry iron. Note: Leaves 1,4,6,8,9,12,14,15,17,19 and the three holly leaves are fused onto the darker of the two green wools.
8. Cut out pattern pieces along traced lines. These little pieces of wool can get lost easily, so place them in a small bowl as you cut them.
9. Cut out the center of the freezer paper pattern.
10. Center the pattern onto one of the background wools, and then iron it in place.
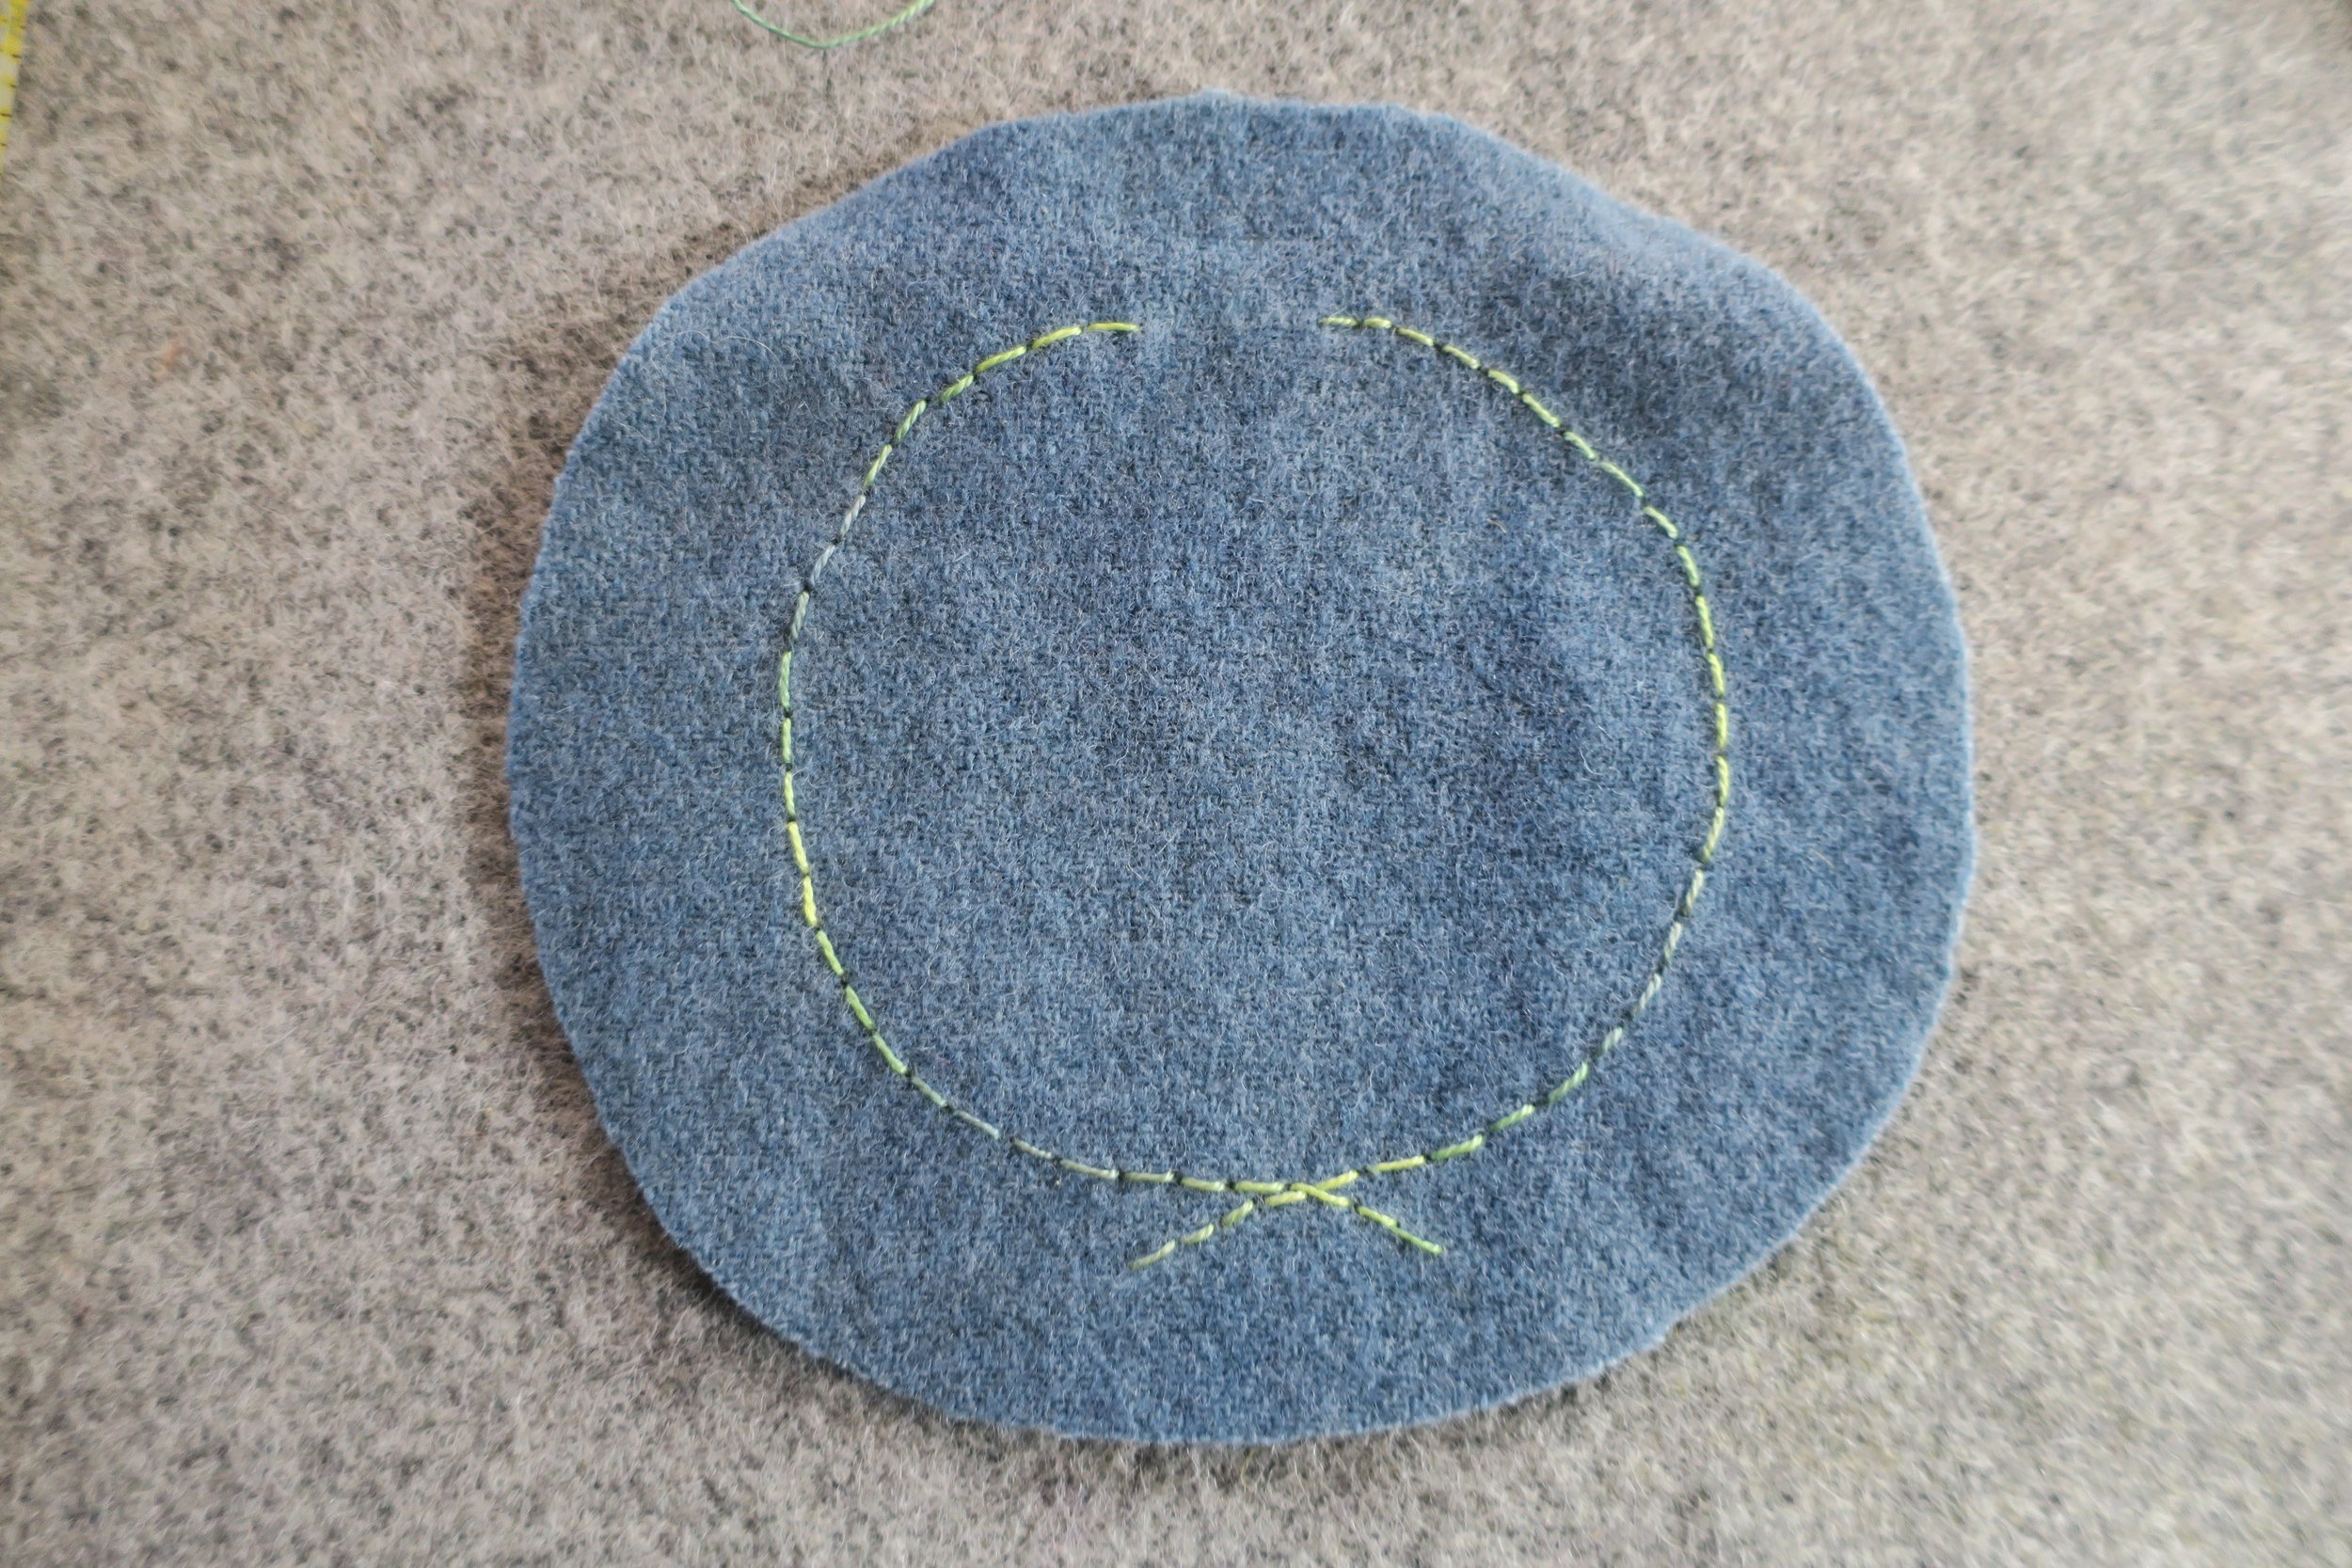
11. Use a chalk pencil to draw around the perimeter of the pattern adding the crossed branches on the bottom. Remove the freezer paper. This will serve as you guide line for stitching the olive branch wreath. This will be the back of the peace ornament.
12. Mark the ends of the branches. It’s approximately 7/8” wide.
13. Use 1 strand of perle cotton, size 8, #54B (variegated green) to back stitch over chalk lines.
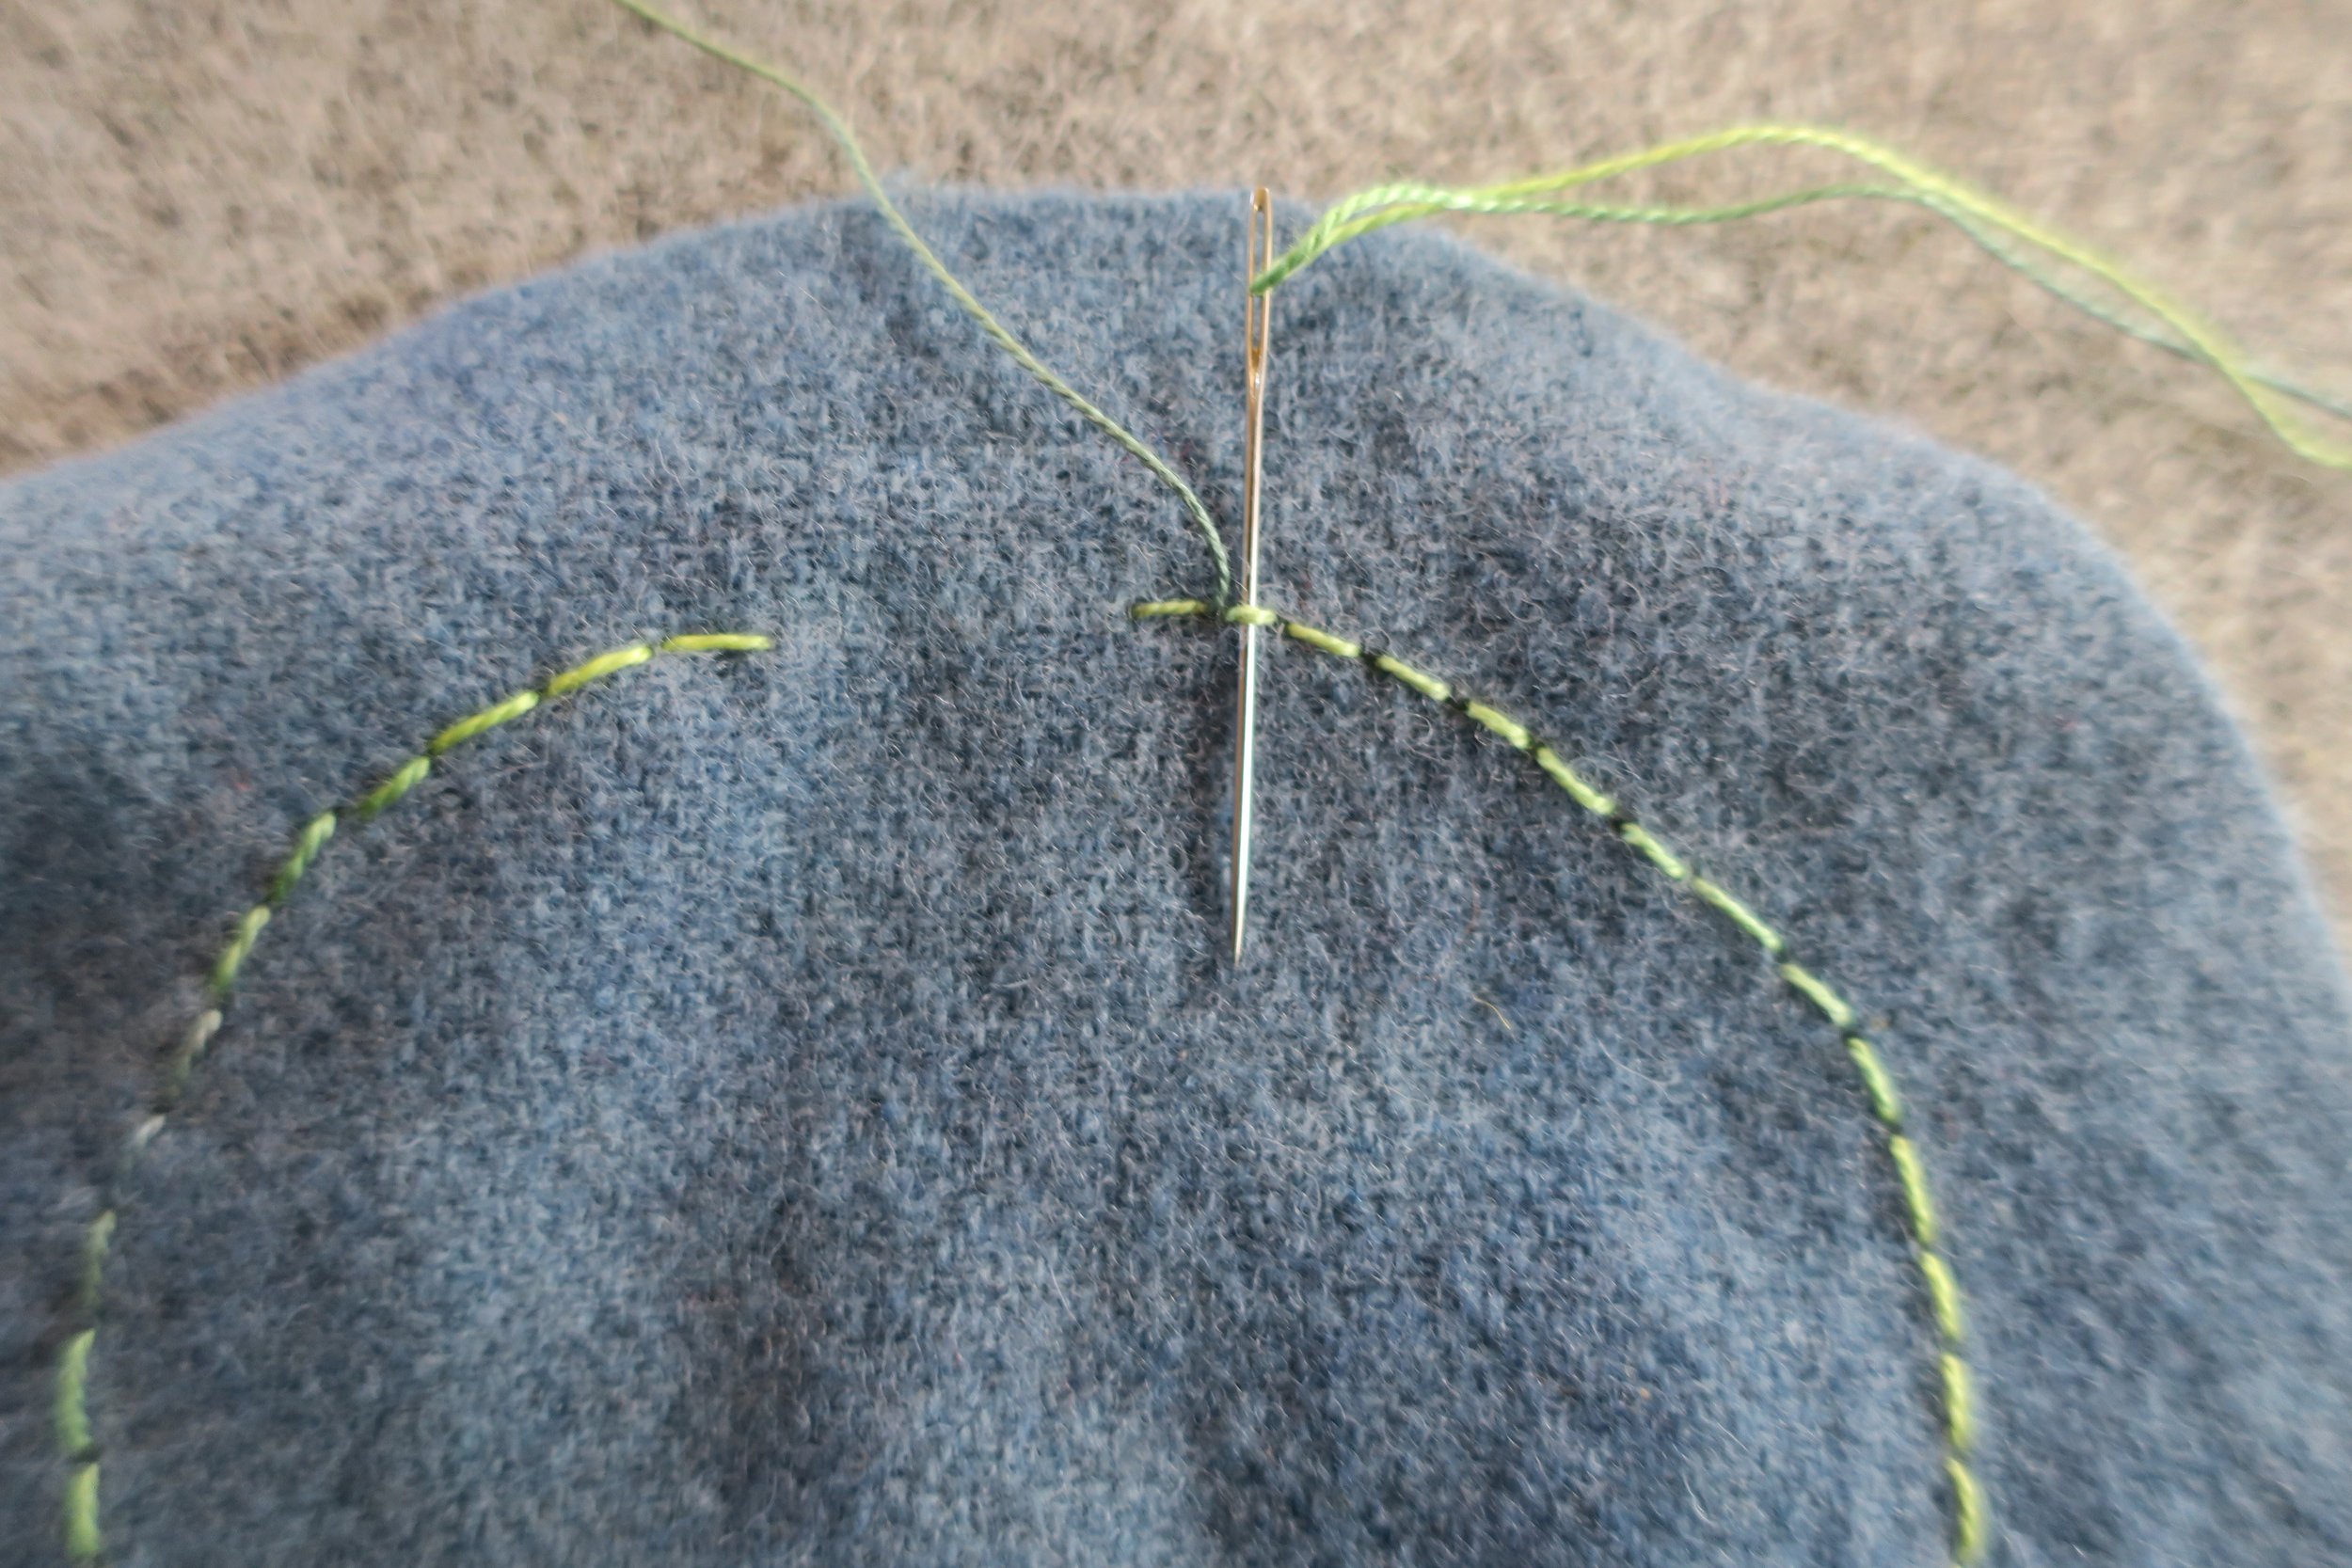
14. Using the same thread, bring your needle up at the end of the first back stitch, and then insert your needle under the second back stitch. Pull the thread through.
Slide your needle under the third back stitch, and then bring your thread through.
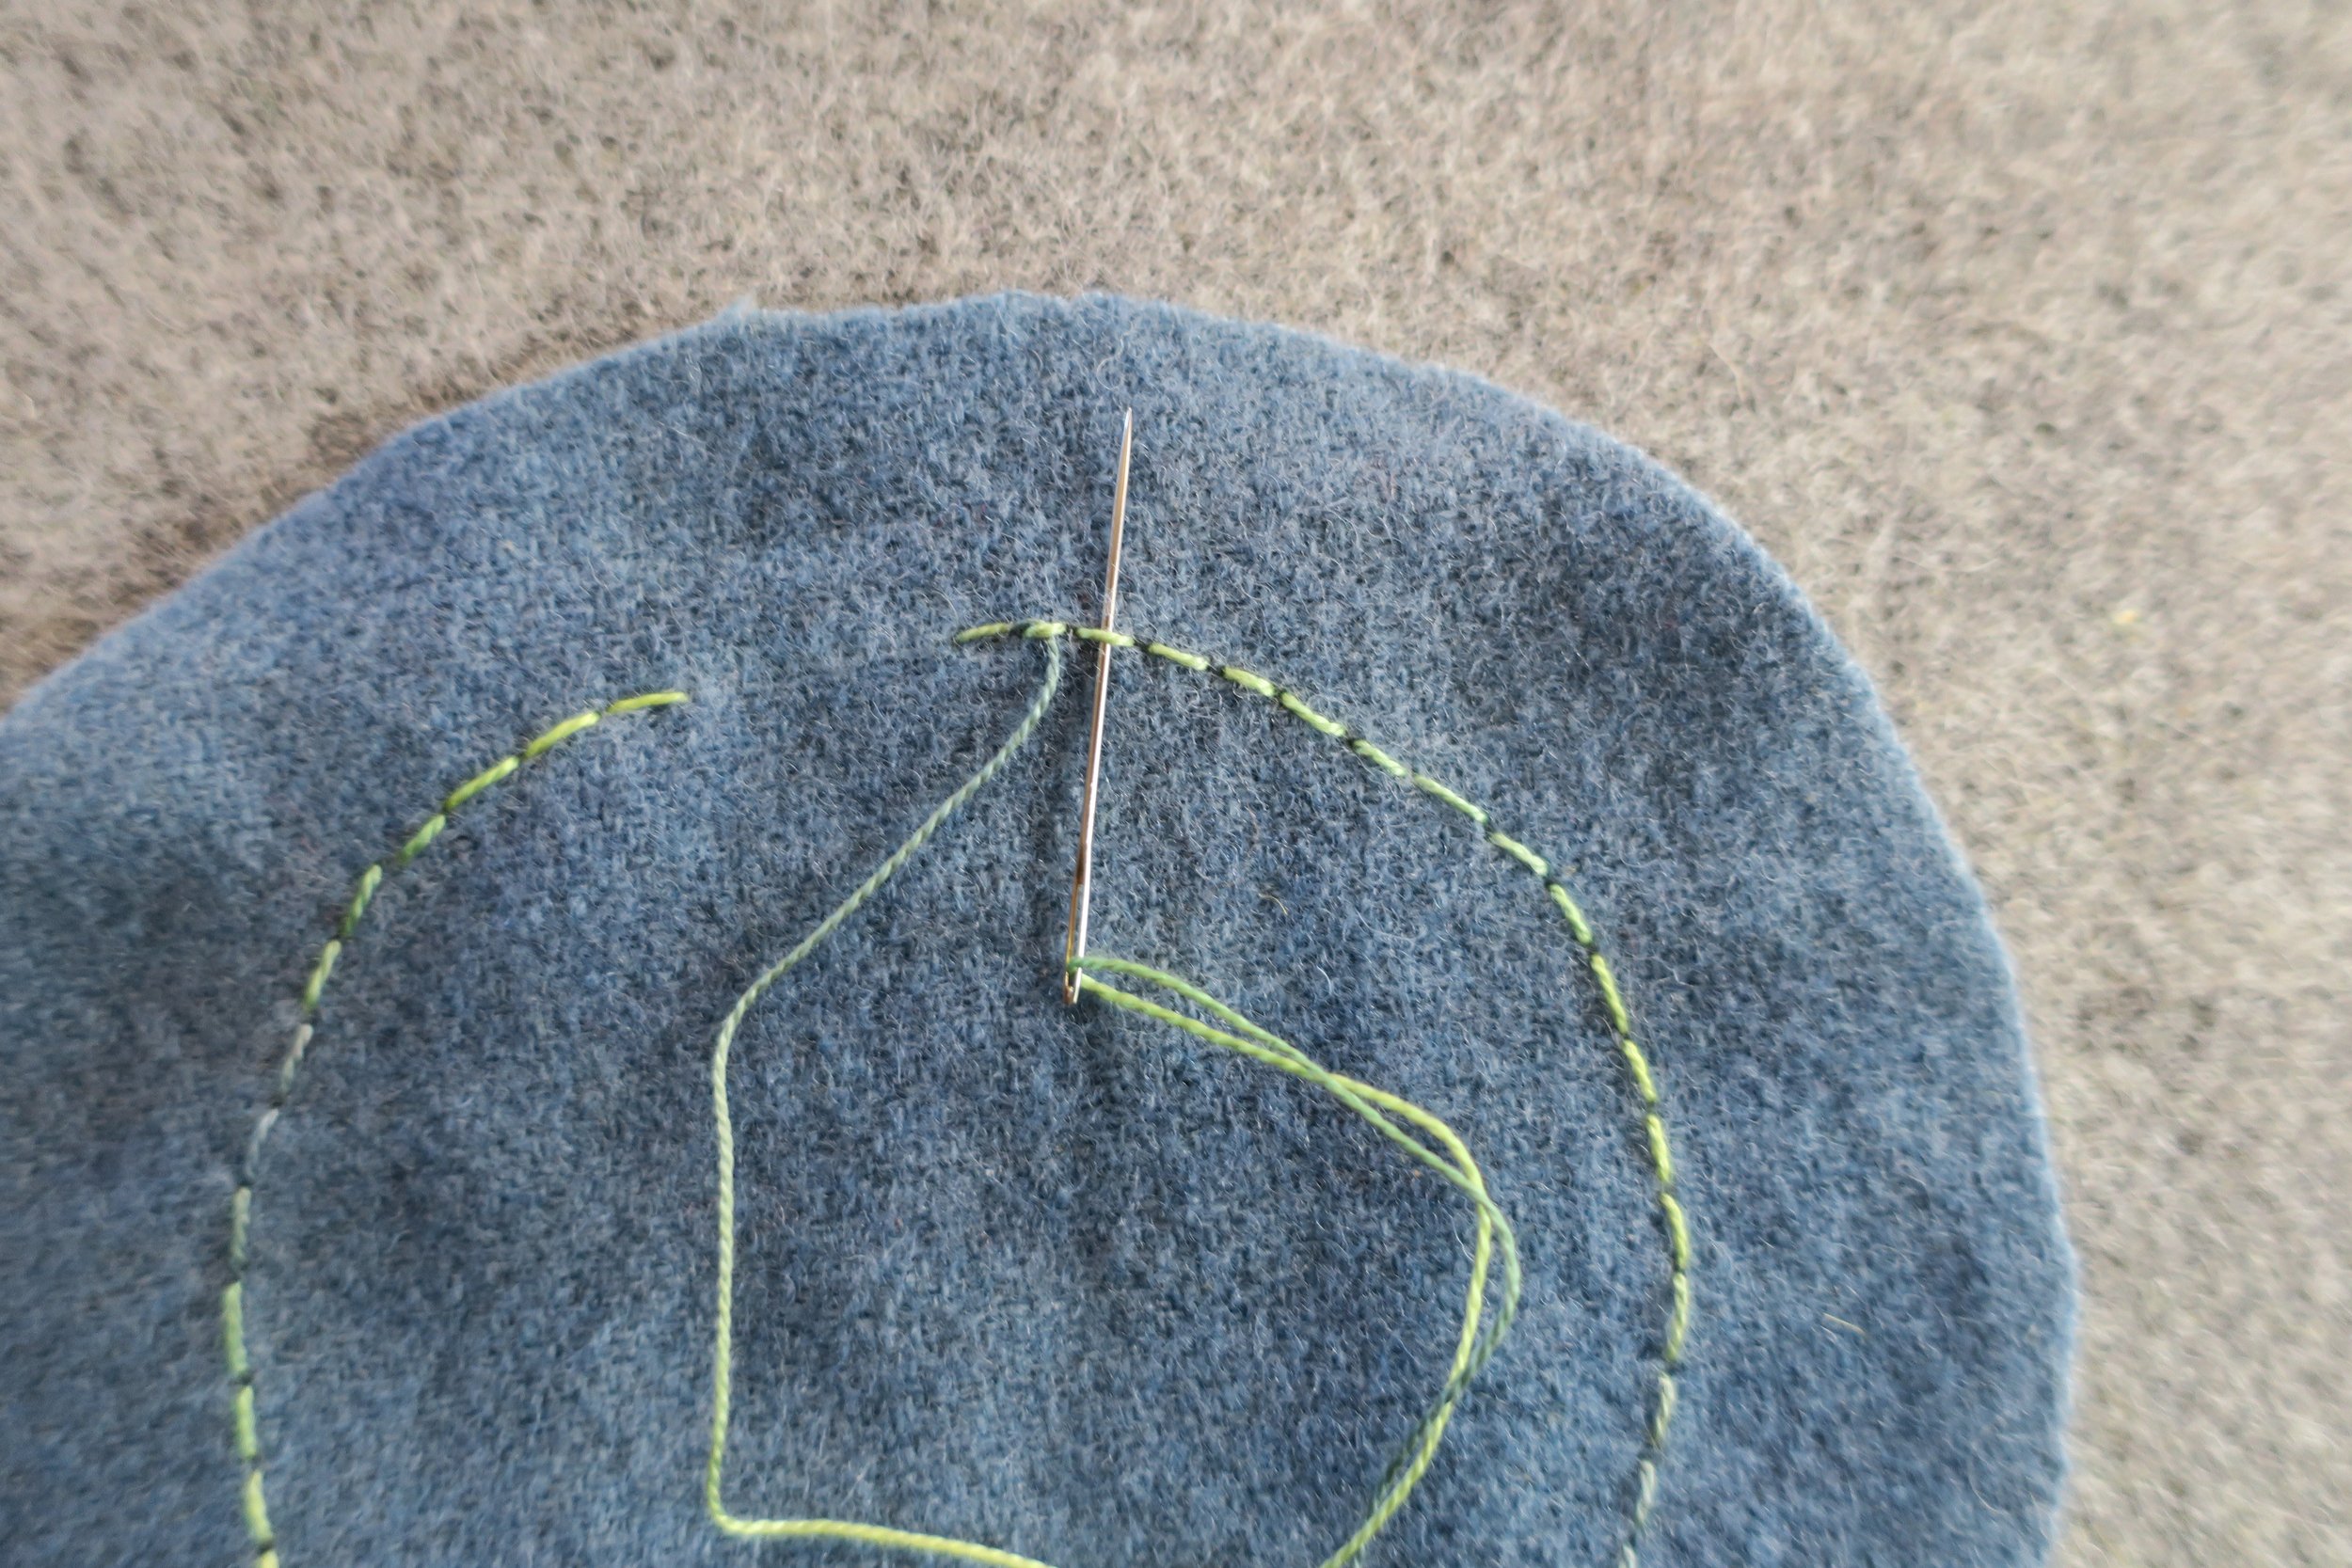
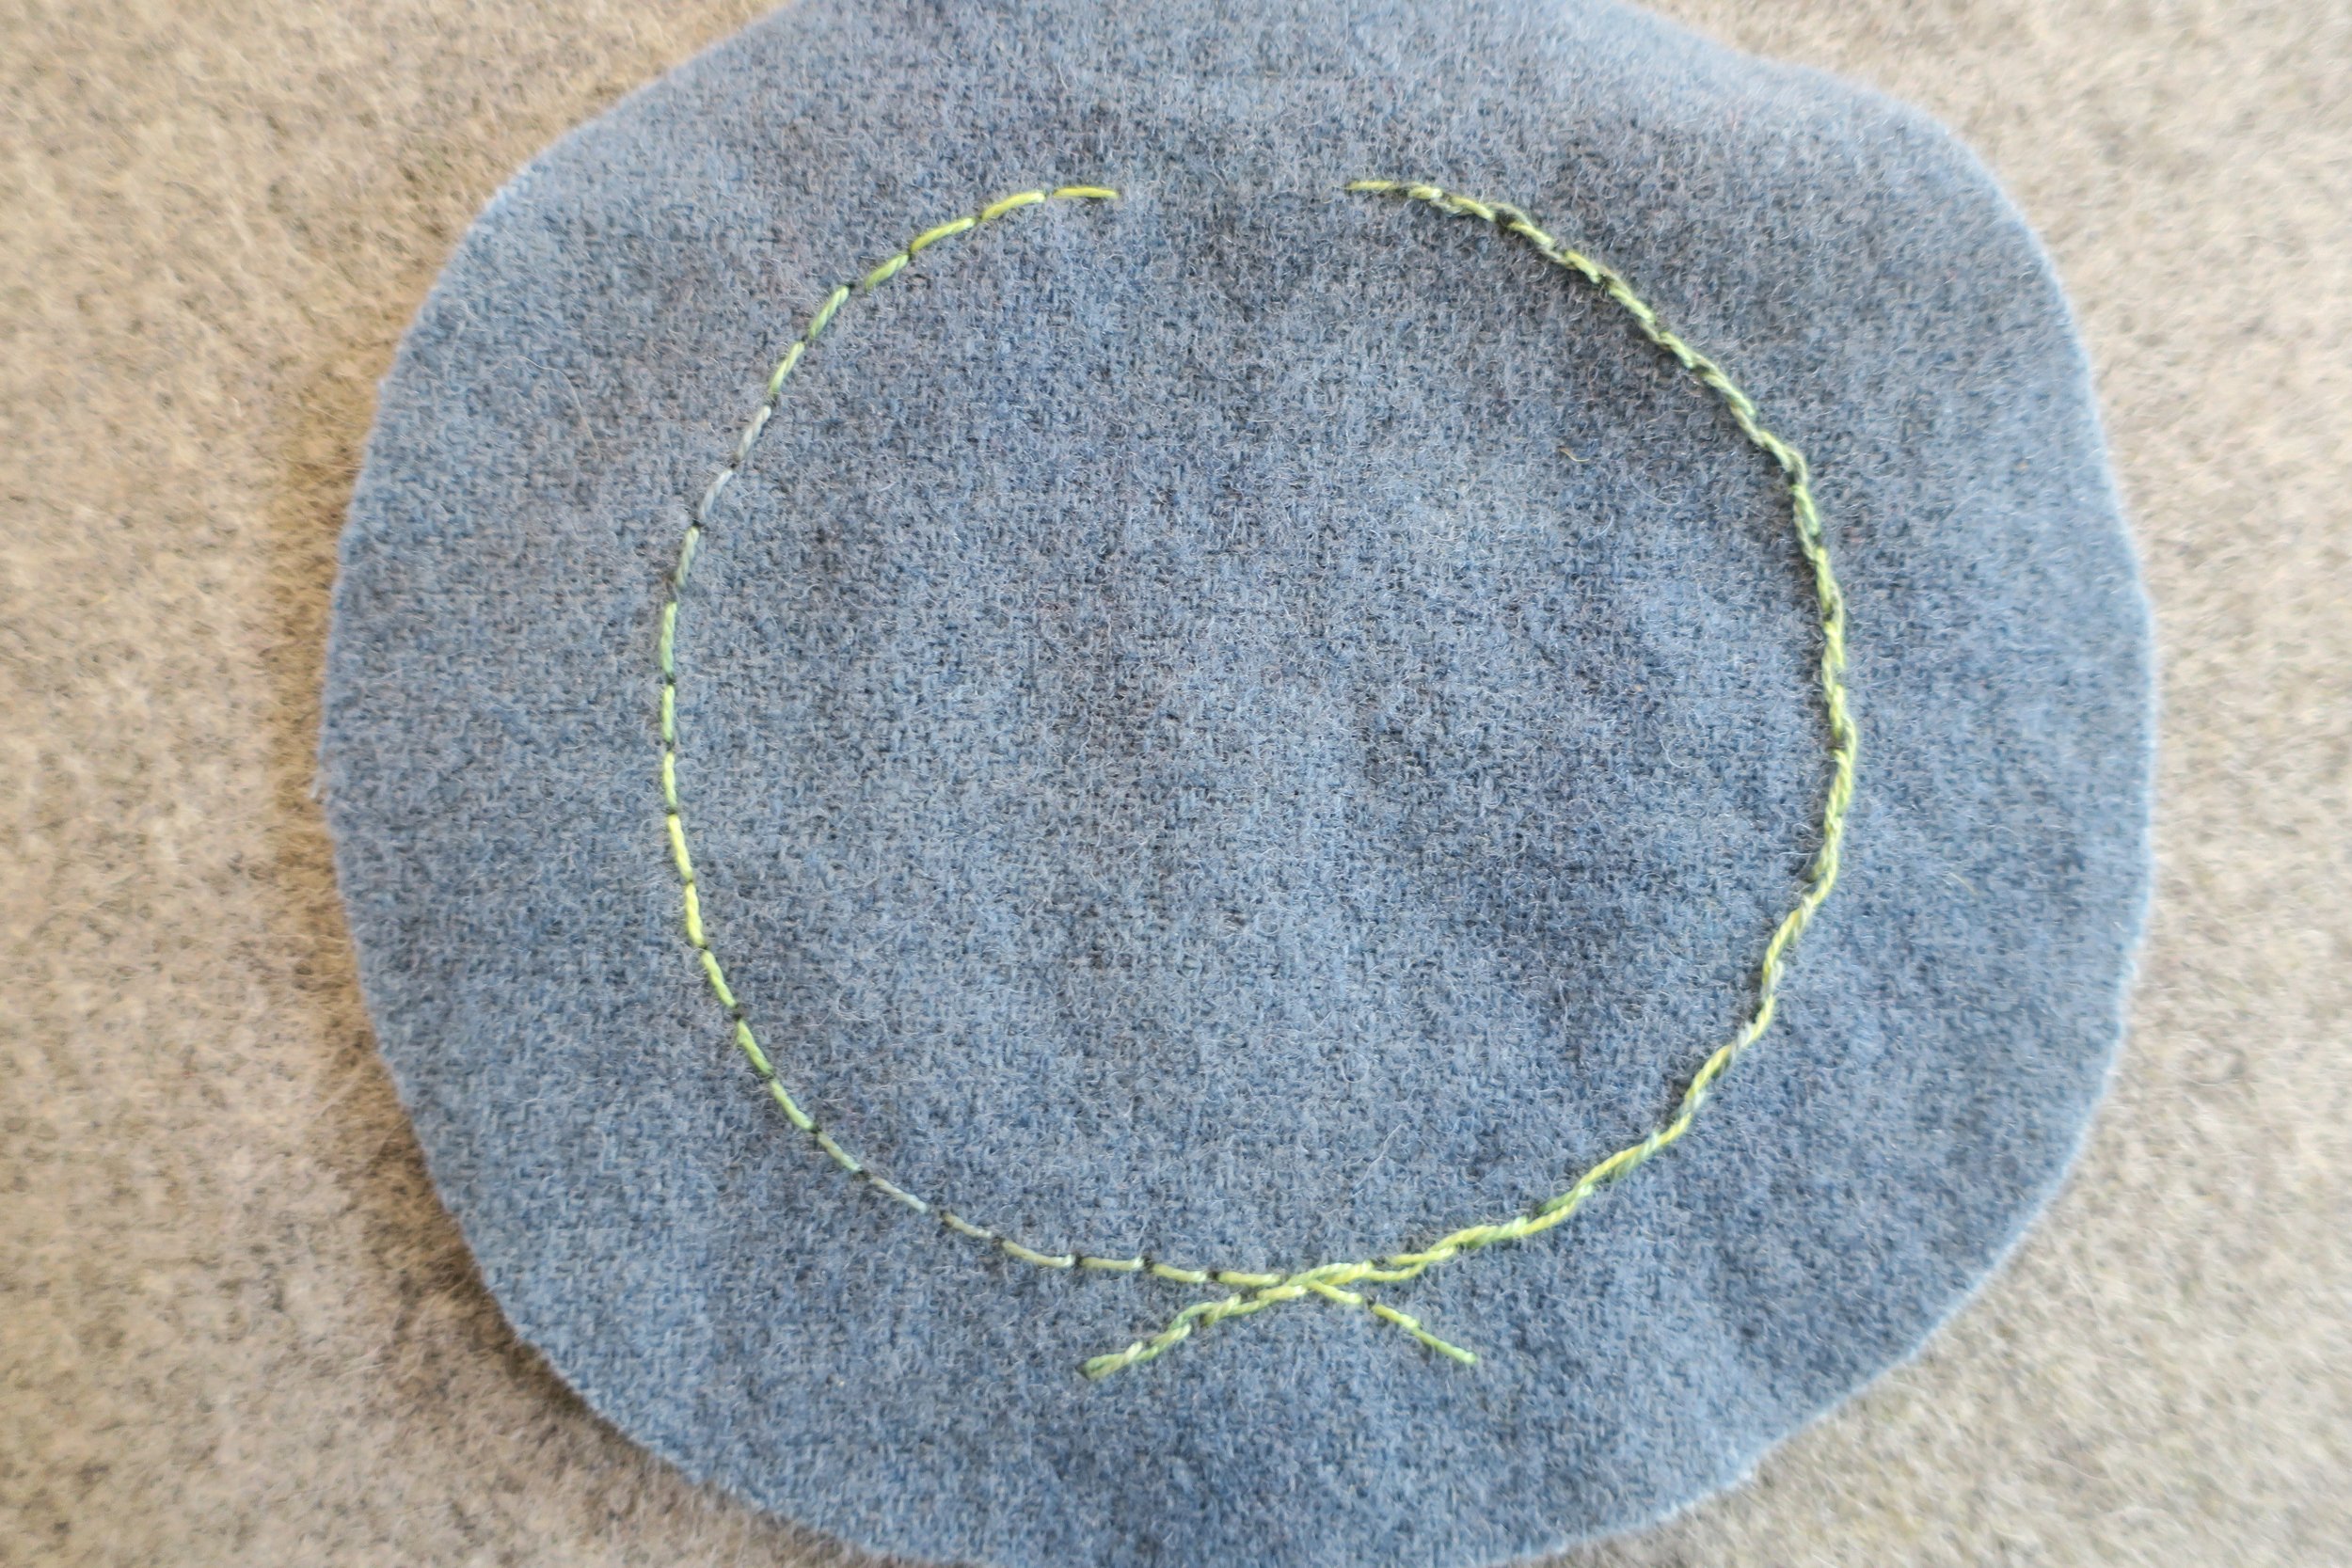
Continue weaving your thread through the back stitches all the way to the end of the branch.
Repeat on the opposite side finishing at the end of the second to last back stitch.
15. Position the leaves around the wreath, and the dove using the layout as your guide.
16. Fuse in place. Iron both front and back of the background piece. This helps to adhere the applique pieces better.
17. Whip stitch all the applique pieces in place using 1 strand of embroidery floss. Use colors that match wool colors.
18. Draw veins of leaves using water erasable pen.
19. Use 1 strand of light green floss to chain stitch the veins of leaves.
20. Use a water soluble marking pen to draw the eye and feathers. Use the layout as a guide. Hint: A small circle template is useful for drawing the eye.
21. Use 1 strand of light gray floss to make long fly stitches on the tail of the dove.
22. Use the same thread to make smaller fly stitches on the wings.
23. Use the same thread to stitch very small fly stitches on the body of the dove.
24. Use 1 strand of dark gray floss to back stitch the outline of the eye. Use 2 strands of the same floss to make the pupil.
25. Use 2 strands of gold floss to satin stitch the beak. I used 4 stitches.
26. Use 1 strand of variegated purple cotton perle, size 8 to stitch French knot olives on the stems of the olive branches. Use the layout for placement guidance.
27. Use a damp cloth to dab the inked guidelines to remove them.
Let’s work on the front of the ornament.
28. Position the wool letters onto the remaining wool background using the layout as a guide, and then fuse in place using a steam iron.
30. Whip stitch the letters in place using 1 strand of gold embroidery floss.
31. Use a water soluble pen to draw guidelines for the embroidery embellishments. Use the layout as a placement guide.
32. Embroidery embellishments - All stitches are made with 1 strand of House of Embroidery perle cotton, size 8, color #54B (variegated green) unless otherwise noted.
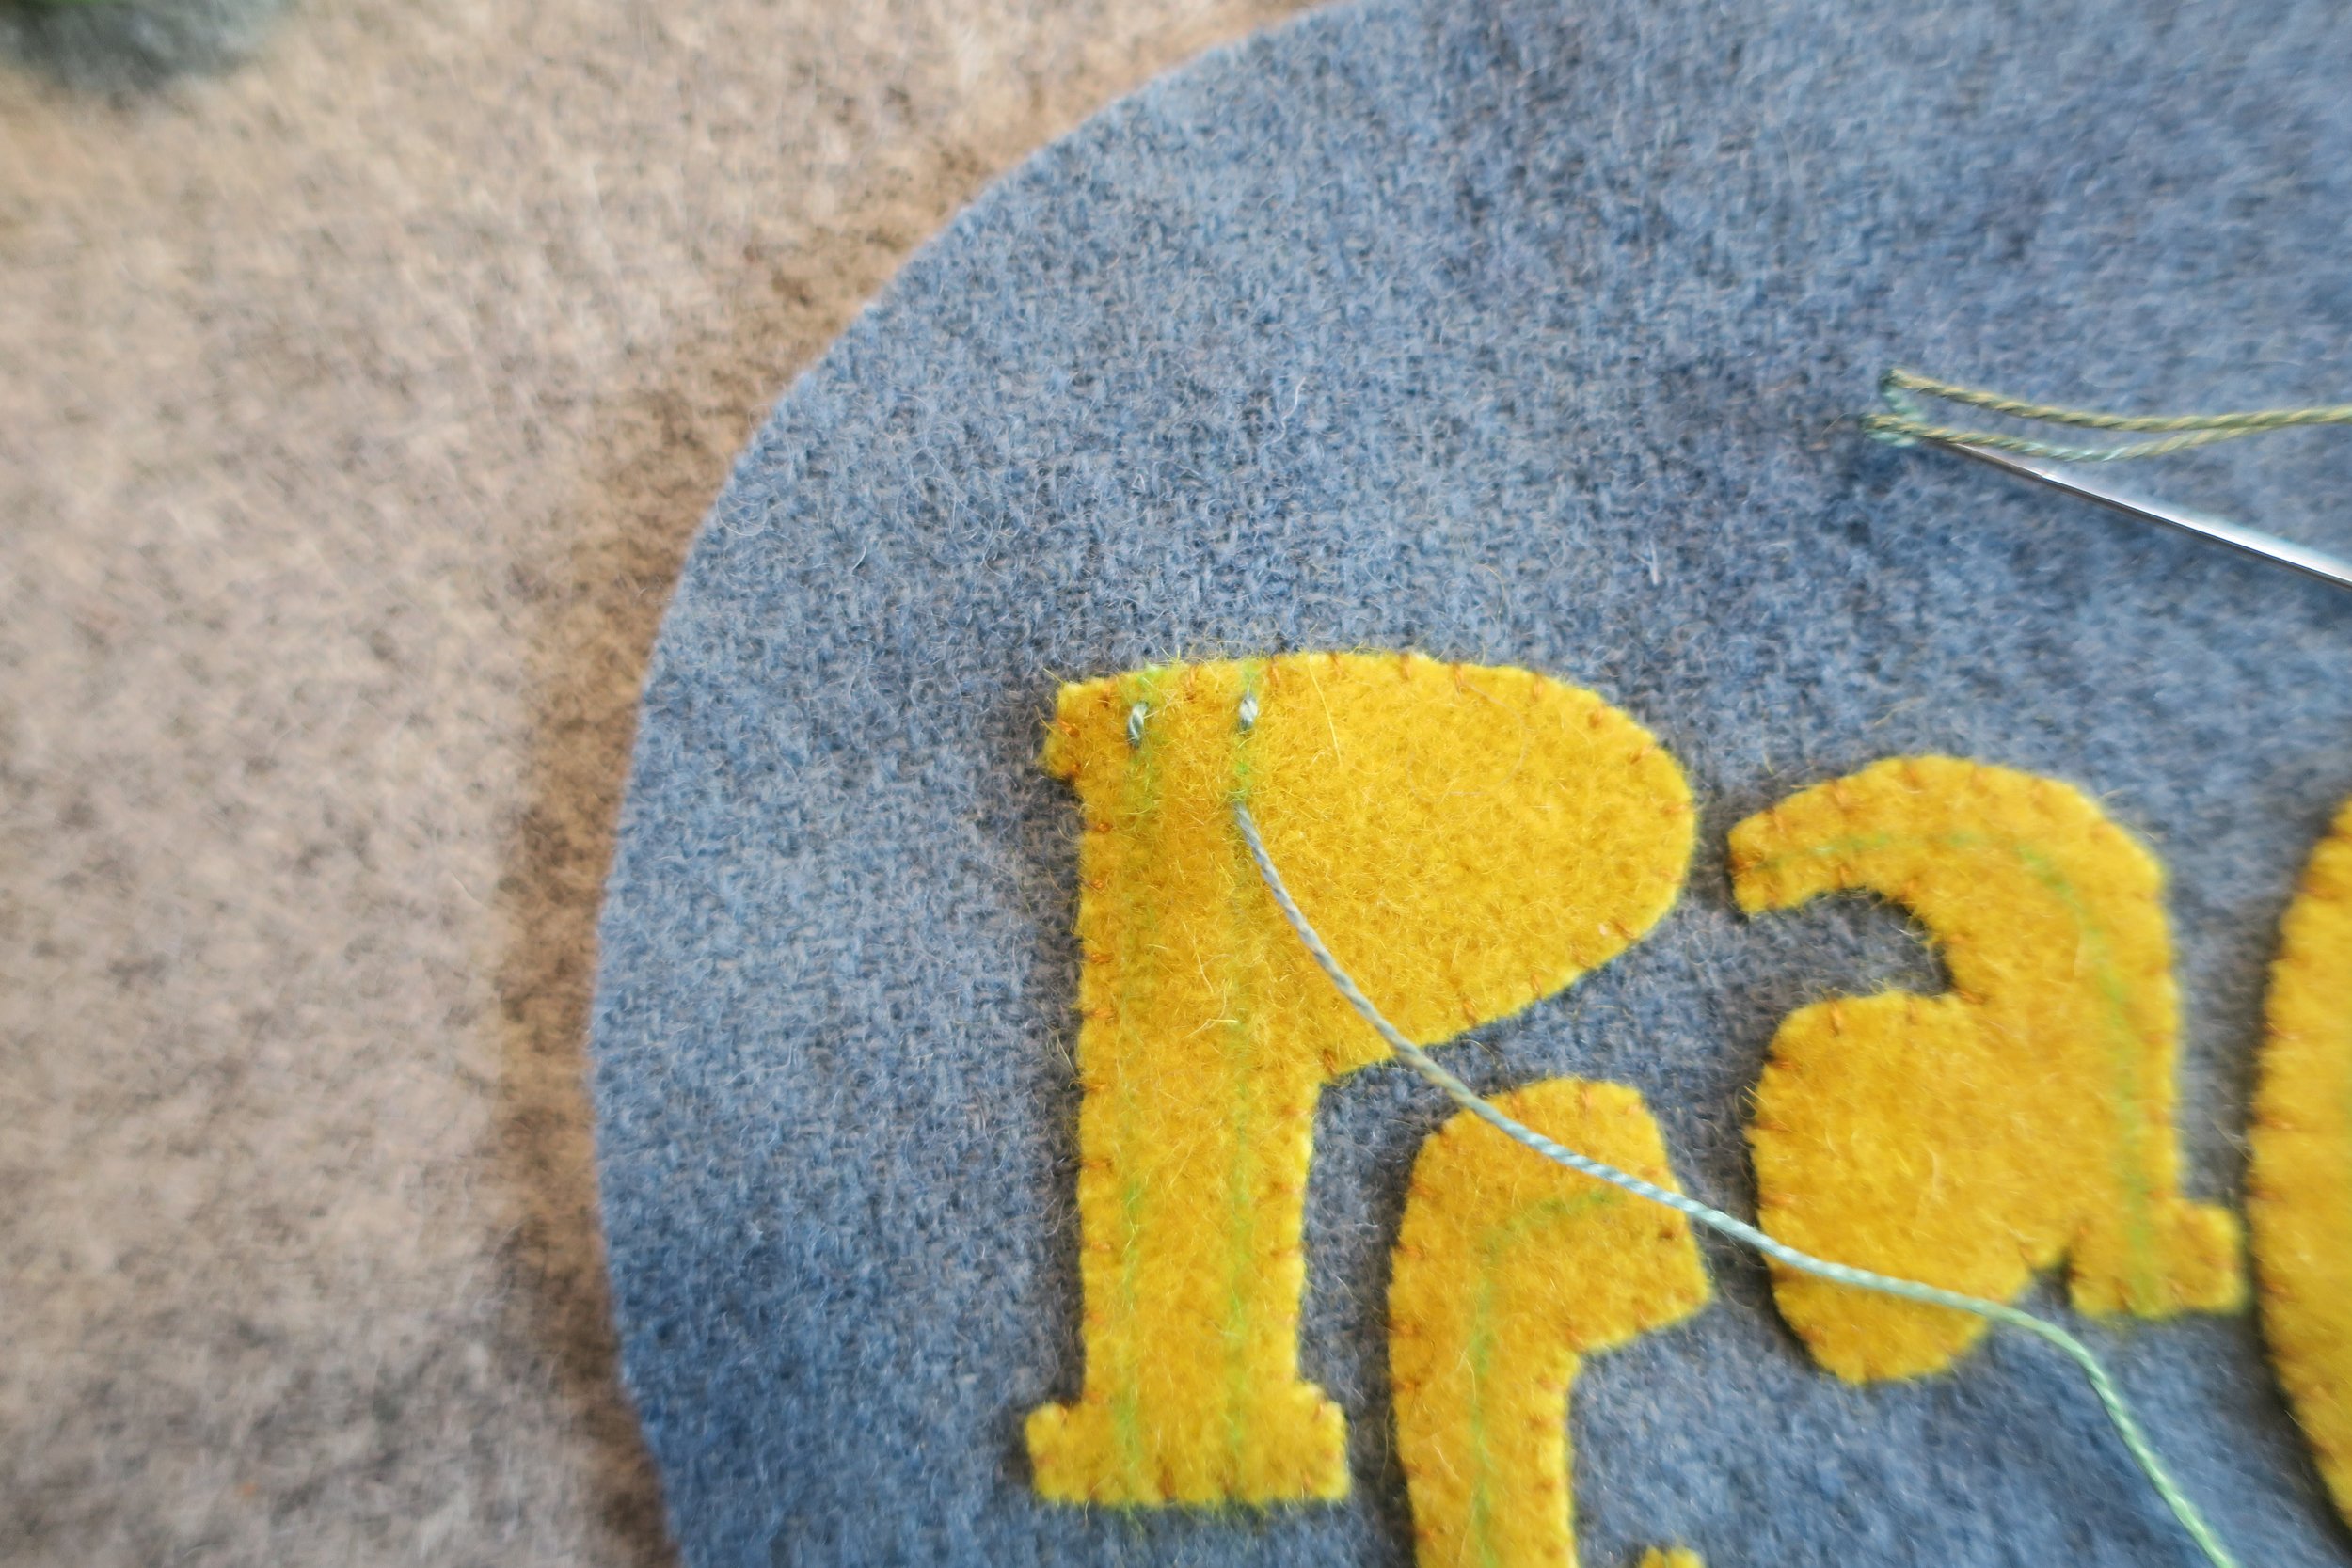
Let’s begin with a threaded square chain stitch on the letter P.
Bring your needle up at the upper left side of the drawn parallel lines. Bring the thread through to the front.
Insert the needle slightly below (1/8”) where the thread first came out, and come up directly across on the adjacent parallel line. Pull the thread through.
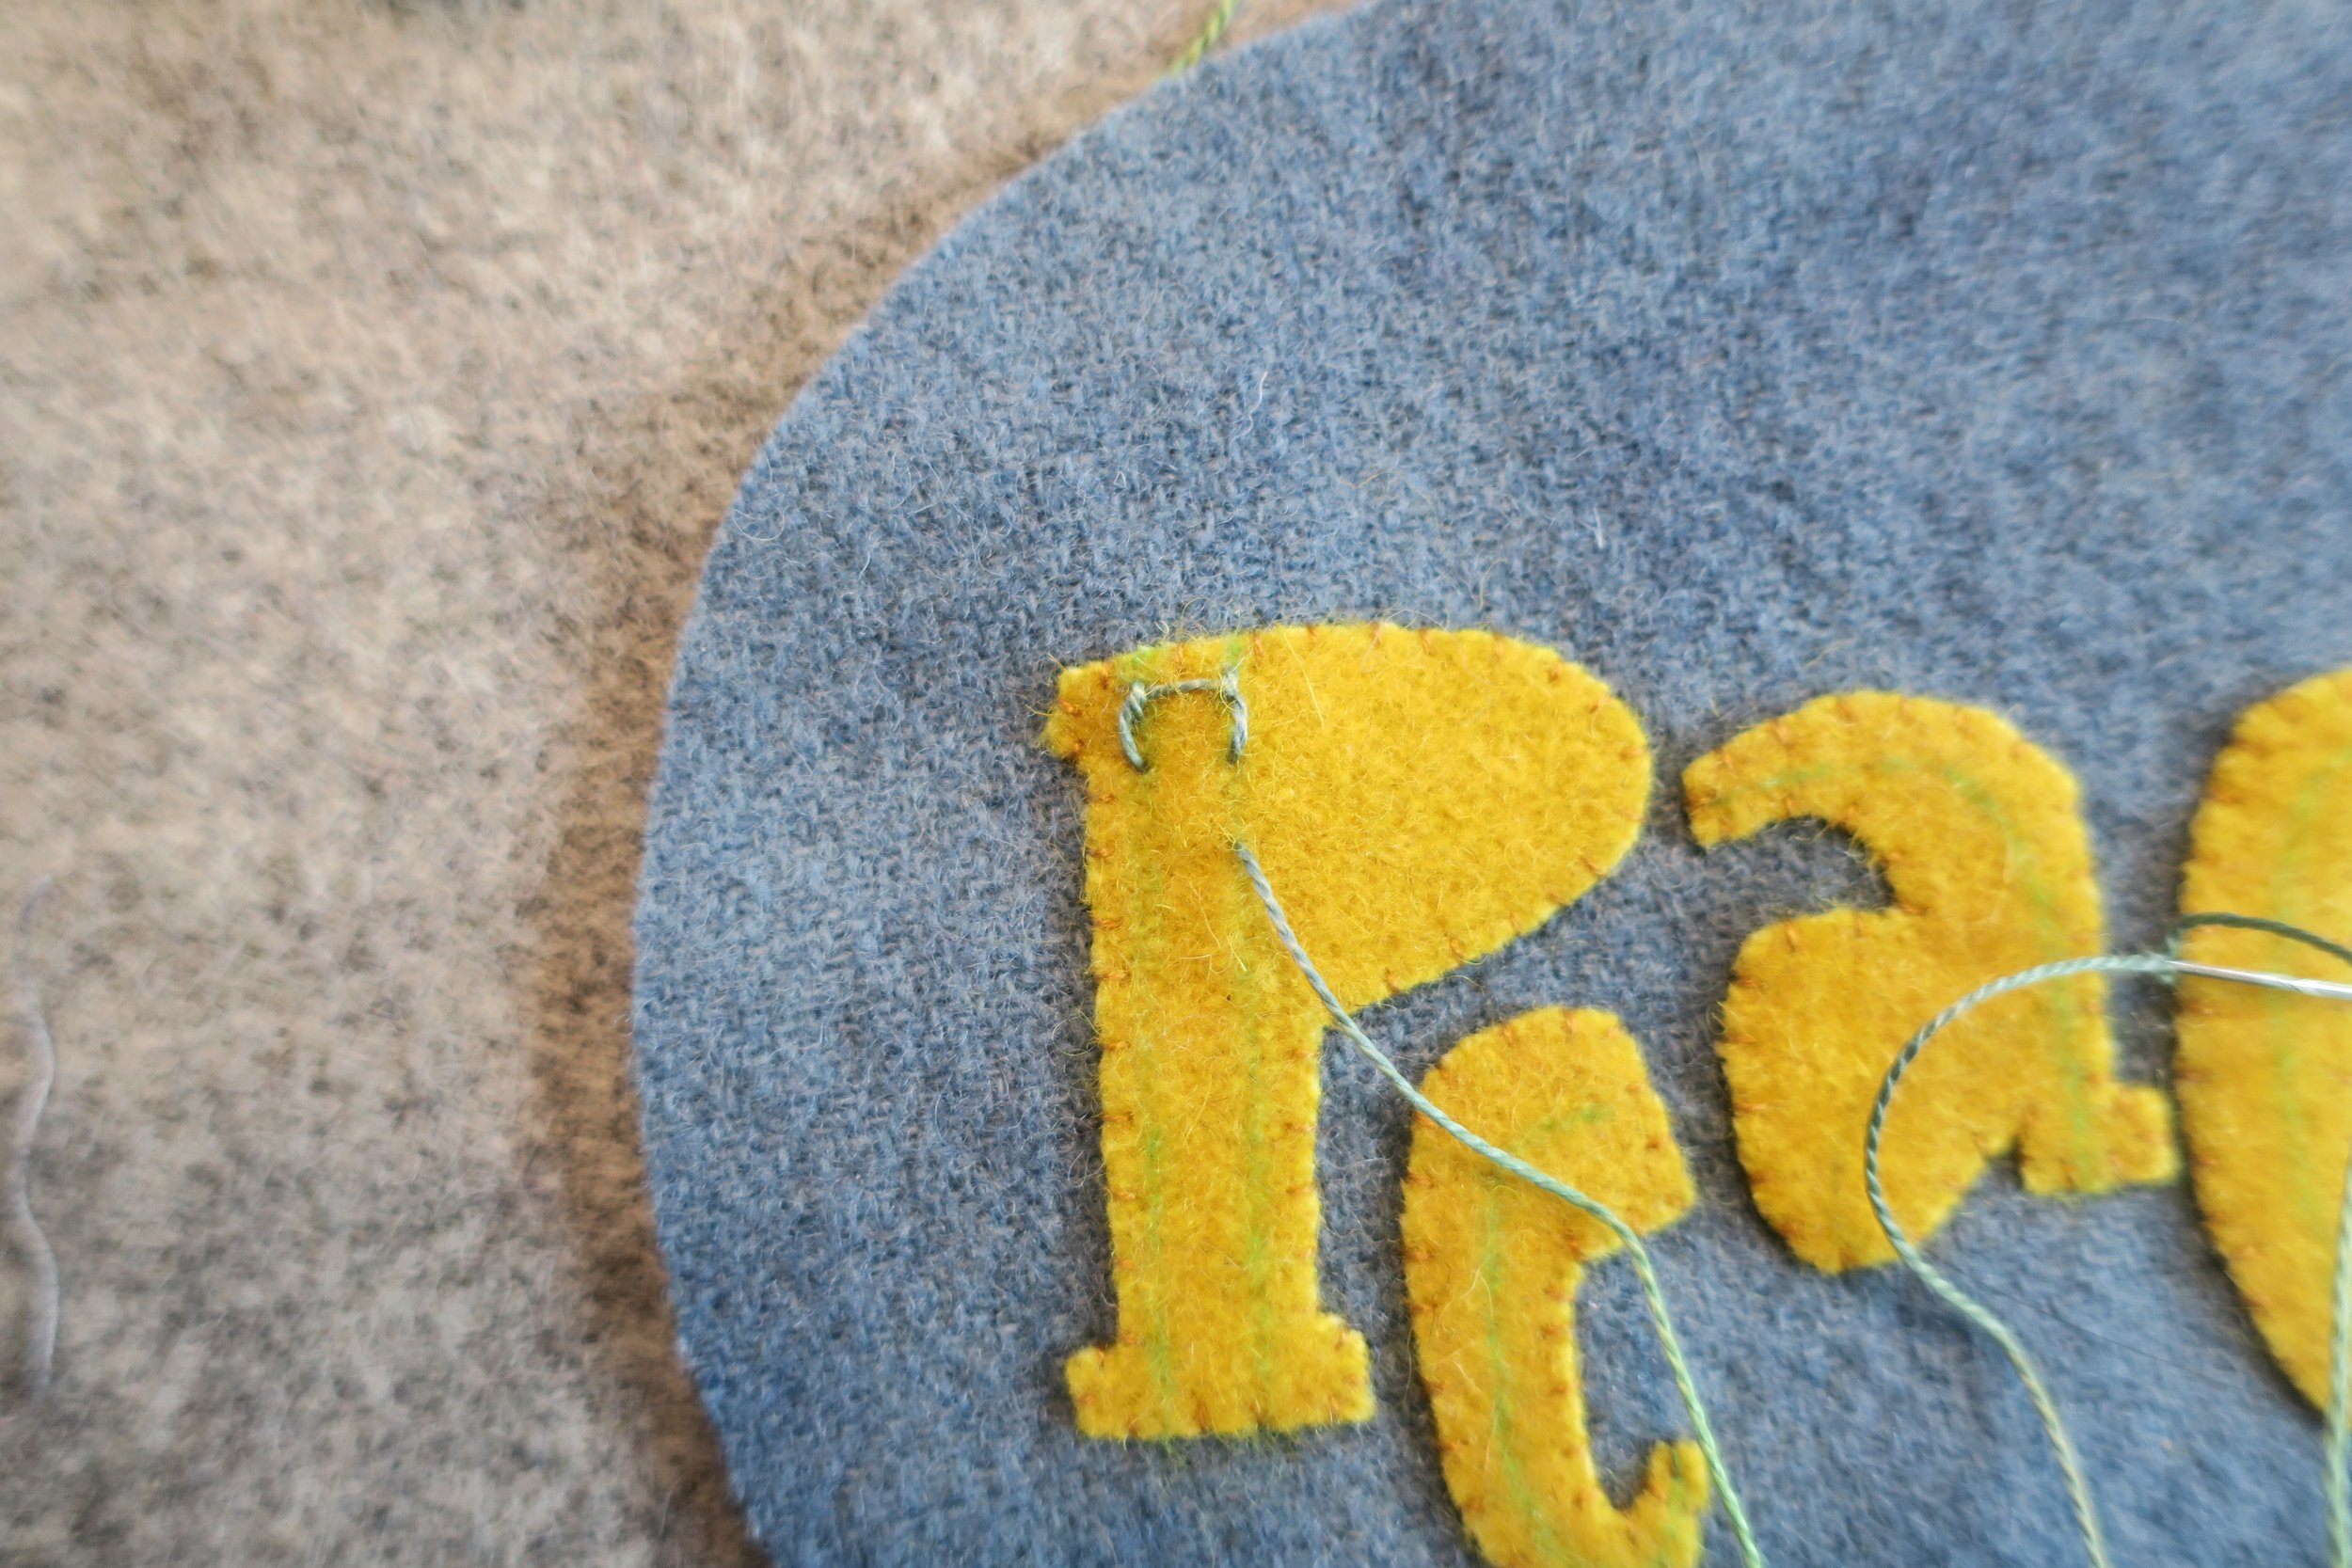
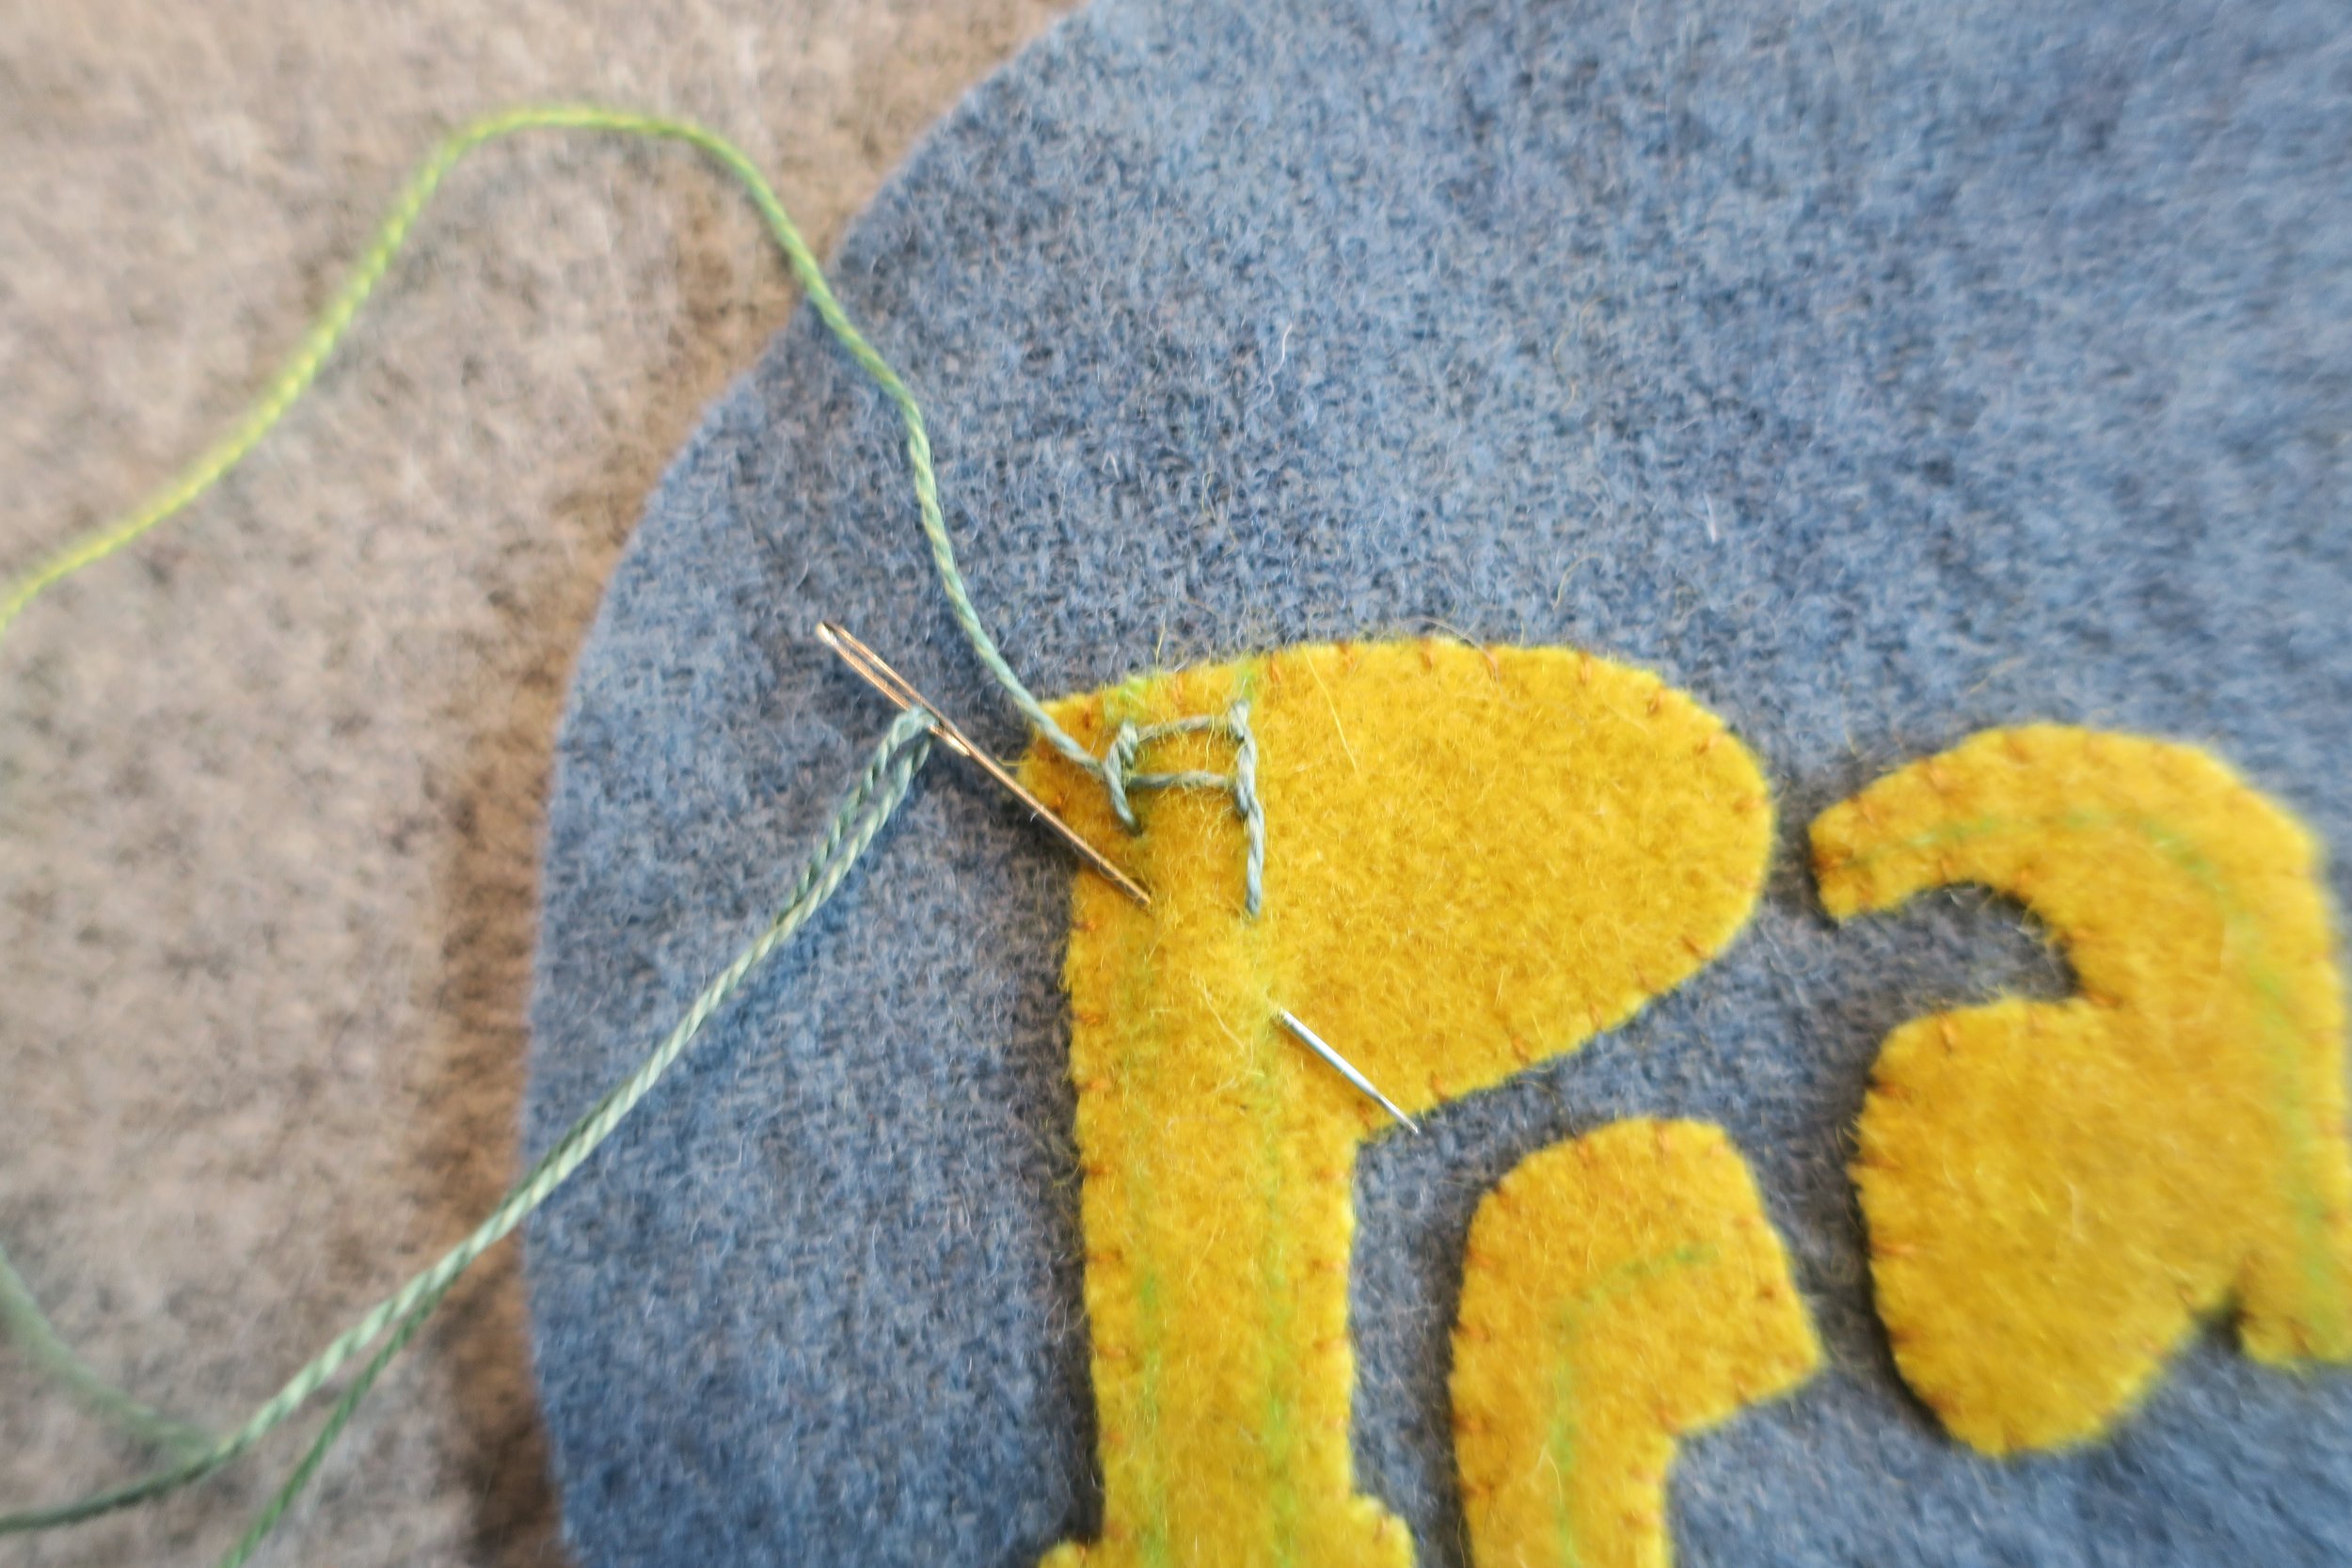
Insert the needle slighly above it’s exit point, directly across from where the first stitch began, and then up again 1/4” below.
Pull the thread through. You should have a pair of short parallel stitches.
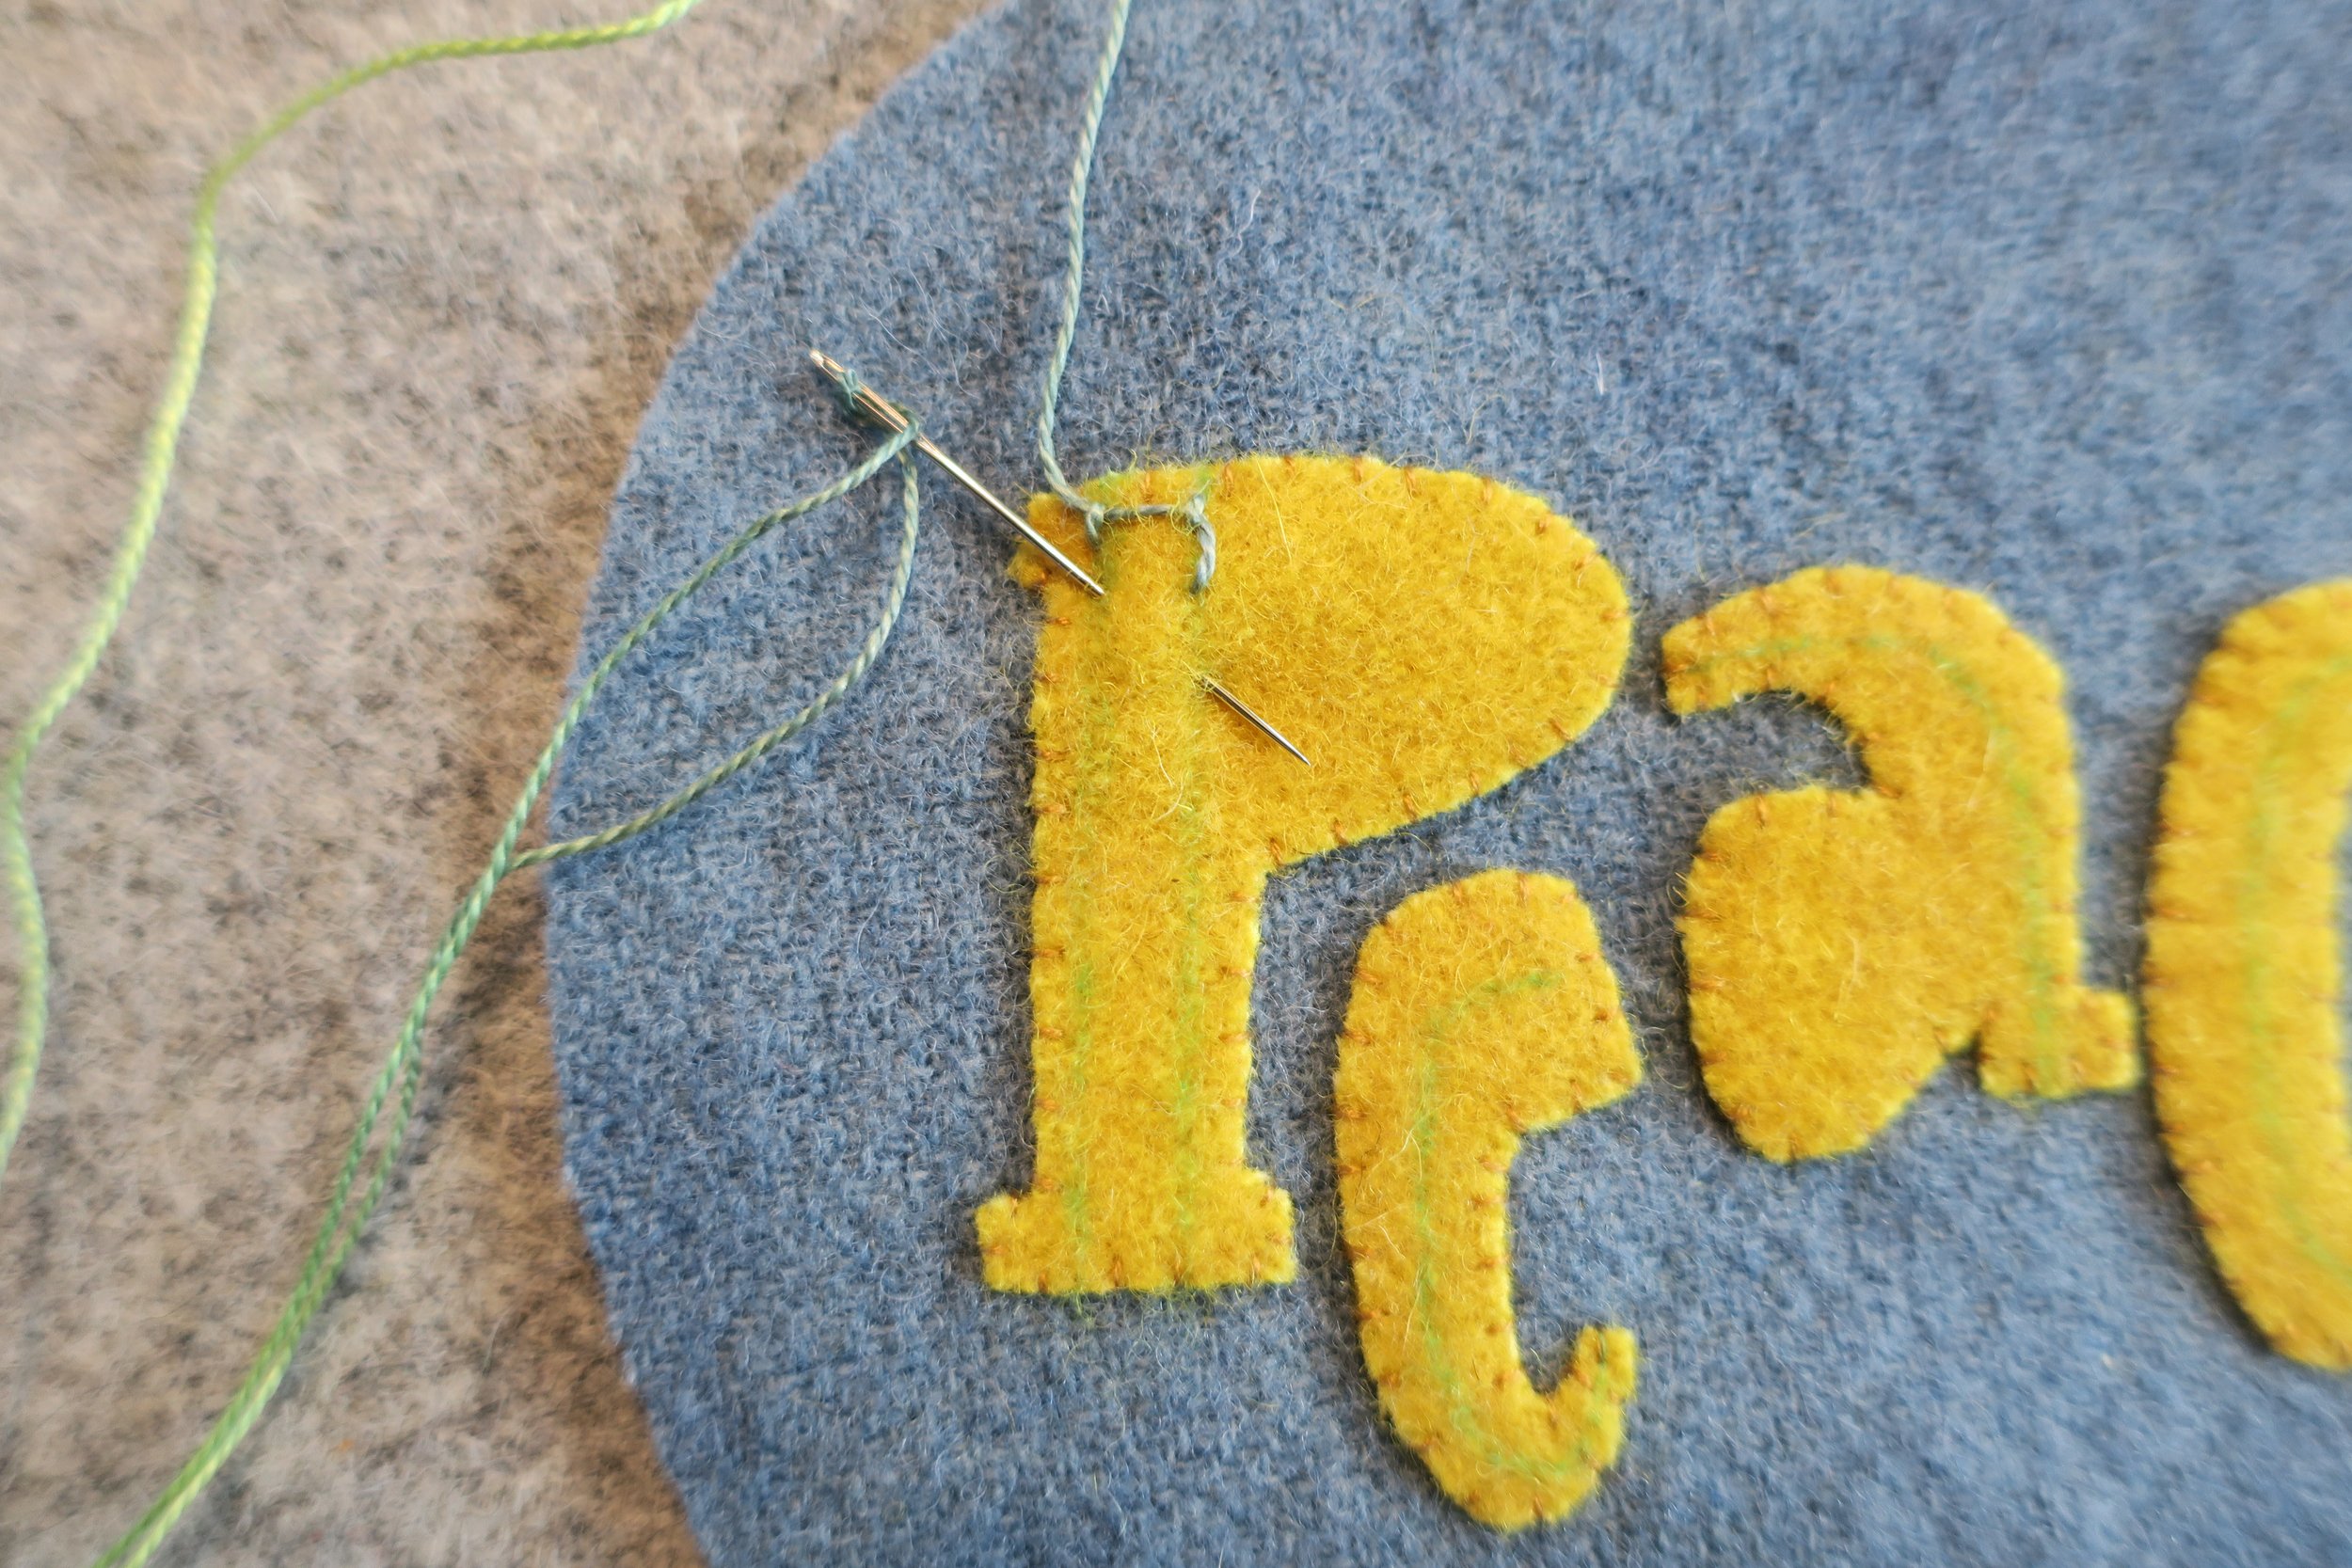
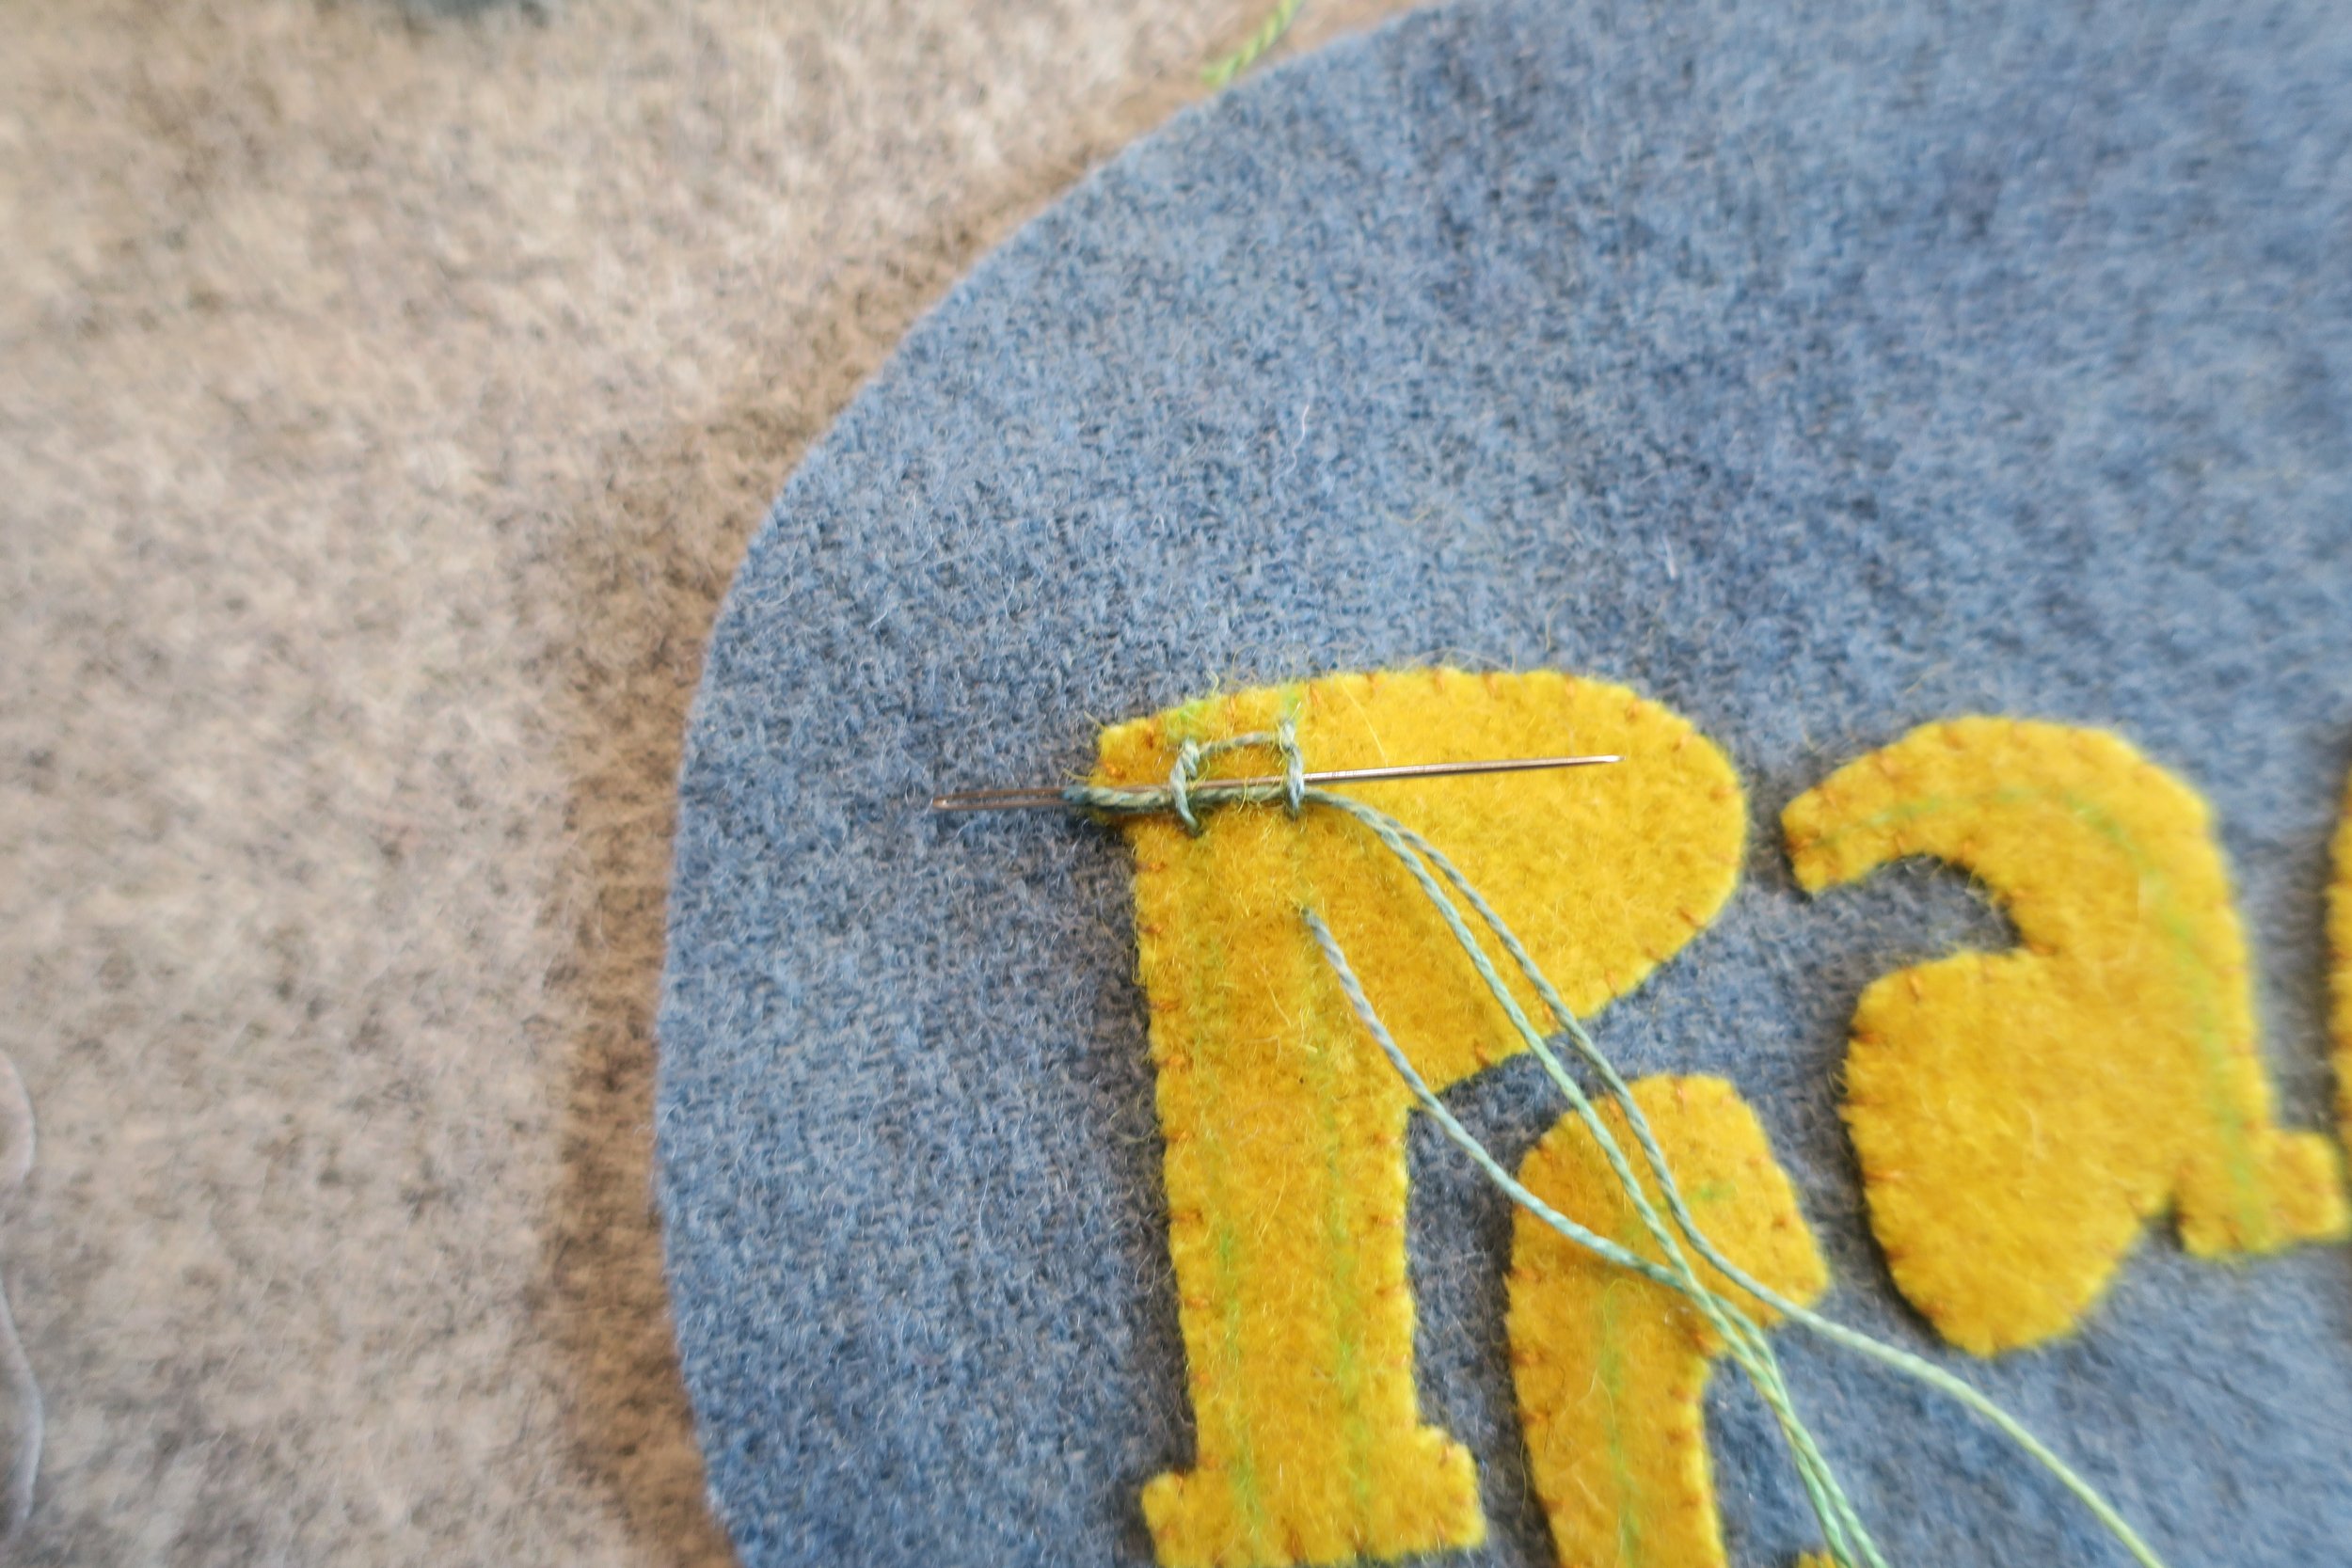
Slide the needle, eye first, under the two parallel lines.
Pull the thread through.
Insert the needle directly across from the exit point of the last stitch, and then up again 1/4” below the last stitch.
Pull the thread through to the front.
Slide the needle, eye first, under the two parallel lines.
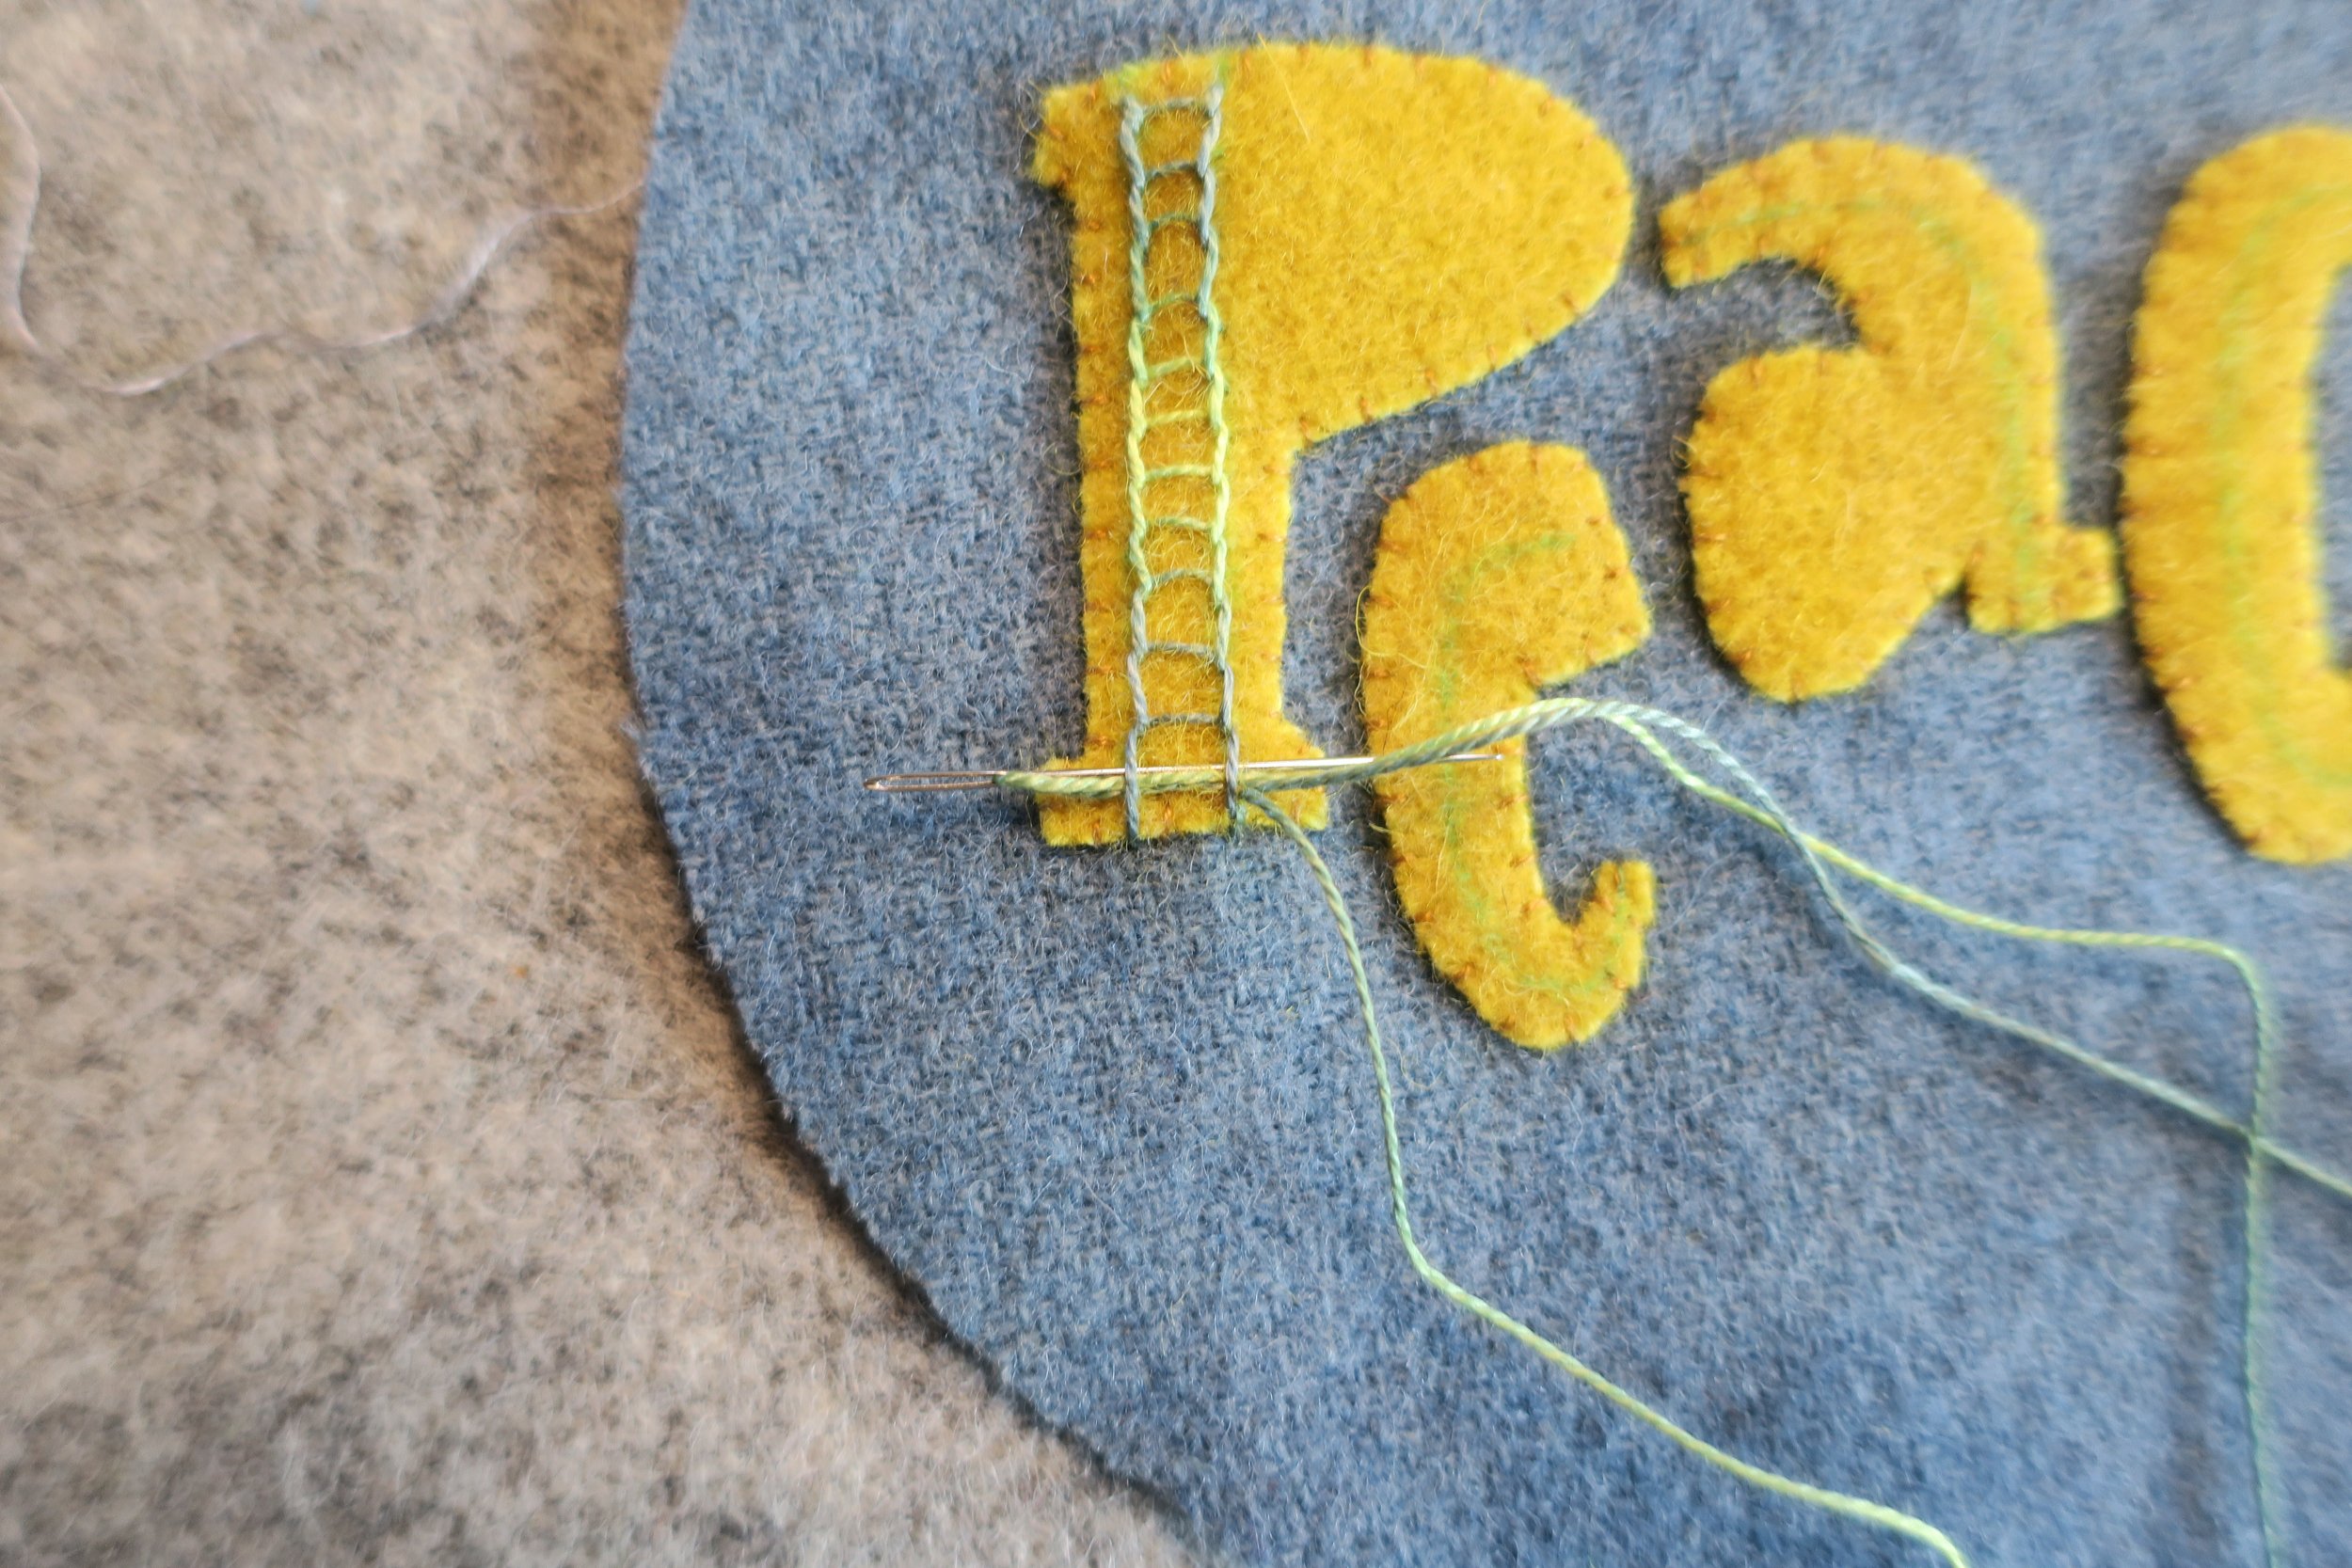
Pull the thread through, and then repeat creating a square chain.
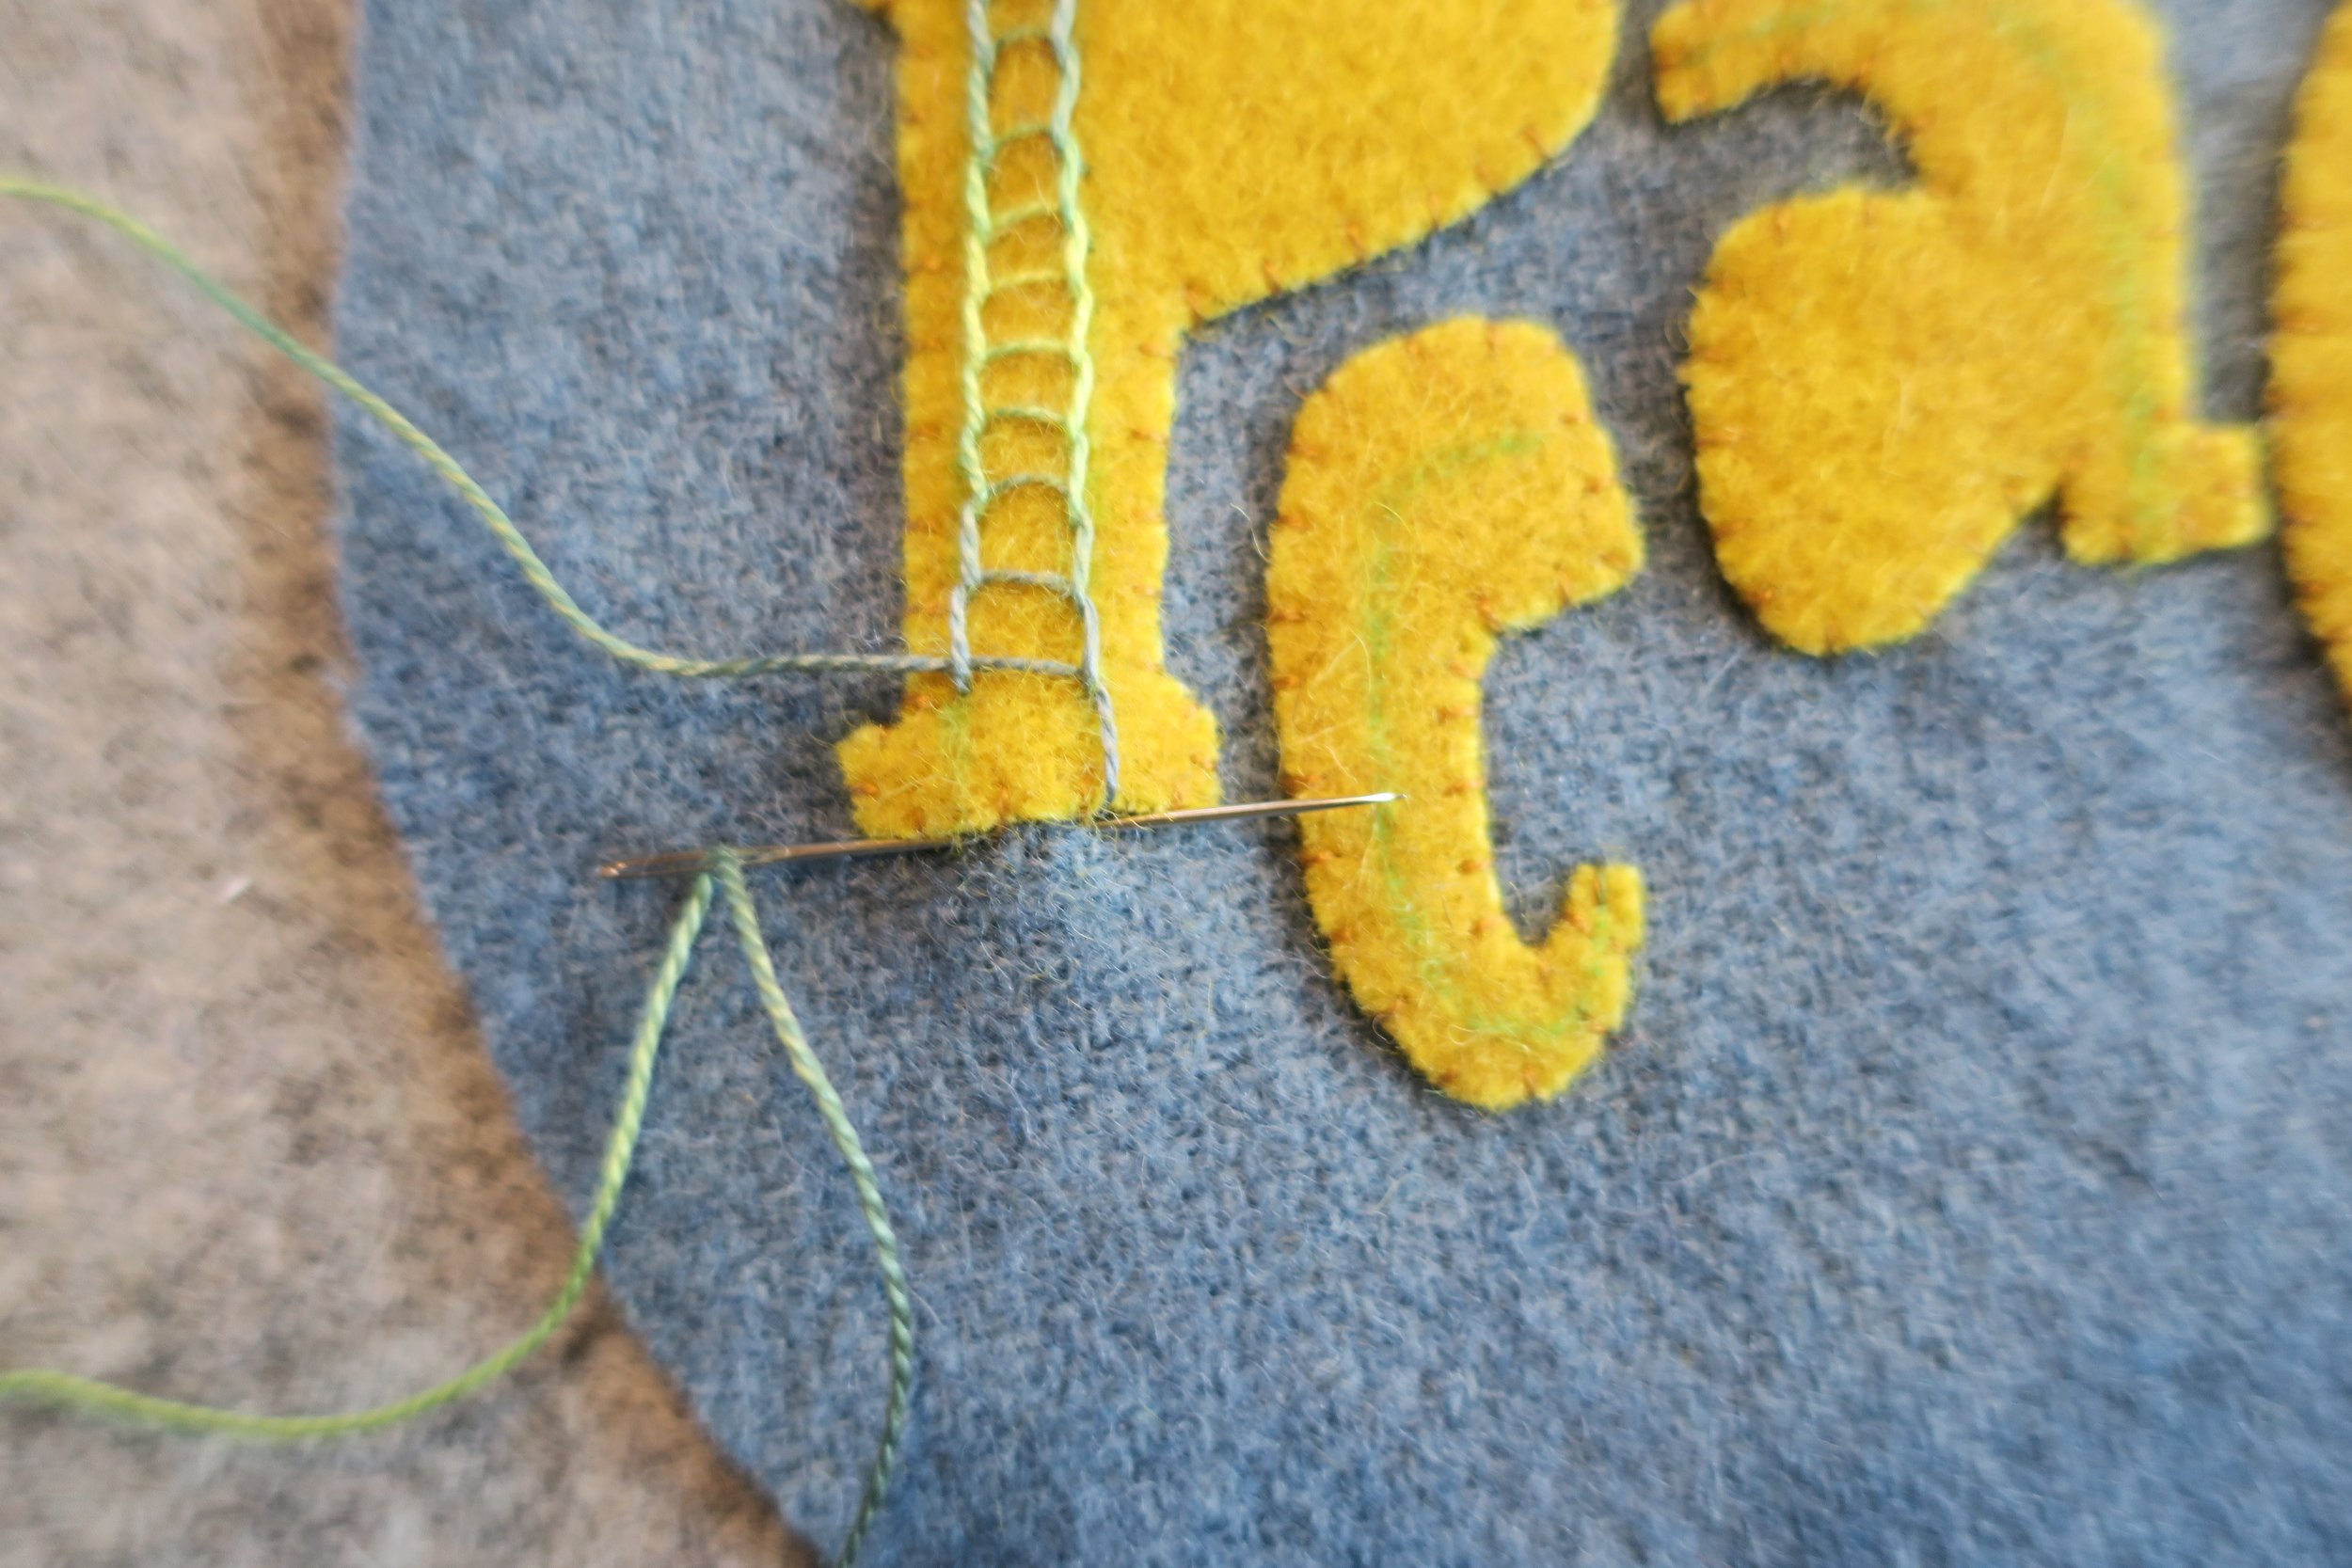
Create the last stitch by inserting the needle at the base of the letter, and then coming back up directly across at the exit point of the last stitch.
Slide the needle, eye first, under the two parallel lines , Pull the thread through.
Insert the needle back down to finish the last link in the chain.
Position holly leaves 1 &2 onto the chain. Use the layout for placement guidance. Fuse in place using steam.
Use an erasable marking pen to draw the veins of the leaves, and then chain stitch over the drawn lines with 1 strand of light green embroidery floss.
Use 1 strand of variegated red perle cotton, size 8 to make 3 French knot berries. Use the layout for positioning guidance. Red beads can be substituted for the French knots for a little extra bling.
Both of the letter E’s are embellished the same. Begin by back stitching the branch lines.
Using the layout for guidance, stitch the pine needles onto the branches.
Repeat the previous 2 steps on the remaining letter E.
Chain stitch over the drawn line on letter A.
Position the remaining holly leaf onto the stitched line using the layout for guidance.
Draw the leaf vein, and then use 1 strand of light green embroidery floss to chain stitch over the line.
Use 1 strand of variegated red perle cotton to make French knot berries. Use layout for guidance.
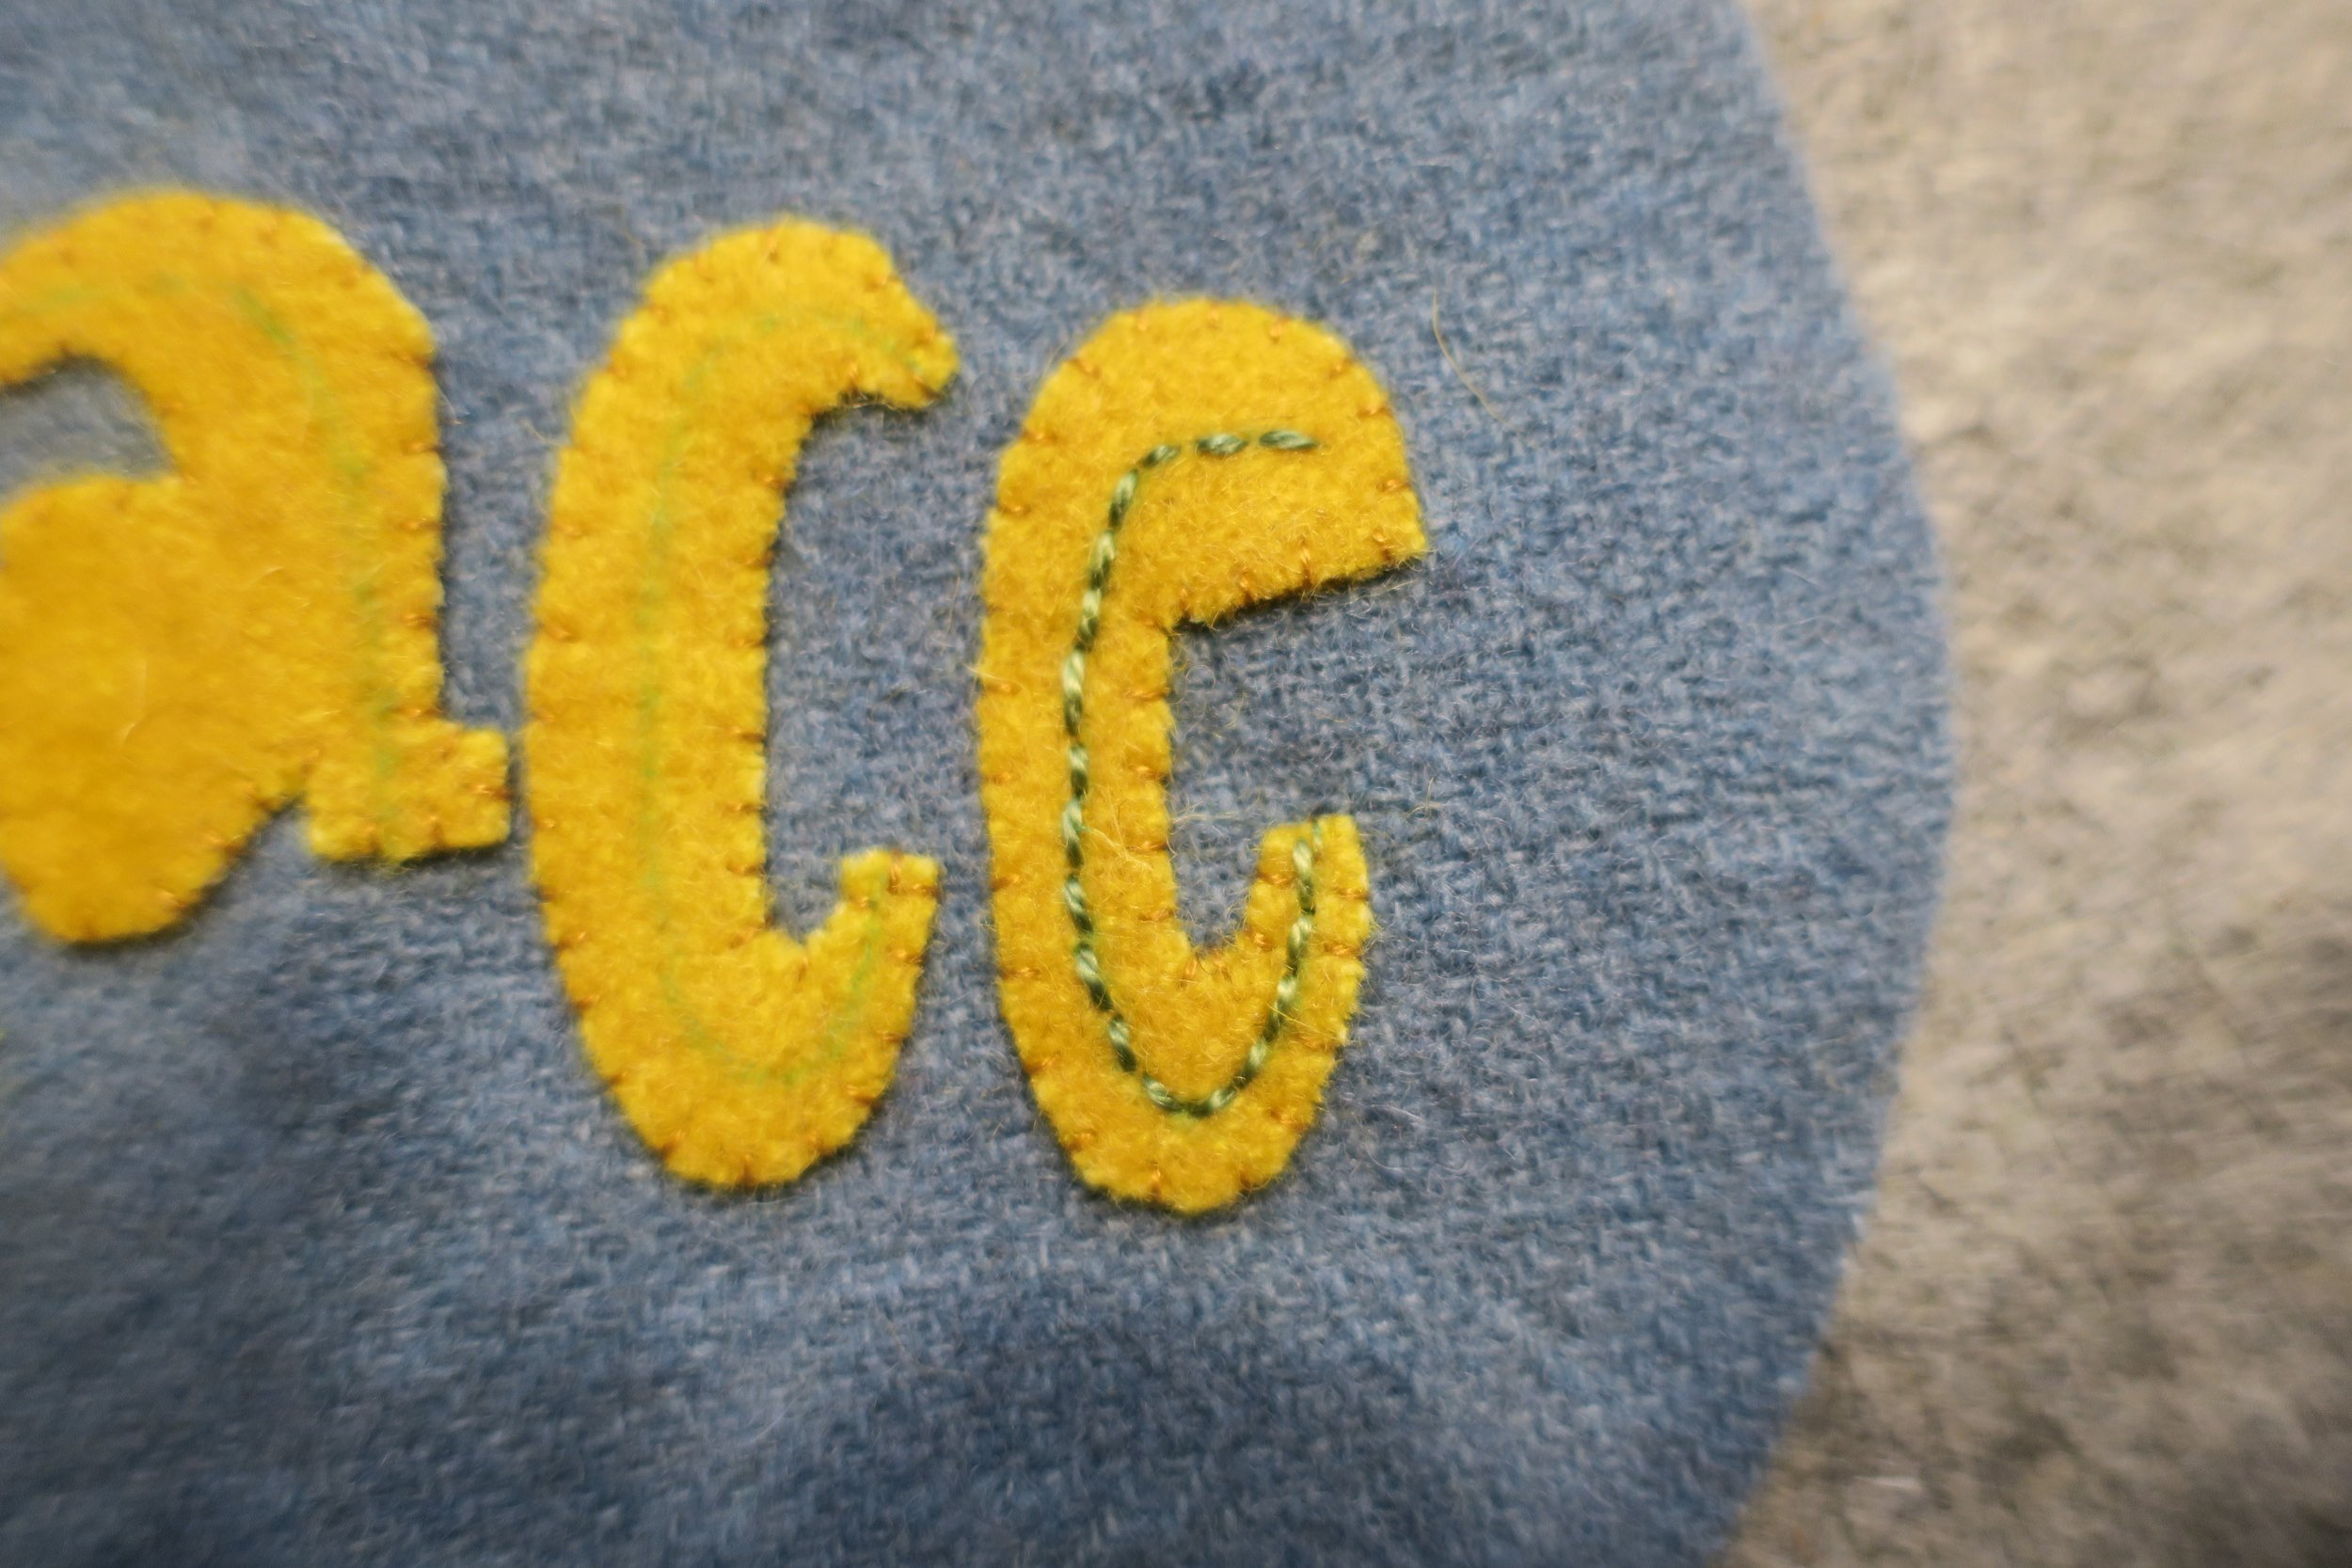
Back stitch the drawn line on the letter C, and then add some lazy daisy (detatched chain) stitches on both sides of the back stitched line.
Yikes! There’s a stray thread next to the Letter P! That is not part of the design.
The Applique section is complete!
For finishing instructions refer to Tis the Season. Scroll down to the finishing section near the end of the post.
There are a couple of changes. Instead of black perle cotton, I used the variegated green from House of Embroidery for the blanket stitch border. I also used silver wire instead of black for the hanger.


