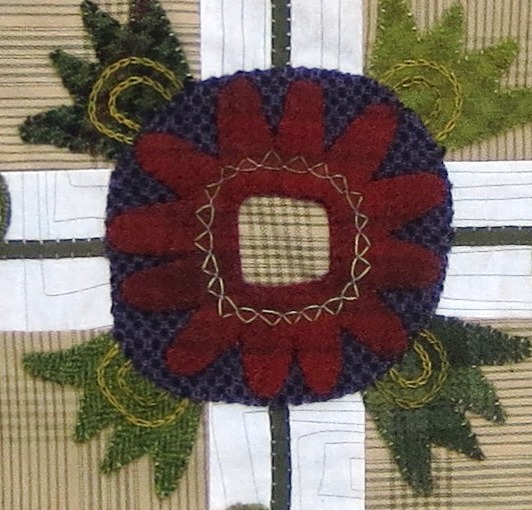
Flowers From My Garden Mystery Quilt - Adding the Sashing, Corner Blocks, and Center Applique
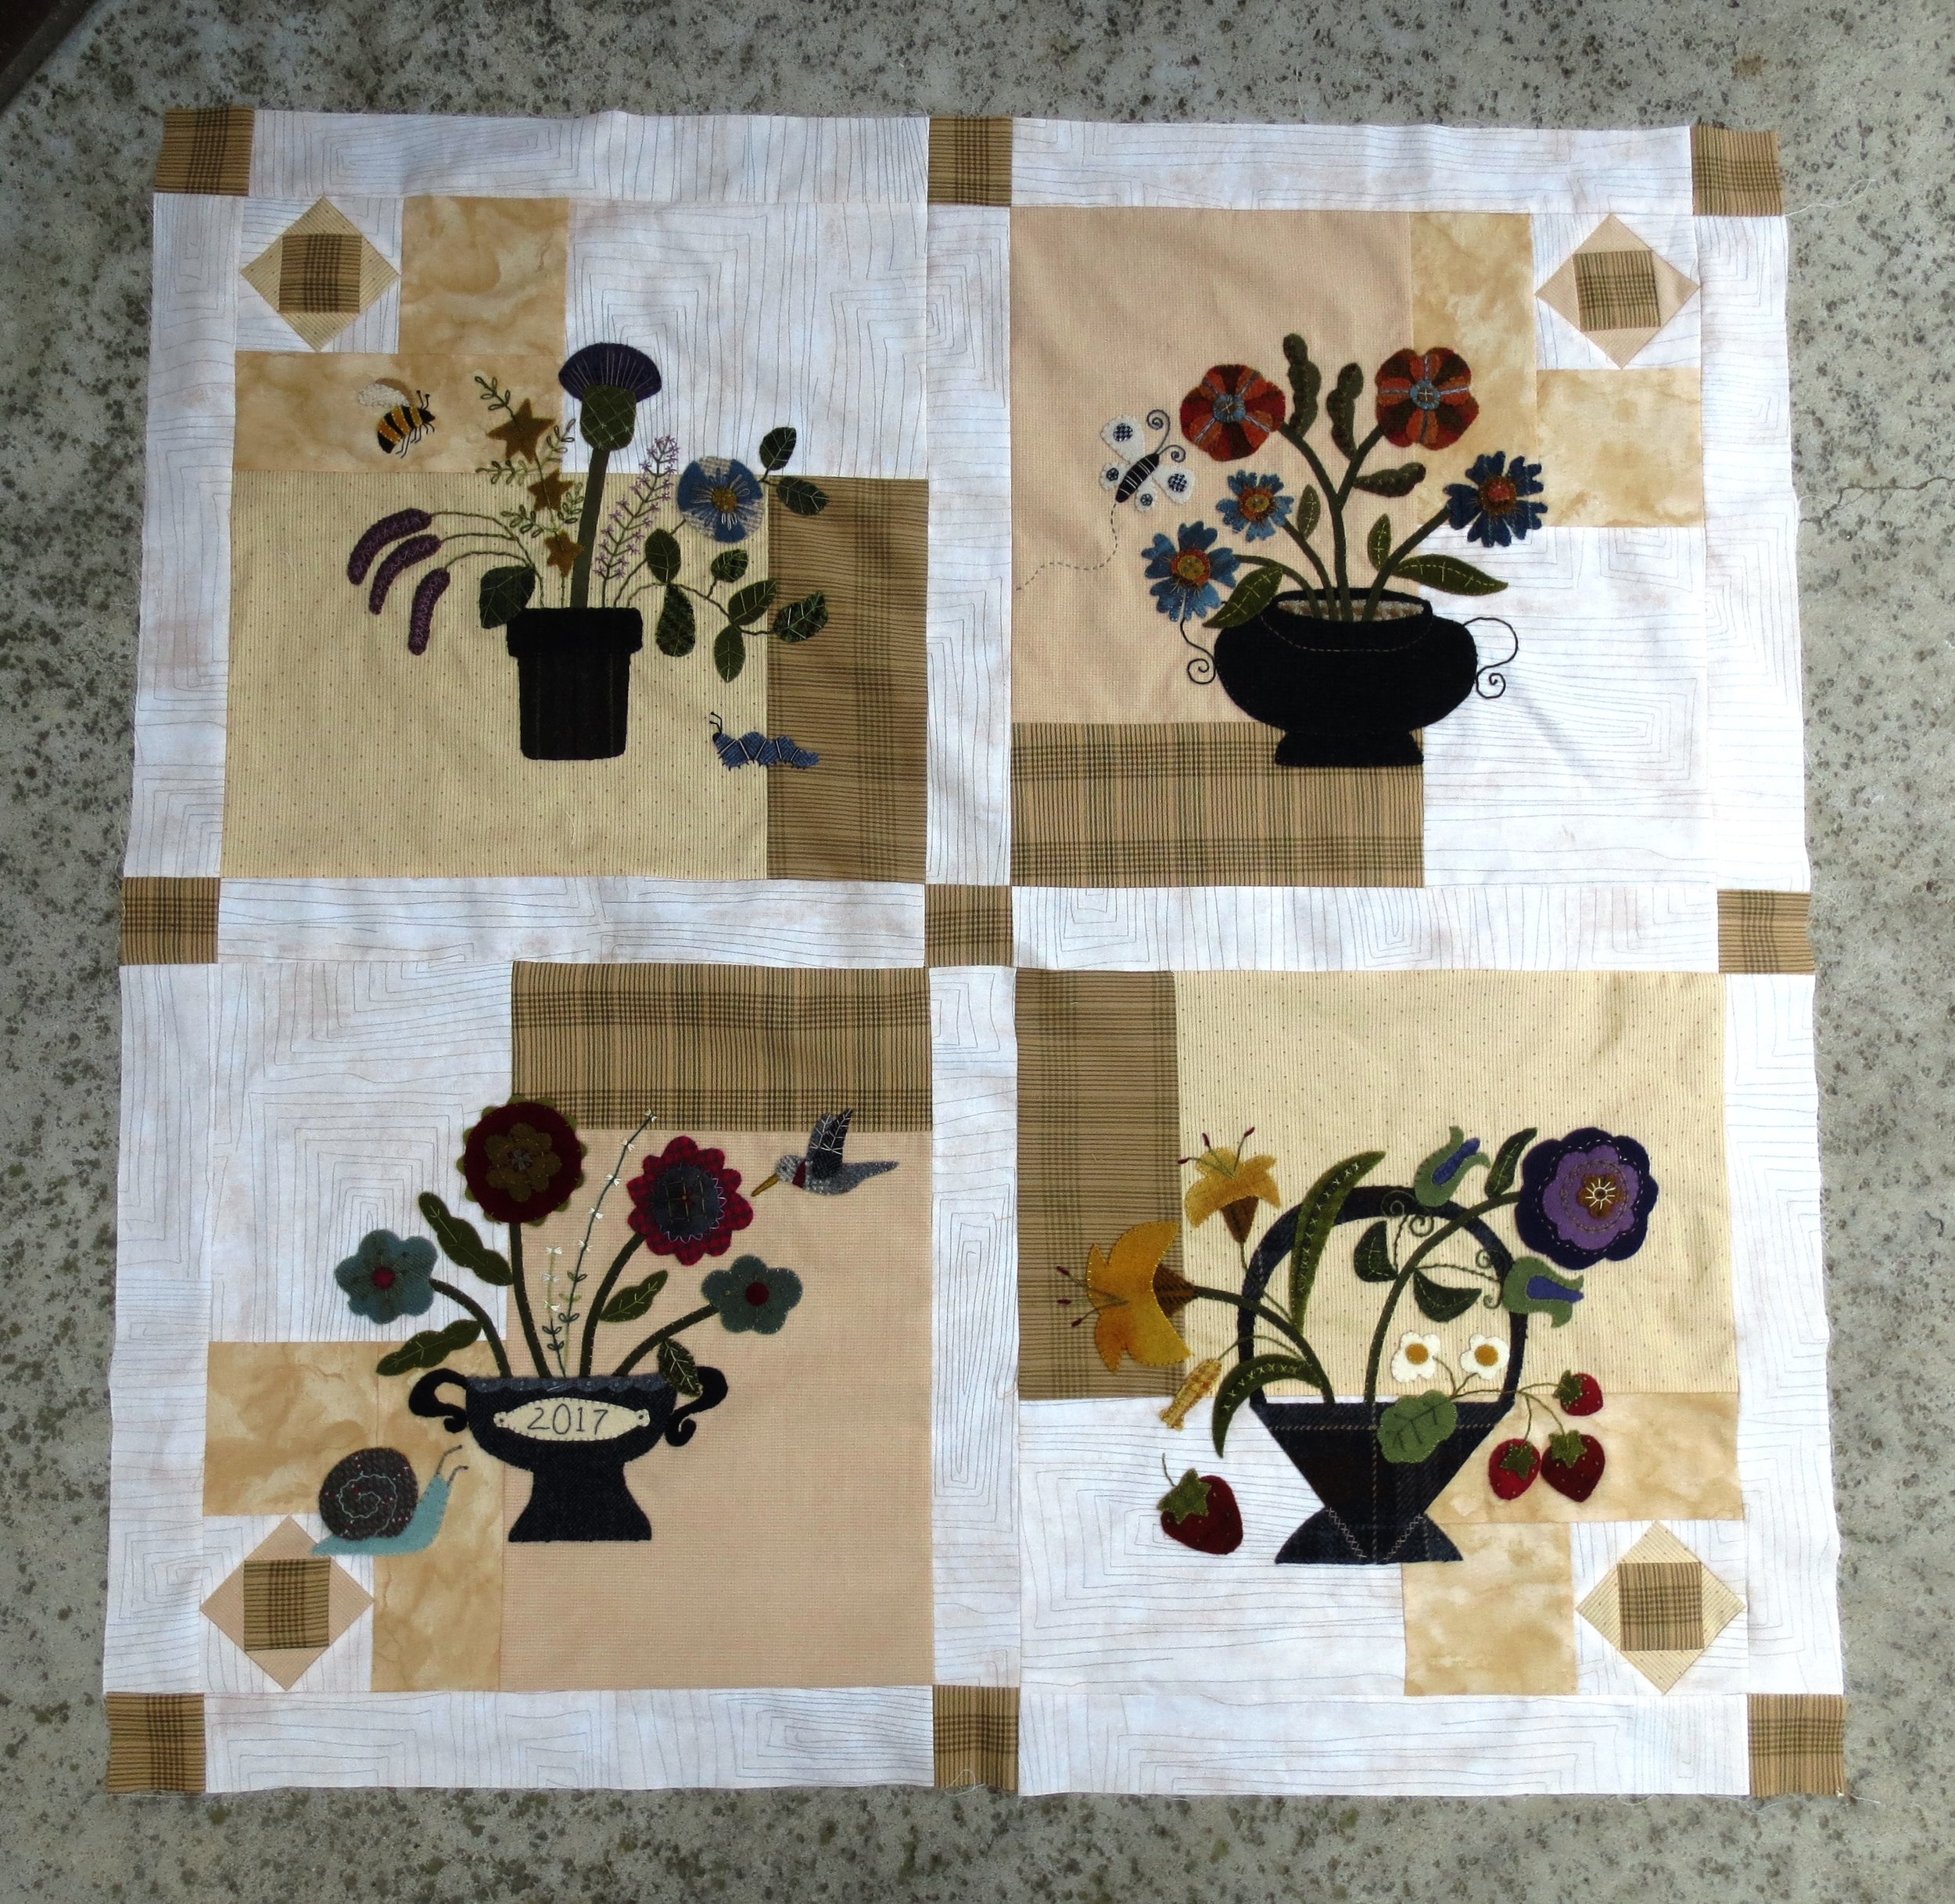
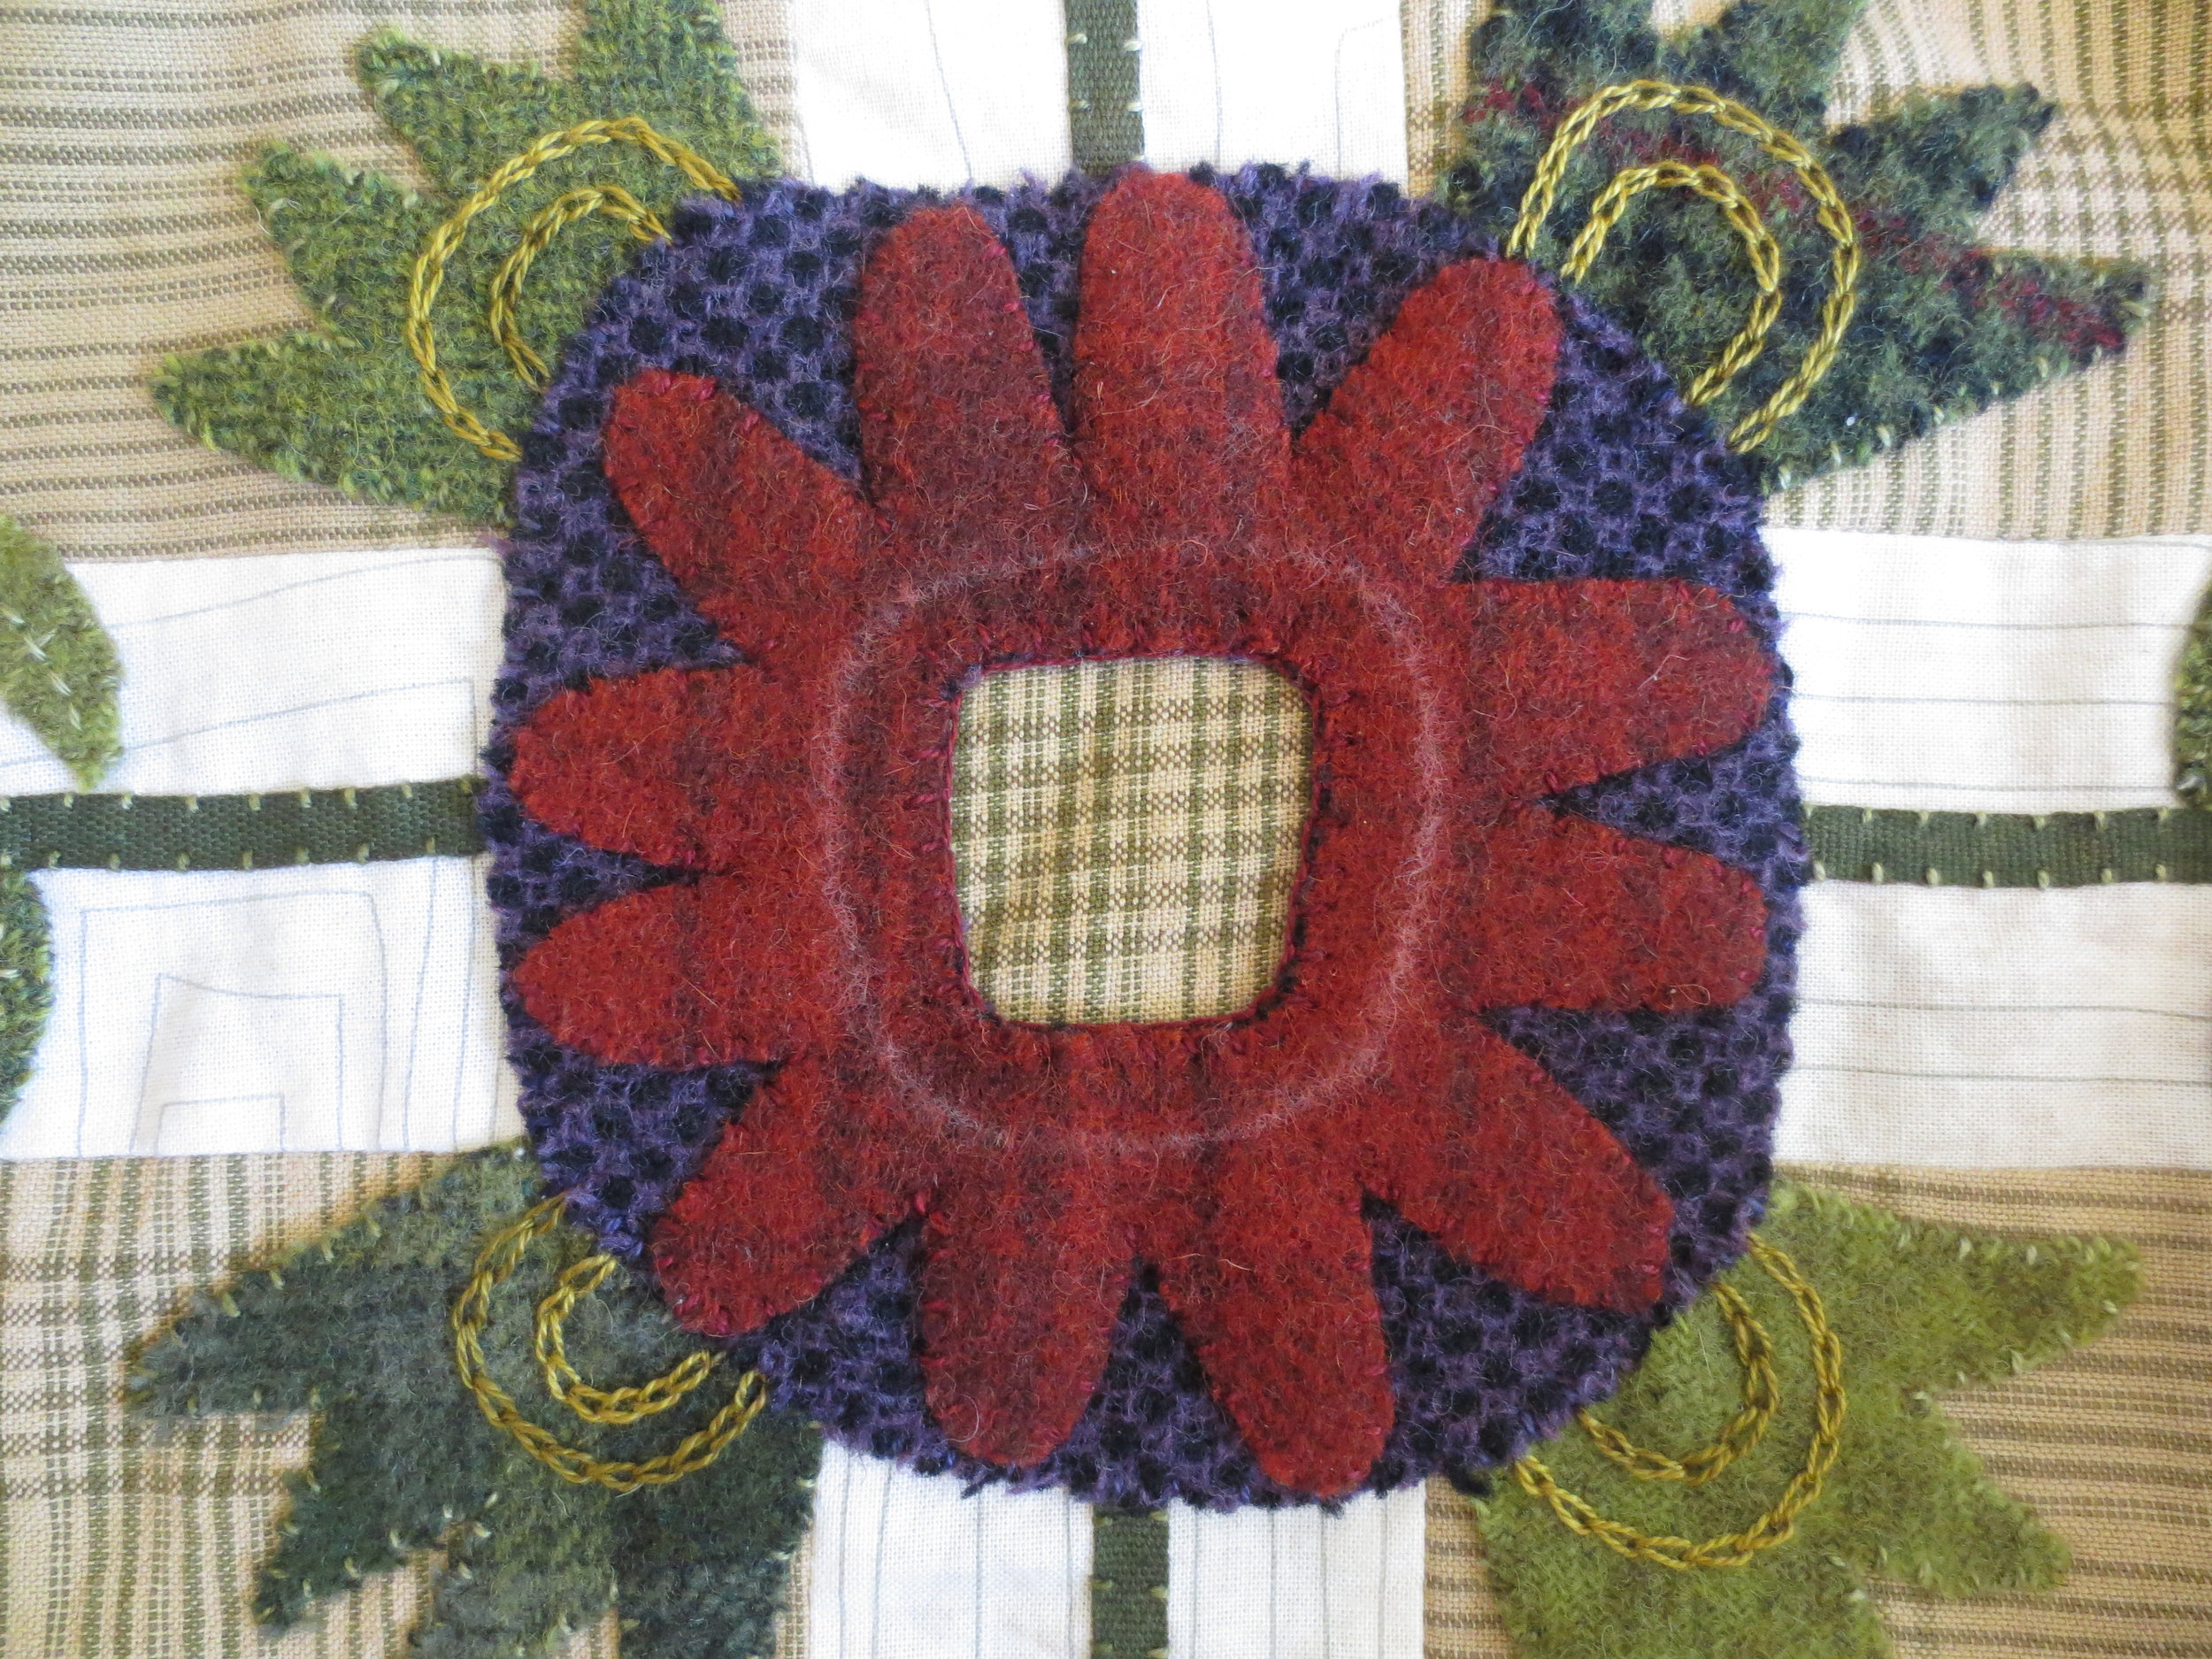
Now that the blocks are complete we can put them together. We will applique the center of the quilt after we add the sashing and the corner blocks. A larger border with corner blocks will then be added, but we won't cover that until the next post.
If you are not making the quilt, the applique design will fit nicely on a 16" square pillow. Cut your background 17 1/2" x 17 1/2". 16" square pillows inserts can be found at Cb2 https://www.cb2.com/16-down-alternative-pillow-insert/s608752?st=16%22%20down%20alternative%20pillow%20insert&ta=pillow%20inserts&rac=p3
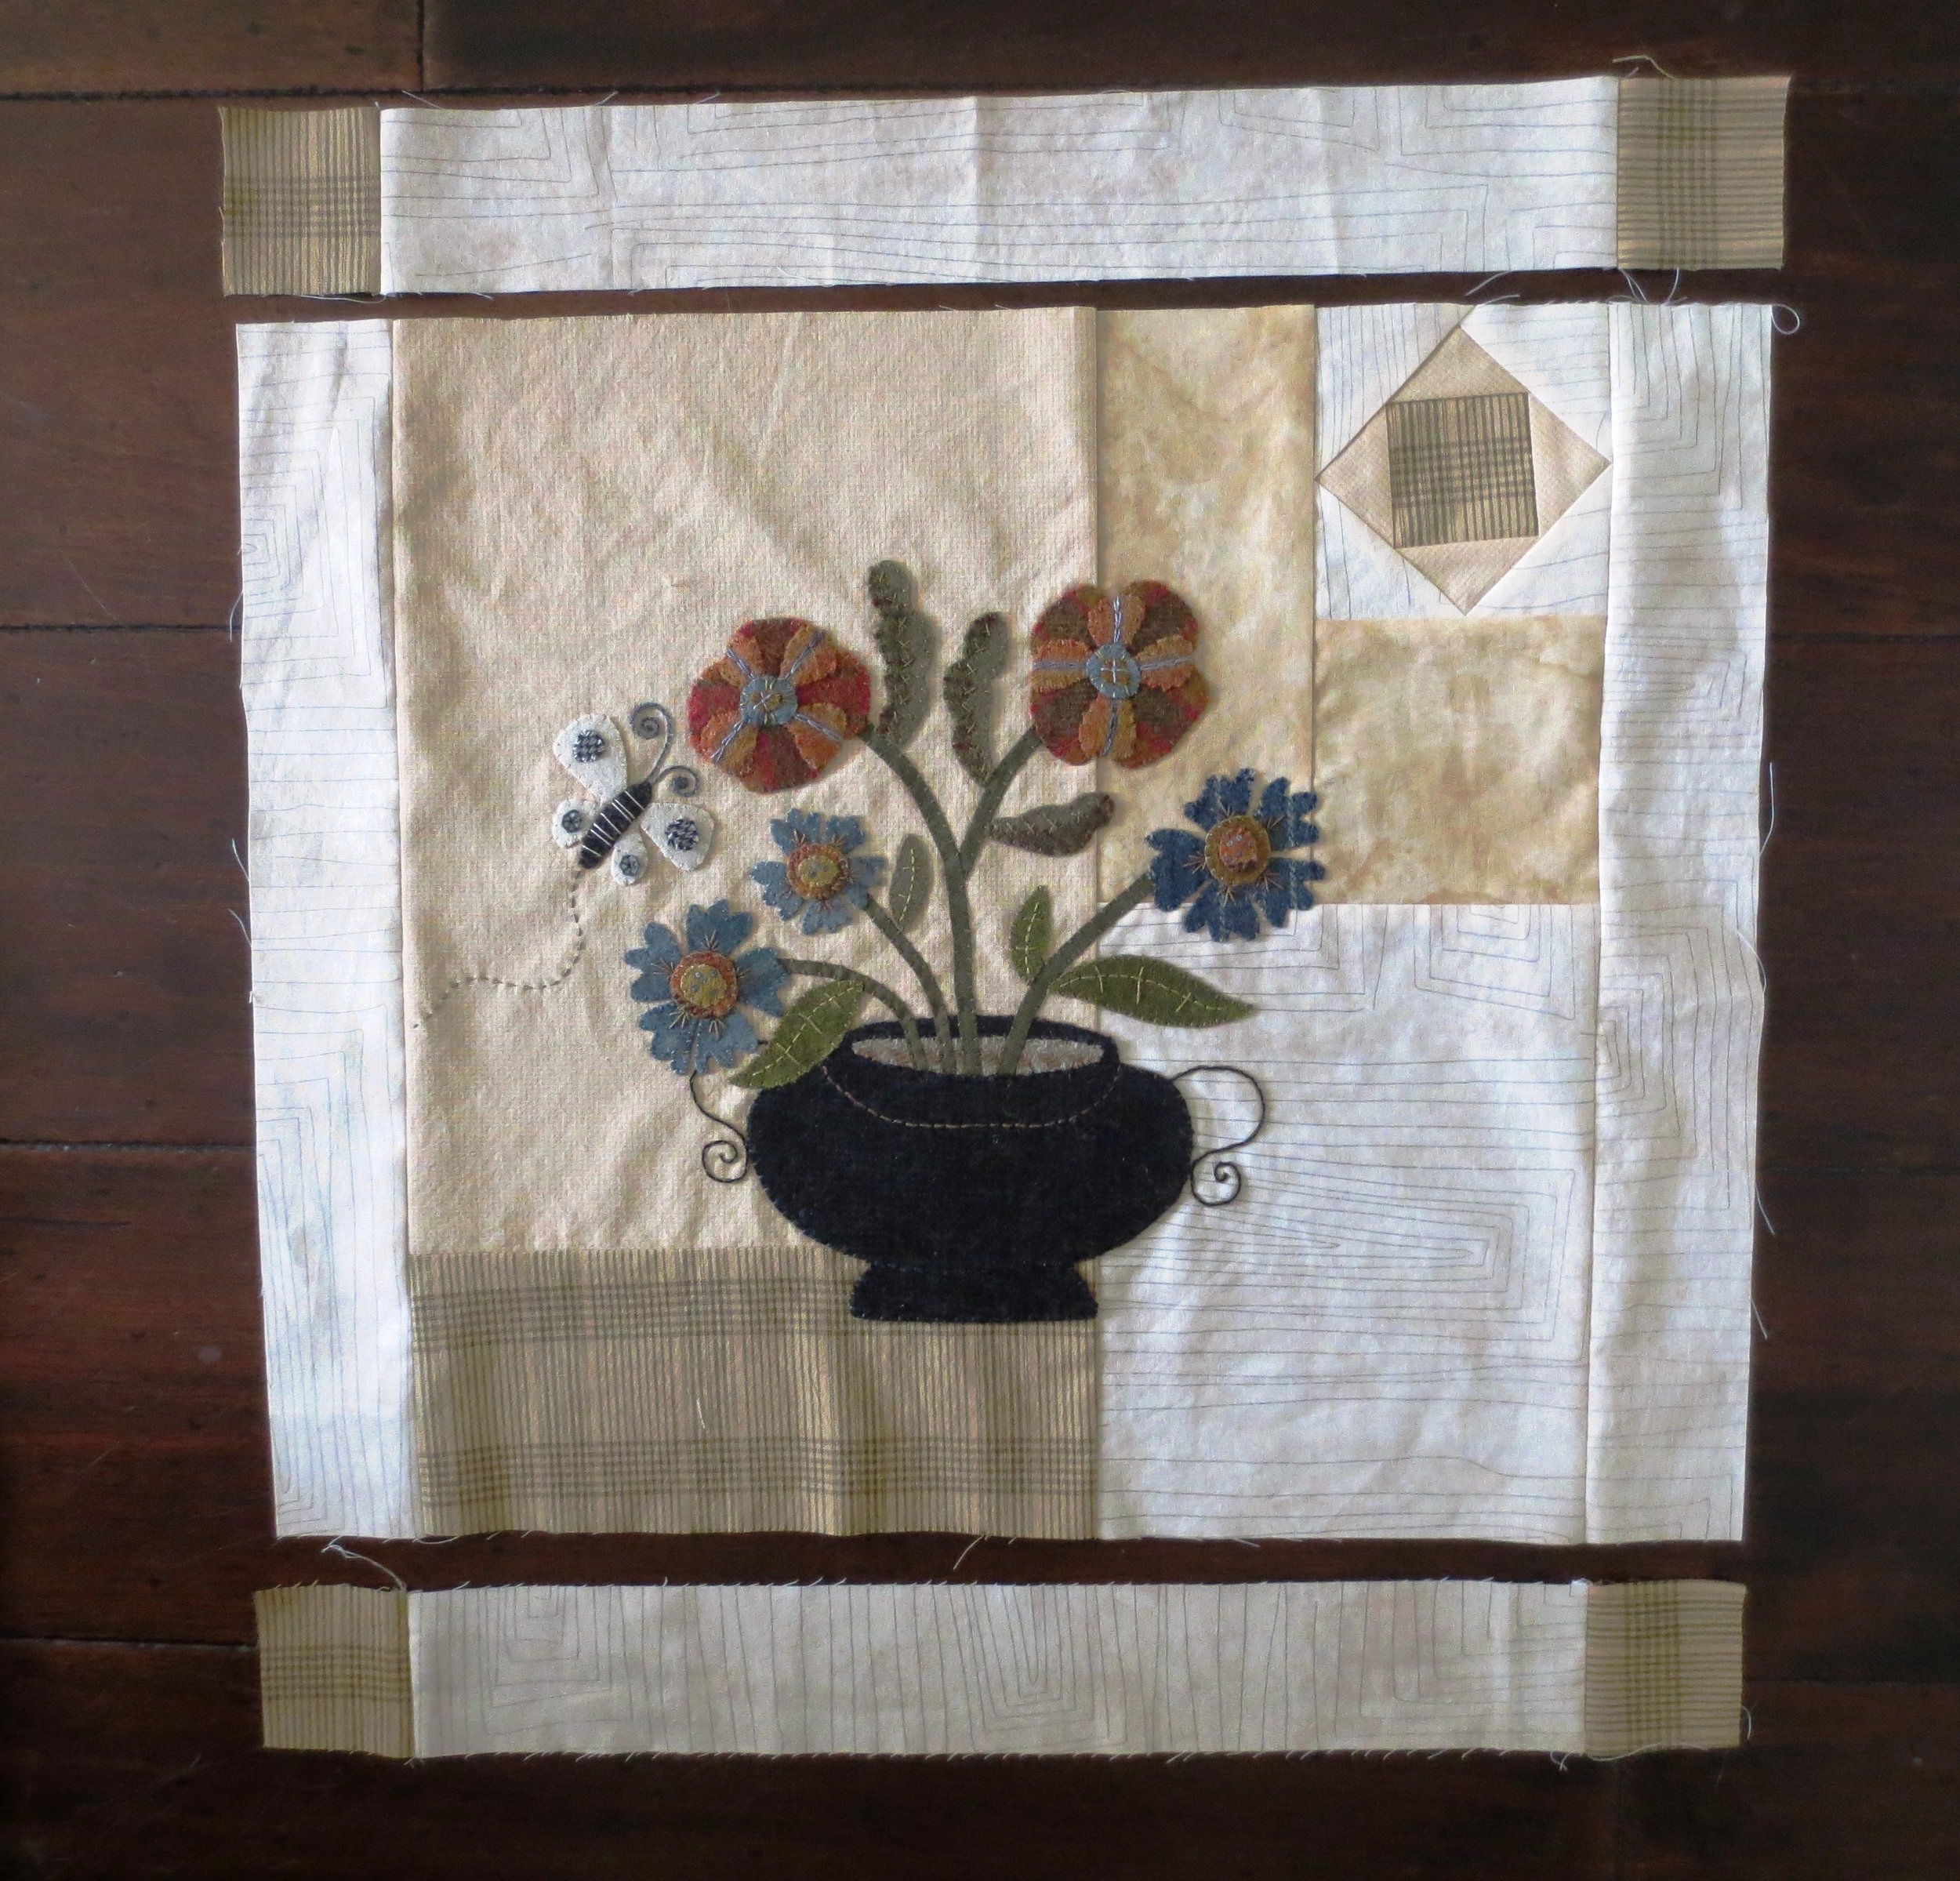
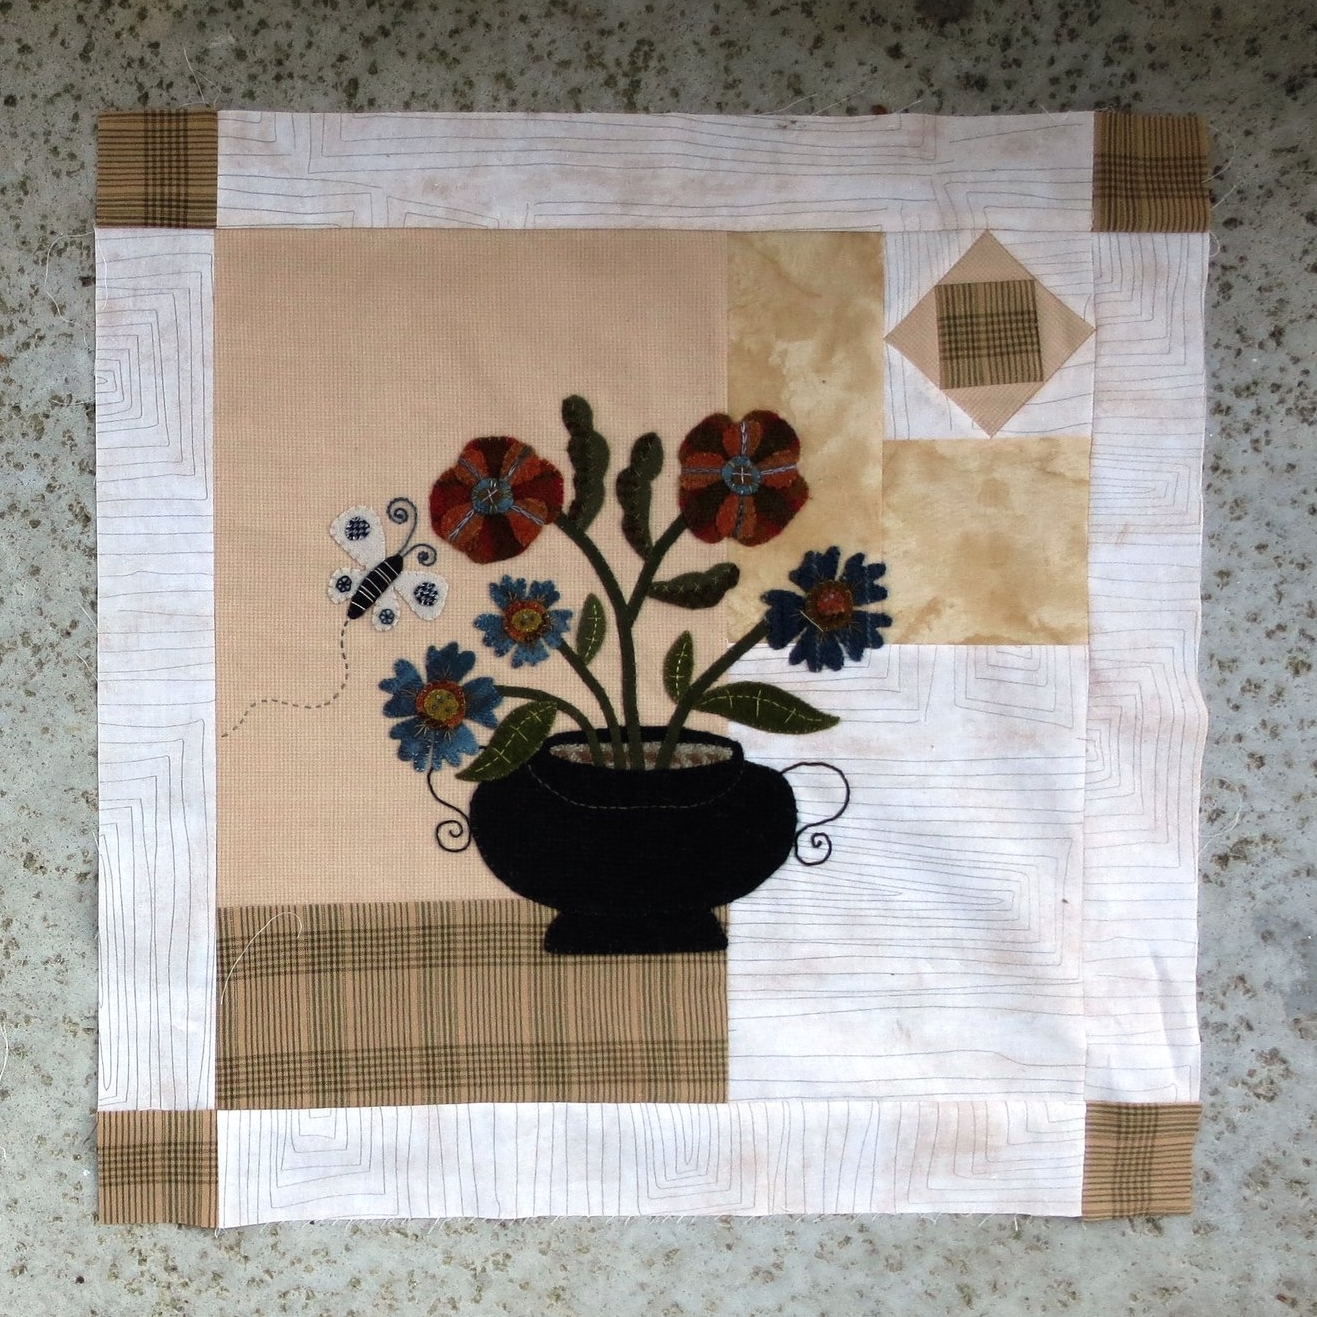
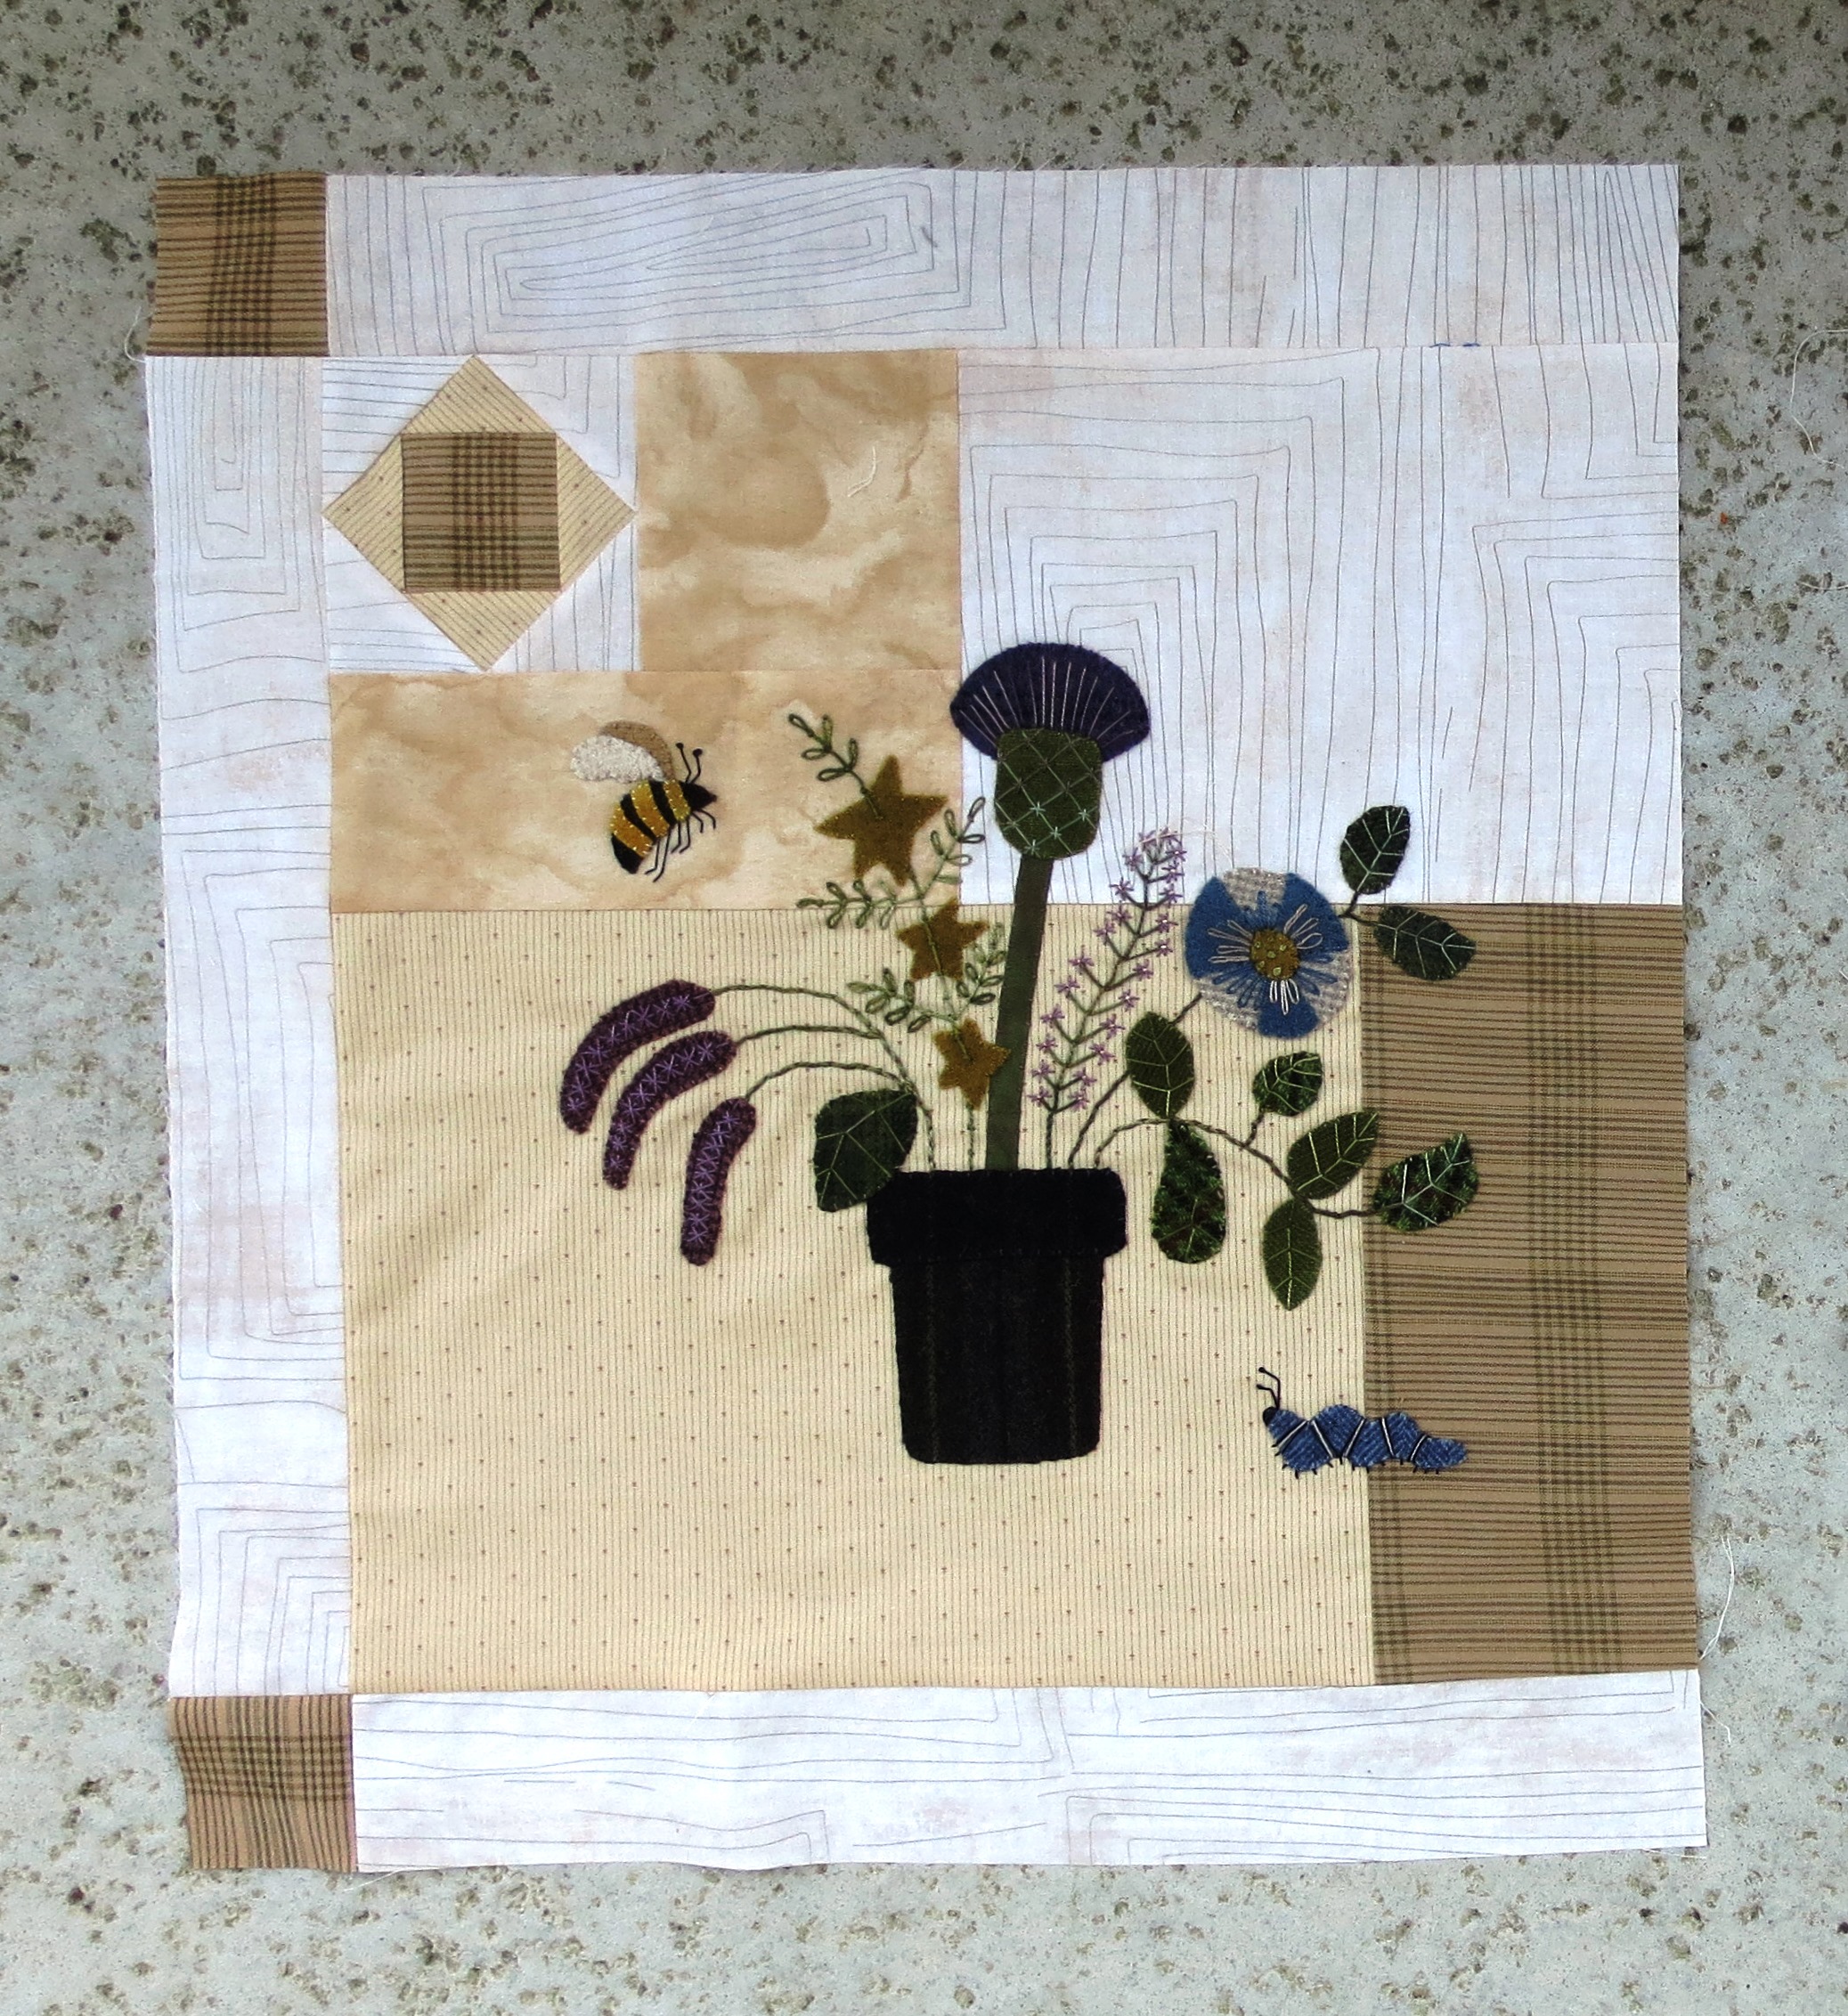
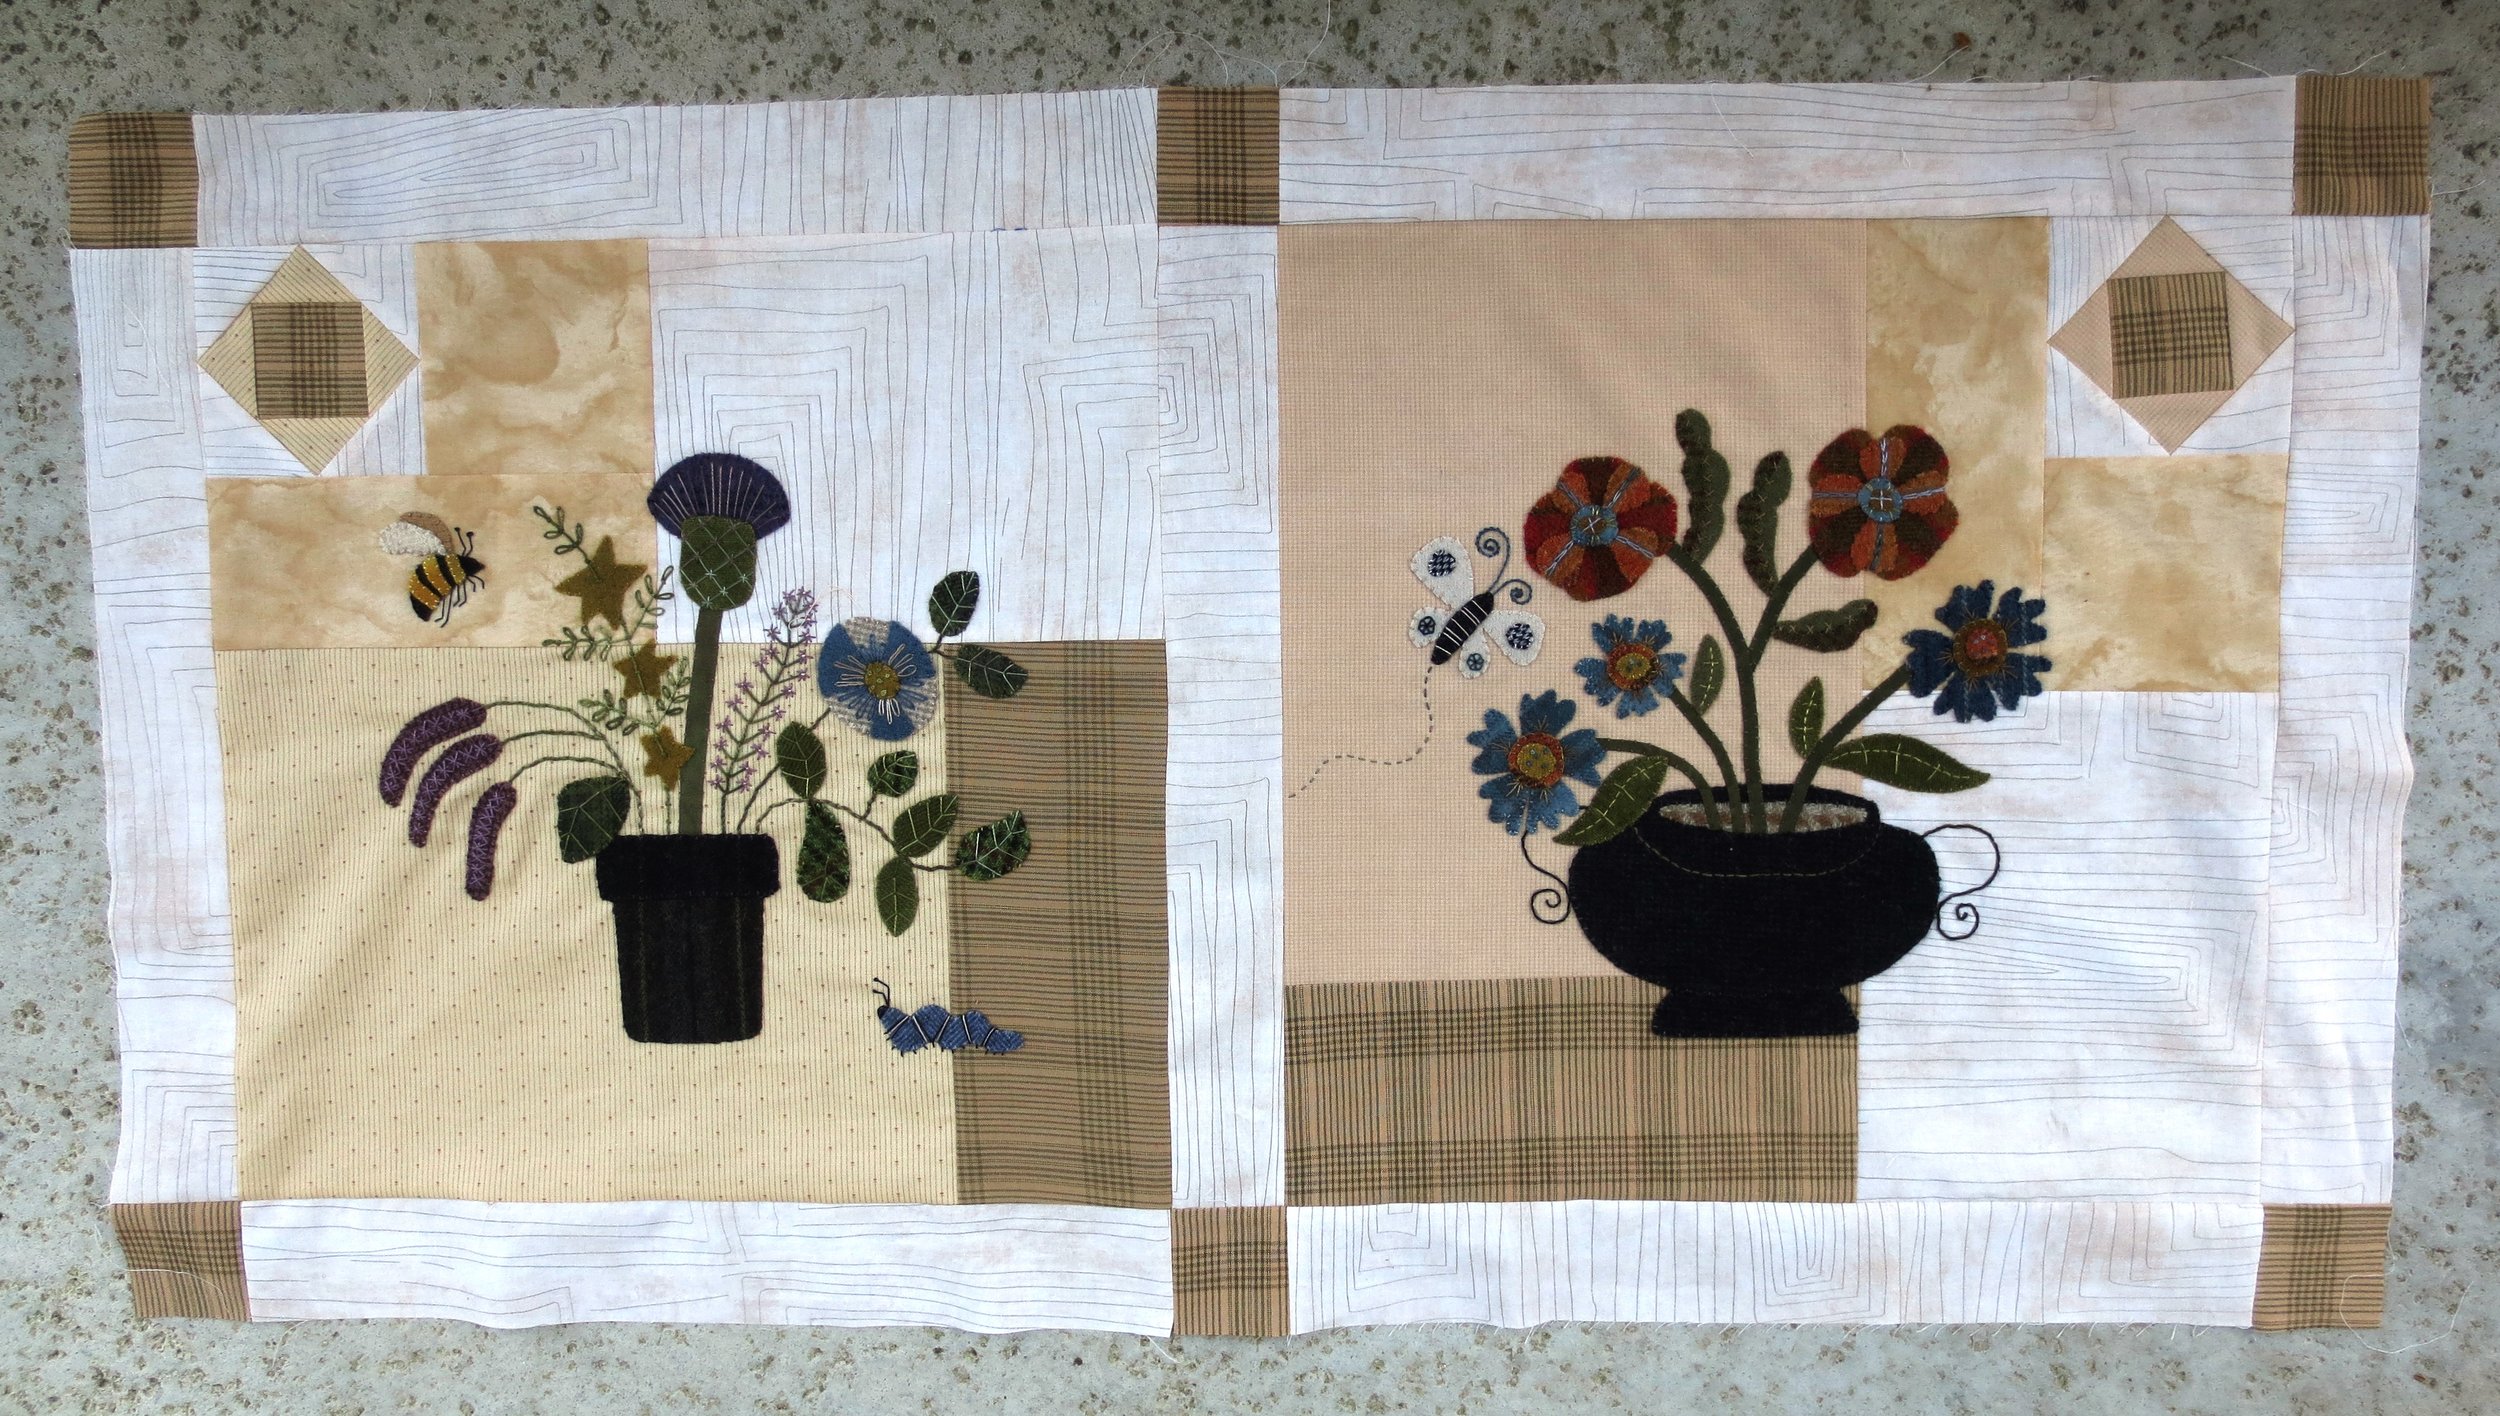
You may have noticed in the photo above that the blocks do not have identical backgrounds. Well... I had to substitute Fabric A with Primitive Gatherings Miniature Gatherings pattern #1152. I accidently used some of Fabric A for another project and I only had enough for one more background, so I used it for Block #3 which is diagonal to Block #1 that has the same background. The result is a little more scrappiness, but I think it works.
Let's get started.
You will need:
- Fabric
- Corner blocks (Fabric B) - nine 2 1/2" squares
- Sashing (Fabric D) - twelve 2 1/2" x 17 1/2" strips
- Felted Wool - Use some of the wools you used in the flower blocks to tie all the quilt colors together.
- Center flower - 5" square red
- Center flower surround - 5" square purple
- Center flower leaves (spikey things on each corner), side flower receptacles (the flower bases) and leaves - Four 3" squares of various textured greens (one of each color)
- Side flowers - I used four basic colors: gold, purple, blue and dark orange. Each flower has petals that are one color family, but not the the same shade or texture.
- Thread - Valdani perle cotton, size 12 in colors that matched my wool colors
- Miscellaneous
- Side flower stems - Two thirds of a yard (24") of 1/4" wide green ribbon (i used the same color as that used in Block #4)
- Featherweight fusible web - My favorite is Vilene from Pinwheels.com, but it's not always in stock. My second choice is Heat-N-Bond Featherweight from Missouri Star Quilts.
- Steam Iron
- Chenille needle, size 24
- Chalk pencil
- Sewing machine
Instructions
- Download the Layout, pattern, and stitch guide if needed (the stitch guide is the same for the entire quilt).
- Adding the Sashing and Corner Blocks (All seams are 1/4" wide and are pressed open)
- Square up all of your blocks if you haven't done so already. They "should" be 17 1/2" x 17 1/2". If you are like me they might be a touch off. Mine were closer to 17 3/8" x 17 3/8". The size is not critical. As long as all of them are the same size you will be okay. Hint: Trim from the two sides that don't include the economy square.
- Trim your sashing to the width of your squares.
- Sew sashing to the right and left sides of Block #1 (see below left).
- Sew a corner block to each end of a strip of sashing. Repeat.
- Sew a sashing/corner block strip to the top and bottom of Block #1 (see below right).
- Sew sashing to the left side of Block #2.
- Sew a corner block to the left side of a sashing strip. Repeat.
- Sew a corner block/sashing strip to the top of Block #2 (see below)
- Sew the remaining block/sashing strip to the bottom of Block #2 (see below)
- Sew Block #1 to Block #2 (see below).
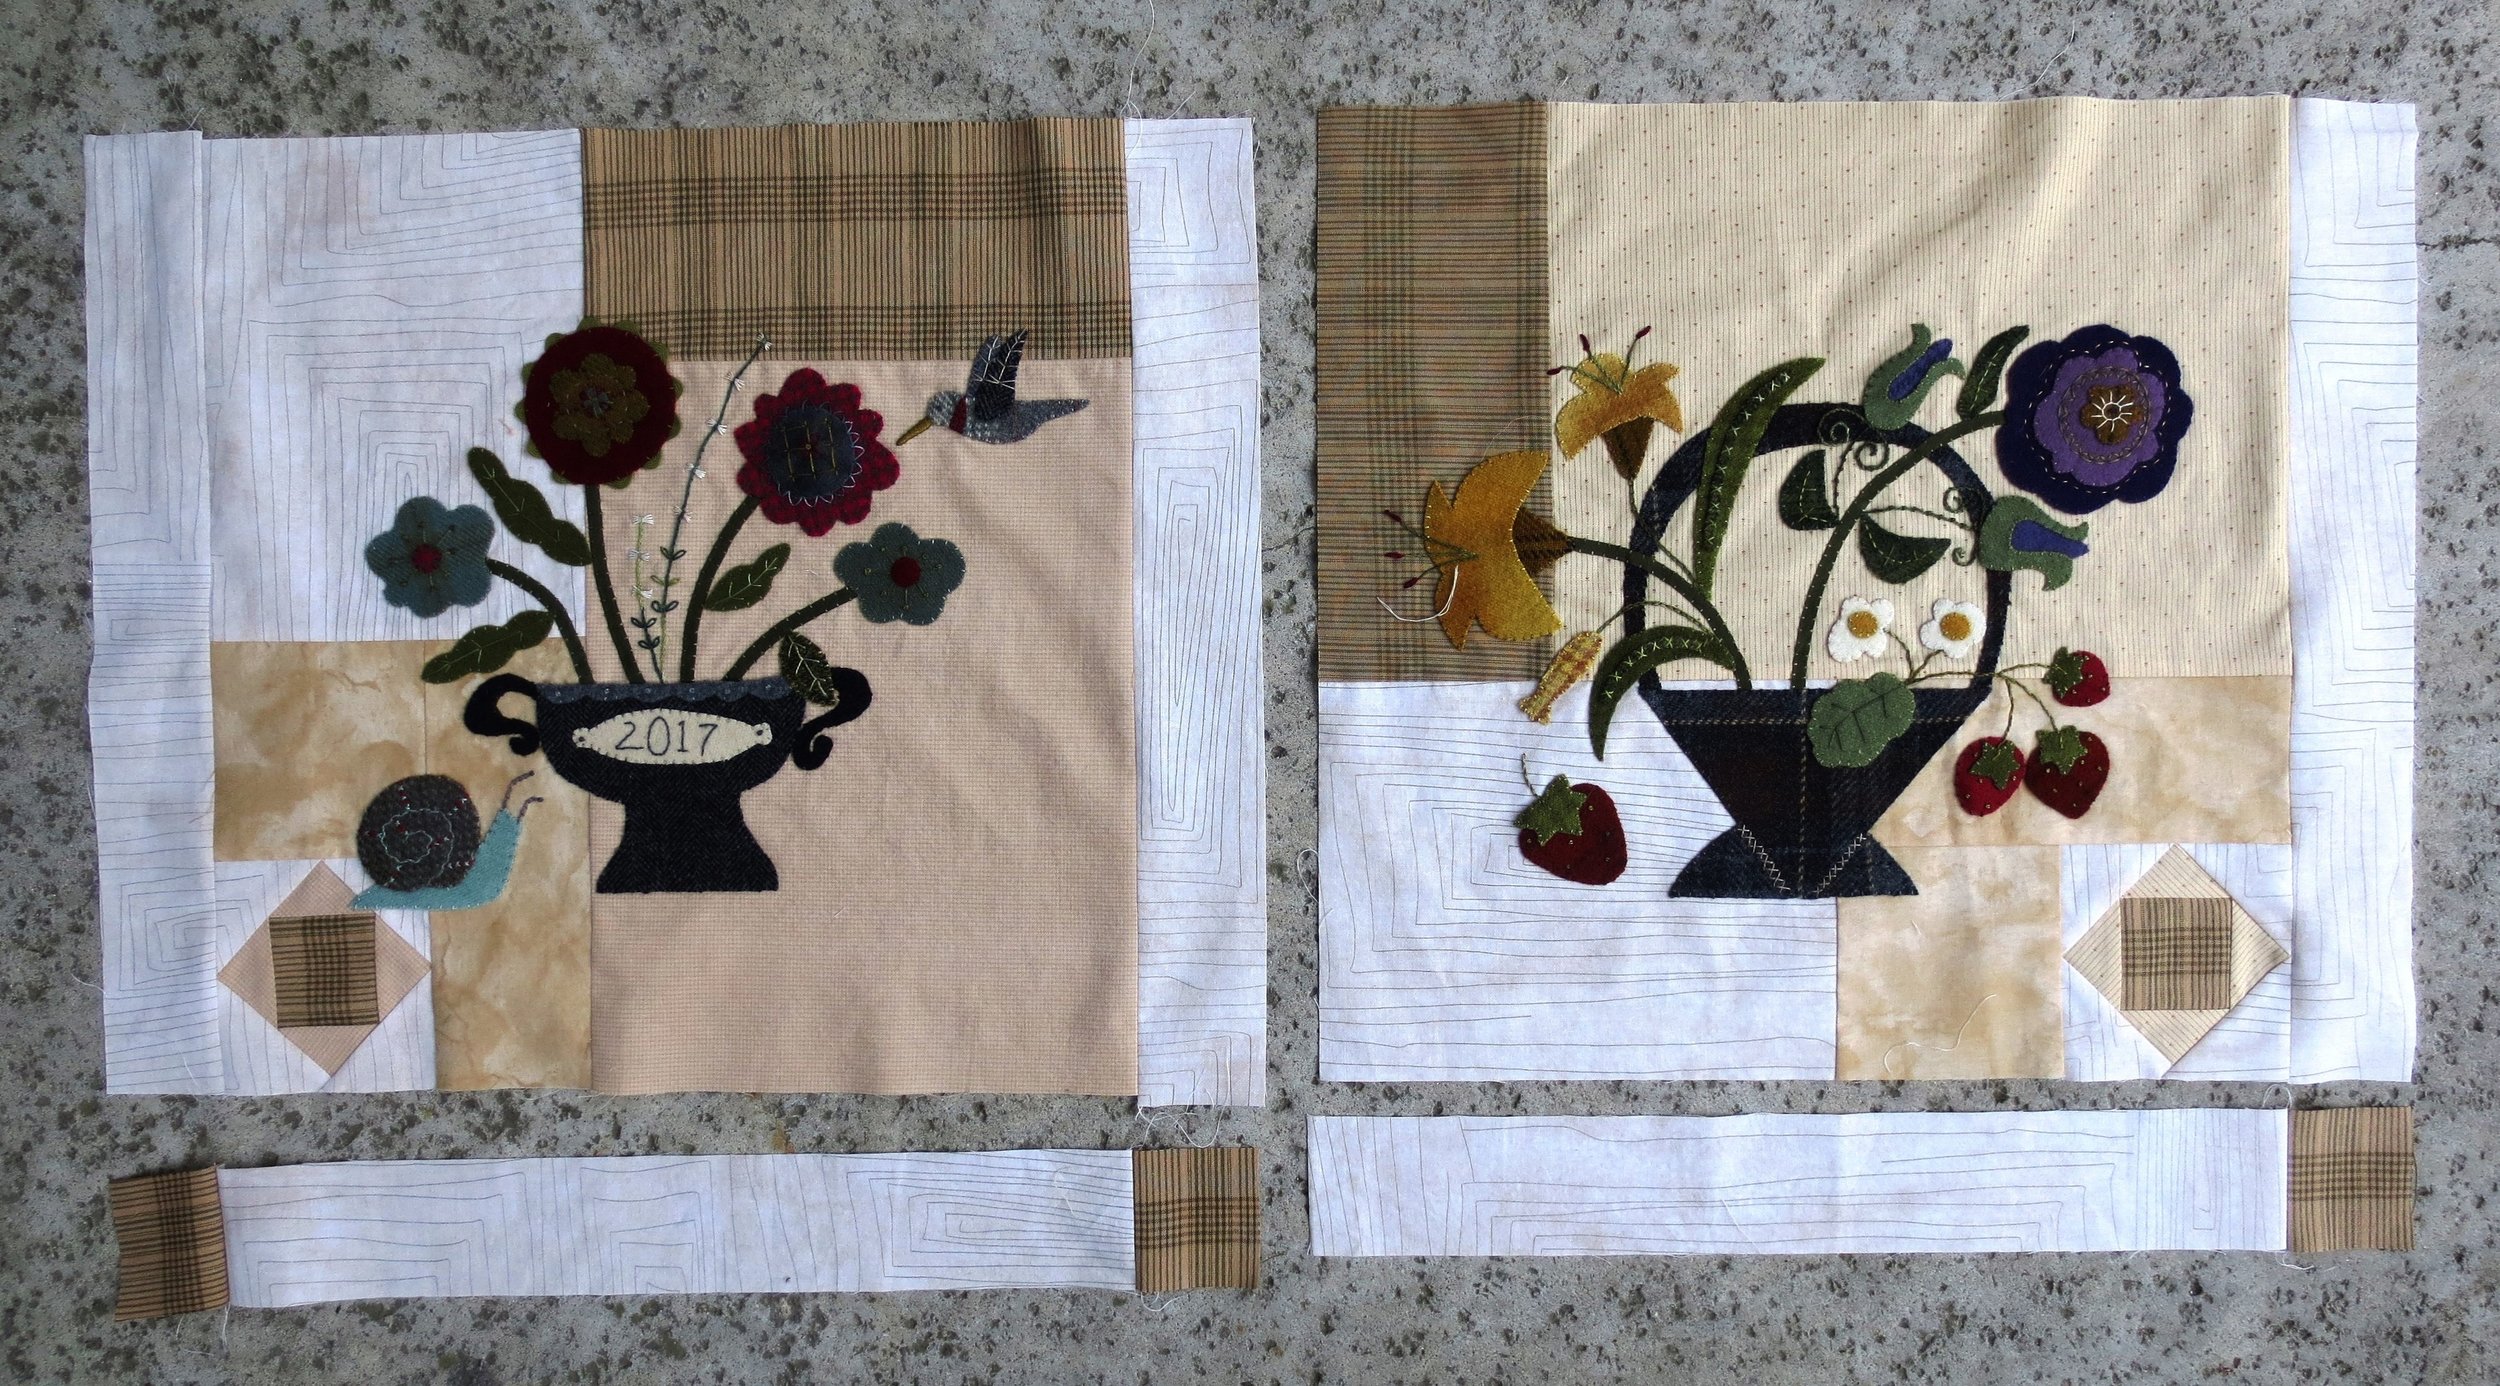
- Sew sashing to each side of Block #3 and to the right side of Block #4 (see below).
- Sew a corner block to each side of a sashing strip (see below bottom left).
- Sew a corner block to one side of a sashing strip (see below bottom right).
- Sew Block #3 to Block #4.
- Sew Block #1/2 to Block #3/4.
Voila! Ready for the center applique!
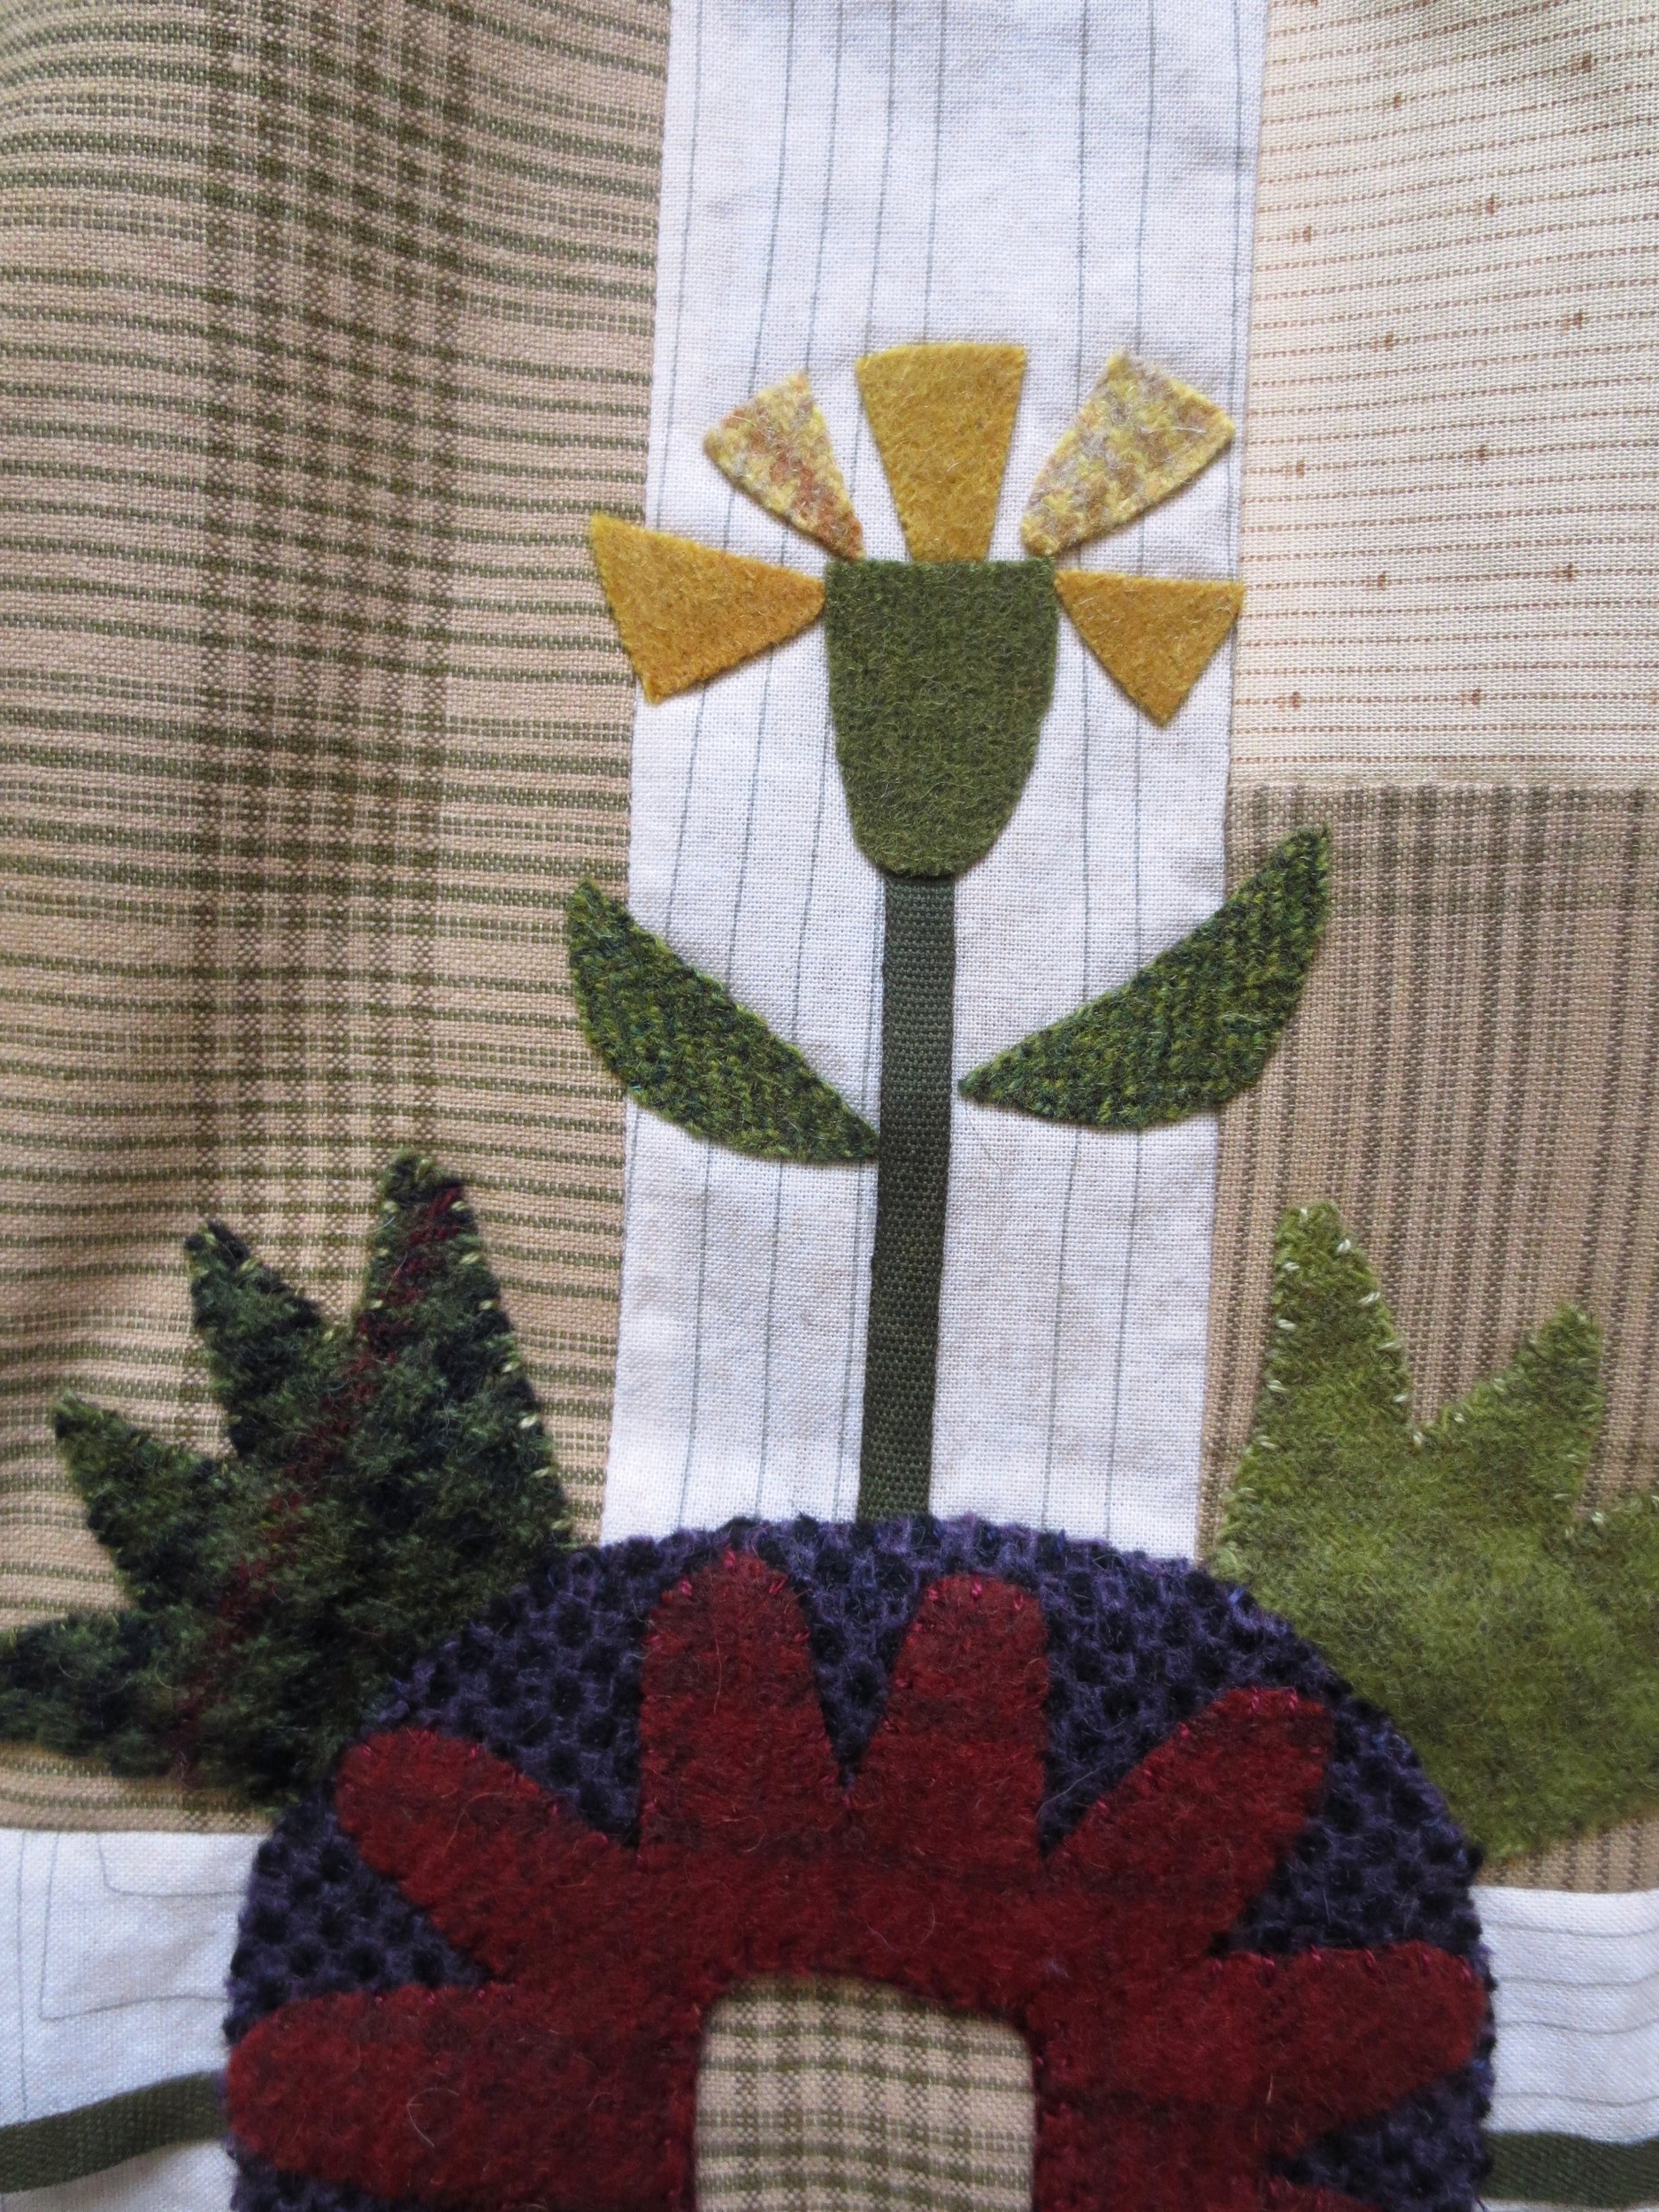
3. Applique - Use one strand of thread unless otherwise noted.
- Cut four 5" lengths of ribbon for the stems. Set aside.
- Trace the pattern pieces onto fusible web. Note: Trace four sets of side flower petals, receptacles and leaves. Trace four center flower leaves (those spikey things). Cut out leaving a small border (1/16" - 1/8") around each pattern piece.
- Iron the pattern pieces onto designated wools. Cut out along pattern outline.
- The flower receptacles are all the same color.
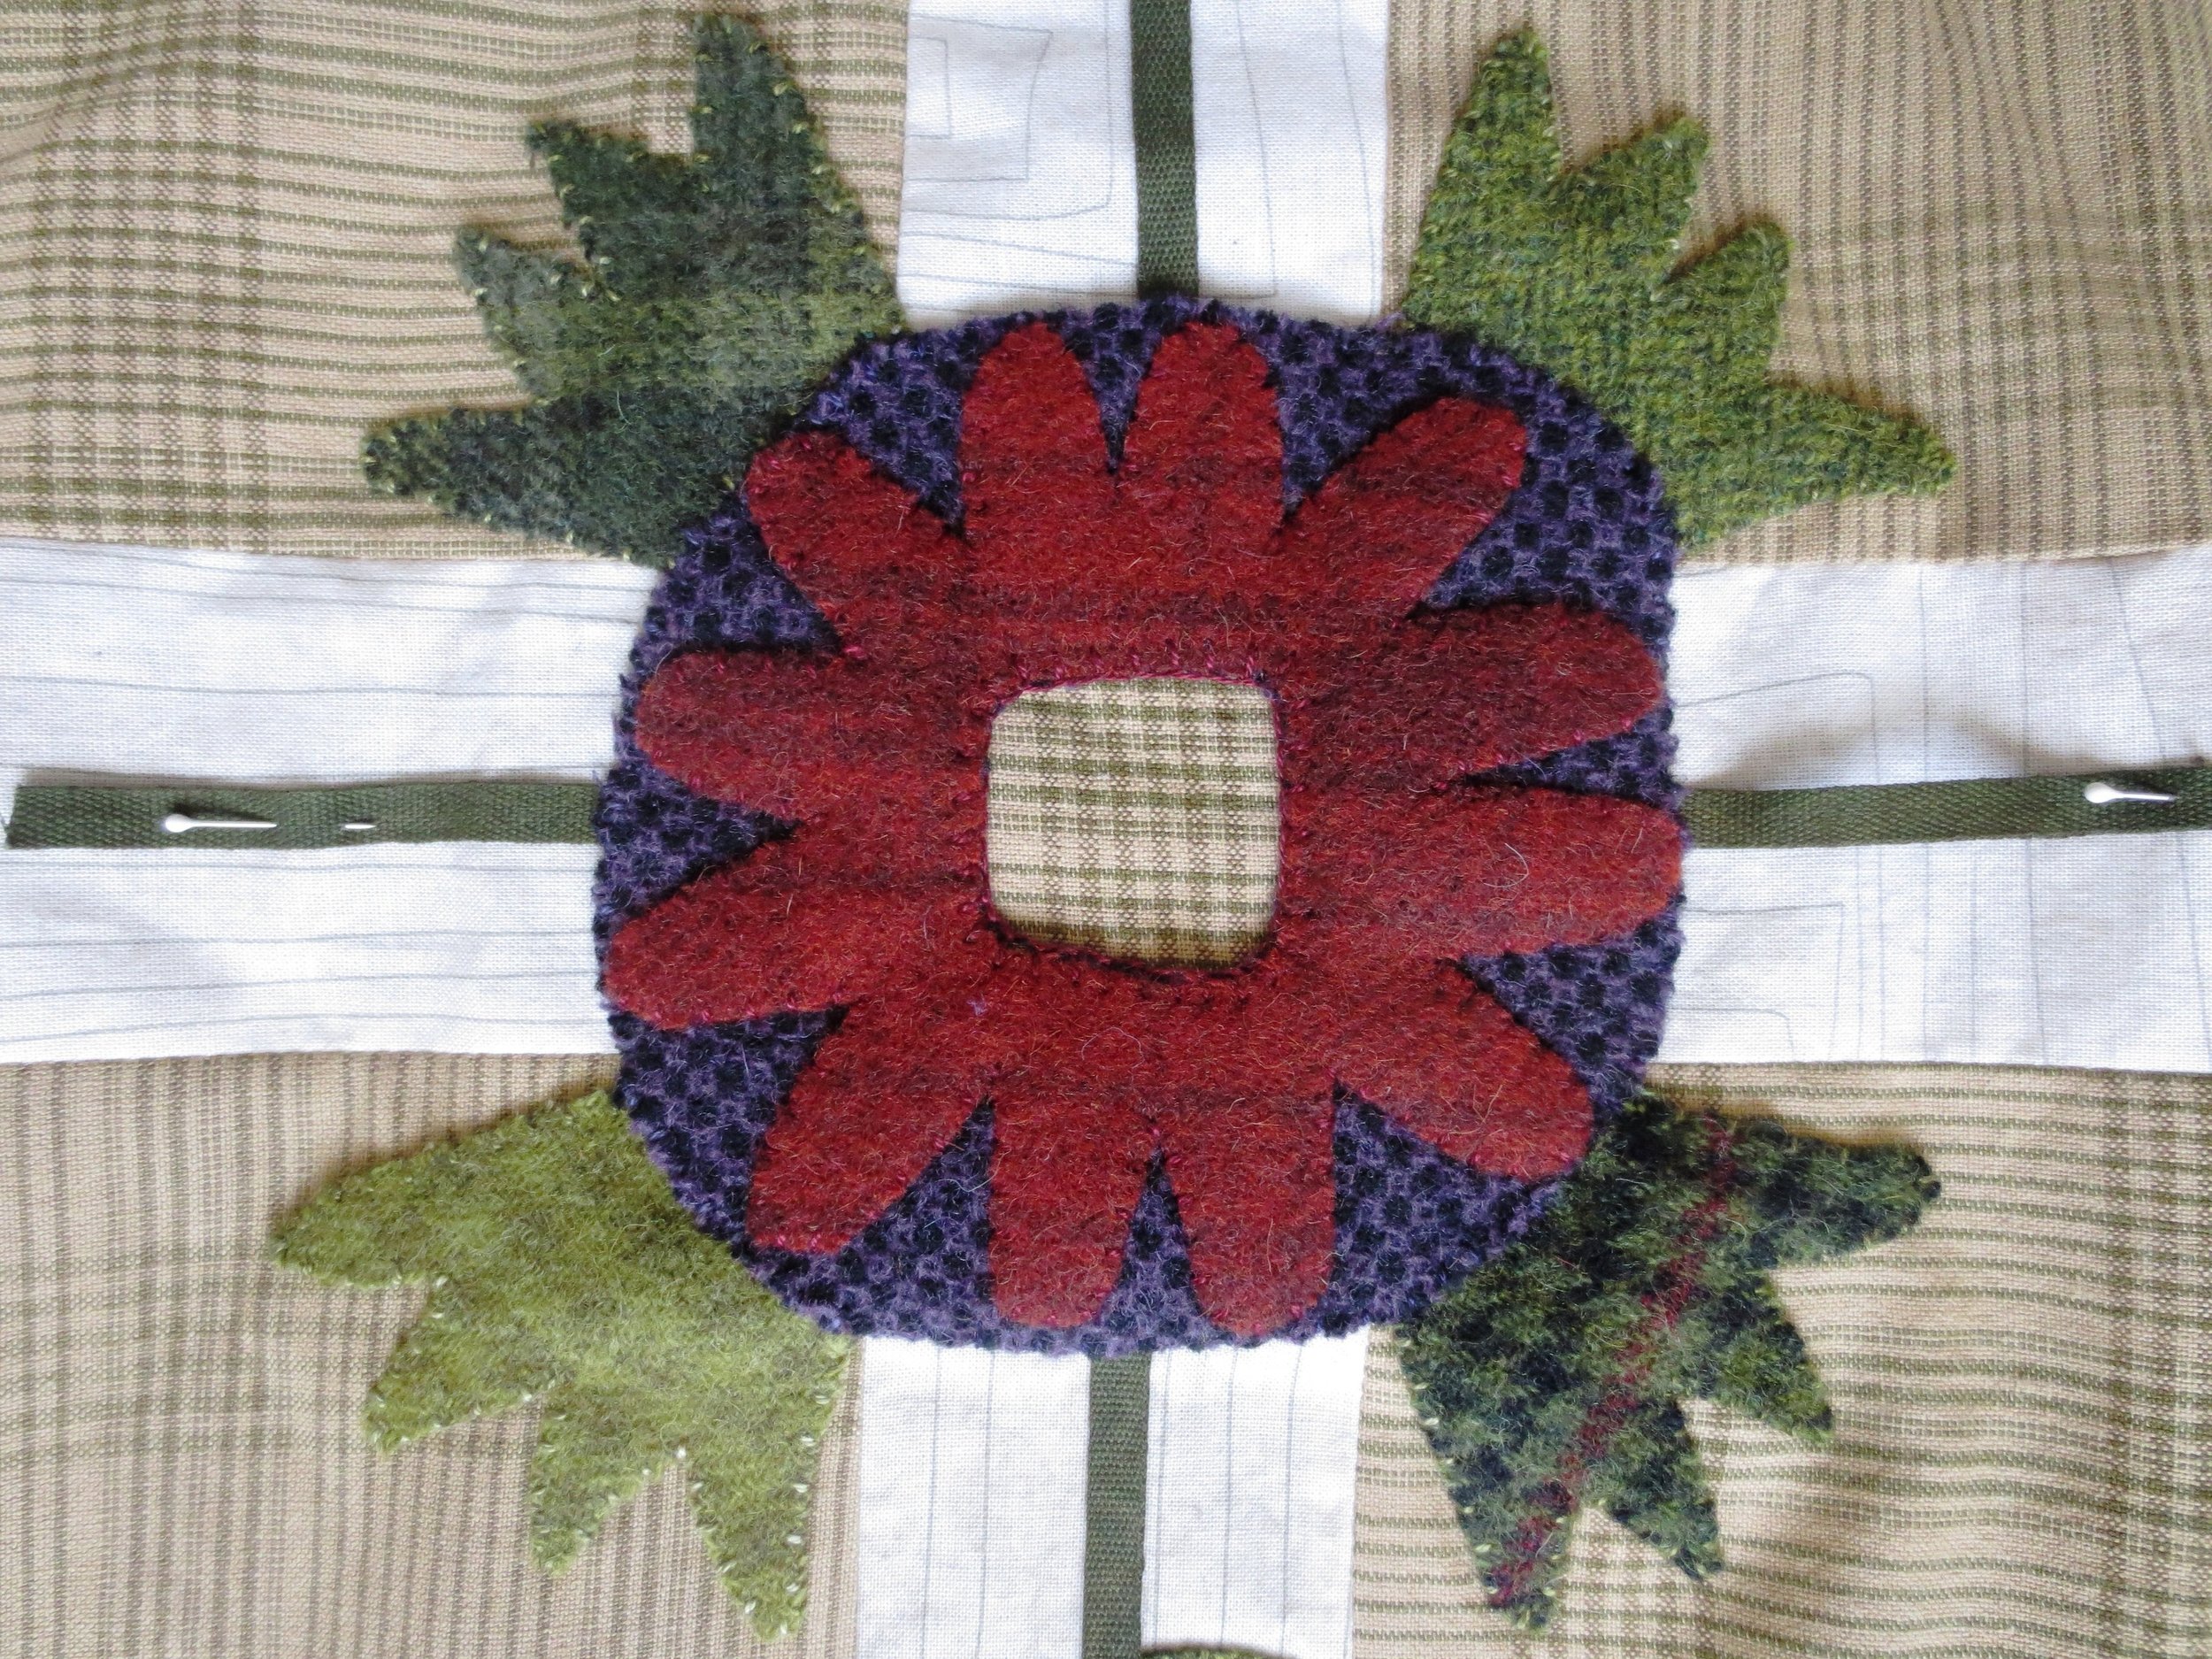
- The center flower has four leaves, each a different shade of green.
- Use two of the greens from the center flower leaves for the side flower leaves.
- Cut out the center of the center flower and the center flower surround. Make sure the openings in each match. Lay the flower on top of the surround to check. Trim if necessary.
- Remove the paper backing of the center flower, leaves, and surround.
- Do the next few steps on your ironing pad or board.
- Center the surround and leaves on the center block. The center block should be visable. The leaves should butt up next to the surround. They are not tucked under.
- Position the ribbon stems between the leaves so that they lay in the center of each sashing strip. Tuck the bottom of the stems under the surround by about 1/4". Pin in place.
- Fuse the surround and leaves in place using steam. This will anchor your stems.
- Place the center flower on top of the surround, lining up the central openings. Fuse in place.
- Use the same color thread as the center flower to blanket stitch the center opening.
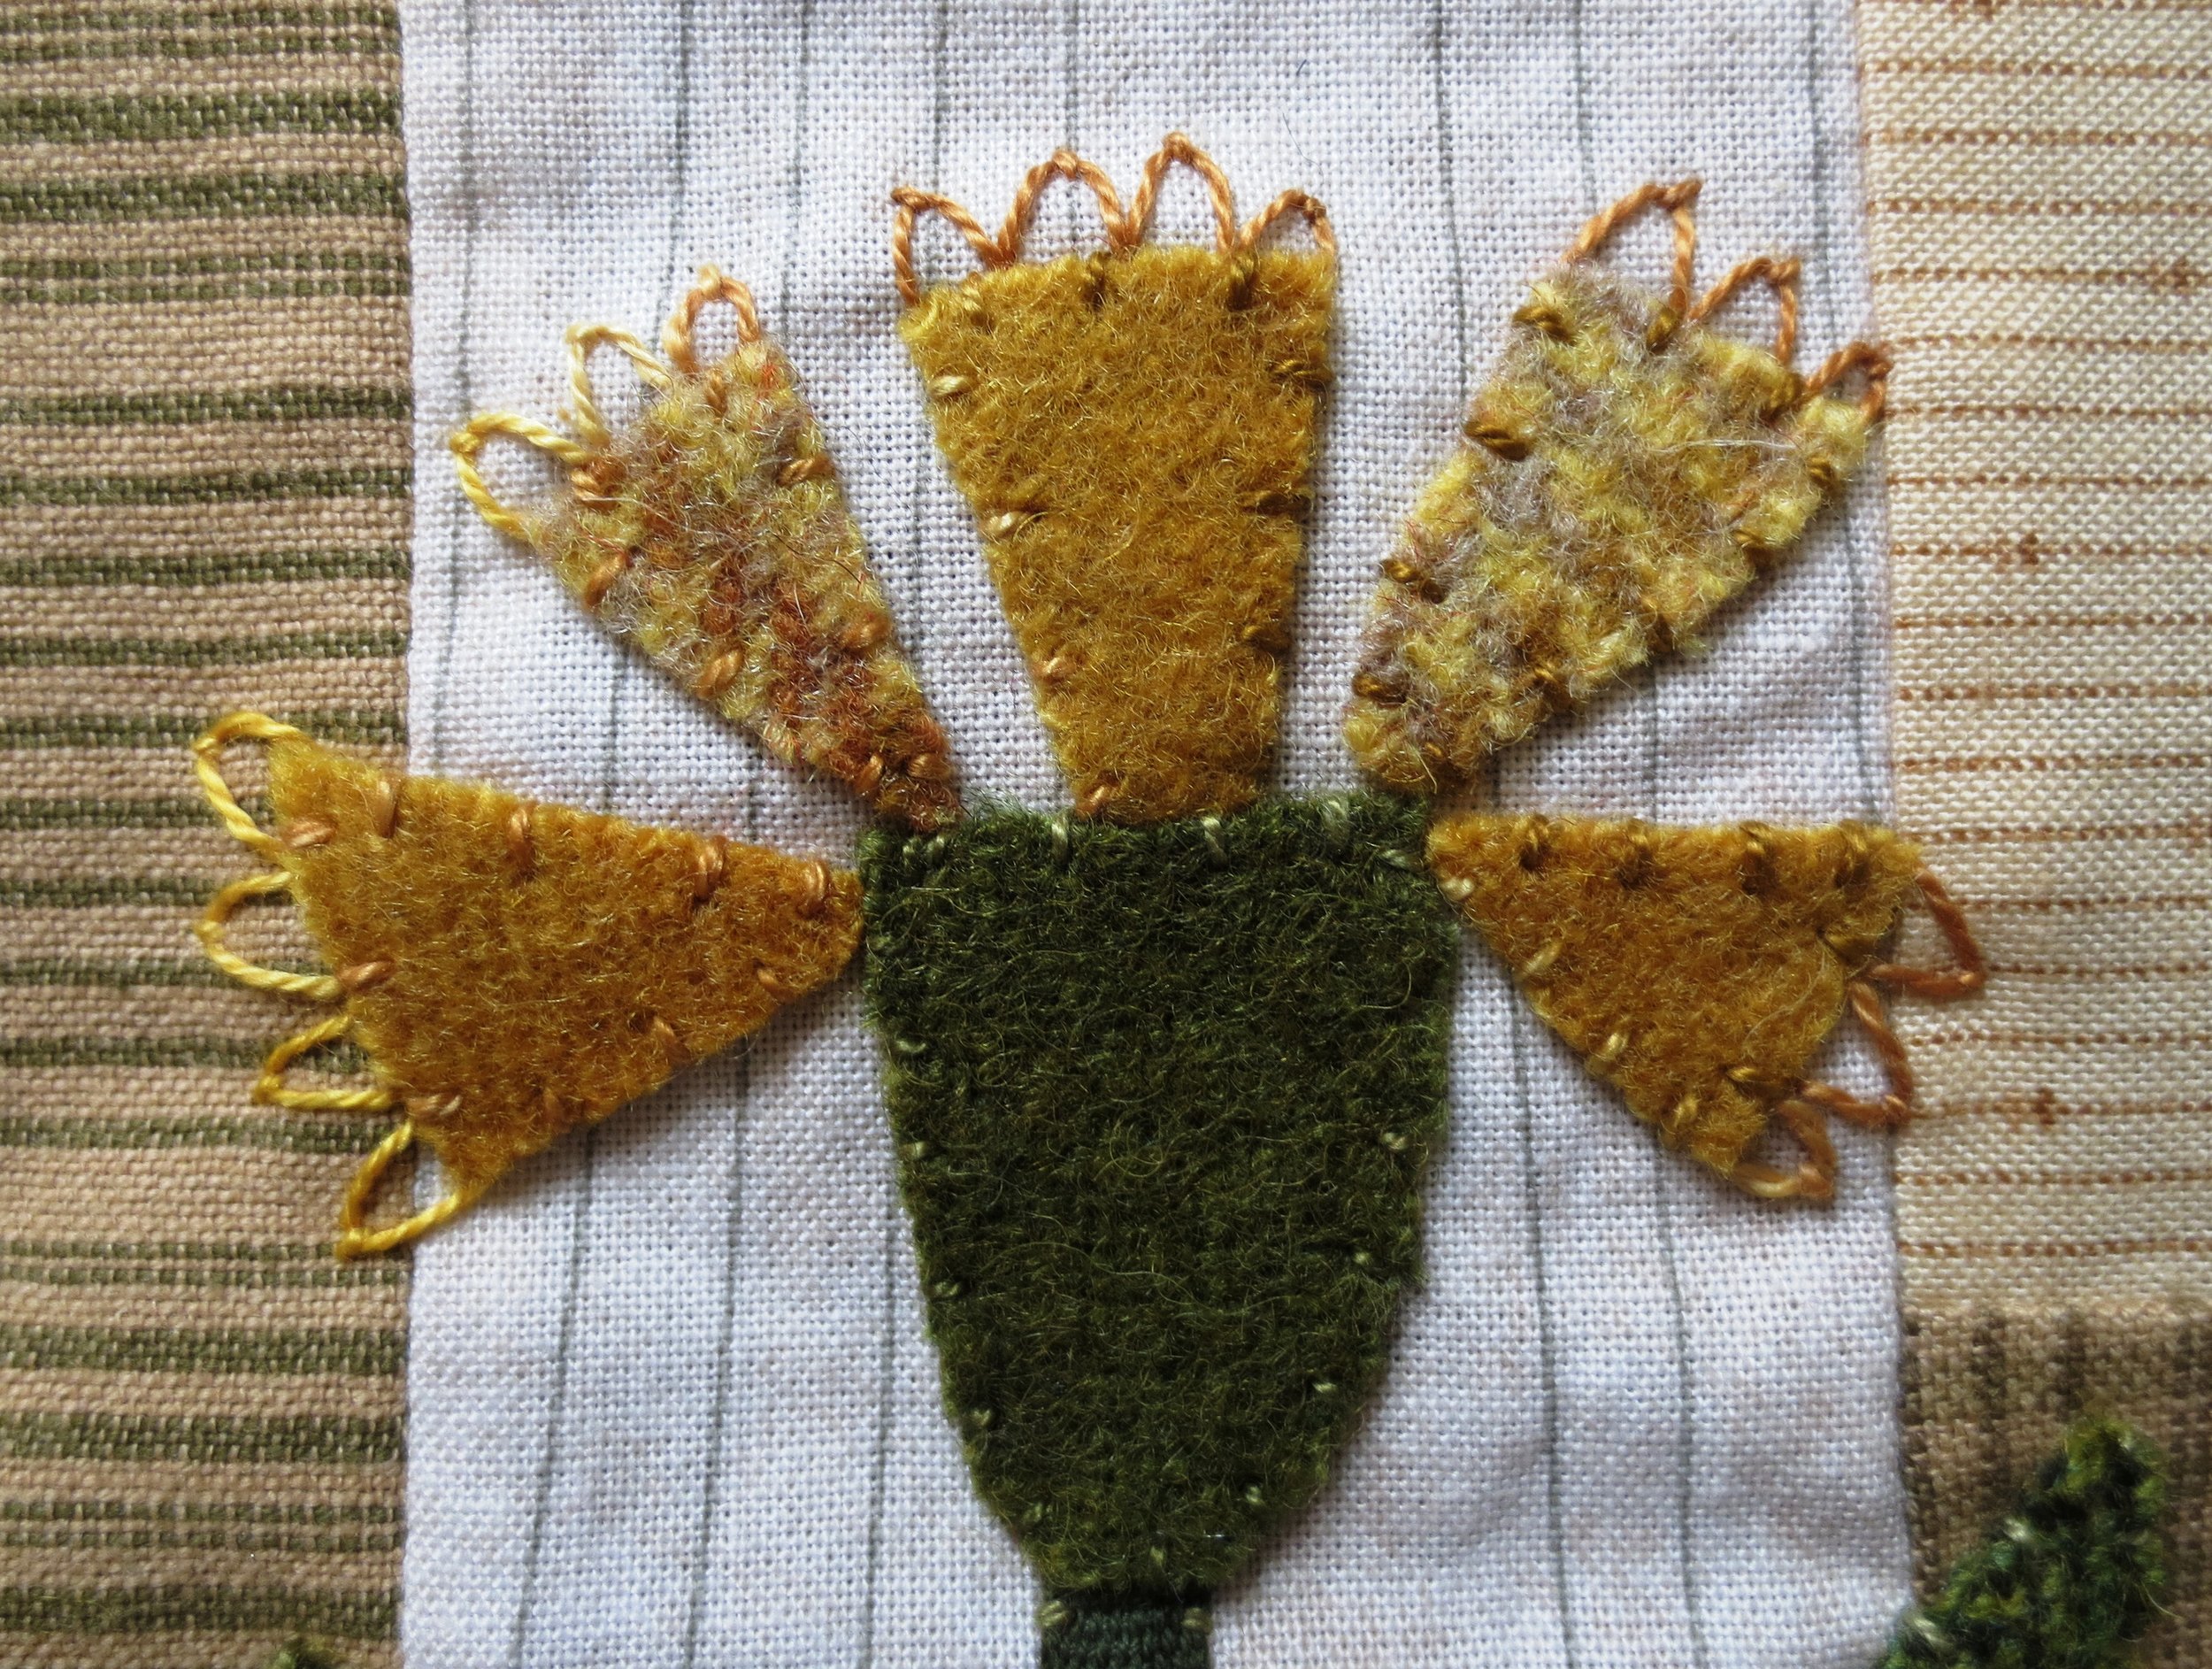
- Whip stitch all the remaining pieces using thread that matches your wool colors.
- Position the receptacles and flower petals on the end of each stem. Postition the leaves on each side of stem. Fuse in place. They don't have to be perfect. A little wonkiness is good!
- Whip stitch the stems first, then the leaves, receptacle, and petals using thread that matches the stem and wool colors.
- With the same color thread that you used to whip stitch the flower petals, use a fly stitch to make a ruffle on the end of each petal (use the layout as your guide). The sizes of the fly stitches vary. They do not have to be the same.
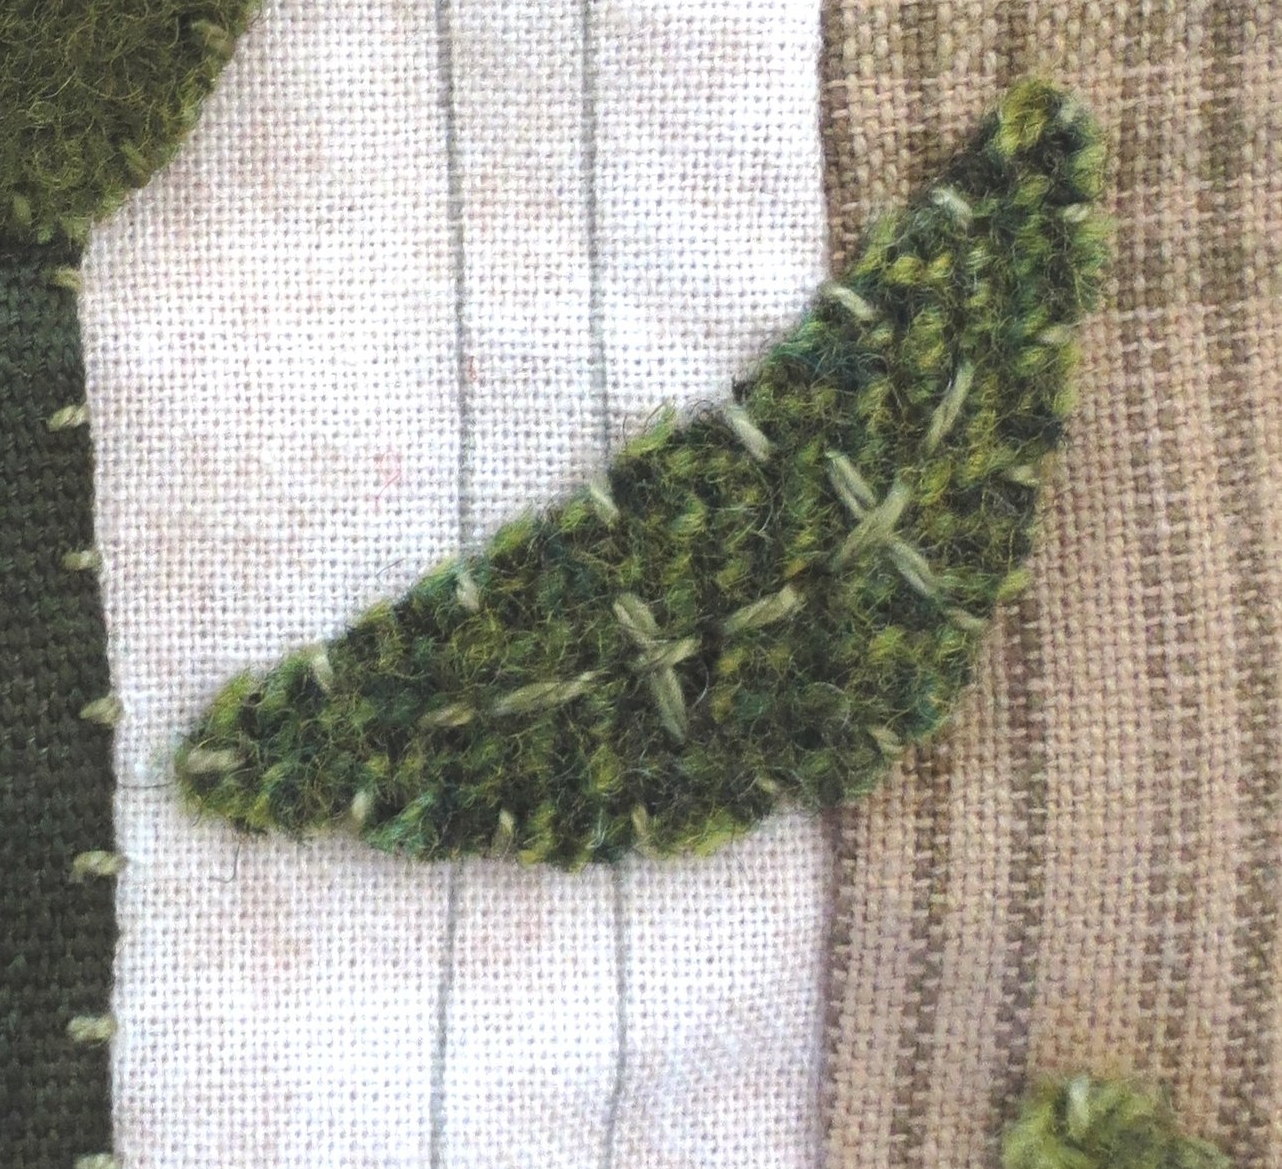
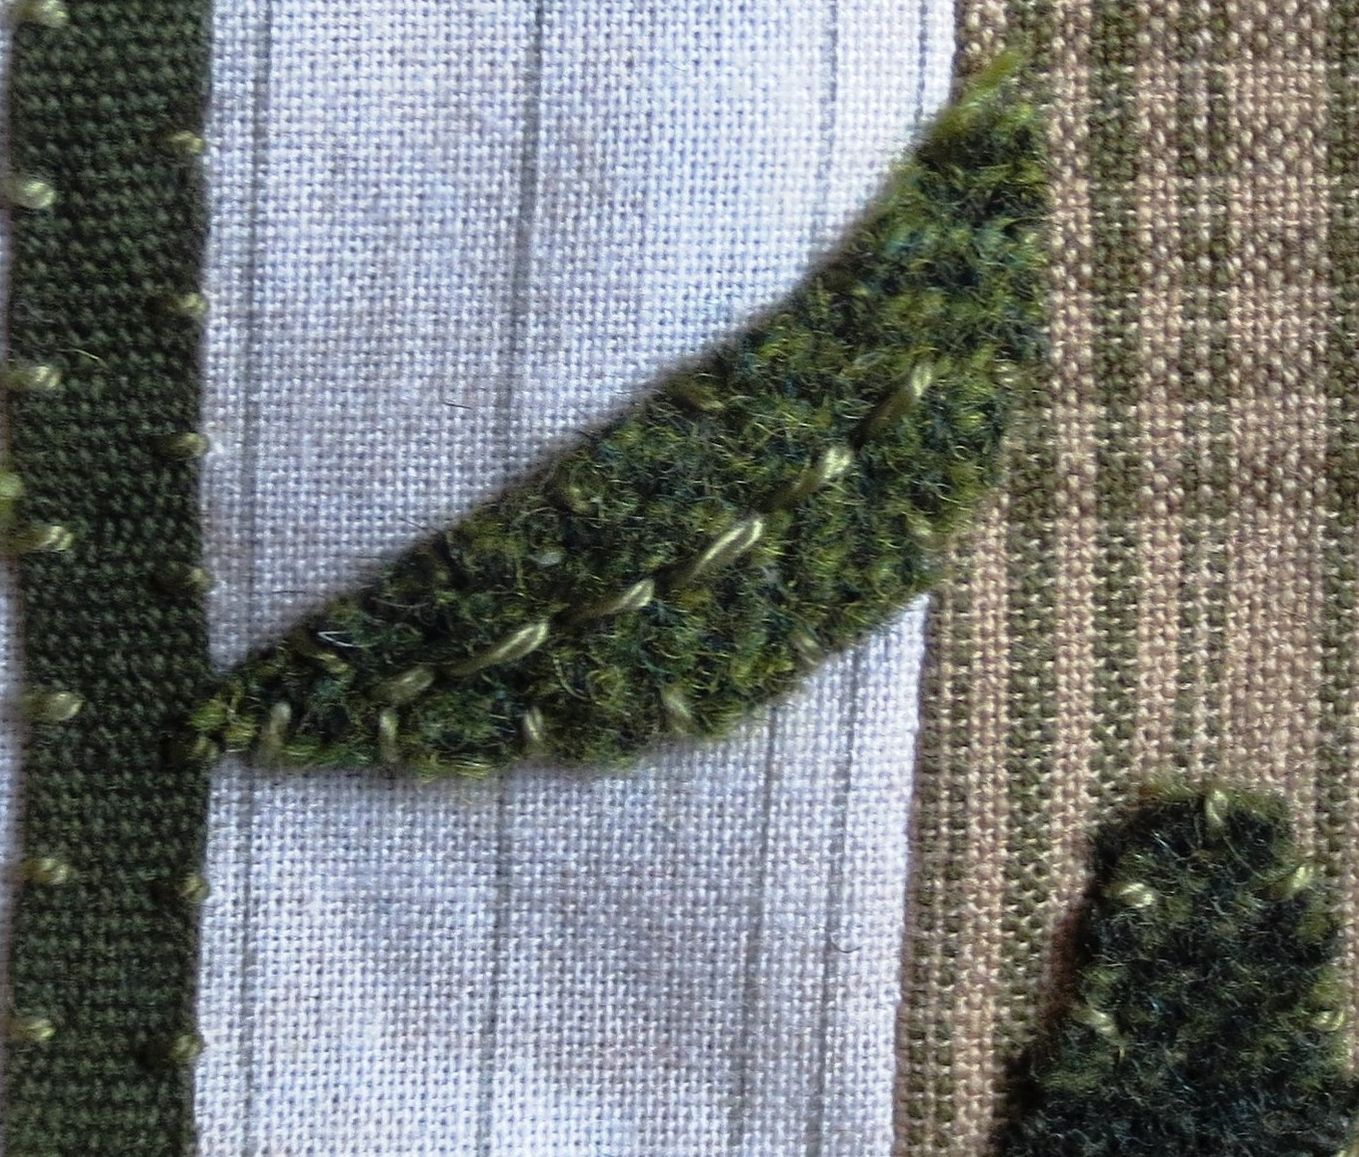
- Draw a central vein on each of the side leaves.
- Backstitch over the line with a contrasting colored thread.
- Stitch two small straight stitches (slide under the back stitches) for the side veins, using the same thread.
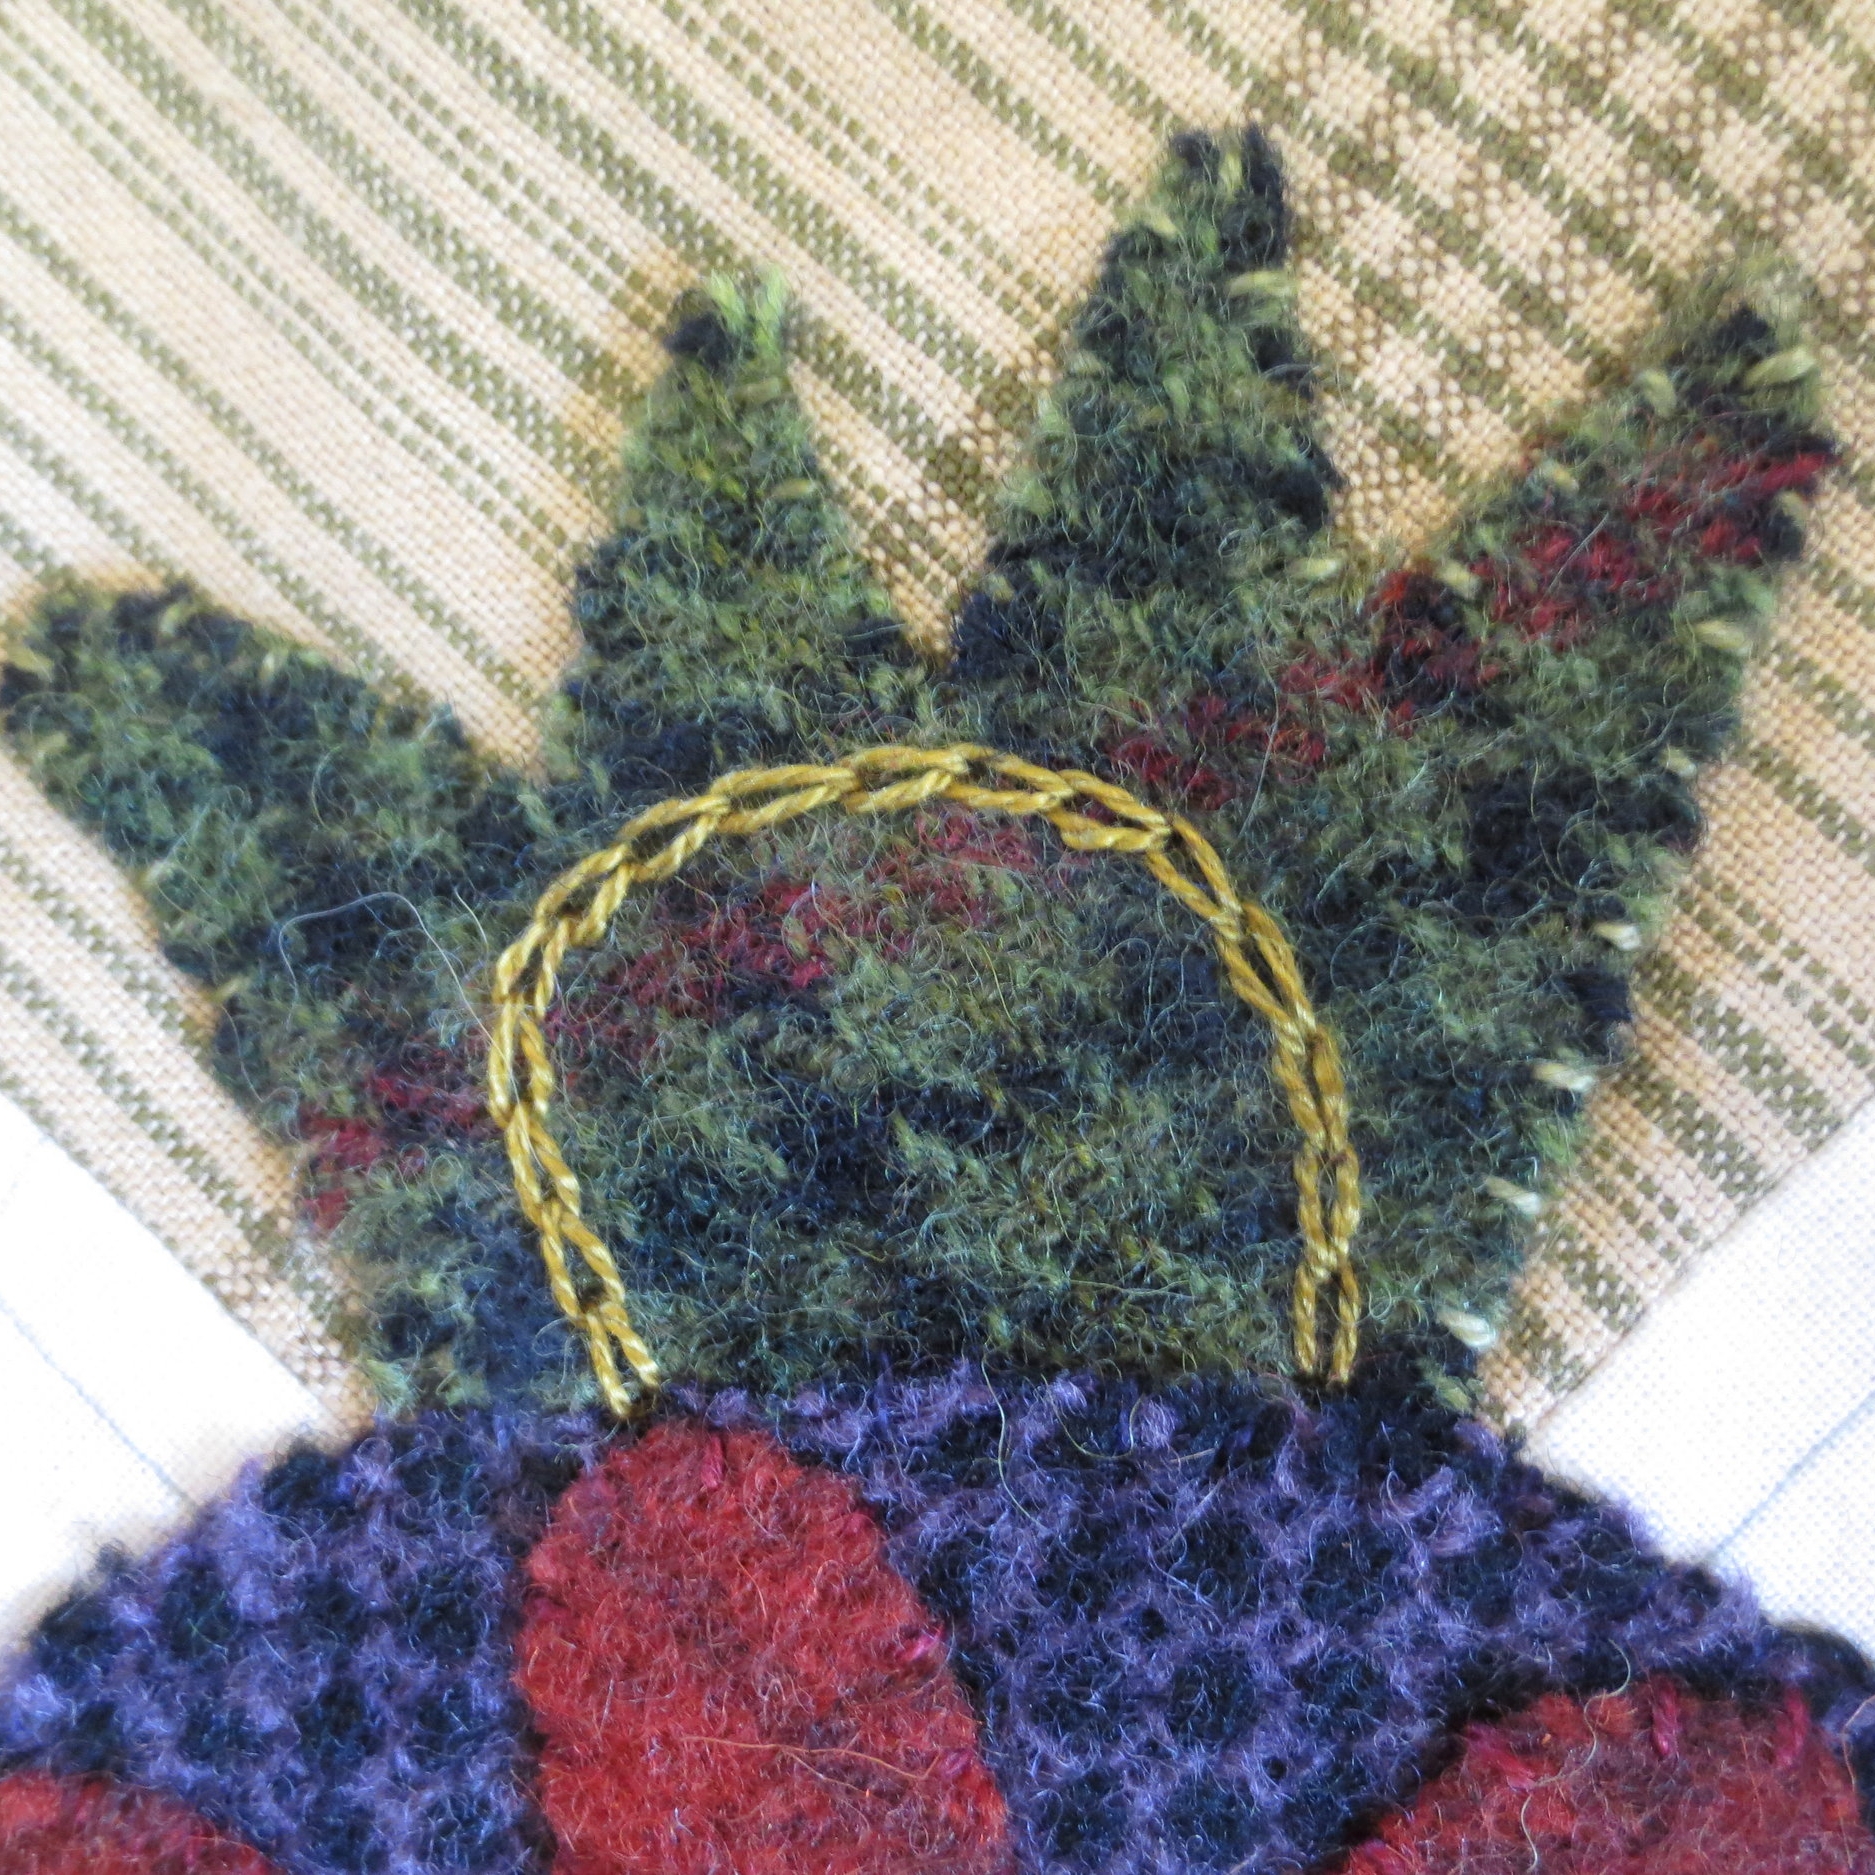
- Draw a wonky half circle on each of center flower leaves (use layout as your guide).
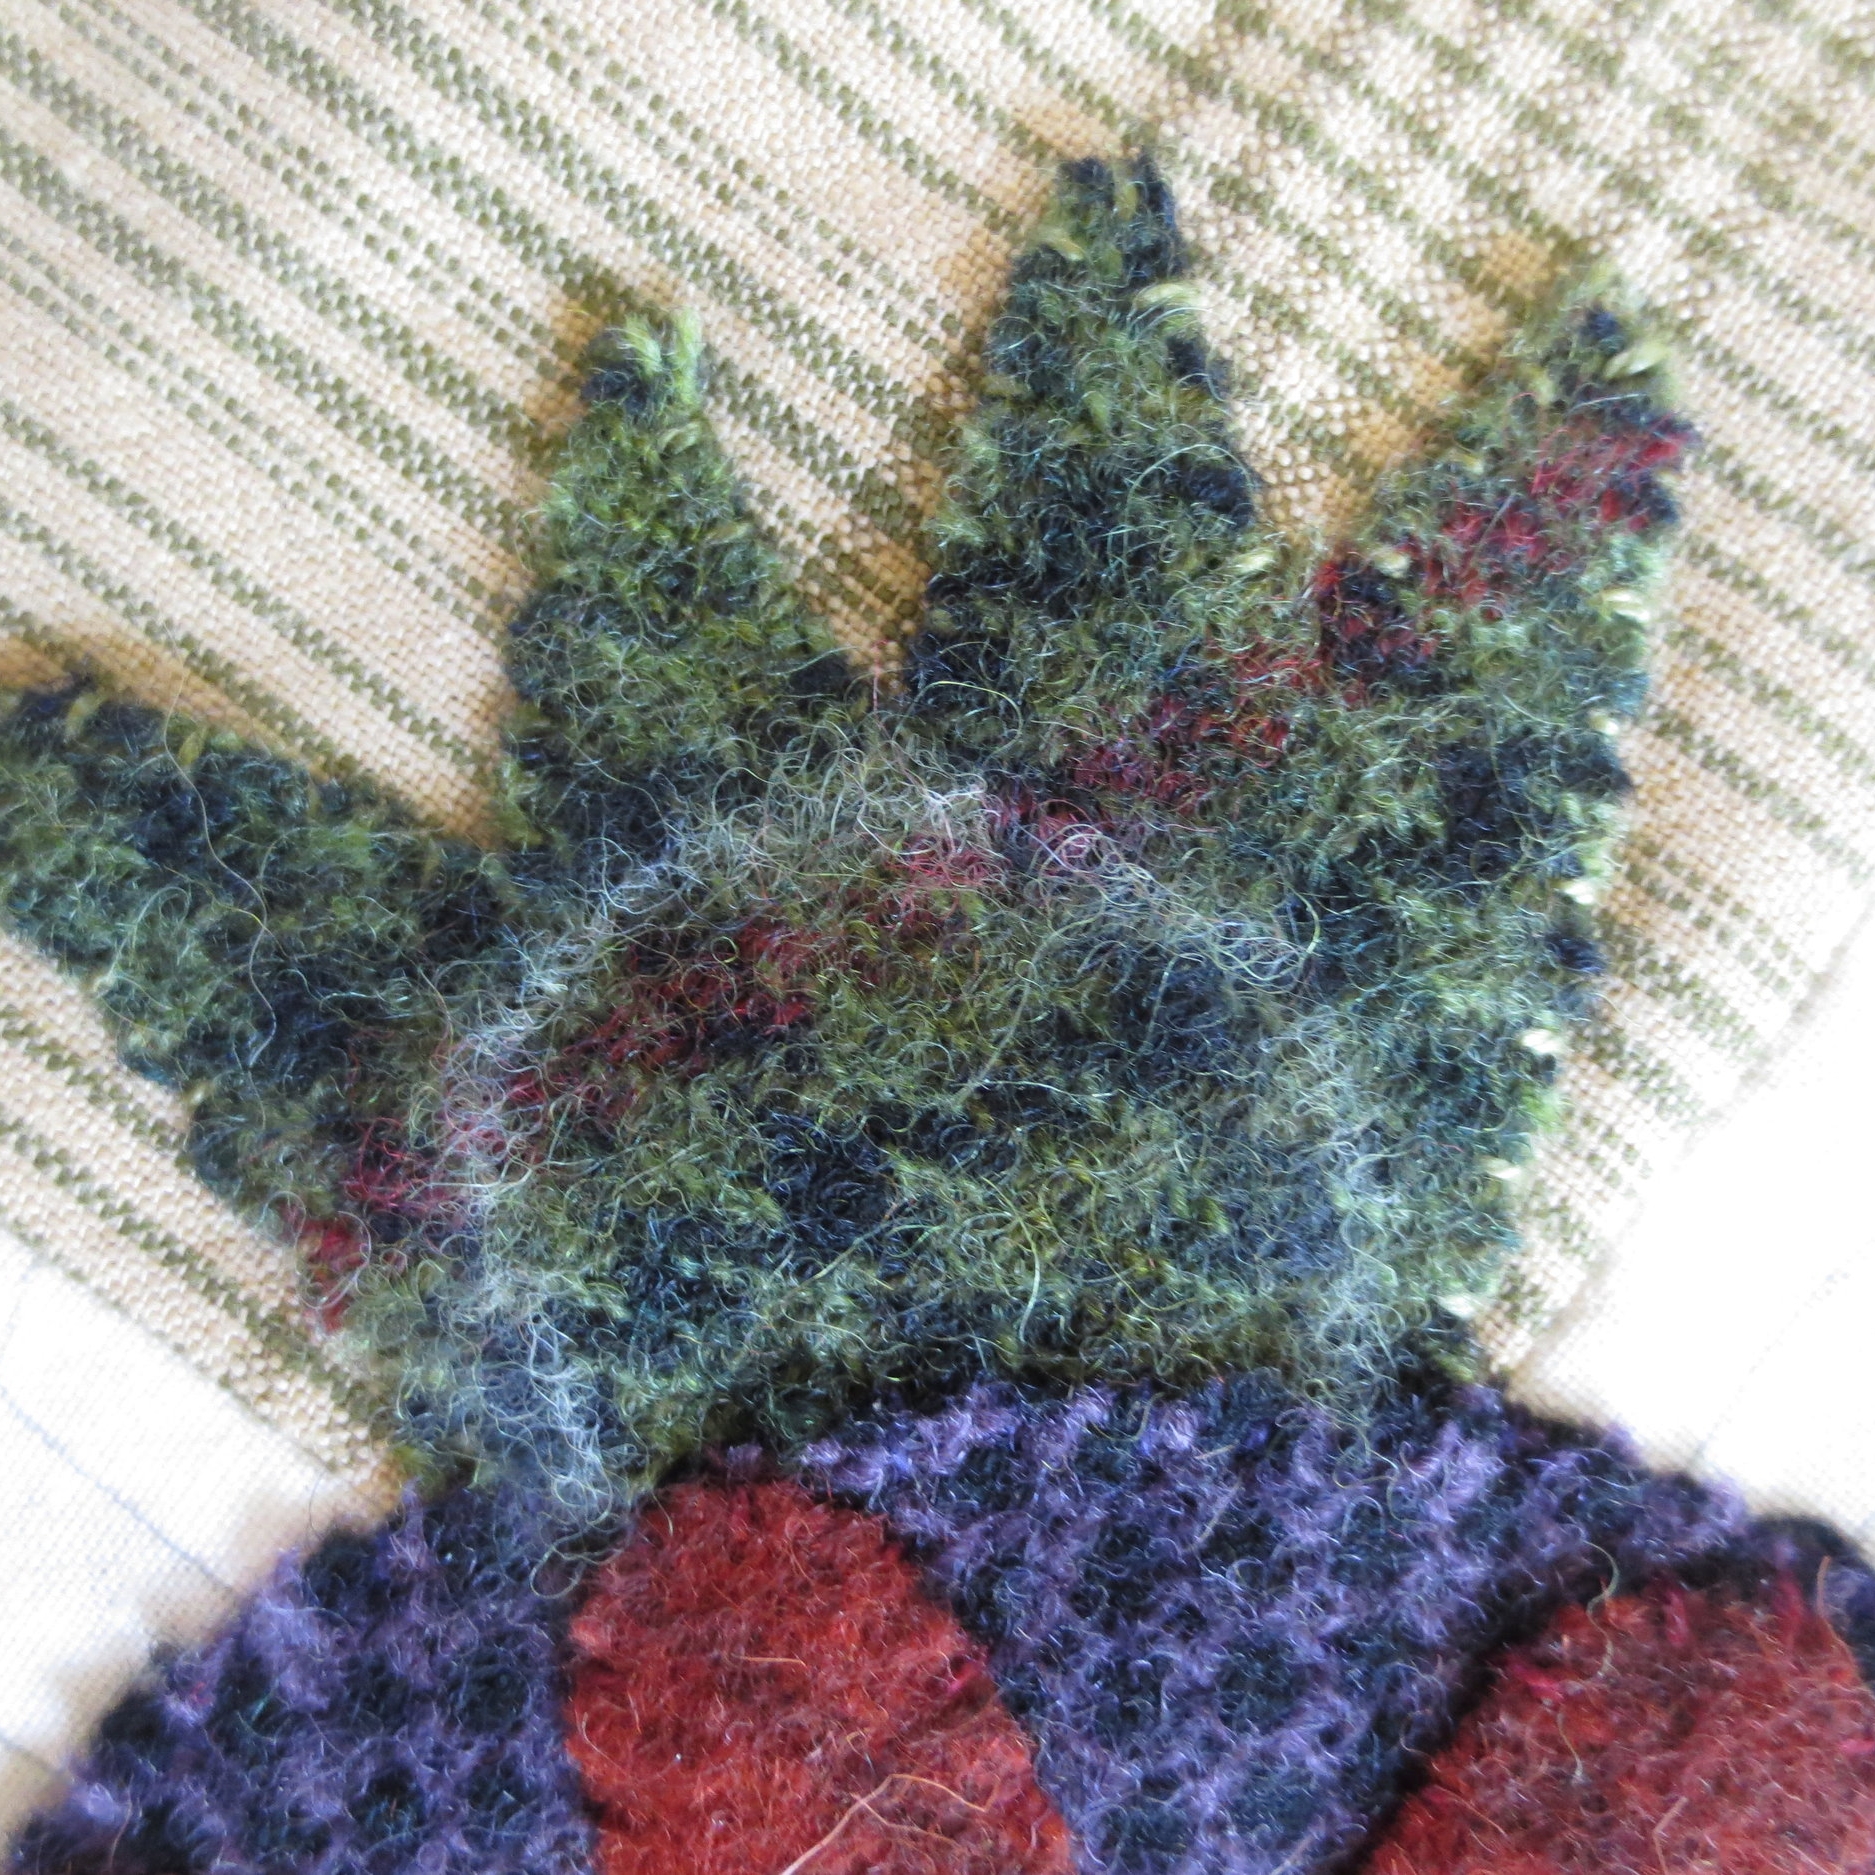
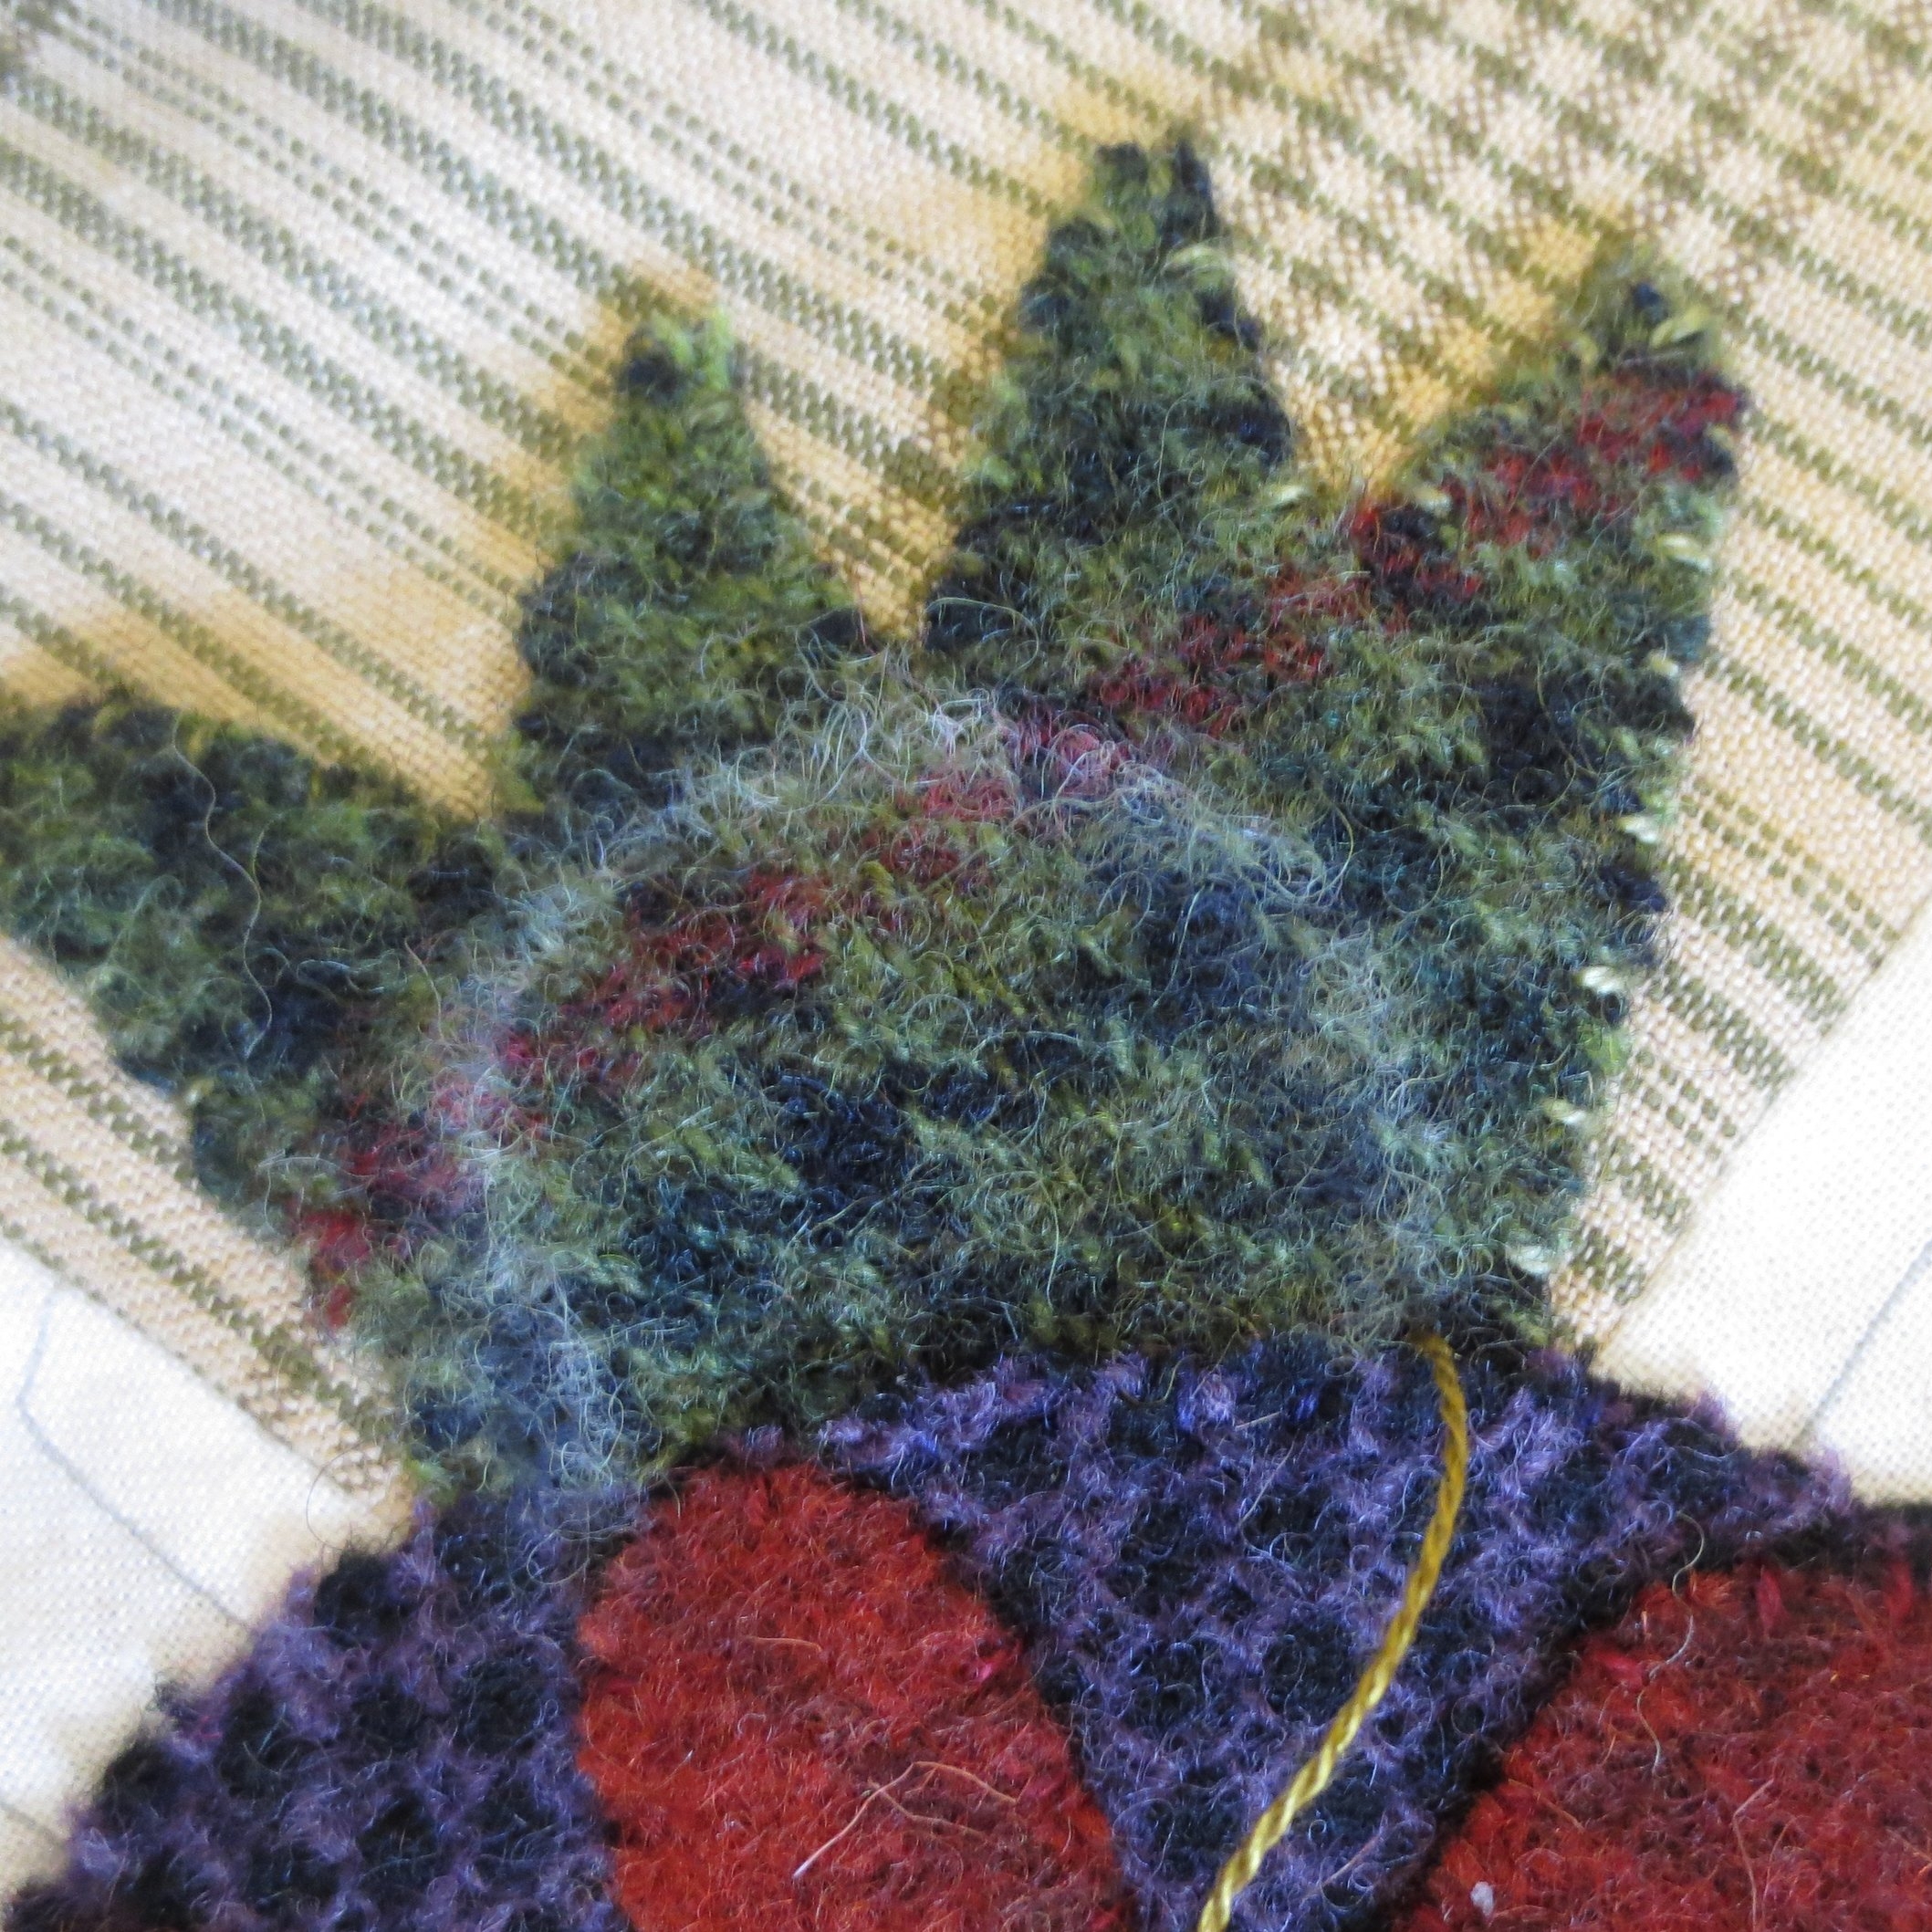
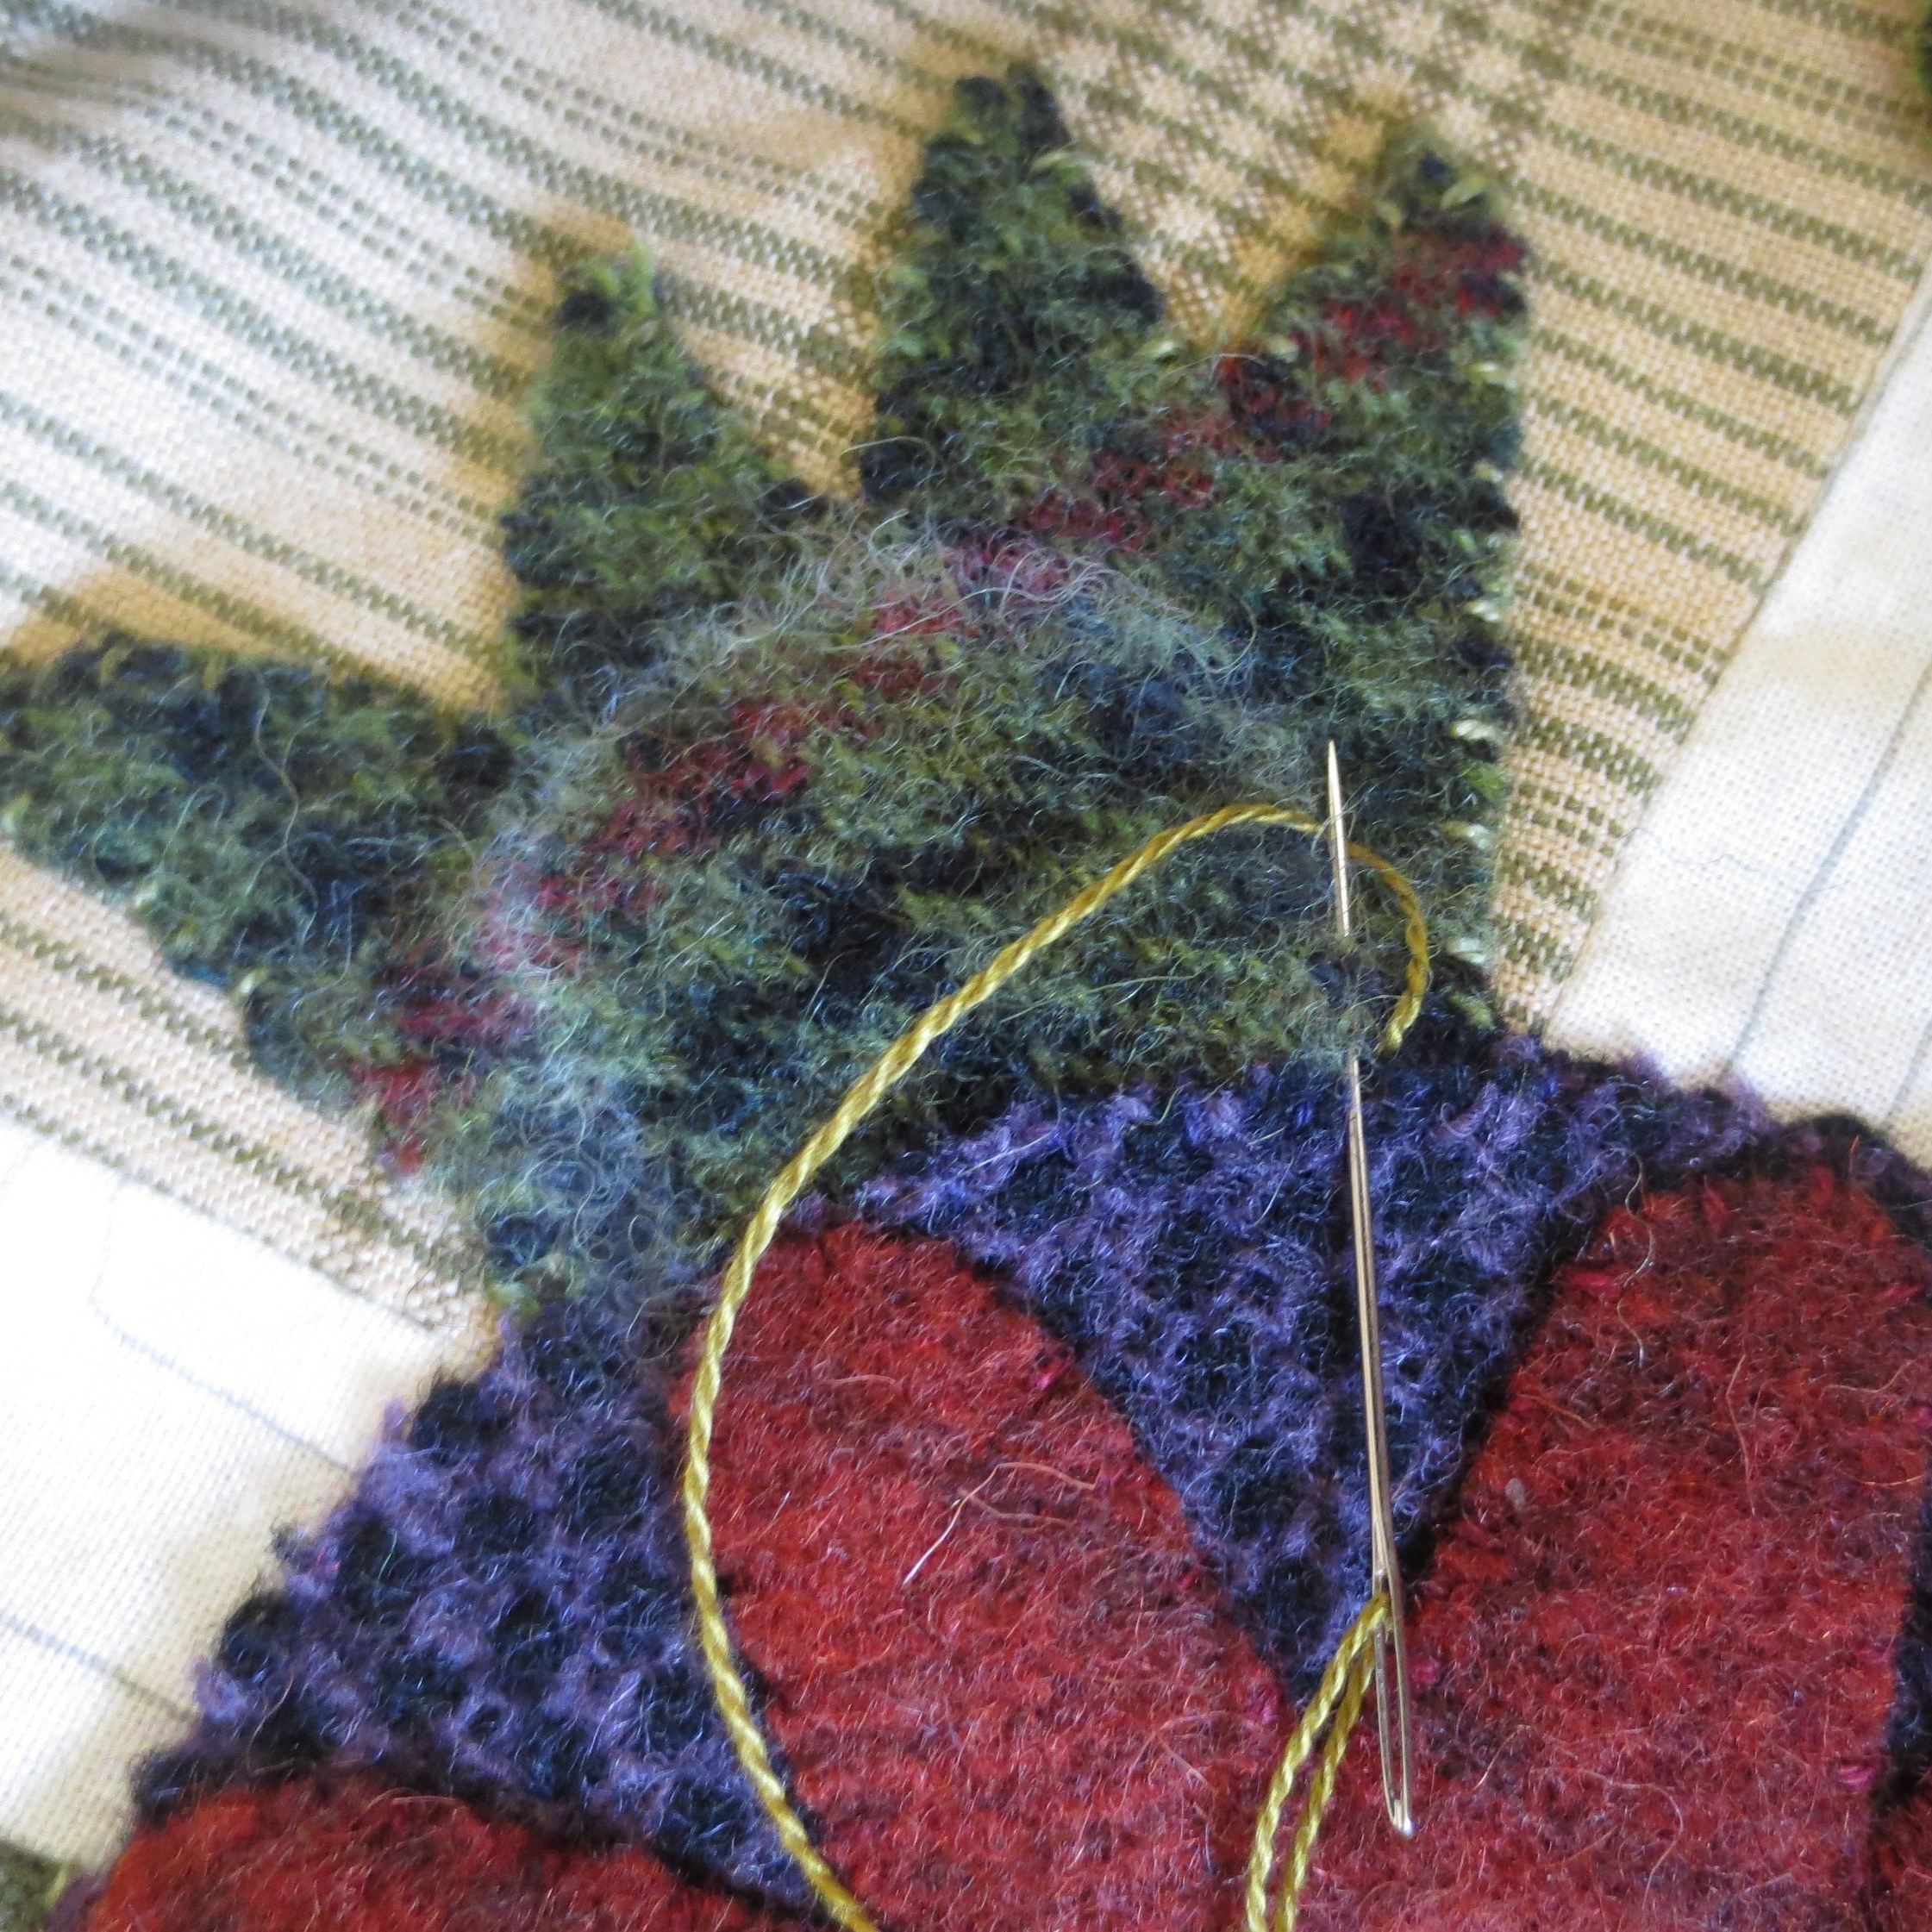
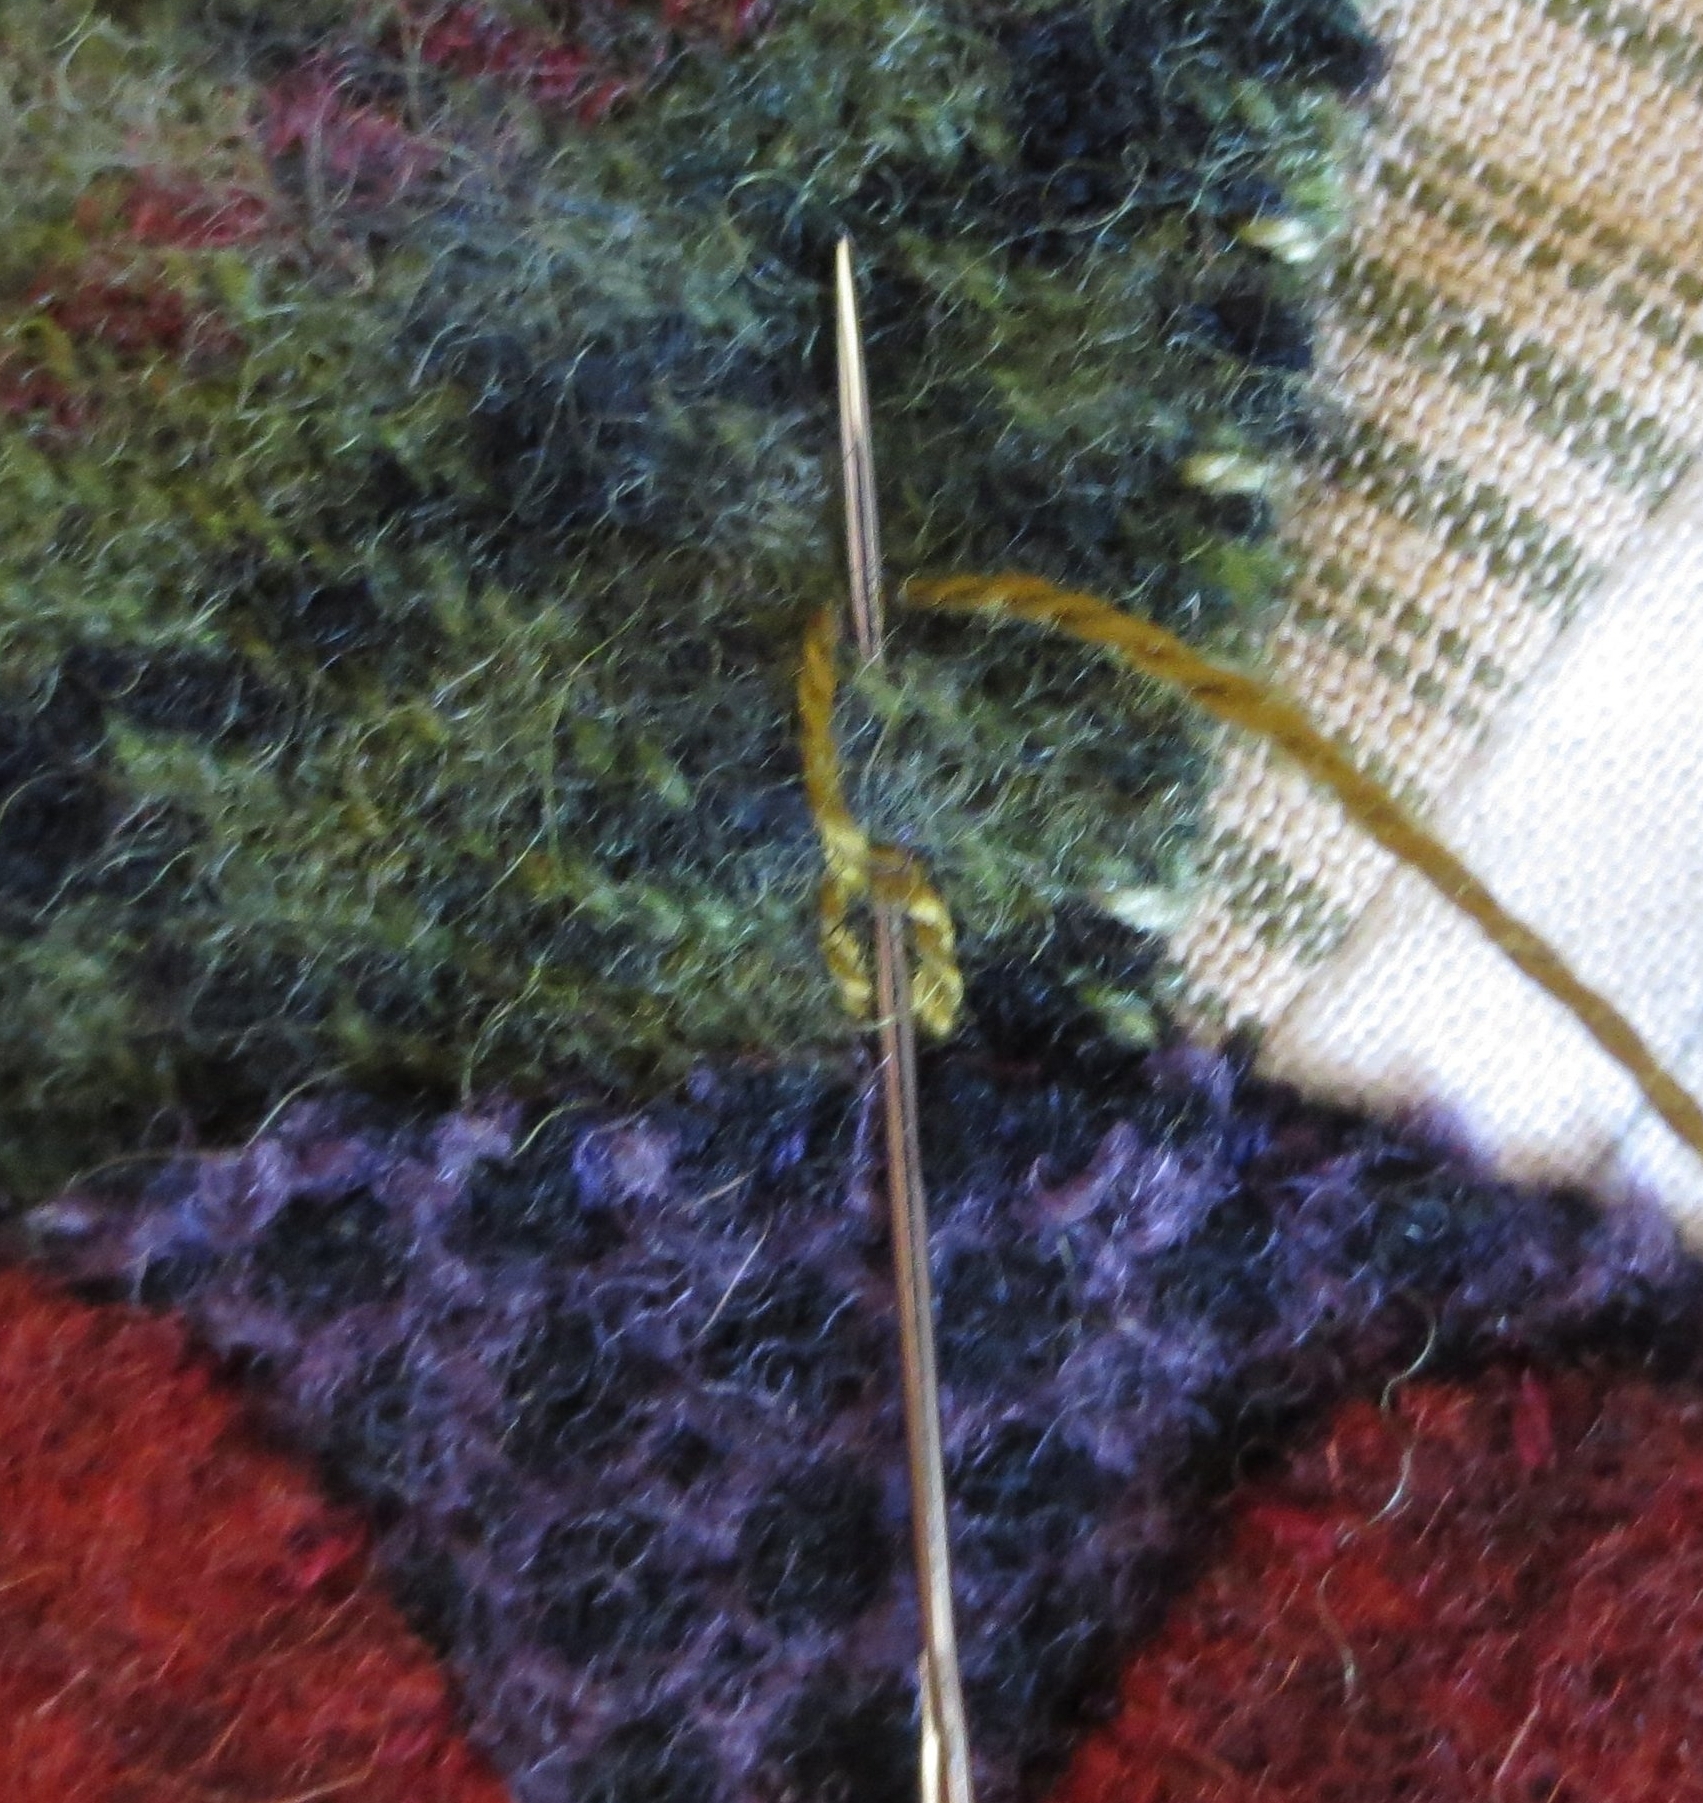
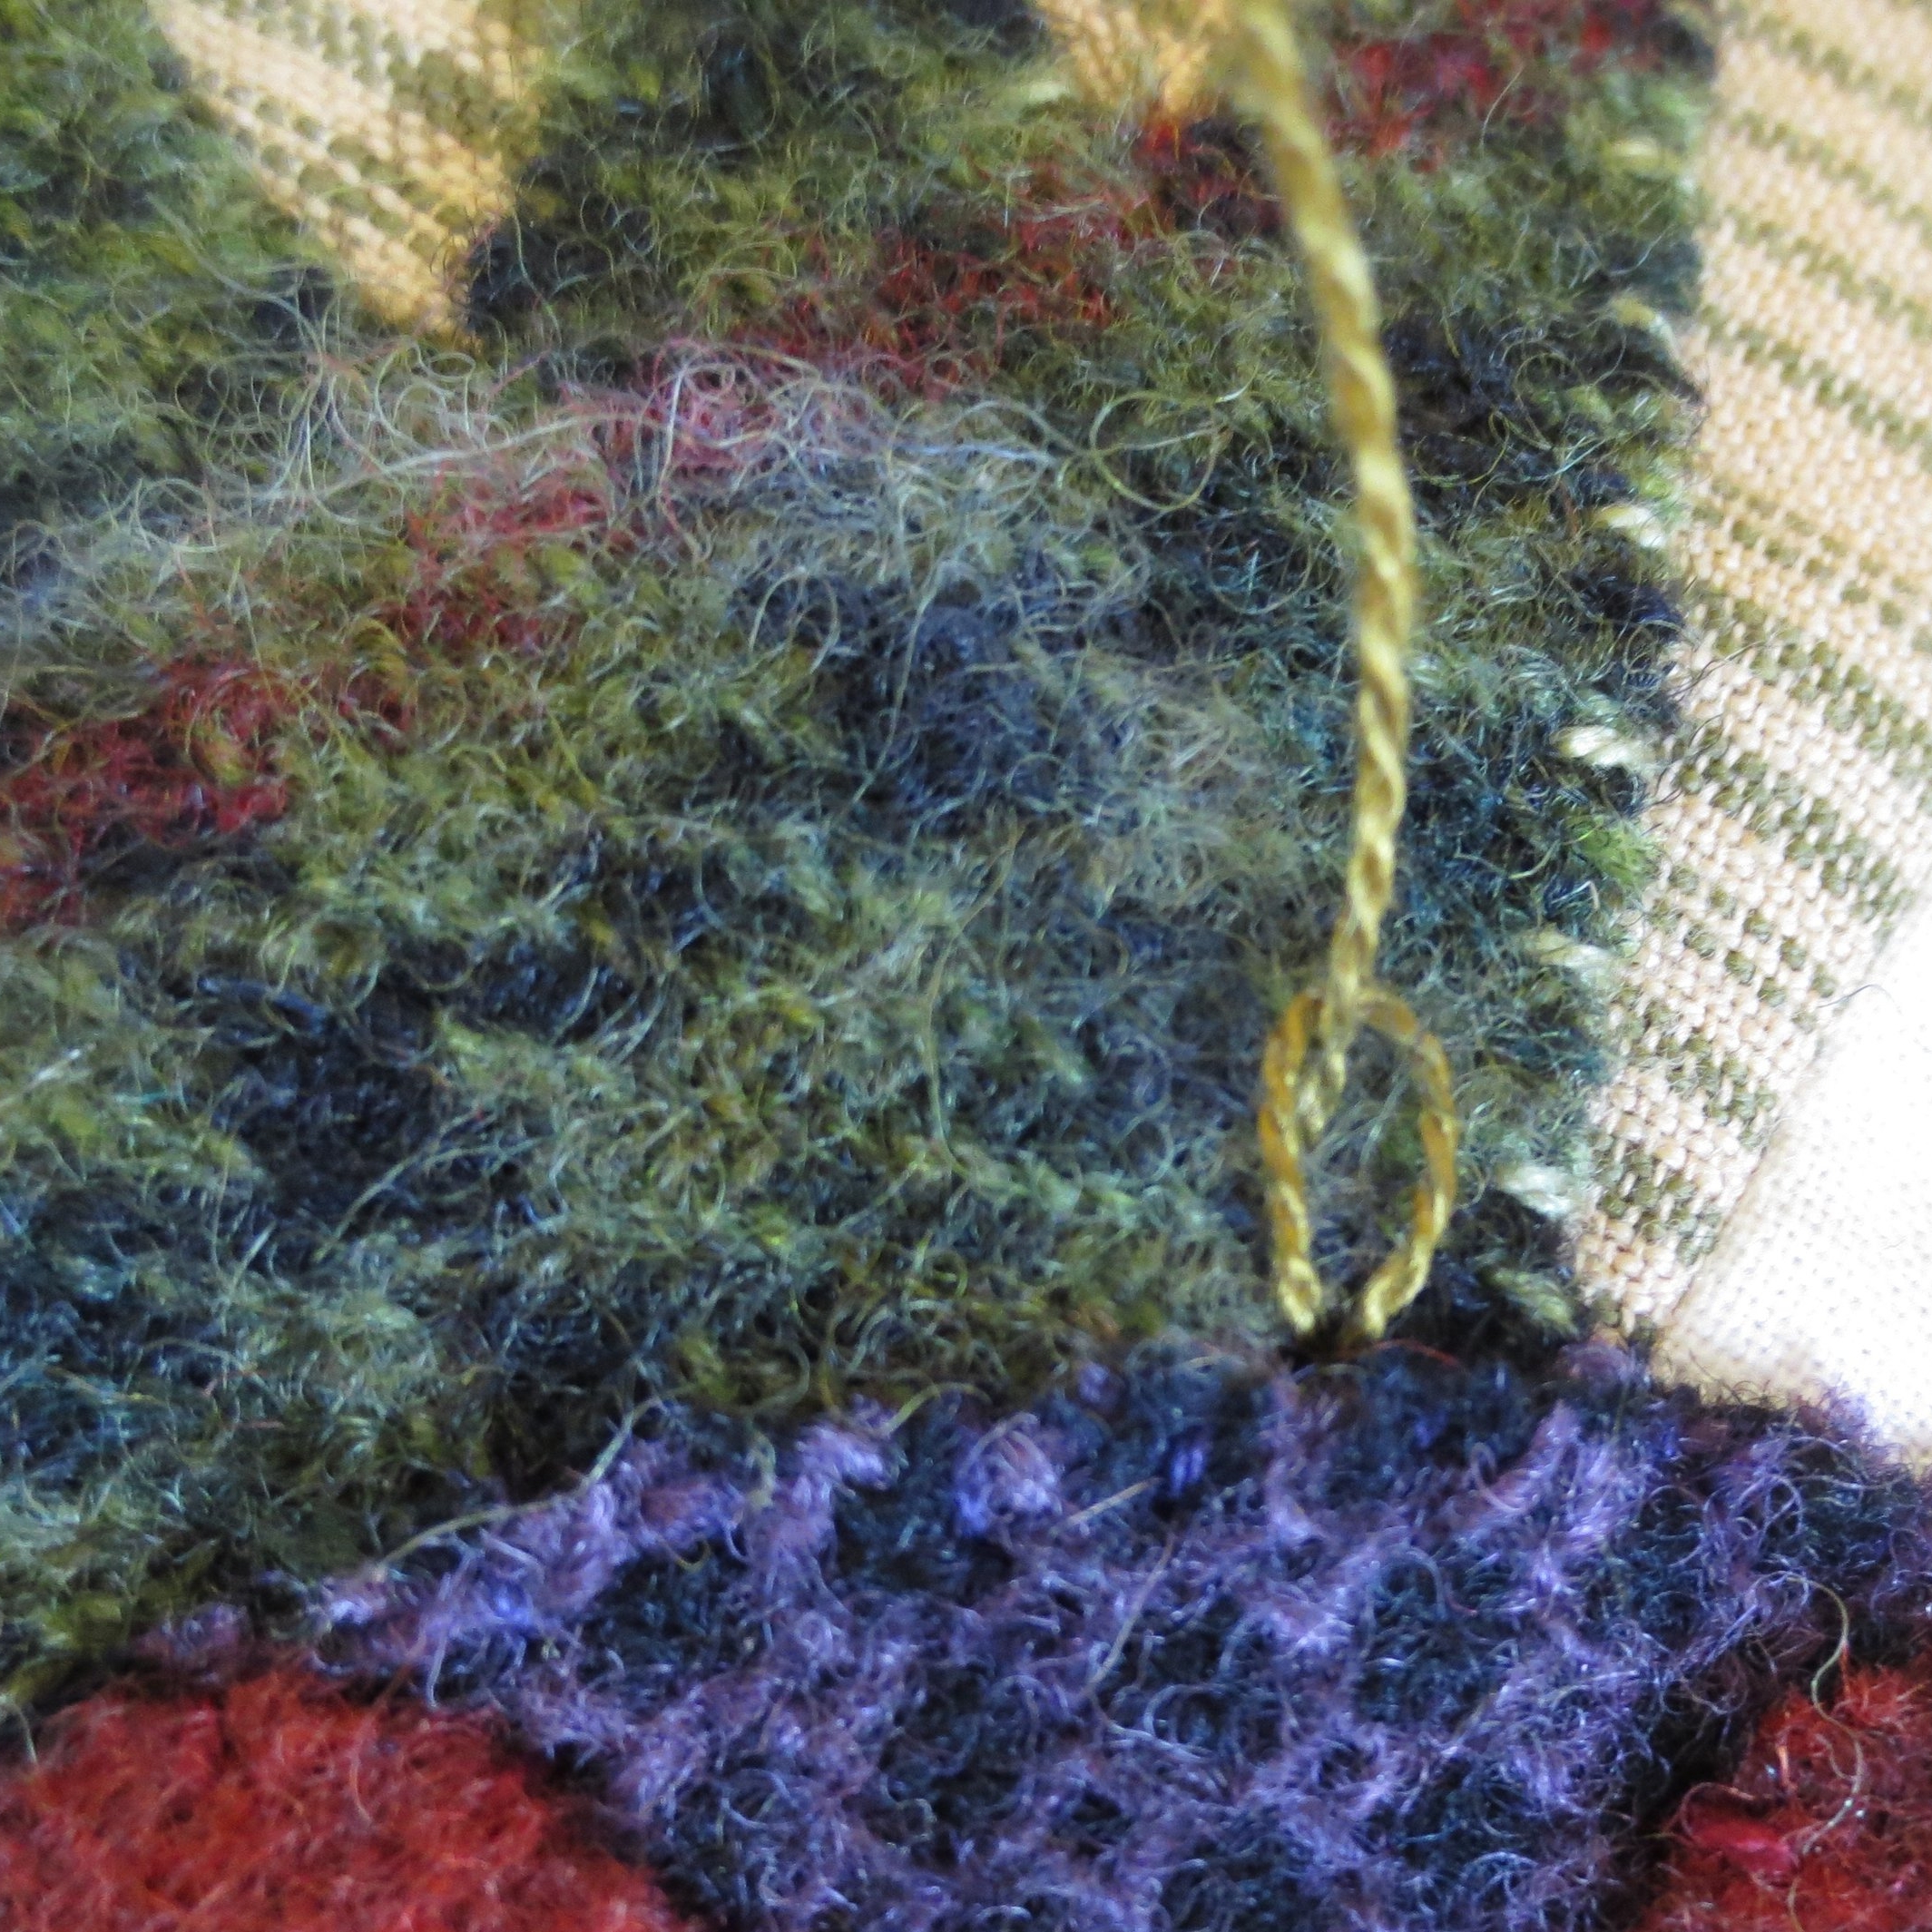
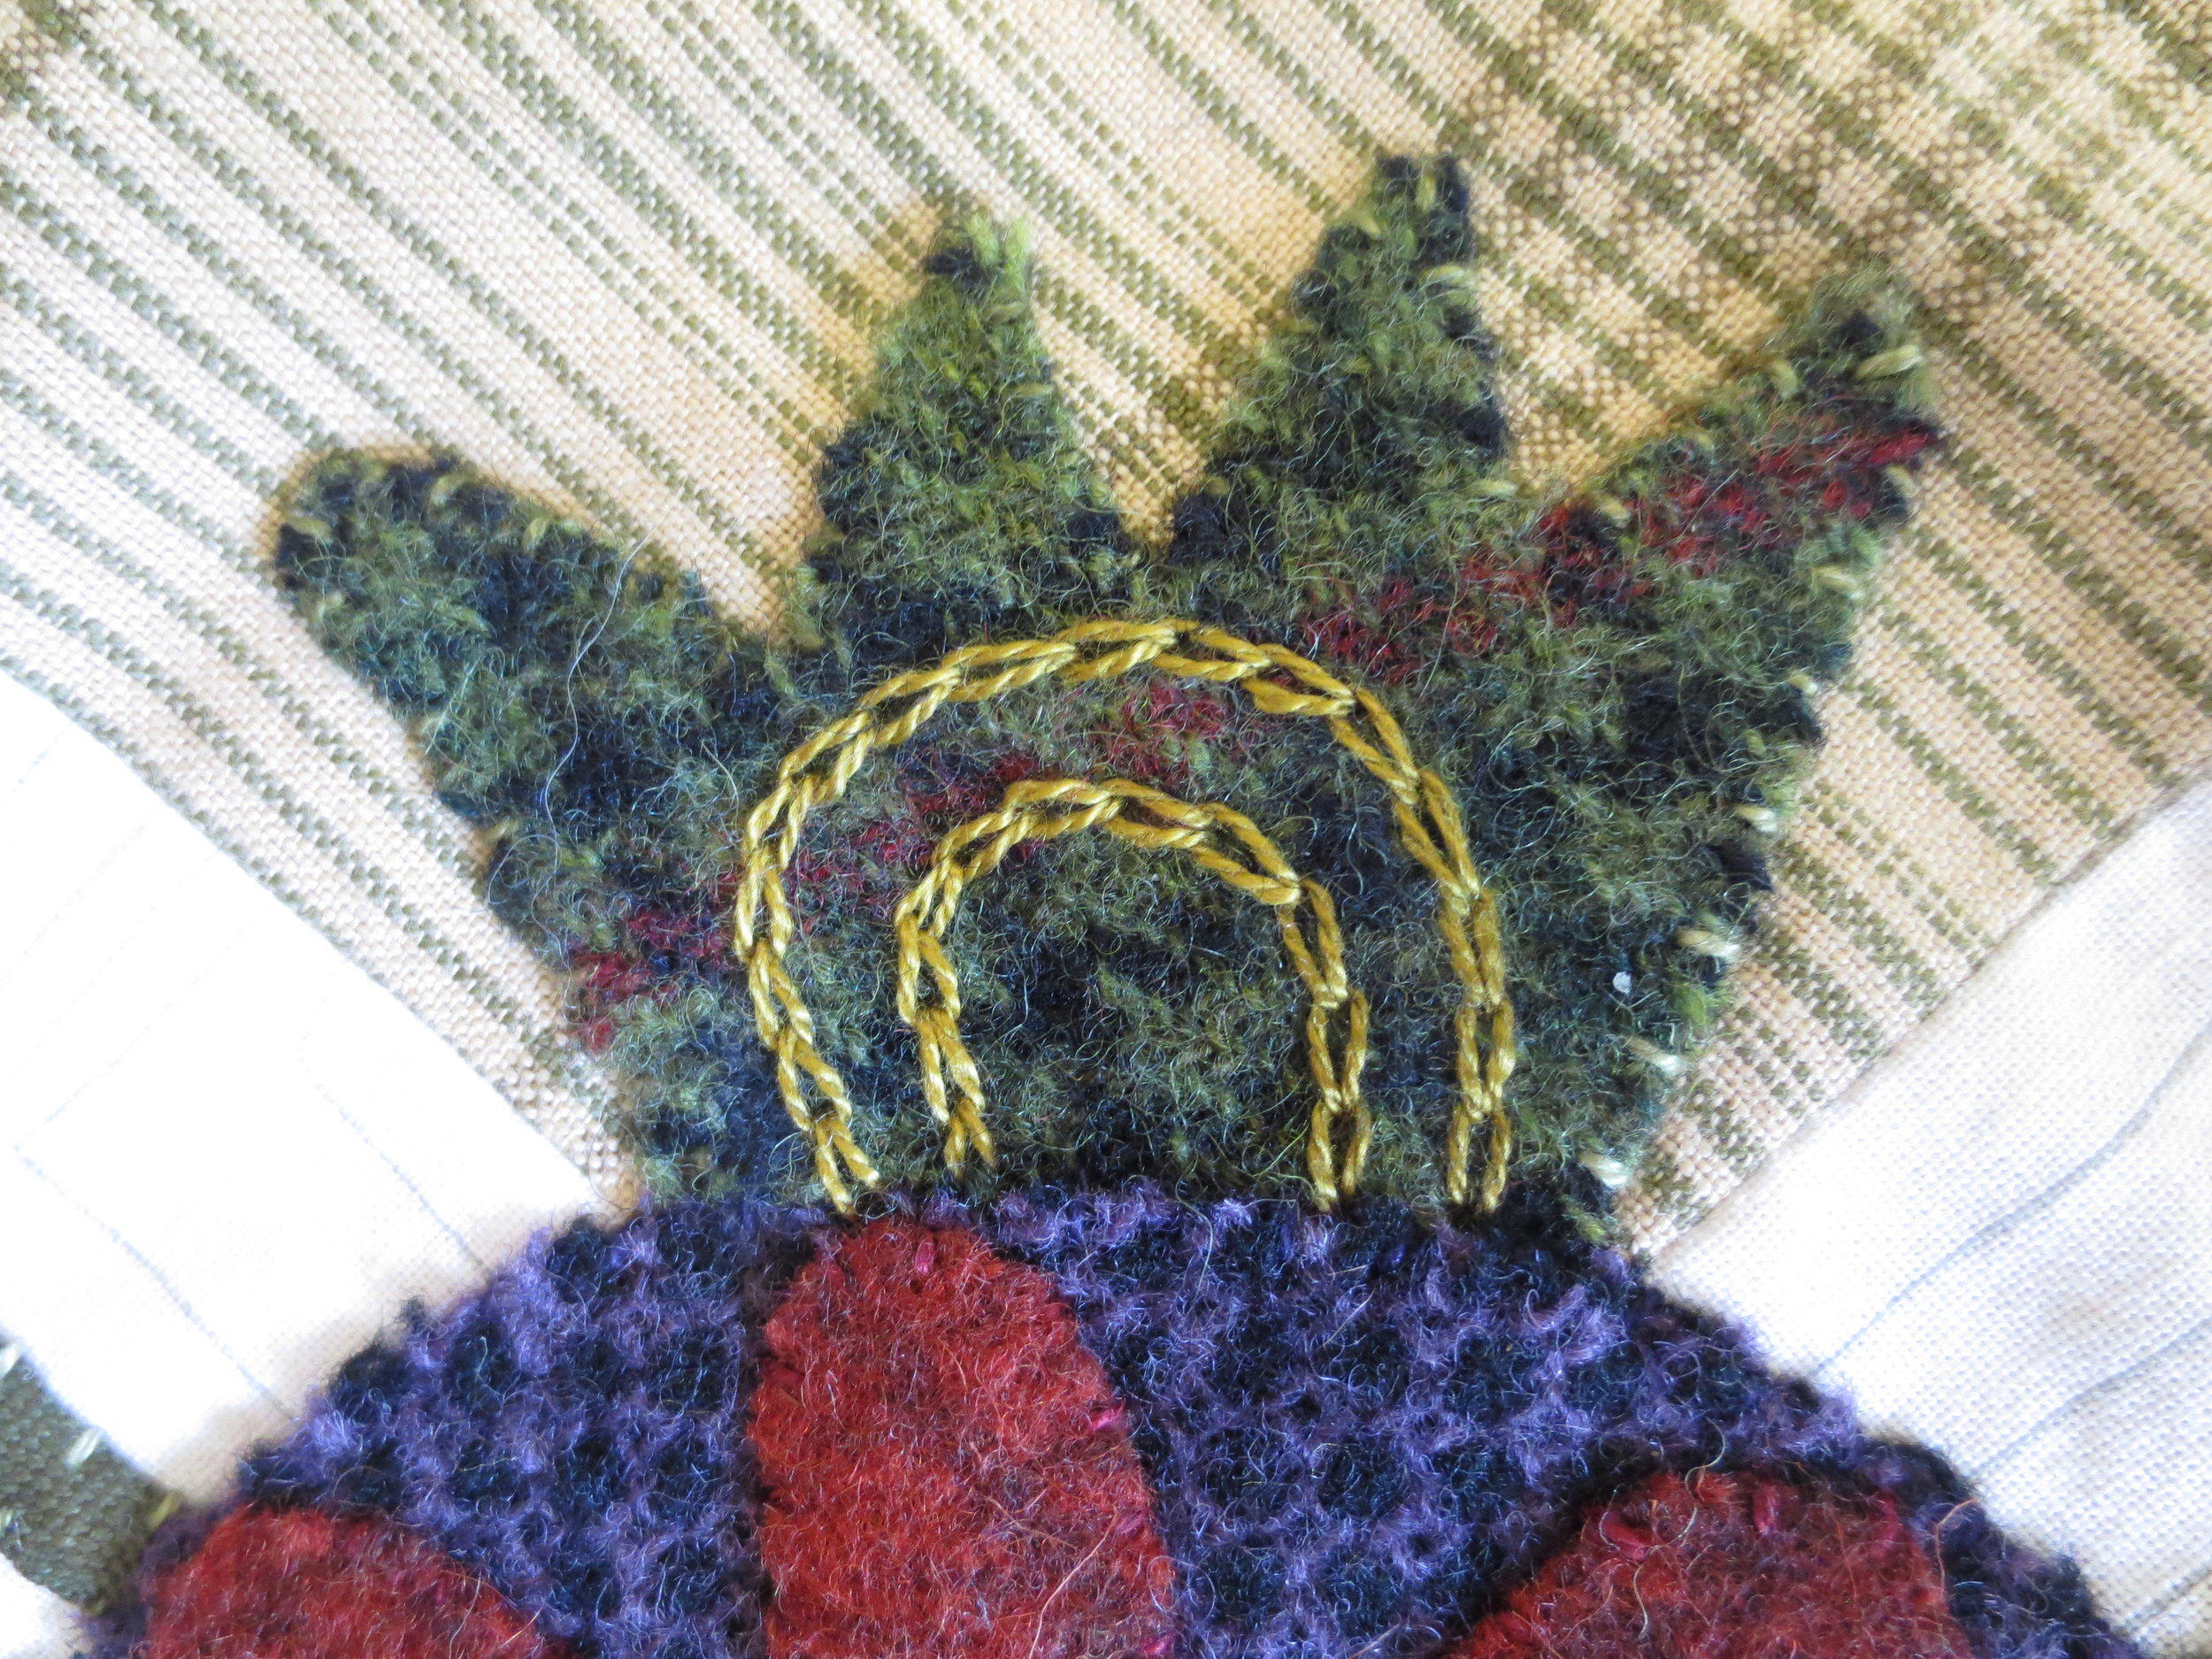
- Use an antique gold colored thread (#O153) to chain stitch over the line.
- Make another chain stitched half circle about 1/4" inside the first half circle.
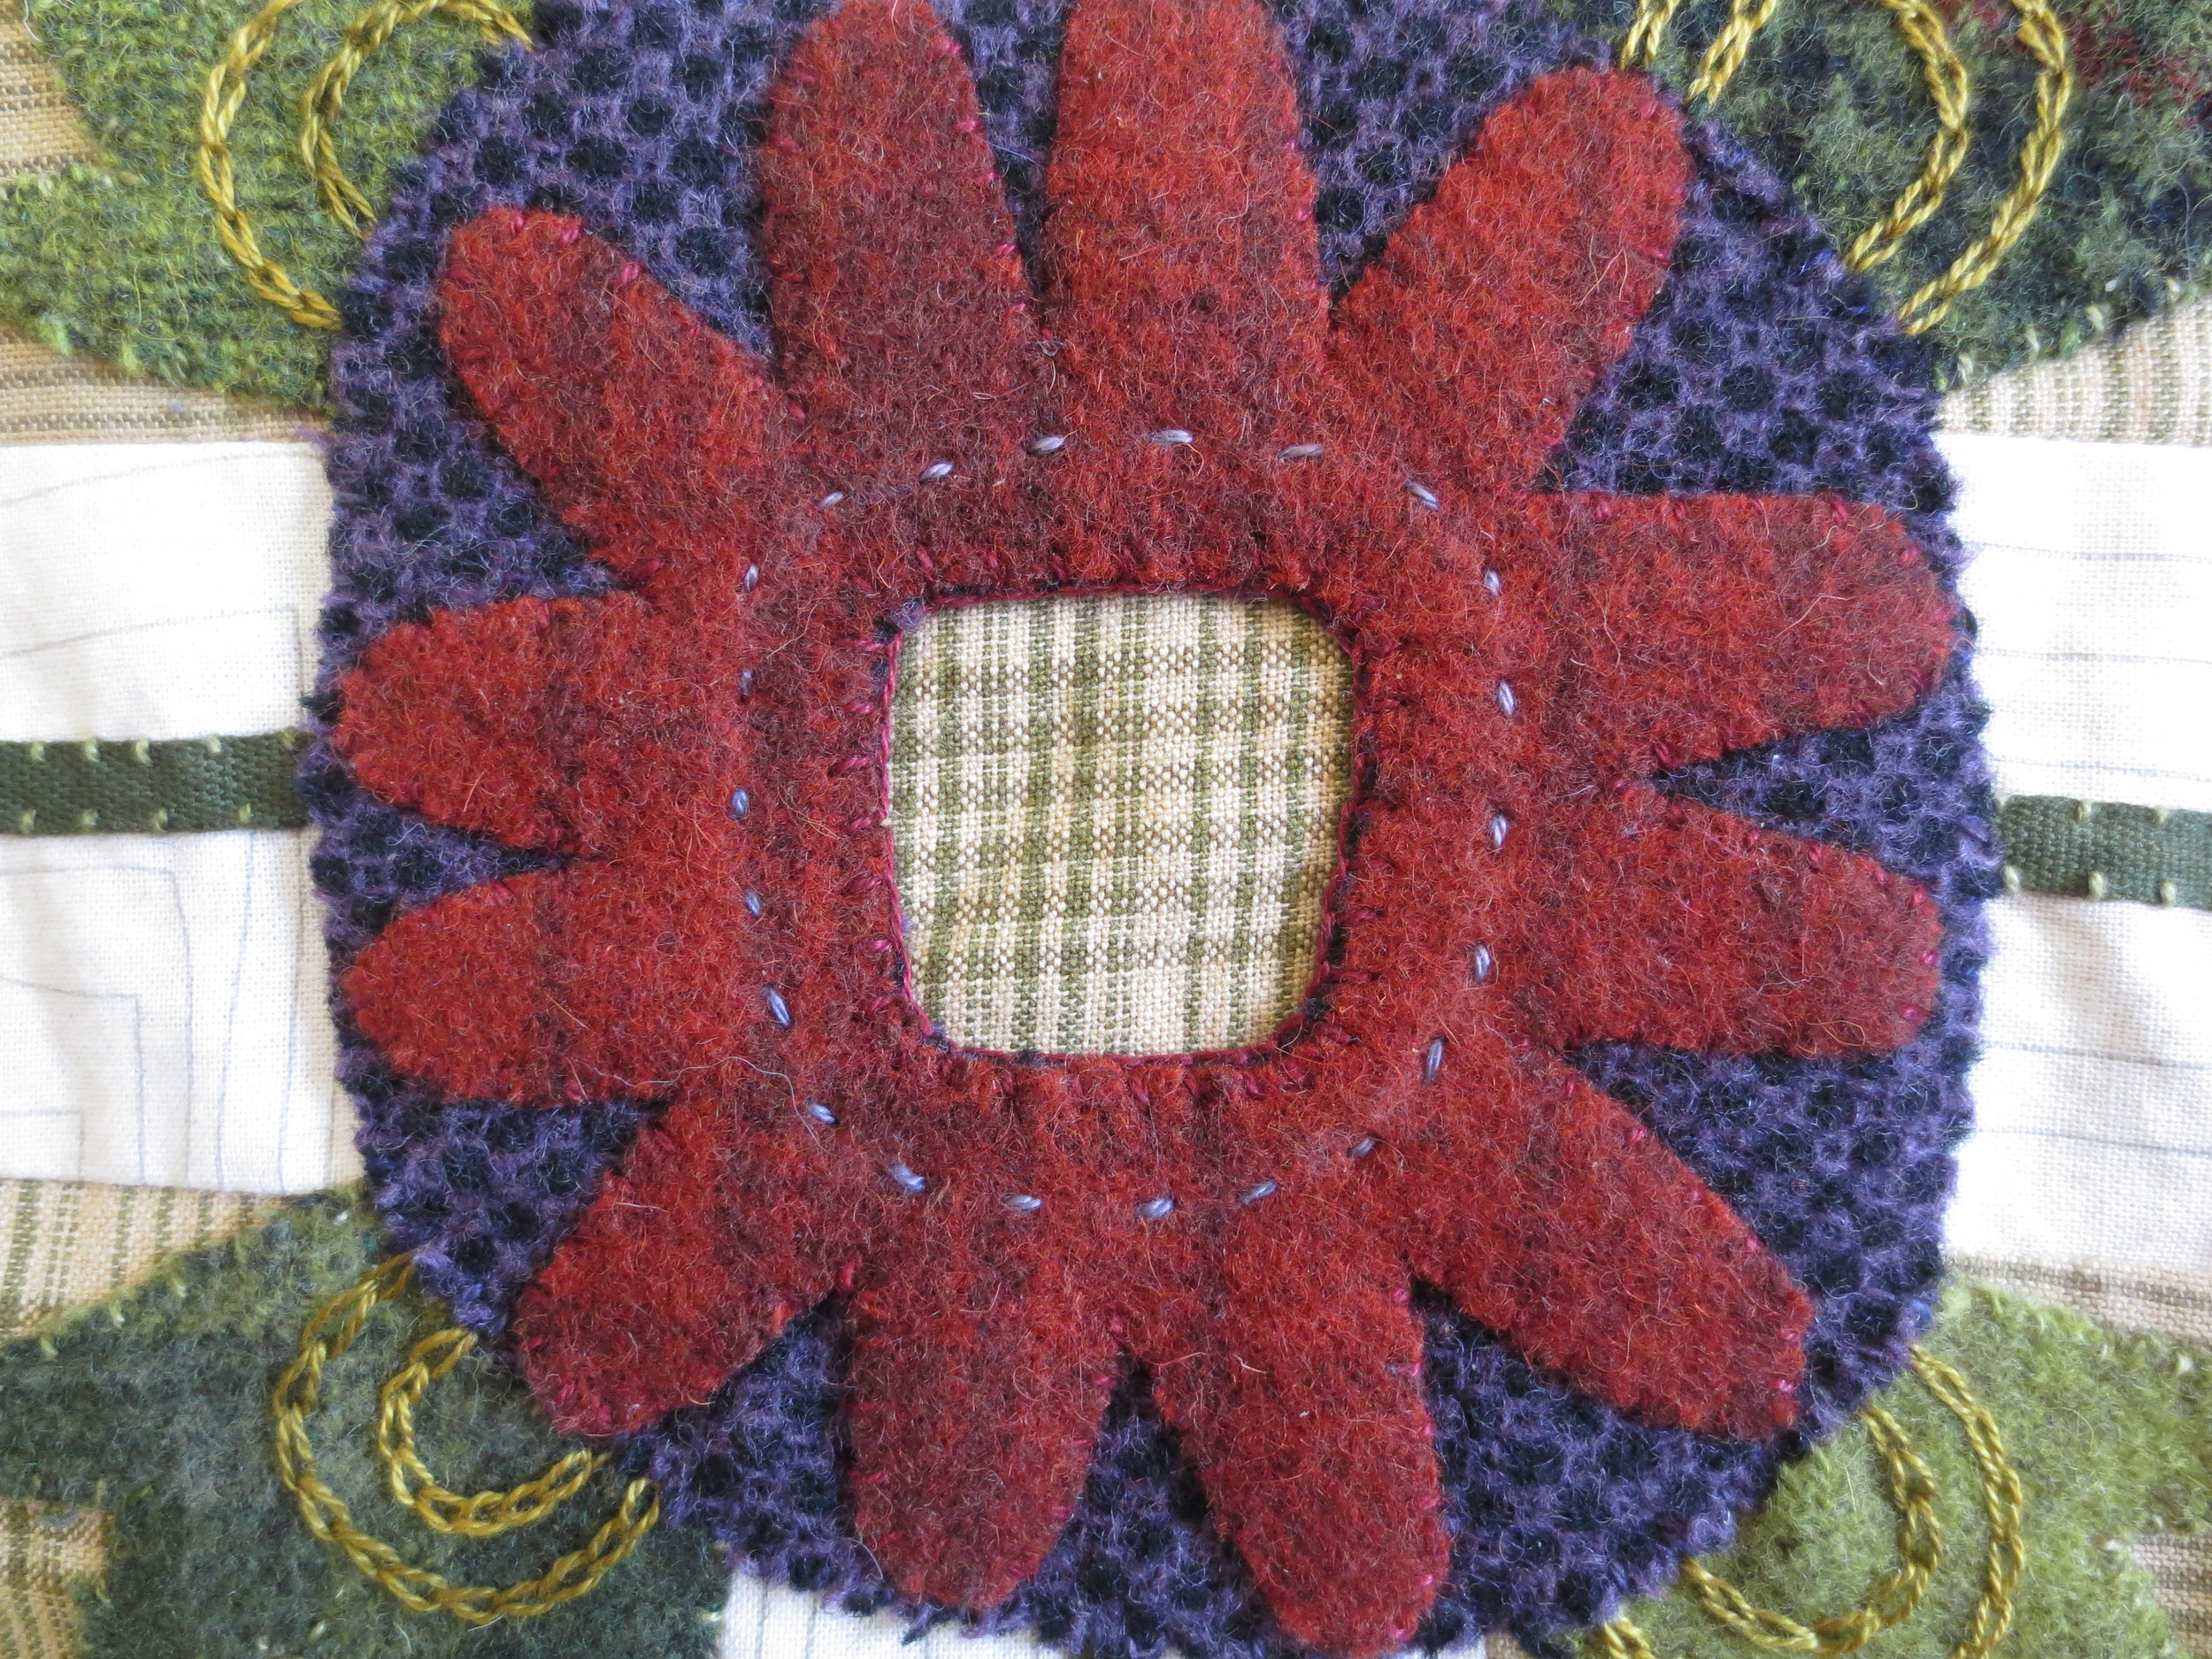
- Using your chalk pencil, draw a wonky circle around the center opening, about 3/8" from the edge of the opening.
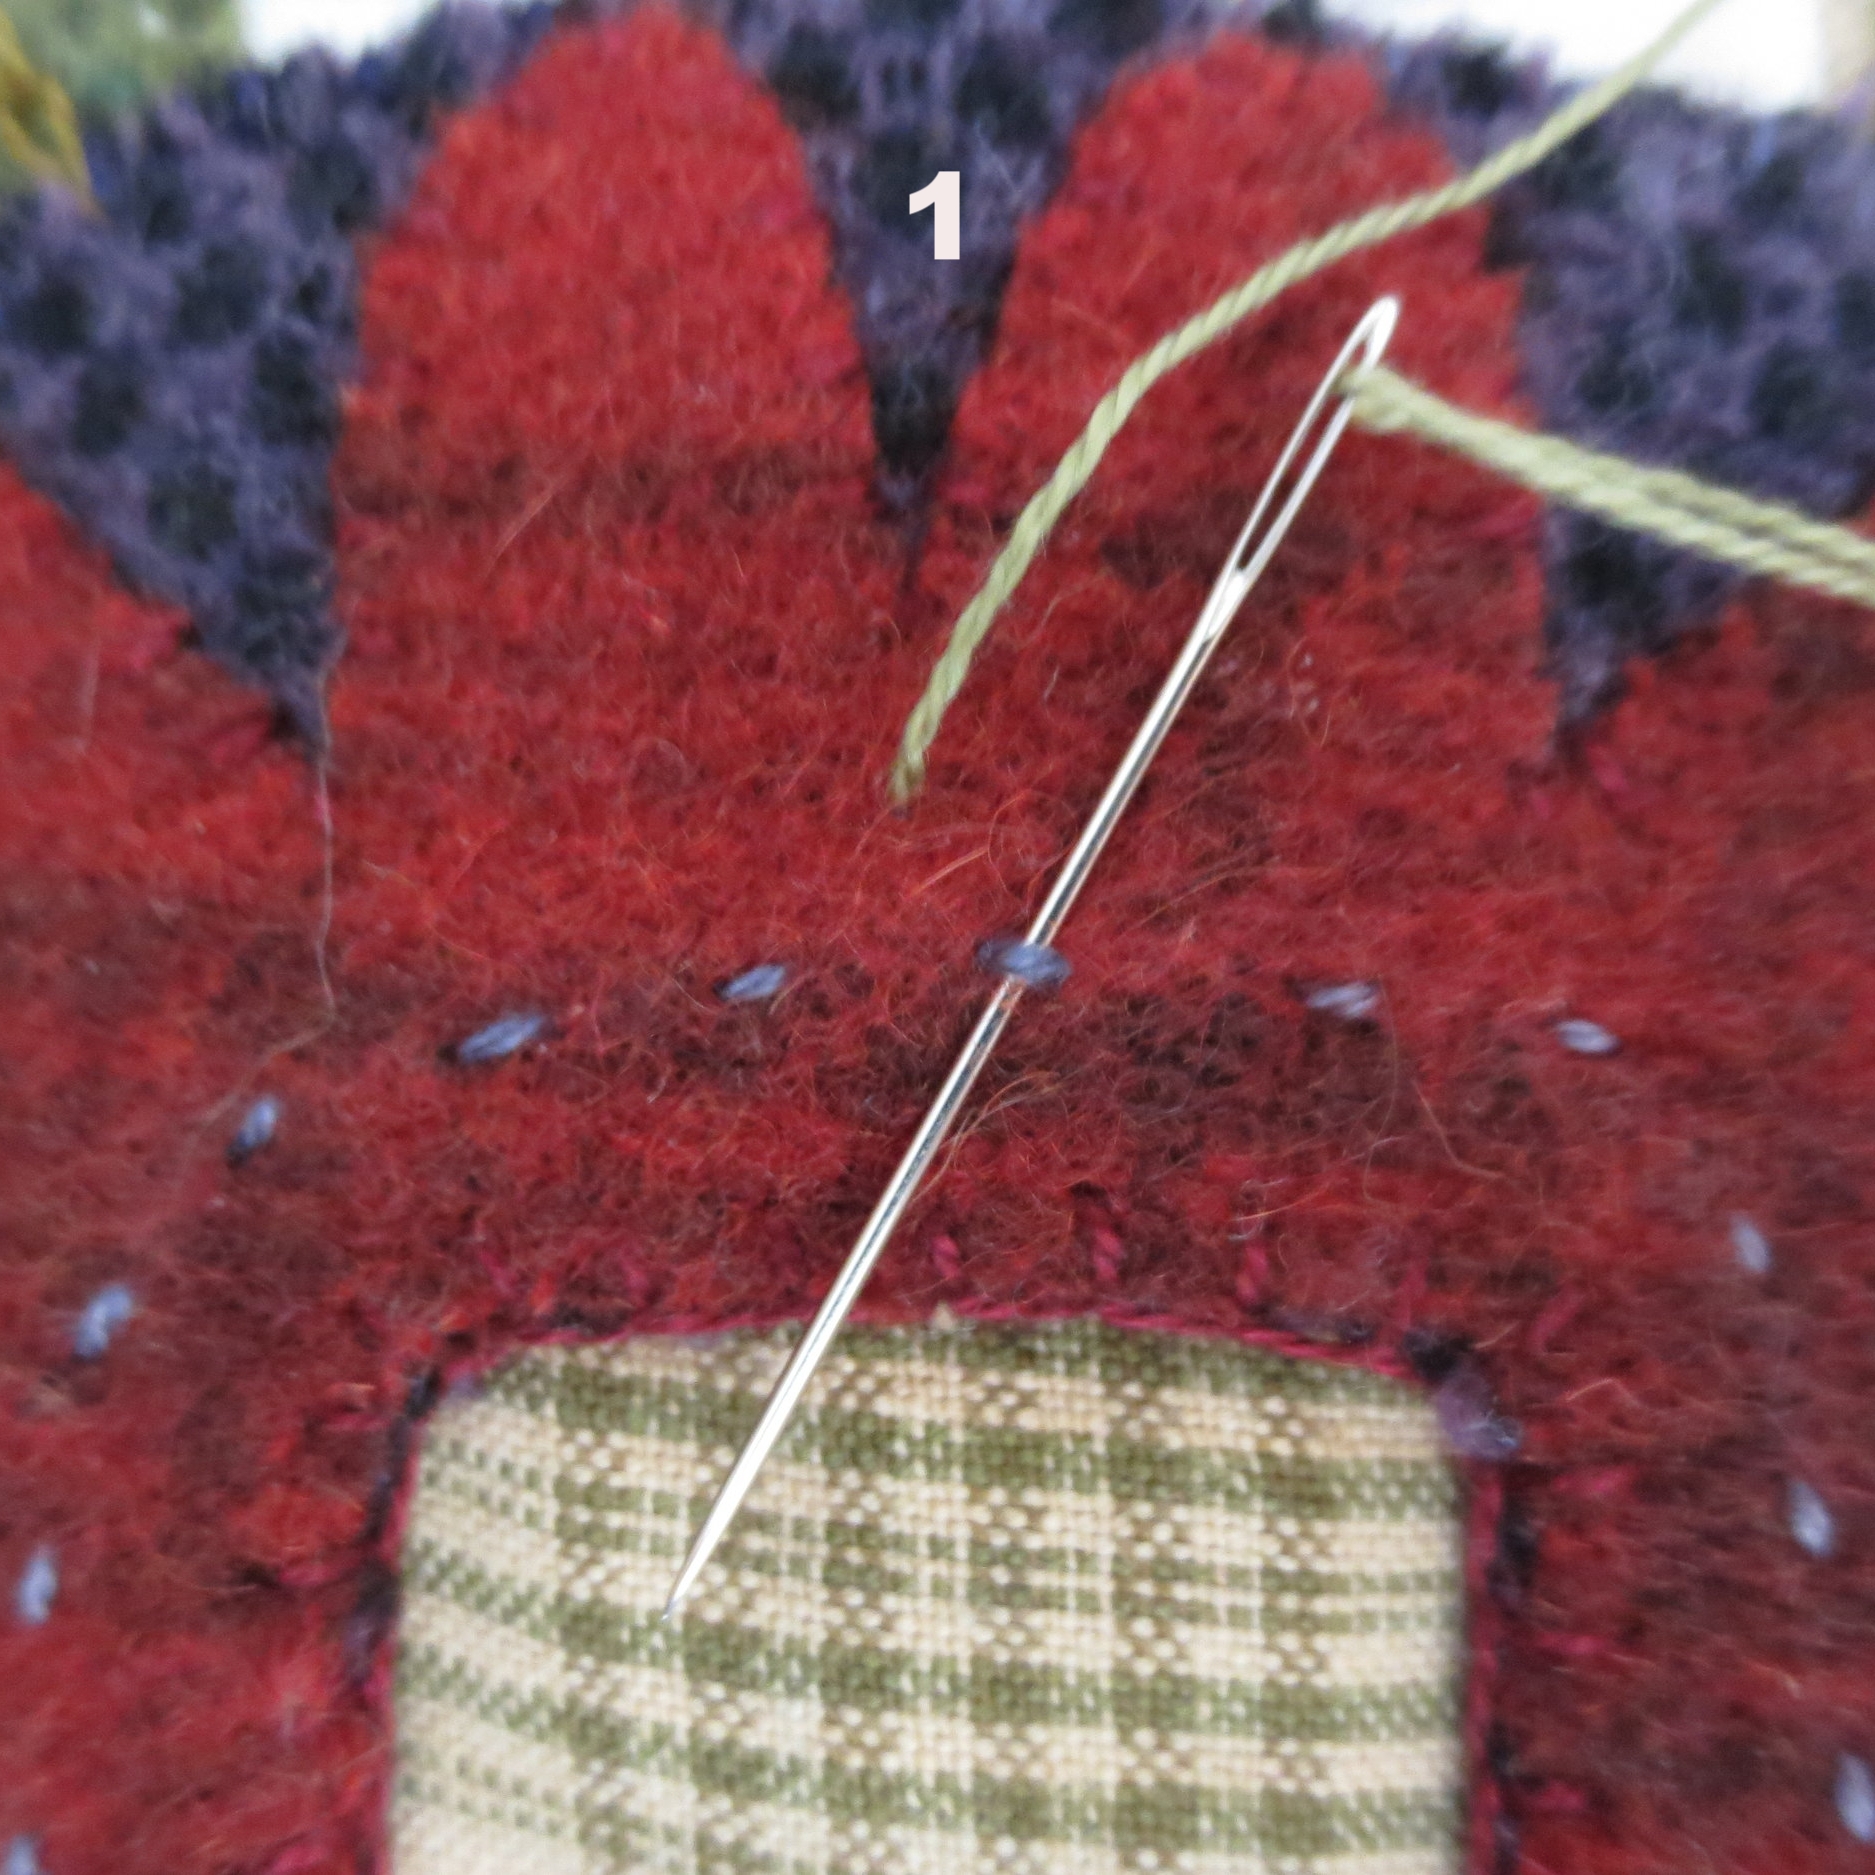
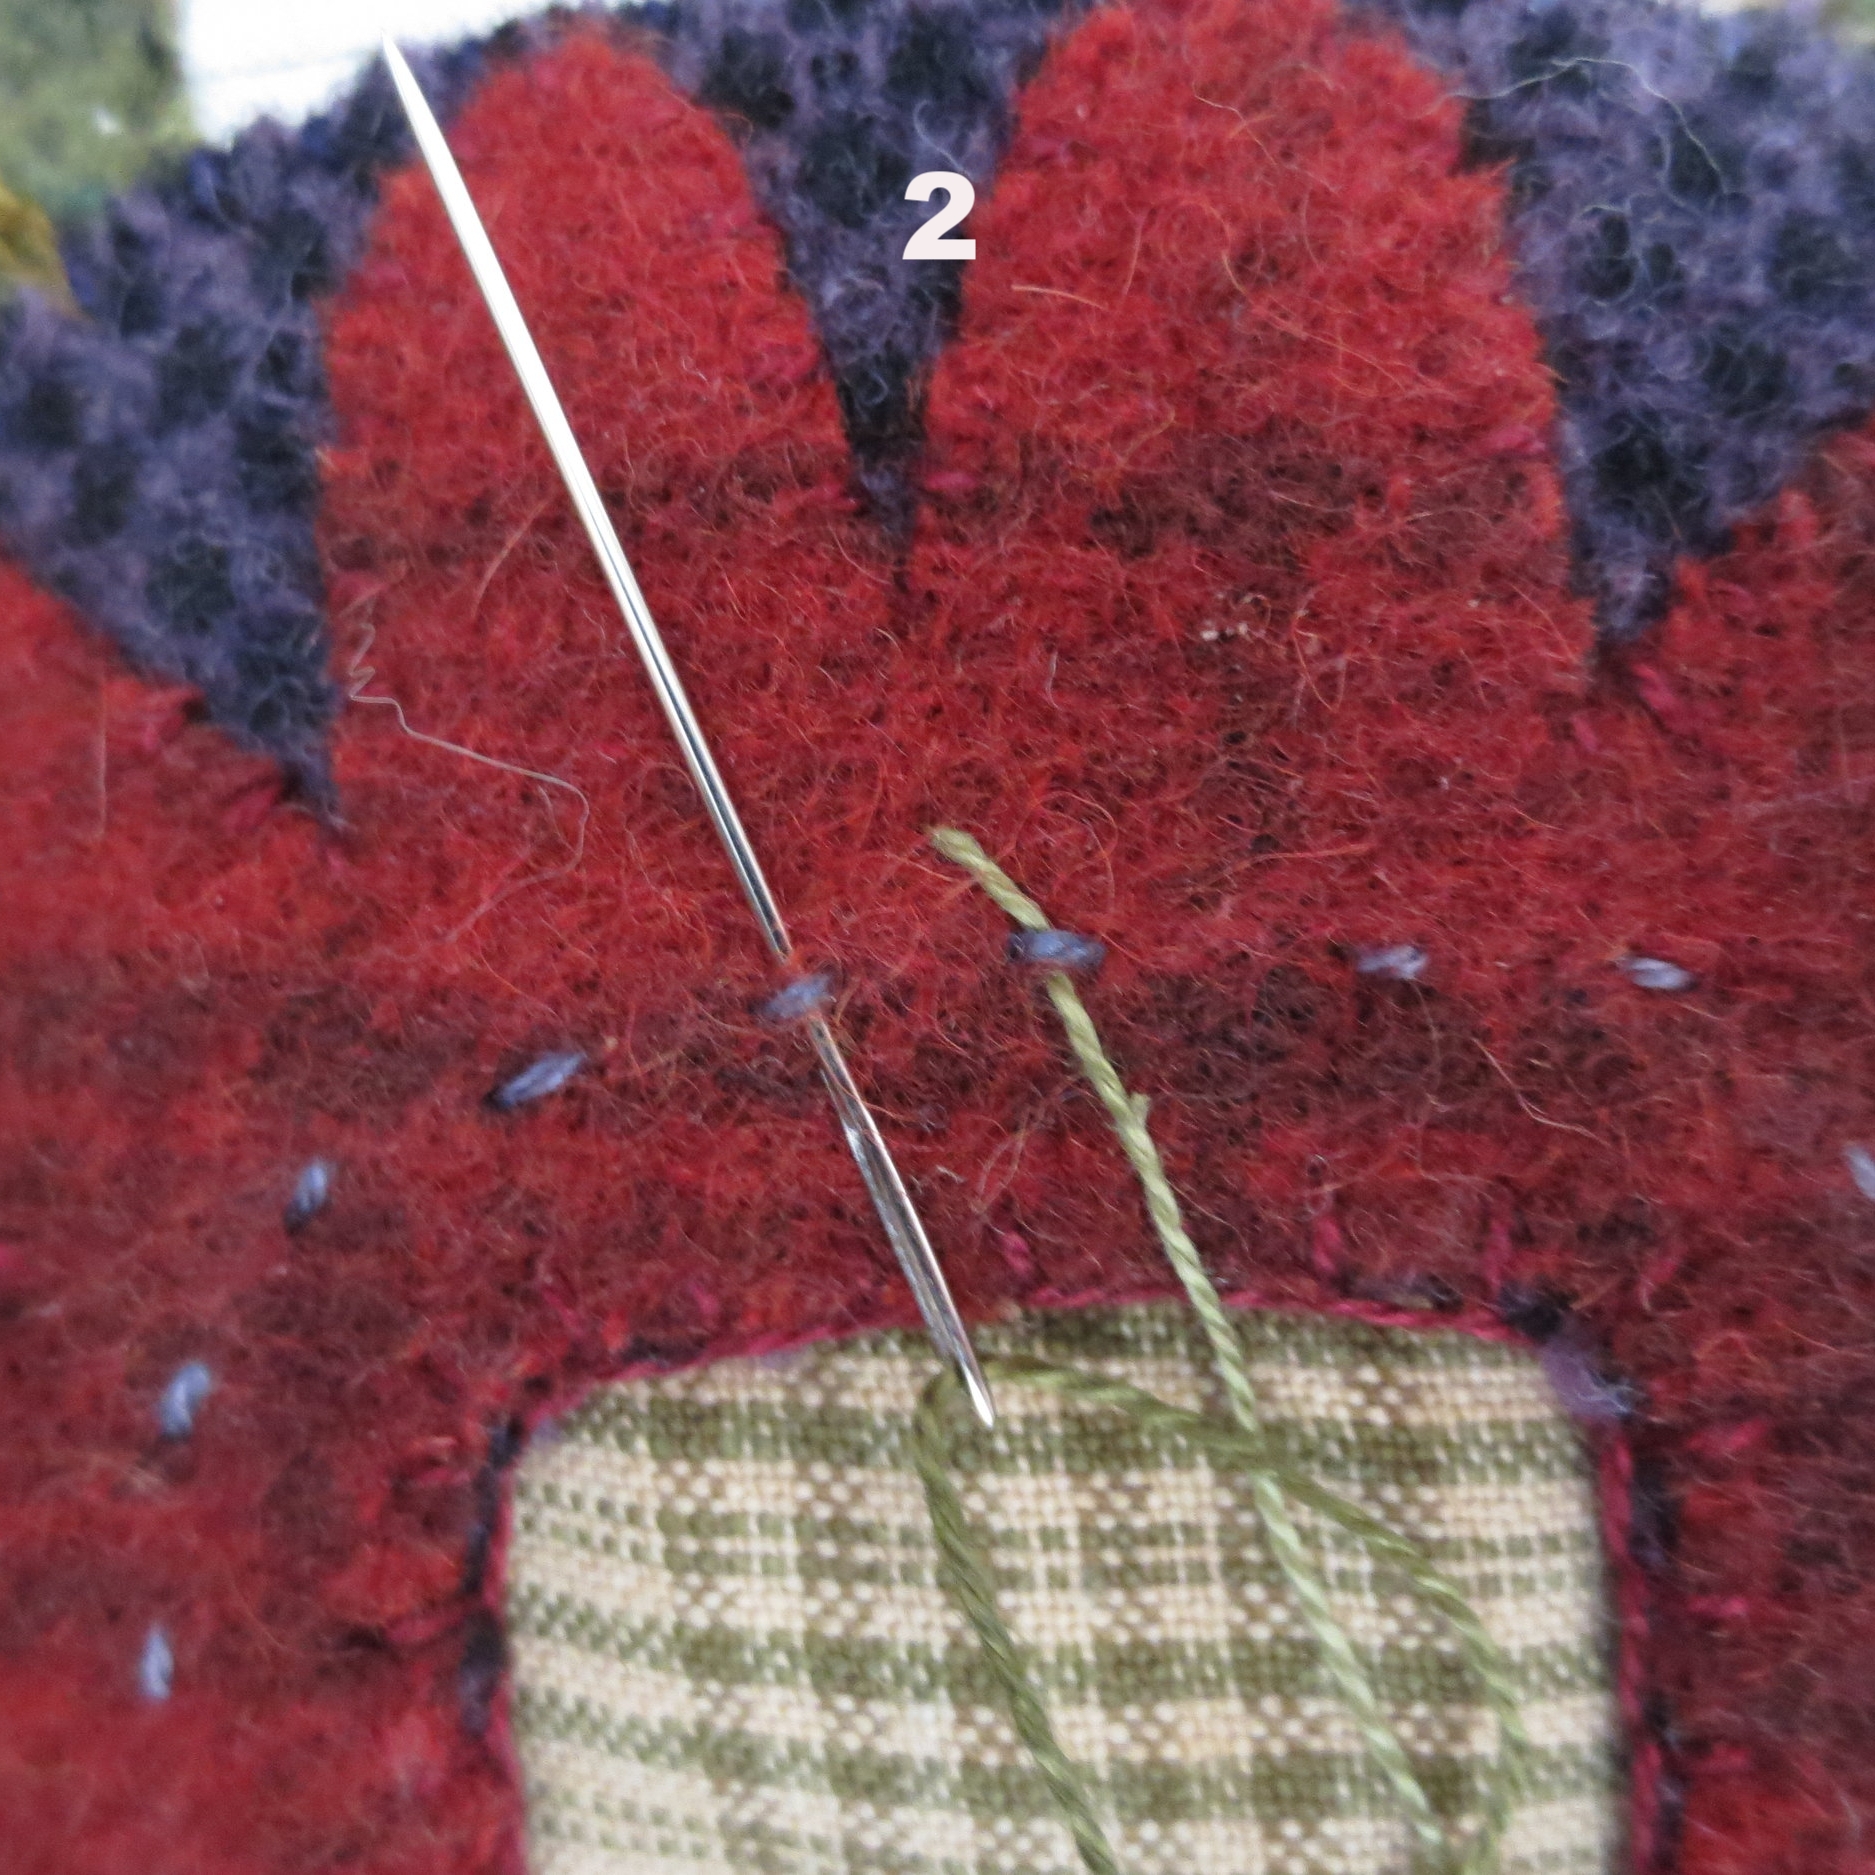
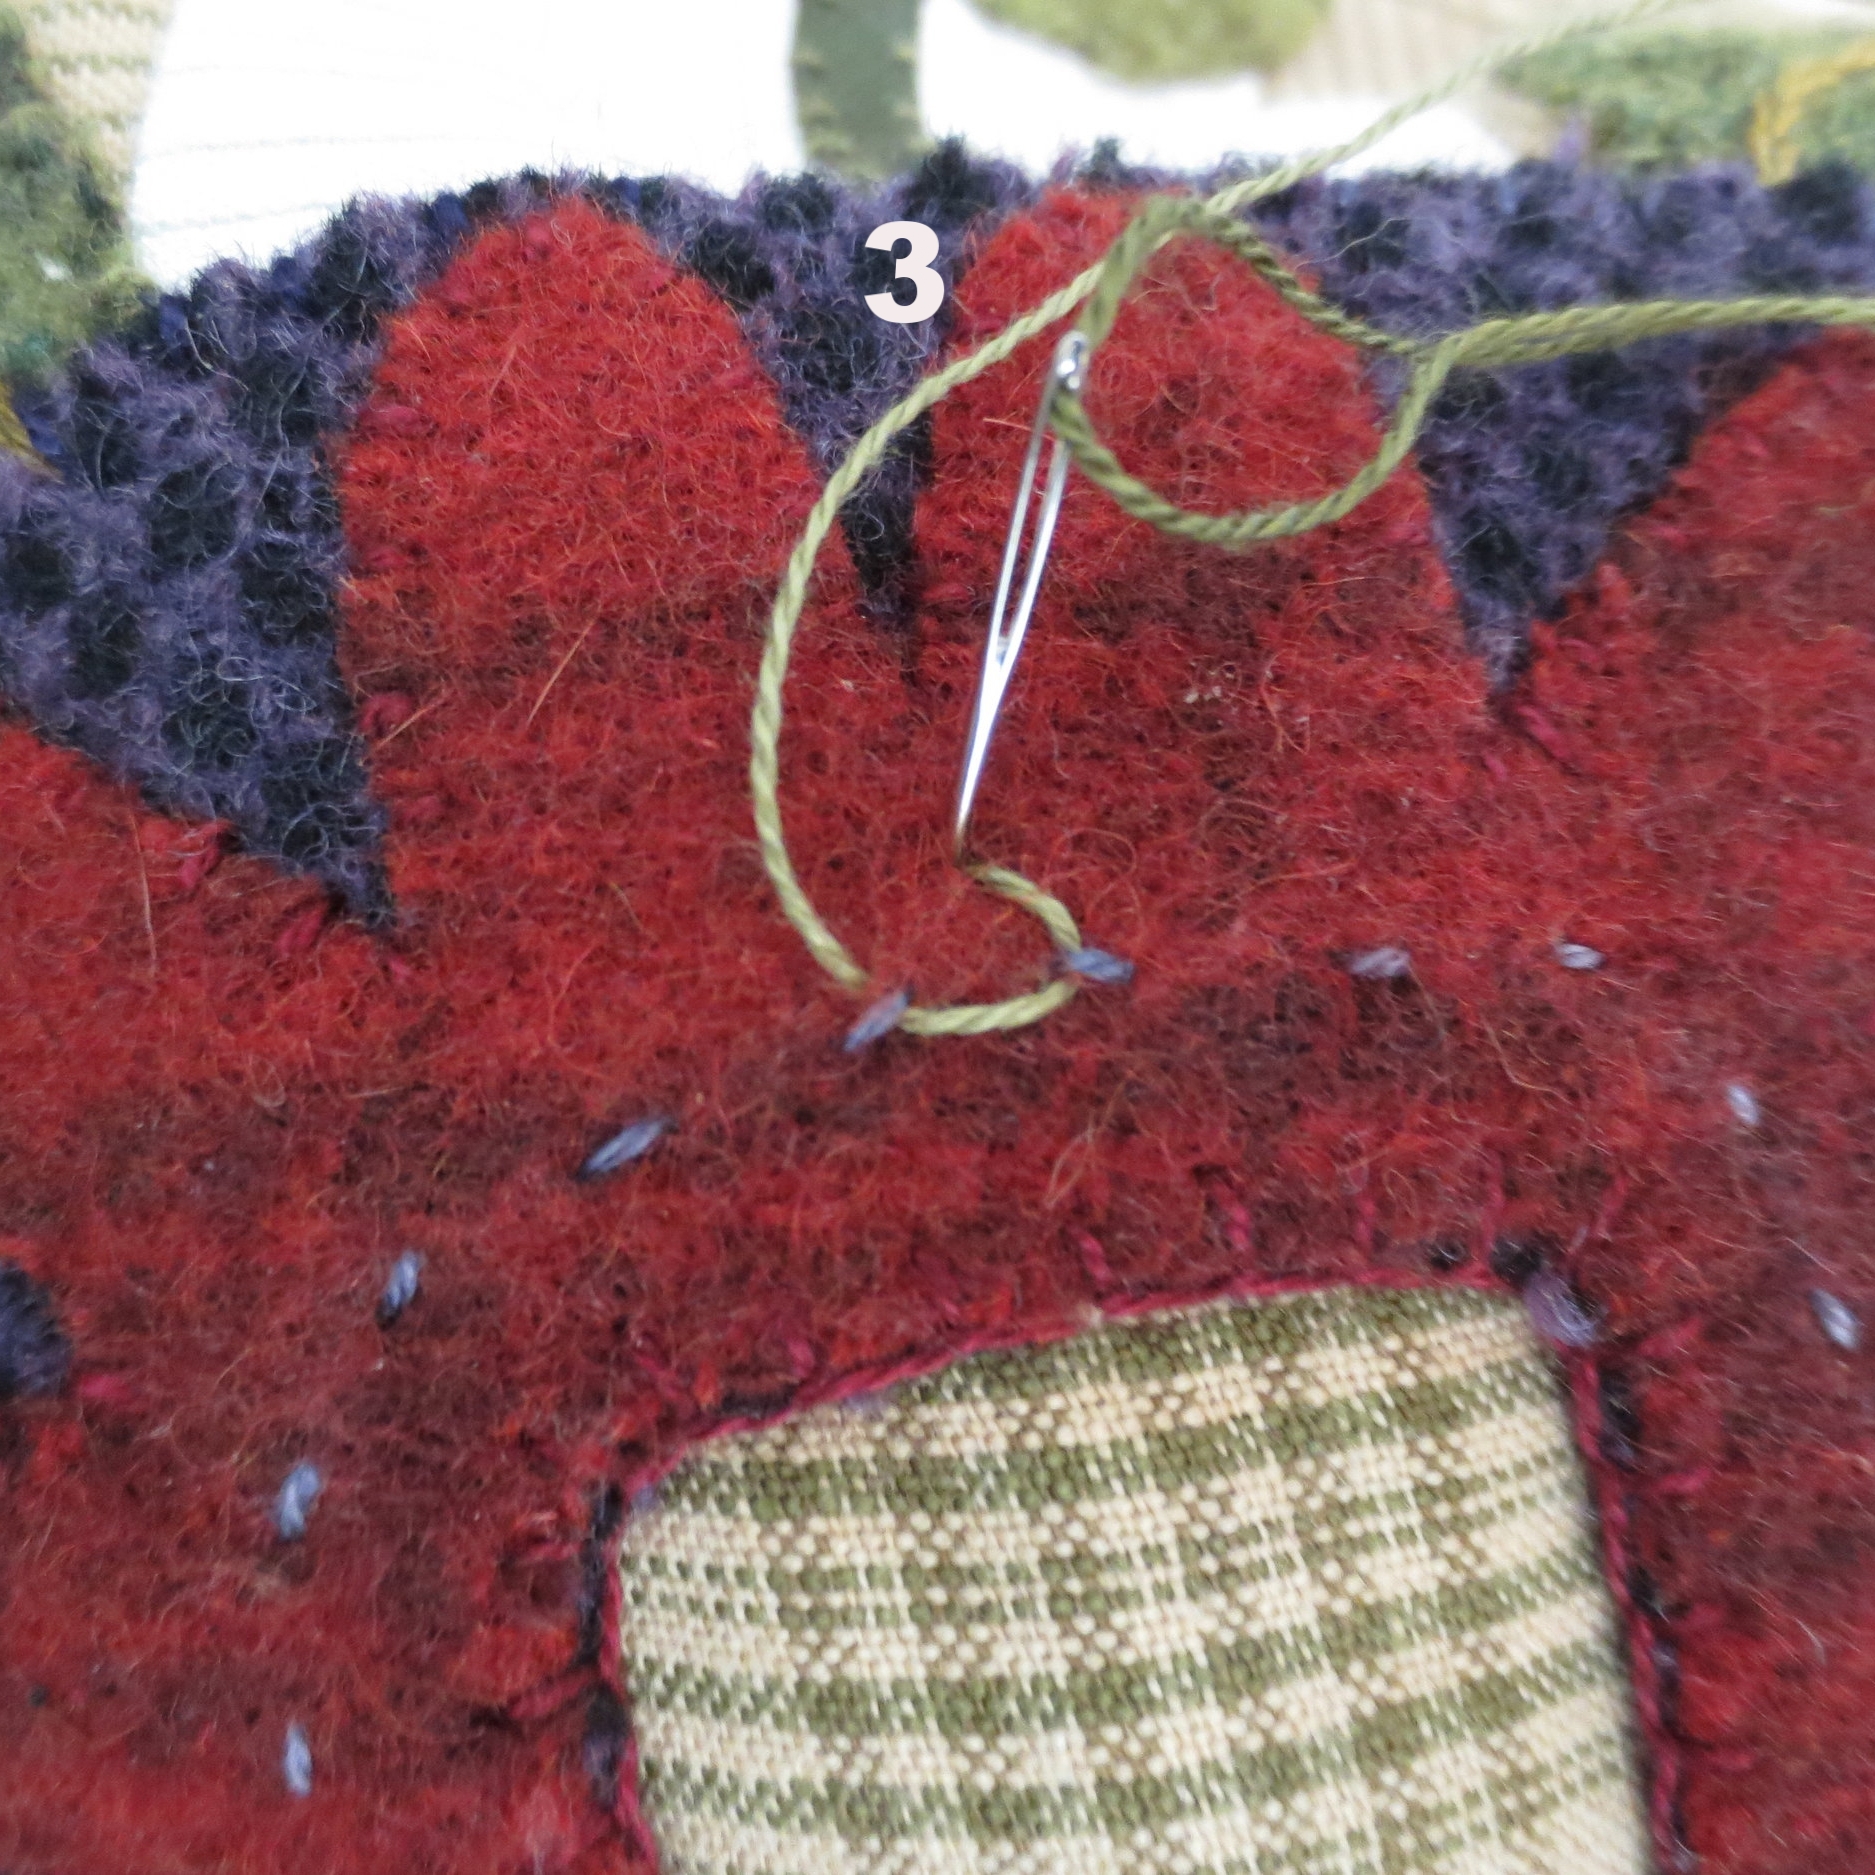
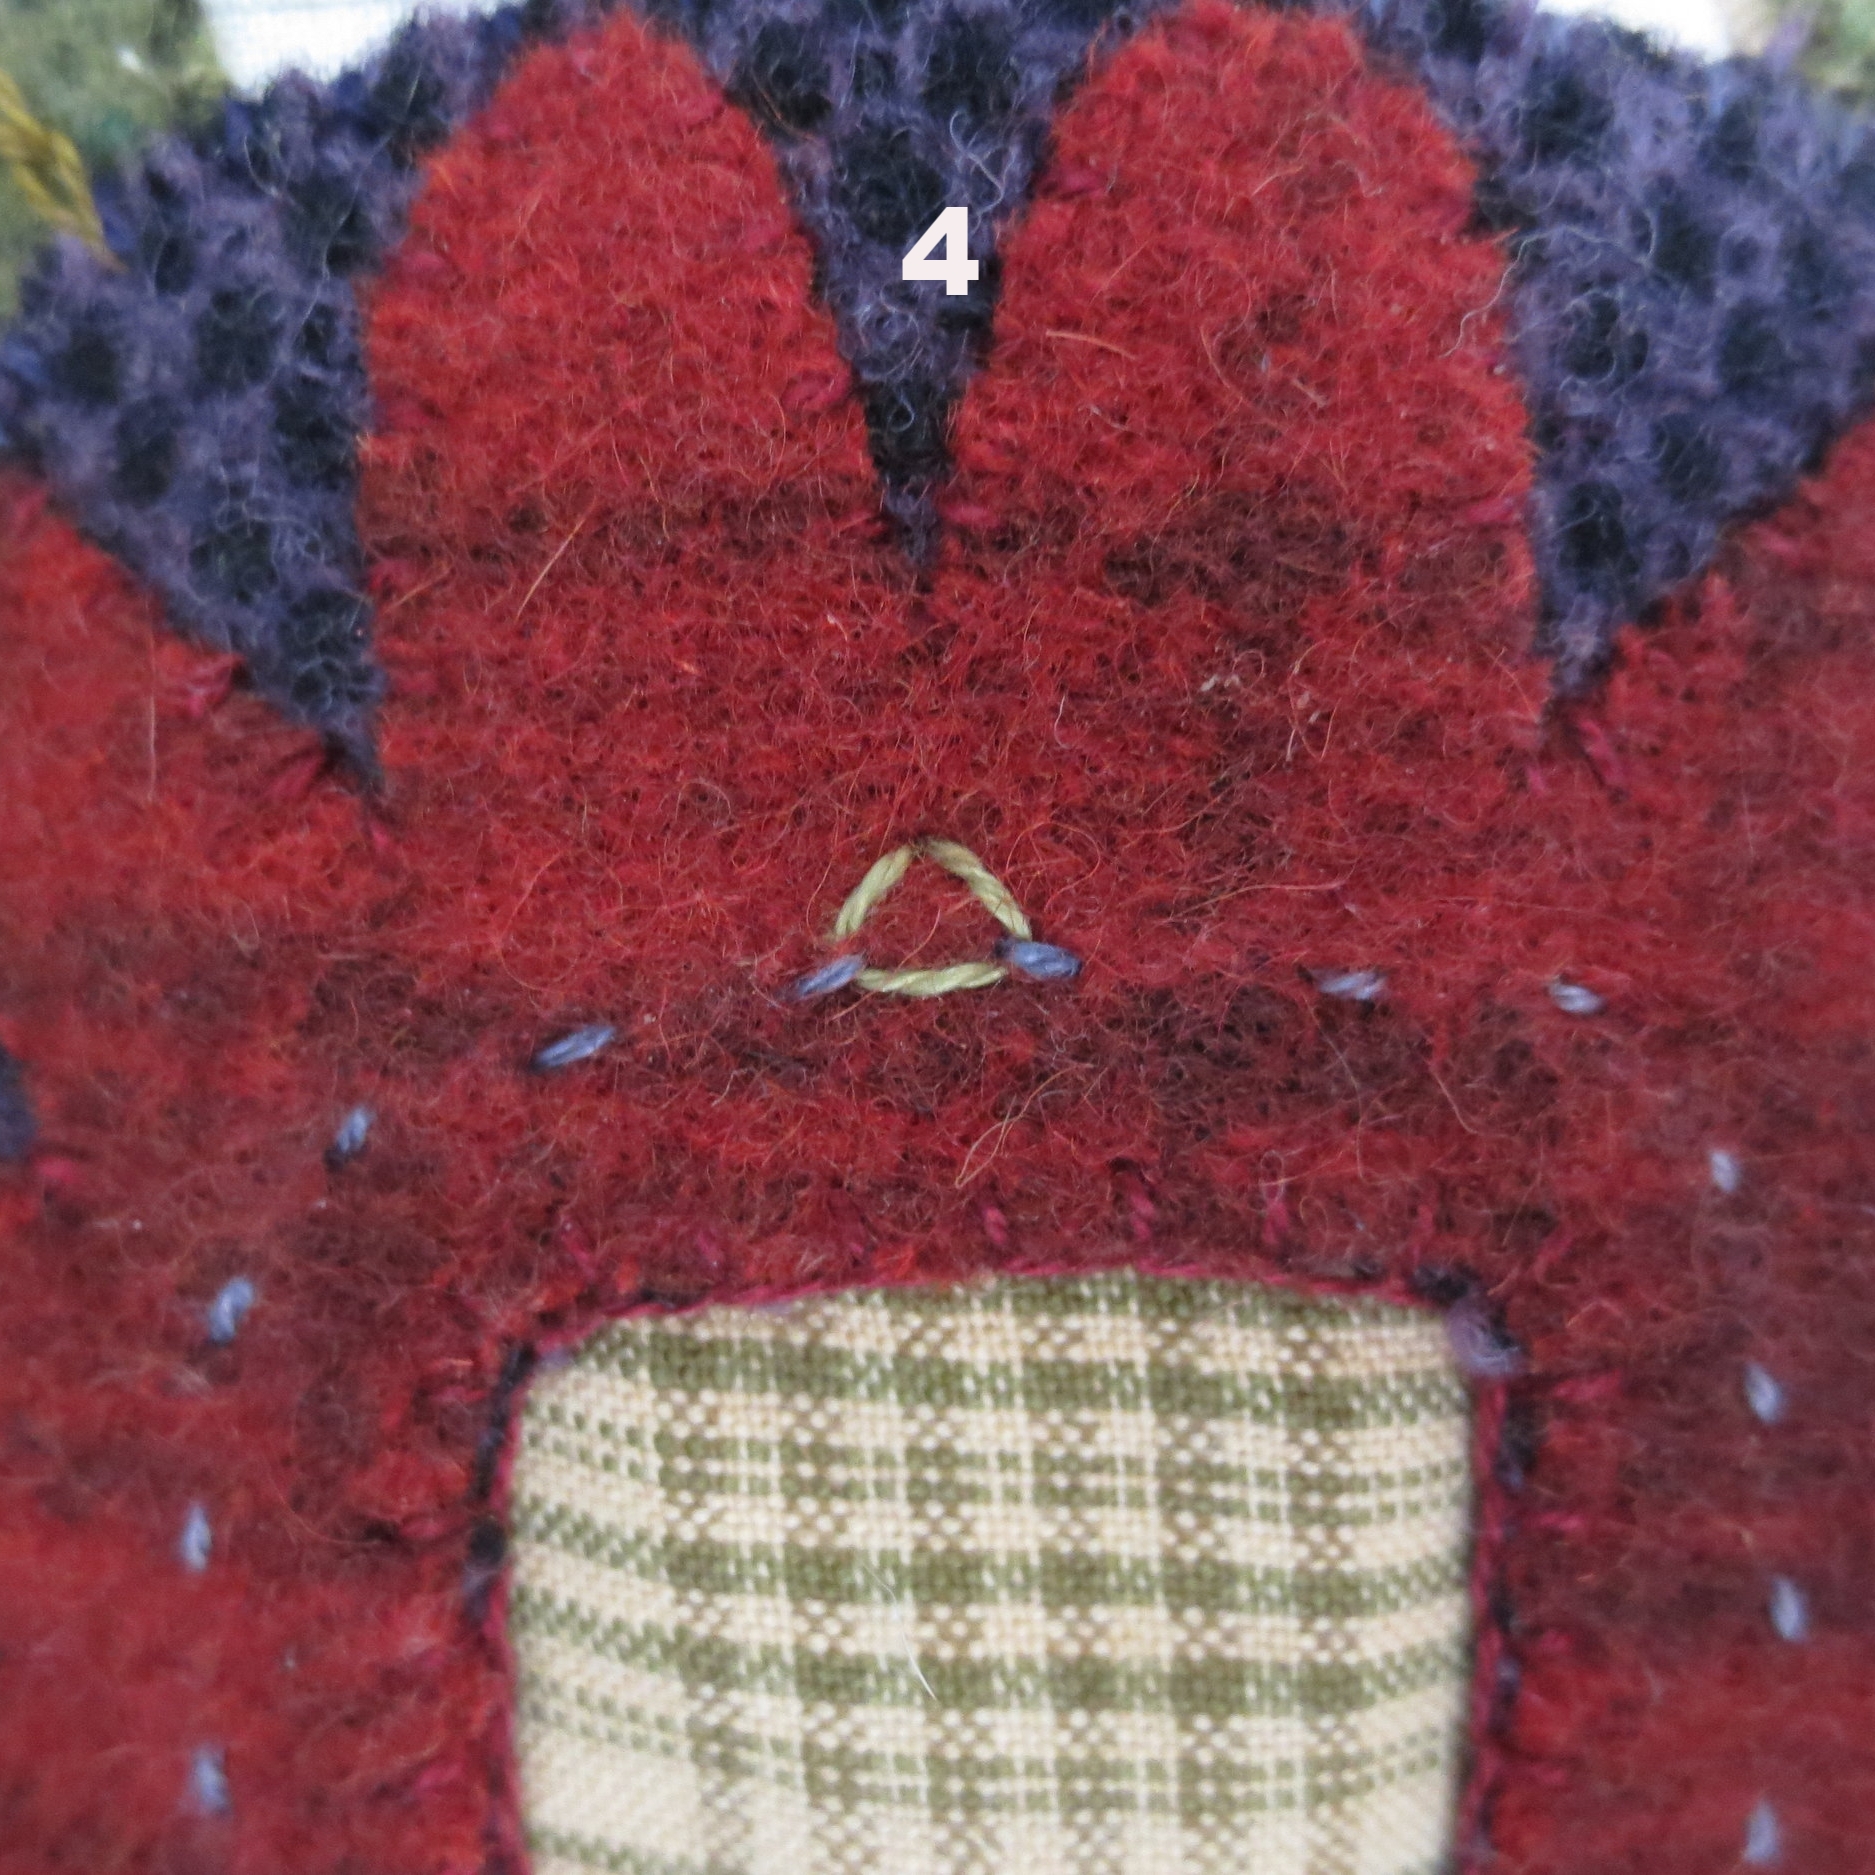
- Remember the eskimo edge stitch from Block #4? We are going to use it again, but instead of the points facing in, they will be facing outward.
- Begin by making a running stitch (I used purple, #O592) over the line. Each stitch is approximately 1/8" long and about 1/4" apart.
- Begin your stitch on the outside of the running stitch line, using a green colored thread (I used #O519).
Fini! The center is complete!
Stay tuned for the outer border piecing and applique.
Happy Stitching!


