

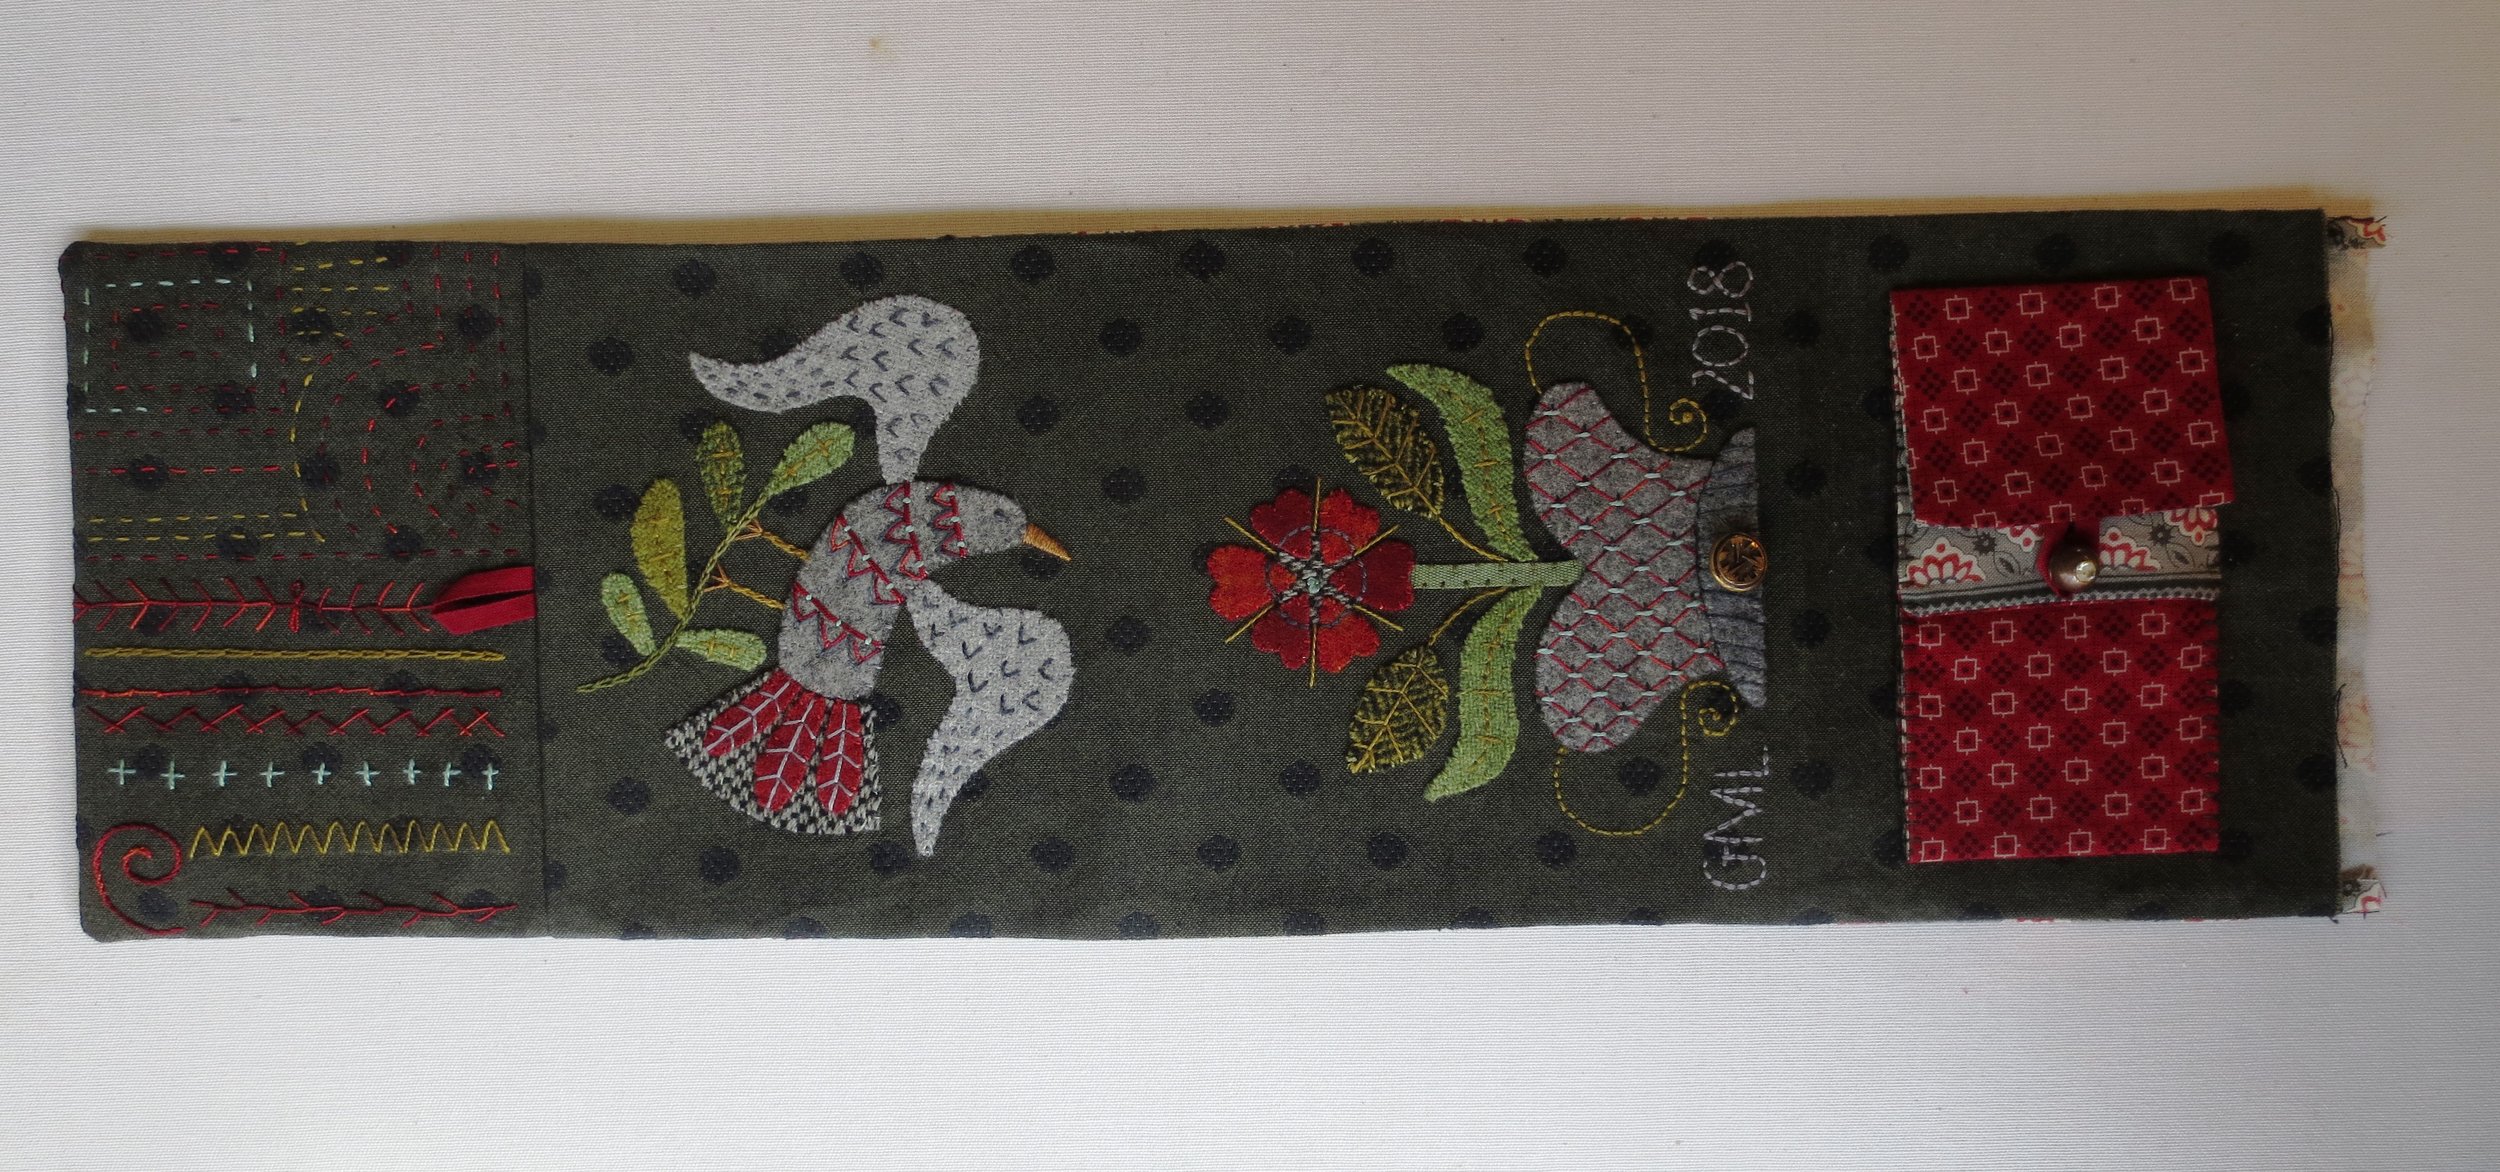
Keeping It All Together - The Inside Story
Hello again.
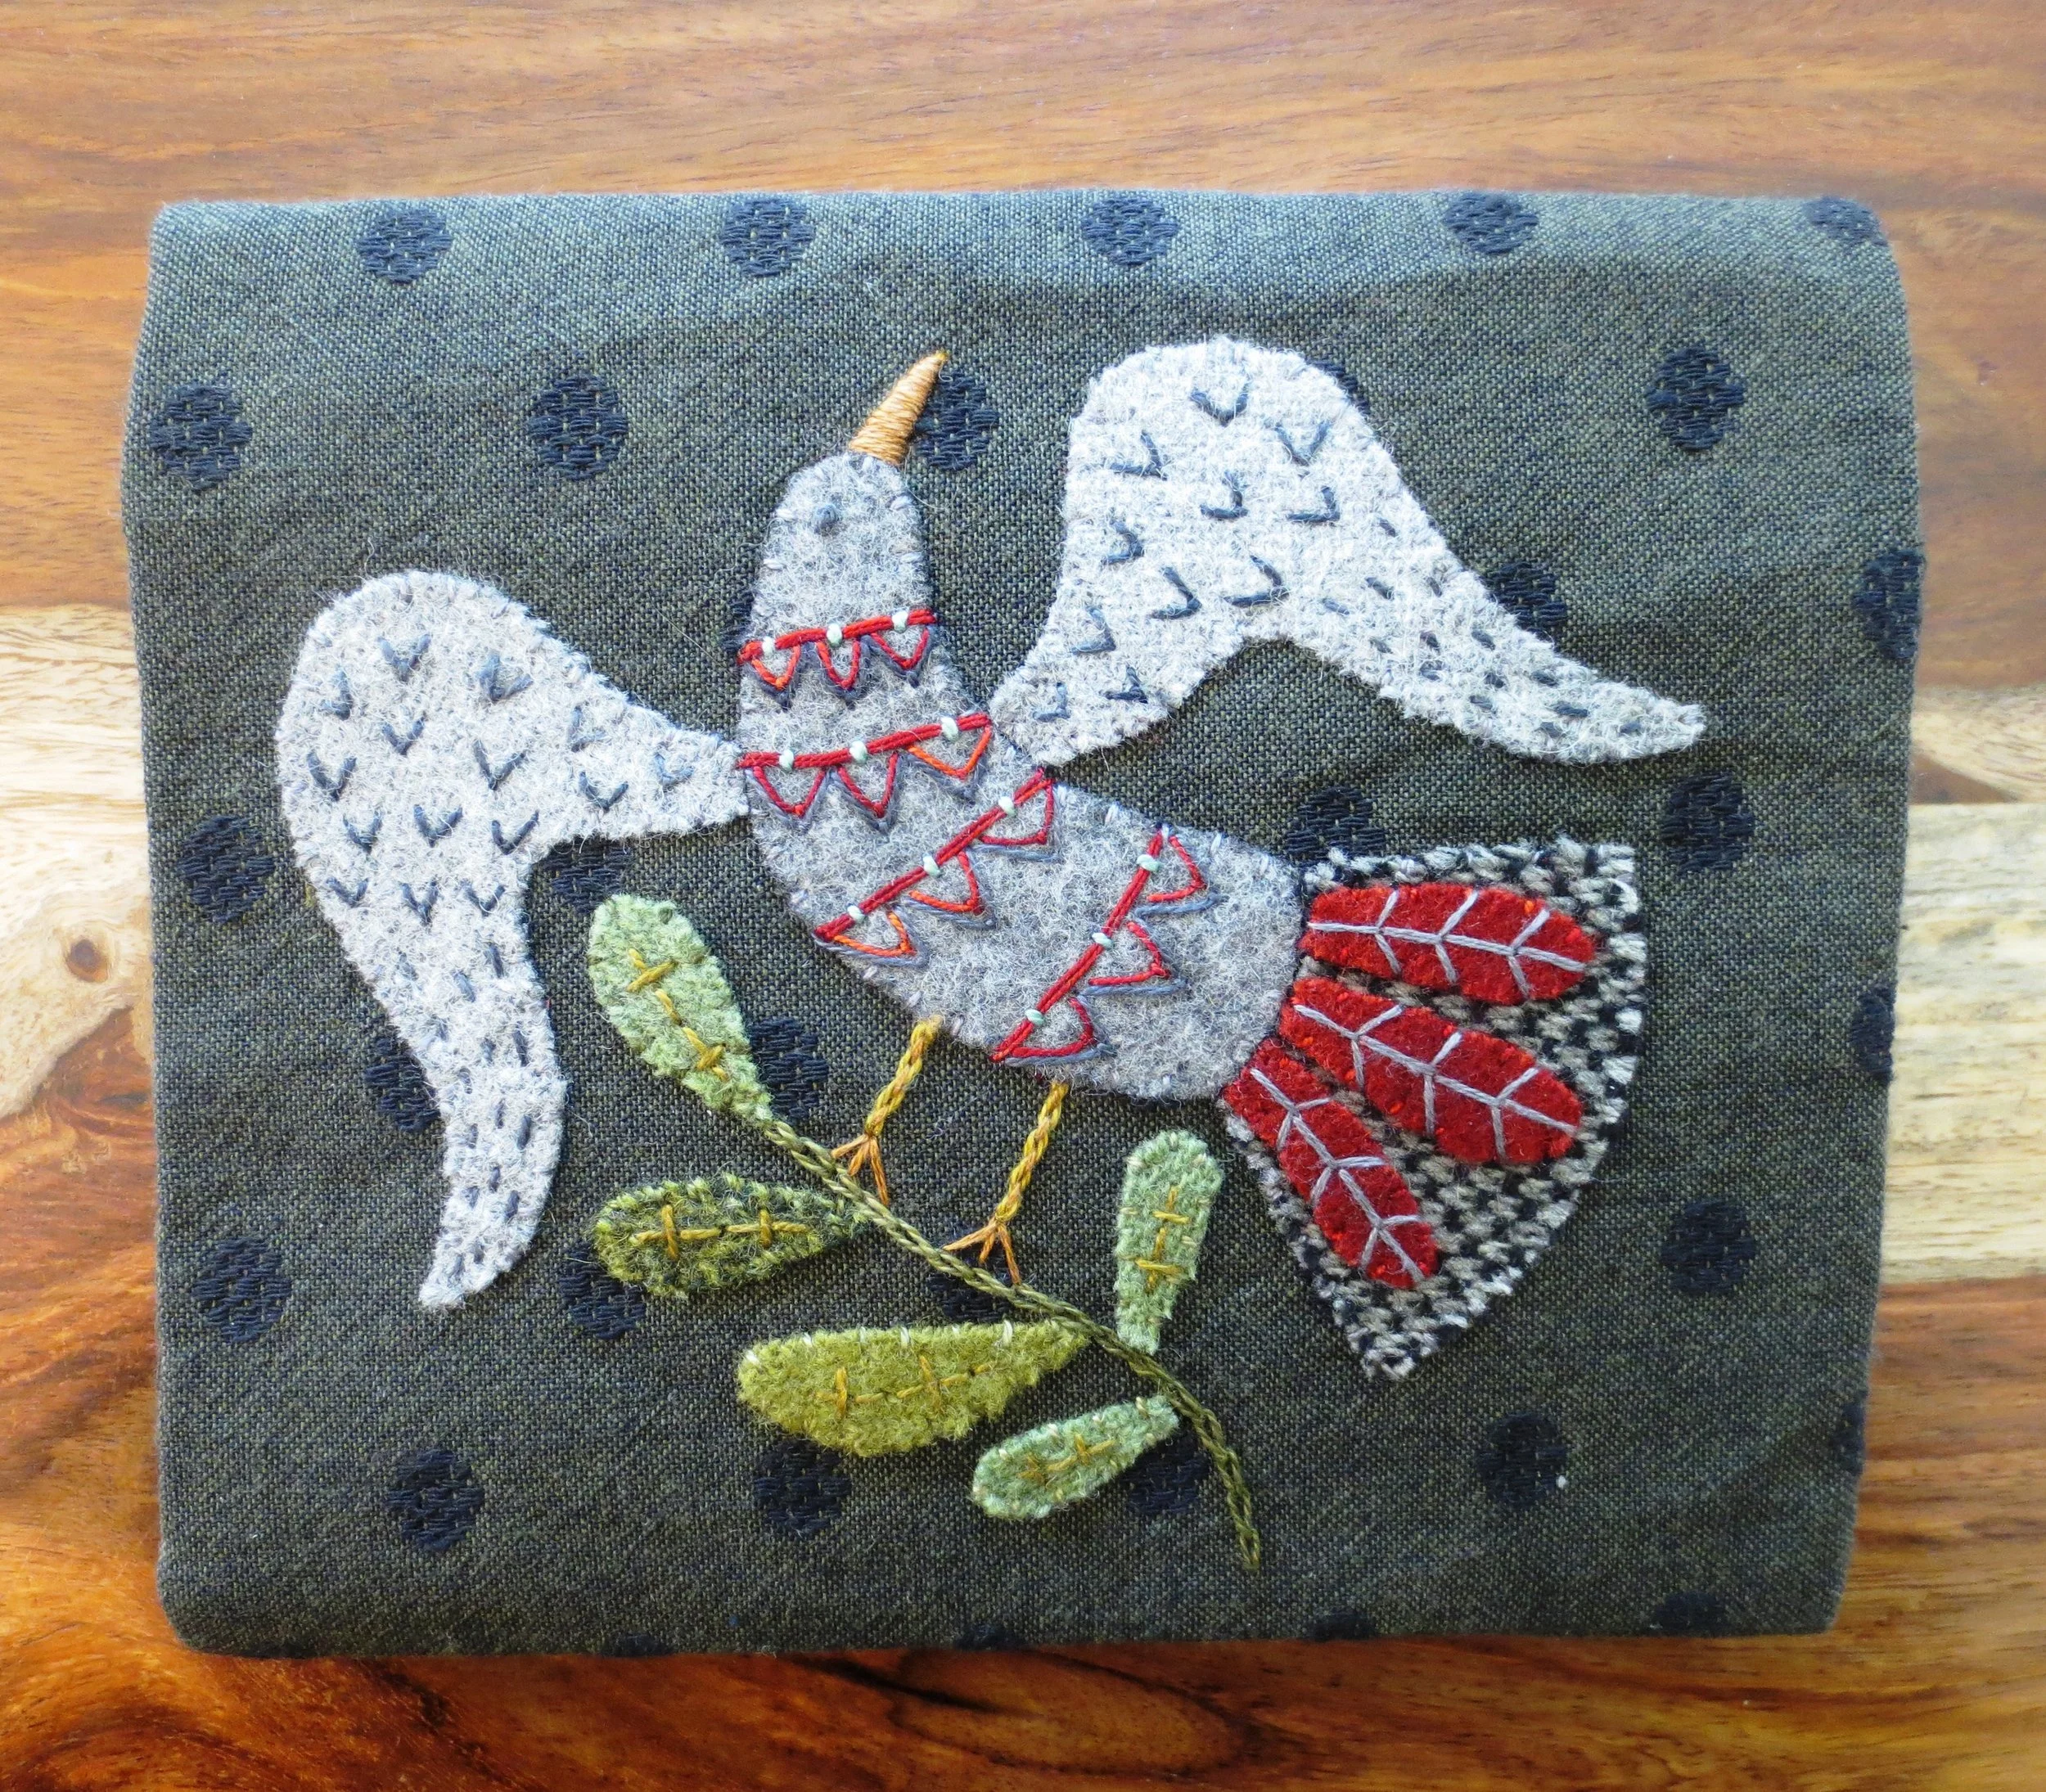
Now that the applique portion of the keeper is complete, we can work on the interior.
In addition to the equipment and materials mentioned in the last post, you will need:
- thimble
- one 3/8" shank style button
- hand sewing needle and thread in a color that matches the color of your lining fabric
- additional 2 1/2" of the red ribbon (the same ribbon that was used for your button loop).
Let's begin.
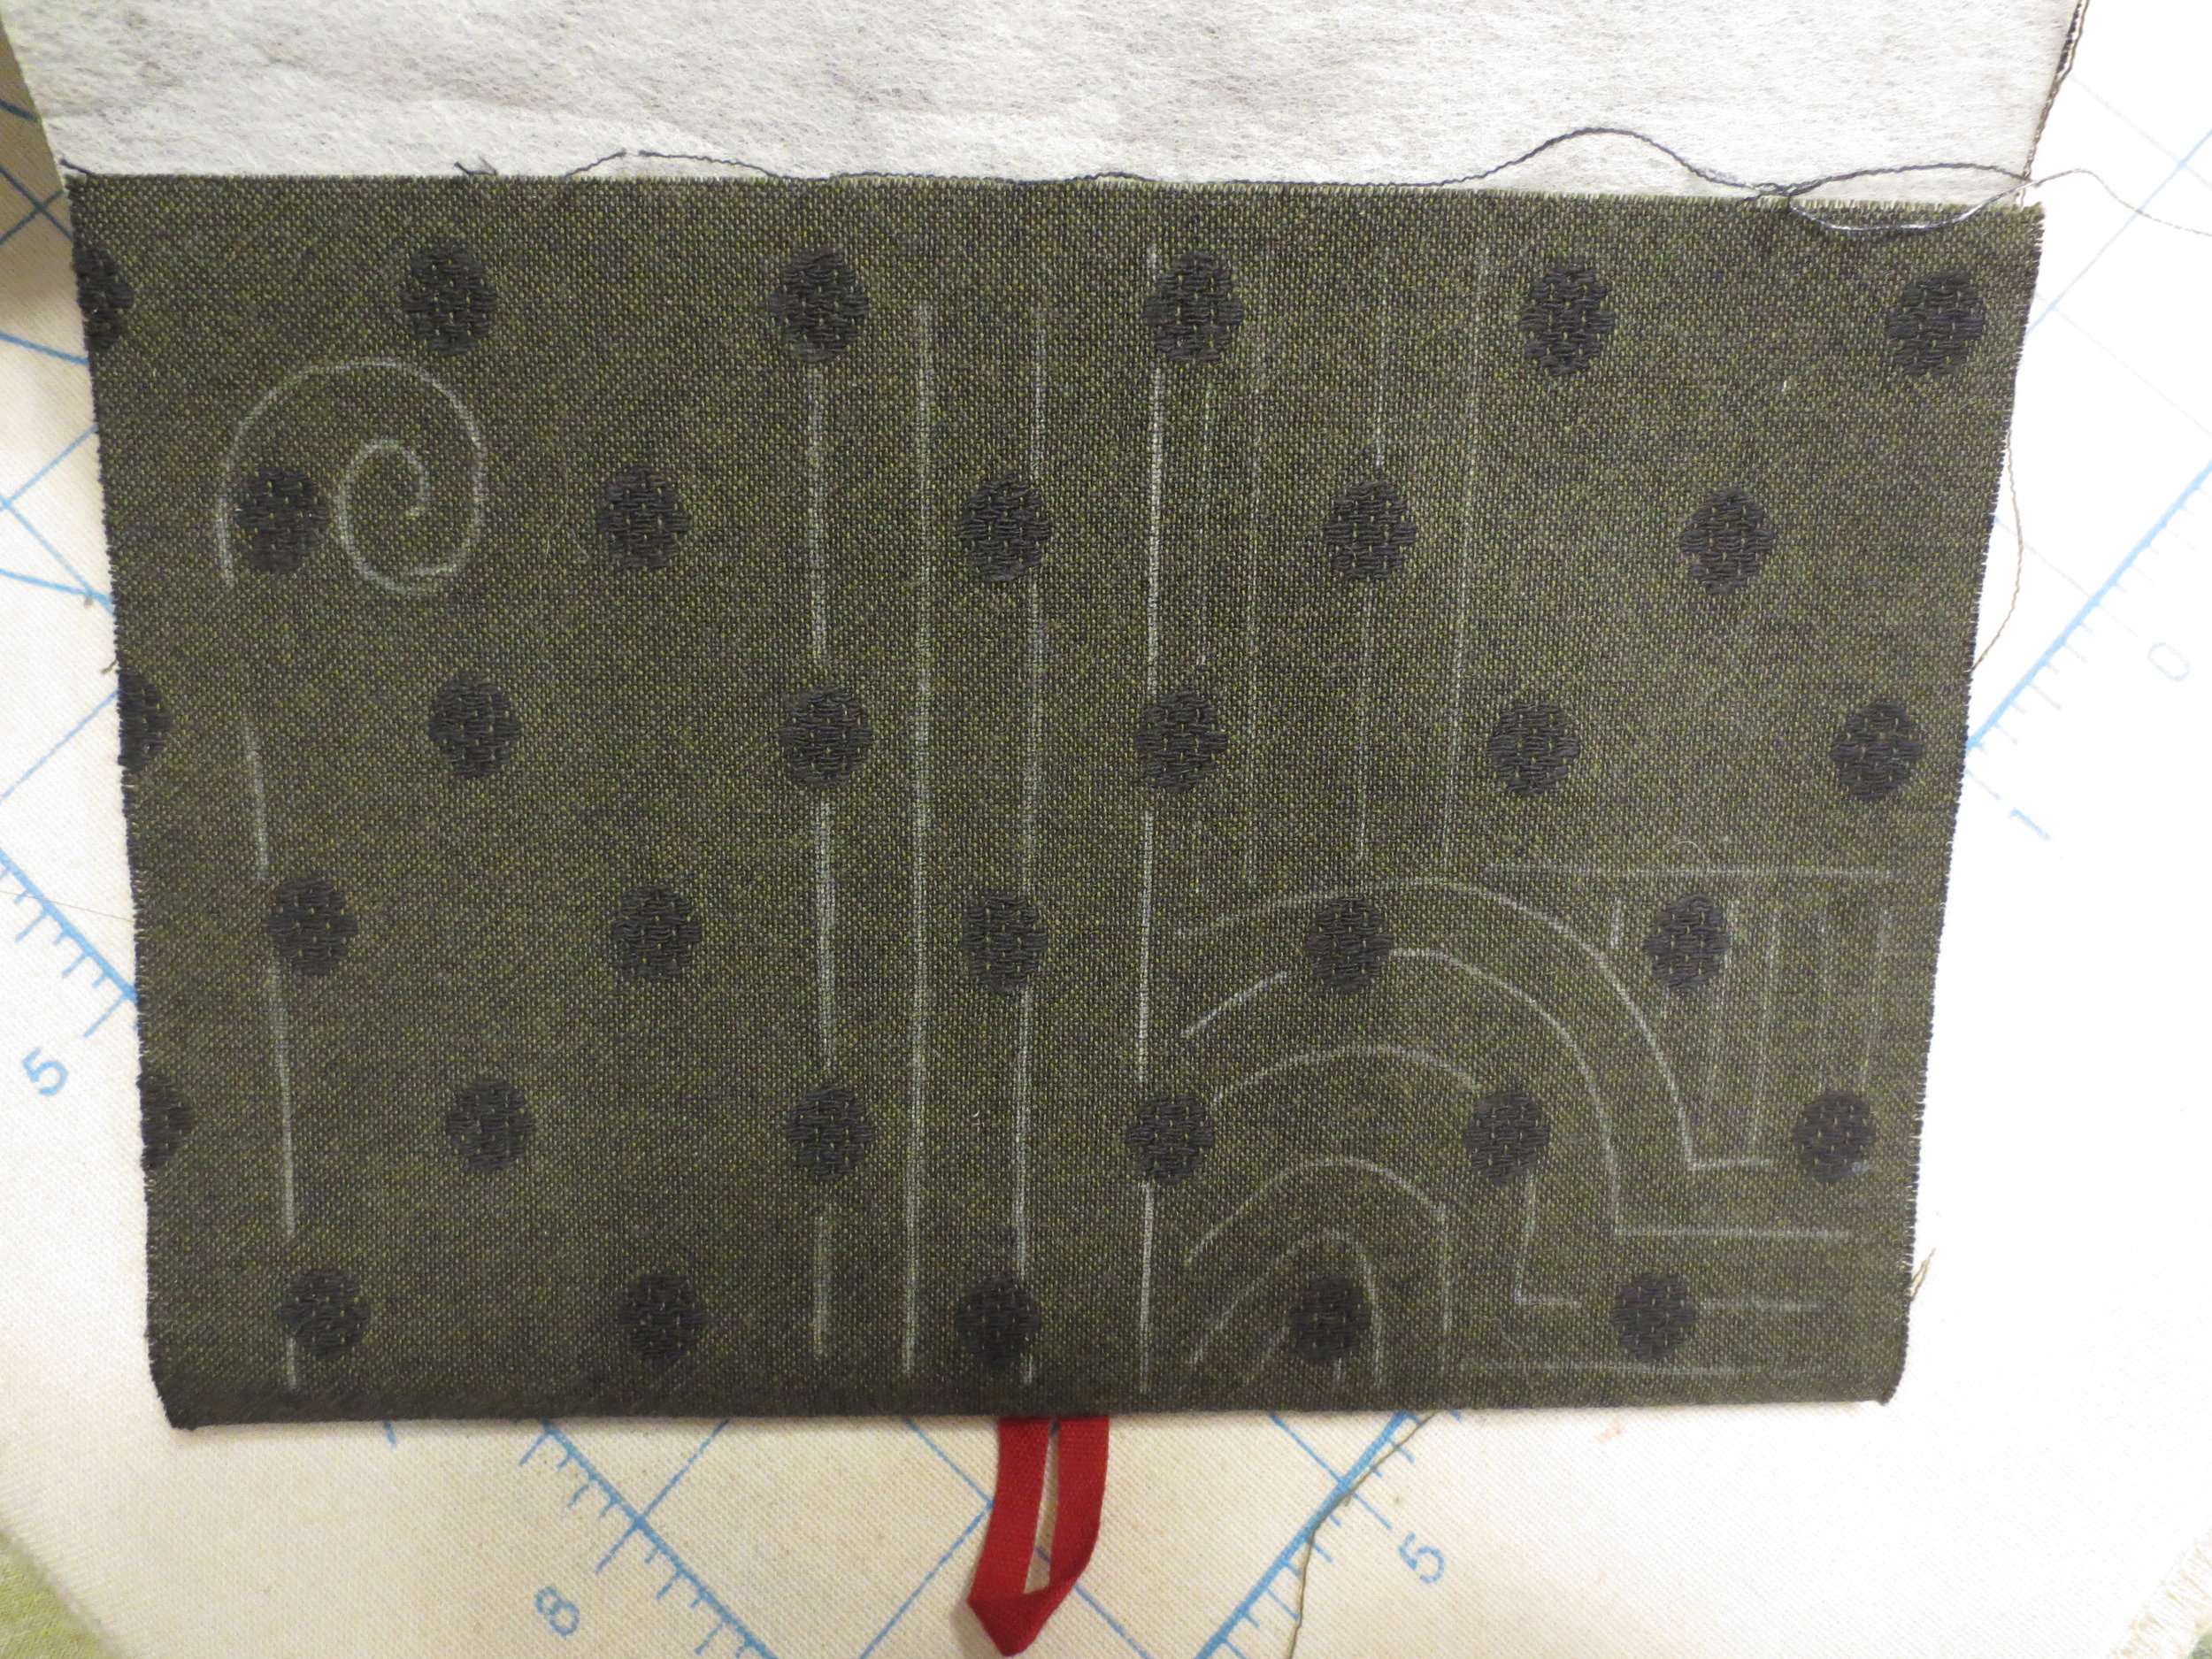
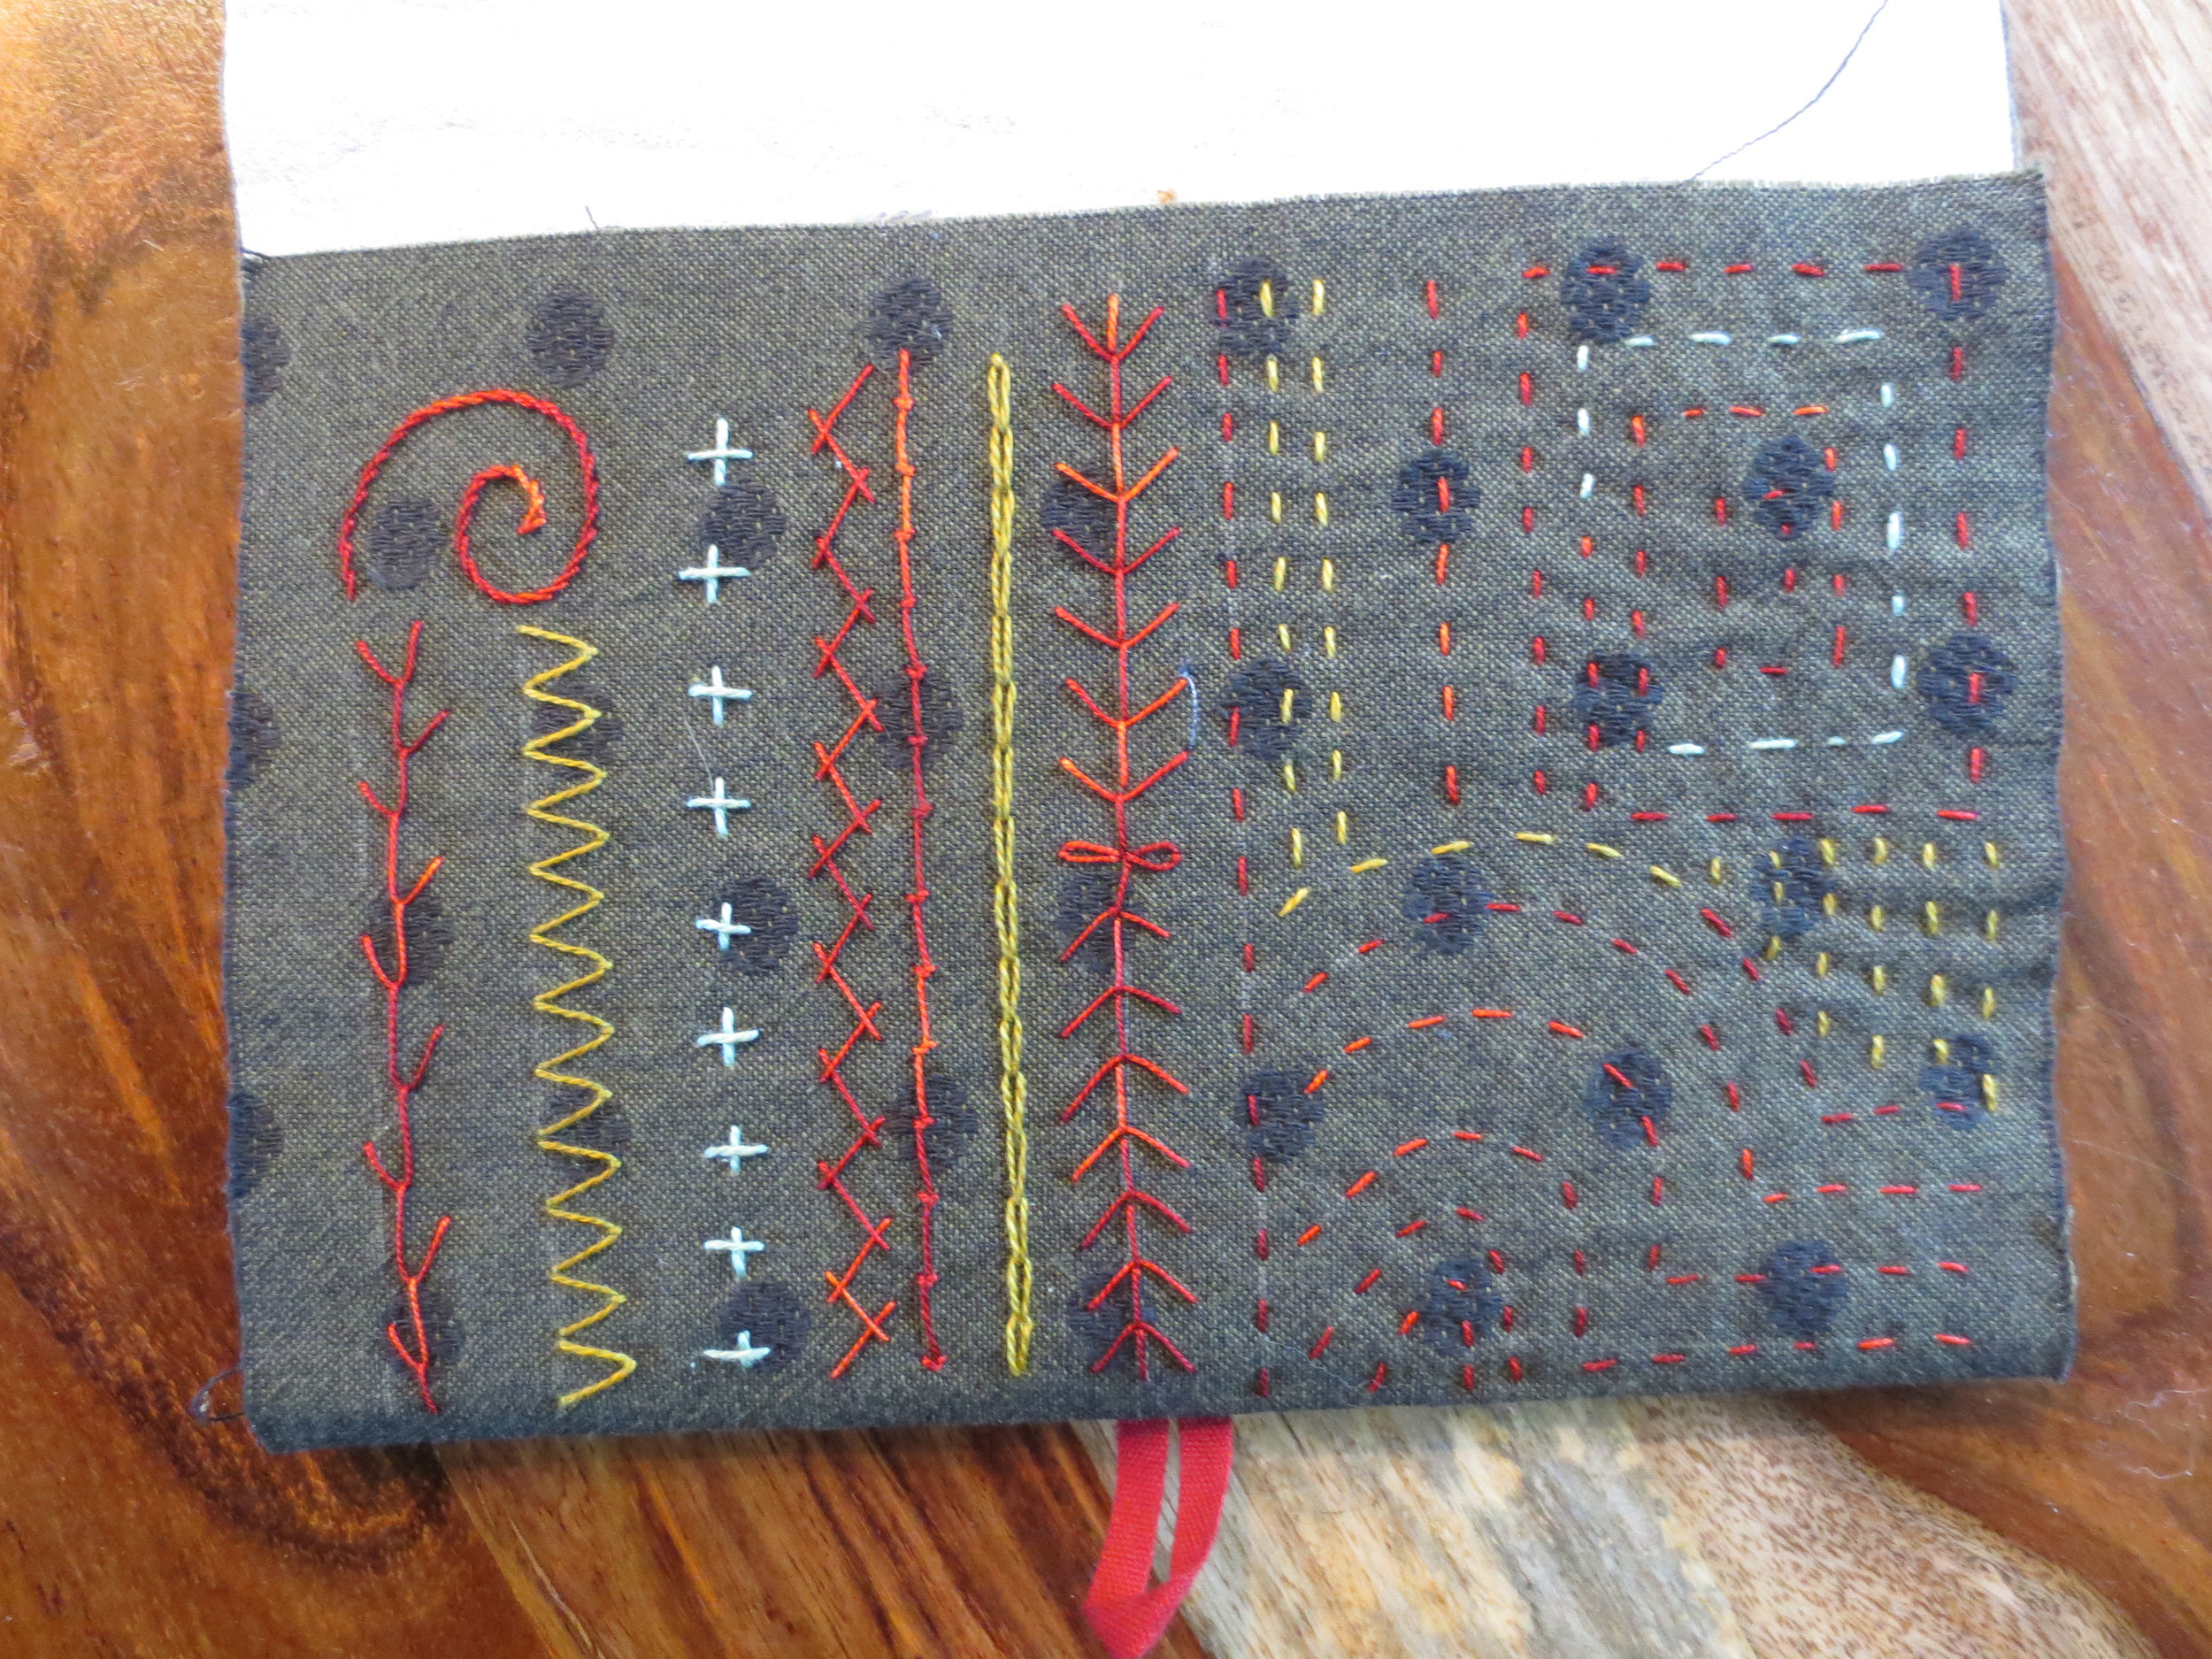
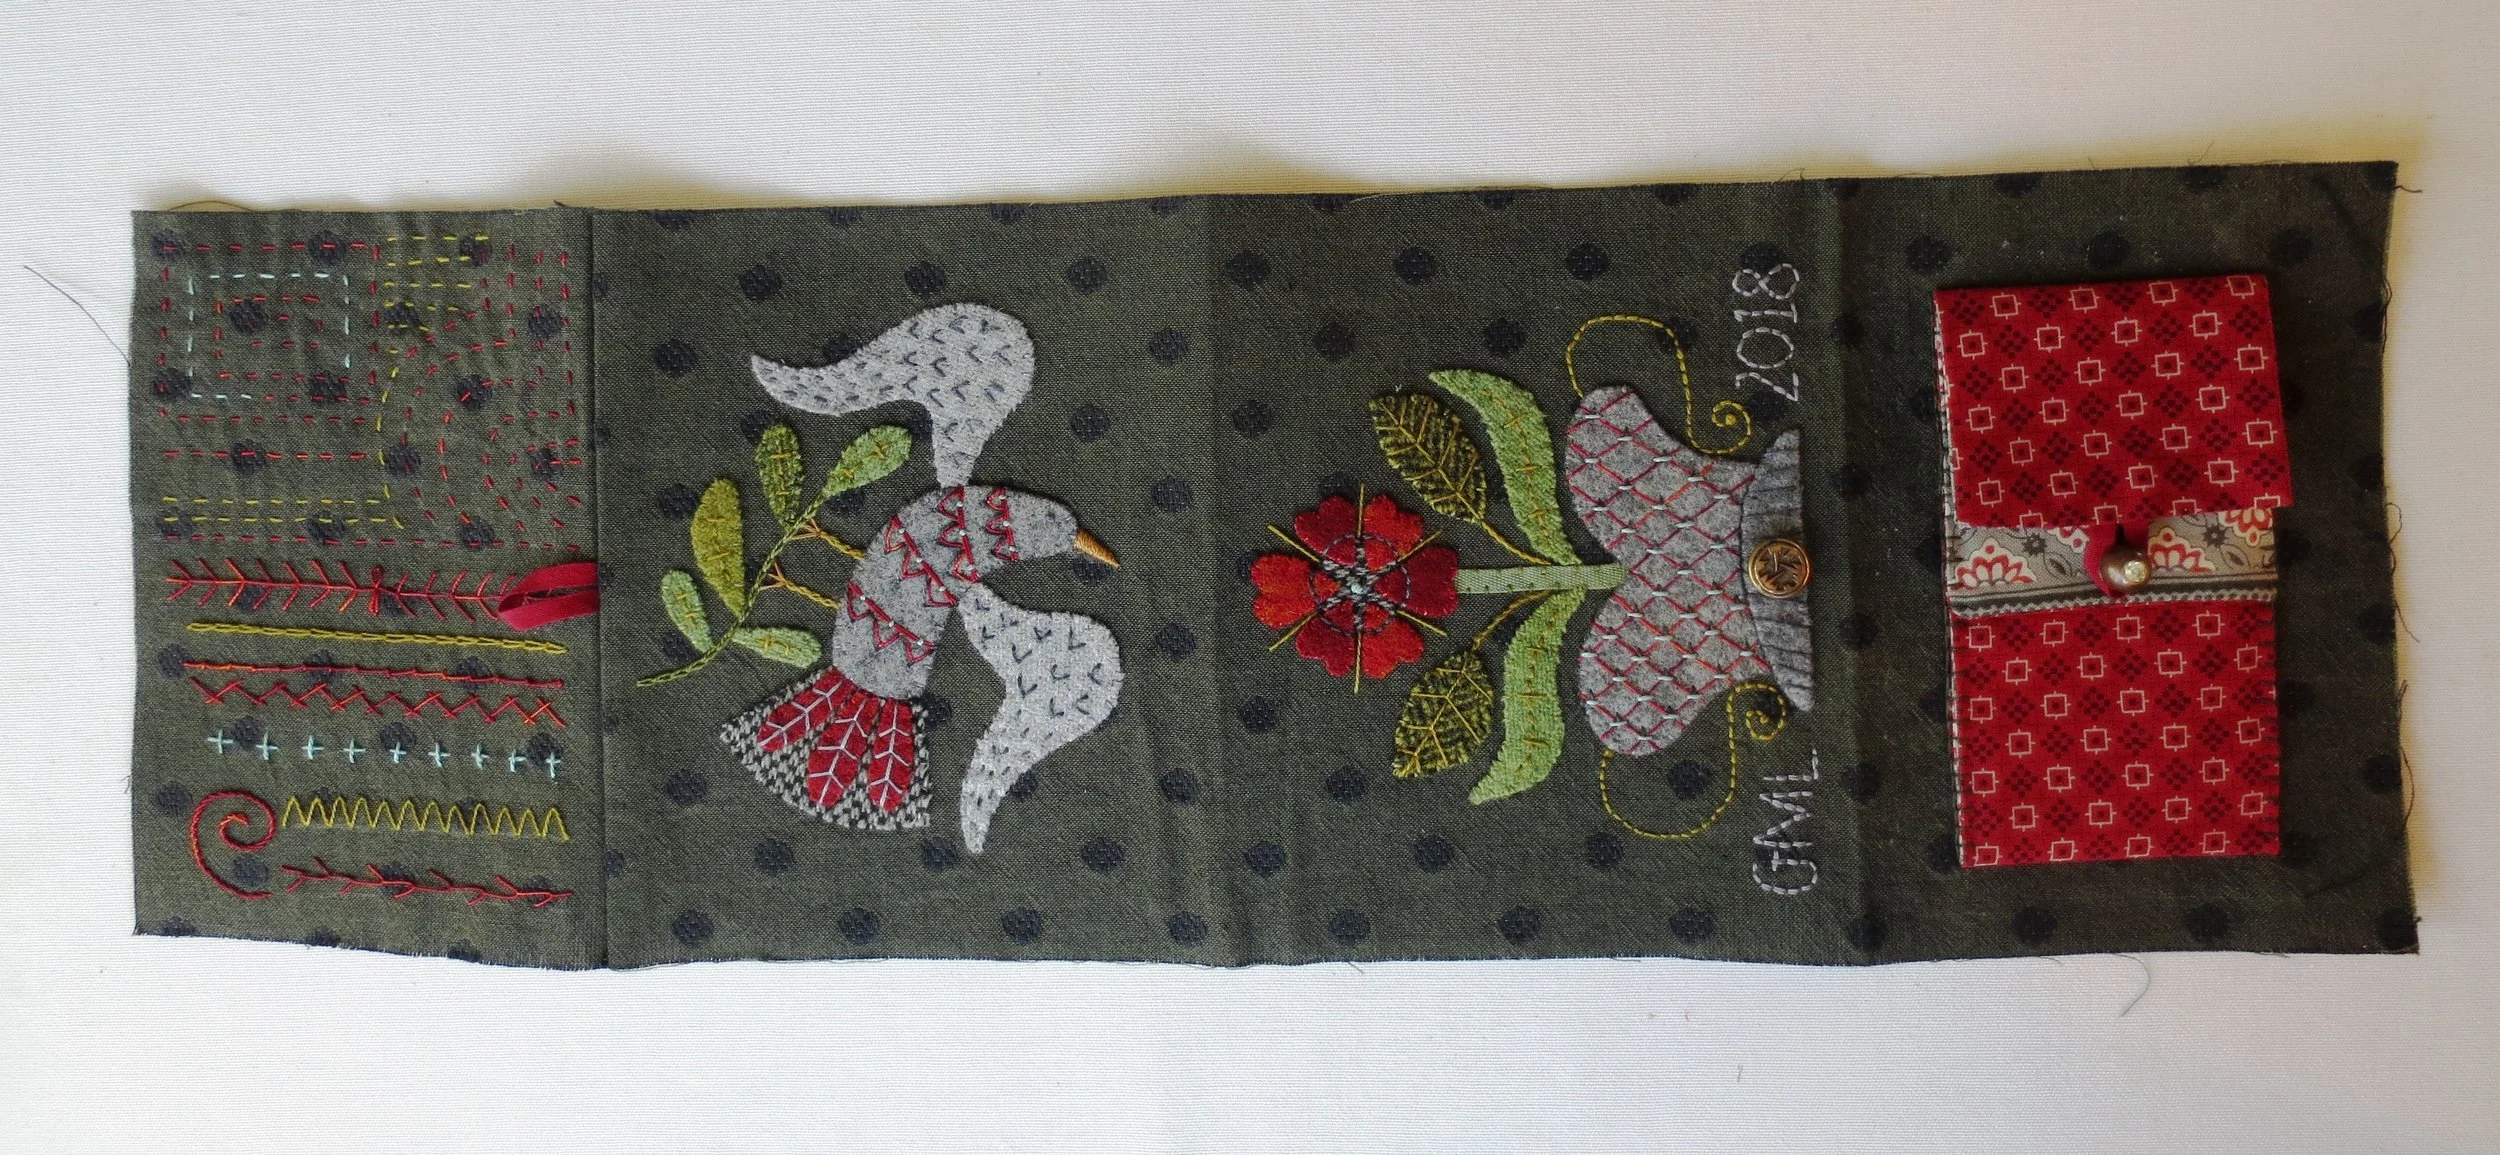
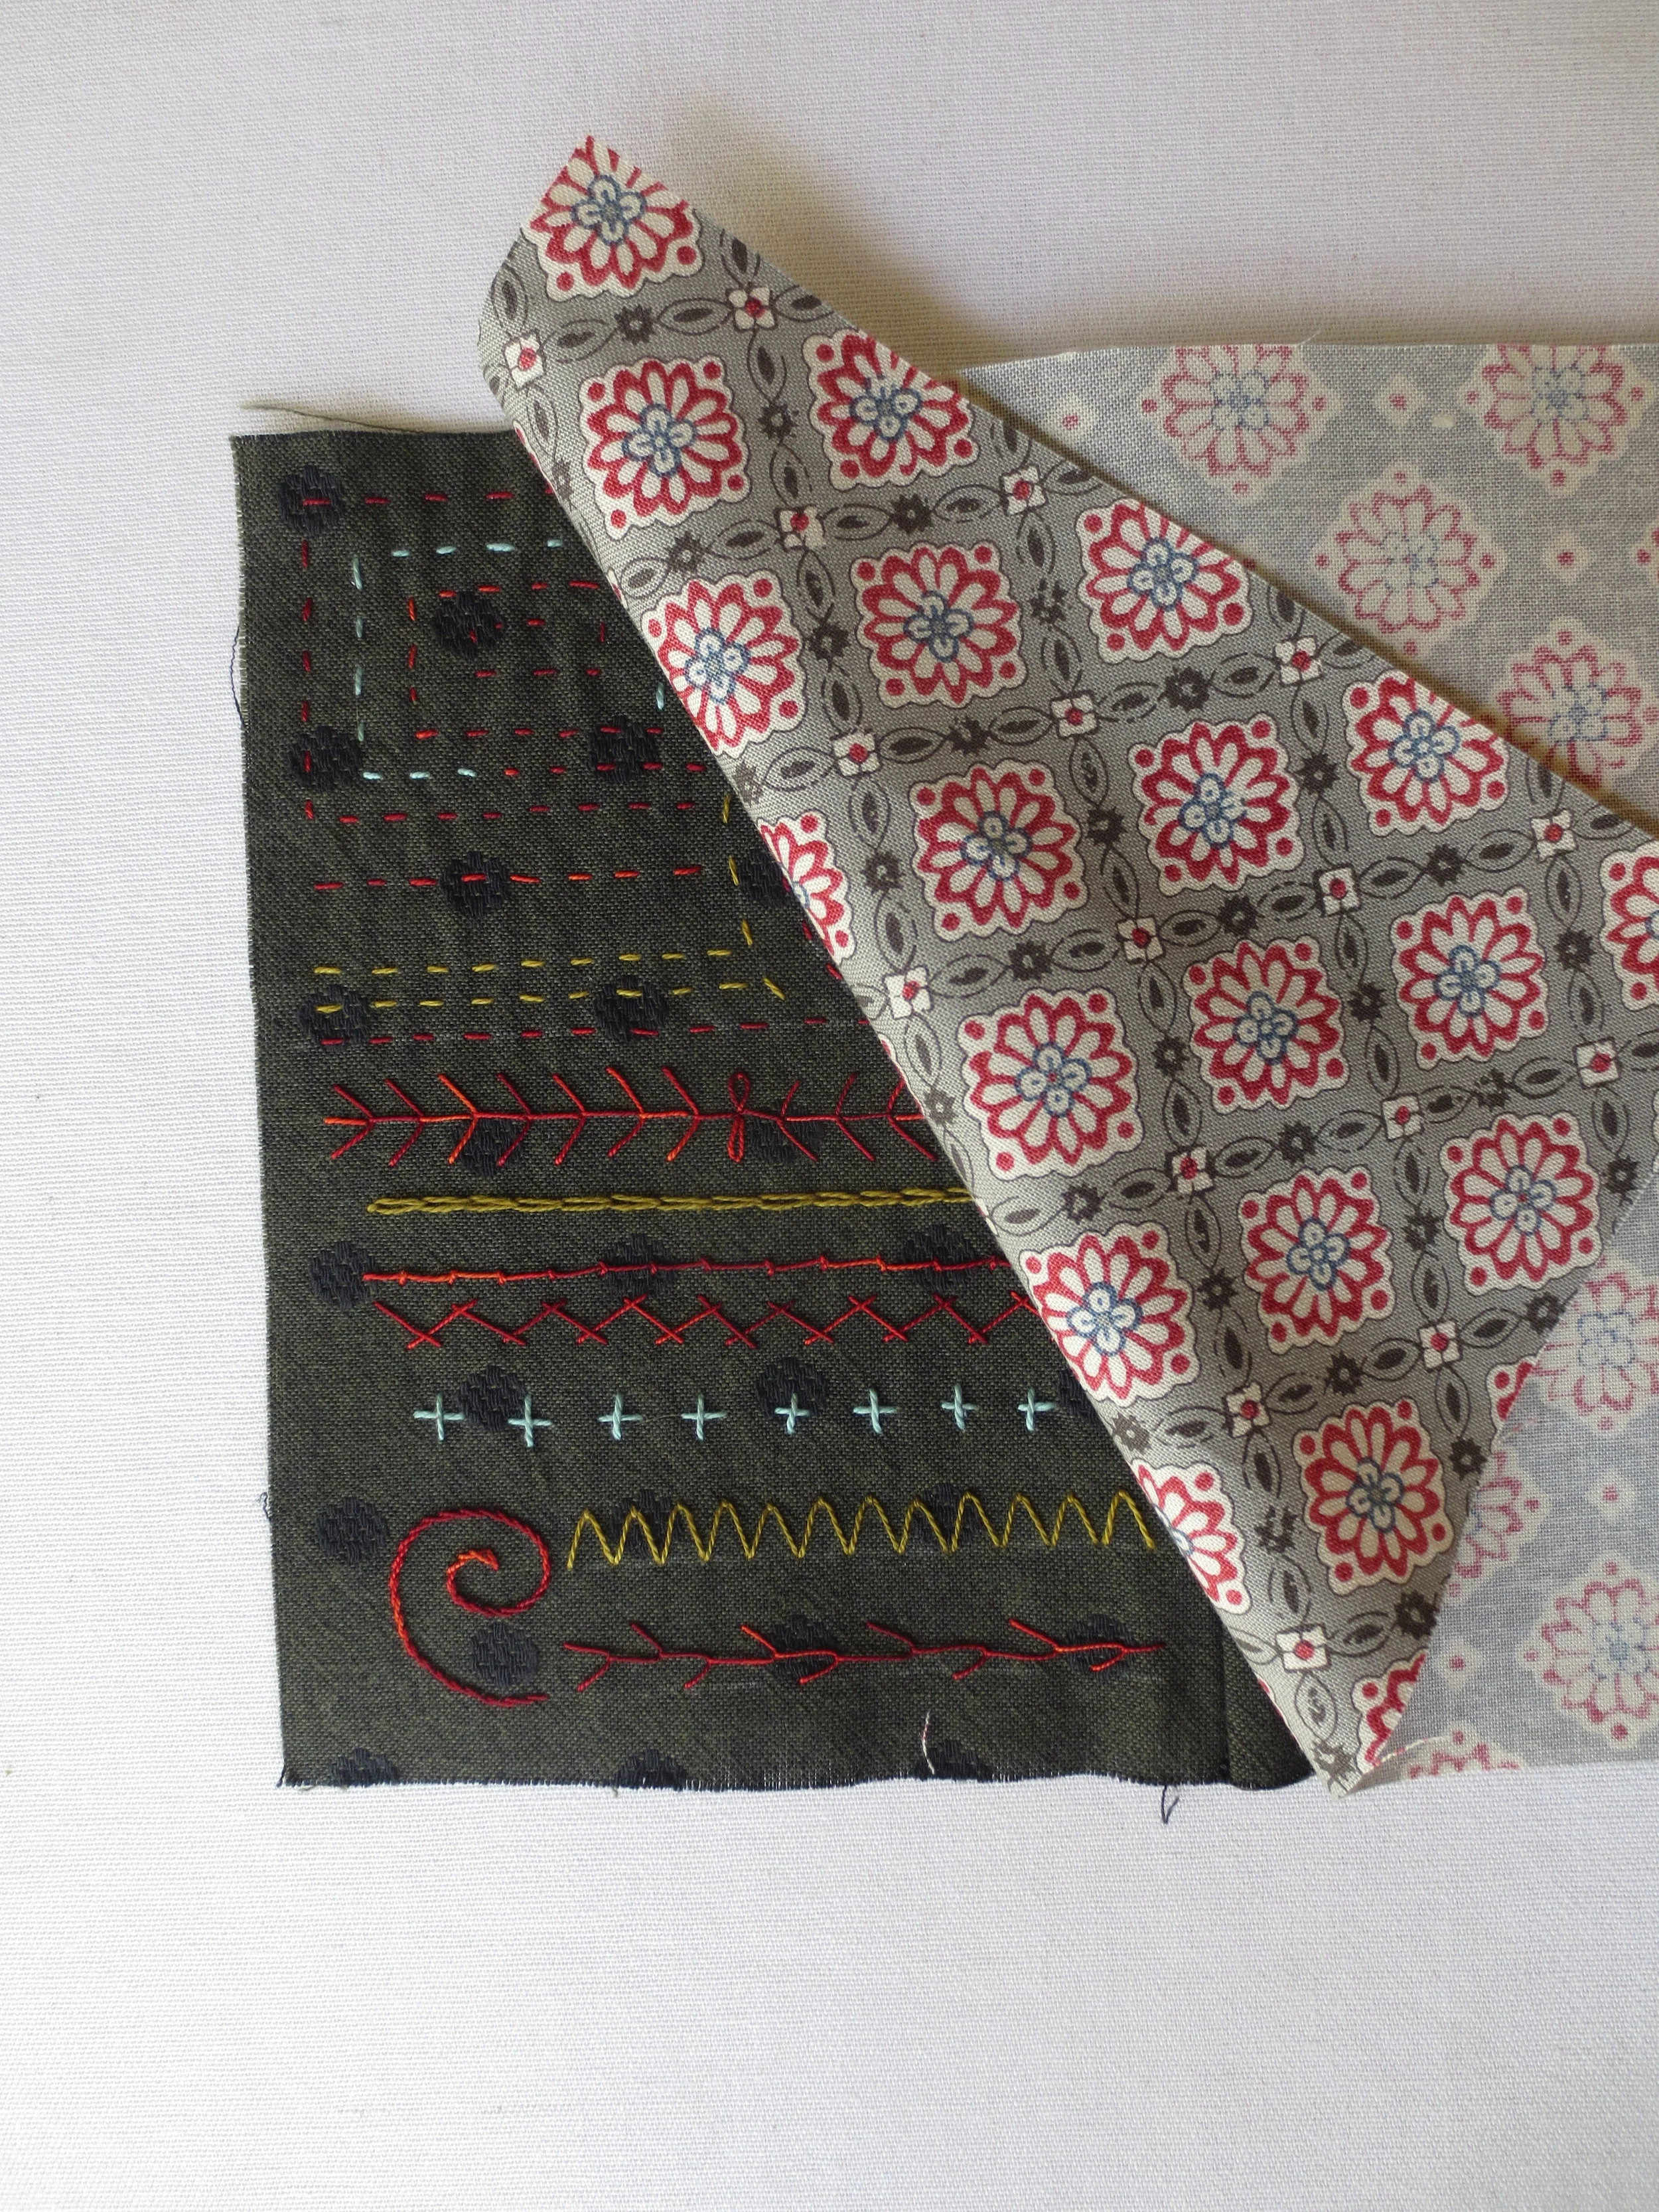
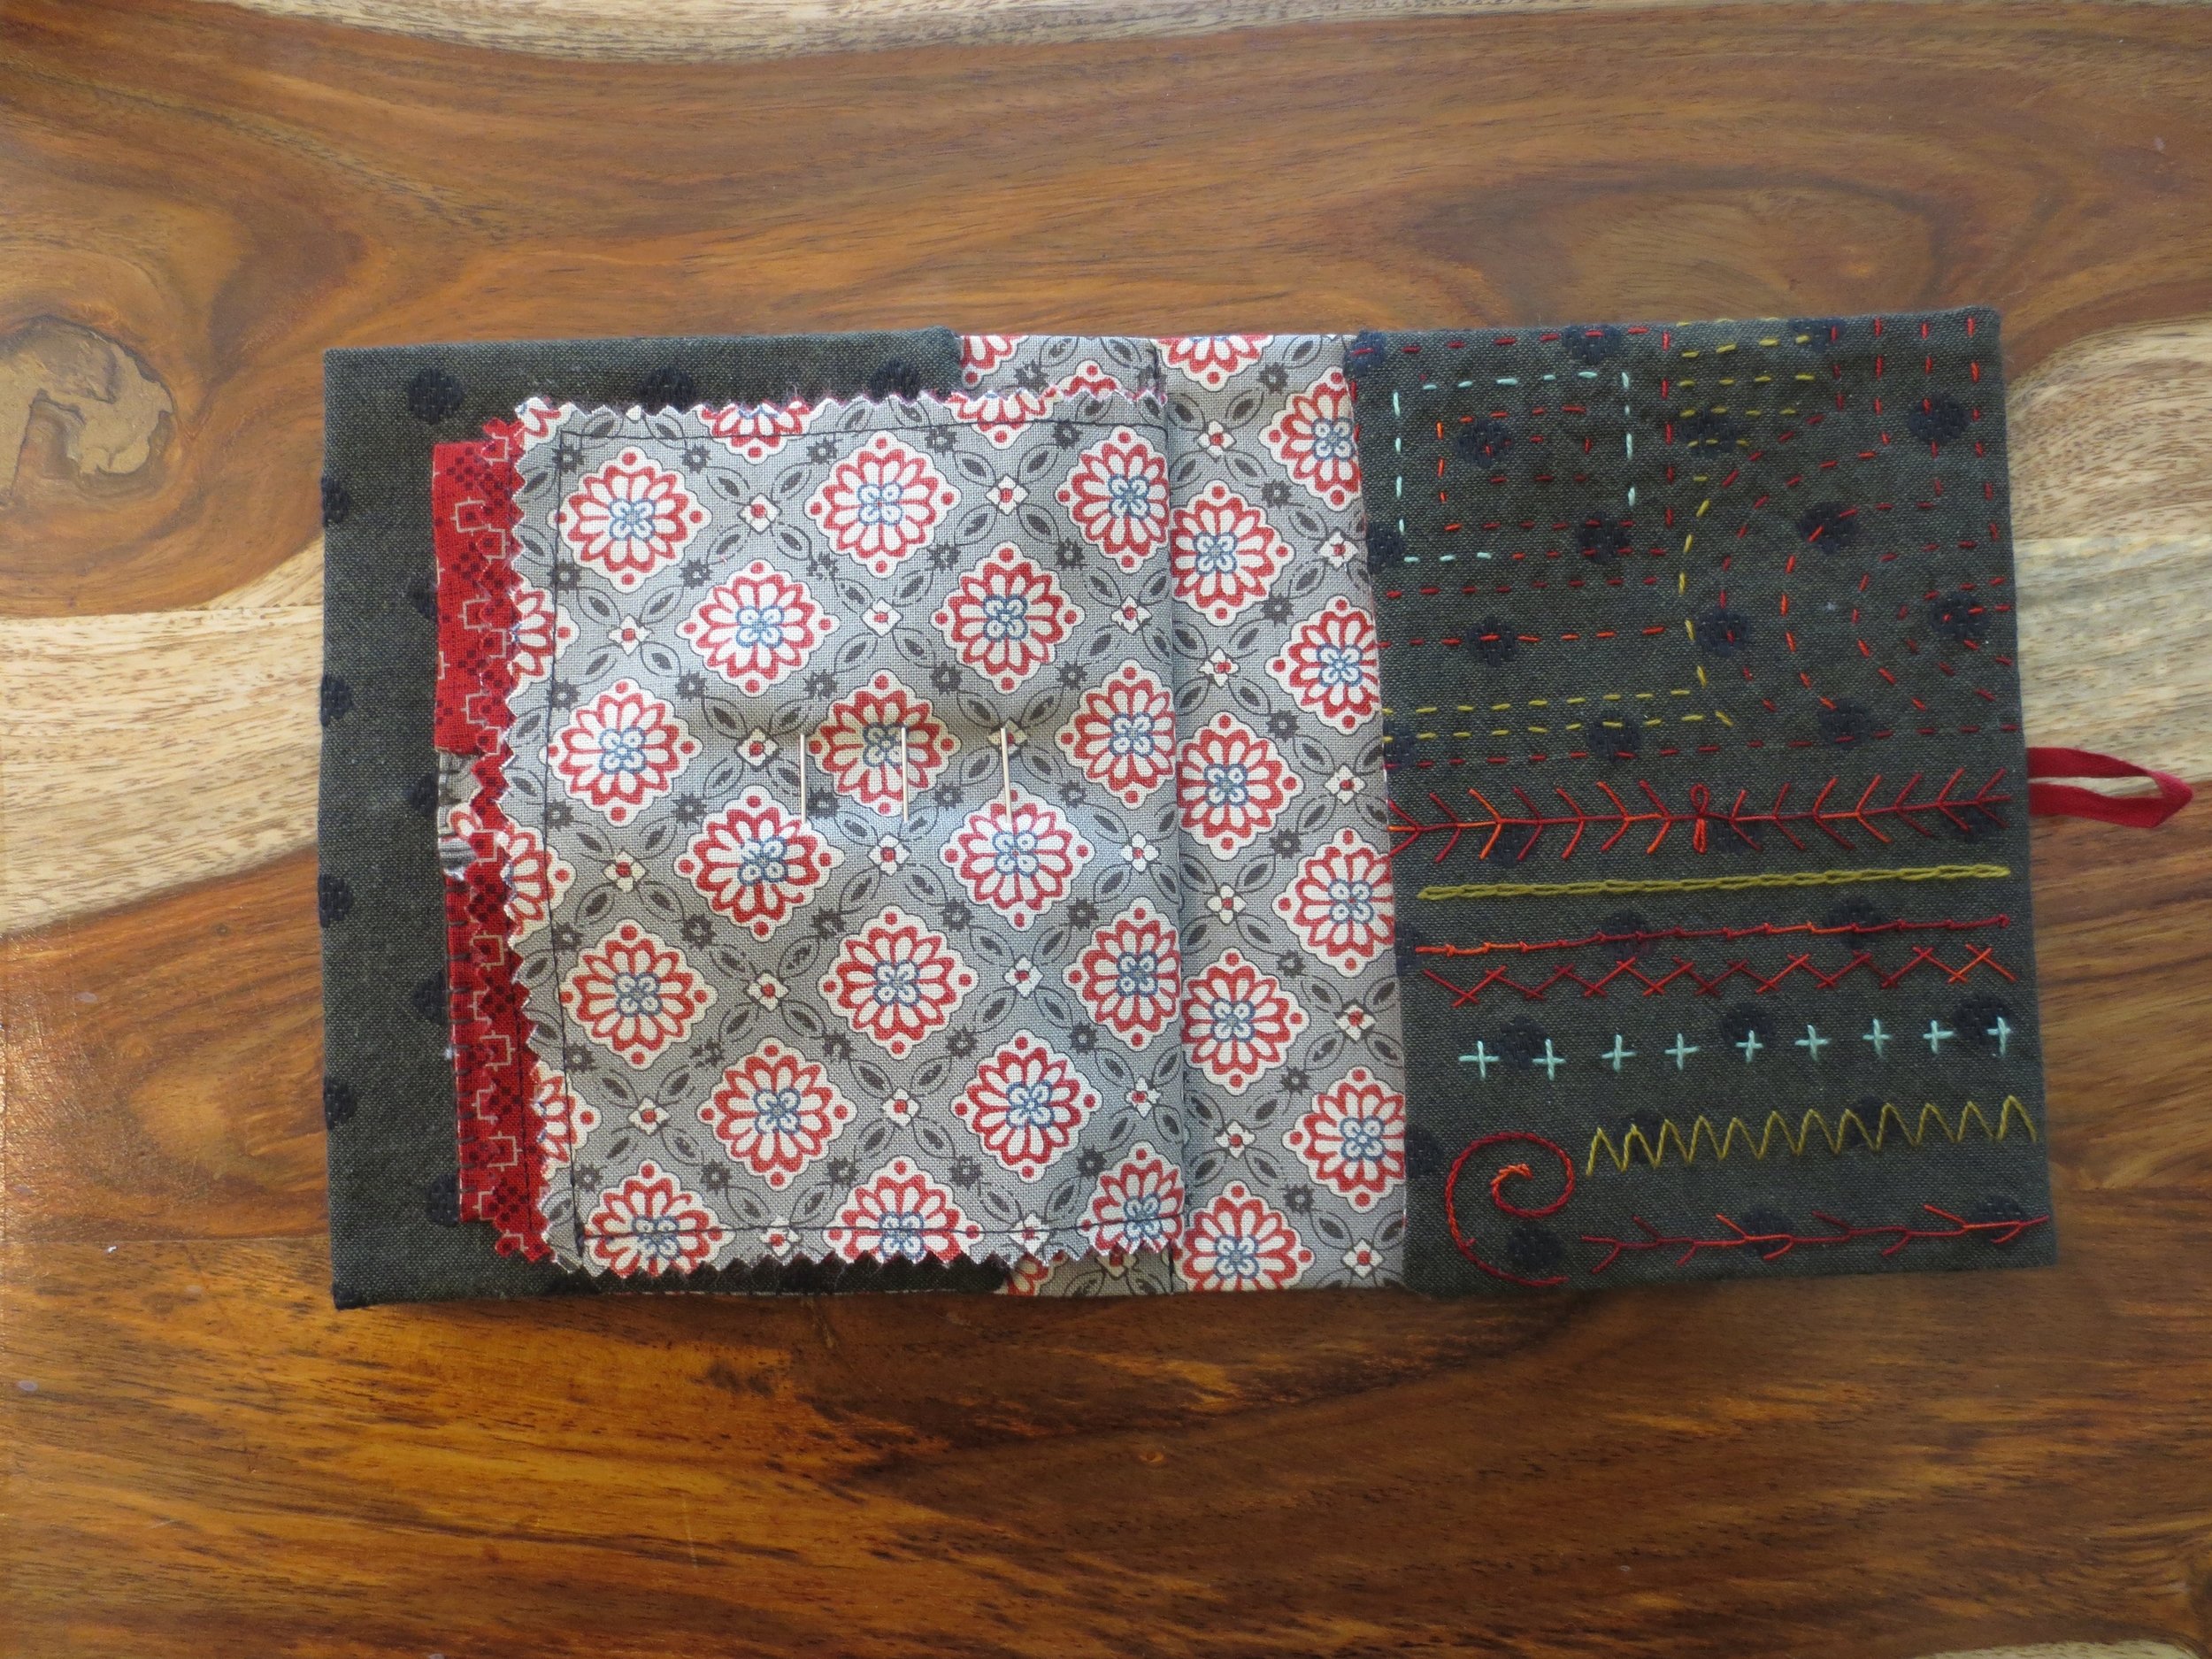
1. Embellish the "Stitch Guide" section of the keeper. This is the section that is immediately adjacent to the back cover.
- Begin by drawing some guidelines. These are general outlines. It's okay to stitch "outside the lines." Use the downloaded stitch guide for ideas on various stitches that you would like to feature. Here is an online source of embroidery that you may wish to look at for additional inspiration.
2. Vary the colors and stitches using the threads that you used on the applique portion of the keeper.
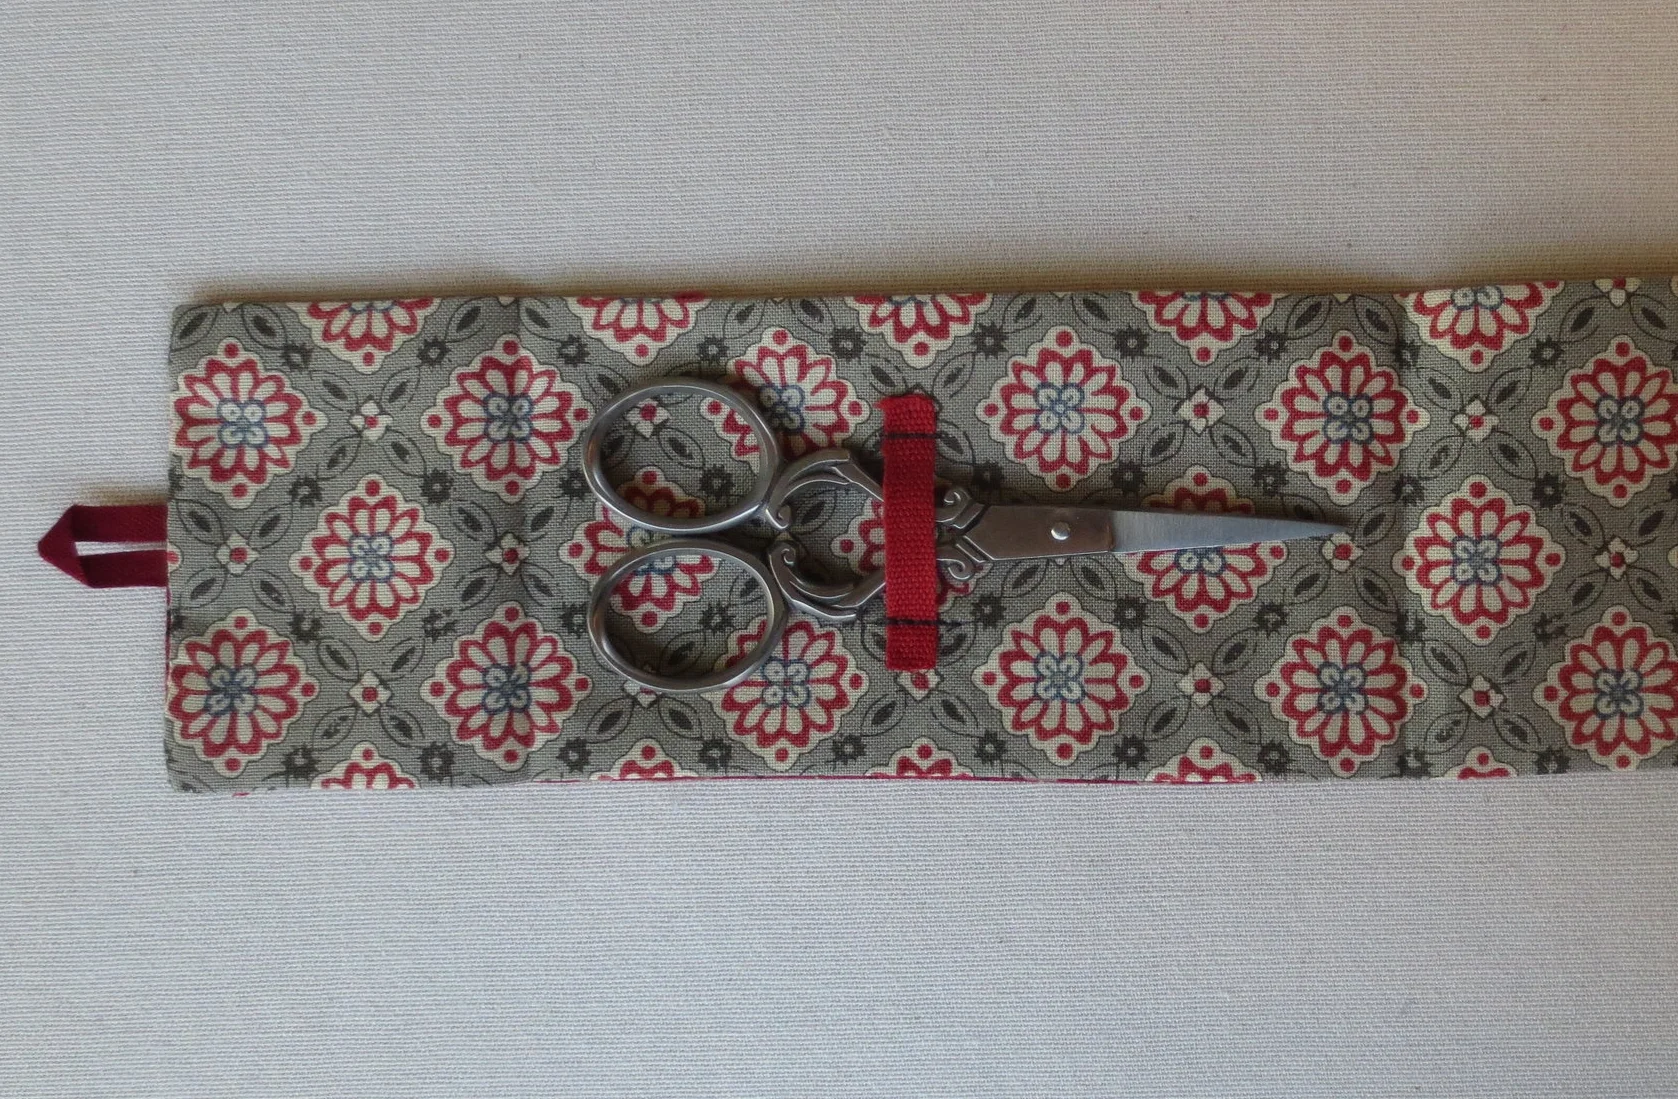
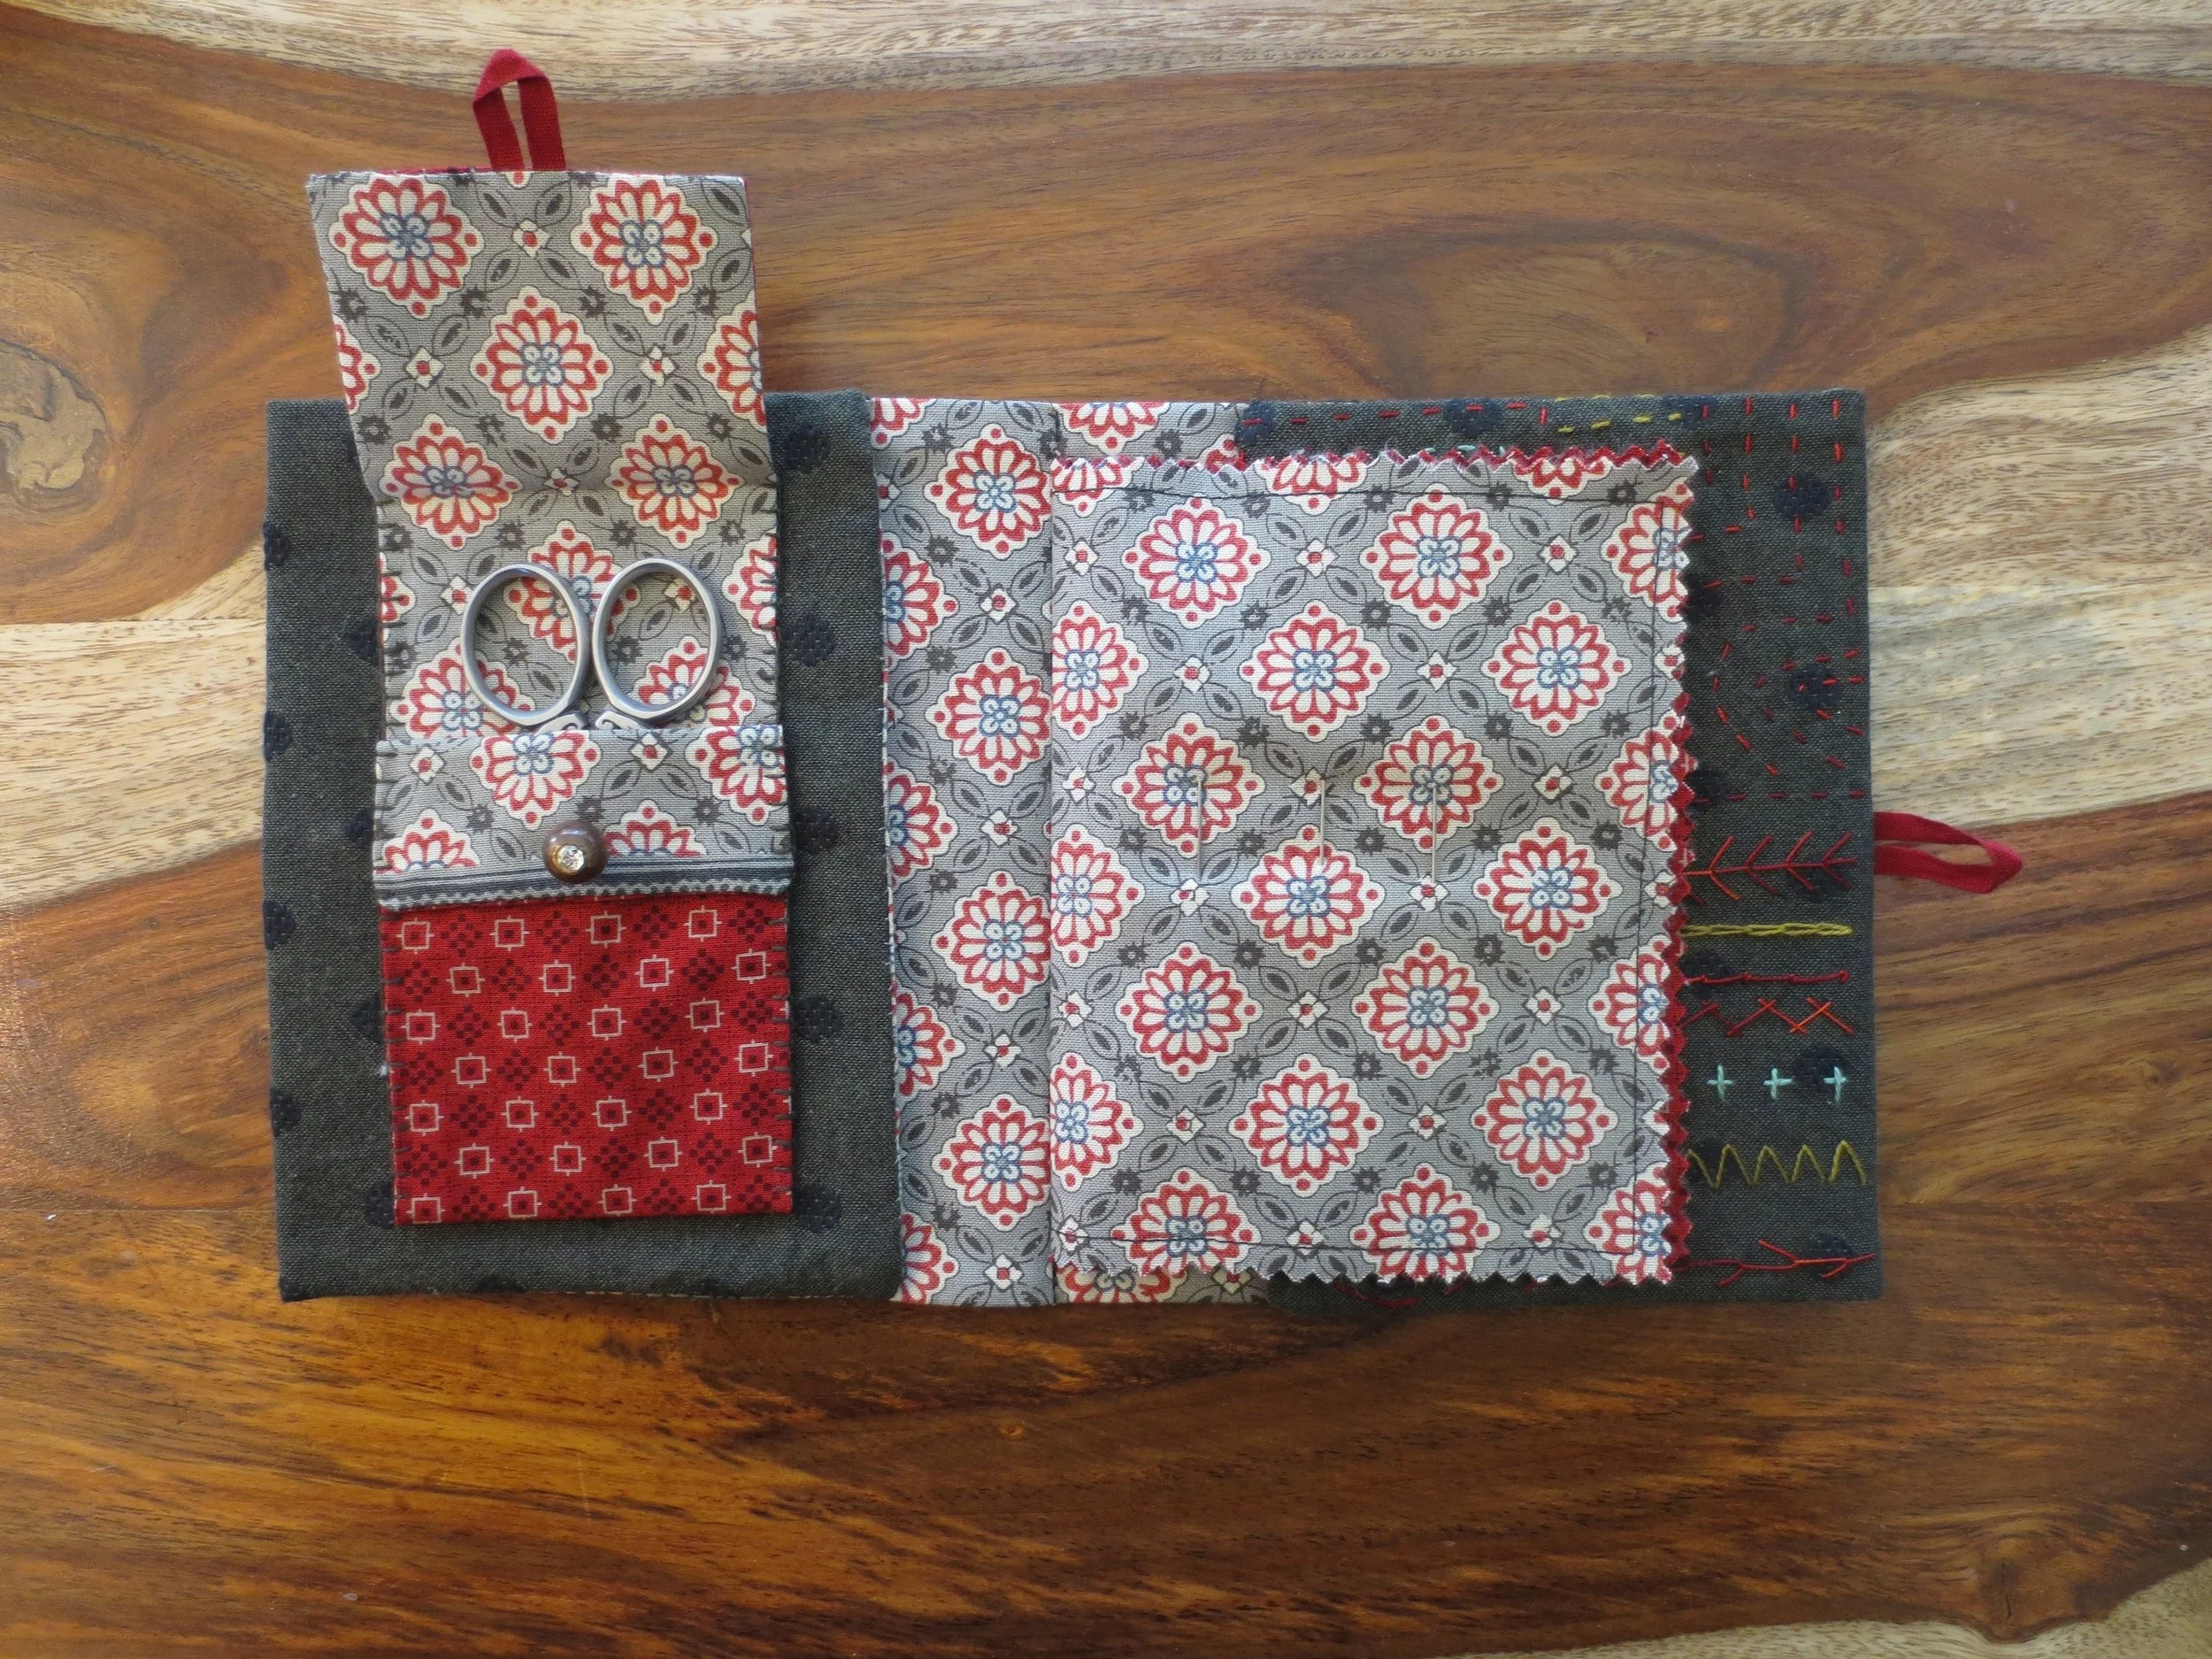
3. Scissor pocket construction - This is designed for a 4" pair of scissors.
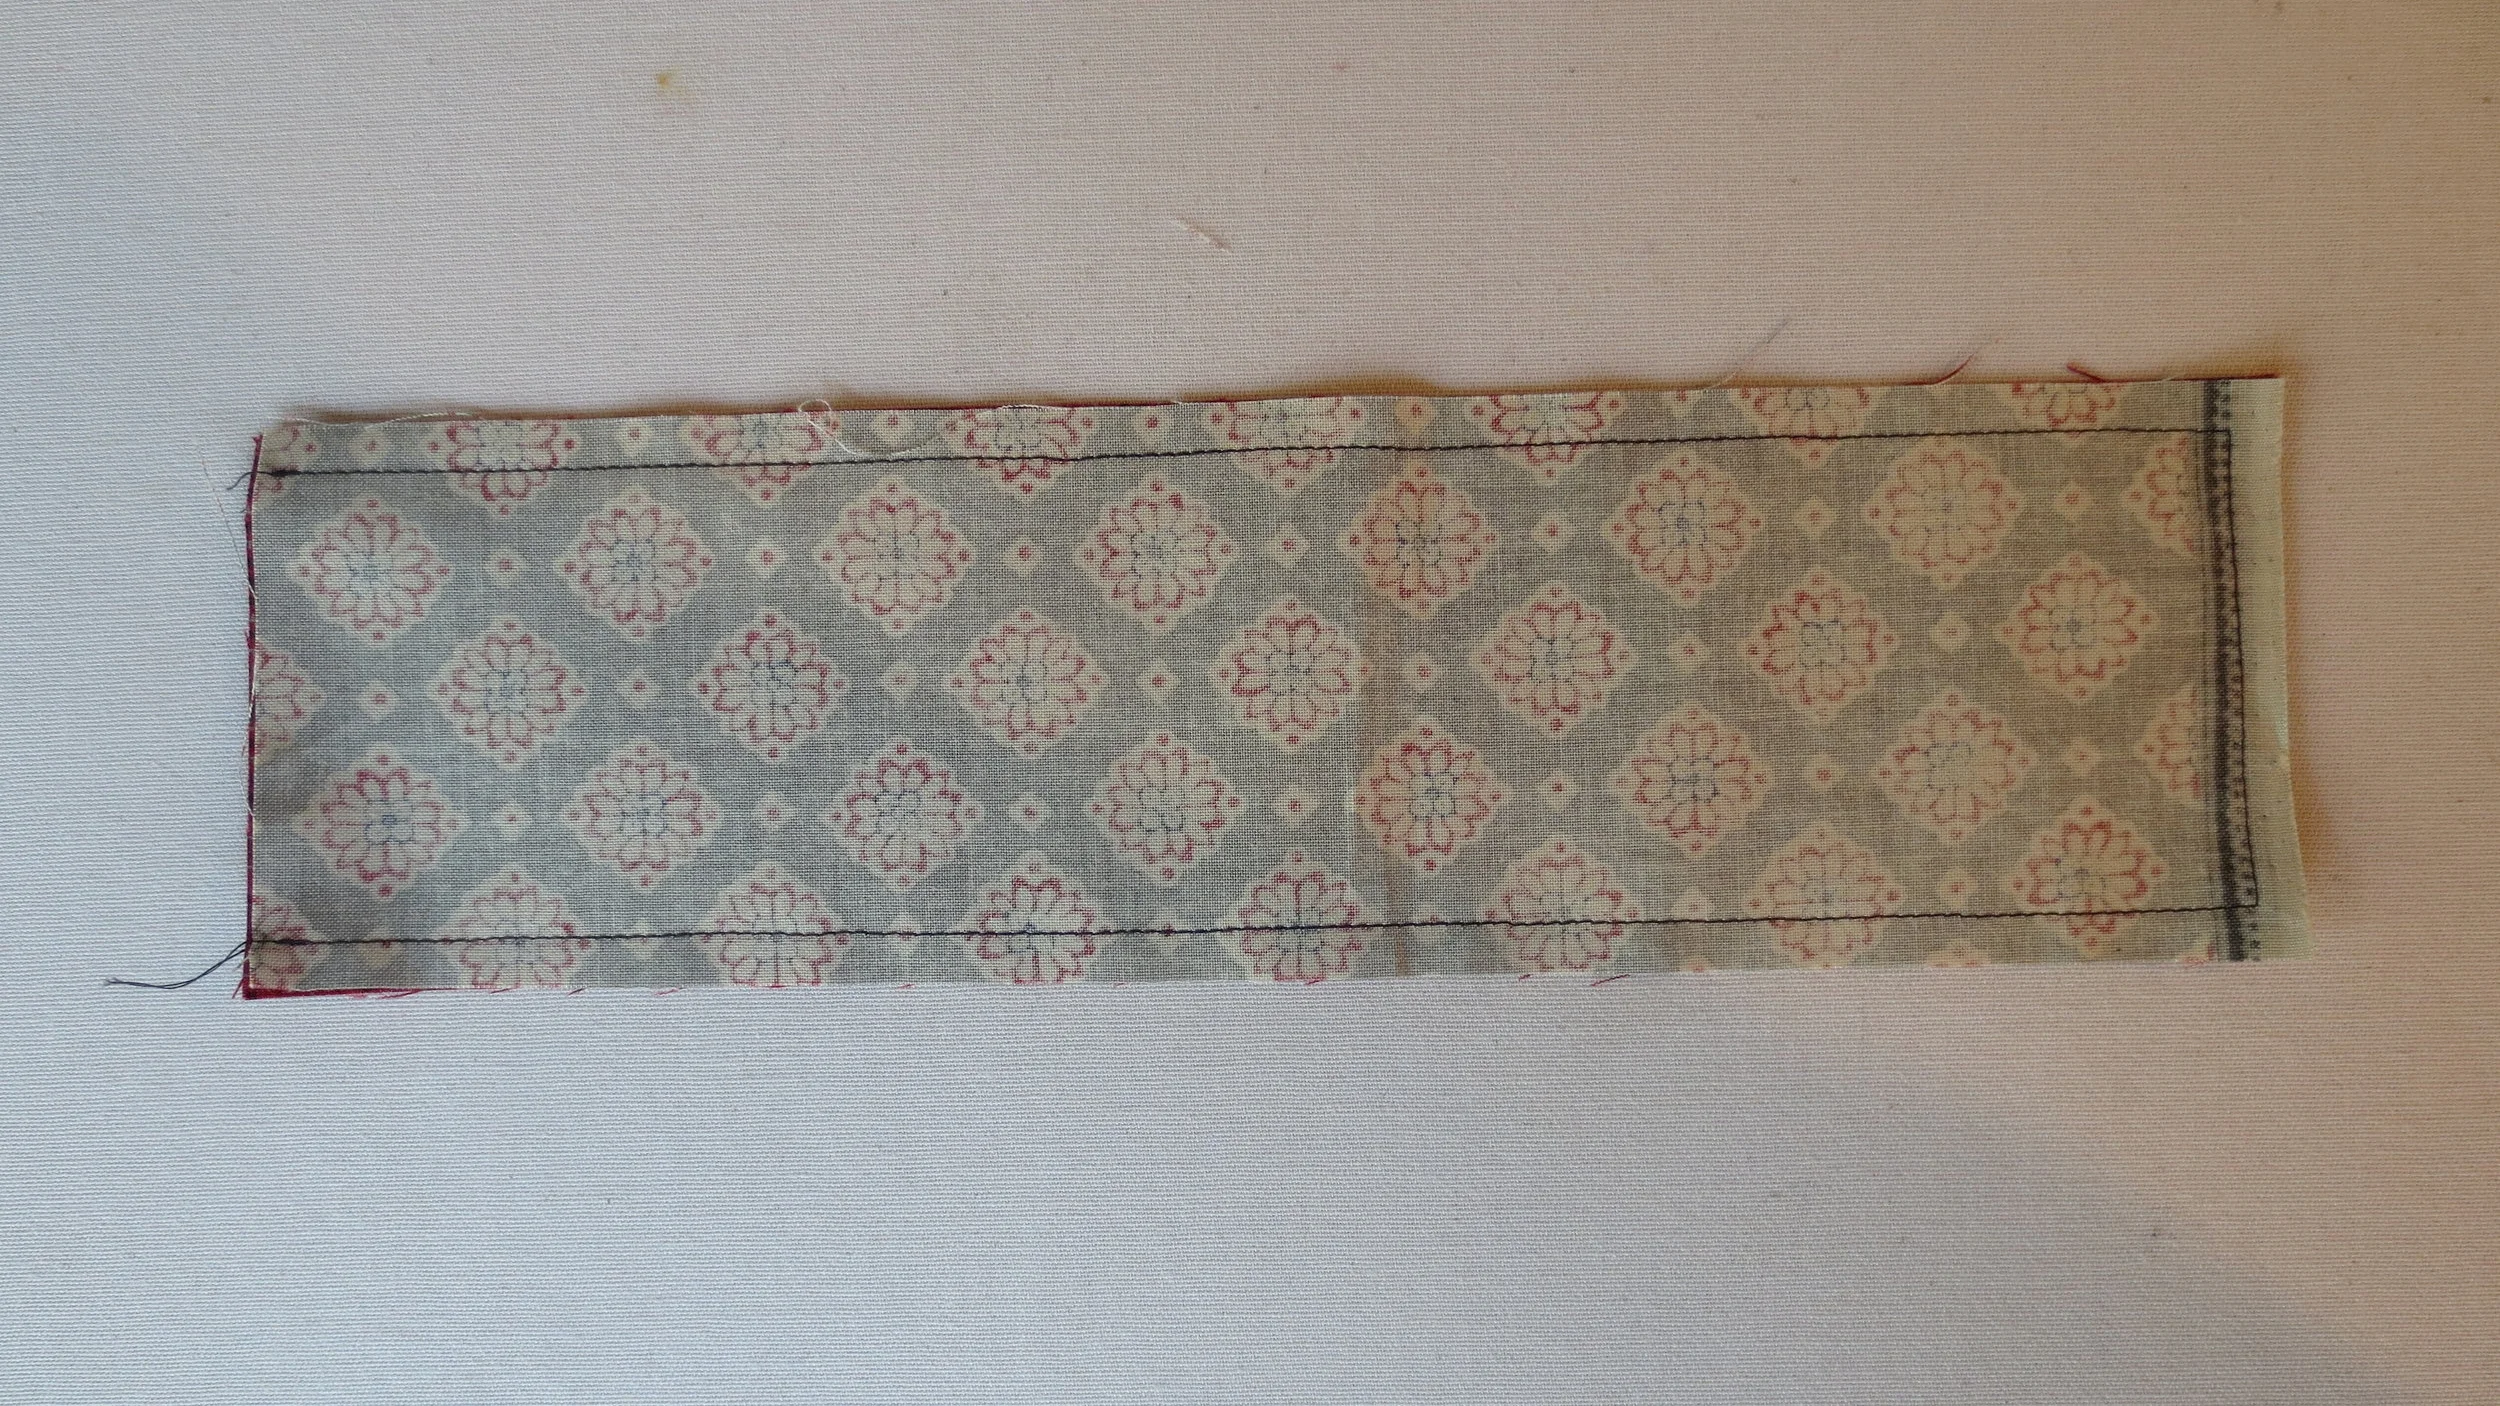
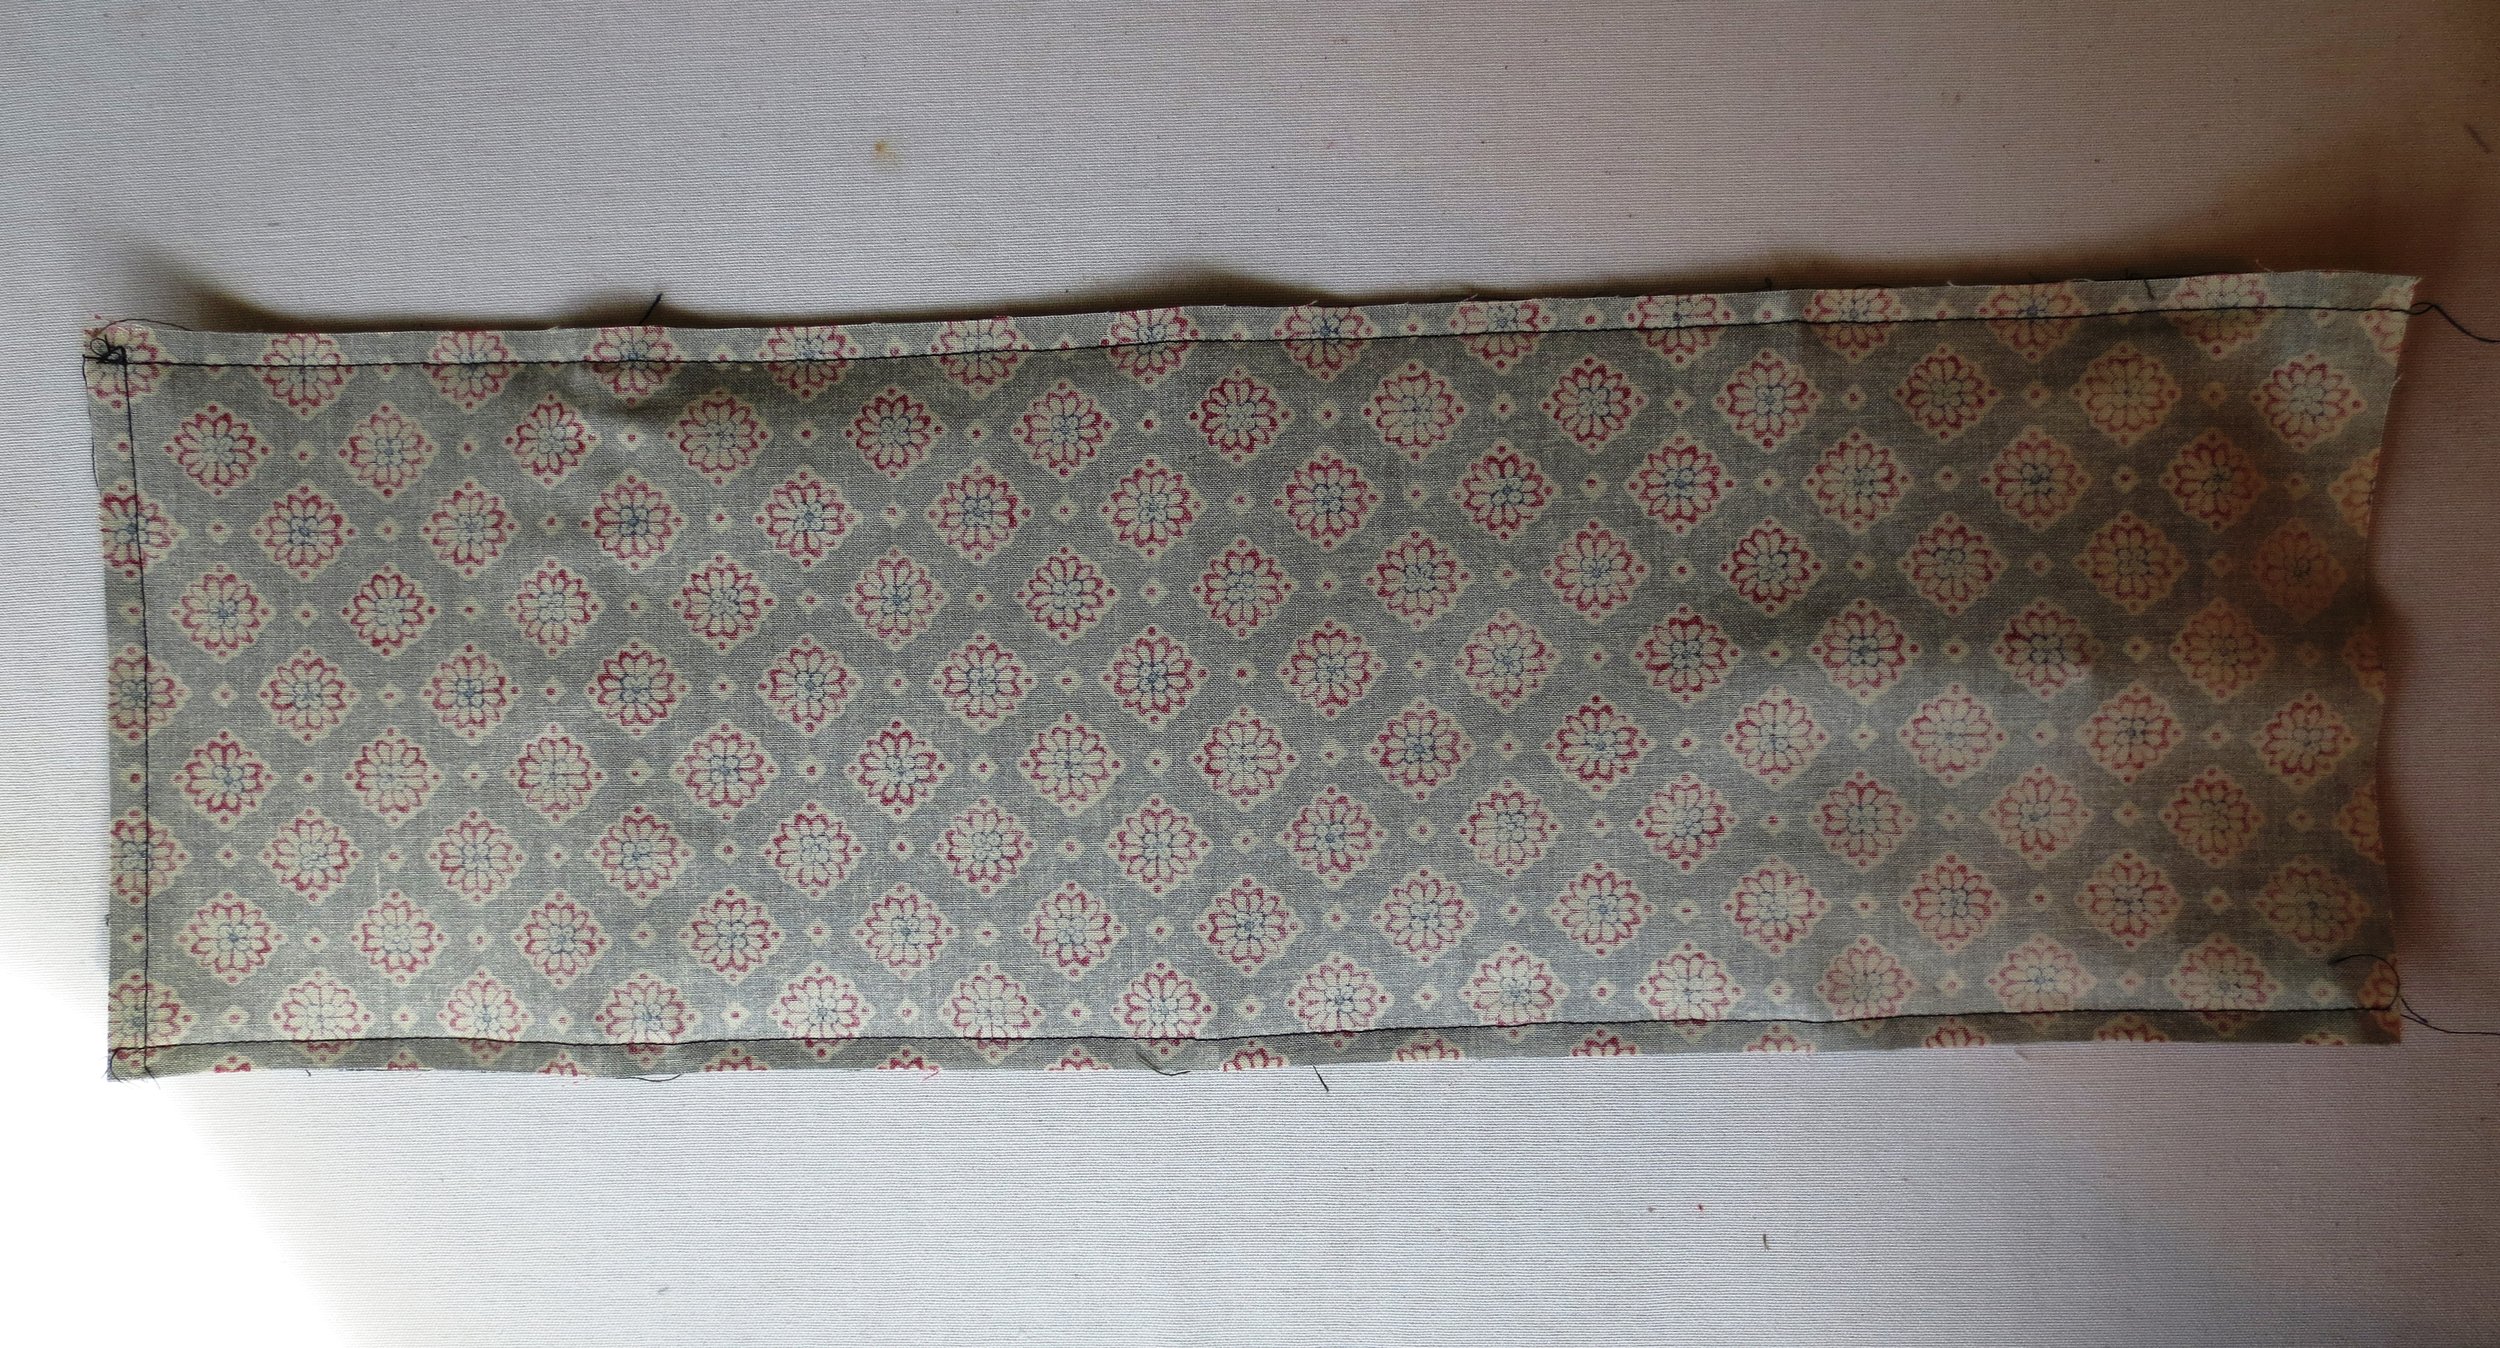
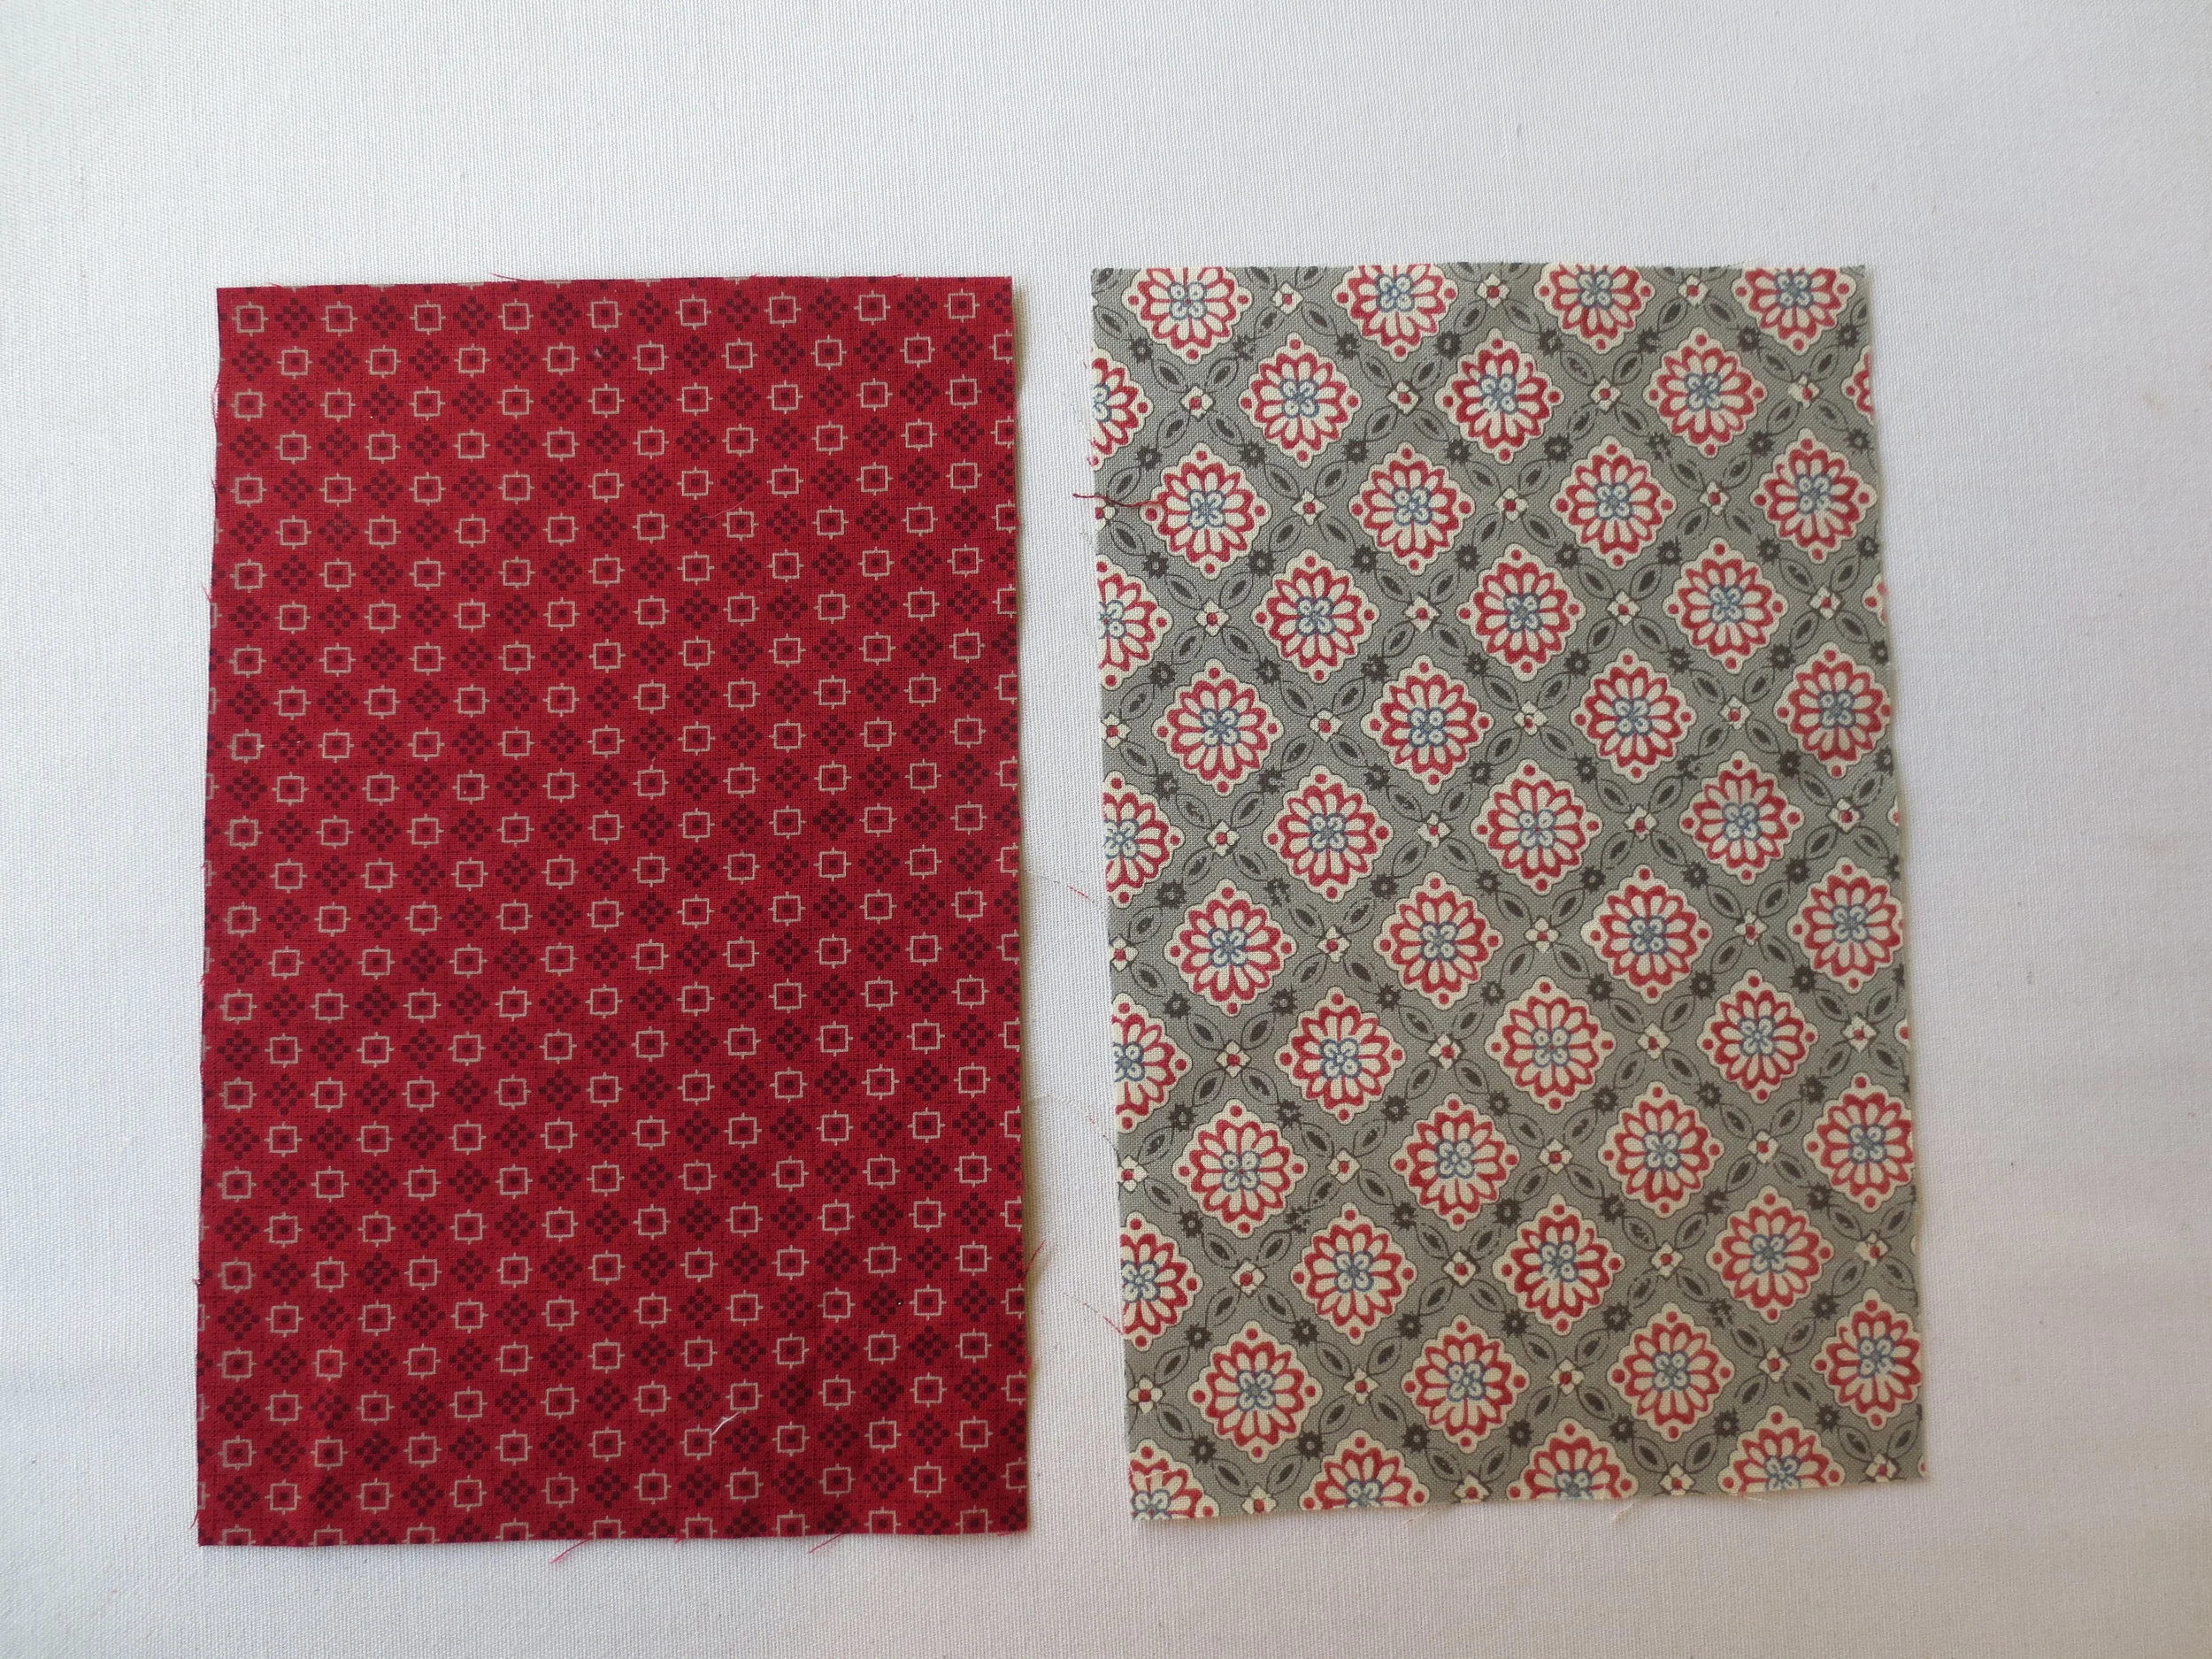
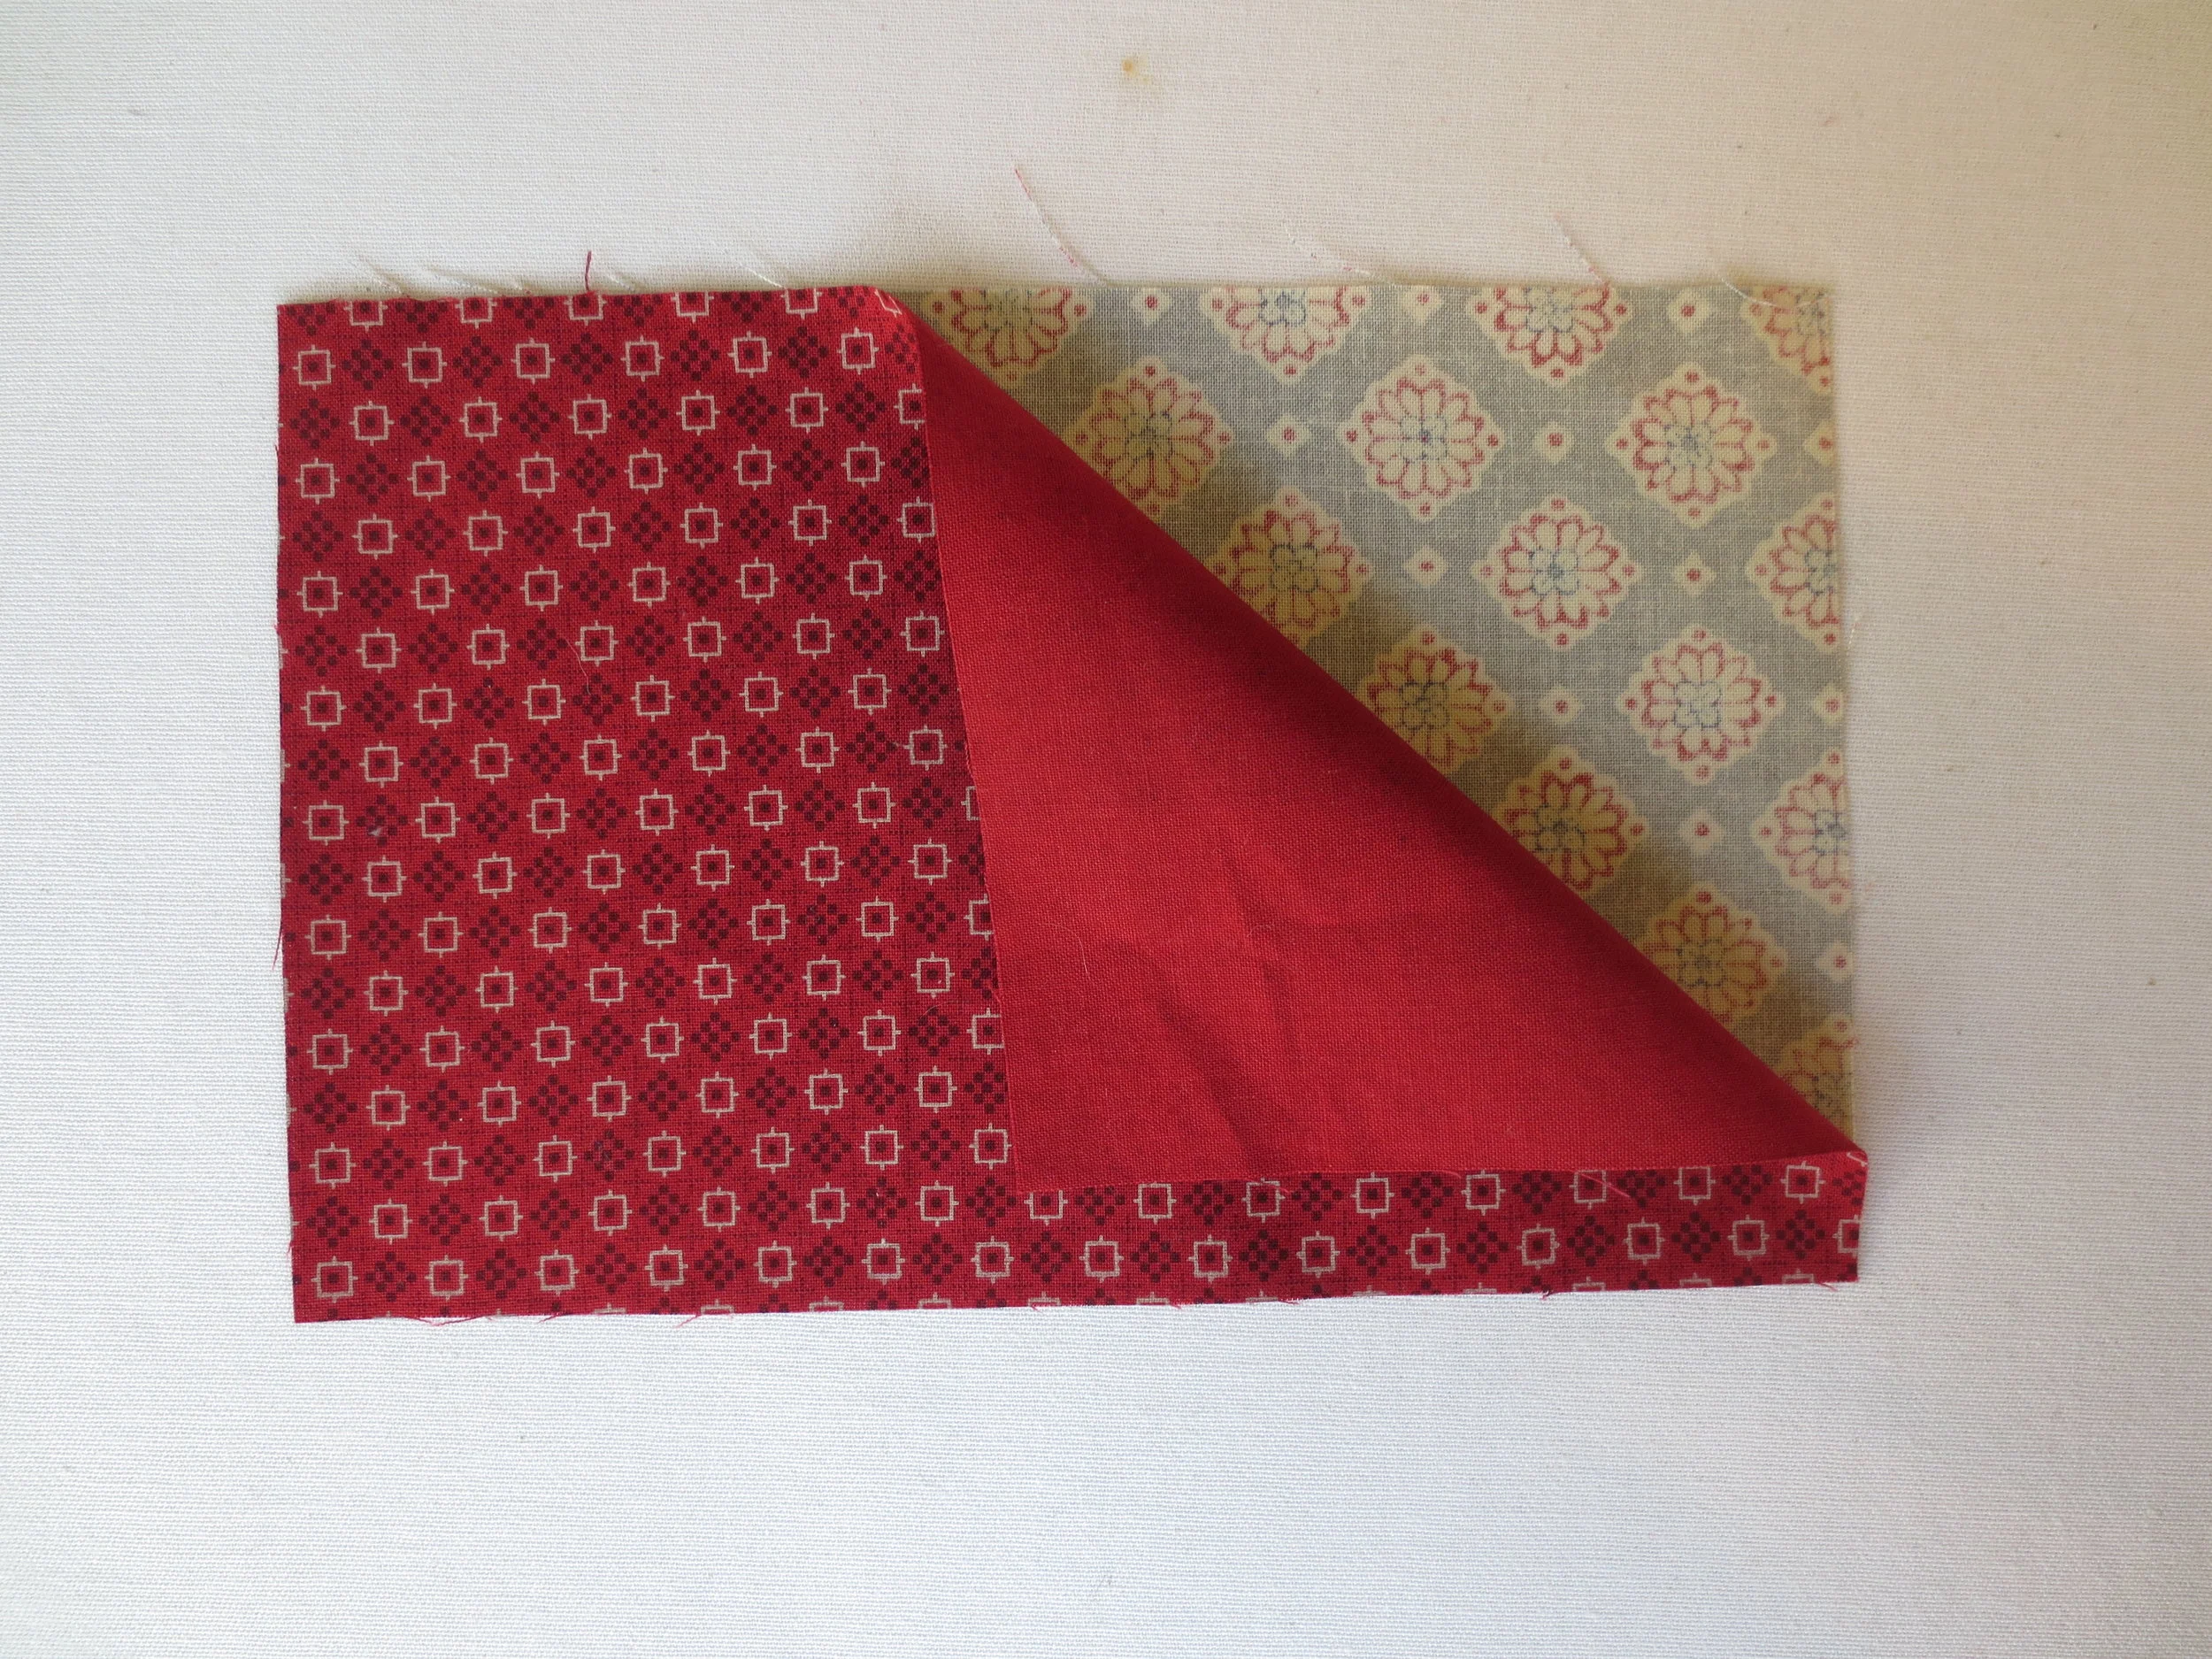
- Layer the two 3 1/4" x 11 1/2" (fabrics B & C) pieces, right sides together.
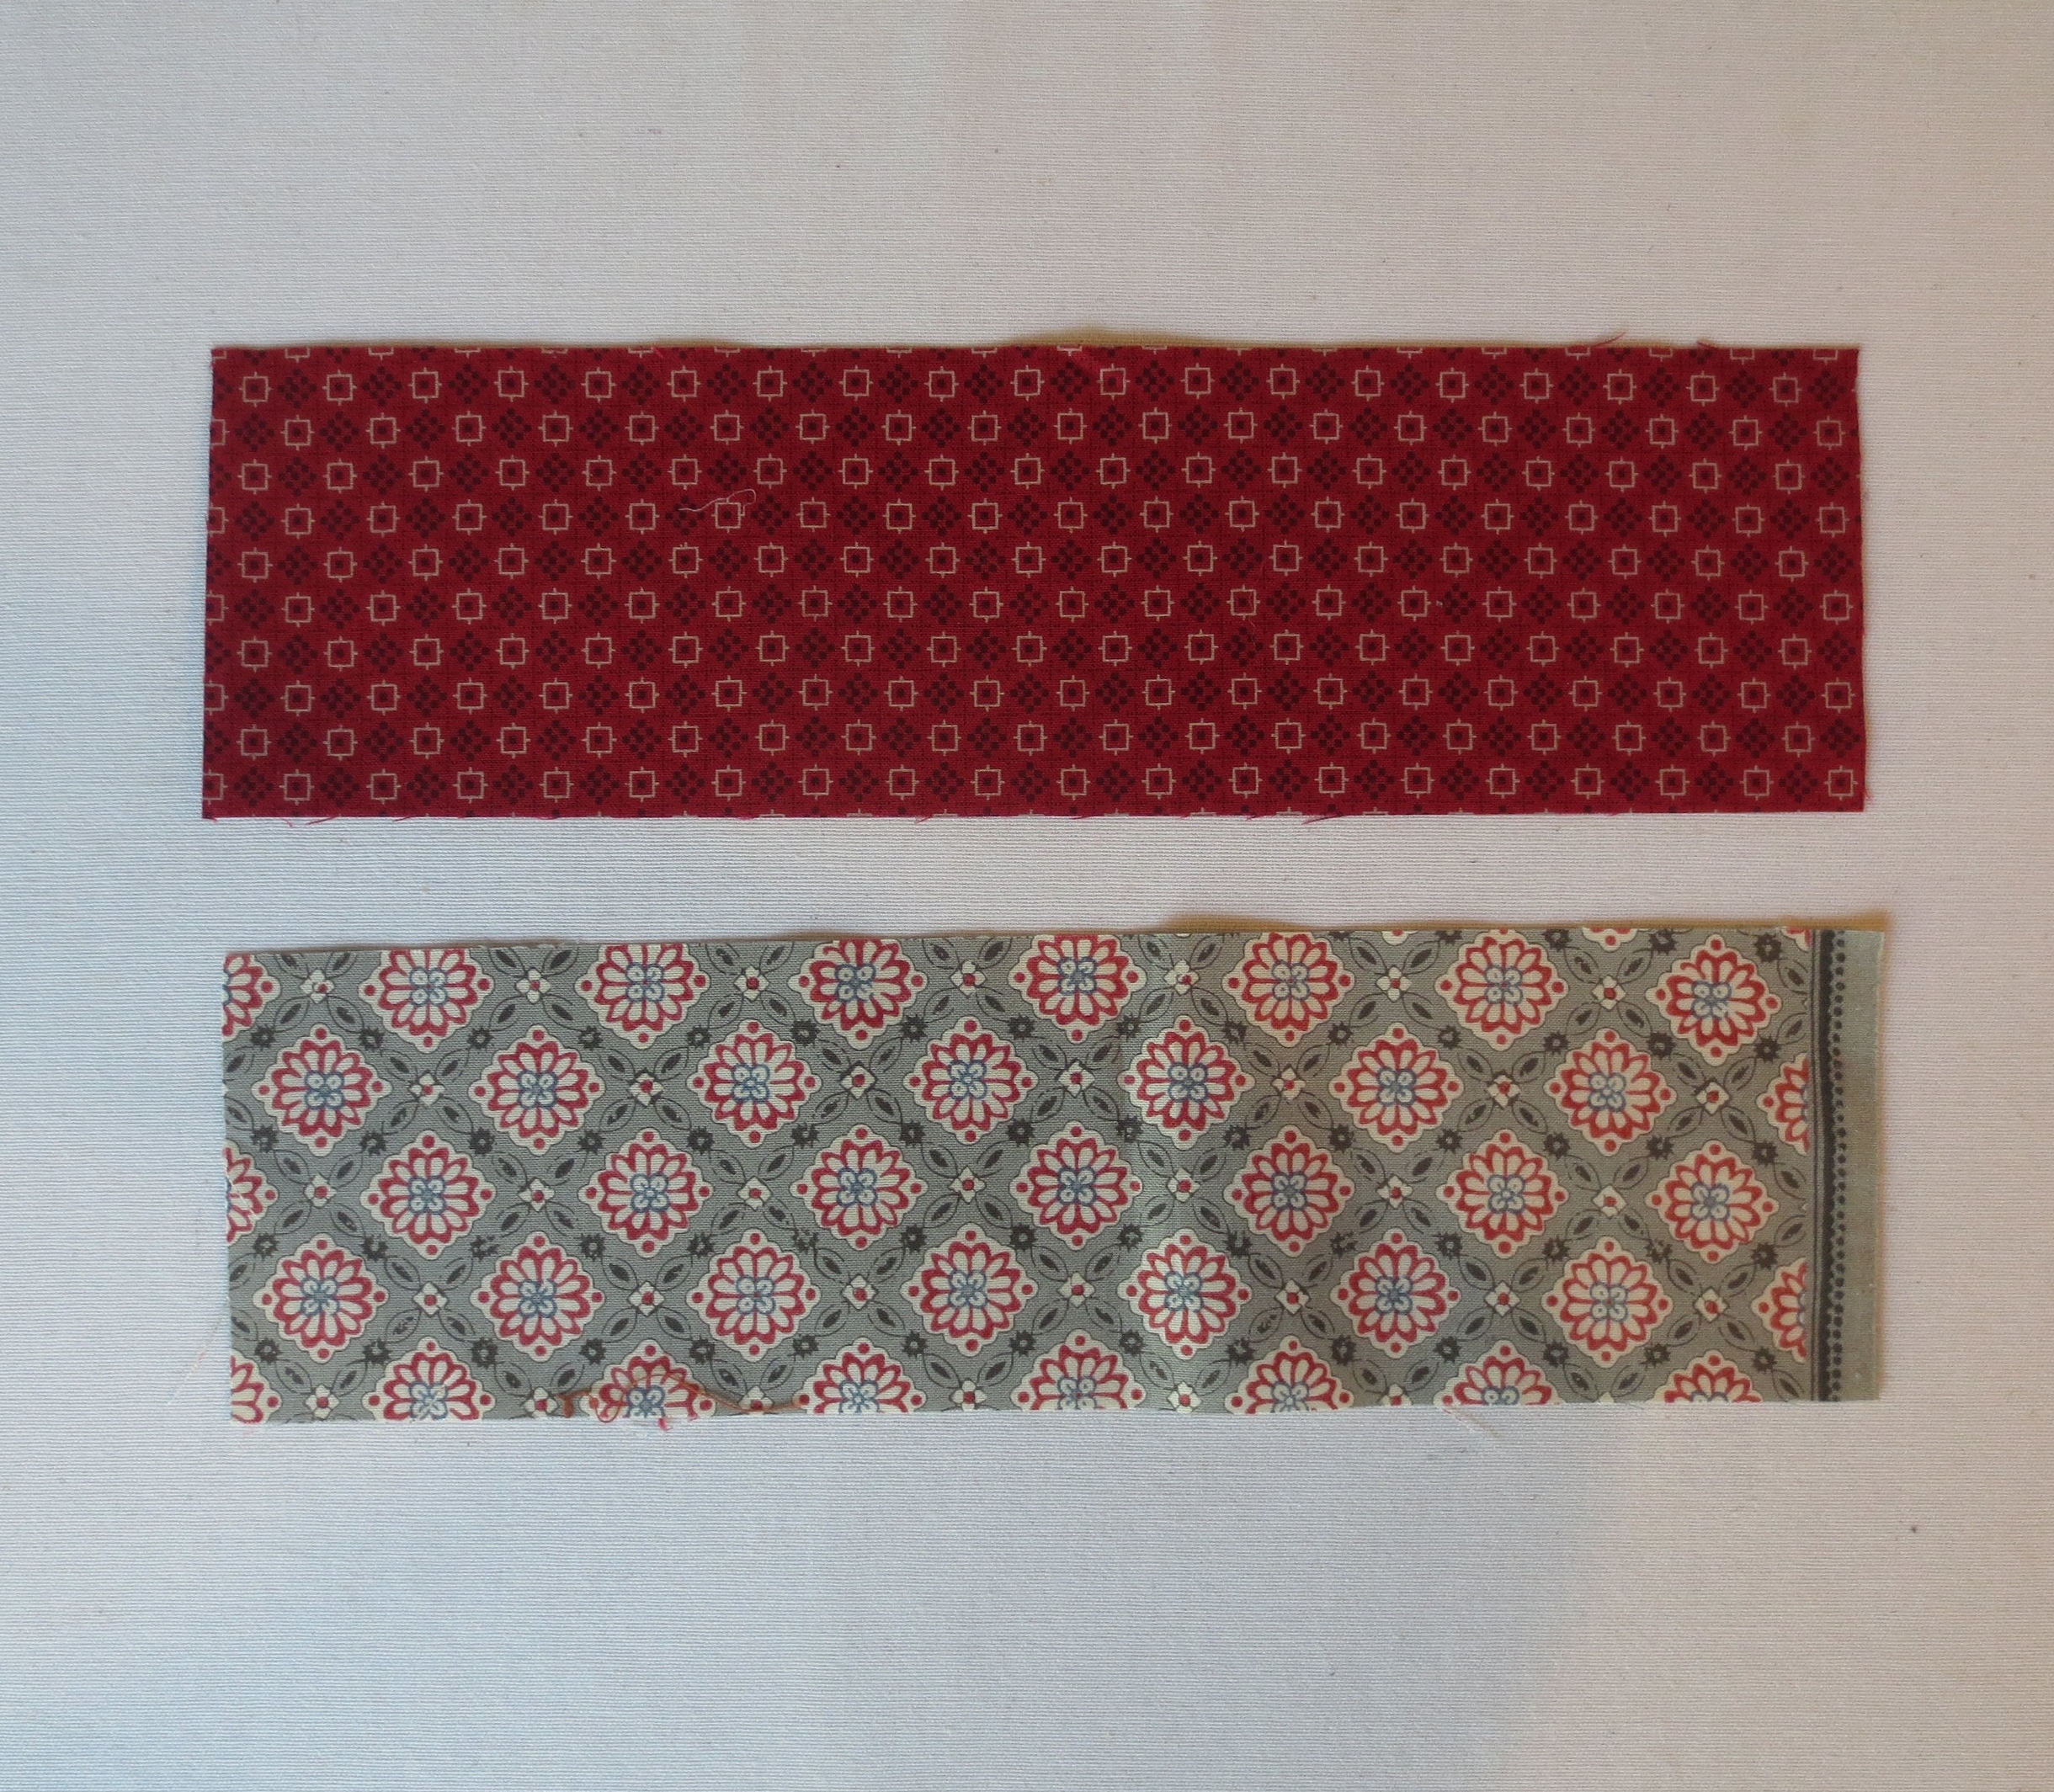
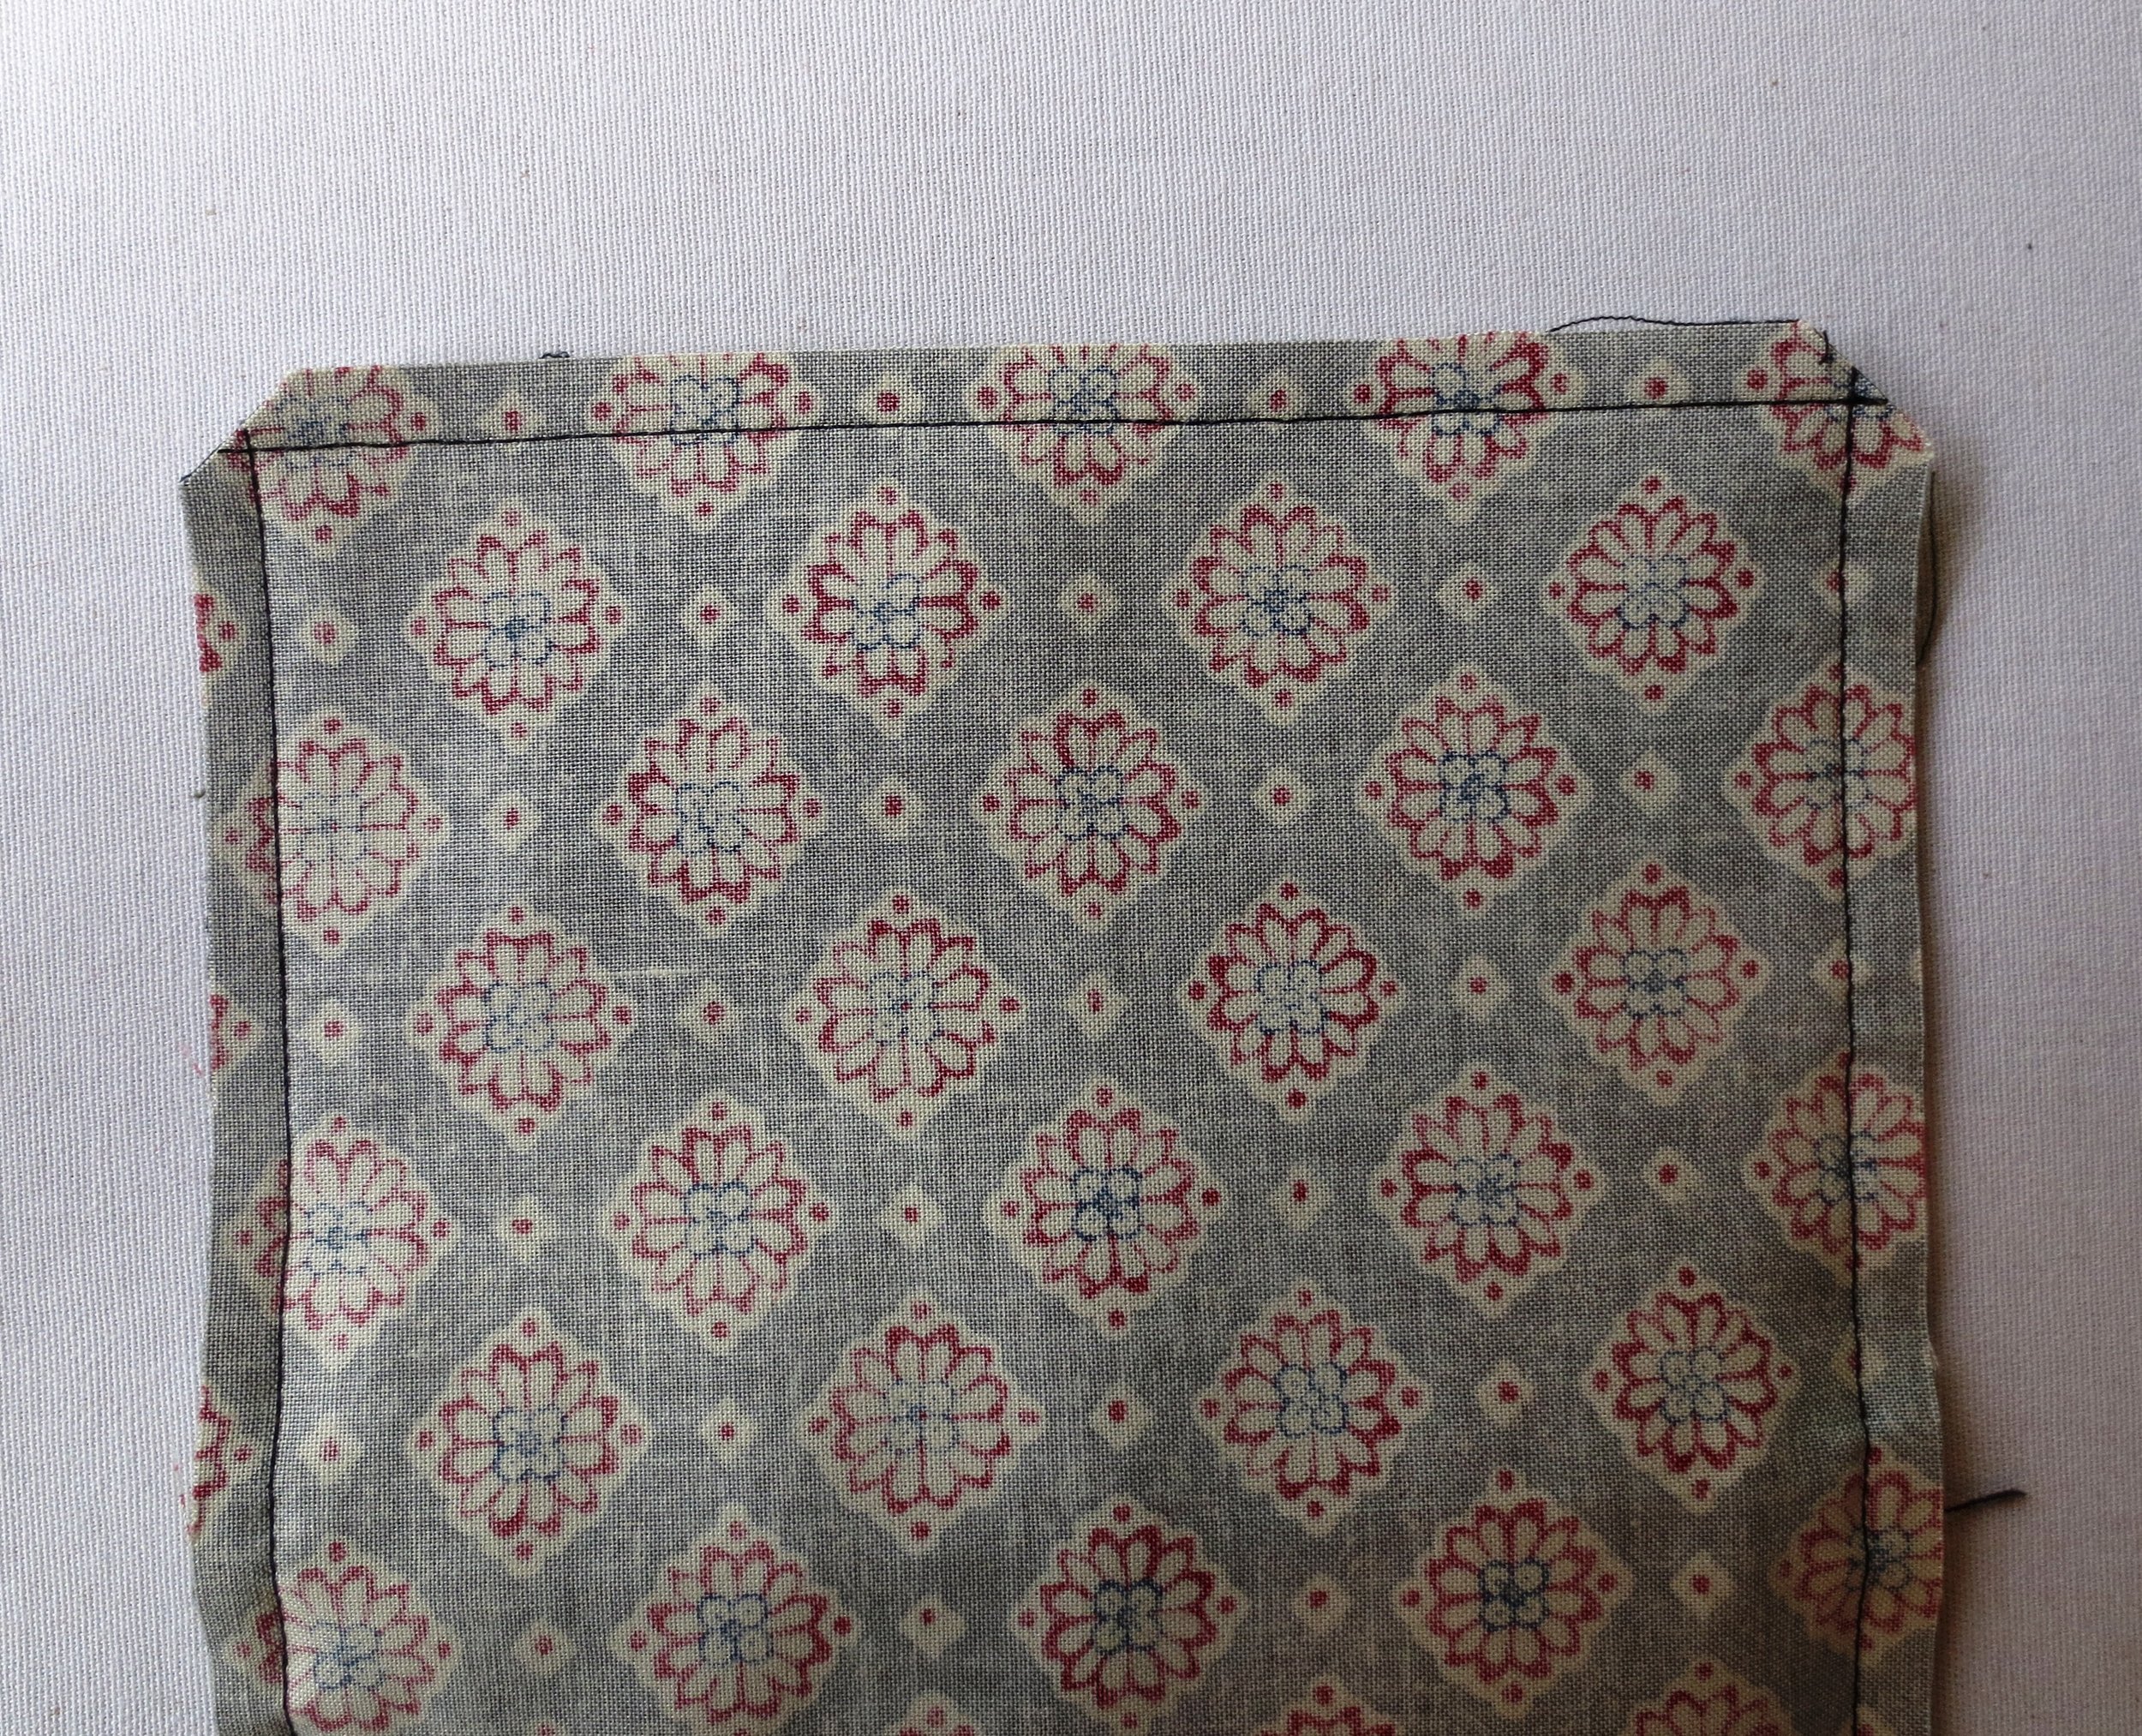
- Sew a 1/4" seam along the two long sides and one short side of of this fabric sandwich. If you used a fabric with a border like I did, sew this side. You may need to make the seam narrower than 1/4" to insure that the border design is visable once the piece is turned.
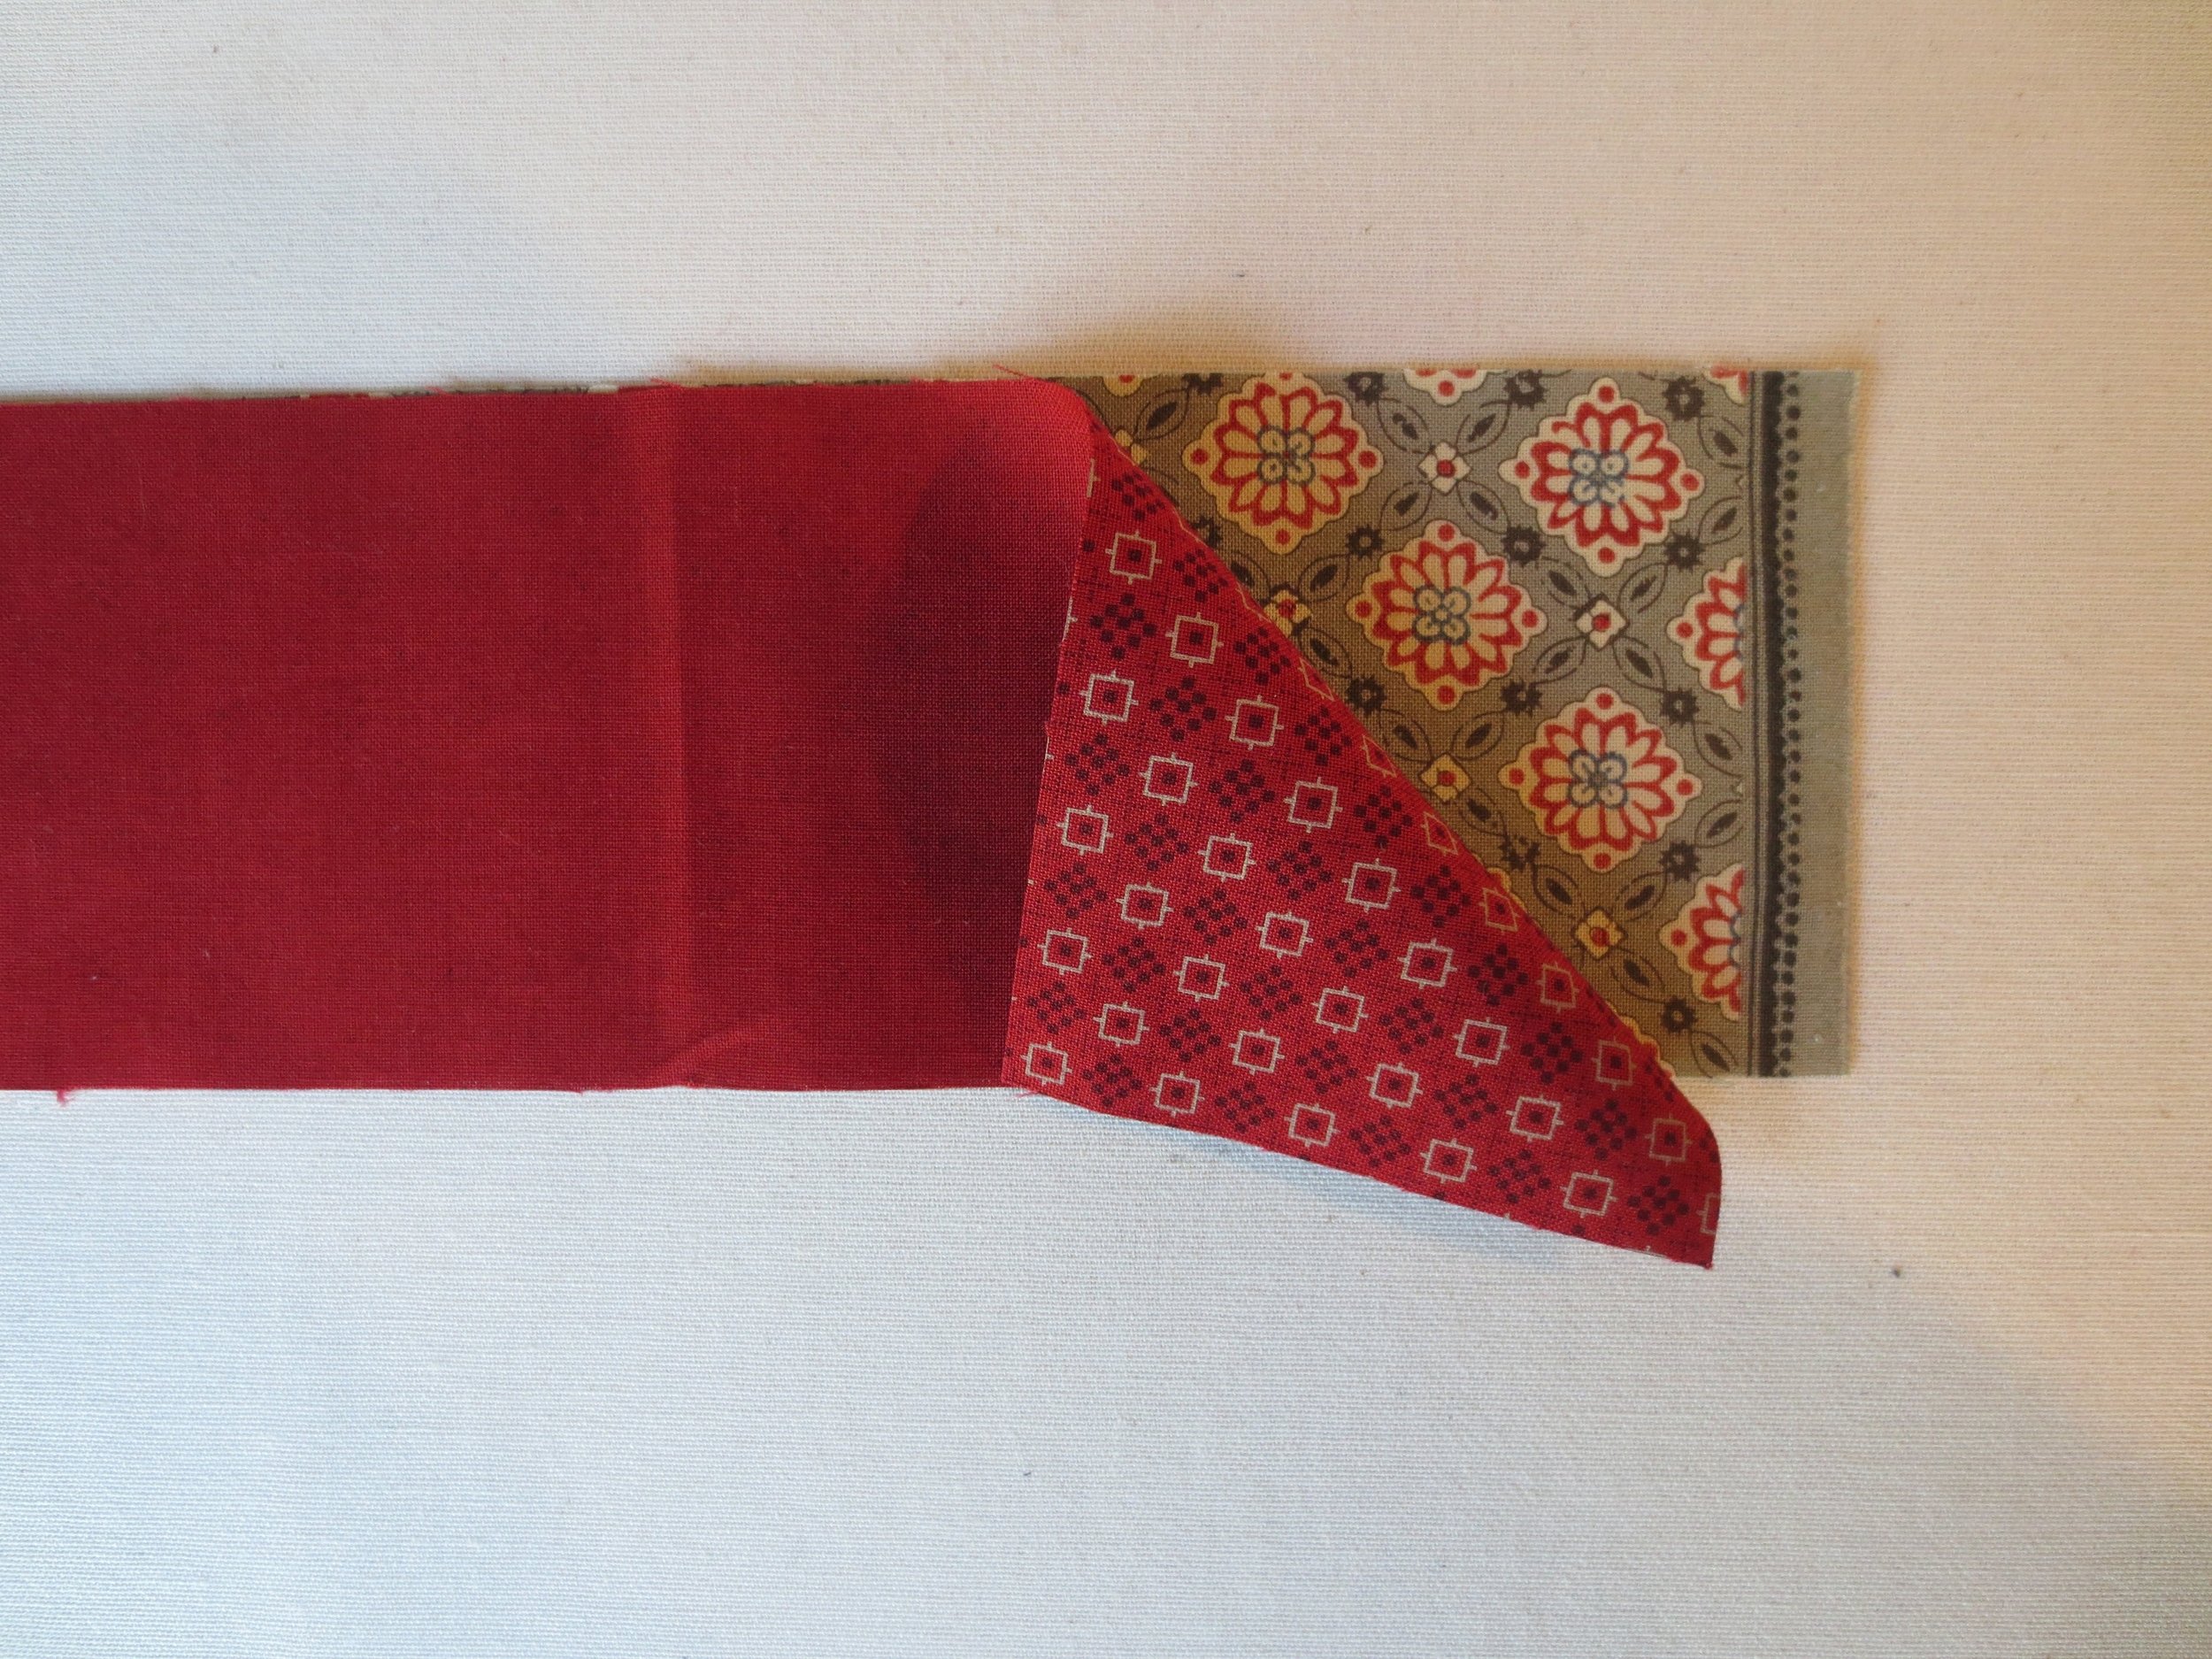
- Clip corners.
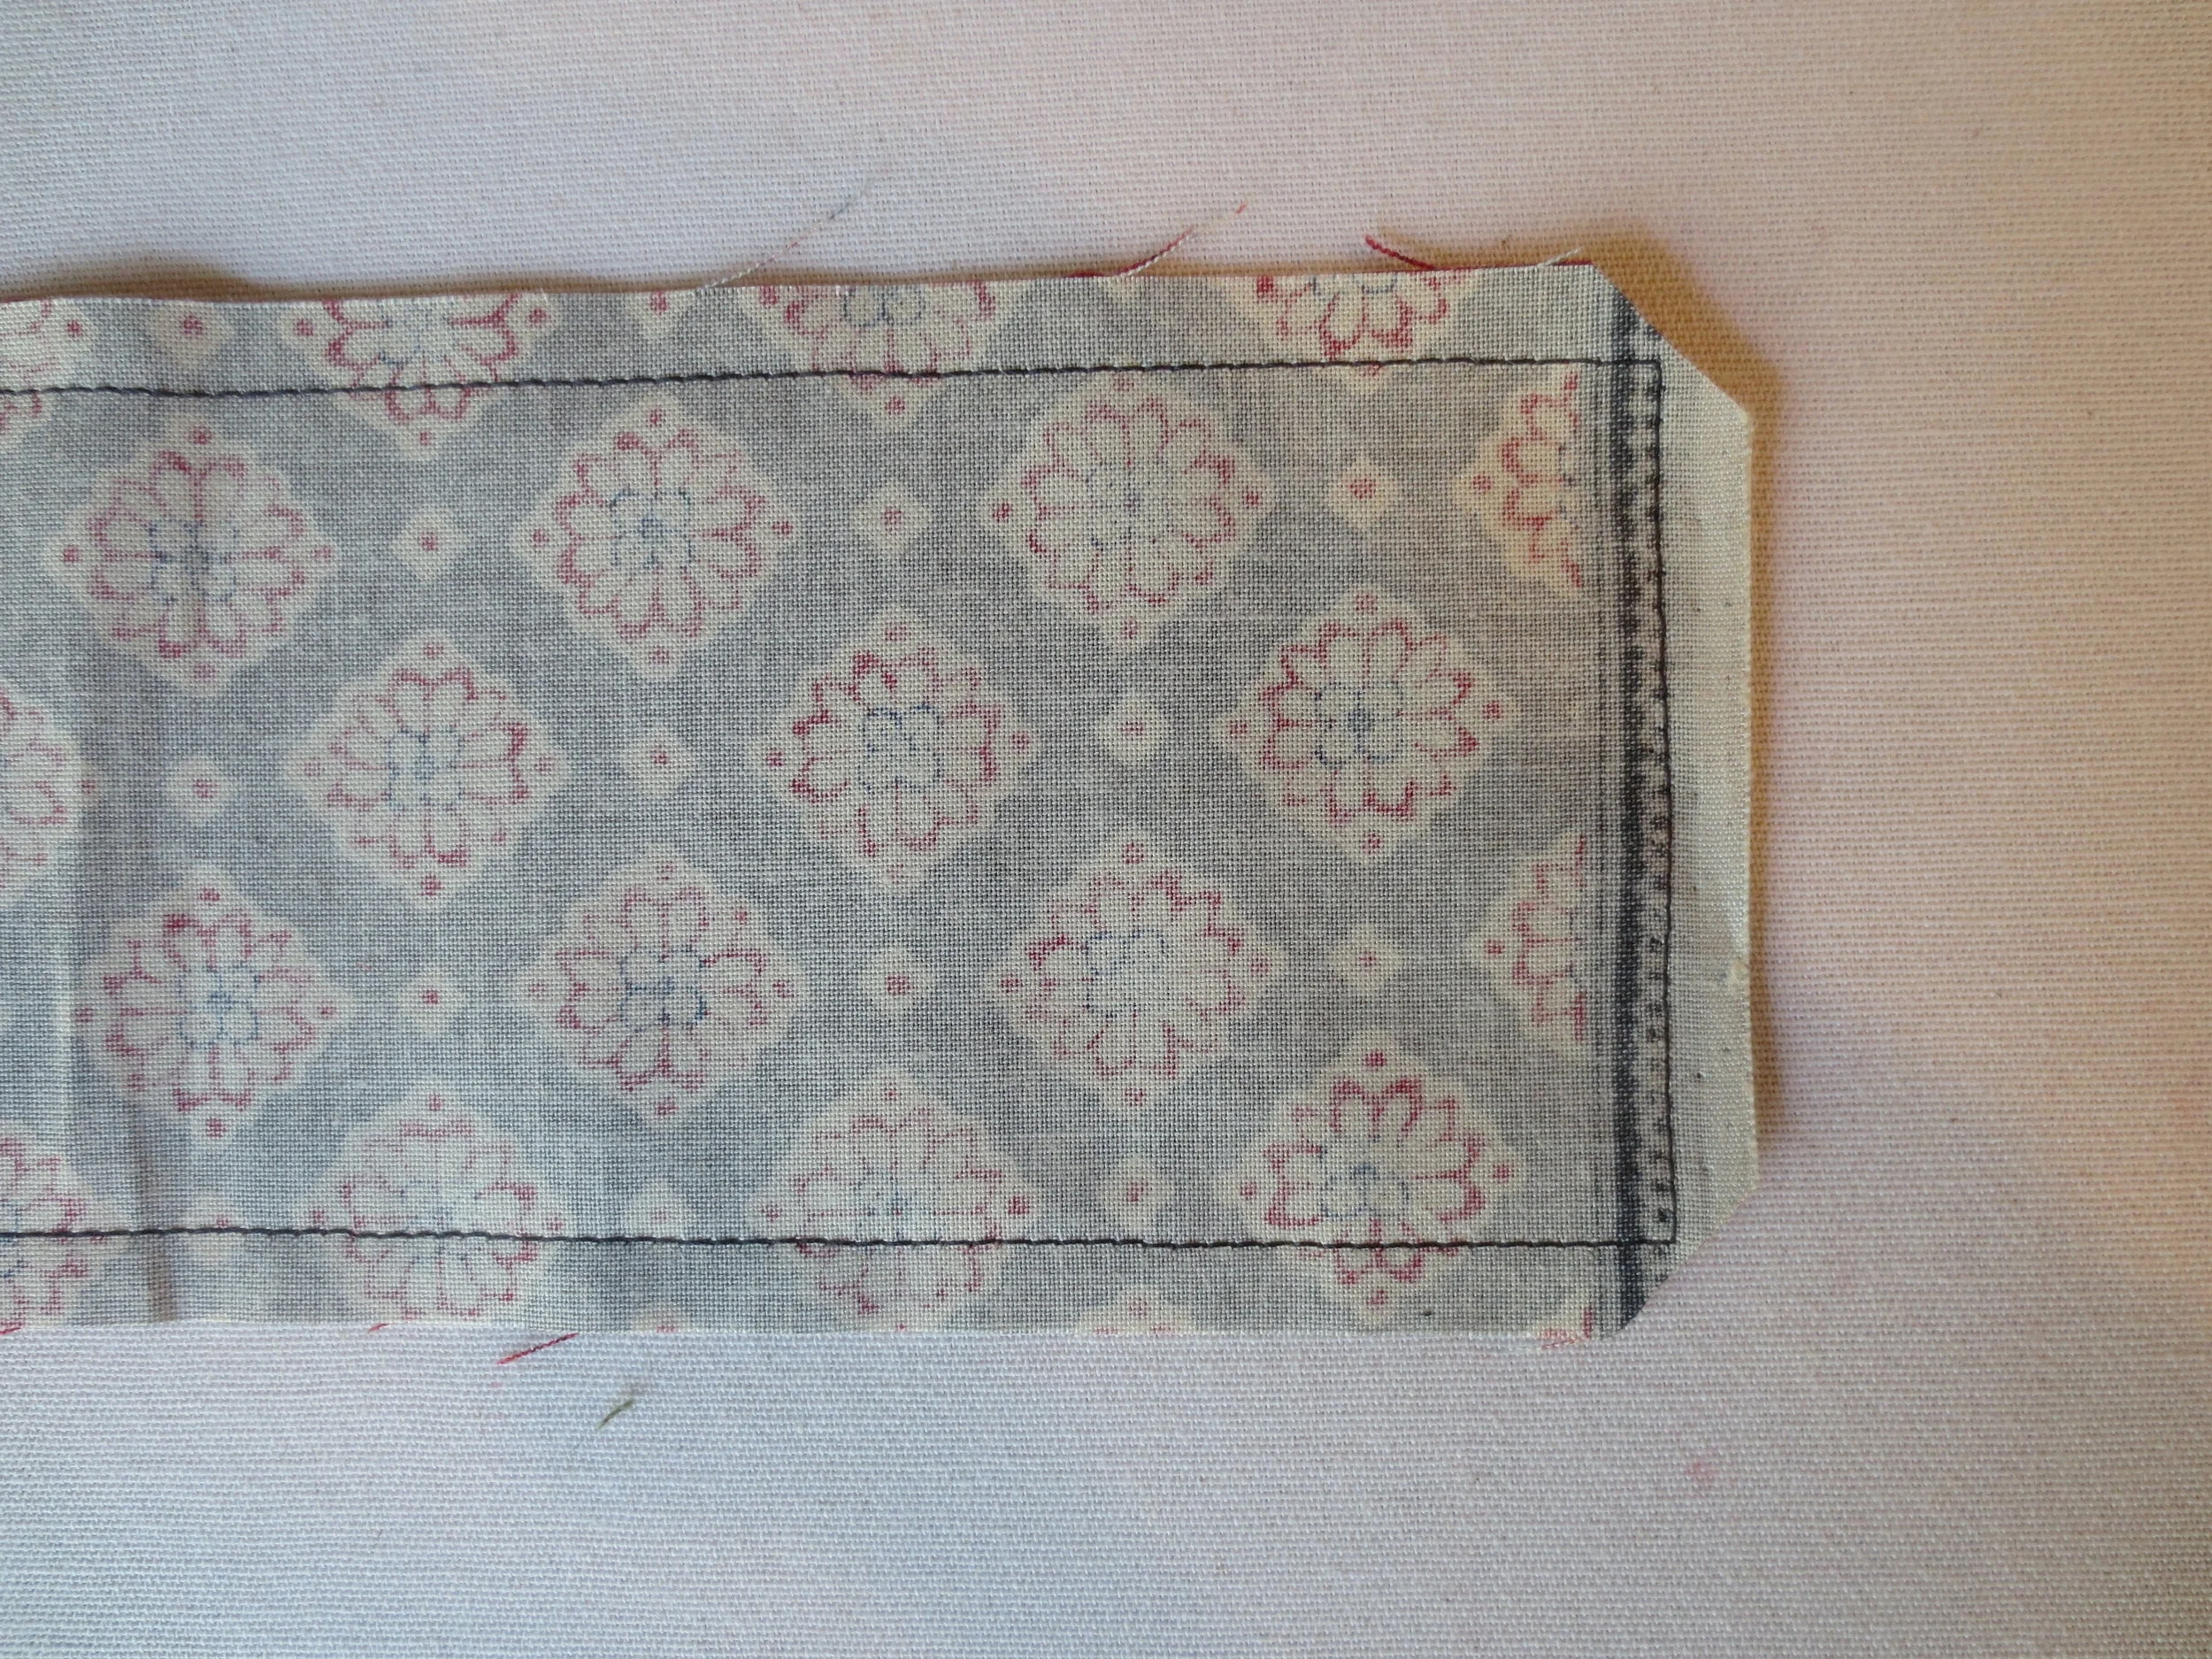
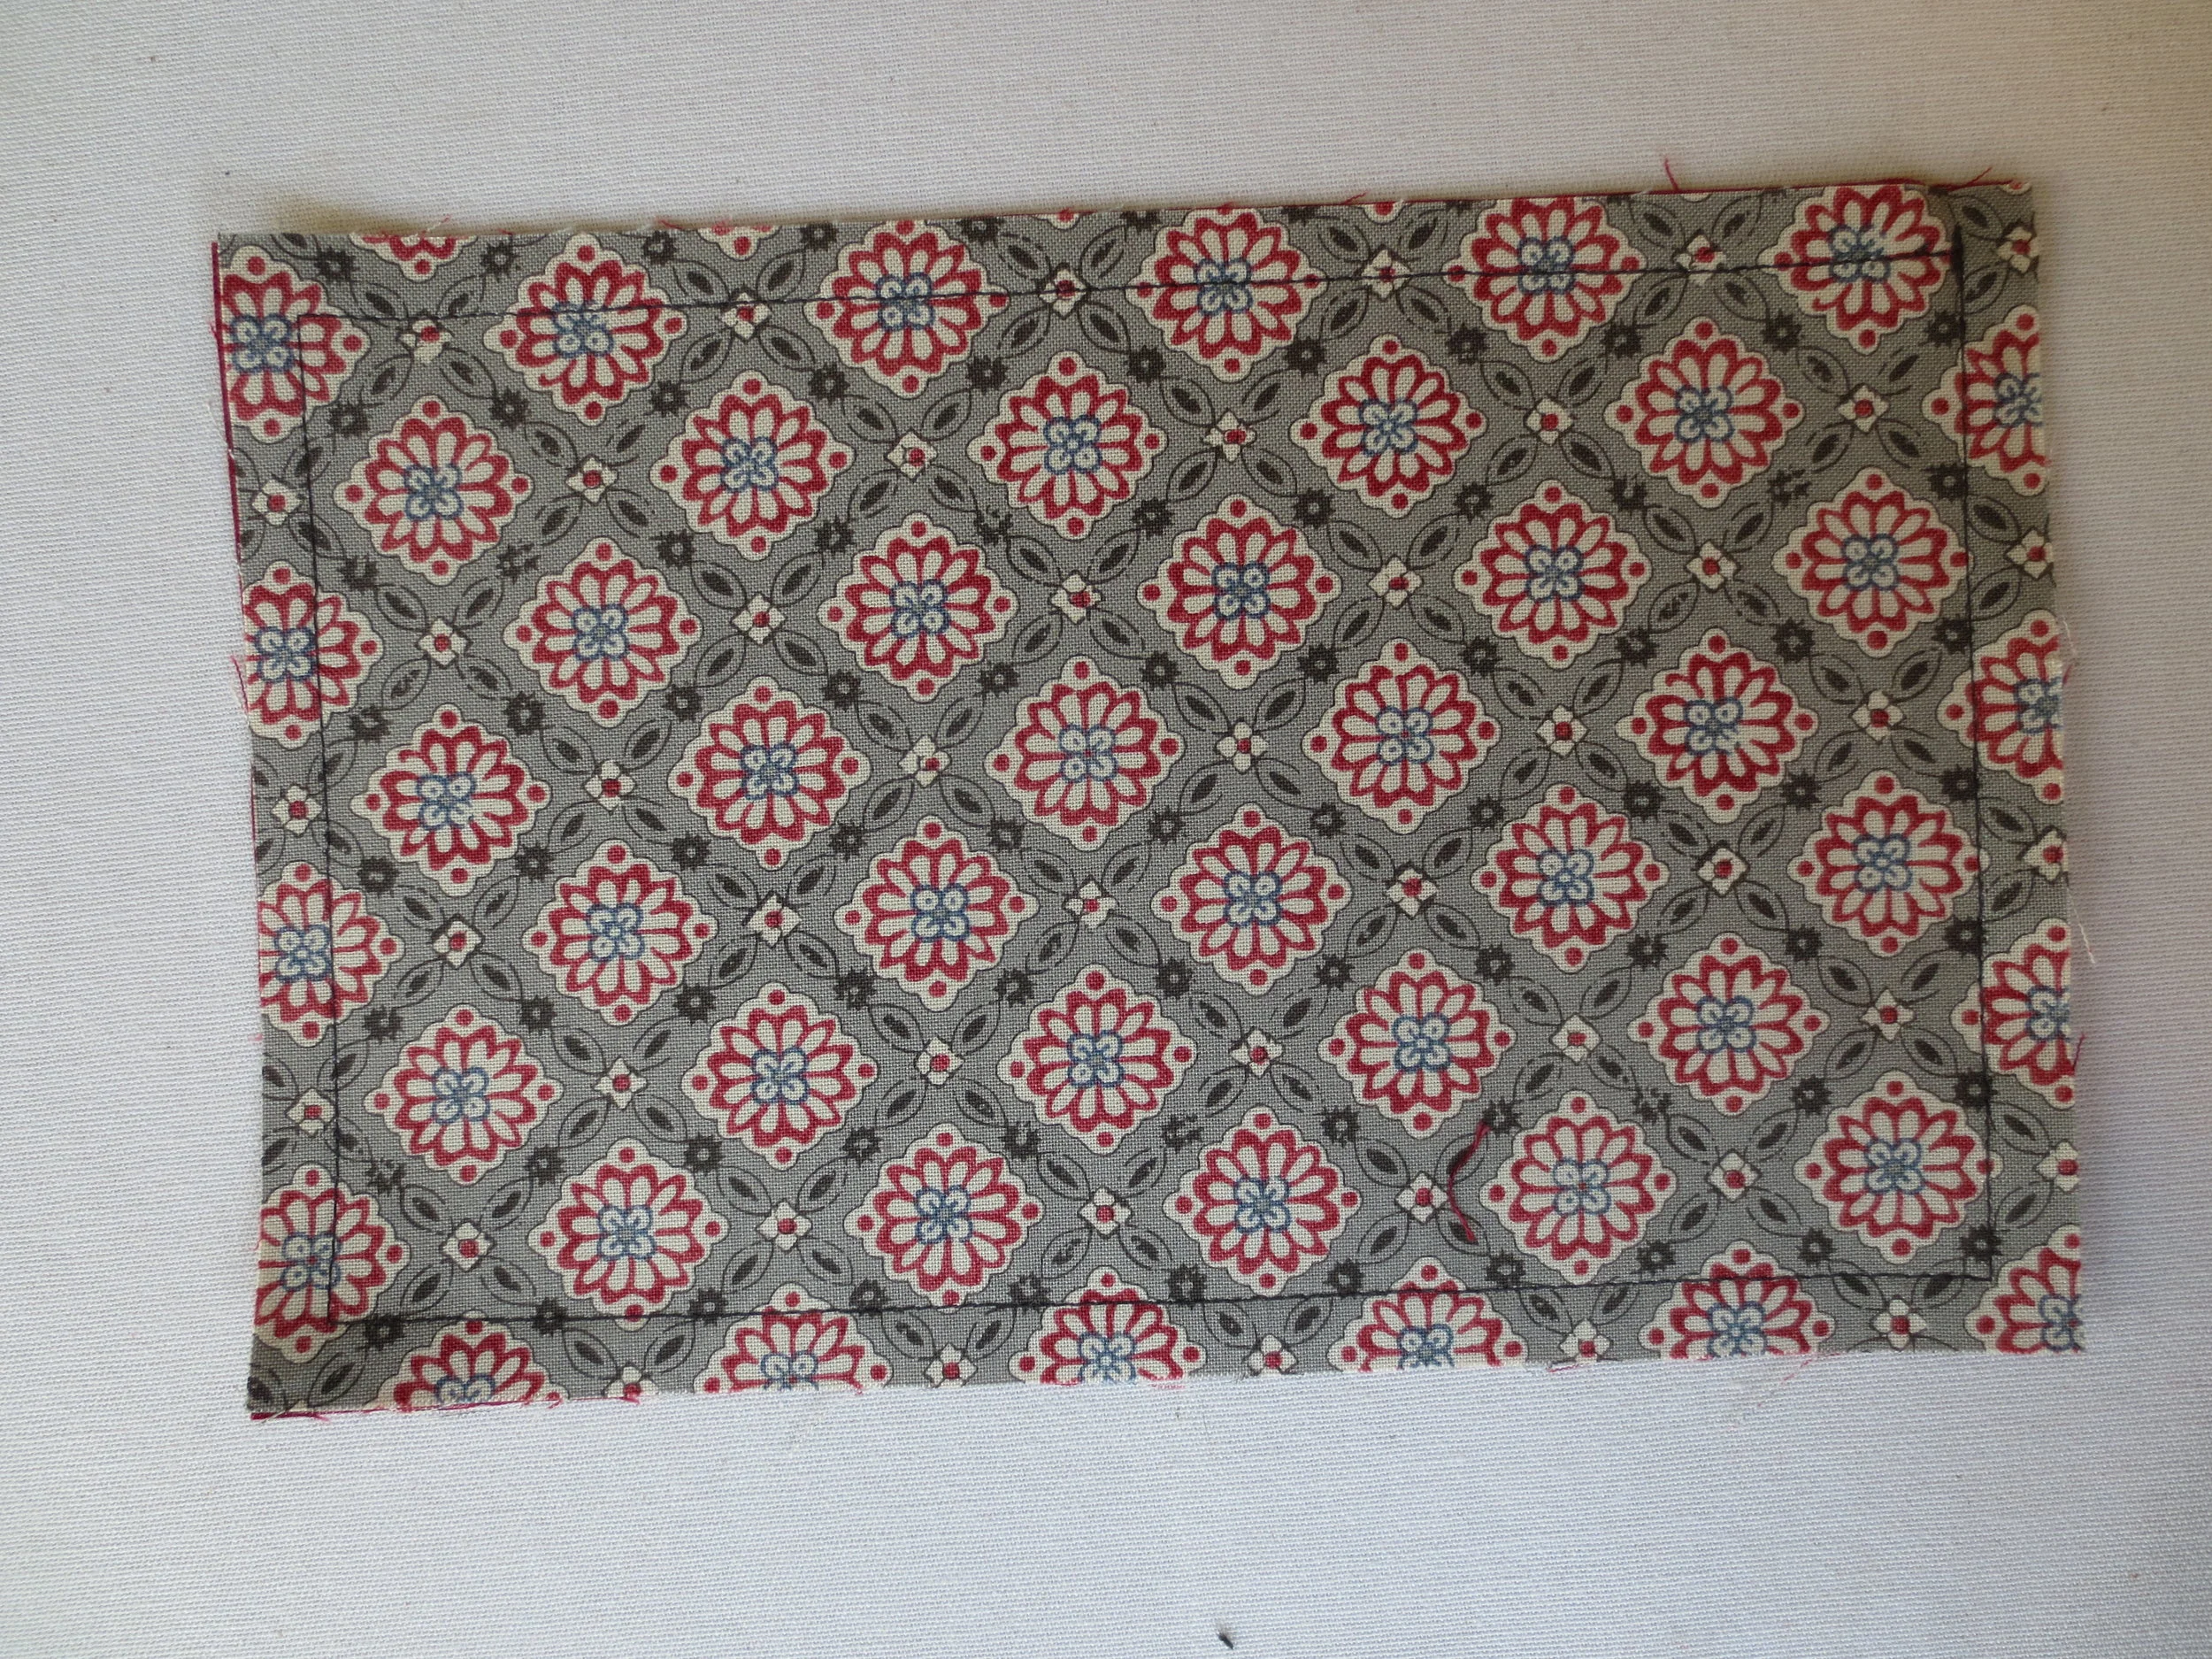
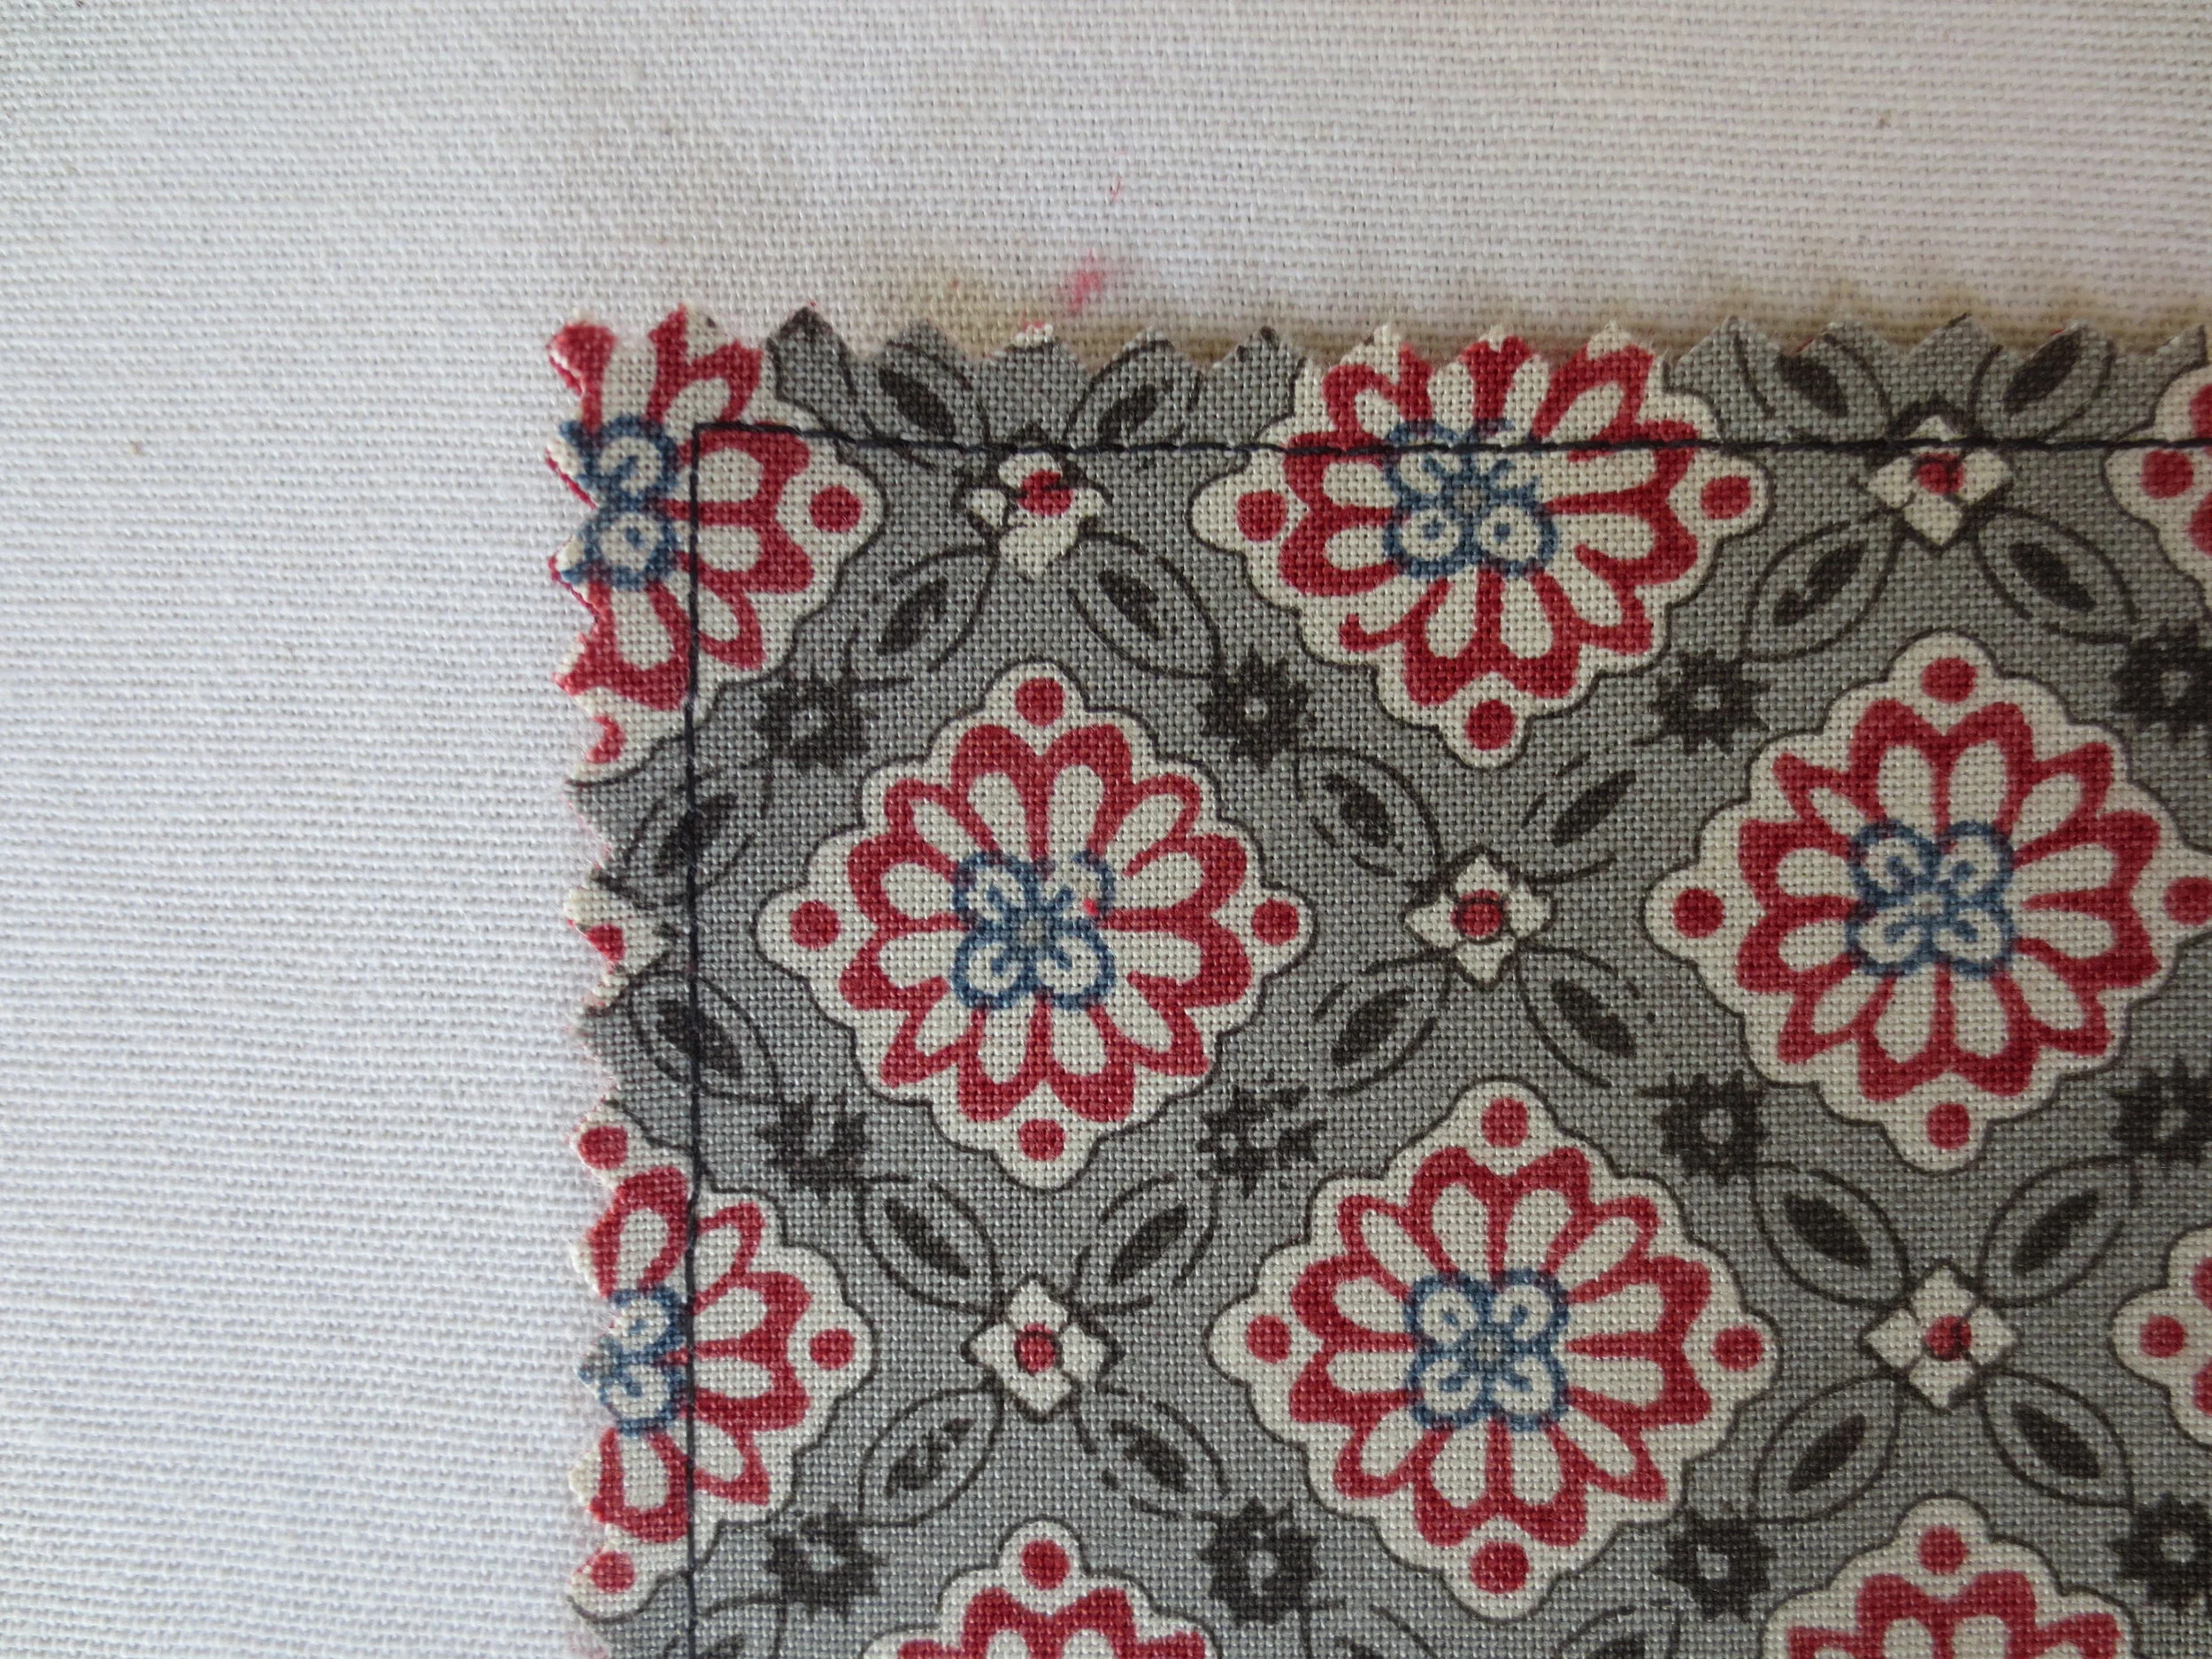
- Turn the piece inside out and press.
- Fold the unsewn ends inward 1/4". Press.
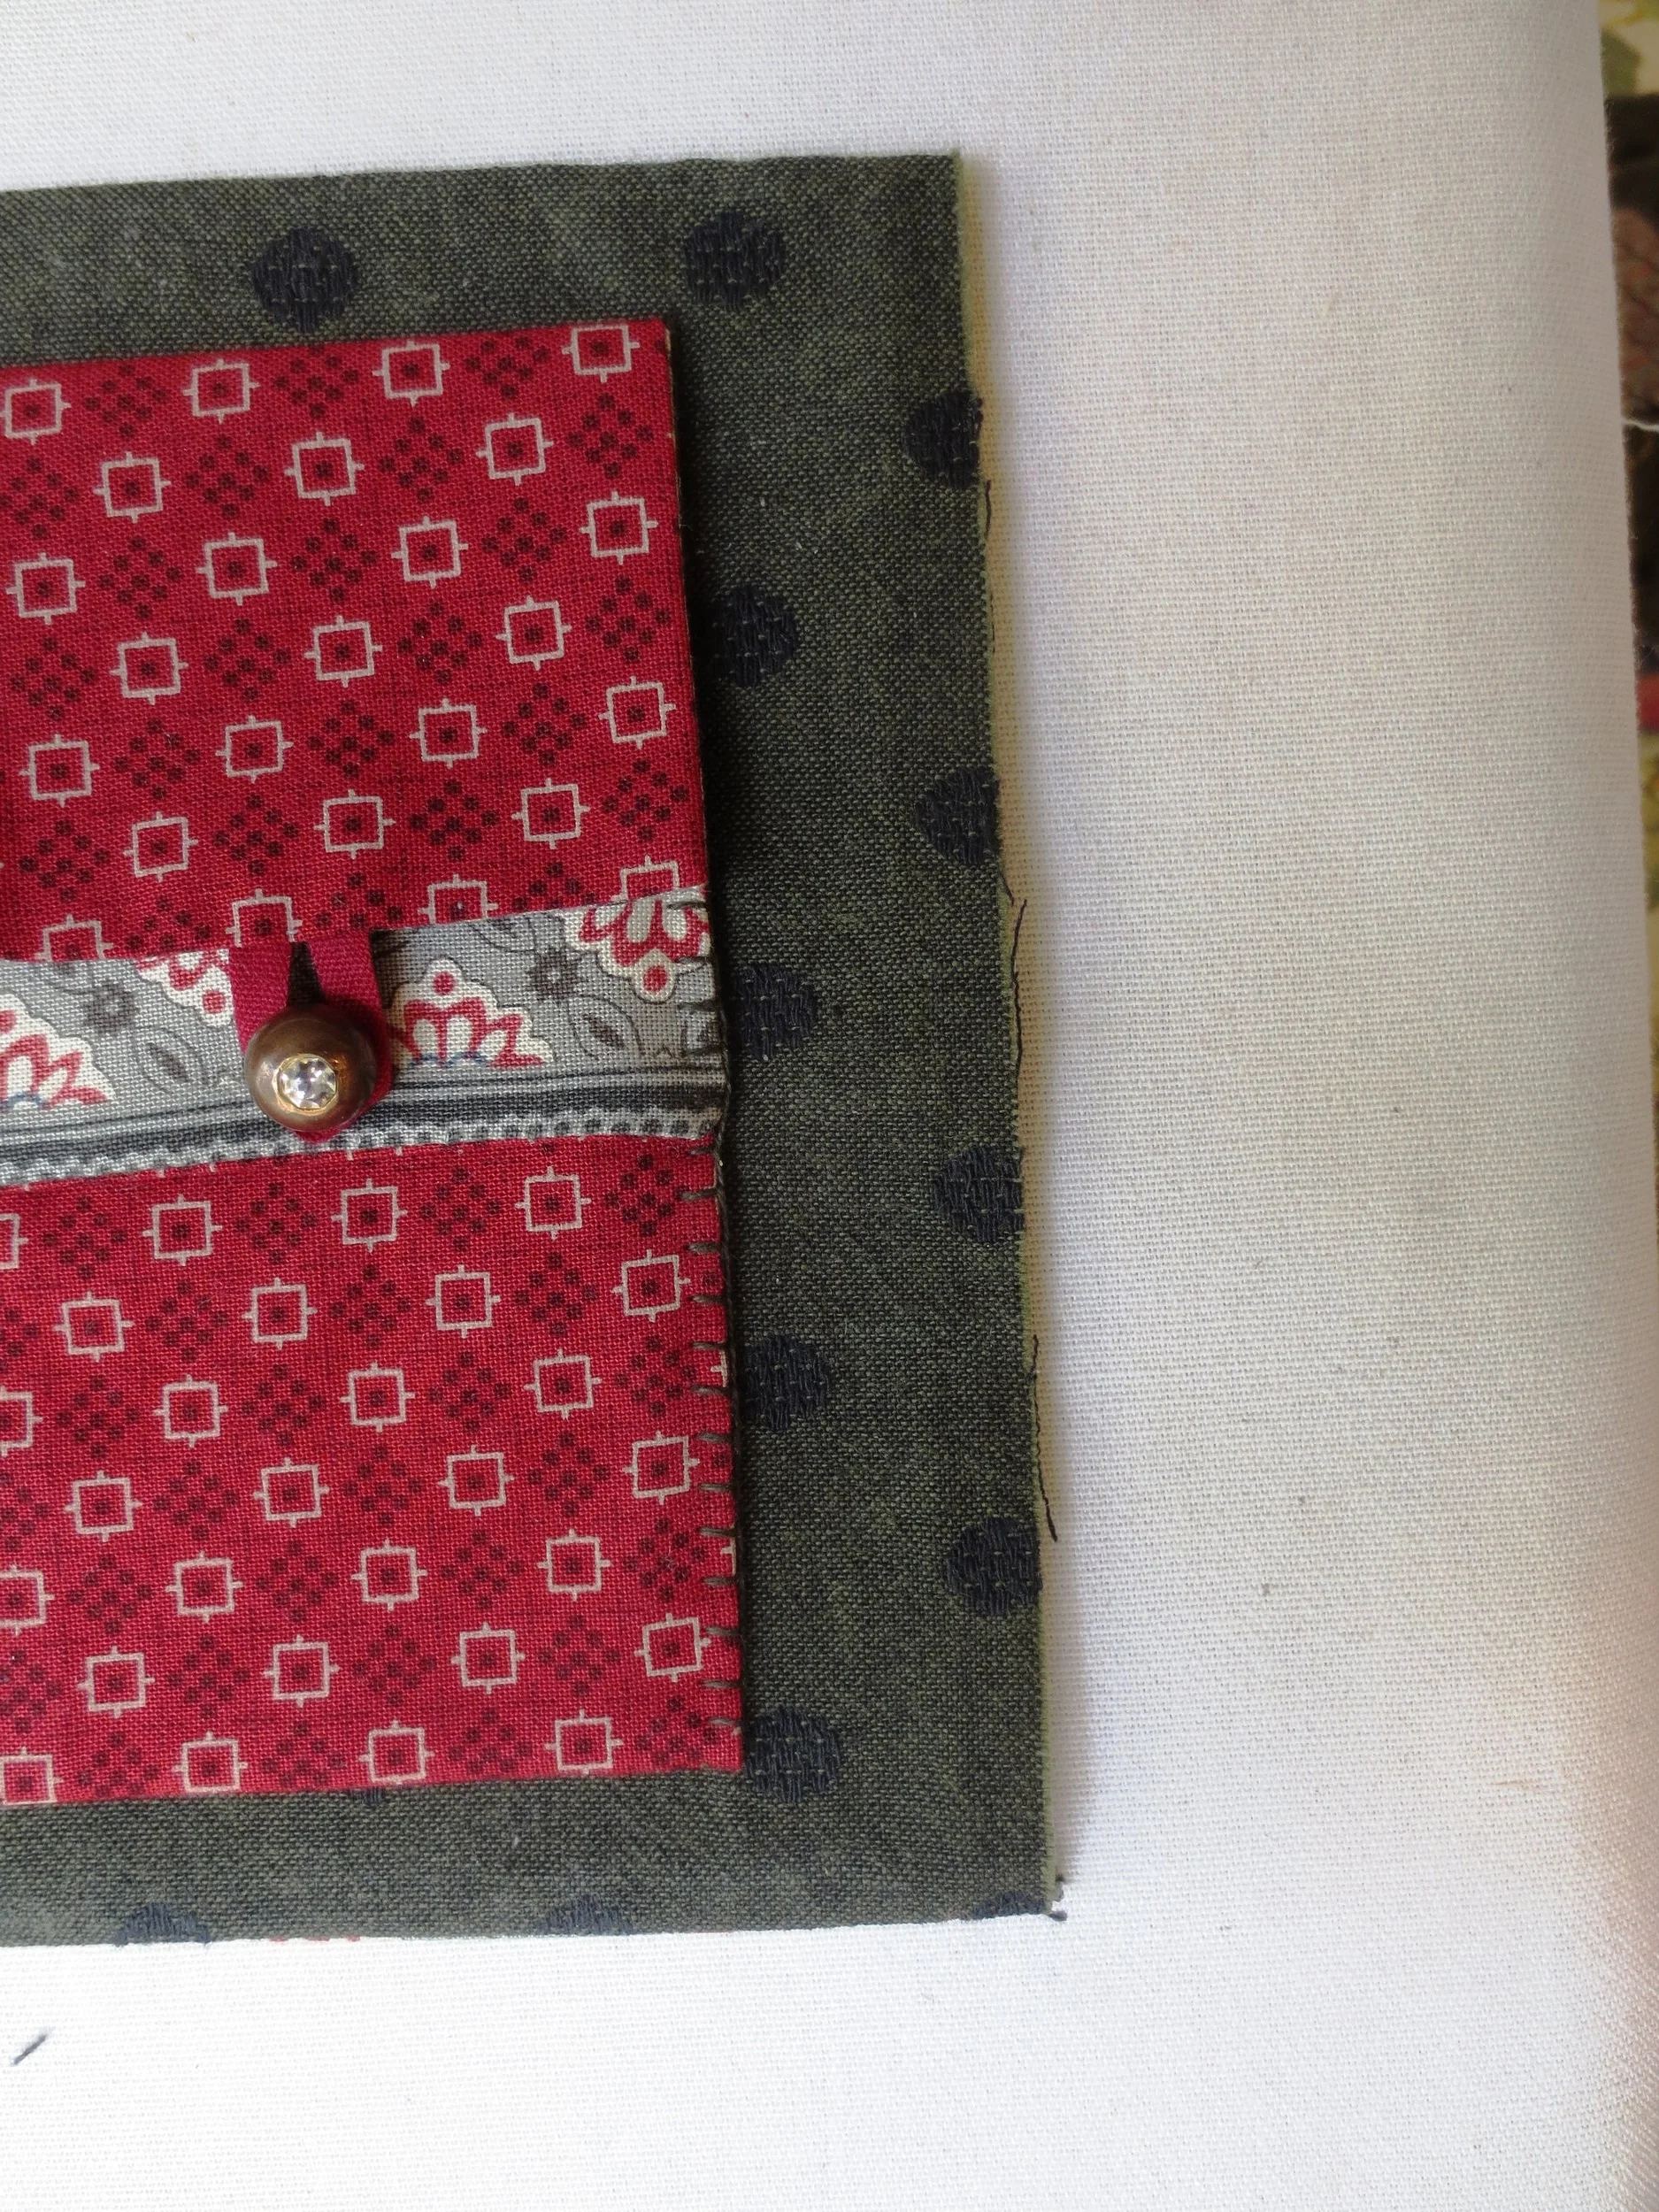
- Fold the 2 1/2" piece of ribbon into the "arrow" shape for a button loop.
- Slide the cut ends of the button loop into the center of the open end of the scissor keep (the loop should extend 3/4" from the end). Pin in place.
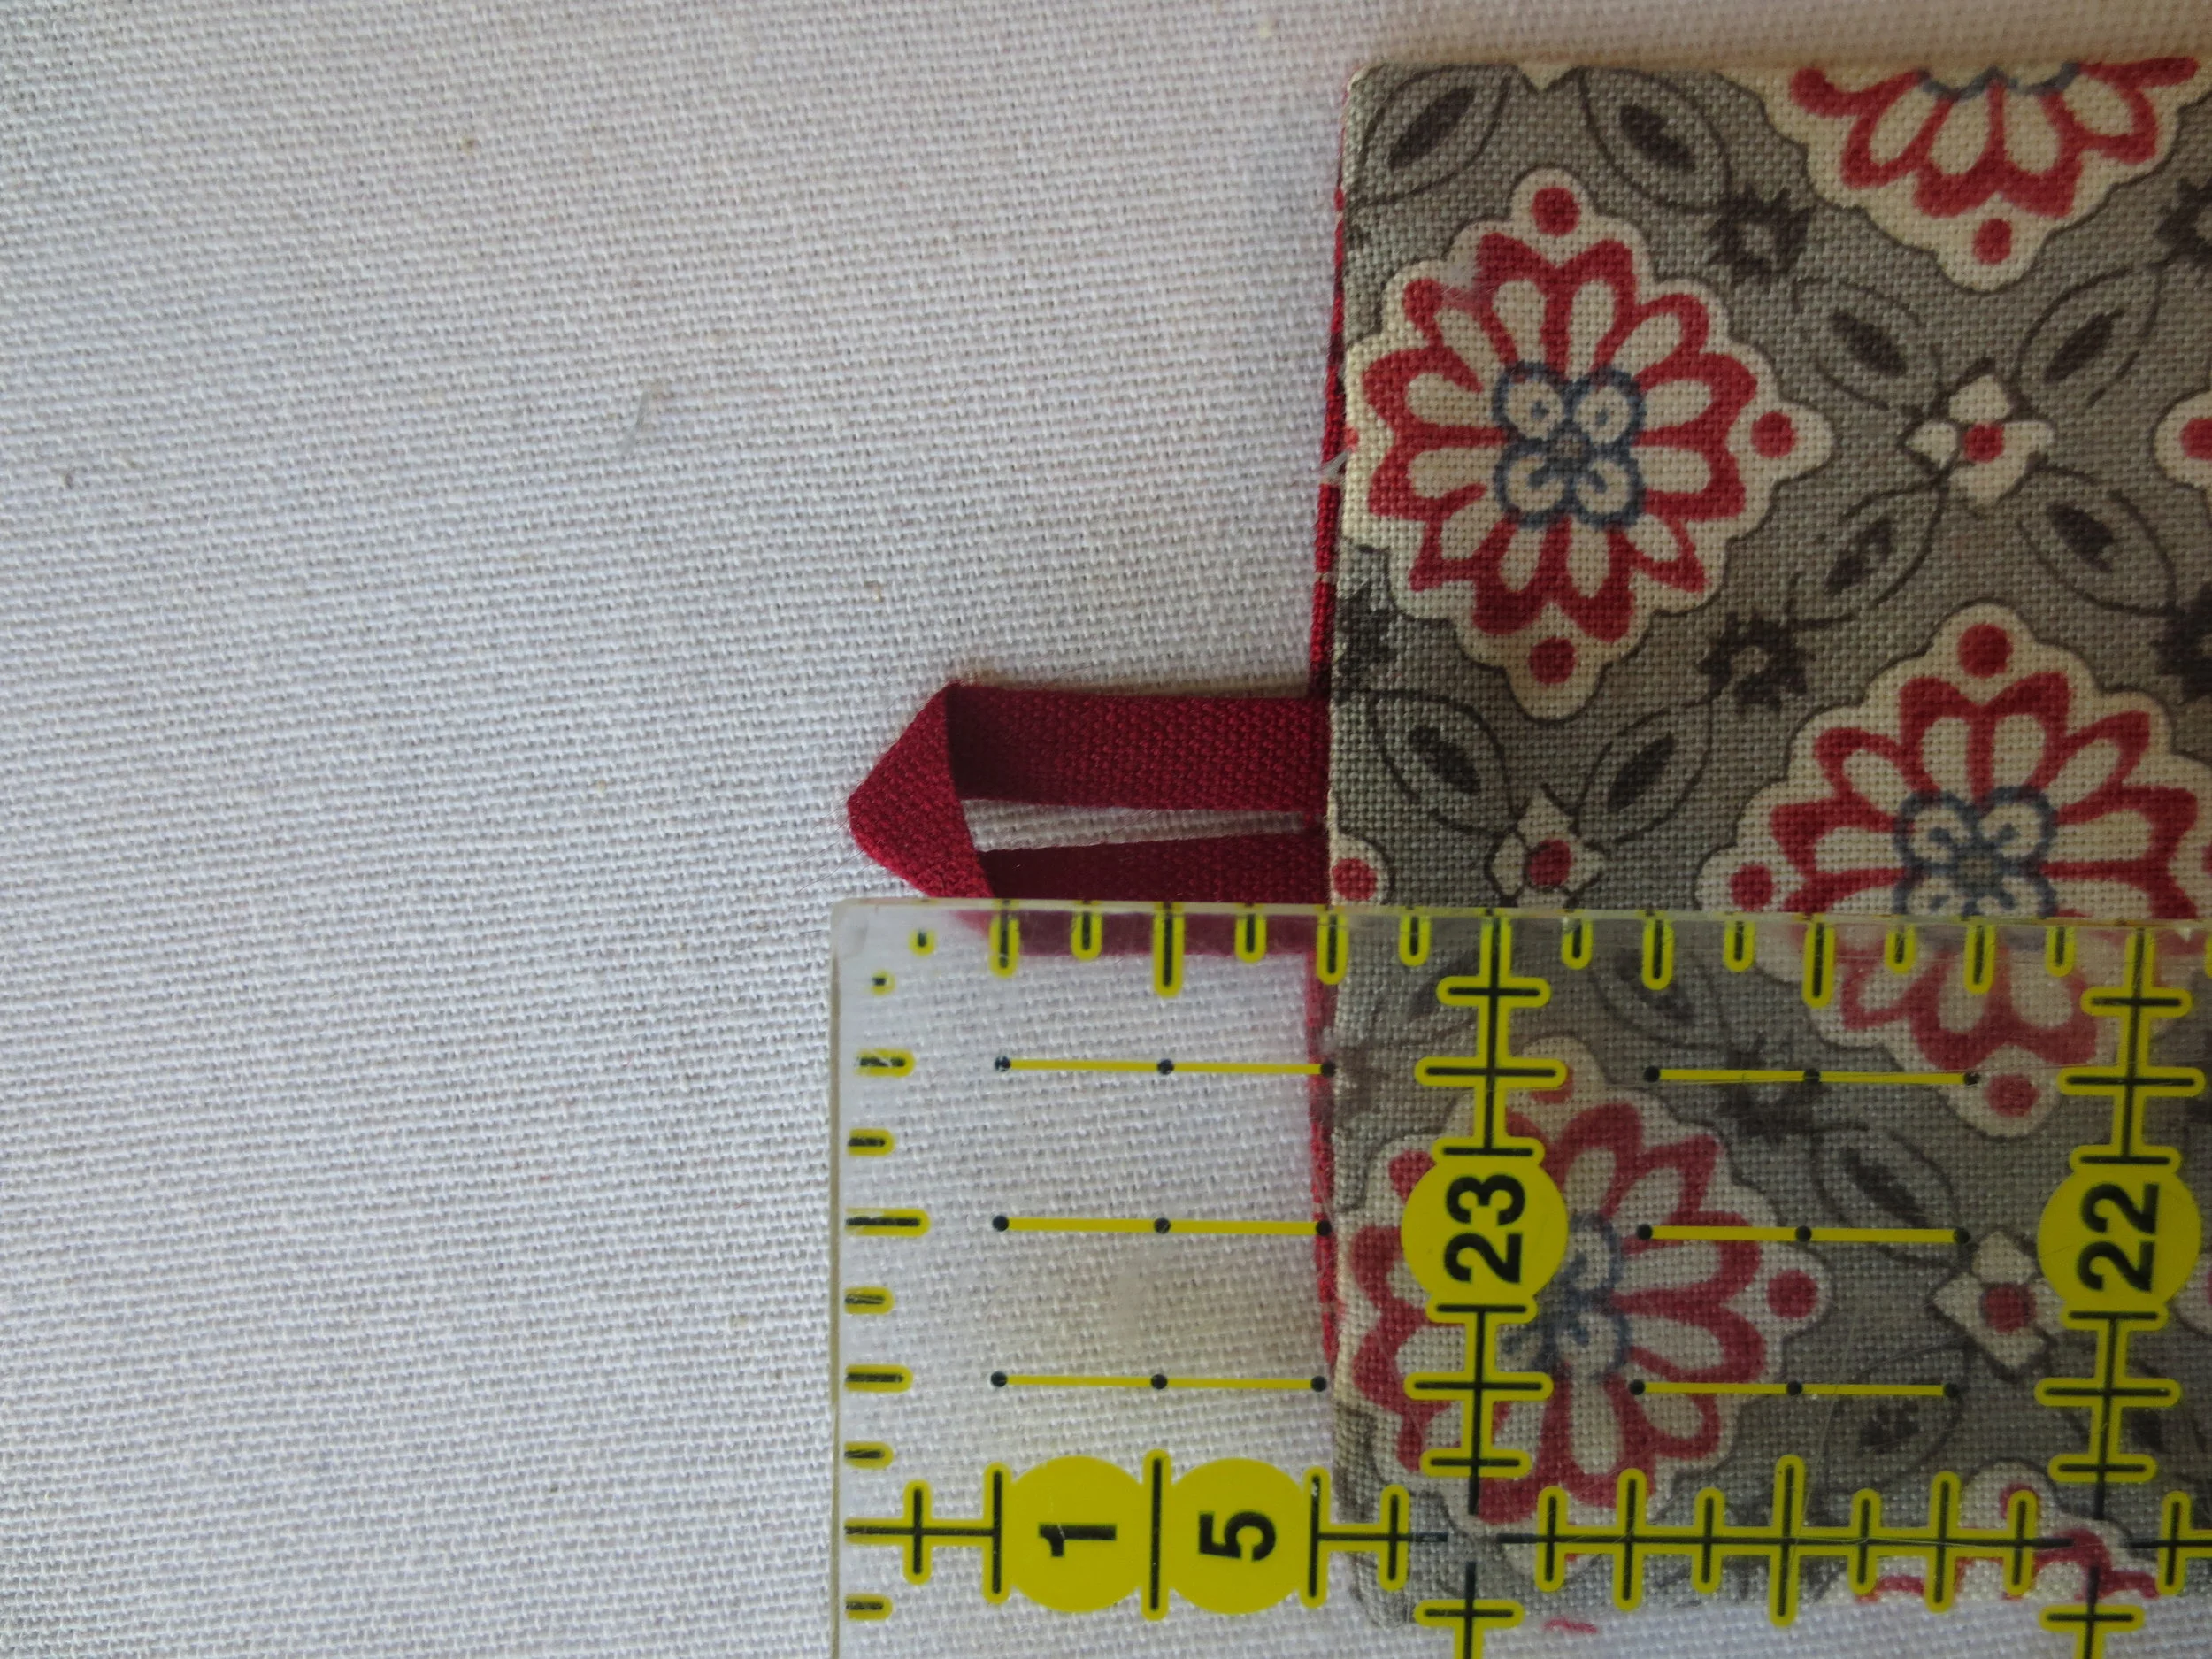
- Ladder stitch the end closed.
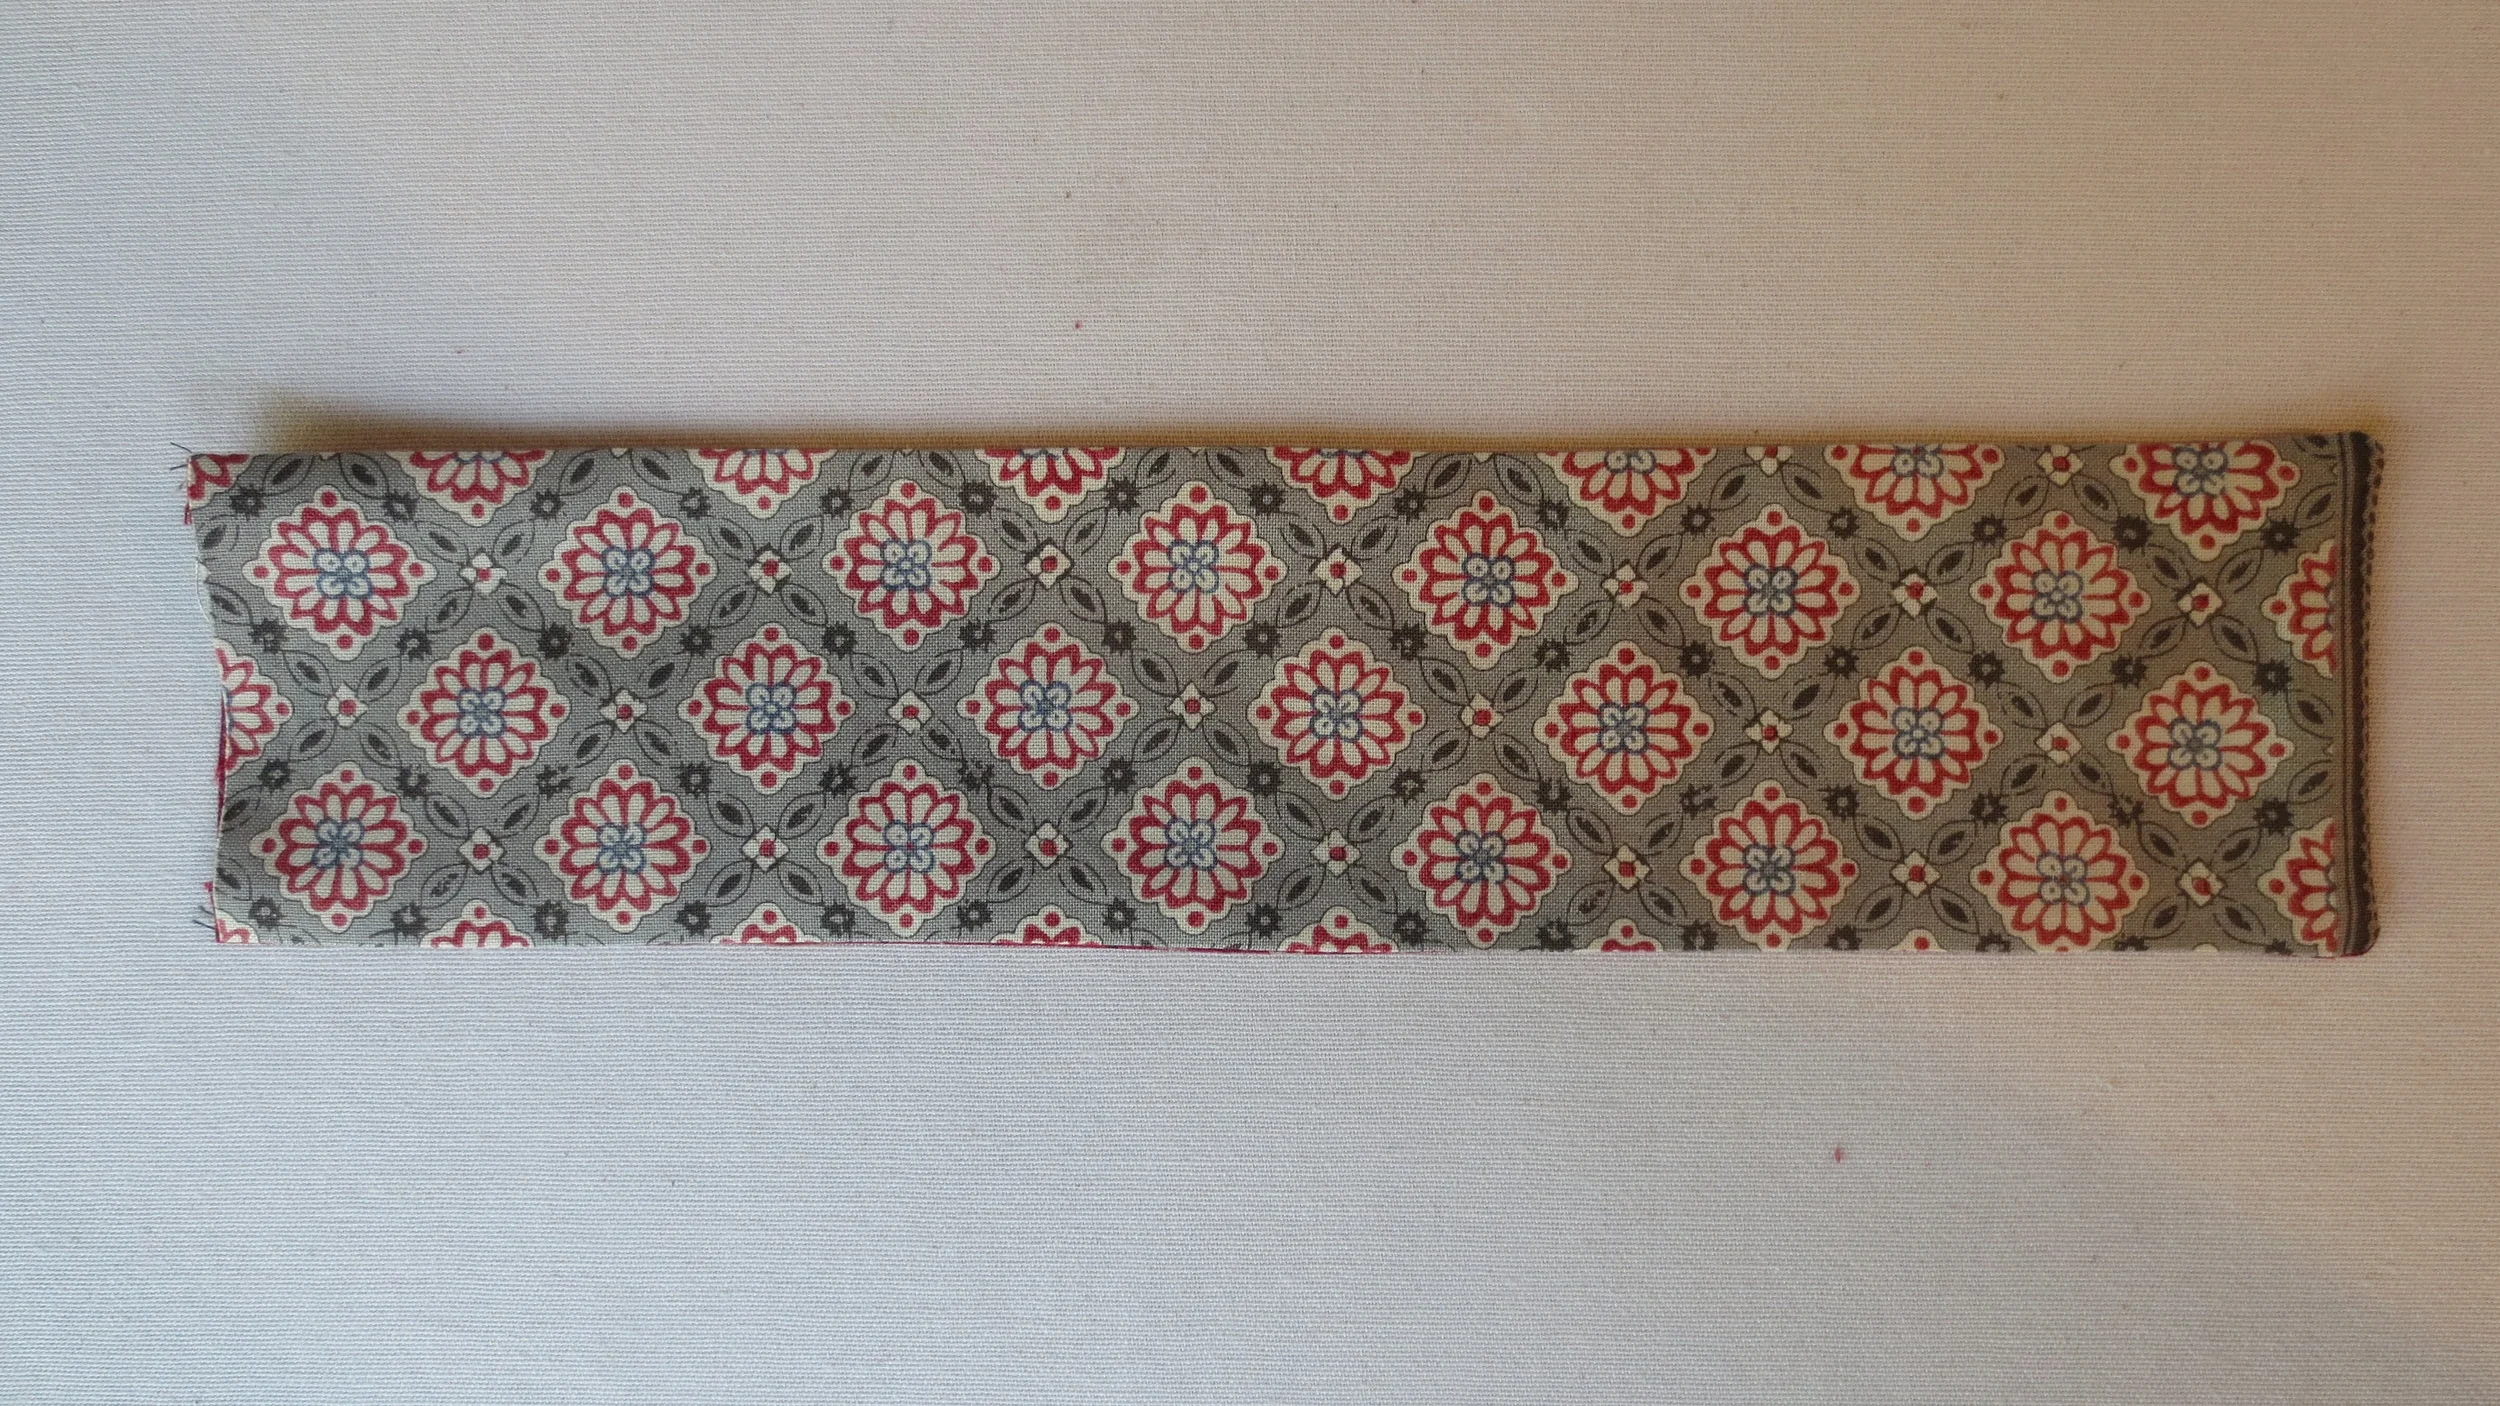
- Flip the scissor pocket over, outside up.
- Fold the opposite end 1" (see below). Press. This will be the button flap.
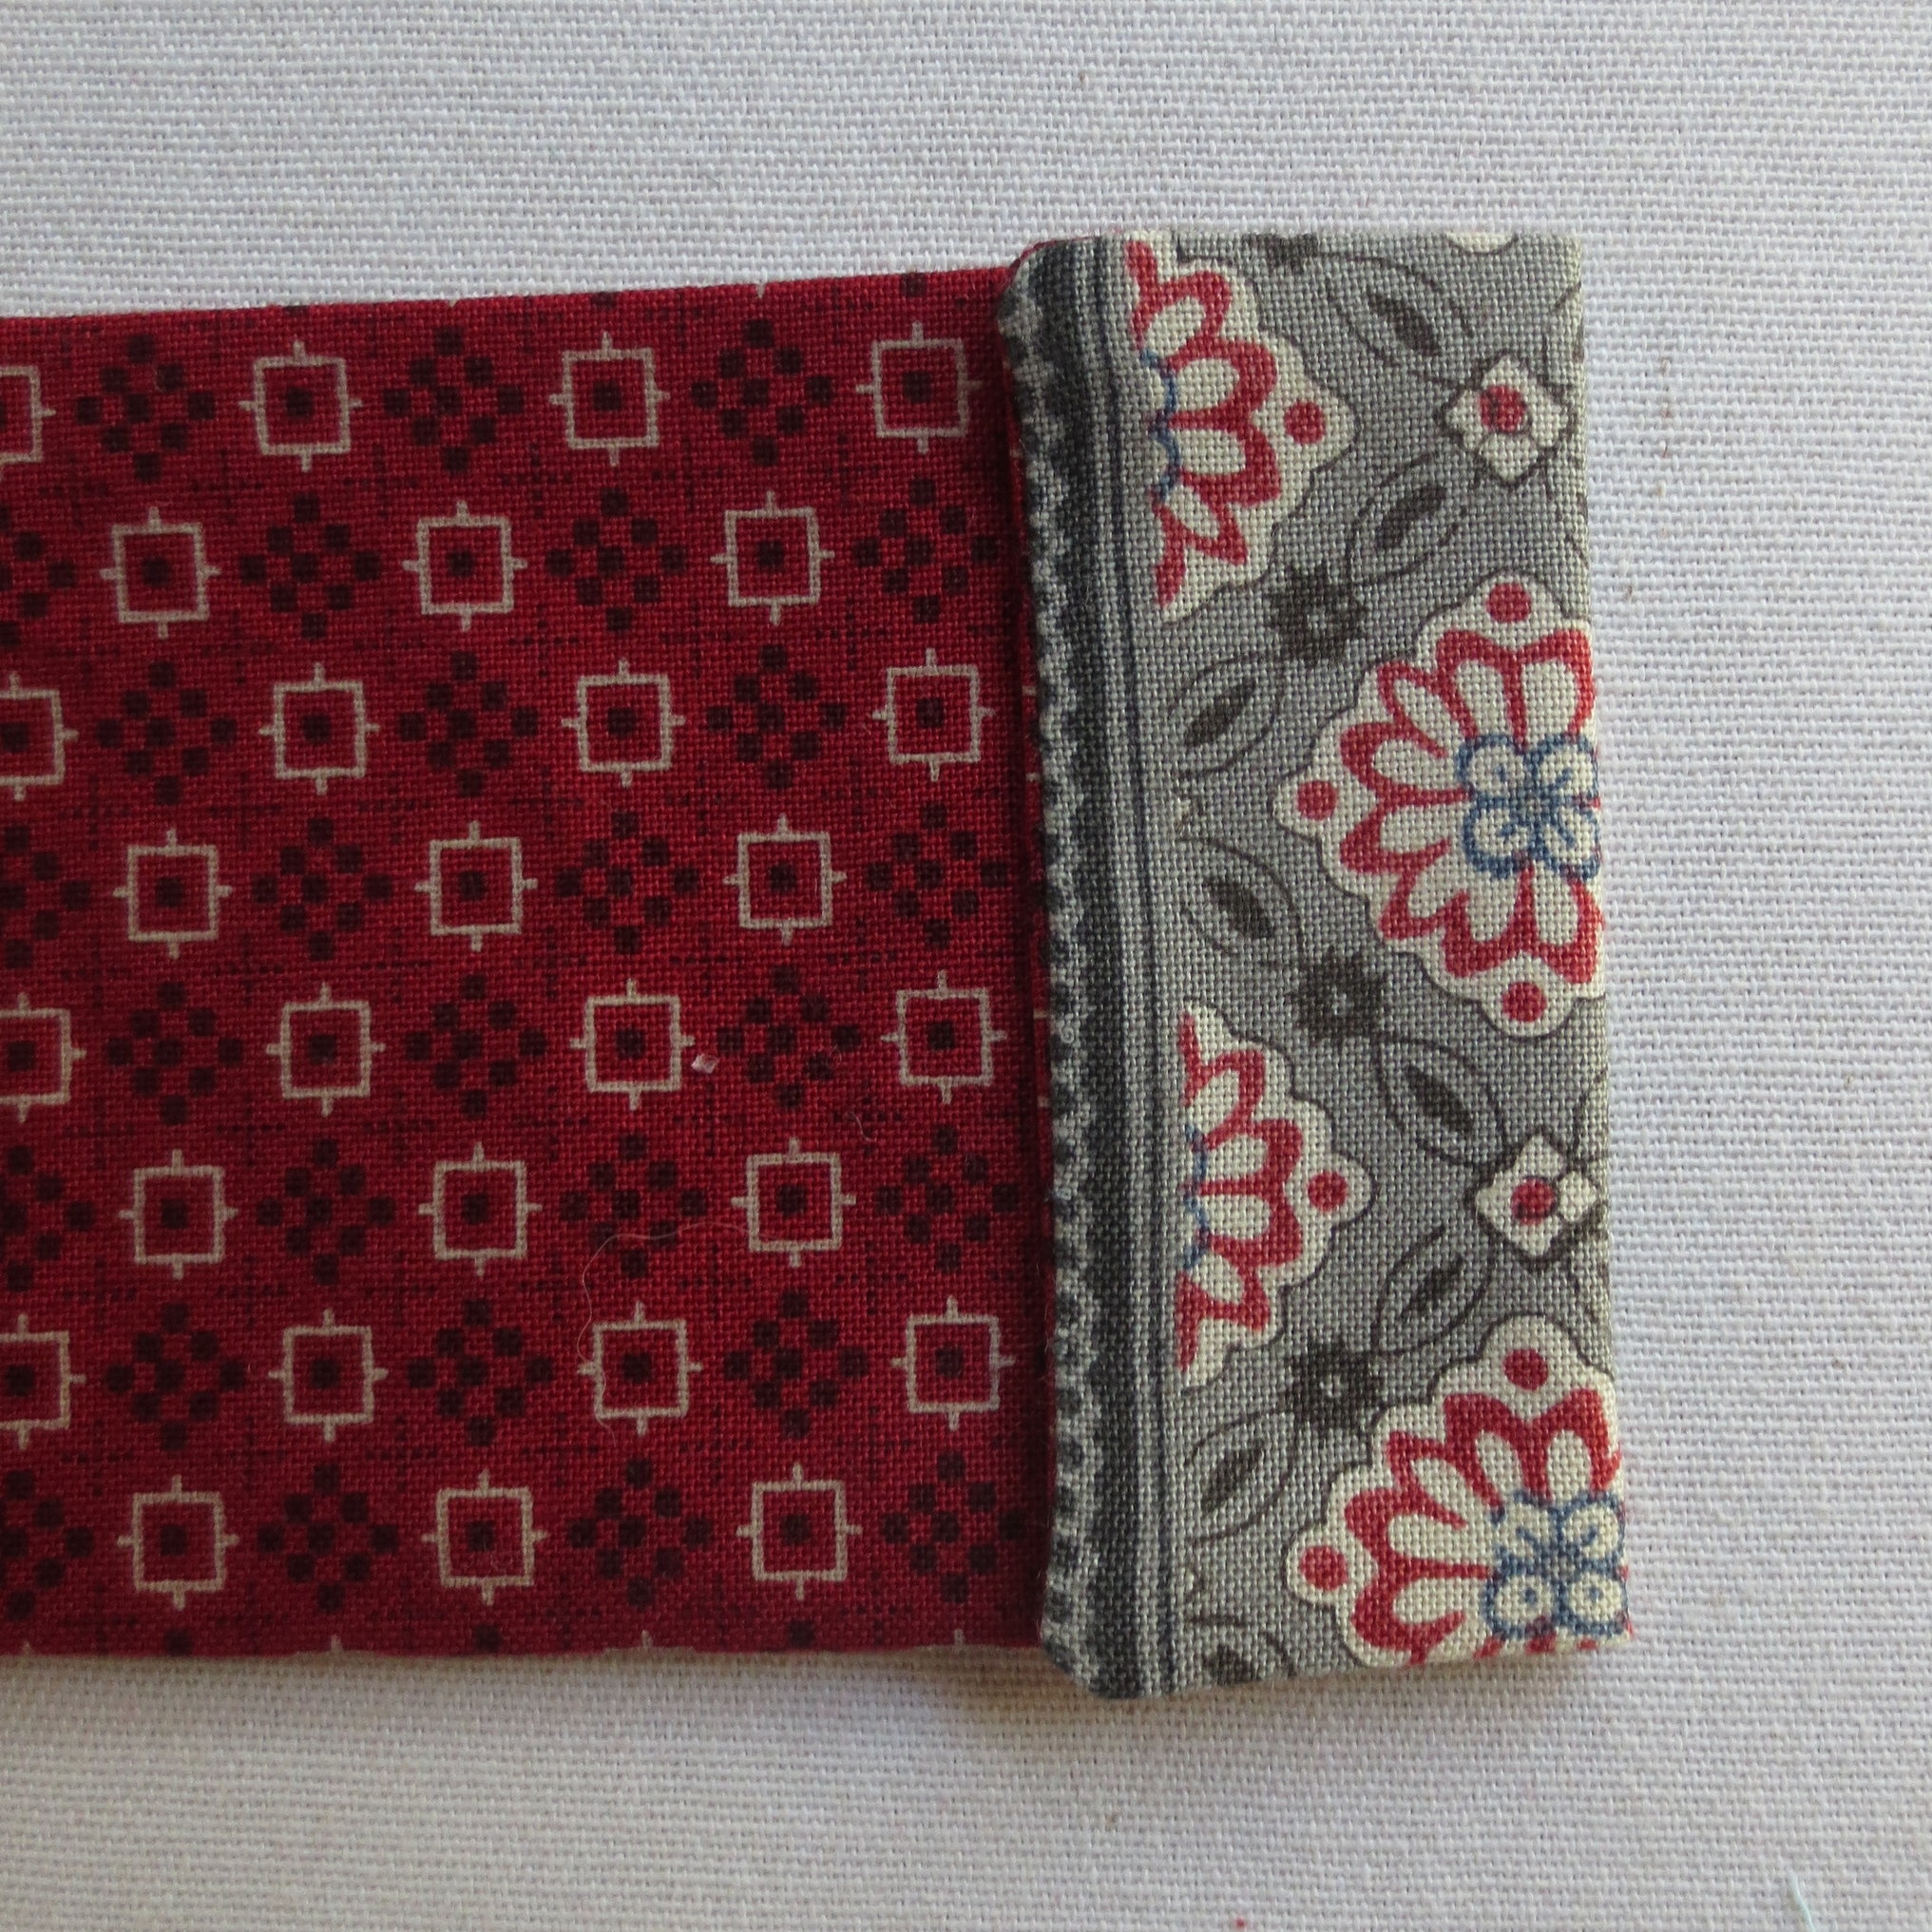
Note: The interior color is gray and the exterior is red.
- Flip this over and fold it toward the interior approximately 3 1/8". Press.

- Fold the opposite end so it covers 1/4" of the top of the button flap (The folded area should measure approximately 2 5/8"). Press.
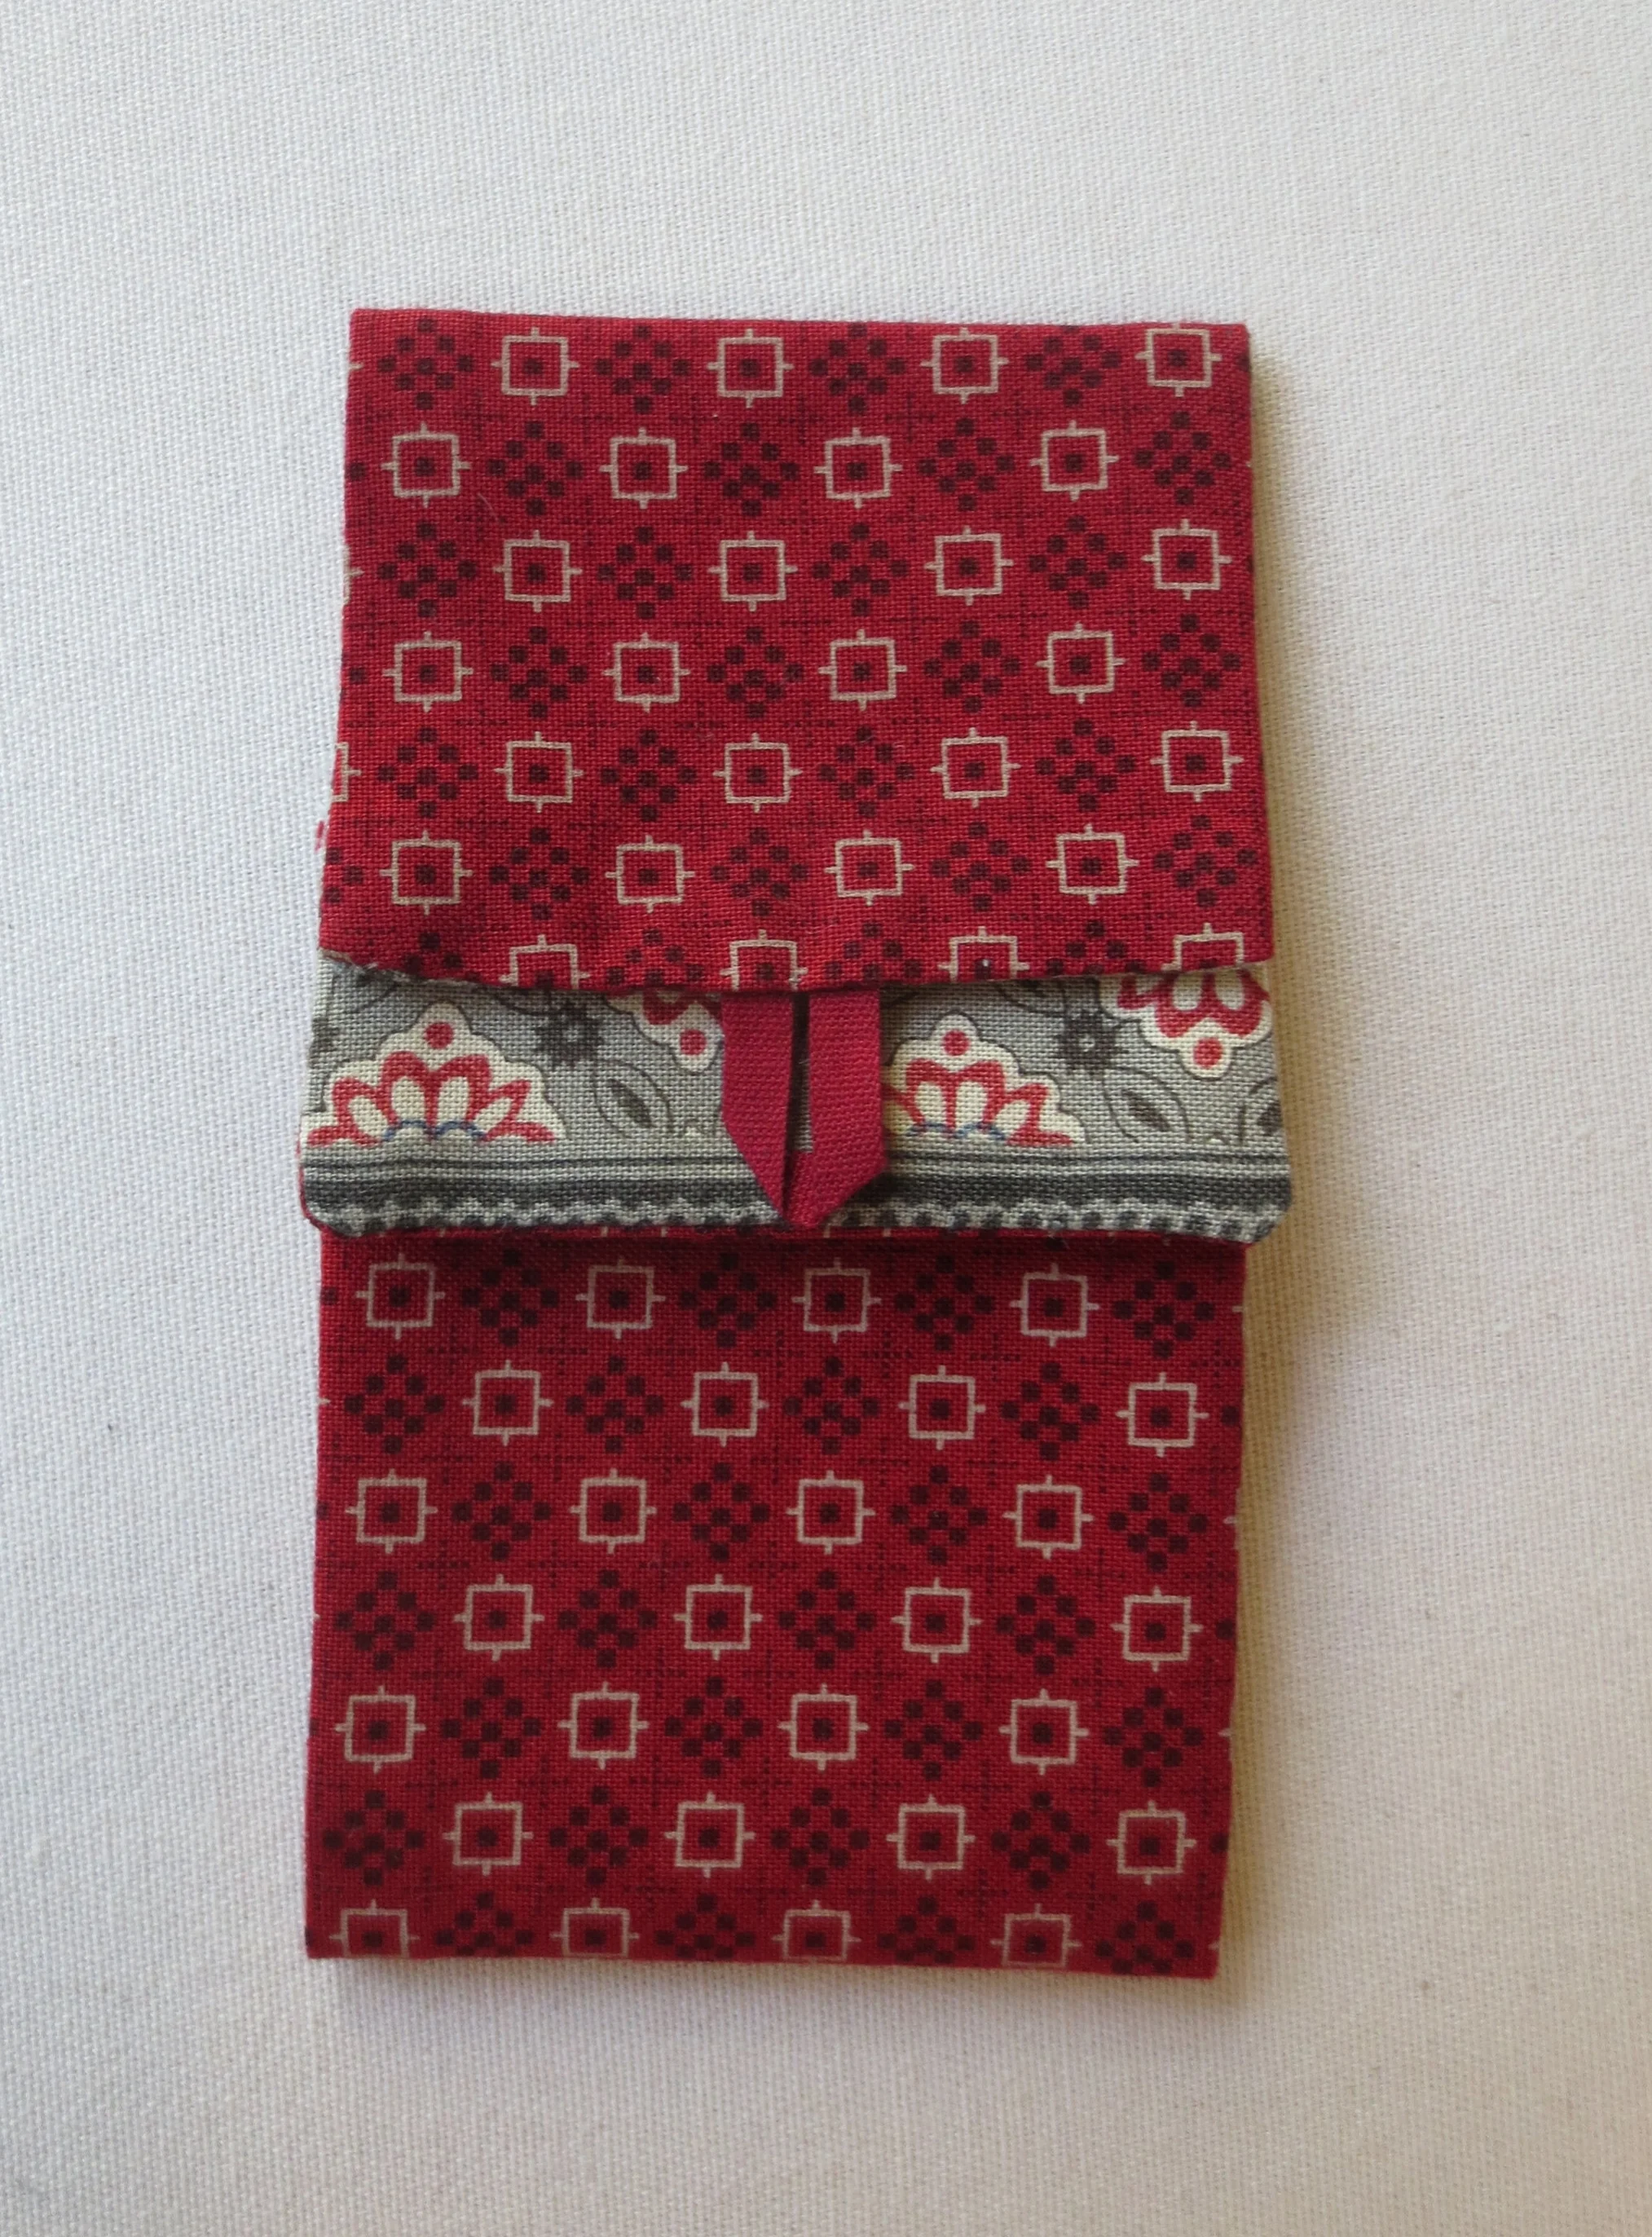
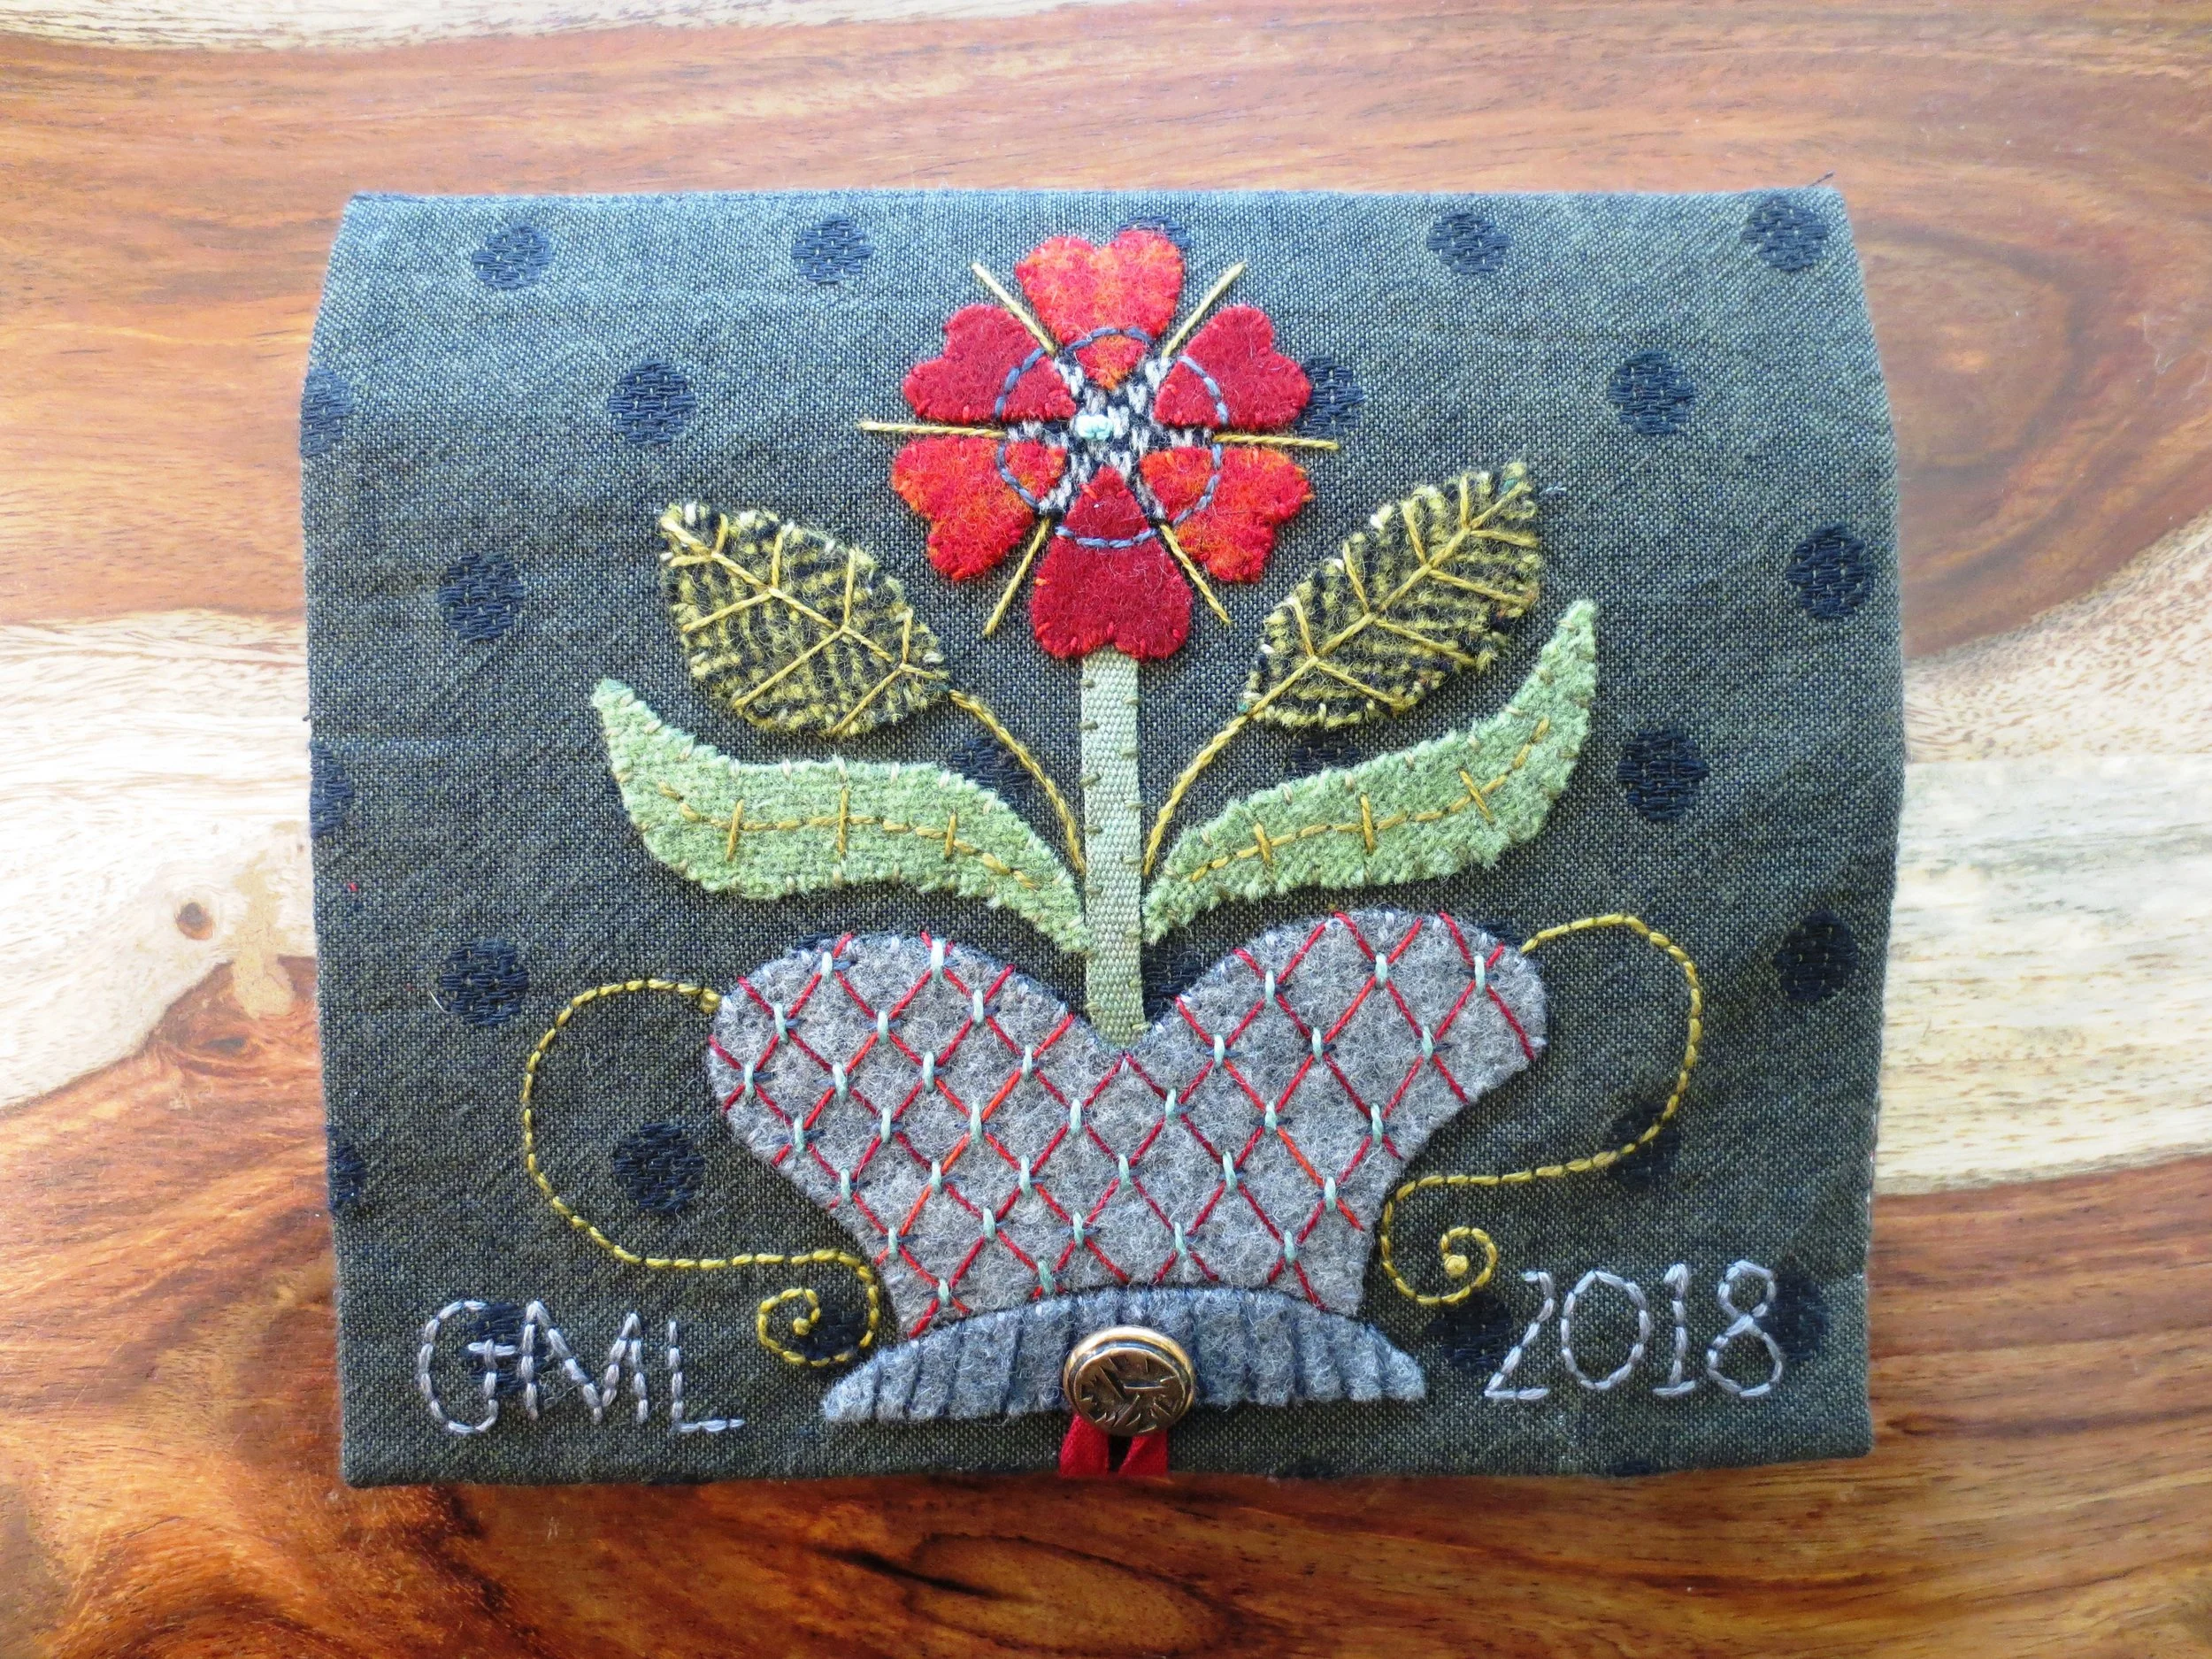
- Mark the button position with a chalk pencil.
- Sew the button on. I thought I'd add a little bling to my scissor pocket with a vintage brass and crystal button.

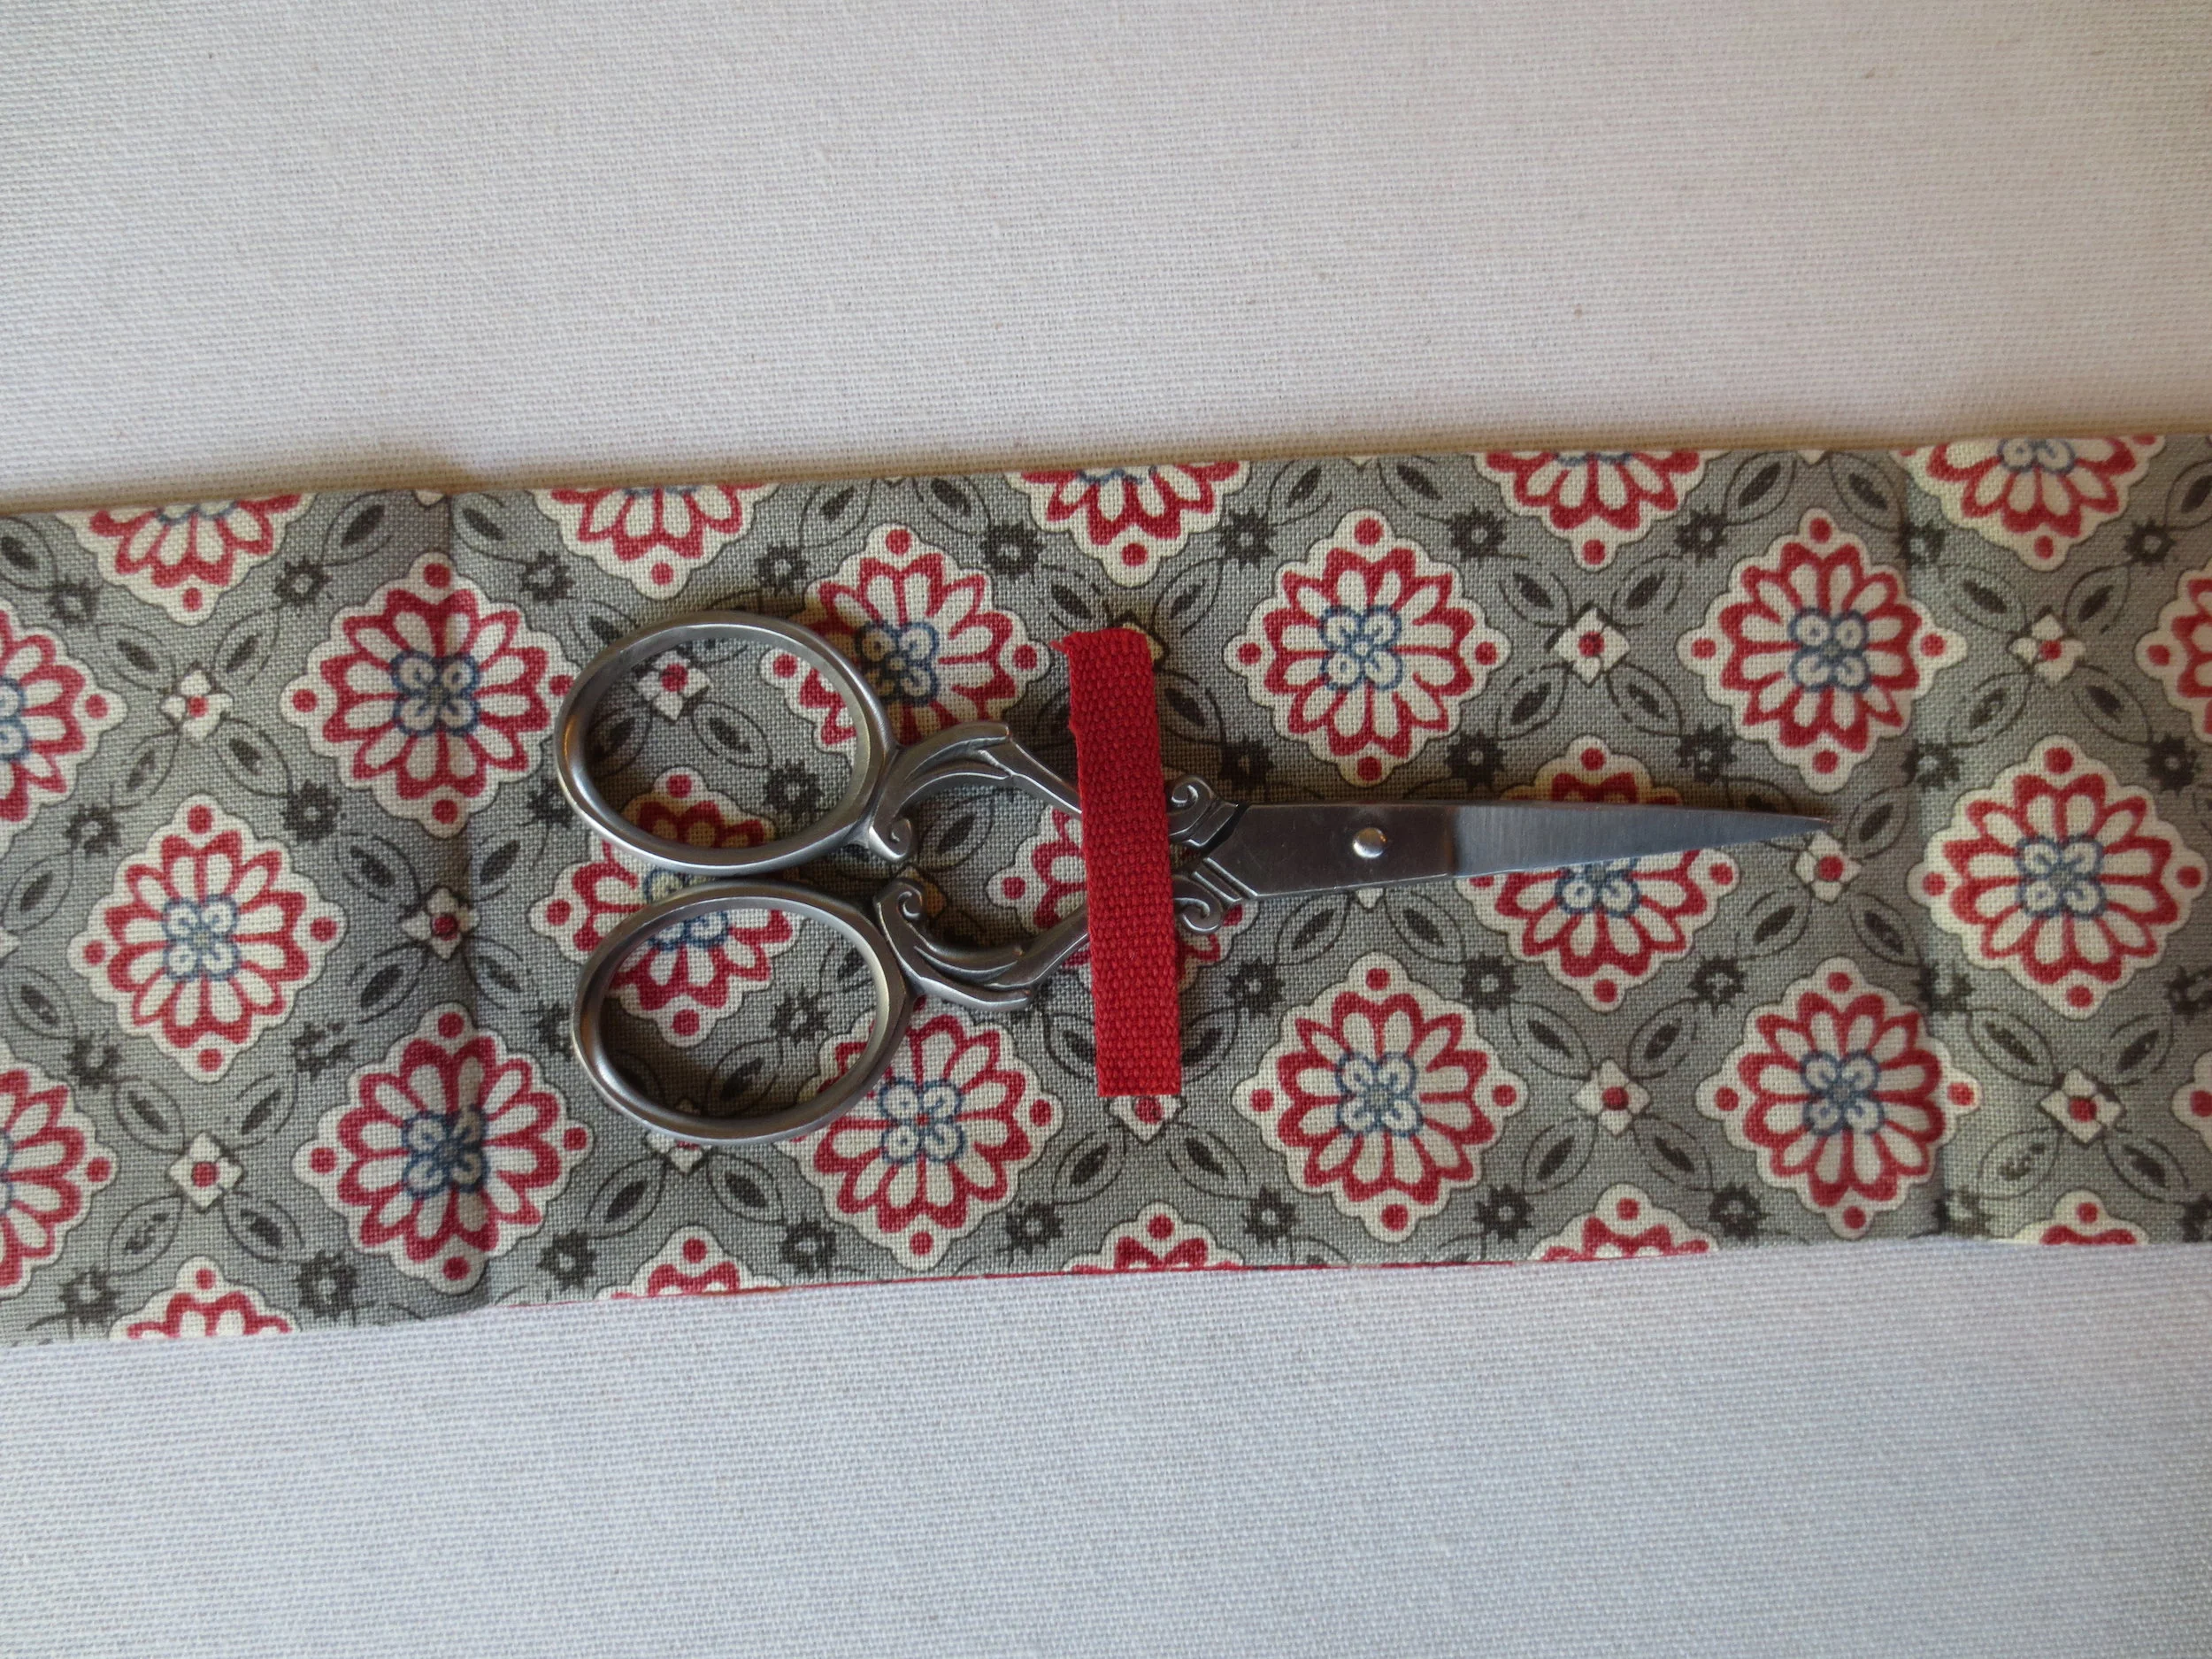
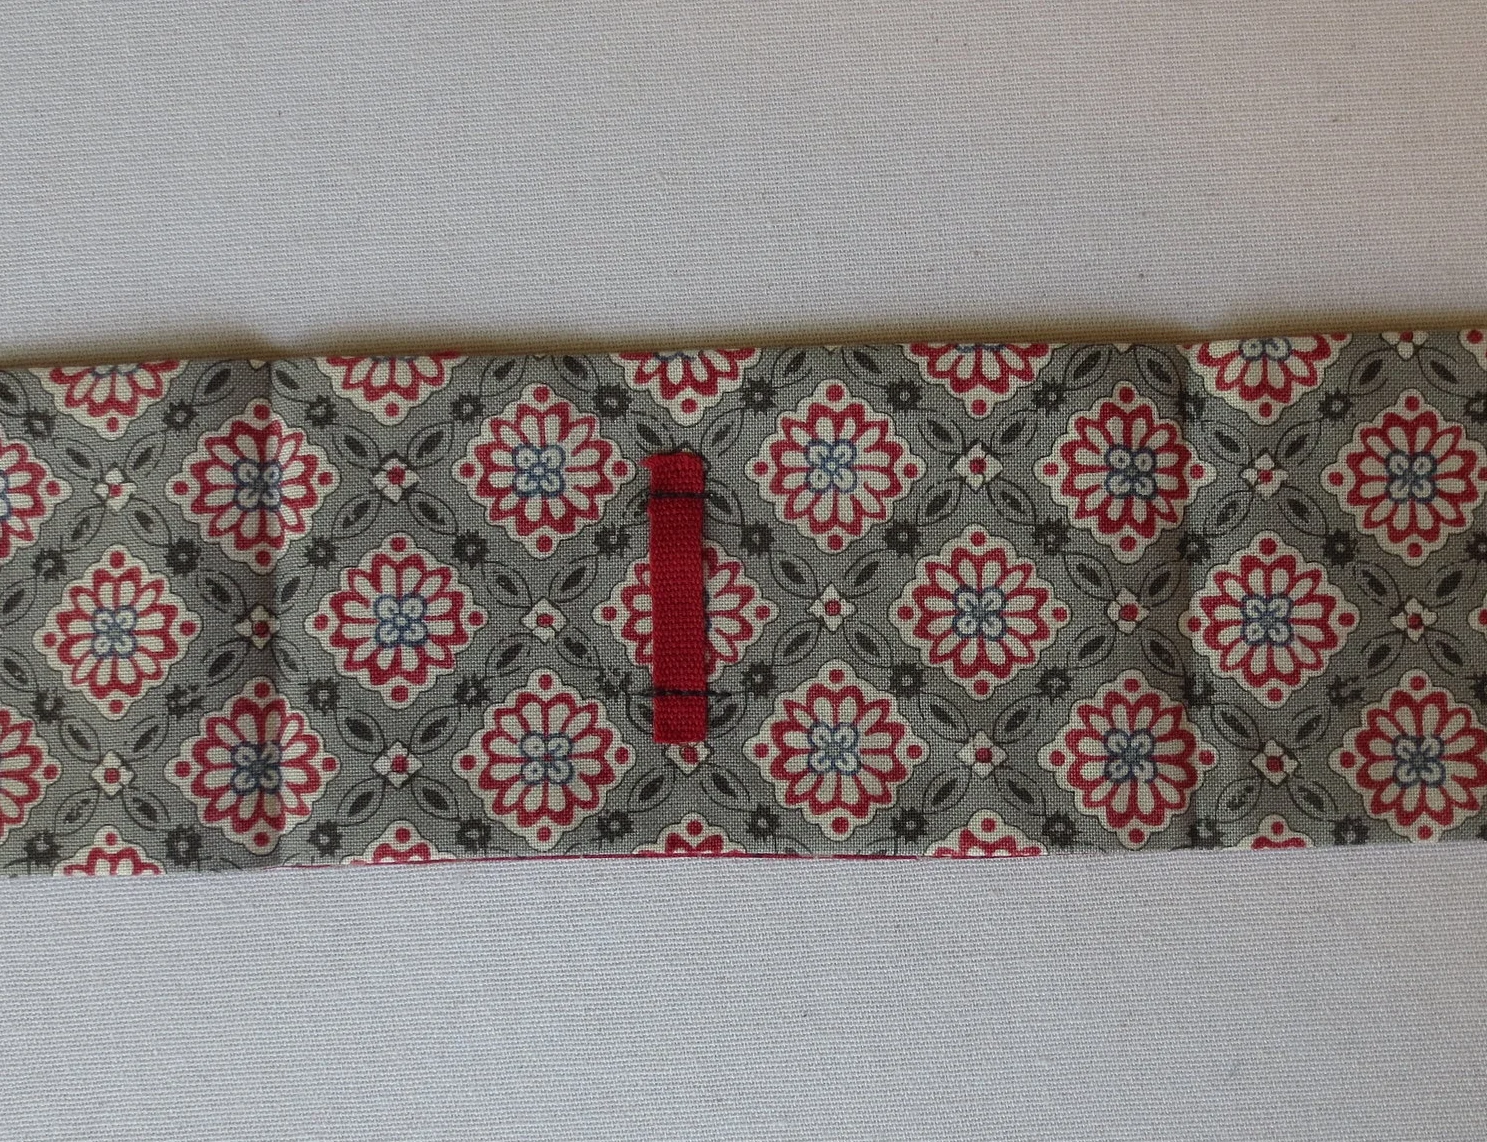
- Open the scissor pocket up and lay it cover side down.
- Position your scissors on top leaving about 3/8" space above the bottom fold line.
- Position the remaining 1 1/2" ribbon across the scissors so it forms a "stop." This will prevent the scissors from puncturing the bottom of the pocket. Pin in place and remove scissors.
- Machine sew the ends of the ribbon as shown below.
Note: Your scissors may have a different shape, which may require a slightly different placement of the "stop."
- Remove scissors and refold pocket in closed configuration.
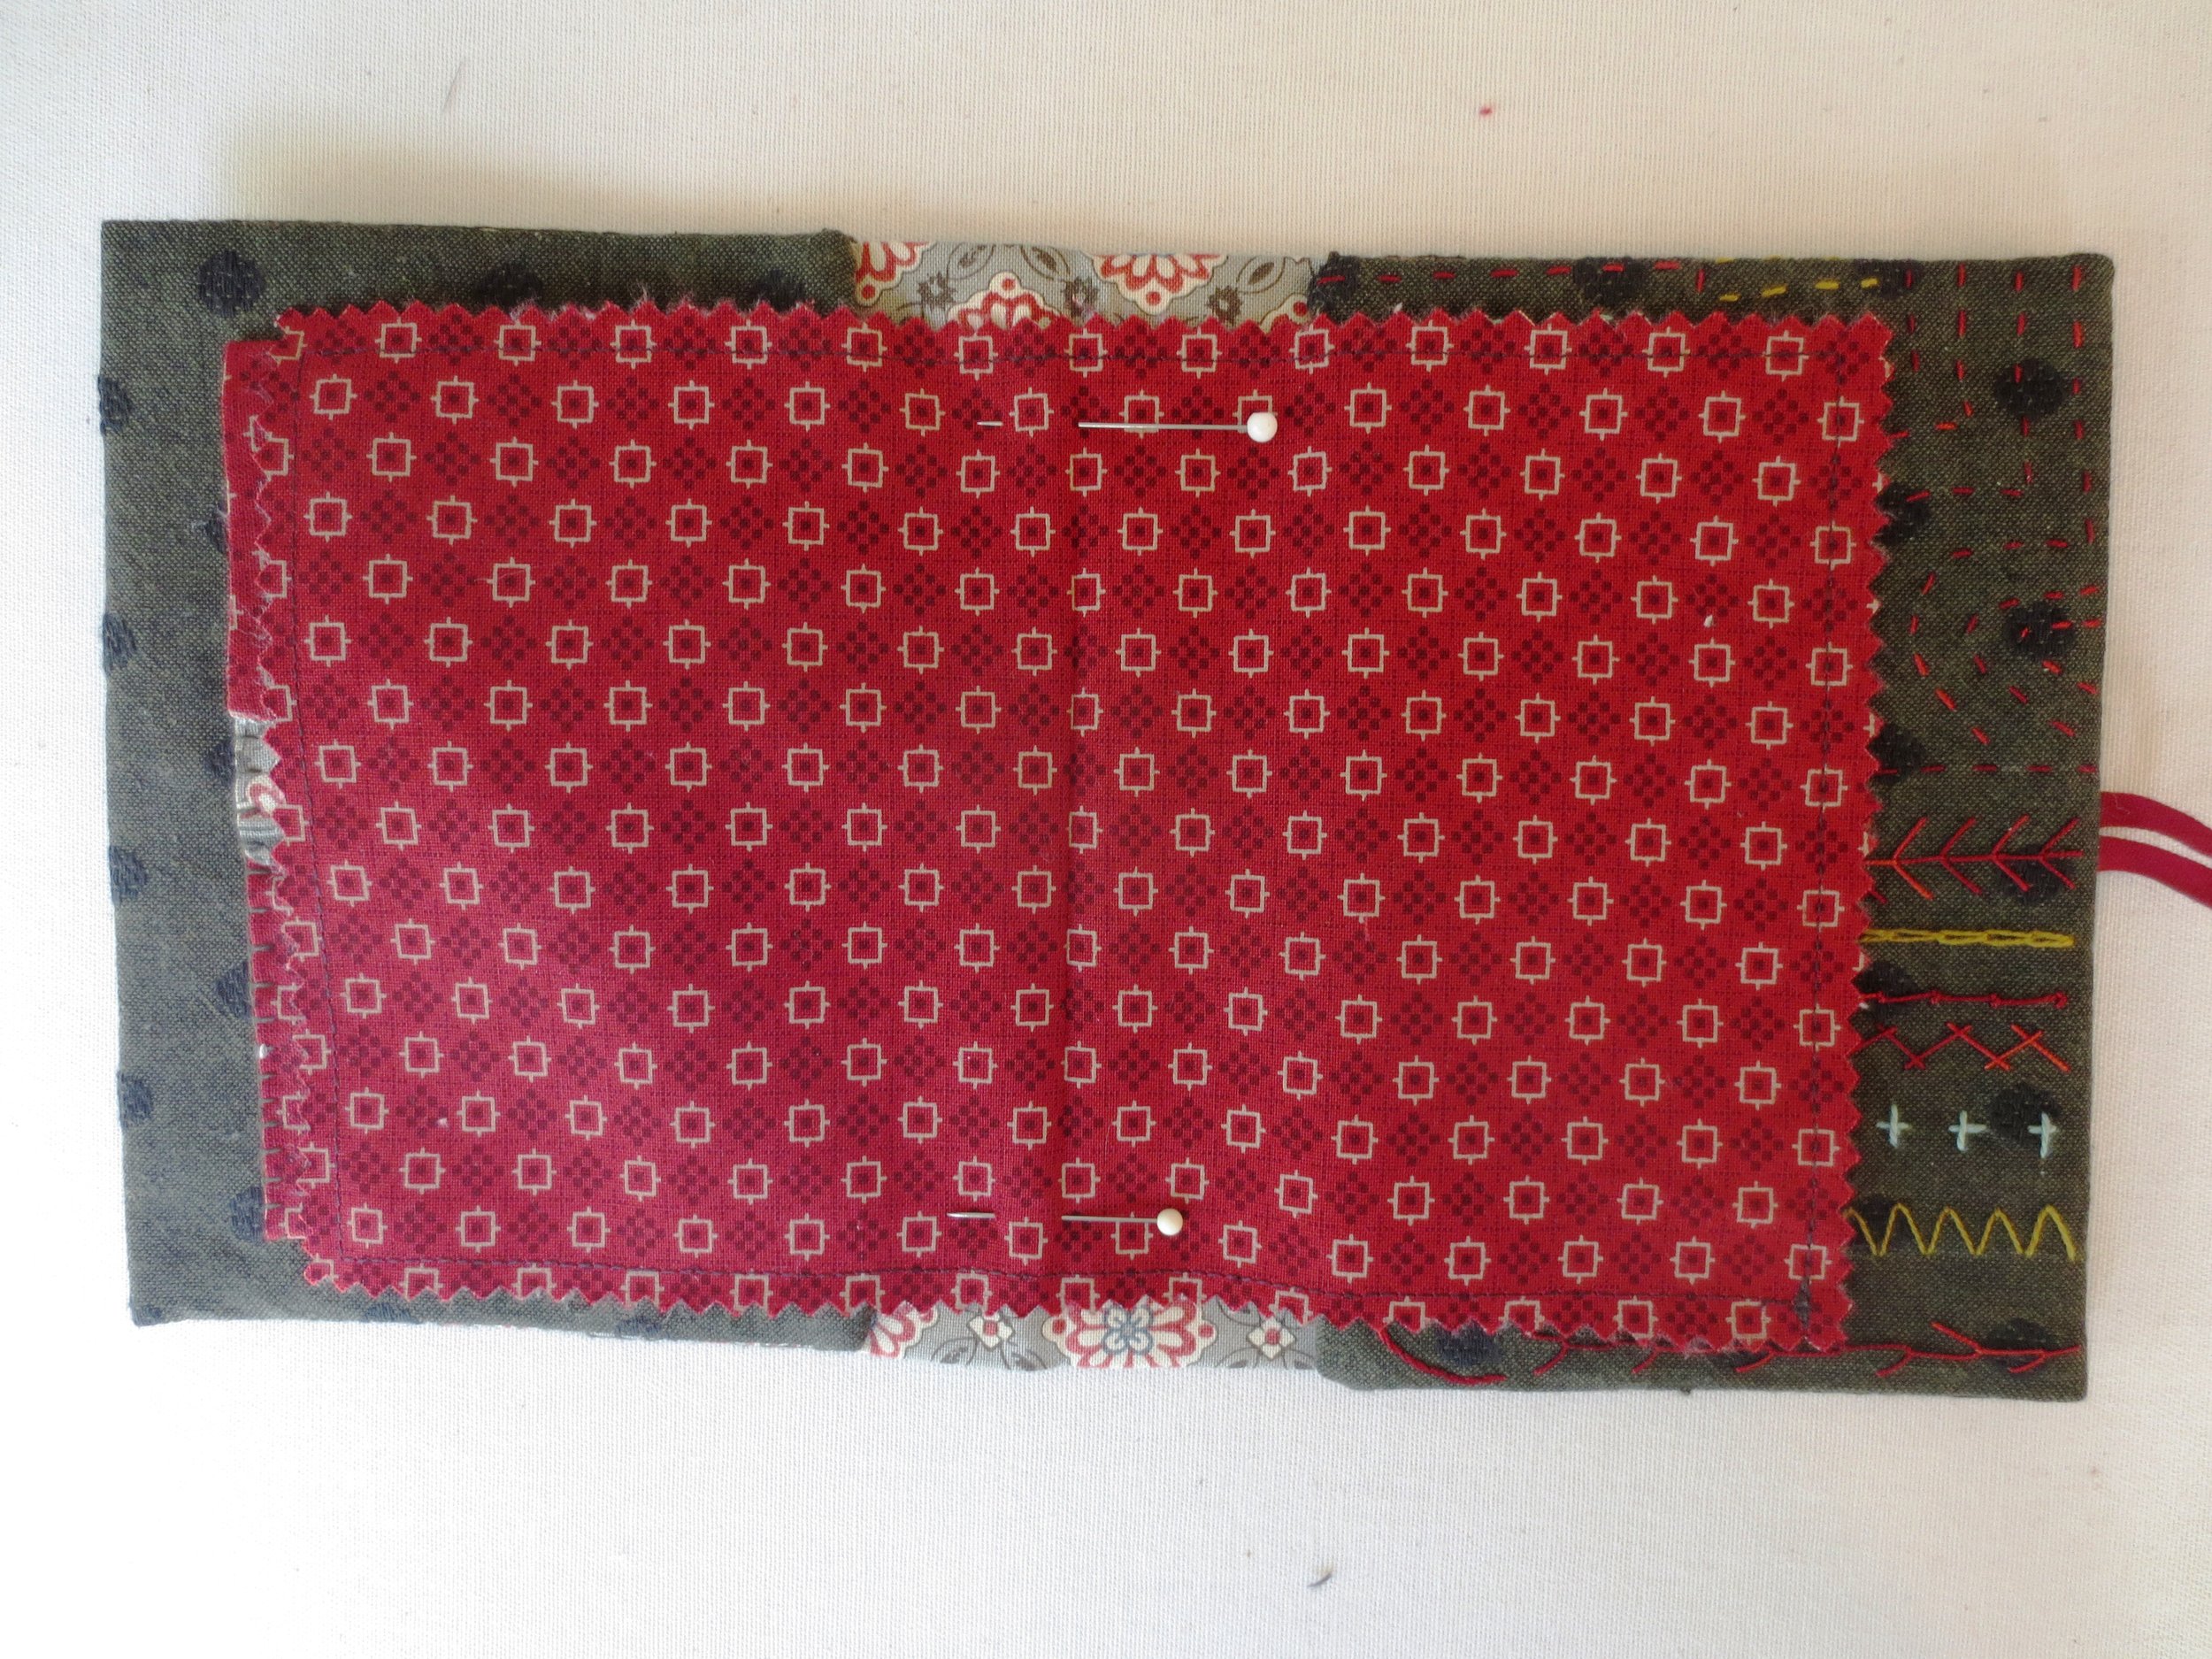
- Place the keeper cover side down, with the stitch guide folded in on the right and the scissor pocket section folded in on the left.
- Pin the folded scissor pocket to the scissor pocket section ( It should be positioned closer to the left than the right because the right will have a 1/4" seam when the lining is in place).

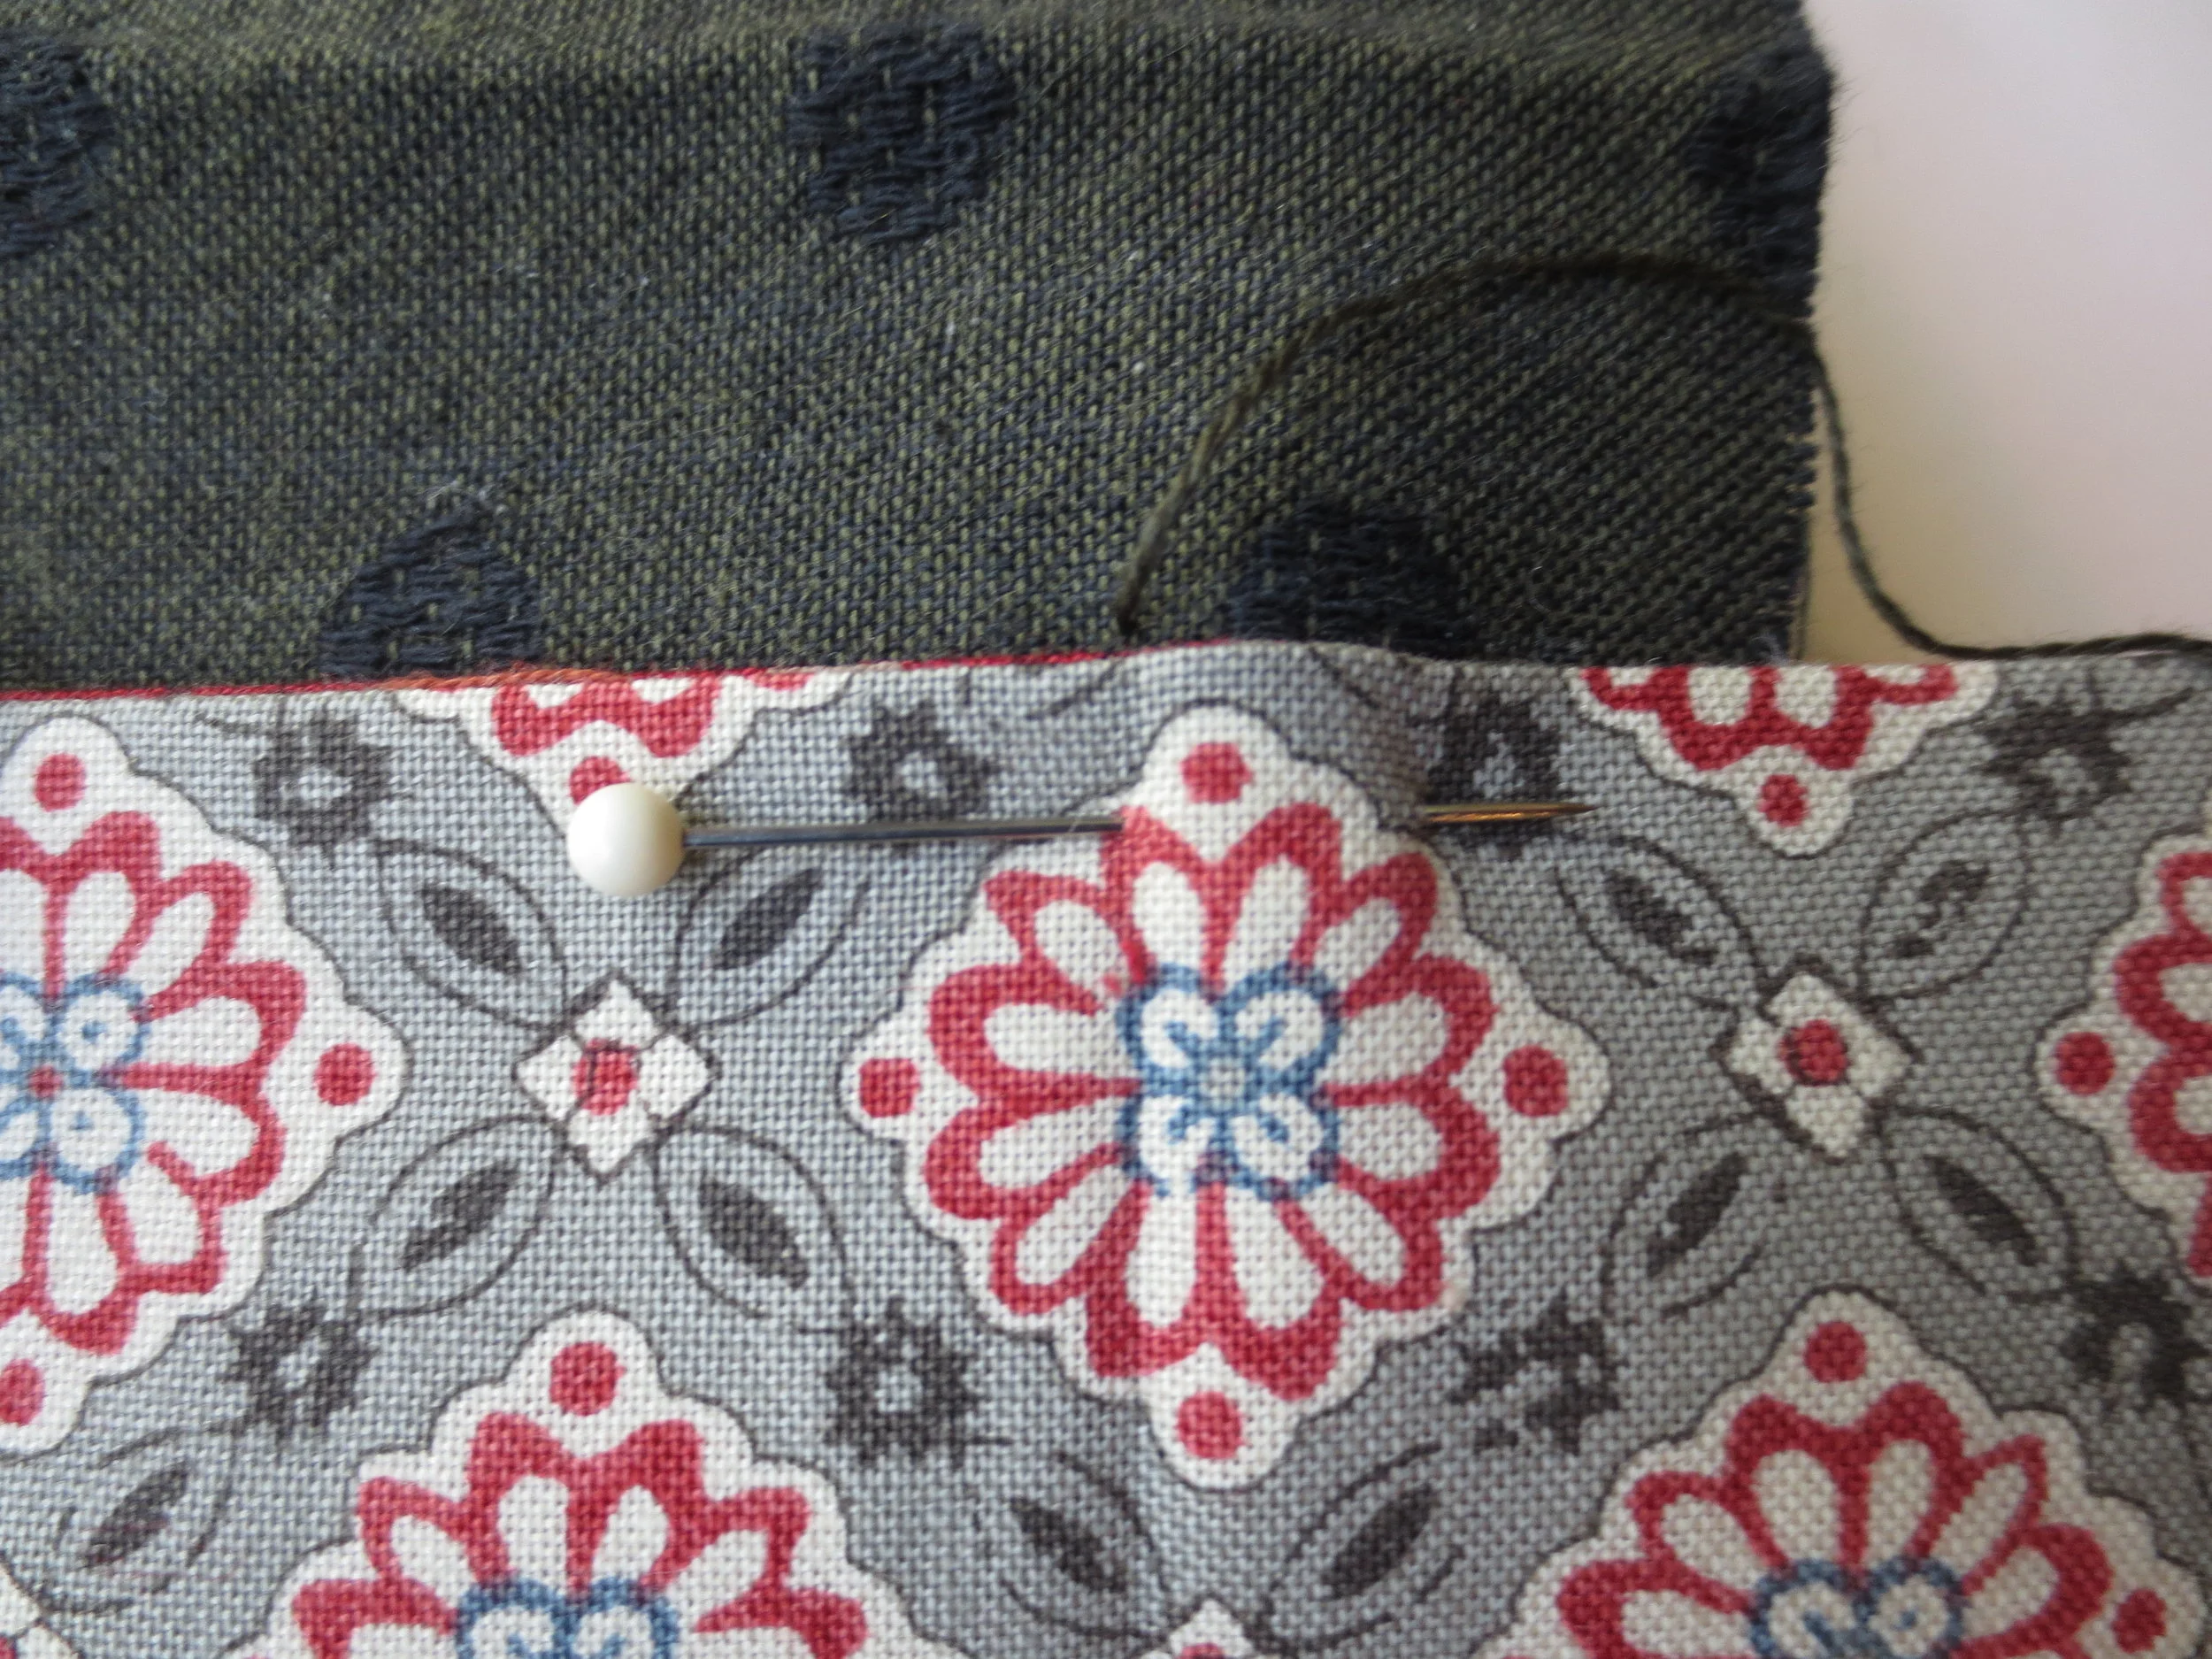
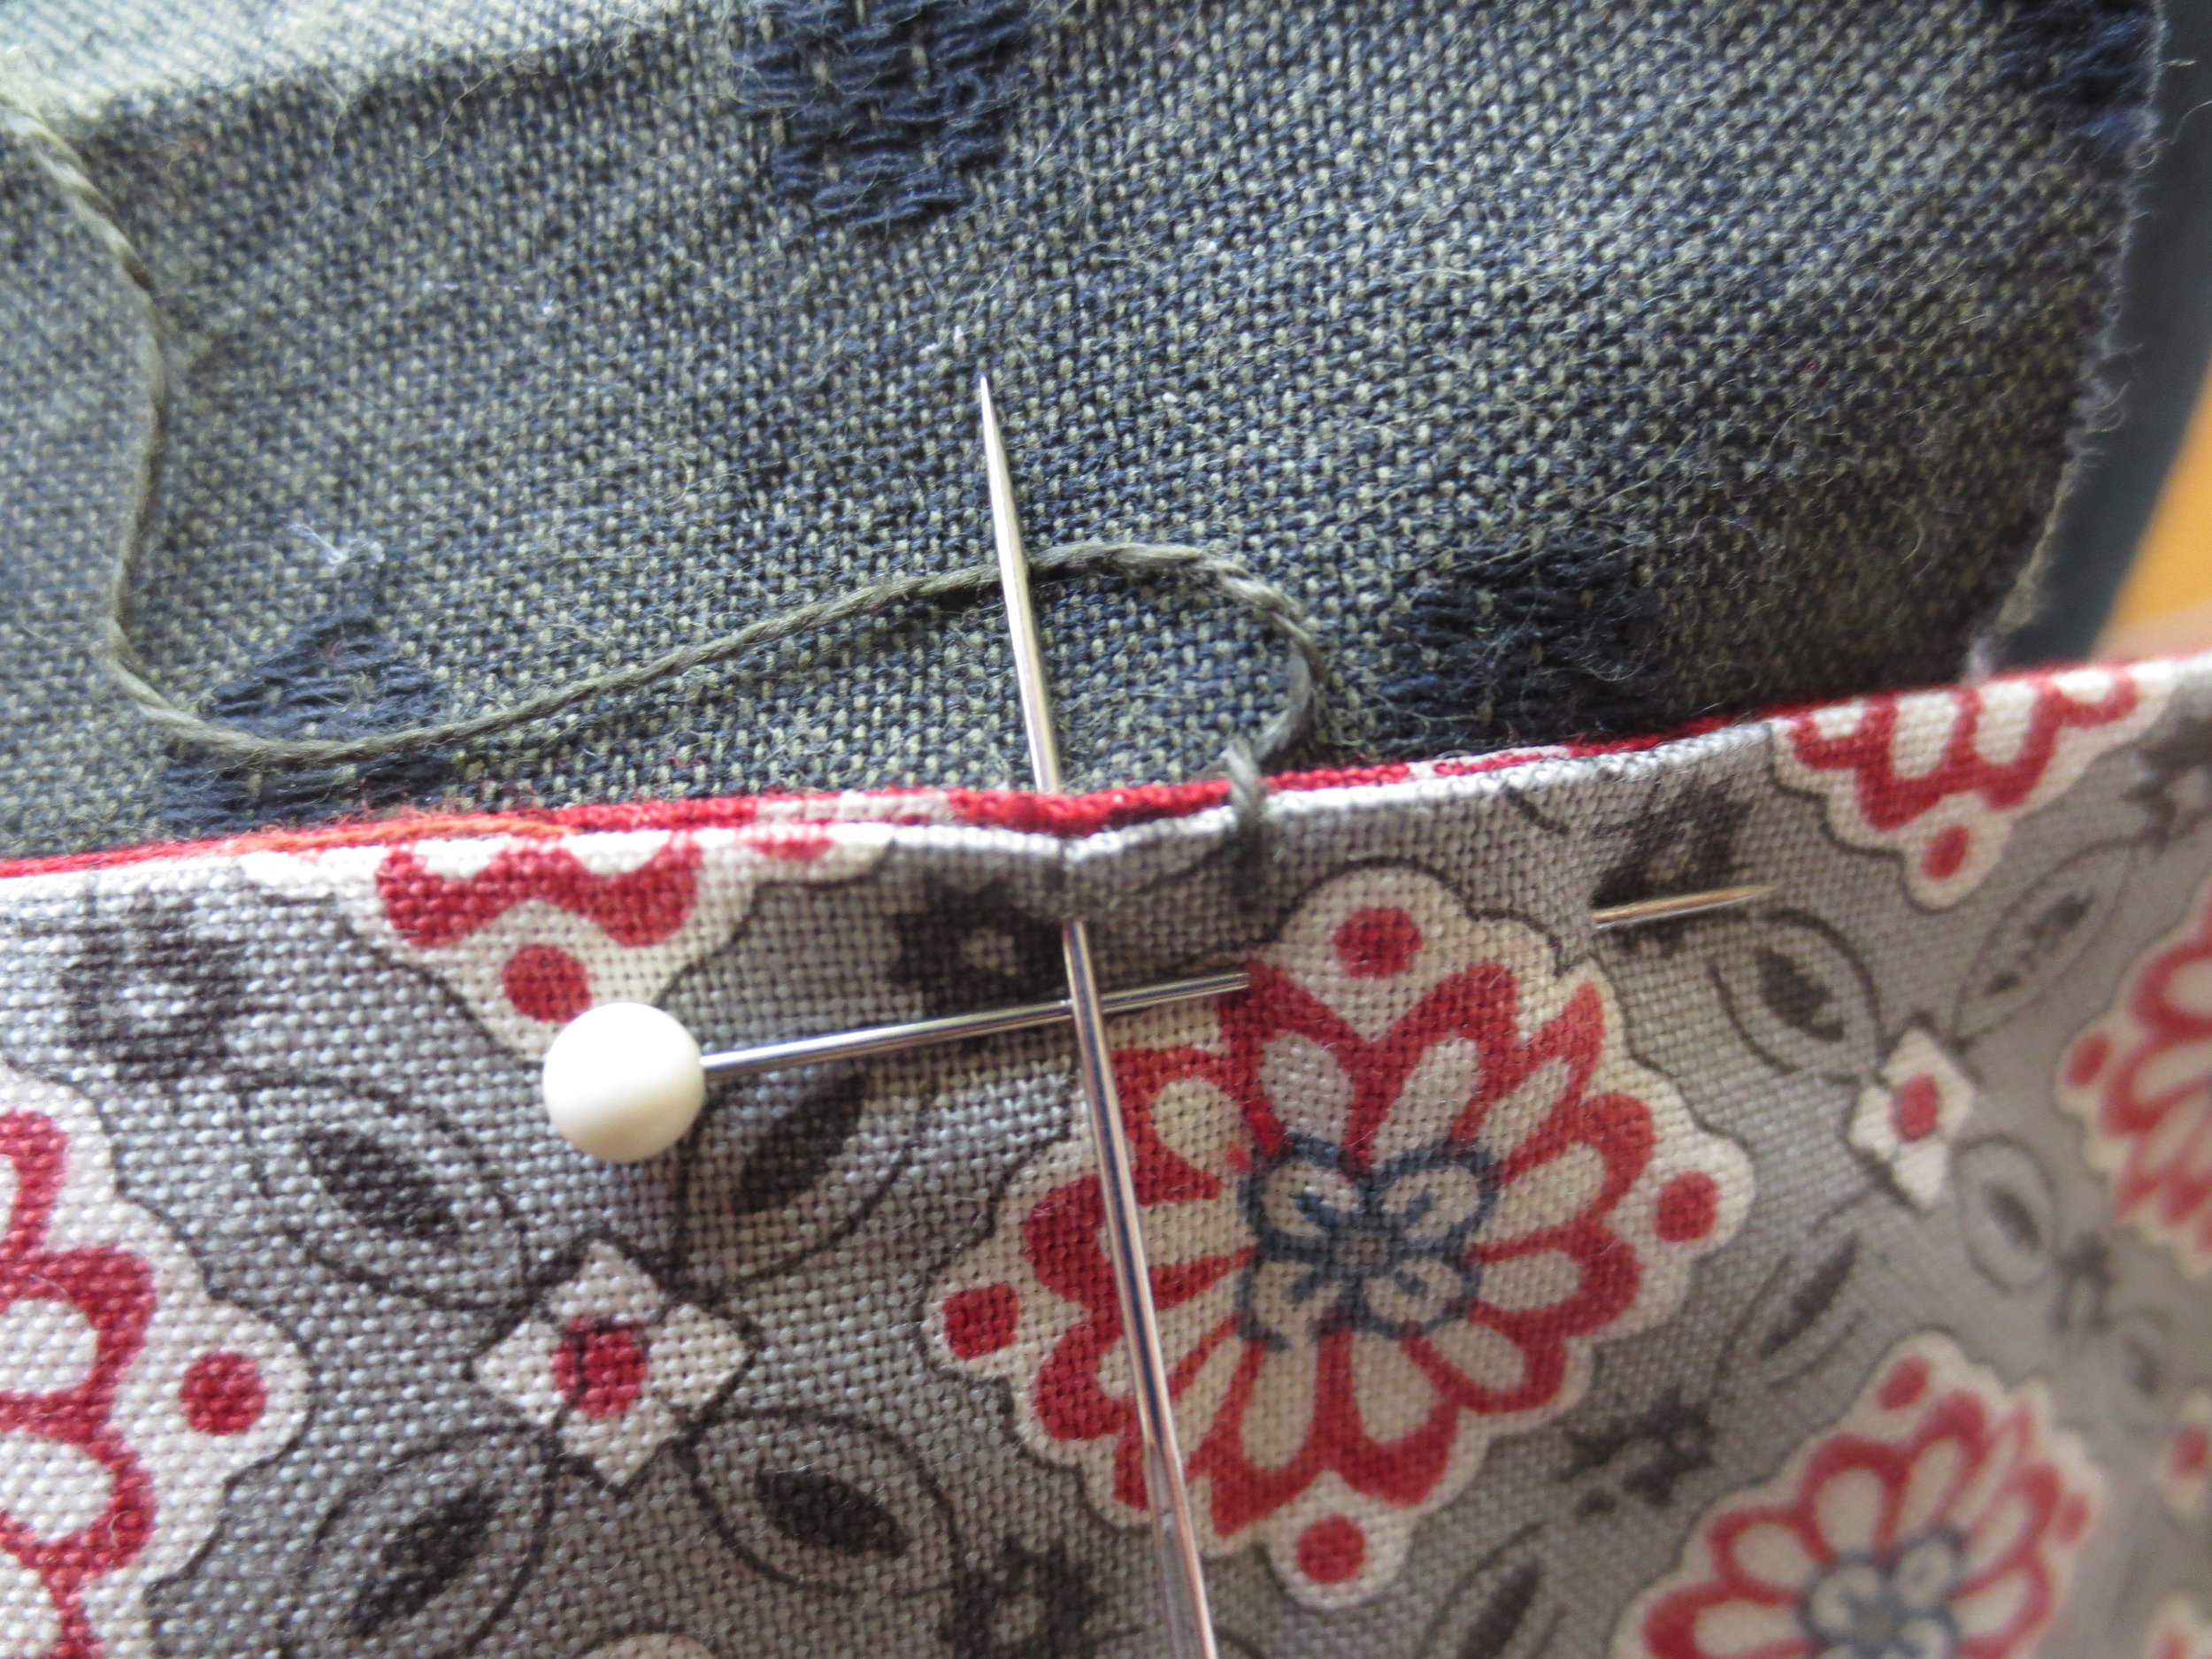
- Carefully unfold the scissor pocket section and pin the scissor pocket in place. Keep the top flap open.
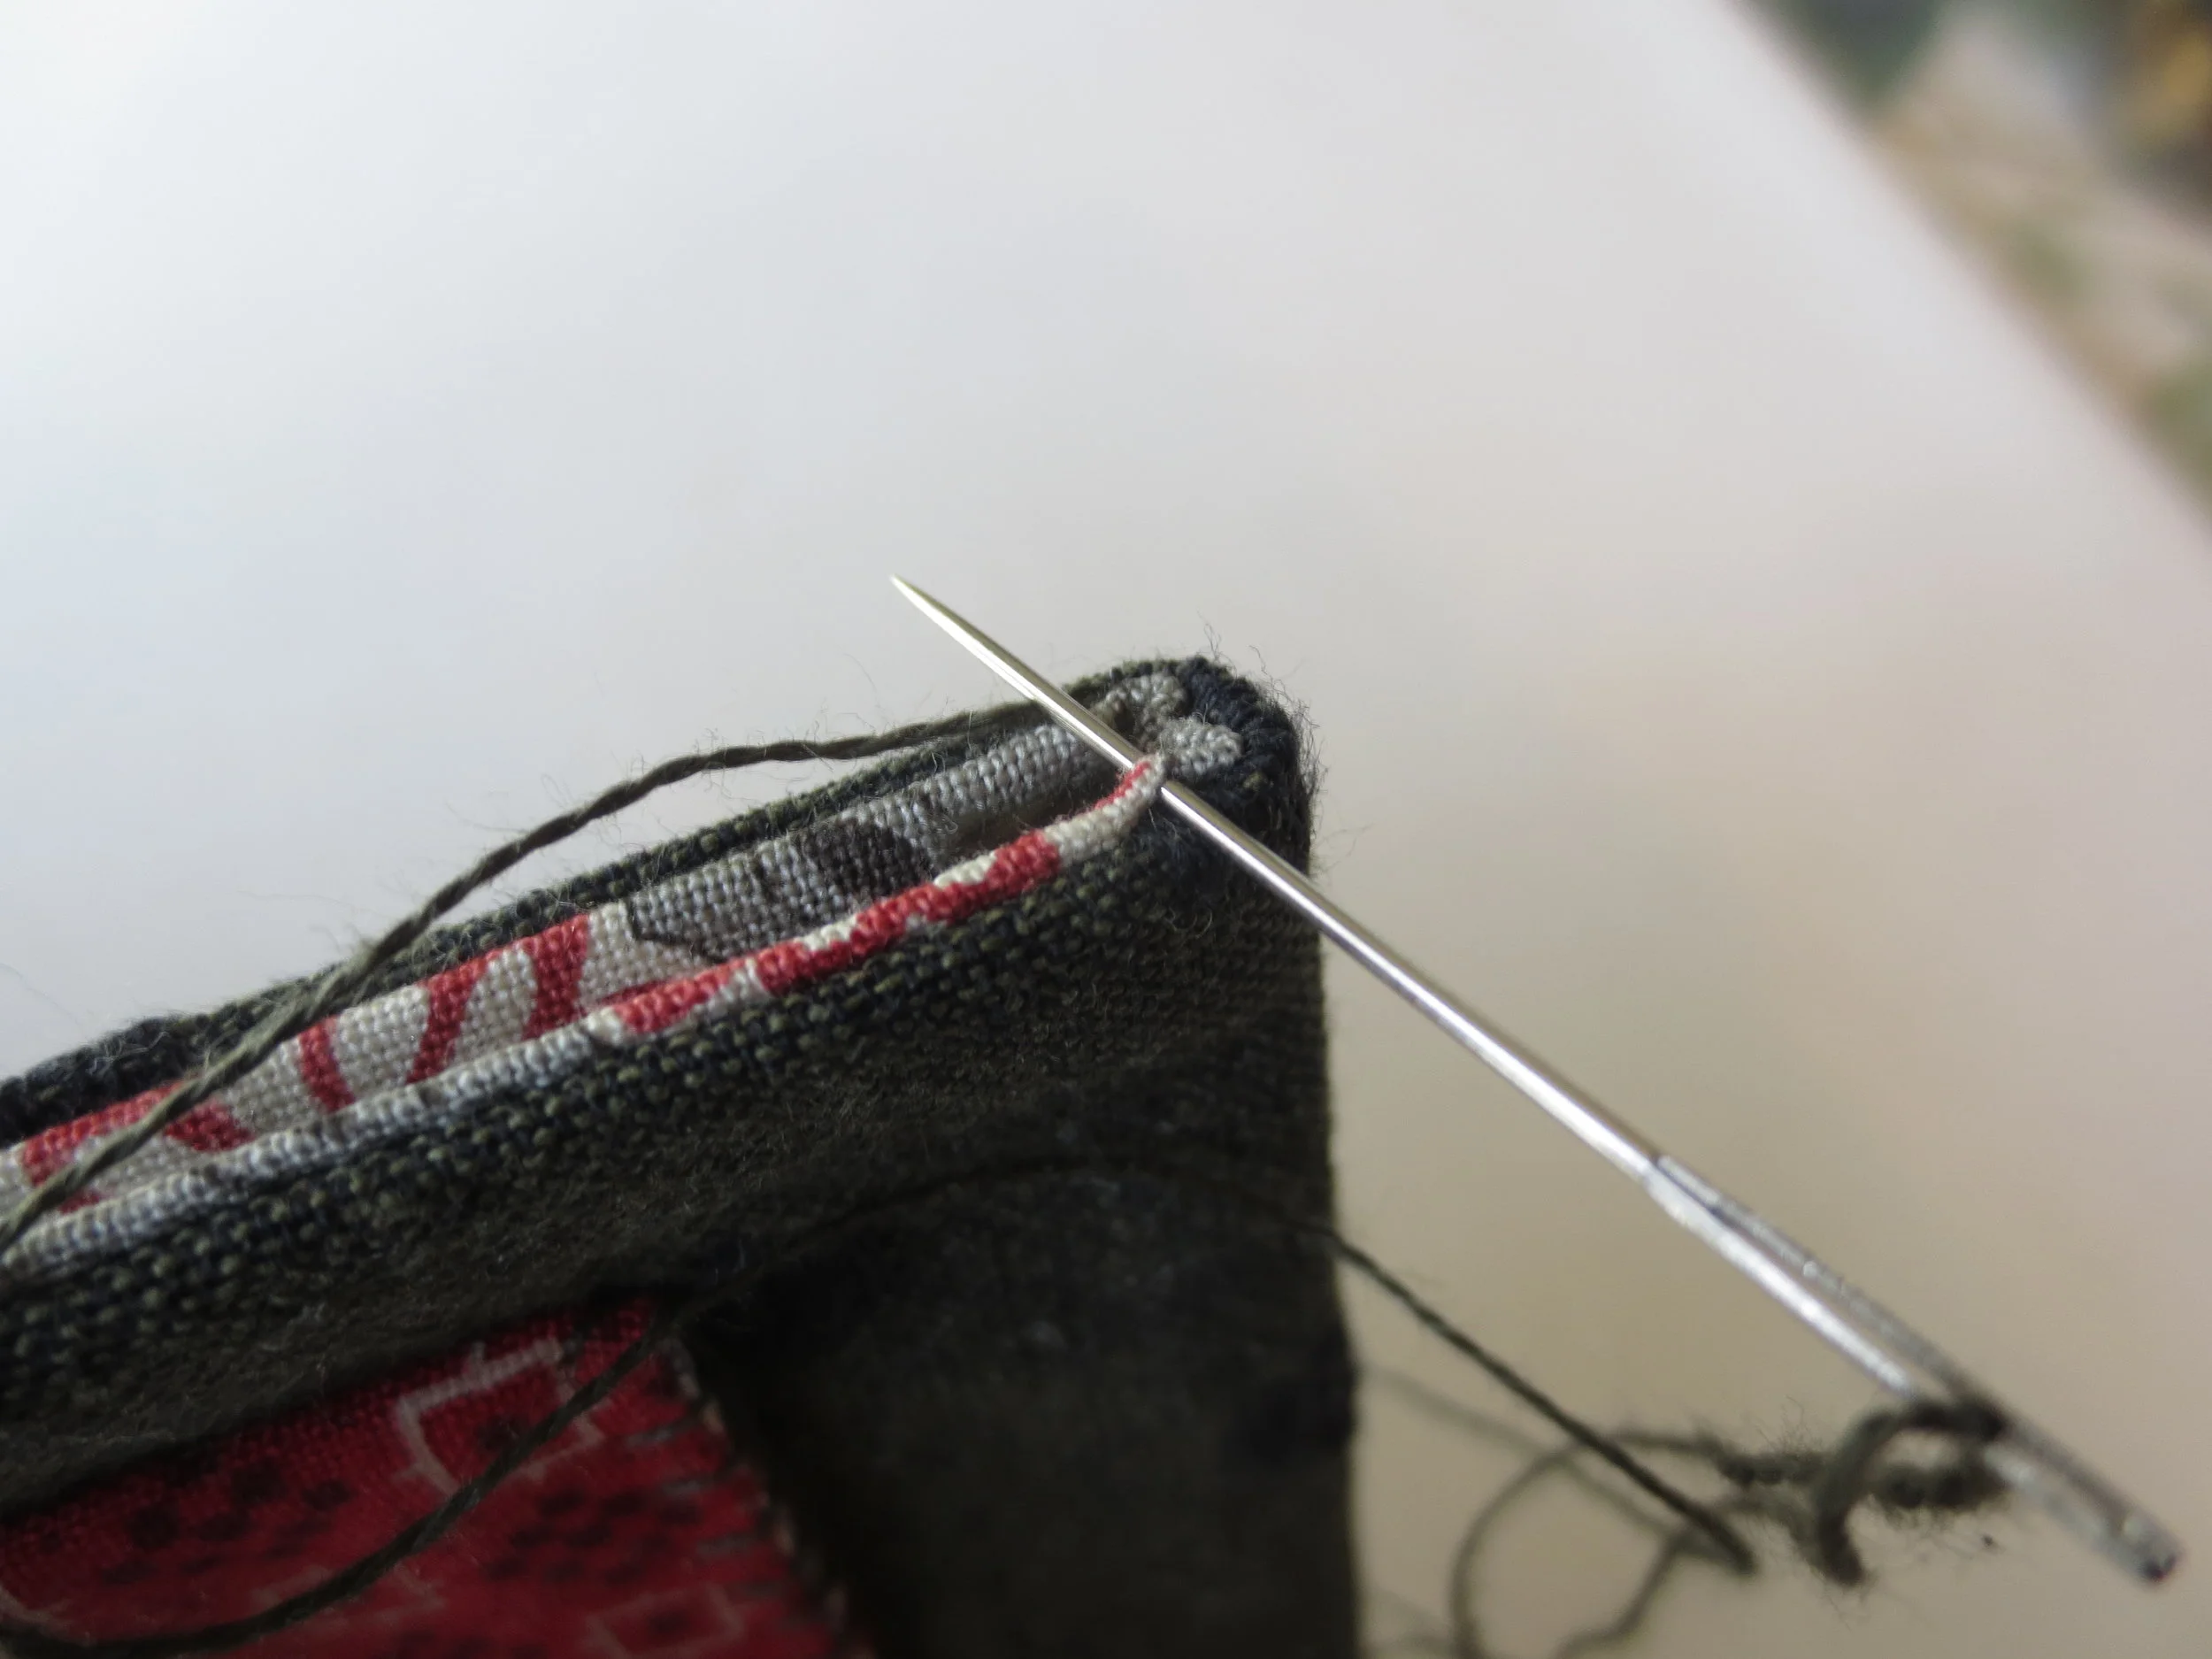
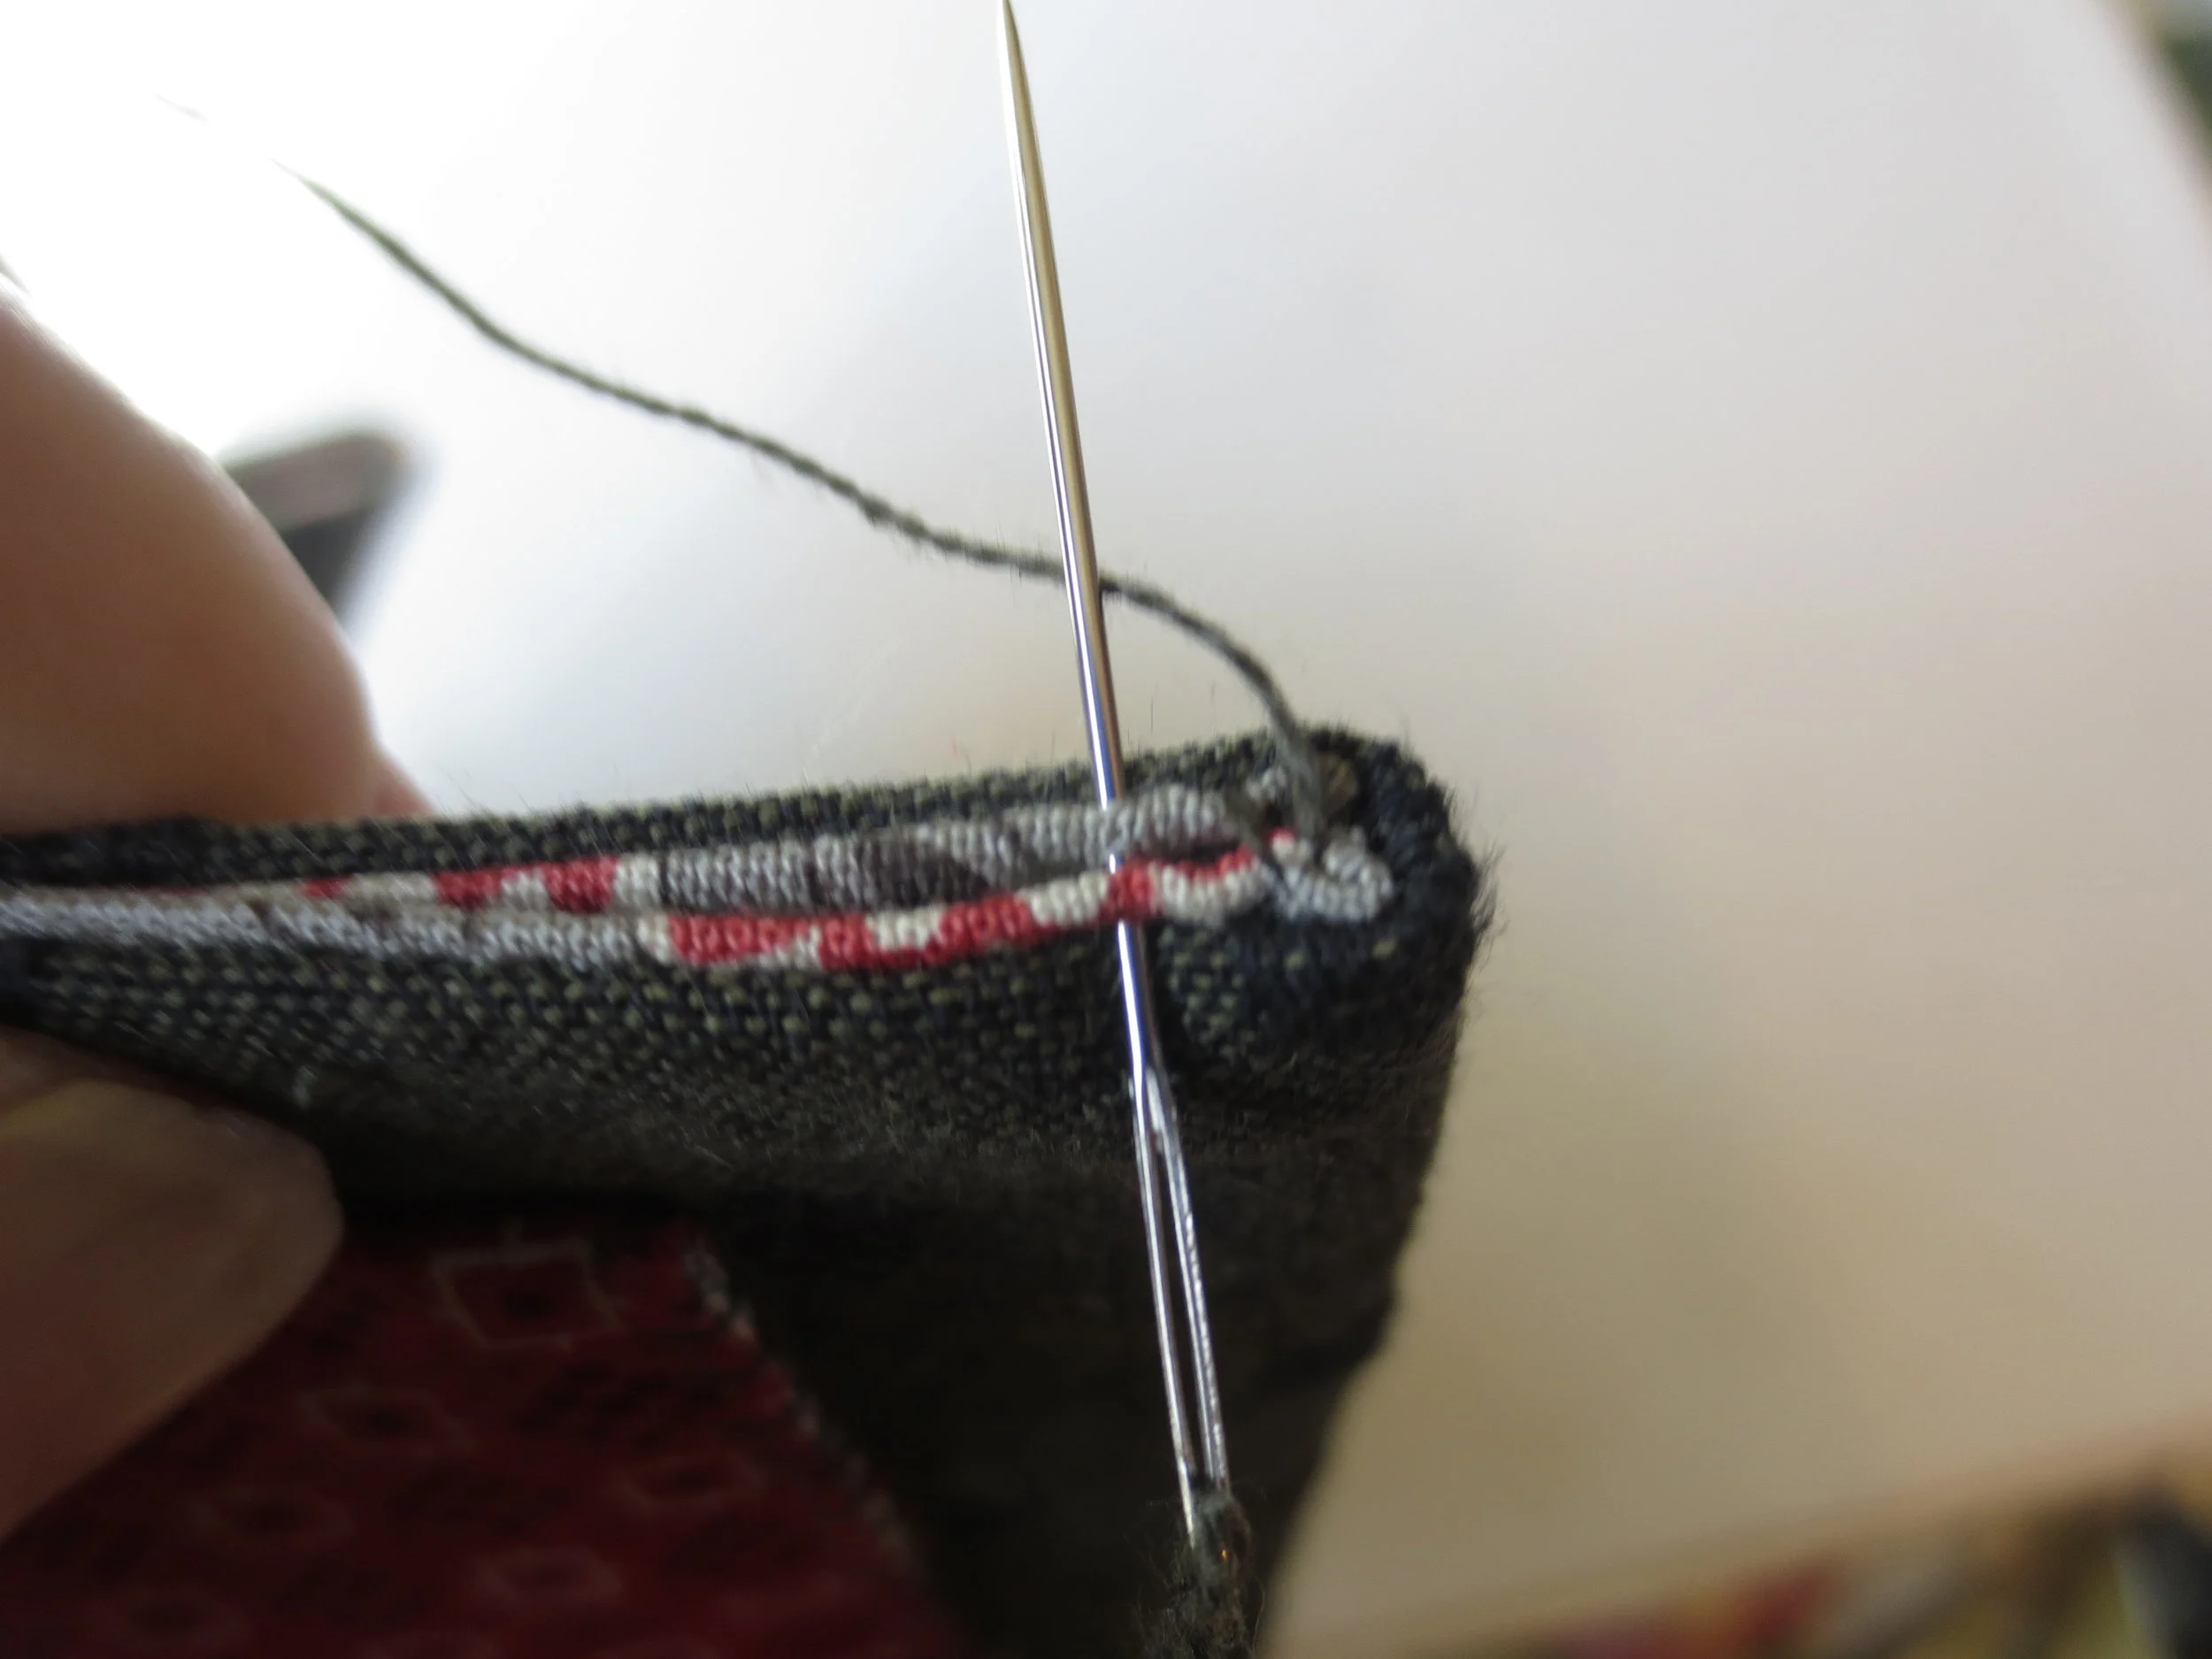
- Use Valdani #893 to blanket stitch the sides of the pocket. Note: Begin at the top fold and continue down the side of the pocket, finishing at the bottom side. Don't stitch the bottom. This is where a thimble comes in handy because you will have to sew through 8 layers of fabric in some sections.

- Fold the top flap down and button to secure.

4. Sewing the lining
- Unfold the keeper and place it flat, right side up.
- Lay the 6 1/2" x 19 1/2" piece of lining fabric on top of the keeper, right sides together.
- Pin to secure.
- Sew a 1/4" seam along the two long sides and one short side.
- Clip corners.
- Turn inside out.
- Trim excess.
- Turn open ends 1/4" inside and ladder stitch closed.
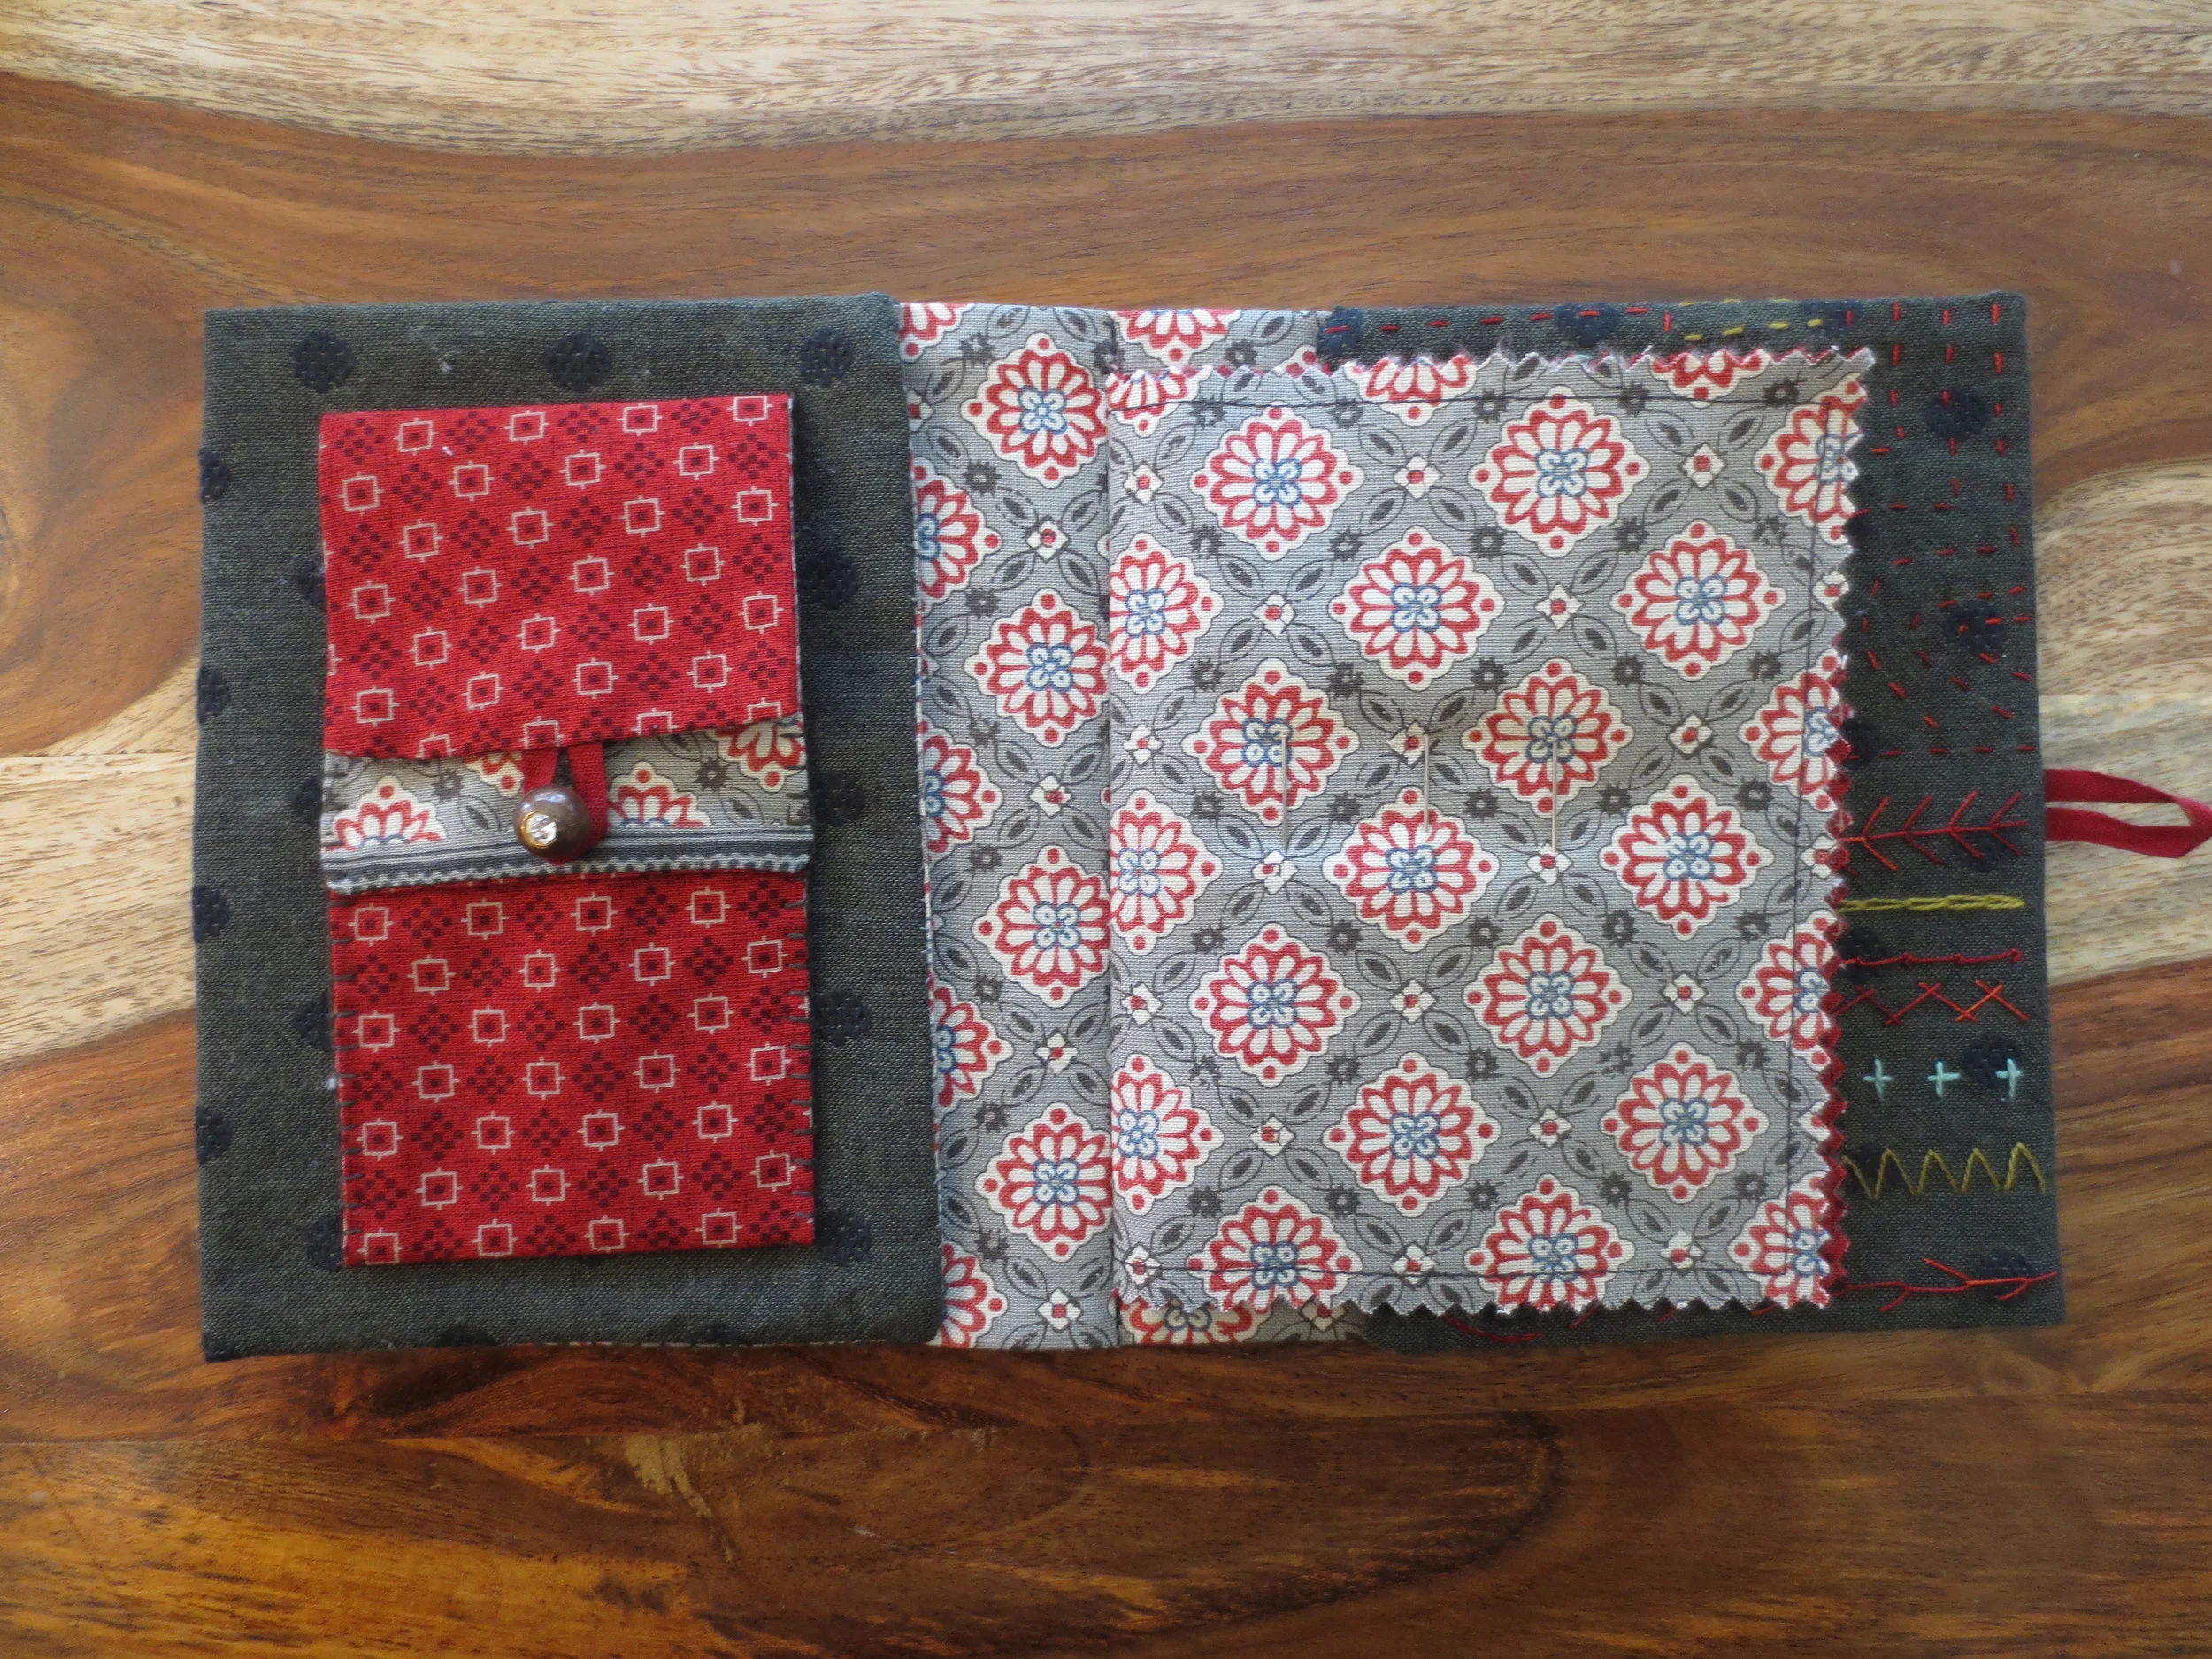
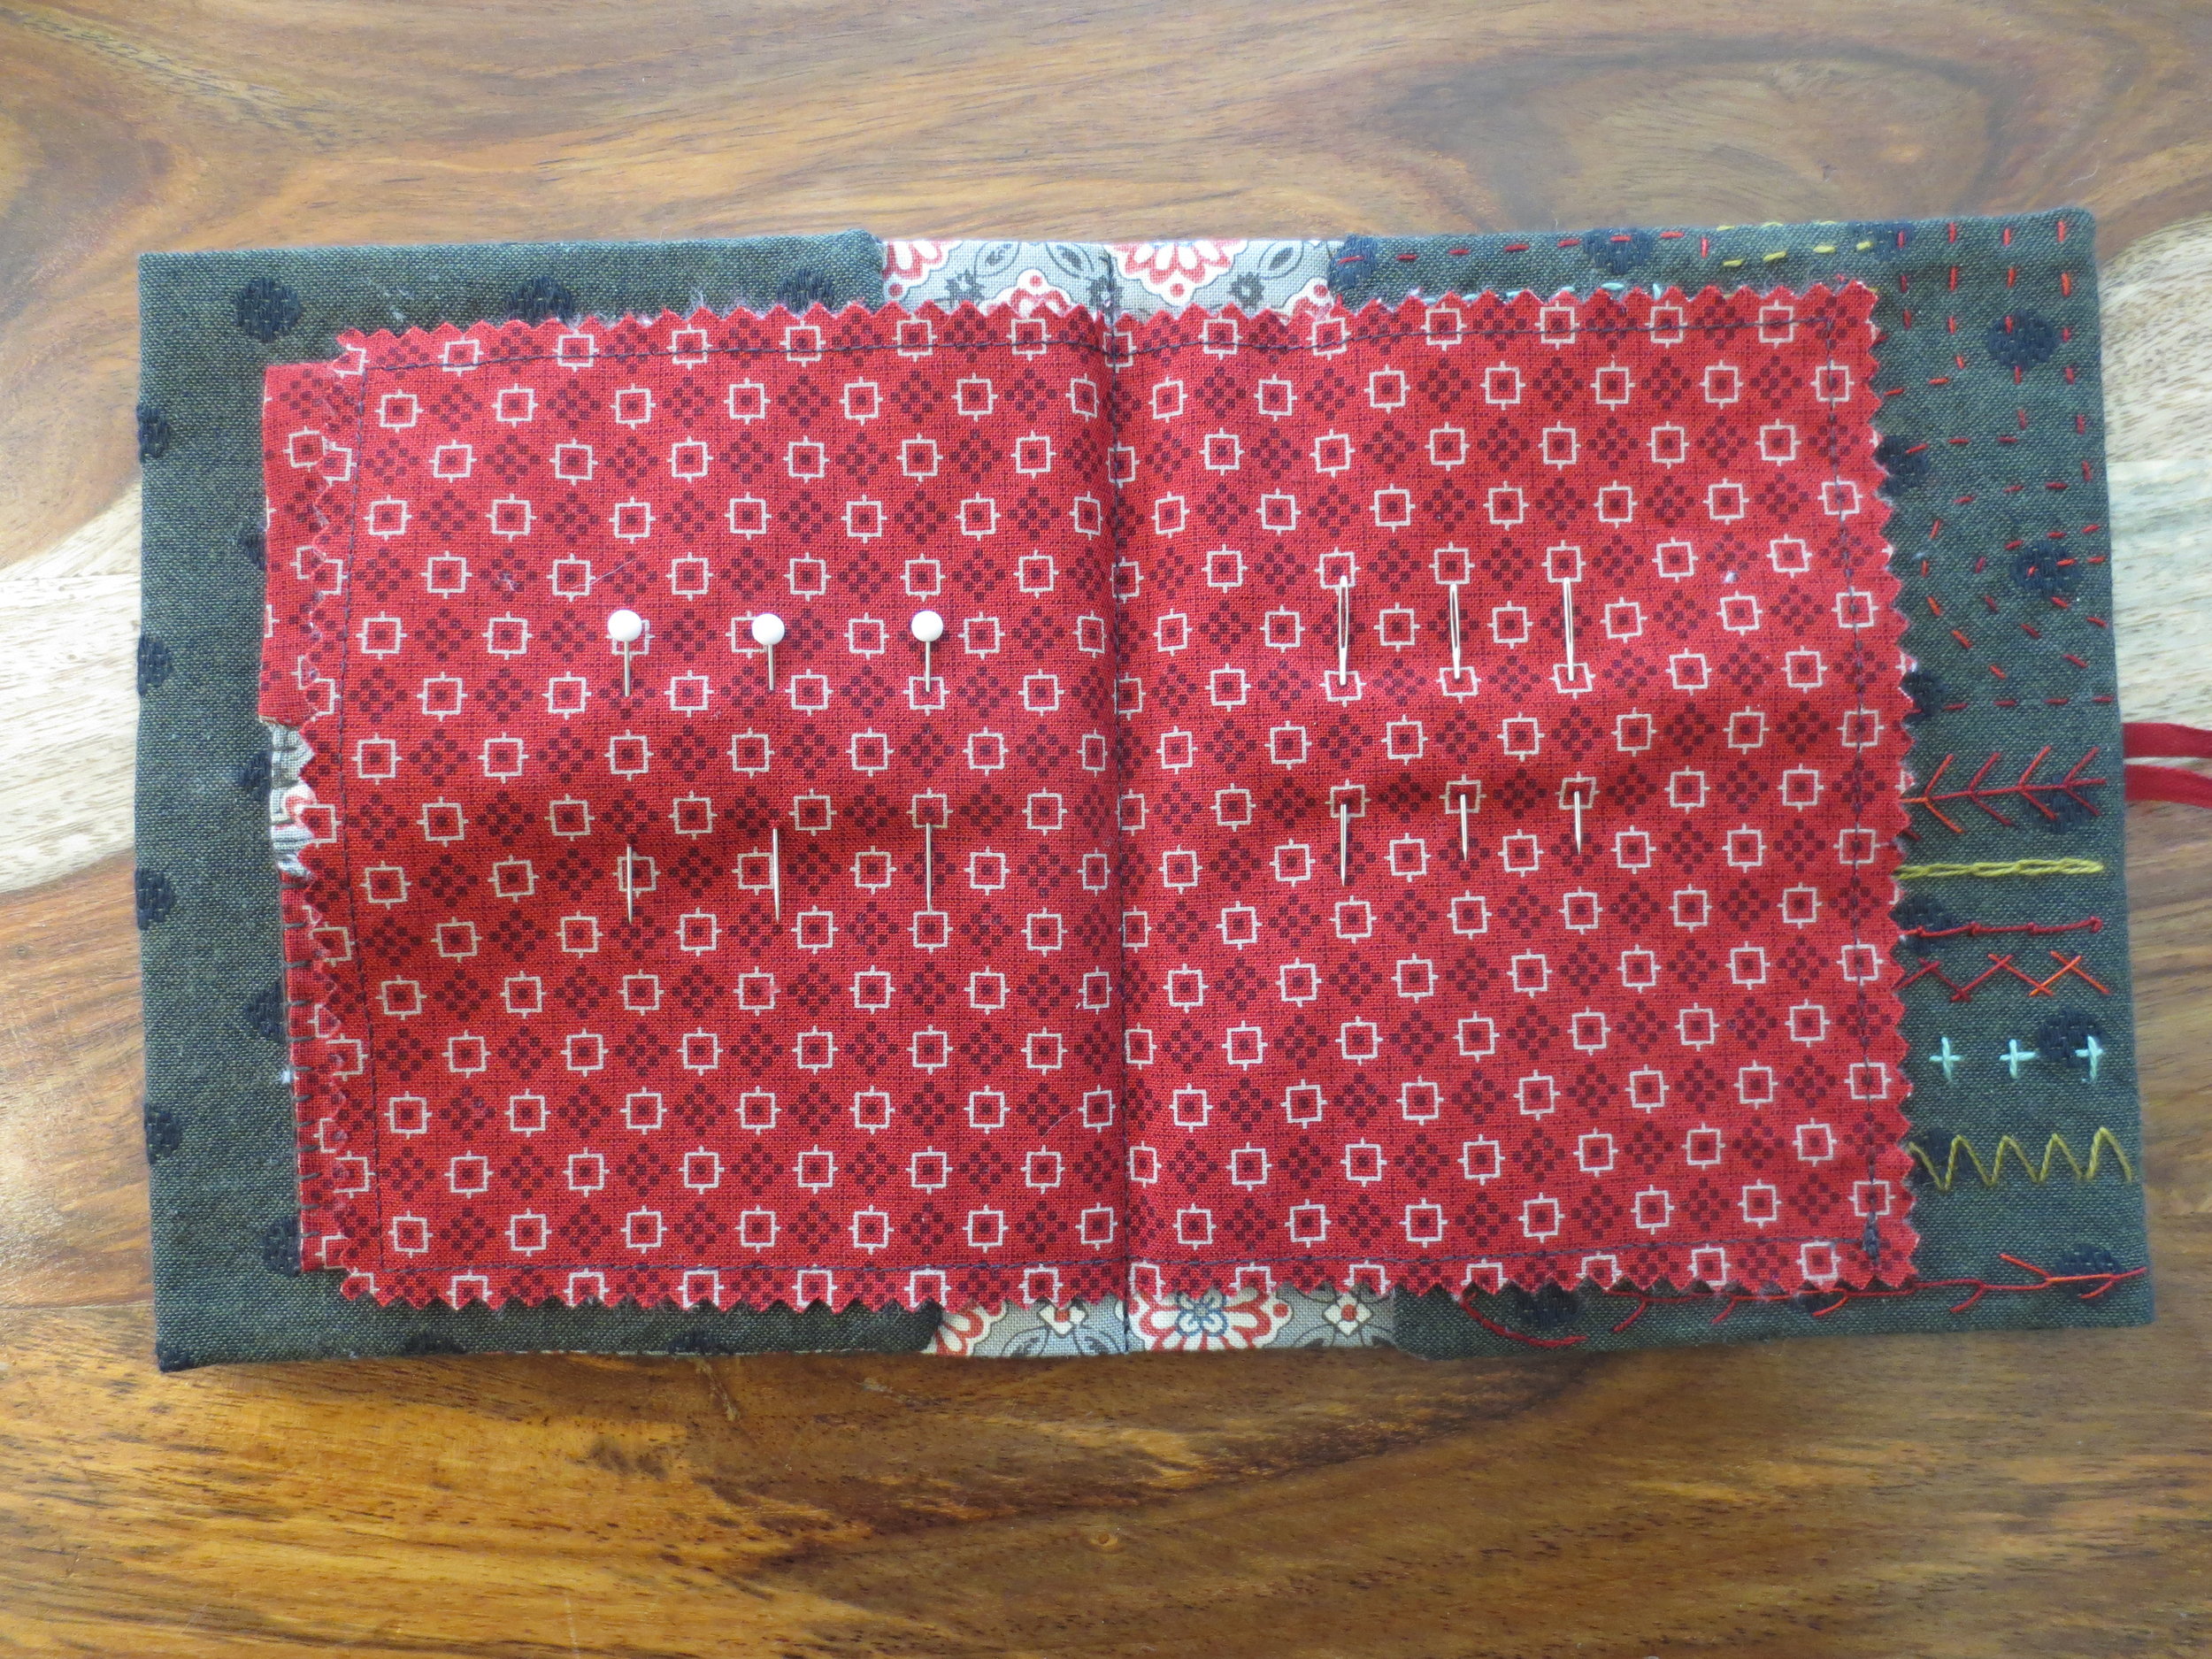
5. Making the pockets
- Lay the keeper cover side down. Fold the scissor pocket and stitch guide sections to the front as shown below. Pin to secure. These will form pockets that you can use to stash threads or small sewing tools in.

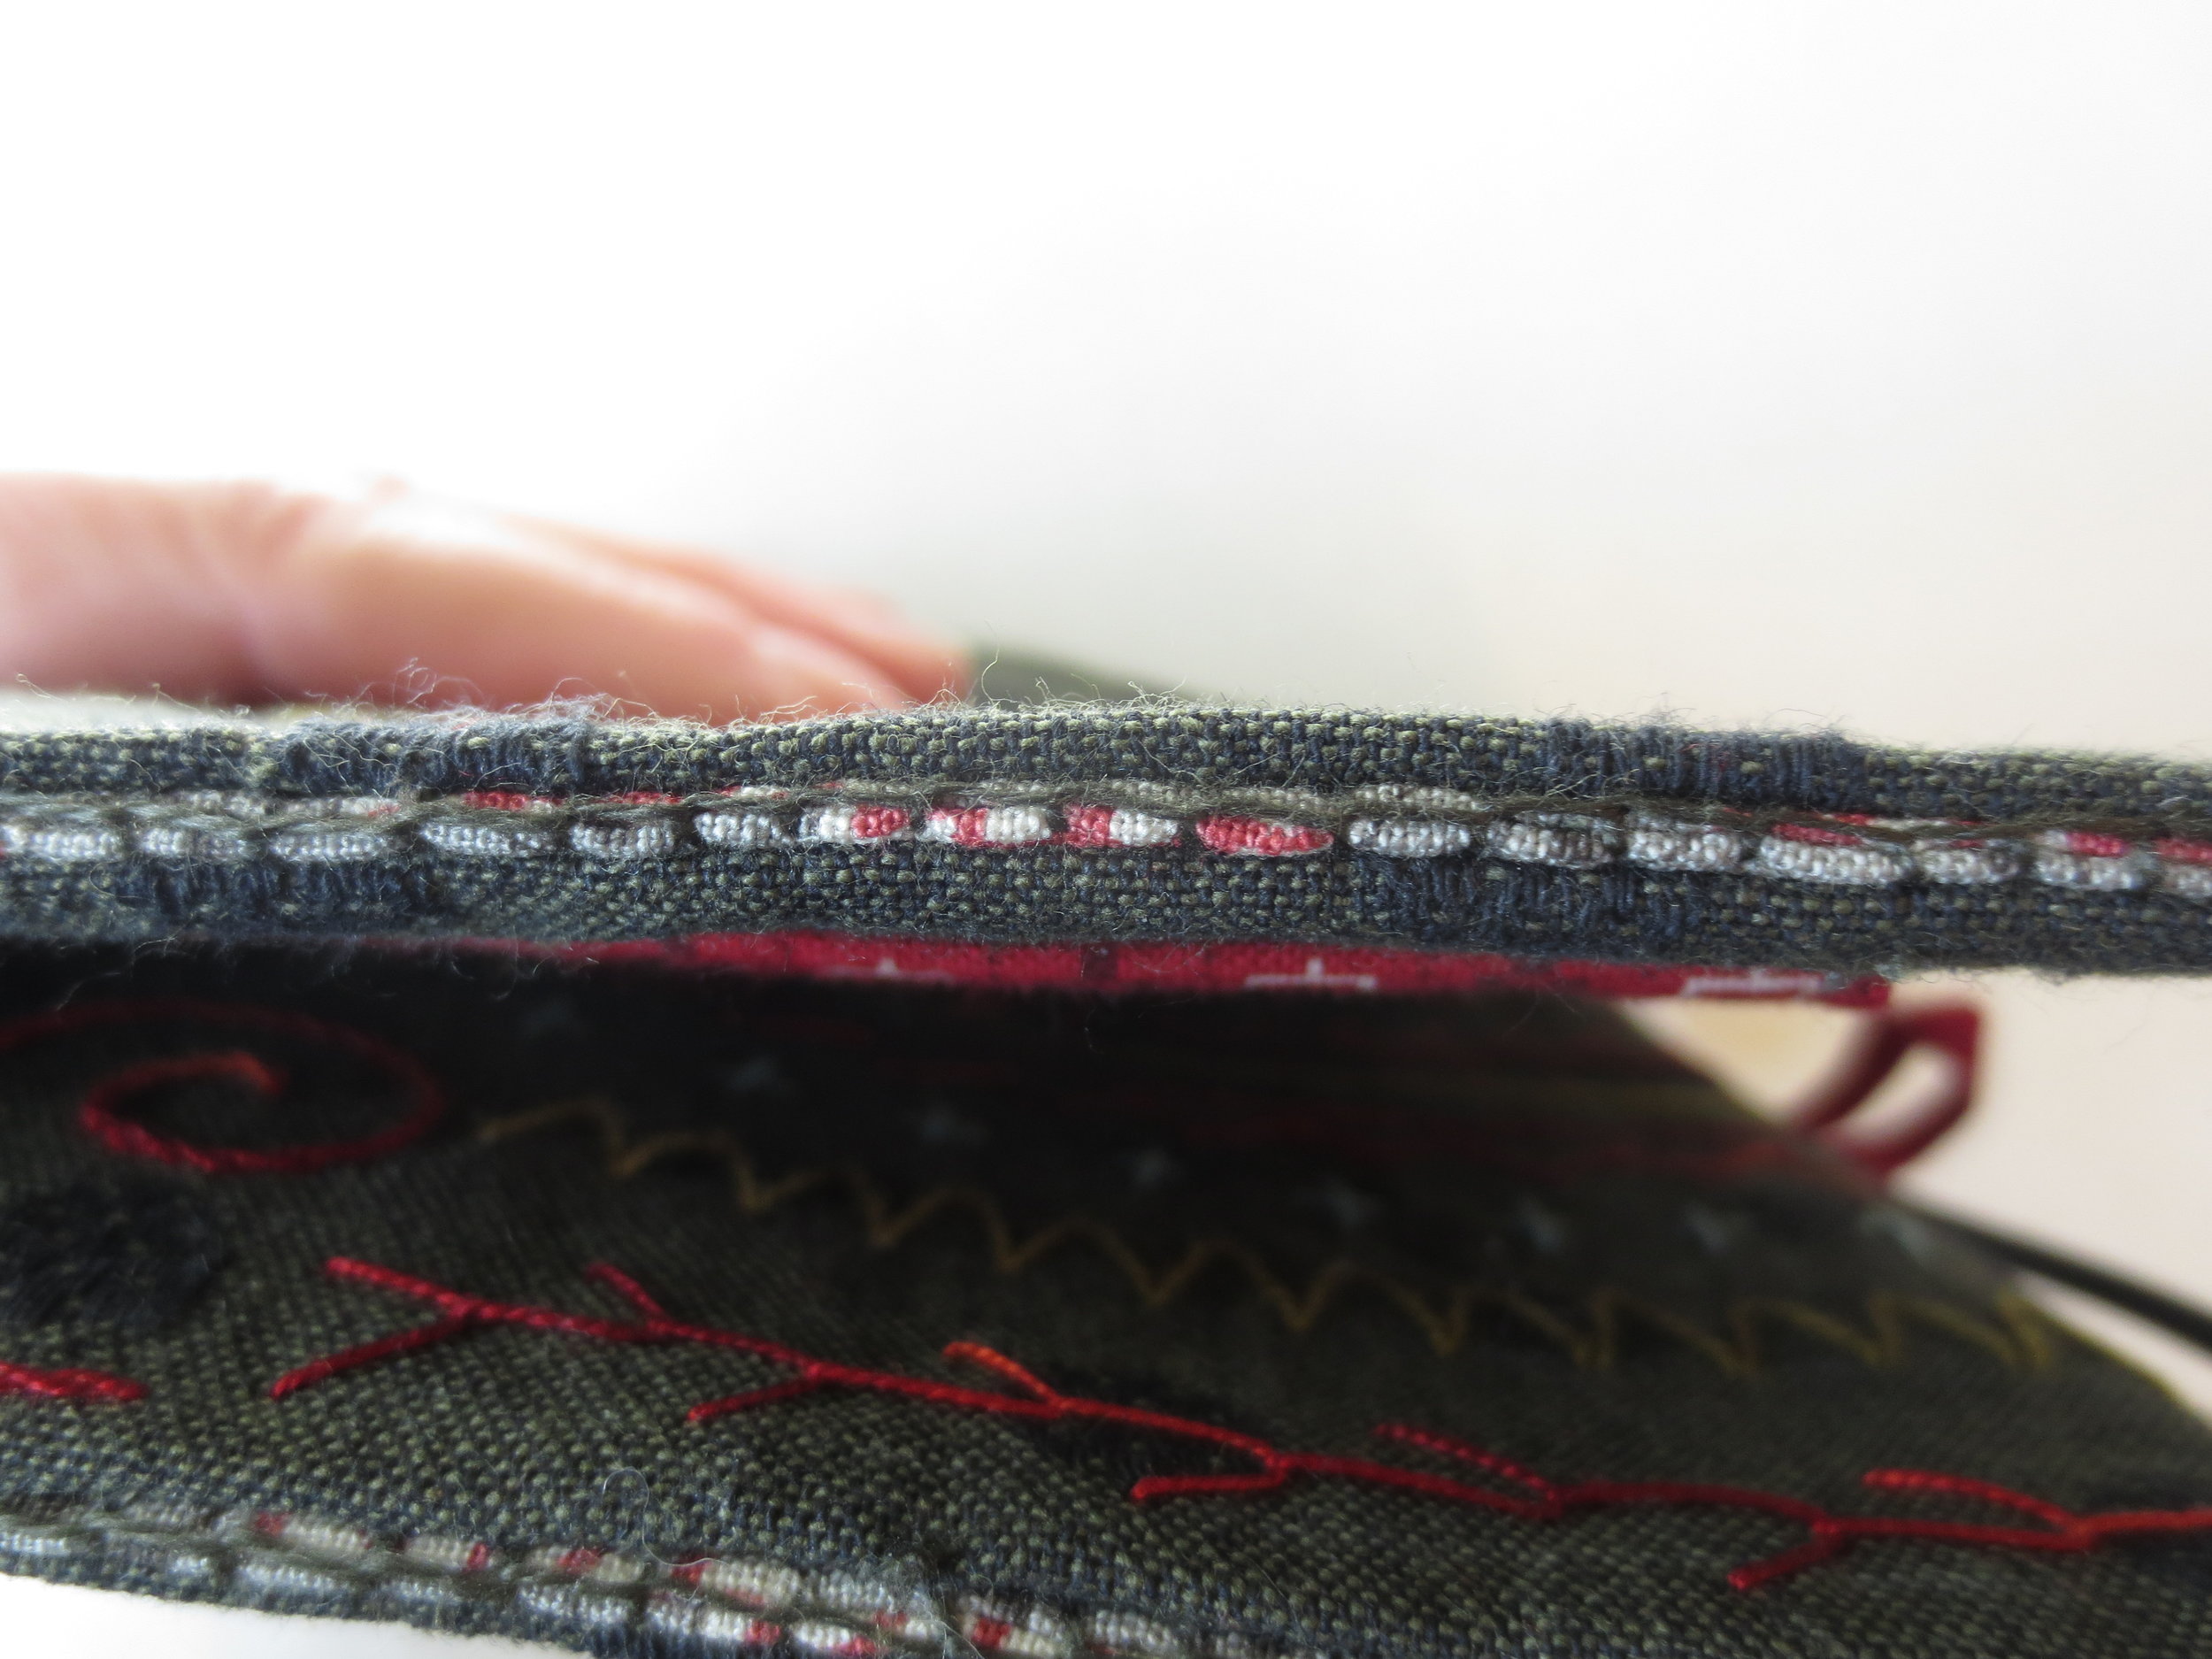
- Blanket stitch the top and bottom edges with Valdani #893.
- Begin at the corner, hiding the knot on the inside of the pocket. Bring the needle up at the seamline between the cover and lining, about 1/4" from the fold.
- Make your stitches in the lining only. Do not pierce the cover fabric.
6. Needle pages
- Layer the remaining two pieces of fabric, wrong sides together.
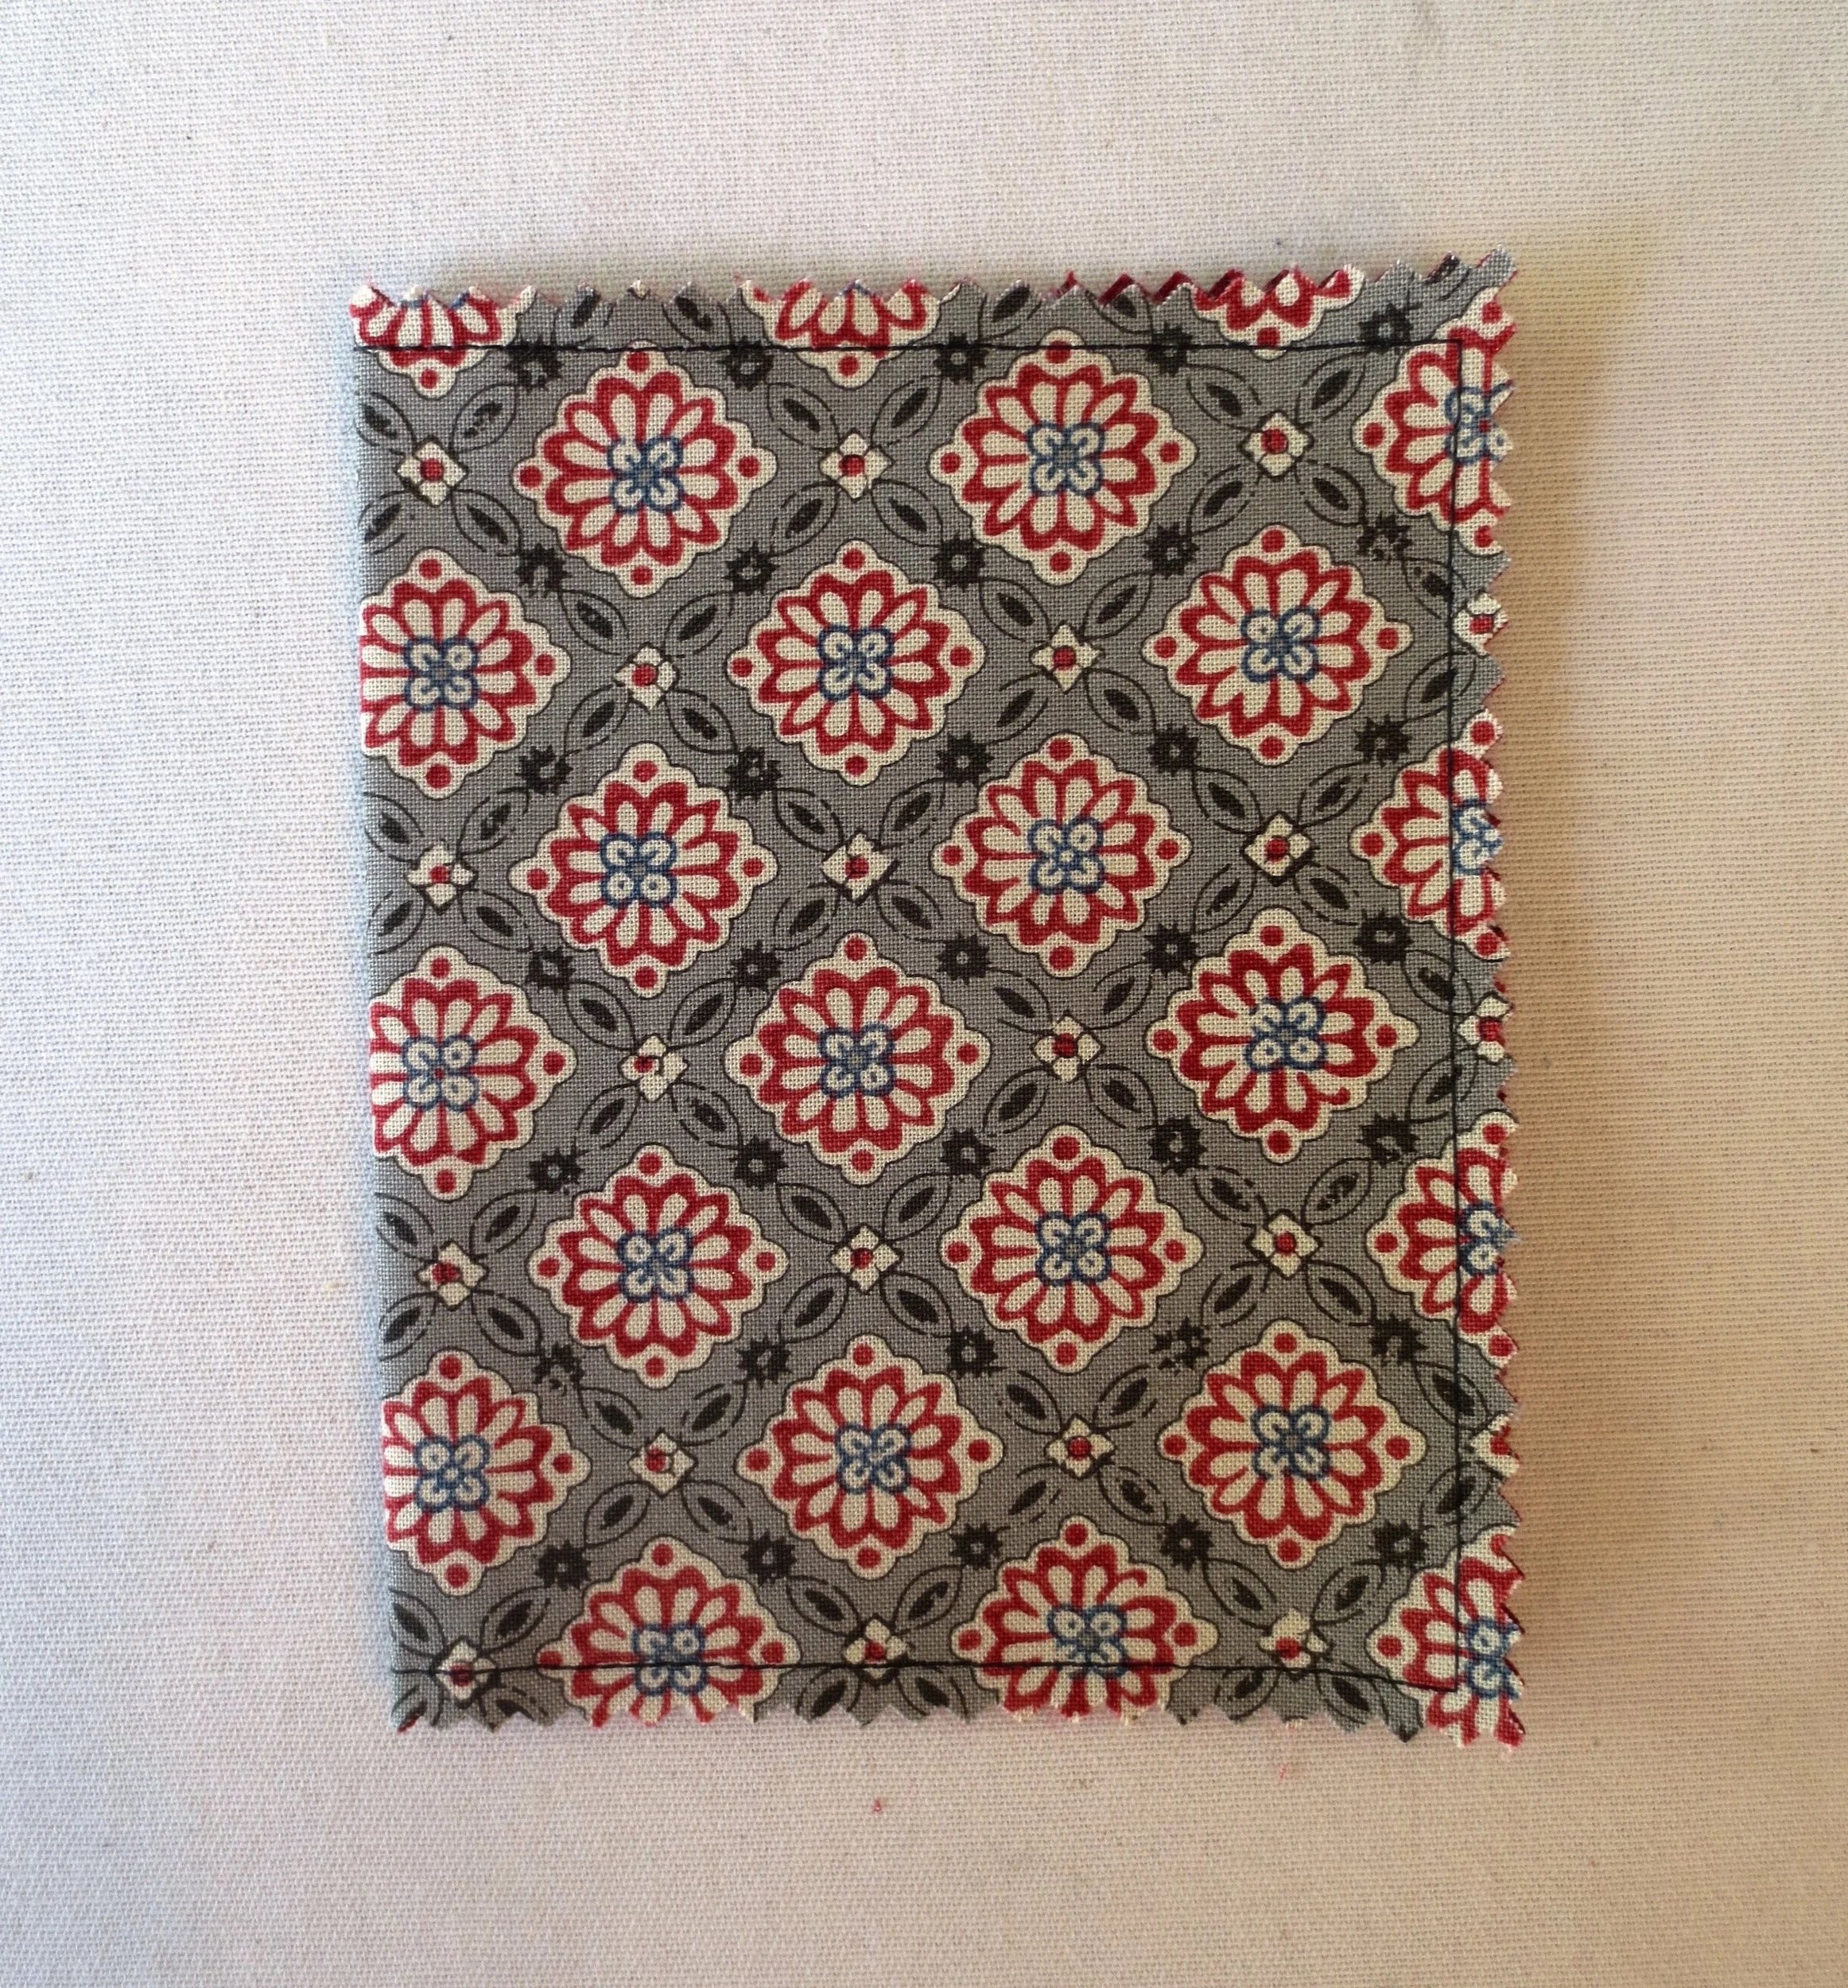
- Sew a 3/8" seam all around all four sides.
- Pink the edges of all four sides.
- Fold this in half, widthwise, with the lining side on the outside. Press.
- Close the keeper. Press well.
- Open the keeper, pockets side up,
- Line the center crease in the needle page with the center crease in the keeper. Pin to secure.
- Machine stitch the needle pages to the keeper on the creased line, using thread that matches the cover color. This sewn line will form the spine of the keeper.
The keeper is complete!
Happy Stitching!