William Morris Inspired - Part I
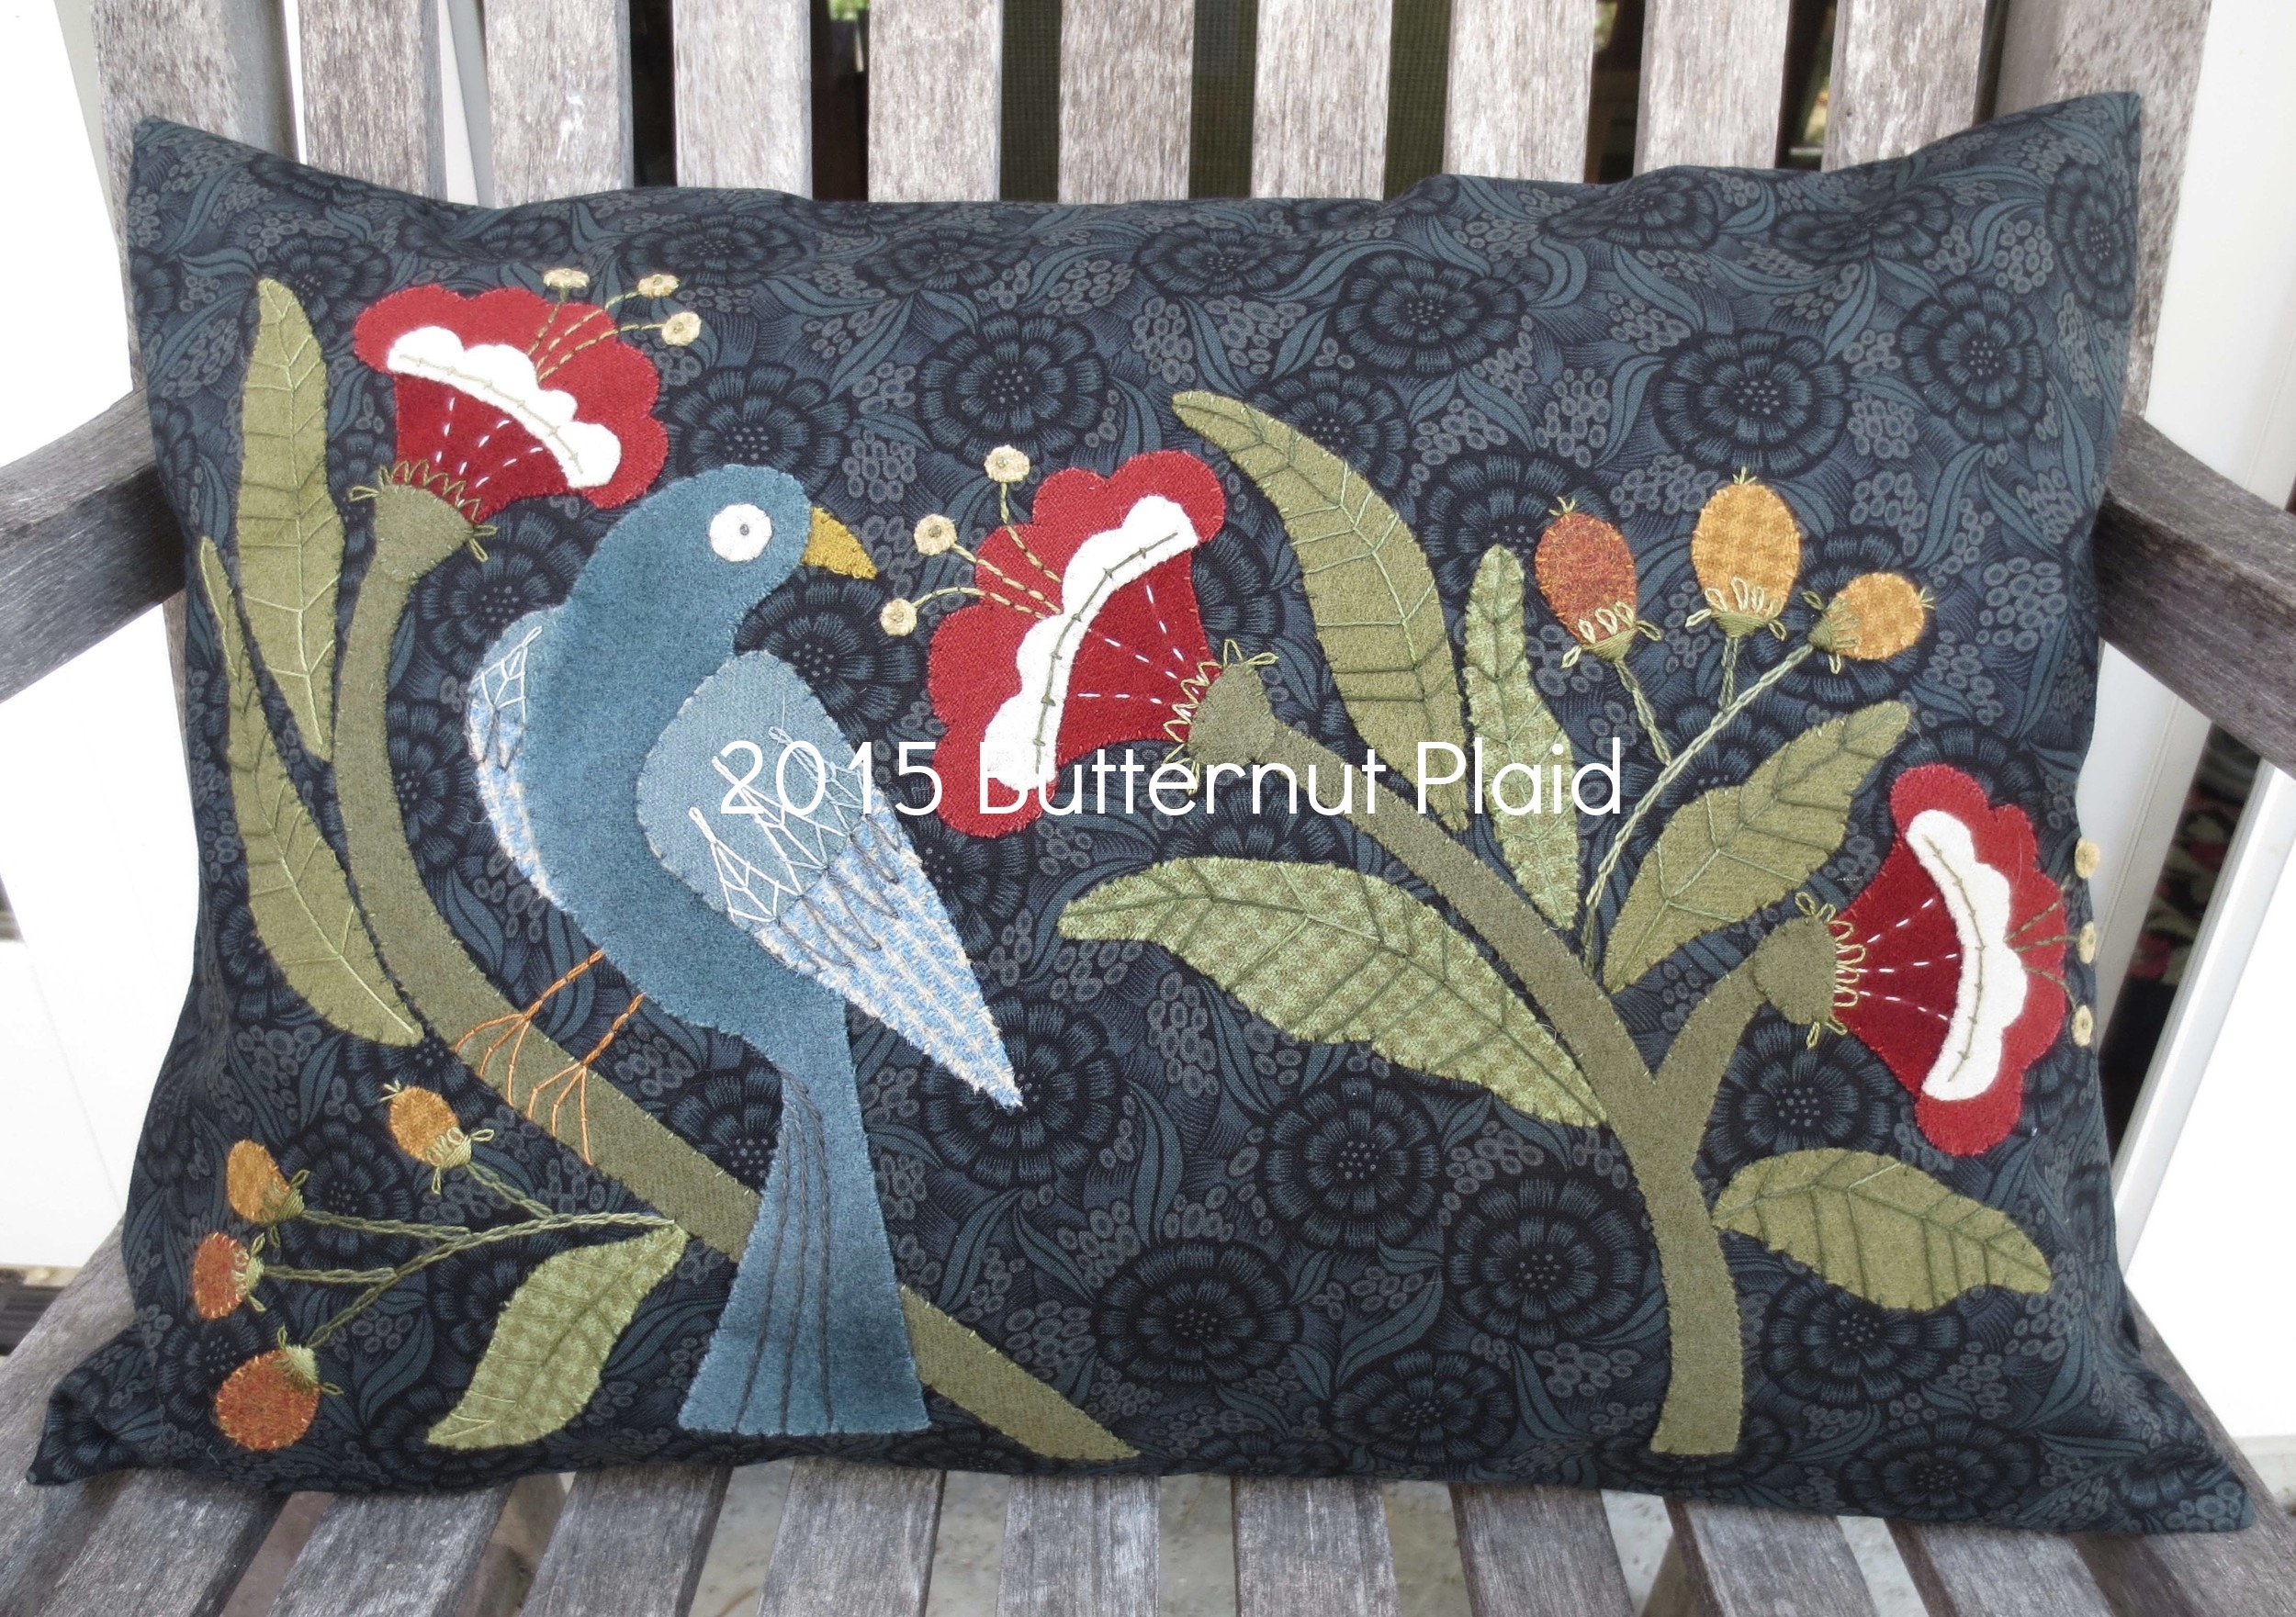
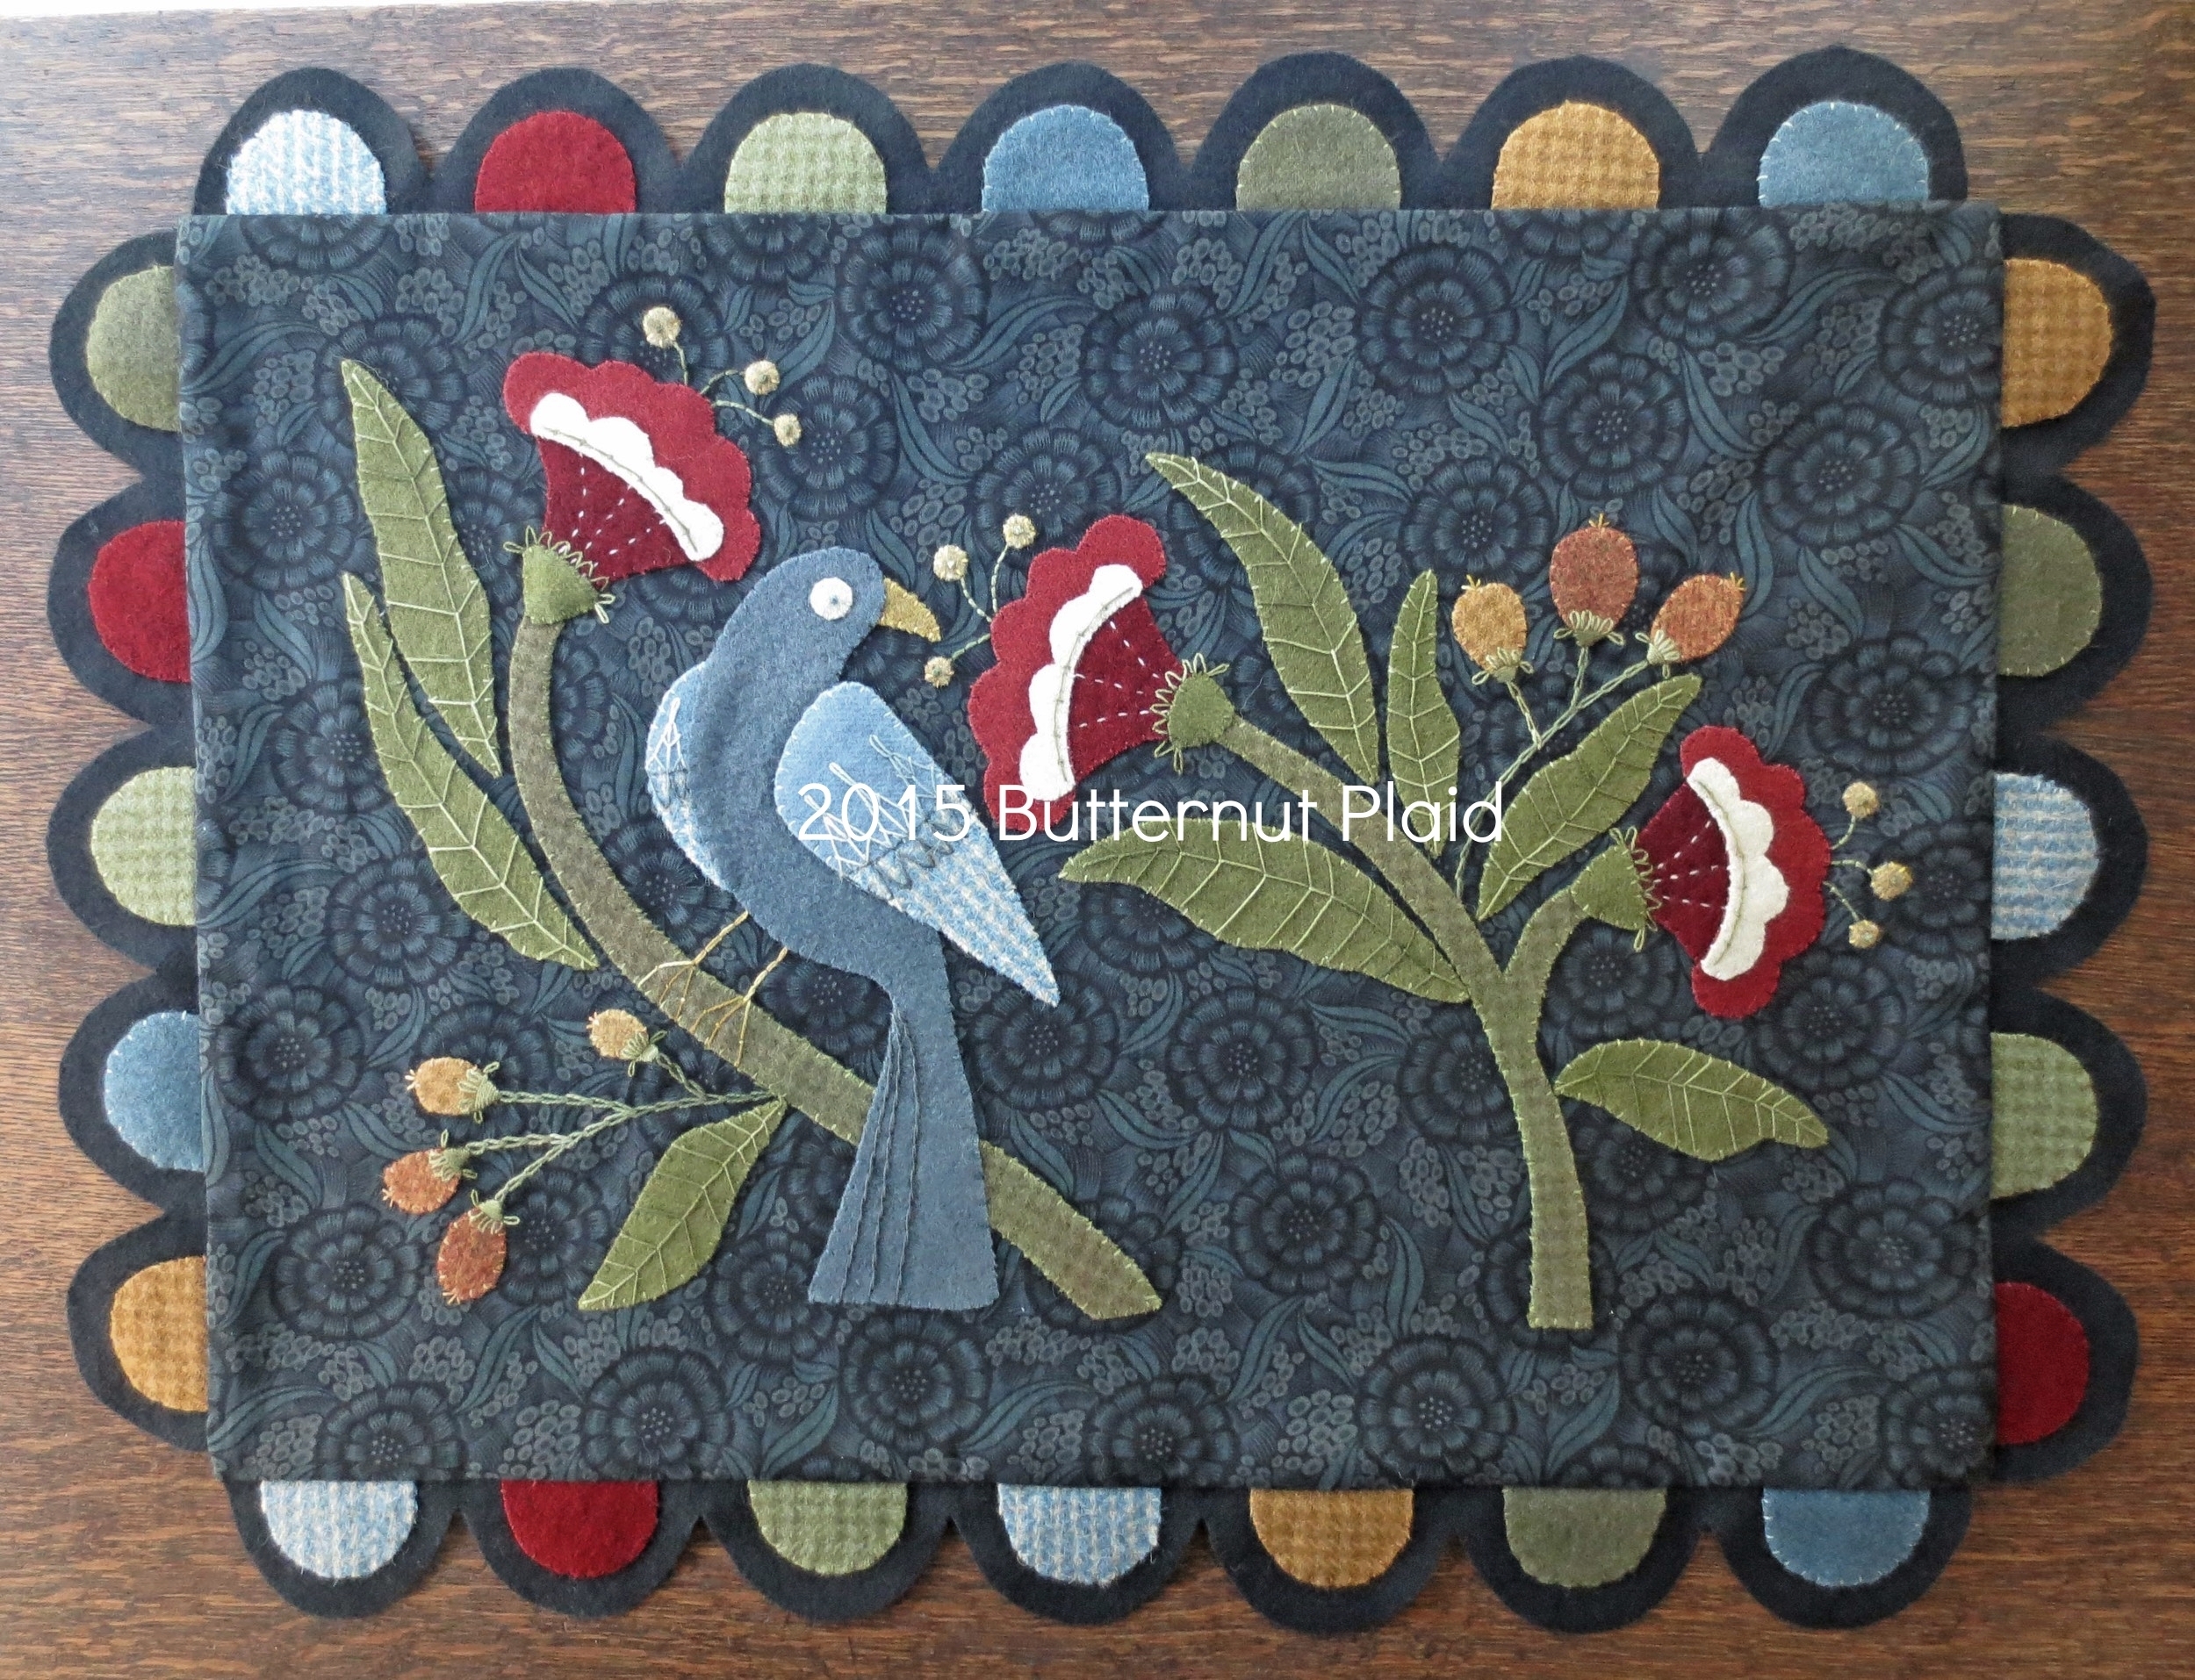
I've been working on projects from other designers lately, so I've kinda gotten behind on my own designing. Now I'm back on track and I thought I'd work on something a little larger than the pouches. I'm a fan of the flora and fauna motifs used by William Morris, so I used his design style as inspiration for this pillow/table rug. It involves a few more stitches and wool than the previous projects, but if you've done some of the earlier projects this shouldn't be hard.
I have divided the instructions into six separate blog posts. The first four will cover materials and applique. The final posts will cover finishing options.
You will need an large format printer (11" x 17"), or access to a print store (Office Max, Staples, Kinkos, etc.) to print out the layout full size. Don't worry if you don't have either of these options. A full sized layout will be a tremendous help with positioning of your applique pieces, but this project can be completed without it.
Adobe Acrobat Reader will be needed to view the layout and patterns. You can download it free from: https://get.adobe.com/reader/ .
Yes, I know the anthers on the flower on the far right of the layout are cut off. I didn't have enough room and I didn't want to reduce the size of the image. Just extend the stamens a bit and add anthers.
You are not limited to the fabrics or wools I recommend. Make it your "own" with colors and textures that you love. Be creative and have fun with it.
You will need
- Fabric
- 3/4 yard background and backing fabric (I used black Town and Country by Pepper Cory for Studio e Fabrics)
- Felted Wool (recommended colors)
- 4" x 10" medium dark blue - bird body
- 3" x 5" medium blue/cream houndstooth - wings
- 3" x 4" medium blue - wing caps
- 1 1/2" square gold - beak
- 3 1/2" x 4" off-white - bird's eye, small flower petals
- 4 1/2" x 6" red - large flower petals
- 5" square dark red - flowers
- 2" square light gold - flower anthers
- 5" x 12" medium dark green - flower stems and receptacles
- 4" x 6" green houndstooth - leaves 3,4 & 6
- 6" x 8" medium green - leaves 1,2,5,7 & 8
- 2" x 4" burnt orange - berries 1,2,6 & 7
- 2" x 3" orange houndstooth - berries 3,4 & 5
- 1/4 yard black - table rug border
- 2" x 9" six different colors - table rug border
- Thread
- Perle cotton, size 12 or 2 strands of embroidery floss (I used Valdani perle cotton and Weeks Dye Works floss)
- colors that match wool colors.
- green that contrasts with leaf color - leaf veins, flower sepals, berry receptacles, flower embellishment
- Perle cotton, size 8 or 3 strands of embroidery floss
- green - berry stems, flower stamens
- Perle cotton, size 12 or 2 strands of embroidery floss (I used Valdani perle cotton and Weeks Dye Works floss)
- Miscellaneous
- Chenille needle, size 24
- Chalk pencil (fine point)
- Light-weight fusible web
- Steam iron
- Sewing machine (needed for finishing only)
- 11" x 17" or larger light box (optional)
Instructions
- Download: William Morris Inspired - Layout, William Morris Inspired - Pattern 1, William Morris Inspired - Pattern 2, William Morris Inspired - Pattern 3, and Stitch Guide if needed. Note: If you don't have a printer that prints 11" x 17" and you would like a full sized layout, you will need to download the layout to a flash drive and take it to a print store to have it printed.
- Cut the background fabric to 17" x 23". This will be trimmed later to 14 1/2" x 20 1/2" (table rug), or 15 1/2" x 21 1/2" (pillow) once it is appliqued. Reserve remaining fabric for backing.
- Applique (leaves and stems) - Use one strand of perle cotton, size 12 unless otherwise noted.
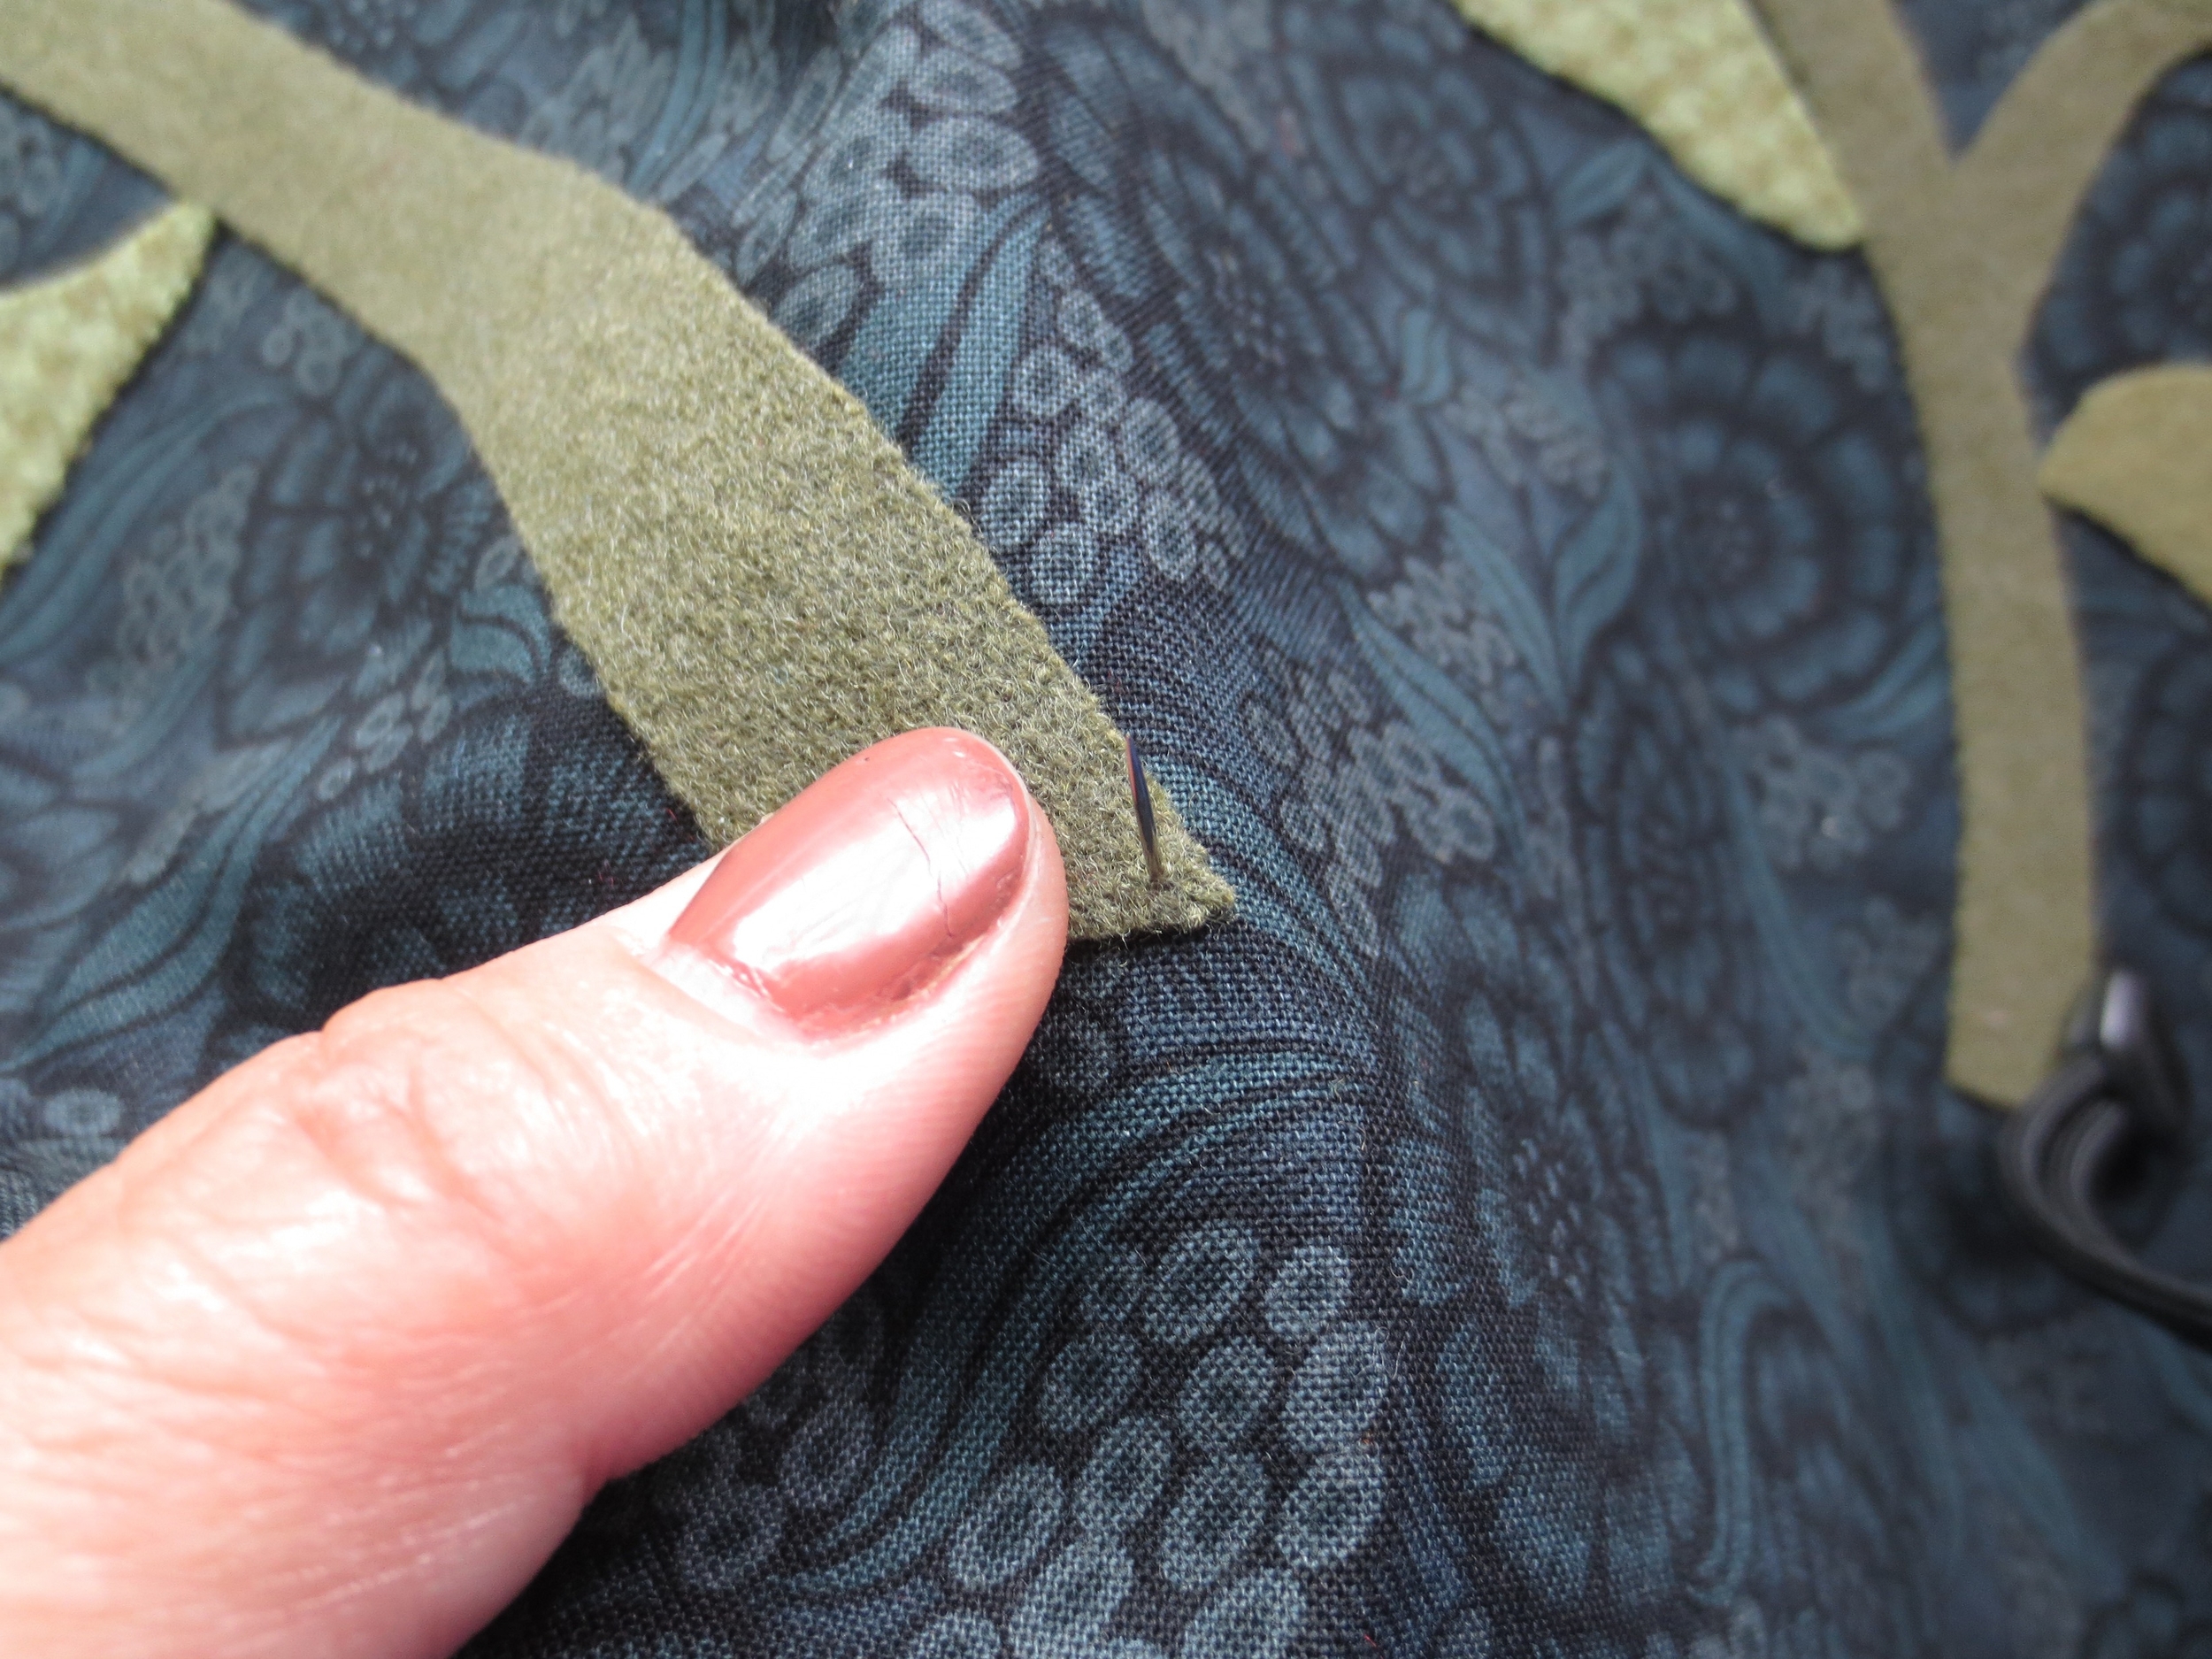
- Trace pattern pieces onto fusible web and cut out slightly larger than the outline.The fusible web stabilizes the wool, but it also makes it stiff, so I like to cut out the center of the larger pieces of webbing leaving about a 1/8" border. The smaller pieces don't need their centers removed. Note: All the patterns are already reversed and ready to be traced.
Trmming the fusible web
- Fuse to desired wool and cut out.
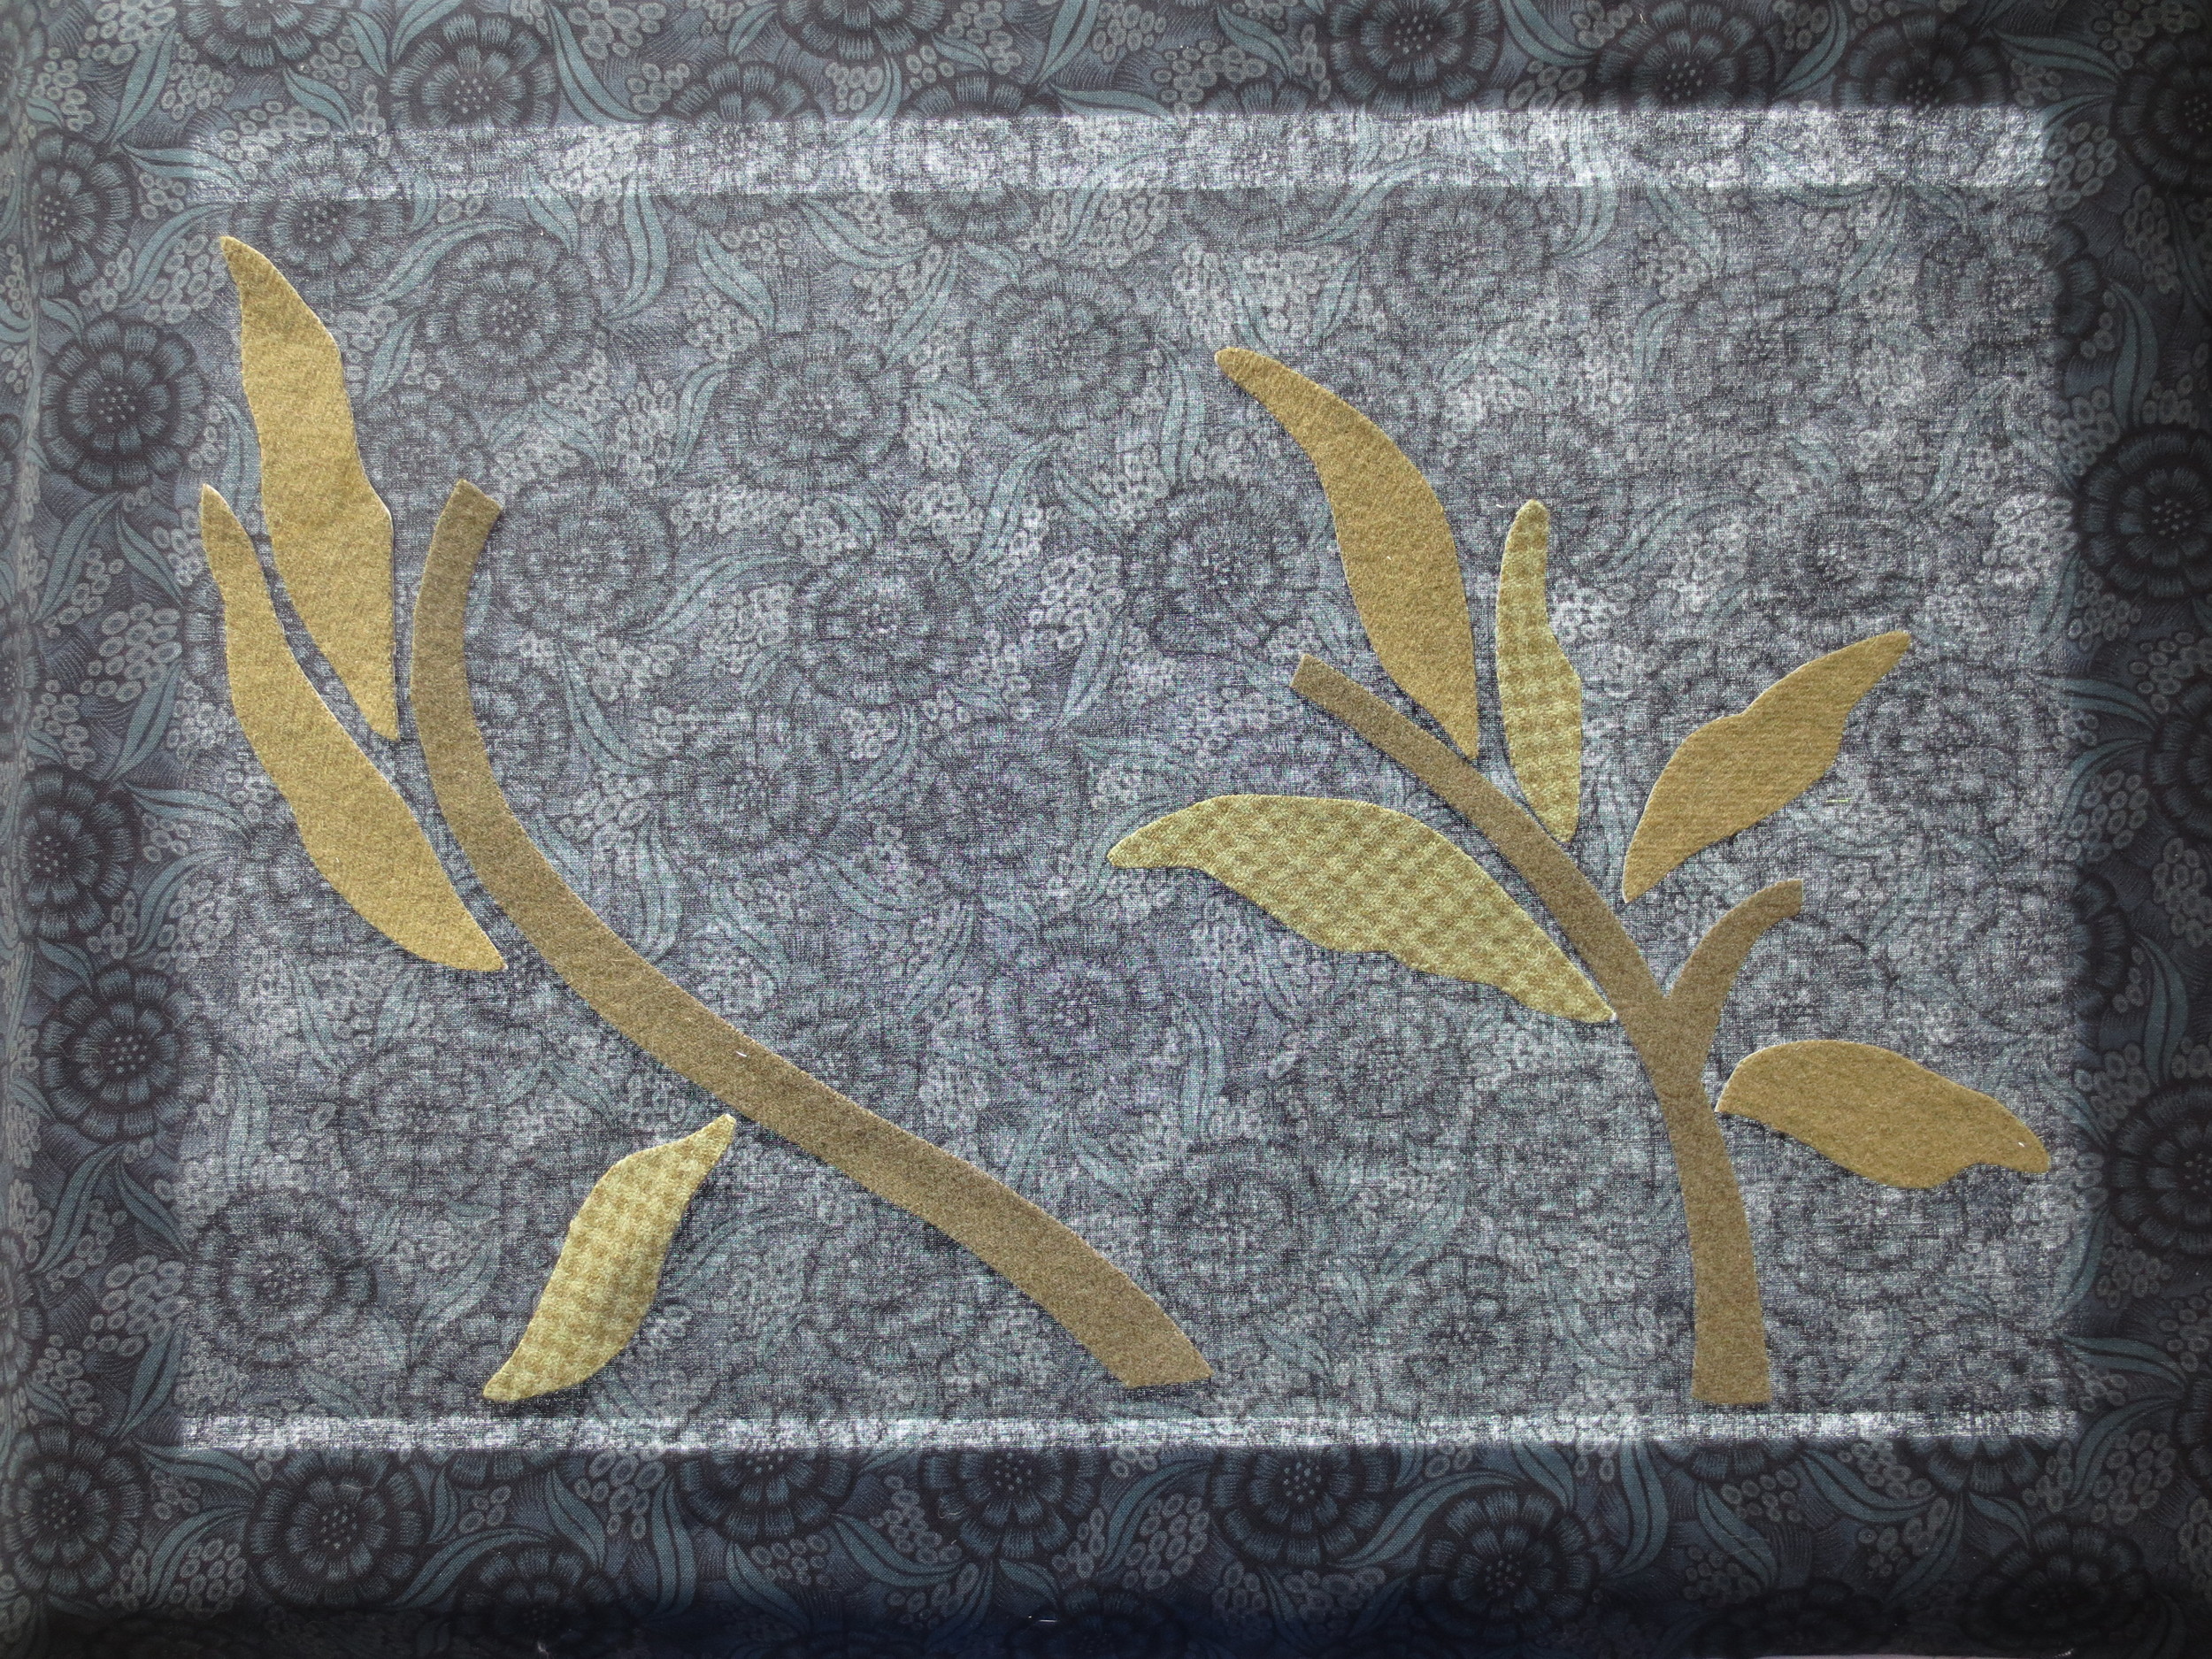
- Tape the full sized layout to your light box. Center the fabric background on top of the layout. You will be able to see the layout through the fabric. Because the fabric is black, the image will be faint but visable
Note: This can be done by using a brightly lit window instead of a lightbox.
- Remove the paper backing from the stems and position them according to the layout. Pin in place.
- Do the same for all the leaves.
Note: If you are not using a lightbox or window and you are just "eyeballing" it, you may want to lay your bird out to make sure there is enough room for it. Remove it before you fuse your stems and leaves.
- Fuse wool to the background using steam.
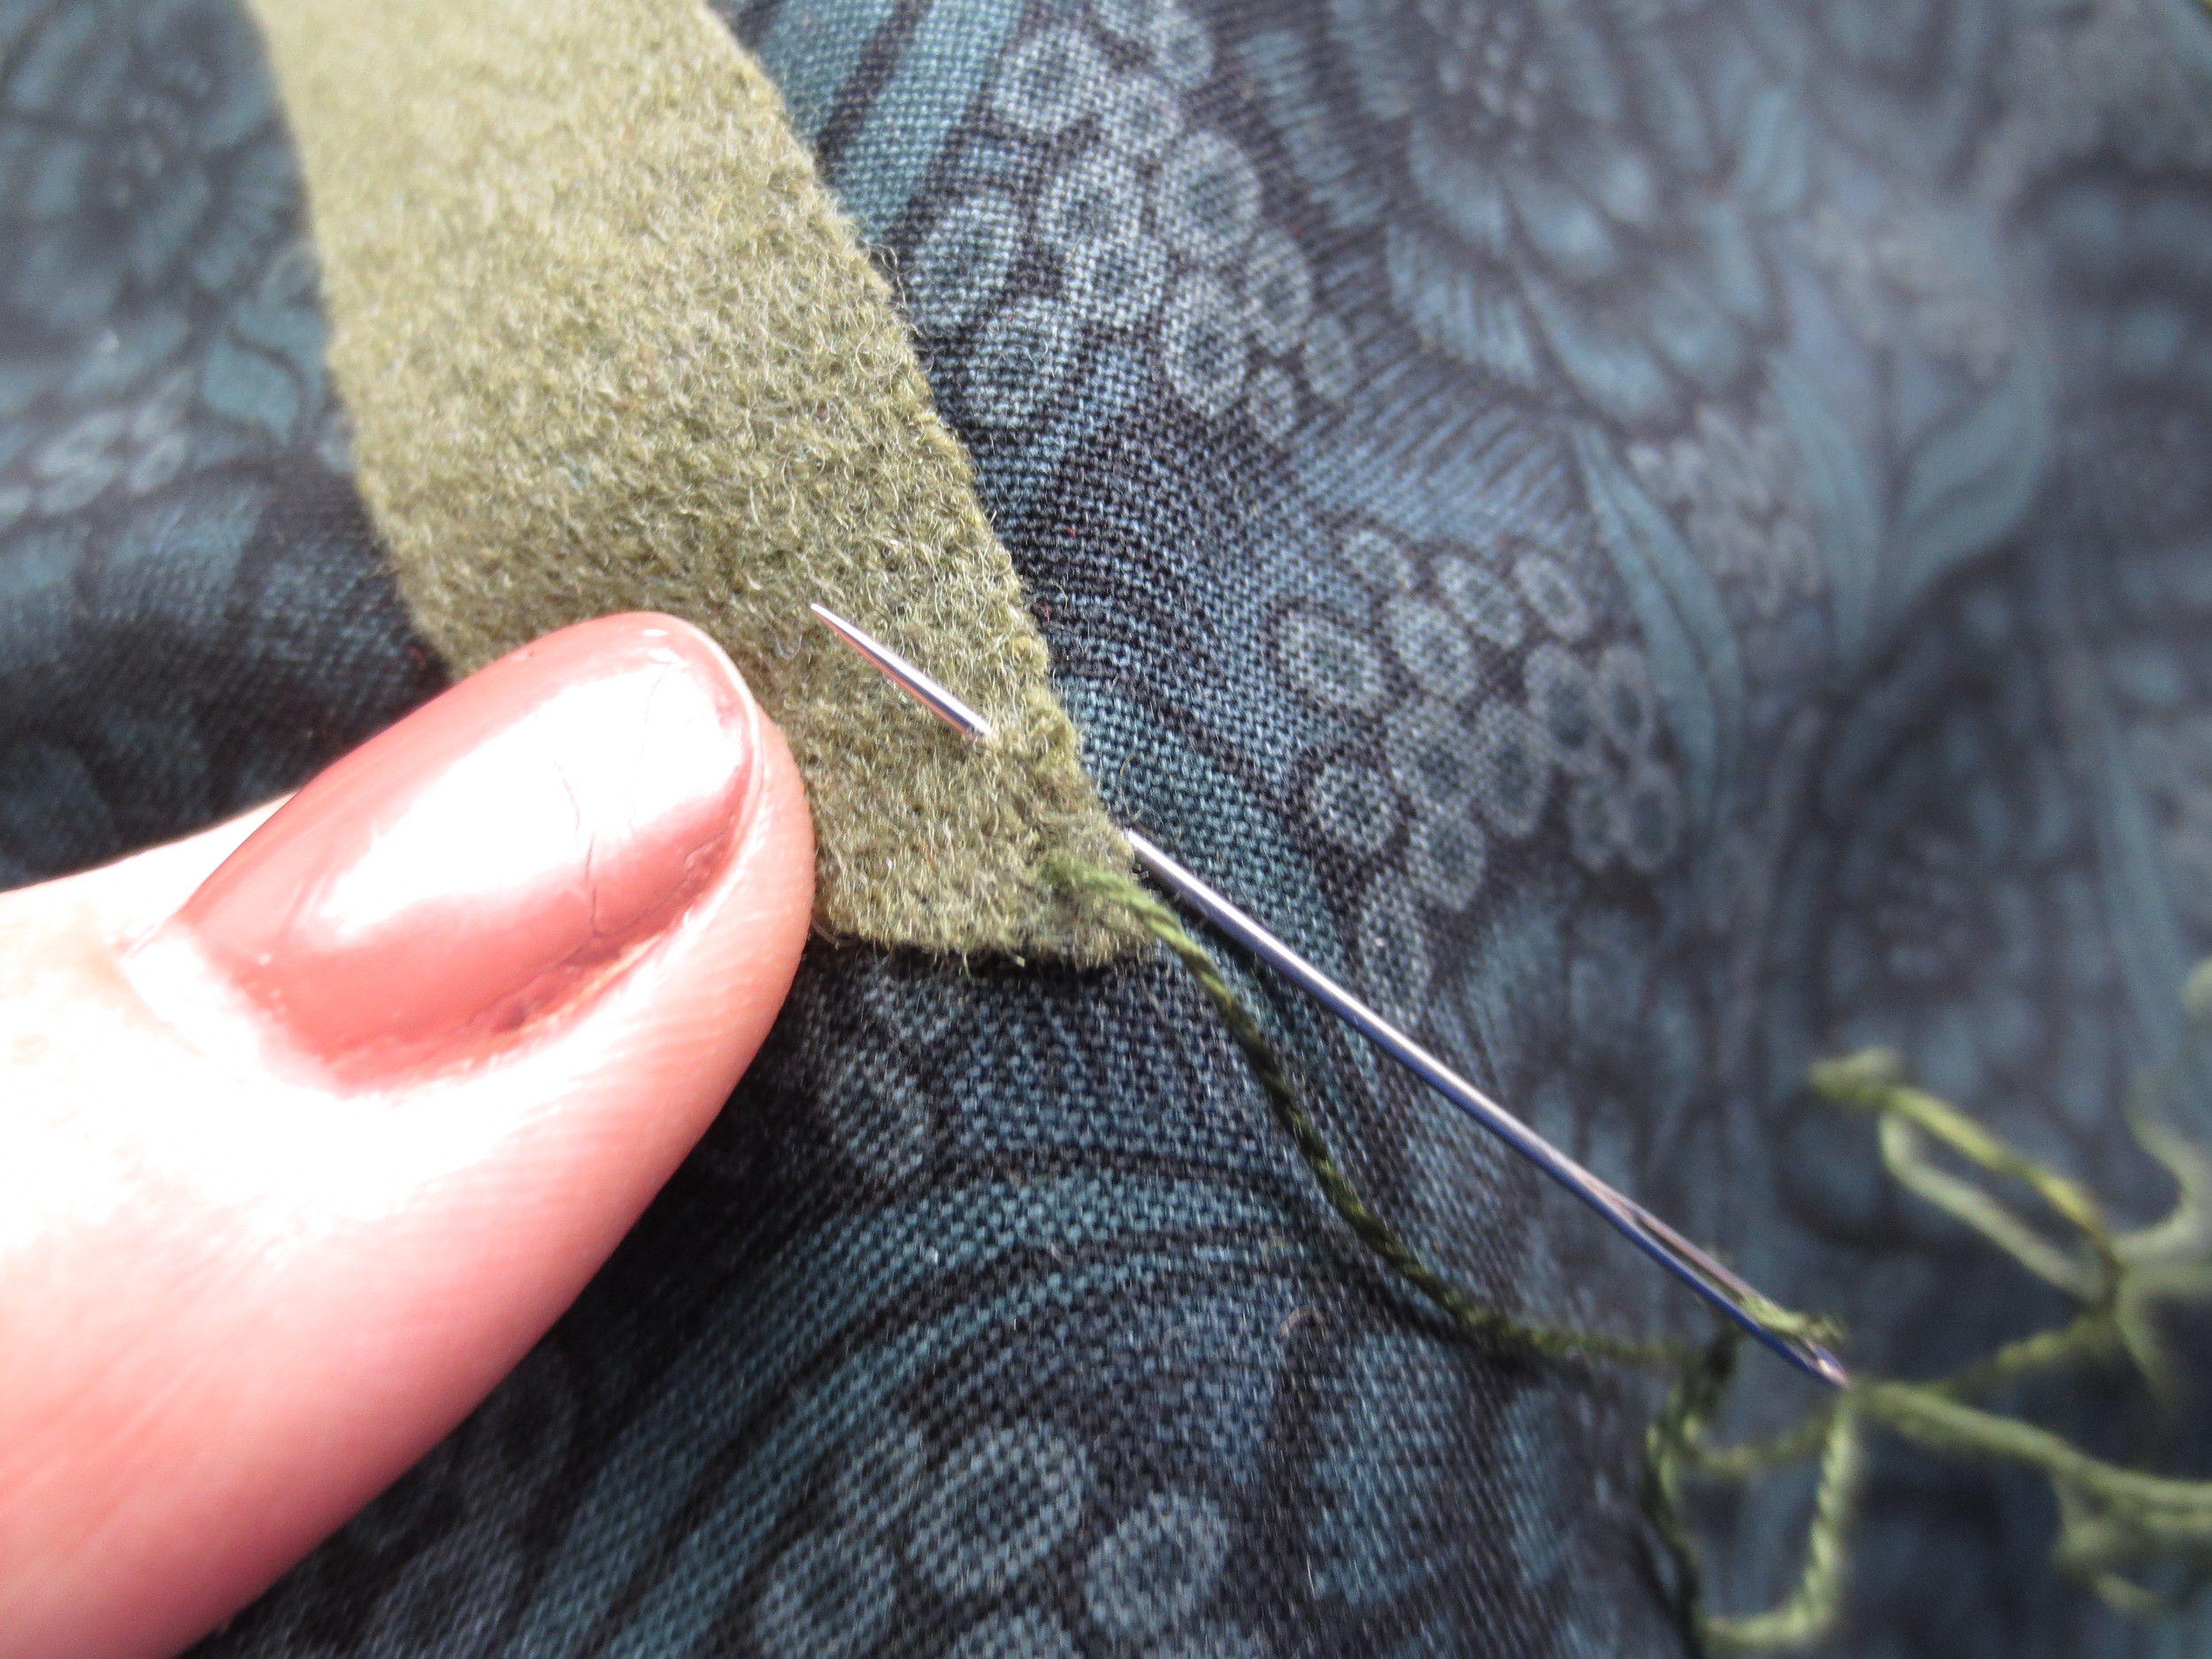
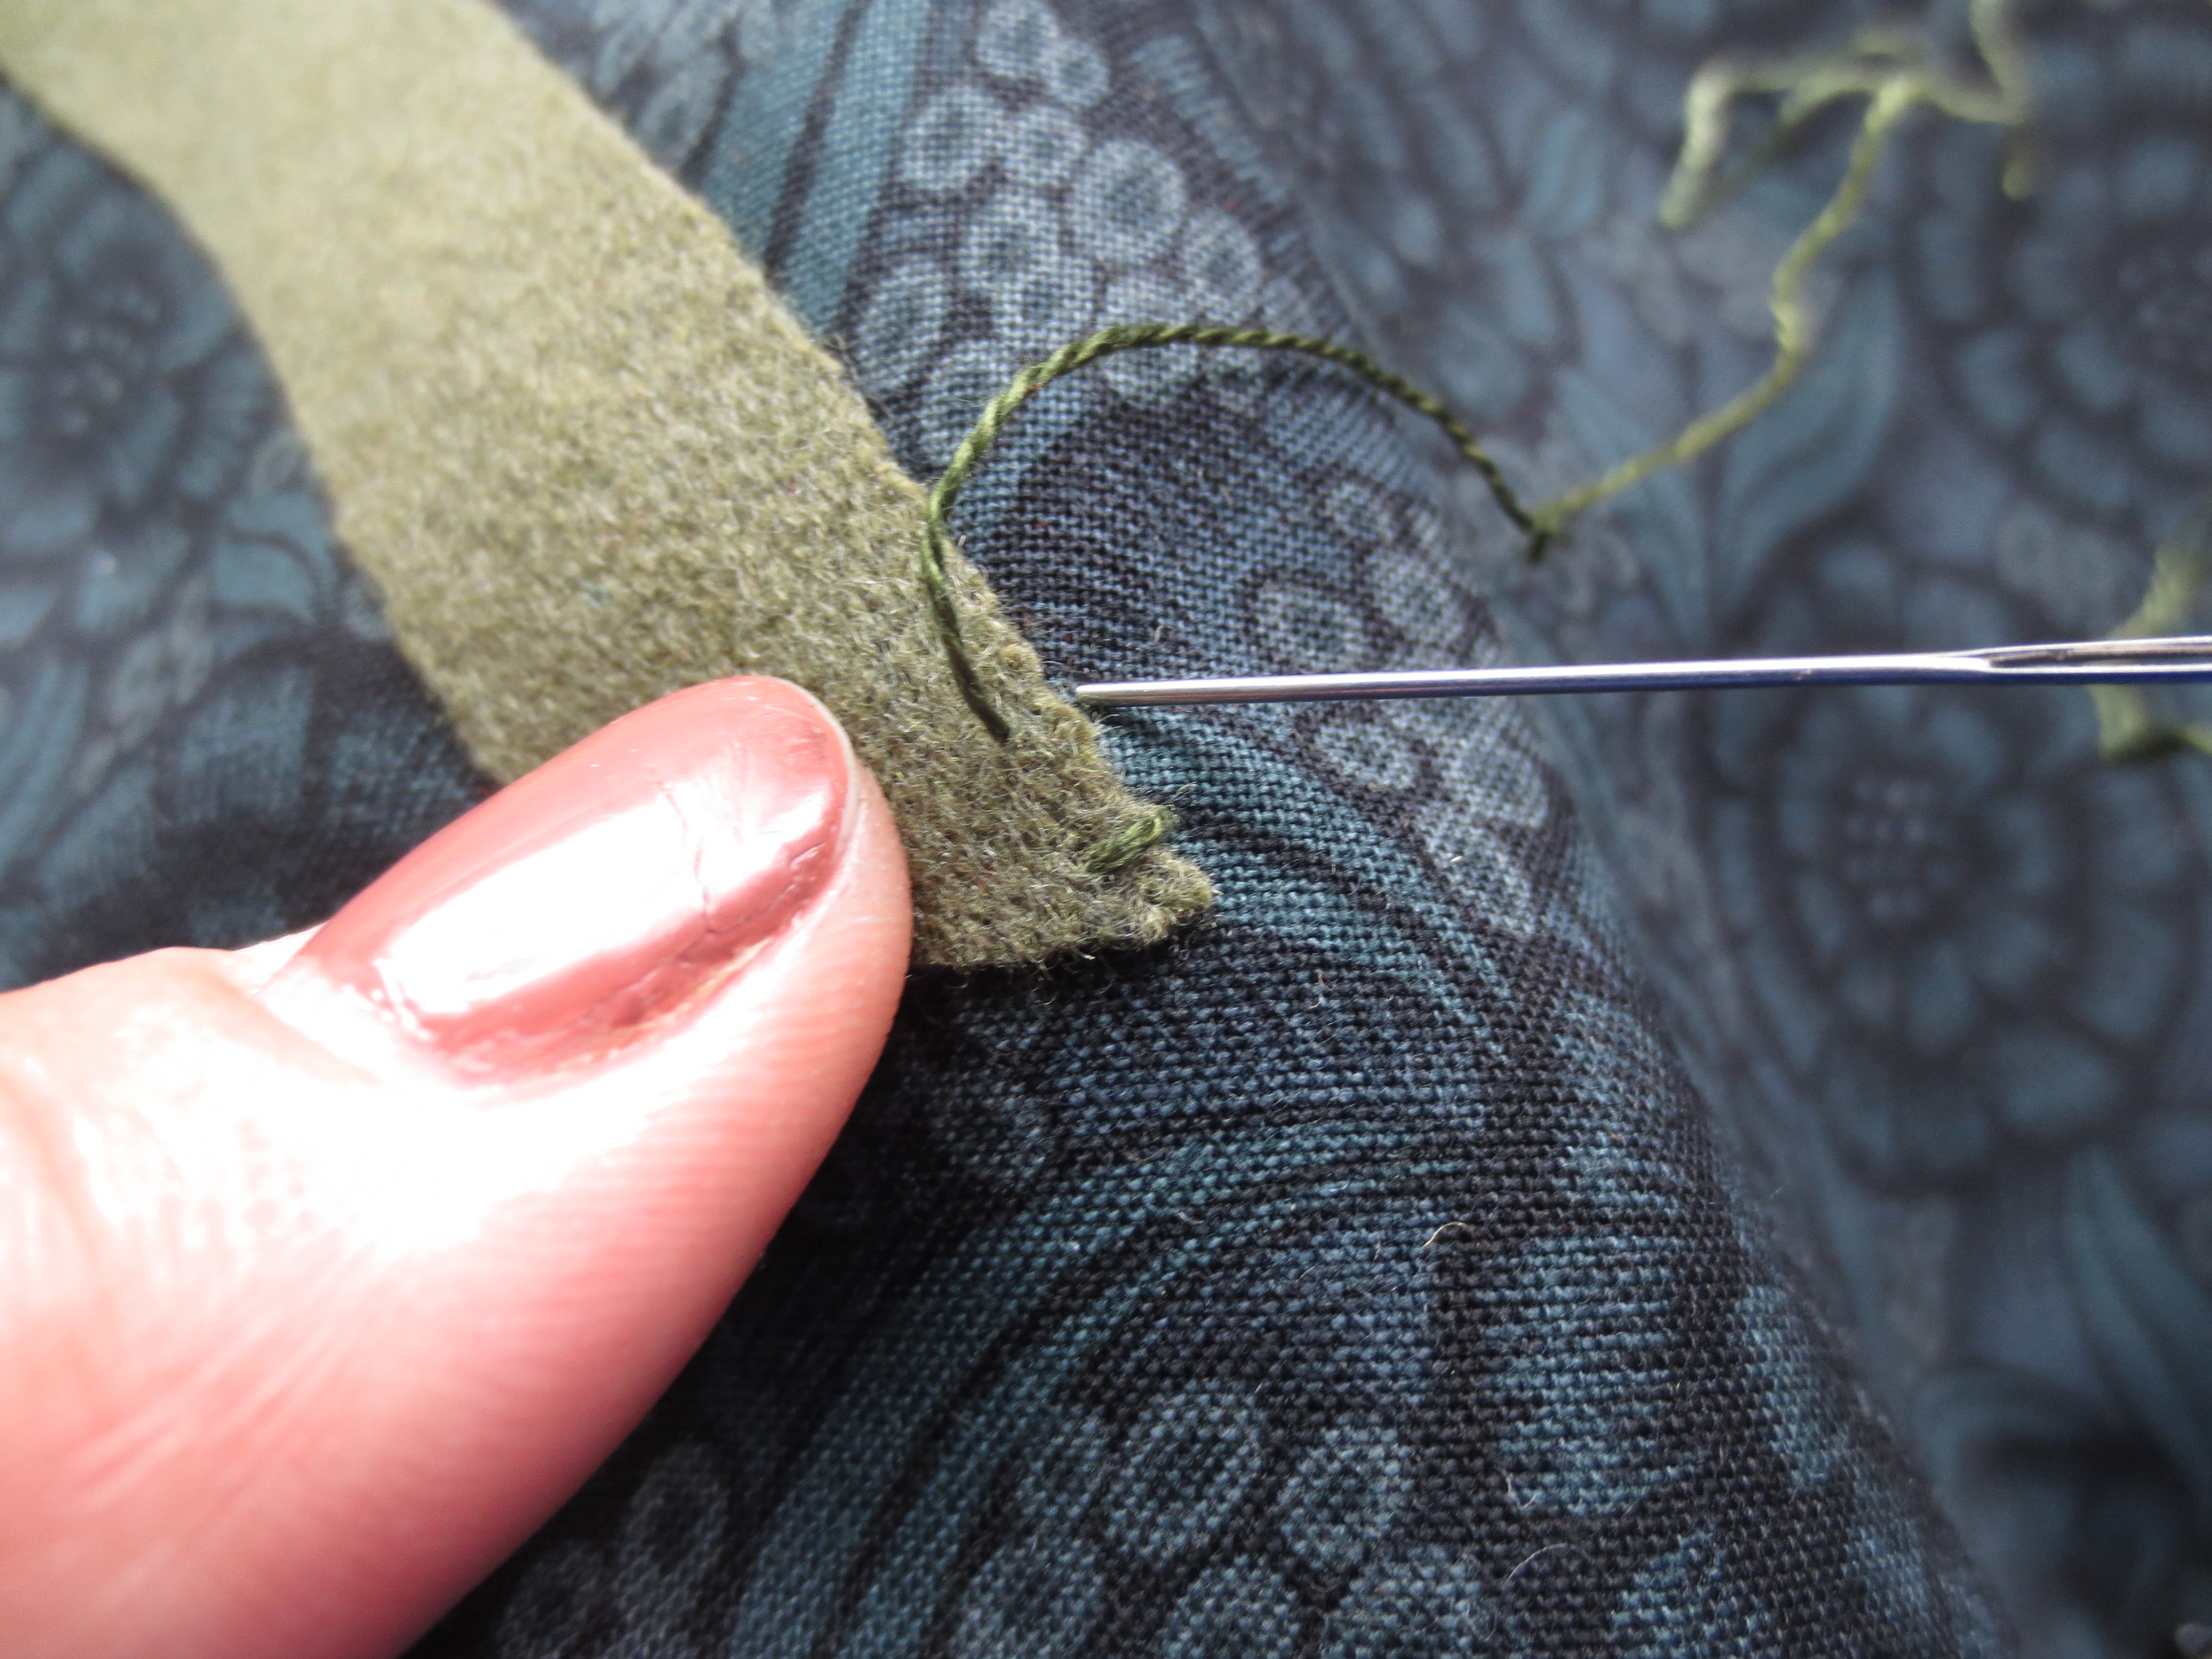
- Whip stitch stems and leaves using matching colored thread.
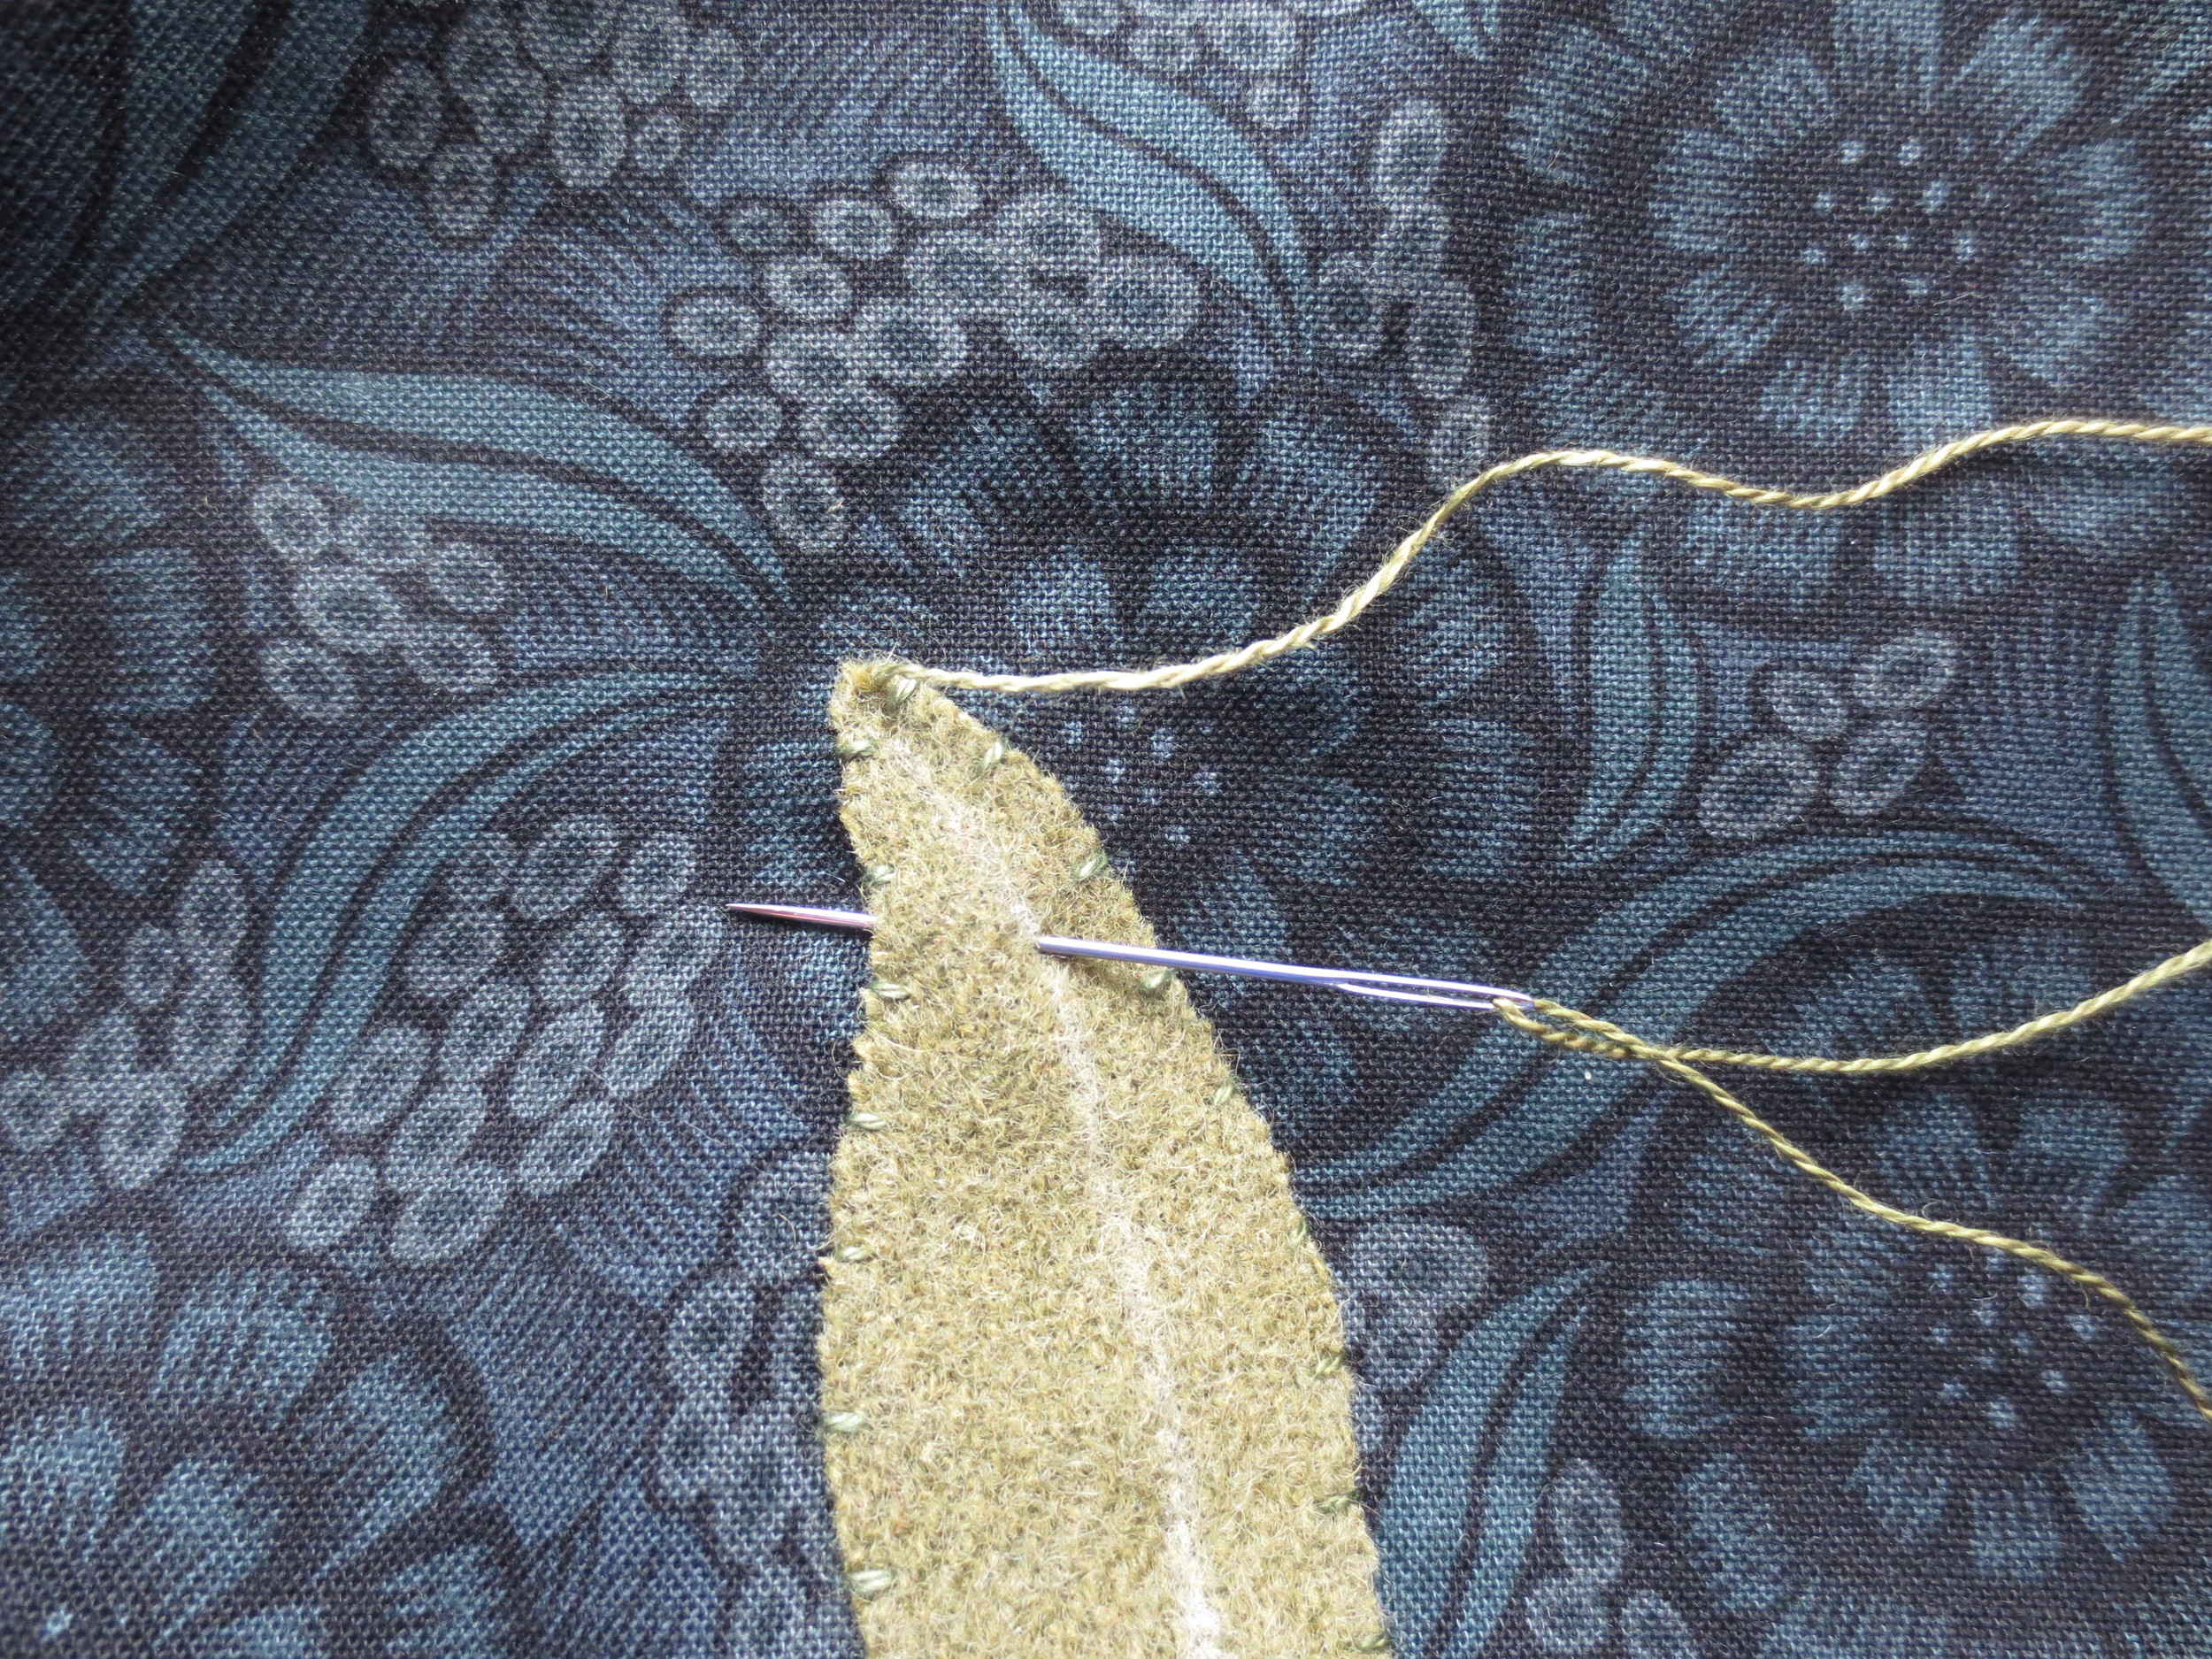
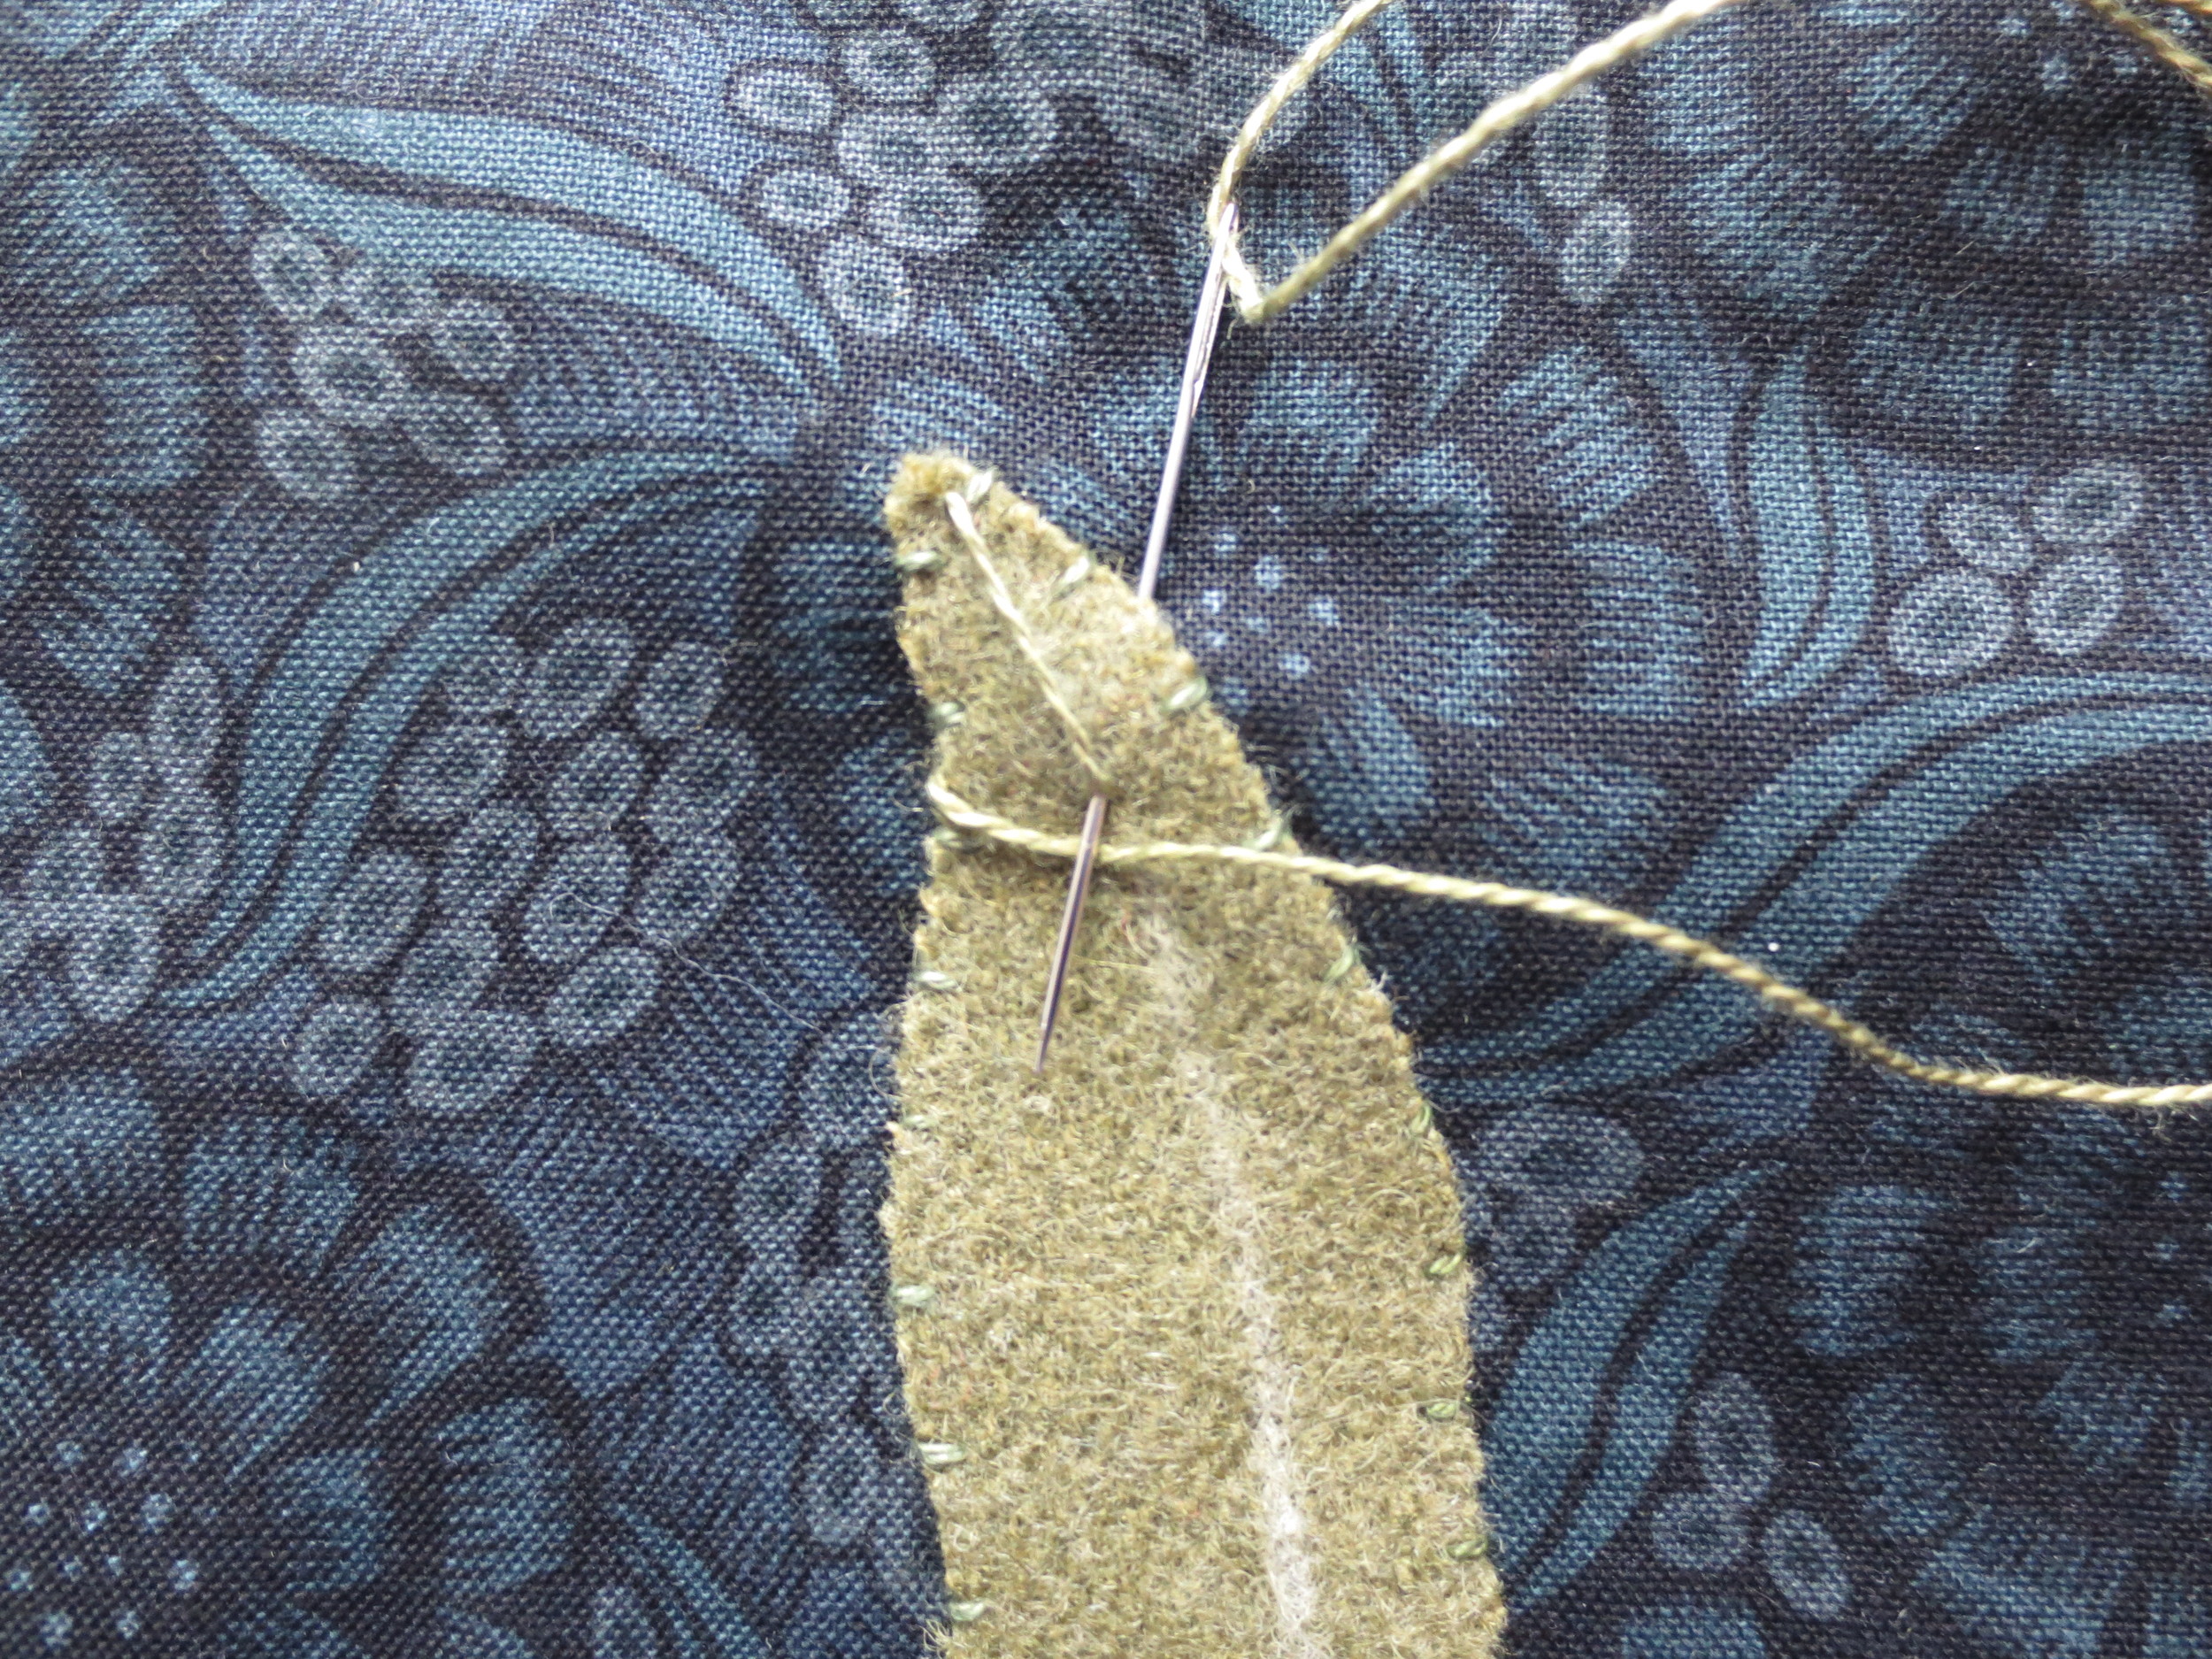
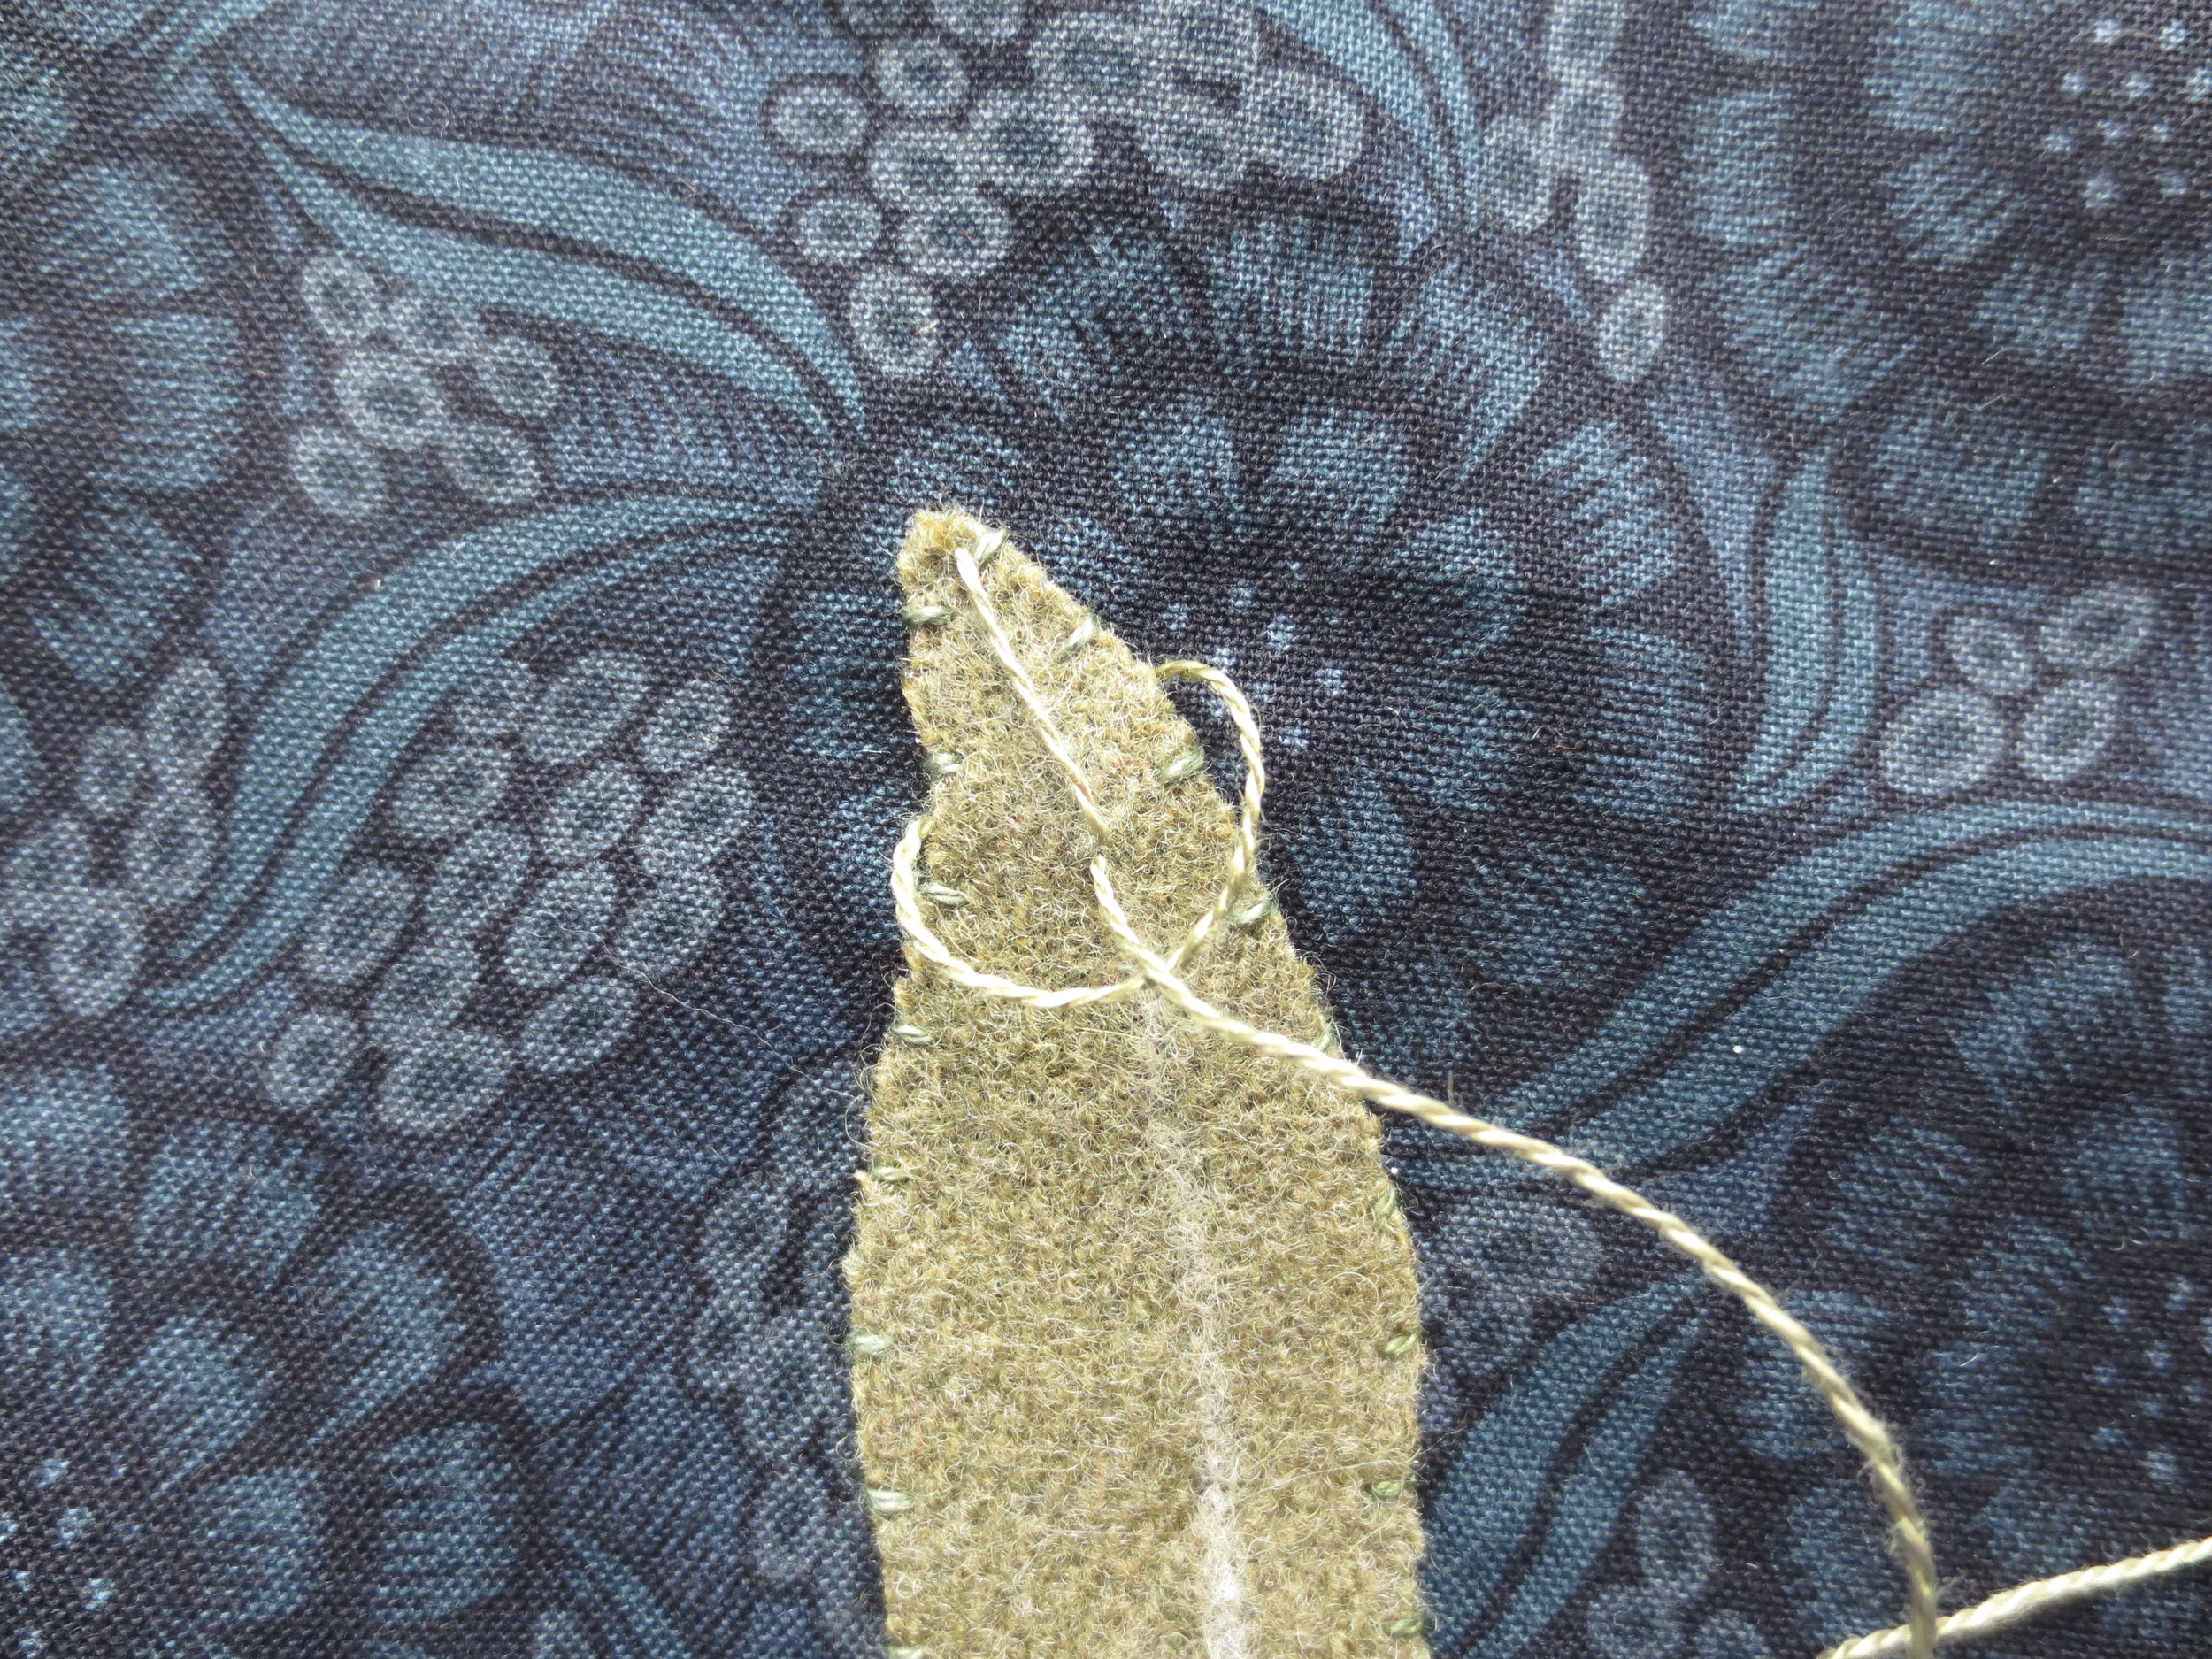
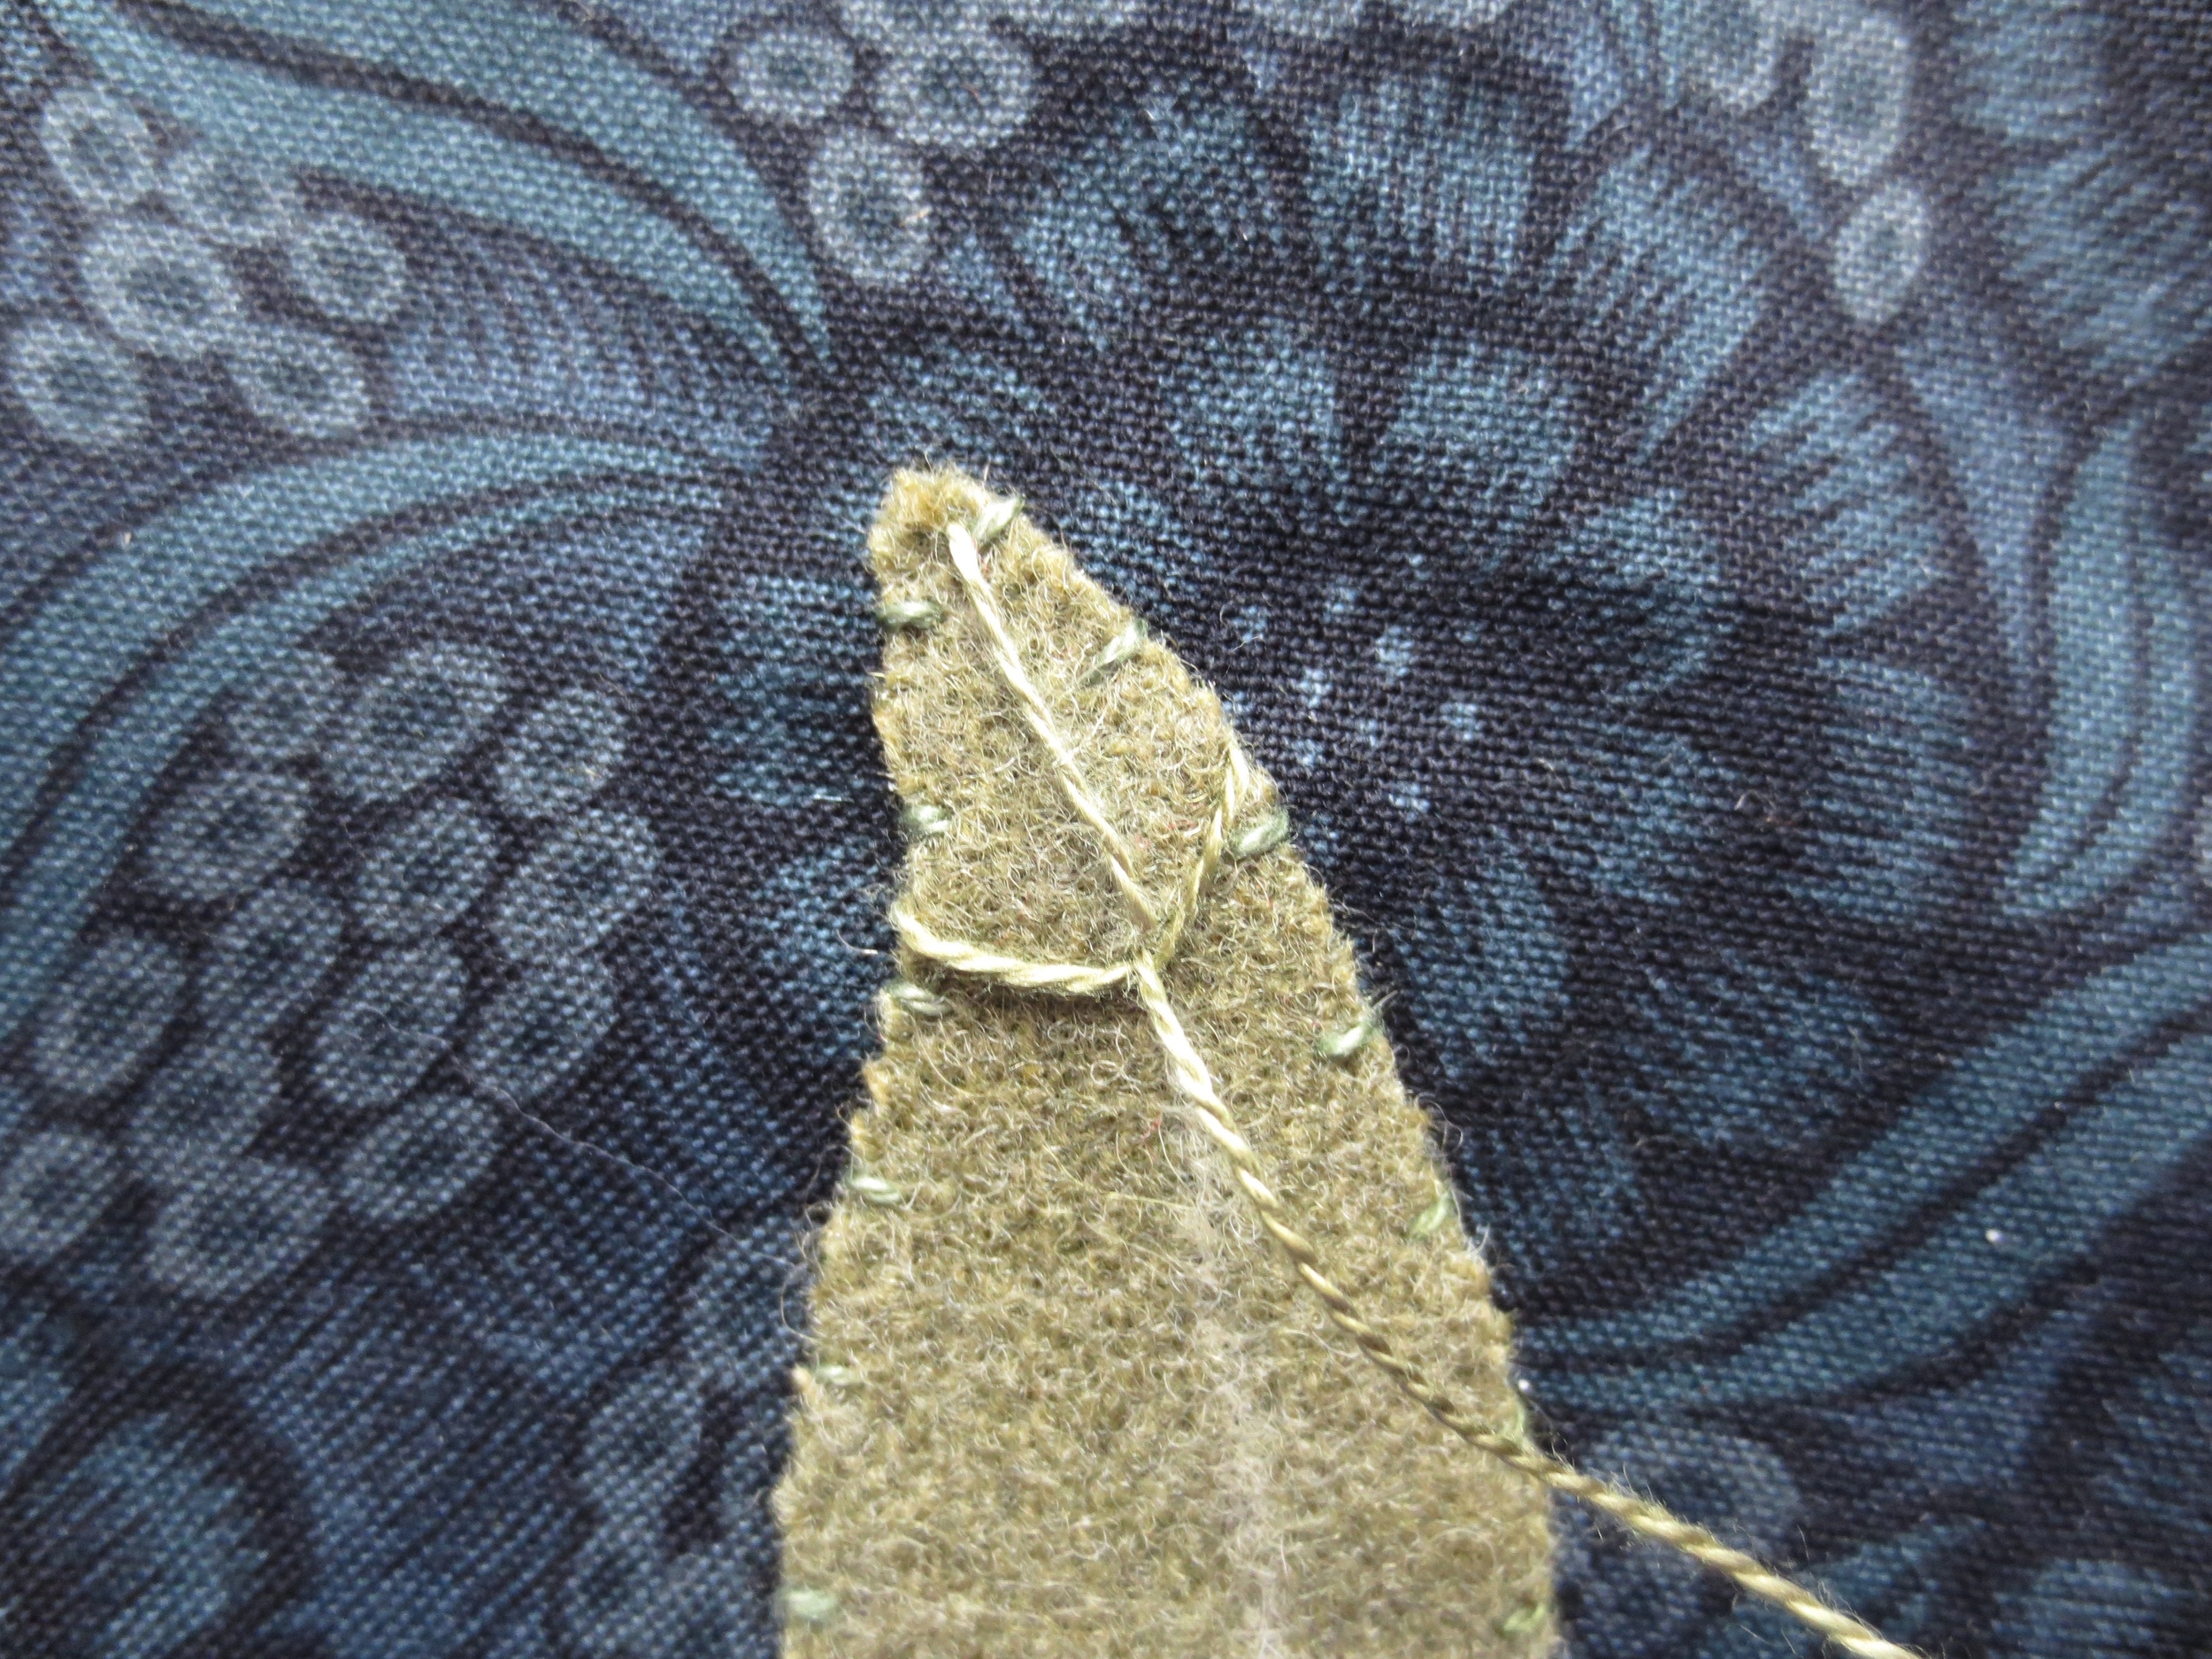
- Use a chalk pencil to draw the central vein in each leaf then use a contrasting green thread to create closed fly stitched branching veins. Use the layout as you guide for placement. Don't stress if you have less or more veins than the layout.
Hooray! The stems and leaves are done.
Check out part II for the flowers.

