Flowers From My Garden Mystery Quilt Border - Part II
We are going to work on the left side of the quilt. We will add a robin to accompany the flowers, leaves, and berries. Like the nest design from the last post, this will make a nice 20" pillow.
You will need:
1. Wool (felted)
- Robin body - 5" x 10" medium brown texture
- Robin breast - 2" x 5" red/orange plaid
- Wing - 3" x 6" dark brown solid ( I used the same wool from Nest A from the last post)
- Beak - 1 1/2" square burnt orange tweed
- Eye - 1" square dirty white solid
- Flowers, leaves, and berries - If you haven't cut all the leaves, flowers, and berries from your wool requirements outlined in the last post do so now.
2. Thread
Valdani perle cotton, size 12 (2 strands of embroidery floss can be substituted)
- O533 - robin's breast, flowers 1, 1A - C, 2, 2A - C, 3, 3A - C.
- O518 - robin body, wing, and wing embellishment, legs, eye, veins of leaves
- O538 - eye
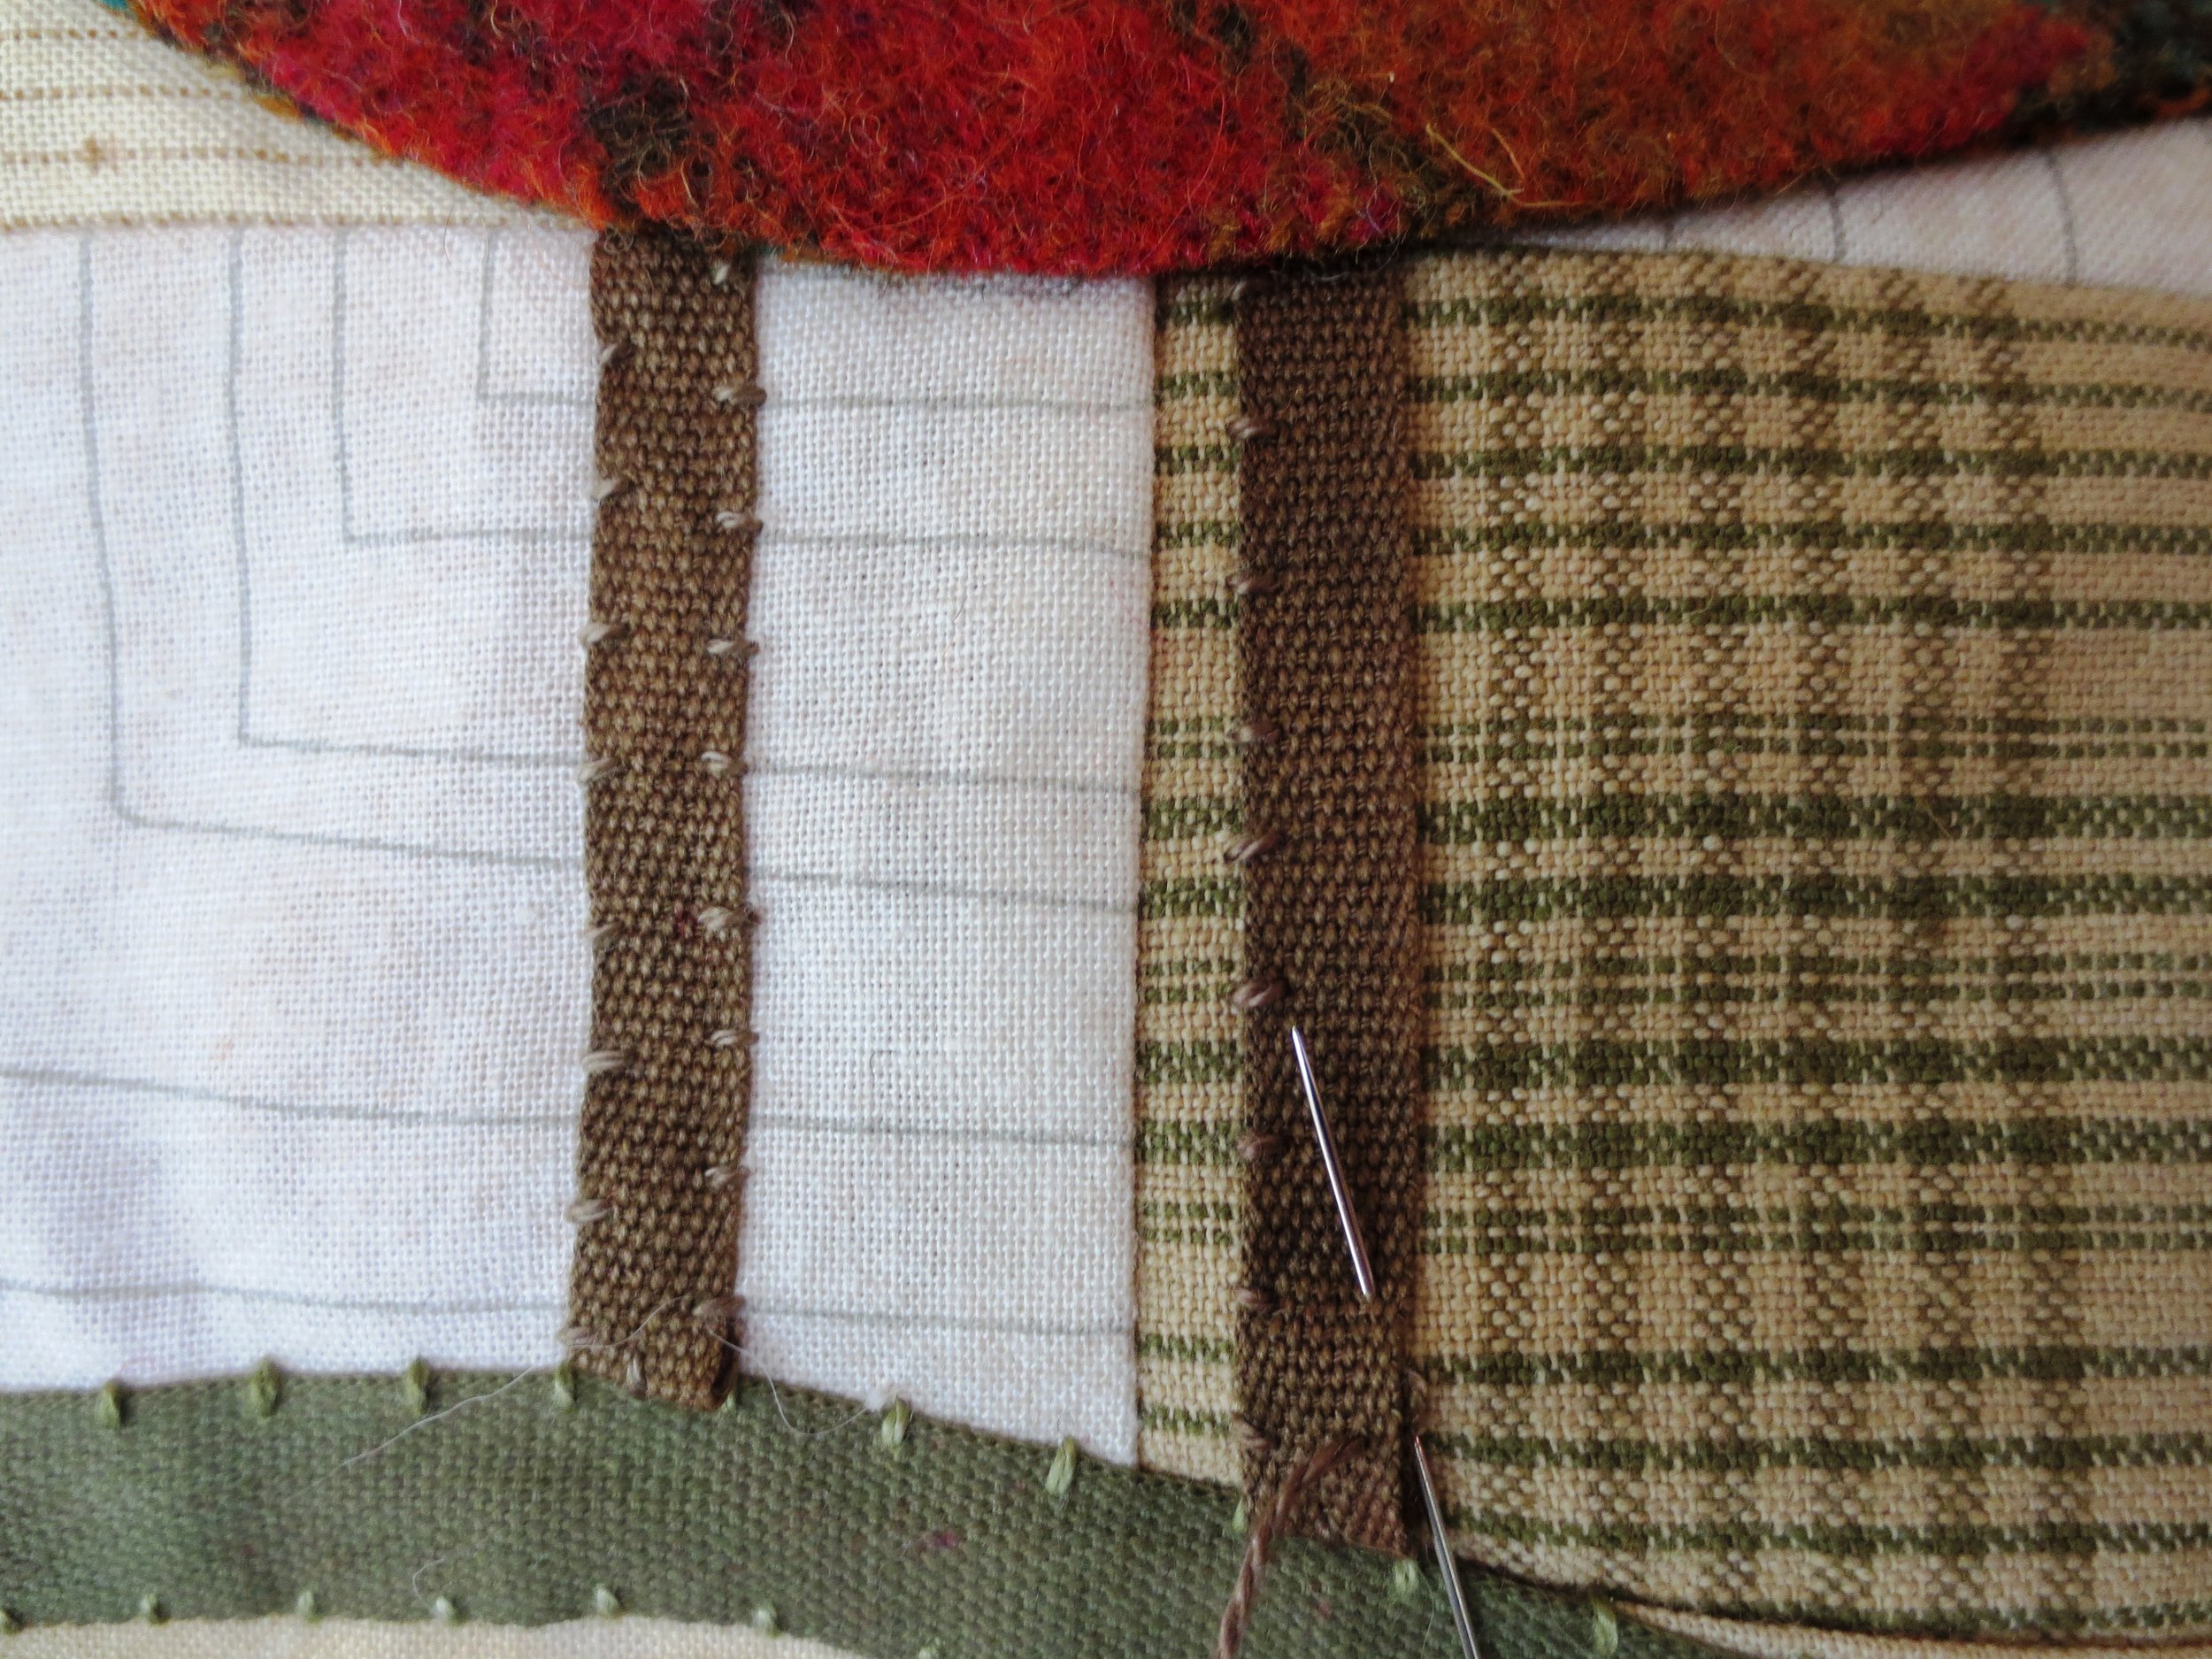
- O217 - beak
- O519 - leaves, flower petals
- O578 - berries
- P5 - flower centers
- O178 - berry embellishment
3. Valdani perle cotton, size 8 (3 strands of embroidery floss can be substituted)
- O575 - berry stems
- P4 - flower embellishment
4. Miscellaneous
- 1/4" wide ribbon - 5 inch length of brown
- Fusible web - featherweight Vilene or Heat 'N' Bond
- Chenille needles - size 22 and 24
- Sewing machine
- Thread that complements wing color, size 5O or thicker
- Steam iron
Instructions
1. Download Robin pattern, layout, and stitch guide (if needed).
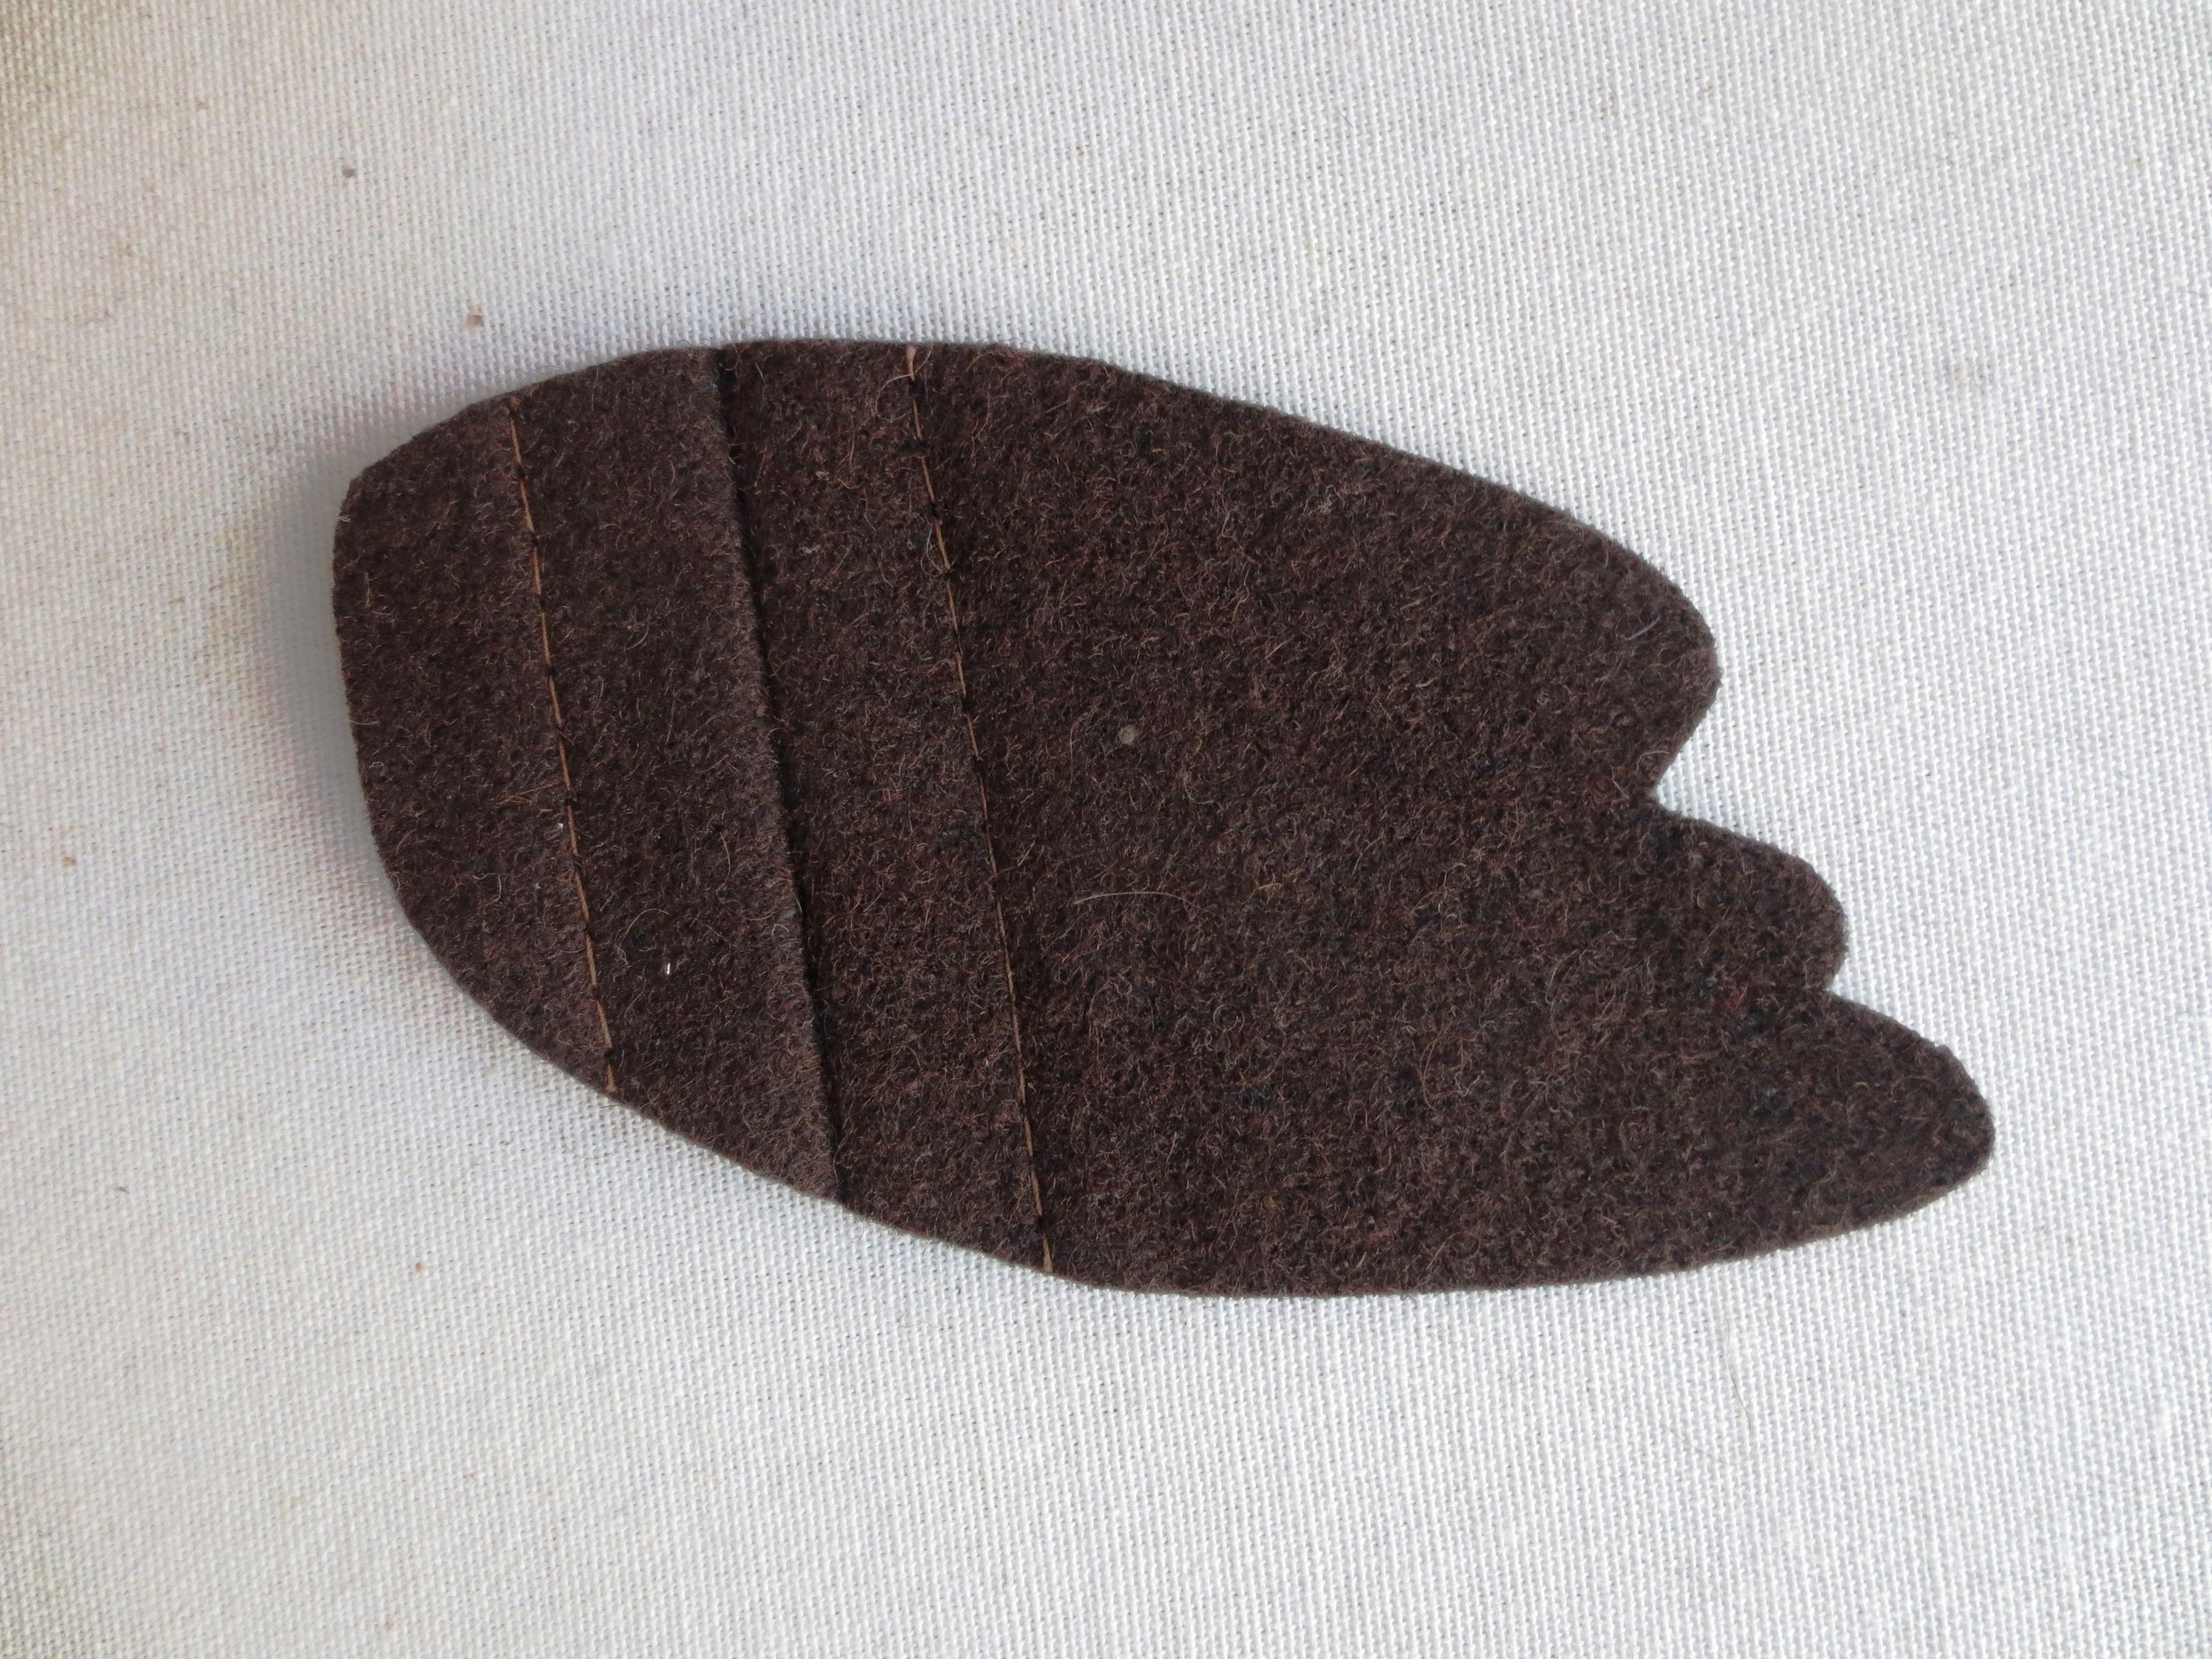
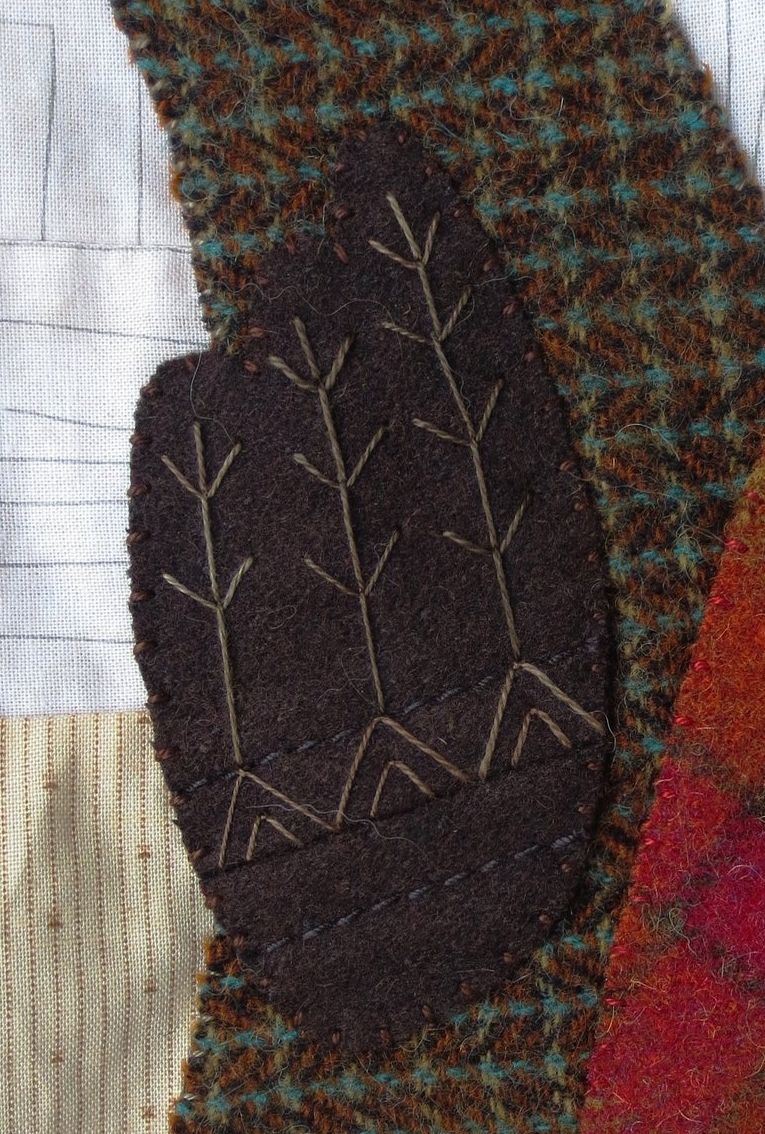
2. I used a piece of wool from an old brown wool jacket for the wing. It was a seamed section that worked nicely to create a wing cap. You will probably not have an old wool jacket hanging around, so I have recreated the jacket seam.
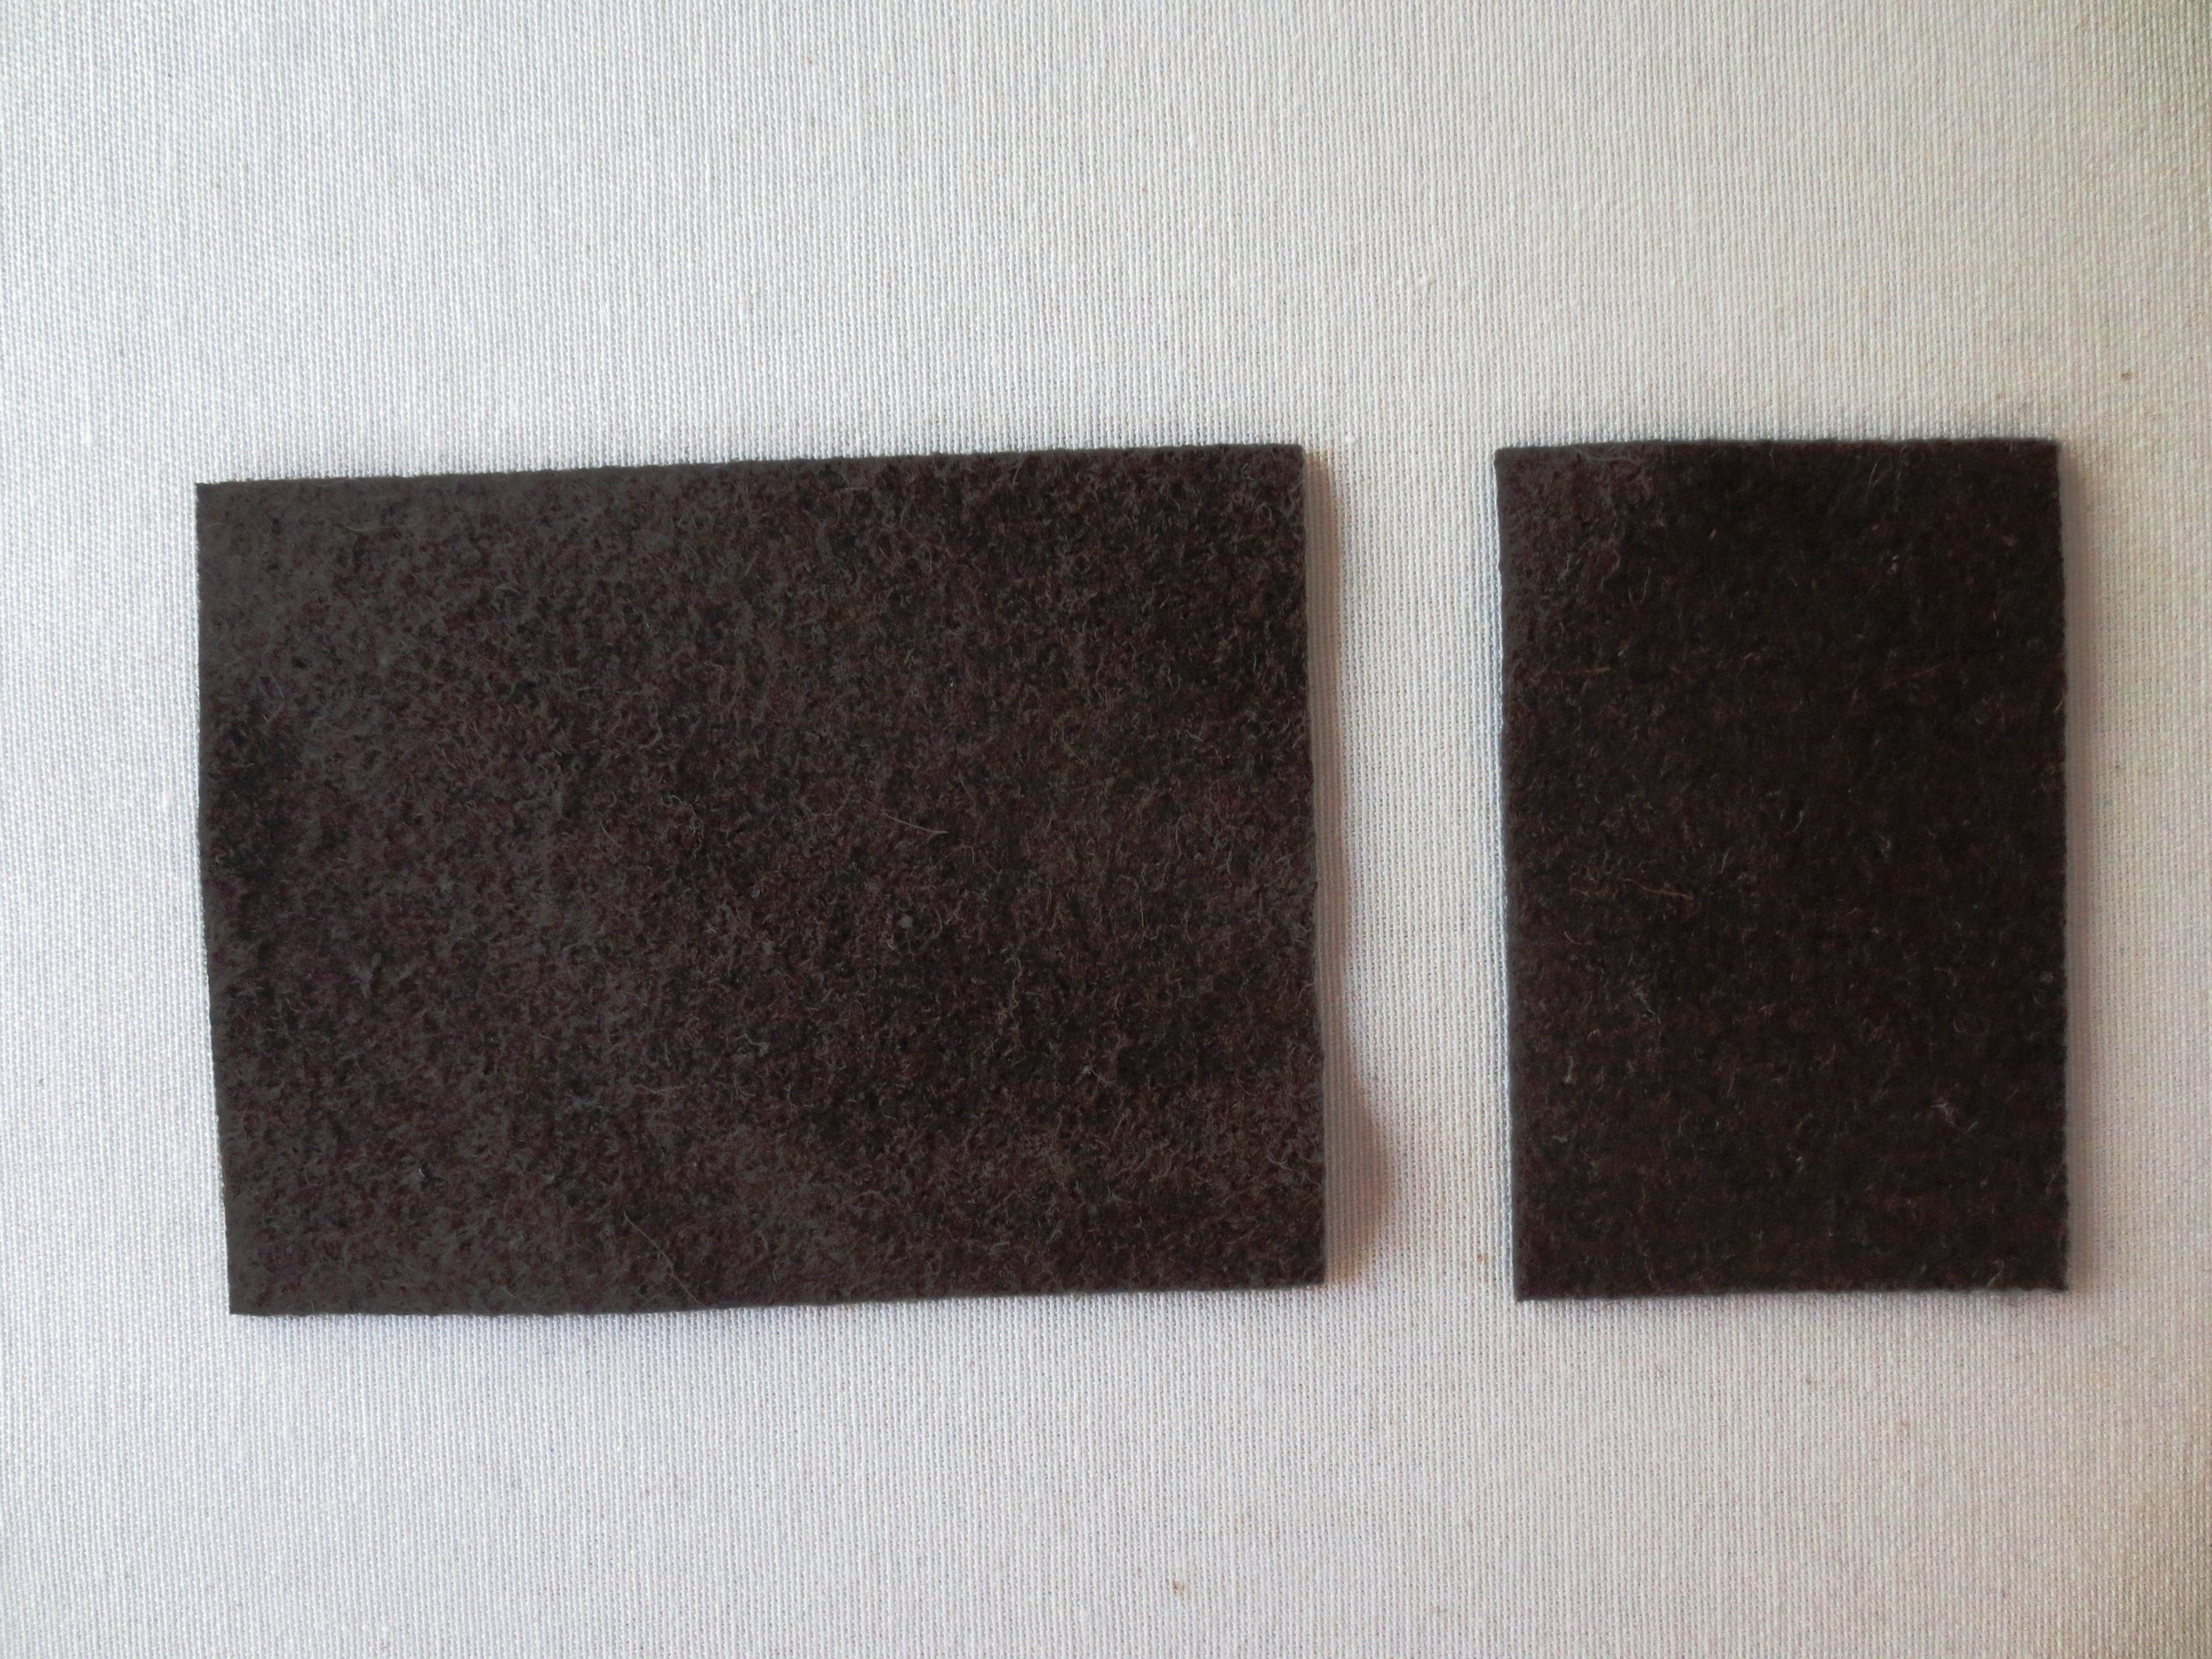
- Cut the wing wool into two pieces
- 2" x 3"
- 3" x 4
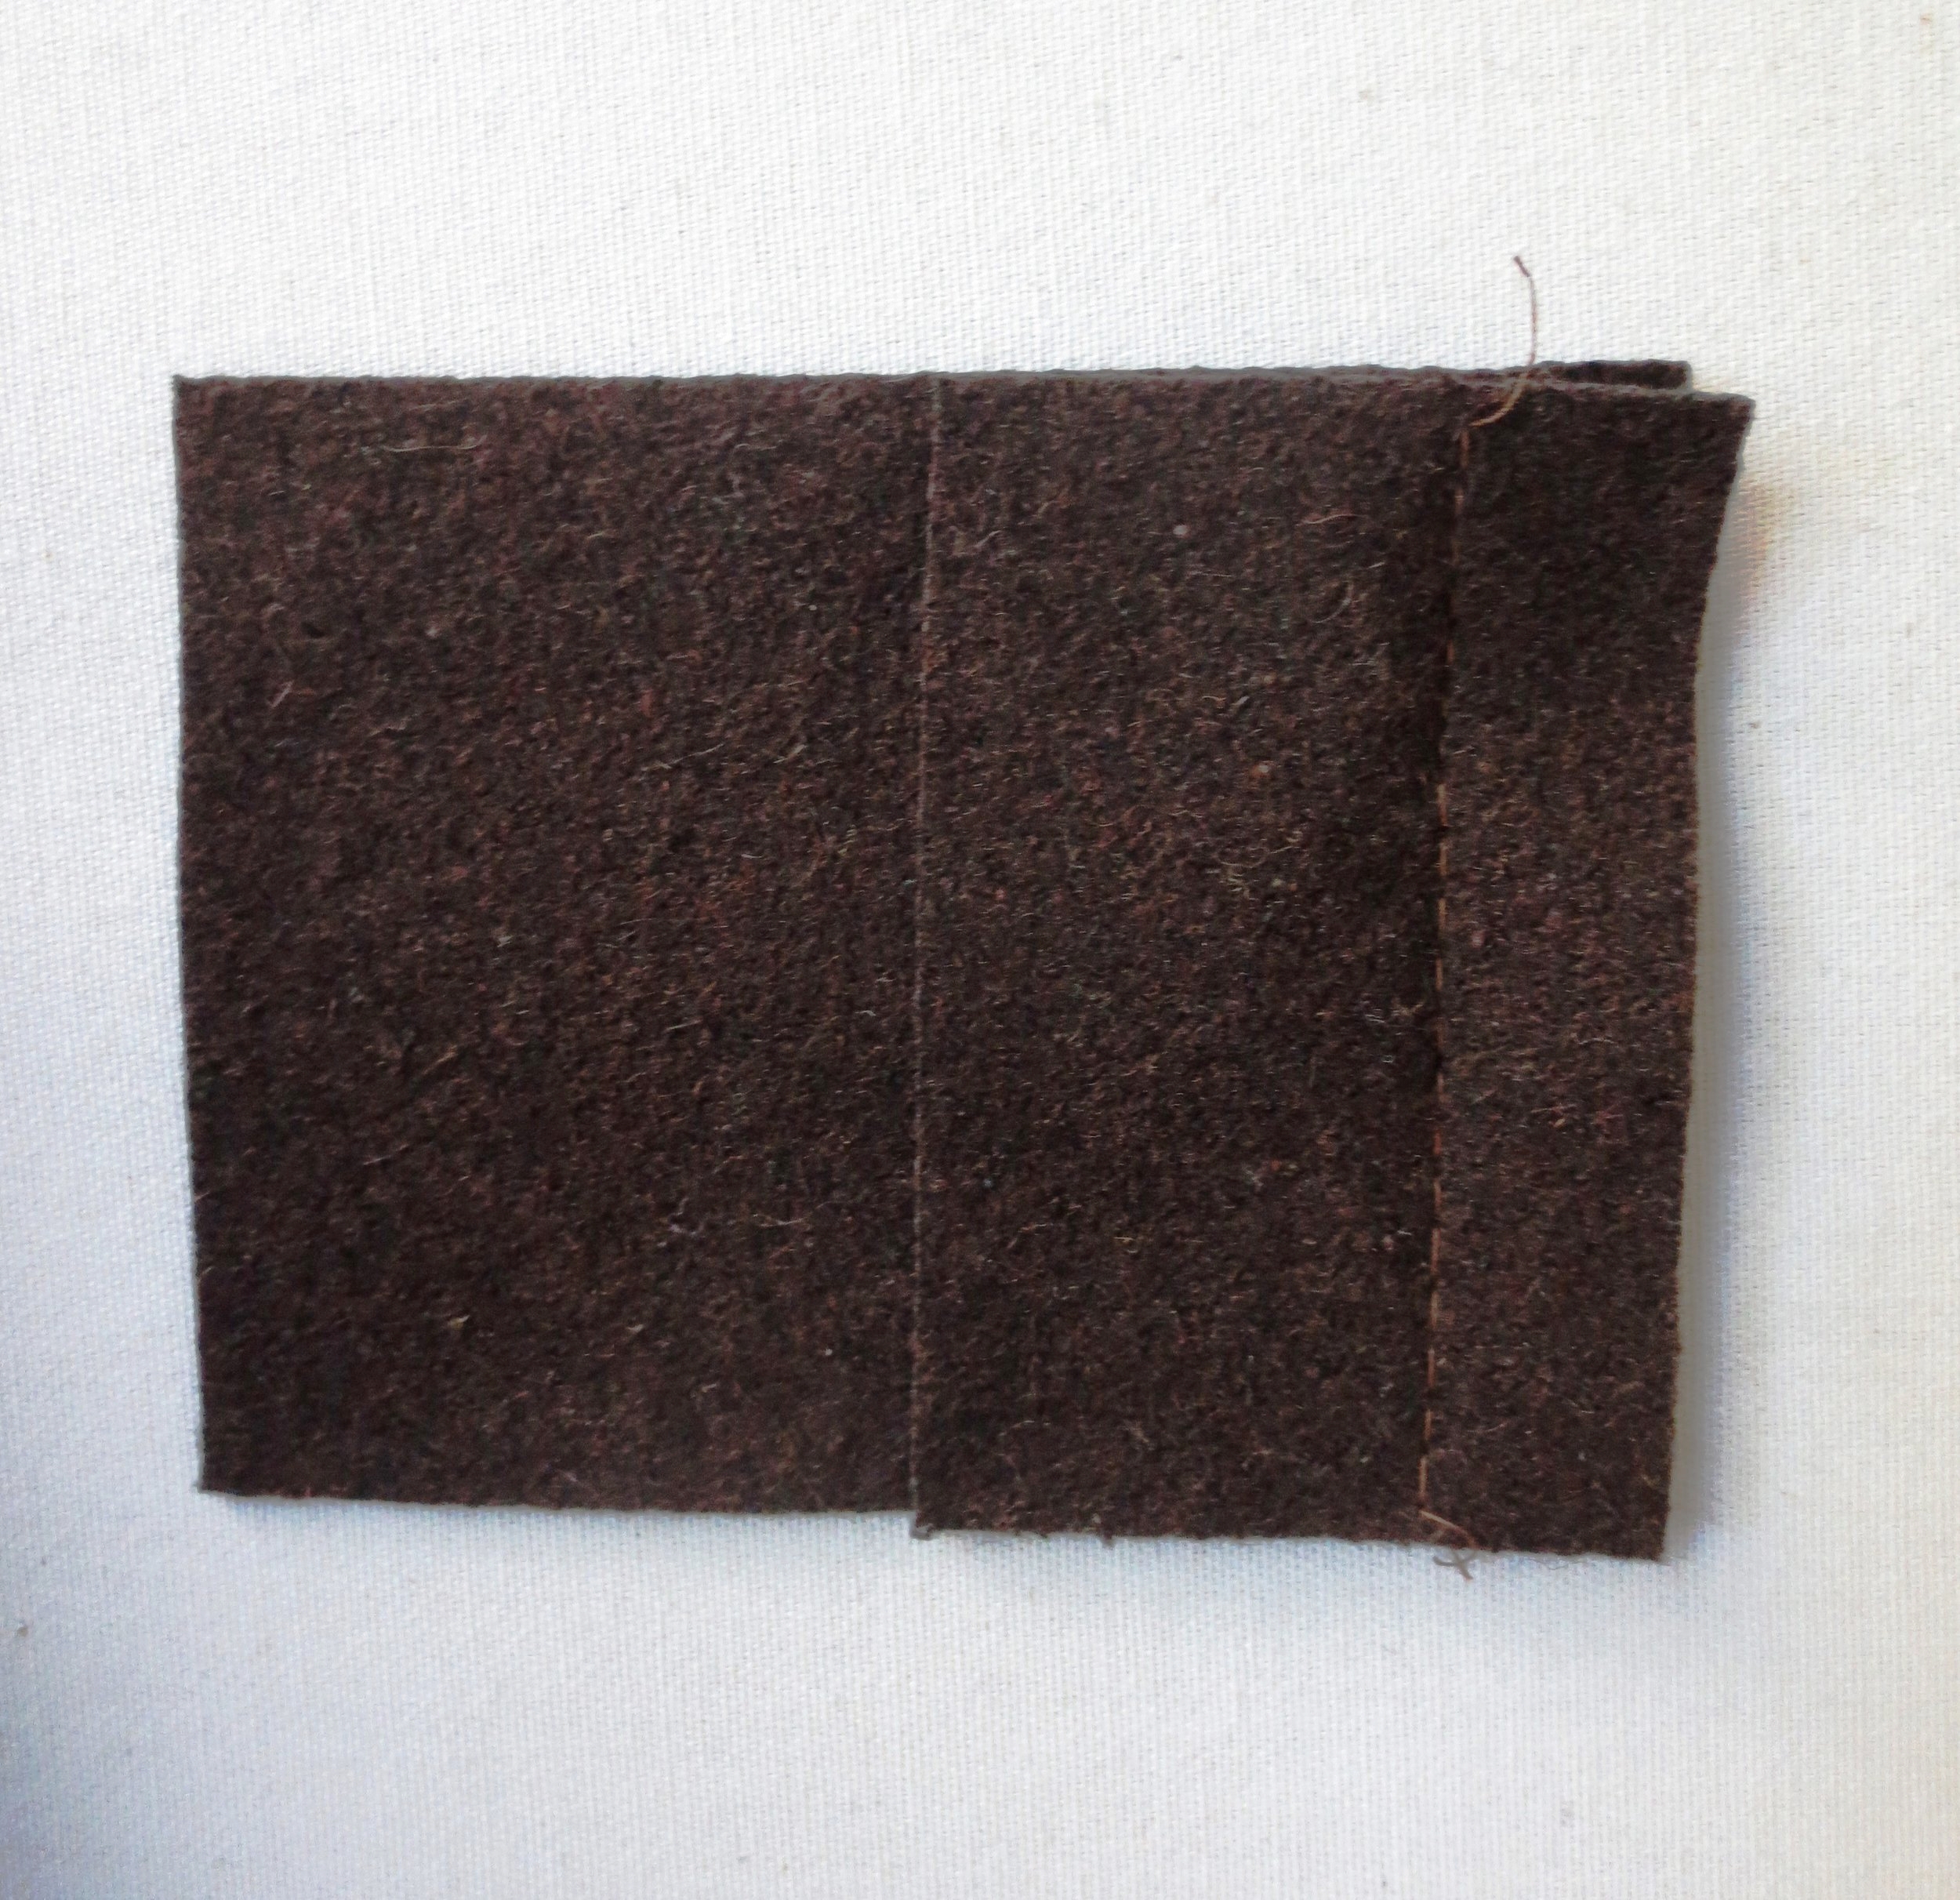
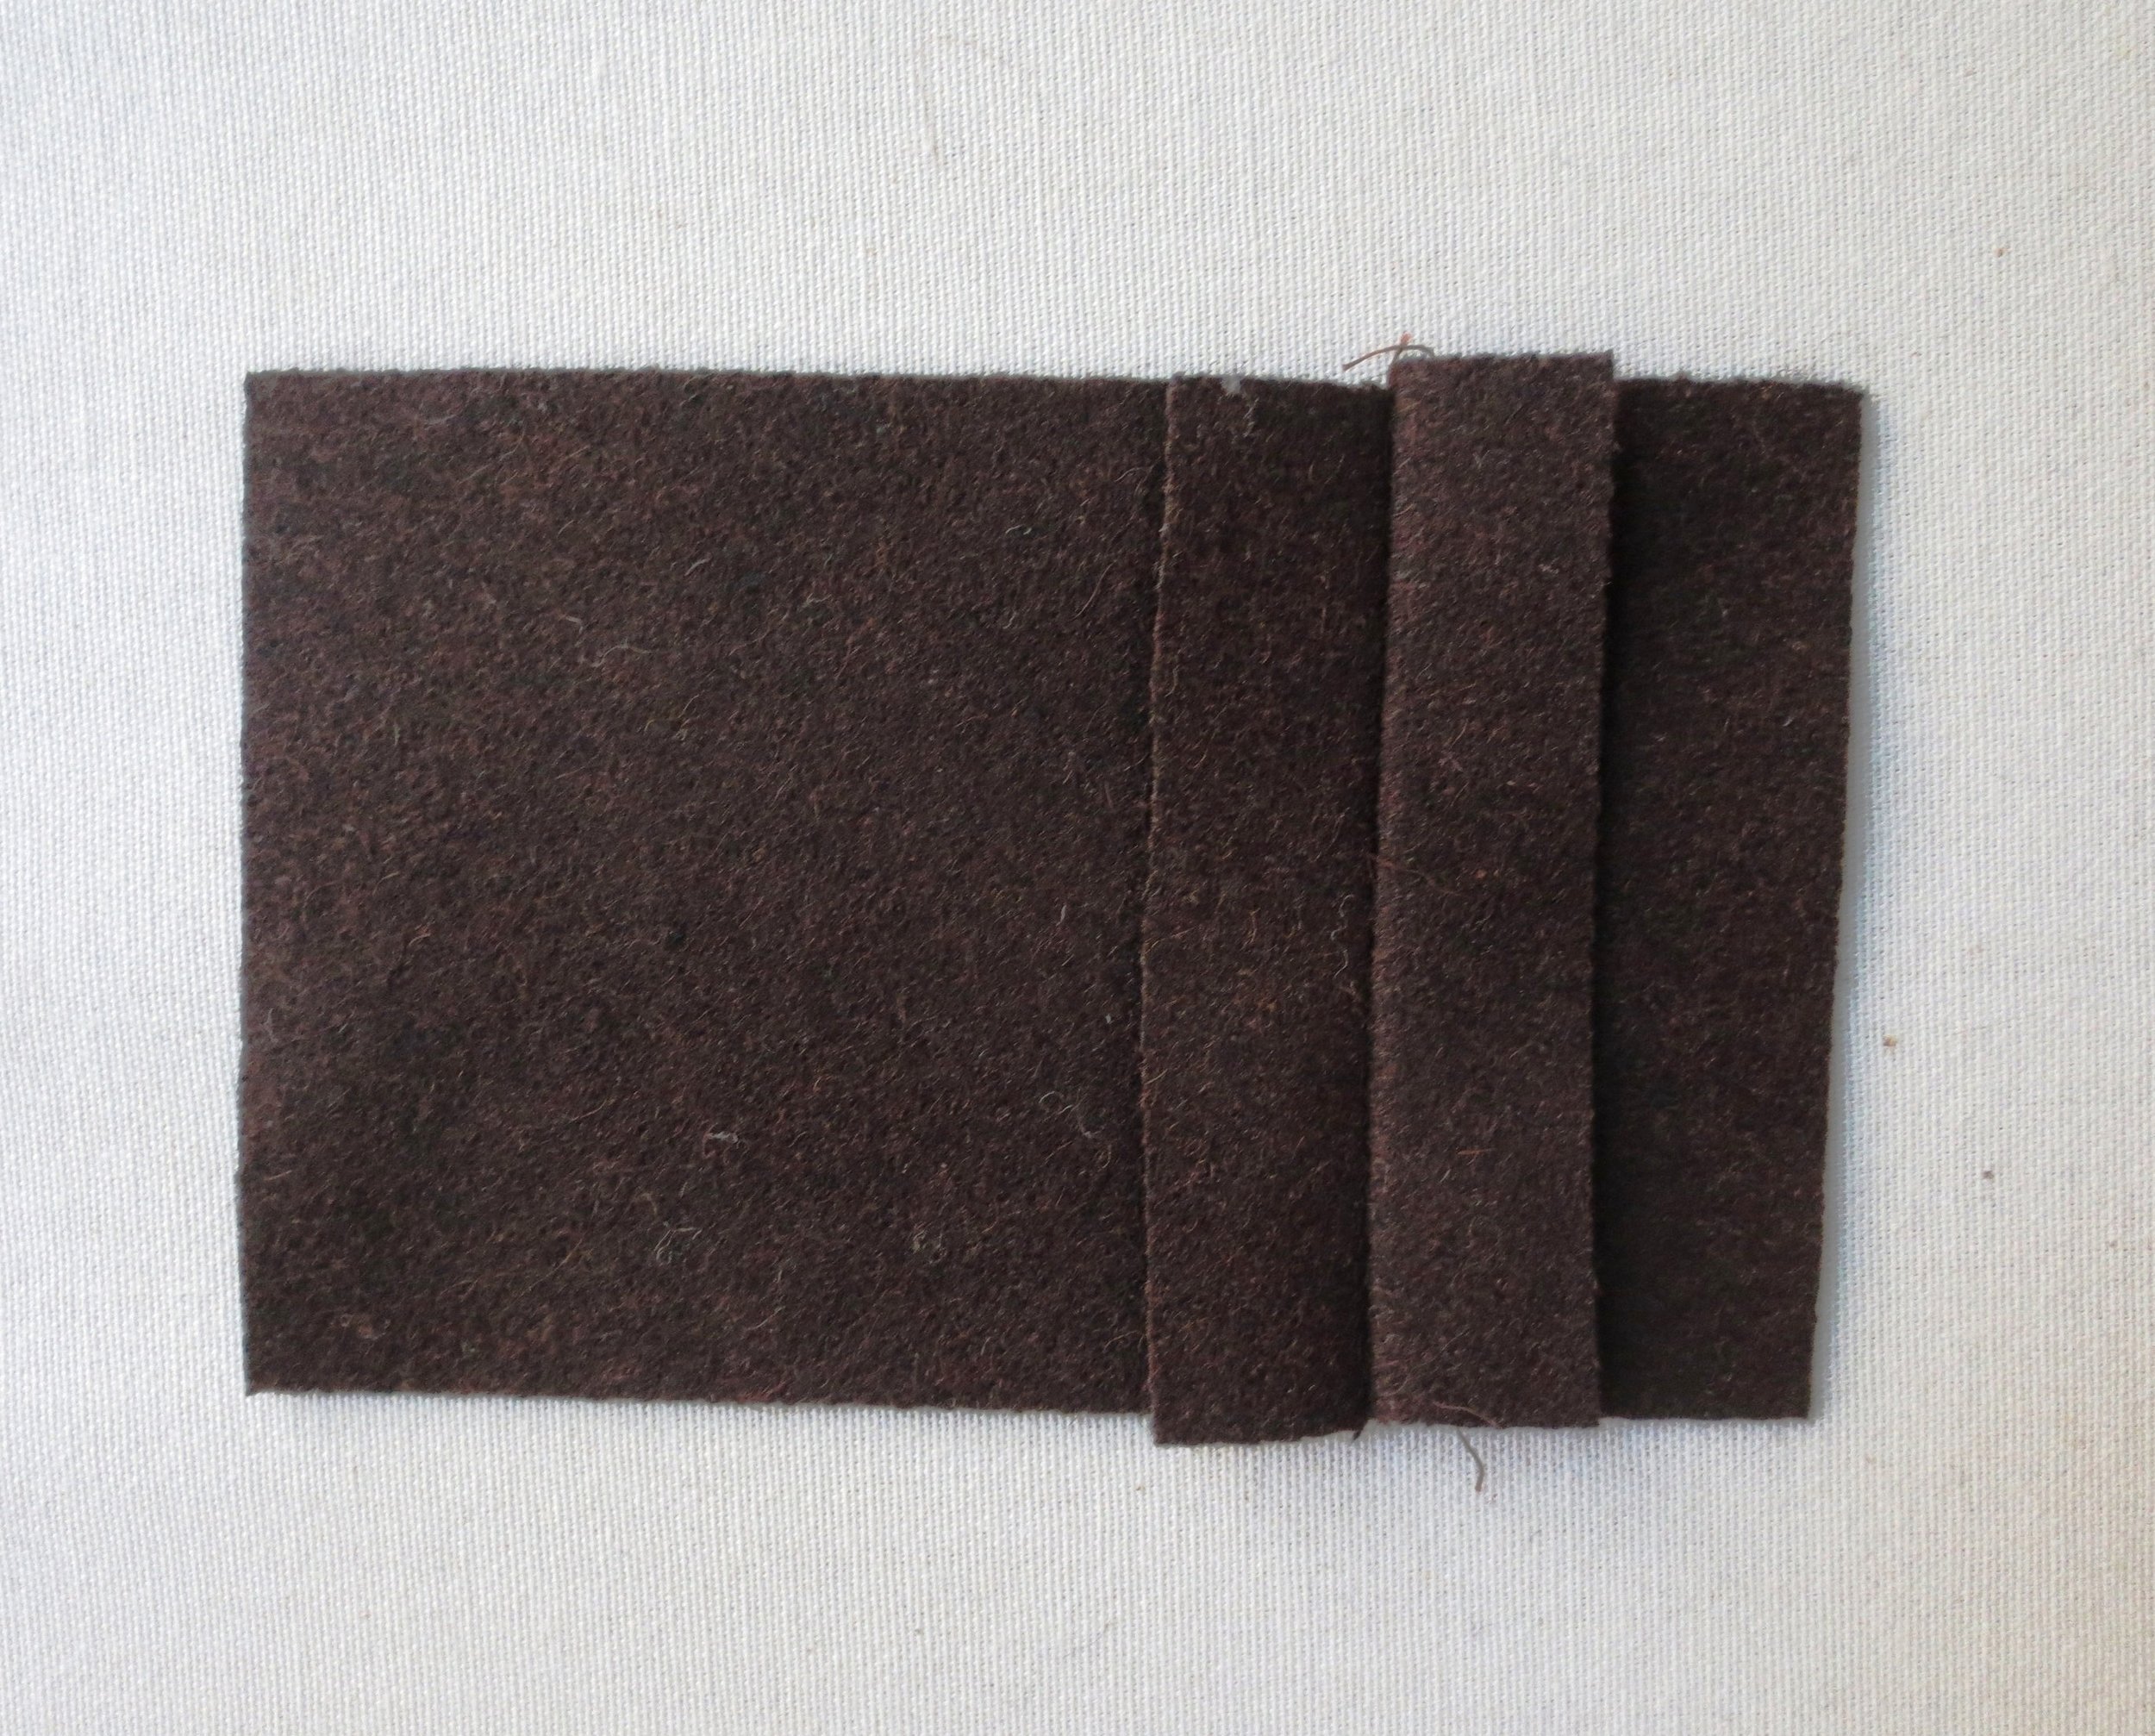
- Sew the two piece together along their 3" sides using a 5/8" seam allowance. Press the seam open.
- Using a thread that is a lighter shade that the wool, sew a top stitch 3/8" away from the seam on each side. Set this aside until you are ready to cut out your pattern pieces.
3. Trace patterns onto fusible web. Patterns are already reversed for use with fusible web. Cut out leaving a small border around traced lines.
- For this side of the border you will need to cut out the following:
- One flower A
- Two flower B
- Two flower C
- One leaf #1
- Three leaf #2
- One leaf #3
- One leaf #4
- Five leaf #5
- One leaf #6
- Three leaf #7
- Five leaf #8
- One leaf #10
- Two berry #1
- Three berry #2
- Five berry #3 (blue)
- Three berry #3 (green)
- Robin Body, wing, beak, and eye
4. Fuse patterns onto designated wools. Cut out along traced lines.
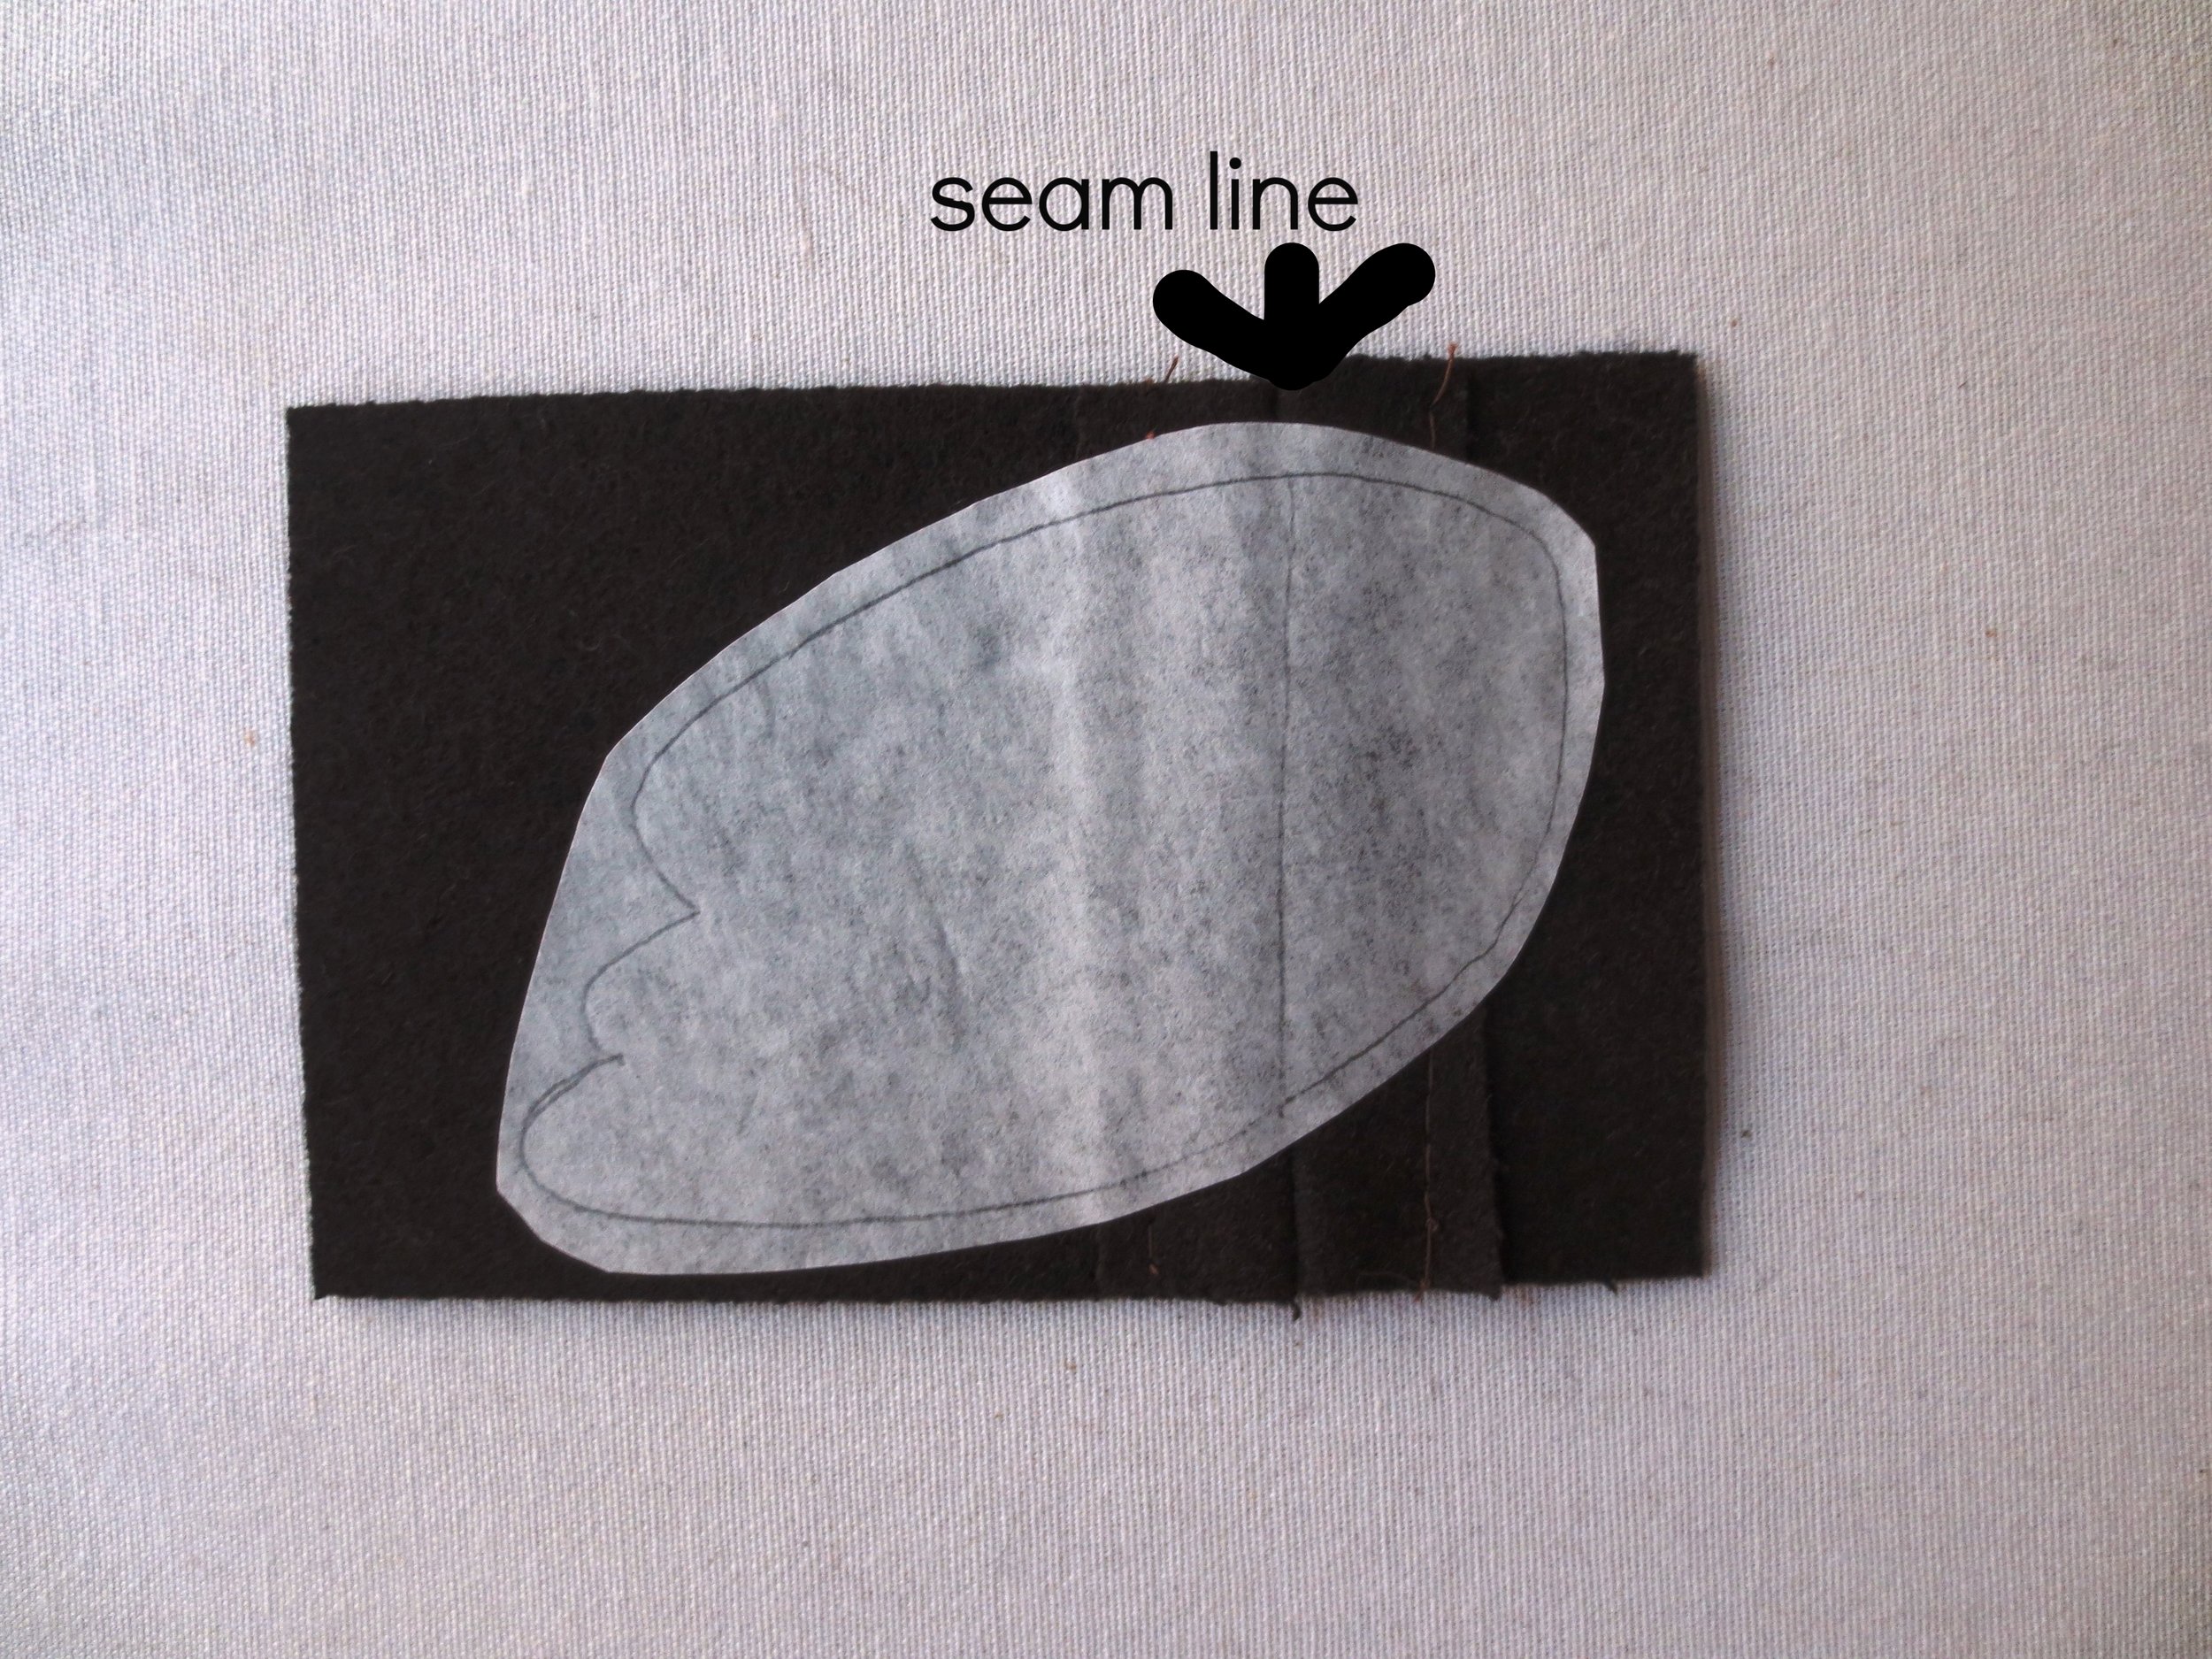
Note: Fuse wing pattern as follows:
- Flip the sewn wool piece that you set aside earlier wrong side up. Lay the pattern piece onto the wool so that the seam line in the pattern piece lines up with the seam of the wool.
- Cut out along traced line.
5. Cut ribbon into two 2 1/2" strips.
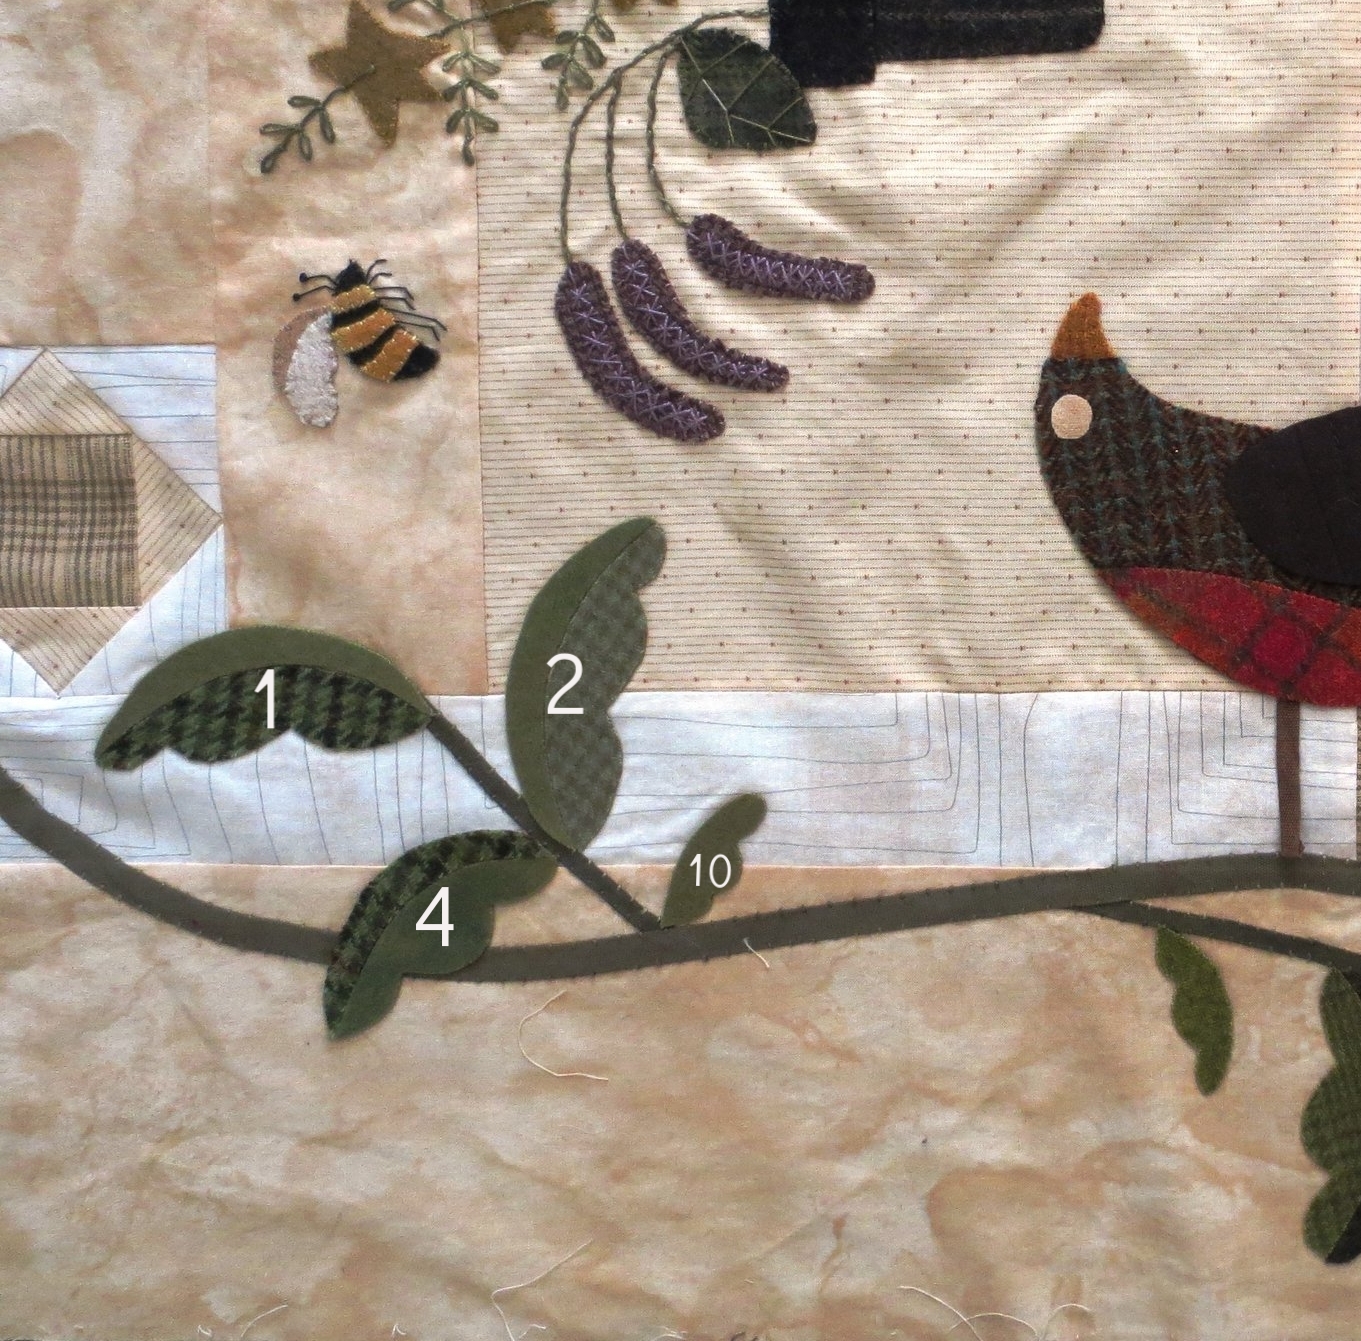
6. Layout flowers, leaves, and robin as shown below (We will work on the robin section first). Fuse in place using steam.
Note: Slide the ends of the ribbon legs under the body of the robin prior to fusing.
Note: The flowers, leaves and berries are stitched the same as in the previous post.
7. Whip stitch perimeter of leaves with #O519.
8. Cross stitch center veins of bicolored leaves with #O518.
9. Back stitch center seams of all single colored leaves using #O518. Make three straight stitched side veins using the same thread.
10. Whip stitch flowers and straight side of petals.
11. Stitch a series of fly stitches around the curved edges of each flower petal using #O519.
12. Stitch a buttonhole flower in the center of each flower using perle 8, color #P4.
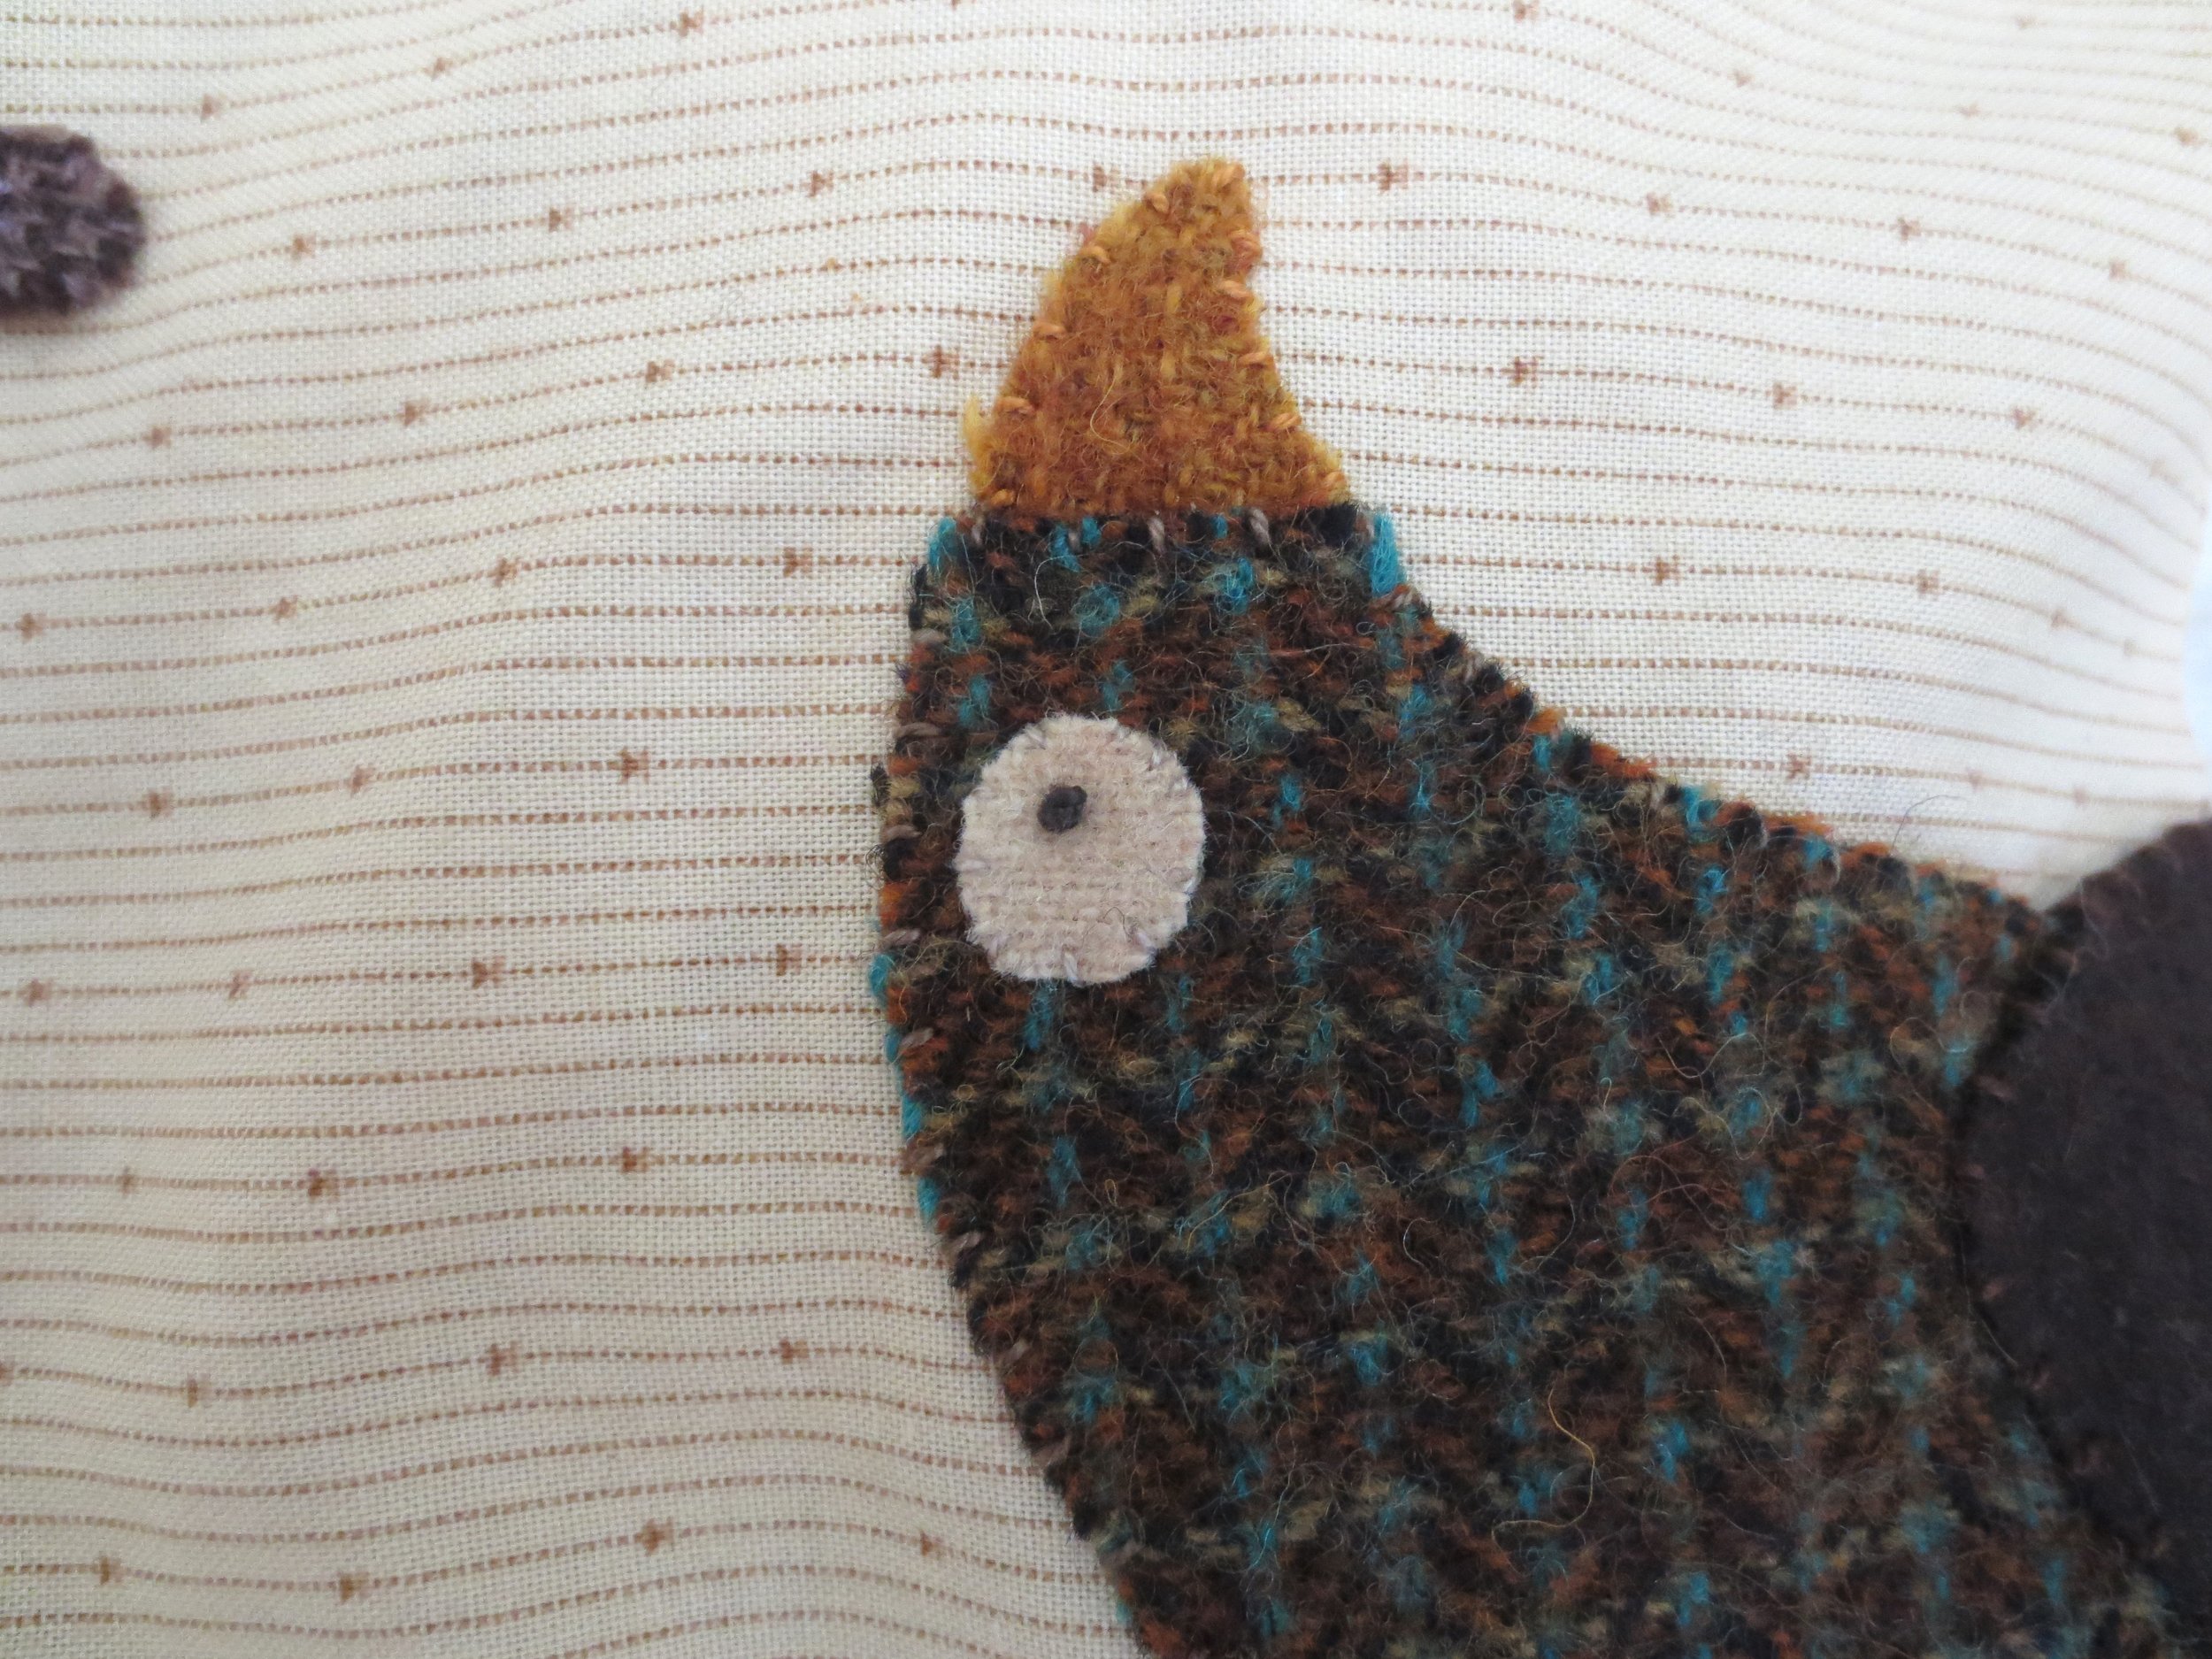
13. Whip stitch the robin body, breast, wing, beak and eye using thread that matches your wool colors.
14. Stitch a single french knot slightly off center in the eye using #O518.
15. Whip stitch legs using #O518, tucking the ends under so that they are flush with the branch.
Note: The left leg is approximately 1 3/4" and the right is 1 7/8".
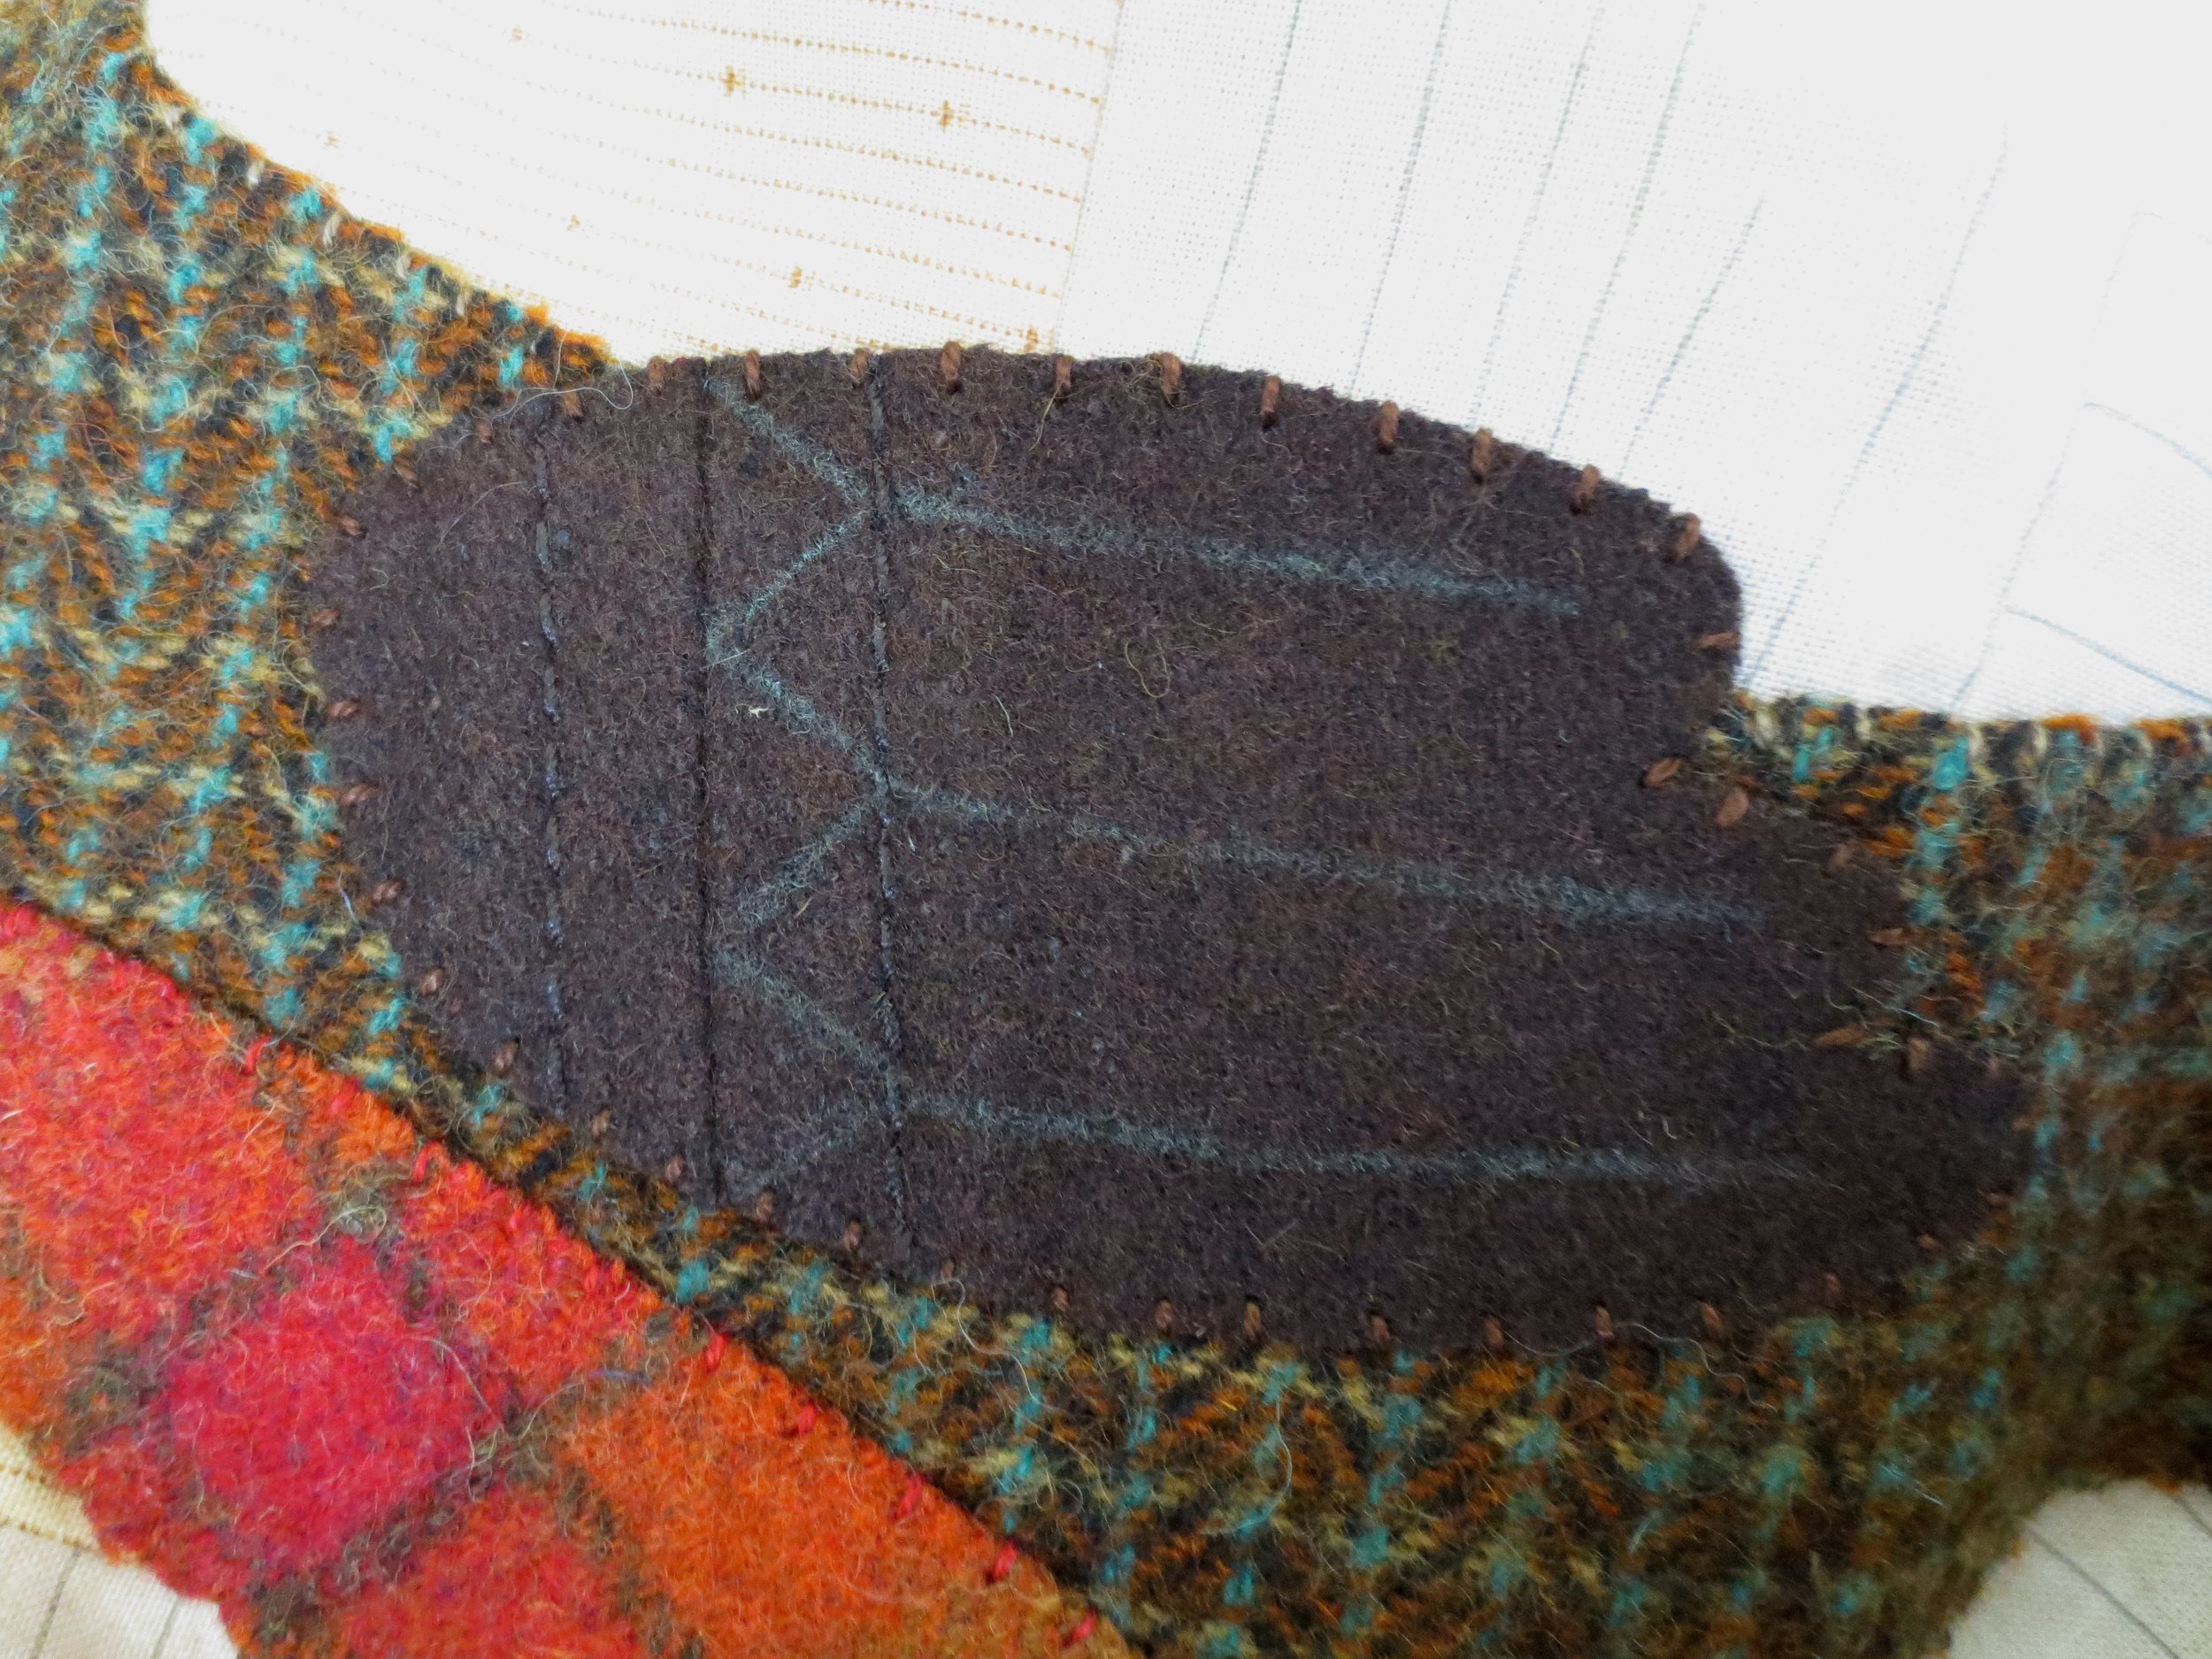
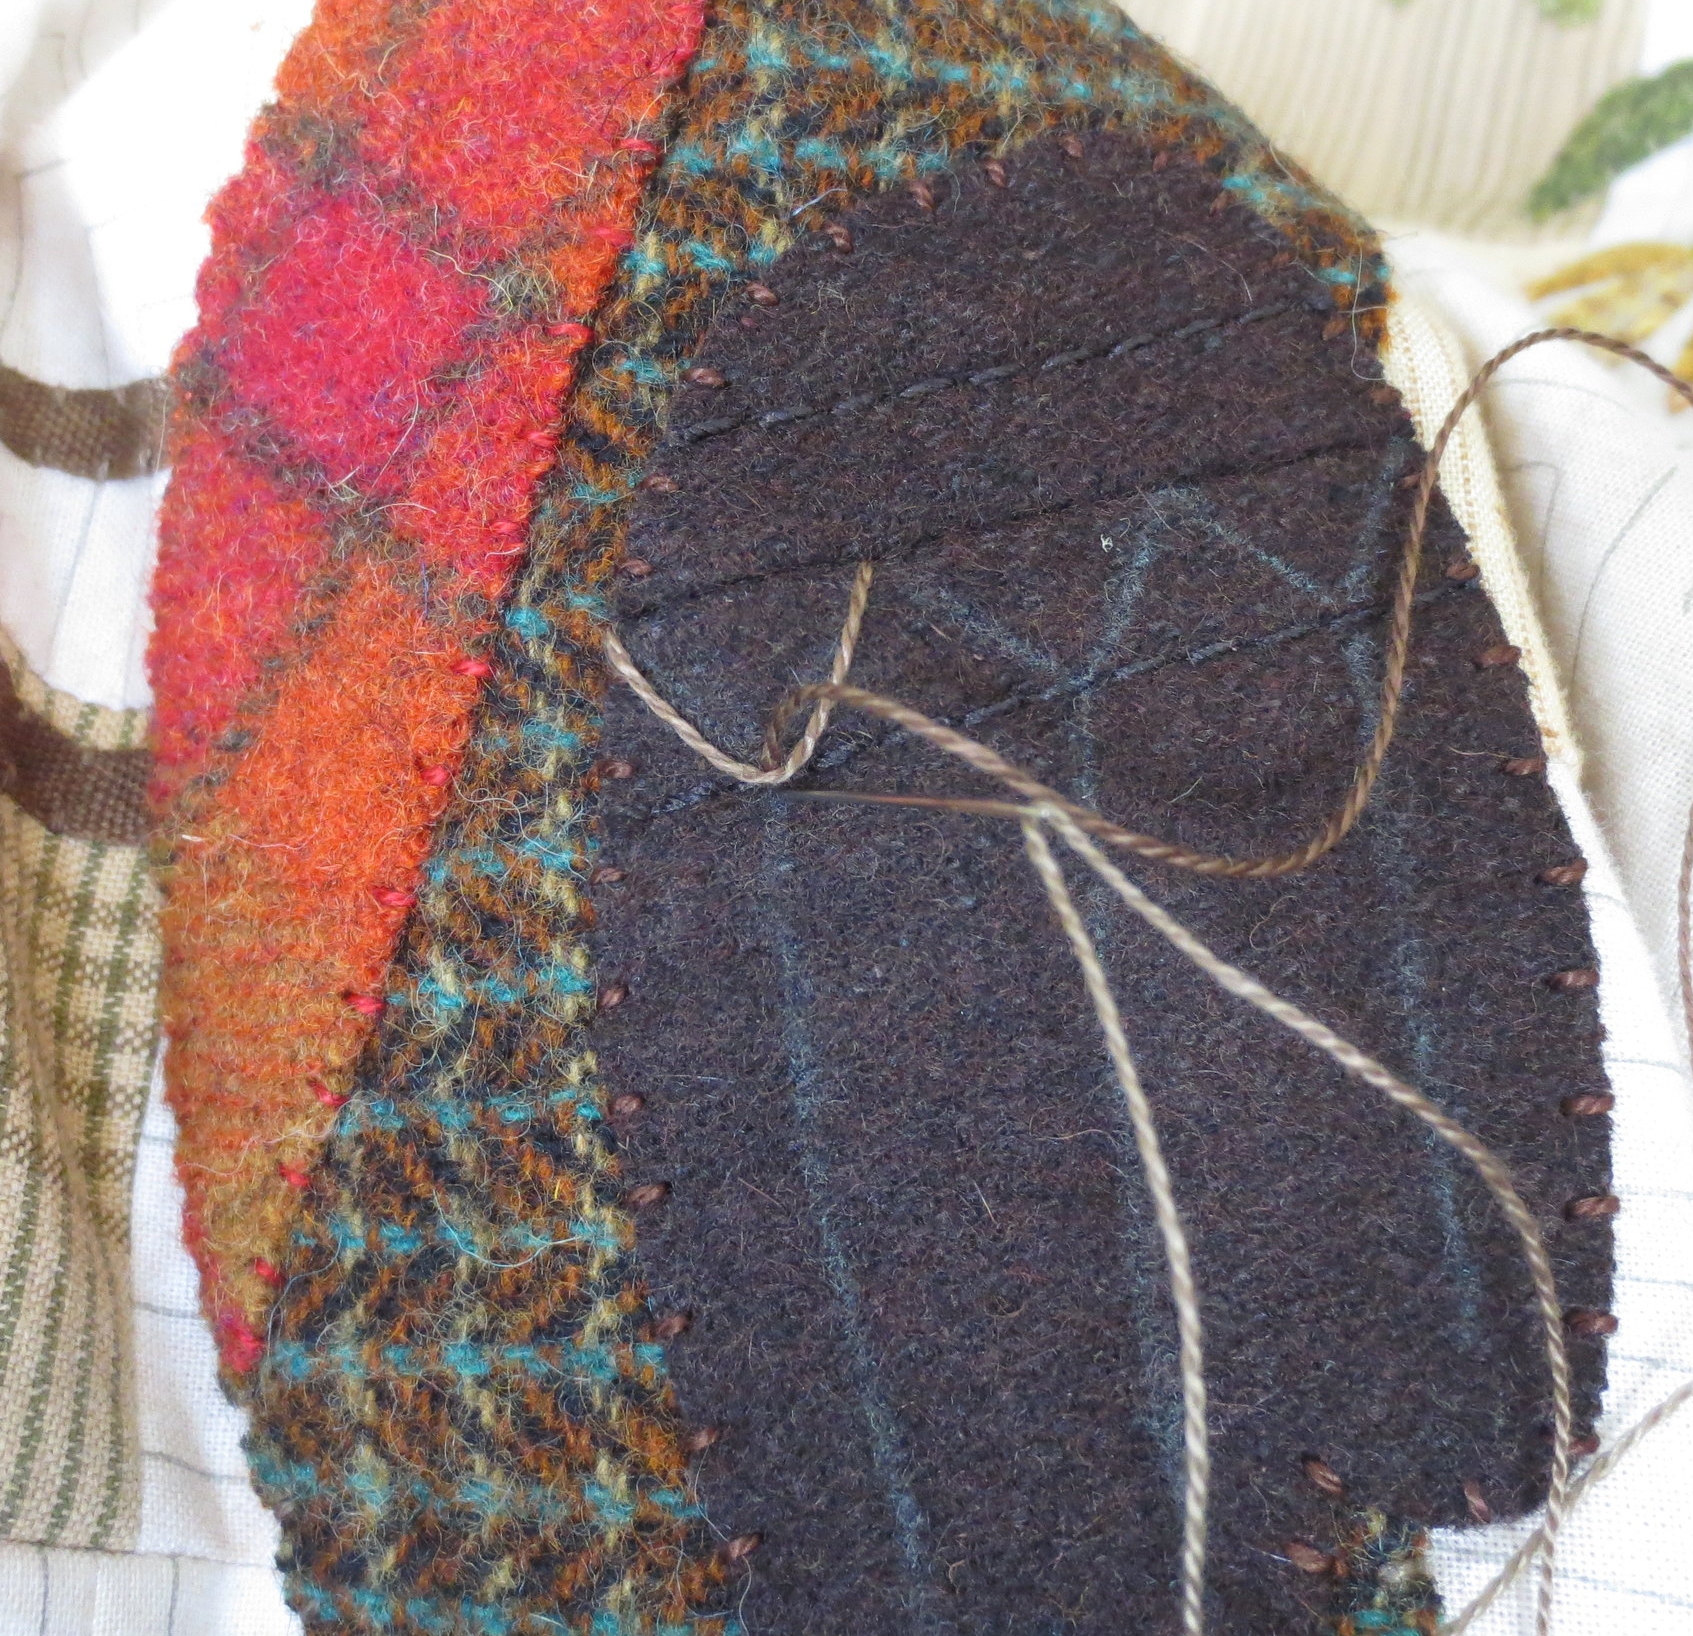
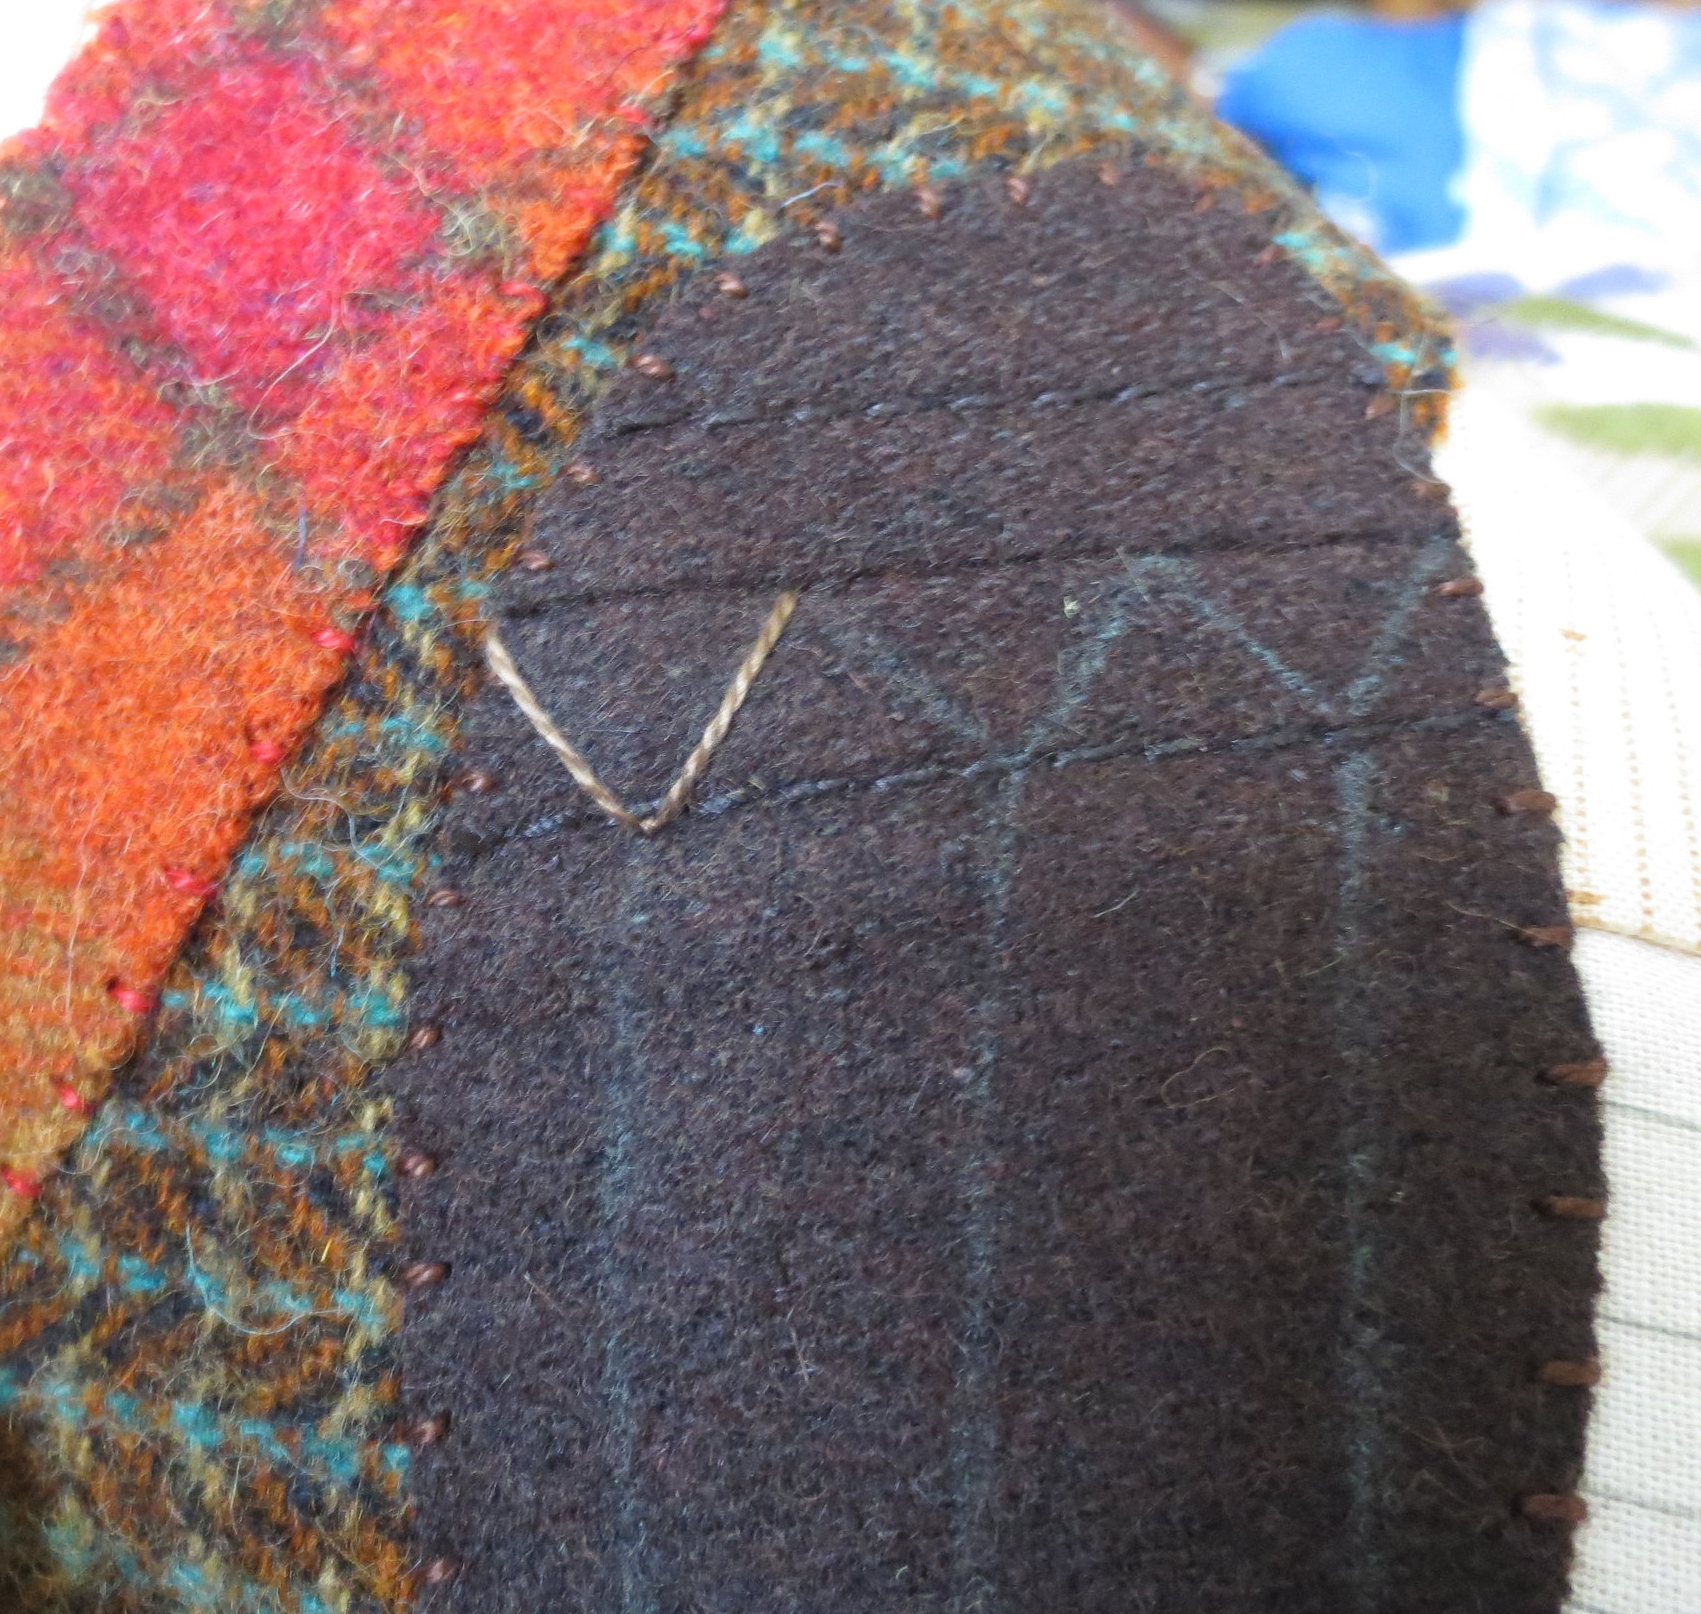
16. Use a chalk pencil to draw the wing embellishment (see below).
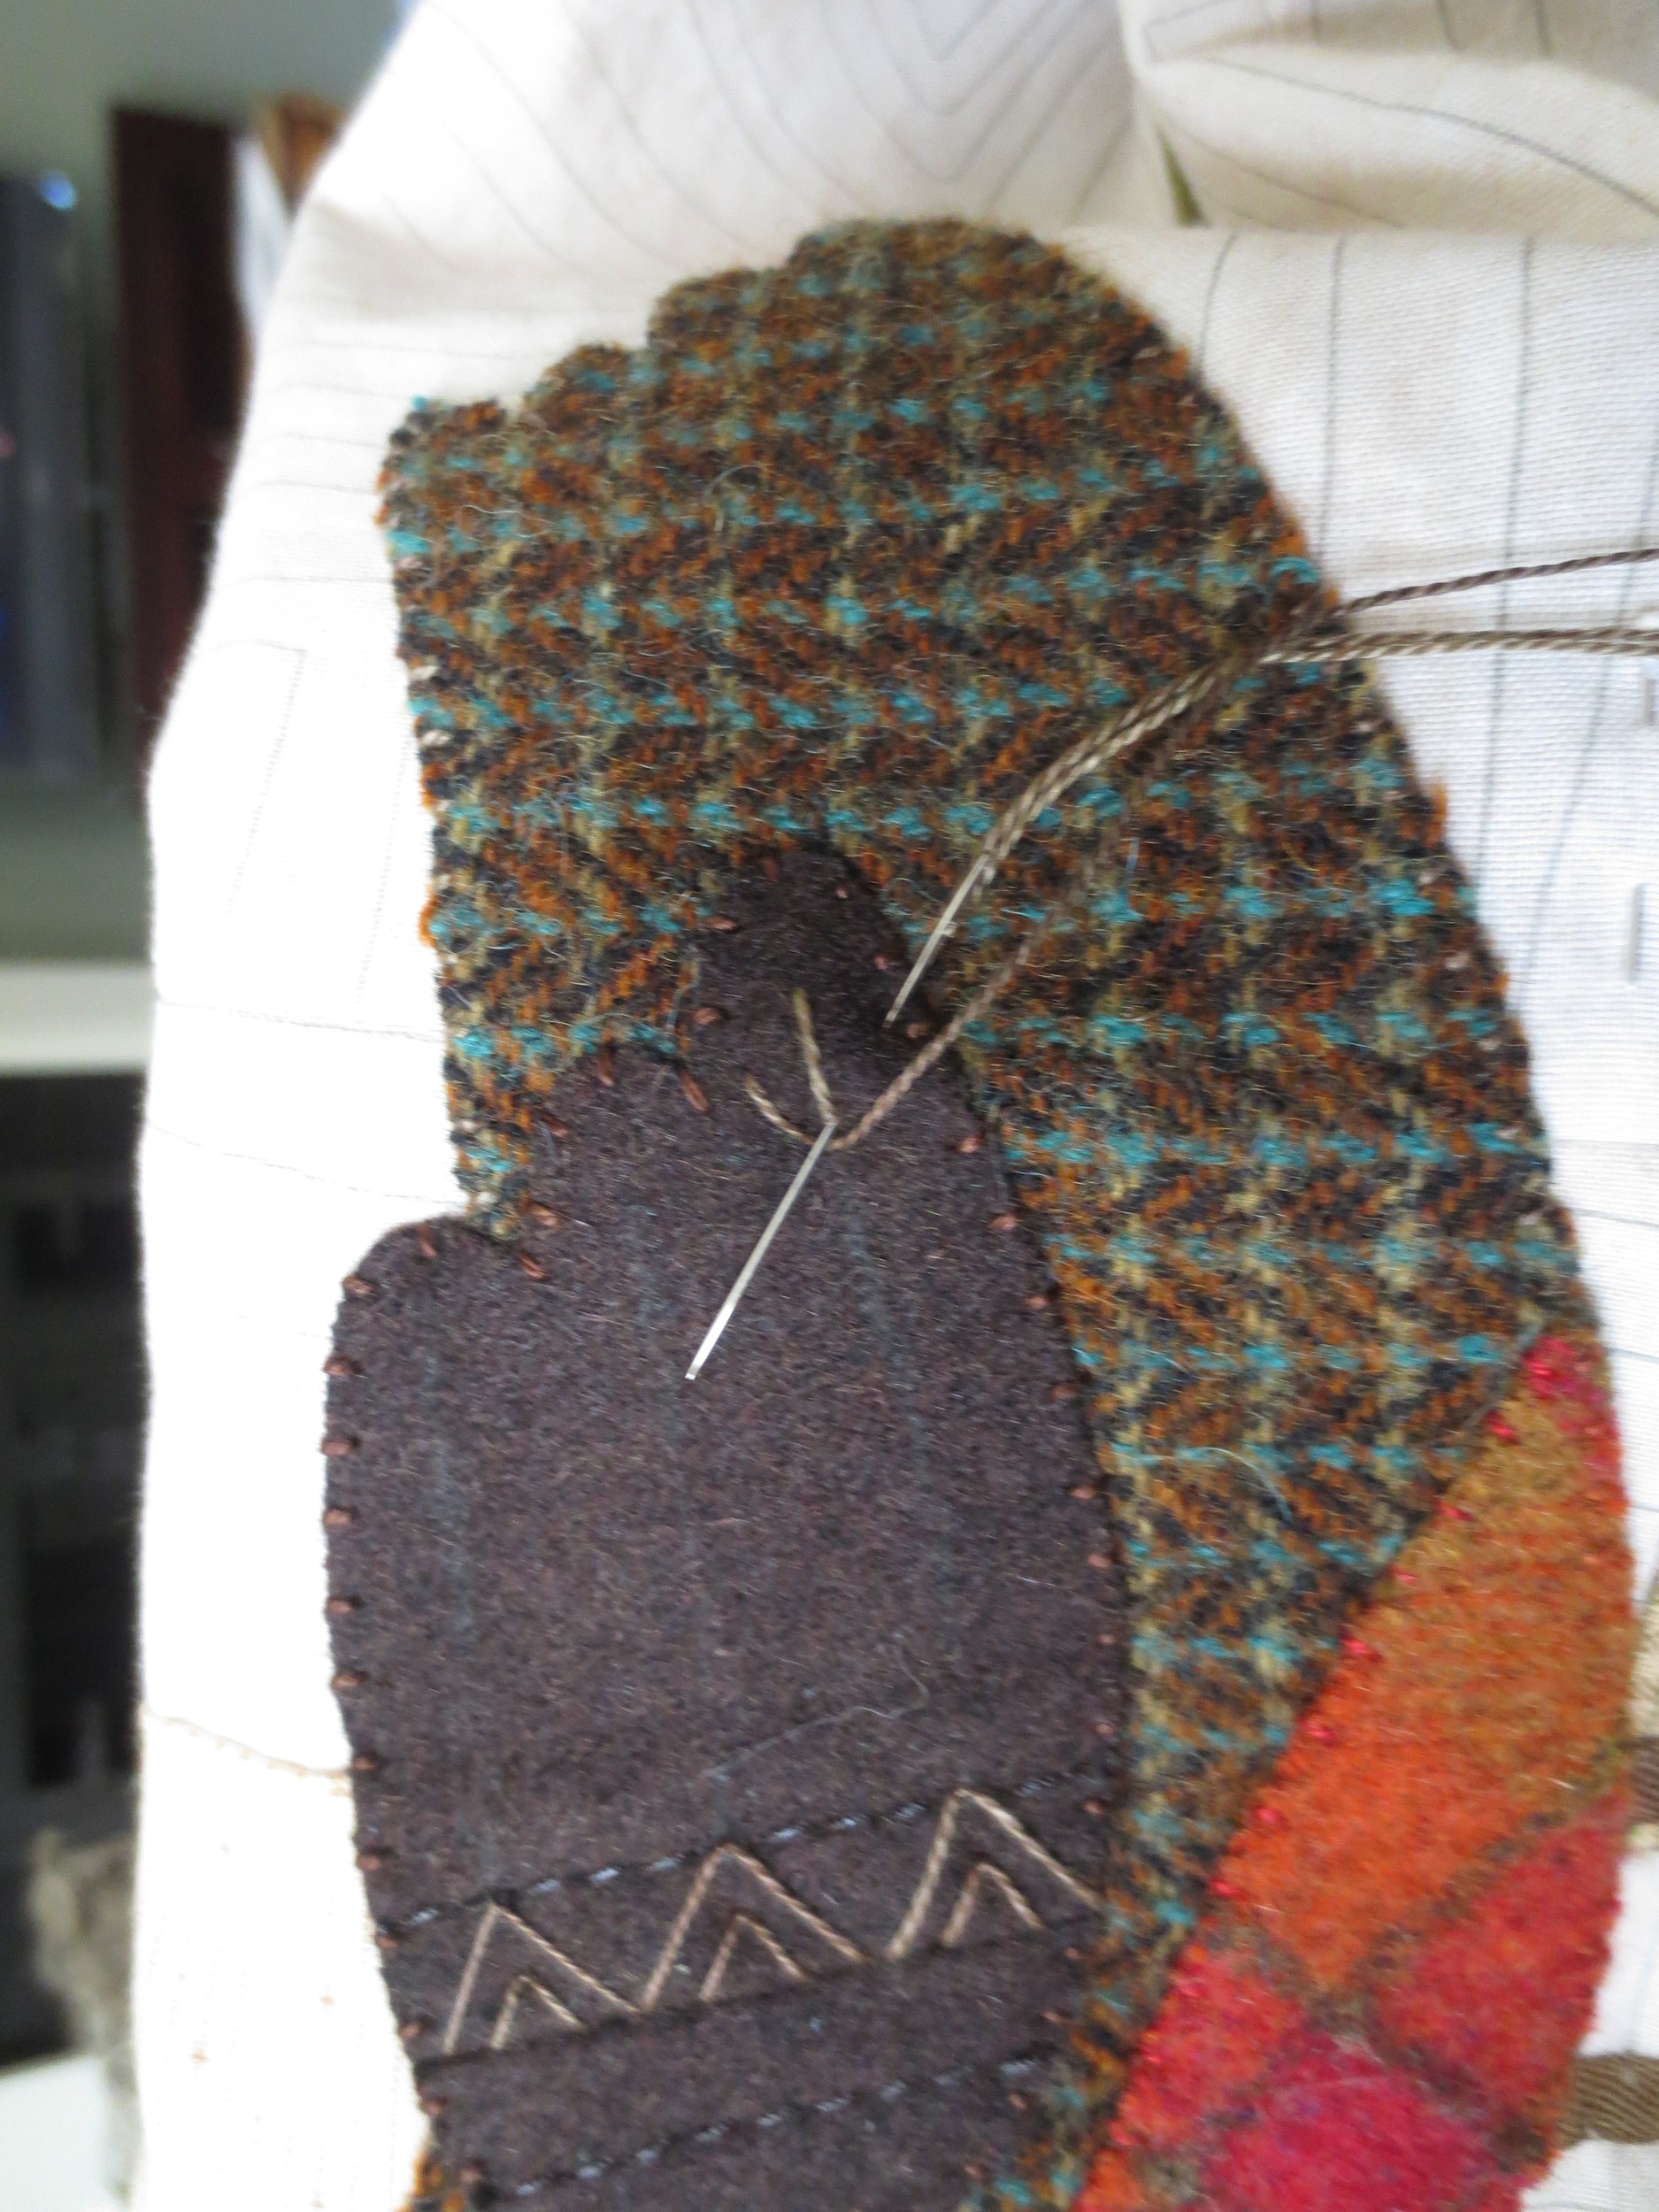
17. Use#O518 to create six fly stitches (use stitch guide) extending from seam (three large and three small).
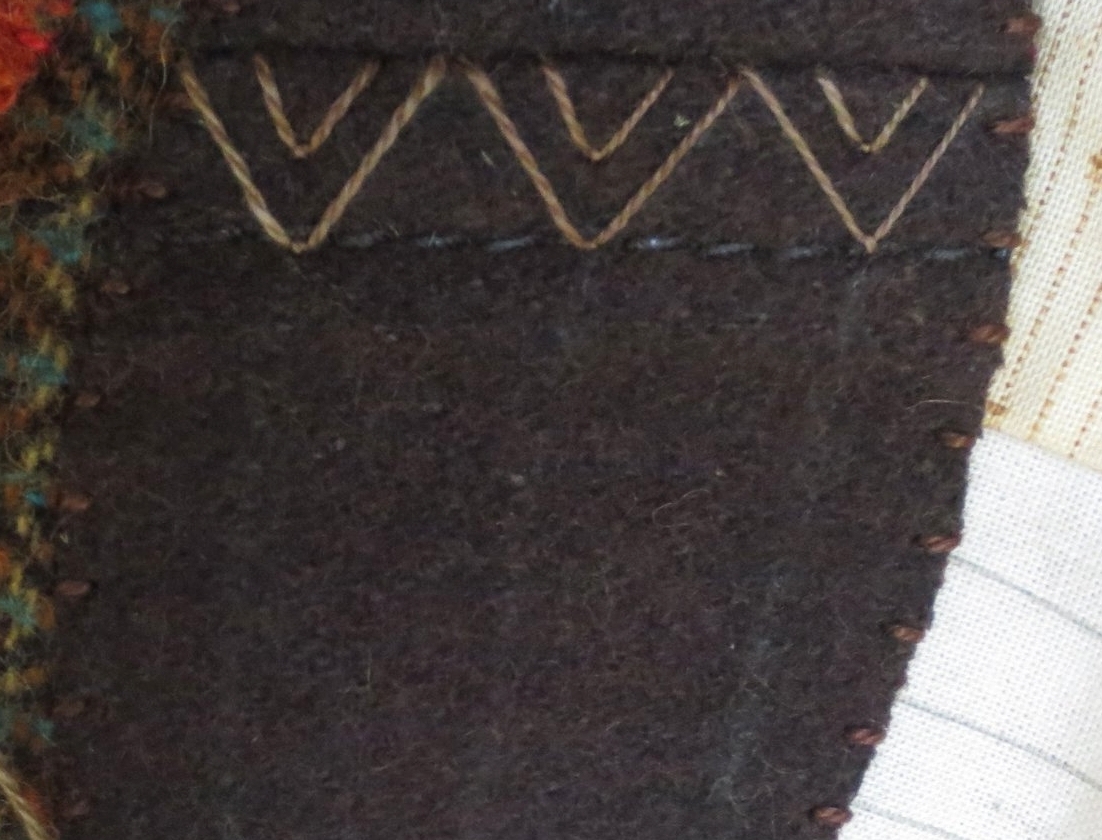
18. Now flip the wing around so that the tip is facing up. Stitch a series of closed fly stitches (see stitch guide and layout) over the guide lines using the same thread.
19. Layout the remaining flowers and leaves as shown below.
This flower is located on the lower right hand corner of the quilt. Use the blocks for reference.
Flowers and leaves at top left side of quilt.
20. Finish all leaves and flowers as described in steps 7 - 12.
21. There are two sets of berries on this branch. One is located directly to the left of the robin and one is at the curve of the branch at the sashing corner block (top left corner of quilt). Use the stitching instructions from the previous blog (part I).
22. Add leaf #7 and #8 to the base of the berry stem located at the upper left corner of the quilt.
You are done!
Stay tuned for the right side border.
Happy Stitching!


