Flowers From My Garden Border Applique - Part I
A few years ago a pair of robins made a nest in the Cecile Brunner rose that grows just outside my back window. Each morning I would sit at my kitchen table, drinking a cup of tea, waiting for the arrival of the hatchlings.
Not long after the hatchlings appeared, crows tried to gain access to the nest. Luckily the rose branches were very dense, but the parents were frazzled. My fear was that the chicks would starve because the parents spent so much time defended the nest. So I stepped in and bought meal worms that I placed in a small bowl on the patio table just underneath their nest. I had to refill it several times a day, but the parents didn't have to venture more than a few feet away from the nest to forage for food. The chicks survived and tragedy was averted.
I felt a special satisfaction seeing the chicks fledge and eventually fly away, knowing I played a small part in their survival. Sadly, that was the last year the robins appeared in my yard.
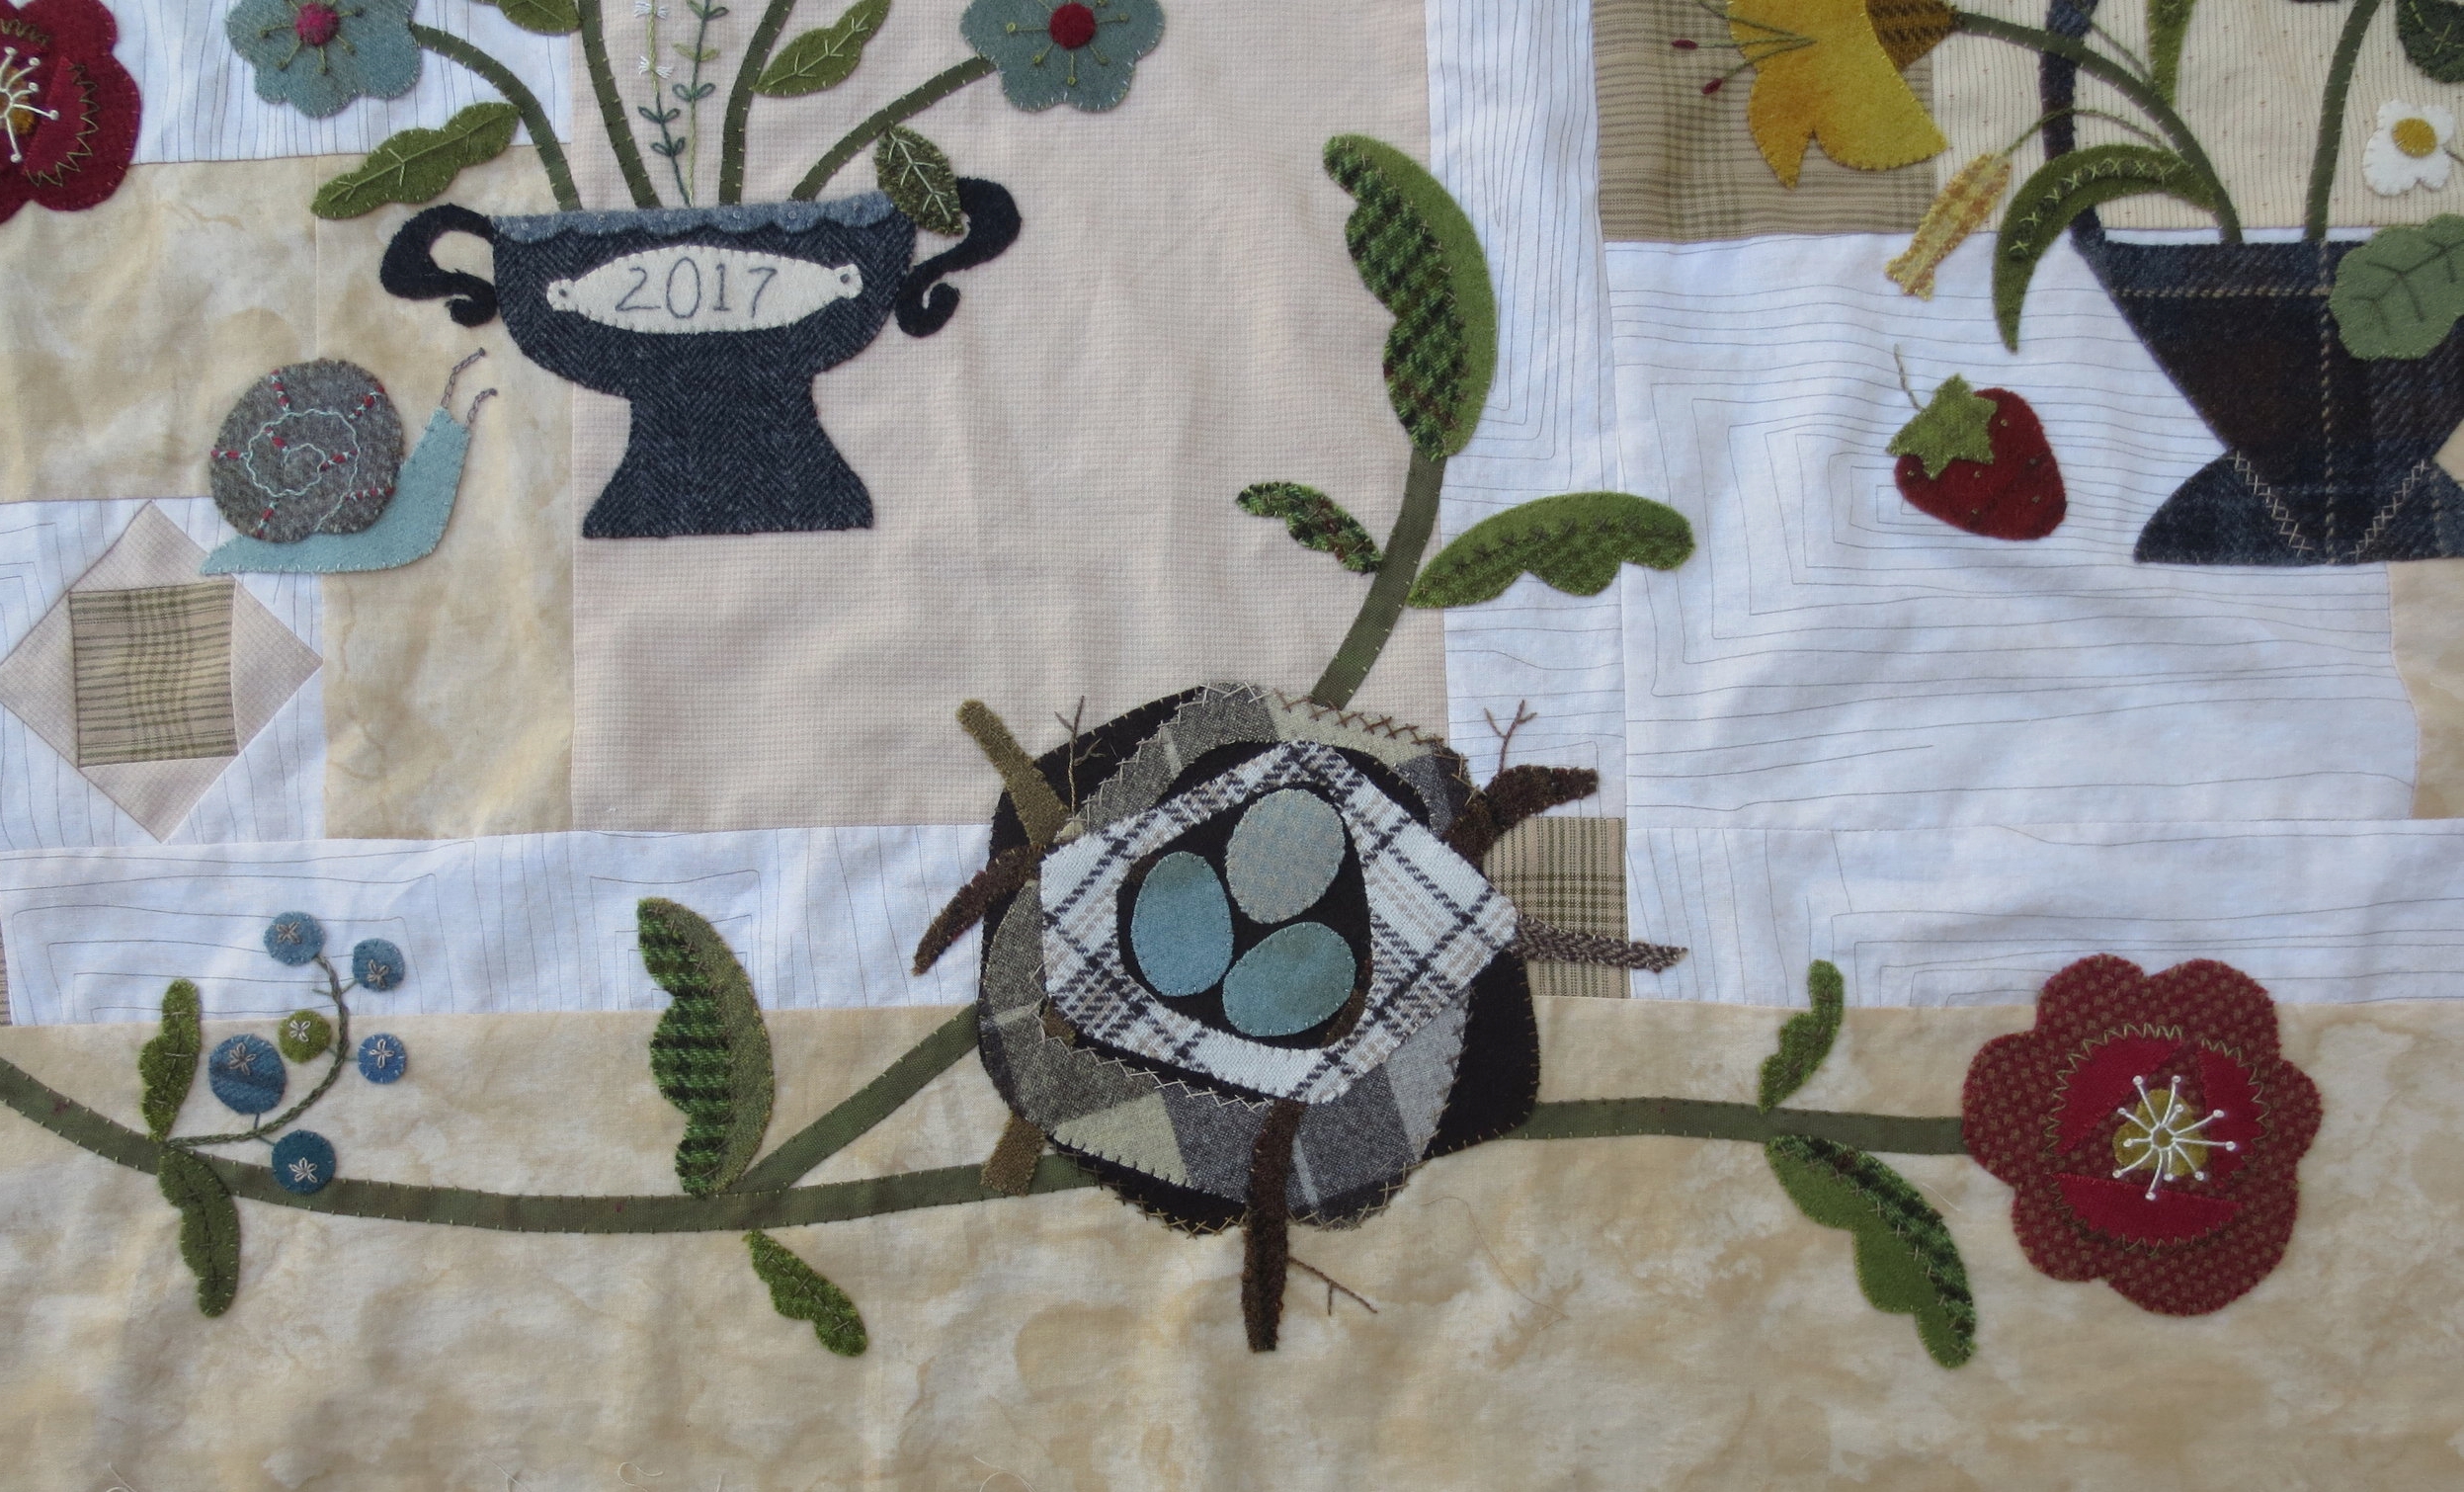
The climbing rose (in this border) is not pink like my Cecile Brunner, because pink would not have worked with the existing blocks and background, but the design is still true to my robin family inspiration. I hope you like it.
This design would work just as well in a 20" pillow. As with the quilt, use 3/8" wide ribbon, or strips of wool for the branches. Position the nest at the bottom left corner with the bottom branch and flower extending to the right. You may want to adjust the length of the branches to fit the pillow. A nest pillow paired with a robin (next post) pillow would be lovely.
I'm including the applique patterns for the border flowers, leaves, berries, and nest in this post. All of the patterns are reversed for use with fusible web.
Let's begin.
You will need
- Felted Wool - The majority of wools used for the leaves are scraps left over from making the quilt blocks. Try using some of those to tie the design together. If you don't have any scraps left over, just pick out wool colors that complement those found in the quilt. The requirements listed below are for the entire border. This post will just cover the instructions for the bottom portion of the border.
- Flowers - 8" square each of three reds (one solid and two textures) The petals A,B &C are made with a red color that is different from the flower color. Use one of the other reds in this group for the petals (e.g., flower #1 is a solid, so its petals are a texture).
- Flower centers - Two 3" squares of gold (one solid and one texture)
- Leaves - Four 7" squares of various greens (plaids, tweeds, solids)
- Berries - Three 4" squares of various blues (plaids and solids)
- Nest A - 7" square dark brown solid
- Nest B - 7" square large scale plaid of brown, beige & cream
- Nest C - 5" x 6" brown and cream glen plaid
- Eggs #1 & #3 - 3" square mottled blue
- Egg #2 - 2" square blue & white check
- Nest stick #1 - 2" x 7" beige heather
- Nest sticks #2 & #3 - 3" x 8" brown & black plaid
- Nest stick #4 - 1 1/2" x 4" light brown herringbone
- Thread (embroidery floss can be substituted for the perle cotton, size 12 - 2 strands of floss, size 8 - 3 strands of floss)
- Valdani perle cotton, size 12 (Your colors may vary. Chose colors that match your wool colors.)
- O519 - leaves whip stitch
- O518 - leaves x-stitch, berry stem woven chain stitch, nest
- O578 - berries
- O533 - flowers
- P5 - flower centers
- O538 - nest
- JP12 - eggs
- O178 - berry embellishment
- Valdani perle cotton, size 8
- P4 - flower embellishment
- O575 - berry stem chain stitch
- Valdani perle cotton, size 12 (Your colors may vary. Chose colors that match your wool colors.)
- Chalk pencil
- Feather weight Fusible web - I used Vilene brand, but Heat 'N' Bond feather weight is an excellent substitute.
- Chenille needle - sizes 22 & 24
- Steam iron
Instructions Use one strand of thread unless otherwise noted.
- Down load nest layout , nest patterns, border flower and leaf patterns, and stitch guide (if needed).
- Trace pattern pieces onto fusible web (the images are already reversed). If you don't want to cut all the flowers and leaves at once you can begin with just the bottom section of the quilt (use italicized #'s located after the backslash).
- Flower #1 - three/one (2 colors)
- Flower #2 - four (2 colors)
- Flower #3 - two (2 colors)
- Leaf #1 - two/one
- Leaf #2 - six
- Leaf #3 - three/one
- Leaf #4 - three
- Leaf #5 - seven
- Leaf #6 - six/two
- Leaf #7 - seven/three
- Leaf #8 - five/one
- Leaf #10 - six/one
- Berry #1 - four/one blue plaid
- Berry #2 - five/one blue
- Berry #3 - seventeen/four* (12 blue, 5 green) /*(3 blue, one green)
3. Cut out pattern pieces leaving a small border around the traced lines. Fuse pattern pieces to desired wool. Cut out wool pattern pieces along traced line. Set aside everything but the nest pieces.
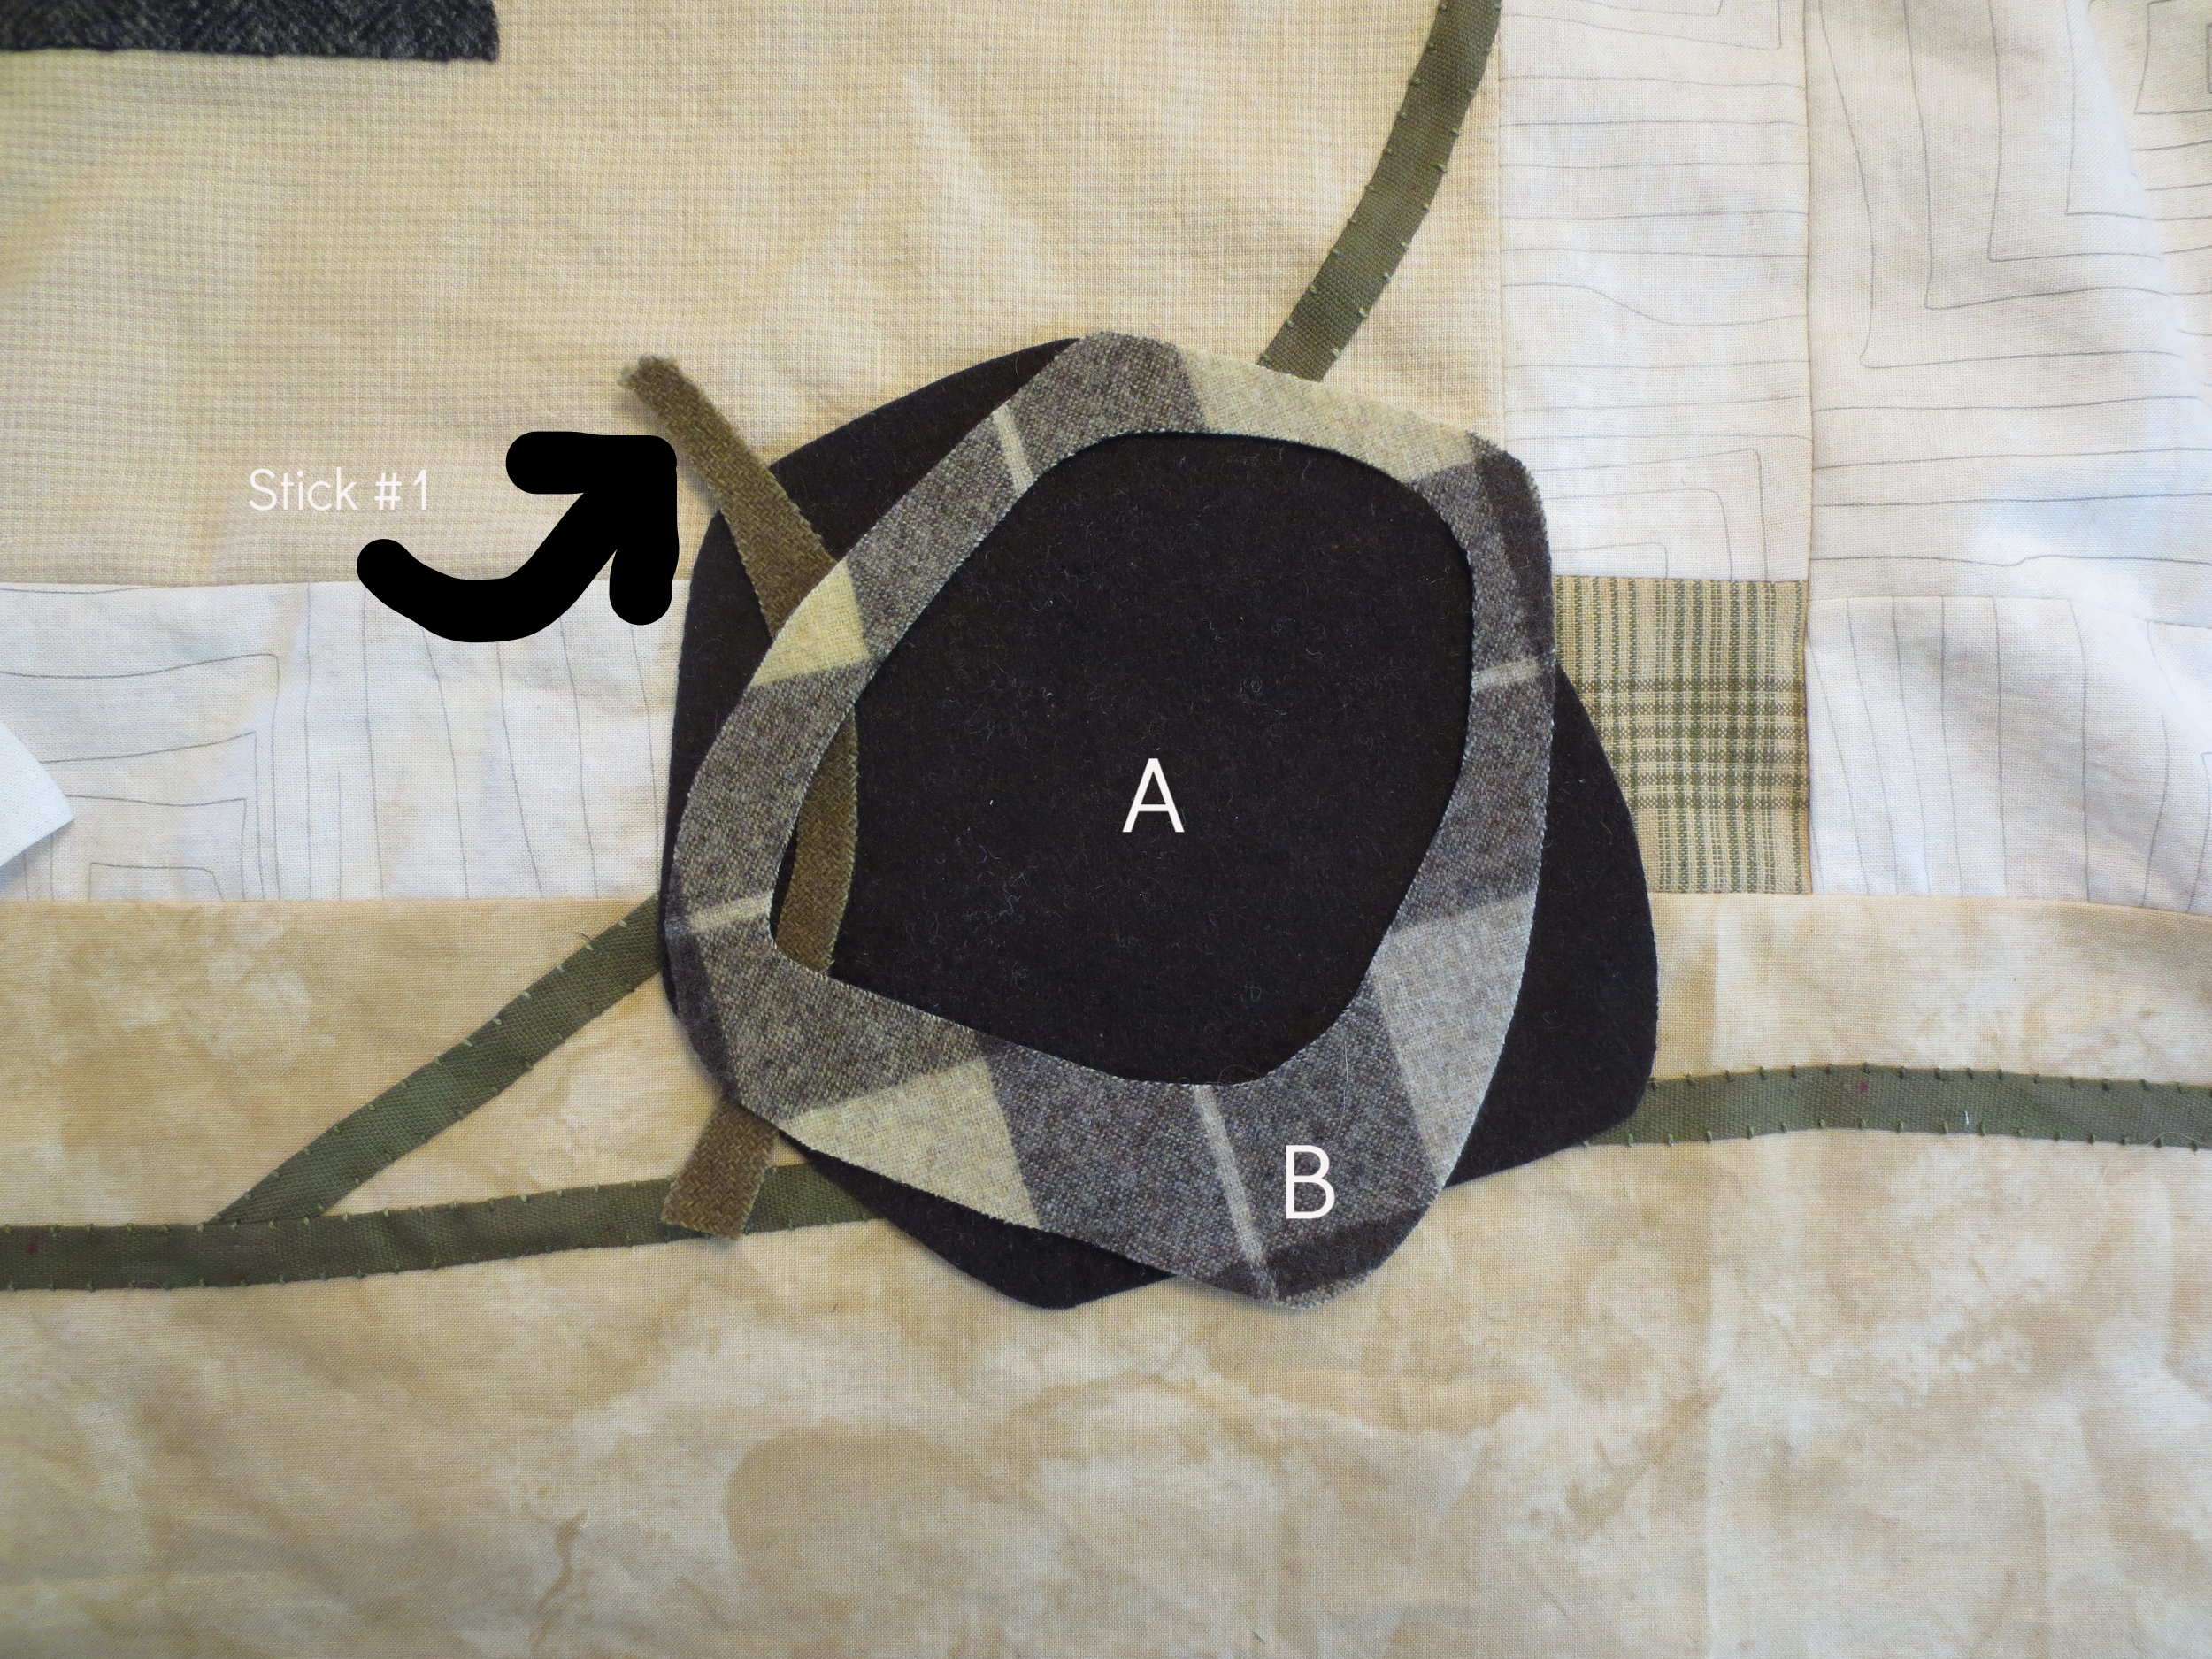
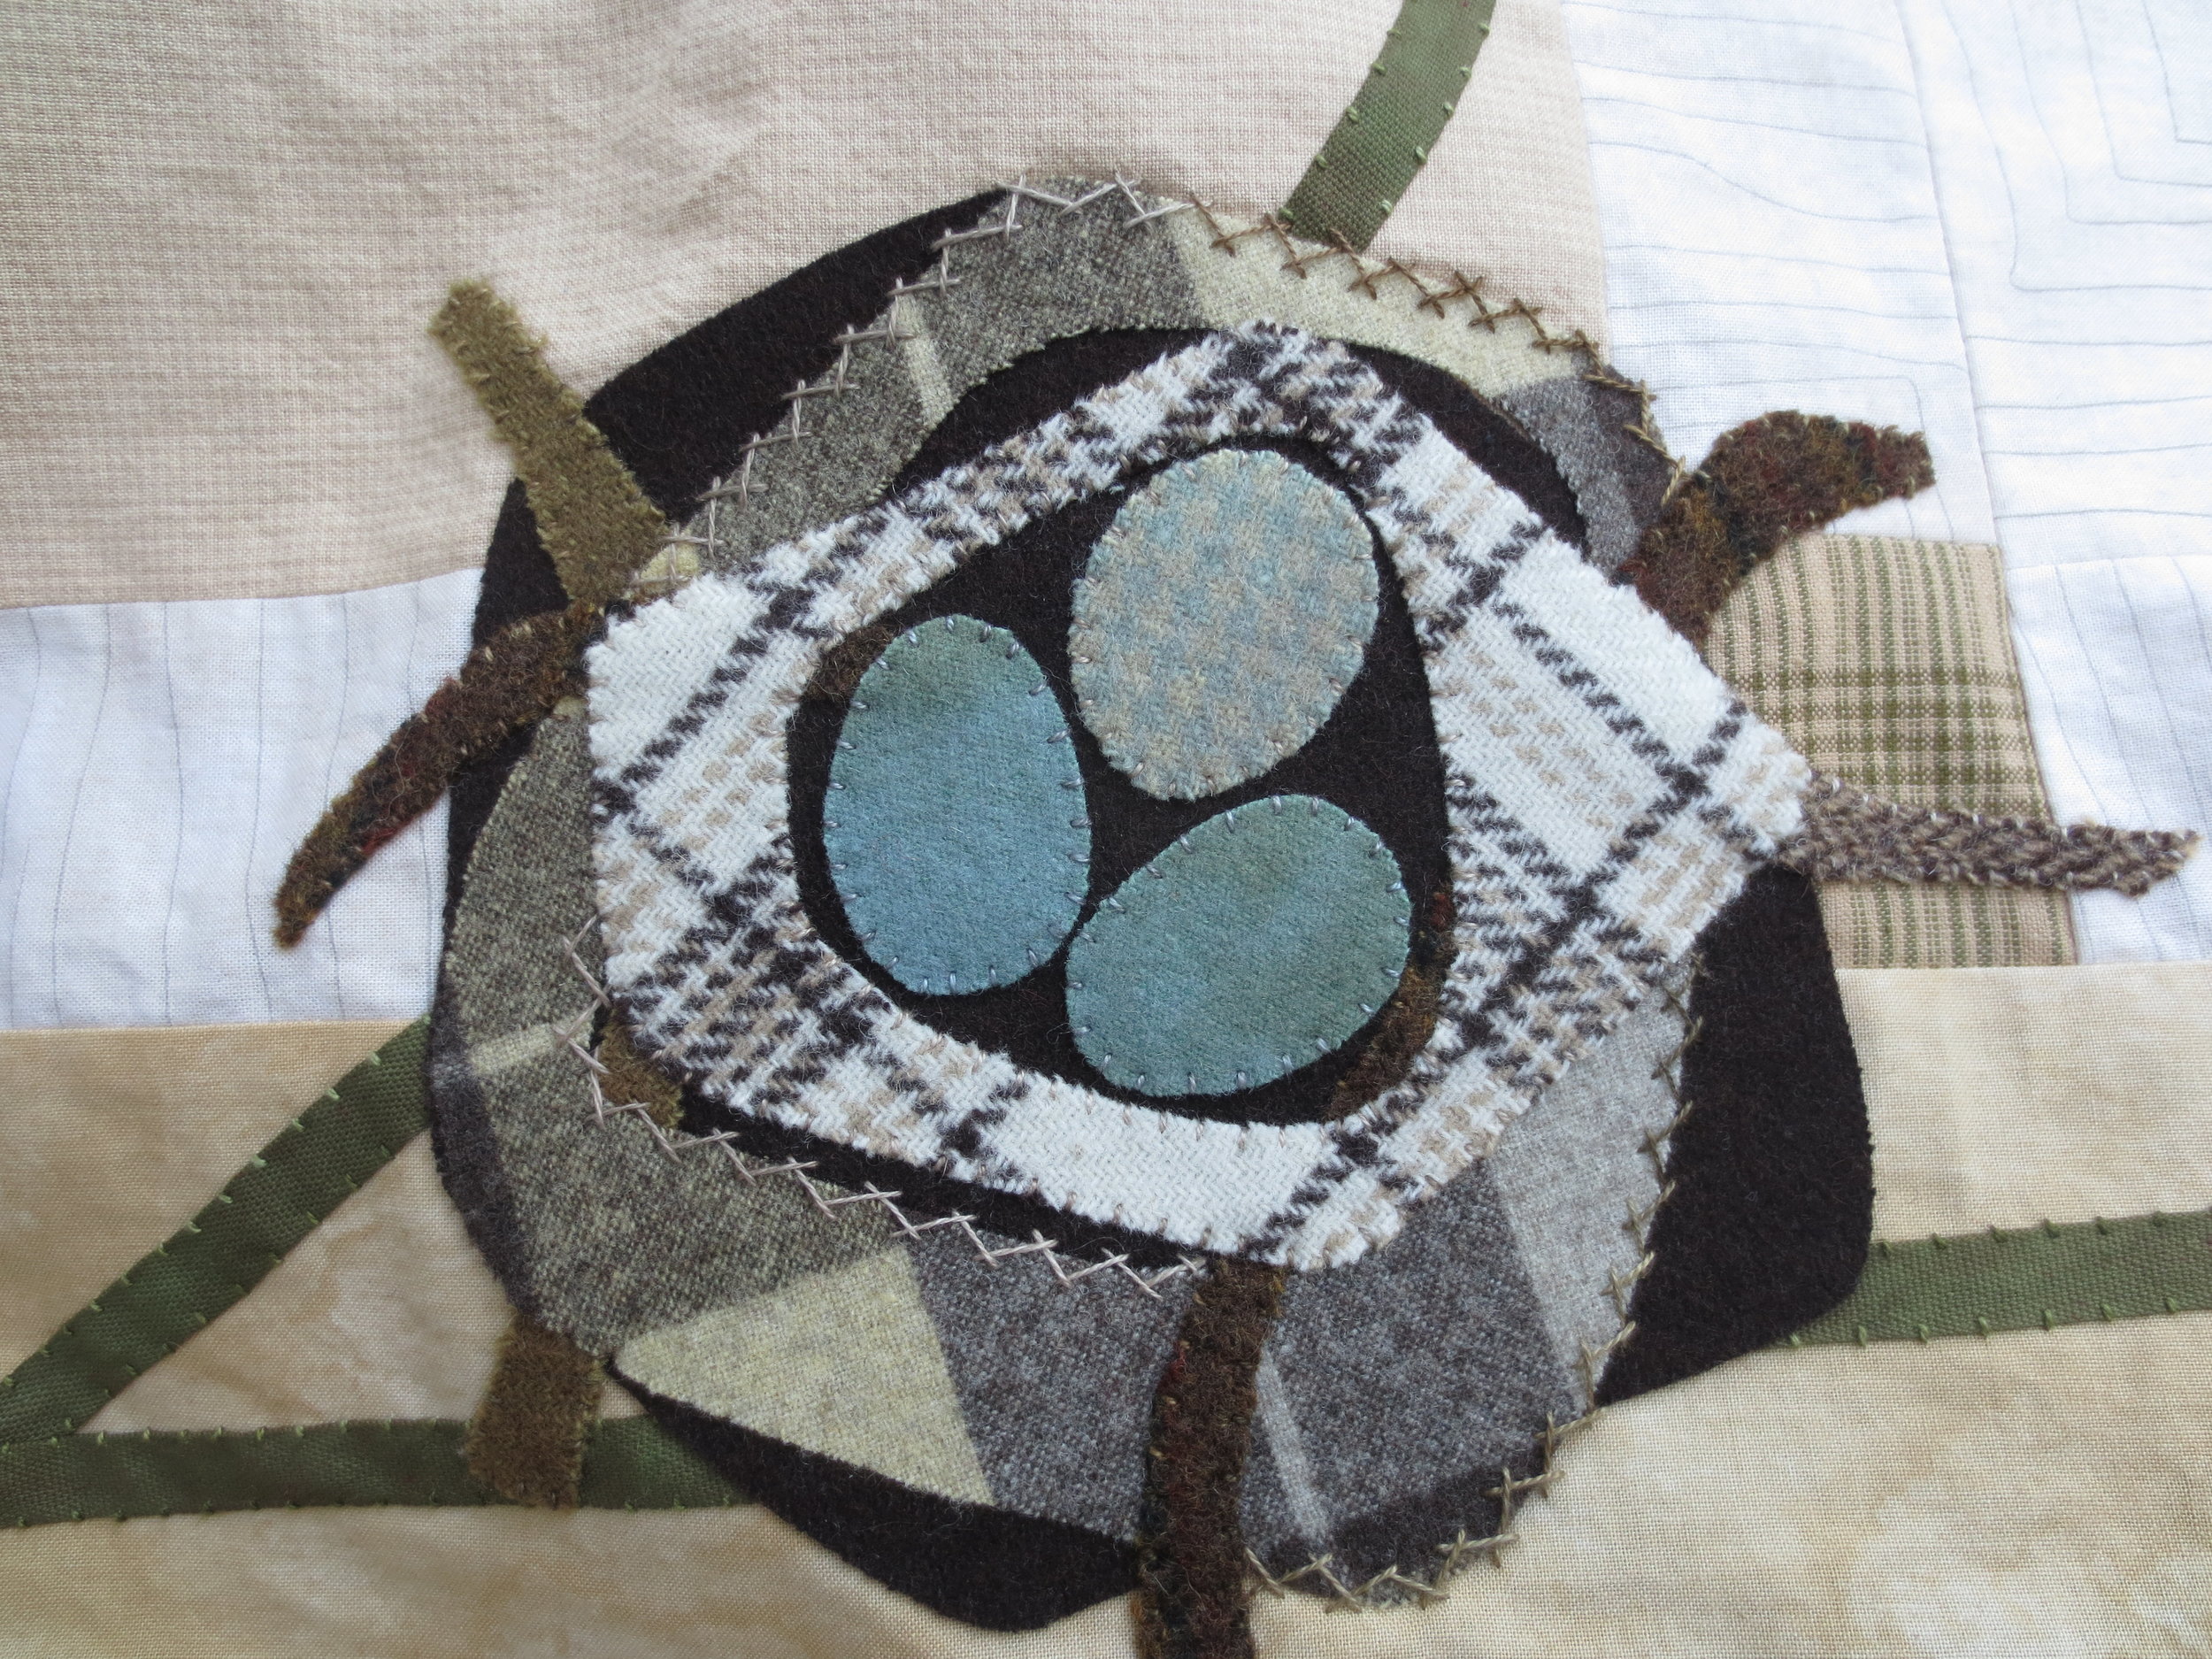
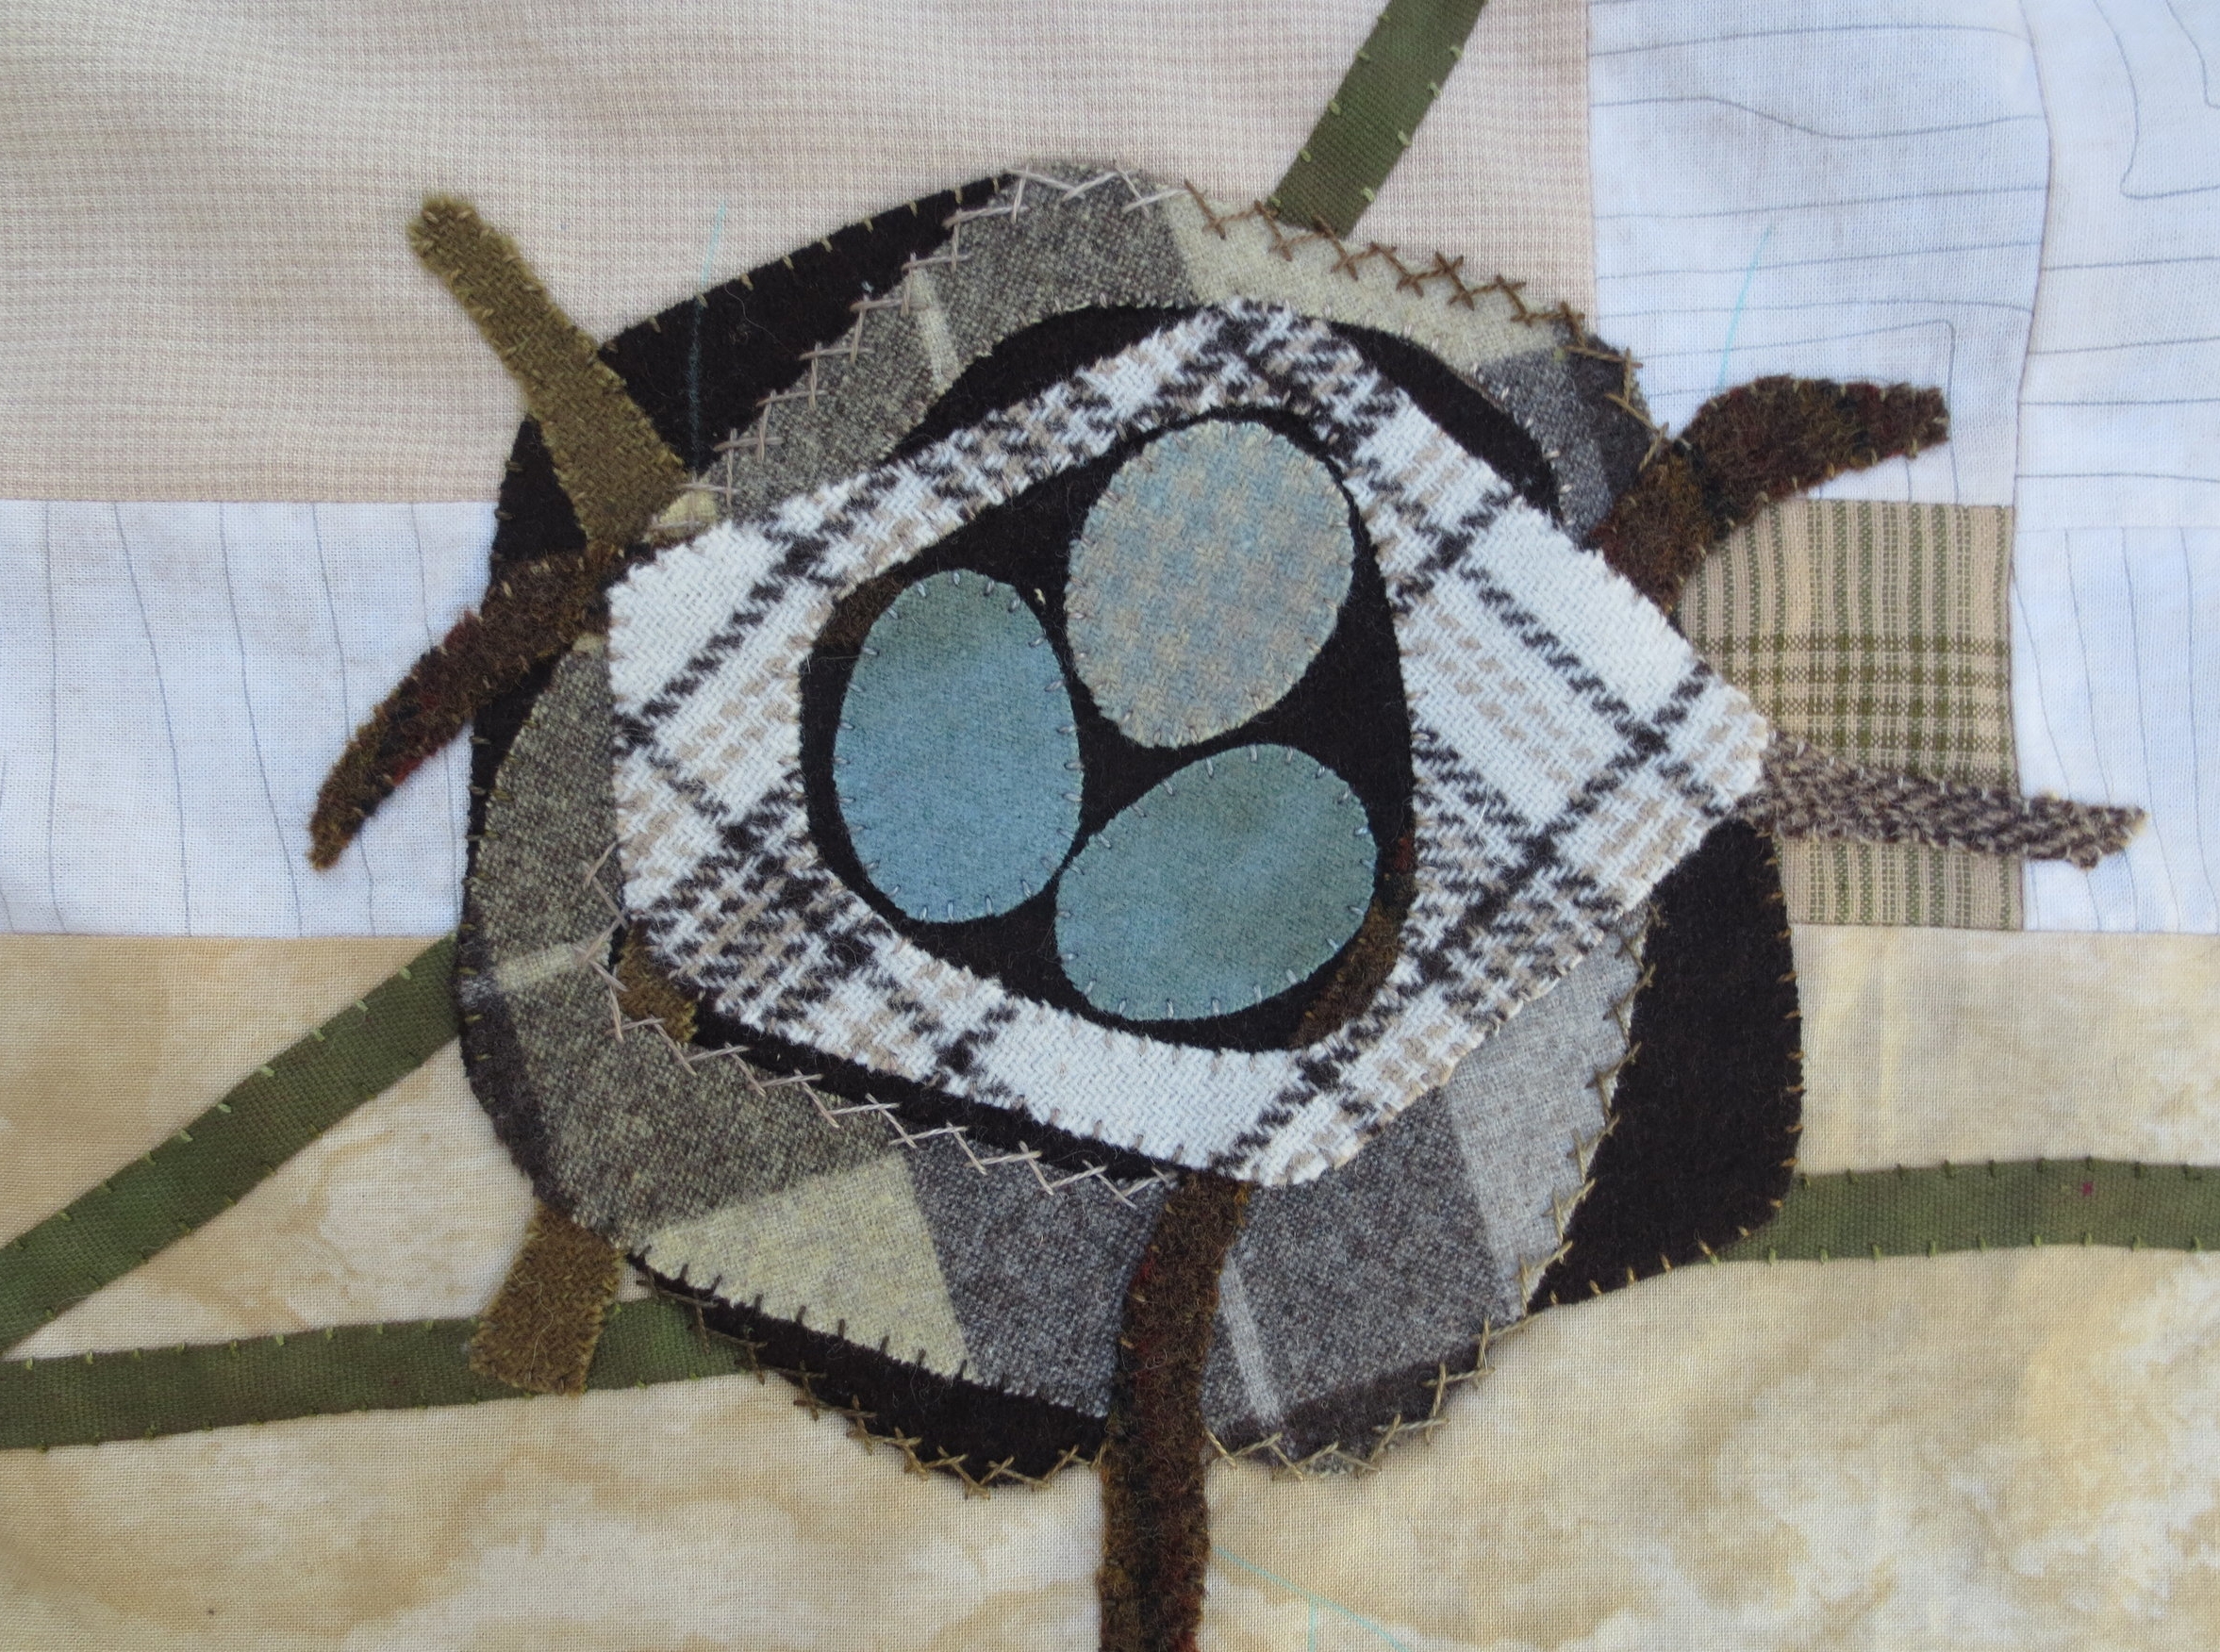
4. Position nest A, B, and nest stick #1 between the forked branches at the bottom of the border as shown below. Use your layout for further guidance. Fuse in place.
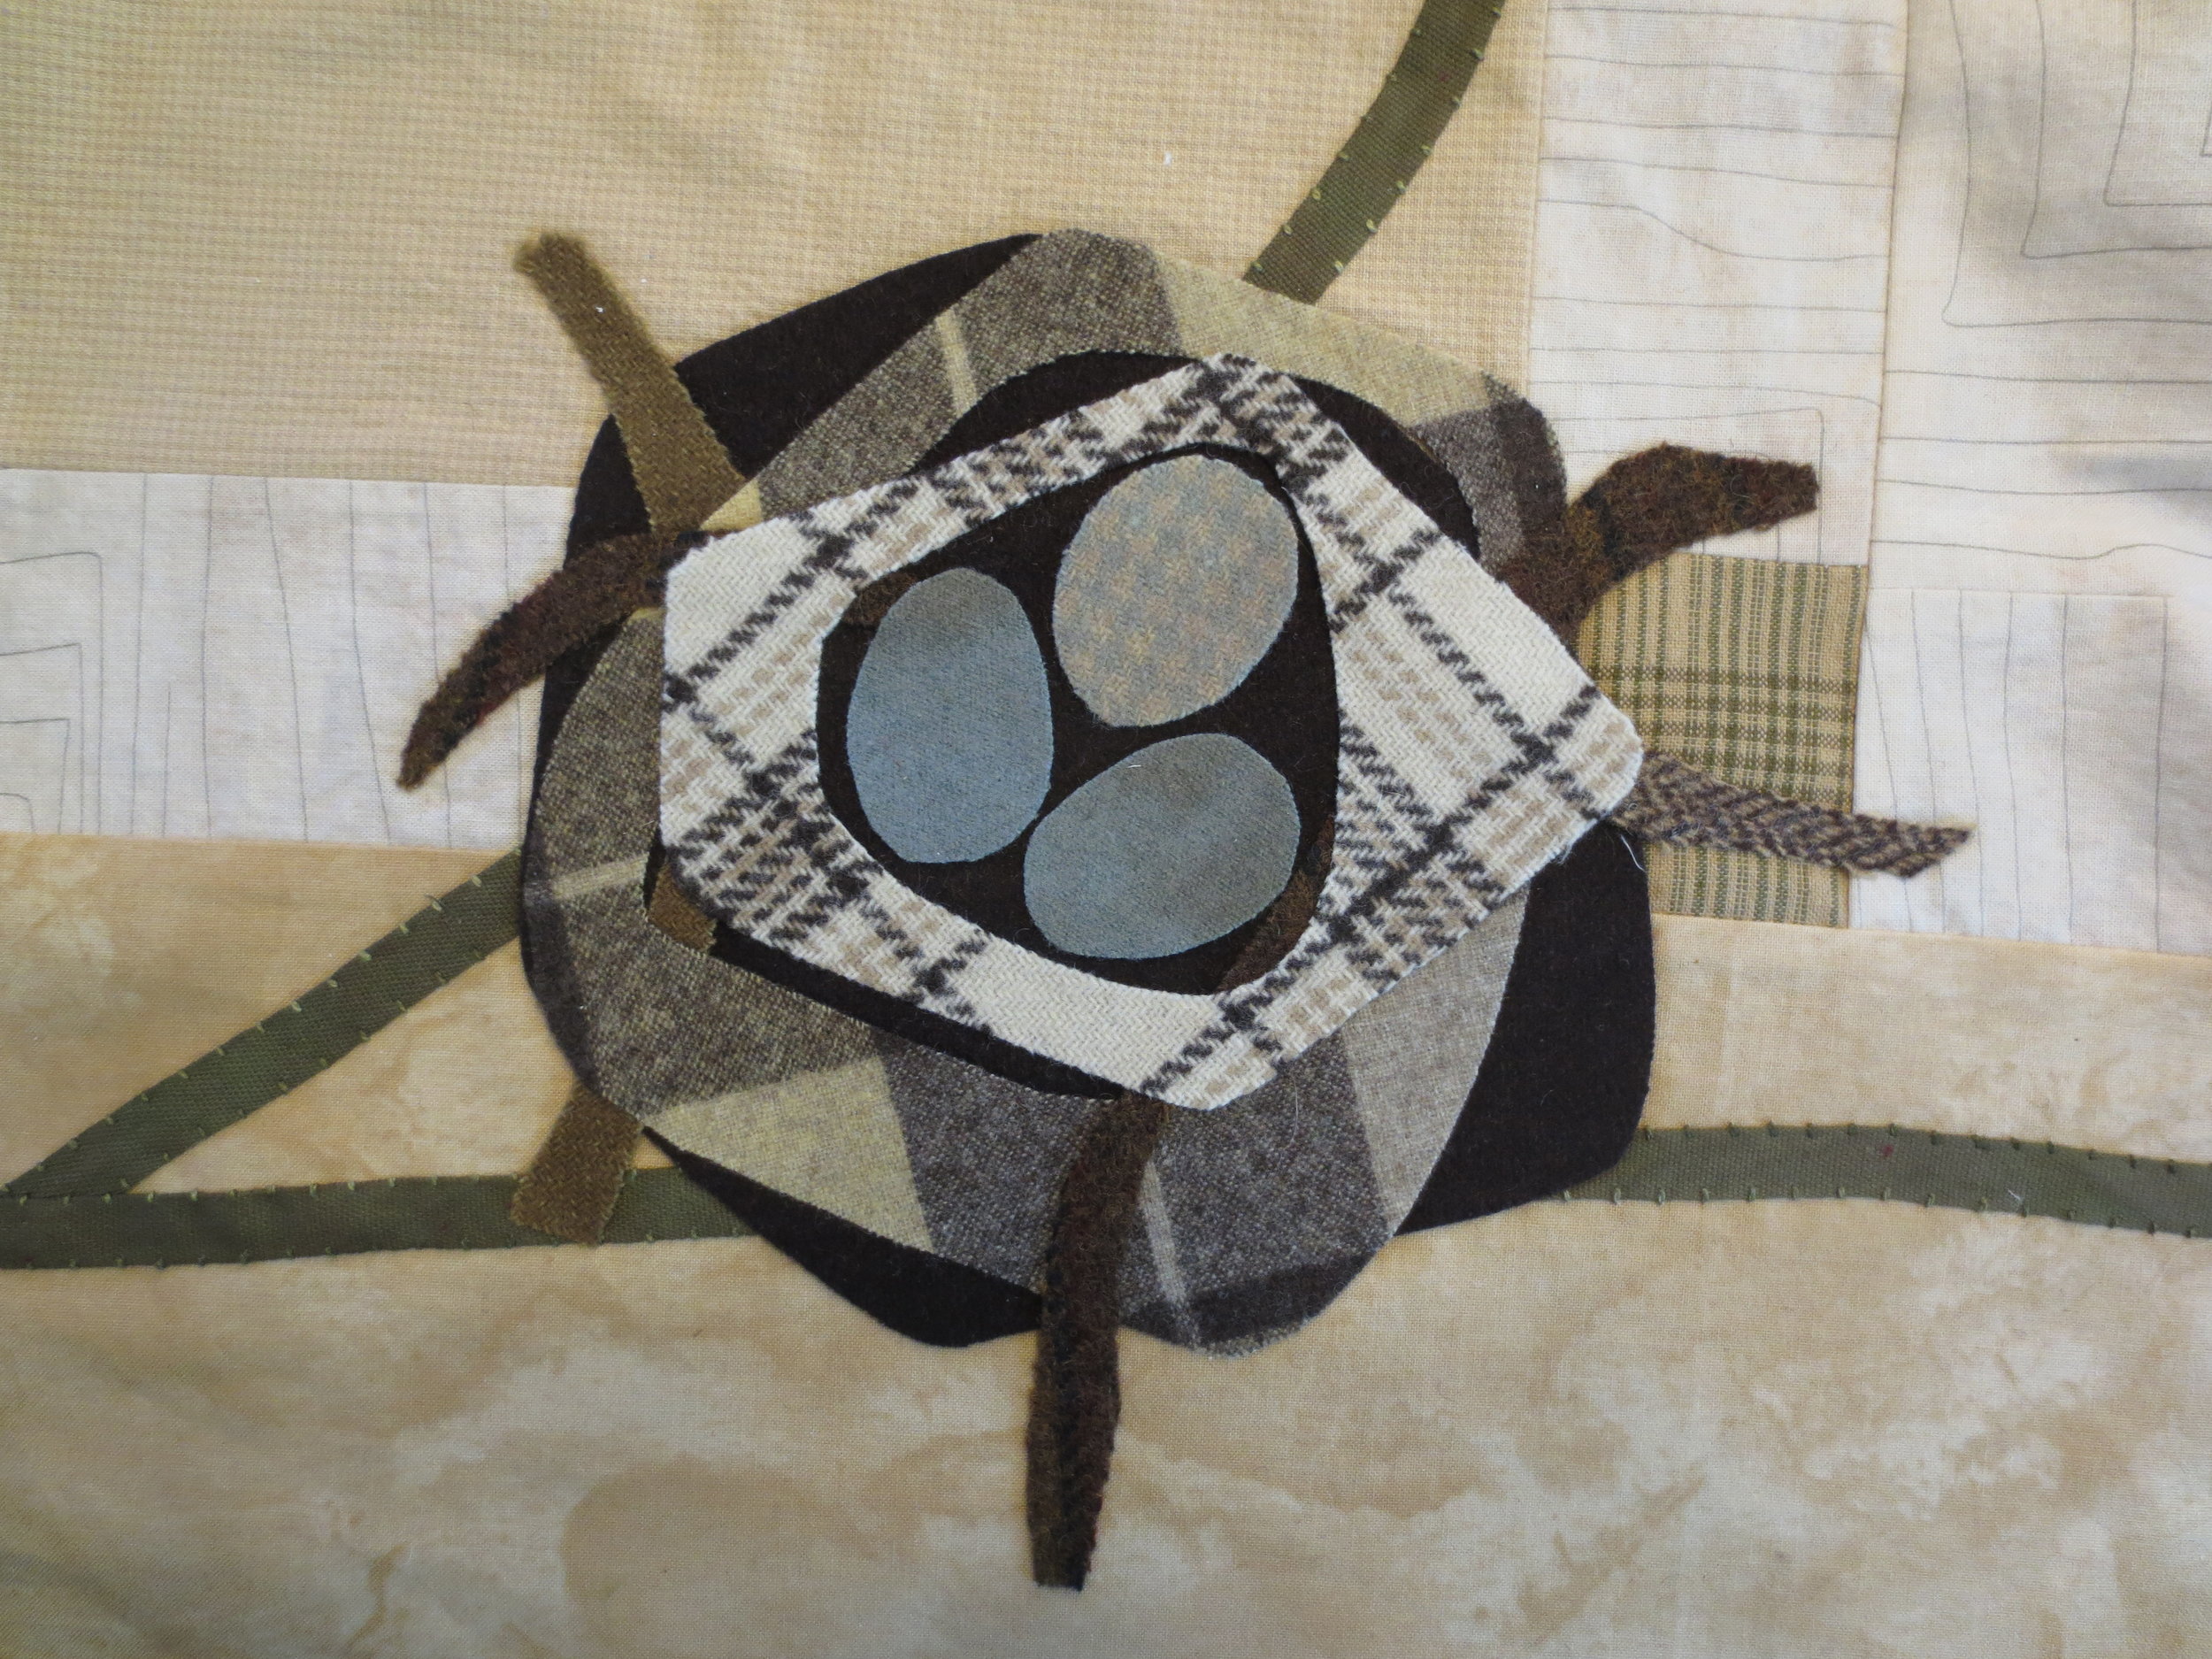
5. Position nest sticks #2, #3, & #4 on top of the fused nest pieces A & B using the photo below and layout as your guide. Fuse in place.
Note: I shortened sticks #2 & #4 after I laid them out because I realize that the ends would not be visible under the eggs. Your pattern is correct.
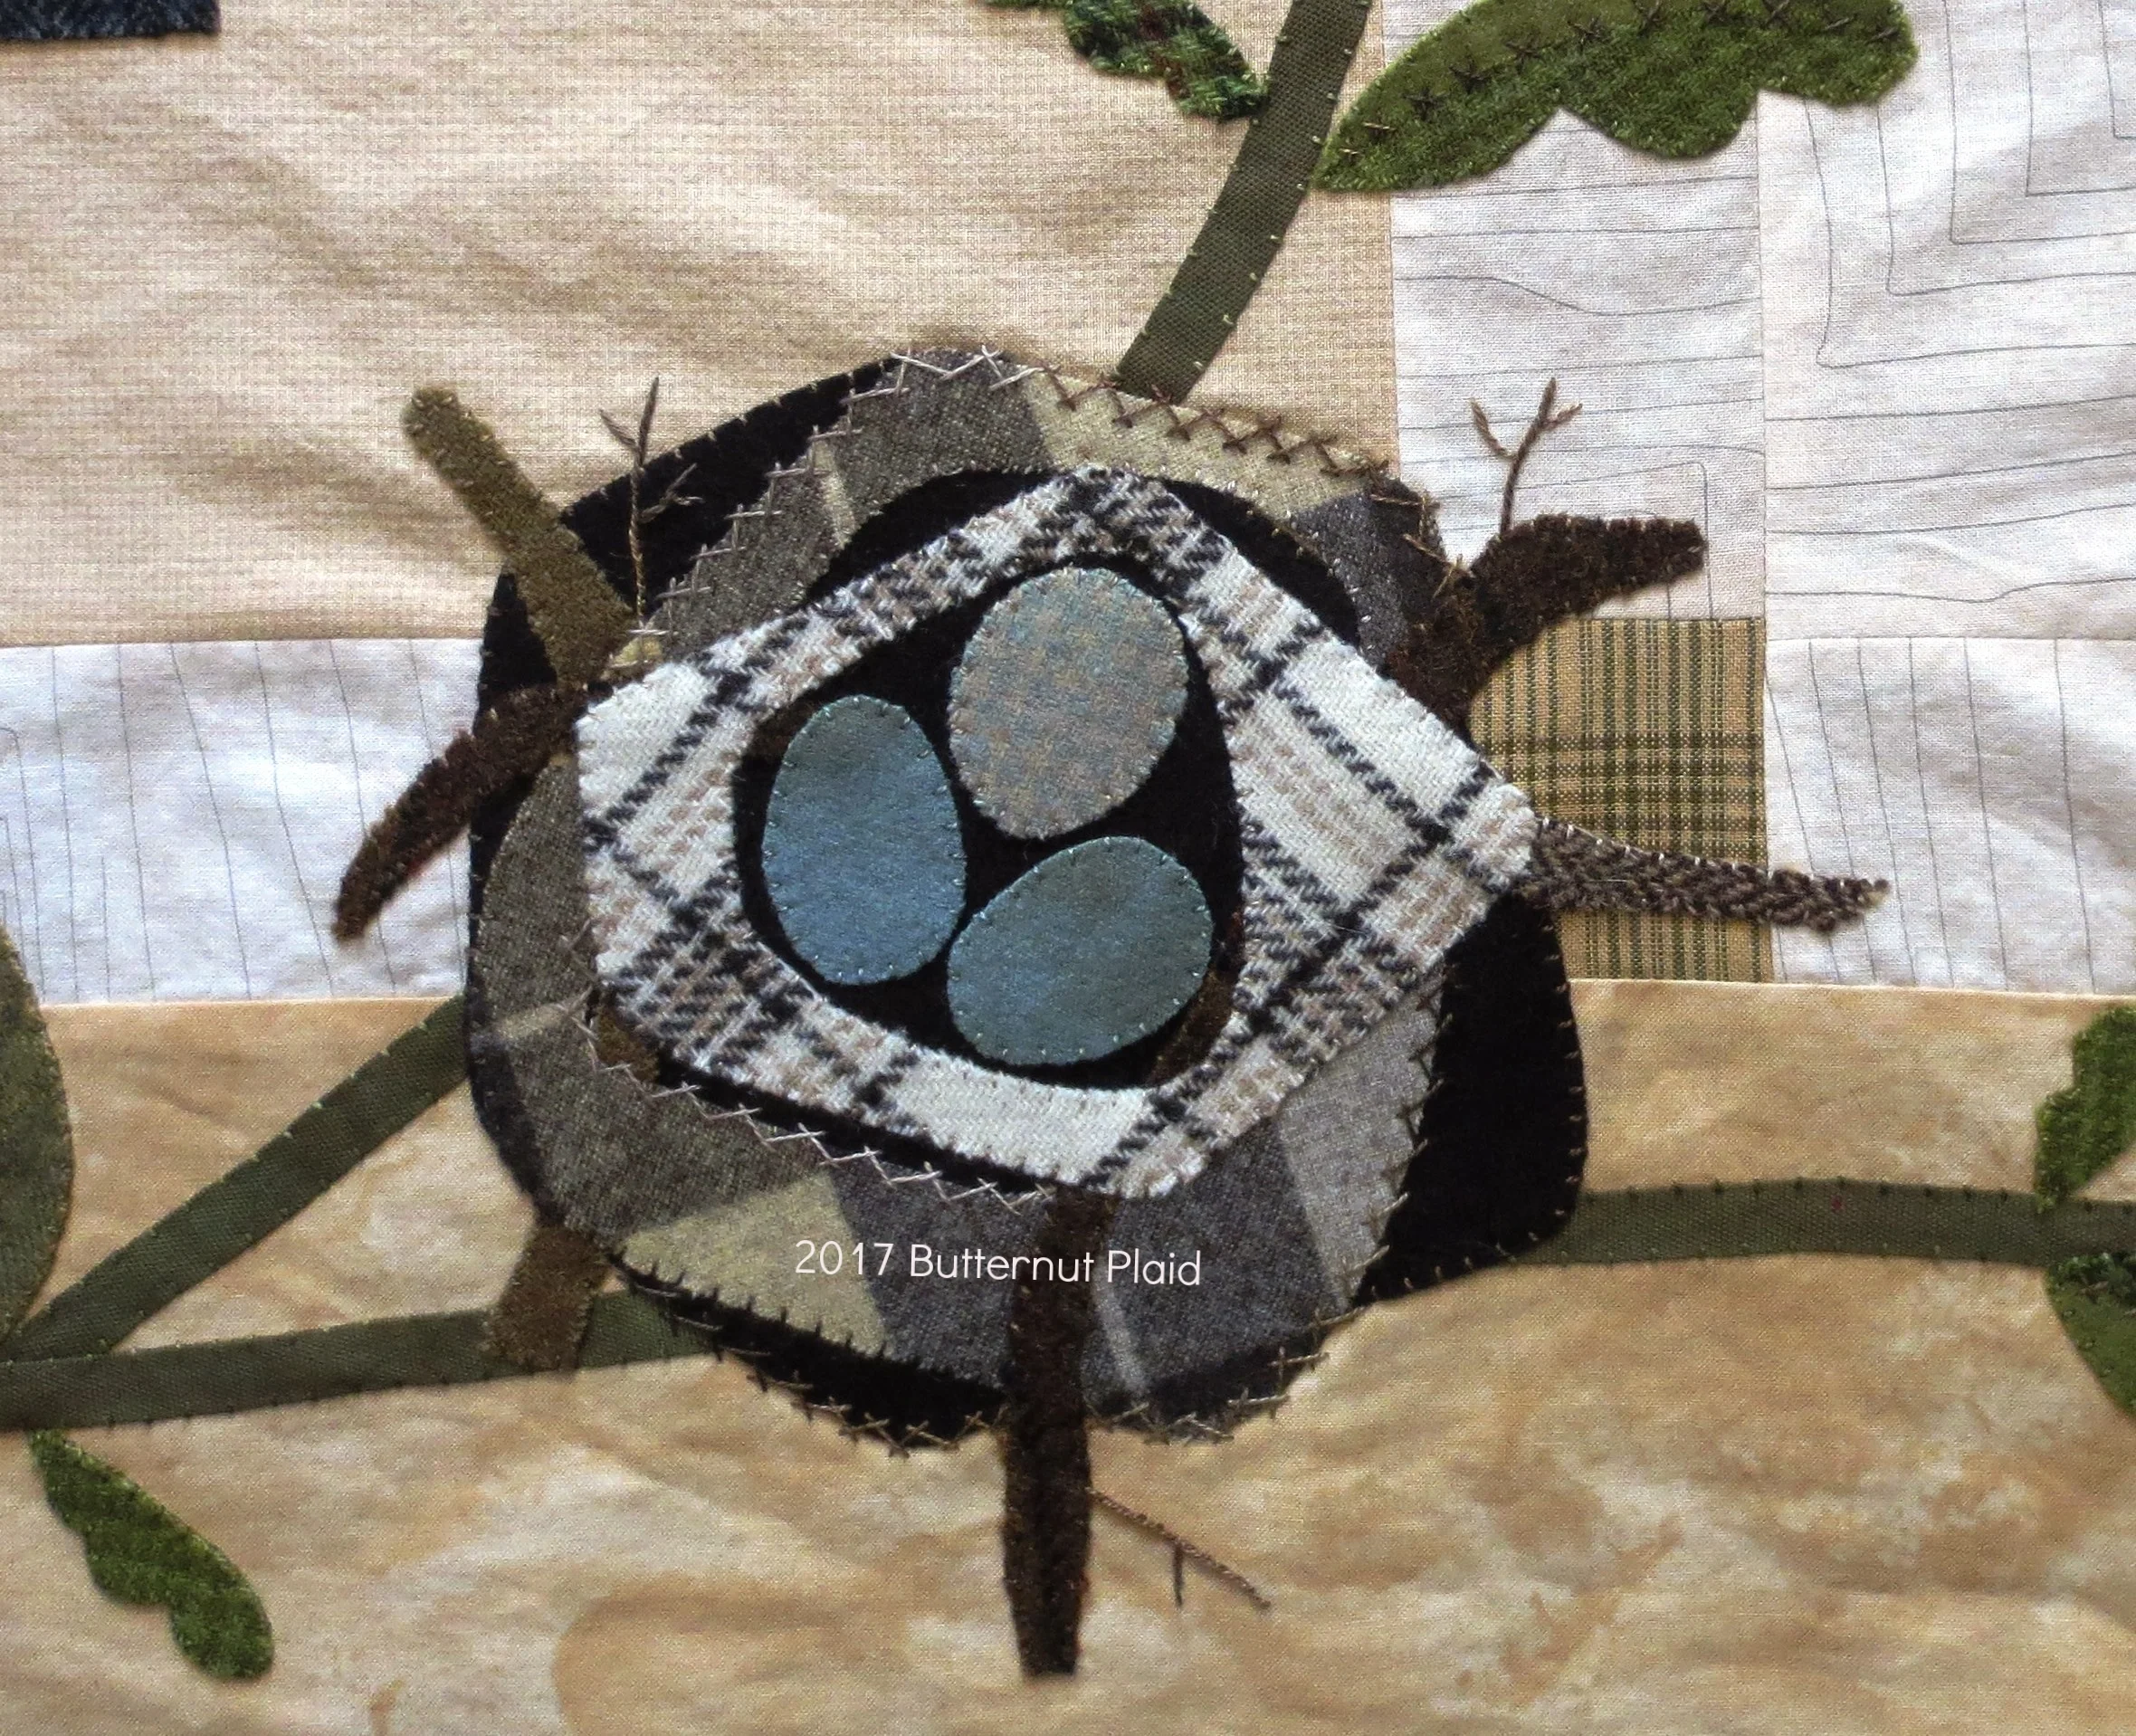
6. Position nest C and eggs using the layout as your guide. You may have to adjust the eggs so they fit in the nest. Fuse in place.
7. Use #JP12 to whip stitch eggs.
8. Use #O518 to whip stitch sticks 1 - 4.
9. Use #O538 to whip stitch nest C.
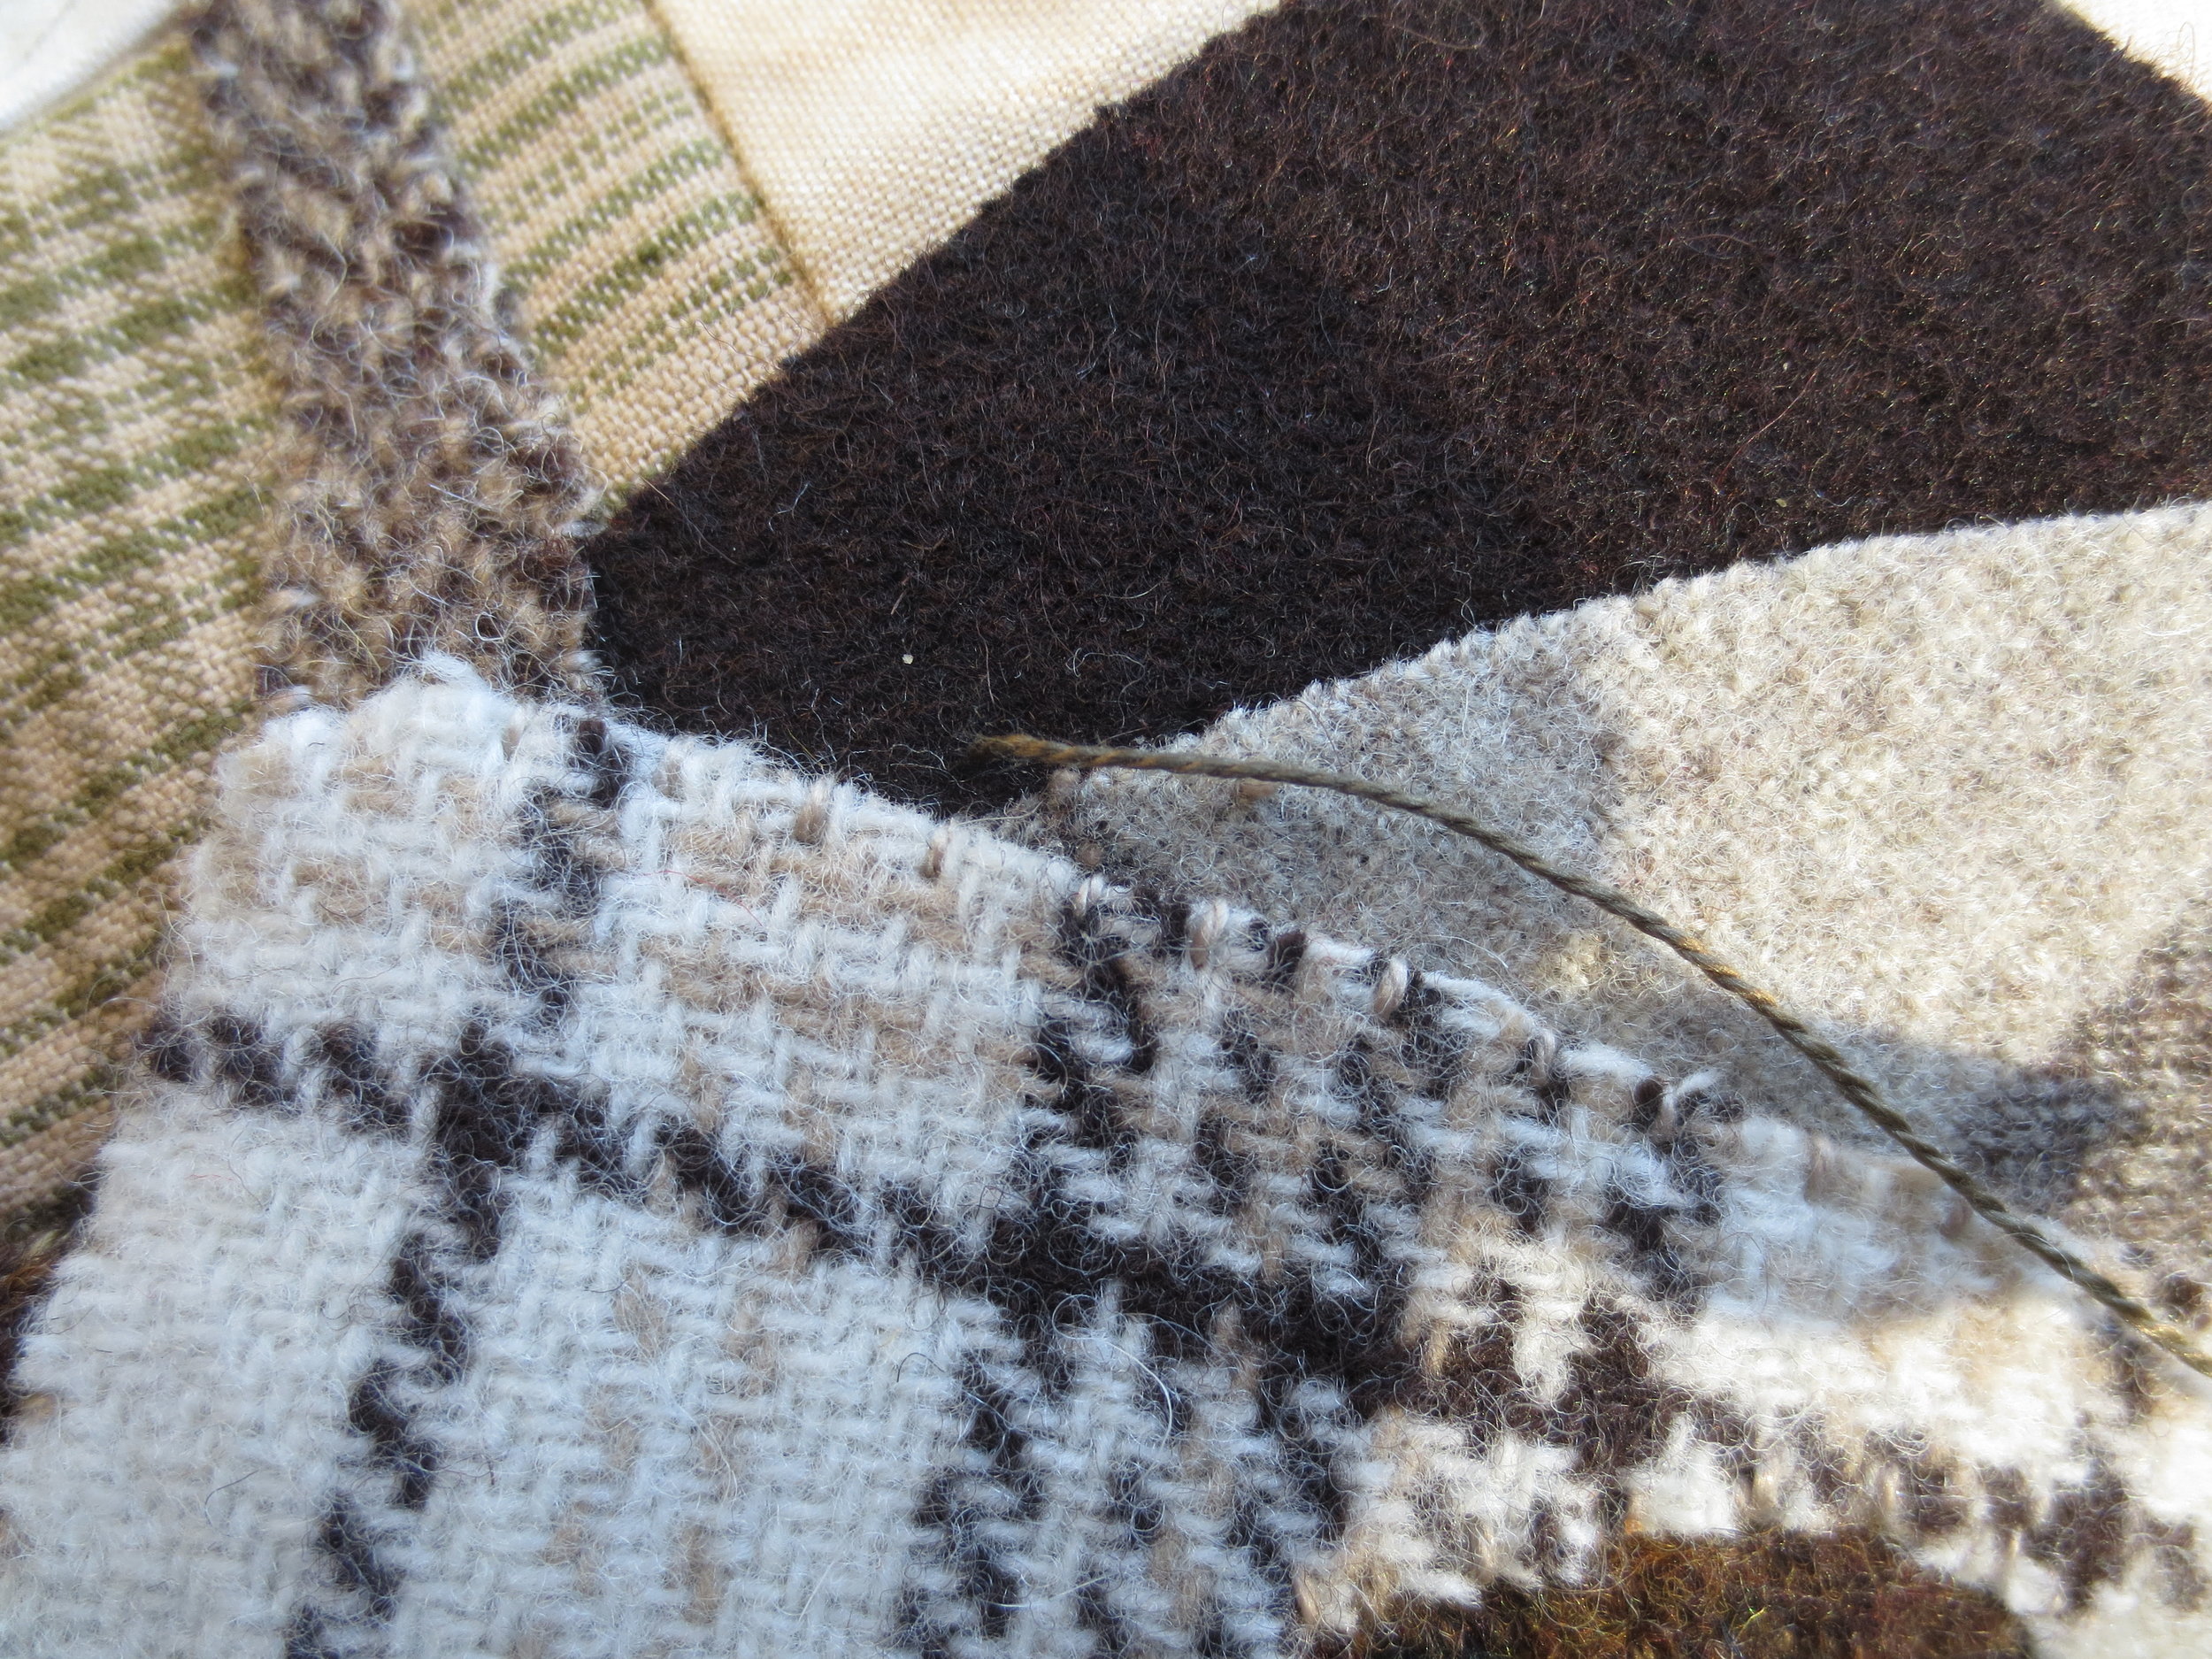
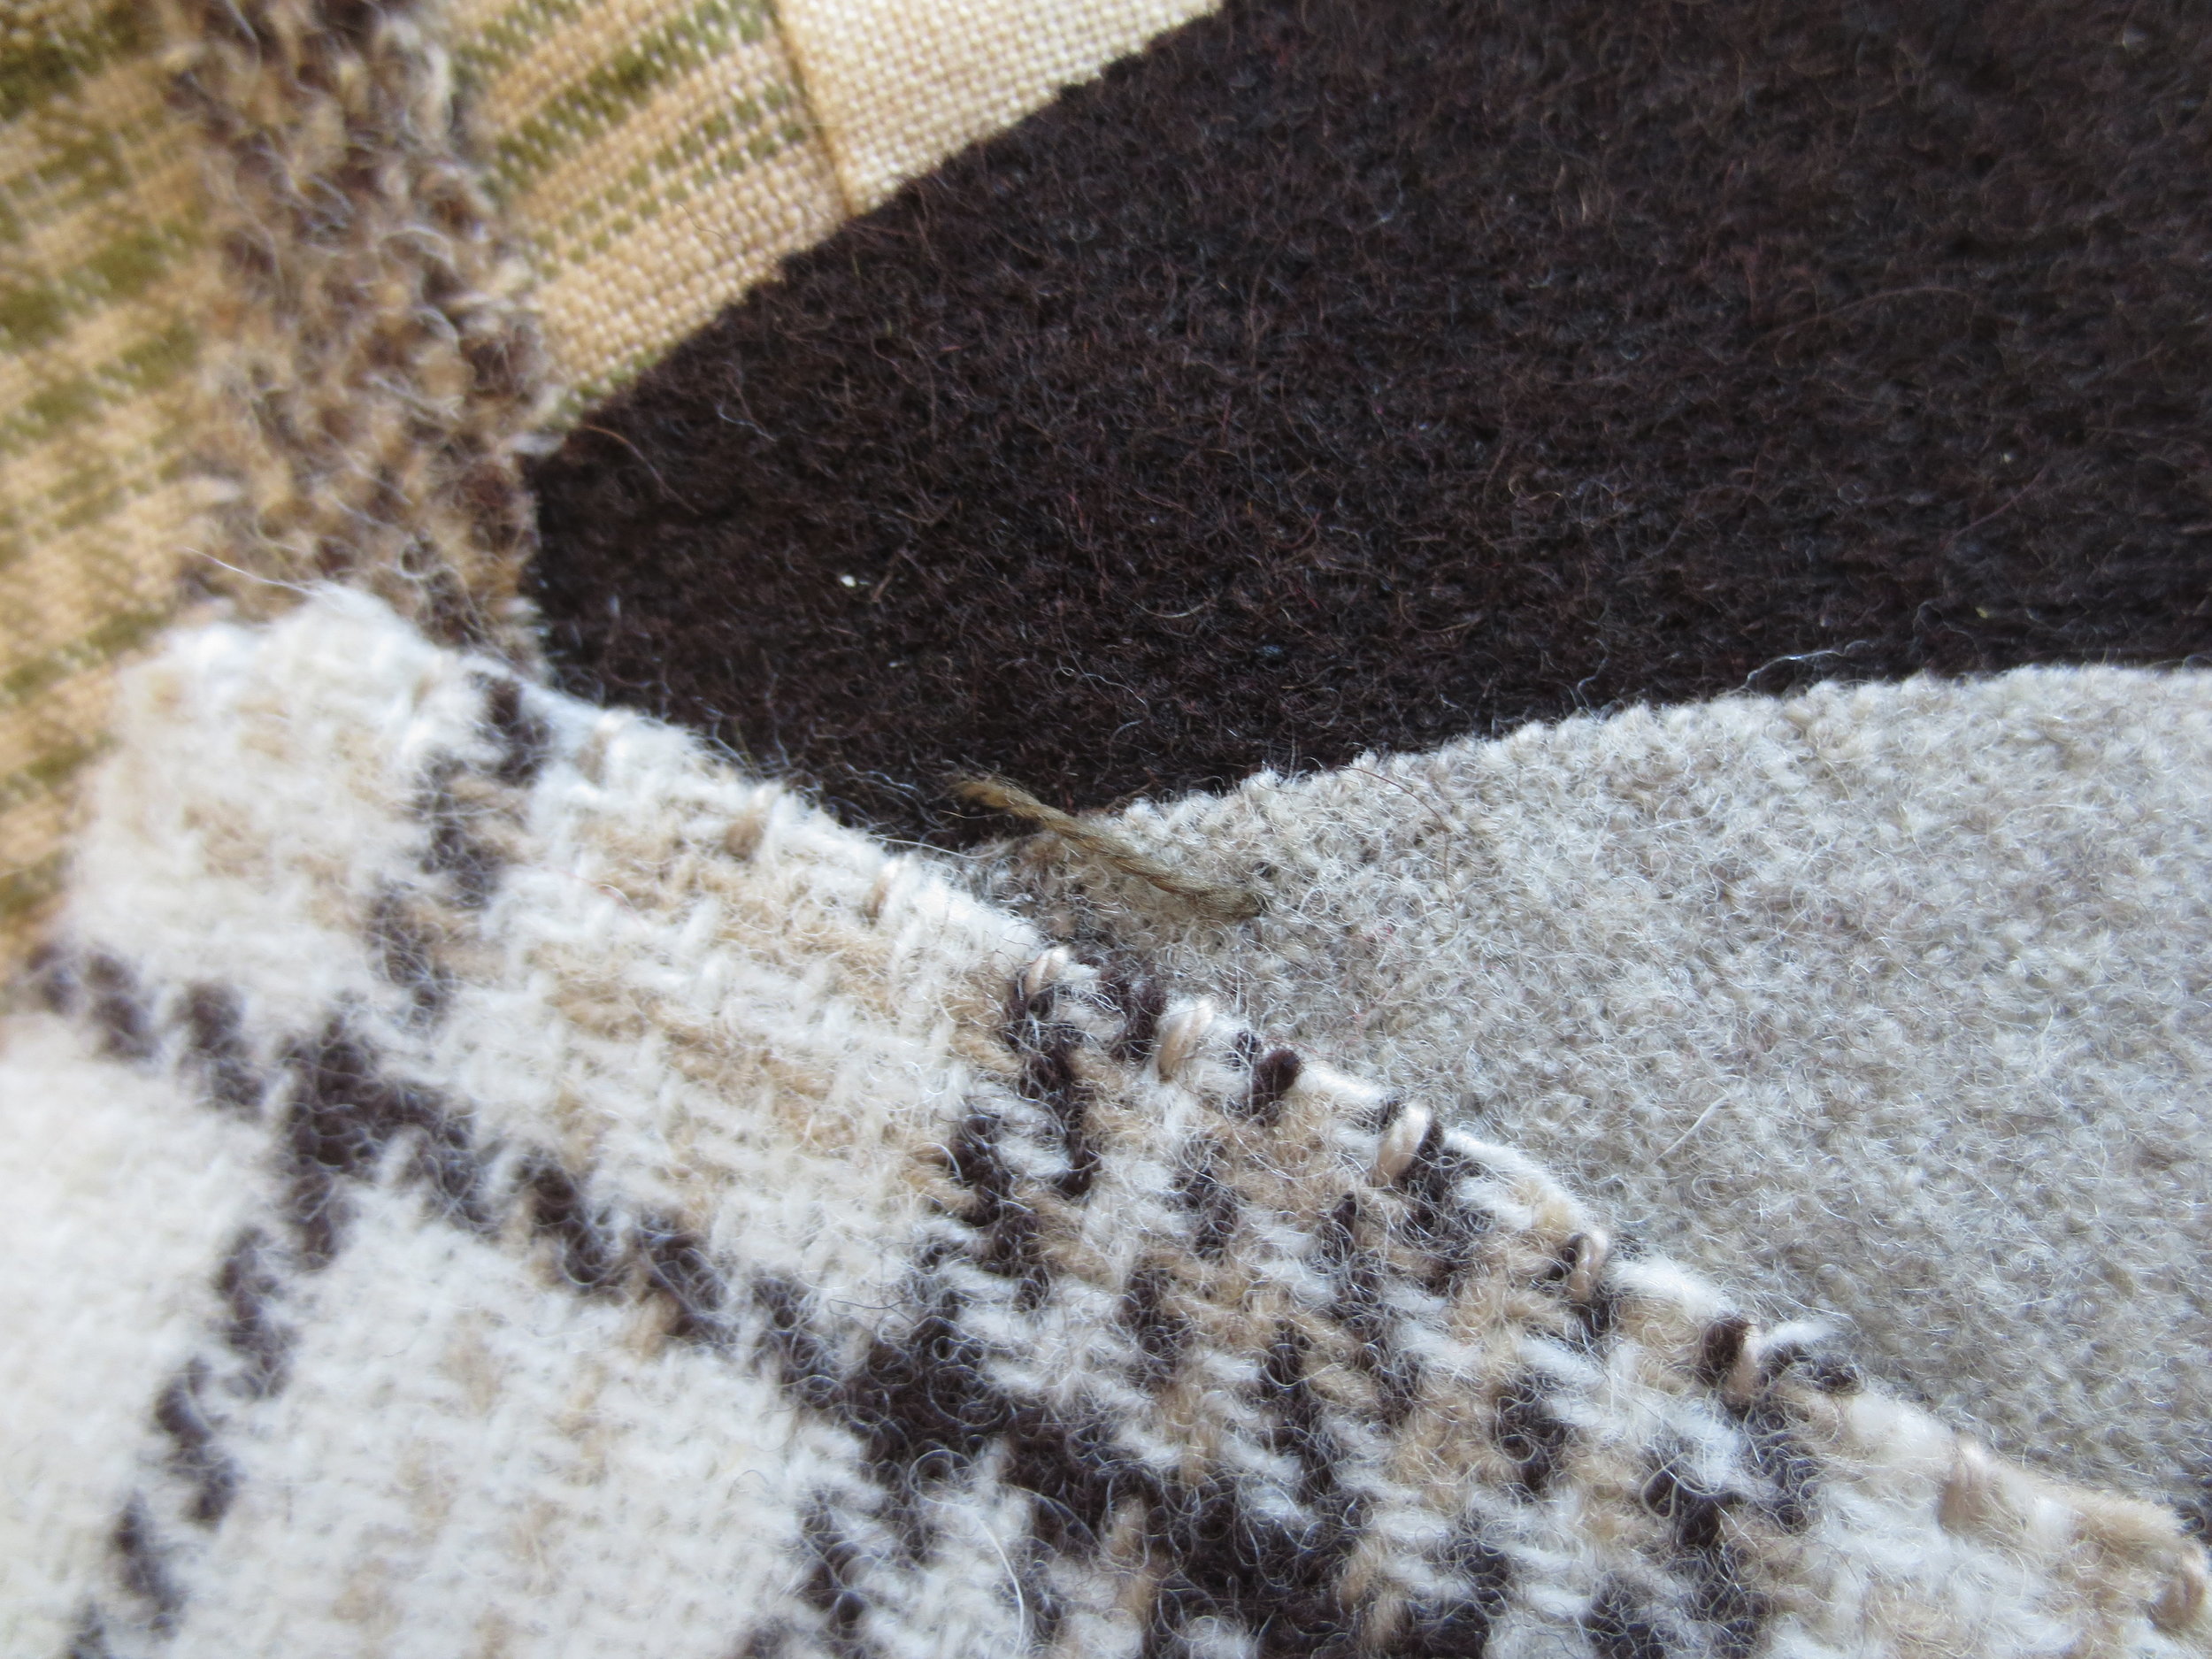
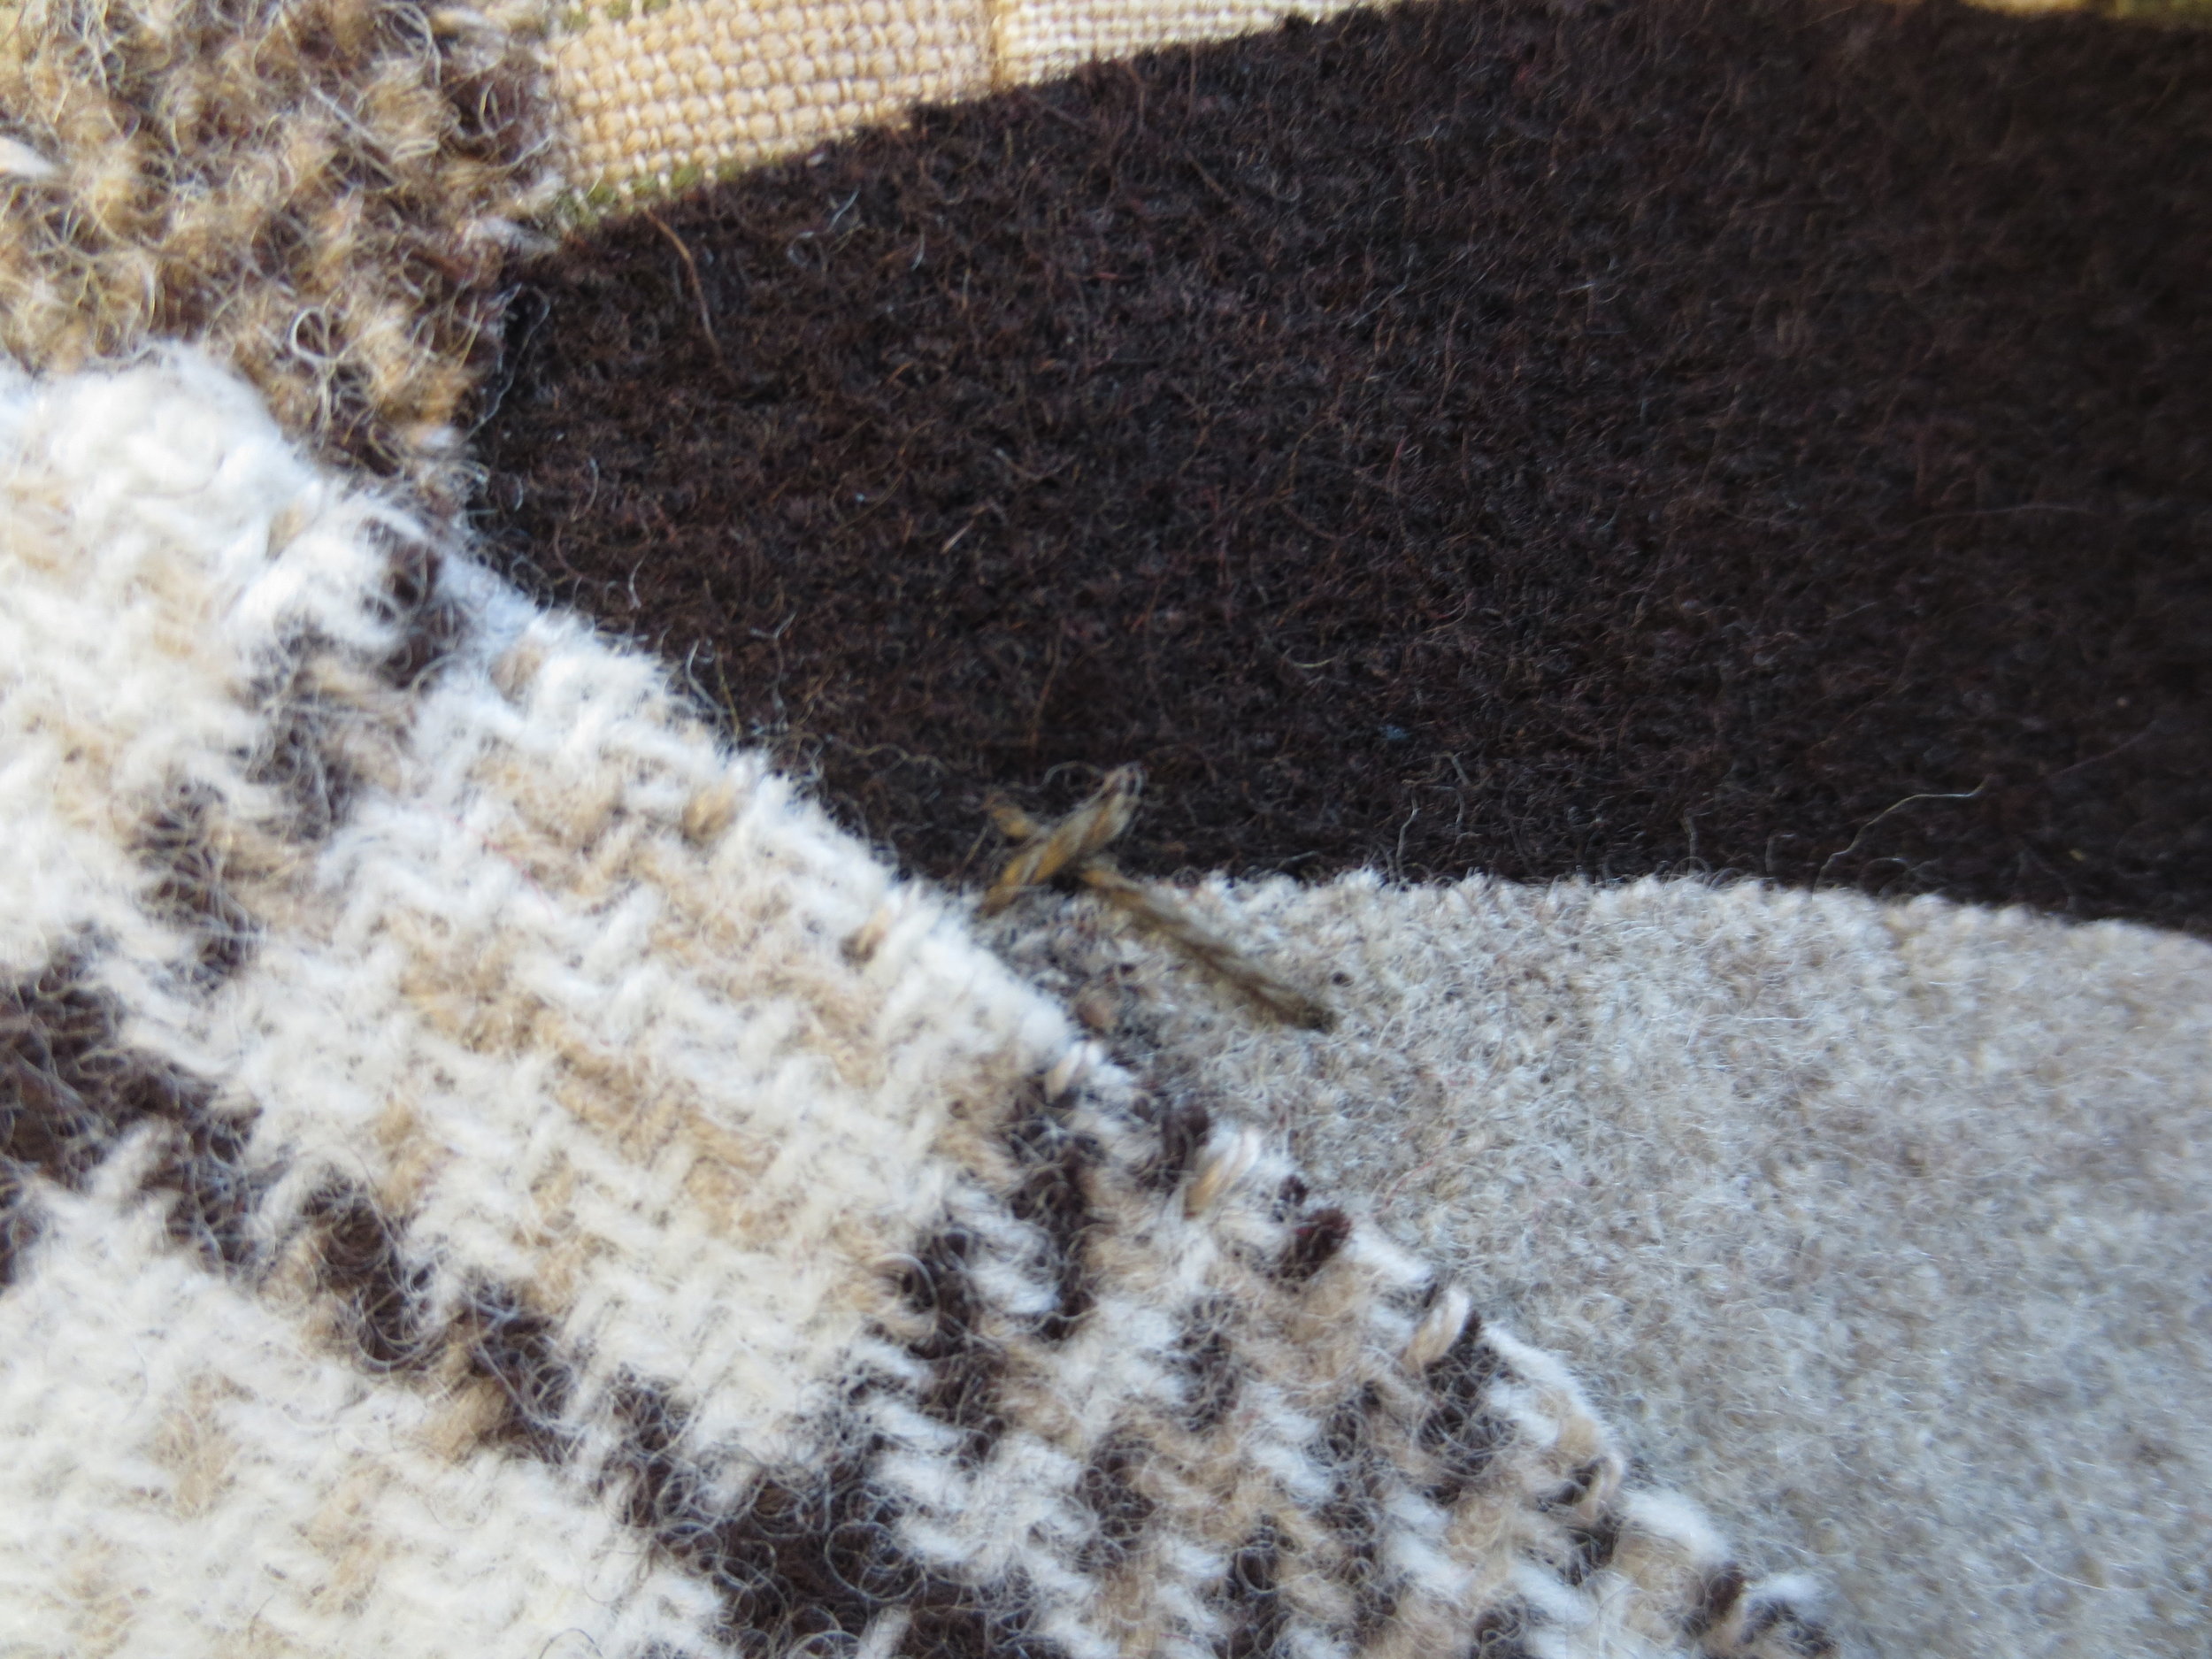
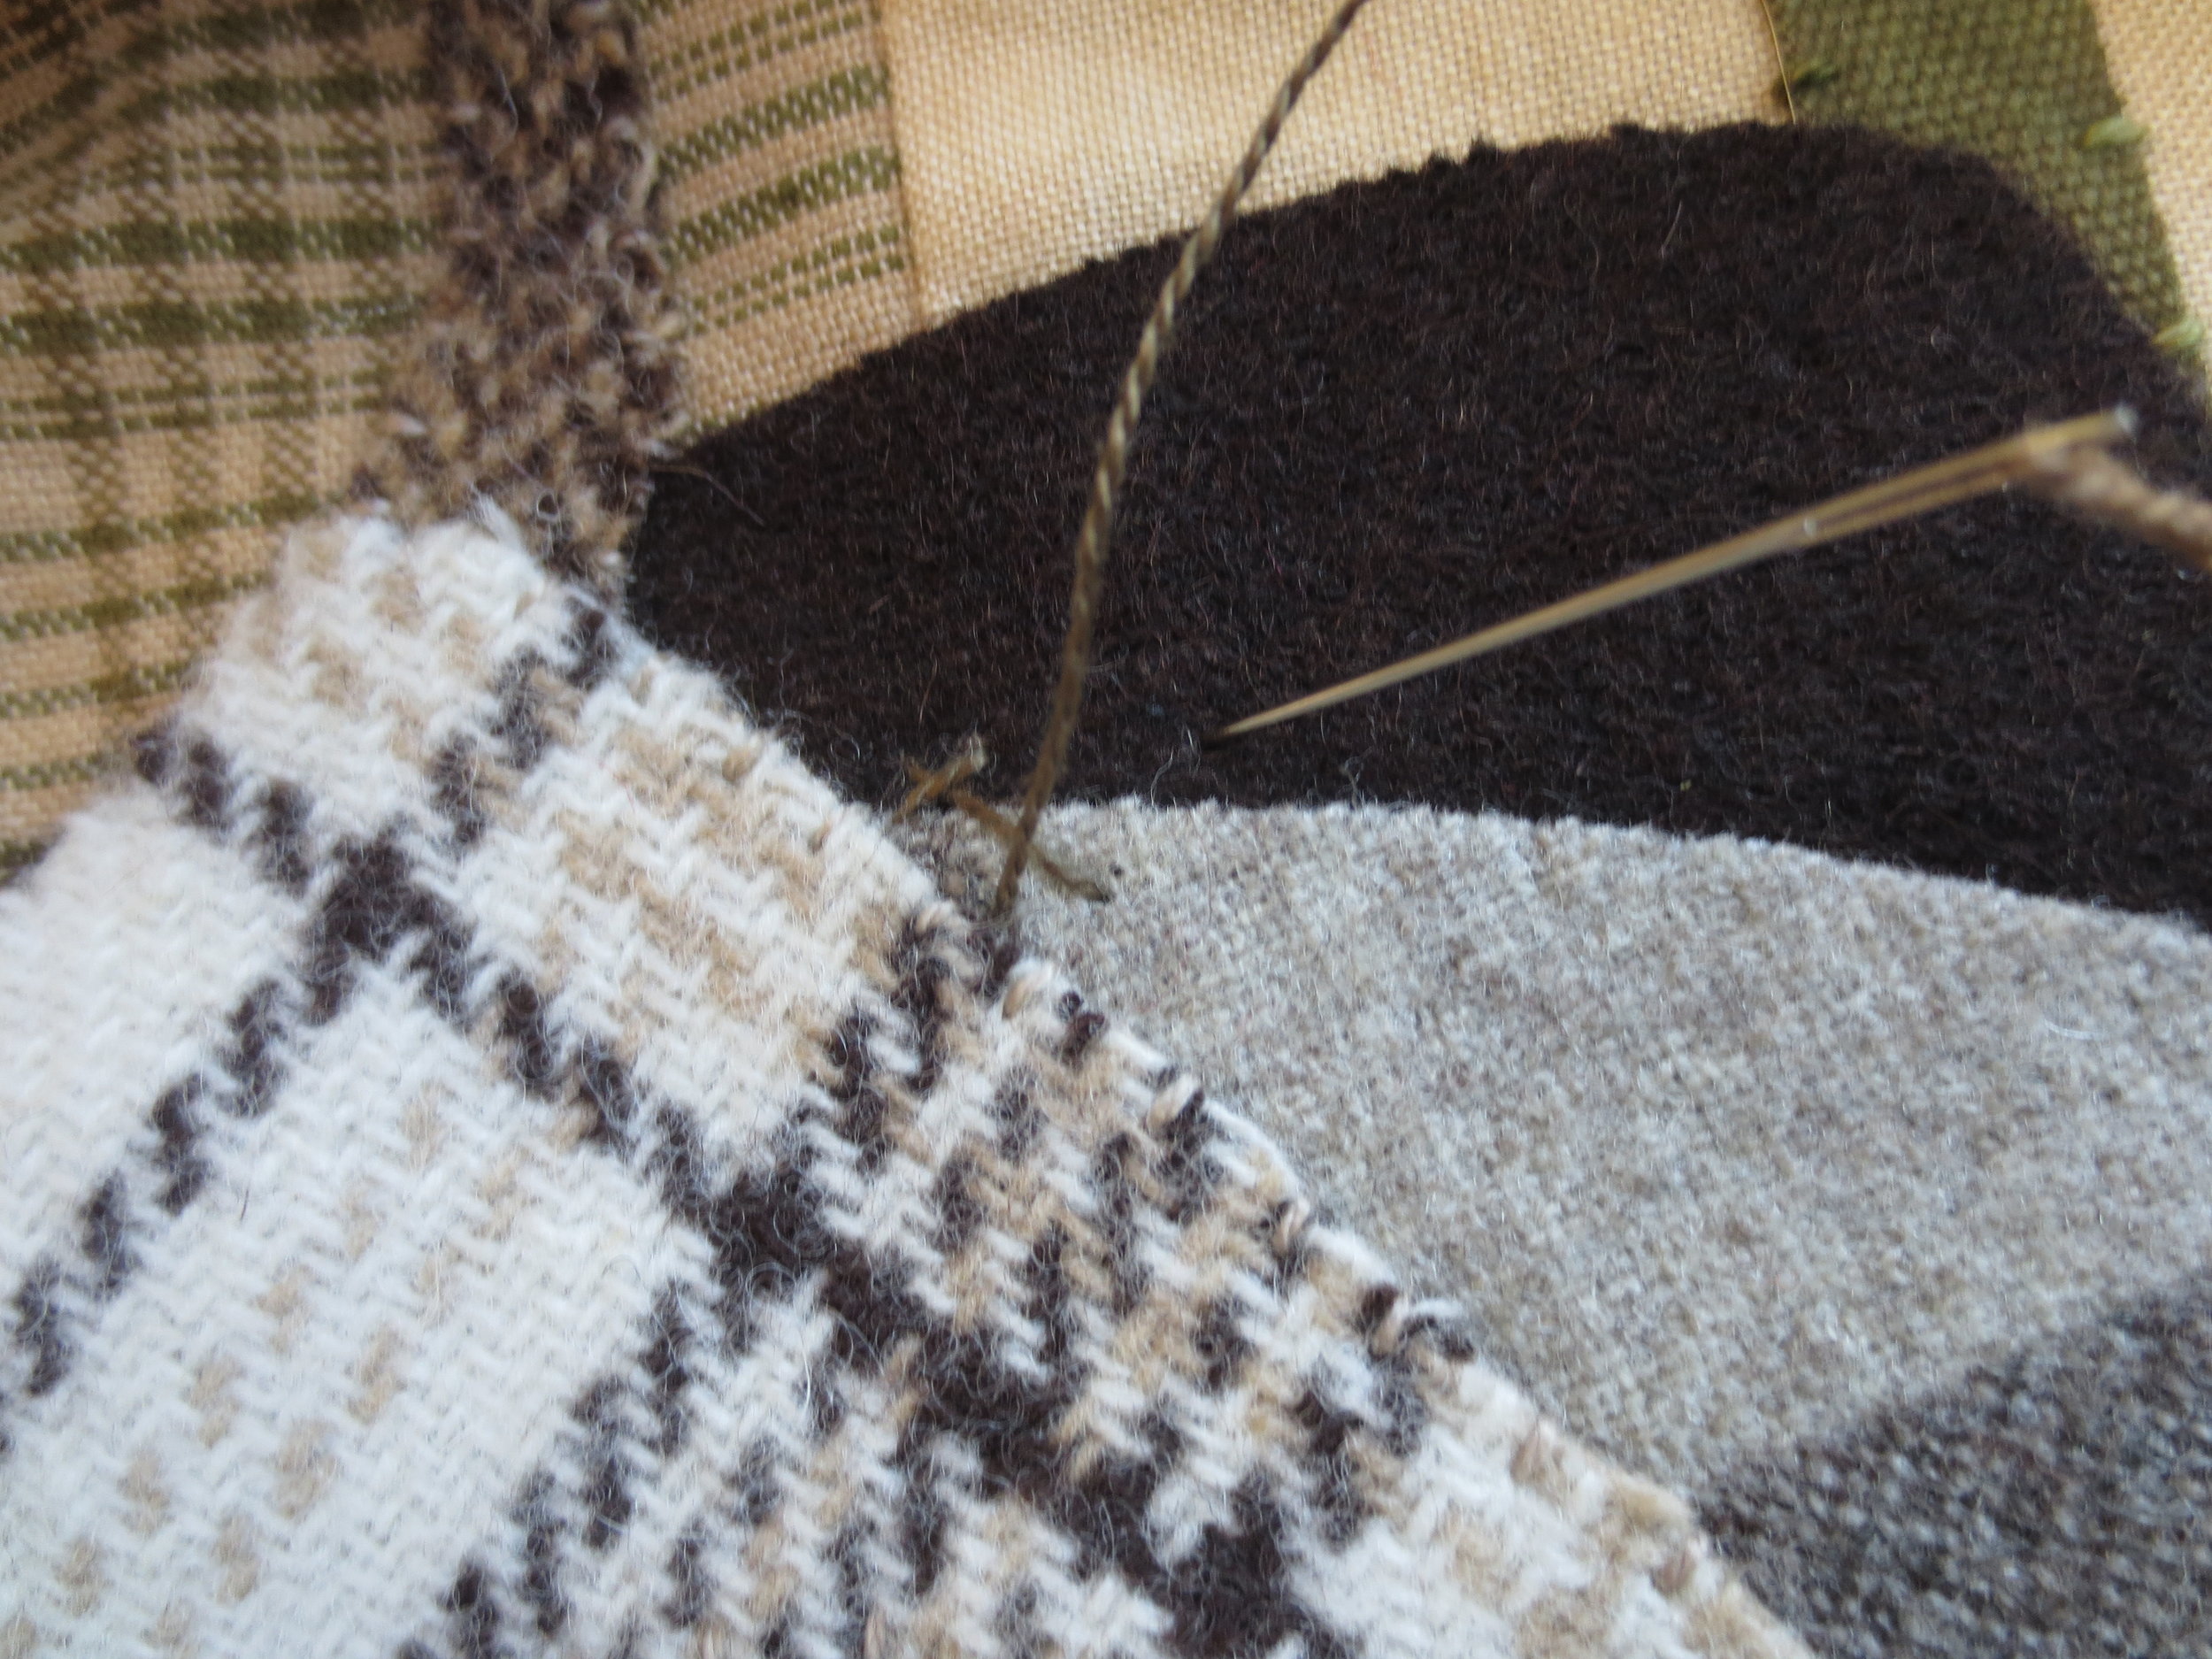
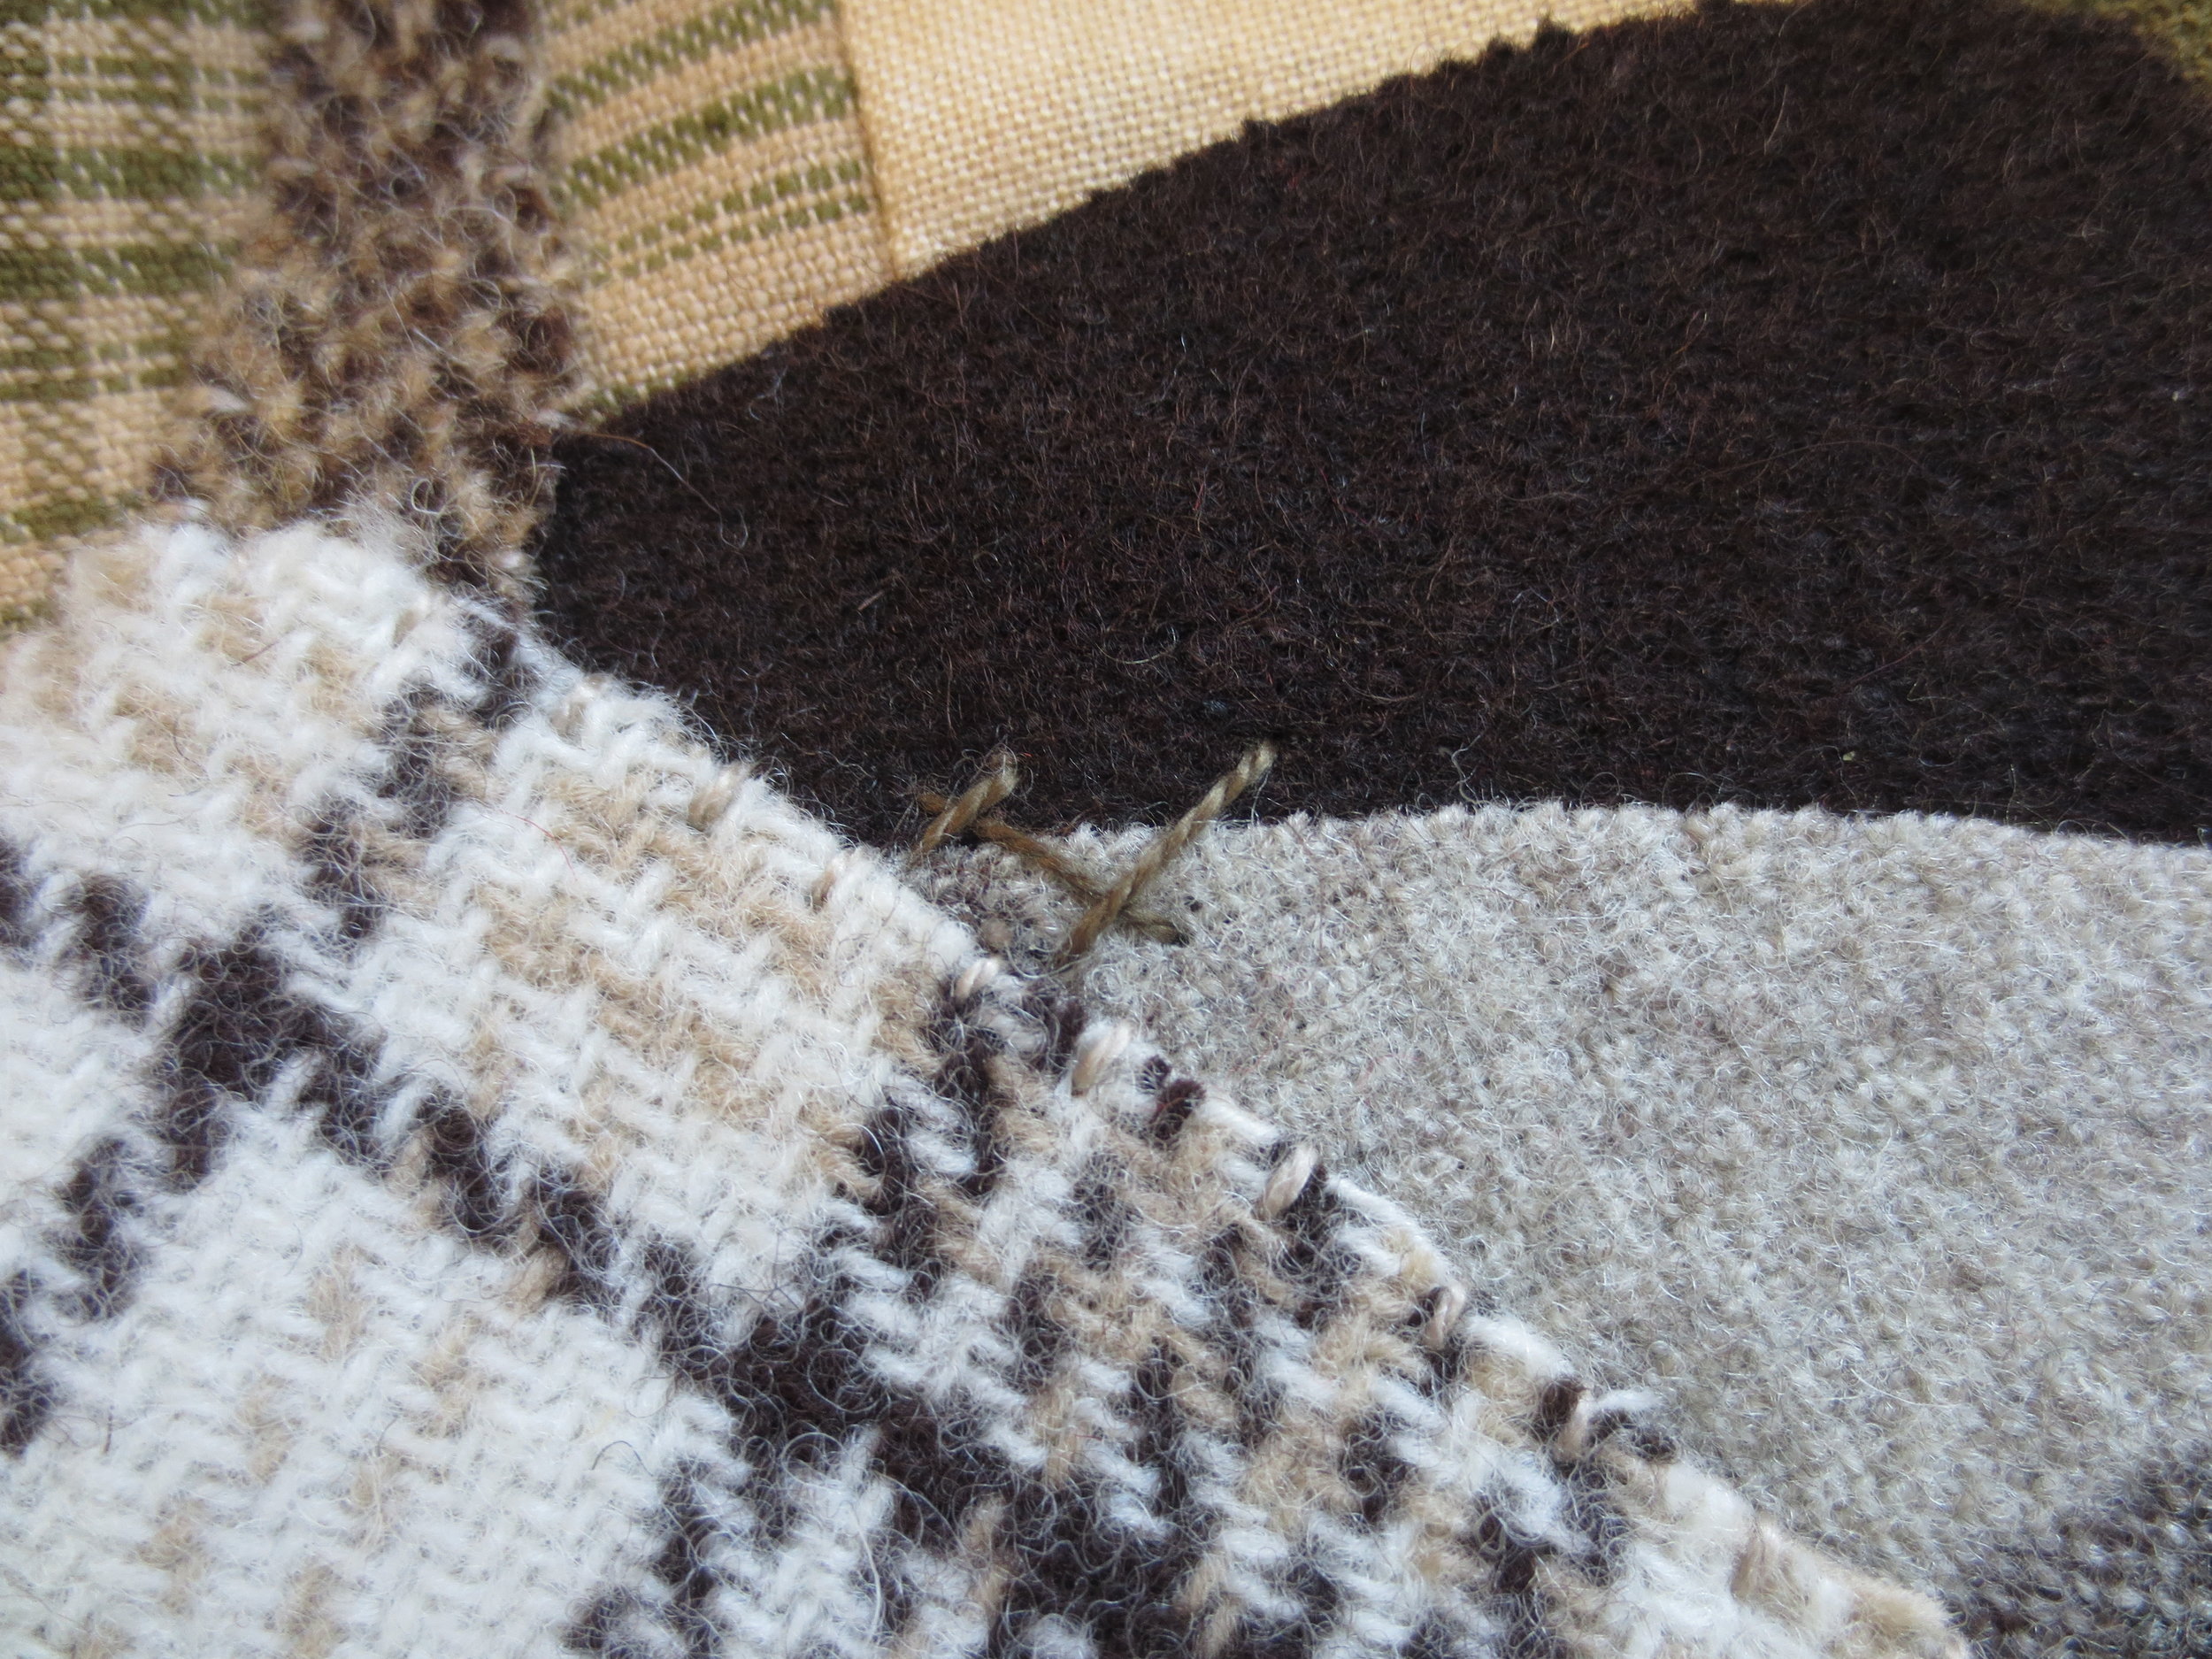
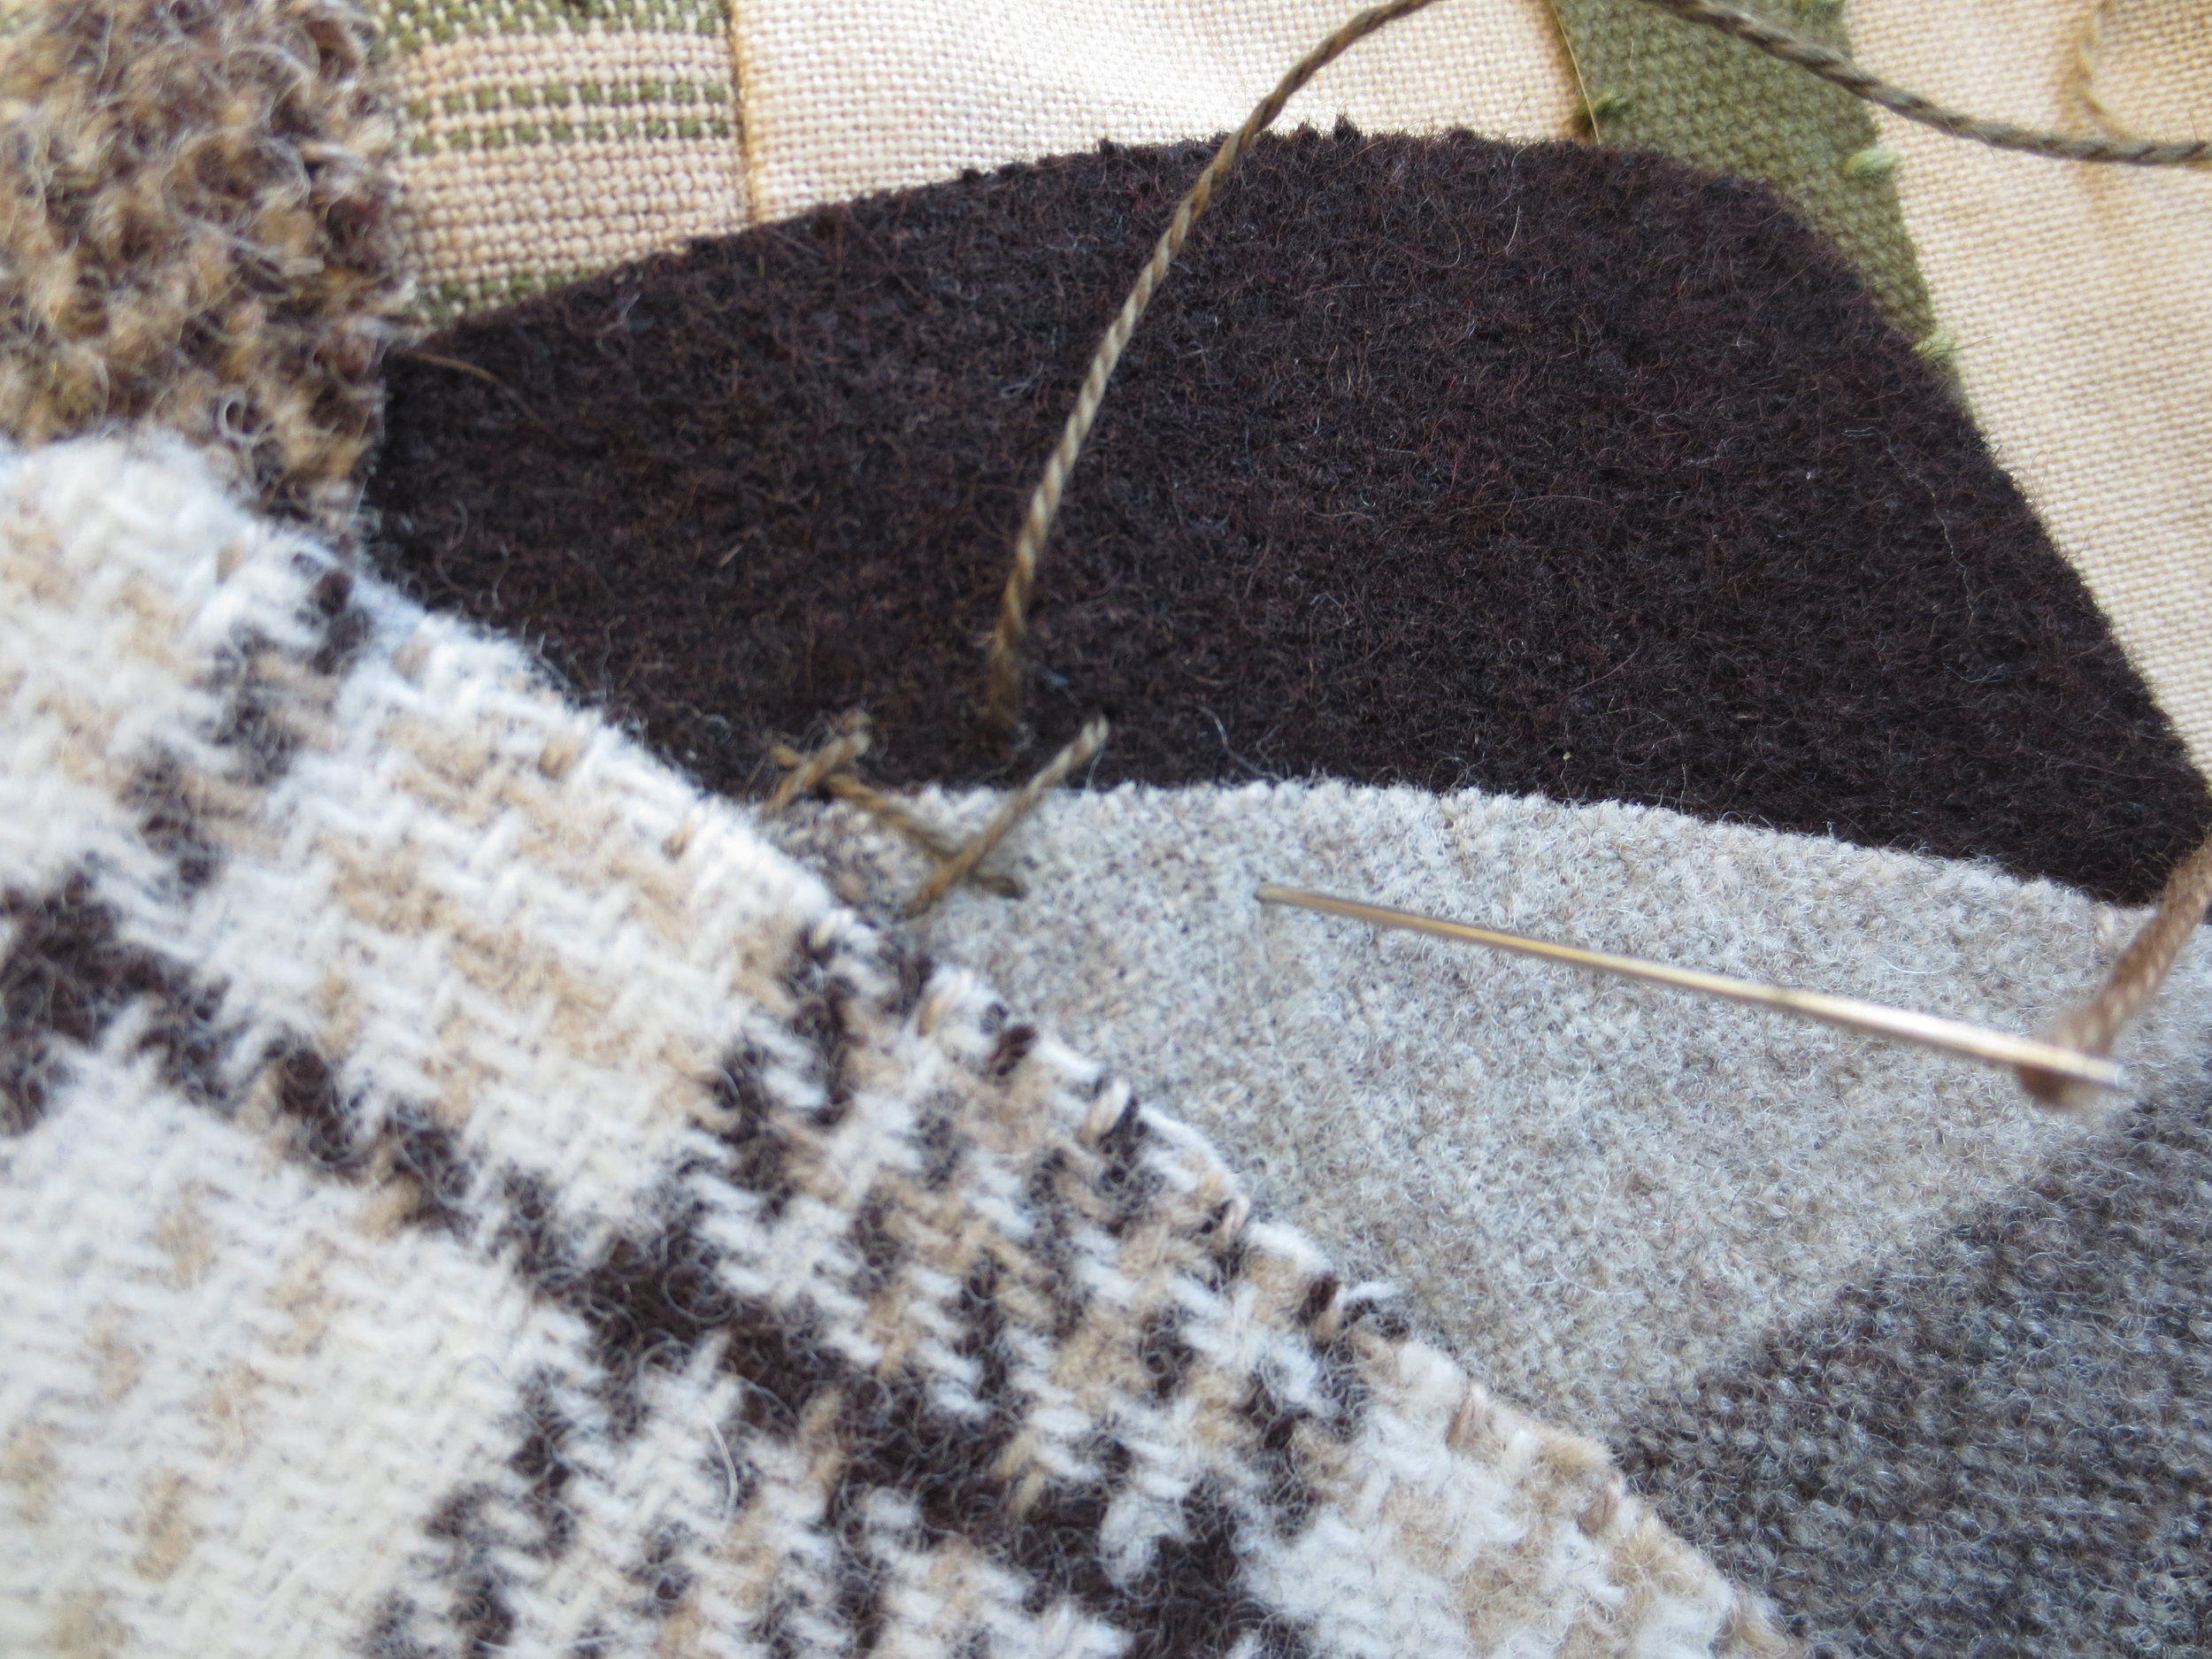
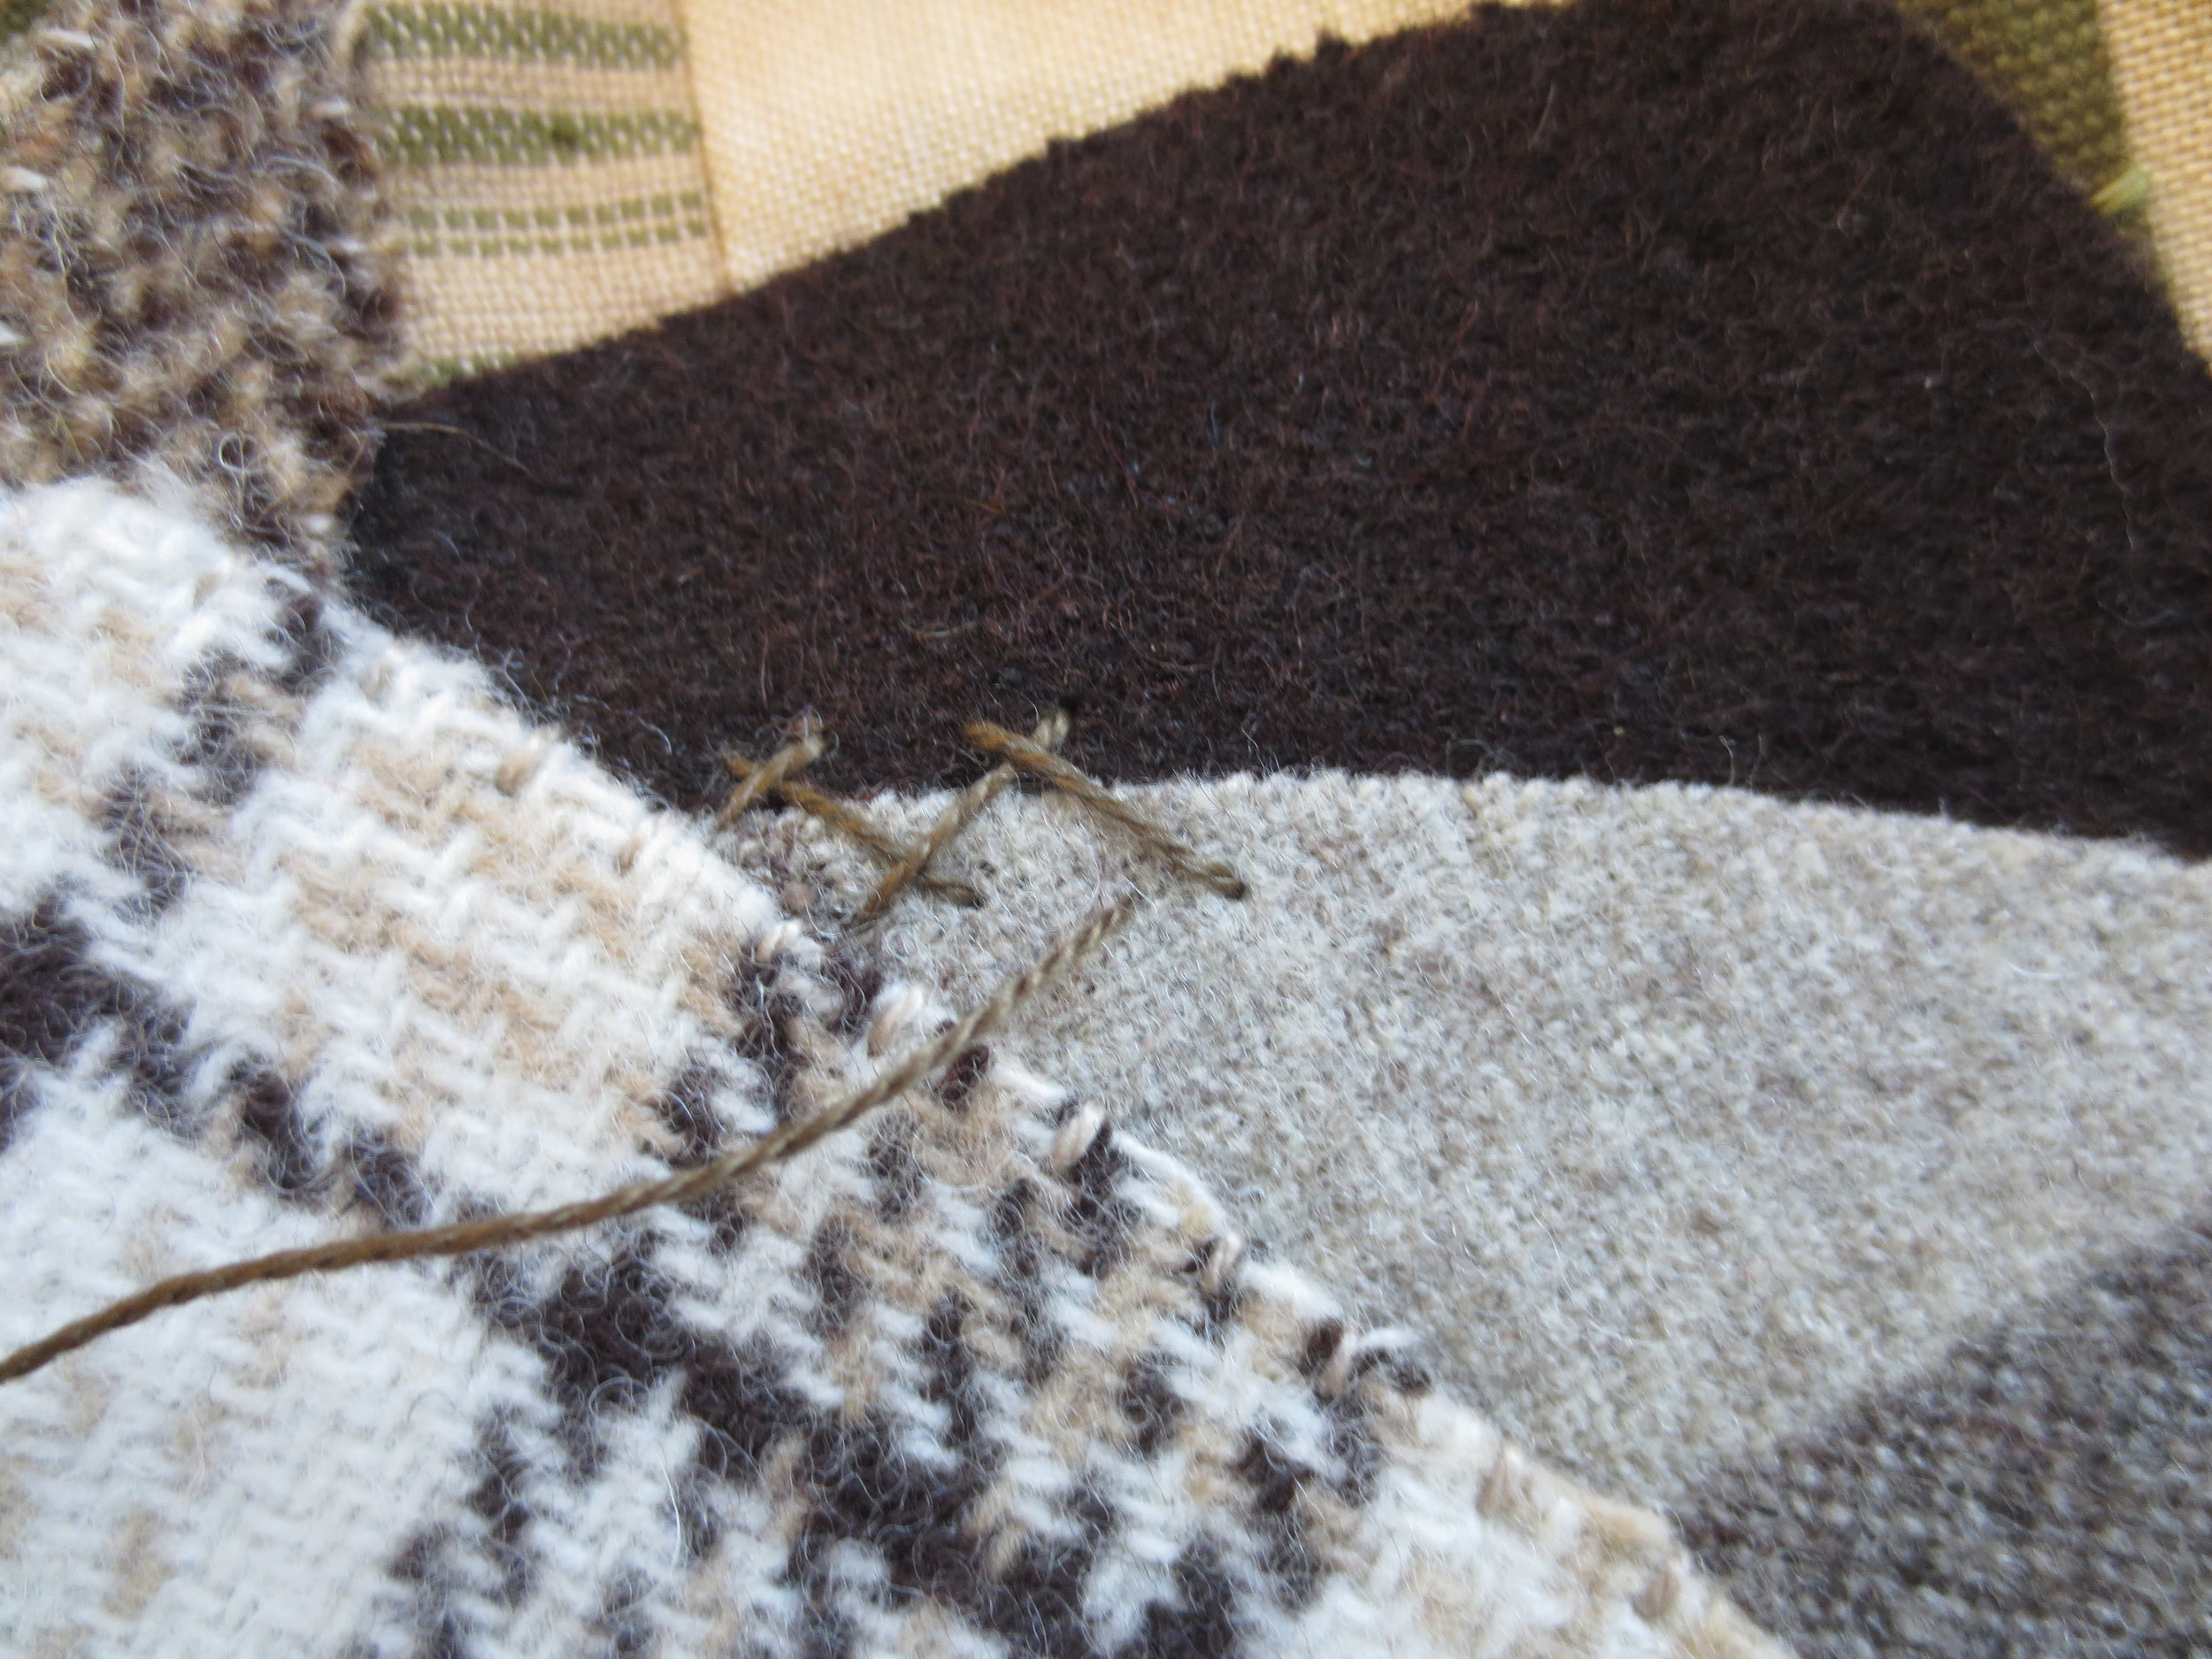
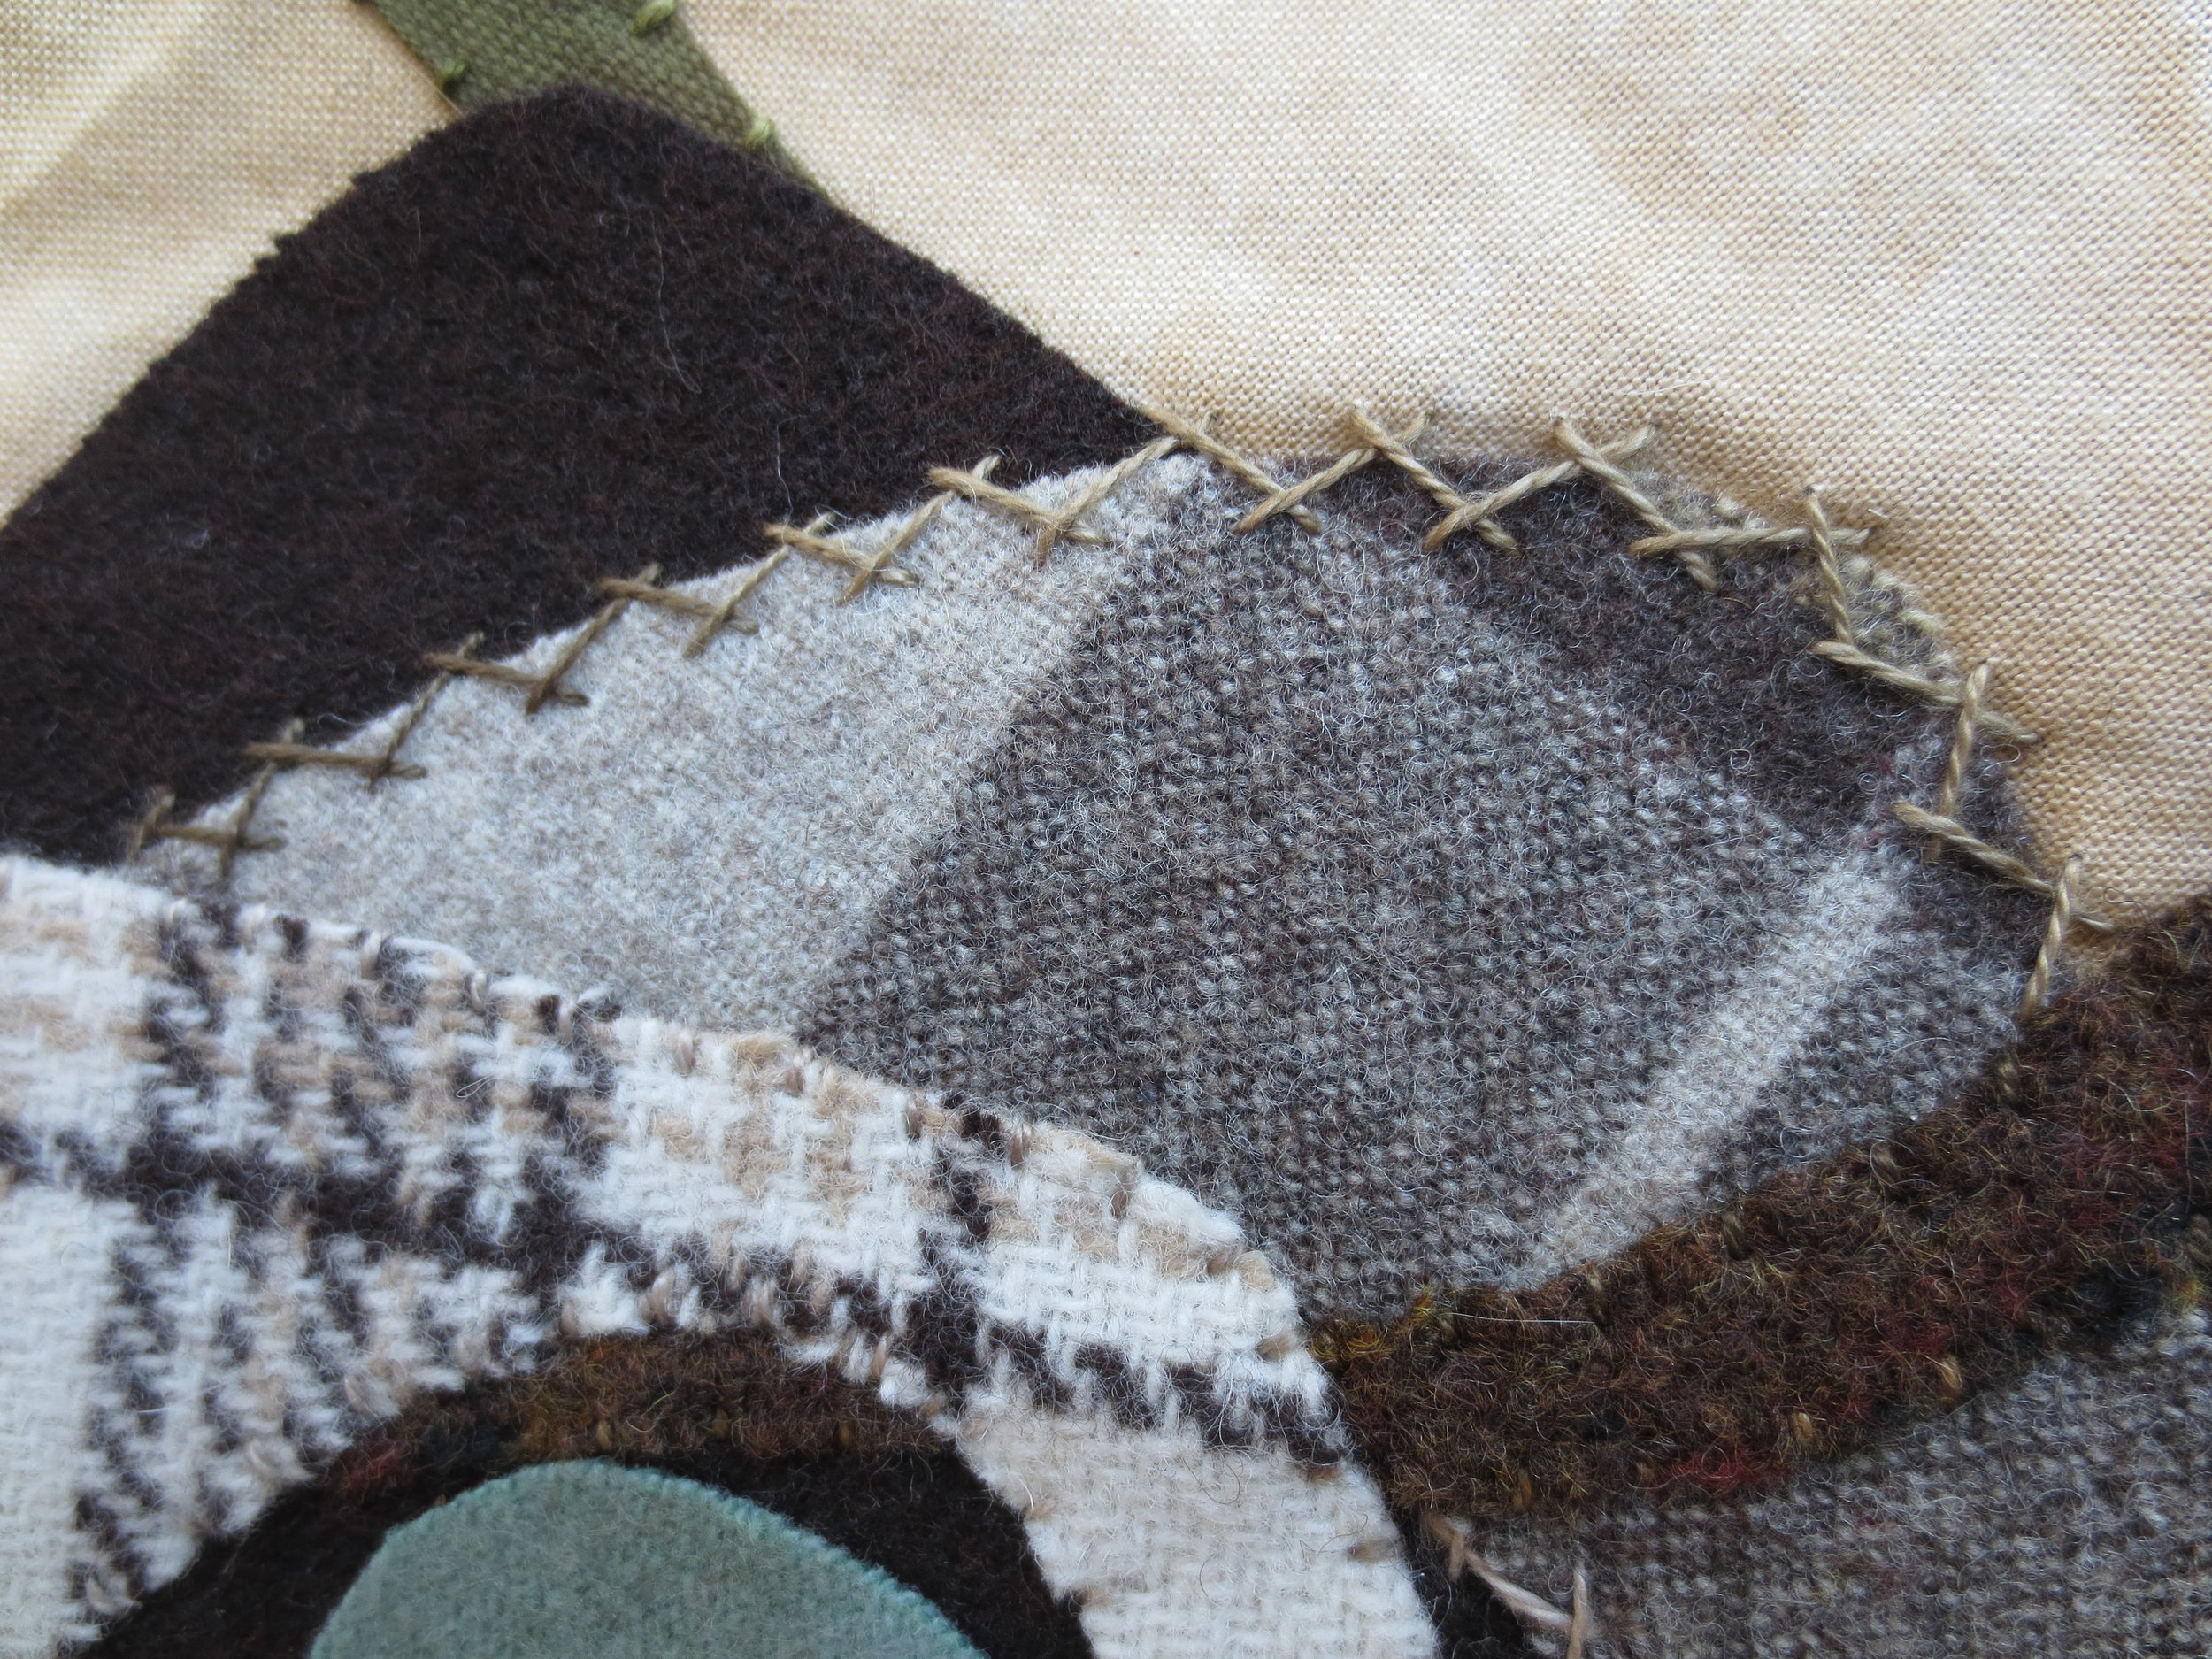
10. Use the same thread ( #O538) to stitch a herringbone stitch on the inside and outside borders of nest A & B. You won't stitch the entire border of each nest piece with a herringbone stitch, just part of it (see below). The remaining borders are whip stitched using #O518. Use the Nest Layout for guidance.
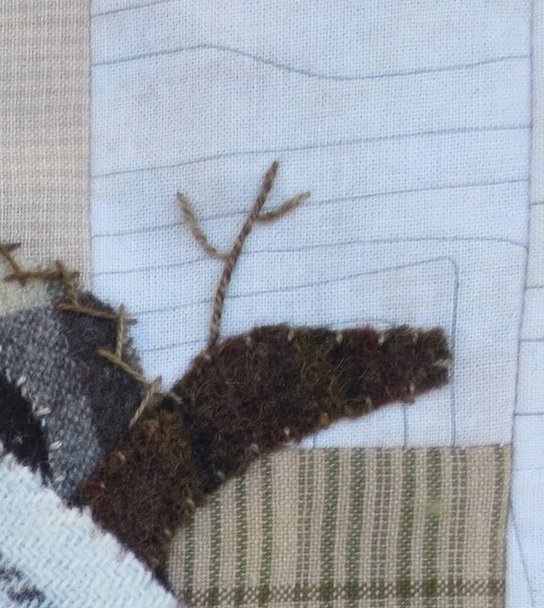
11. Use a chalk pencil to sketch the small twig branches on sticks #1 . Use layout for placement guidance.
12. Use #O518 to stem stitch over the lines.
13. Now let's add the flower and leaves.
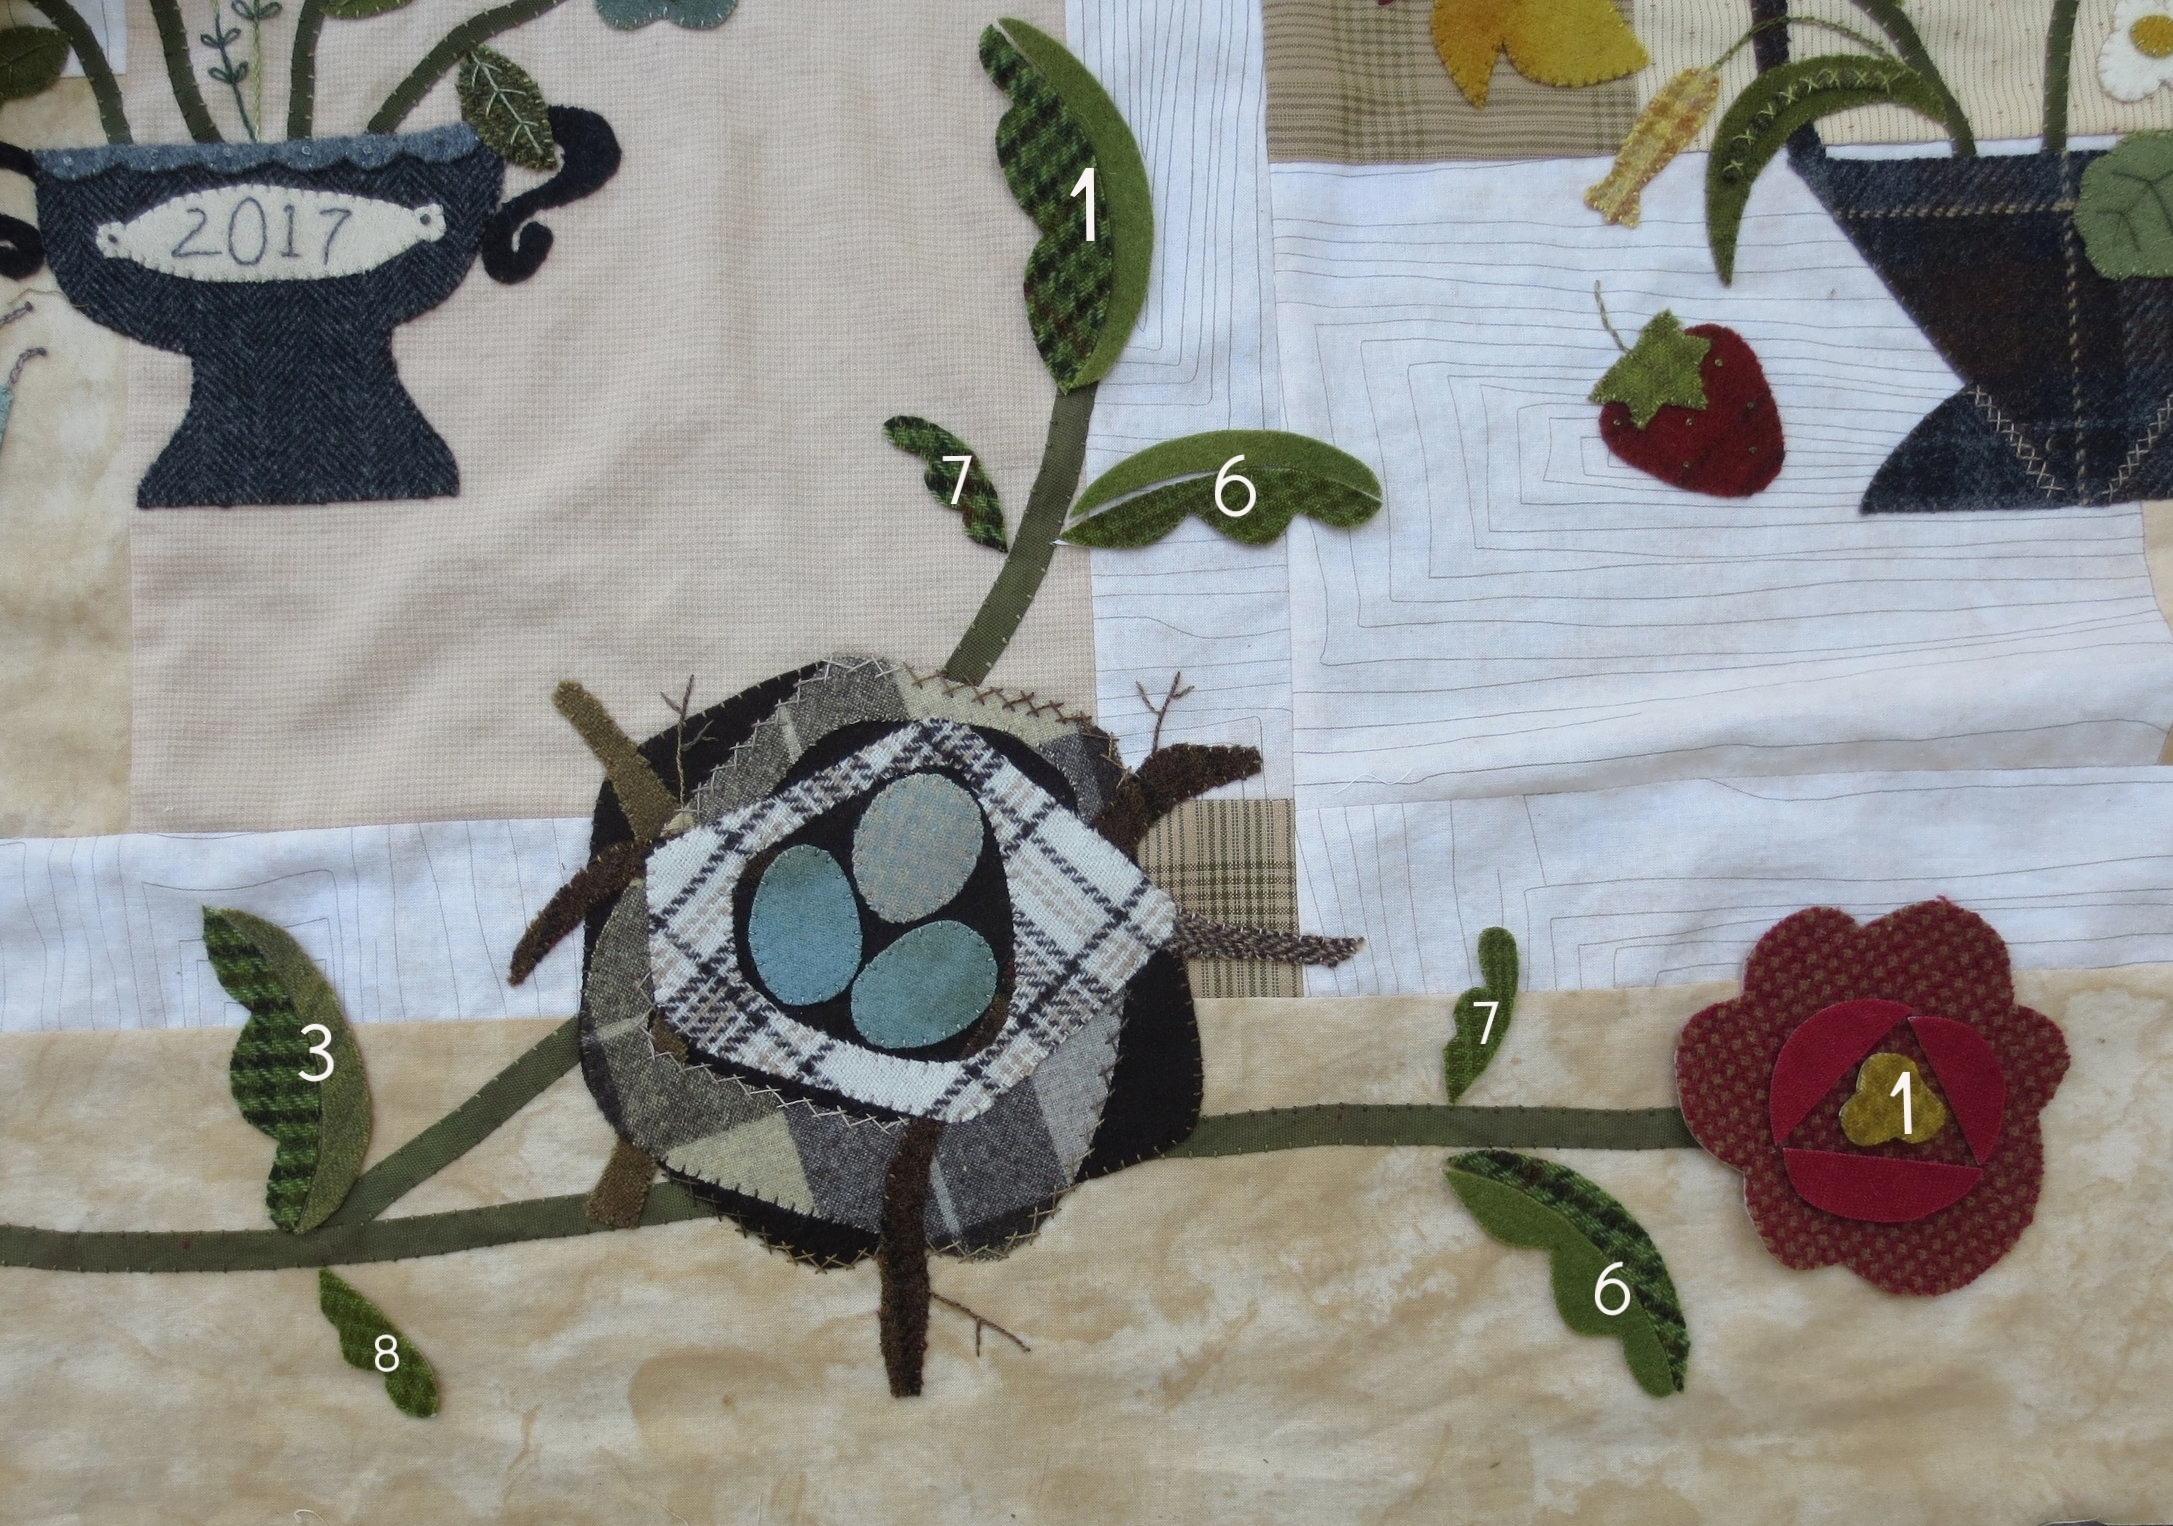
- Position flower #1, #1A-C, center #1, and the leaves on the branches as shown below. Fuse in place using steam.
Laying out flower and leaves on bottom branches.
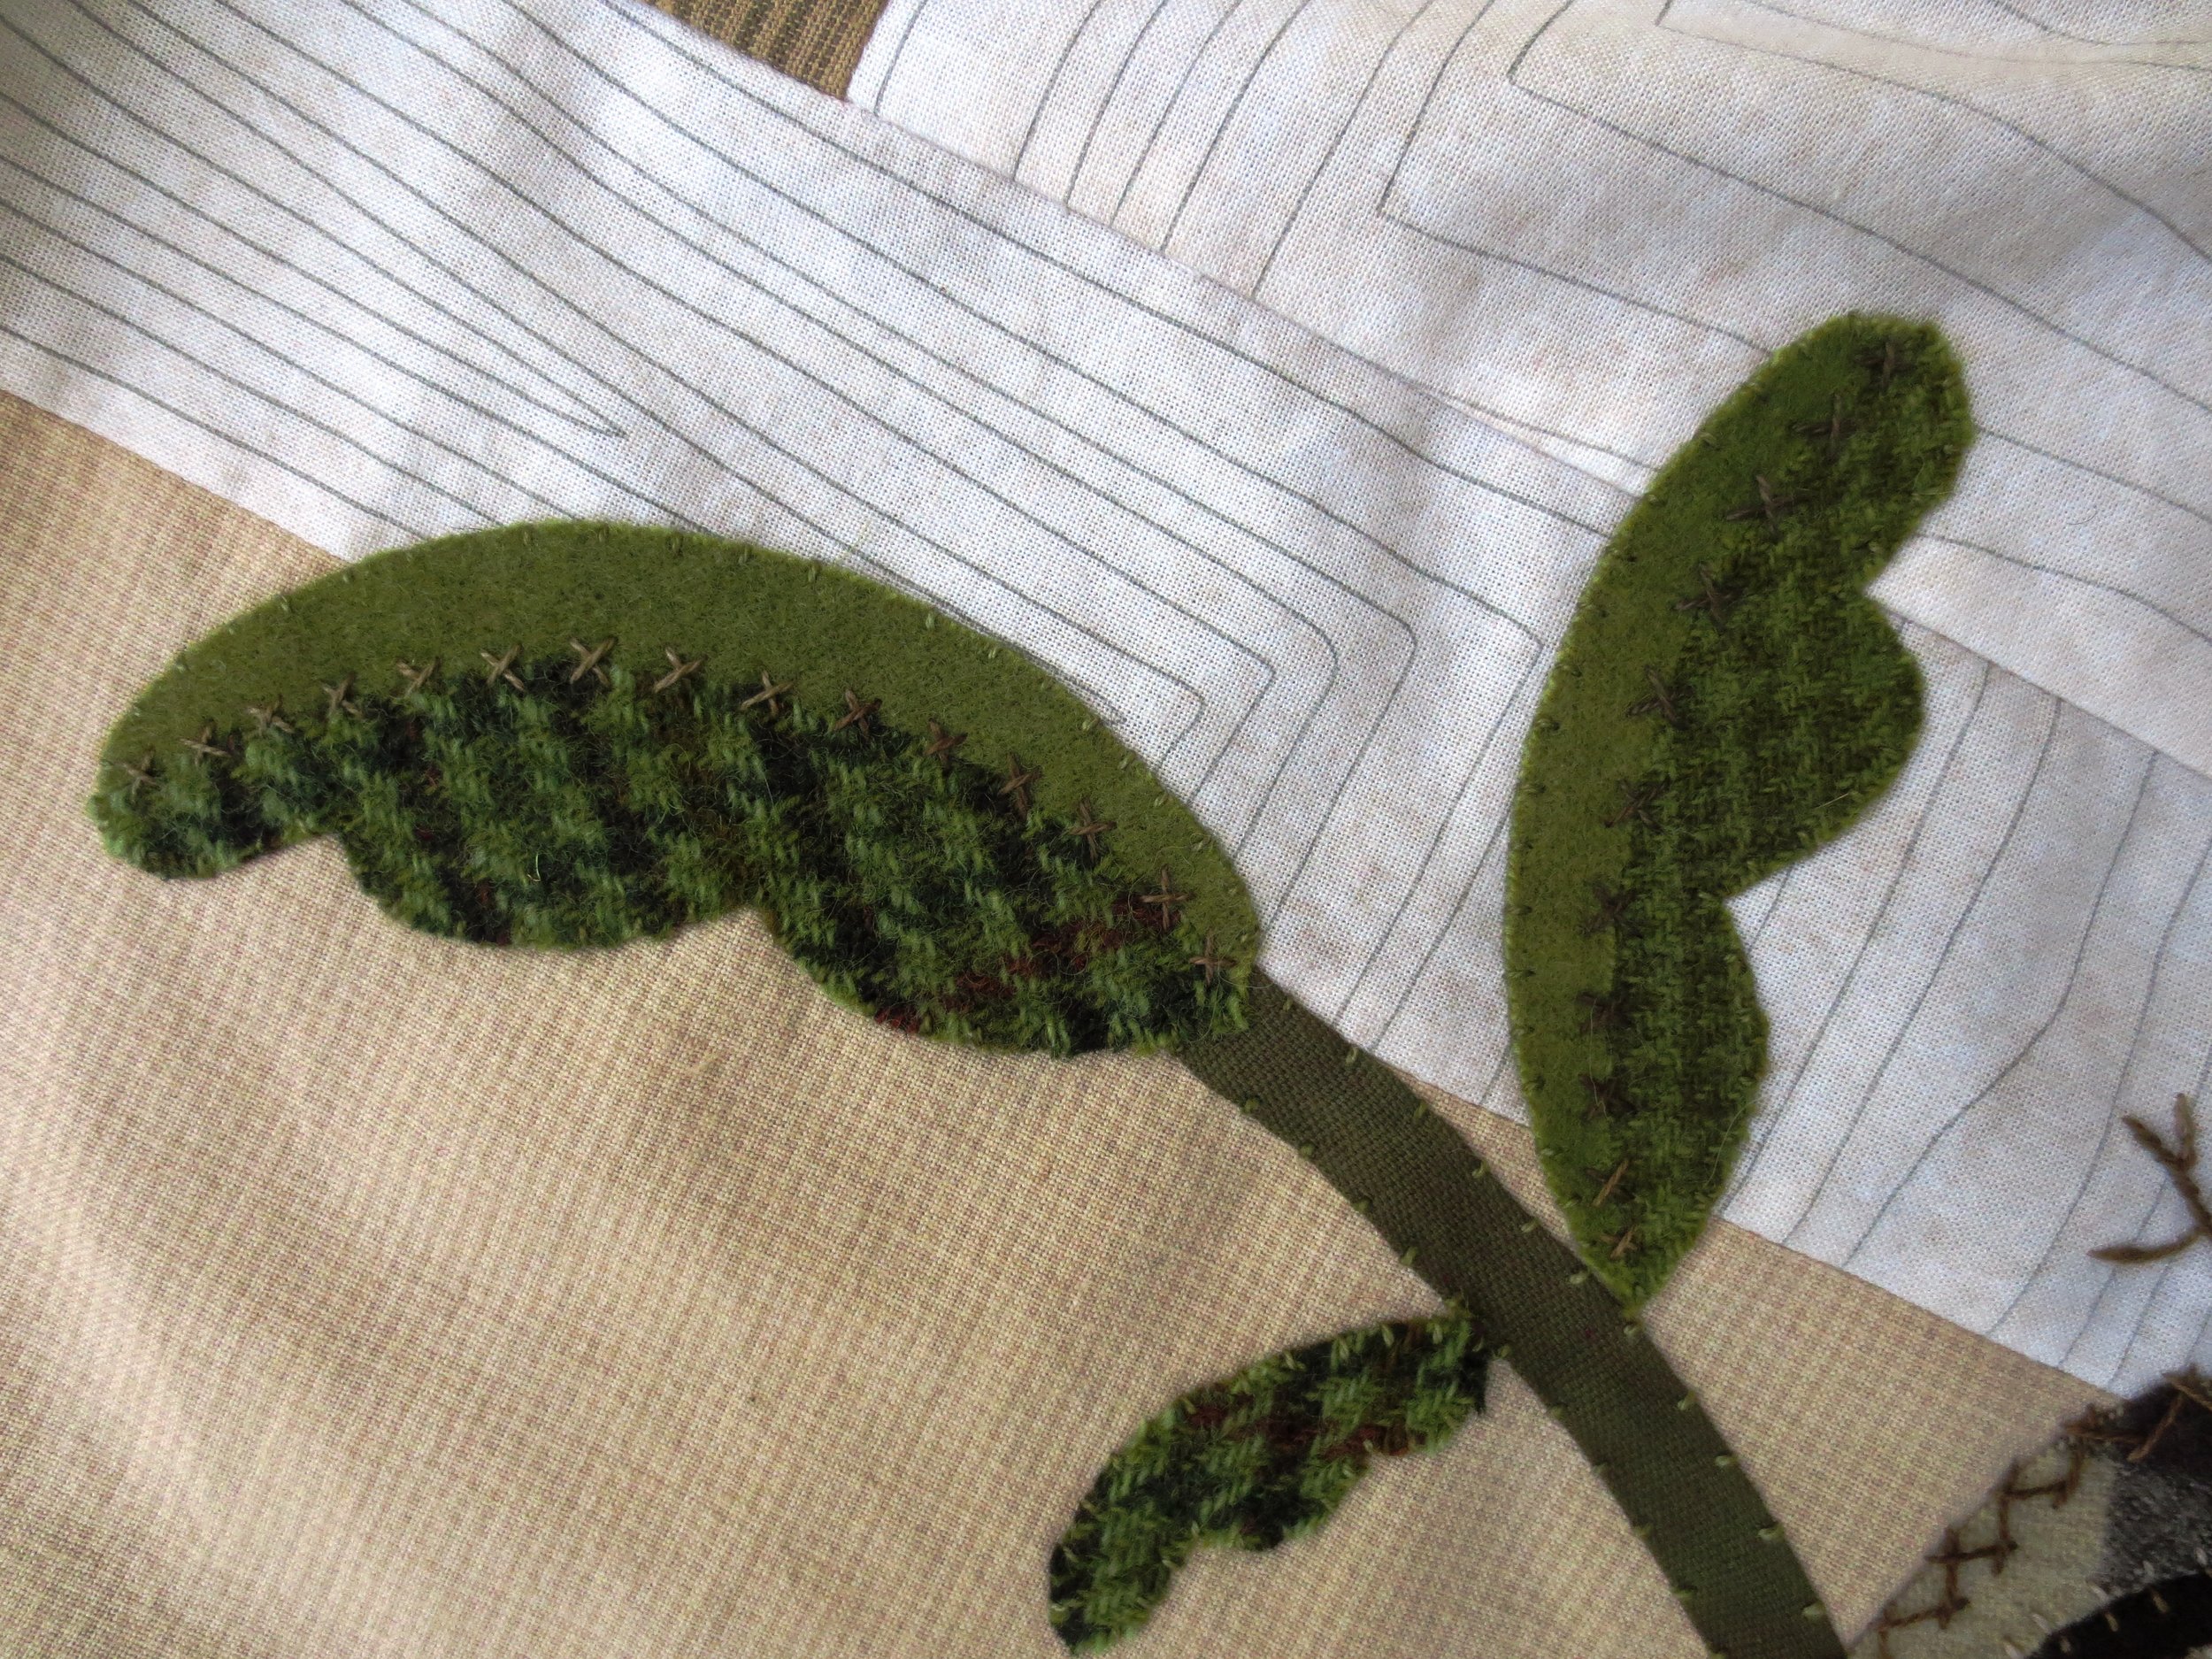
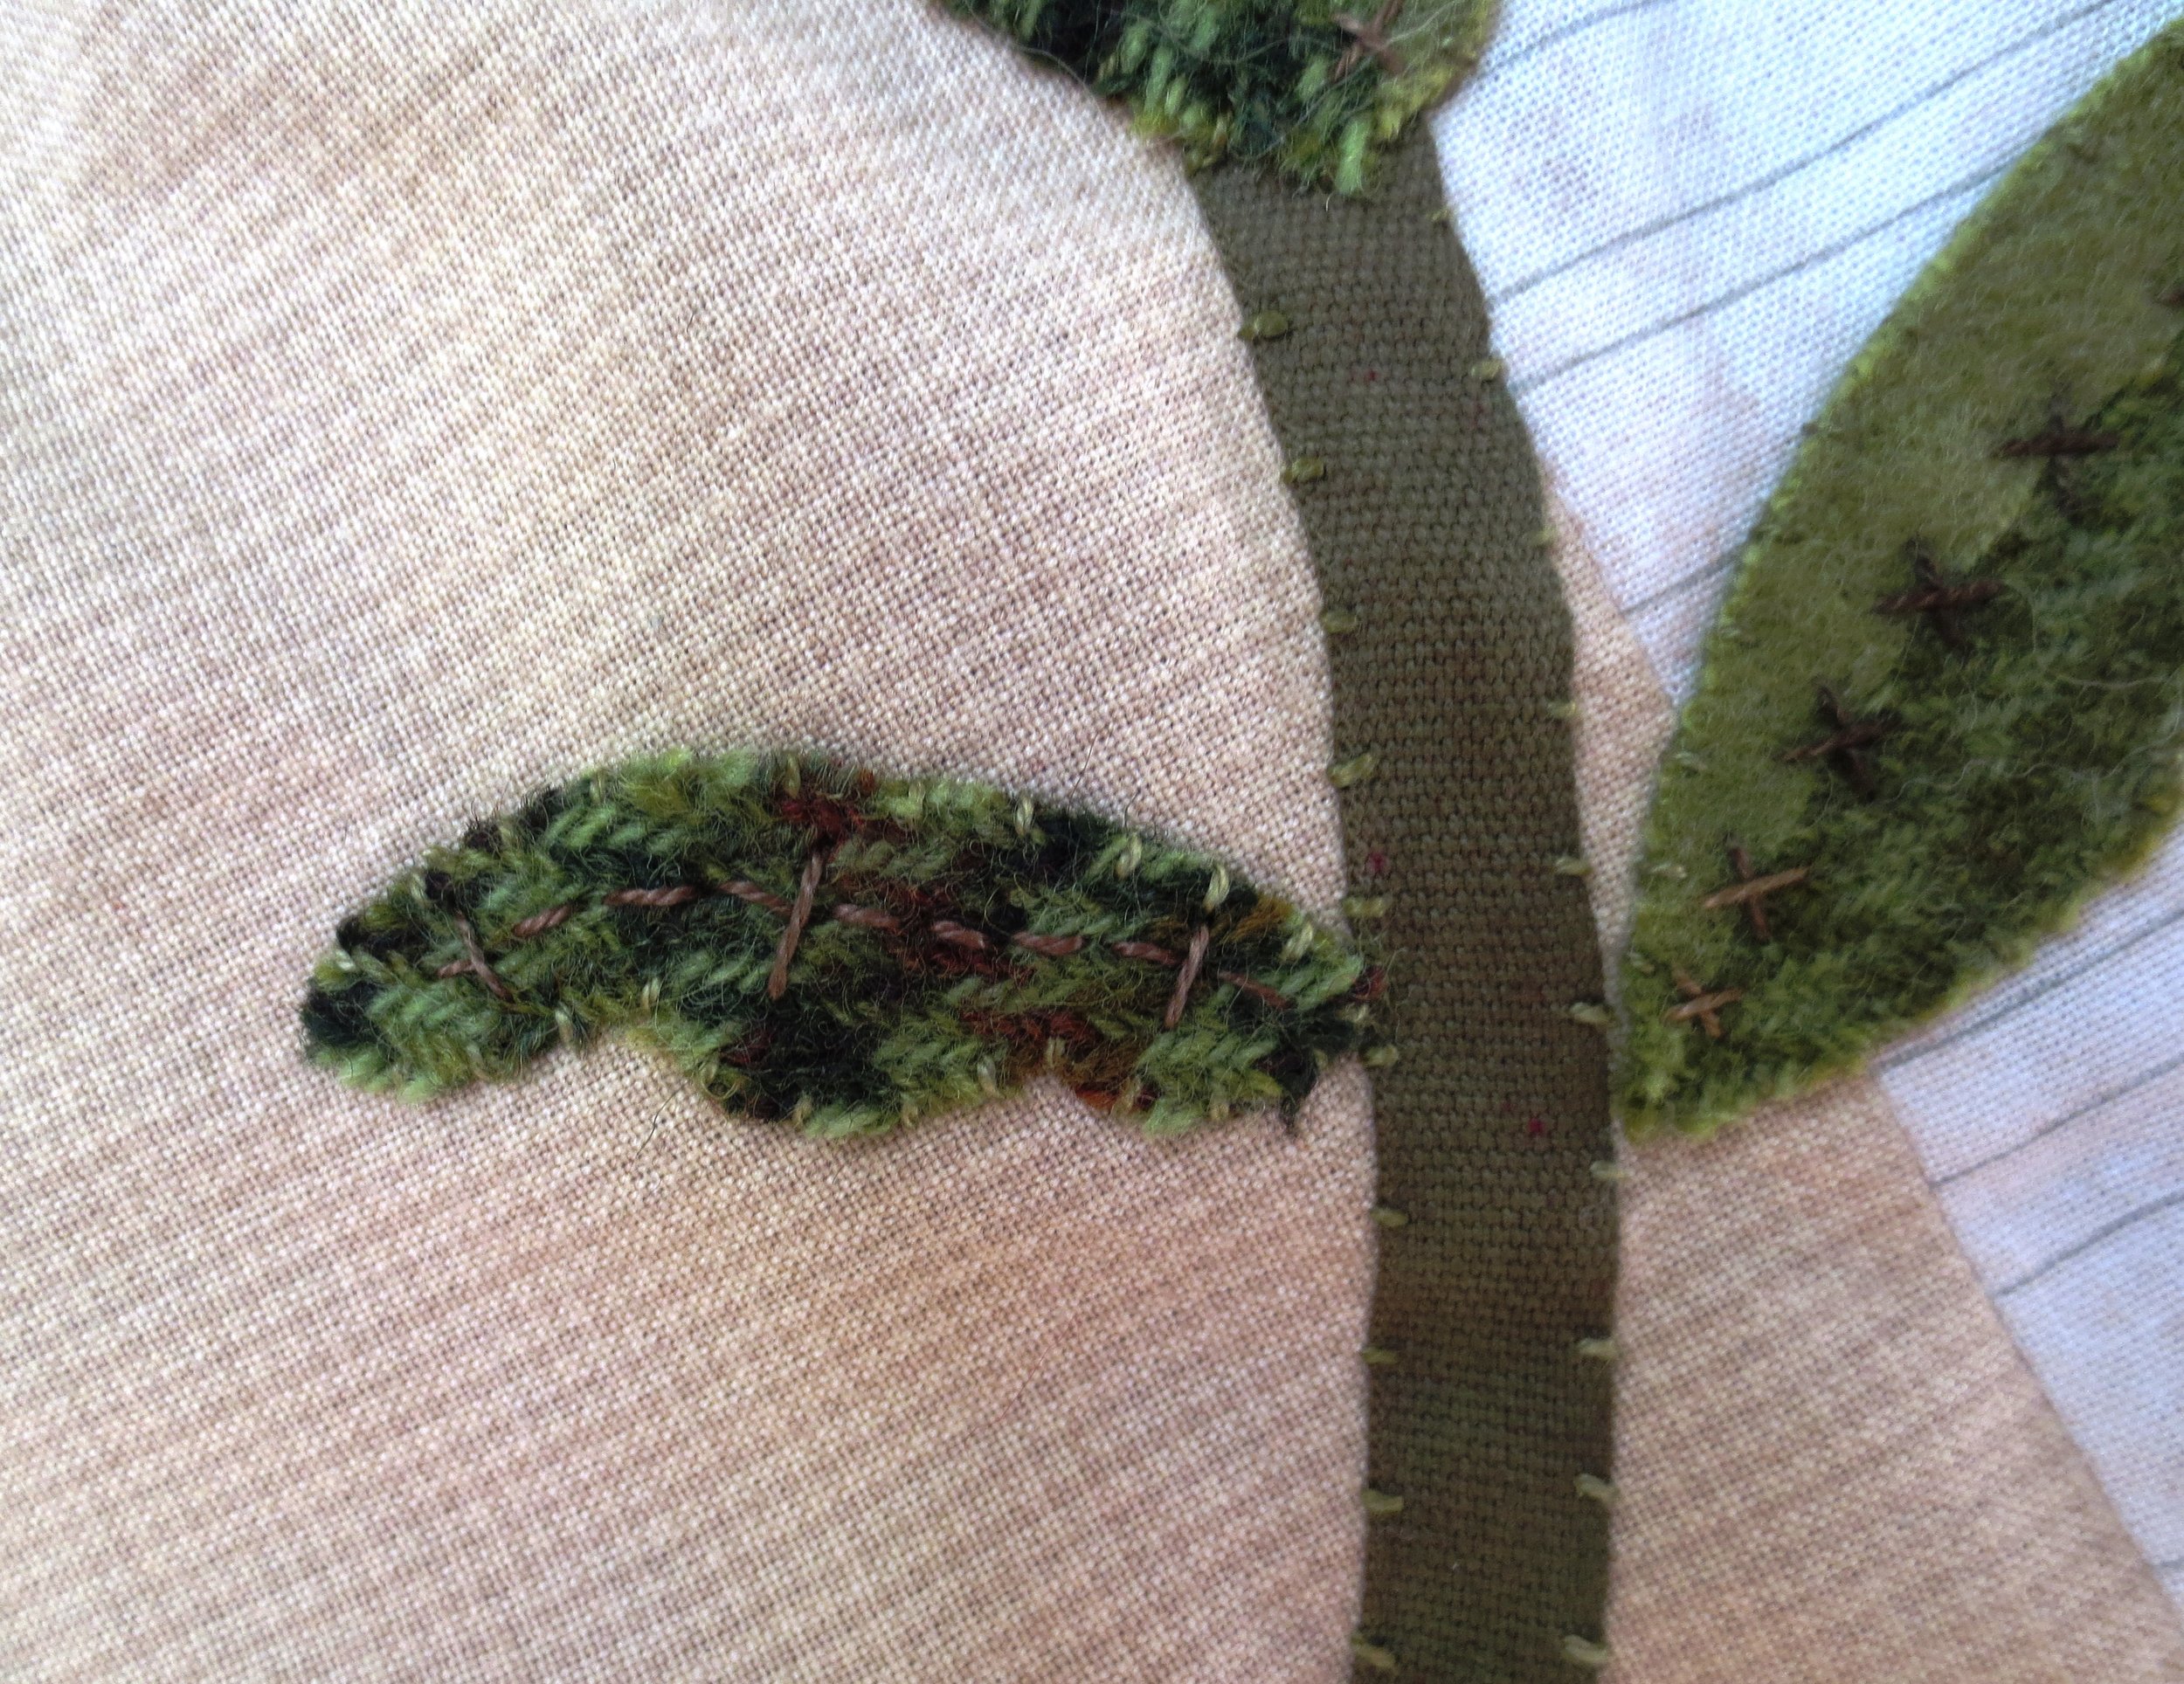
- Whip stitch the outer edges of all the leaves (#O519).
- Stitch a x-stitch down the center vein of the large leaves using a contrasting colored thread (#O518).
- Back stitch the central veins of the small leaves with the same contrasting colored thread used for the x-stitches. Make three straight stitches perpendicular to the central vein to represent the side veins.
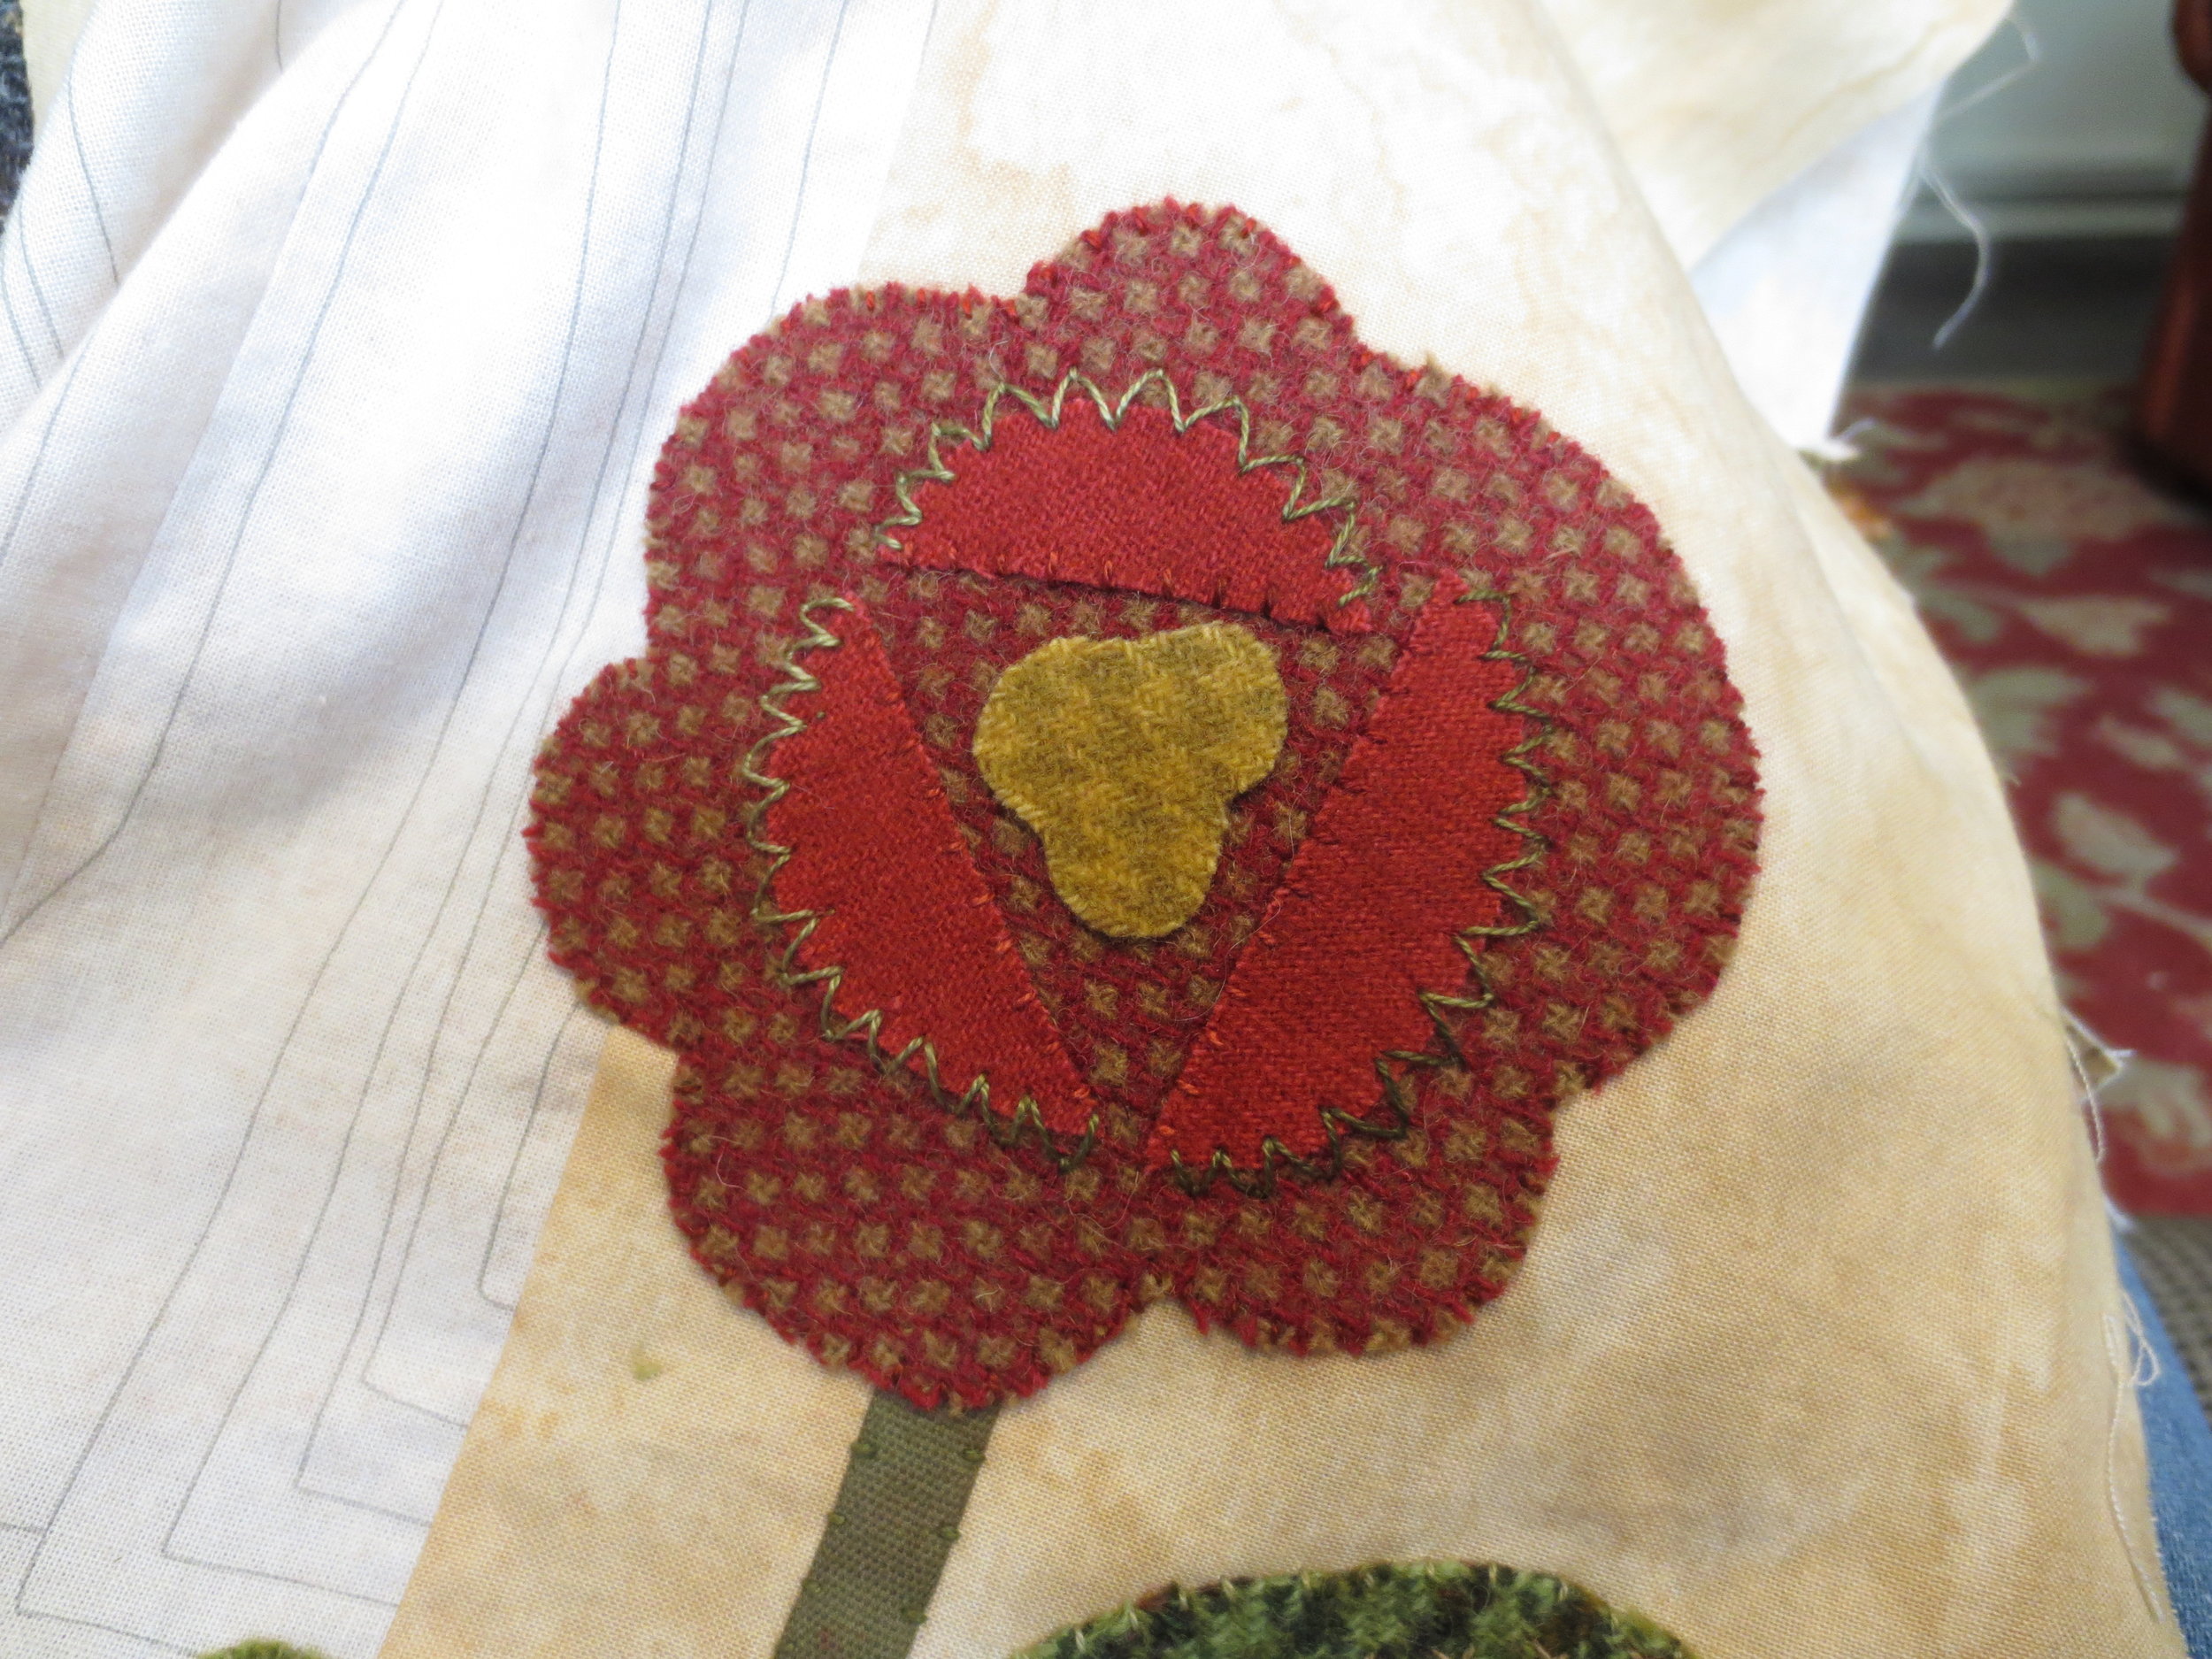
- Whip stitch flower #1, flower center, and straight edges of petals 1A-C using thread that matches your wool colors.
- Stitch a series of fly stitches around the curved edges of 1A-C using the same green that you used to whip stitch your leaves (#O519).
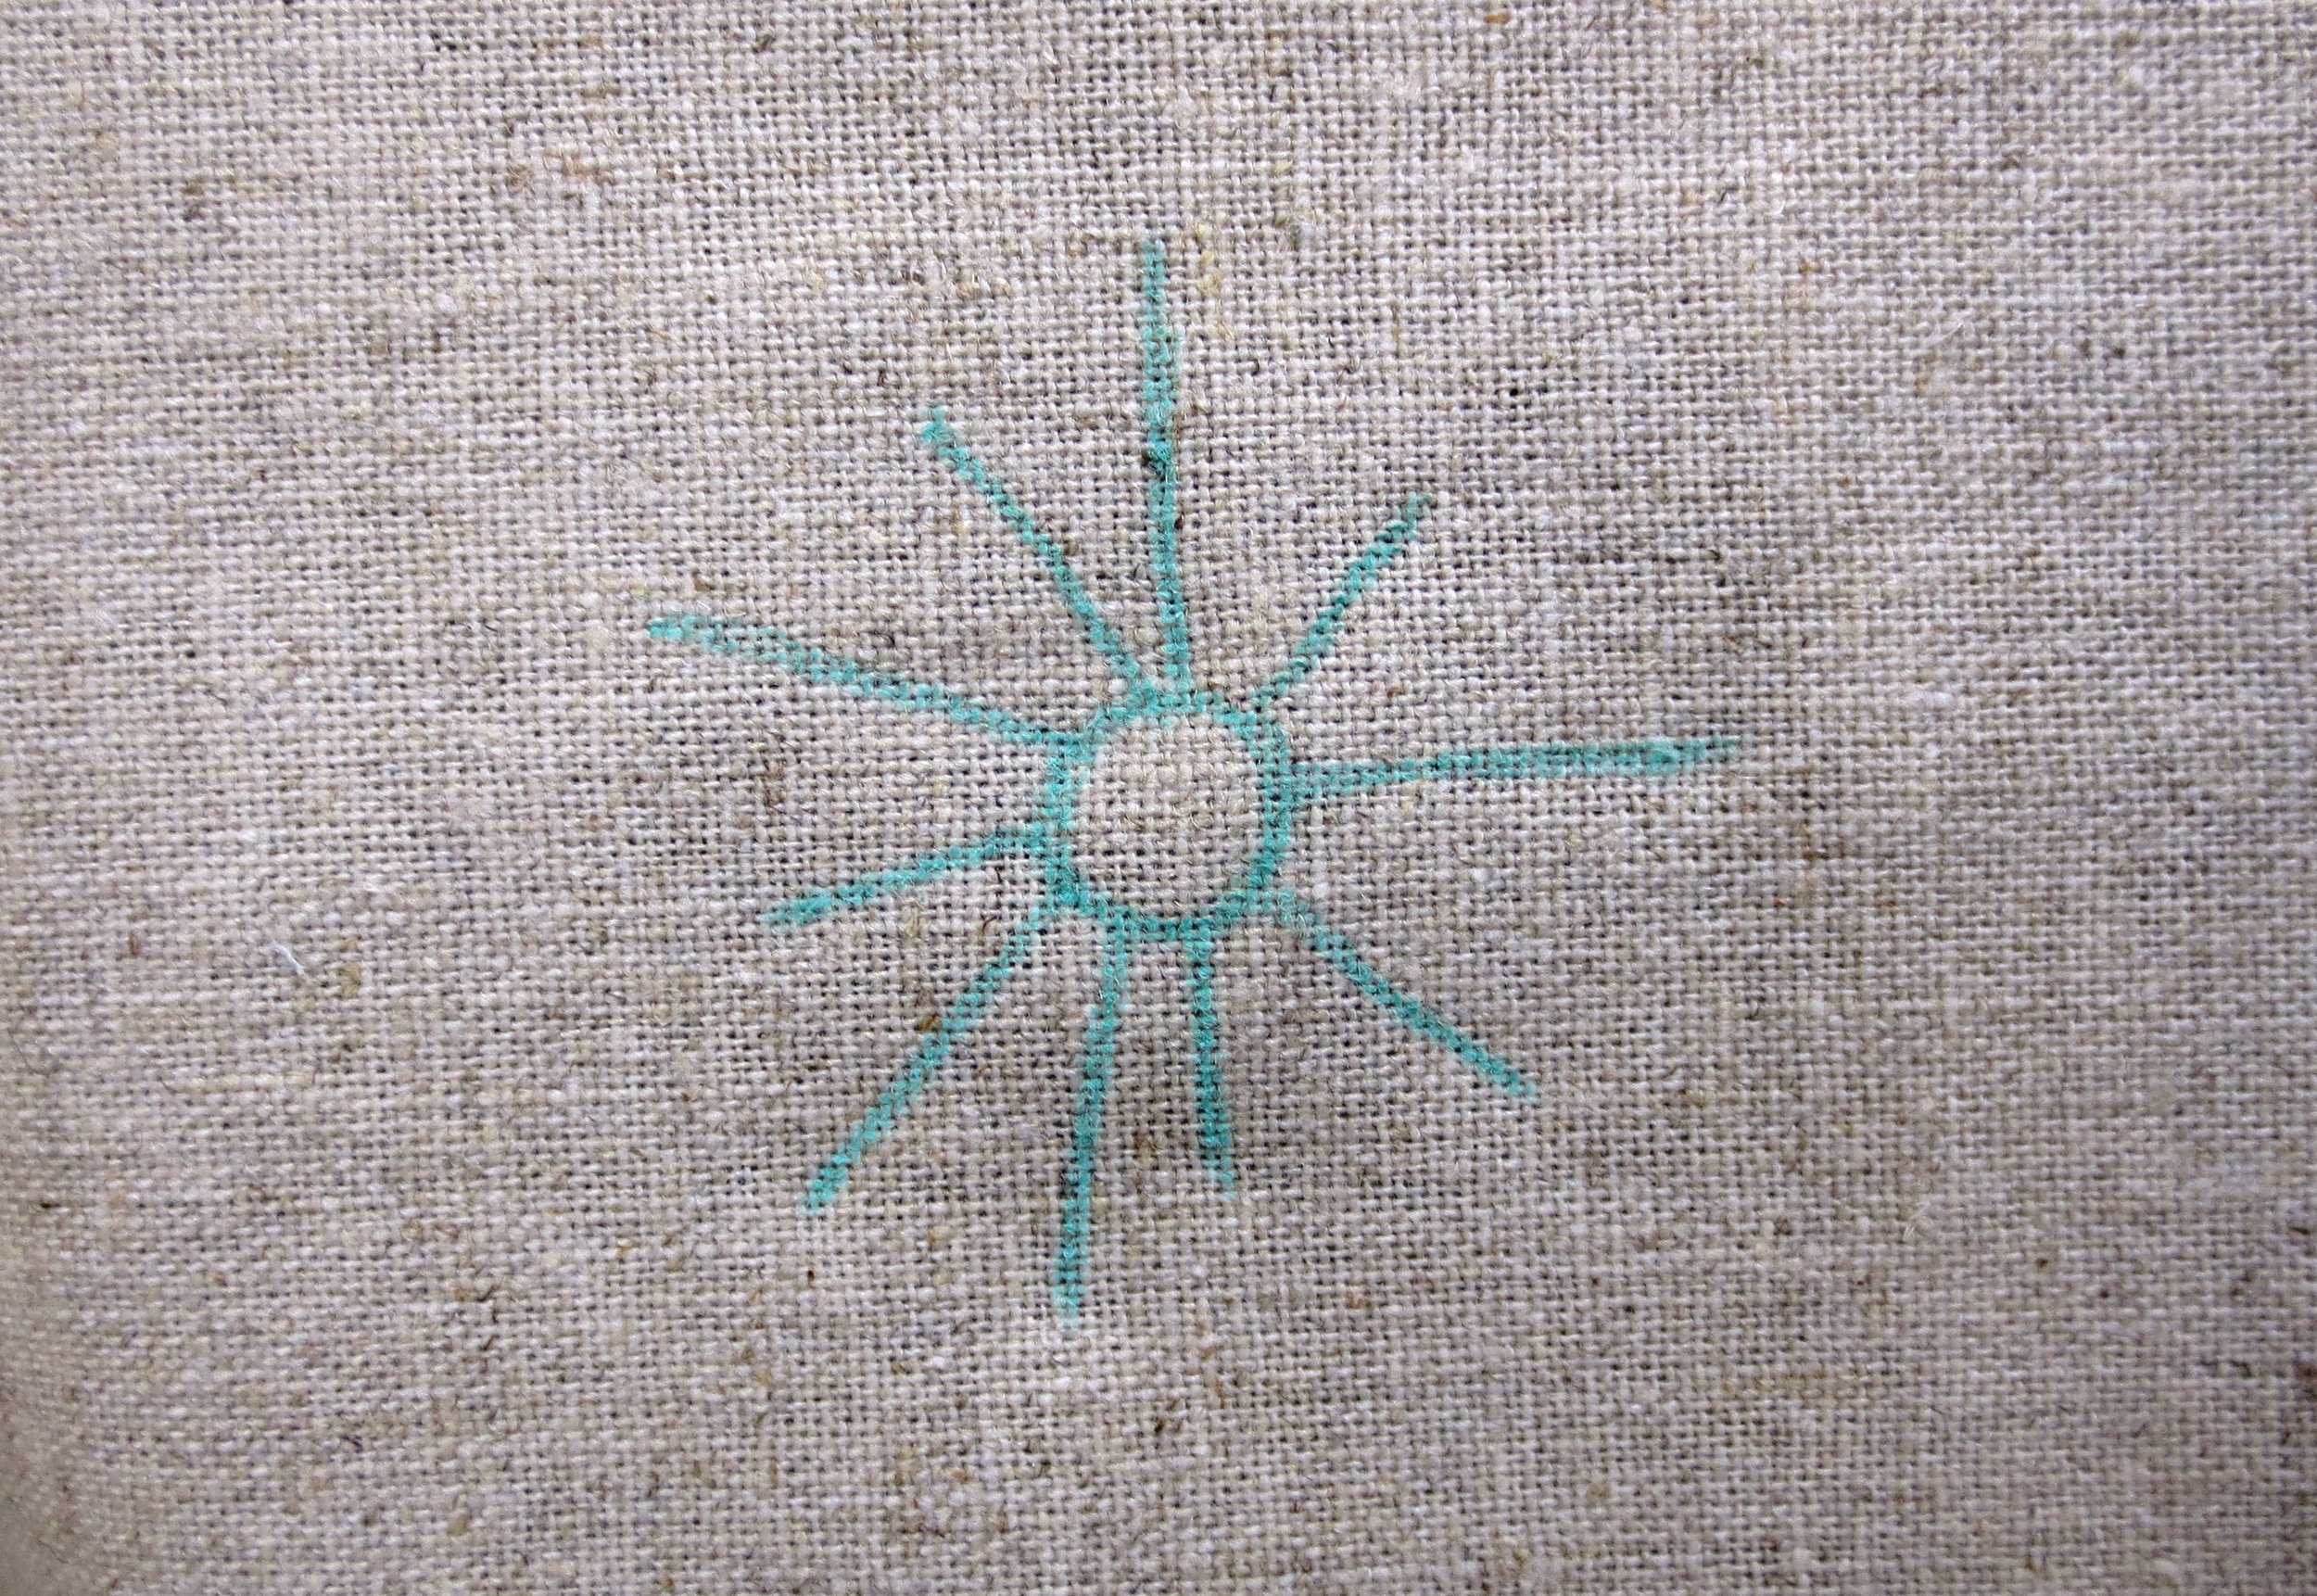
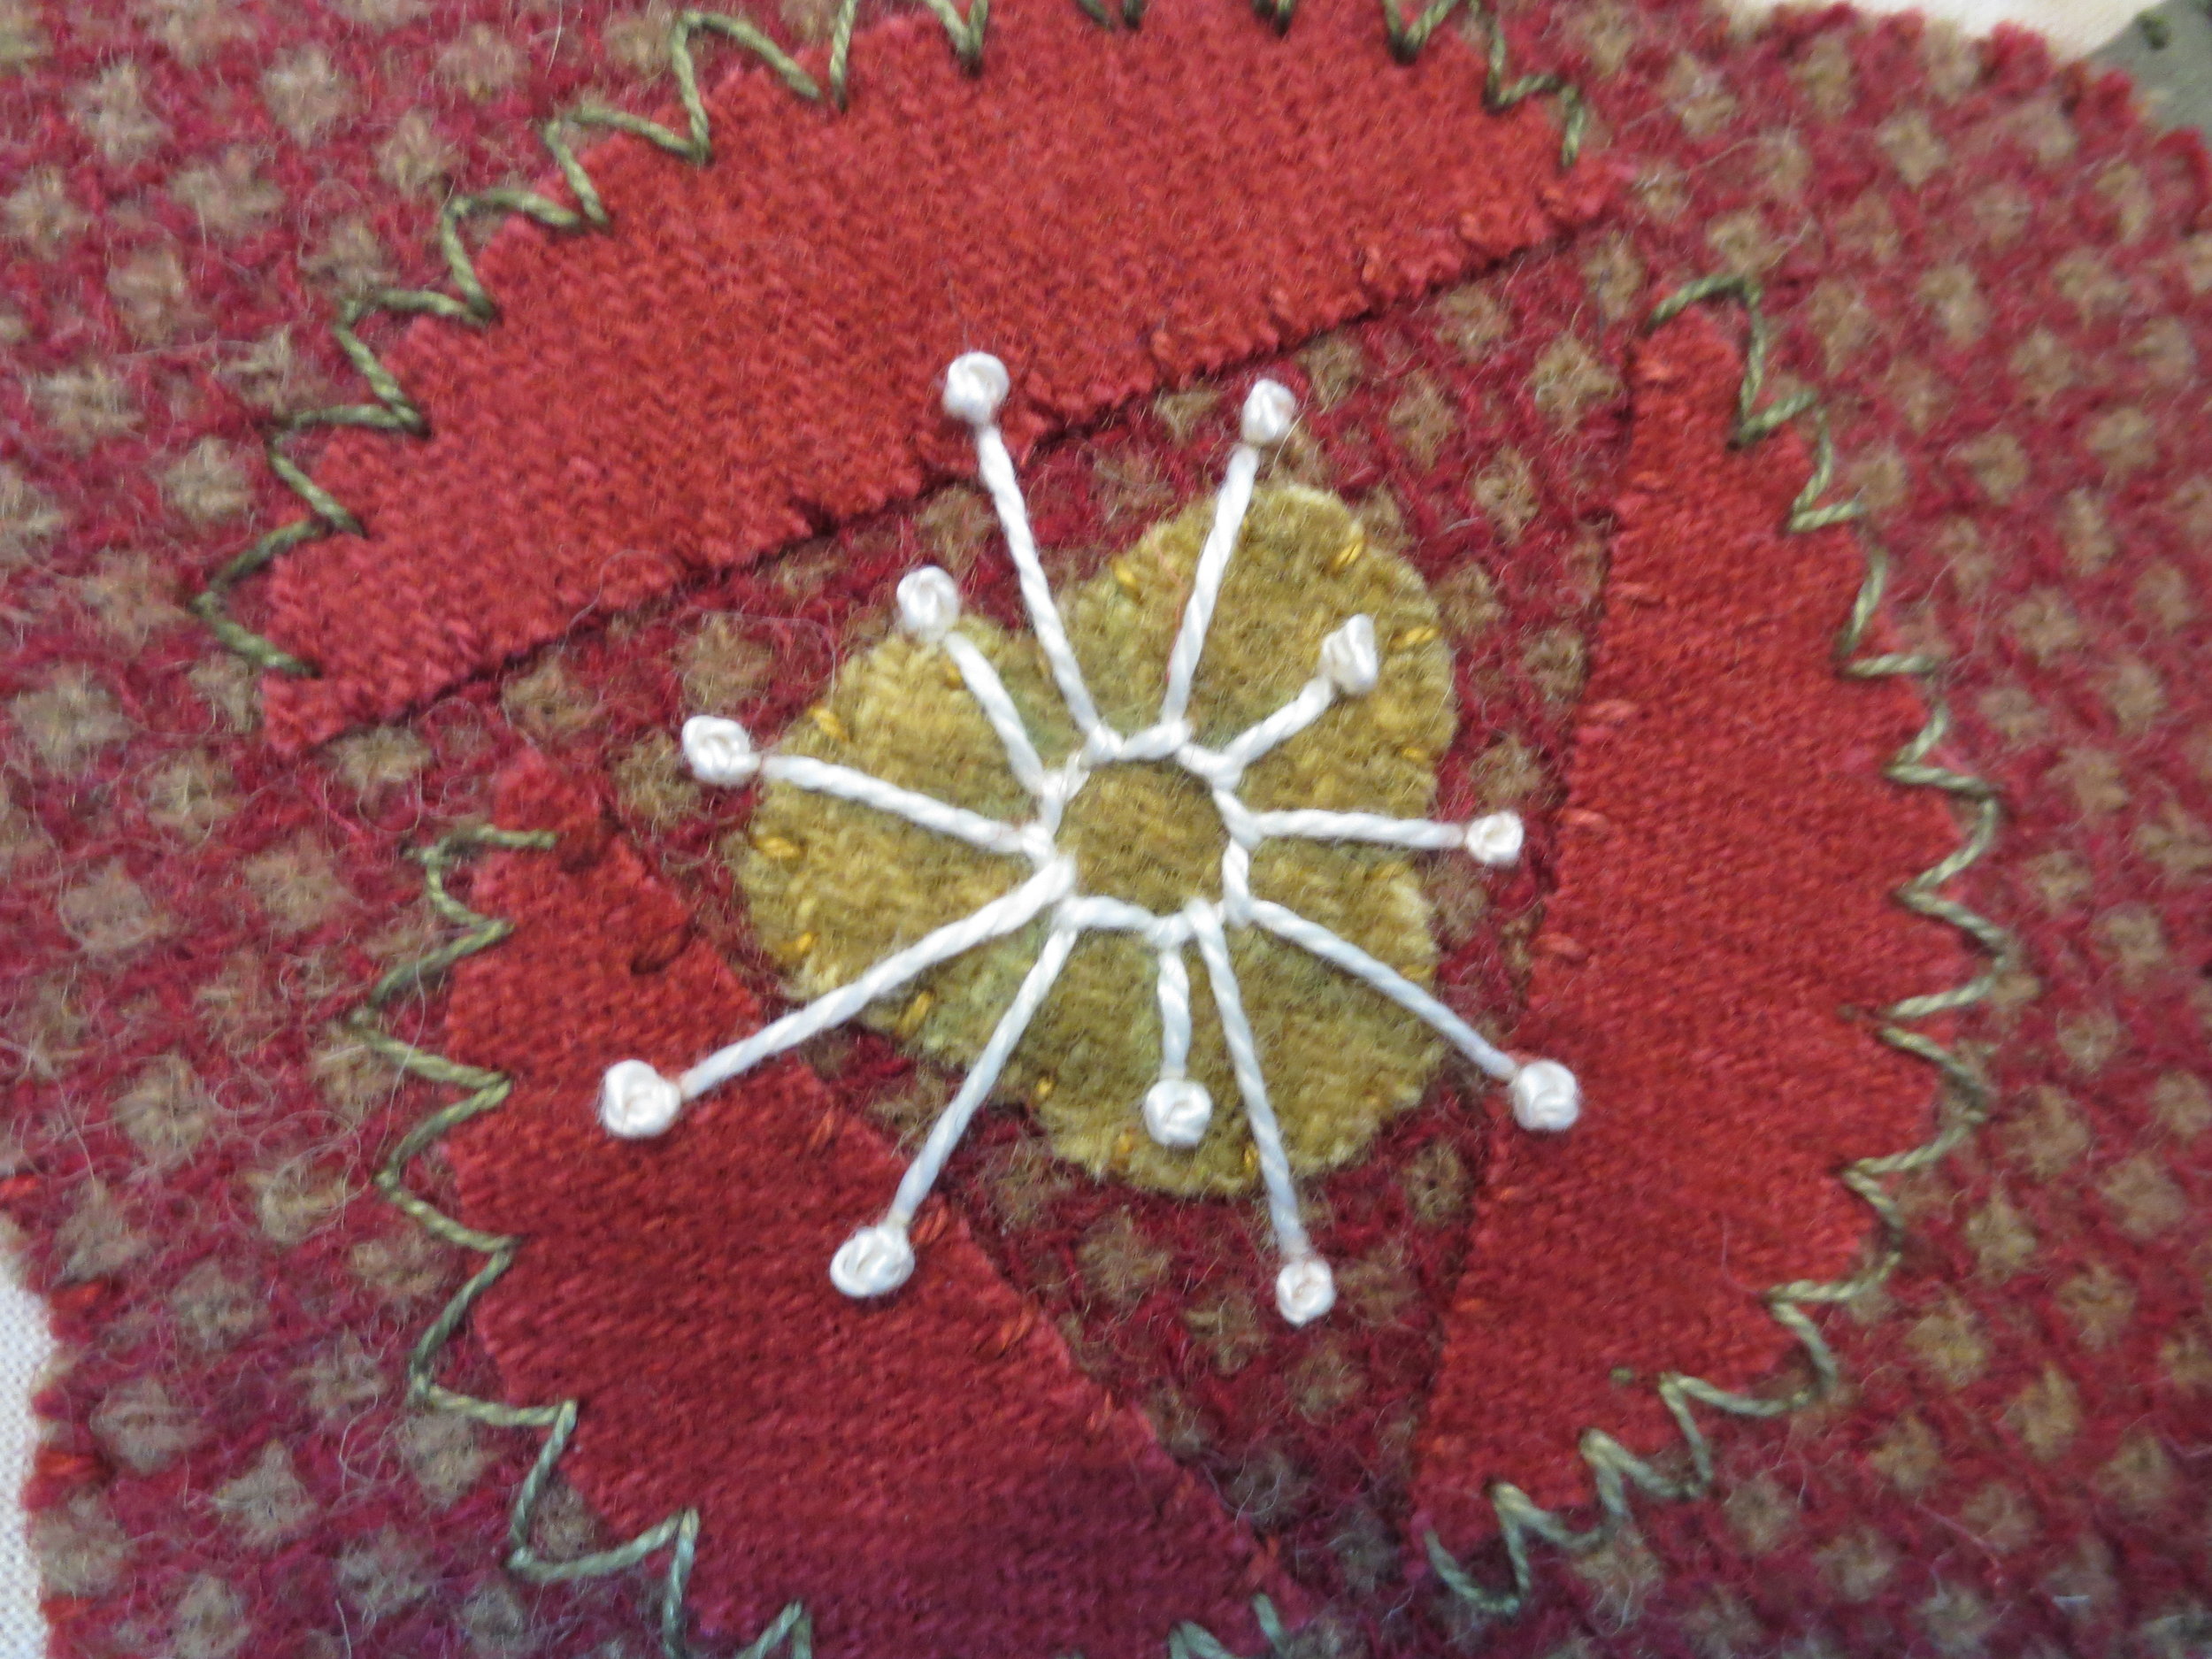
- Use a chalk pencil to draw a small circle in the center of the flower. Draw eleven (the number of lines is not critical) radiating lines of various lengths.
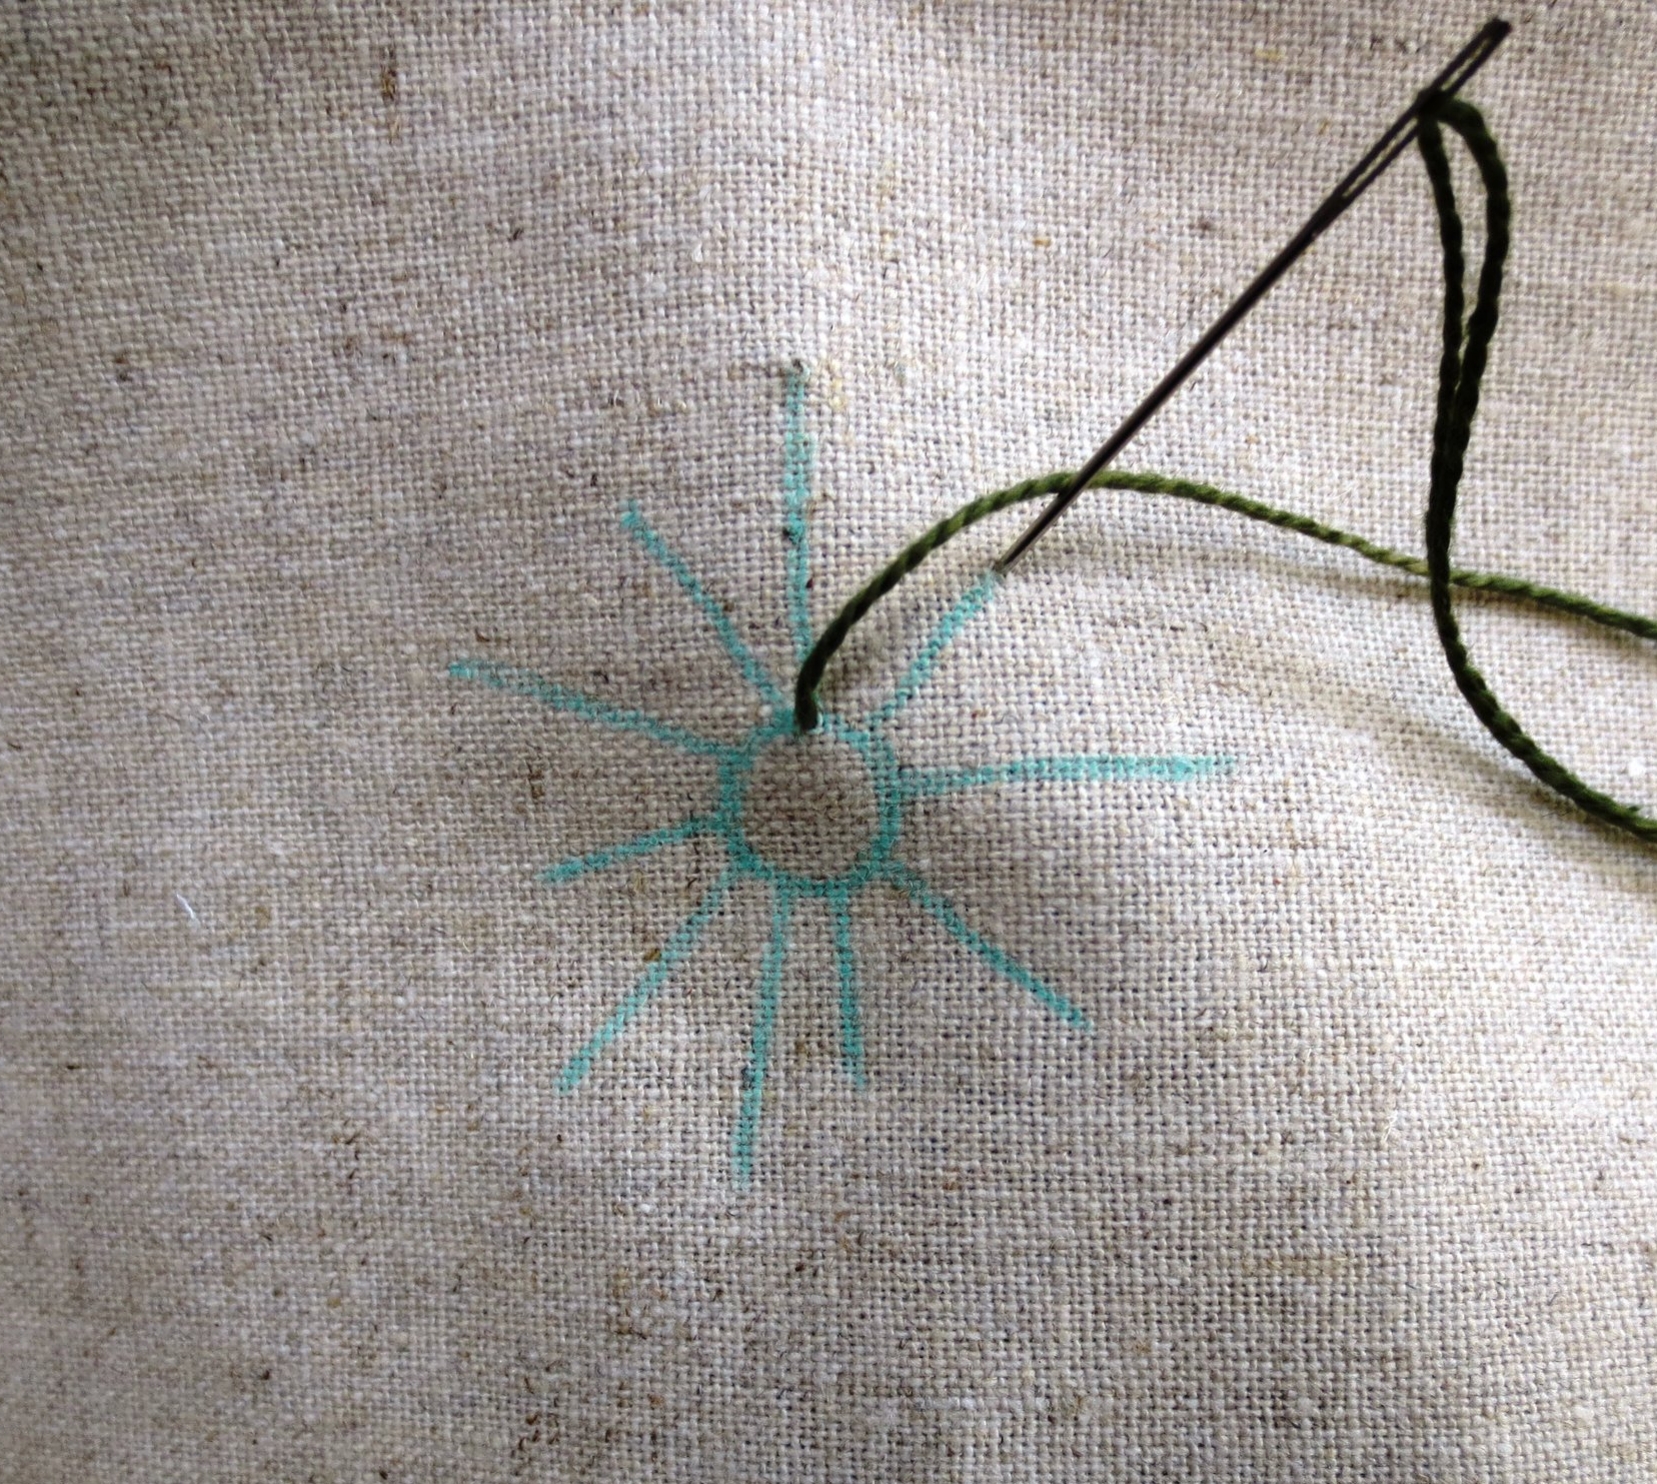
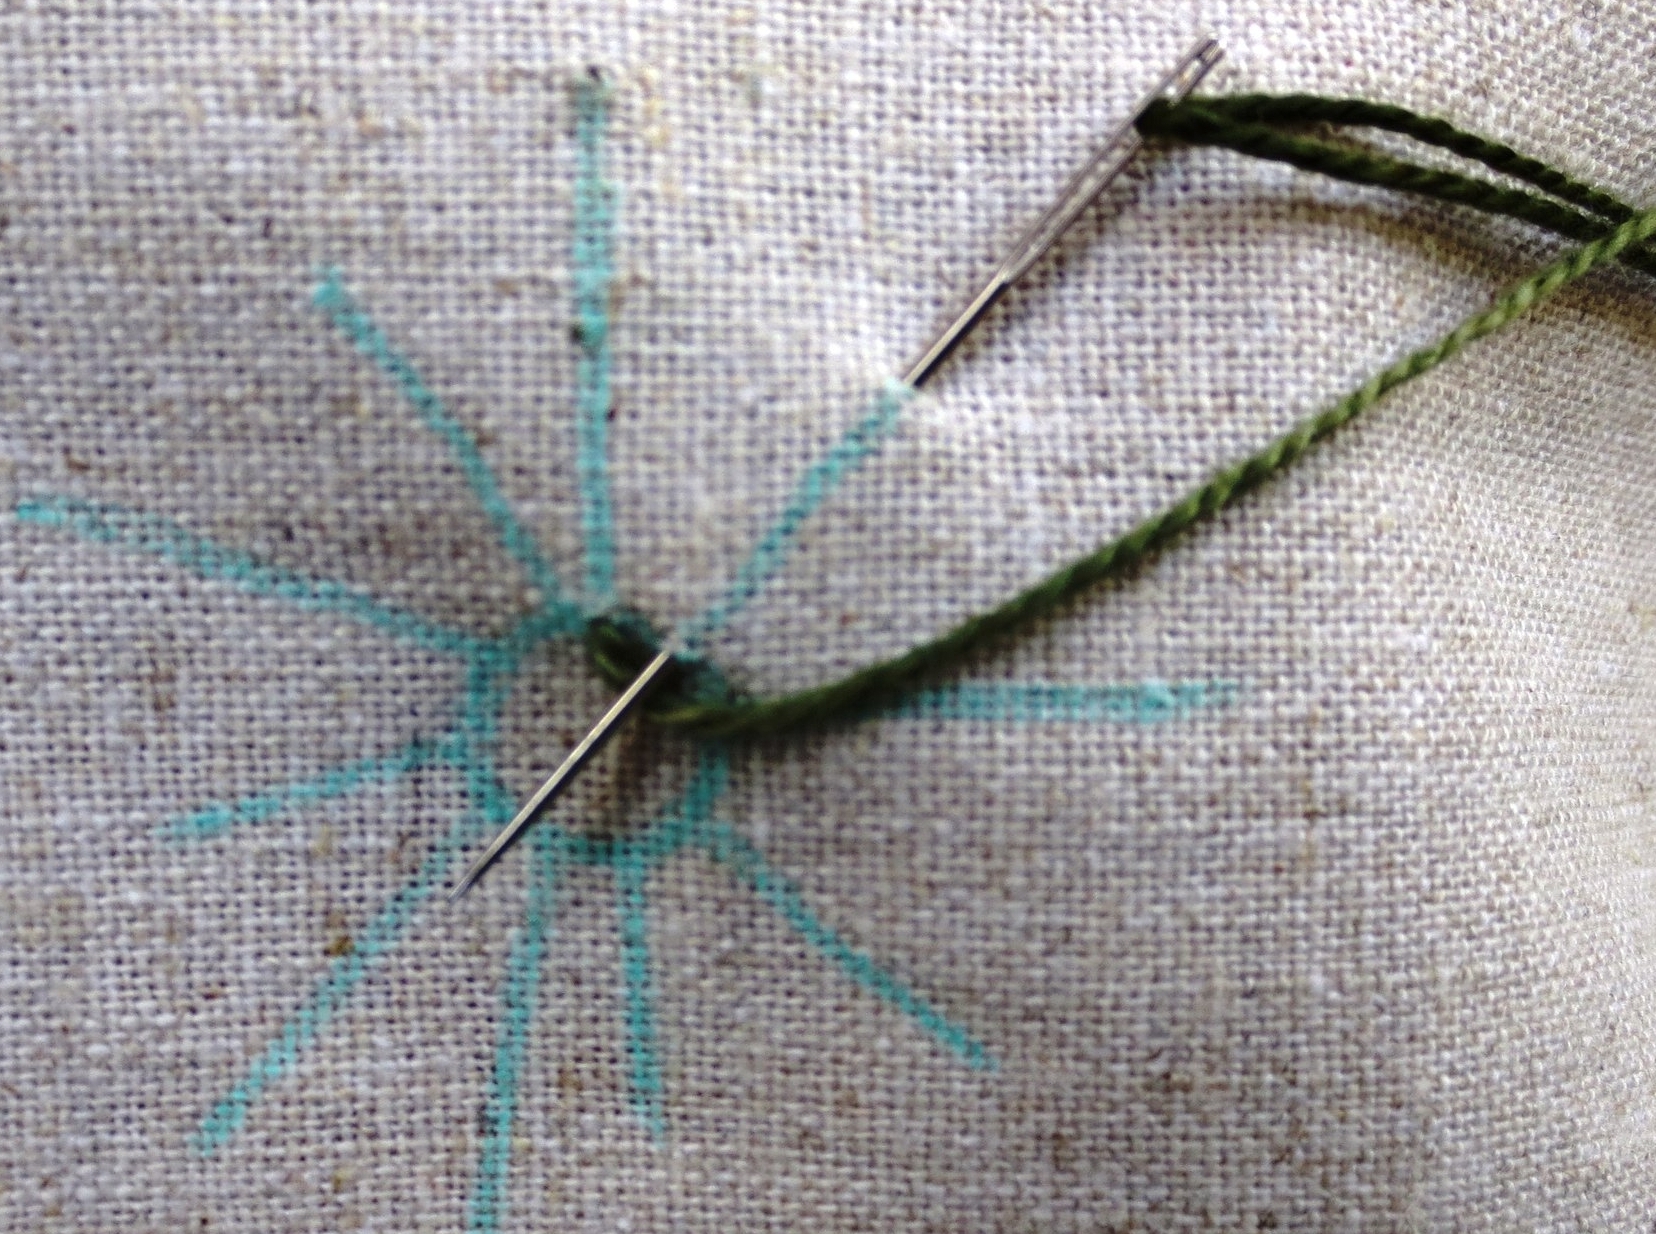
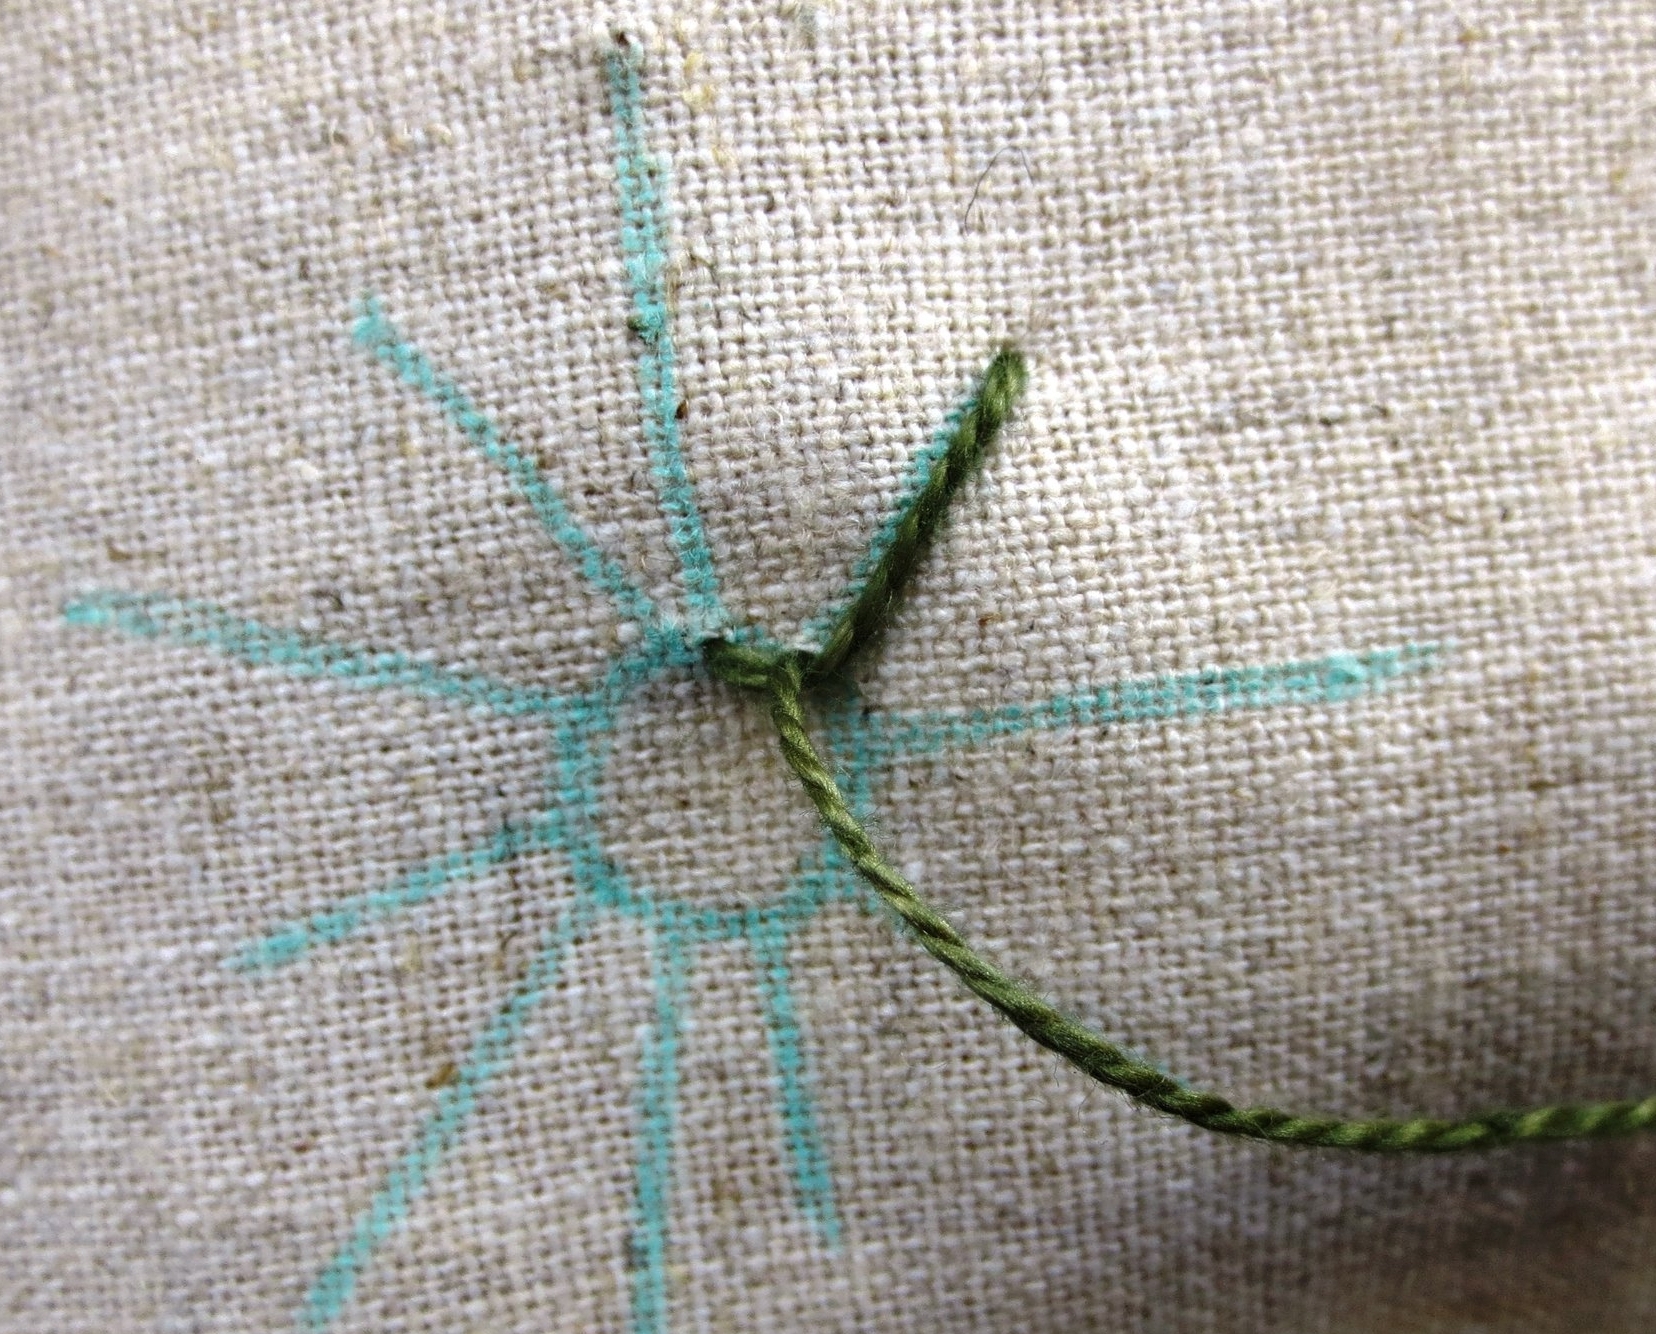
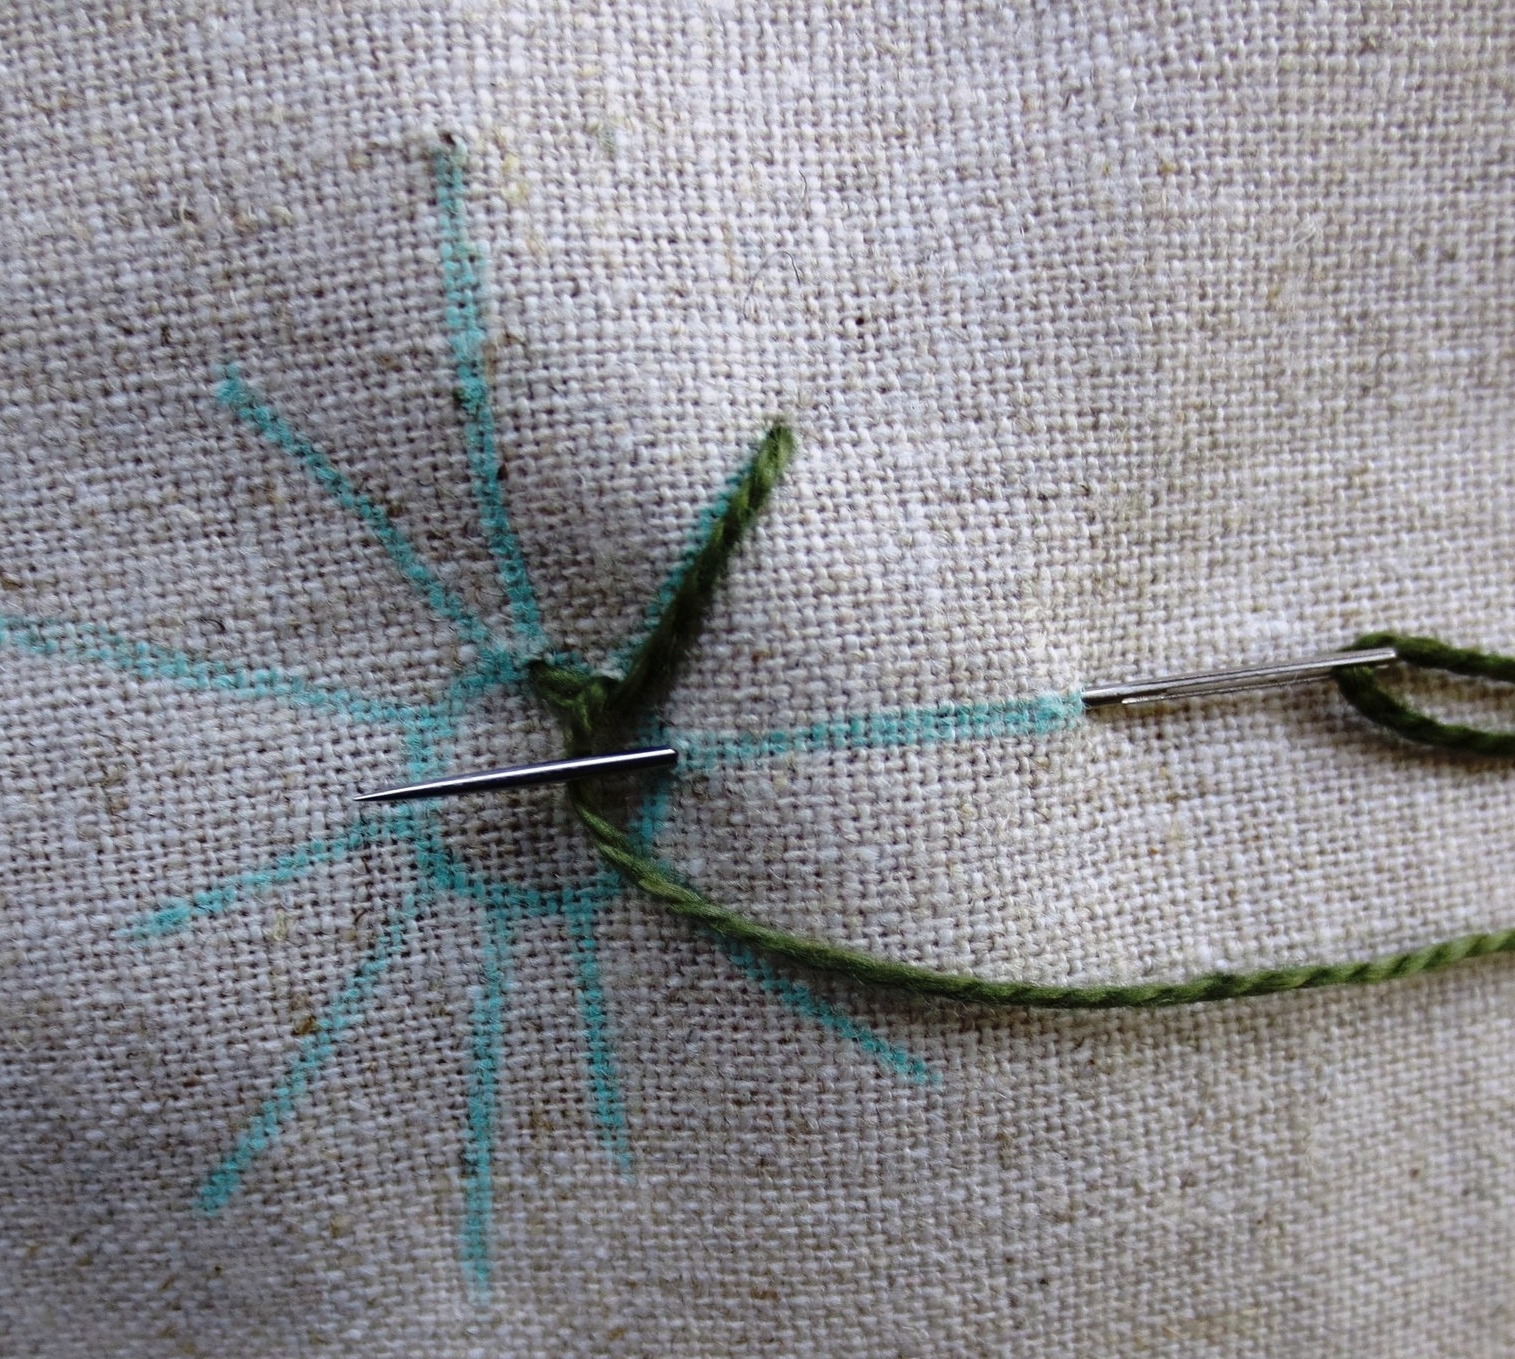
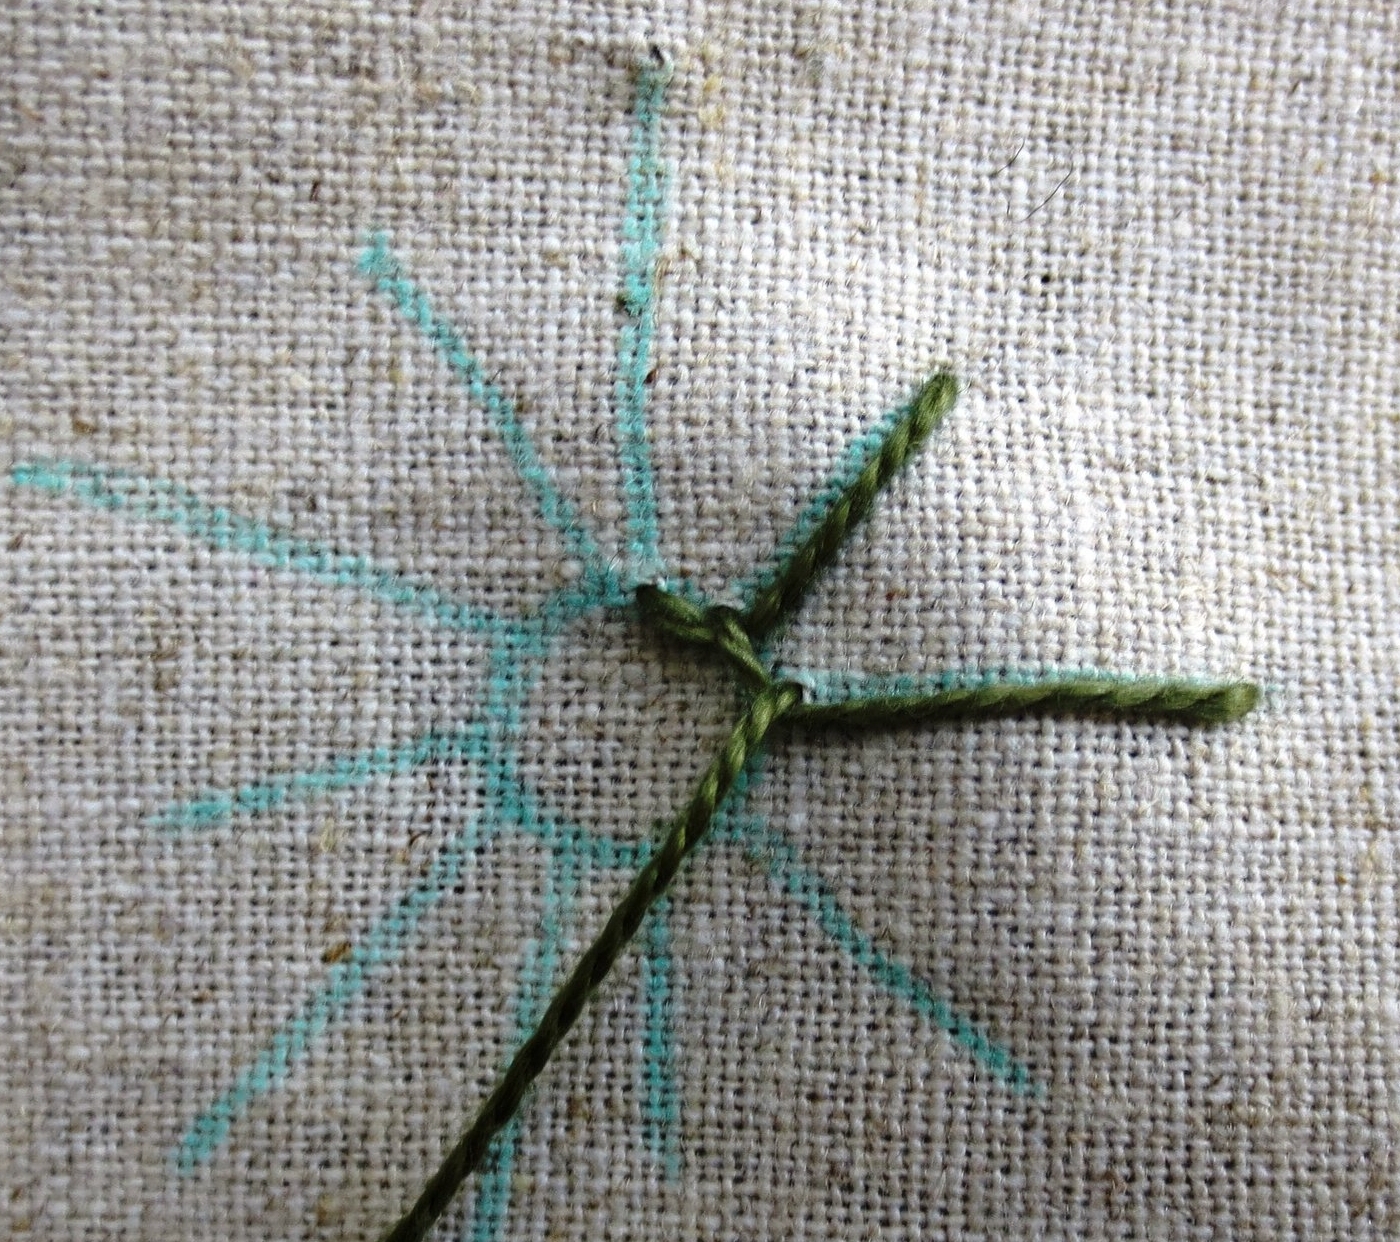
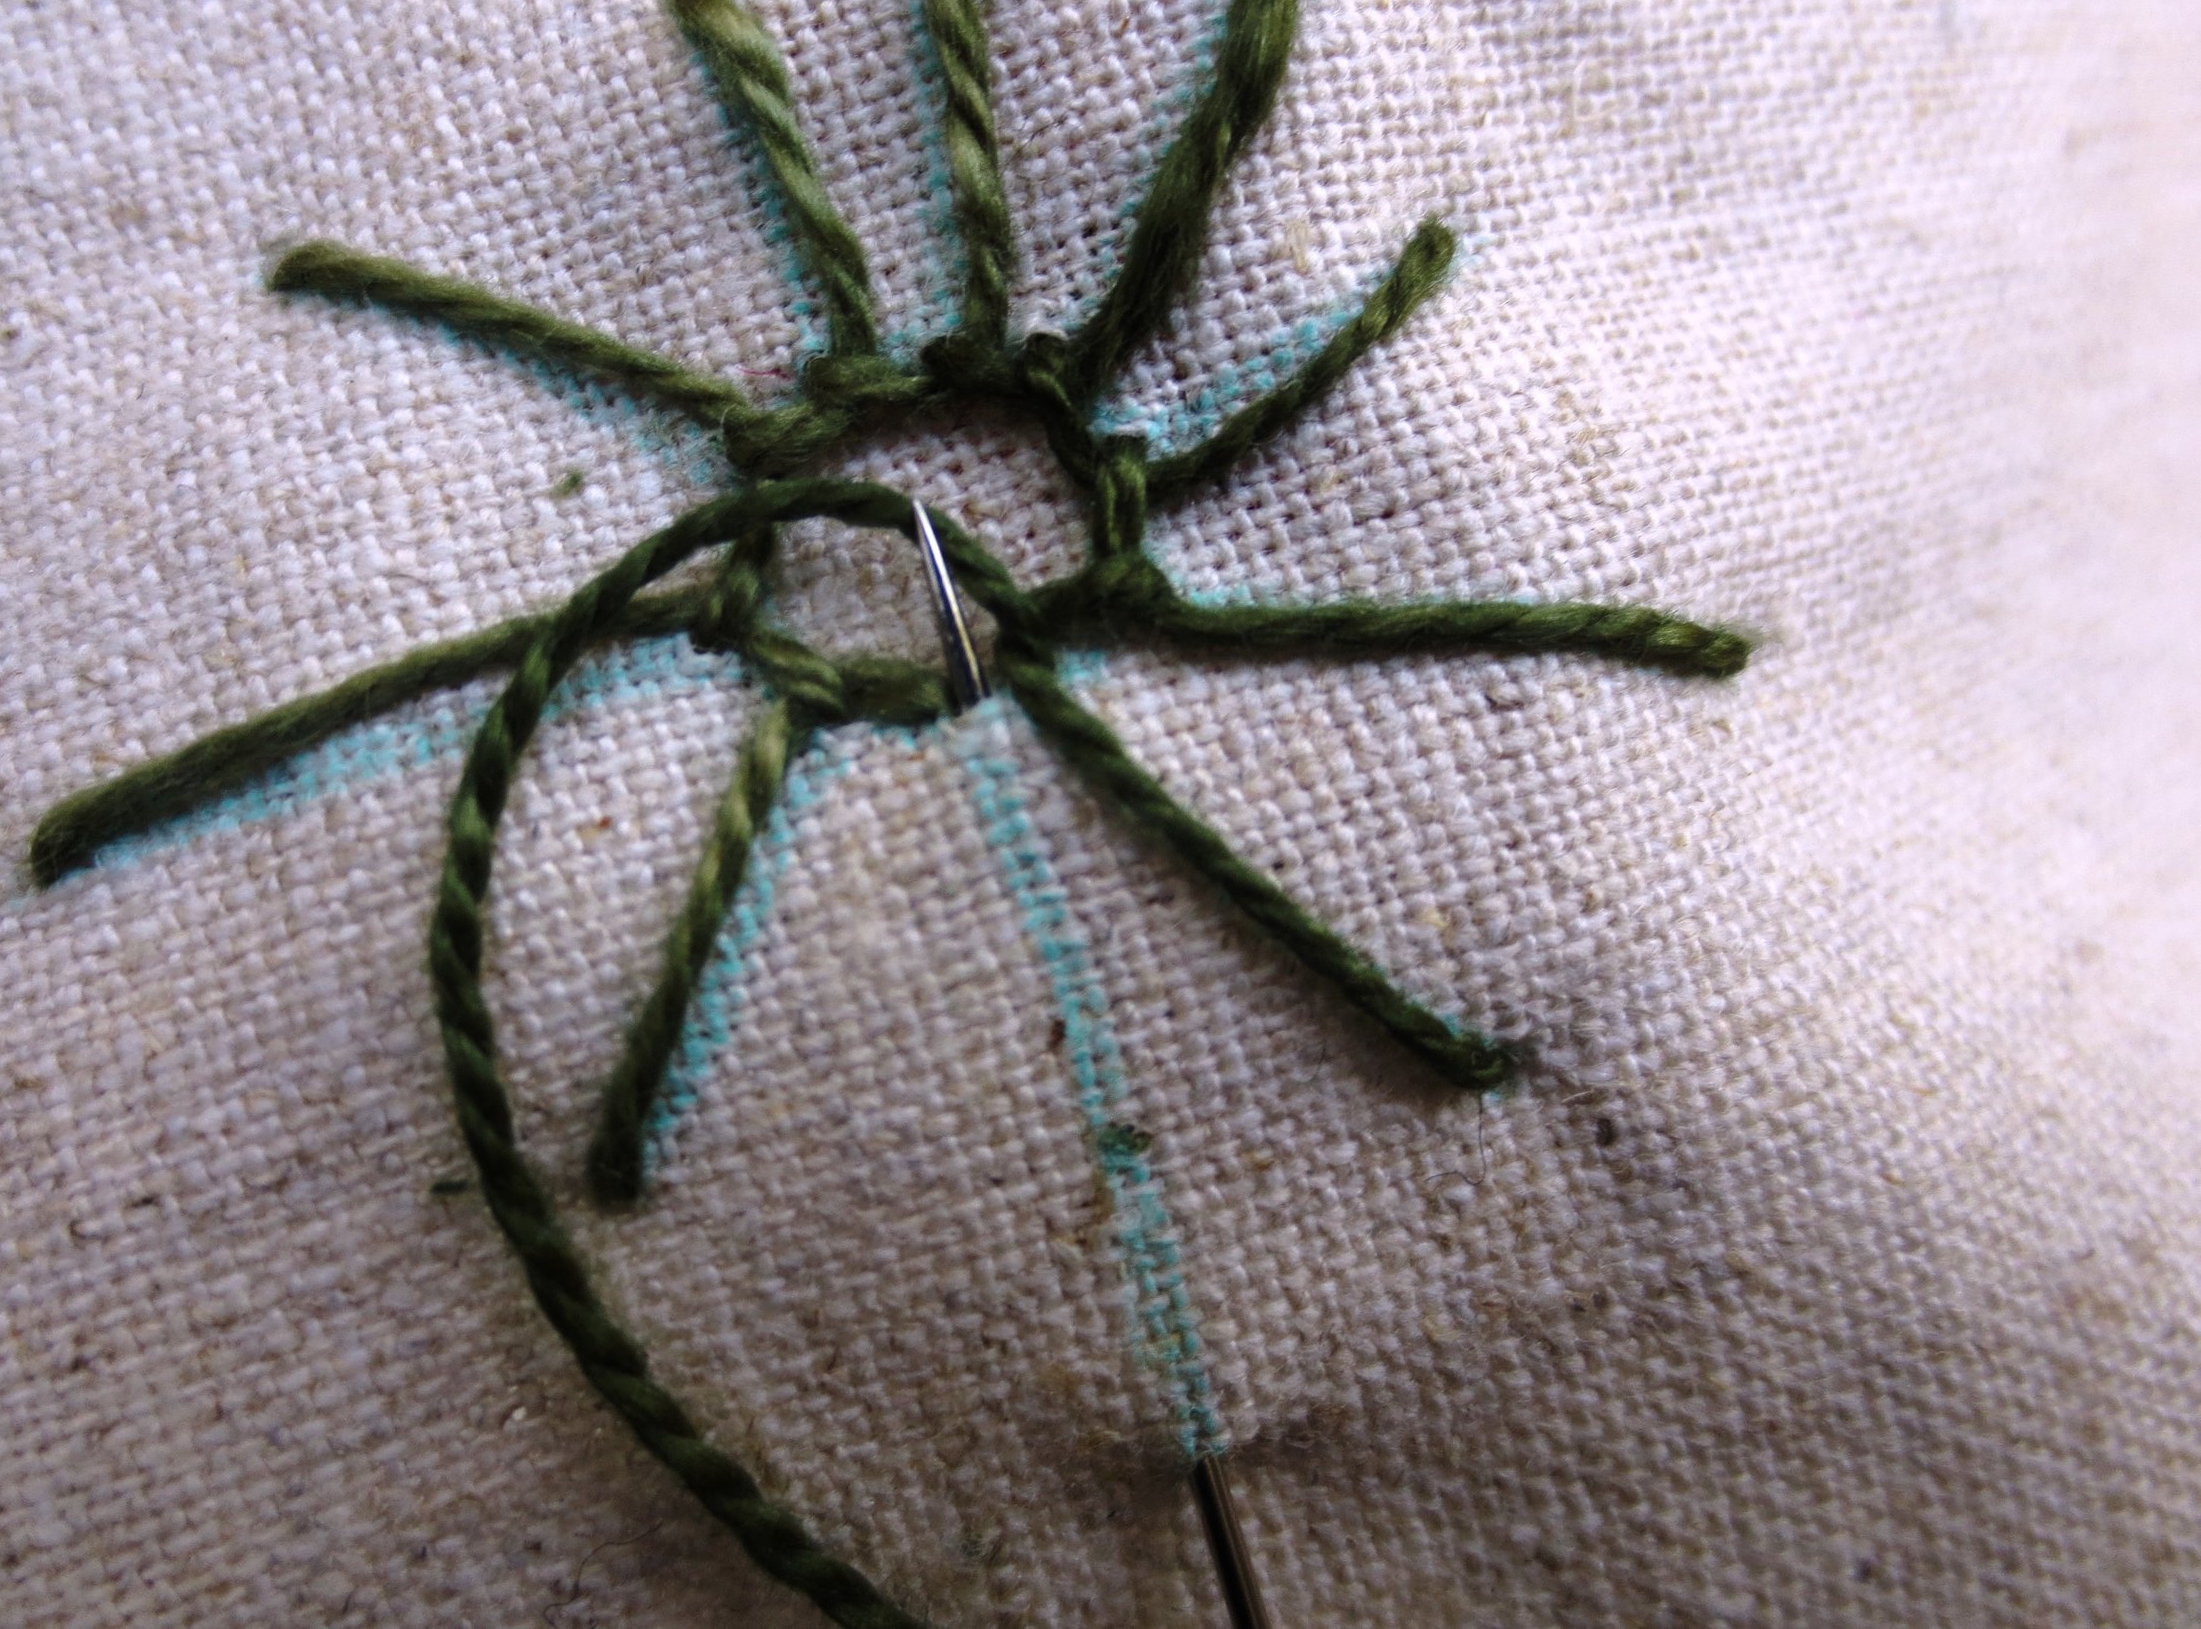
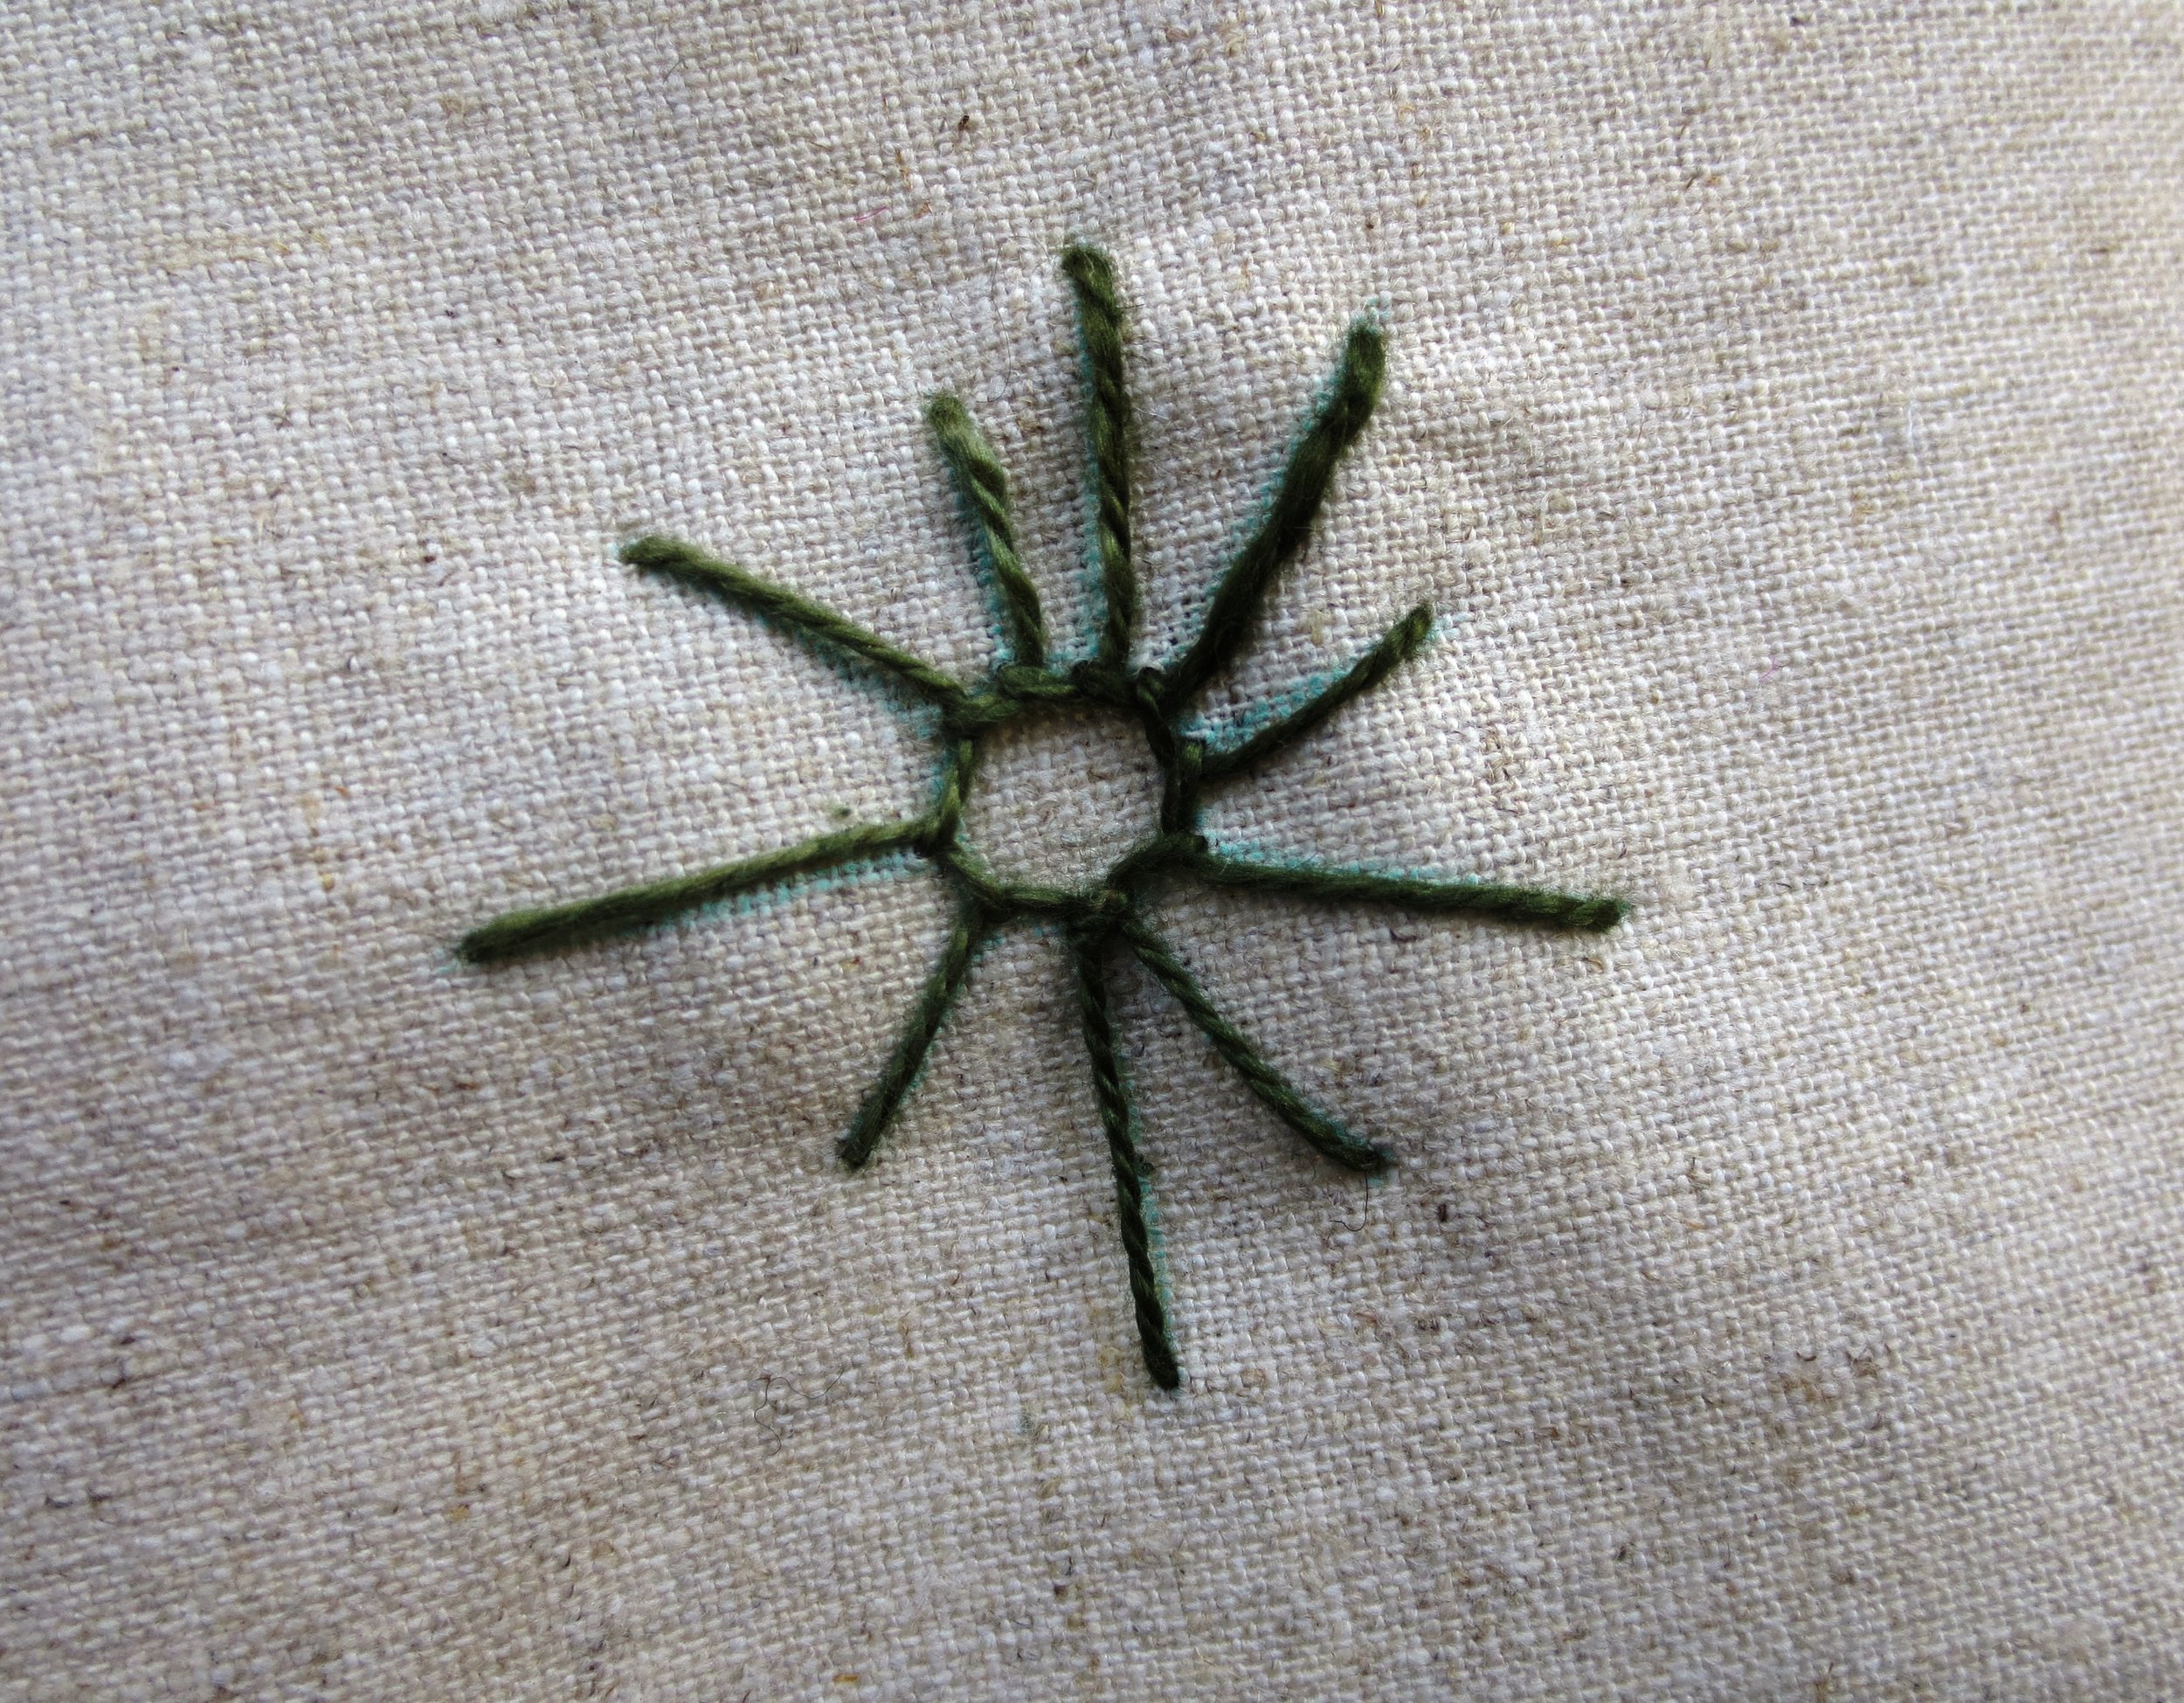
- Use Valdani, perle 8, color #P4 to stitch a buttonhole flower over the lines. Then buttonhole flower stitch is similar to the blanket stitch, but you are working in a circle (see below).
Buttonhole Flower Stitch
- Come up along the center circle, just to the side of one of the radiating arms.
- Insert the needle in the tip of the radiating arm to the right of the origin point, bring the needle back up at the point where the arm connects with the circle, wrapping the thread around the back of the needle tip. Pull the thread through.
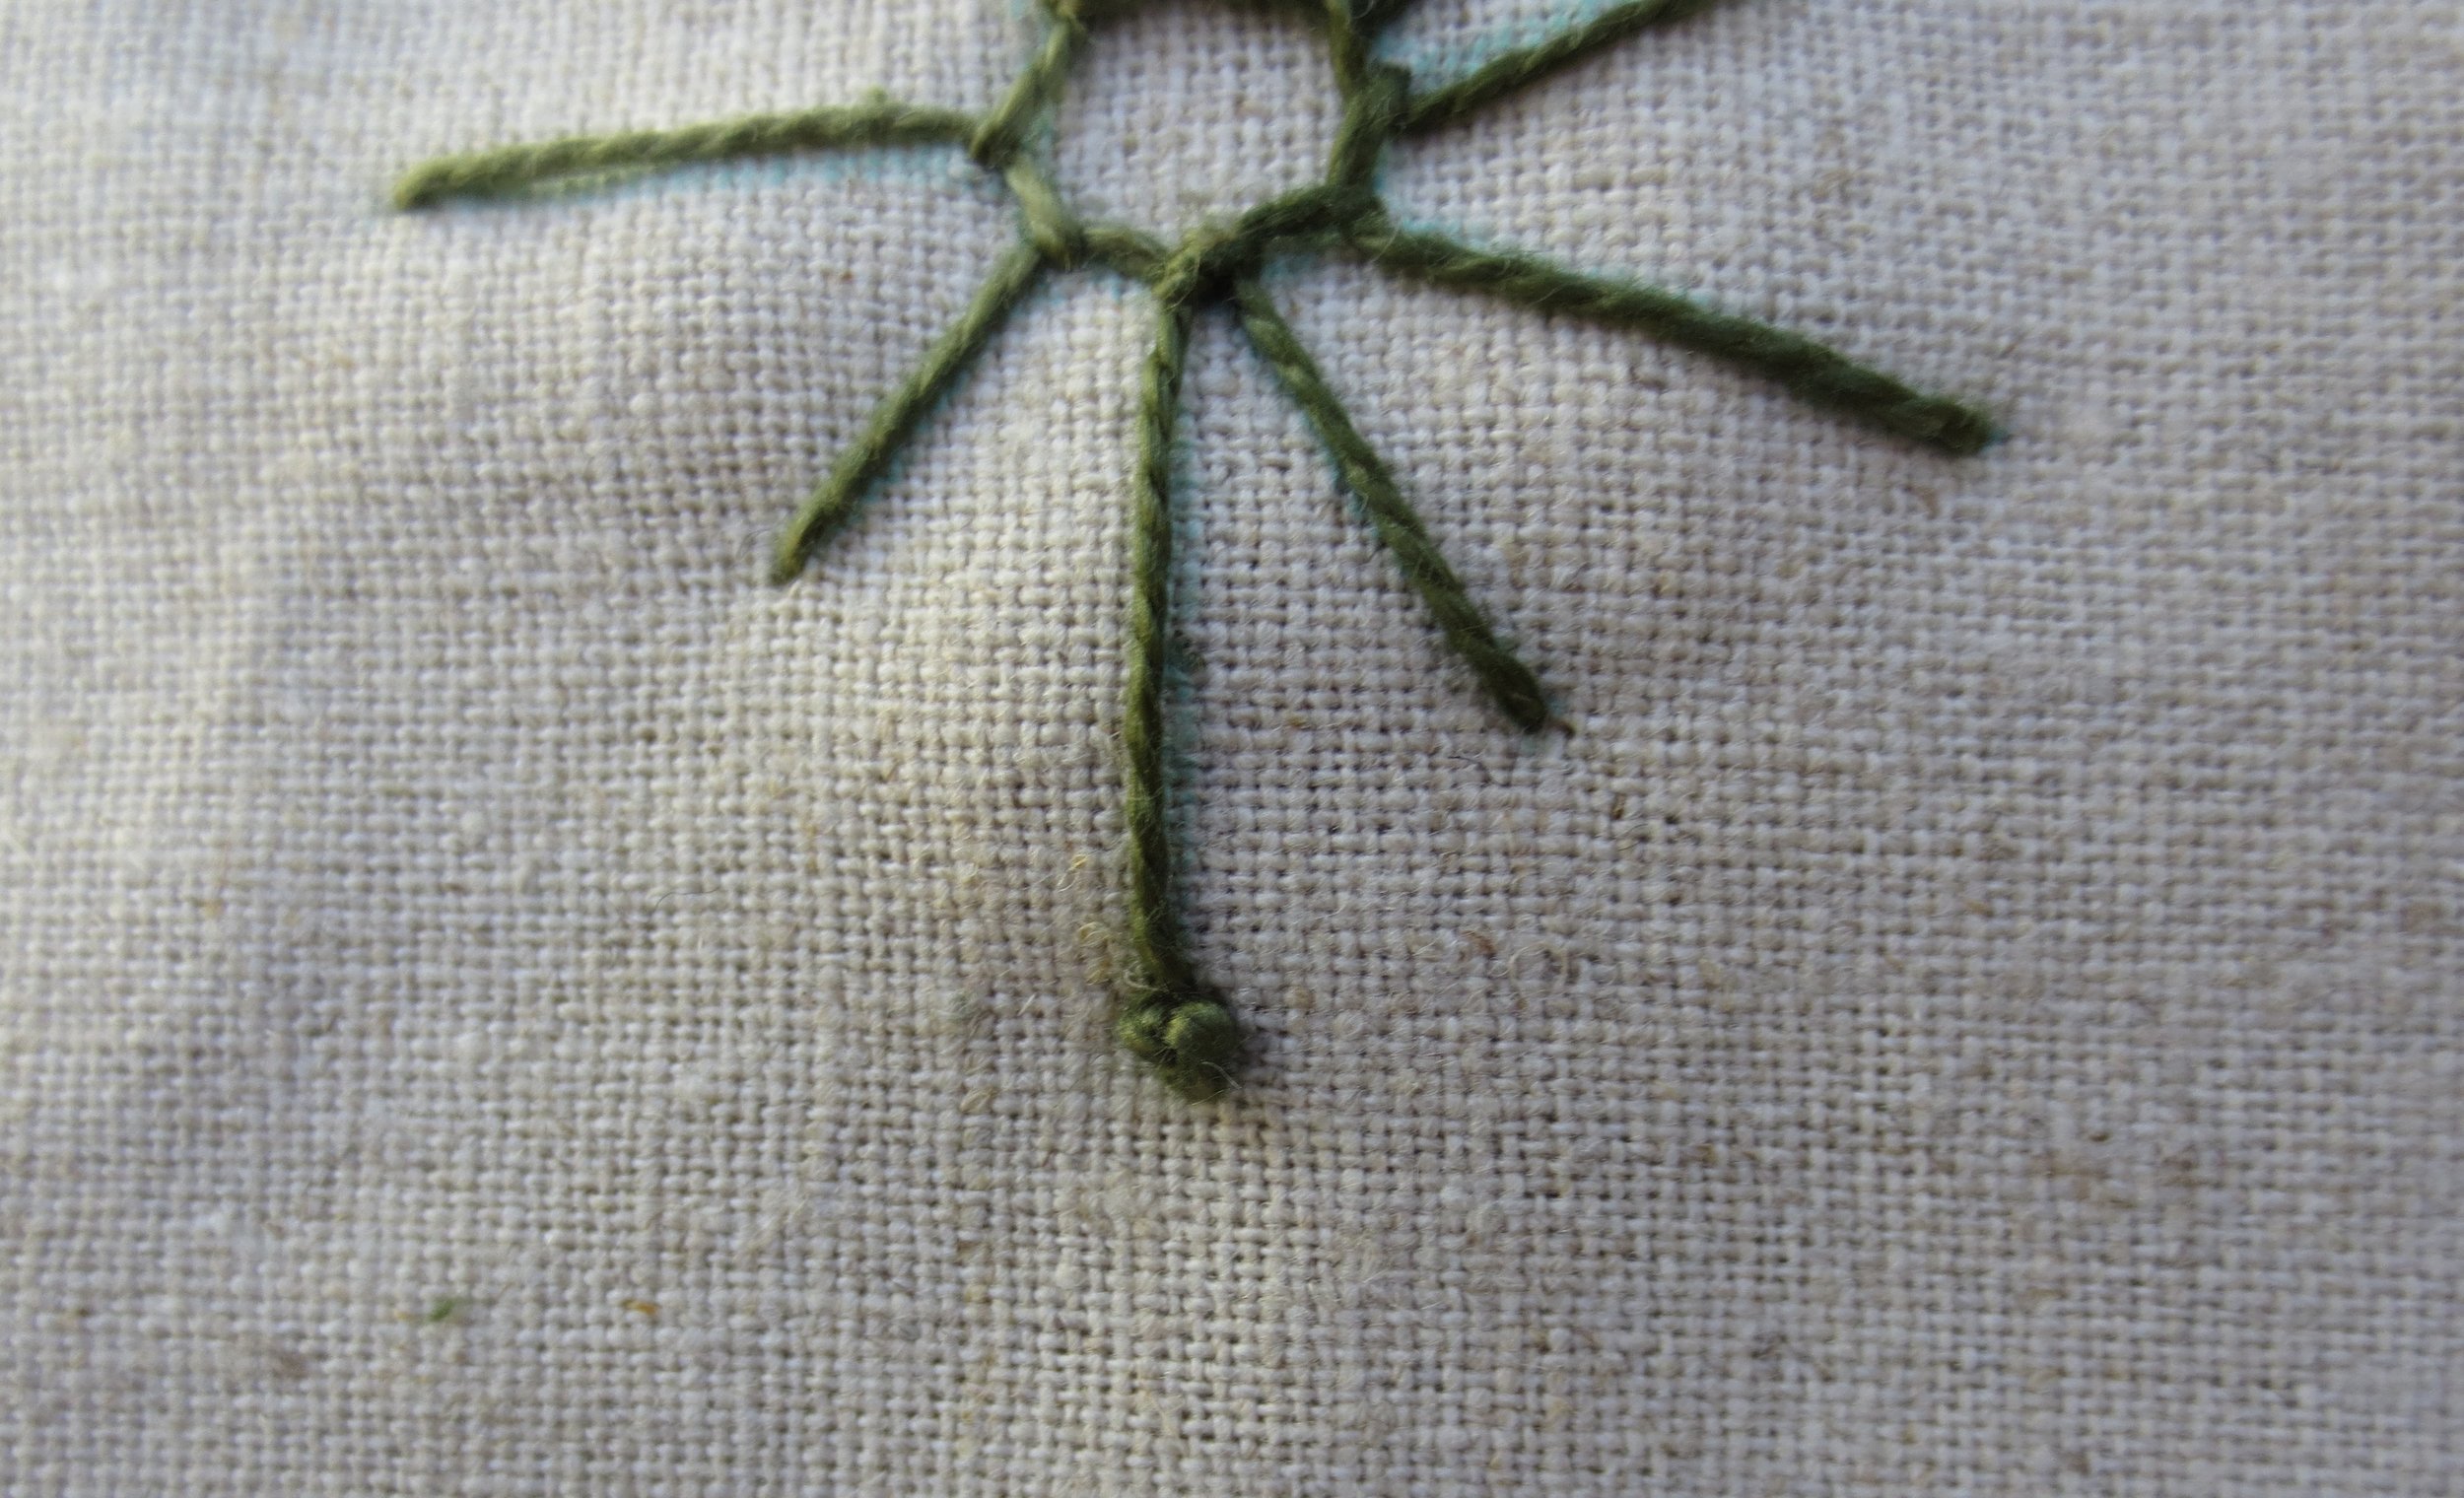
- Moving in a clockwise direction, repeat step 2 for all remaining arms. Tack the final arm by inserting the last stitch into the point of origin.
- Stitch a single french or colonial knot at the end of each radiating arm.
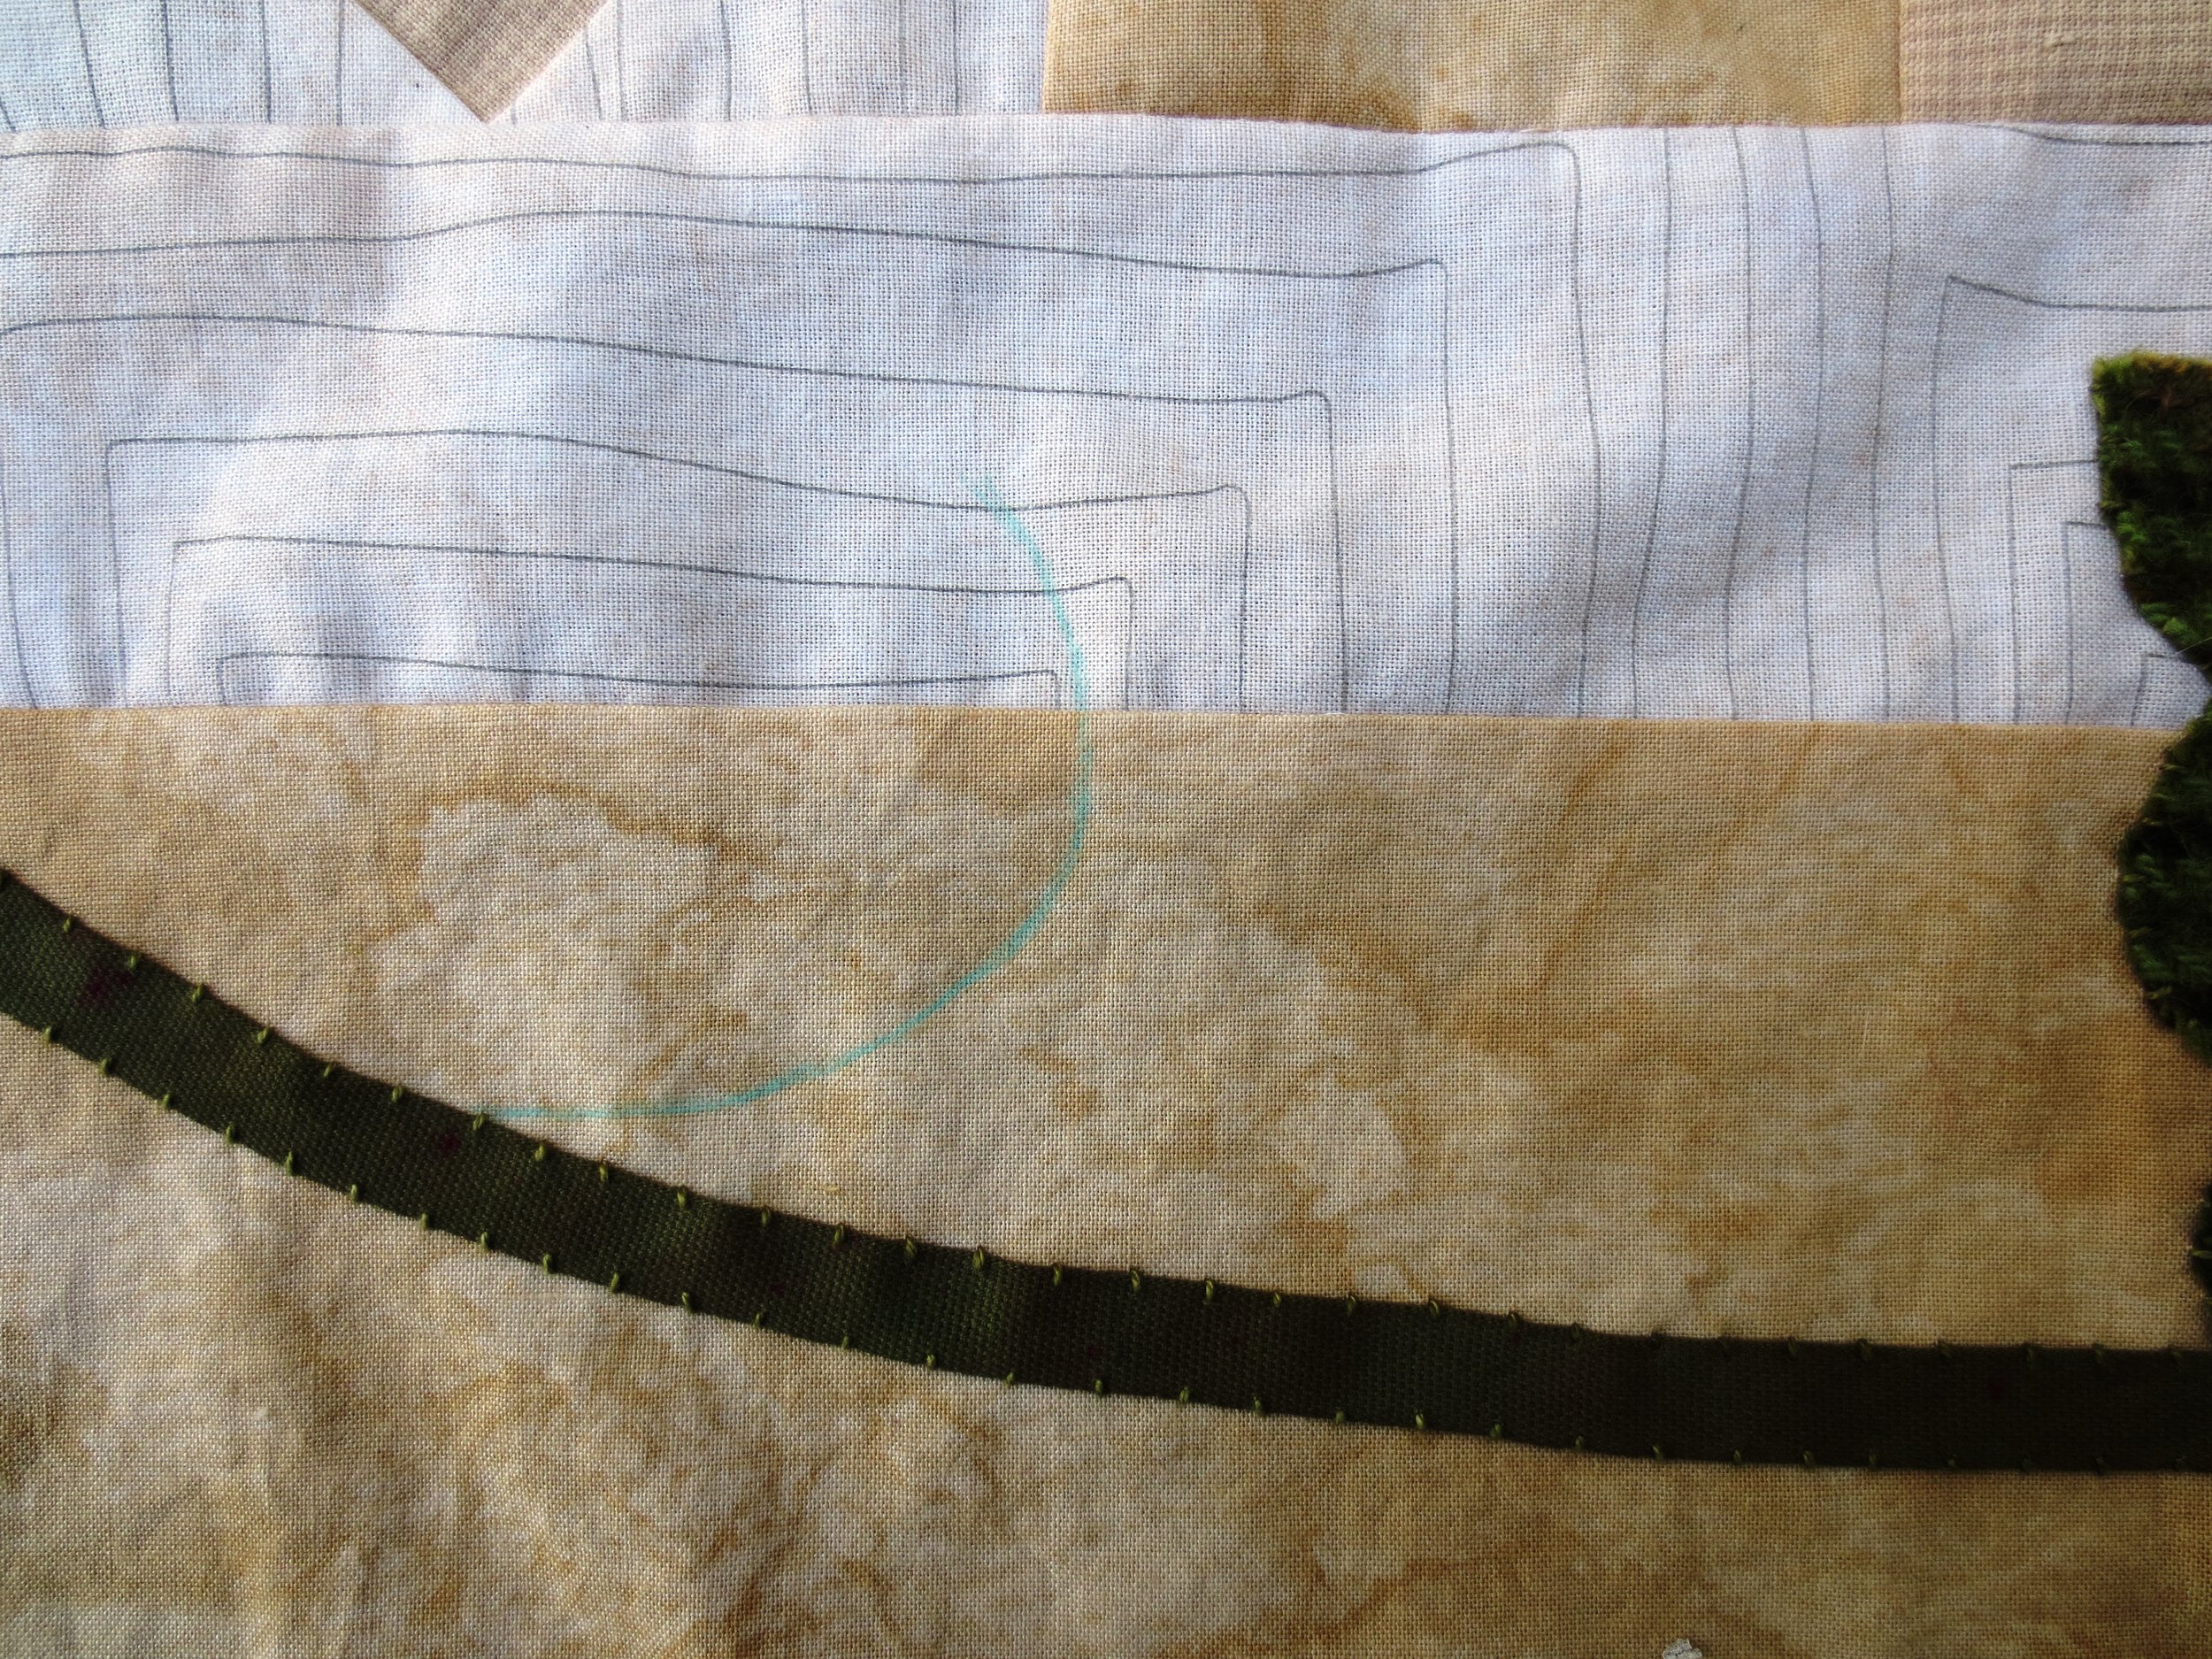
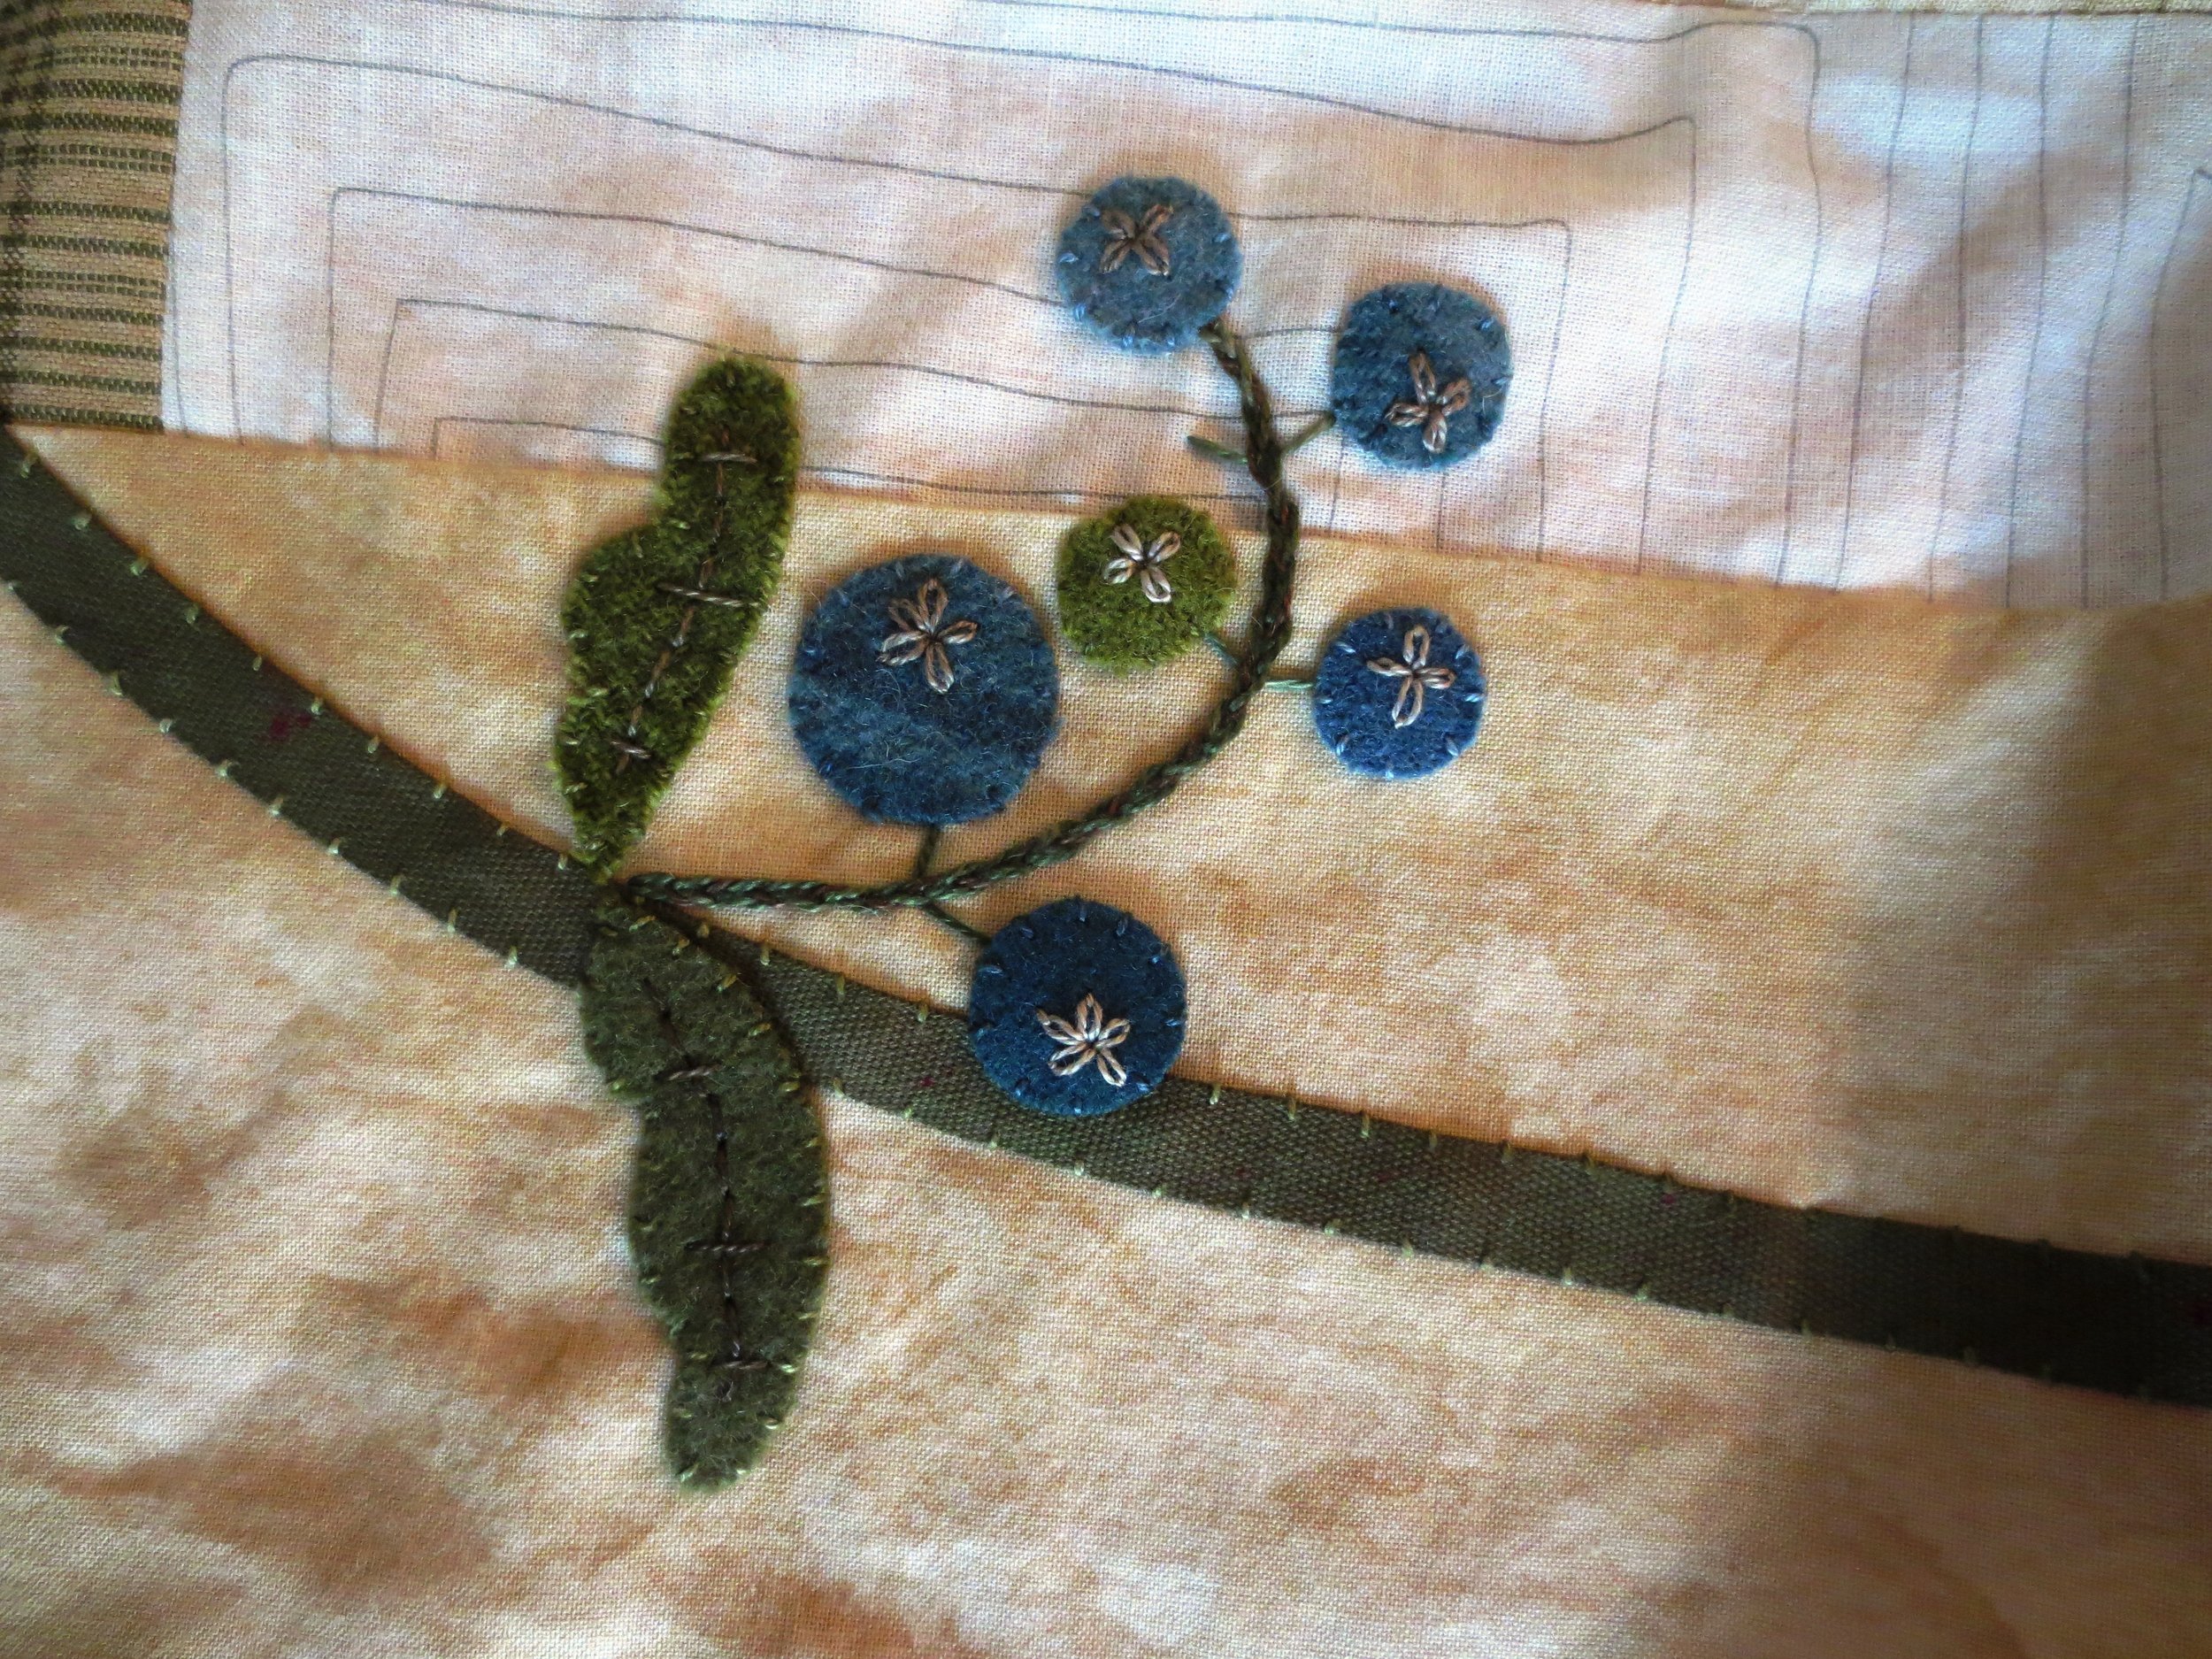
- Using a chalk pencil, draw a berry stem approximately 6 1/2" to the left of the forked branches.
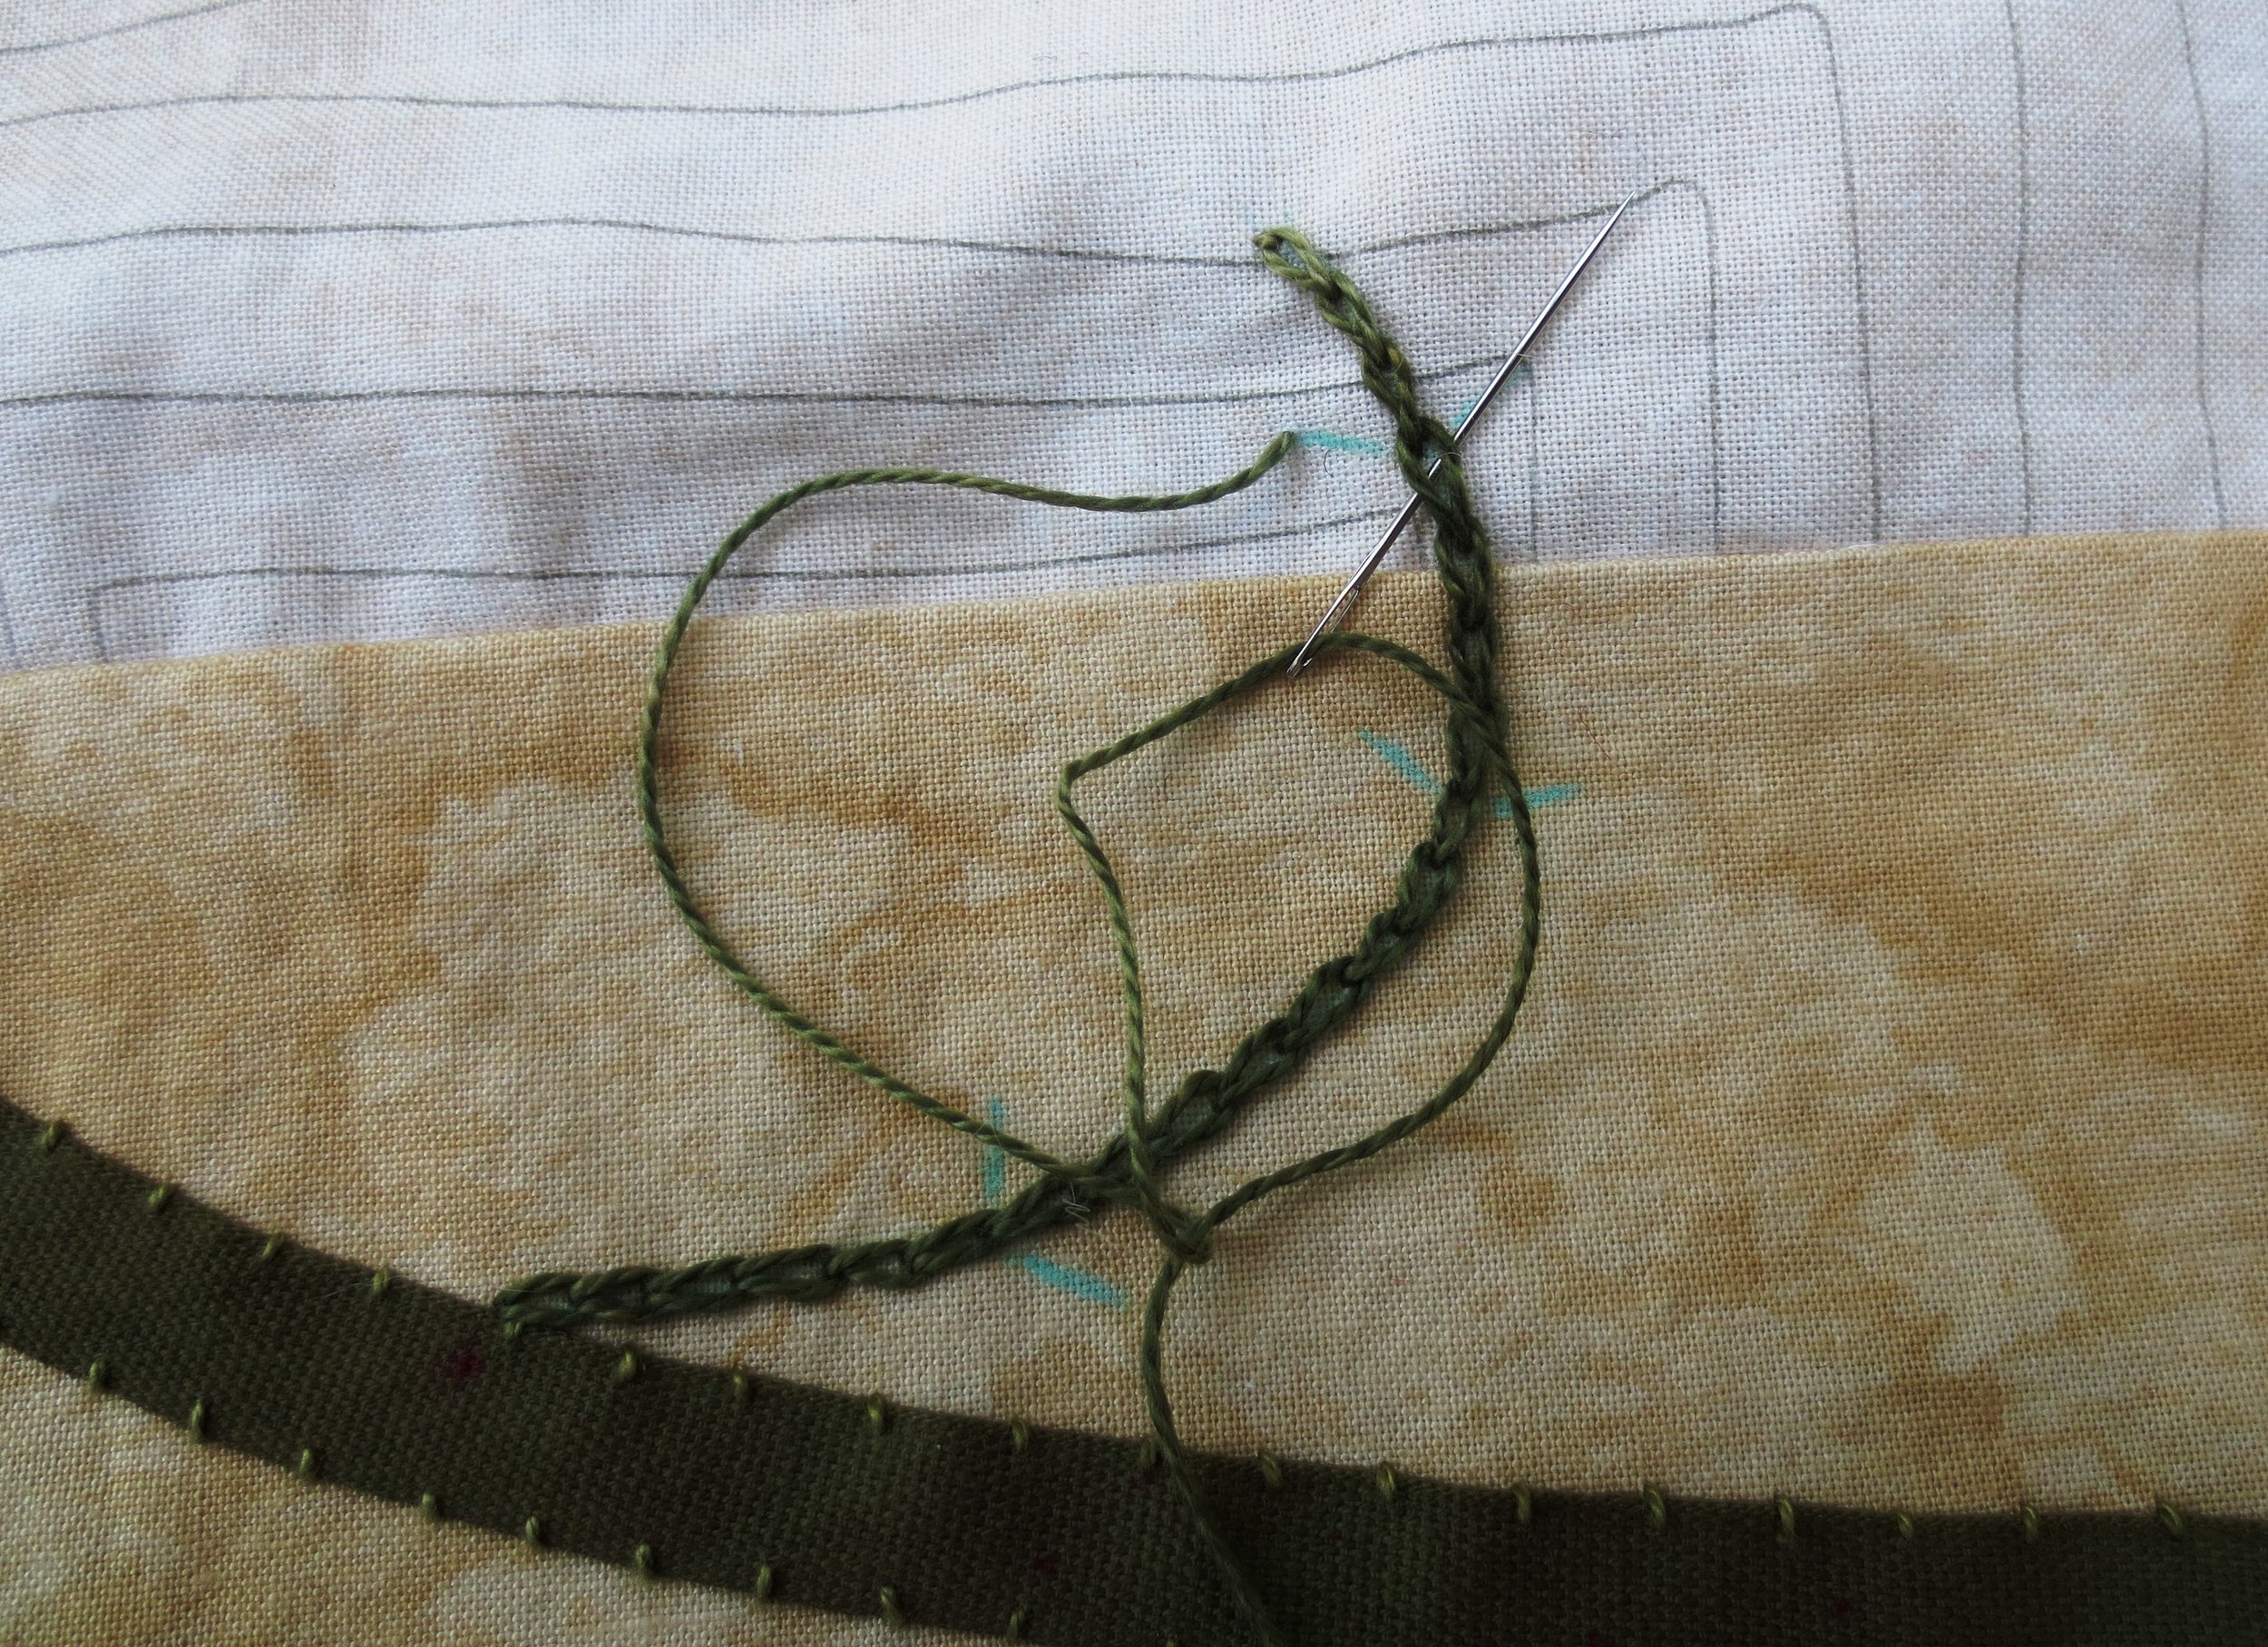
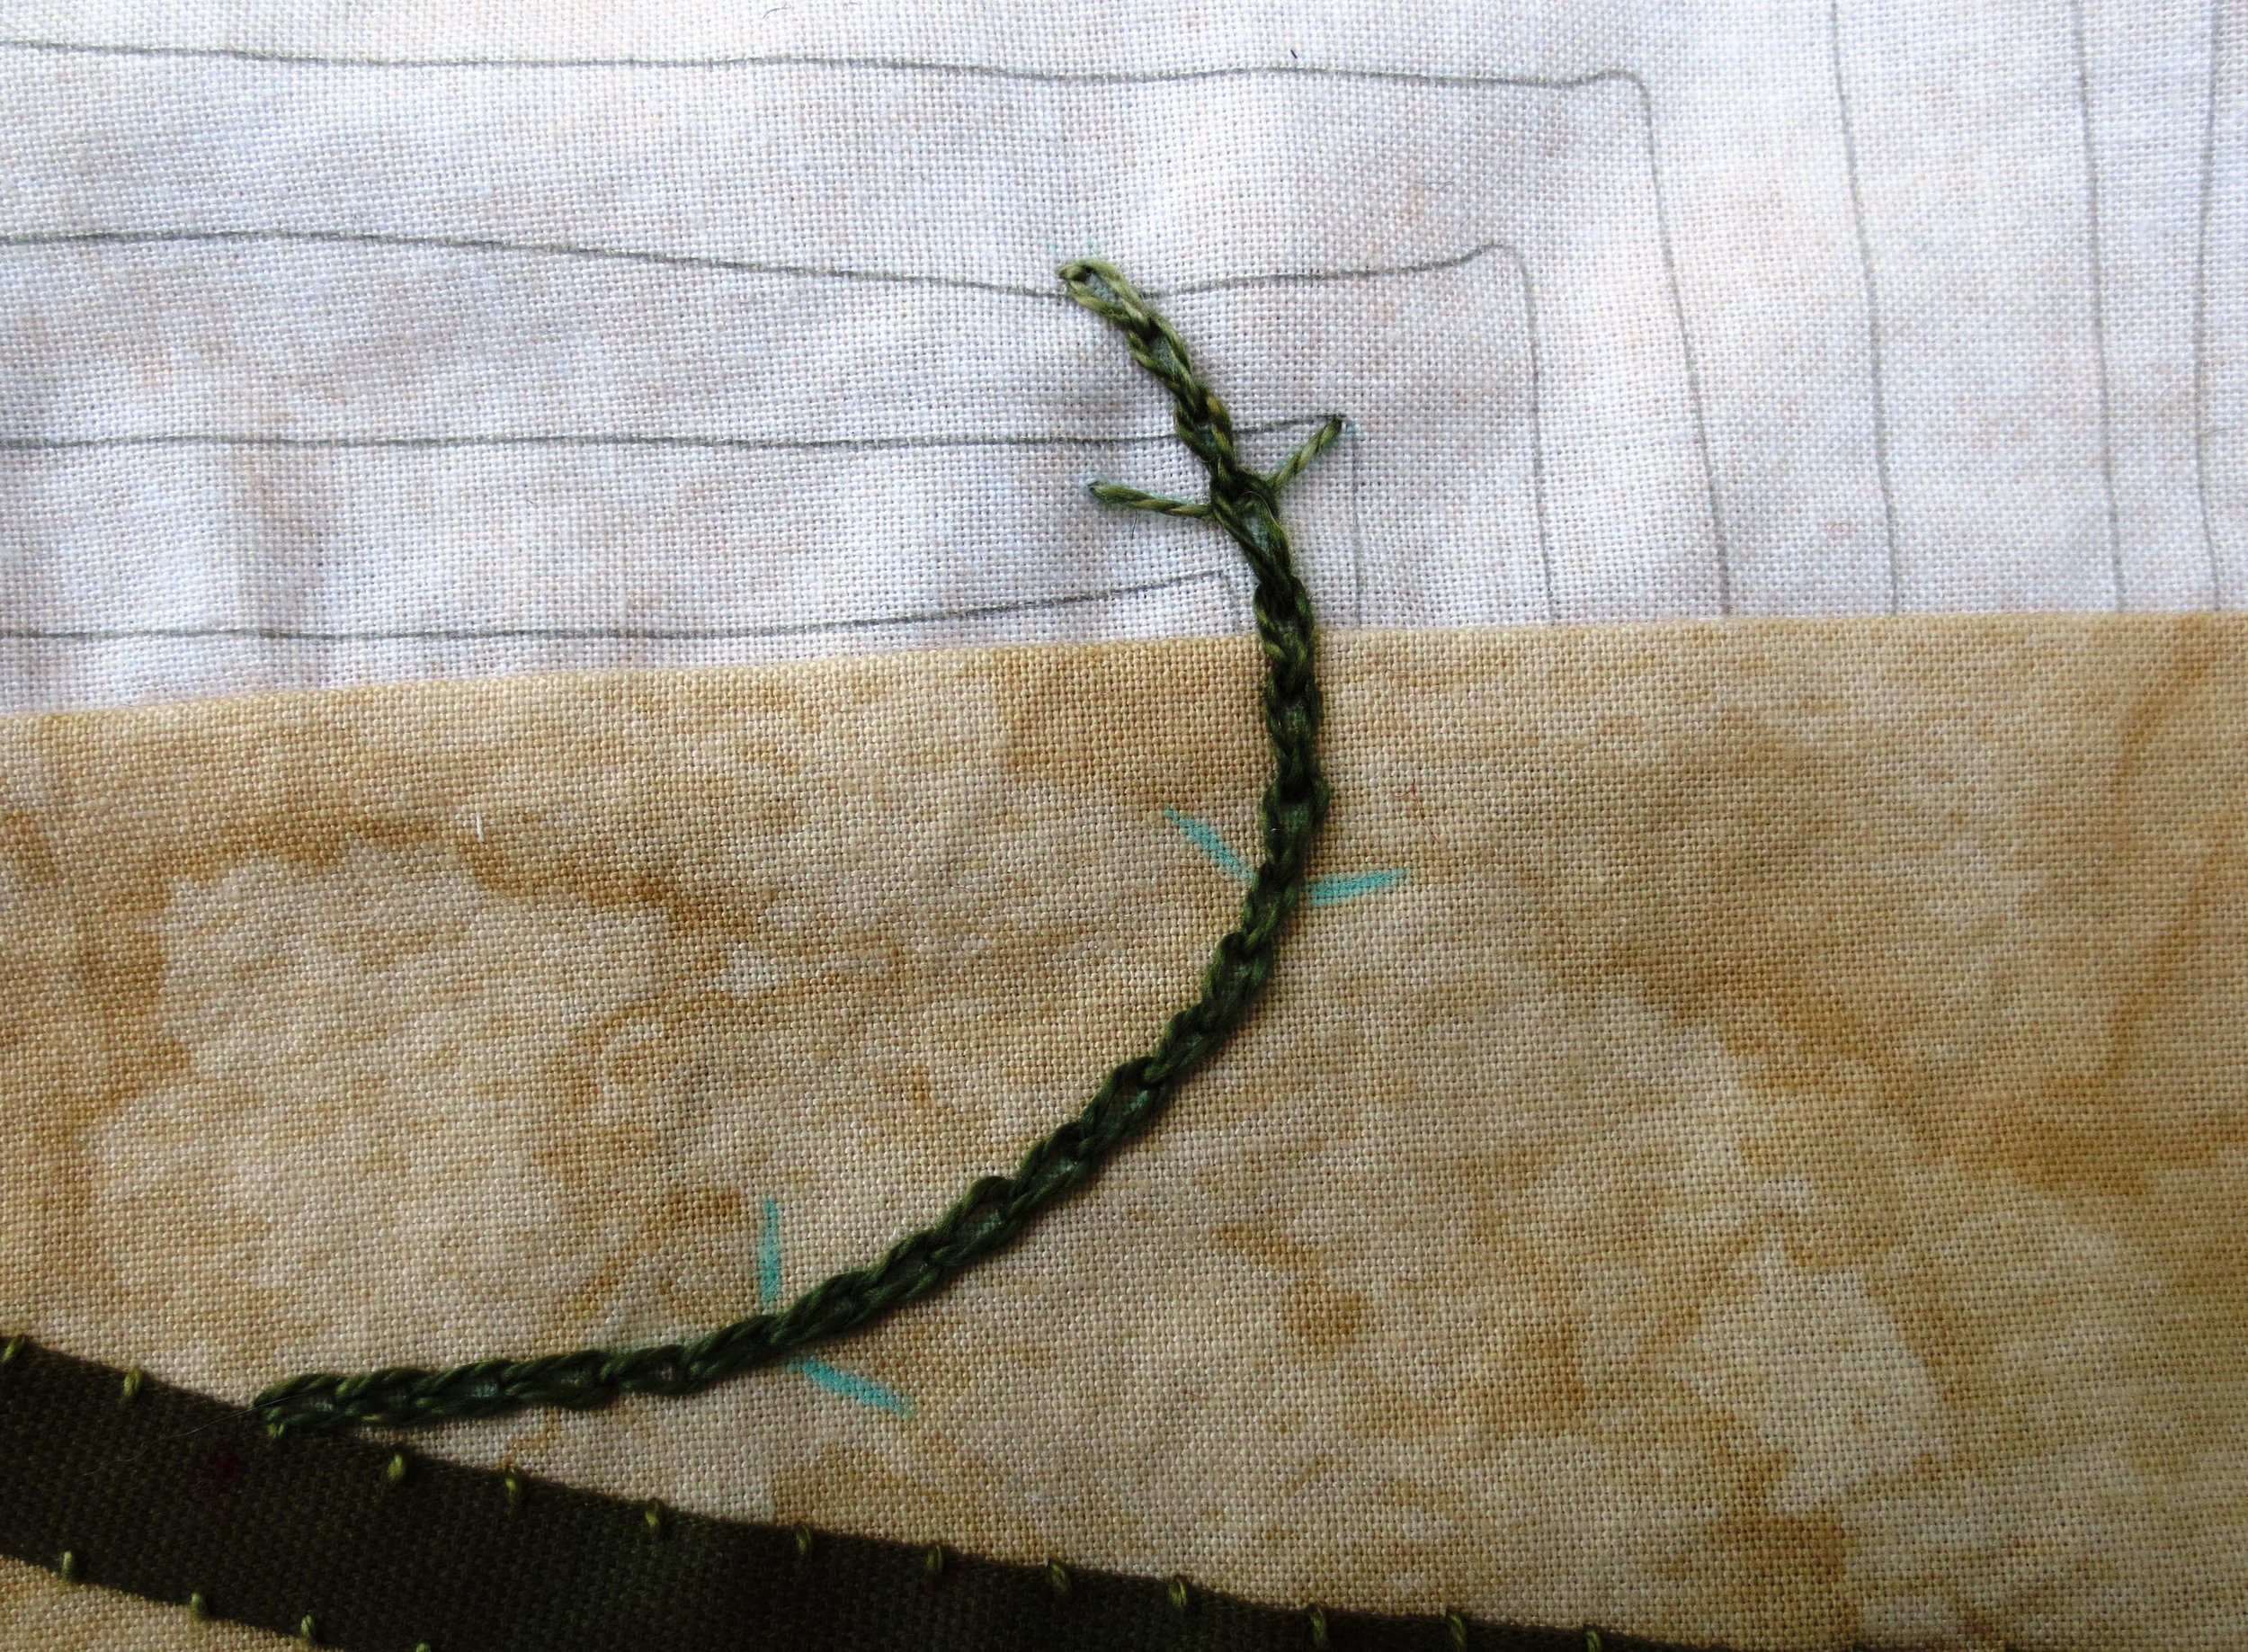
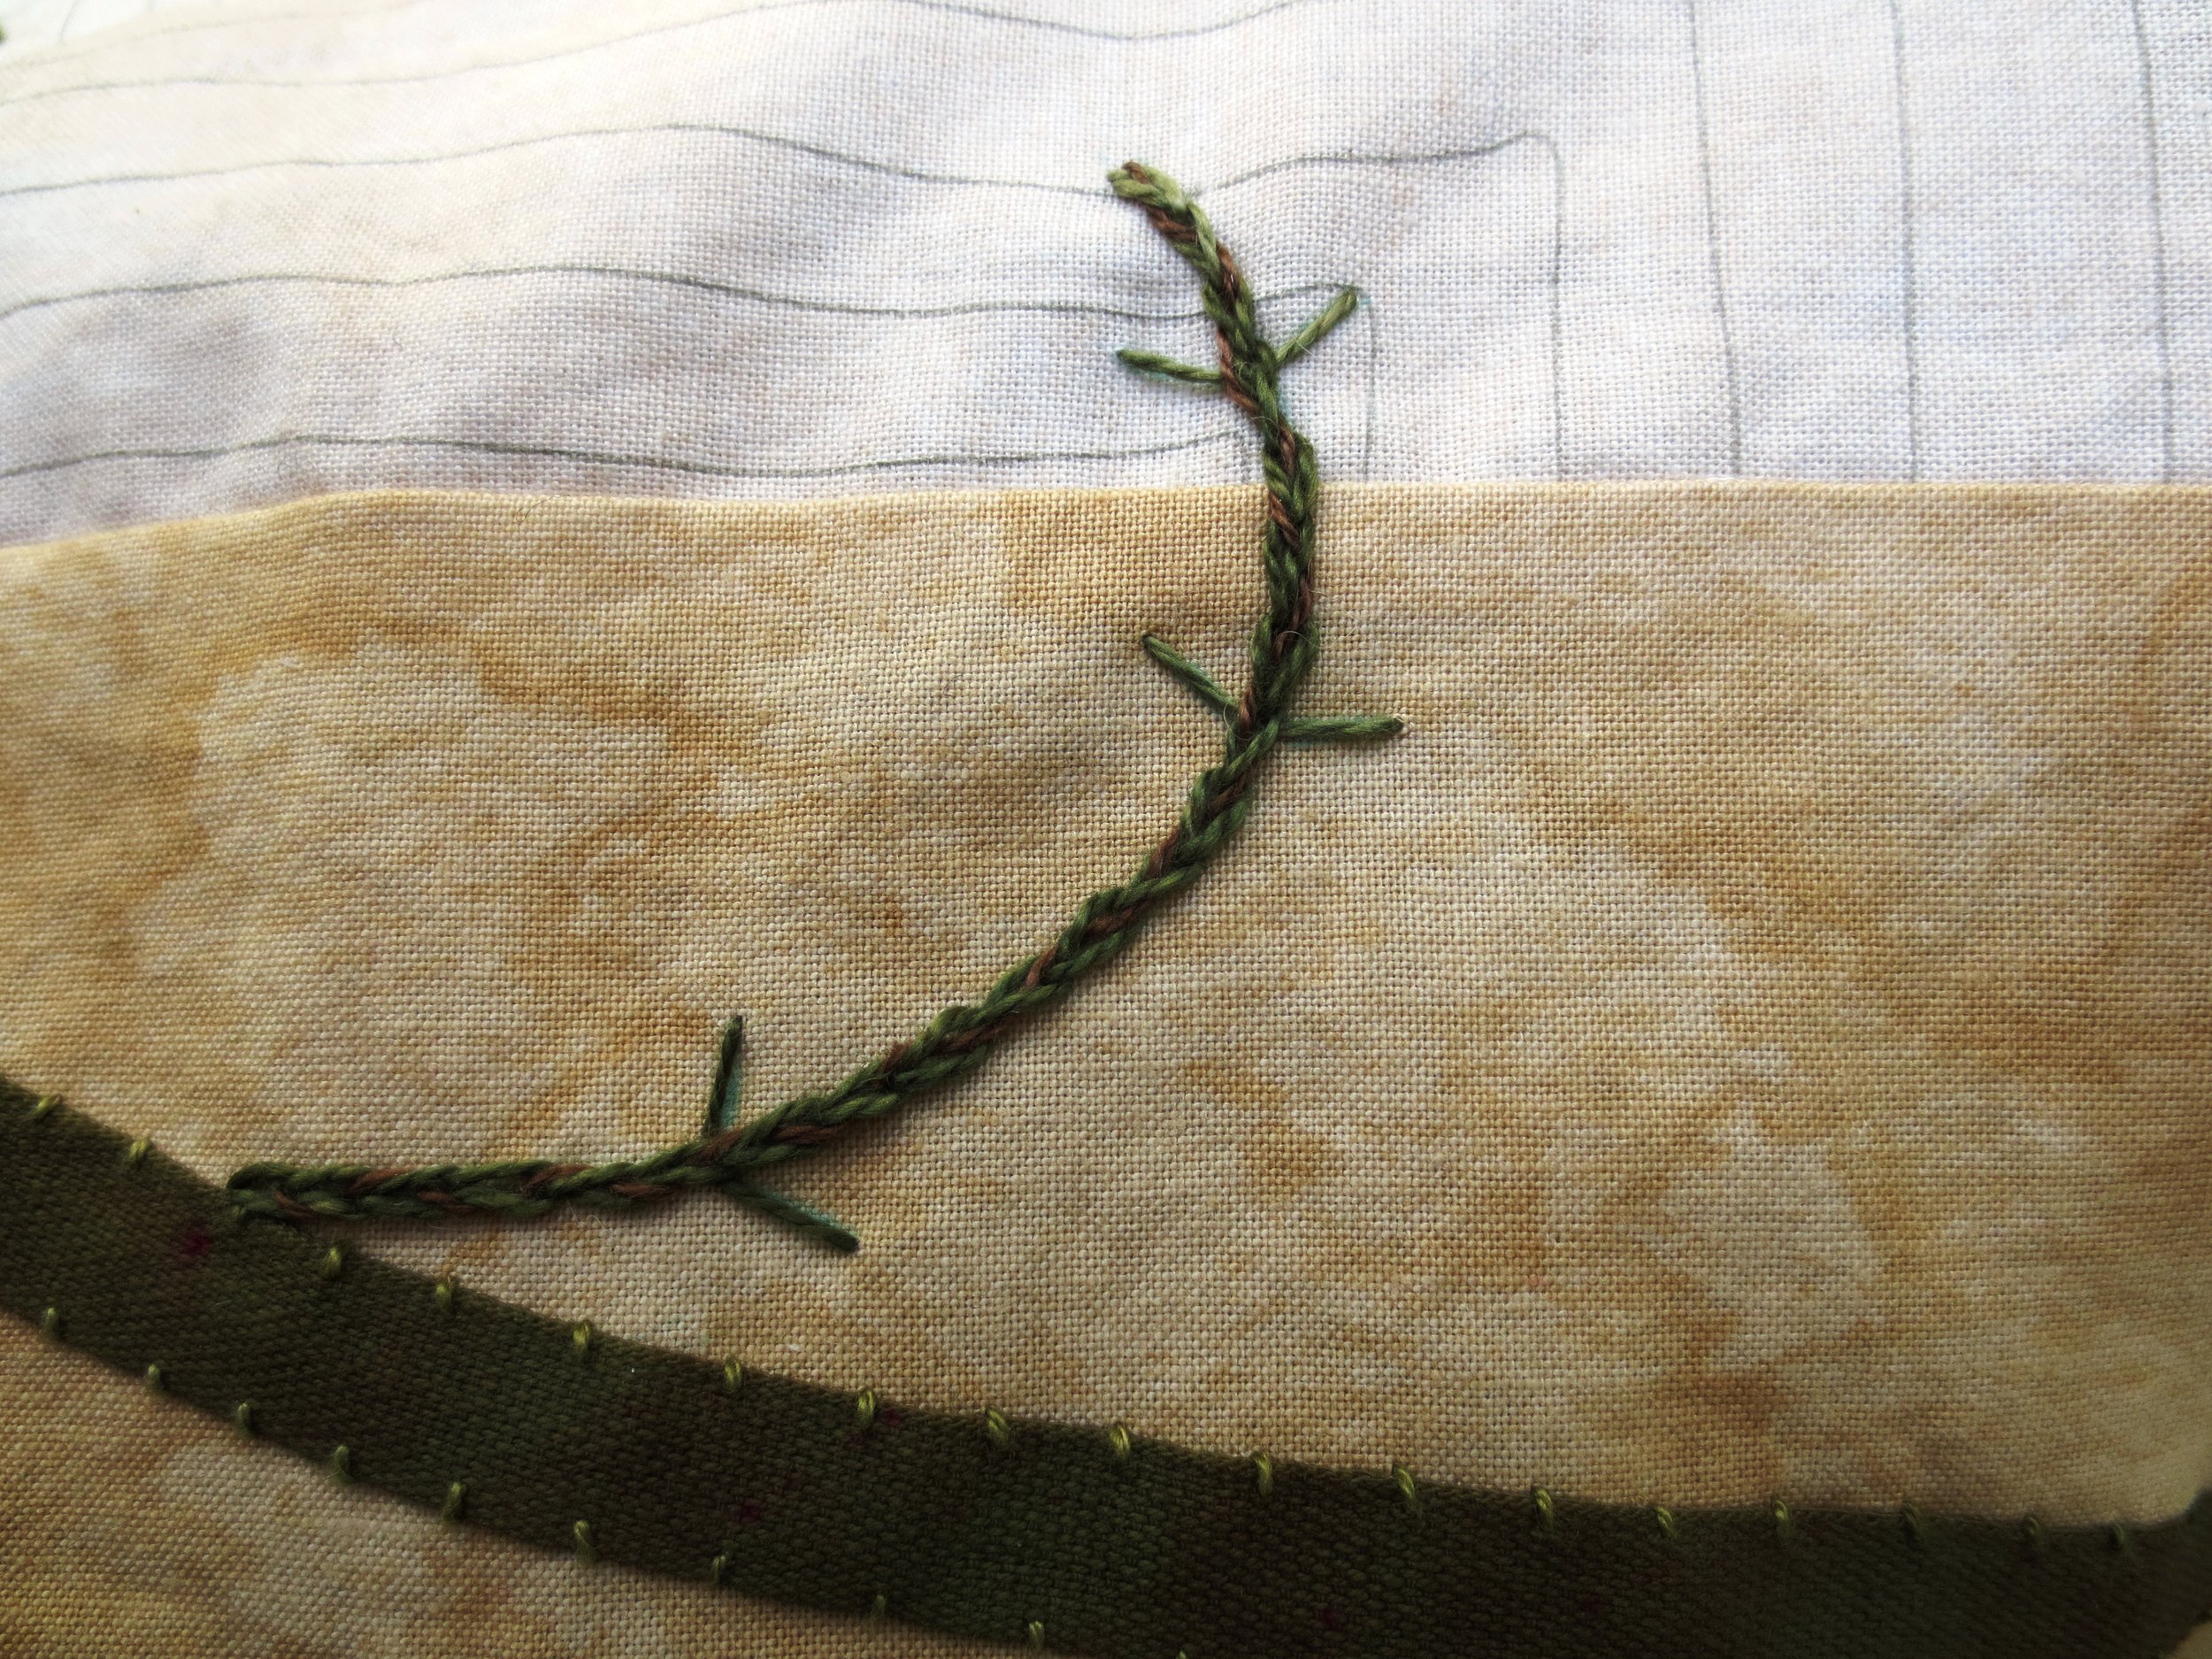
- Chain stitch over the line with Perle 8, color #O575.
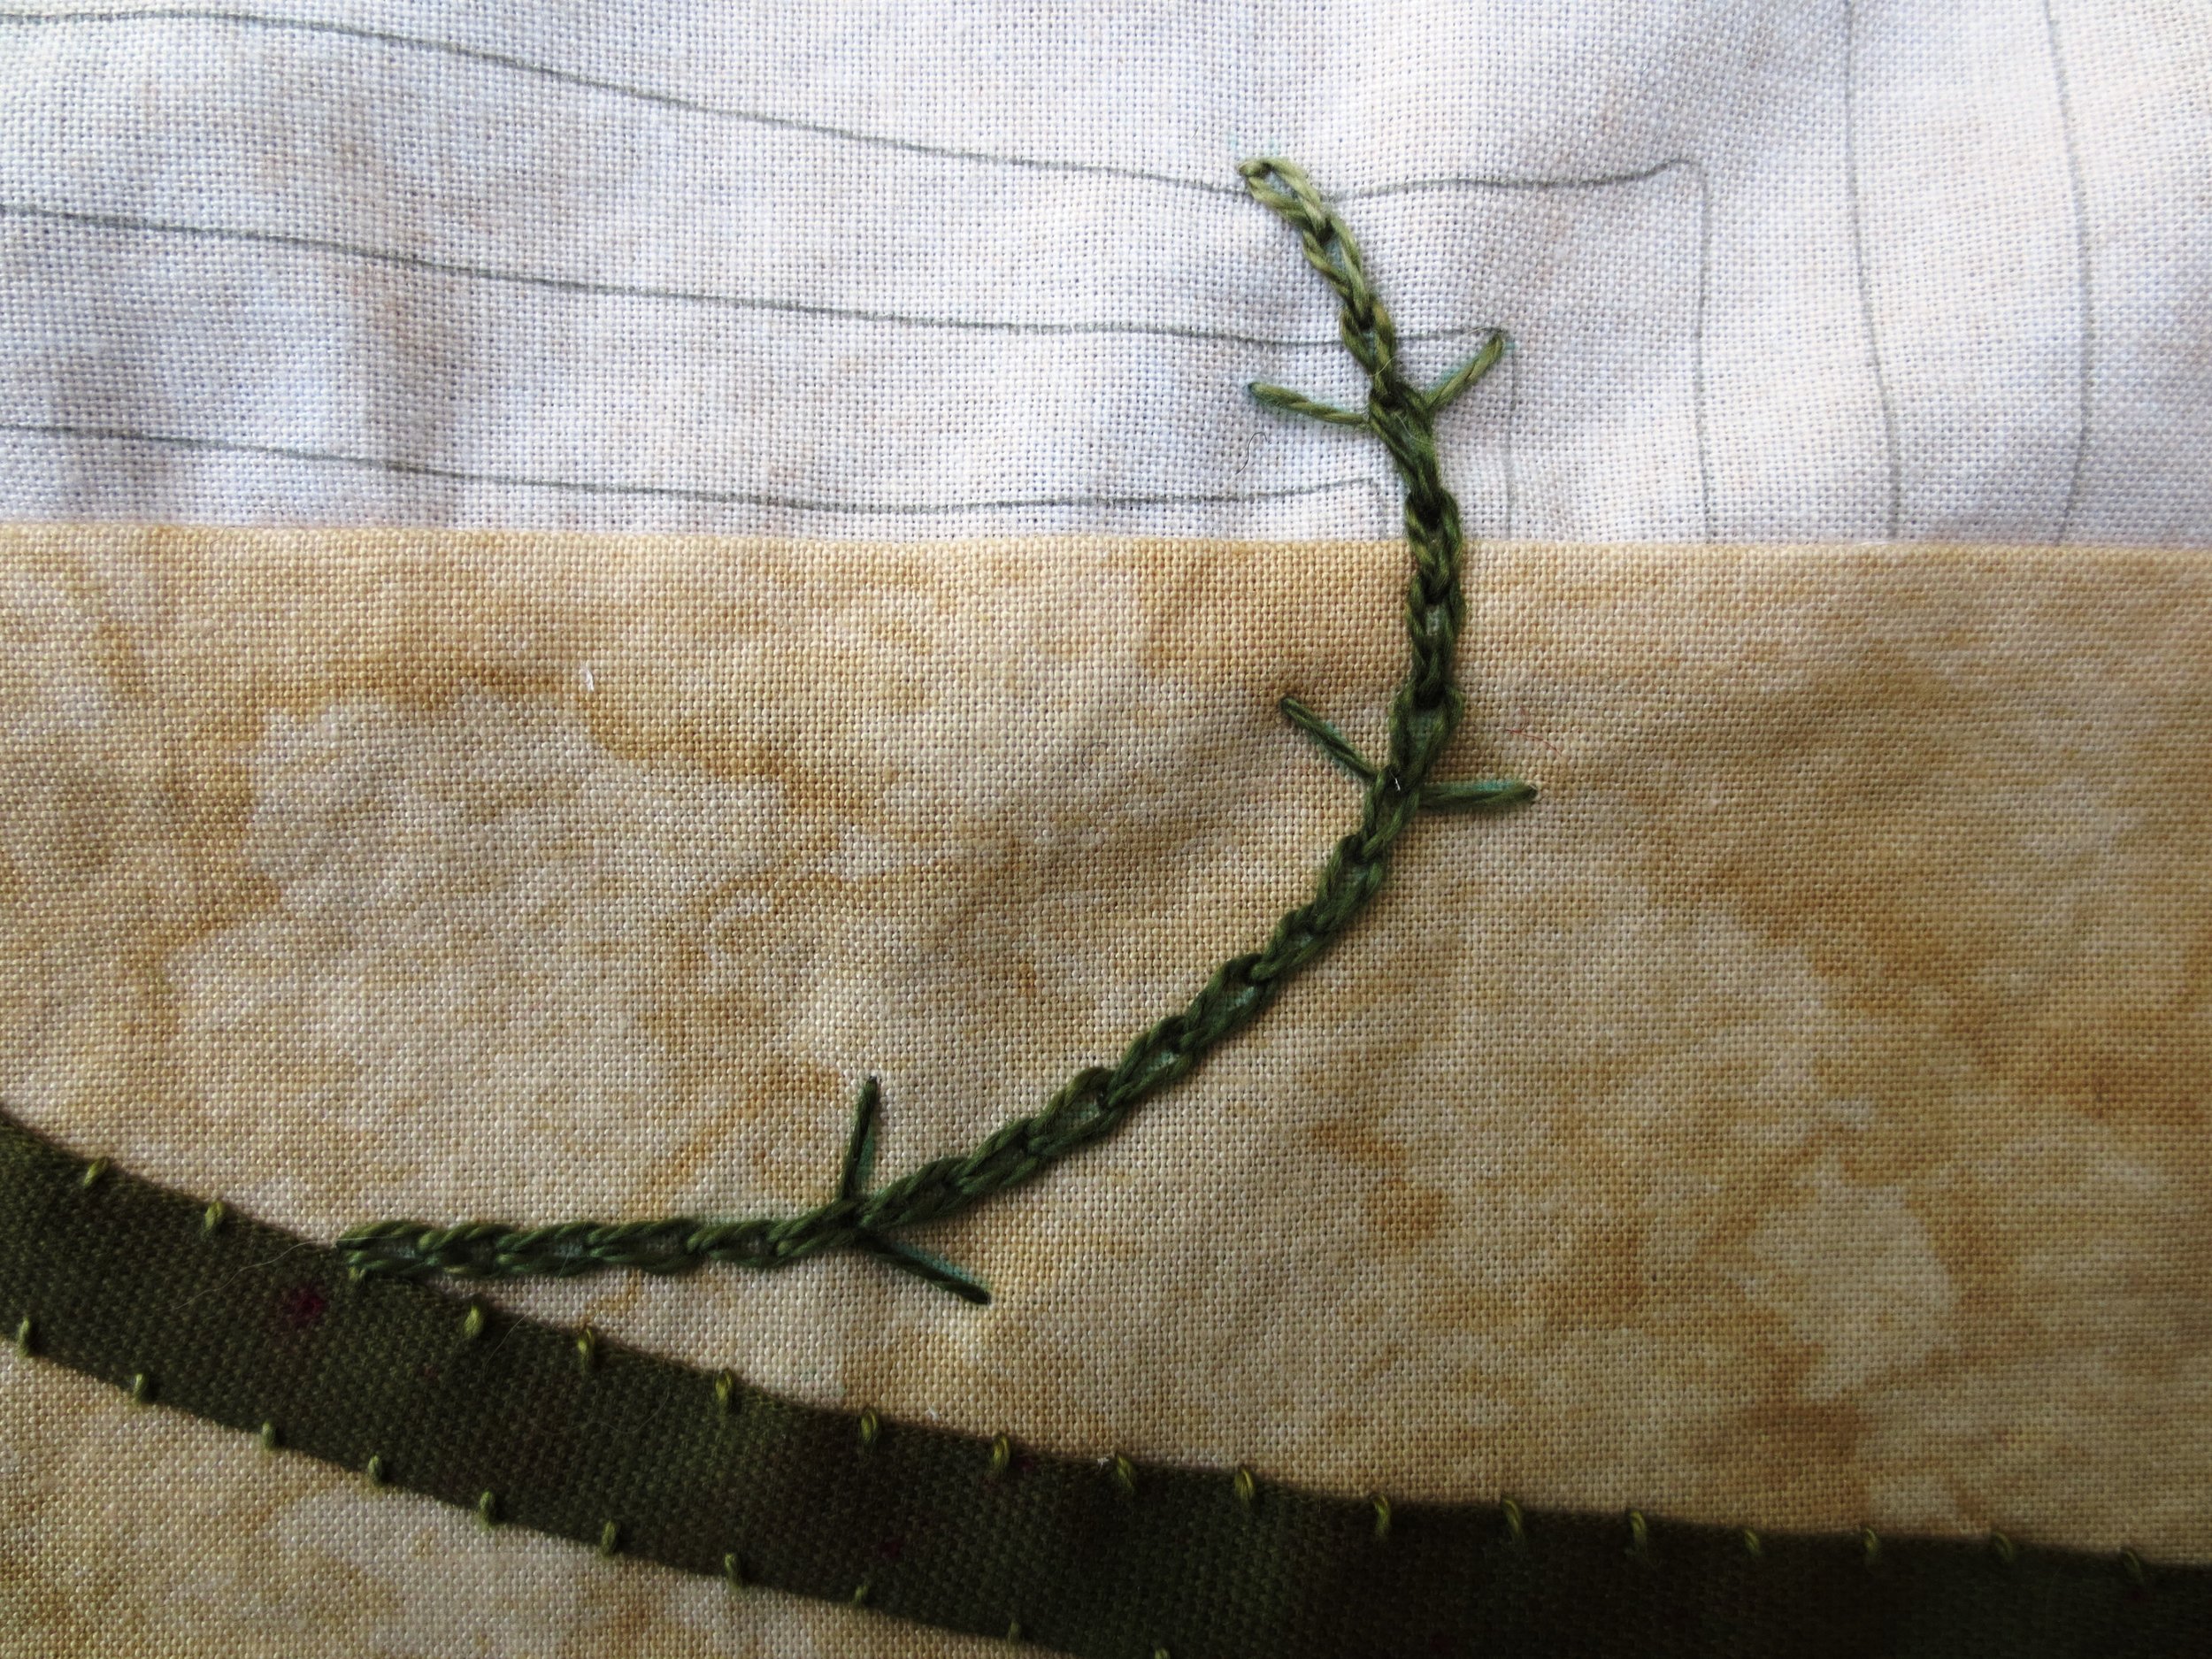
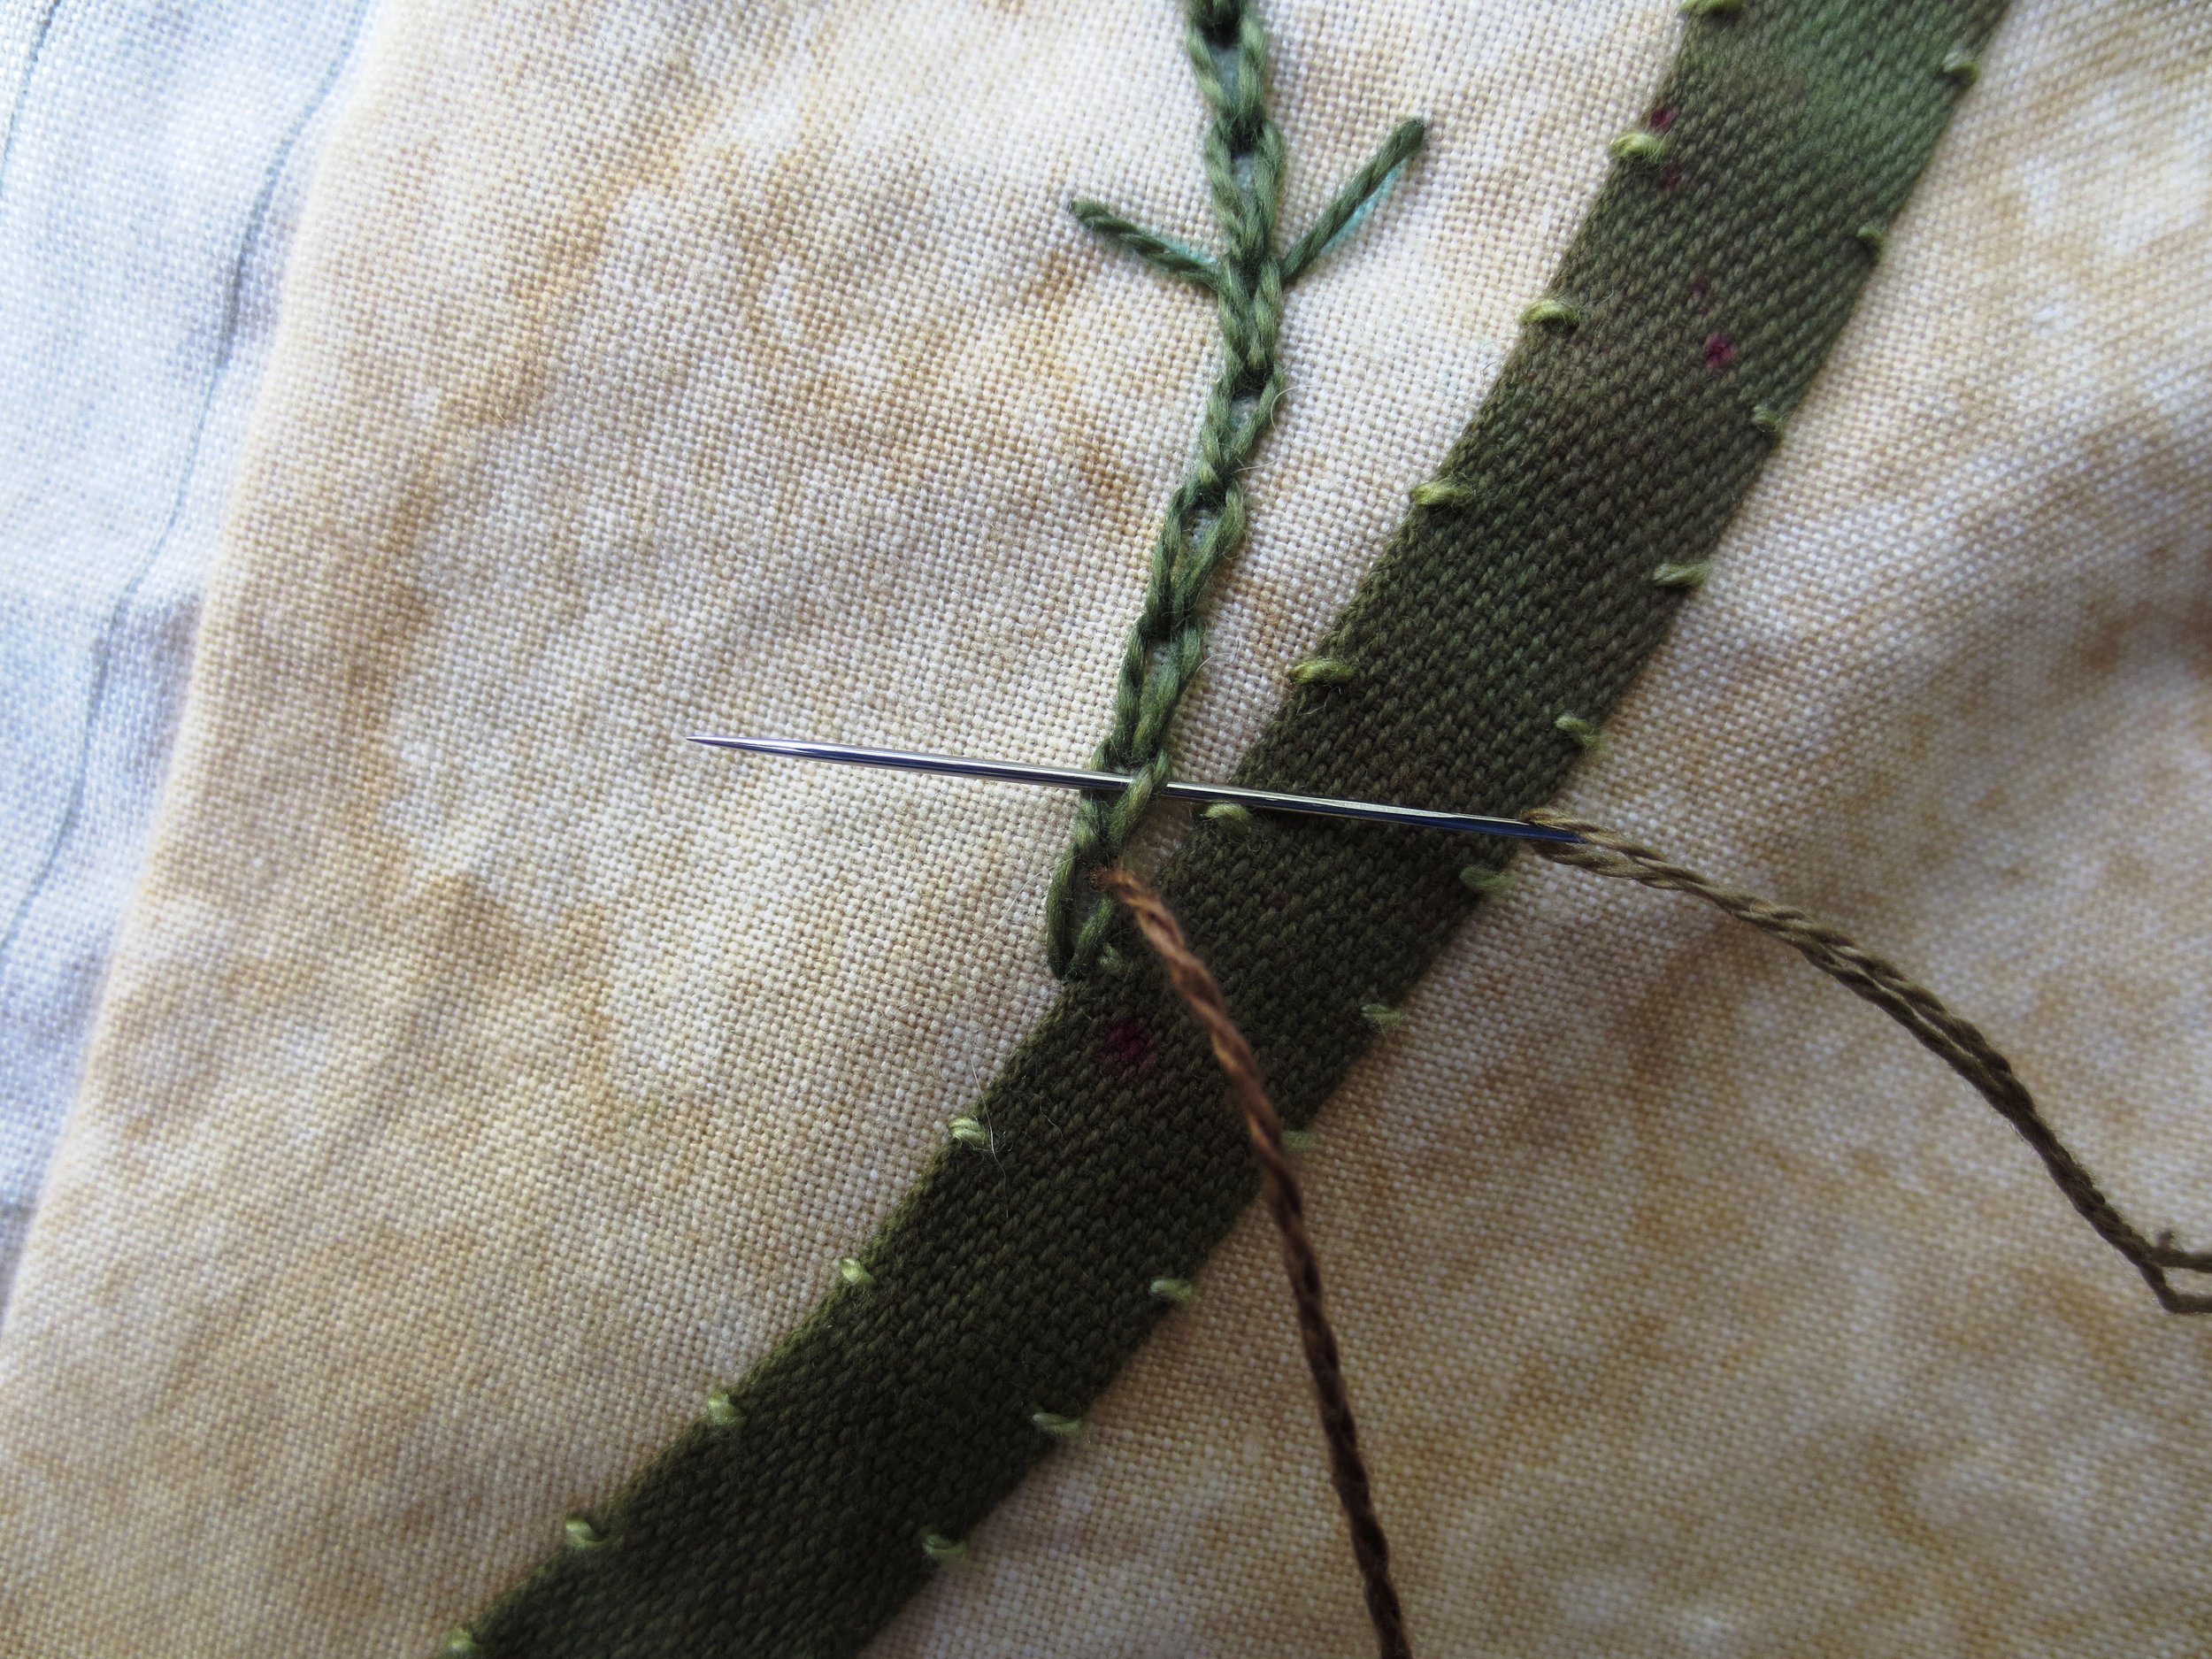
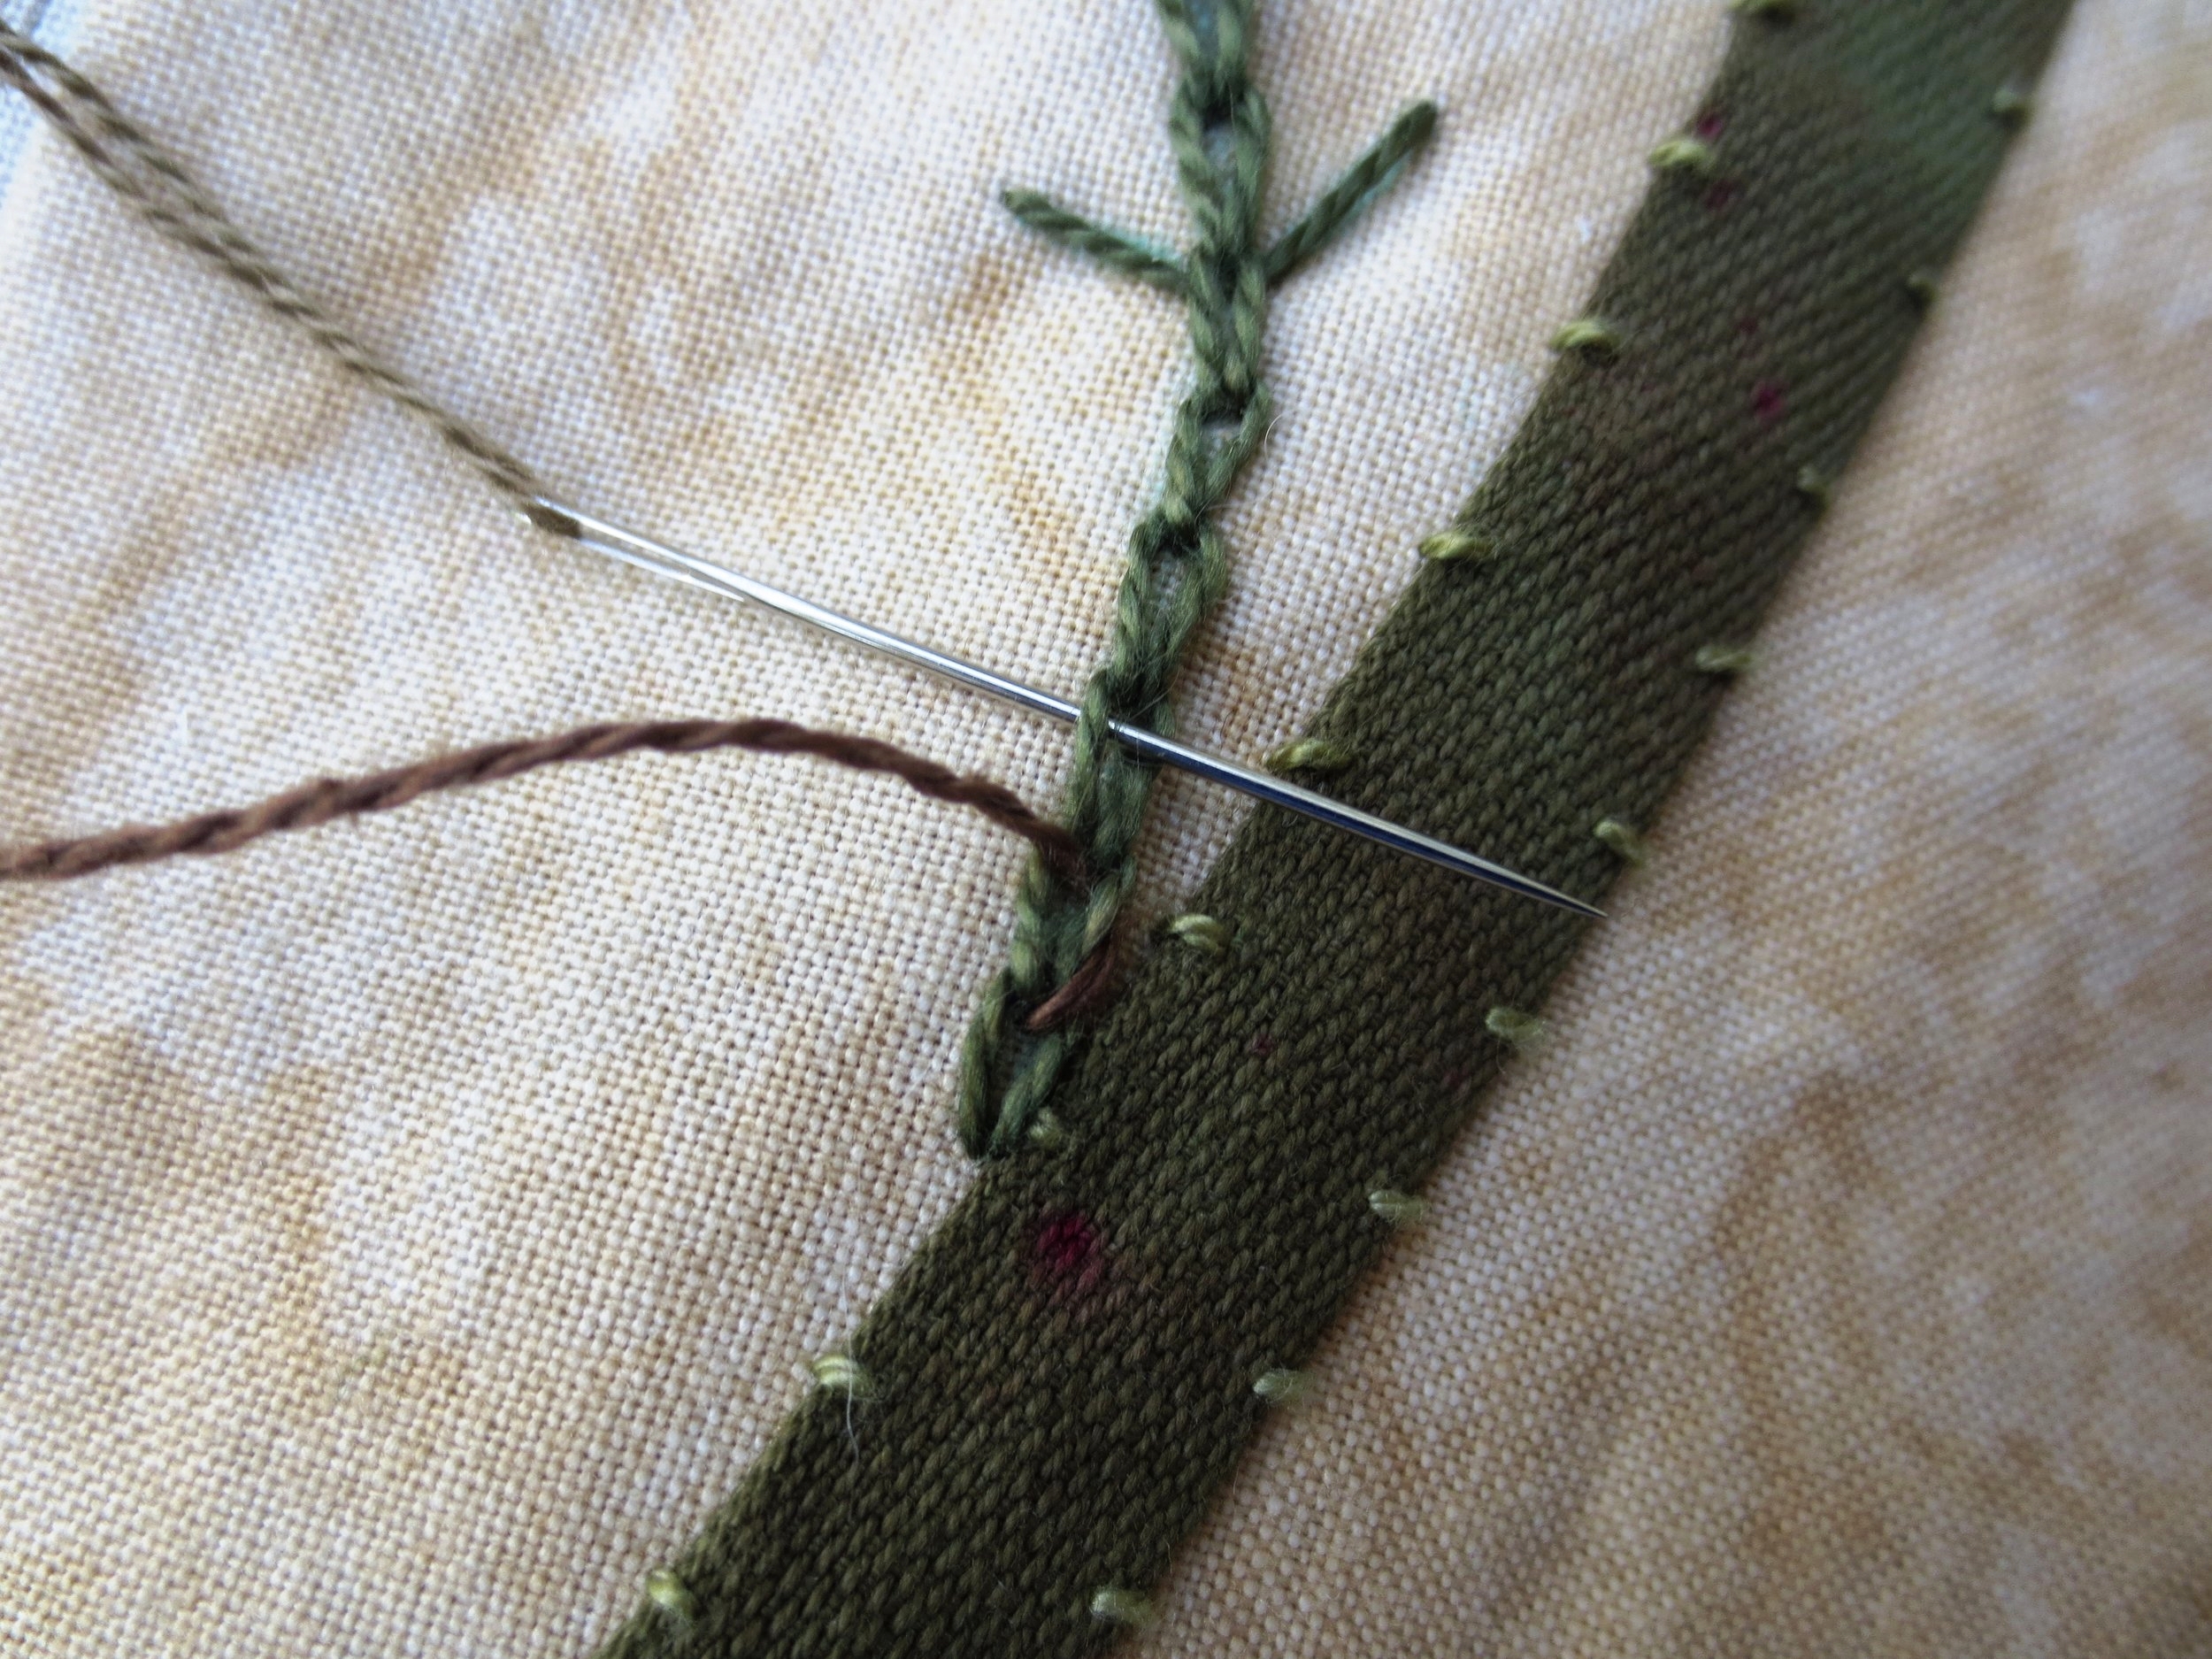
- Draw guide lines for three sets of berry stems. Use the same thread as above to stitch over the guide lines. The set of stems can be stitched with one continuous stitch. Bring the needle up at the tip of the stem. Slide the needle under the adjoining chain, then finish by inserting the needle back down at the tip of the paired stem (see below).
- Use #O518 (size 12) to weave through the chain. This is called a woven chain stitch. It gives a little more body to the stem.
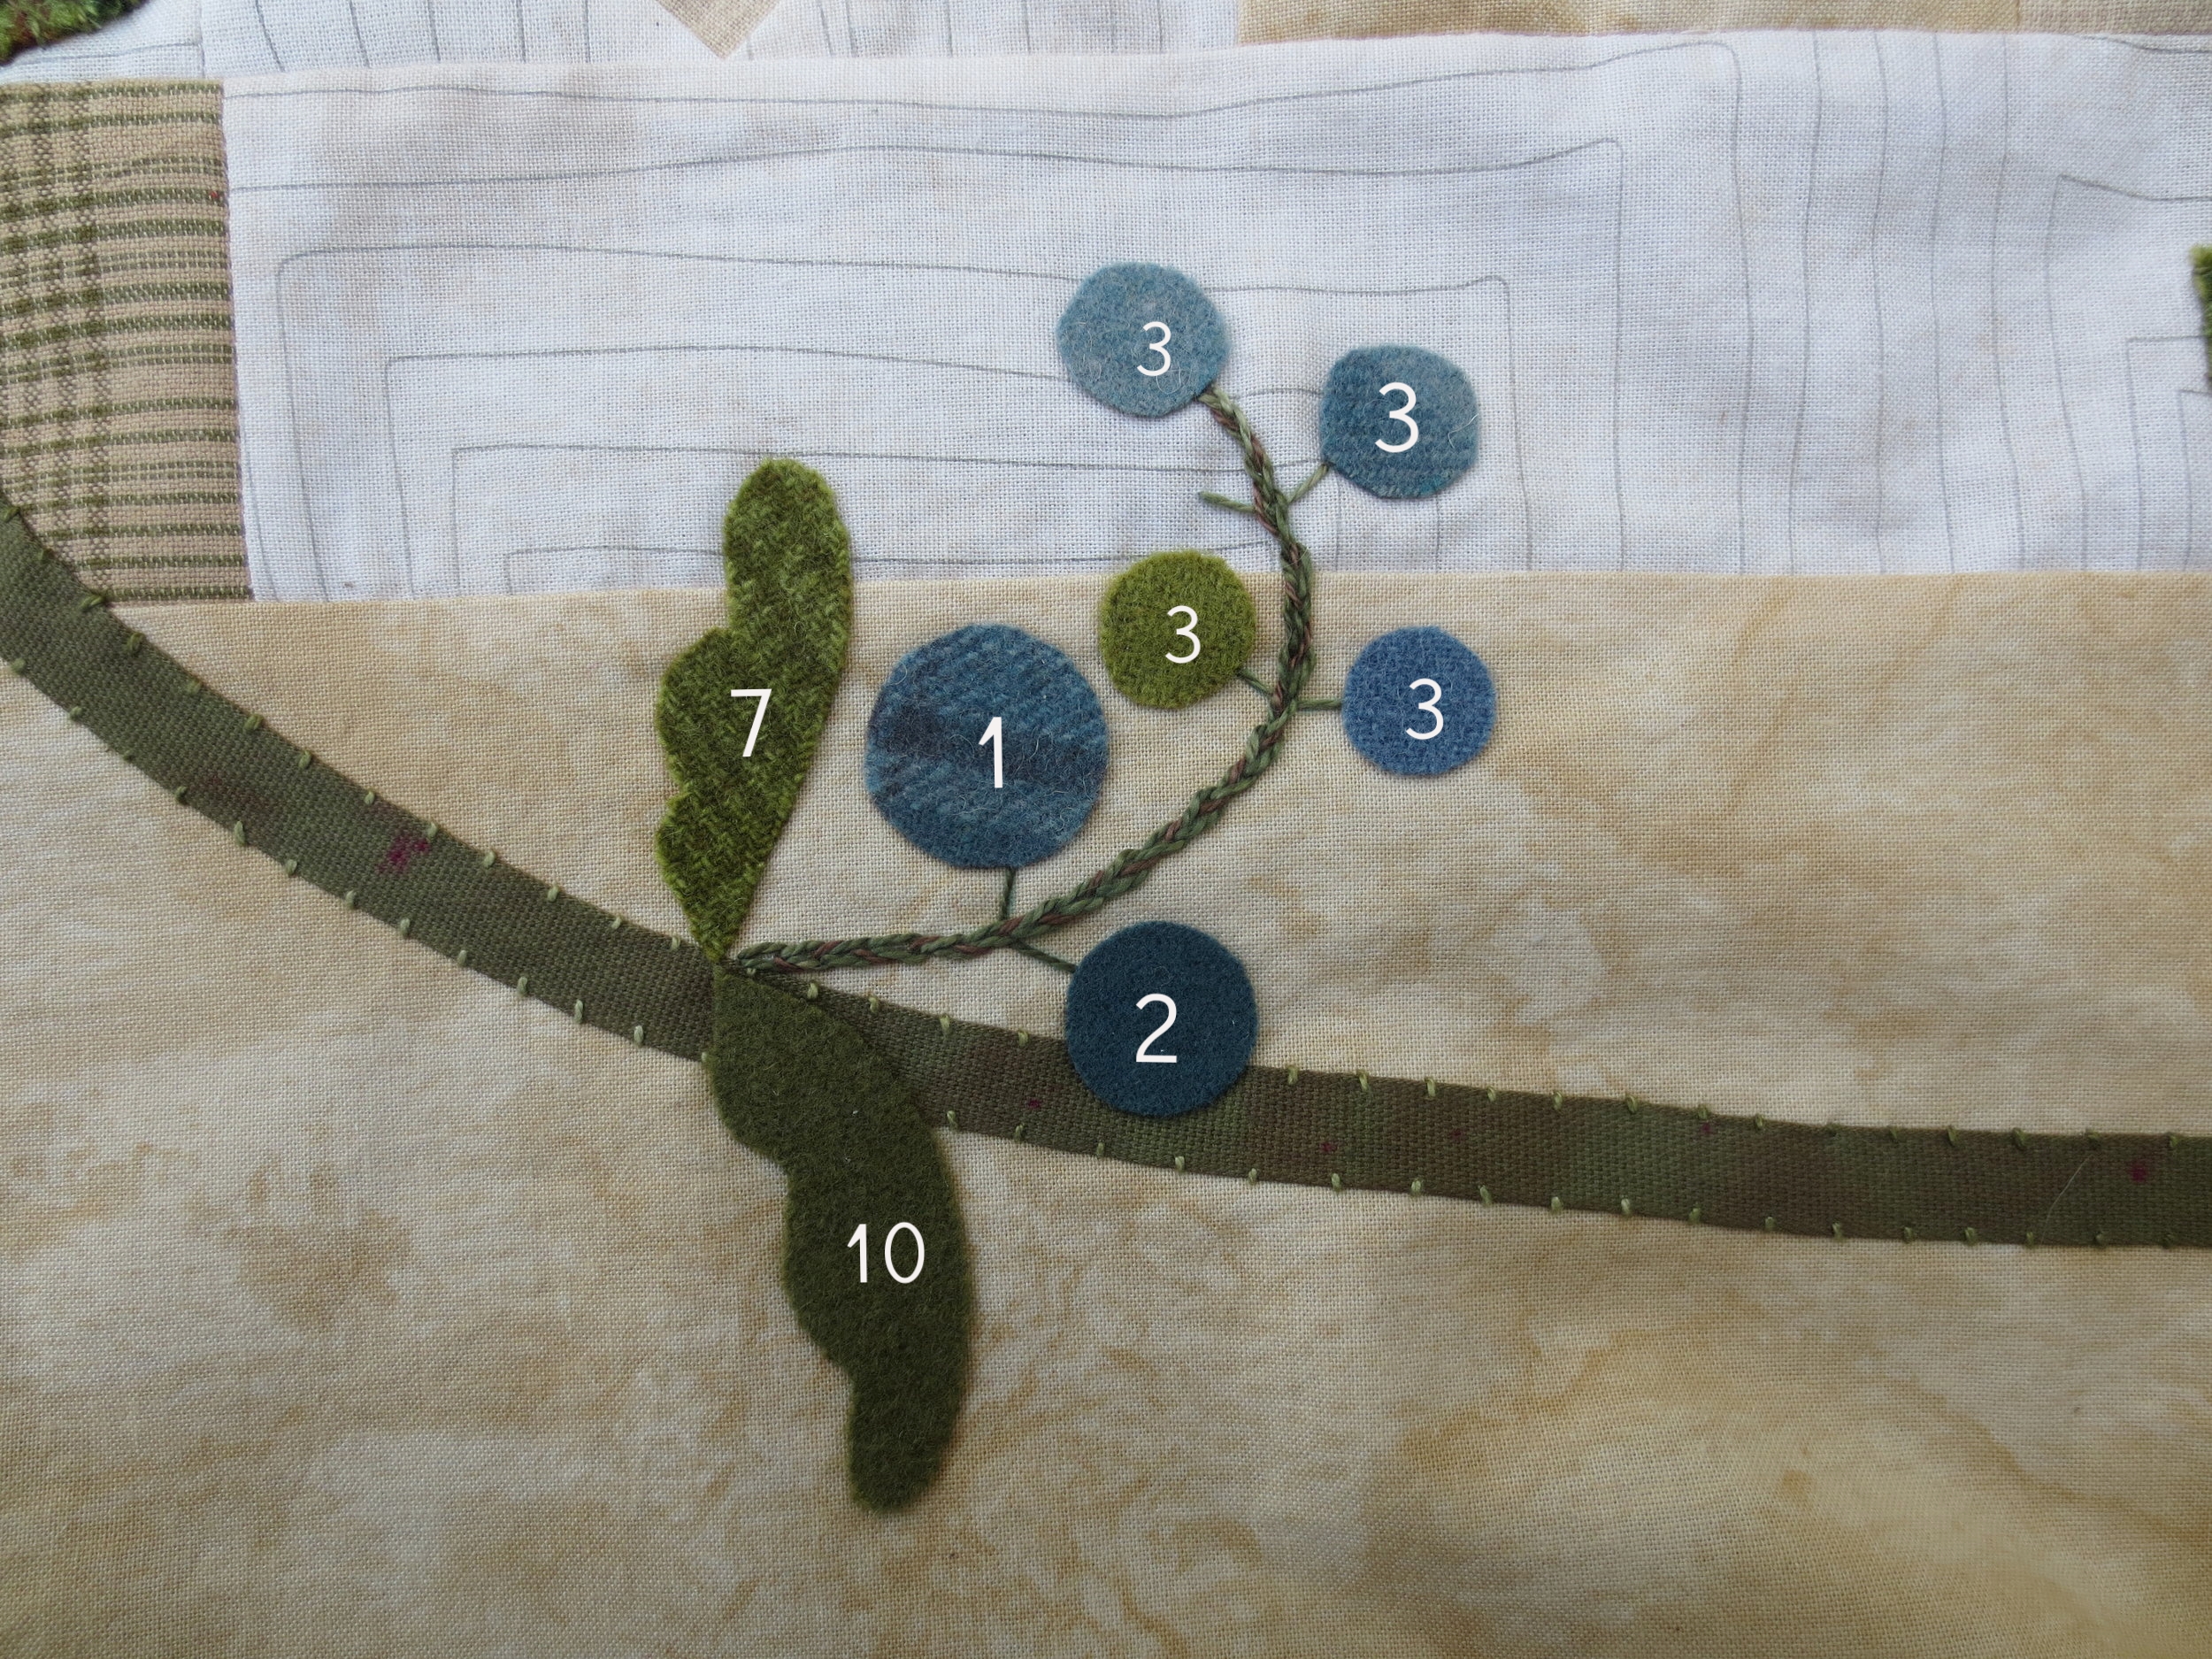
- Position Leaves and berries. Whip stitch them with thread that matched your wool colors. I used #O578 for the berries and #O519 for the leaves.
- Stitch the veins of the leaves usiing #O518.
- Use #O178 to make lazy daisy flowers on each of the berries. Make a series of five petals for berries 1 & 2, and four petals for berry 3.
You are done!
In the next post we will add the robin, more flowers and berries.
Happy Stitching!

