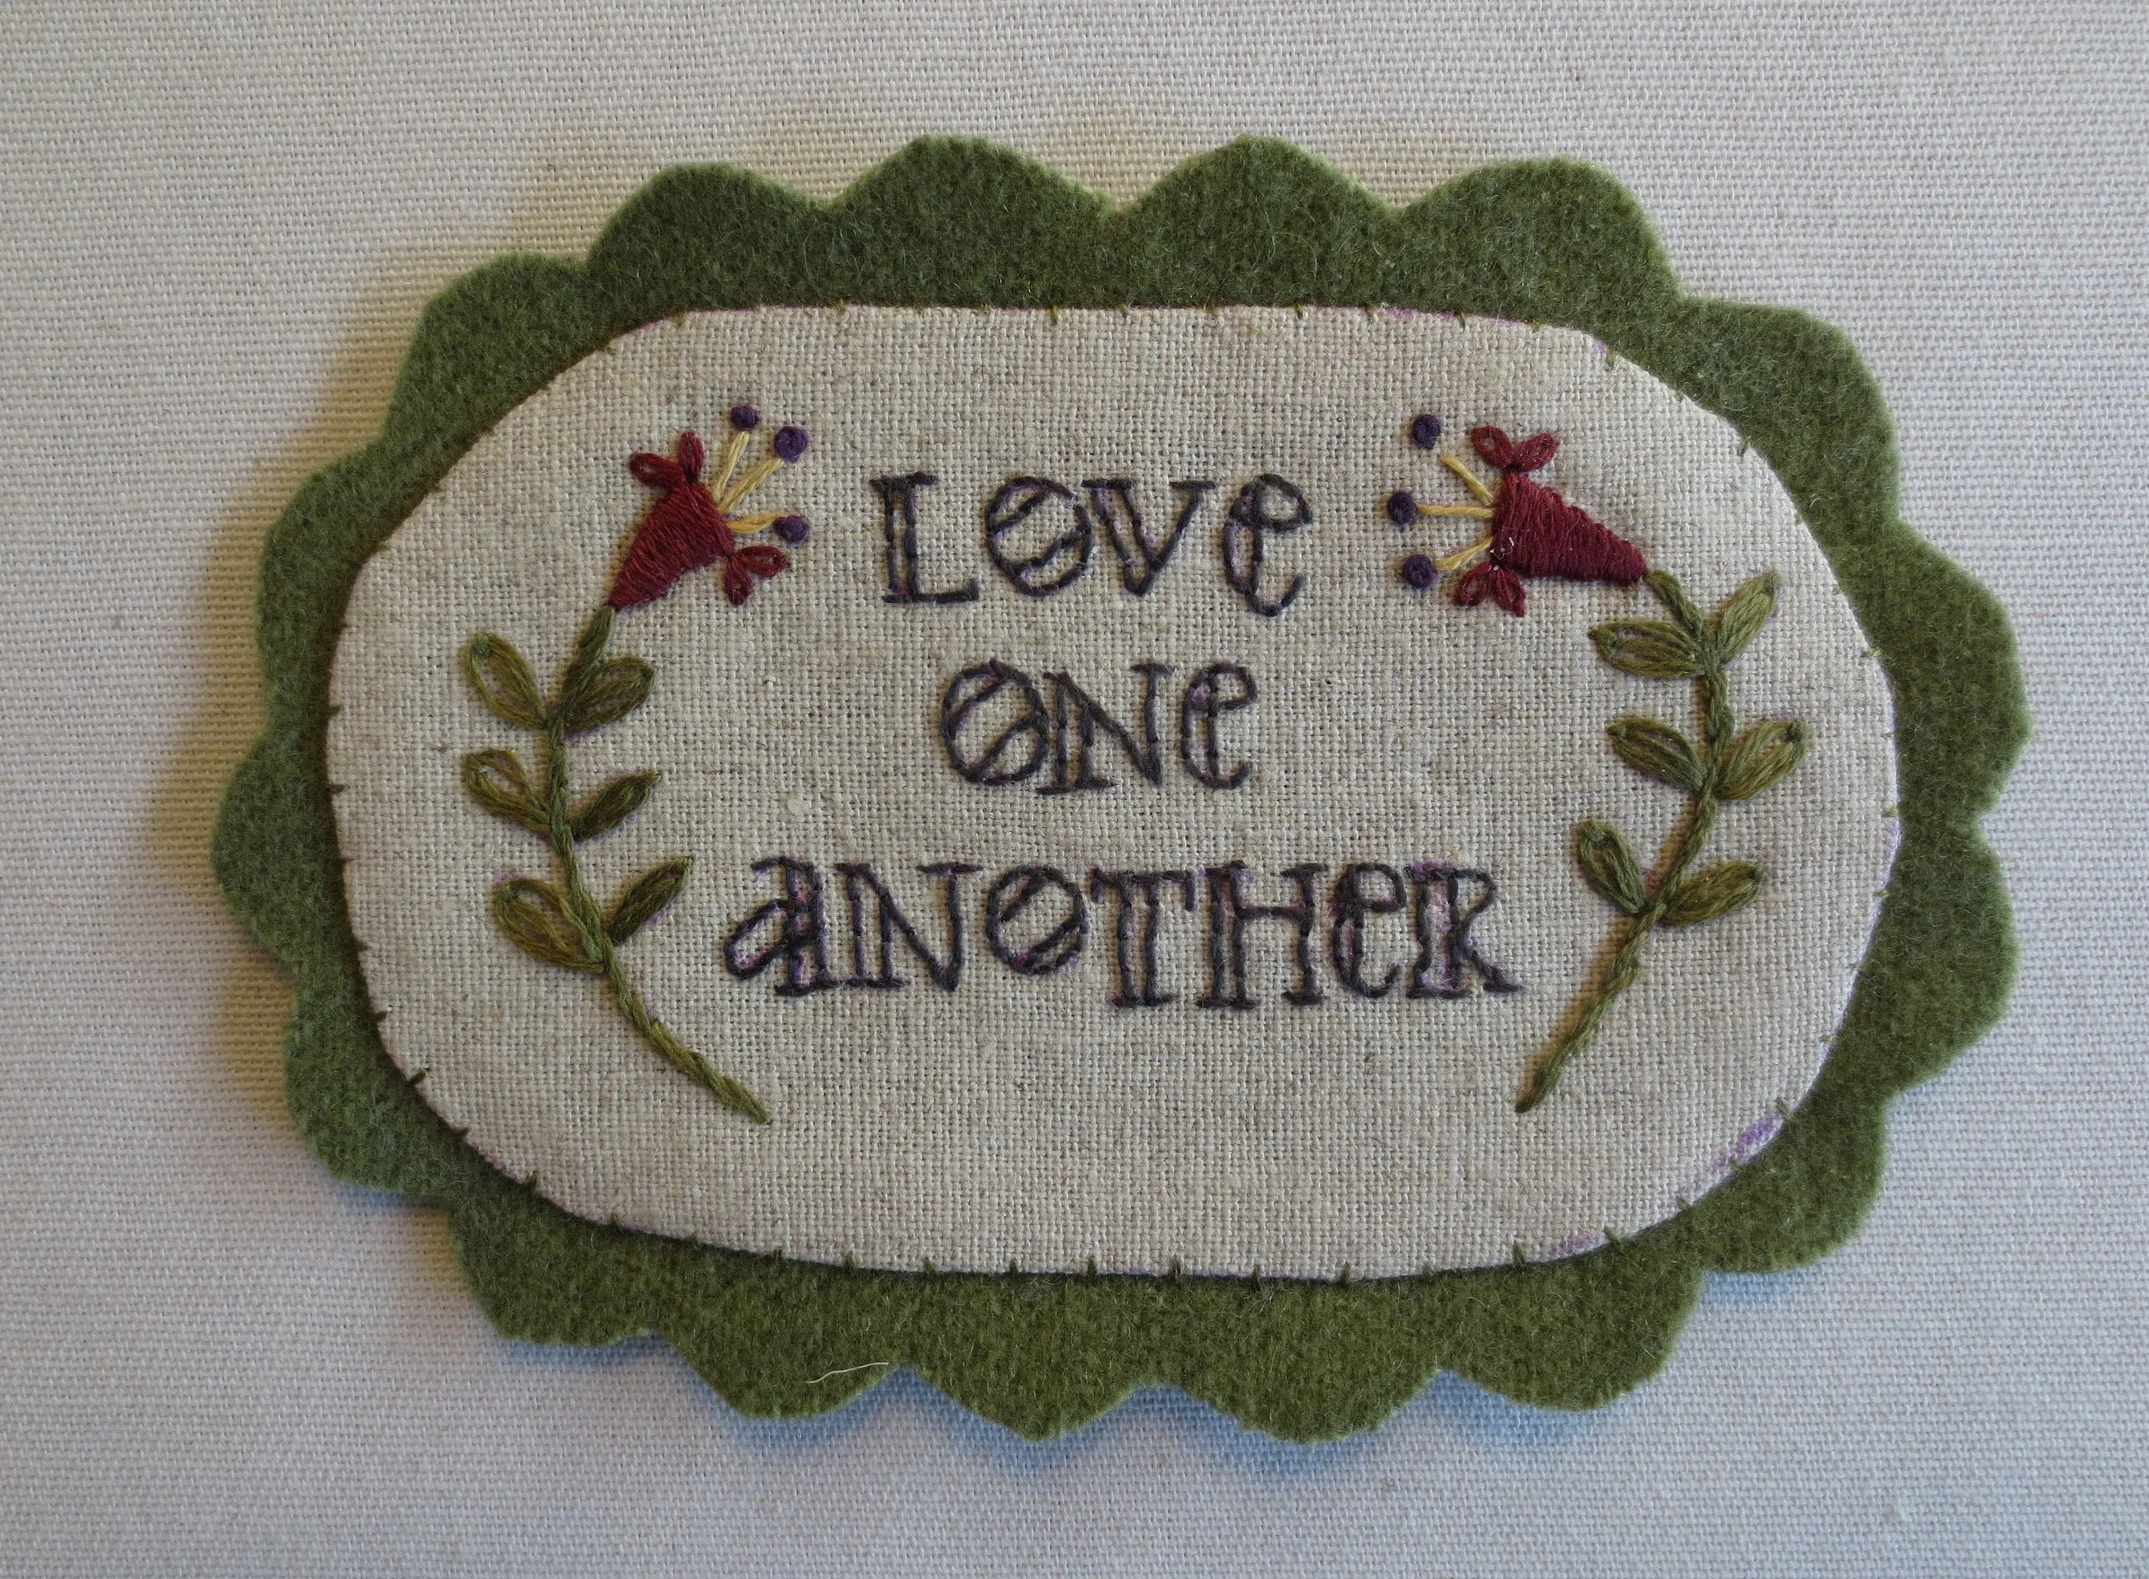
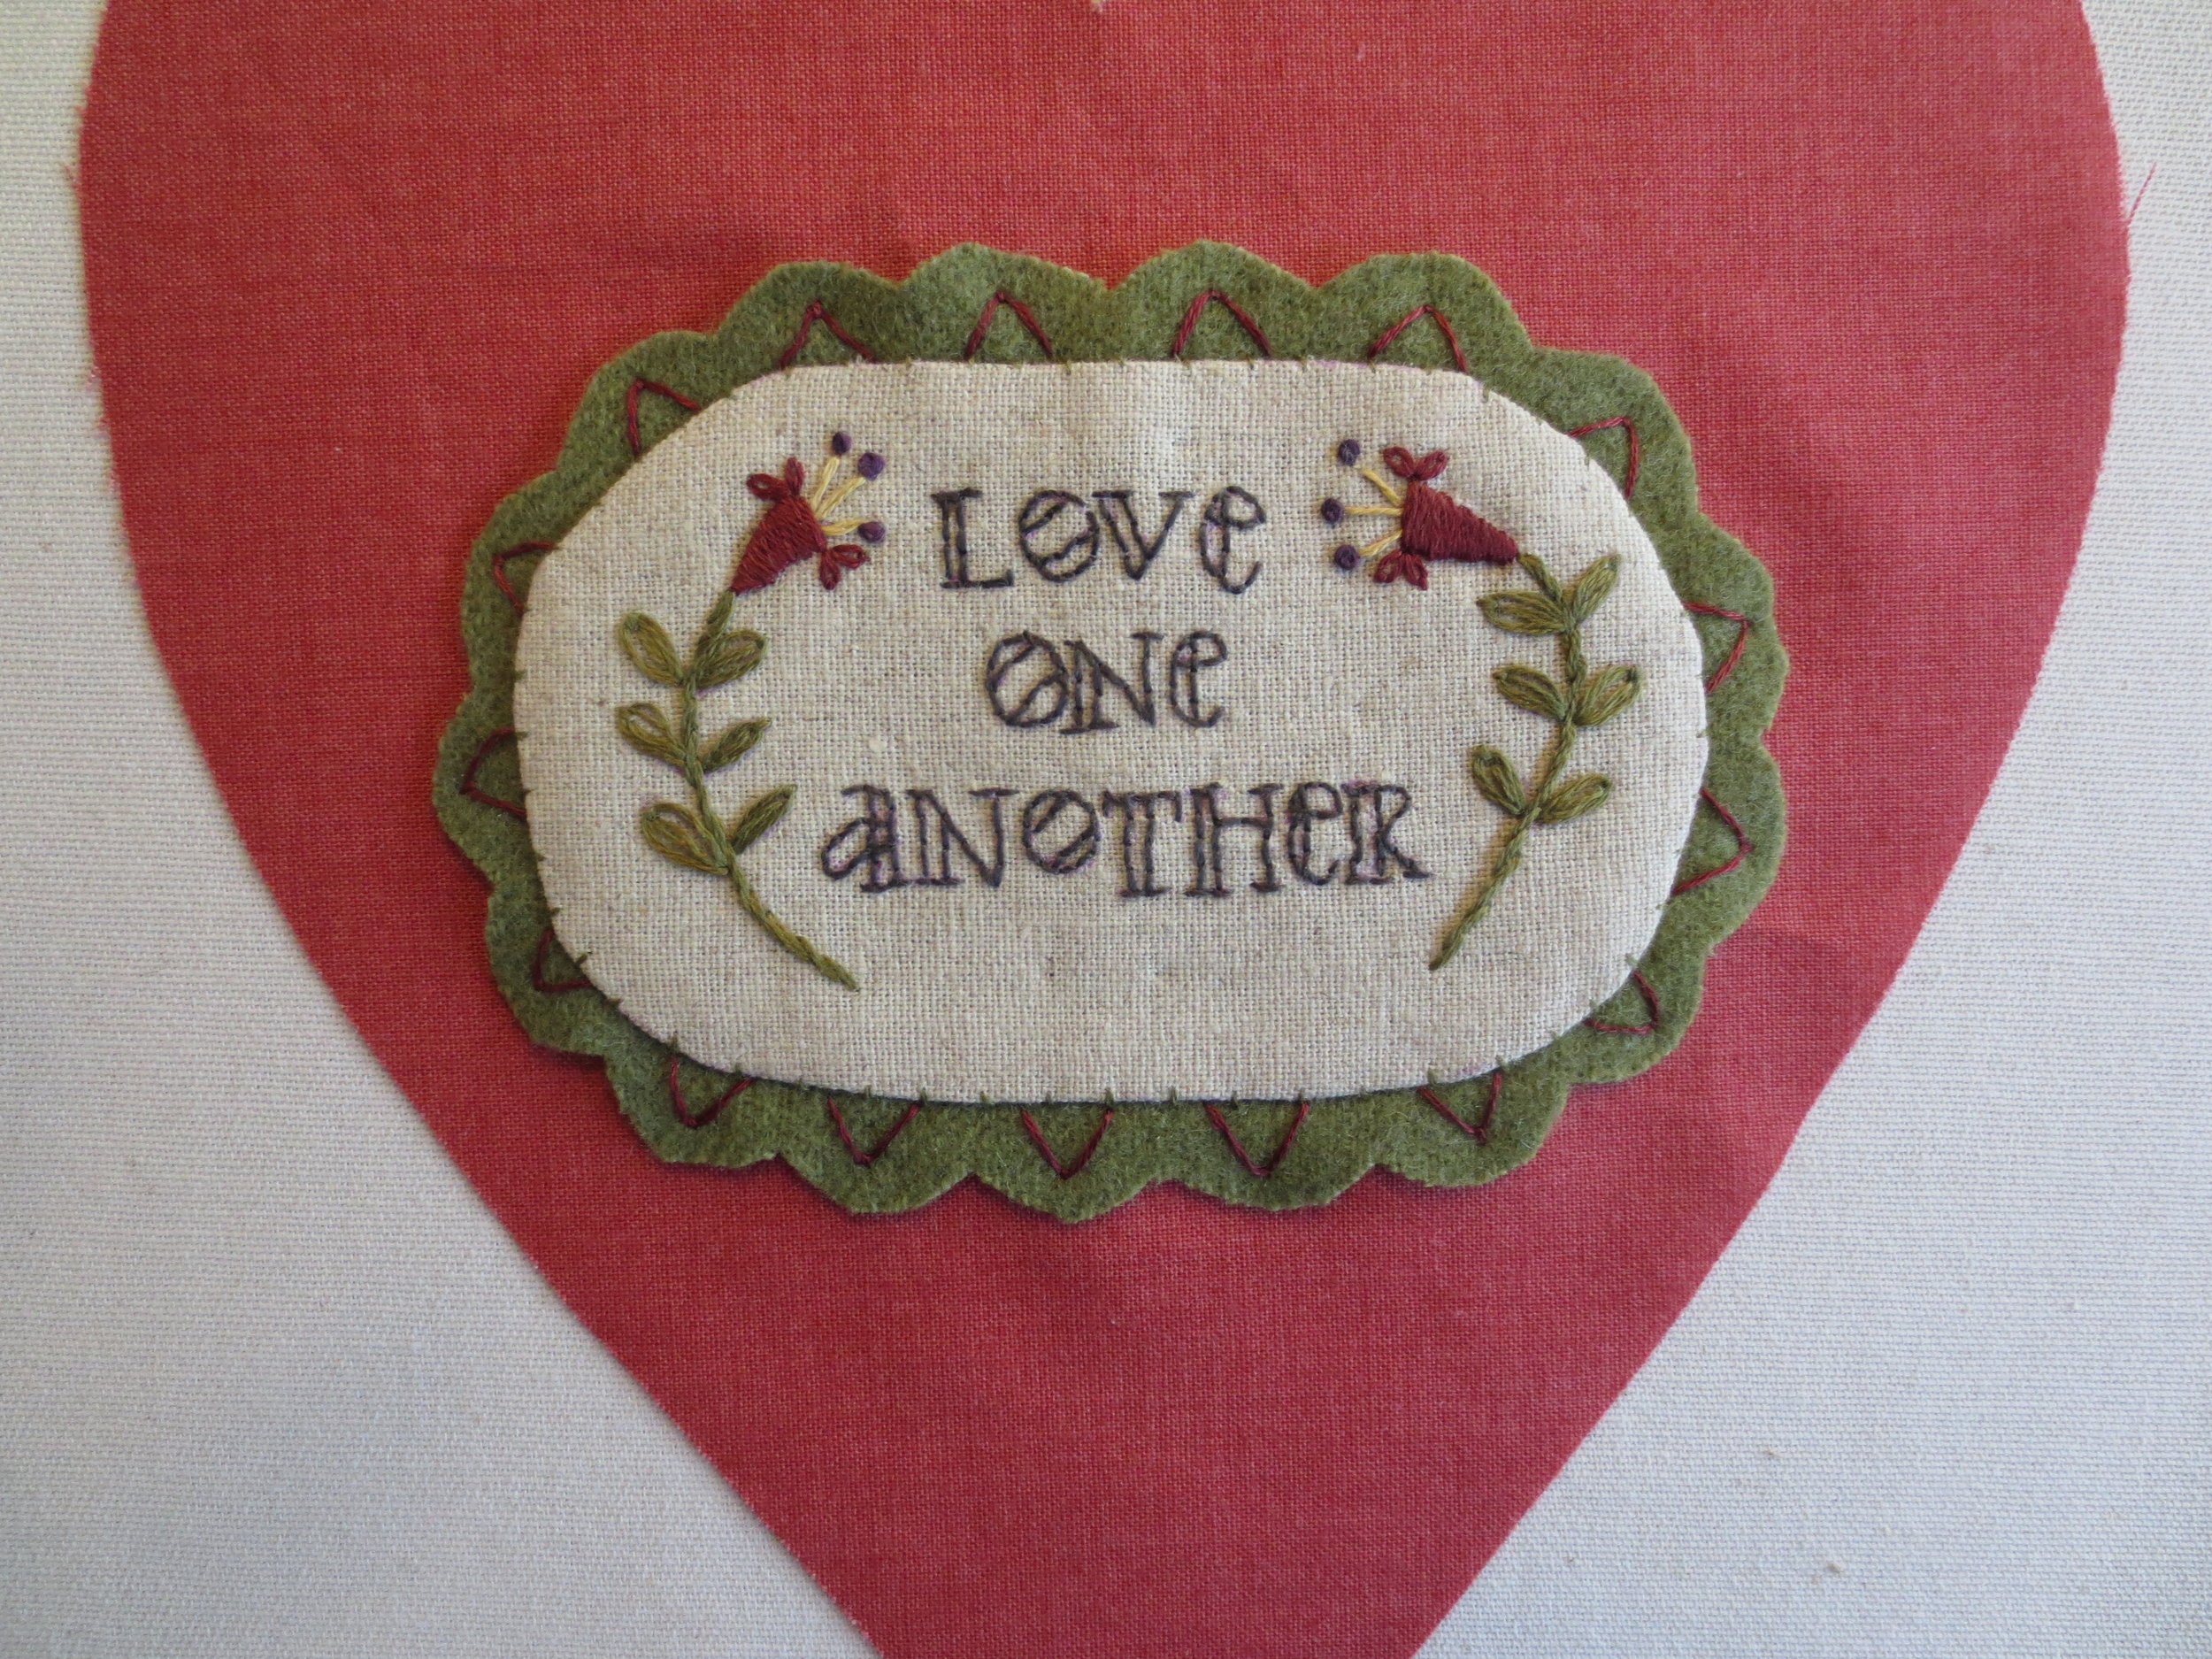
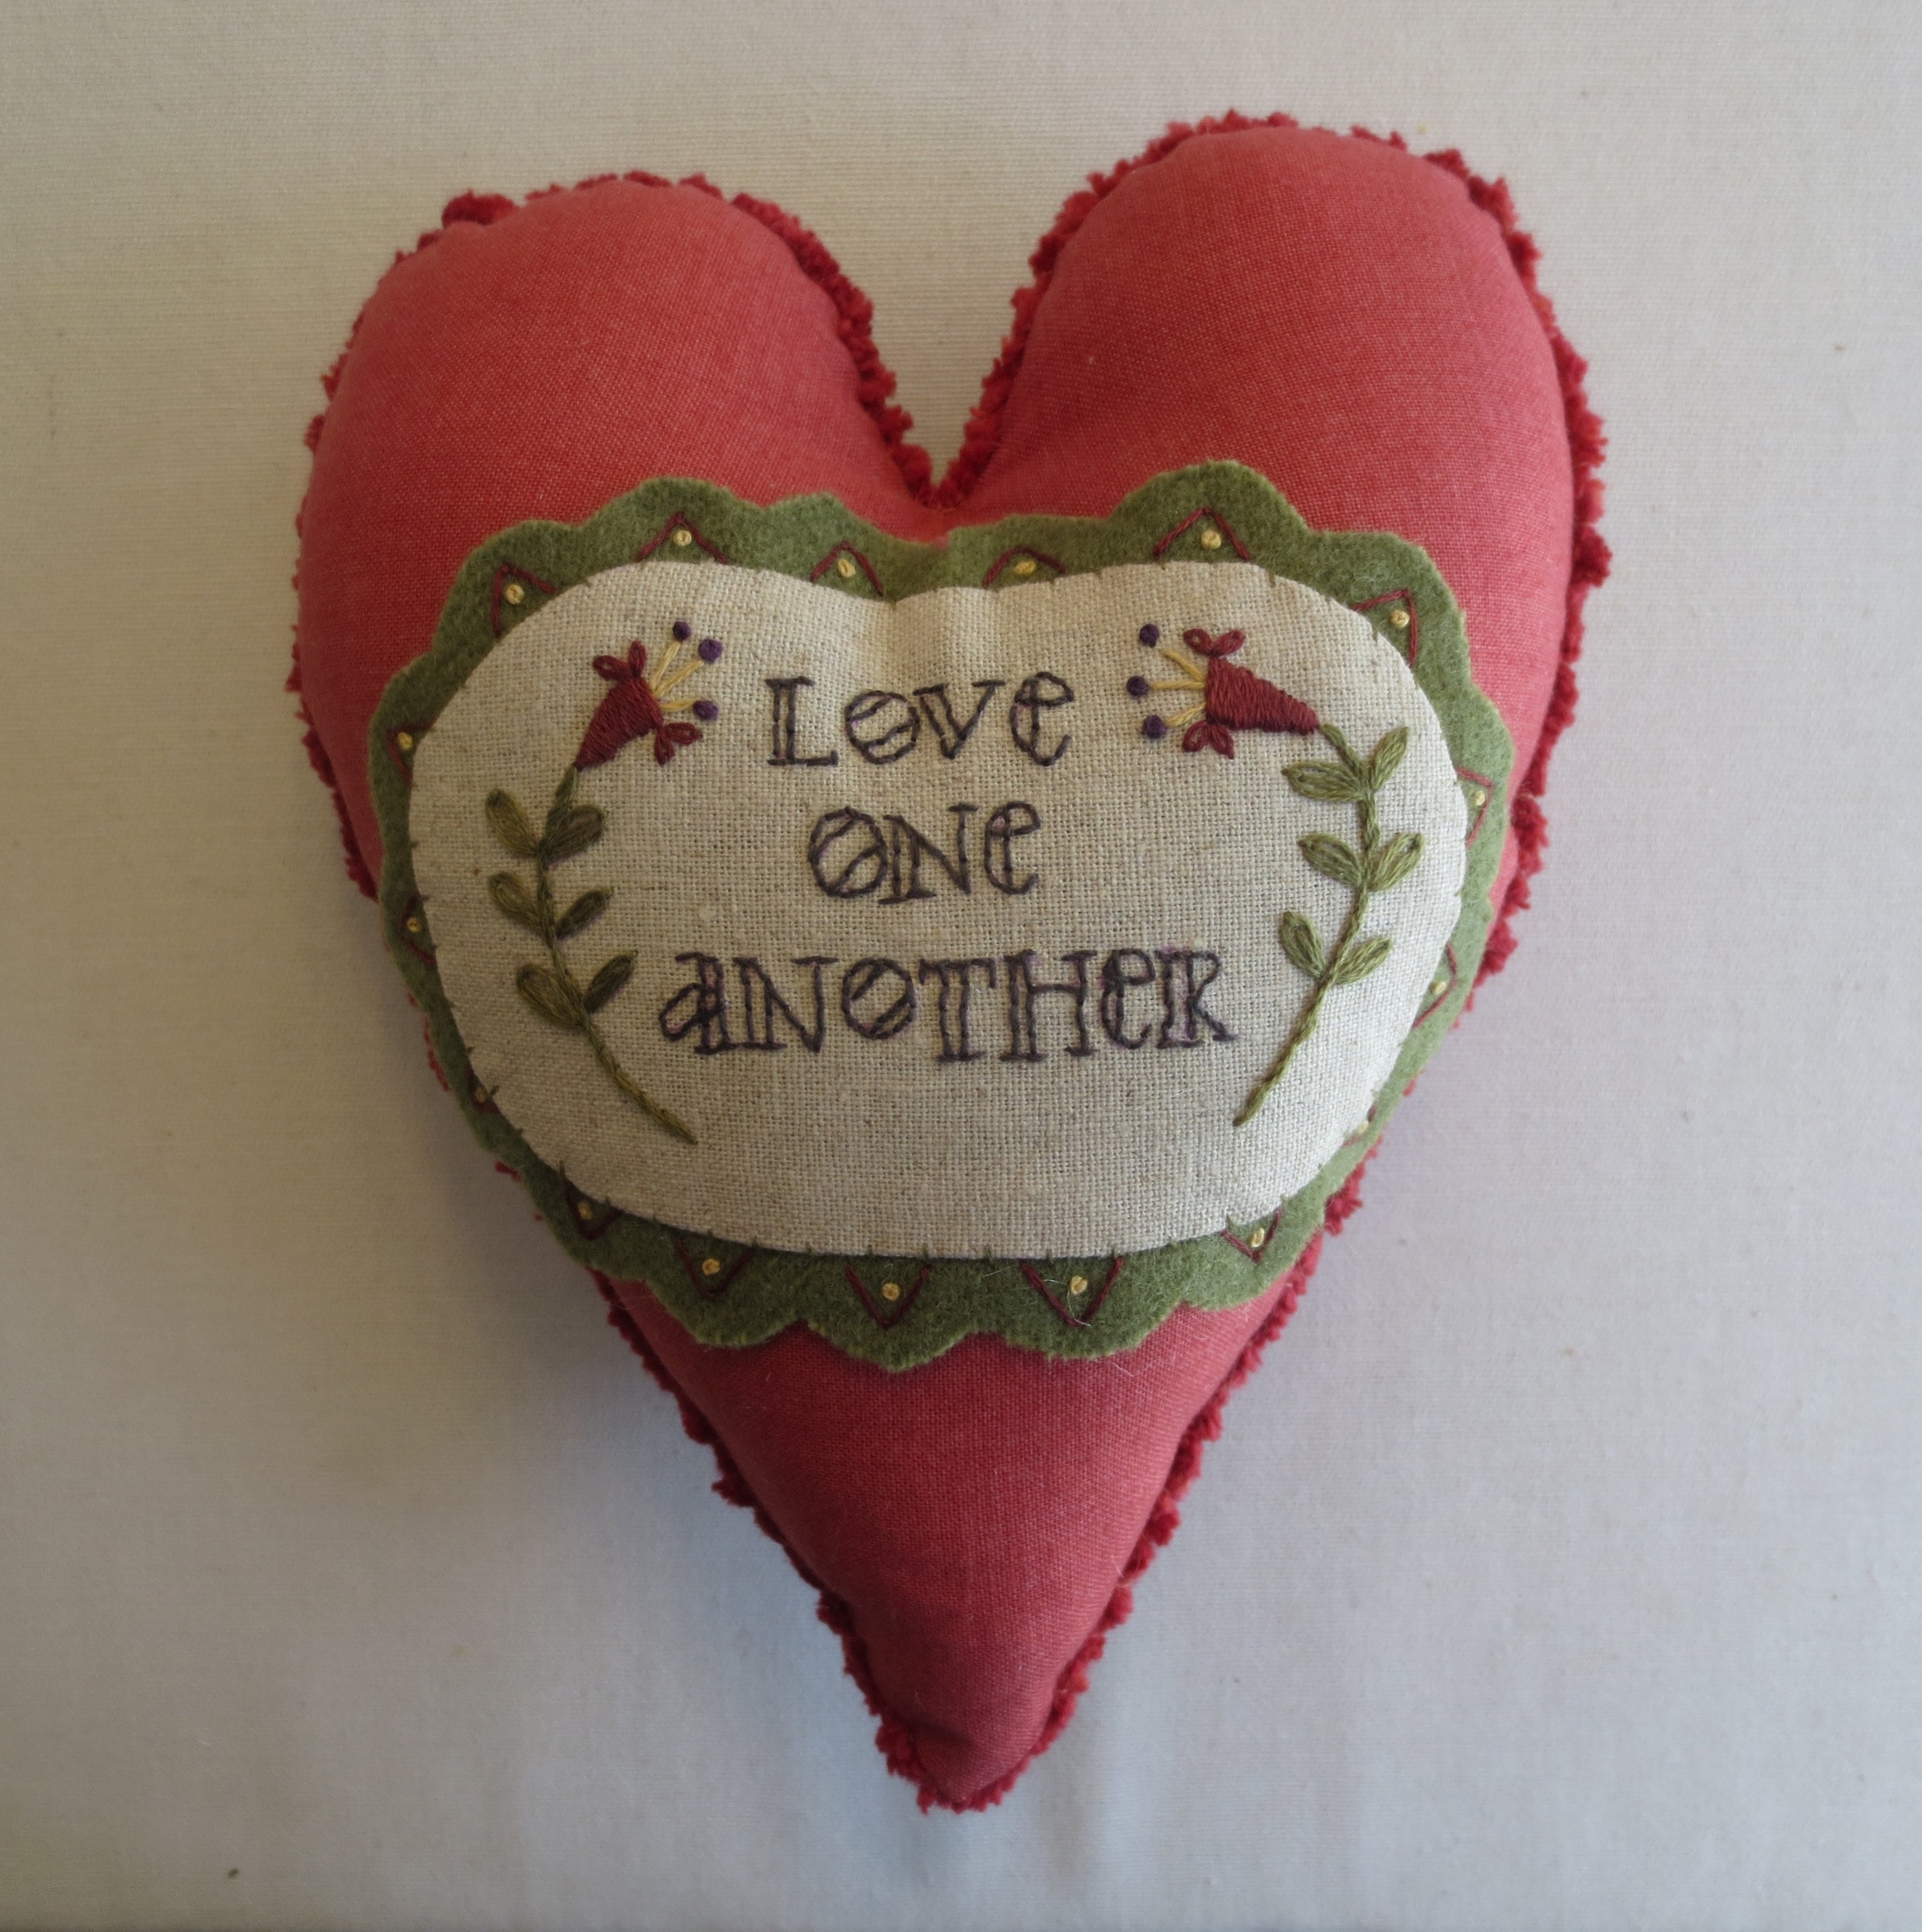
Love One Another
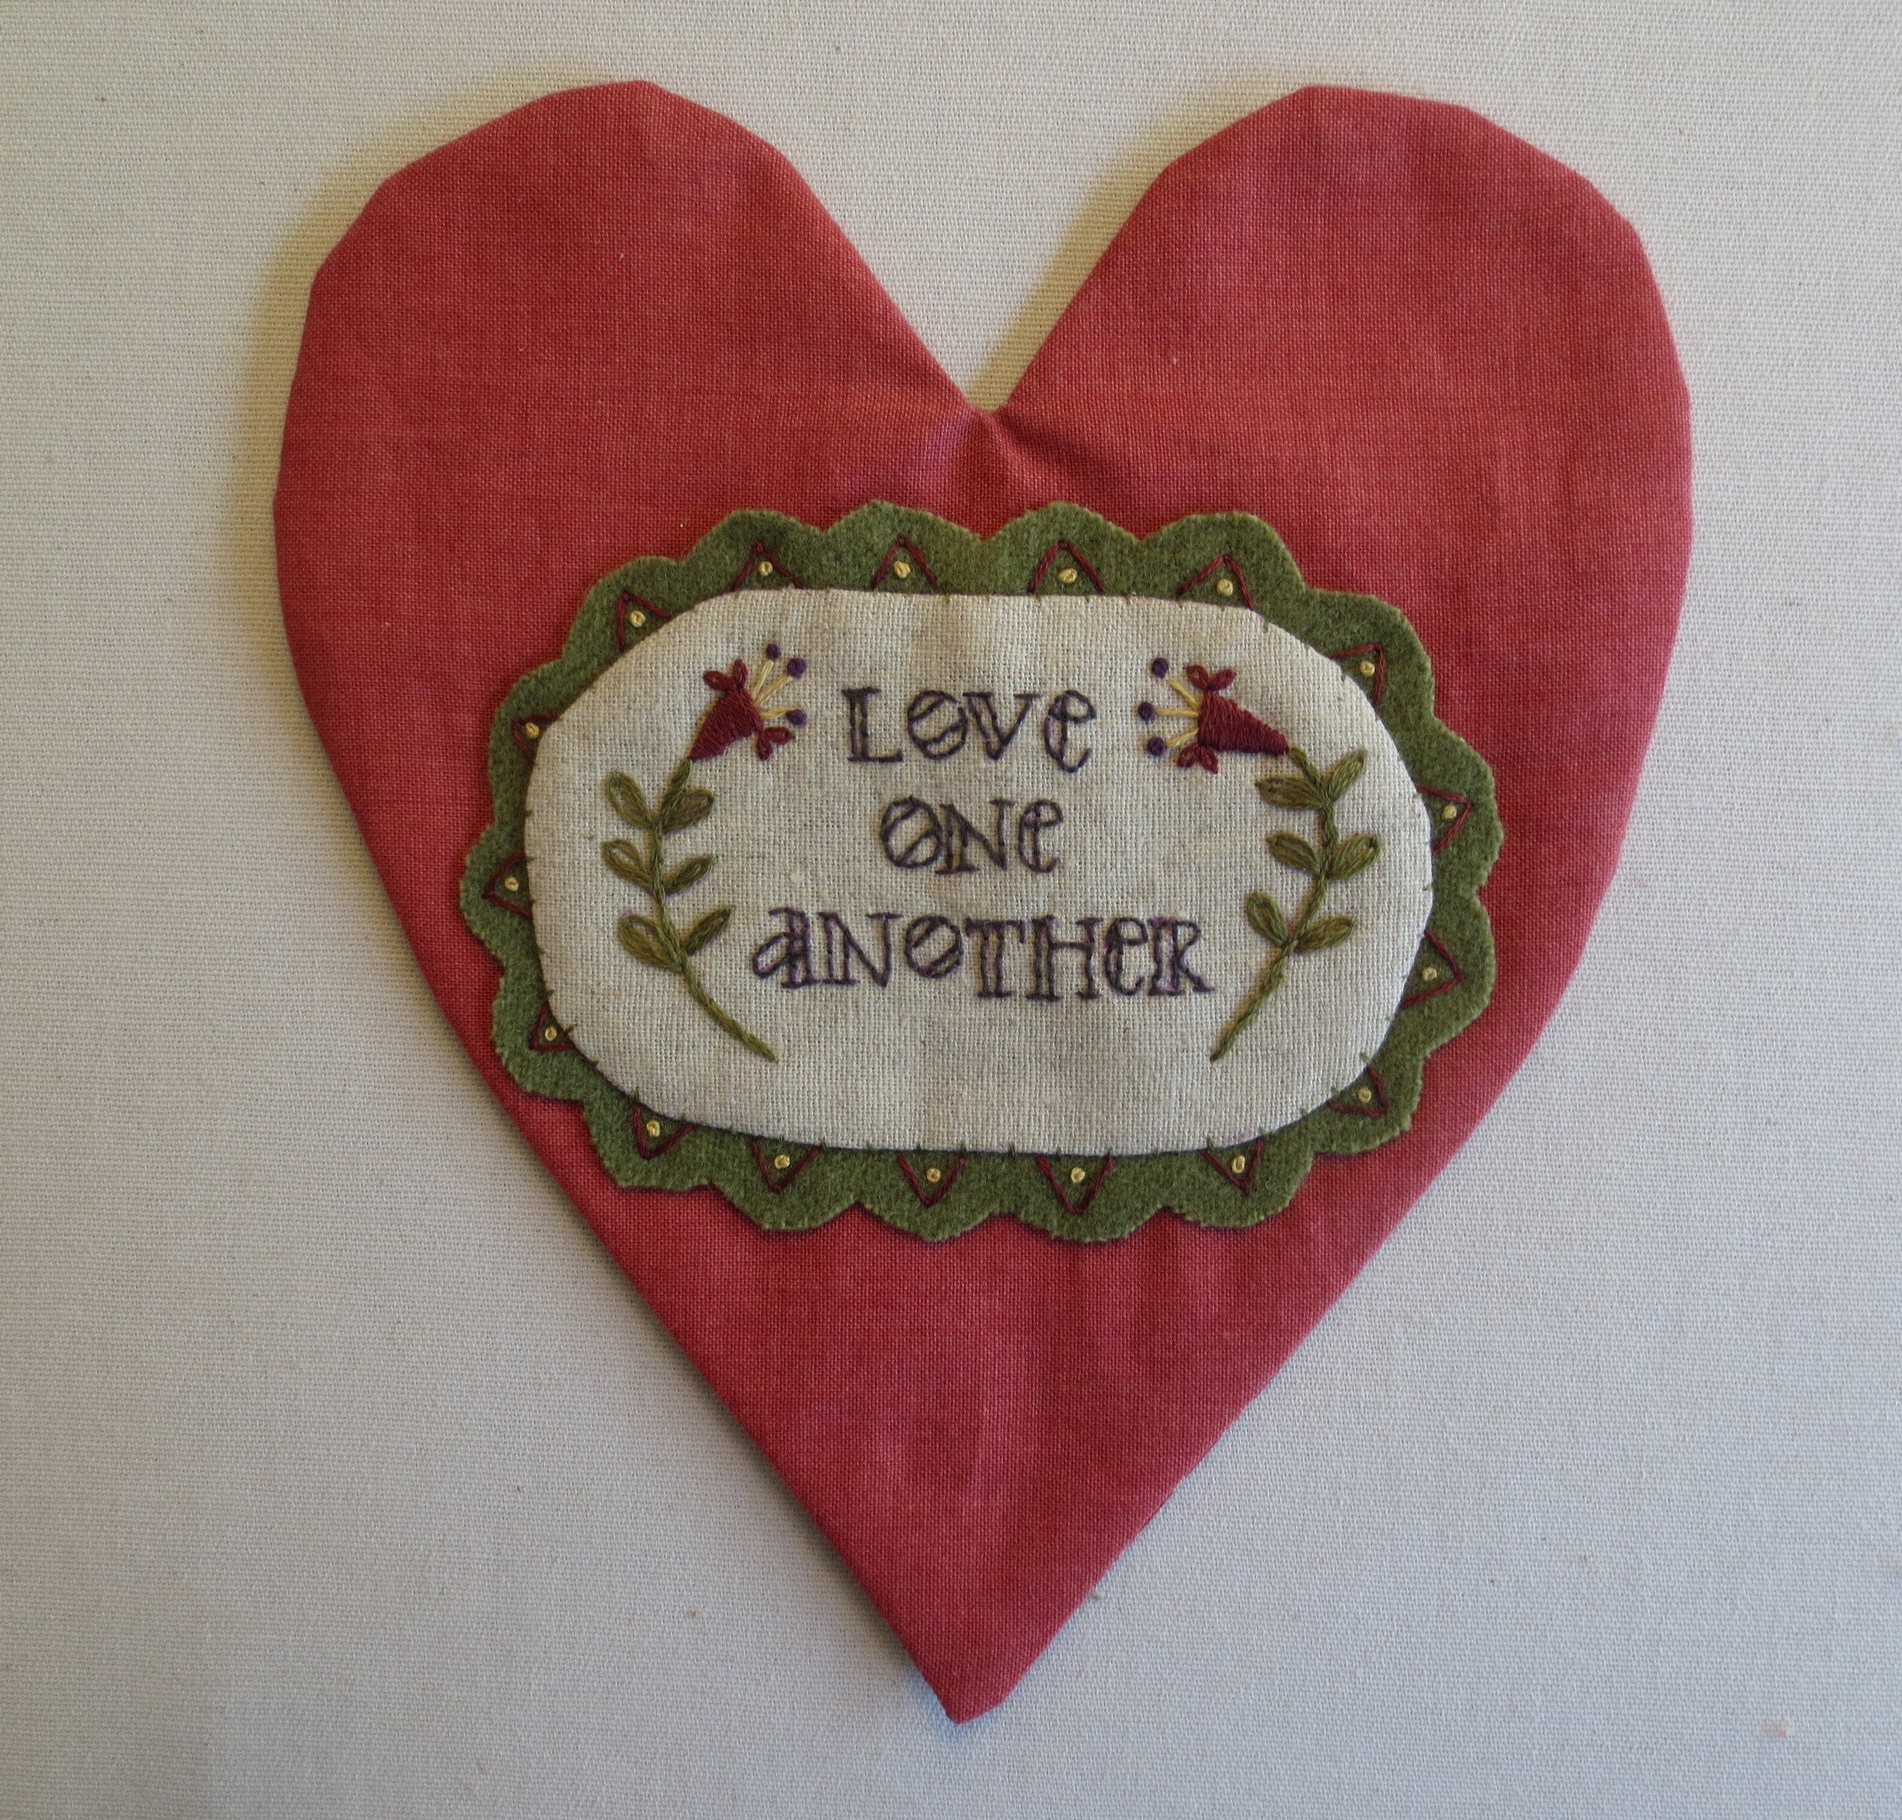
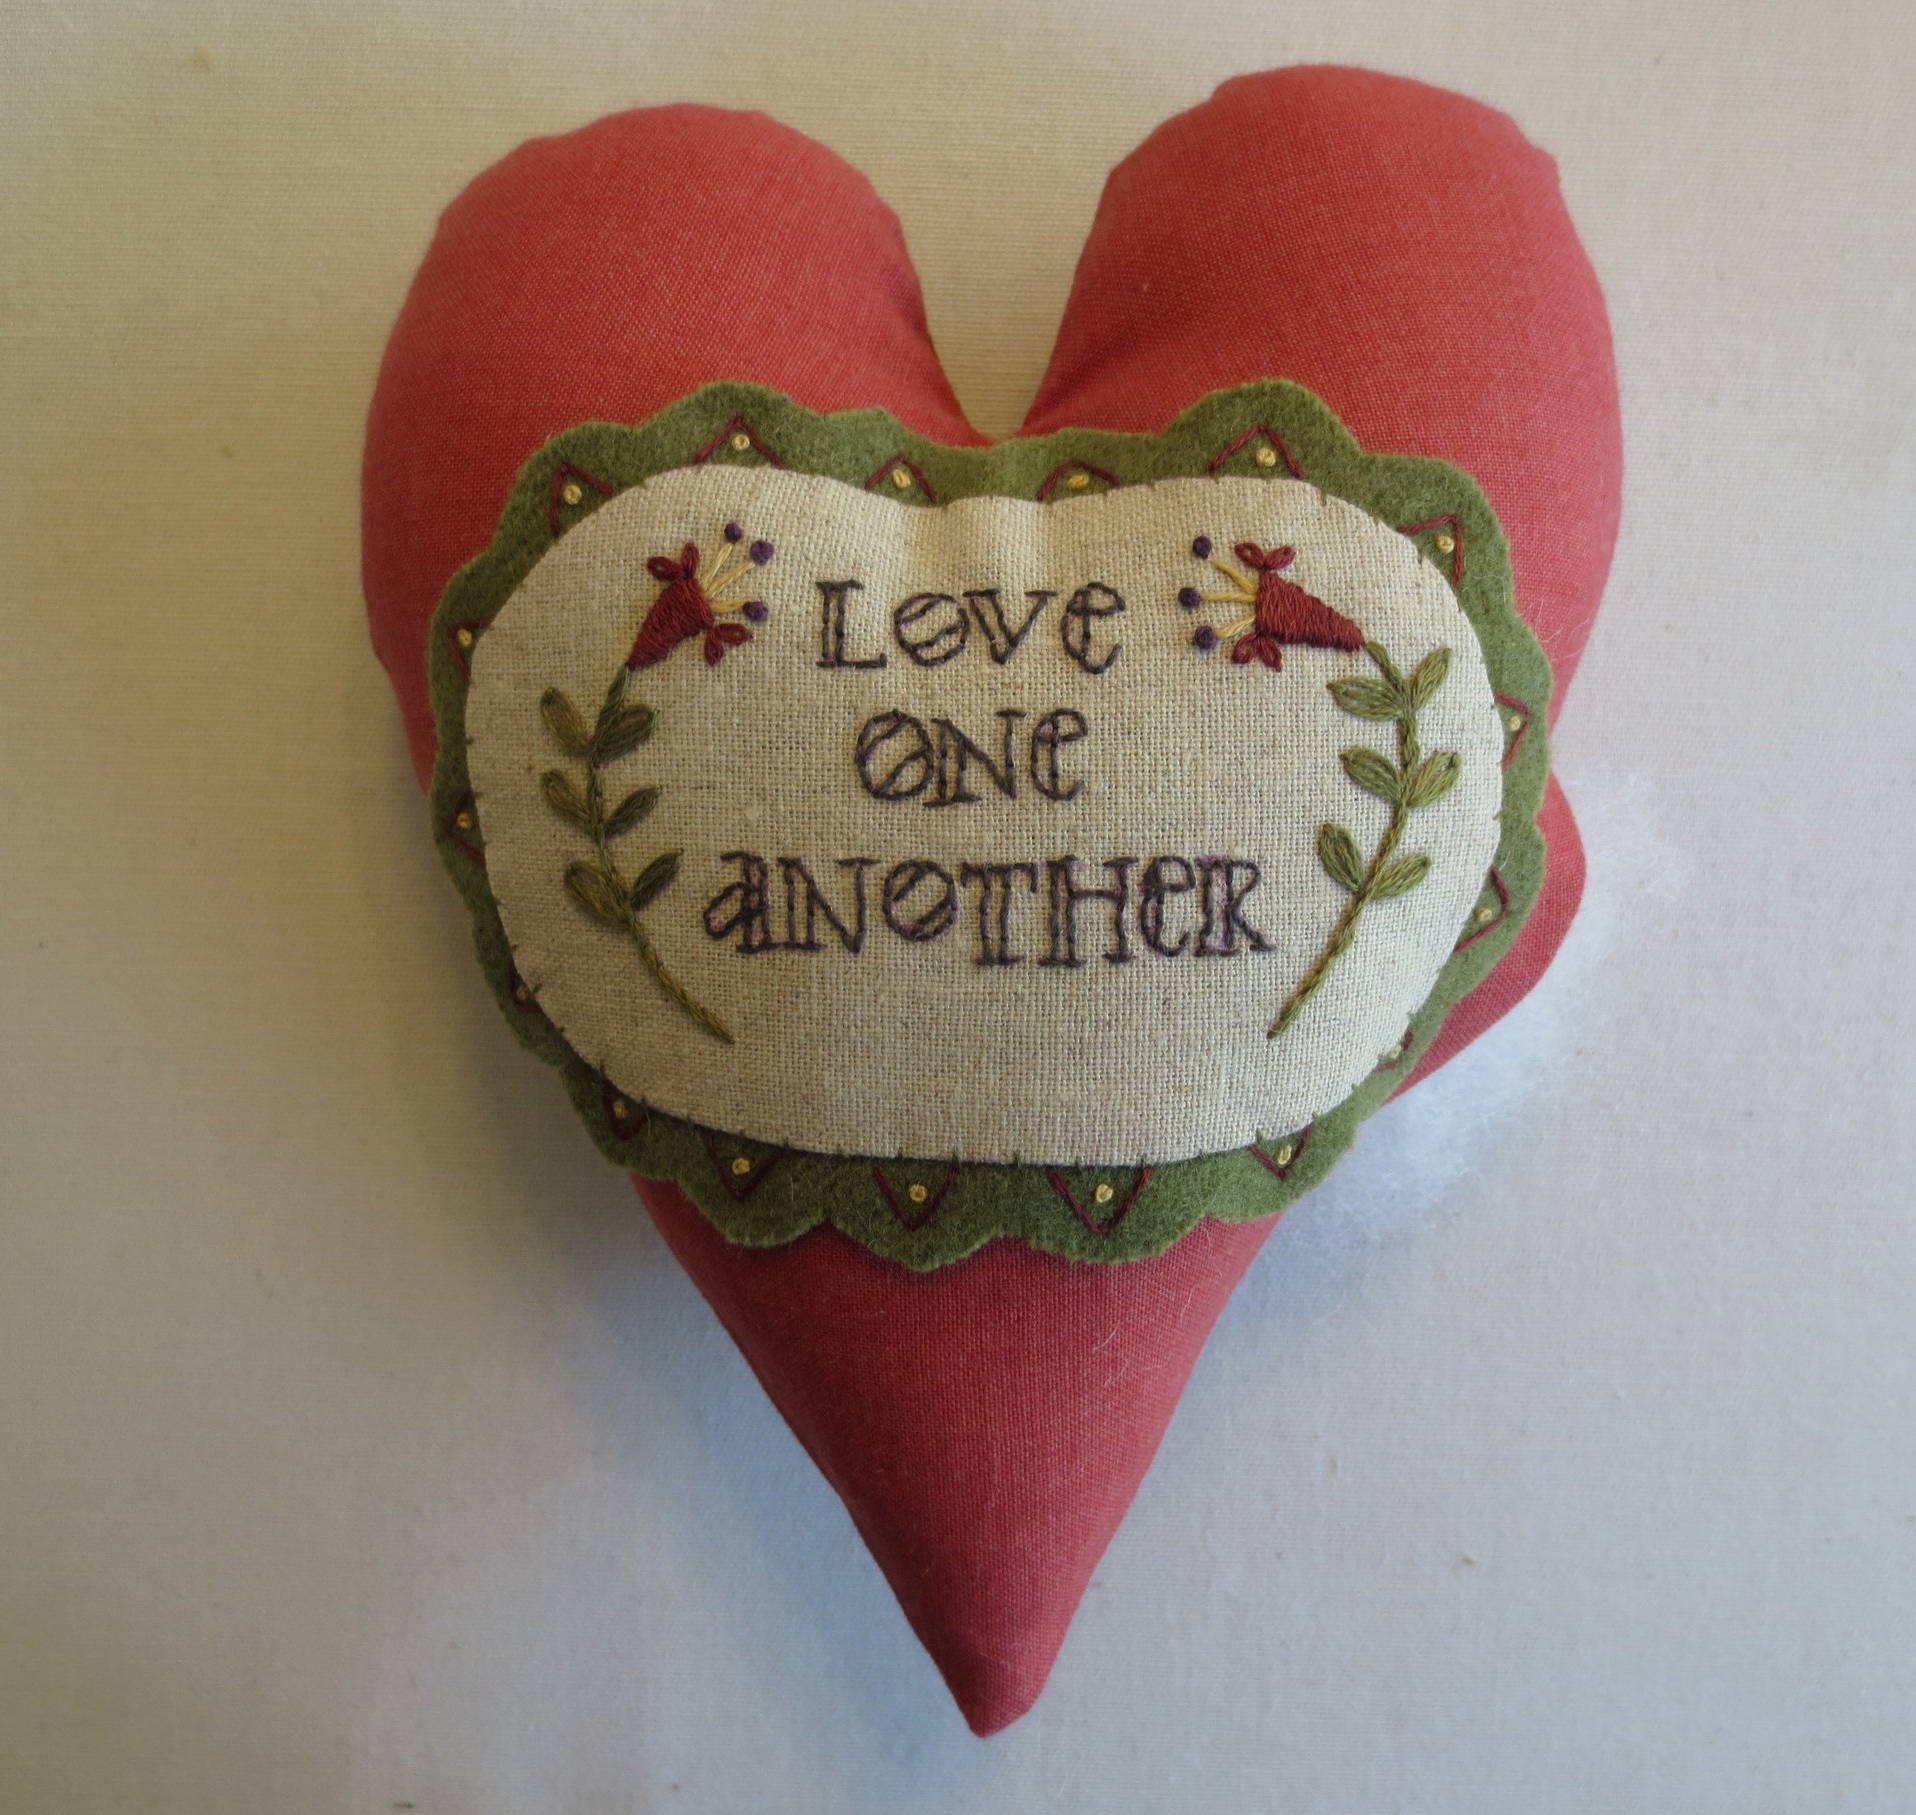
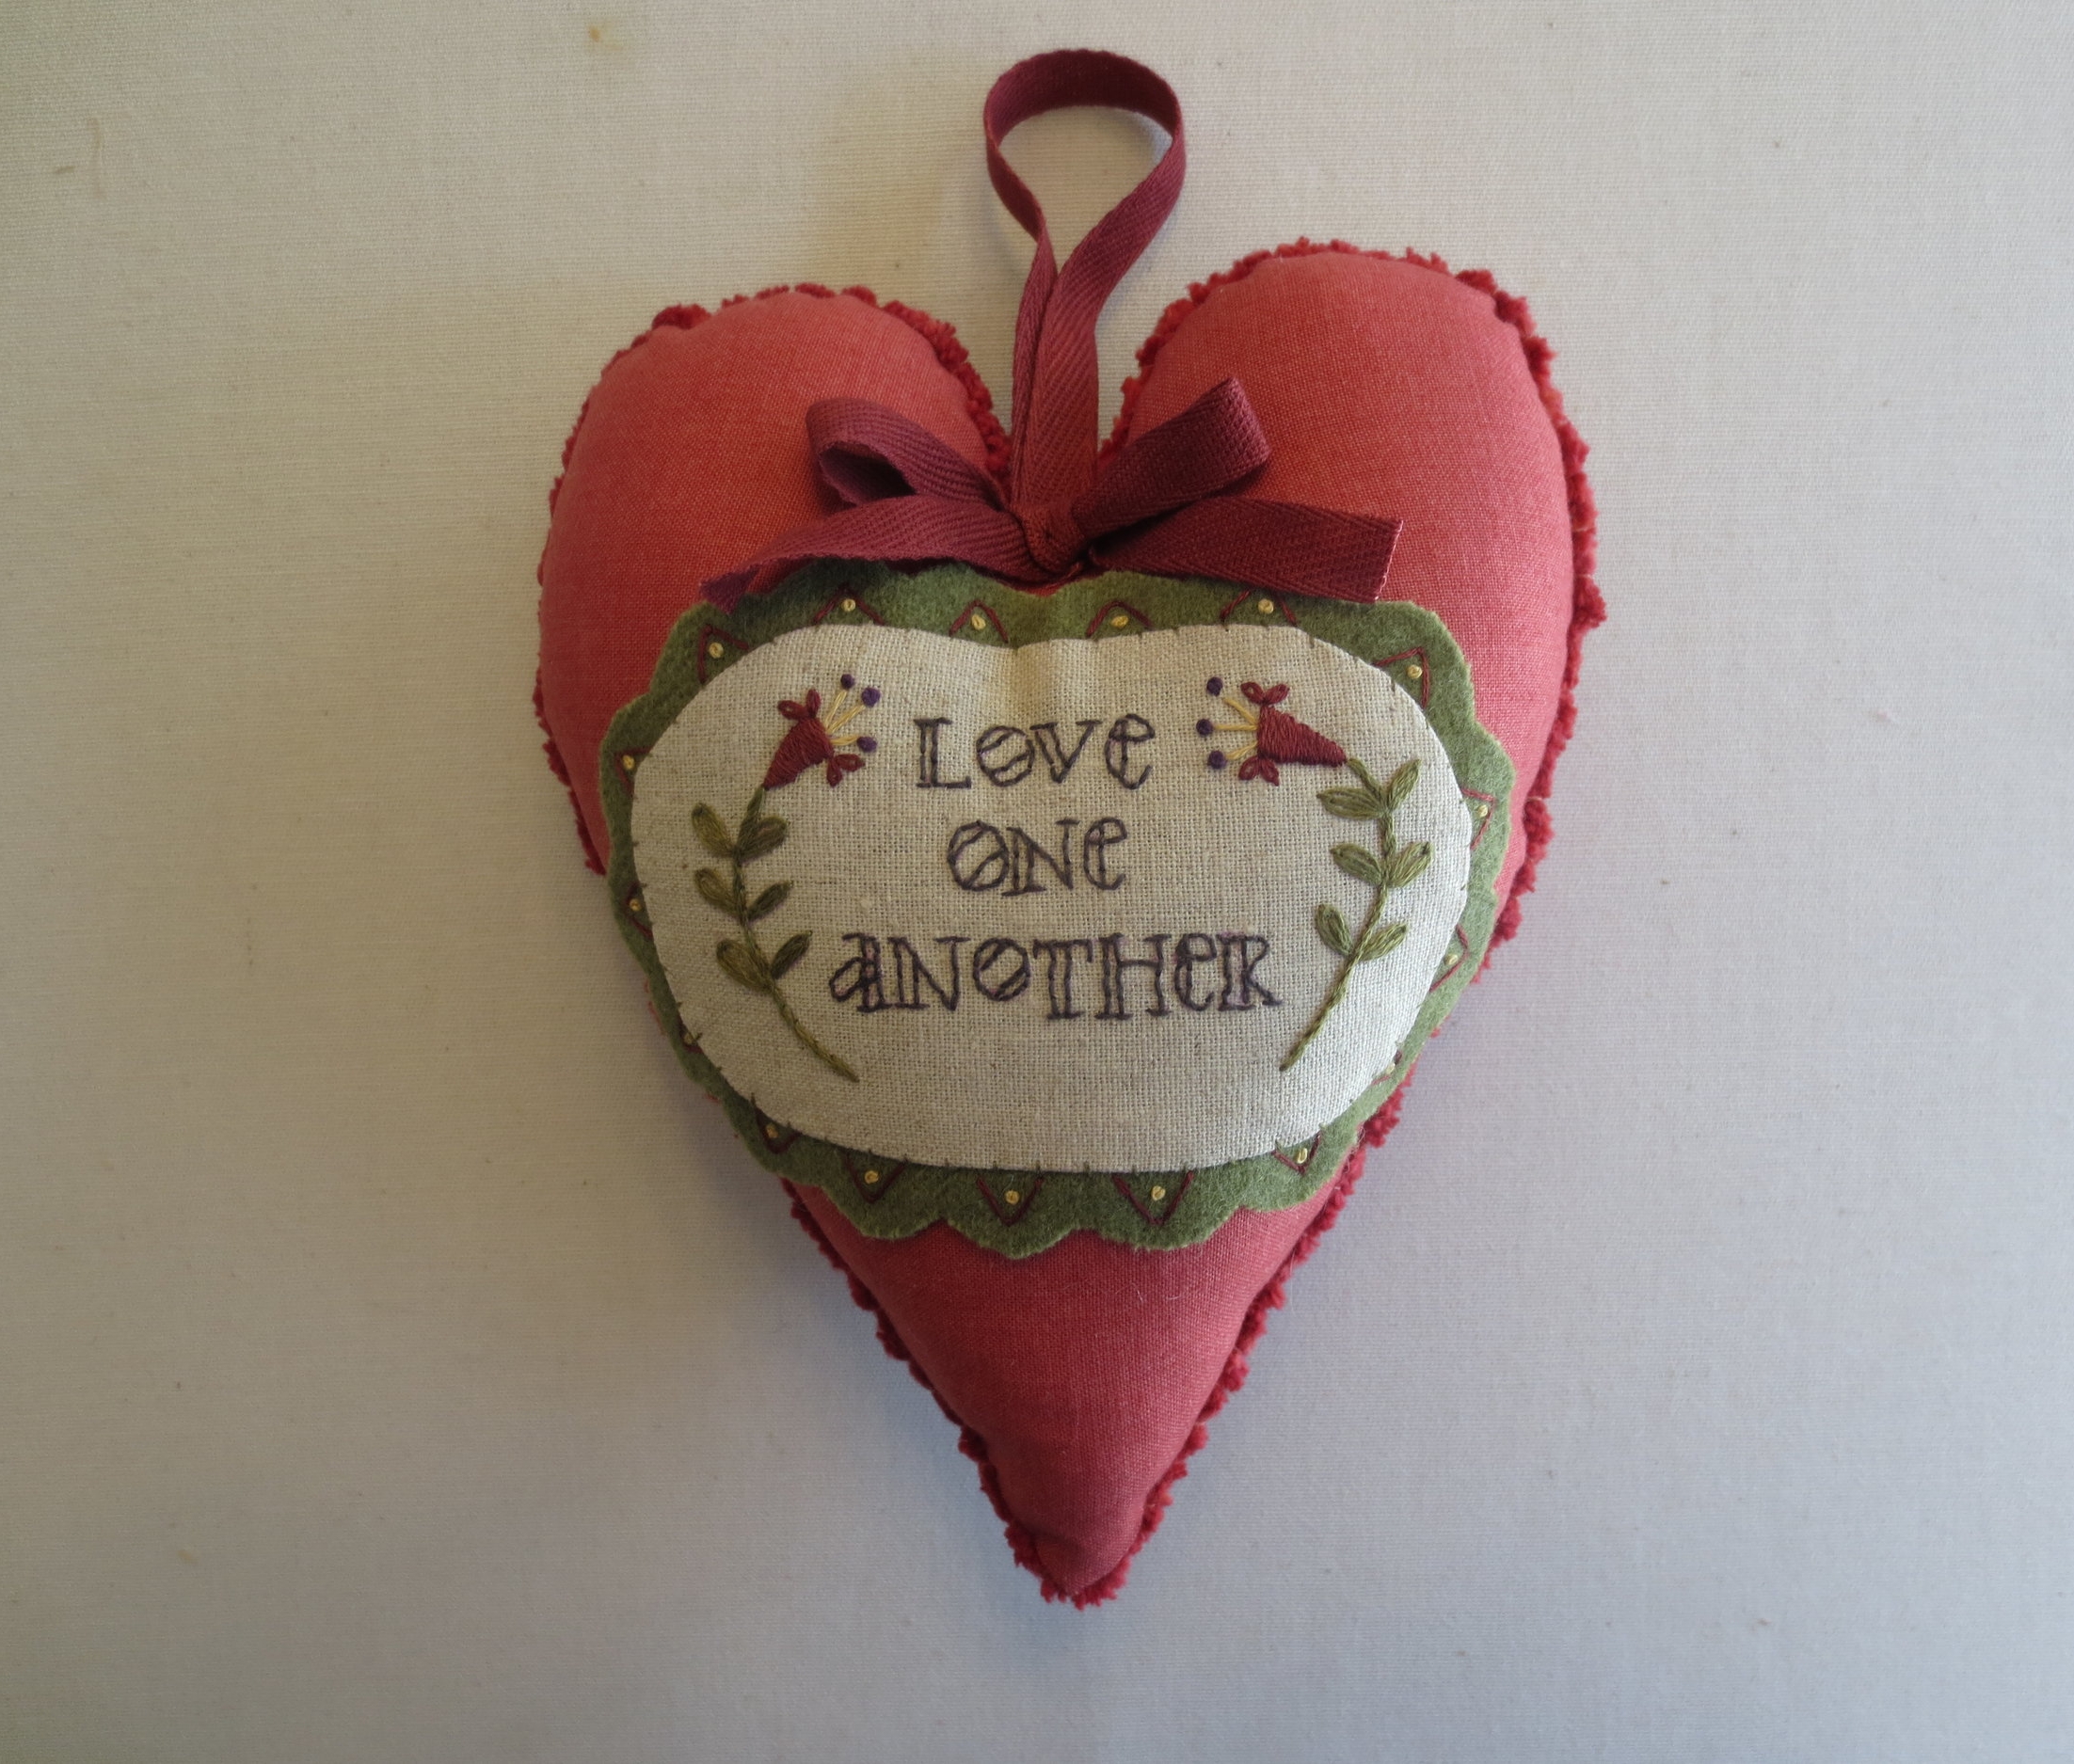
Here's a little heart to hang on your door to greet your guests on Valentine's Day and all the days after. My inspiration came from French General fabric scraps, and the lyrics from a song written by Chet Powers and sung by the group The Youngbloods in 1967.
"Come on people now
Smile on your brother
Everybody get together
Try to love one another
Right now."
You will need:
- Fabric - All fabrics are quilting cottons unless otherwise noted.
- Linen cotton blend (I used Robert Kaufman Essex - Flax color) - This is the embroidery background. The amount you will need will depend on whether you use a hoop or not. I used a 6" hoop so I needed an 11" square of fabric. You will need a 6" square if you choose not to use a hoop.
- Fabric A - one fat eighth
- Cut one 8" x 9" - front
- Cut one 3 1/2" x 9" - back
- Fabric B - One 1" x 9" - back
- Fabric C - One 3 1/2" x 9" - back
- Fabric D - One 3 1/2" x 9" - back
2. Felted wool
- 4" x 5" green solid
3. 18" length of 3/8" wide ribbon in a color that complements your fabric (I used a piece of hand dyed twill ribbon). A silk ribbon would be beautiful.
4. 24" length of Chenille yarn in a color that complements your fabric ( I used a rose color that I hand dyed) I have purchased hand dyed chenille trim from https://www.etsy.com/shop/ladydotcreates .
5. Thread - These are suggestions. Your colors may vary.
- Letters - Sulky 12wt. cotton thread, color #1234
- Flower petals and border fly stitches - Weeks Dye works, brick #1331
- Flower filament, wool border French knots - DMC floss, #676
- Flower stem and leaves, needle turn thread* - DMC floss, #3011
- Flower anthers - Sulky 12 wt., color #4022 (this is a variegated blue and lavender)
- Chenille border couching stitch - DMC floss, #356 (this color matches the chenille yarn)
*I wanted my applique stitch to show, so I chose a contrasting thread. If you don't want the stitch to be visible use a thread that matches your fabric.
6. Miscellaneous
- 6" embroidery hoop (optional)
- Applique Needle (I used Tulip Big Eye, size 10 )
- Chenille Needle, size 24 (I used Bohin )
- Iron
- Polyfil Polyester filling
- Air soluble ink marking pen
- Sewing machine and thread
- Freezer paper (this can be found at most grocery stores)
- Lightbox or bright window.
8. Butternut Plaid Stitch Guide (You already have this guide If you have made any of the previous projects on my blog.)
Instructions
1. Lay out back fabrics as shown.
2. Sew these together in the same order. Press seams open. Set aside.
3. Trace the heart image and ruffled border image onto the freezer paper.
4. Cut out along traced lines.
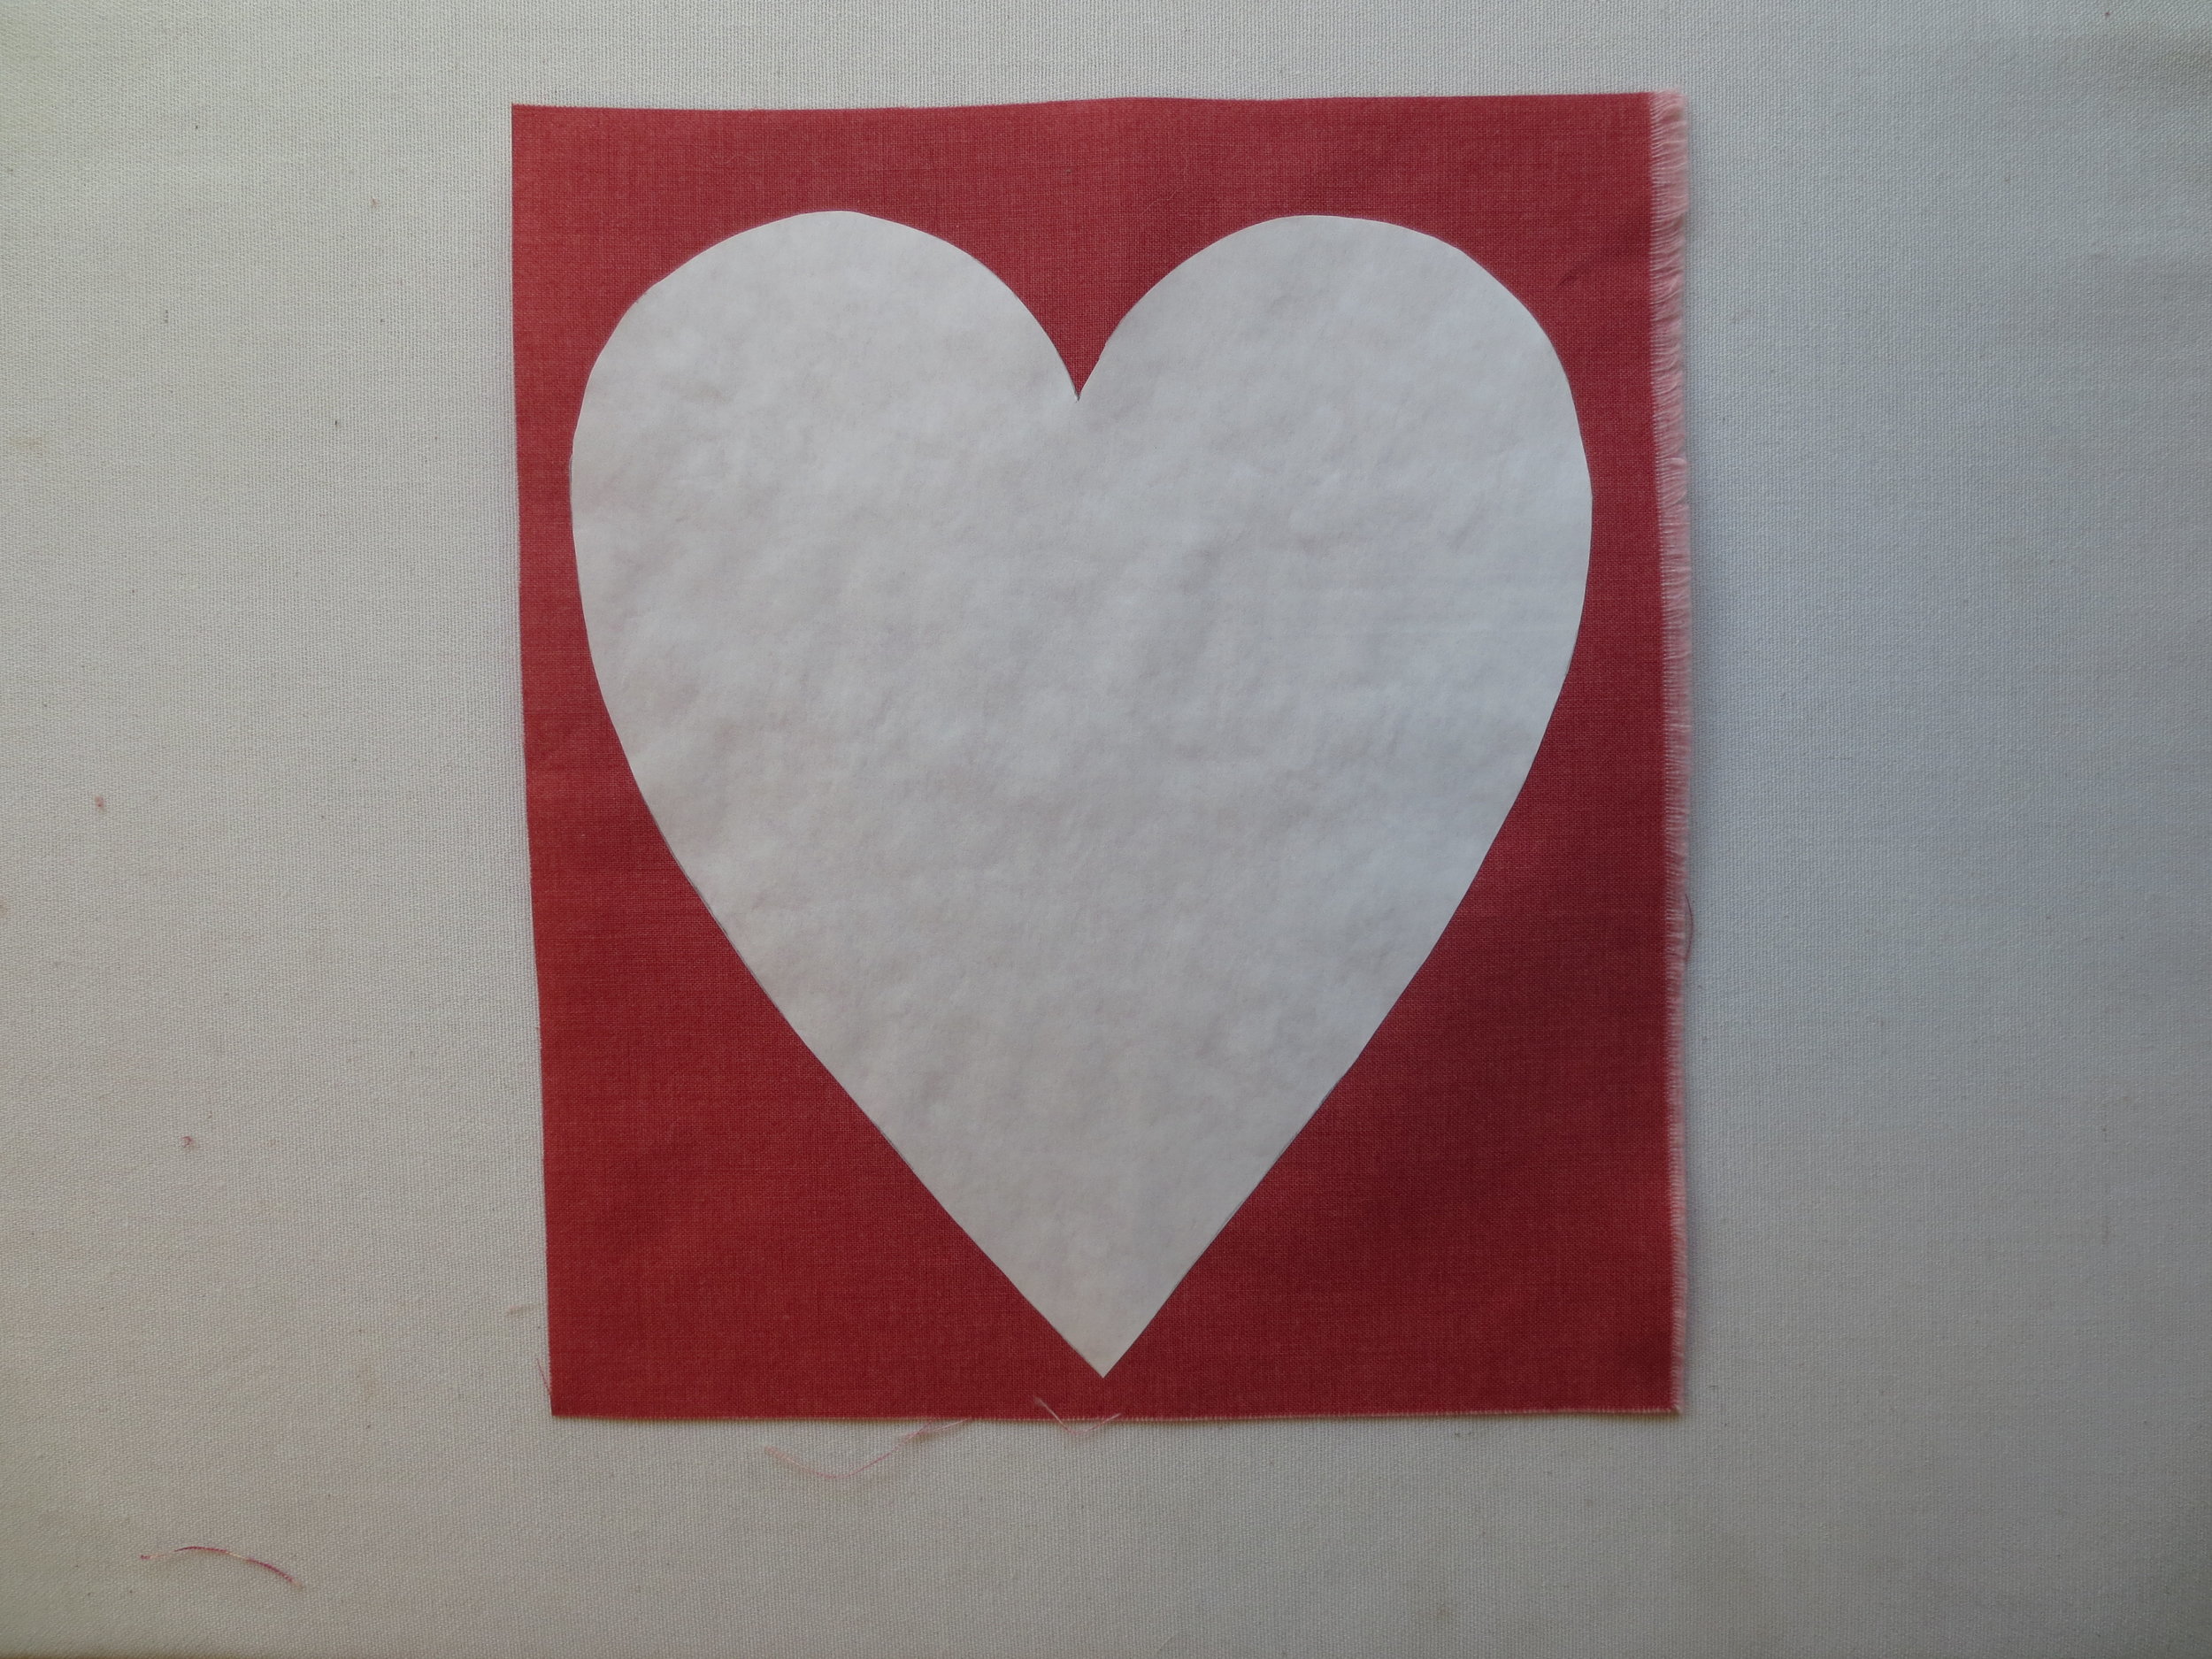
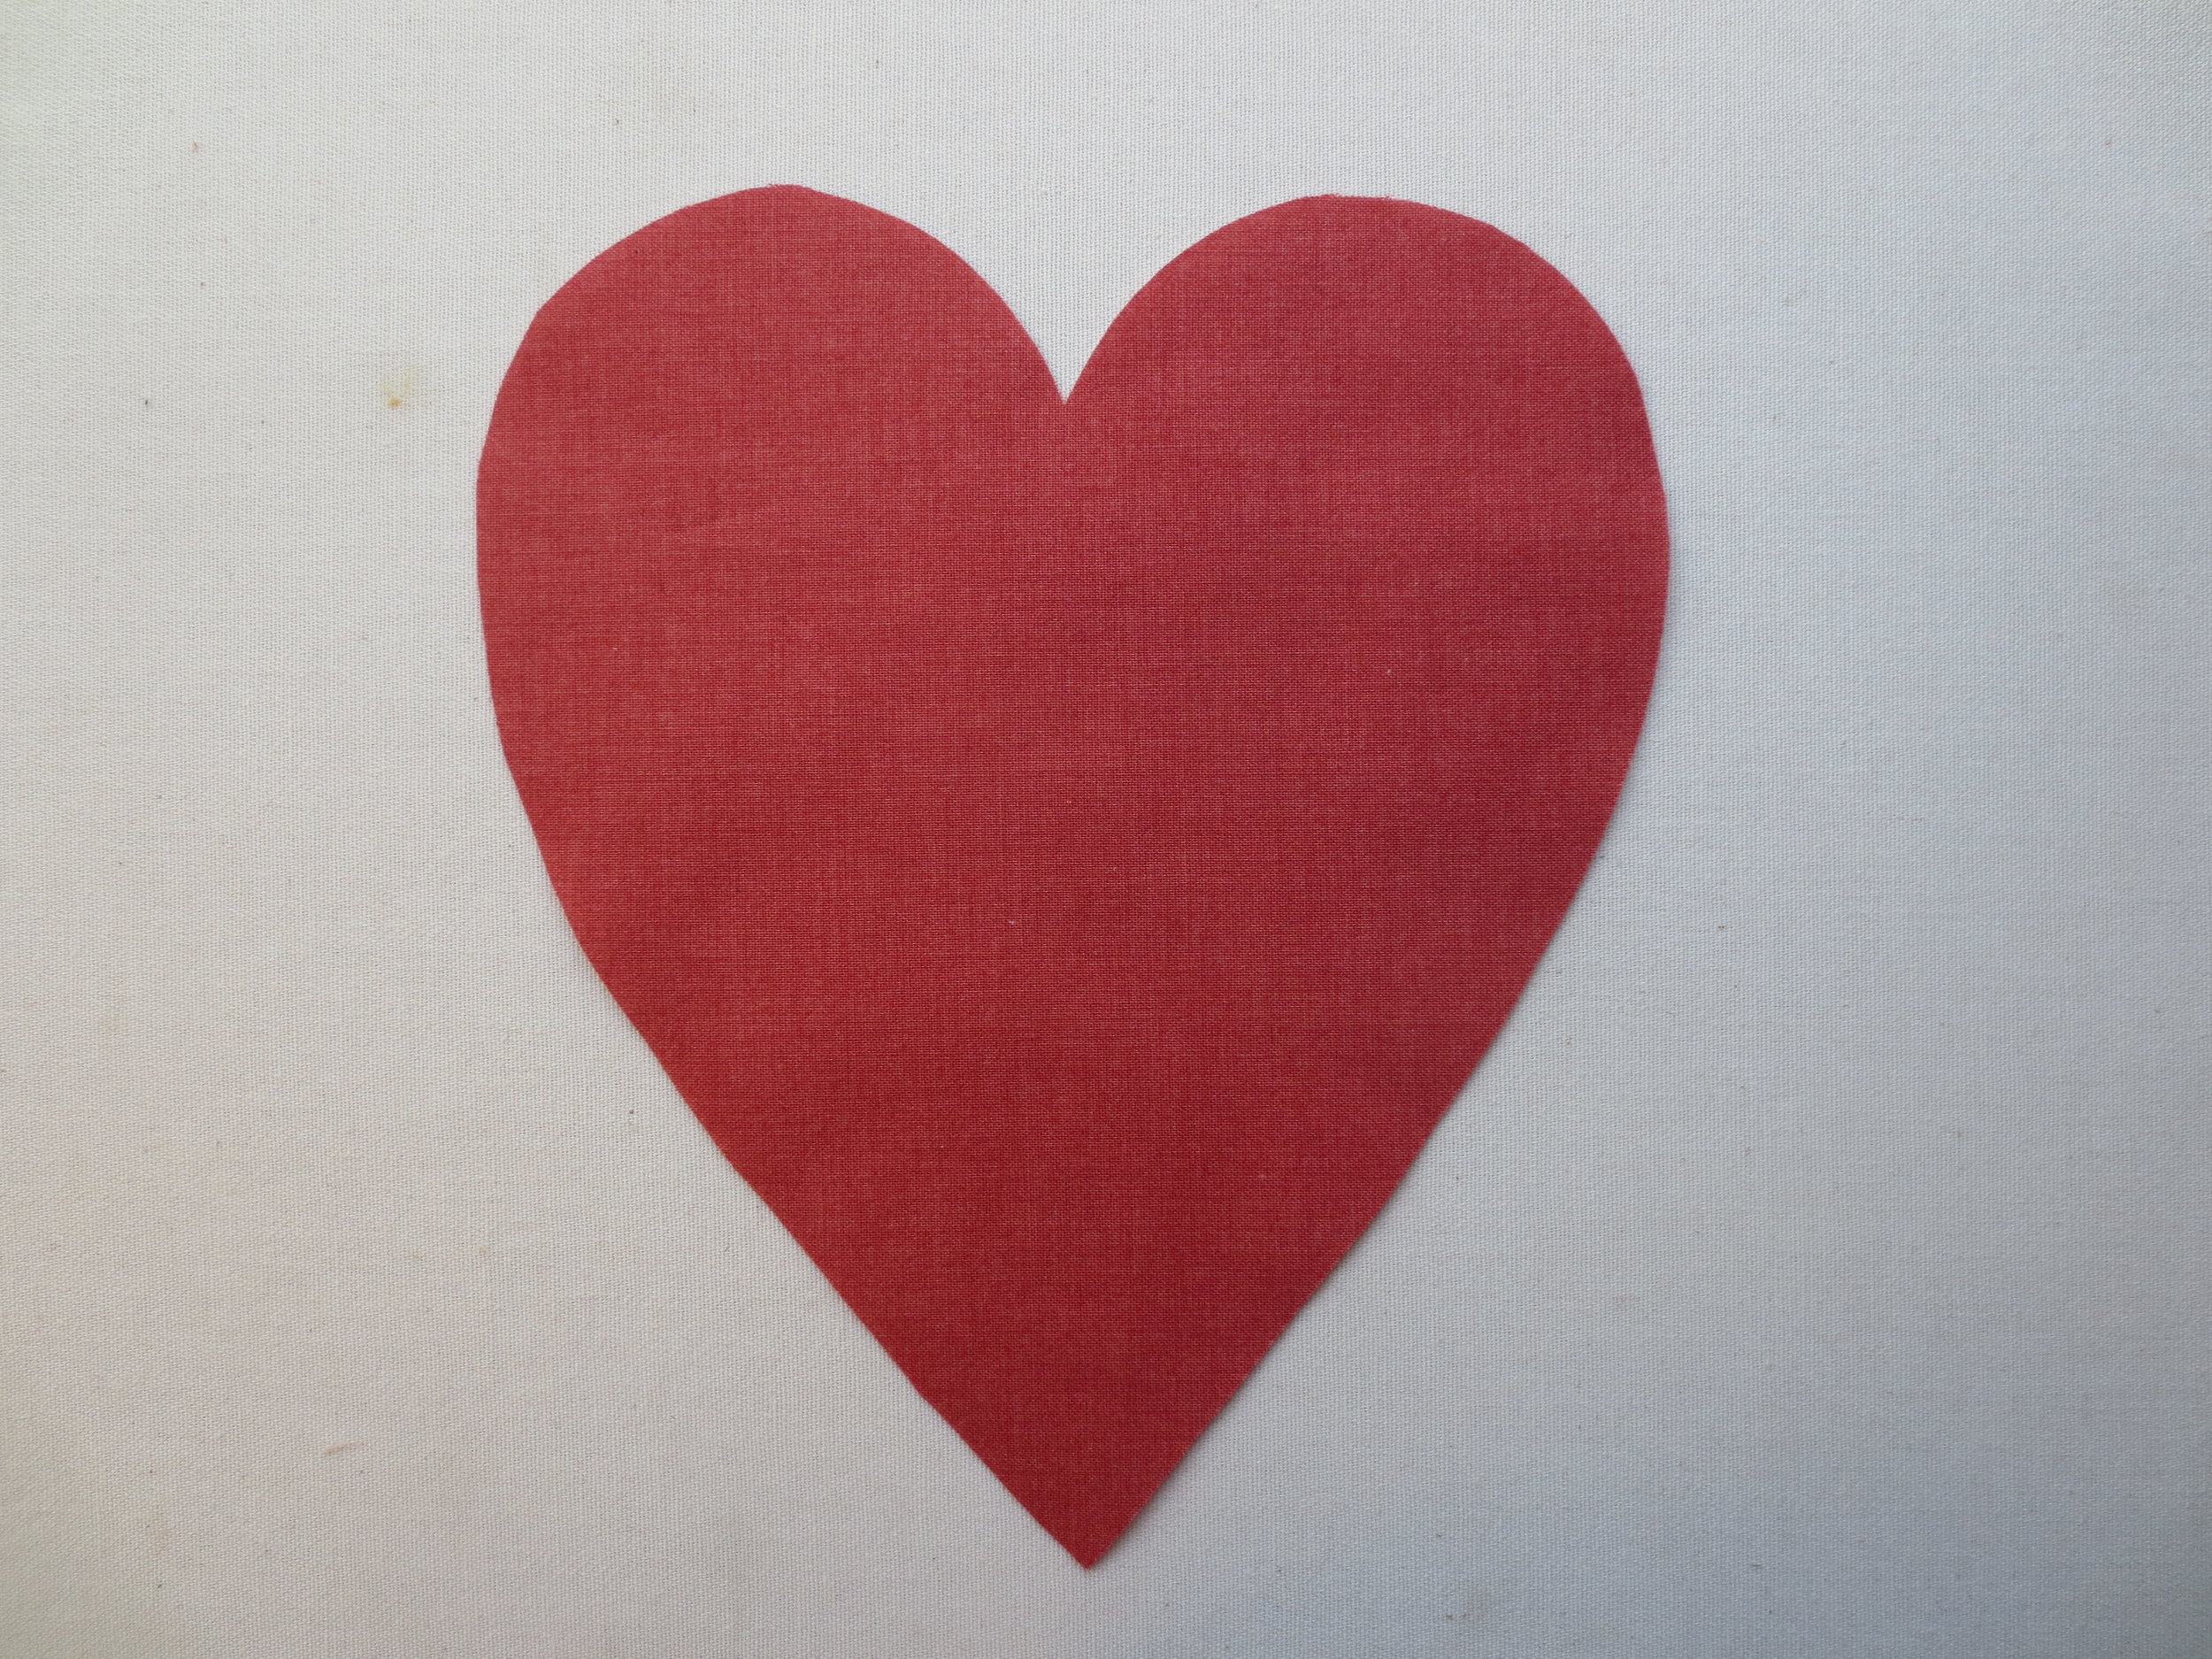
5. Iron the heart shape onto the 8" x 9" of fabric A. Cut out along traced line. Remove freezer paper and set aside. Don't discard the freezer paper heart.
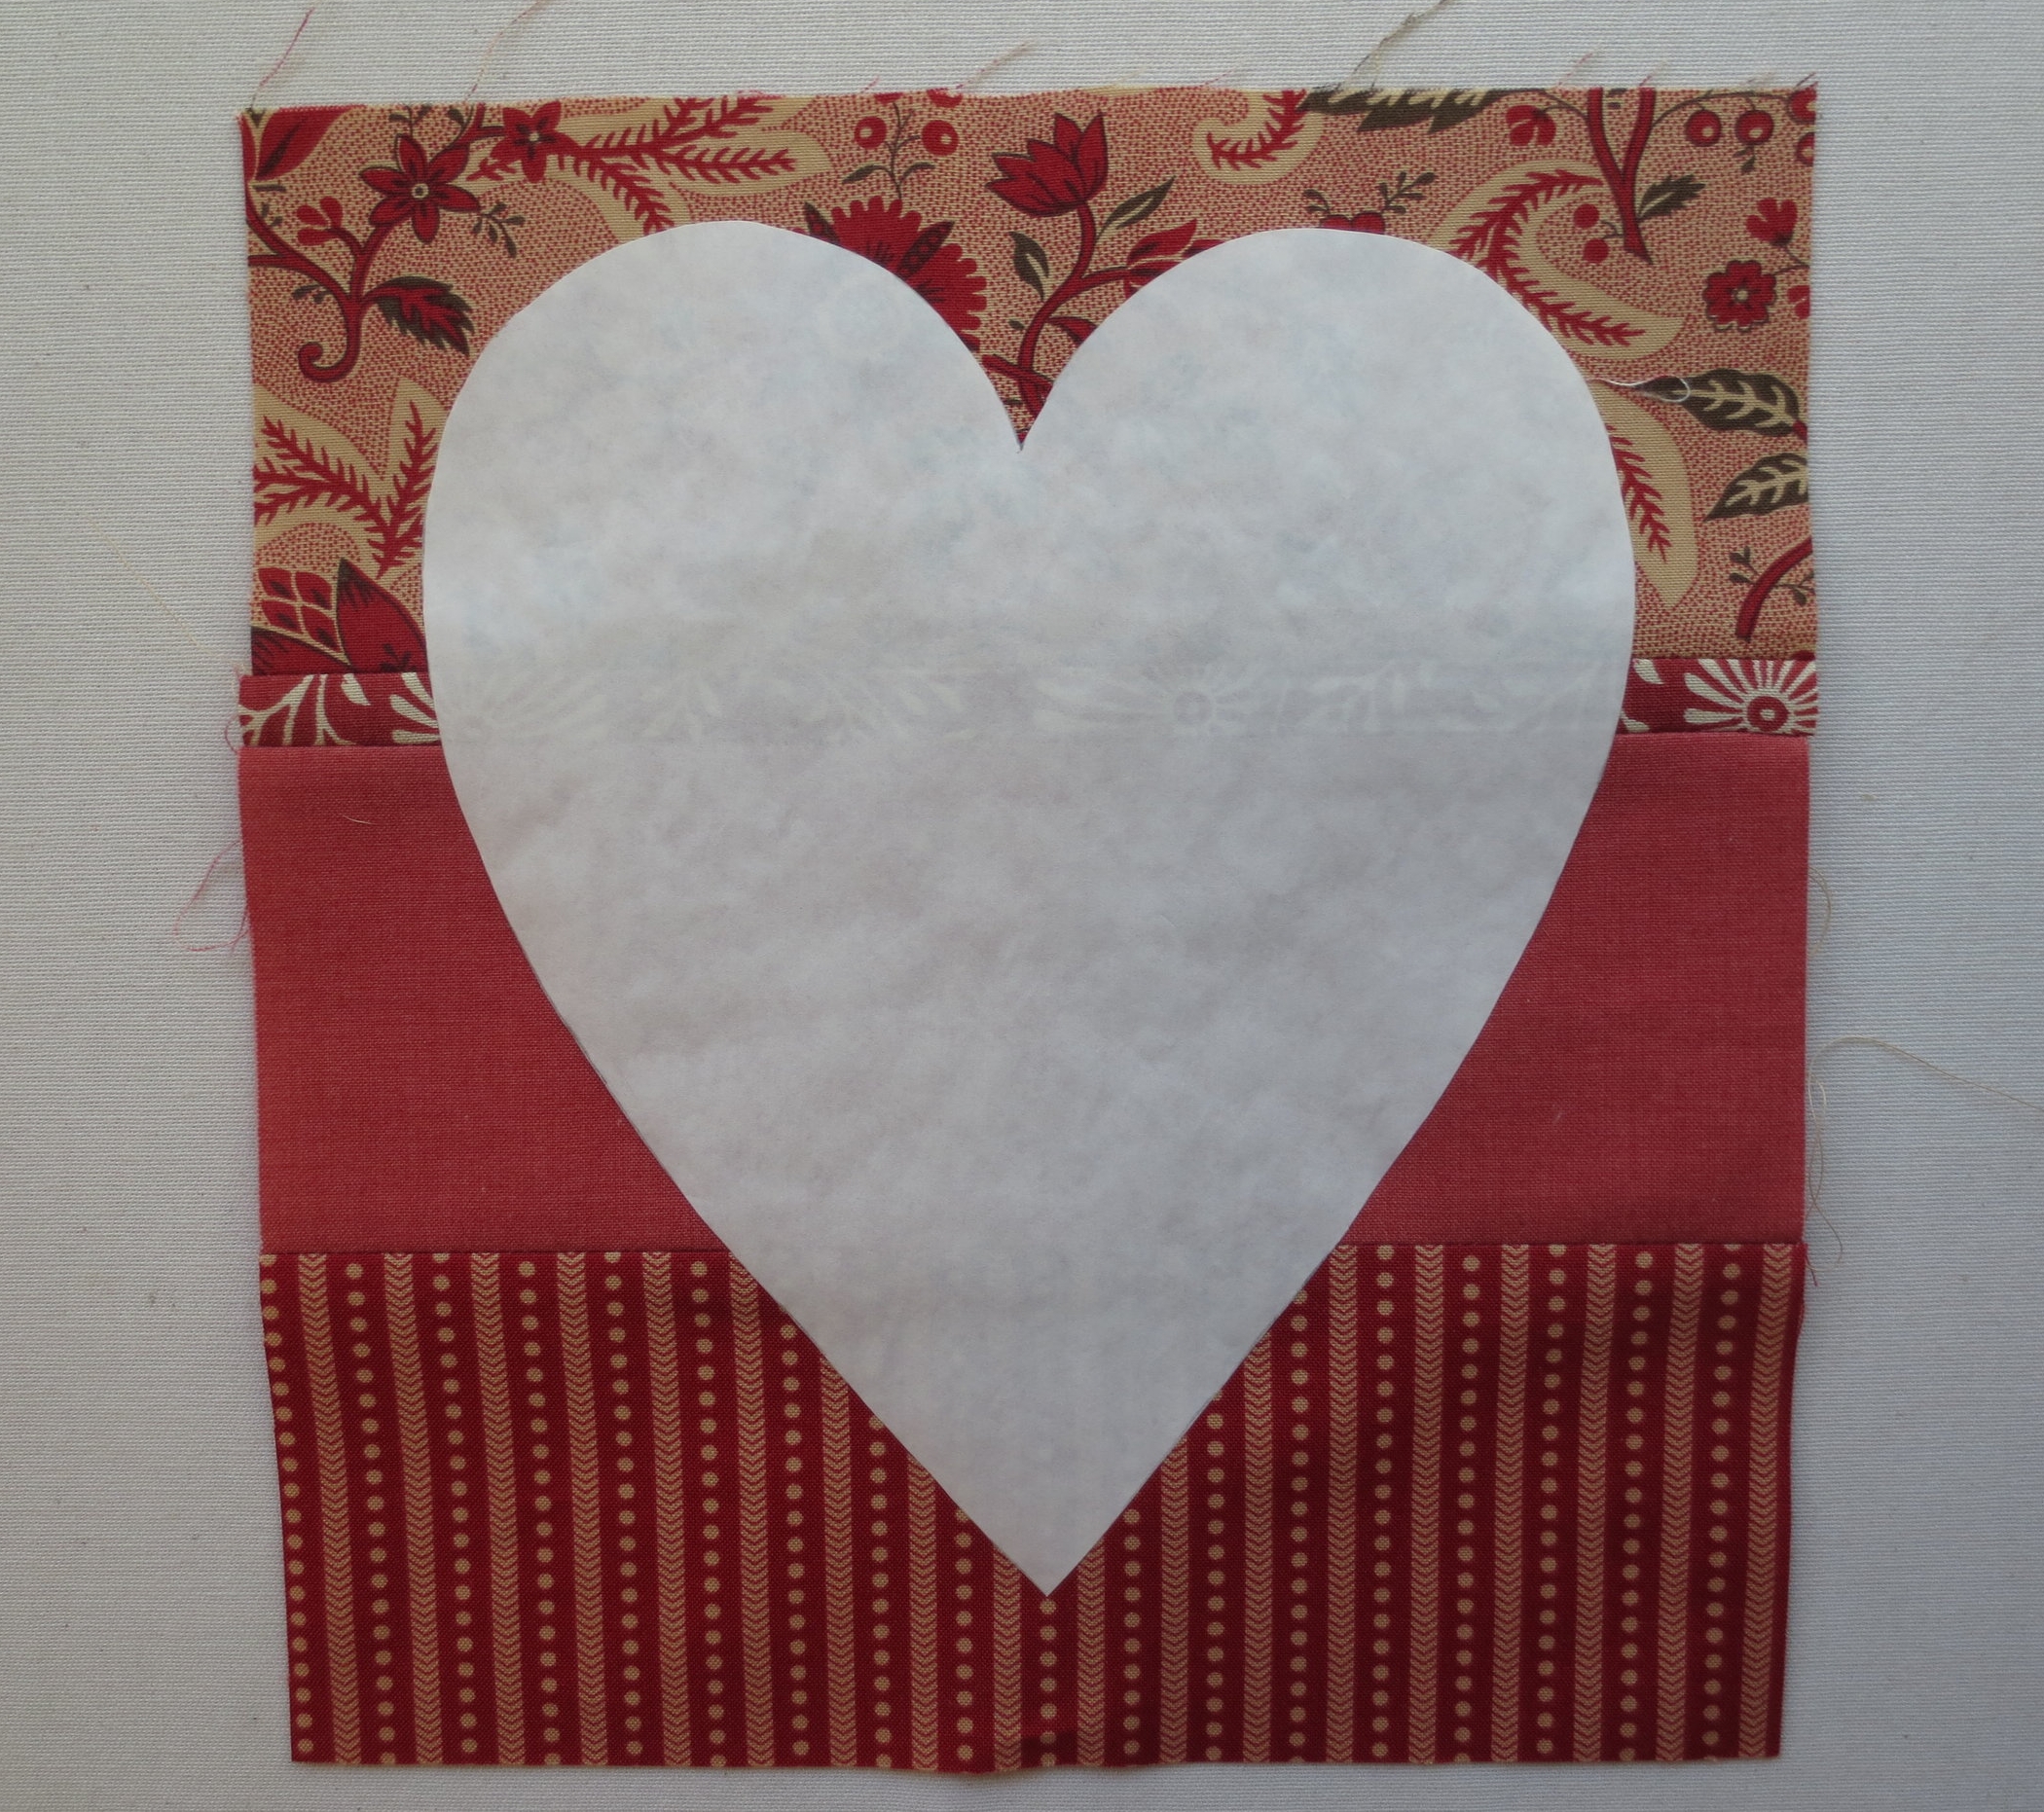
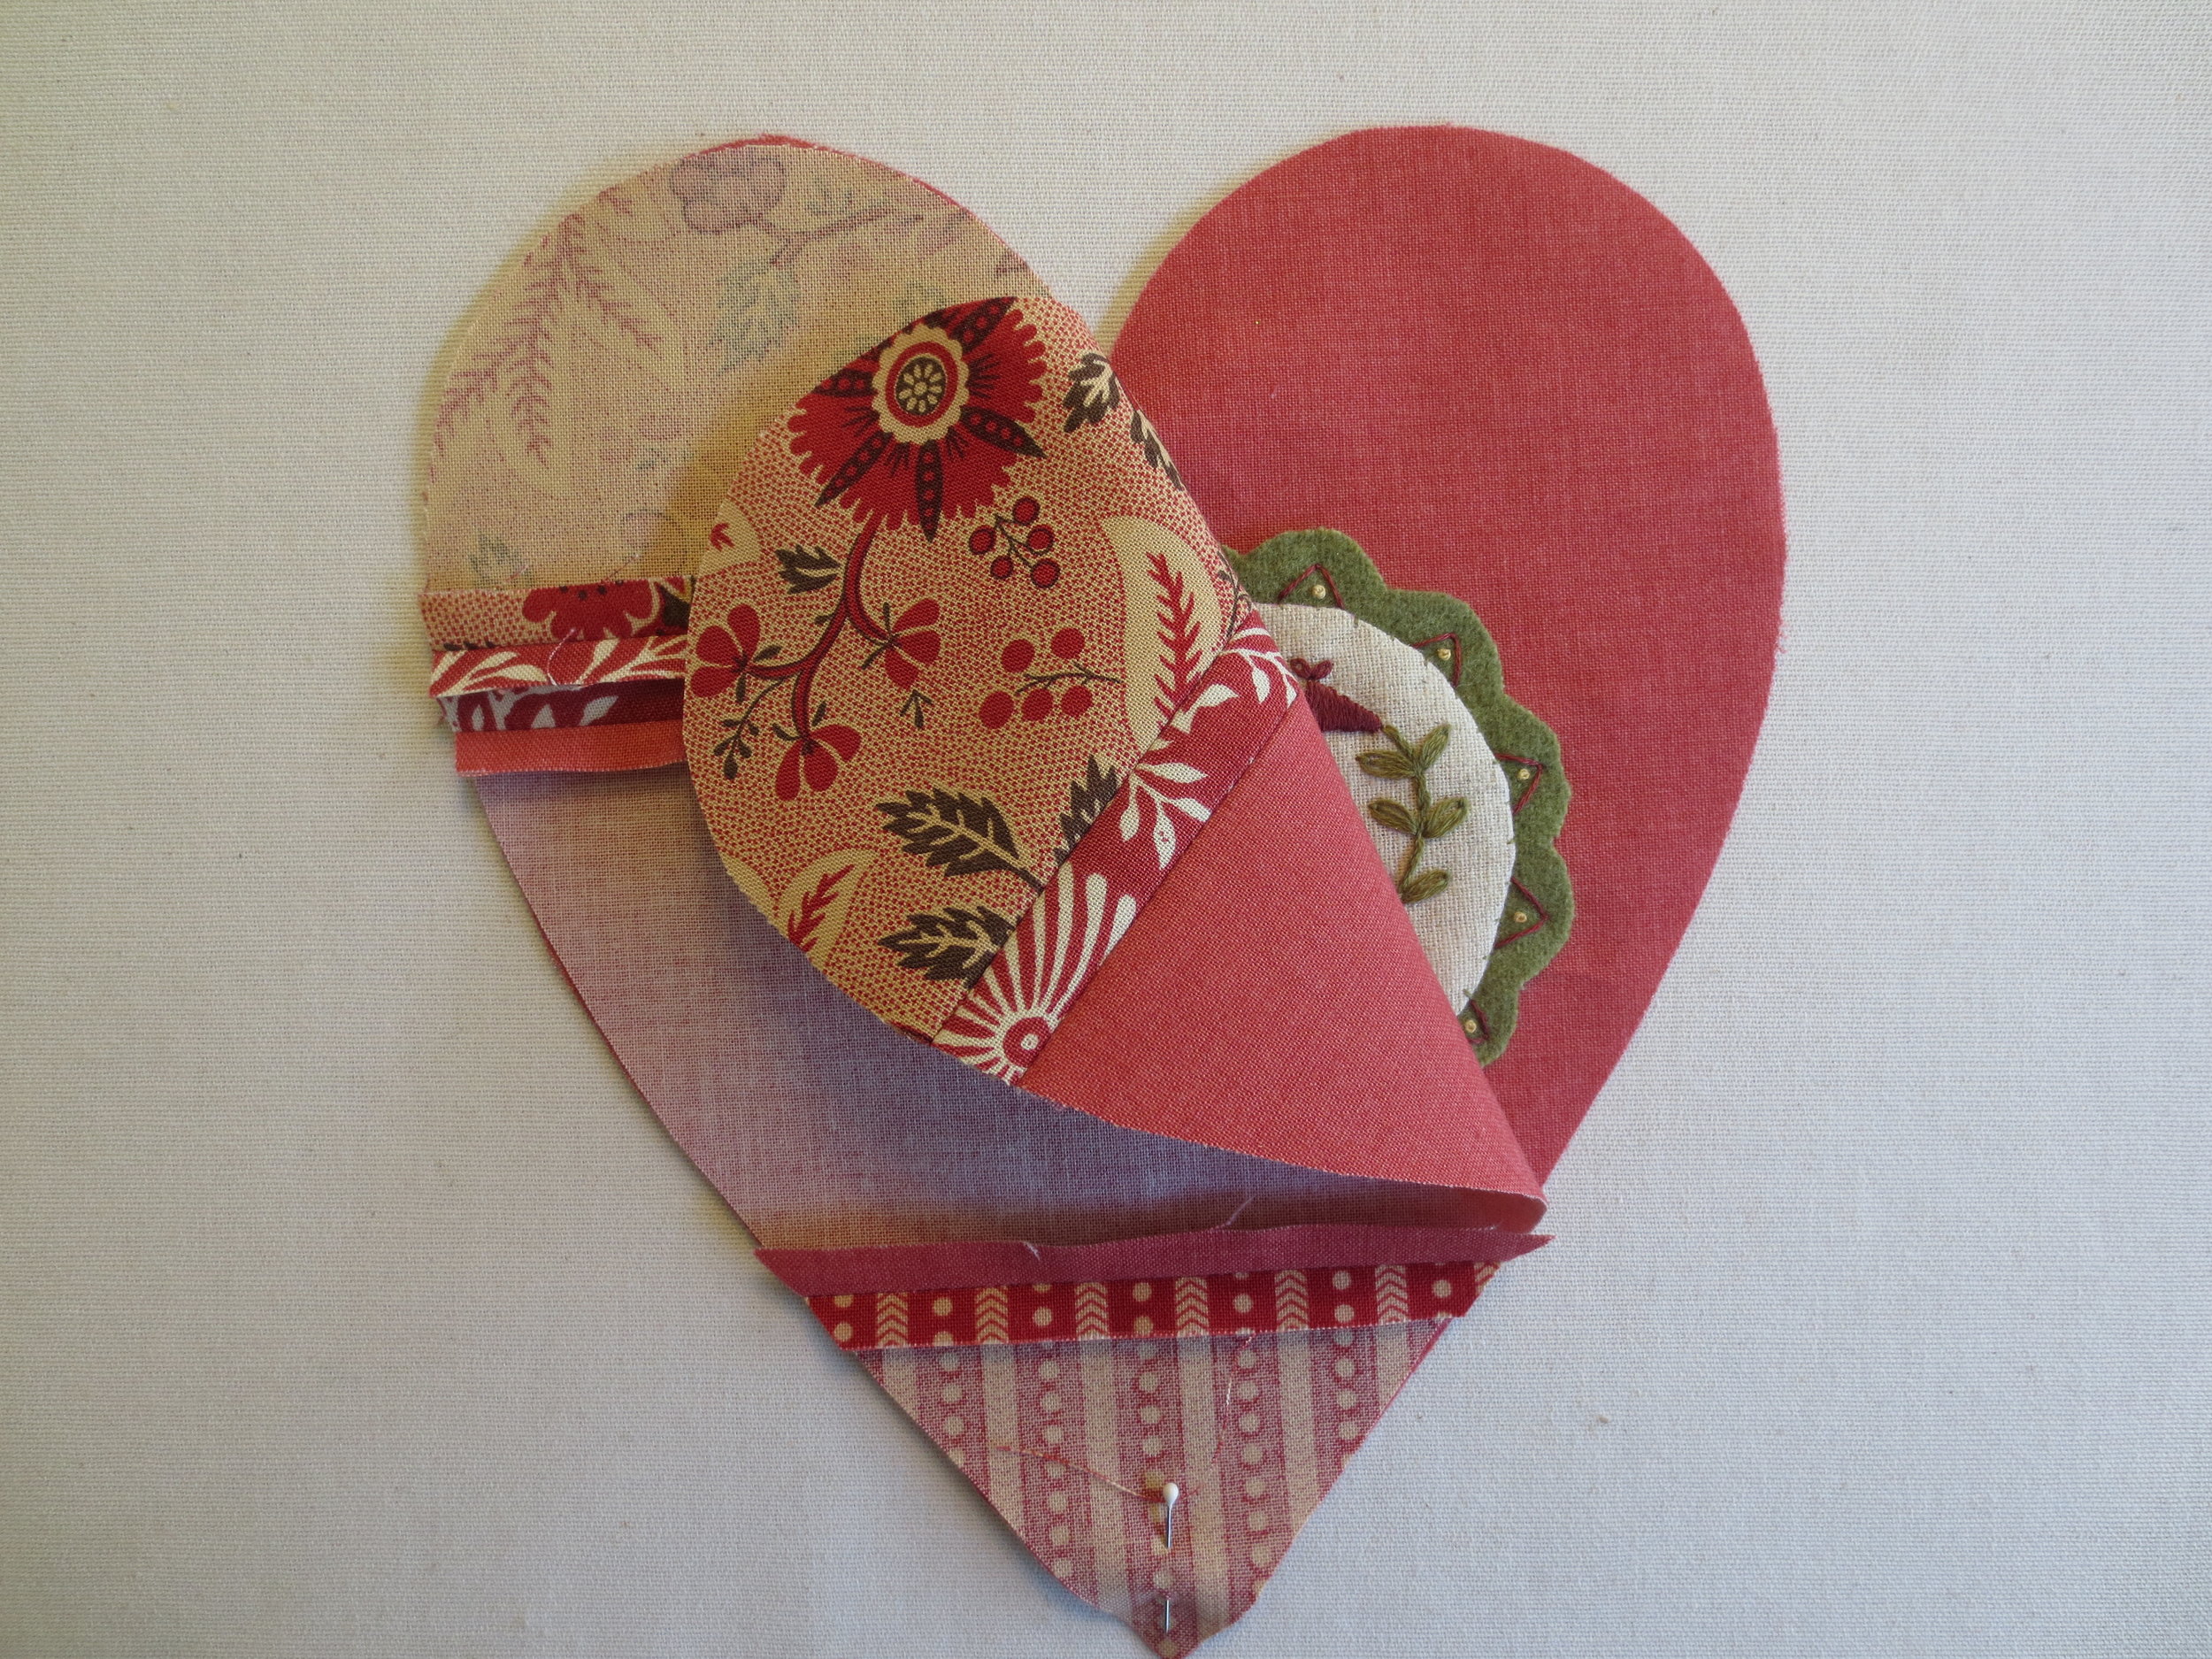
6. Take the freezer paper heart and iron it onto the pieced block made in step 2 (see below).
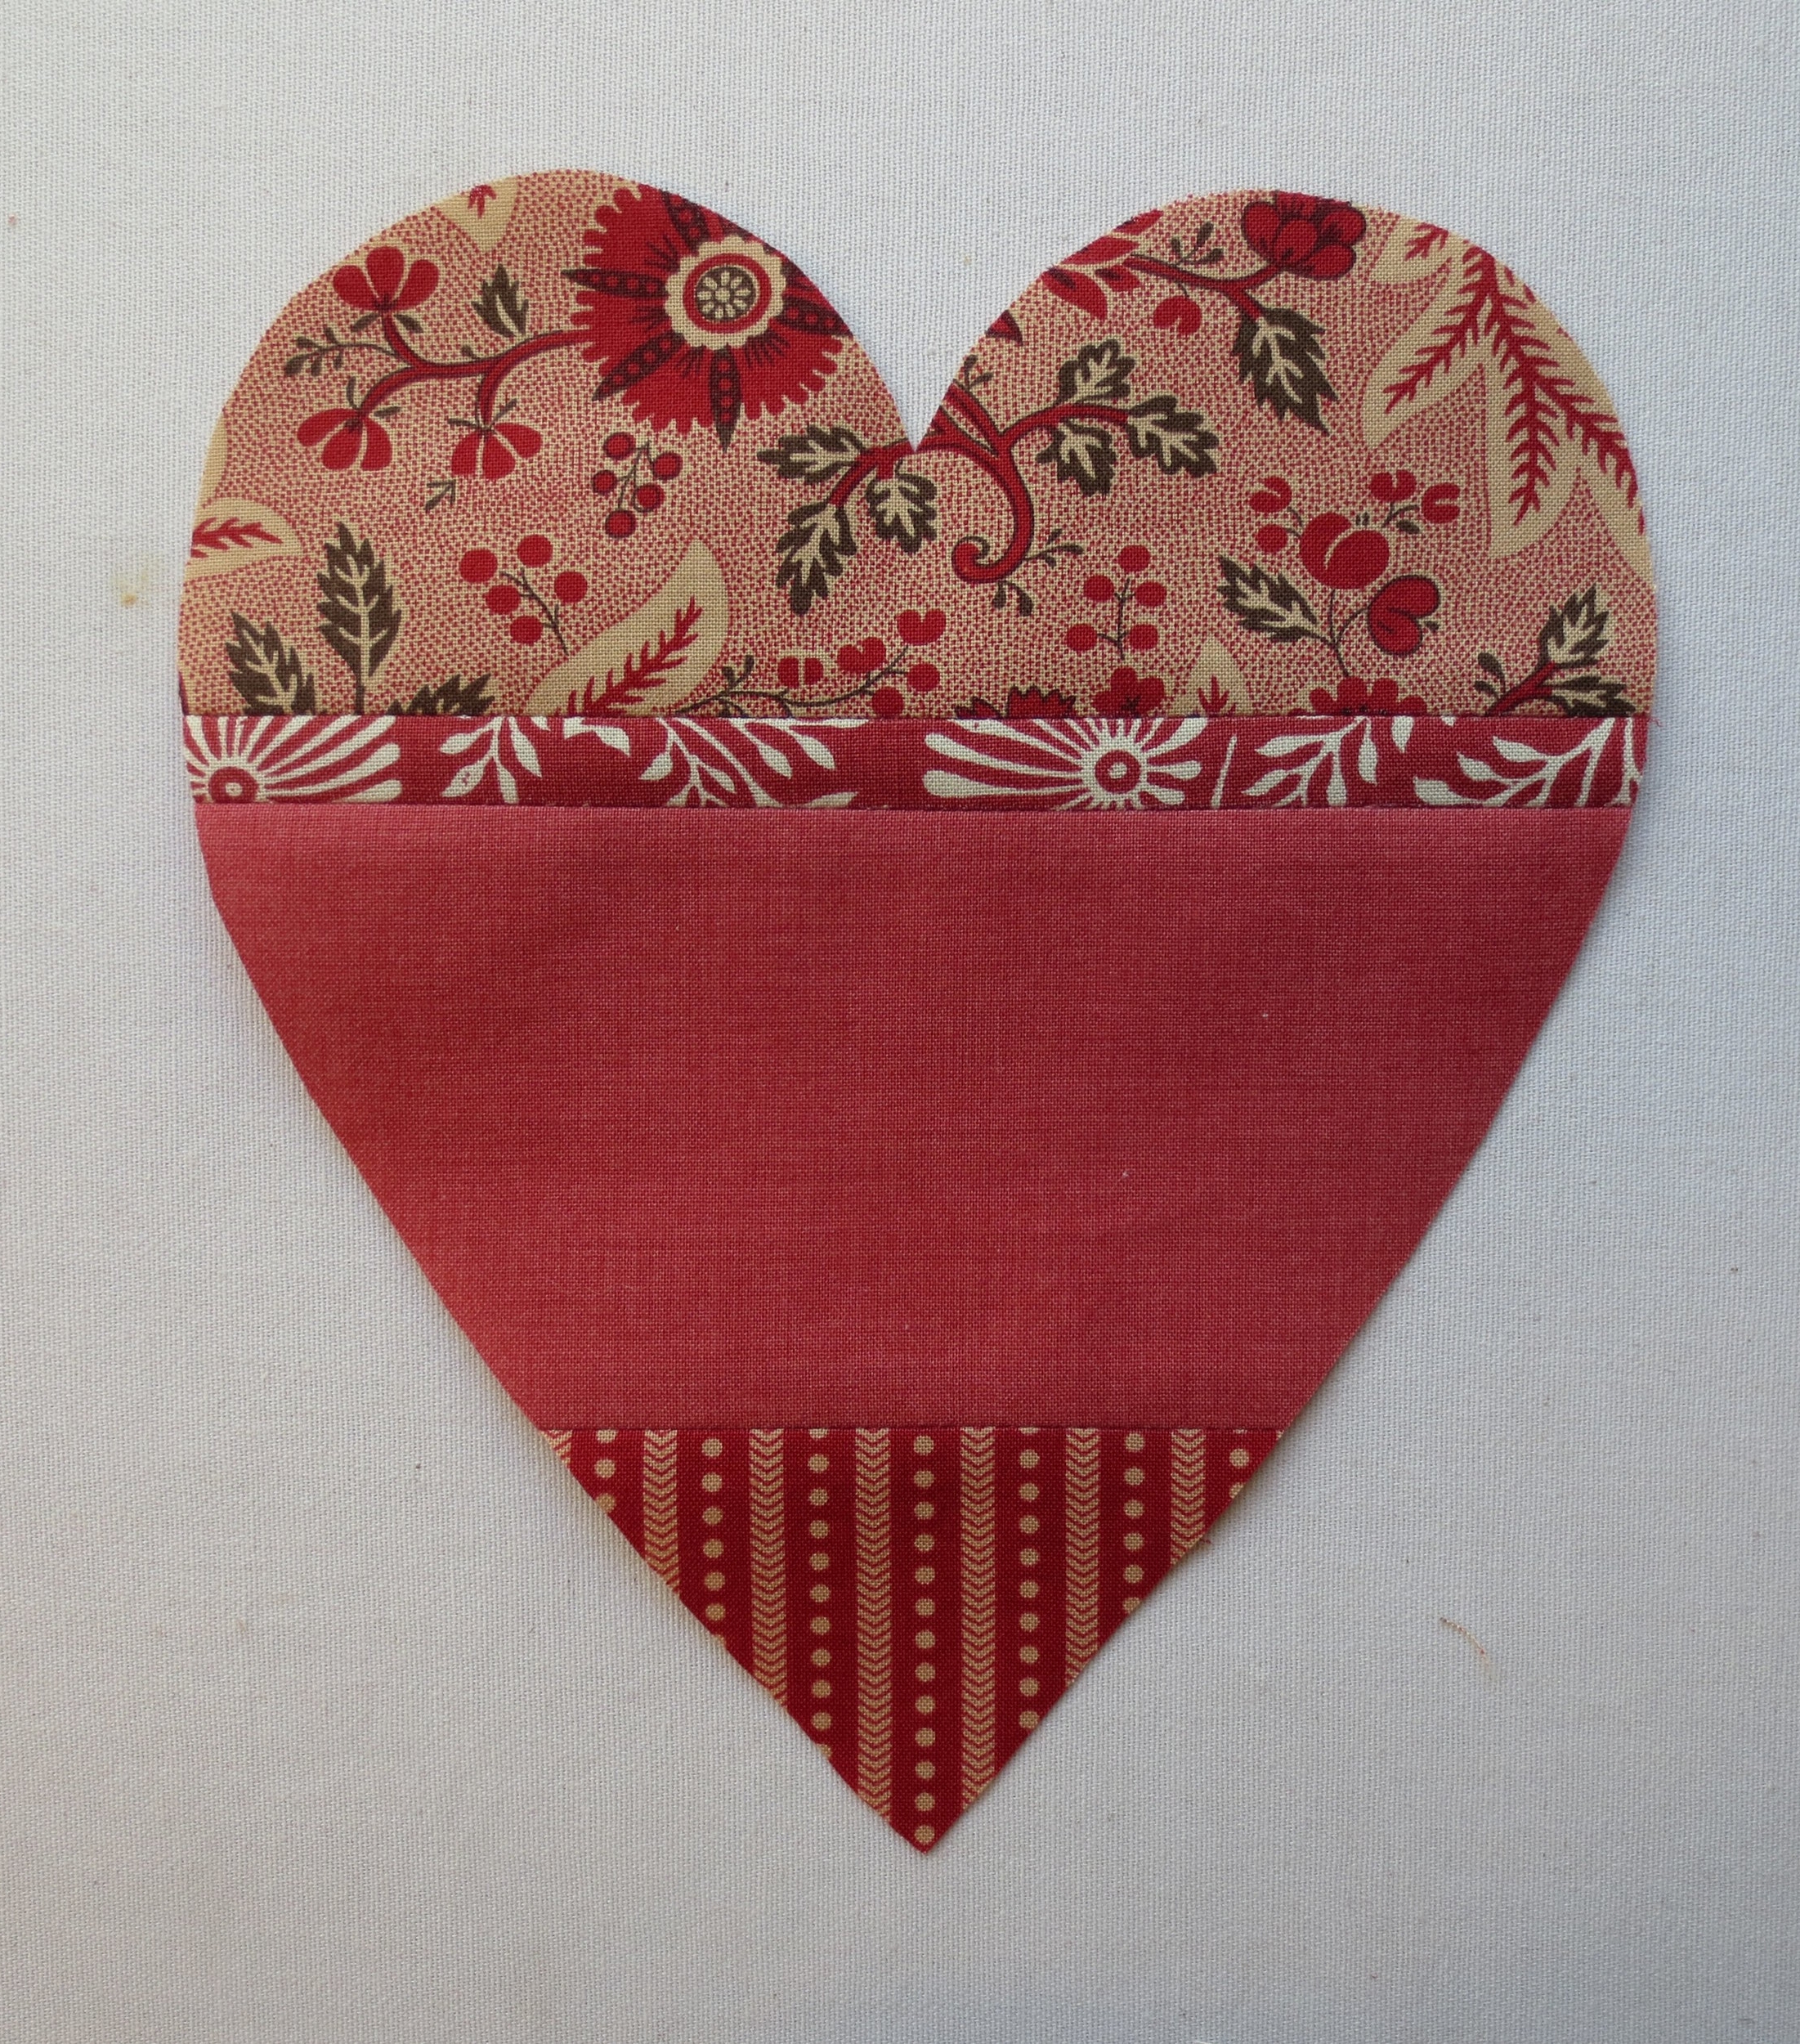
7. Cut it out and set aside.
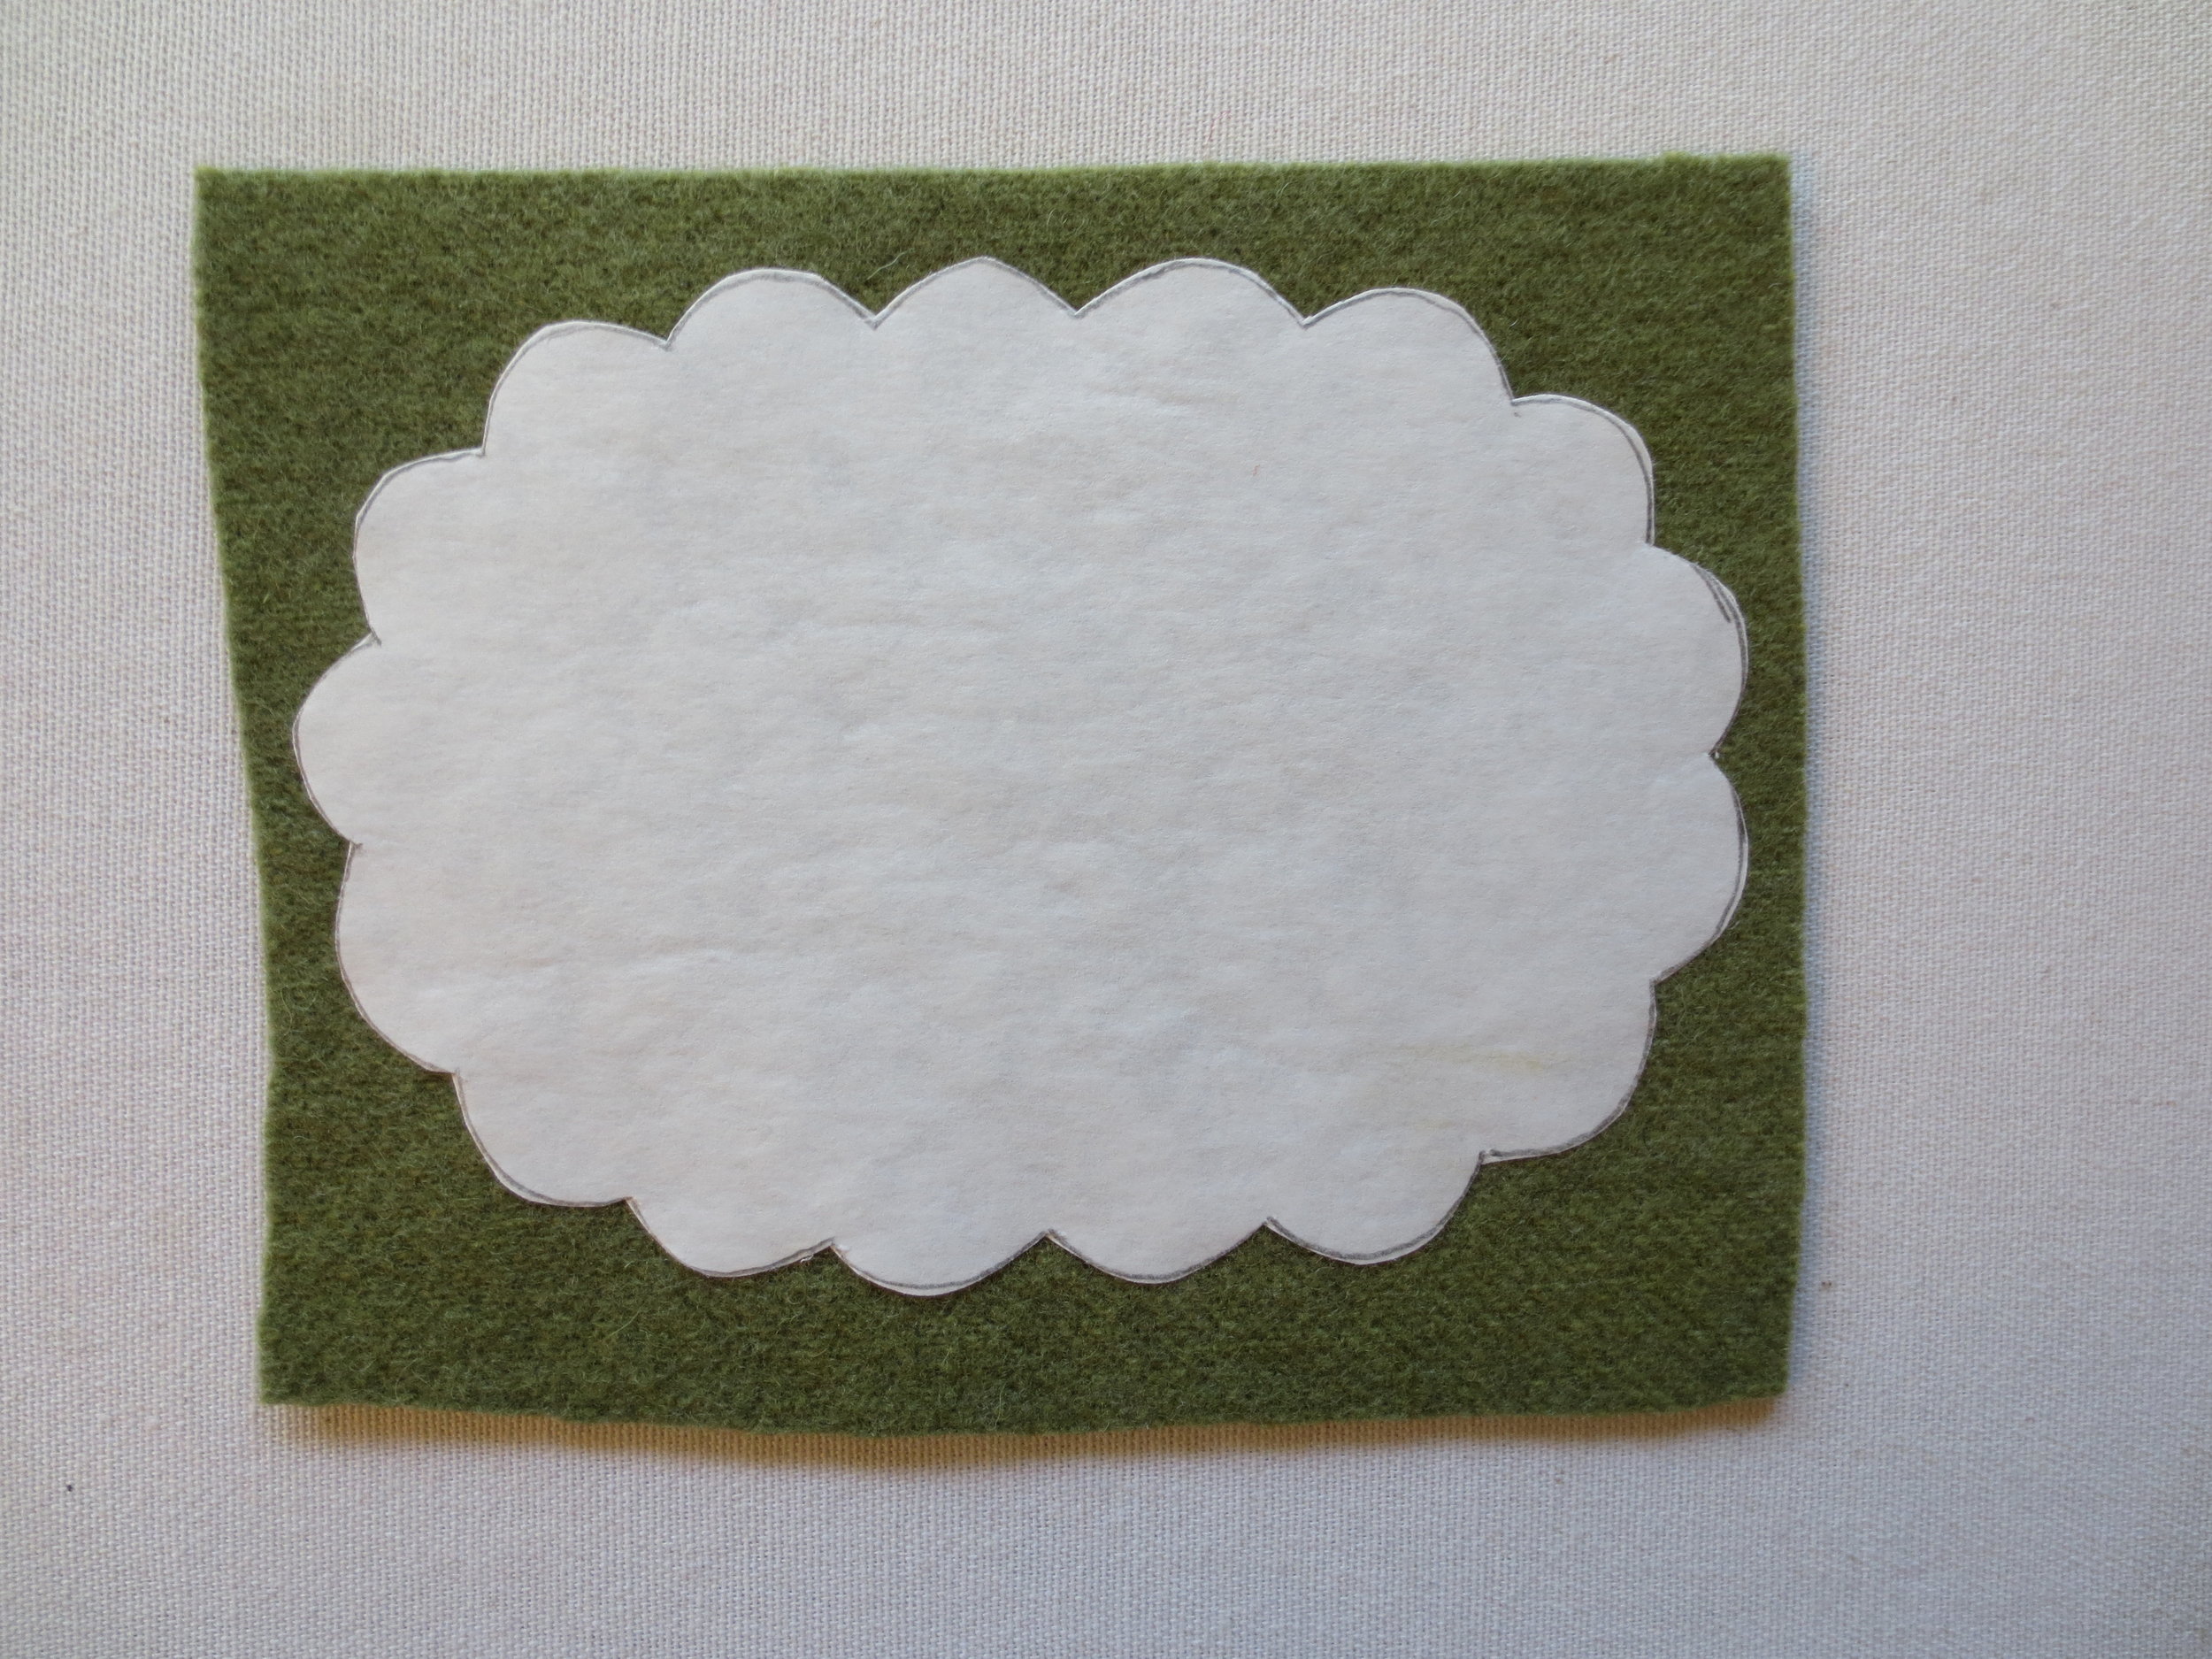
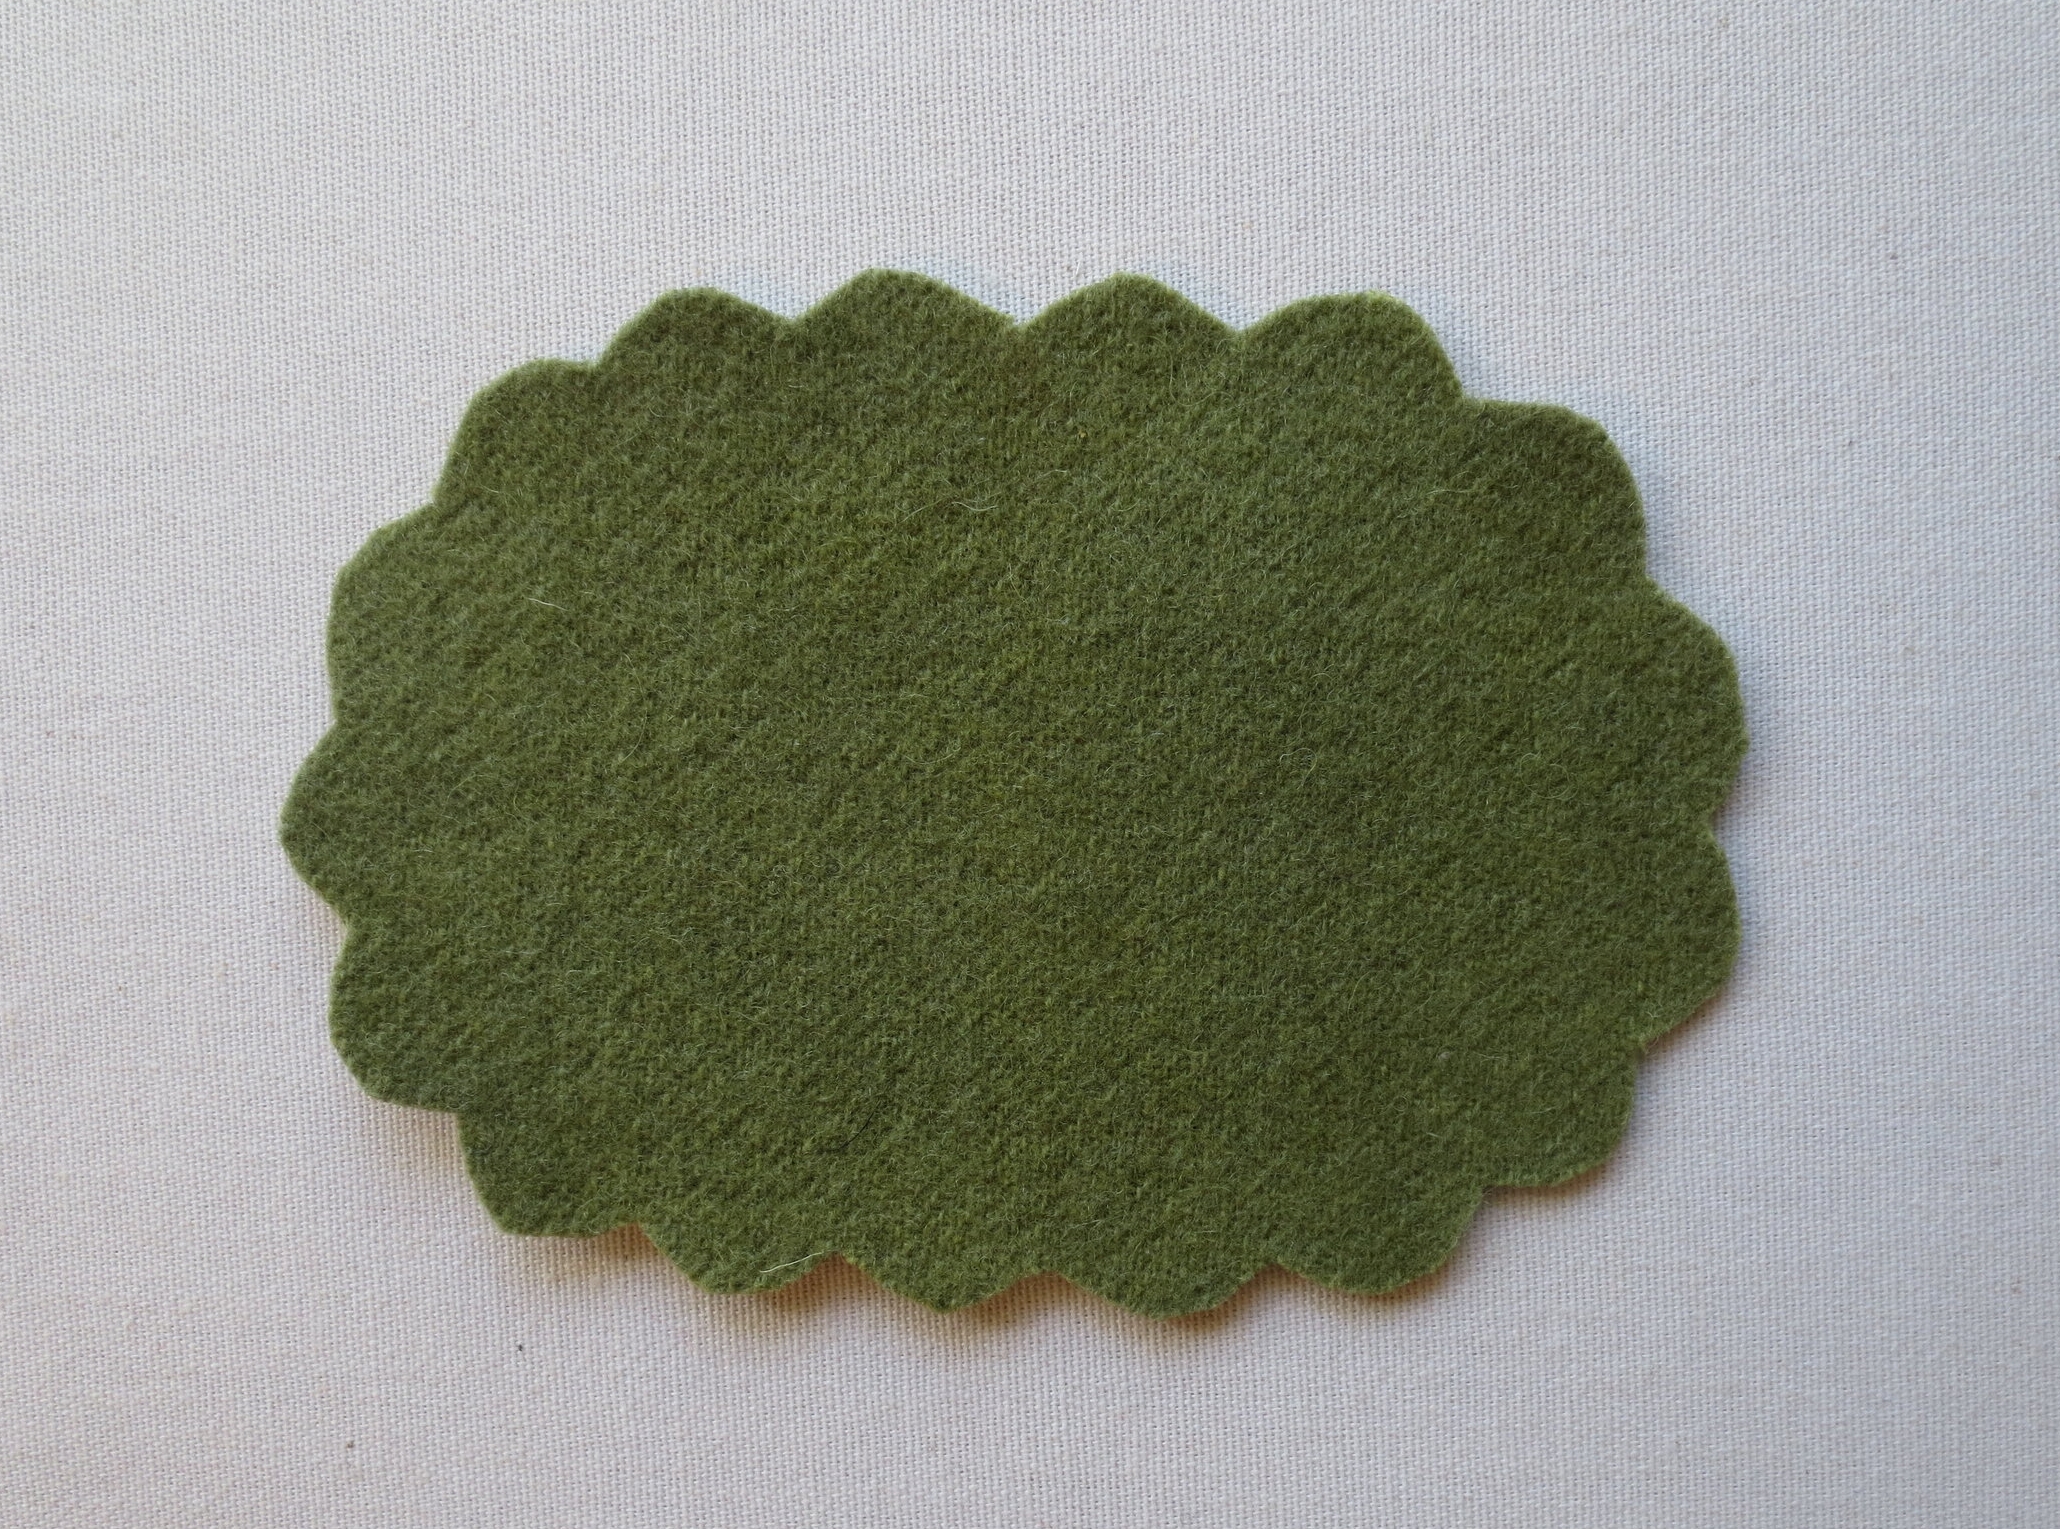
8. Iron the ruffled edge image onto the wool. Cut out along traced line (see below). Set aside.
9. Tape the Layout sheet onto your light box or a brightly lit window.
10. Center your applique fabric over the top of the Layout sheet. Anchor the fabric to the light box or window with a small piece of tape.
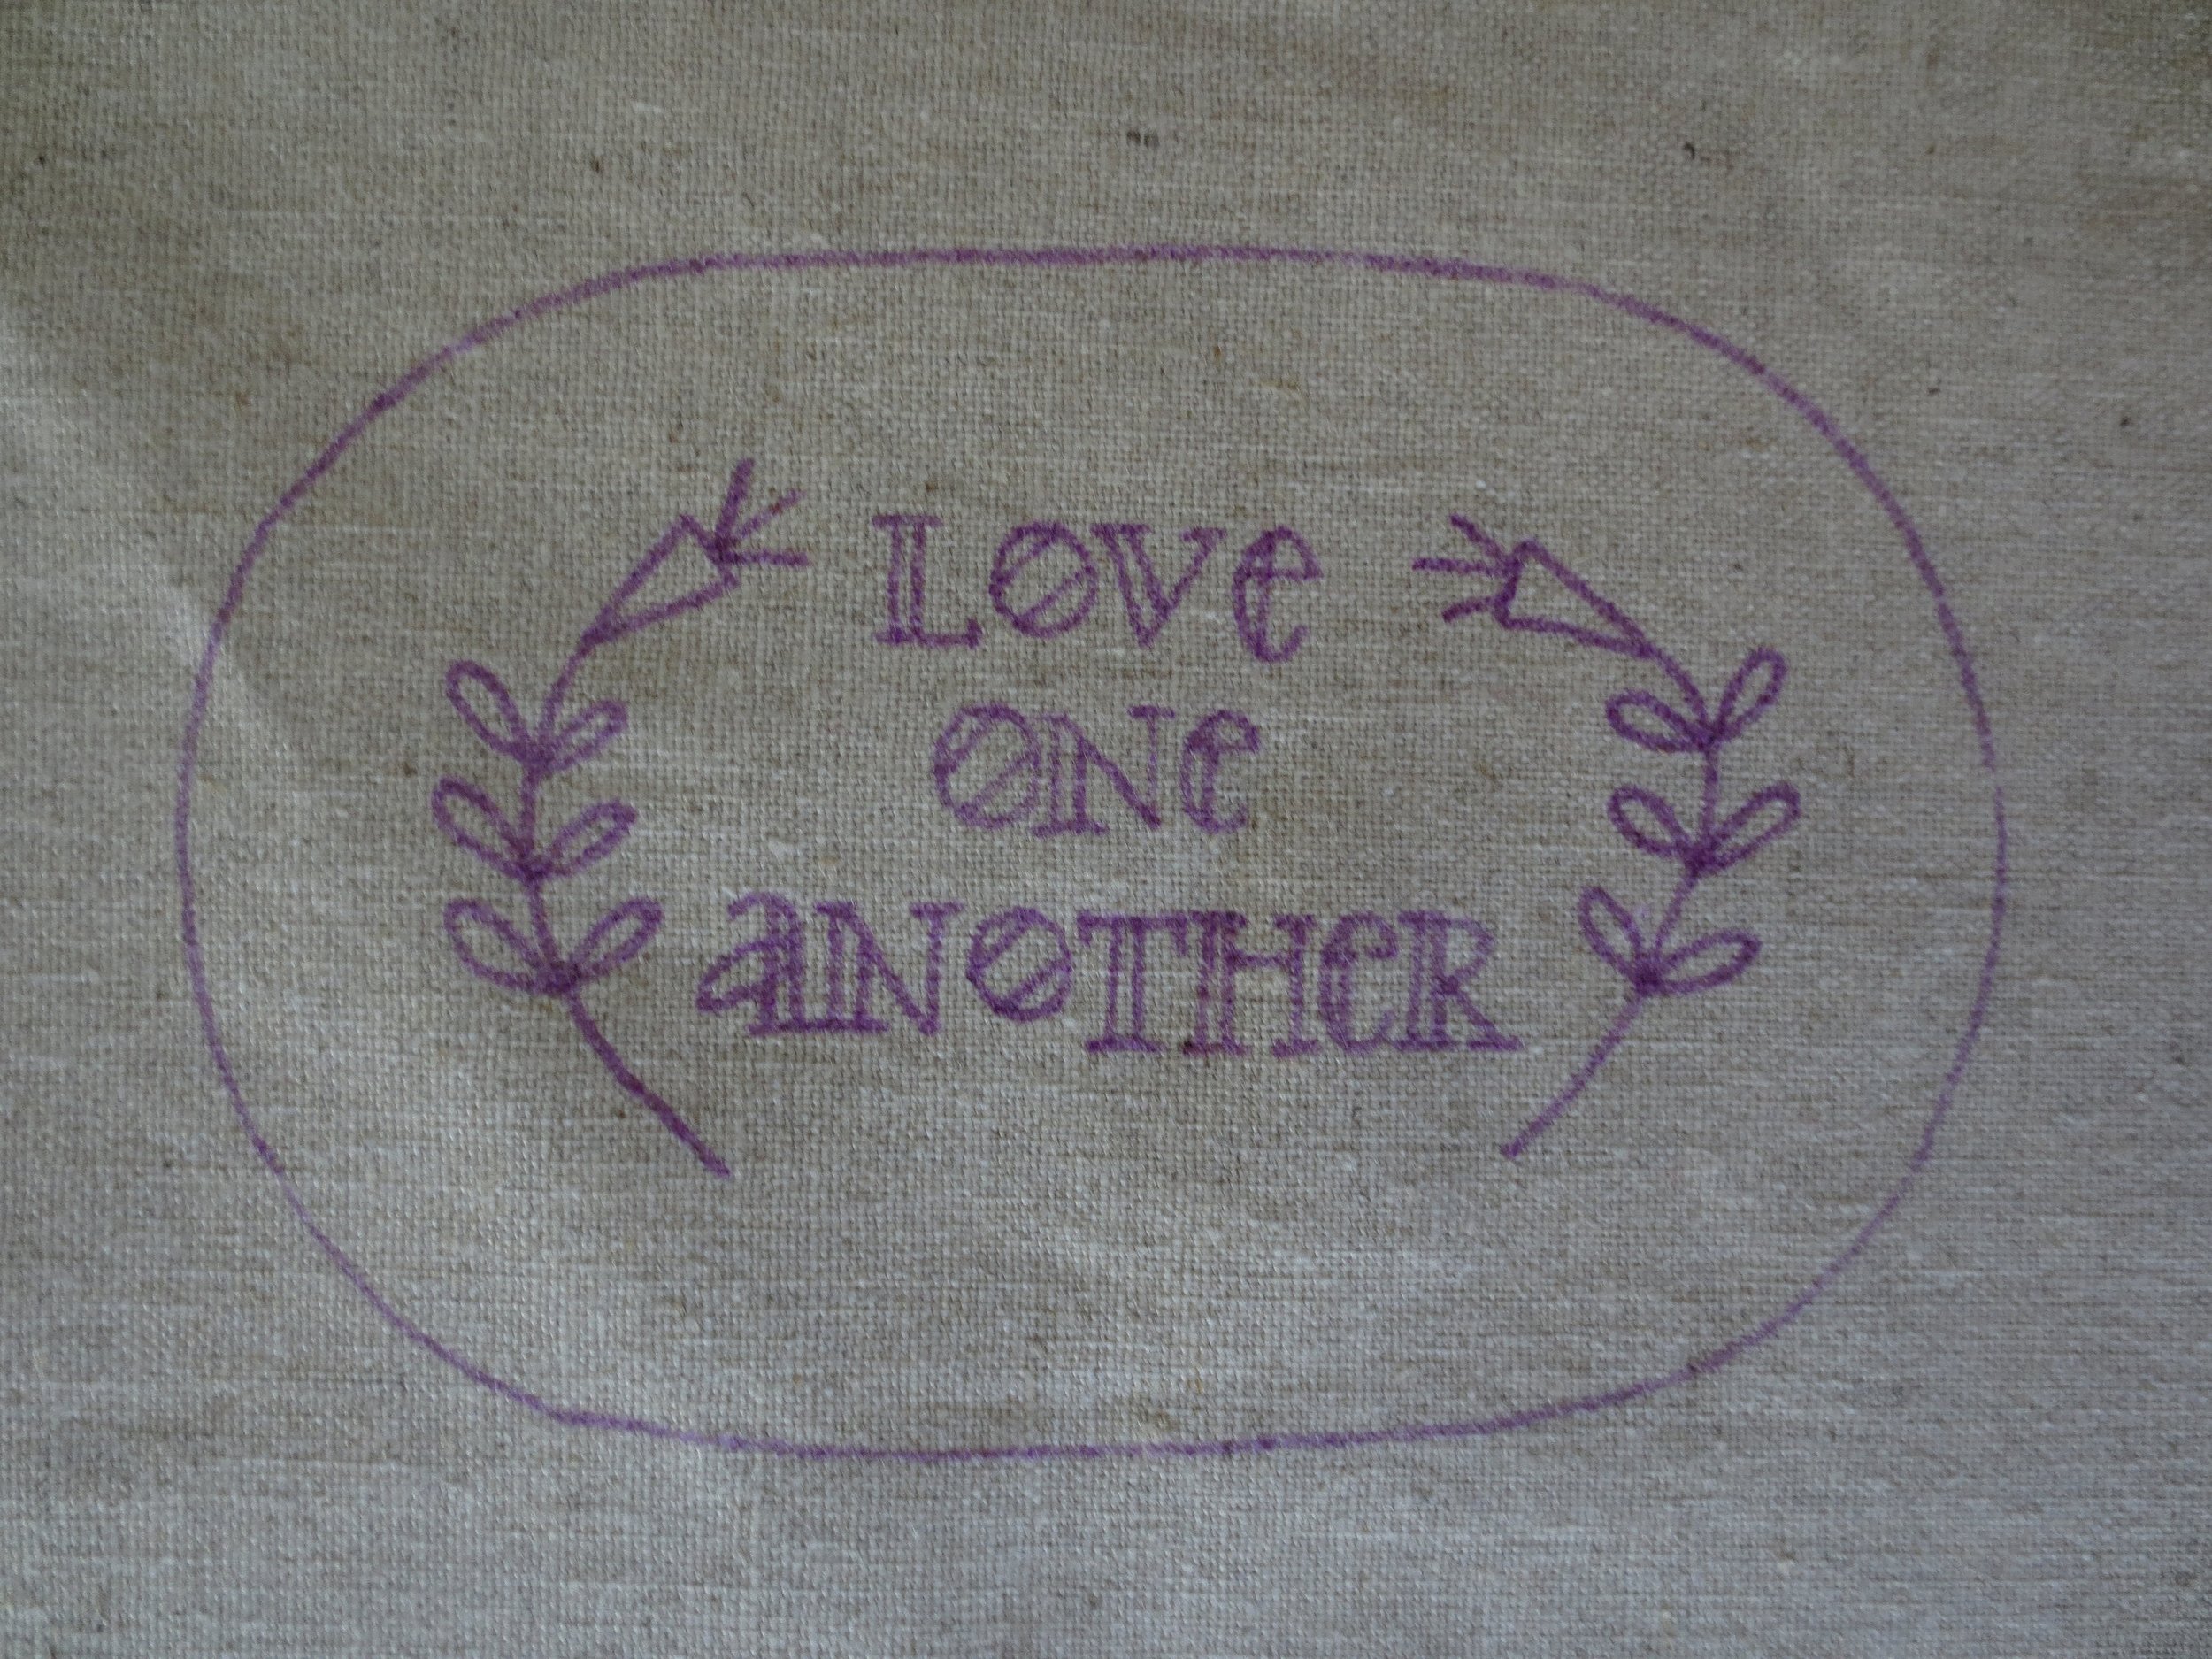
11. Trace the images onto the fabric with an air erasable marker. Note: Trace the cutting line and fold line also. The fold line does not appear in the photo below because I forgot to trace it. Oops.
12. Center your image in the middle of your hoop if you are using one.
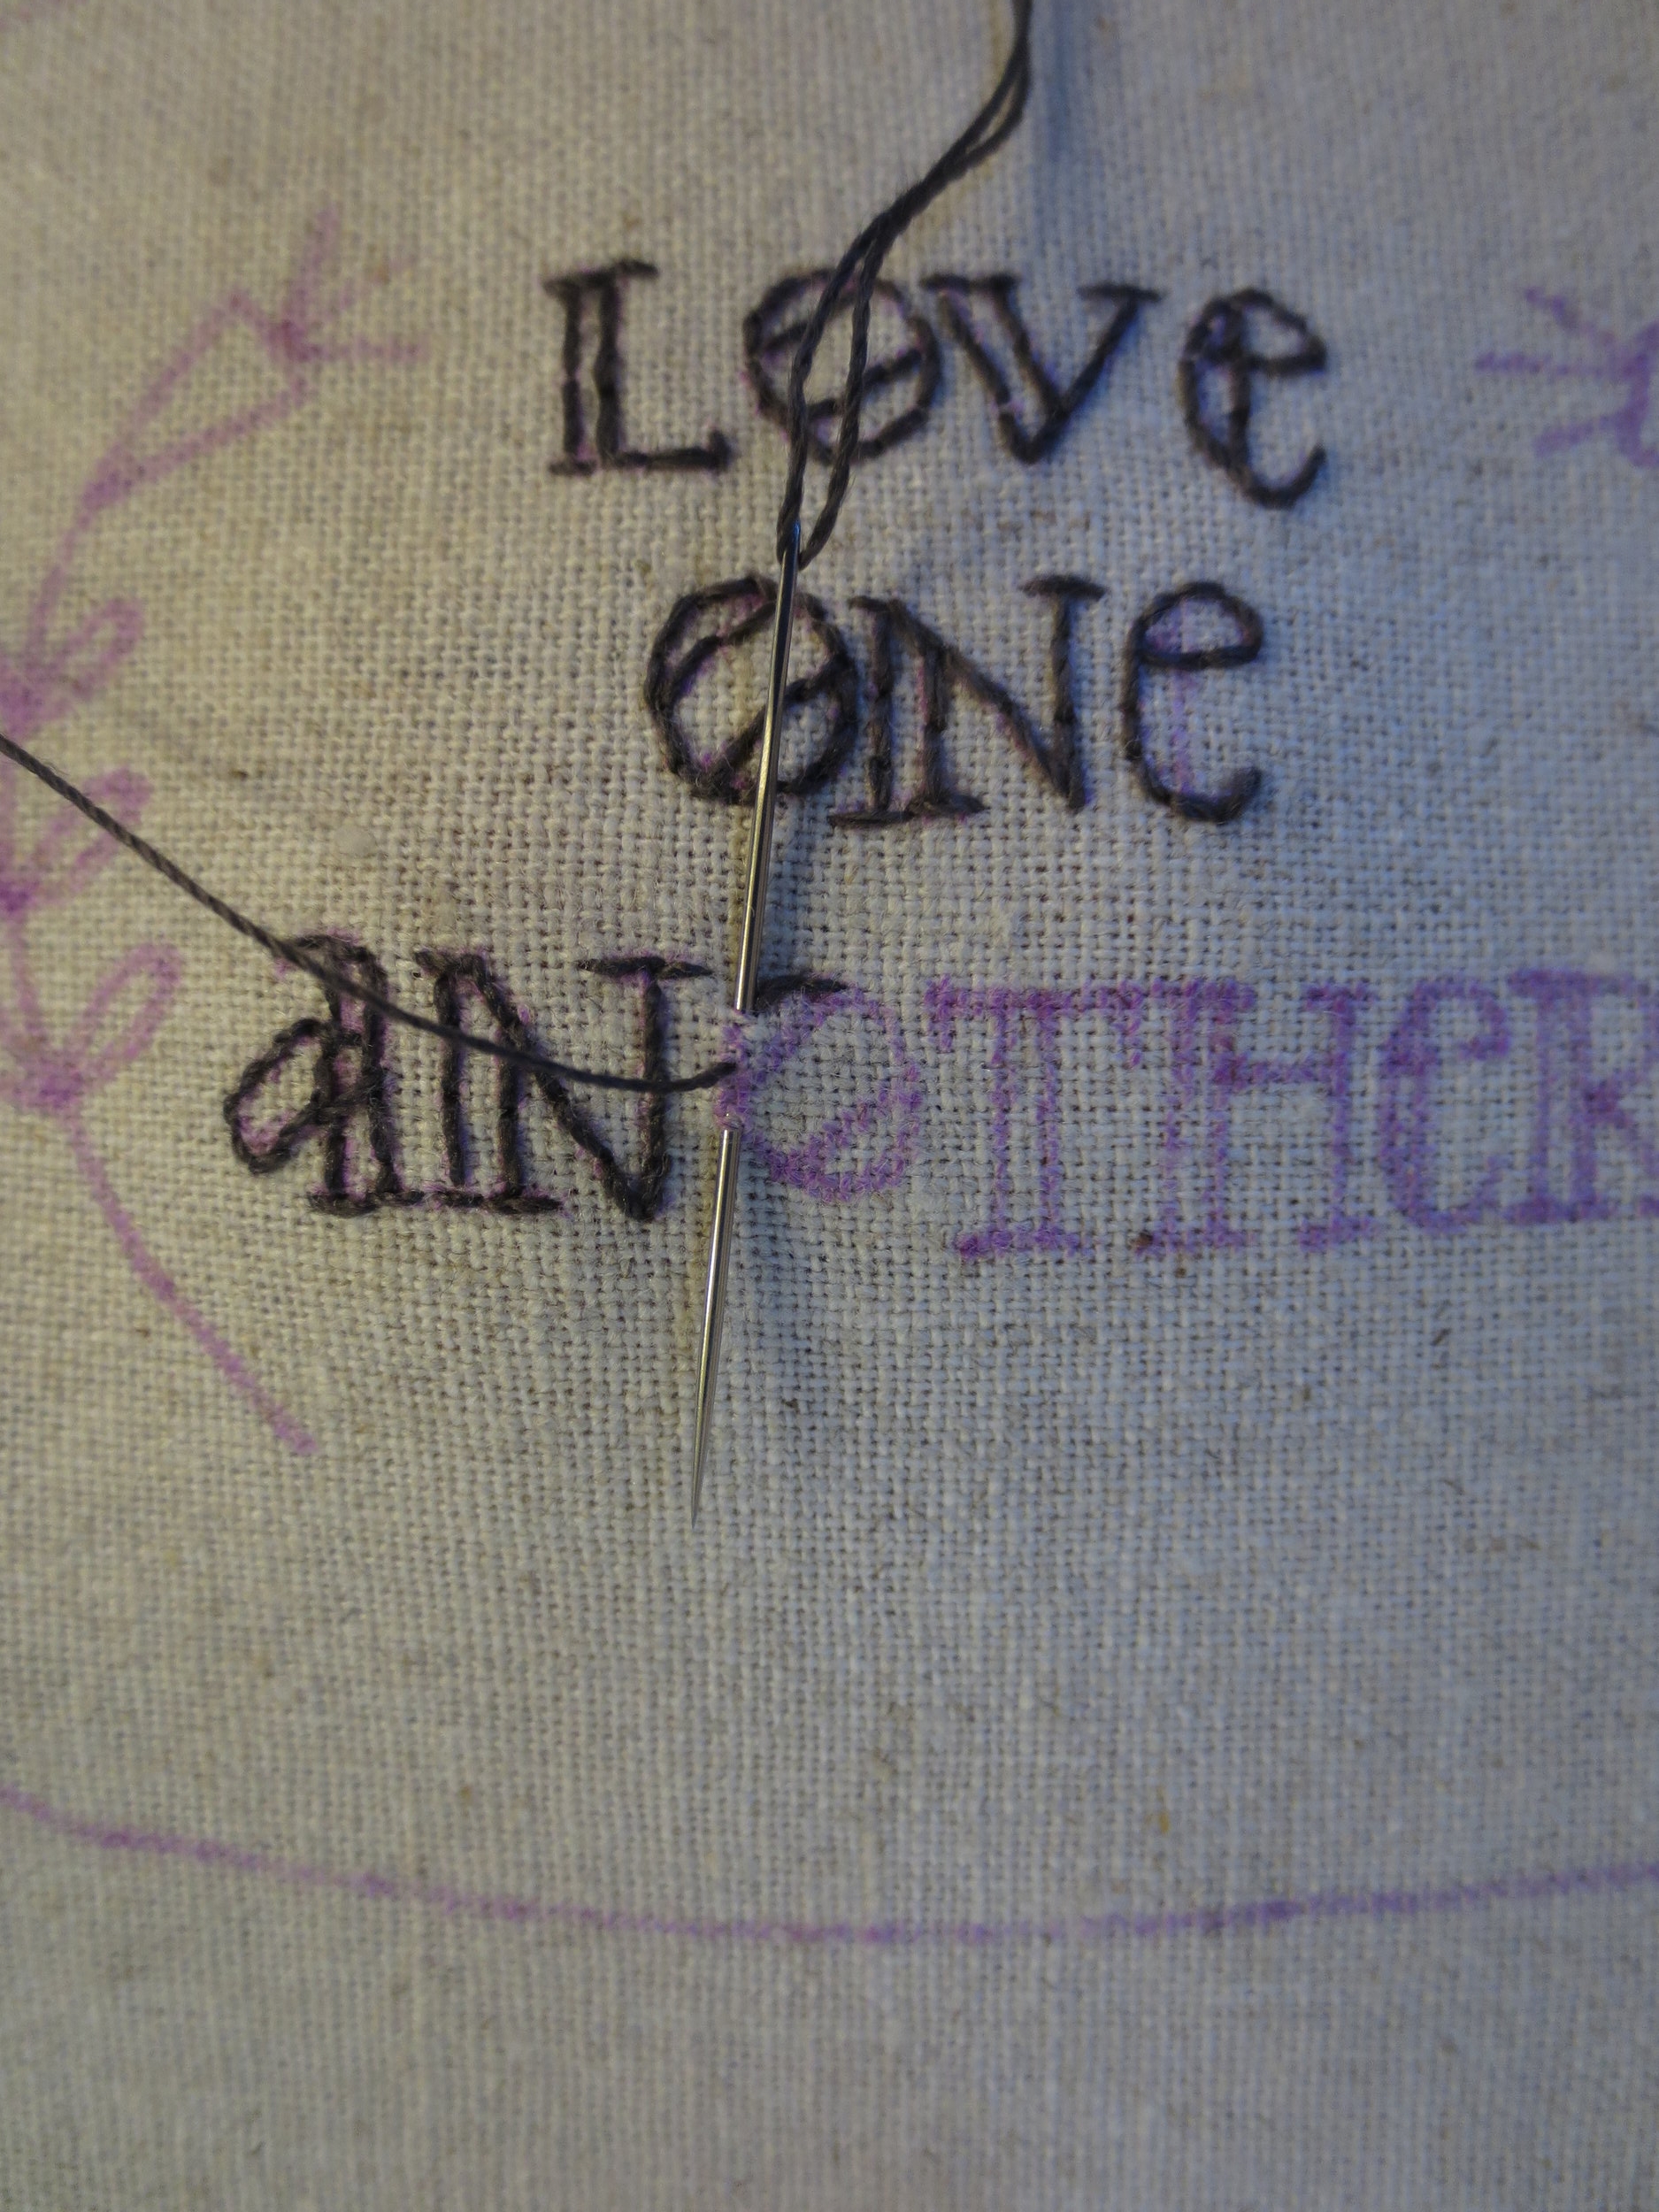
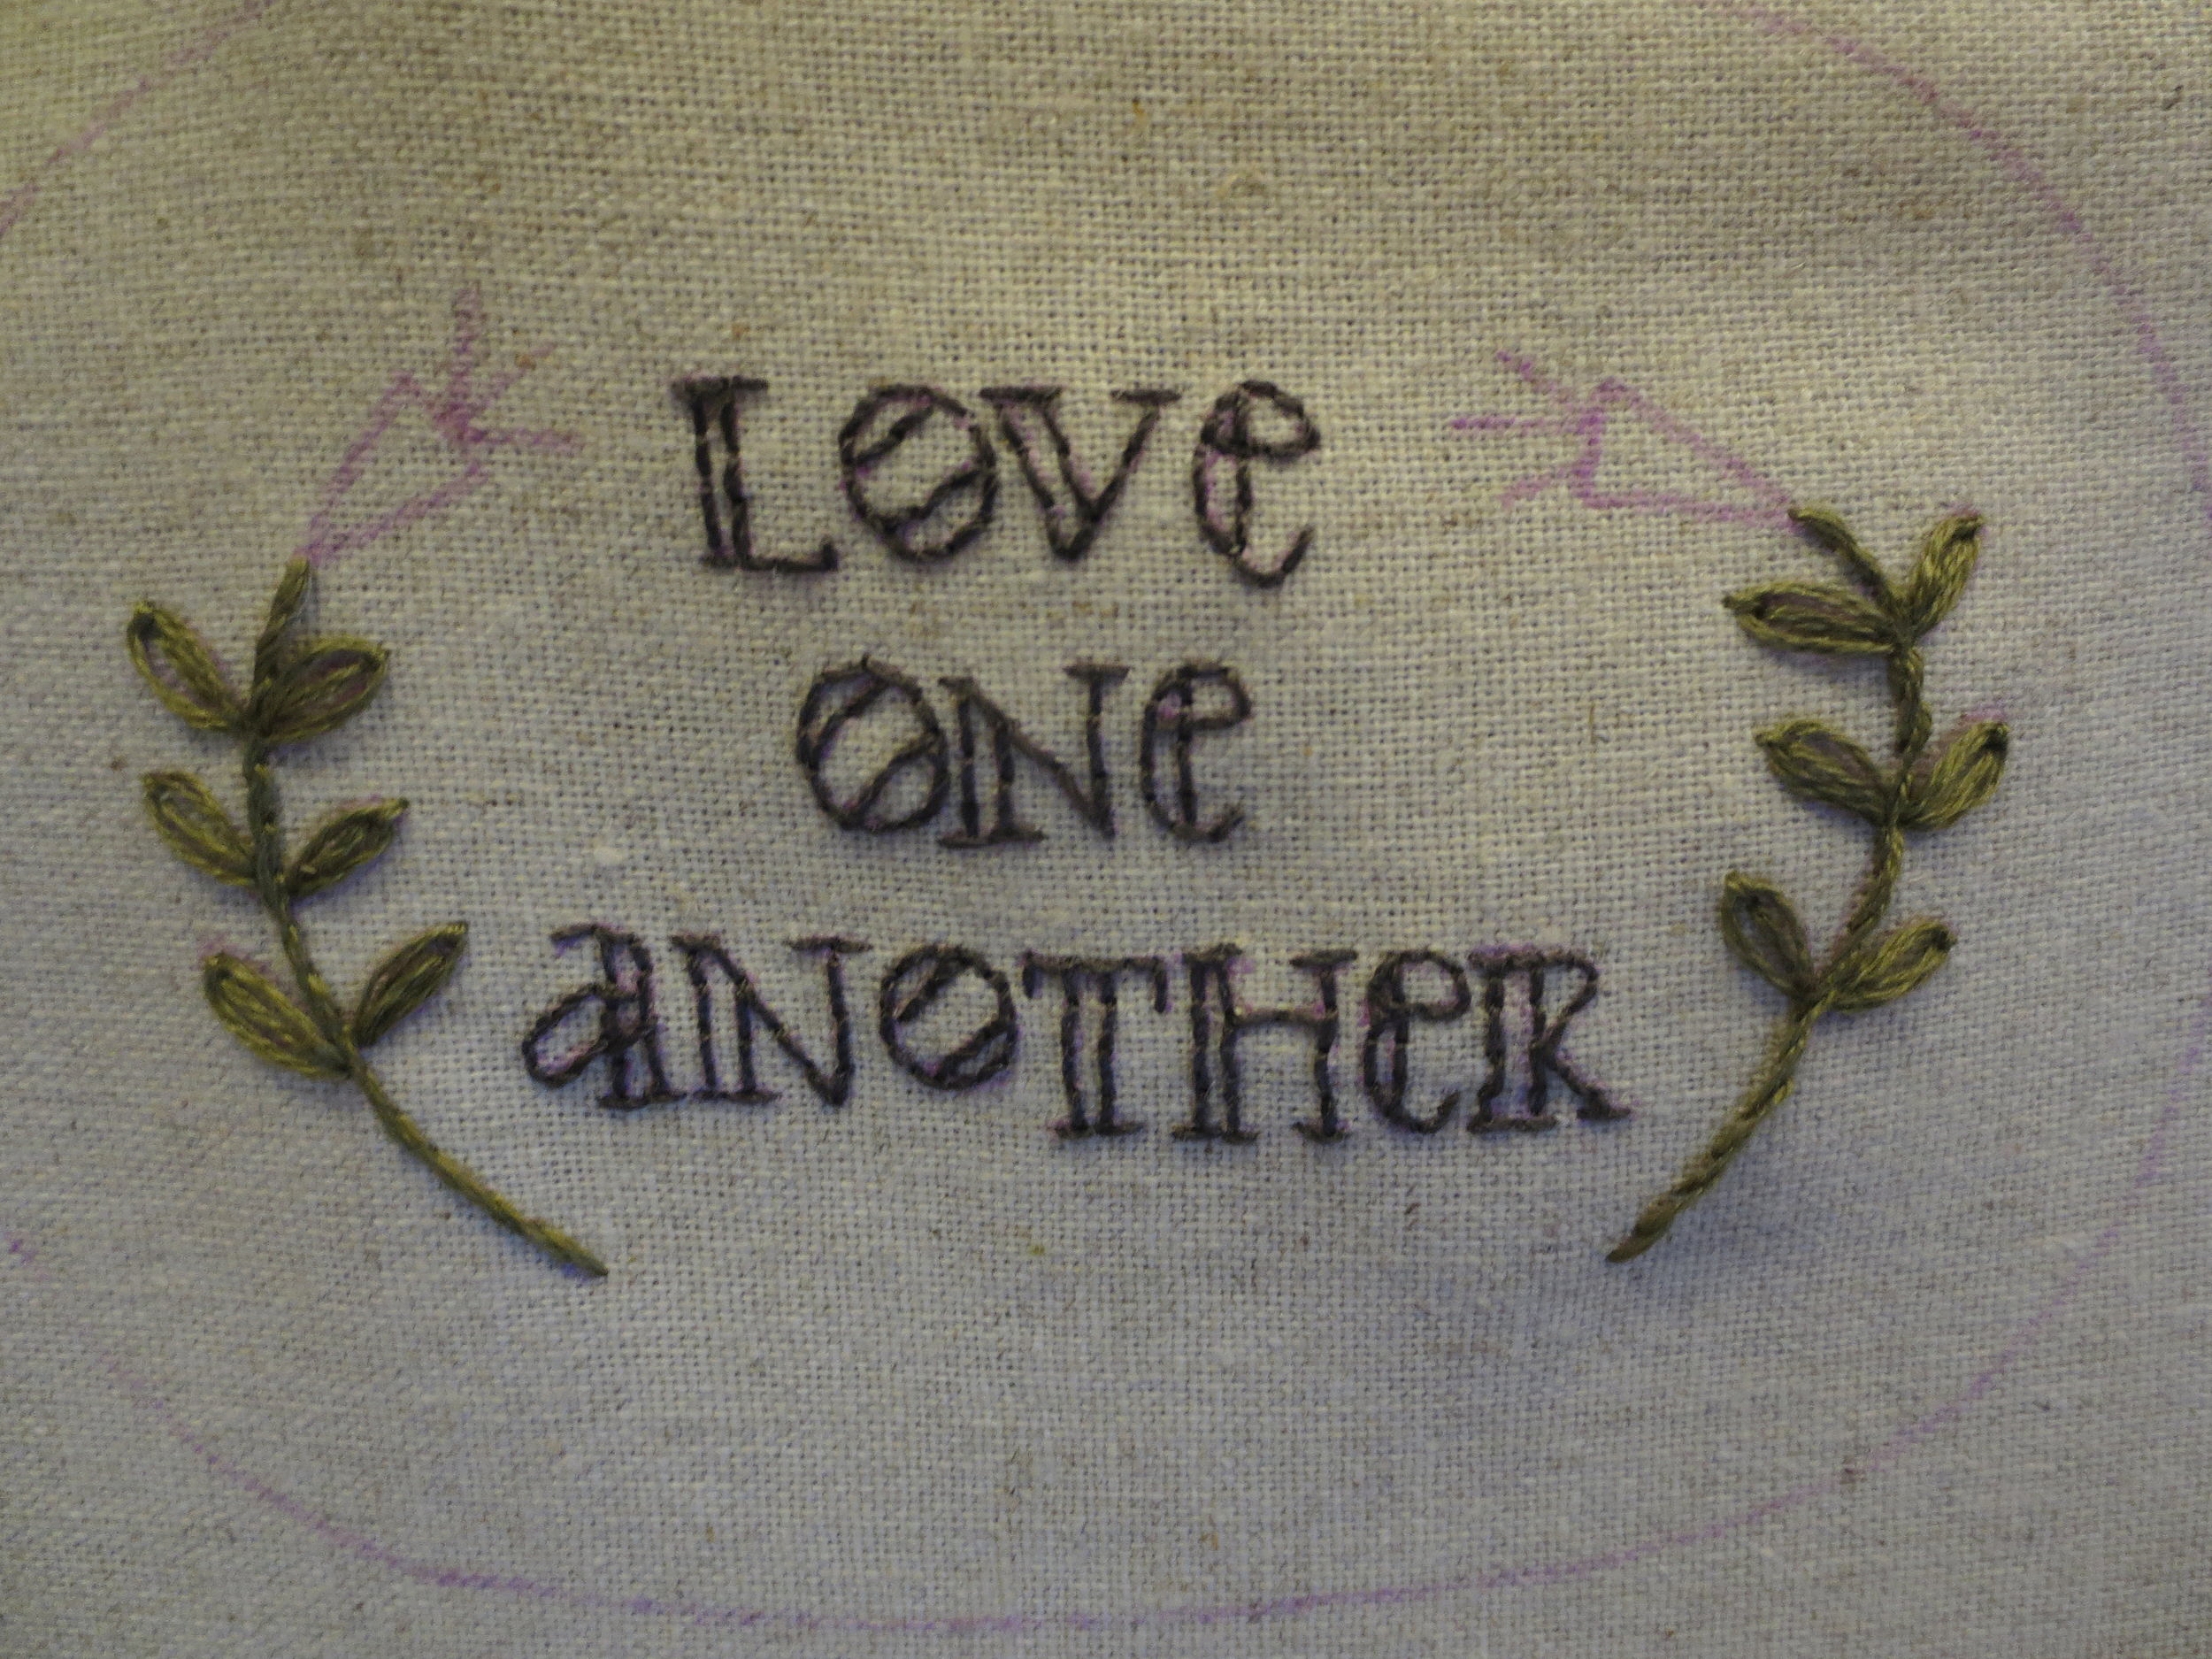
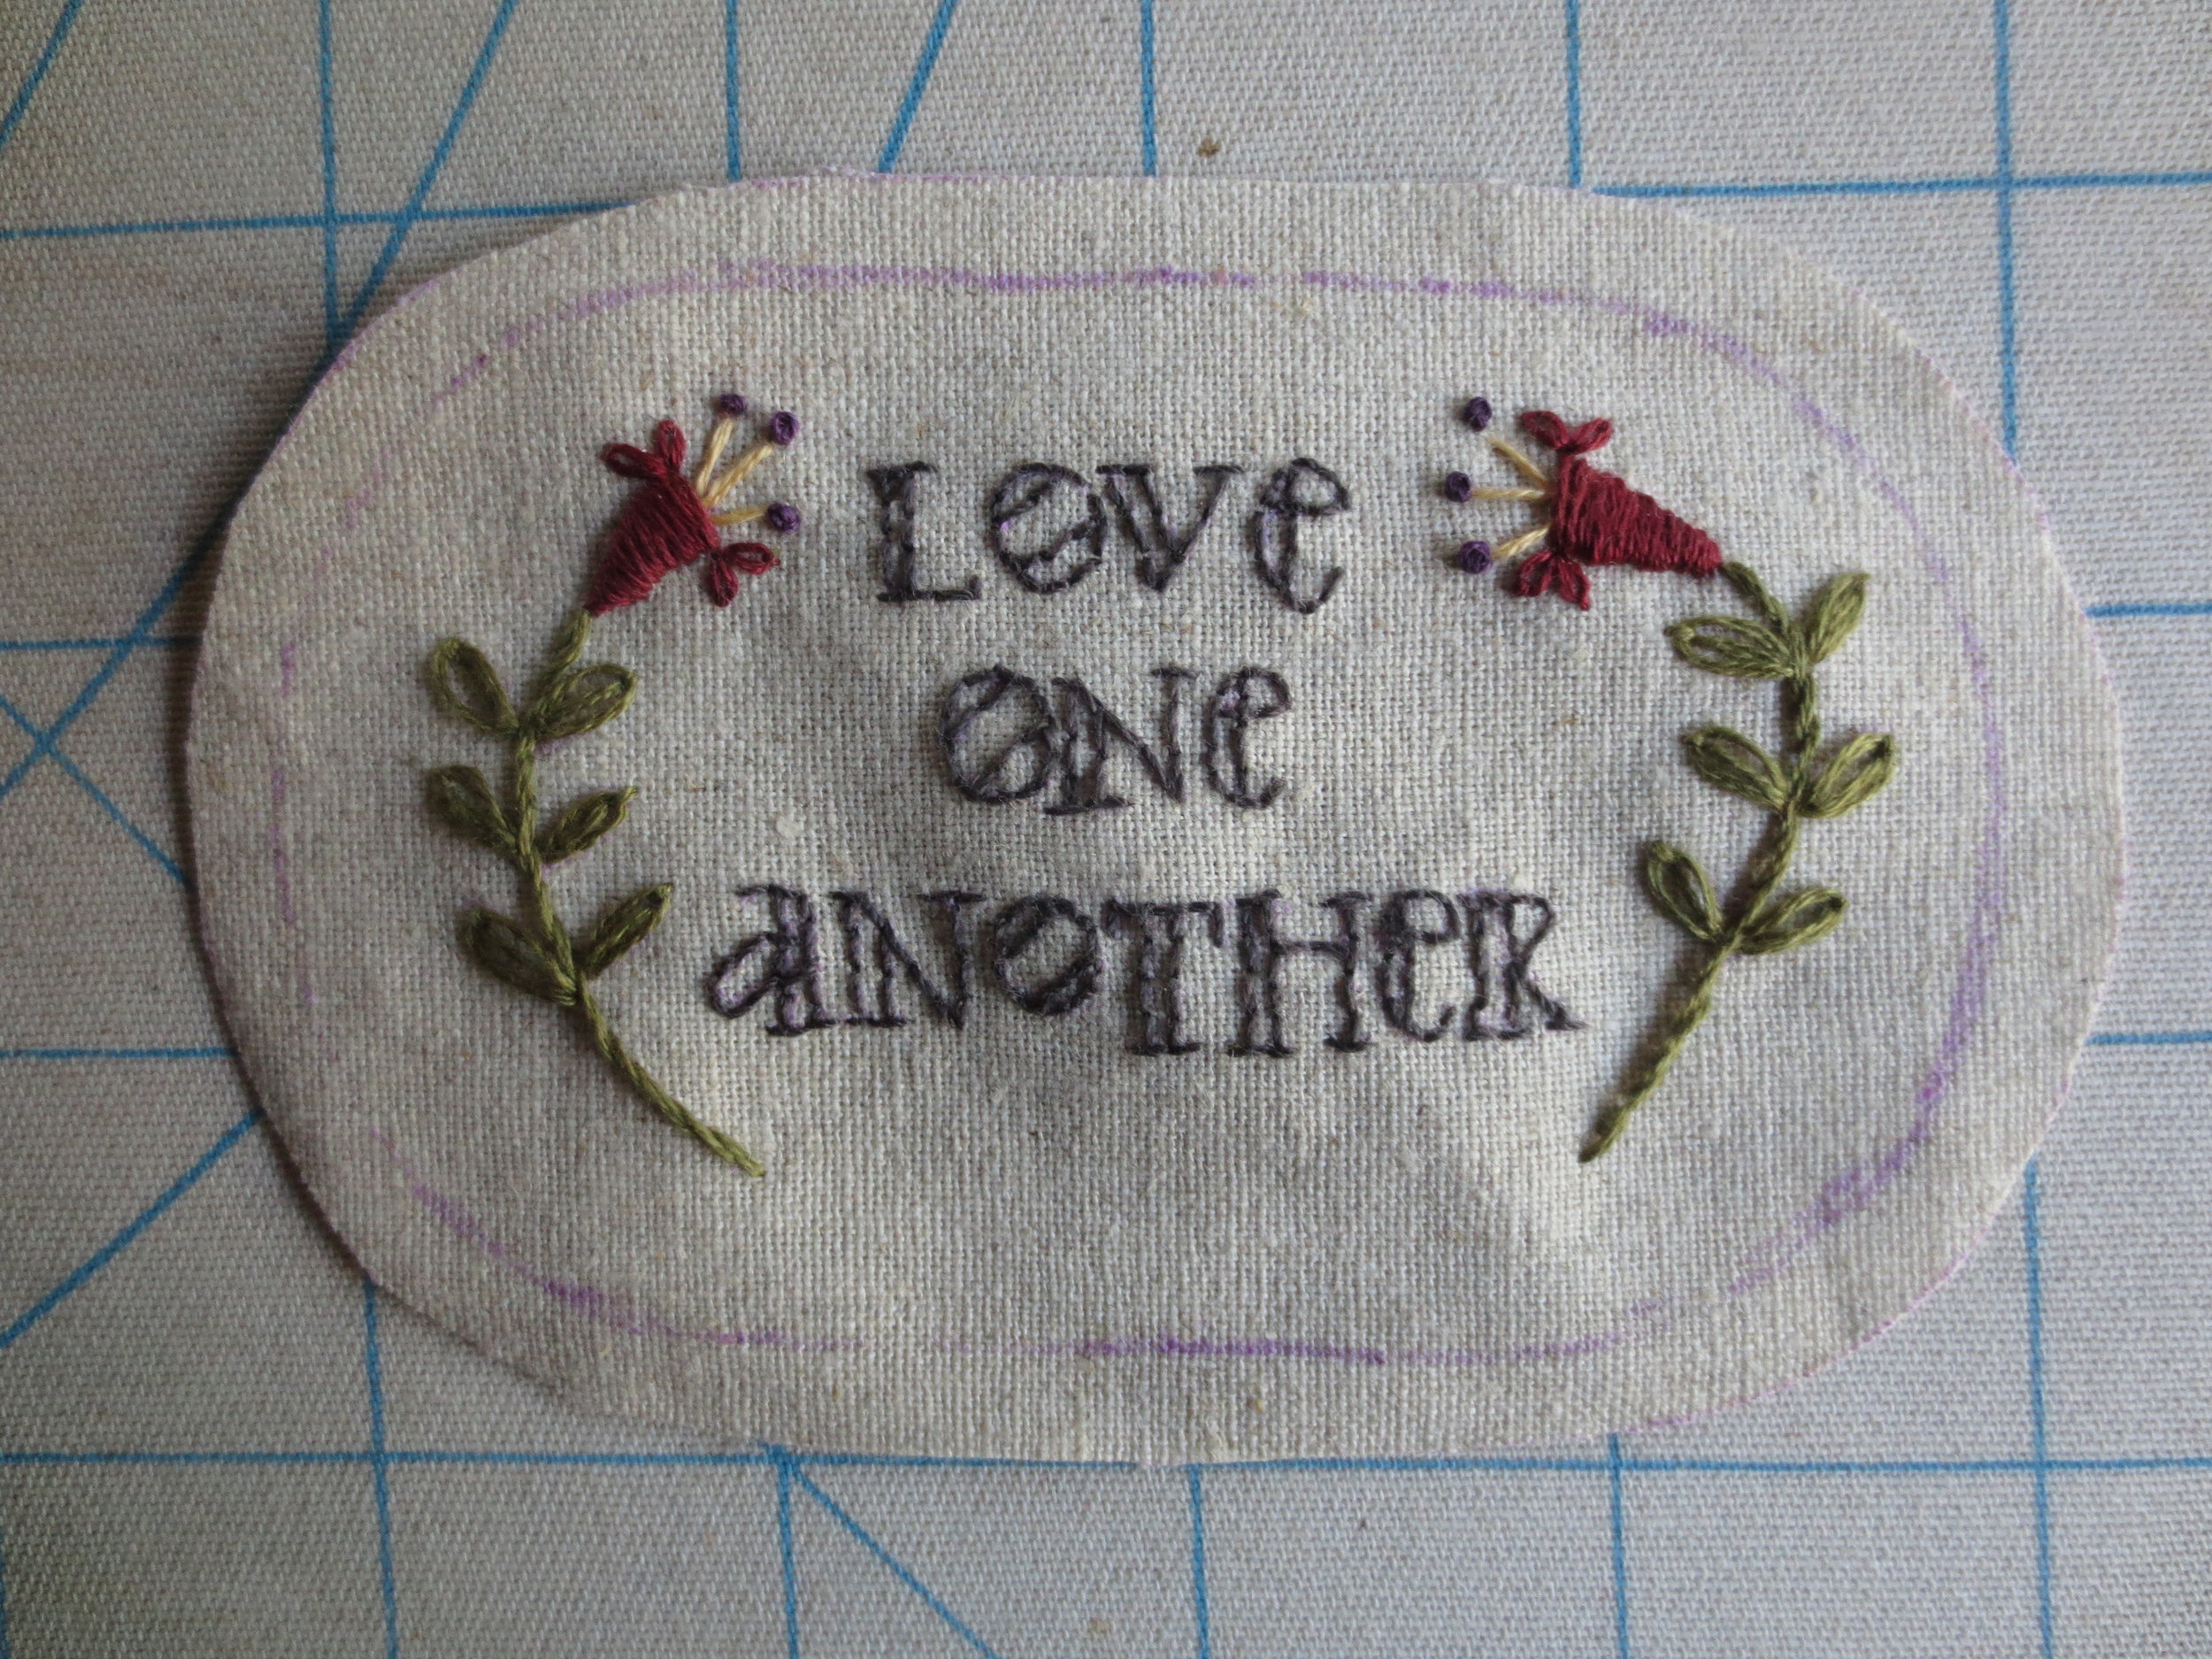
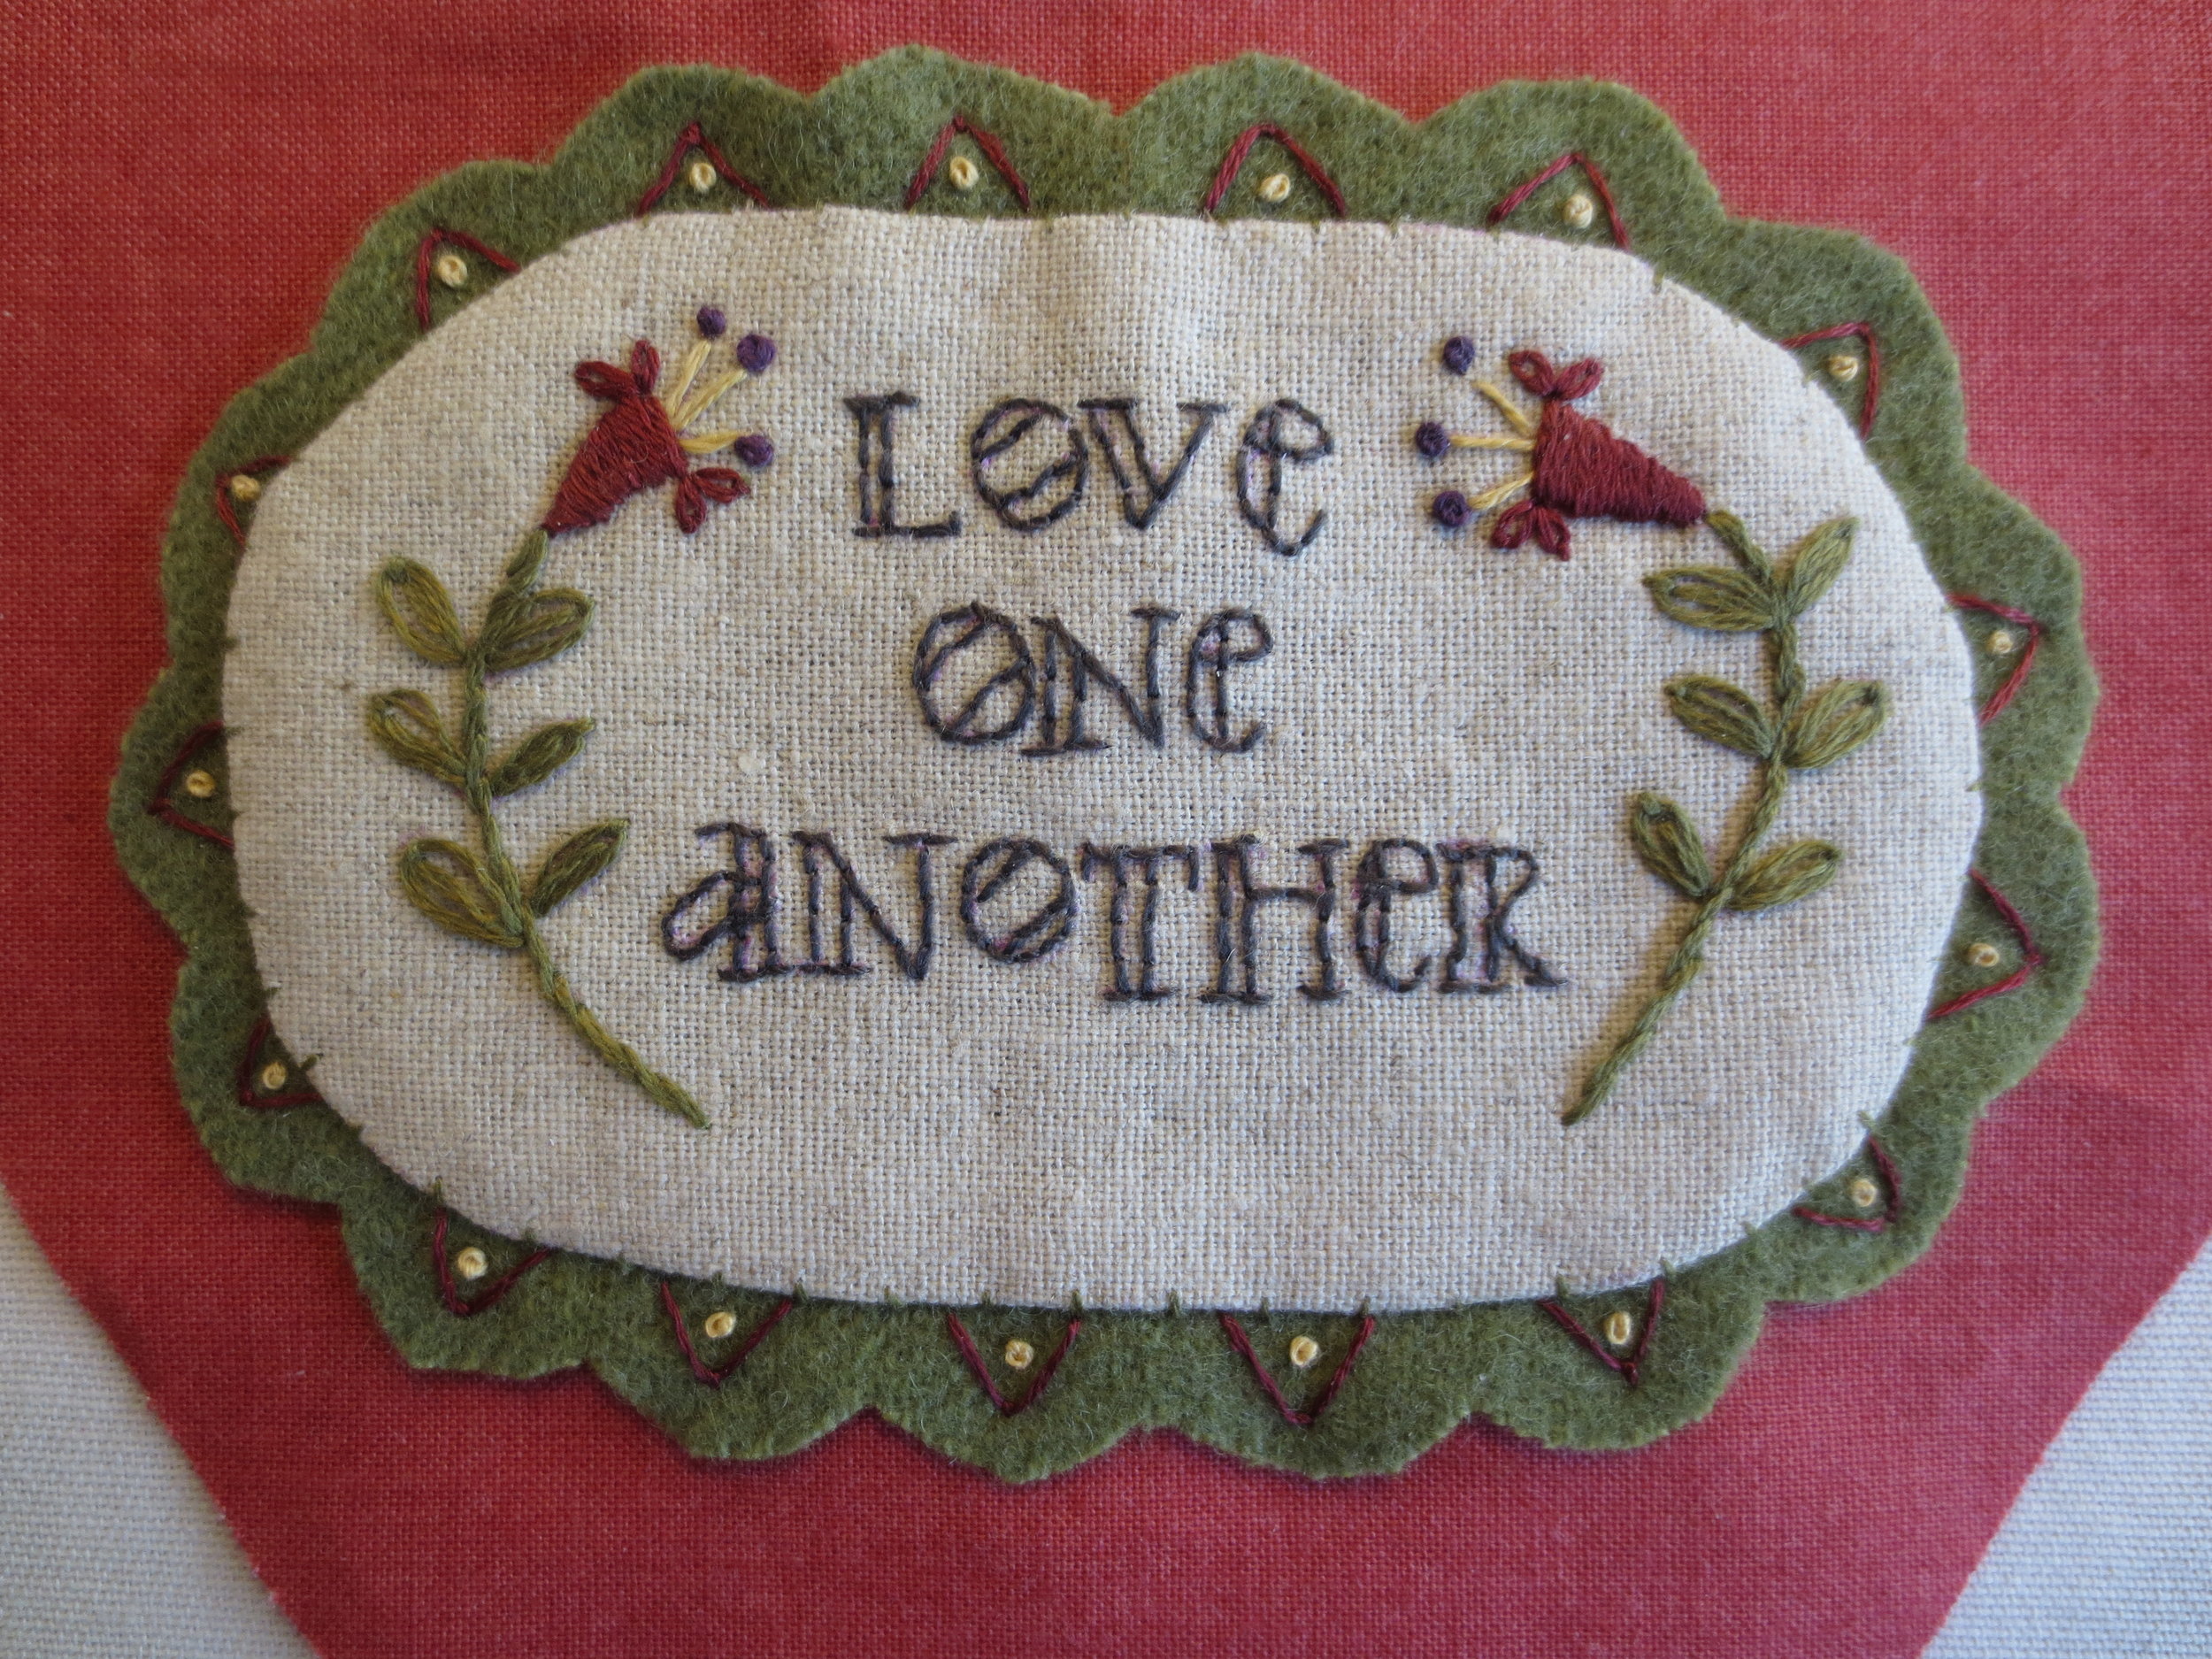
13. Using one strand of Sulky 12wt., color #1234, back stitch the letters.
14. Use 2 strands of DMC floss, # 3011 to stem stitch the flower stems.
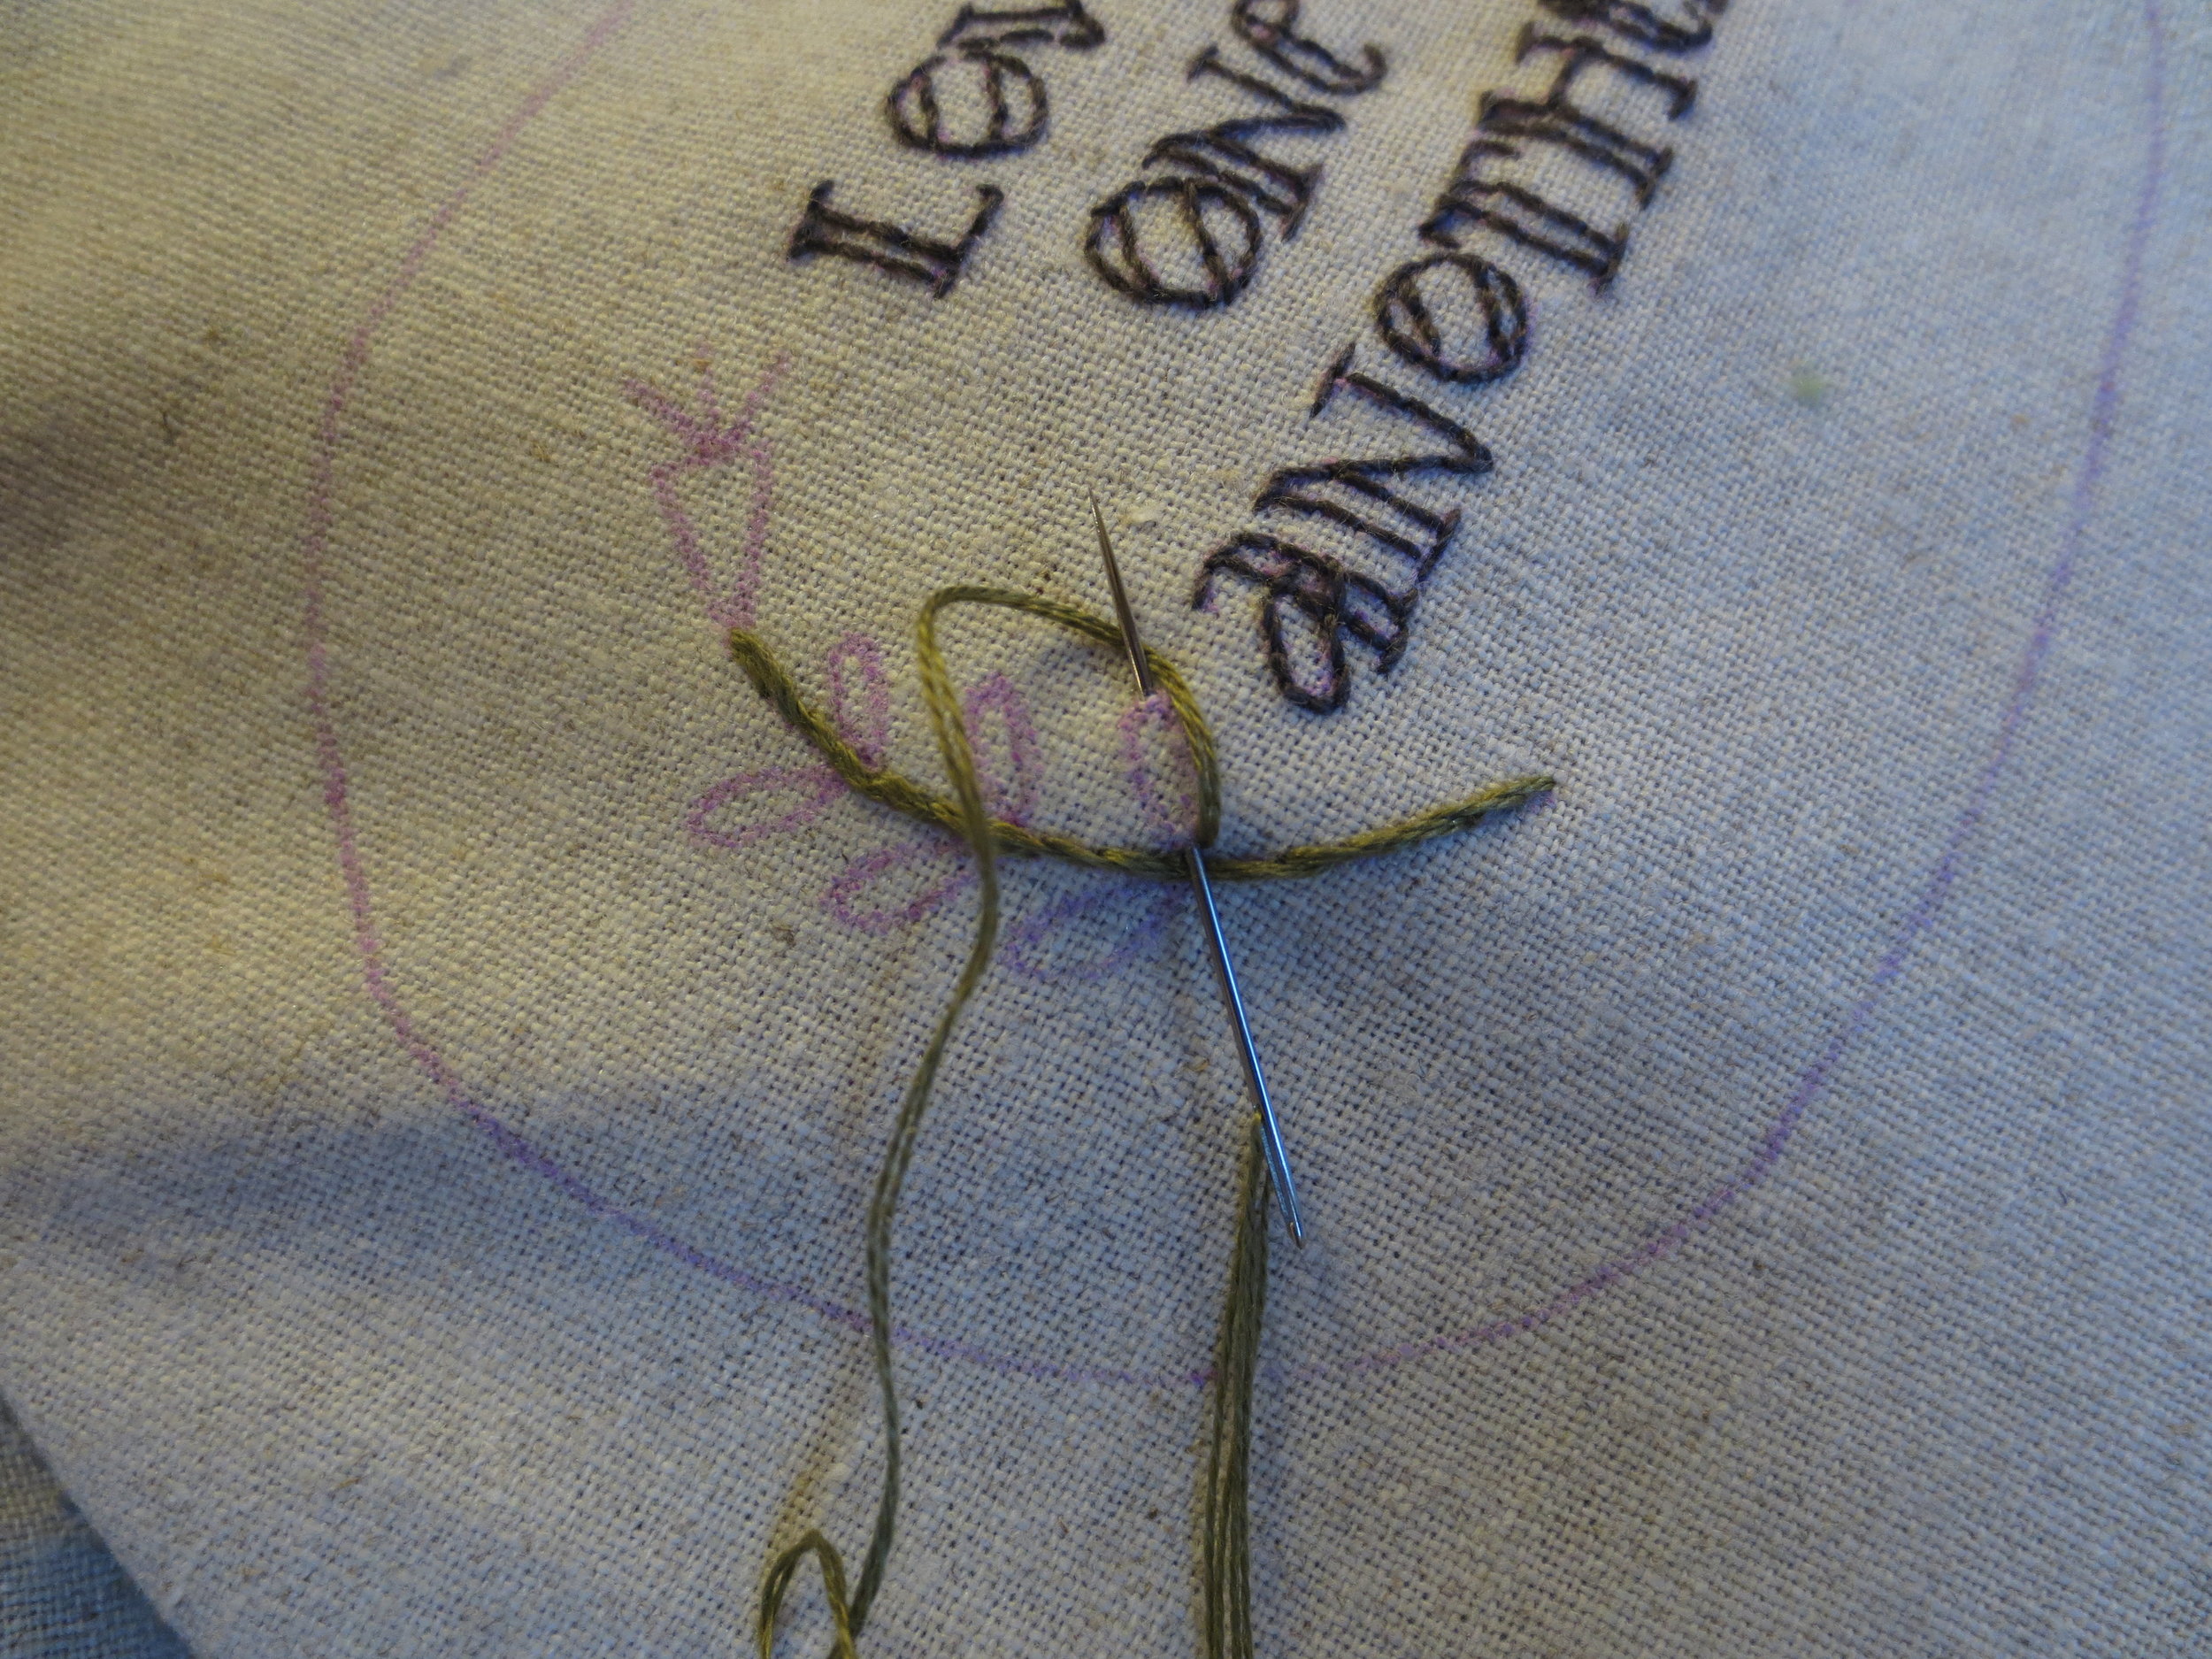
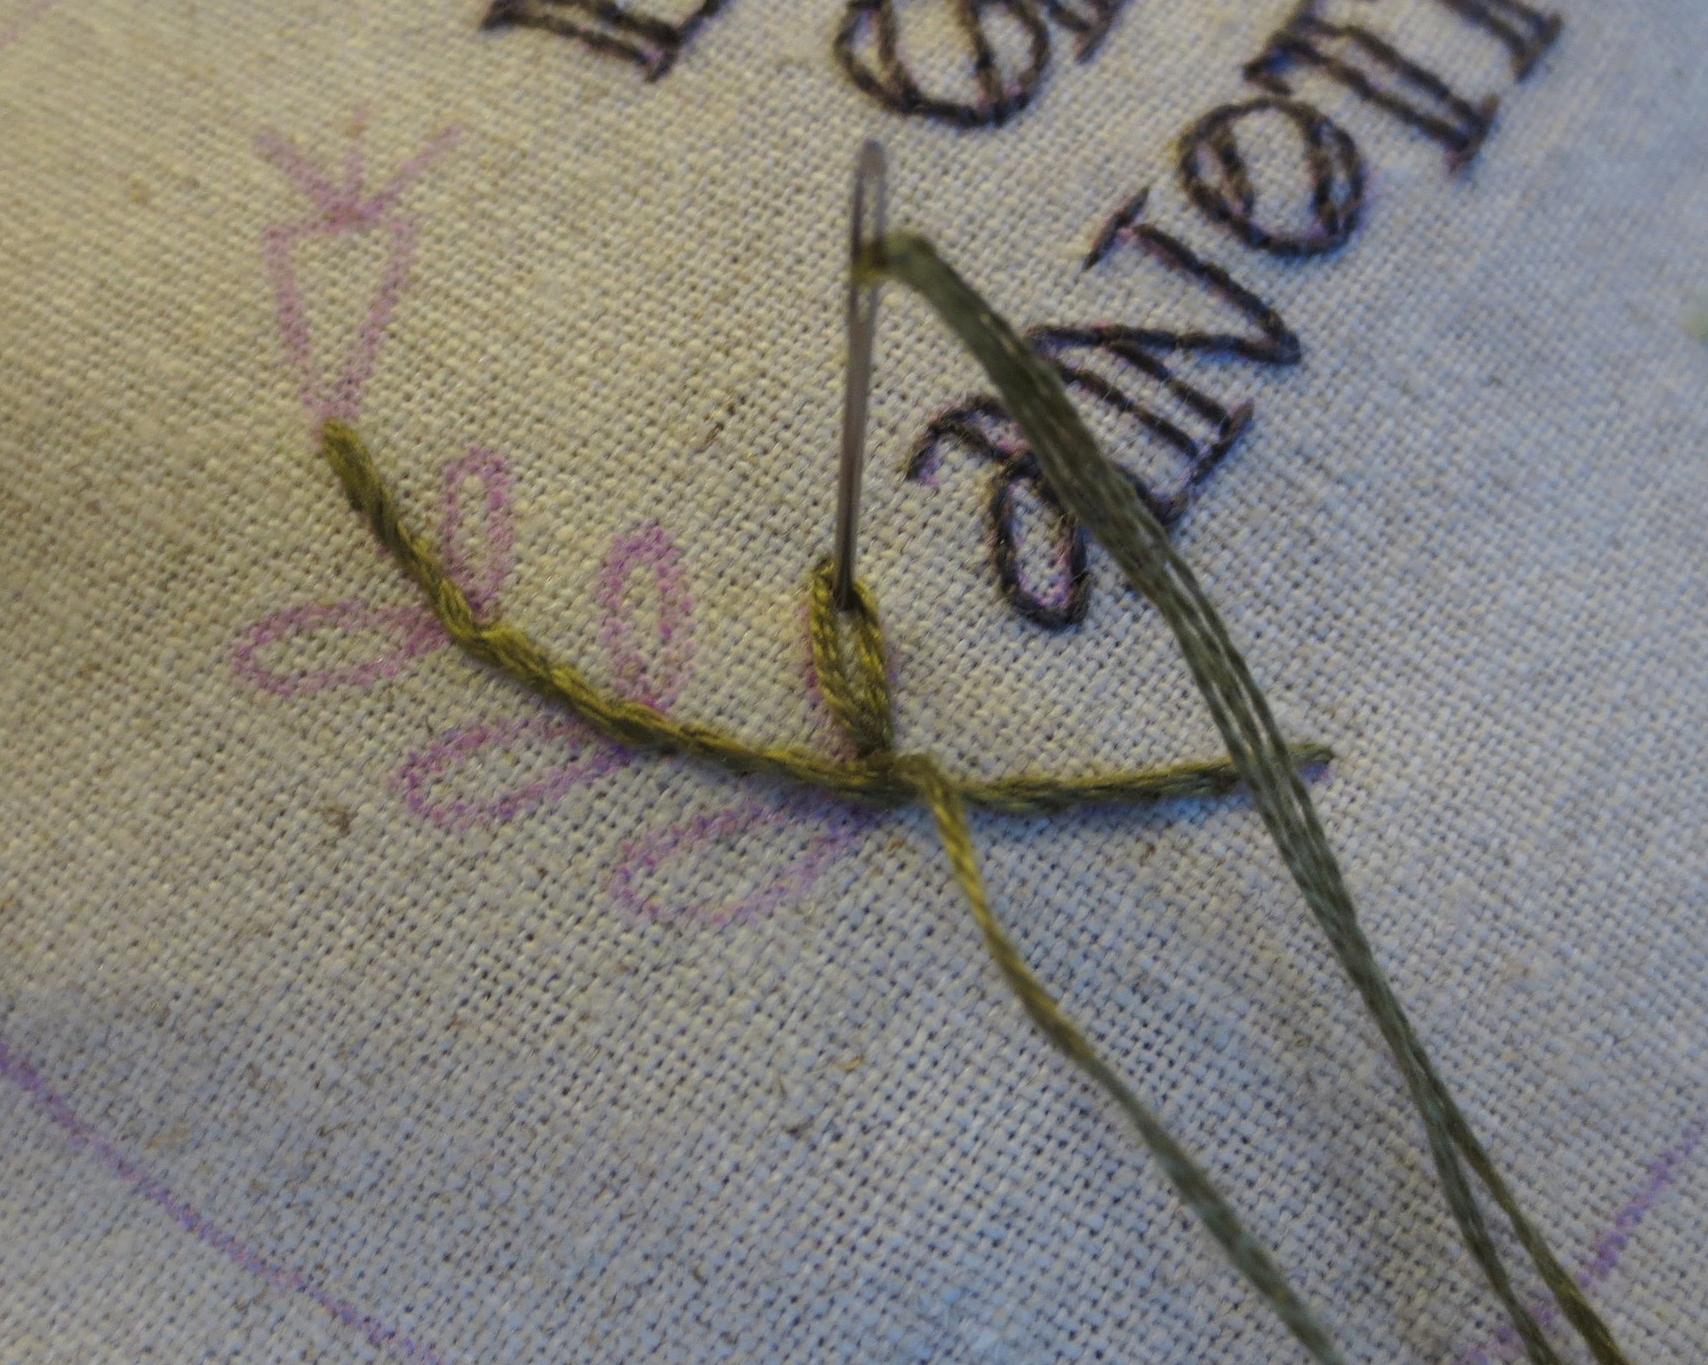
15. Use the same thread to make the leaves. Each leaf is made by making a lazy daisy extending from the stem and then making an additional straight stitch down the center of the leaf.
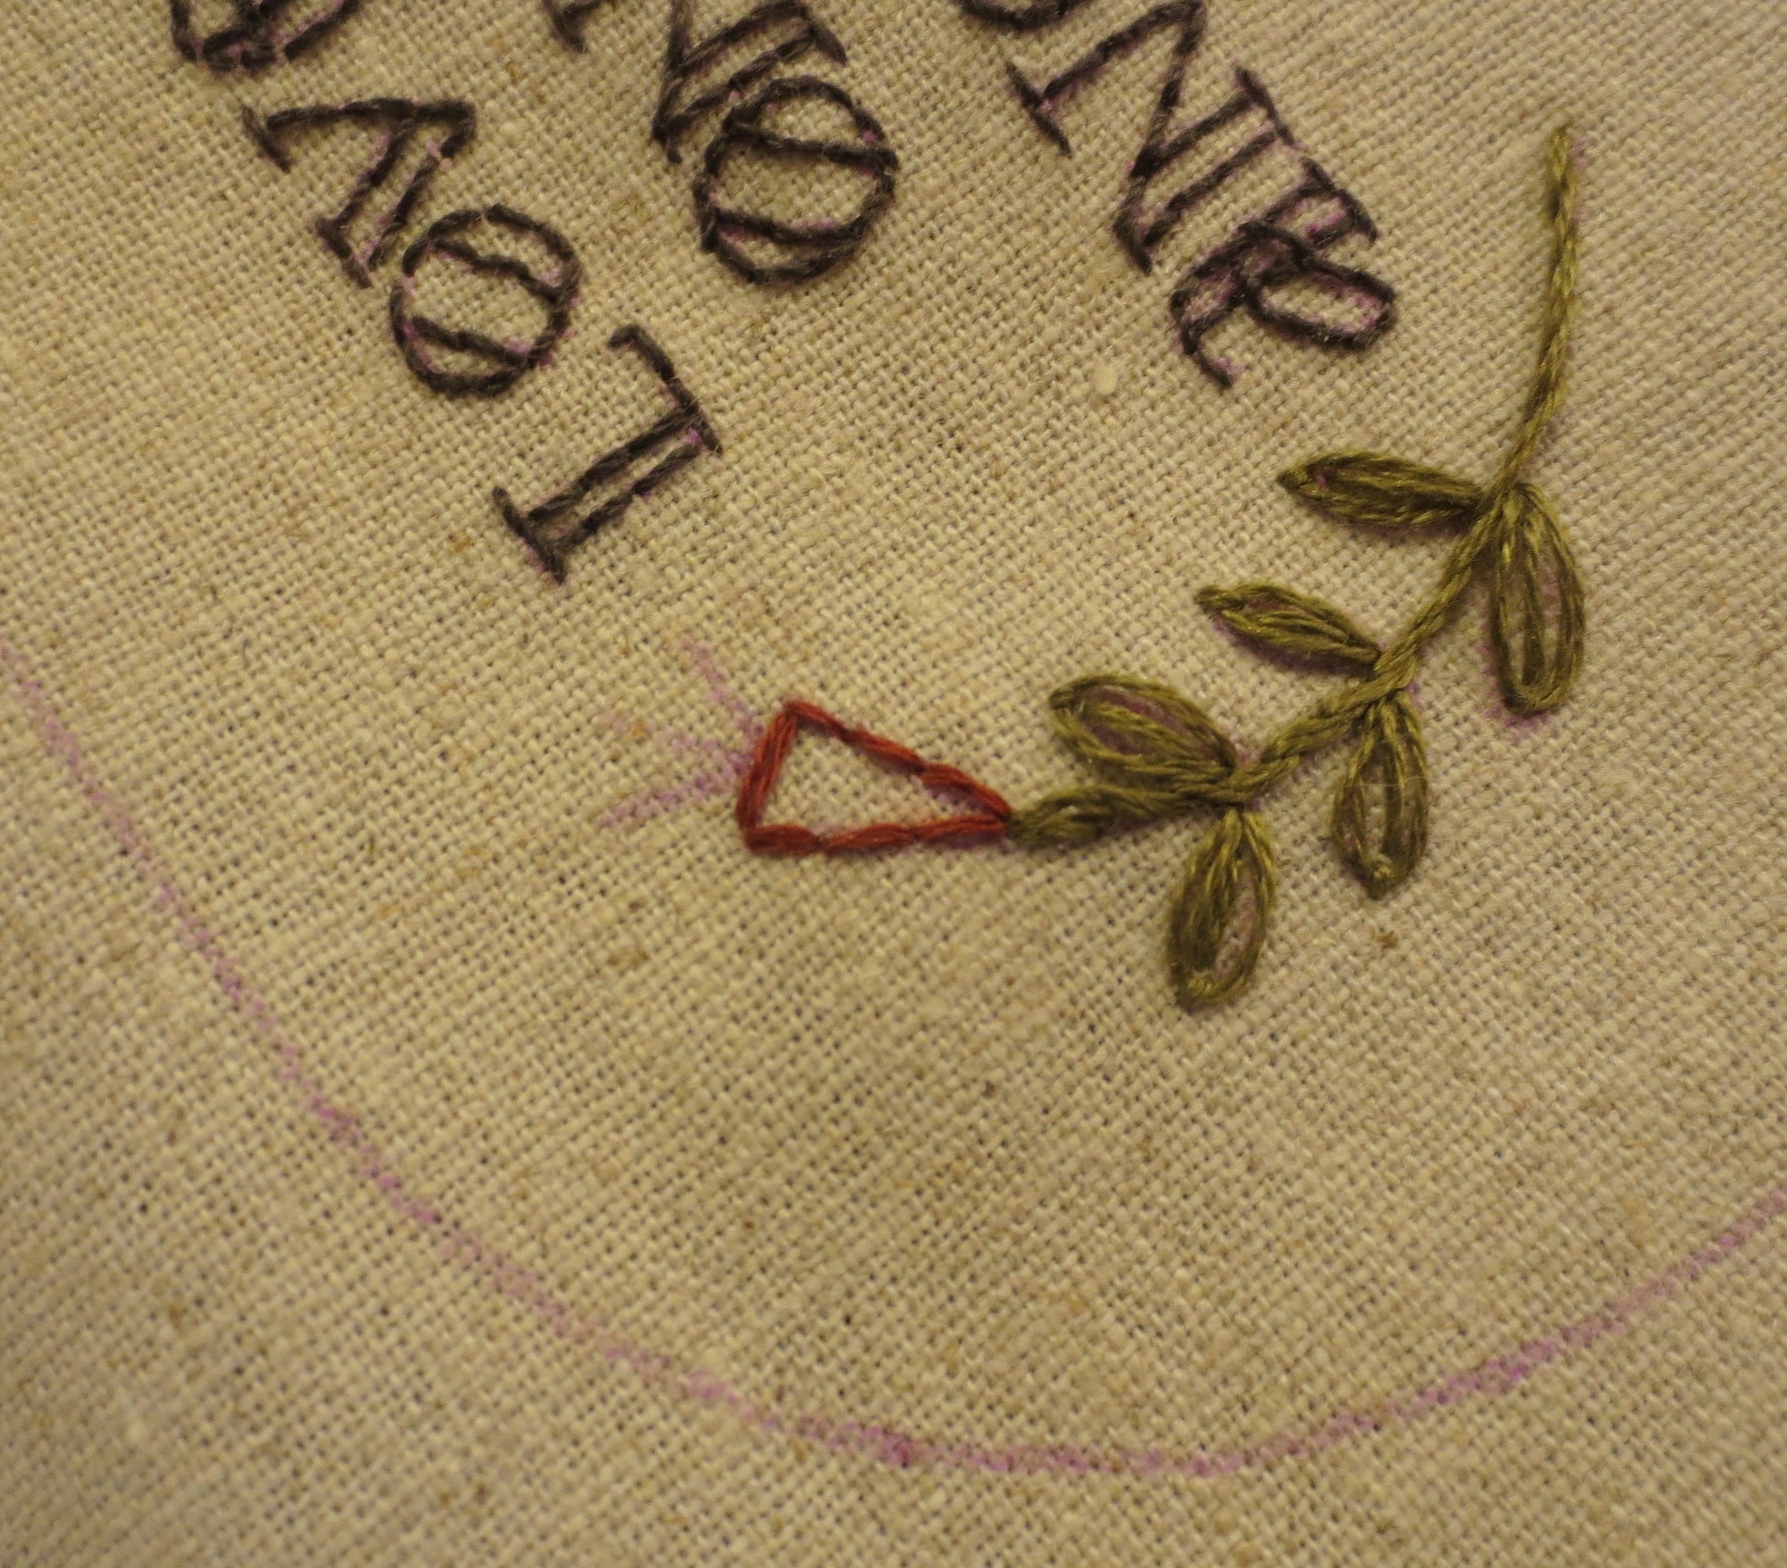
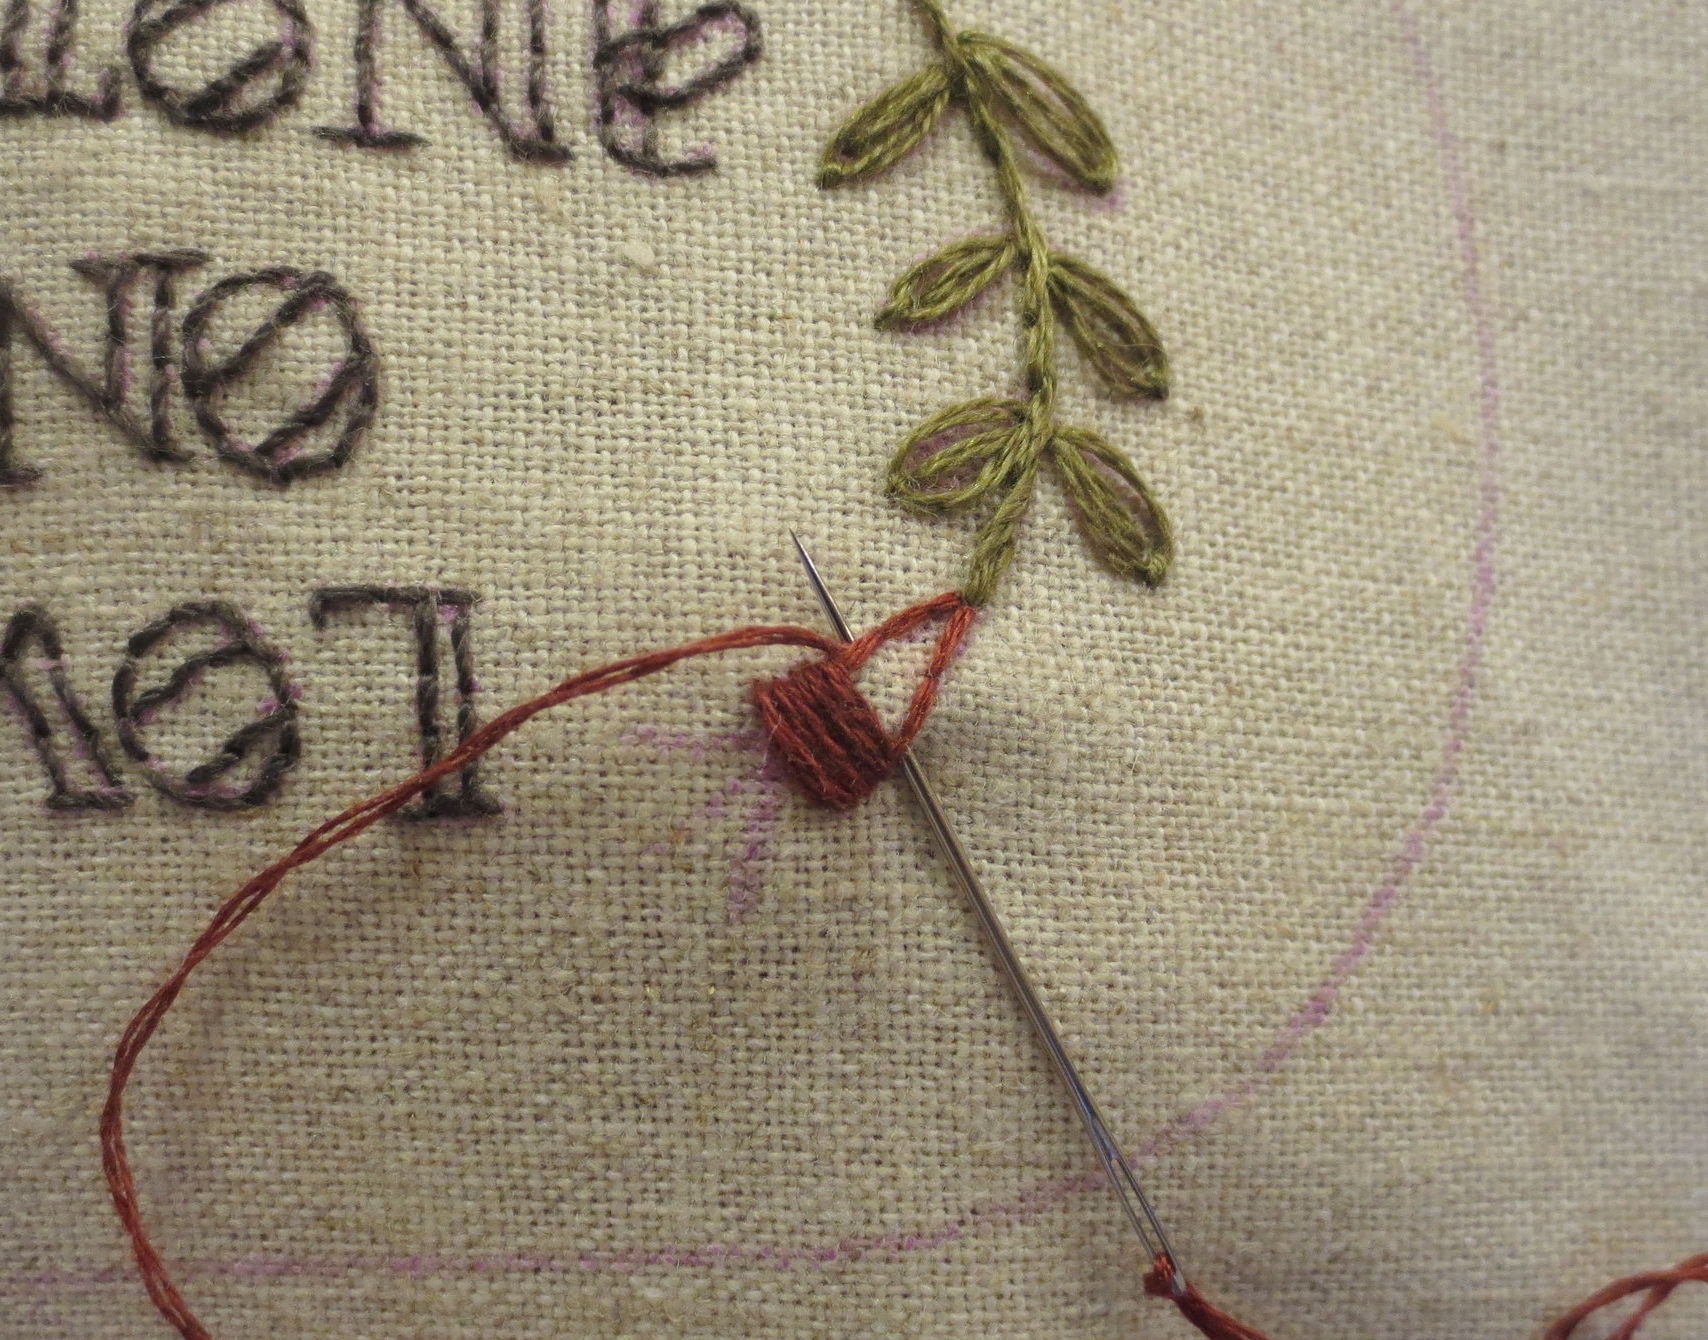
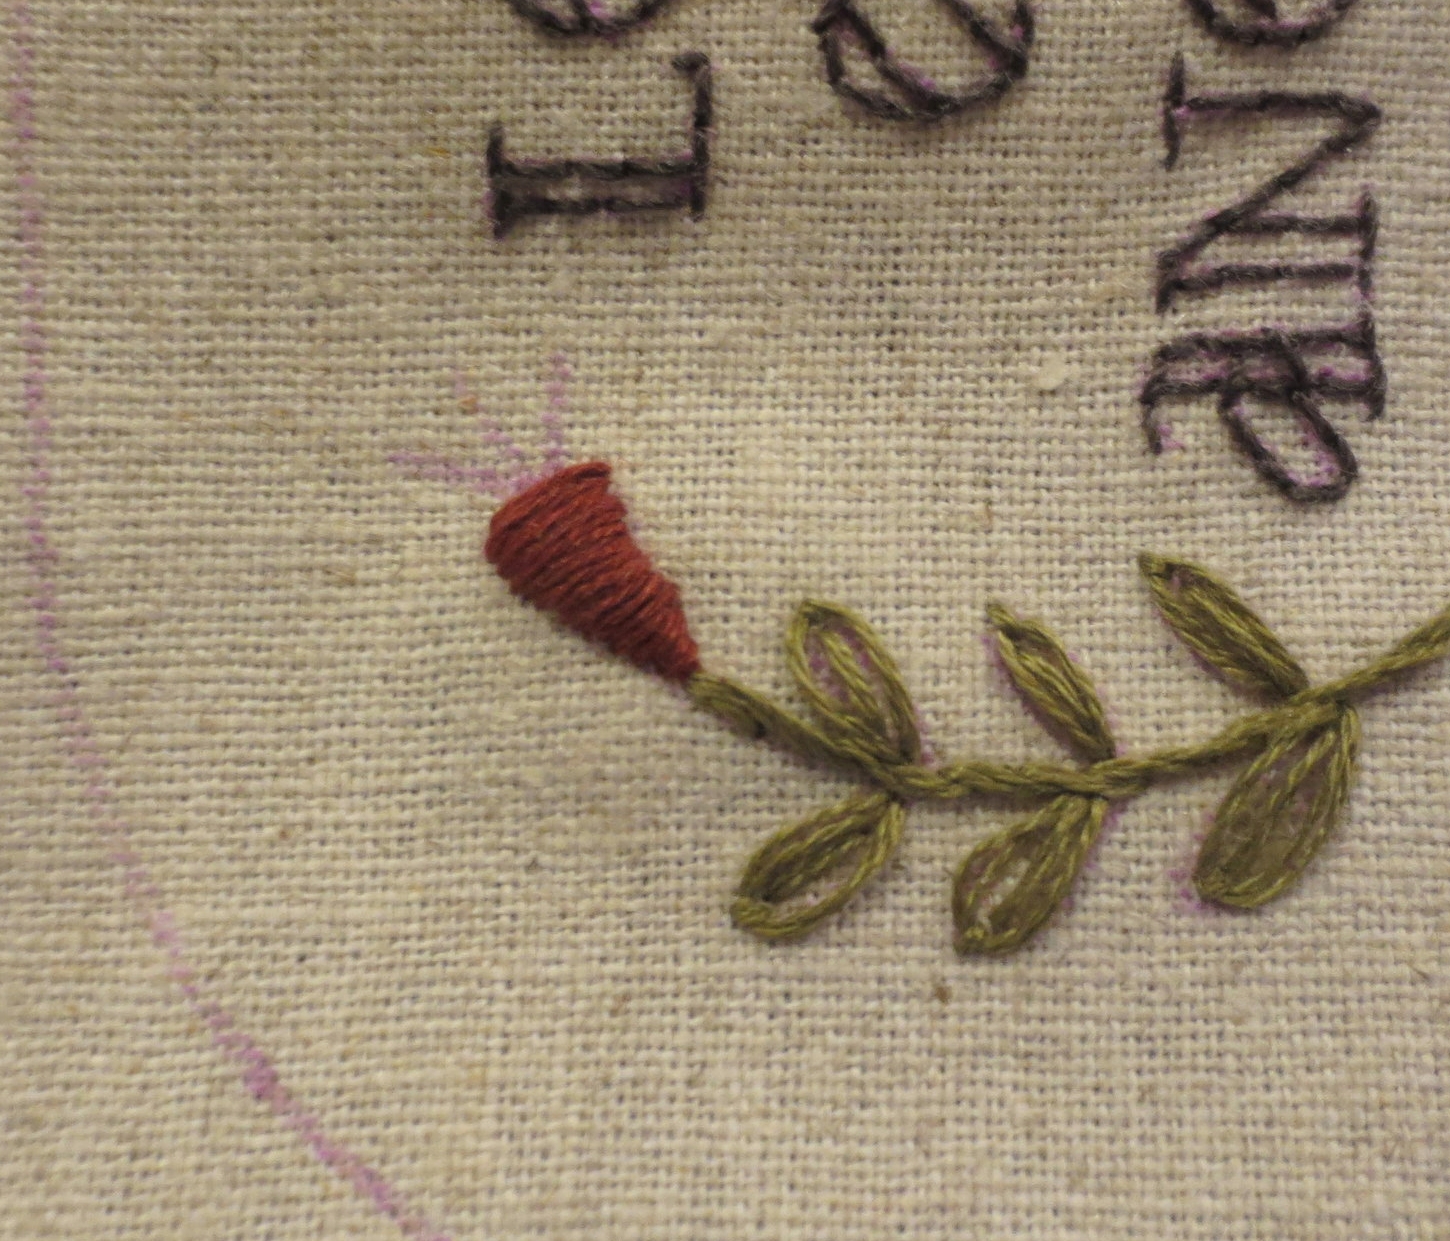
16. Use 2 strands of Weeks Dye Works (brick) to satin stitch the flowers. Outline them first with a back stitch, then satin stitch over the outline.
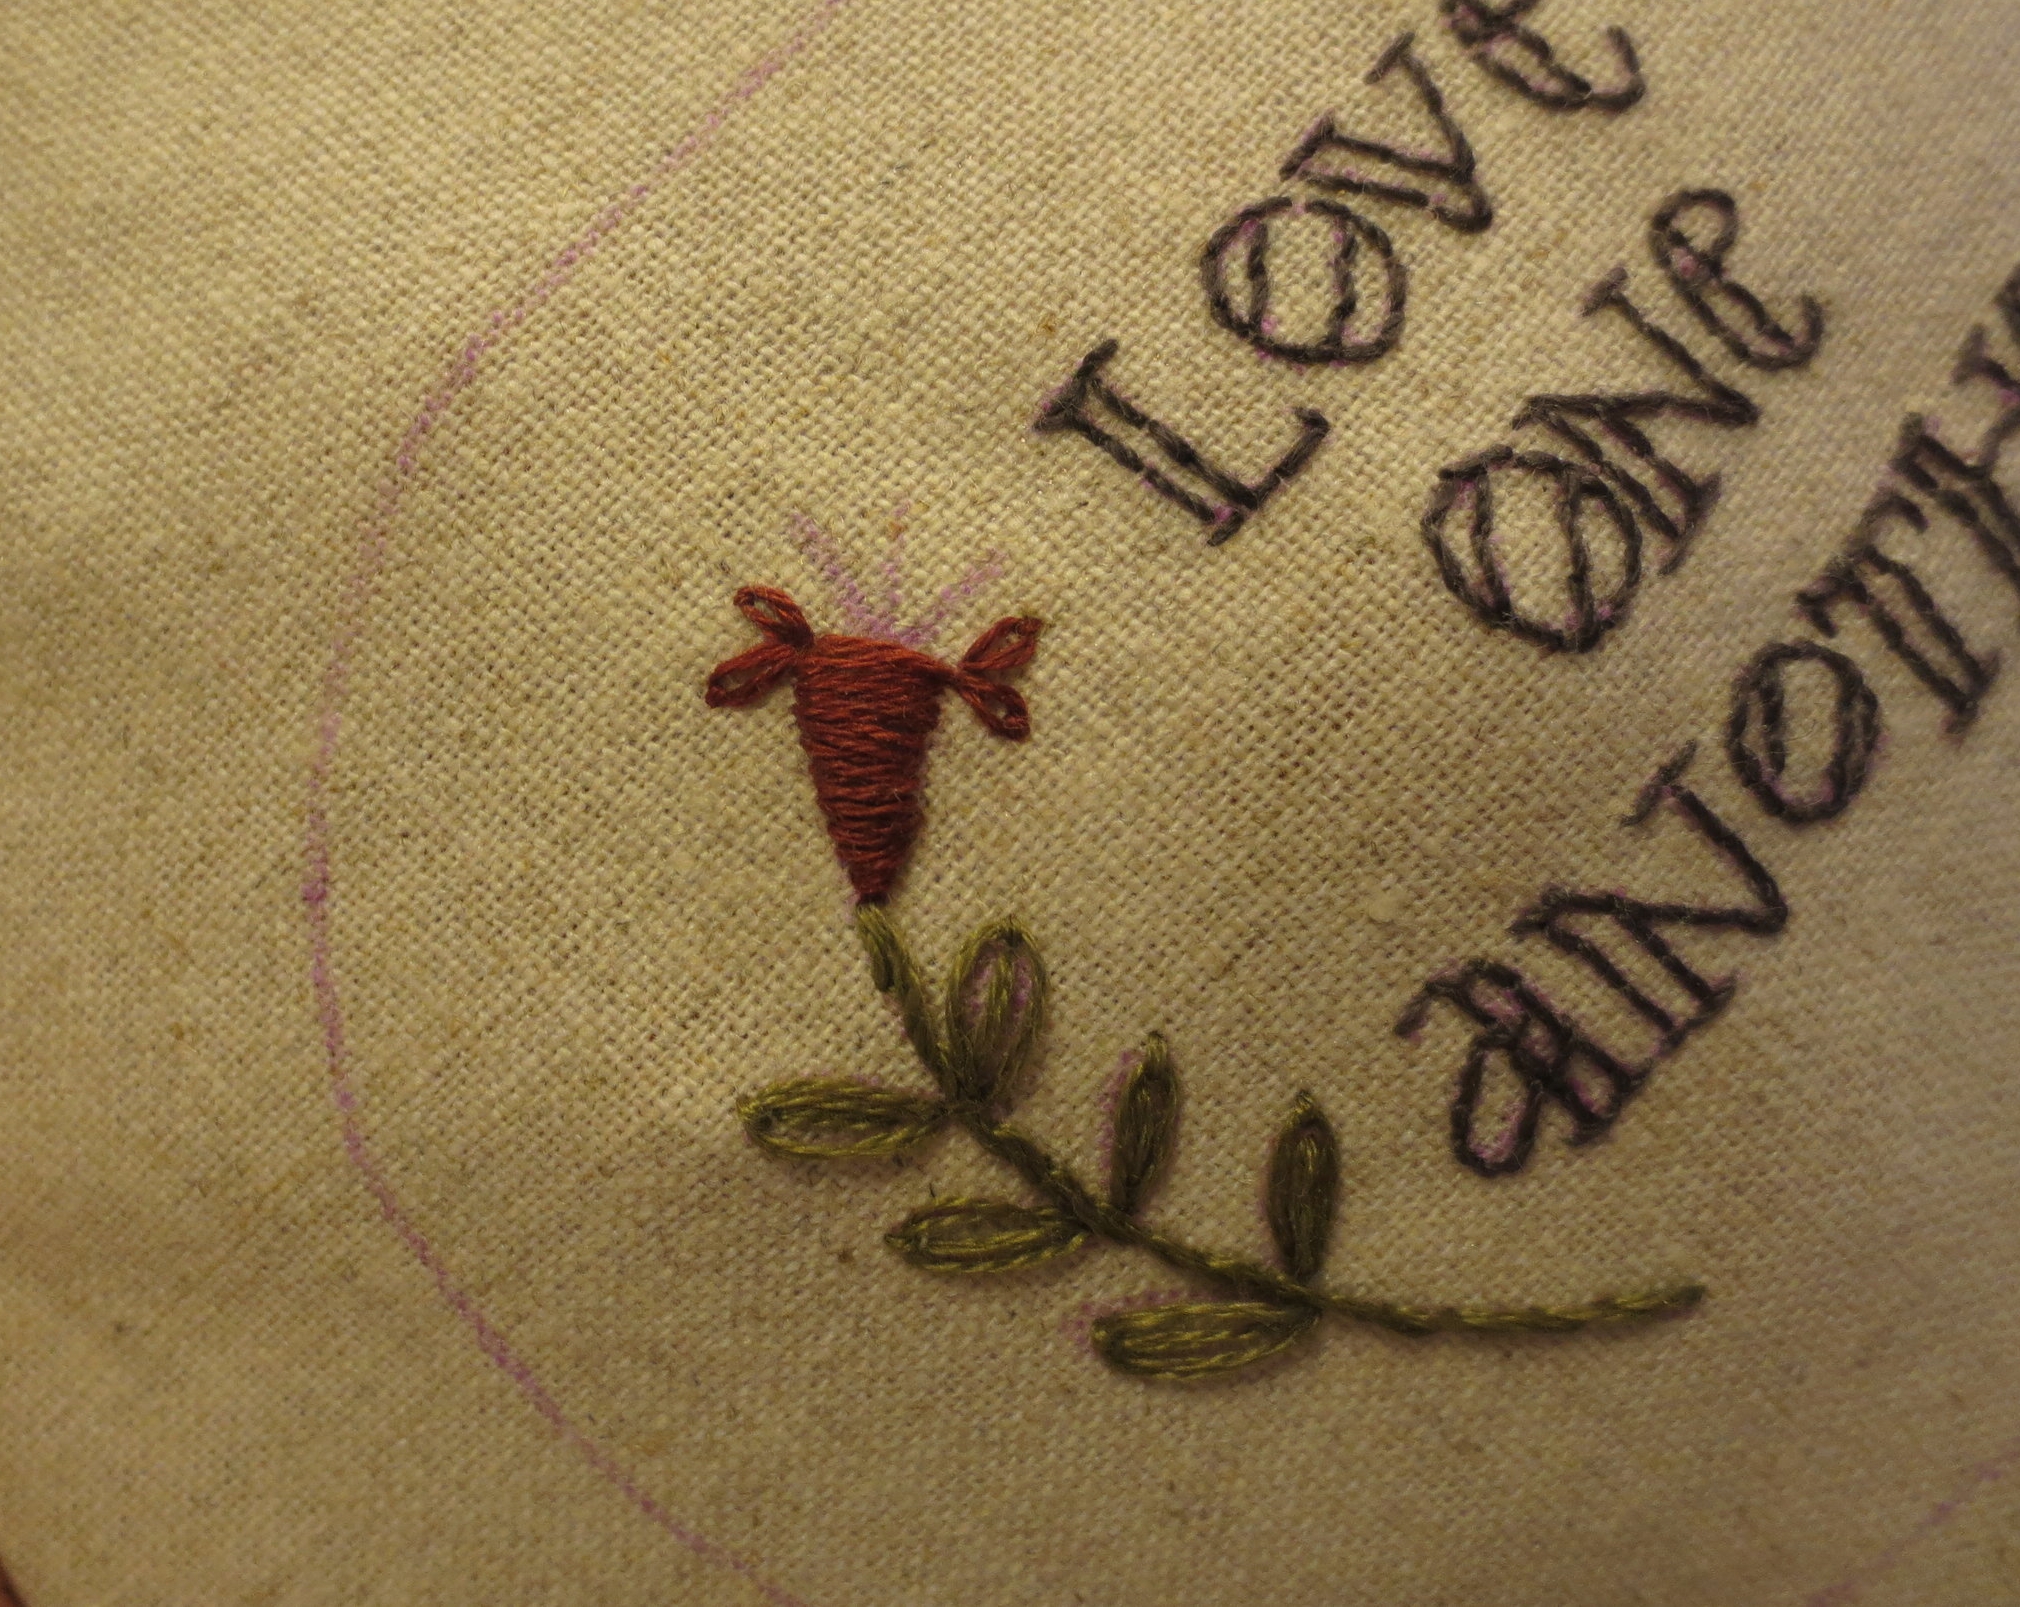
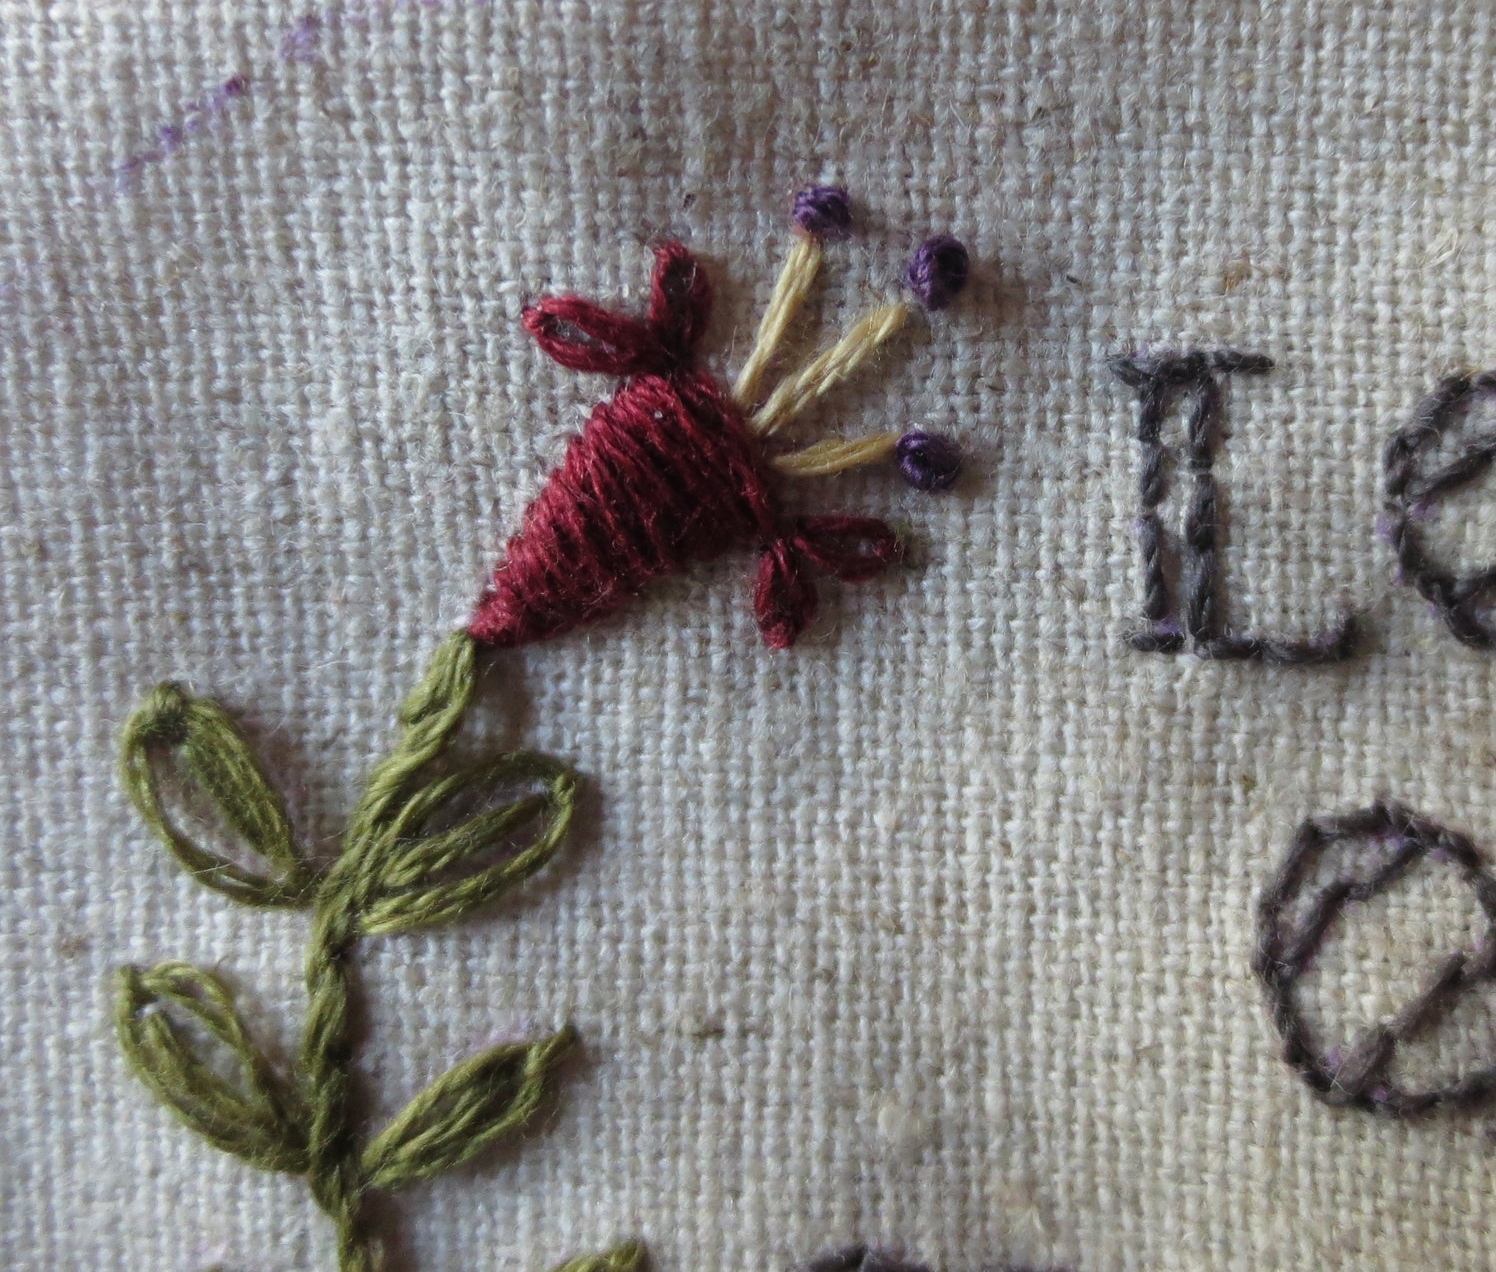
17. Now add two lazy daisy petals to each side of the flower (see below).
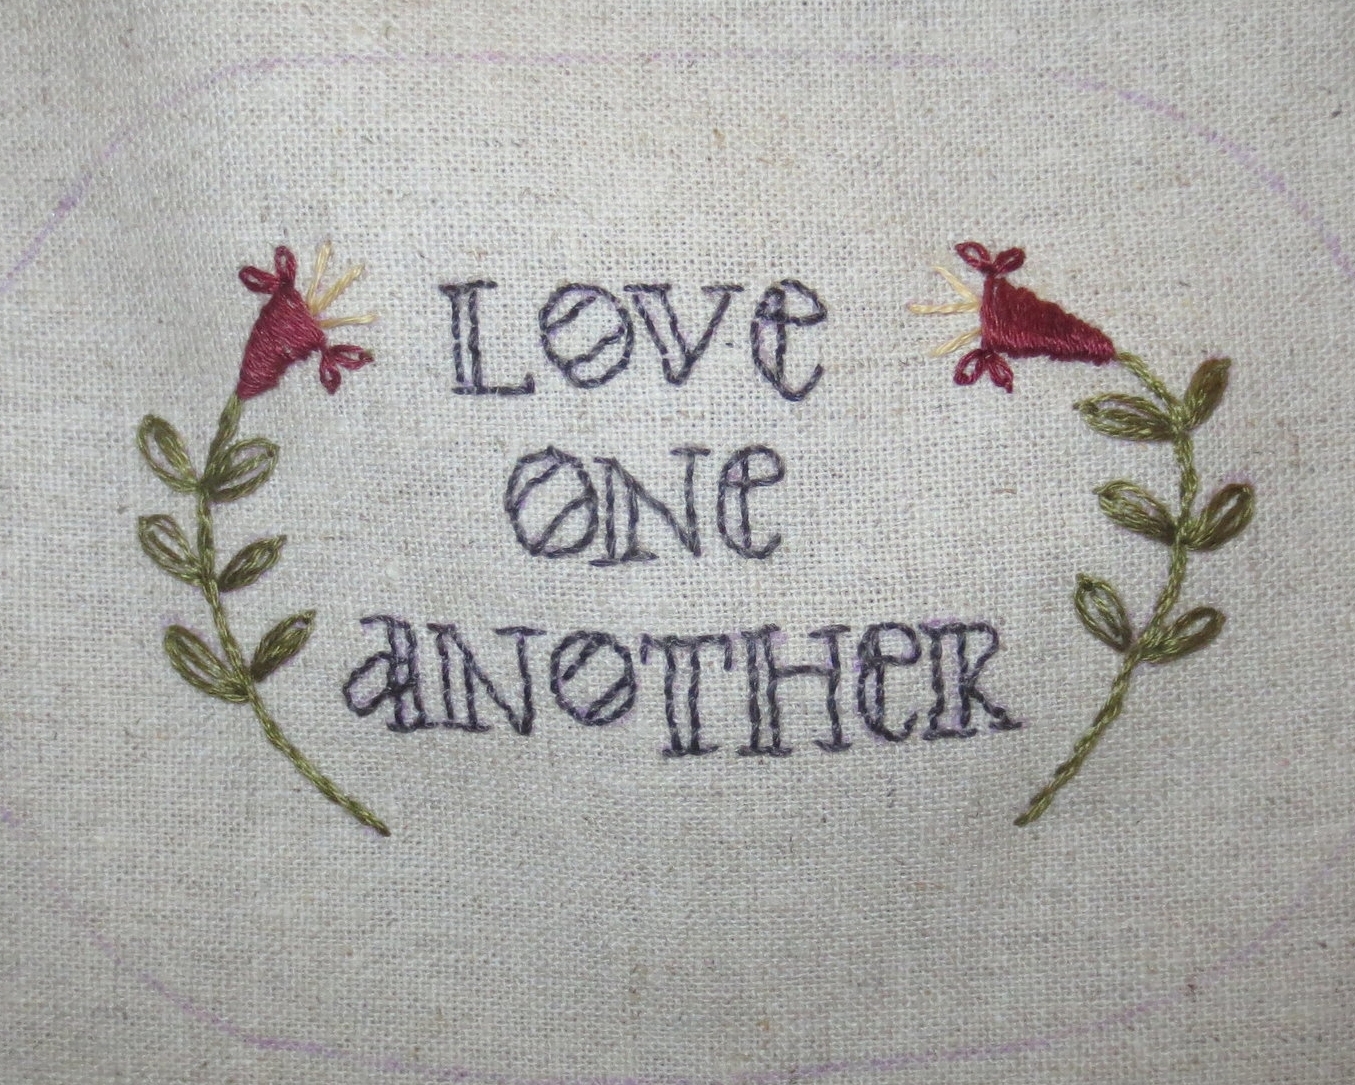
18. Use two strands of DMC floss, #676 to straight stitch the flower filaments (see below).
19. Use one strand of Sulky, 12 wt., #4022 to make French knots on the ends of each of the filaments.
20. Remove the embroidery from your hoop if you are using one and cut out along the cutting line.
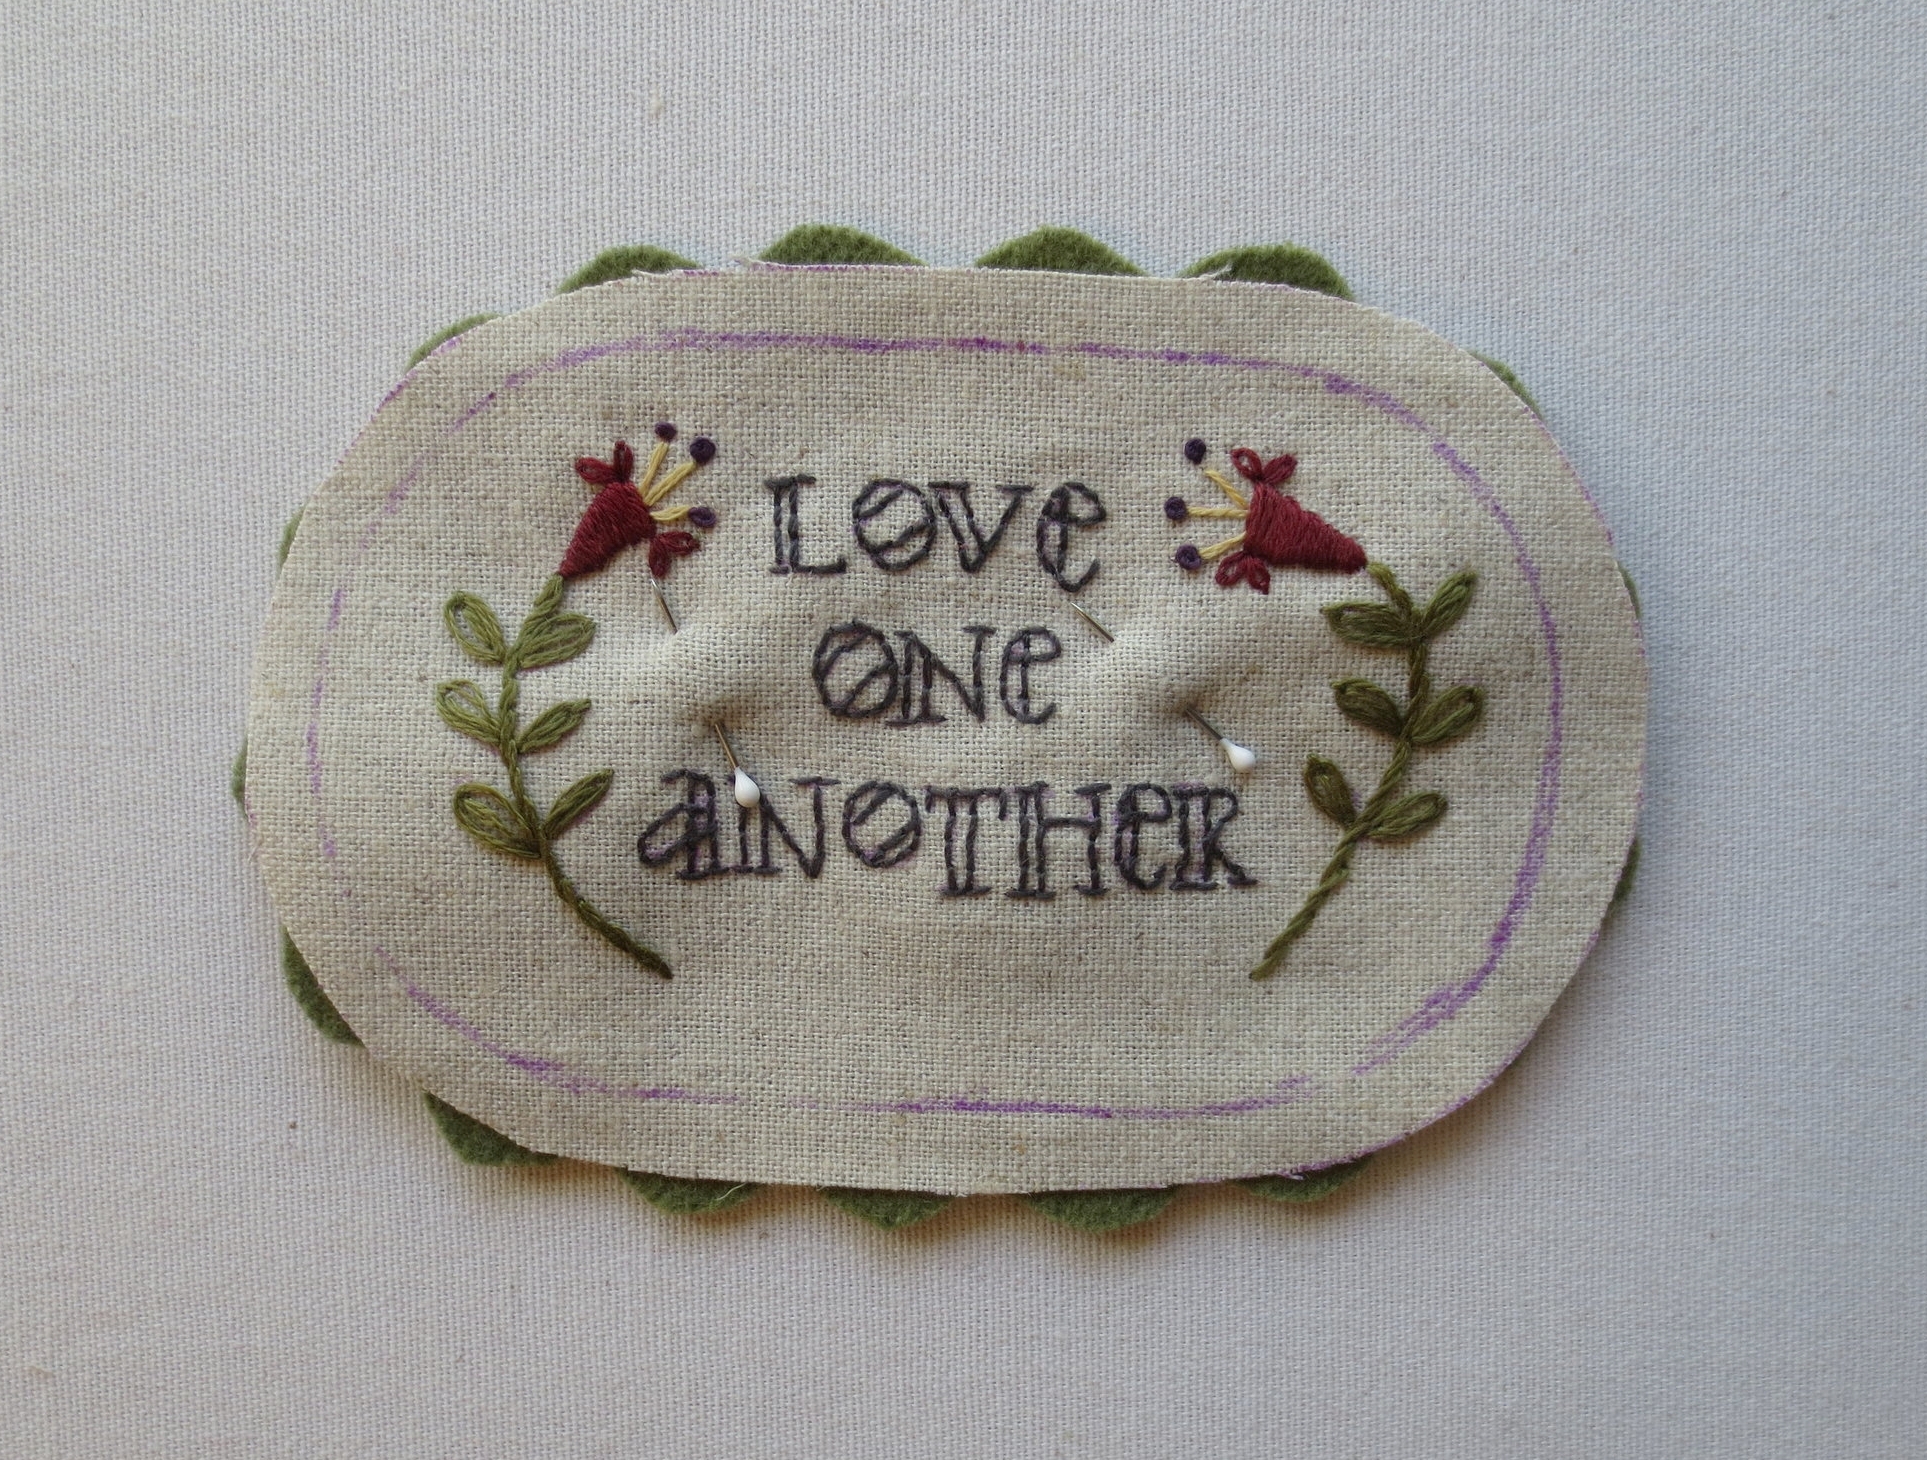
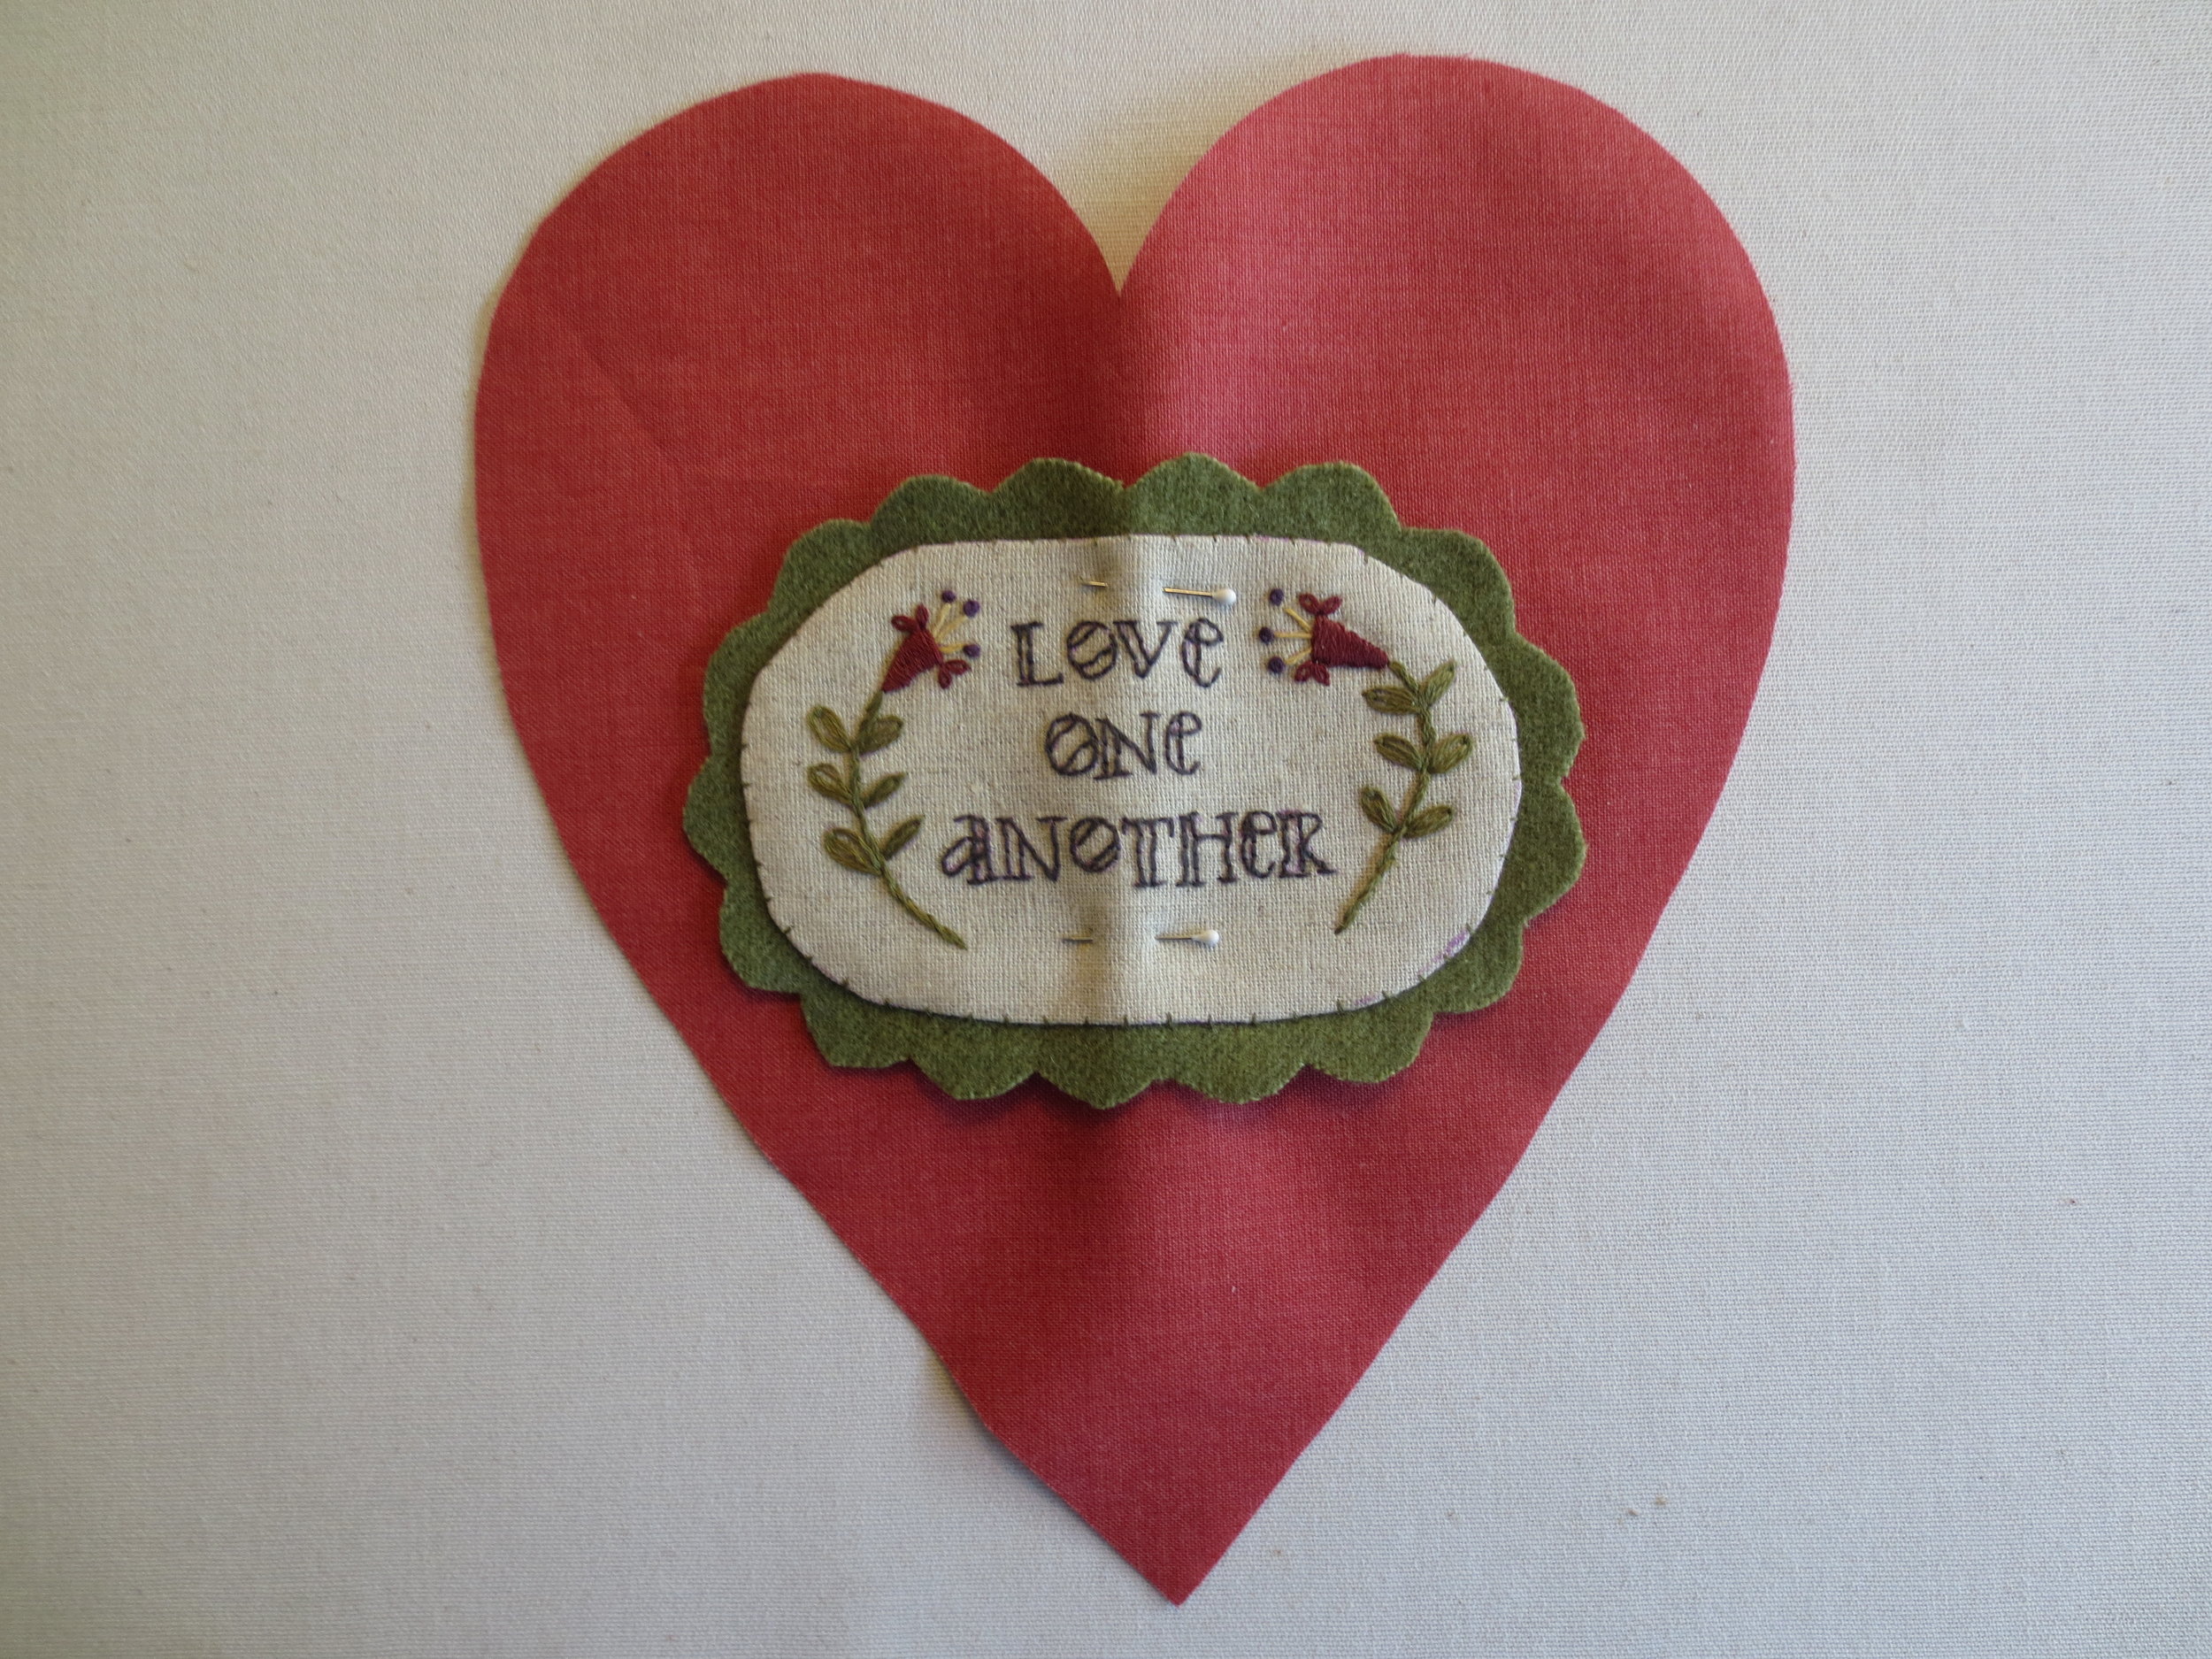
21. Center the embroidered piece onto the green wool ruffle and pin in place.
22. Thread your applique needle with 1 strand of DMC floss, #3011 (this is the same thread you used for your stems and leaves). Note: I wanted my applique stitch to show, so I chose a contrasting thread. If you don't want the stitch to be visible use a thread that matches your fabric.
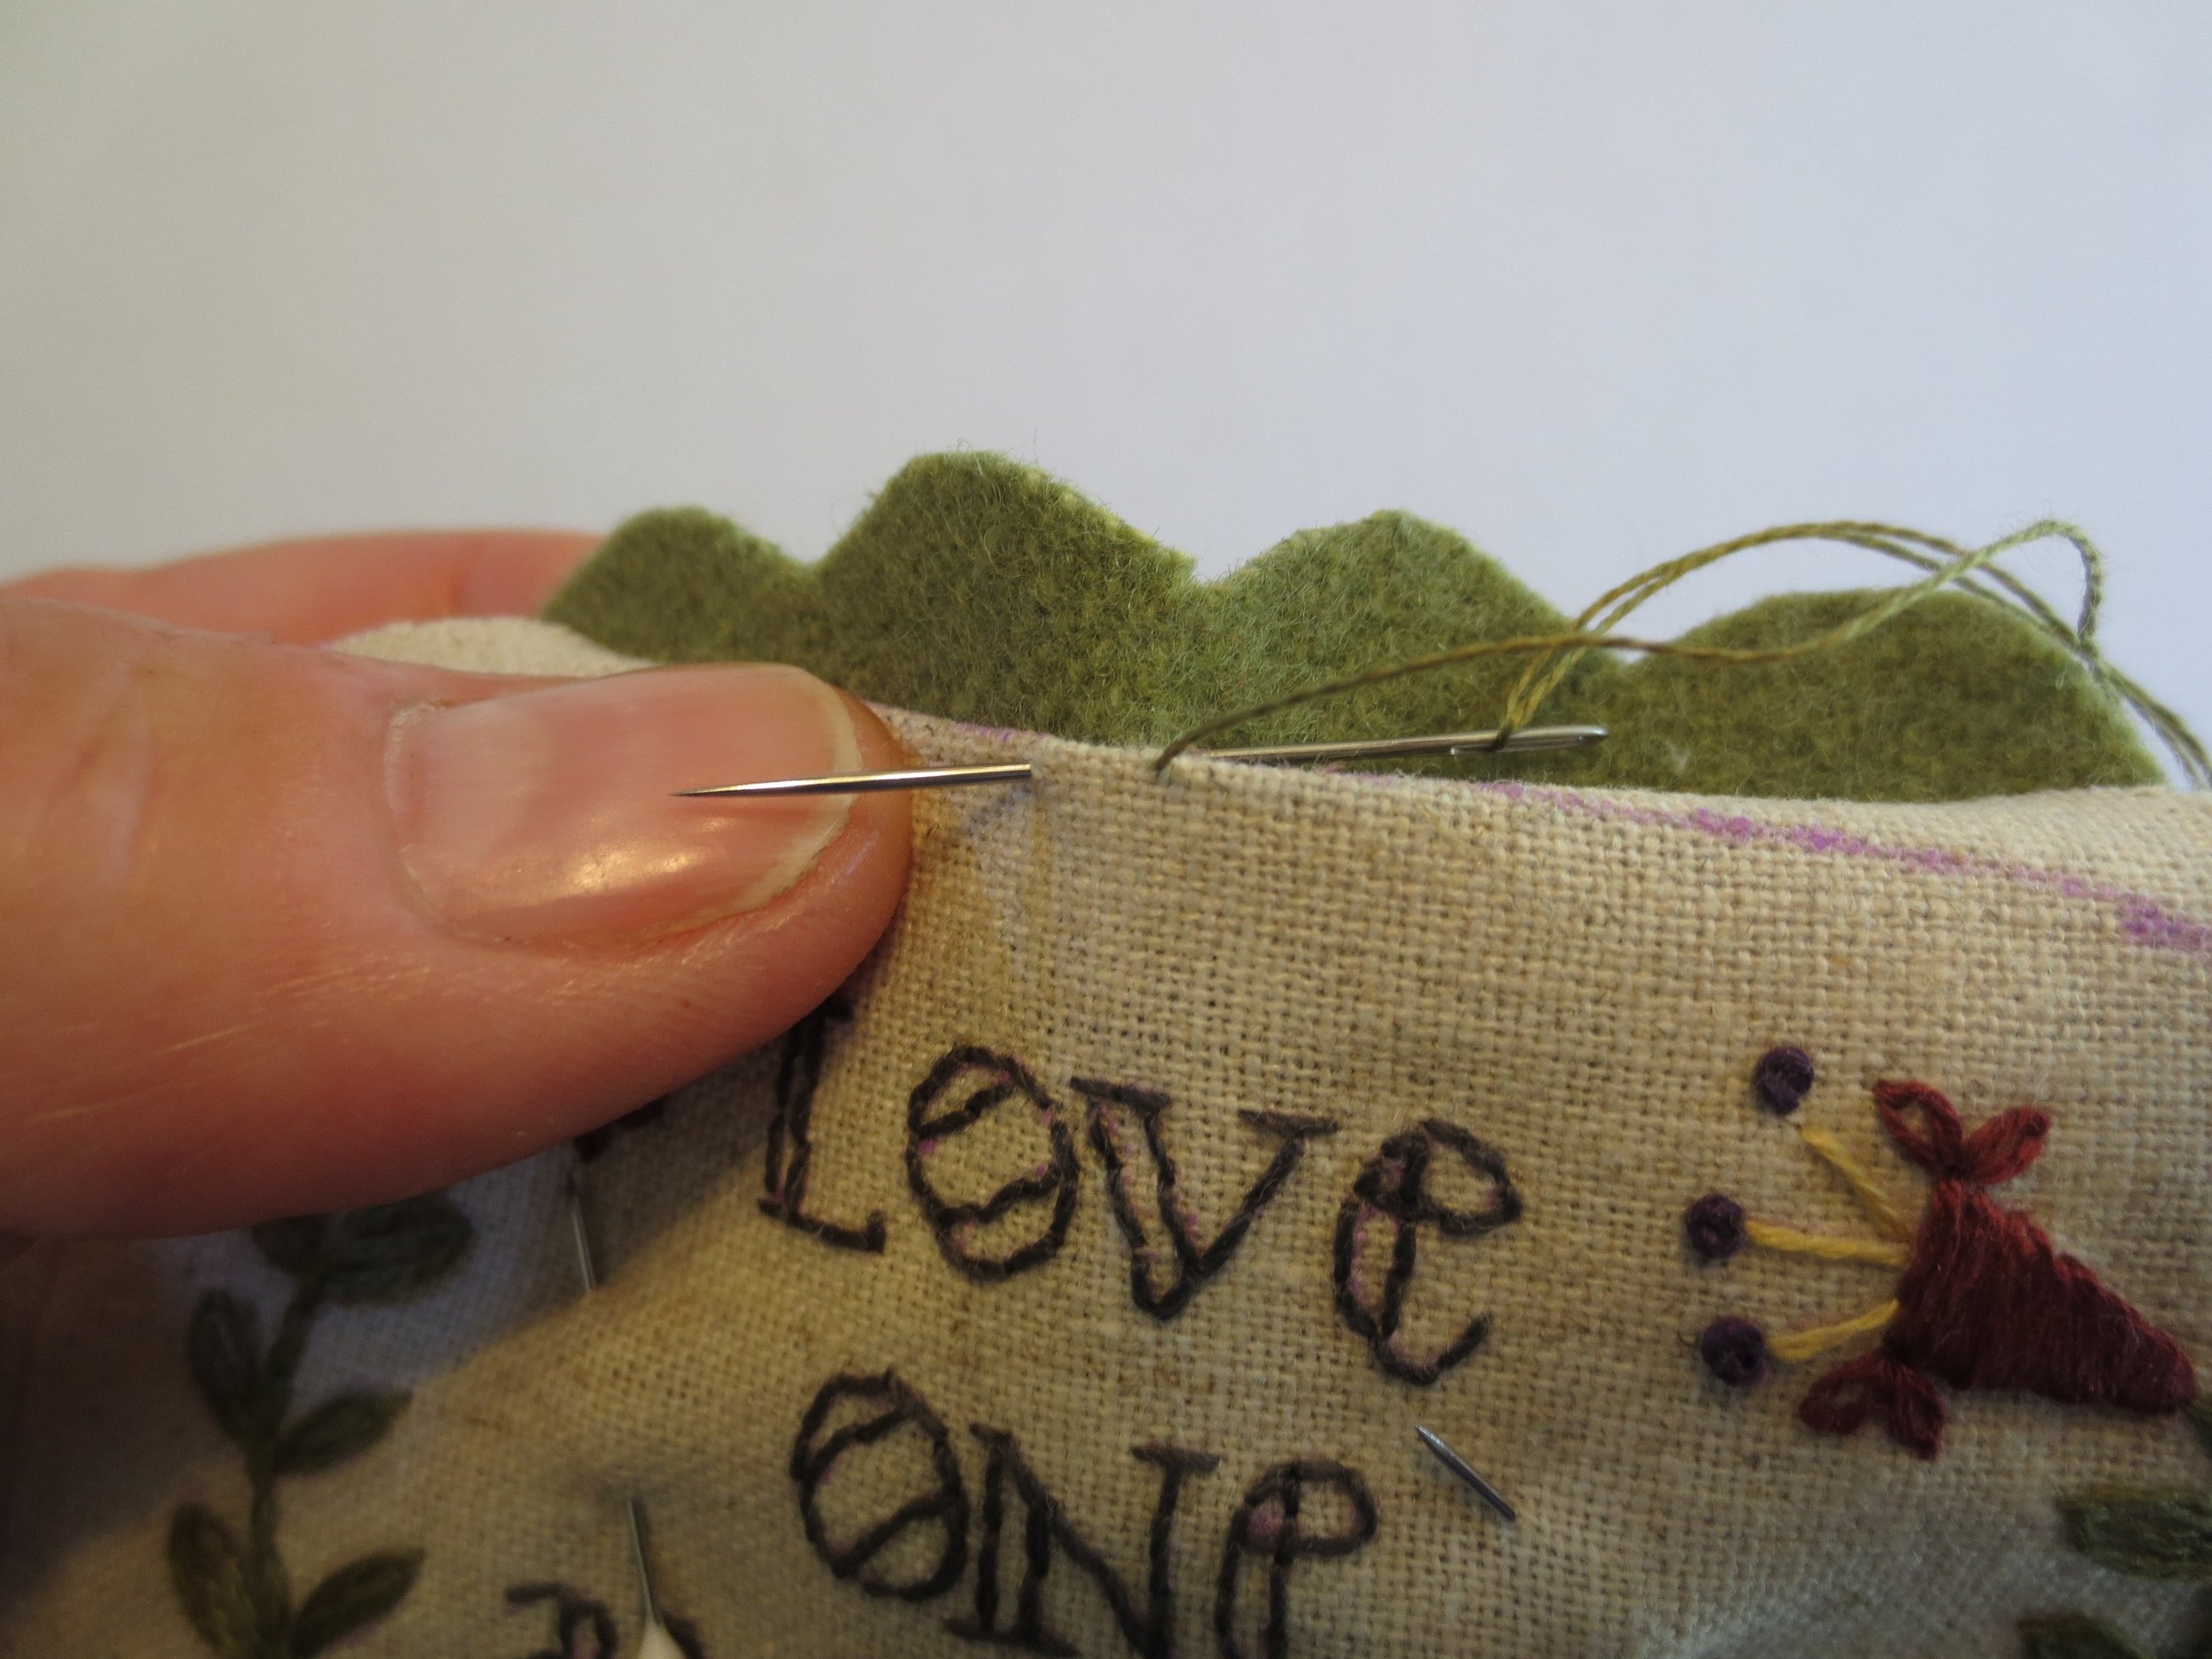
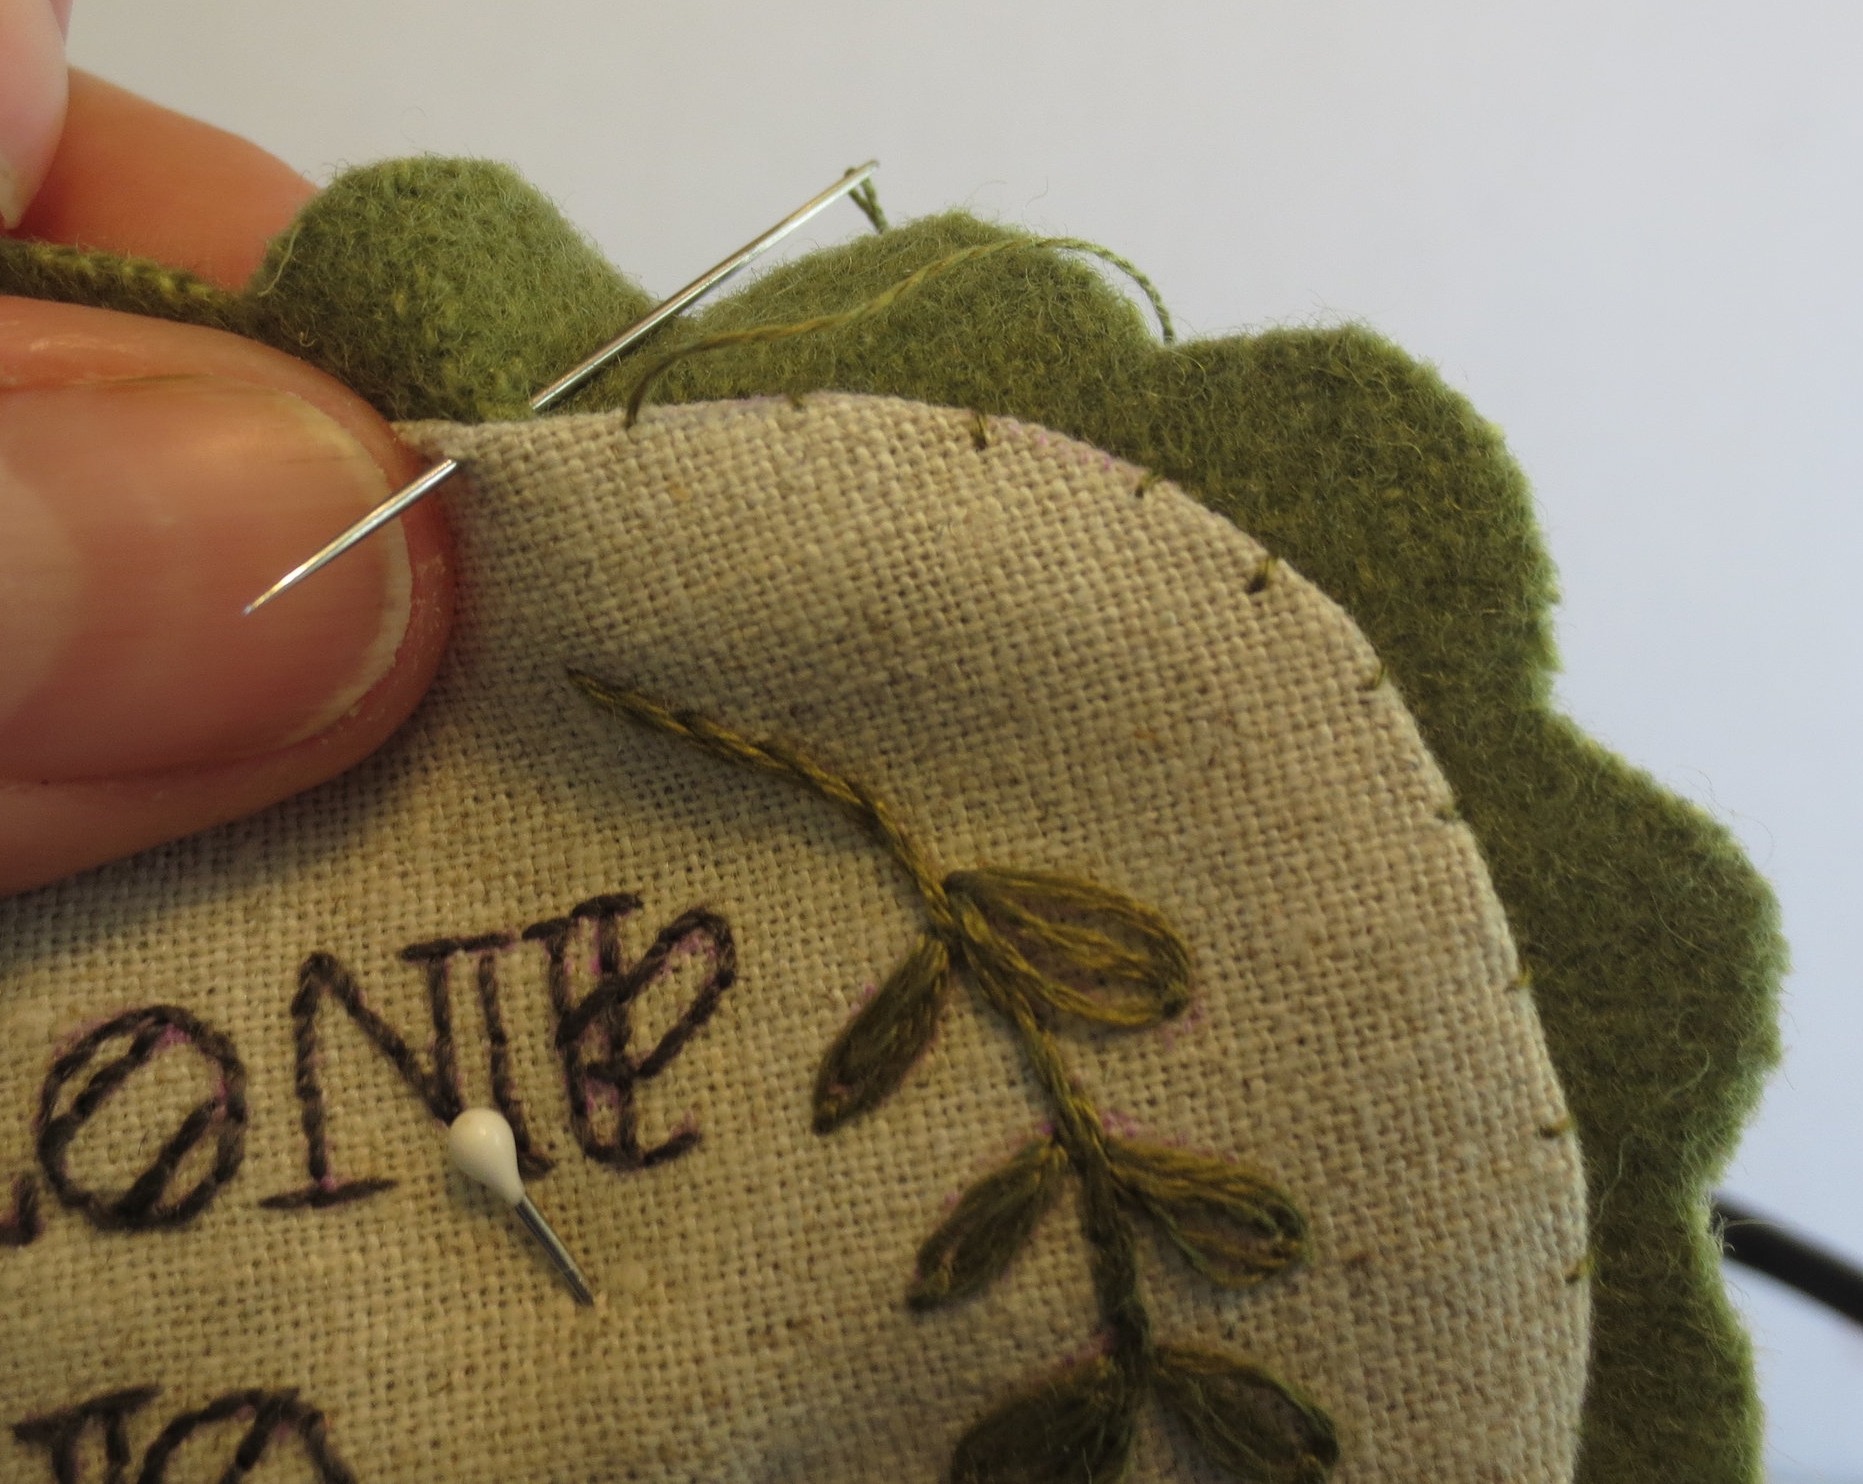
23. The embroidered piece will be appliqued using the needle turned method. There are a lot of online sites that can walk you through the process. Here's a couple of examples that may help you: https://www.youtube.com/watch?v=s574YcWRG2k , and https://www.youtube.com/watch?v=c91orQ82Xnw . Fold the fabric under at the fold line, using your thumb to keep it snug against the wool. Make your applique stitches tiny, about 1/32", or smaller if you don't wish for them to show.
24. Pin this to the solid colored heart background.
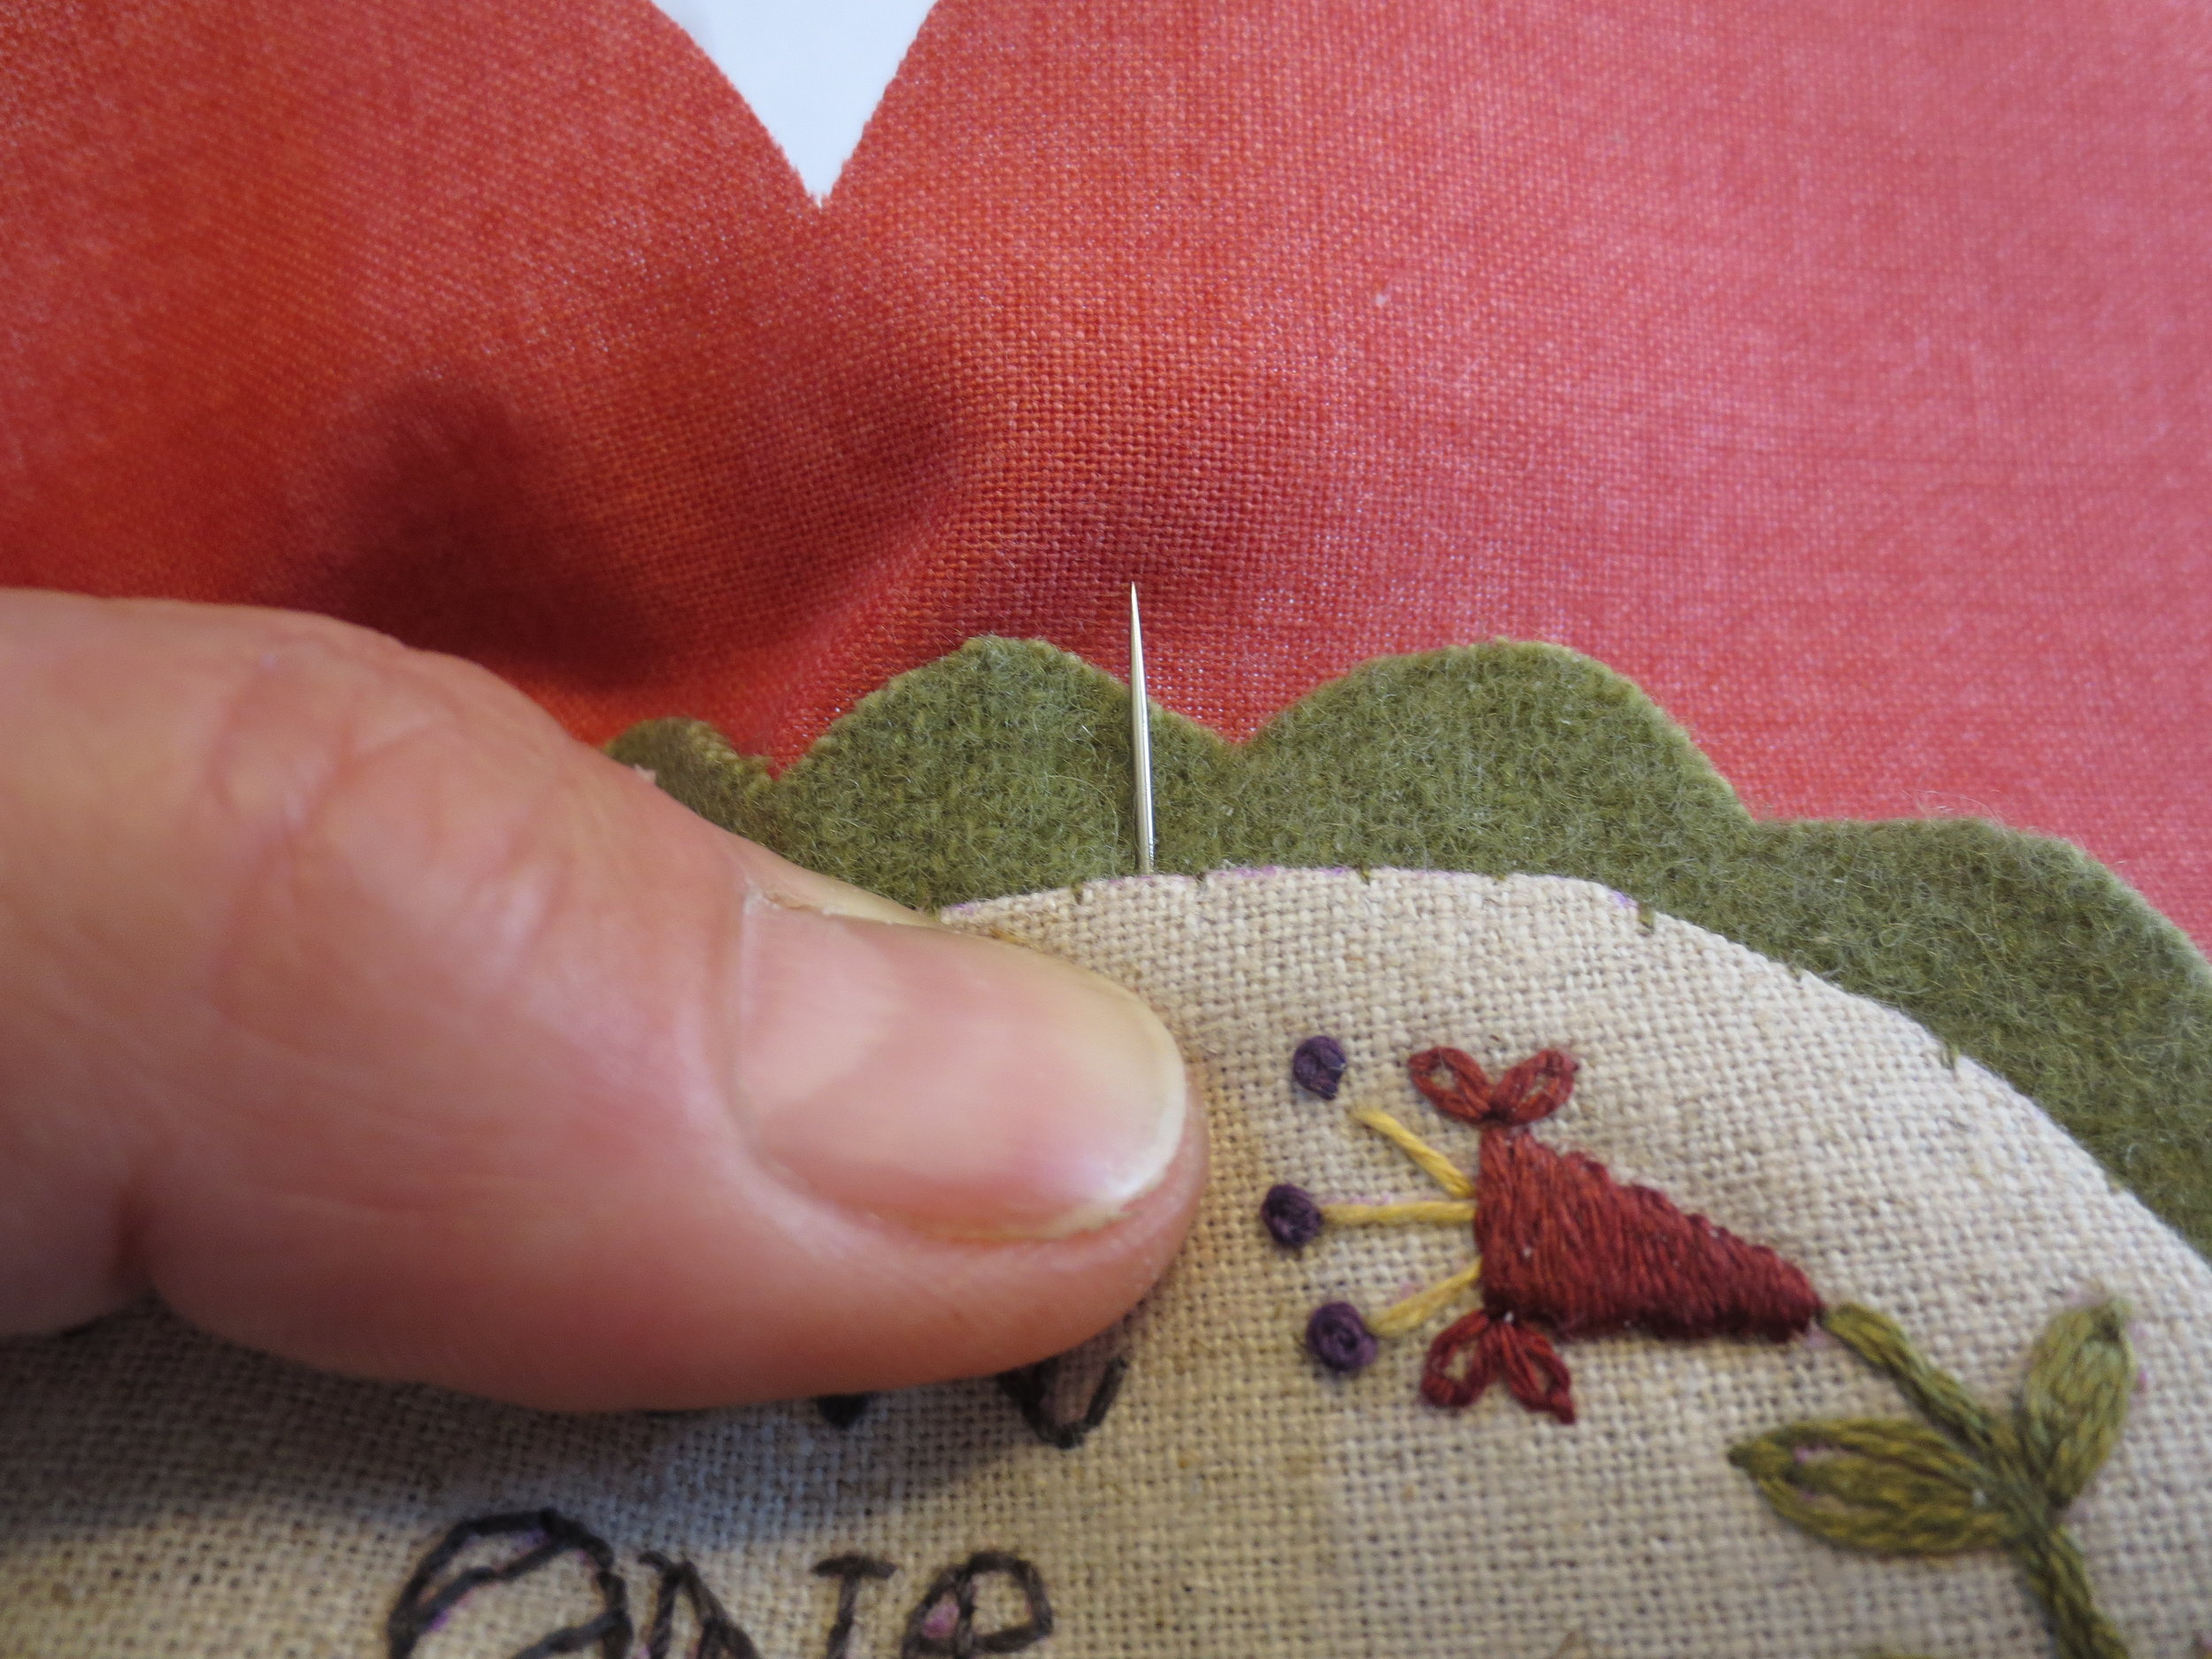
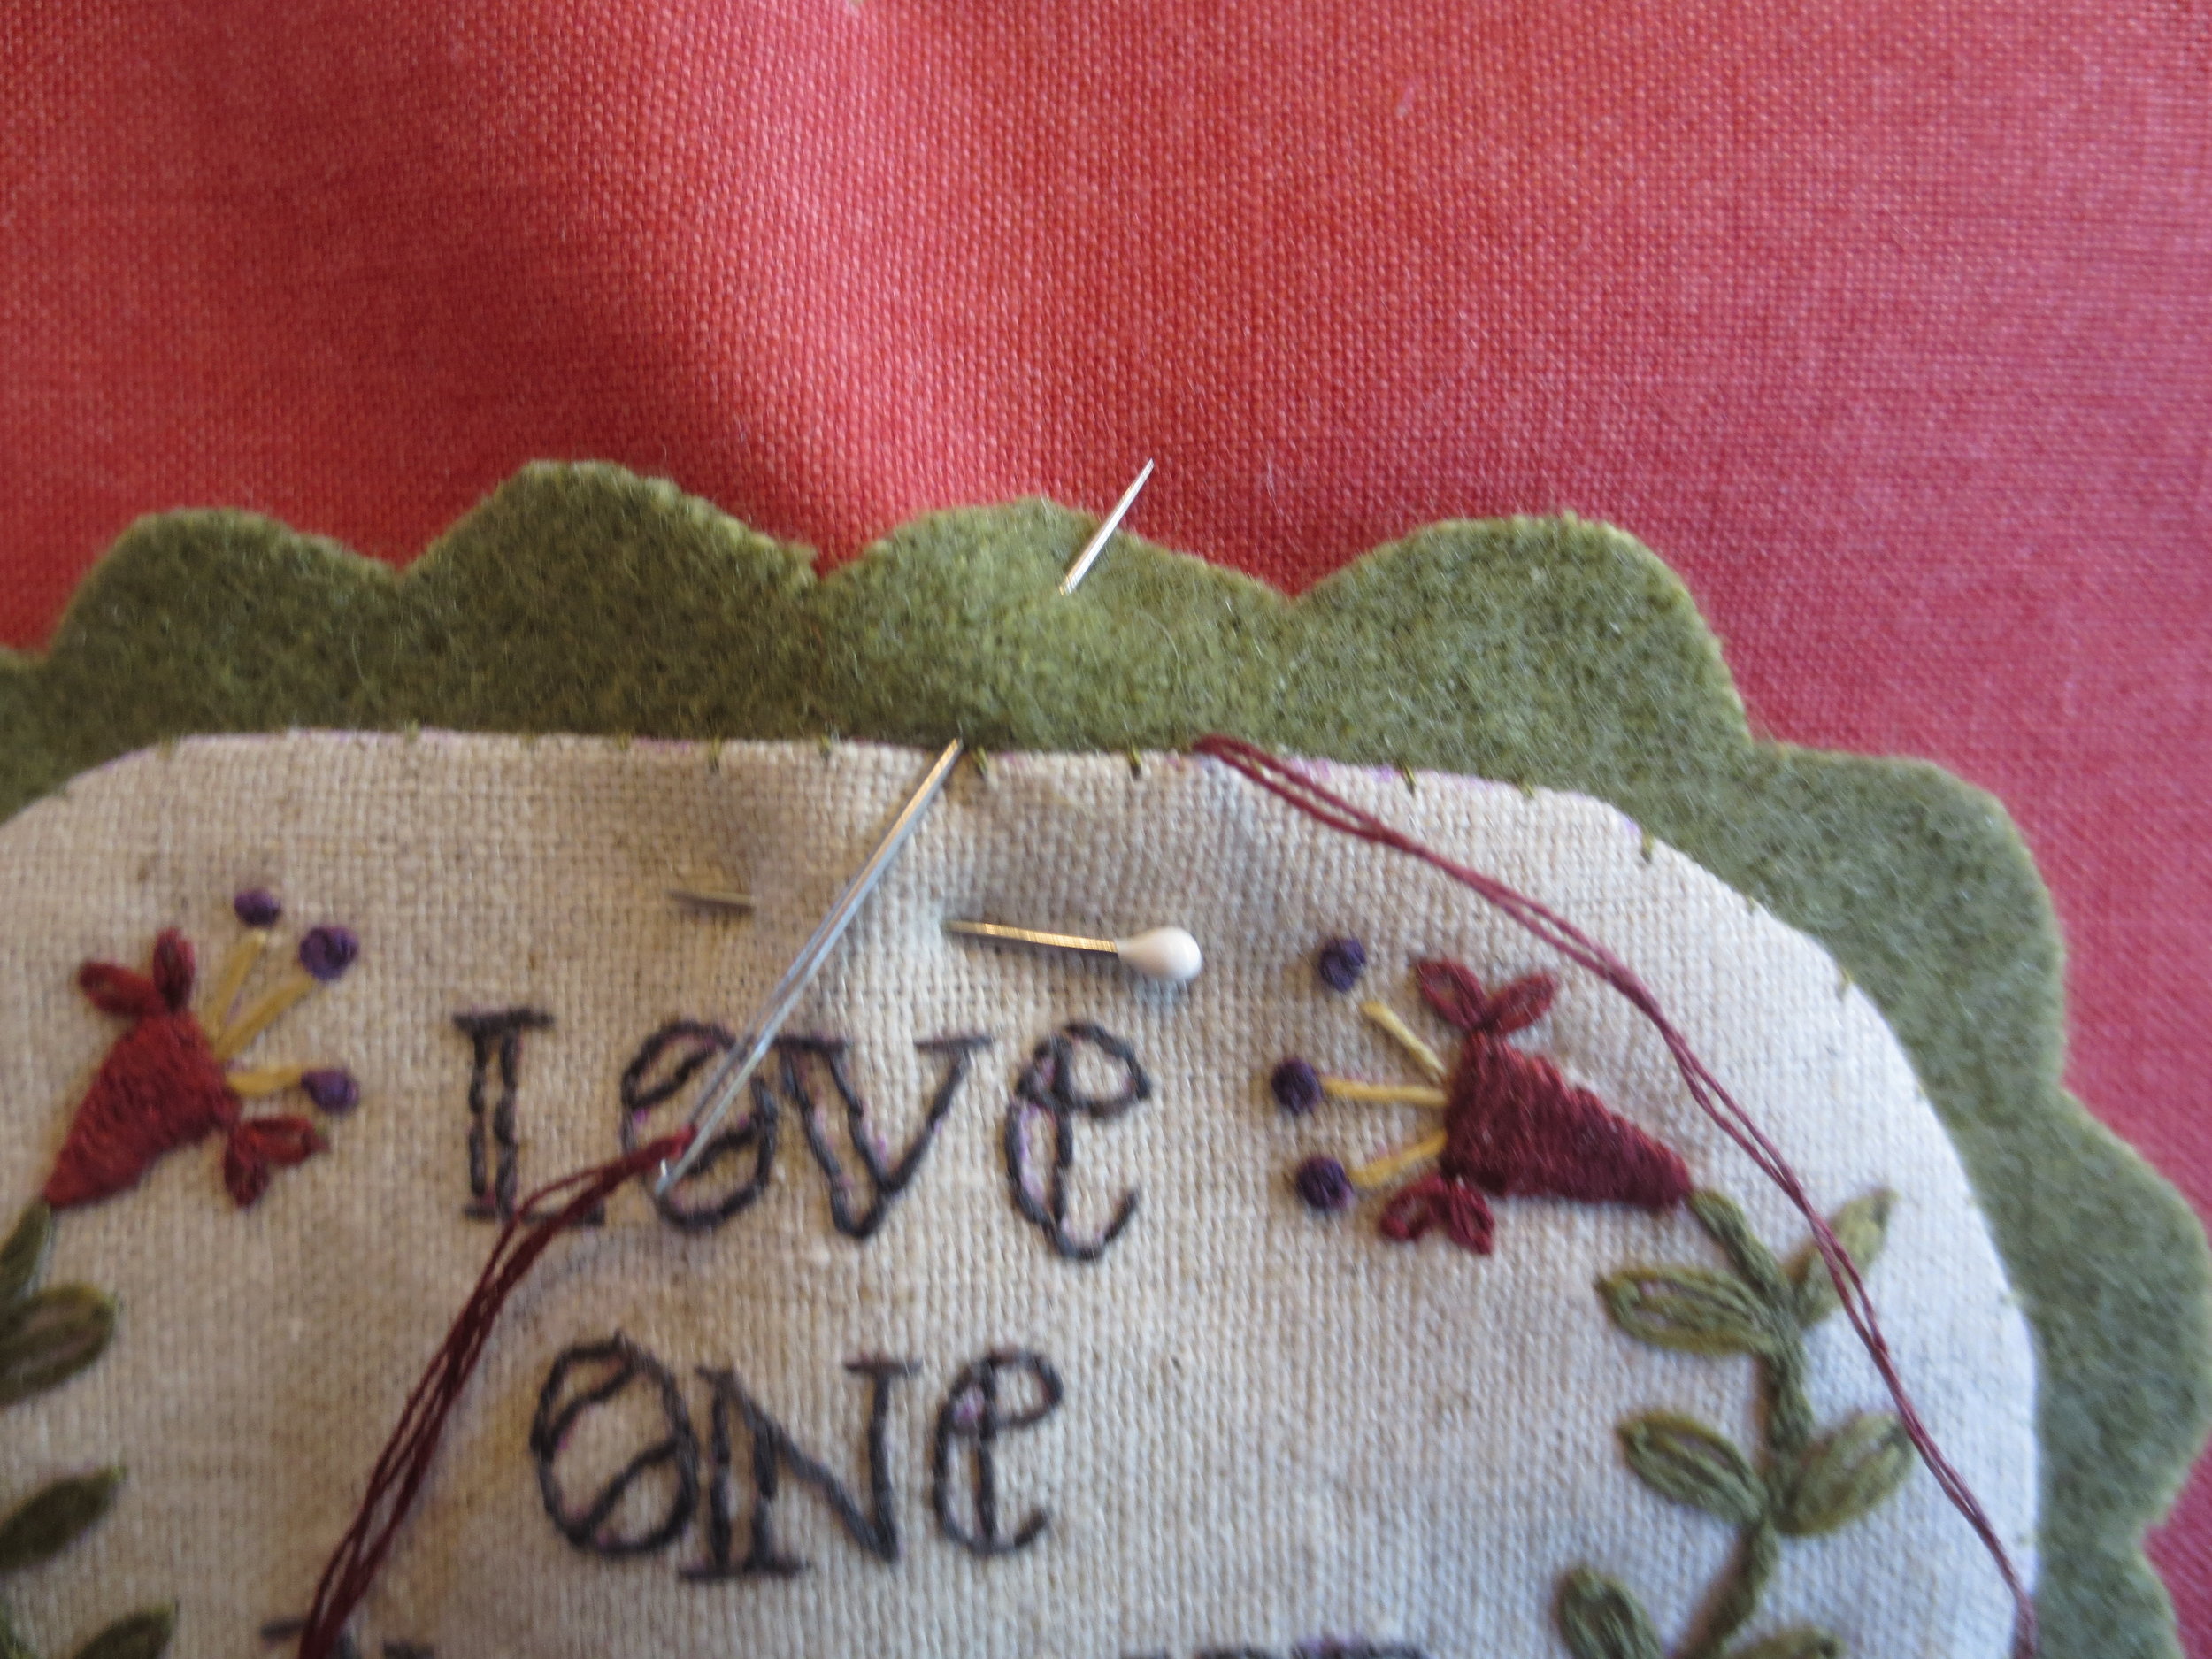
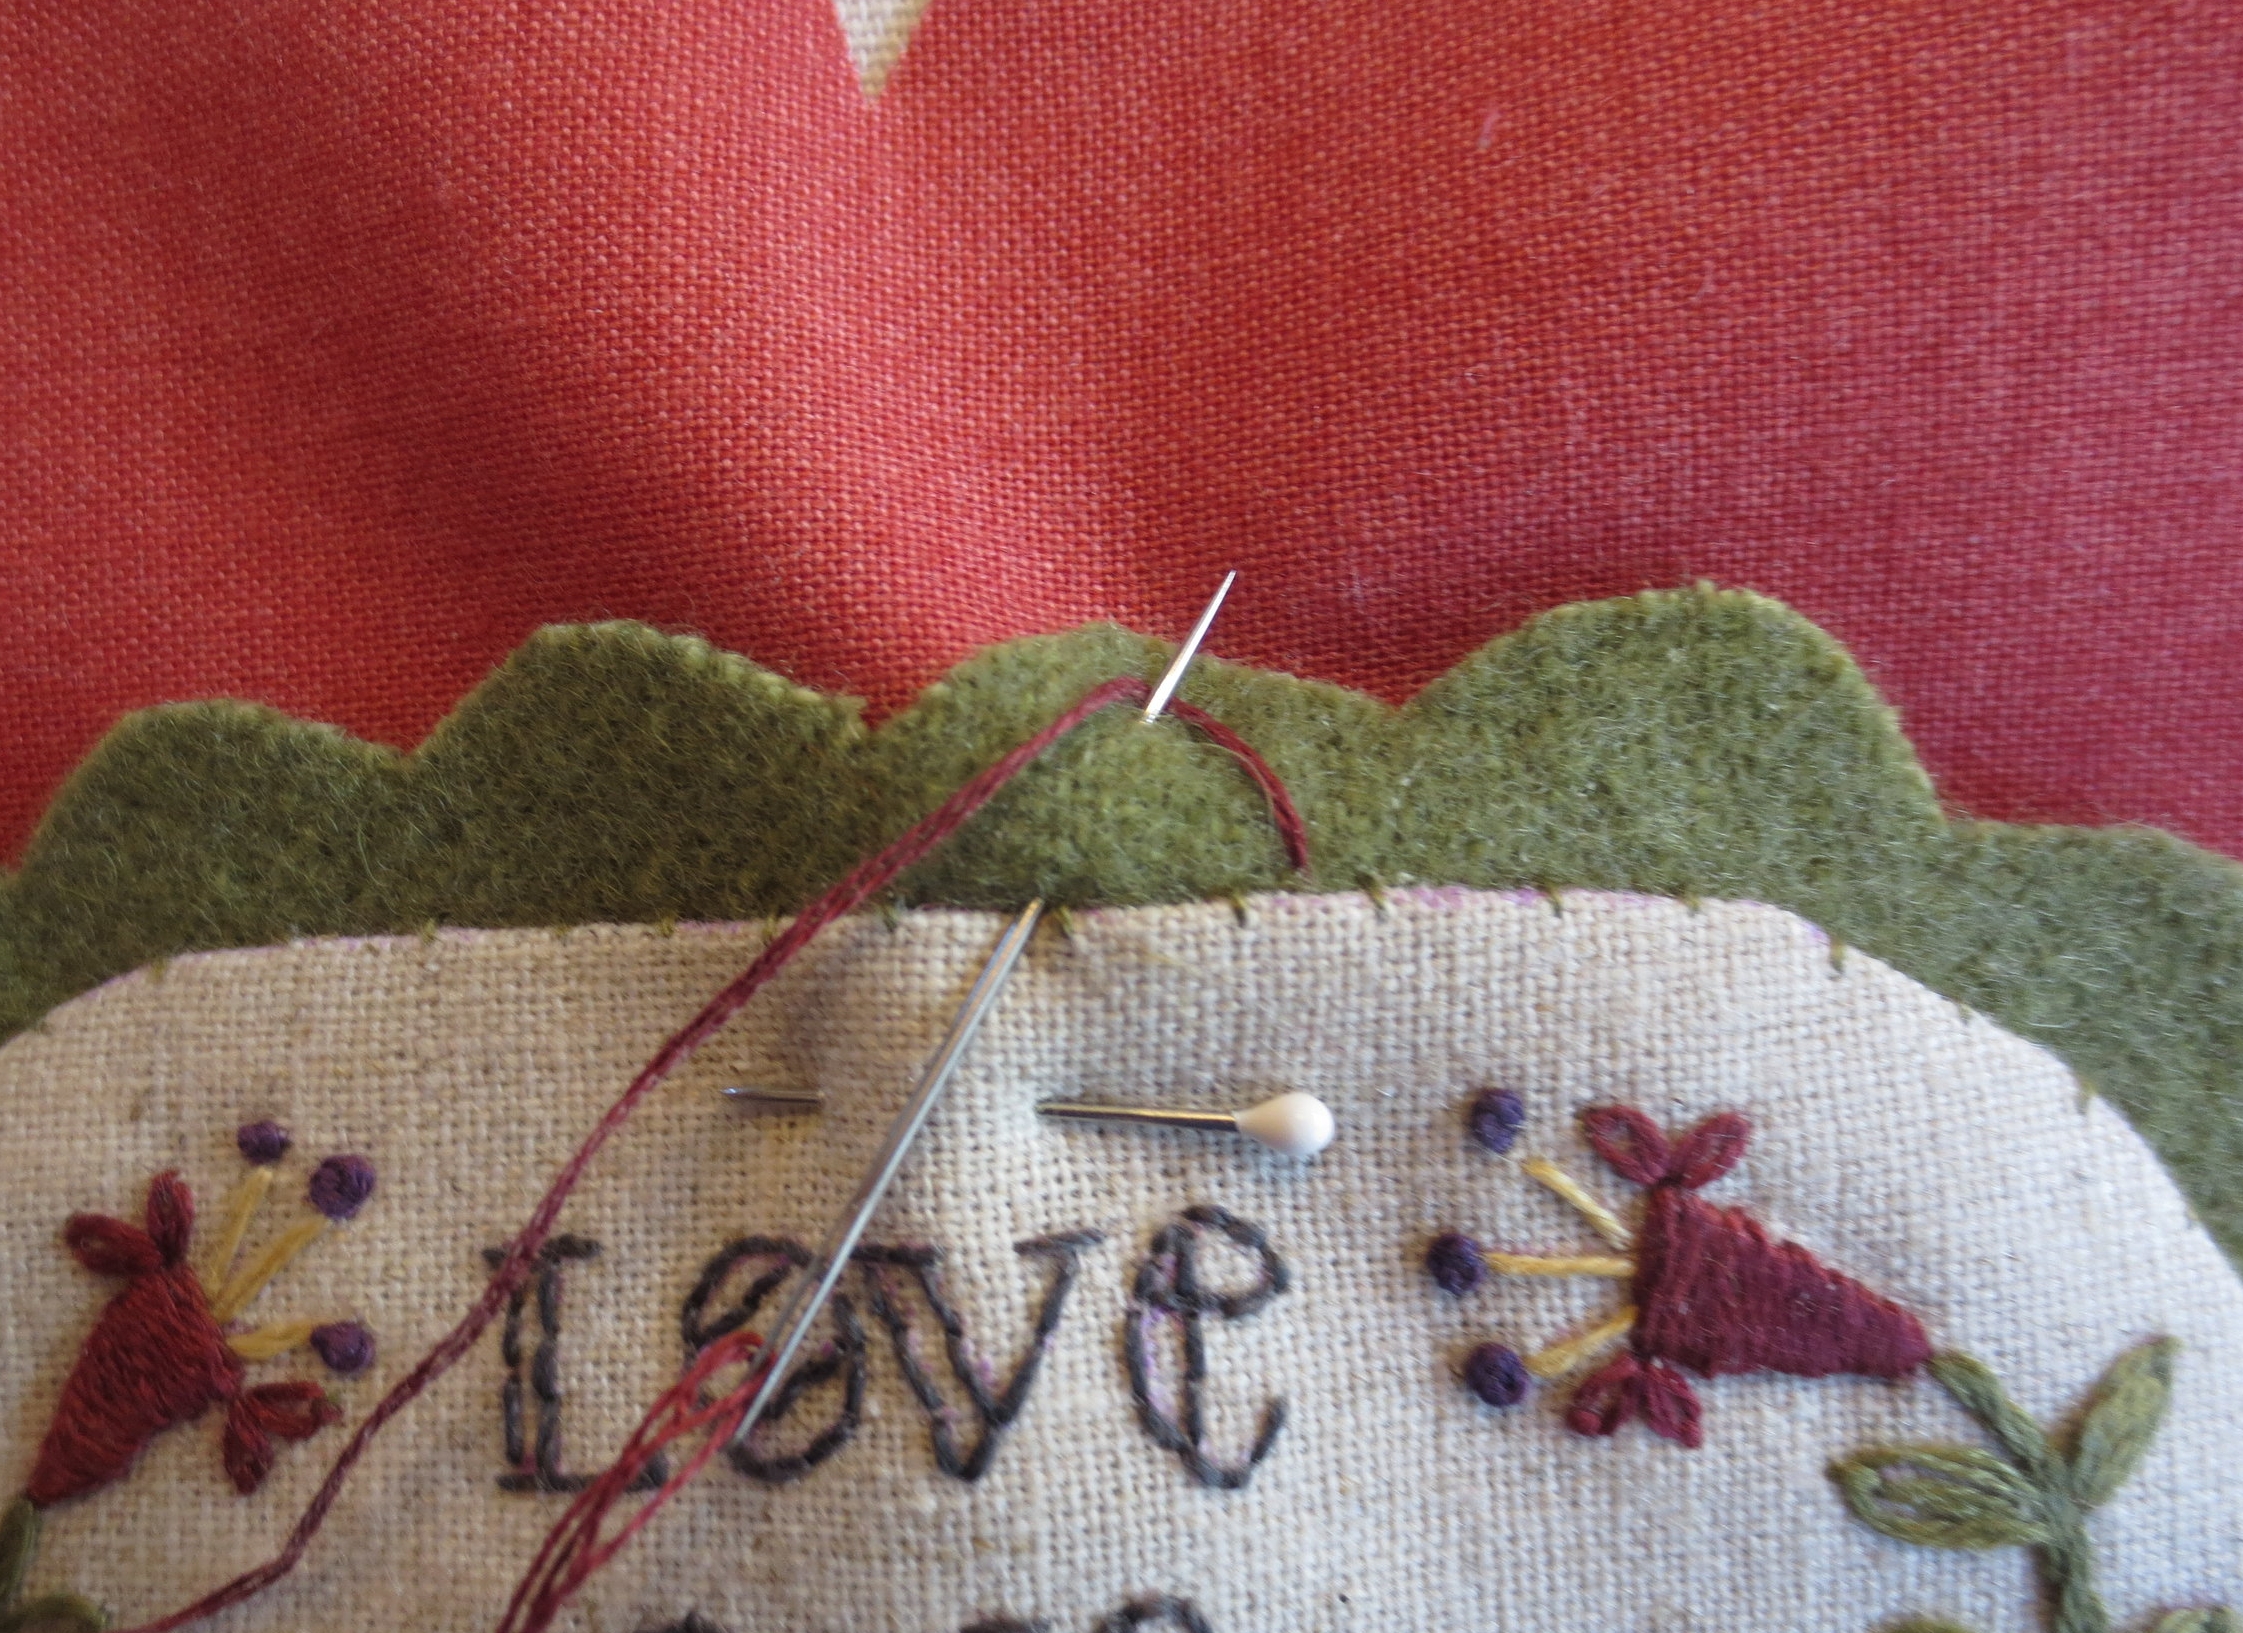
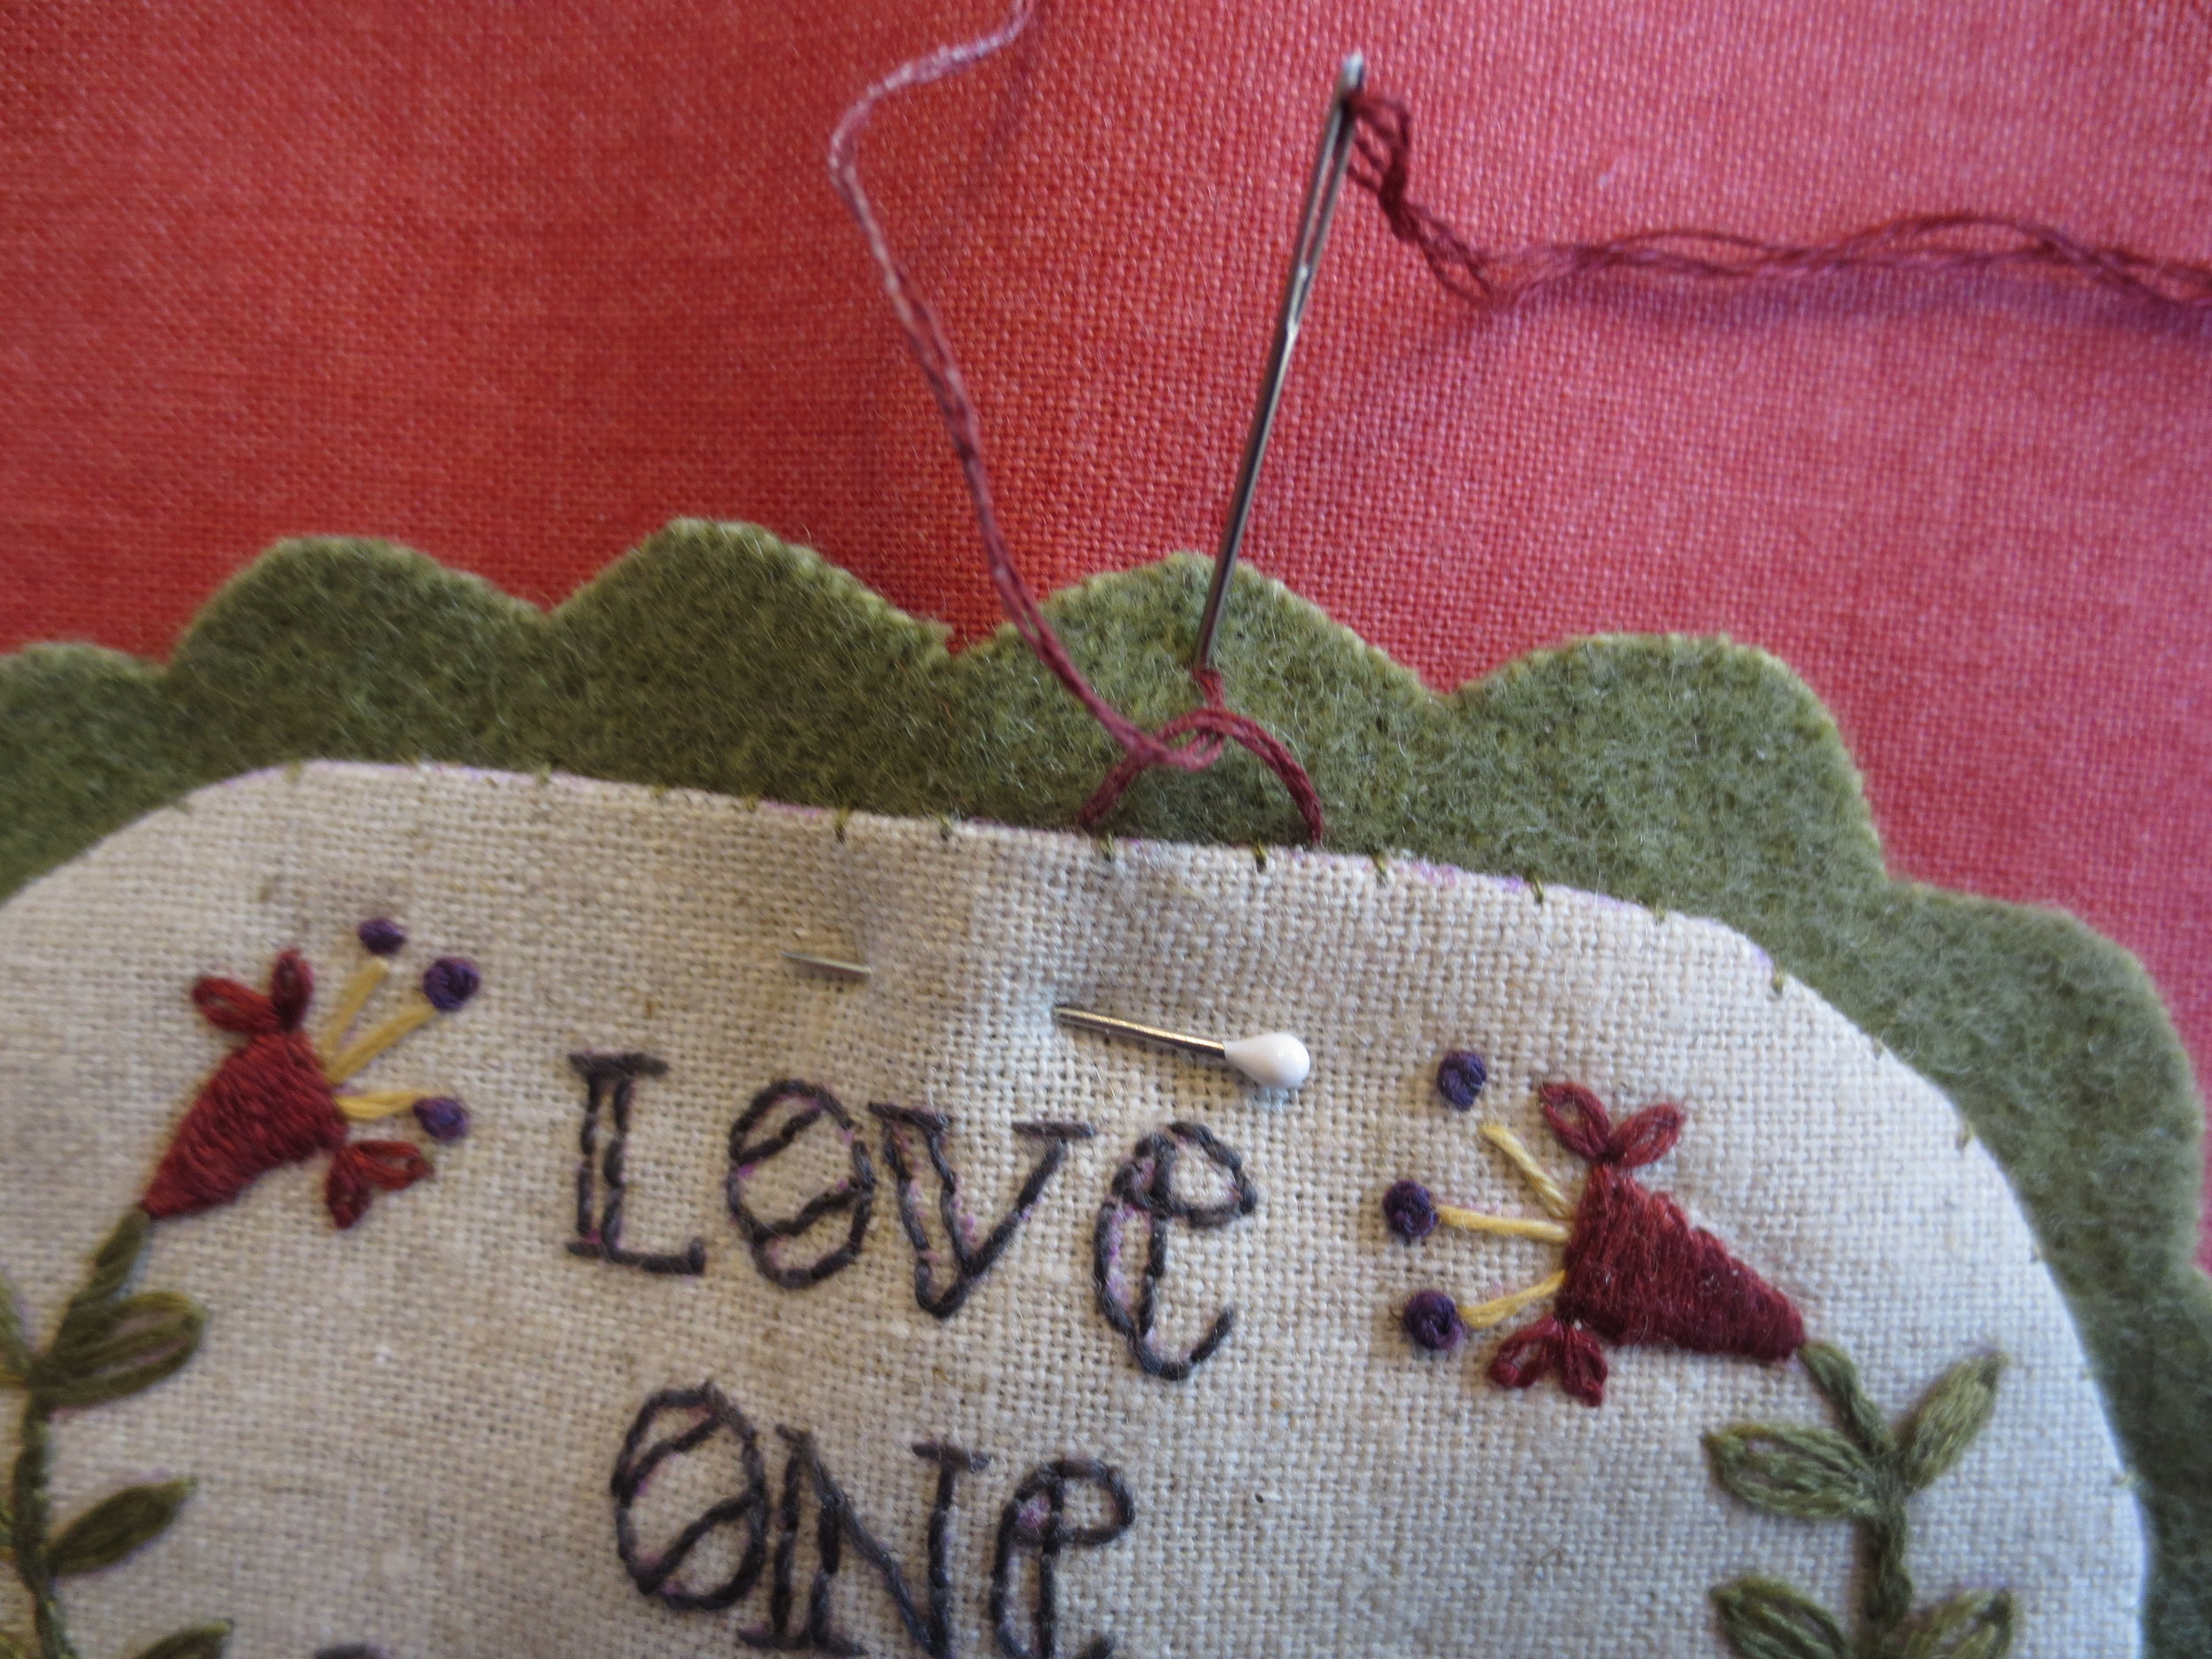
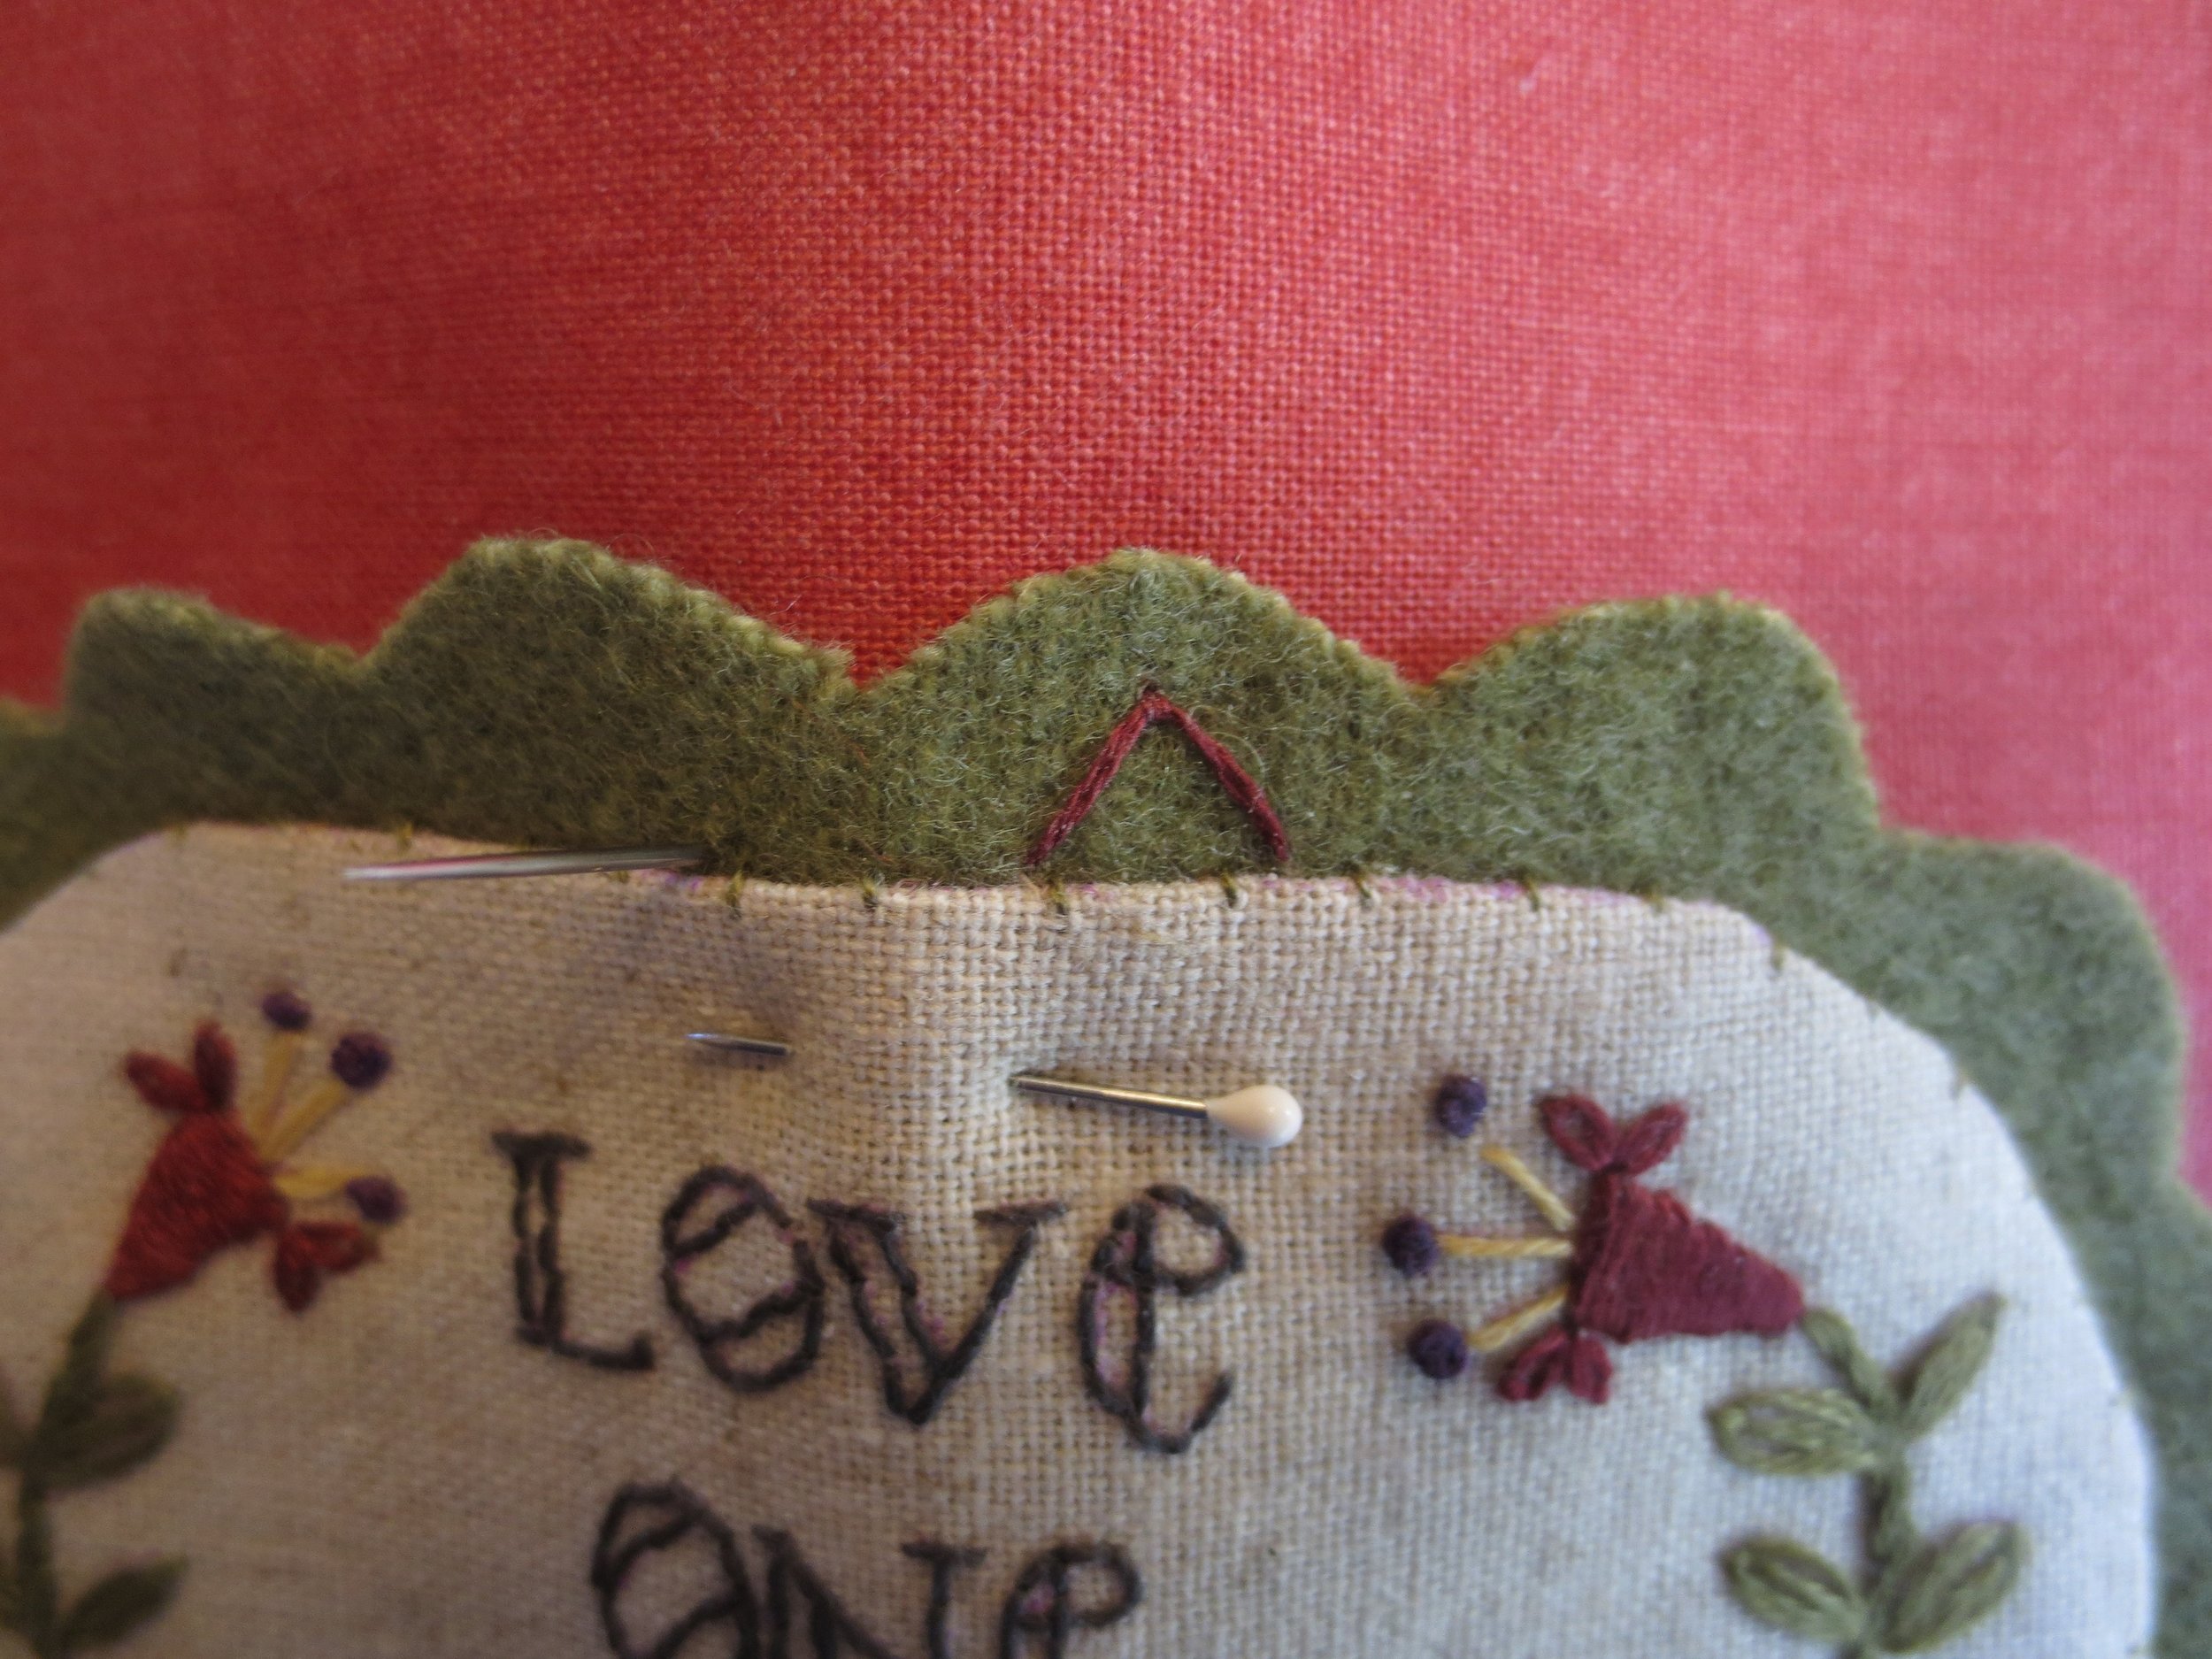
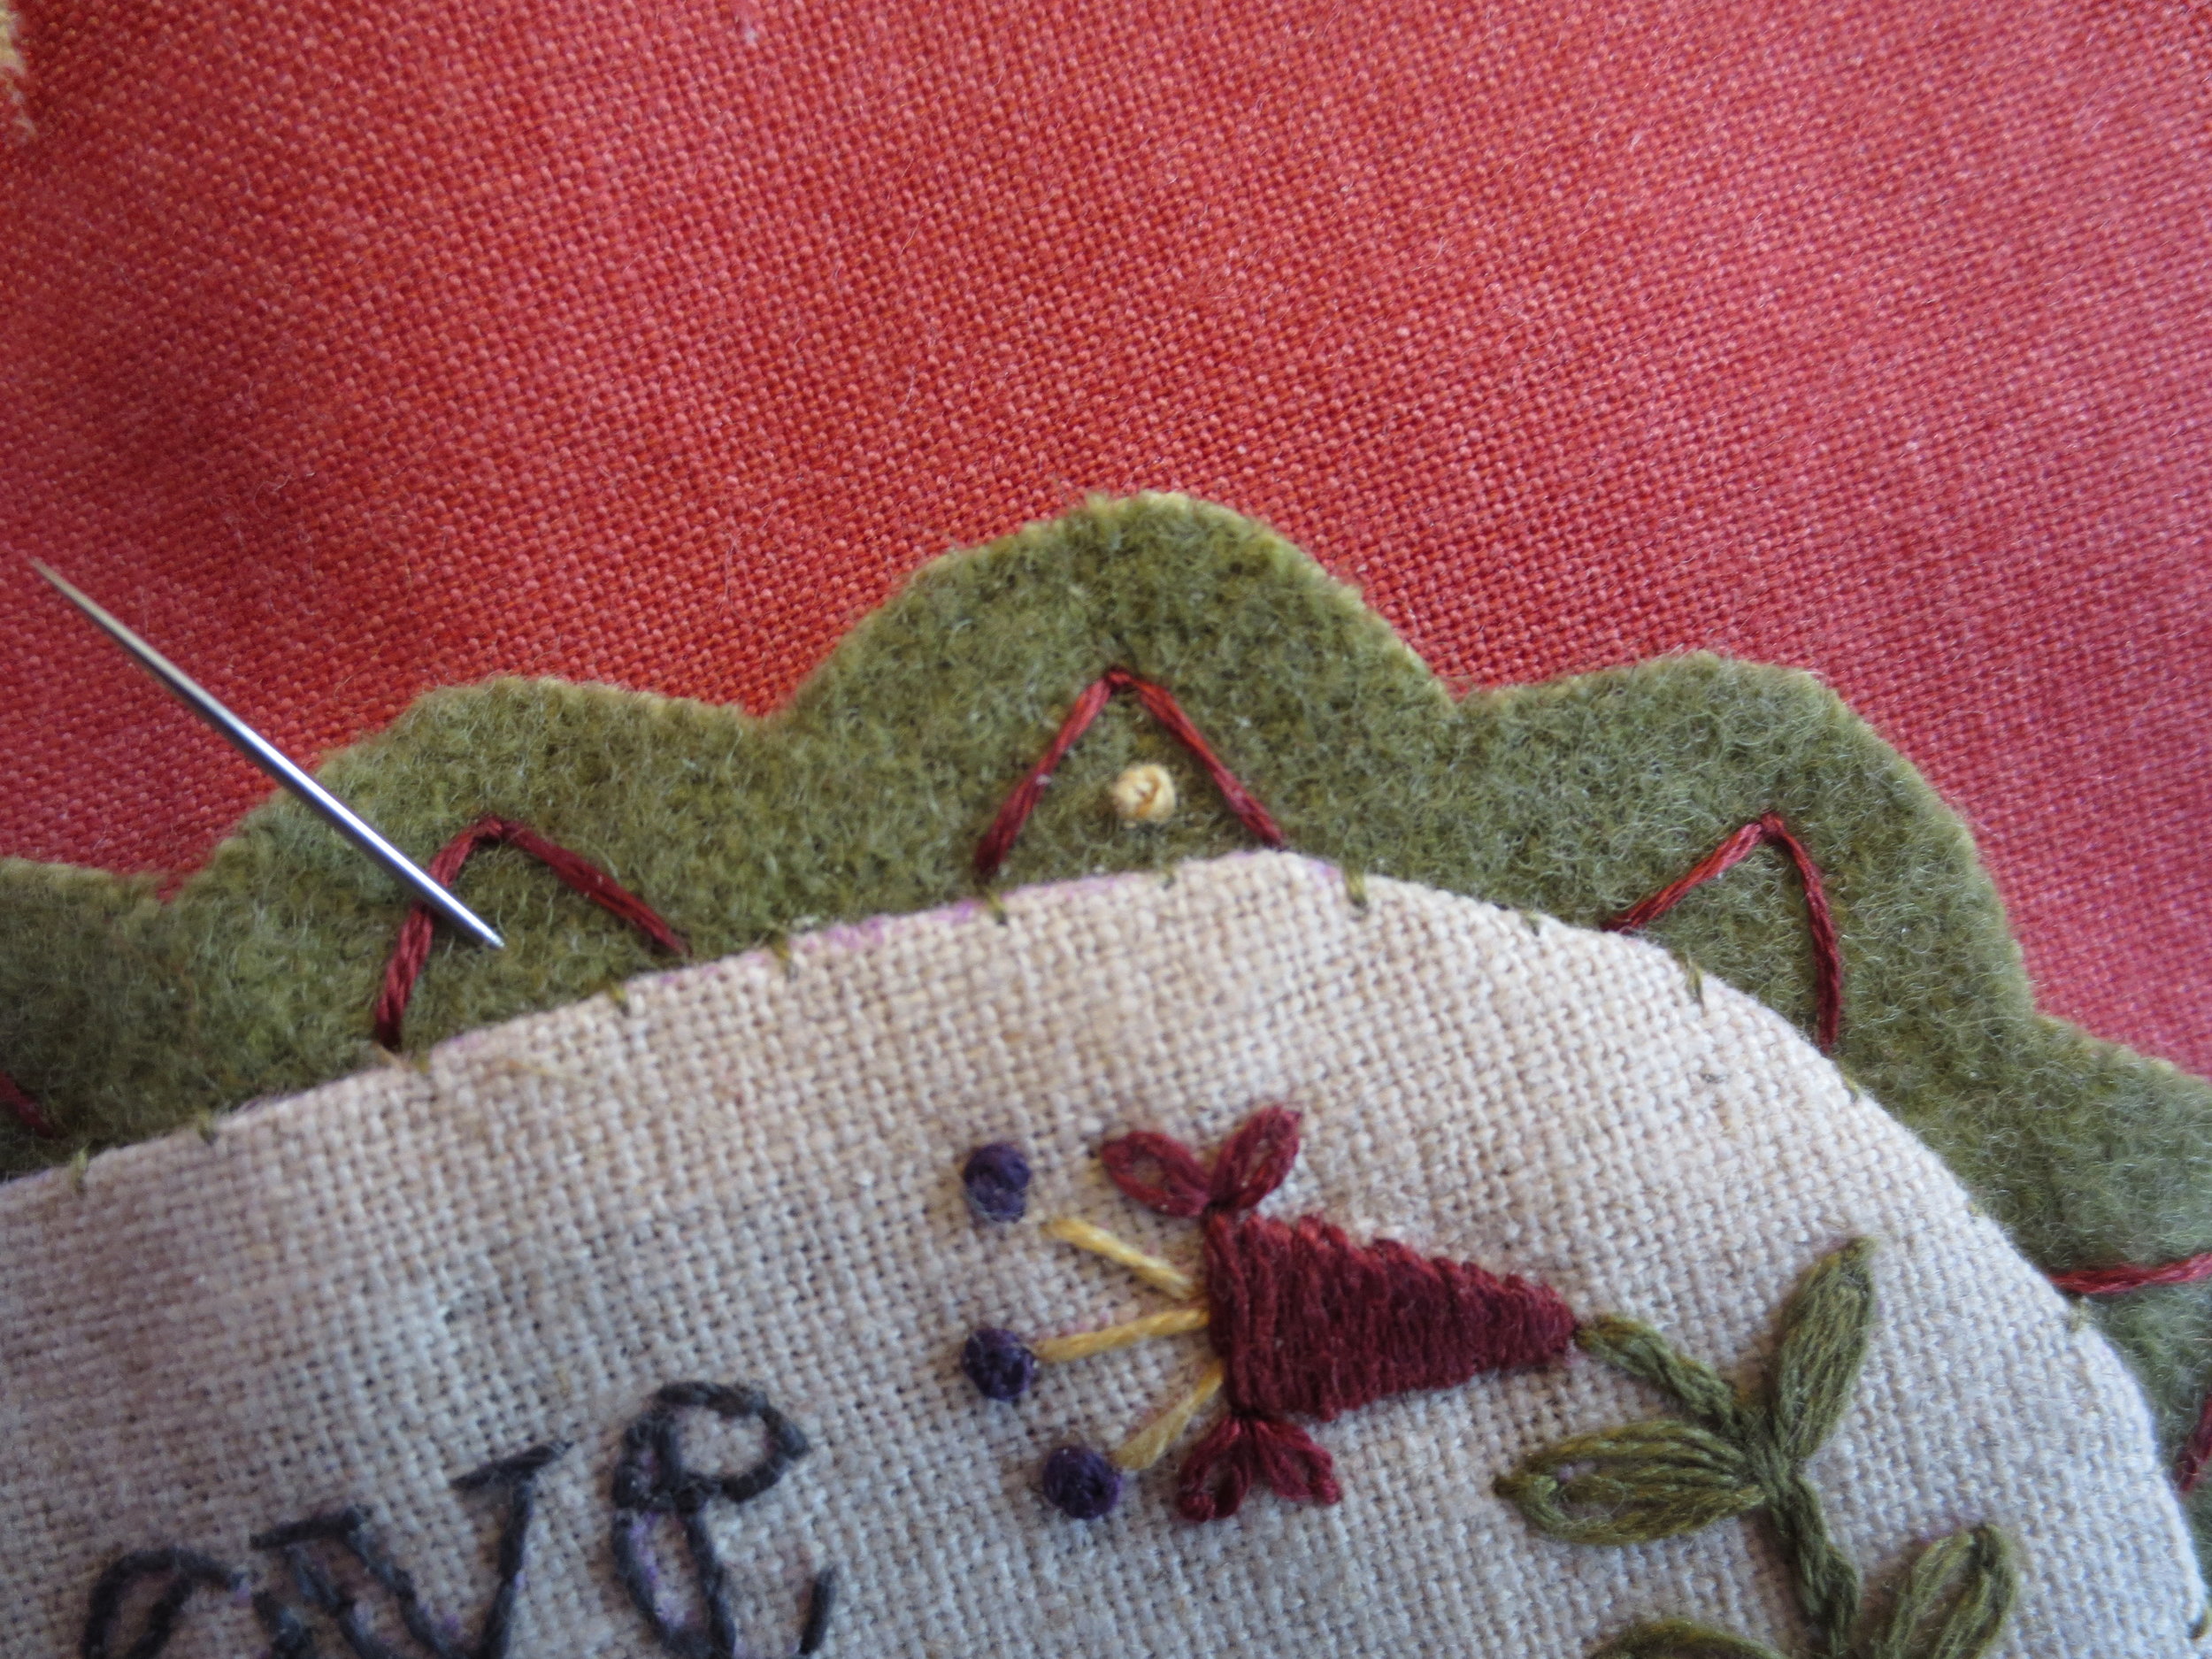
25. Use 2 strands of Weeks Dye Works, #1331 to make fly stitches extending from the linen applique into each one of the humps of the wool ruffle border. These stitches will anchor your applique to the background.
26. Use two strands of DMC floss, #676 to make French knots in center of each of the fly stitches.
27. Place the pieced heart over the appliqued heart, right sides together. Pin to secure.
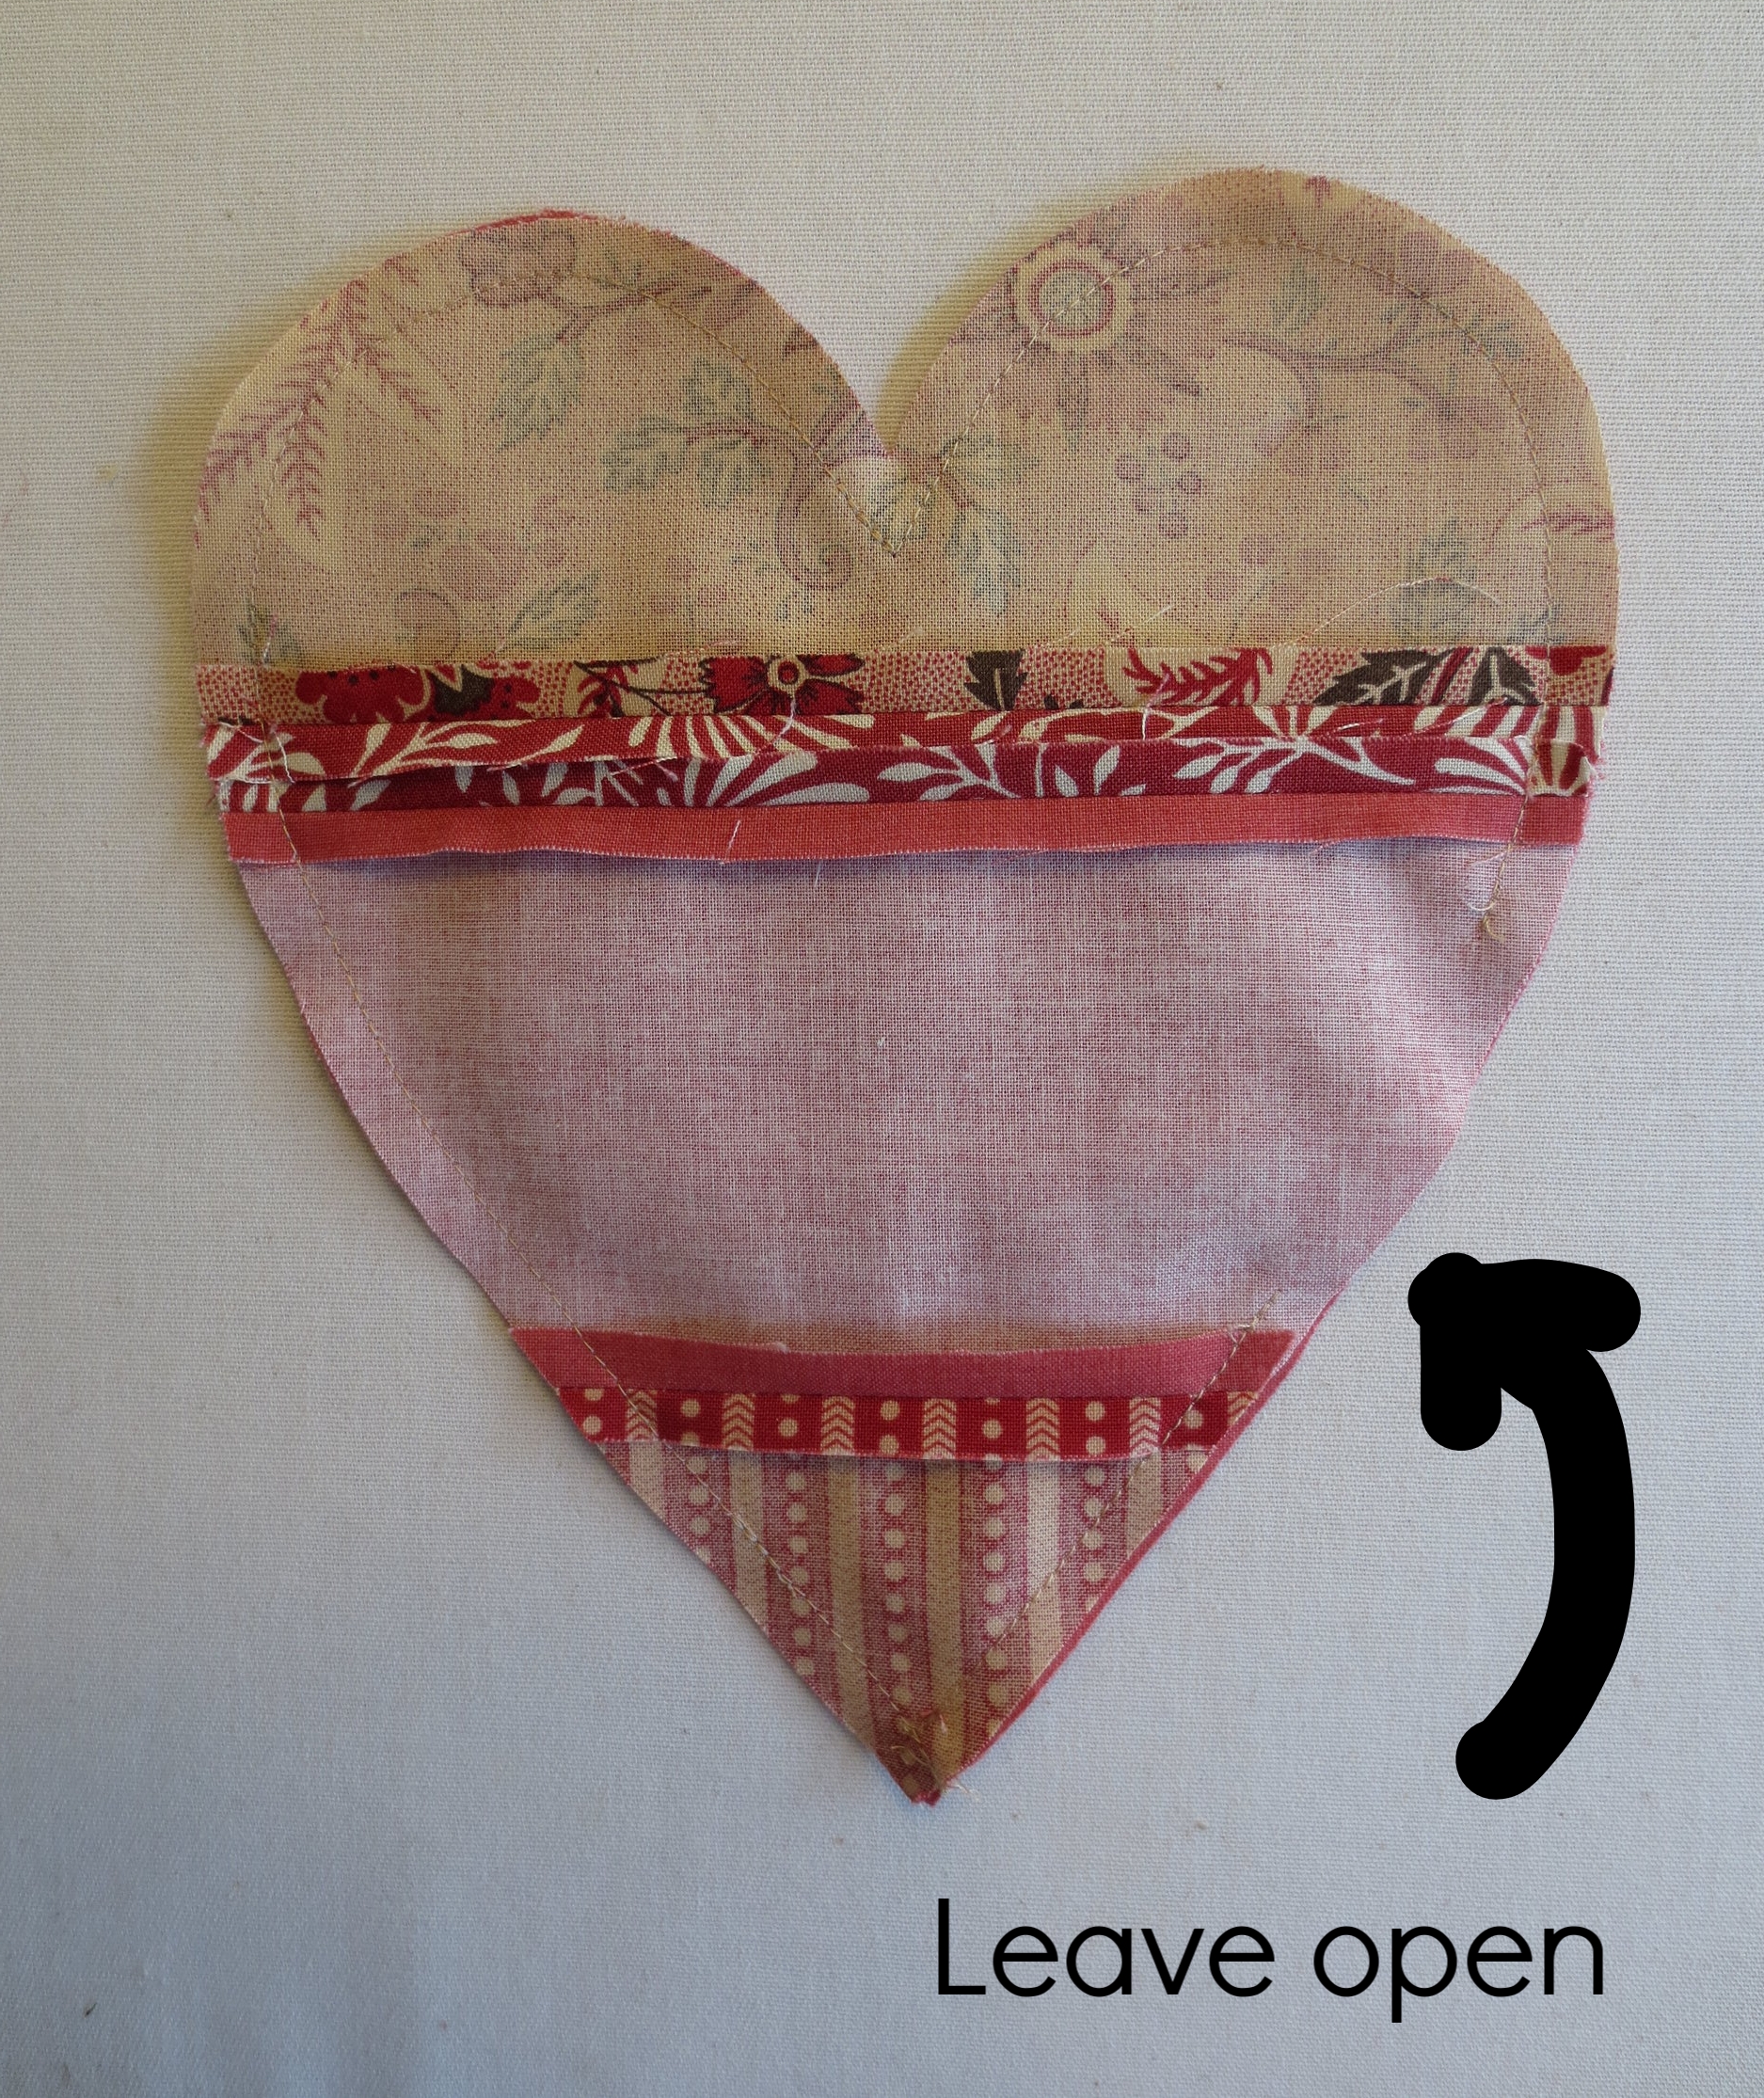
29. Machine stitch the outer edge using a 1/4" seam. Leave a 3" opening on one side between the top of the lobe and tip.
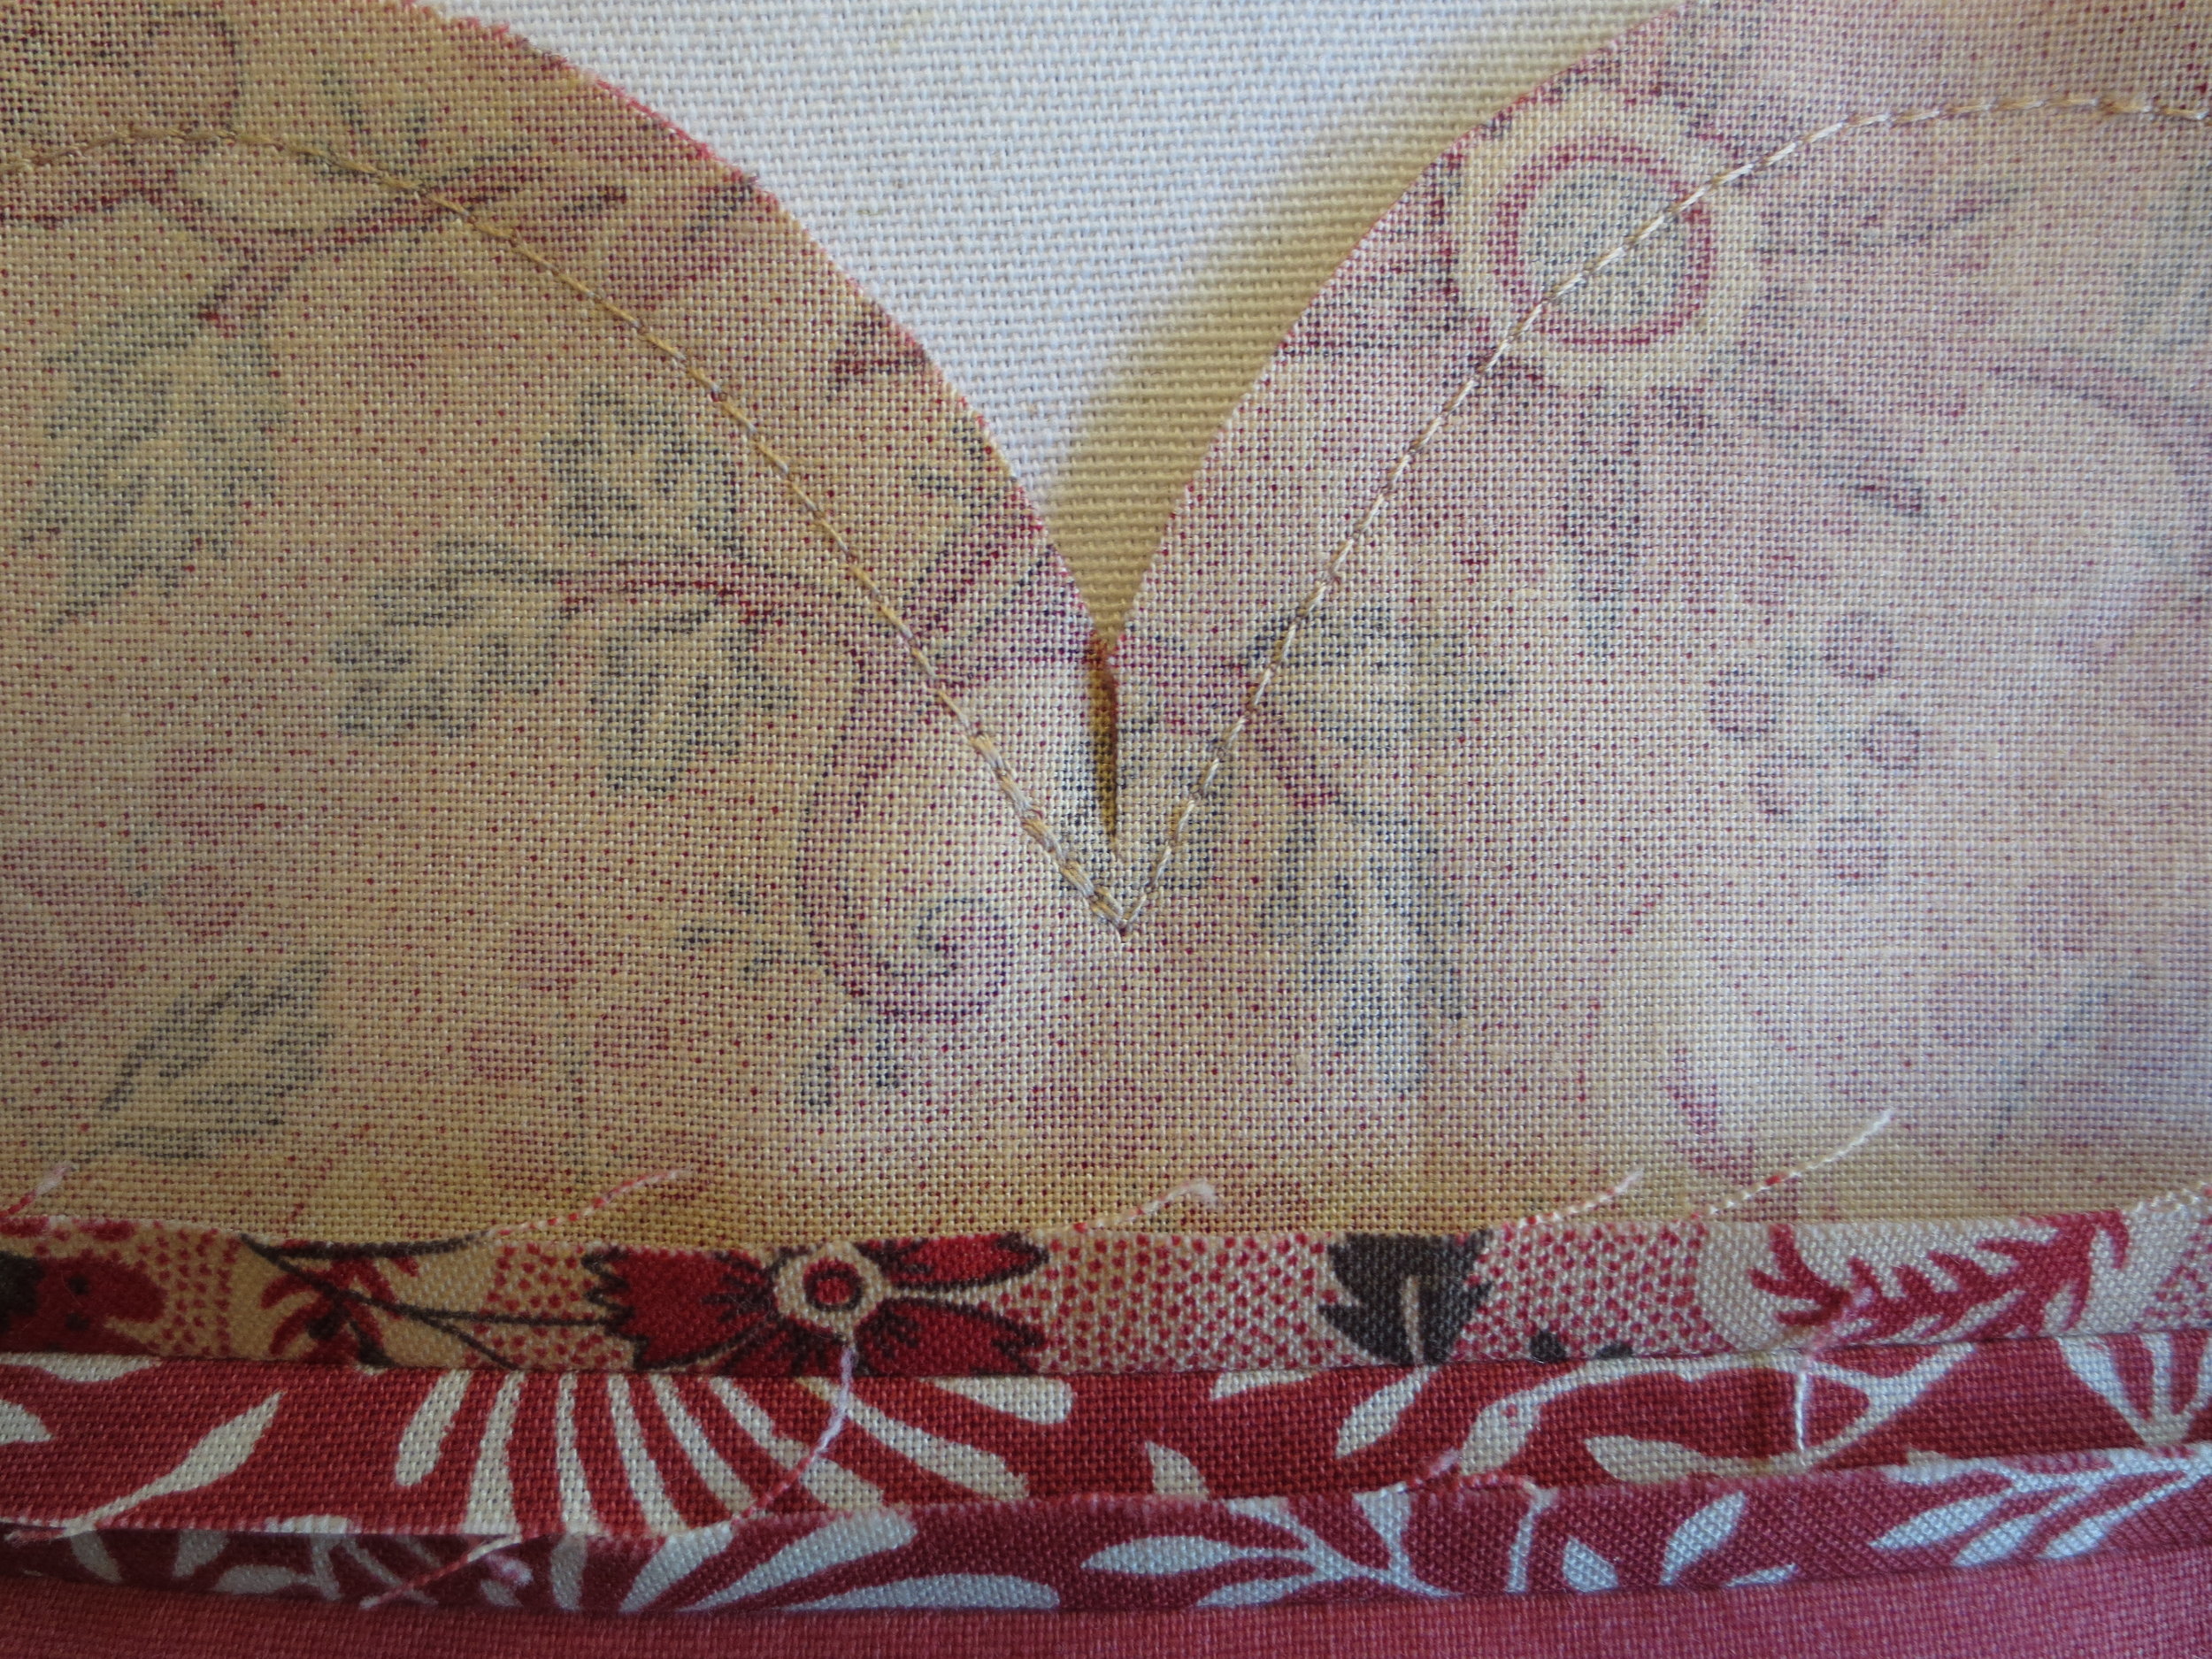
30. Clip between the lobes.
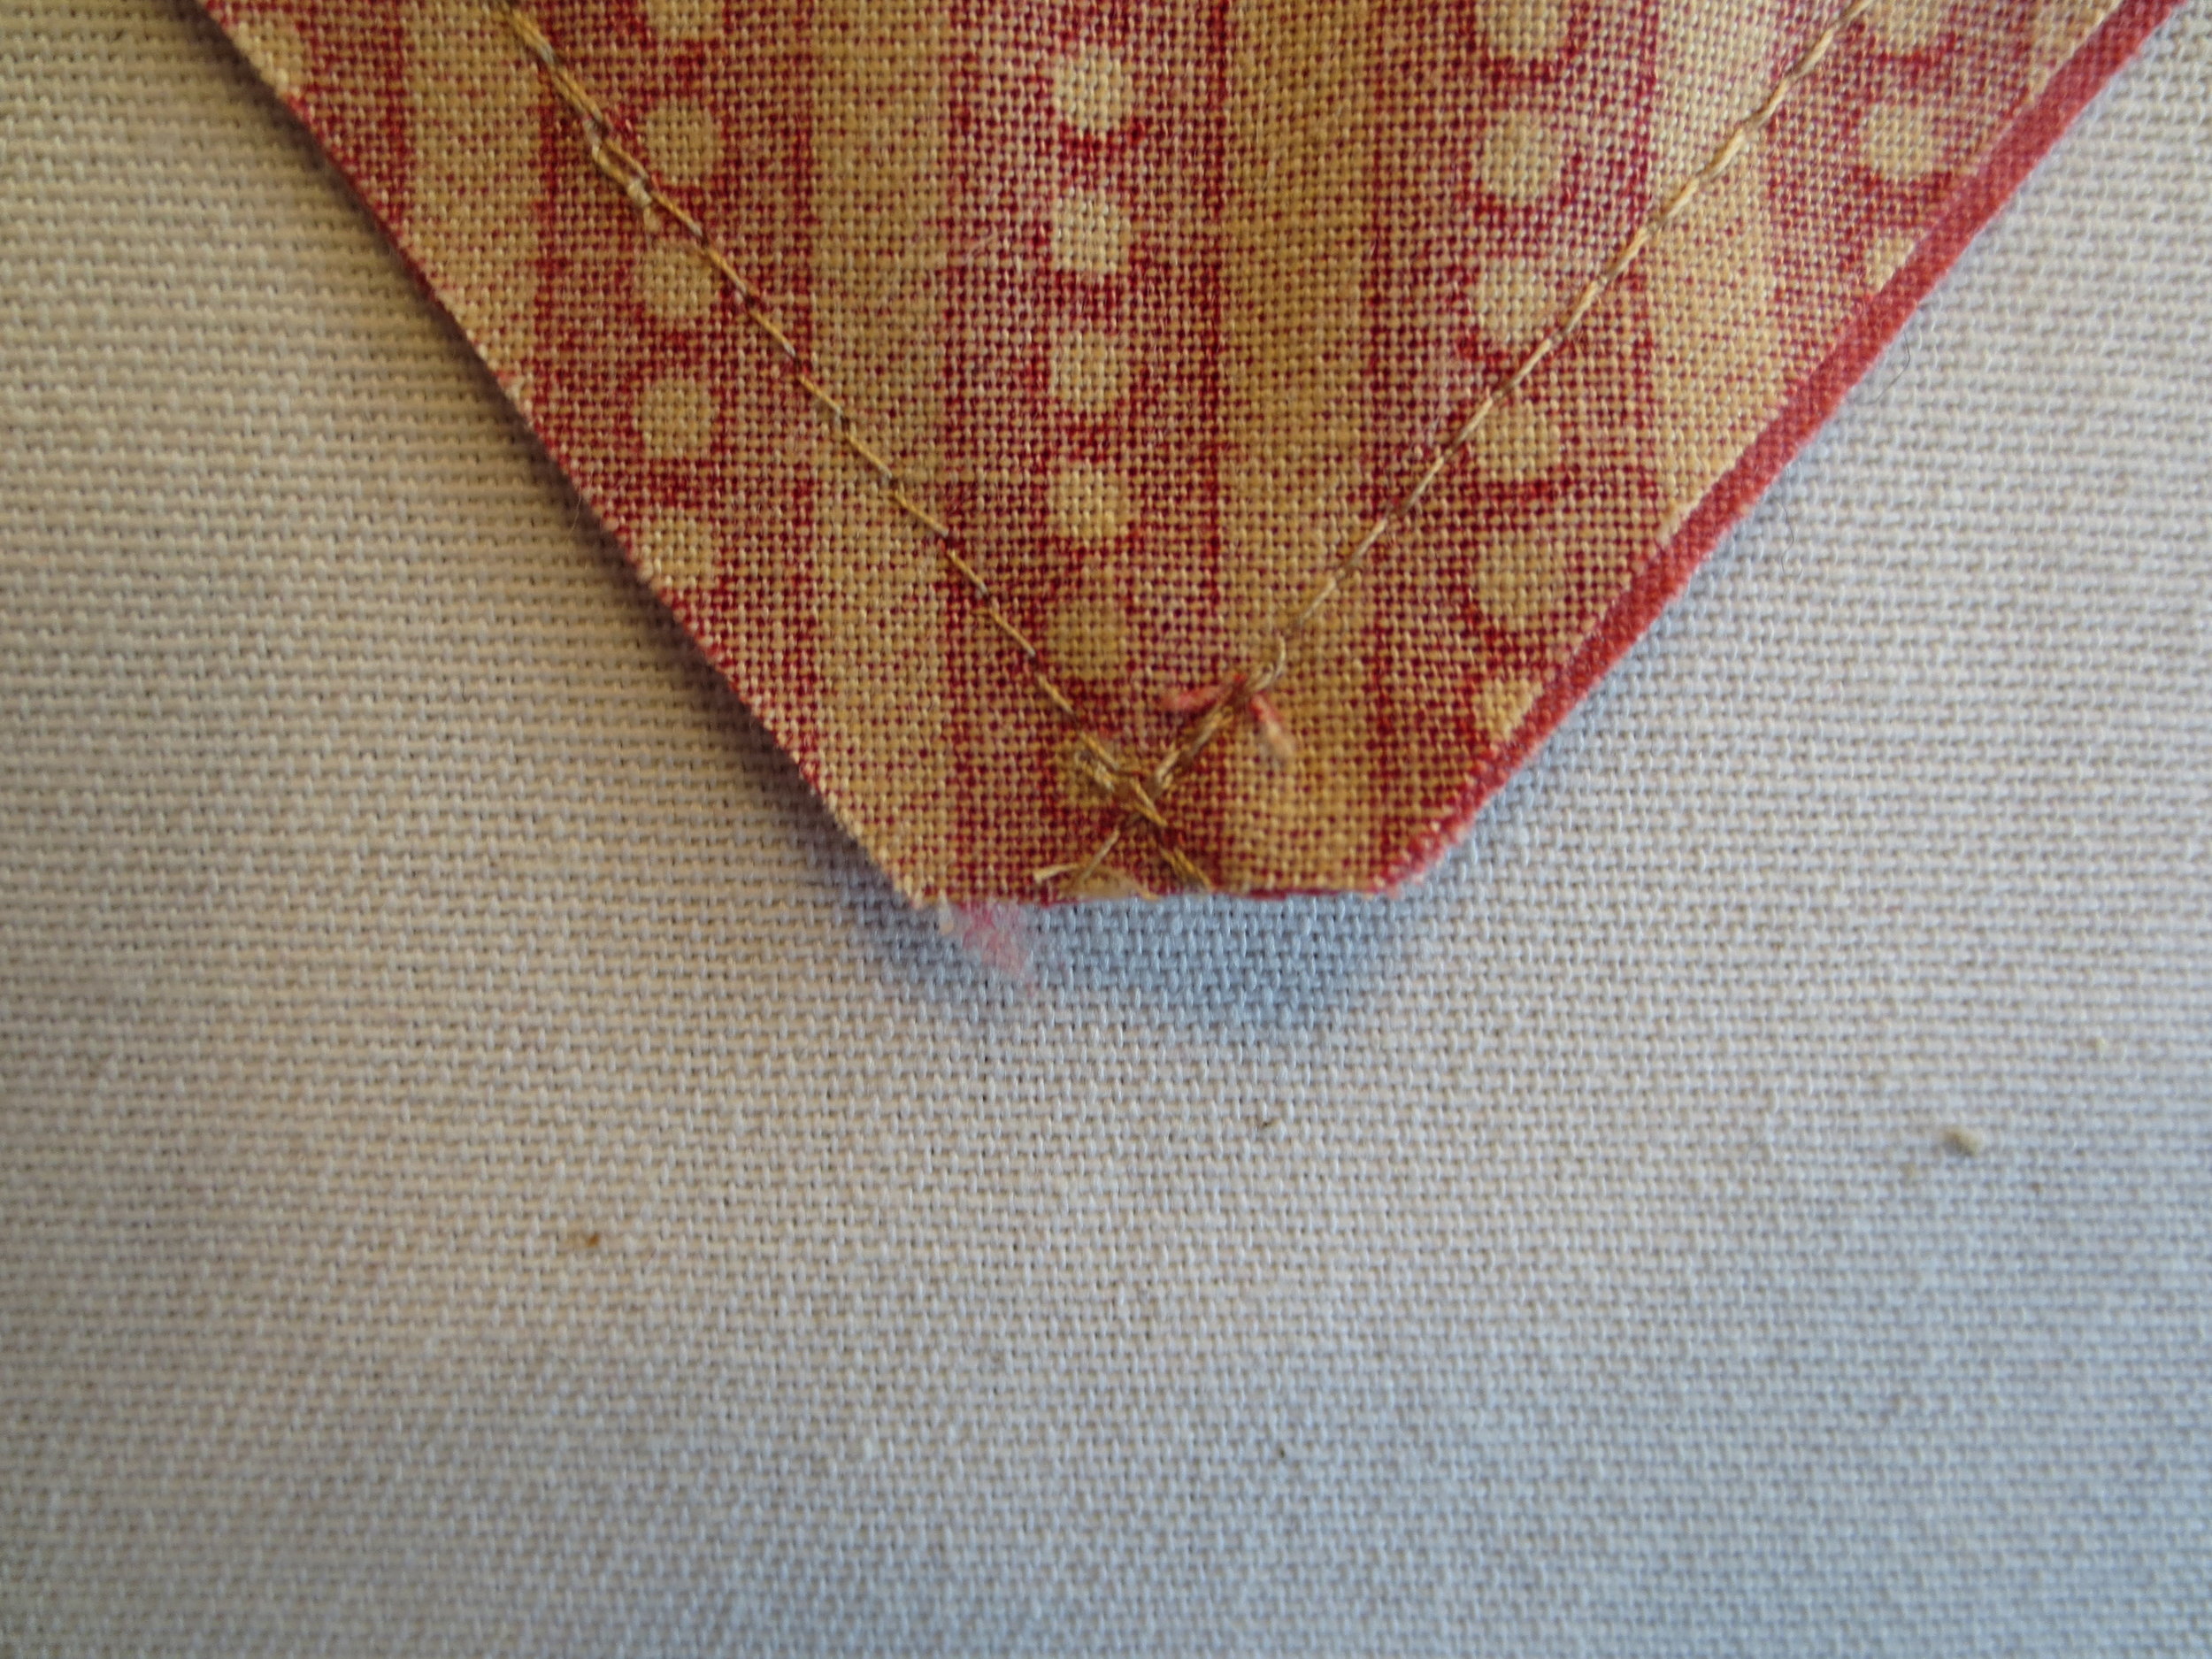
31. Snip off the tip just below the stitch line.
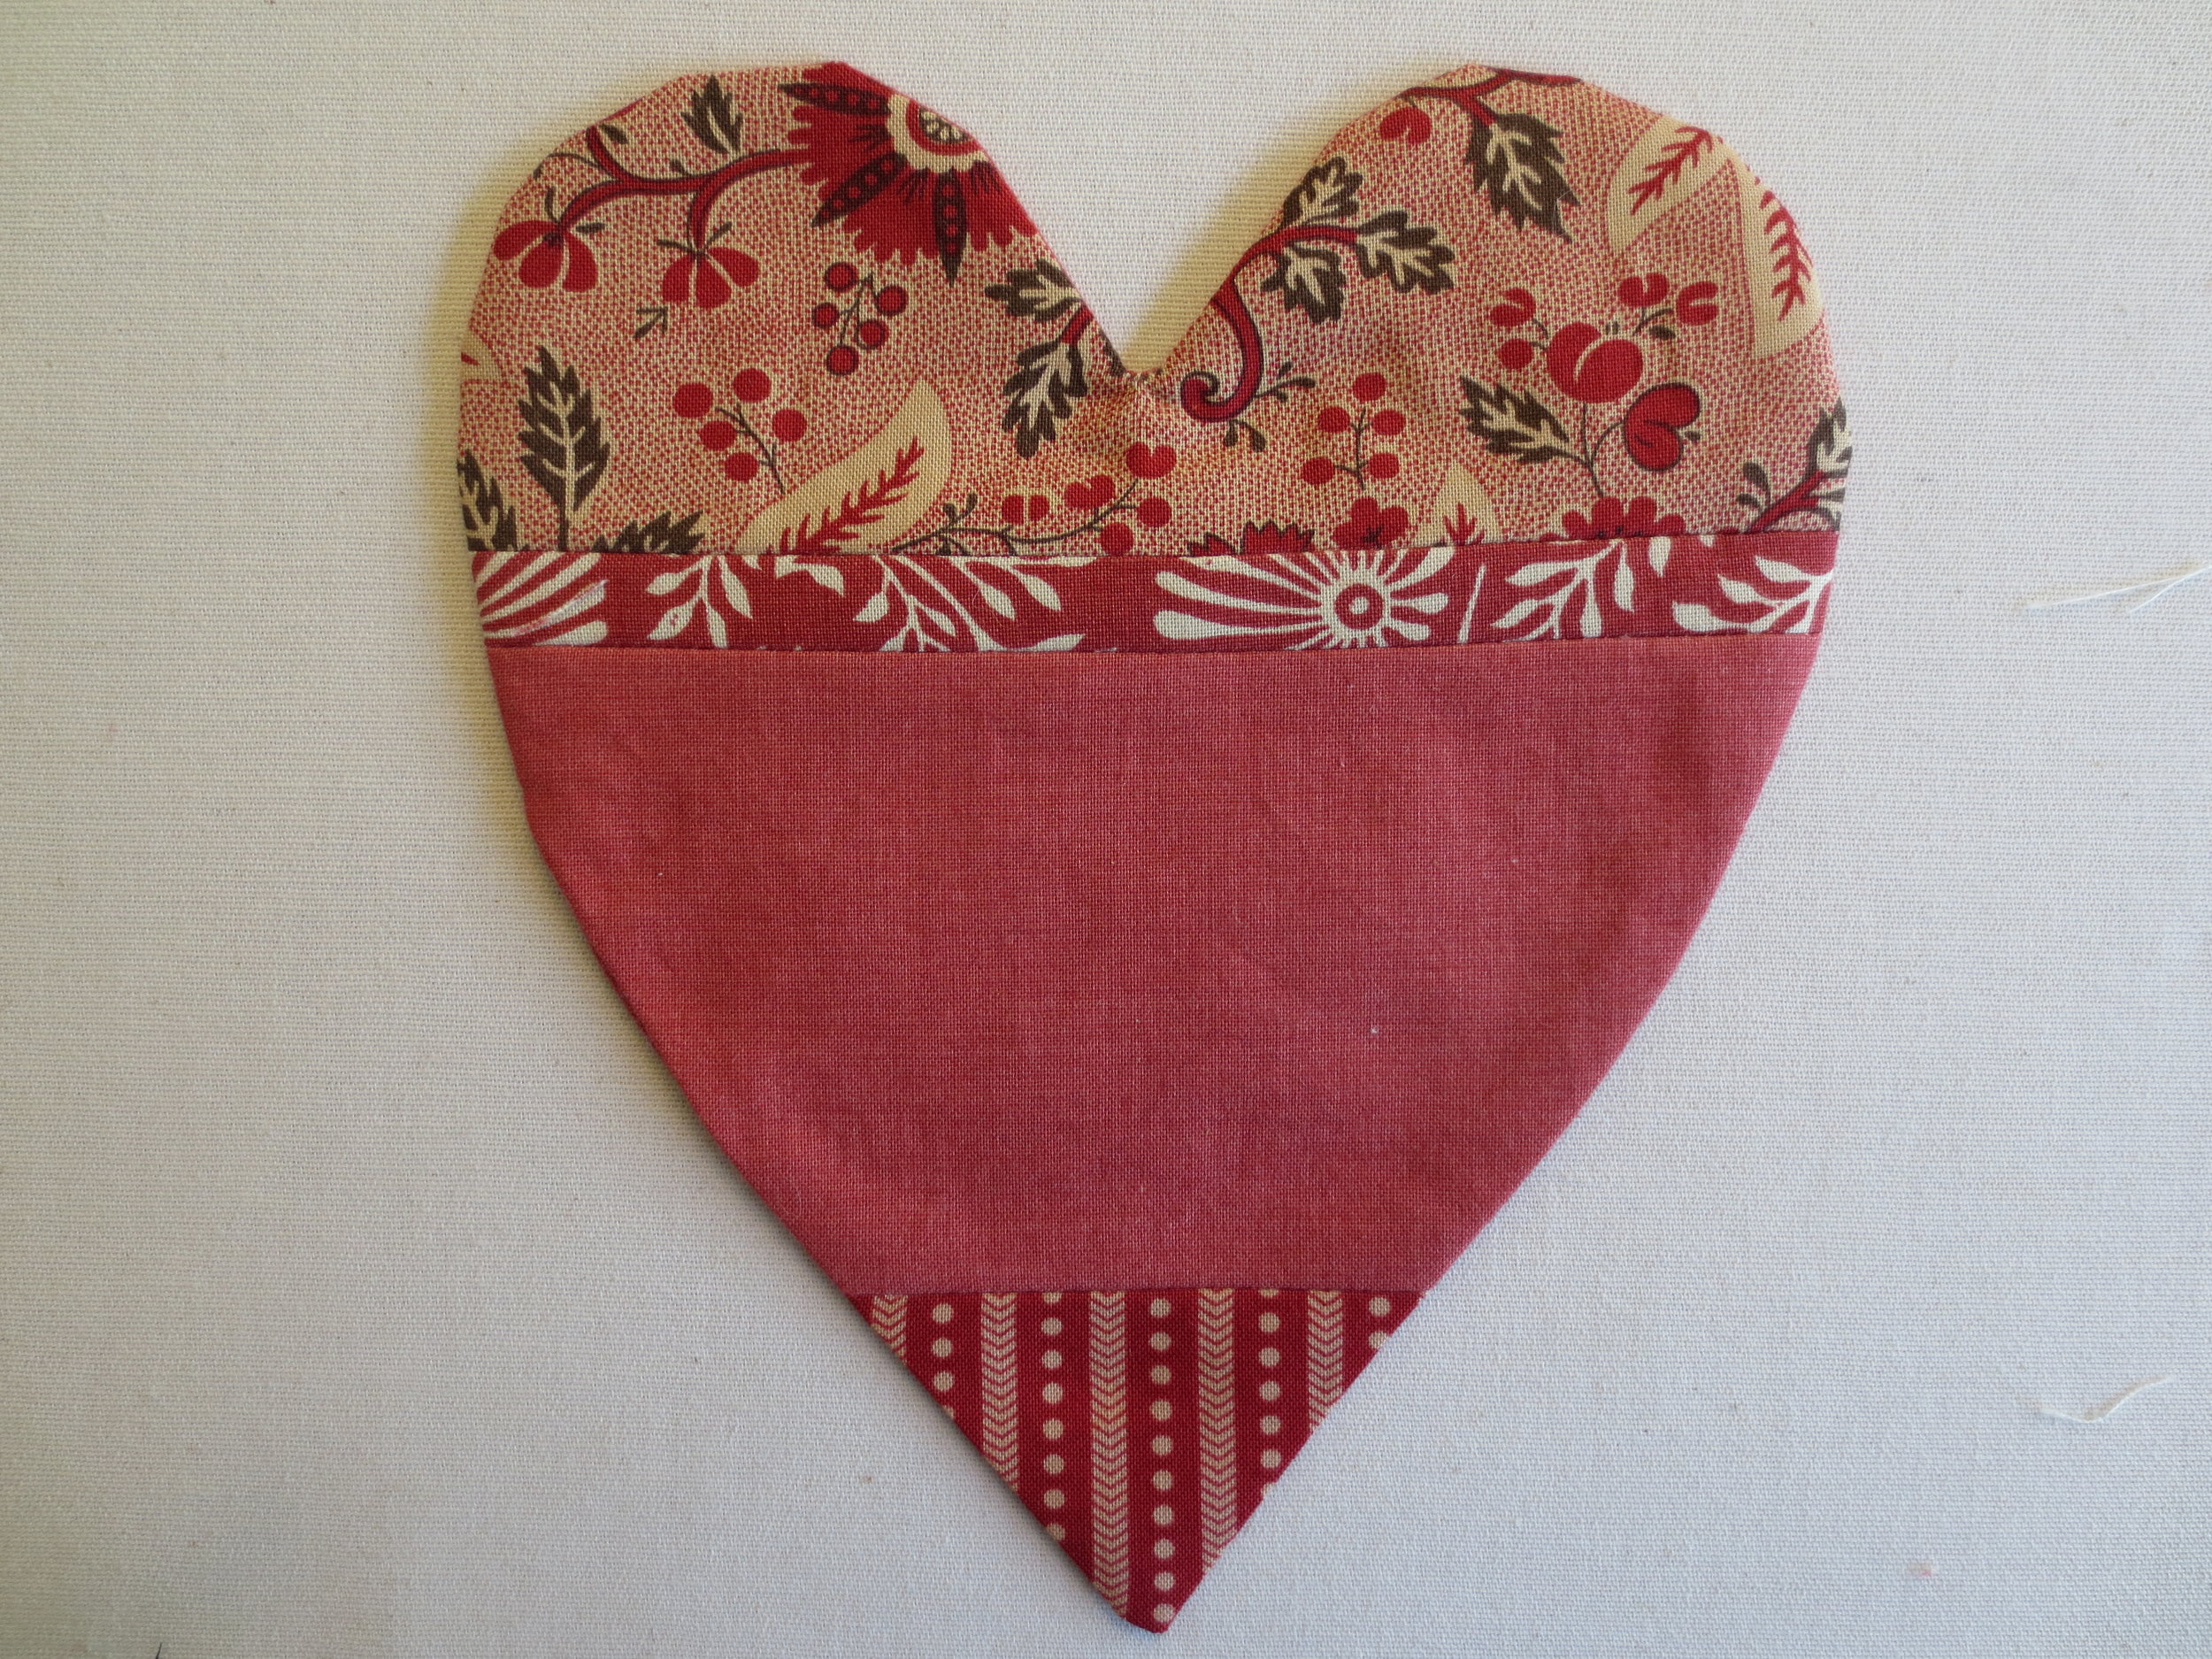
32. Turn inside out.
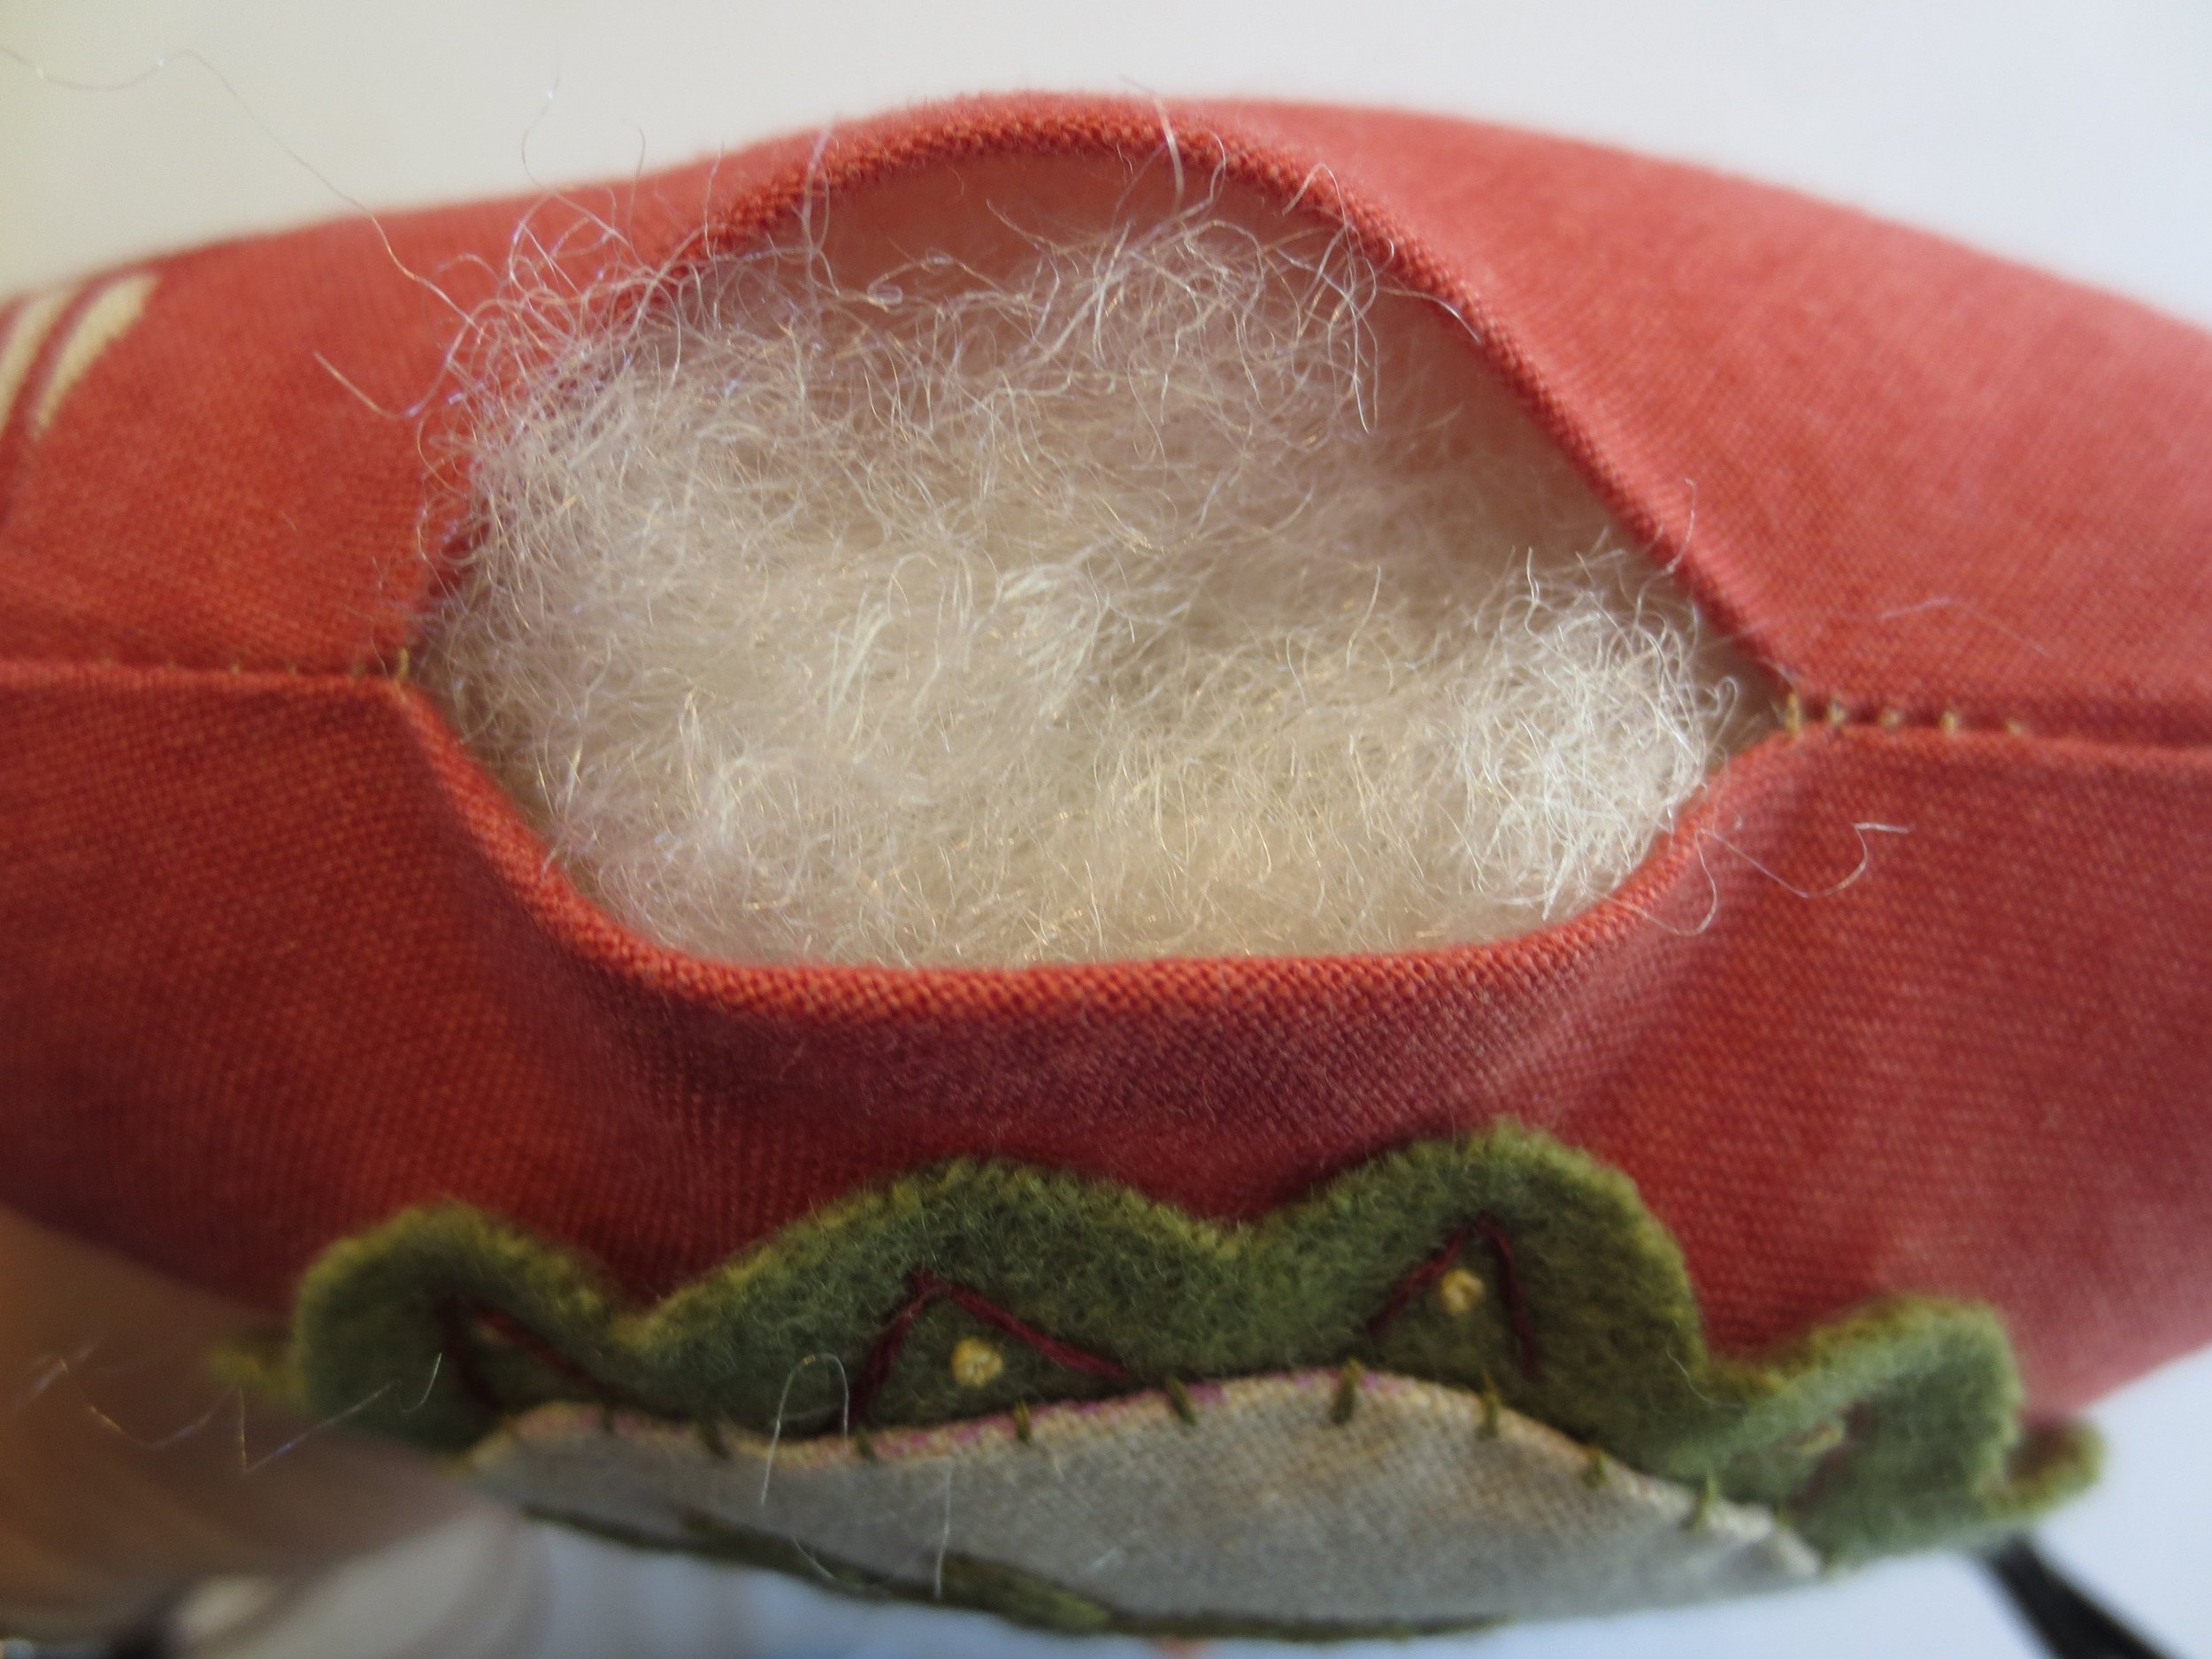
33. Fold the open edges inward and press.
34. Stuff moderately snug with "Poly-fil" making sure the tip and lobes are adequately filled.
35. Thread your applique needle with one strand of embroidery thread that matched the fabric color ( I used DMC floss, #356).
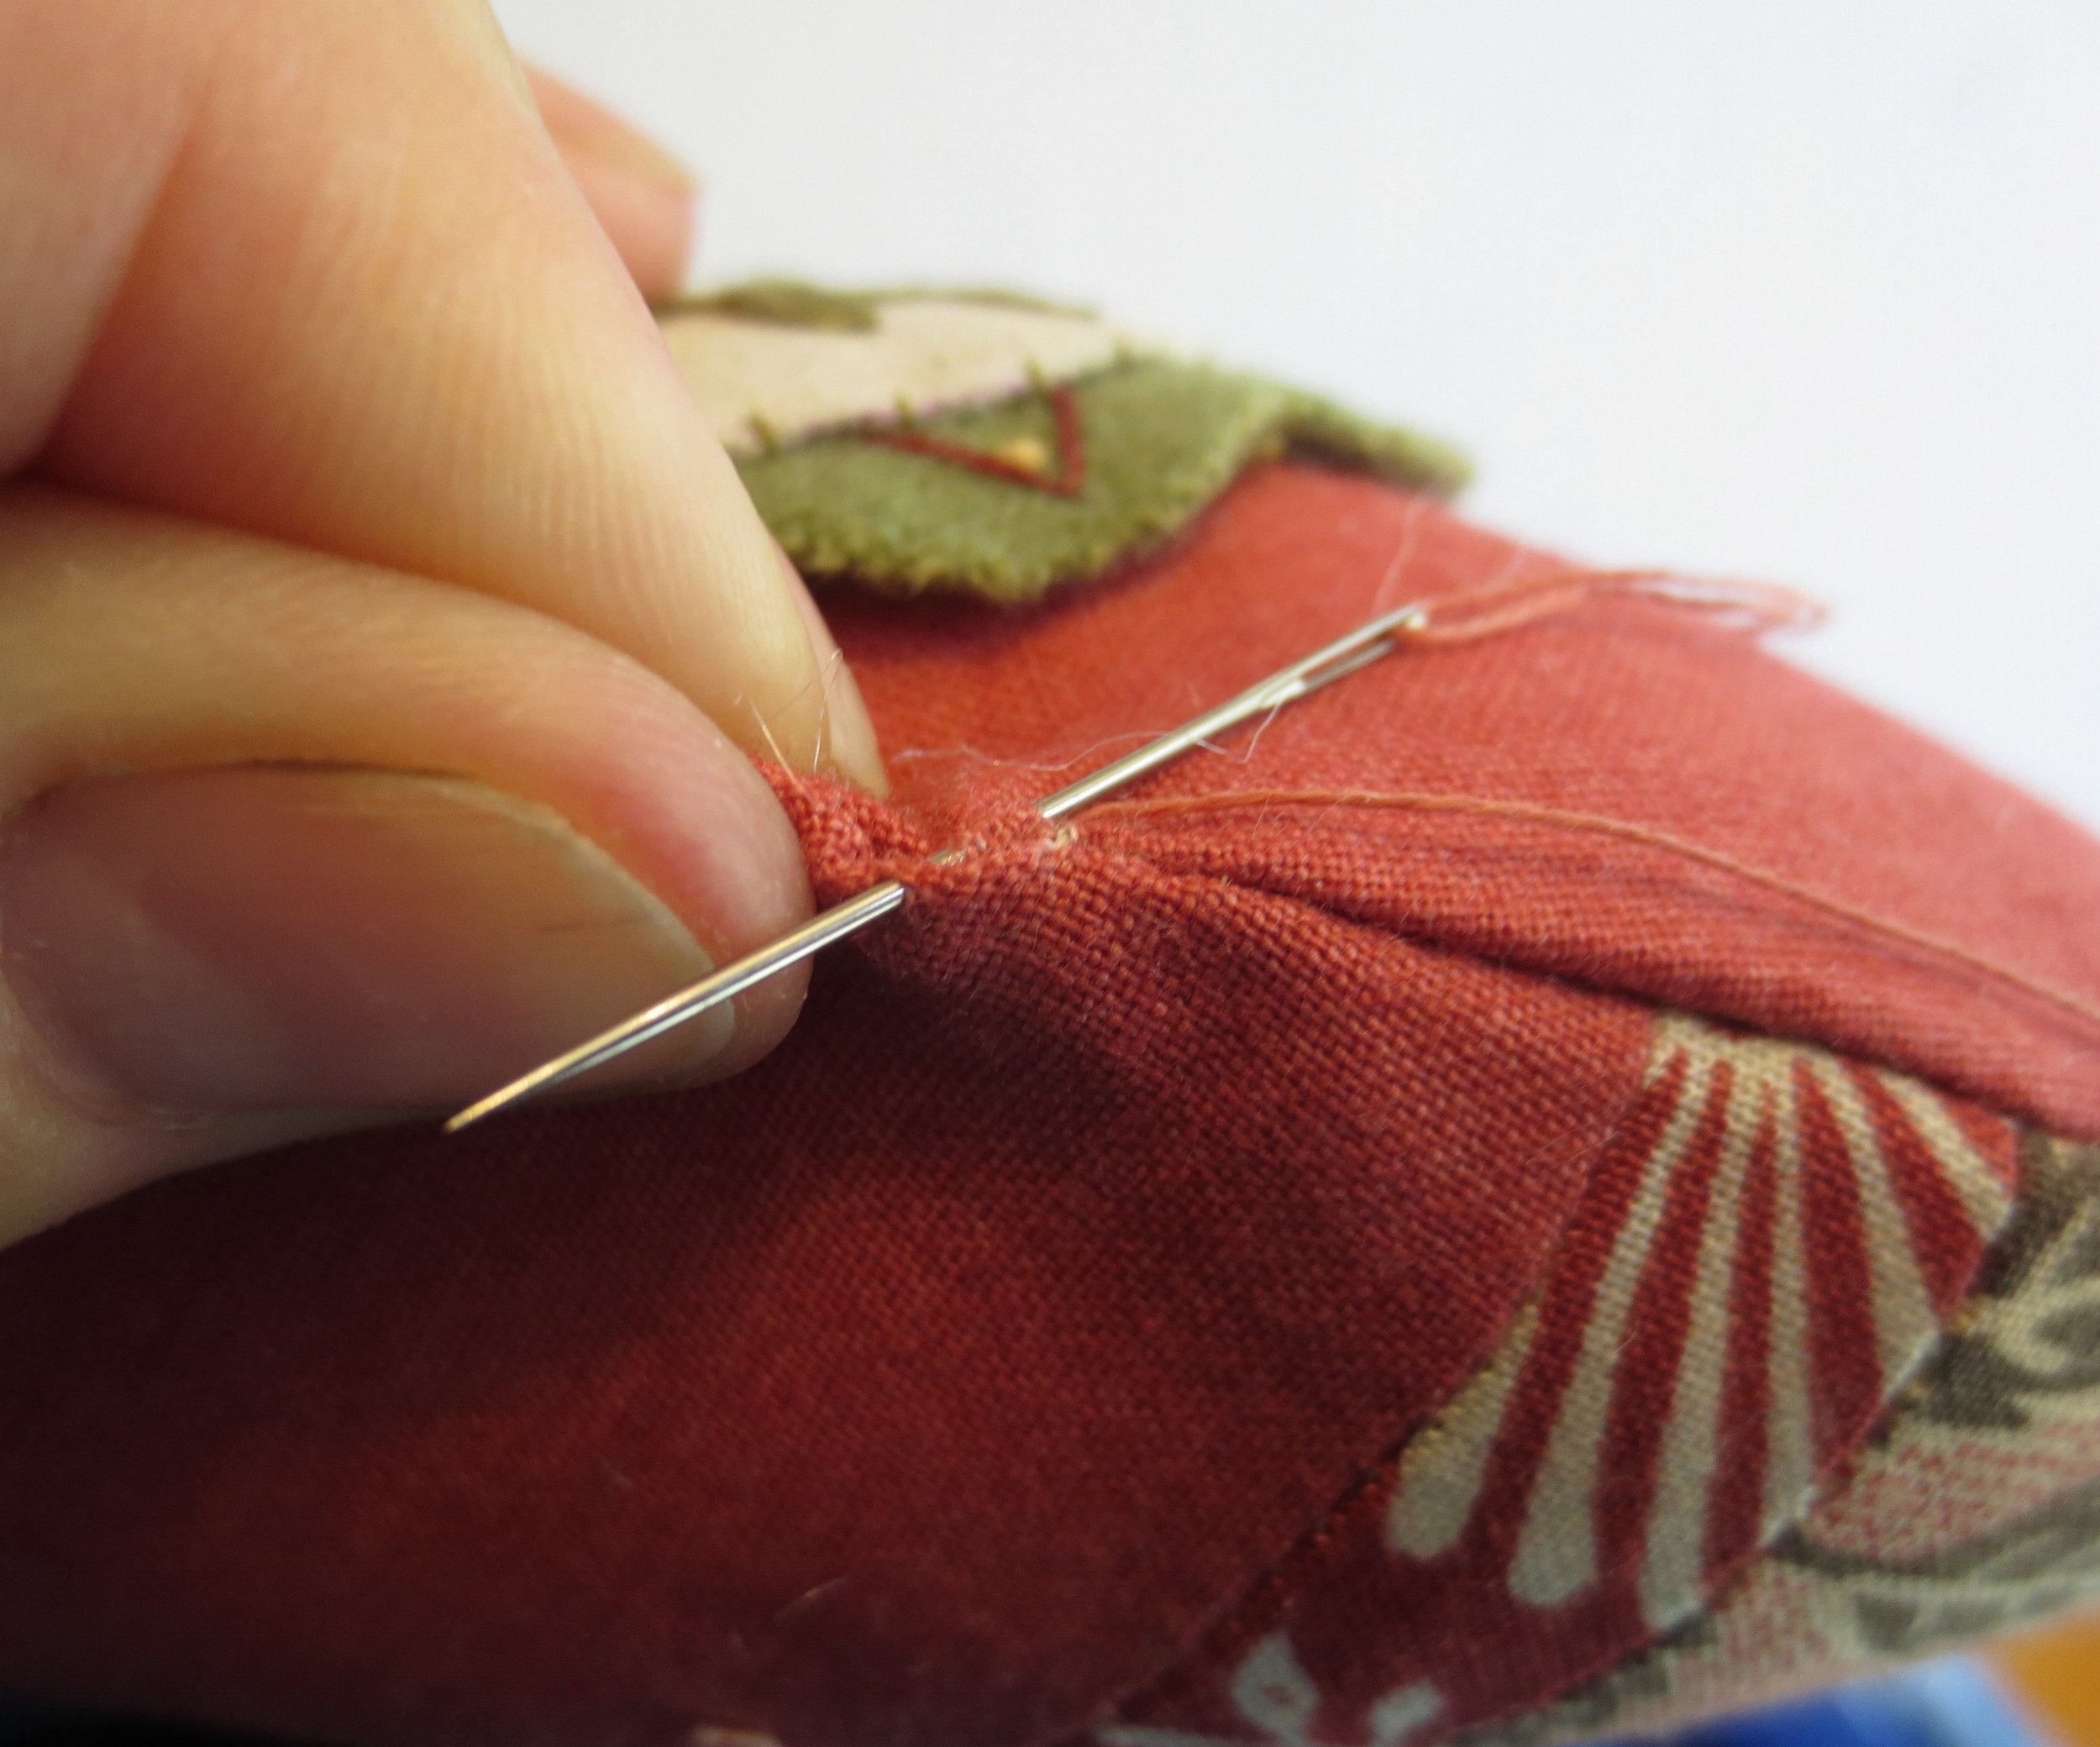
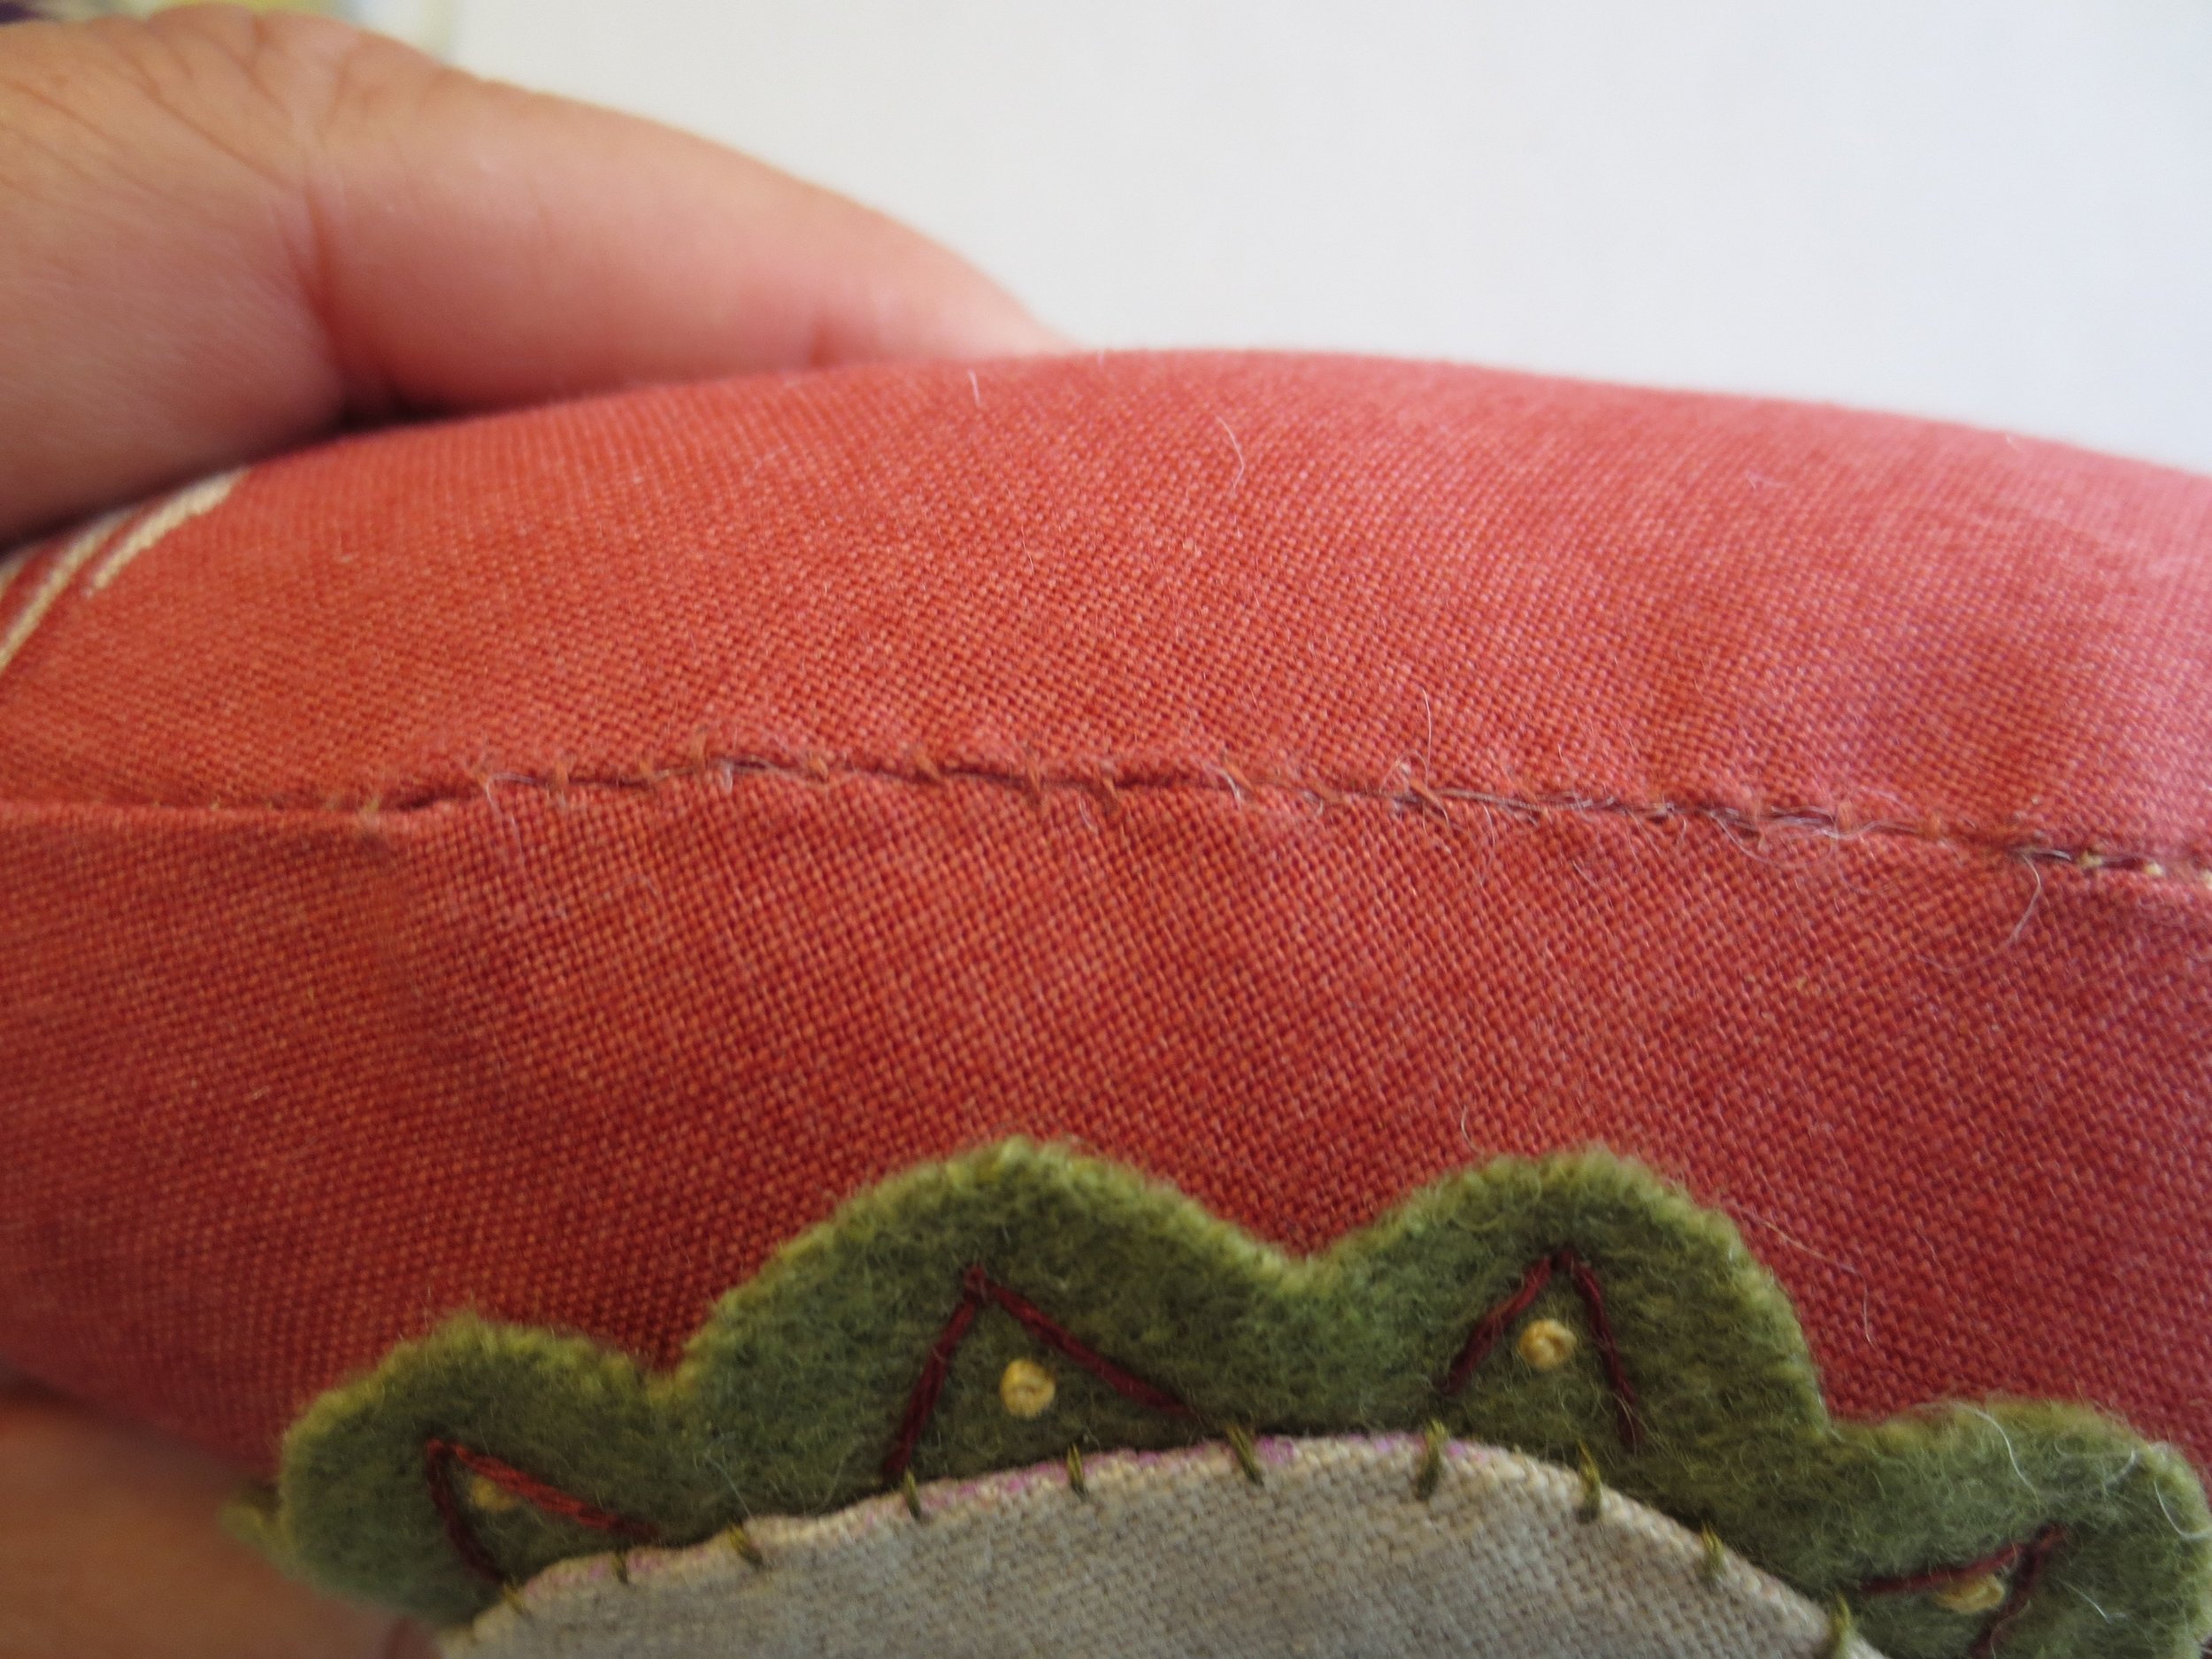
36. Using your non sewing hand, pin the opening closed. Whip stitch or Ladder stitch the opening closed. The seam will be covered, so don't stress about how it looks.
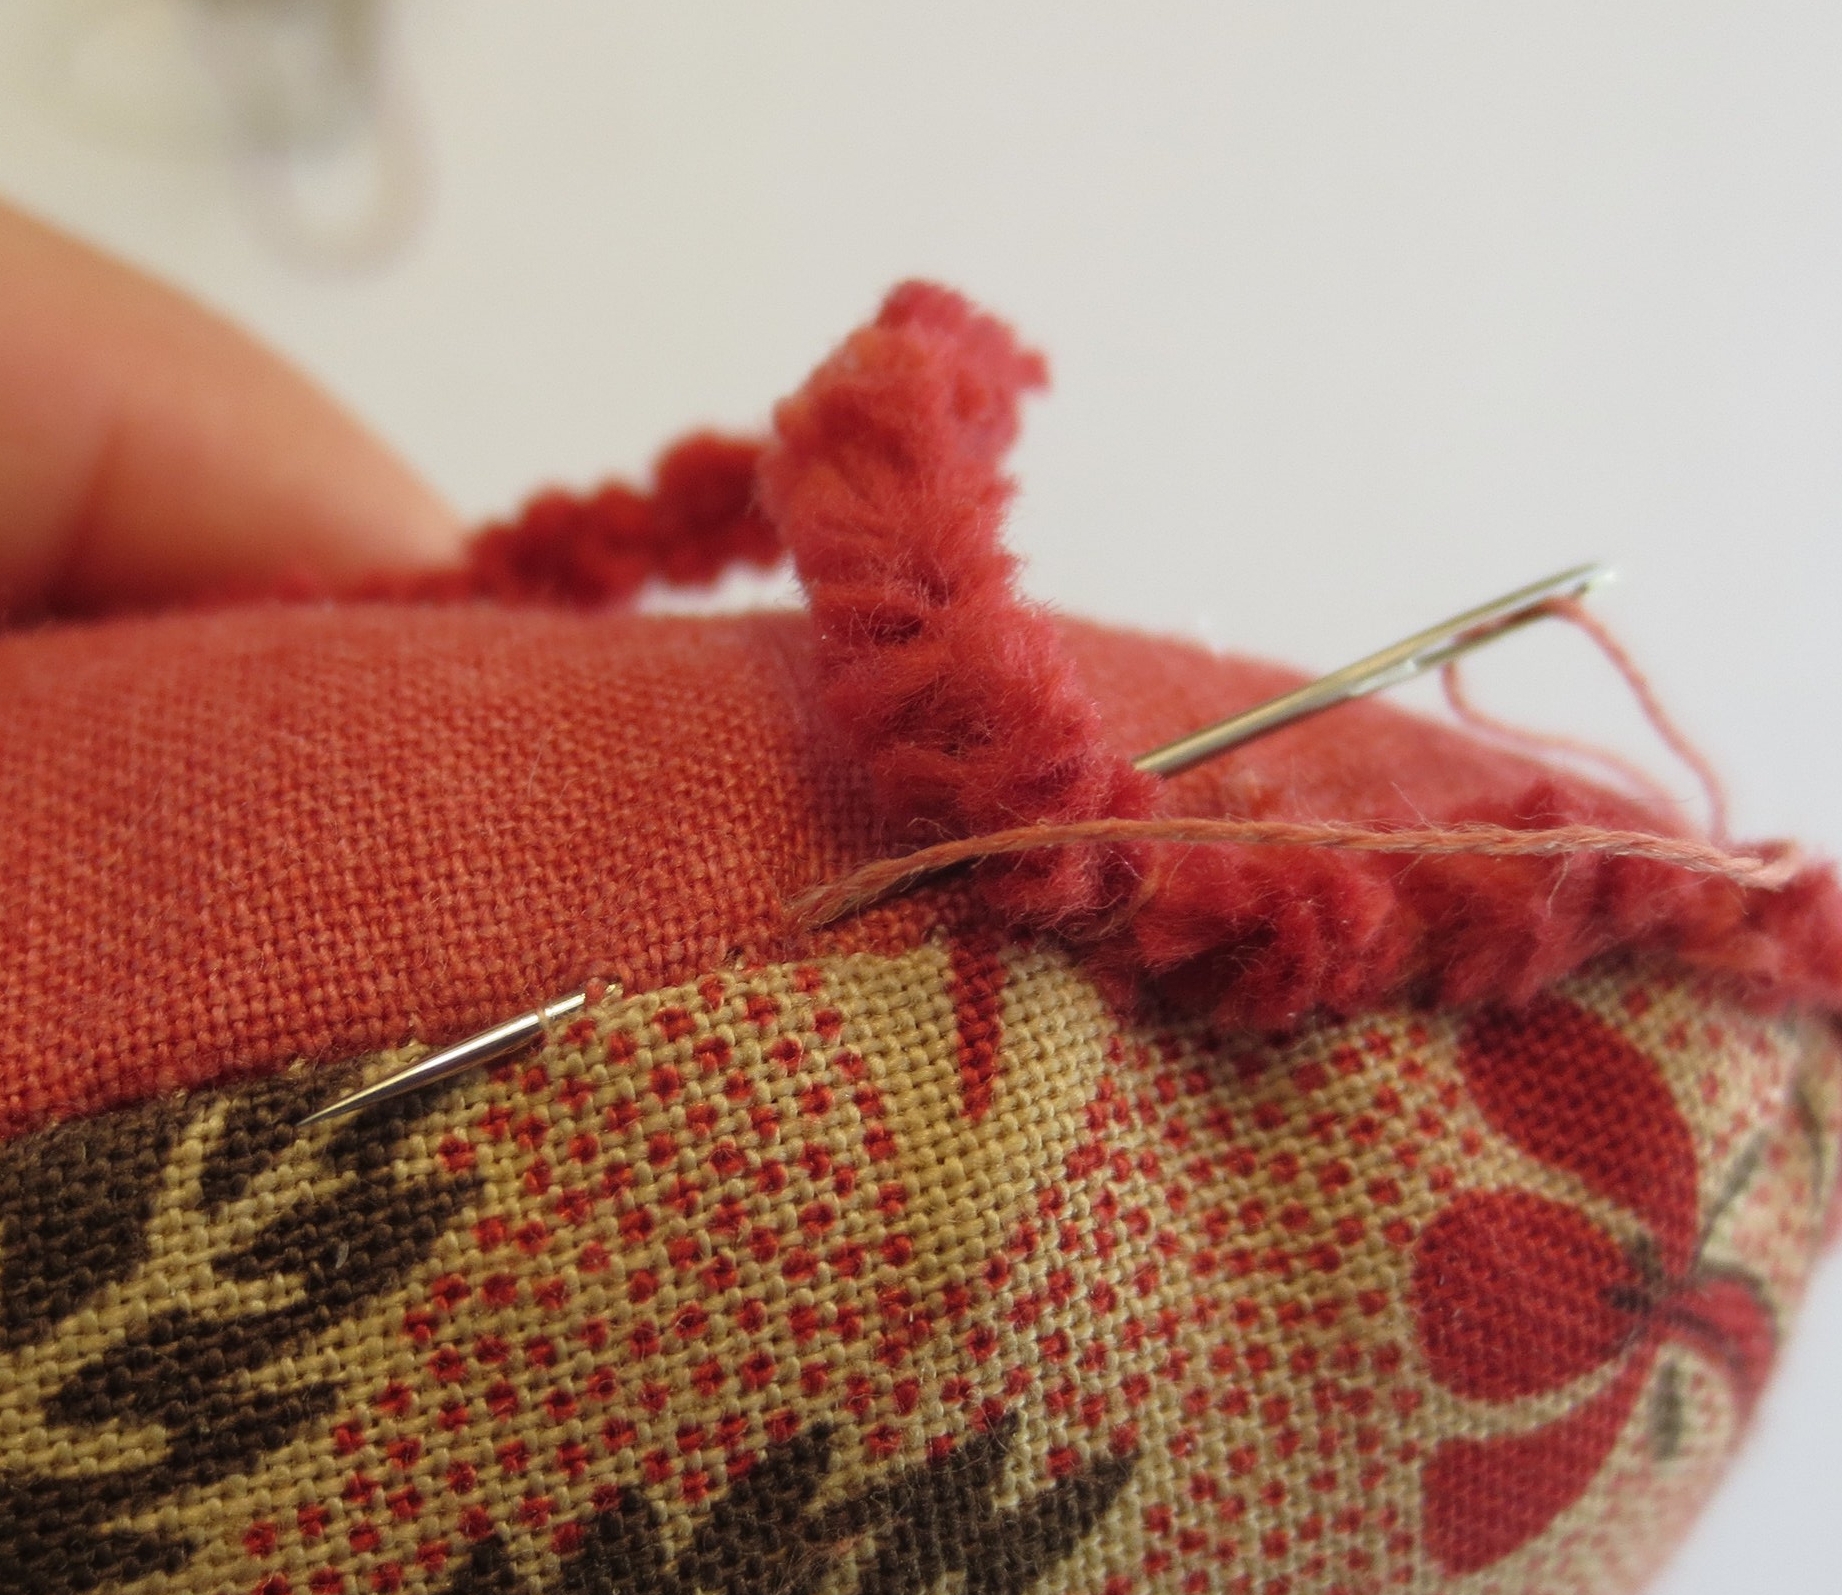
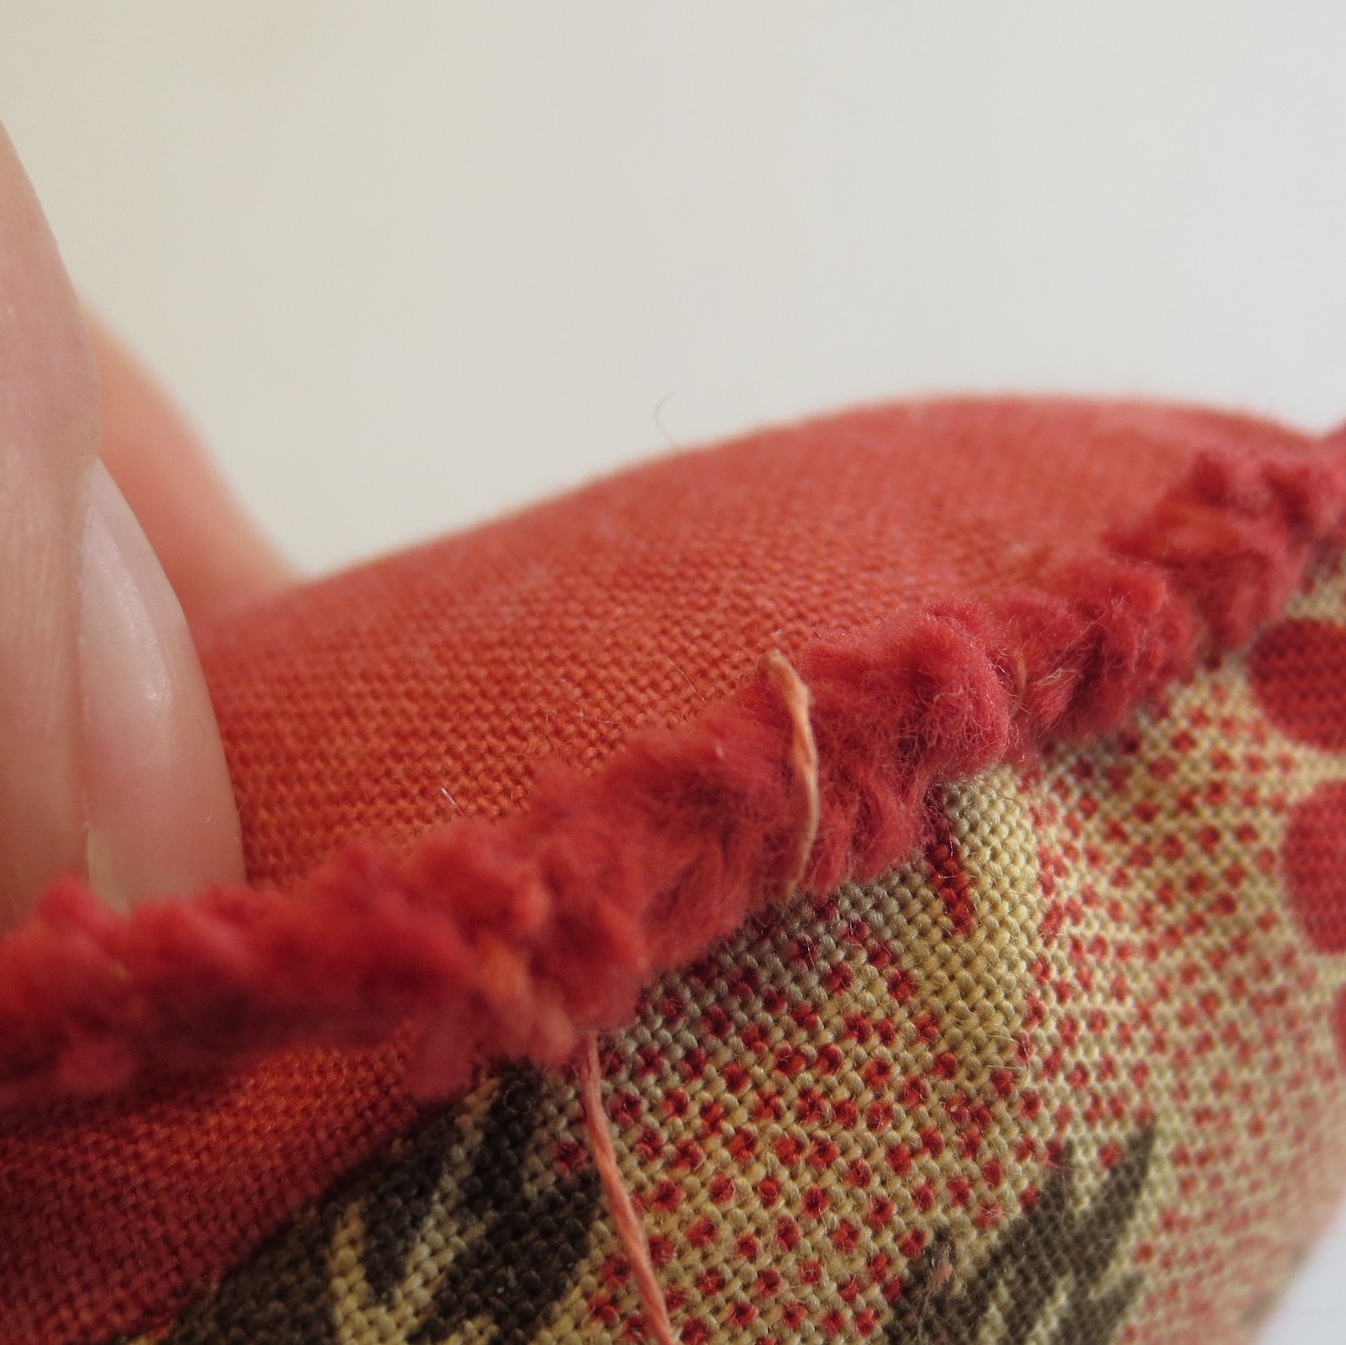
37. Lay one end of the chenille yarn on top of the seam (start on the side) and hold in place. Use your chenille needle and two strands of the the same thread used for closing the seam up to couch stitch the yarn to the seam, beginning about 3/8" from the end of the yarn (make your knot in the seam so it will be covered by the yarn). I made my couching stitches about 1/4" apart. Overlap the the ends of the yarn and make your final couching stitch over both ends to secure. Make your final knot in the seam underneath the yarn. Clip the free end of the yarn close to the final stitch.
38. Ribbon Bow and Hanger
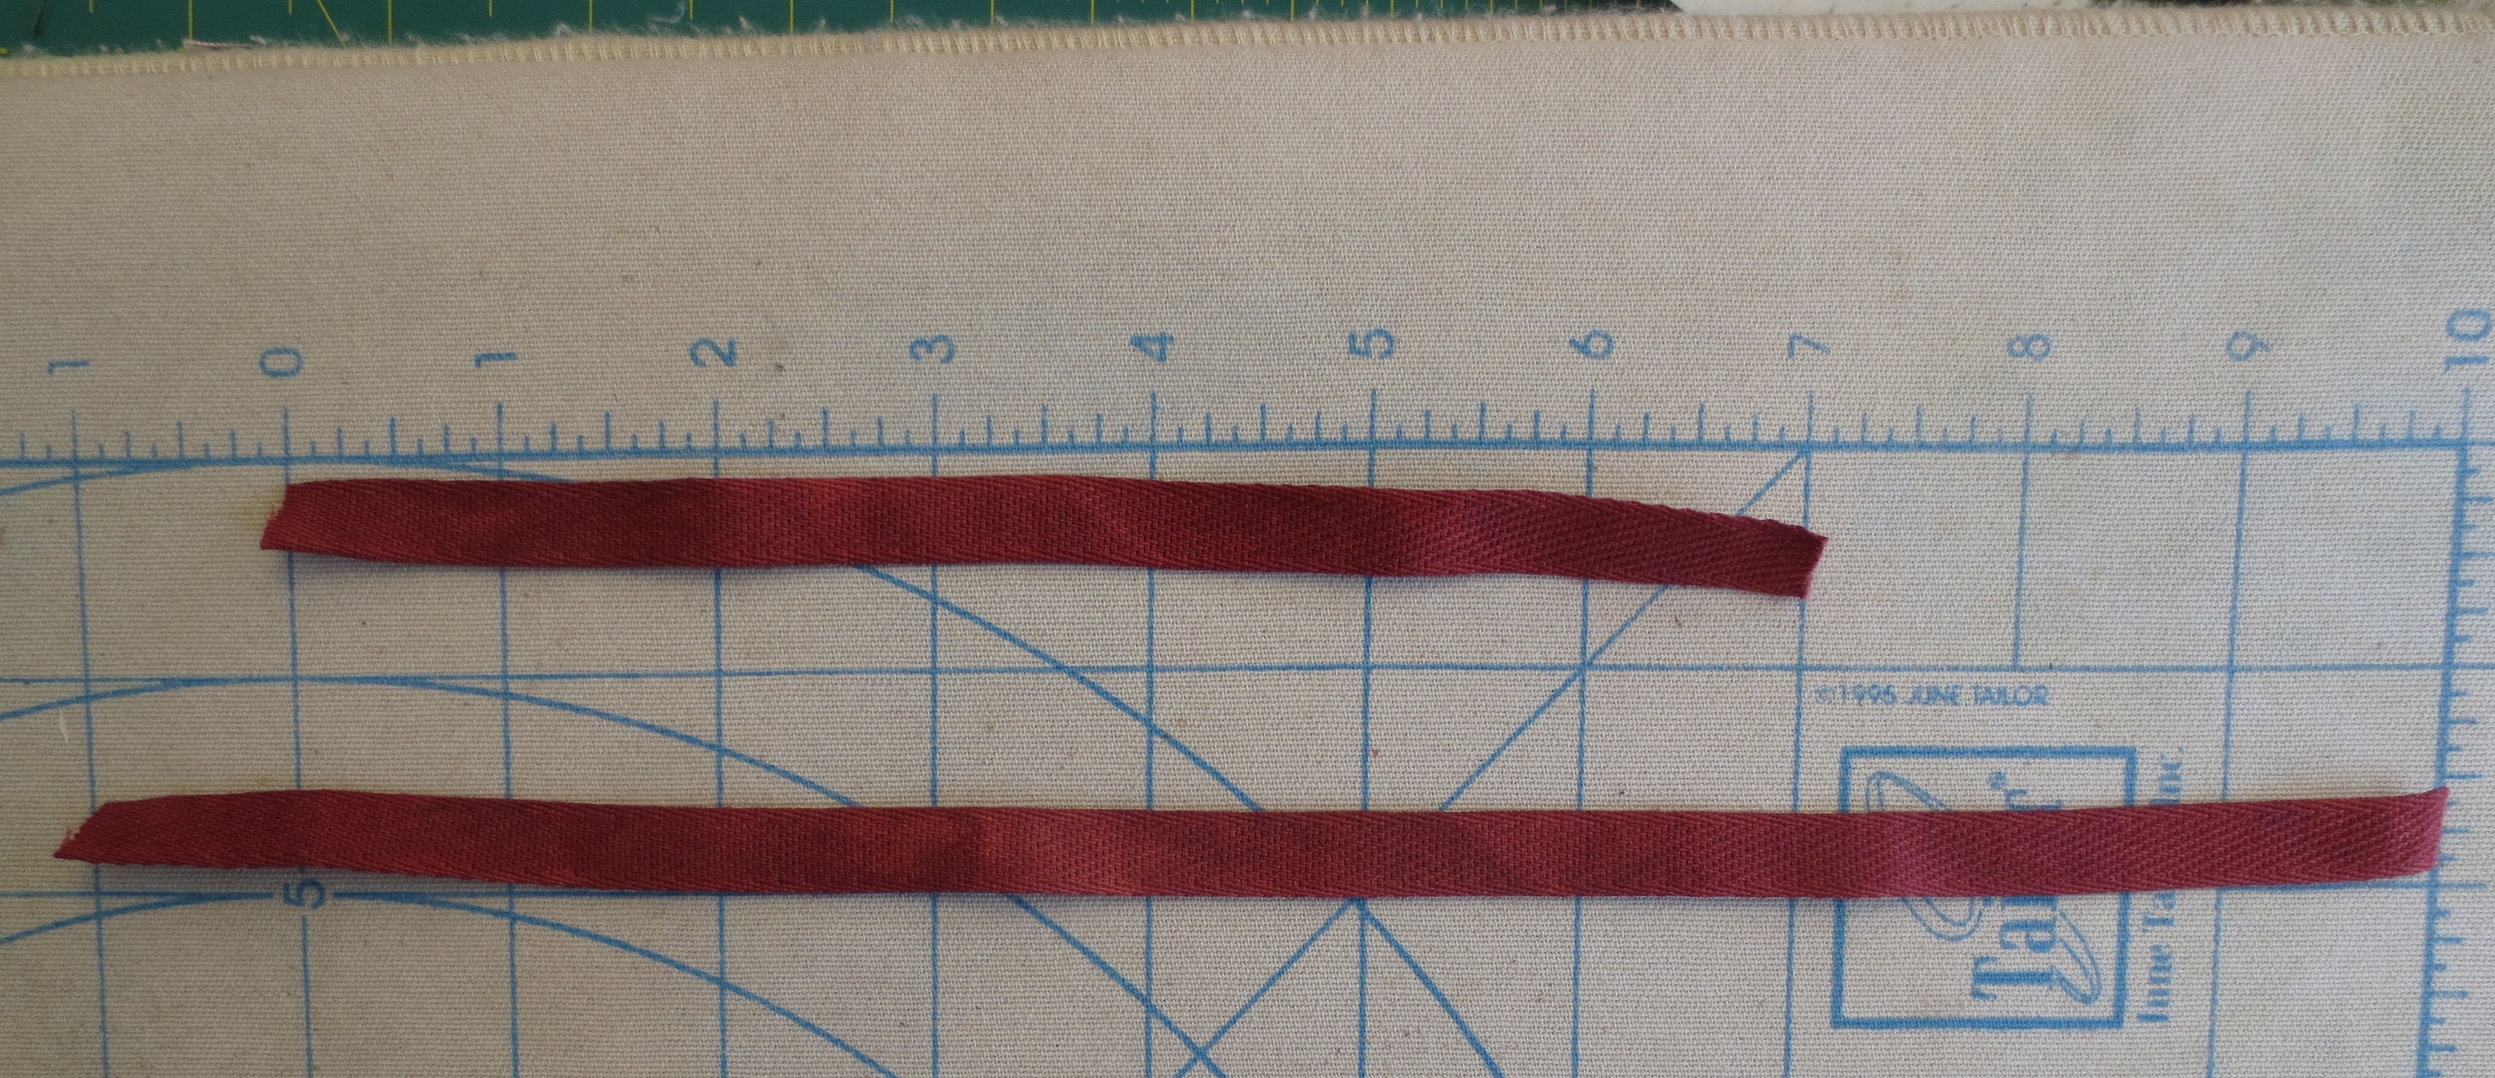
- Cut ribbon into two lengths
- 7"
- 11"
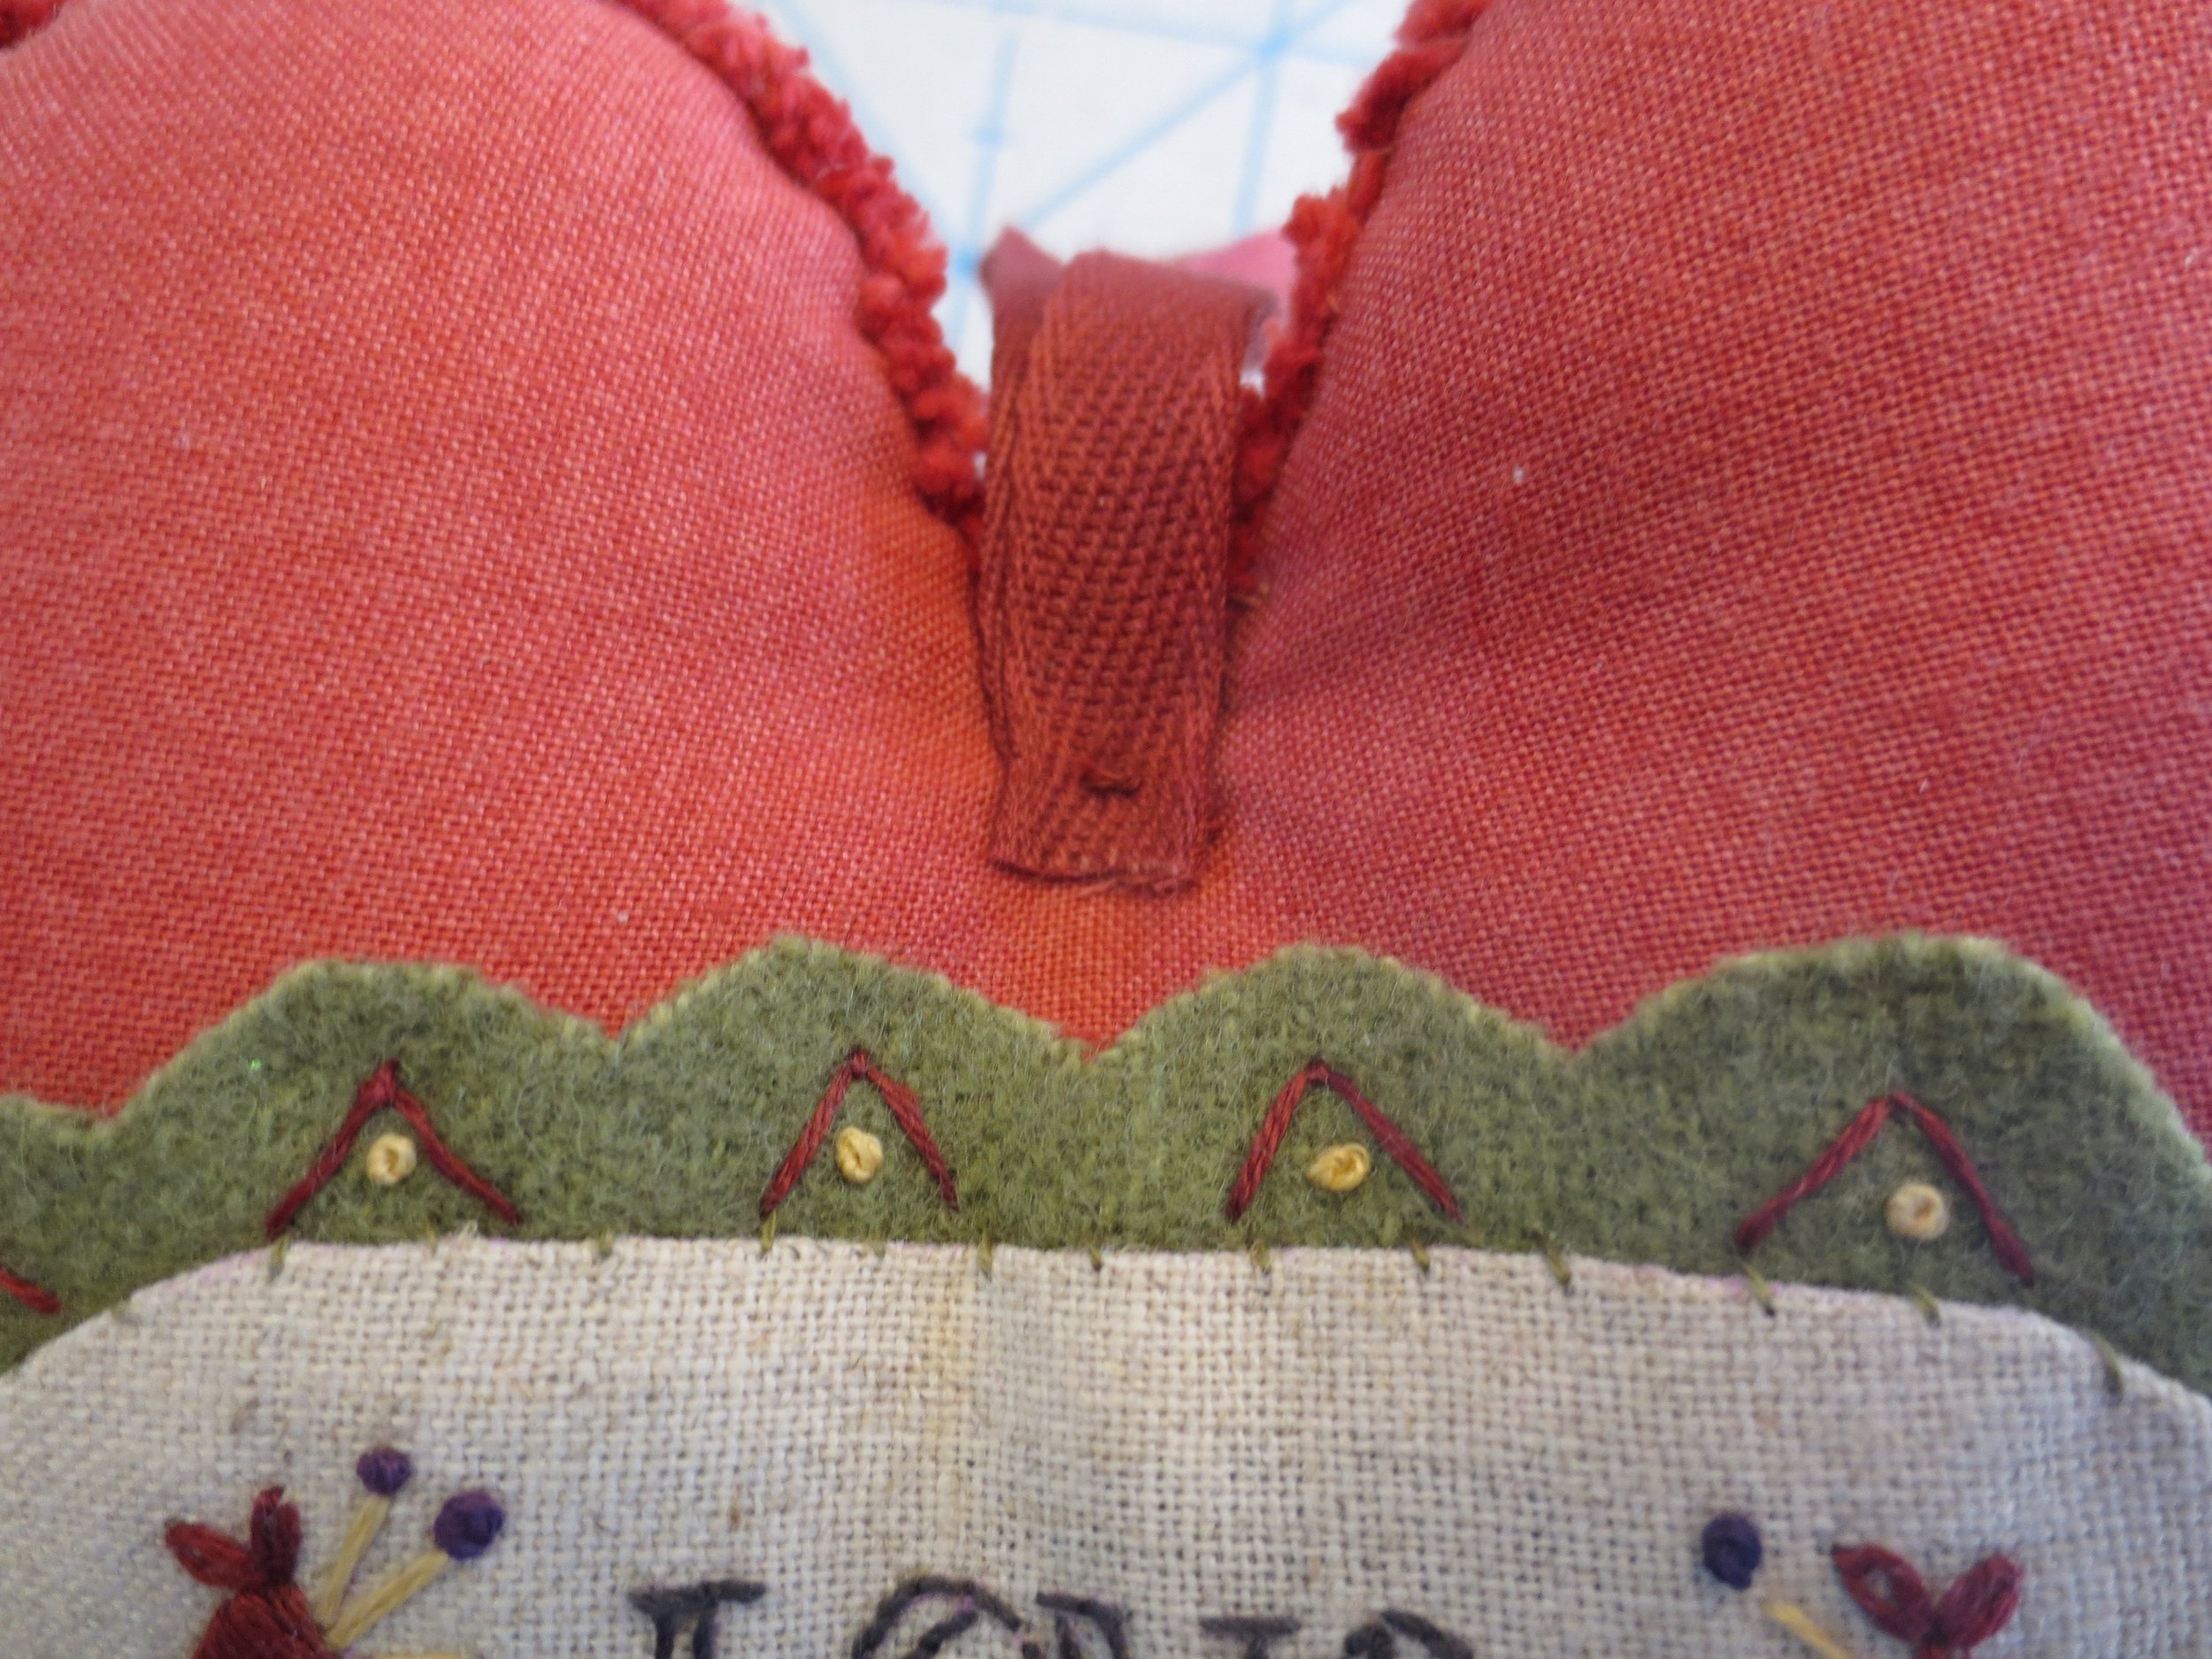
- Fold the 7" piece in half. Place the cut ends on the front of the heart, between the lobes. Use a tacking stitch (use thread that matches your ribbon) to secure.
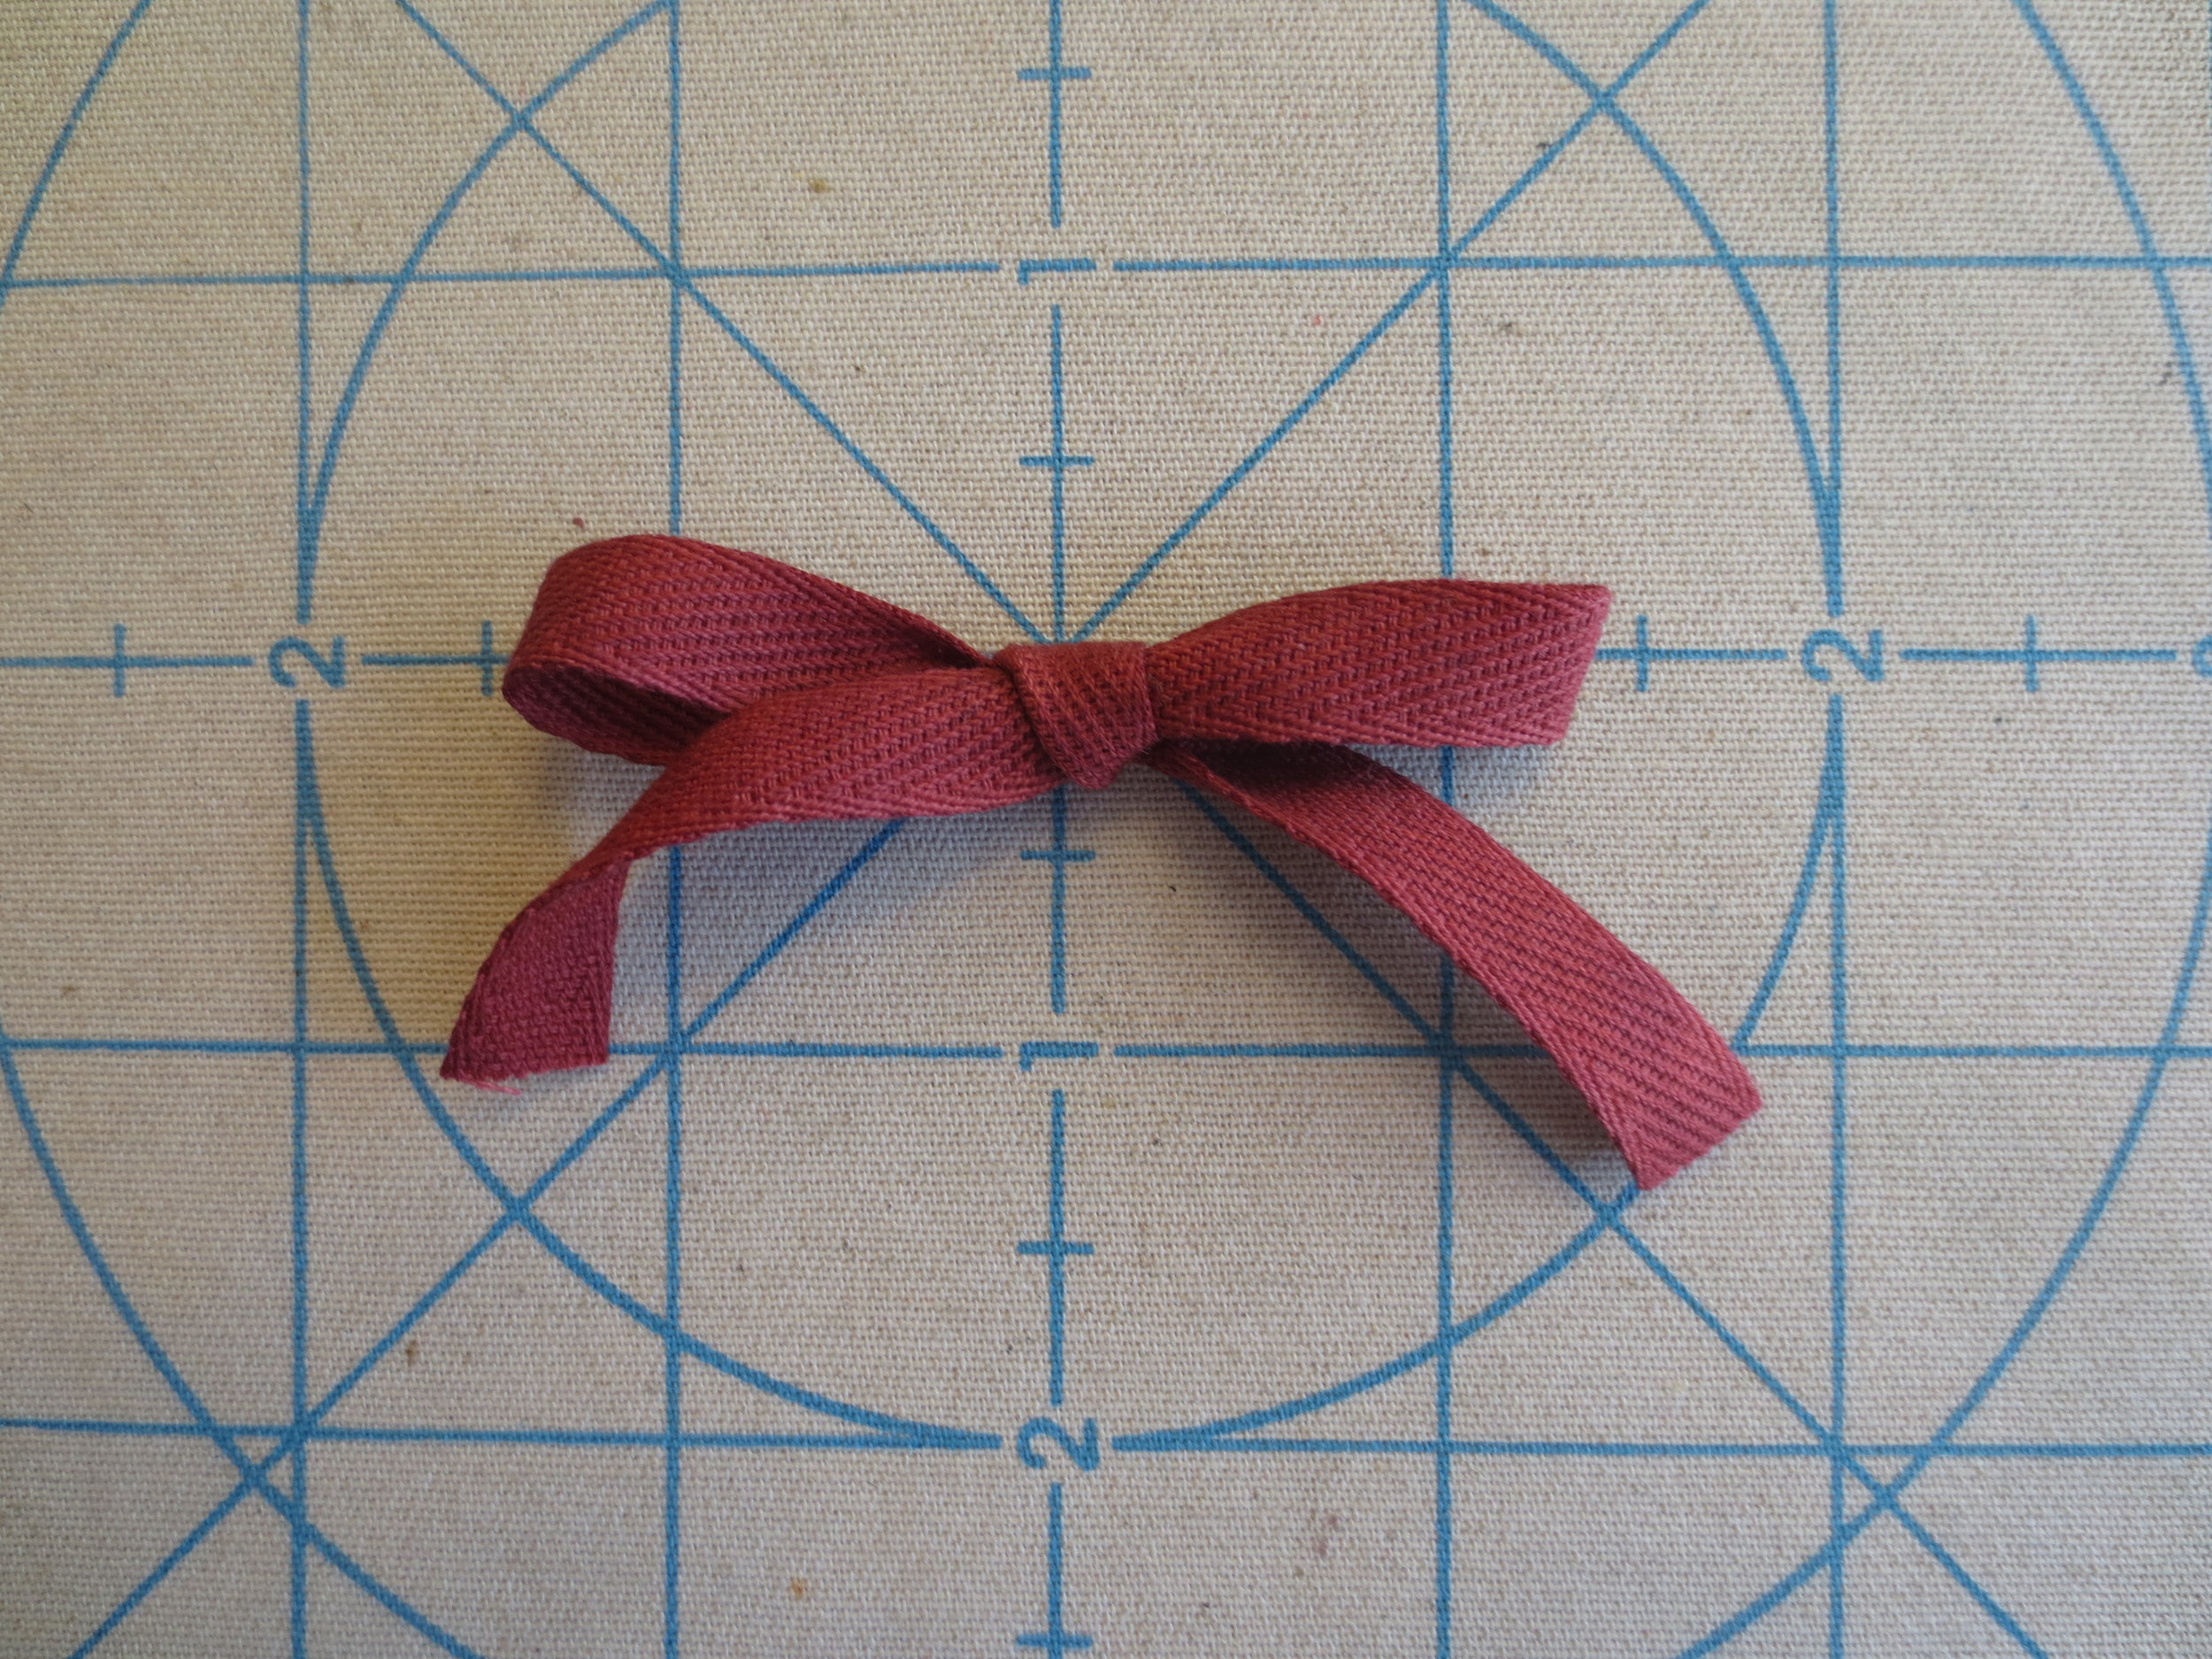
- Tie the 11" piece of ribbon into a bow (like the one you use to tie your shoe).
- Center the bow between the heart lobes and over the cut ends of the ribbon hanger.
- Use a tack stitch in the center of the bow to secure it to the heart.
- Begin on the front side of the heart underneath the bow. Make your knot here, then go through the hanger ribbon and heart, pulling the needle through, toward the back of the heart.
- Insert the needle adjacent to where your needle exited, back through the heart, hanger and then through the middle (slightly off-center) of the bow. Pull the thread through.
- Now, insert the needle into the center of the heart, approximately 1/32" to 1/8" from where it exited, through the hanger and heart. Pull the thread through so that the bow is snug against the heart.
- Make a knot to secure and reinsert the needle next to the knot, then up about 1/2" away from the knot. Pull the thread through and snip your thread. The ends should recede back into the heart and be hidden.
Voila! Ready to hang upon your door.
Happy Stitching!


