Audubon Inspired Wool Applique Picture
The inspiration for this design came indirectly from the works of the famous naturalist and painter John James Audubon. I recently hiked on a trail that passed through an area called Starr Ranch Sanctuary, owned by the National Audubon Society. That hike reminded me that I owned The Original Watercolor paintings by John James Audubon for Birds of America; a hefty publication that I purchased from a used book store a few years back. It’s a truly glorious book filled with beautiful watercolor paintings of birds in their natural habitat.
The Birds of America by John James Audubon
This is my primitive needle and thread imitation of Audubon’s magnificent watercolors.
The image is 6.25” x 9.0”, which will fit nicely into a 8” x 10” frame. Other options would be to inset it into a center block of a quilt, or increase the size of it by 1/3 and make it into a pillow.
The color palette of wool and thread in the materials section is just a suggestion. Be creative and use colors that bring you joy.
Happy stitching!
You will need:
Felted wool
Bird body and flower centers - 3” x 8 1/2” yellow
Bird wing - 2” x 5” grey with rust stripes
Bird’s eye - 1” x 1” ecru
Ground - 2'‘ X 7” dark rust
Flowers - 3 1/2” x 3 1/2” blue
Leaves and grass - 3” x 3” dark green
Grass - 2” x 2” medium green (The grass is divided into two shades of green)
Fabric background - 14” x 16” linen blend ( I used Robert Kaufman Essex Flax that I antiqued with walnut husk dye). Use a light colored background that you can see through using a light box. I think this would be beautiful as a pillow with a muted colored linen blend like this.
Thread
Valdani perle cotton, size 12
O31 Tealish Blue - whip stitch on flowers
O518 Dusty leaves - back stitch on ground, whip stitch on leaves and grass
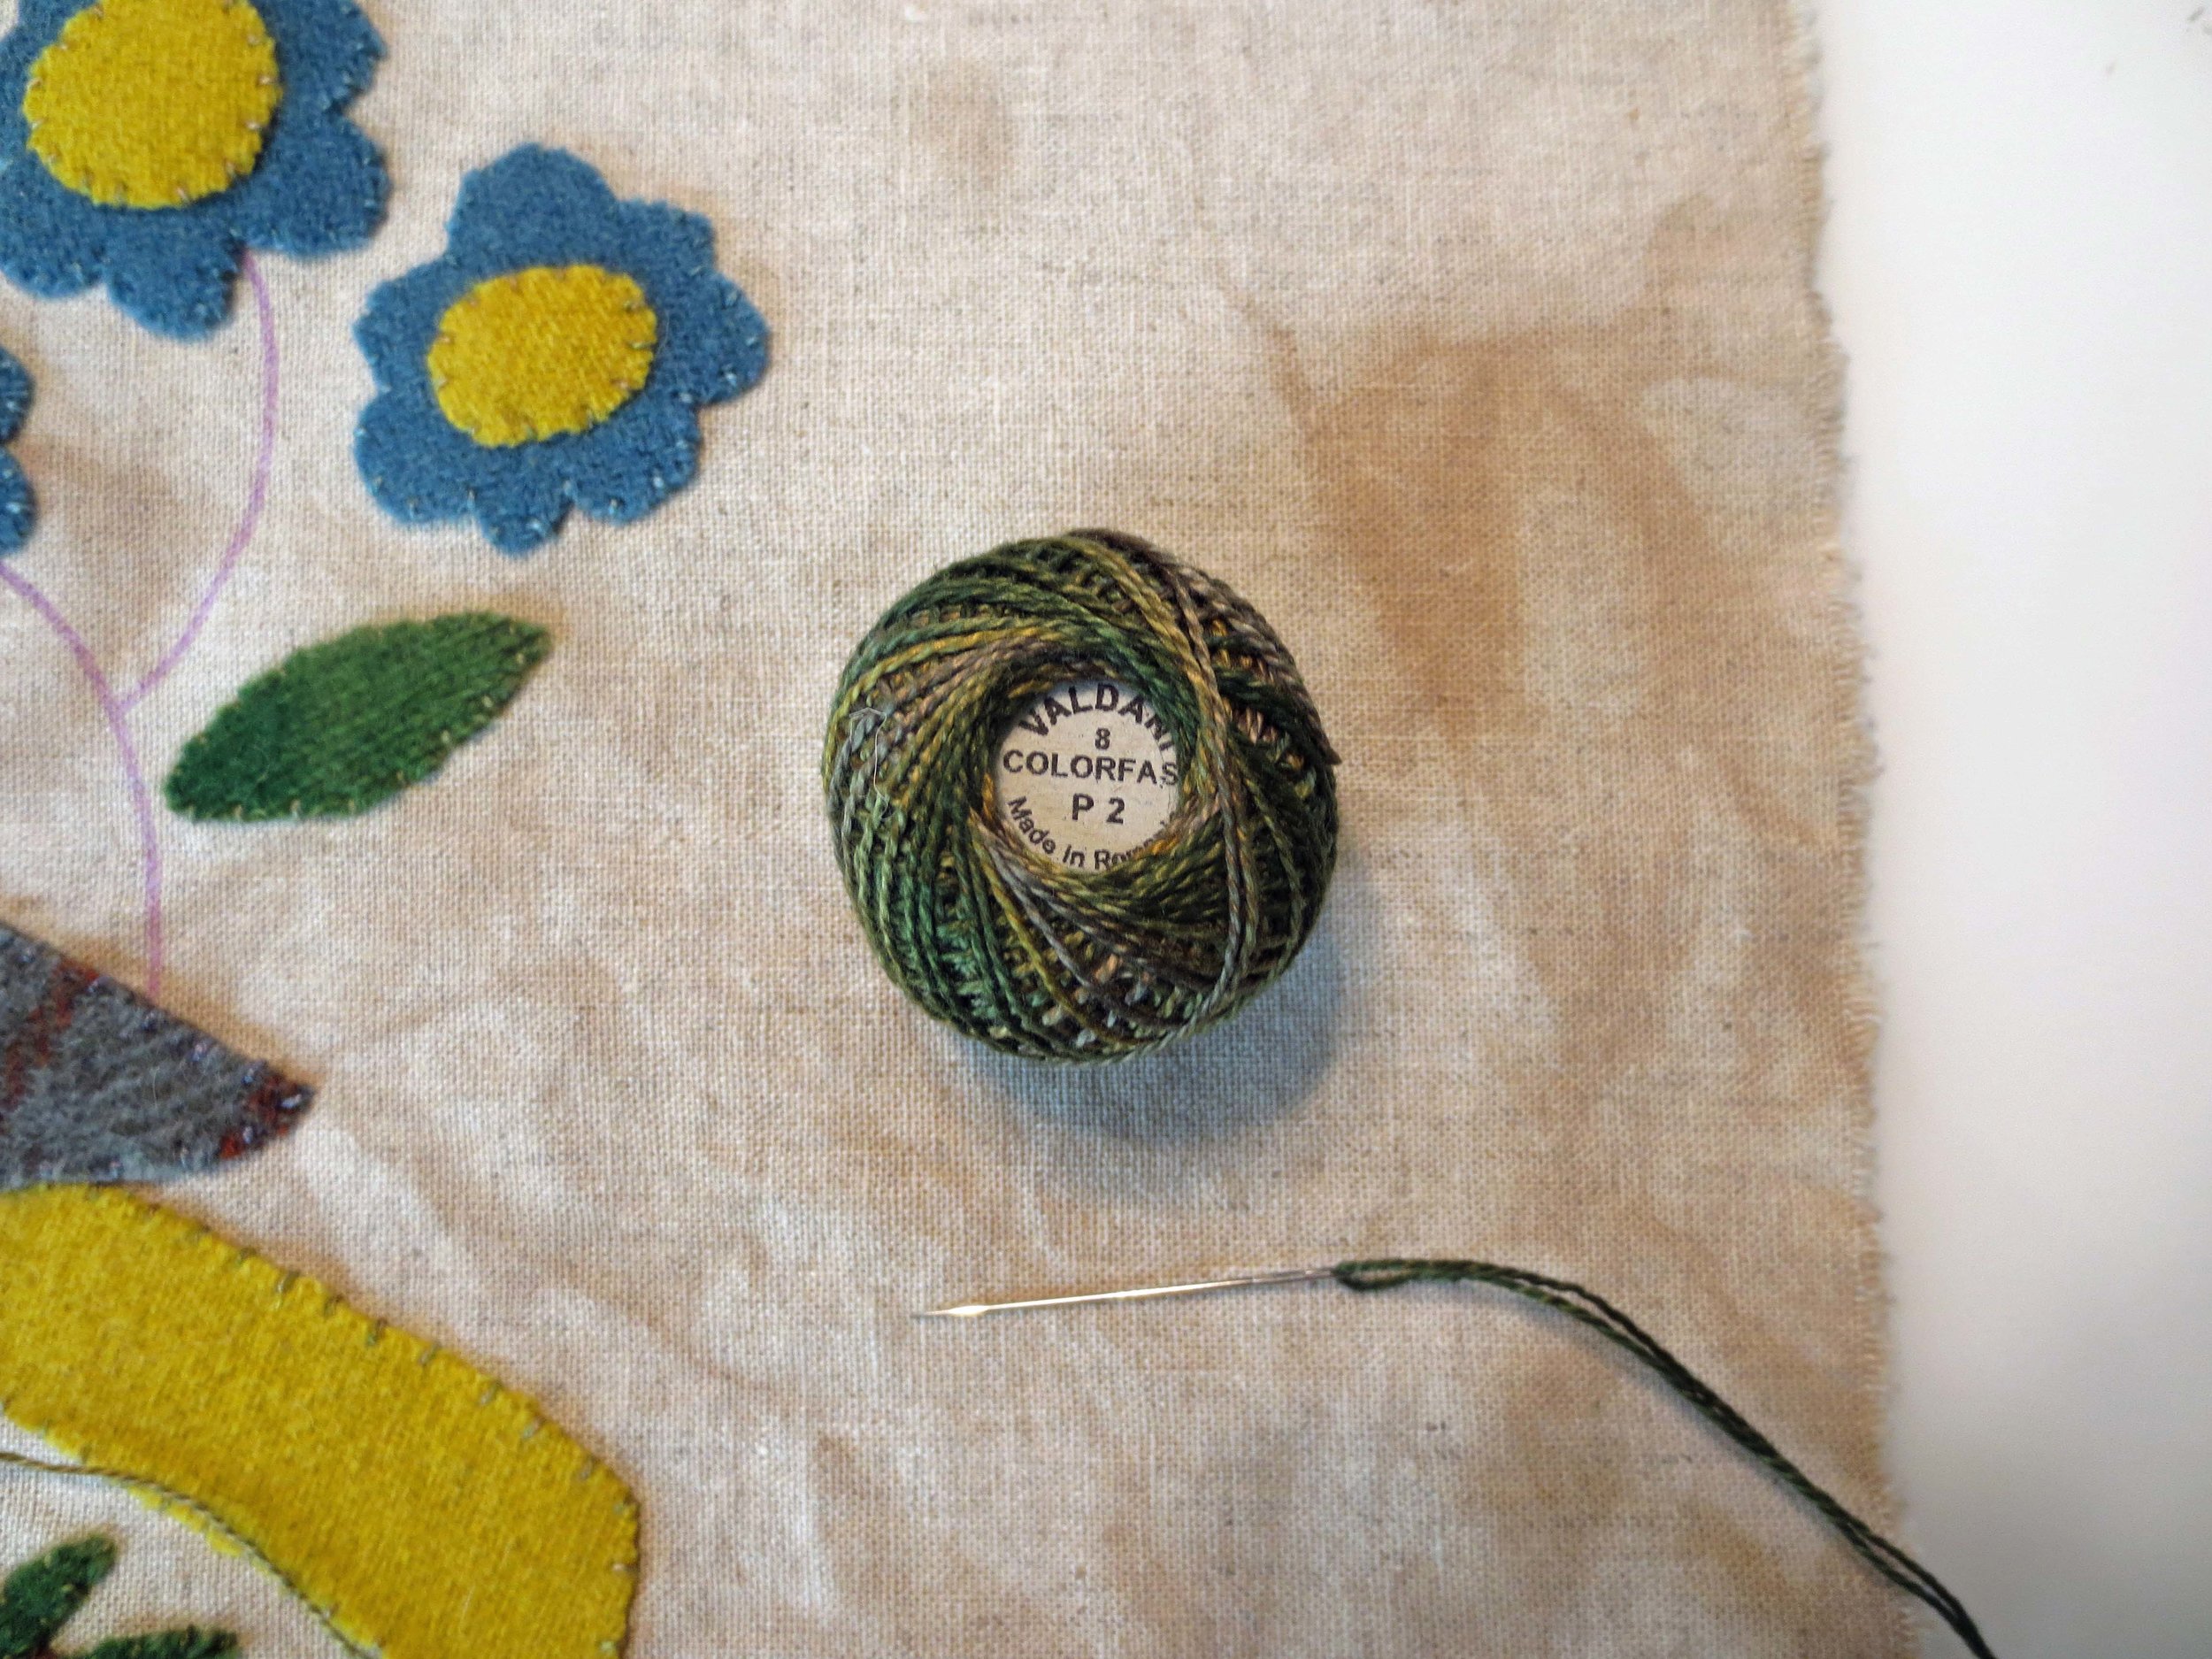
PT2 Twisted threads green (this is a gold green) - veins on leaves, whip stitch on bird body and flower centers, embellishment on bird wing
Valdani perle cotton, size 8
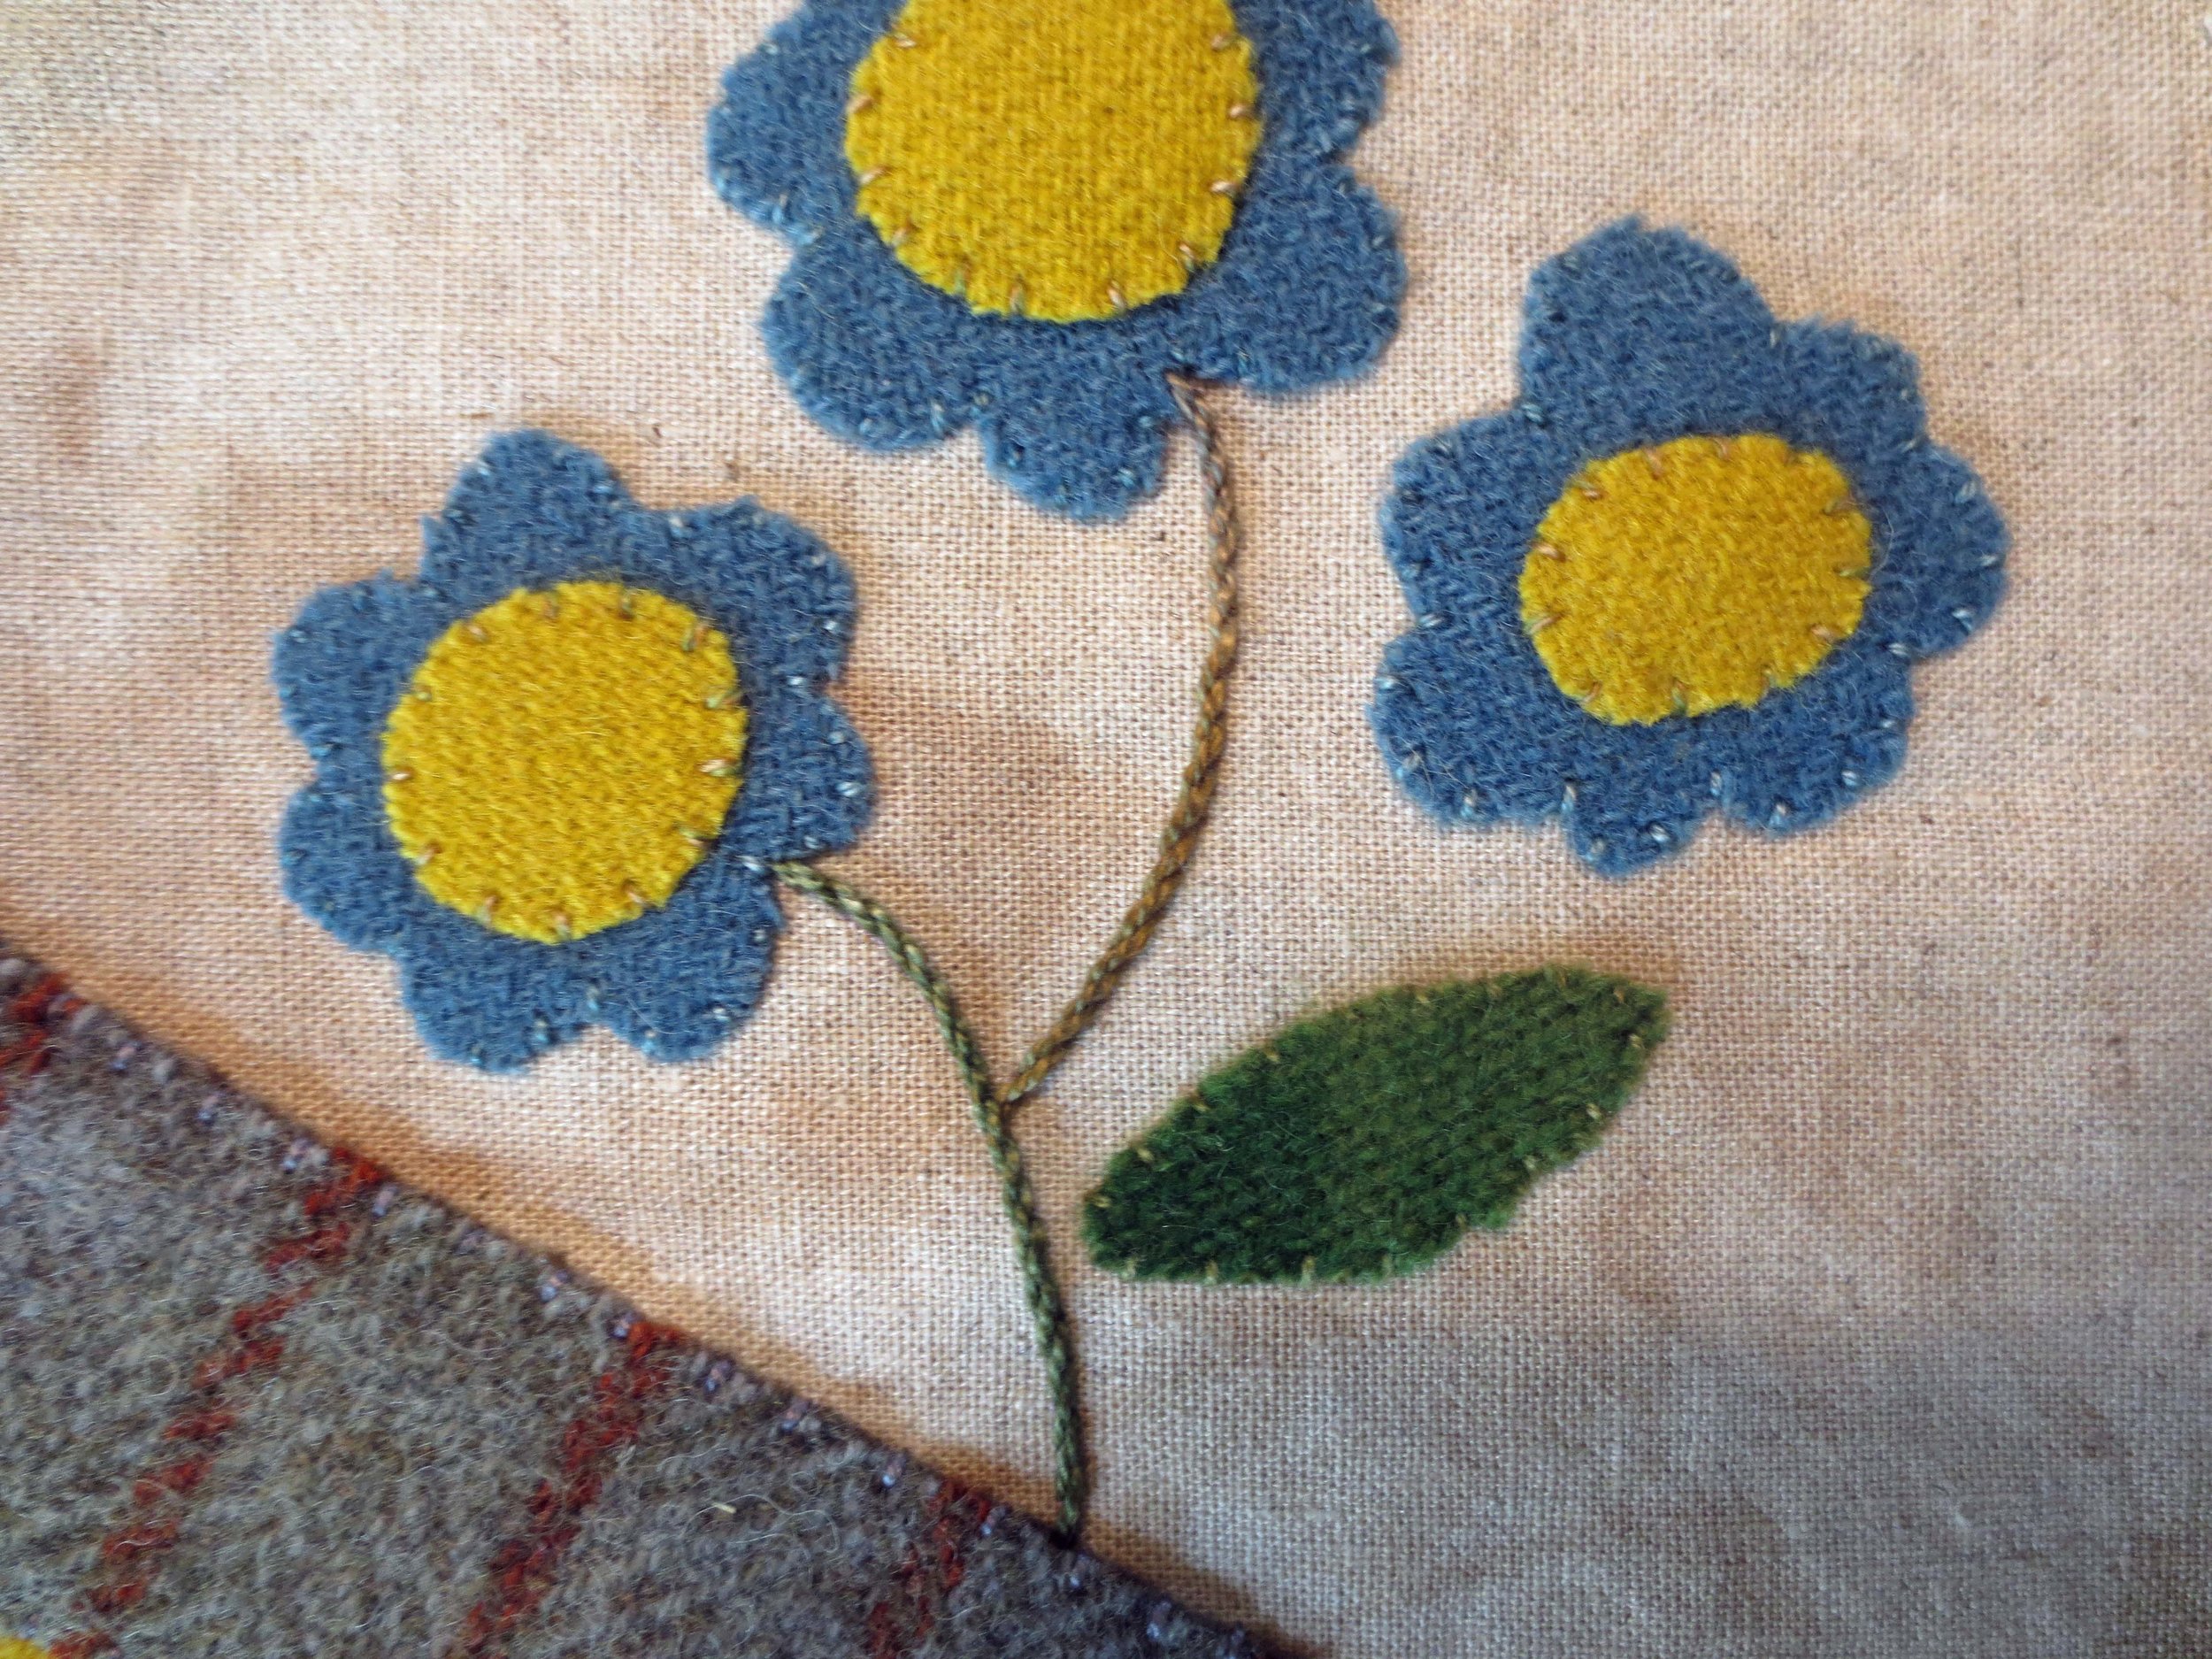
P2 Olive Green, Vintage Hues - flower stems
DMC perle cotton, size 8
#300 Rust - whip stitch on ground, and flower embellishment
#414 gray - bird’s legs, whip stitch on wing, french knot eye
DMC six strand embroidery floss
#414 gray - tail embellishment
ecru - bird’s eye
Miscellaneous
Fusible web - My favorite is Meltfuse by Vilene. An alternative is Heat ‘N’ Bond Lite.
Steam Iron
Light box for tracing
Chenille needle, size 24
8” x 10” frame
Foam core board for mounting project for framing (optional)
Glad Press ‘N’ Seal (optional) This can be found in most grocery stores in the United States.
Fine tip permanent marker - for use with Press ‘N’ Seal
Stitch guide - This is a general guide that I include with most of my projects. I try to illustrate some of the more difficult stitches in my project instructions, but I also try to include other references if I feel that they are needed.
Instructions
Trace patterns onto fusible web (images are already reversed for use with fusible web). Cut out images leaving a small 1/8” border around each. Note: Label your leaves and flowers numerically on your layout and fusible web.
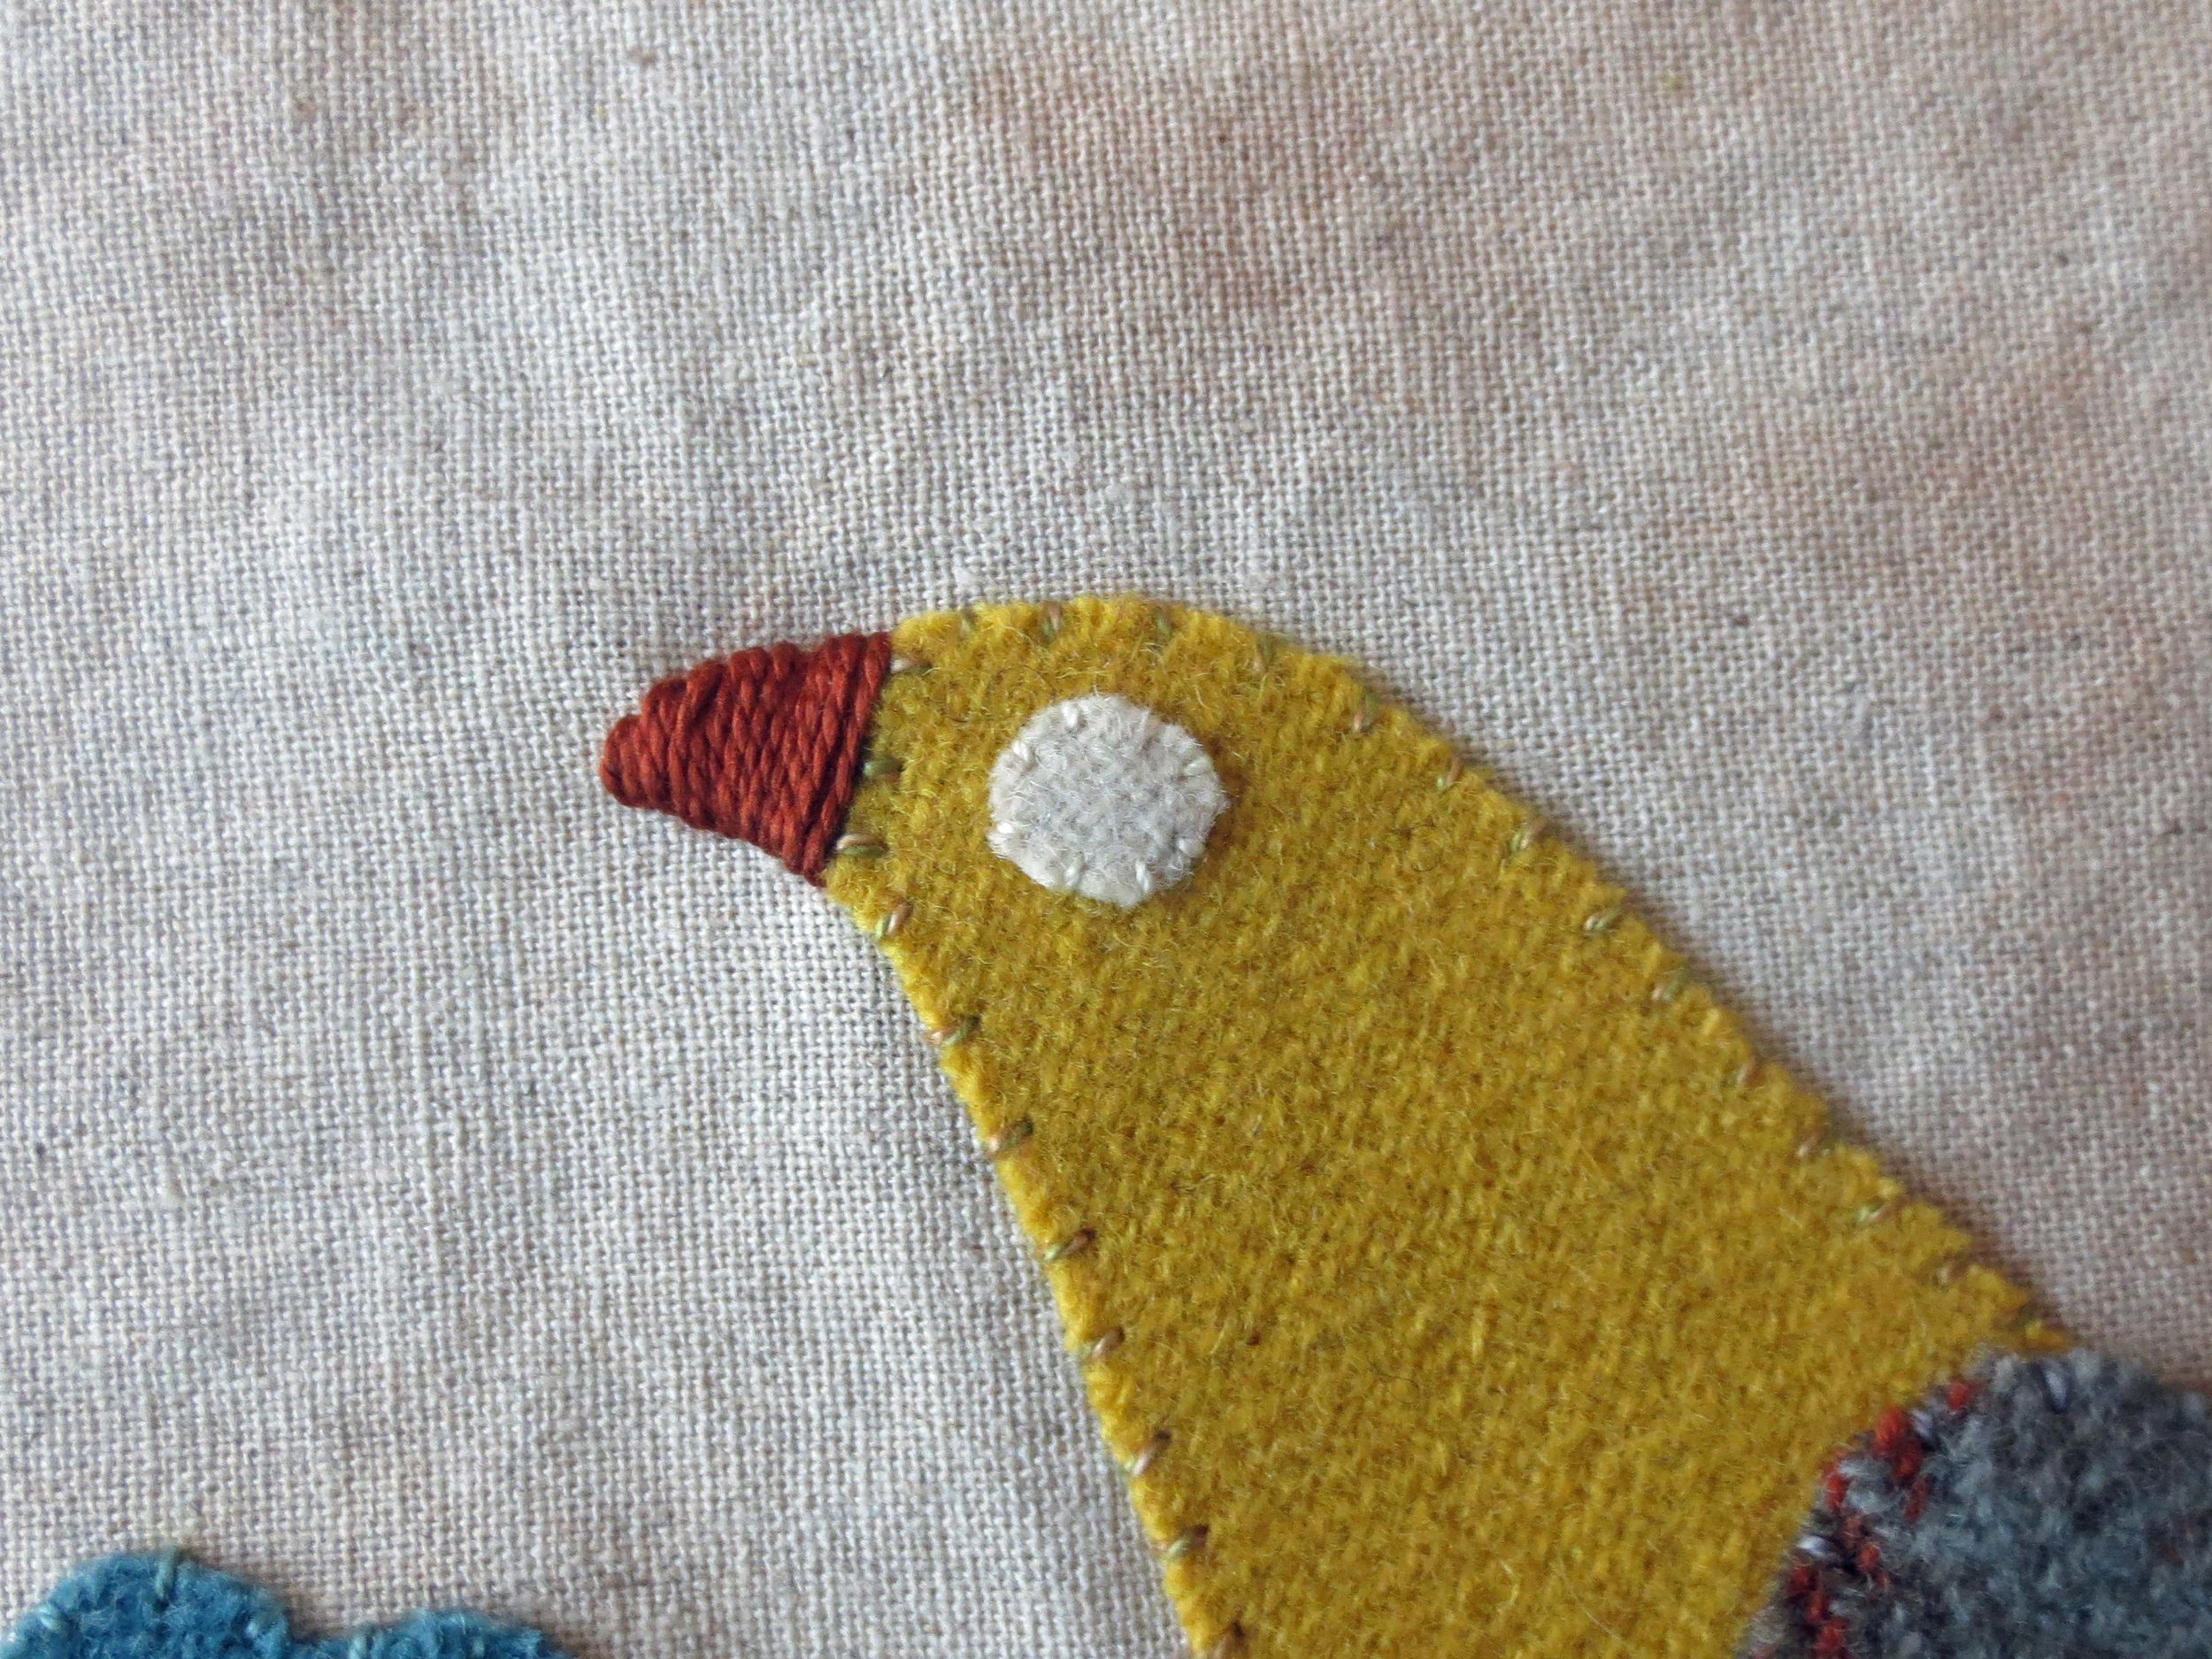
Notice that I forgot to trace the bird’s eye? Well, thankfully I remembered to include it in the next step.
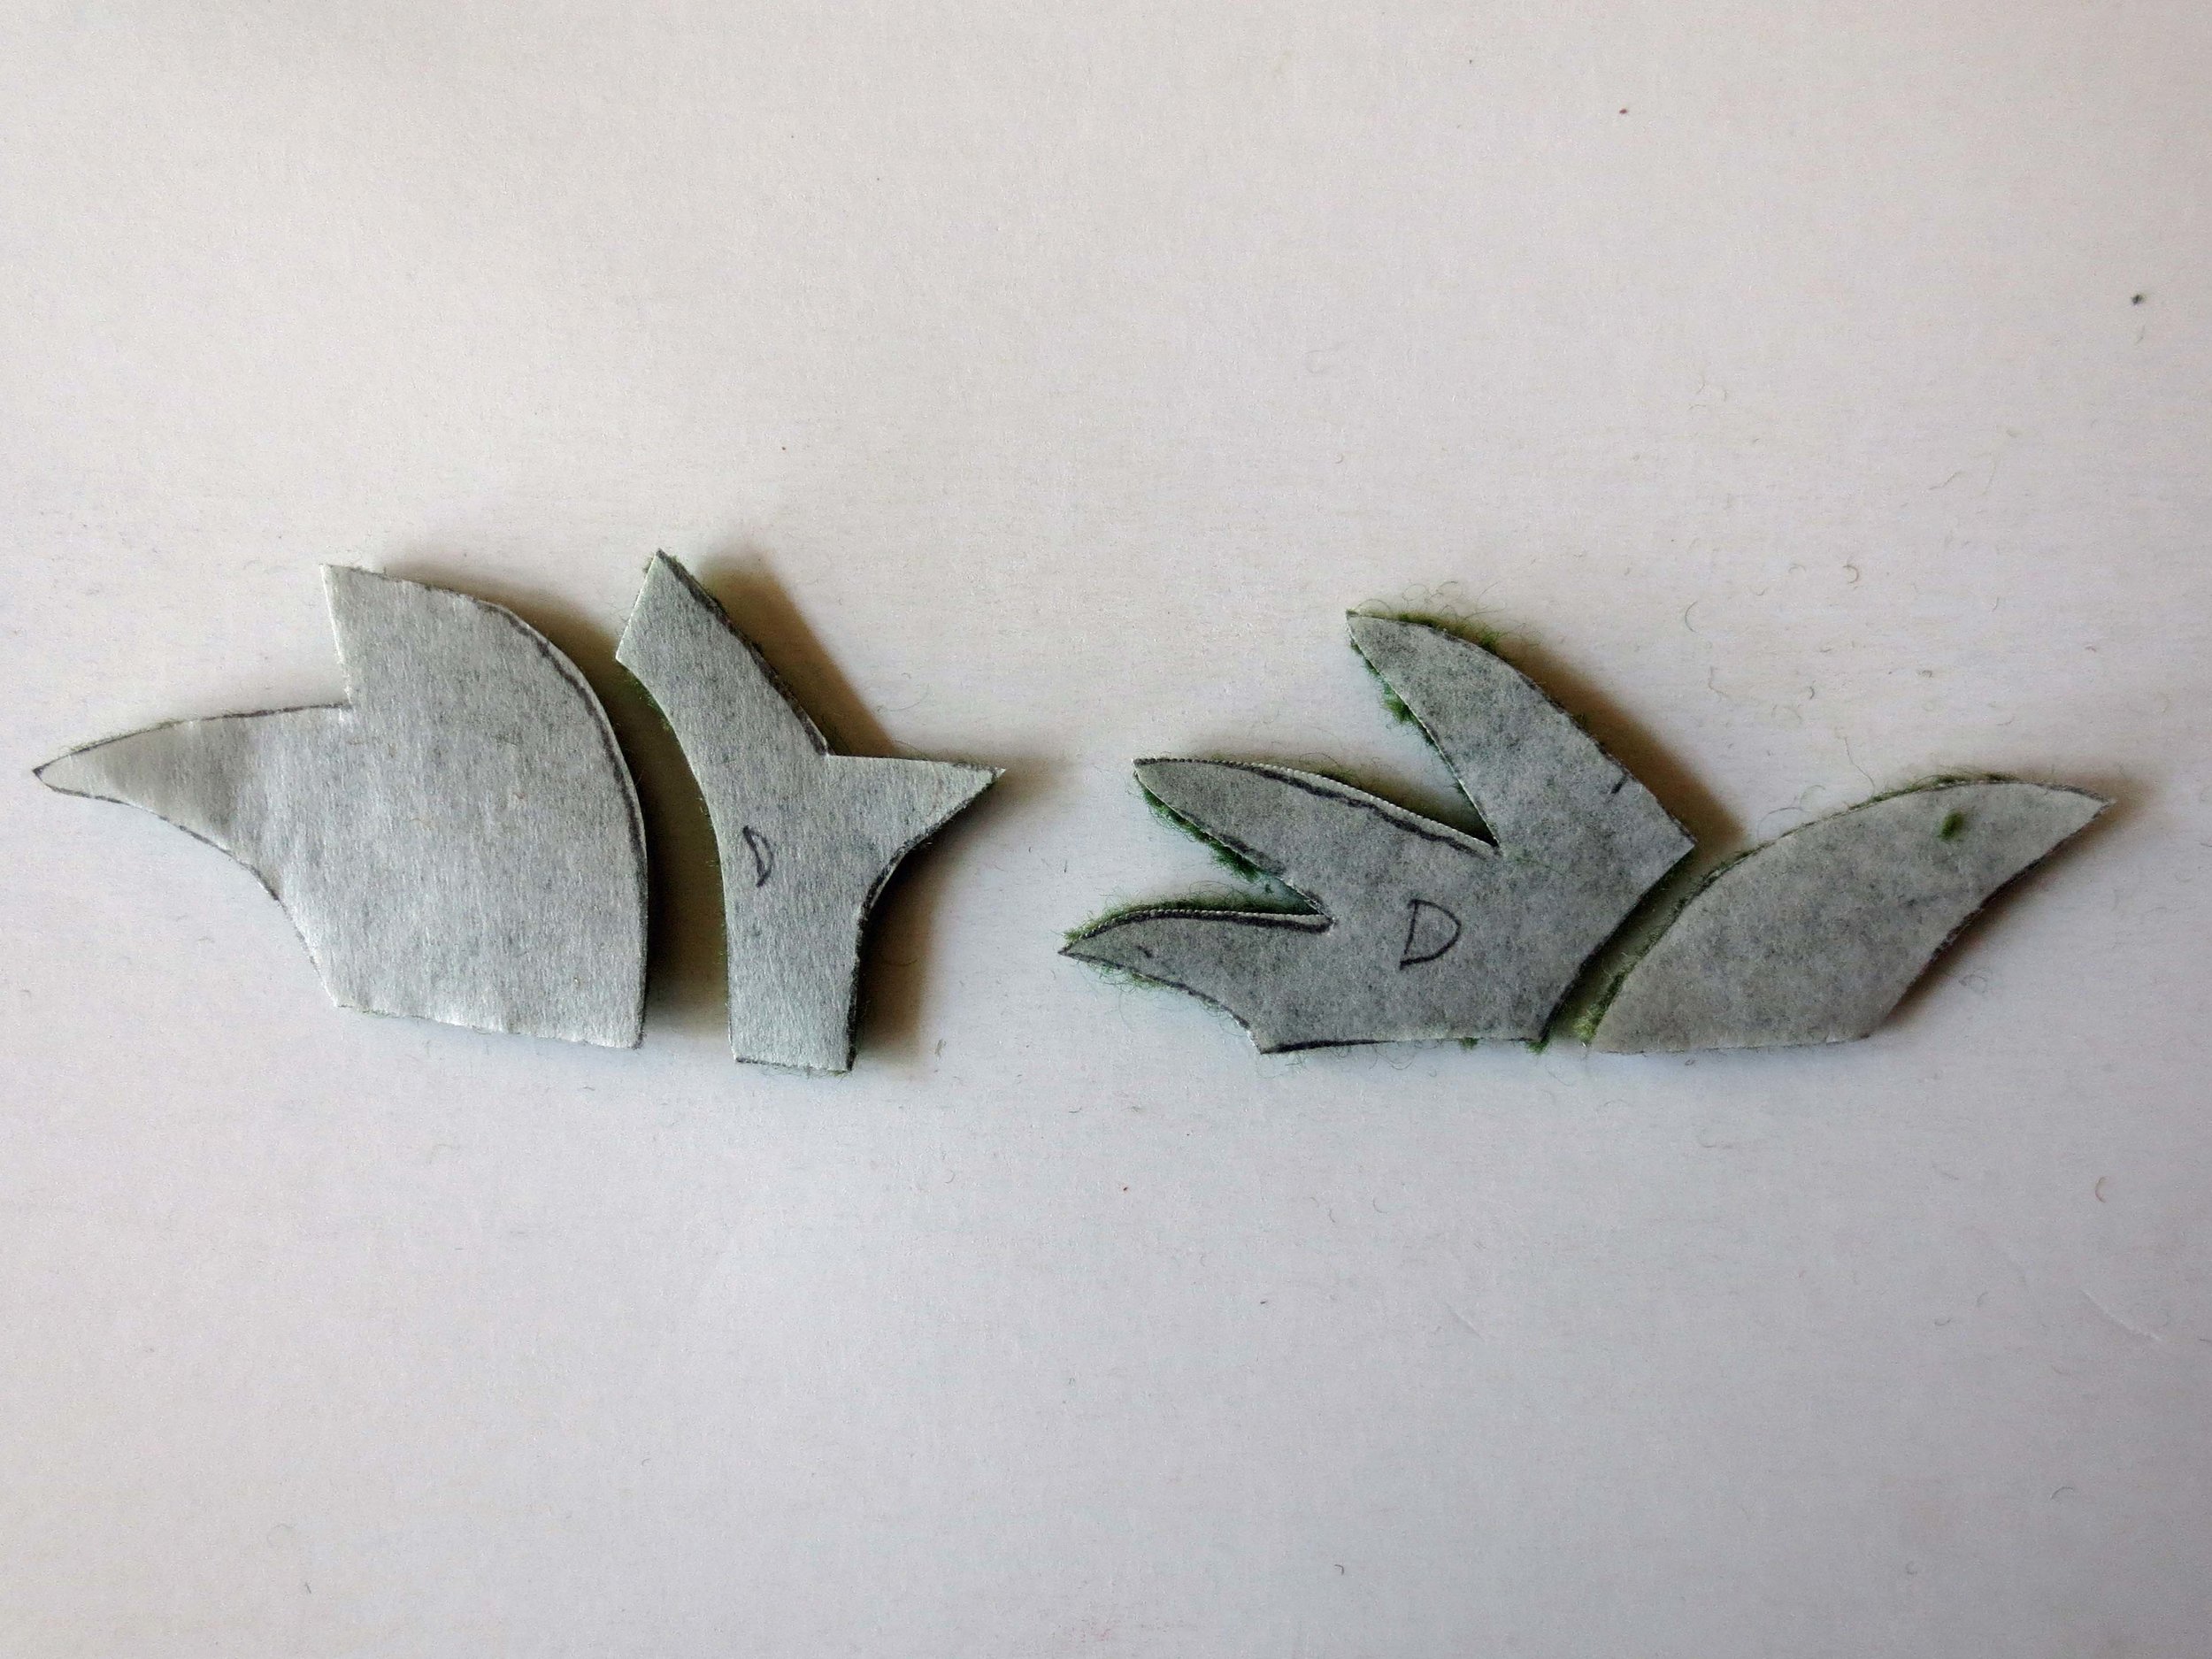
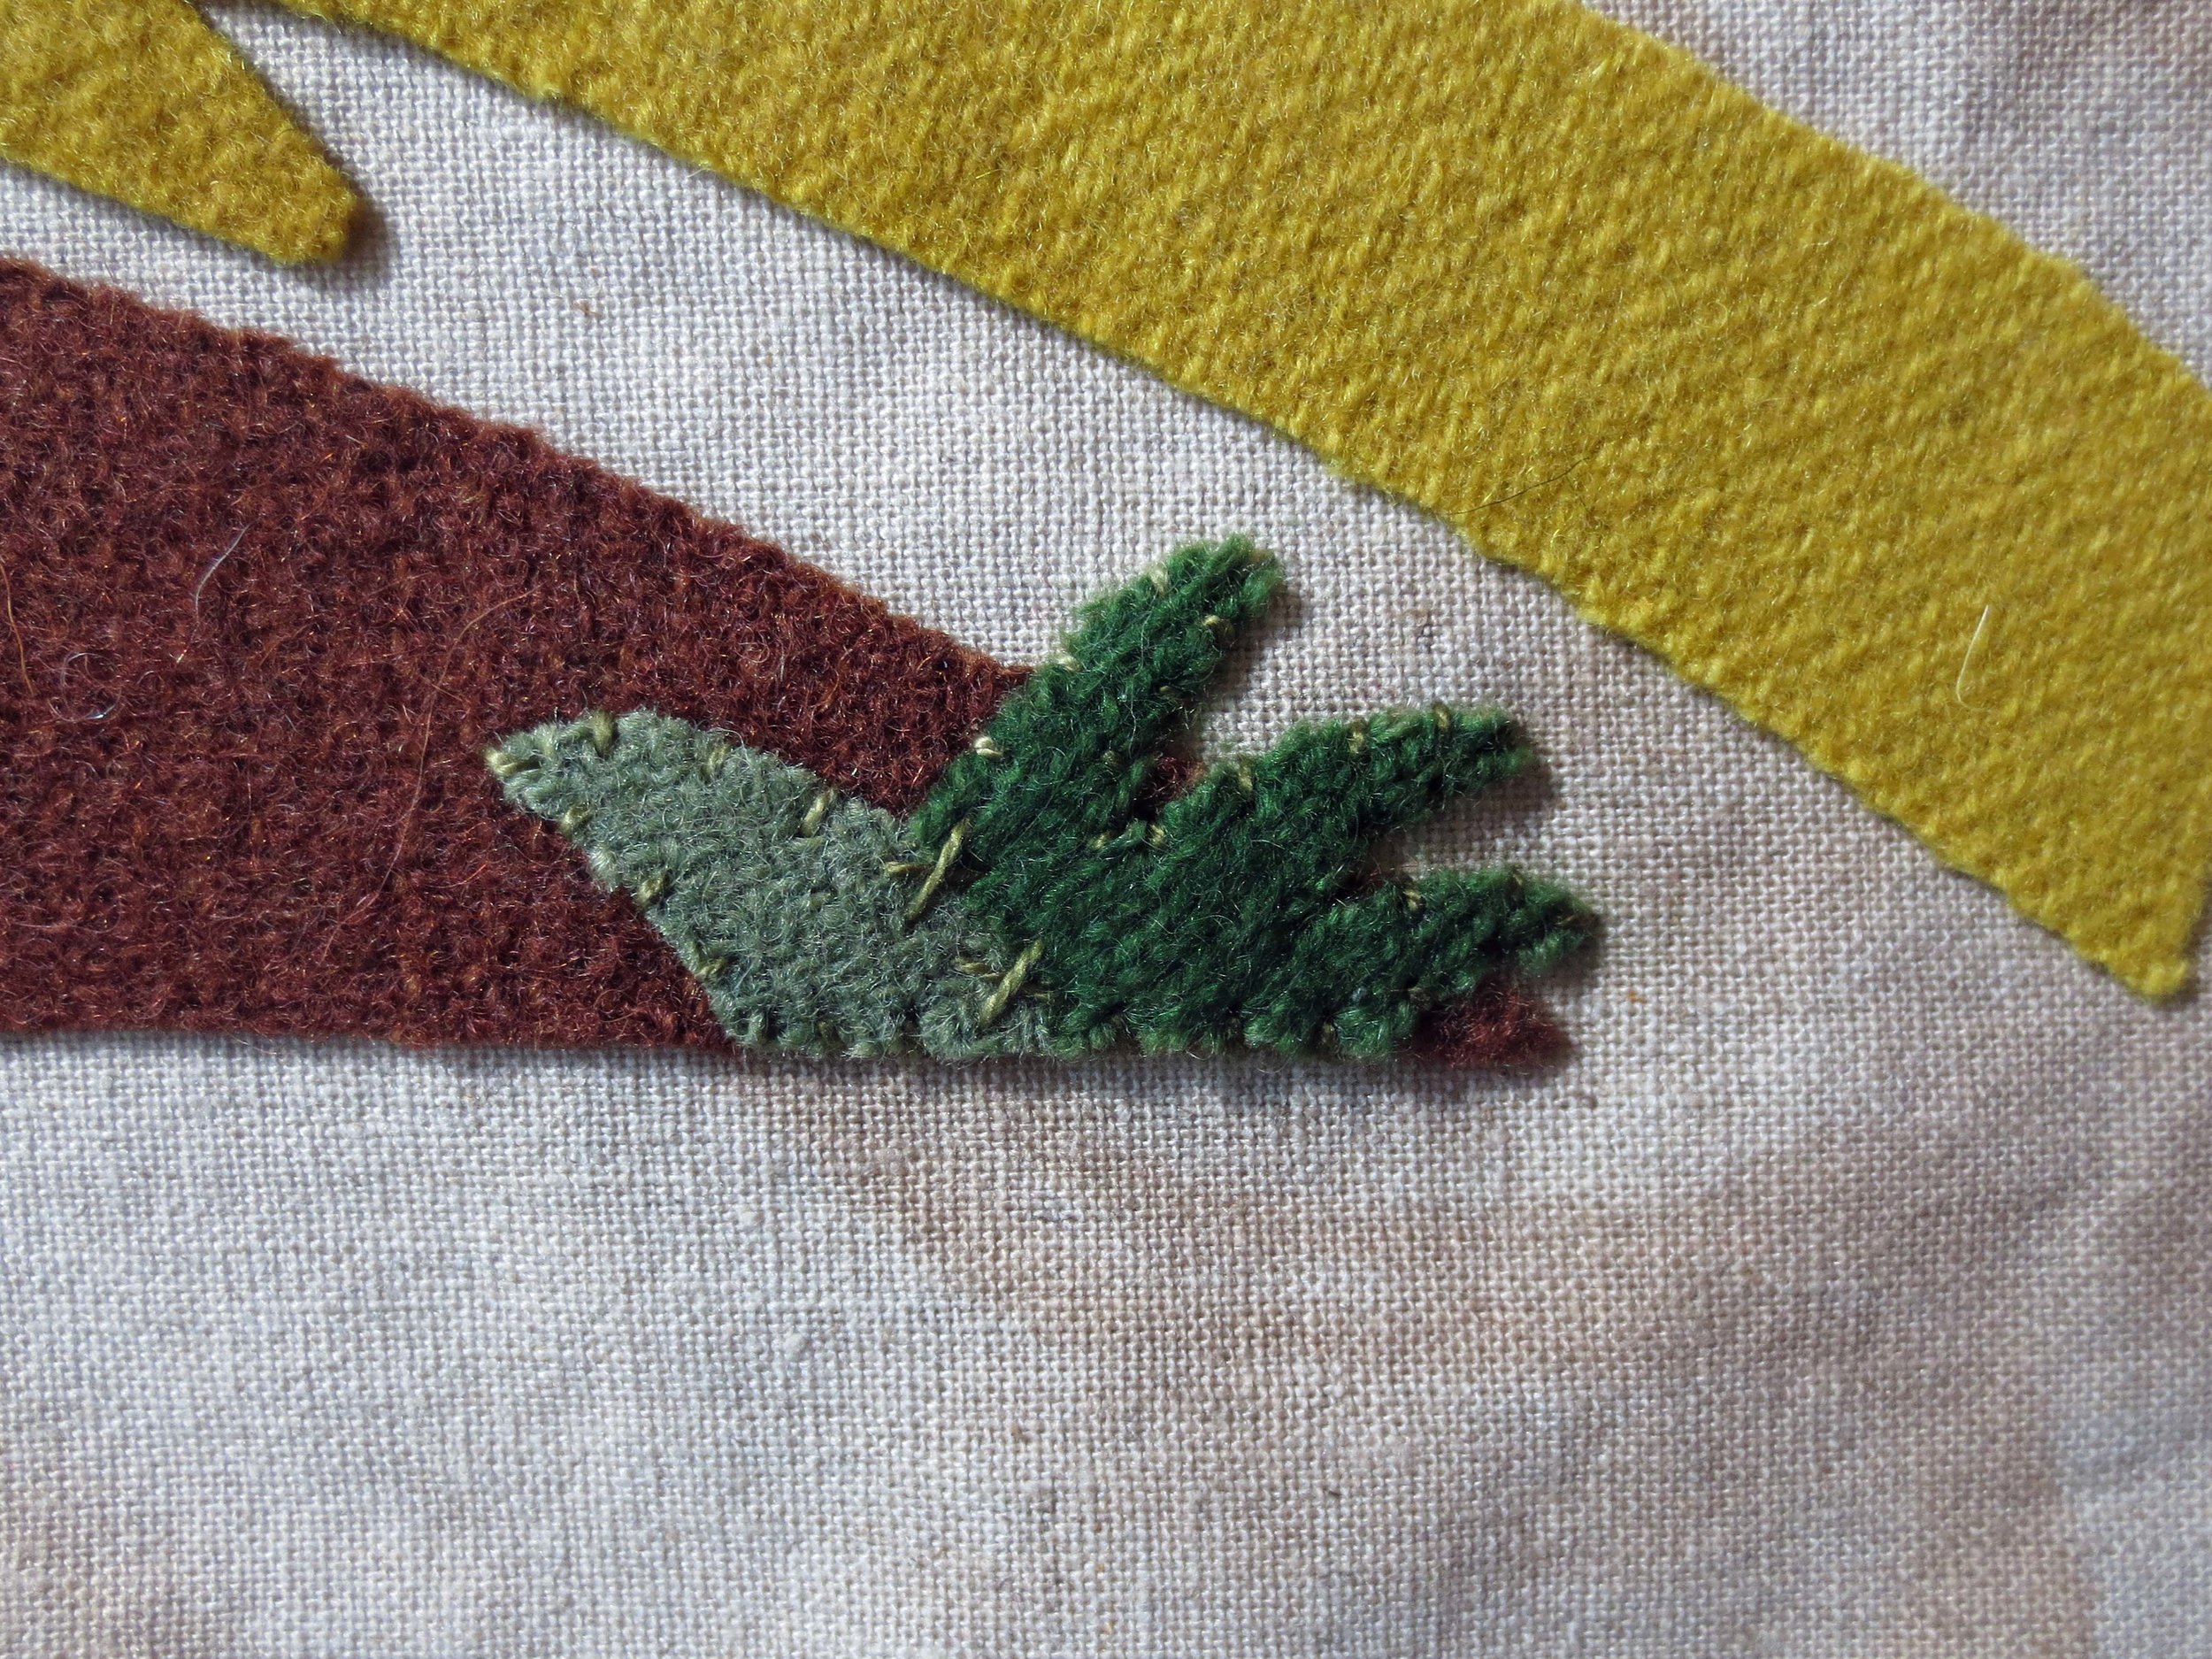
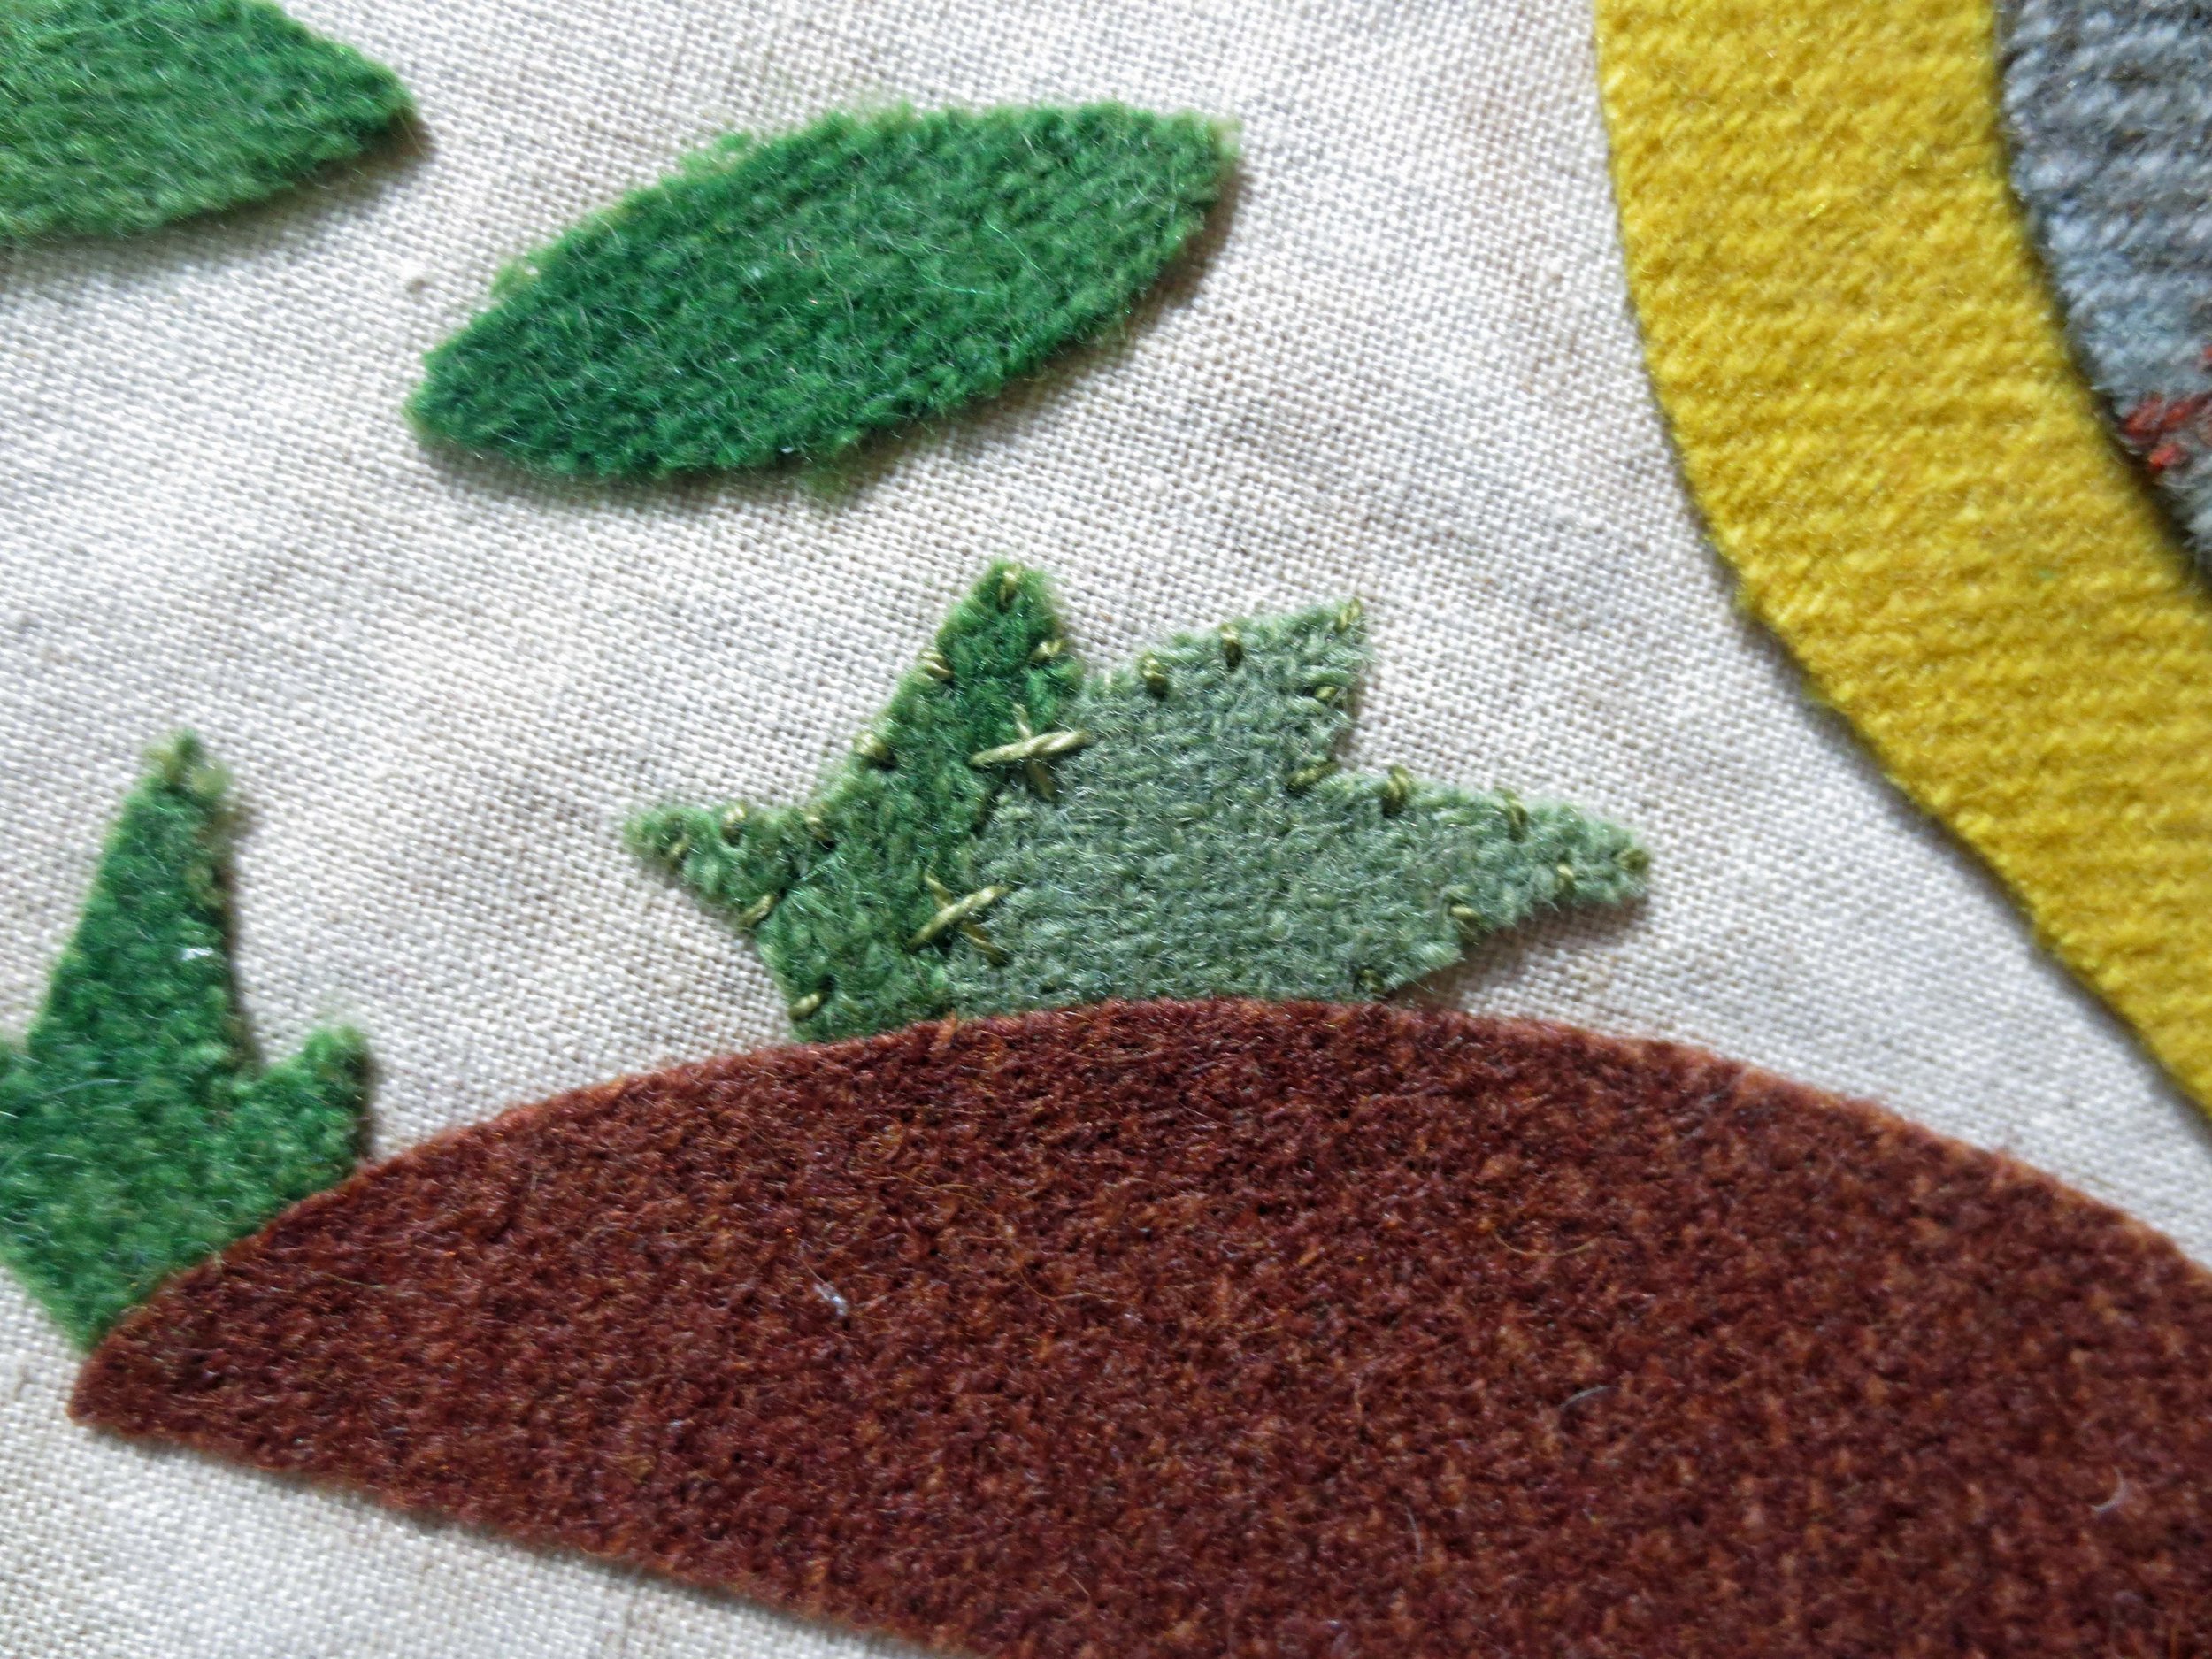
2. Fuse pattern pieces onto designated wool following manufacturer’s instructions. Cut out wool pattern pieces along outlines. Note: Cut the grass pieces along the drawn lines, and then fuse to different shades of green (see below). I labeled the darker colored green pieces “D”.
3. Place the Layout in the center of your light box. Center your background fabric over the Layout. You should be able to see the Layout through the fabric.
4. Position the grasses located on the left side of the ground using the Layout as your guide. Notice that they drop below the top line of the ground. The bottom portion of each will be overlapped by the top of the ground. Make sure that the two pieces of the split green grasses butt up to each other. Carefully transfer your project to your ironing board or pad. A rimless cookie sheet or pizza peel work well as transfer tools. Fuse in place using steam. I like to flip the project over and also iron the back side.
5. Return to the light box, realigning the grasses. Position the ground, and then transfer to your ironing board to fuse in place,
6. Return to the light box and position the bird’s body, flowers, and leaves. Fuse in place using steam.
7. Return to the light box and position the flower centers, remaining grass, and bird’s wing and eye. Fuse in place using steam.
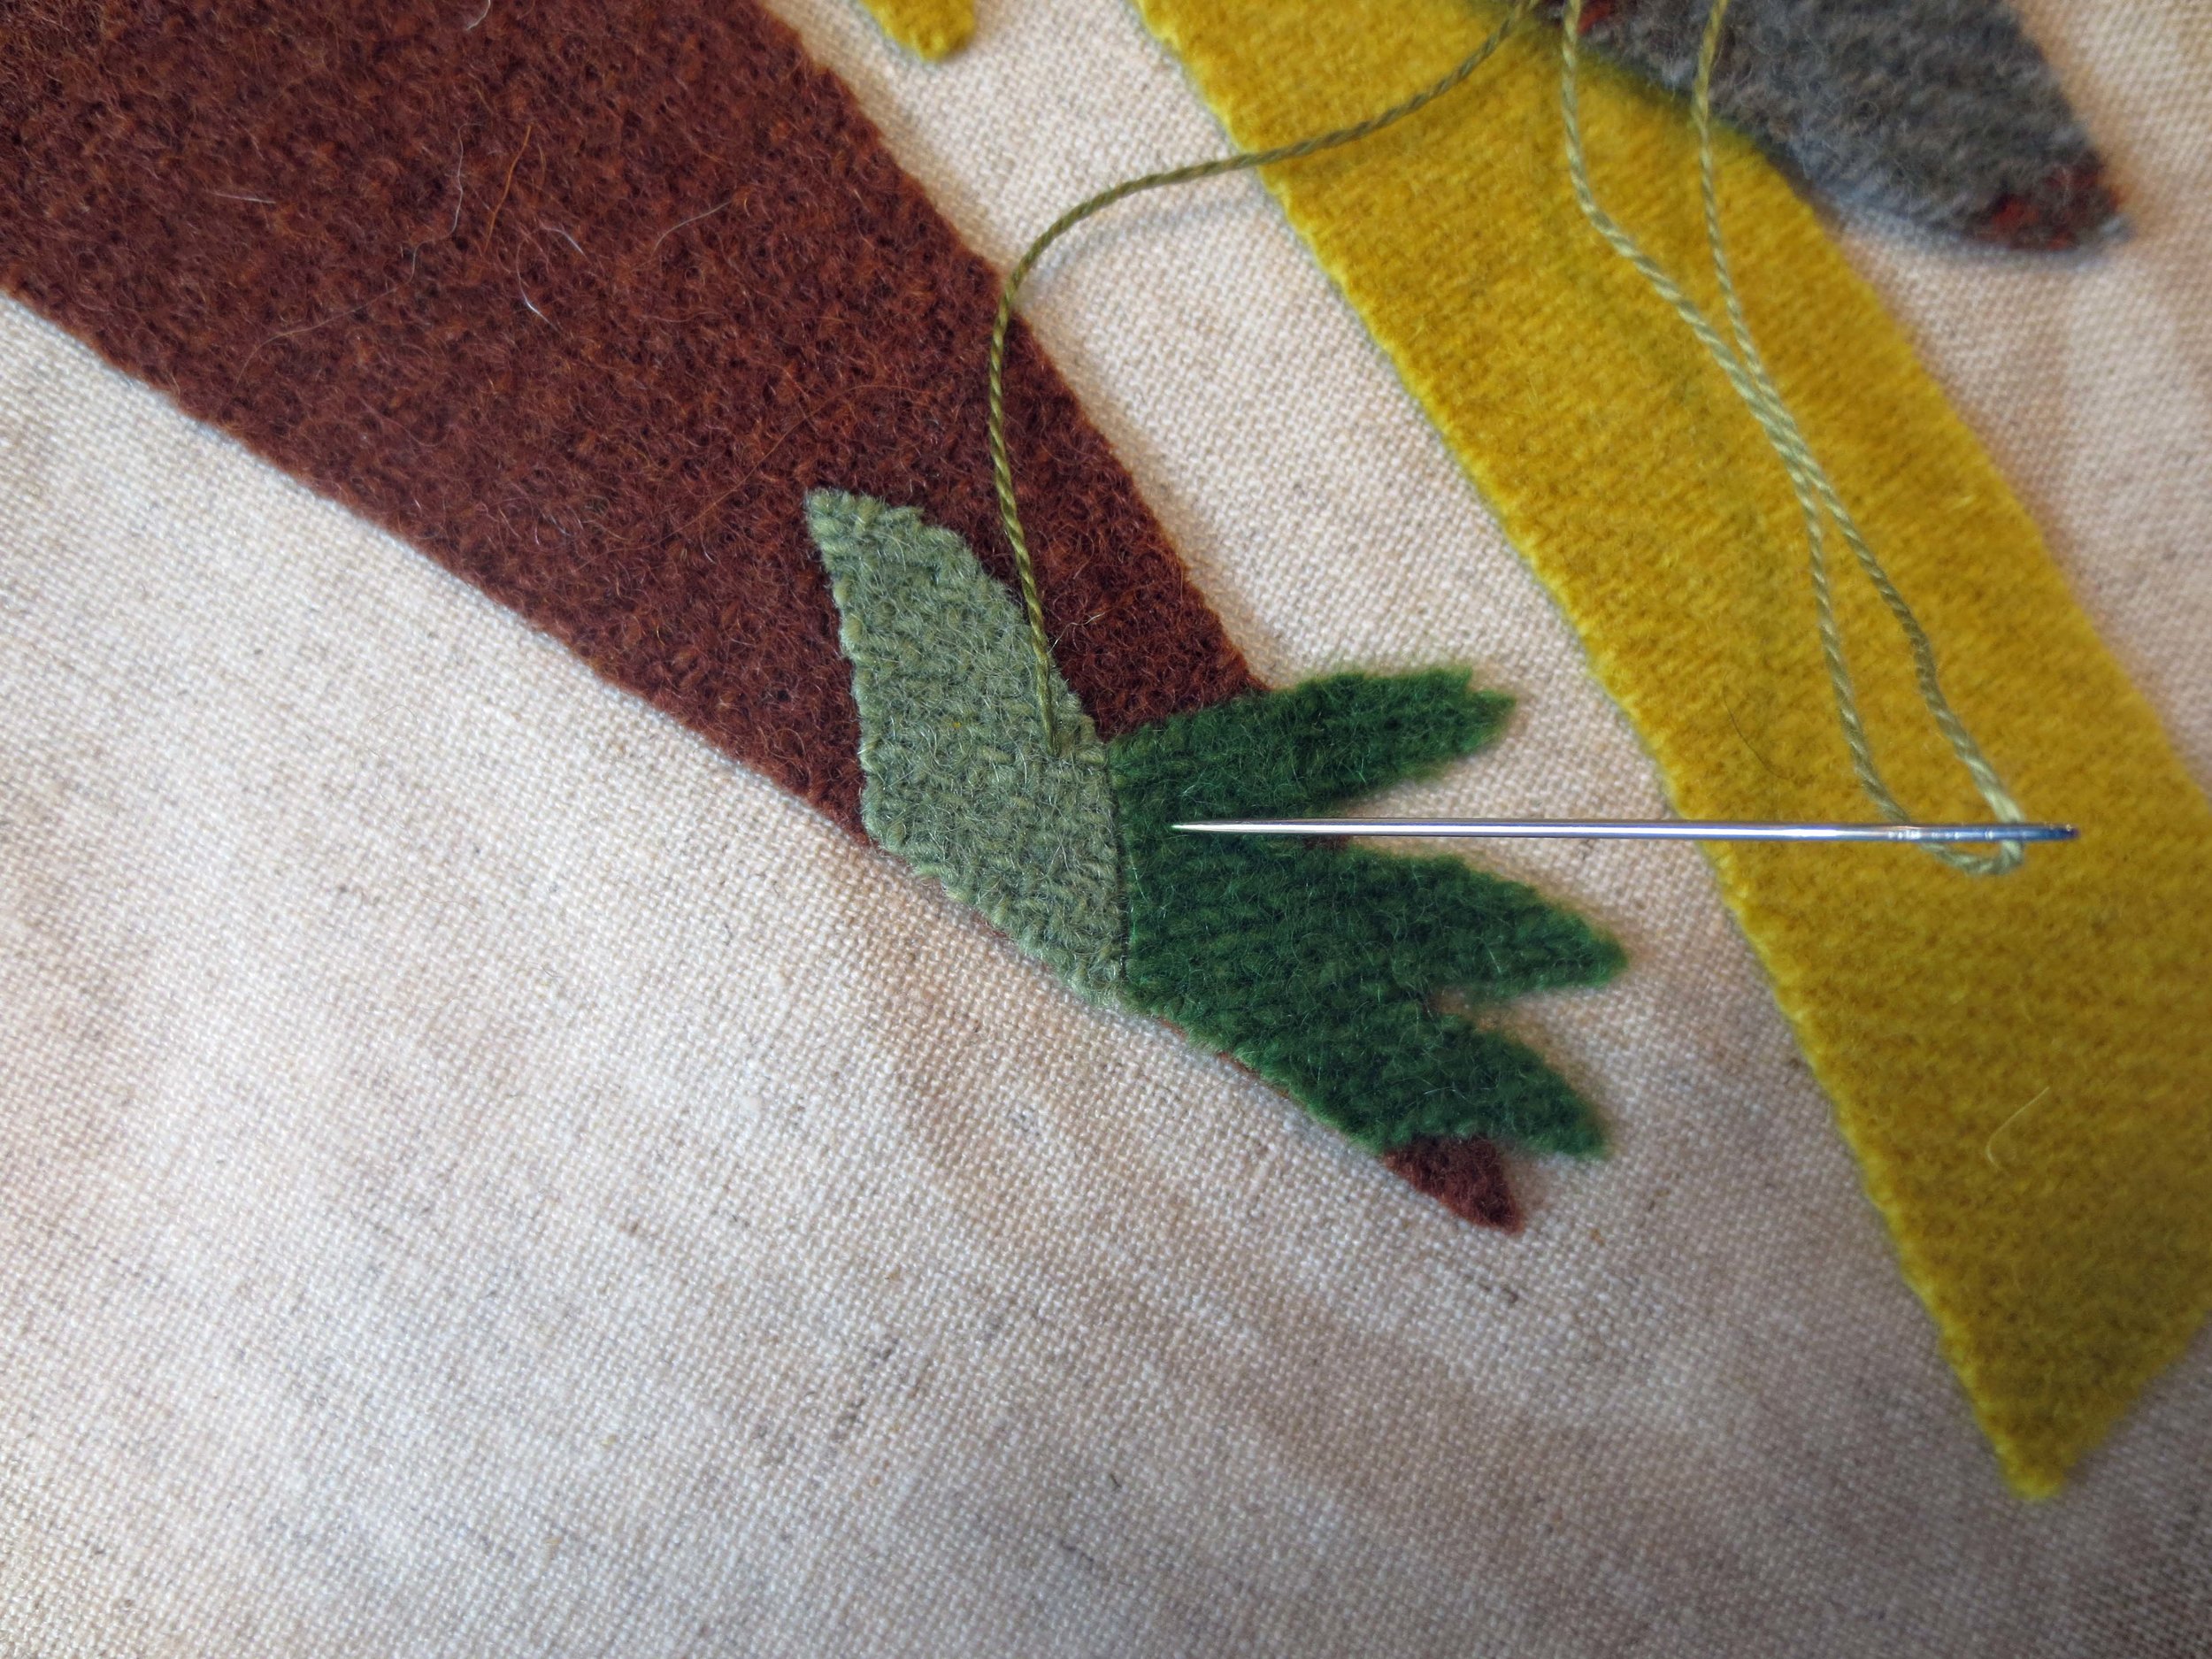
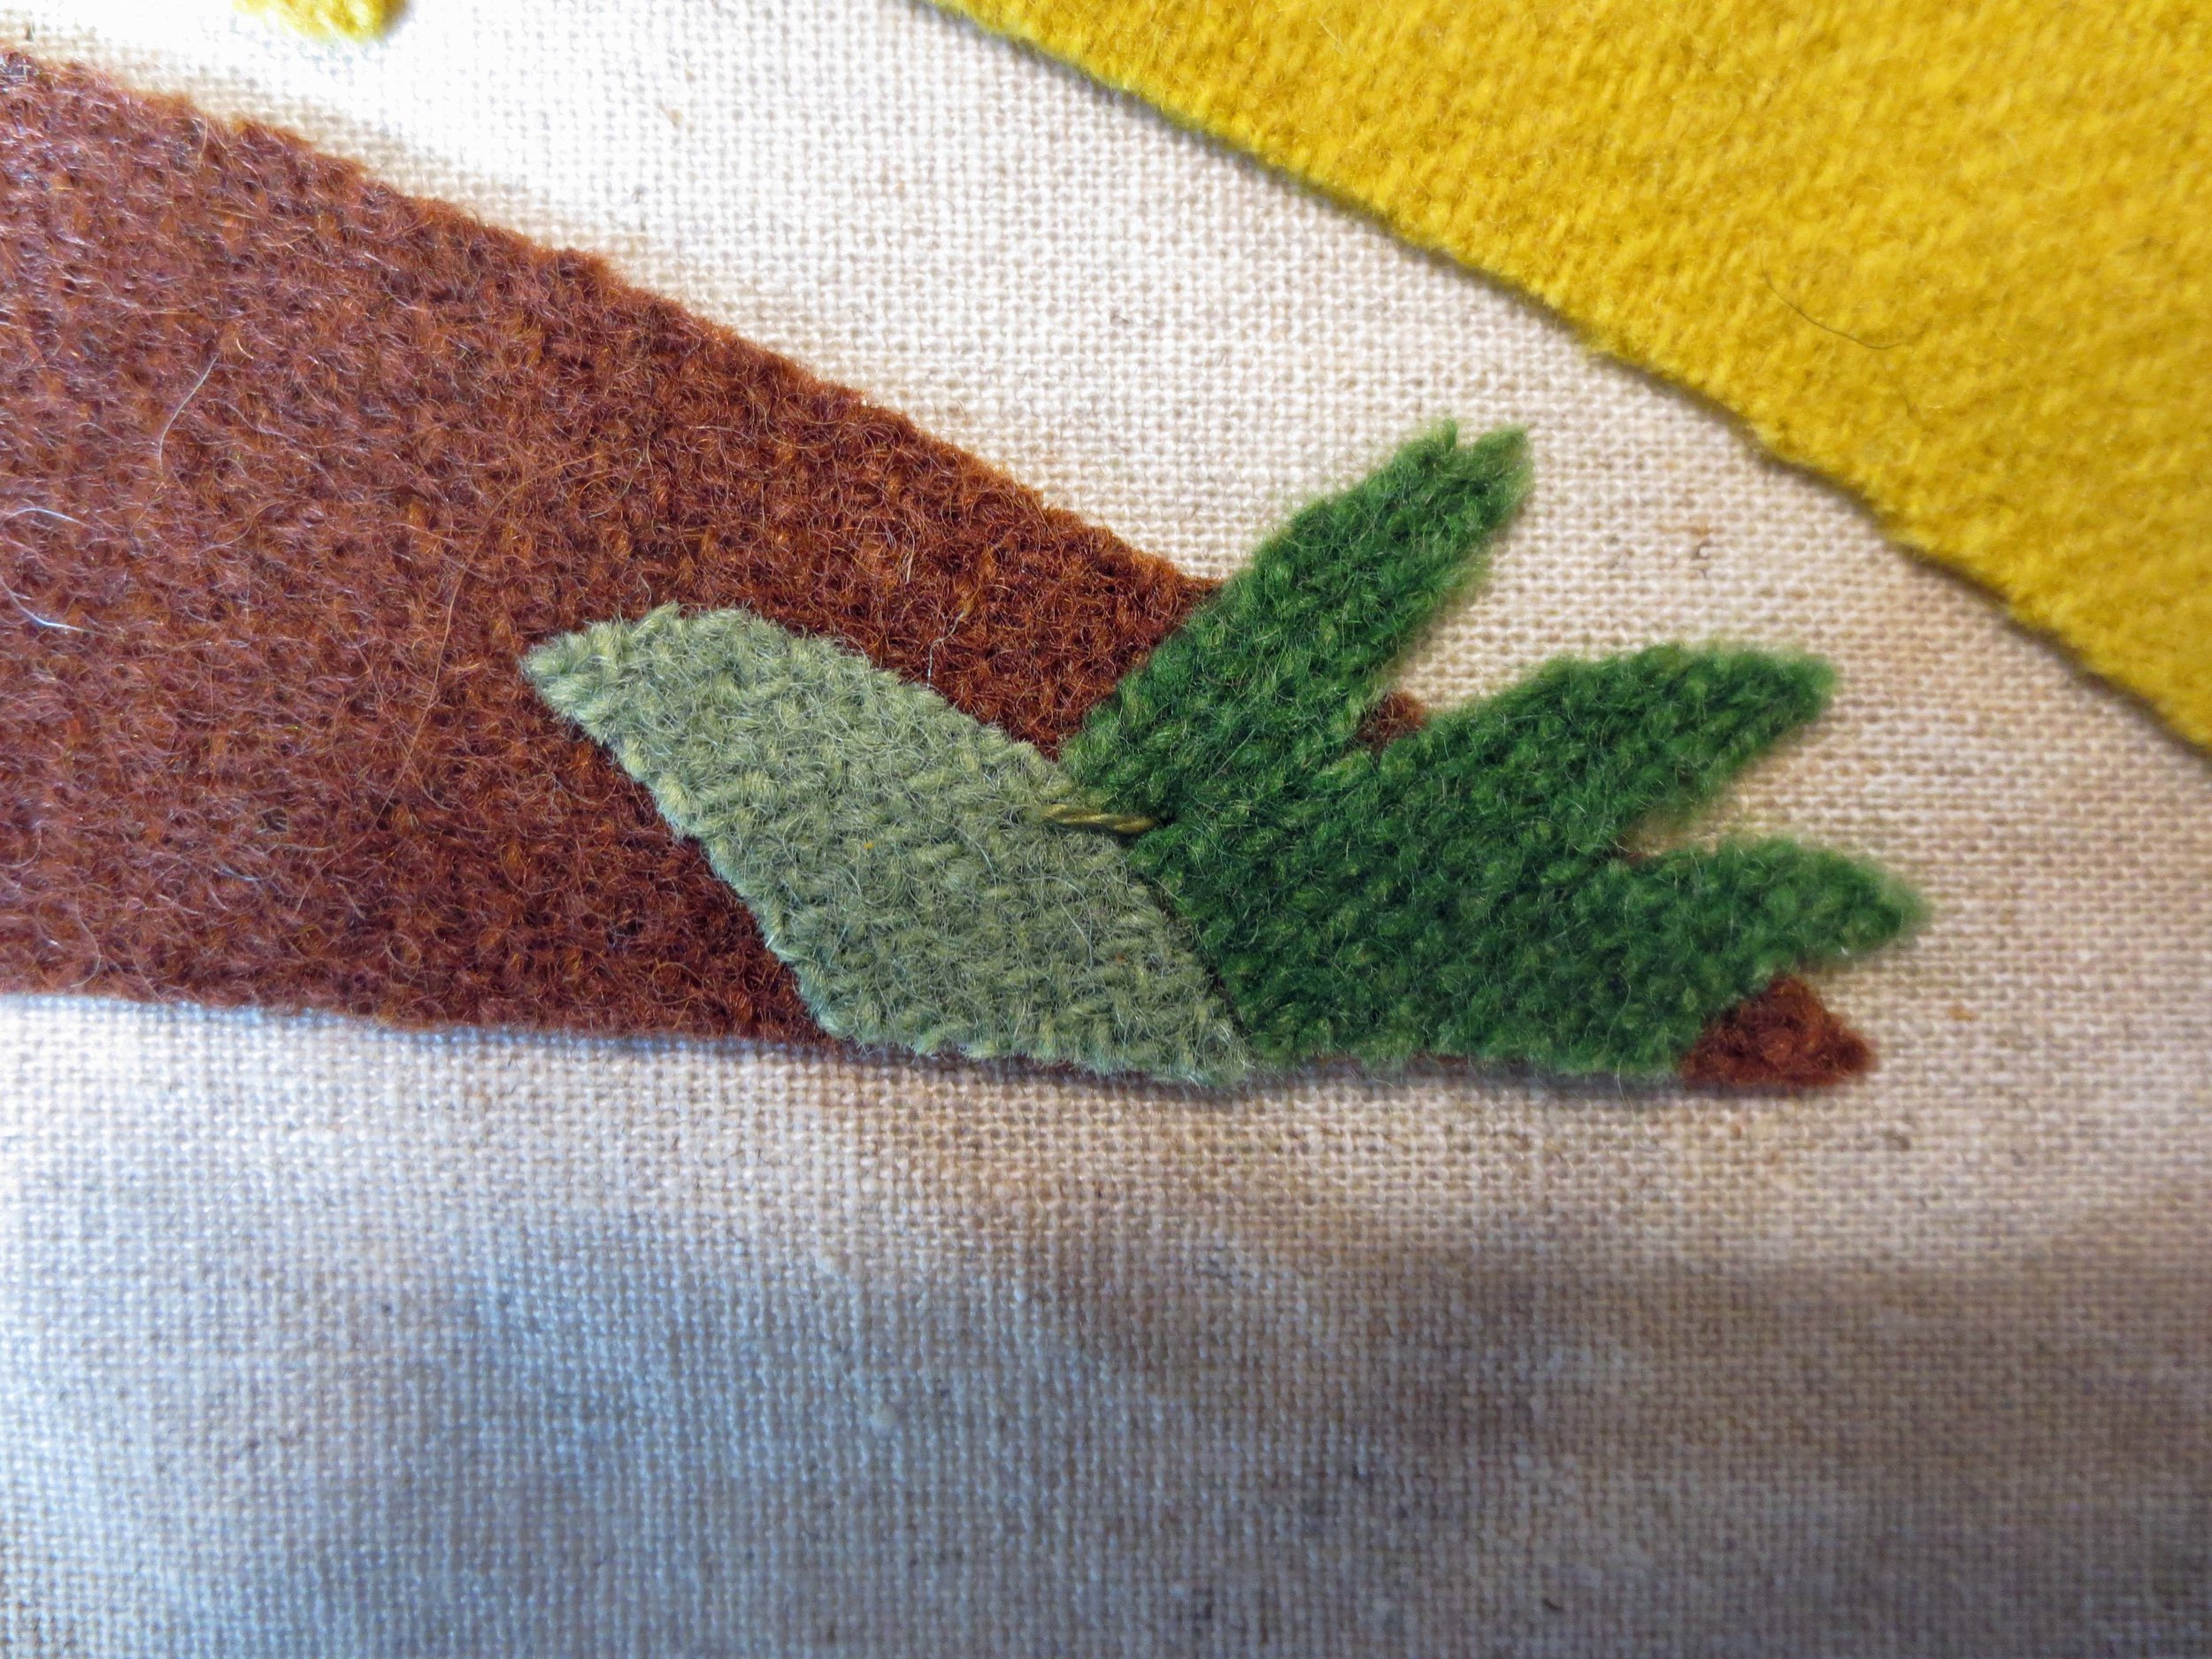
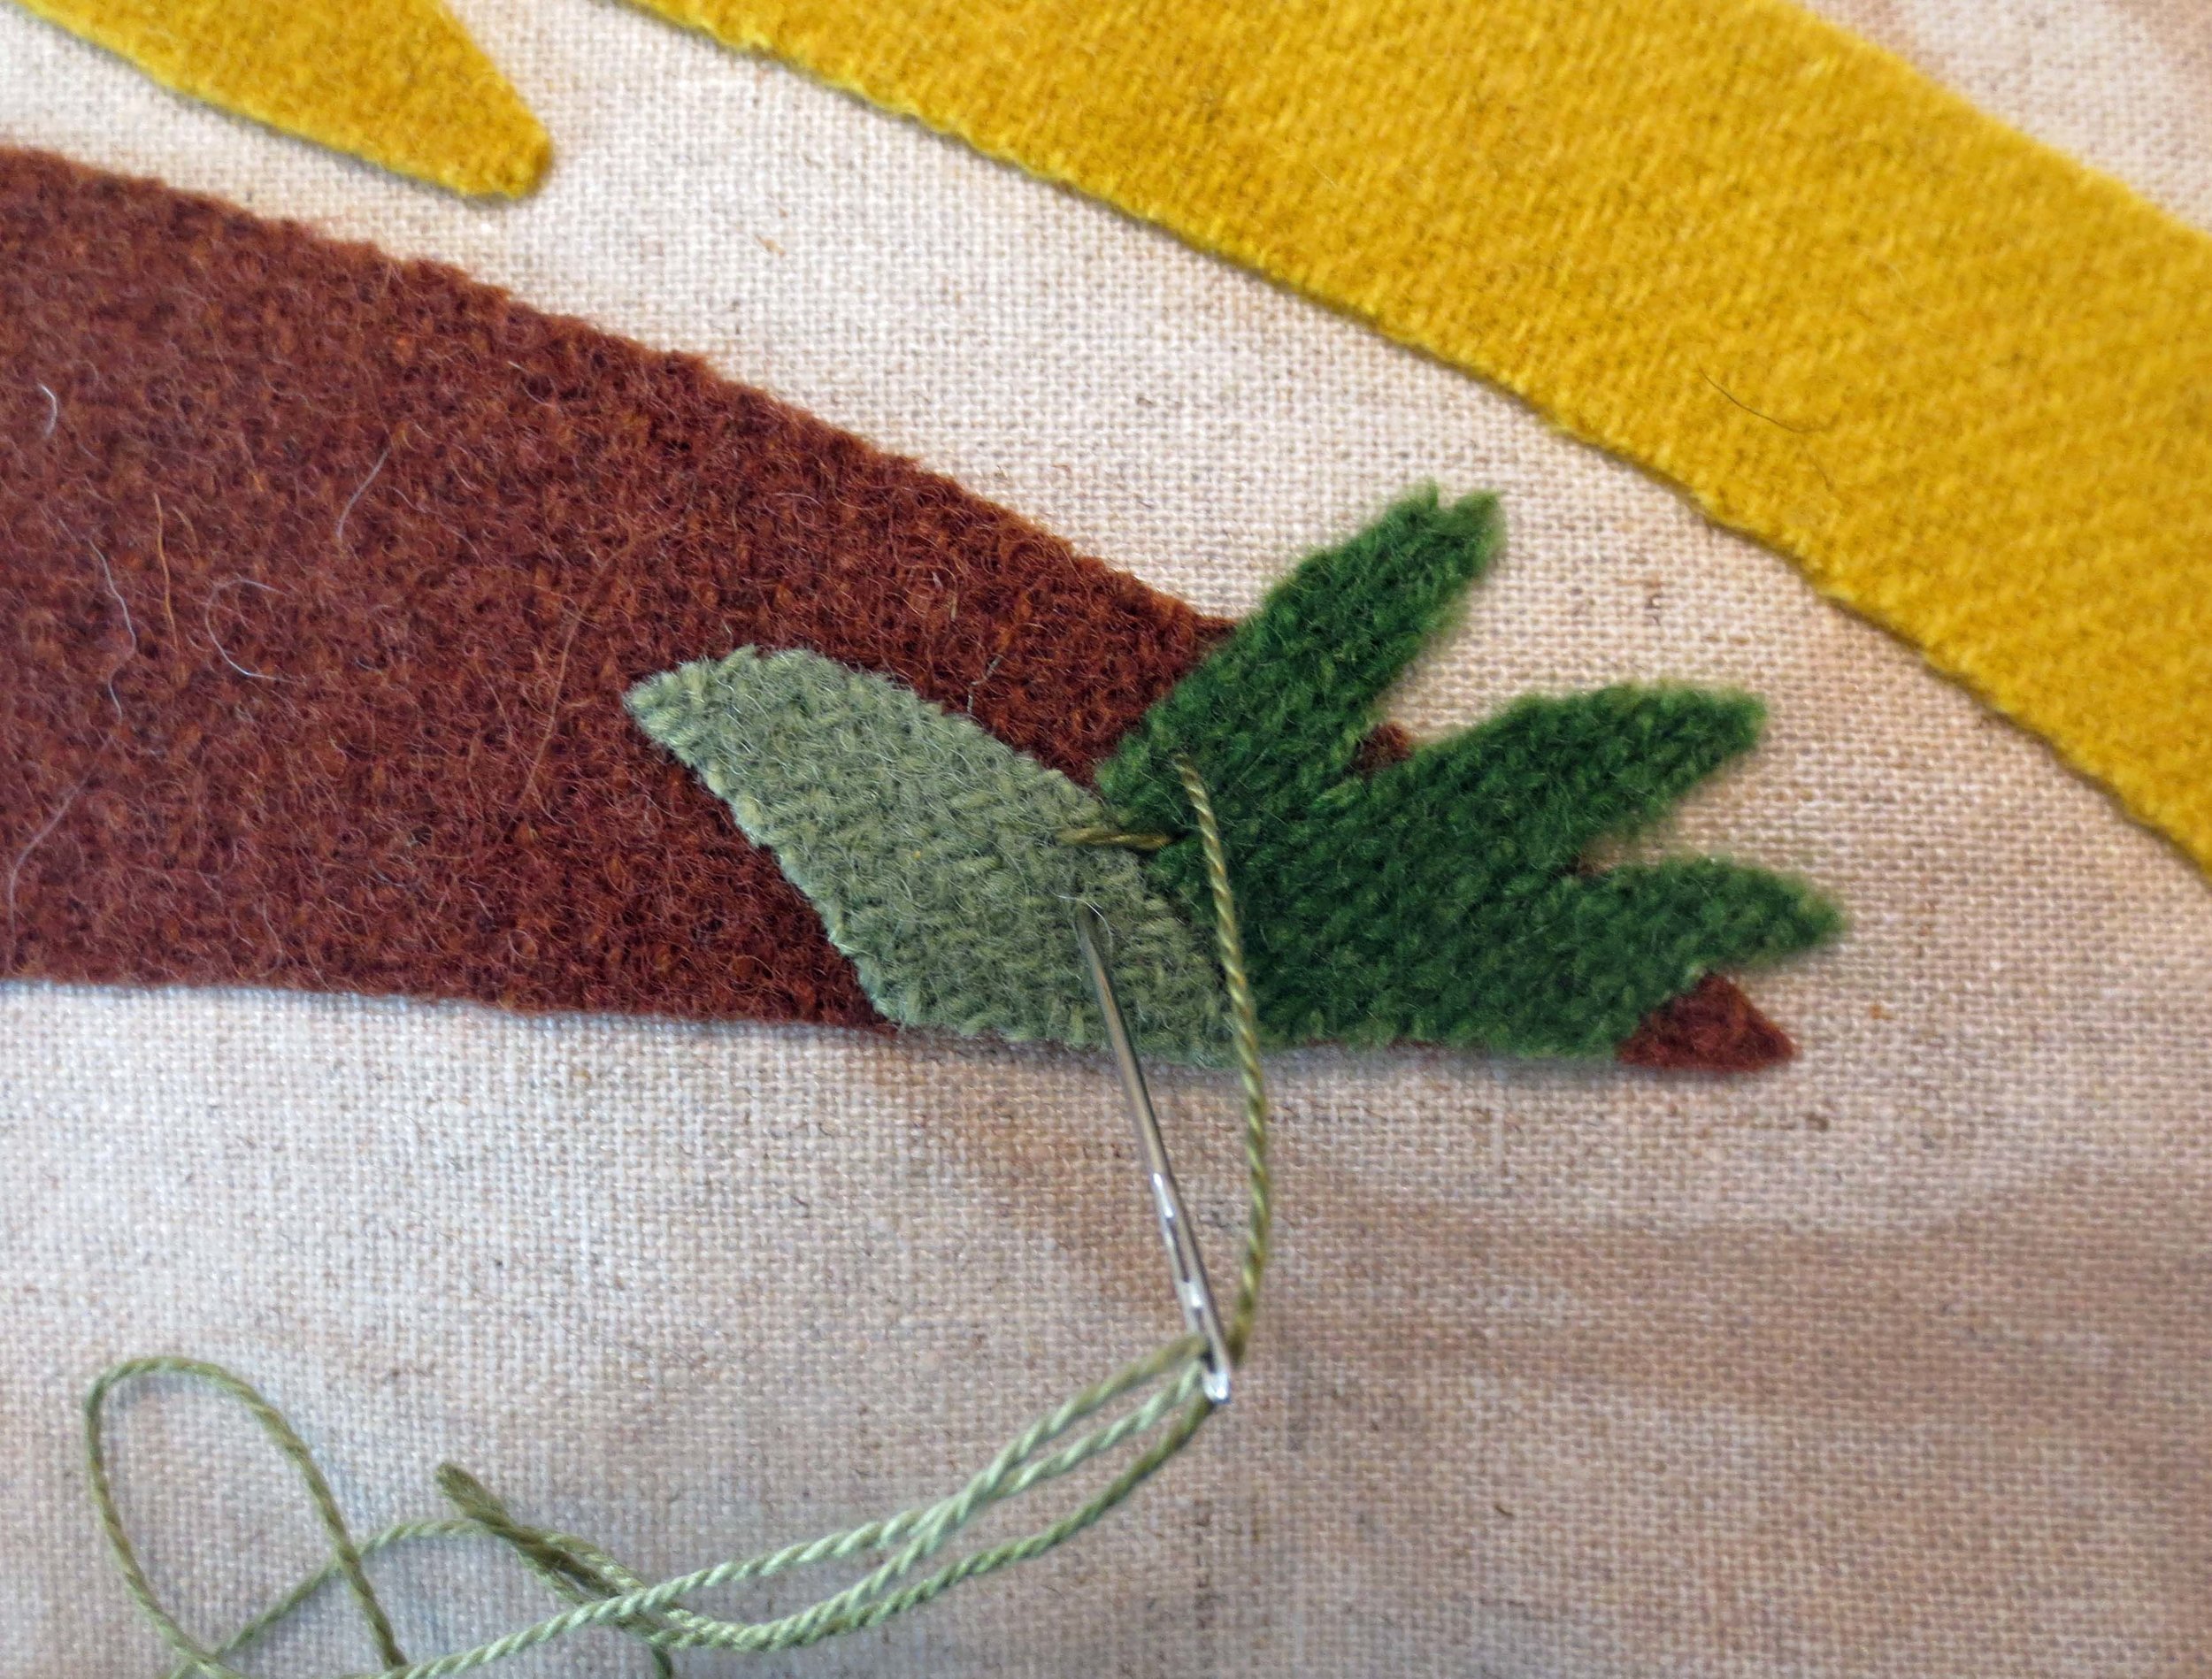
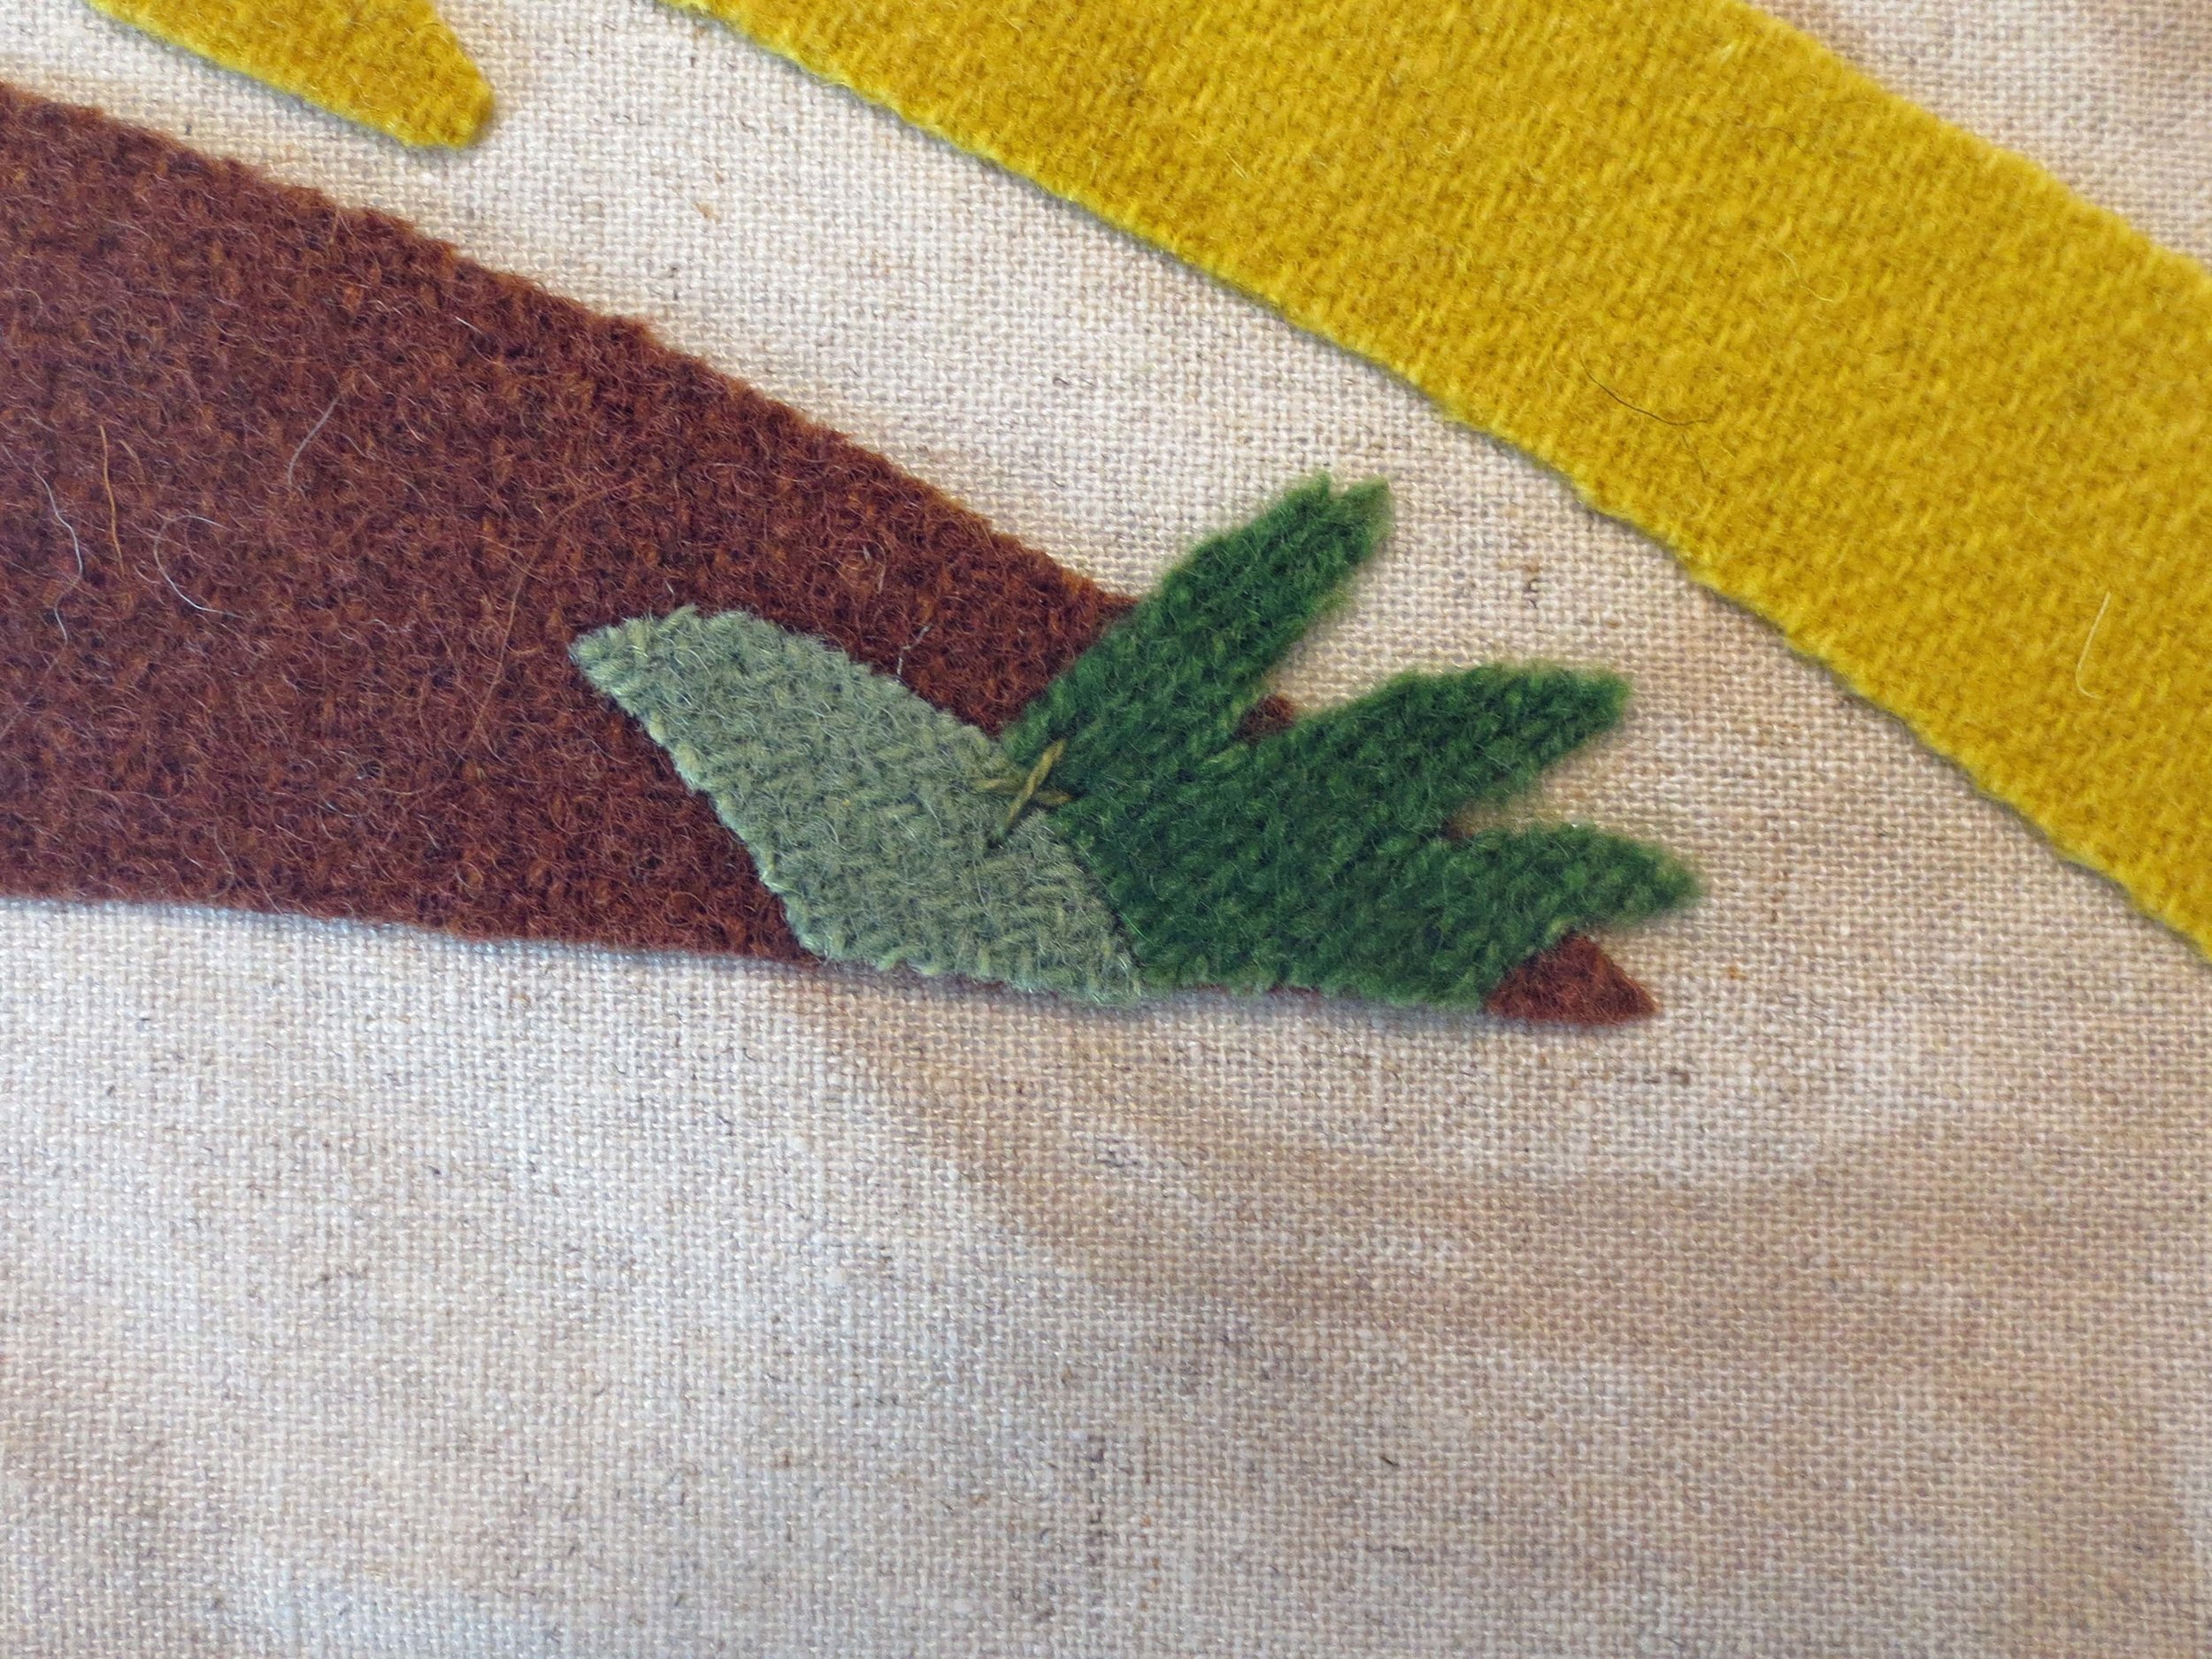
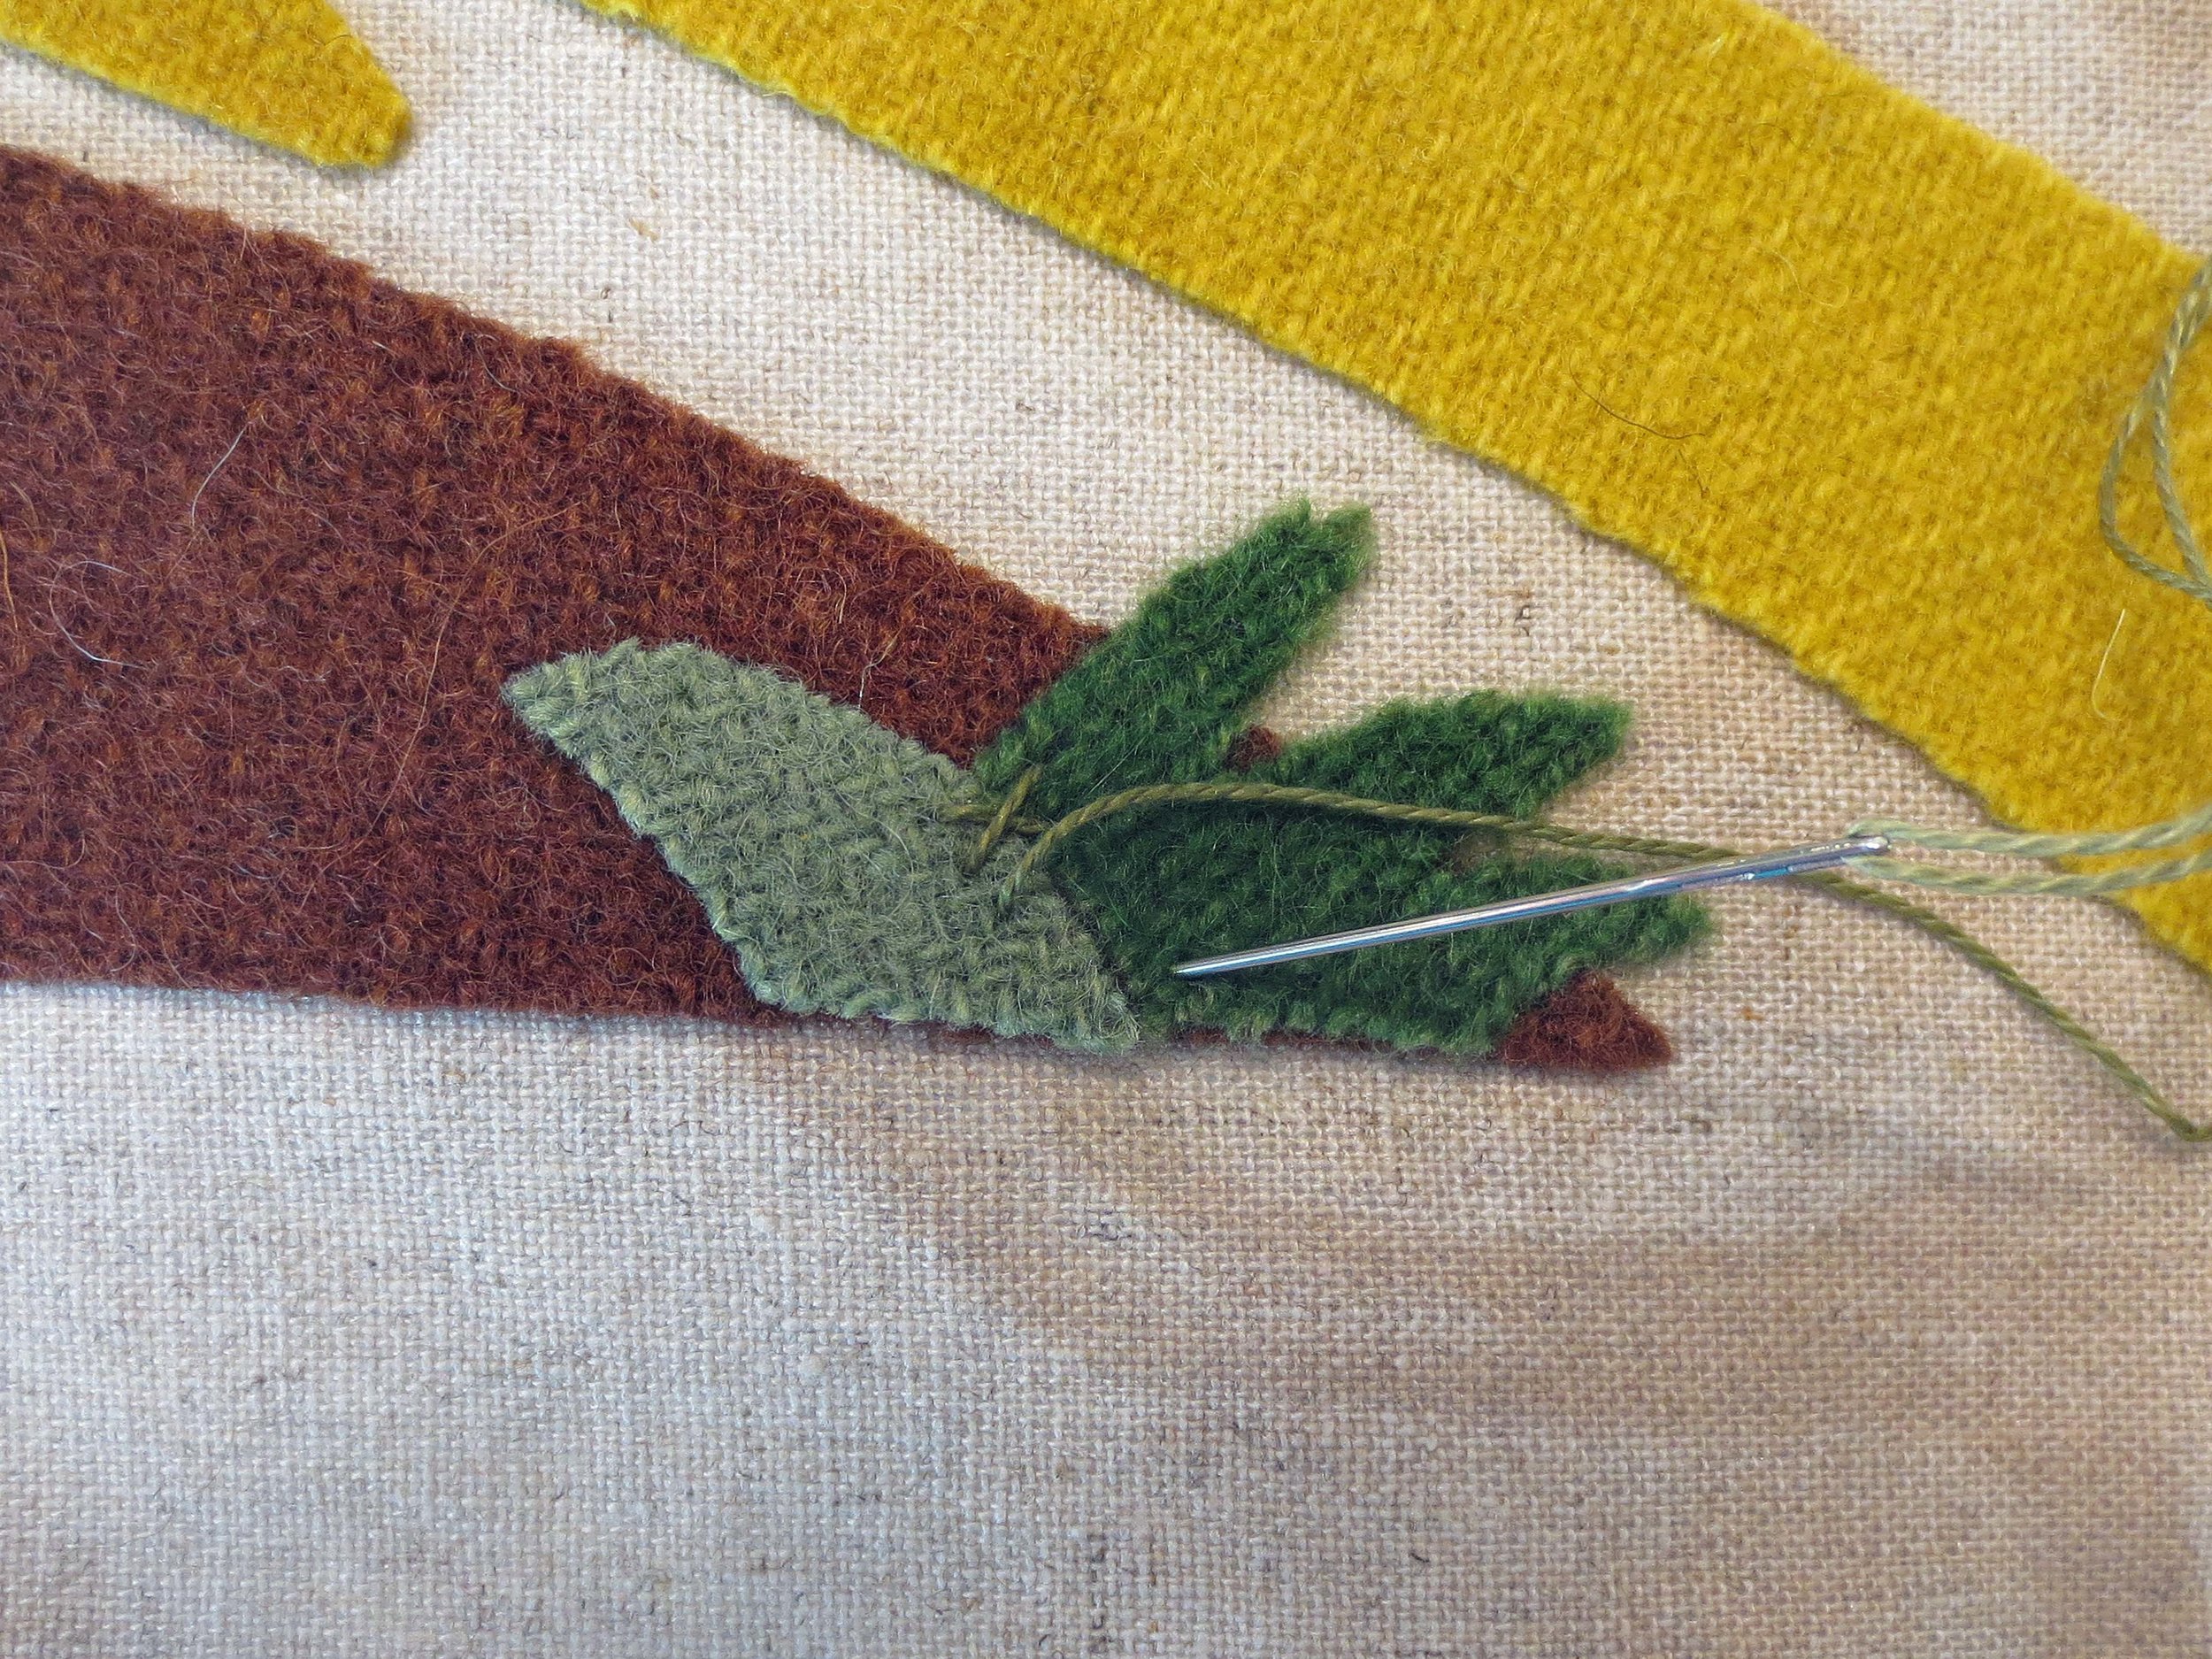
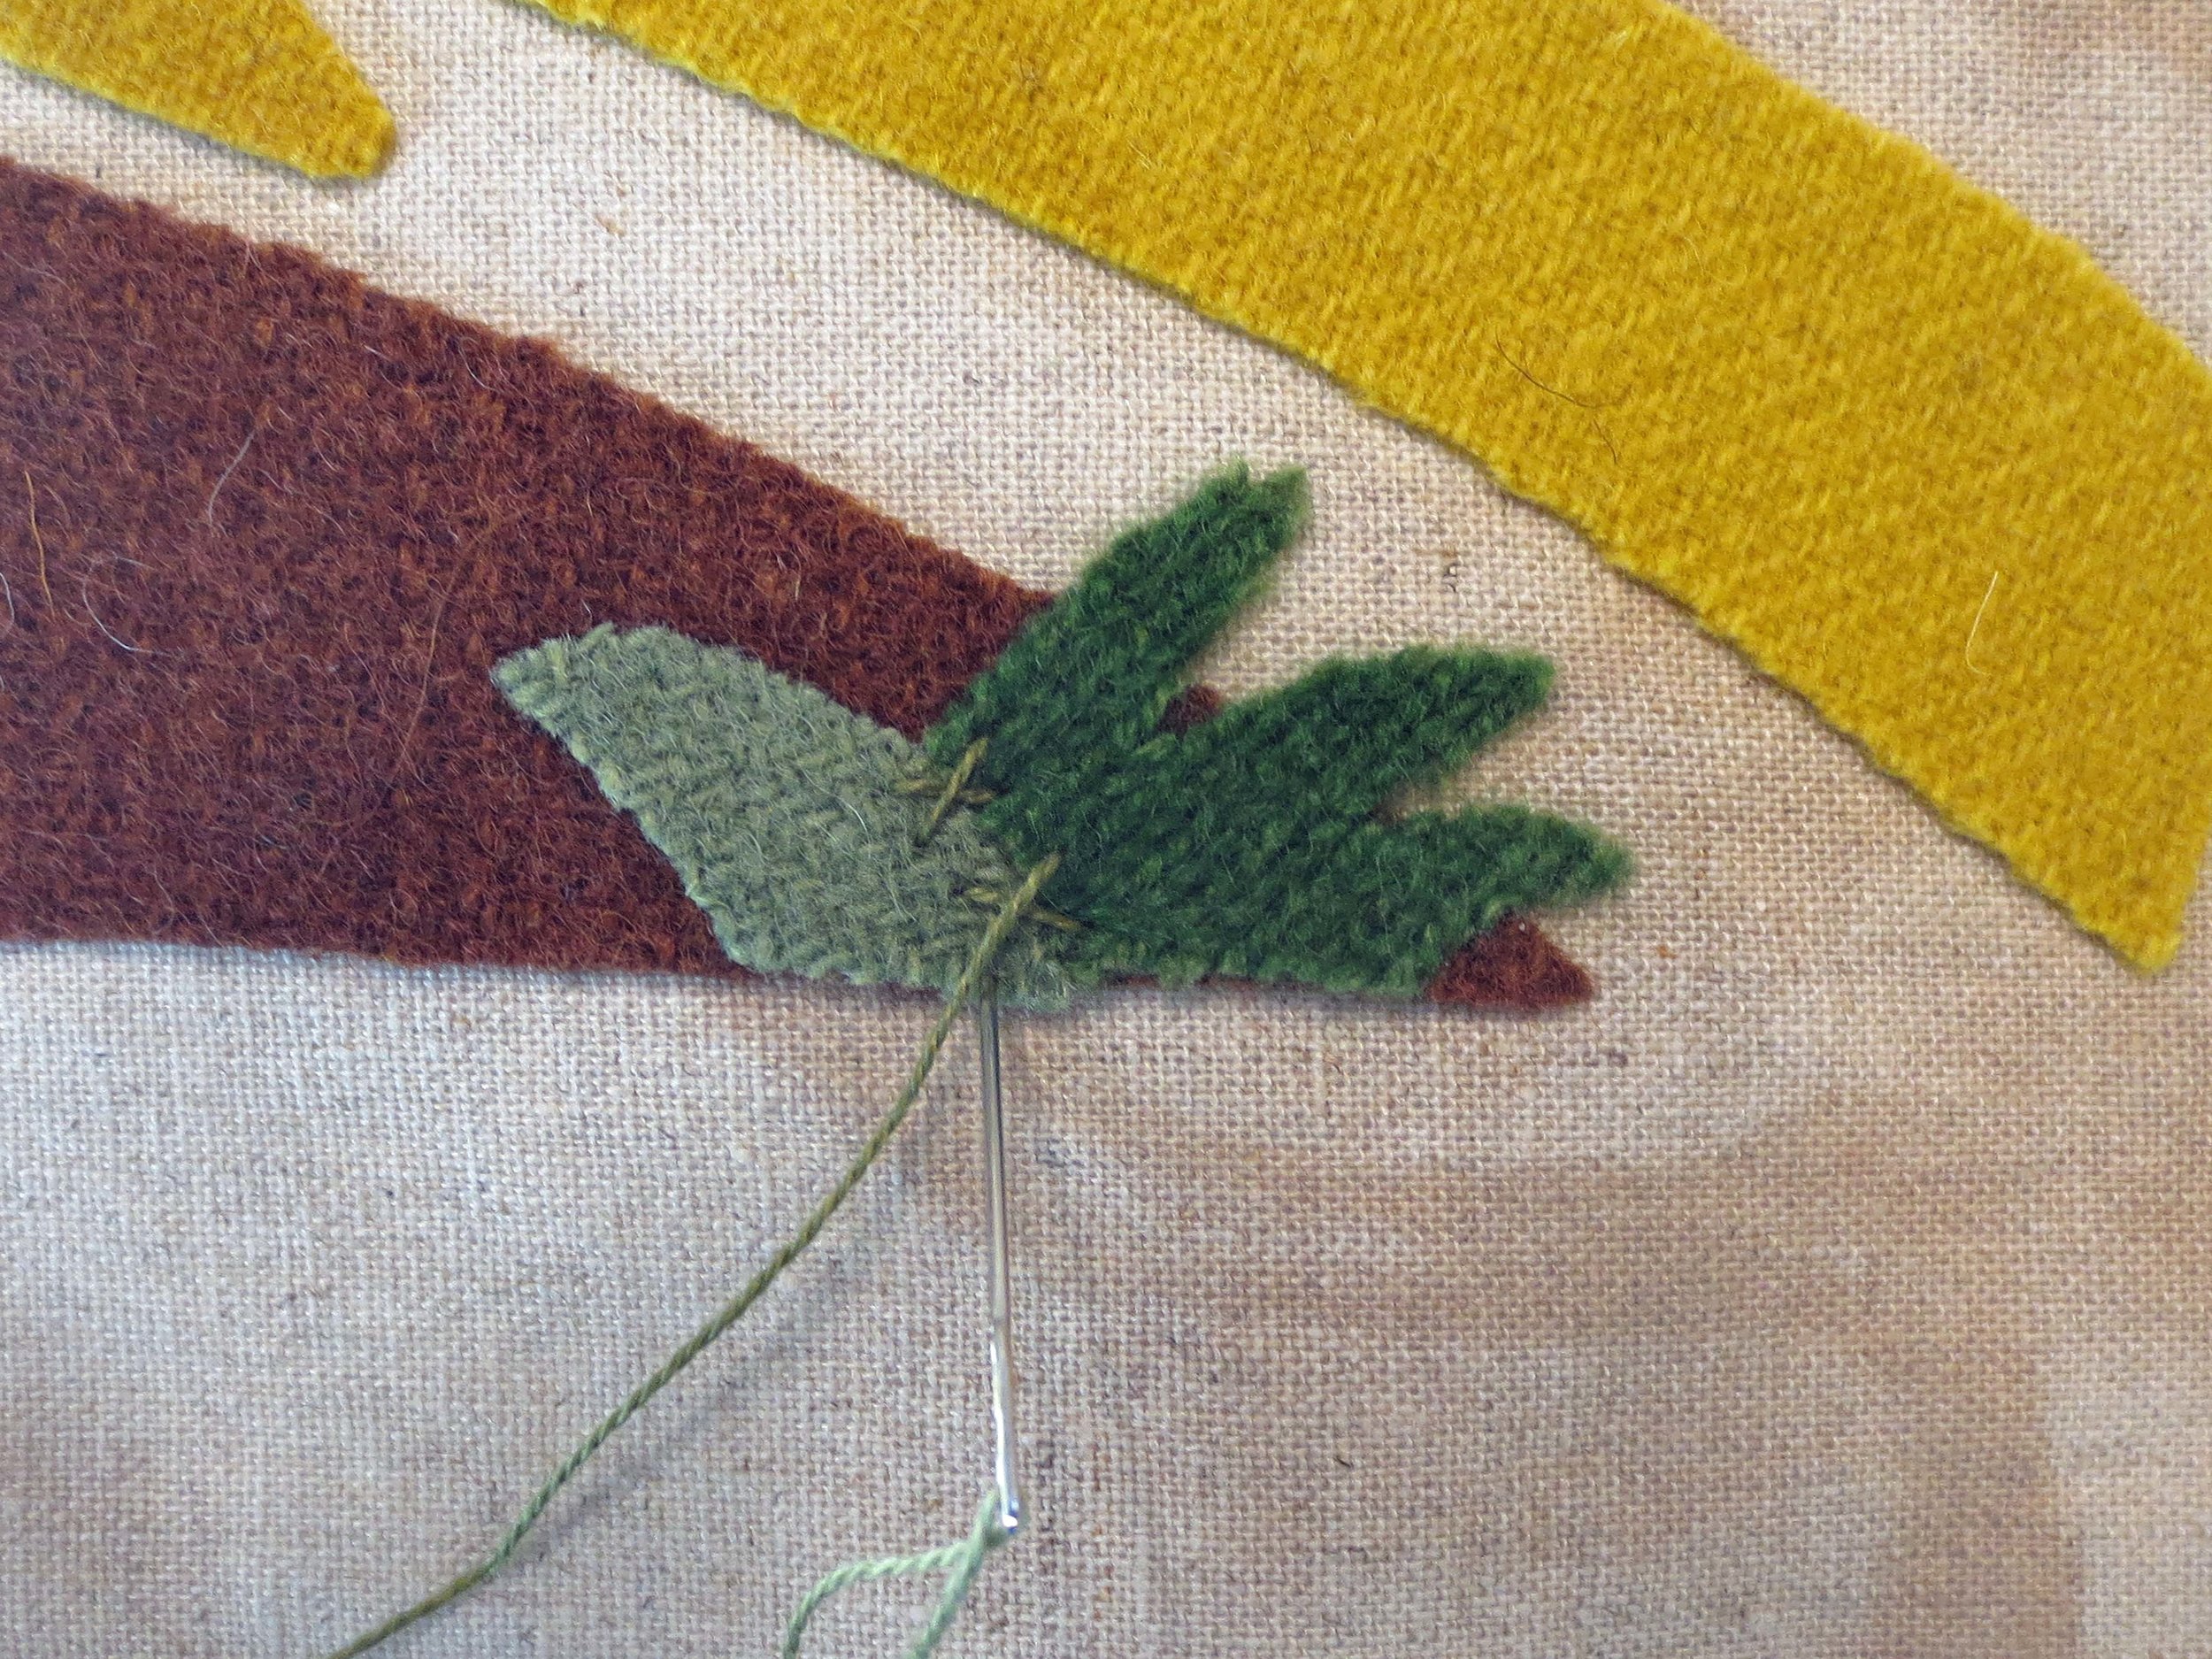
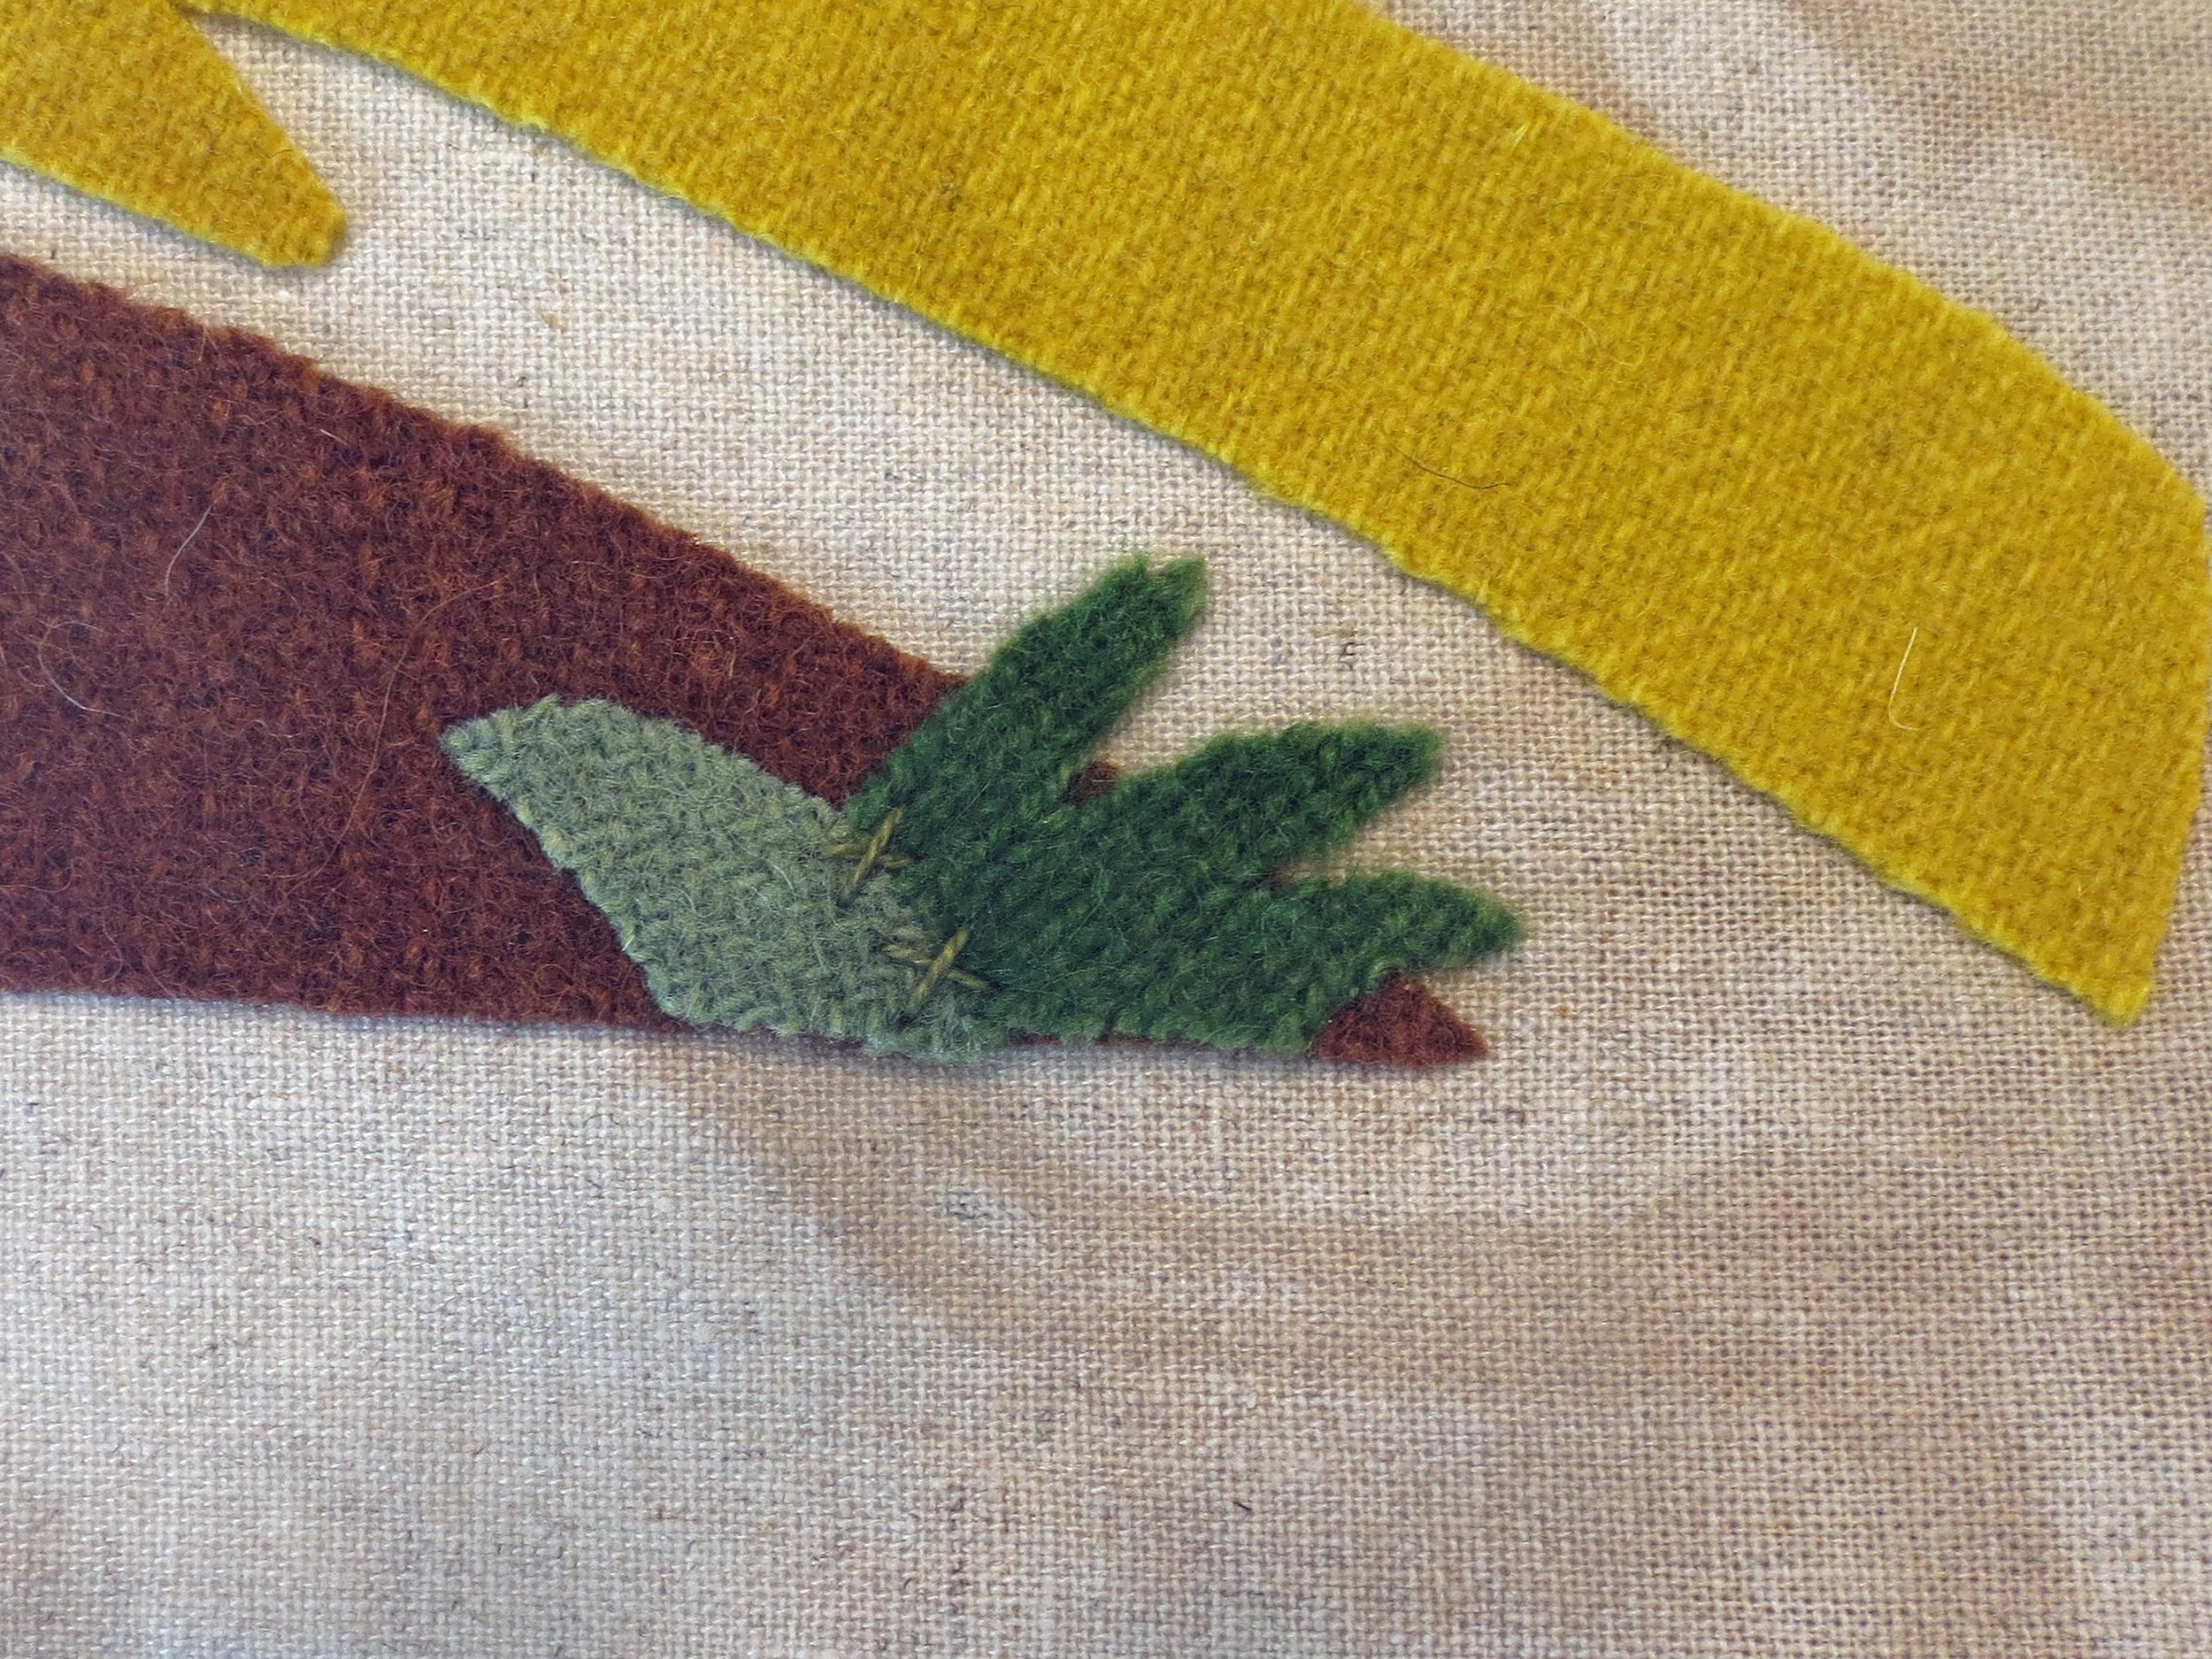
8. Now let’s start our embroidery. I like to stitch the small pieces first because they sometimes tend to peel off when handled too much. We’ll start with the split grasses. Use one strand of O518 to make two small X’s over the split between the two parts of the grass.
9. Use the same thread to whip stitch the remaining edges in place.
10. Use the same thread to whip stitch the remaining grass and all the leaves.
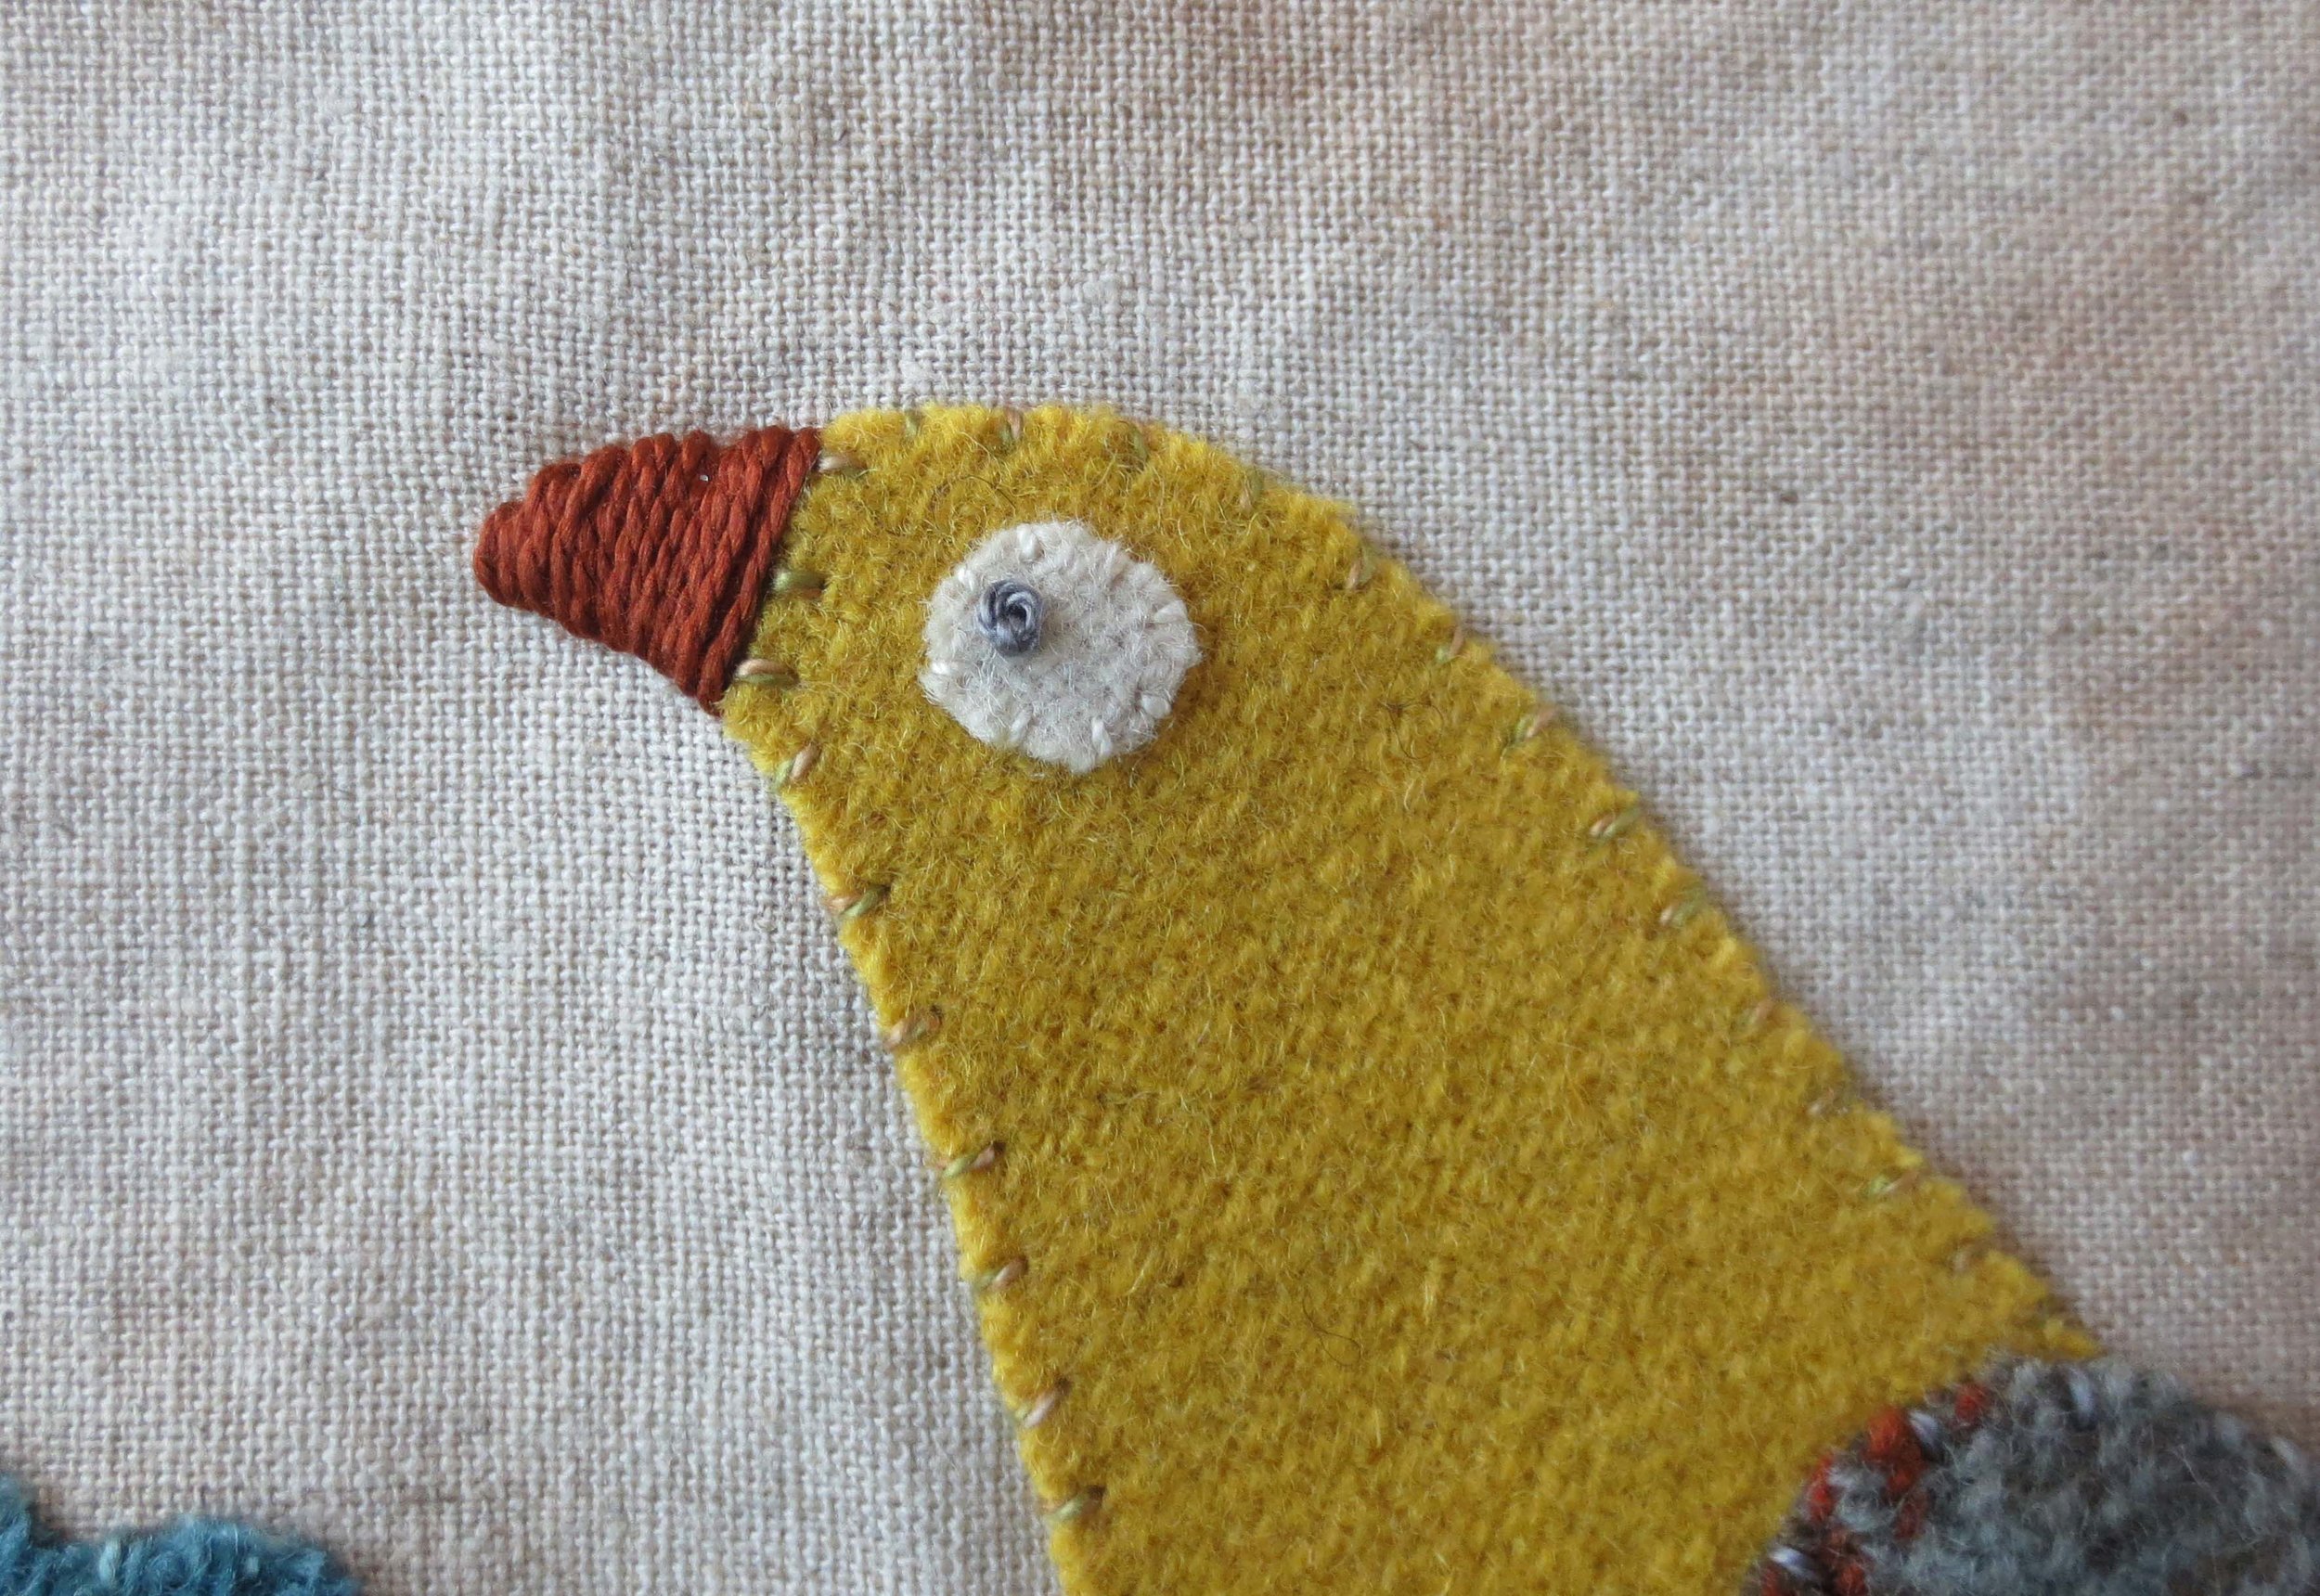
11. Use one strand of ecru floss to whip stitch the bird’s eye.
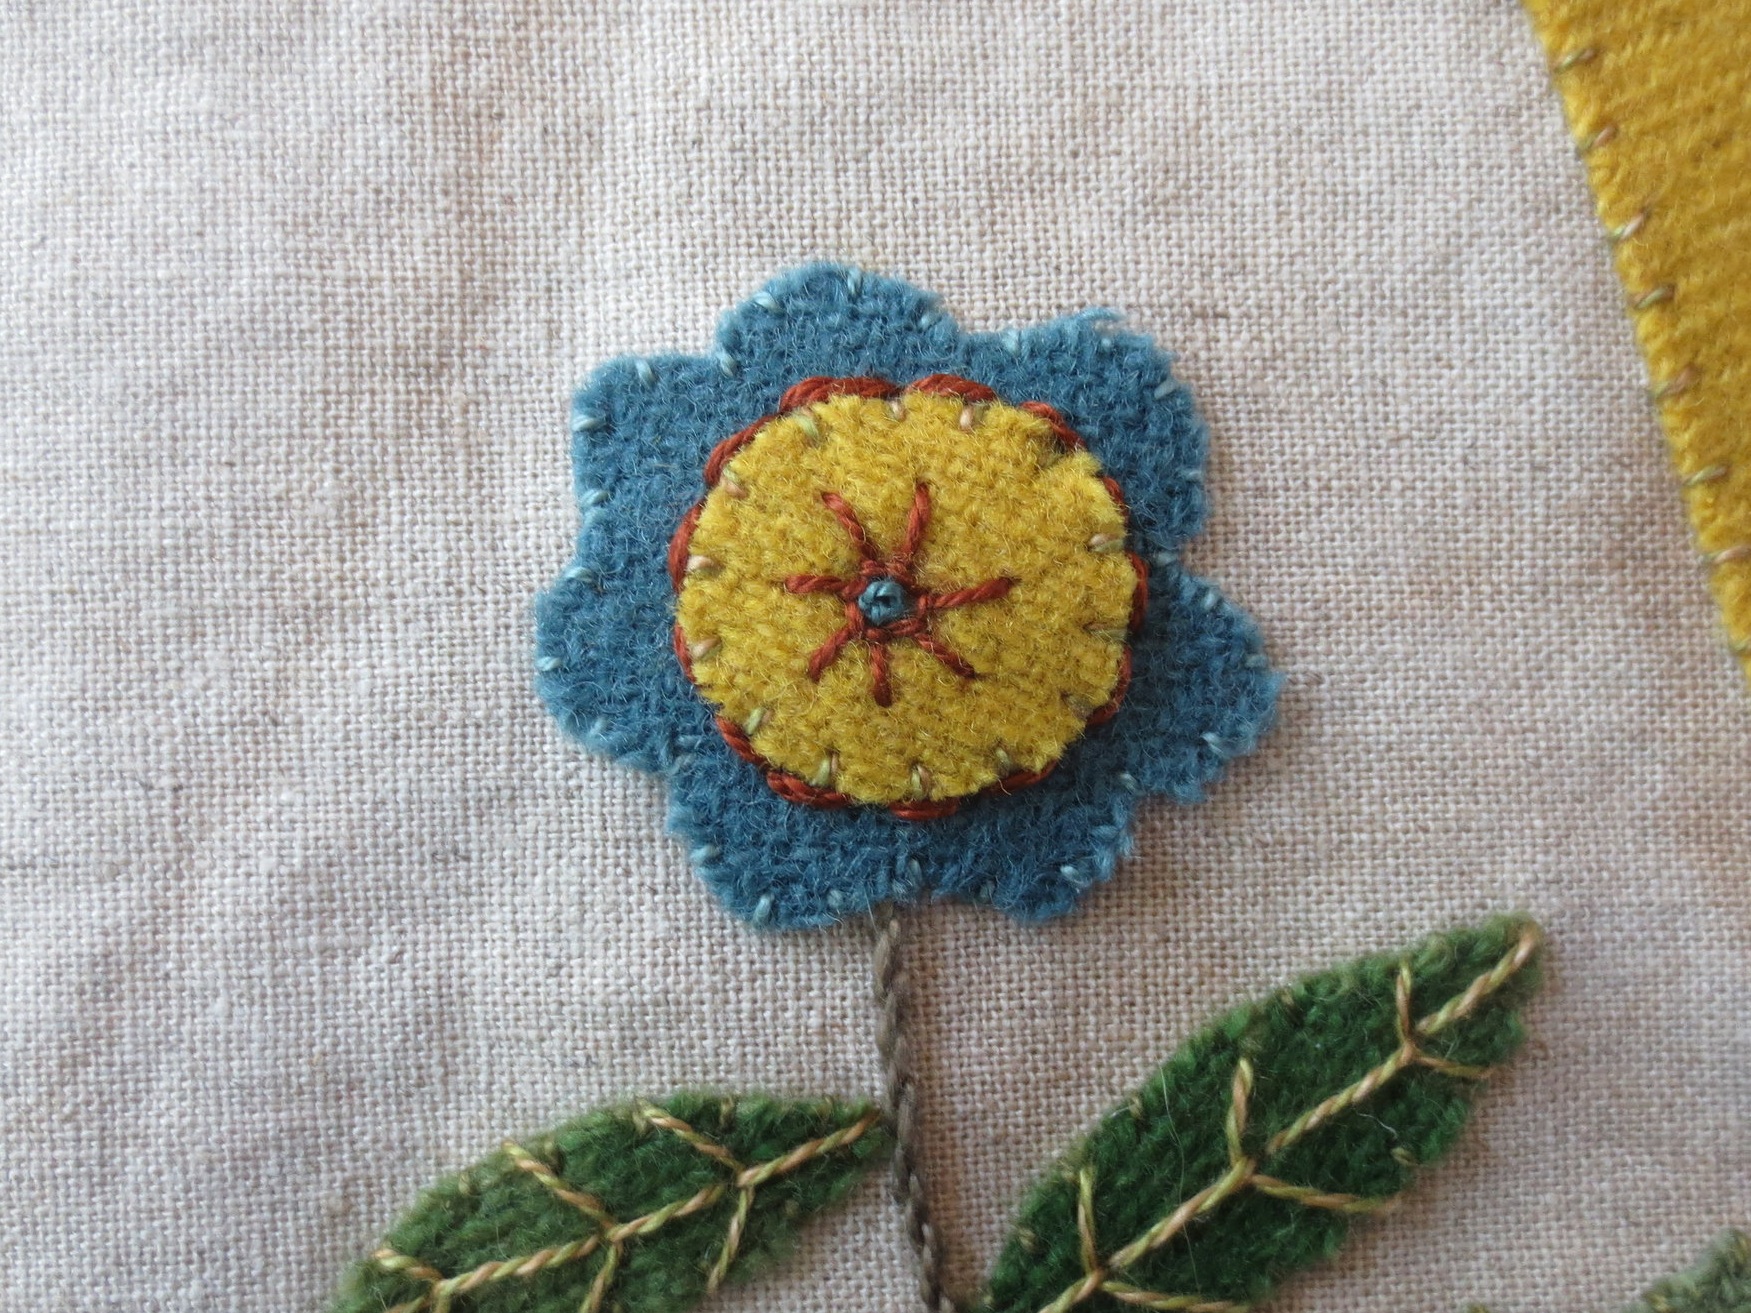
12. Use one strand of PT2 to whip stitch the flower centers and bird’s body.
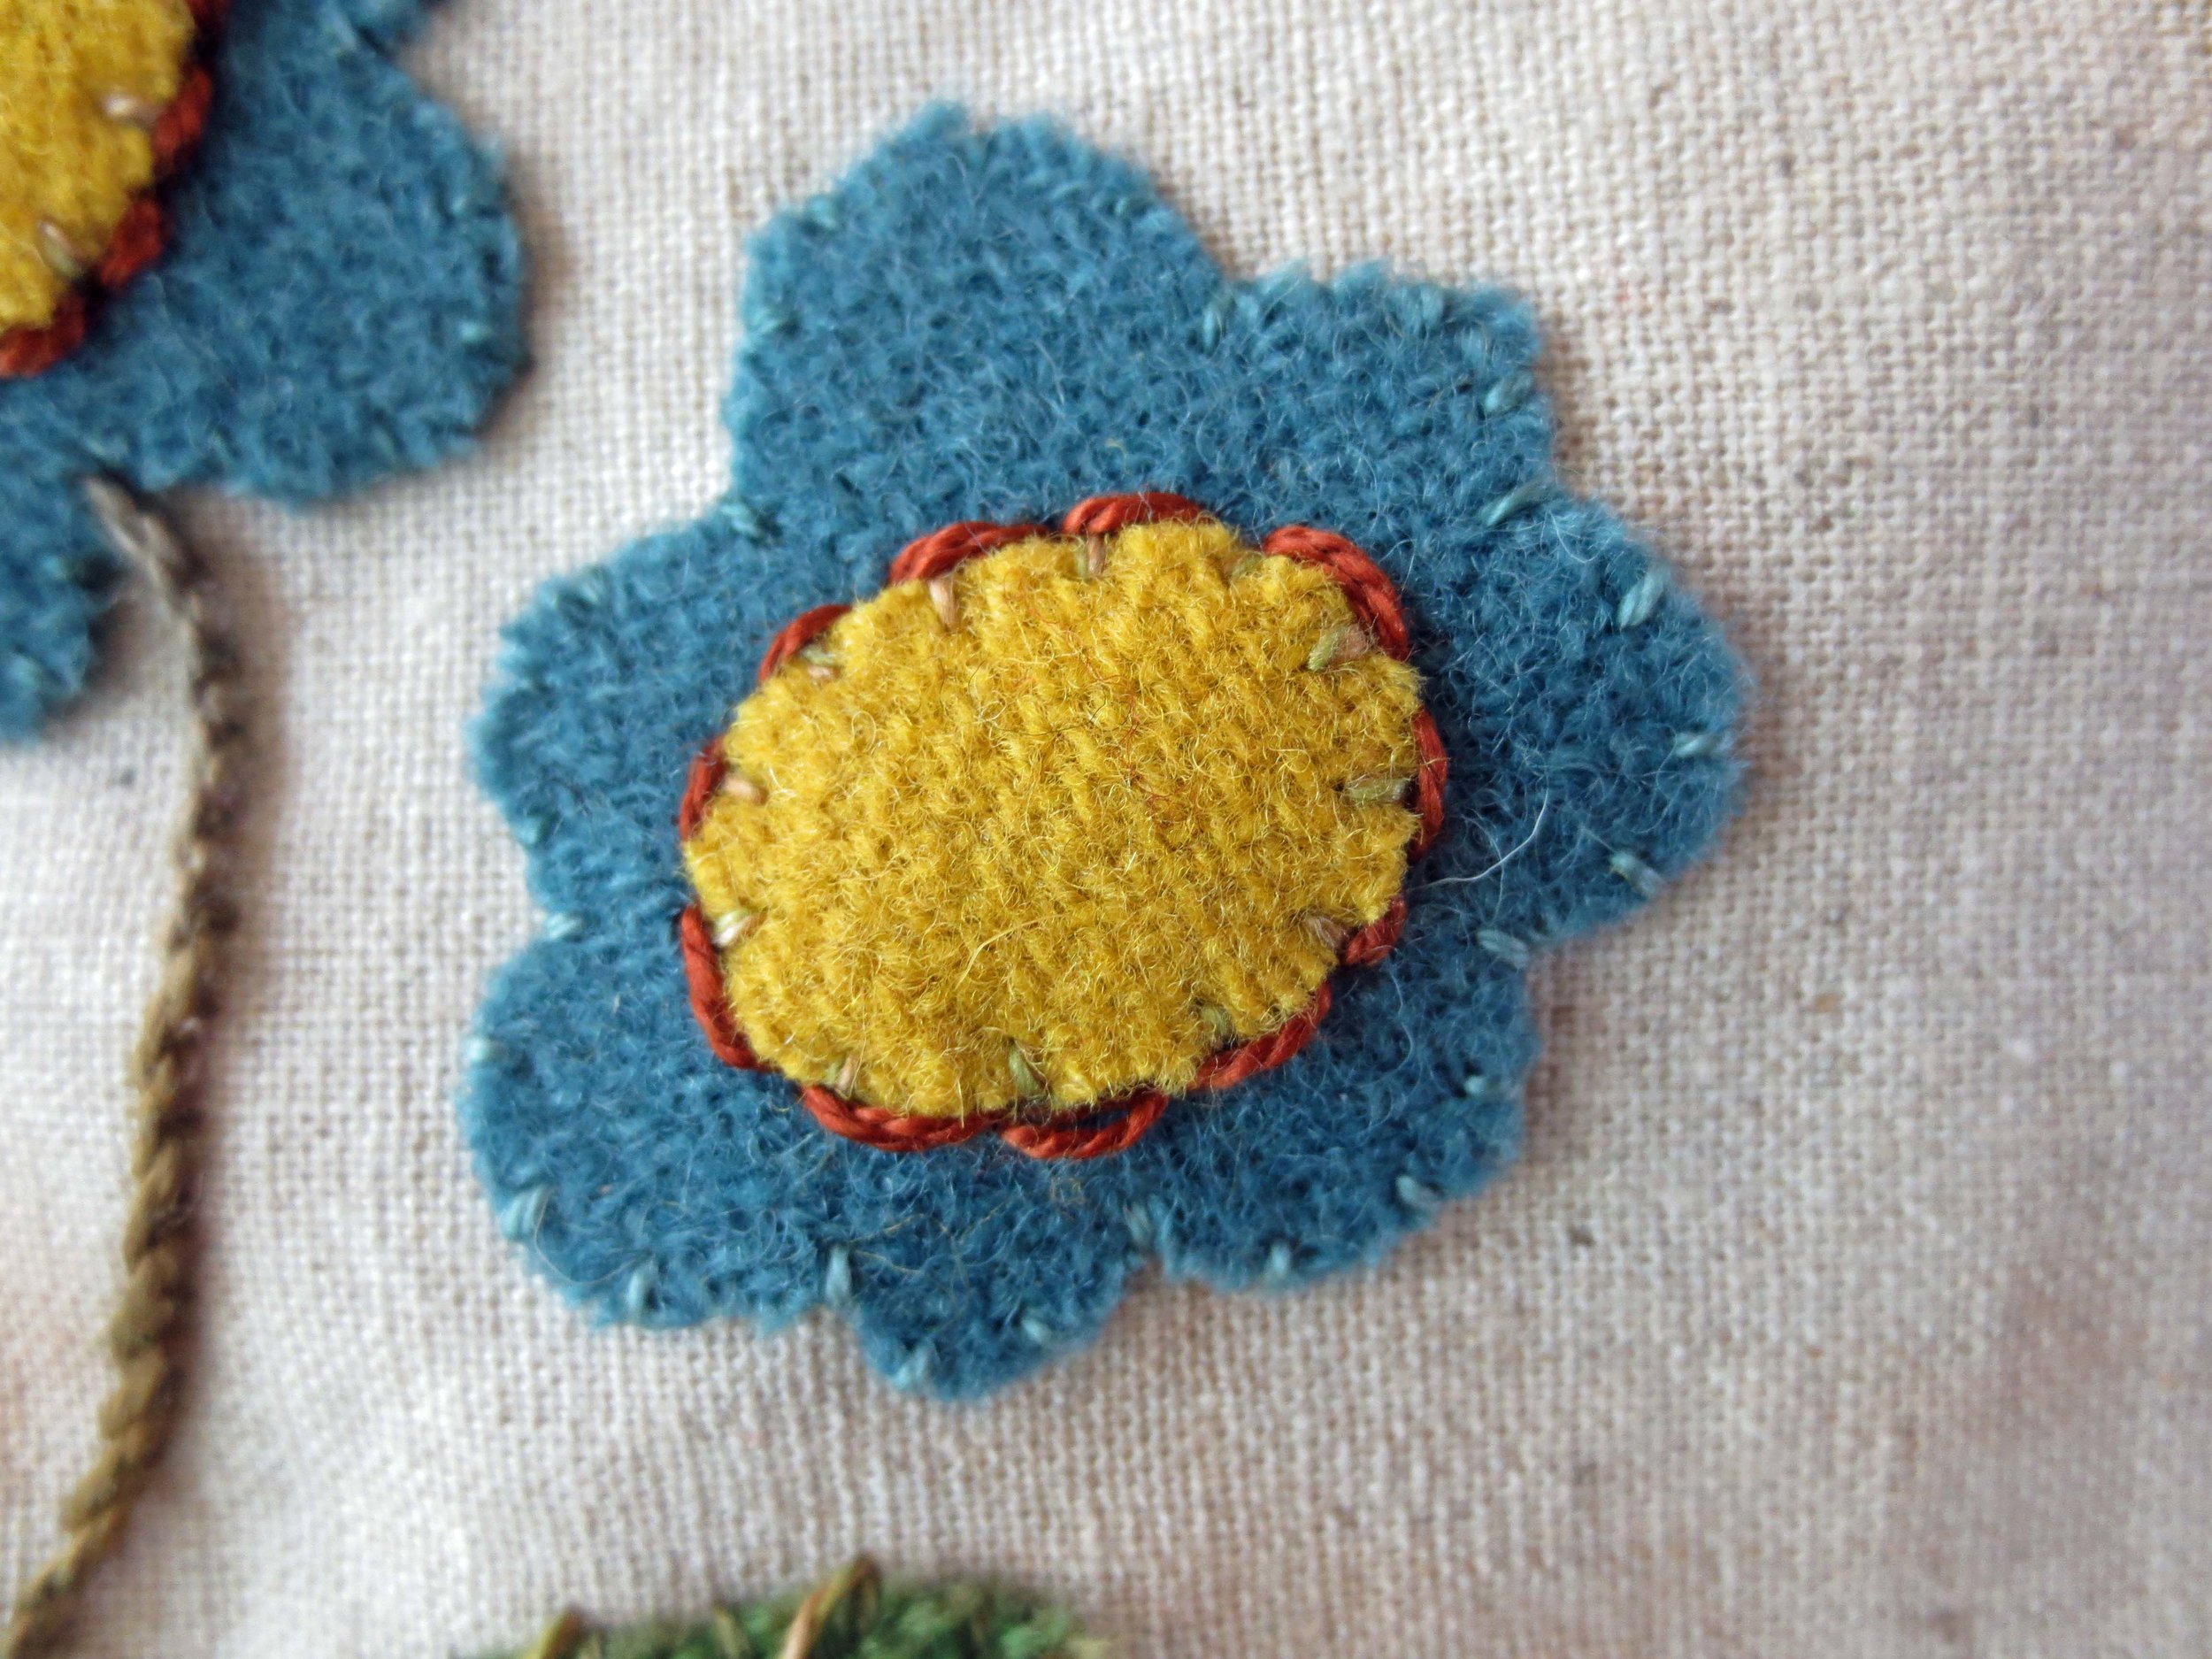
13. Use one strand of O31 to whip stitch the flowers.
14. Use one strand of DMC perle 8, #414 to whip stitch the bird’s wing.
15. Place the background back onto the lightbox.
16. Use a disappearing ink marker to trace the bird’s beak and flower stems.
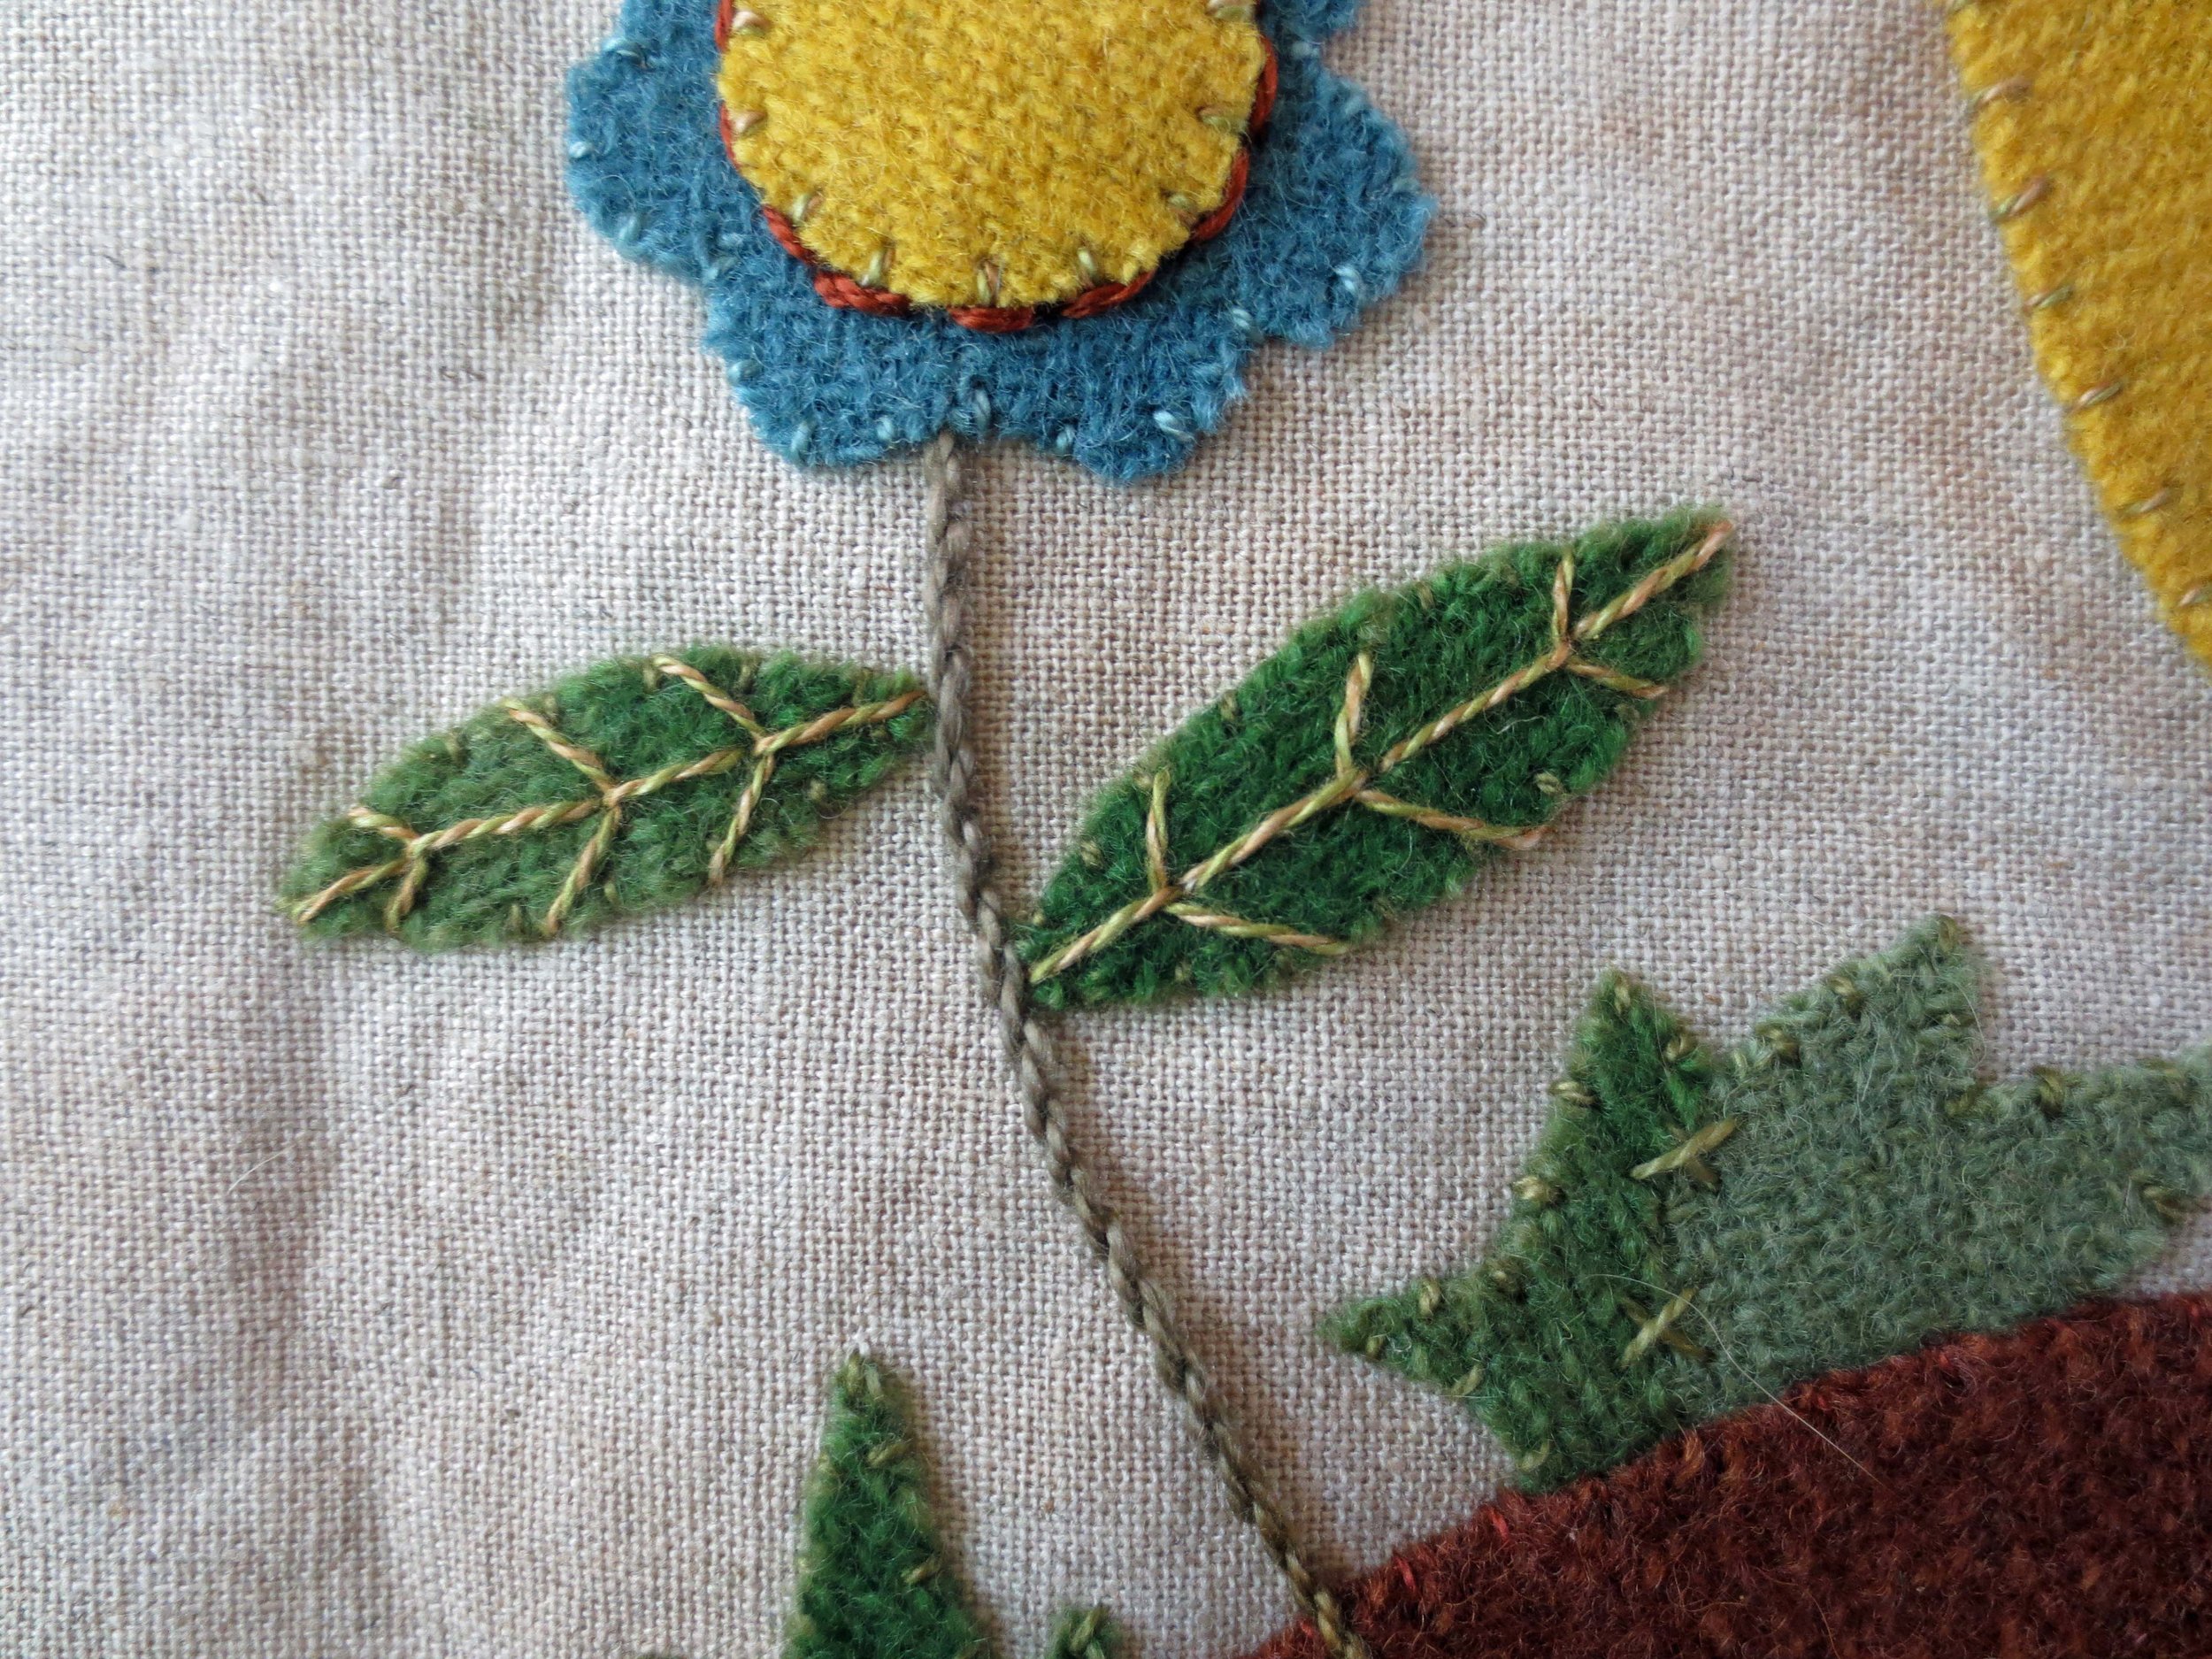
17. Use one strand of P2 to stem stitch the flower stems.
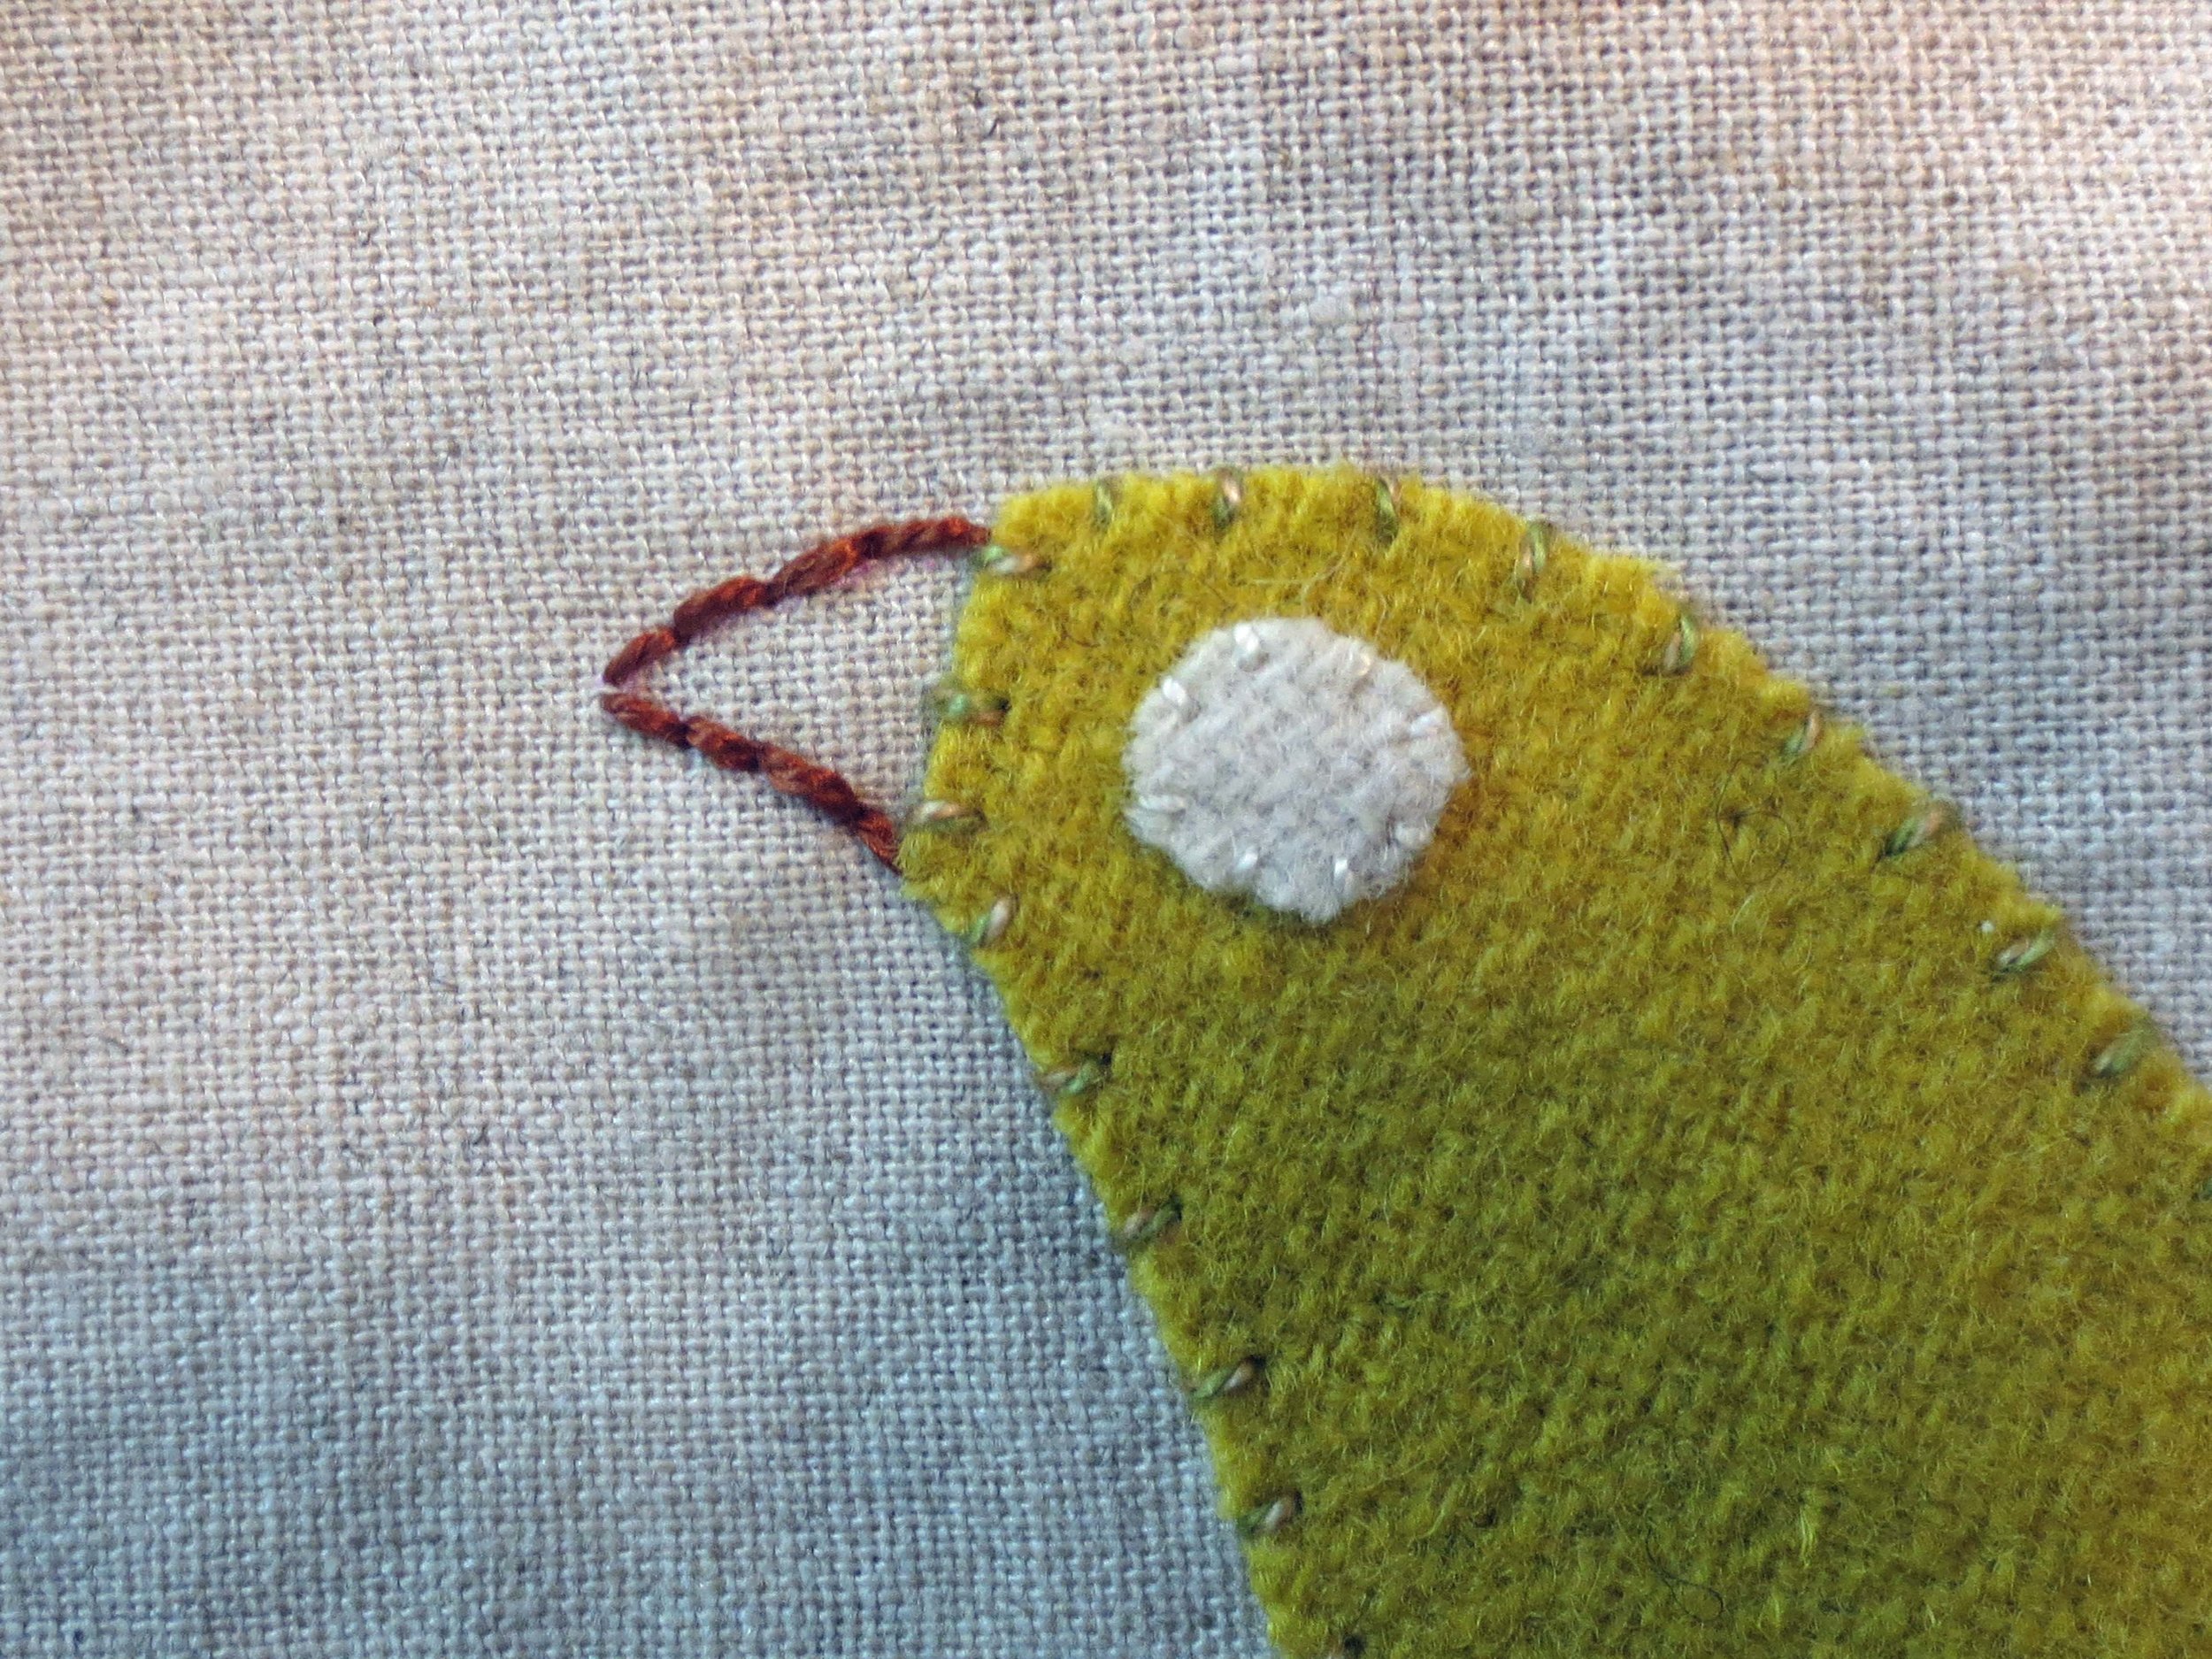
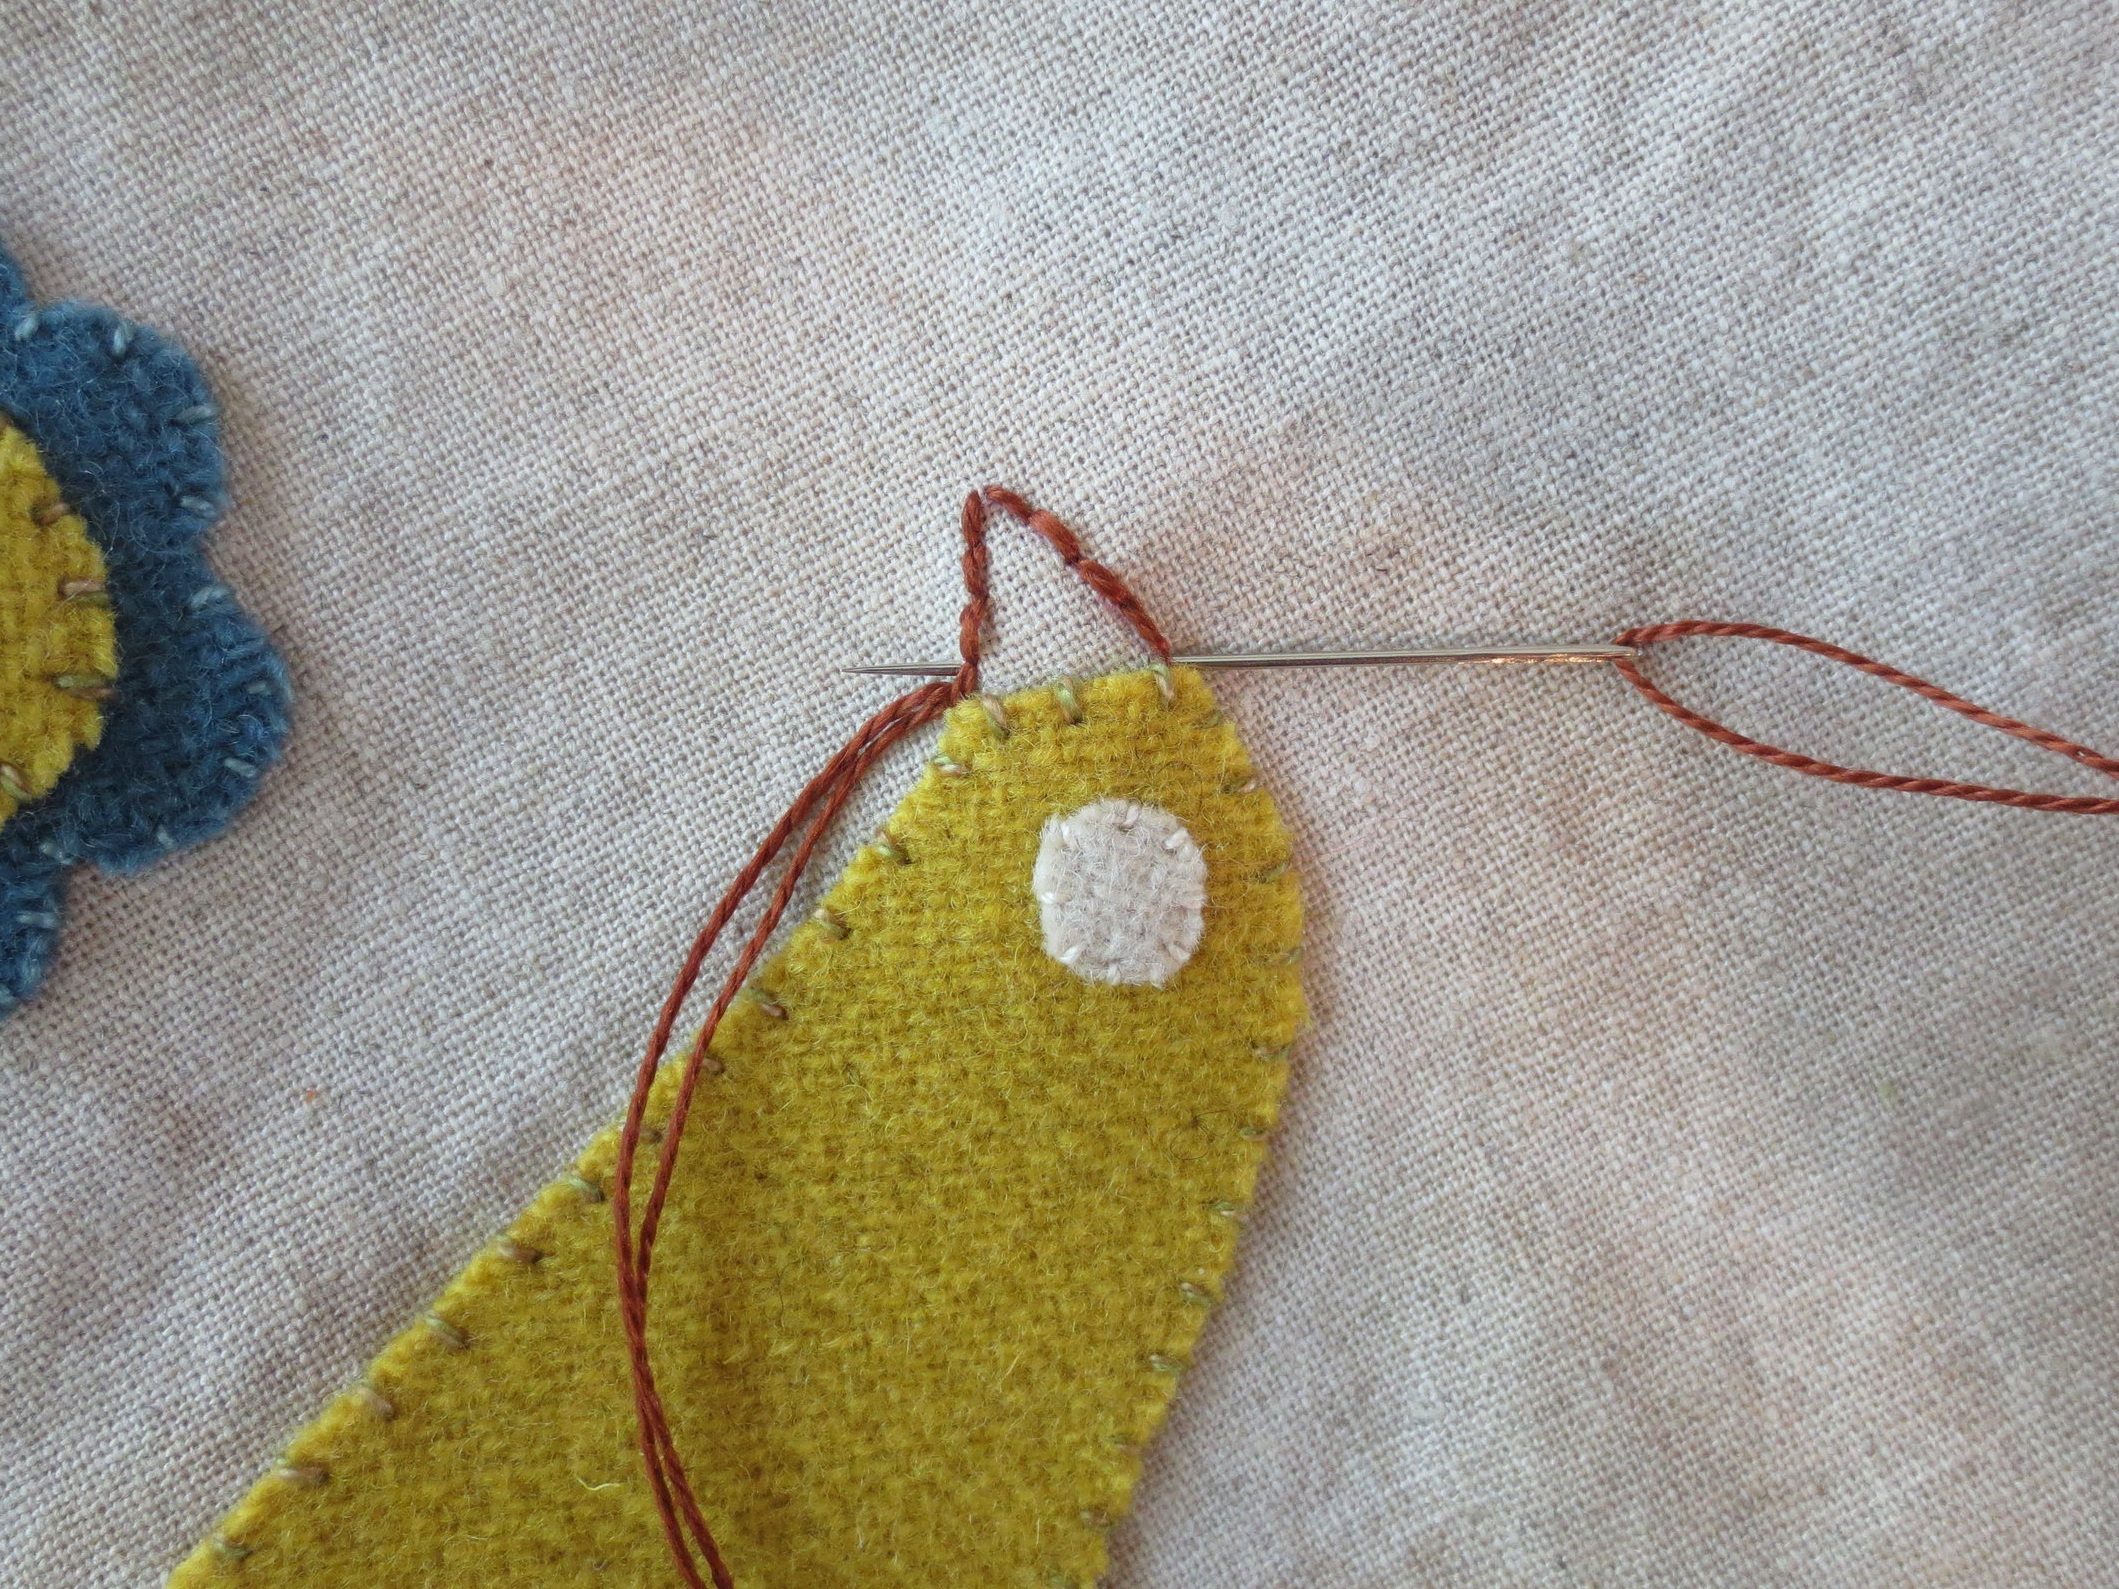
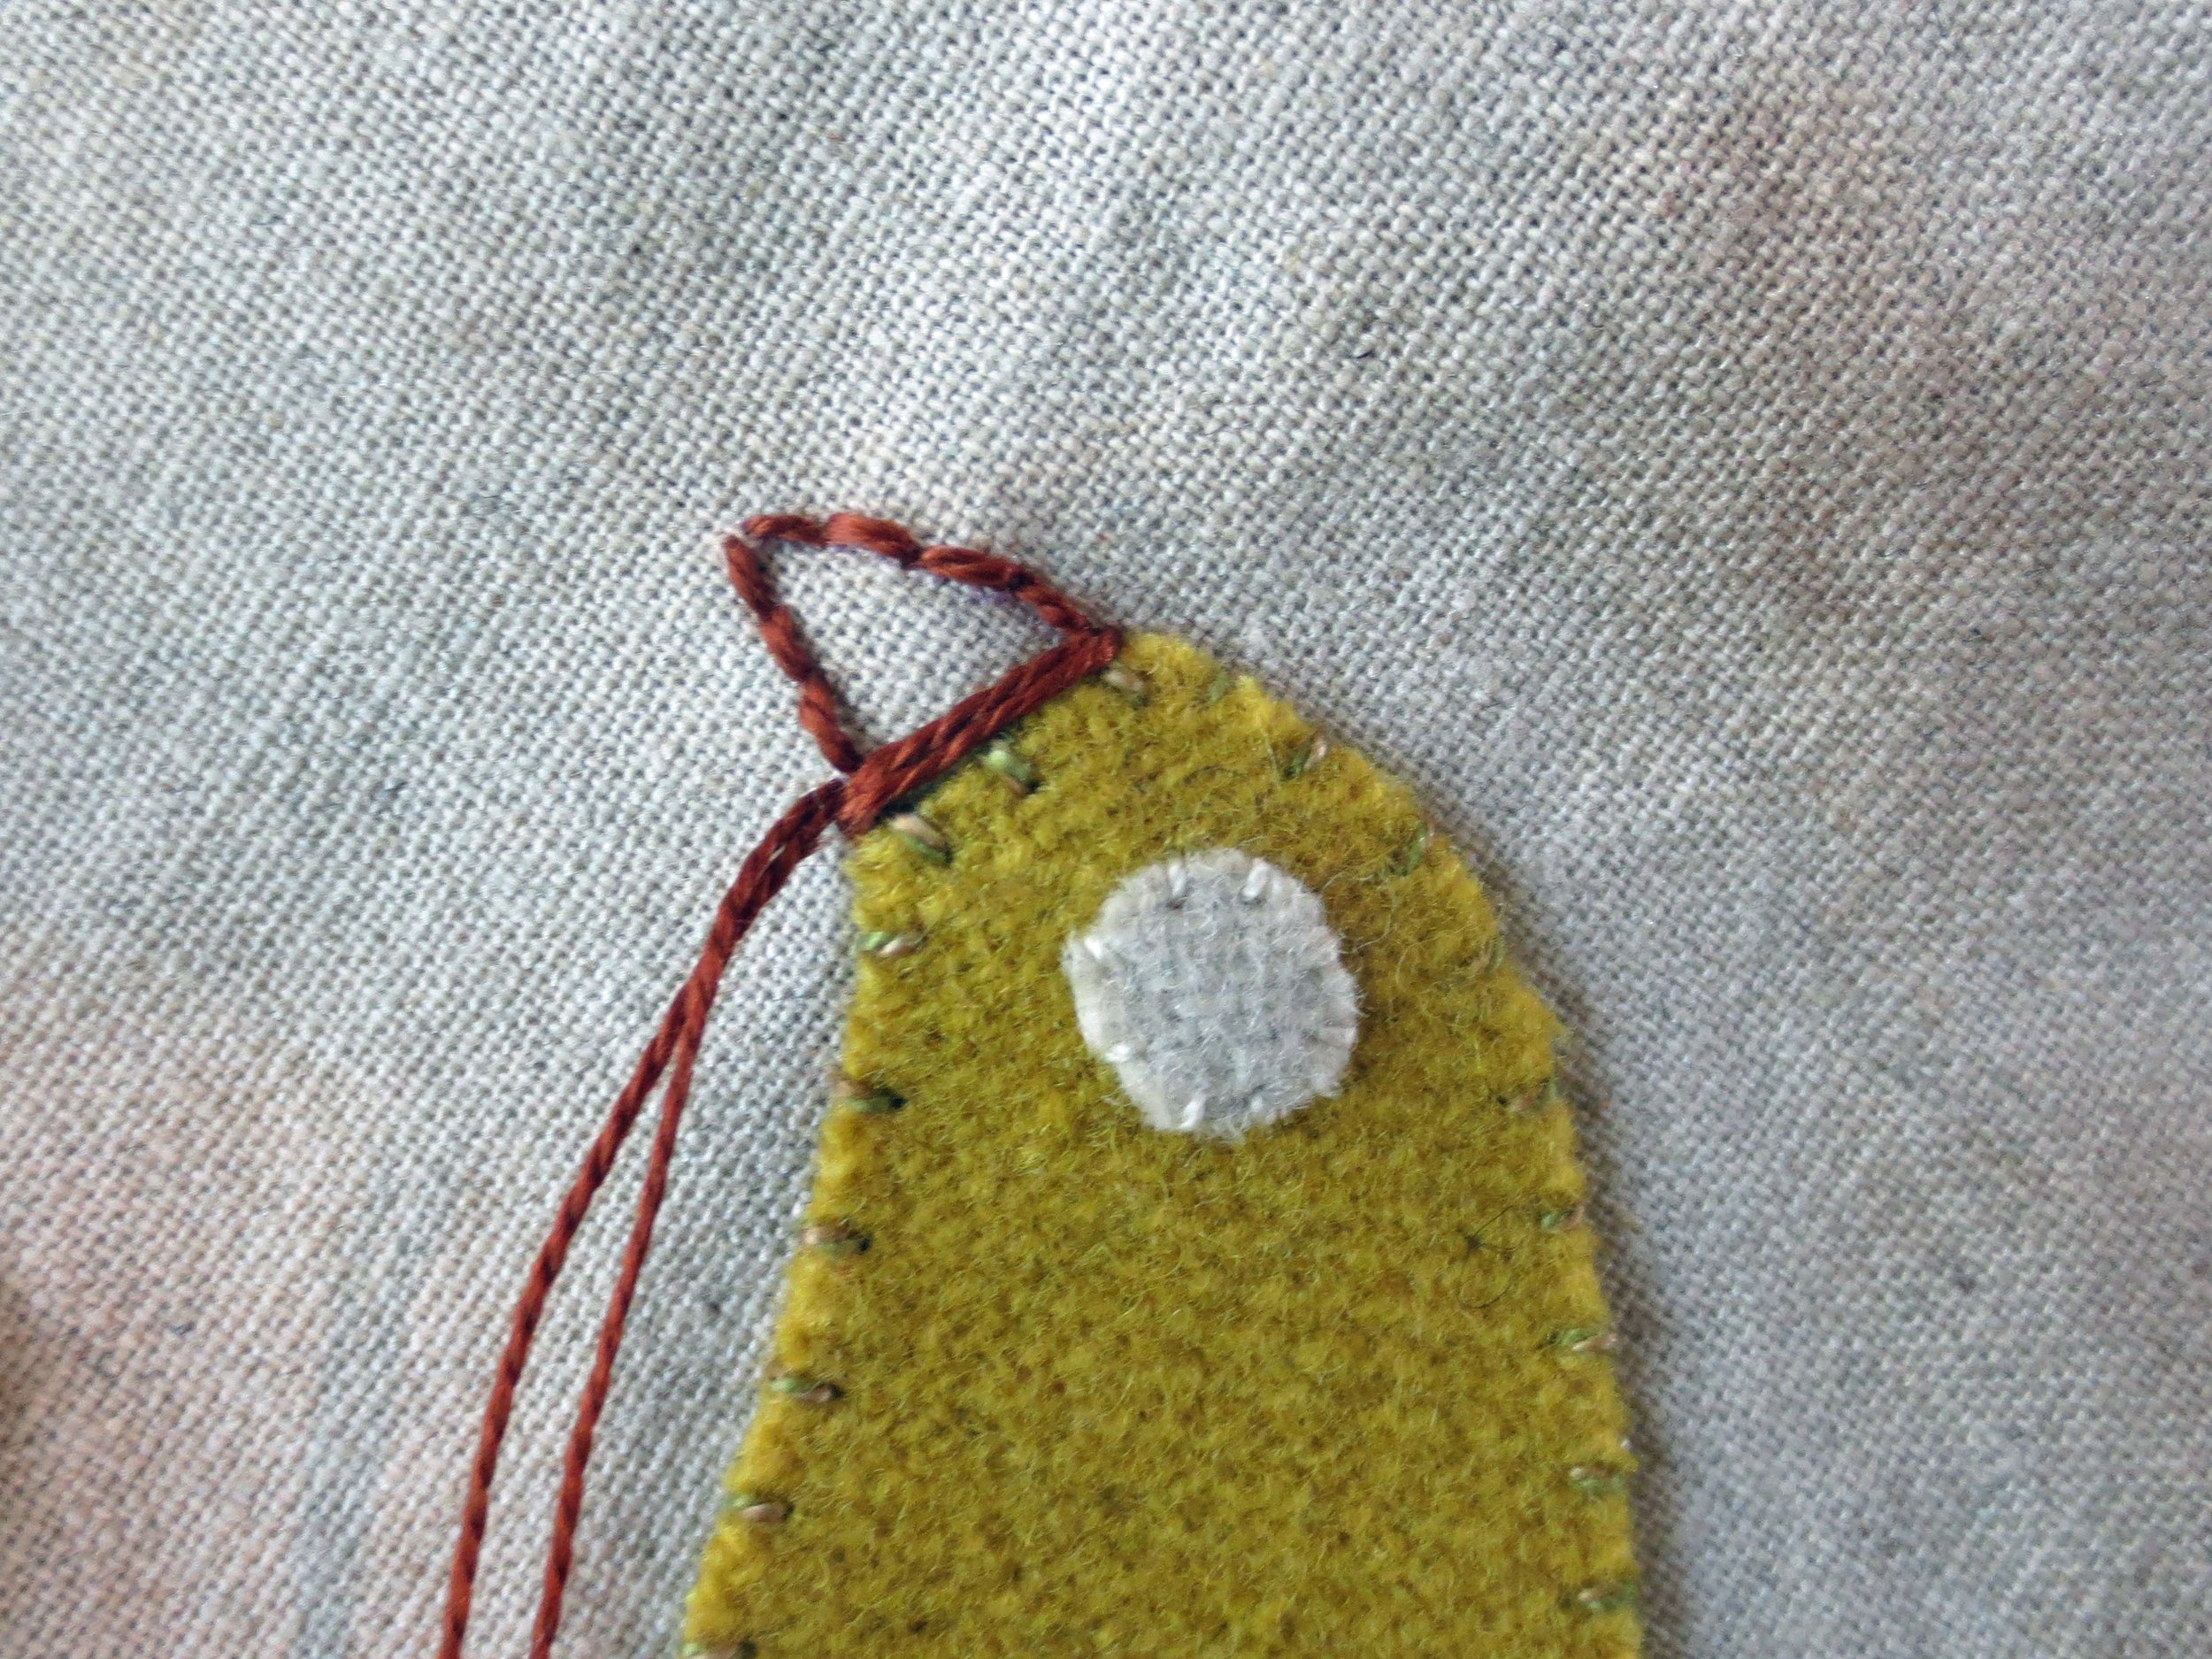
18. Use one strand of #300 to back stitch over the beak outline.
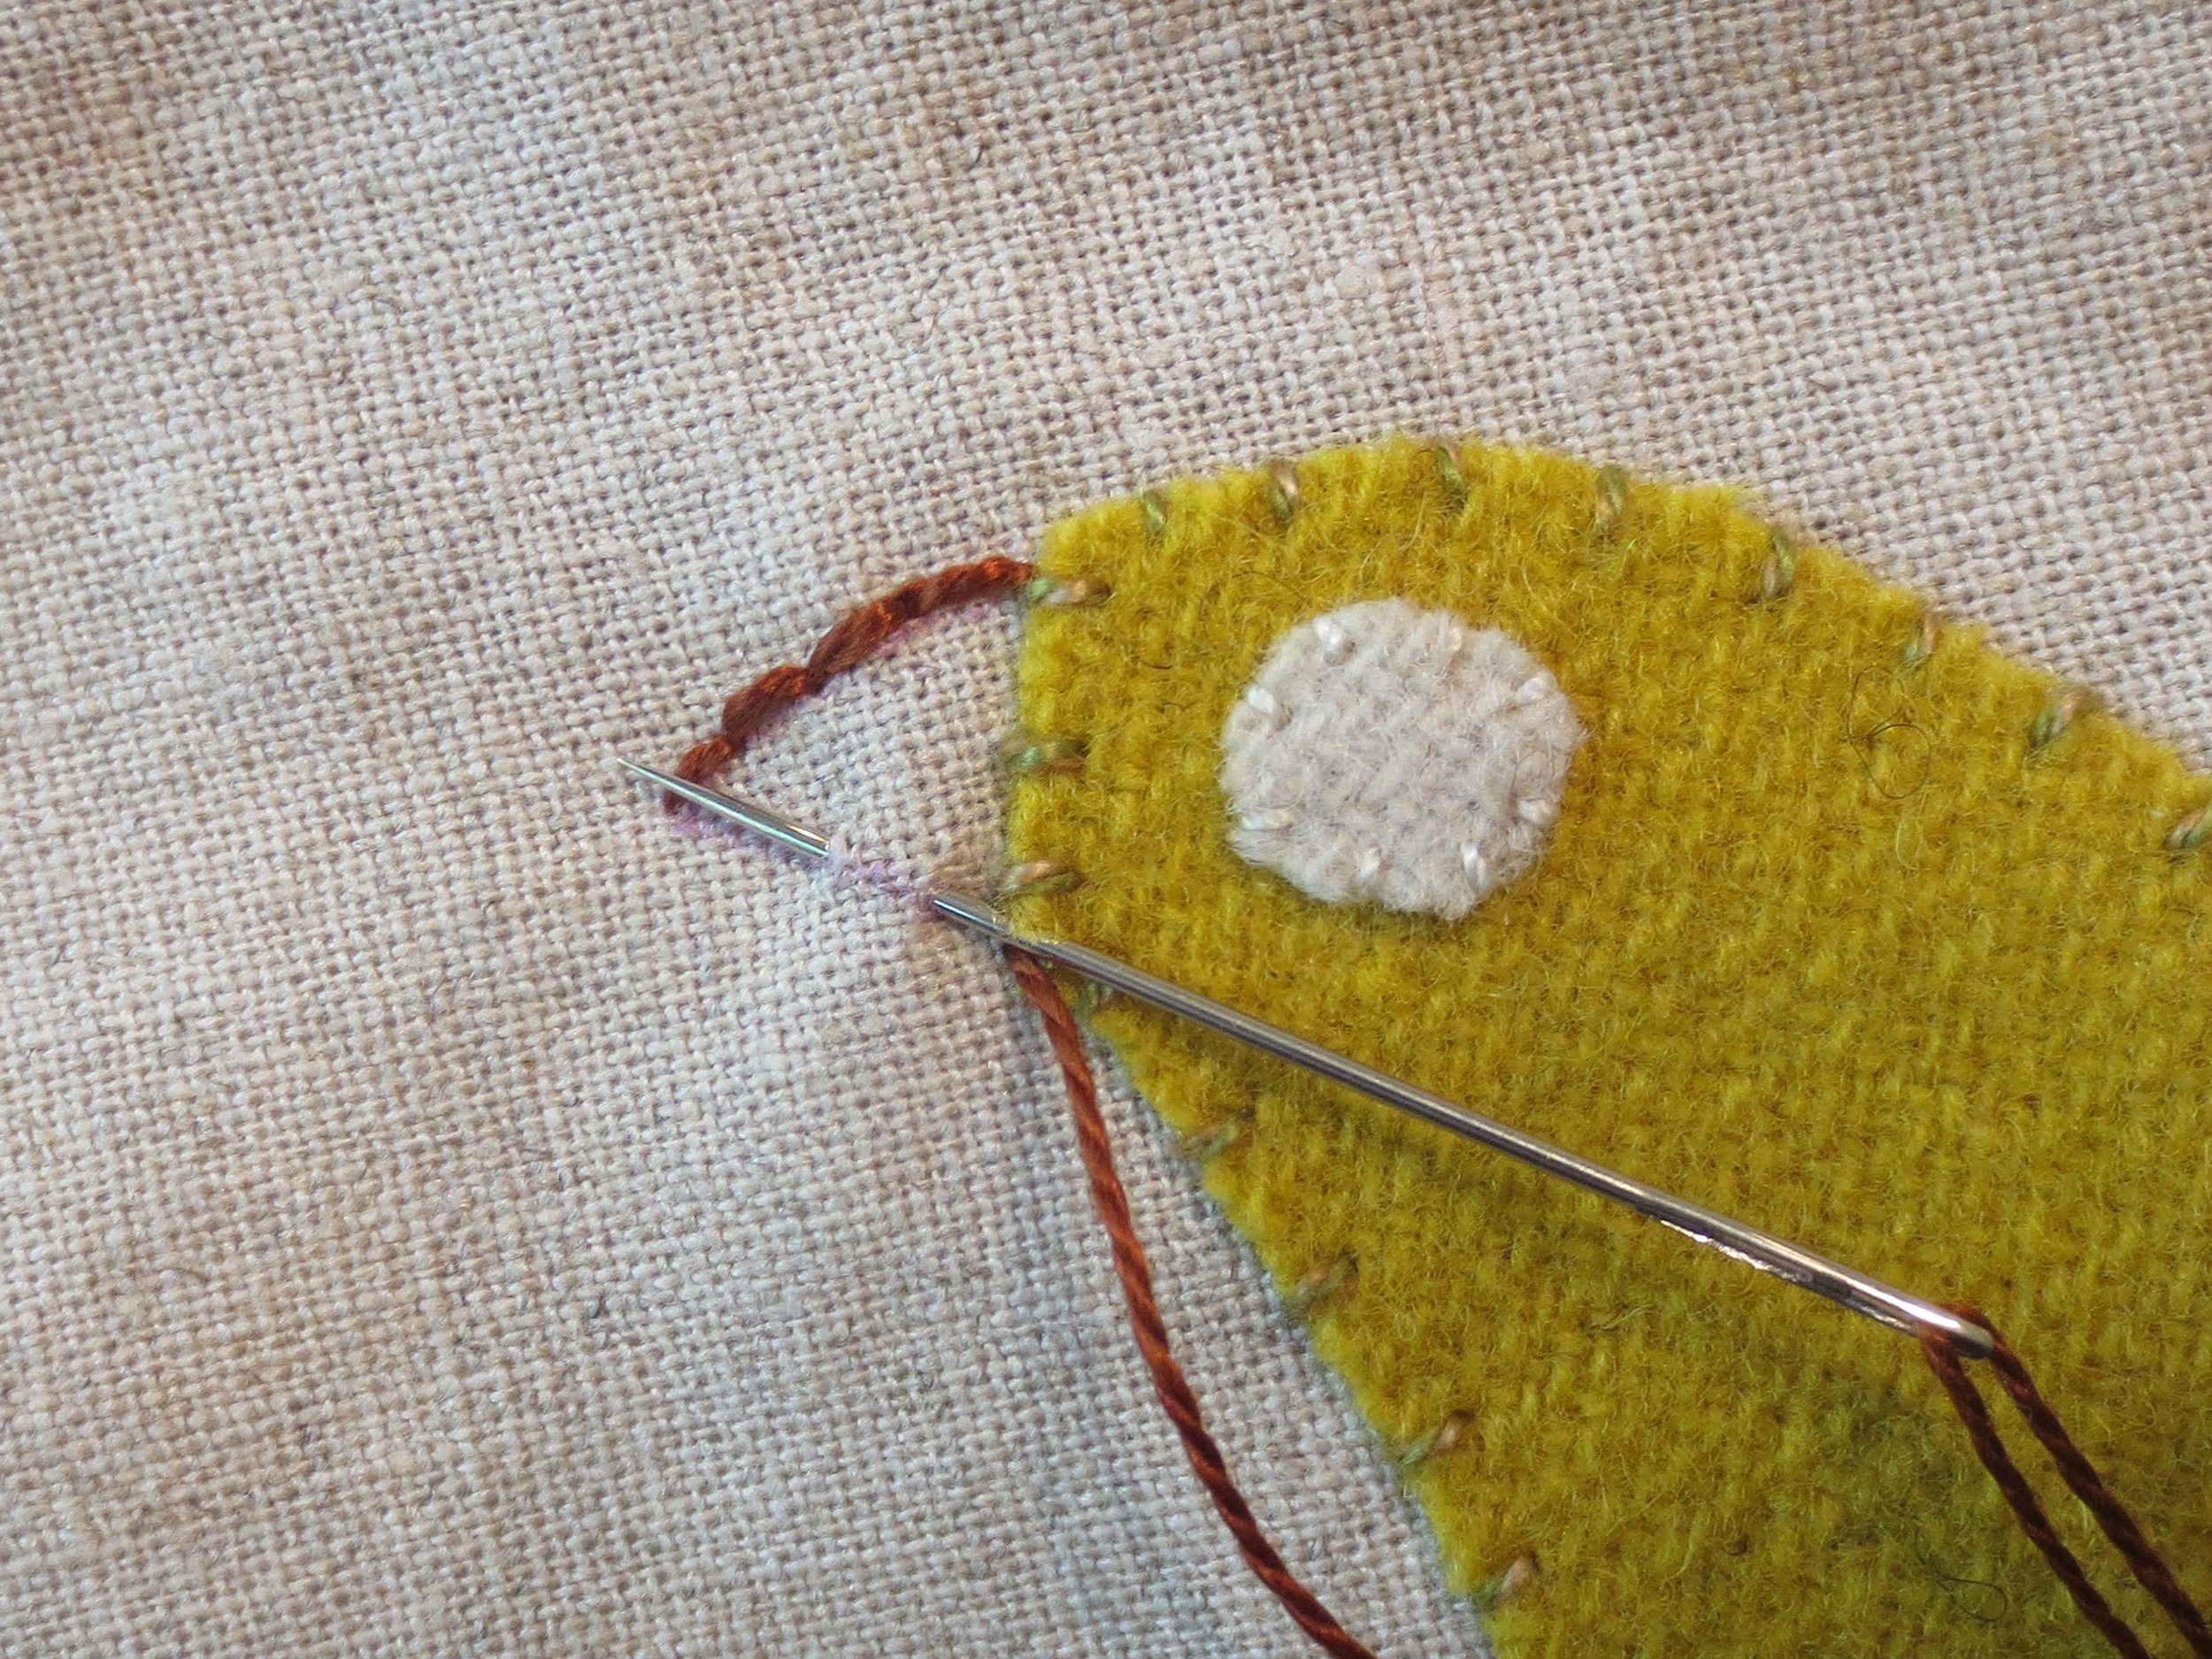
19. Beginning at the base of the beak, satin stitch the beak using the back stitched outline as your guide.
20. Use one strand of the DMC perle 8, #414 to make a french knot eye.
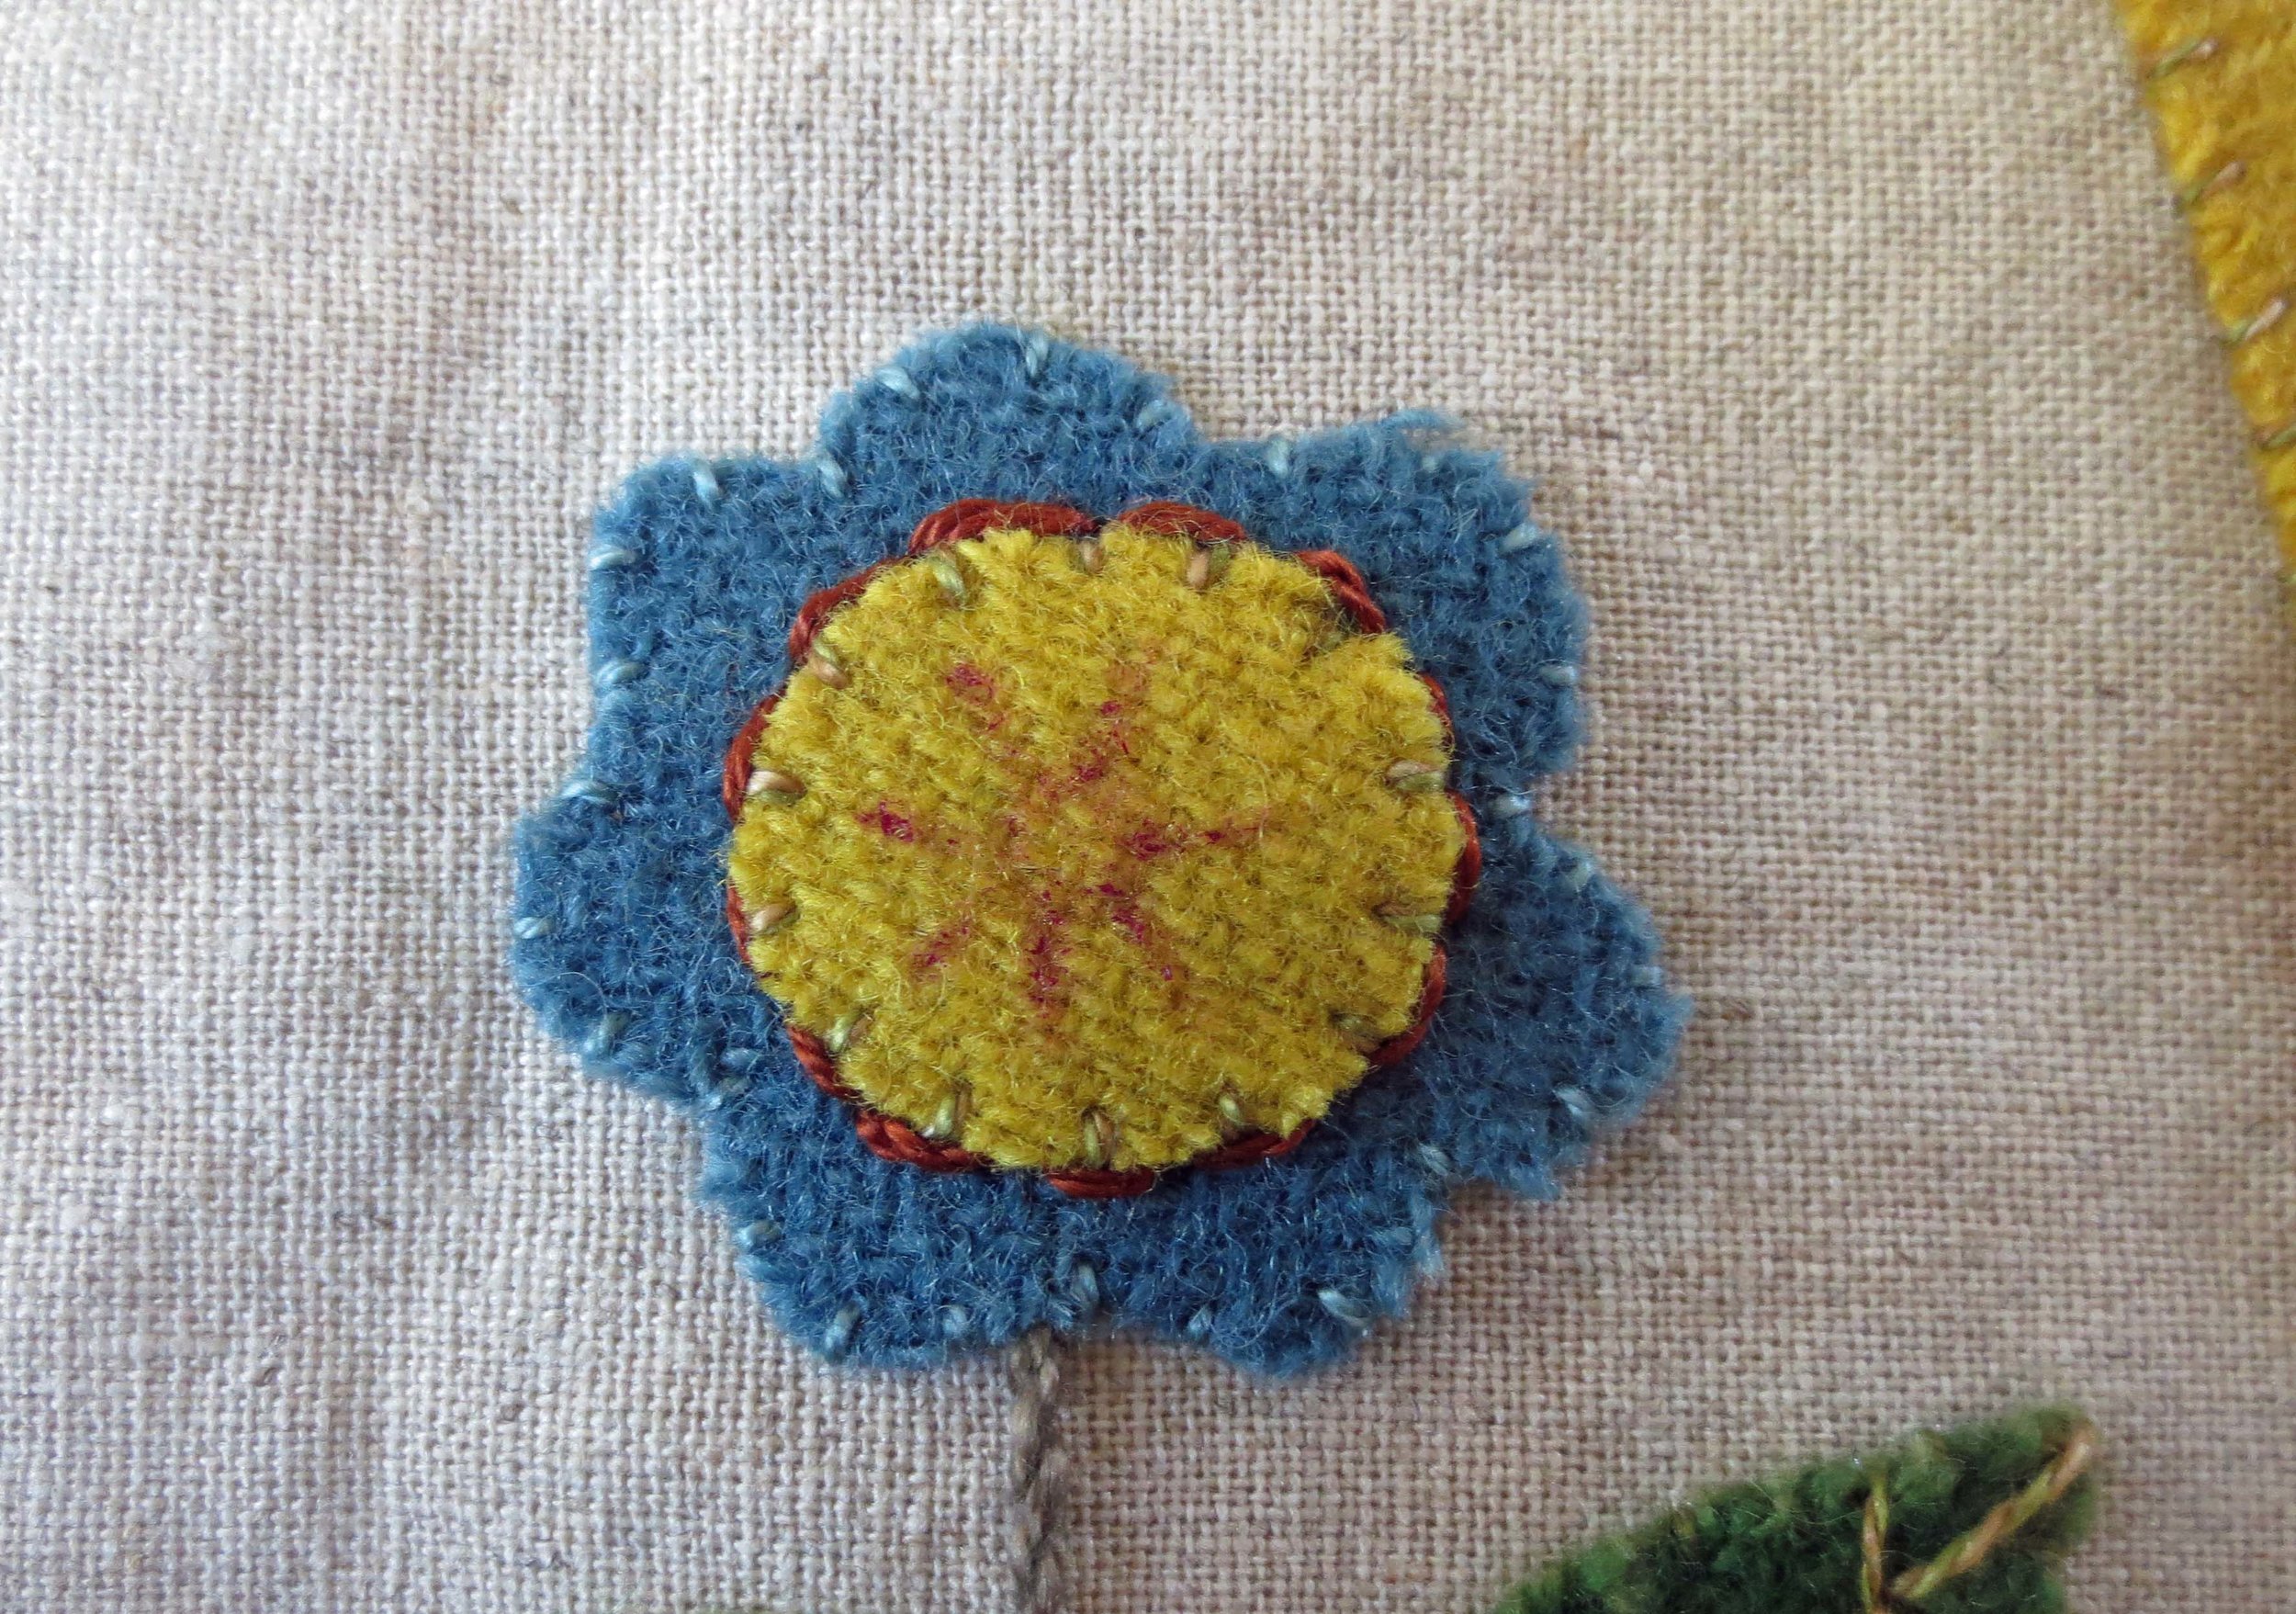
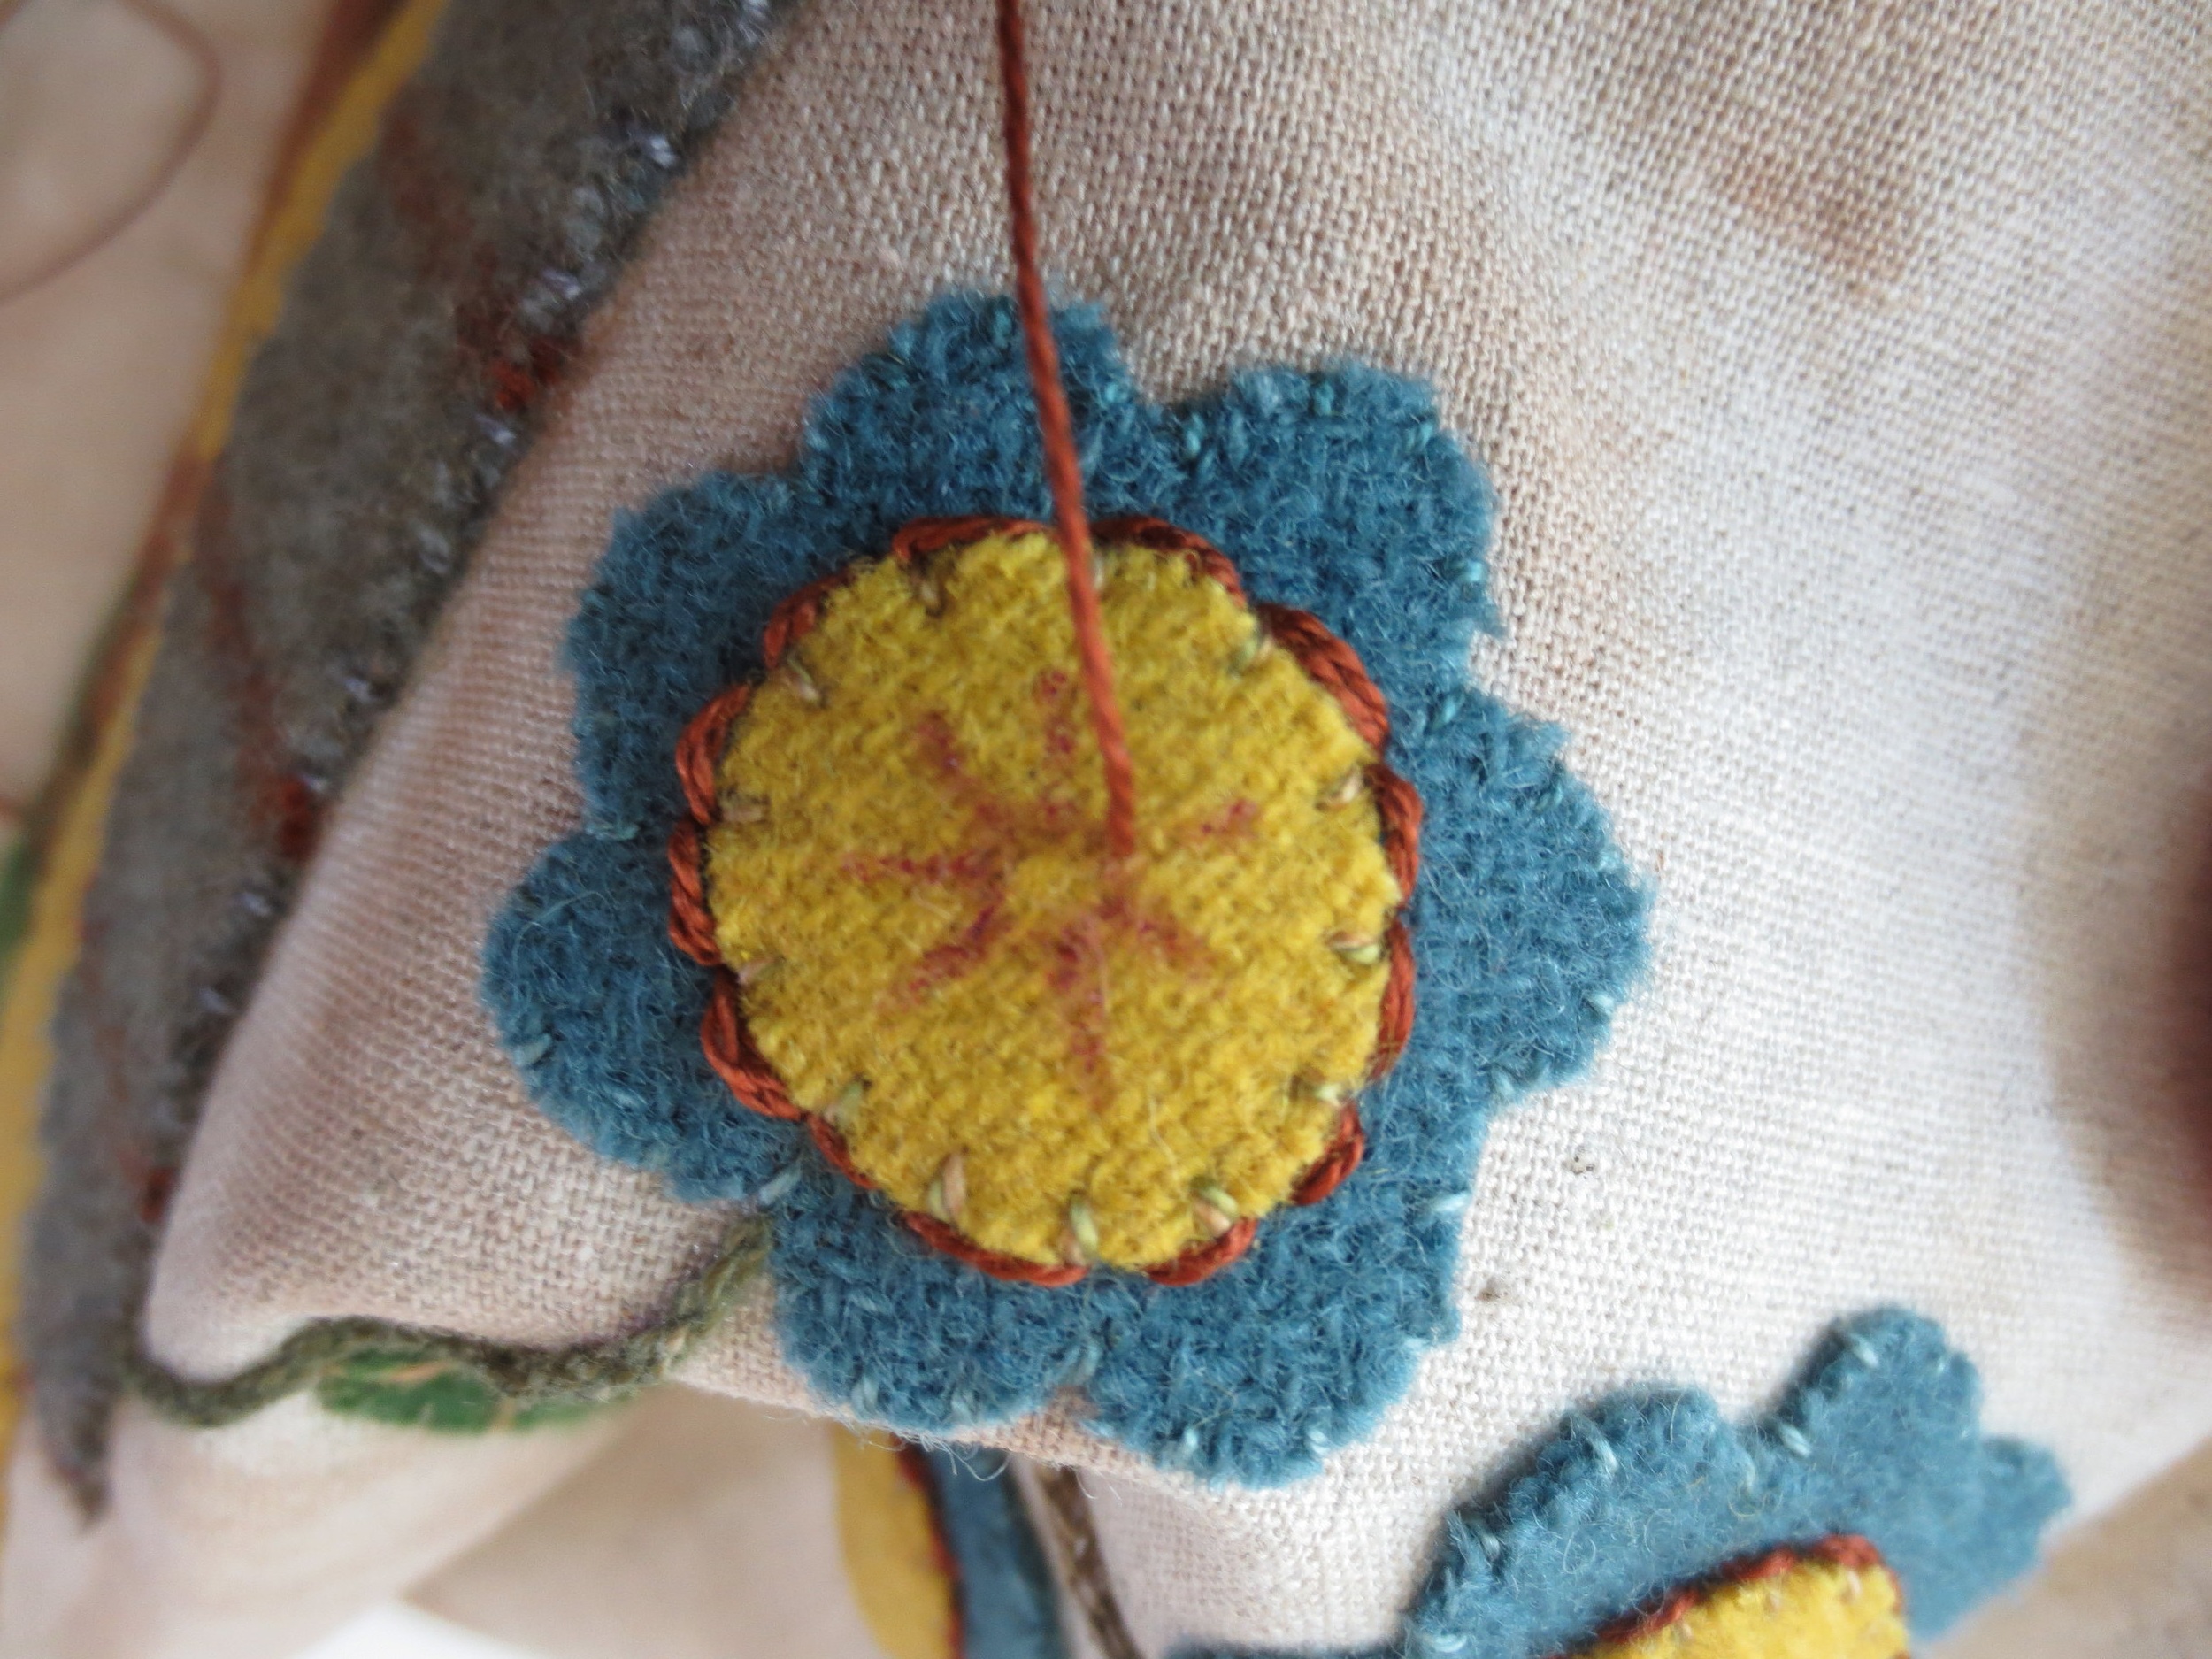
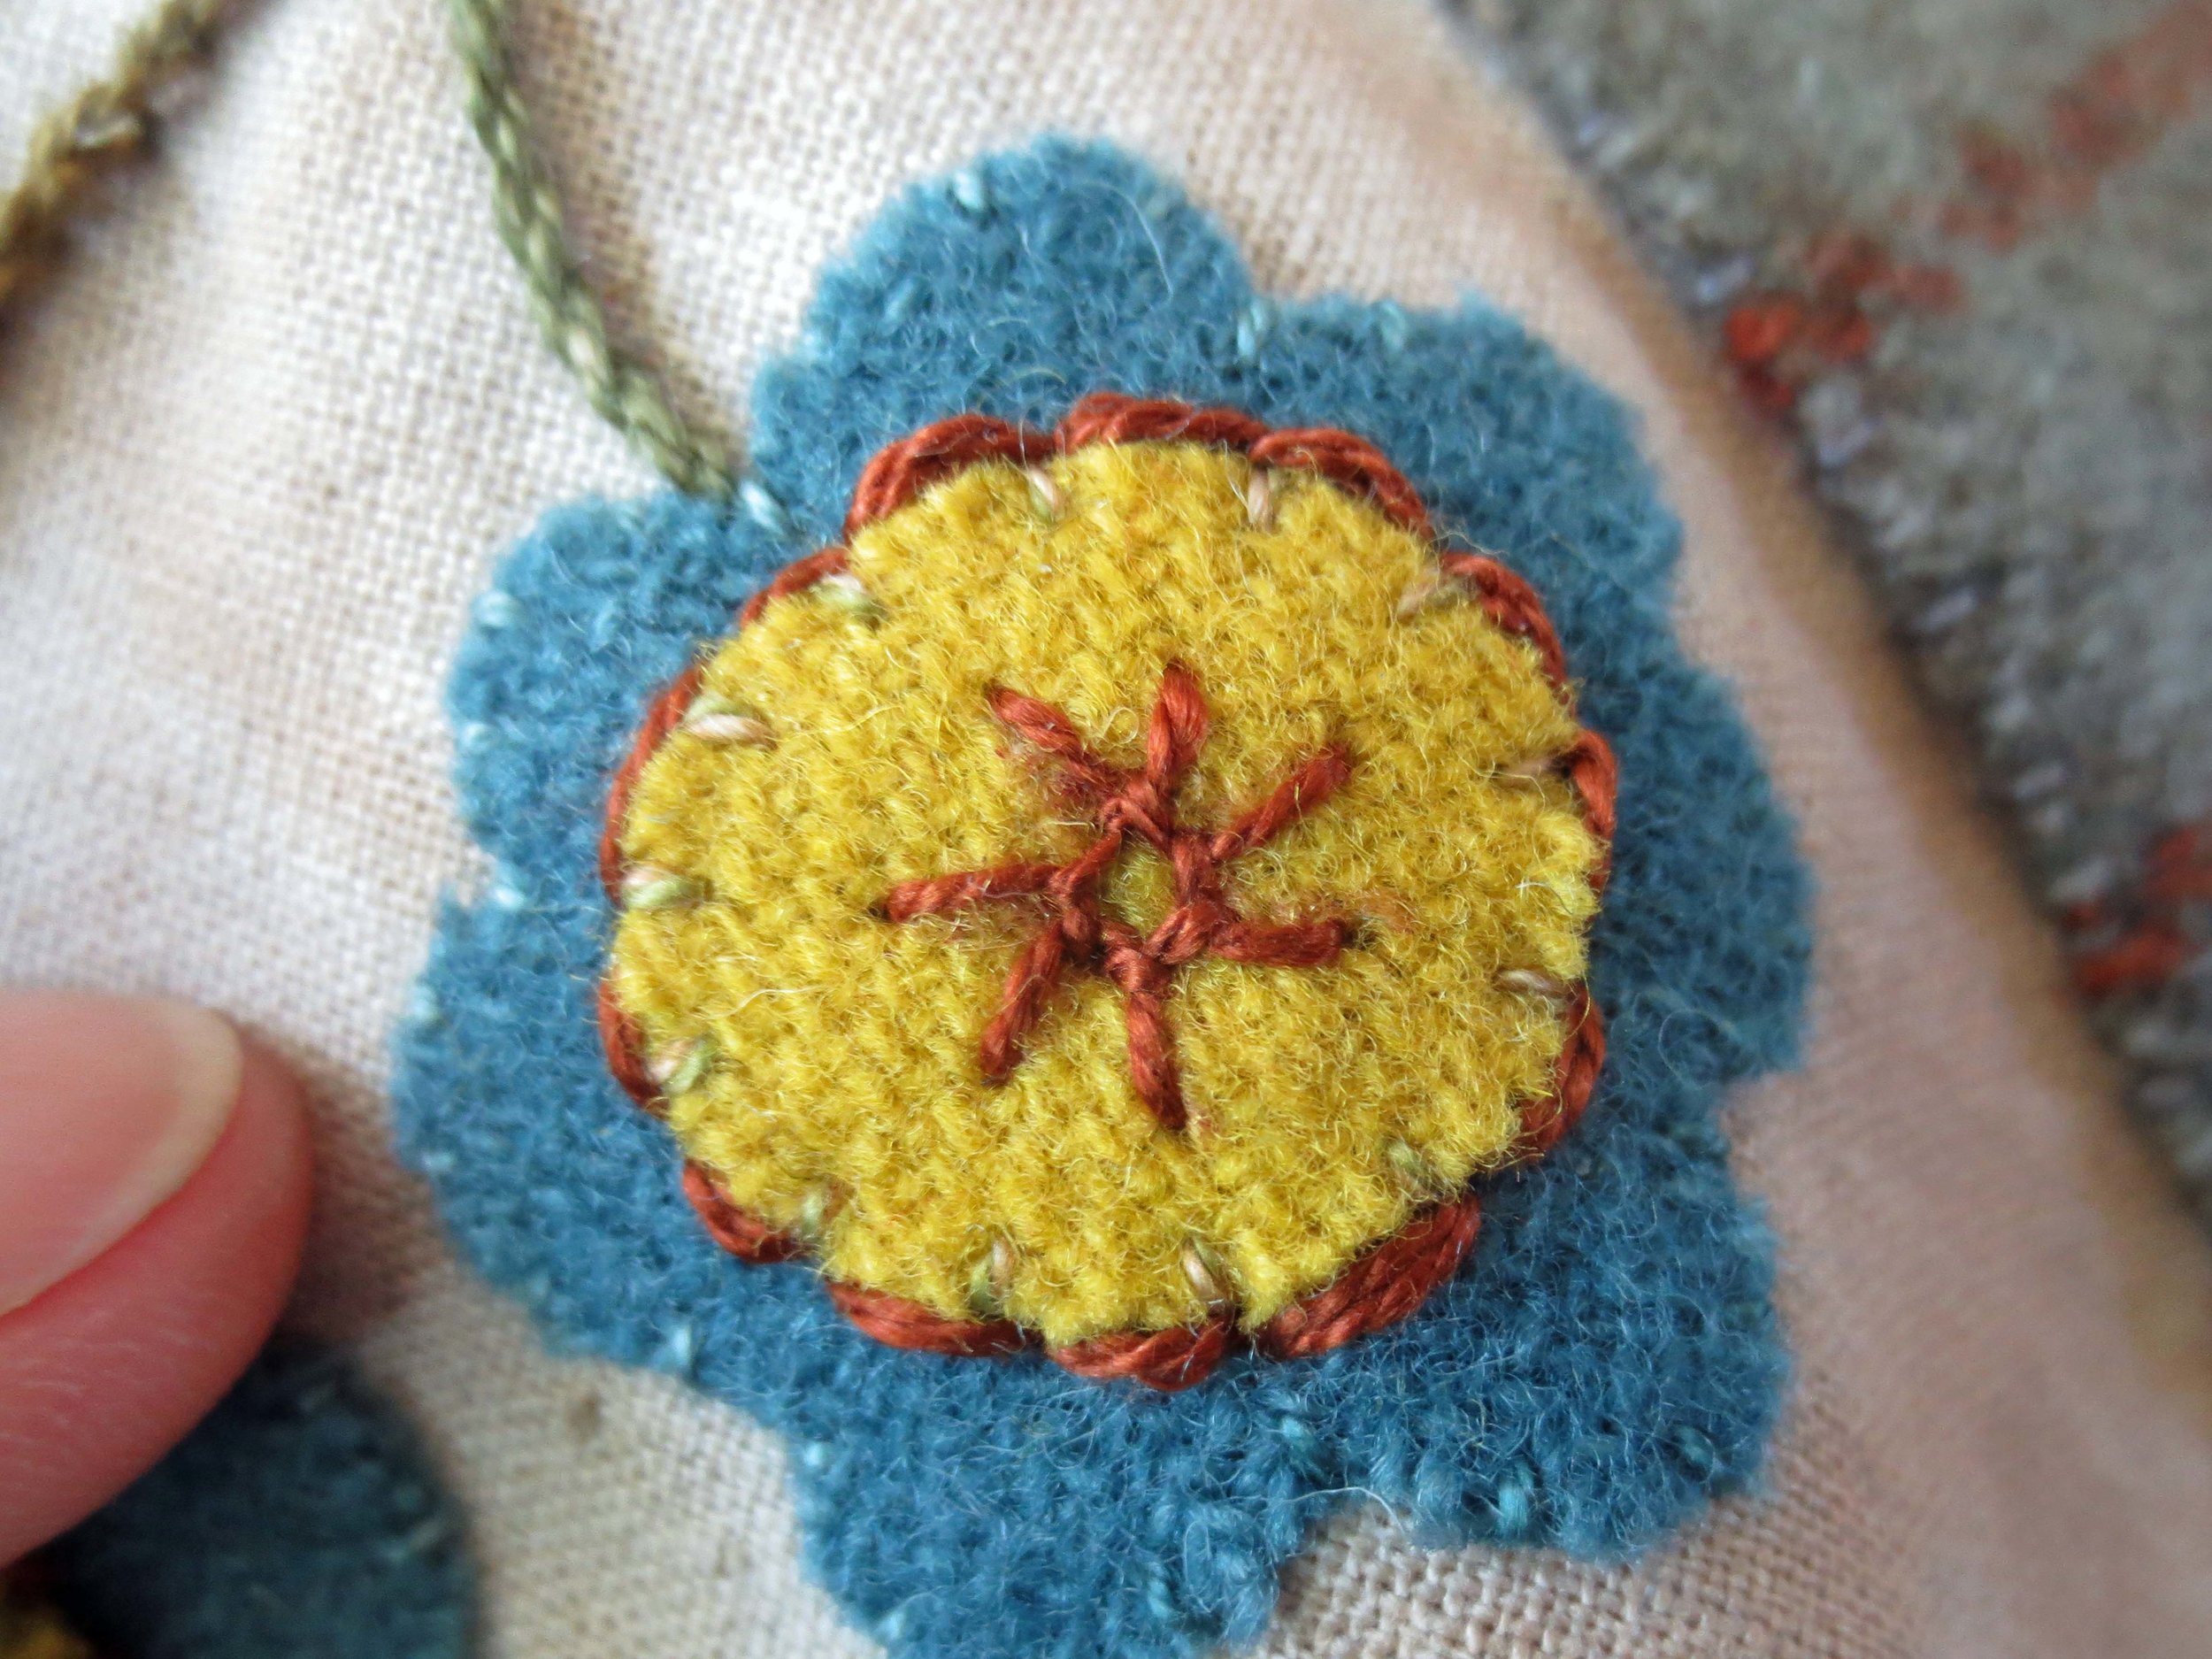
21. Use two strands of DMC perle 8, #300 to back stitch around each flower center.
22. Use one strand of PT2 to make closed fly stitch leaf veins.
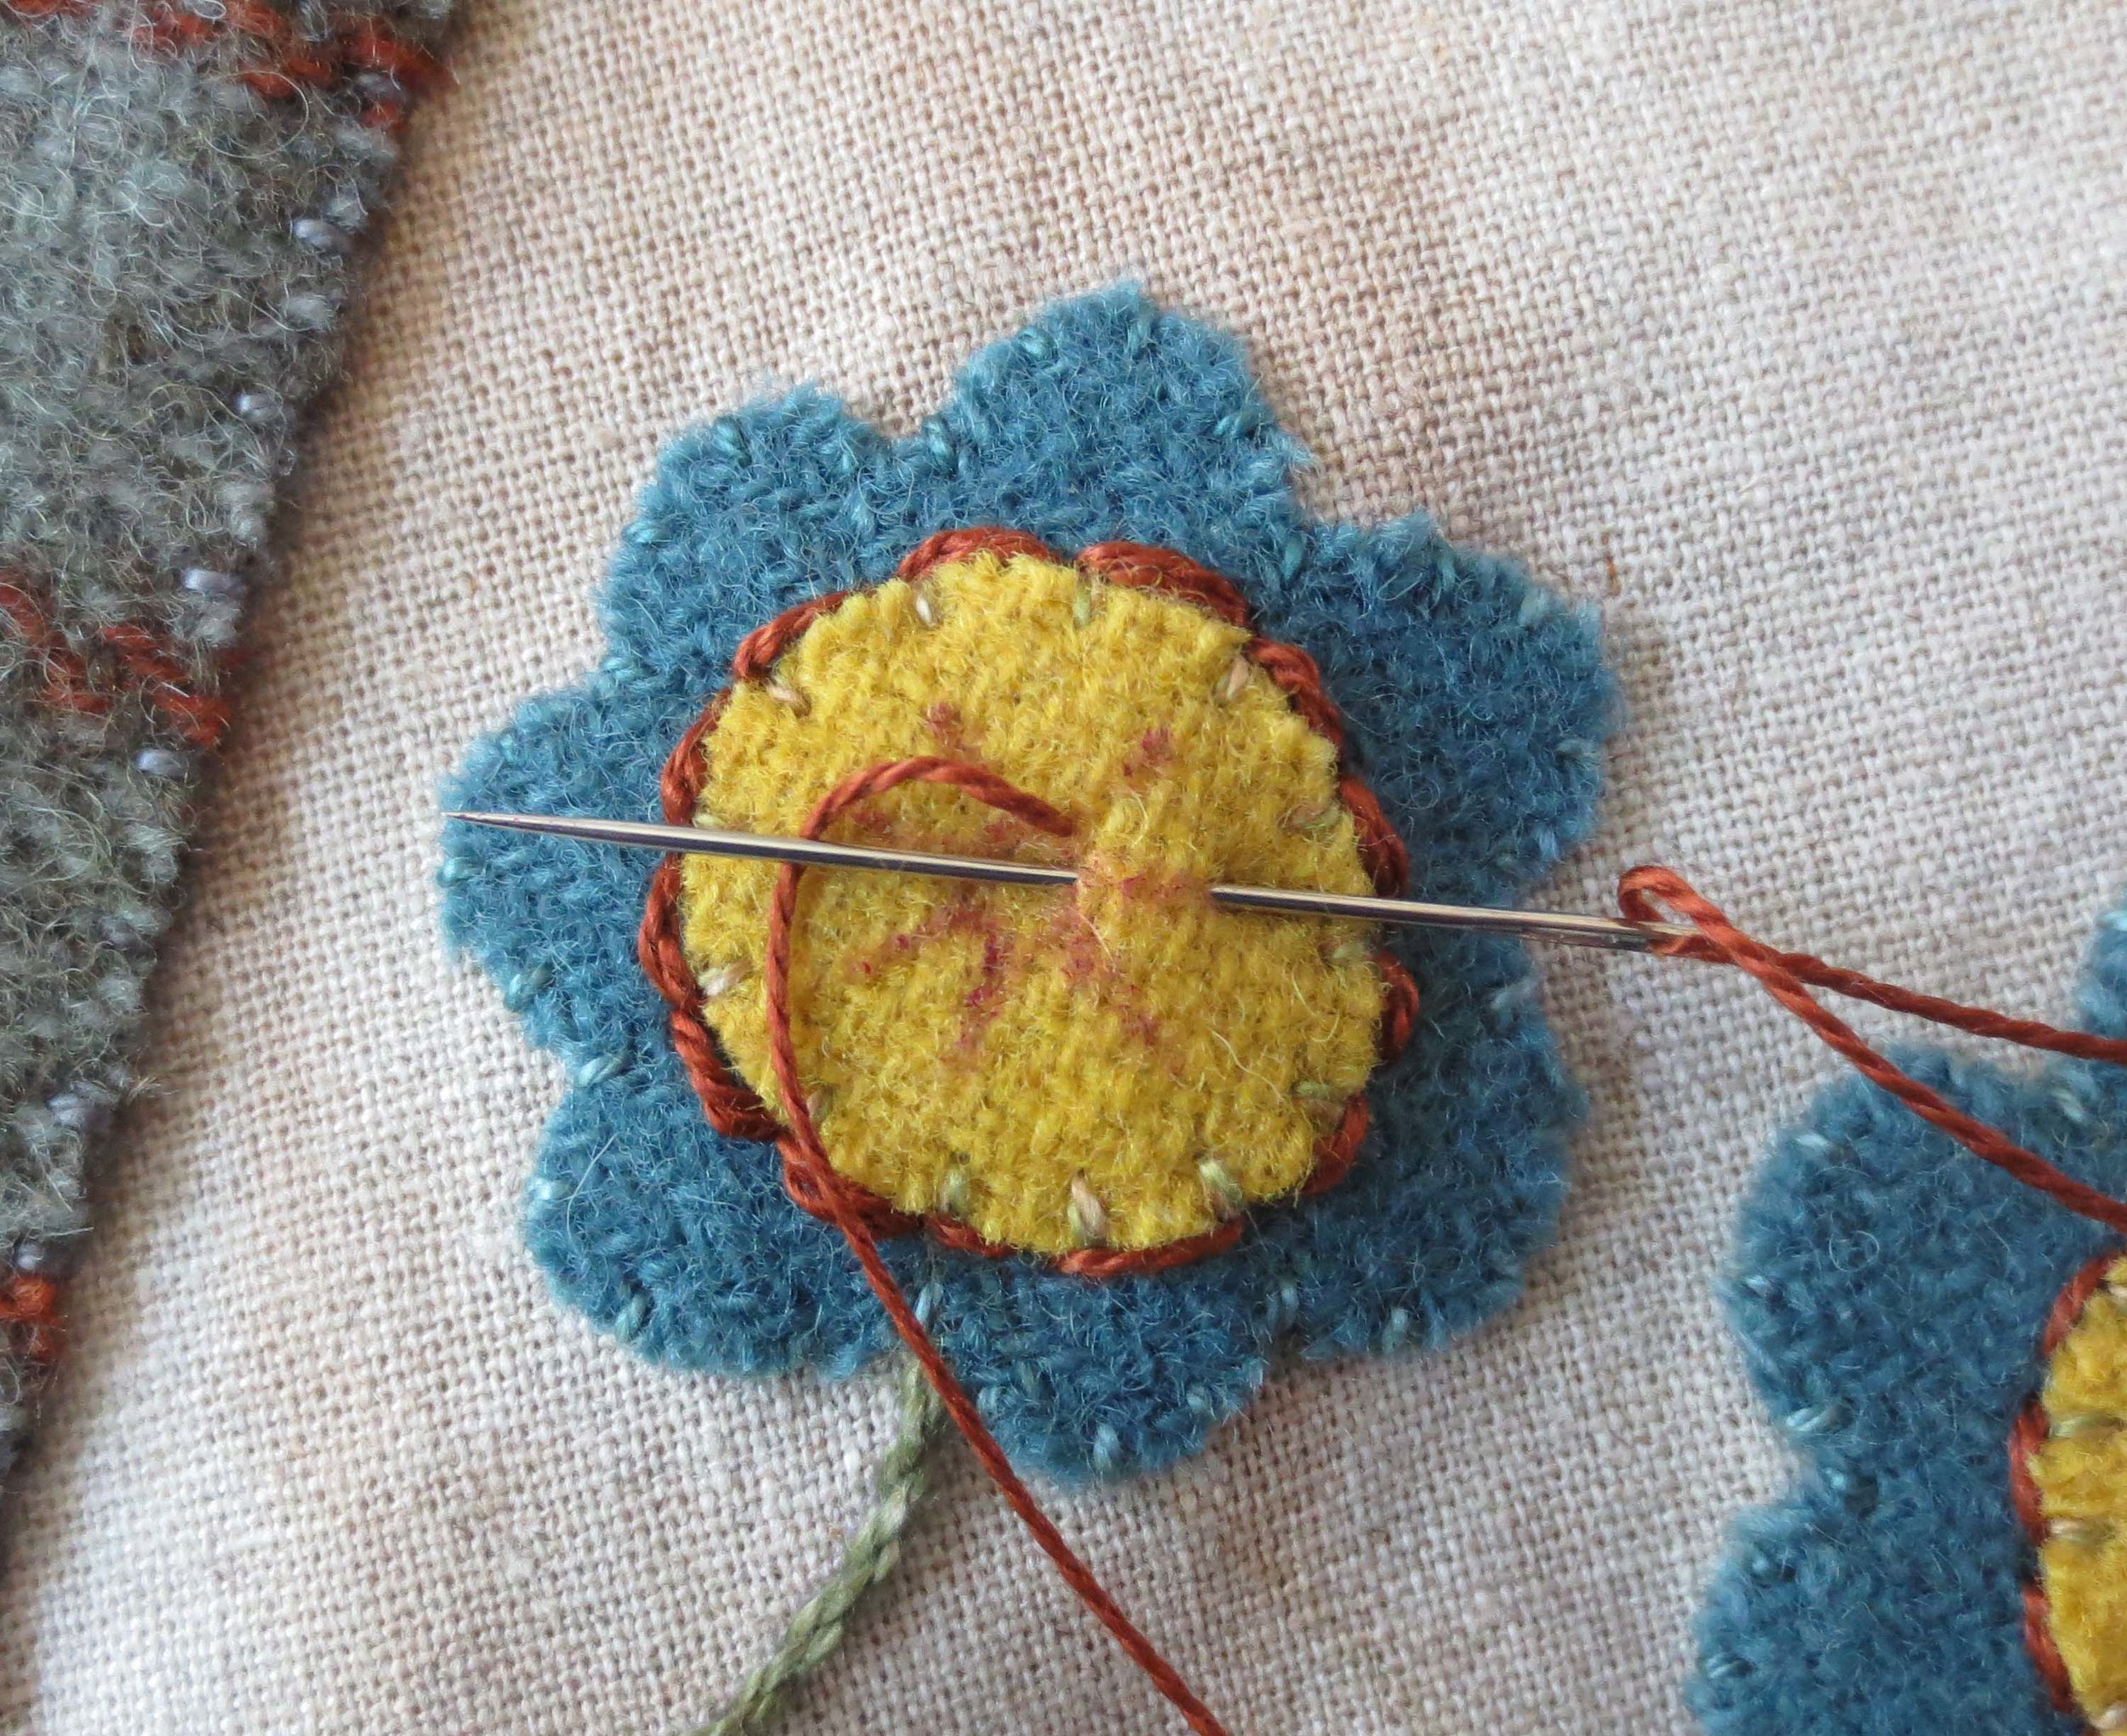
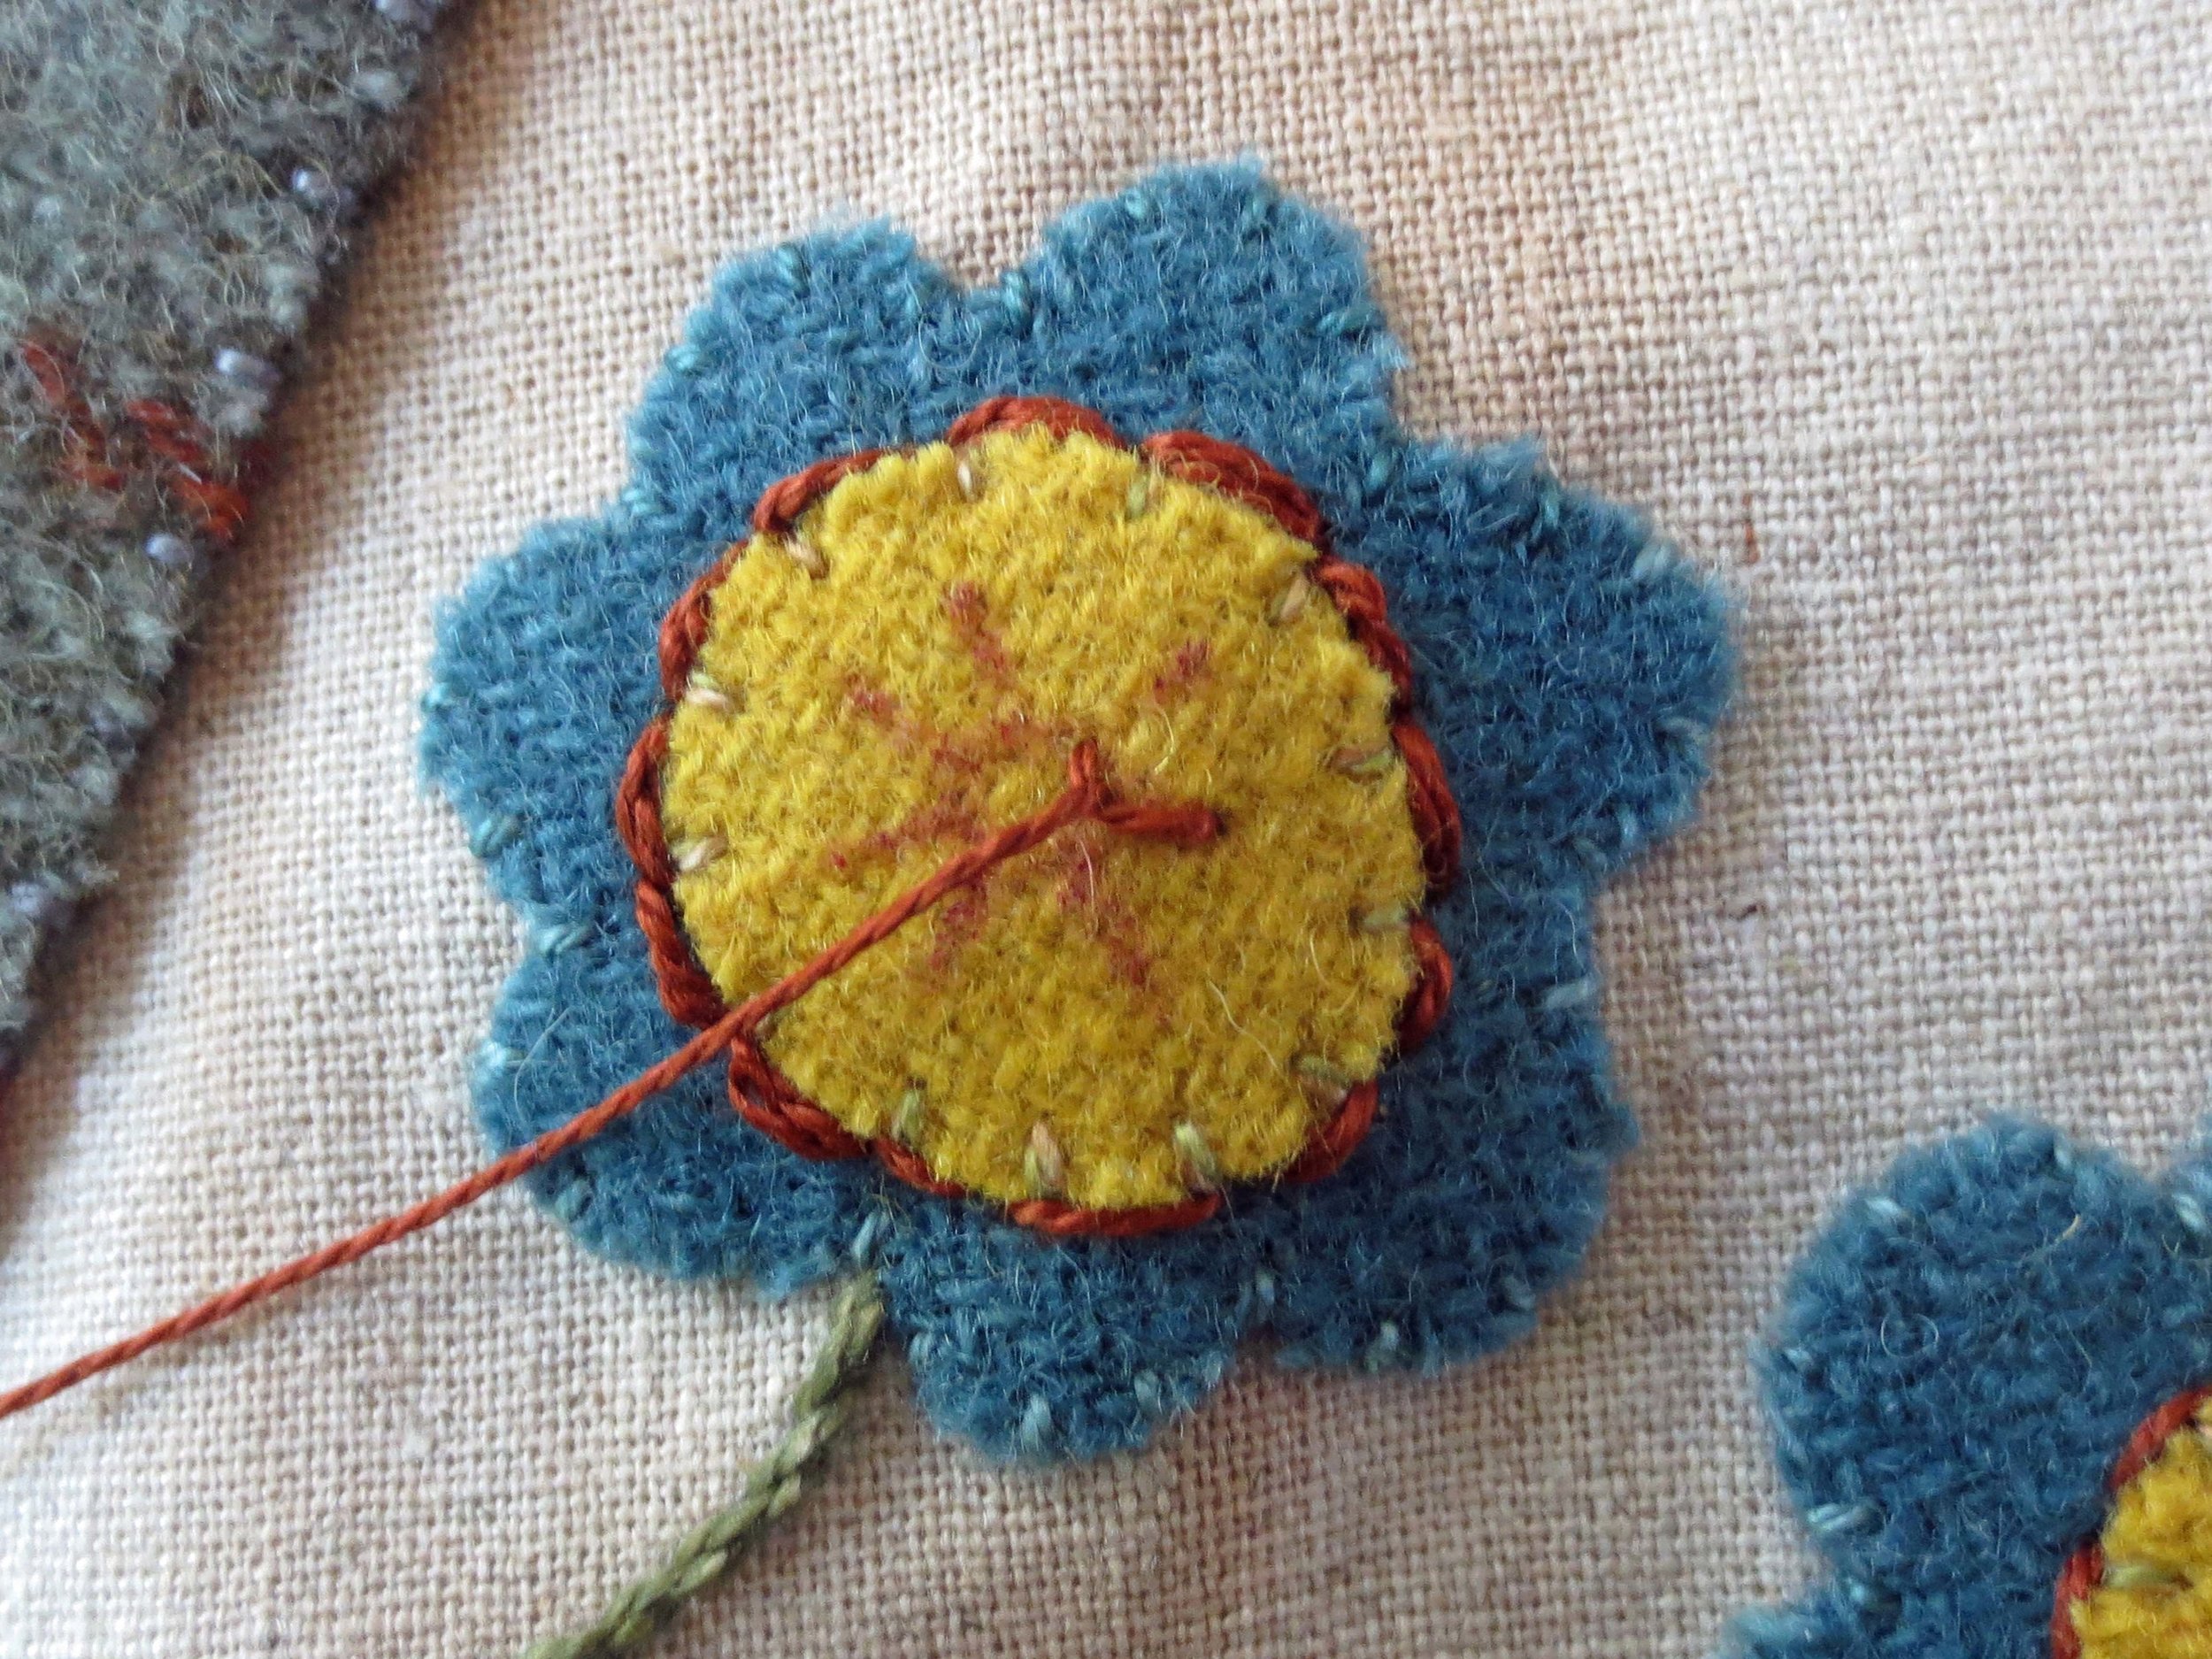
23. Using a disappearing ink pen, draw a buttonhole flower in the center of each flower center. Use the Layout as your guide.
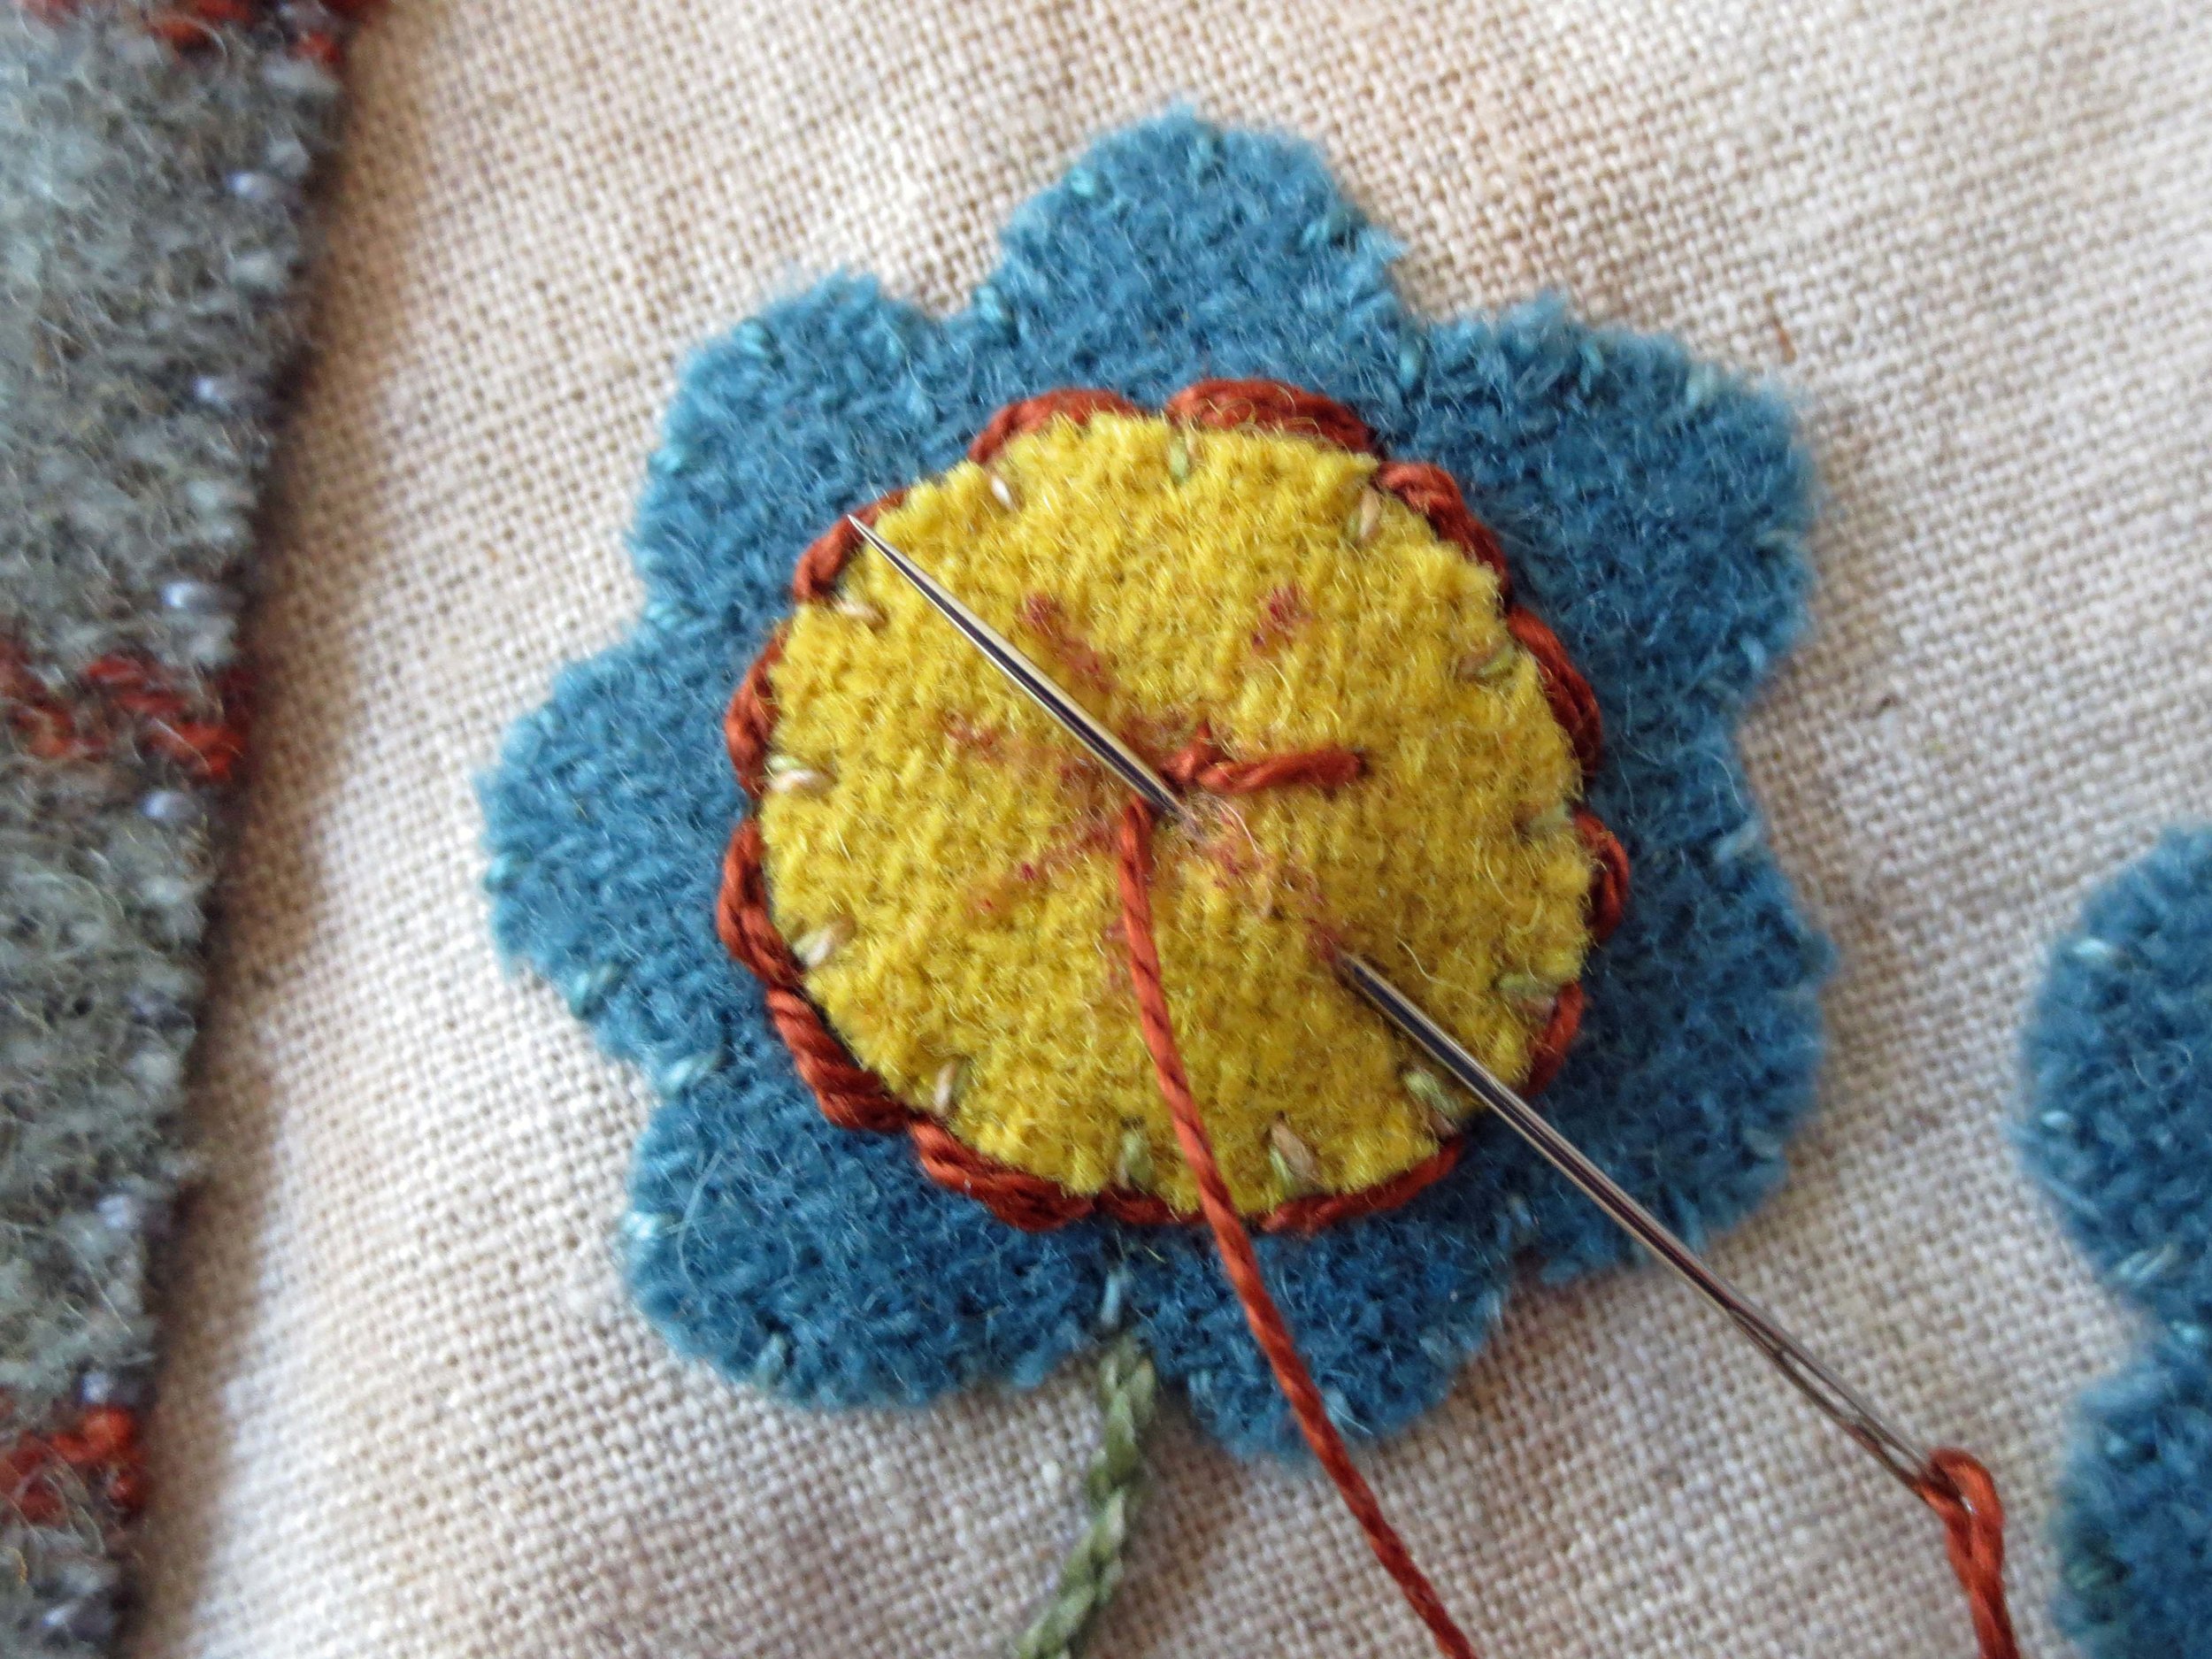
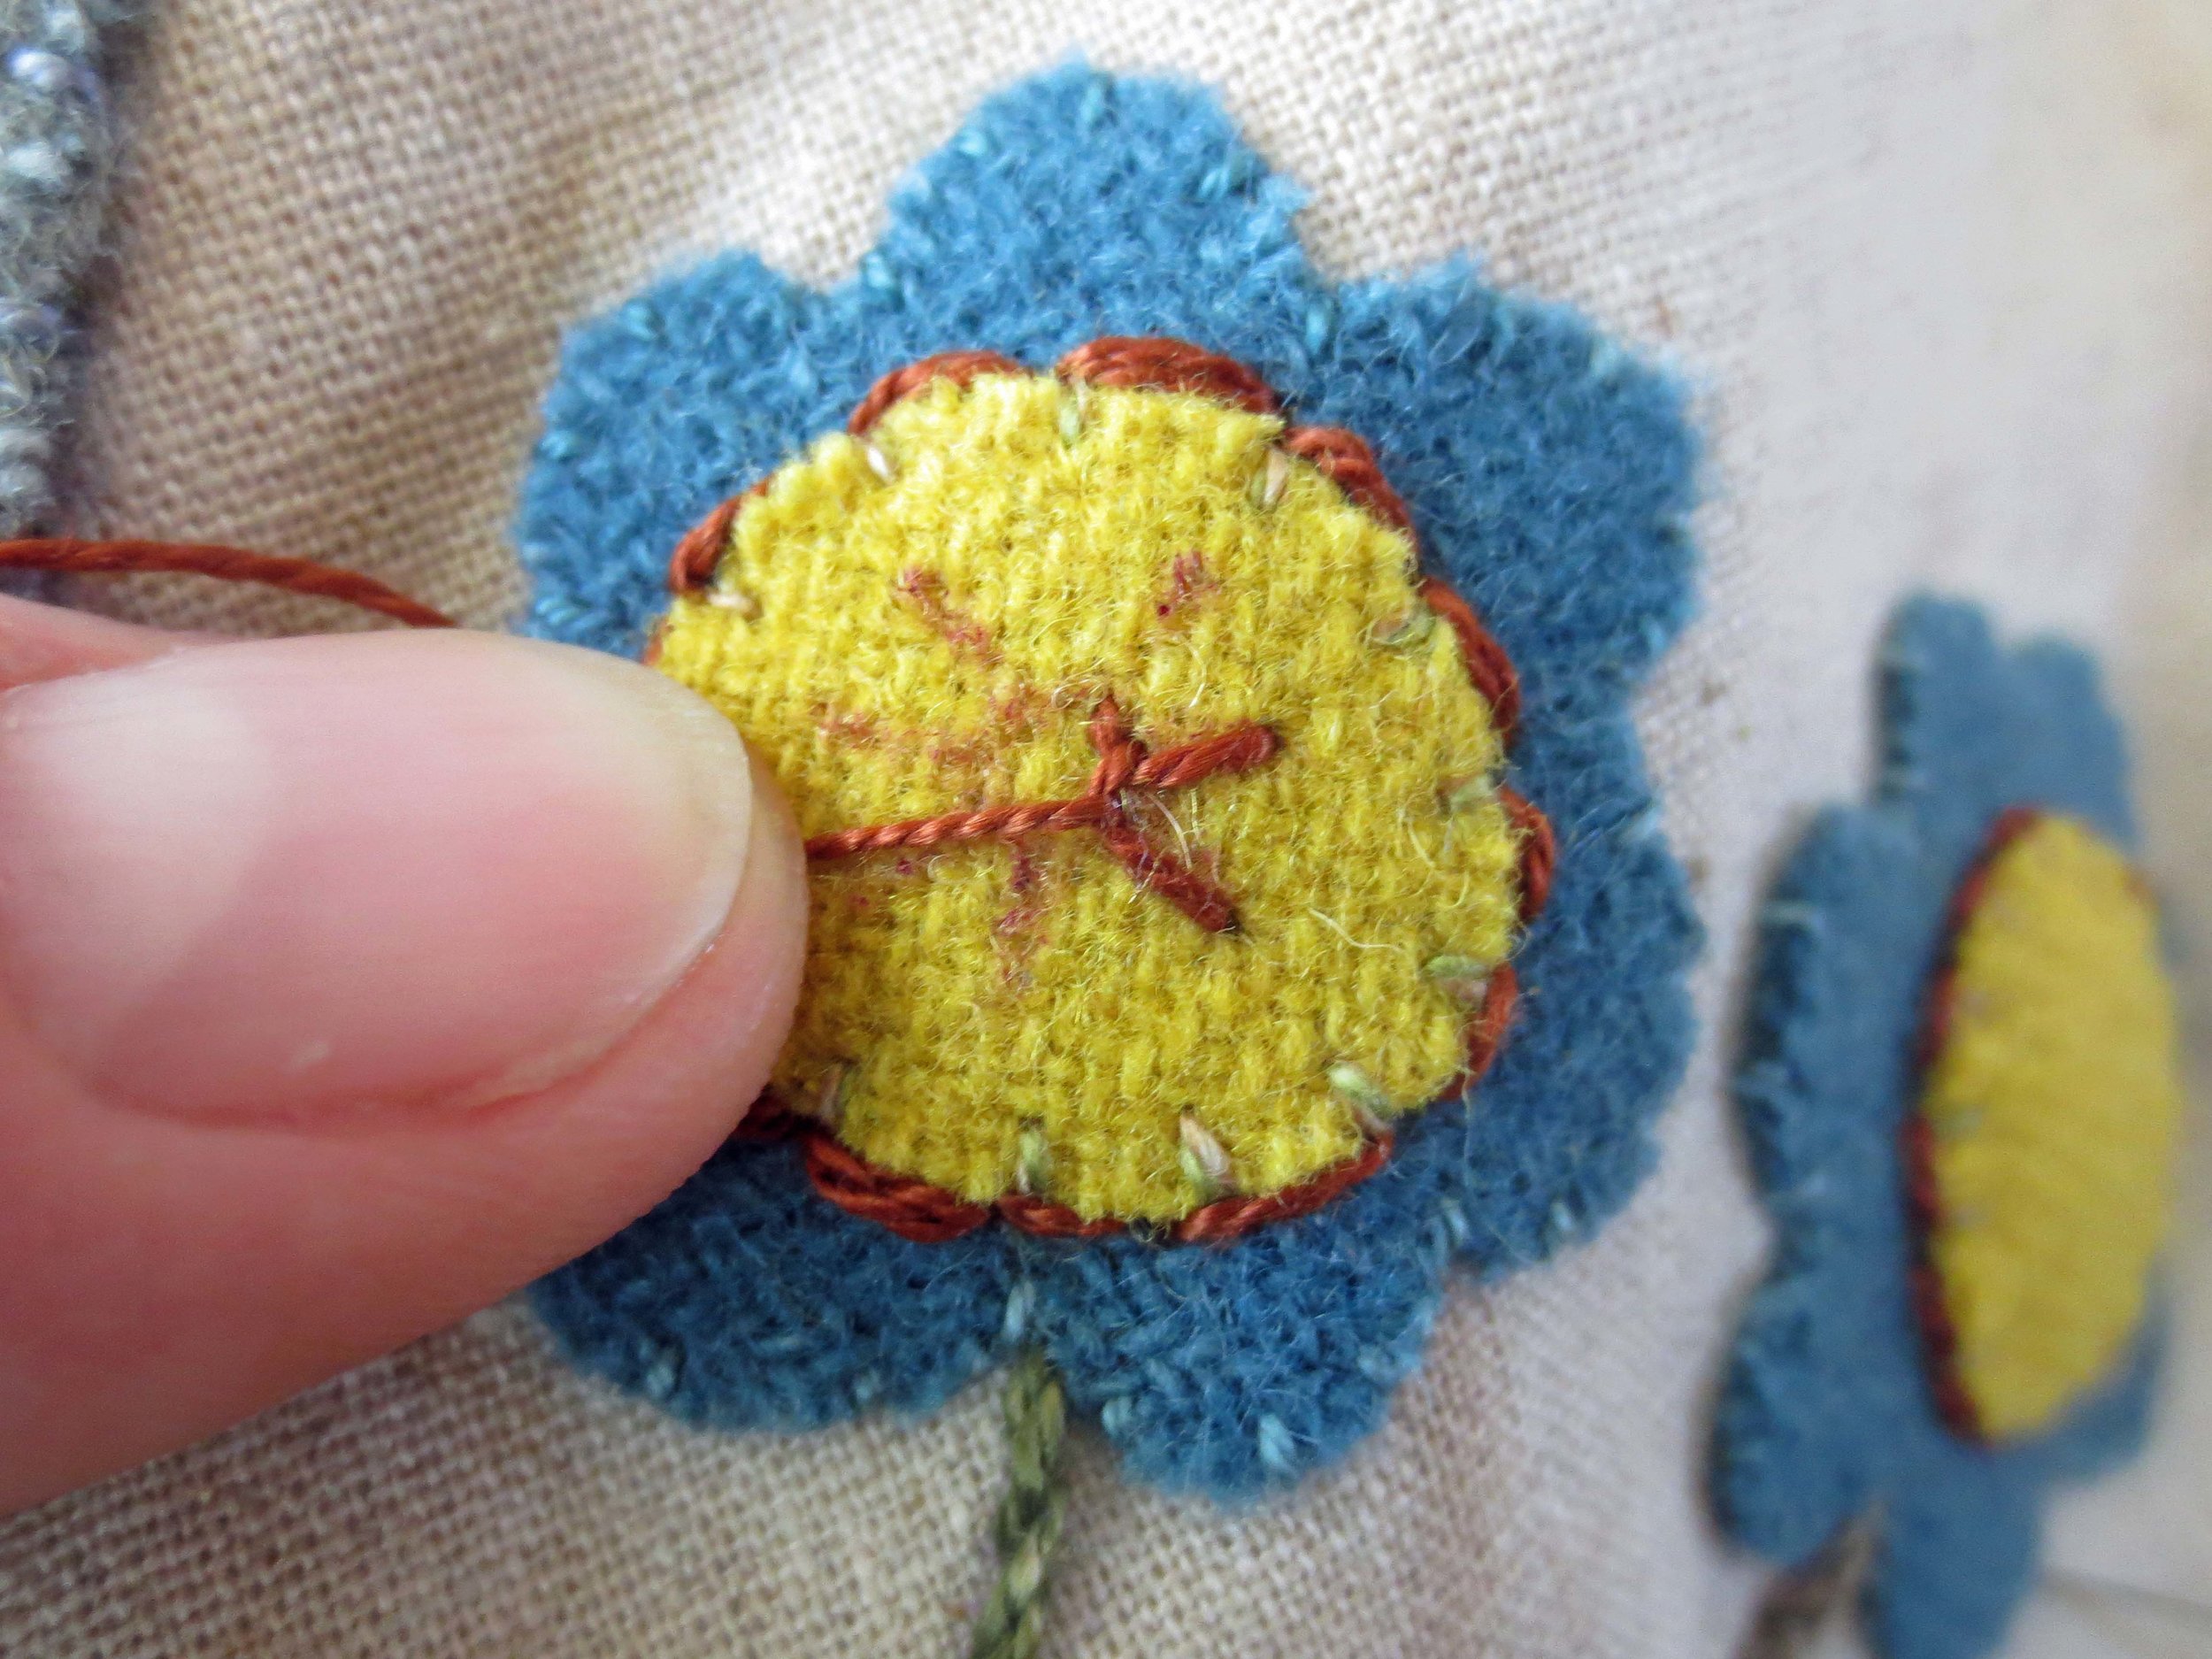
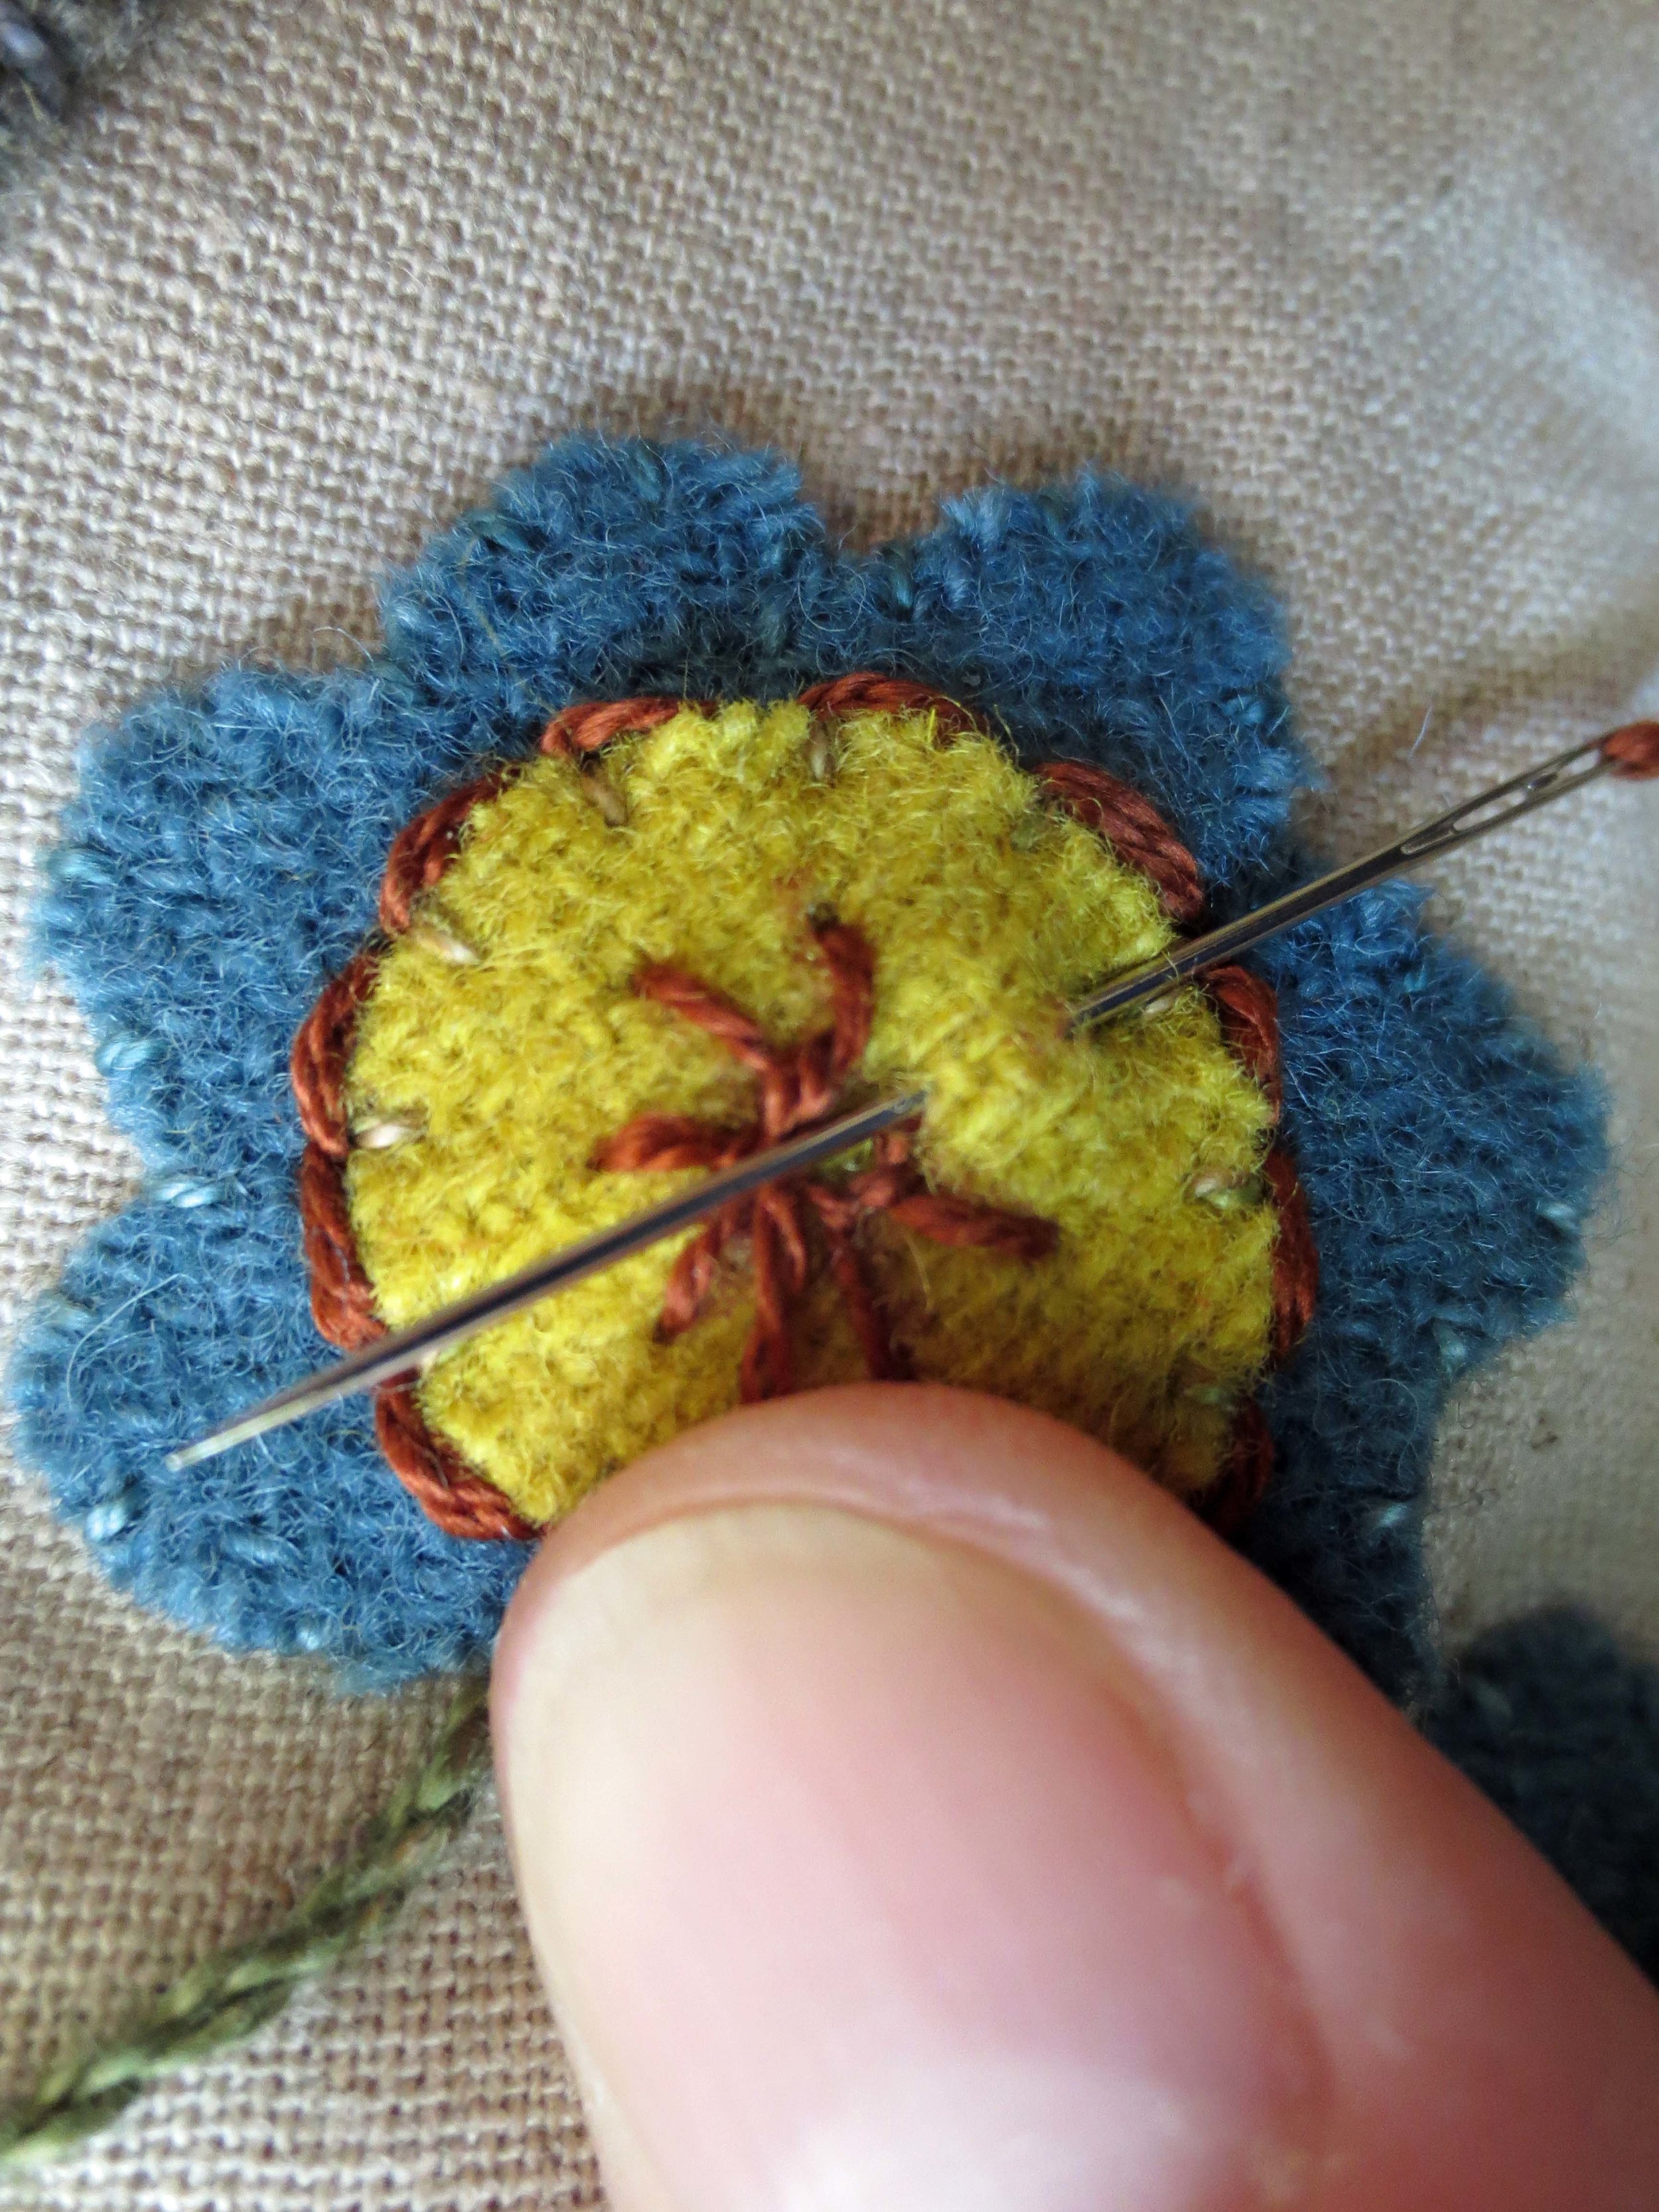
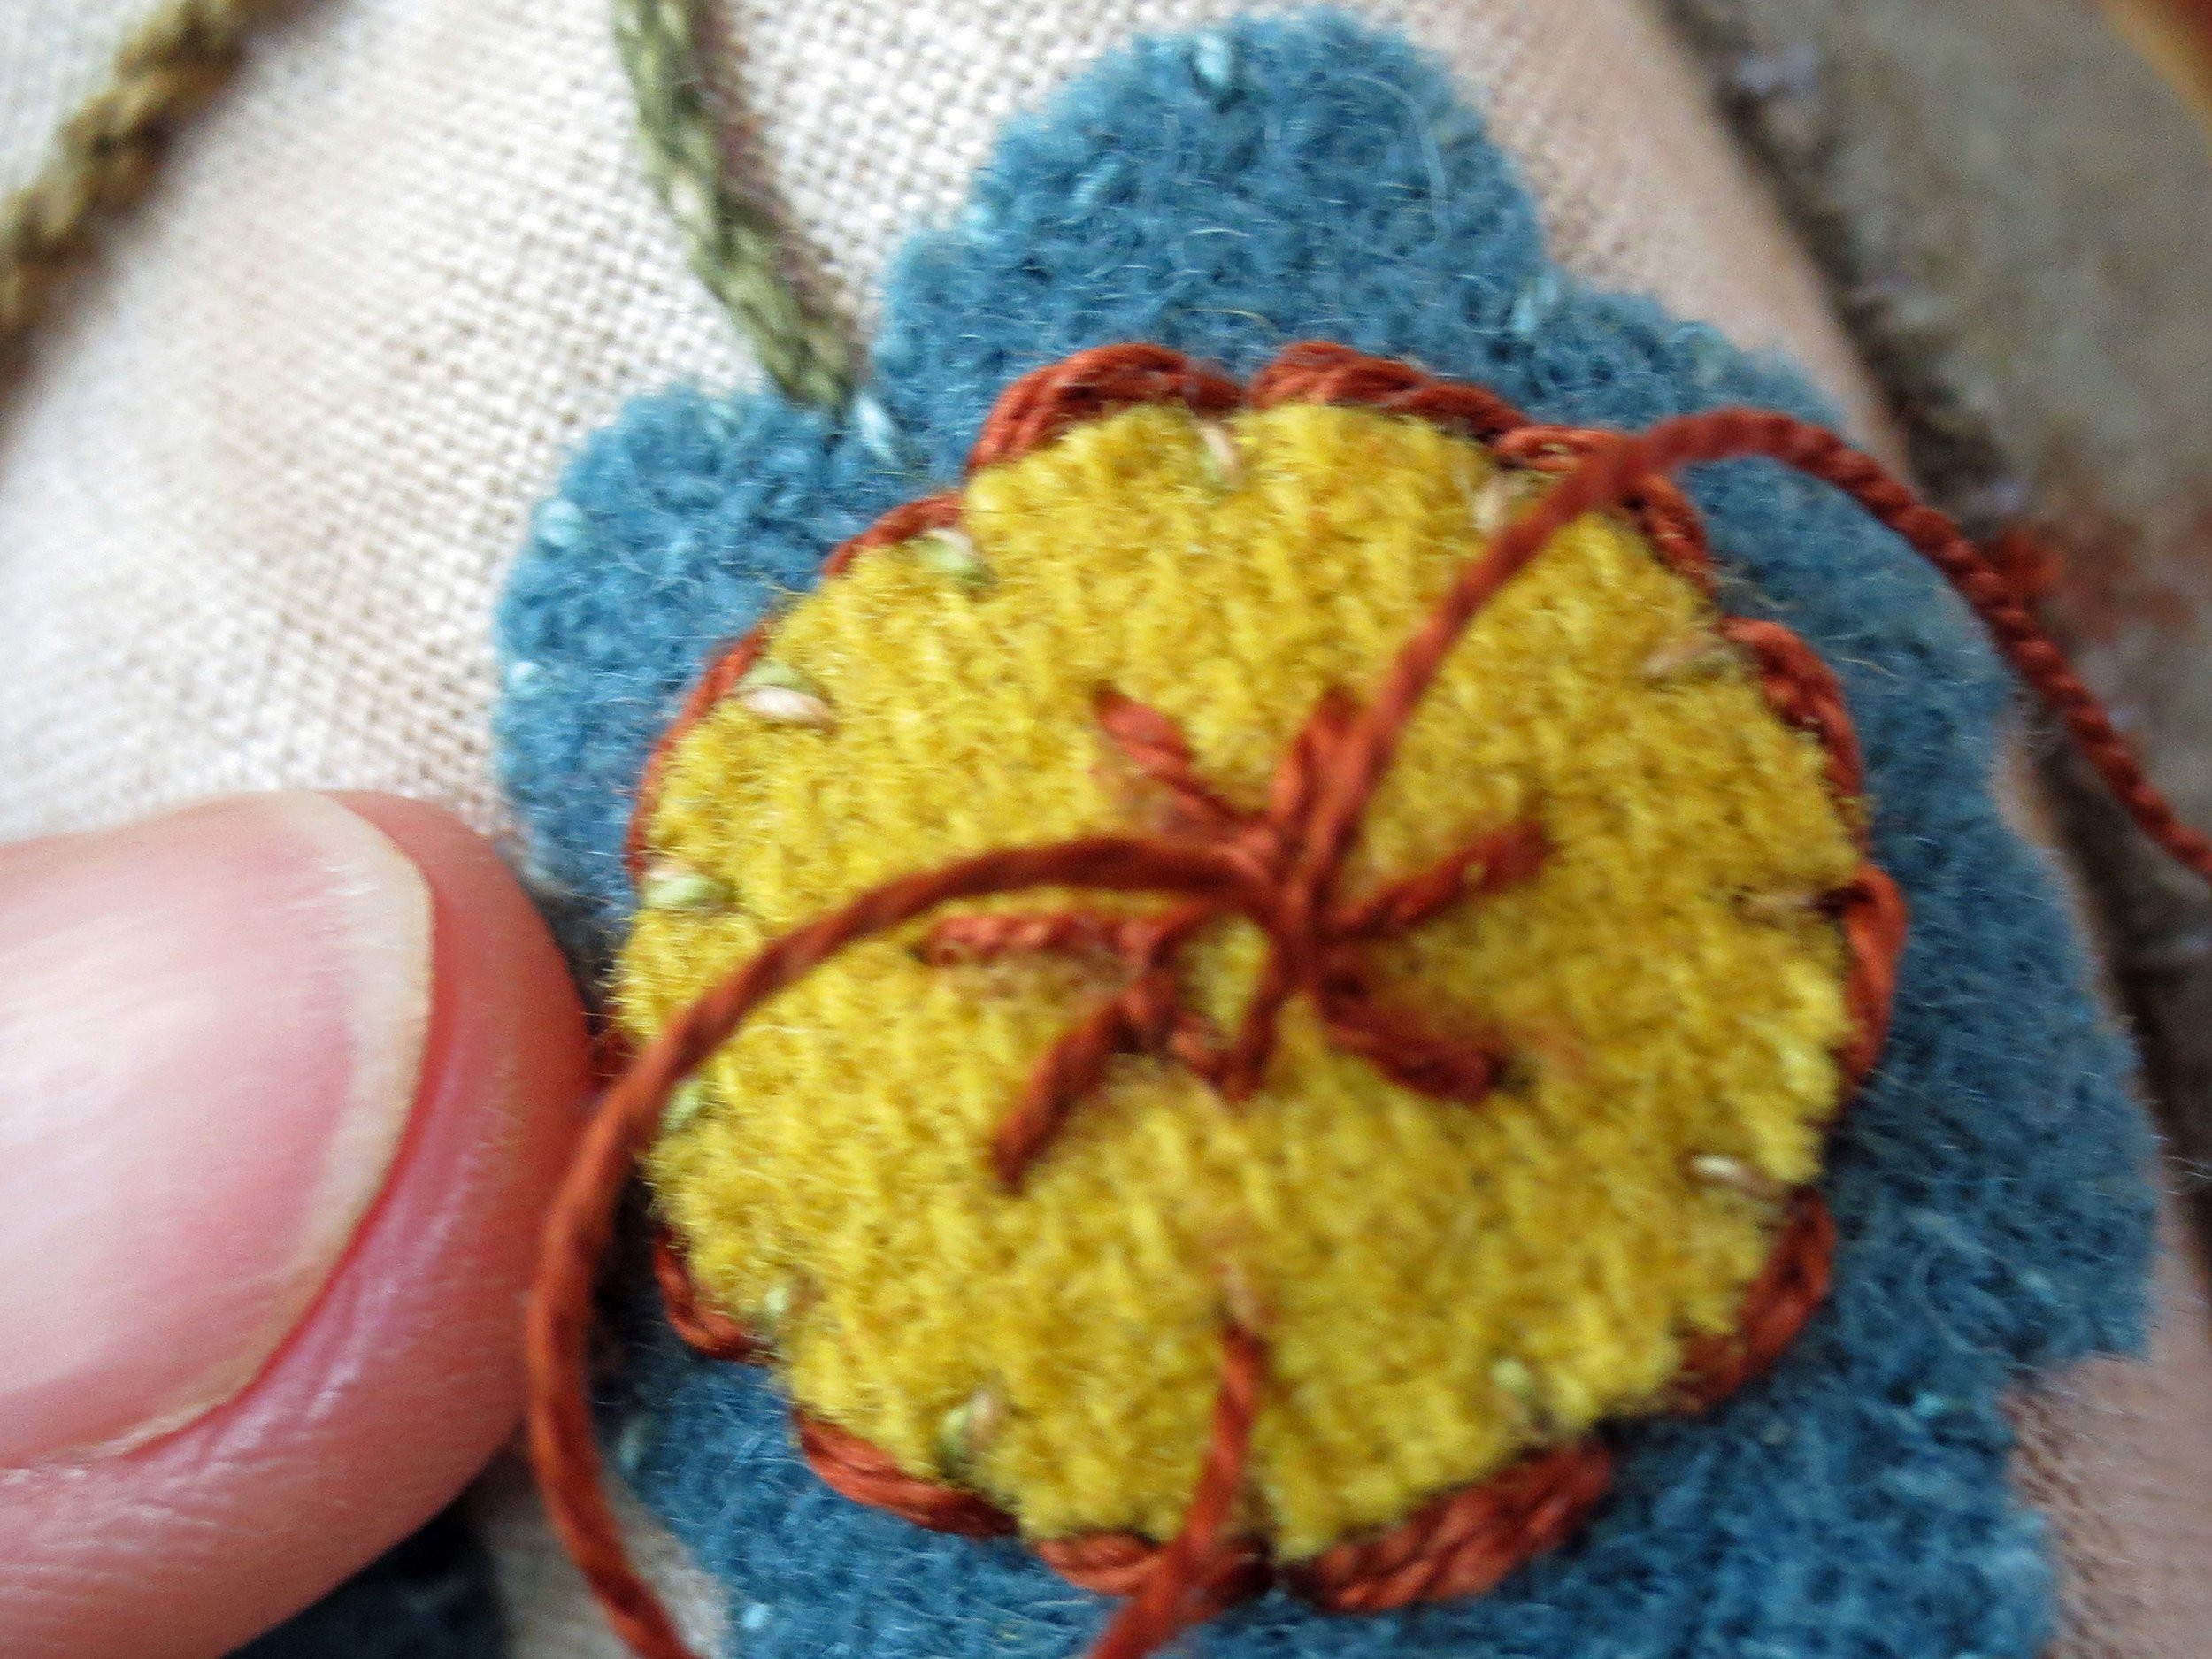
24. Use one strand of DMC perle 8, #300 to stitch the buttonhole flower. Use the stitch guide for instructions on how to make a buttonhole flower. It’s essentially a blanket stitch or buttonhole stitch that’s made in a circle. Finish your last stitch by inserting the thread into the “V” of the first stitch. You can see an example of a buttonhole flower with a large center here.
25. Use one strand of O31 to make a french knot in the center of the buttonhole flower.
26. Wing Embellishment
Draw two lines 3/8” apart on the upper portion of the wing, using the Layout as your guide.
Use one strand of PT2 to back stitch over the lines.
Use a disappearing ink marking pen to make dots about 1/4” apart on the first line.
Use one strand of PT2 to make five fly stitches in a row, using the dots as a guide to the width of each stitch.
Make a smaller fly stitch inside each of the first fly stitches.
Make a single french knot in the center of each of the smaller fly stitches.
Make a series of small paired straight stitches (these are sometimes called seed stitches) on the bottom section of the wing (use the Layout as a guide for placement).
27. Tail Embellishment
Use a disappearing ink marking pen to draw the tail embellishment outline, using the Layout as your guide.
Use four strands of DMC floss, #414 to split stitch over the drawn lines. Fill the area between the top two lines with the same split stitch.
28. Legs and Ground Embellishment - It was easier for me to just draw onto the wool with a disappearing ink marker, but for some of you that might be a little hard, so I’m including the following method of transferring the design from the Layout onto the wool.
Place the Layout on your light box, and then place a piece of Glad Press ‘N’ Seal over the top of the Layout. Smooth out any wrinkles. Trace the legs and wavy lines on the ground. Remove the Press ‘N’ Seal from the Layout and adhere to your project, making sure to align the legs and wavy lines.
Use one strand of DMC perle 8, #300 to stem stitch over the leg lines.
Use one strand of Valdani perle 12, O518 to back stitch over the wavy lines on the ground.
Cut away most of the excess Press ‘N’ Seal leaving about a 1” border around the stitched area. Now gently peel away the remaining Press ‘N’ Seal from your stitches!
Voila!
29. Follow the instructions: Step 42. How to Prepare Your Project For Framing, in The Partridge in a Pear Tree post.


