Smiling Cat Wool Applique Pillow Tutorial
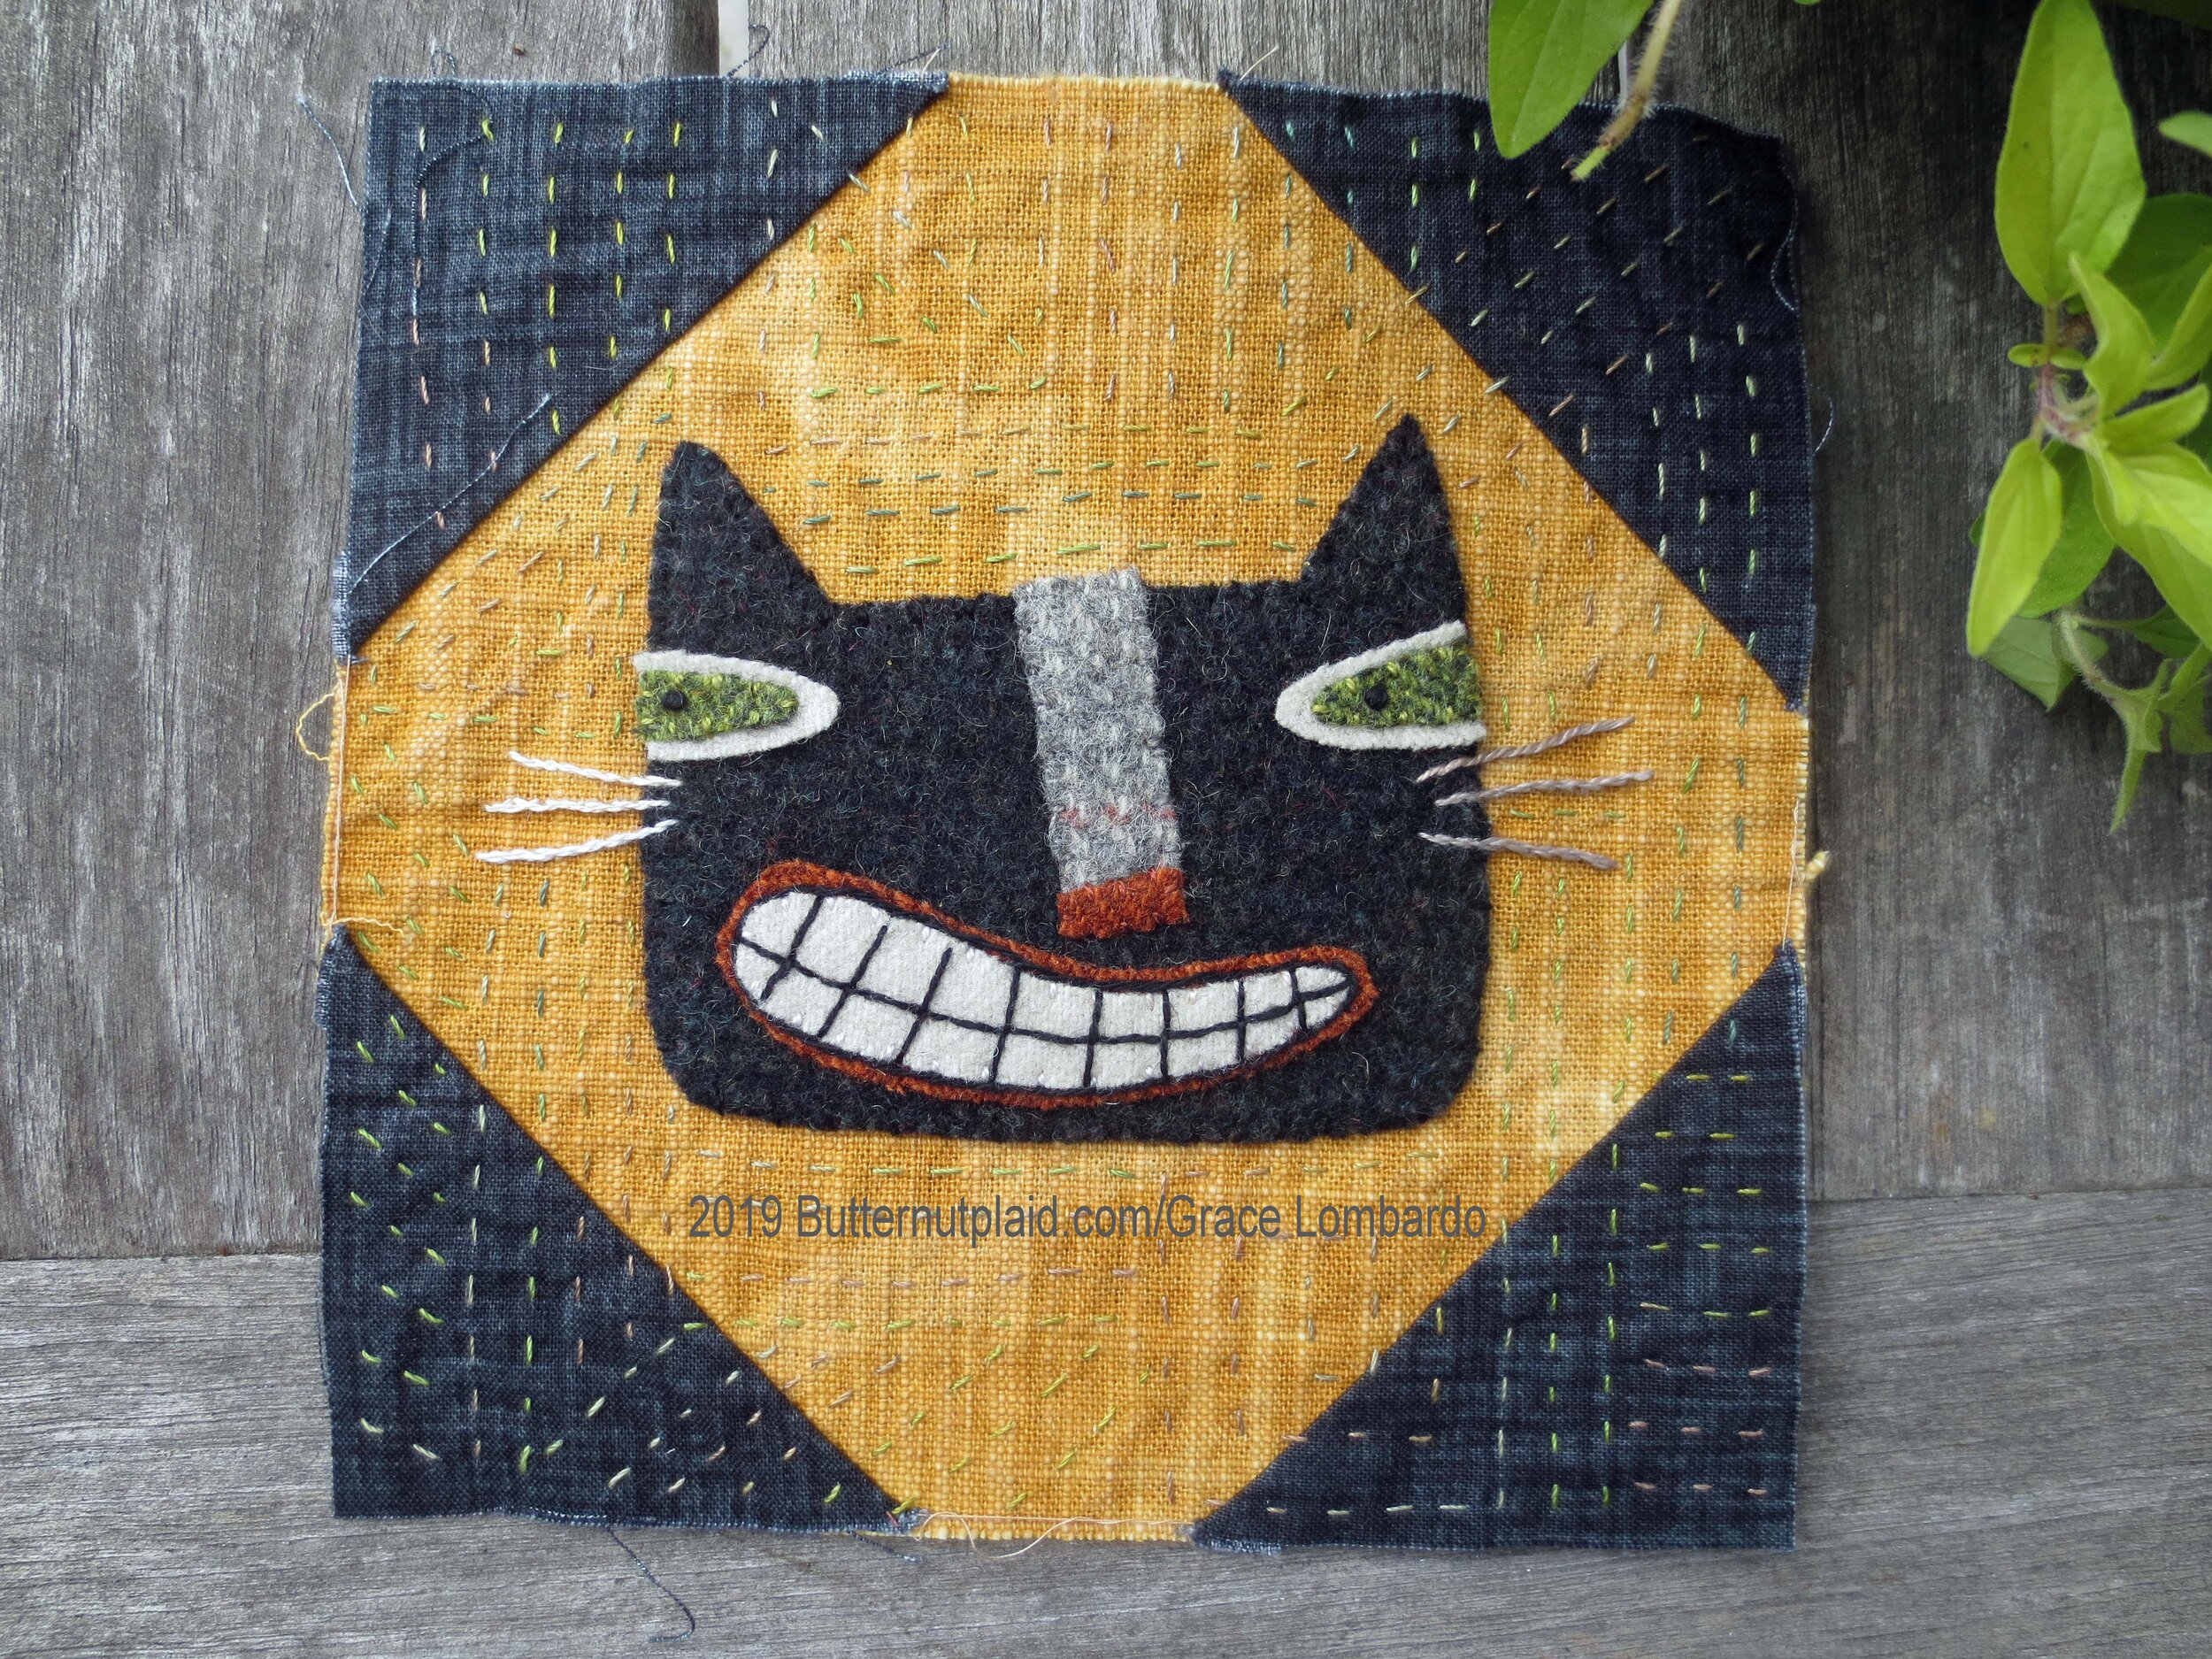
Wool Applique Smiling Cat Pillow tutorial from Butternut Plaid
Fall is almost here! Halloween is just around the corner. The days may not be cooling here in southern California, but It definitely feels like sweater weather when the sun goes down. To celebrate the coming fall weather I decided to finish the Smiling Cat and Jack-o-Lantern design patterns that I began last year. Both of the designs are in the vintage Halloween style that I love.
Enjoy!
Finished size: 15” x 15”
PATTERN AND LAYOUT – Download here.
STITCH GUIDE – Download here. The same guide is used for all the projects I post.
FABRIC
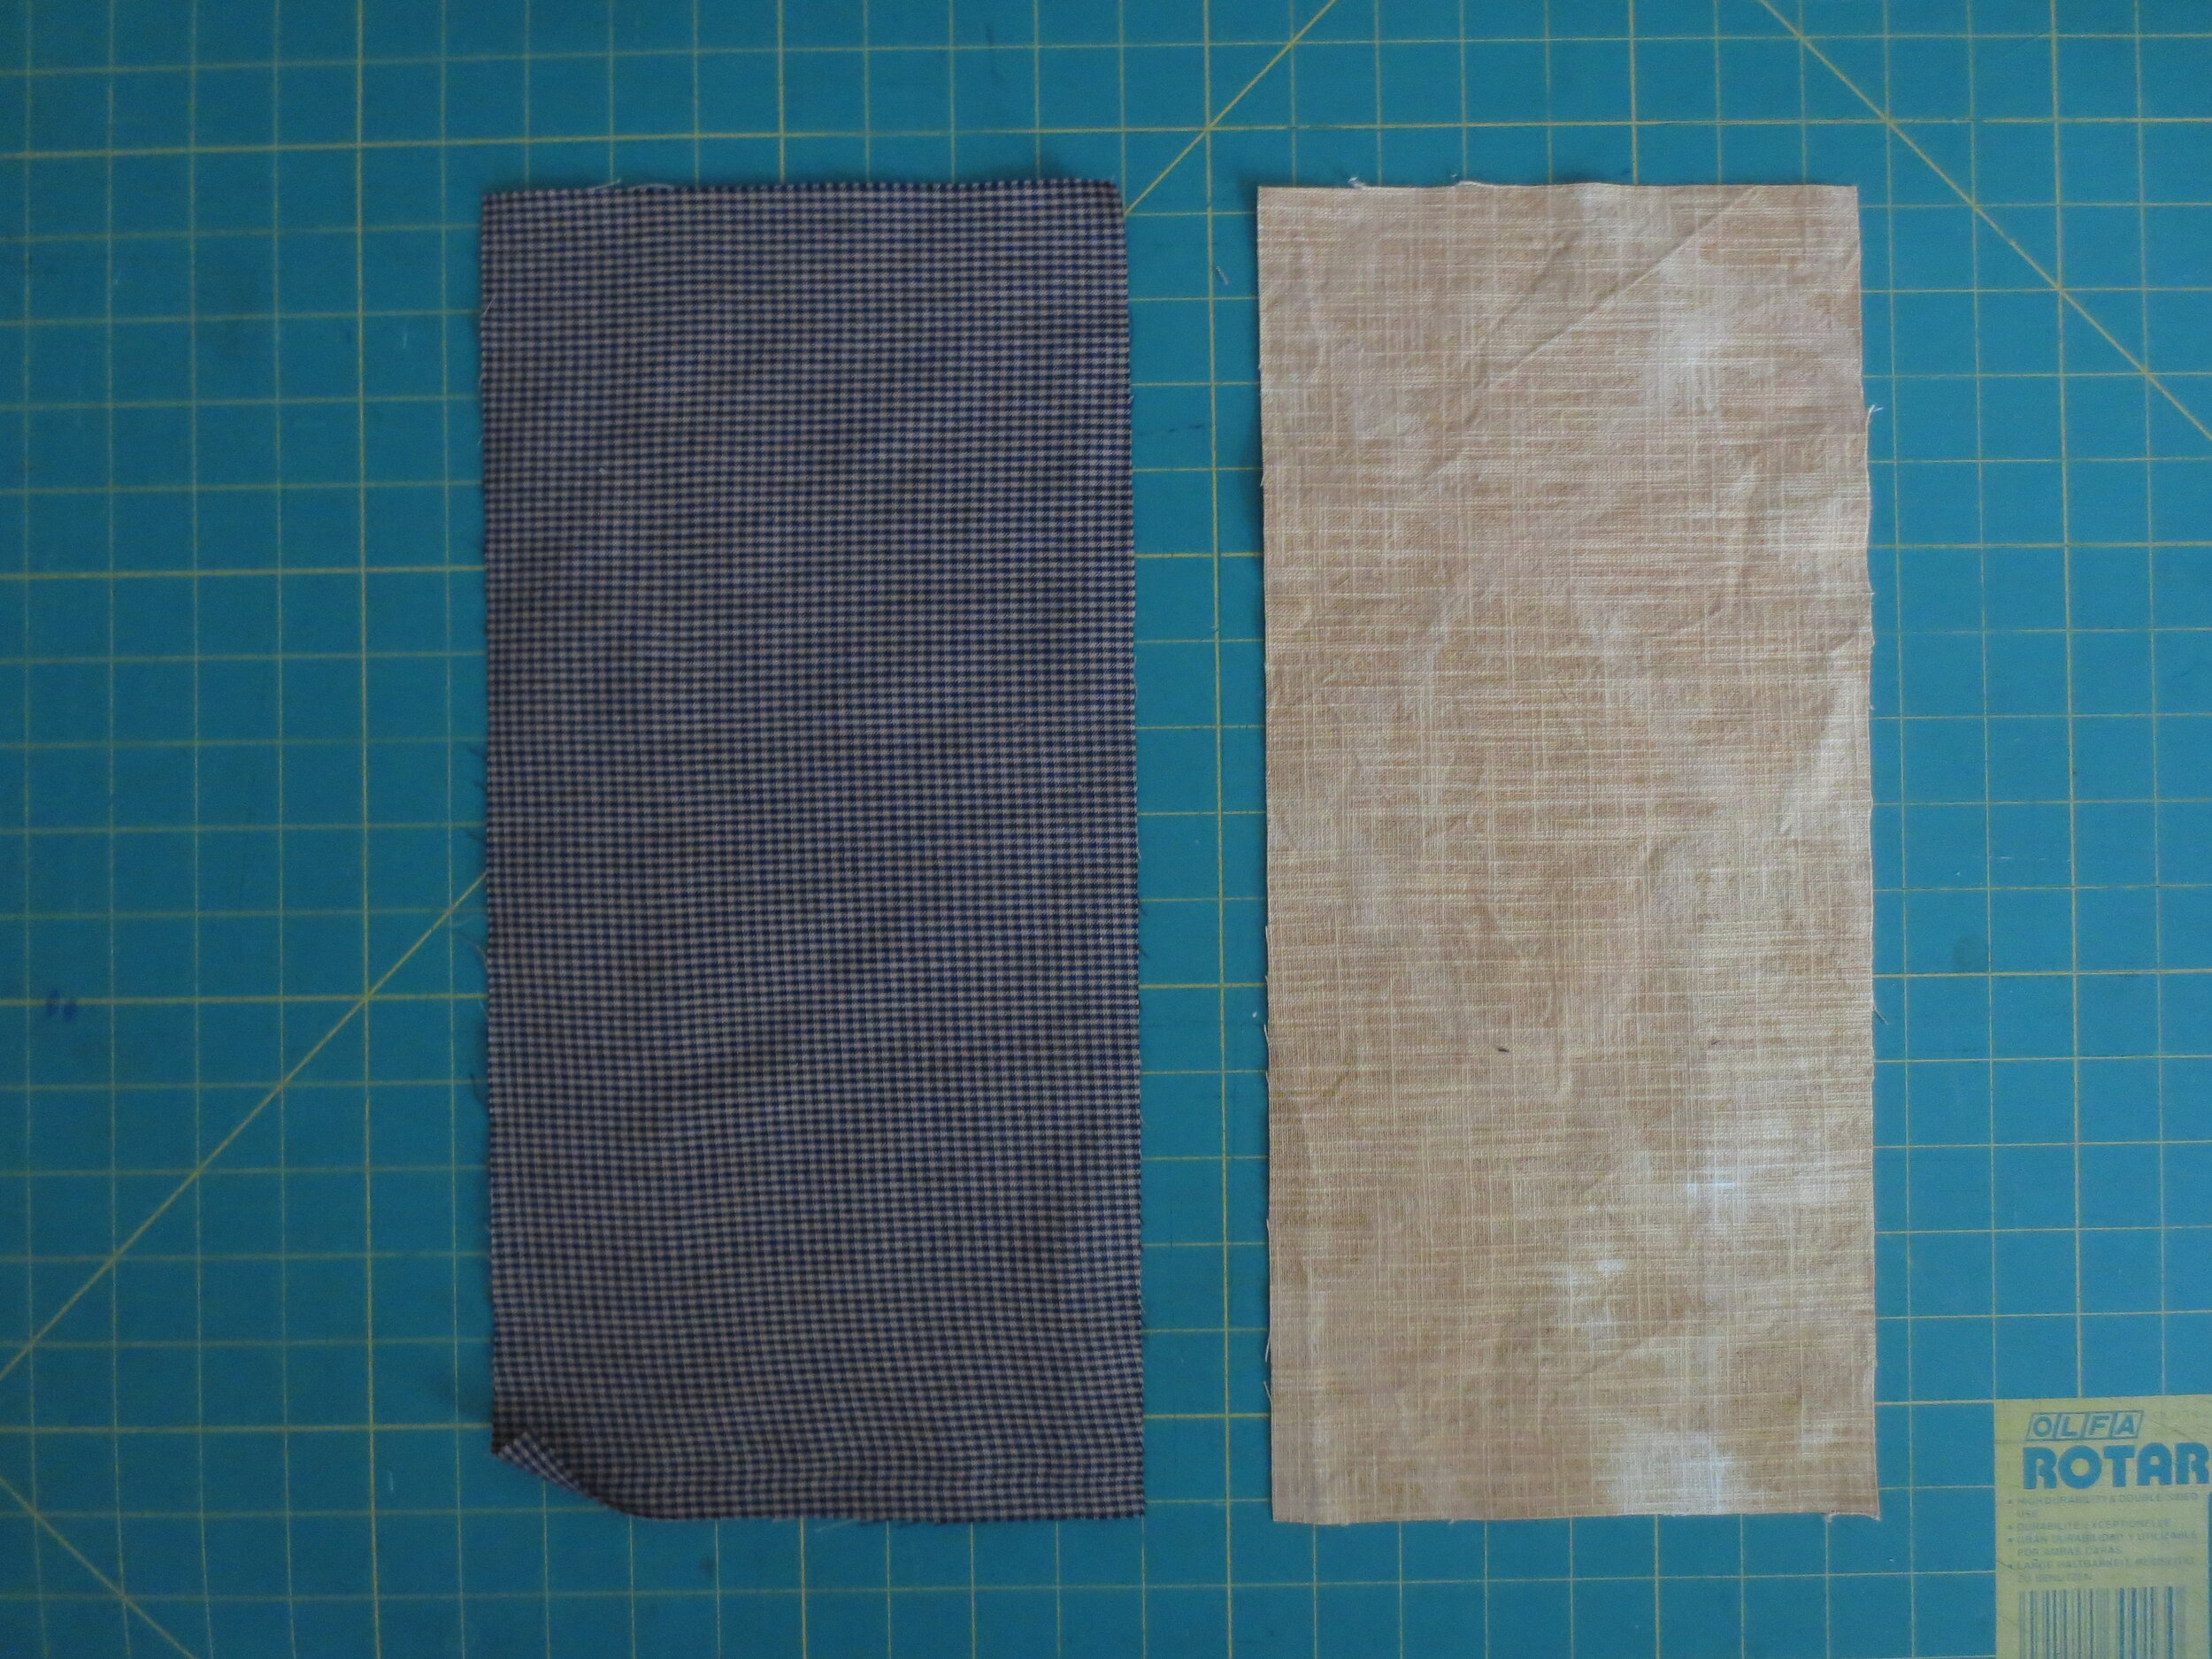
11 x 15 ½” rectangle of Linen/cotton blend (I used Robert Kaufman Essex natural that I lightly dyed with onion skins) for the background. If you choose a lighter weight fabric like a quilting cotton you will need to back it with a fusible woven interfacing like Pellon shapeflex sf-101 .
1/3 yard cotton homespun mini check for top and bottom borders, and pillow back
7” x 15 ½” contrast fabric for pillow back ( I used a left over bit of yellow cotton drapery fabric that I overdyed with onion skins)
FELTED WOOL
7”x 8” black for cat’s head
3” x 8” rust red for lips, nose, and border
3” x 8” off-white for teeth, eyes, and border
2” x 6” green for eyes and border
1 ½” x 3” grey for nose
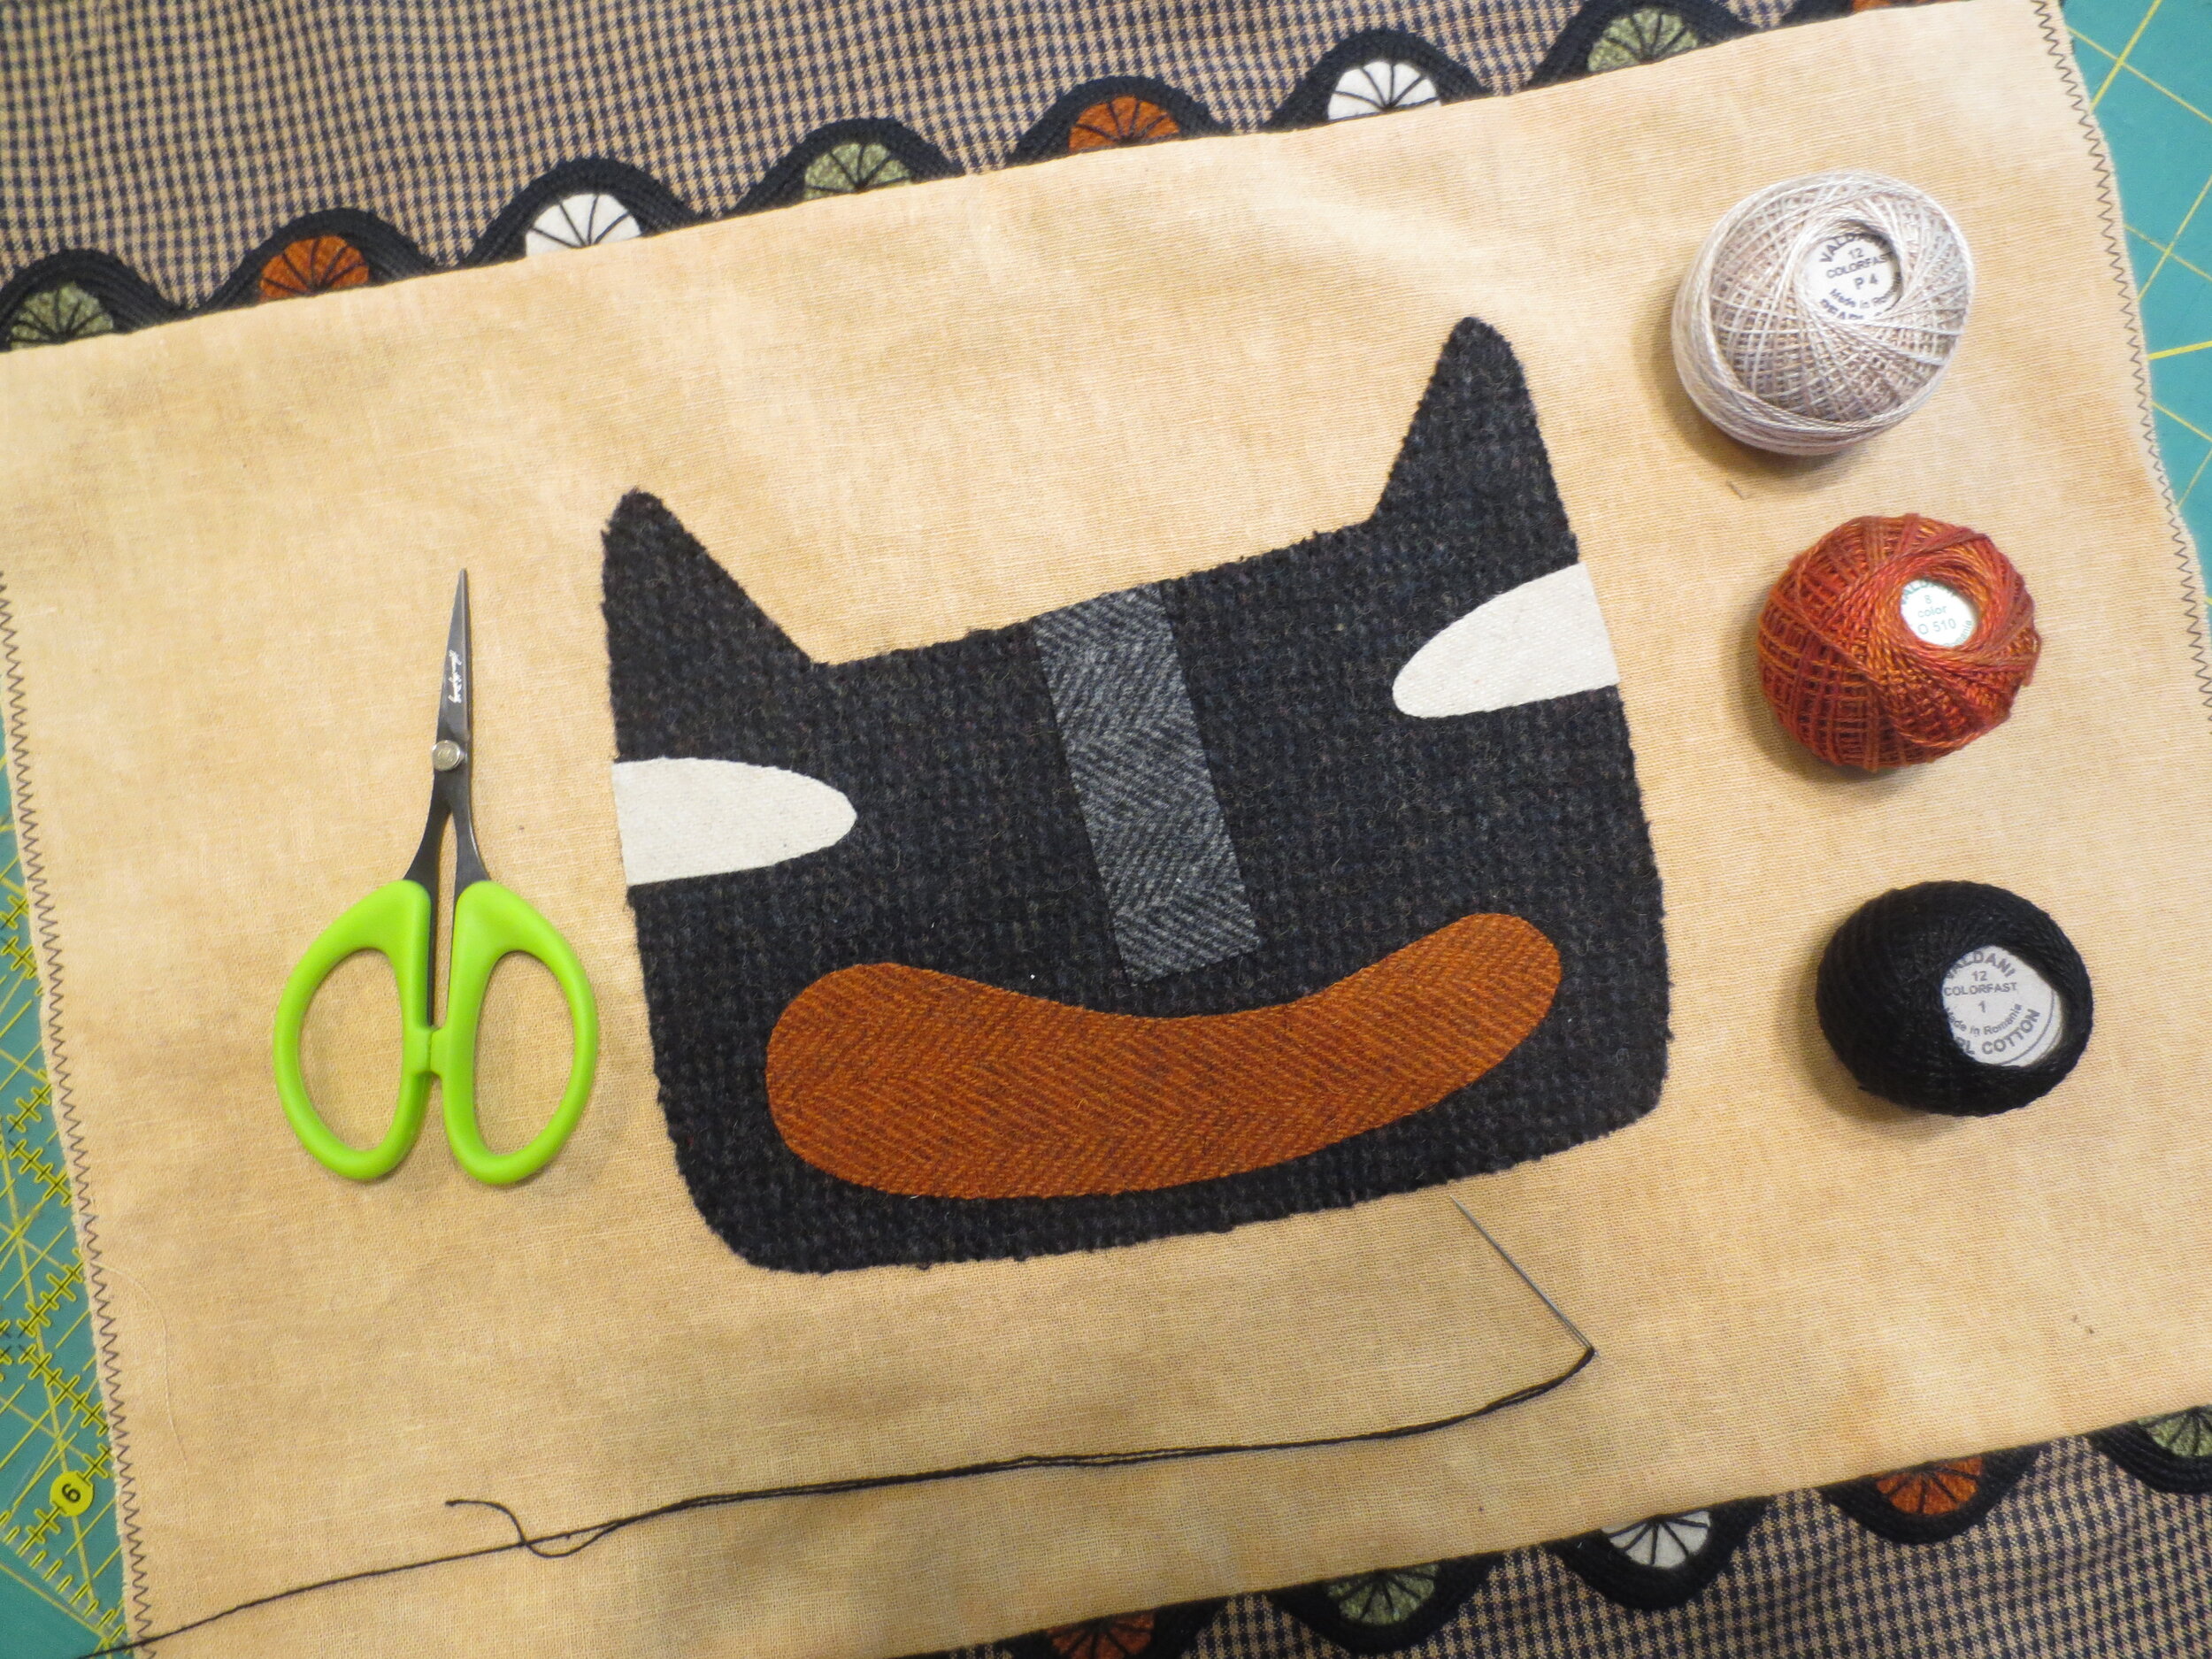
PERLE COTTON THREAD*
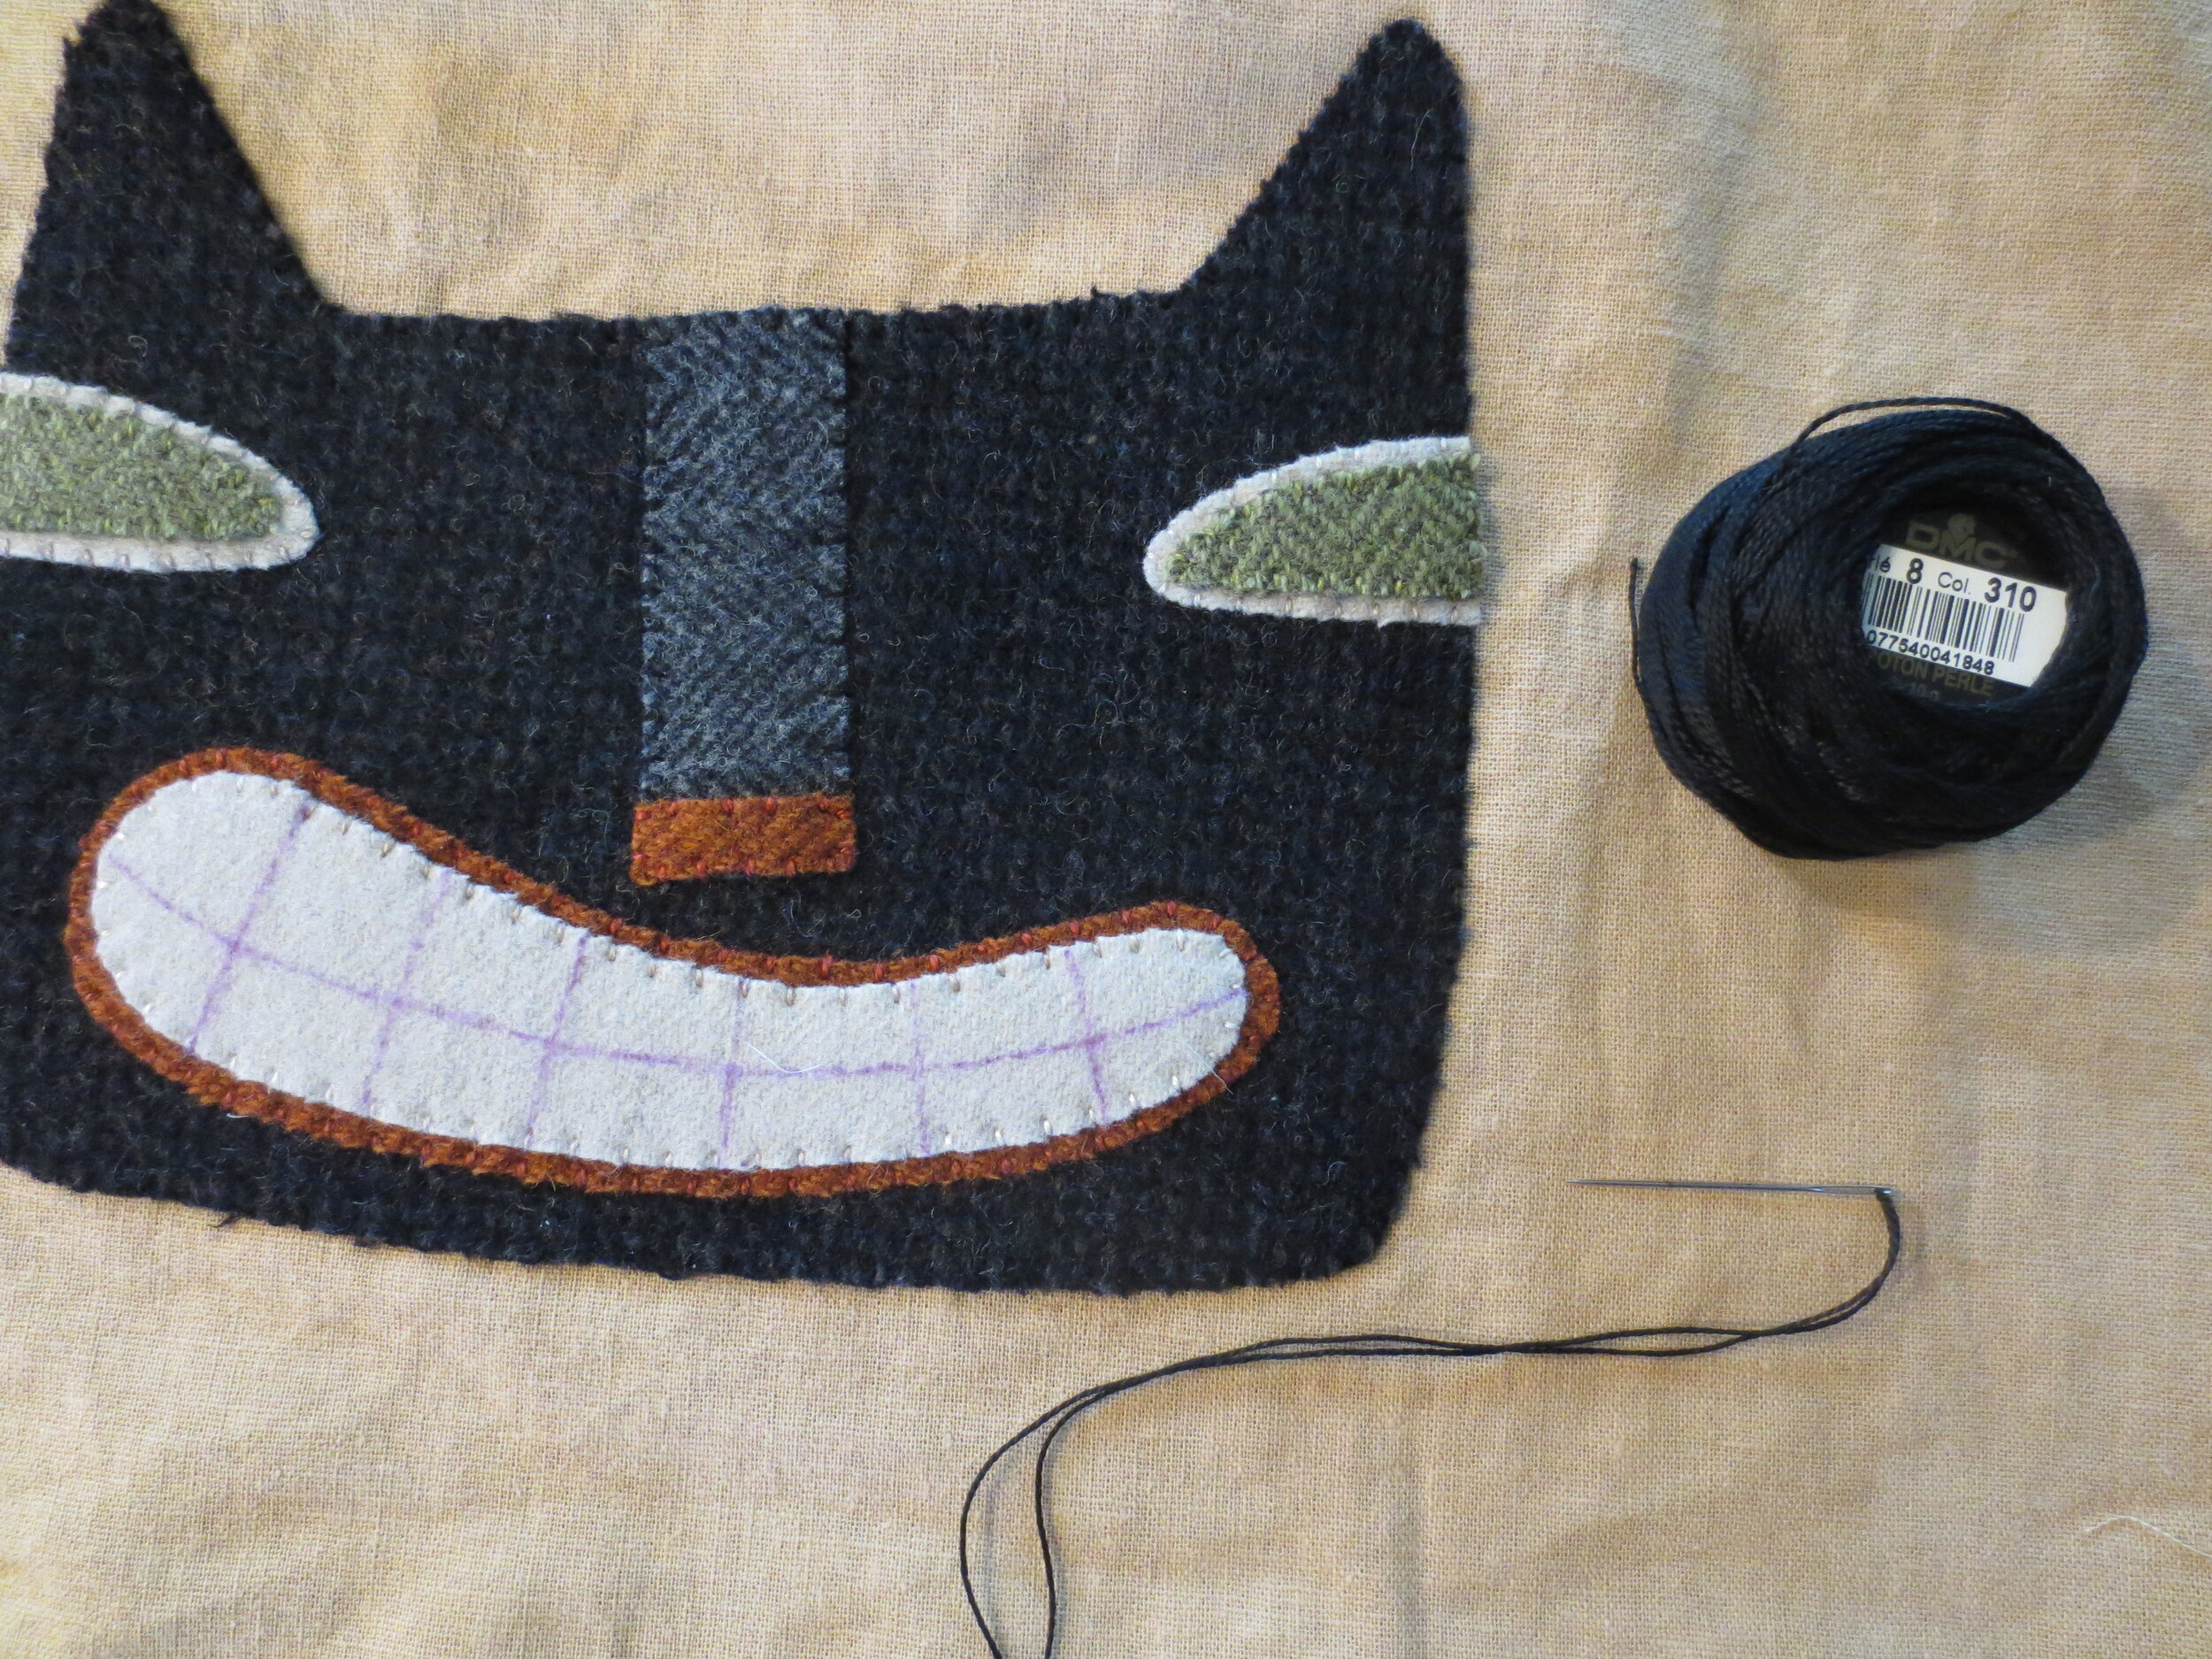
Size 8, black for teeth and border
Size 12, black for head, eyes, and nose
Size 12, green for eyes
Size 12, off-white for eyes and teeth
Size 12, hemp (I used Valdani #0178) for whiskers
Size 12, variegated (I used Sulky 412-4090) for background embellishment, and ribbon embellishment
*2 strands of embroidery floss can be substituted for size 12 perle cotton
*3 strands of embroidery floss can be substituted for size 8 perle cotton
OTHER MATERIALS
1/2 half yard of 5/8” wide black cotton ribbon for pillow back ( I used this ribbon from Studio Carta)
1 yard black jumbo (1 ½”) ric rac
14” pillow insert
Featherweight paper backed fusible web – My favorite is Vilene Melt-fuse from Pinwheels.com.
Air erasable fabric marker
White chalk fabric pencil
Pins
Scissors
Steam iron
Chenille needle, size 24
Sewing machine
CUTTING
From the mini check, cut:
2 strips, 3” x 15 ½”
1 rectangle, 7 ¼” x 15 ½”
1 rectangle, 10 ½” x 15 ½”
From the jumbo ric rac, cut:
Two 18” pieces
From the 5/8” wide ribbon, cut:
One 15 ½” long piece
PREPARING THE APPLIQUE PIECES
1. Trace the pattern pieces onto the paper side of the fusible web. The pattern is already reversed for use with fusible web. Trace 16 of the border embellishment patterns.
2. Cut out pattern pieces leaving a small border (about 1/8”) around each outline.
3. Use an iron to fuse the patterns onto designated wools*, and then cut out along drawn lines.
*Iron 4 Border Embellishment patterns onto off-white wool, 6 onto green, and 6 onto rust-red.
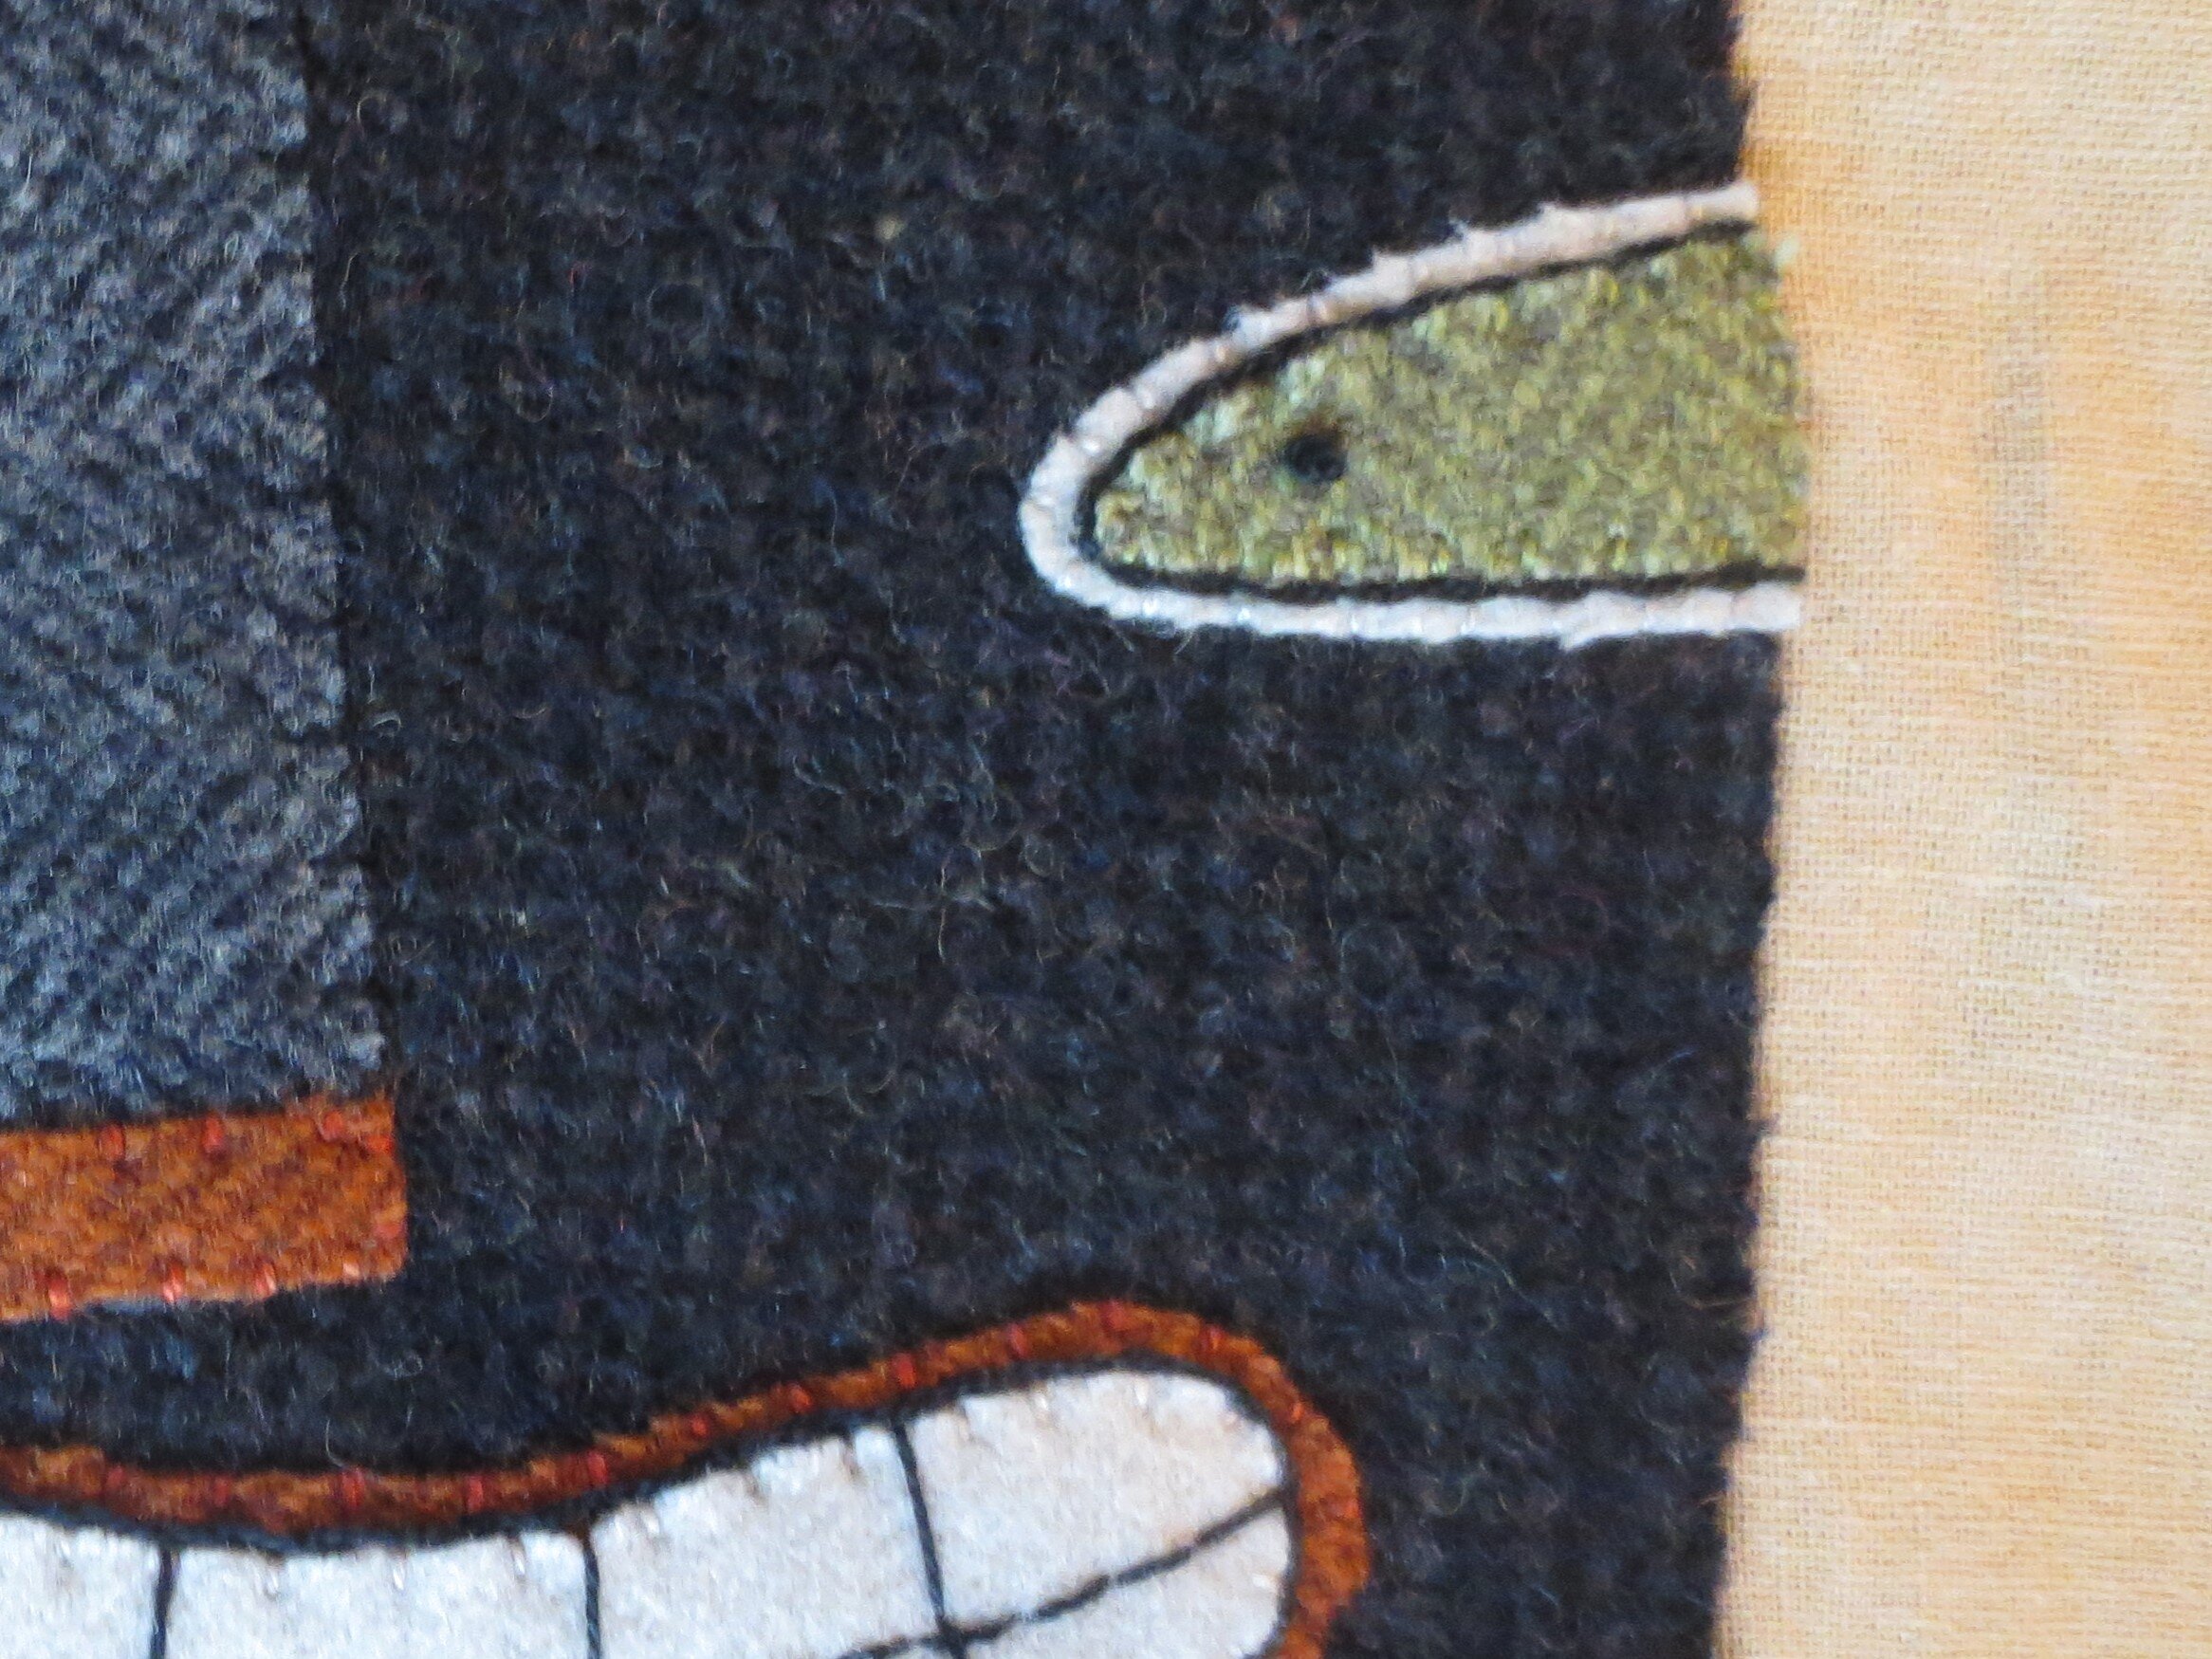
I’m not sure why the eyes appear gold in this photo. They are green.
MAKING THE PILLOW FRONT – Use ¼” seam allowance.
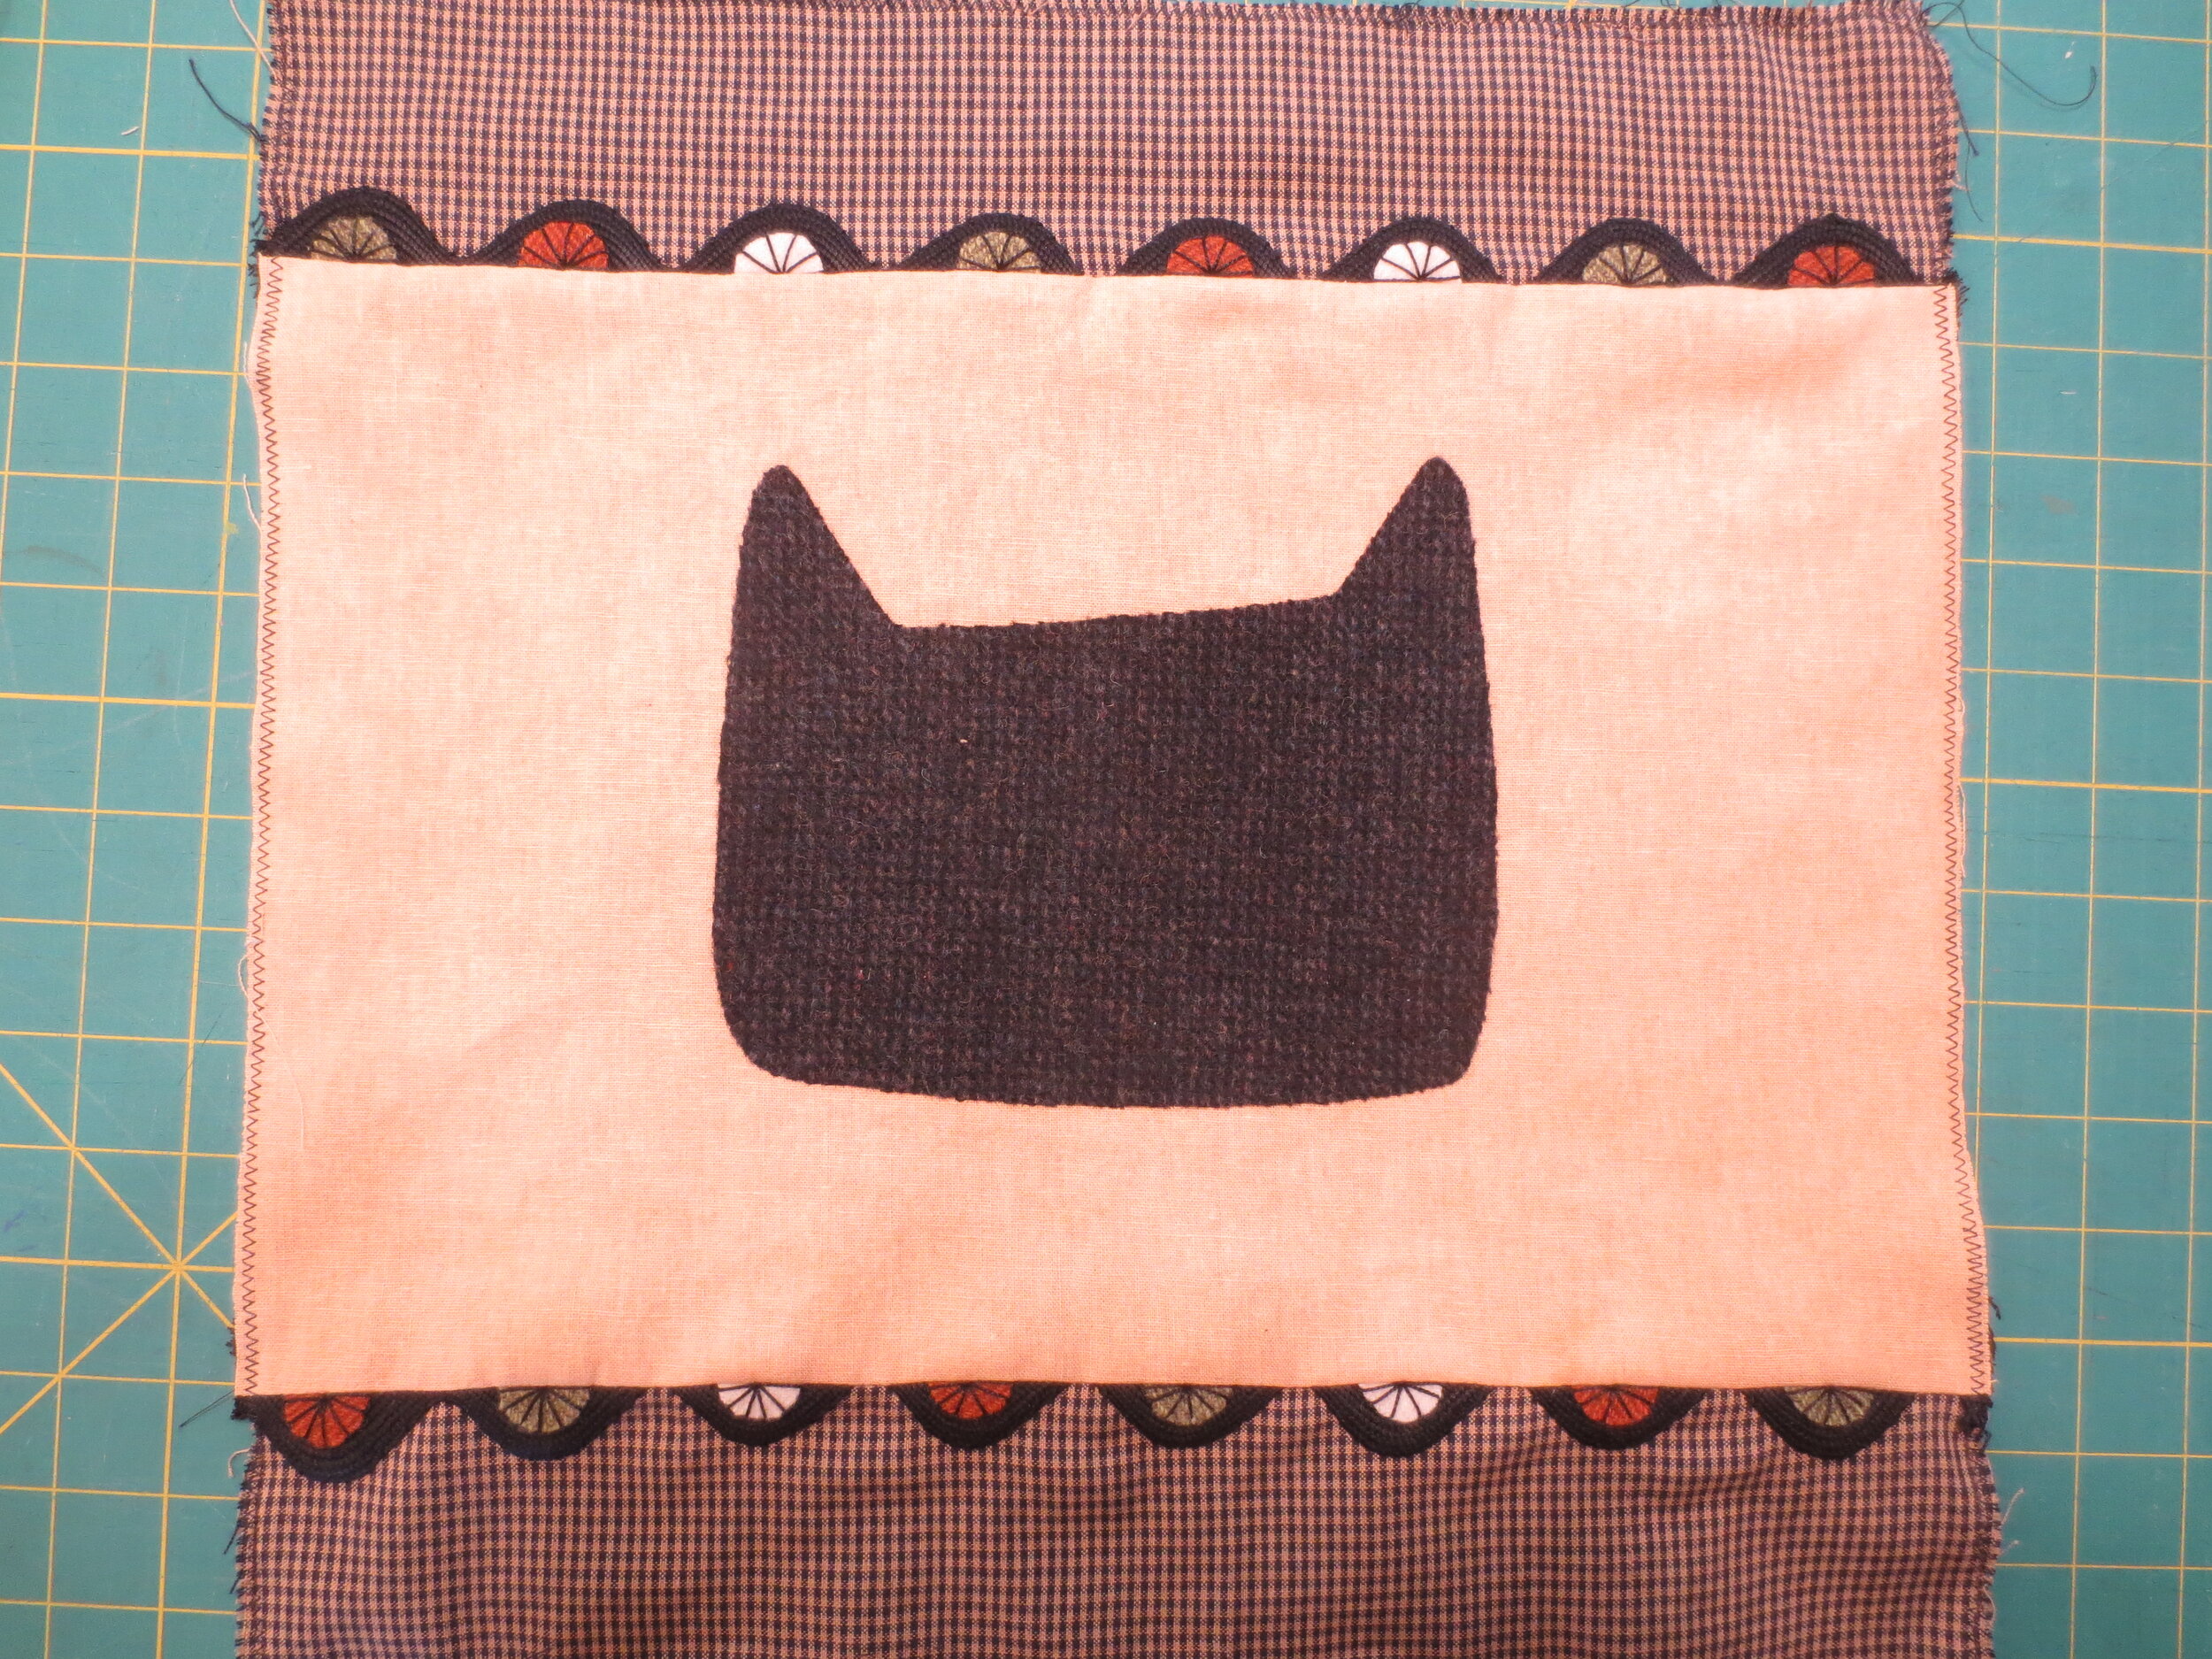
1. Working on your ironing board or pad, lay out both pieces of ric rac horizontally, creating 2 parallel lines of ric rac.
2. Let’s start with the top ric rac strip. Beginning with the first complete “hill,” position a green embellishment so that the straight portion is just touching the bottom edge of the hill. Position a rust-red on the second hill, and then an off-white on the third. Repeat this sequence ending with a rust-red. There should be 8 embellished hills.
3. On the bottom ric rac, beginning with the first “valley,” start with a rust-red embellishment, followed by a green, and then an off-white. Repeat the sequence ending with a green.
The wool embellishments that appear gold in this photo are really green.
4. Fuse the wool embellishment pieces to the ric rac using steam. NOTE: The ric rac you are using is most probably polyester, so be careful not to burn/melt the ric rac. I found a quick blast of steam while holding down the iron for about 3 seconds seems to do the trick.
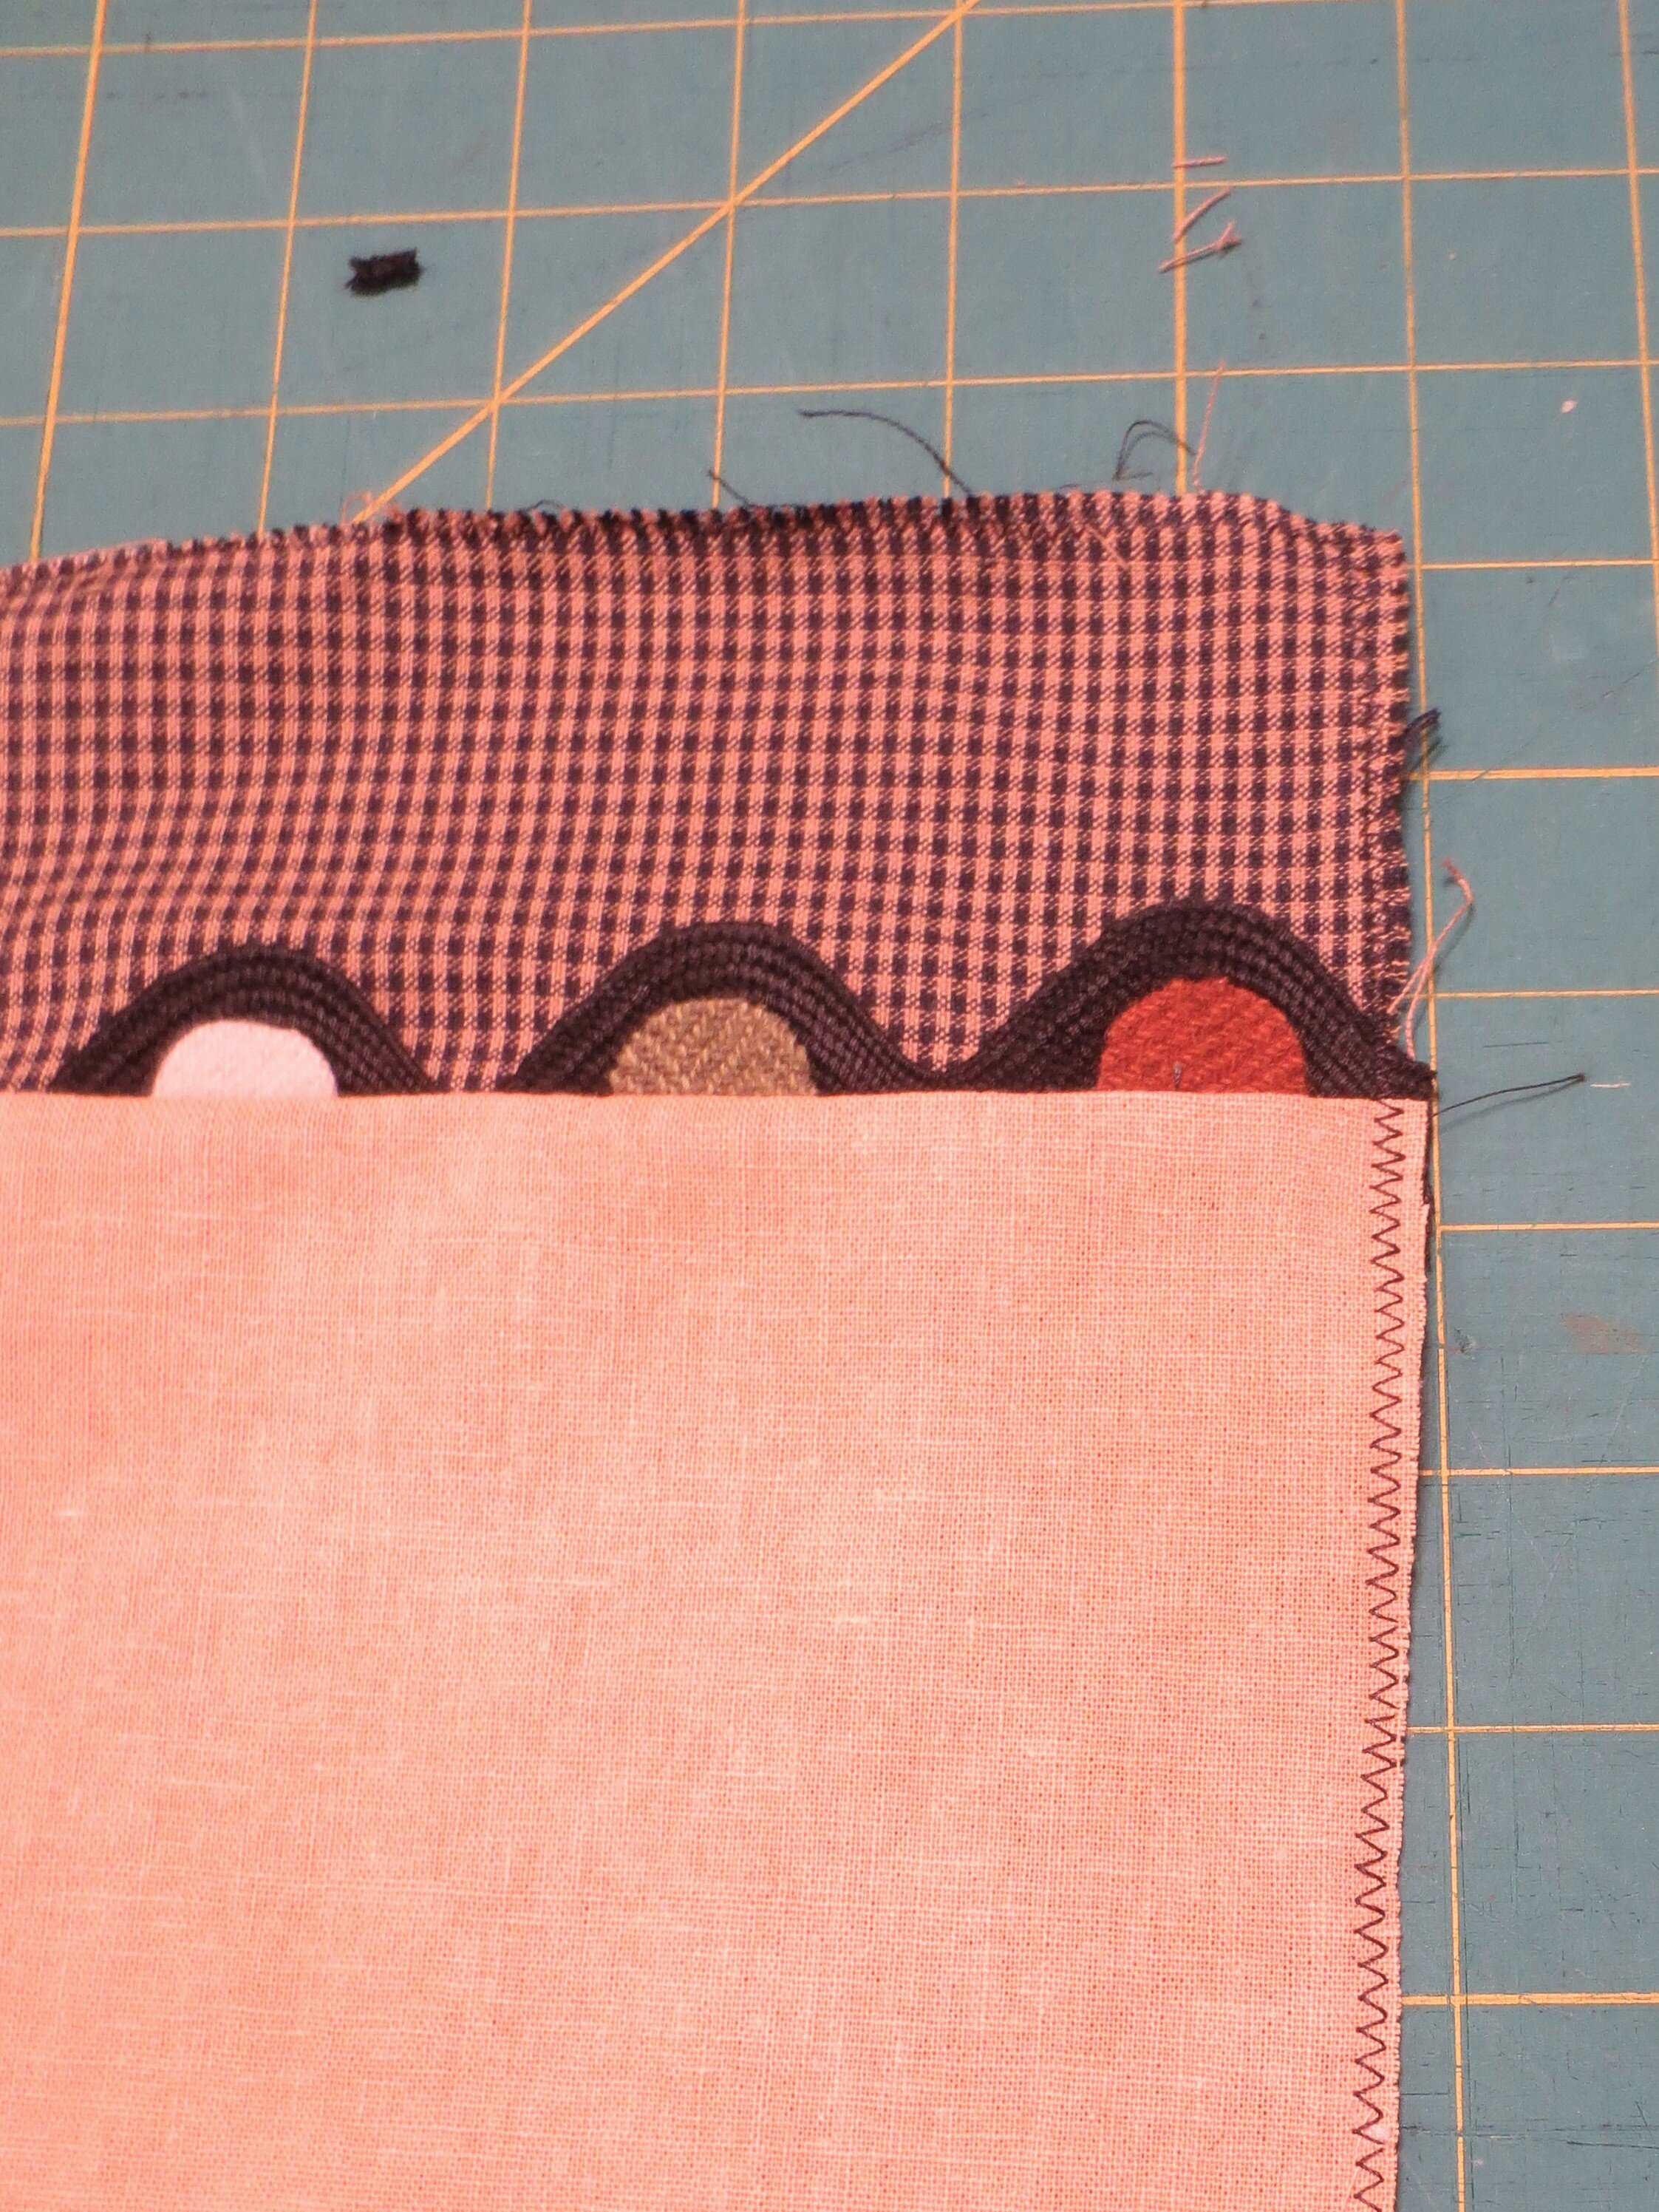
5. Lay one ric rac piece down horizontally, right side up, with the hills pointing down. Now lay the linen/cotton background piece on top, lining up the long edge of the background with the straight edges of the wool embellishments, making sure the embellished portion of the ric rac strip is centered. You should have extra (unembellished) ric rac on each side. Pin in place.
6. Repeat for the opposite side of the background except the hills should be facing away from you.
7. Now flip this over and pin a mini checked border over each ric rac edge, making sure the long edges of the borders line up with the long edges of the background. You can carefully remove the pins used to secure the ric rac to the background in steps 5 & 6 before you sew the pieces together.
8. Sew the top and bottom mini checked borders to the background to create a 15 ½” square.
9. Press seams toward background.
10. Zig zag the outer edges of the square. This is done to keep the edges from fraying while you embroider.
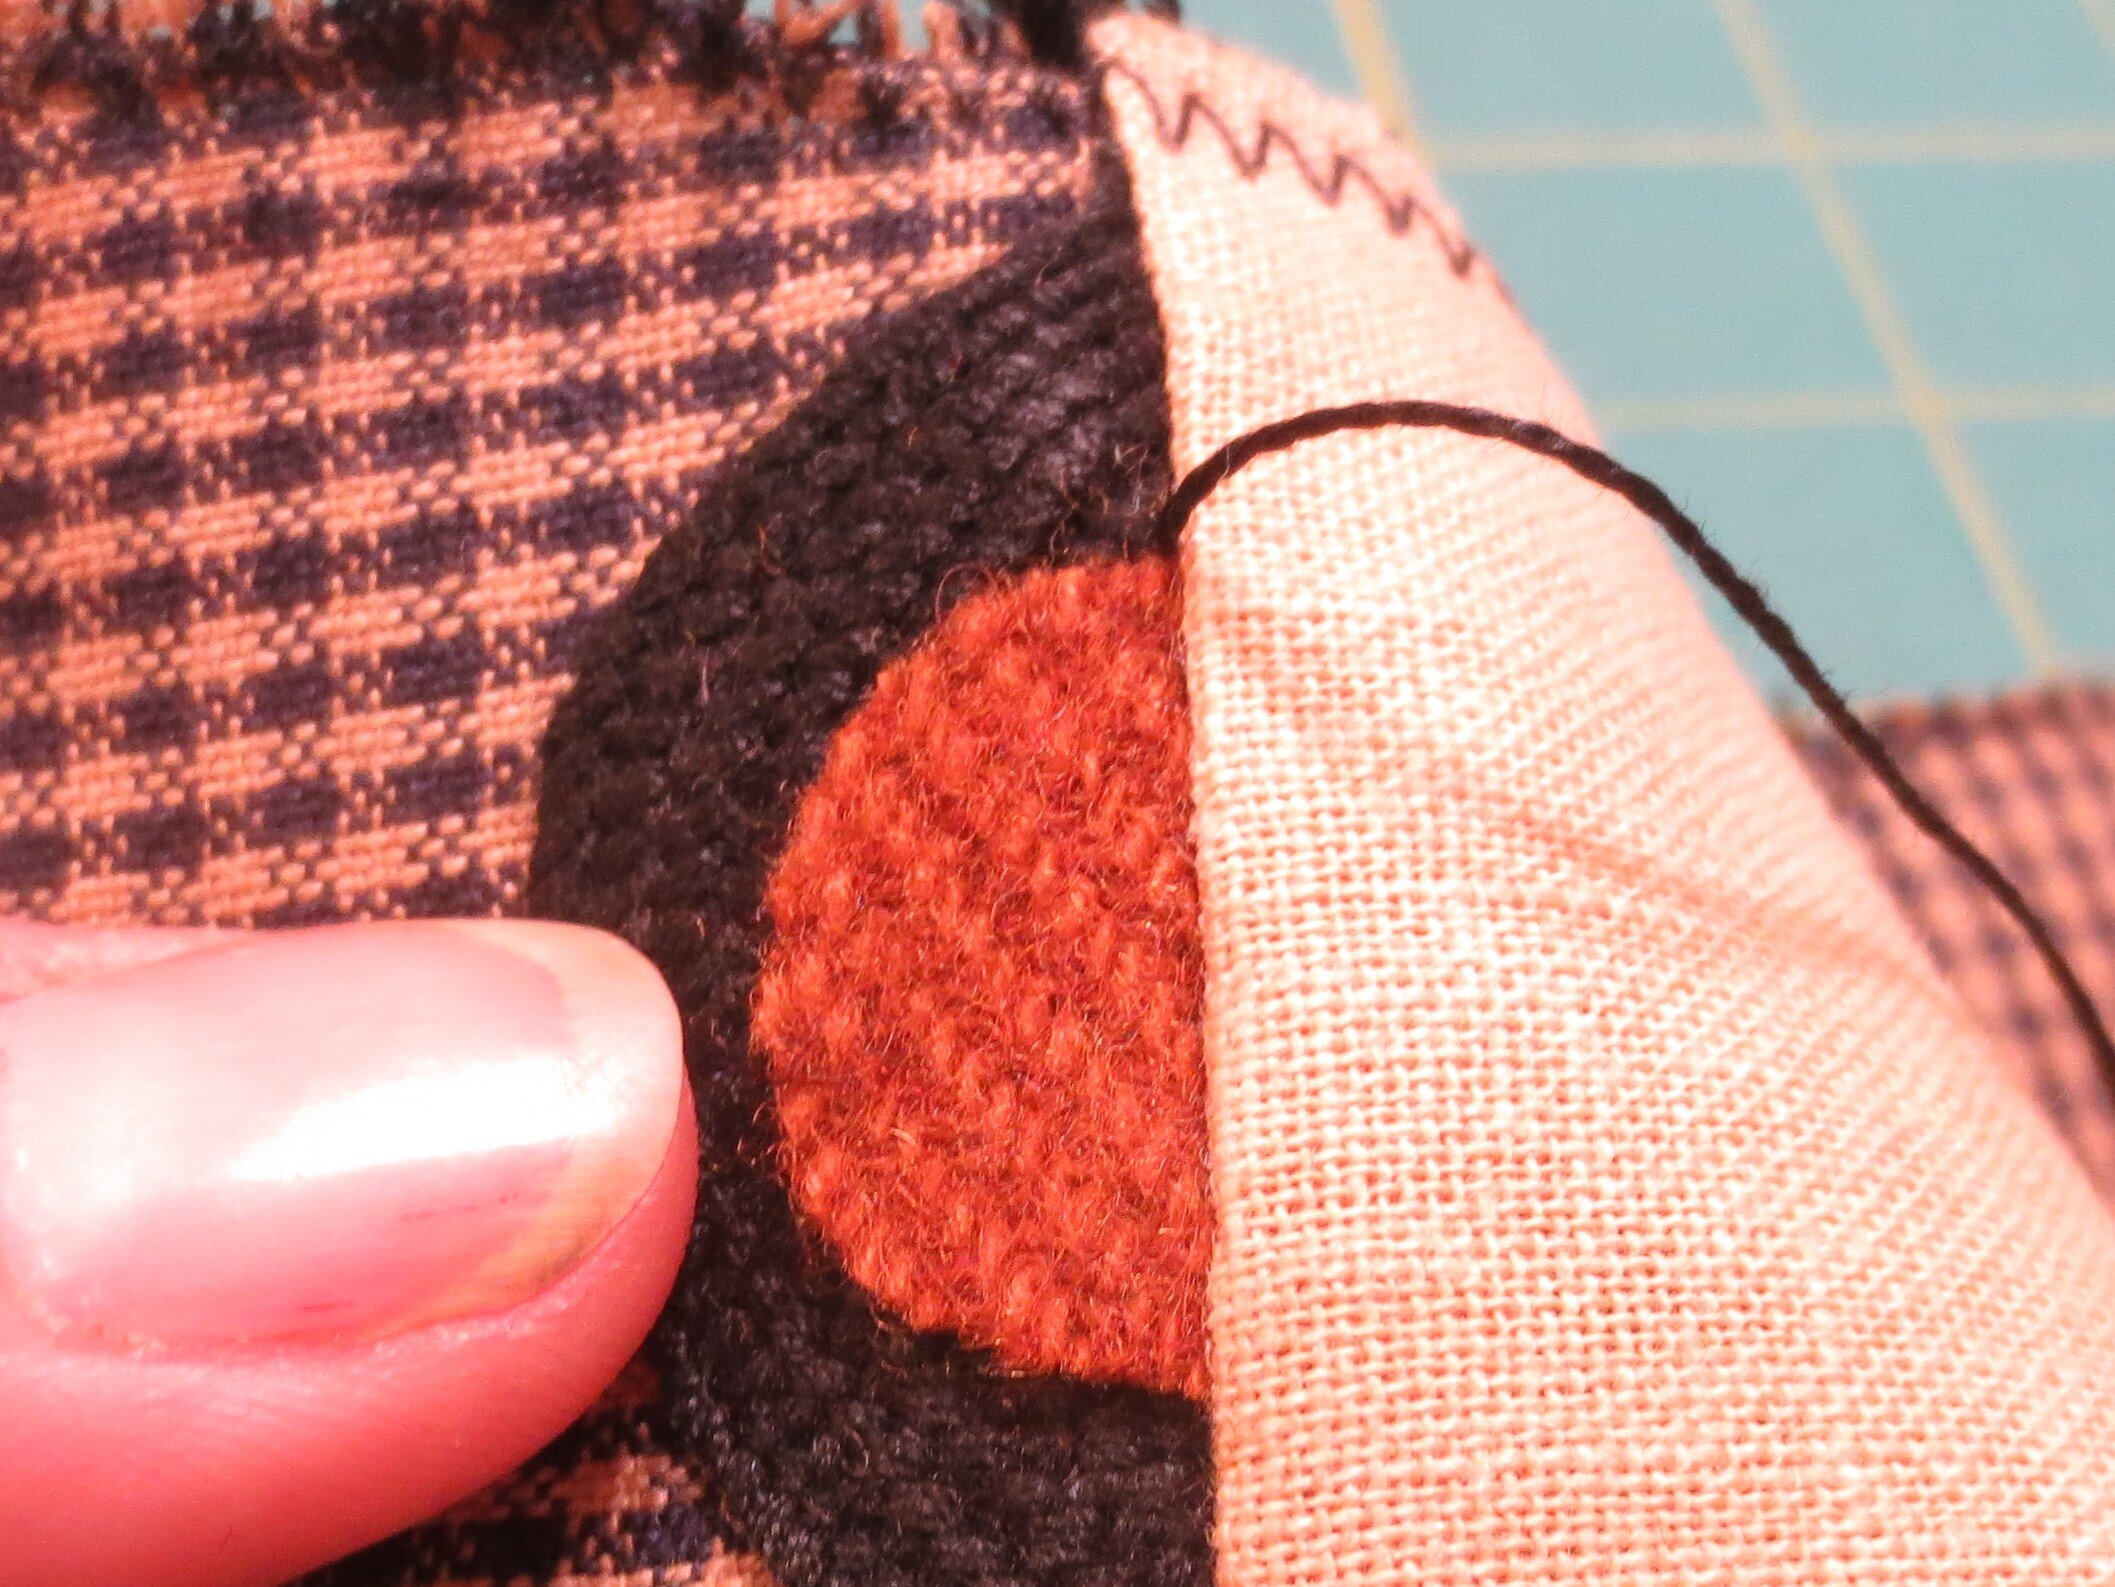
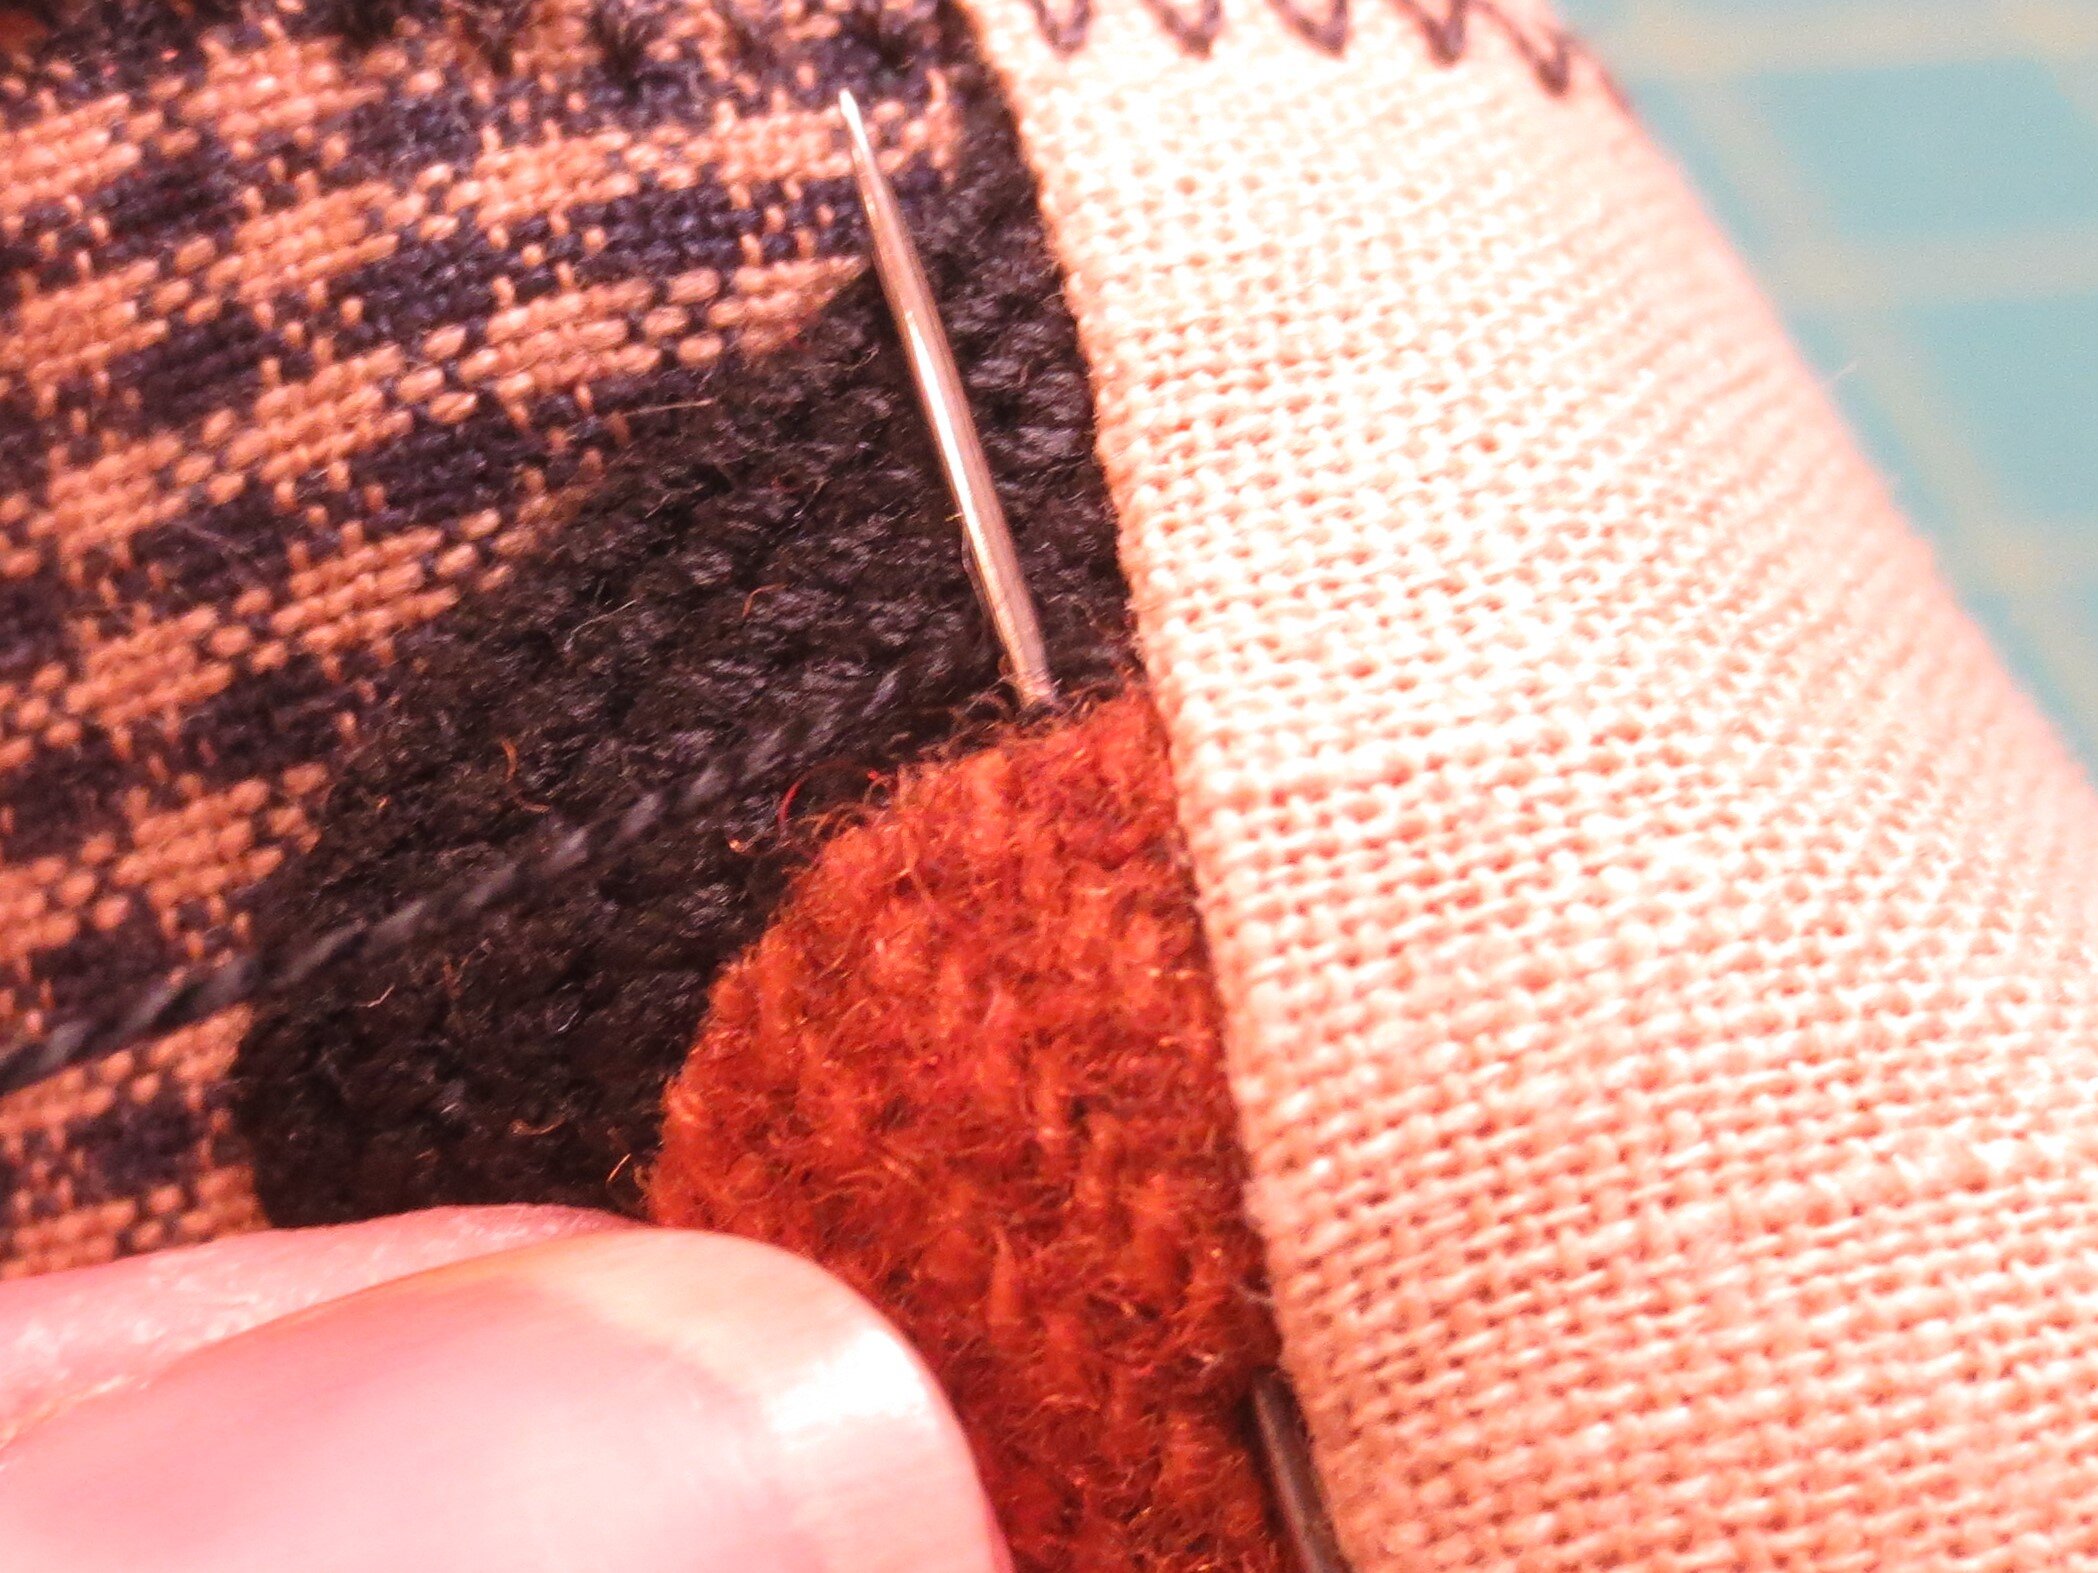
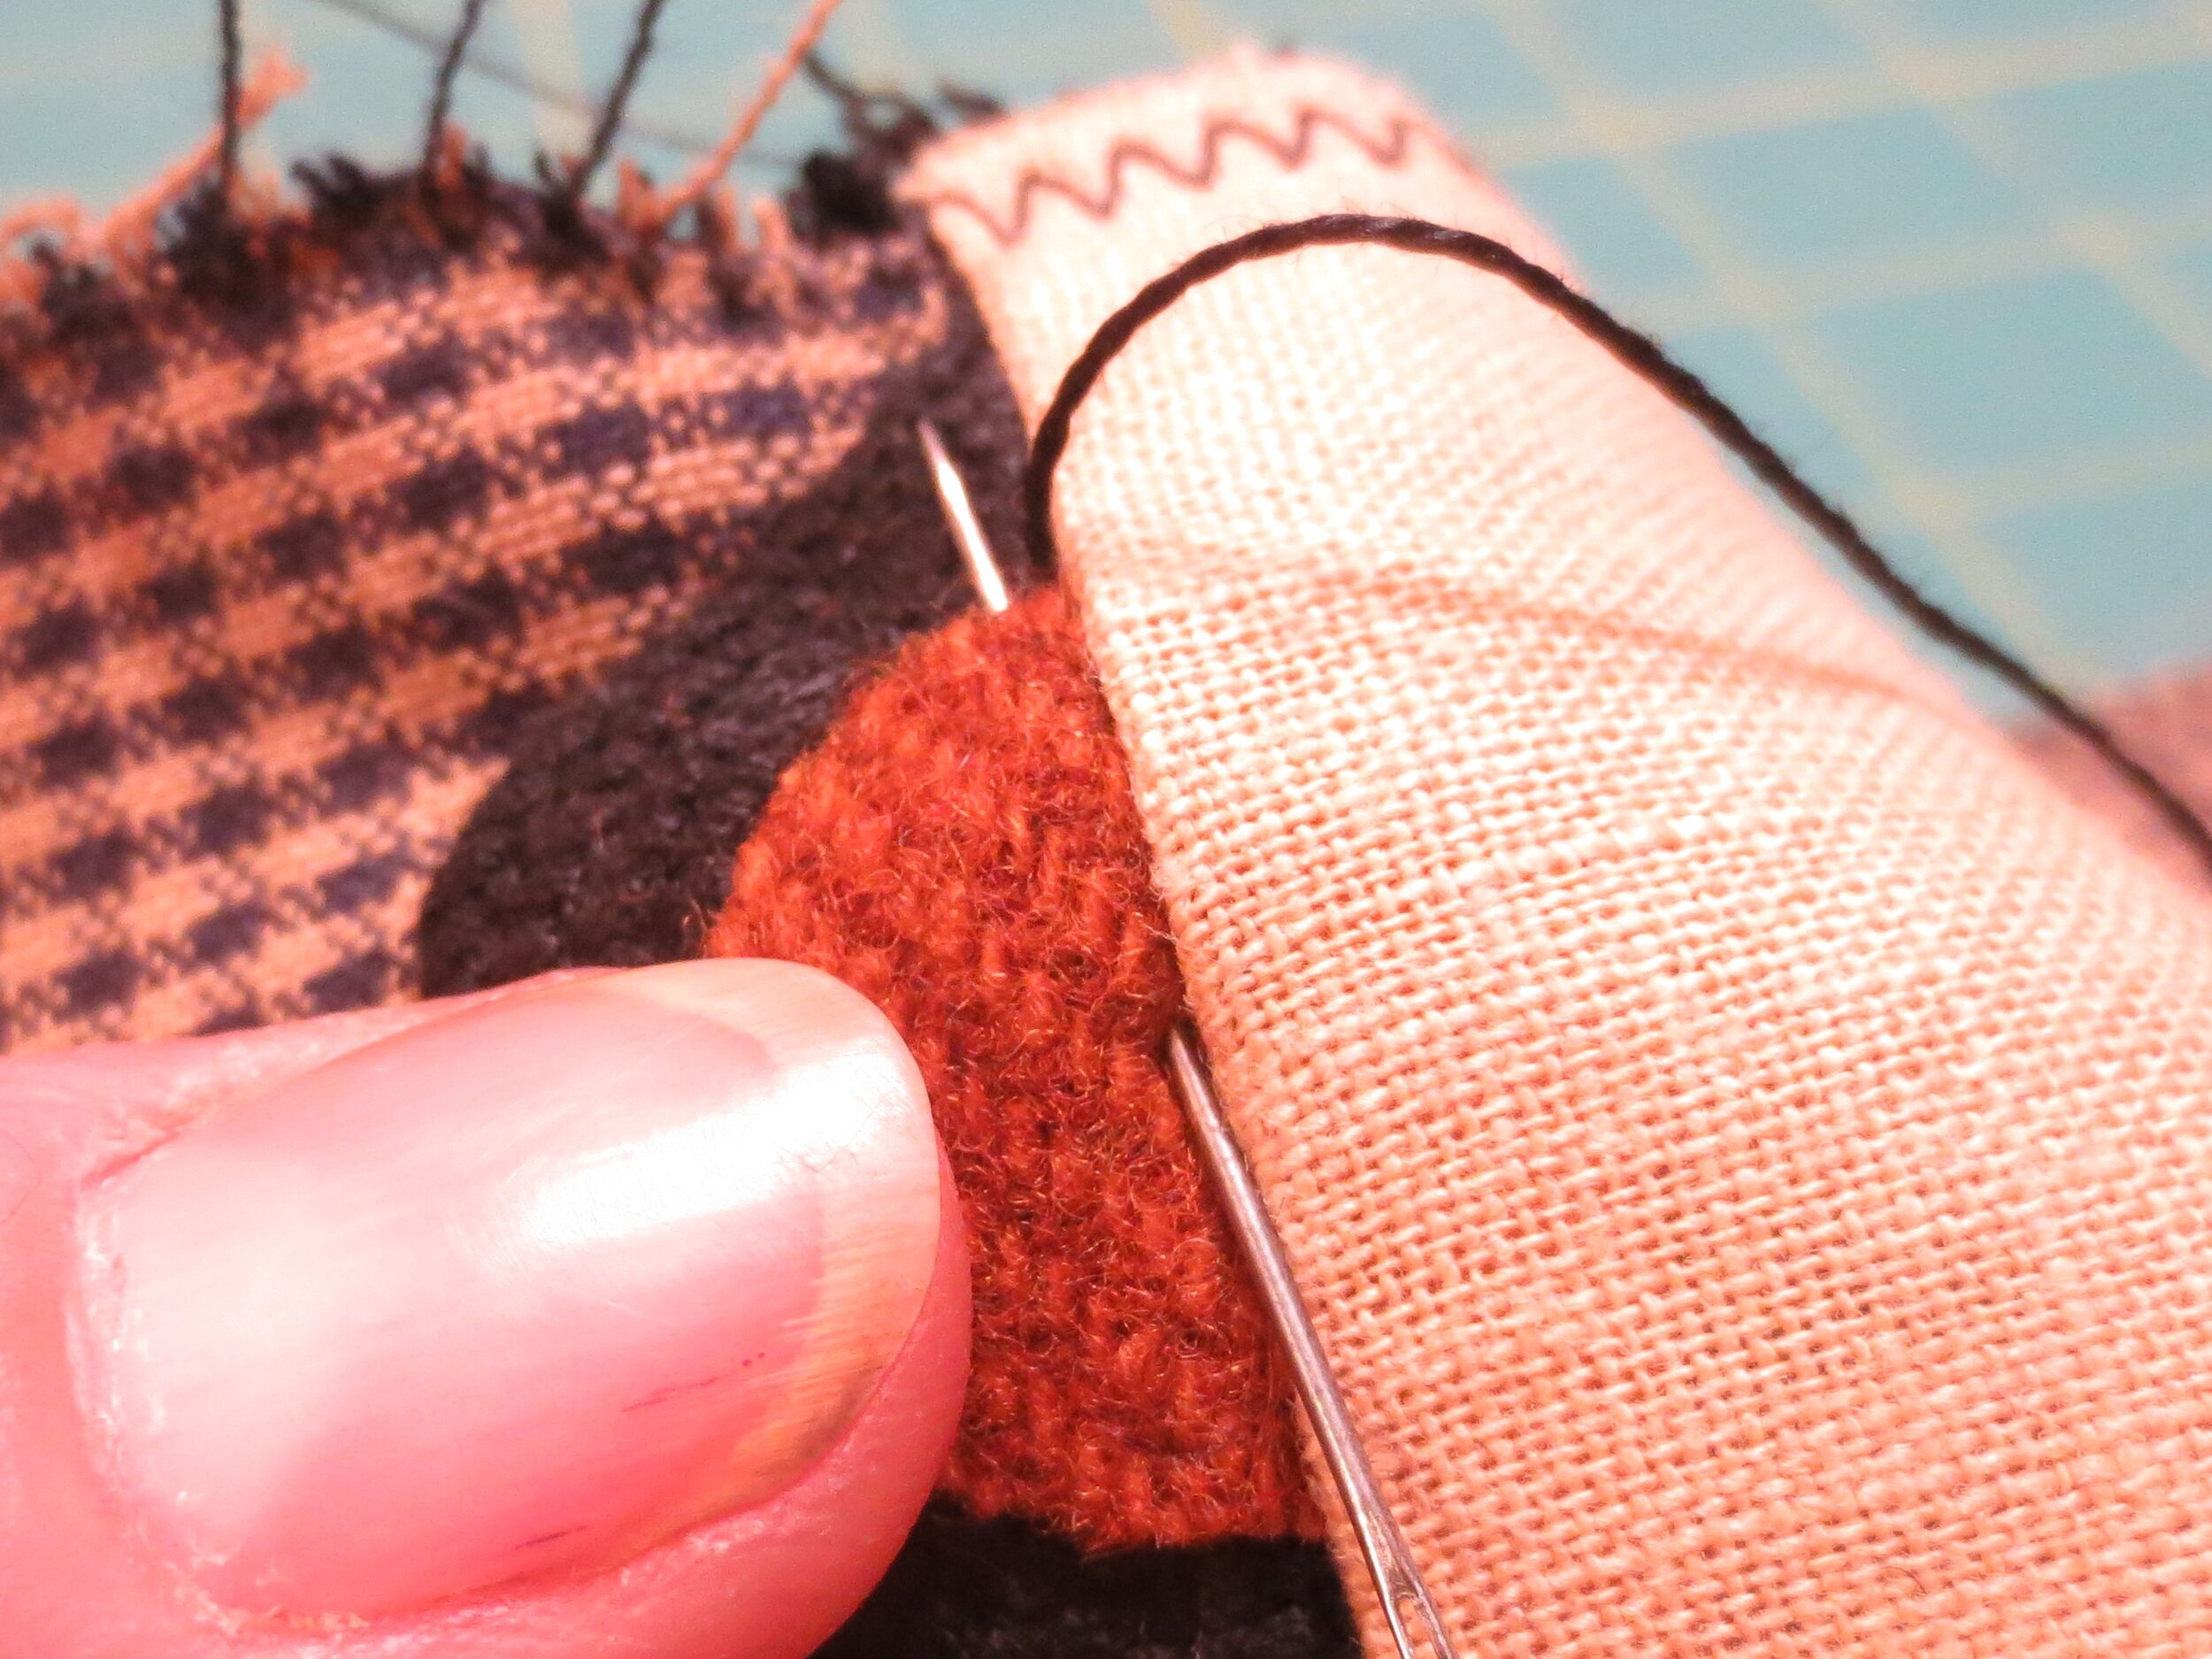
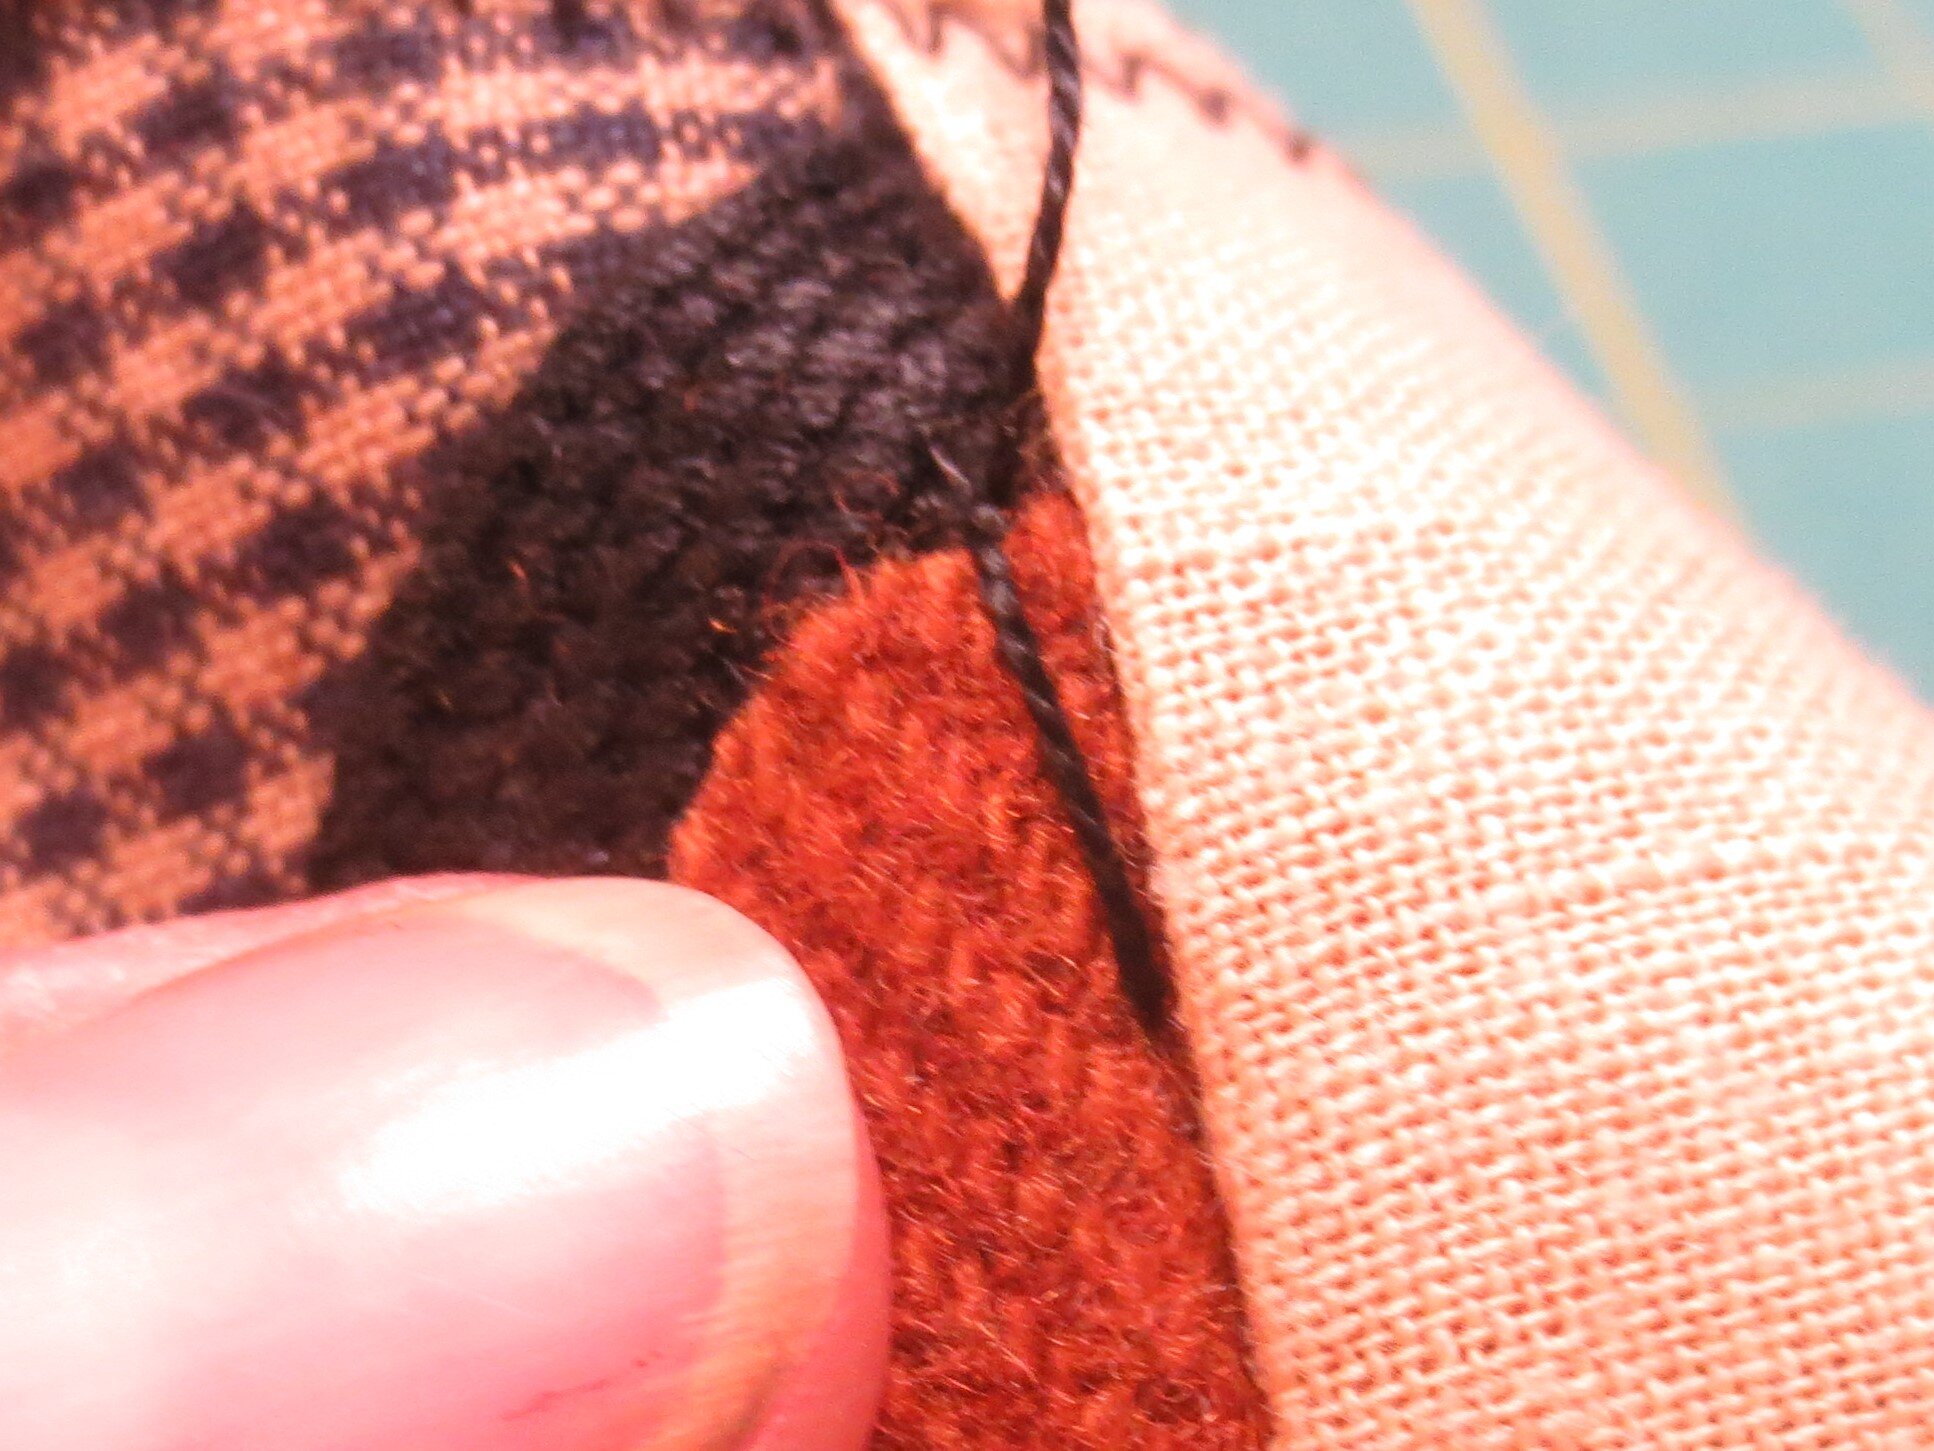
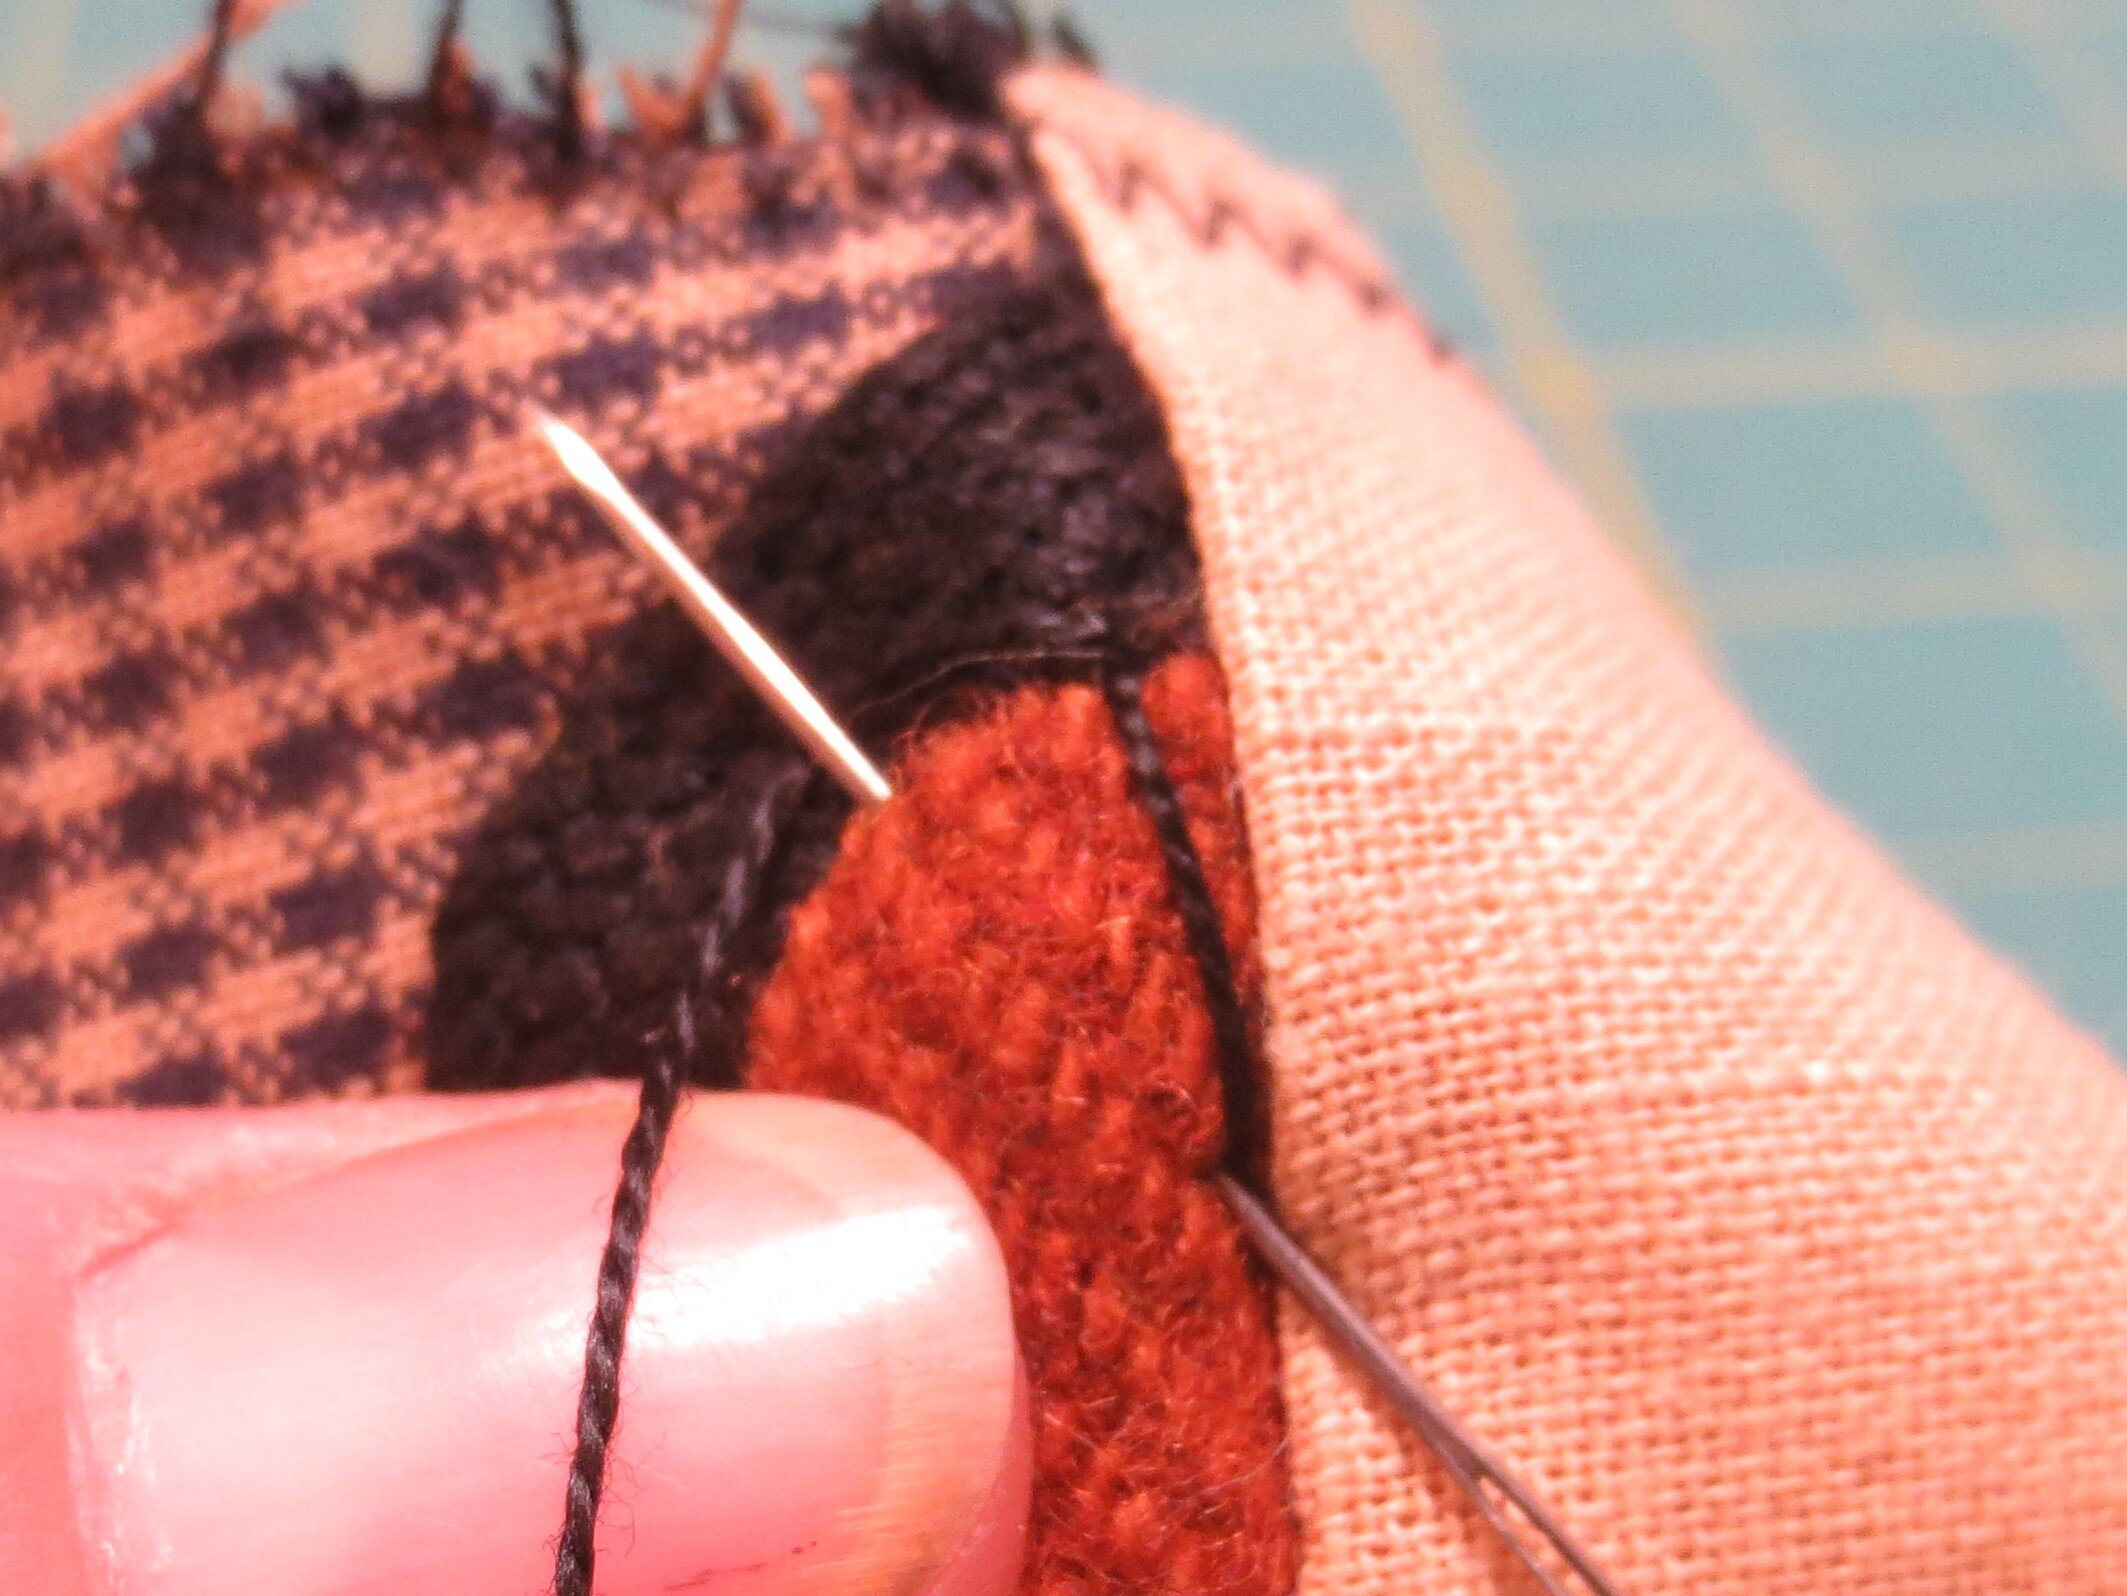
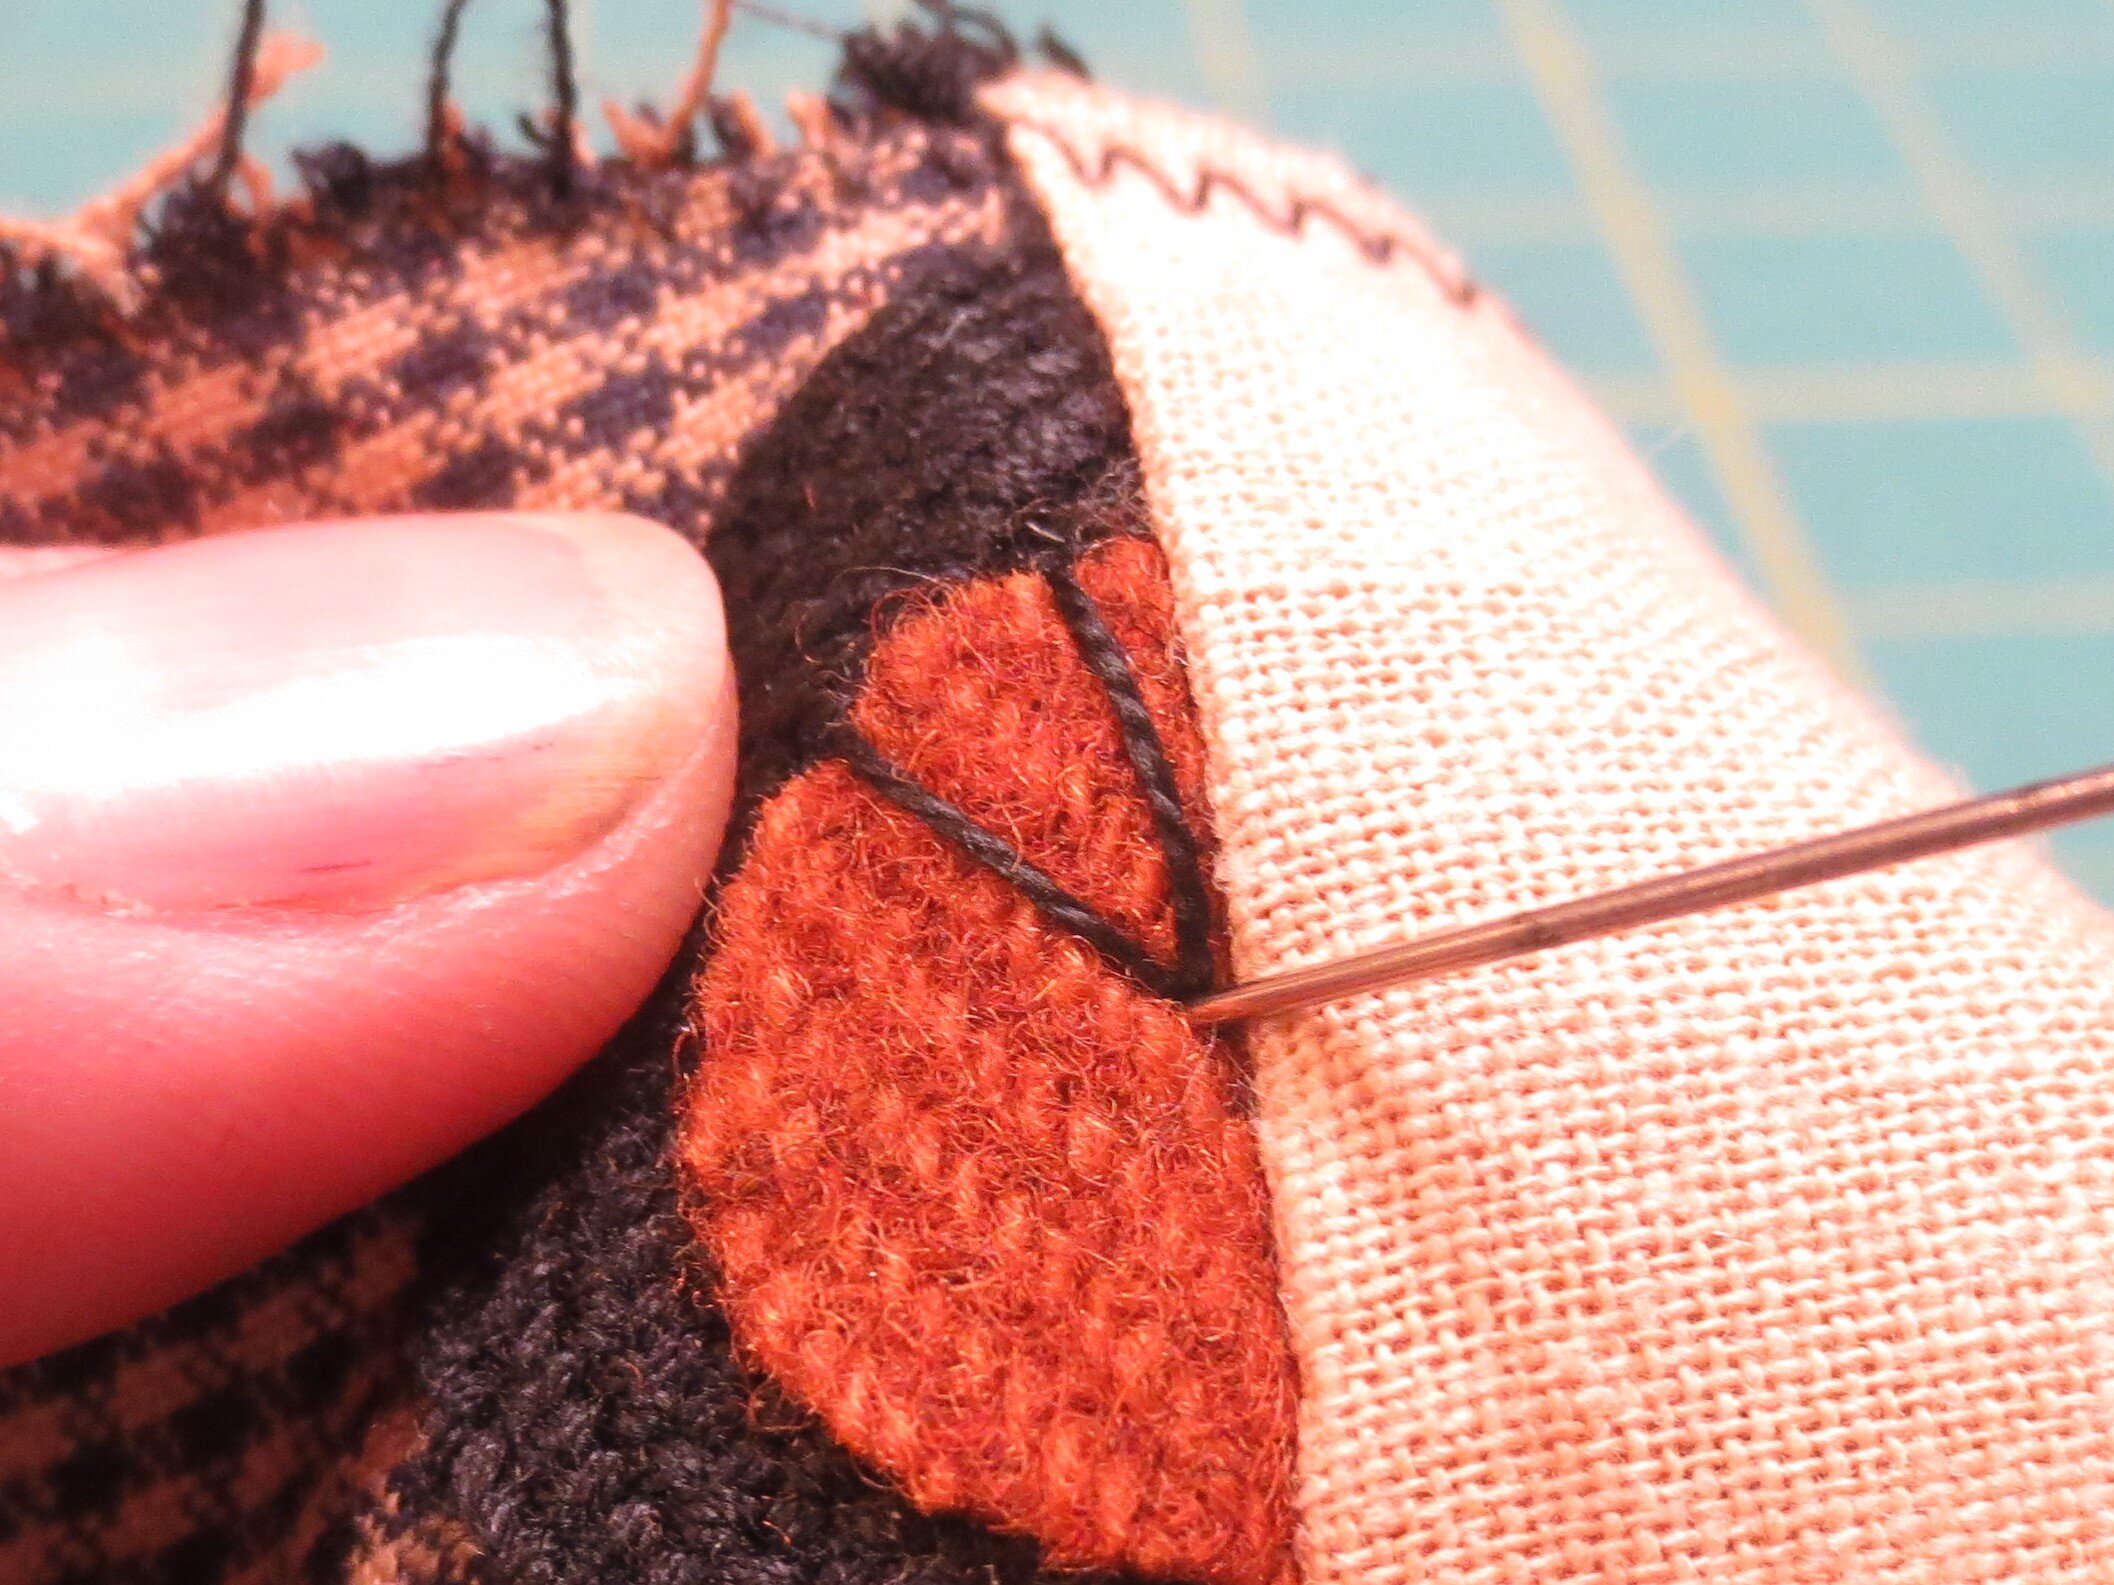
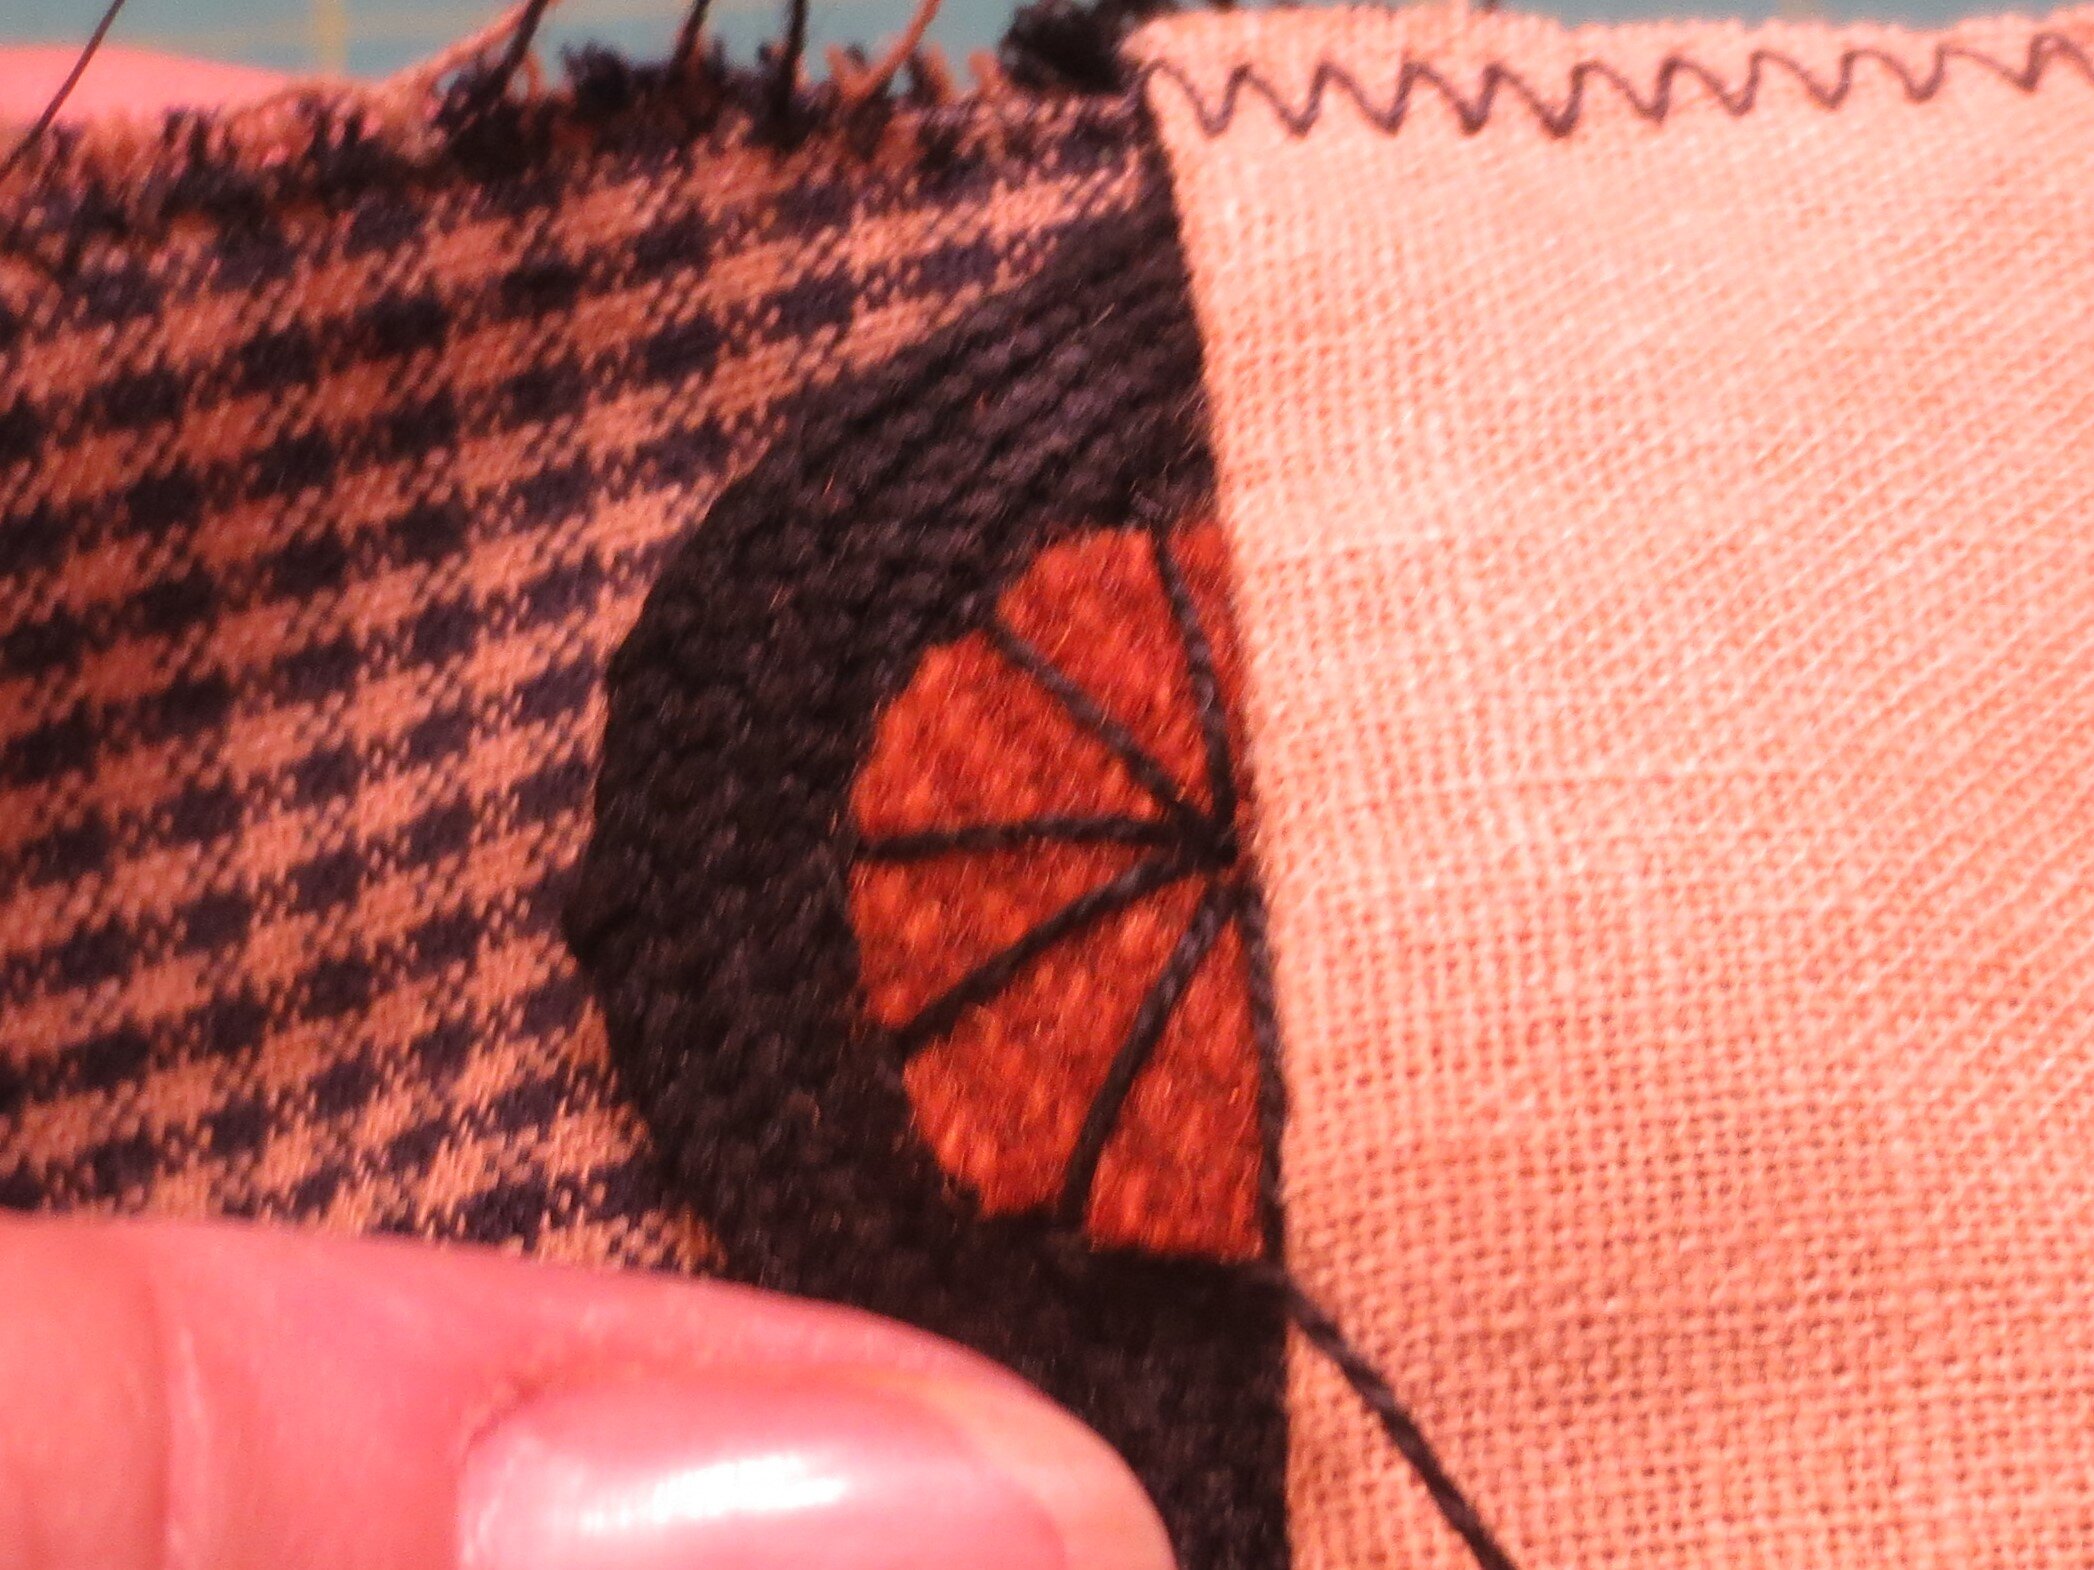
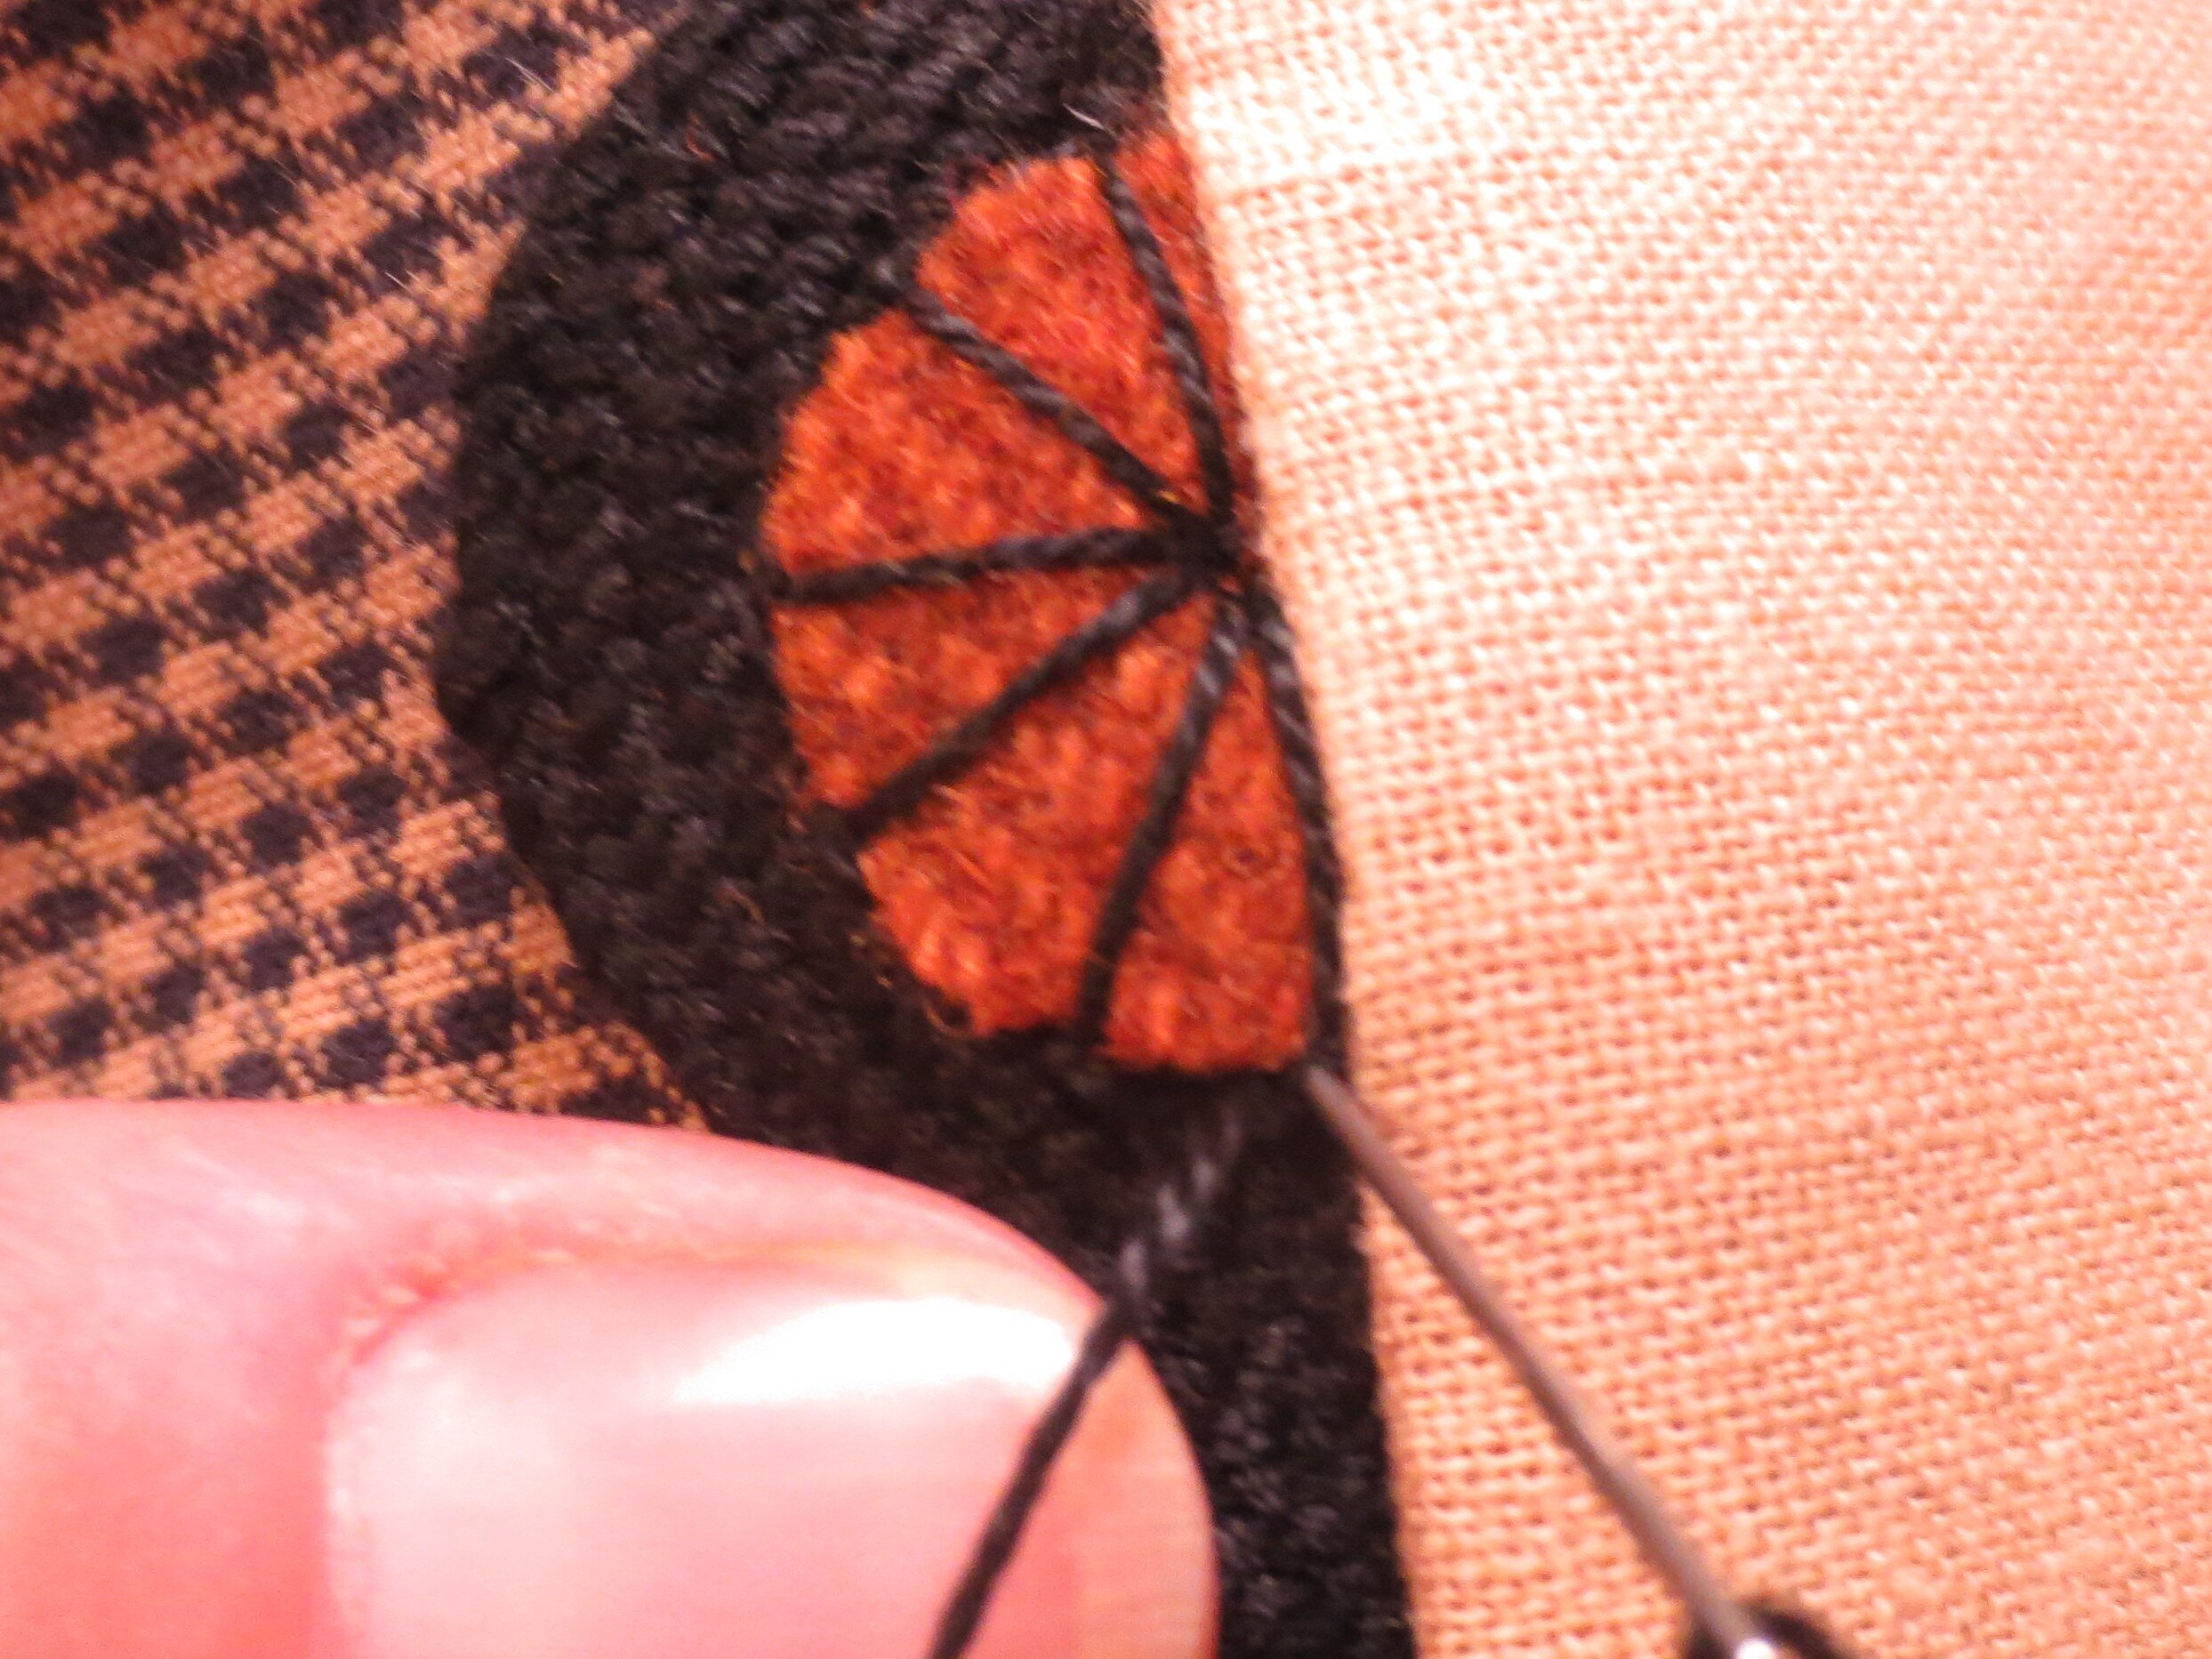
11. Using one strand of black, size 8 perle cotton, stitch half of a buttonhole wheel onto each wool embellishment.
Begin by bringing the needle up at the corner of the half circle. Pull the thread through to the front.
Insert the needle into the center bottom, and then up again right next to where you first brought the thread up. Wrap the thread around the back of the needle tip, and pull the thread through. This is the first spoke of the buttonhole wheel.
Insert the needle into the center again, and come up about an 1/8” to the left of first spoke. Wrap the thread around the back of the needle tip, and pull the thread through.
Repeat the same stitch four more times (6 stitches total).
Tack the last stitch down by inserting the needle down into the very corner of the half circle.
12. Use the same thread to whip stitch the edges of the ric rac to the border fabric.
MAKING THE CAT APPLIQUE – Use one strand of perle cotton, size 12 thread for all stitches unless otherwise instructed.
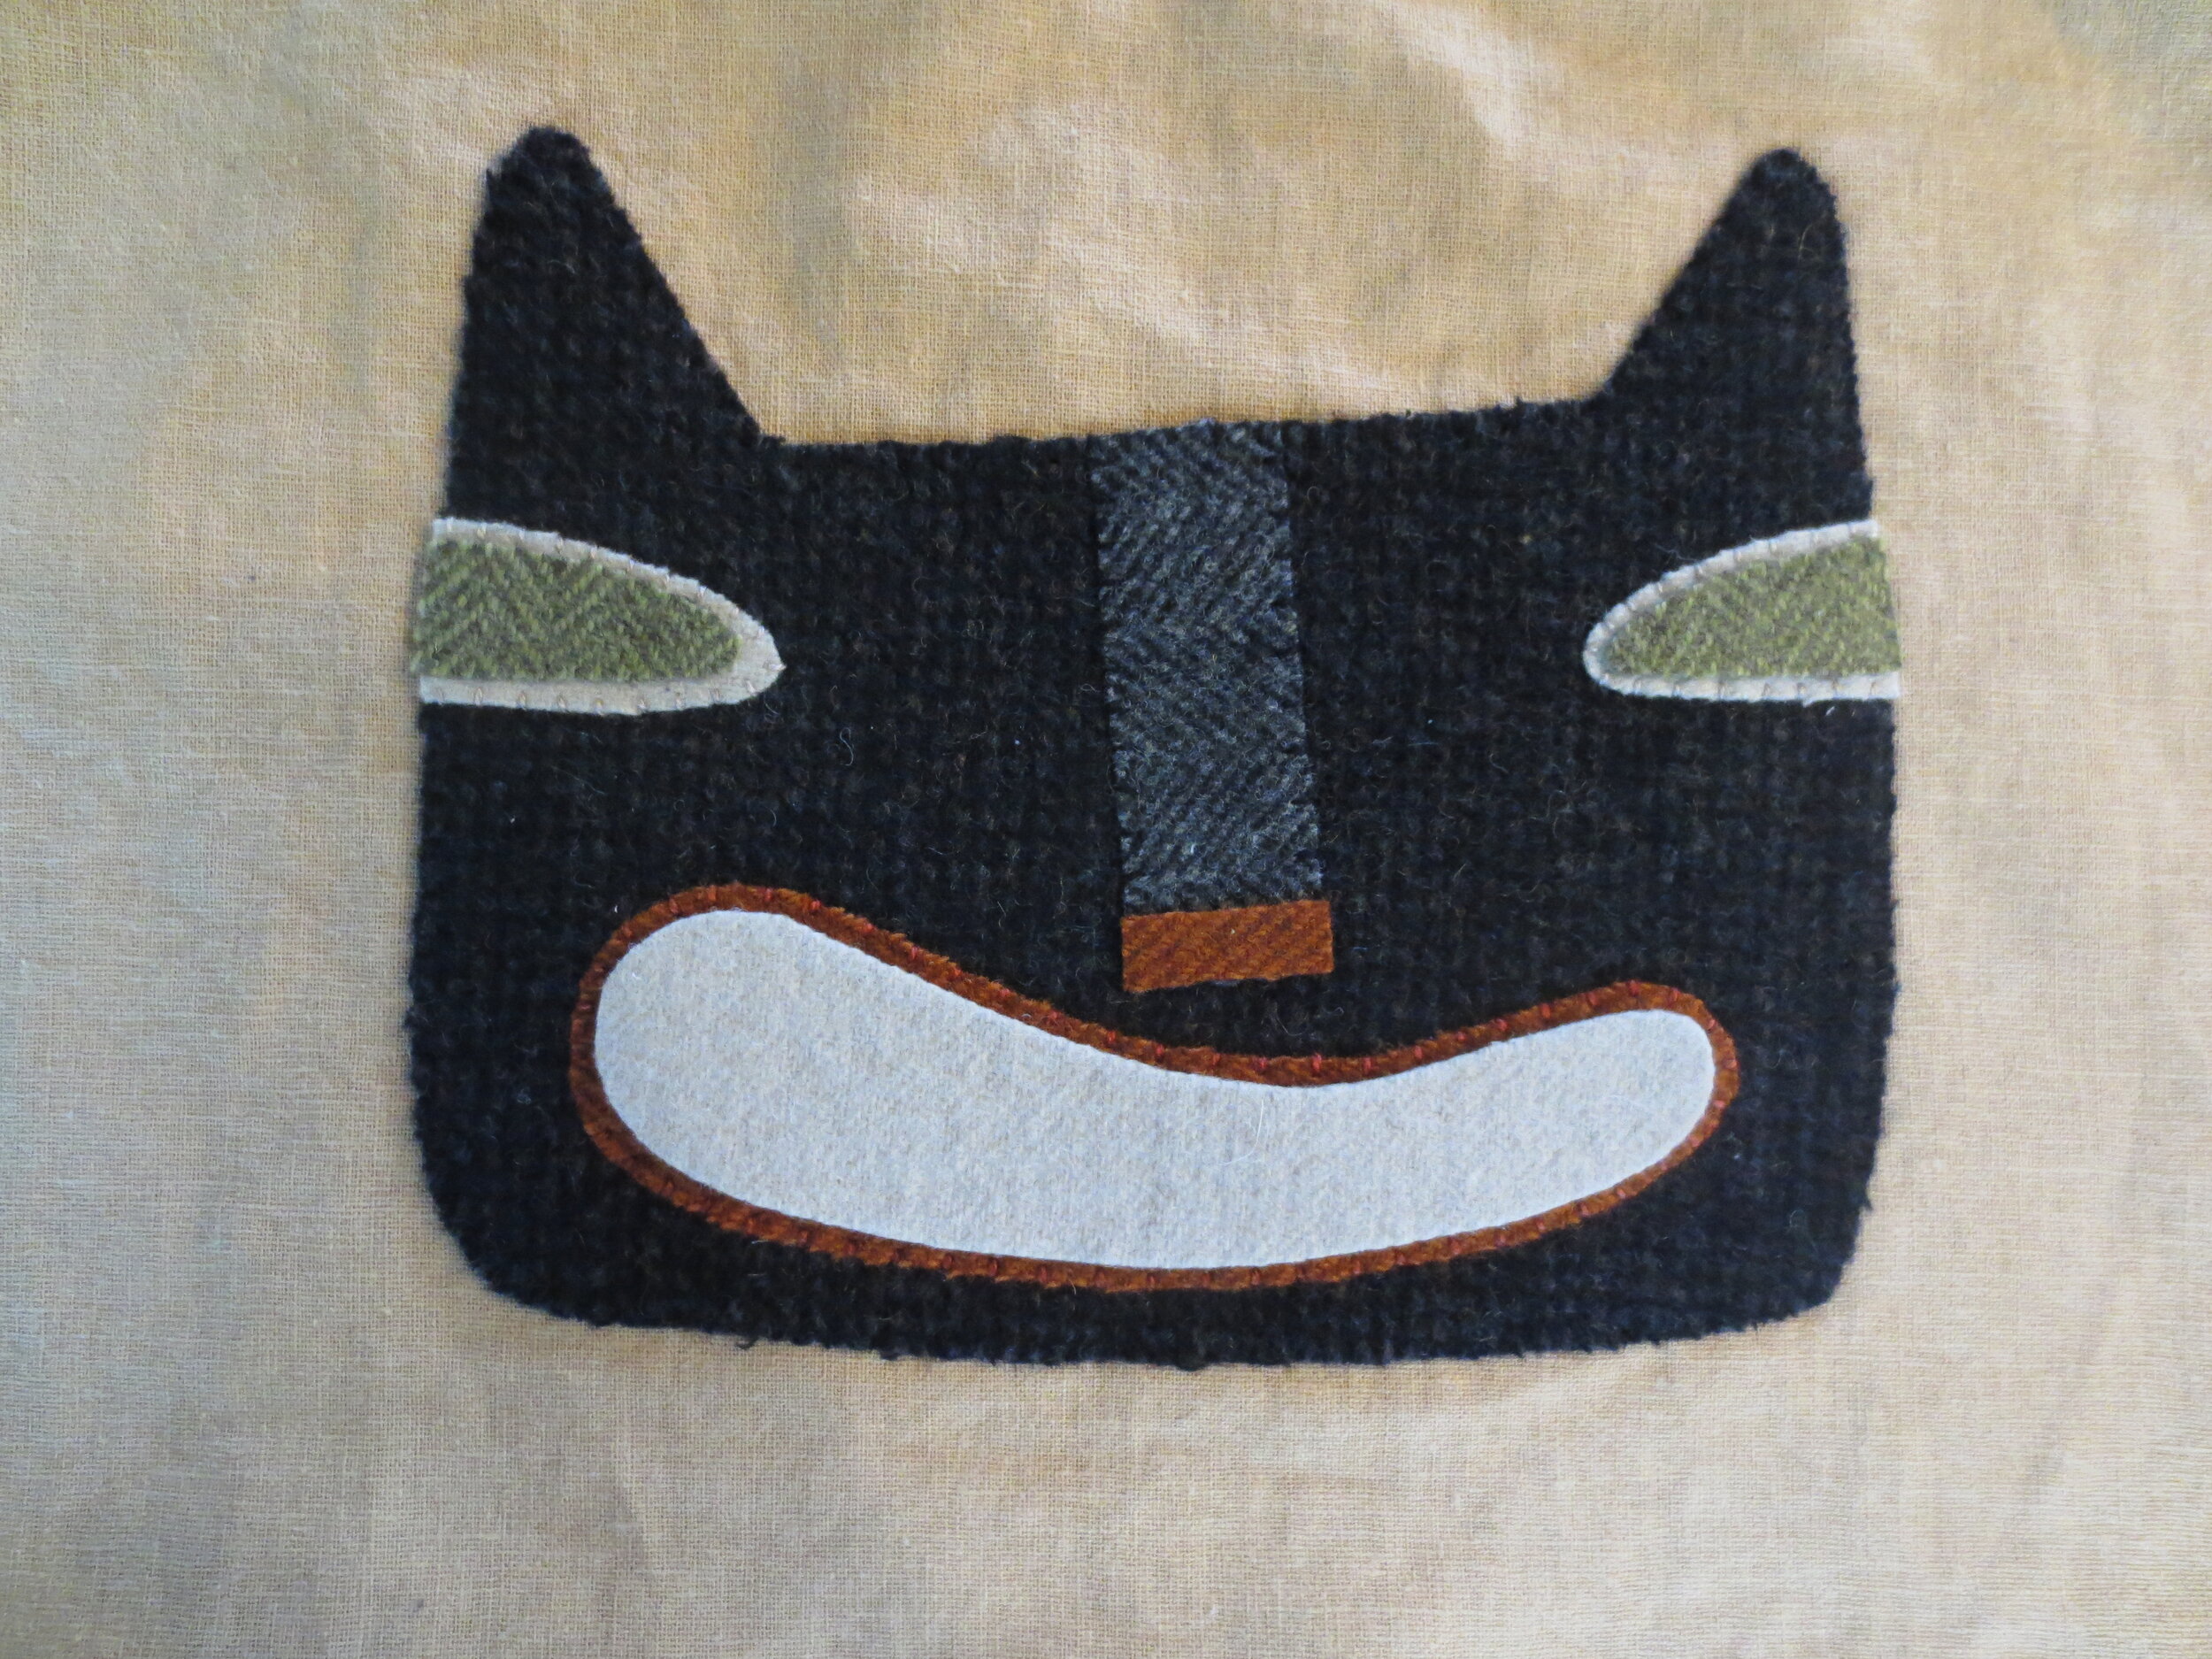
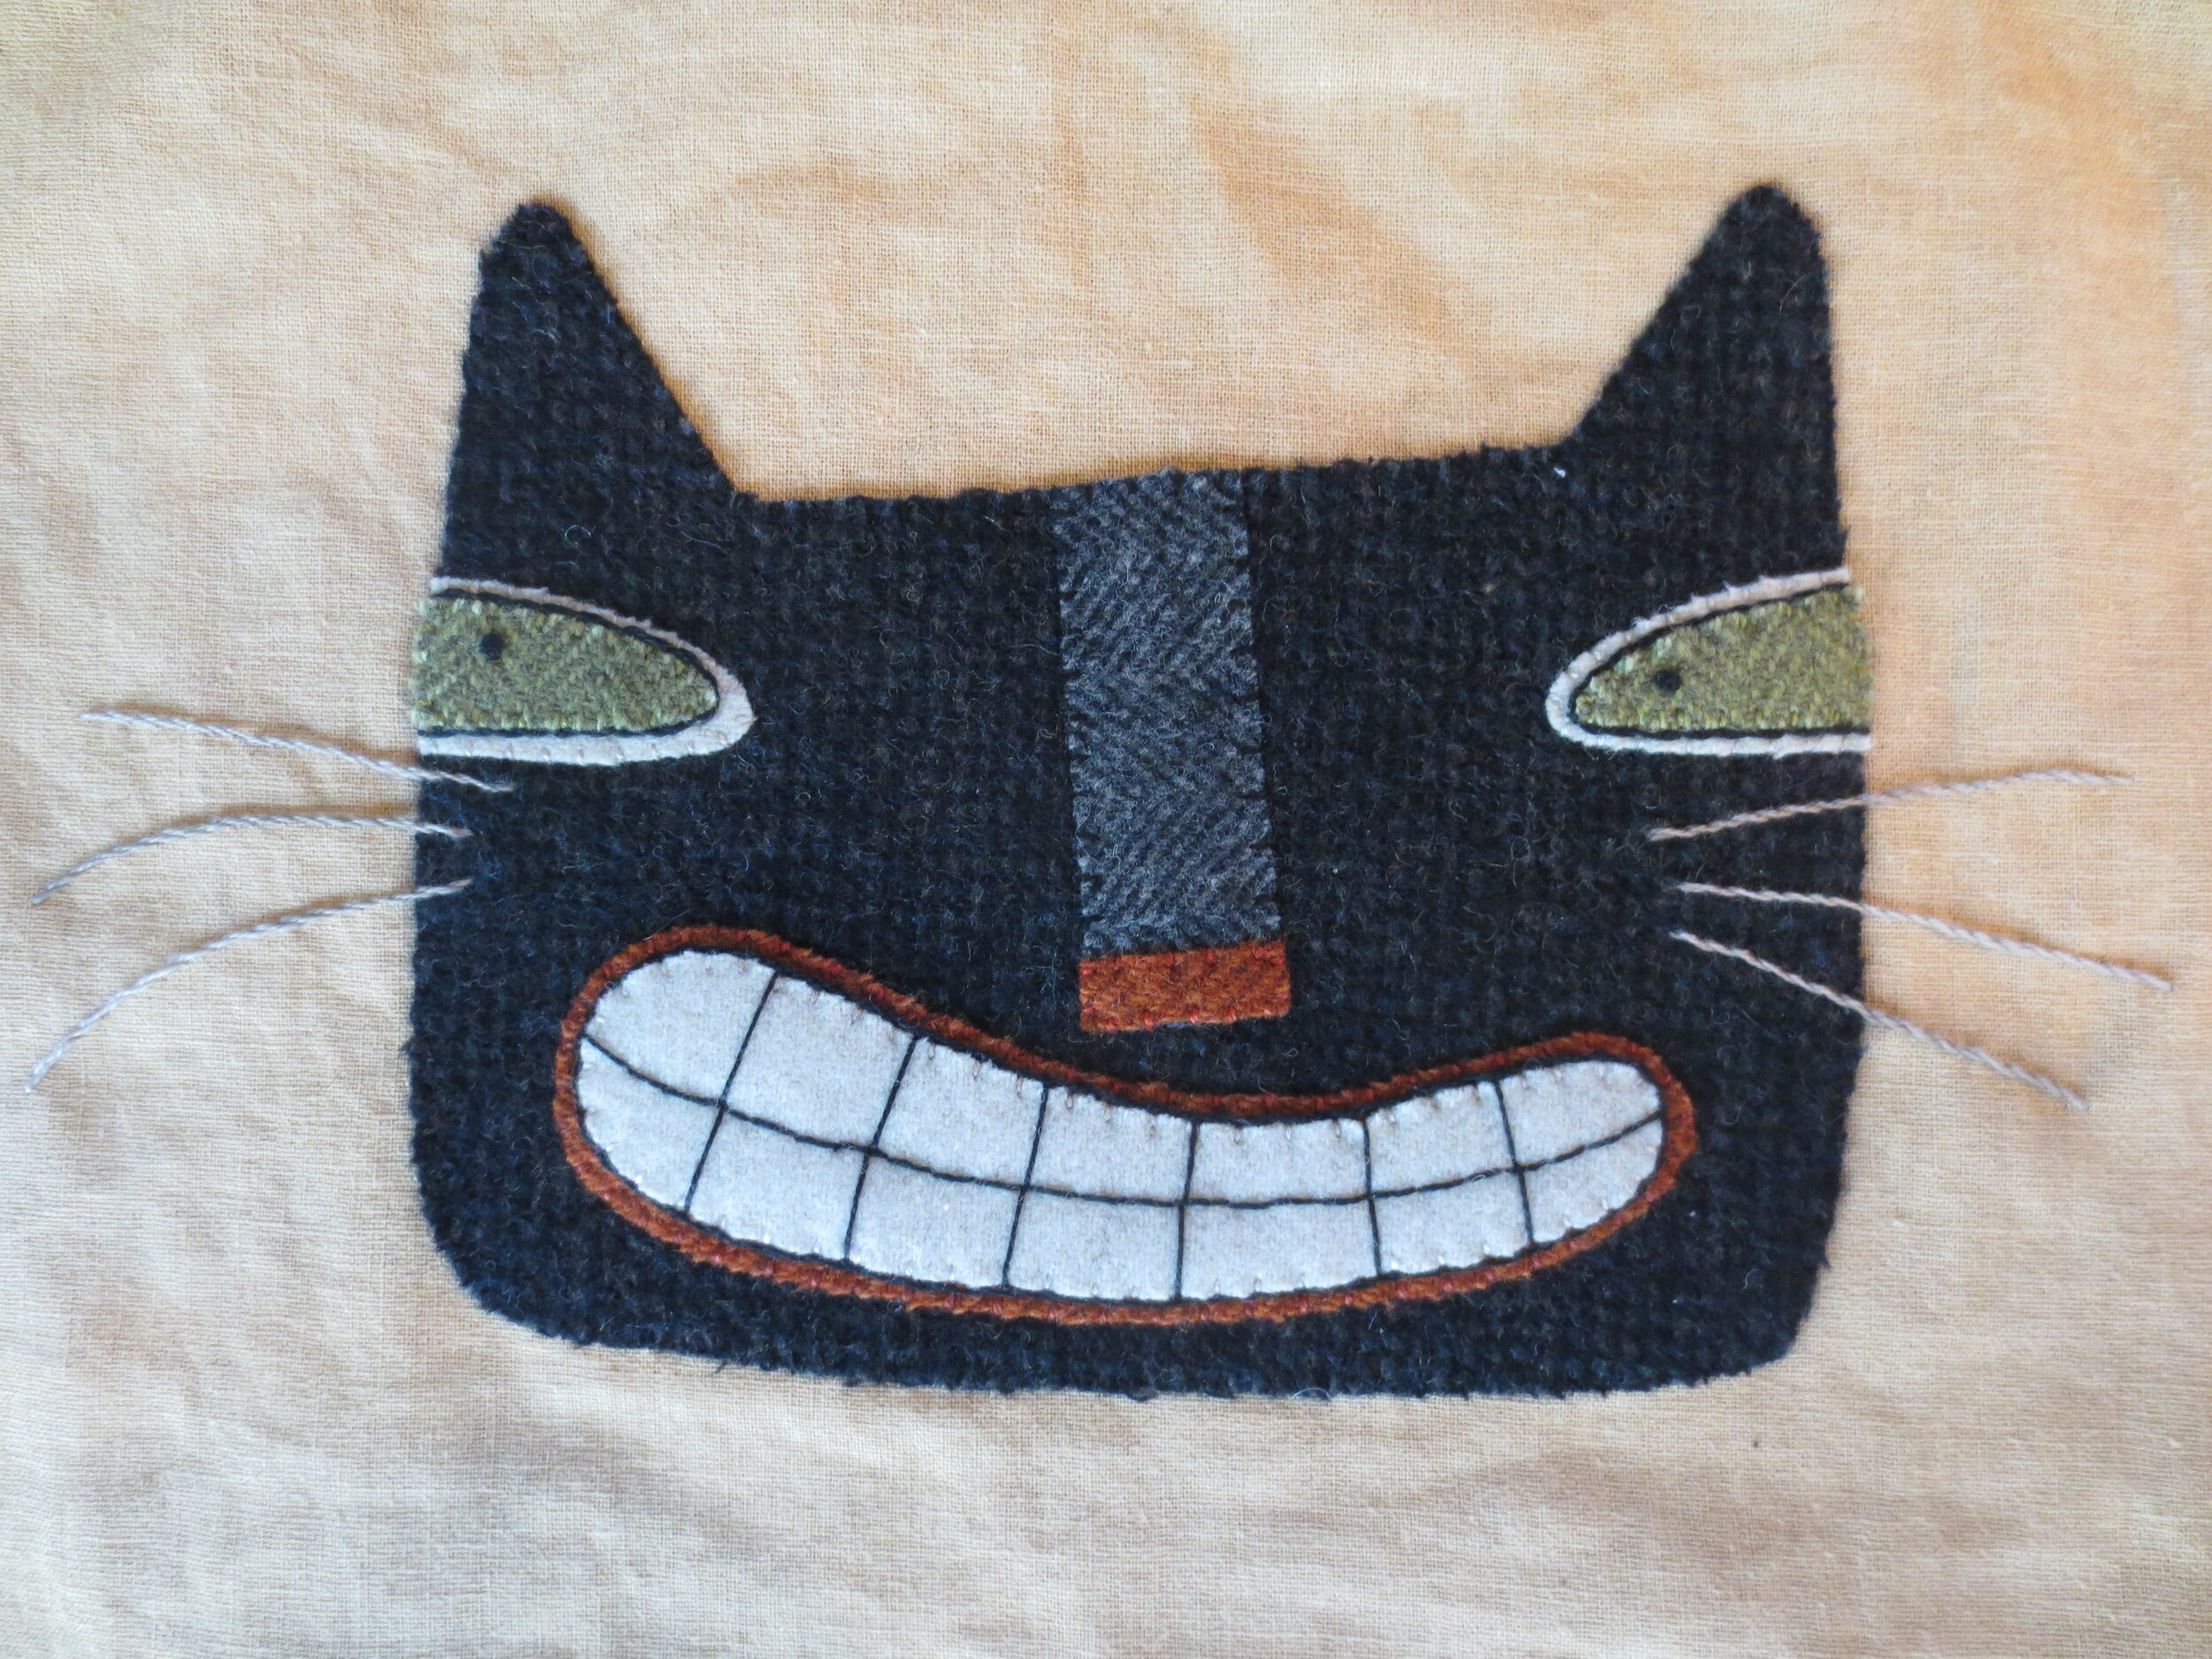
1. Using the layout as your guide, center the cat’s head onto the background. Fuse in place using steam.
2. Whip stitch head with black.
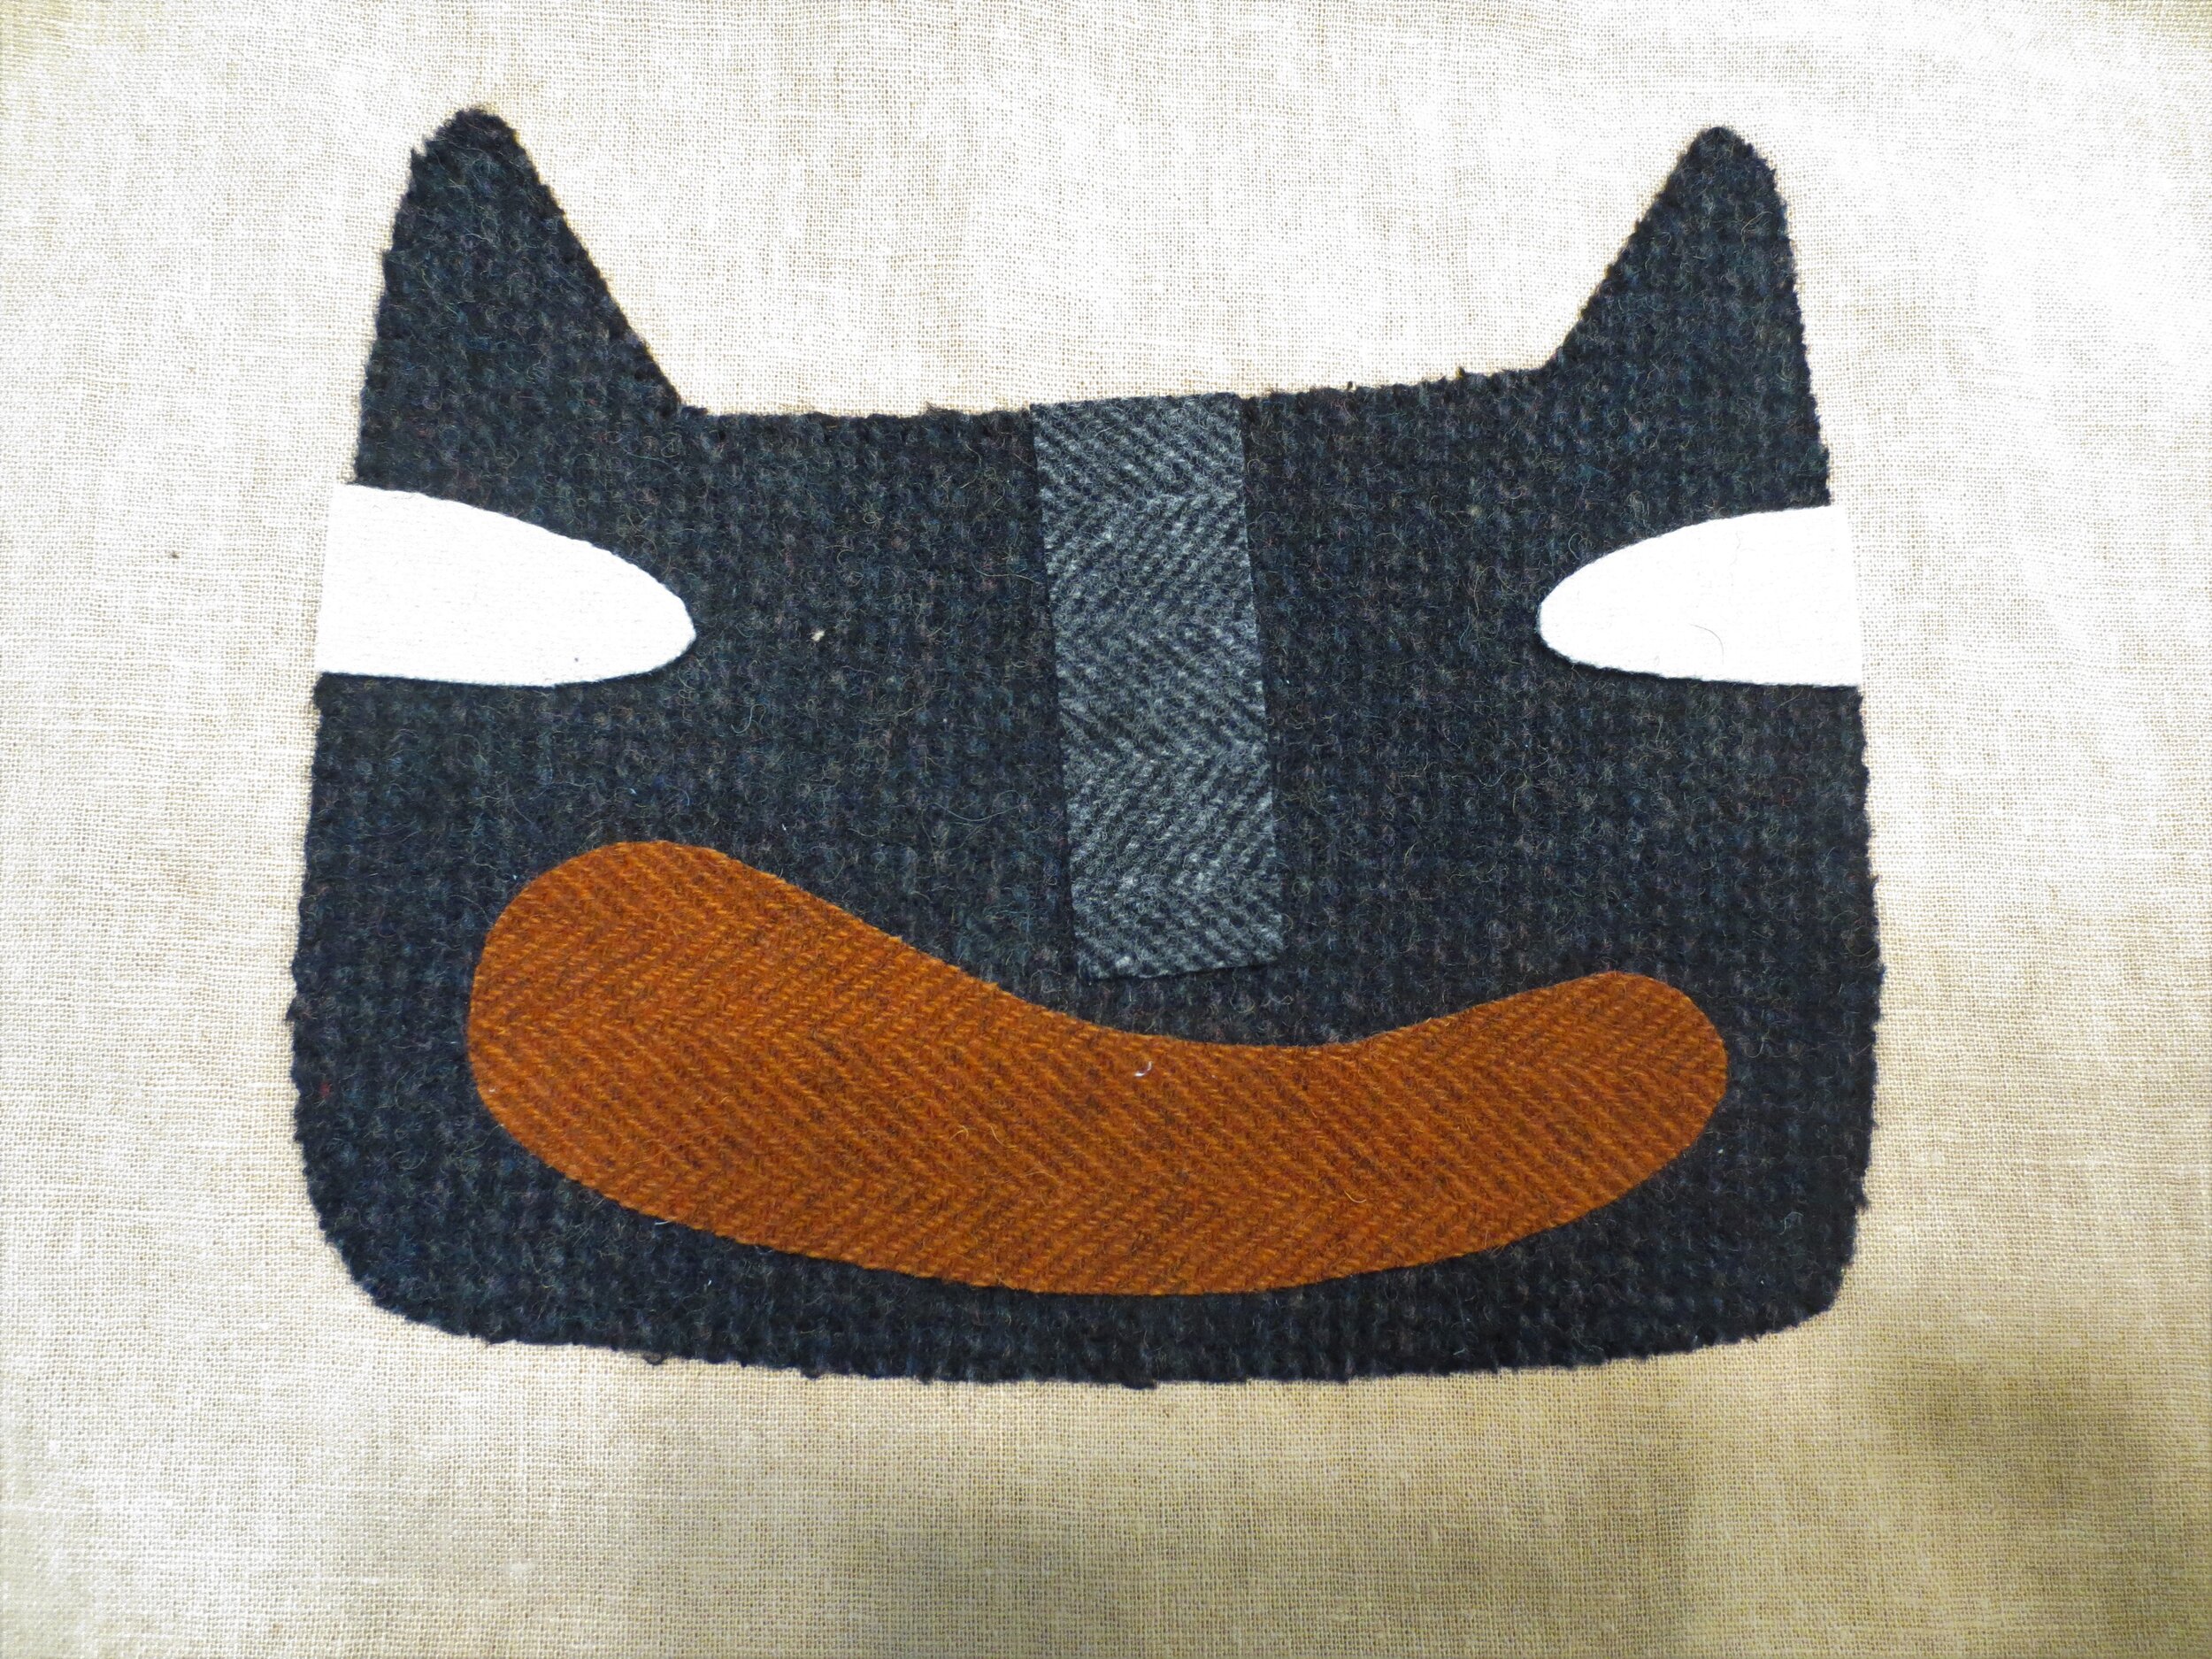
3. Using the layout as your guide, position the nose, lips, and sclera (whites of eyes) onto the head. Fuse in place using steam.
4. Whip stitch nose with black.
5. Whip stitch sclera with, off-white.
6. Whip stitch lips with rust-red.
7. Position nose tip, irises, and teeth, and then fuse in place using steam.
8. Whip stitch nose with rust-red.
9. Whip stitch each iris with green.
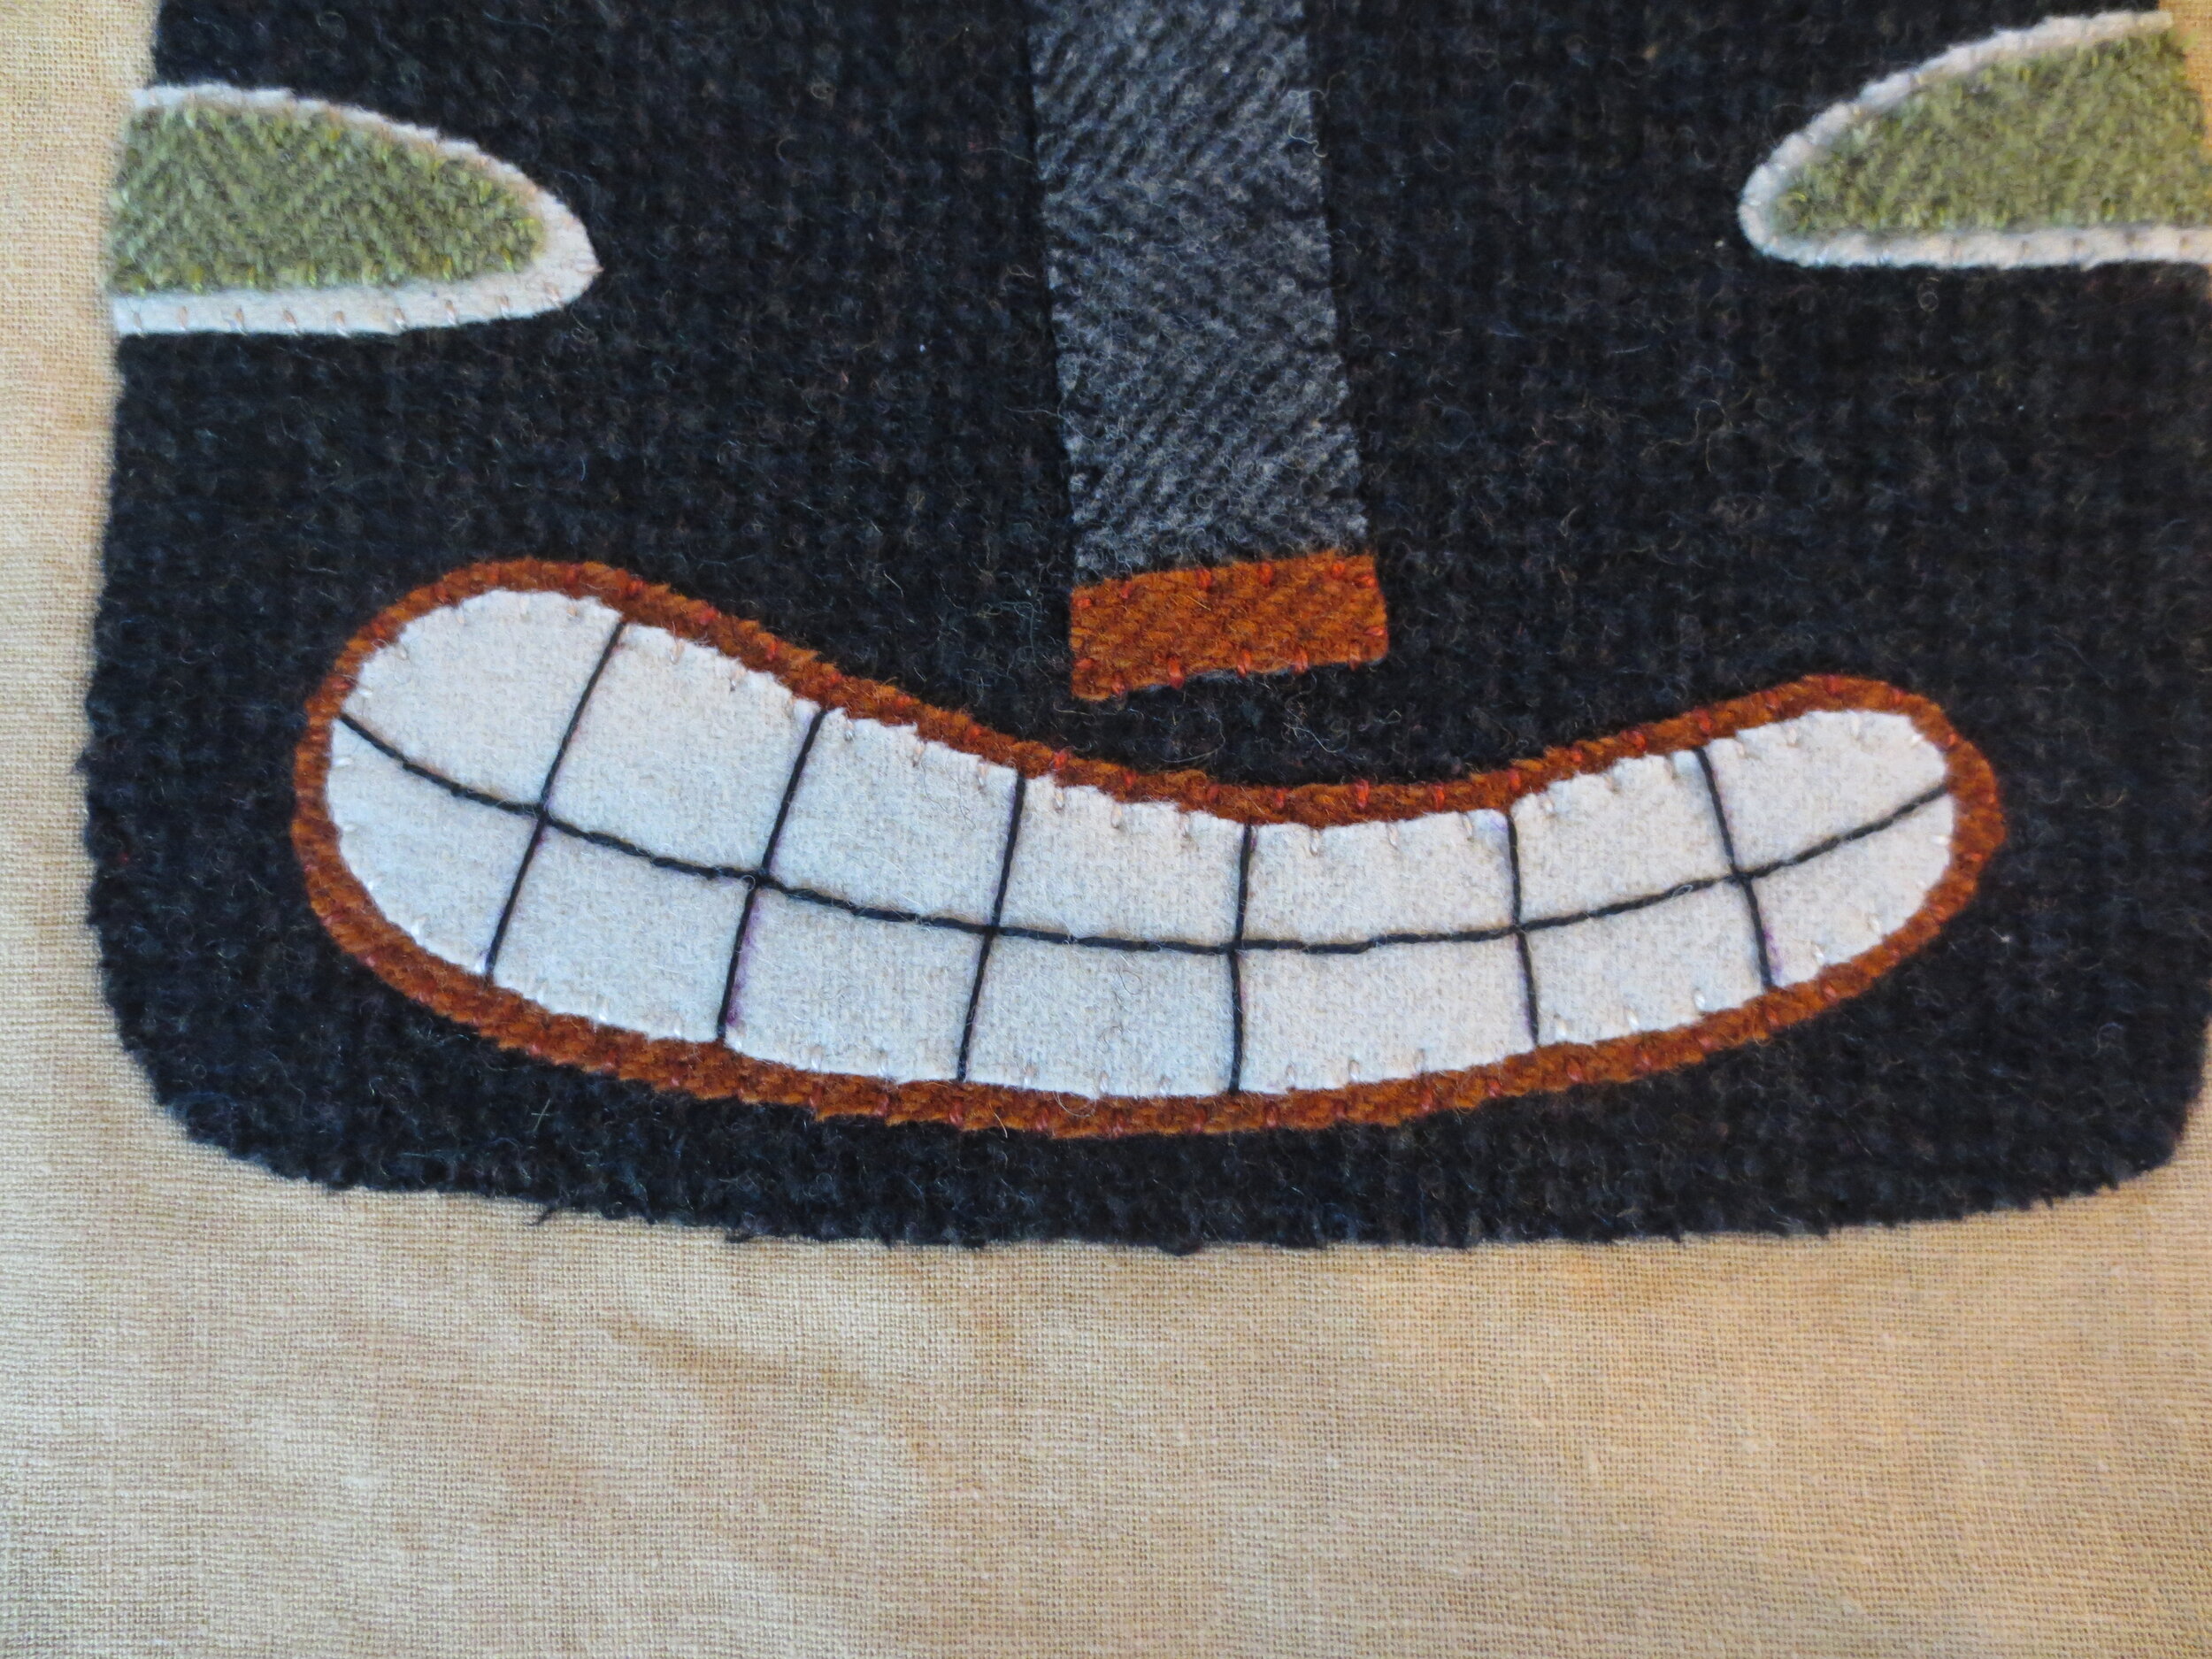
10. Whip stitch teeth with off-white.
EMBELLISHMENT
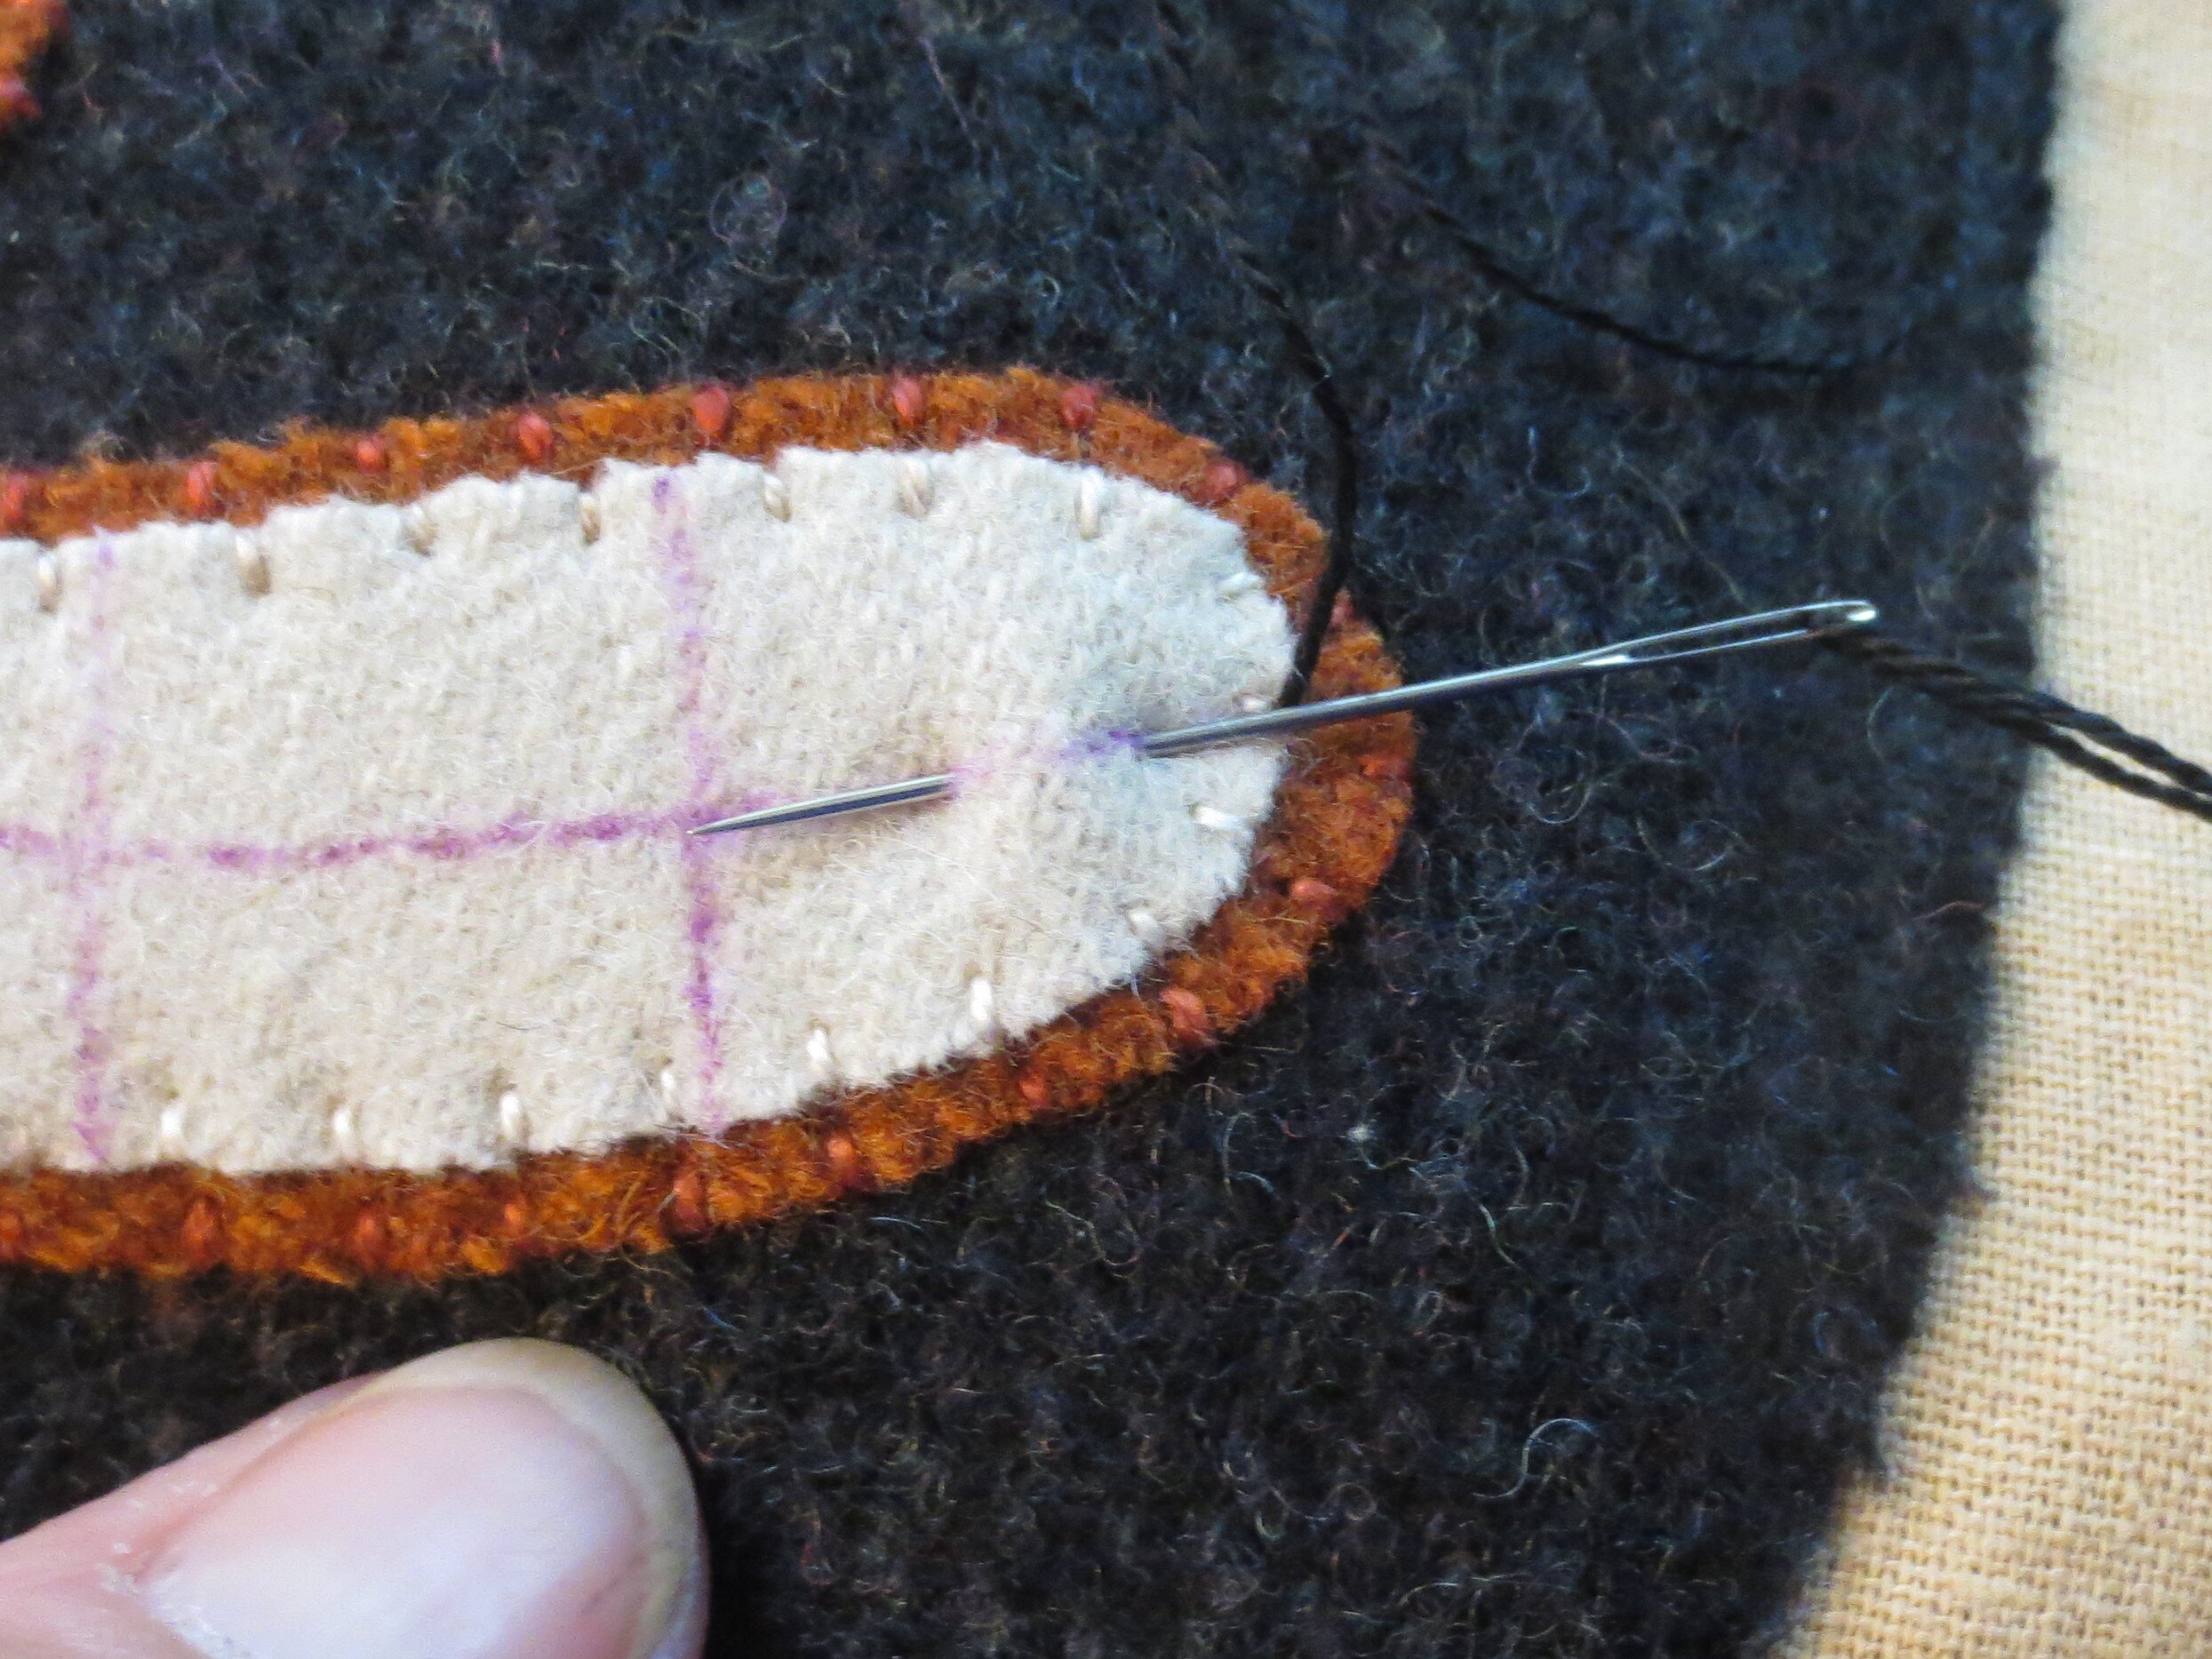
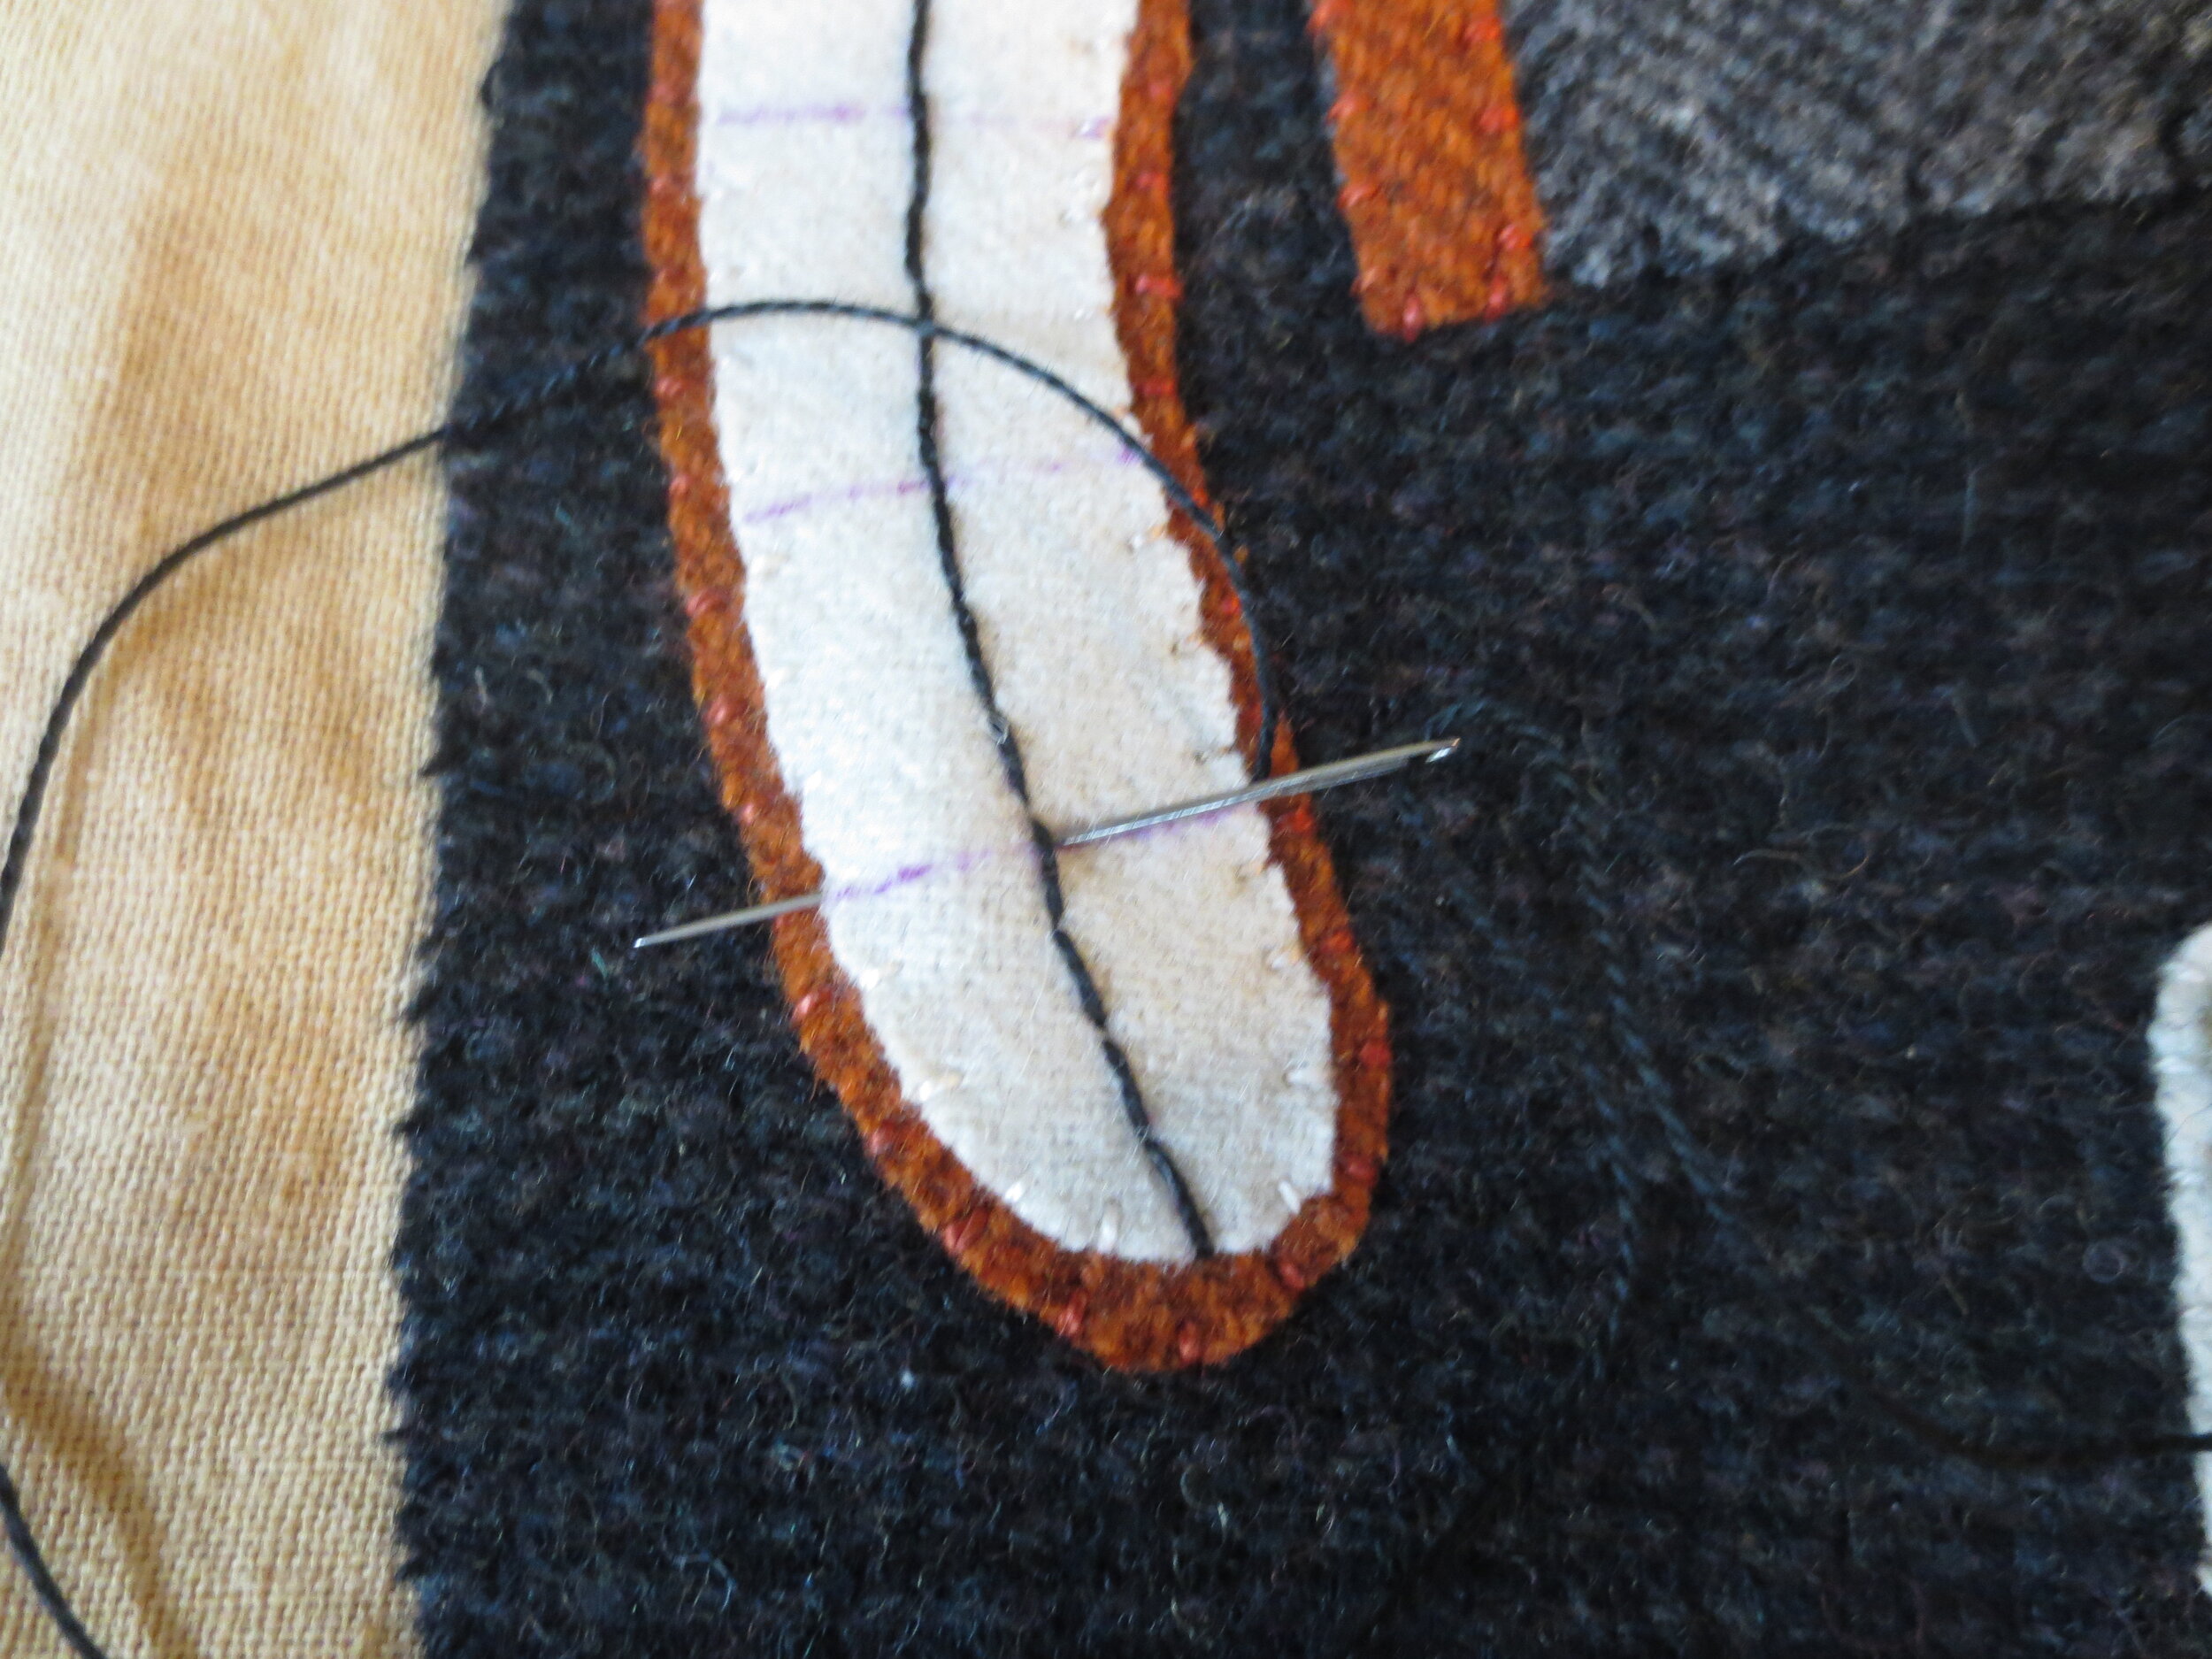
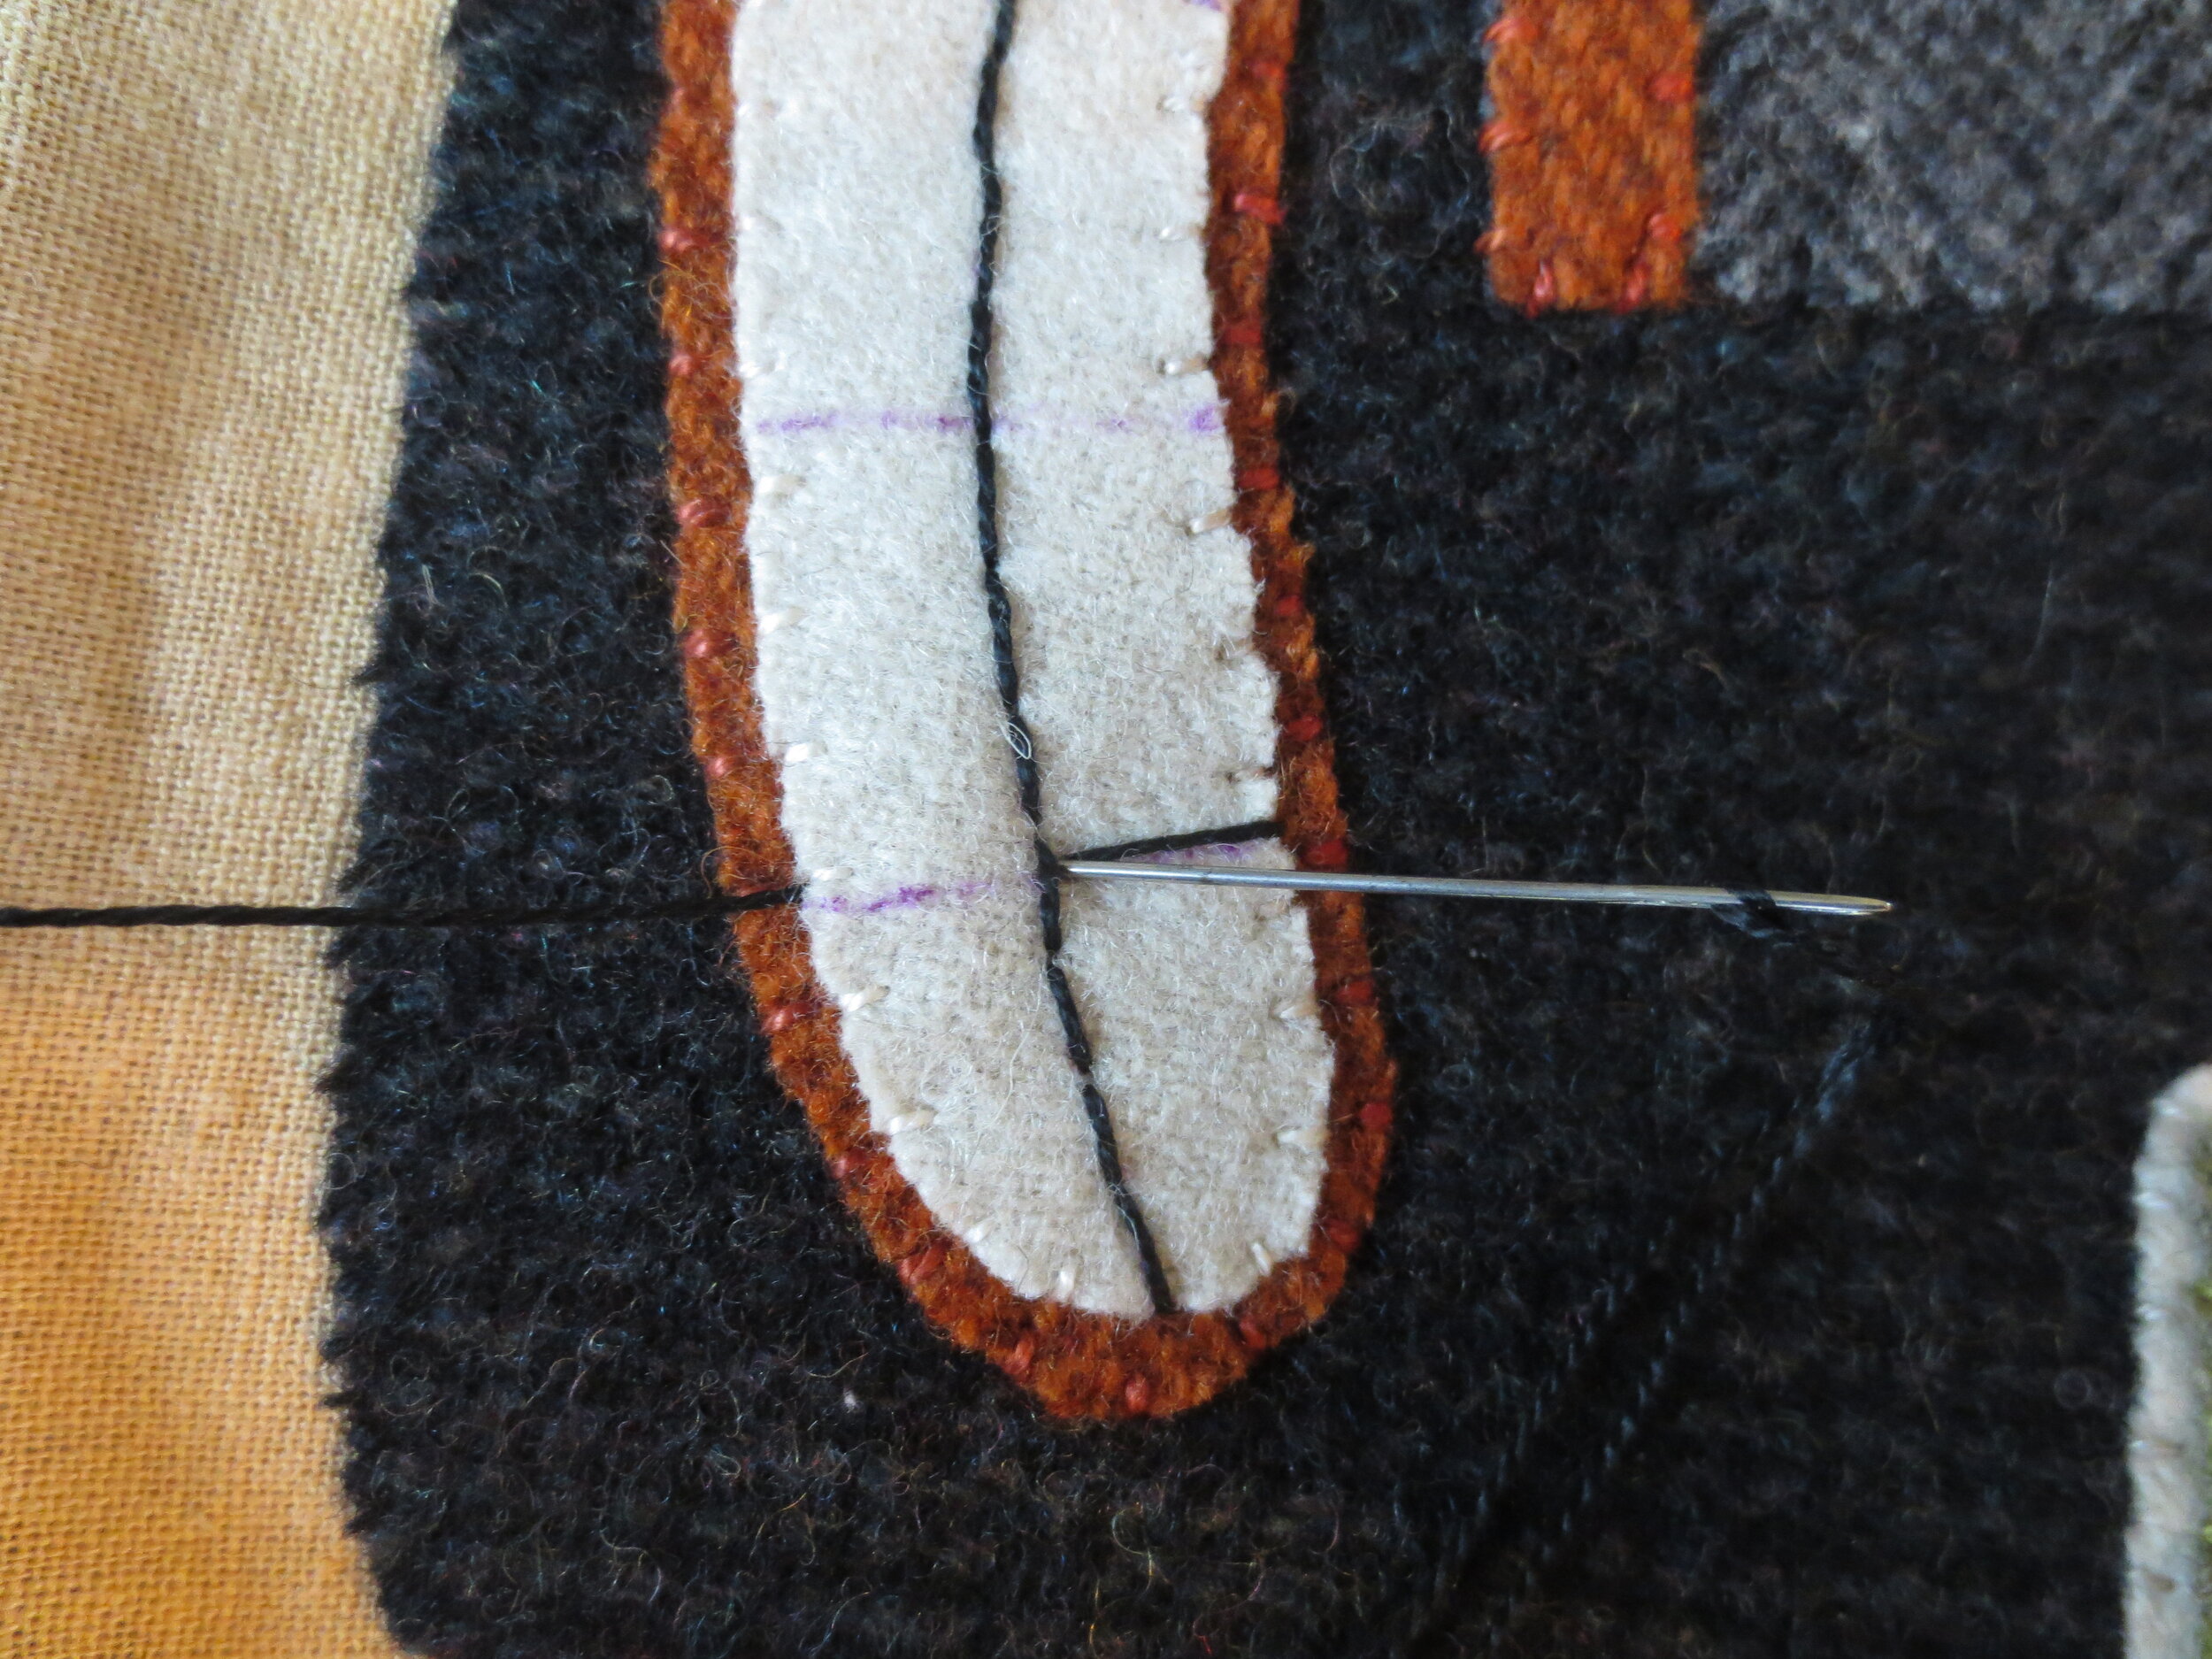
1. Use a fade away marker to draw the guidelines for the teeth.
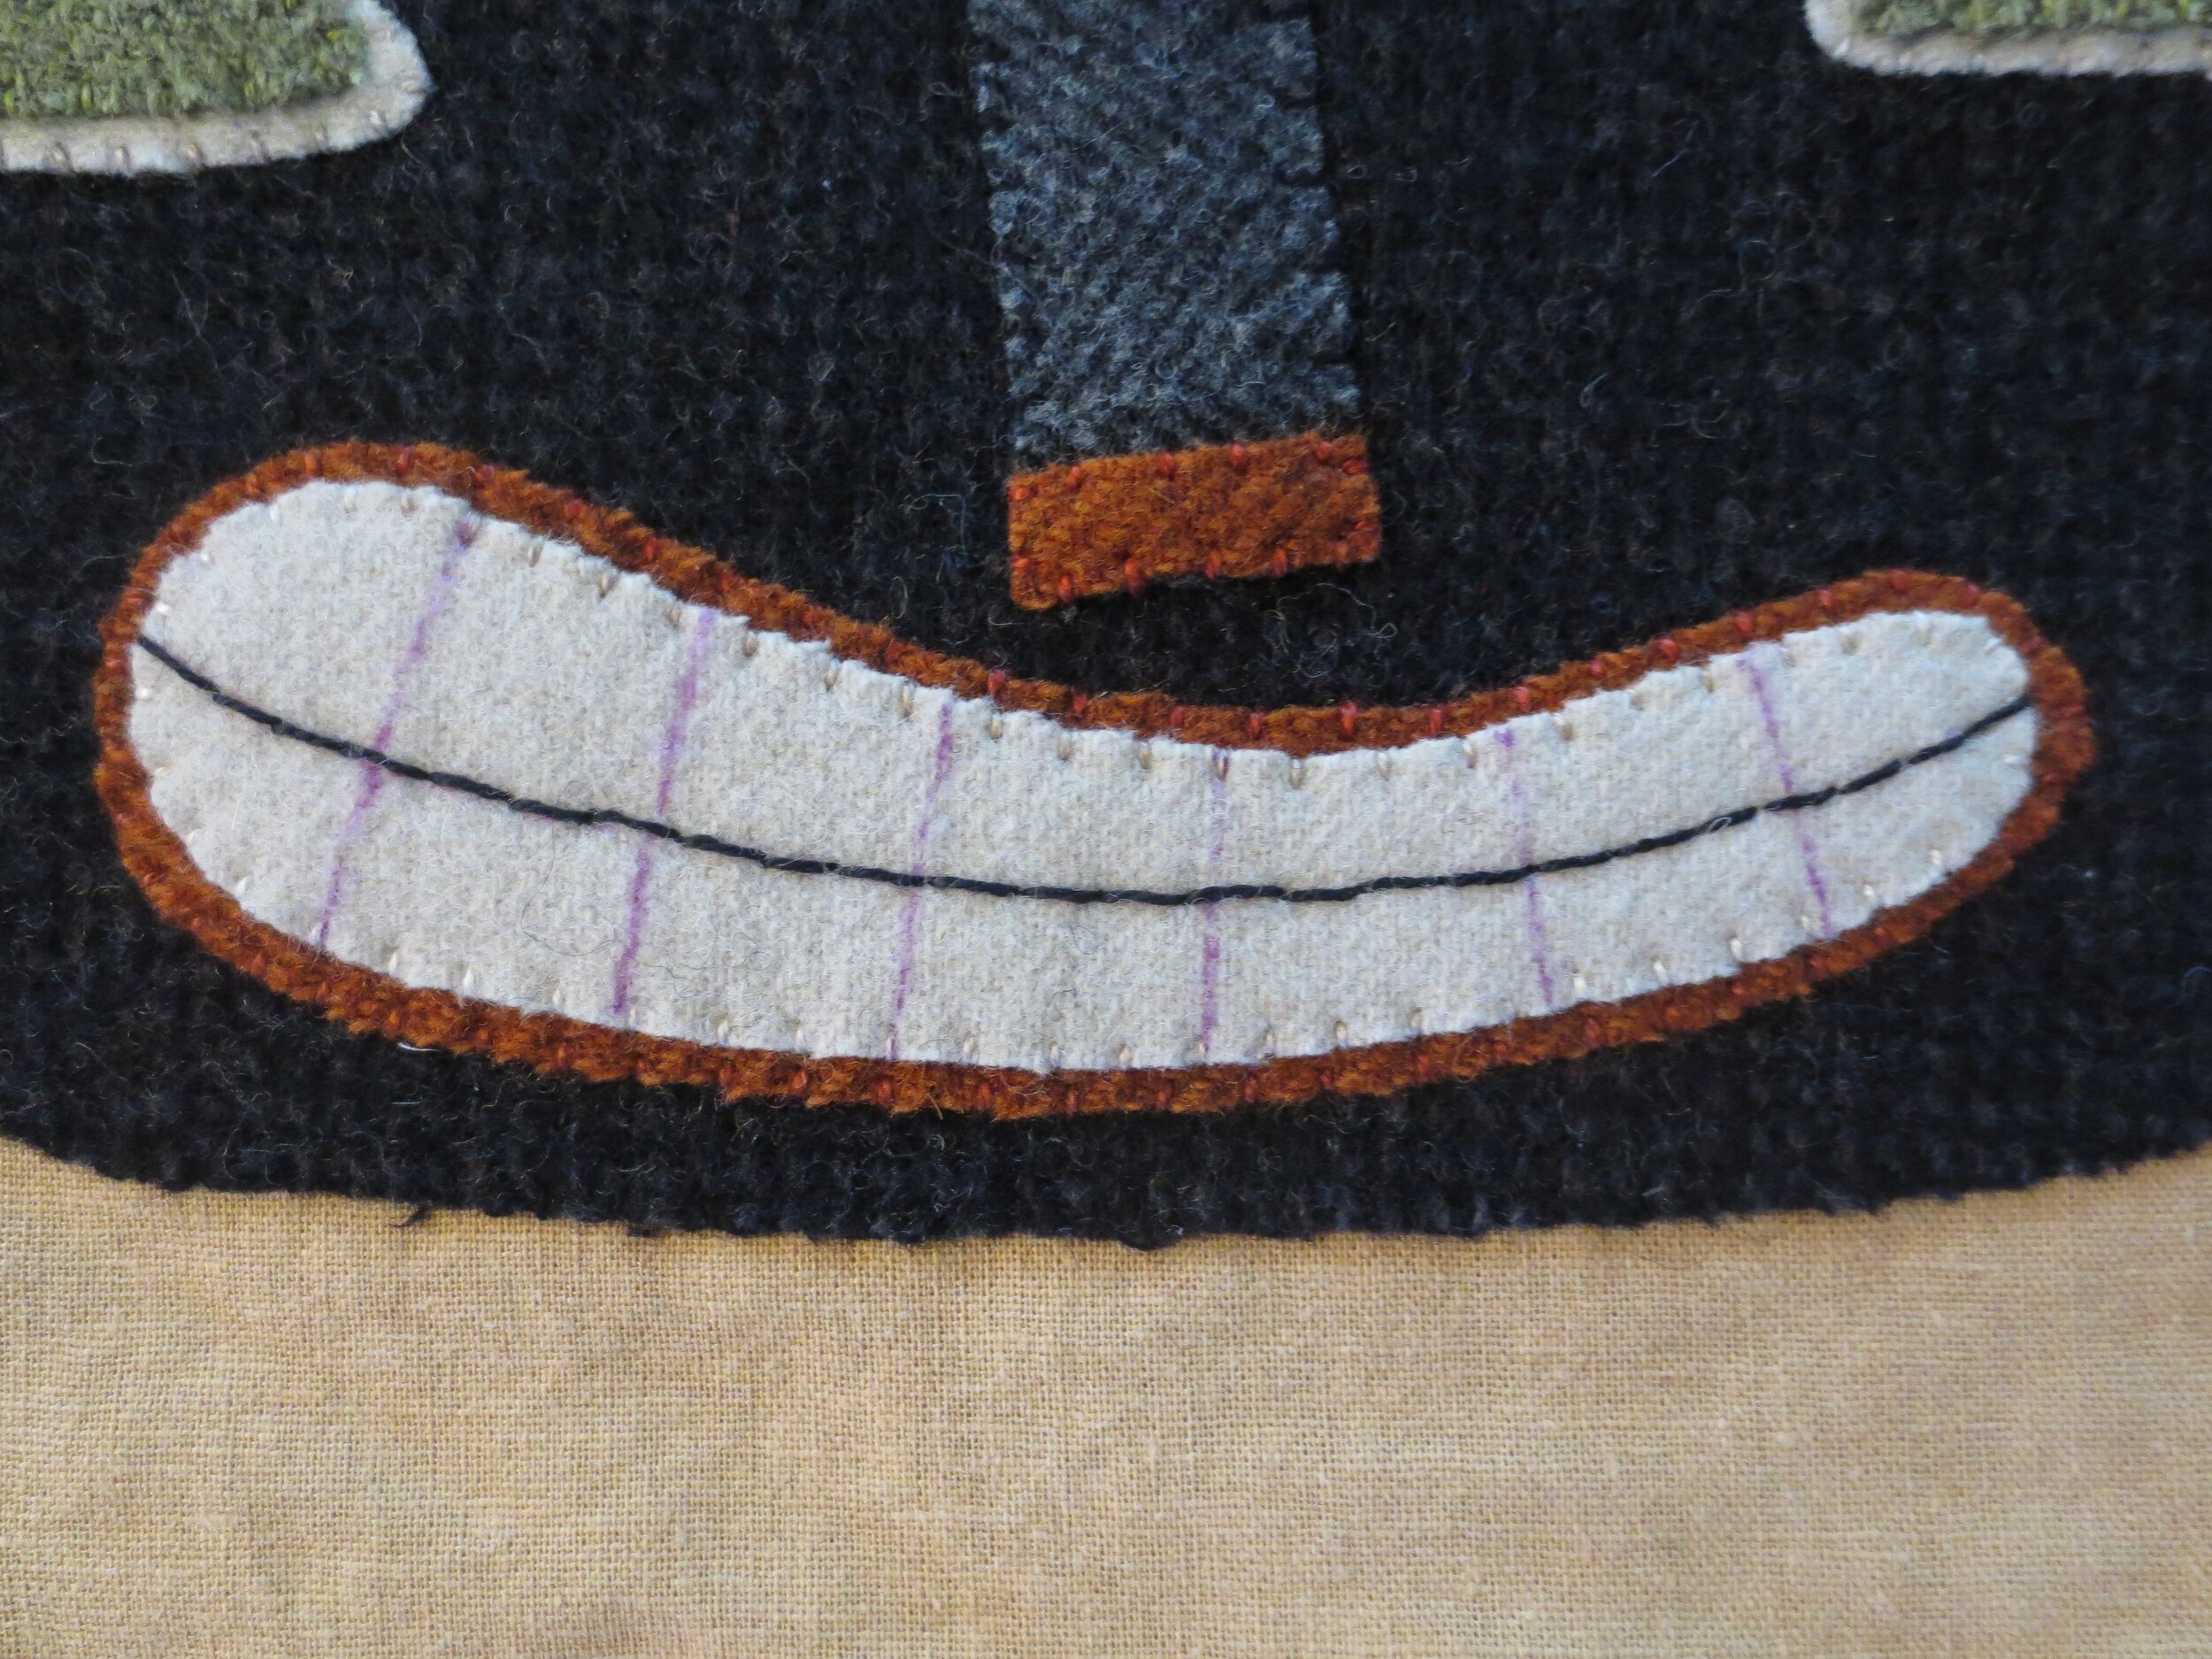
2. Use one strand of black, size 8 perle cotton to backstitch the line between the upper and lower teeth. Each of these stitches are approximately ¼” in length.
3. Use the same thread to backstitch the teeth. Begin by bringing up the needle at the top edge of the teeth, and then inserting the needle back down at the horizontal backstitched line you created in step 2. Bring your needle back up at the bottom of the teeth, and then inserting the needle back down where you started. Repeat until all the teeth are stitched.
4. Stem stitch around the outer perimeter of the teeth and each iris with black.
5. Use one strand of black perle cotton, size 8 to make a french knot, or colonial knot pupil. I wrapped my needle 3 times for a substantial looking eye.
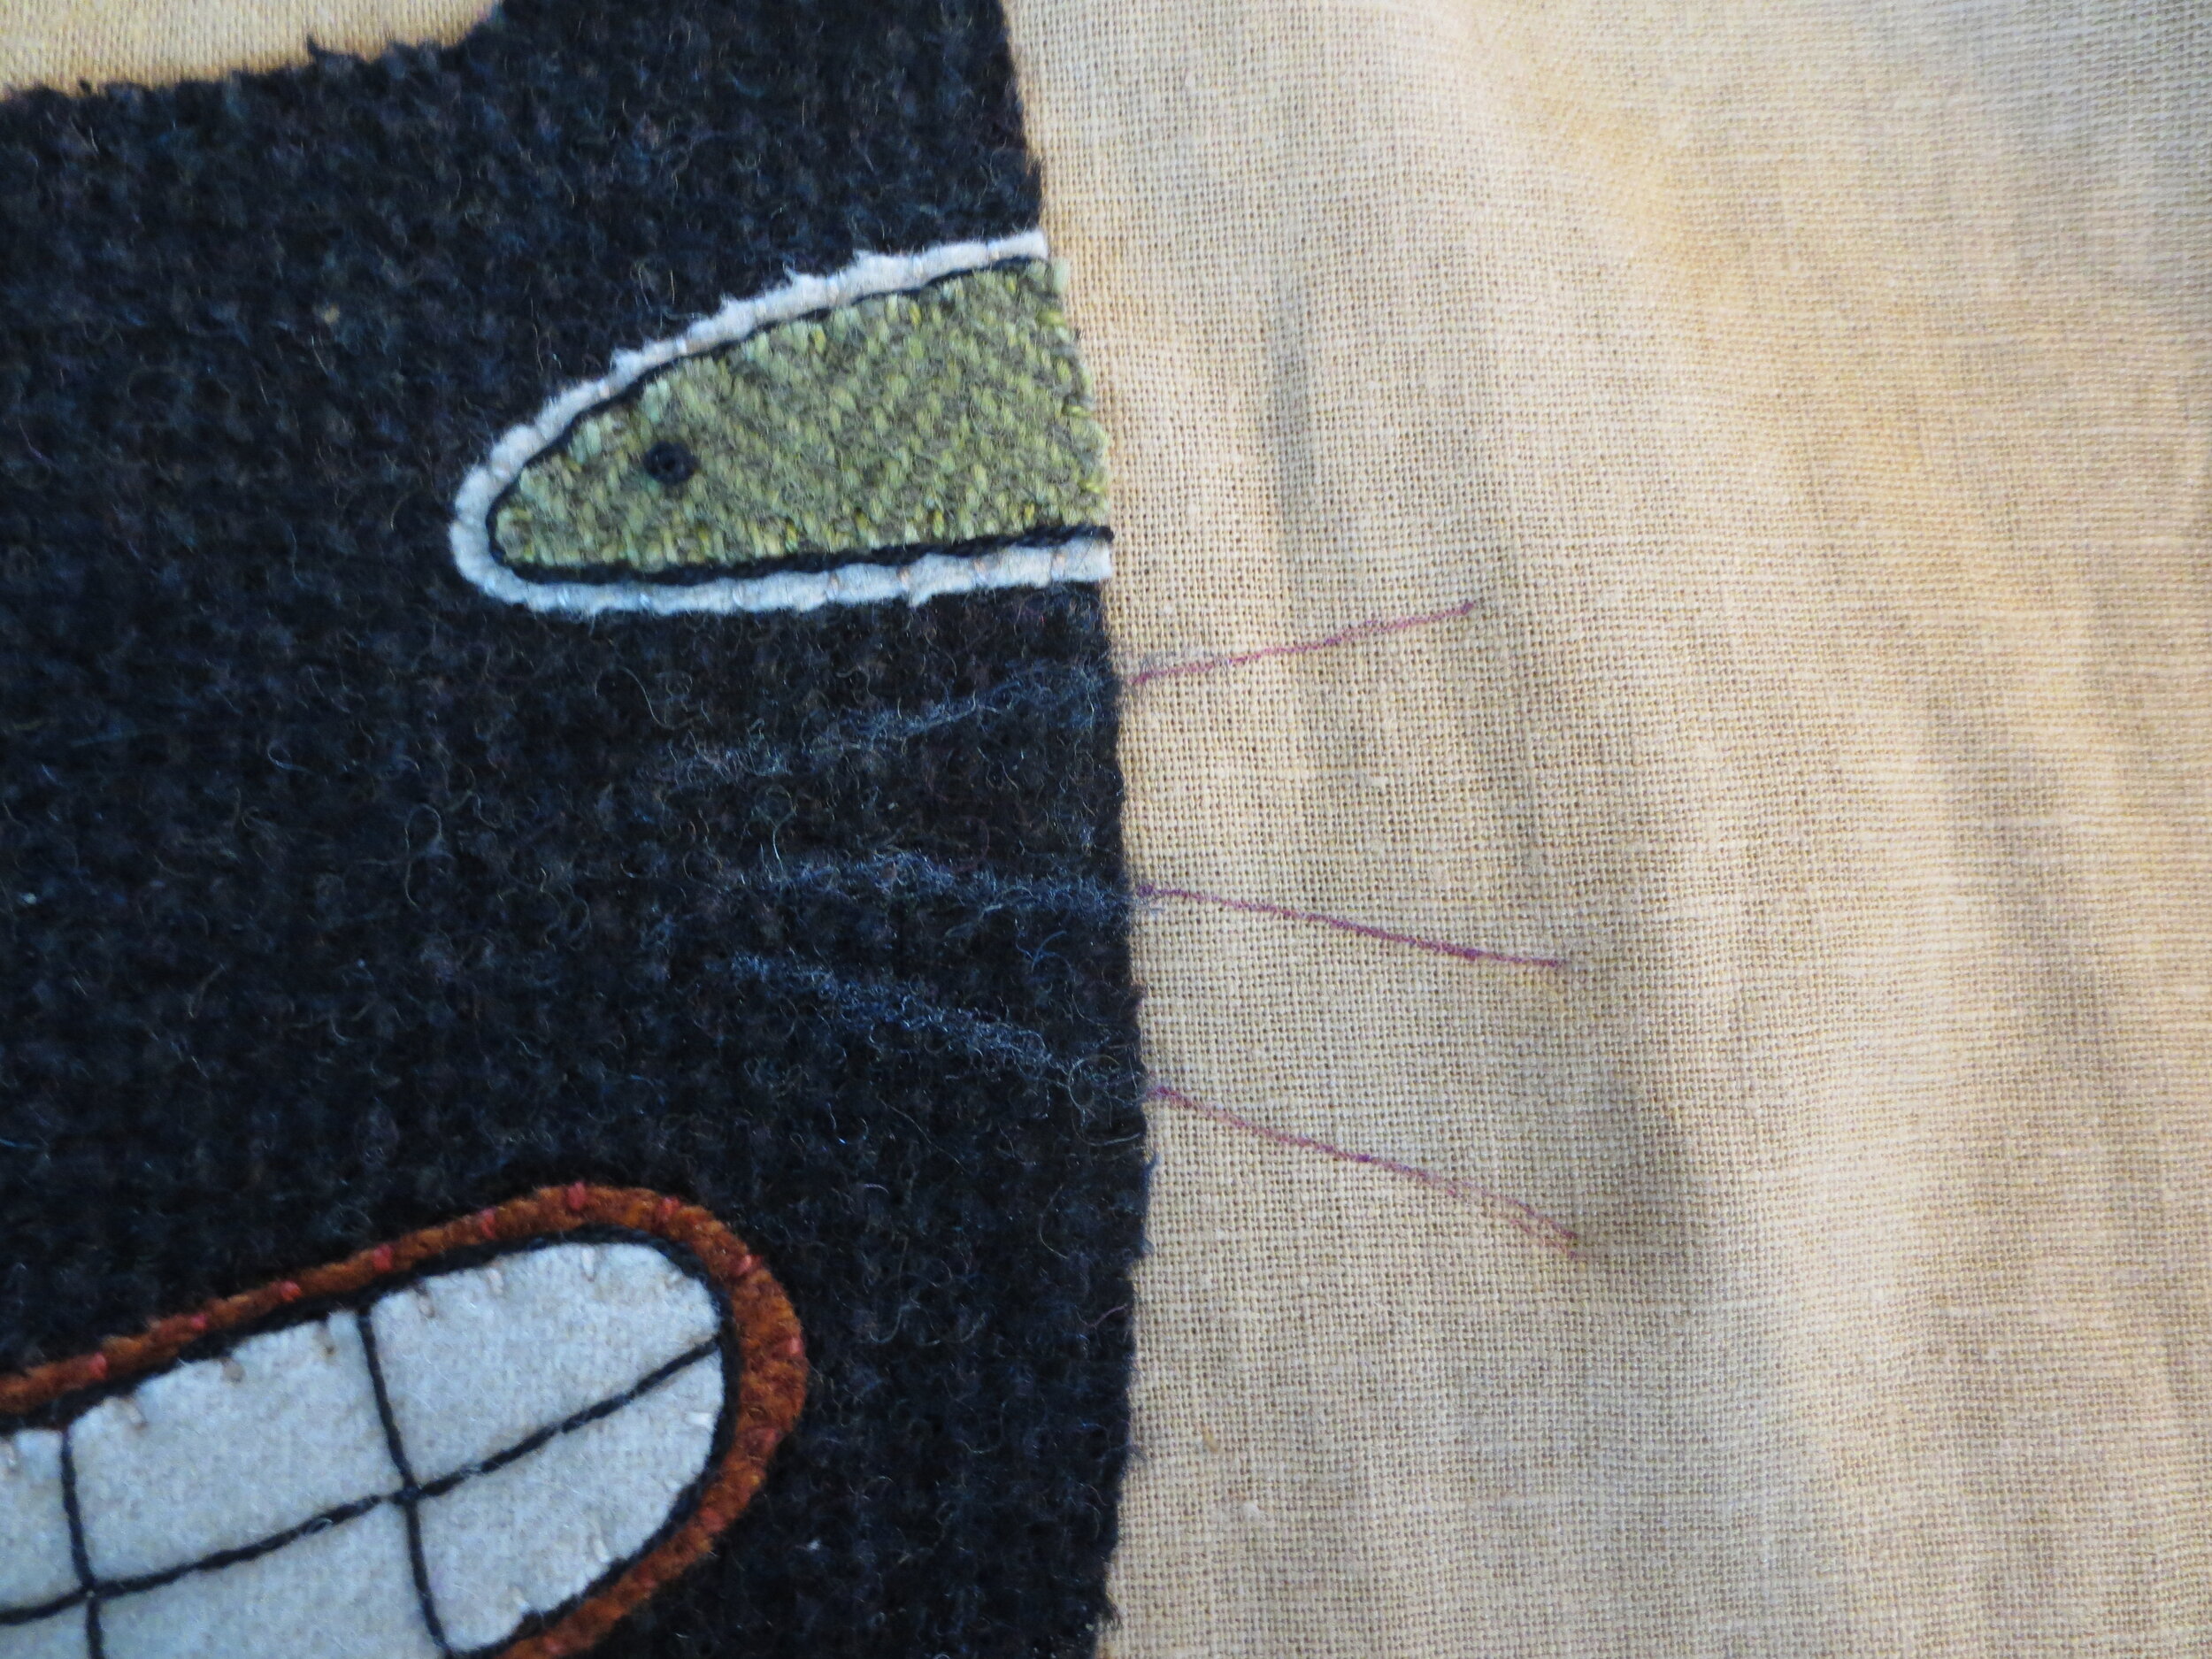
6. Use a white chalk pencil to draw the whiskers on the cat’s face. Use a fade away marker to extend the whiskers onto the background.
7. Use hemp colored thread to stem stitch over the drawn lines.
MAKING THE TEXTURED BACKGROUND – All stitches were made with one strand of Sulky Blendables thread 712- 4090. You may choose to use a different color to compliment or match the colors of your cat or fabric.
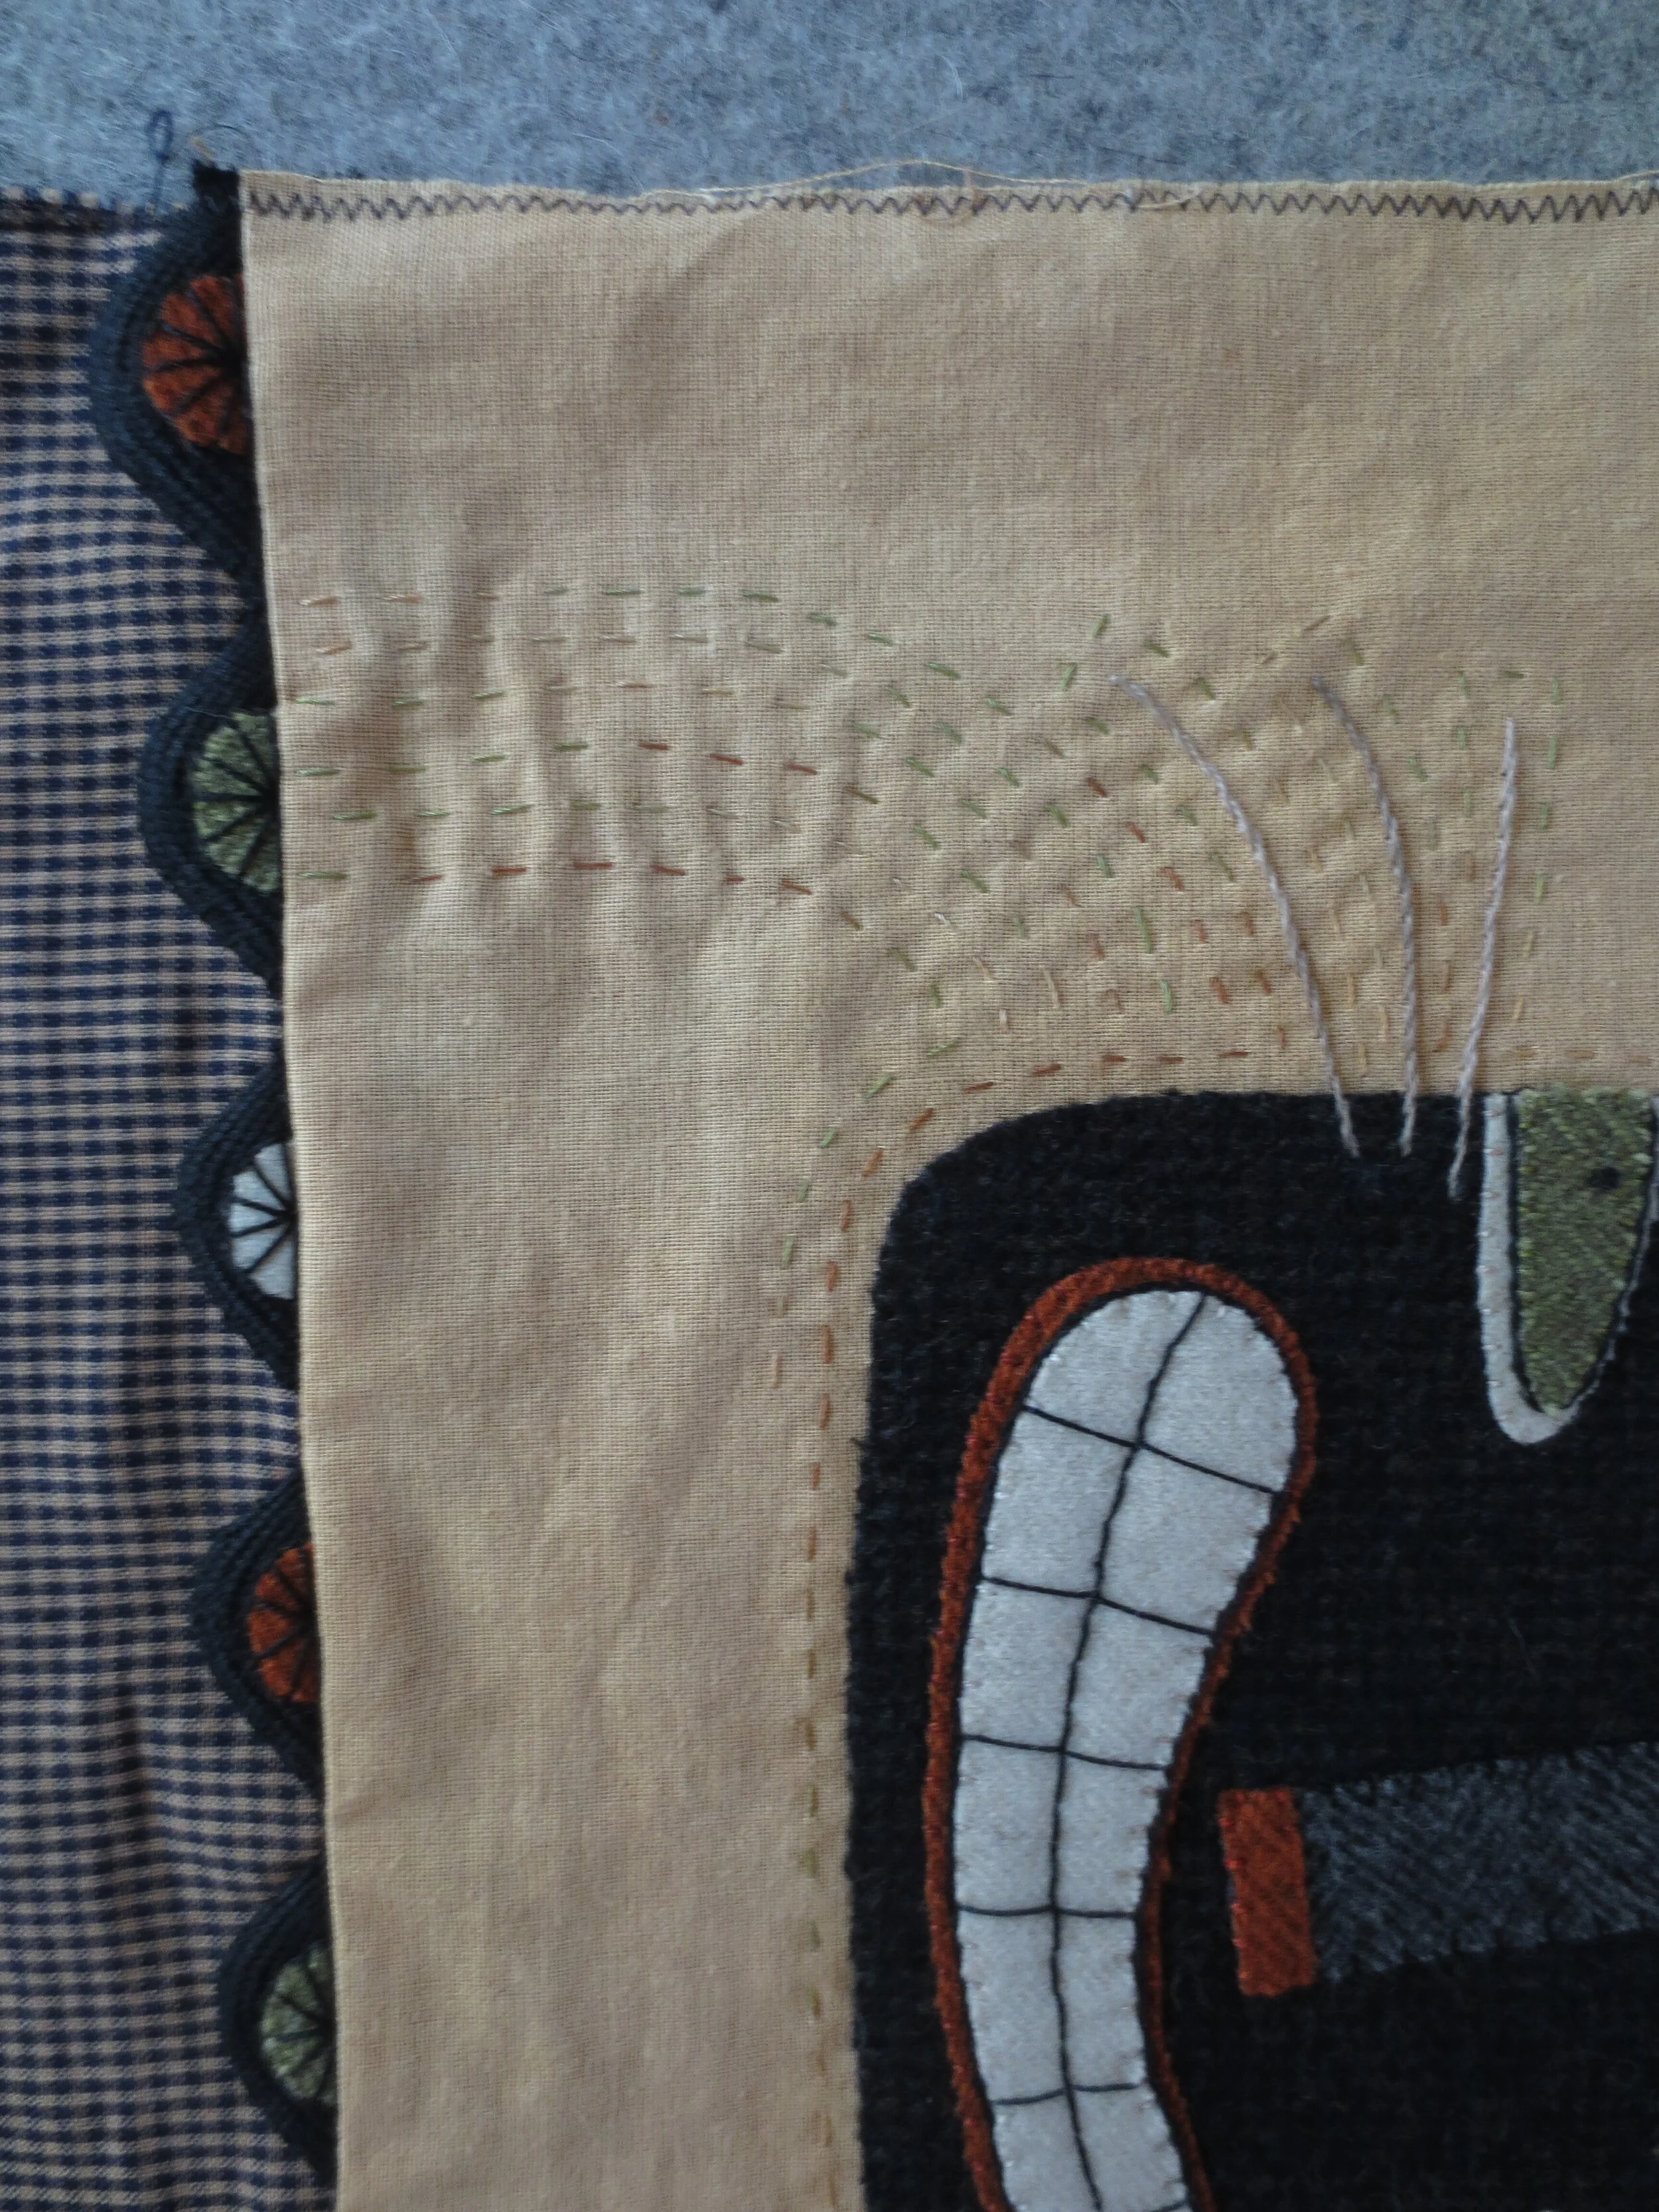
1. Make a running stitch outline approximately ¼” from the outer border of the cat. Stitch around the whiskers as you make your way around the face. The stitches need not be perfect, so don’t stress about it. Because the thread is variegated the stitches flow from very visible to almost invisible.
2. Make lines of running stitches in various directions extending from the cat’s face, or paralleling the outline stitch. Spirals would work too. Continue until the entire background is filled. I began by following the direction of the whiskers on the left side of his face. The distance between the lines can vary. There are not rules. Be creative. I found this kind of stitching to be very therapeutic.
MAKING THE PILLOW BACK – All seams are ¼” unless otherwise noted.
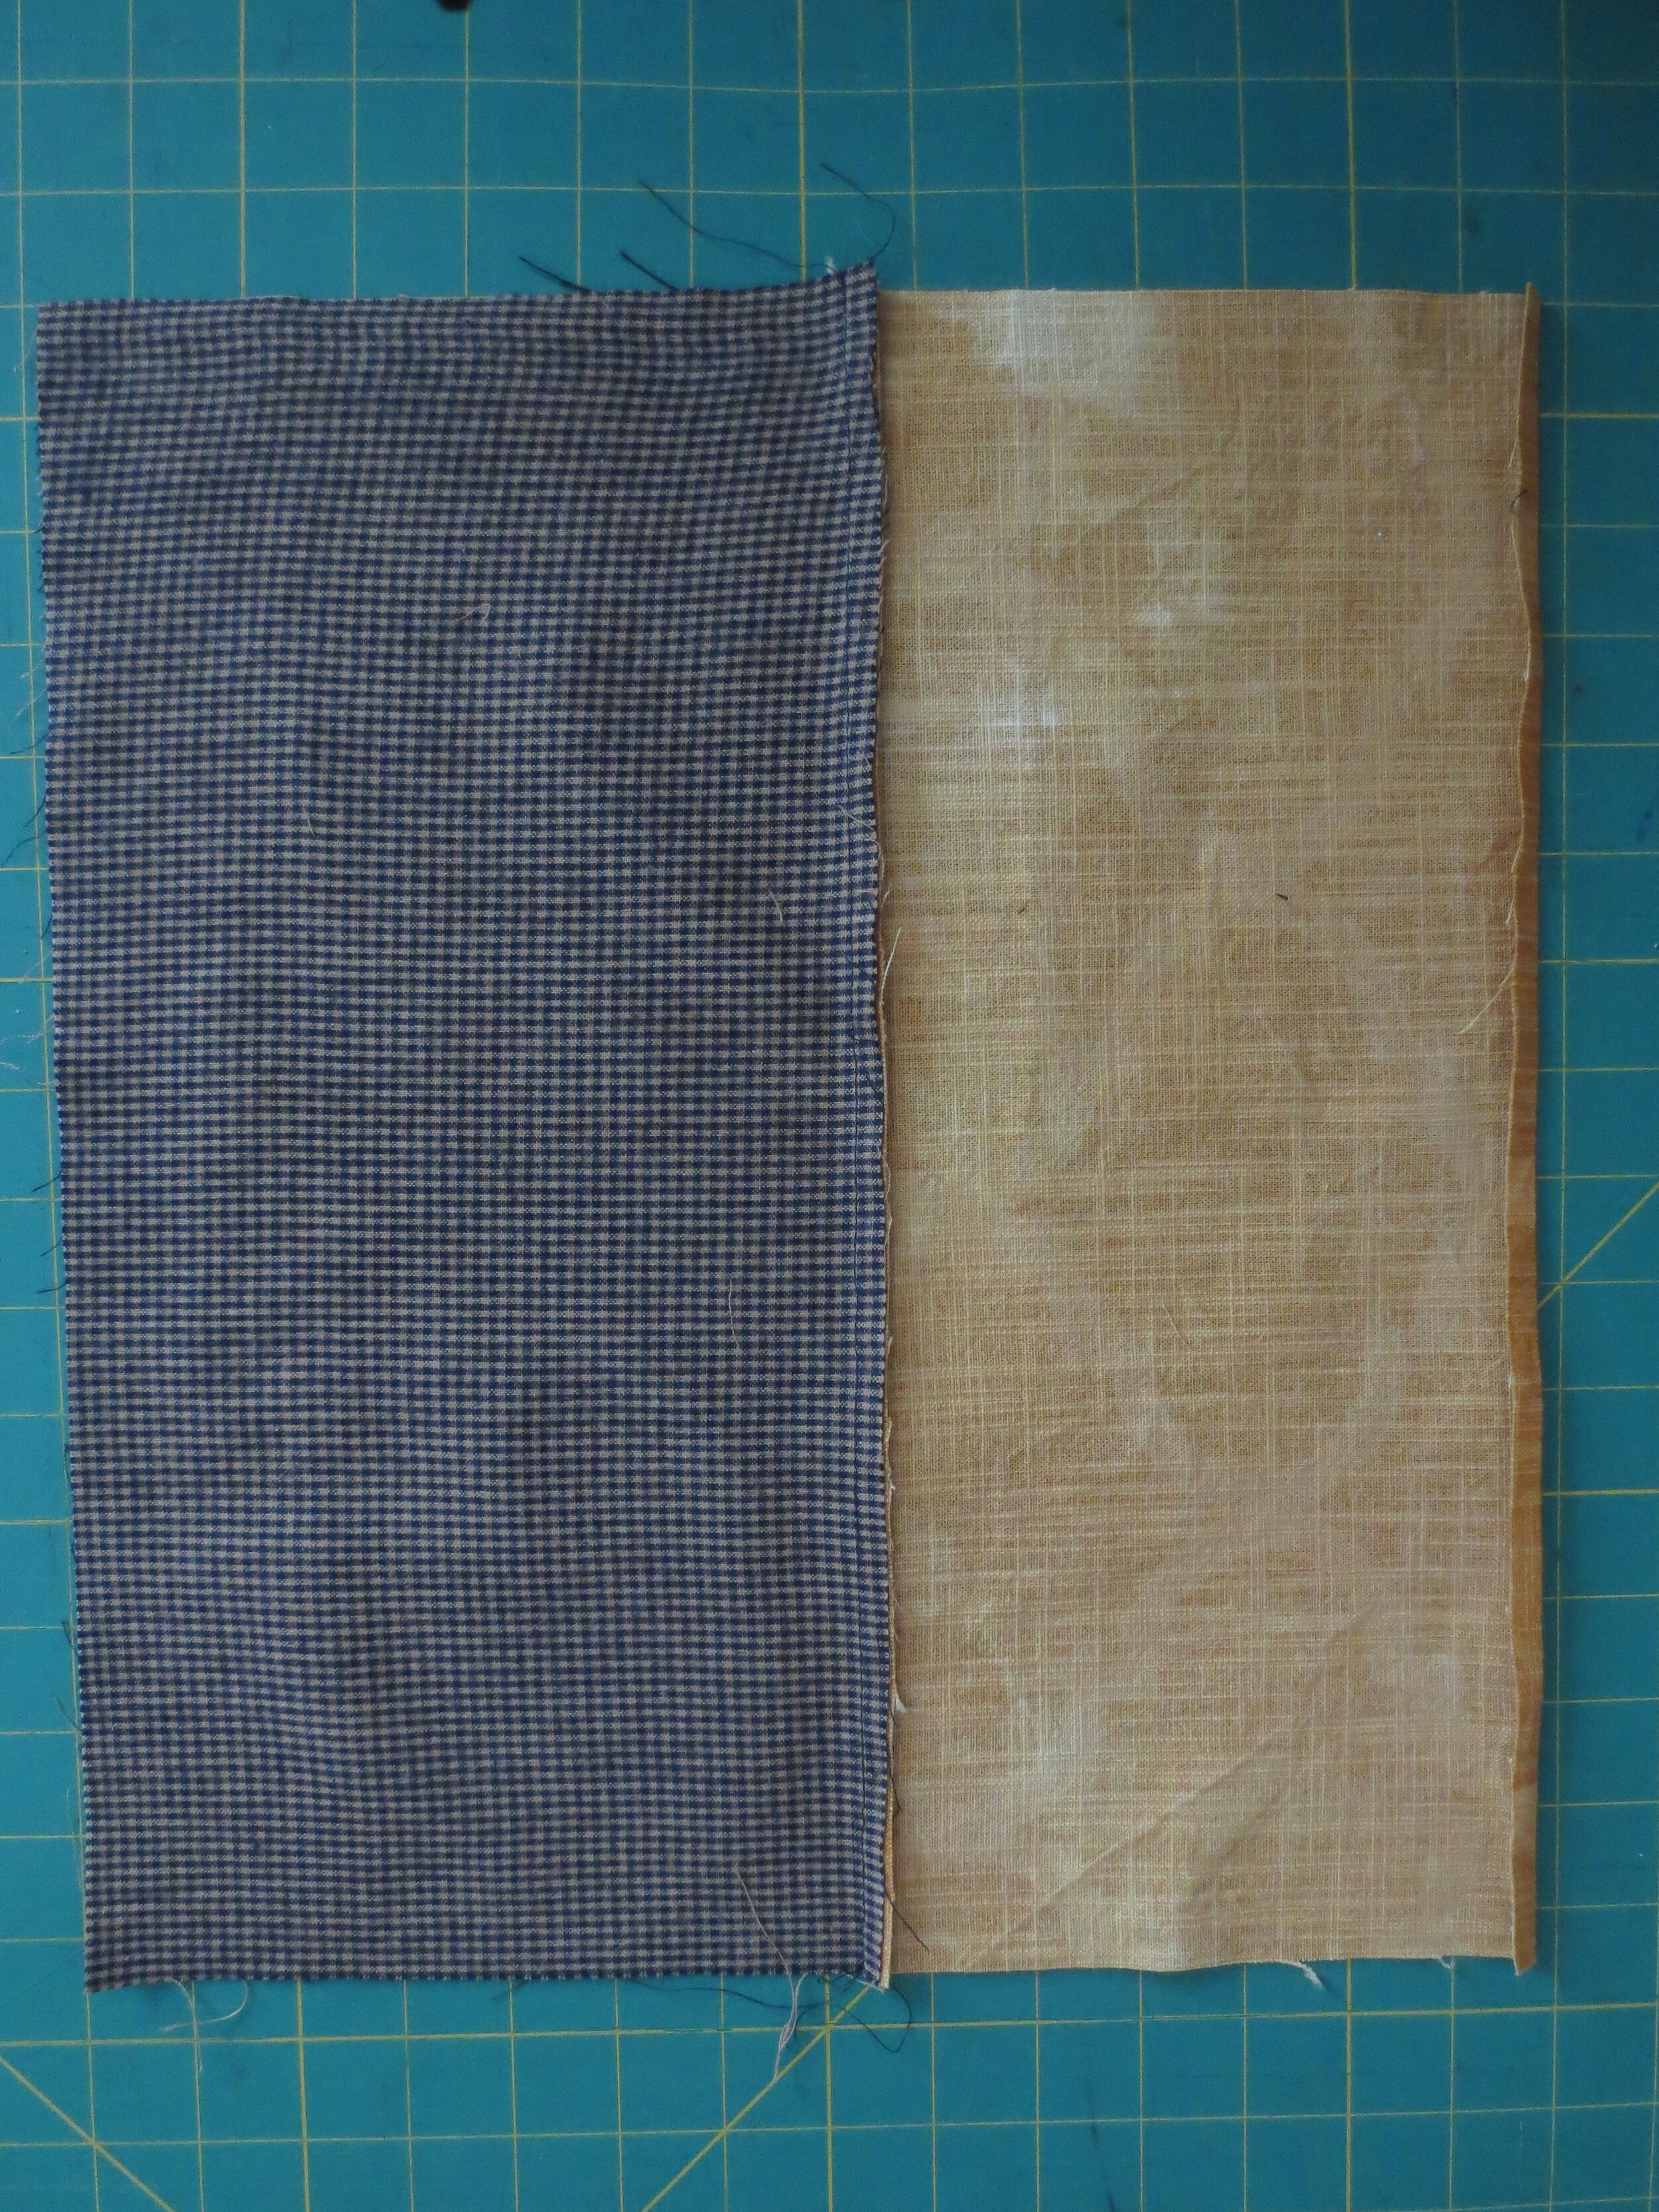
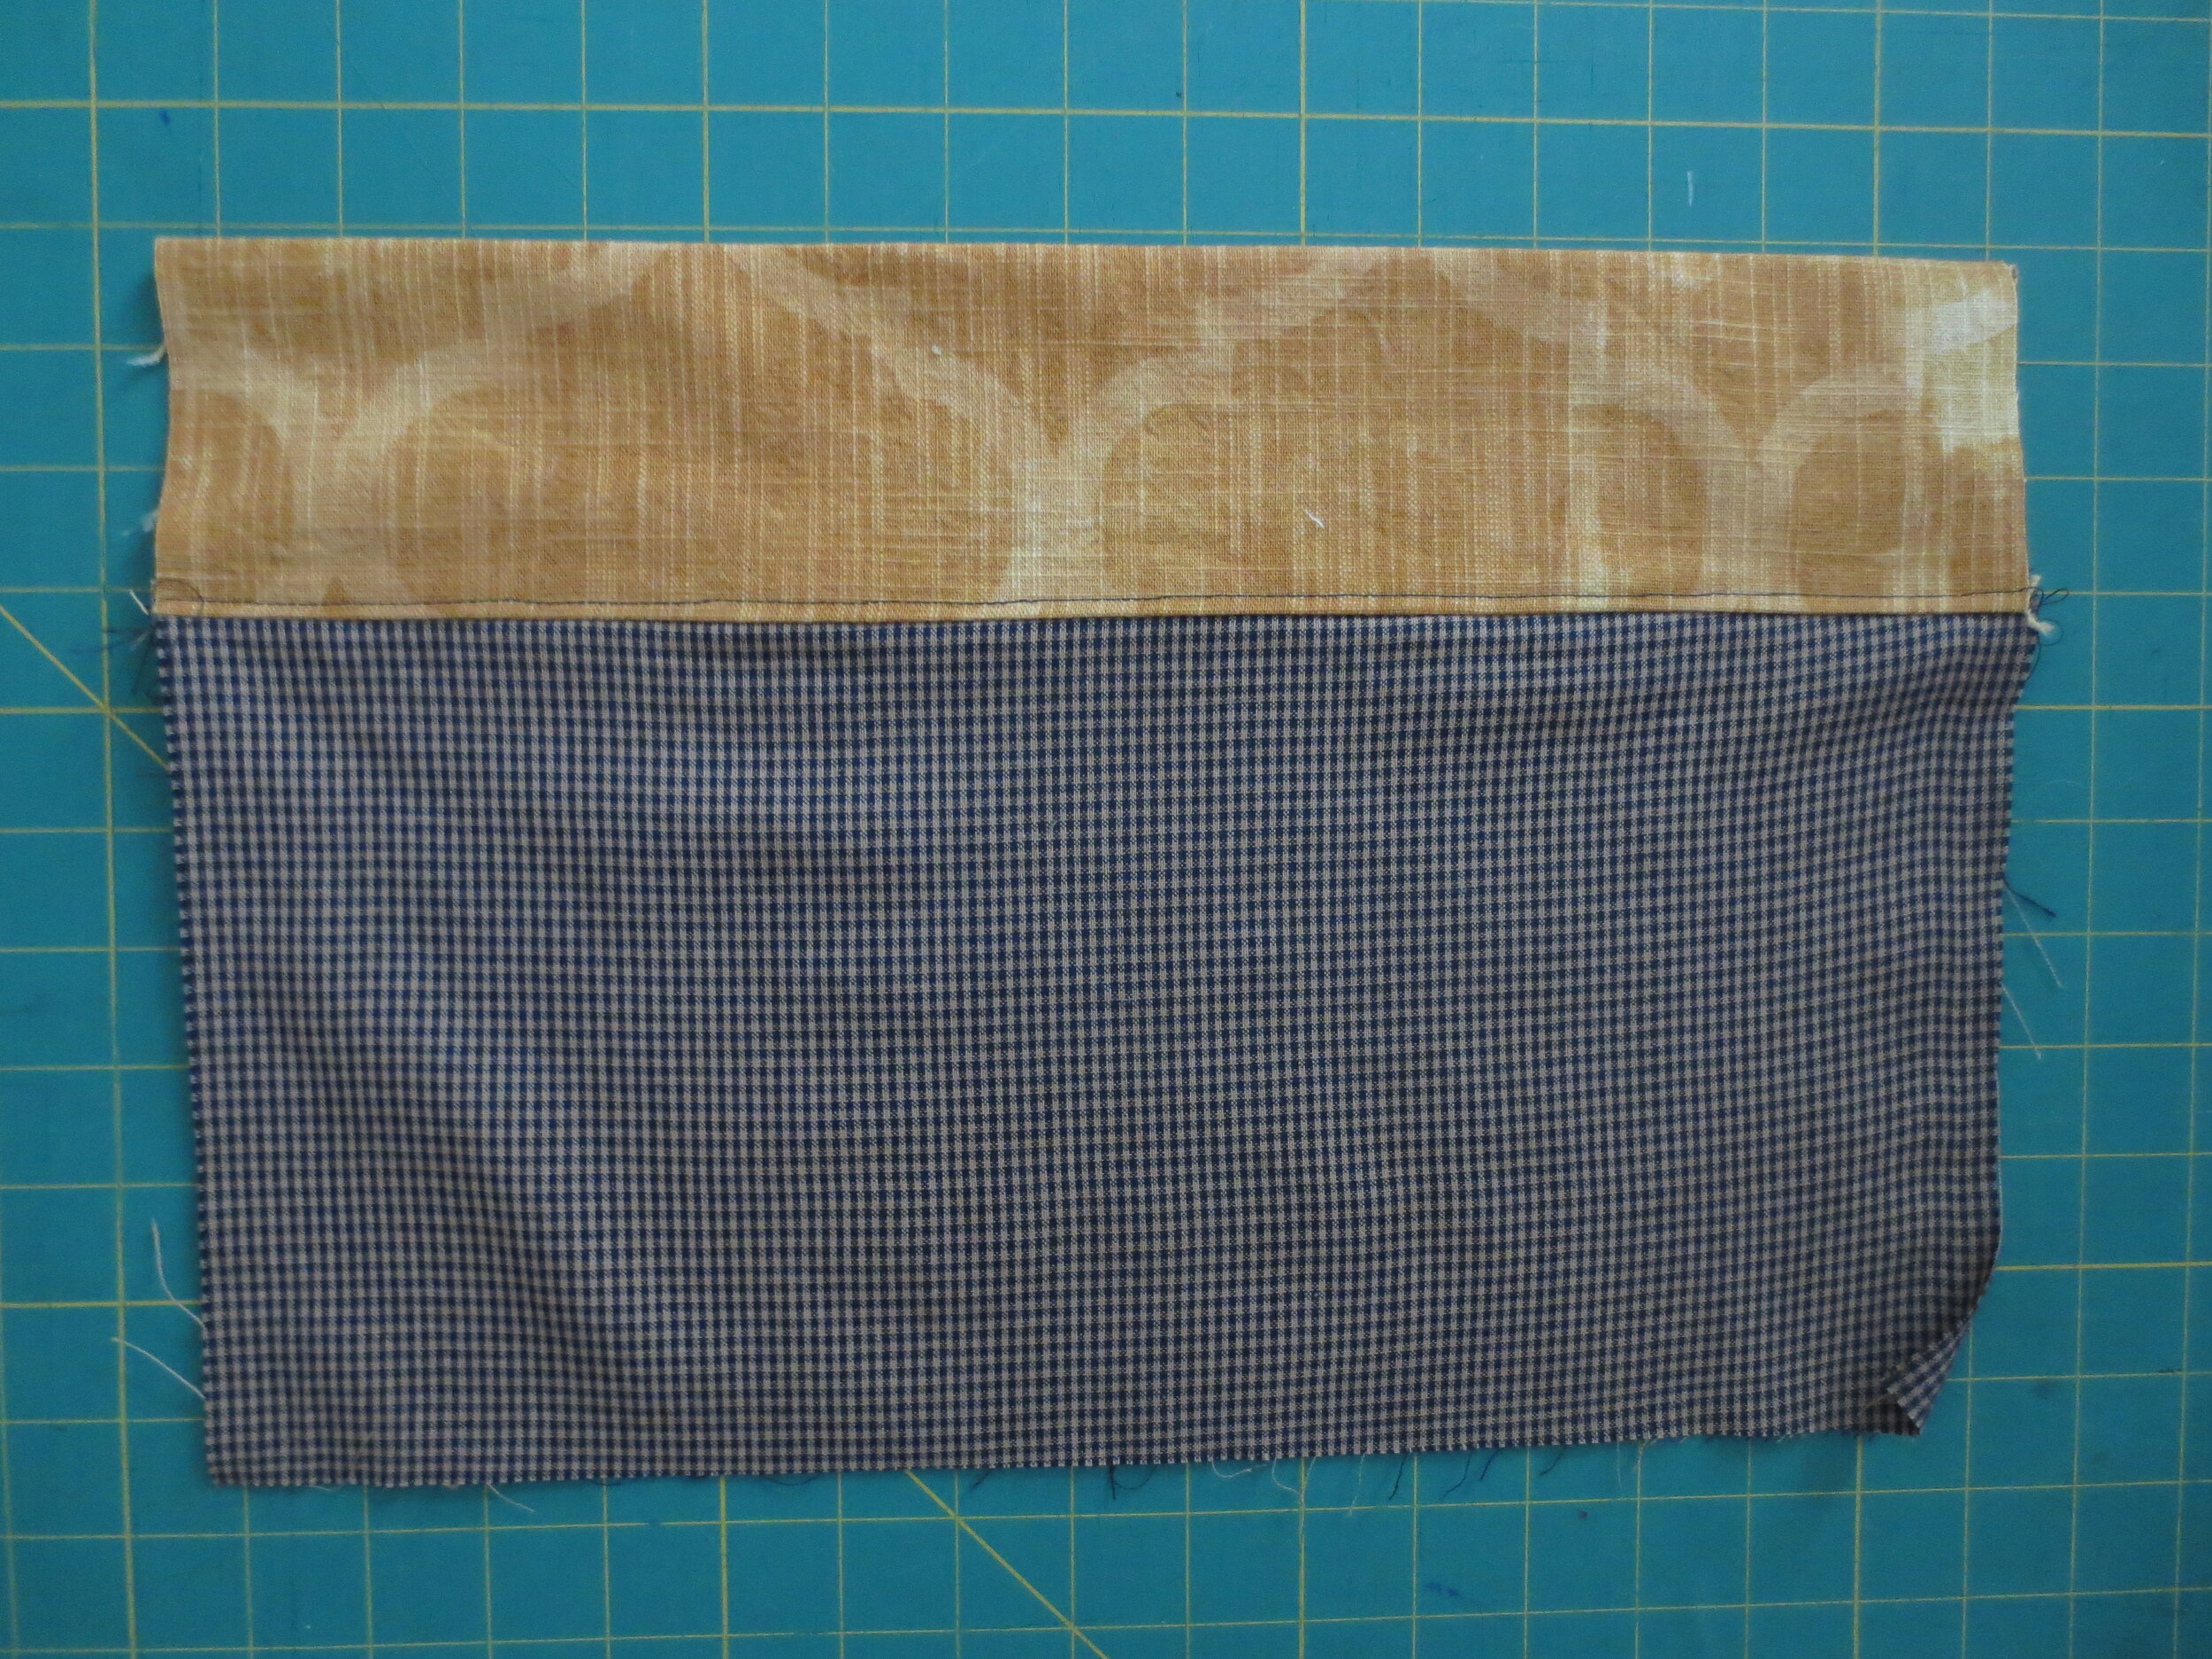
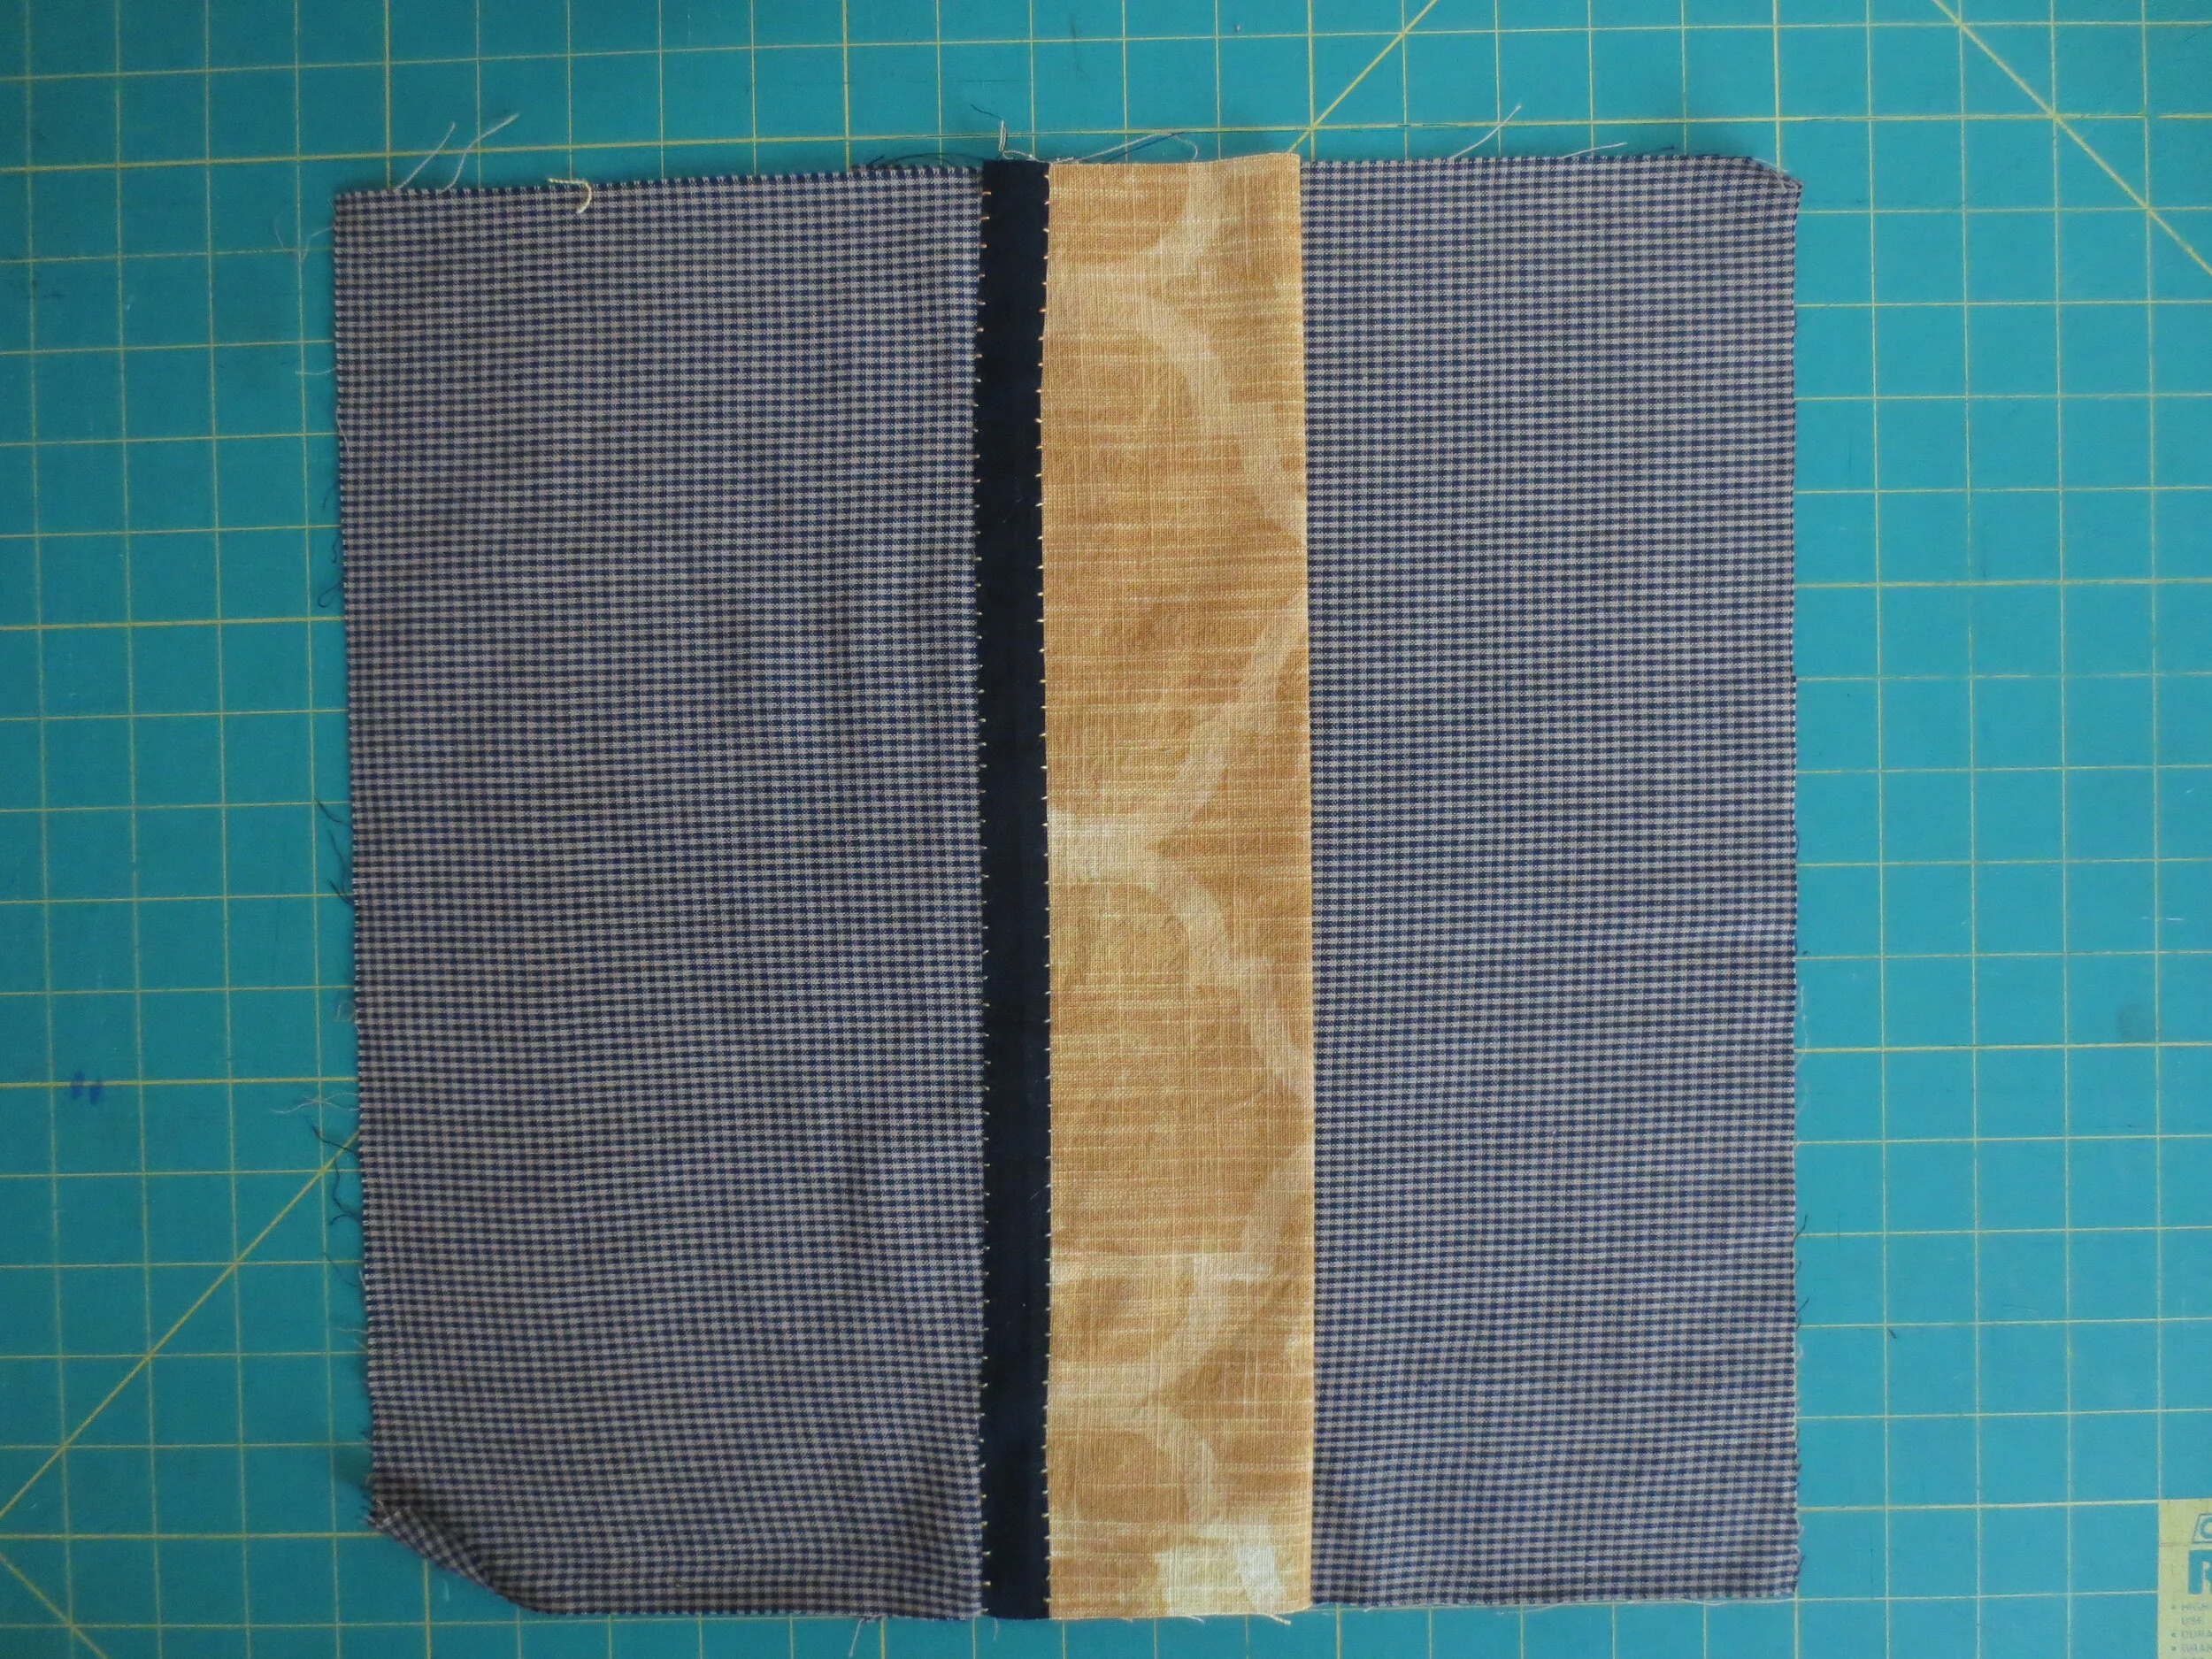
1. With right sides together, pin the contrast fabric to the 7 ½” x 15 ½” piece of mini checked fabric along one long side.
2. Sew this together, and then press the seam toward the contrast fabric.
3. Fold under ¼” (towards wrong side) the opposite edge of contrast fabric, and then press.
4. Fold this again (towards wrong side) so that the edge of the ¼” folded end aligns with the seam. Press, and then pin to secure.
5. Top stich ¼” from folded end. Let’s call this finished piece side #1.
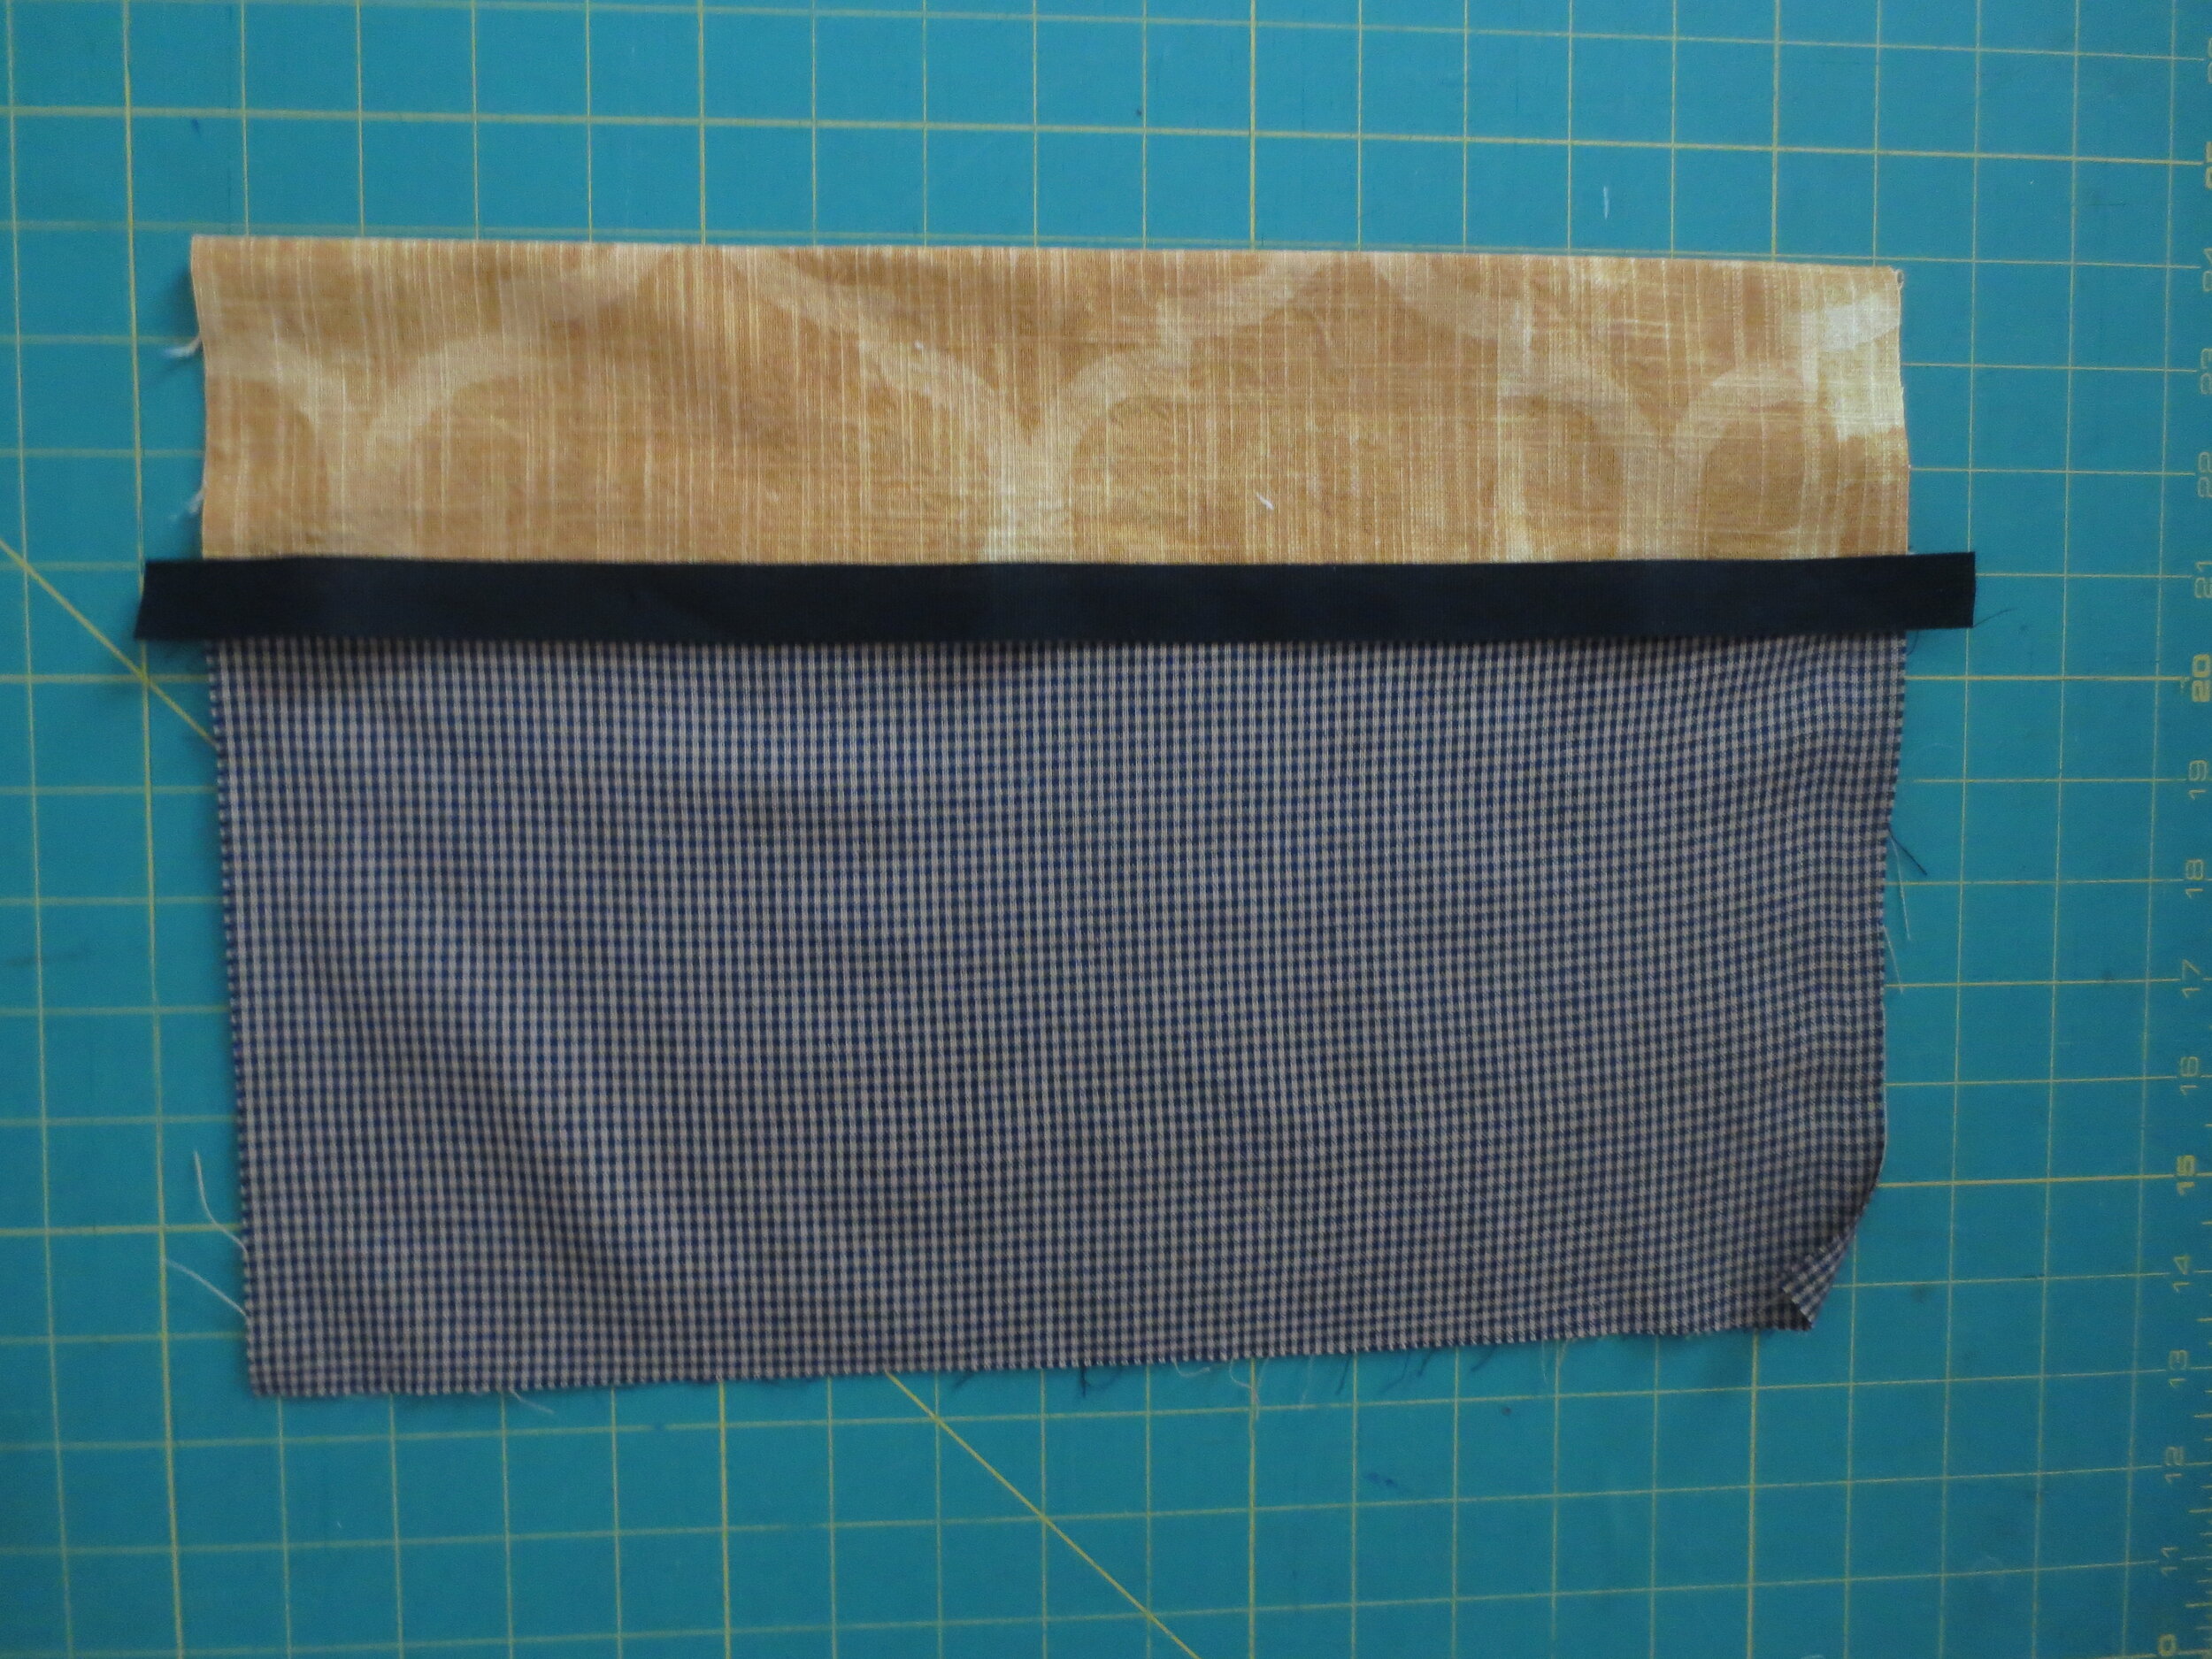
6. Cut a piece of fusible web about 3/8” x 12”.
7. Center and fuse this onto the back of the 5/8” wide ribbon.
8. Remove the paper backing, and then place over seam between the contrast fabric and the checked fabric, covering the seam. Fuse in place.
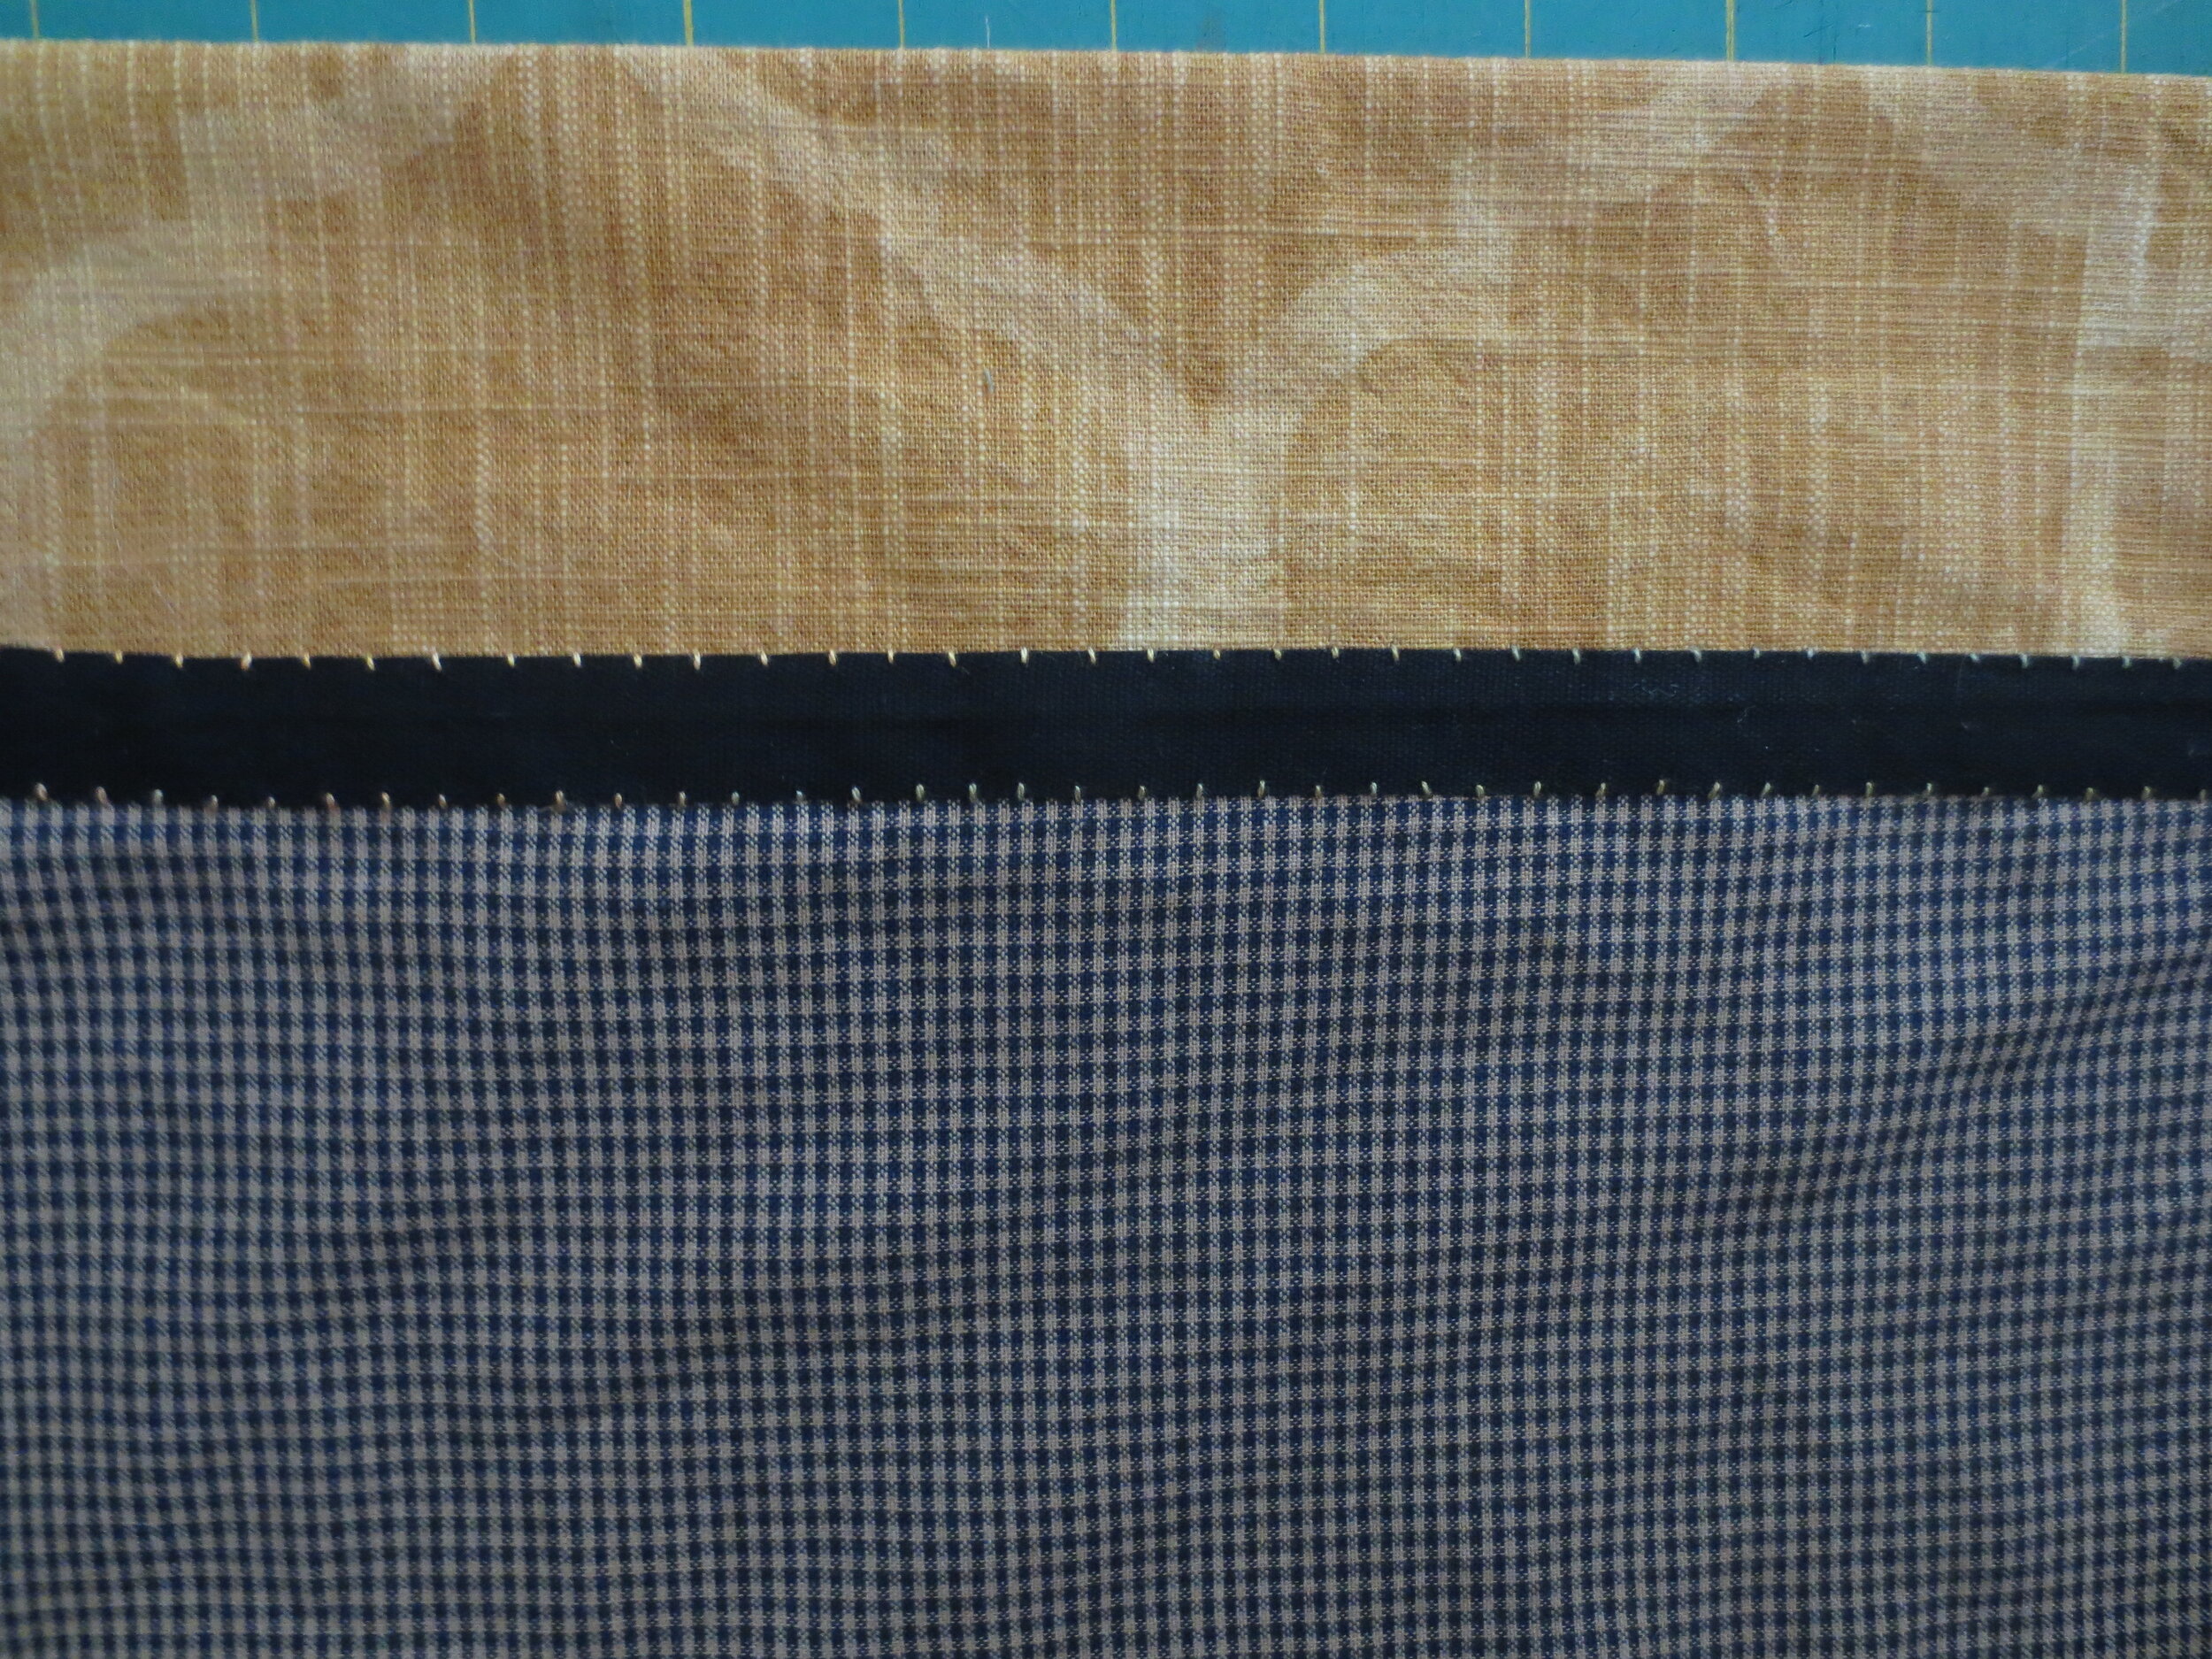
9. Use the variegated, size 12 thread to whip stitch the ribbon in place.
10. Fold under ¼” (towards wrong side) one long side of the remaining piece of checked fabric, and then press.
11. Top stitch 1/8” from folded edge. We’ll call this piece side #2.
MAKING THE PILLOW – Use ¼” seam allowance.
1. Position side #2, right side up, sewn side to the left.
2. Lay side # 1 on top of side #2, right side up, contrast fabric to the right. This should overlap side two so that the resulting square should be approximately 15 ½” x 15 ½”. I say approximately because I never get anything perfect. Pin to secure. You can sew this together along the overlapping outer borders if you wish. I’m always in a hurry, so I usually skip this step.
3. Now lay the front of the pillow, right side down, over the top of the pillow back. Your pillow front may be slightly smaller than your back because of the embroidery tends to make it smaller. Do not panic! Just line up one corner and begin pinning the pieces together lining up the top and one side. The back may be slight wider and longer. This can be trimmed after you sew the pieces together.
4. Sew all around the outer perimeter of the pillow. Trim any excess. Clip the corners if you want crisp points, but it’s not mandatory.
5. Turn the pillow inside out, and then press.
6. Insert the pillow form.
Voila! Your pillow is complete!
Here’s a mini version of the same design.
I’m including a pattern and layout for the smiling Jack-o-lantern that I posted last year. The pillow construction is the same as that of the cat. Since the eyes and mouth are outlined in black wool there is no need to make a stem stitched outline. I used a Diamond Textile yarn dyed woven called Weave in black for my background. The grid pattern was the perfect guide for stitching parallel lines, and the raised squares were great boxes for stitched pluses. Diamond Textiles also has yarn dyed wovens with pluses already stitched! You wouldn’t have to do all that background stitching with one of those.
Happy Stitching!


