BIRDS OF A FEATHER BOM
Welcome to the 2020-21 Beach Cities Quilt Guild BOM! The Birds of a Feather Quilt Block of the Month is brought to you by my friendship group The Wooly Gals. It features 9 delightfully whimsical bird designs. Each of these designs can be appliqued using felted wool, needle turn, or raw edge fusible. Embroidered embellishments, done by hand or with a sewing machine, are added to complete each design.
Each block is 8” square (finished), or 8 ½” square (unfinished). The blocks can be made into a 9-block square quilt, individual pillows, or mini quilts to hang on a small quilt stand.
My blog will only provide the tutorials for wool applique, but the same technique can easily be used for raw edge fusible too.
Each month on the first of the month I will post the Layout, pattern, and tutorial for the selected block. The last post will be the tutorial for the quilt. The pillow instructions will be included with this post.
You will have to bear with me if there are times when I don’t make the post on the first of the month. My 93-year old mother recently broke her hip, so I’m caring for her during her long recovery. I’m working from her home, so I’m without a lot of my supplies. This will be a test of how to create with what’s on hand.
Today’s post will cover general information and a supply list for block 1, and the tutorial for block #1.
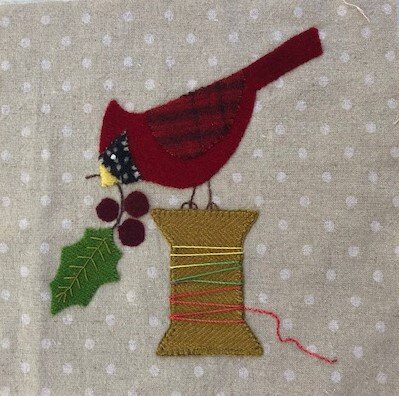
You may have noticed that the first block is of a cardinal. It is the first post because we are beginning the BOM in November. Each of the blocks will represent a seasonal theme for the month(s) to come. The cardinal will represent December and January. Although it’s labelled “Block #1” I will put in the last row of my 9-patch quilt. If you are making your block into a pillow or mini quilt it will be perfect for the season it is posted in.
HELPFUL EMBROIDERY LINKS
Needle ‘n’ Thread - This is an excellent source of embroidery technique. It’s free, but donating as little as $12/year on her patreon page gets you free patterns and special offers.
Sarah’s Hand Embroidery Tutorials
BASIC SUPPLIES
Background Fabric
1 yard of neutral colored quilter’s cotton, woven cotton such as those from Diamond Textiles and Moda, or linen cotton blends such as Robert Kaufman Essex. Note: You can also piece together your neutral stash fabrics to make your background squares.
Note: Neutral can be any color that doesn’t fight with your design. It needn’t be beige, or white. My friend Peggy says orange is a neutral color because it compliments most other colors.
Felted Wool – Block 1
Notes: The colors noted are only suggestions. Use colors that make you happy.
I chose the holly leaf for this block, but you may want to use the snowflake or stocking instead.
Cardinal Body – 3” x 6 ½” dark red
Wing – 2” x 3” red and black plaid
Eye patch – 1 ½” square black
Spool – 3” x 3 ½” gray and beige check
Spool center – 2” square gray
Berries - 1” squares of three different reds or oranges
Holly leaf – 2’ x 3” green
Snowflake – 3” square blue or white
Stocking – 2 ½” square red
Stocking top – 1” x 1 ½” white
Thread
Embroidery floss, or perle cotton, size 12 in colors that match your wool colors
Embroidery floss, or perle cotton, size 8 for in colors you wish for your stems or vines
Miscellaneous Supplies
Fusible web – feather weight like Heat’n’Bond feather weight, or Vilene Bondaweb for those of you outside of the United States.
Pellon SF 101 Shape Flex (optional) – This is a woven cotton fusible that adds body and stability to fabric that is going to be embroidered.
Chenille needles, sizes 22 and 24 (Size 24 should be sufficient for embroidery floss, size 22 is used for size 8 perle cotton)
Steam iron – This is a must for use with fusible web.
Light box (optional) – I use my light box to trace a reversed image onto my fusible web. I also use it coupled with my layout sheet to correctly position my applique pieces onto my background fabric. You can also use a brightly lit window to trace a reverse image, but it’s not useful for applique placement. An alternative is to trace the layout onto tracing paper and use that to overlay your applique background. The applique pieces should be visible through the paper, so you can move them into the correct position. It’s a little more time consuming than using a light box, but less expensive than purchasing a light box.
Fabric marking pen such as Clover Air Erasable Purple Fine Tip Marker , or Clover white marking pen. Use this to mark stems, vines, leaf veins, and guide lines for embellishments on the bird bodies and wings.
Pillow Instructions from my friend Nancy
Preparing the background blocks
· Cut nine 9” x 9” squares of background fabric. This will be cut down to 8 ½” x 8 ½” after the squares have been appliqued. As I mentioned in the introduction, scraps of fabric can also be used to make the background squares. After piecing the scraps together, cut the blocks into 9” squares. Note: I like to press all my seams open on pieced backgrounds that I use for wool applique. This will provide a flatter surface to adhere the wool to.
· Cut nine 9” x 9” squares of Pellon Shape Flex if you are using it. Iron each Pellon square onto the back of each of the background squares using manufacturers instructions.
BLOCK #1 INSTRUCTIONS
Trace the reversed images of the pattern pieces onto the paper side of your fusible web.
Cut out pattern pieces leaving a small (1/8”) border around each pattern piece.
Fuse the pattern pieces onto designated wools.
Cut out wool pieces along traced lines.
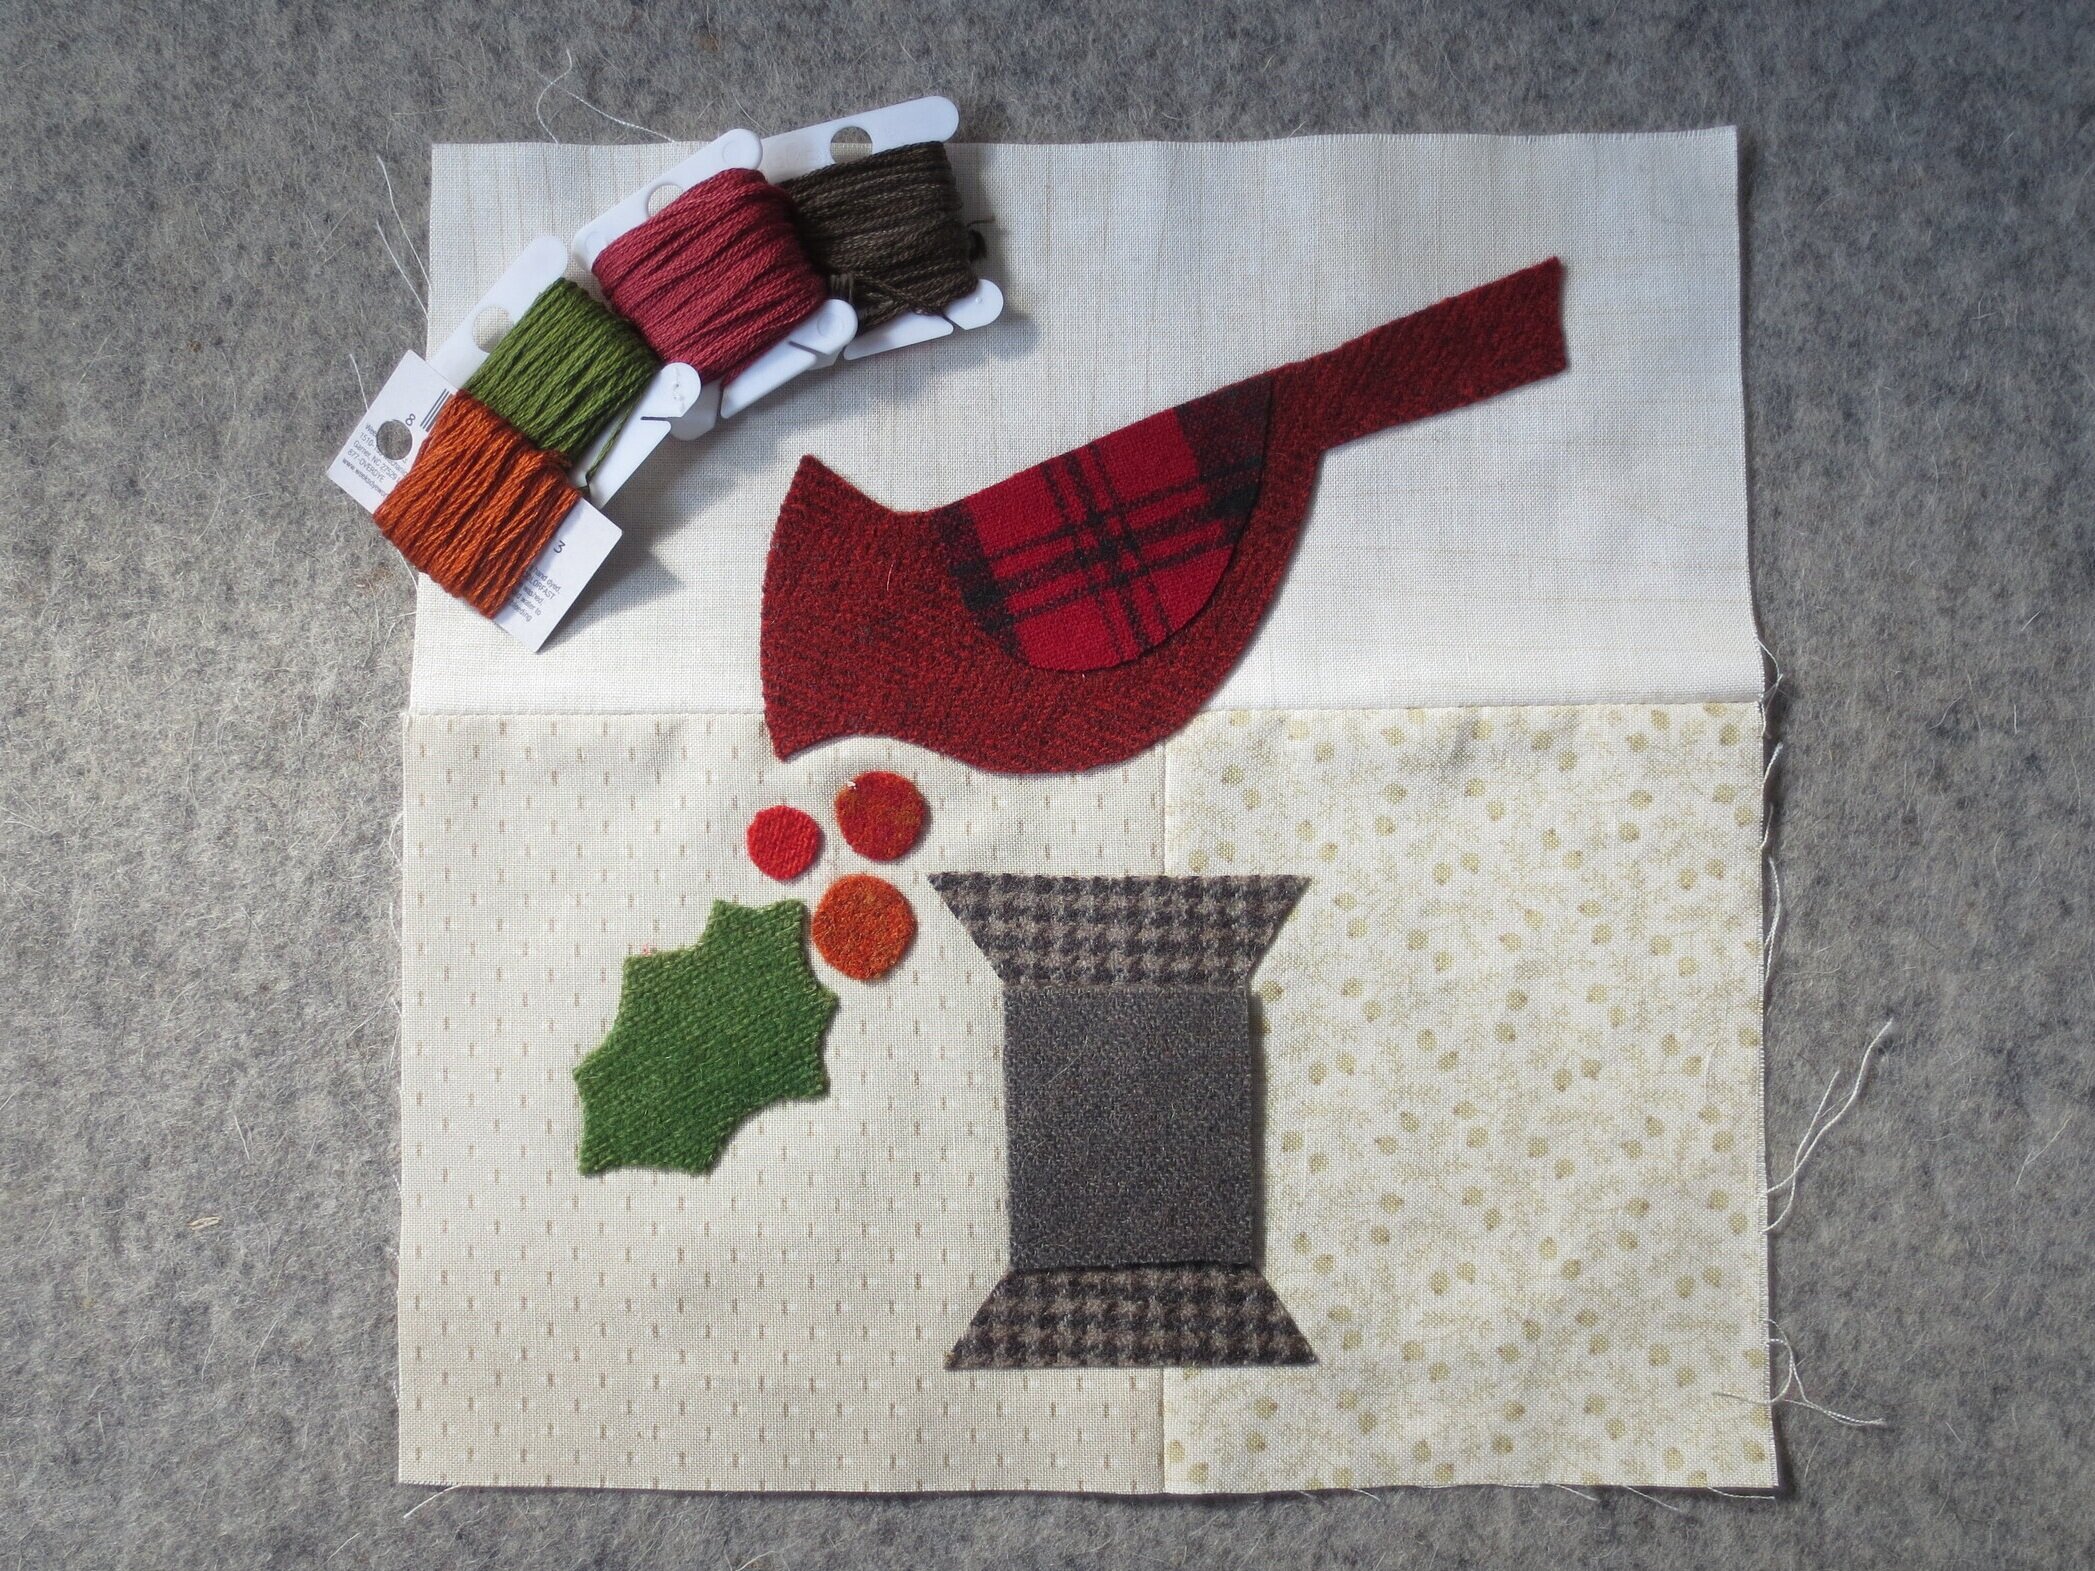
Where’s the face patch? Somehow it has been misplaced.
5. Remove the paper backing from the wool pieces.
6. Position the bird body, holly leaf, spool, and berries onto the background square using the layout as your guide. Note: I used my light box for precise placement.
7. Fuse wool to background using steam. Press the back of the block also. This will insure better adherence.
8. Position the wing, and spool center using the layout as your guide. At this point the face patch should also be positioned onto the head, but I’ll have to cut another one, since the original has not materialized.
9. I‘m using a mixture of floss and perle cotton in colors that closely match my wool colors.
10. Beginning with the smallest pieces first, use 2 strands of floss, or 1 strand of perle cotton, size 12 to whip stitch each wool piece in place.
Hey! There’s that pesky face patch.
11. Use a fabric marking pen to trace the legs, feet, and leaf stem. Note: You may need a lighter colored marker for the darker fabrics.
12. Use 3 strands of floss, or 1 strand of perle 8 to stem stitch the legs and feet. I stitched the legs and middle toe first, then I stitched the remaining 2 toes.
13. Use 3 strands of floss, or 1 strand of perle cotton, size 8 to stem stitch over the leave stem and vein line.
14. Use 2 strands of floss, or 1 strand of perle cotton, size 12 to stem stitch the thread on the spool.
15. Use 2 strands of floss, or 1 strand of perle cotton, size 12 to make a single colonial knot in each of the berries. Use the layout as your placement guide.
16. Use 2 strands of ecru or light grey floss to stitch a colonial knot eye.
The first block is complete!
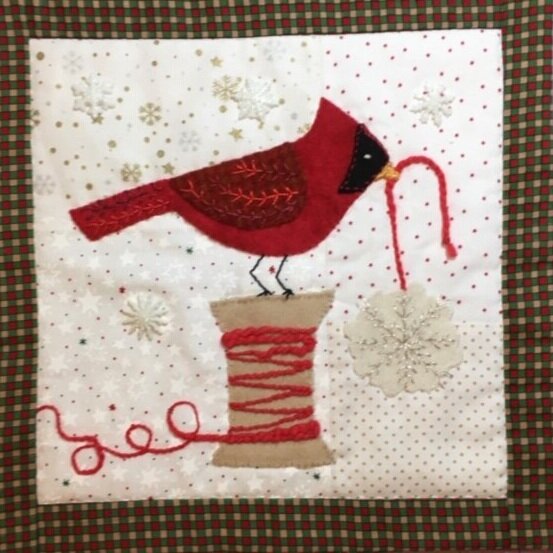
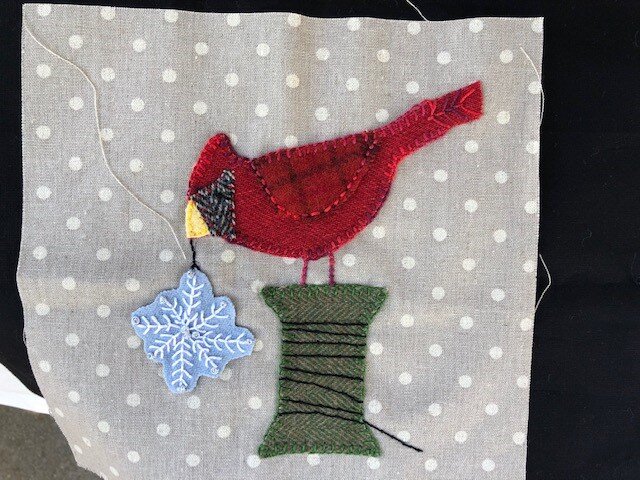
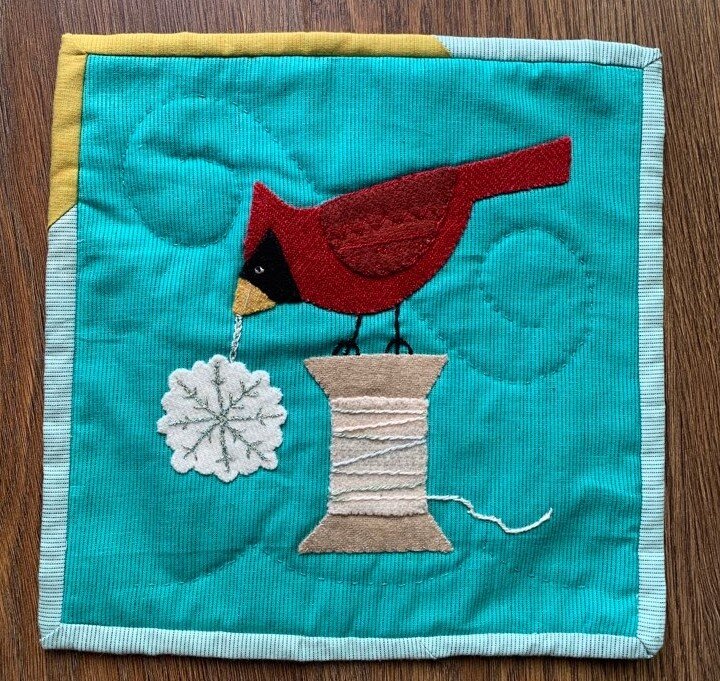
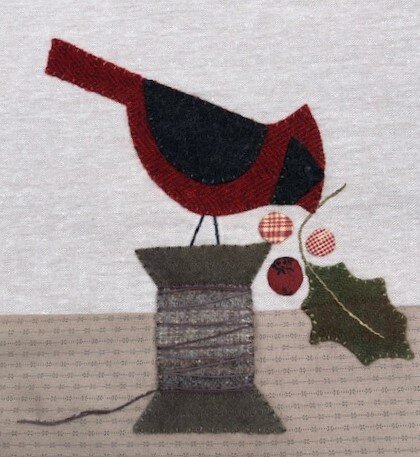
Here’s some more cardinals from the Wooly Gals Friendship group.
Here’s another using the raw edge applique technique. My Friend Nancy made hers into a fabulous pillow.
Happy Stitching!


