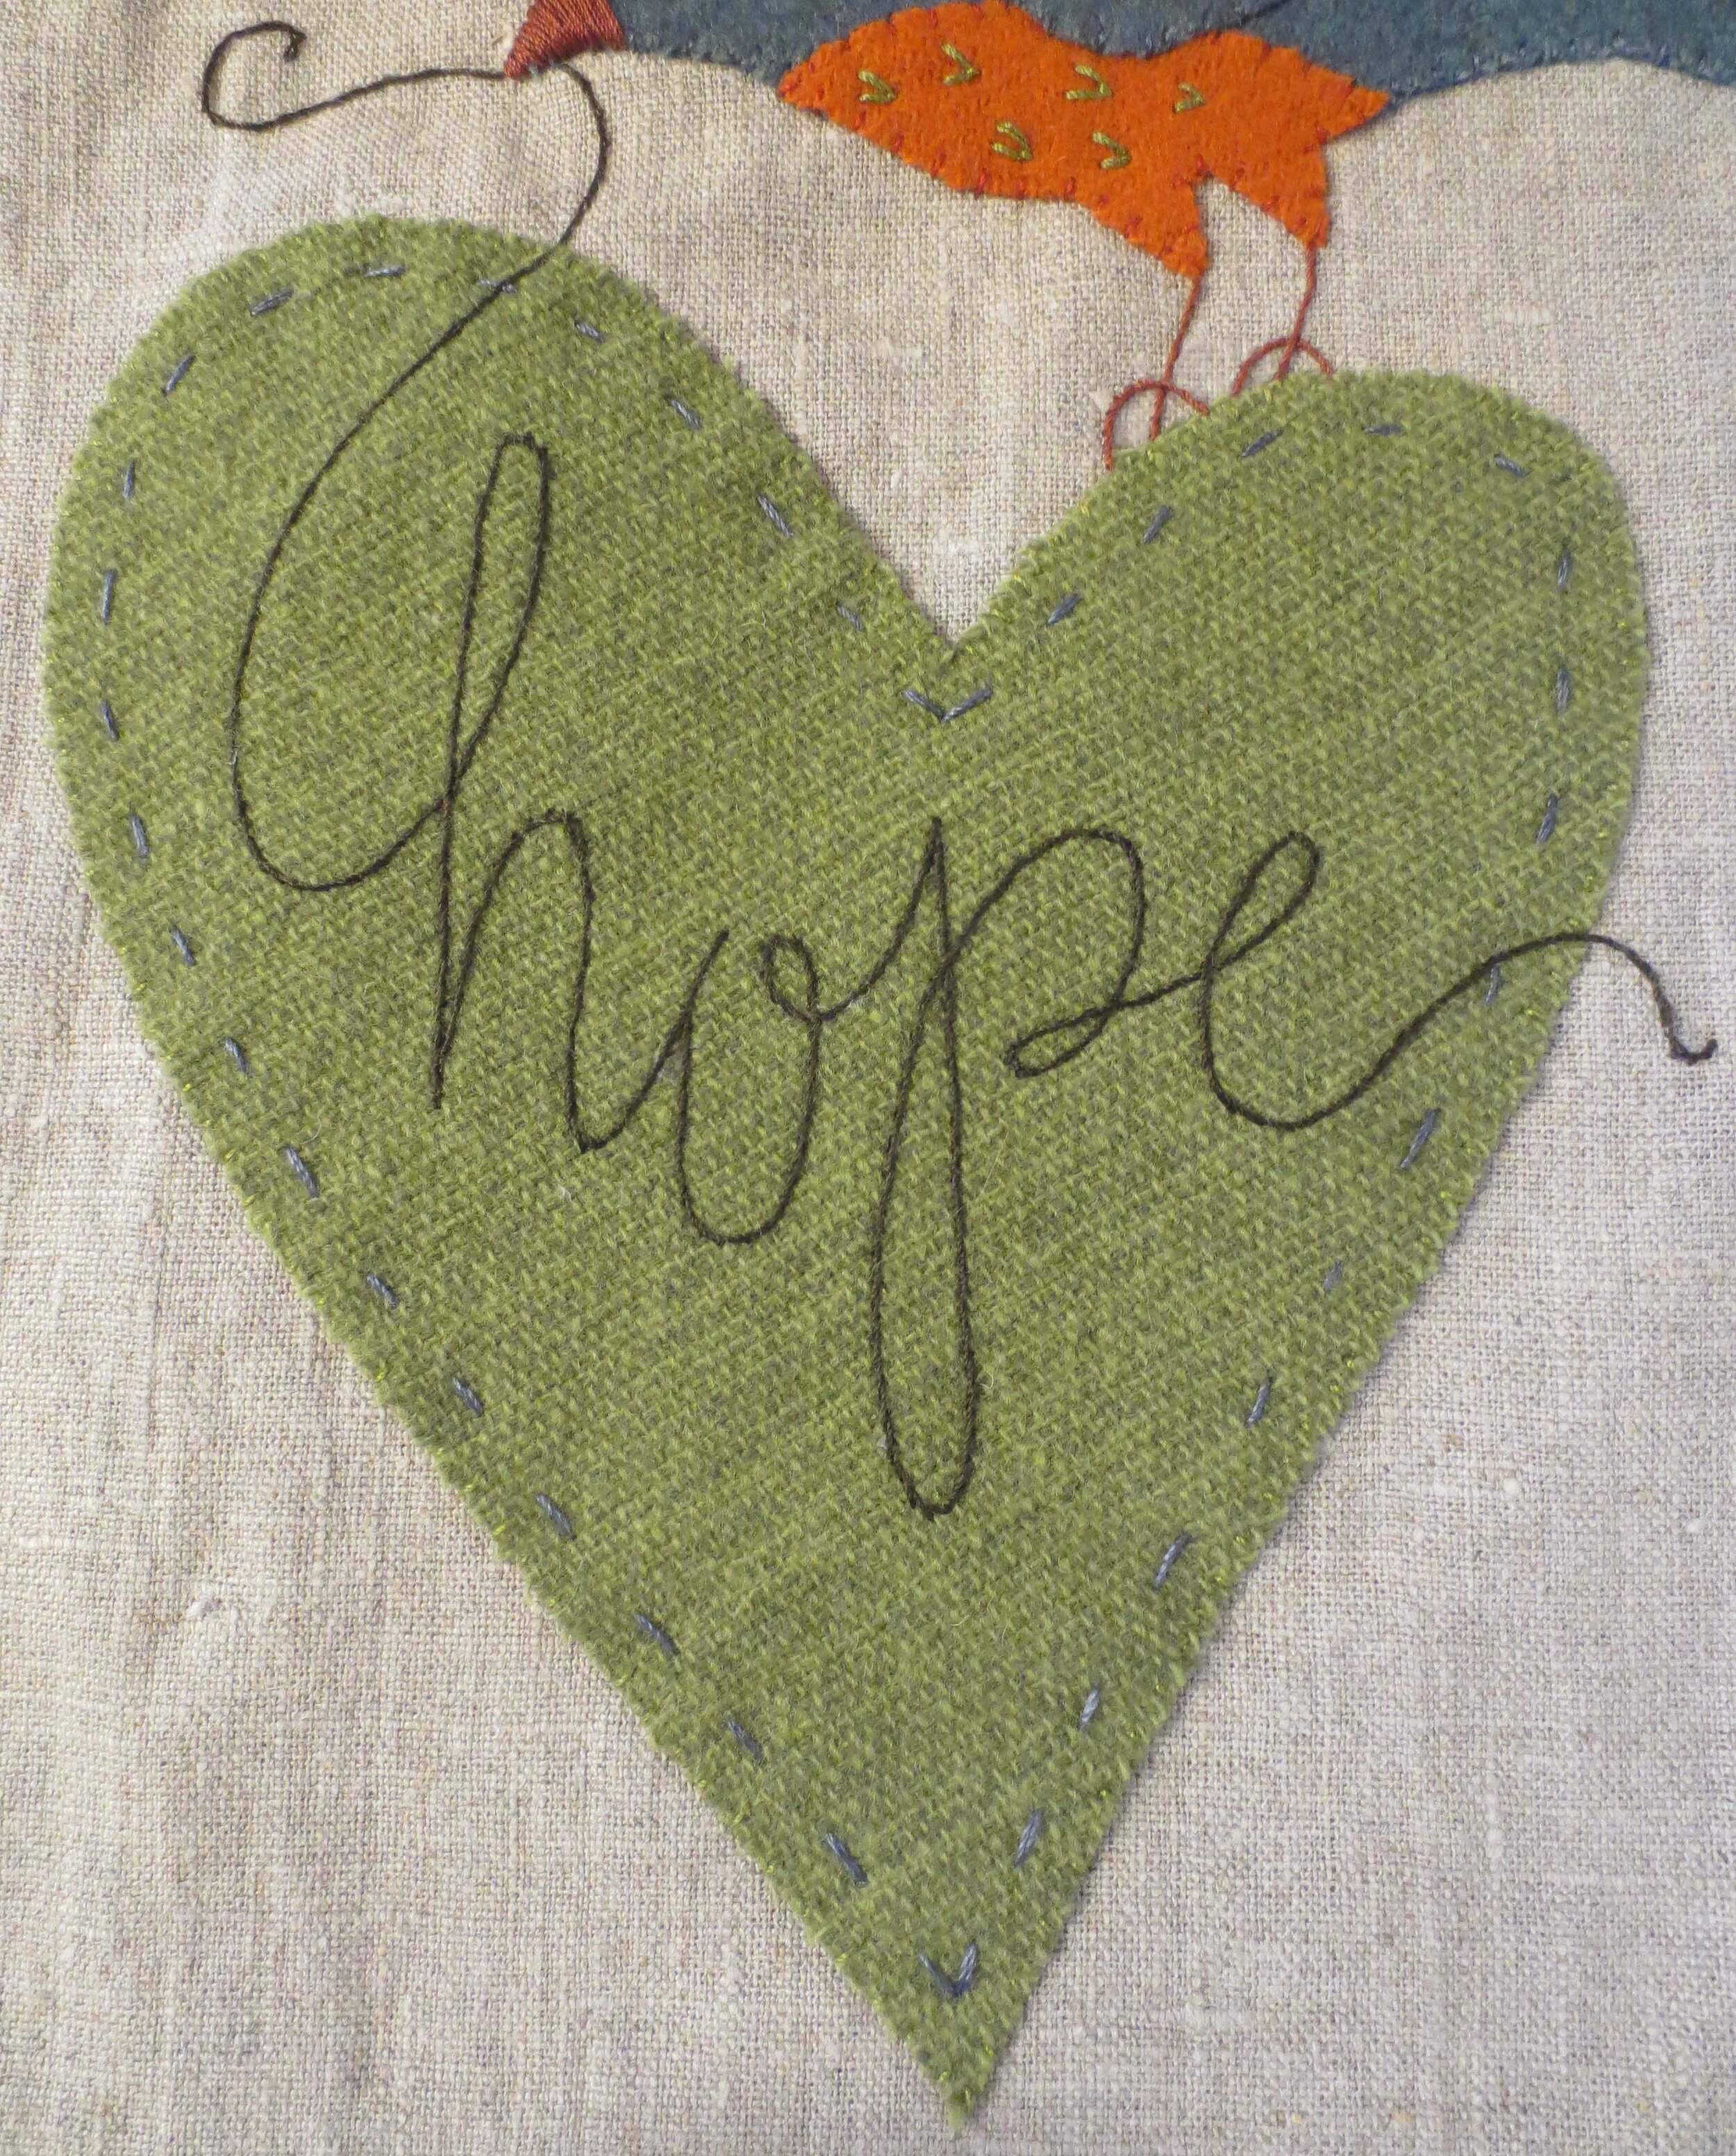
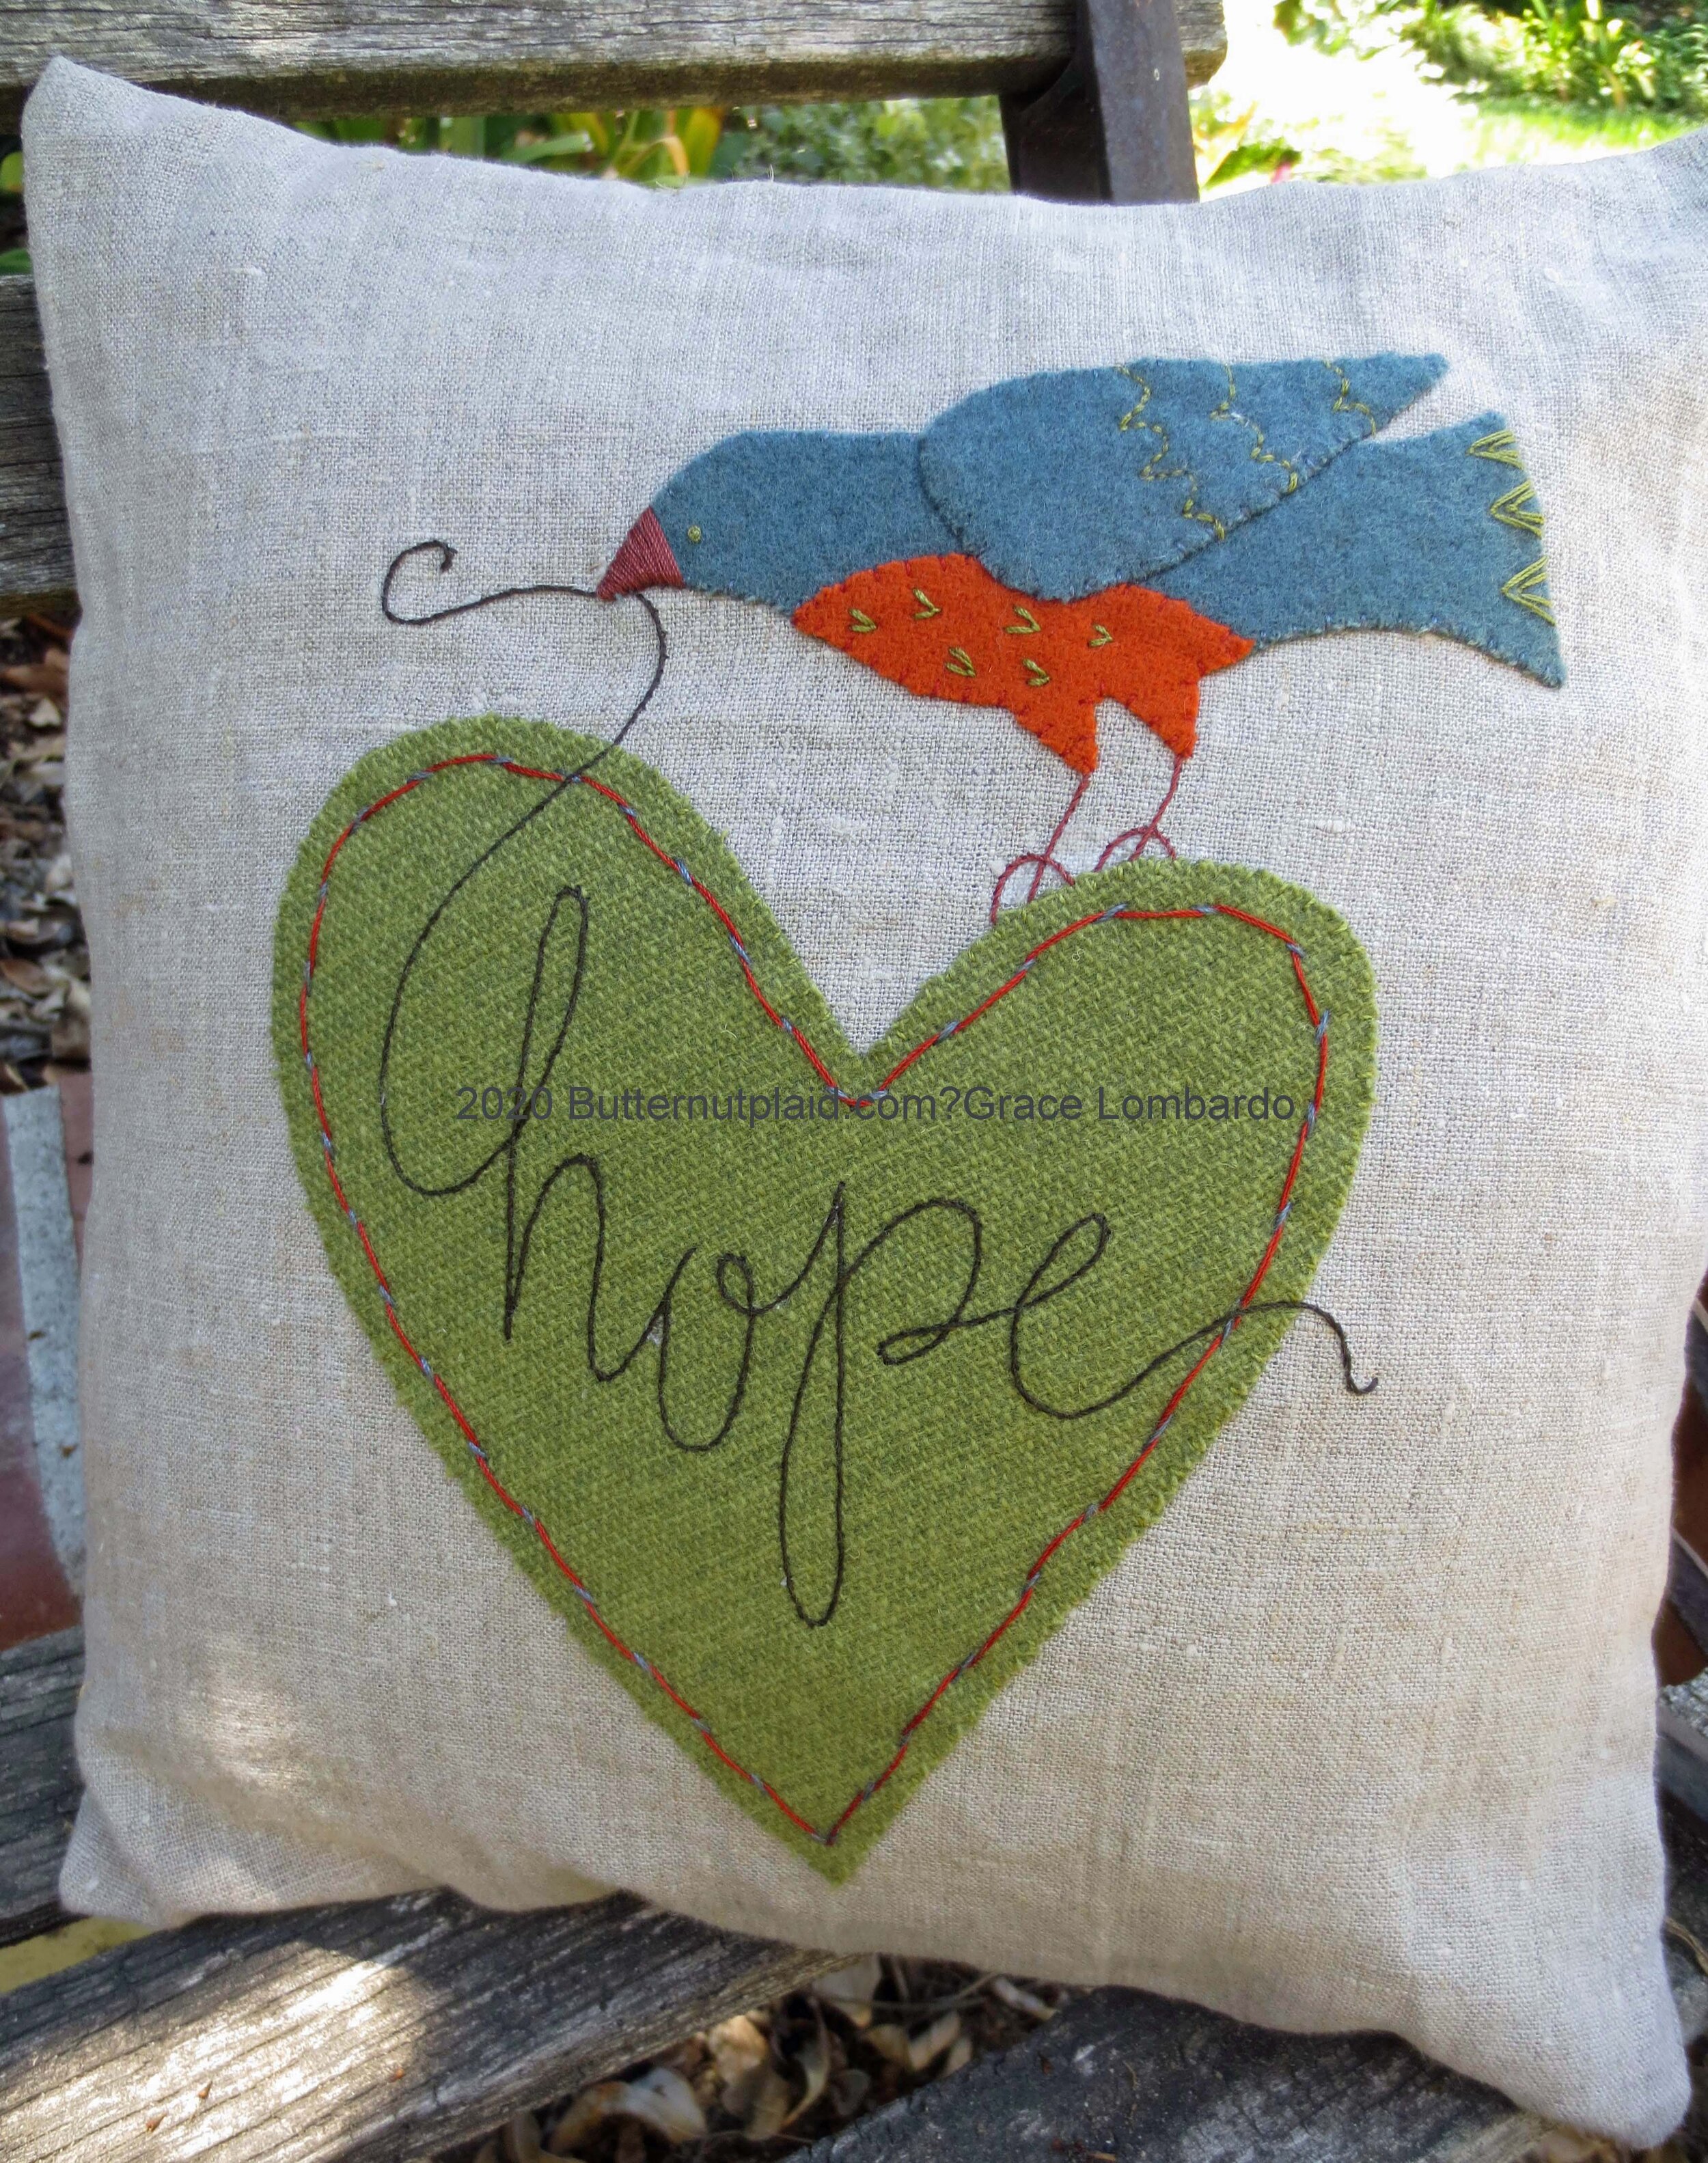
Hope
Hope is the thing with feathers
That perches in the soul
And sings the tune without the words
And never stops at all
Emily Dickinson 1830-1886
I haven’t posted for a while, but I have continued to create, just not publicly. Creating the designs are easy for me (my sketchbooks are full), but creating the instructions requires me sitting for hours in front of a computer which is not so easy or fun. It also requires me to focus, and concentrate. I don’t know about everyone else, but I’ve had difficulty focusing these past few months.
I originally made this design as part of BOM (block of the month) for my quilt guild (to be released in November 2020), but I decided it was better as a stand alone.
Hope is something the whole world needs now. Hope for a brighter, kinder, and happier world. May it bring you comfort.
You will need:
Stitch Guide - This is the same stitch guide used for all previous tutorials.
Background fabric
One 14” x 33” piece of medium weight fabric, such as a mid-weight linen, or a cotton/linen canvas (Robert Kaufman Essex)
*If you use quilting cotton you will need to back it with Pellon SF-101 (woven fusible interfacing) for added body.
Alternate Pillow Construction Fabric Requirements
Front - 14” square of medium weight fabric, such as a mid-weight linen, or a cotton/linen canvas (Robert Kaufman)
Back - 14” square of coordinating fabric (quilting cotton, linen, or linen/cotton blend)
Felted Wool - Colors are only suggestions
Heart - 8” square spring green (Why green? Green is the color of hope. )
Bird body and wing - 3” x 7” dark colonial blue
Bird’s breast - 2” x 3” orange
Bird beak (optional) - 1” square rusty brown (choose this option if you aren’t making a satin stitch beak)
Thread
5 colors were used for the applique; 3 that matched the wool colors, one for the beak and legs, and one for the word “hope.”
I used Sulky Petites and Aurifil cotton, all of which were 12wt.
Alternative threads
Perle cotton, 12 wt.
Embroidery floss - 2 strands = 1 strand of 12 wt.
Miscellaneous
Fusible webbing - featherweight ( my fusible webbing of choice is Vilene Meltfuse, but it is not readily available. The best alternative is Heat-n-Bond featherlite. It’s also available here in yardage.
8 1/2” x 11” piece of tracing paper (optional) - This is used to aid in proper placement of the wool pattern pieces onto the background fabric. It is essential if your background fabric is dark. If your background fabric is light you can use a light box instead.
Light box
Glad Press’nSeal - This can be found in most supermarkets in the United States.
Sharpie fine tip marker or any marking pen that can be used on the Press-n-Seal.
Chenille needle - size 24 (I prefer this type of embroidery needle because of the large eye)
14” pillow form
Steam Iron
Sewing machine with thread to match fabric background
Instructions
Preparing the Background
If you’ve chosen the 14” x 33” background, fold down 3/4” toward the wrong side on each of the 14” ends, and then press. Top stitch 1/2” from the folded edge of each end. Since I was using linen I also used a zig zag stitch around all the cut edges to prevent fraying.
2. Fold down one hemmed end about 7 1/2” and then finger press the fold. This will form the top border of the applique background.
3. Fold the other hemmed end towards the first and then finger press the fold. This will form the bottom border of the applique background.
4. Unfold the fabric and then flip over so that the seams face down. The center 14” square will be the applique background.
Applique
Use a light box or bright window trace all pattern pieces onto the fusible web and then cut them out leaving a small border (1/8”) around each of the pieces. The pattern is already reversed for use with fusible web.
Fuse the patterns onto designated wools using steam and then cut out along drawn lines.
3. Use the Sharpie marker to trace the layout onto tracing paper. This will act as a placement guide.
4. Center the tracing paper layout onto the applique background. Use a single pin at the top to secure the tracing paper to the background. * Do this on top of your ironing board or pad. If you try to move the piece after placement there is a possibility of the the pattern pieces shifting.
5. Position the heart and bird body onto the background using the tracing paper guide.
6. Remove the tracing paper and then fuse in place using steam.
7. Replace the tracing paper guide and then position the bird’s breast and wing. Remove the tracing paper and then iron in place using steam.
8. Whip stitch all the wool pieces using 1 strand of 12wt thread that matches each wool color.
Embroidery
Carefully place a piece of Press’nSeal onto the layout making sure the Press’nSeal doesn’t stick to itself. Gently press out any seams or bubbles. Use a Sharpie marker to trace the bird outline, wing and tail embellishments, legs and toes, and the hope script.
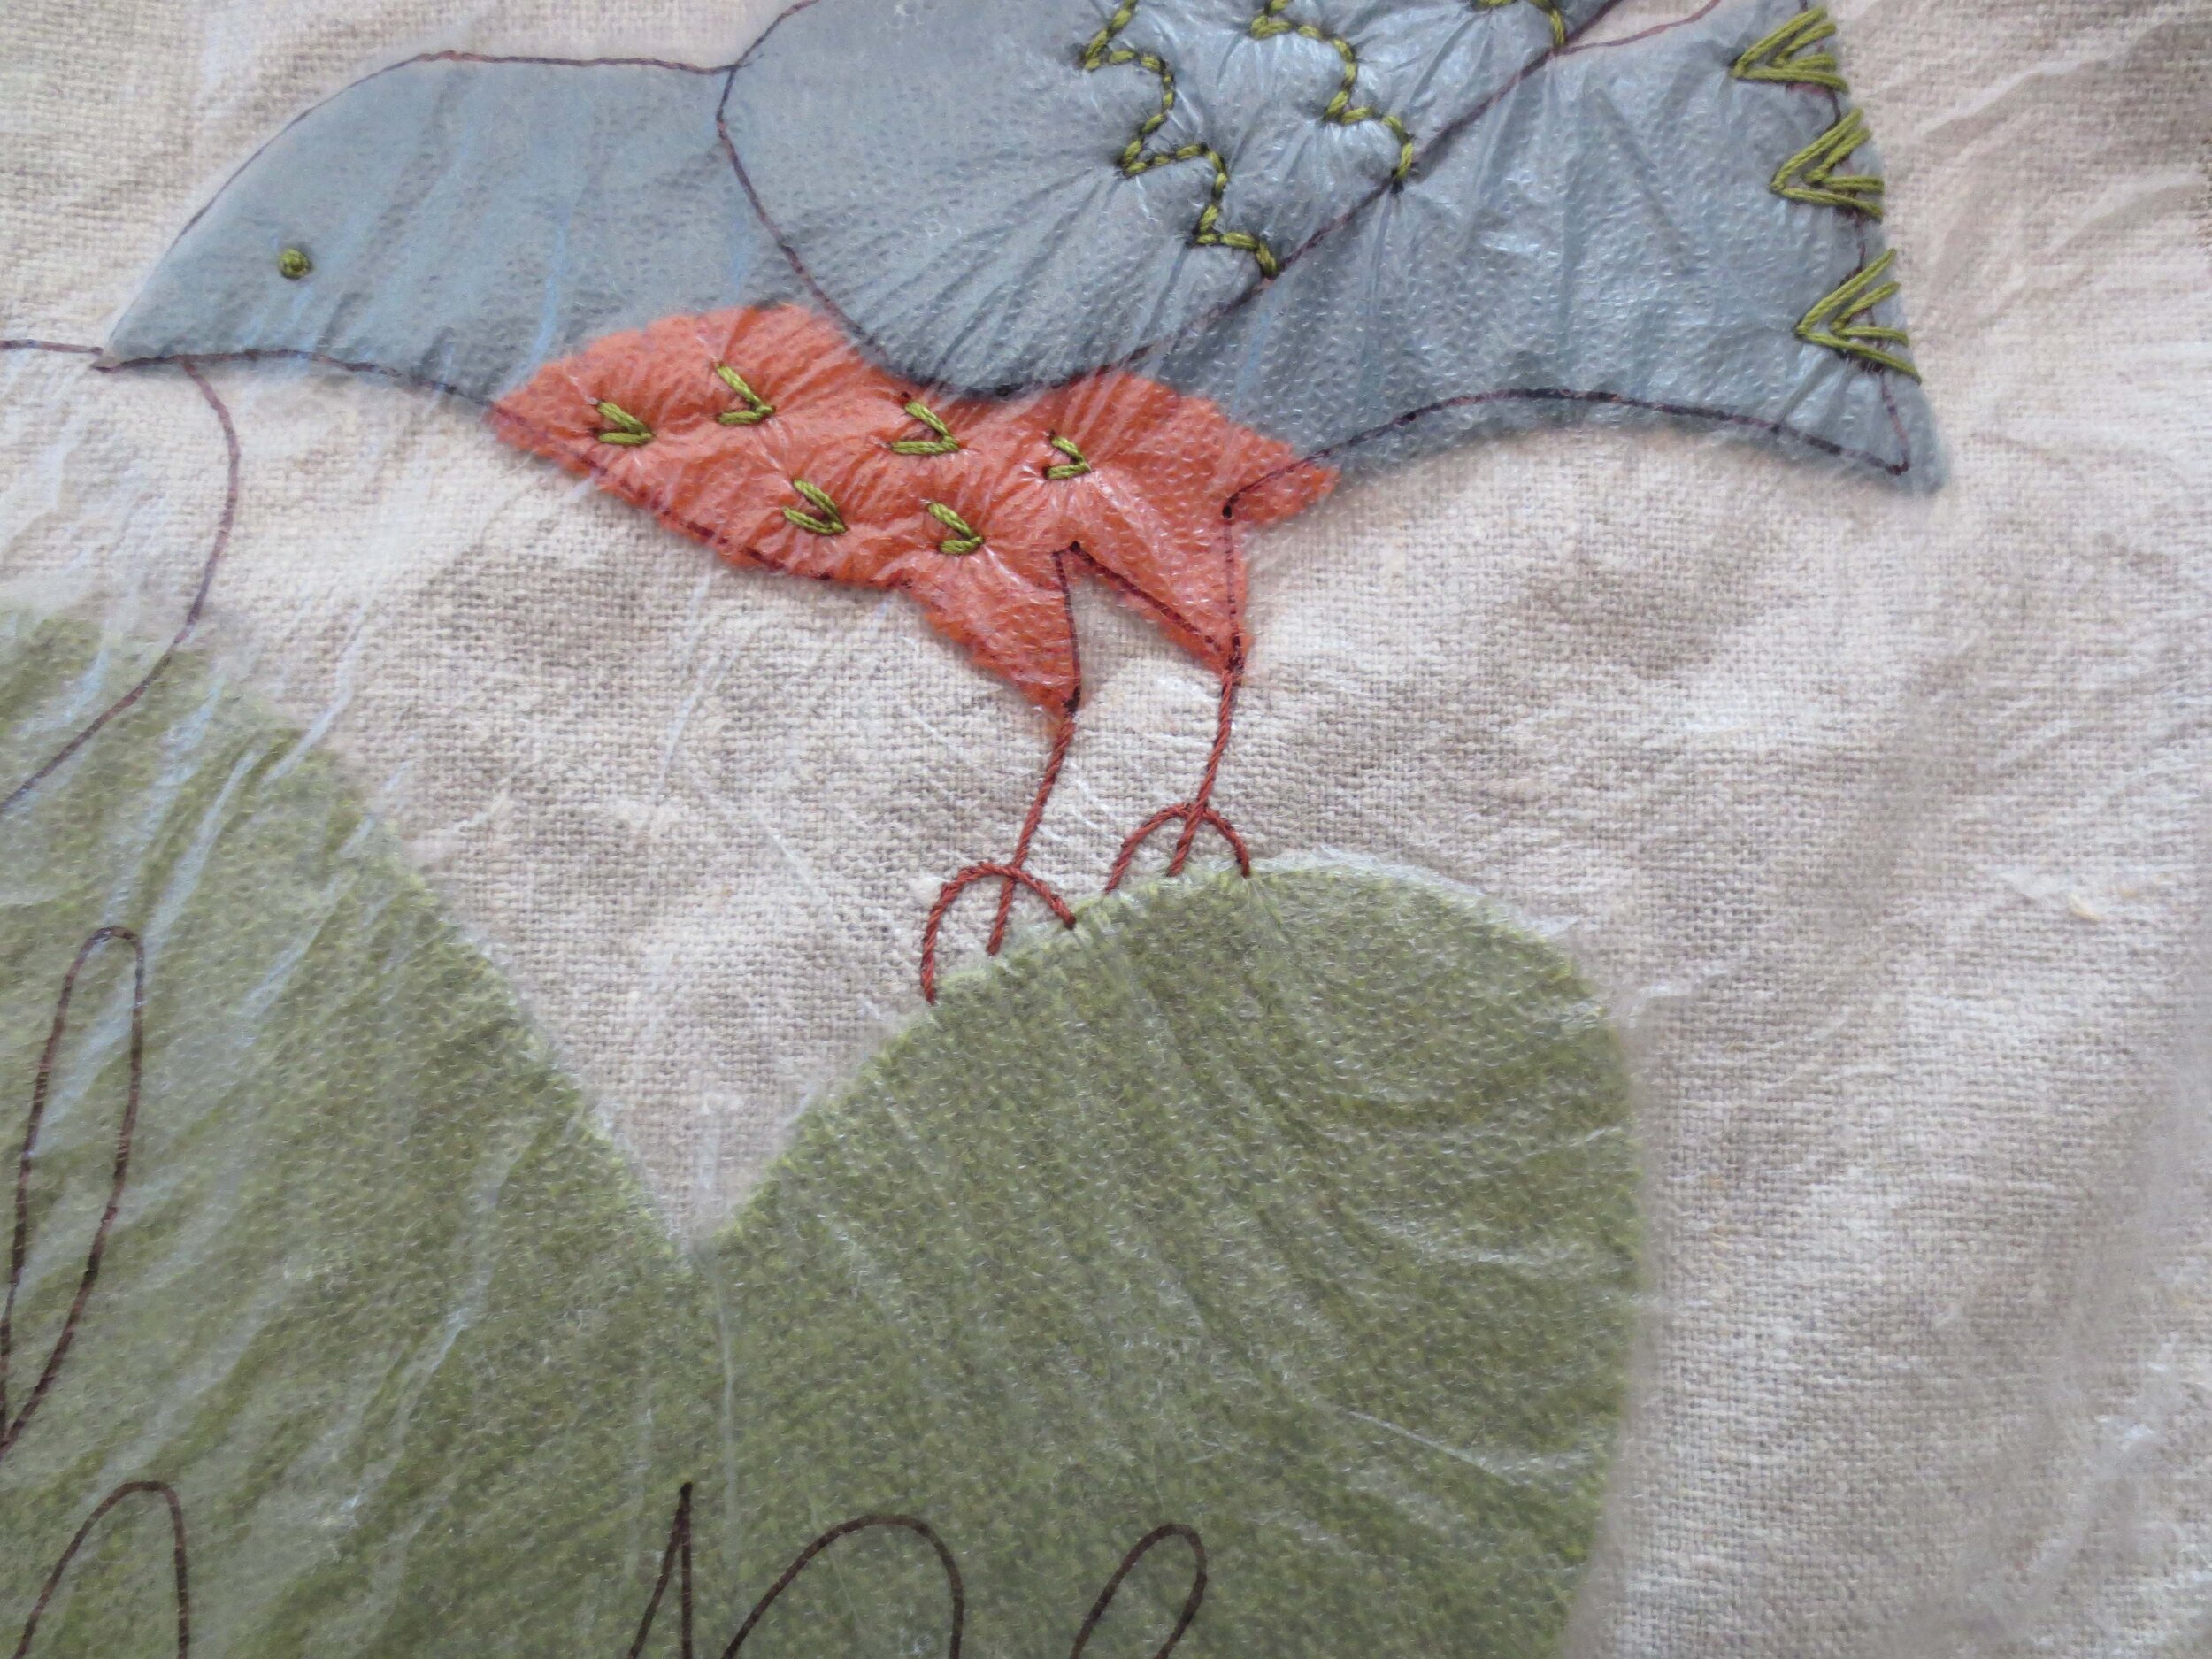
2. Carefully peel the Press’nSeal off of the layout and place it on the wool applique. As you can see, the bird’s tail does not align with the drawn lines, but the legs, wing, and hope thread are correctly aligned. I can adjust the tail embellishment, but I don’t want the bird to be hovering above the heart, or have the thread not align with the beak. Gently smooth out any creases or bubbles.
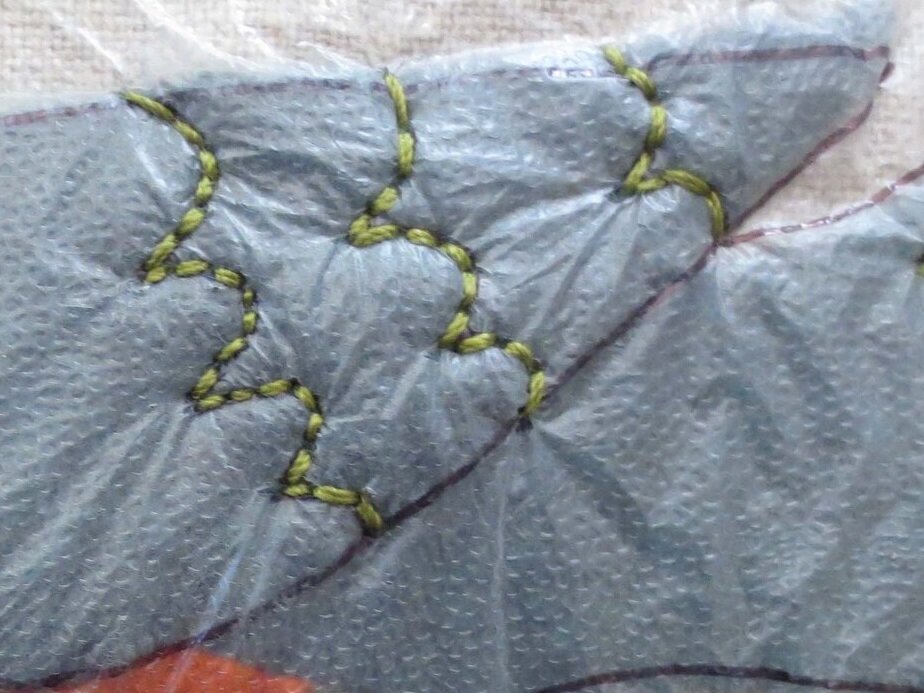
3. Use 2 strands of the same 12wt. thread you used to whip stitch the heart to back stitch over the scallop lines in the wing.
4. Use the same thread to stitch fly stitches onto the tail. Notice how I used the actual edge of the tail to begin my fly stitches and not the drawn stitches. The stitches were slightly larger than the drawn stitches, but they still worked.
5. Use the same thread to make fly stitched feathers on the bird’s breast.
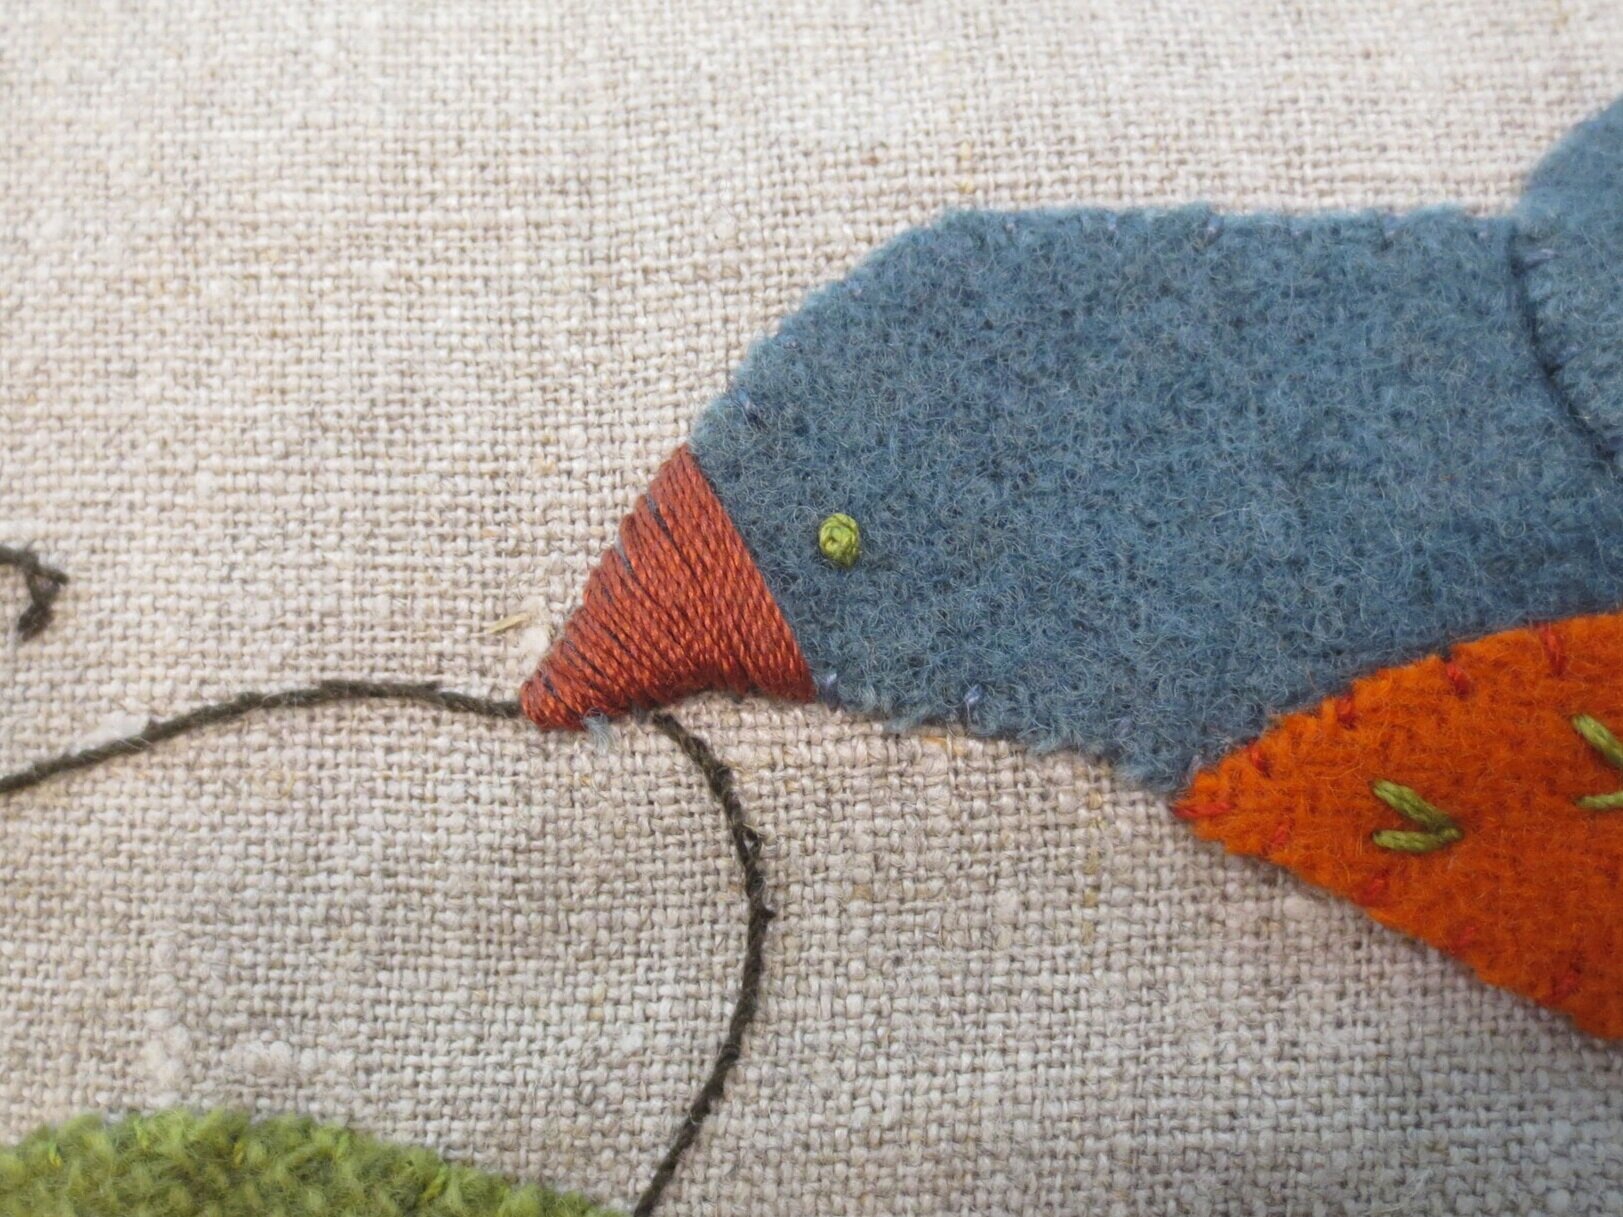
6. Use a single strand of the same thread to make a large colonial knot eye.
7. Use a single strand of the 12wt. thread that you chose for your beak and legs (I used Sulky Petites 712-1058) to stem stitch the leg and toes.
8. Use a single strand of the 12wt. thread you chose for your script (I used Sulky Petites 712-1131) to stem stitch the hope script.
9. Gently remove the Press’nSeal from your applique. I use my left forefinger (I’m right-handed) to hold down the stitching, while gently pulling the Press’nSeal with my right hand. You may need some tweezers to pull out the tiny pieces.
10. Use 2 strands of the same thread used for the legs to satin stitch the beak.
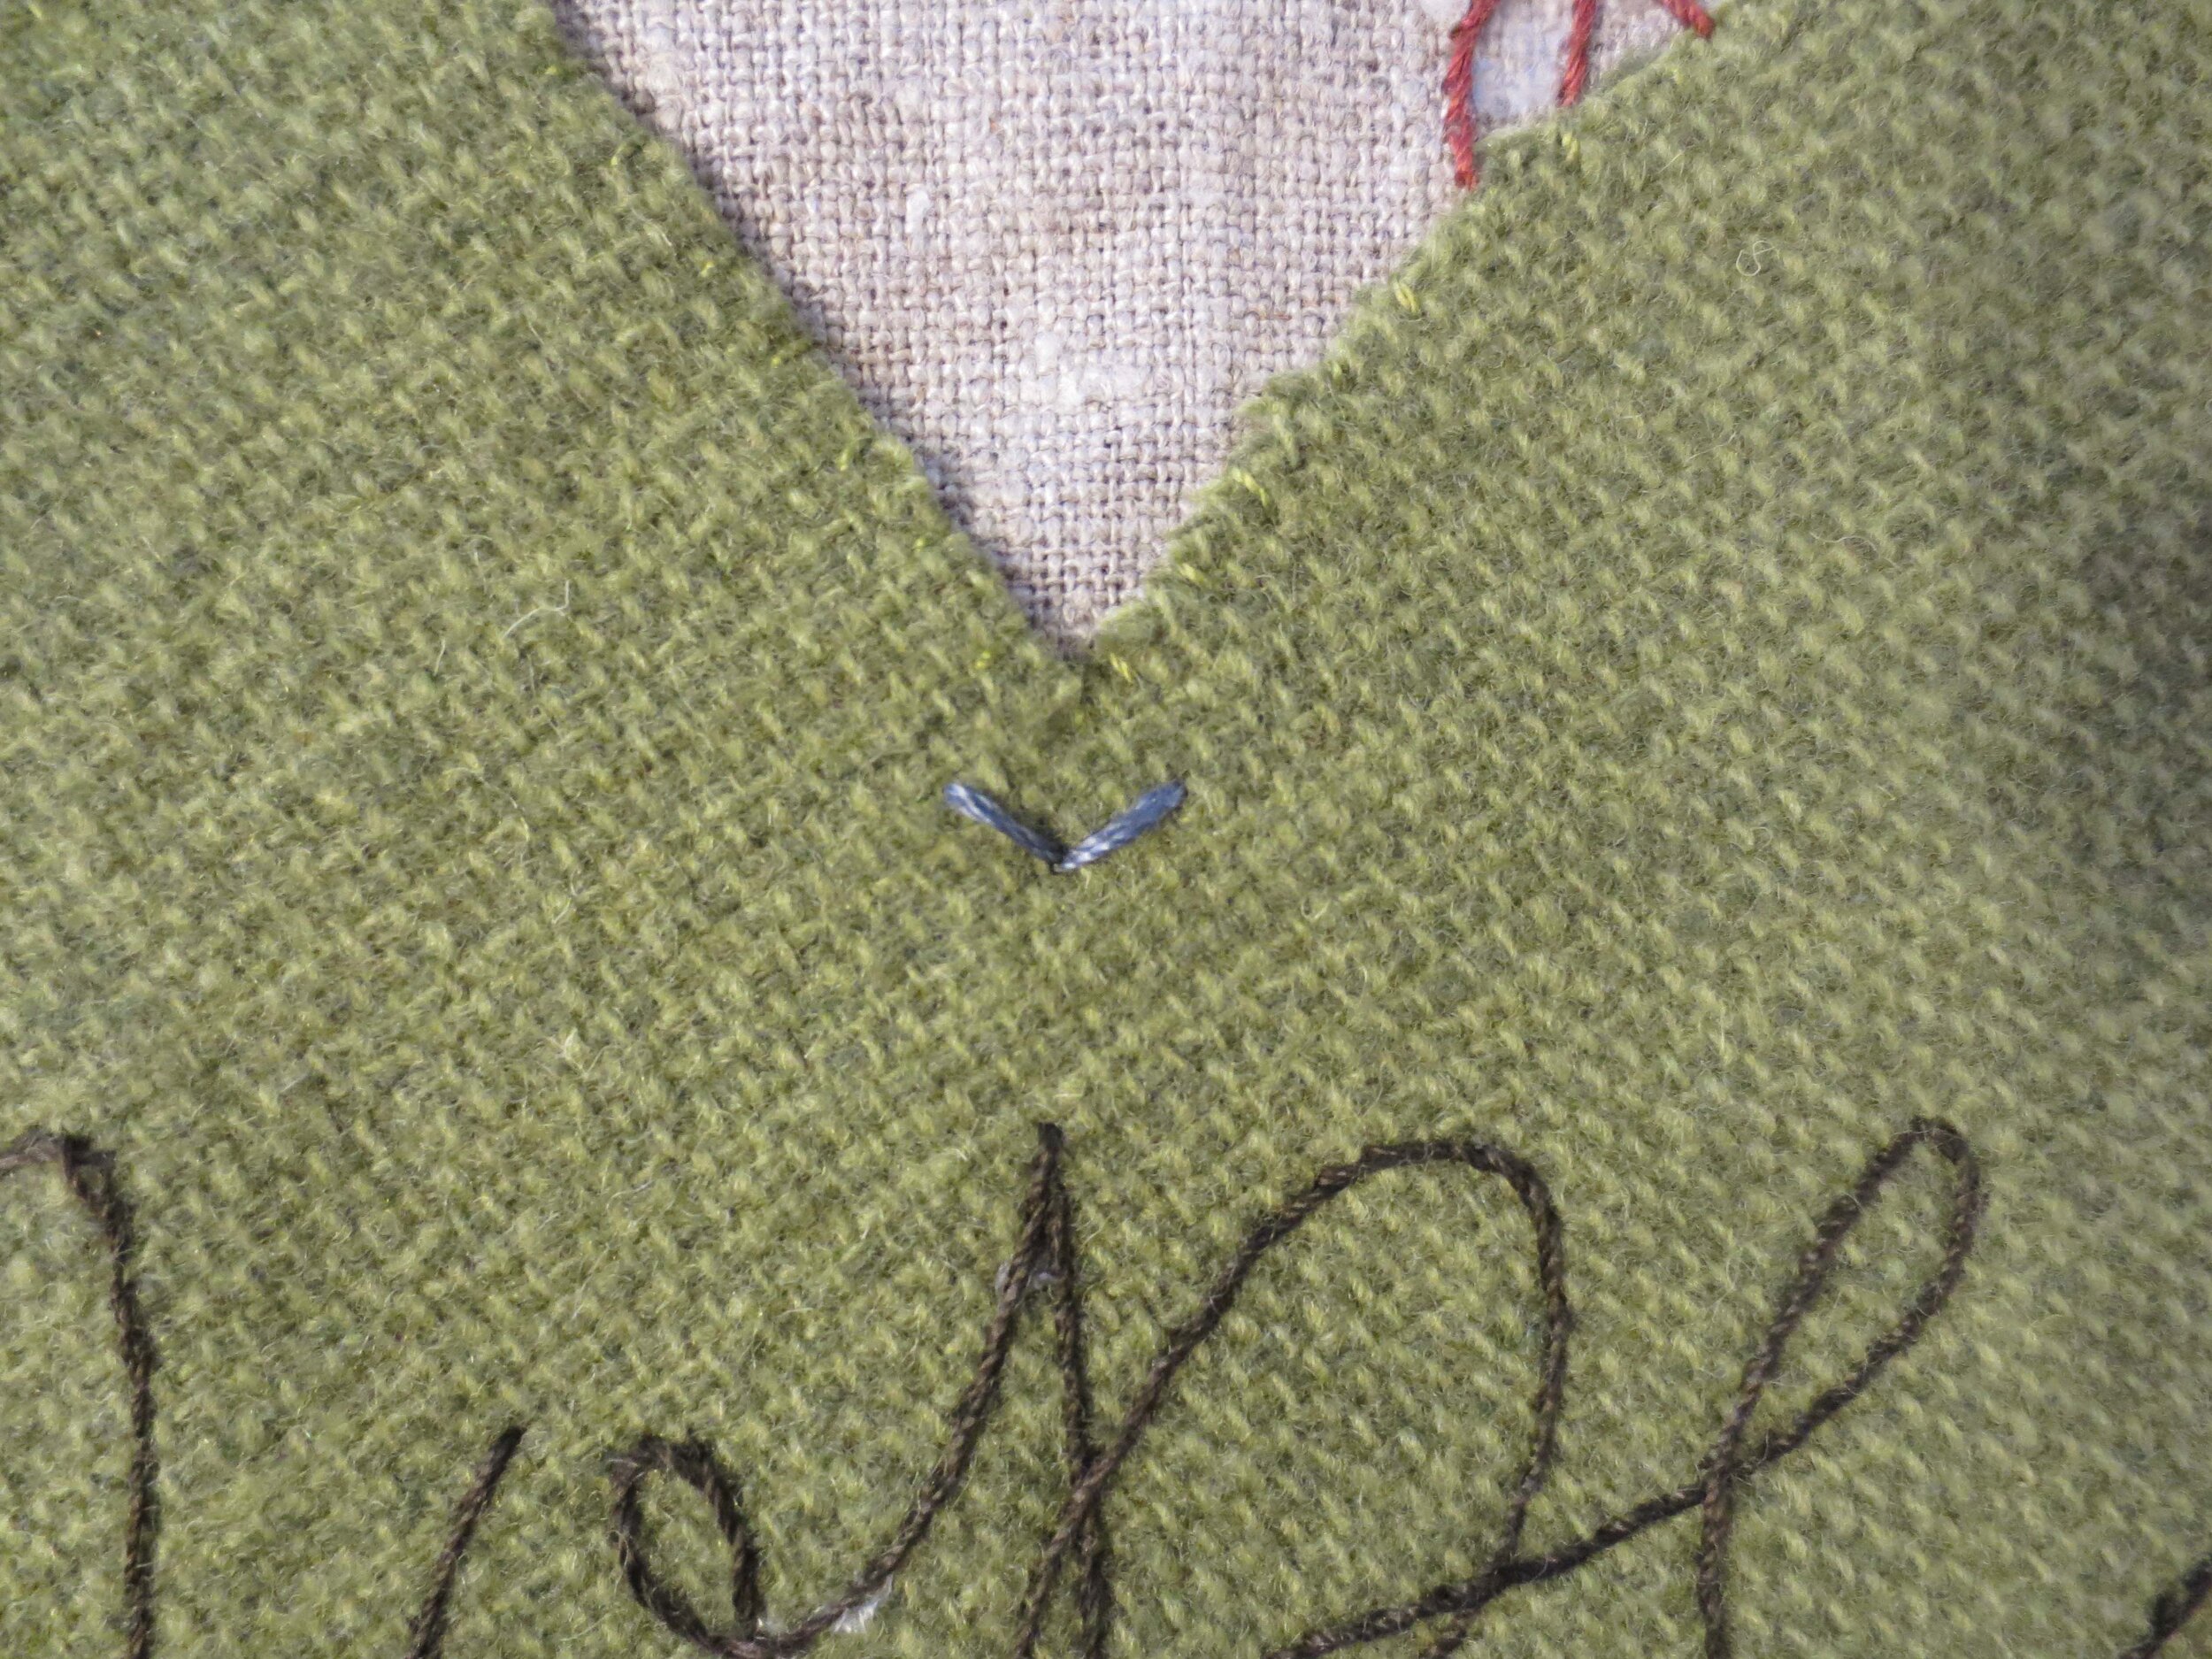
11. Use 2 strands of the same thread used to whip stitch the bird body to back stitch a “V” between the lobes of the heart. It should be about 1/4” from the edge.
12. Continue with the same thread with a running stitch around the perimeter of the heart, making a similar “V” back stitch on the bottom of the heart. Each stitch is about 1/8” long and about 3/8” apart. I slid the stitches under the hope script.
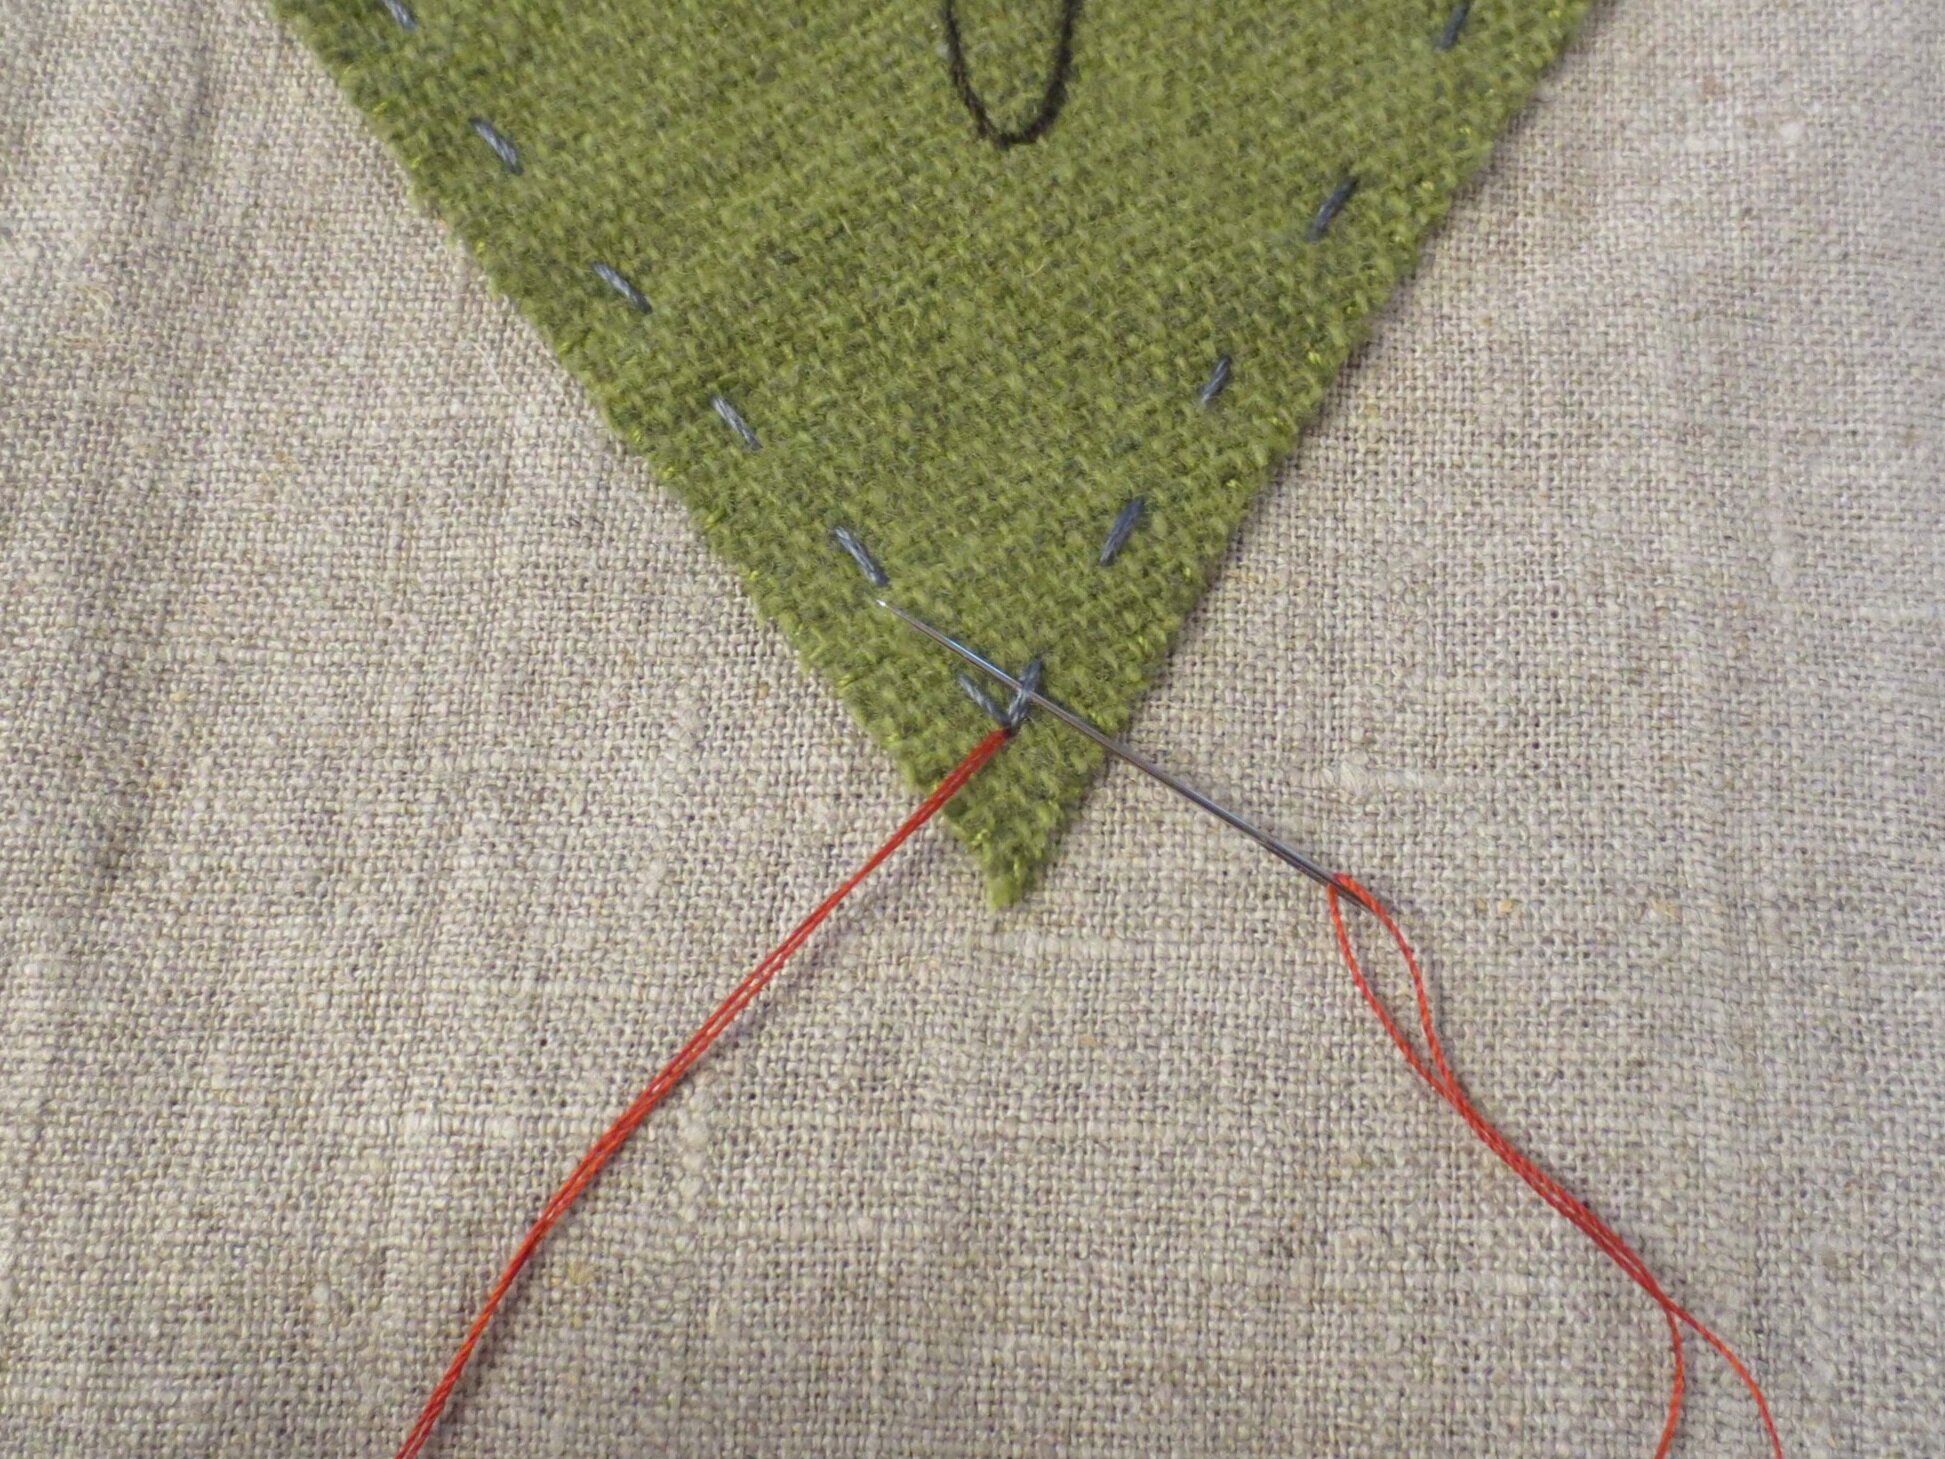
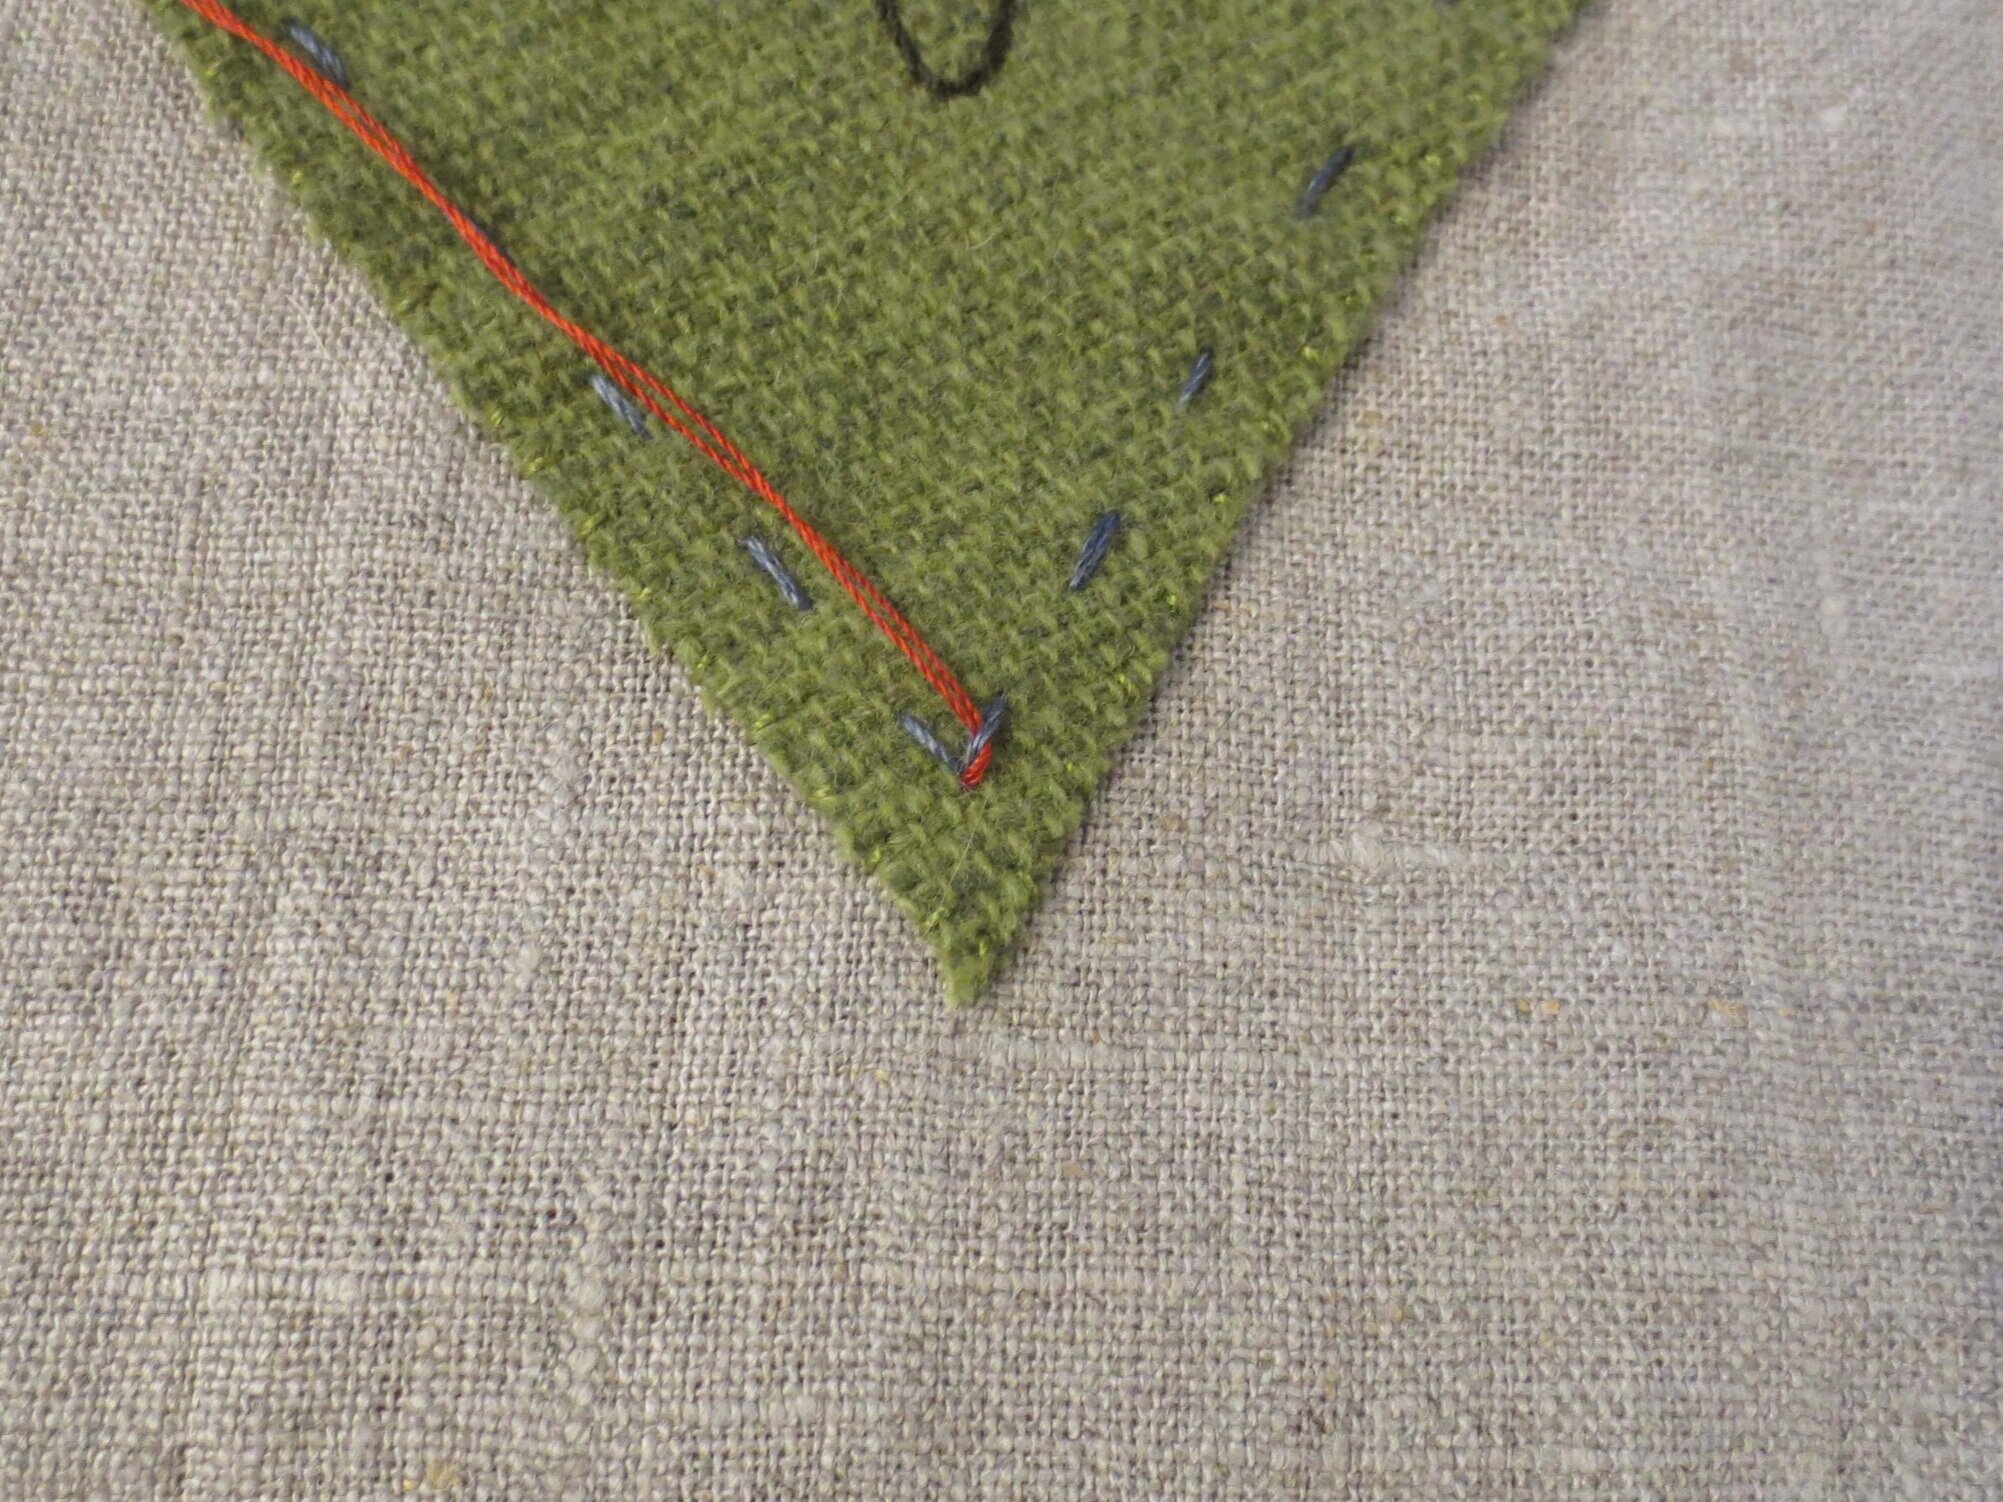
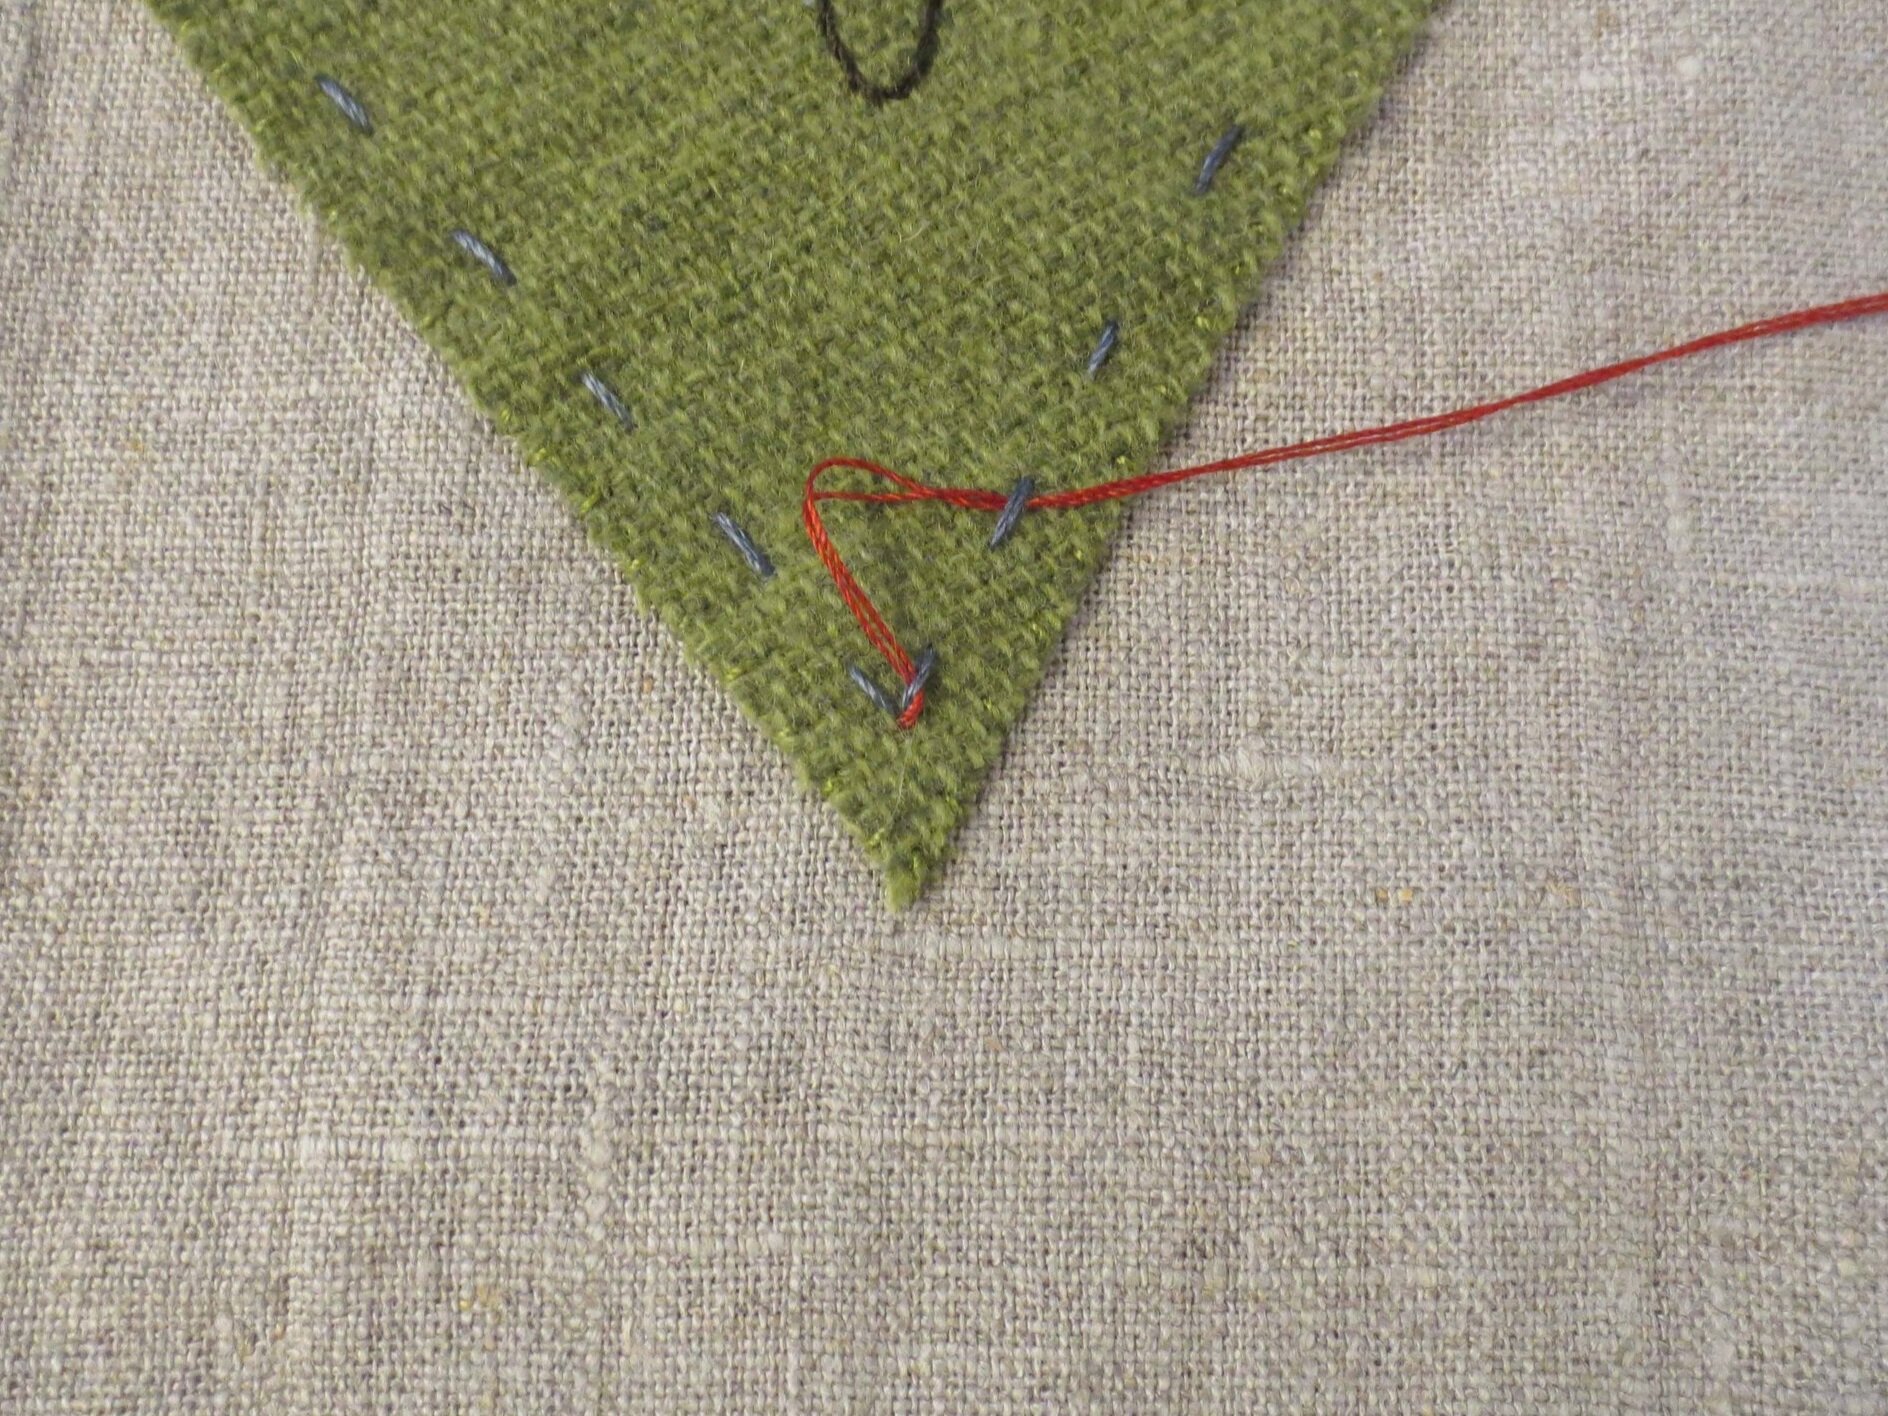
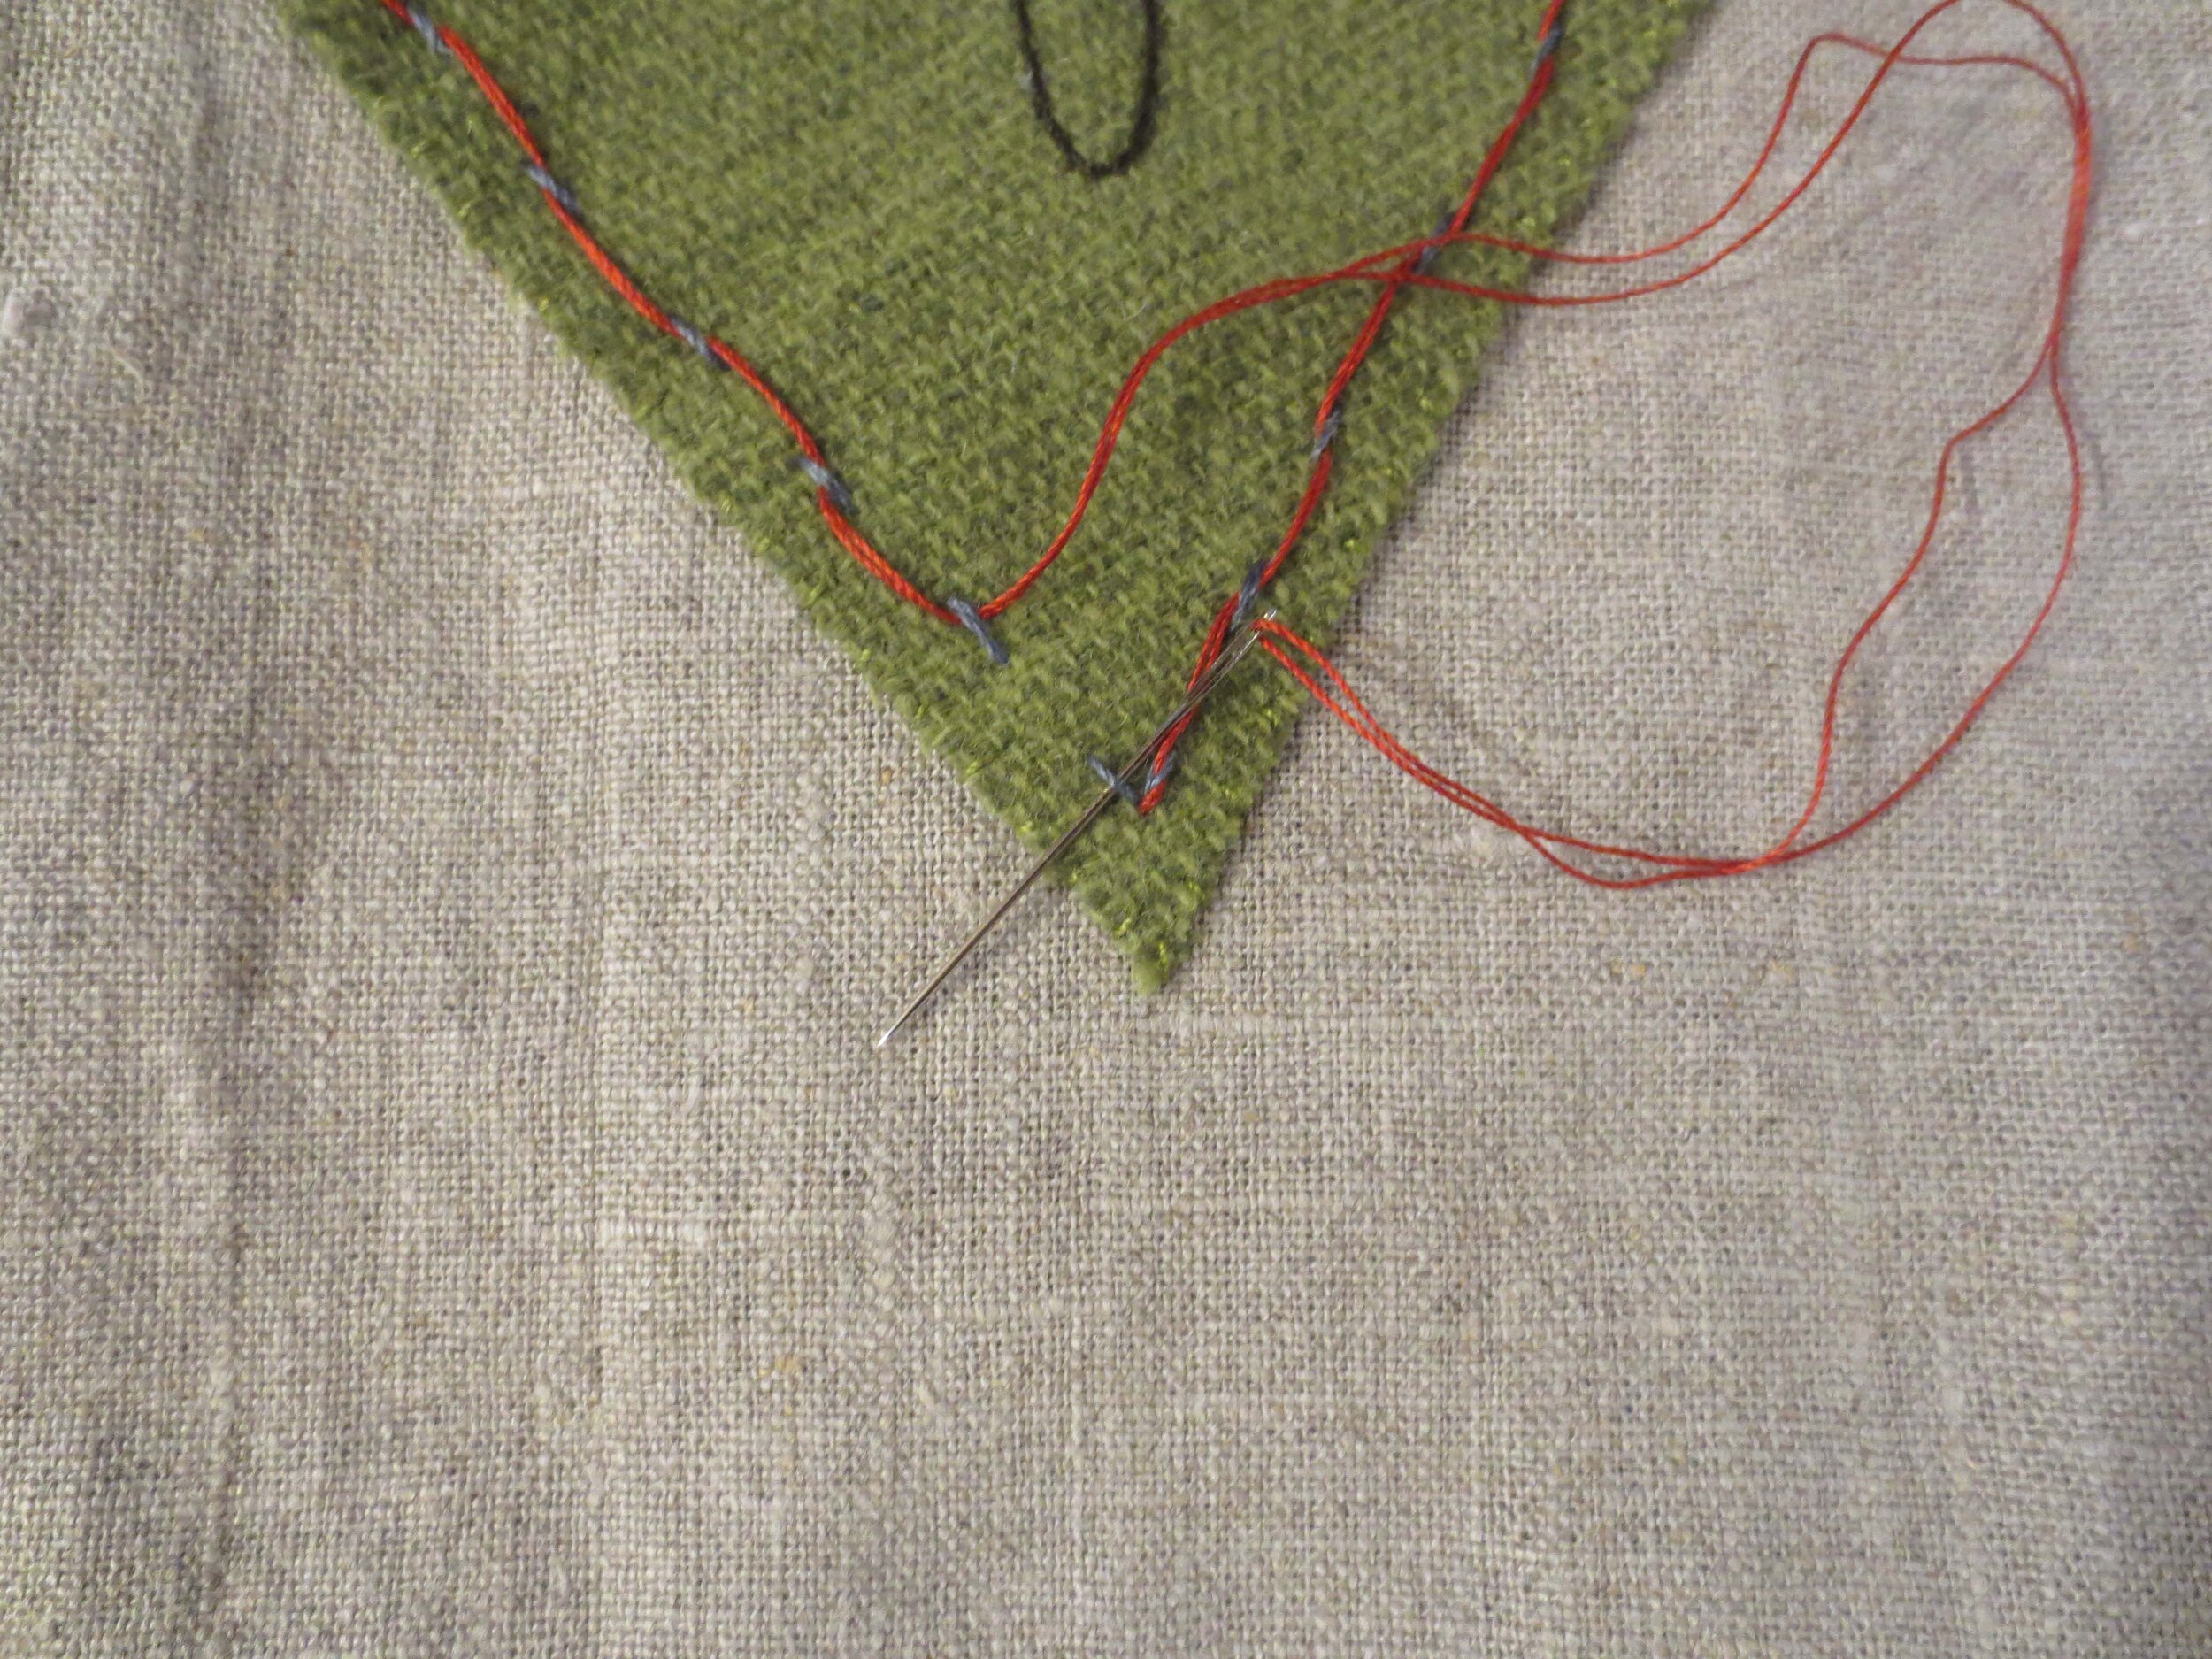
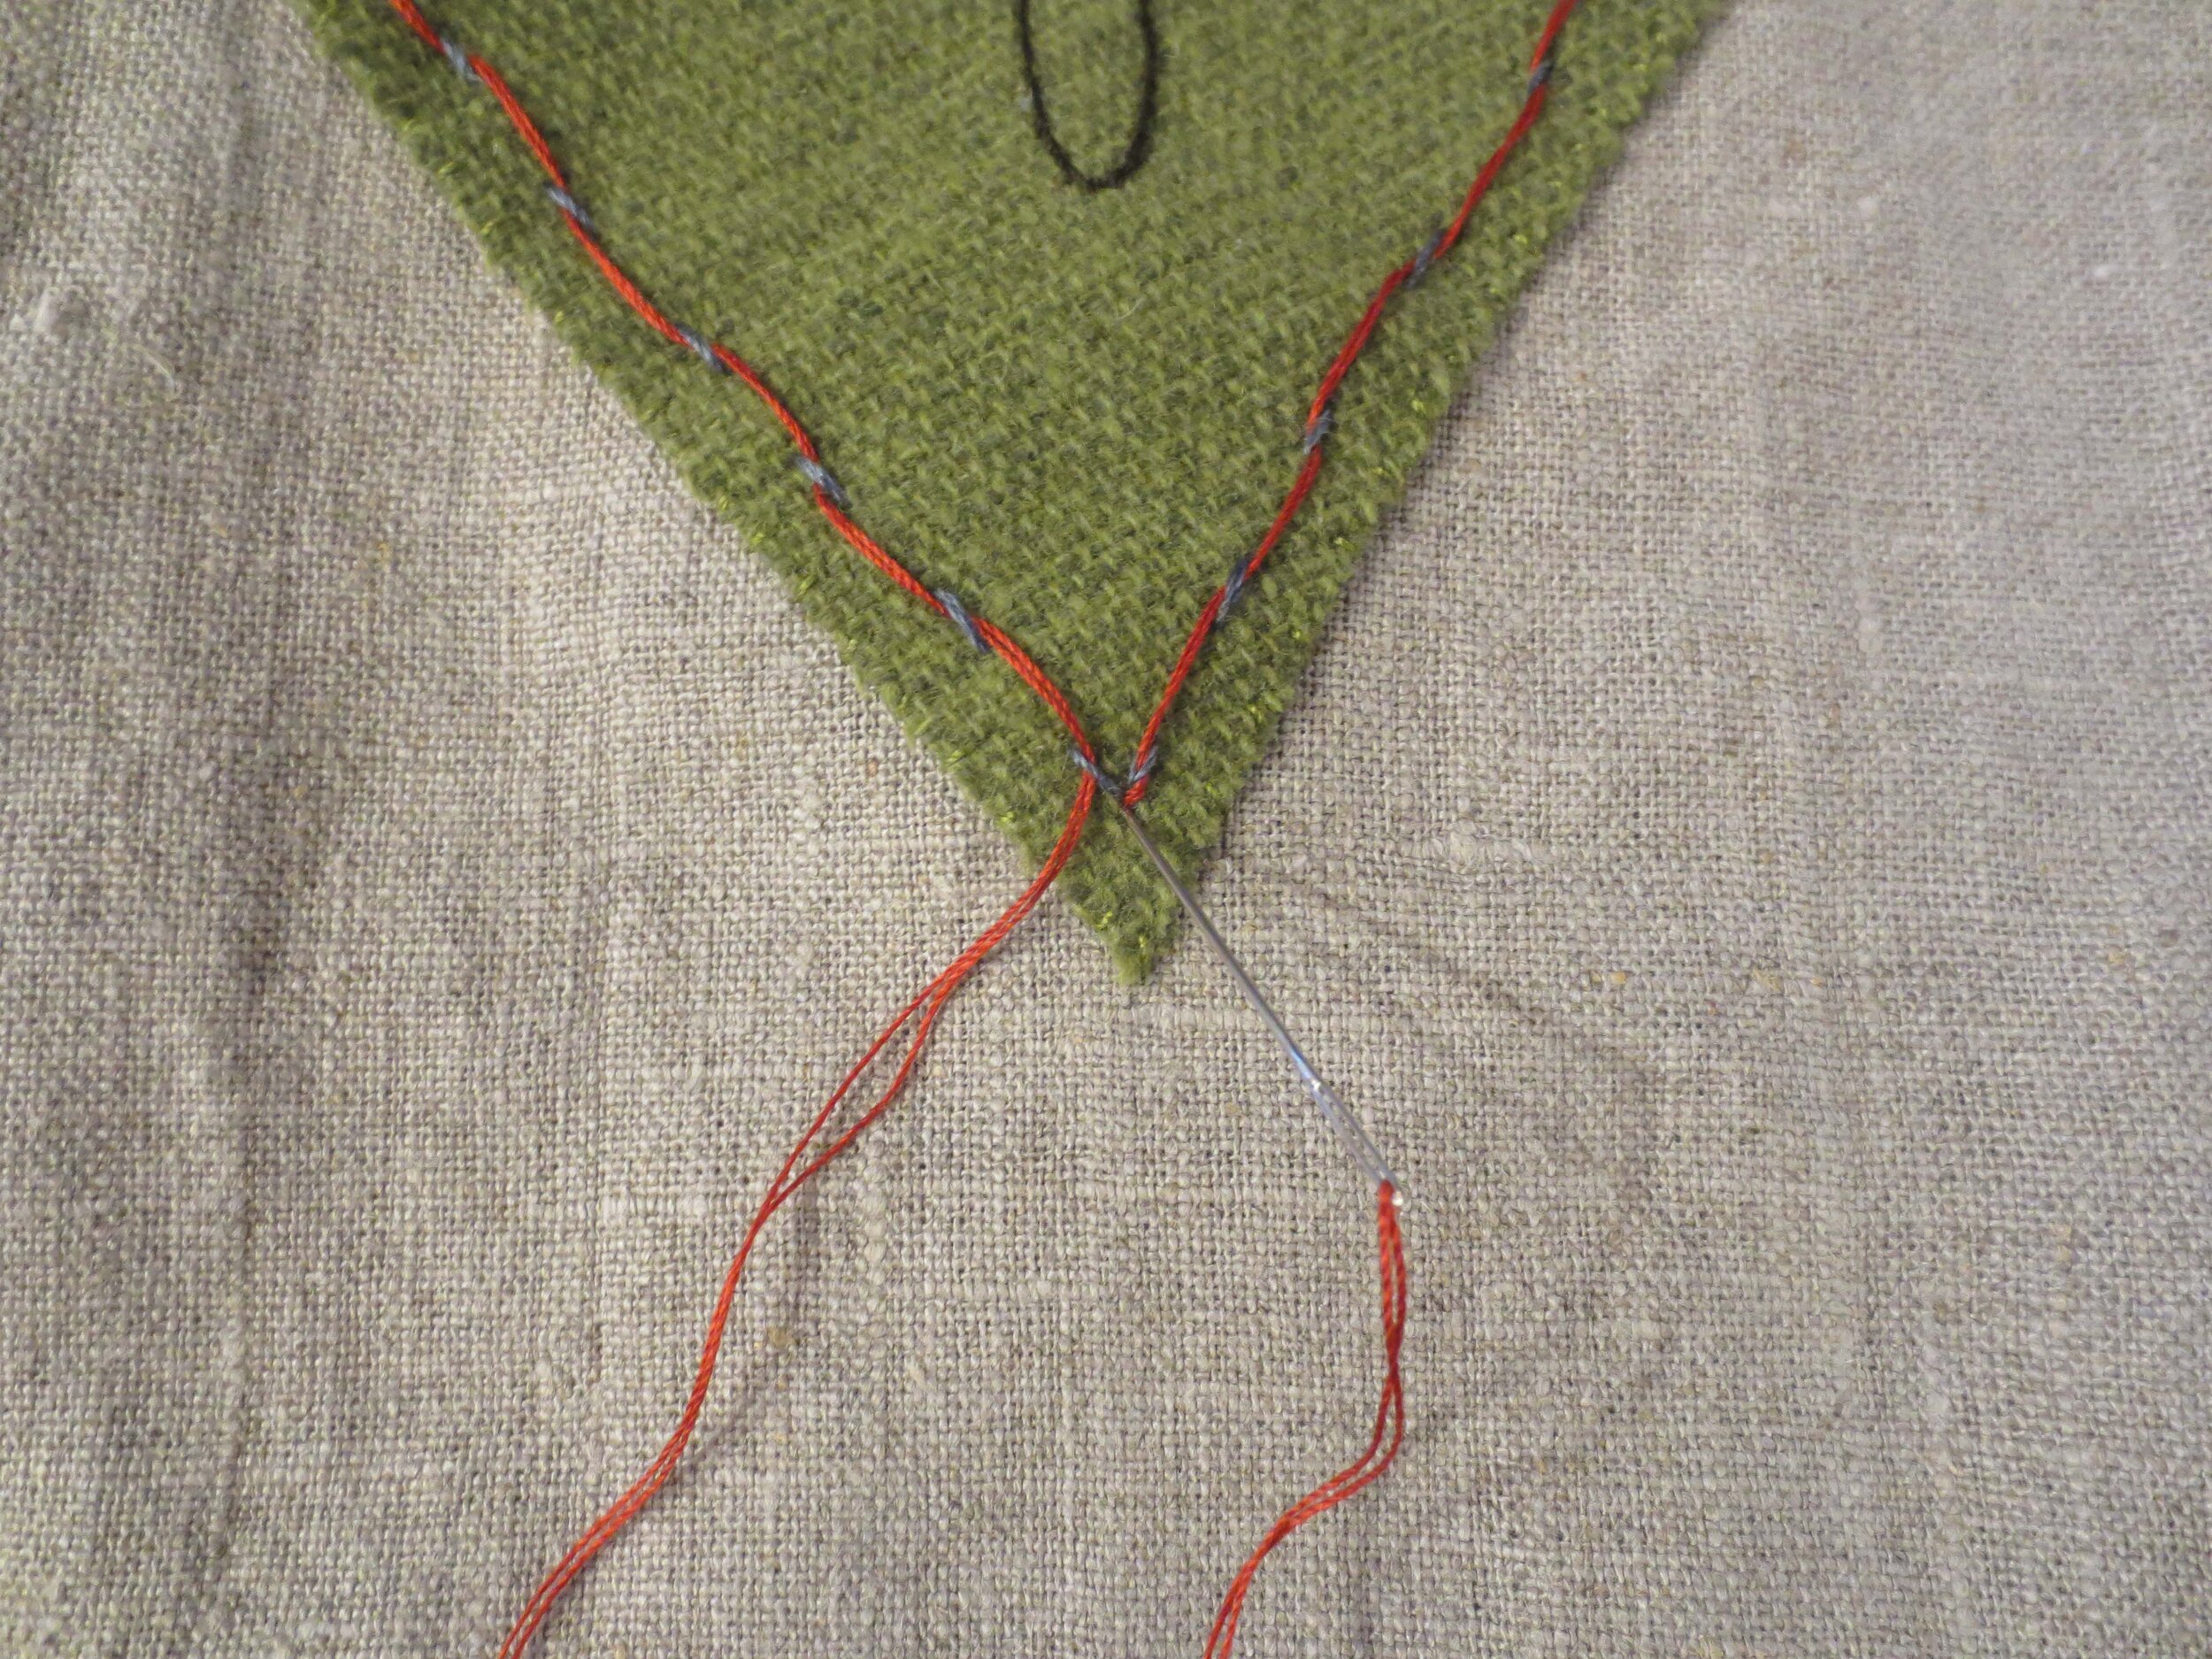
13. Use 2 strands of the same thread used to whip stitch the bird’s breast to make a threaded back stitch. Begin and end at the base of the back stitched “V” on the bottom of the heart.
14. Continue to weave in and out of each running stitch finishing at the base of the back stitched “V”.
Pillow Finishing
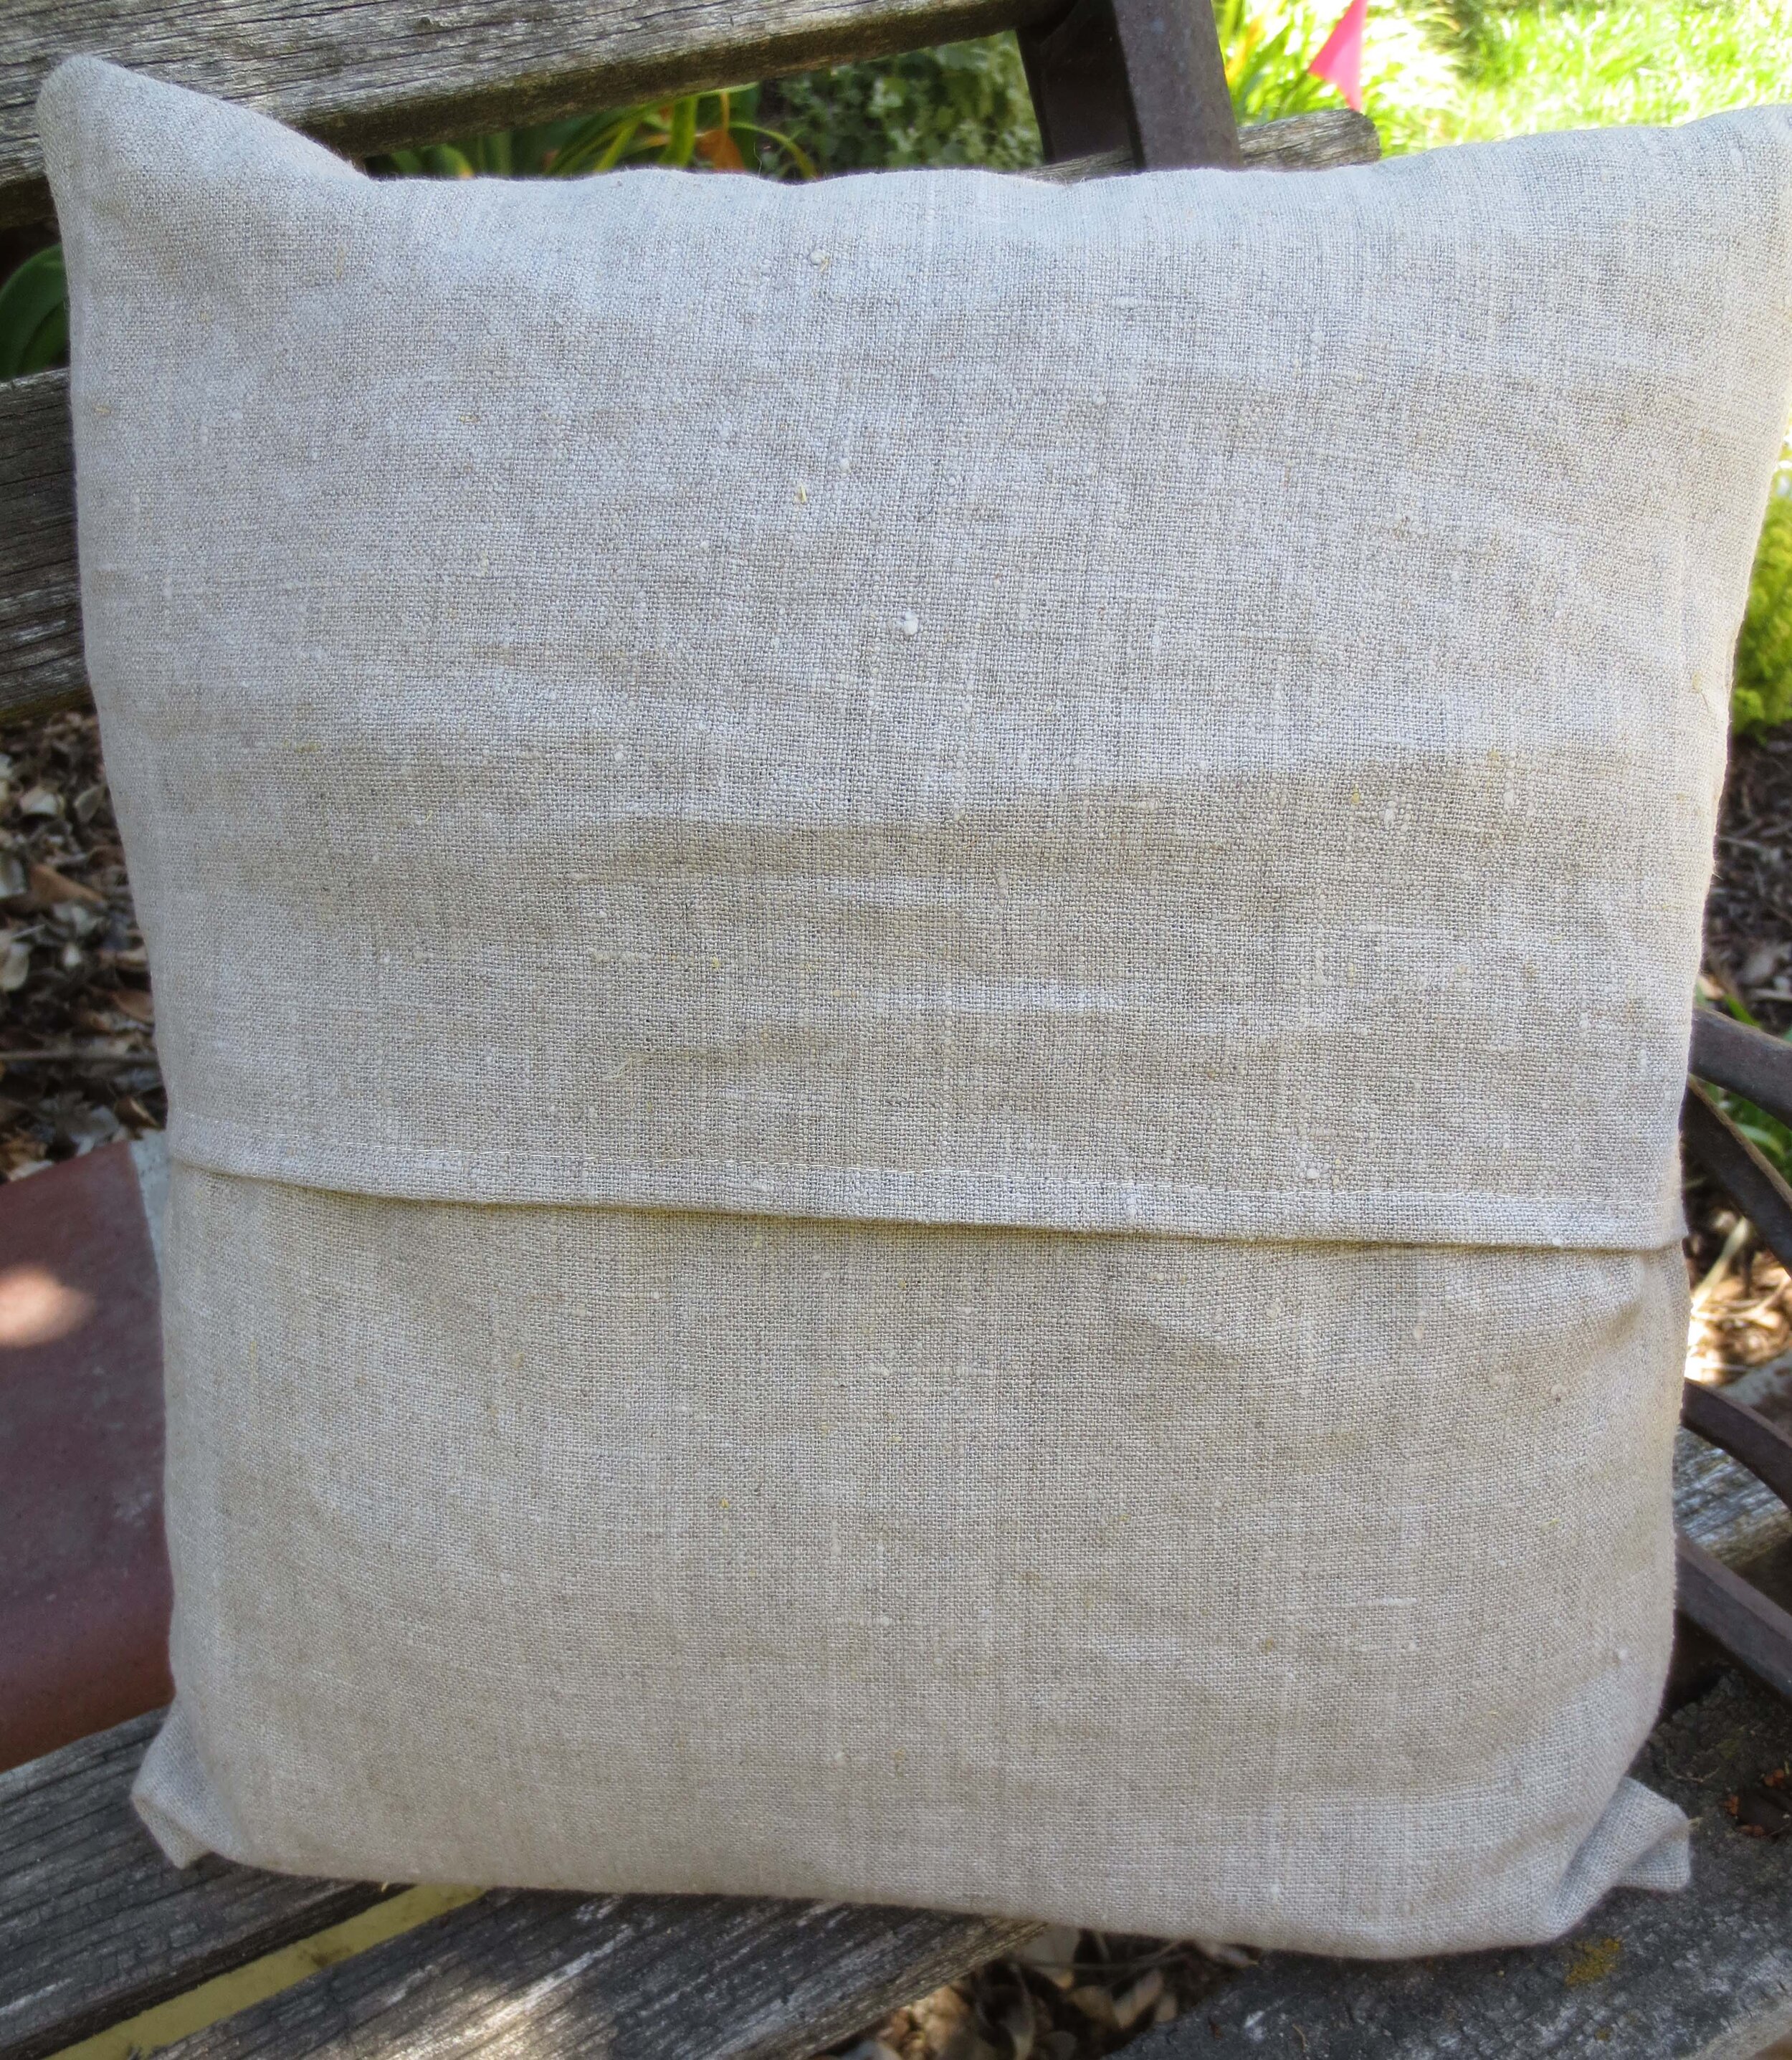
14” x 33” Envelope Method
Place the appliqued background right side up on a flat surface.
Fold the top of the fabric down towards the applique using the finger pressed line as your guide. You will be folding in the opposite direction of the finger fold.
Fold the bottom of the fabric up so that the resulting fabric square measures 14” x 14”. Pin overlapping edges together.
Machine sew 3/8” seams on each side of the pillow to secure.
Turn inside out and then insert pillow form. Voila!
14” x 14” Standard Method
Layer front and back of the pillow right sides together. Pin to secure.
Machine sew all four sides with a 3/8” seam leaving a 5” opening on one side for turning.
Turn it inside out. Press if needed, and then insert pillow form through opening.
Whip stitch opening closed.


