BIRDS OF A FEATHER BOM - BLOCK #5
Being a mother means that your heart is no longer yours; it wanders wherever your children do.
George Bernard Shaw
Block #5 is a tribute to mothers everywhere. It’s a relatively simple block with minimal embroidery, so it should be a quick project. Instead of wool for the nest interior I suggest you use fabric to reduce bulk and to add a little pop of color to your design. Maybe a little Kaffe Fassett, or Tula Pink fabric might give your nest a designer feel. I hope you’ll have fun stitching it up.
If you are just joining the BOM you will find general information about block size, and supplies needed on the blog post for block #1. The information that follows is for block #5 only.
Let’s begin.
Supplies for Block #5
Fabric Requirements -
Background - 9” x 9” square of quilter’s cotton or cotton/linen blend
Nest interior - 2” x 3 1/2” piece of coordinating colored quilter’s cotton
Wool Requirements - Suggested colors
Branch - 4’ x 7 1/2” greenish gray houndstooth
Nest - 2 1/2” x 4” brown, rust, beige plaid ( you will need more if you cut your pattern at a diagonal)
Bird Body - 2 1/2” x 5 1/2” dark rust brown
Bird wing - 2” x 3” rust and black stripe
Bird breast - 1” x 2” orange plaid
Leaves 1, 3, 4, 5 - 4 1/2” medium yellow-green
Leaves 2 & 6 - 3 ” square light yellow-green
Chicks - 2” square golden orange tweed
Thread Requirements - Suggested colors
Embroidery floss or perle cotton, size 12 in colors that match your wool colors - This will be used to whip stitch your wool in place.
Embroidery floss or perle cotton, size 12 in variegated bright green - Worm & veins of leaves
Embroidery floss or perle cotton, size 12 in burnt orange - Bird beaks
Embroidery floss or perle cotton, size 8 in dark brown - Bird’s legs & eyes of chicks
Embroidery floss or perle cotton, size 12 in dark gold - mama robin’s eye, wing, tail and breast embellishments
Instructions
Trace the reverse image of the pattern onto fusible web, and then cut out leaving a small (1/8”) border around each piece.
Fuse patterns onto designated wools, and then cut out along traced lines.
3. Lay out the branch, nest, nest interior, chicks and mama robin’s body using the layout as a guide. I used my light box for accurate placement.
4. Fuse these wool pieces down using steam. Turn the block over and give it an additional press and blast of steam.
5. Whip stitch all the pieces down using 2 strands of embroidery floss or 1 strand of perle cotton, size 12 in colors that match your wool colors.
6. Use a erasable fabric marker or chalk pencil to draw the beaks of the chicks and mama robin.
7. Satin stitch the beaks with 2 strands of floss or 1 strand of perle cotton, size 12. I used a burnt orange color.
8. Use 2 strands of floss or 1 strand of perle cotton, size 12 to make the colonial knot eyes of the chicks and mama robin. I used a grey brown for the chicks. The mama’s body was too dark for a brown, so I used a dark gold for her eye.
9. Draw the worm and legs of the mama robin using the layout as your guide.
10. Use 3 strands of floss or 1 strand of perle cotton, size 8 to stem stitch to make the worm. I used a variegated green/blue.
11. Use 3 strands of floss or 1 strand of perle cotton, size 8 to stem stitch the legs and toes.
12. Position the leaves and mama bird’s wing using the layout as your guide.
13. Fuse in place using steam.
14. Whip stitch the leaves and wing in place using 2 strands of floss, or 1 strand of perle cotton, size 12 in colors that match your wool colors.
15. Draw the central vein of each leaf using a chalk pencil or erasable fabric marker.
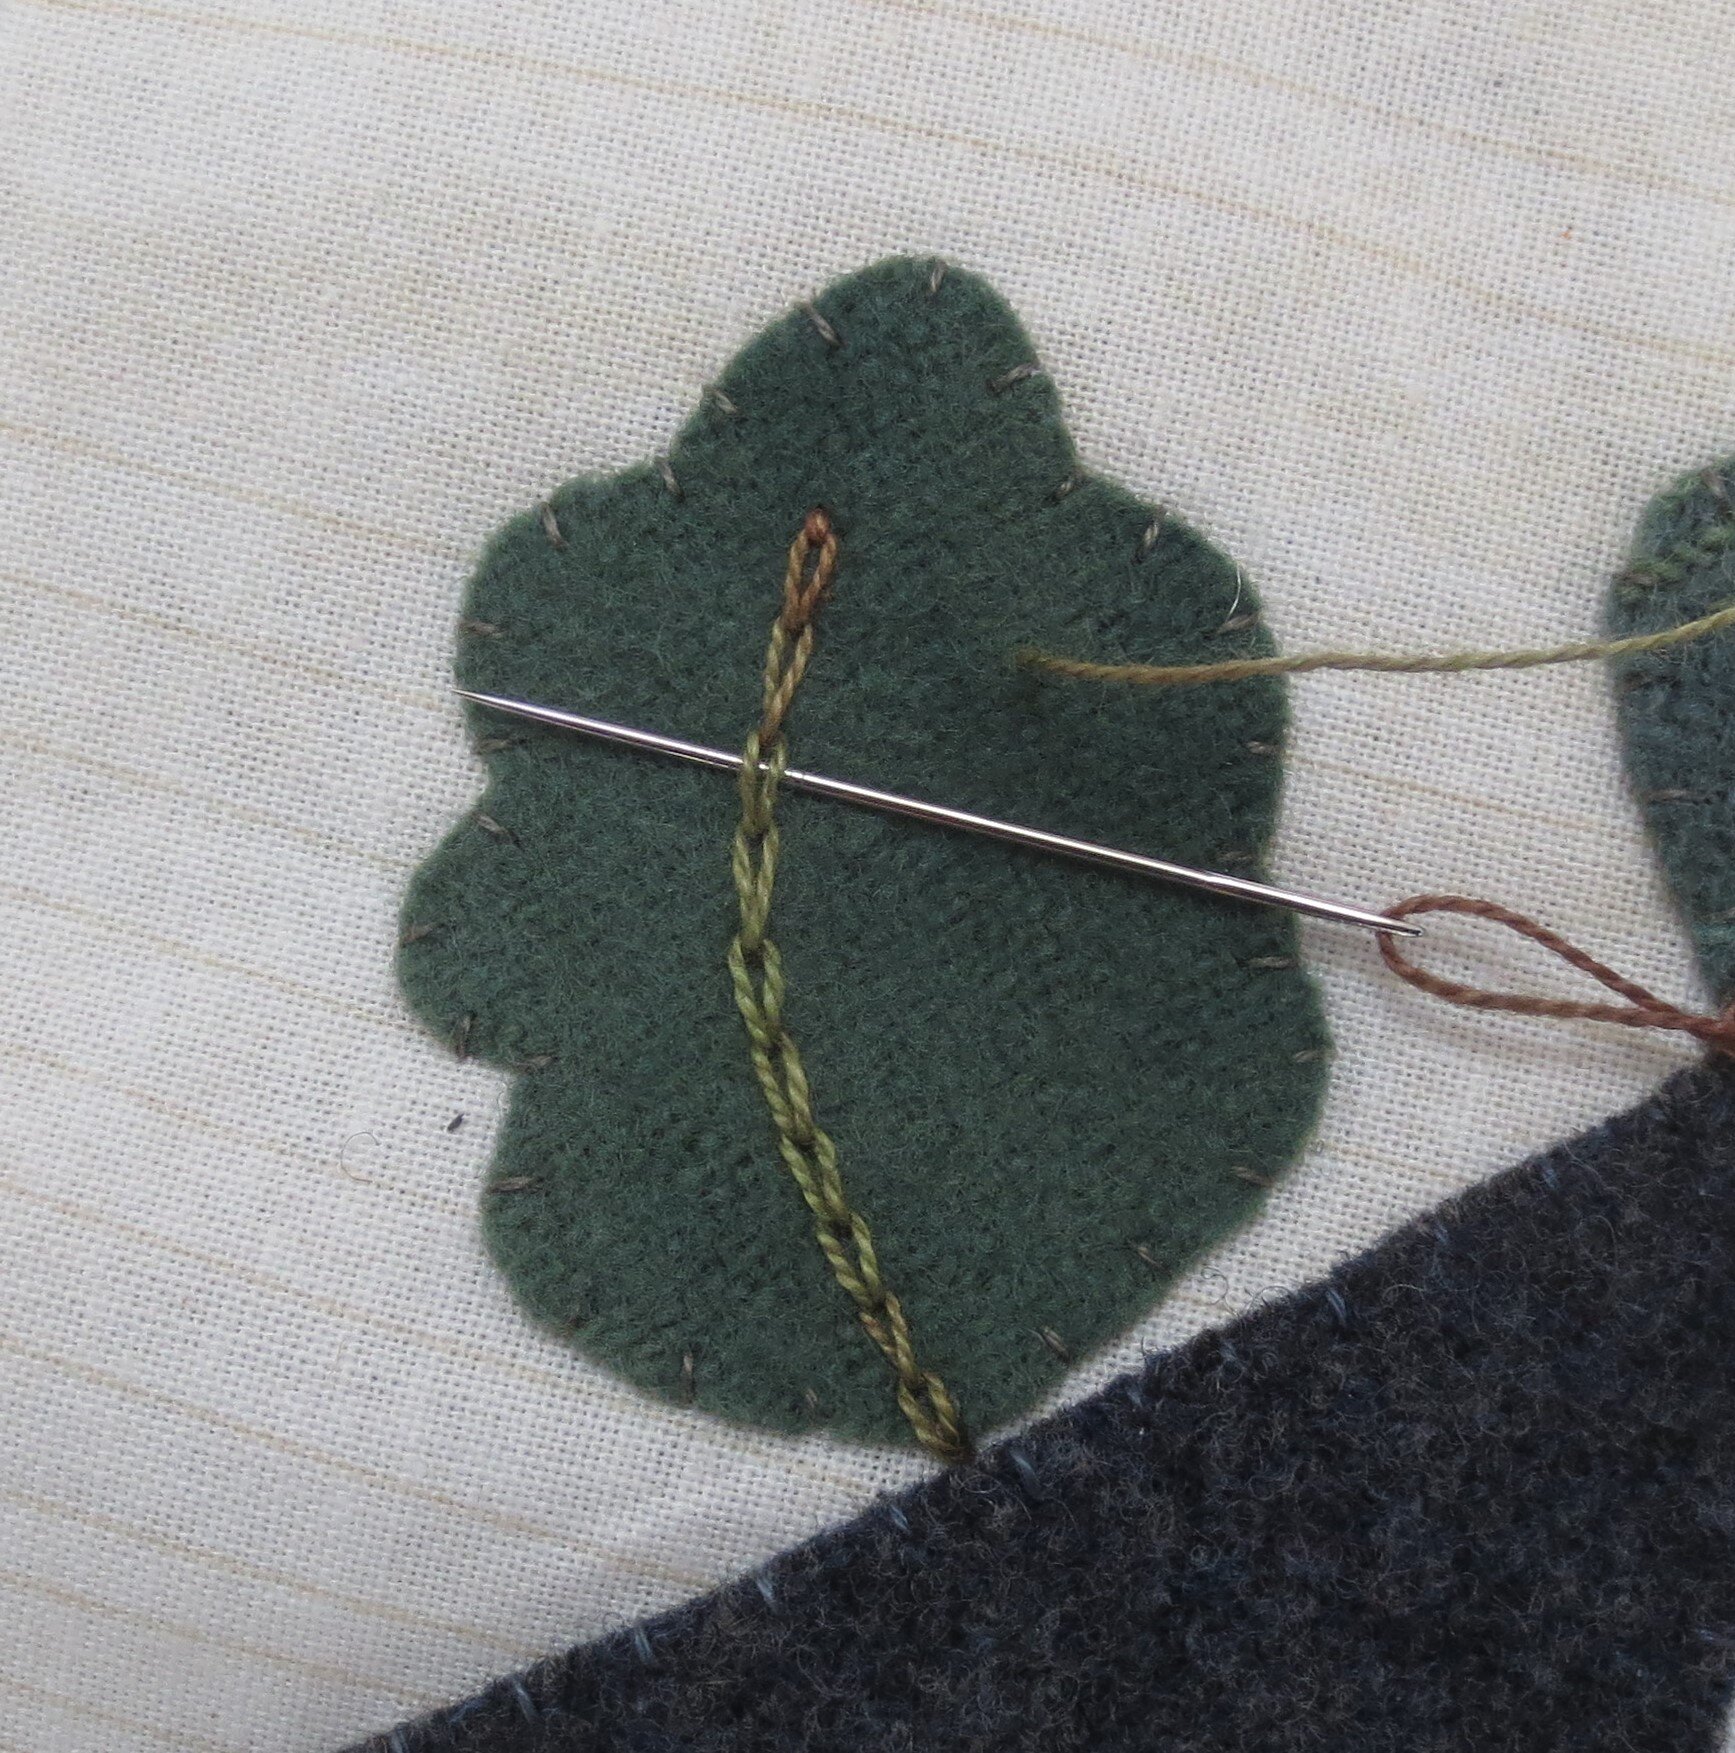
16. Use 3 strands of floss or 1 strand of perle cotton, size 8 to chain stitch the central vein. The example below is from a different color version of the same block.
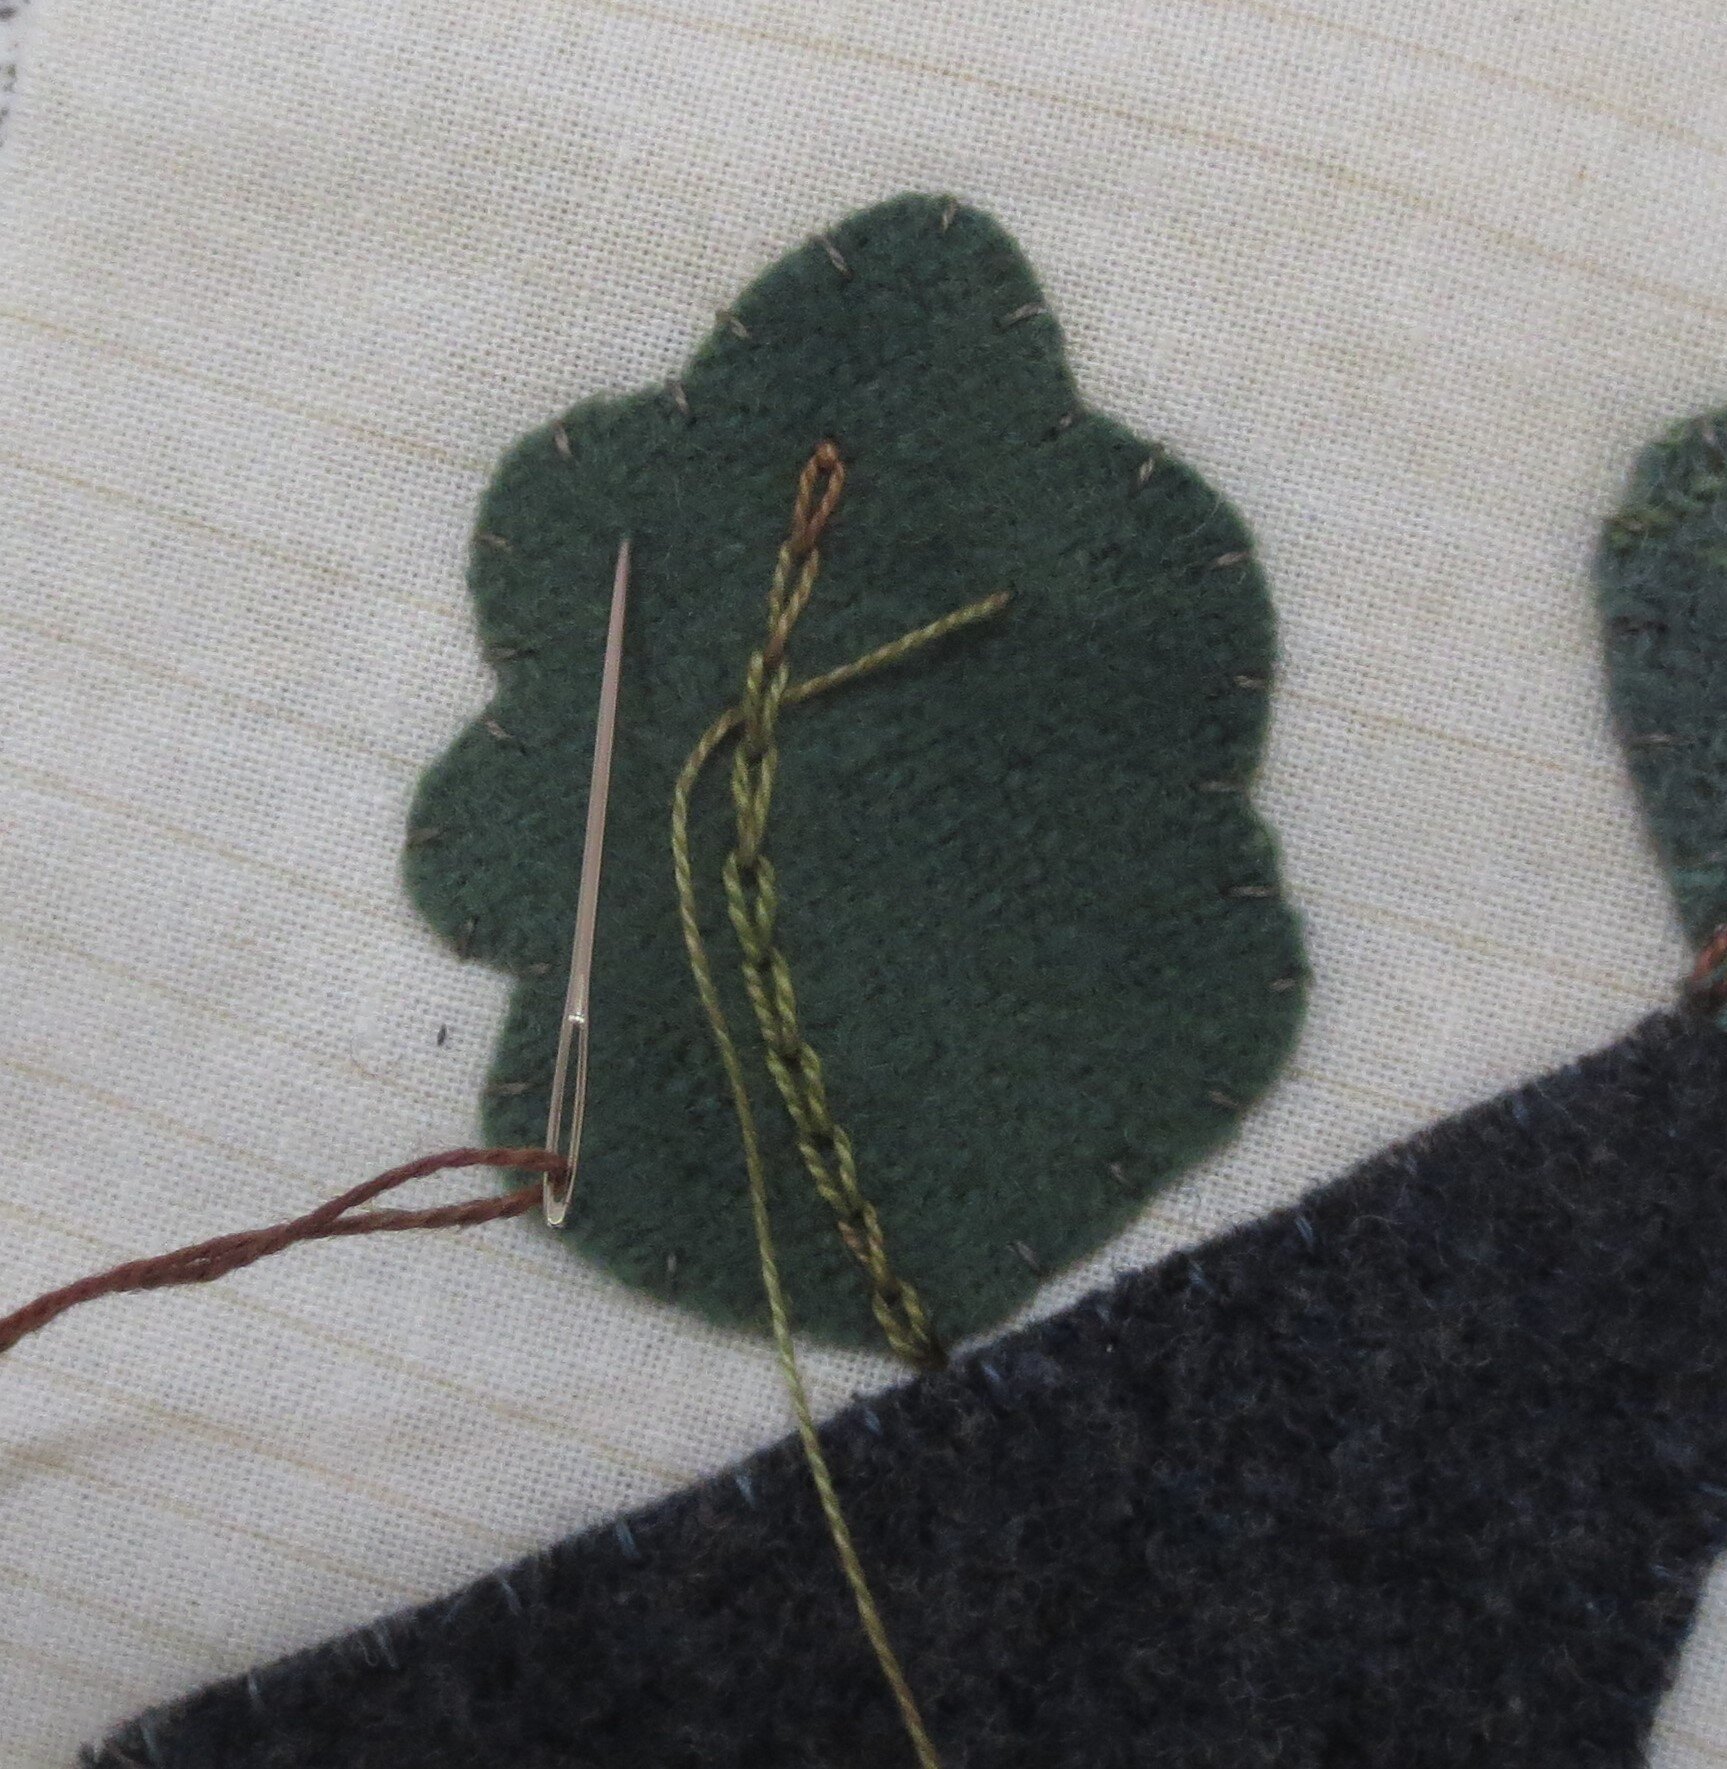
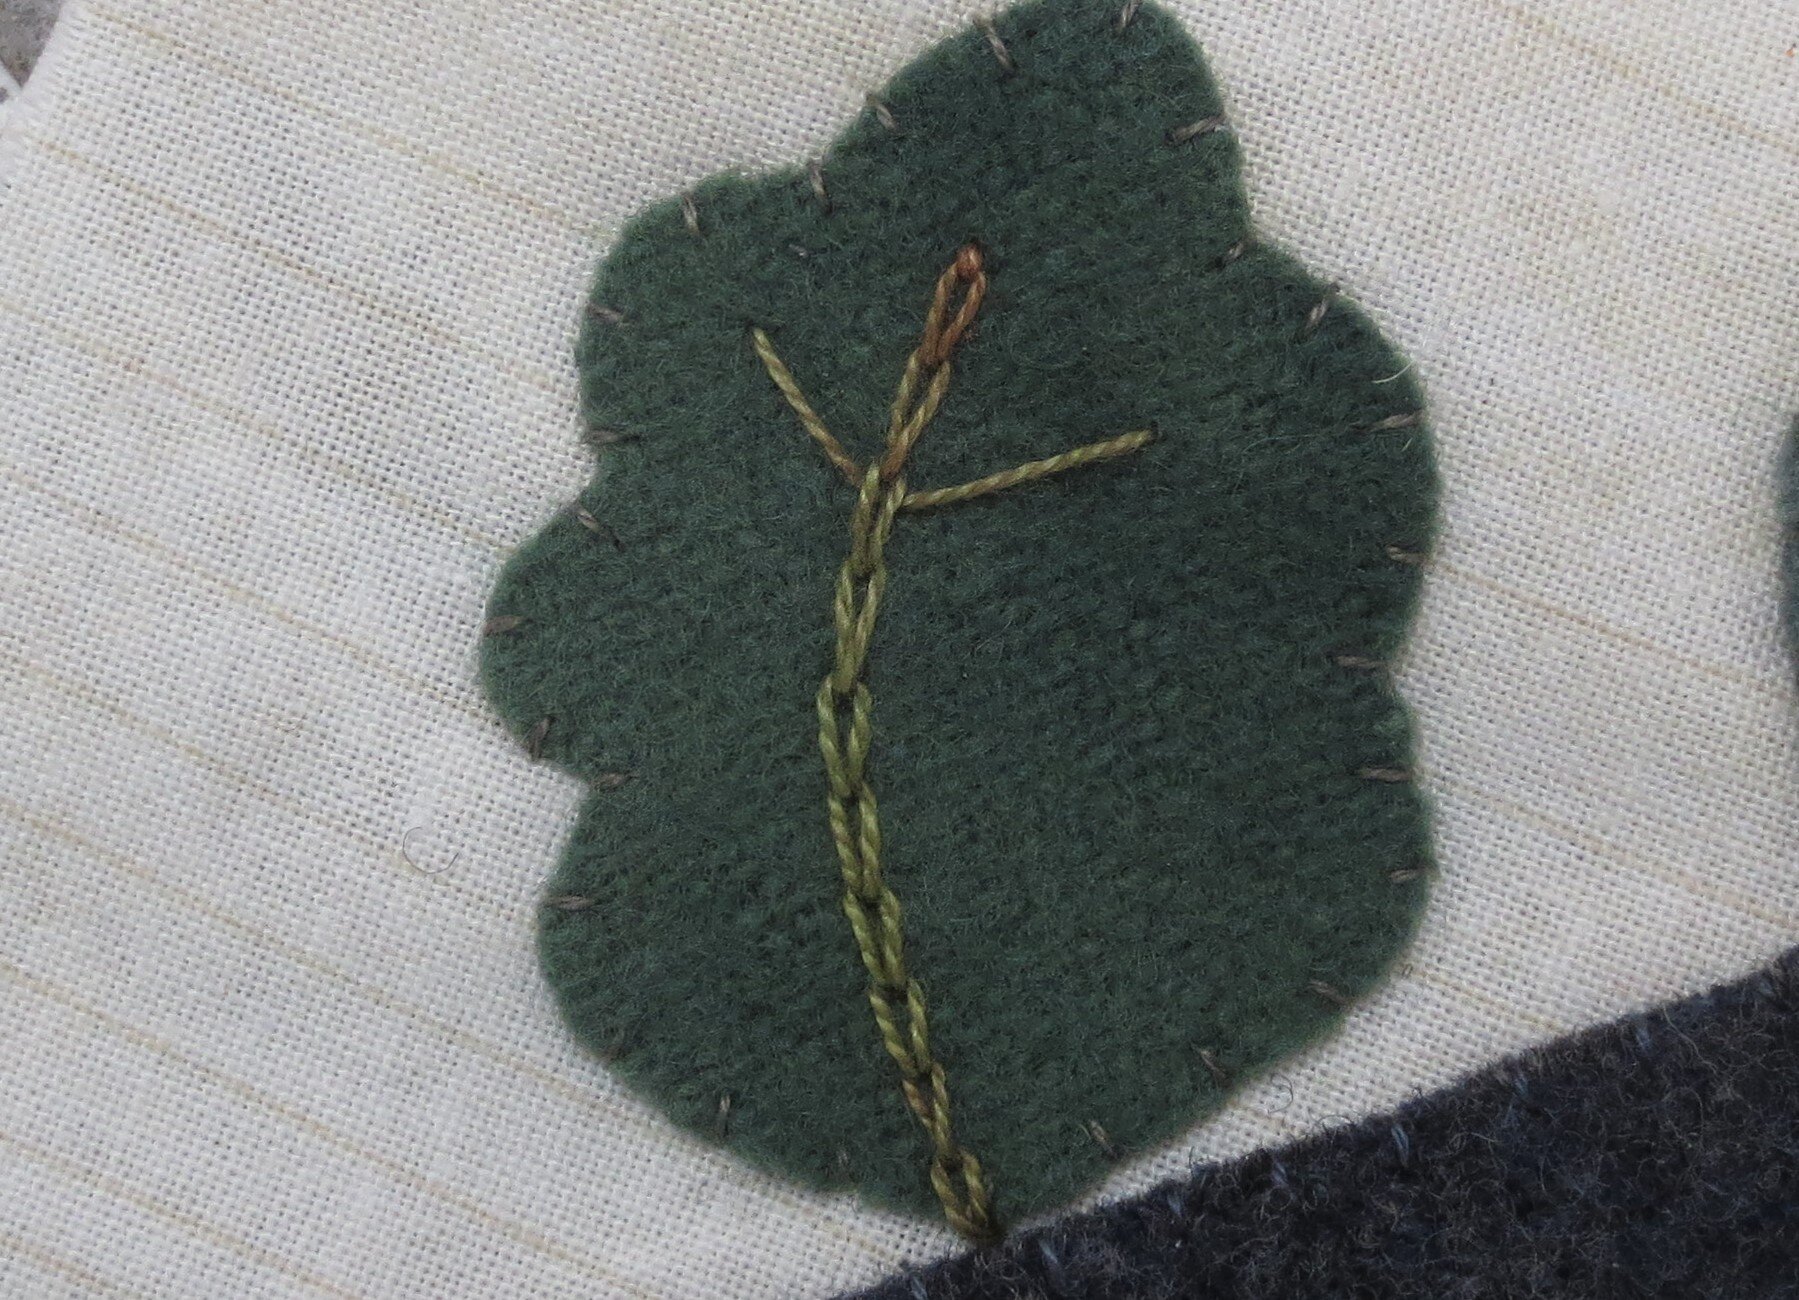
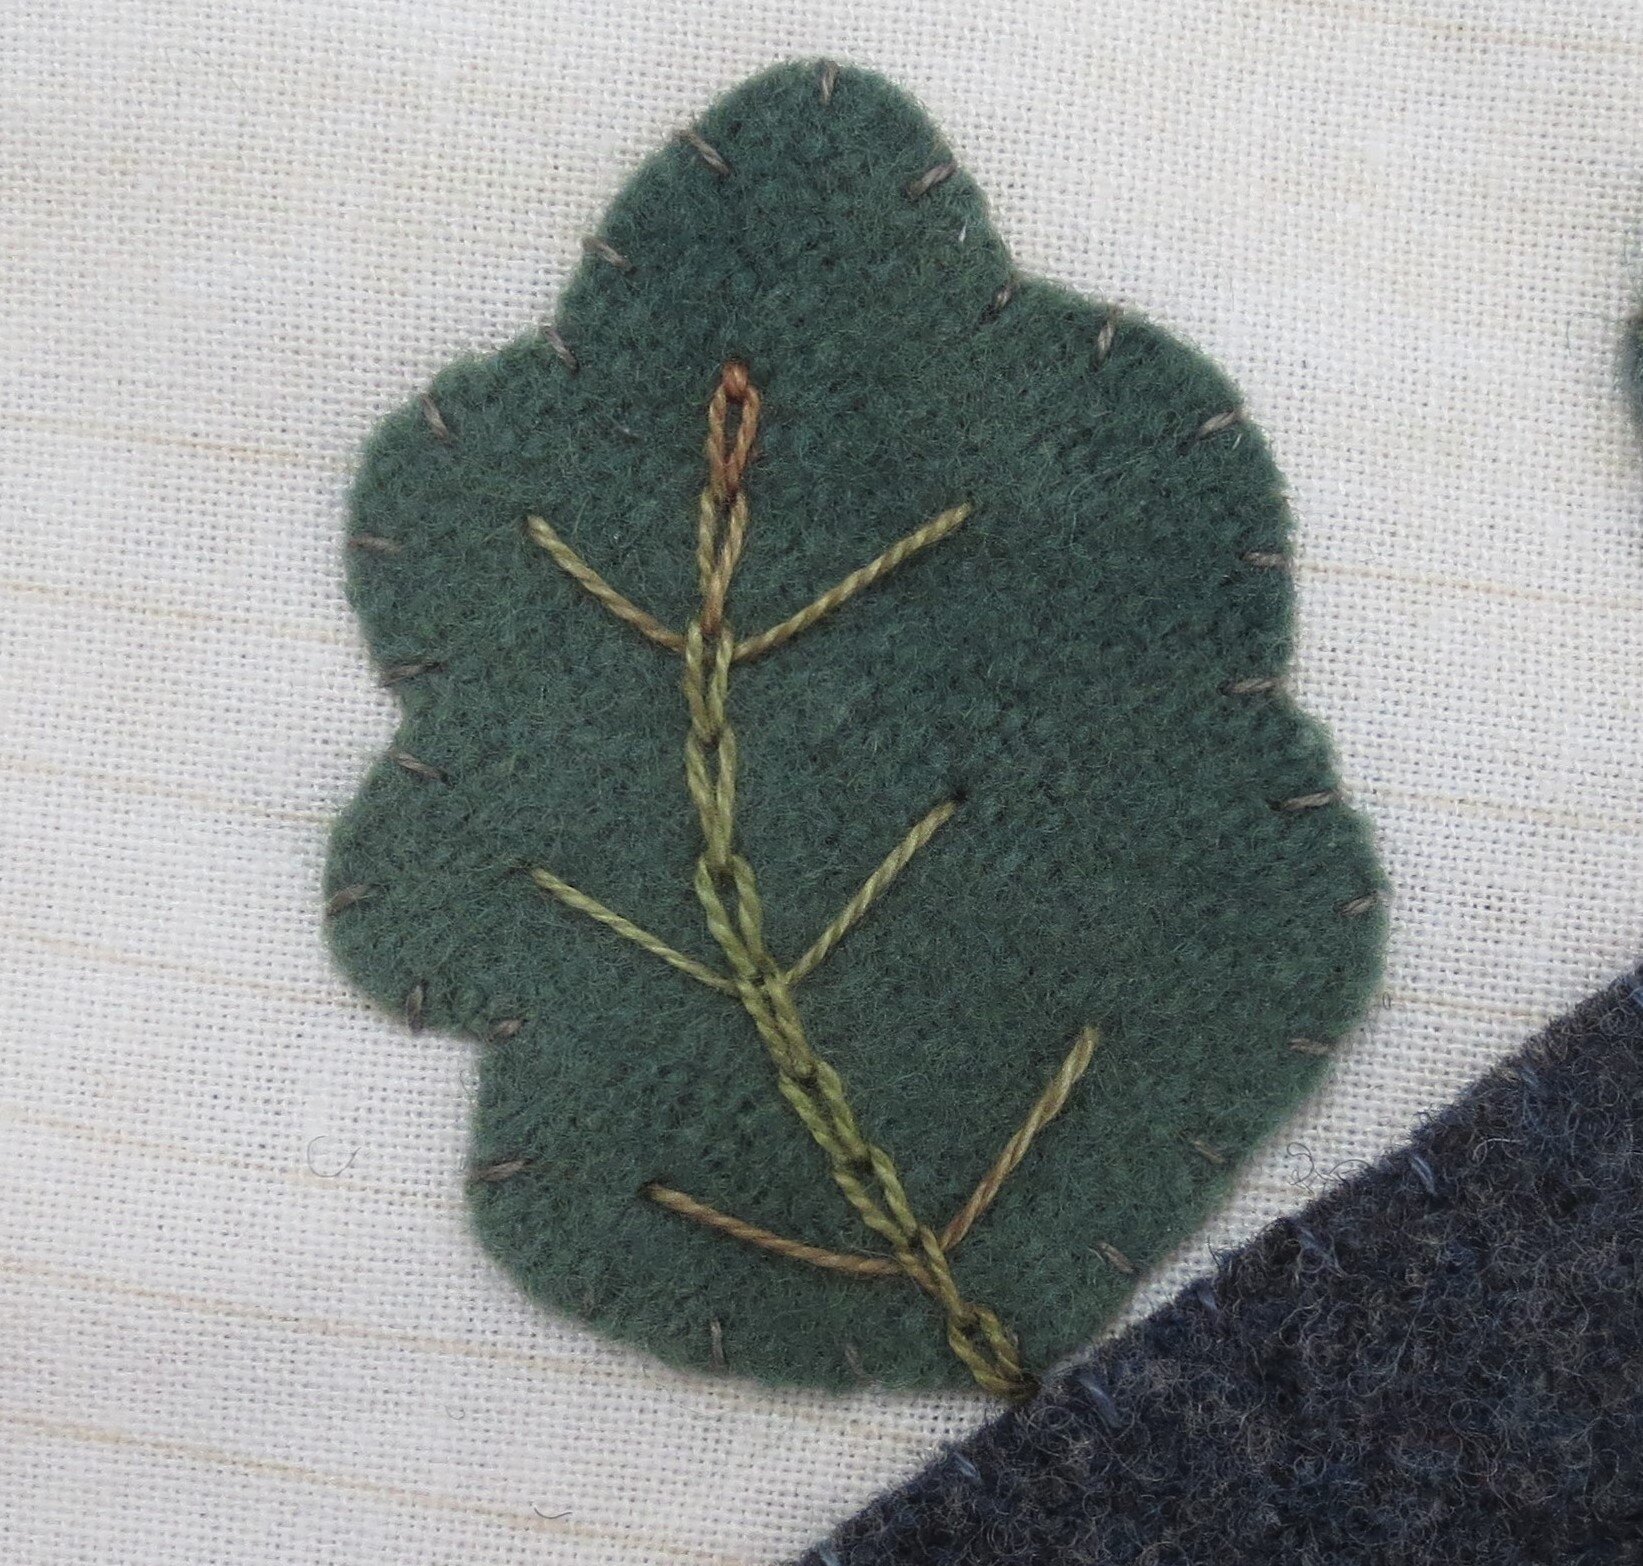
17. Use the same thread to make the side veins.
Begin by bringing your needle and thread up on one side of the chain stitched central vein, and then sliding the needle under one of the chains in the central vein.
Pull the thread through, and then insert the needle down on the other side of the vein.
Repeat for as needed for each leaf.
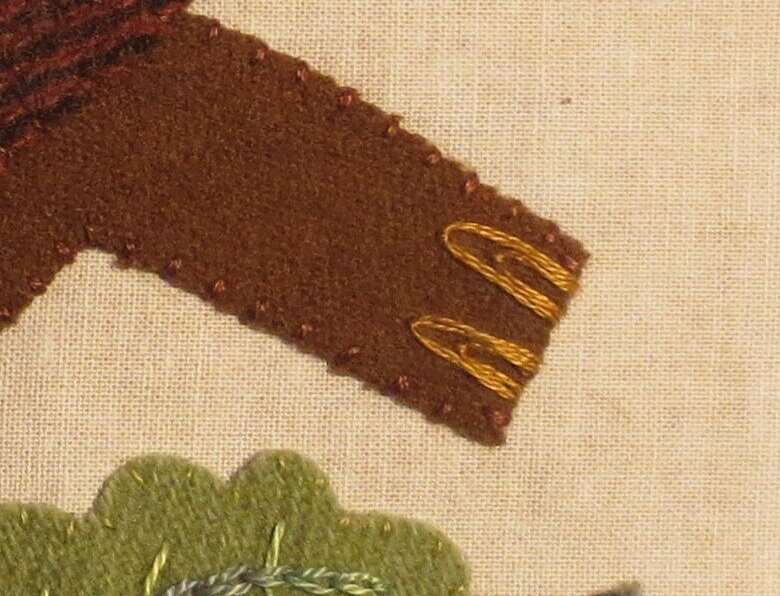
18. Draw the tail embellishments.
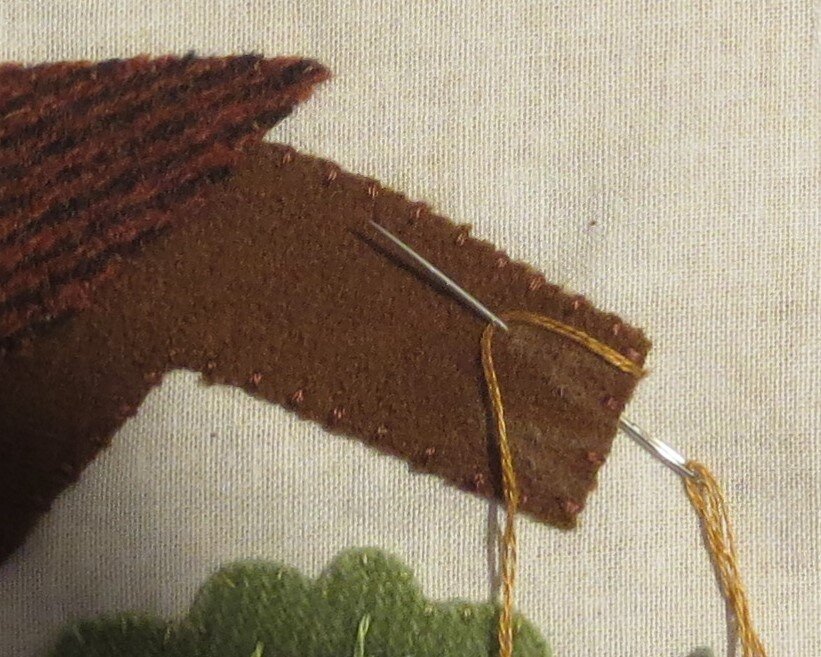
19. Use 2 strands of floss or 1 strand of perle cotton, size 12 to stitch double fly stitches over the lines. A double fly stitch is simply a smaller fly stitch inside a larger fly stitch. I used the same gold thread that I used for the mama robin’s eye.
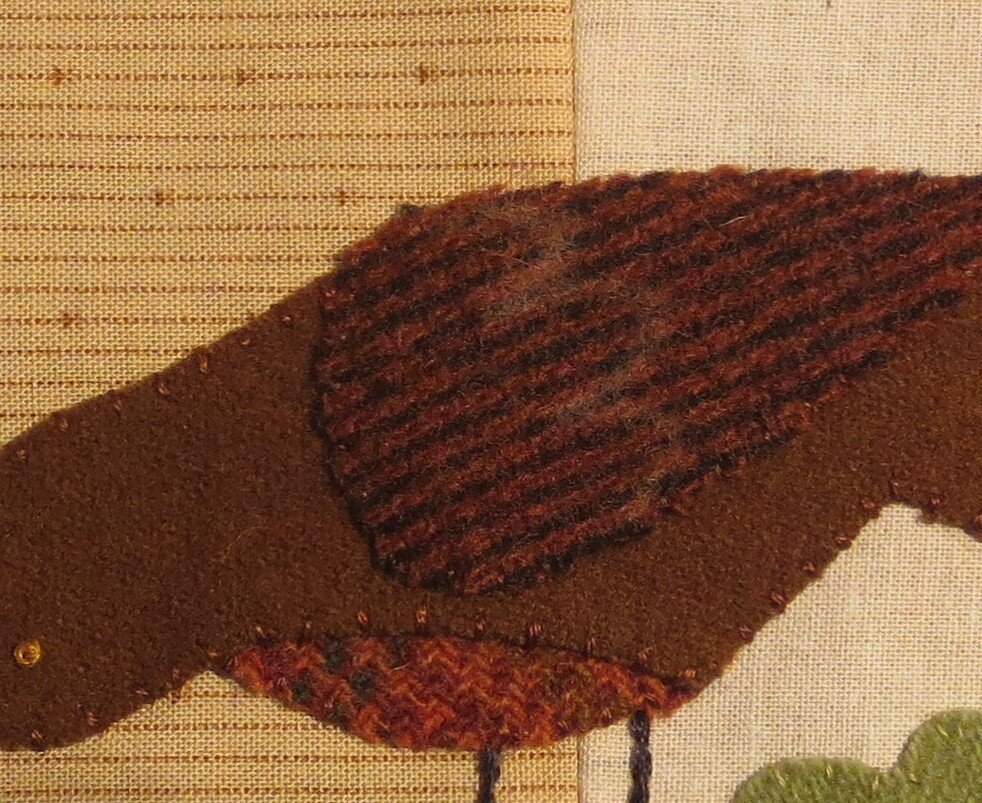
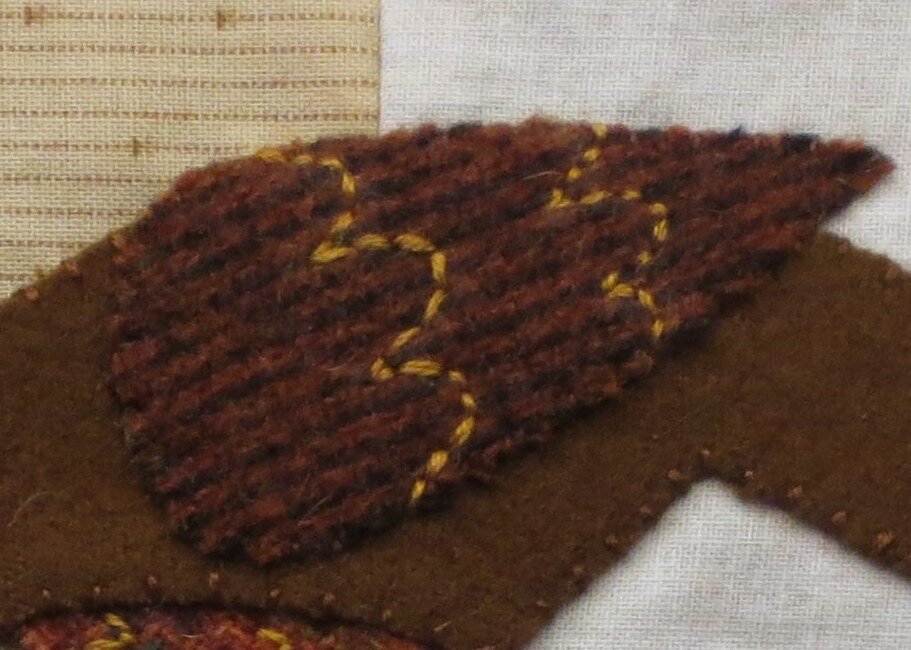
20. Draw the wing embellishments. There are actually 2 embellishments, but I only one in this photo.
21. Back stitch over the lines using 3 strands of floss or 1 strand of perle cotton, size 8.
22. Using the same thread, make 4 small fly stitches on the mama bird’s breast.
Block # 5 is complete!


