BIRDS OF A FEATHER BOM - BLOCK #9
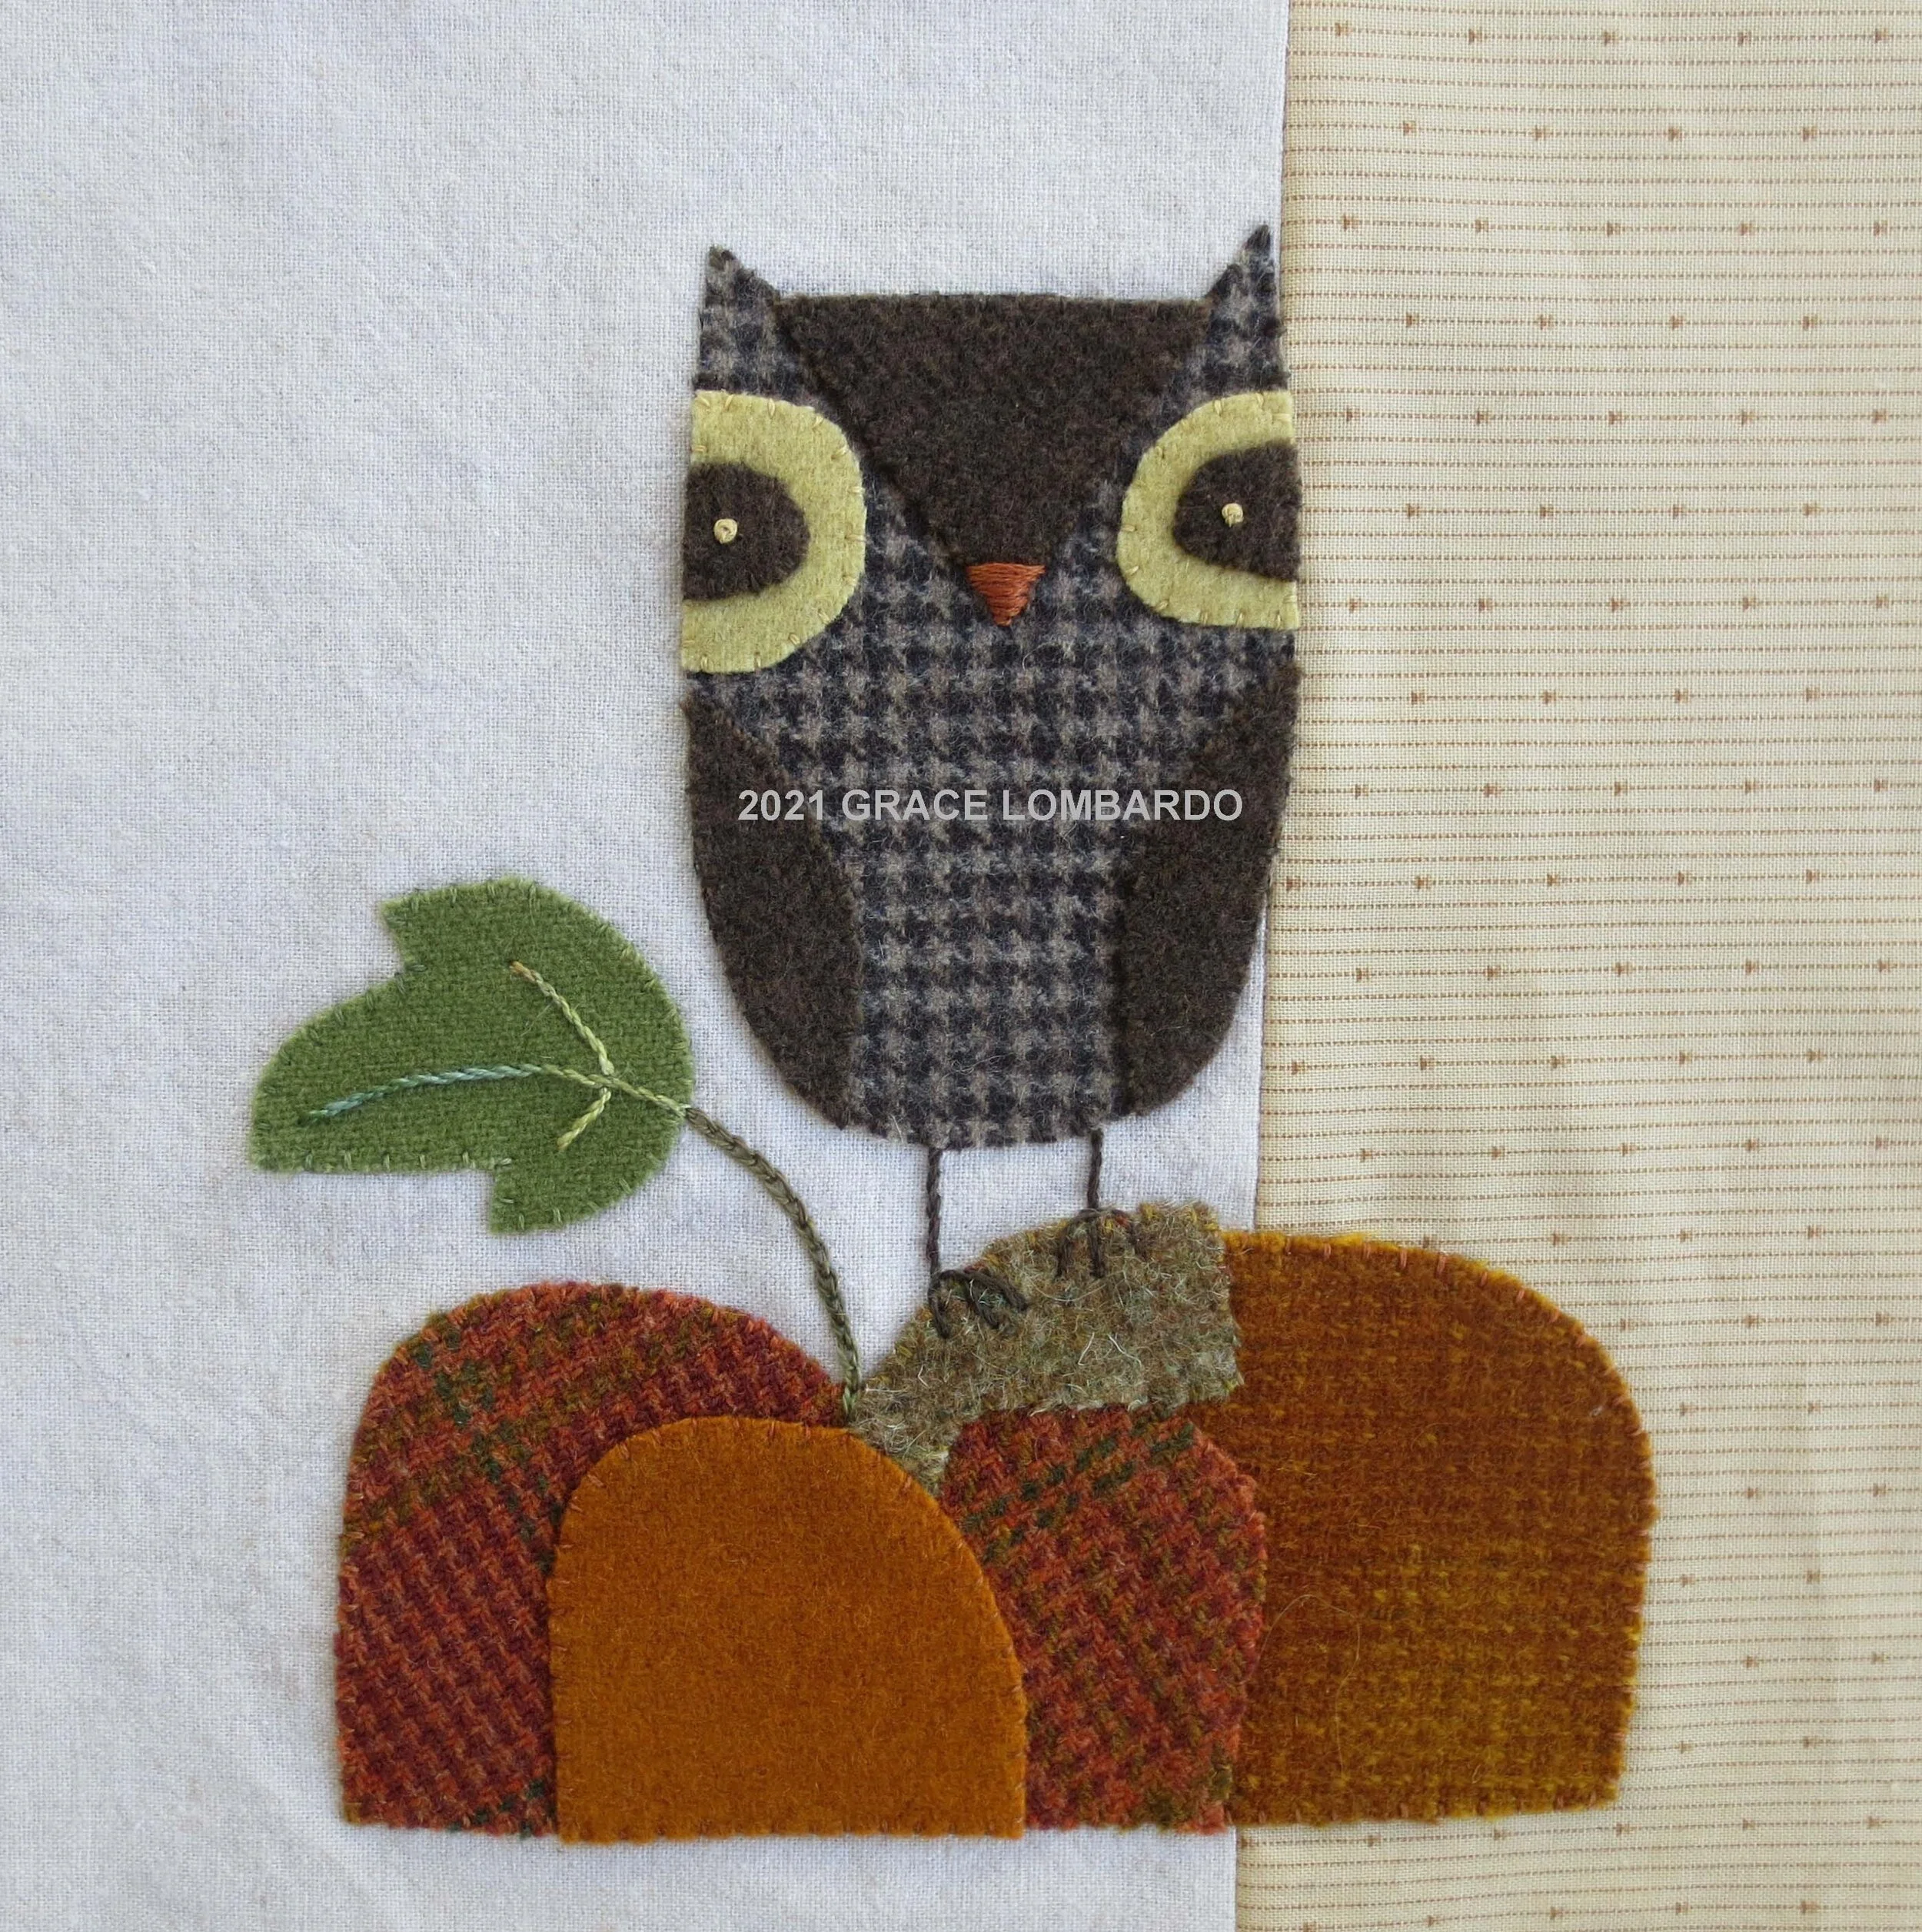
It’s the last block in our 9-block quilt! Yay! Fall is the time of pumpkins, changing leaves and cute little owls. This was actually the first design I came up with when I designed the blocks for this quilt. It’s my favorite of all the blocks. I hope you enjoy it too.
I have designed a top and bottom border applique, so we are not done yet my friends. It will be included in the next post. So stay tuned.
If you are just joining the BOM you will find general information about block size, and supplies needed on the blog post for block #1. The information that follows is for block #9 only.
Let’s begin.
BIRDS OF A FEATHER BLOCK #9 LAYOUT AND PATTERN
Fabric Requirements
Background fabric - 9” square of quilting cotton, or linen cotton blend
Wool Requirements - Suggested colors
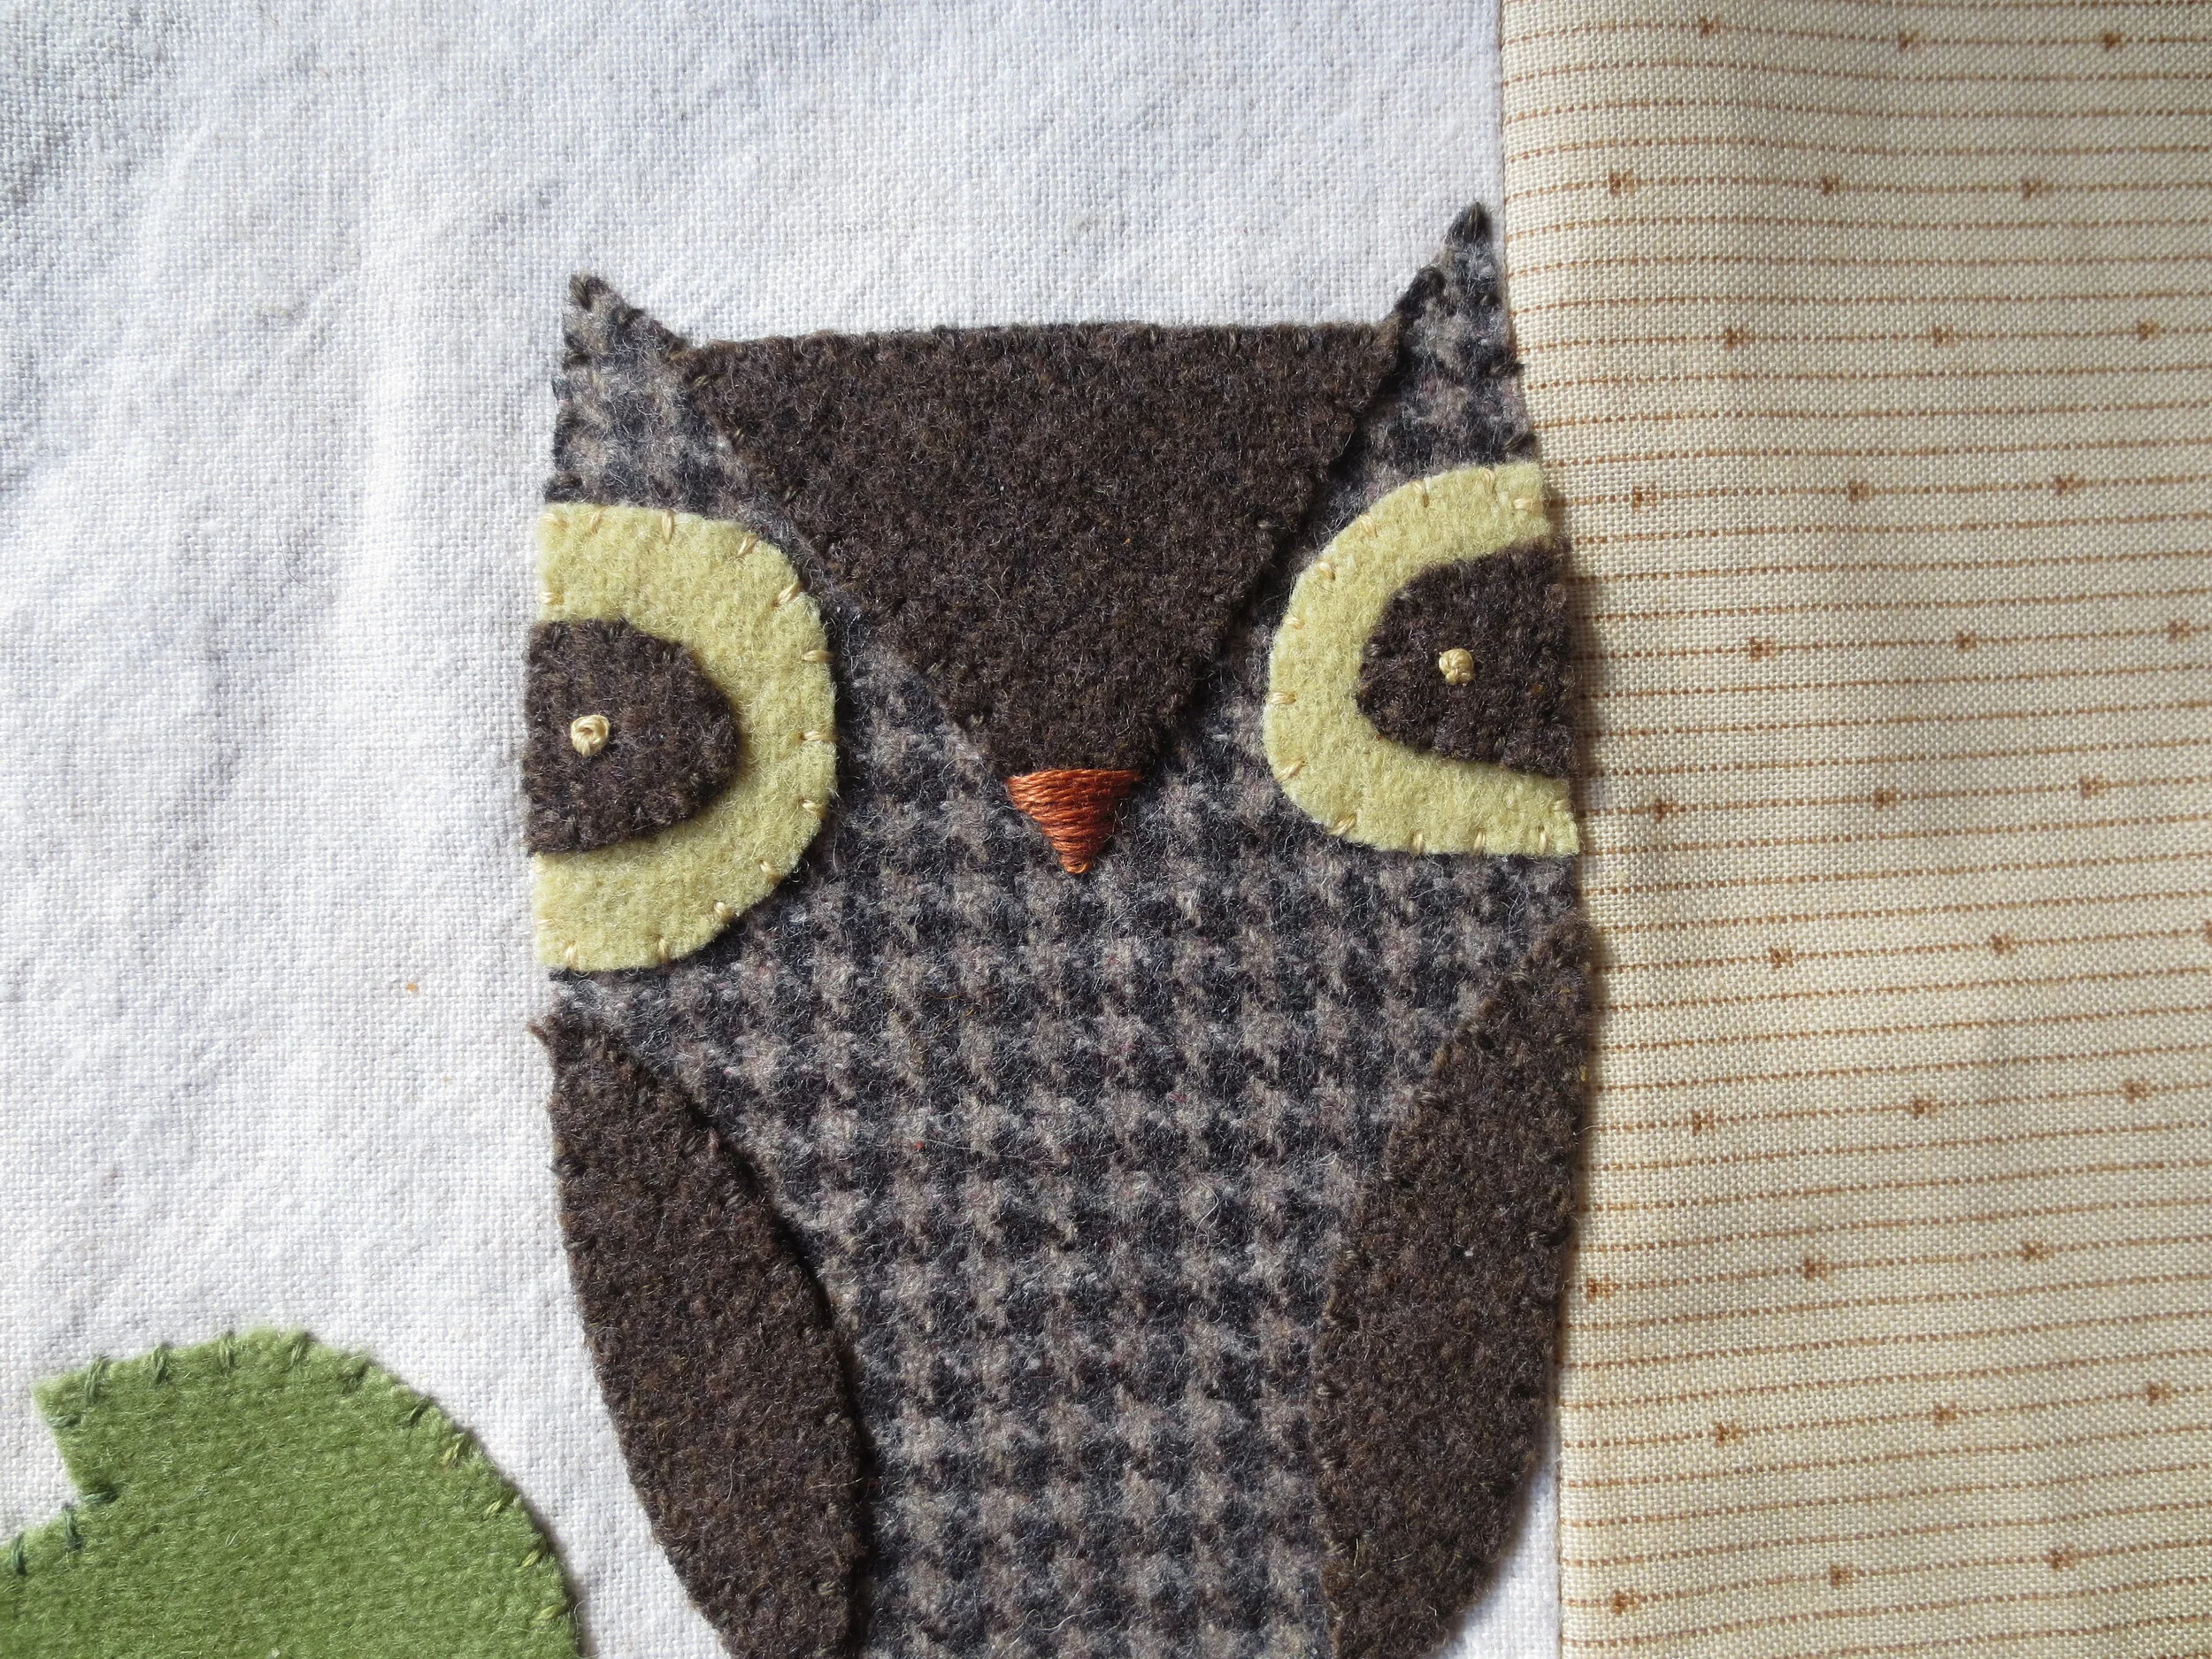
Owl body - 3 1/2” x 4 1/2” brown and tan houndstooth
Owl forehead, eyes and wings - 2 1/2” x 4” dark brown
Outlines of eyes - 2” x 2” butter yellow
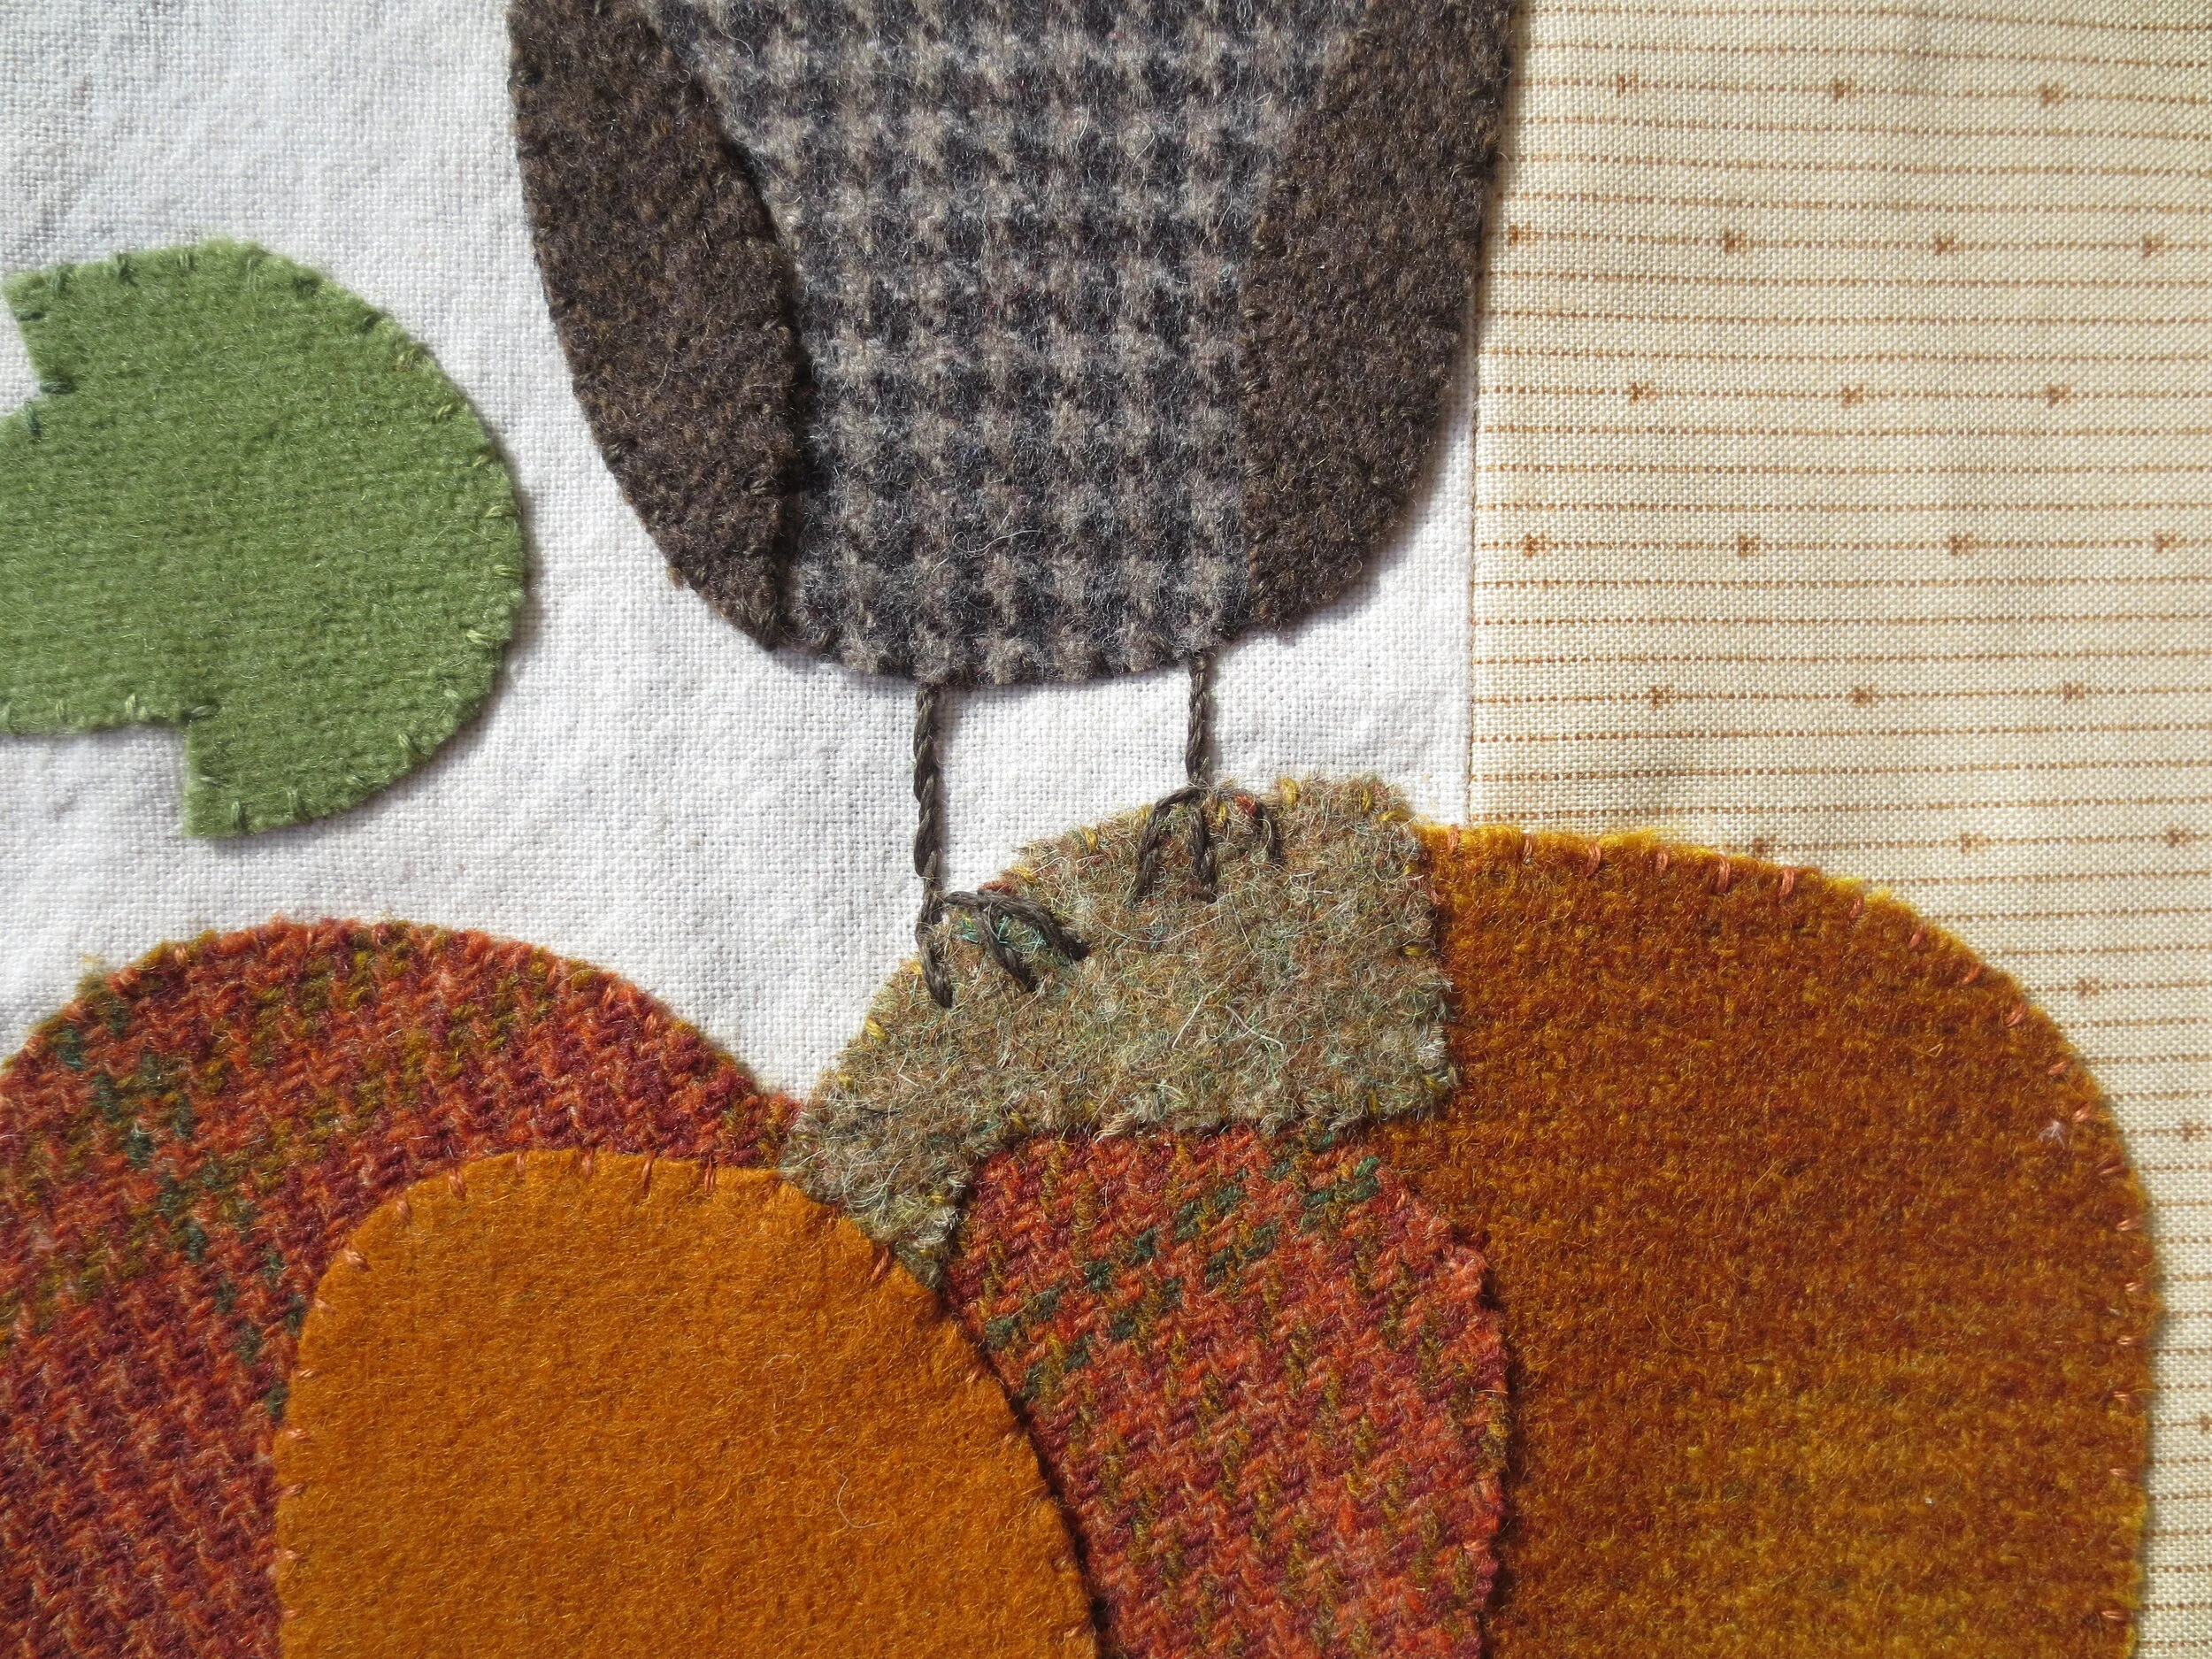
Pumpkin part A - 3 1/2” burnt orange check
Pumpkin part B - 3” x 4 1/2” burnt orange and dark green plaid
Pumpkin part C - 2 1/2” x 2 1/2” orange
Stem - 1 1/2” x 3” Old gold plaid
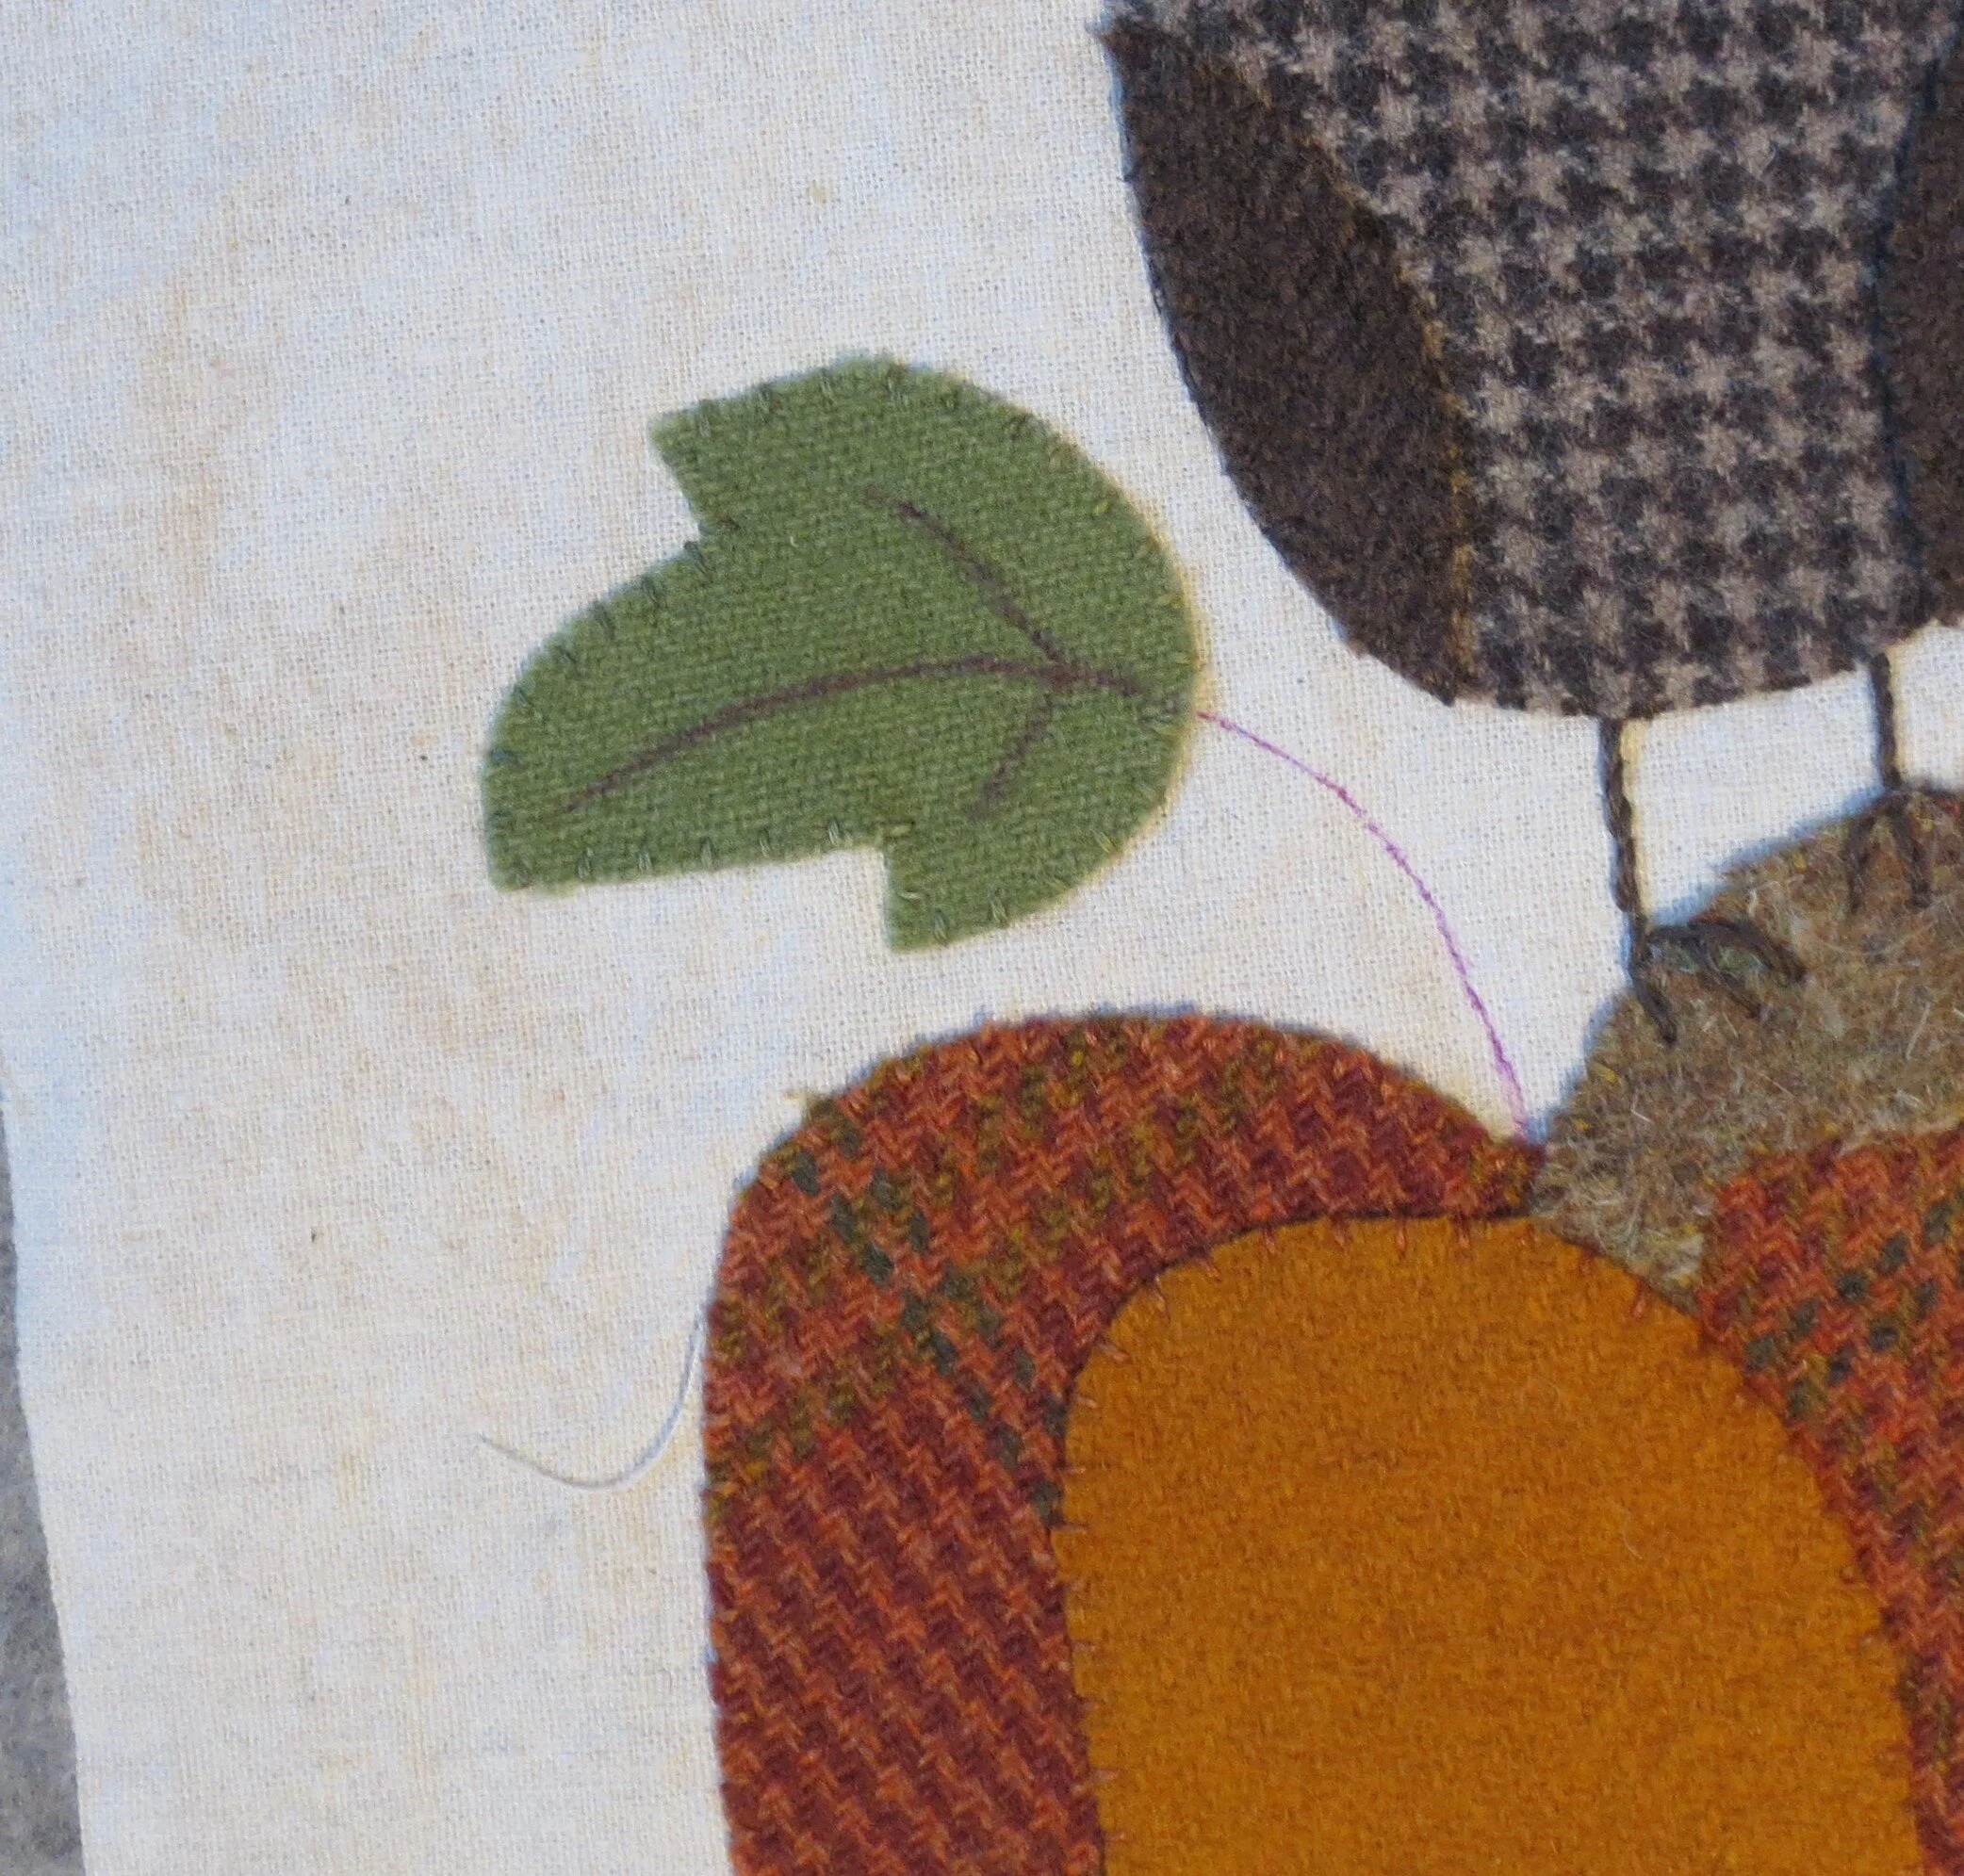
Leaf - 2” x 2 1/2” medium yellow green
Thread Requirements - These are suggested colors based on the colors of my wool. Your thread colors will vary depending on your wool colors.
Embroidery floss or perle cotton, size 12 in colors that match your wool colors.
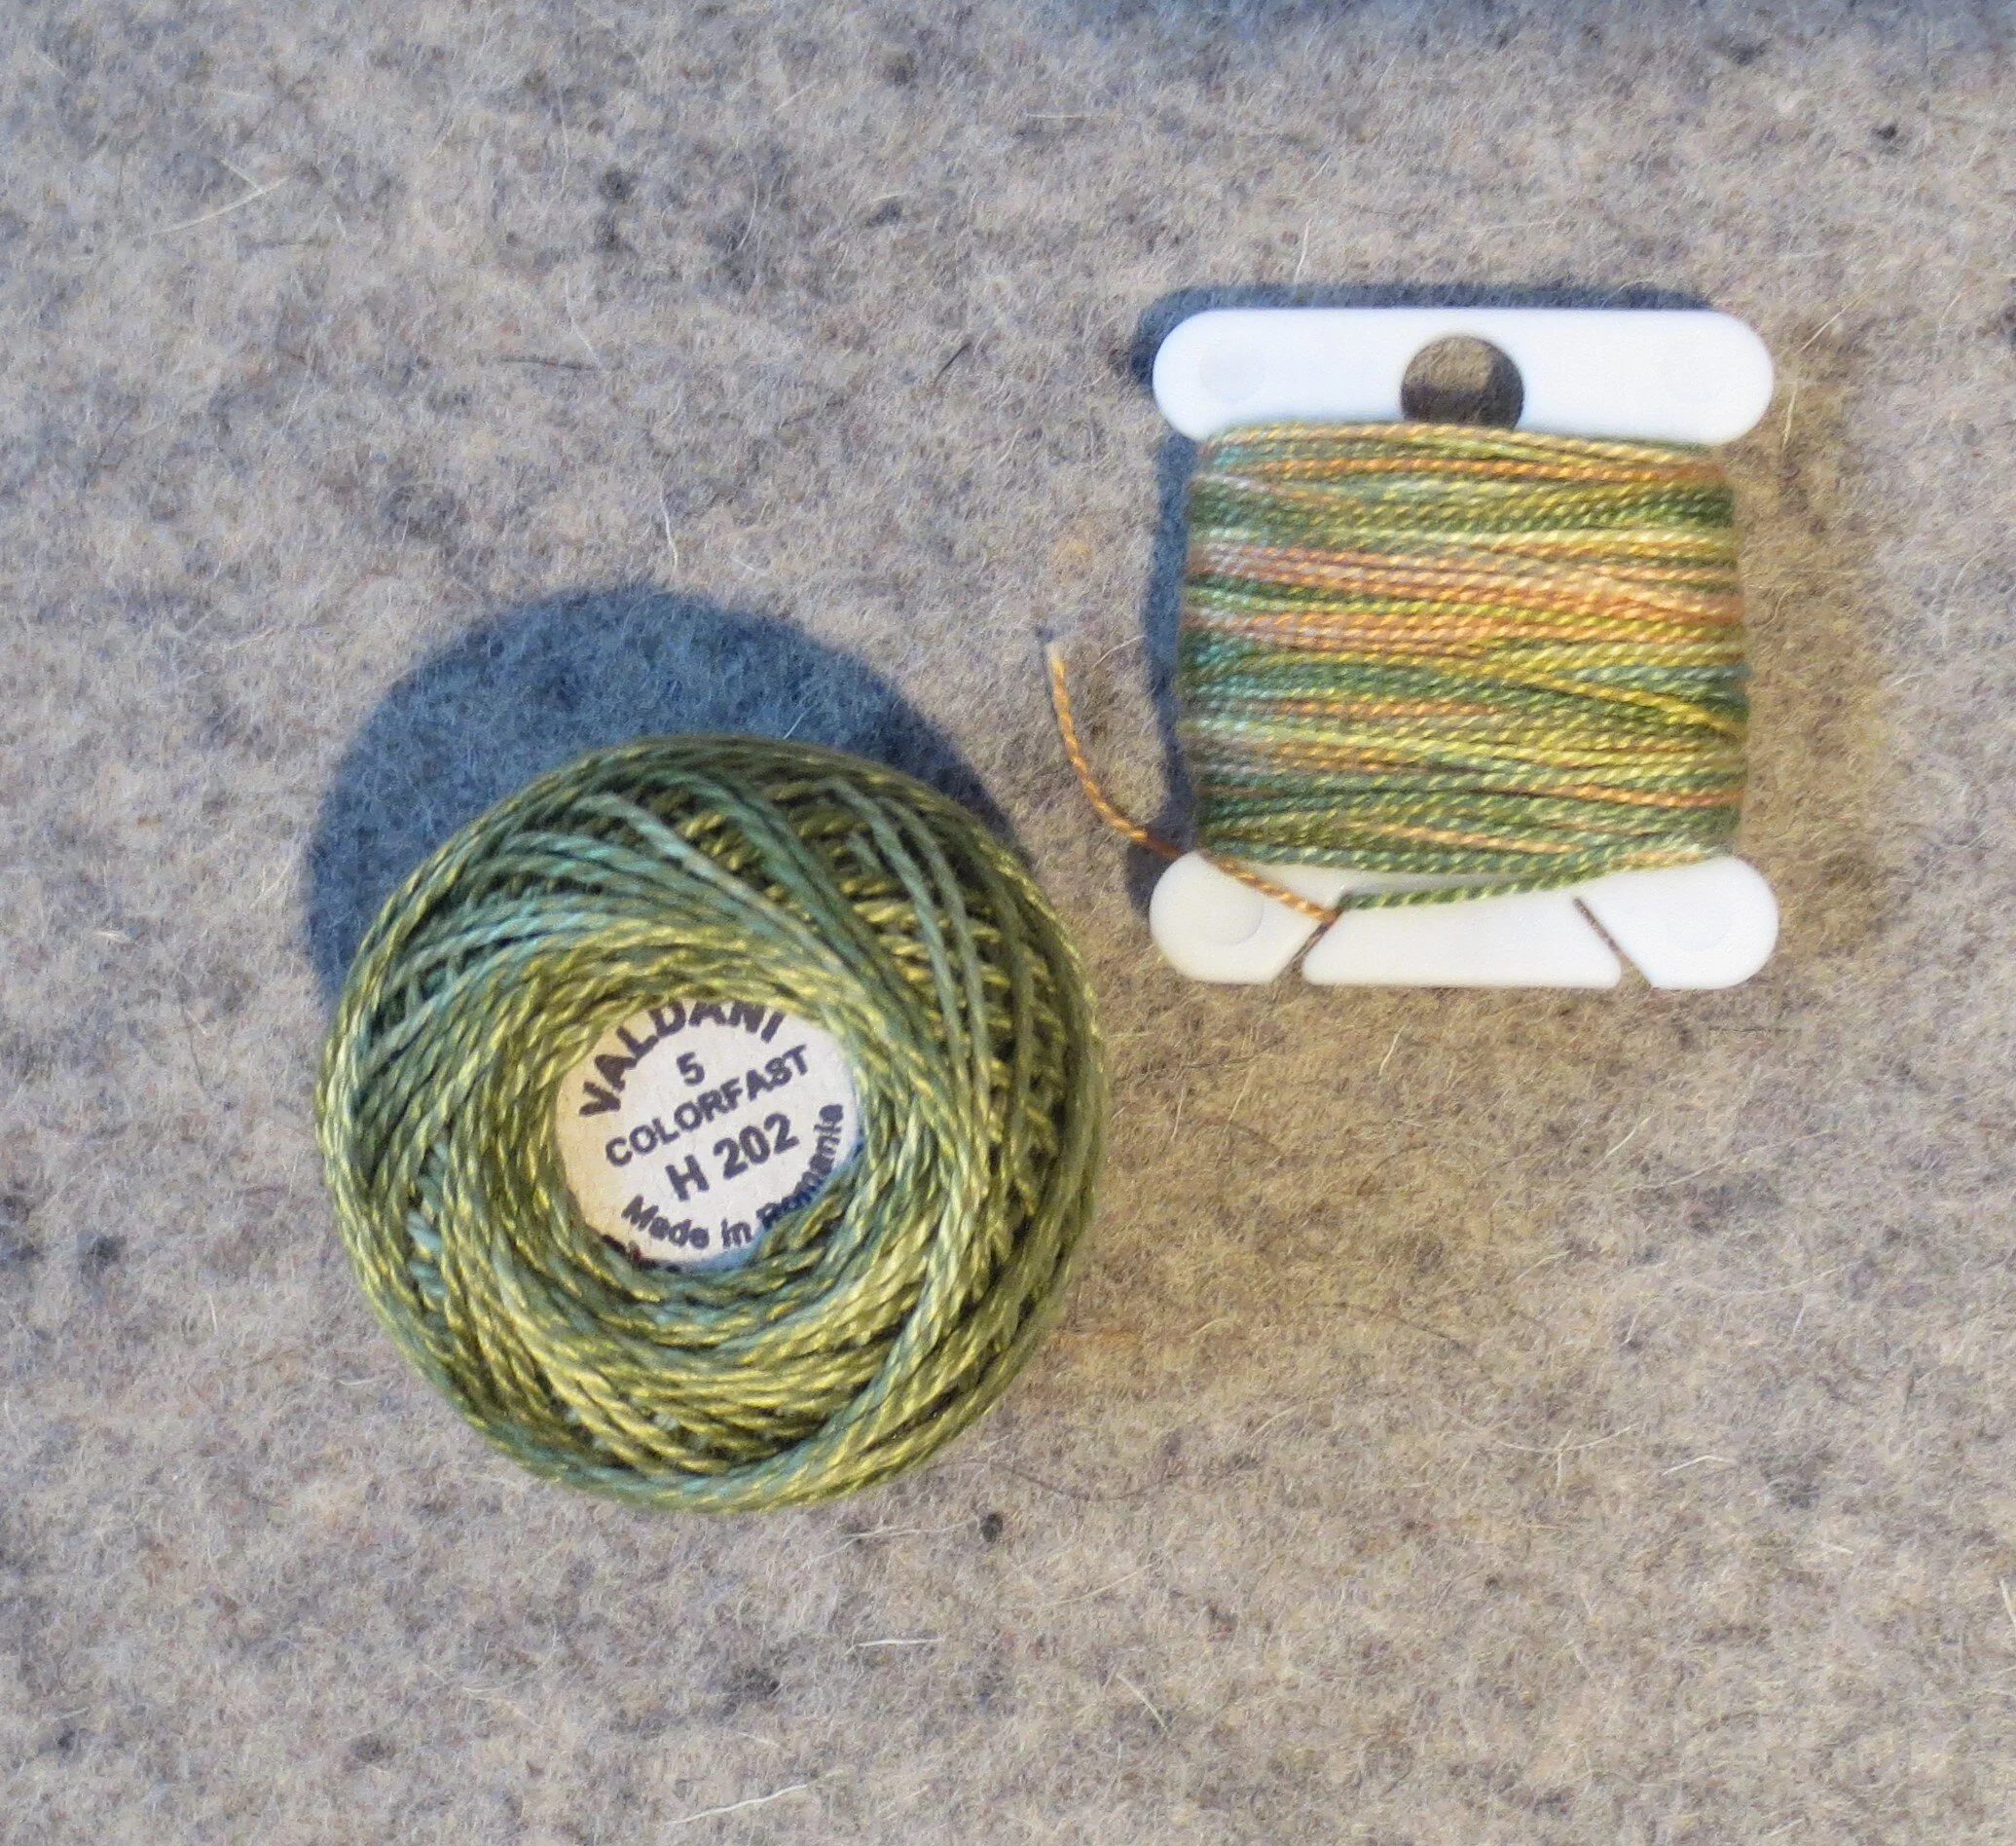
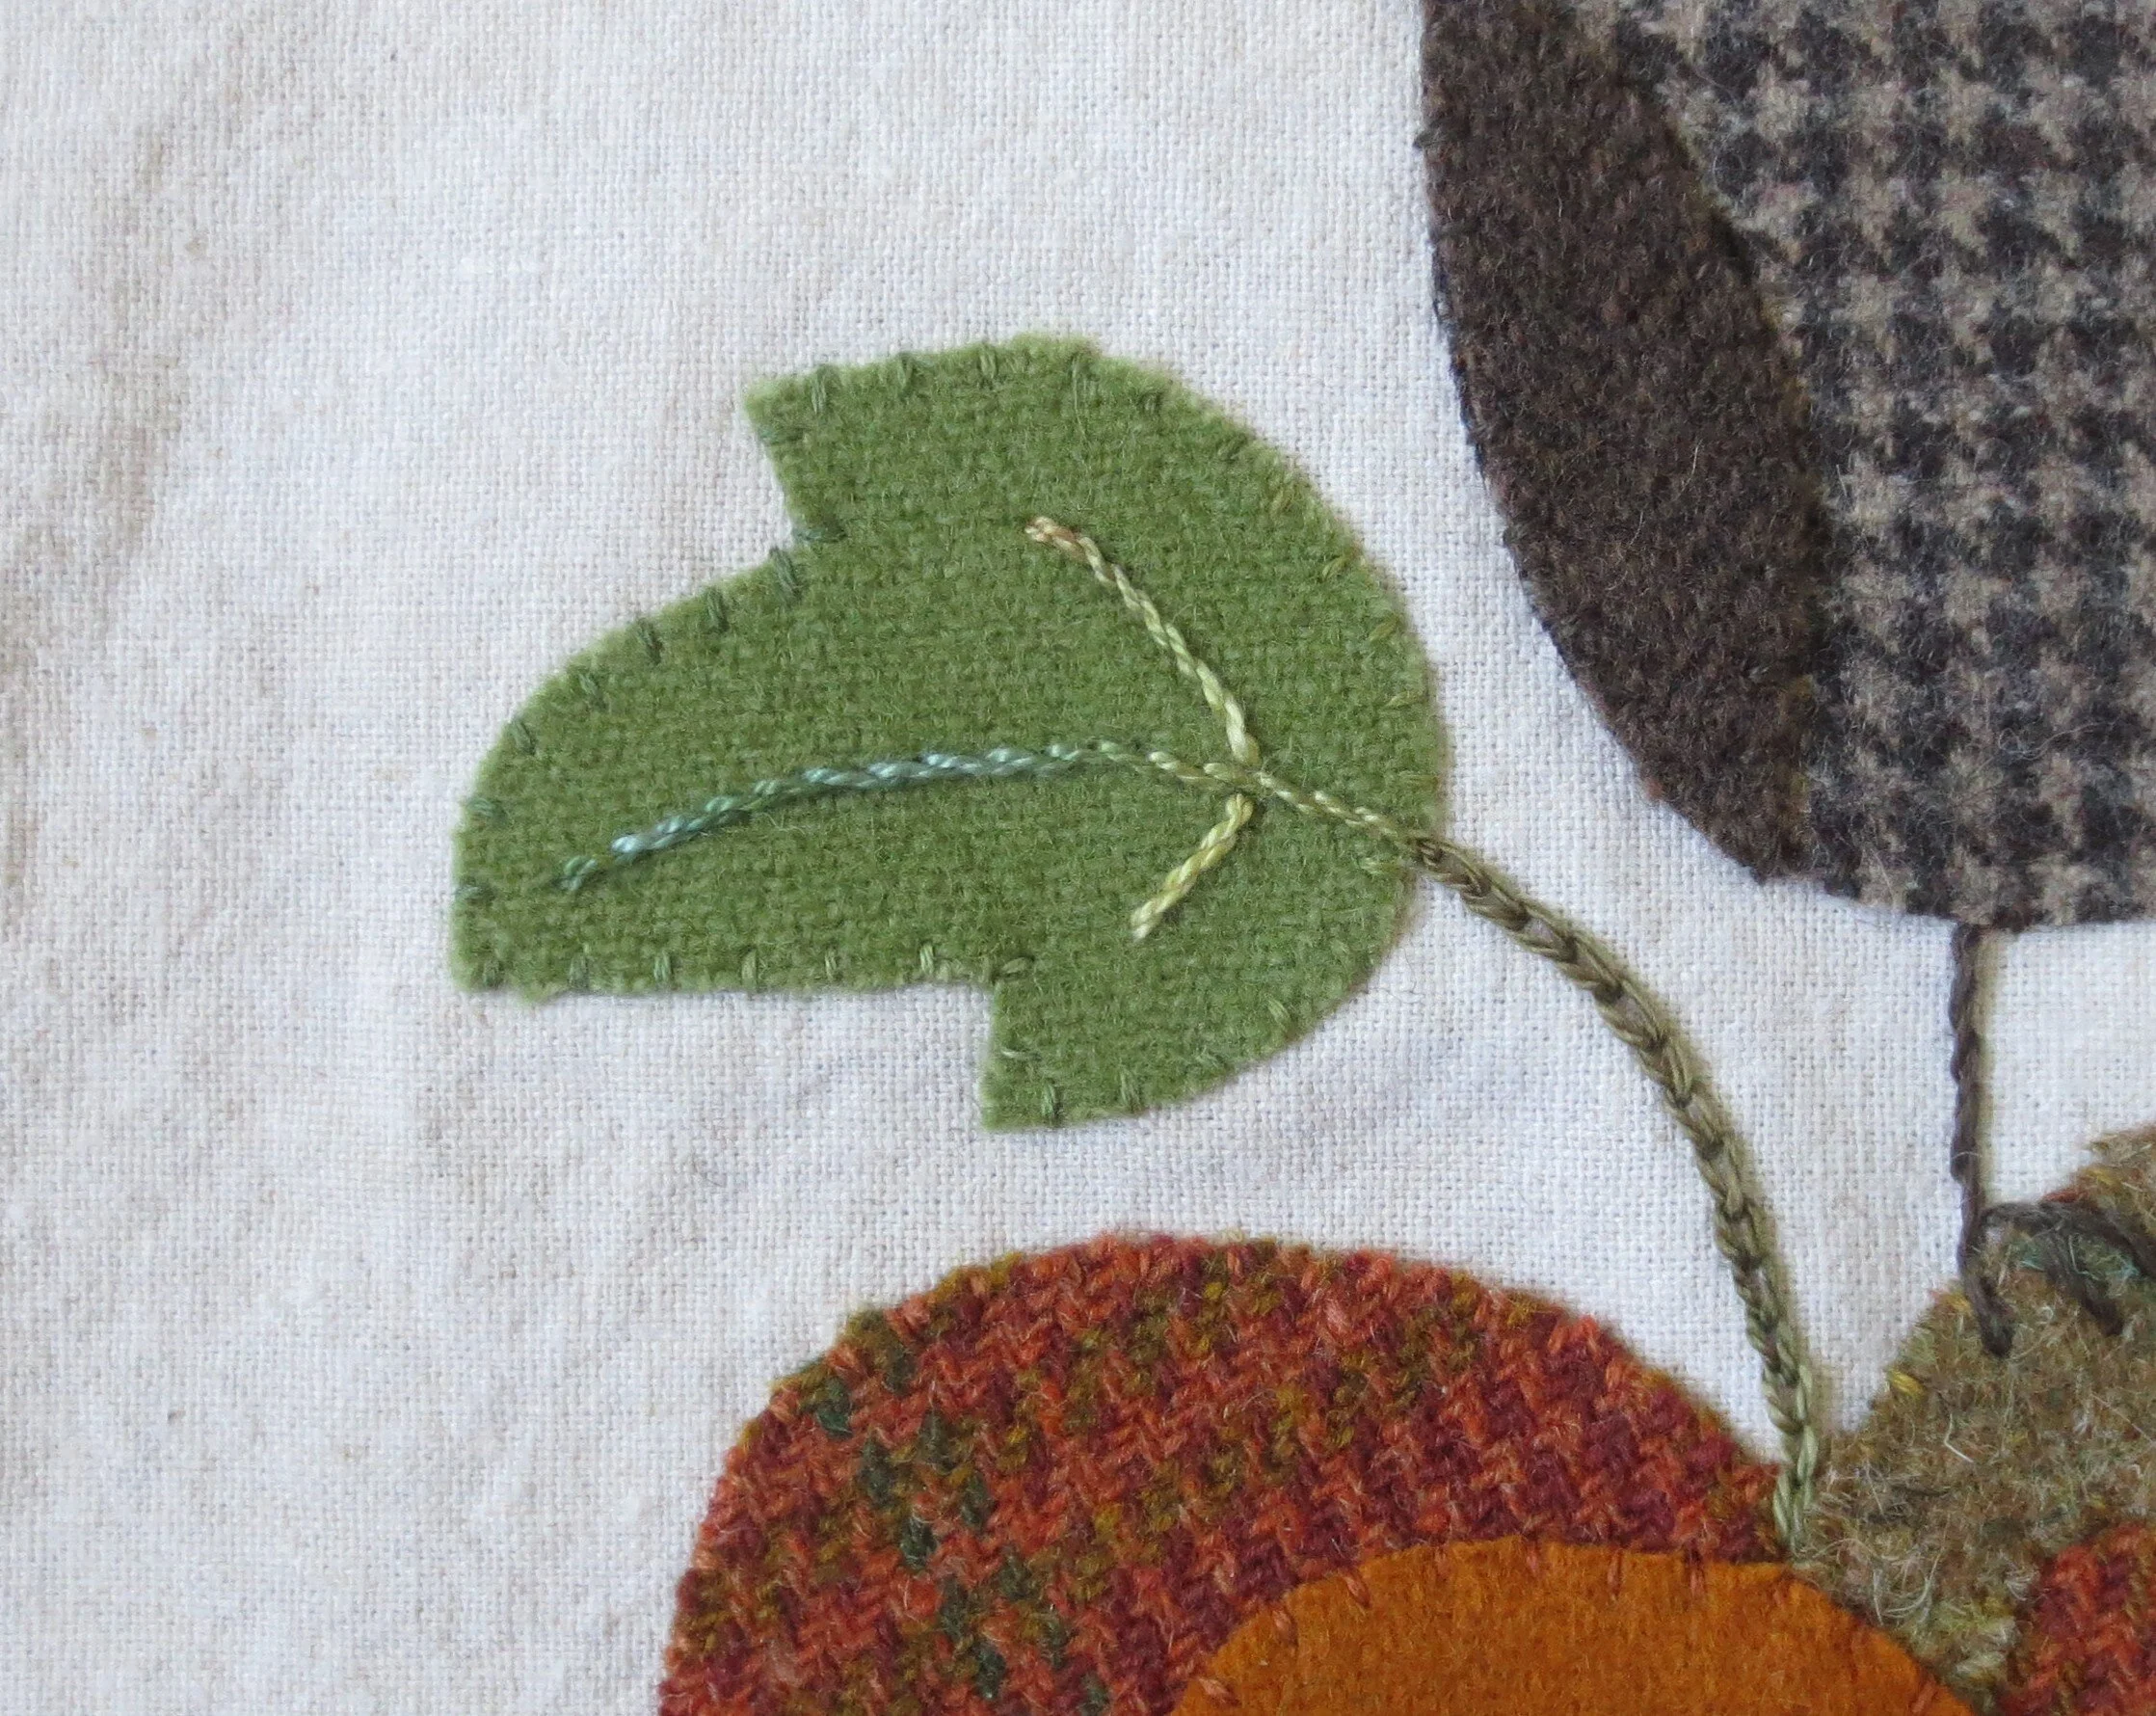
Perle cotton, size 8 - variegated green/gold - leaf veins (House of Embroidery #4A Fern)
Perle cotton, size 8 - Leaf stem (Valdani #H202)
Instructions
Trace the reversed images of the patterns onto fusible web.
Cut out the pattern pieces leaving a small (1/8”) border around each.
Fuse pattern pieces to designated wools, and then cut out along traced lines.
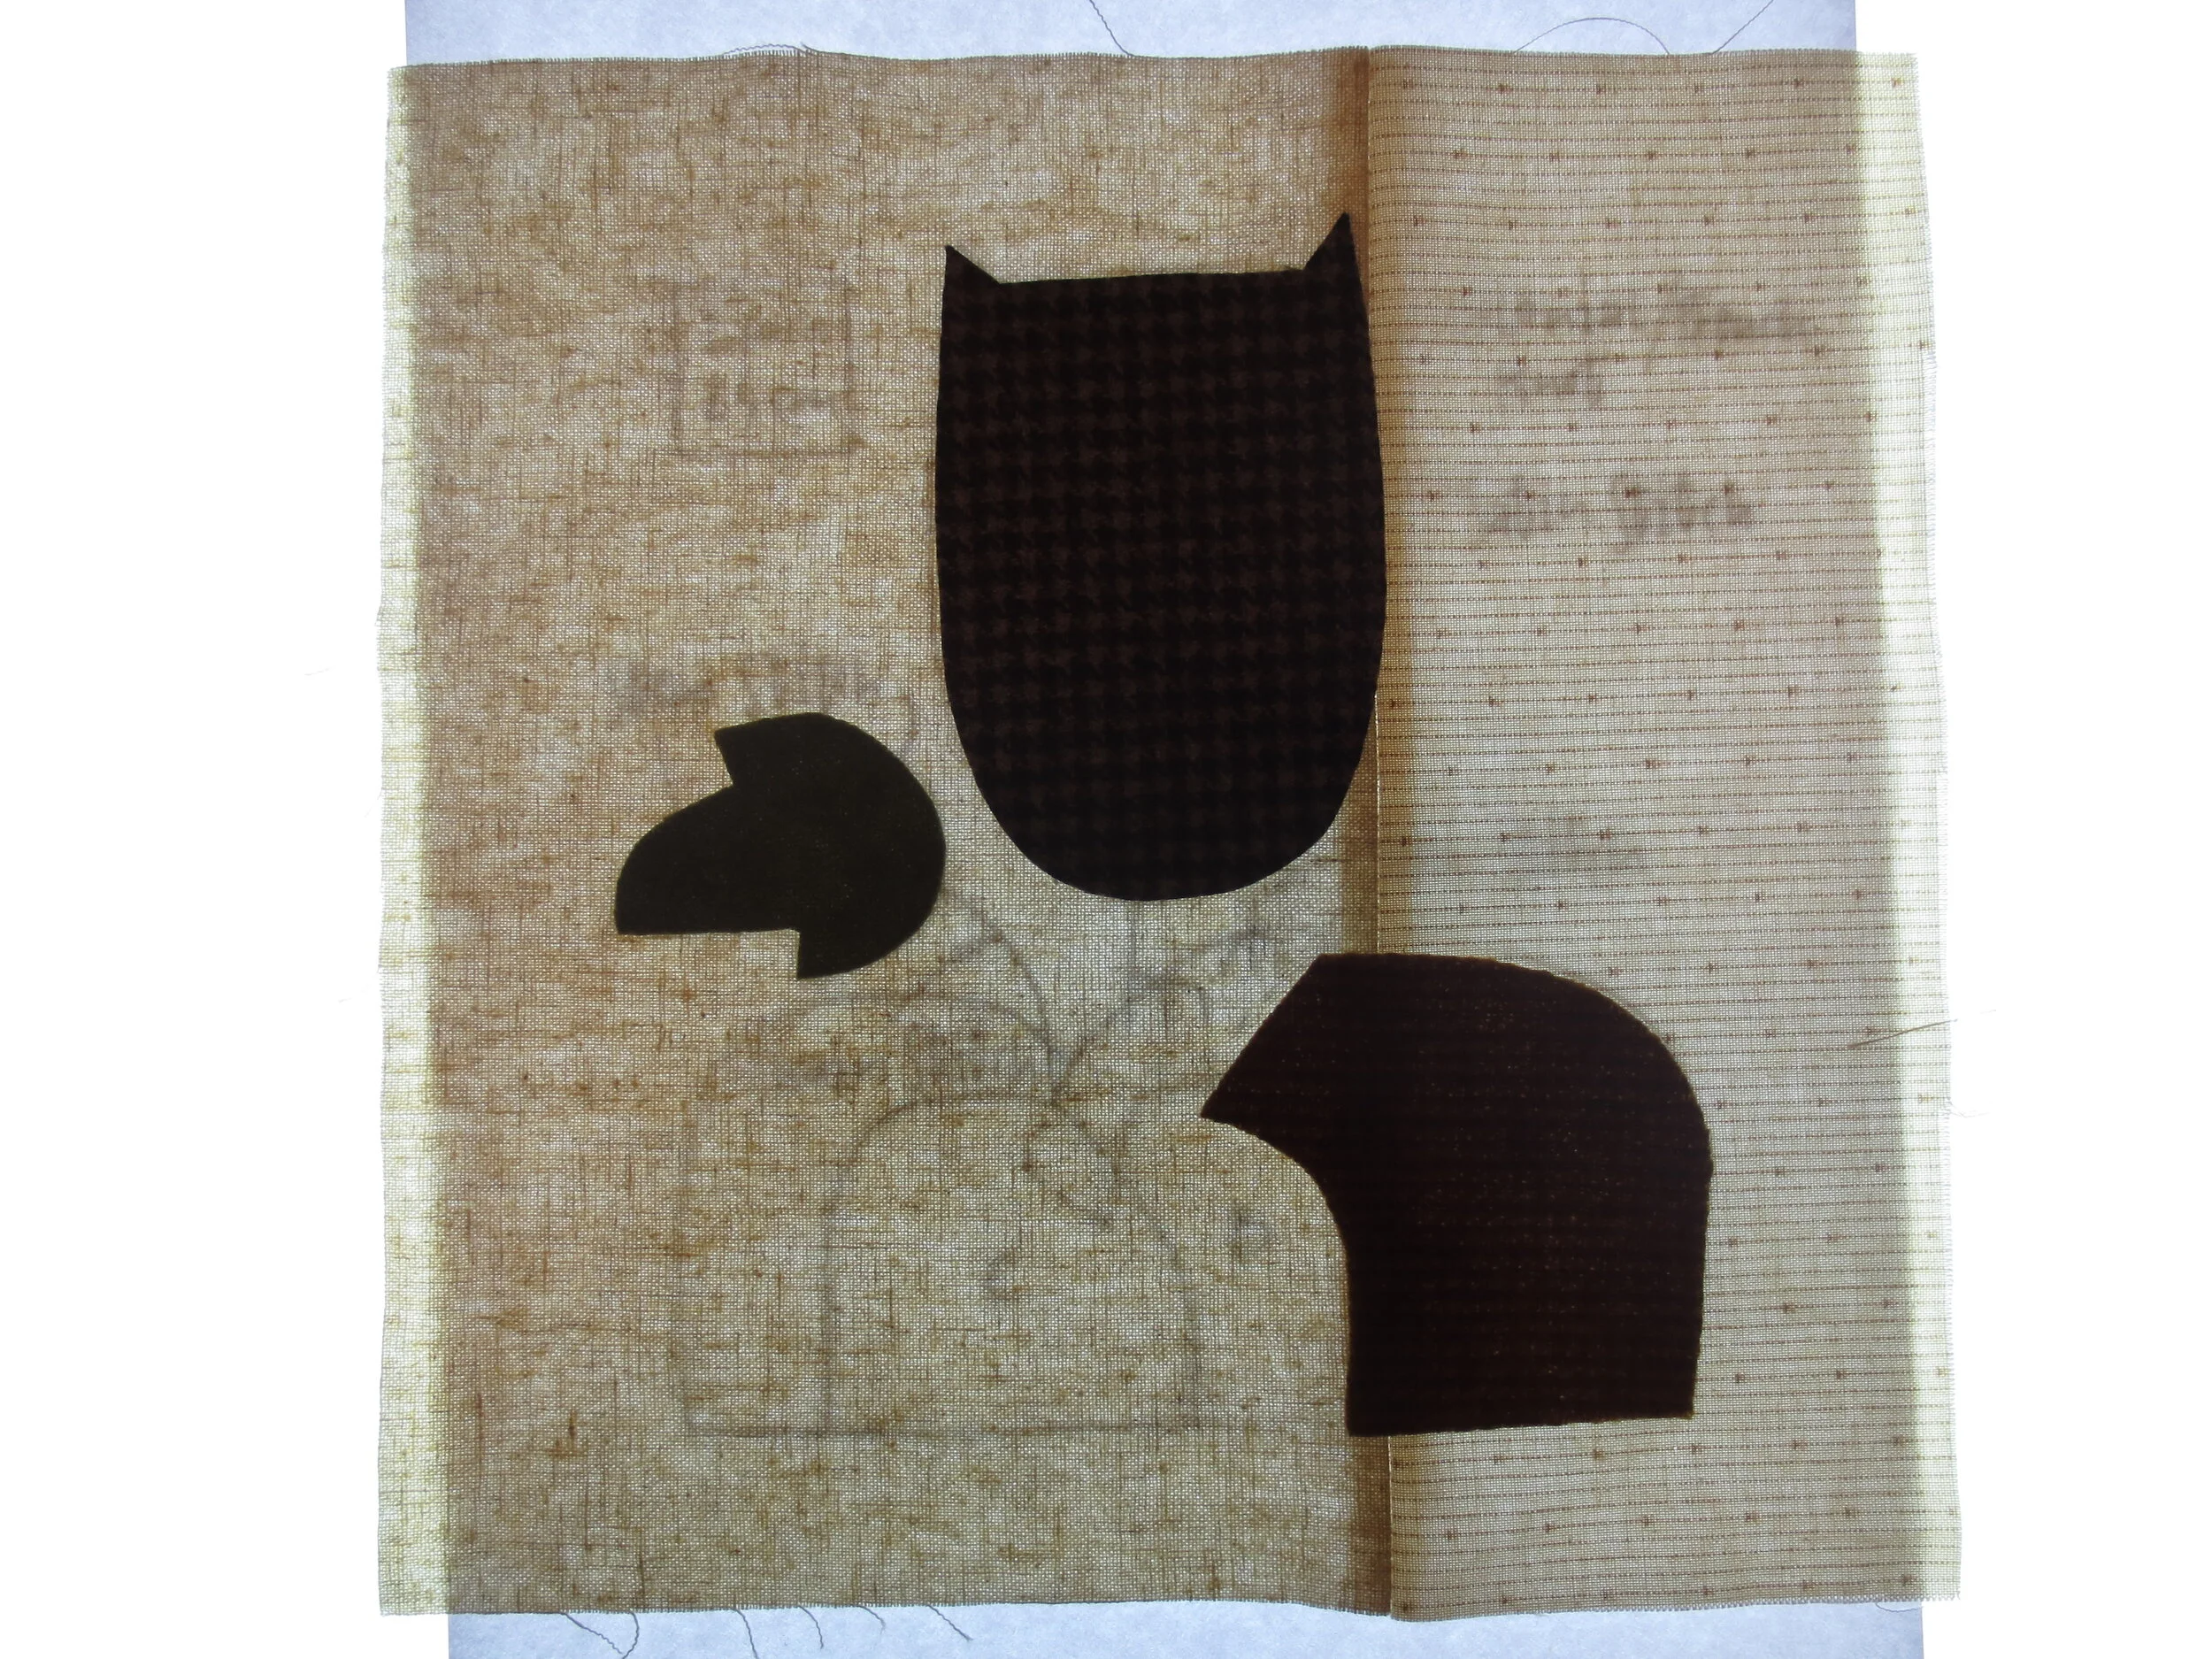
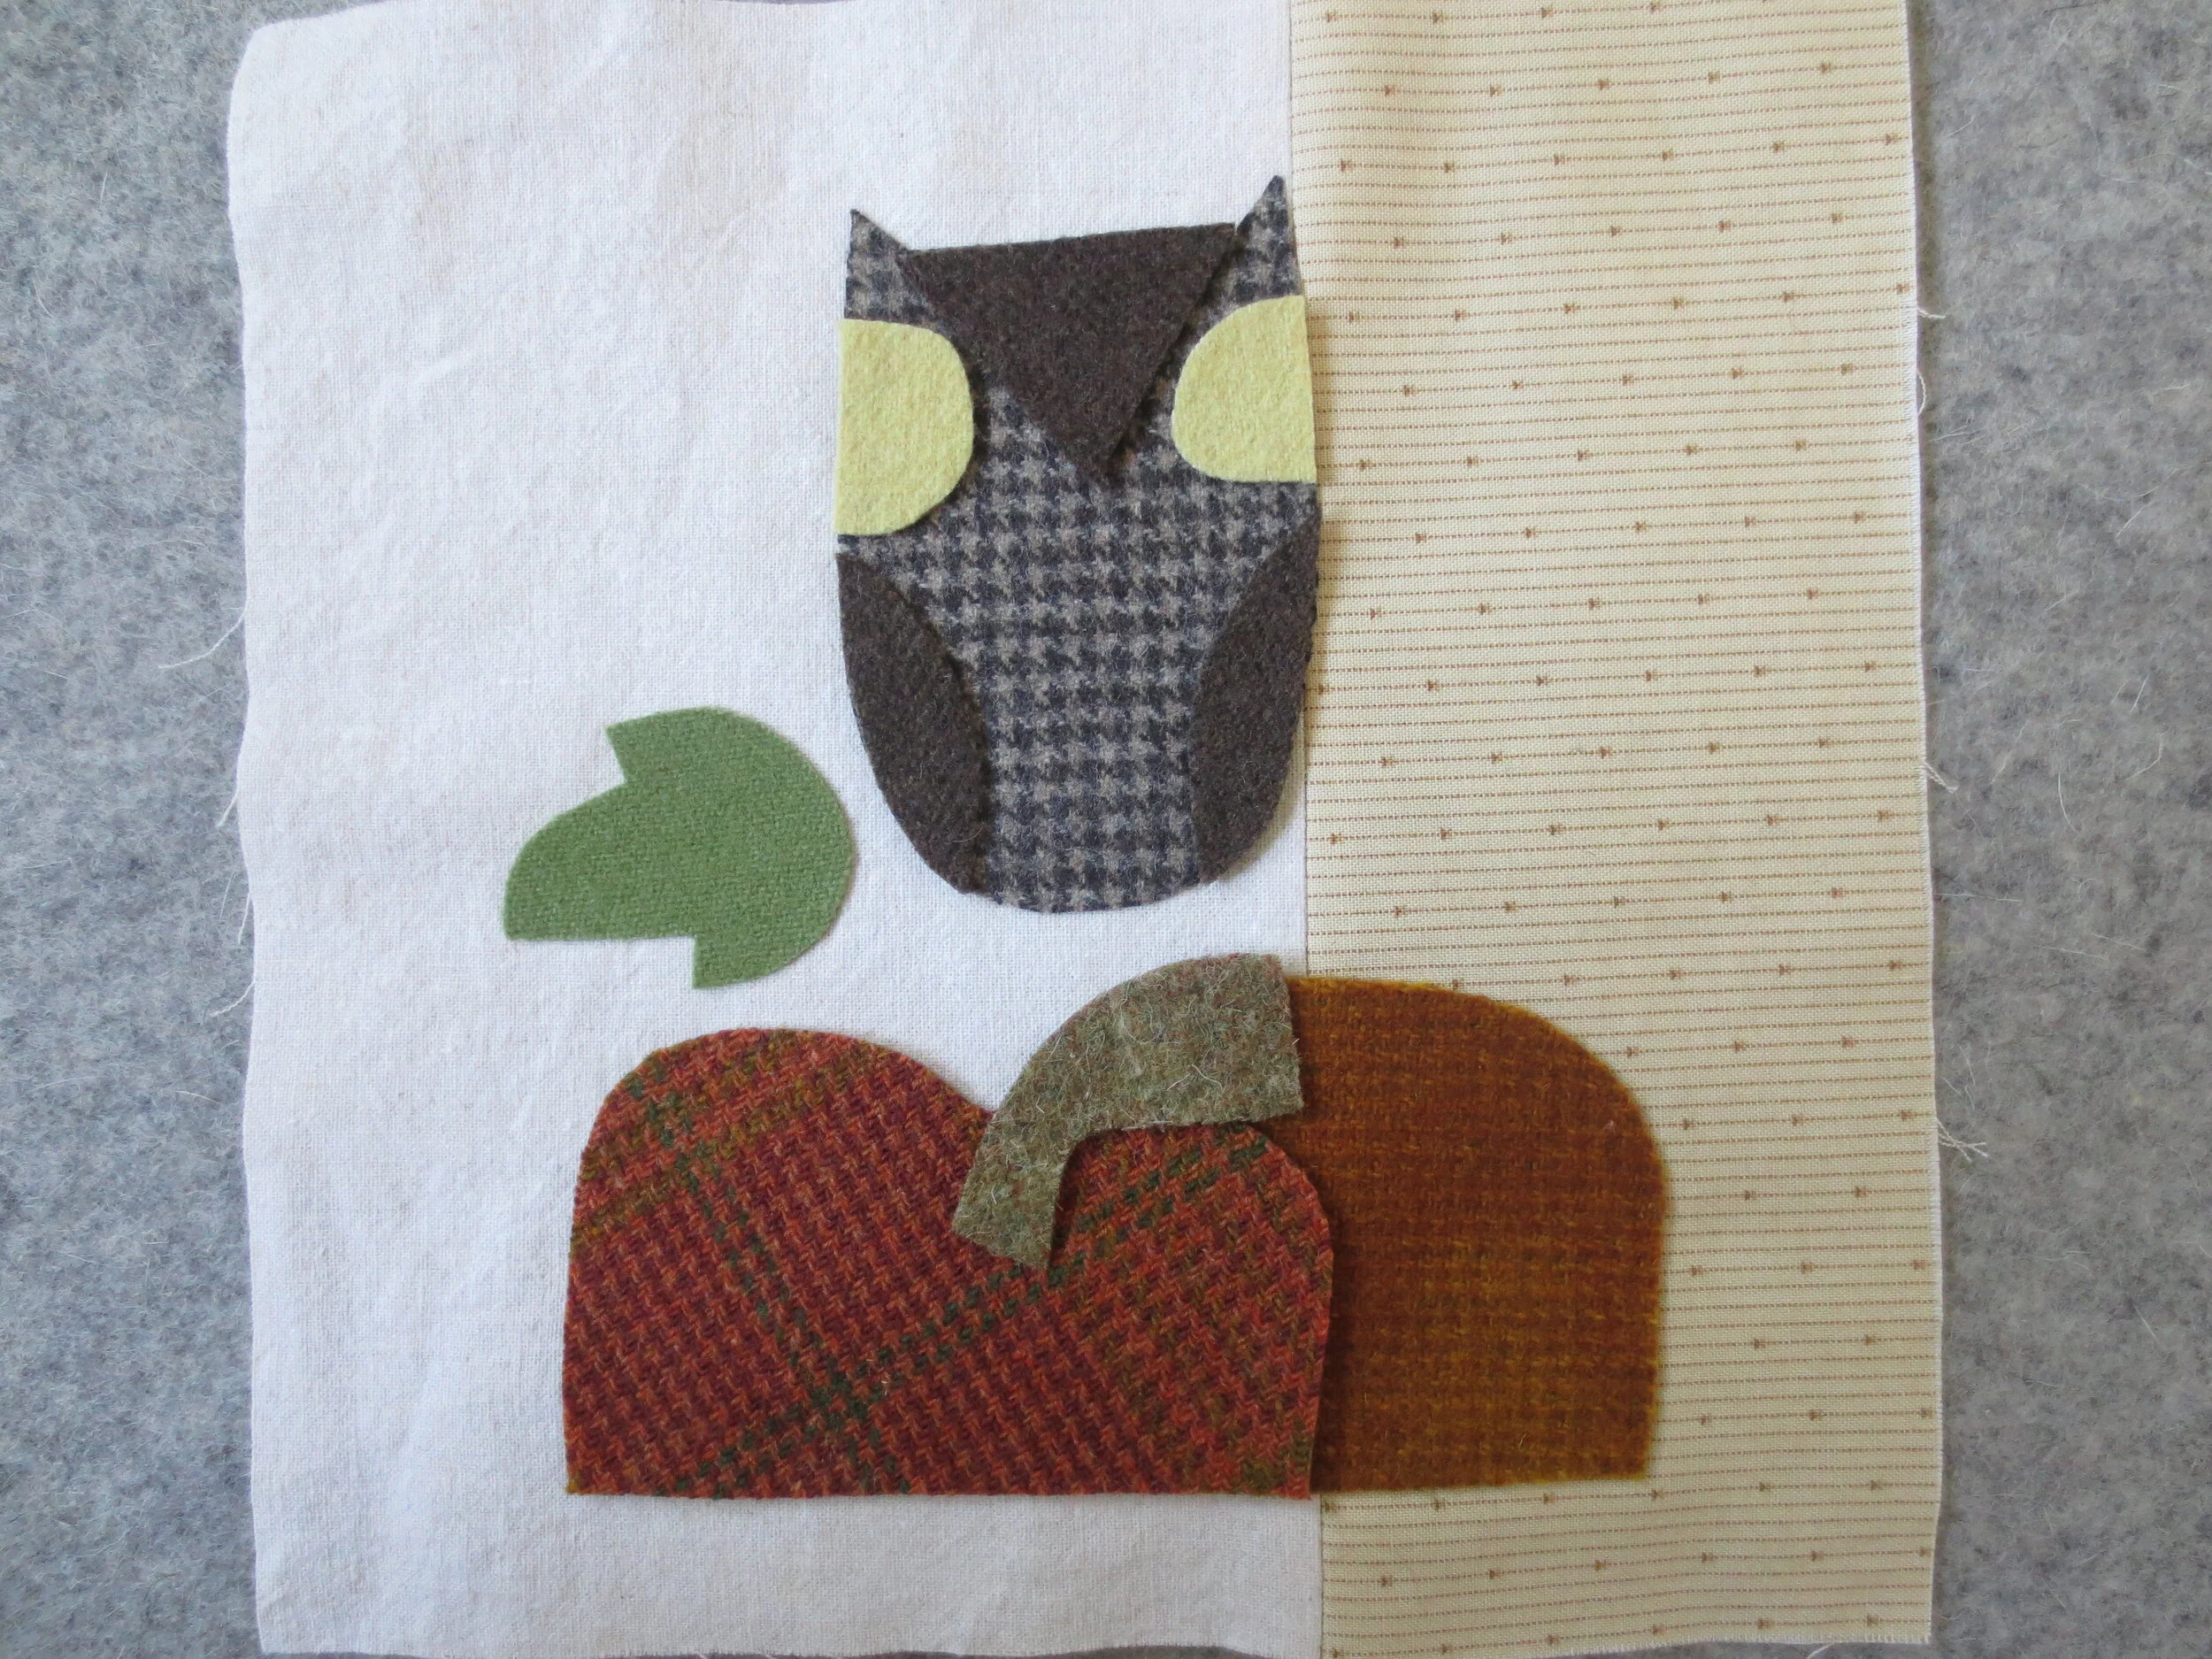
Position the owl’s body, pumpkin part A, and the leaf on the background fabric. Use the layout as a guide for placement. Then fuse in place using steam. Note: I used my lightbox in combination with the layout for precise placement.
5. Position the triangular forehead of the owl, the yellow outlines of the eyes, wings, pumpkin part B, and the pumpkin stem. Again use the layout as a placement guide.
6. Fuse in place using steam.
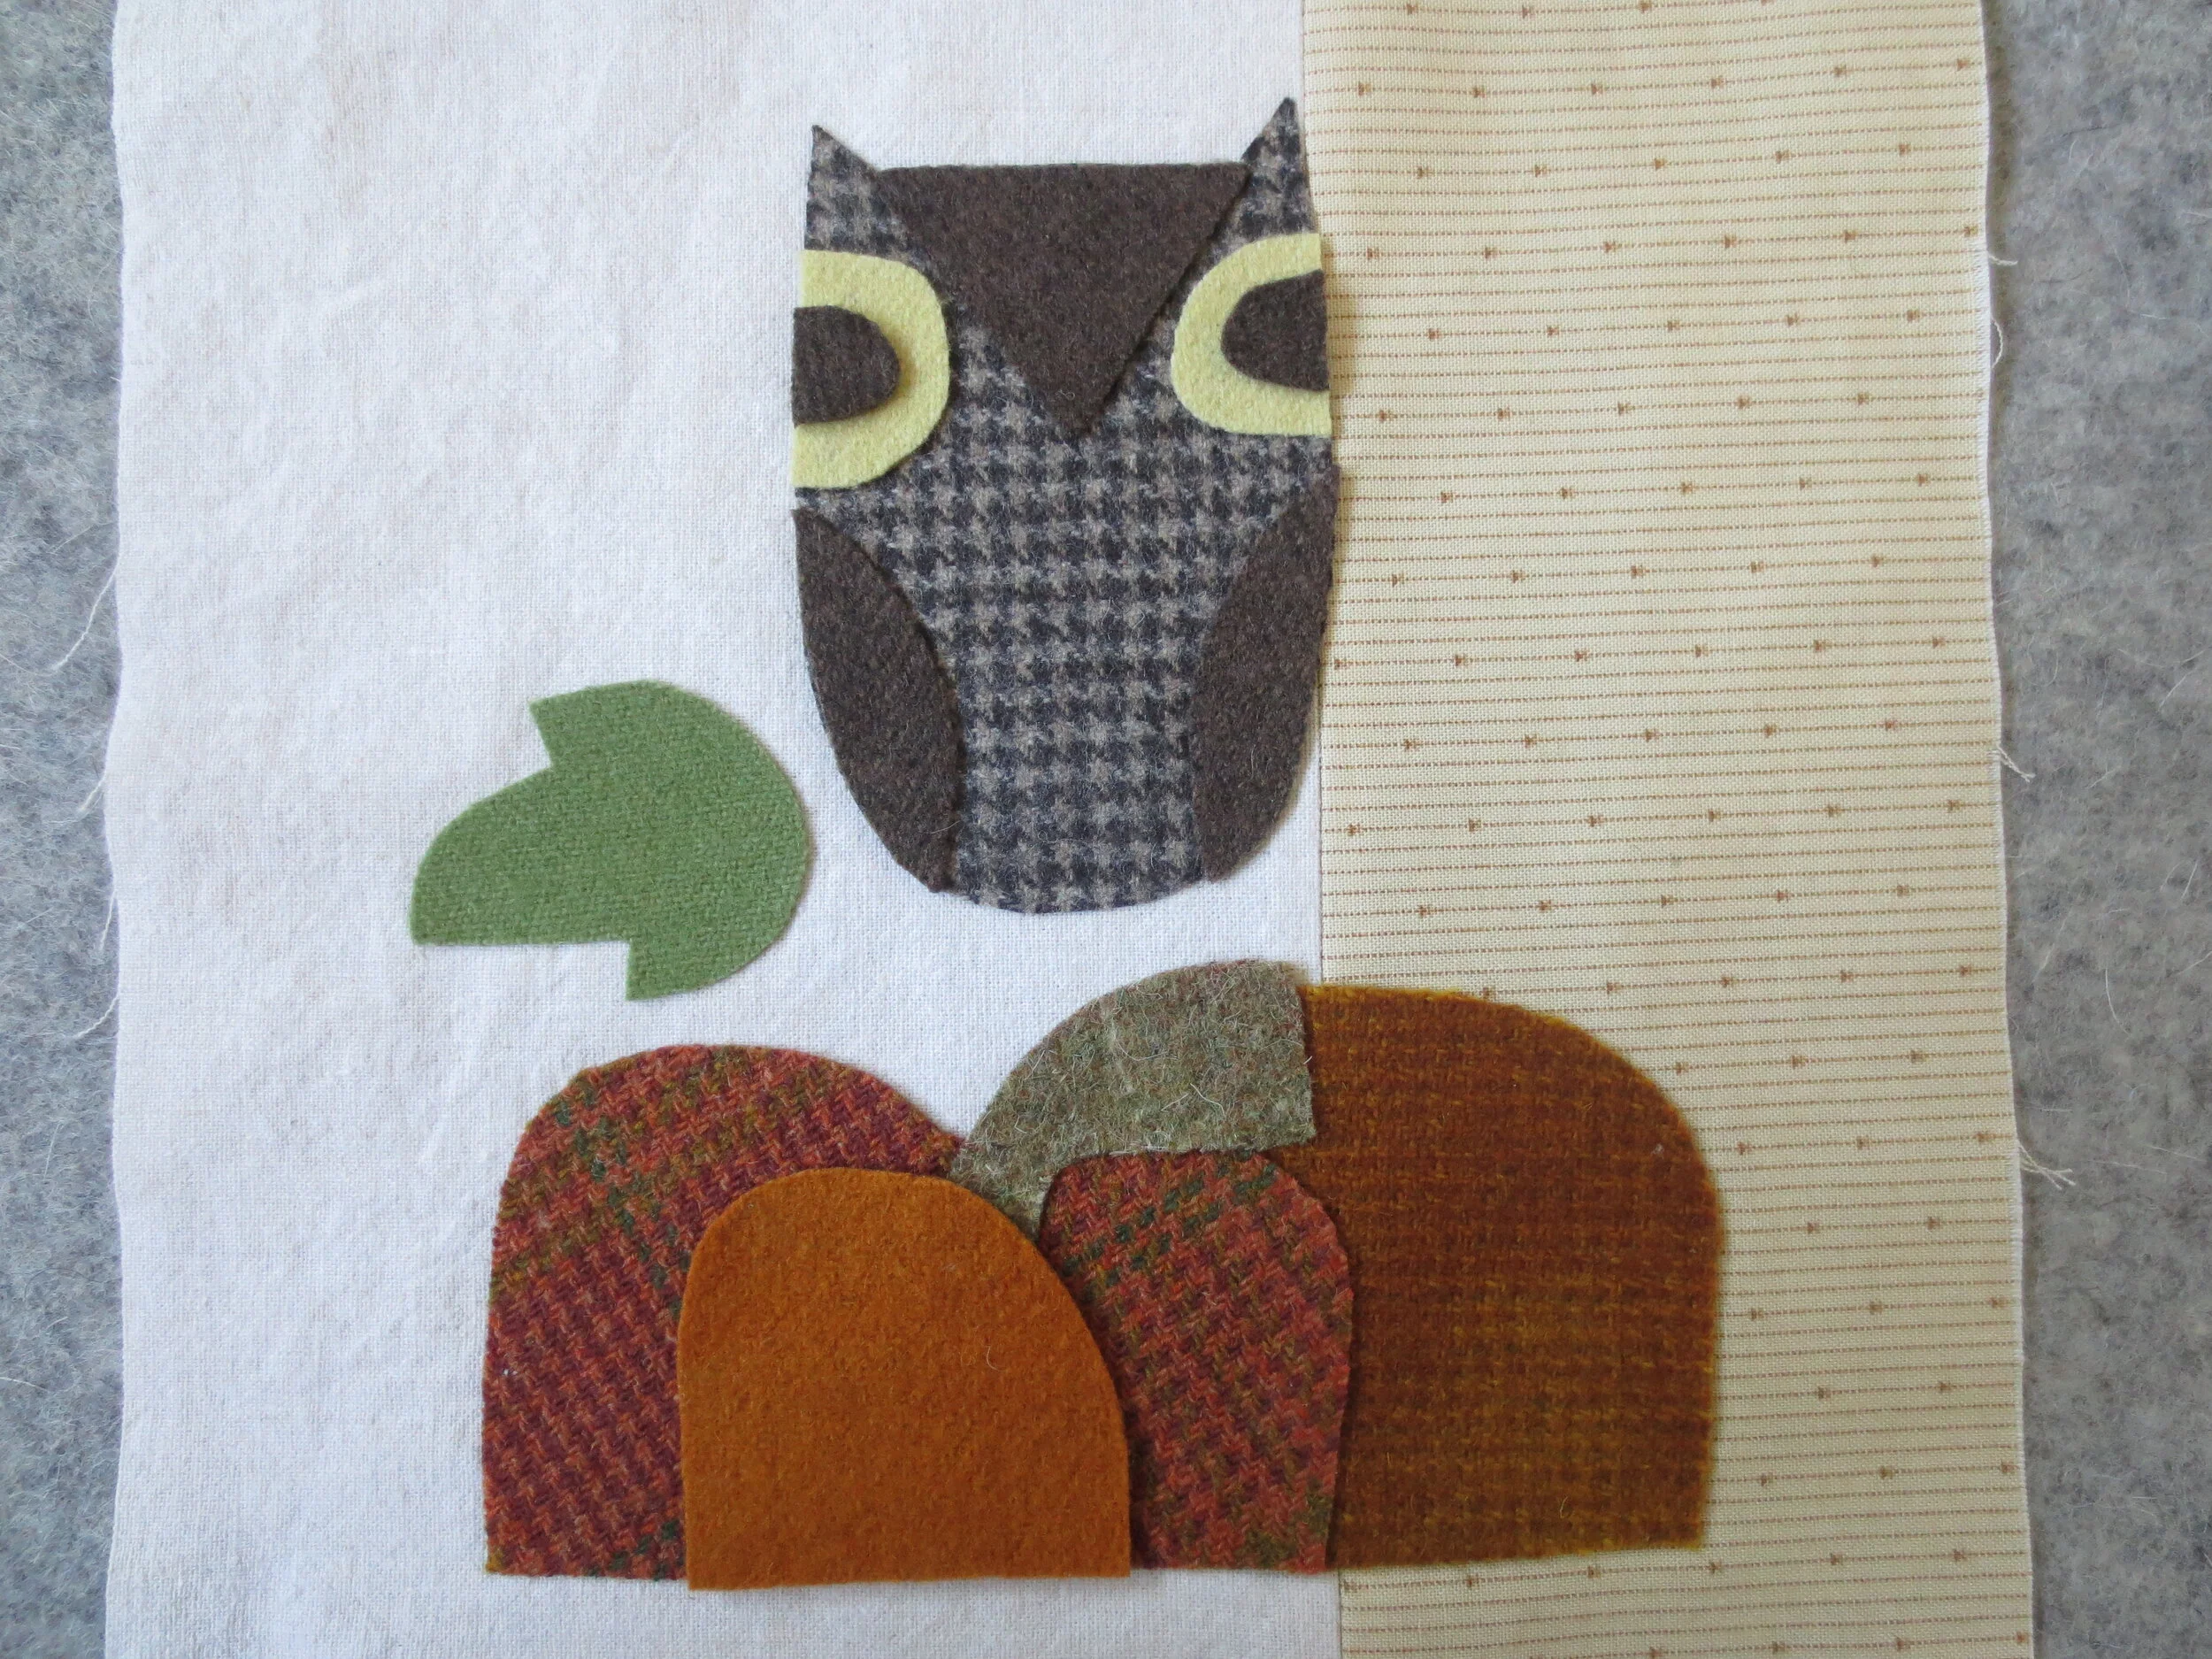
7. Position the eyes and pumpkin part C and then fuse in place using steam.
8. Whip stitch all the pieces in place beginning with the smallest pieces first.
9. Using 3 strands the same floss used for the yellow outlines of the eyes make a single French or colonial knot in each eye.
10. Use 4 strands of the orange floss used for the pumpkins to stem stitch the beak of the owl.
11. Use a chalk pencil or air erasable fabric marker to draw the owl’s legs using the layout as a guide.
12. Use 3 strands of the dark brown floss used for the wings to stem stitch over the lines.
13. Use a chalk pencil or air erasable fabric marker to draw the leaf stem and veins.
14. Use a variegated green perle cotton, size 8 (Valdani H202) to chain stitch the leaf stem.
15. Use a variegated gold, orange, green perle cotton, size 8 (House of Embroidery 4A Fern) to stem stitch the leaf veins.
Block #9 is complete!
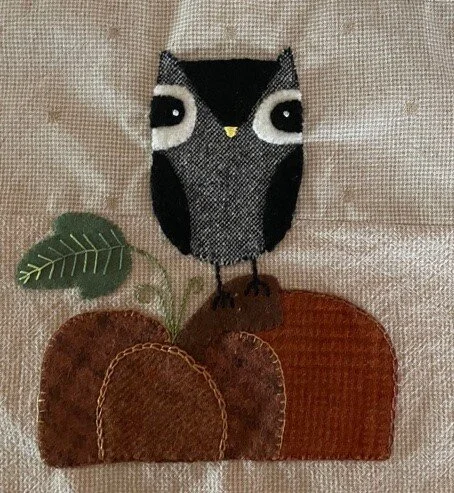
Here is an example of a fabulous fused fabric version of this block by Wooly Gal Nancy.
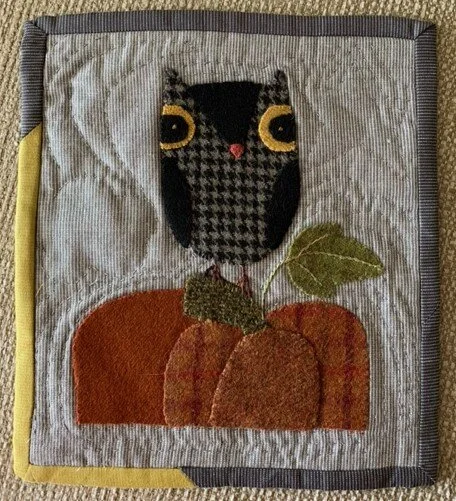
Here are two more examples by Wooly Gals Brenda and Dana. Super cute as always!

