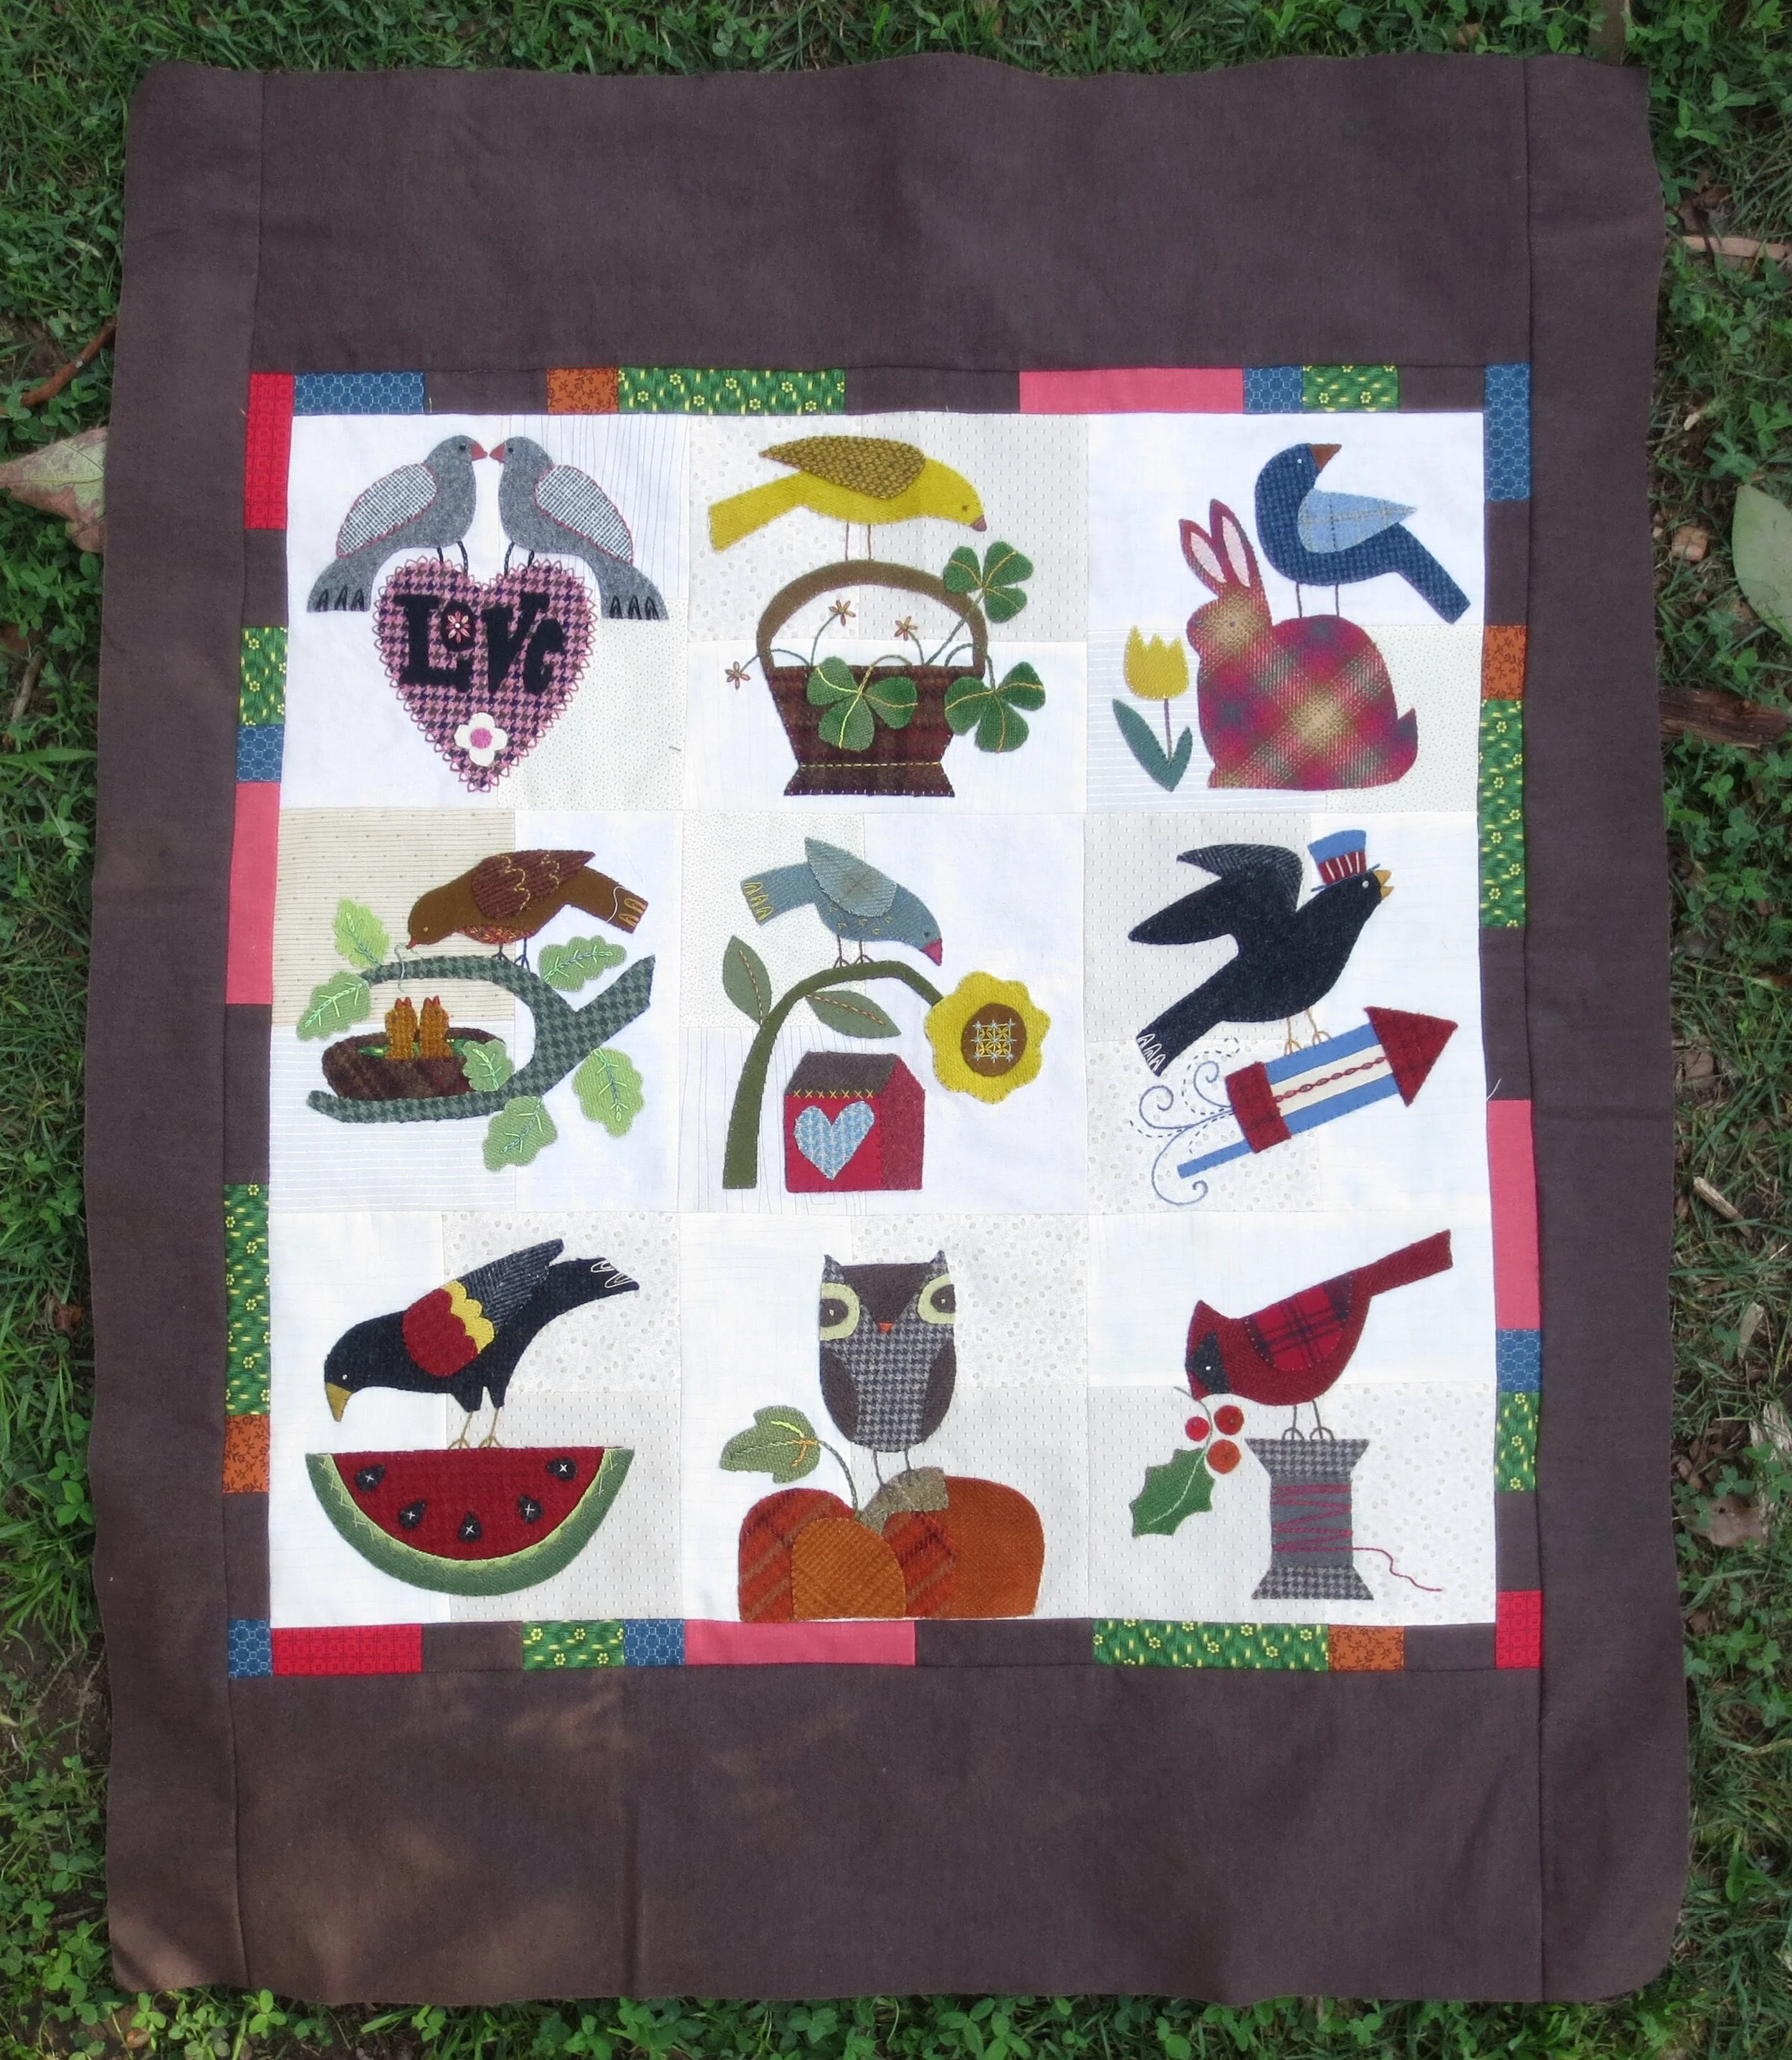
BIRDS OF A FEATHER BOM - QUILT ASSEMBLY
Hello all. If you chose to make your blocks into seasonal pillows you will need to refer to the first post of this BOM to download the pillow instructions. This post is for all of you who are making the quilt version of this BOM.
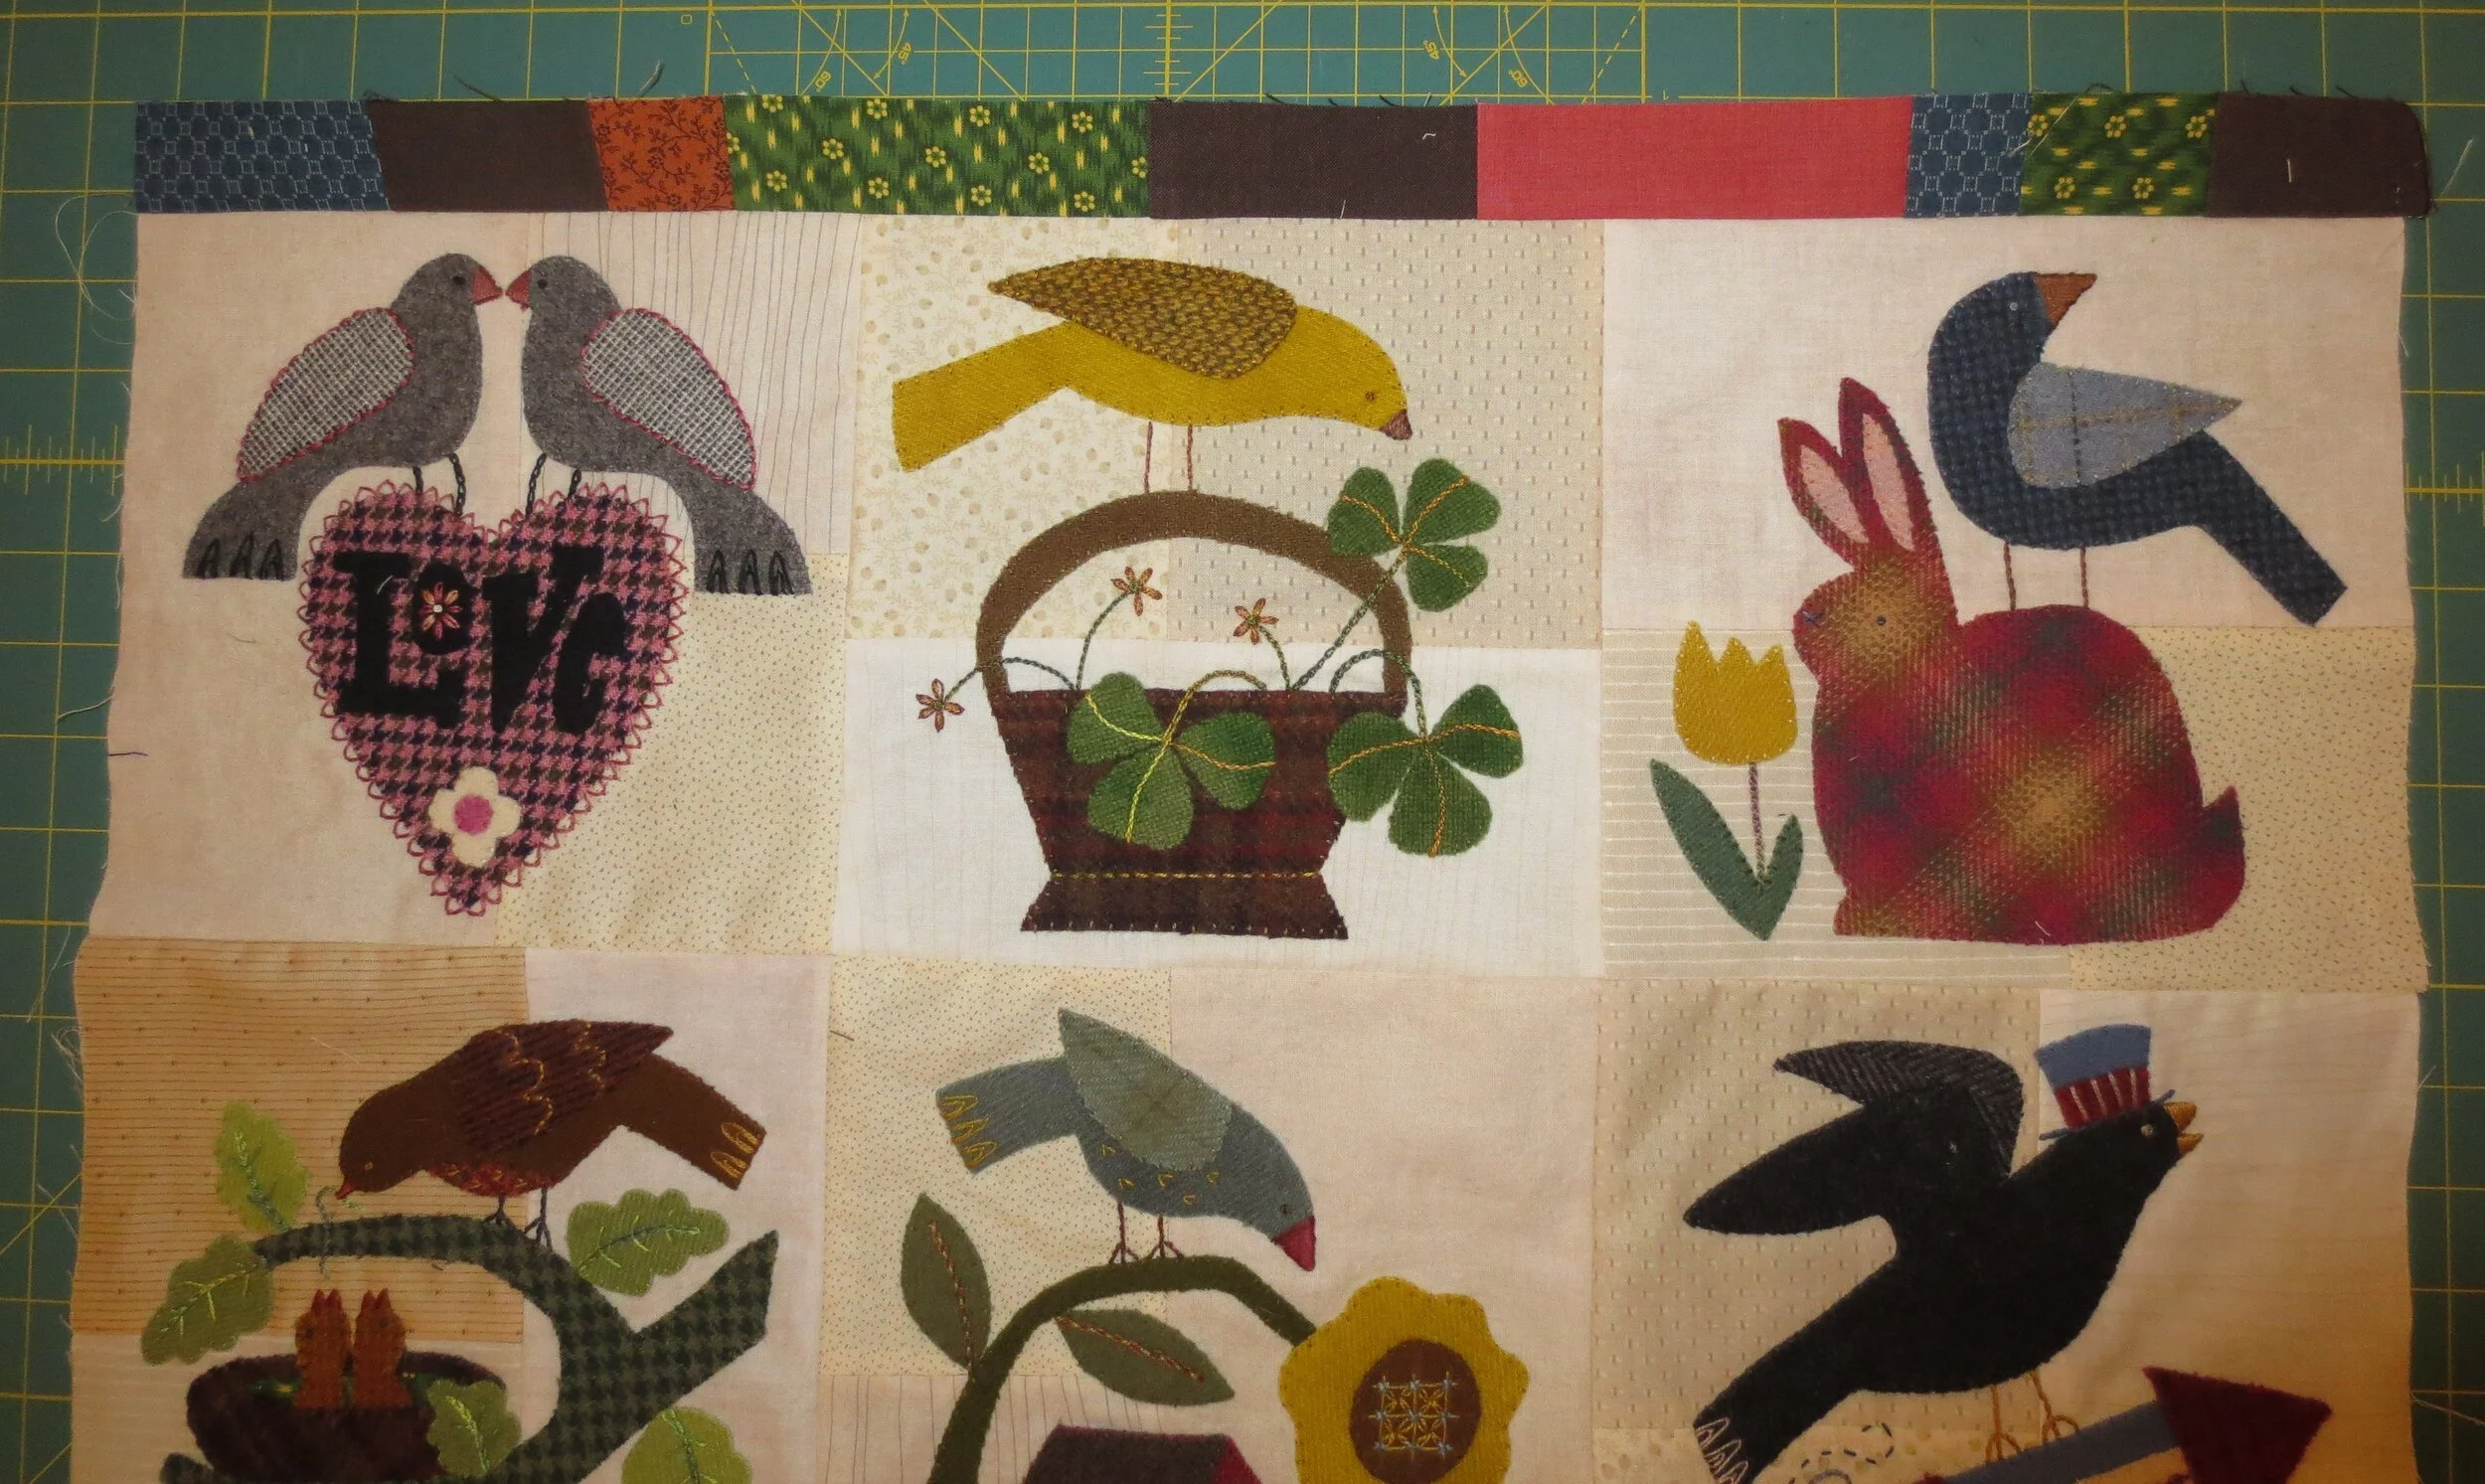
Initially I was just going to frame the blocks out with a single border, but it needed a bit more to tie it all together. You may wish to make a solid inner border instead of the scrappy one shown. I have included instructions for both. The instructions and patterns for the appliqued borders will be in the next post.
If you are undecided about the color of your borders I suggest that you sew your 9-block and then lay it out on various fabric choices. You will need 1 yard of fabric for the outer borders and binding, so many of you will probably find the perfect fabric in your stash. I chose a dark fabric to frame out my light colored blocks.
Let’s begin.
Fabric Requirements
Outer border and binding
1 yard coordinating solid quilting cotton or linen/cotton blend (I used Pepper Cory Shot Cotton in Coffee Bean)
Inner border
Option 1 – ½ yard quilting color or cotton/linen blend in color that highlights a color in your quilt
Option 2 – Scraps of various colored quilting cottons or cotton/linen blends (I used 5 different cotton prints in colors that highlighted my quilt block colors)
Download Scrappy Border Diagram if needed
Instructions
1. Cutting
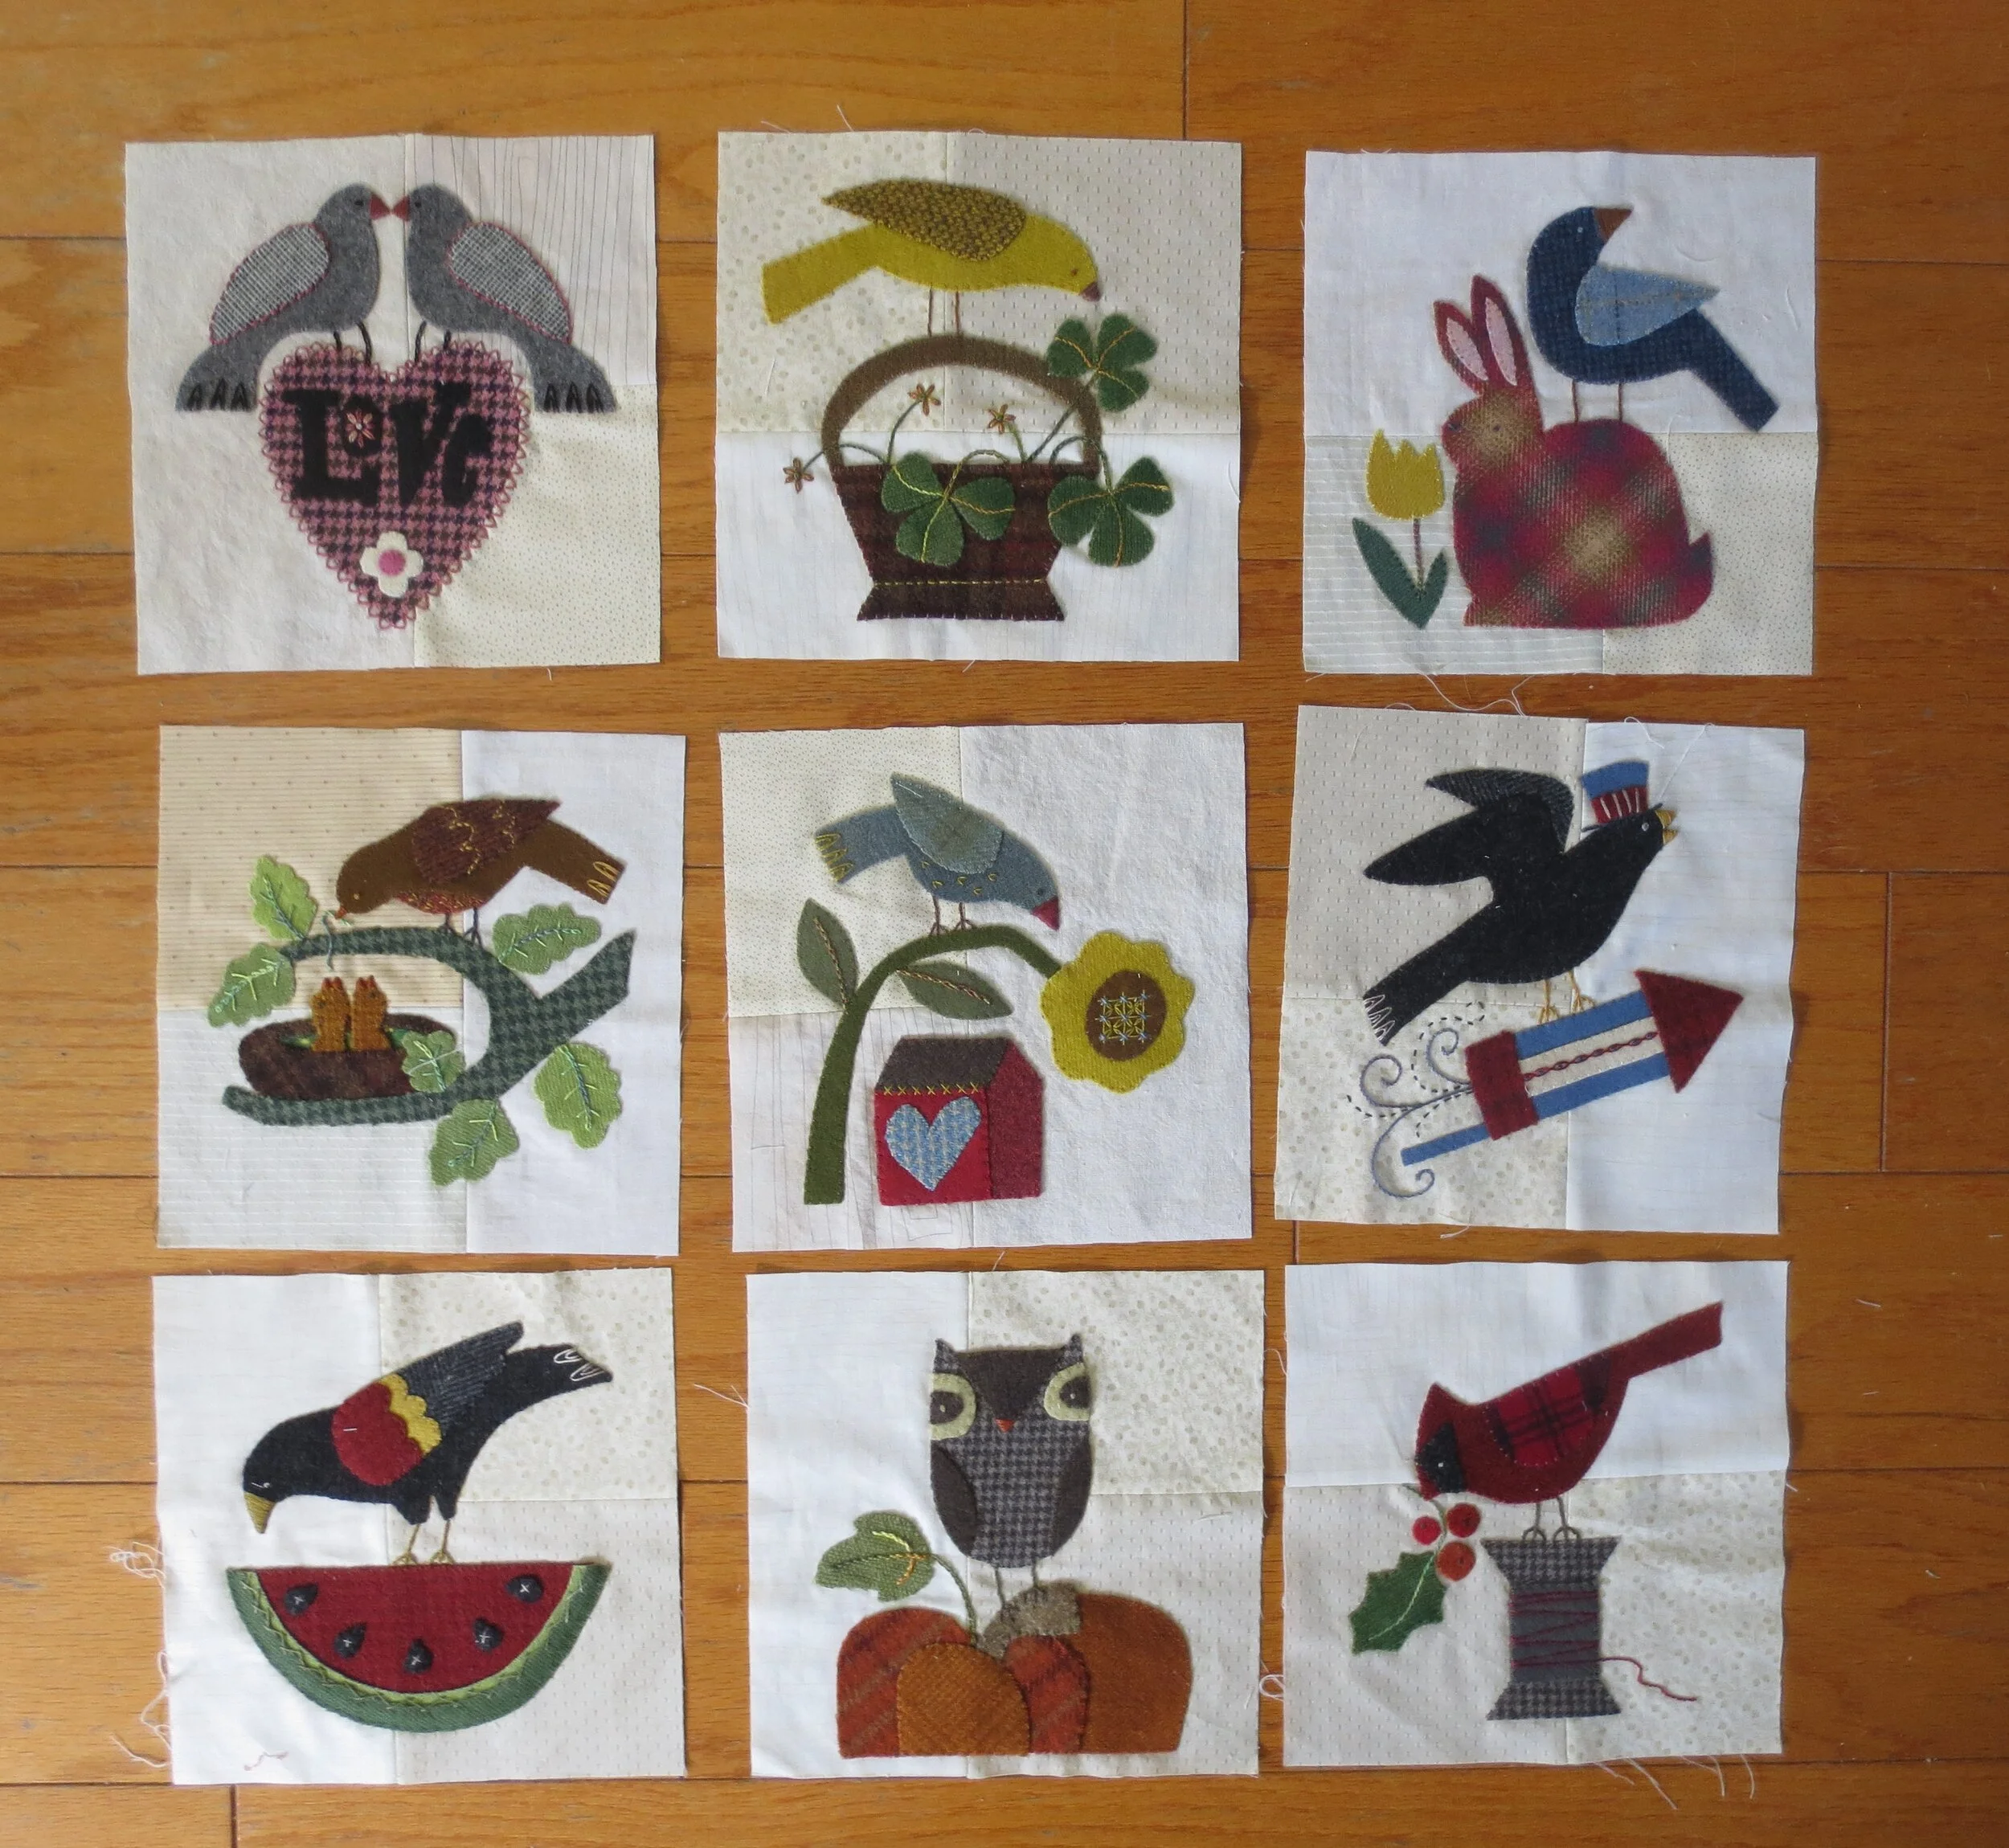
Trim all of the appliqued blocks to 8 ½” x 8 ½”. The size of the blocks is not critical. As long as all the blocks are identical in size you will be fine.
Binding – Cut from outer border fabric.
Four 1 ½” x WOF (width of fabric 40”) This will be a single fold binding.
Outer Border
Two 3” x WOF
Two 6 ½” x WOF
Inner Border
Option 1 – Four 3” x WOF
Option 2 (Scrappy version) – From one of the 6 ½” x WOF outer border strips cut the following:
One 2 ½” x 6 ½” (B)
One 4” x 6 ½” (F)
One 3” x 6 ½” (I)
Note: The letters designate the order the fabric piece will be in the inner border design. See Inner border assembly diagram.
Don’t discard the excess 6 ½” strip. It and the 6 ½” x WOF strip will be used for the top and bottom outer borders.
The remaining blocks in the scrappy border should be cut in the following manner:
From red print
4” x 6 ½” (A)
From green print
One 2 ½’ x 6 ½” (C)
One 5” x 6 ½’ (G)
From blue print
One 1 ¾” x 6 ½” (D)
One 3” x 6 ½” (J)
From pink solid
One 5” x 6 1/2” (E)
From orange print
One 2” x 6 ½” (H)
2. Assembly – All seams are ¼” unless otherwise noted.
Scrappy border
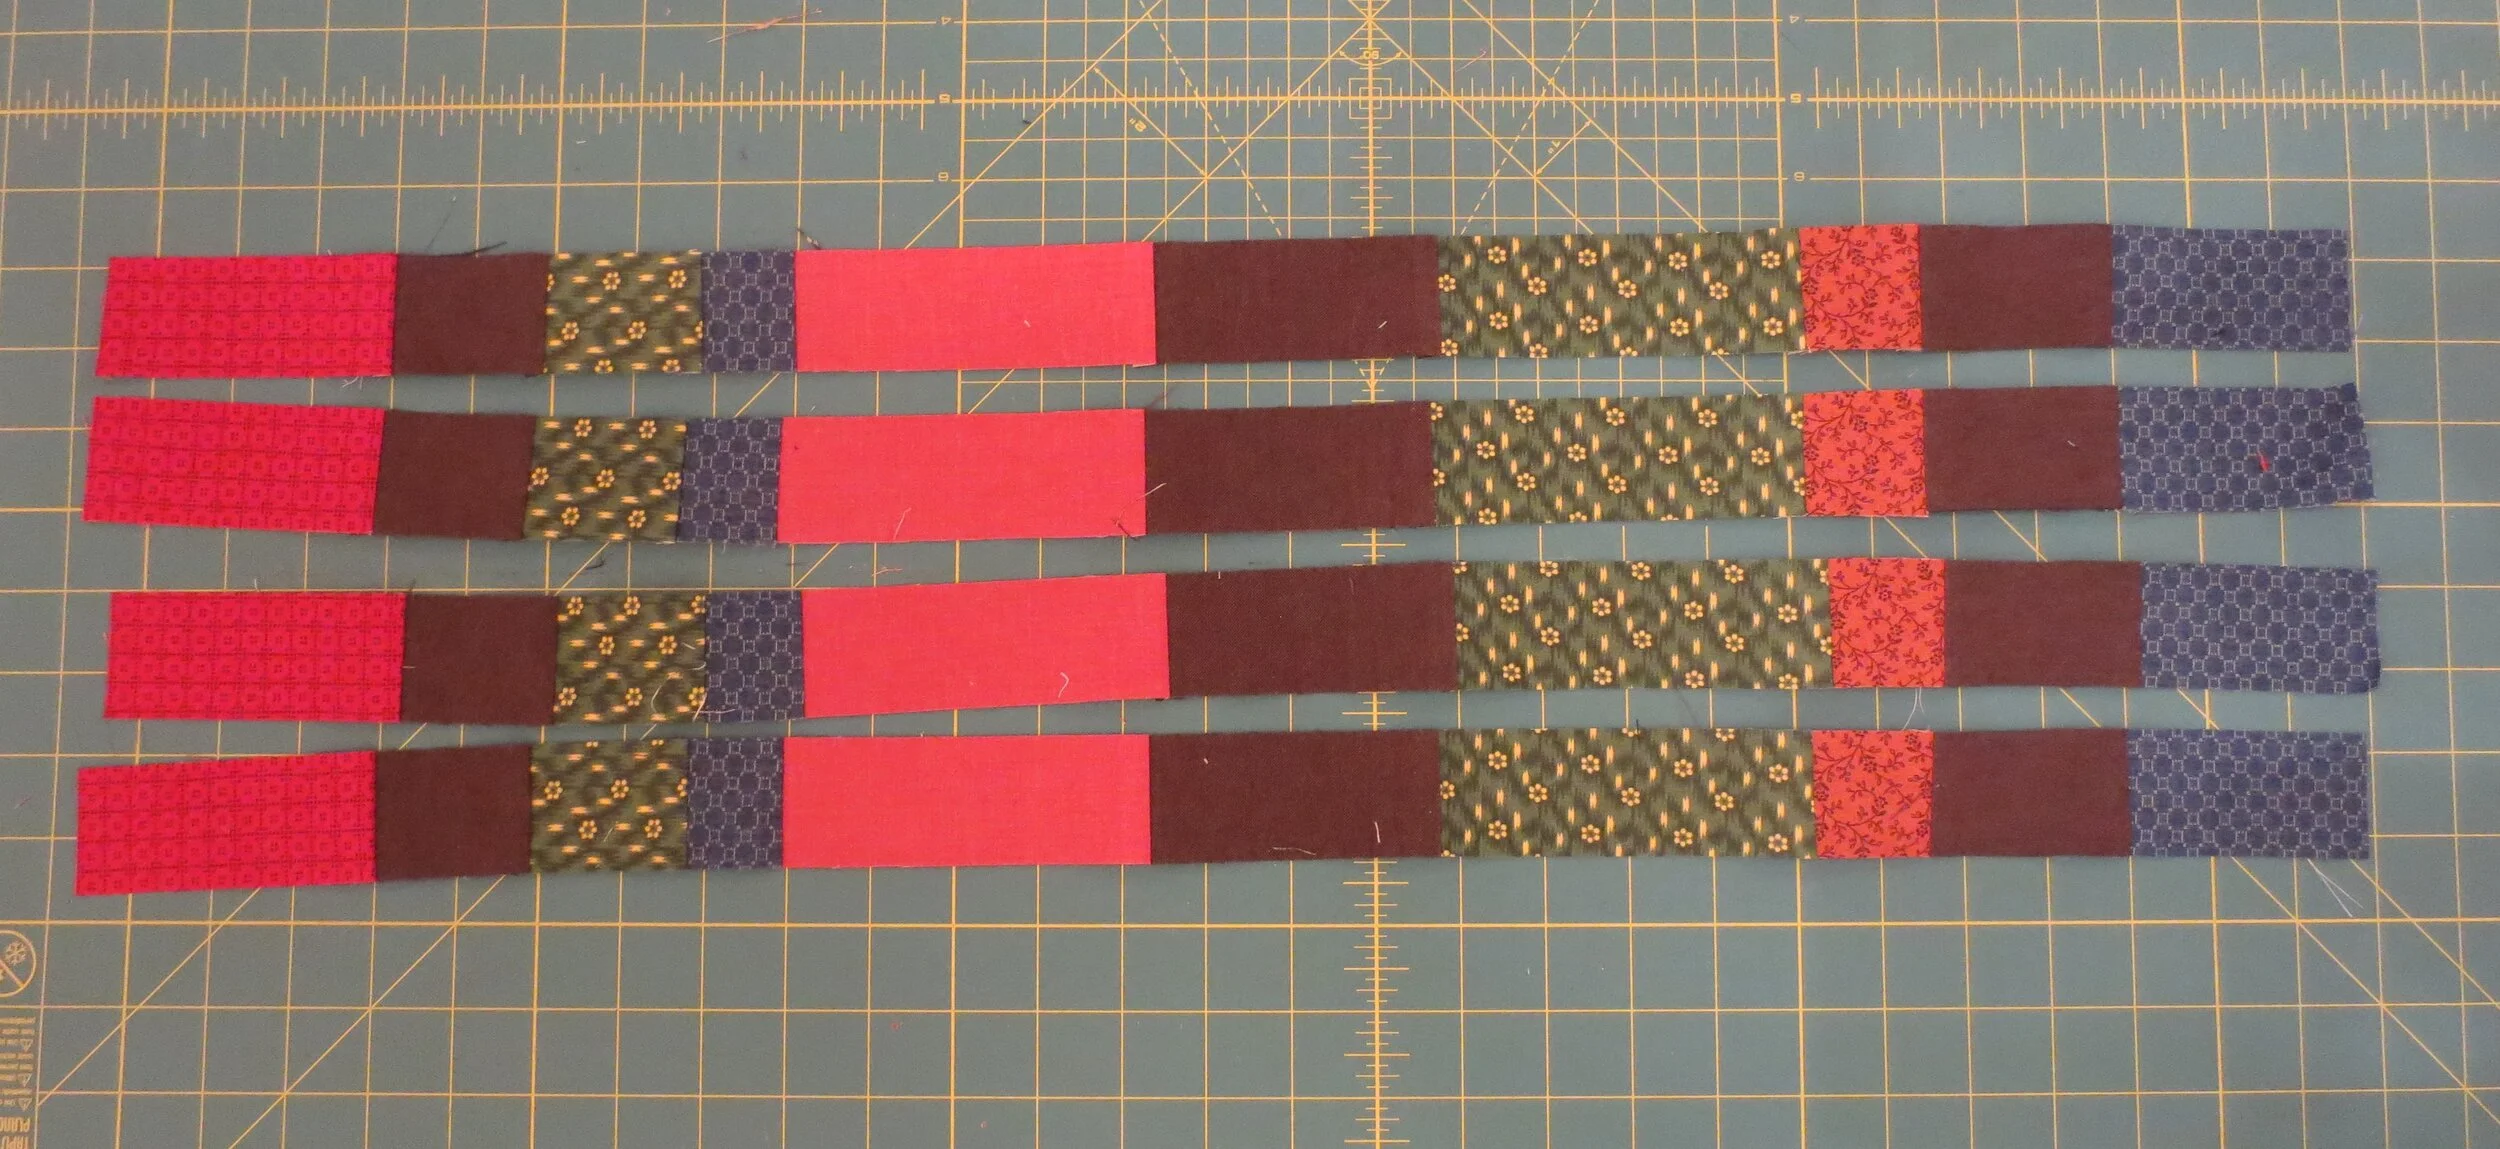
Using the Scrappy Border Diagram sheet as you guide, pin and then sew the fabric pieces together in the order shown. Press all seams in the same direction. The resulting strip should be 6 1/2” tall and approximately 27 1/2” wide. Don’t worry if your strip is not exact. Trim long edges to square up. Don’t trim the length.
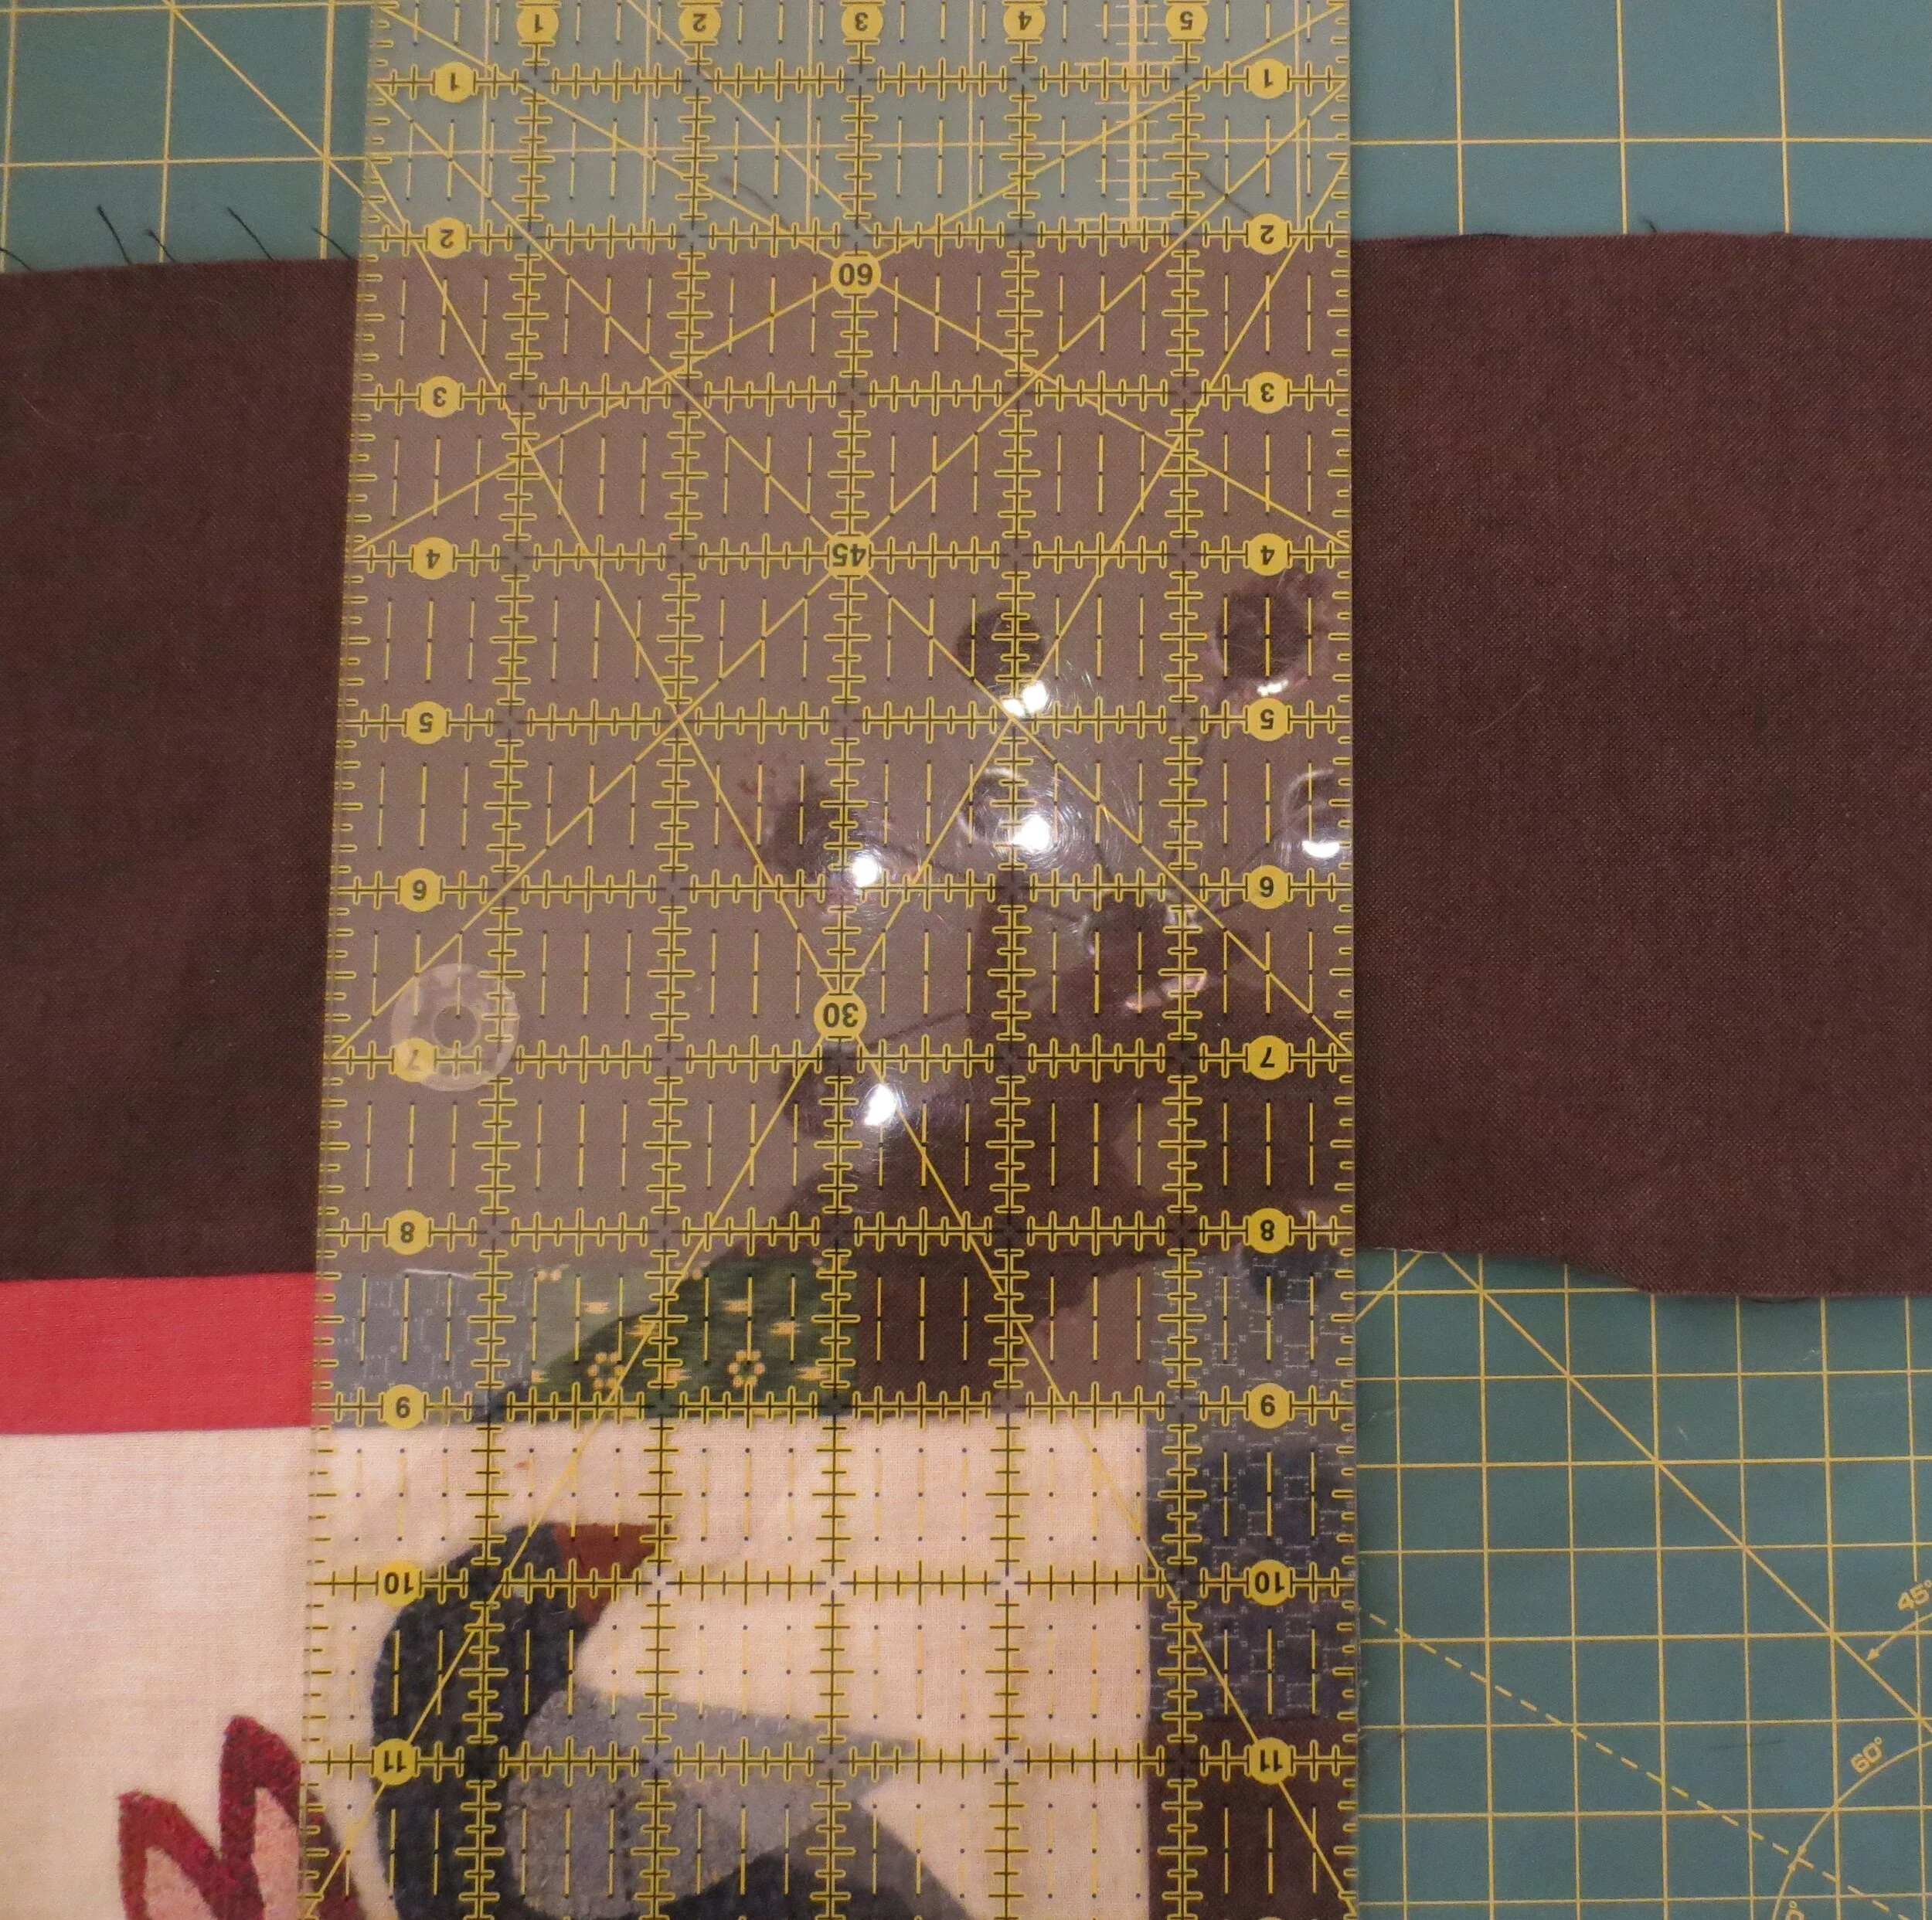
Cut four 1 1/2” wide strips from the above strip (see below). Discard the remnant. Set the strips aside until needed.
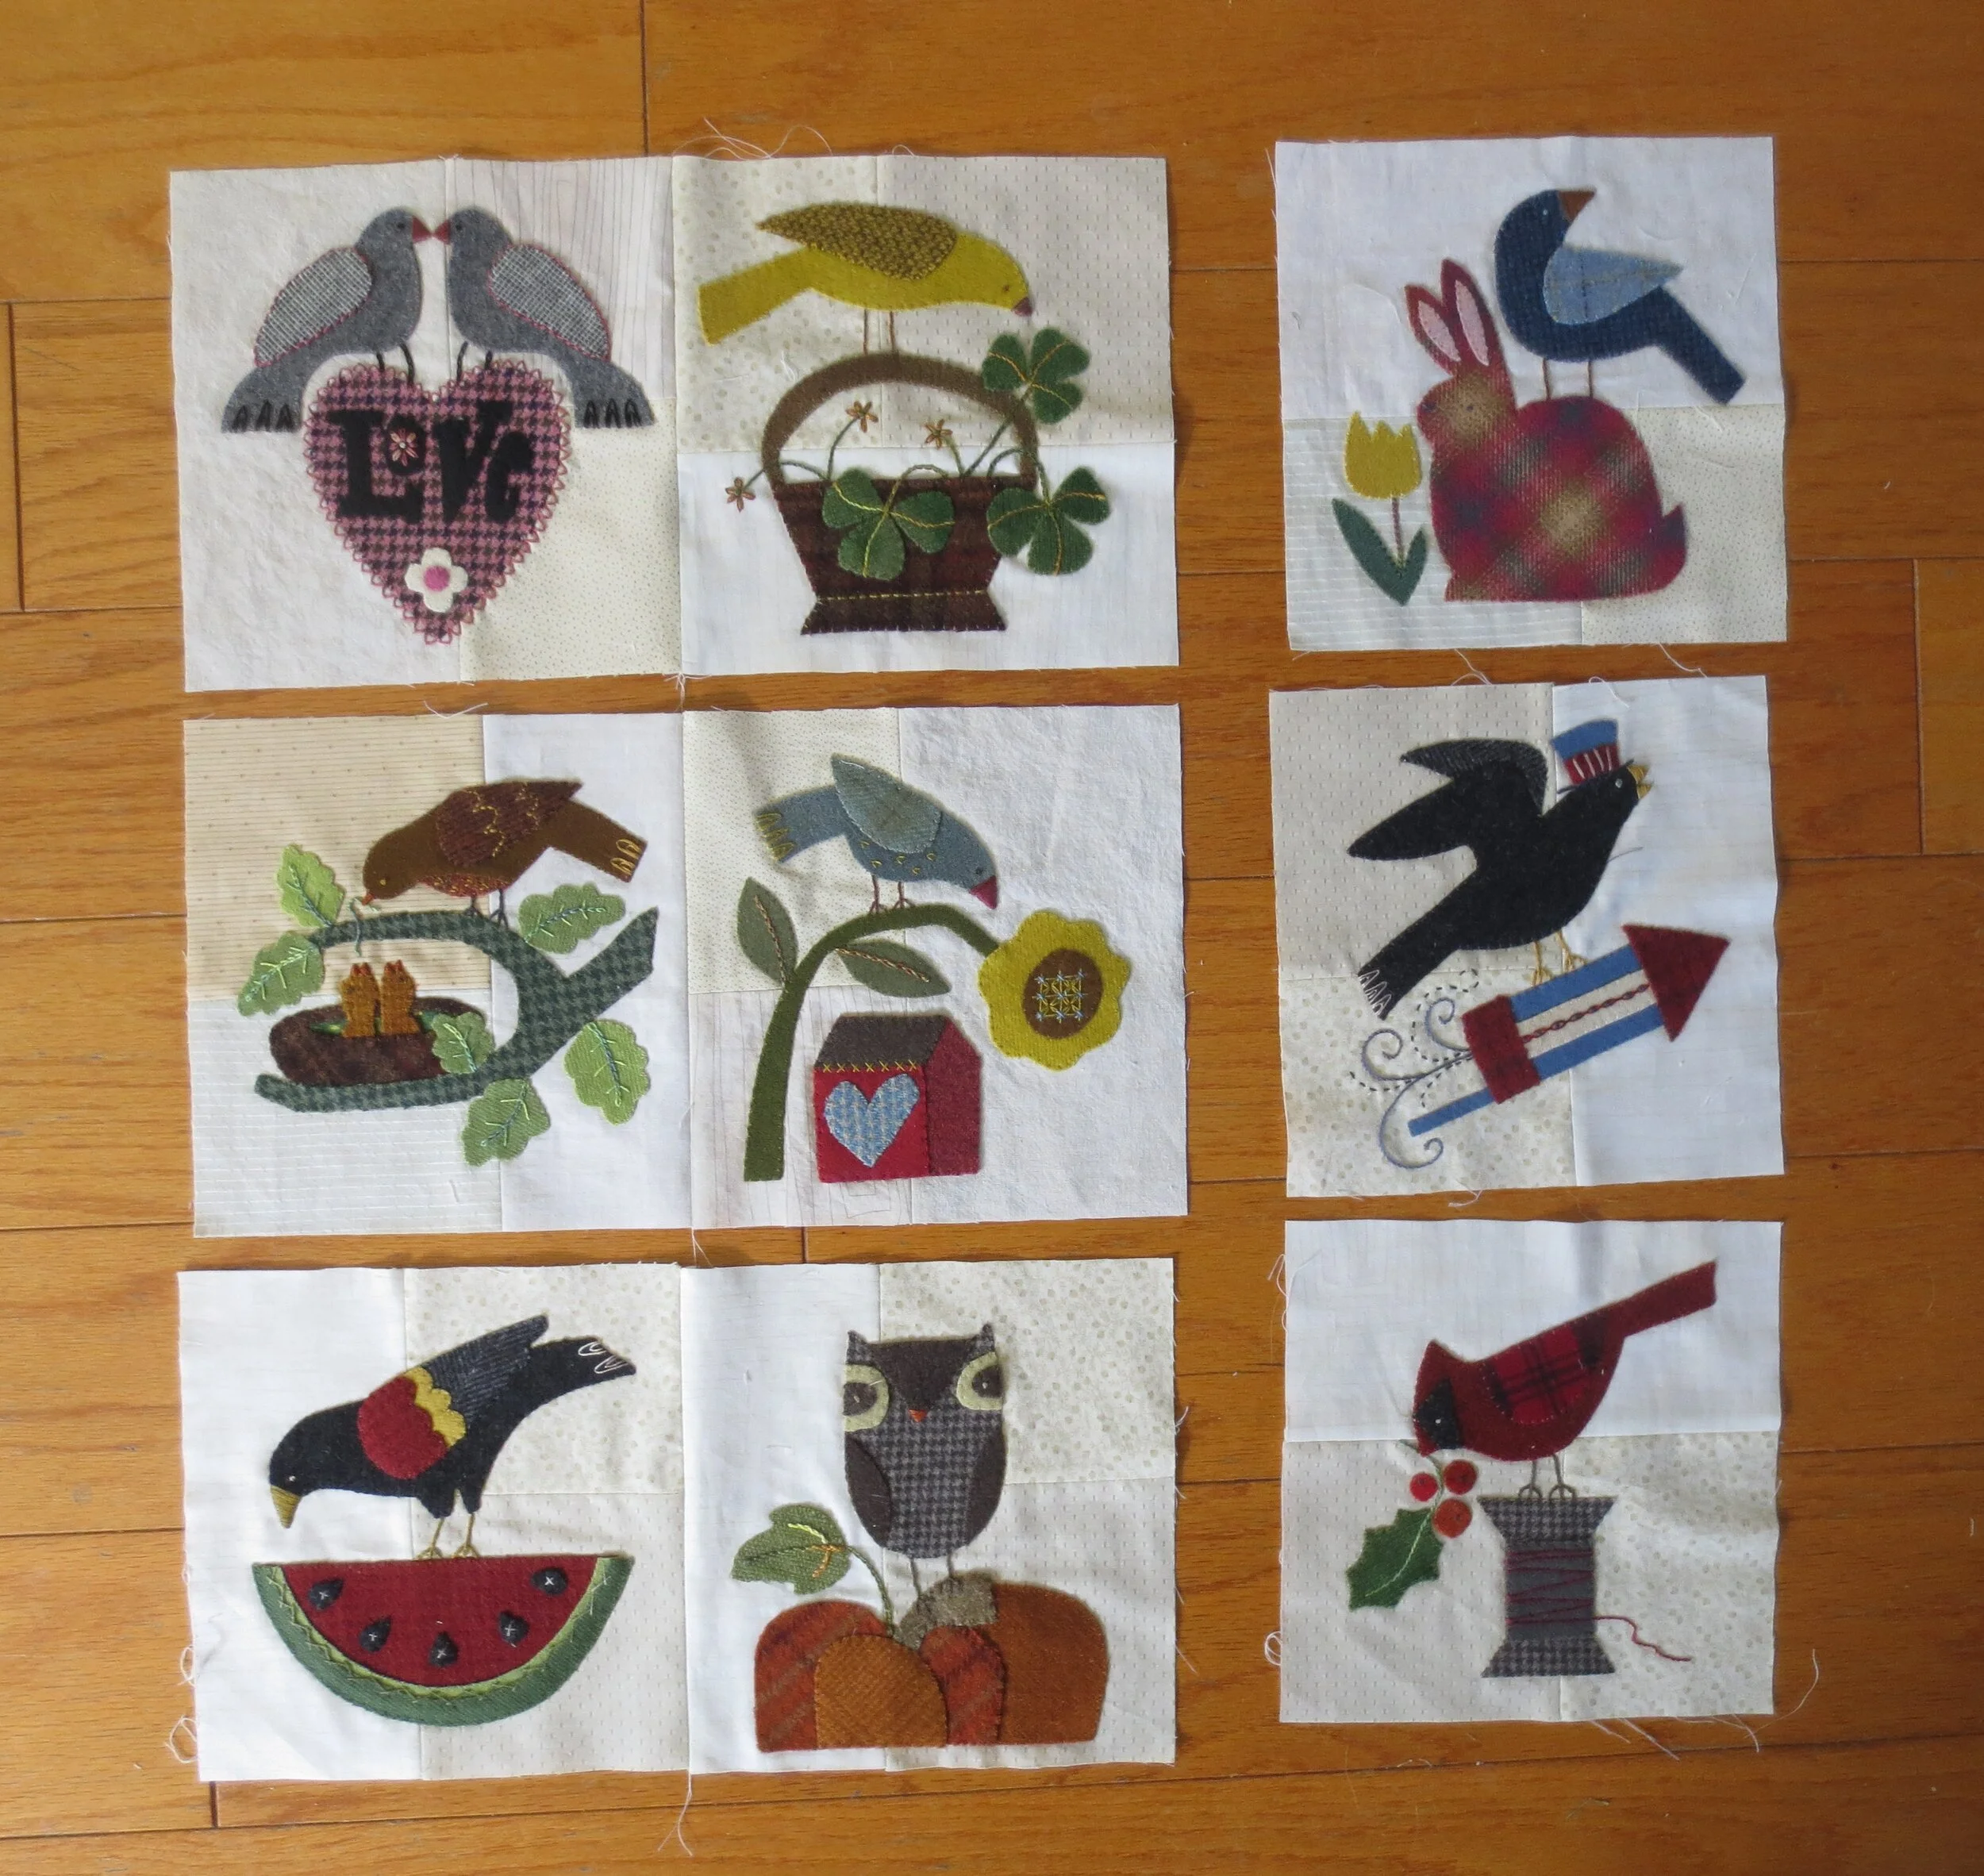
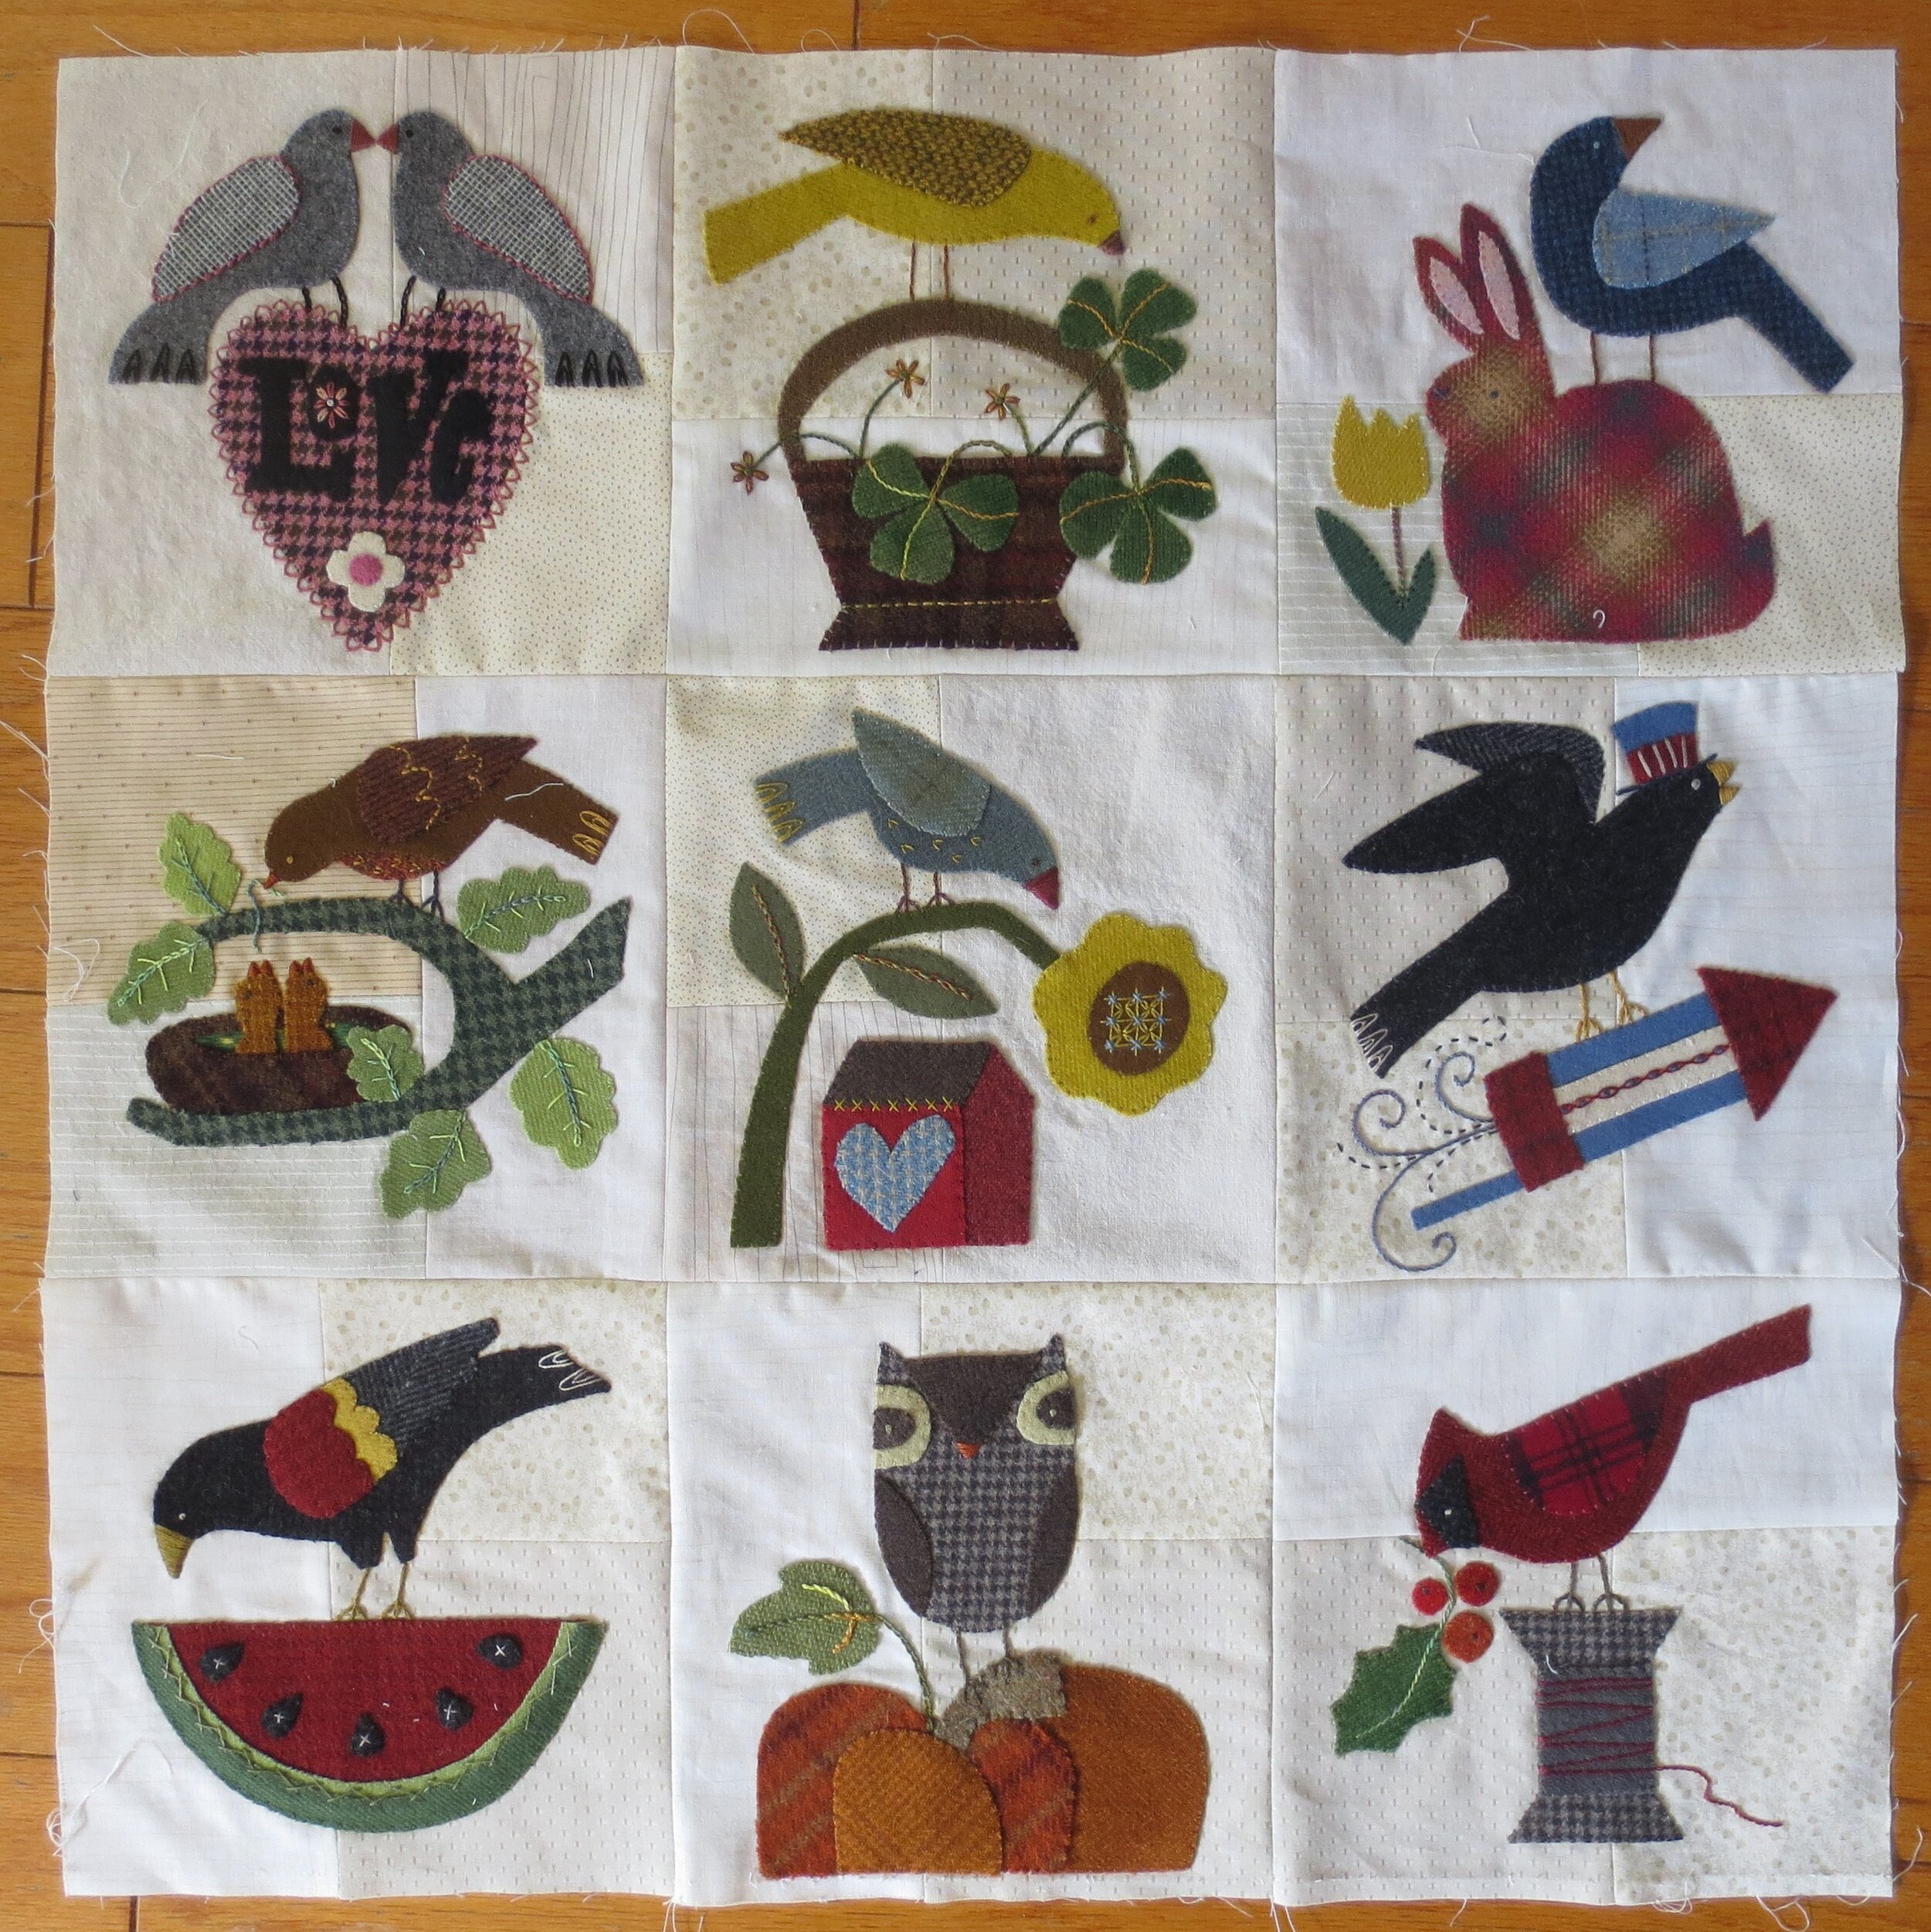
Arrange appliqued blocks in a 9-block formation (three rows of three). I began with block #2 and ended with block #1. Row #1 consists of blocks #2, 3 & 4. Row #2 is blocks #5, 6 & 7. Row #3 is blocks #8, 9 & 1. Of course, this is merely a suggestion. You may wish to mix up your blocks in a different order. The only requirement is that they be in a 9-block formation.
Sew block 2 to 3. Press seams toward block 3.
Sew block 5 to 6. Press seams toward block 5.
Sew block 8 to 9. Press seams toward block 9.
Sew block 4 to the 2/3 block. Press seam toward block 4.
Sew block 7 to the 5/6 block. Press seam toward block 6.
Sew block 1 to the 8/9 block. Press seam toward block 1.
Pin and then sew row 1 to row 2. If you pressed your rows in opposite directions the seams should nest together. Press seams toward row 1.
Pin and sew row 3 to row 2. Press seams toward row 2. This will complete your 9-block.
Trim if your 9-block needs squaring up.
Now let’s add the scrappy border.
Note: If you are using the scrappy inner border you will need to lay out the inner border strips and adjust for desired color sequence prior to the next step. The strips will be longer than the sides of your quilt, but they can be trimmed after they are sewn to the quilt.
Pin and then sew one of the inner borders to the top of the 9-block. Press seam toward the border.
Pin and then sew another of the inner borders to the bottom of the 9-block. Press seam toward the border.
Trim the excess border fabric to square up your quilt.
Pin and then sew the two side inner borders to the quilt. Press the seams toward the borders.
Trim excess fabric to square up.
Now let’s add the outer border.
Pin and then sew one of the 6 ½” wide outer border strips to the top of the quilt. Press seams toward outer border. Note: I center my border on the quilt and trim off the ends after I’ve sewn it on.
Pin and then sew the remaining 6 ½” strip to the bottom. Trim excess fabric to square up. Press seams toward outer border,
Pin and then sew the 3” wide side outer borders to the quilt. Press seams toward the outer border.
Trim excess fabric to square up.
Sew a zig zag stitch around the outer perimeter of the quilt. This will prevent it from fraying while you applique it.
You are now ready for the border applique.

