Dreaming of Fall
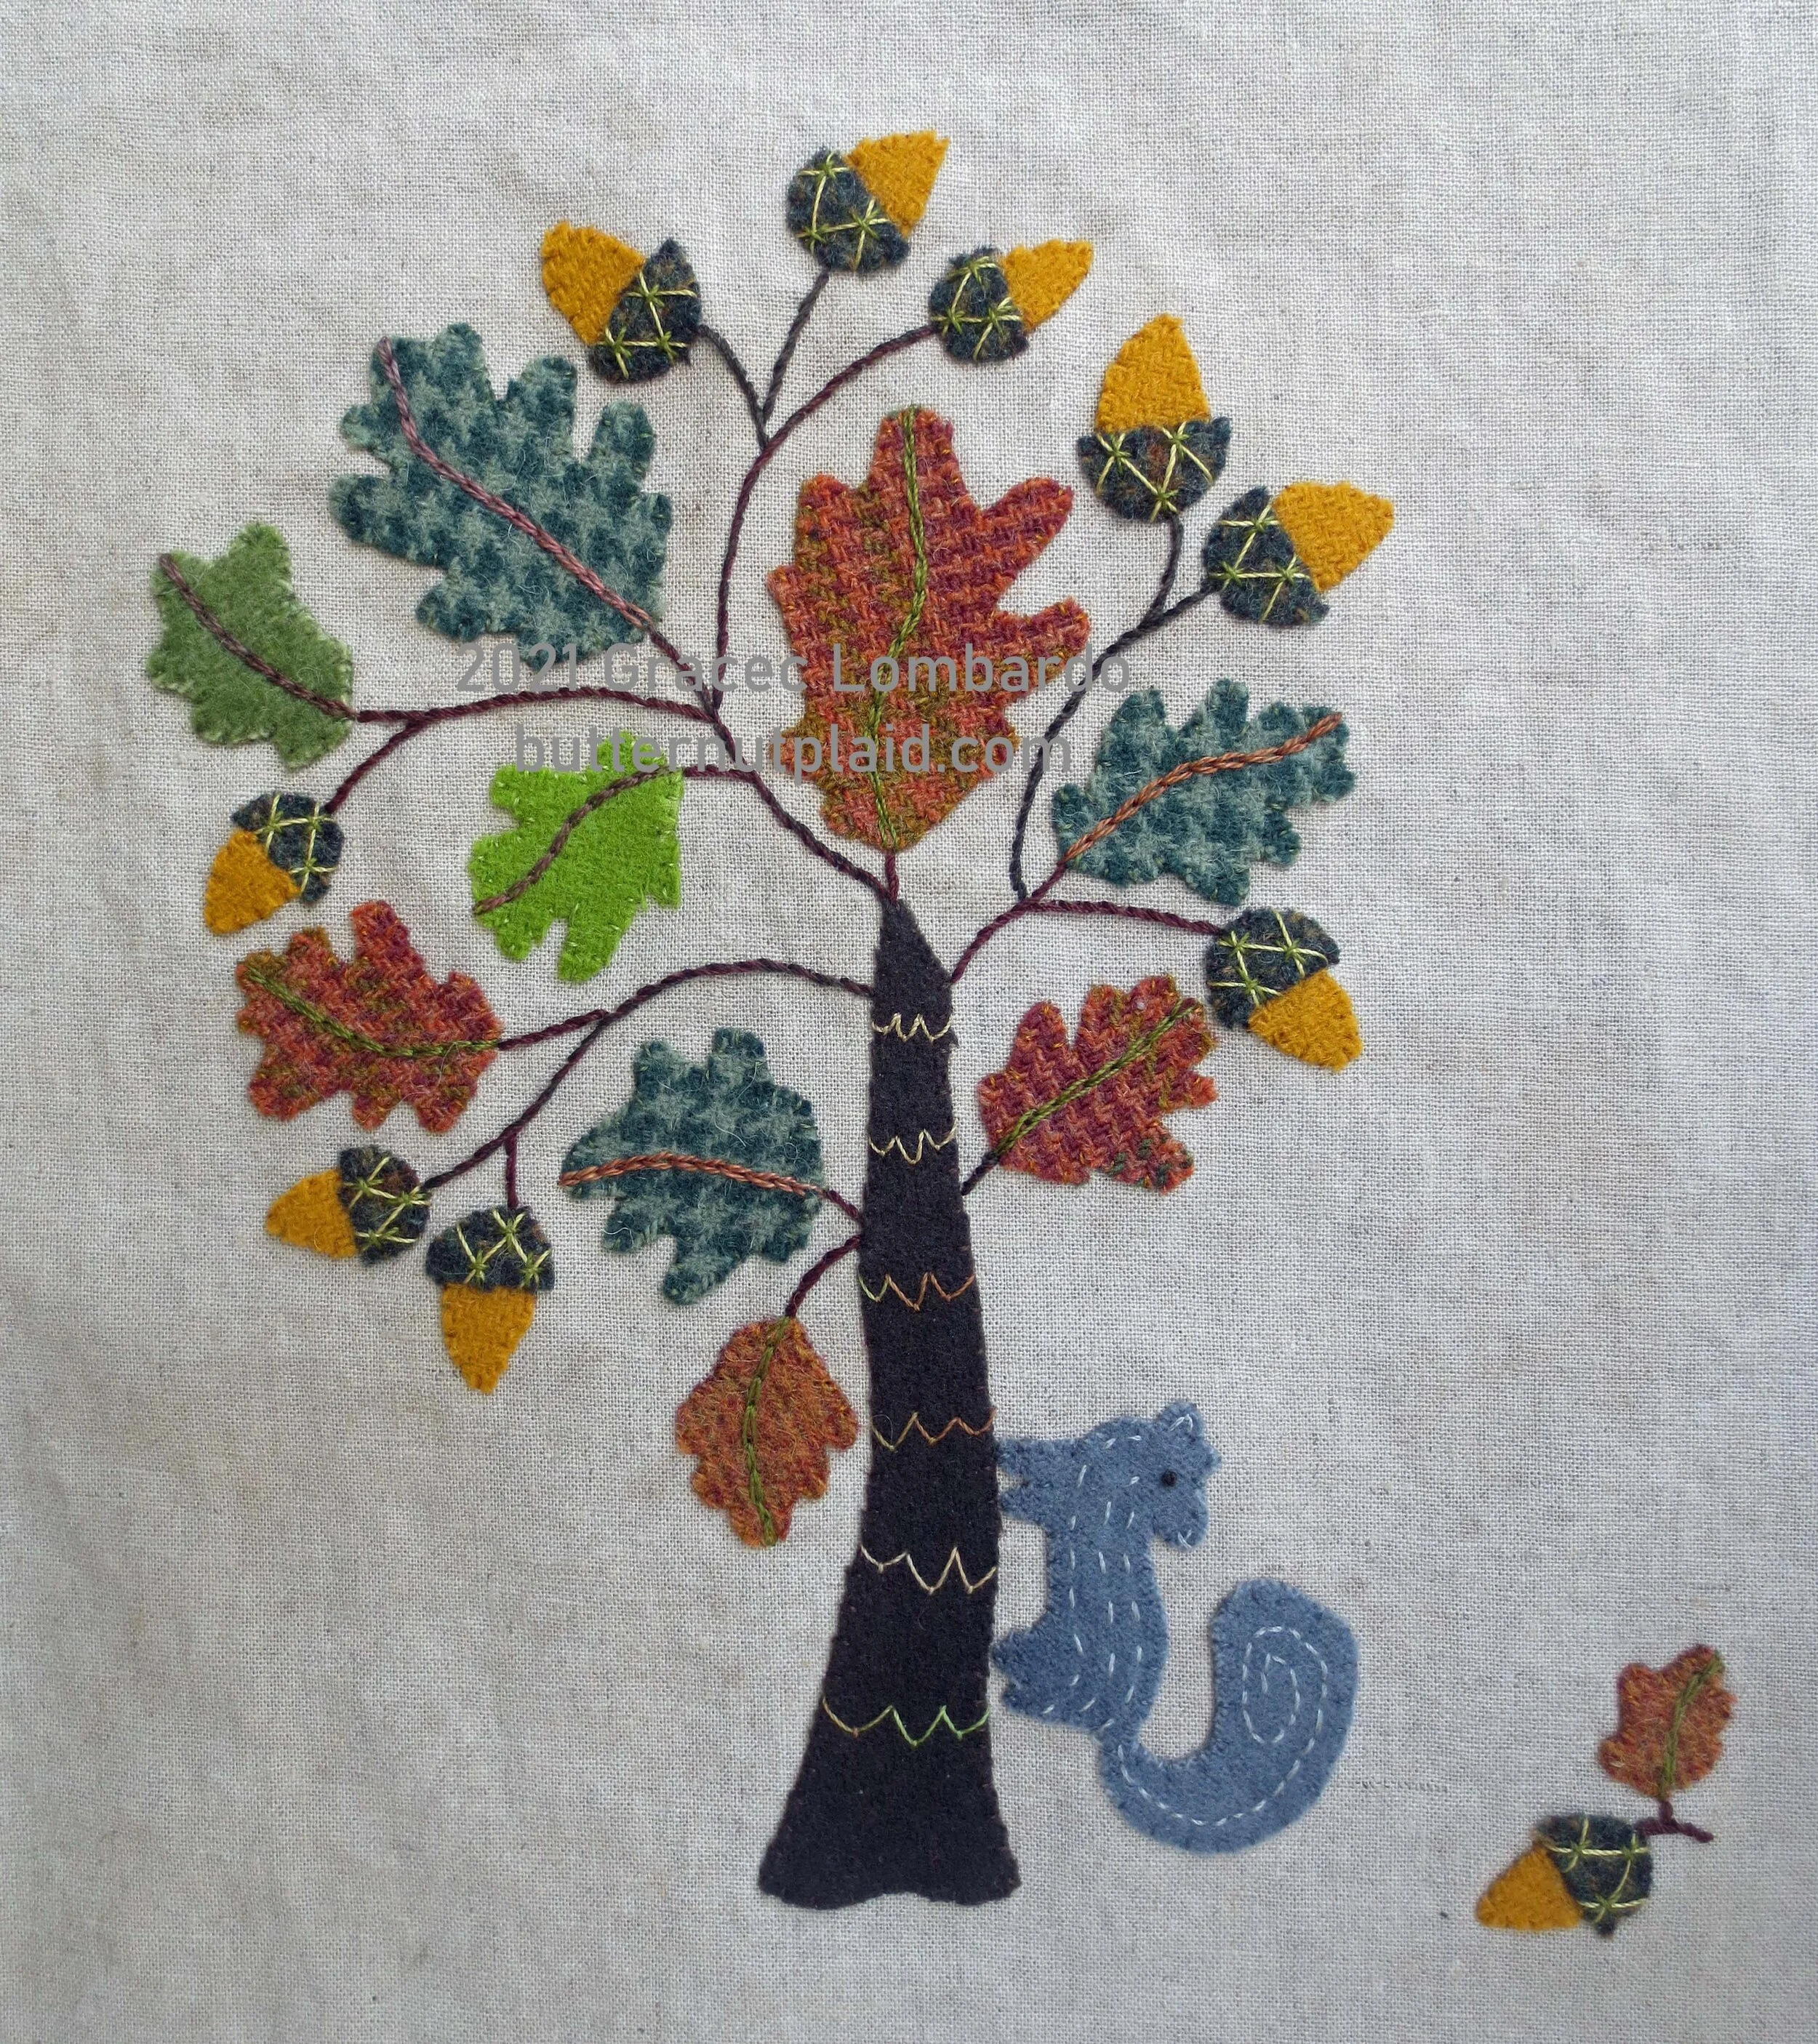
The August heat has me dreaming of cool autumn nights. Acorns, fall leaves, my corgi Winston’s nemesis — these are the symbols of my autumn.
This 8” x 8 1/2” design is the perfect project for all of your wool scraps. This is my color palette, but yours may be different. Leaves or even a tree trunk in a deep purple would be lovely.
Let’s begin!
Supplies
Stitch Guide if needed
Background fabric
o 12 ½” x 12 ½” piece of Cotton/linen blend canvas (Robert Kaufman Essex) or medium weight linen
o Quilting cottons or wovens can be used, but they should be backed with a woven fusible interfacing like Pellon Shape-flex for added body.
Felted wool or wool felt – These colors are suggestions. Your choices may vary. Make it your own, go wild!
o Tree Trunk – 2” x 6” dark brown
o Leaves #1 and #10 – 1 ½” x 2” burnt orange
o Leaves #2, #6 and #8 – 4” x 4” green houndstooth
o Leaves #3, #7, and #9 – 4” x 4” burnt orange/green plaid
o Leaf #4 – 1 ½” x 1 ½” leaf green
o Leaf #5 – 1 ½” x 1 ½” olive green
o Acorn tops – 2” x 3” greenish brown
o Acorns – 2” x 3” golden orange
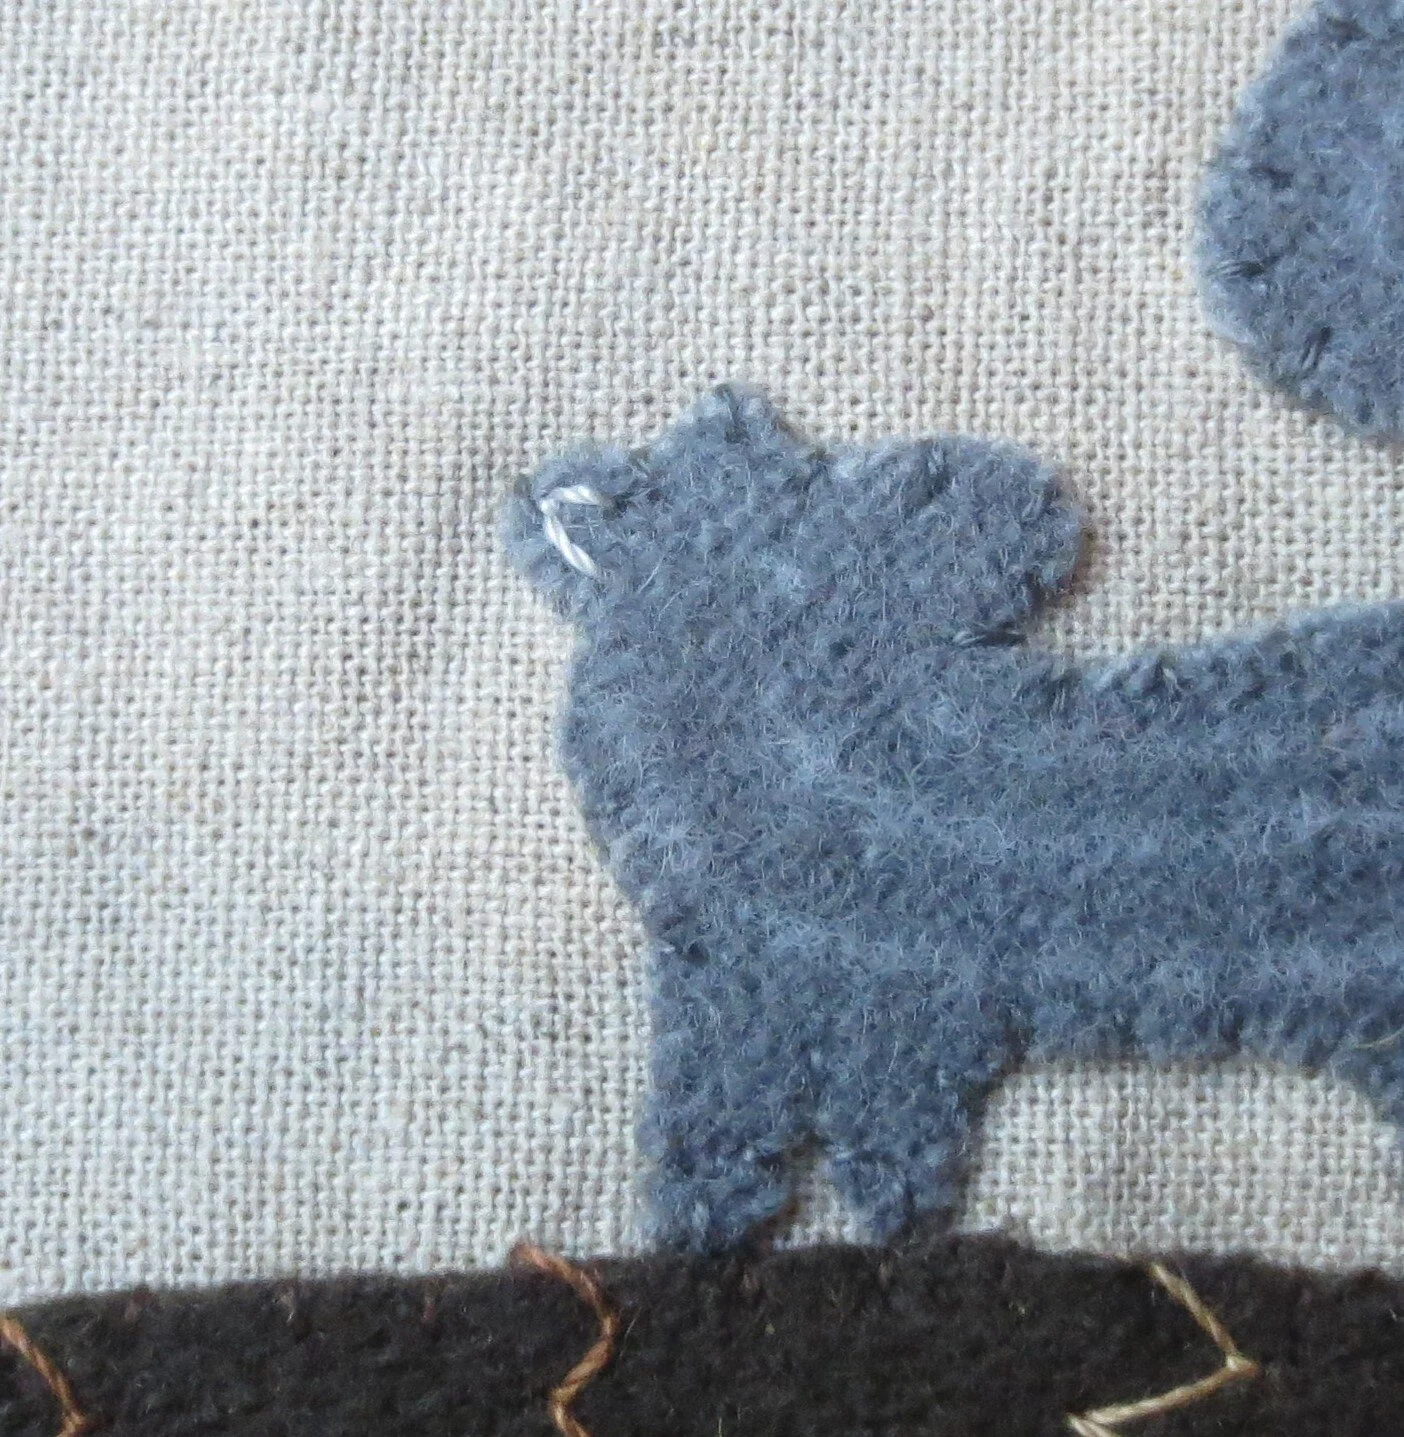
o Squirrel – 2 ½” x 3” medium grey heather
Thread
o Use embroidery floss in colors that match your wool colors – This will be used to whip stitch the wool pattern pieces.
o Use a 12wt. thread (perle cotton or comparable type thread) for tree branches and all stitch embellishments. 2-3 strands of embroidery floss can be substituted for the 12wt. thread. Why 2-3 strands? Well, I’ve found that 12wt thread varies in thickness – Sulky Petites appear to be similar to 12wt. DMC perle cotton, Valdani perle cotton is slightly thicker. So sometimes I have to adjust the number of floss threads I use to get the equivalent thickness.
o I used 12wt. Sulky Petites for all my embellishments
§ Tree branches – dark brown #1130
§ Veins of orange leaves – medium army green #1173
§ Veins of green leaves – I used the orange part of Sulky Blendable Autumn #4006
§ Acorn tops – Galley Gold #1826 and medium army green #1173
§ Tree trunk – Sulky Blendable Summer Woods #4090
§ Squirrel – Nickle Gray #1328
Micellaneous
o Featherweight fusible web – Heat-N-Bond brand or Vilene Melt-fuse are both excellent choices
o Steam Iron
o Sharp scissors – Kai serrated scissors are my favorite
o Erasable (air, water, or heat) fabric marker, or fine point chalk pencil (in a pinch you can use a mechanical pencil to trace your tree branches)
o Chenille needle, size 24
o Light box – optional
o Sticky tape such as Scotch Brand Magic
o Pellon Shape-Flex woven fusible interfacing – for use with light weight fabrics for your background
Instructions – All stitches are made with 1 strand of 12wt. thread unless otherwise noted.
1. Trace pattern pieces onto fusible web. Images are already reversed for use with fusible web.
2. Cut out pattern pieces leaving a small (1/8”) border around each, and then fuse to designated wool.
3. Cut out wool applique pieces along traced lines.
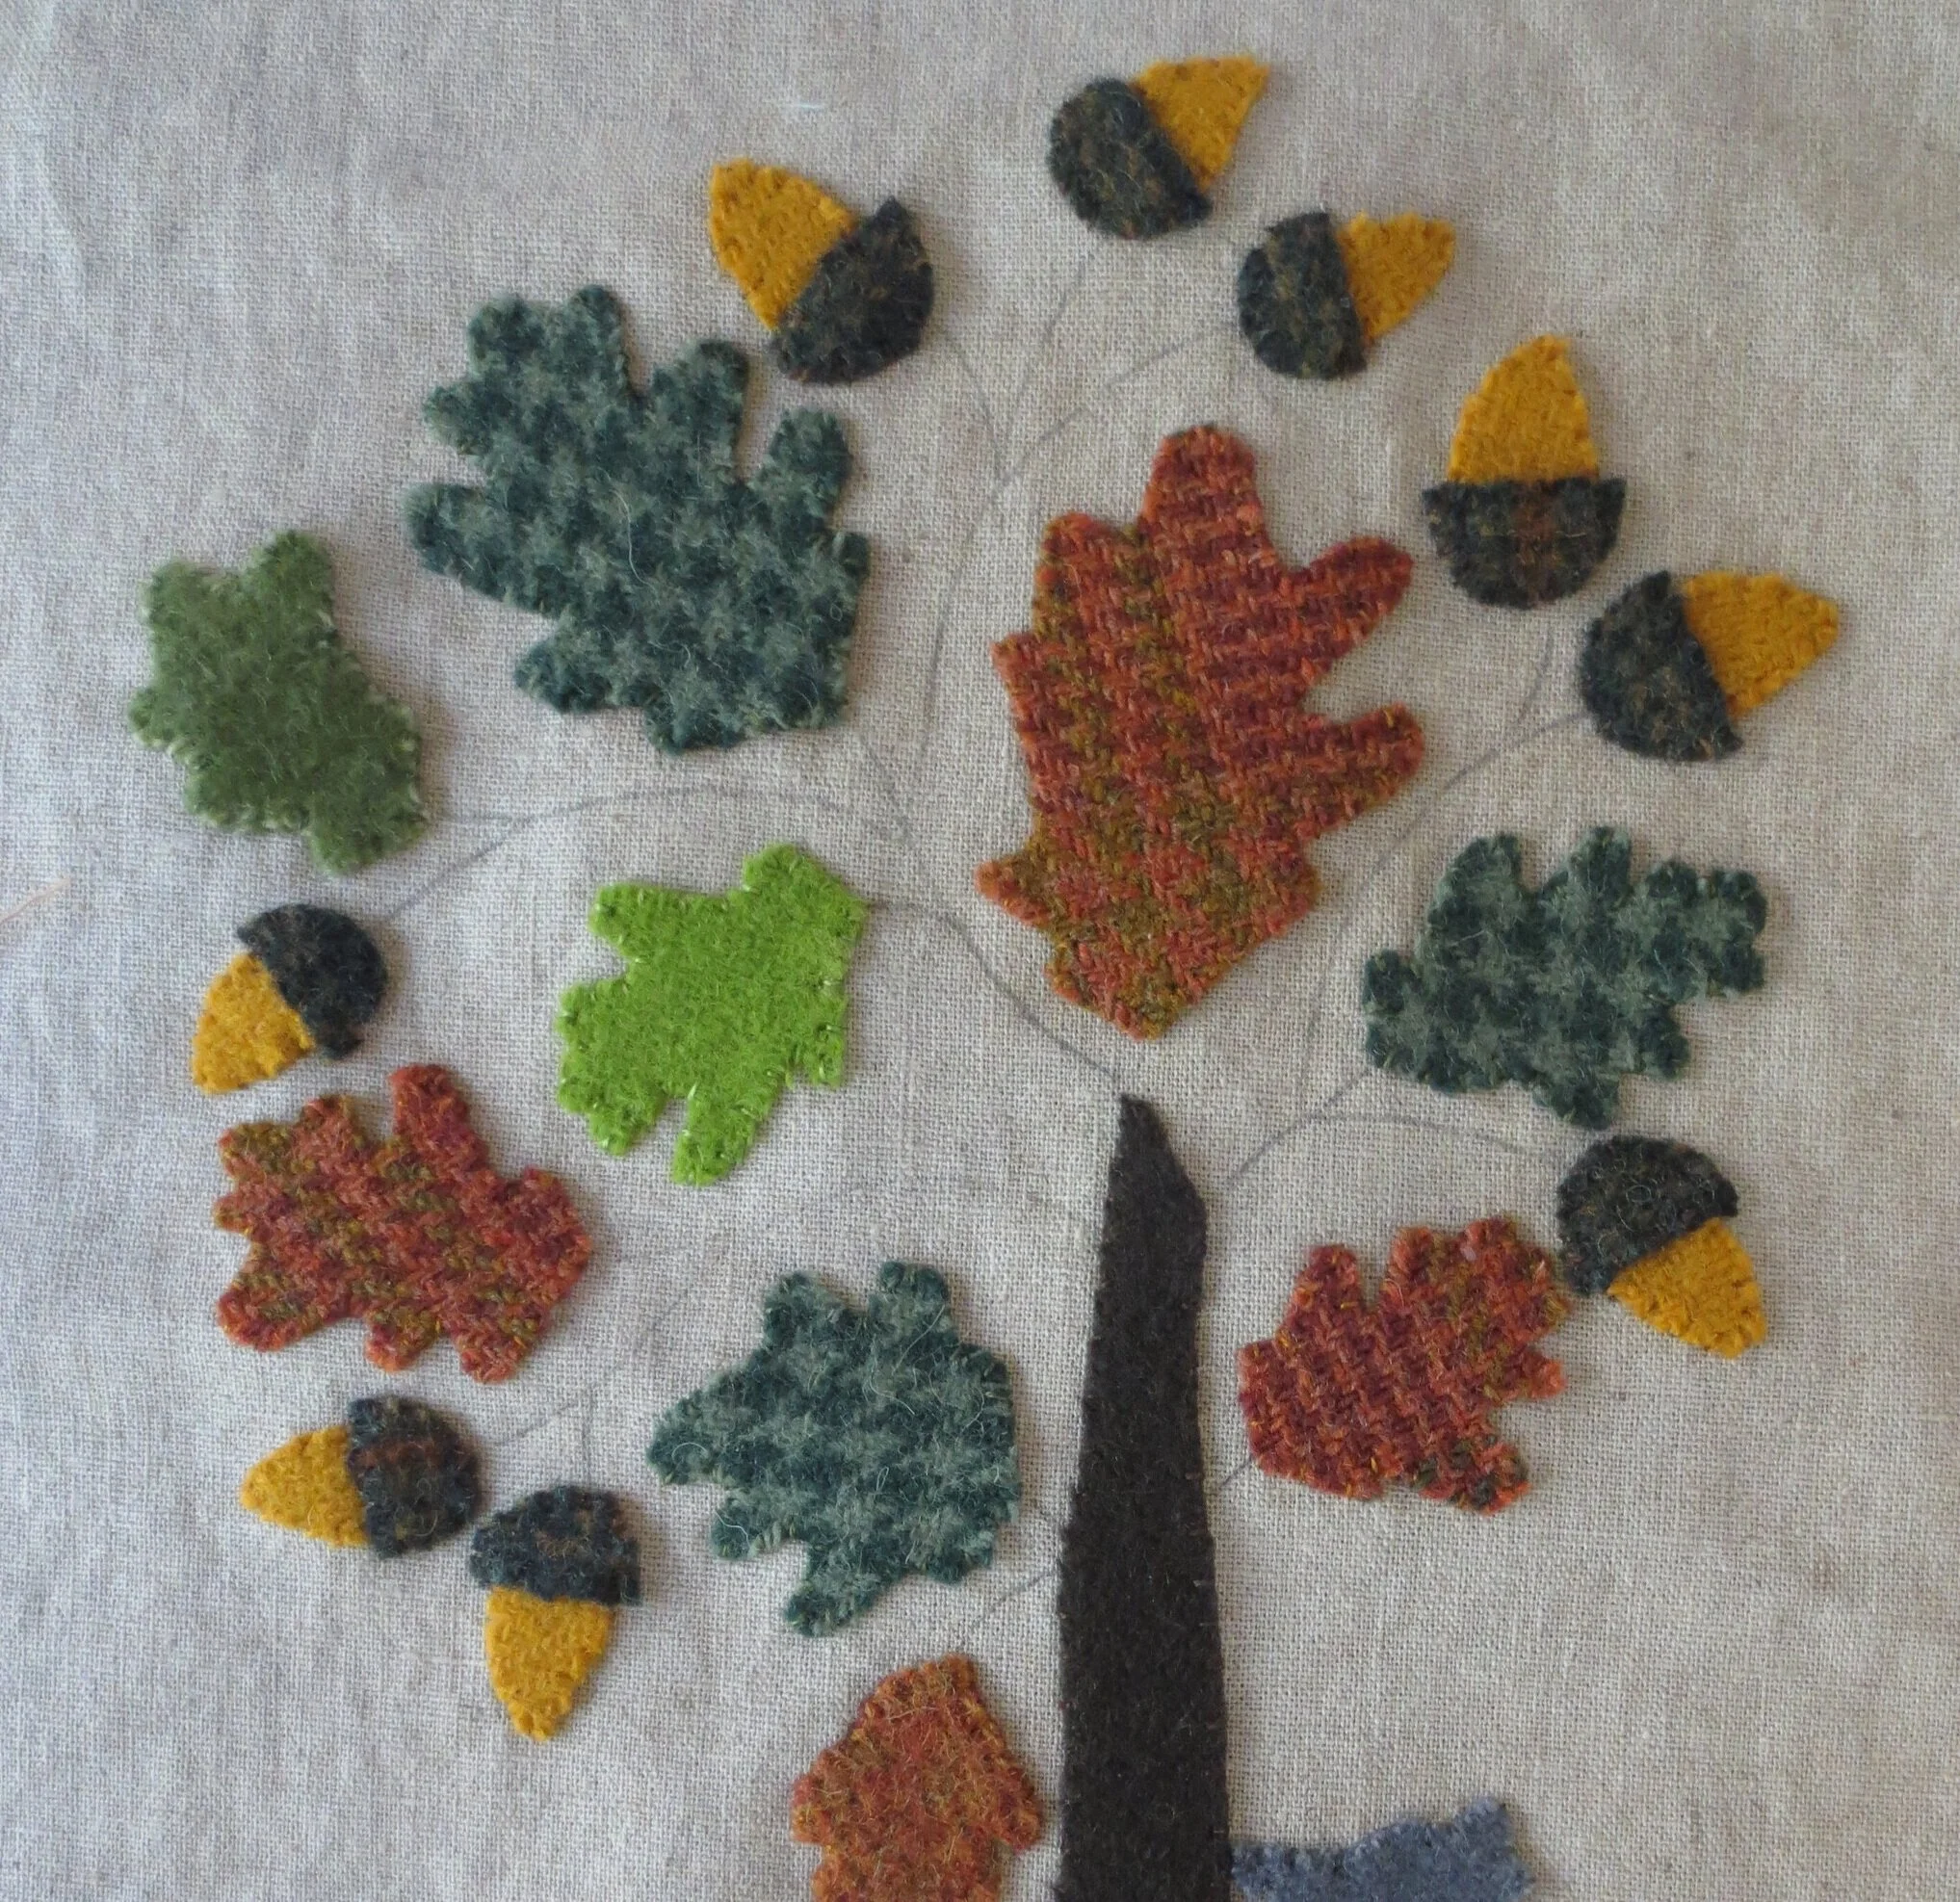
4. Using the layout as a guide, position all the wool pieces onto to the background fabric (remember to remove the paper from the fusible web as you position each one).
Note: This is where a light box comes in handy. Position the layout on the light box. Tape in place, and then center the background fabric over the layout. Tape the top of the fabric to the light box to prevent shifting. The design should be visible through the fabric if the fabric is not too dark. If you’re using a chalk or mechanical pencil to trace the tree branches and stem of acorn #10, do so now. The erasable marker will disappear when you fuse your wool, so leave that step for later if that is what you choose to use.
5. Carefully transfer the fabric with applique pieces to an ironing board or pad, and then fuse in place using steam.
6. For those of you who are using a fabric marker, lay your fabric back onto the layout and light box. Use a bit of tape to secure the fabric to the light box, and then use your marker to trace the branches of the tree and stem of acorn #10 onto the background fabric.
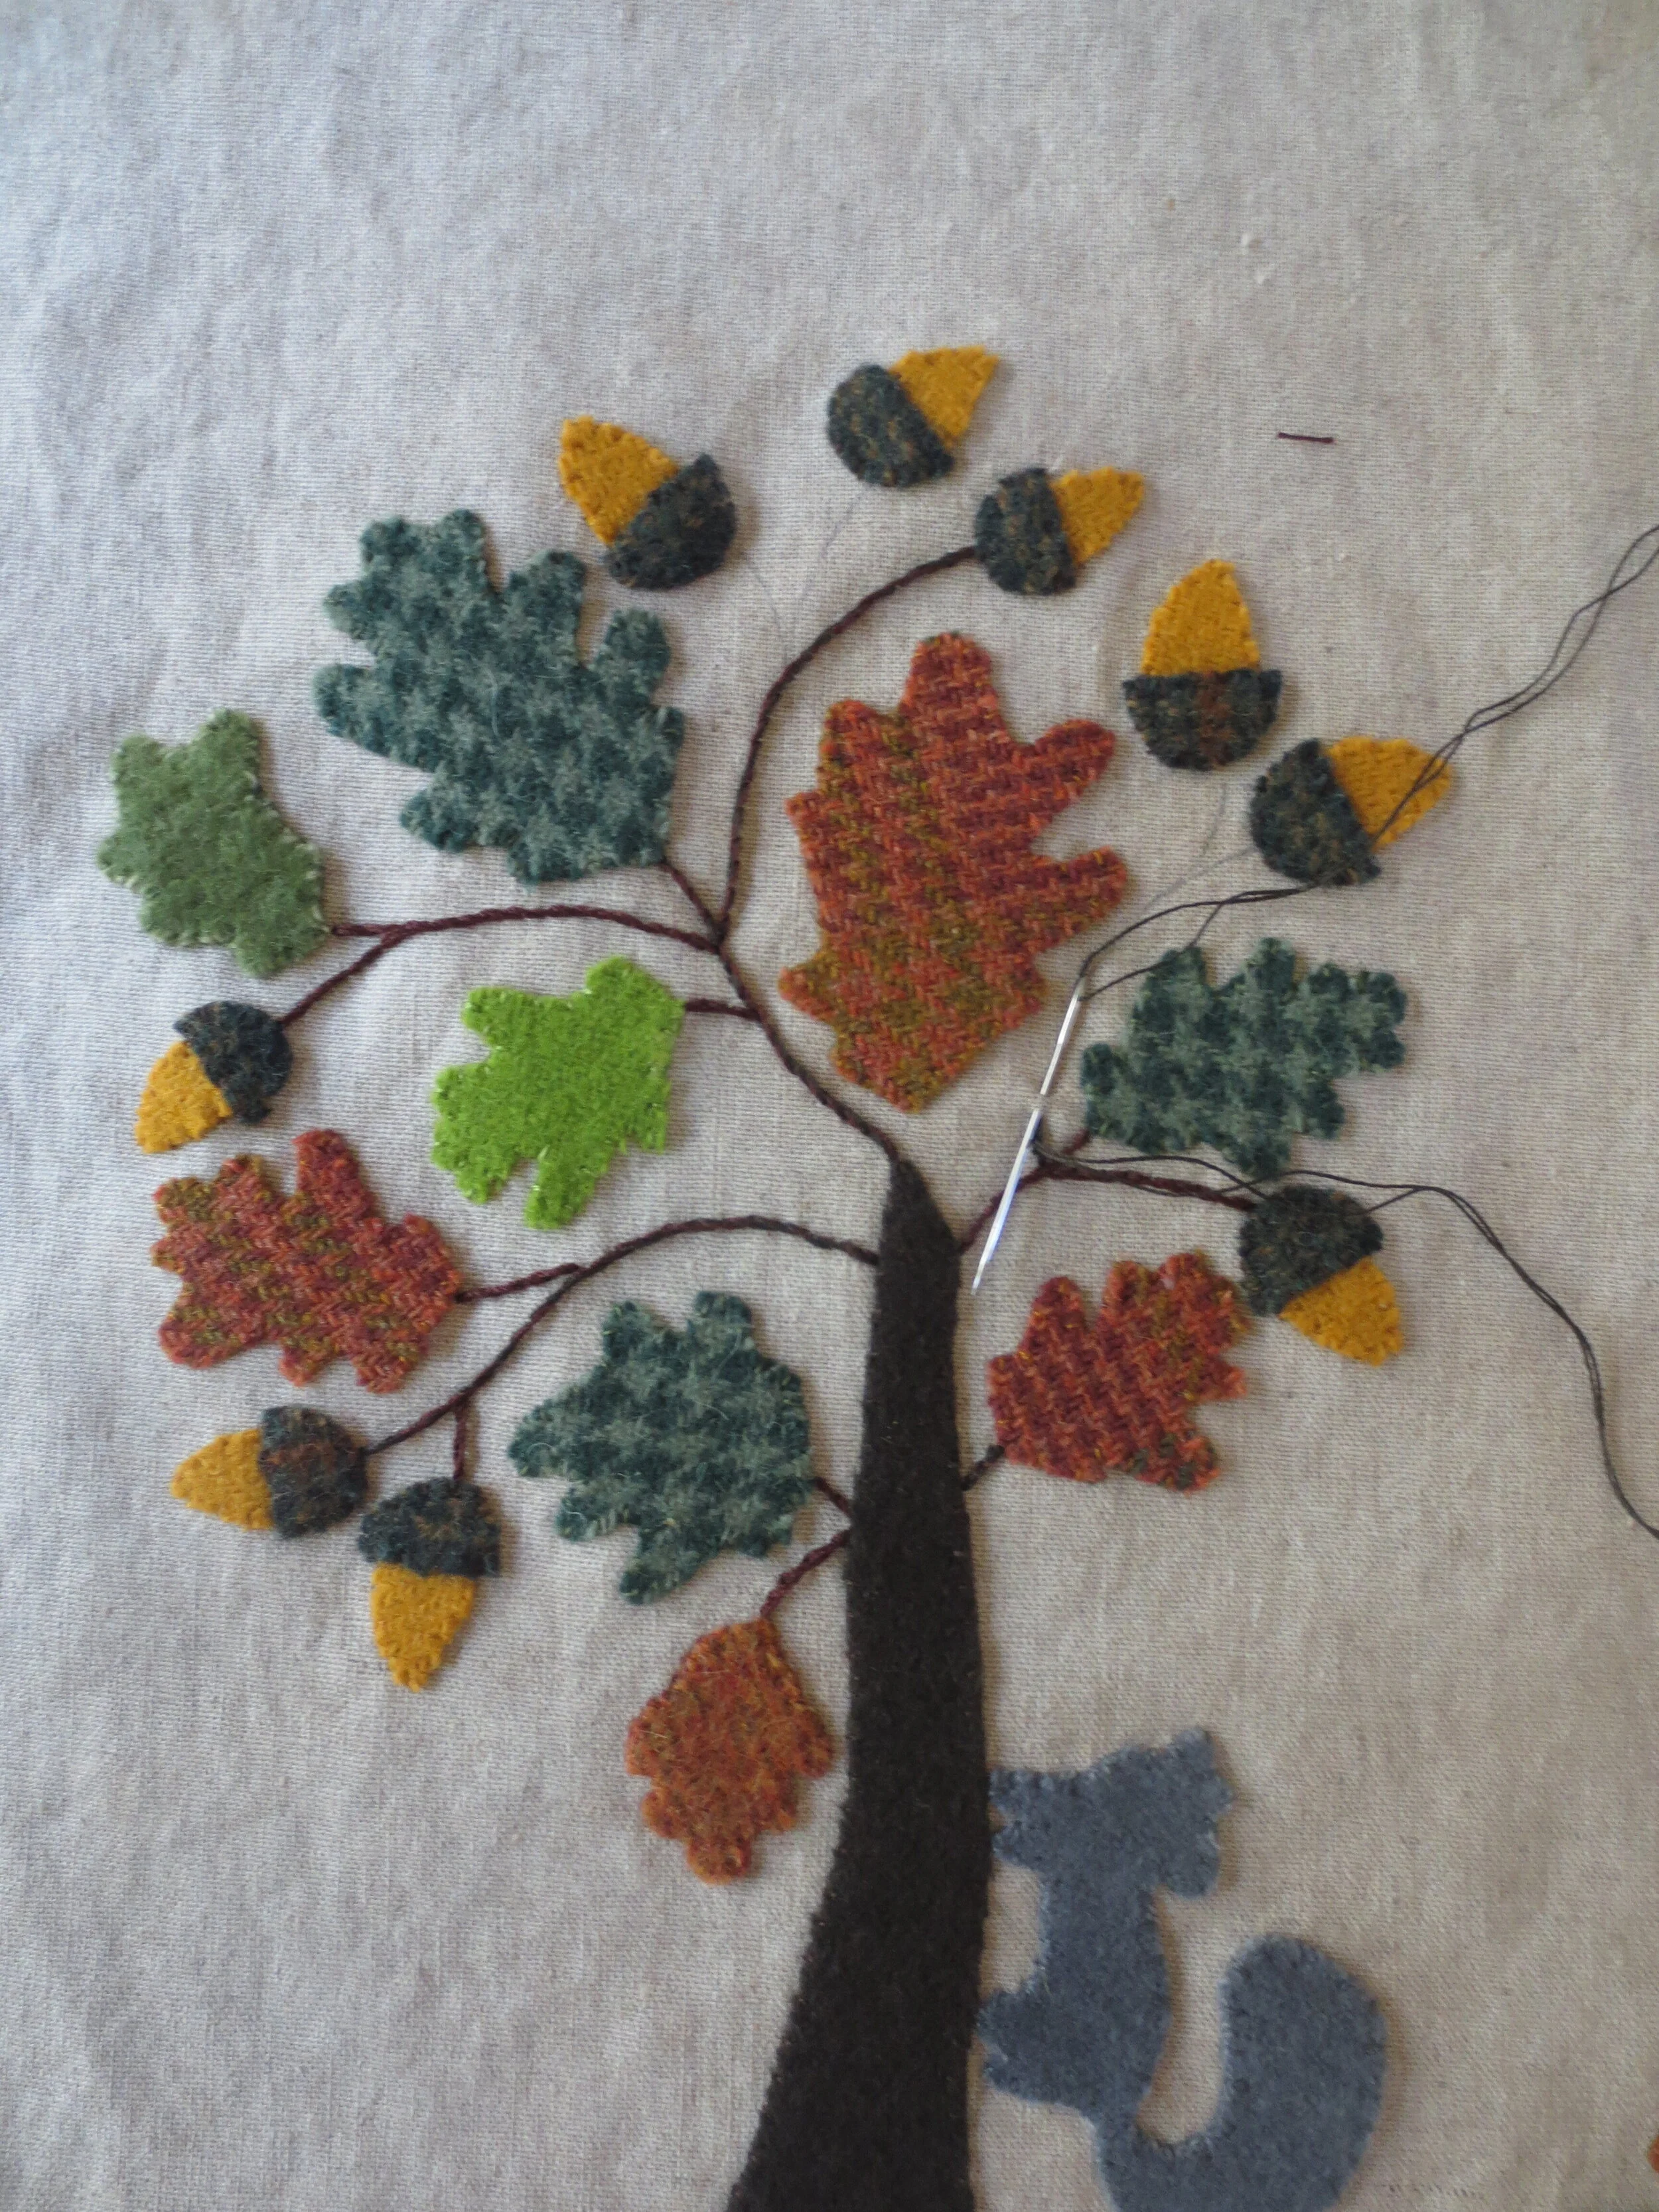
7. Use 1 strand of embroidery floss that matches your wool colors to whip stitch each of the applique pieces in place. Begin with the smallest pieces first.
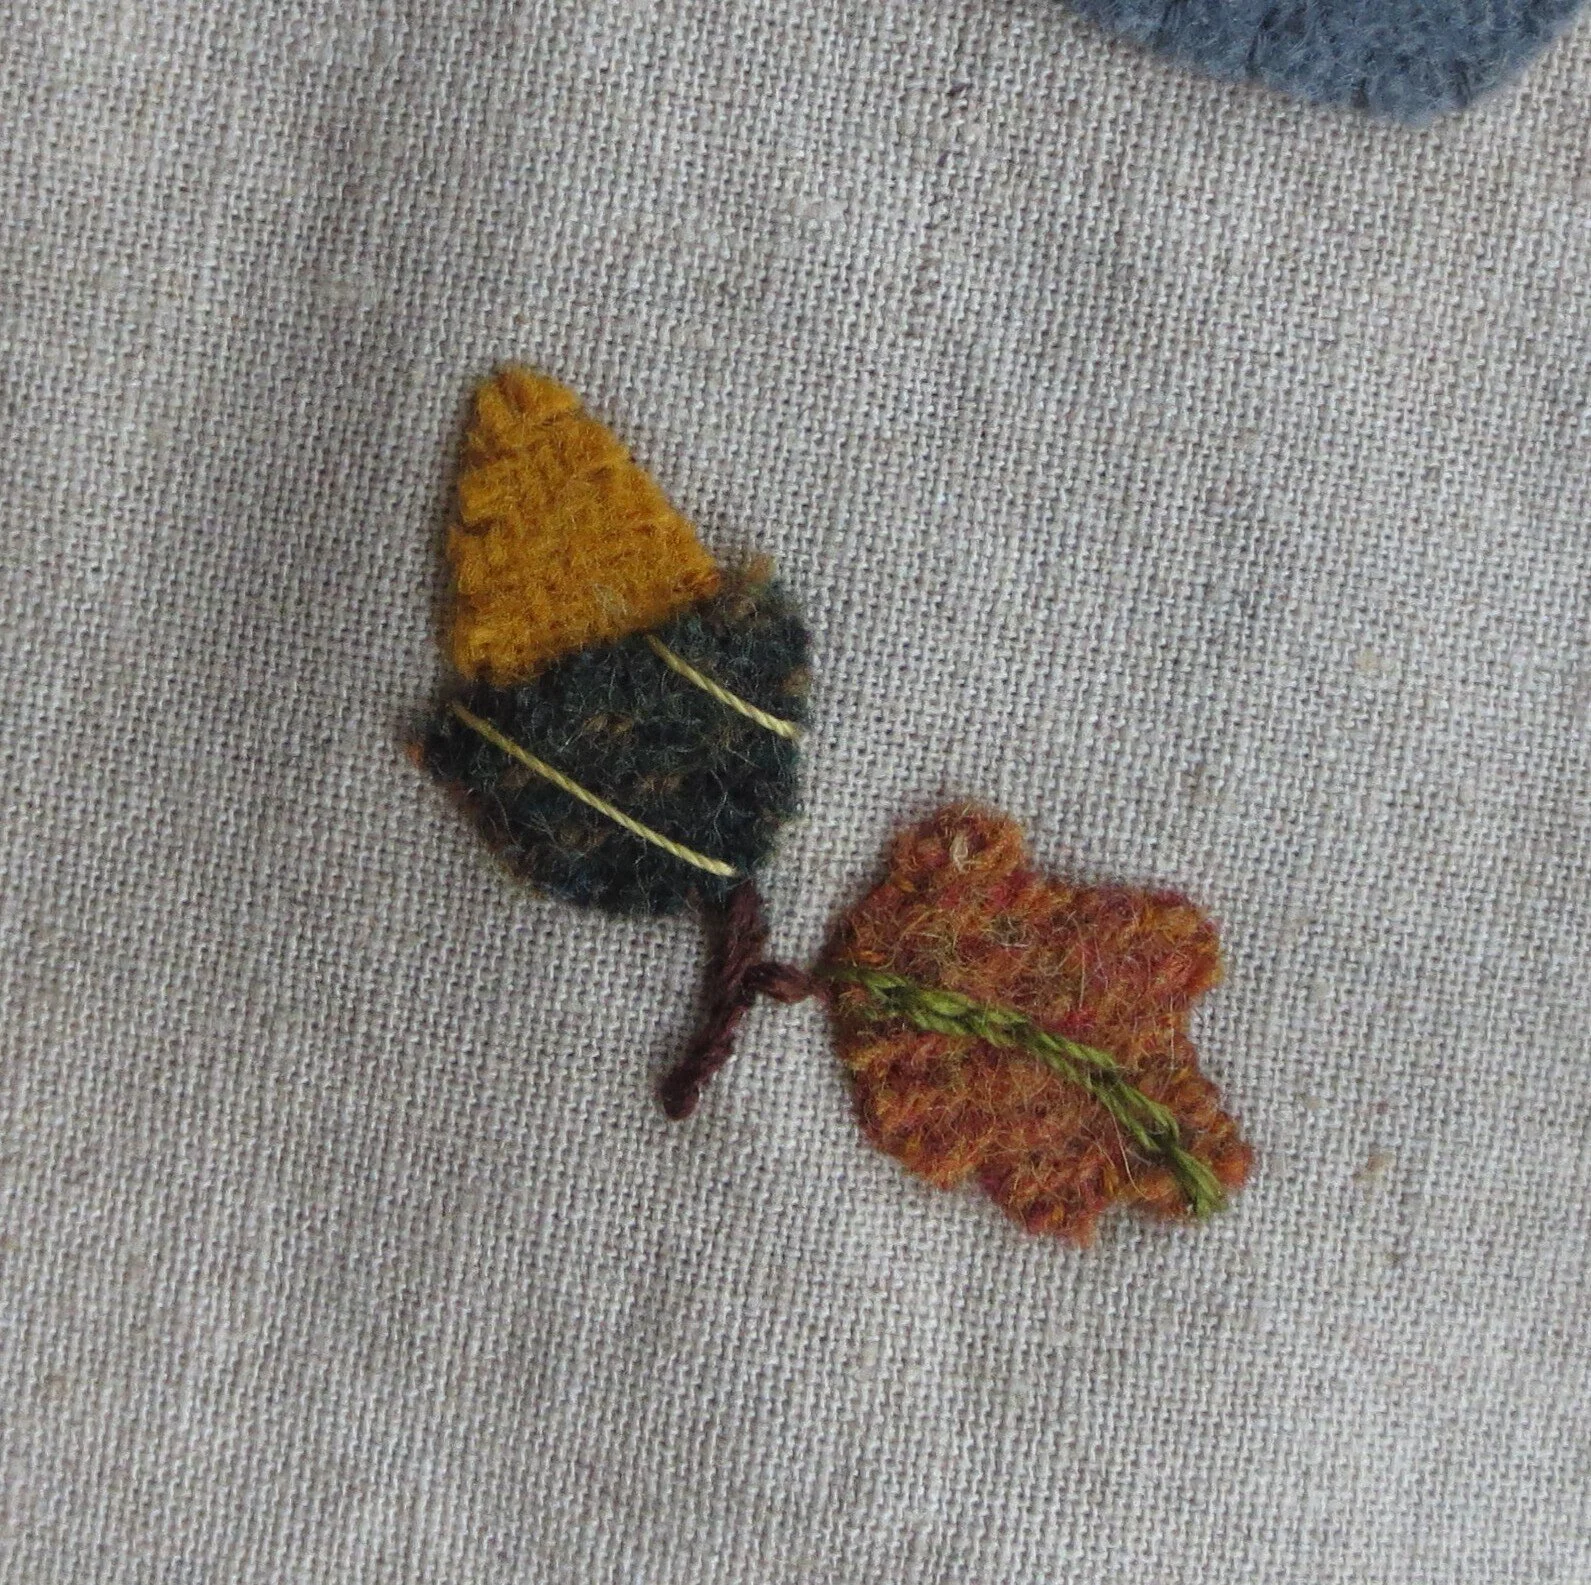
8. Use dark brown thread to stem stitch the branches of the tree and the stem of acorn #10.
9. Use a chalk pencil or fabric marker to draw the veins of the leaves. Use the layout as your guide.
10. Use orange thread to chain stitch the veins of the green houndstooth leaves.
11. Use medium army green thread to chain stitch the veins of the orange leaves and the remaining 2 green leaves.
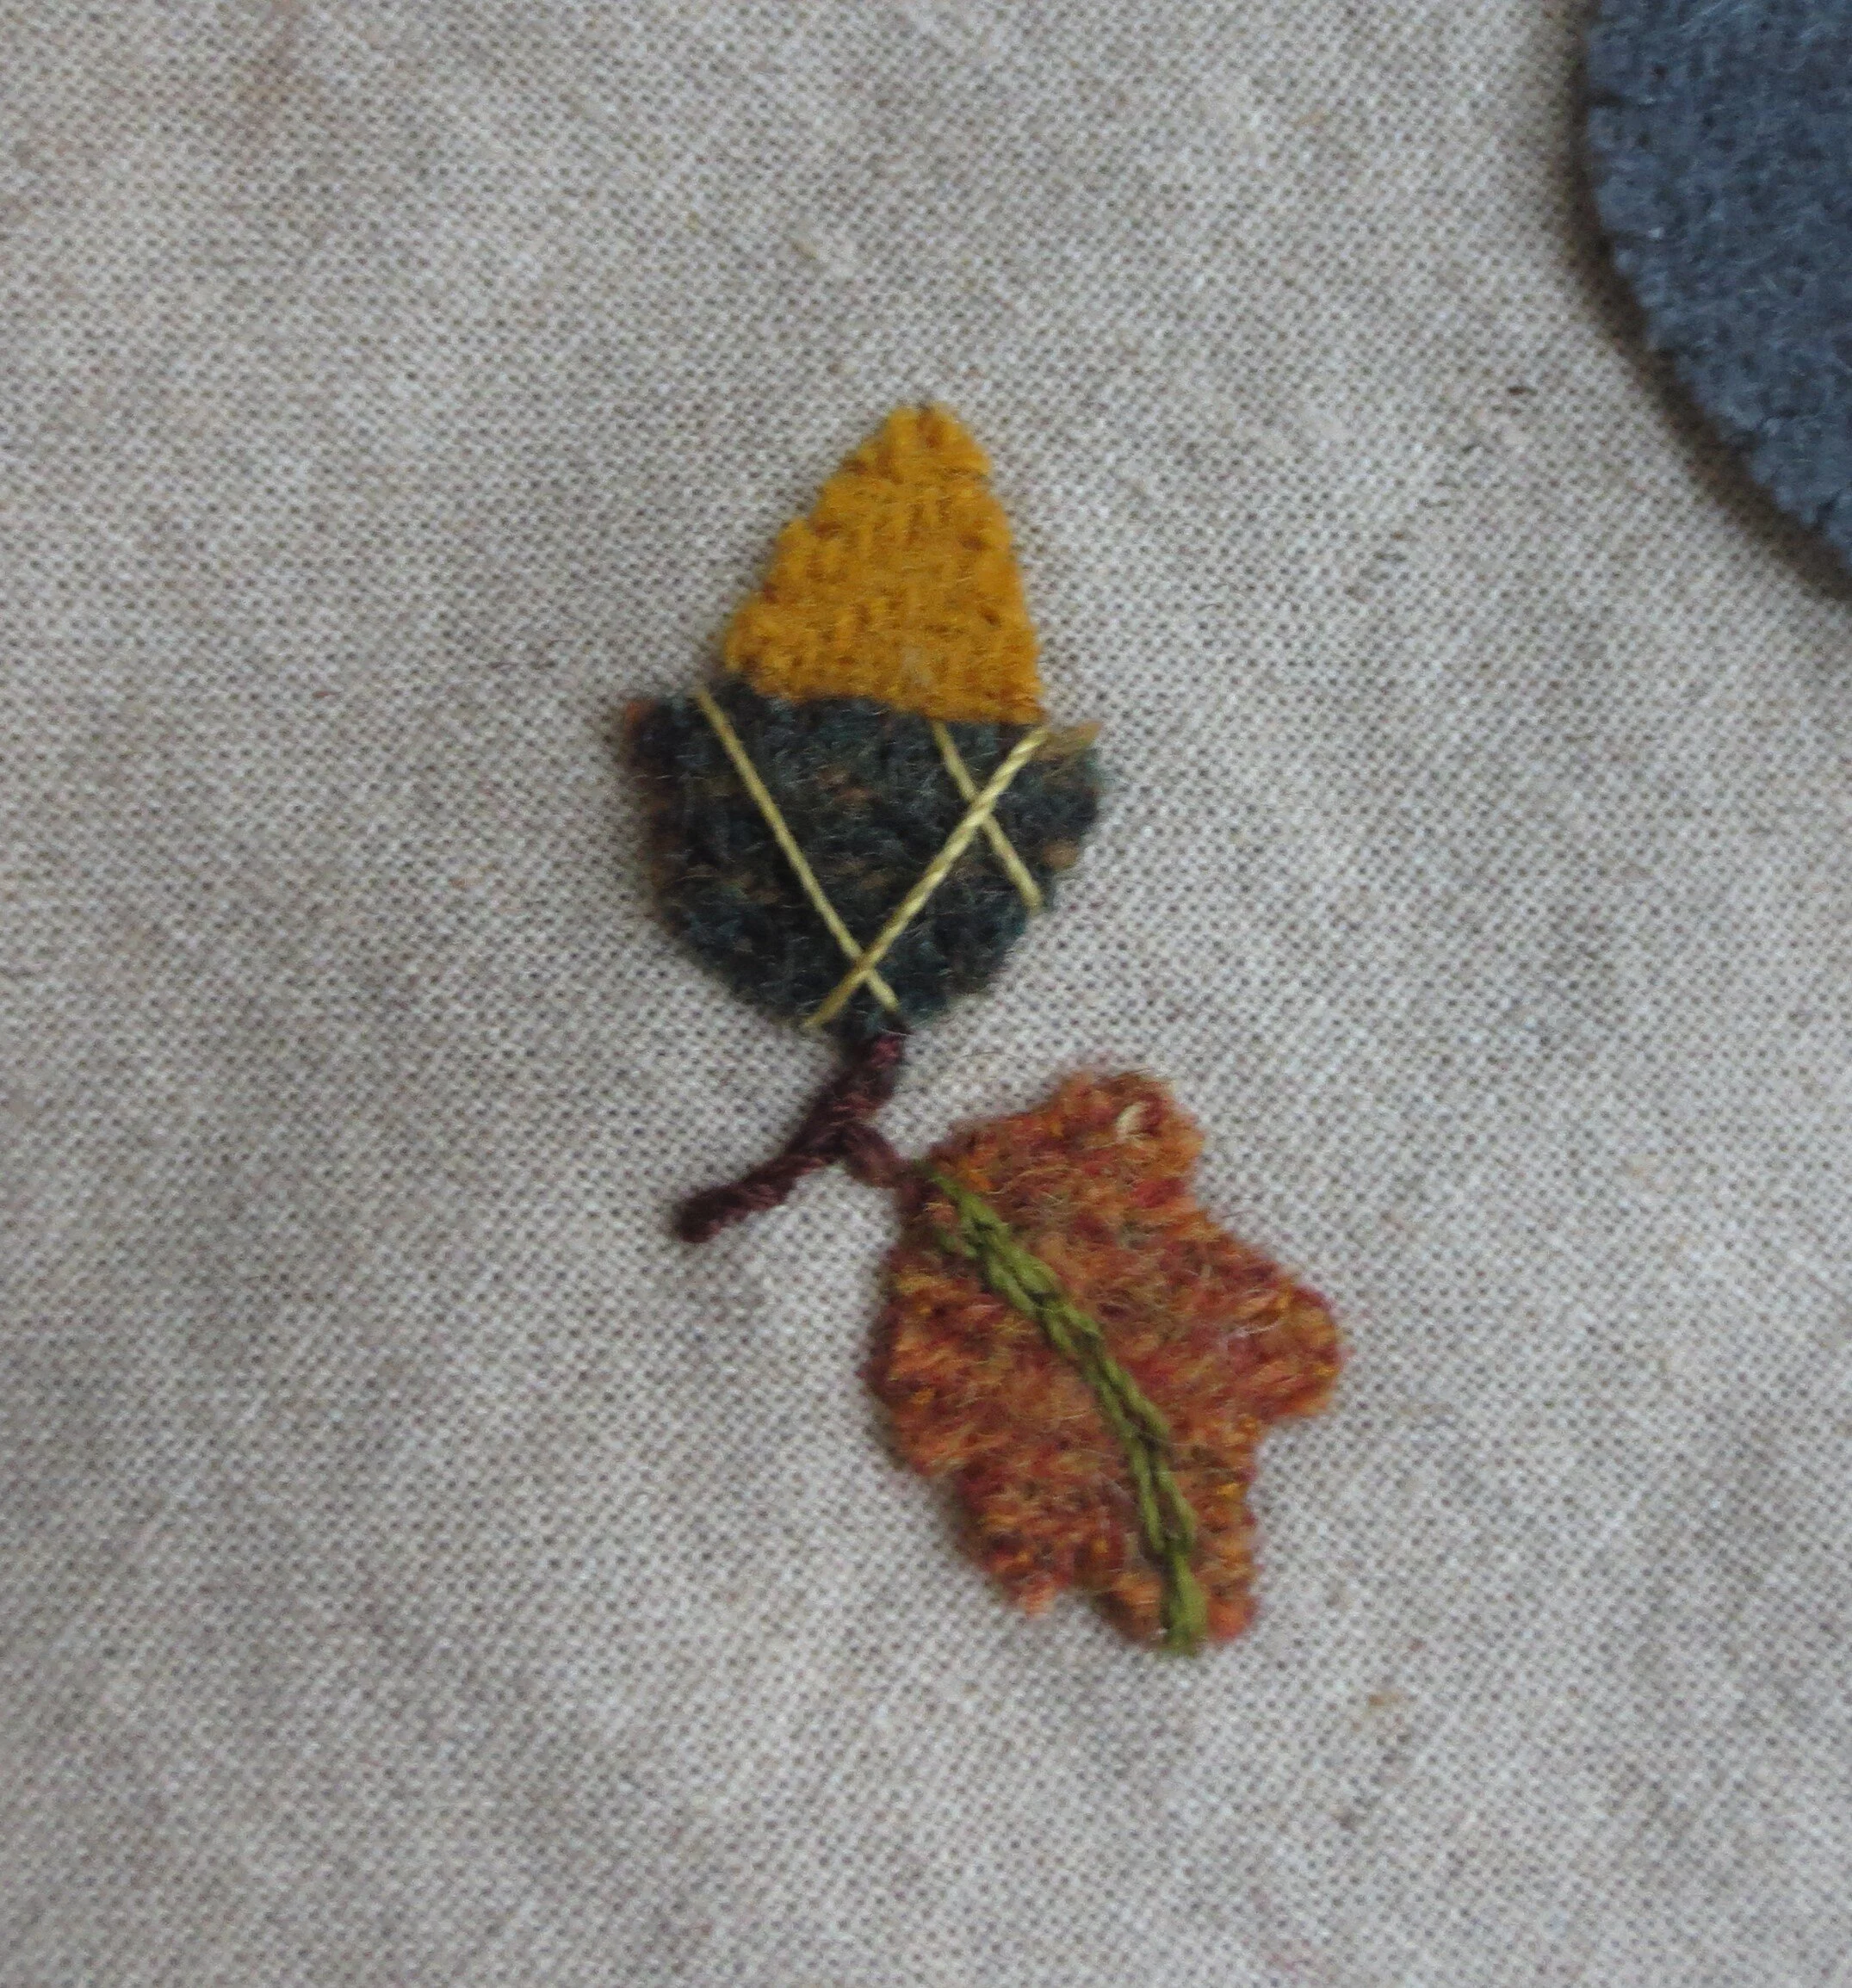
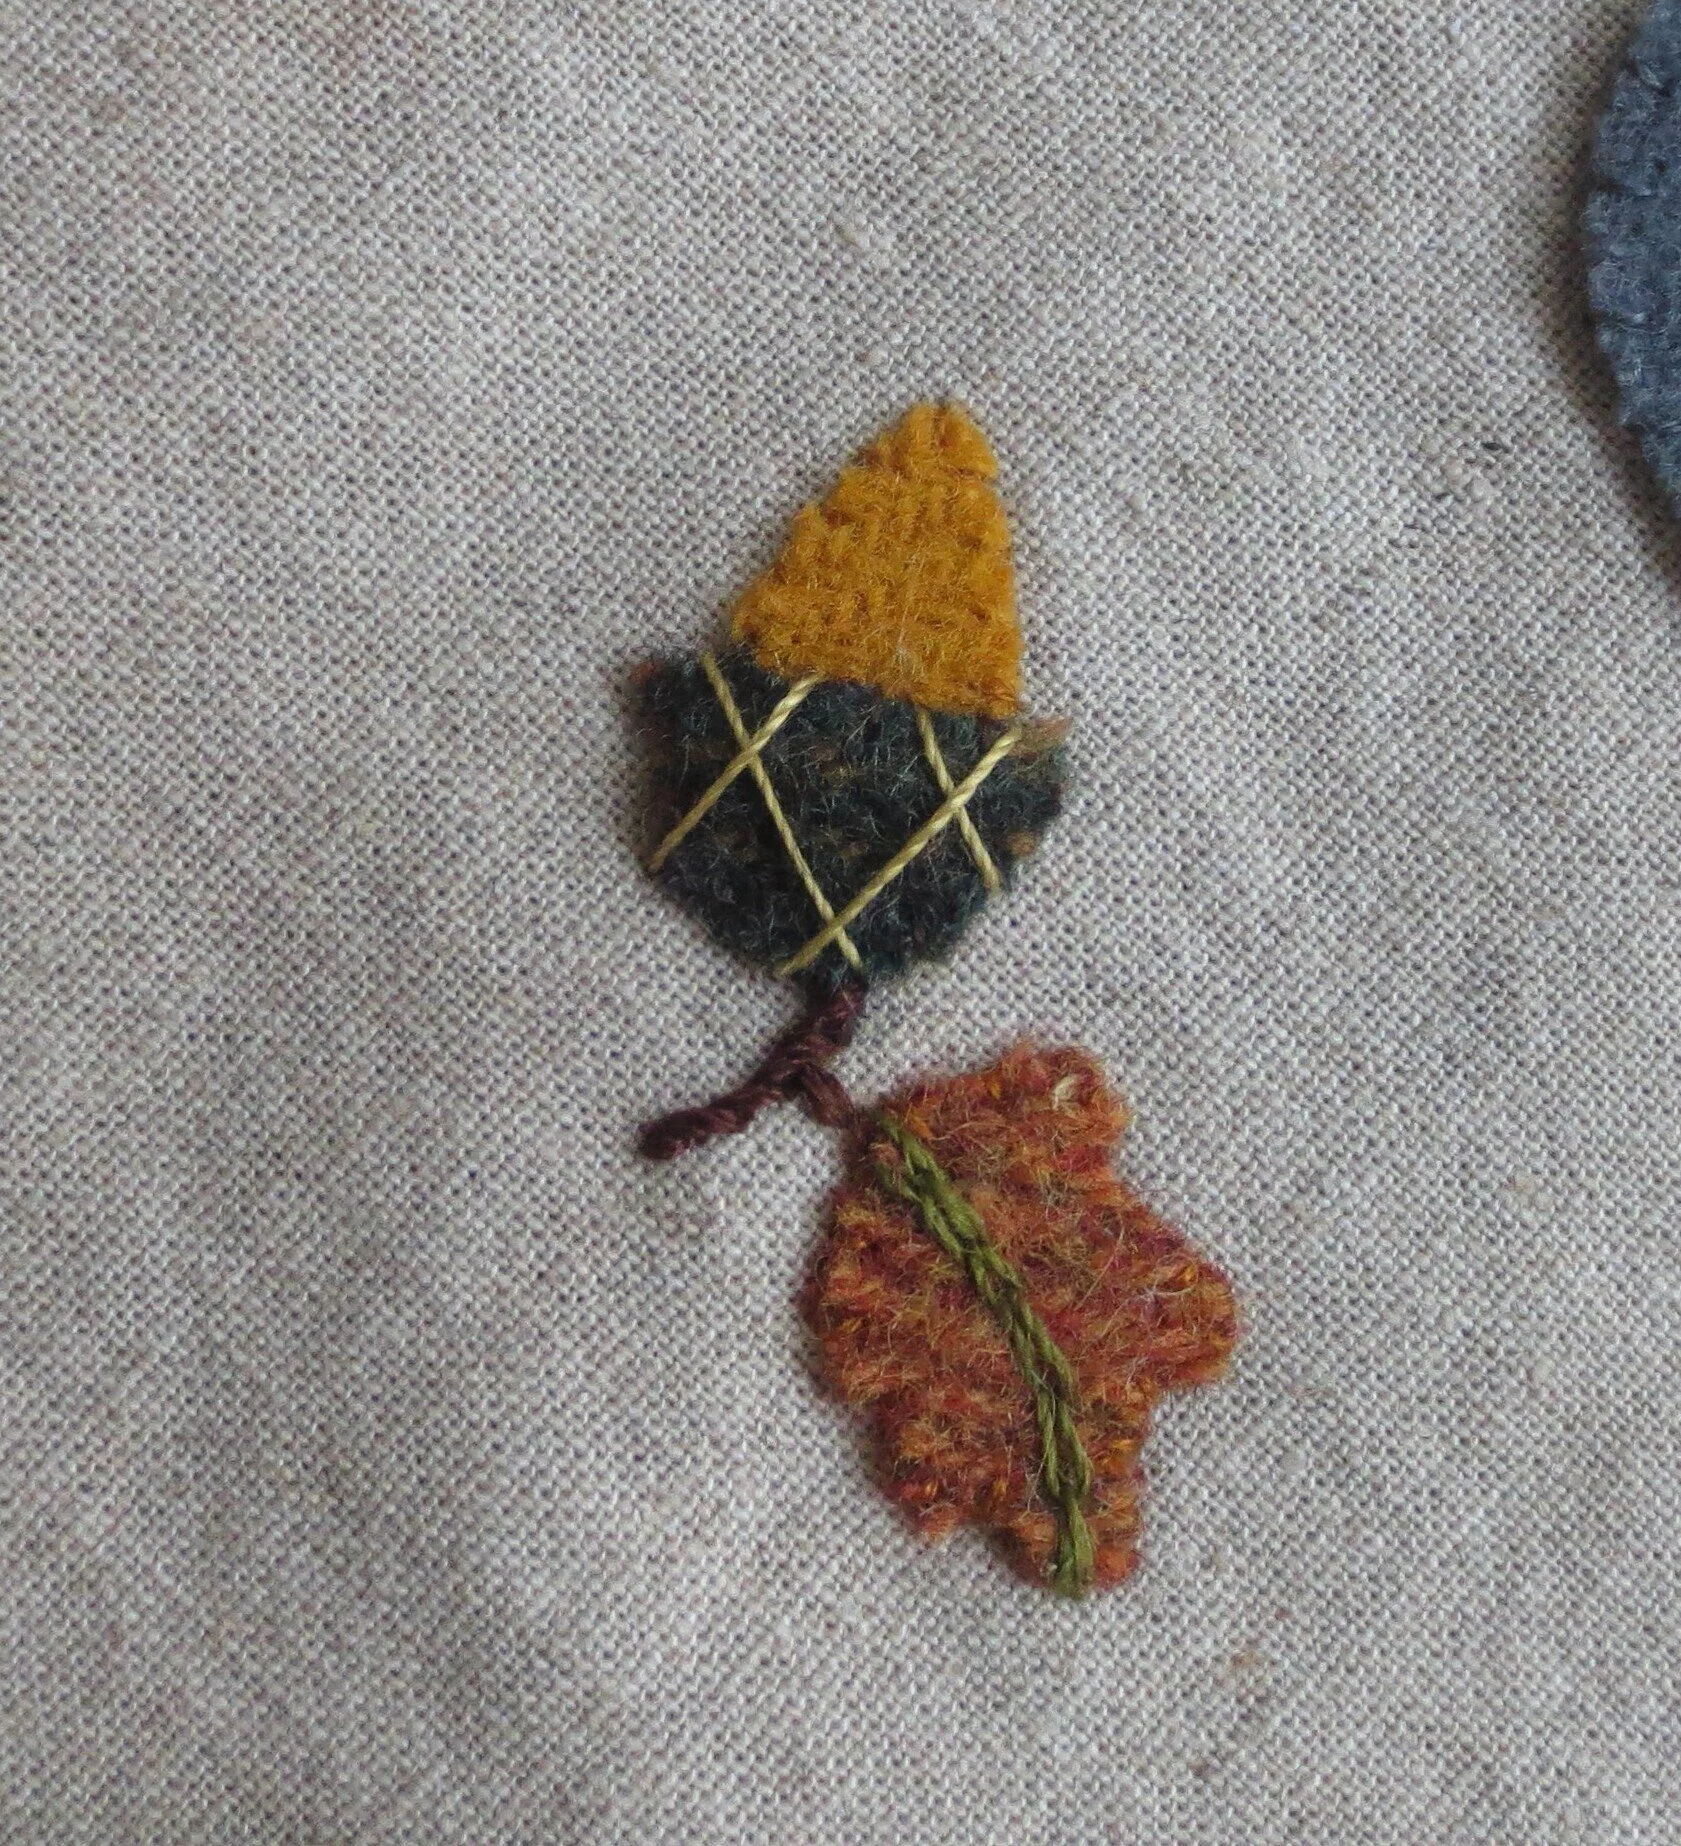
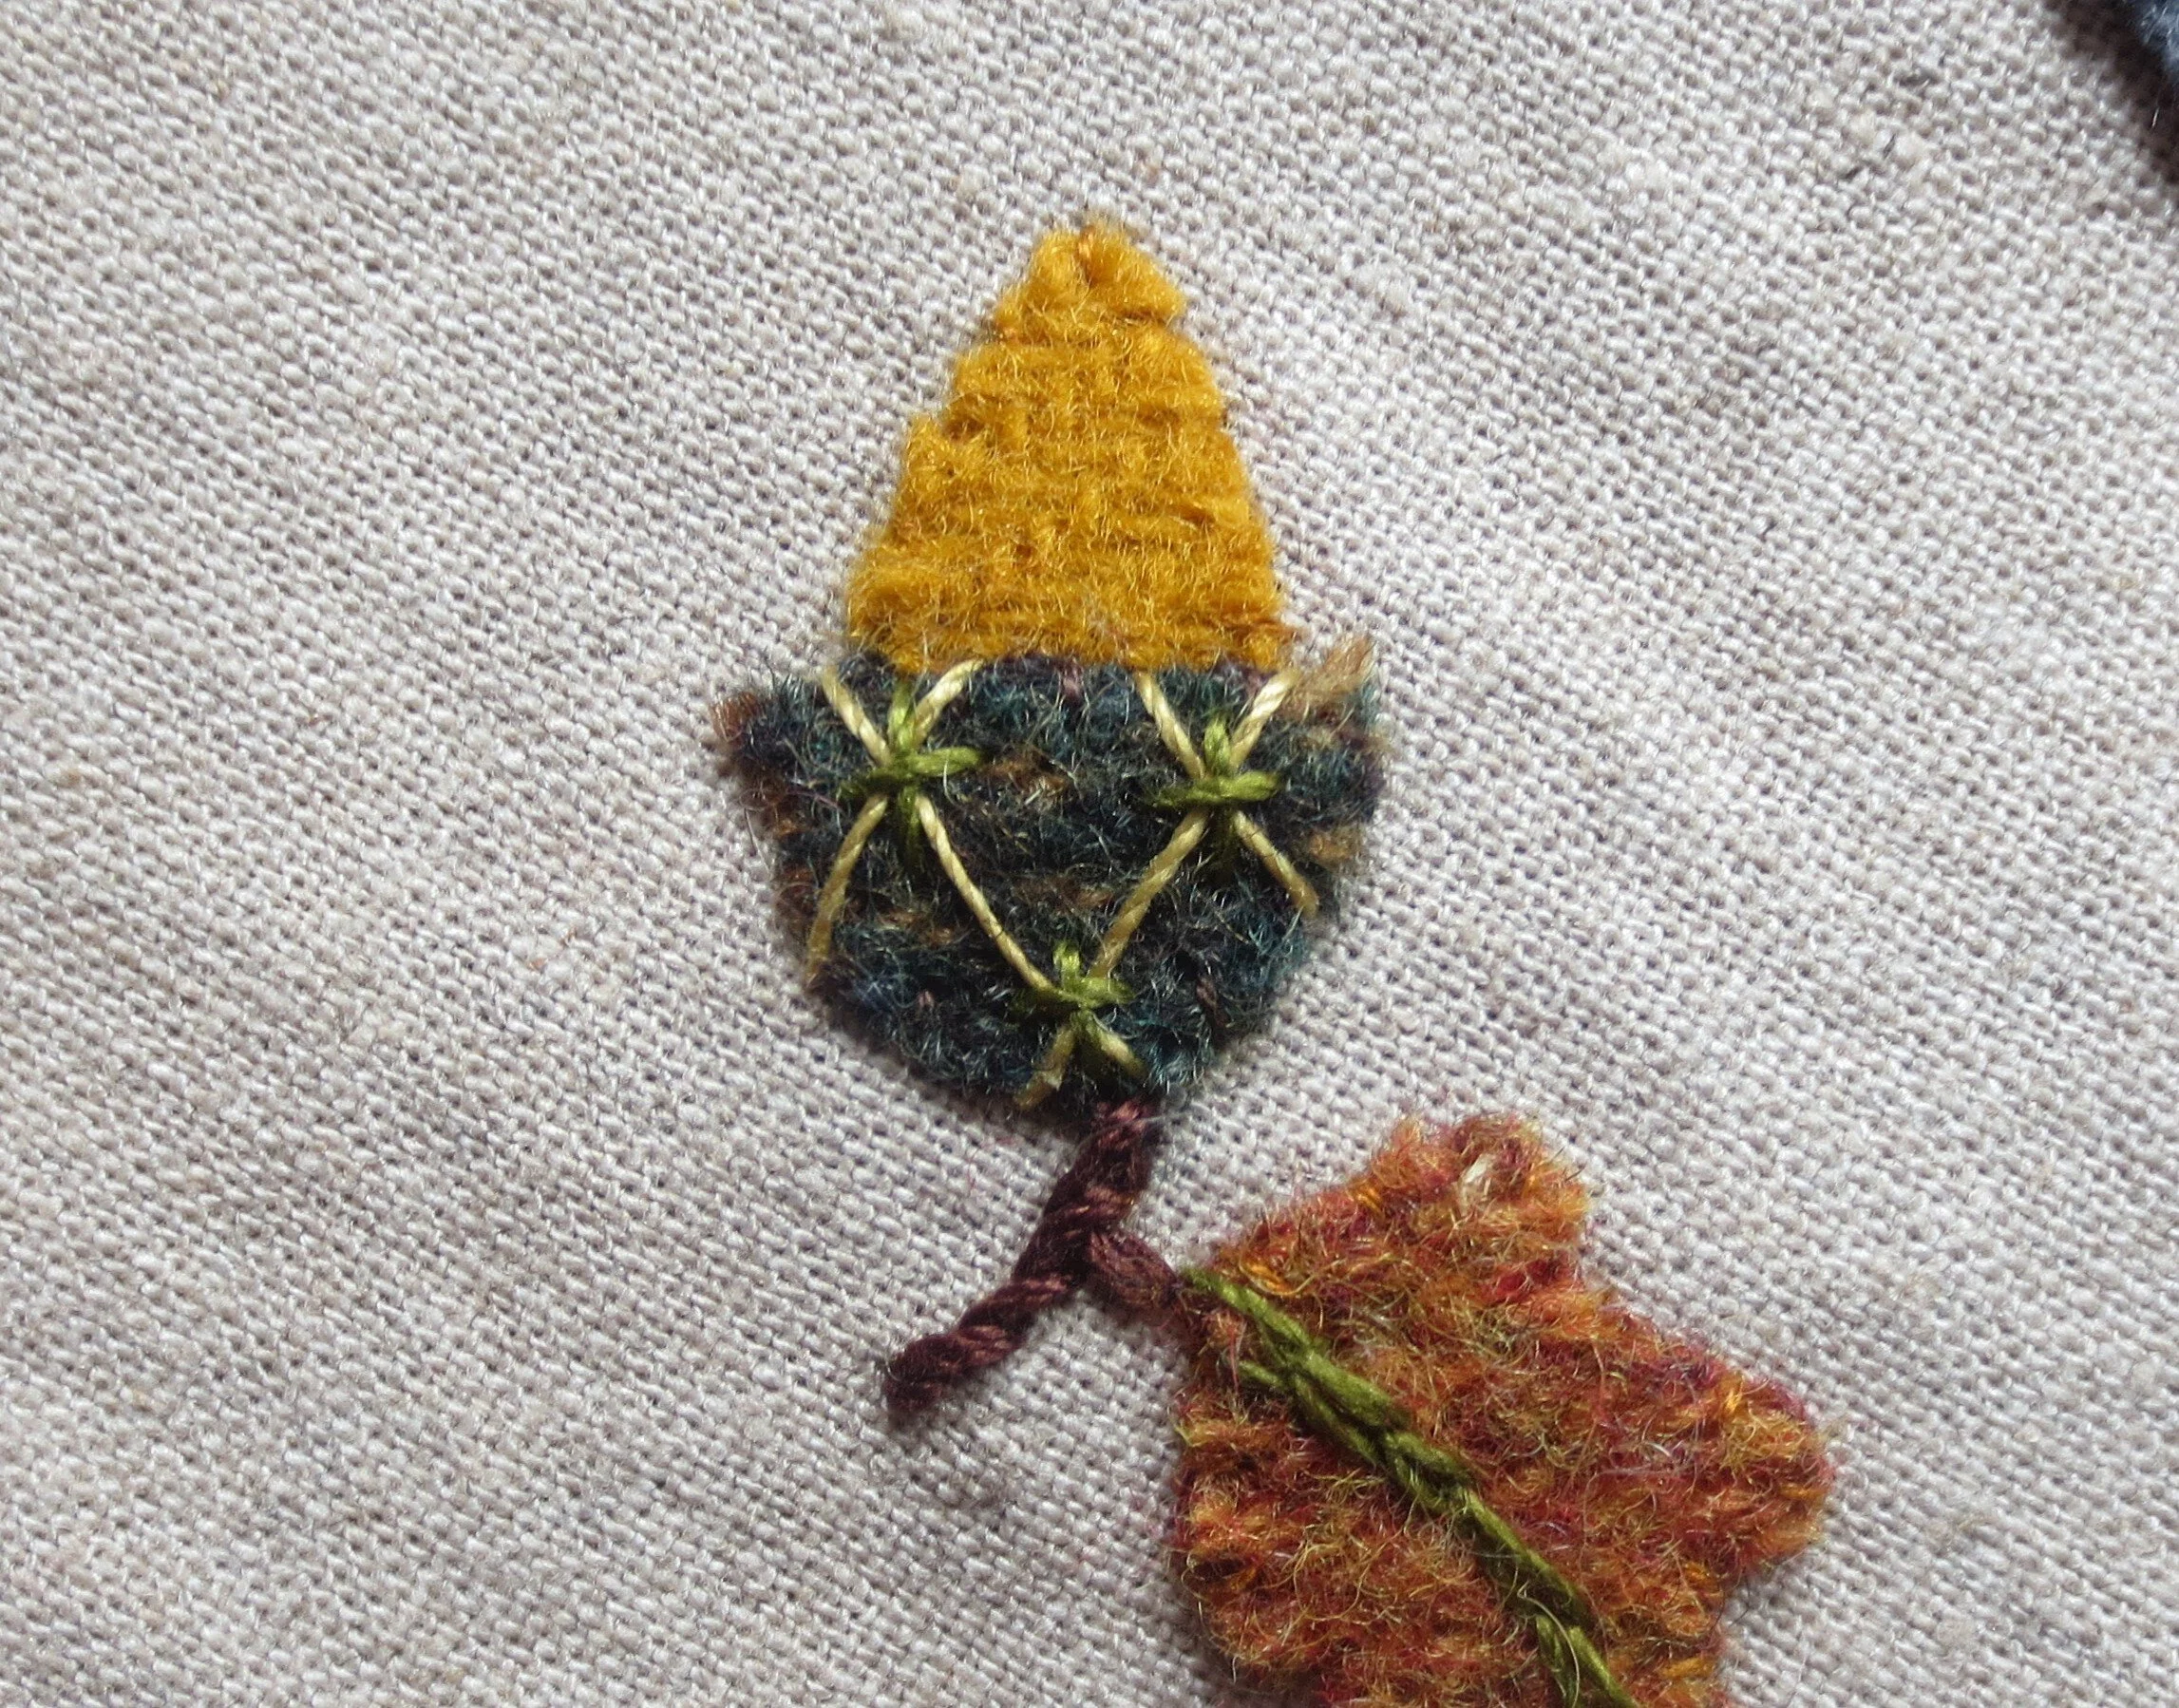
12. Use Galley Gold thread to stitch 2 parallel diagonal straight stitches on the acorn cap. These stitches are approximately ¼” apart.
13. Use the same thread to stitch 2 parallel diagonal straight stitches perpendicular to the first stitches to create a grid pattern.
14. Use medium army green thread to stitch a single vertical straight stitch over each intersection of the lines made in step #13. Each stitch is approximately 1/8” long.
15. Use the same thread to make a single horizontal straight stitch across the vertical stitch you made in step #14. This stitch is approximately 1/8” long.
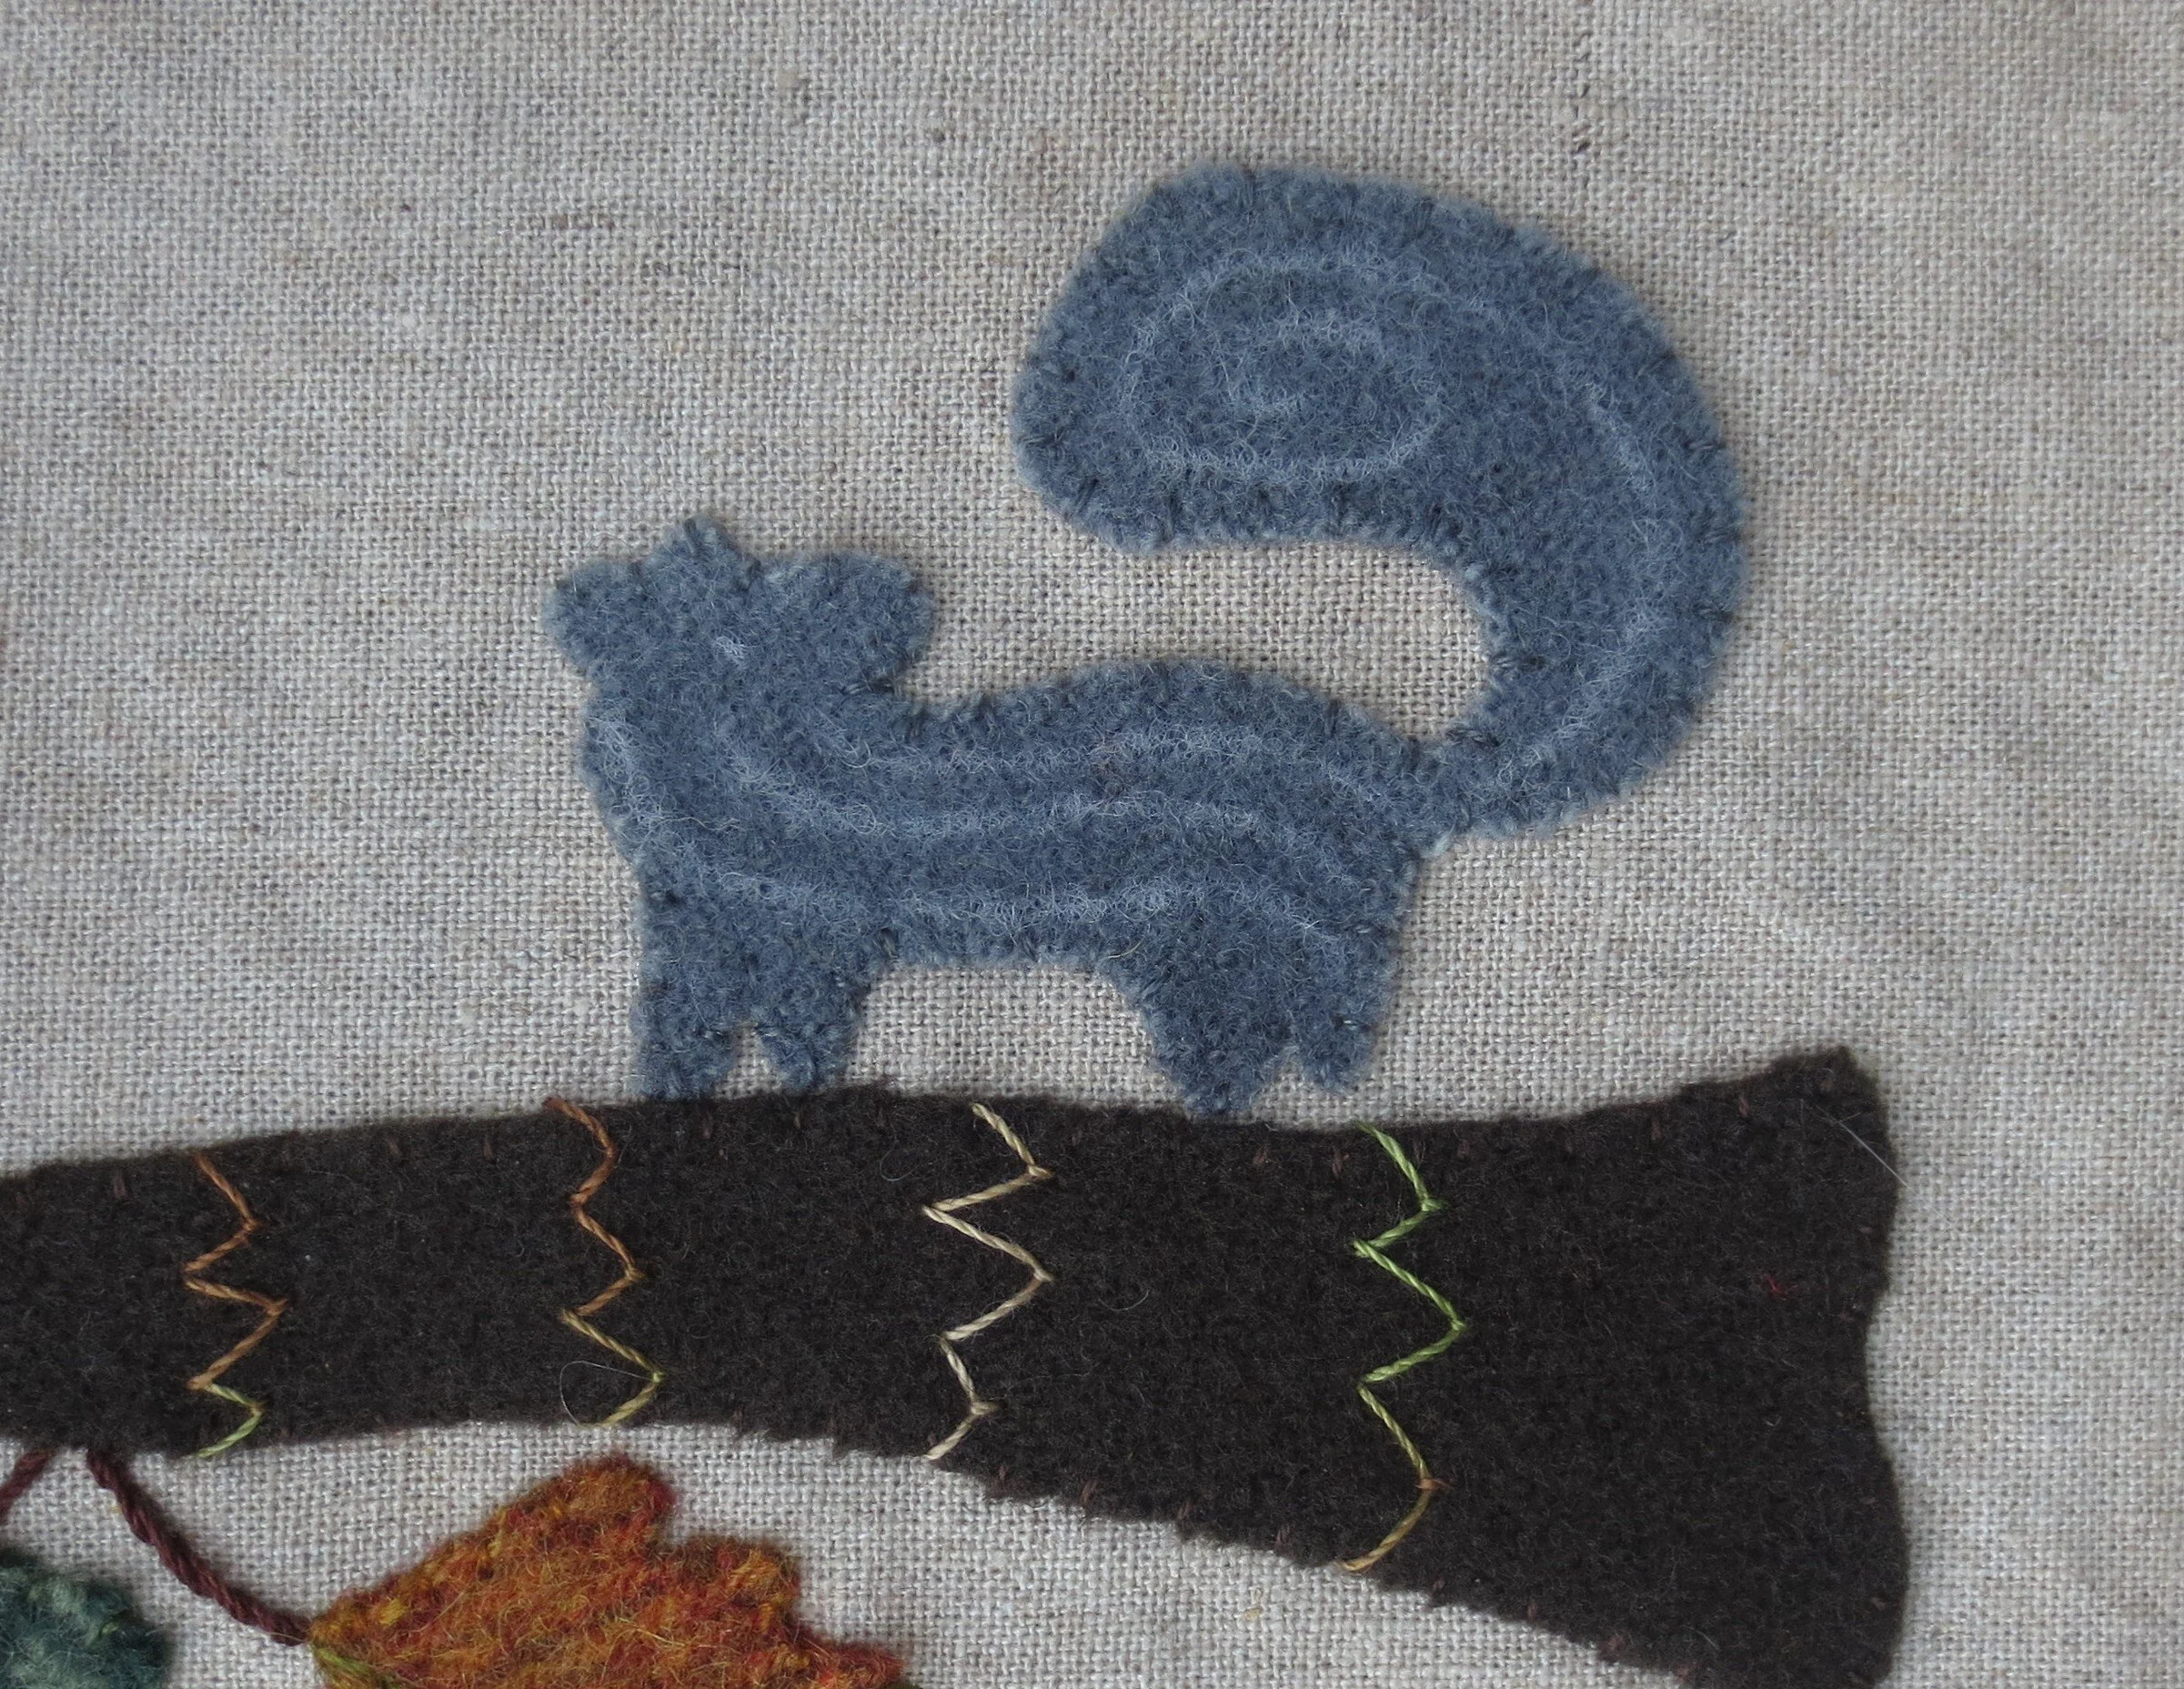
16. Use the variegated gold/orange/green thread to make a row of 3 fly stitches across the top of the trunk of the tree. Repeat the rows at various intervals down the length of the tree trunk. See layout for placement.
17. Use a chalk pencil or fabric marker to draw guide lines onto the squirrel. See layout for placement.
18. Use nickel gray thread to make a small fly stitch inside the ear of the squirrel.
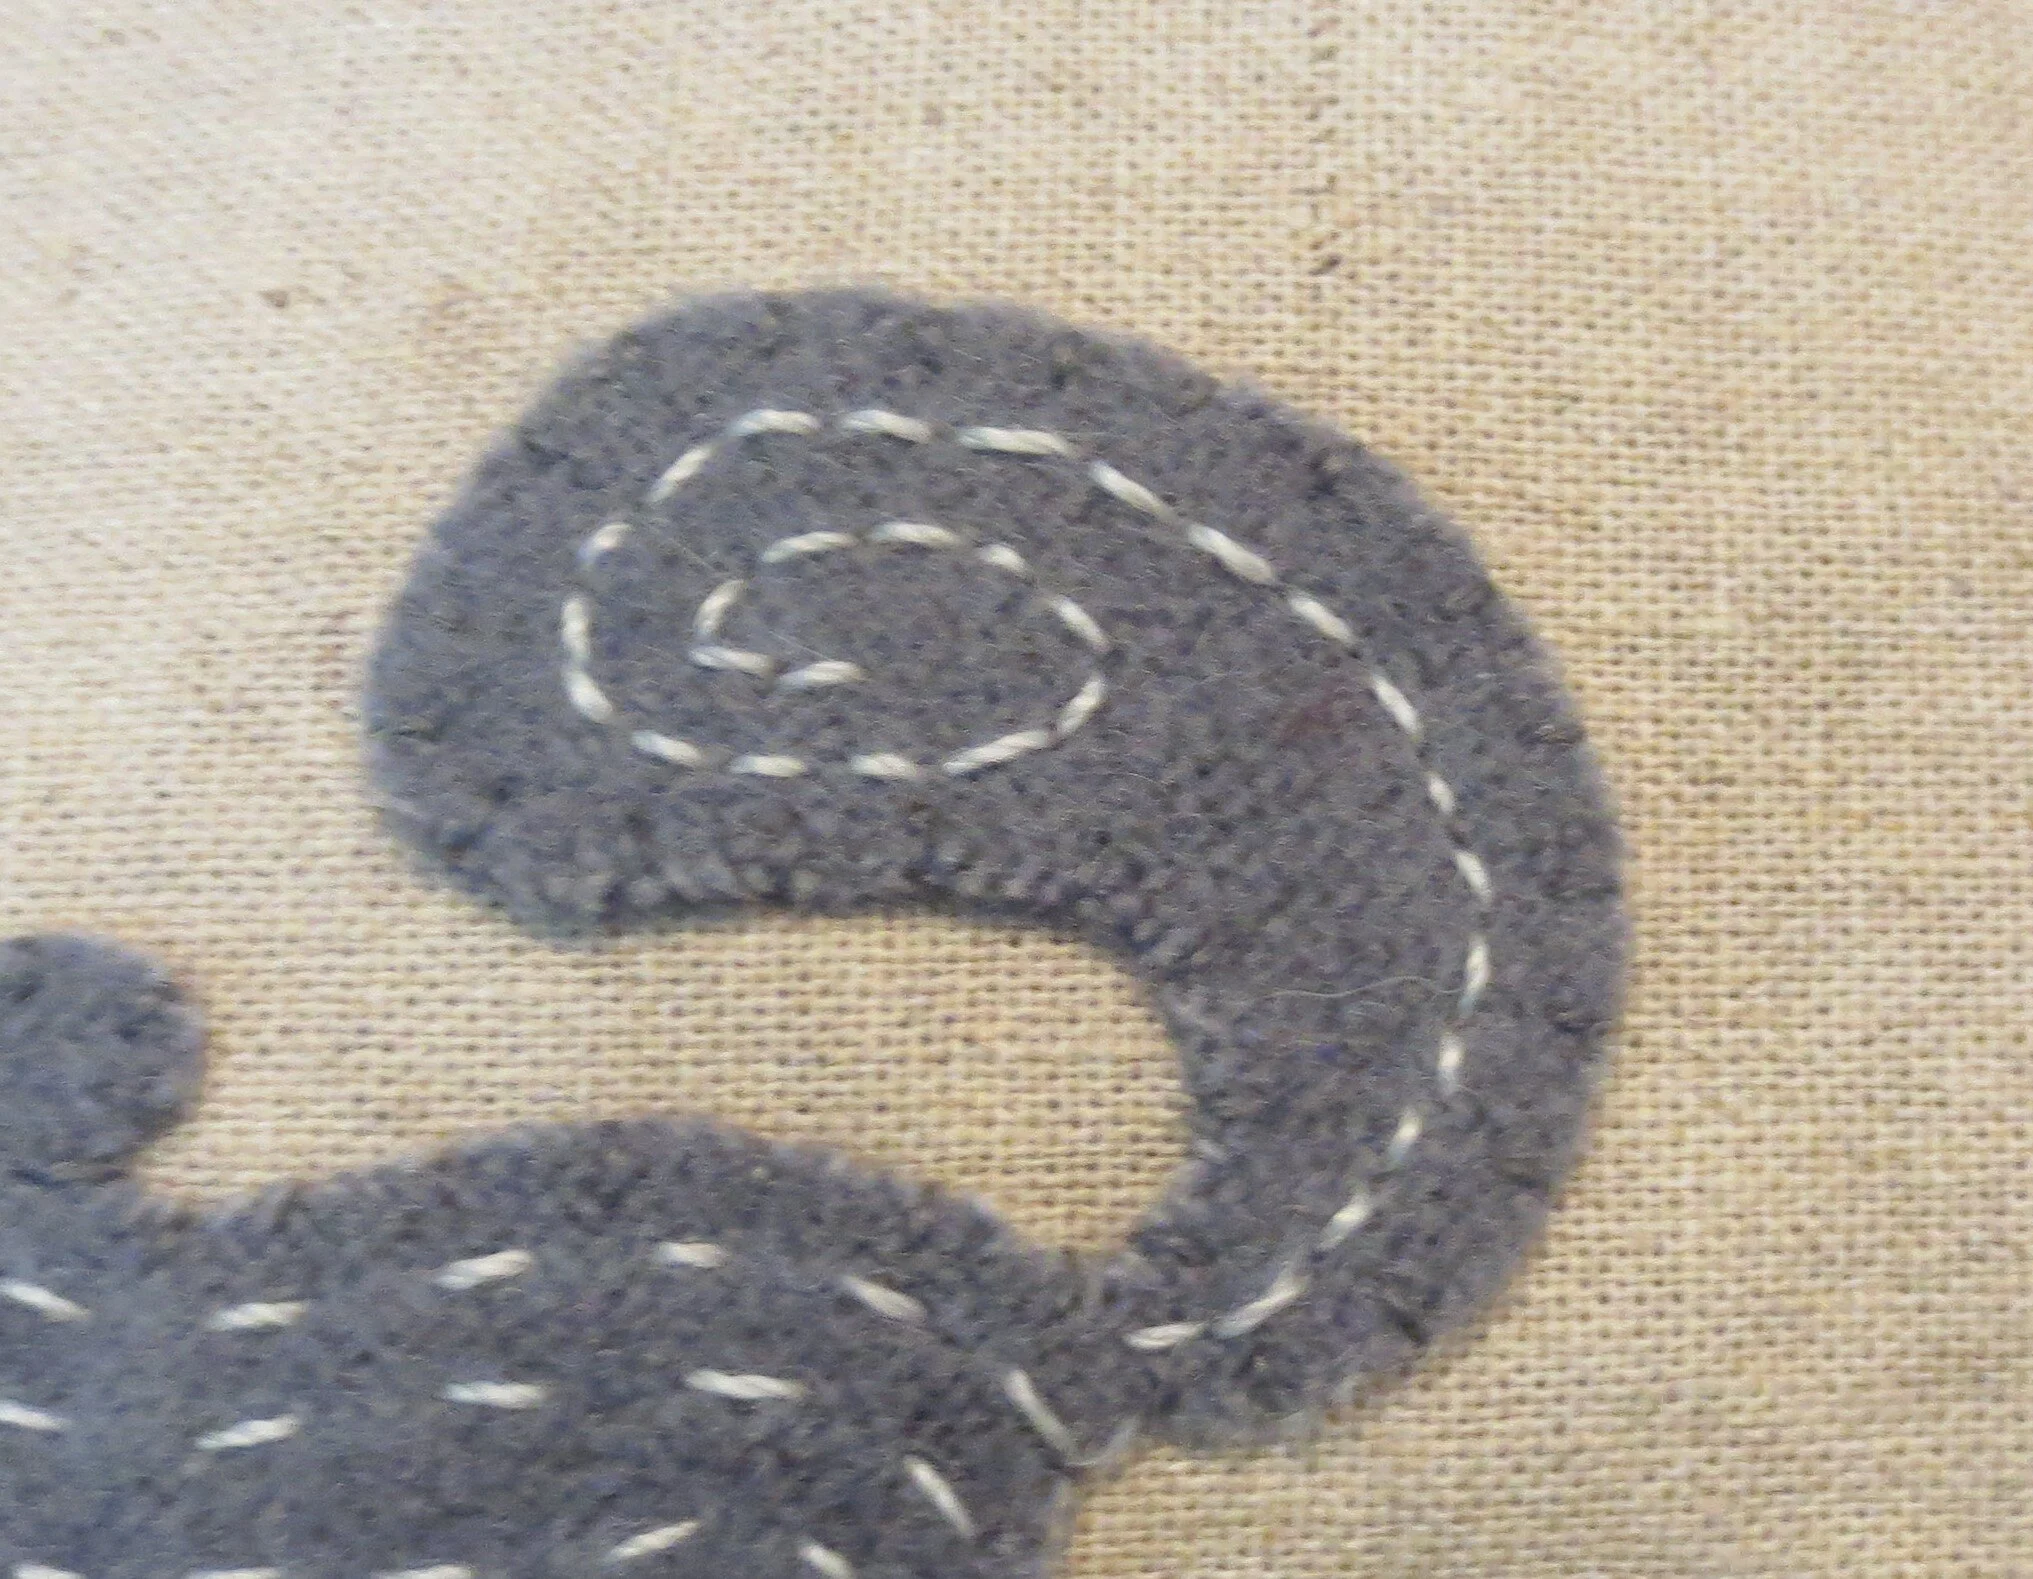
19. Use the same thread to stitch 3 lines of running stitches across the body.
20. Use the same thread to backstitch the swirl inside the squirrel’s tail.
21. Use dark brown thread to make a French knot eye.
Voila! You are done!
Enjoy!

