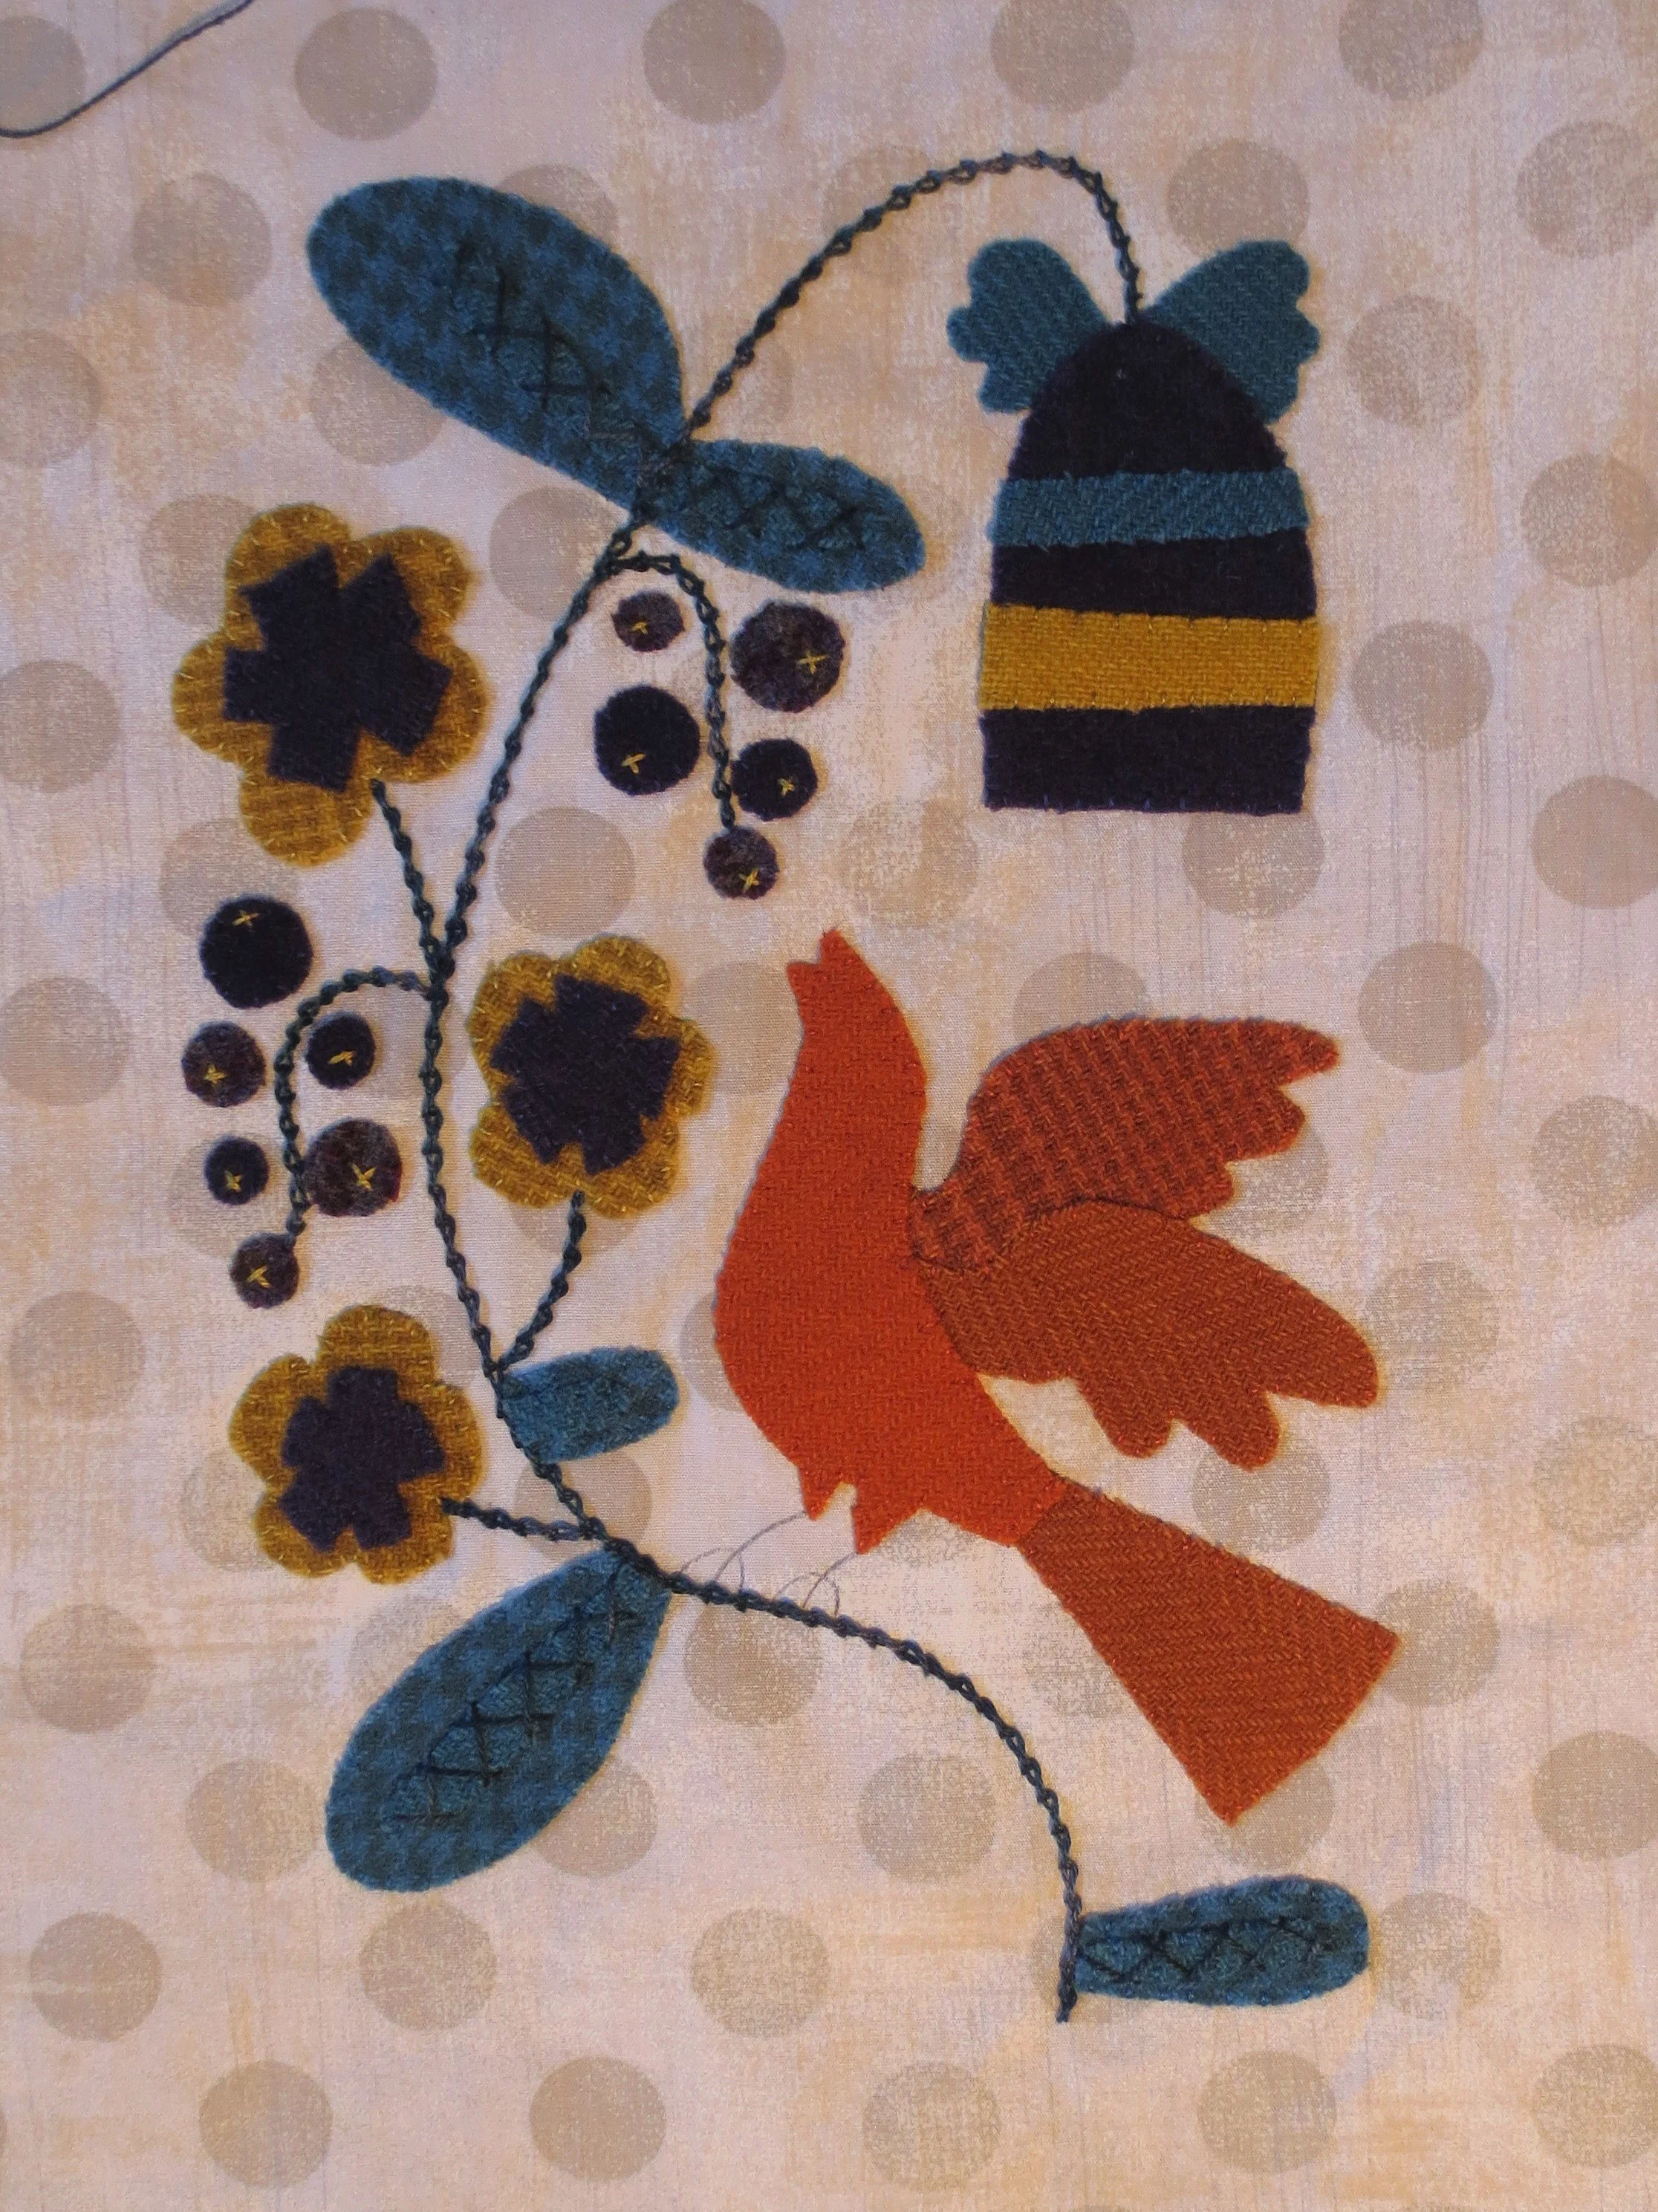
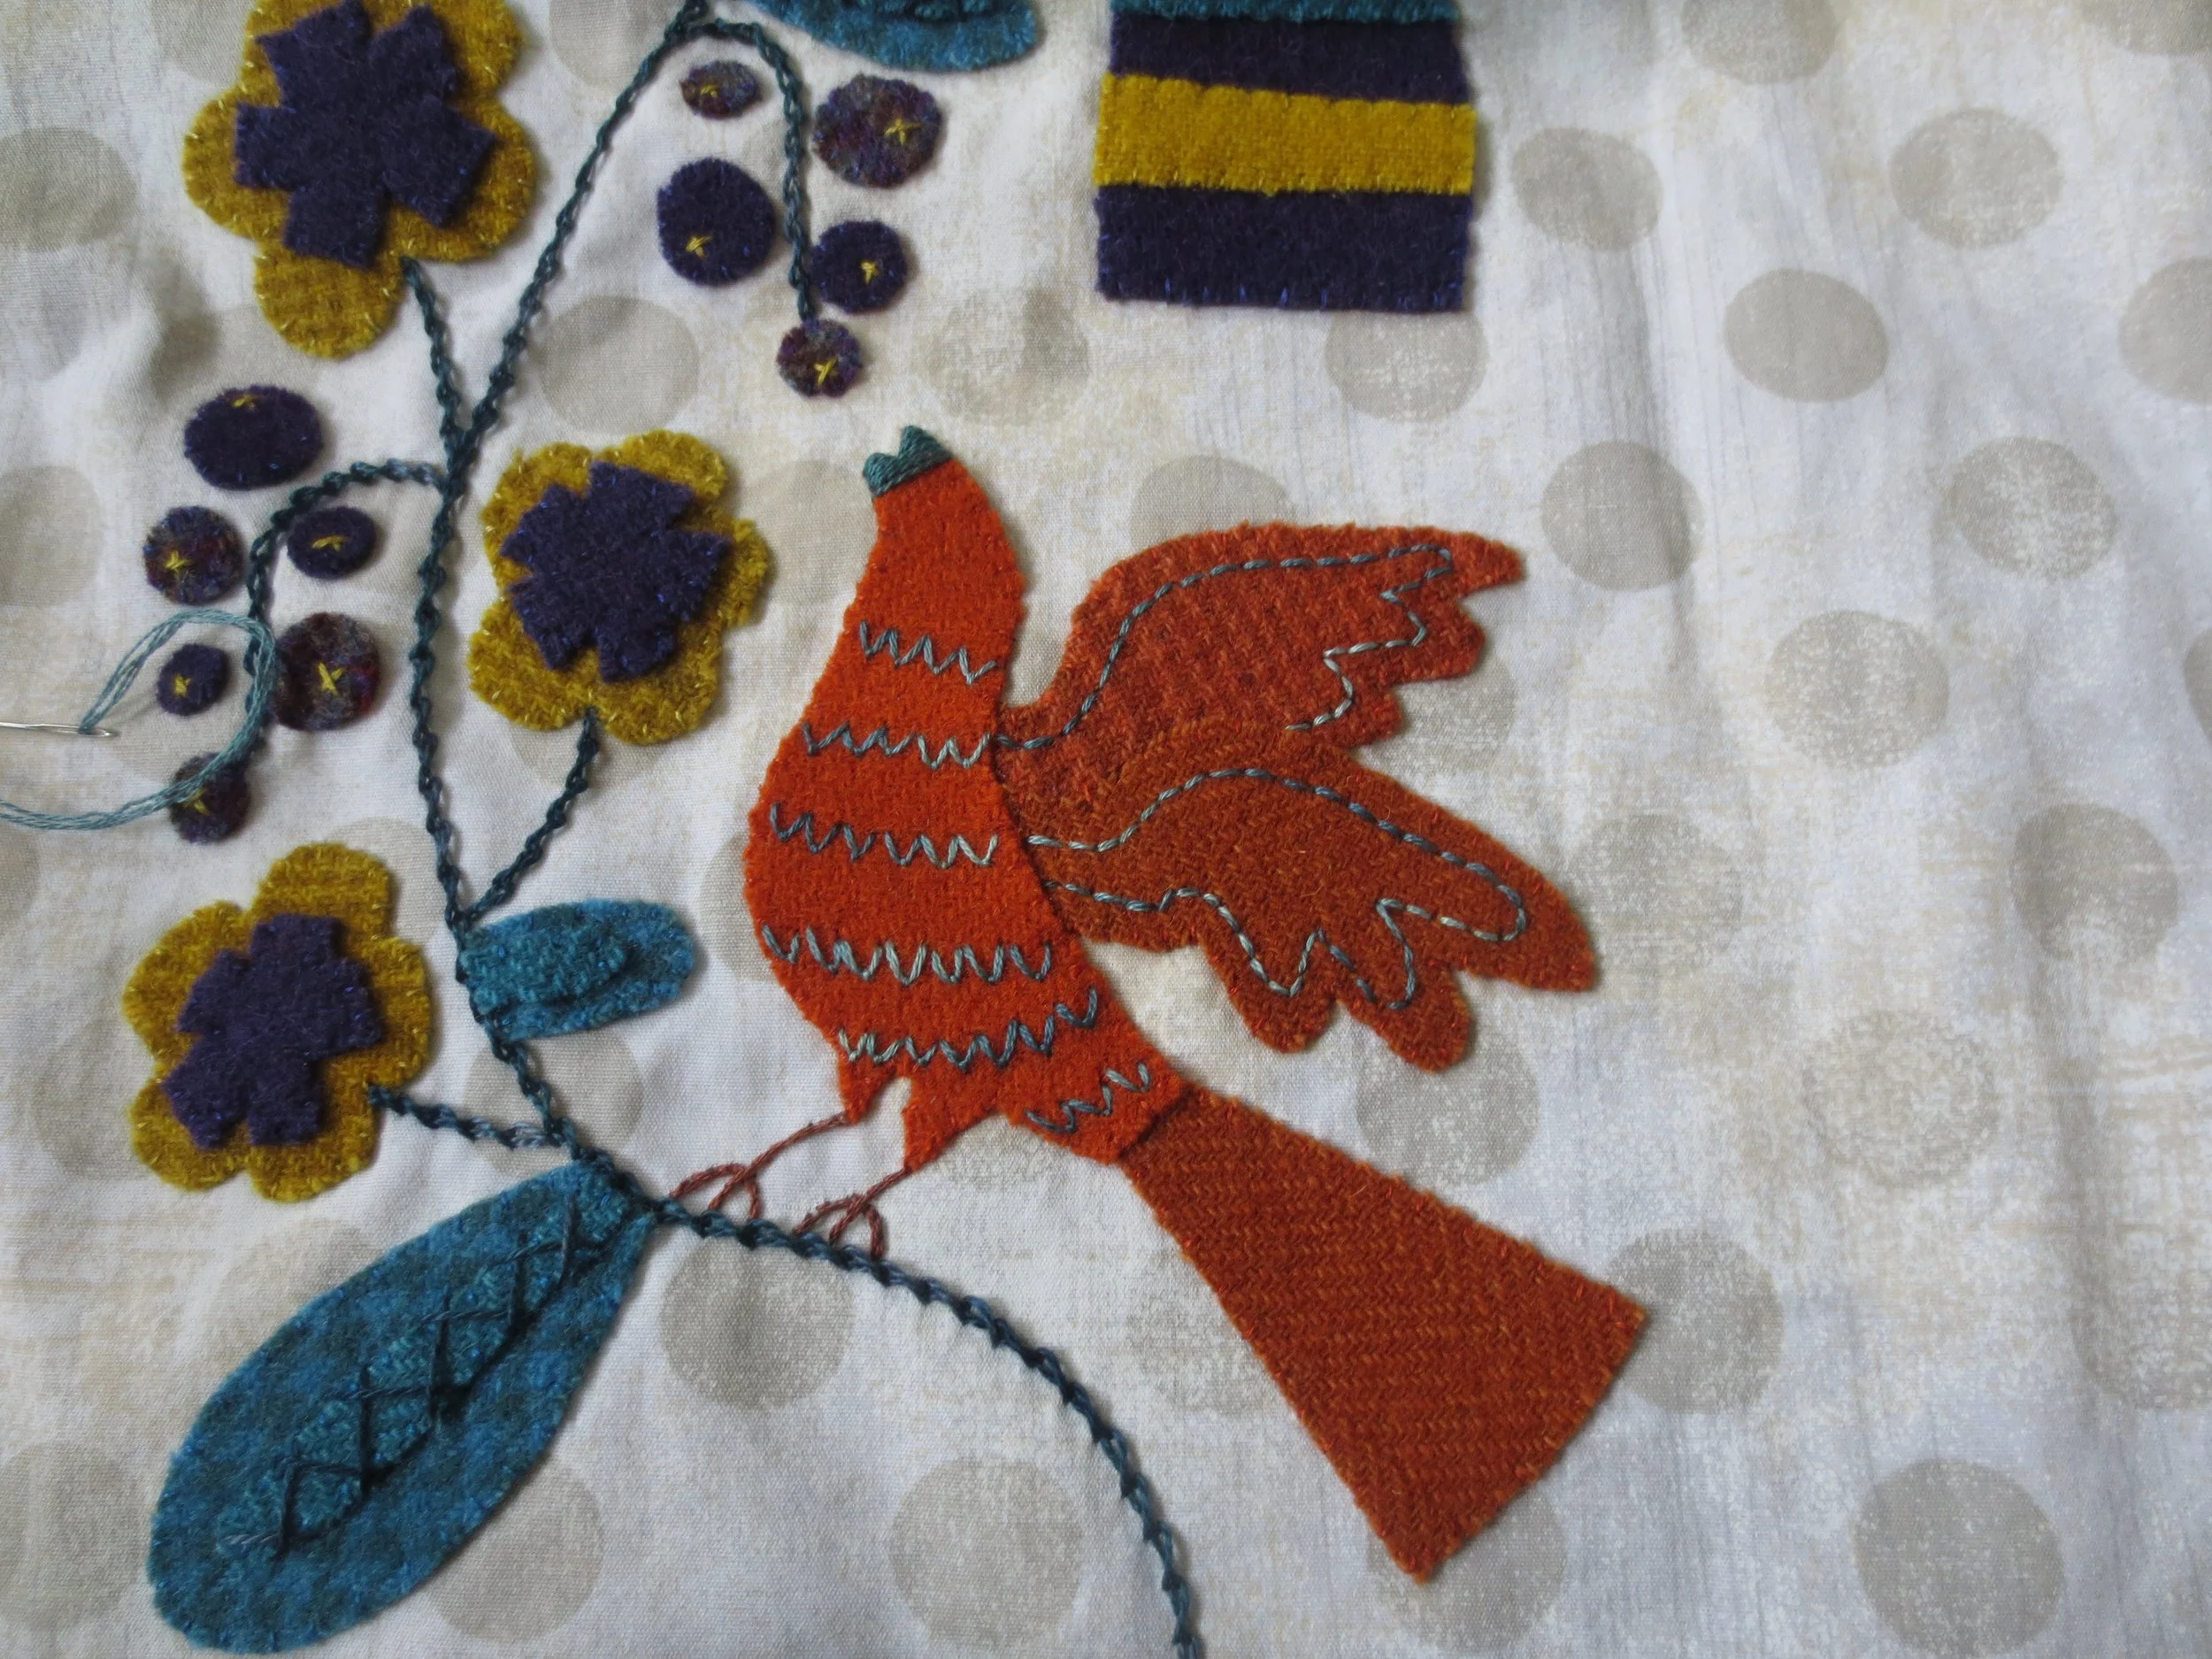
Birdsong
The woods would be very silent if no birds sang except those that sang best.
Henry Van Dyke (1852-1933)
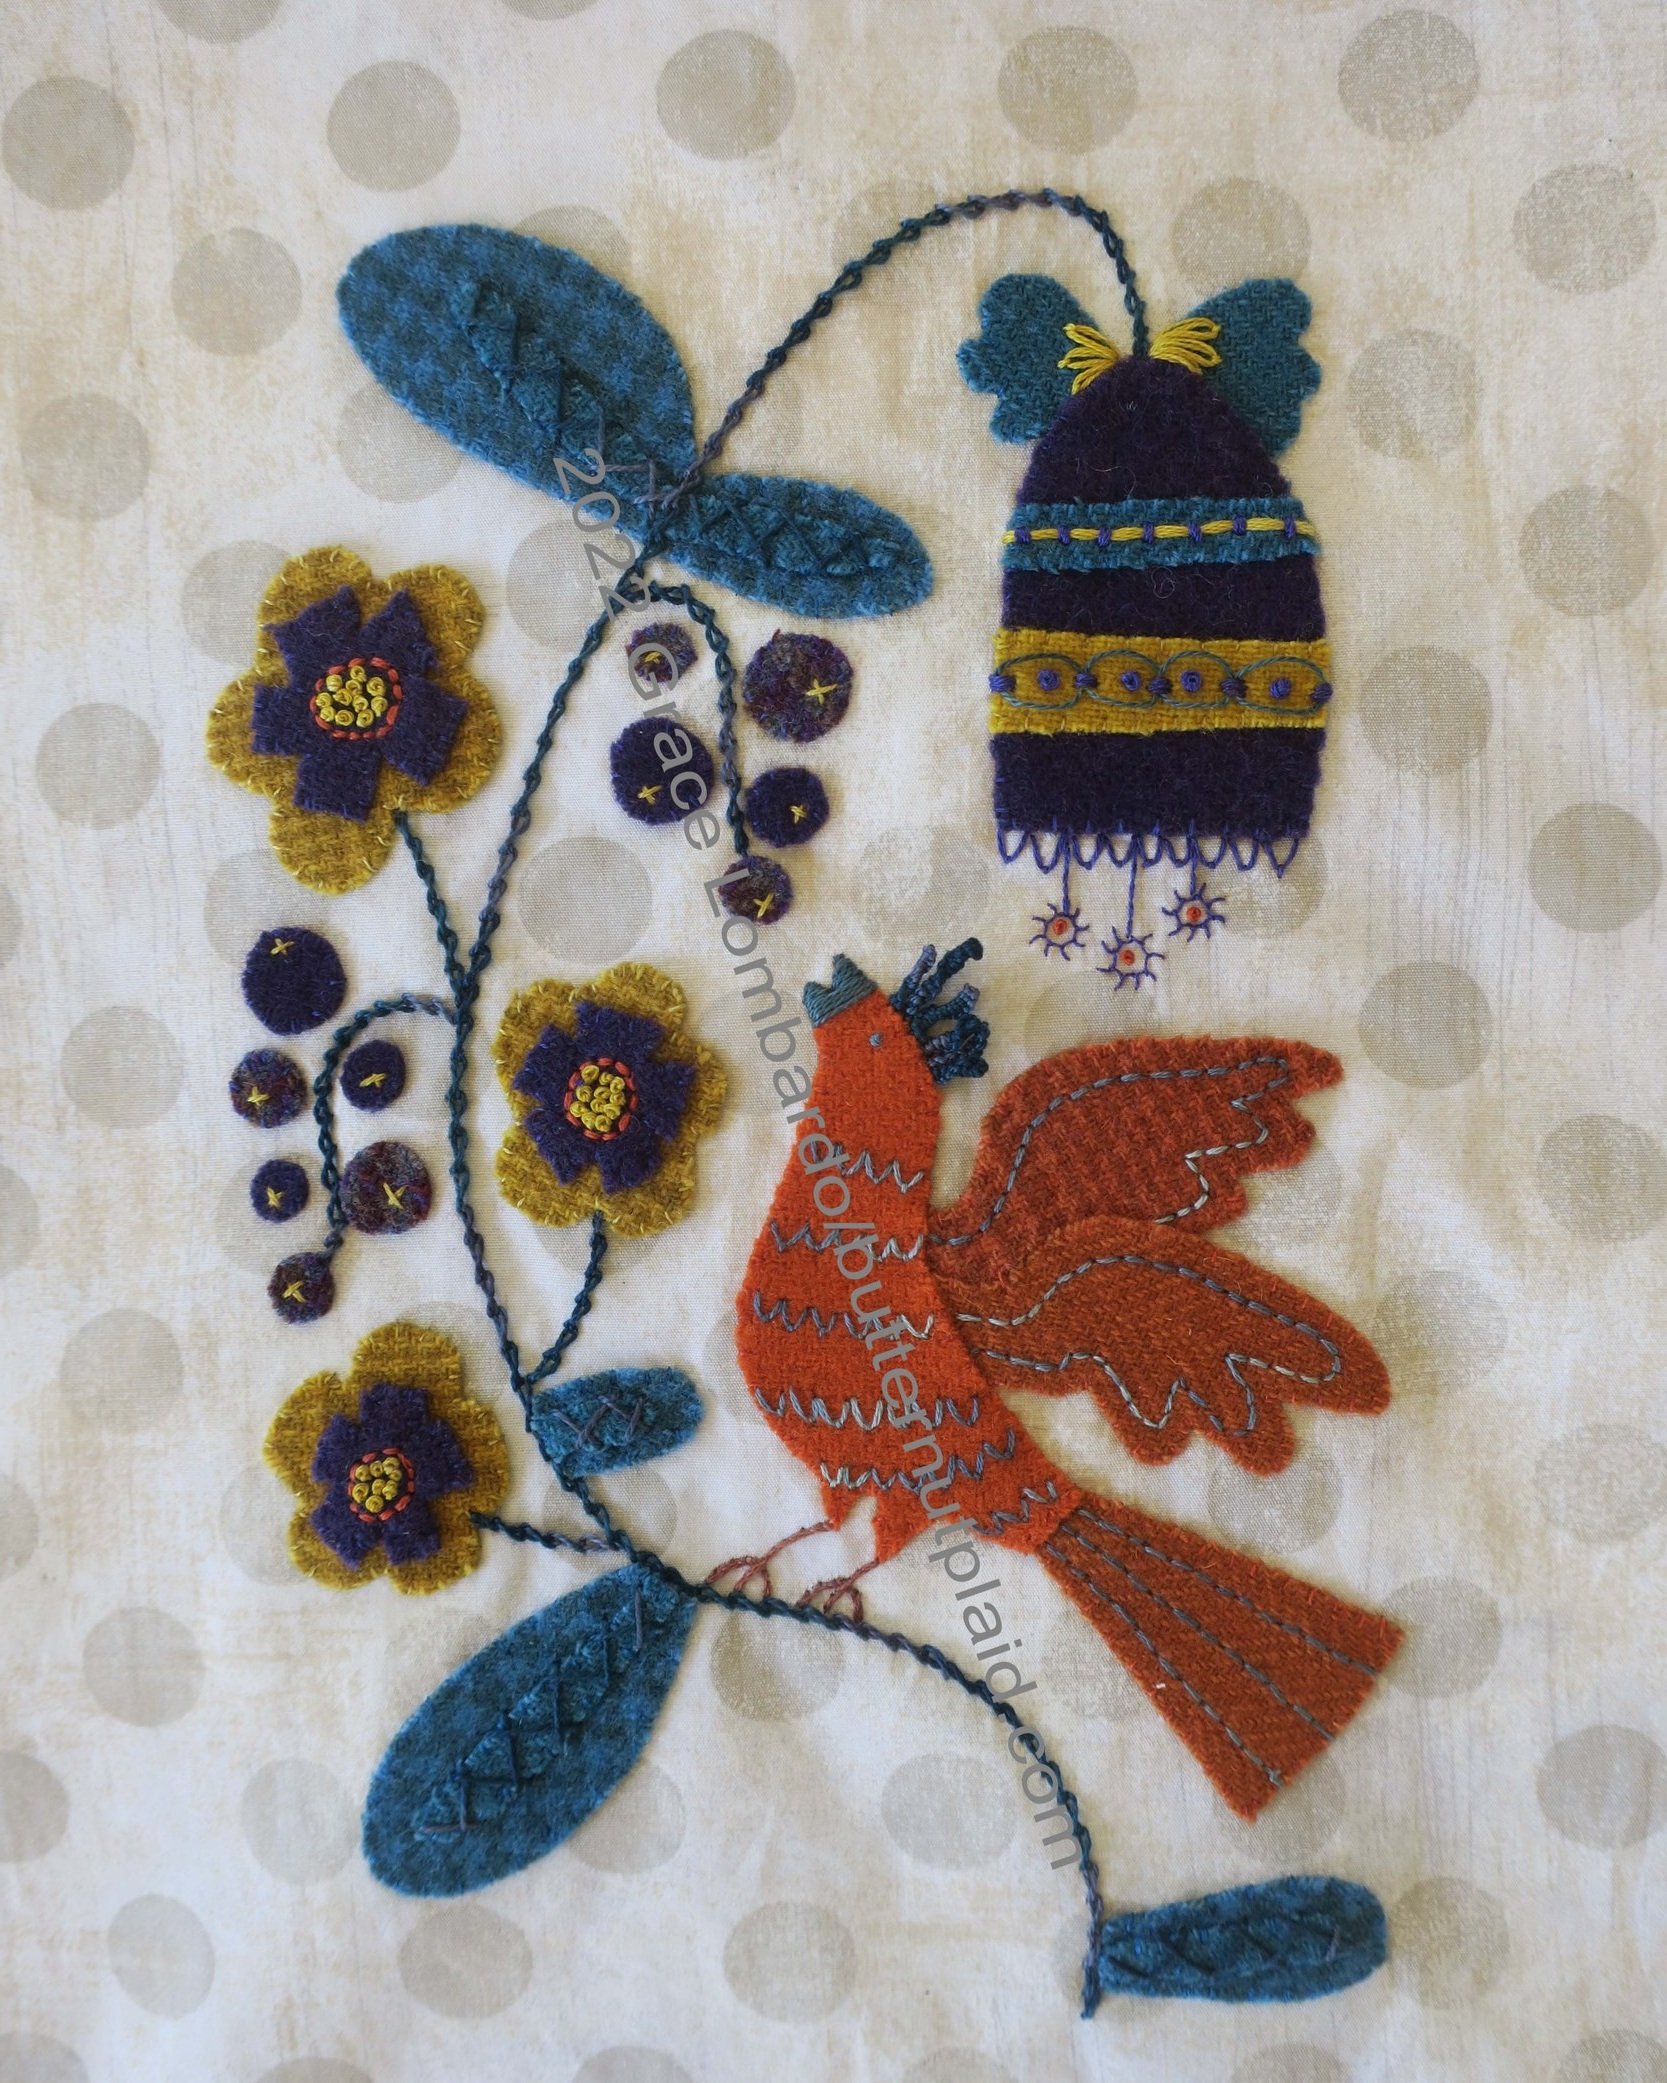
This 6” x 9” design is dedicated to everyone who has ever felt intimidated in this Instagram world in which we live. Find joy in the making and celebrate all of your endeavors!
Happy Stitching!
Supplies
Background fabric - 12” x 15” piece of Linen cotton blend or midweight quilting cotton (I used Moda Grunge spots in white paper)
Light weight fusible woven interfacing (I used Pellon SF101 Shapeflex). This is optional. Use this if you are using a lighter weight background fabric to give it more body.
Felted wool or wool felt - suggested colors
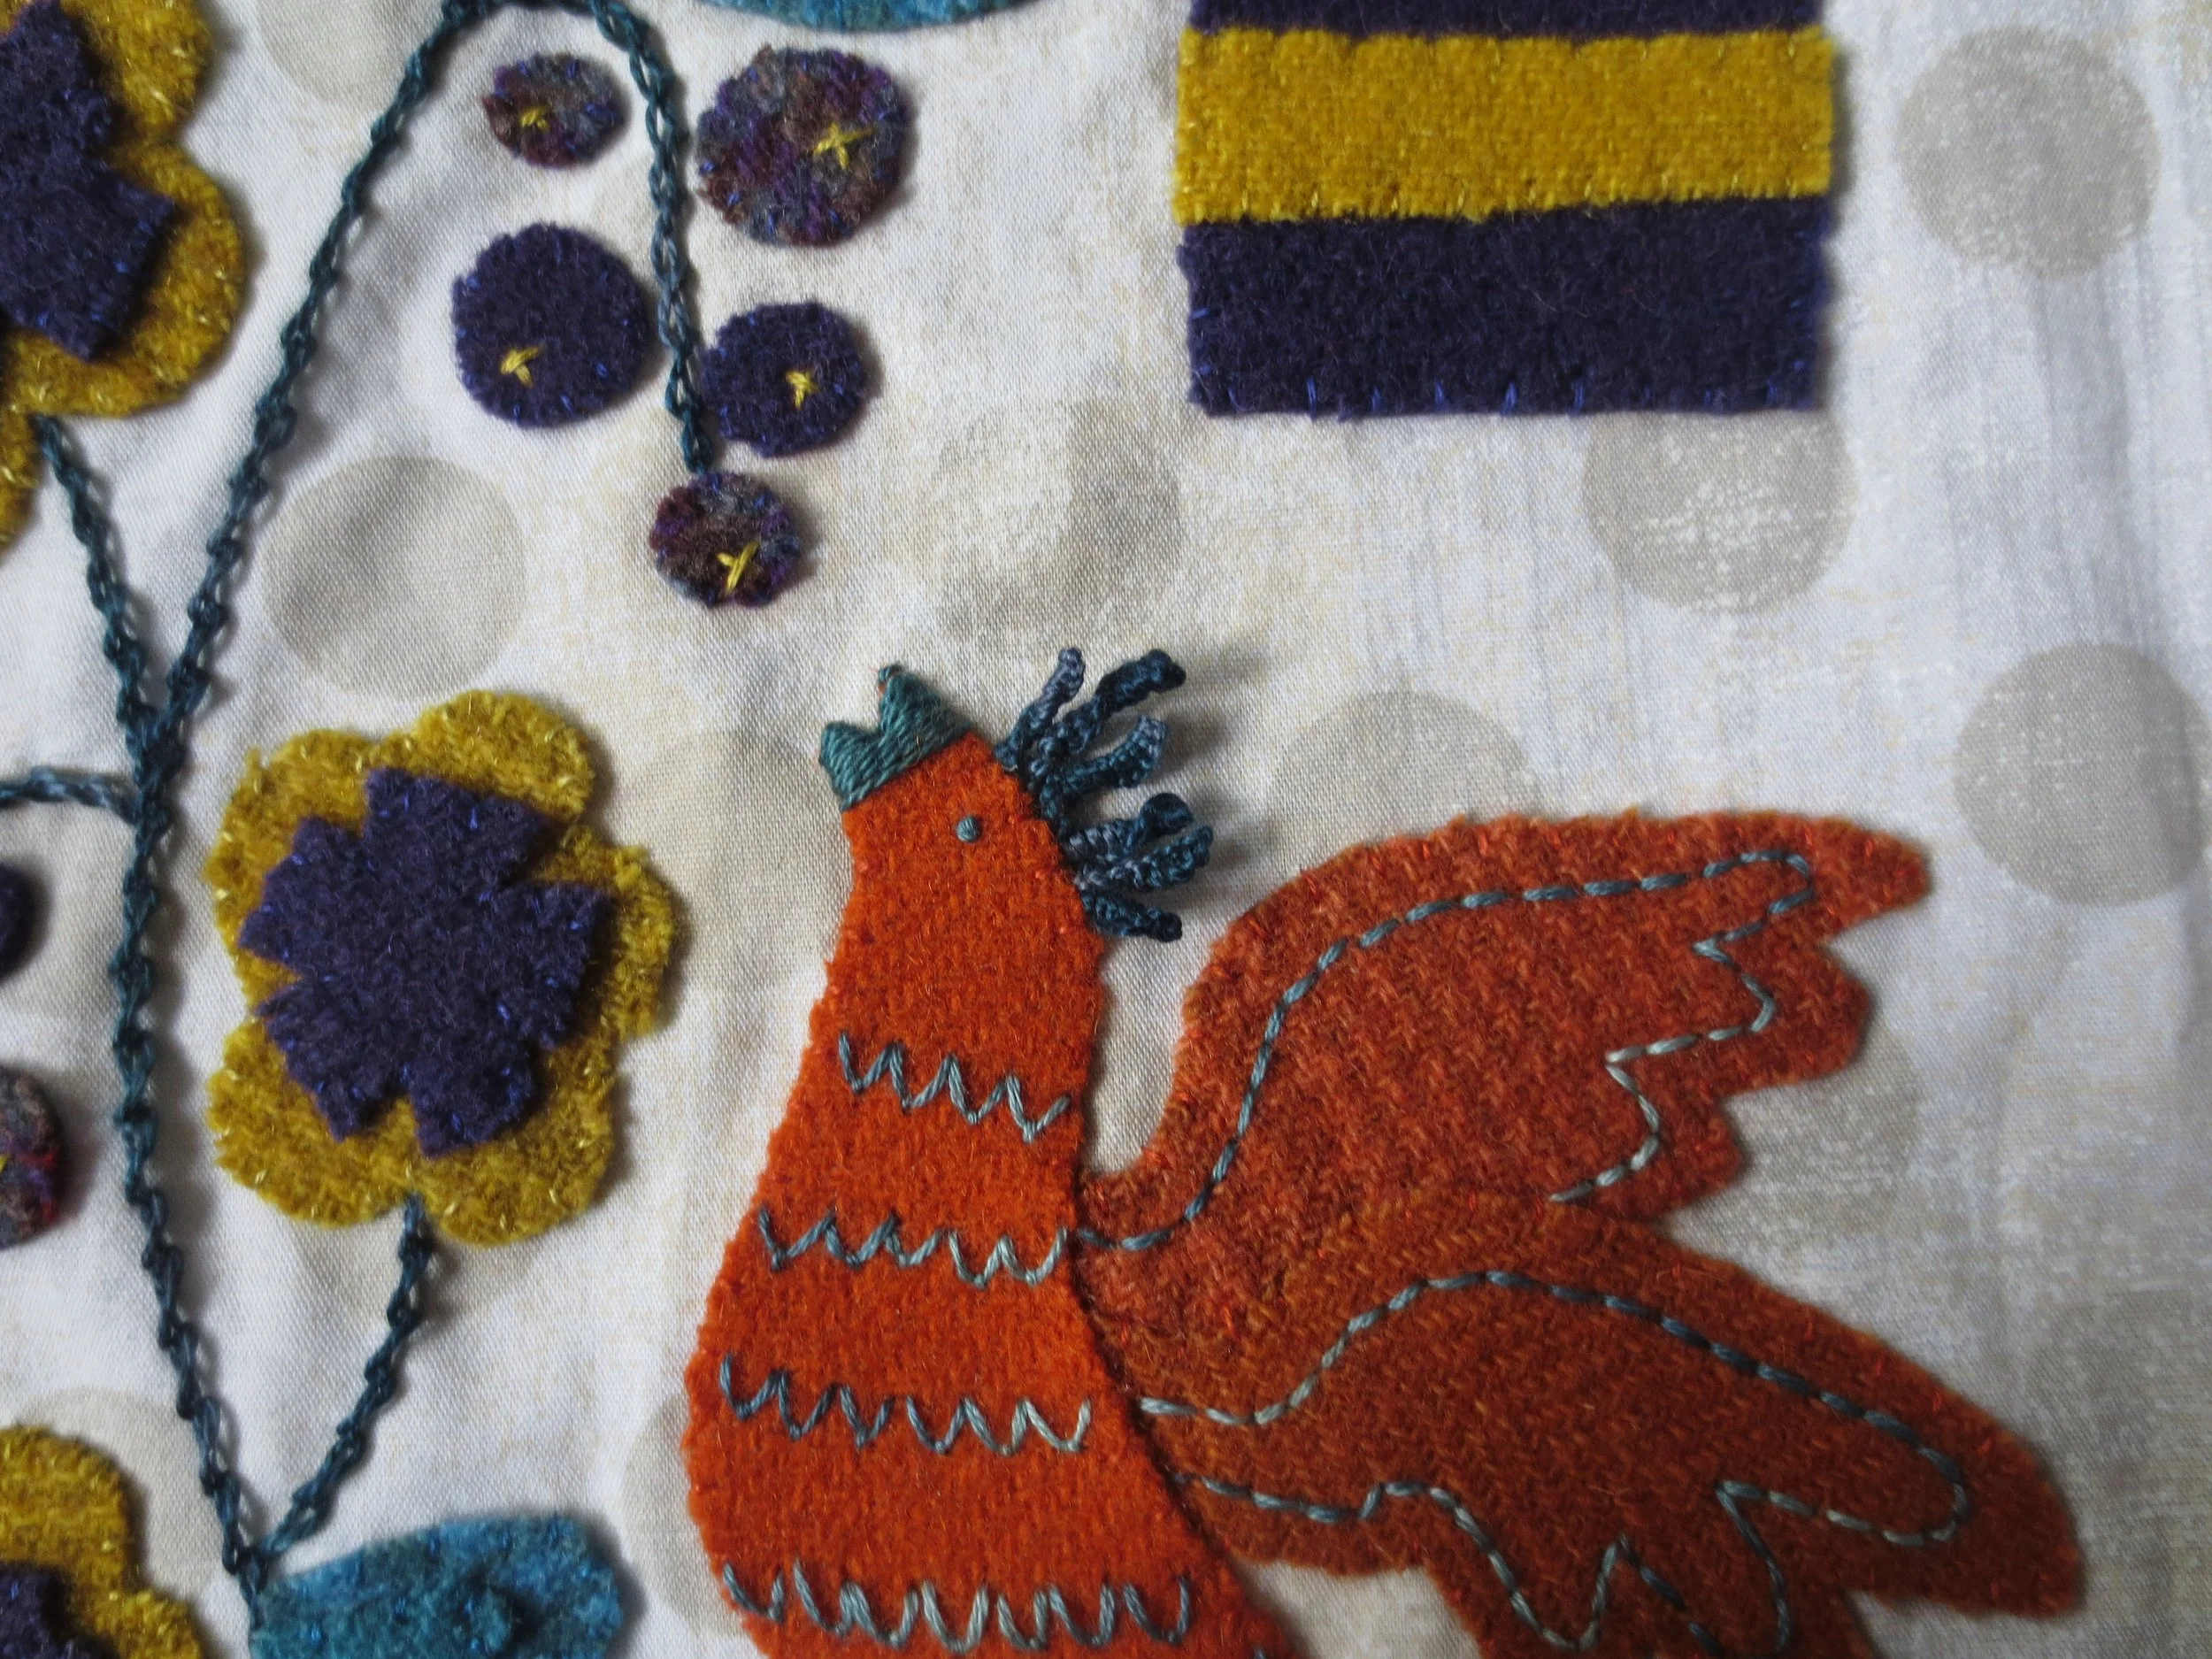
bird body - 2” x 4” orange
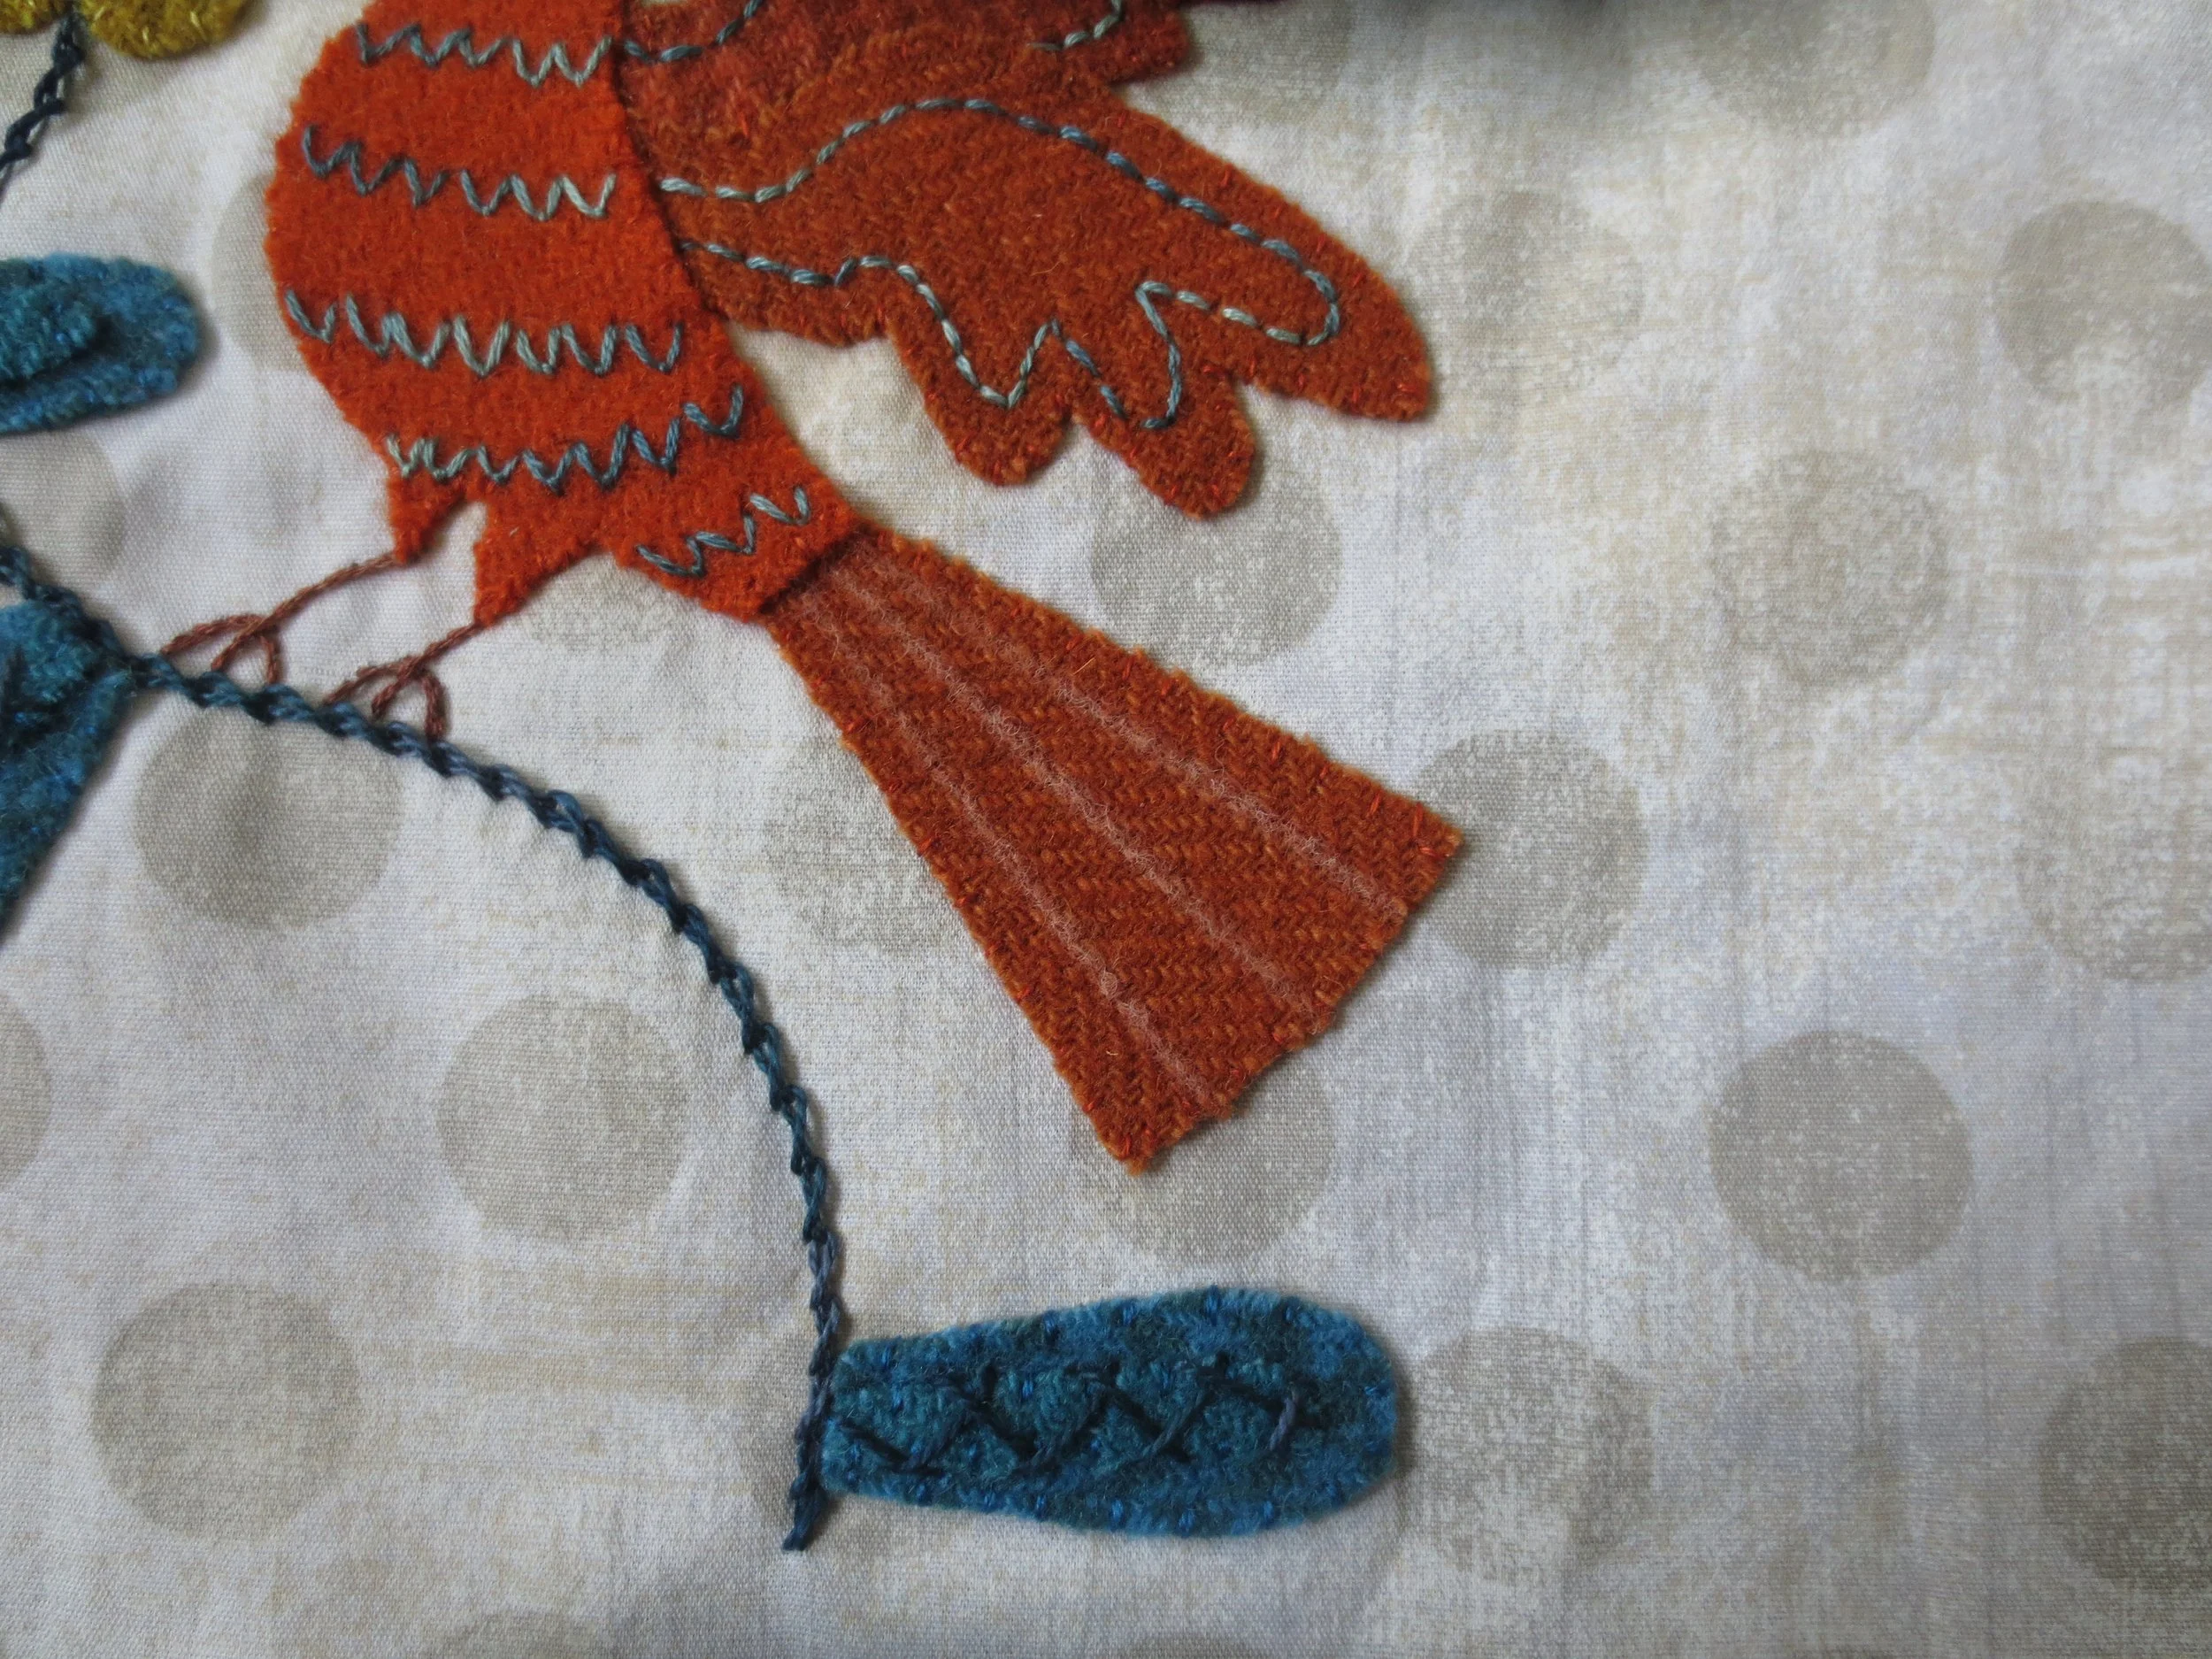
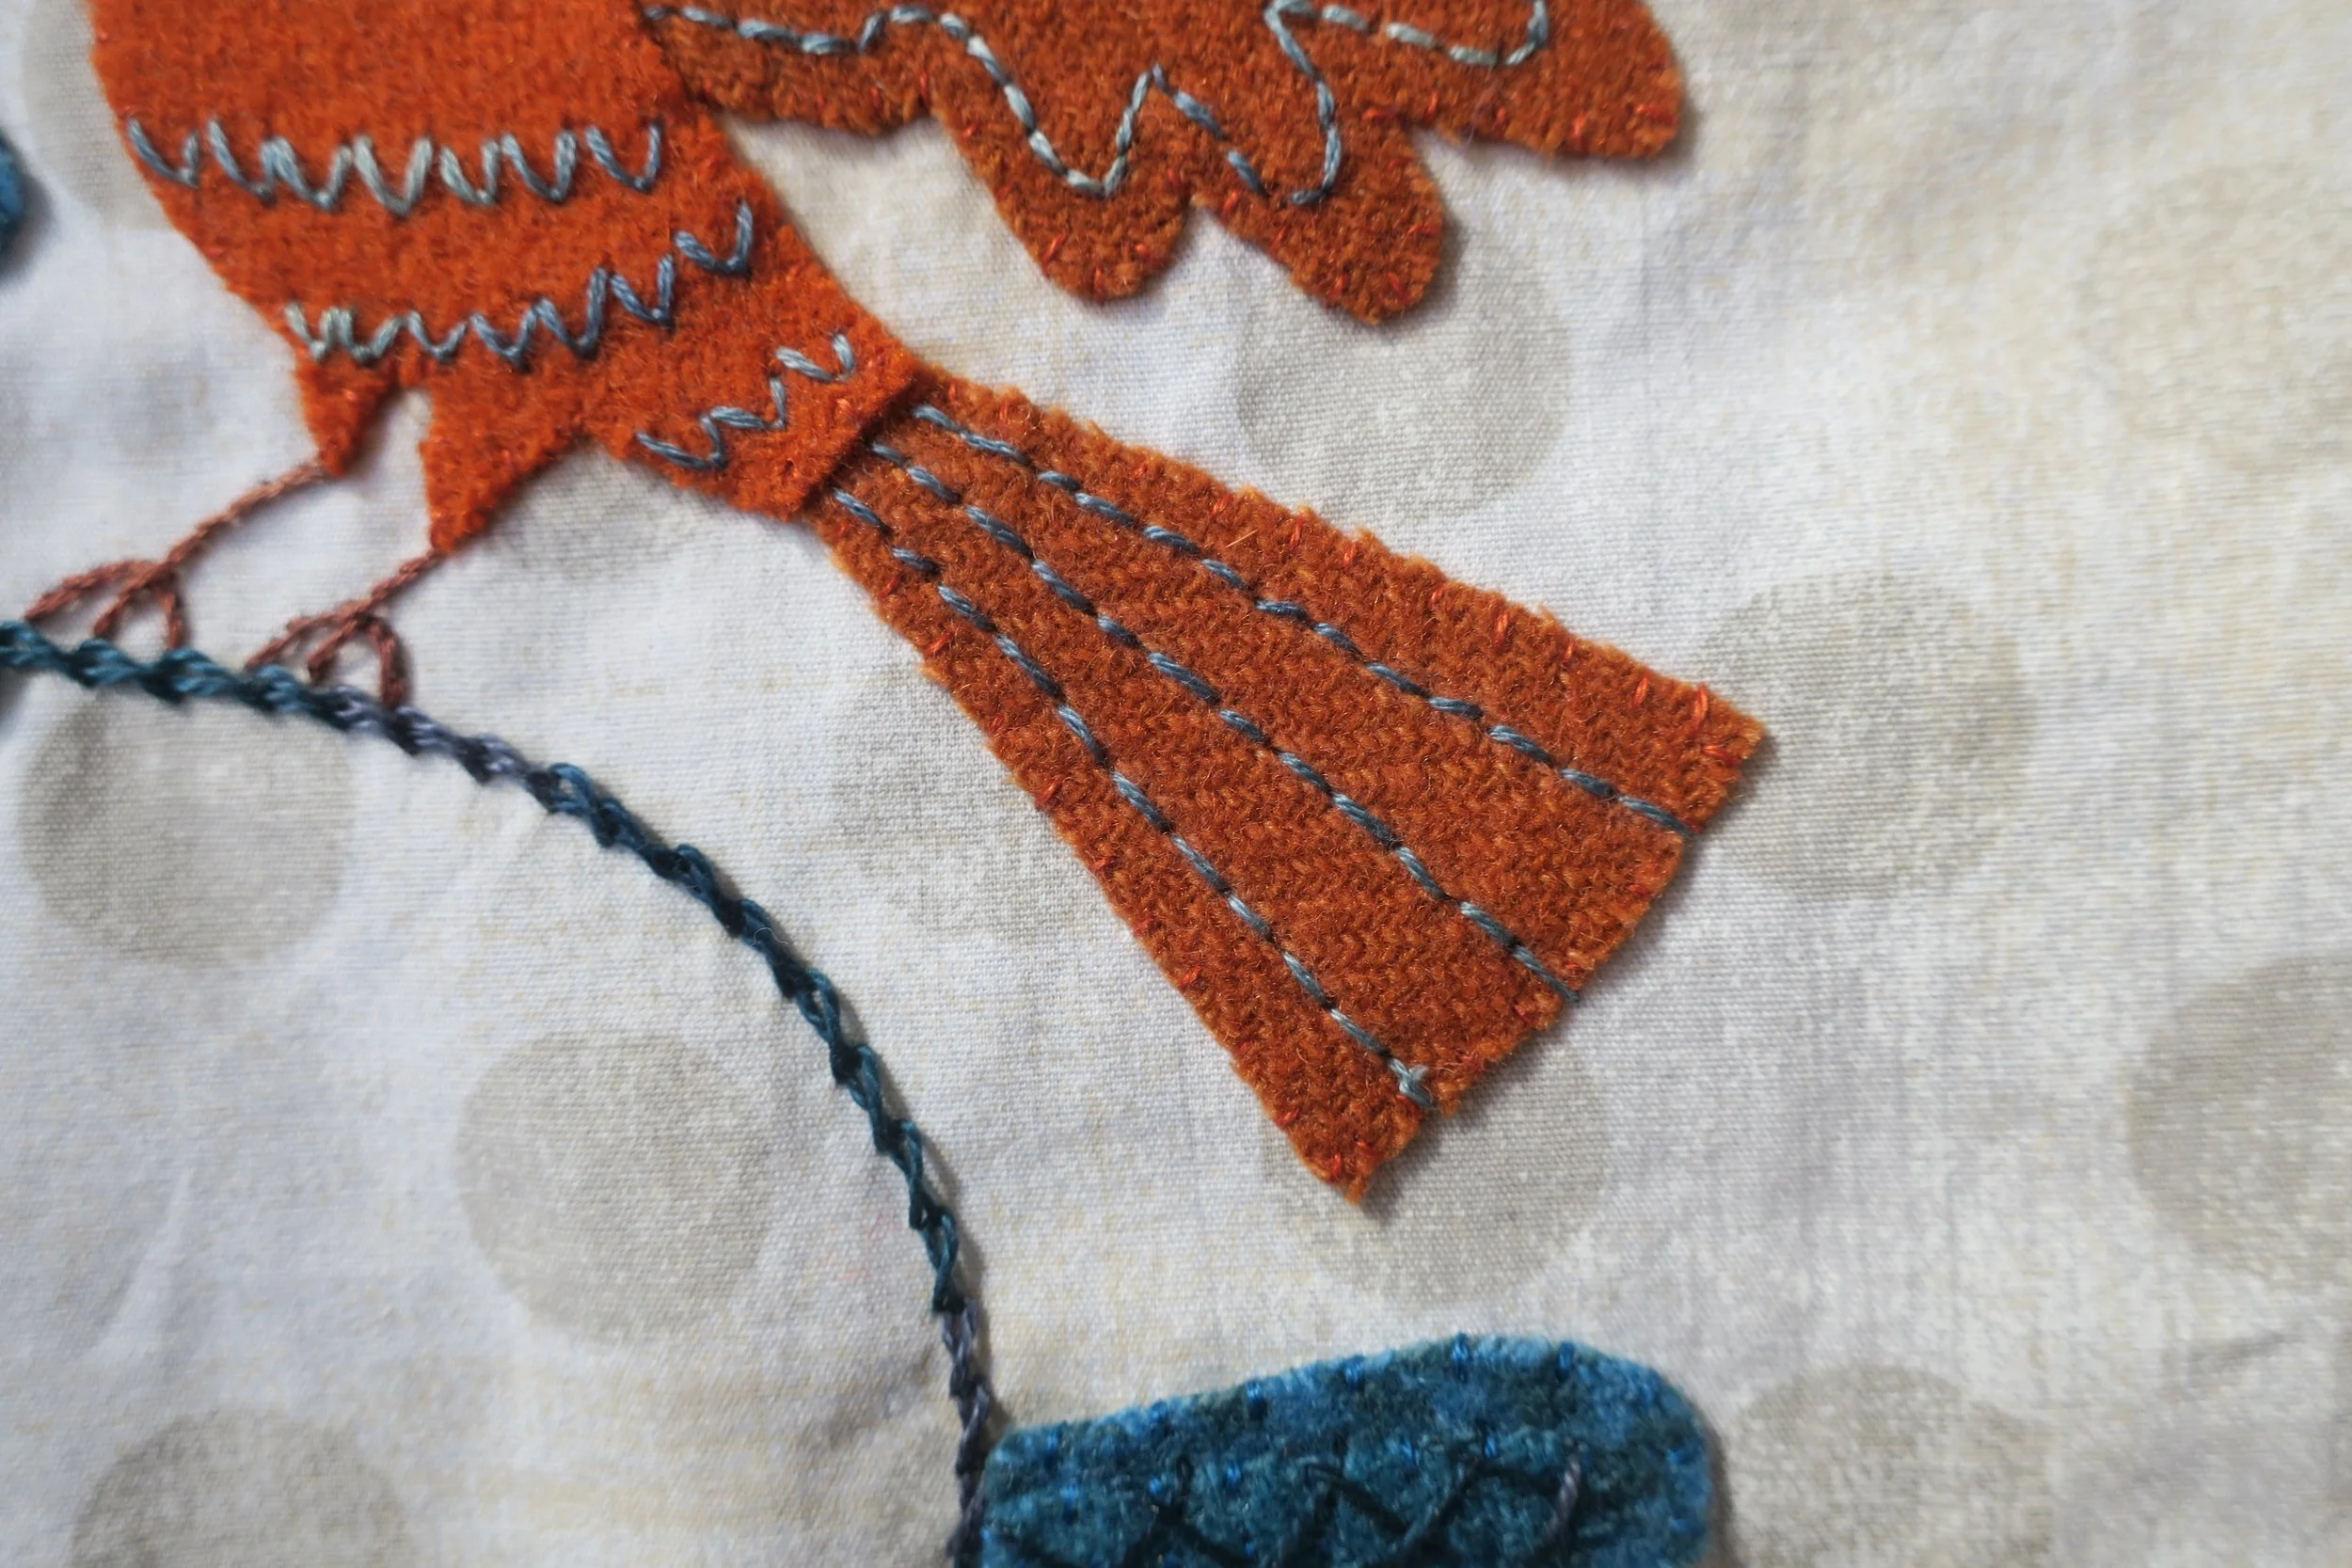
bird tail and bird wing (front) - 3” x 3” burnt orange herringbone
bird wing (back) - 2” x 3” burnt orange plaid
flowers - 3” x 4” gold plaid
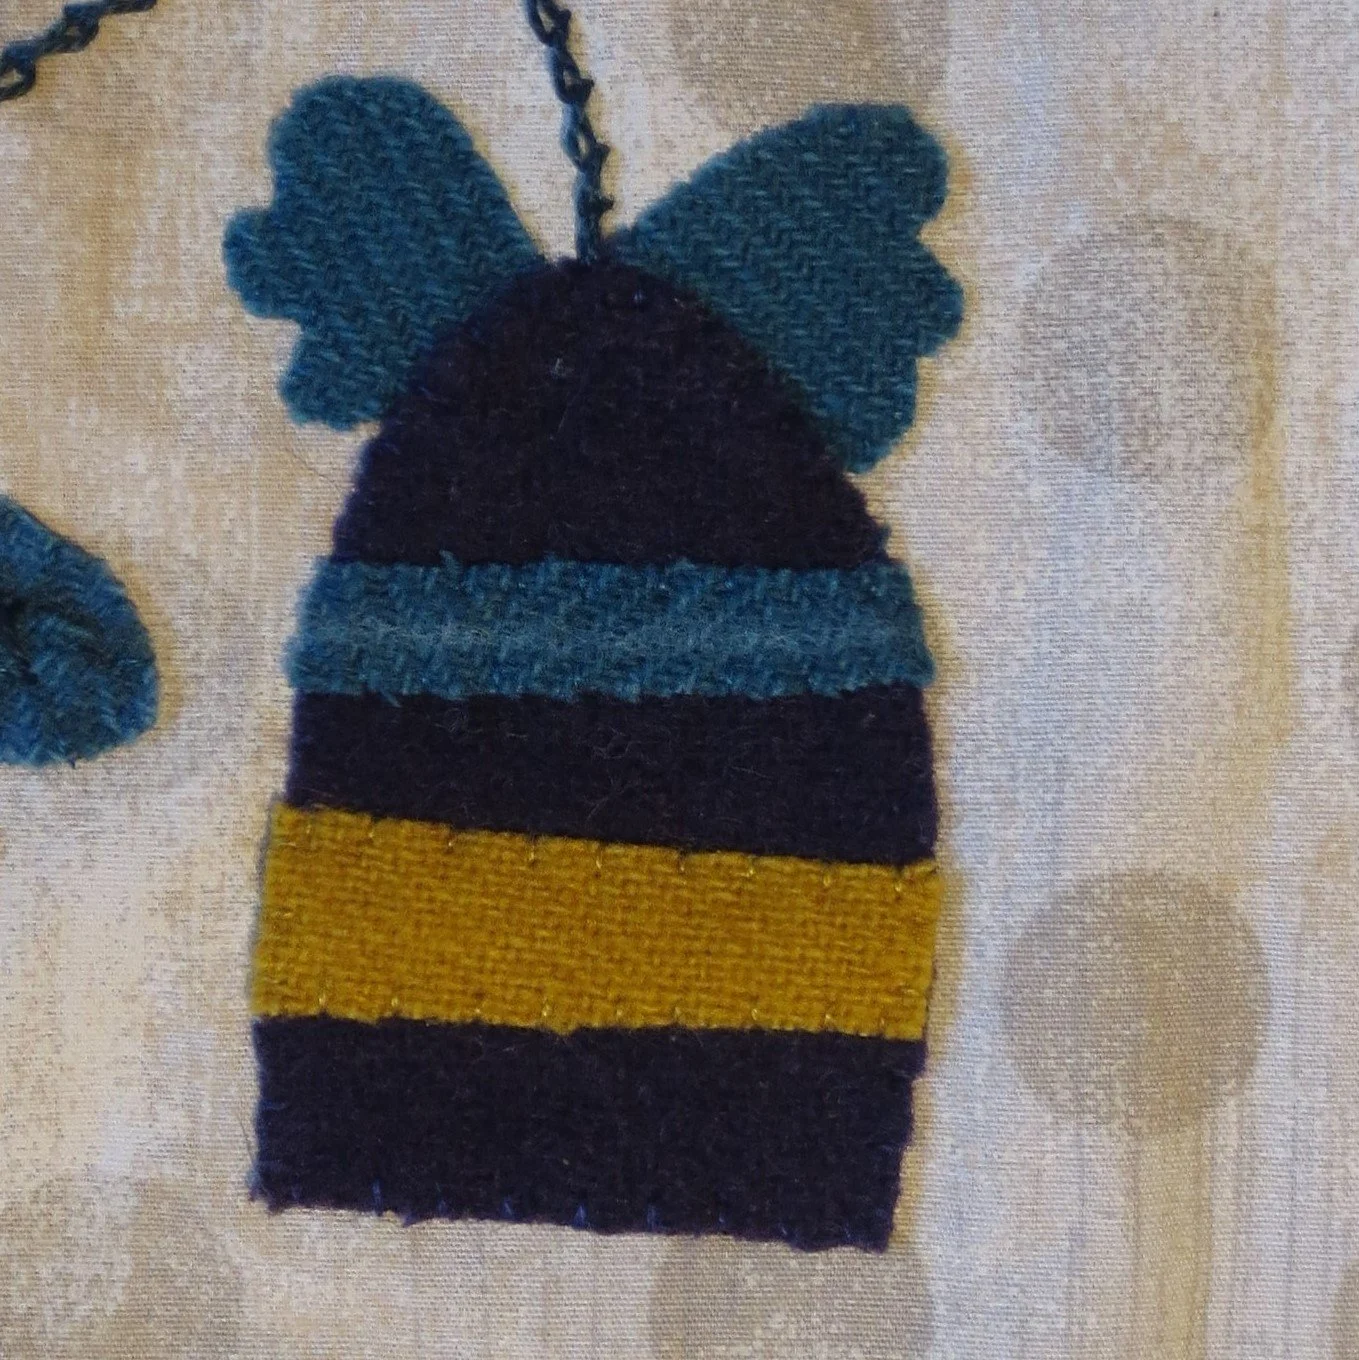
bell flower and flower centers - 4” x 5” dark purple
bell flower sepals and veins of leaves - 2 1/2” x 3” teal
bell flower stripe (large) - 1” x 2” gold plaid
bell flower stripe (small) - 1” x 2” teal or 2” length of 1/4” wide teal colored ribbon
leaves - 3” x 5” teal houndstooth
berries - two 2” squares of different purple plaids
Thread - suggested colors
Perle cotton, size 8 variegated dark indigo ( I used Wonderfil Eleganza Inked) - stem, bird’s crown, bell flower embellishment, and veins of leaves
Perle cotton, size 8 in dark teal (I used DMC color #930) - bird’s beak and crown
Embroidery floss in colors that match your wool colors - whip stitching of all wool
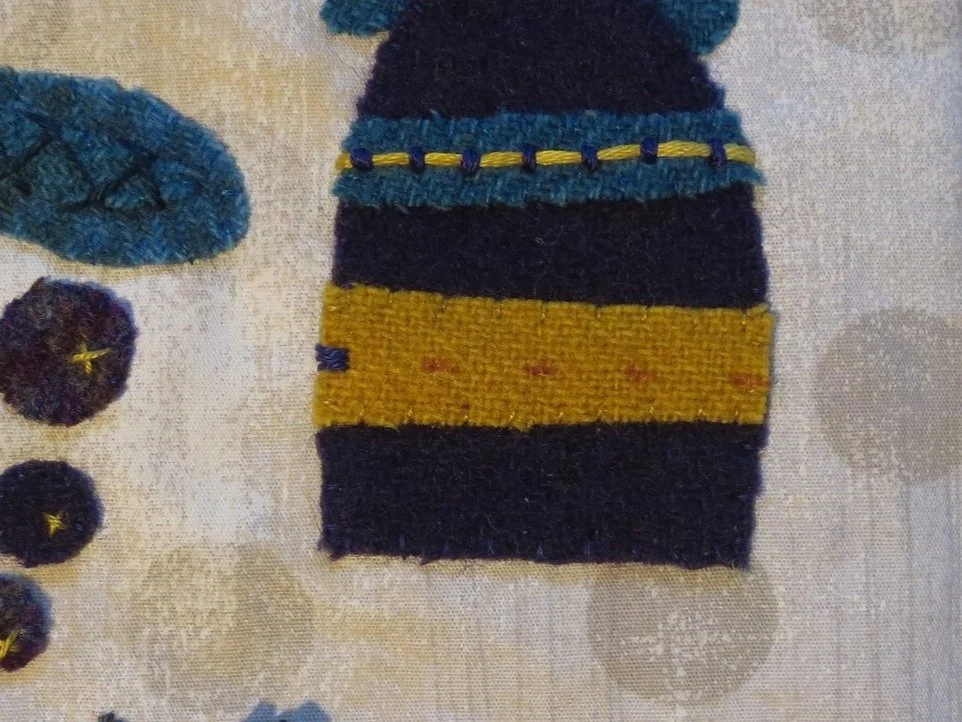
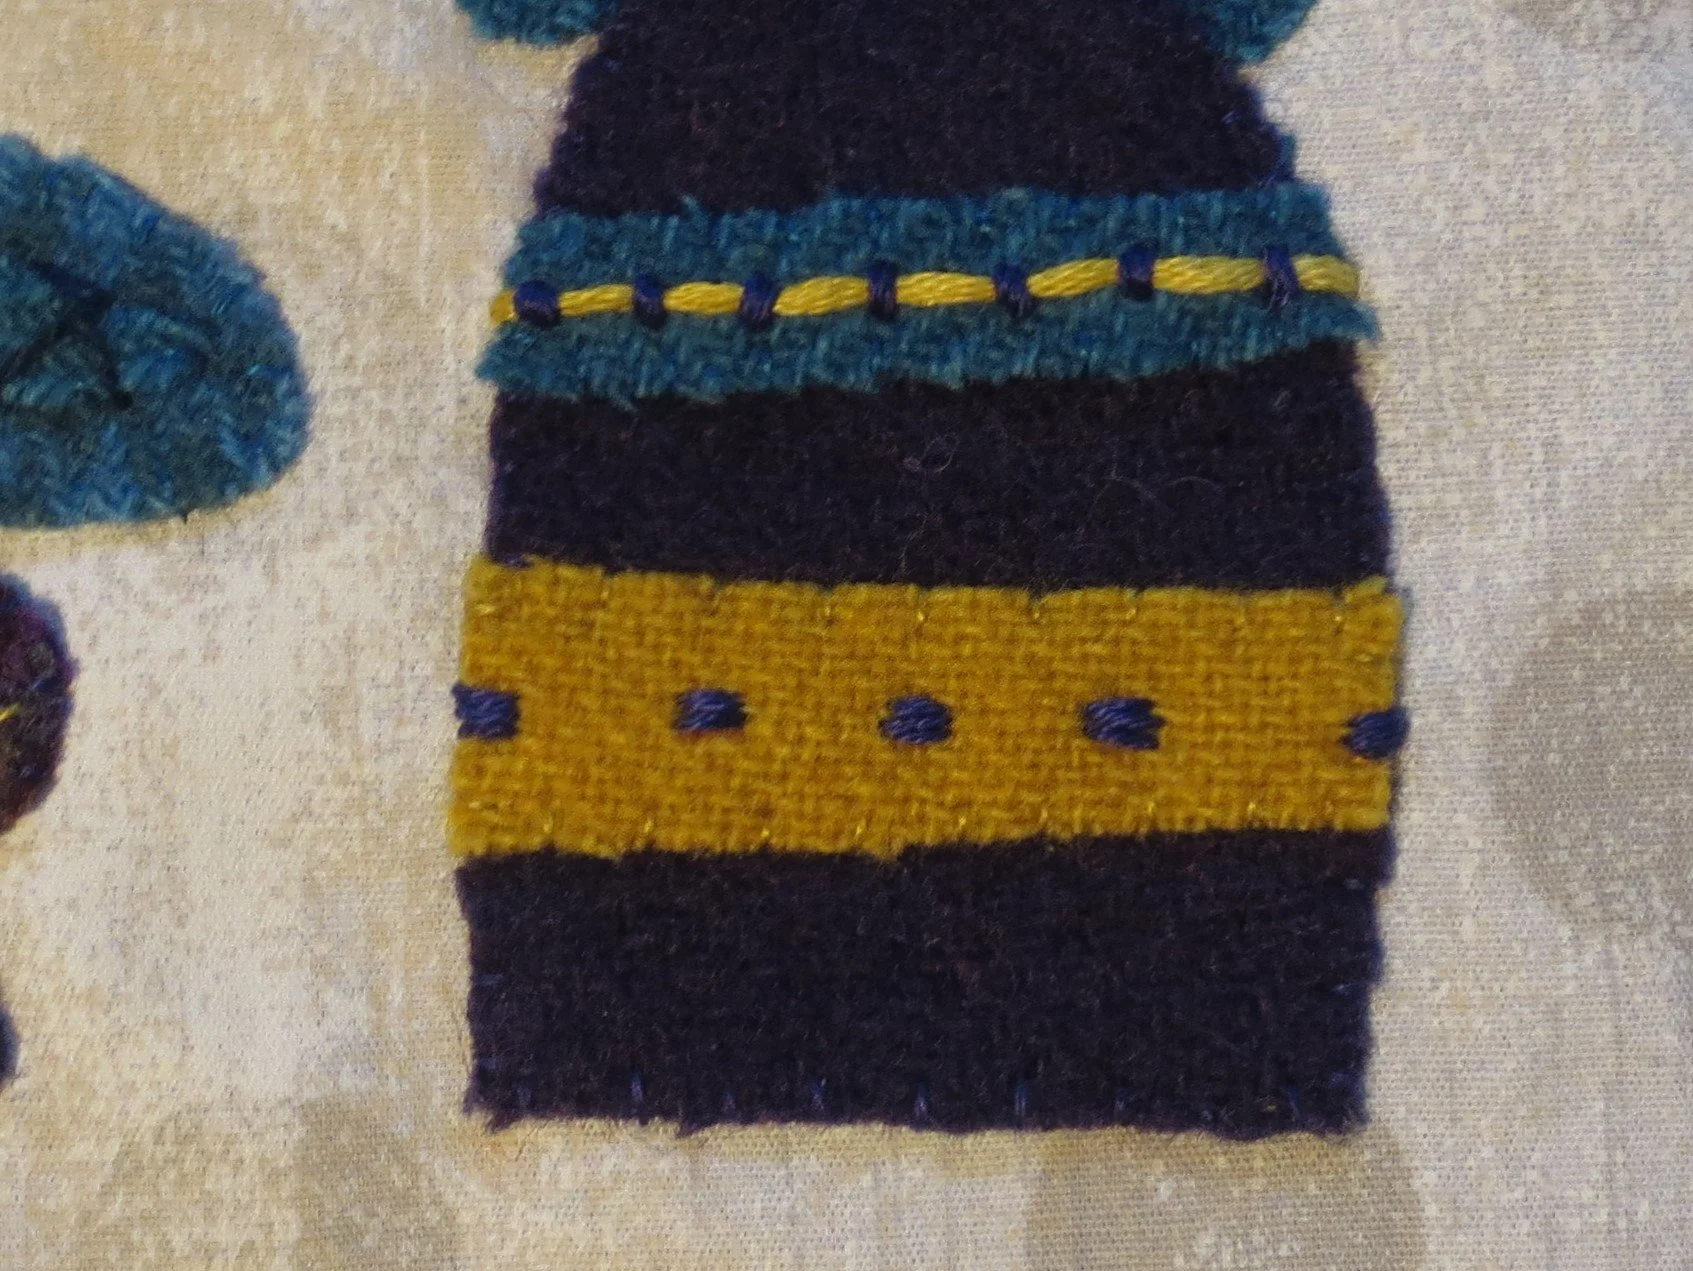
Embroidery floss in a orange brown or dark burnt orange color - bird’s legs
Variegated perle cotton, size 12 or embroidery floss in a variegated teal ( I used House of Embroidery floss, color #36A The Sea) - bird body embellishment
Miscellaneous
light weight or feather weight fusible web
Chenille needles, size 22 and 24
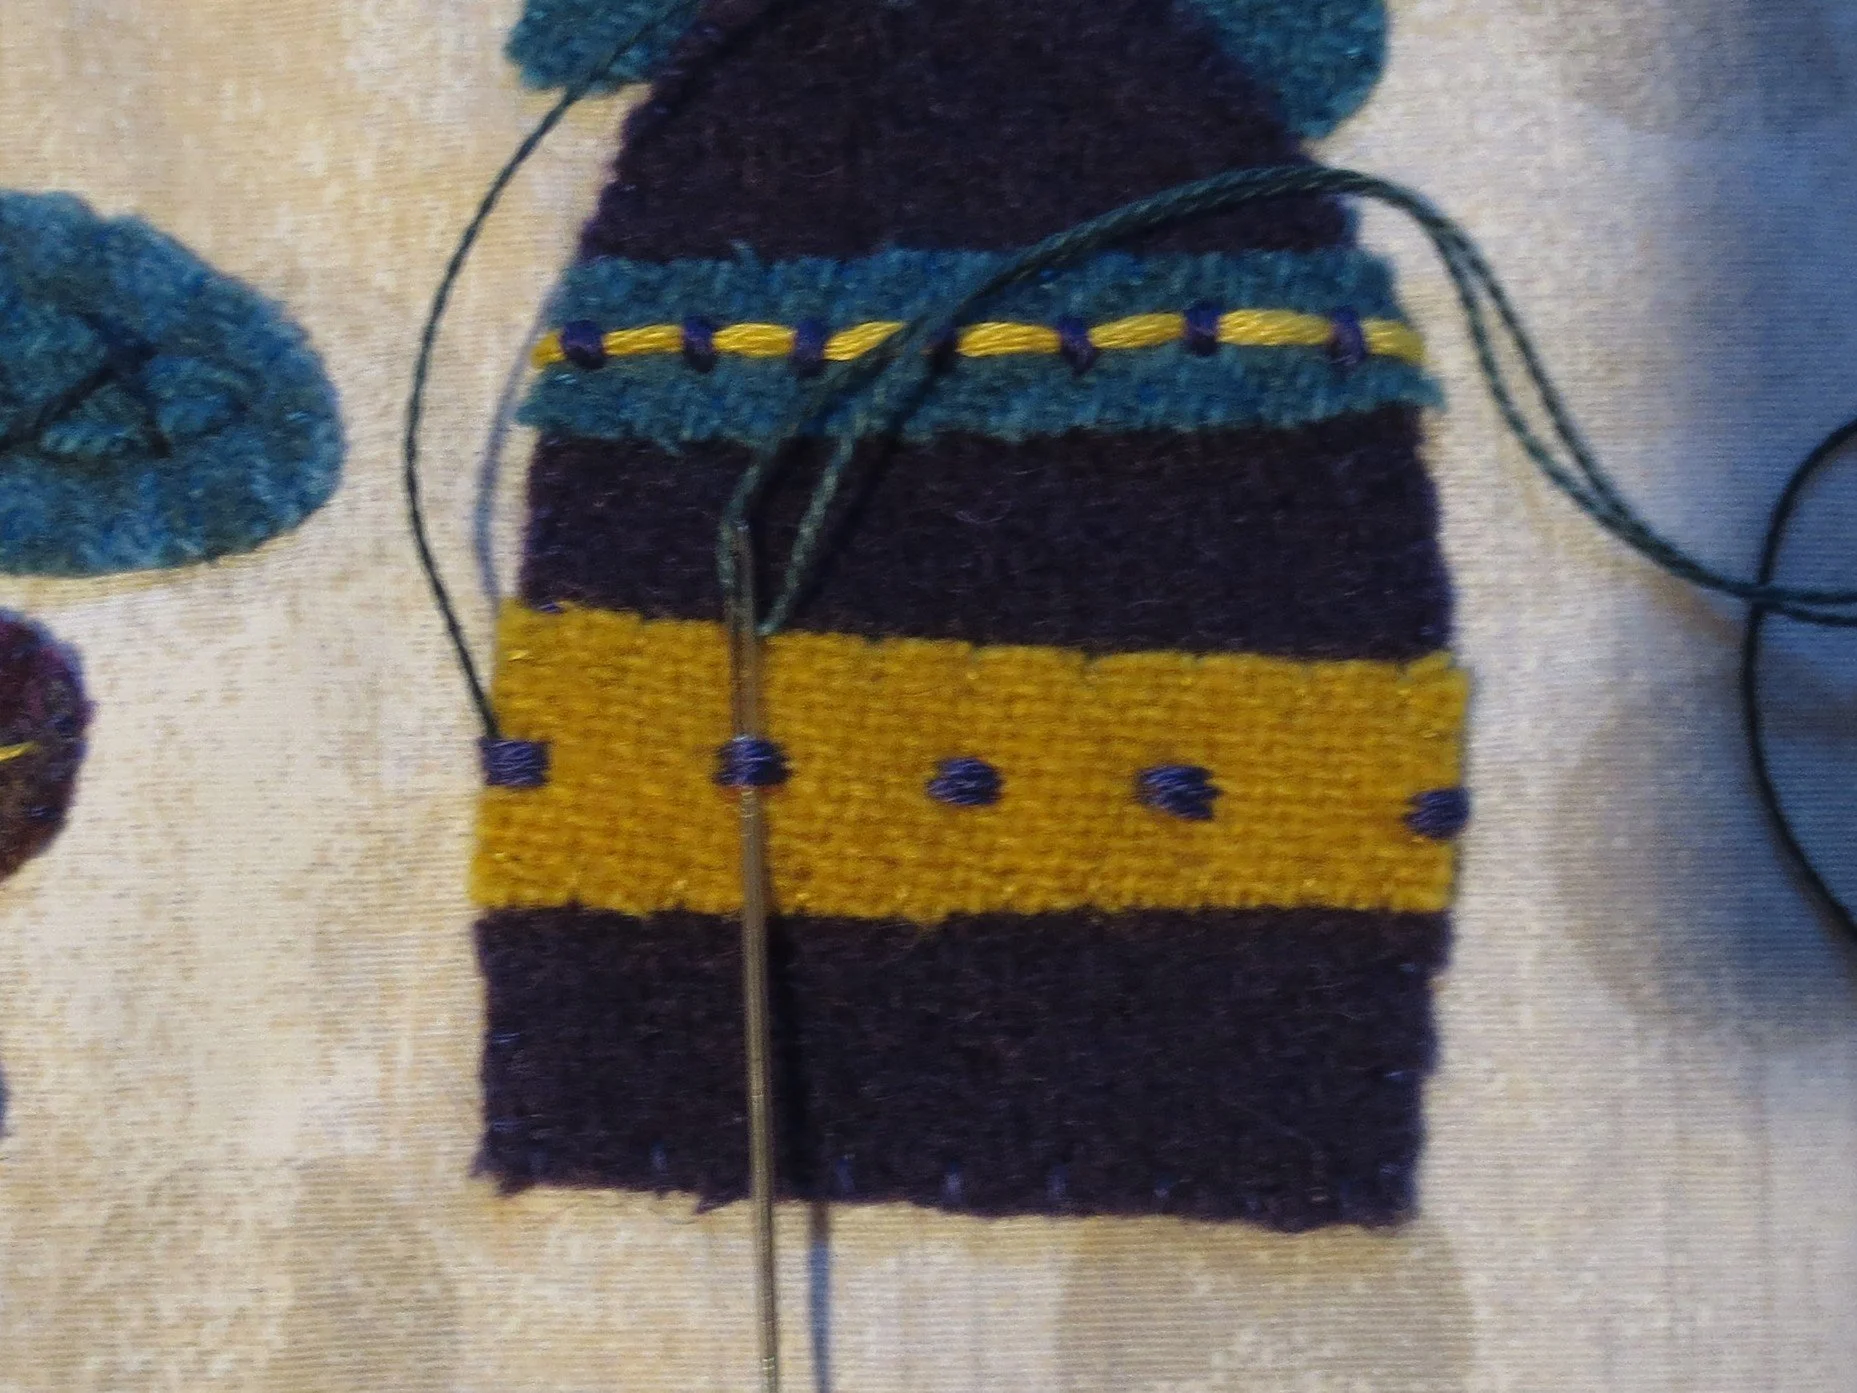
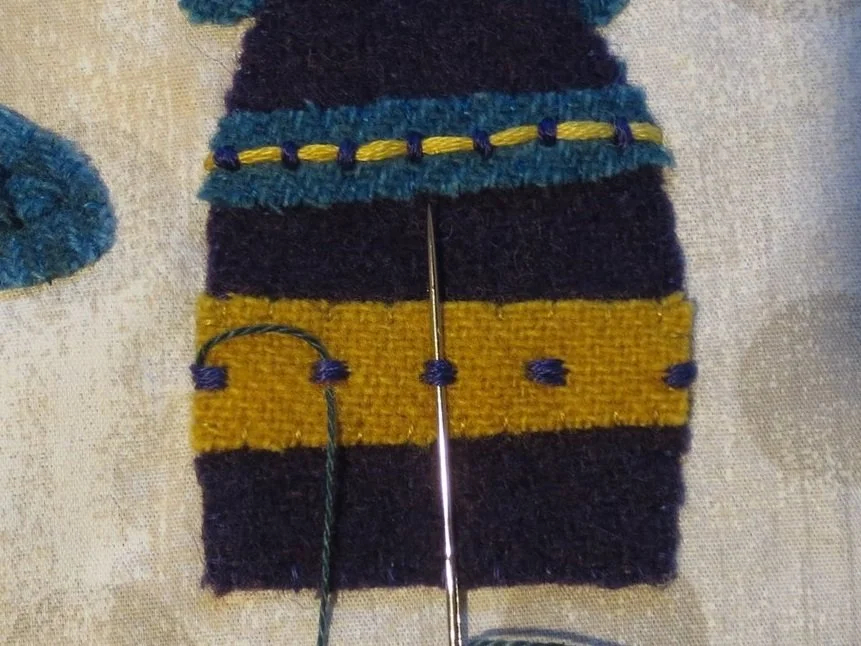
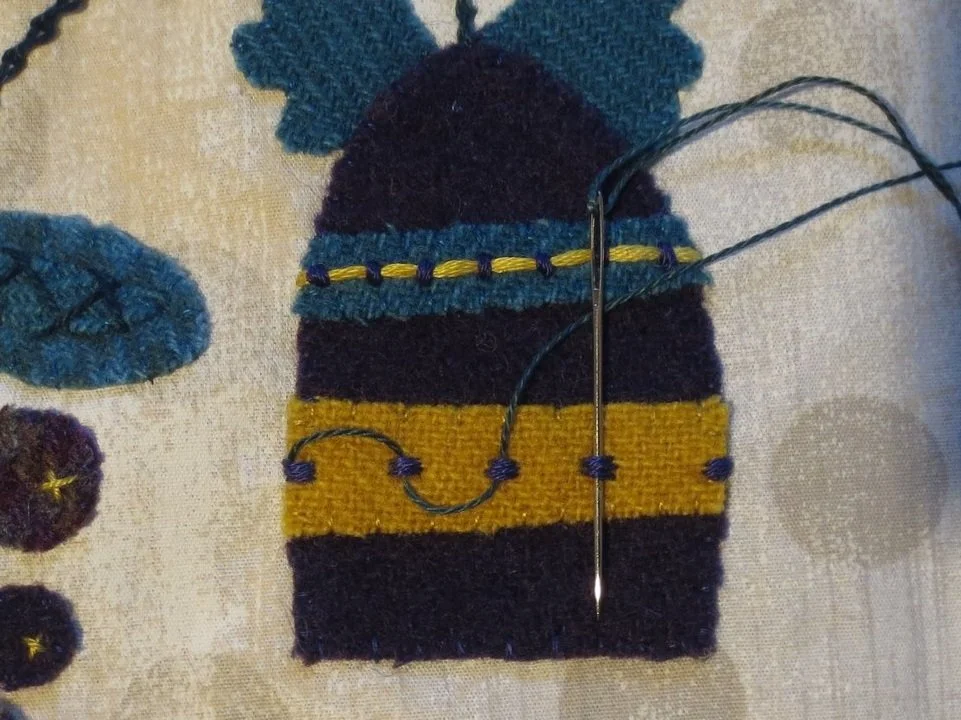
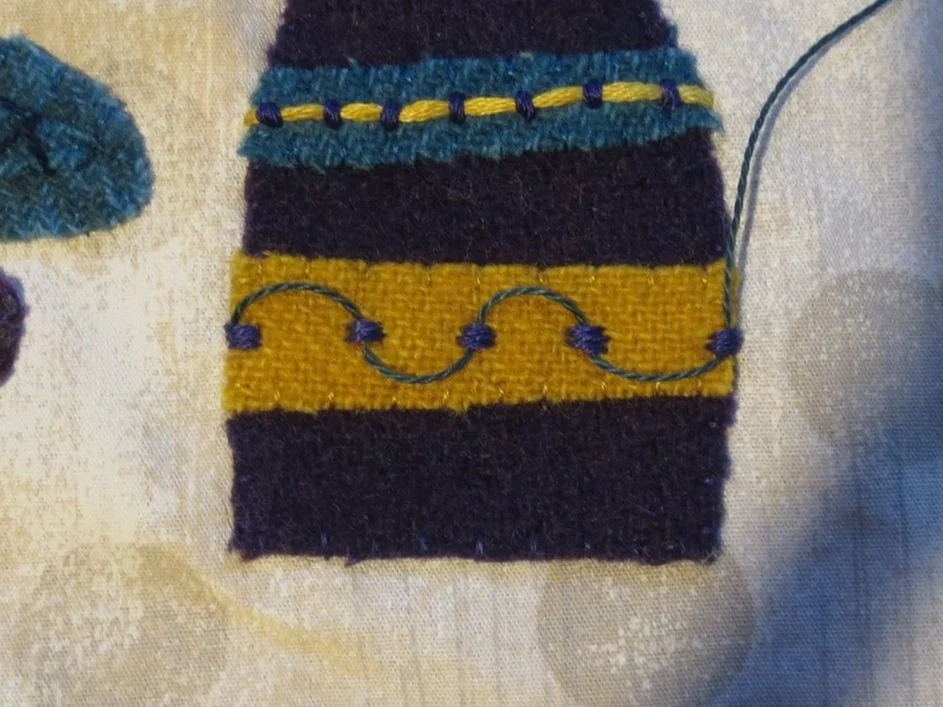
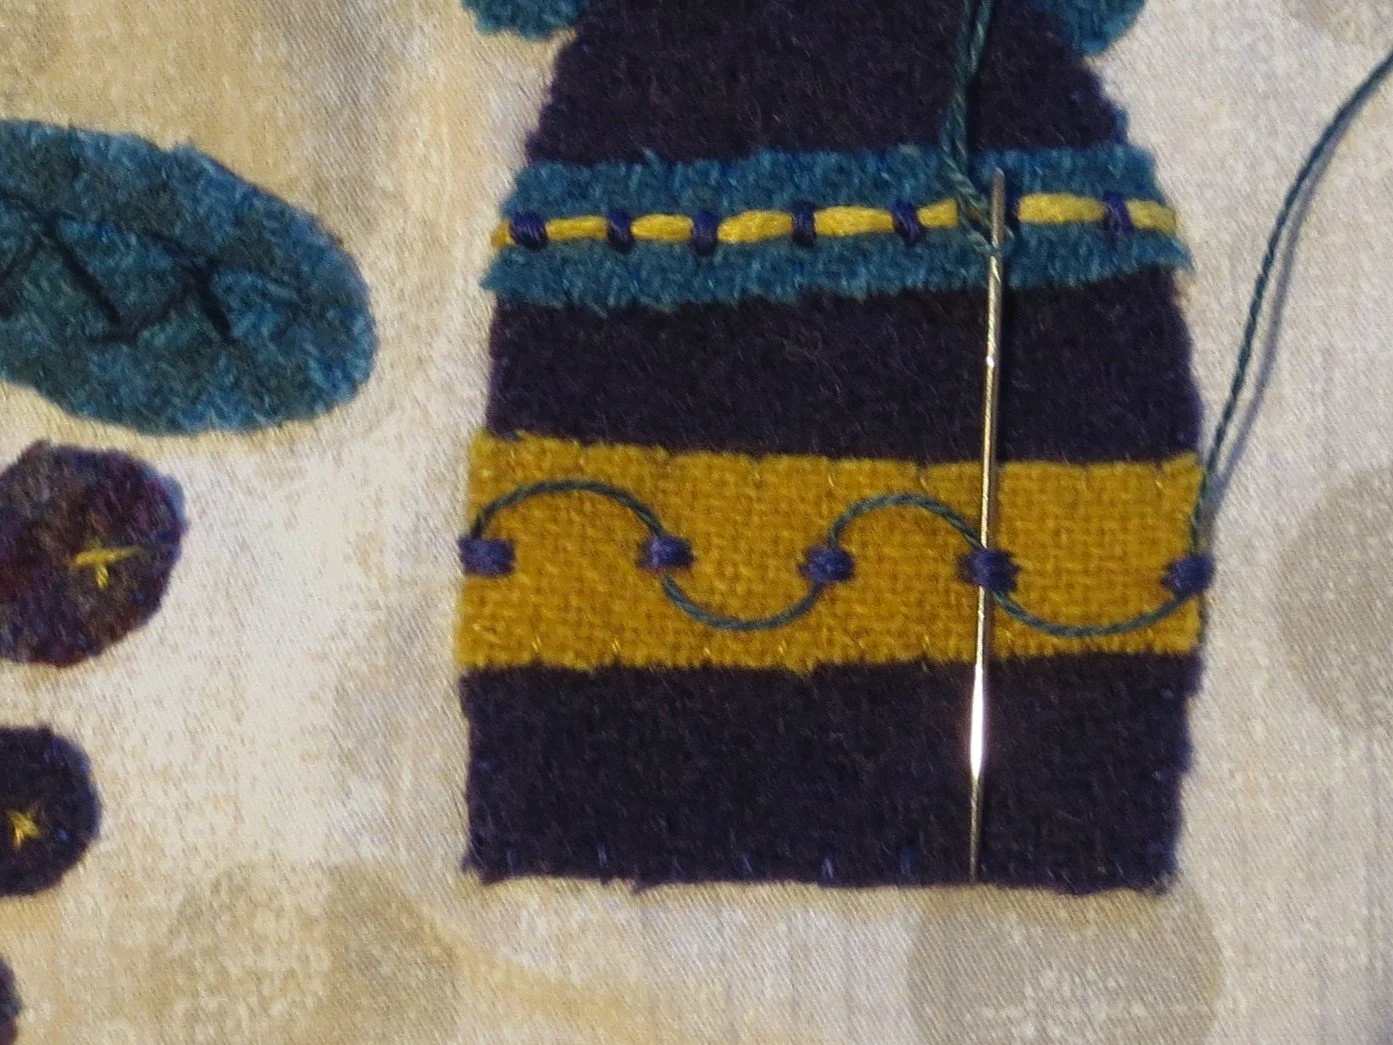
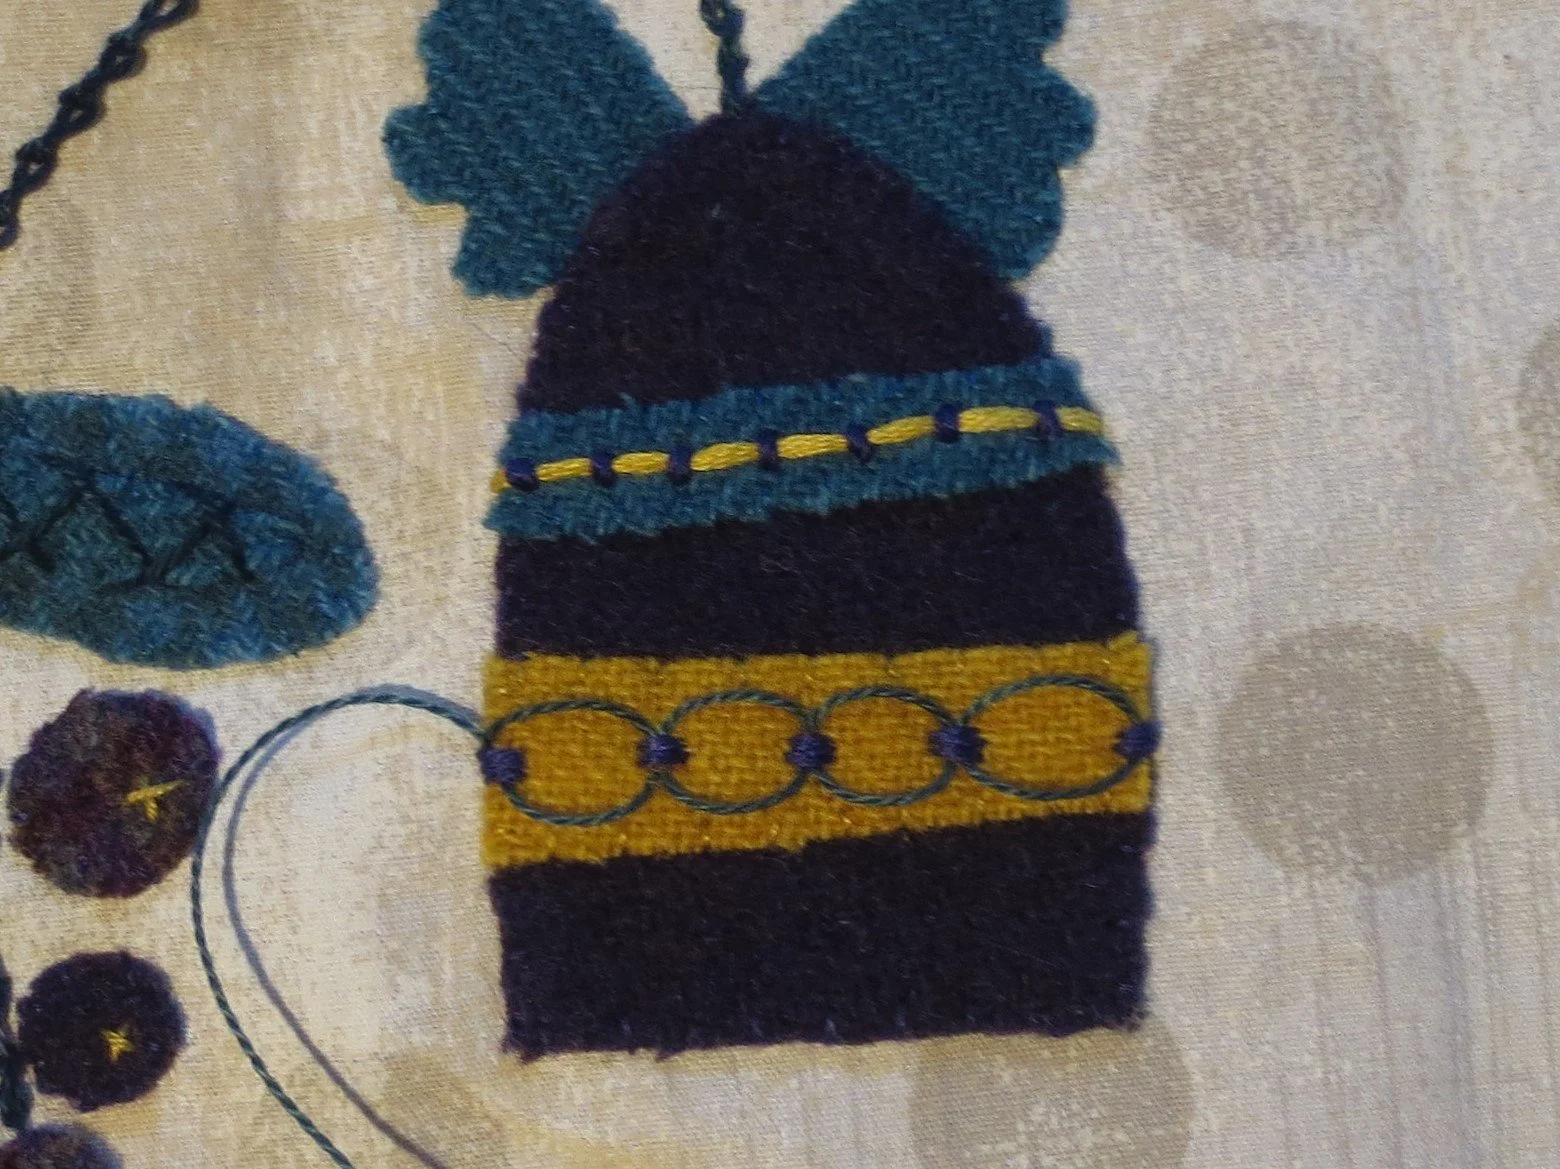
milliner’s needle, size 1
steam iron
Transfer pen (I used Sublime Stitching)
1 sheet of copy paper
Fine point chalk pencil in light and dark colors ( I used Bohin brand with green and white chalk) or air erasable fabric marker (I used Clover 5032 Air Erasable Fabric Marker with Eraser)
Instructions
NOTE: For further assistance on stitches I recommend the following sources:
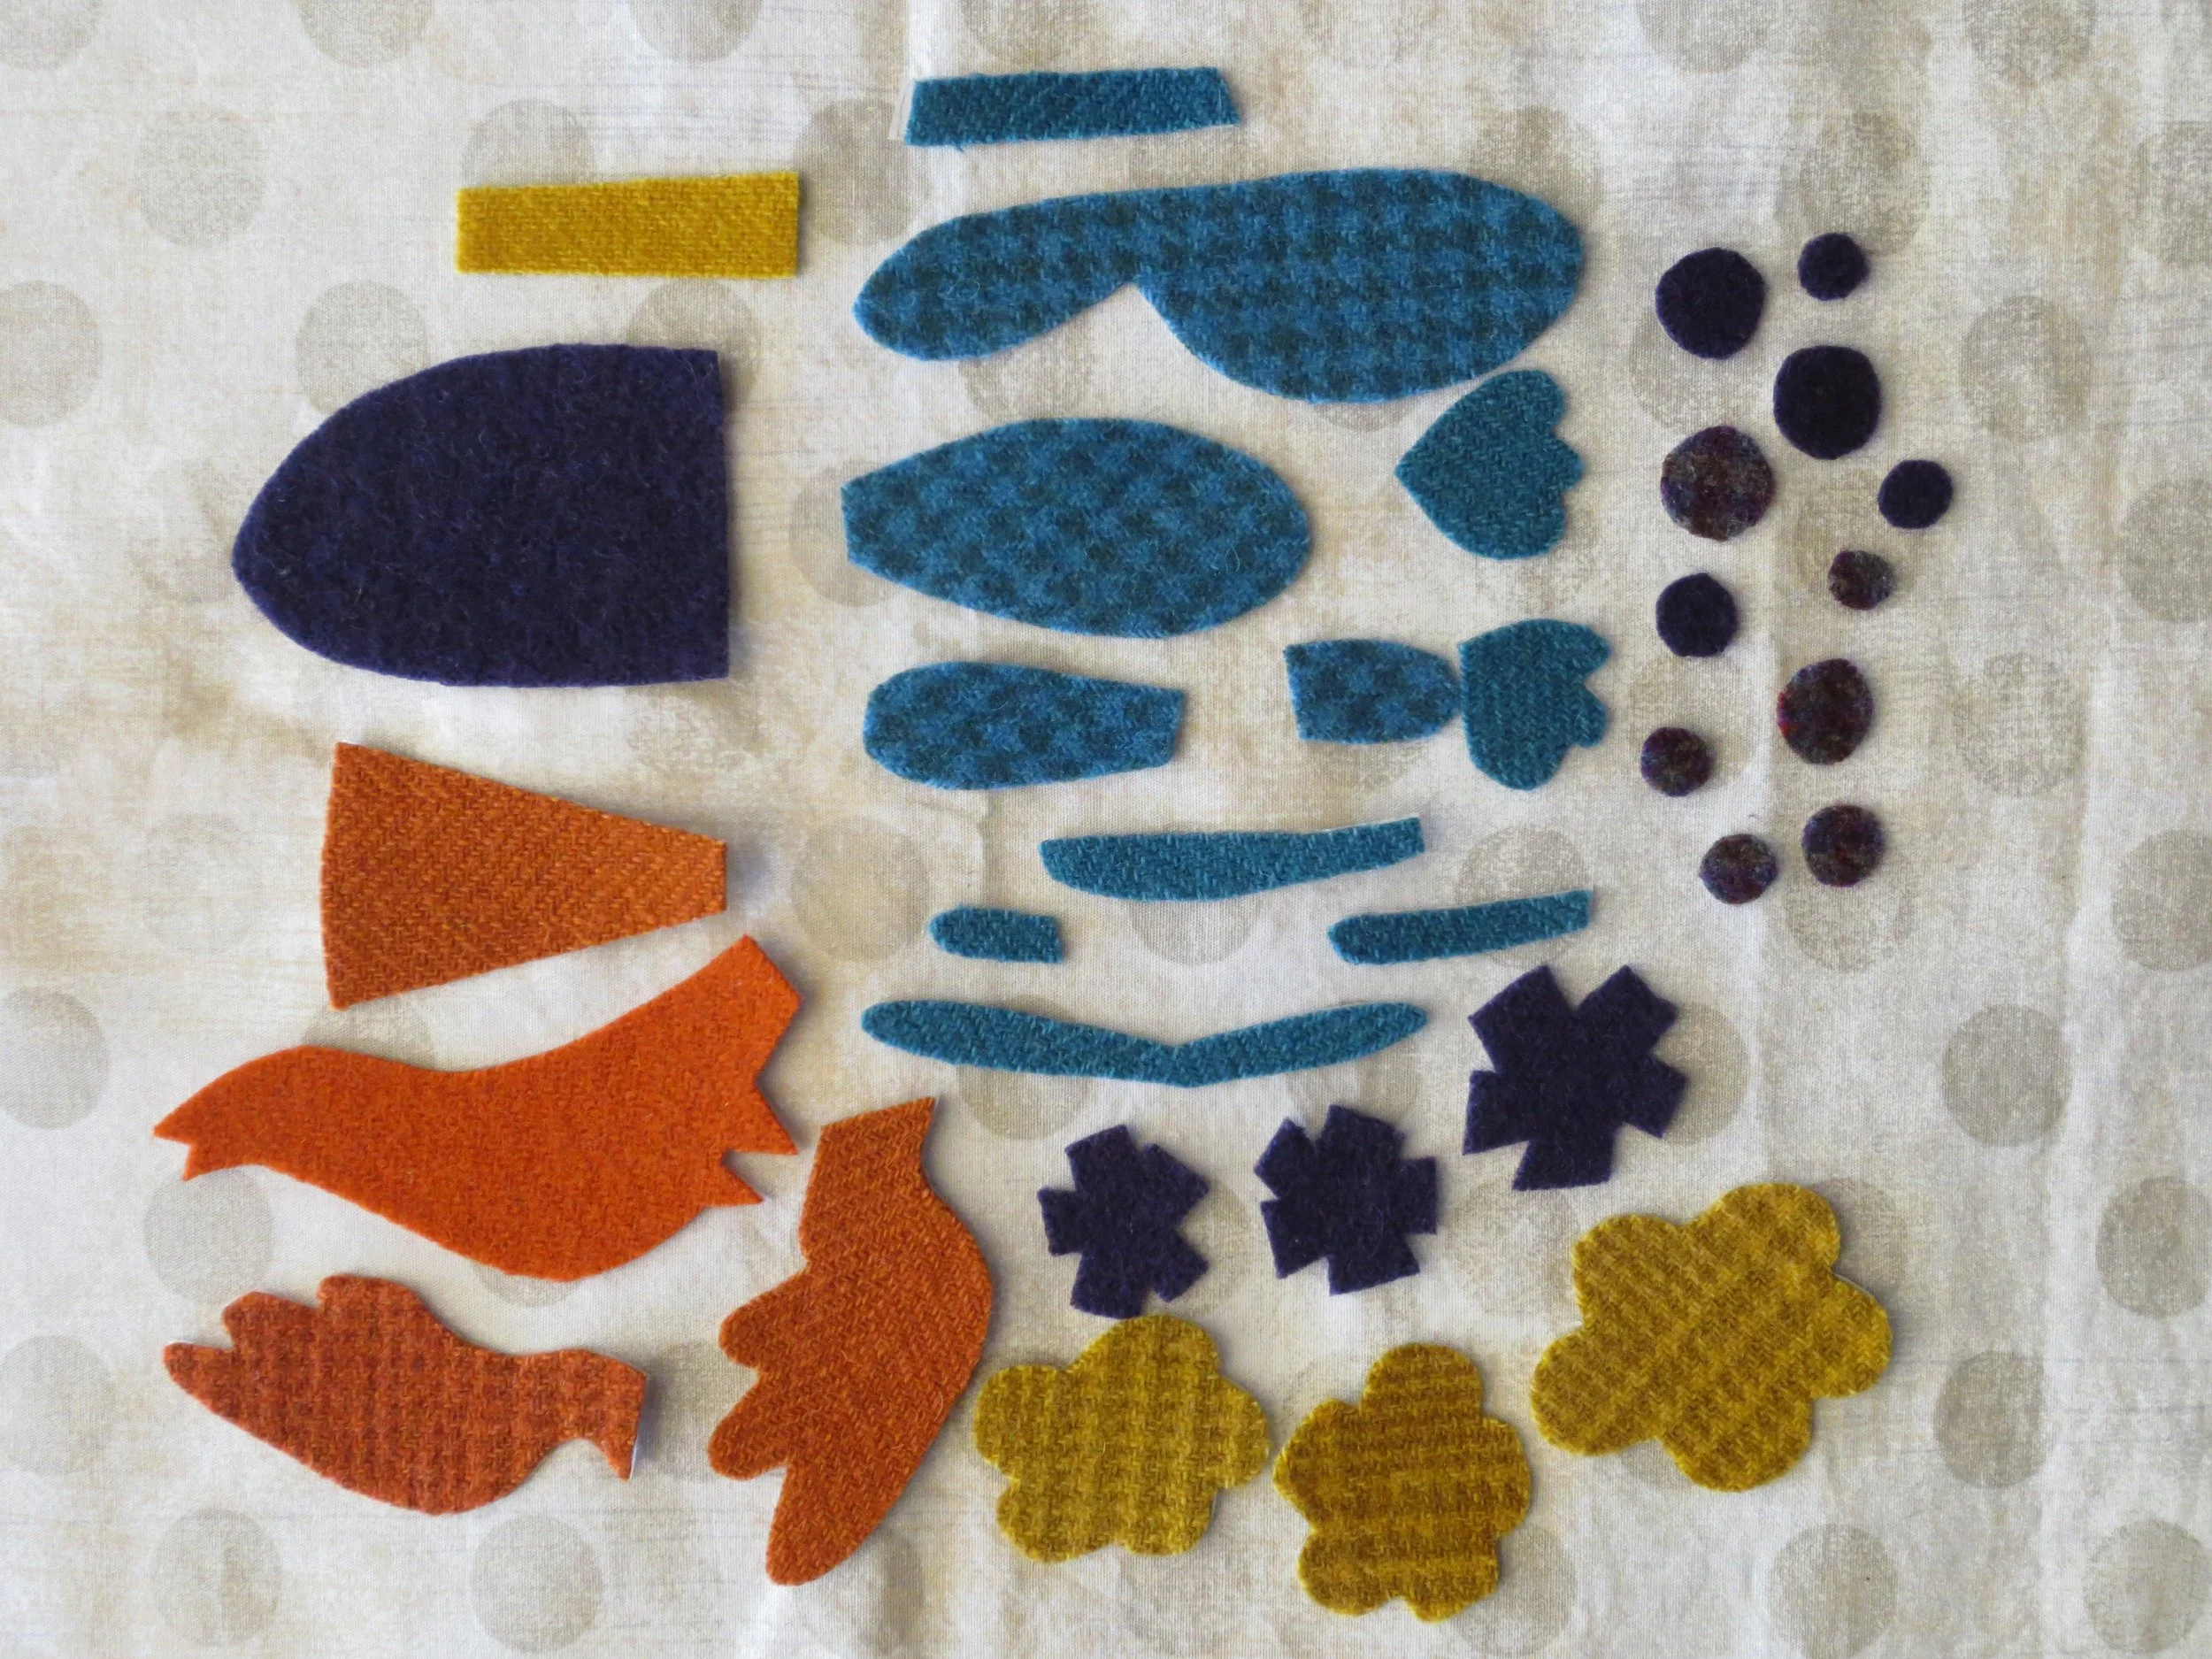
Trace all pattern pieces onto fusible web leaving a small border (1/8”) around each. Don’t forget to label all those tiny pieces.
Fuse patterns to designated wools, and then cut out along traced lines. Set wool pieces aside until needed.
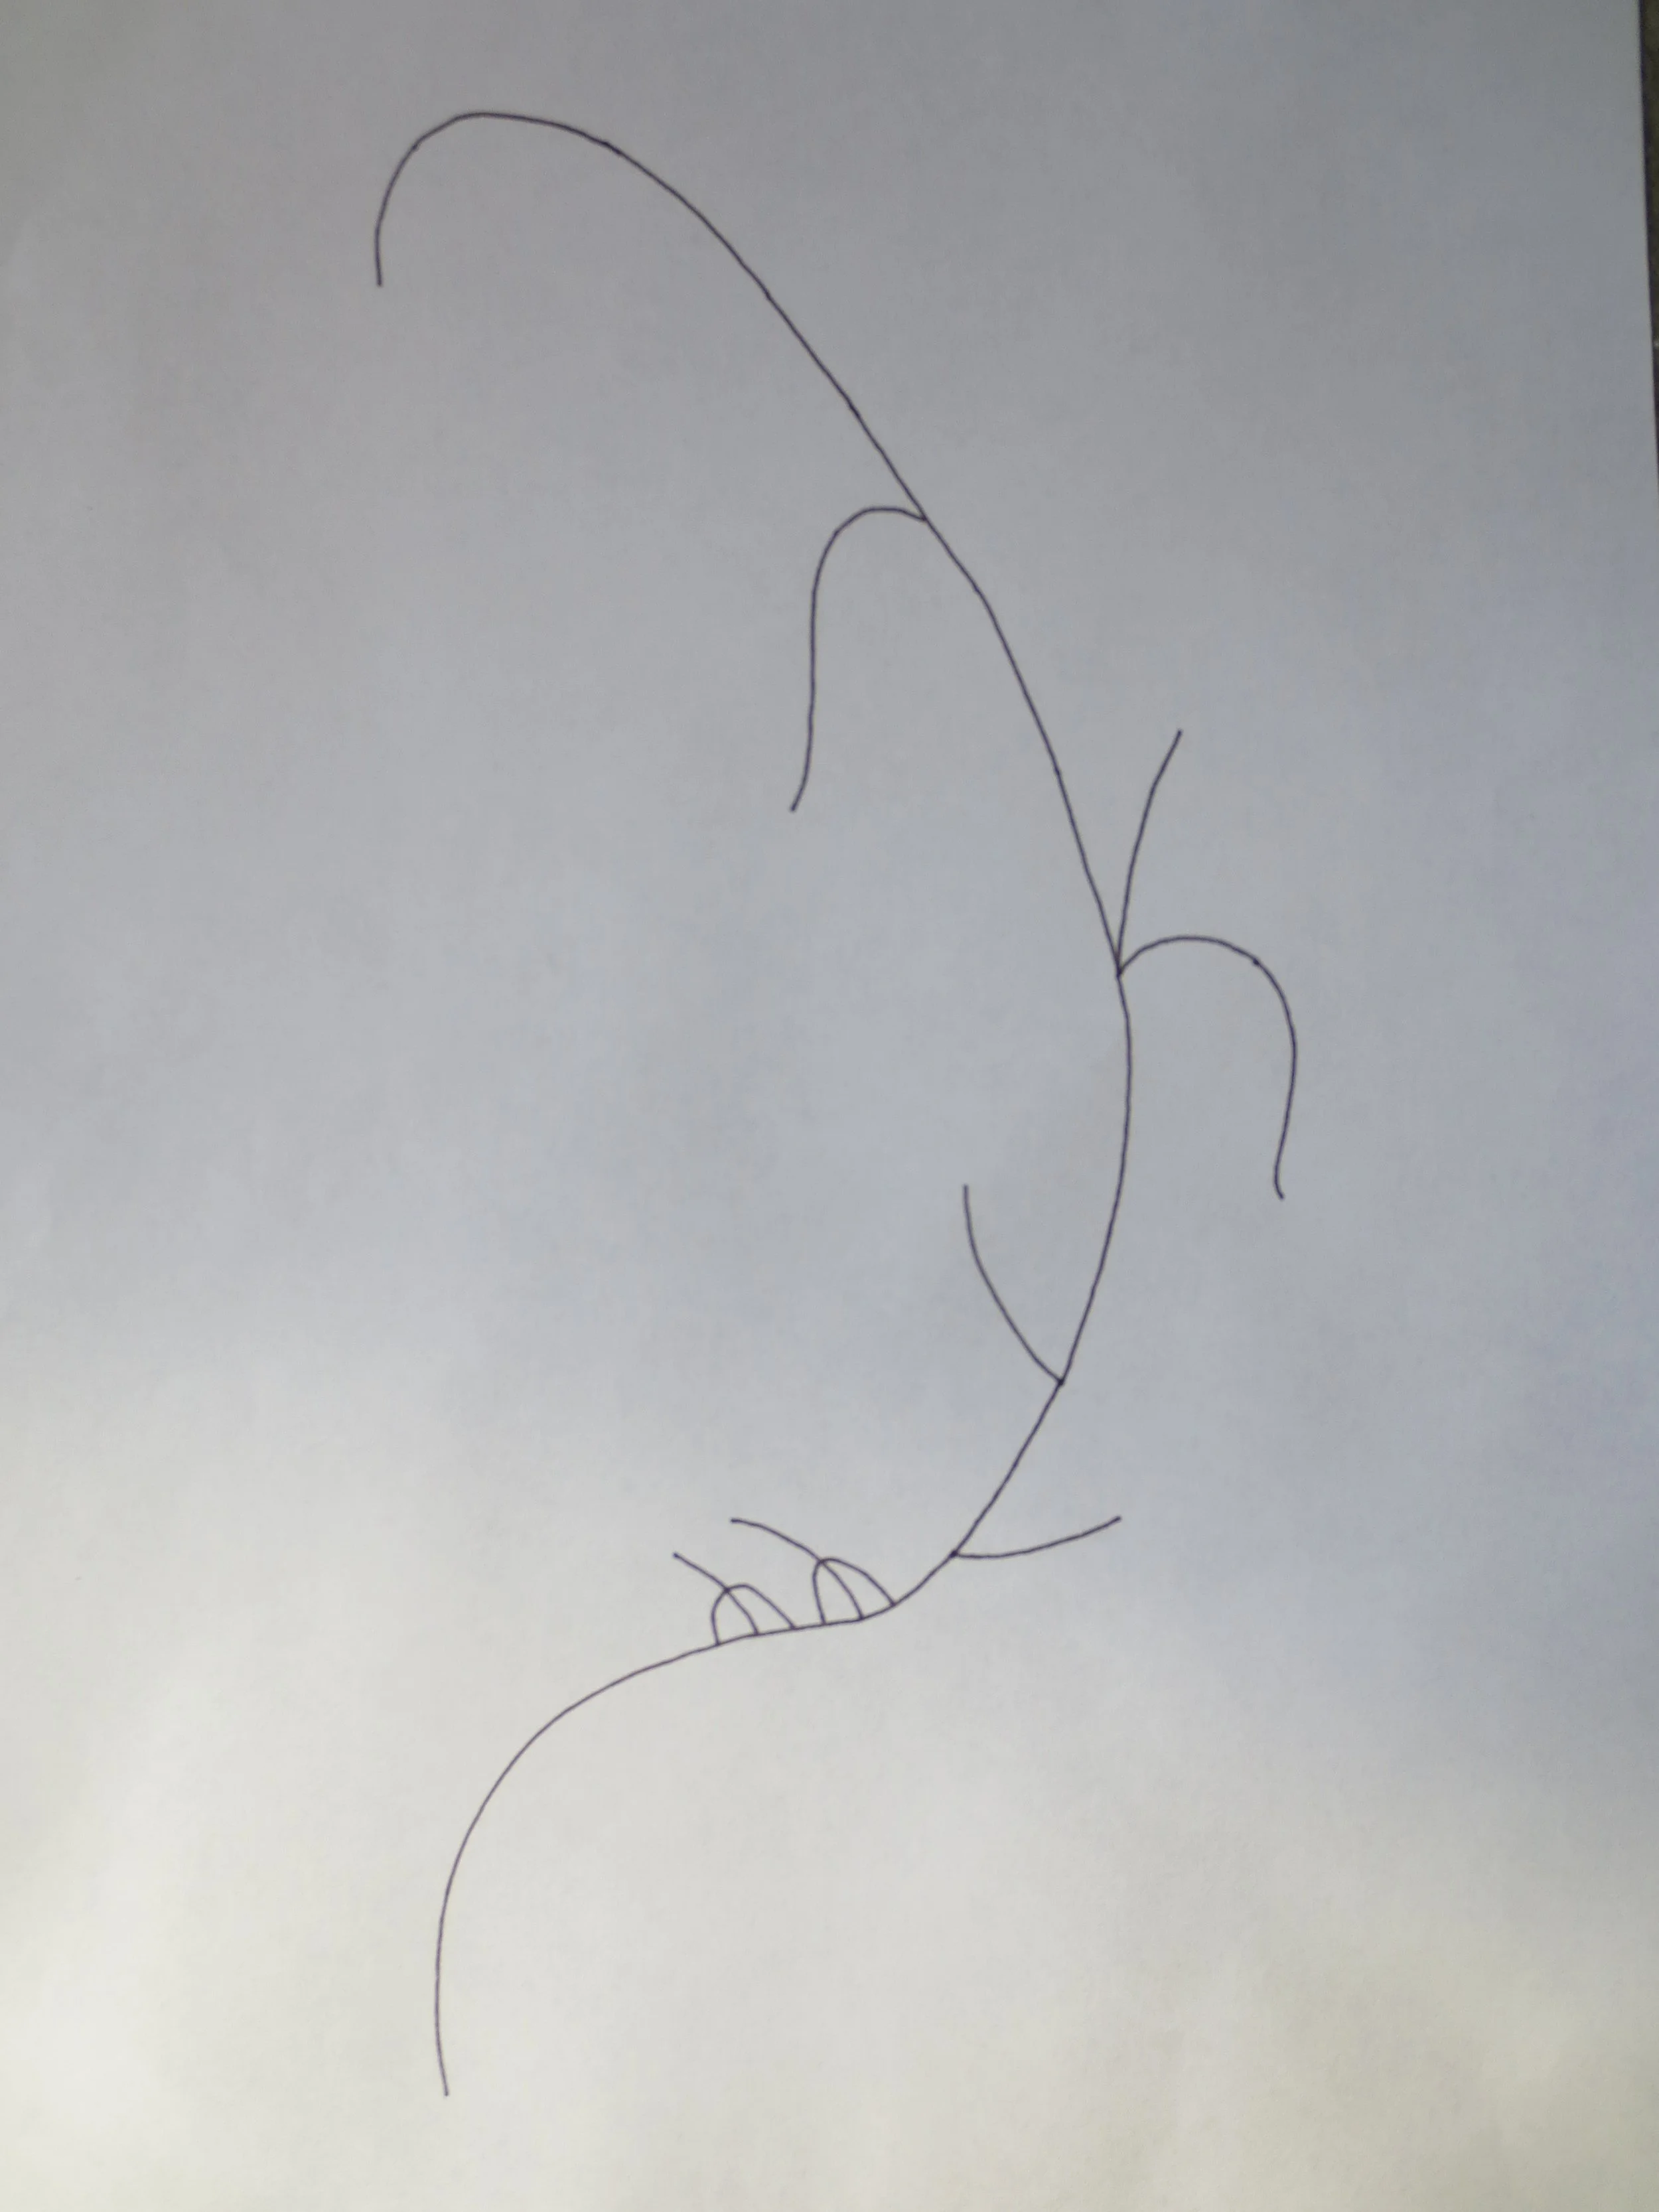
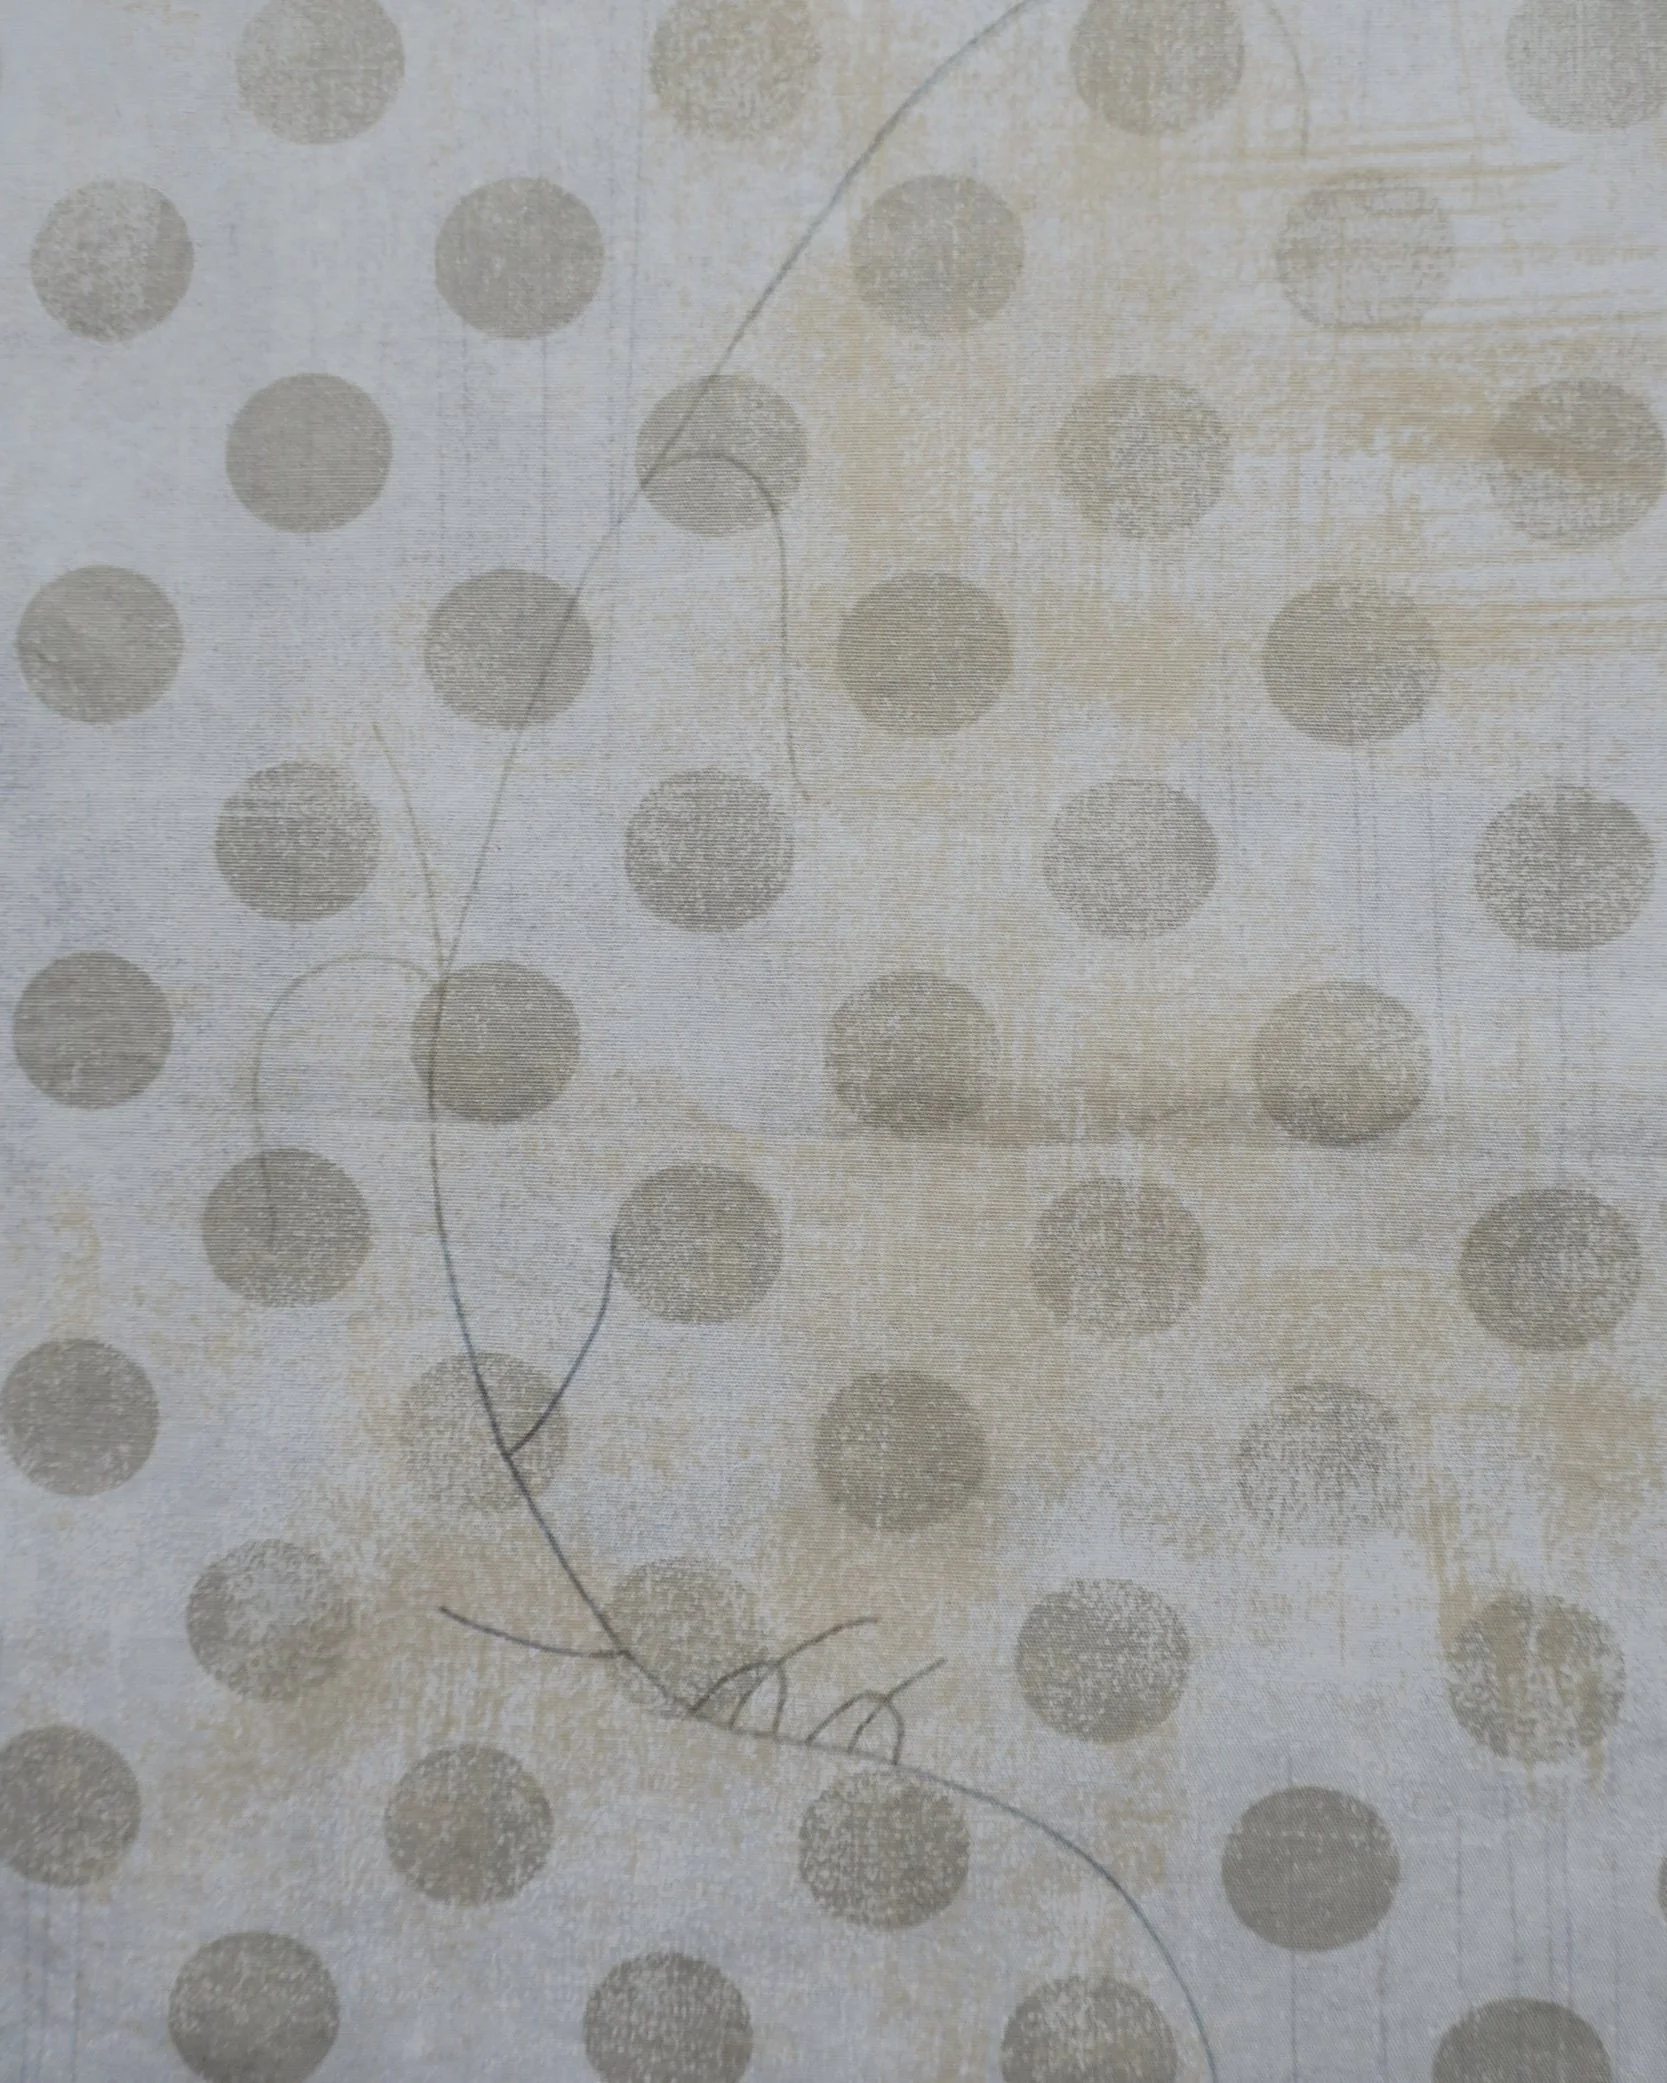
3. Trace the reversed image of the stem and bird’s legs using a transfer pen and ordinary copy paper. This will be your transfer paper.
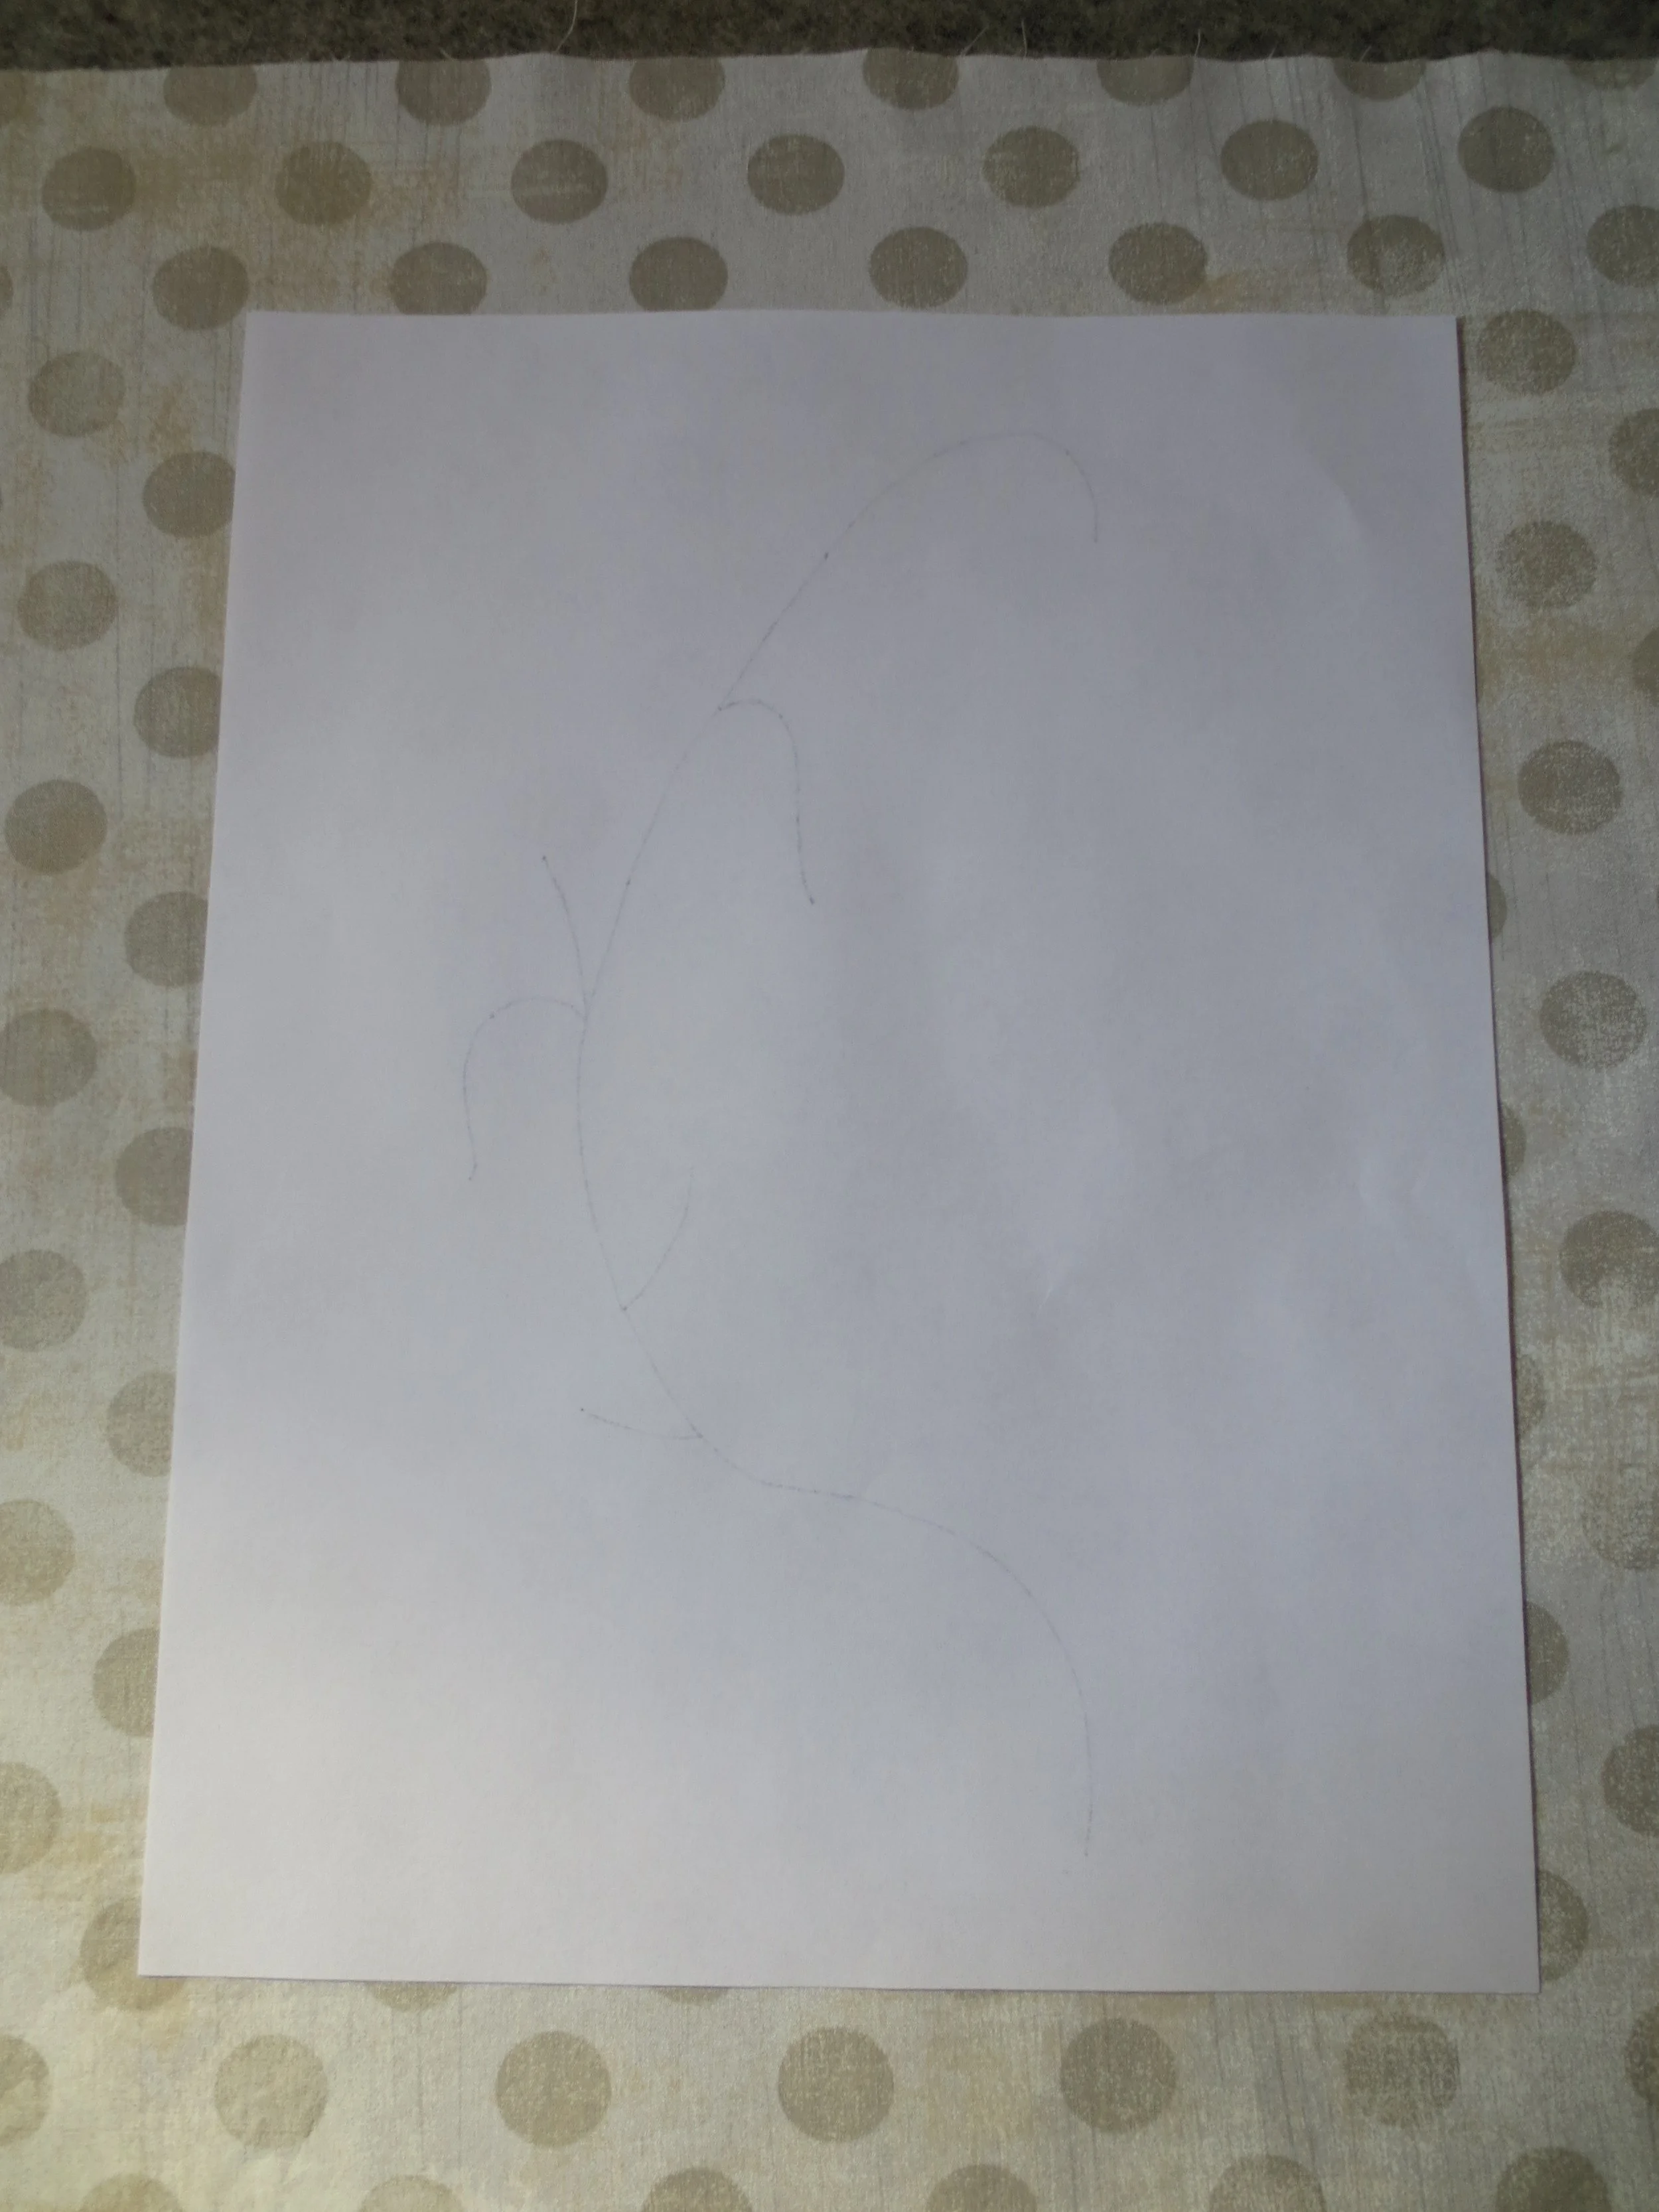
4. Run a hot dry iron over the background fabric to preheat it (this is important), and then carefully center the transfer paper, image side down, onto the background fabric. Firmly press the iron onto the transfer paper to transfer the design onto the fabric (I count to 15 before I move my iron). Lift your iron and place it down in several places to insure that the entire image is transferred. If you can see the image appear on the top of the paper this usually means that the image has been successfully transferred, but to be absolutely sure hold down one edge of the transfer paper and gently lift up a corner to check. Reapply the hot dry iron if the image has not been transferred.
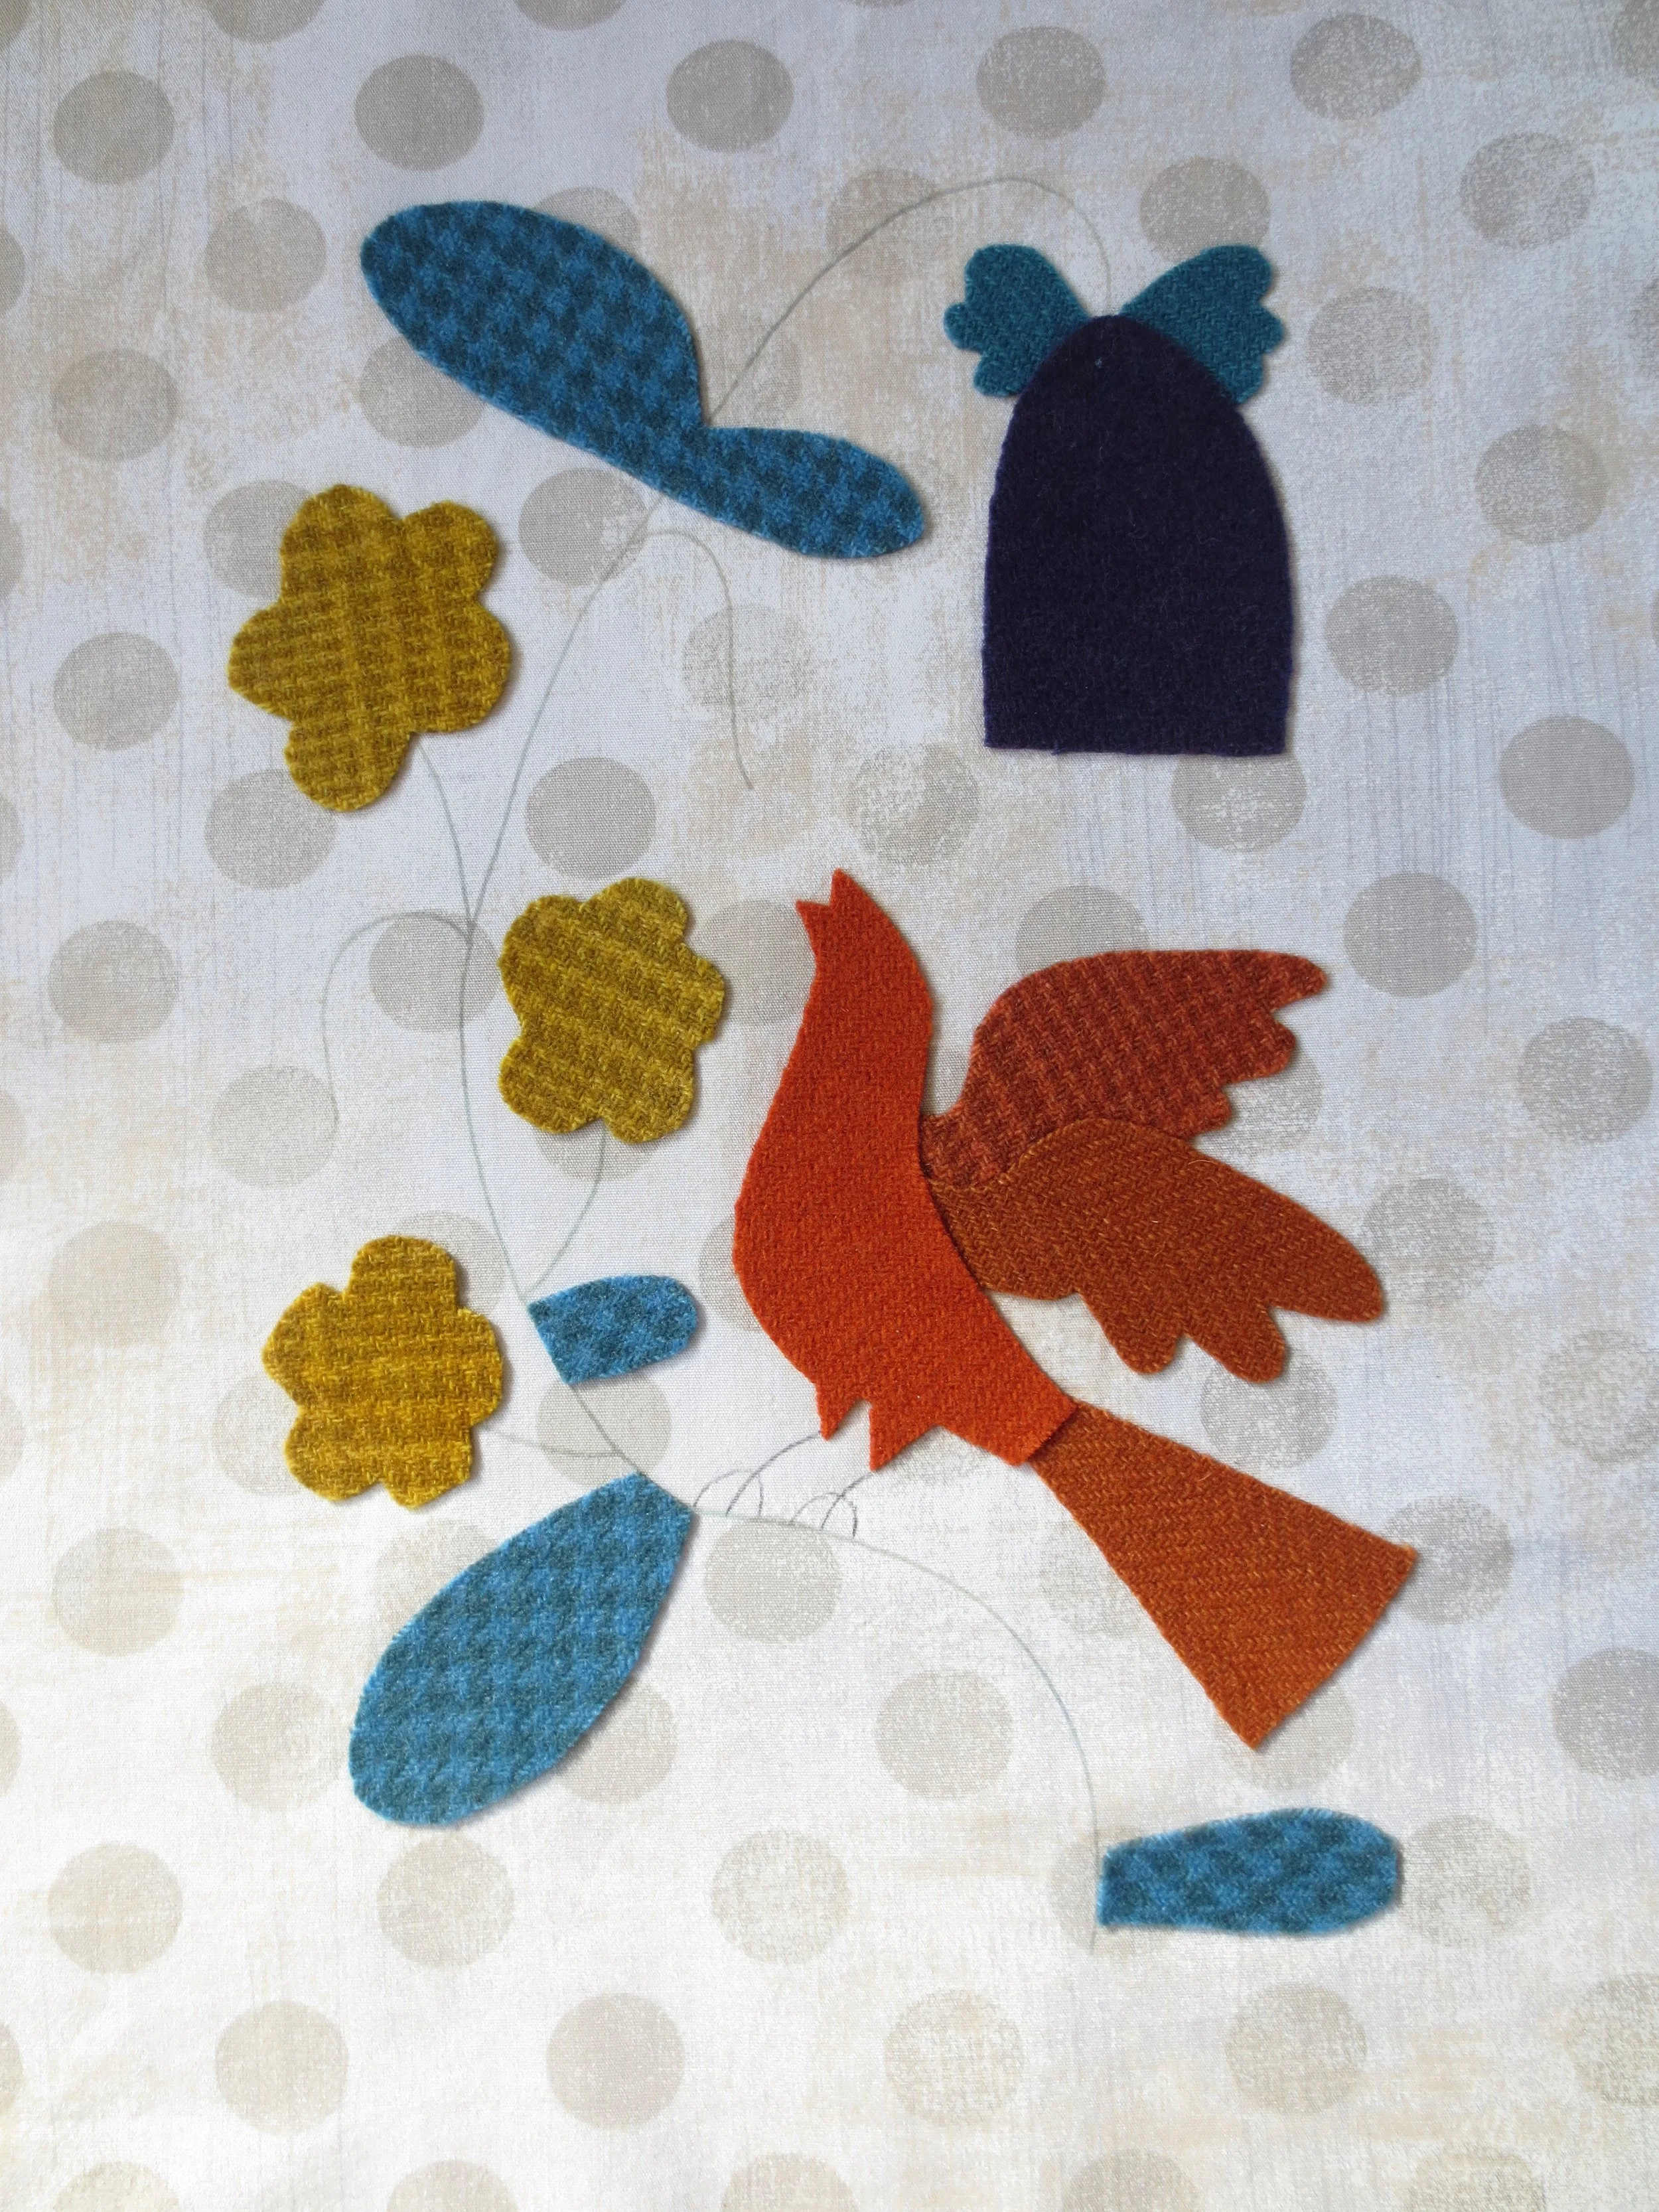
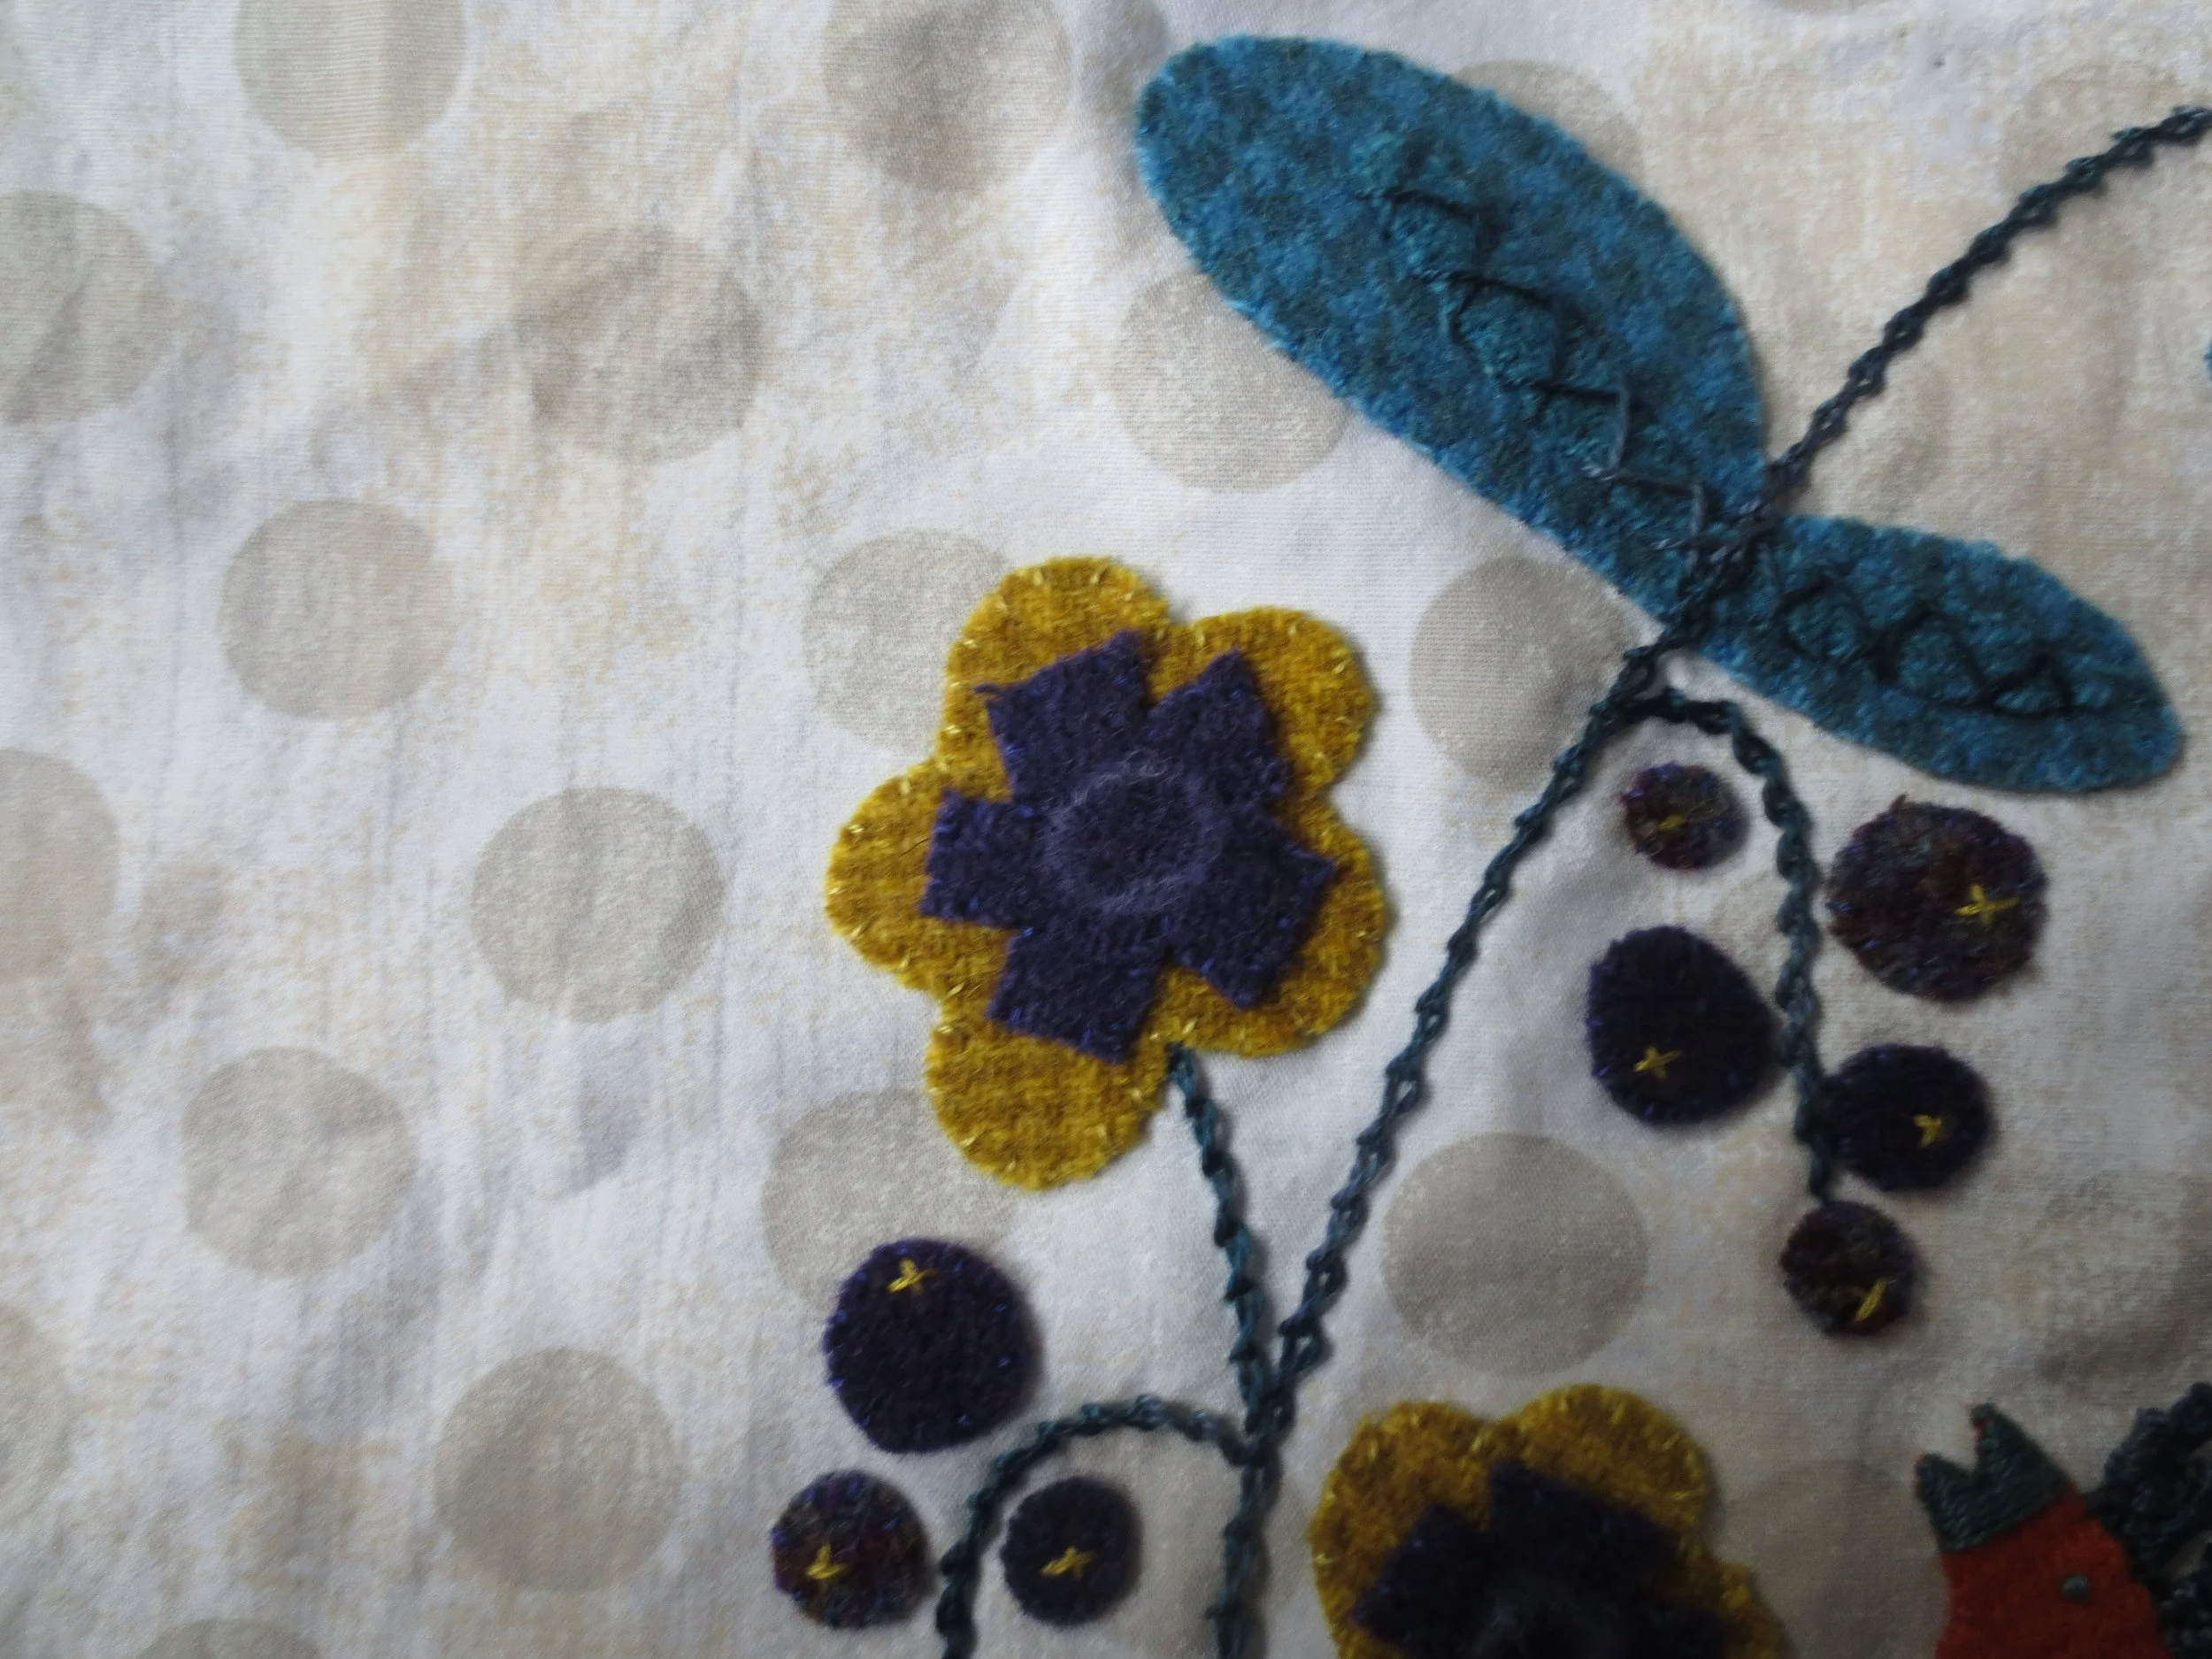
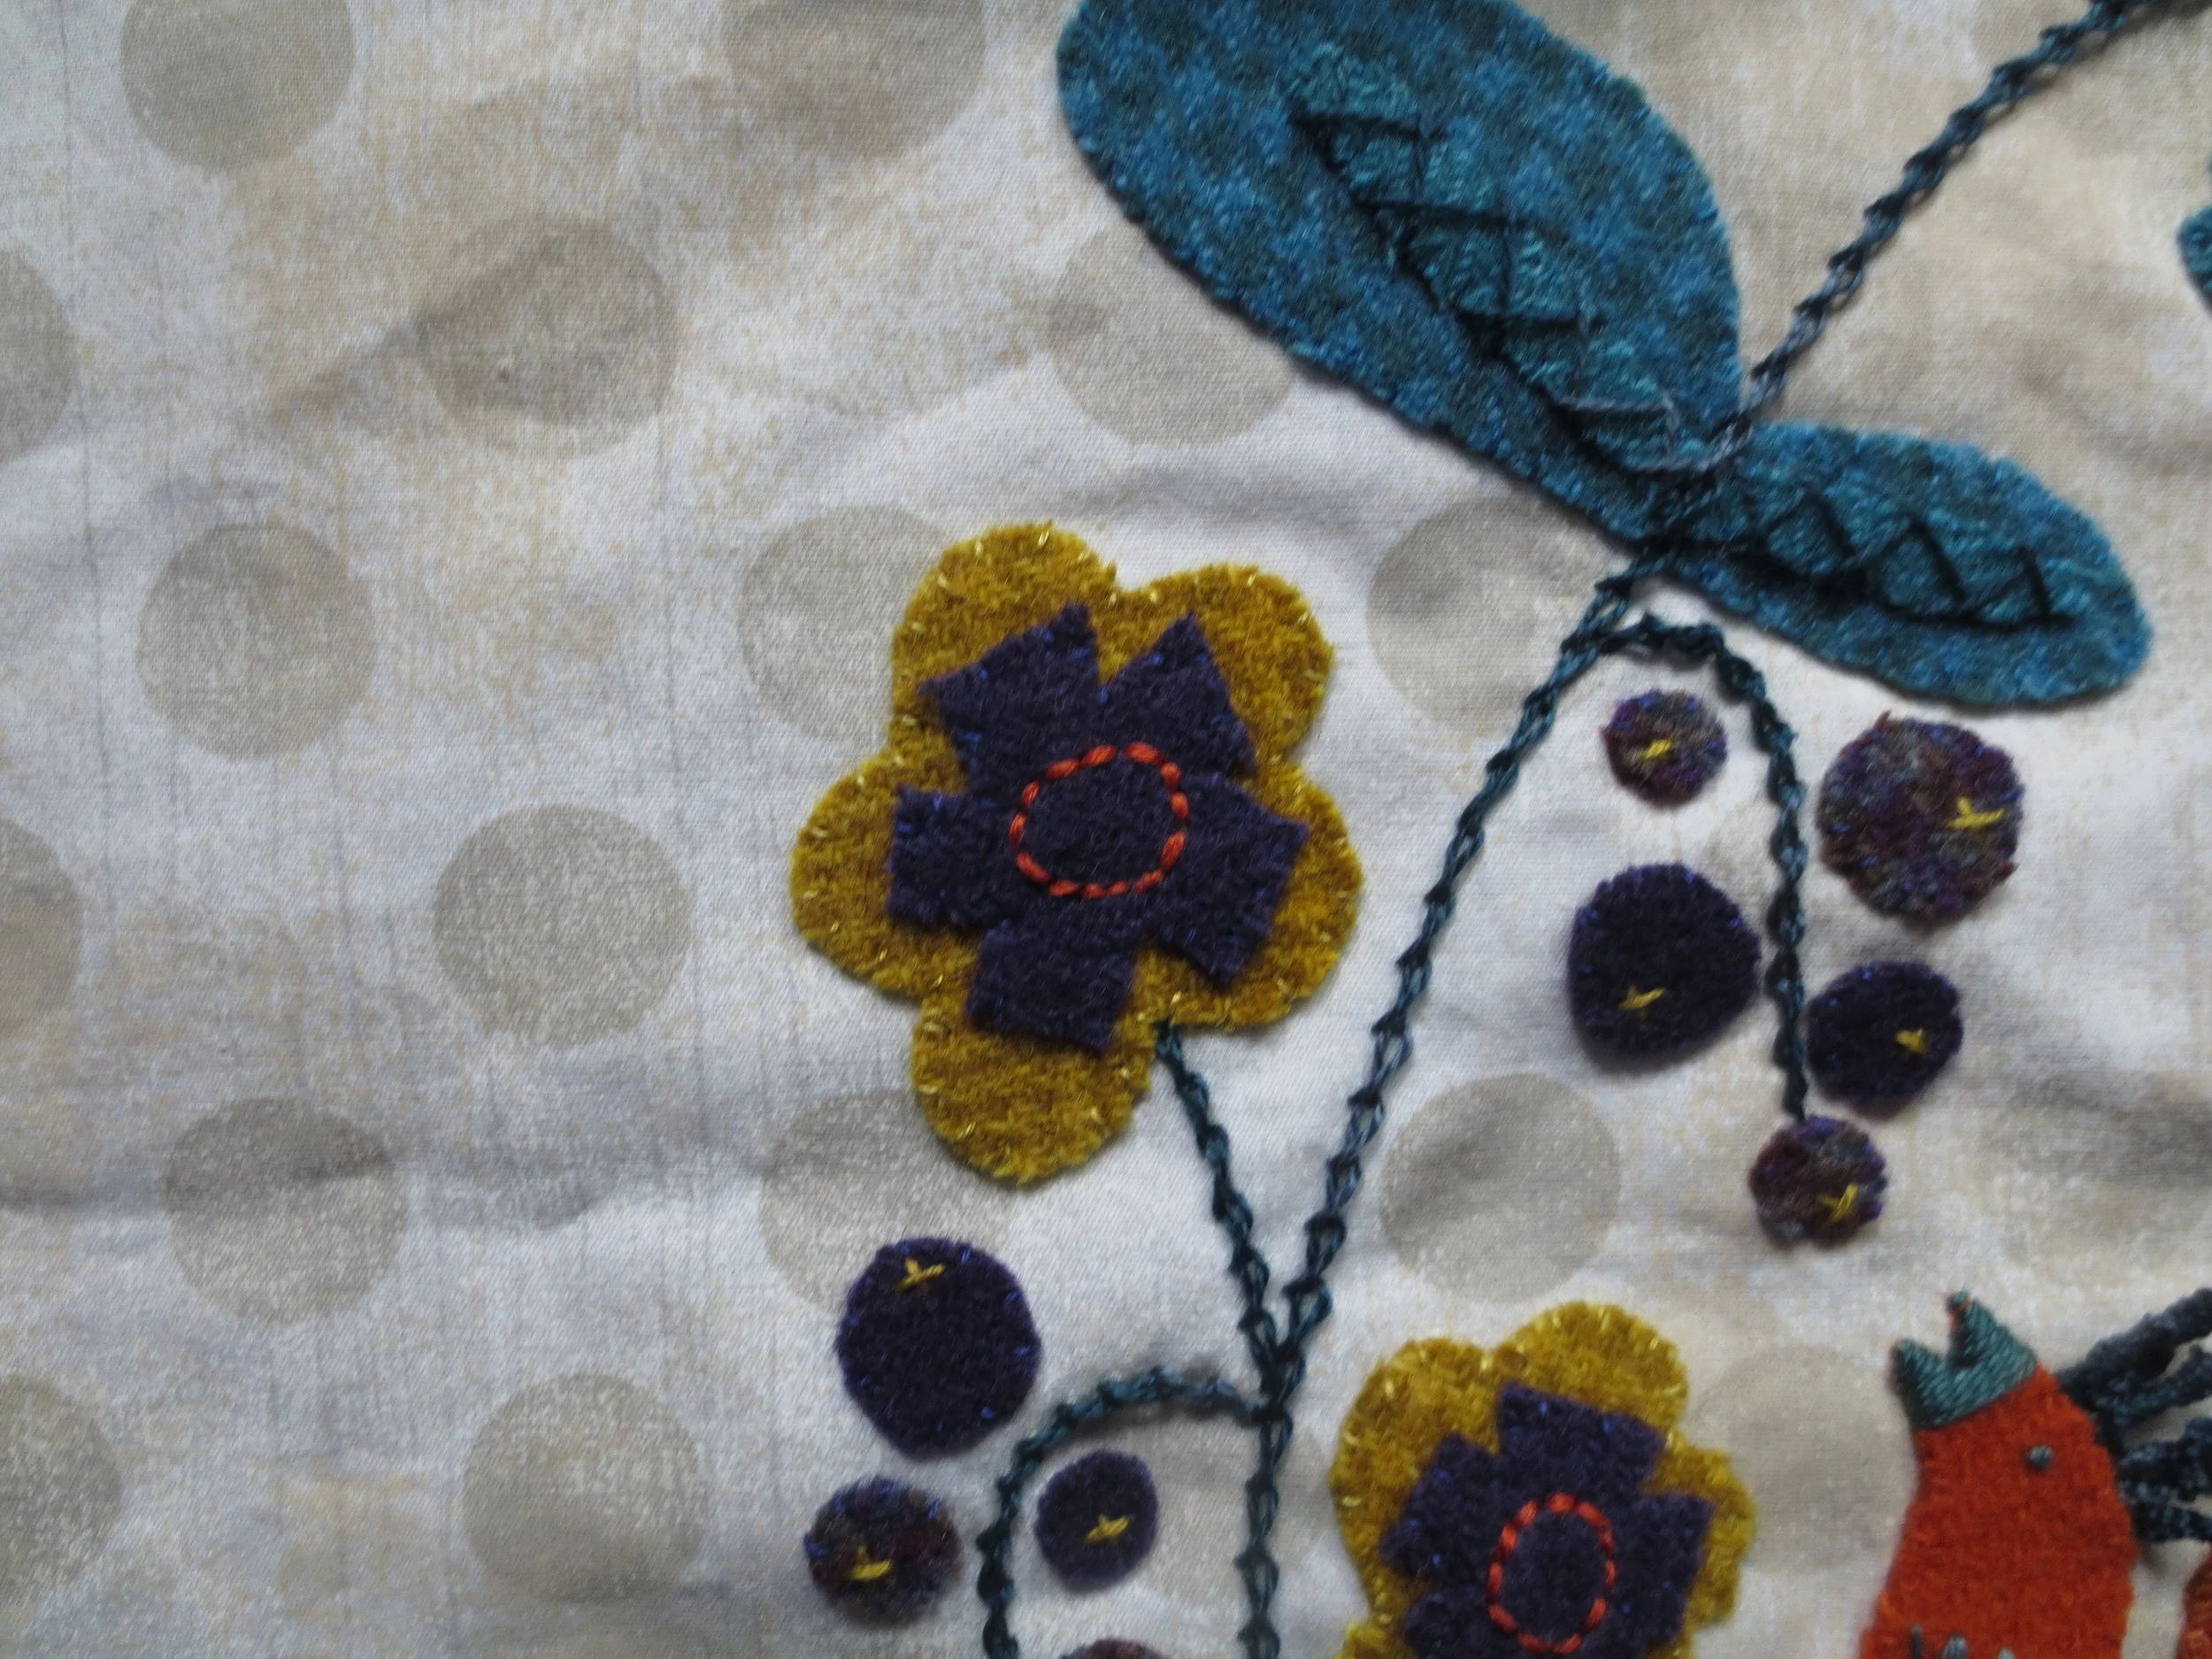
5. Using the layout as your guide place the bird’s body, tail, wings, leaves, flowers, bell flower and bell flower sepals onto the background. Fuse in place. Make sure you iron the back also to insure adhesion.
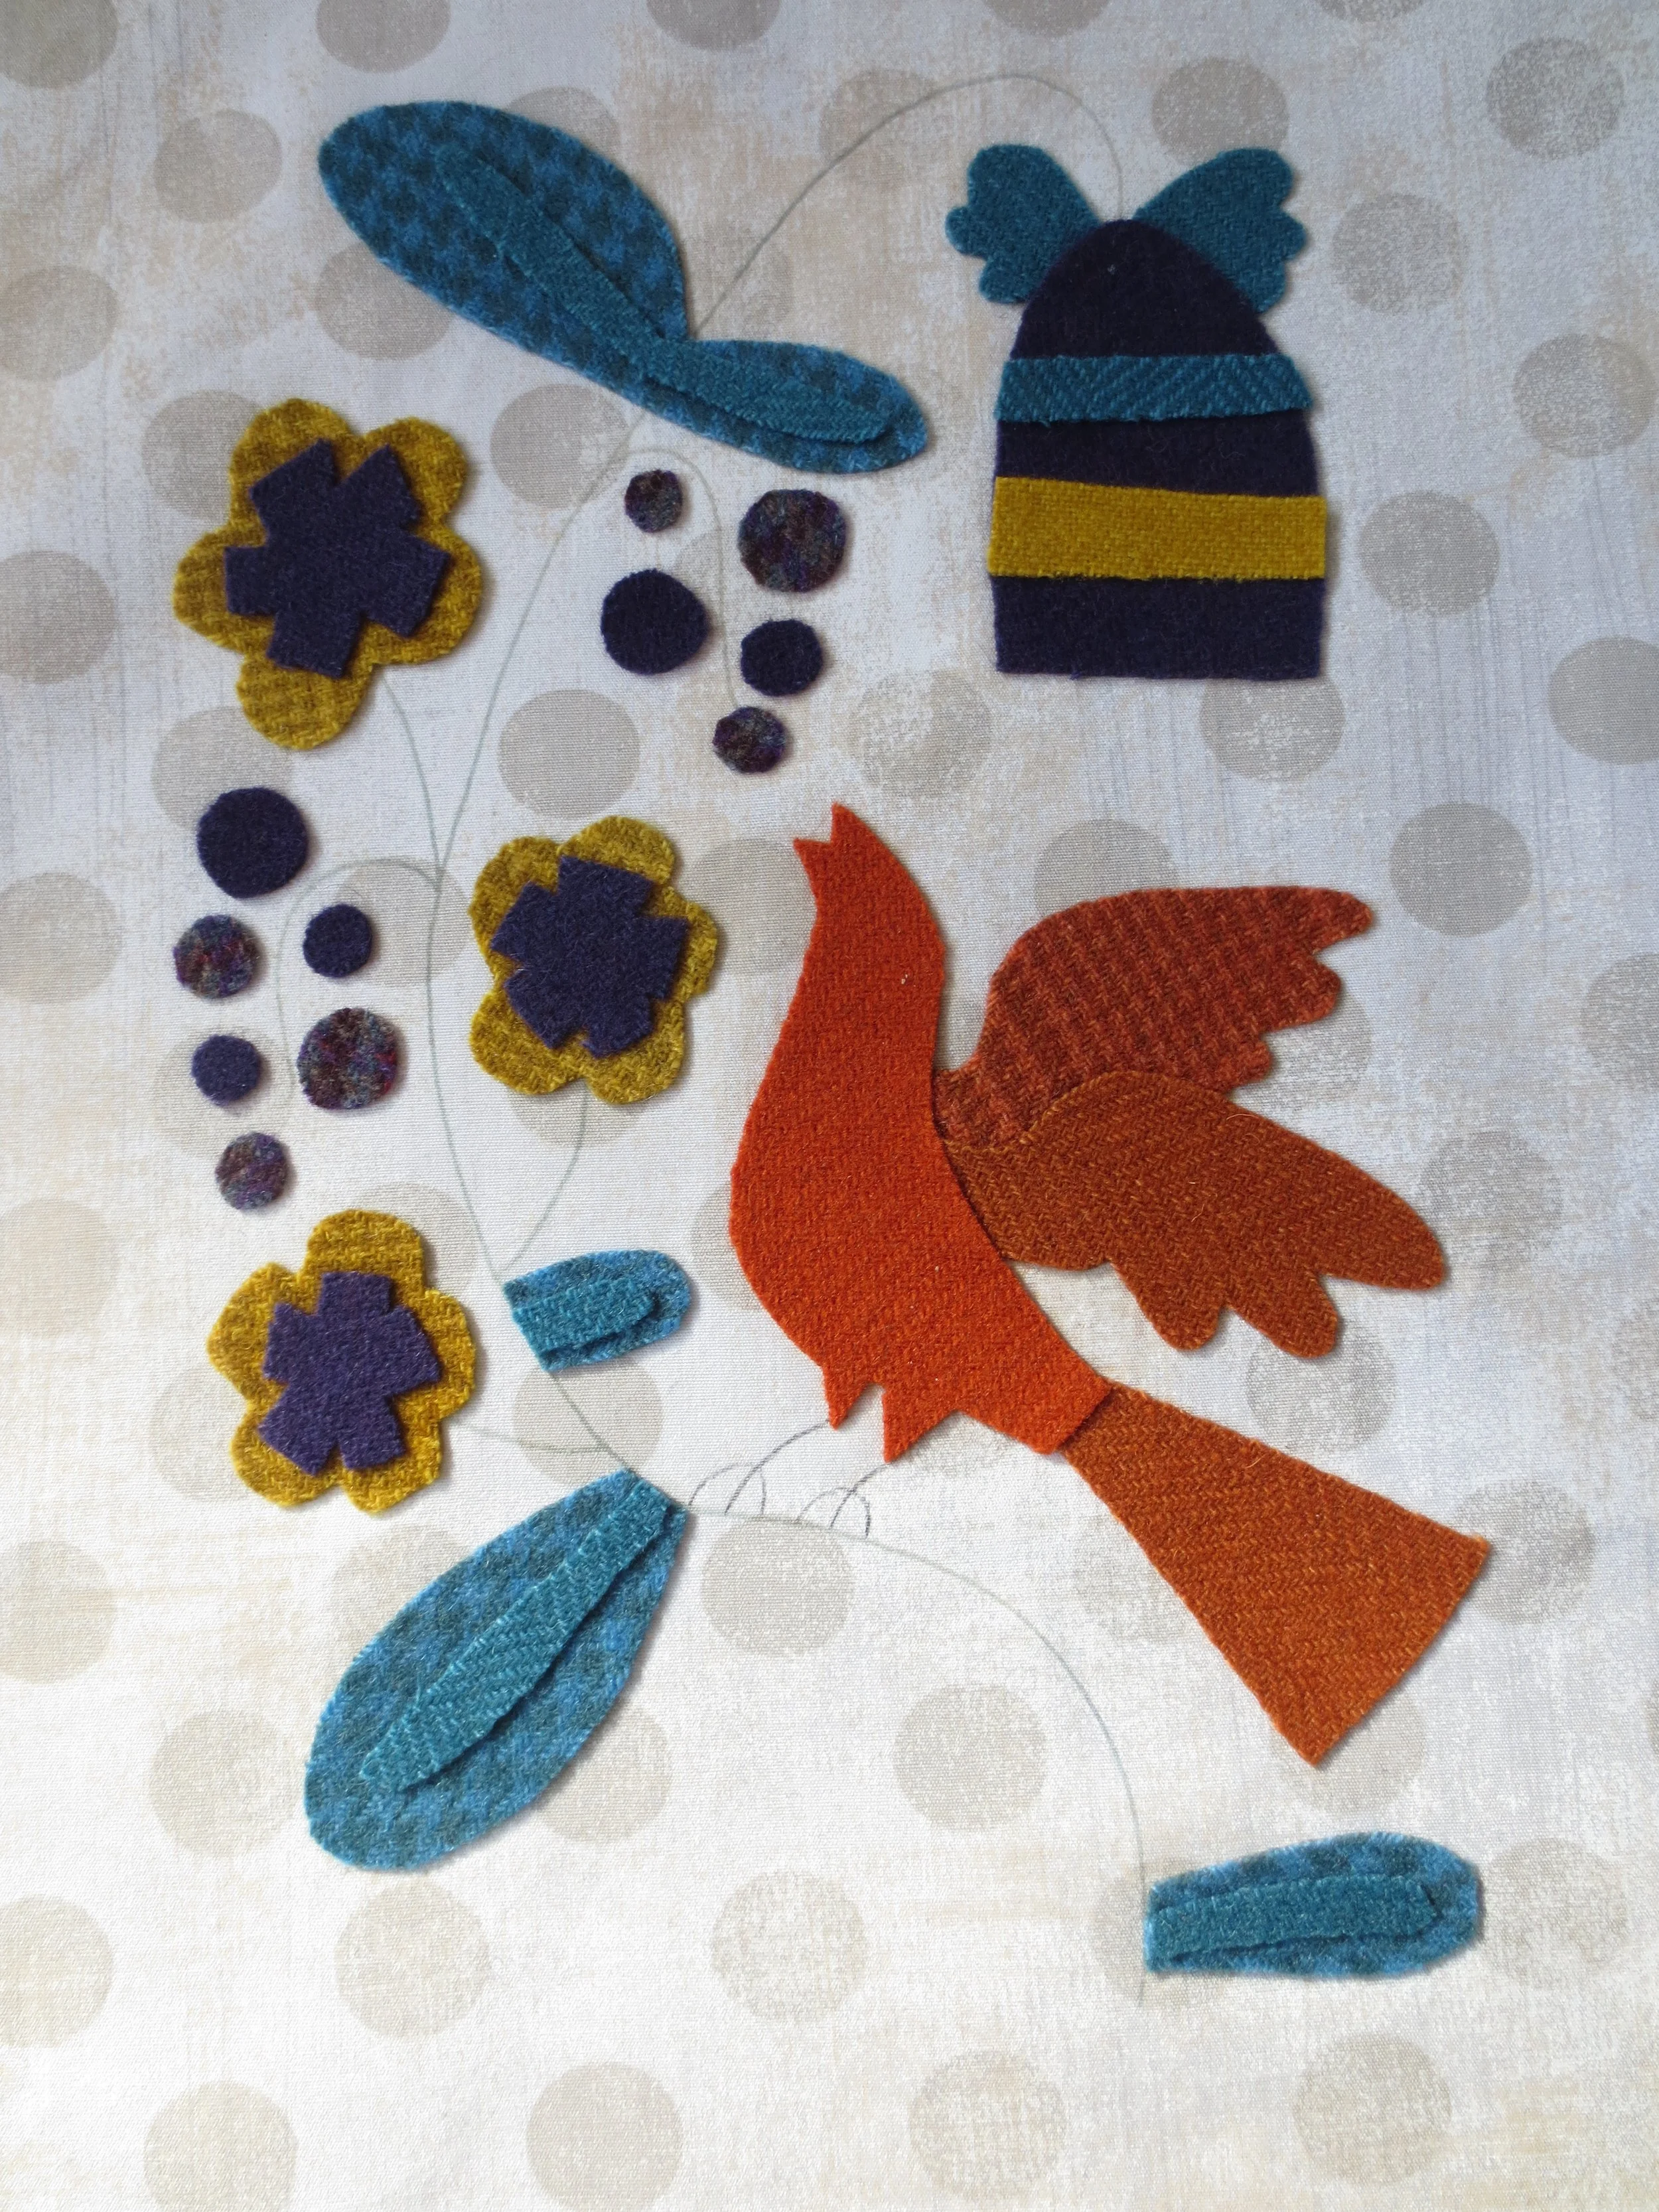
6. Position the berries, veins of leaves, flower centers, and bell flower stripes using the layout as a guide. Fuse in place using steam.
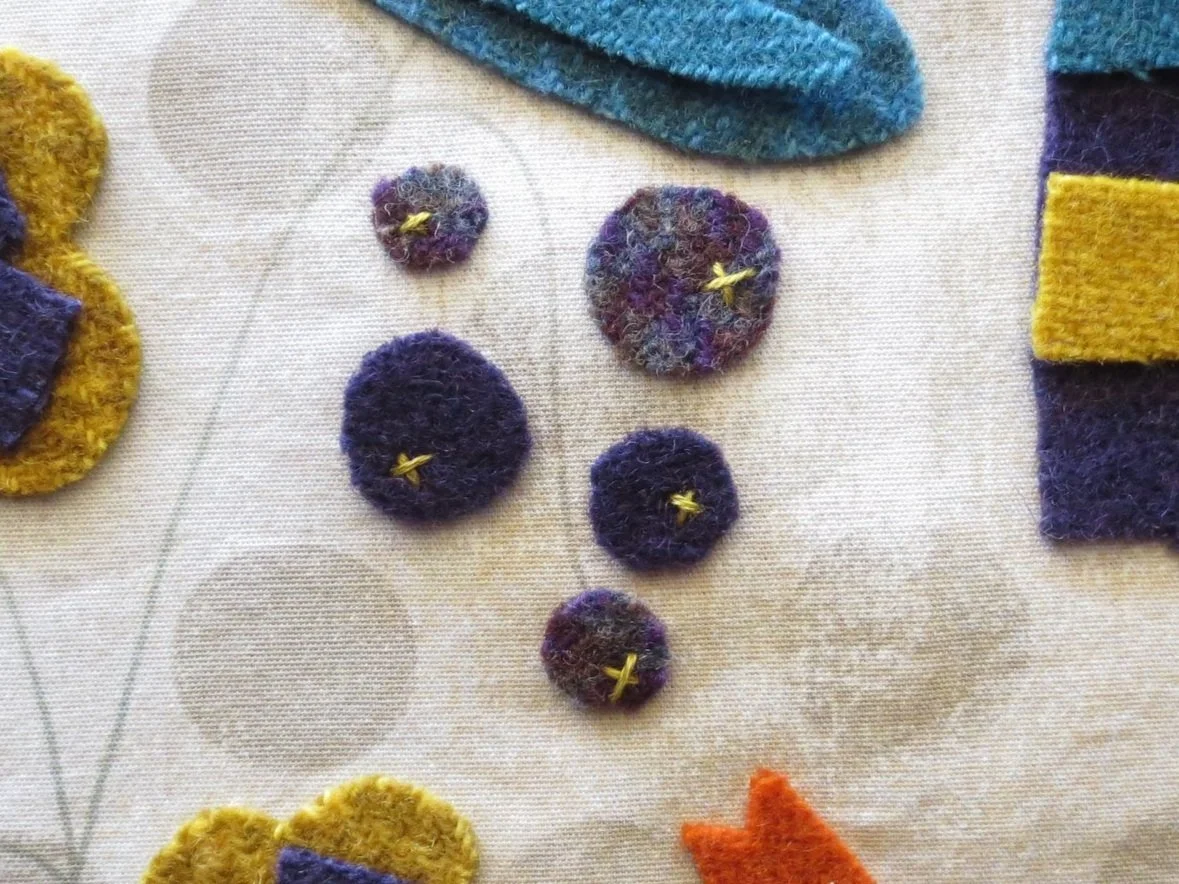
7. Use 2 strands of gold floss to make little X’s on each berry. This will secure them to the background. You can then whip stitch them in place using 1 strand of purple floss.
8. Whip stitch the remaining applique pieces in place using 1 strand of matching colored floss. Hint: Begin with the smallest pieces first.
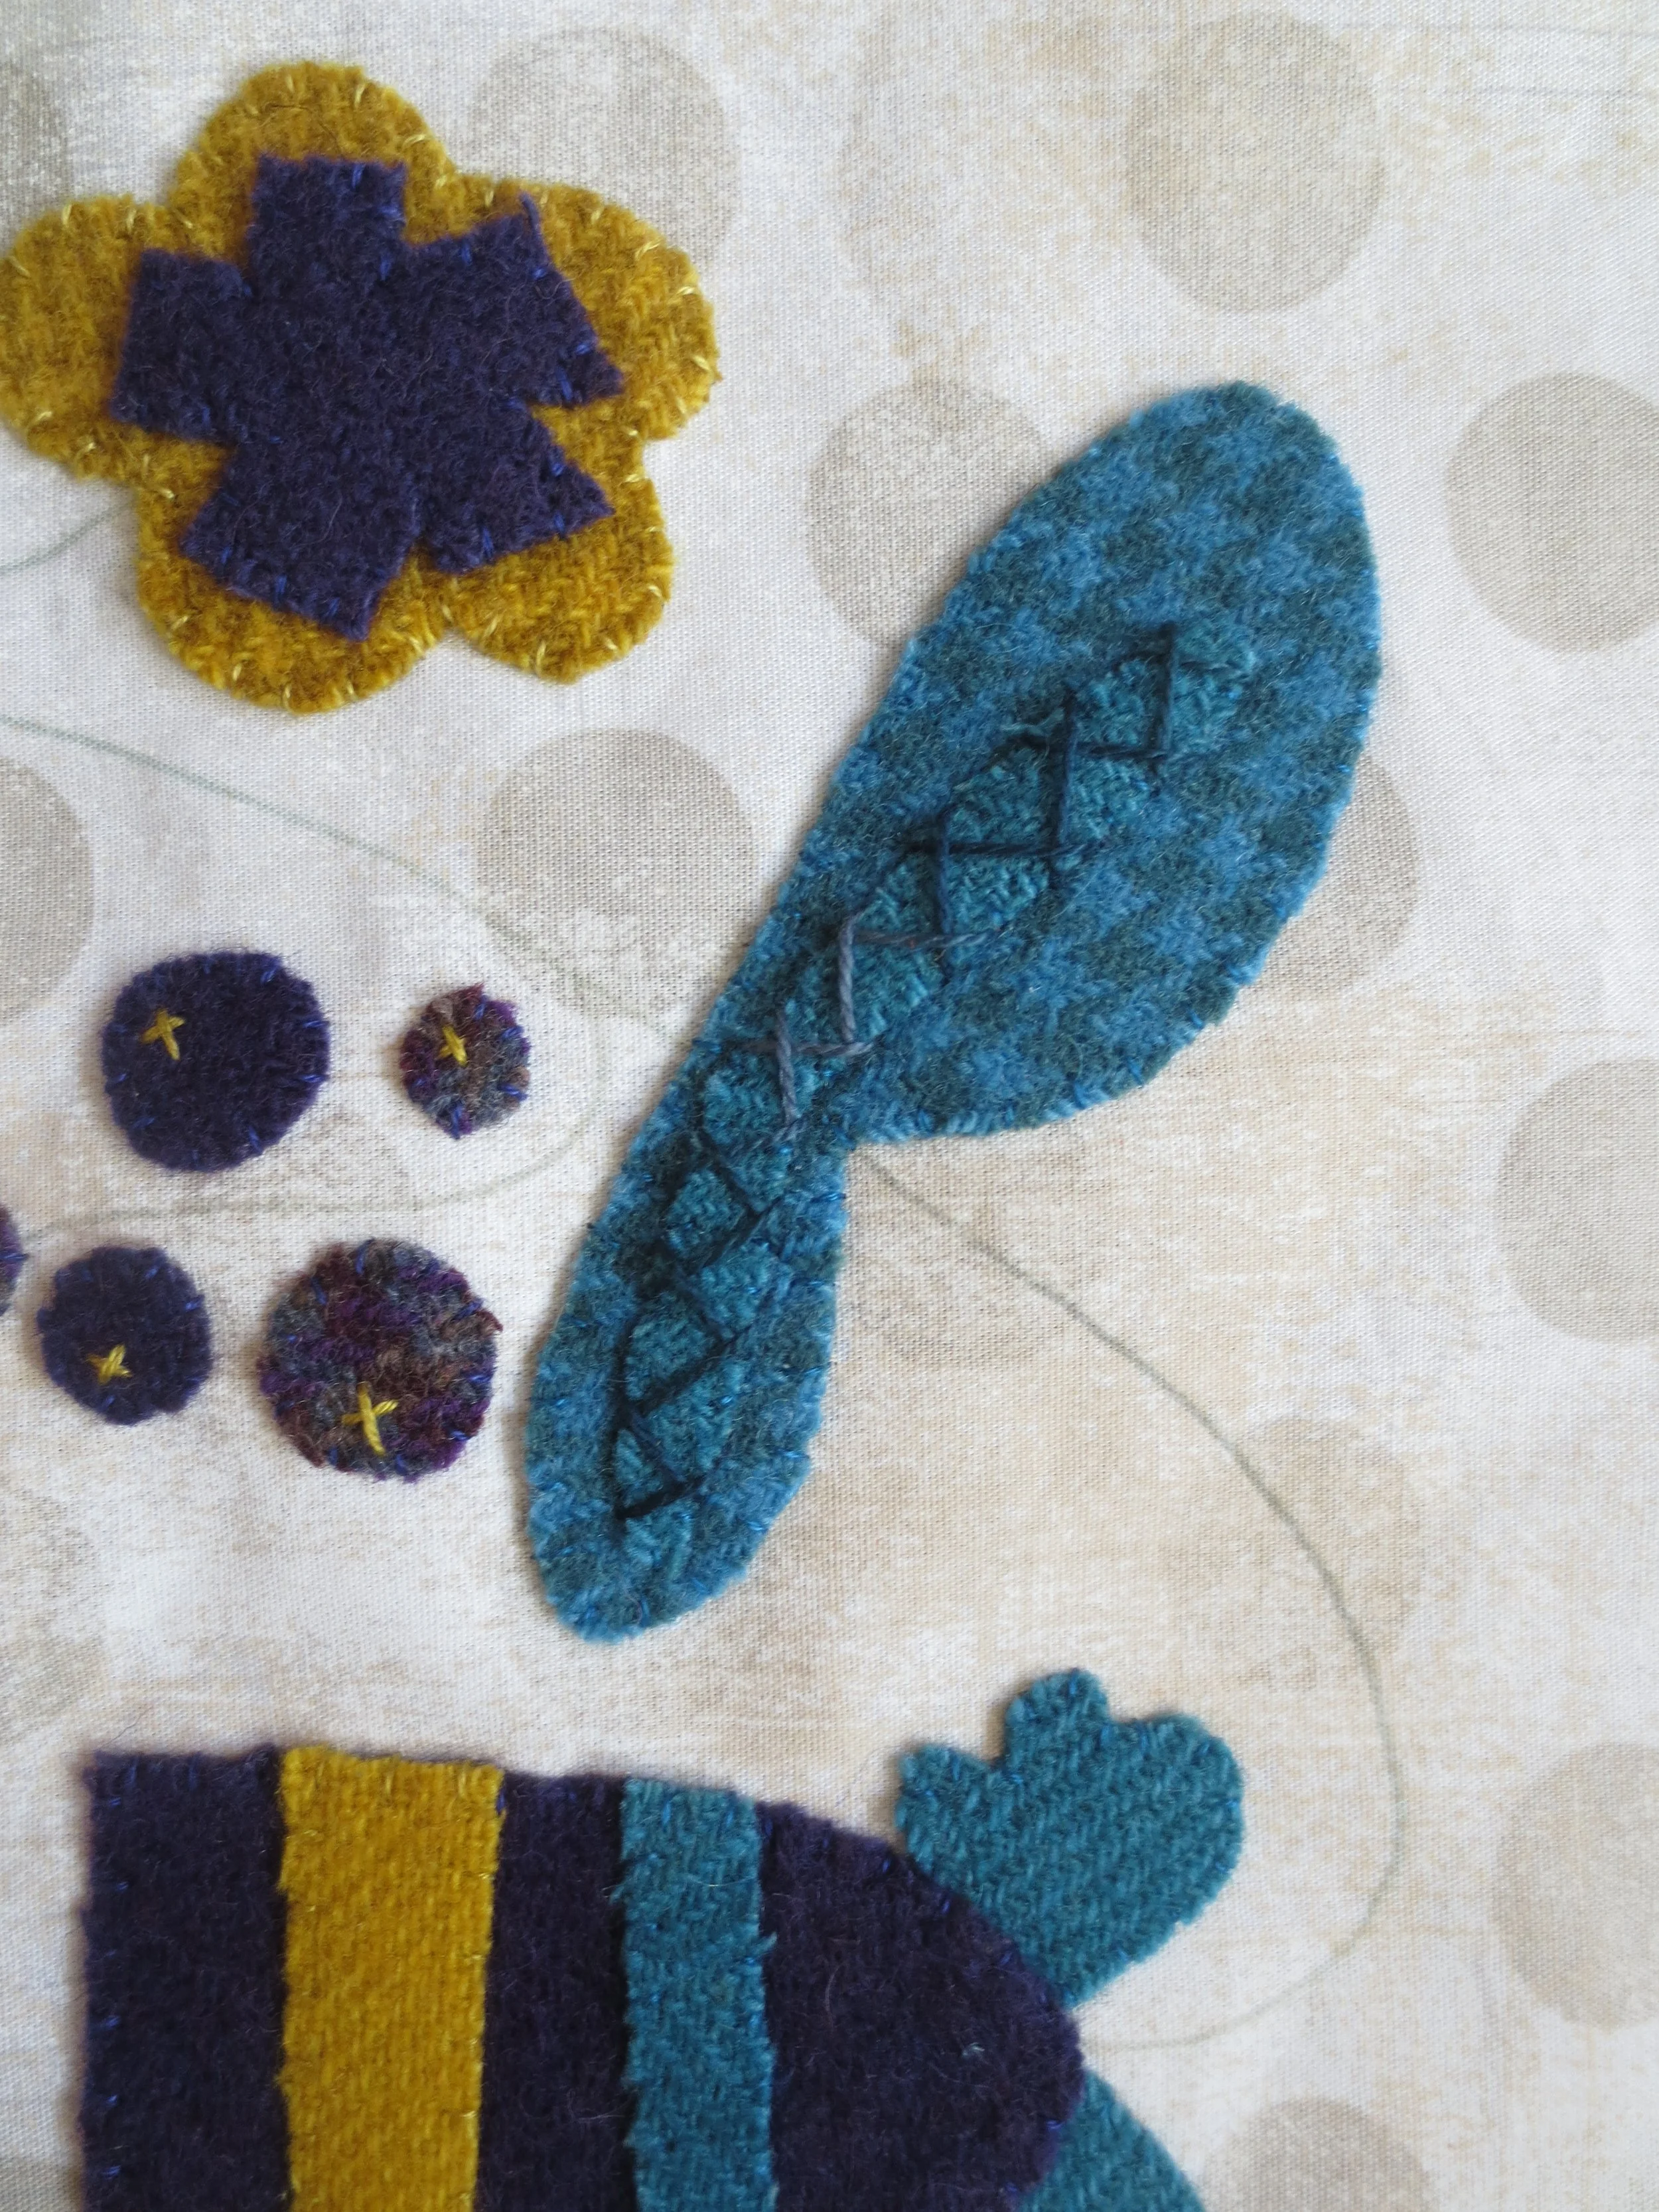
9. Use 1 strand of variegated indigo perle cotton size 8 (Eleganza perle 8 Inked) to stitch each leaf vein with a herringbone stitch.
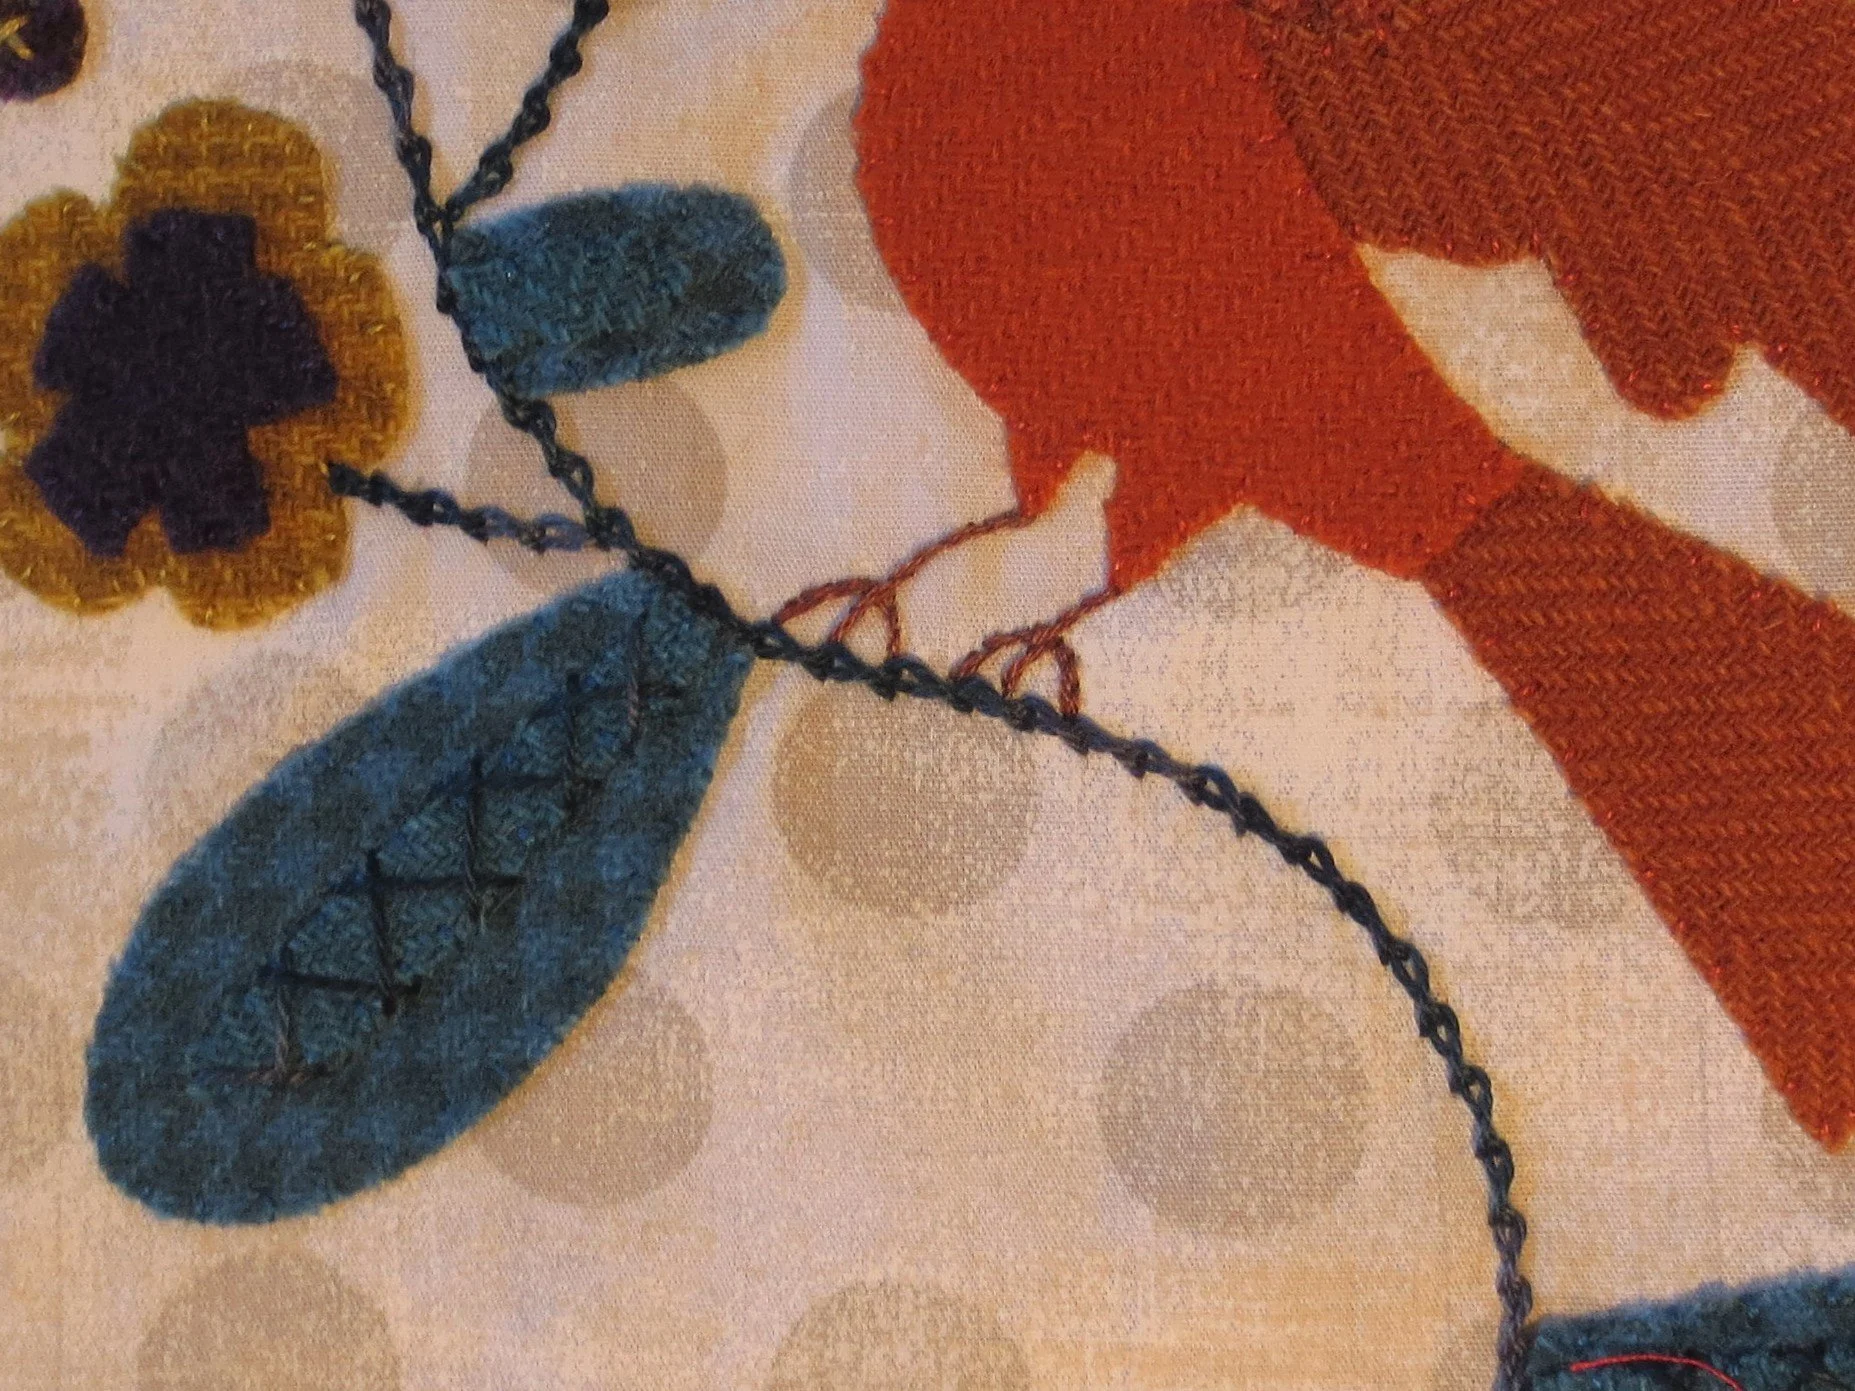
10. Use 1 strand of the same perle cotton used above to stitch the stem with a twisted chain stitch.
11. Use 2 strands of dark burnt orange or brown colored floss to stem stitch the bird’s legs and toes.
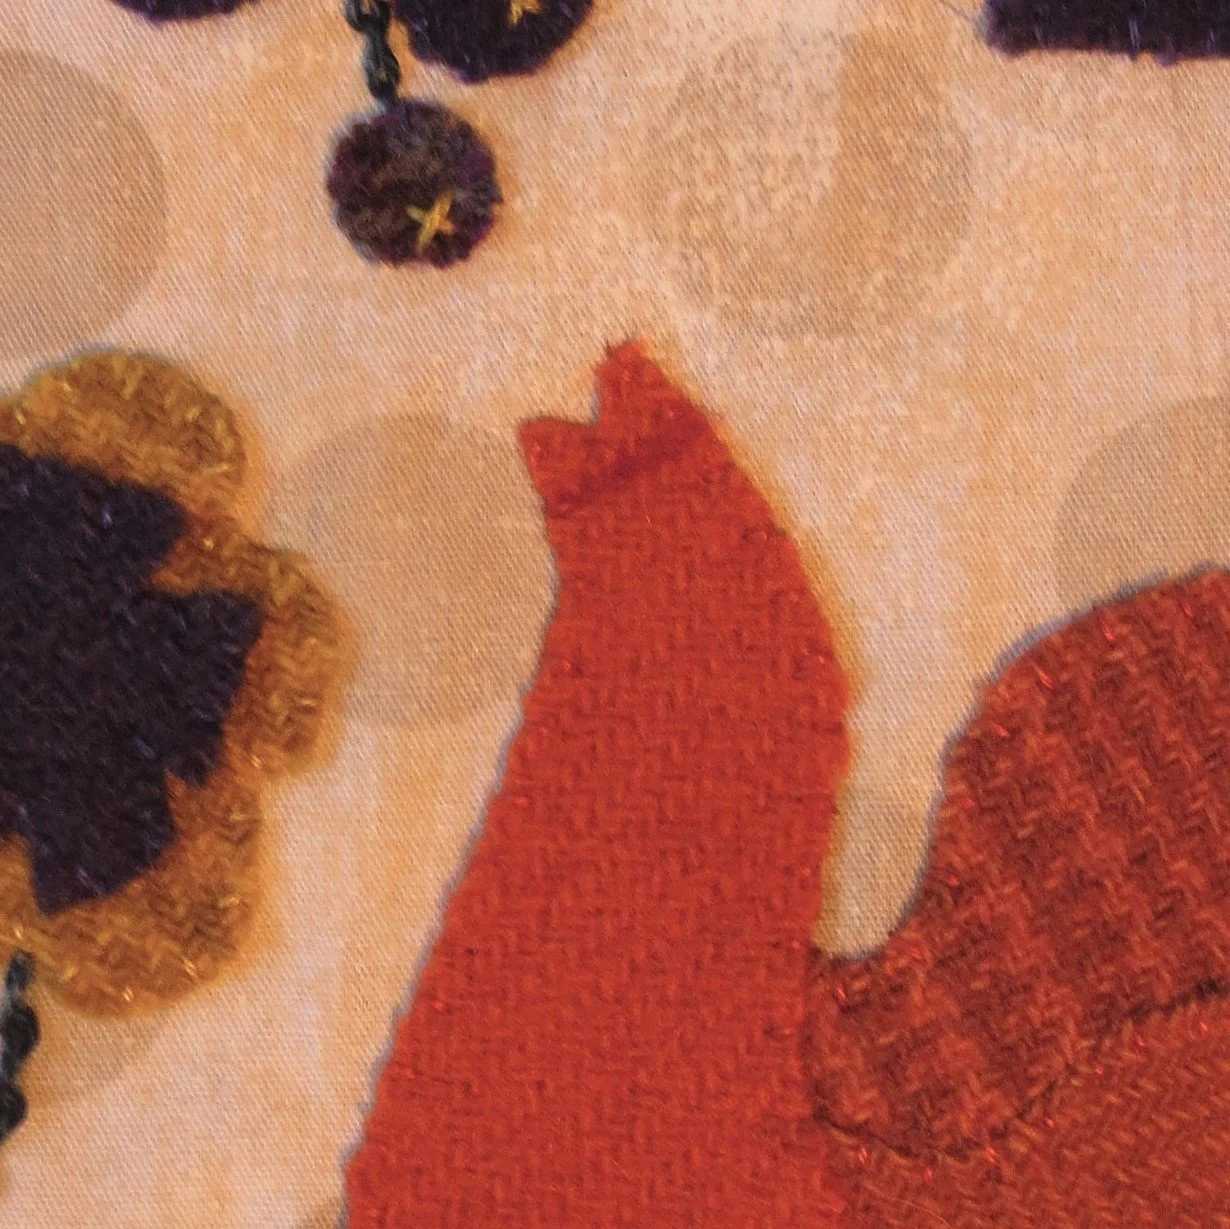
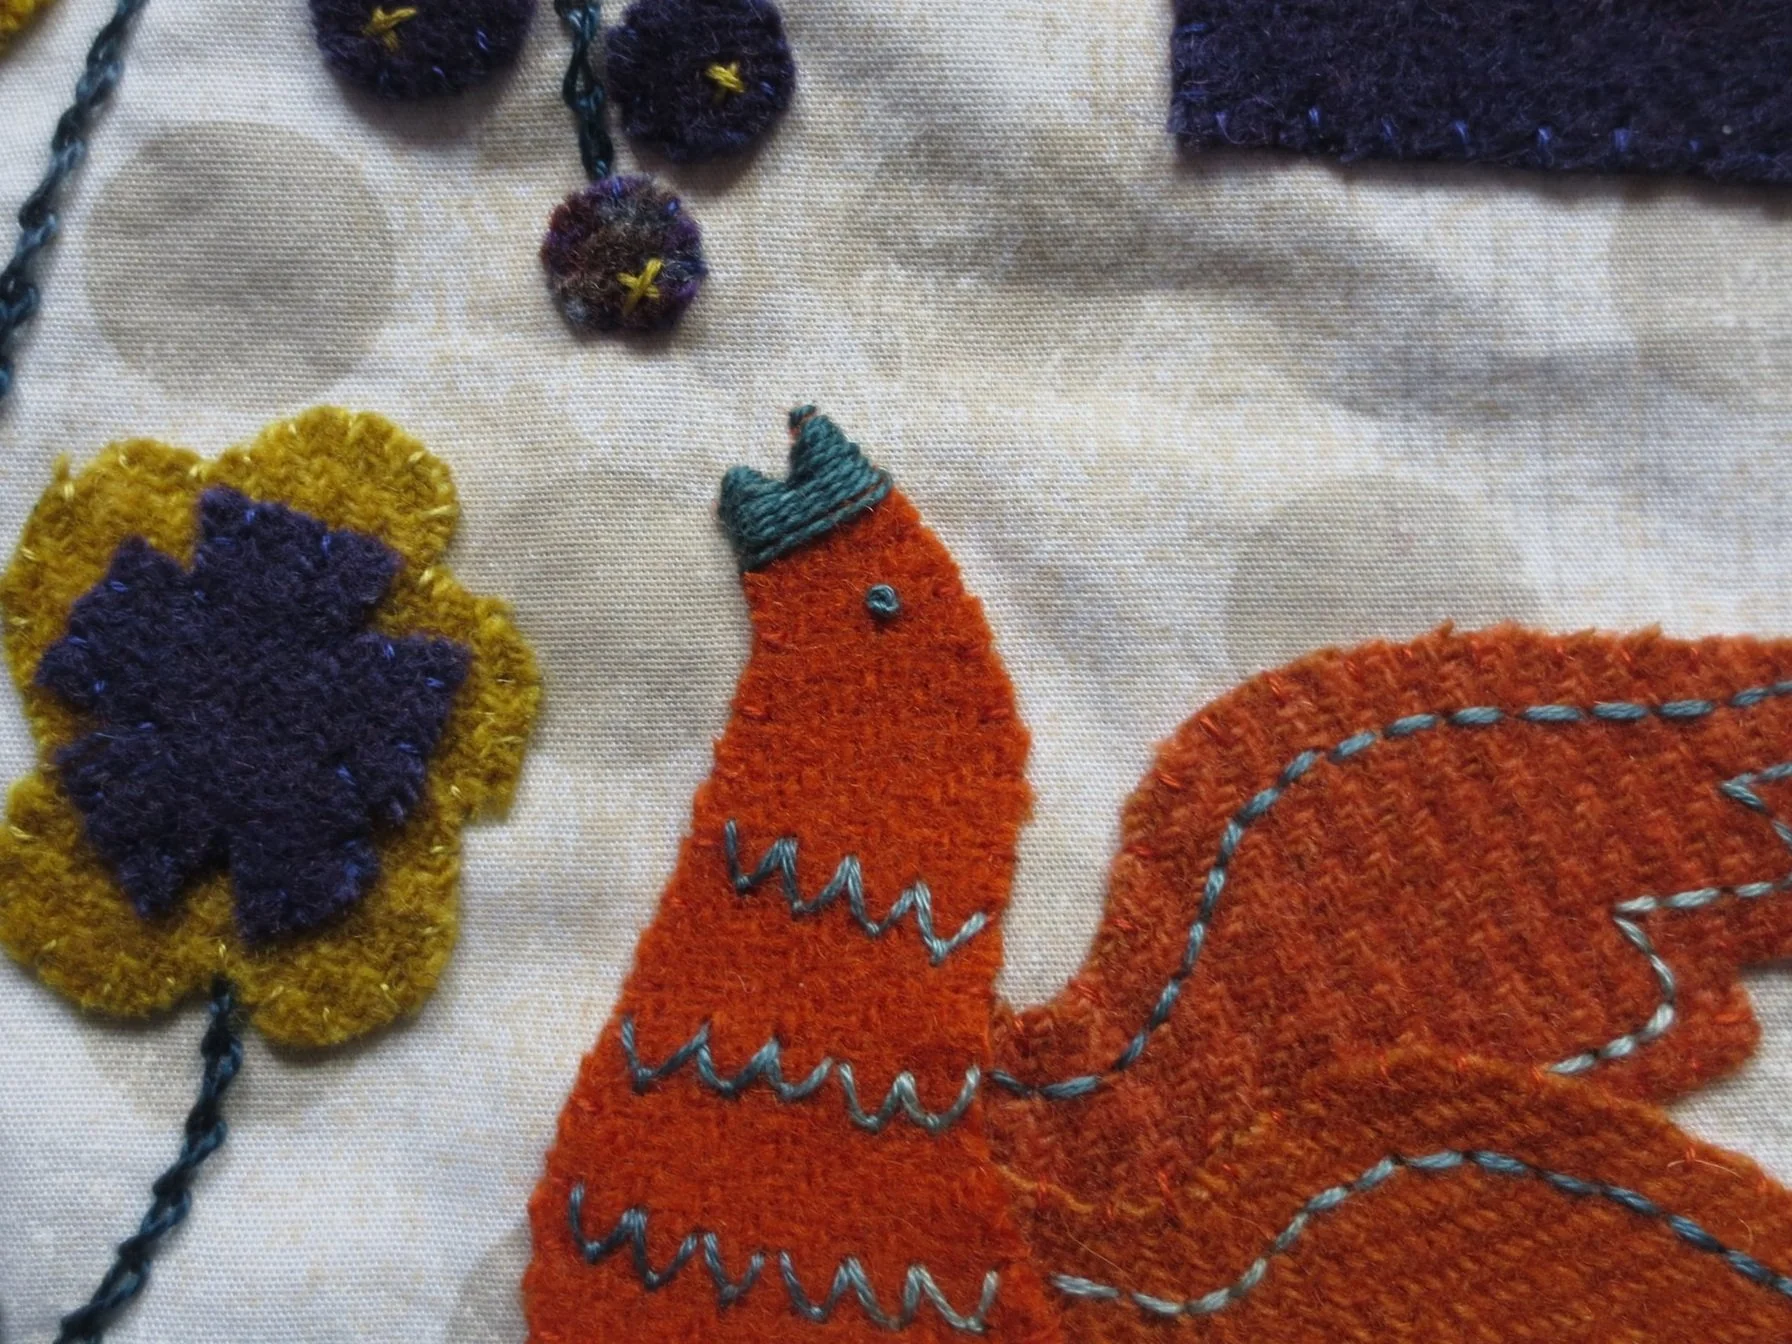
12. Use a chalk pencil or air erasable fabric marker to mark the bird’s beak.
13. Use 1 strand of antique blue colored perle cotton, size 8 to satin stitch the beak.
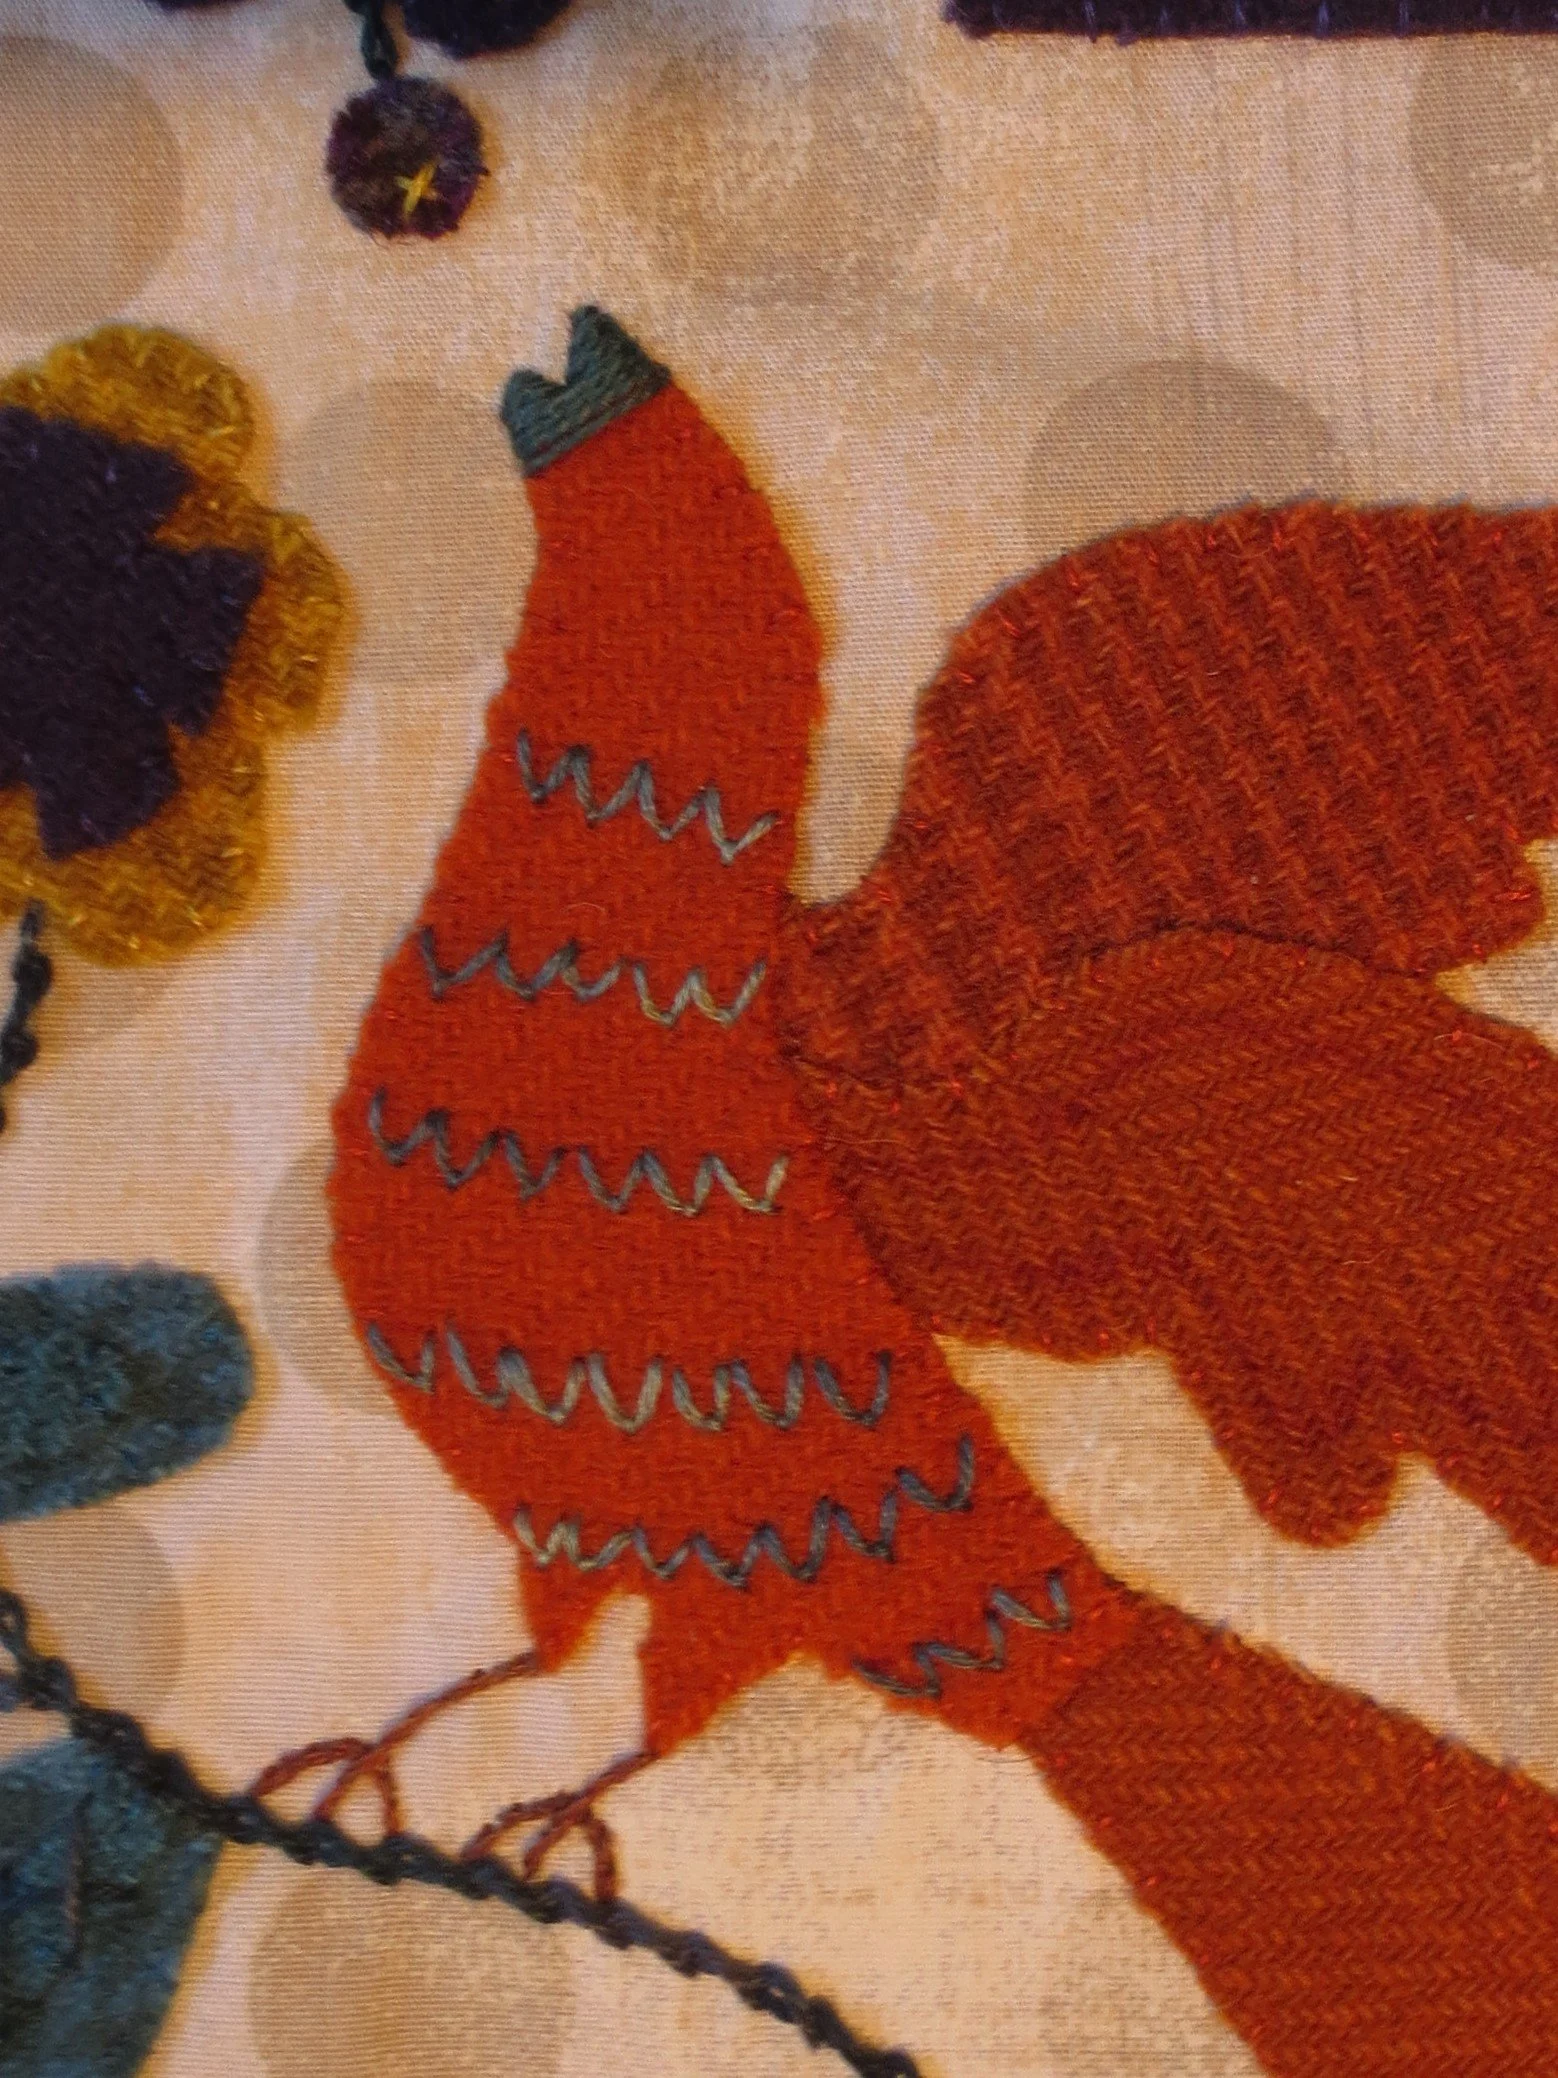
14. Use a chalk pencil or fabric marker to draw guide lines for the bird’s body embellishments. Use the layout as a guide for placement. Use a ruler to measure the distance between the “stripes” and then transfer that information to the body of the bird.
15. Use 2 strands of House of Embroidery floss, color 36A to stitch rows of fly stitches along each guide line.
16. Draw stitching guide lines on the wings using the layout as a placement guide, and then back stitch over the lines with 2 strands of the same floss.
17. Draw three stitching guide lines on the tail using the layout as a placement guide, and then back stitch over the lines with the same thread.
18. Use 1 strand of the same thread used for the beak to stitch a single French knot eye.
19. Use 1 strand of perle cotton, size 8, color Inked and a milliner’s needle, size 1 to make 6 drizzle stitches on the top of the bird’s head. I used 12 wraps for the first stitch, 14 for the second, 12 for the third, and 9 for the last 3 stitches. Here is a link from expert Mary Corbet, and another from Sarah’s Hand Embroidery on how to make drizzle stitches. I suggest practicing once or twice before you stitch your bird.
Now let’s work on the flowers.
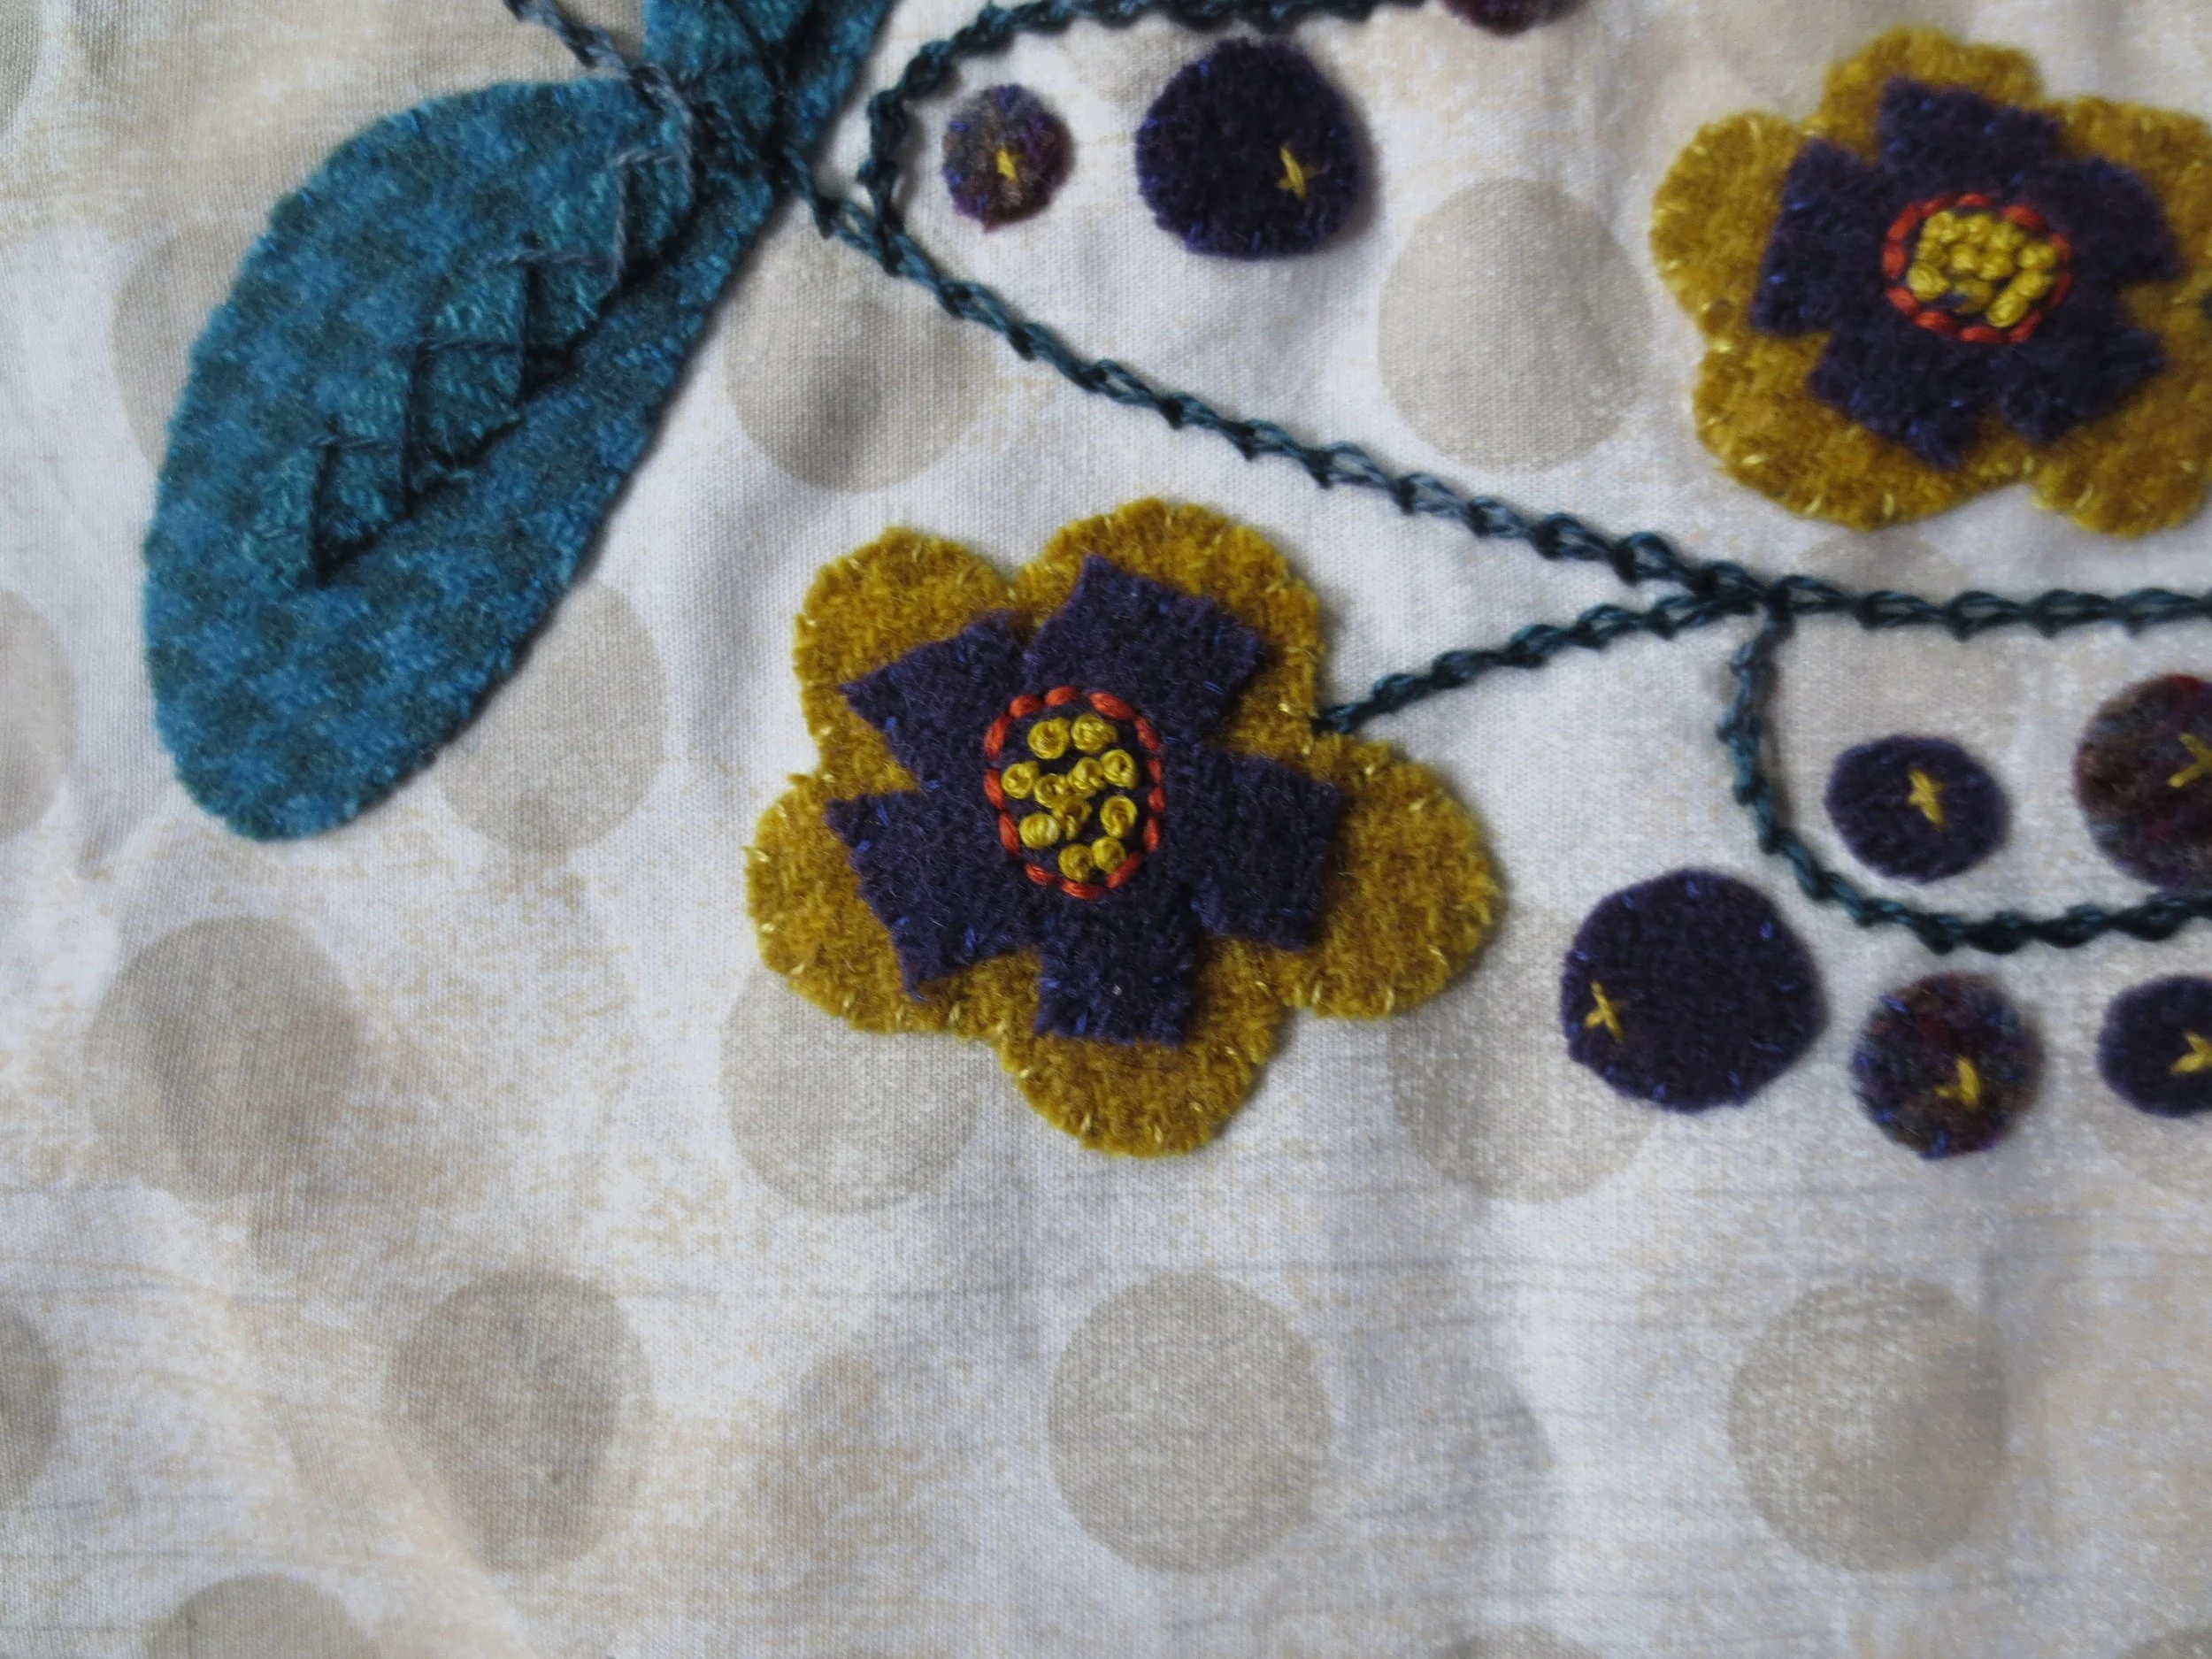
20. Use a chalk pencil (a fabric marker will work if the wool is a light color) to draw ovals in the center of the flowers. Use the layout as a guide.
21. Use 3 strands of orange embroidery floss to back stitch over the lines.
22. Use 3 strands of gold colored floss to stitch a series of French knots inside the orange circle.
Now for the large bell flower.
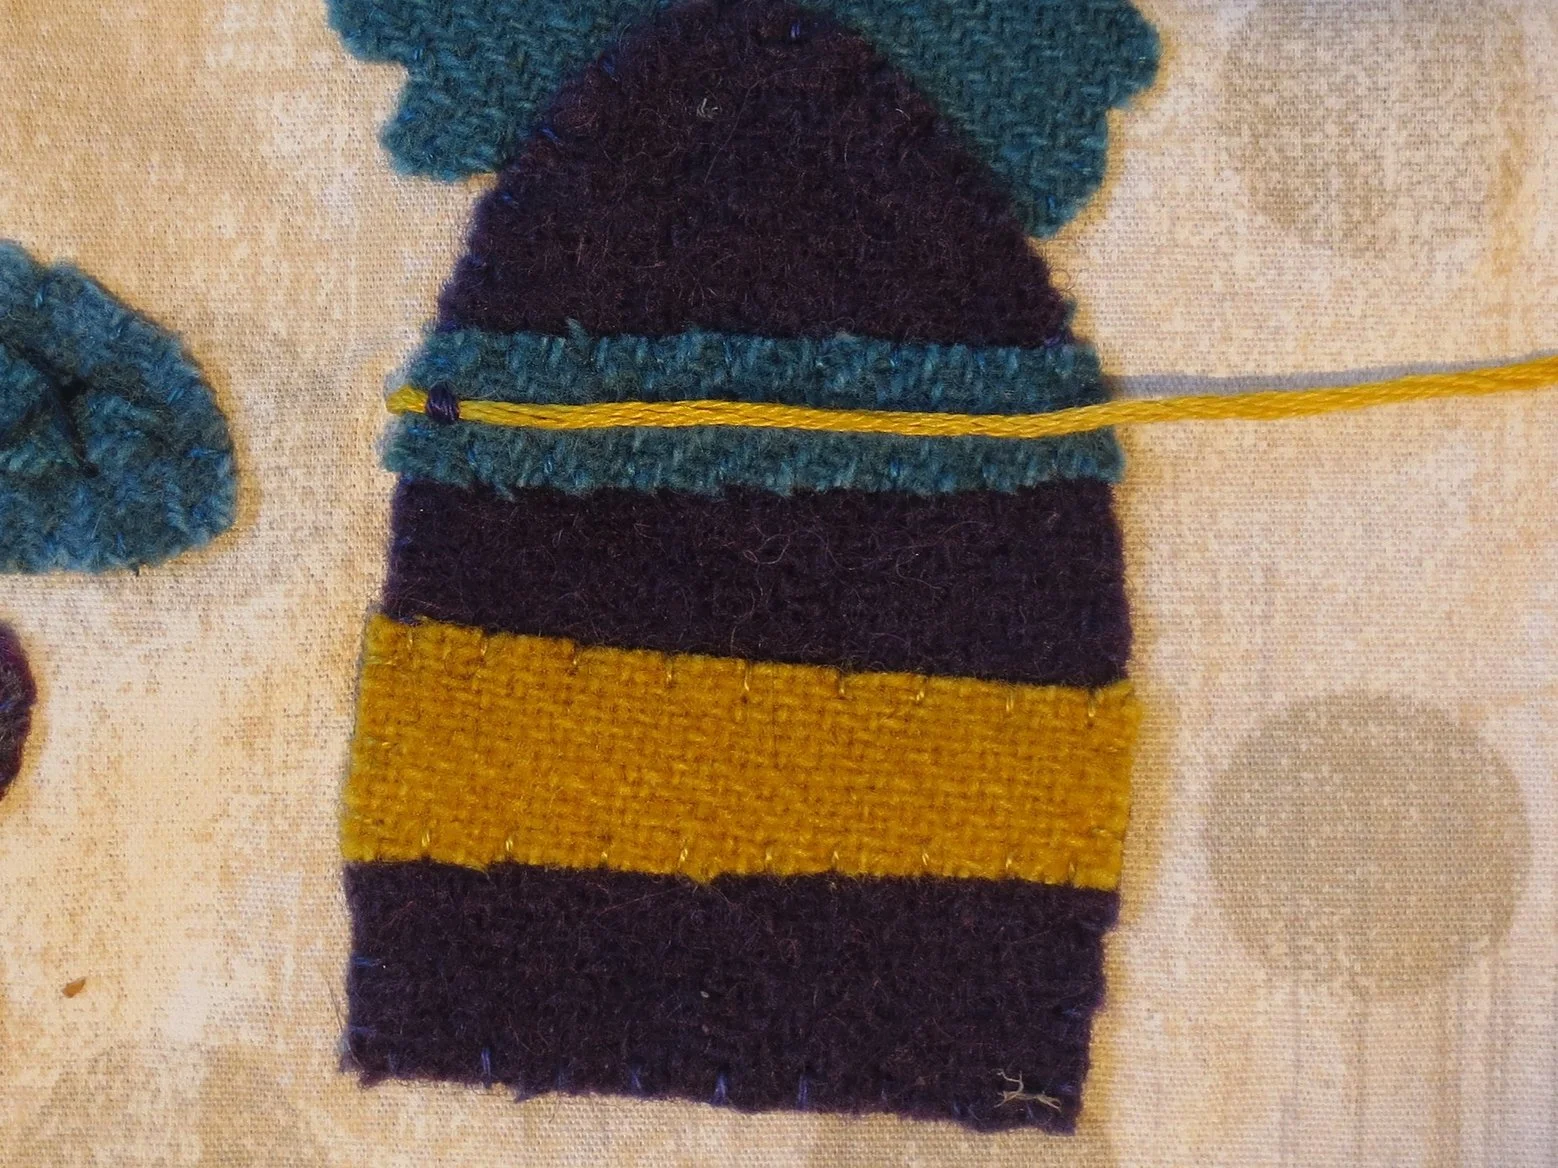
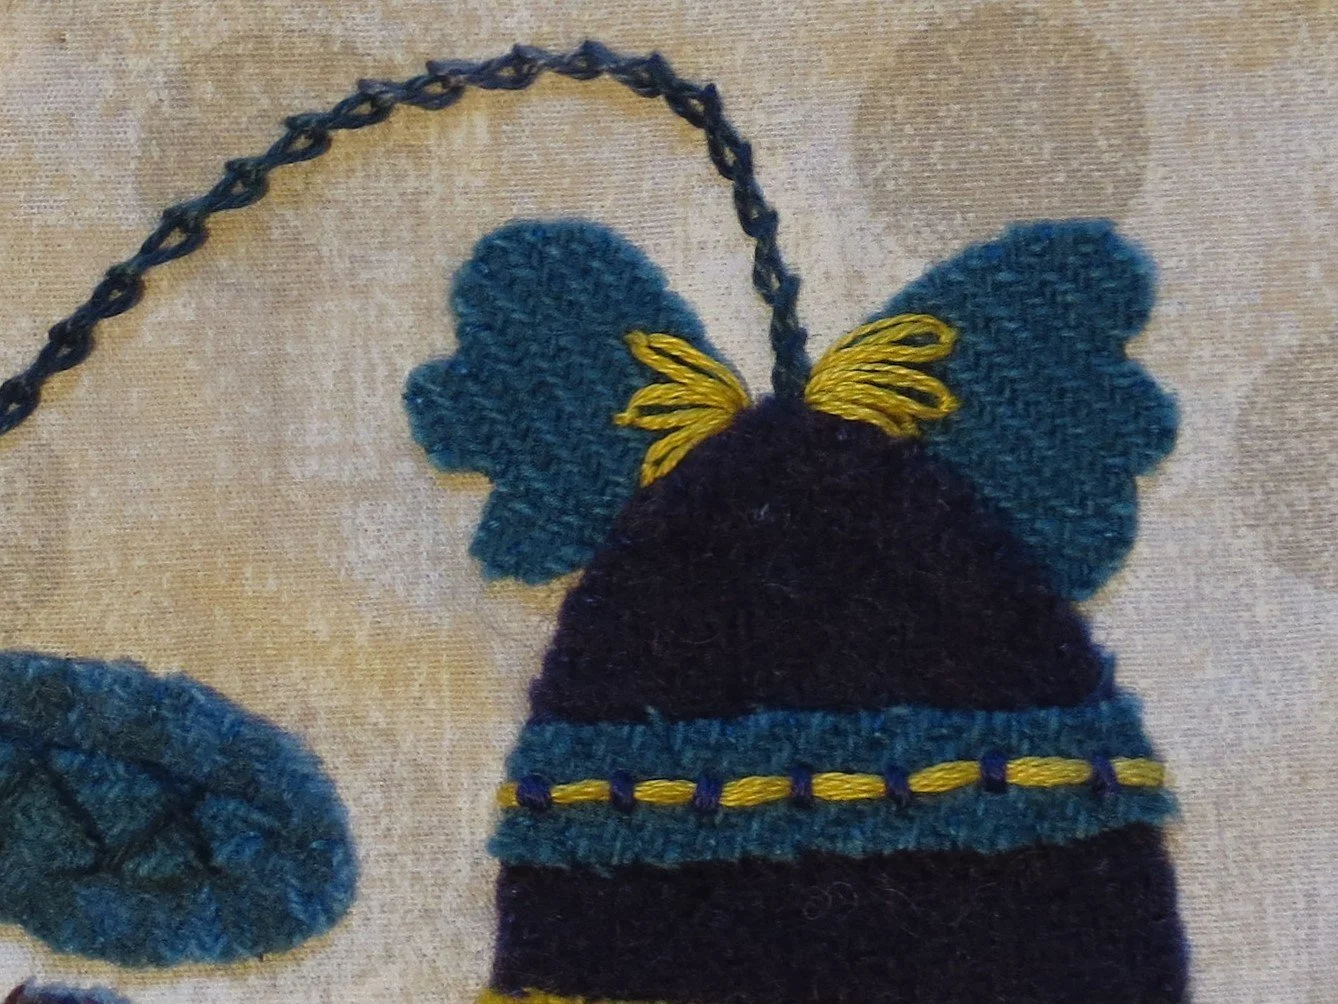
23. Use a chalk pencil or fabric marker to draw a horizontal line in the center of the top stripe of the bell flower.
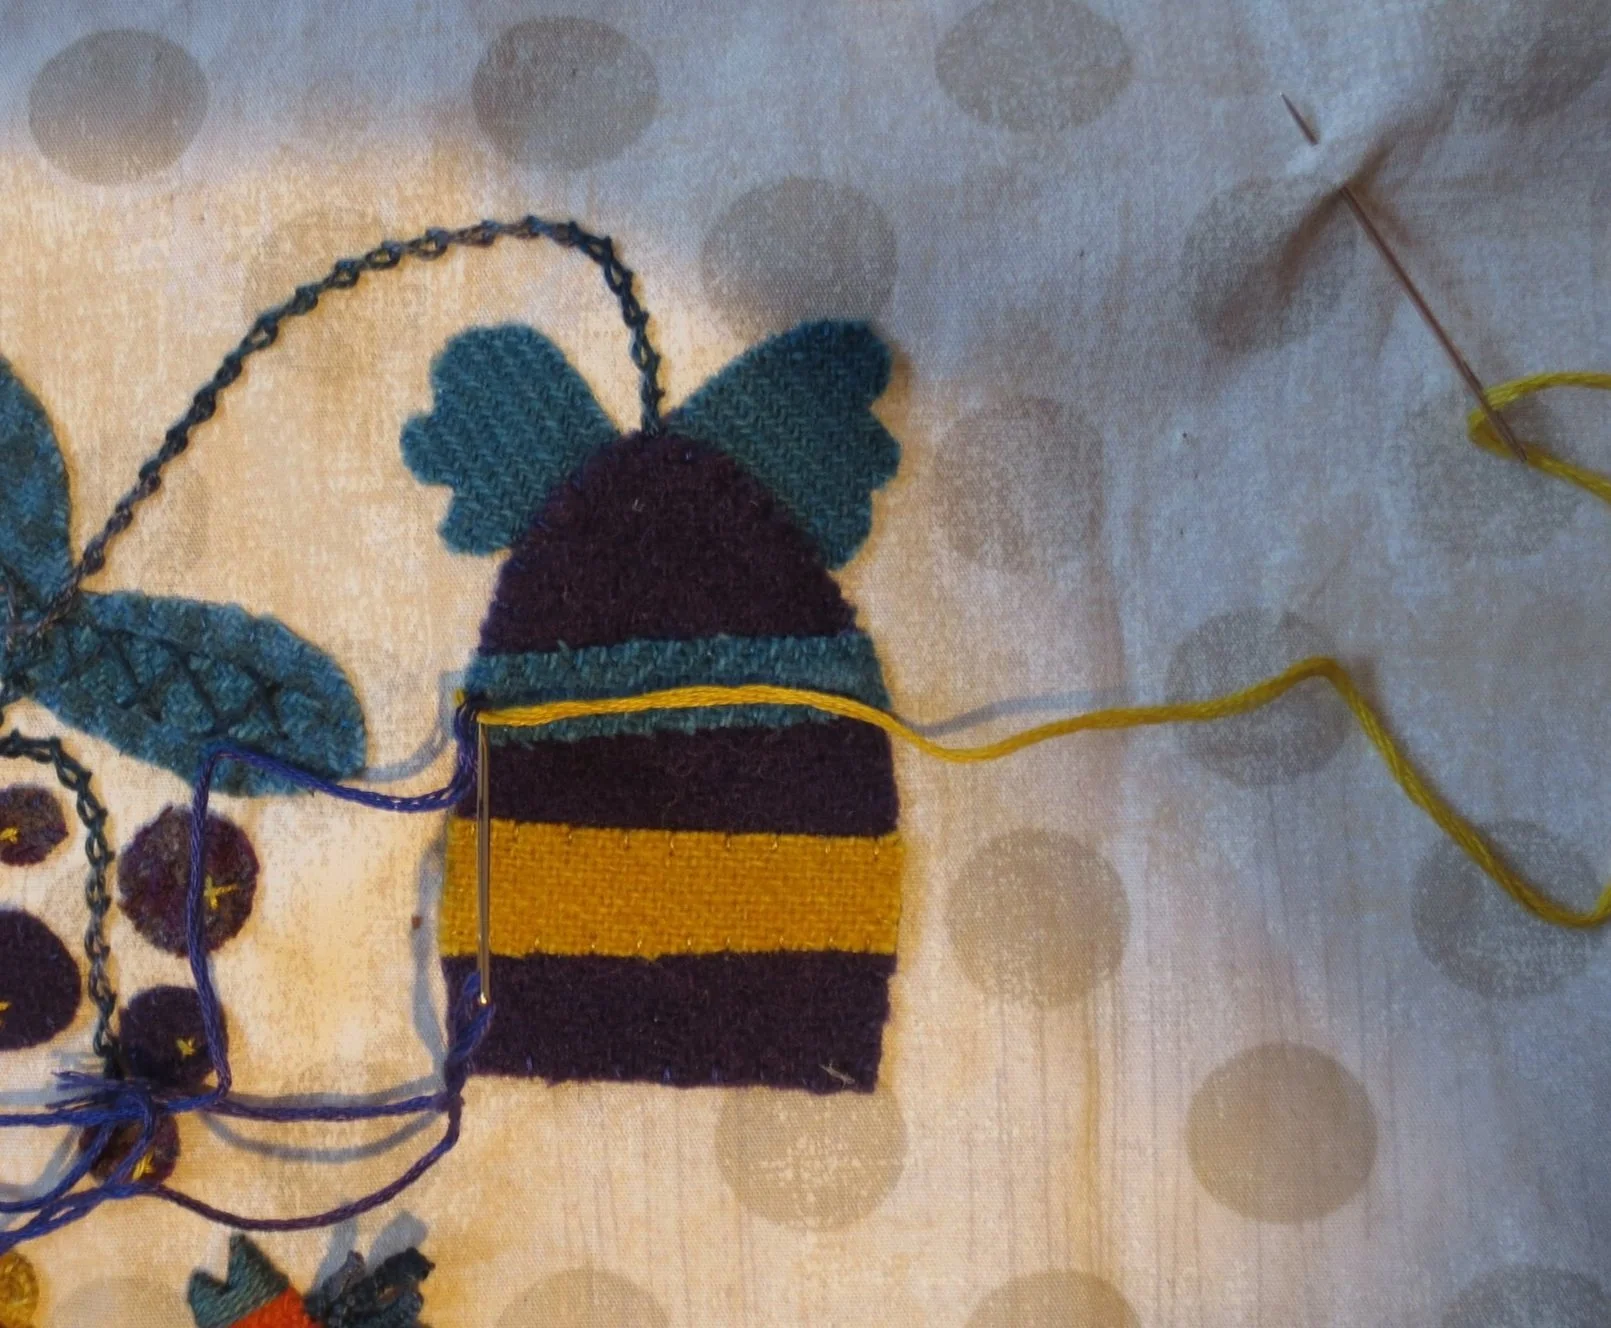
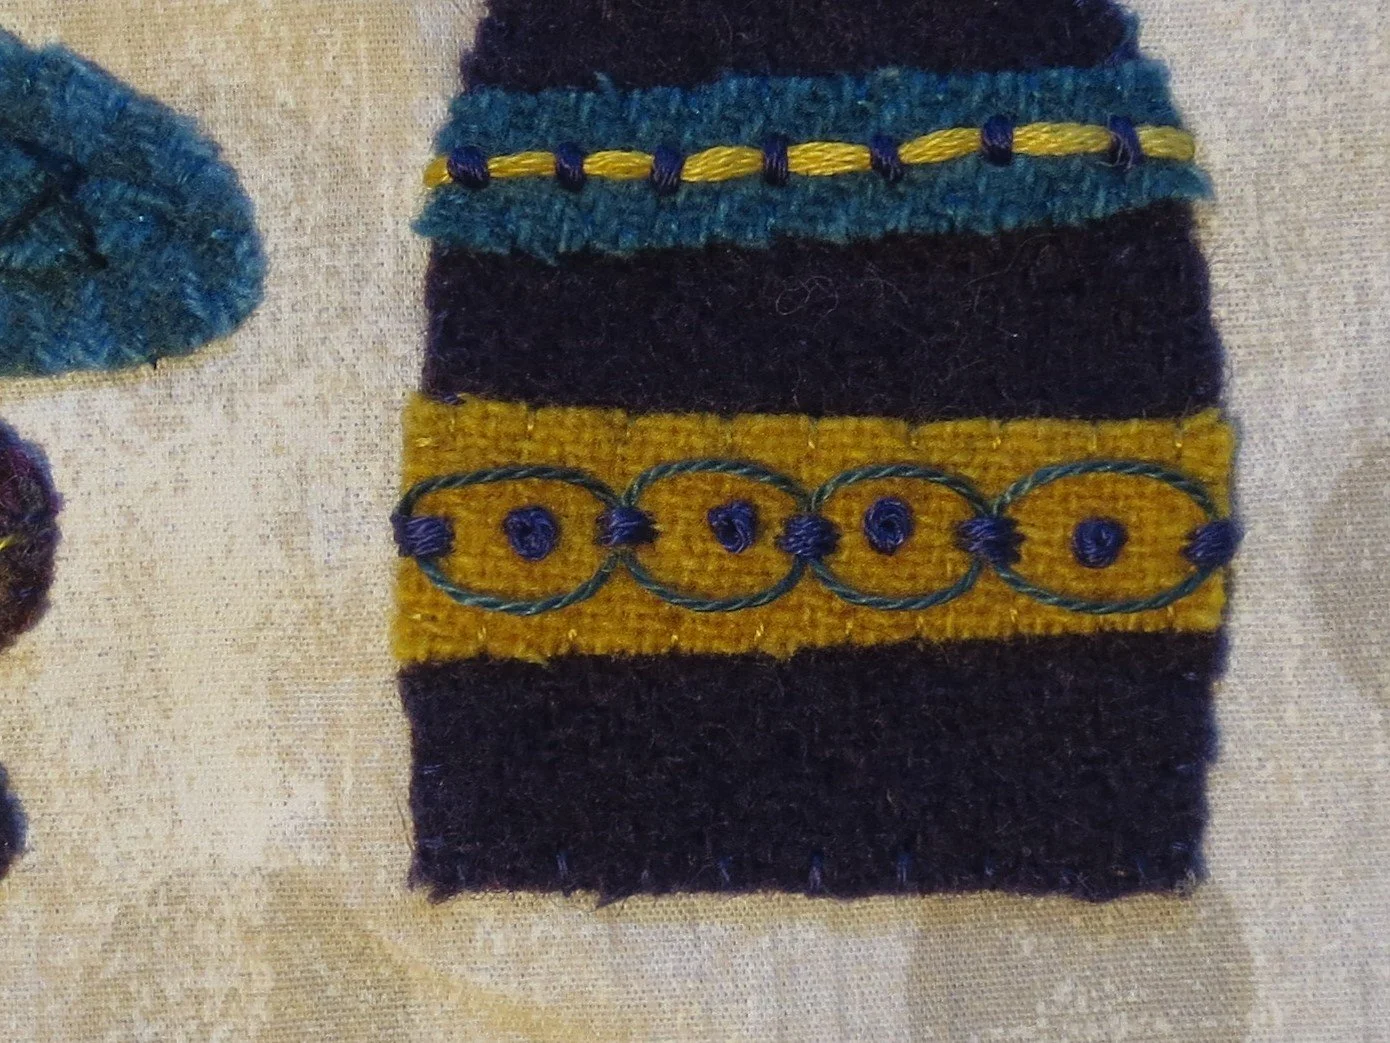
24. Thread 2 needles (size 22), one with 6 strands of gold floss, and one with 6 strands of purple floss. Knot the ends of each.
25. Beginning with the gold floss, bring the needle up at the left side of the drawn line, and pull the thread through. Secure the needle about 3” from the right side of the flower.
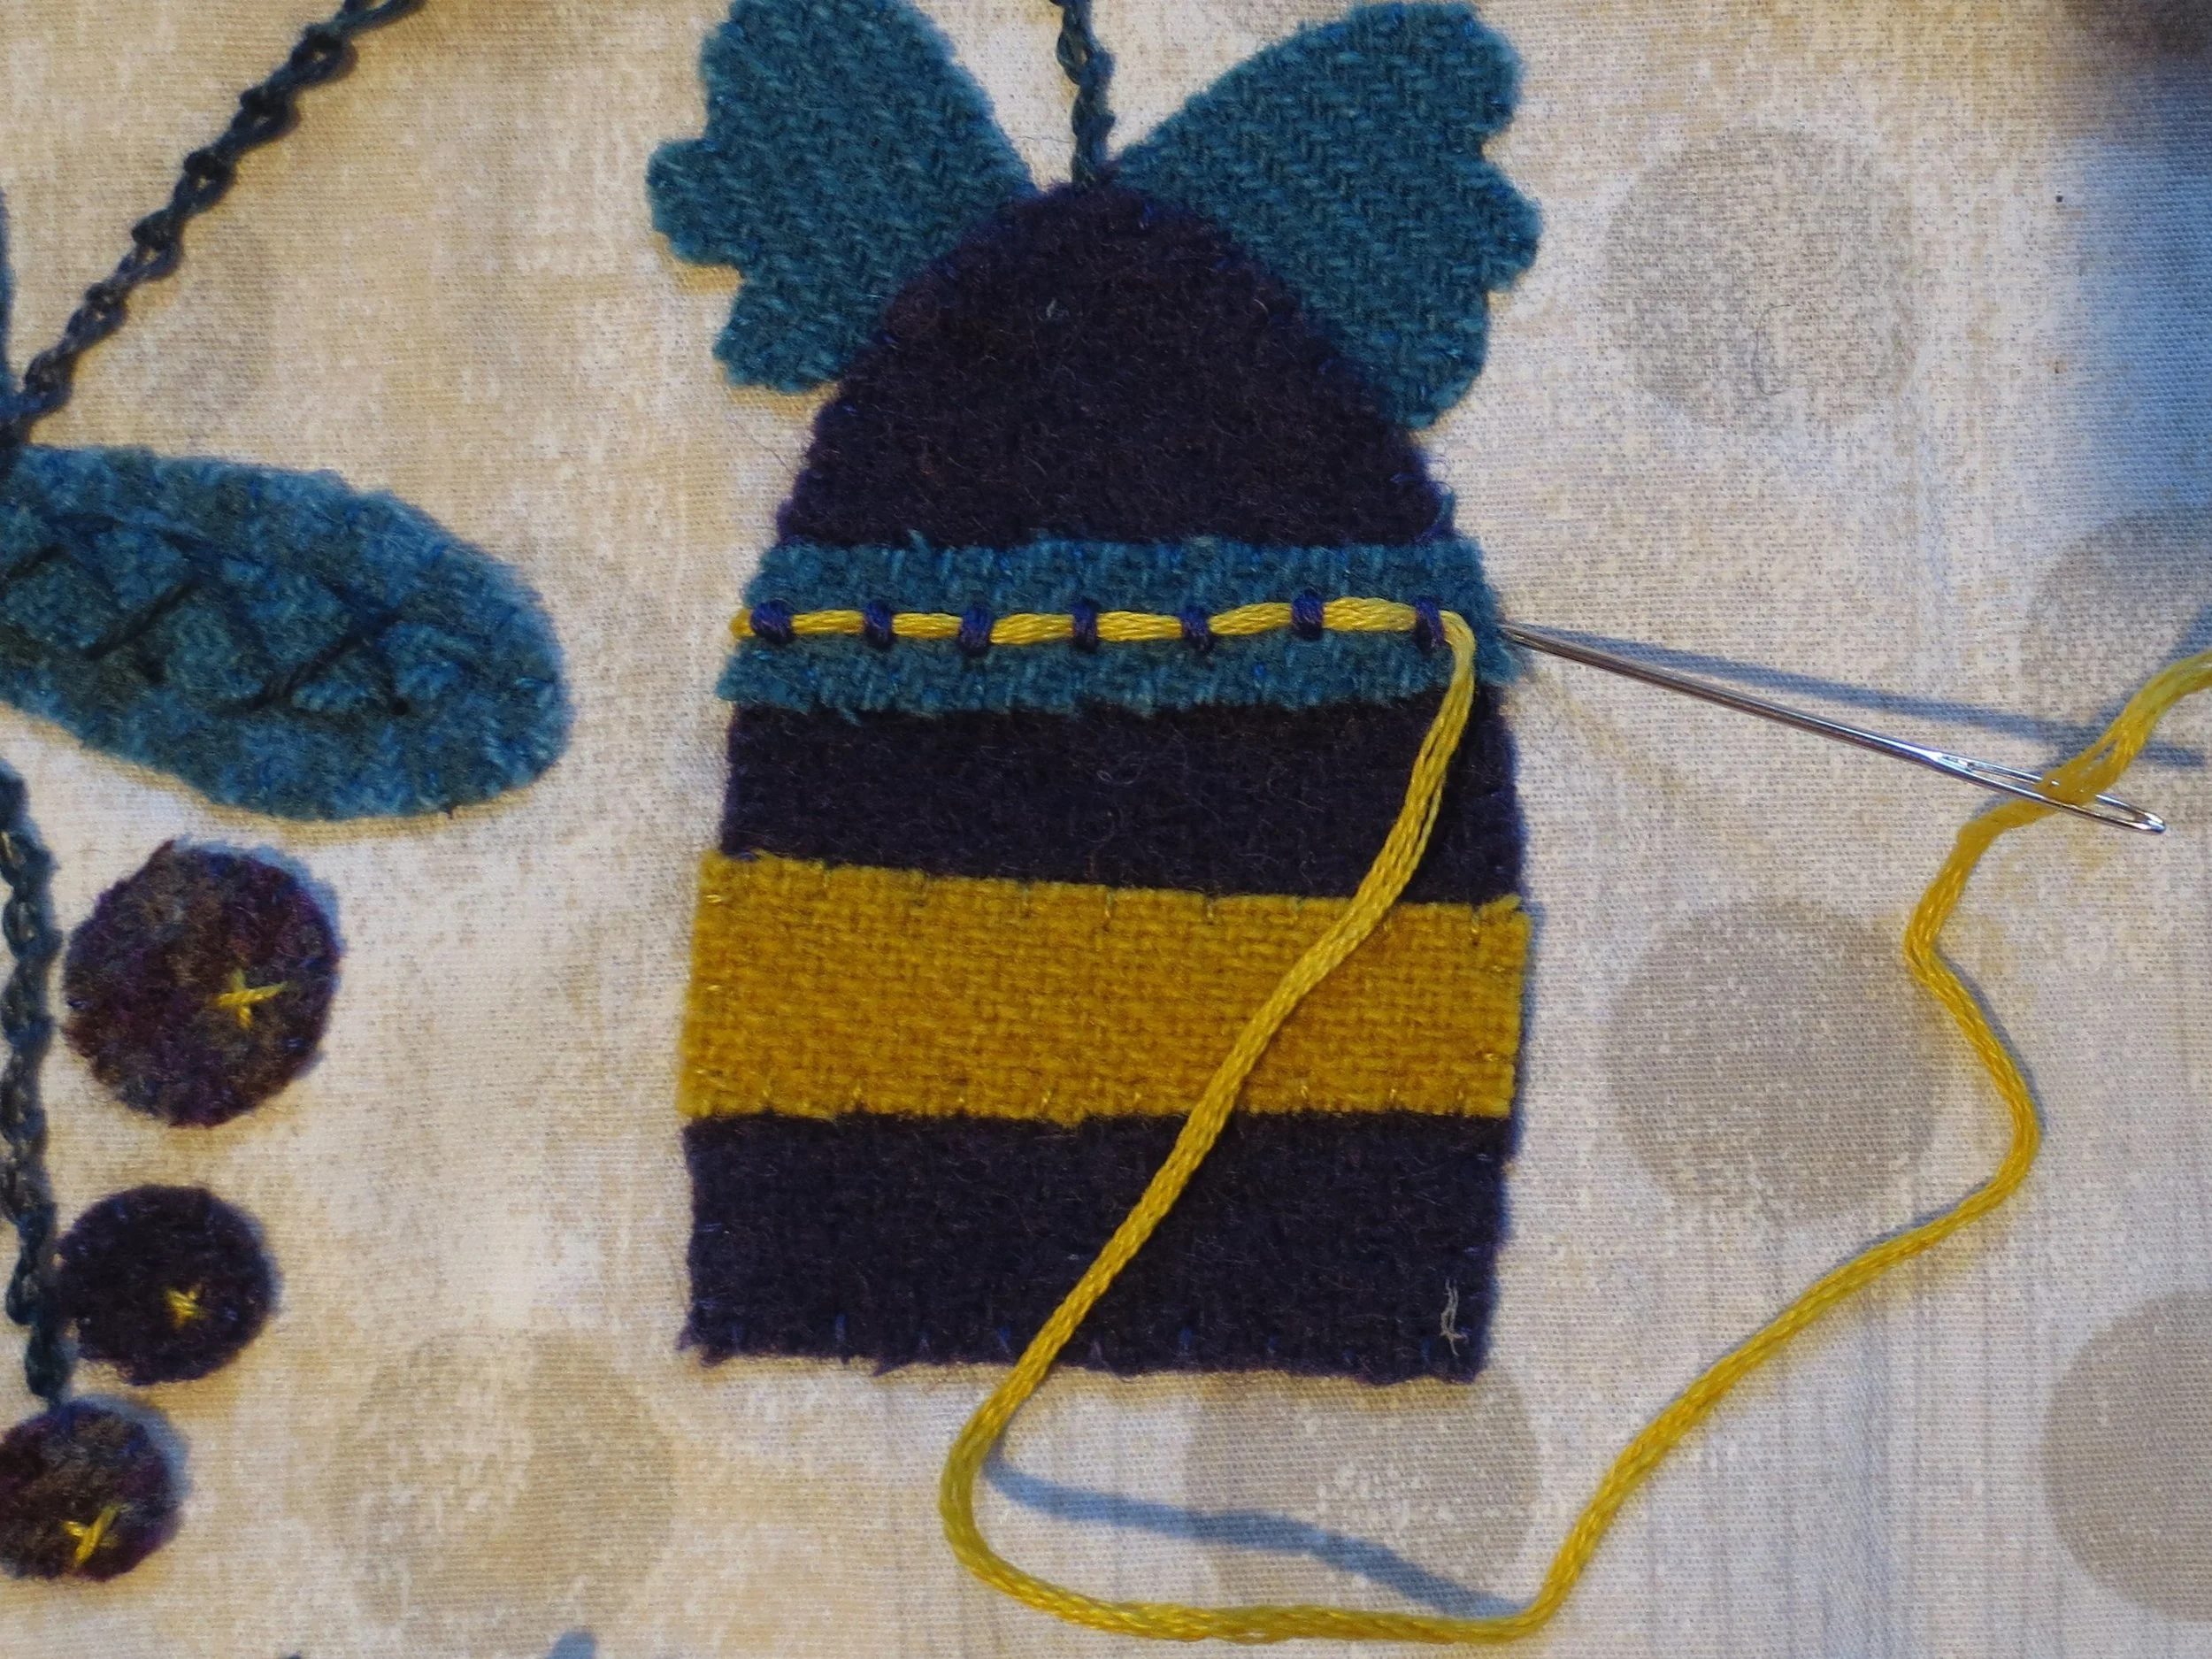
26. Using the second needle with the purple floss, make a small couching stitch just to the right of where the gold stitch exited the background cloth.
27. Continue to couch the rest of the gold thread. After all the couching stitches are made secure the gold thread by inserting the needle down into the end of the drawn line and pull the thread through to the back. Knot to secure.
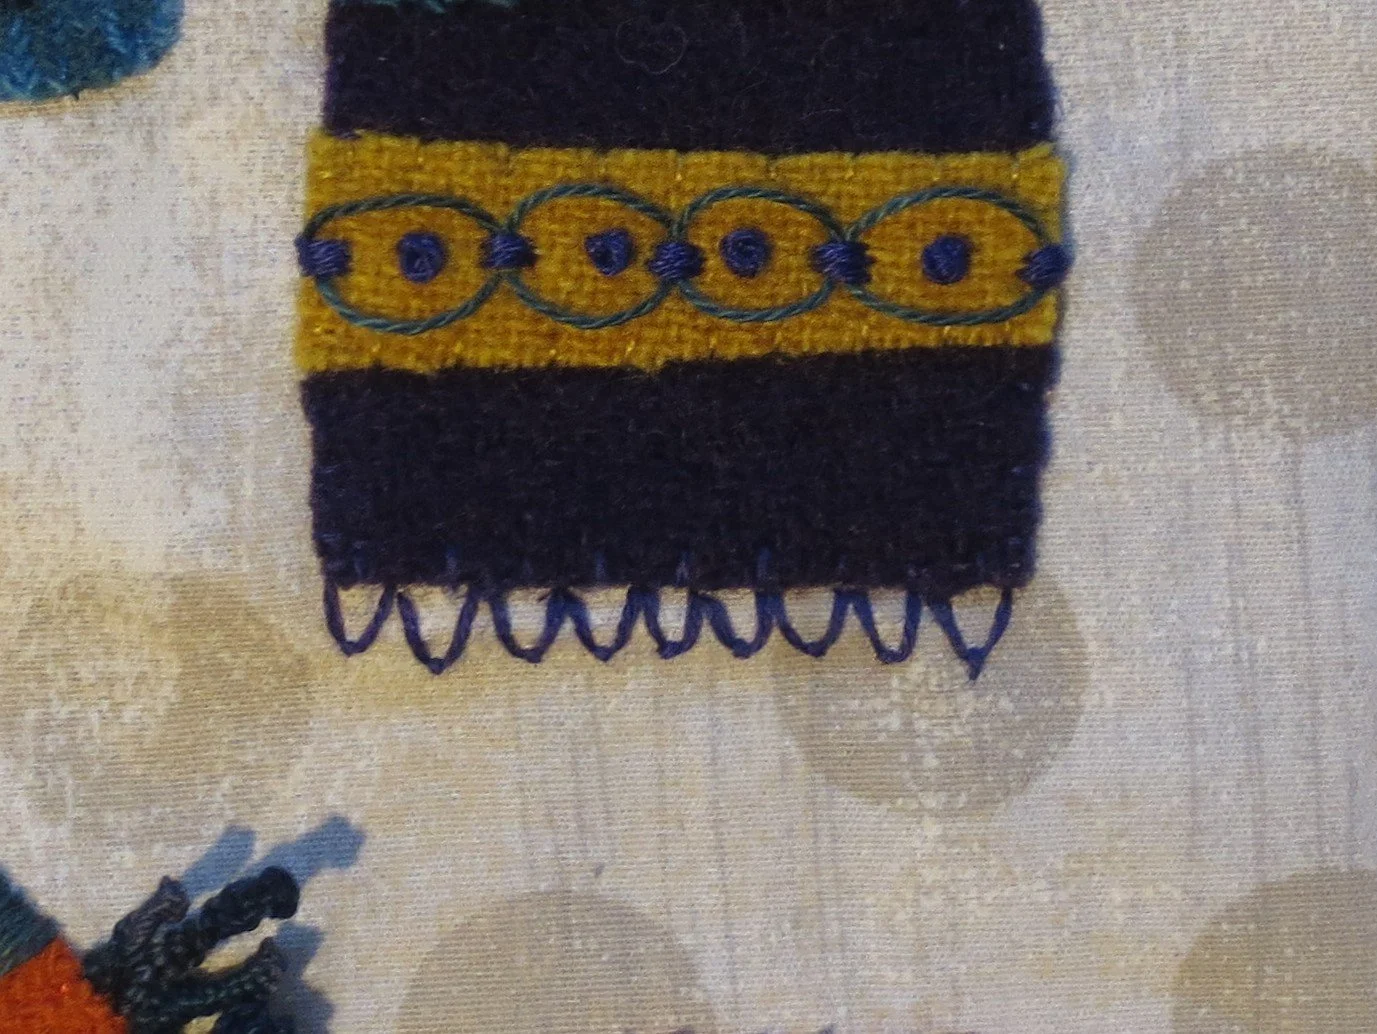
28. Guilloche Stitch - This is like a woven running stitch.
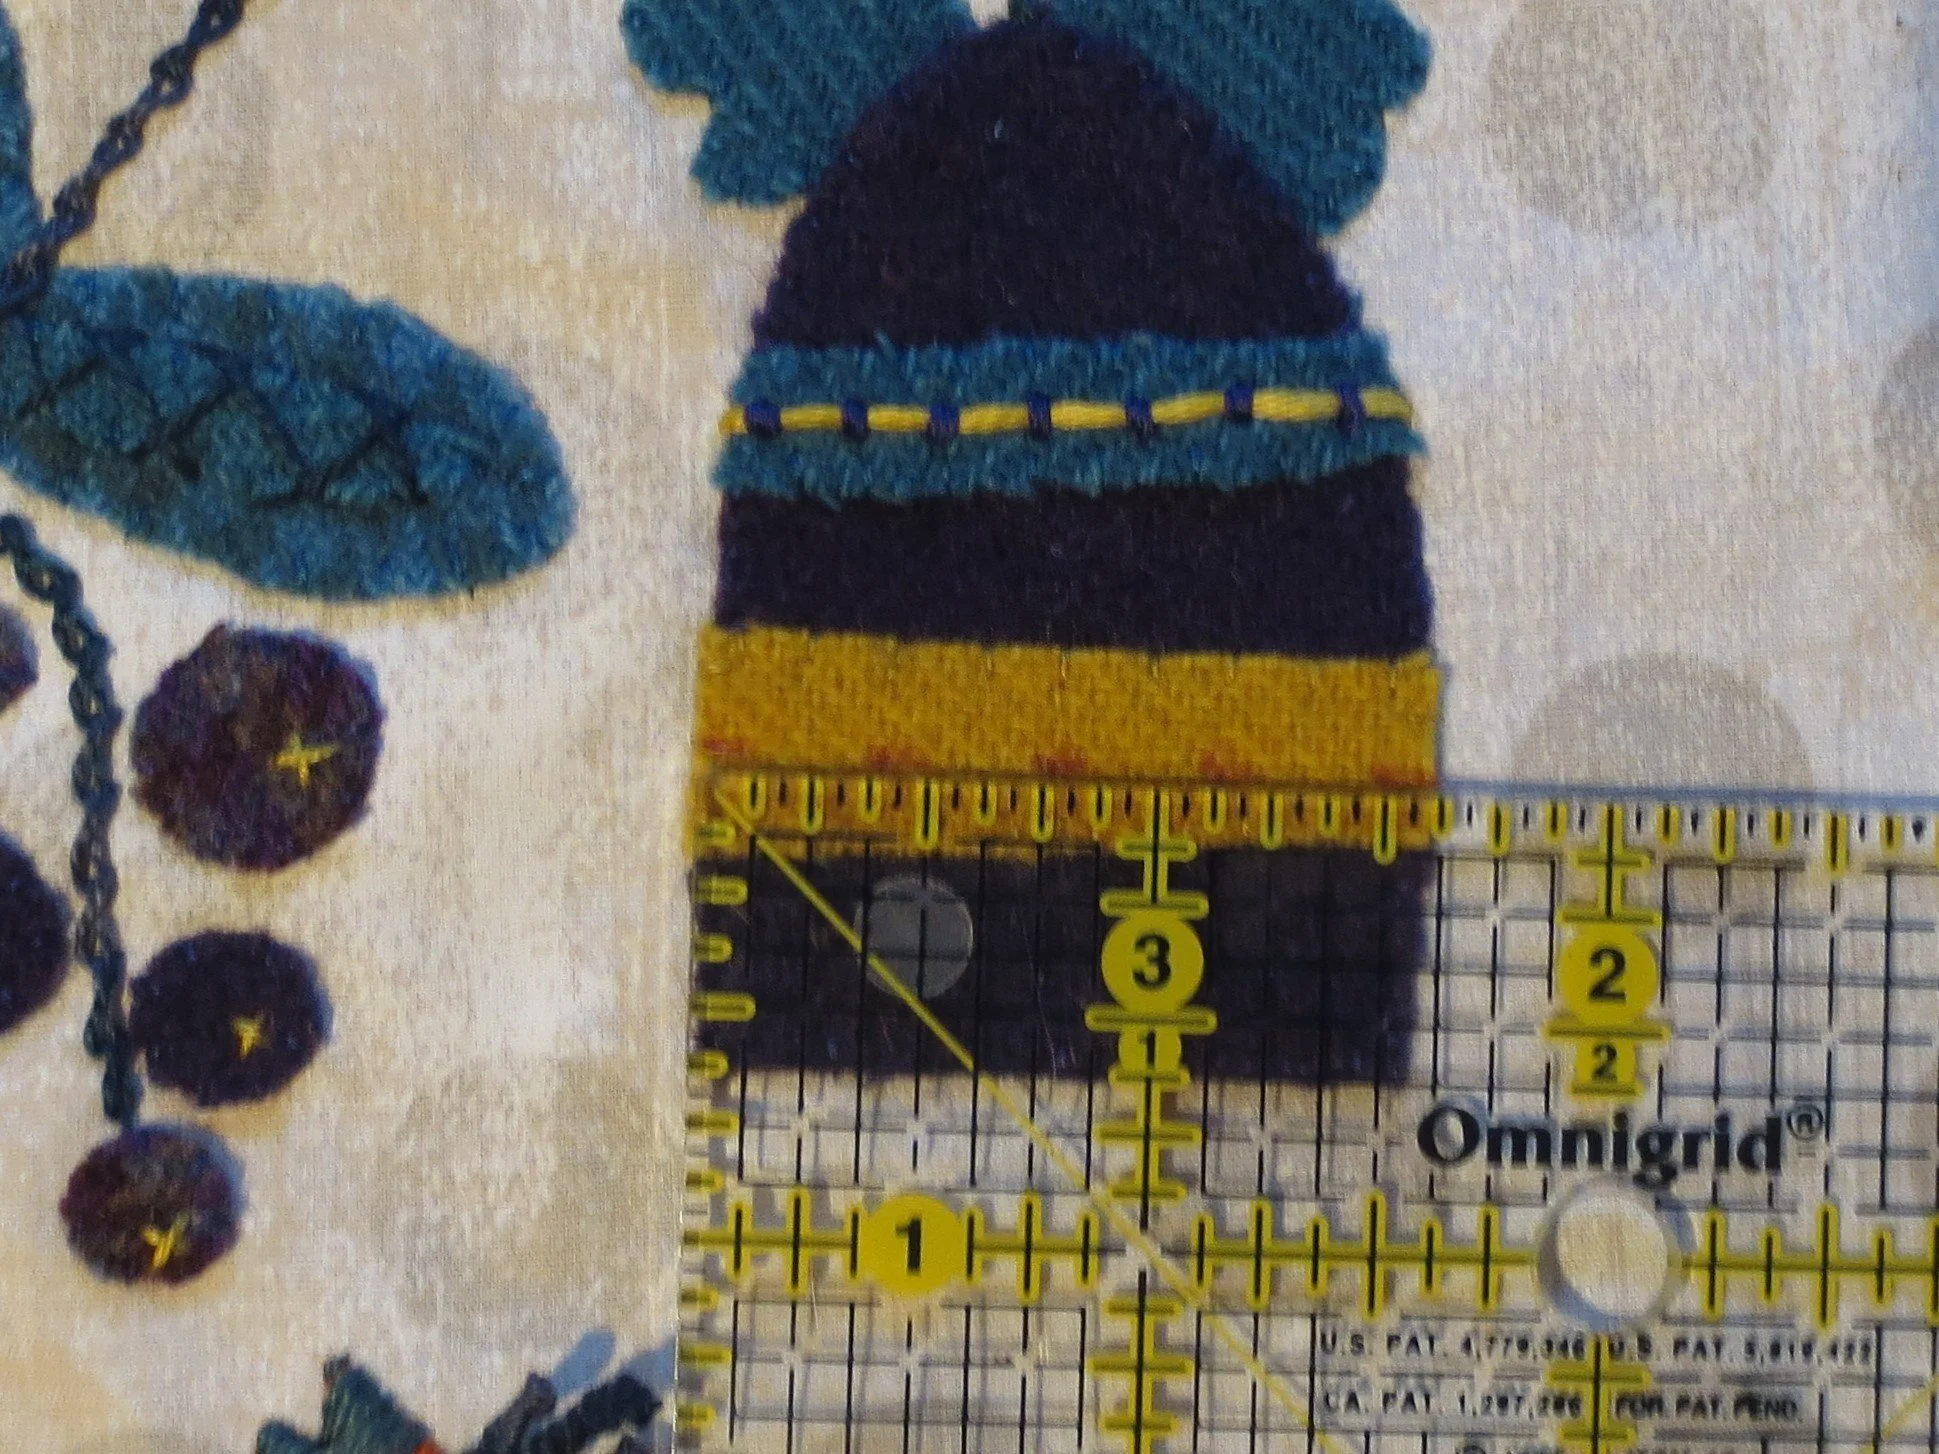
Use a ruler and a fabric marker to draw a 1/8” line every 1/4” along an imaginary horizontal line. The lines can be closer together if you want to have circles rather than ovals in the design.
Use 3 strands of purple floss to make a block of 3 satin stitches over each of drawn lines.
Use 1 strand of perle cotton, size 8, Inked to weave through the satin stitches. Begin by bringing the thread up underneath the first set of satin stitches, and then begin weaving the thread through the remaining satin stitches.
Once you reach the last set of satin stitches weave the thread back through in the opposite direction.
Insert the needle under the first set of satin stitches and secure with a knot on the back.
28. Use 3 strands of purple floss to stitch a French knot in the center of each of the ovals.
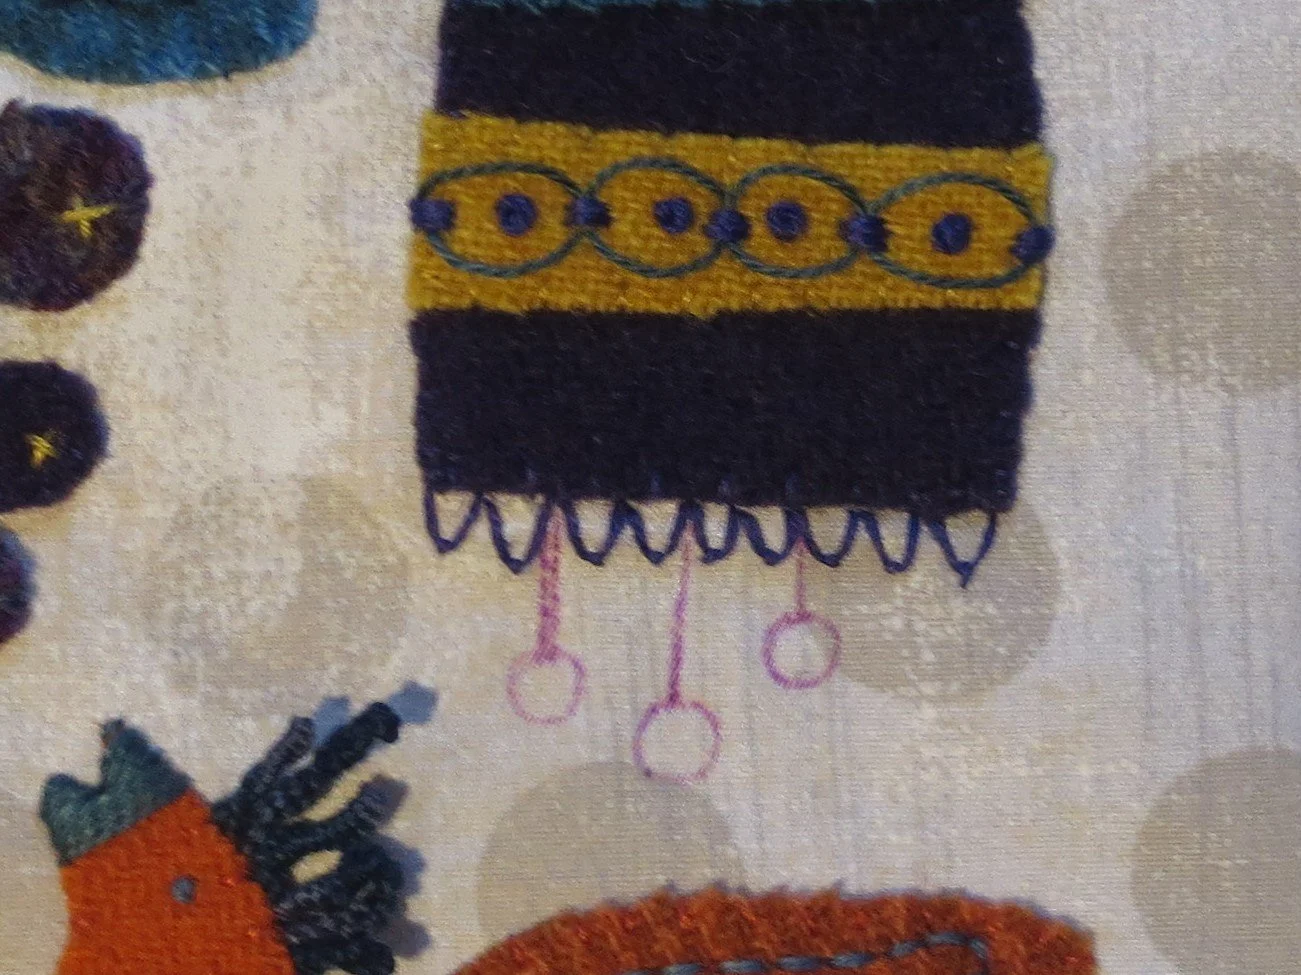
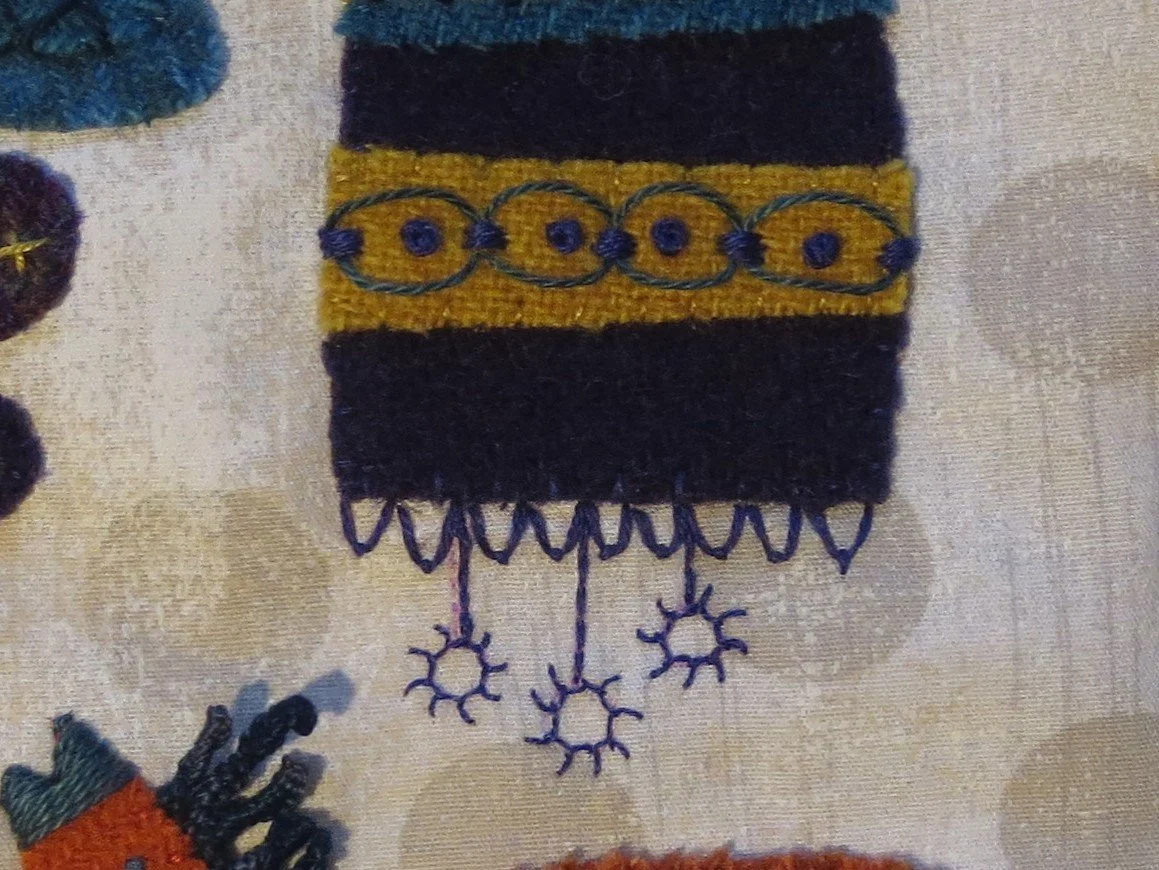
29. Use 2 strands of the same purple floss to stitch a row of fly stitches along the bottom edge of the flower.
30. Use 3 strands of gold floss to stitch 3 lazy daisy stitches on each sepal.
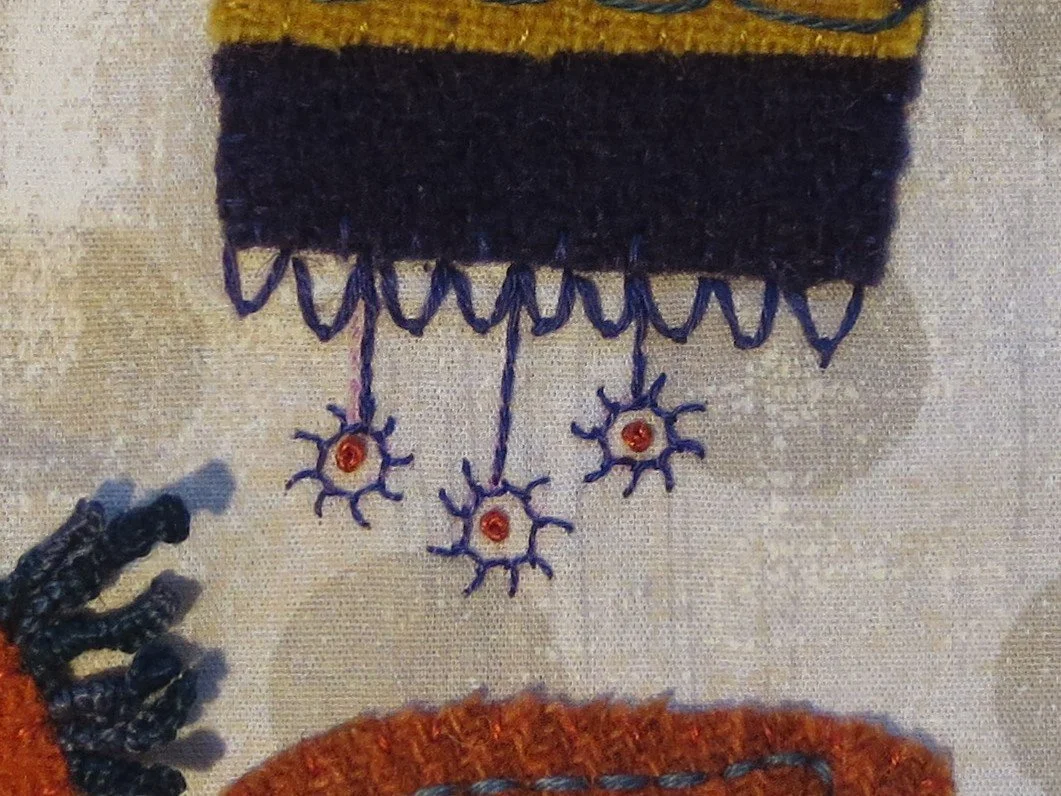
31. Use a chalk pencil or fabric marker to draw 3 flower stamens.
32. Use 1 strand of purple floss to stem stitch the straight lines.
33. Use 1 strand of purple floss to stitch an inside out buttonhole wheel over each circle.
34. Use 2 strands of orange floss to stitch a single French knot in the center of each wheel.
Congratulations! You are done!
Here is my friend Dana’s (and fellow Wooly Gal) interpretation of Birdsong. She is so clever!

