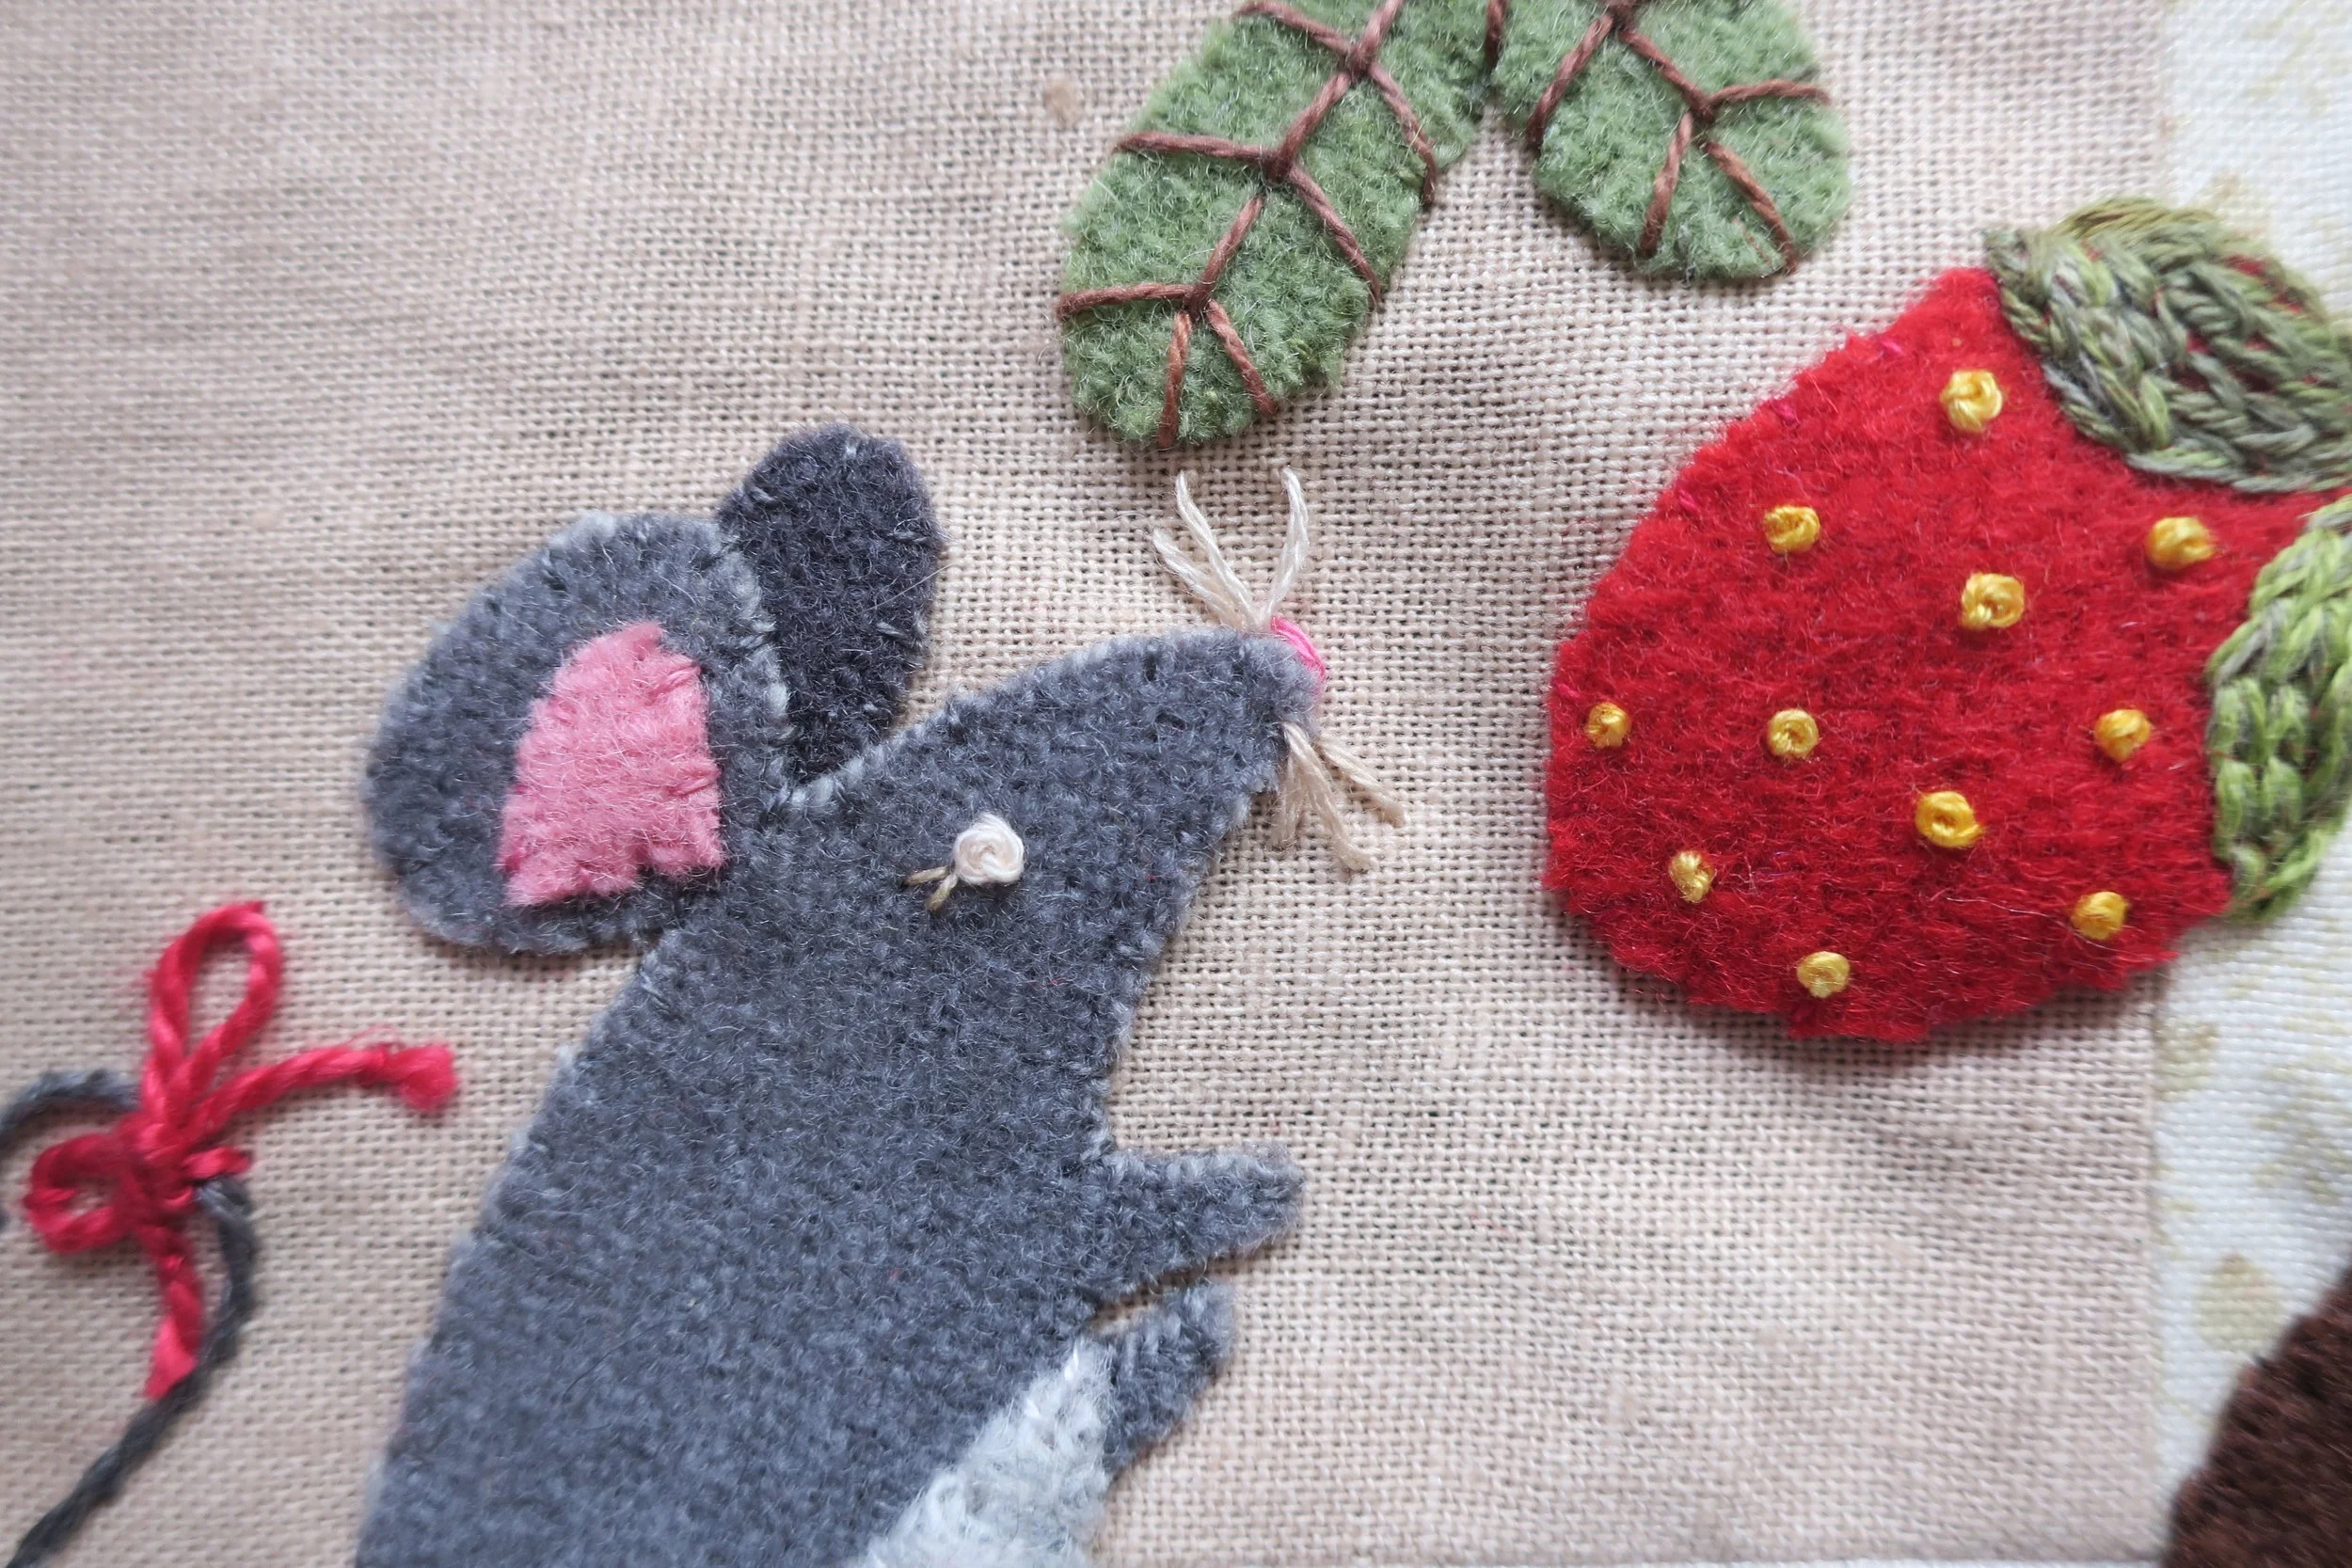
Phoebe and the Strawberry Tree
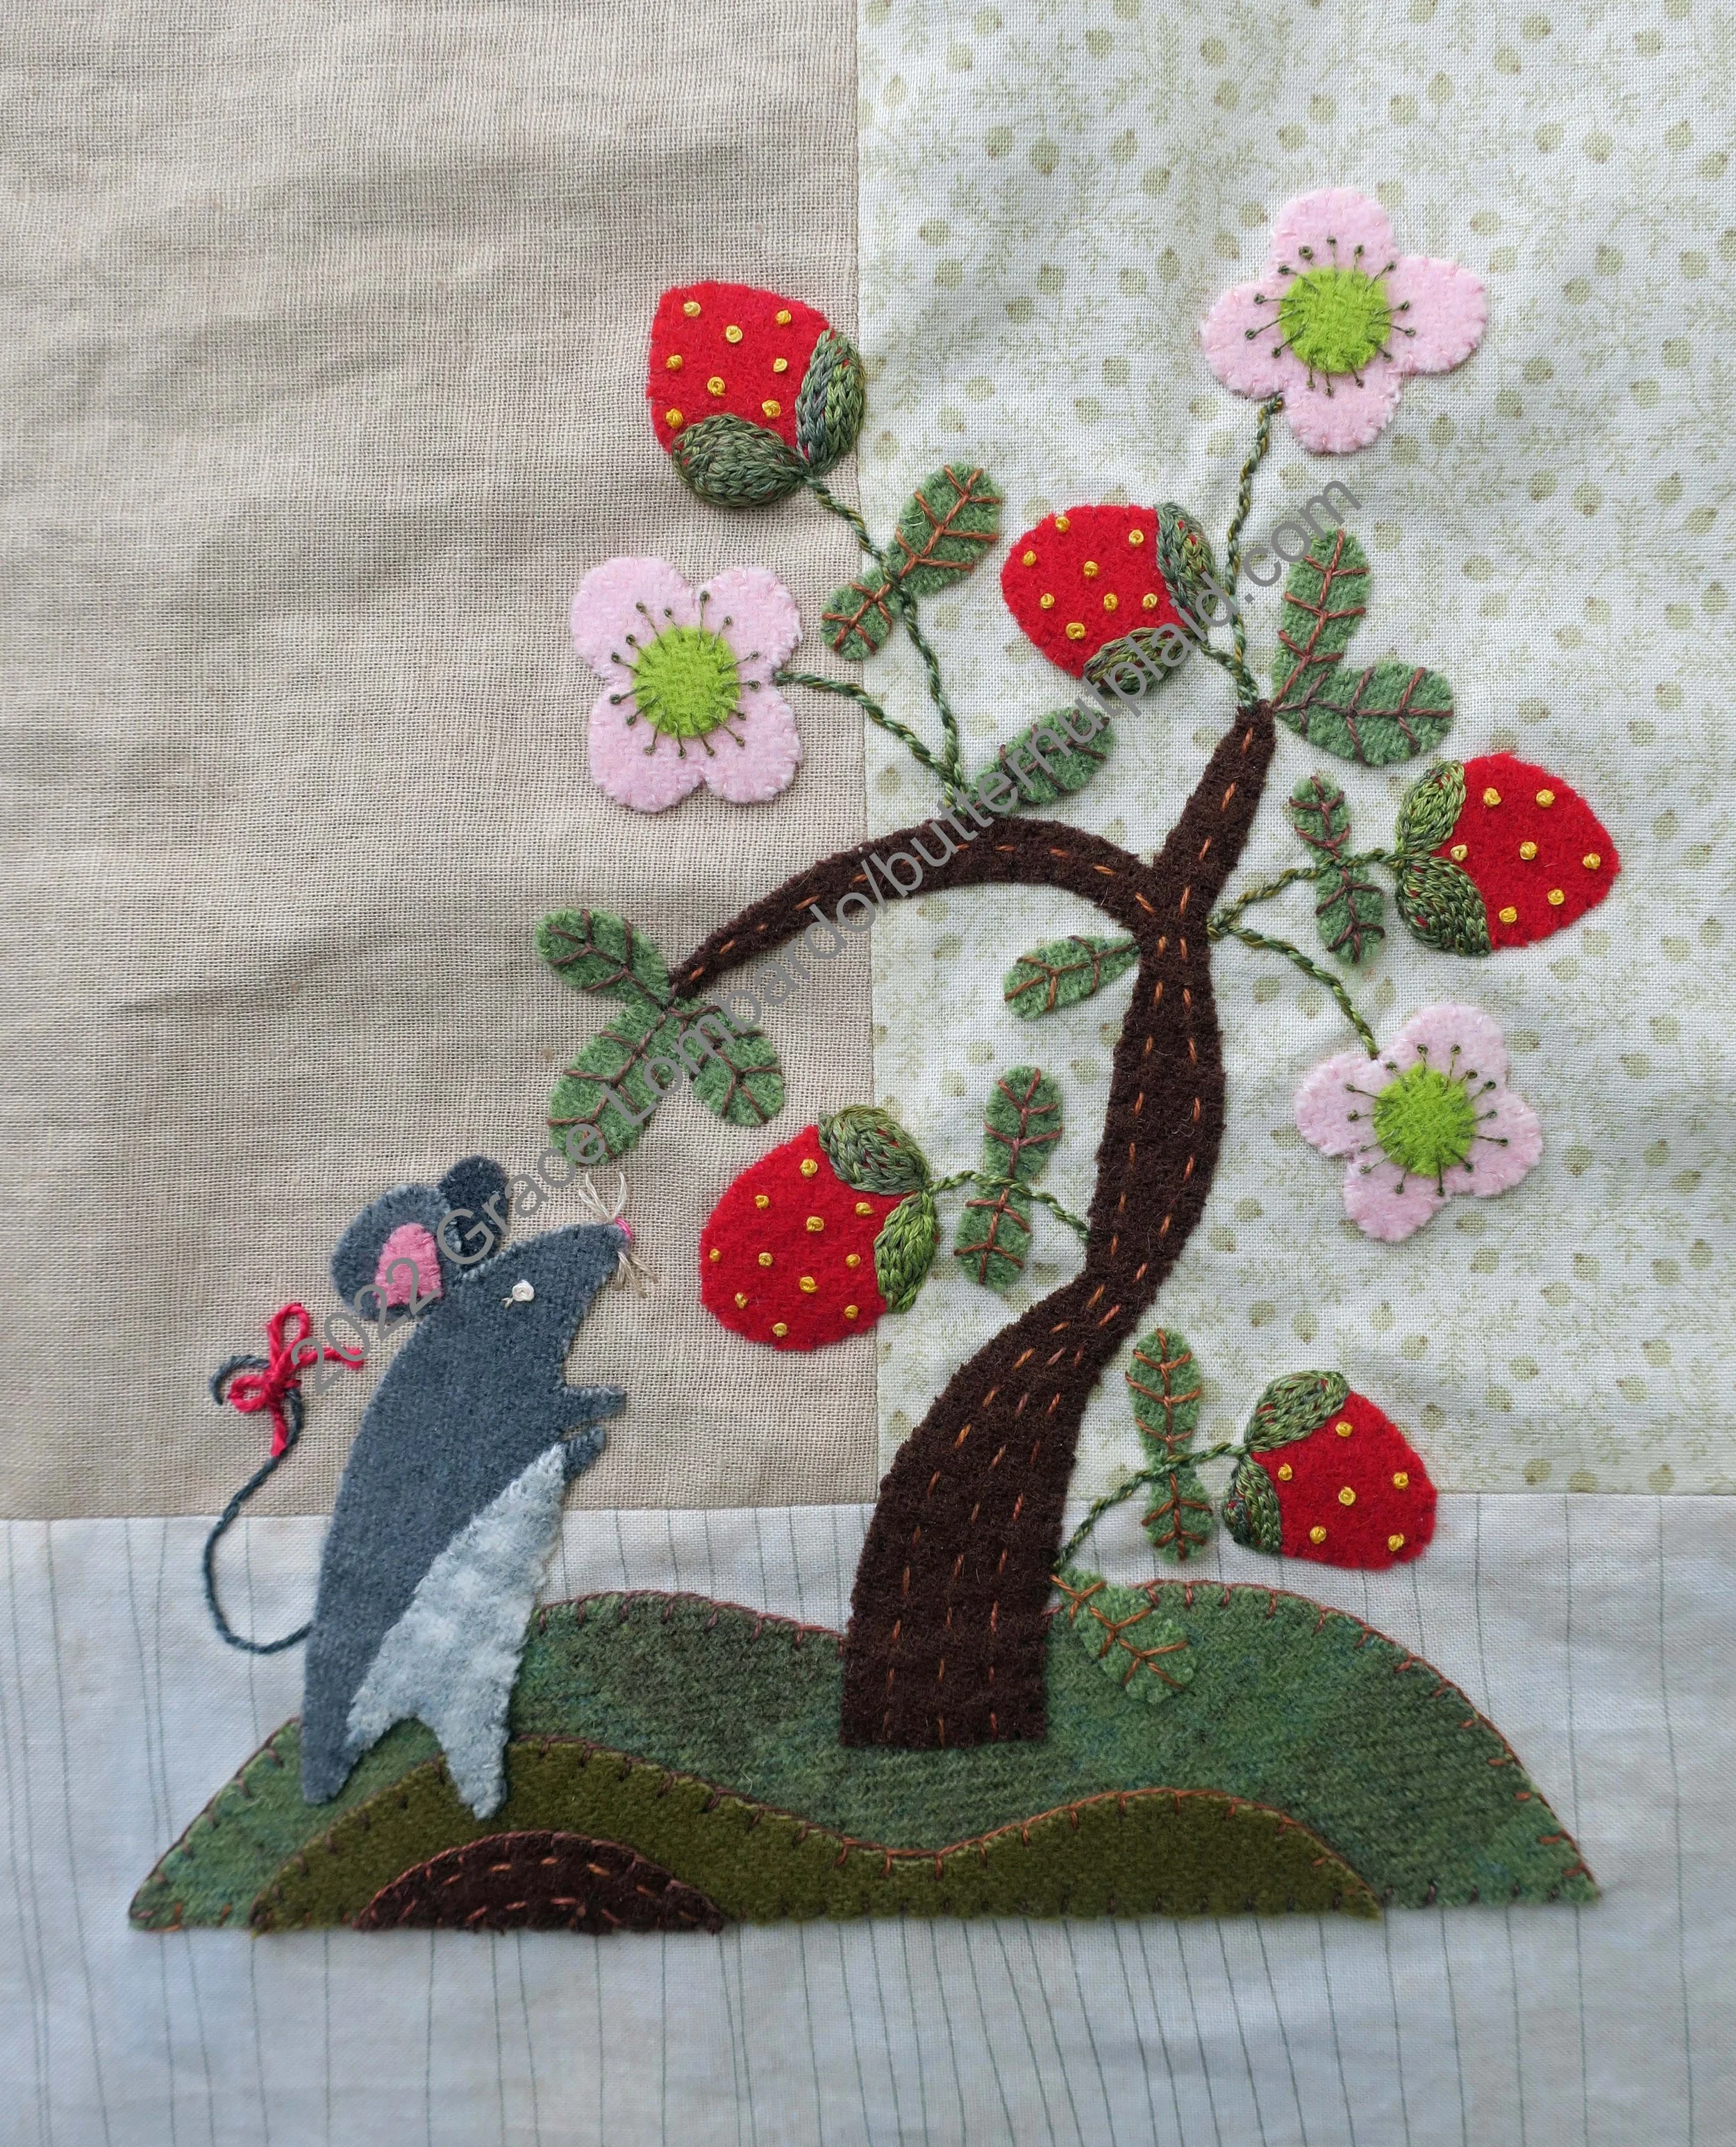
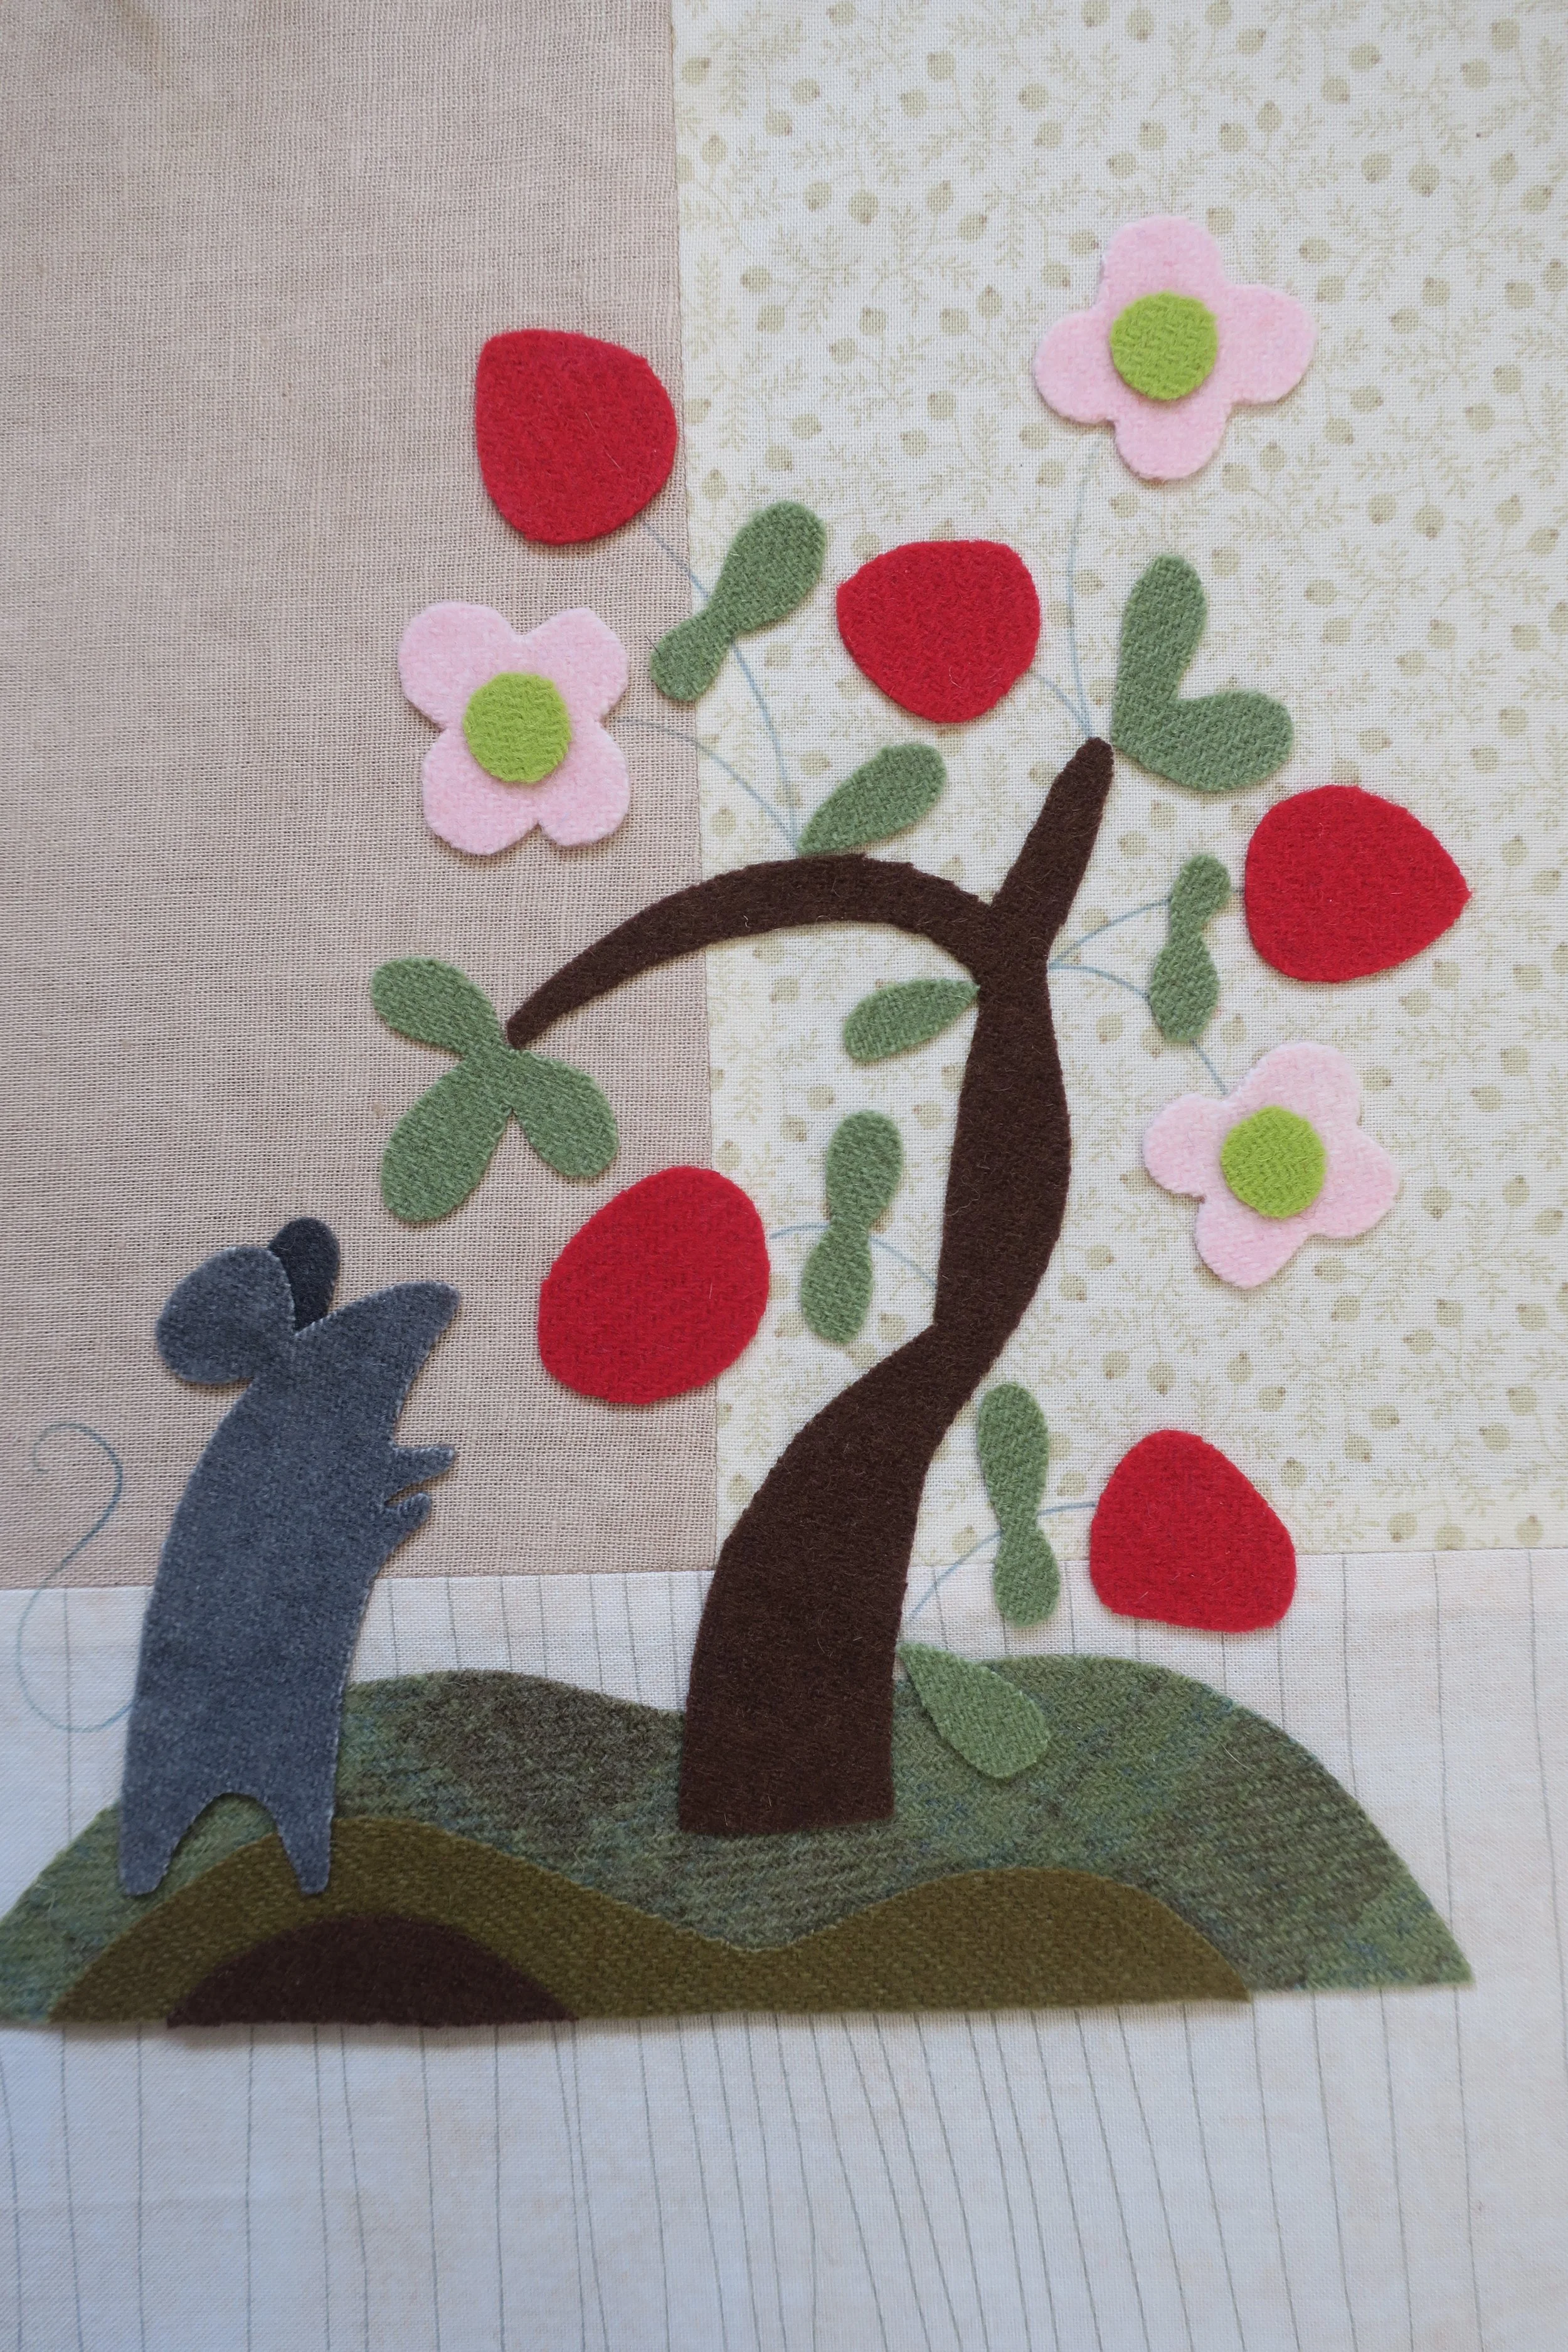
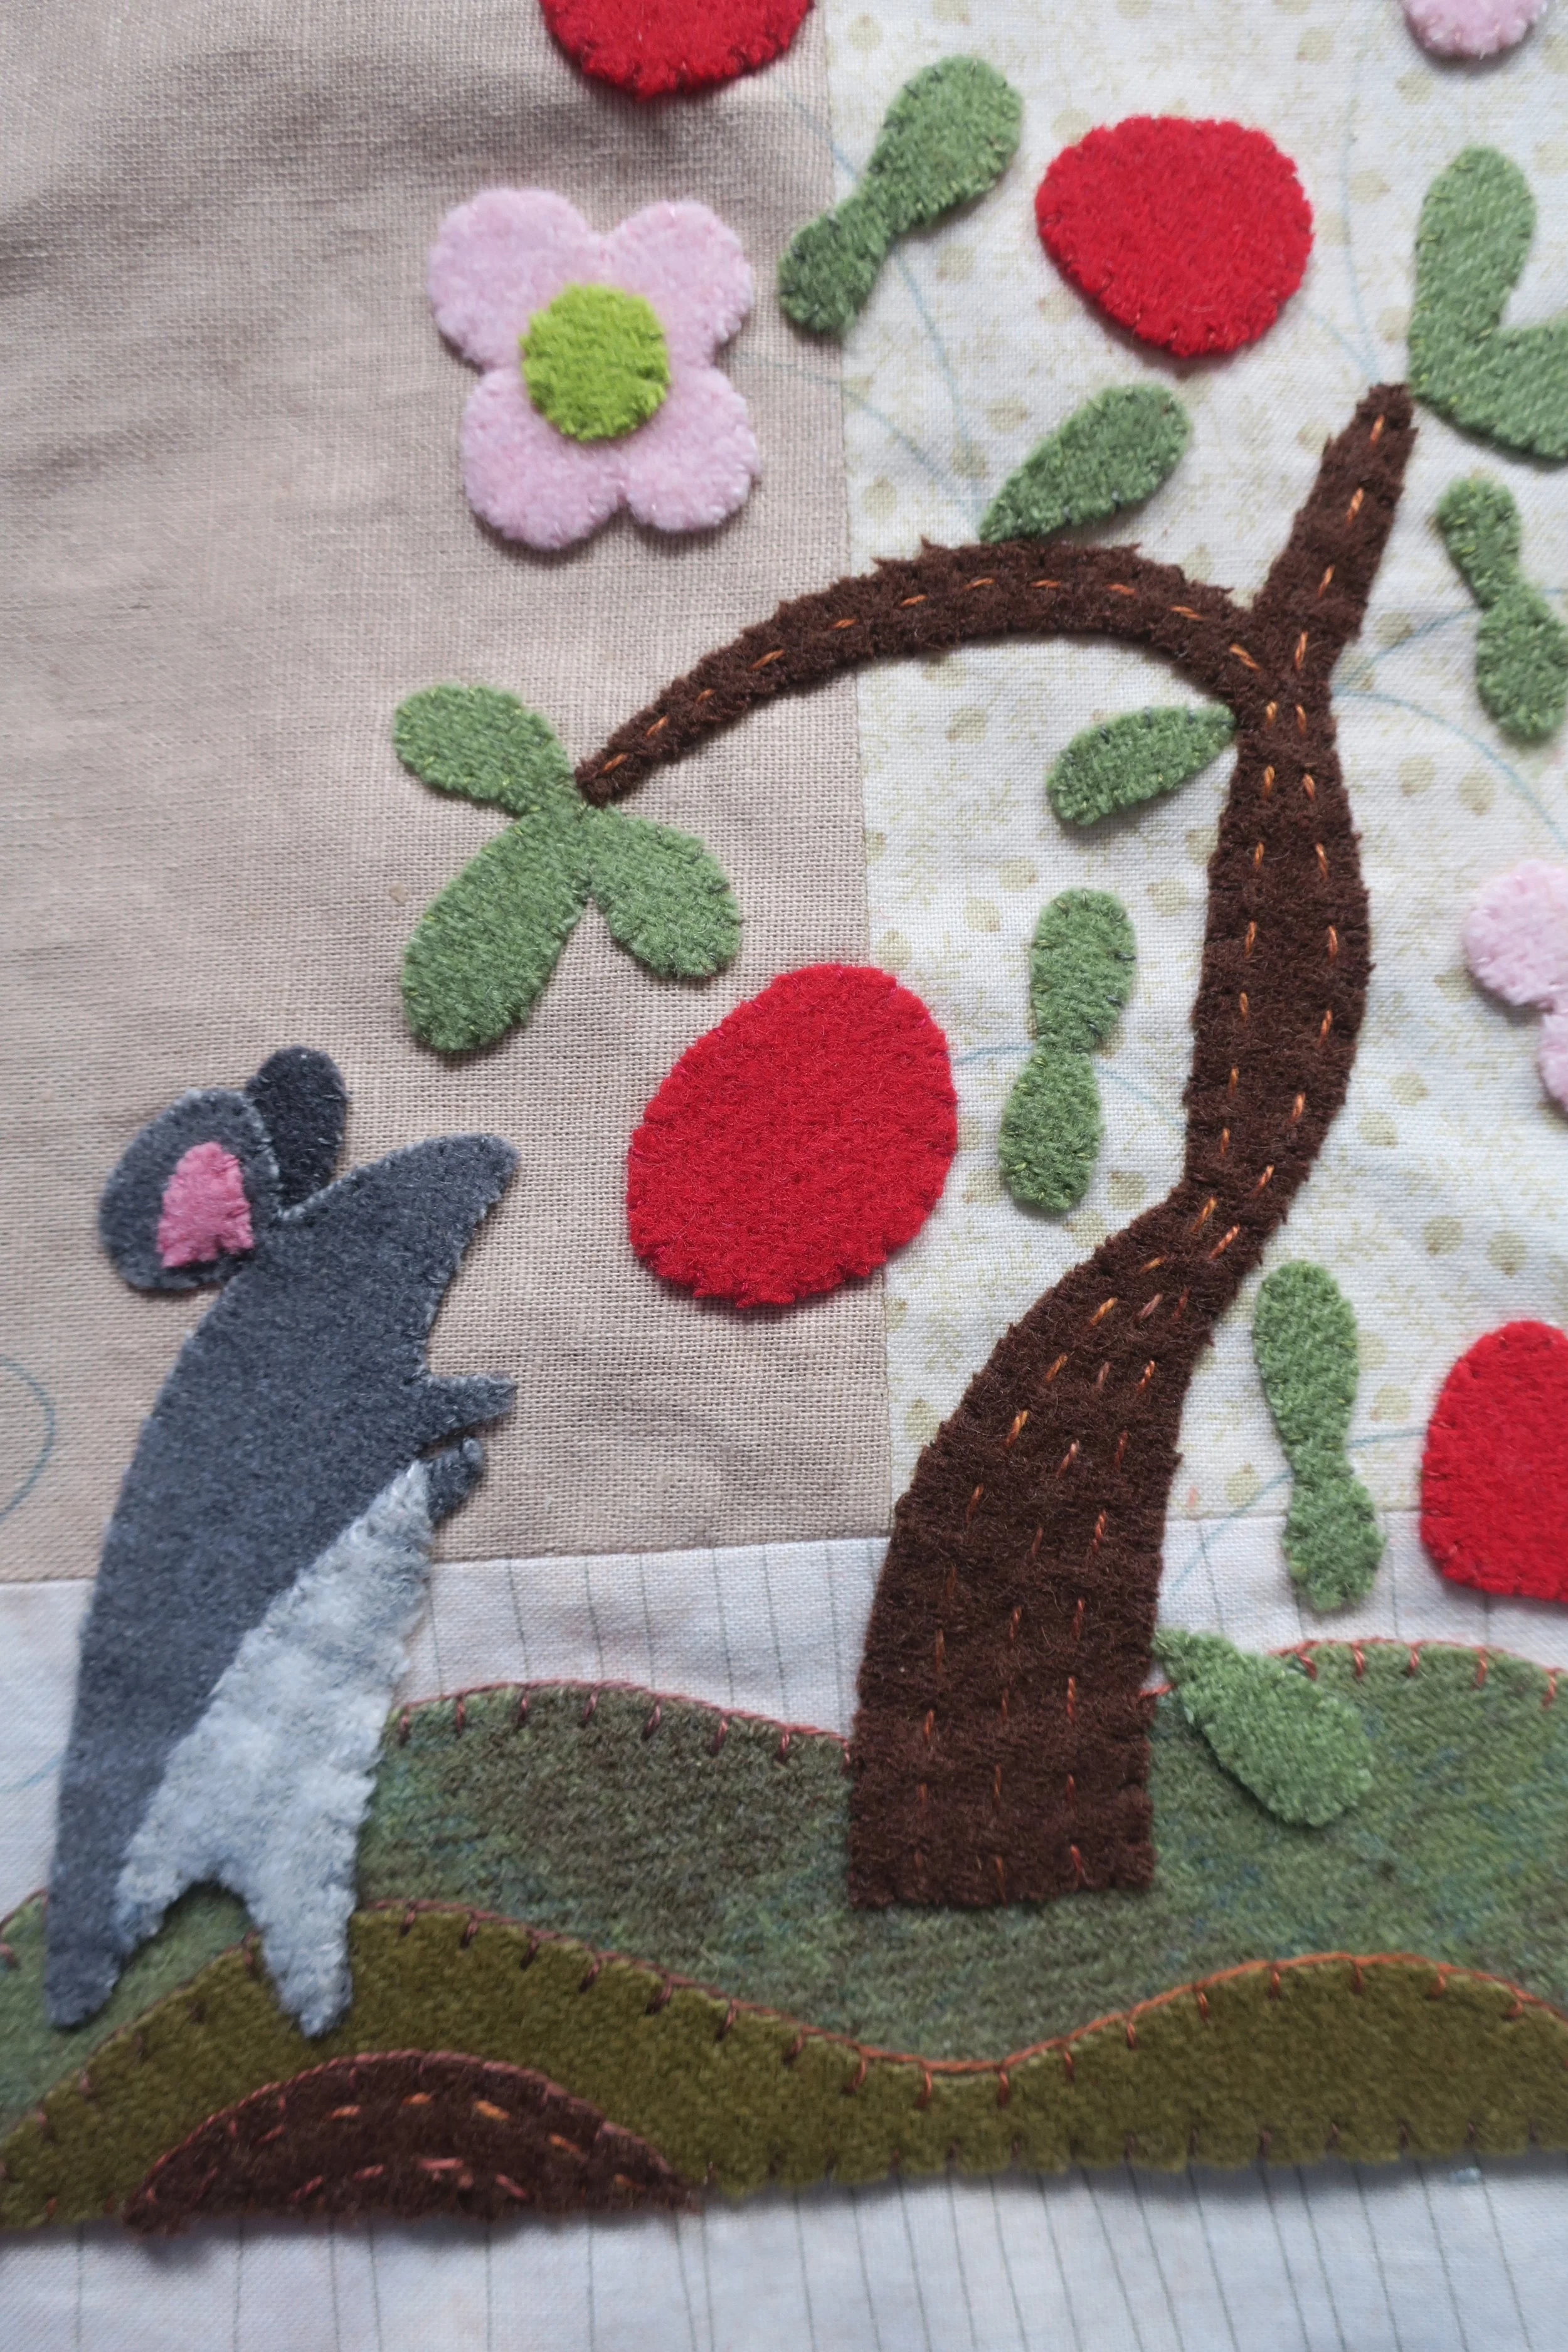
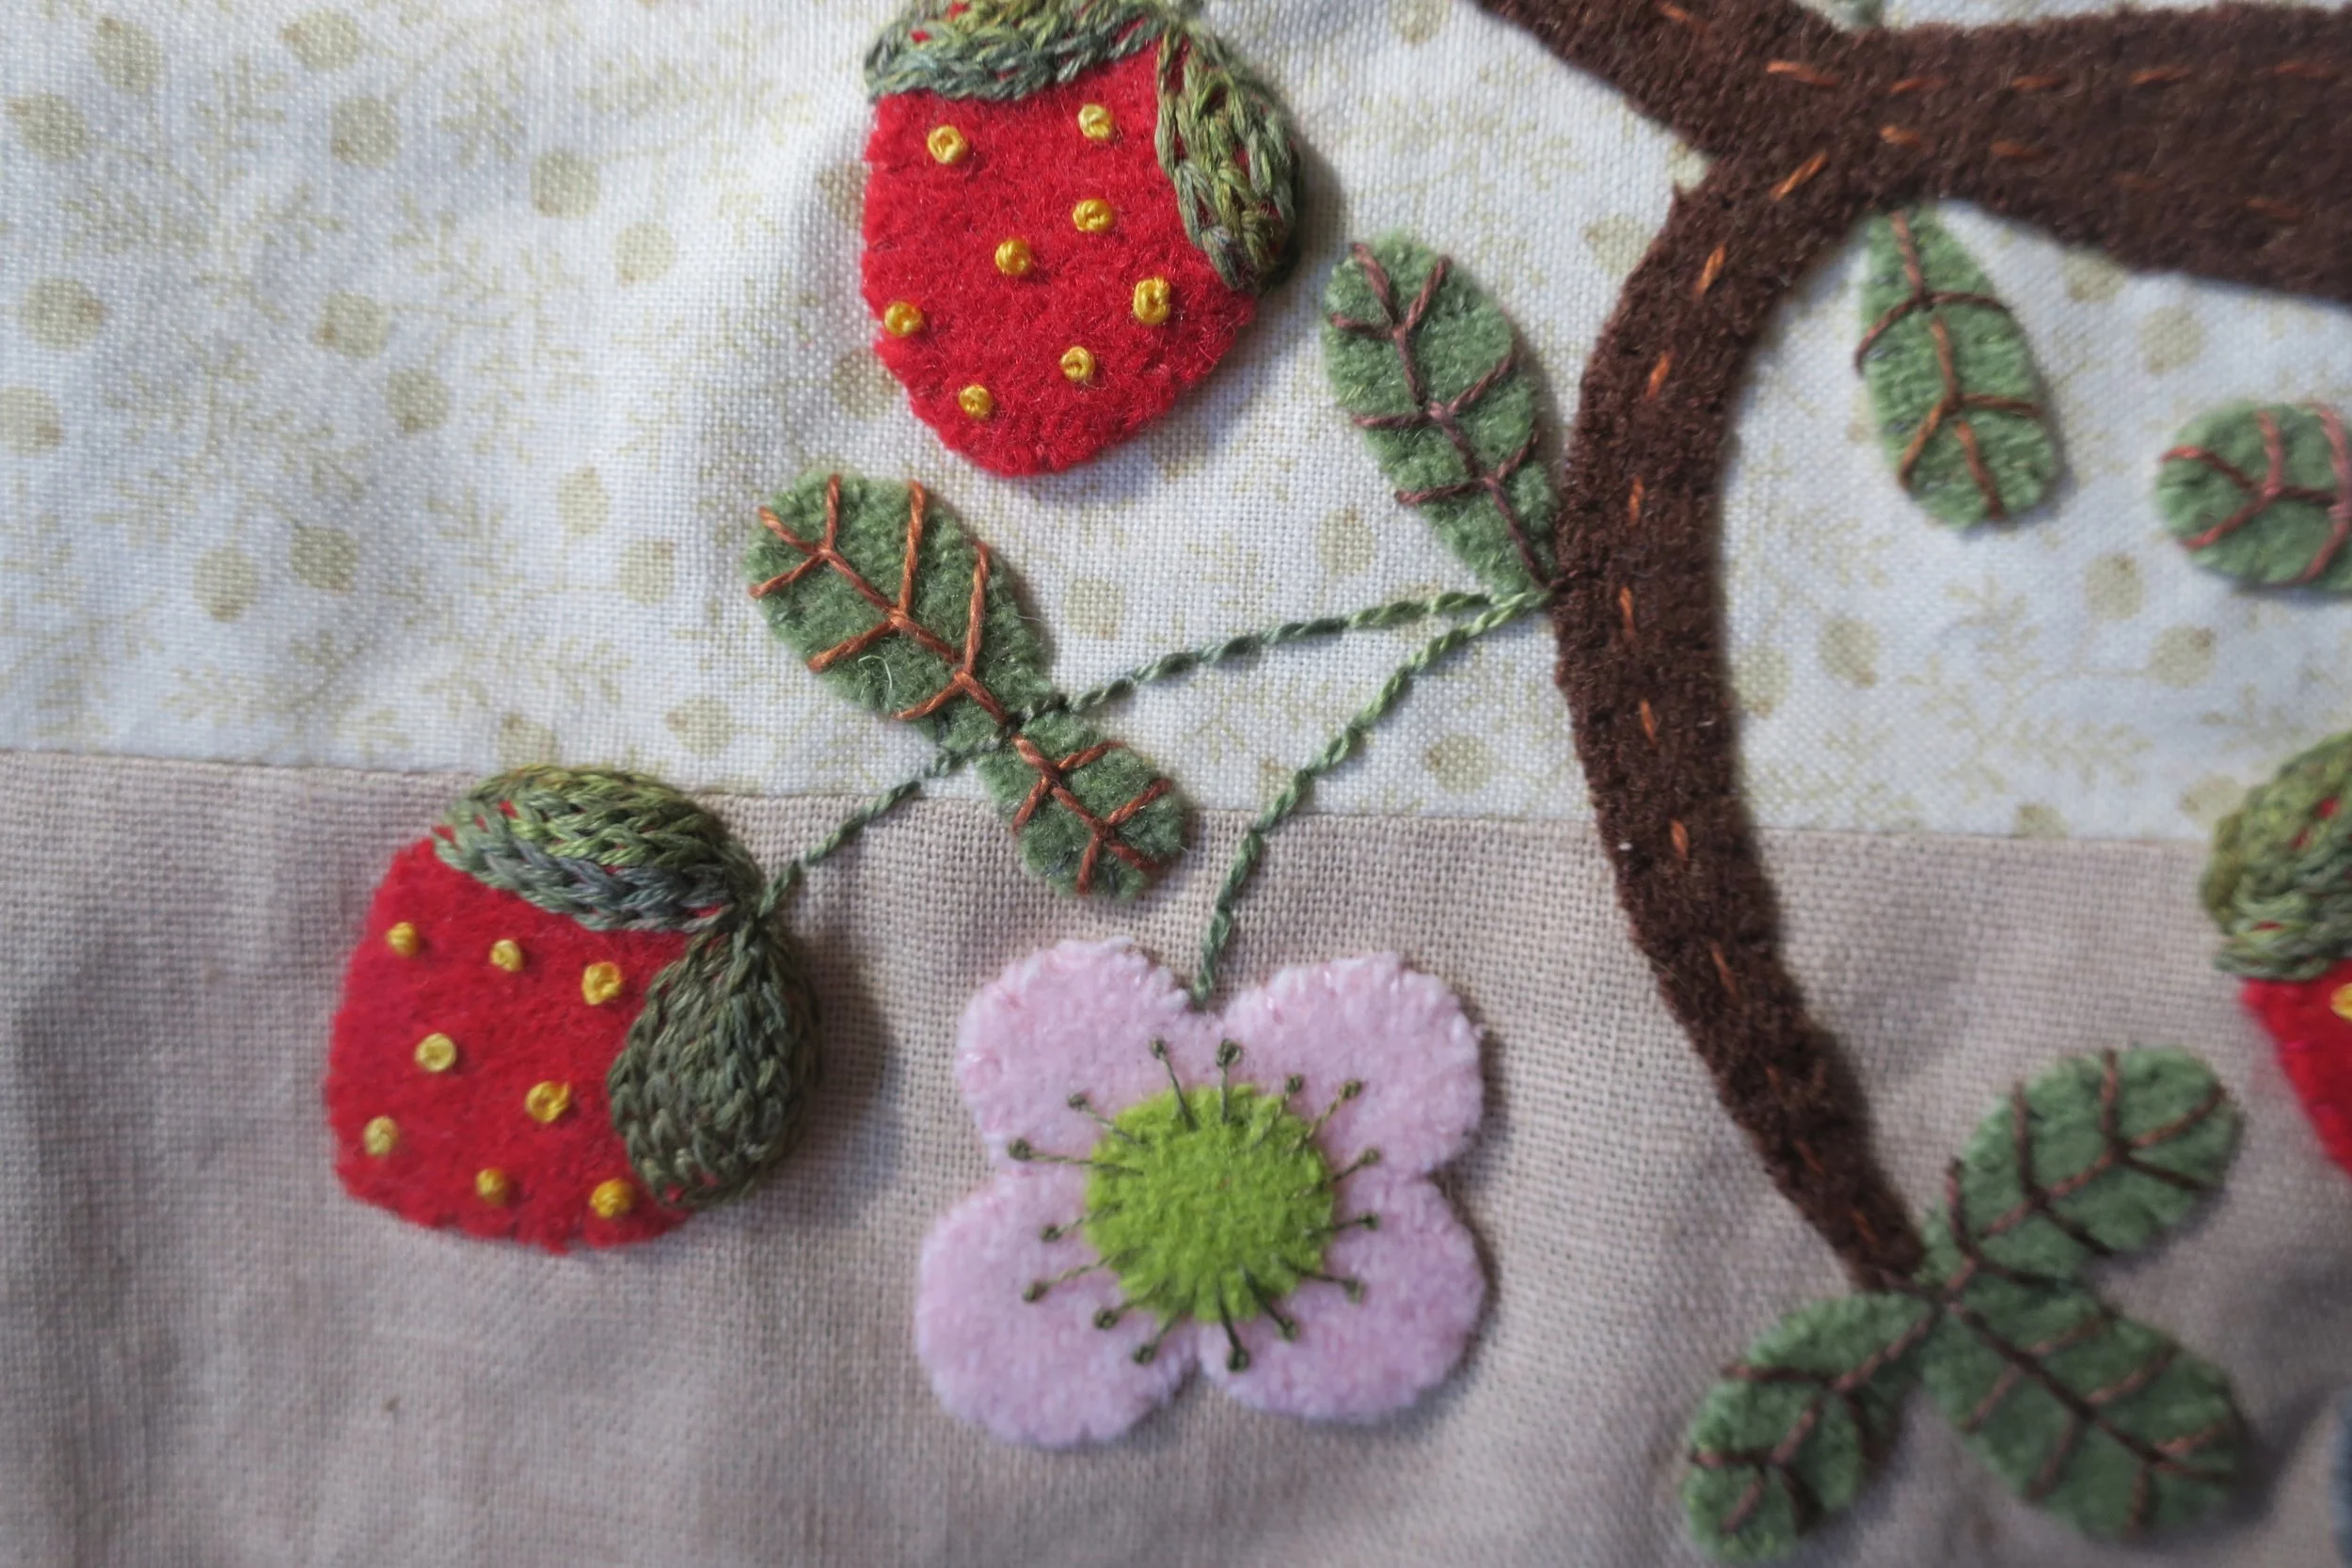
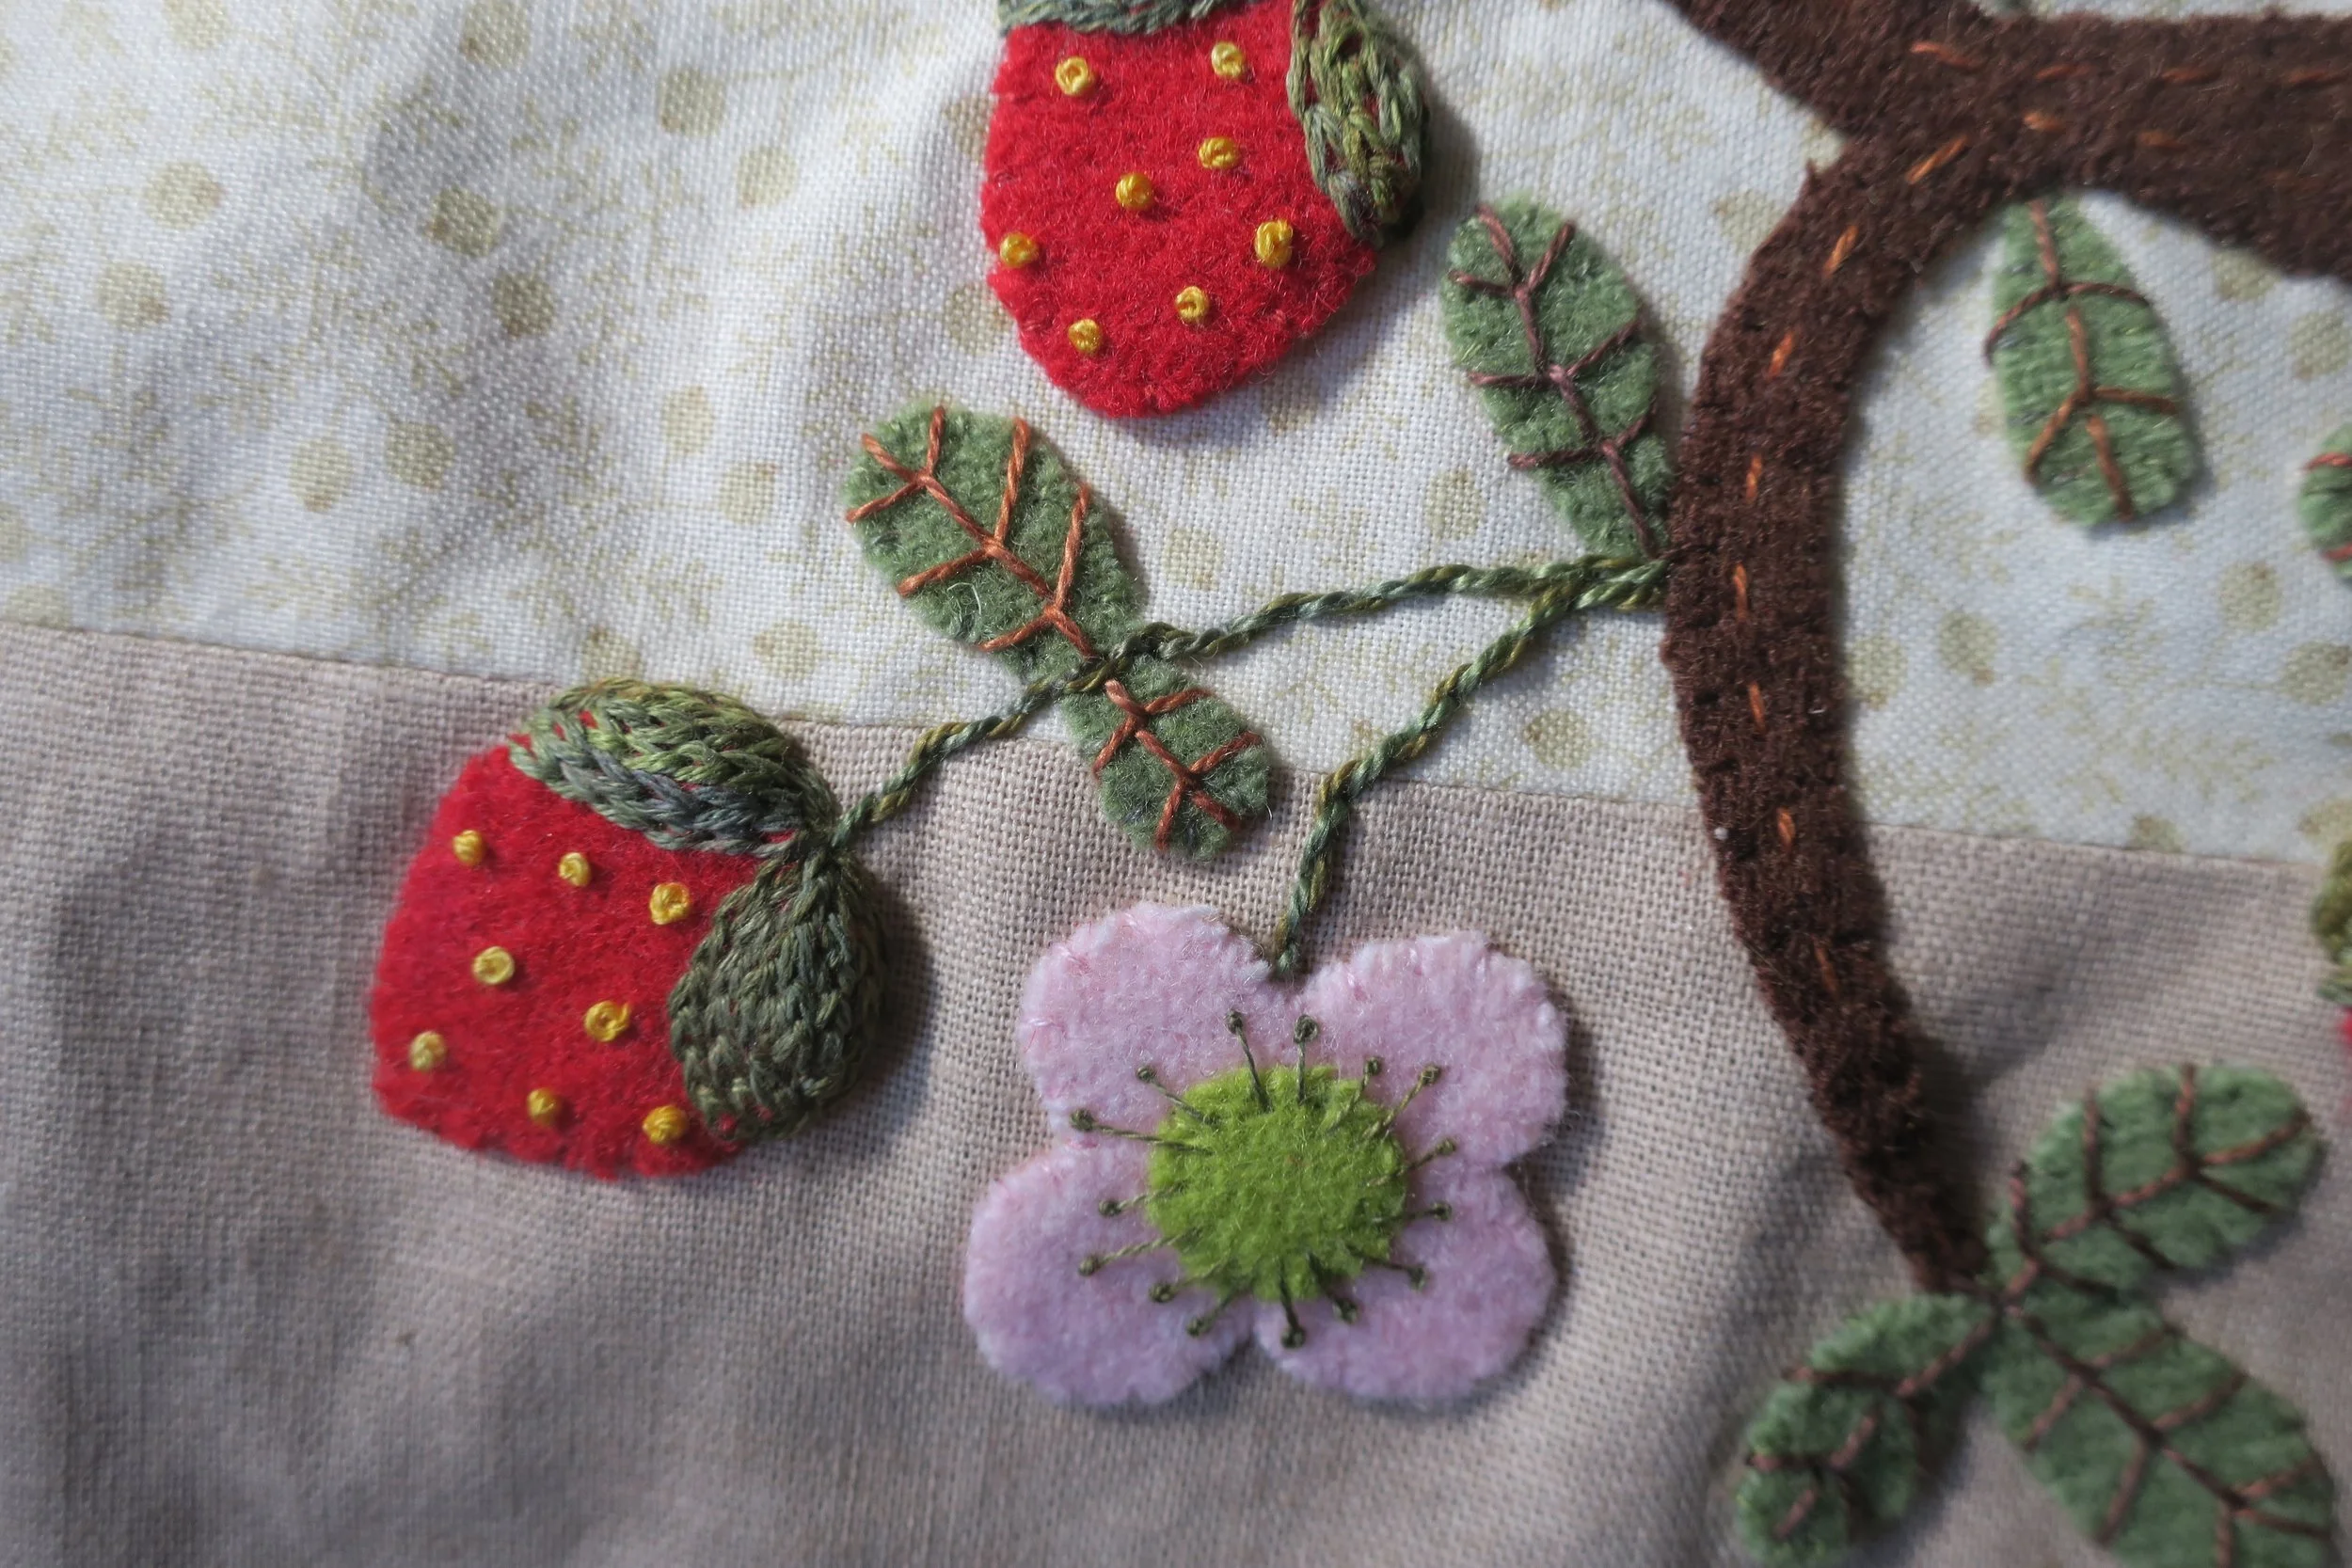
The end February in Southern California marks the beginning of the strawberry season, but March is when these delectable gems really start to show up in the markets. So, of course, I needed to commemorate this delicious season with a new design. This is Phoebe mouse who loves strawberries as much, or possibly a touch more than me. She has a special strawberry tree in her garden that produces amazing fruit – it’s almost magical. If only I had such a tree in my garden!
I appliqued this on a pieced background (using up my scraps), but a single fabric background would have worked just as well. The image measures approximately 7” (17.78 cm) wide x 8” (20.32 cm) tall. It fits nicely in an 8”x 10” picture frame. I hope you enjoy it.
Happy Stitching!
Supplies
Phoebe and The Strawberry Tree Layout and Pattern
Fabric background – 14” x 14” (35.56 cm x 35.56 cm) square of linen/cotton blend or quilter’s cotton This can be pieced together to make a 14” (35.56 cm) square. I like to work on a background that gives me generous borders.
Felted wool or wool felt – suggested colors
· Strawberry tree and small base piece – 3 ½” x 6” (9cm x 15cm) dark brown
· Leaves – 3 ½” (9cm) square green
· Flowers – 3” (8cm) square light pink
· Flower centers – 2”(5cm) square chartreuse
· Strawberries – 3 ½” (9cm) square red
· Phoebe Mouse body – 2” x 4” (5cm x 10cm) gray
· Phoebe Mouse ear – 1” (2.5cm) square dark gray
· Inner ear – 1” (2.5cm) square medium pink
· Belly – 1 ½” x 2 ½” (4cm x 6.5cm) white/gray plaid
· Large base – 2” x 8” (5cm x 20cm) green plaid
· Medium base – 1 ½” x 6” ( 4cm x 16cm) army green
Thread – suggested colors (House of Embroidery floss and perle cotton can be purchased at GlobalArtisans.shop)
· 6 strand embroidery floss in colors that match your wool colors. This will be used to whip stitch the applique pieces in place.
Embroidery floss - I used a dark grey from Cosmo, color #155 for Phoebe’s tail
Embroidery floss - I used a variegated green, Foxtail Fern from House of Embroidery, color 71C for the strawberry caps
· Embroidery floss – I used House of Embroidery, color #46C Brass (strawberry seeds)
· Embroidery floss – ecru for Phoebe’s eye and whiskers
· Perle cotton, size 12 – I used a variegated red-brown by Wildflowers by Caron, color #137 copper. This is used to blanket stitch around the base, the running stitch embellishment and the veins of the leaves.
· Perle cotton, size 8 – I used two different shades of variegated green by House of Embroidery, colors 71C and 32B. This is used for the flower and strawberry stems.
· Perle cotton, size 5 – I used a Christmas red by House of Embroidery, color #40A. This is used to make the bow for Phoebe’s tail (5” length)(13cm). 6 strands of embroidery floss can be substituted for this.
Miscellaneous
· Lightweight fusible web (I used Soft Fuse Premium)
· Chenille needles, sizes 24 and 22
· Fine point chalk pencil (I used Bohin extra fine chalk pencil, white)
· Transfer pencil (I used Sublime Stitching Fine Tip Iron-on Transfer Pen)
· Clothes Iron
· Light box – Optional (a sunny window can be used in place of this)
· Optional -Thread conditioner (I used Sew Fine Thread Gloss)
· One 8 ½” x 11” piece of copy paper
· Scotch or Sello tape
Instructions – The stitch guide covers most of the stitches used in this project. Additional stitch instructions can be found online. Some of the sources I have used are:
https://www.needlenthread.com/
https://www.embroidery.rocksea.org/
https://rsnstitchbank.org/wall
All of these websites are excellent sources for embroidery technique. Please consider contributing to their businesses via Patreon.
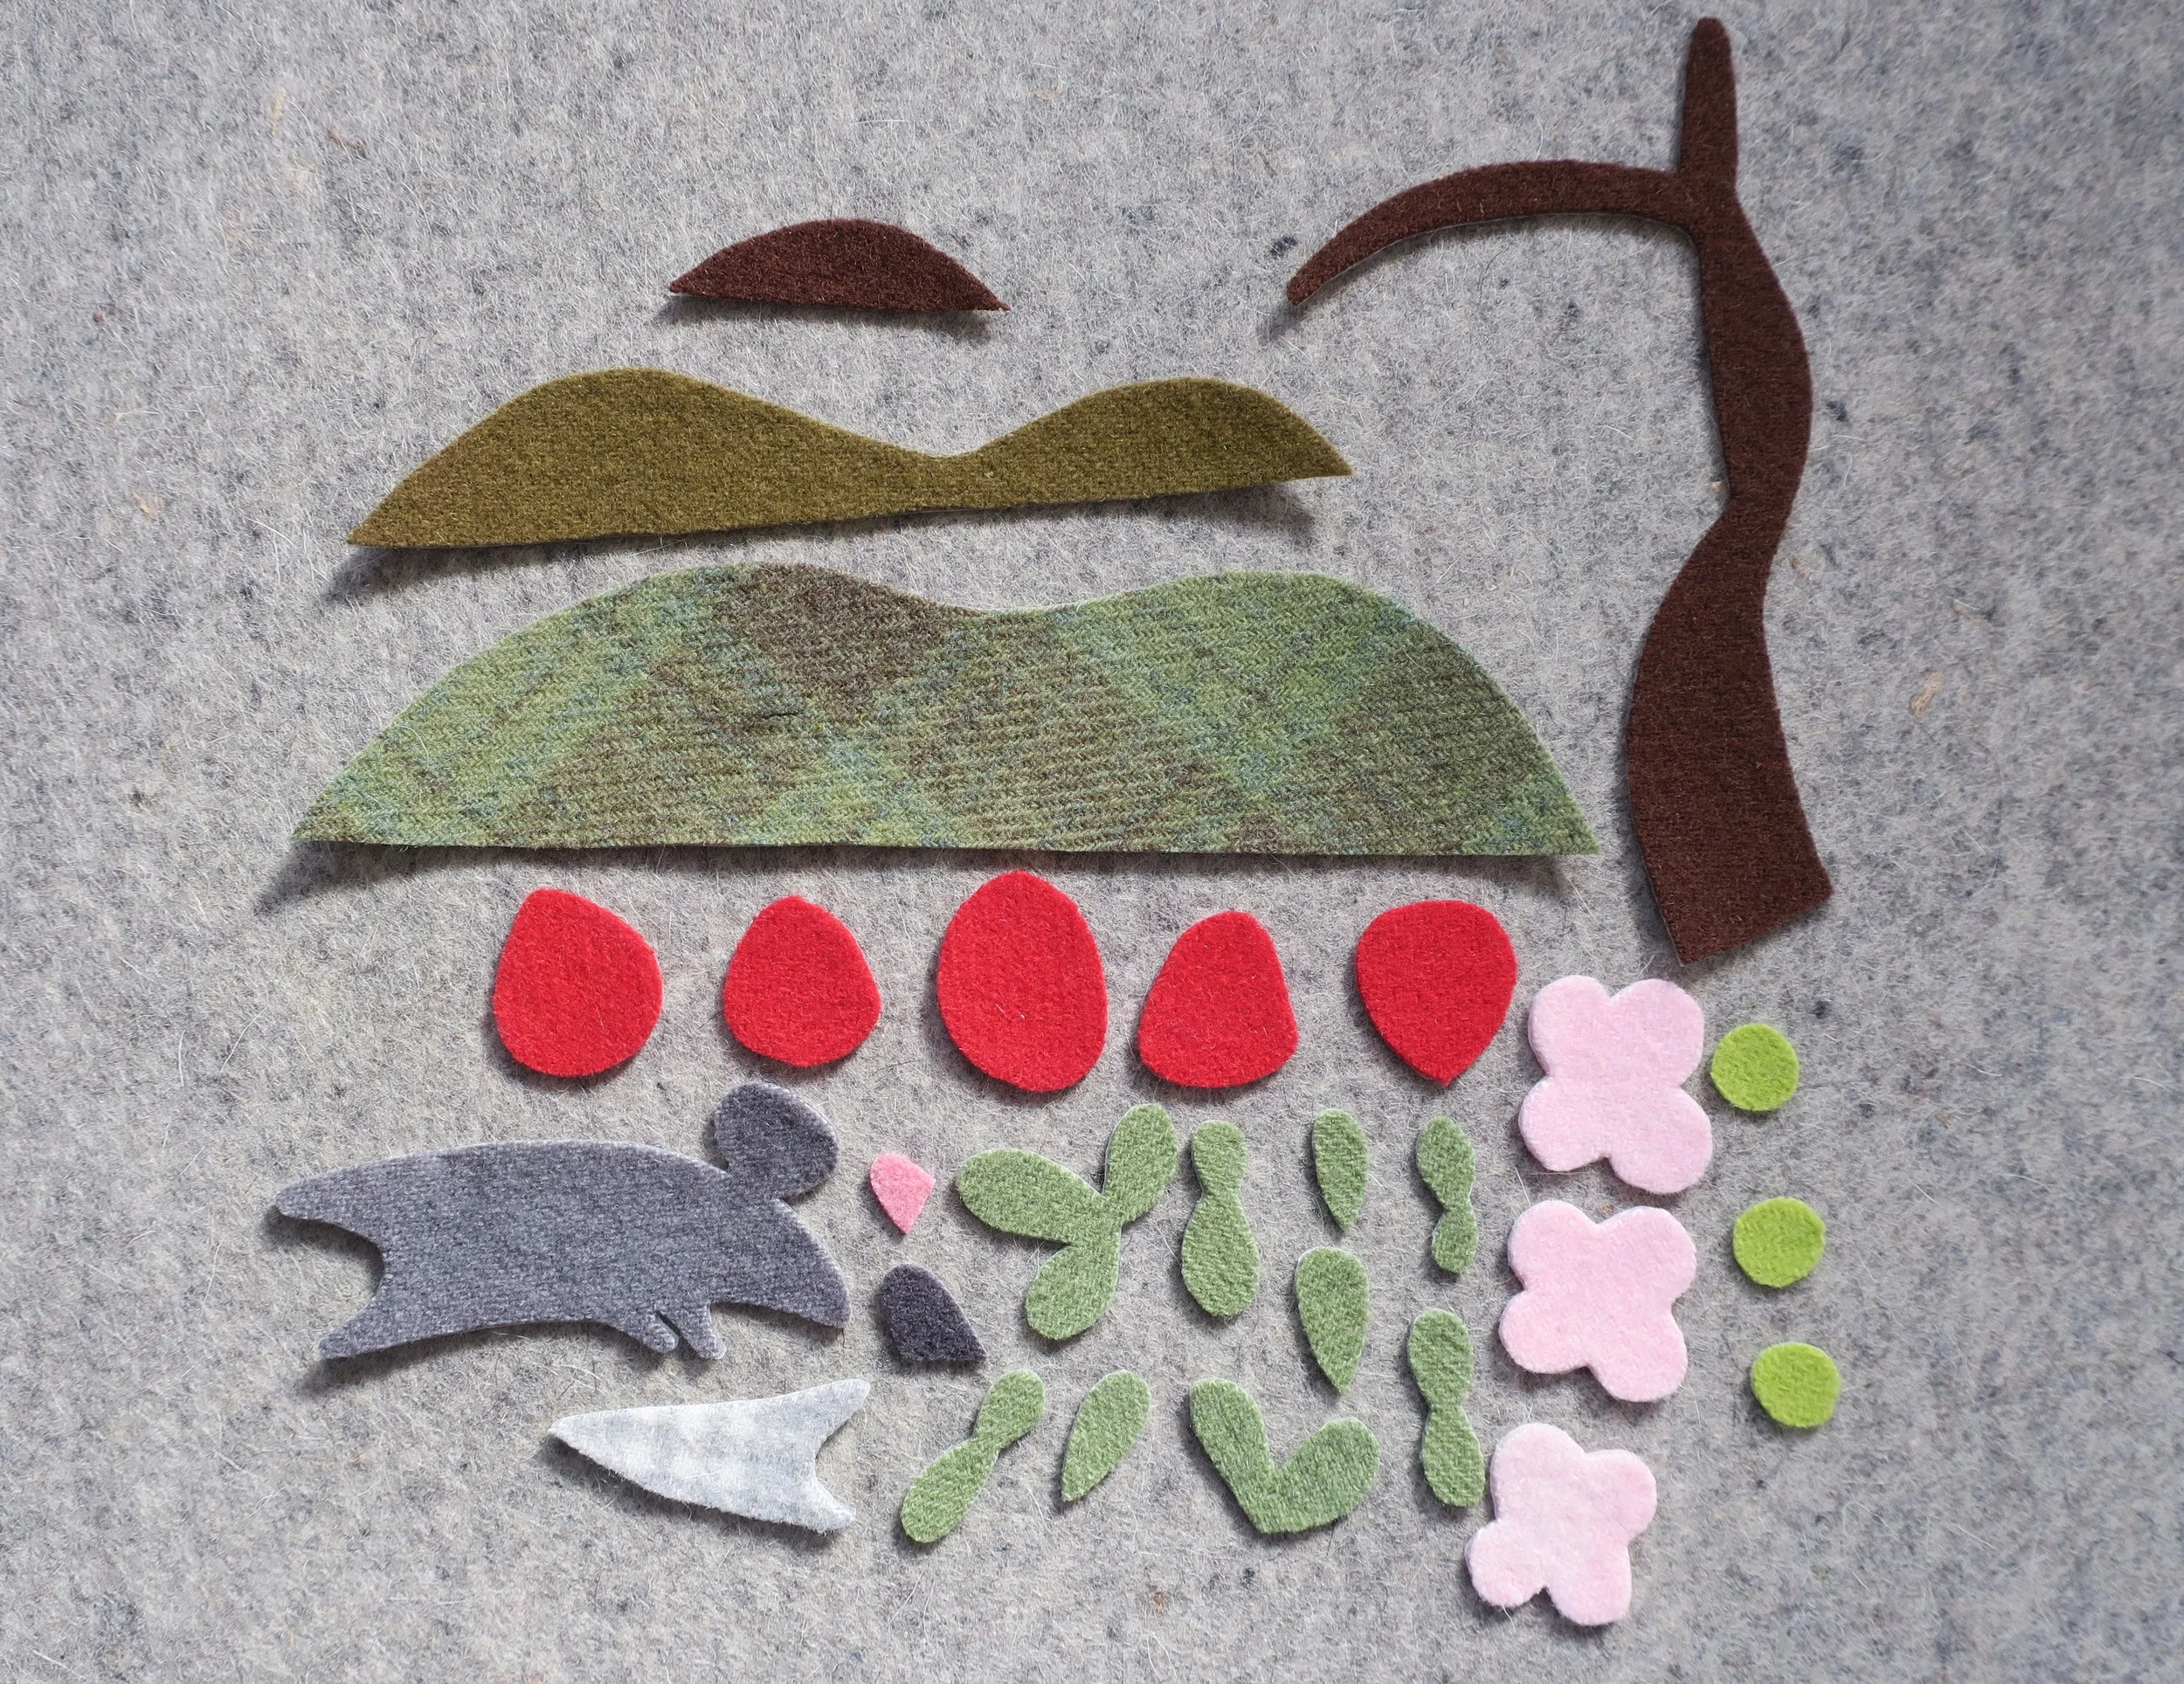
1. Trace the pattern pieces onto the paper side of fusible web and then cut out leaving a small (1/8”) border around each. Note: Images are already reversed for use with fusible web.
2. Fuse the pattern pieces onto desired wools and then cut out along drawn lines. Set aside.
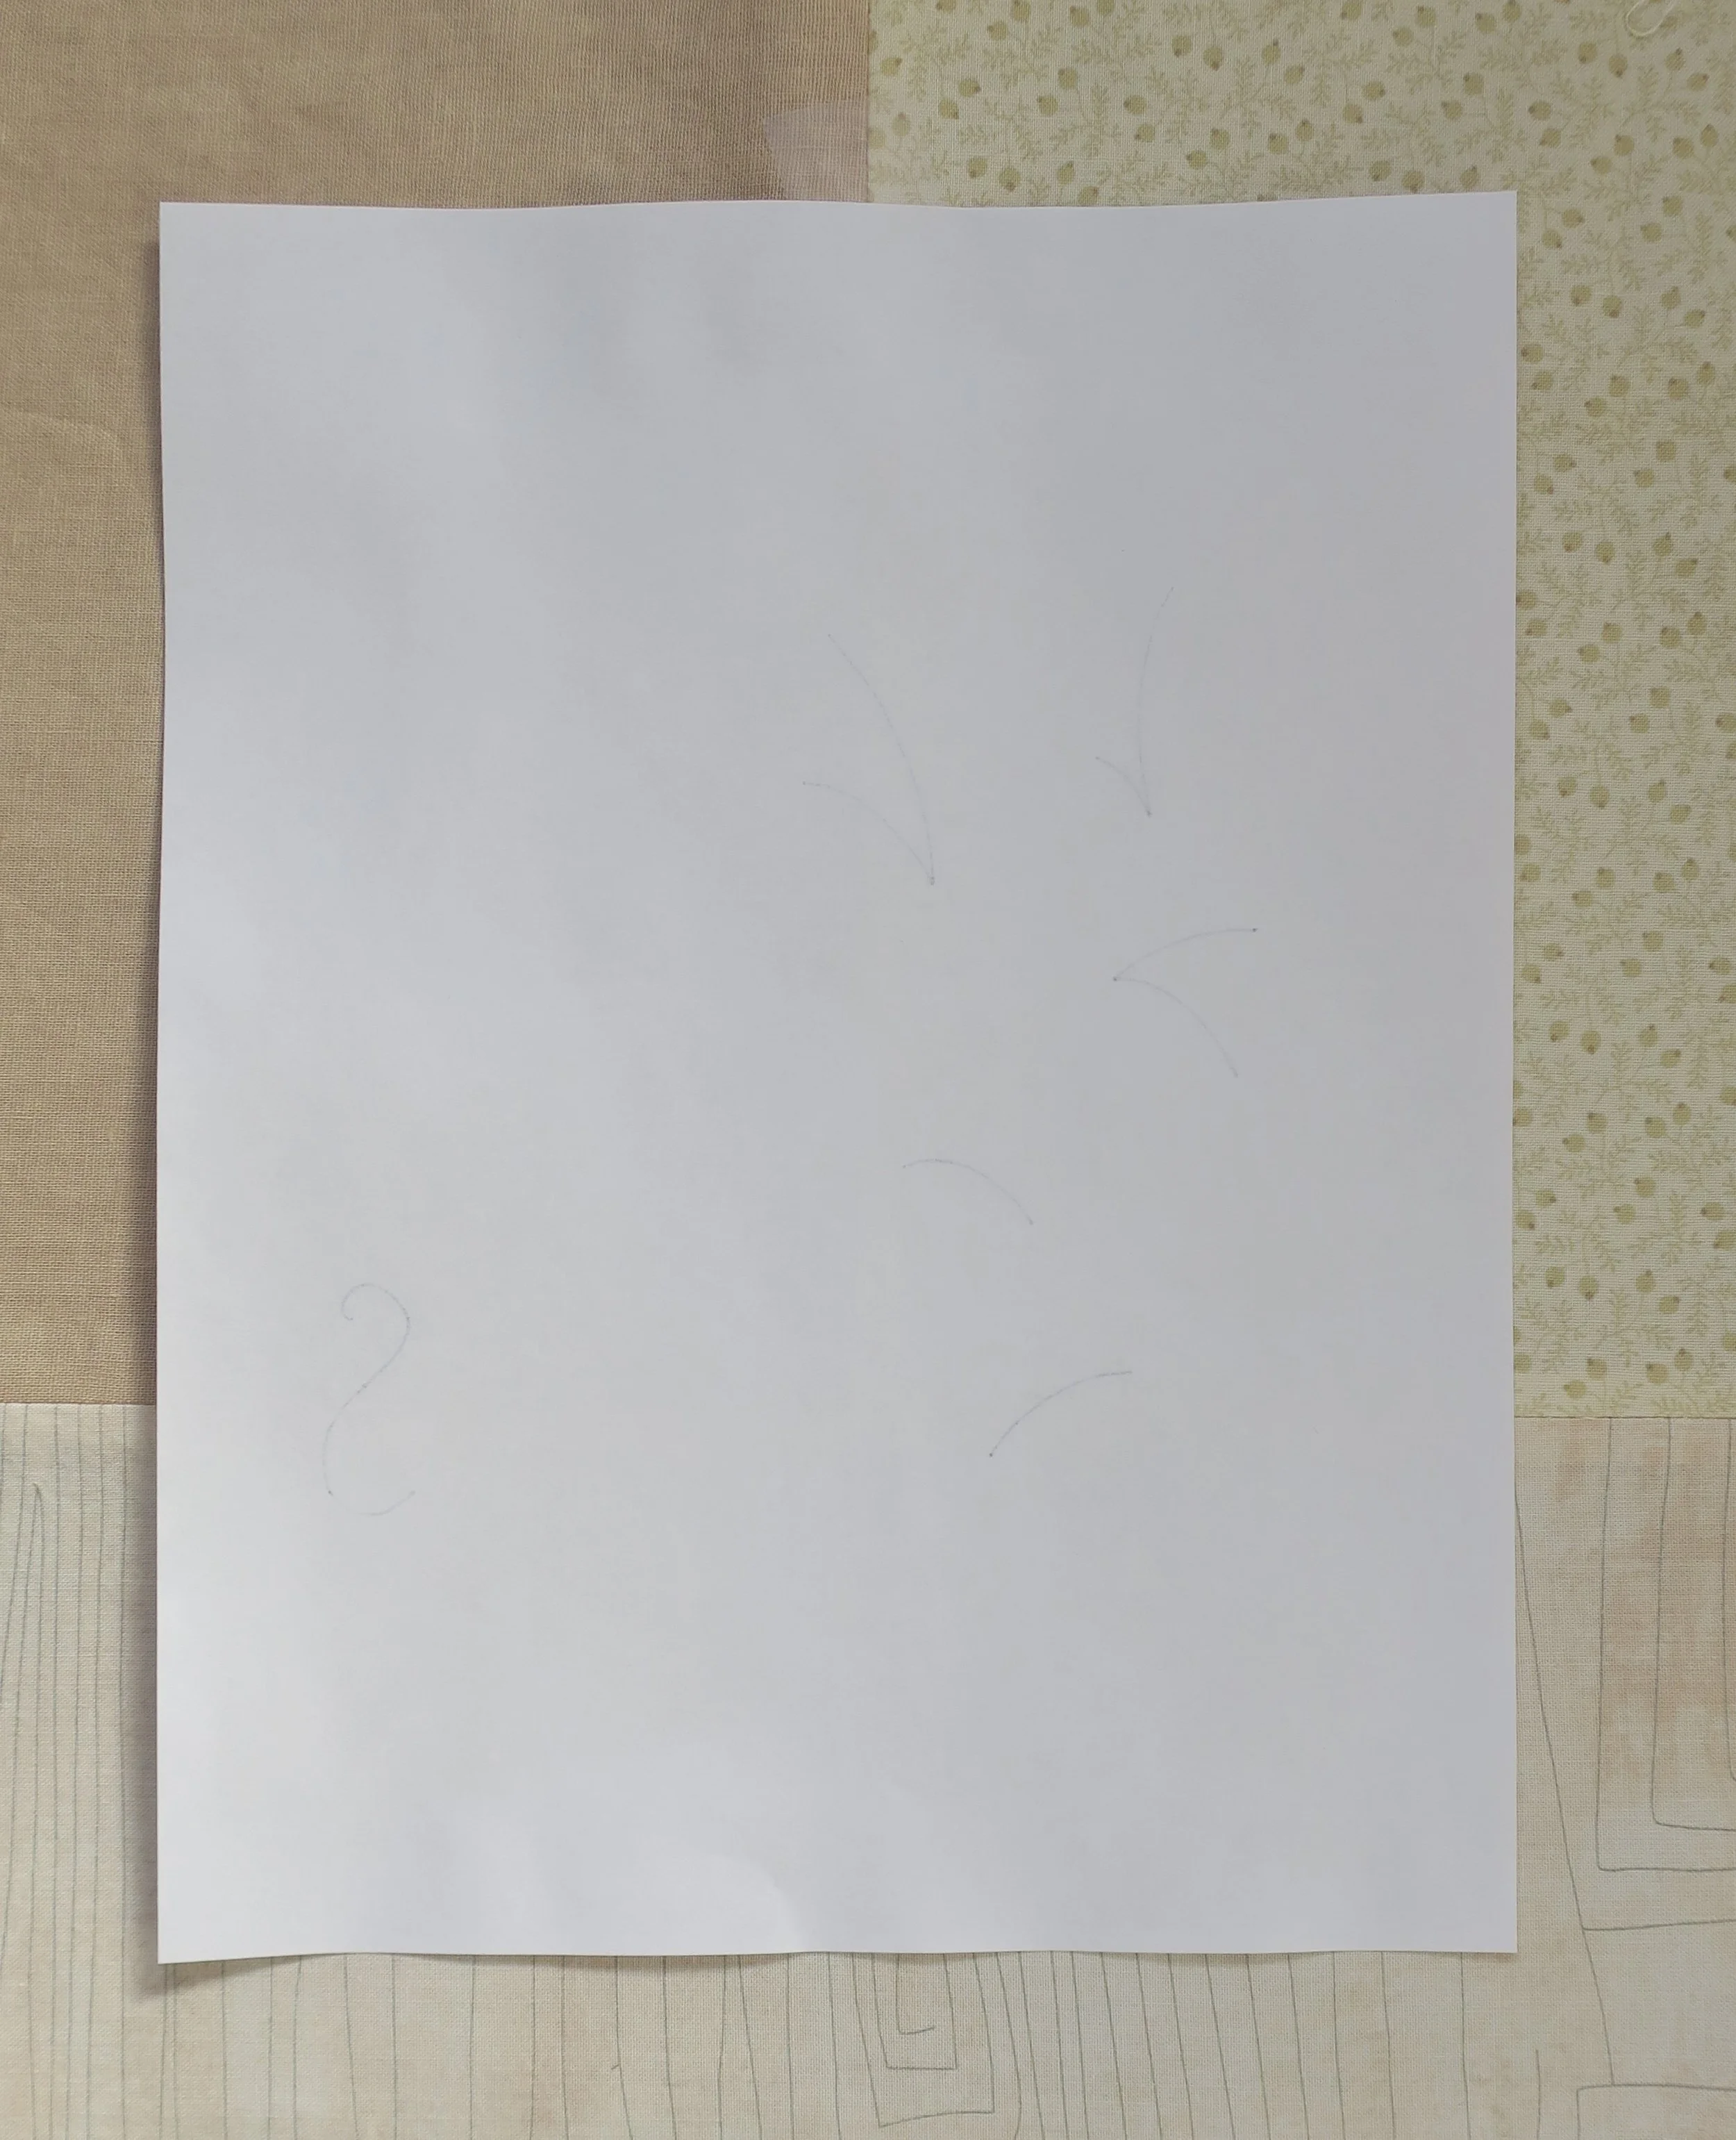
3. Using the layout and a transfer pencil, trace a reverse image of the stems of the strawberries and flowers, and Phoebe’s tail onto a piece of copy paper. This will be your transfer paper. Note: Place the Layout face down on a lightbox or bright window and trace the stems and Phoebe’s tail creating a reverse image.
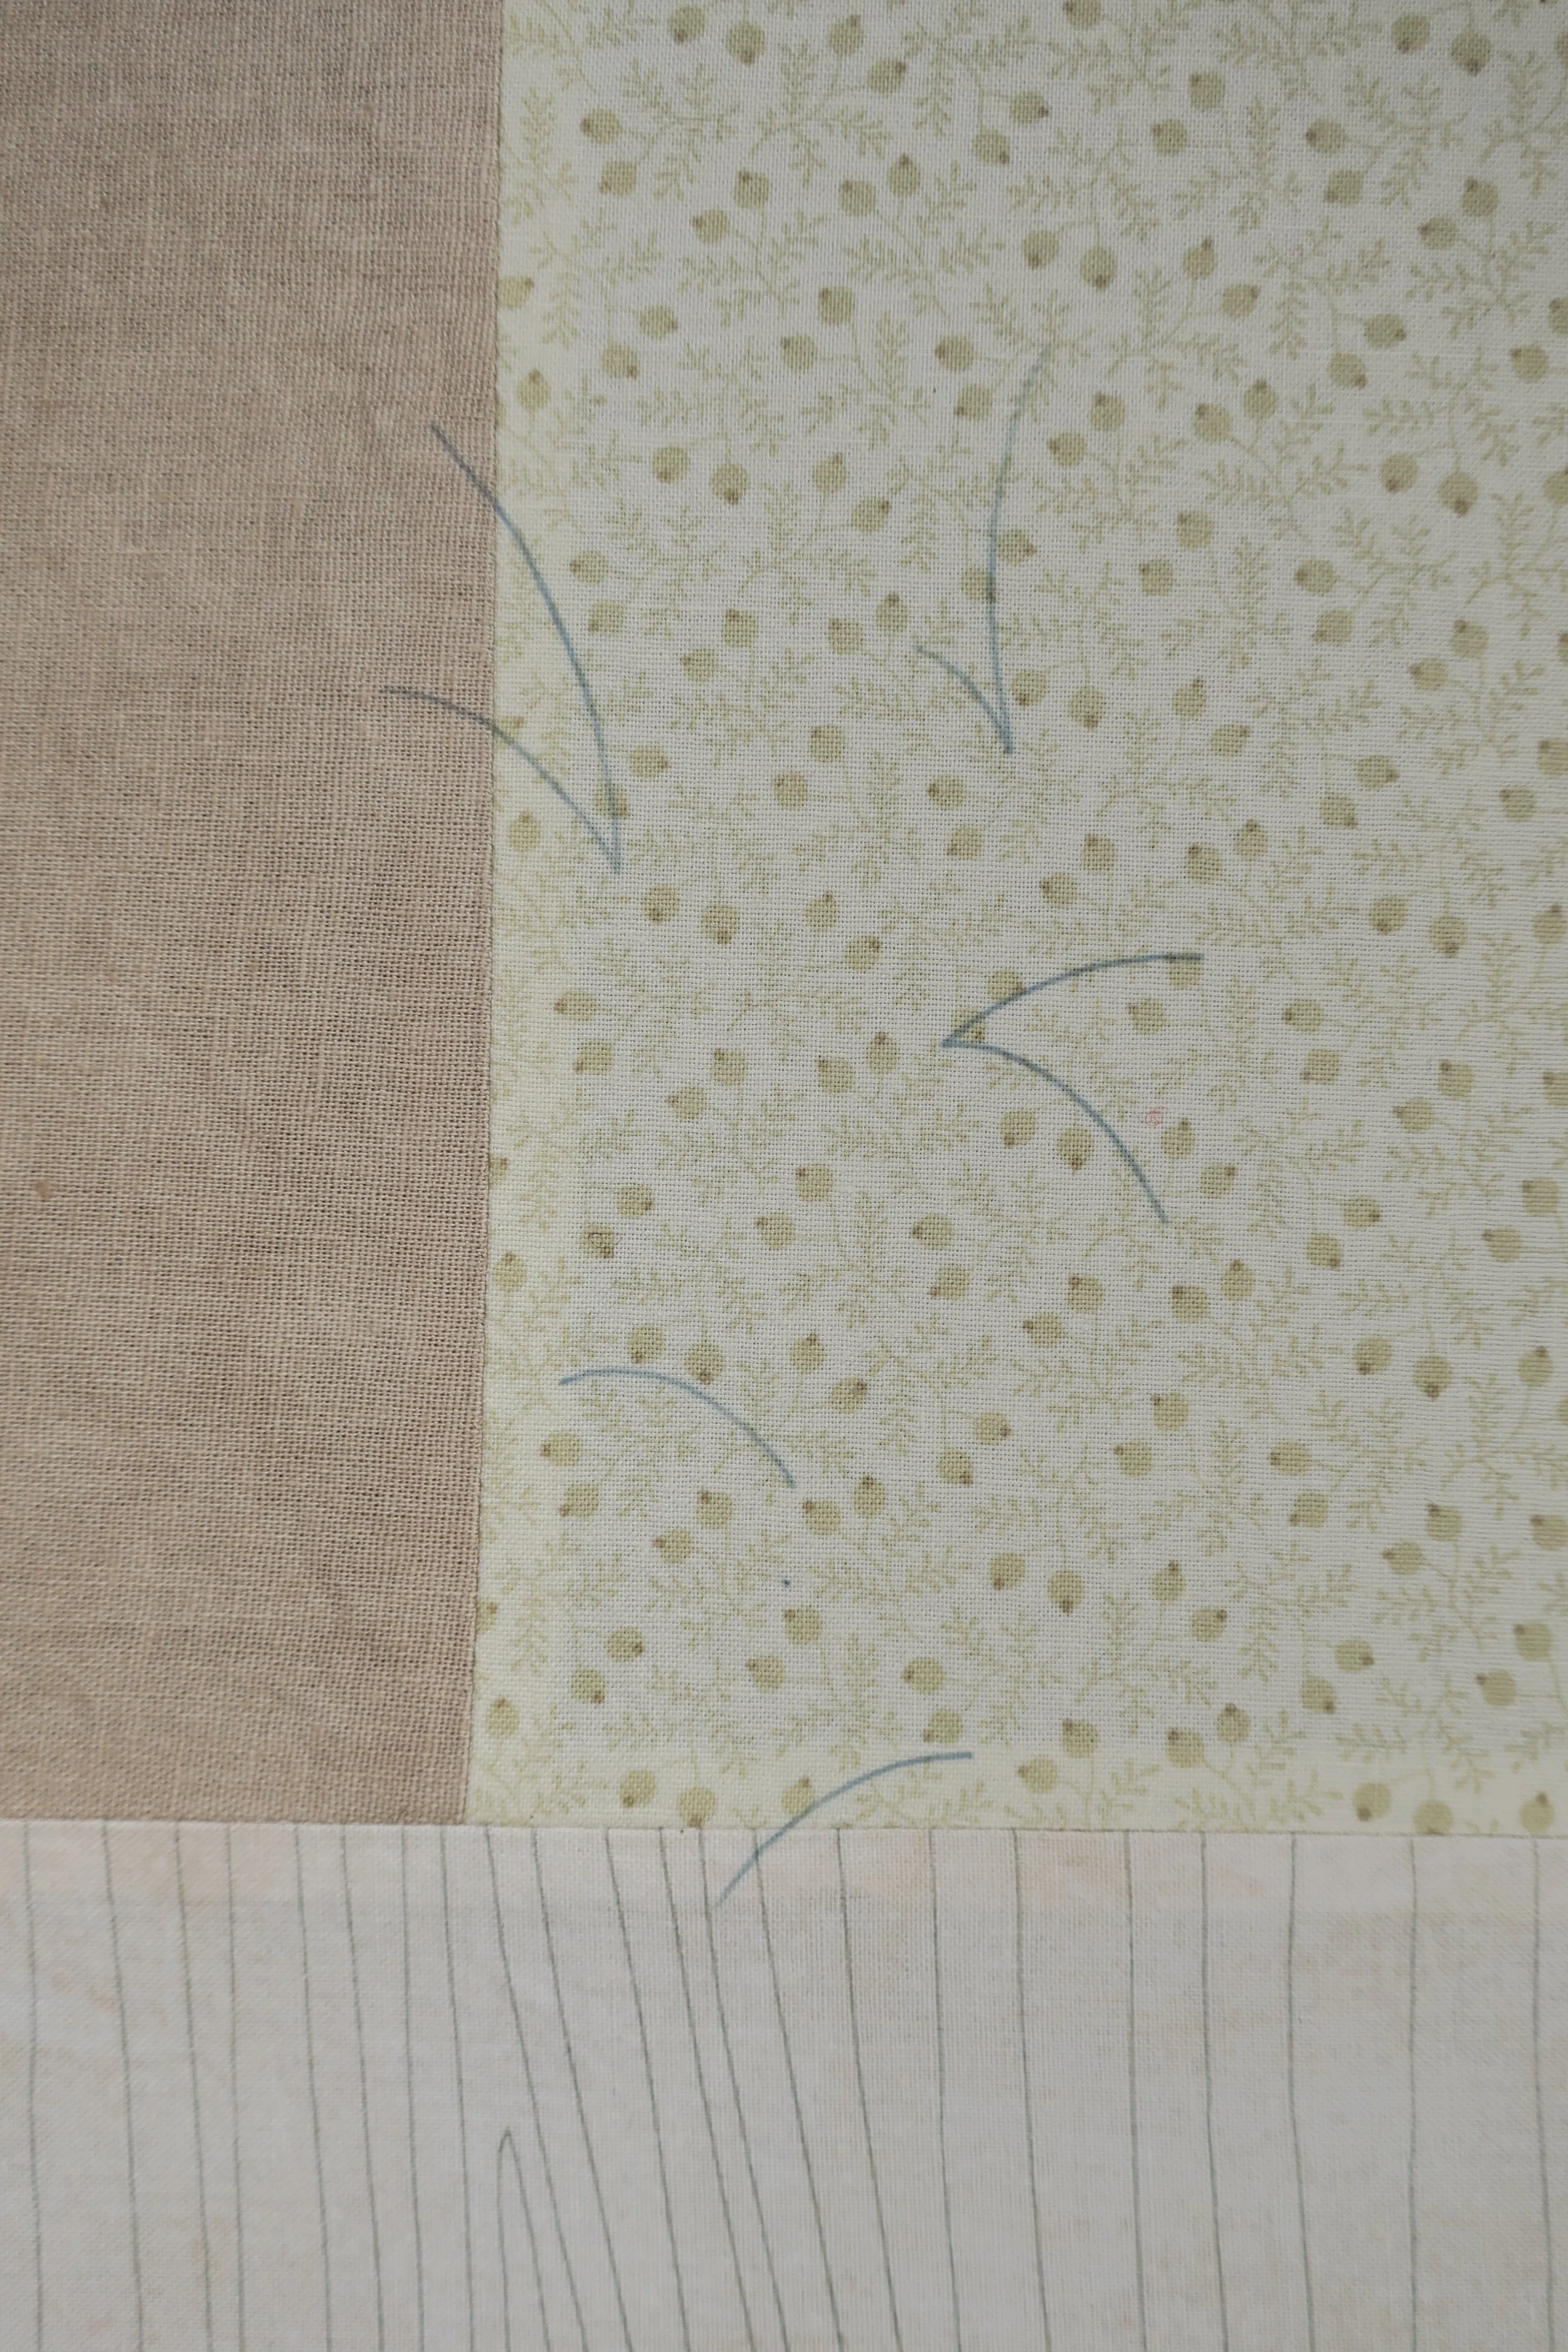
4. Center the transfer paper, image side down, onto the background fabric and then use a small piece of tape at the top to secure it.
5. Carefully fold the transfer paper up using the tape as a hinge, and then Iron the background fabric with a very hot dry iron (linen setting).
6. Carefully, but quickly, fold the paper back down over the heated background and then press with the same hot iron. I used a up and down motion rather than a side to side. I kept the iron in place each time I pressed for about 12 seconds making sure I covered all the transfer pen areas.
Check to see if the image is successfully transferred by lifting a corner of the sheet. If the image is not dark enough continue pressing. Remove the transfer paper when the transfer is complete.
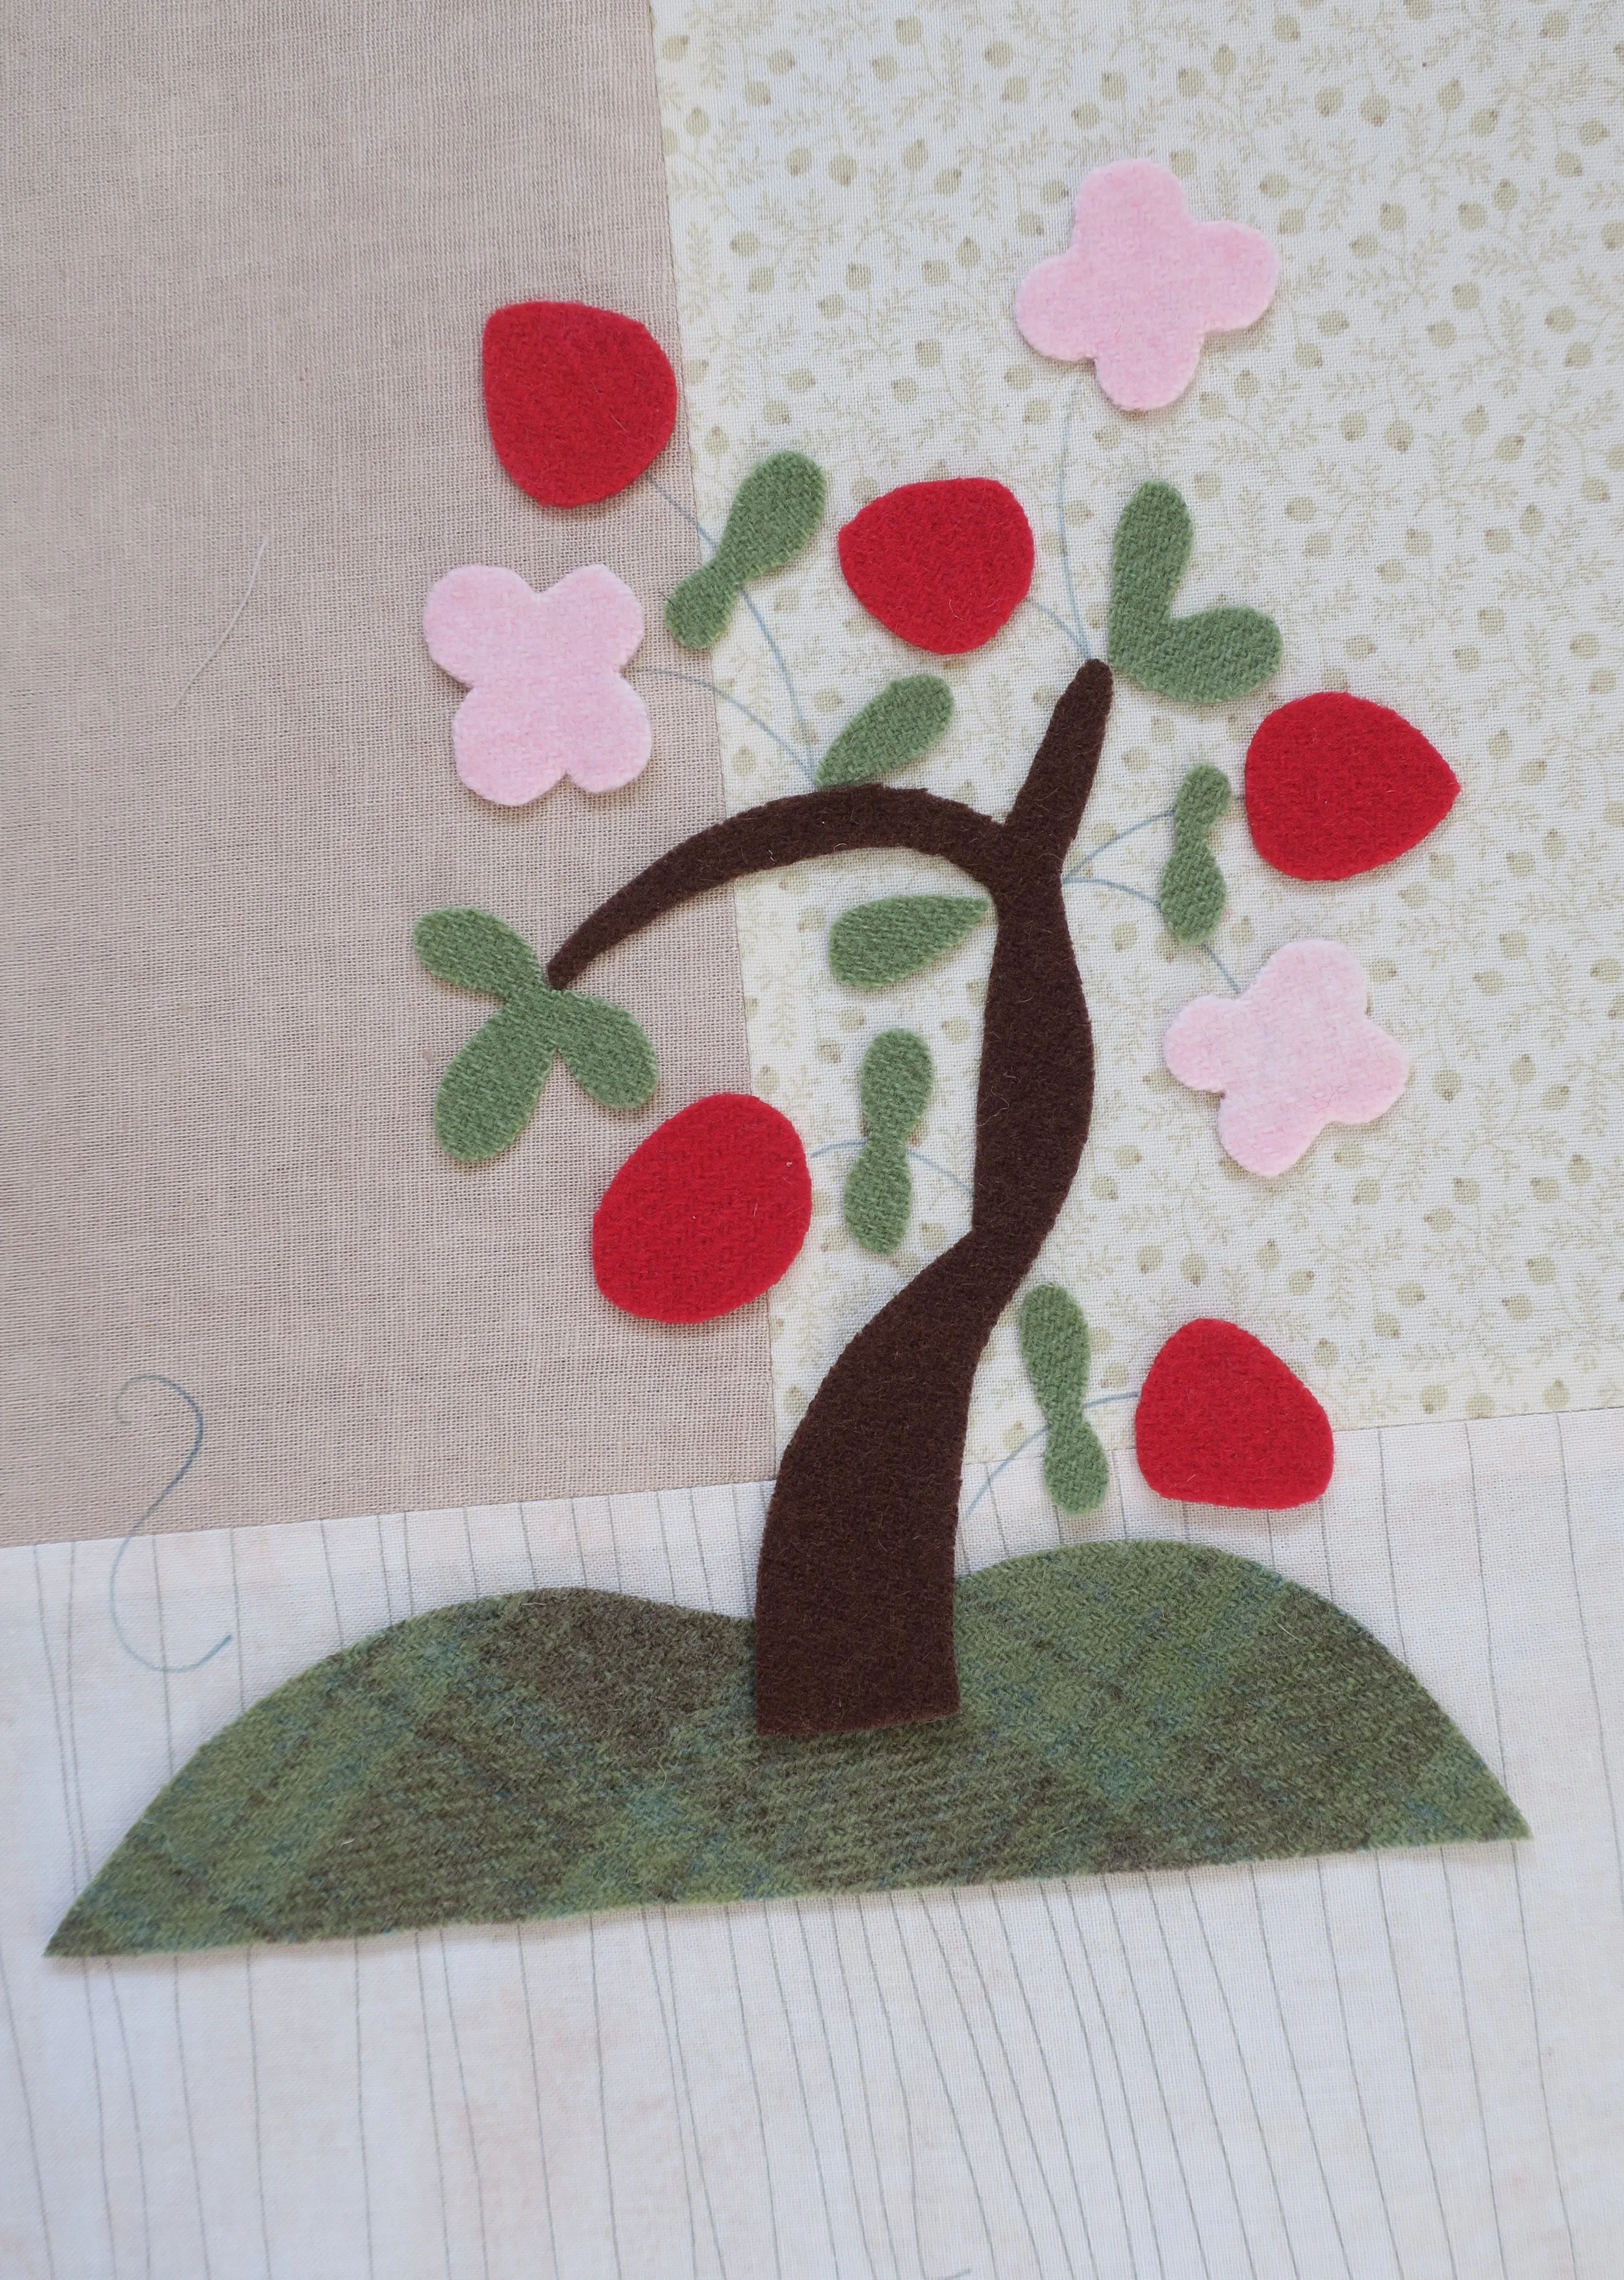
7. Position the large base, tree, flowers, and leaves 1-9 onto the background using the layout and transferred stem lines as a guide. Note: In order to find the correct position of the base I temporarily positioned Phoebe’s body onto the background using her tail as a guide. I then removed the body before fusing the rest of the pieces down.
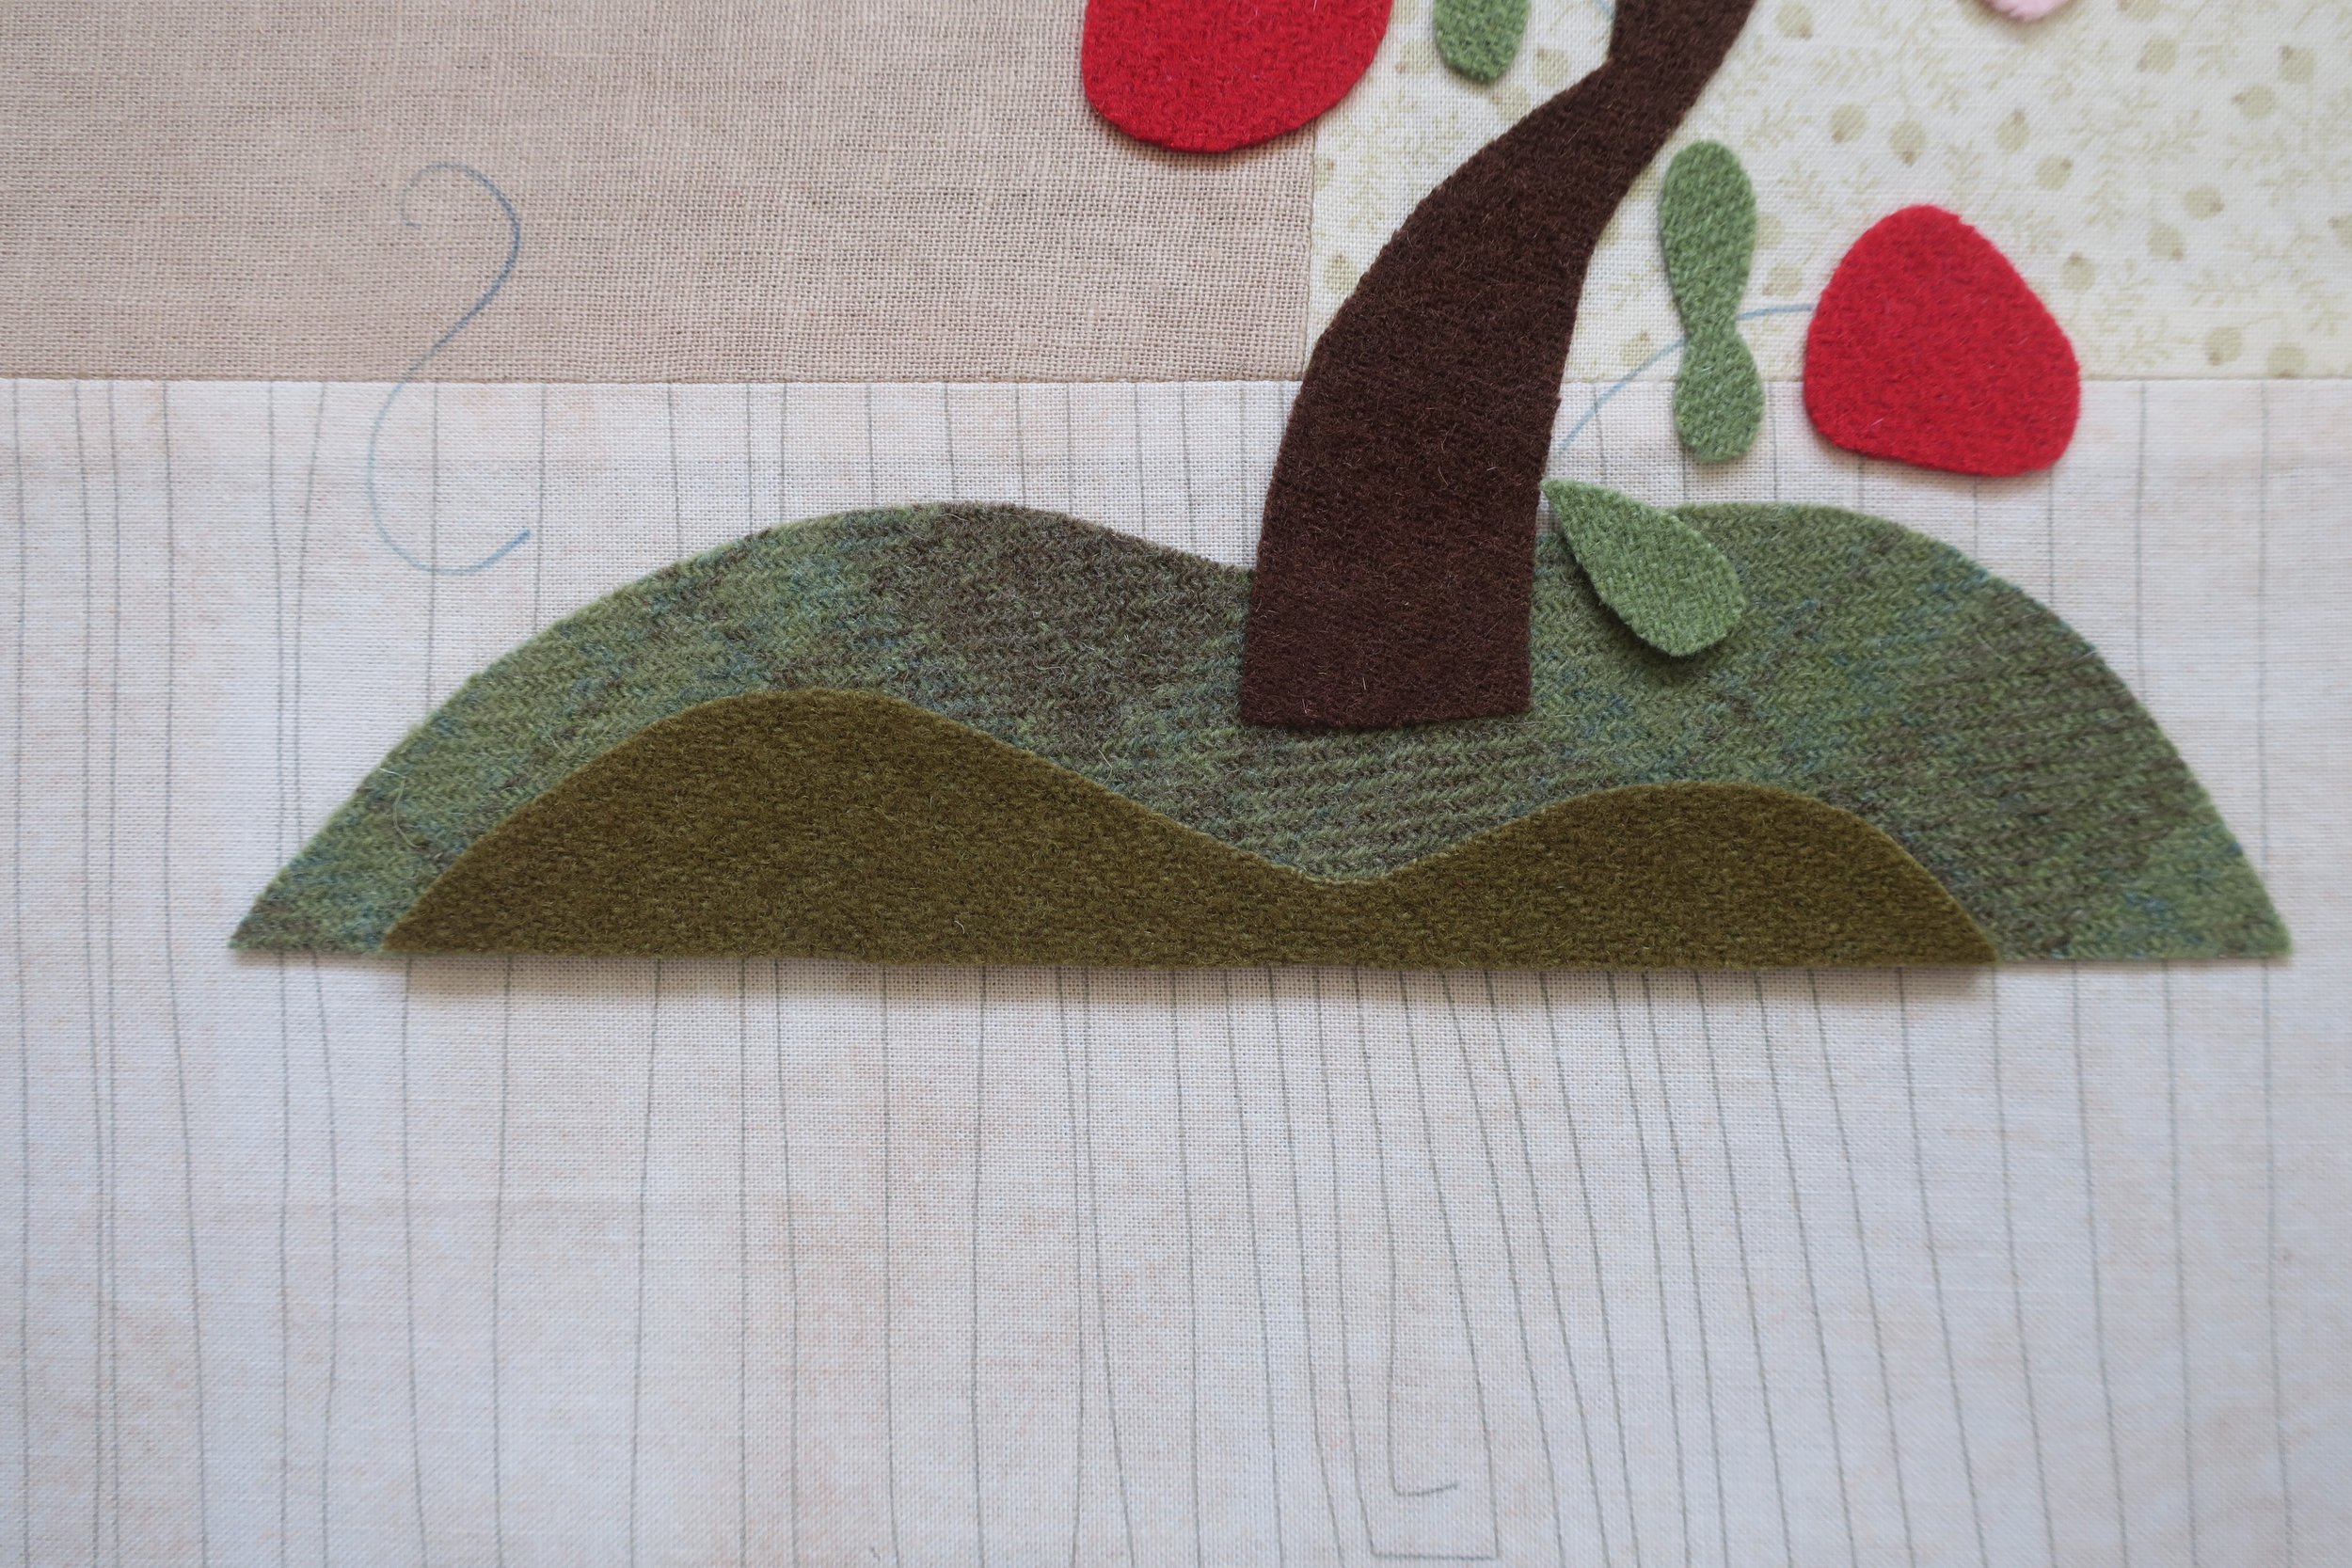
8. Position the second base layer and leaf #10, and then fuse in place.
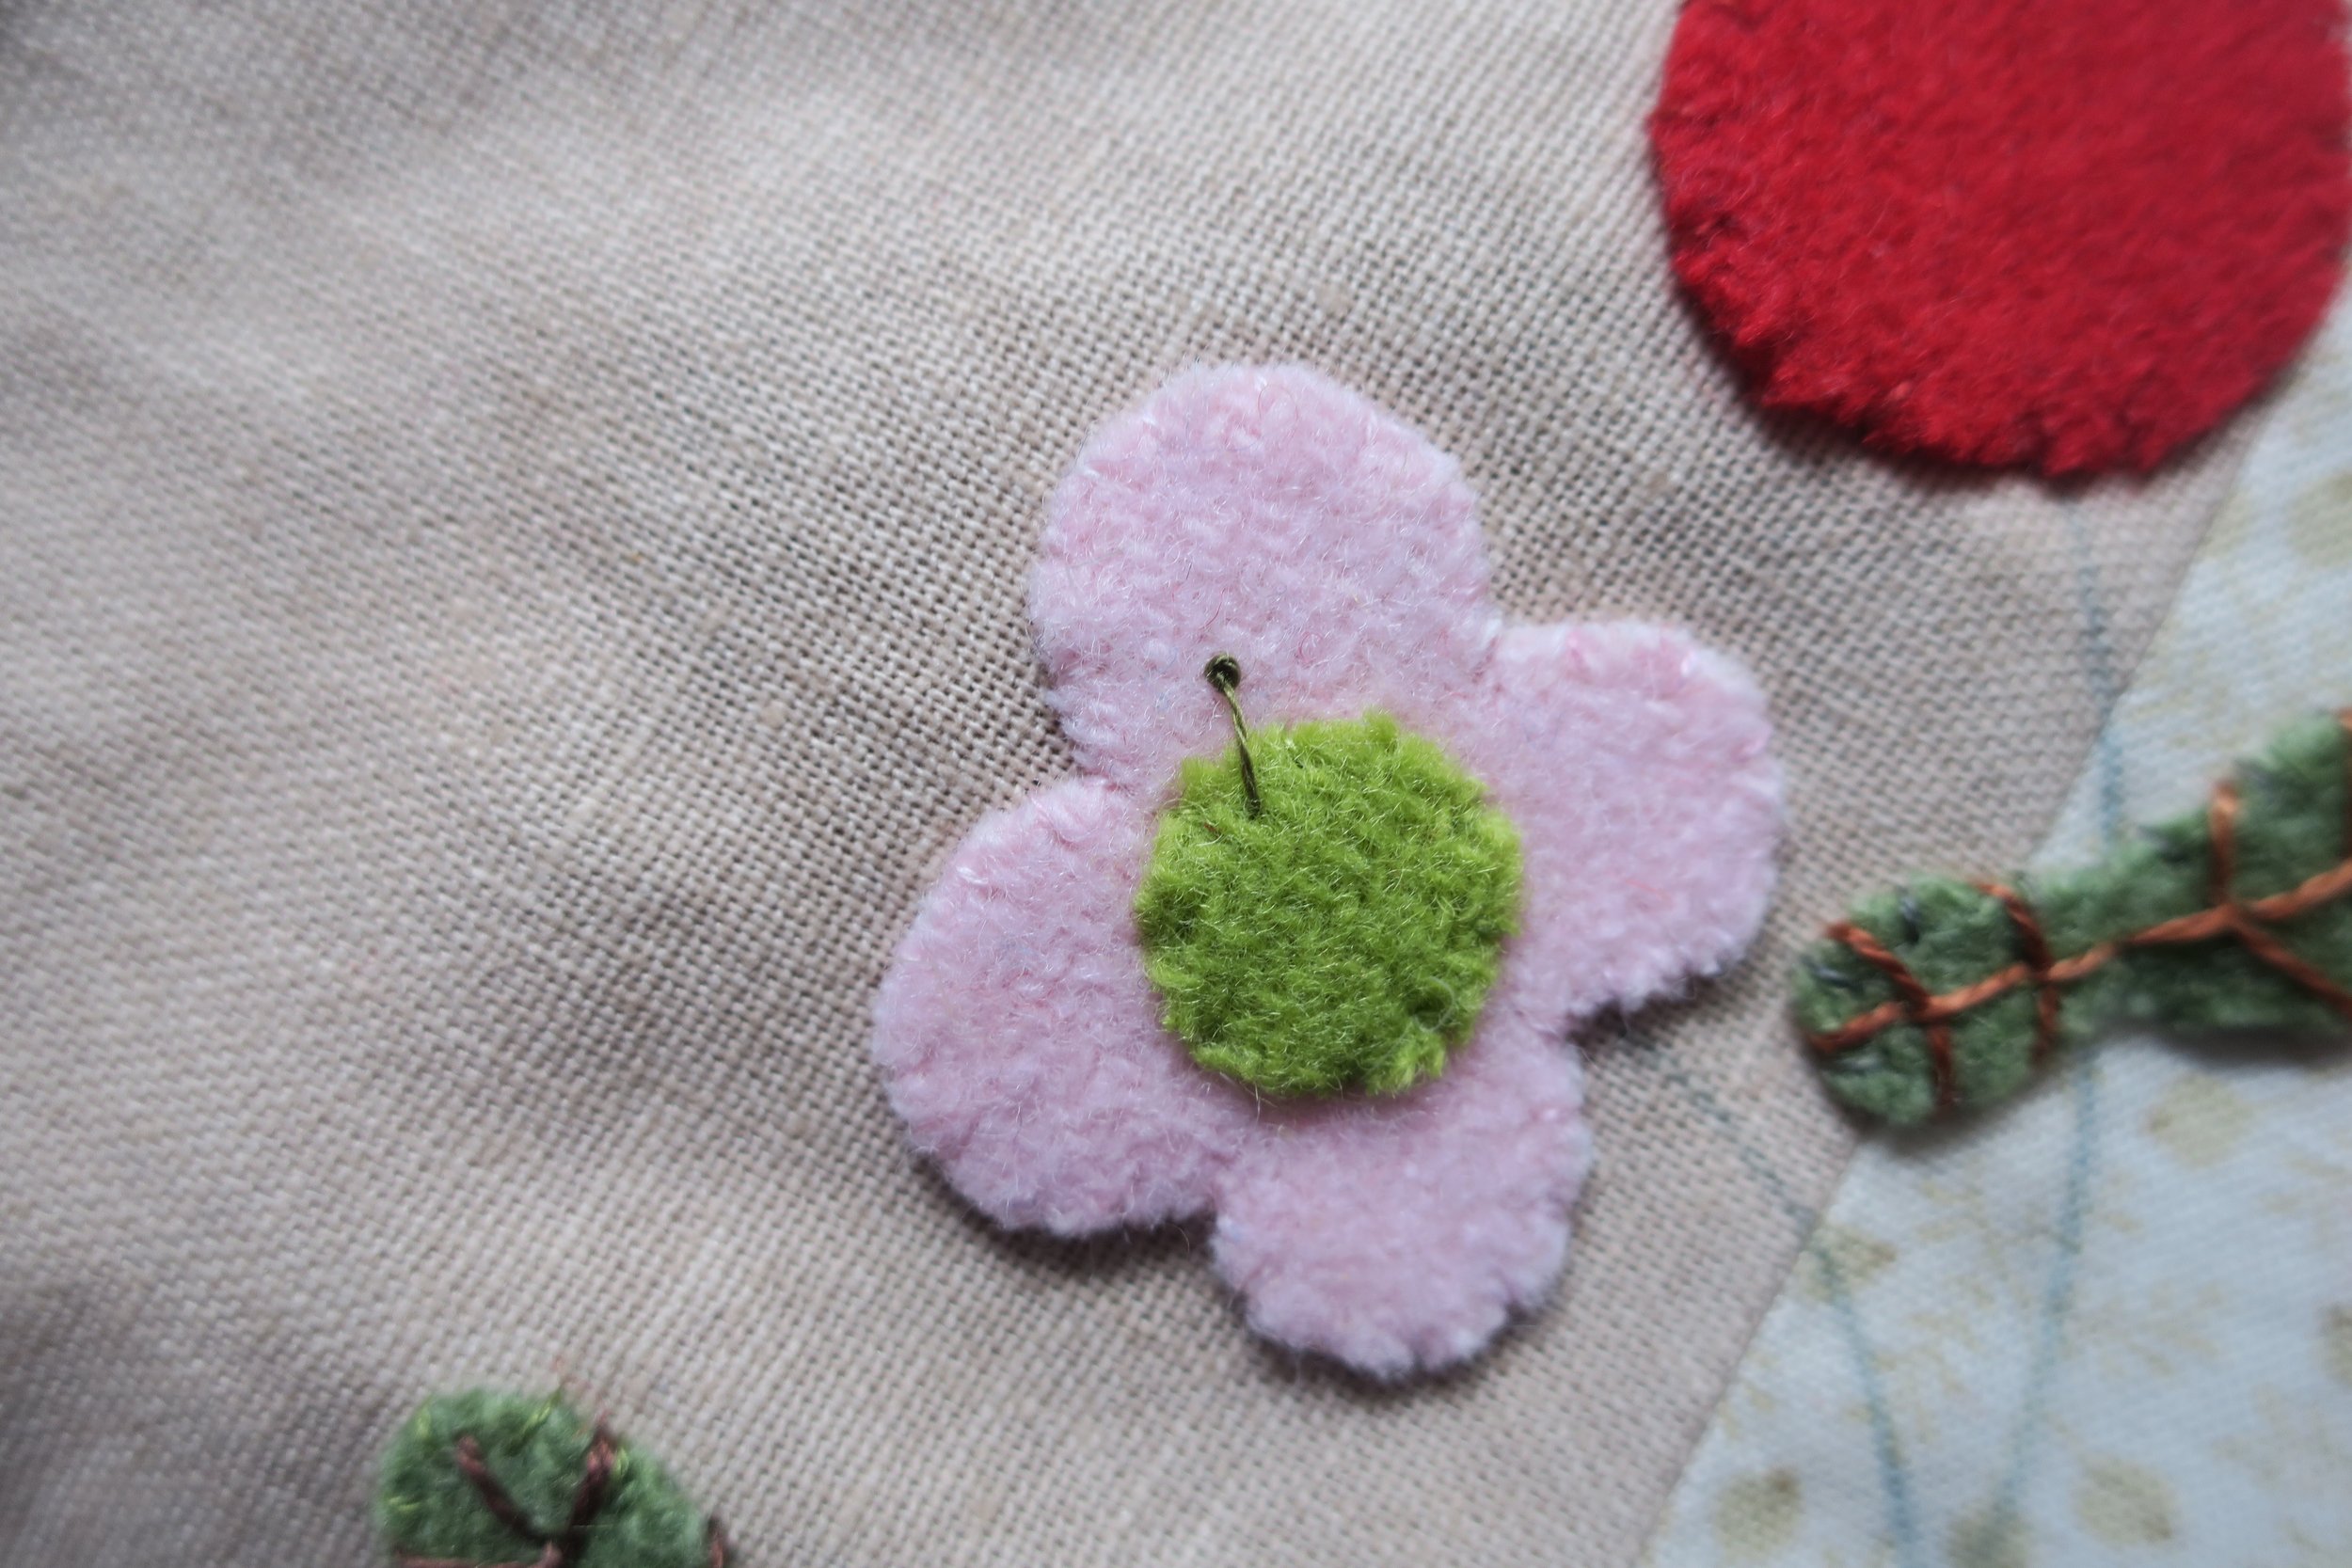
9. Position the flower centers and then fuse in place.
10. Position the third base layer and Phoebe’s body and ear. Fuse in place.
11. Position Phoebe’s belly and inner ear and then fuse in place.
12. Whip stitch all the applique pieces (except the base pieces) with 1 strand of embroidery floss that matches your wool colors.
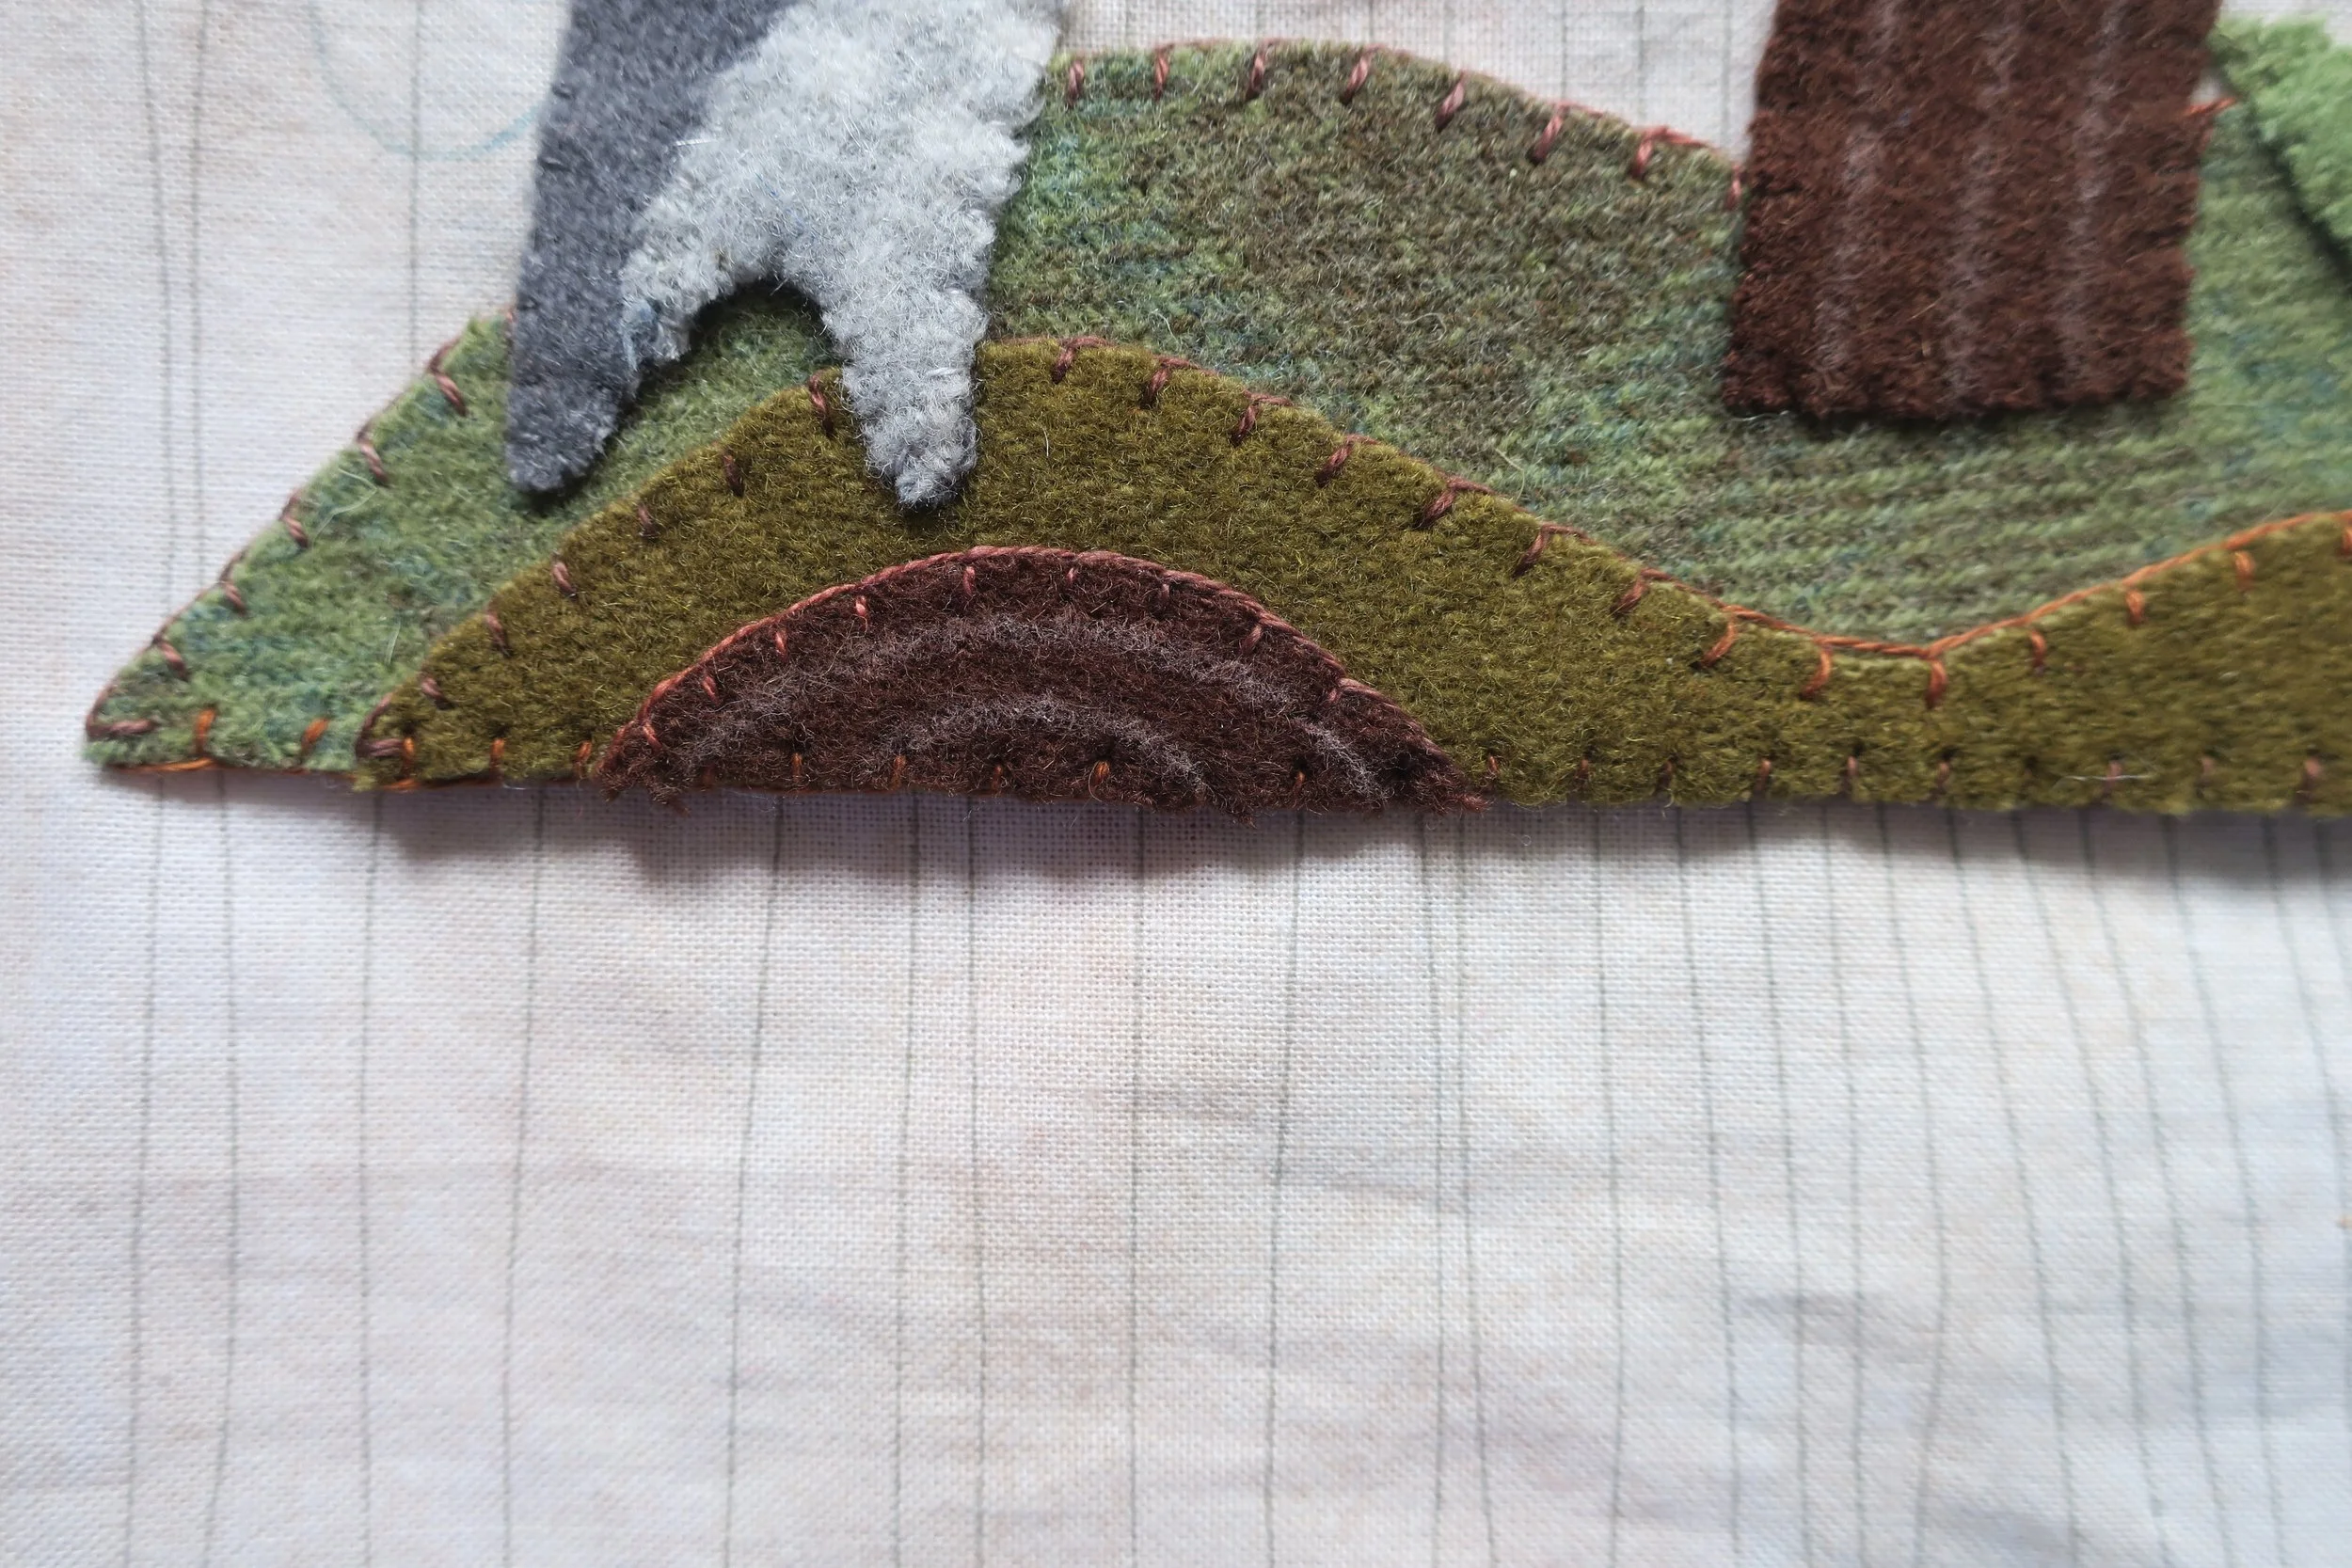
13. Use 1 strand of copper perle cotton, size 12 to blanket stitch each of the base pieces.
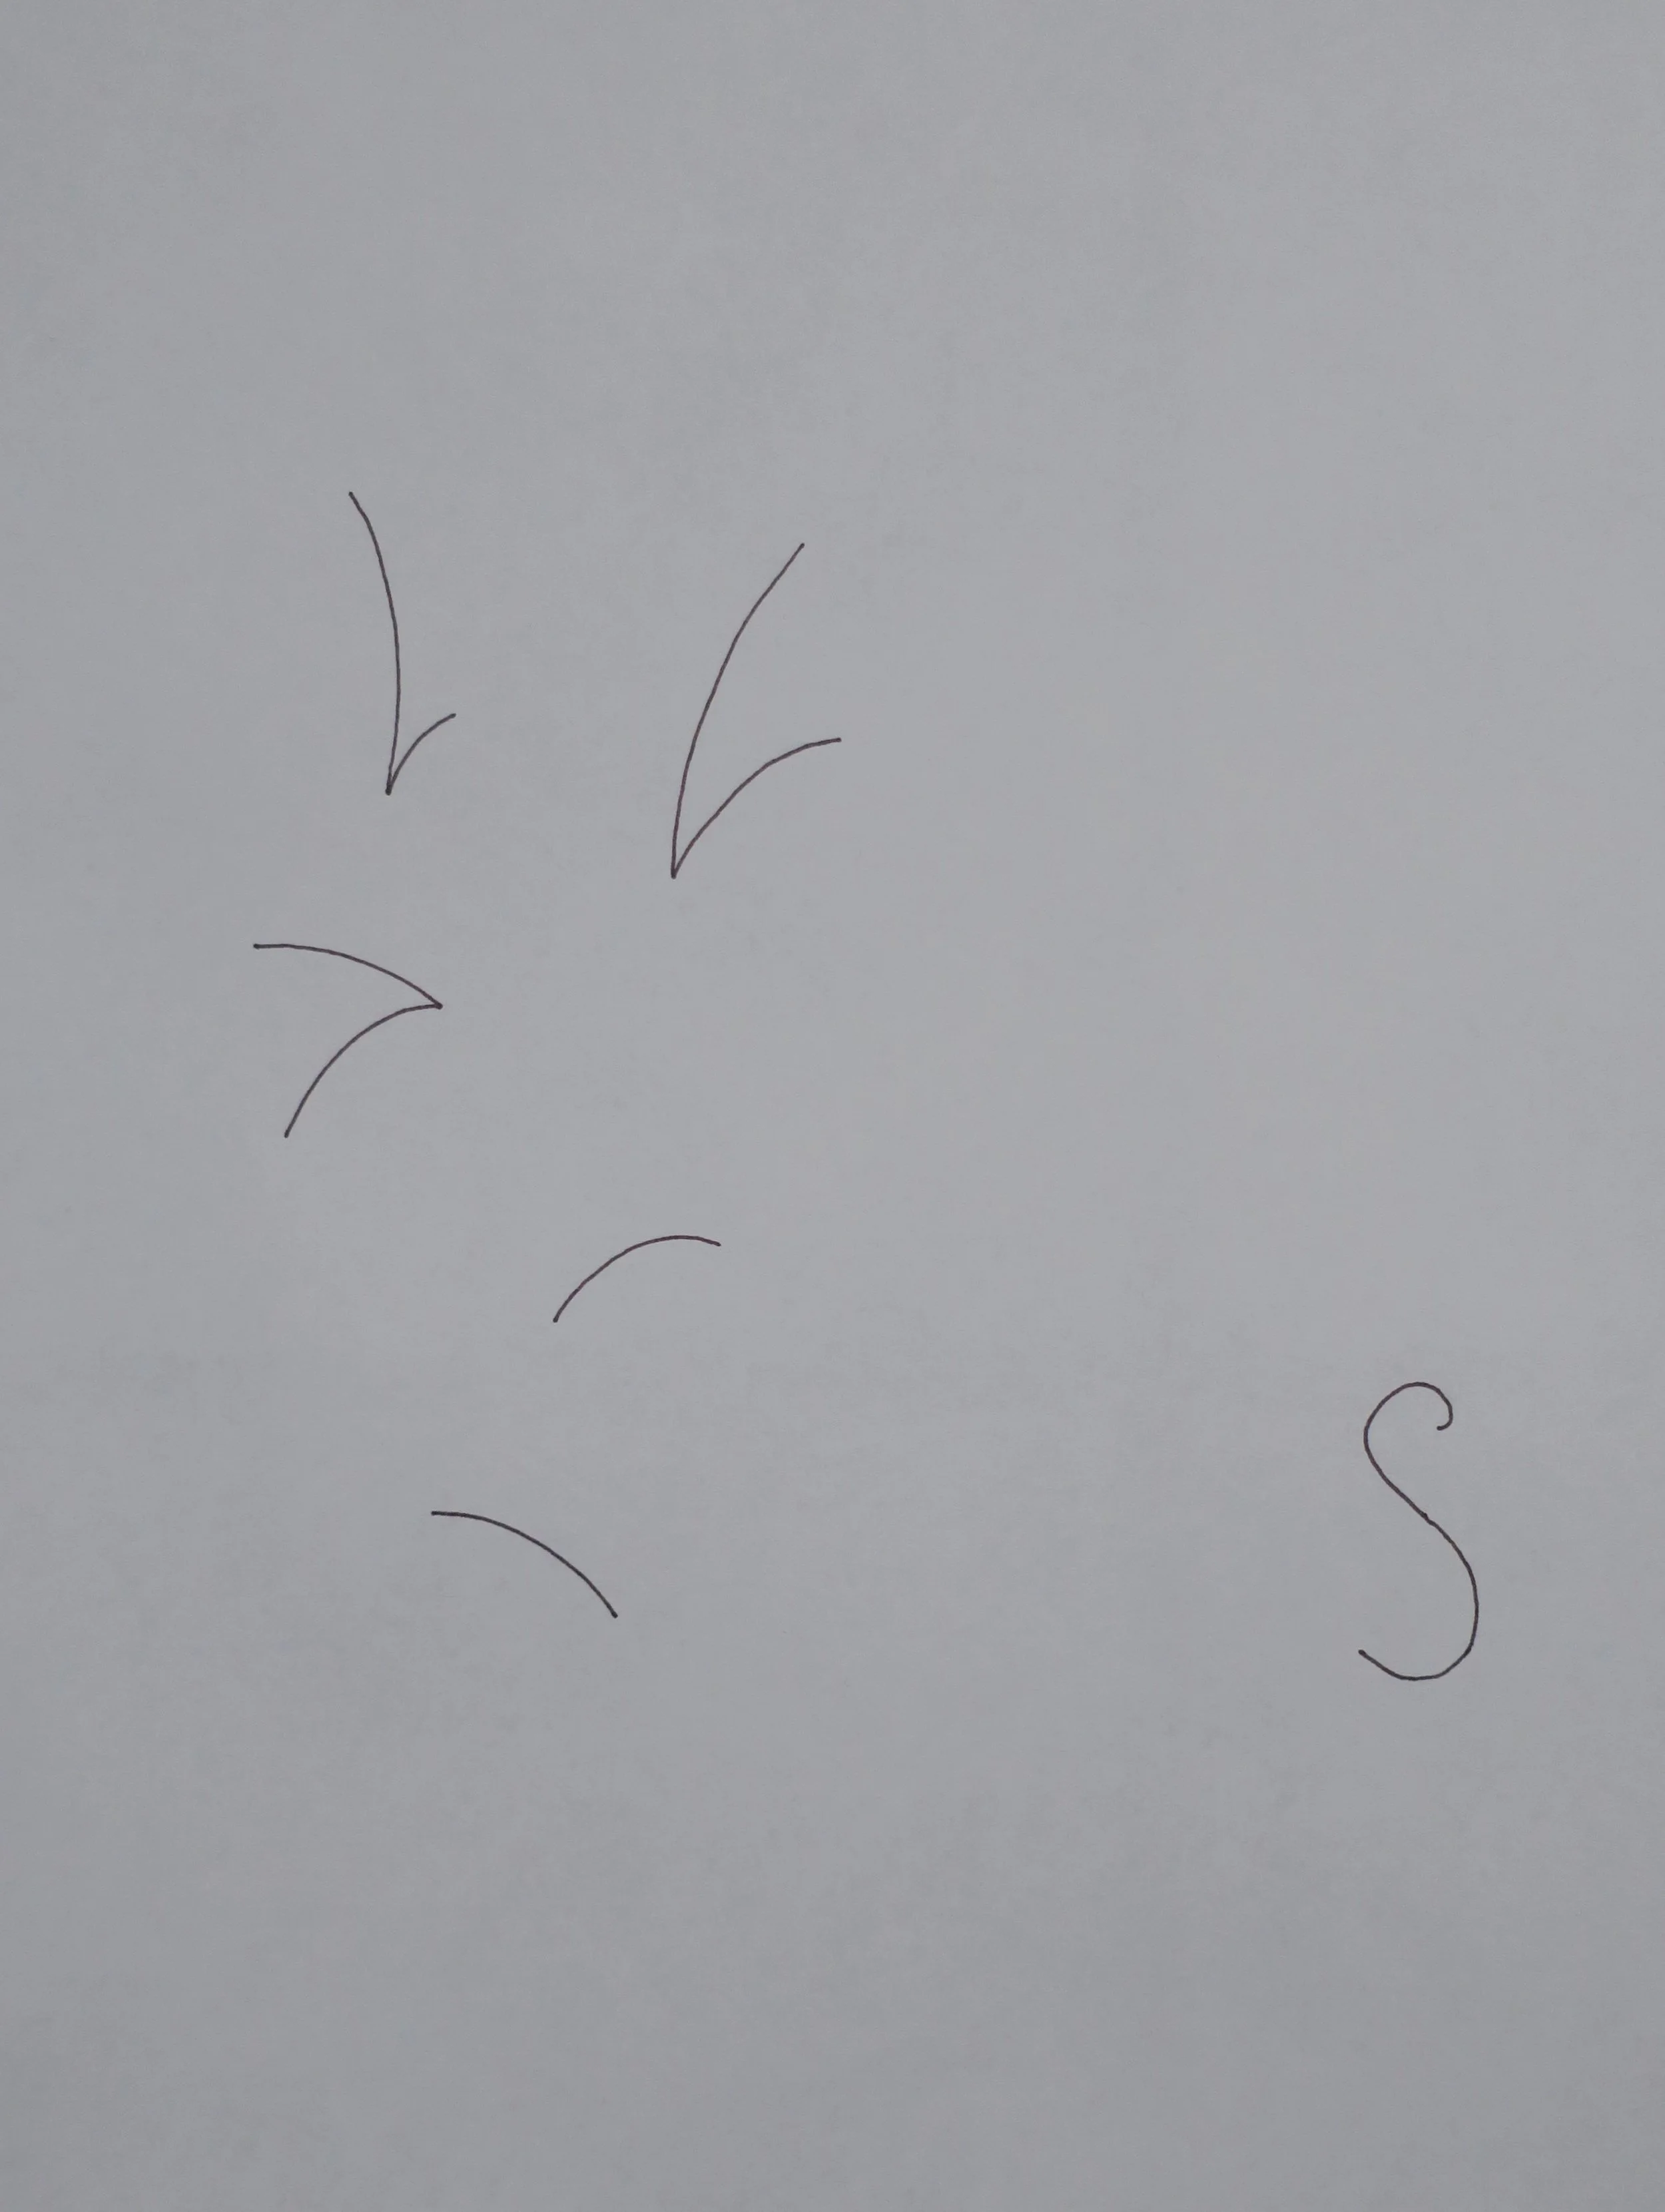
14. Use a fine line chalk pencil to draw 2 arched lines on the smallest base piece using the picture below as a guide.
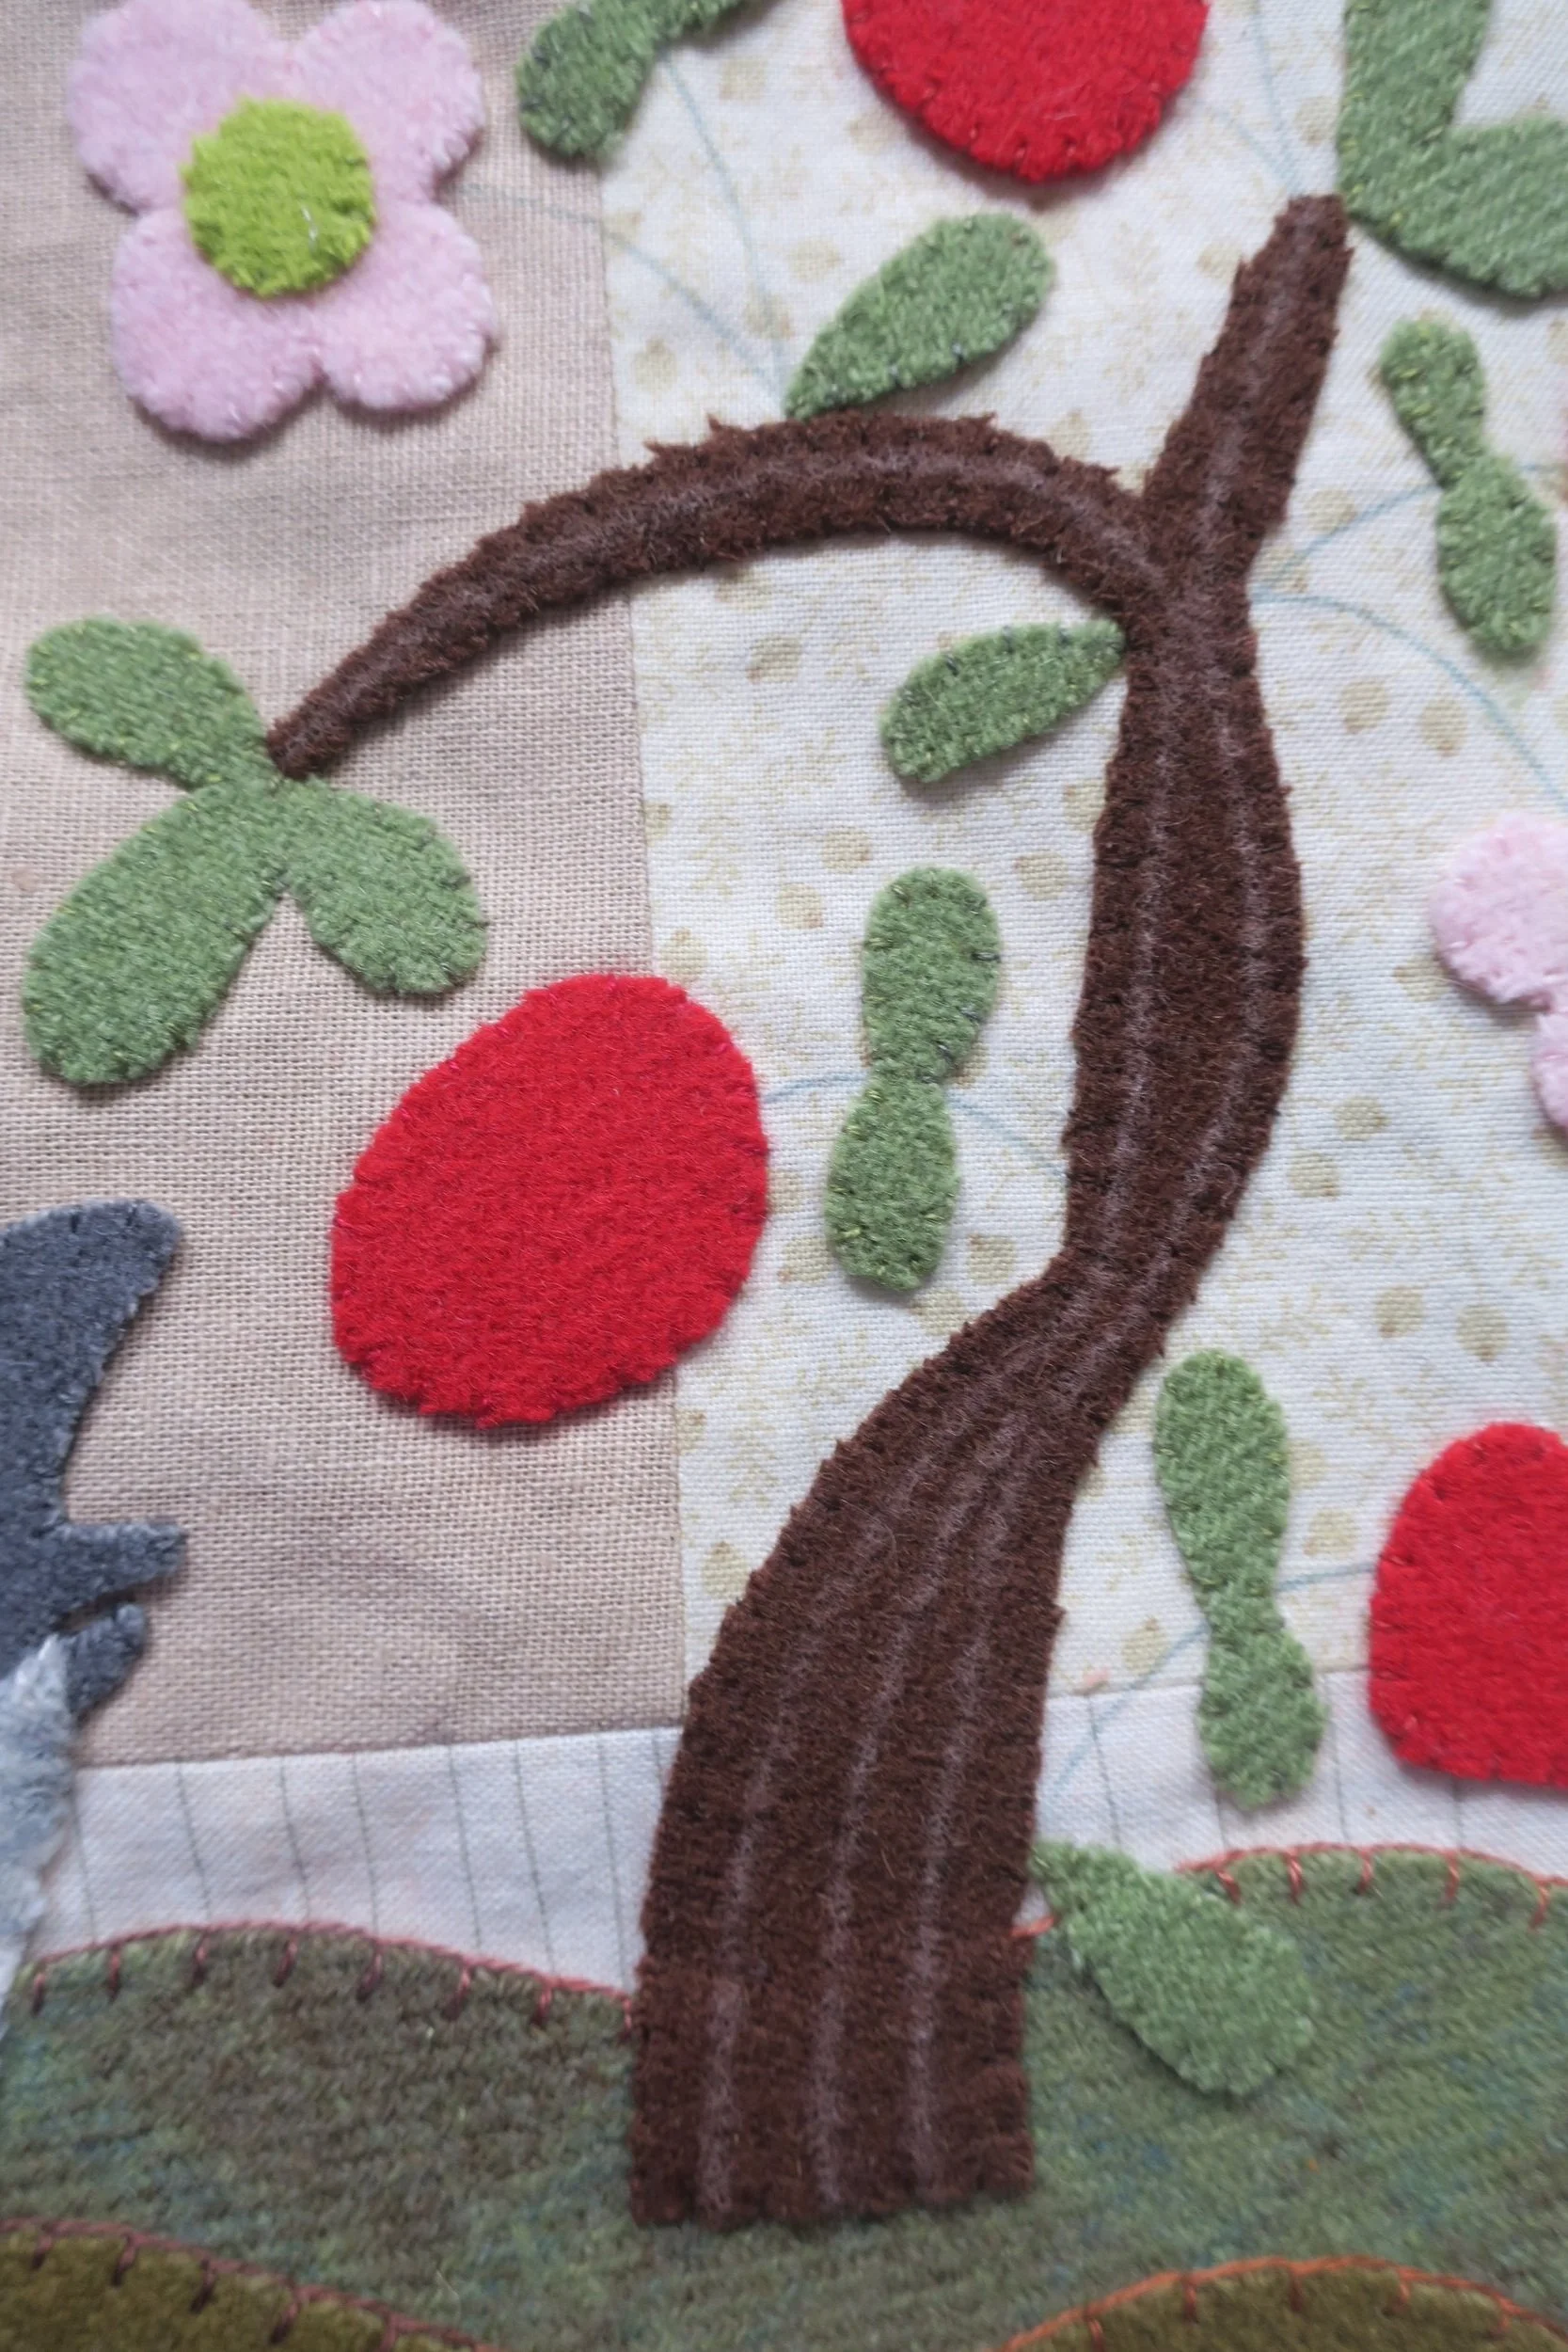
15. Draw stitching guide lines on the tree using the picture below as a guide.
16. Use the same copper colored perle cotton, size 12 to make a running stitch over each of the drawn lines.
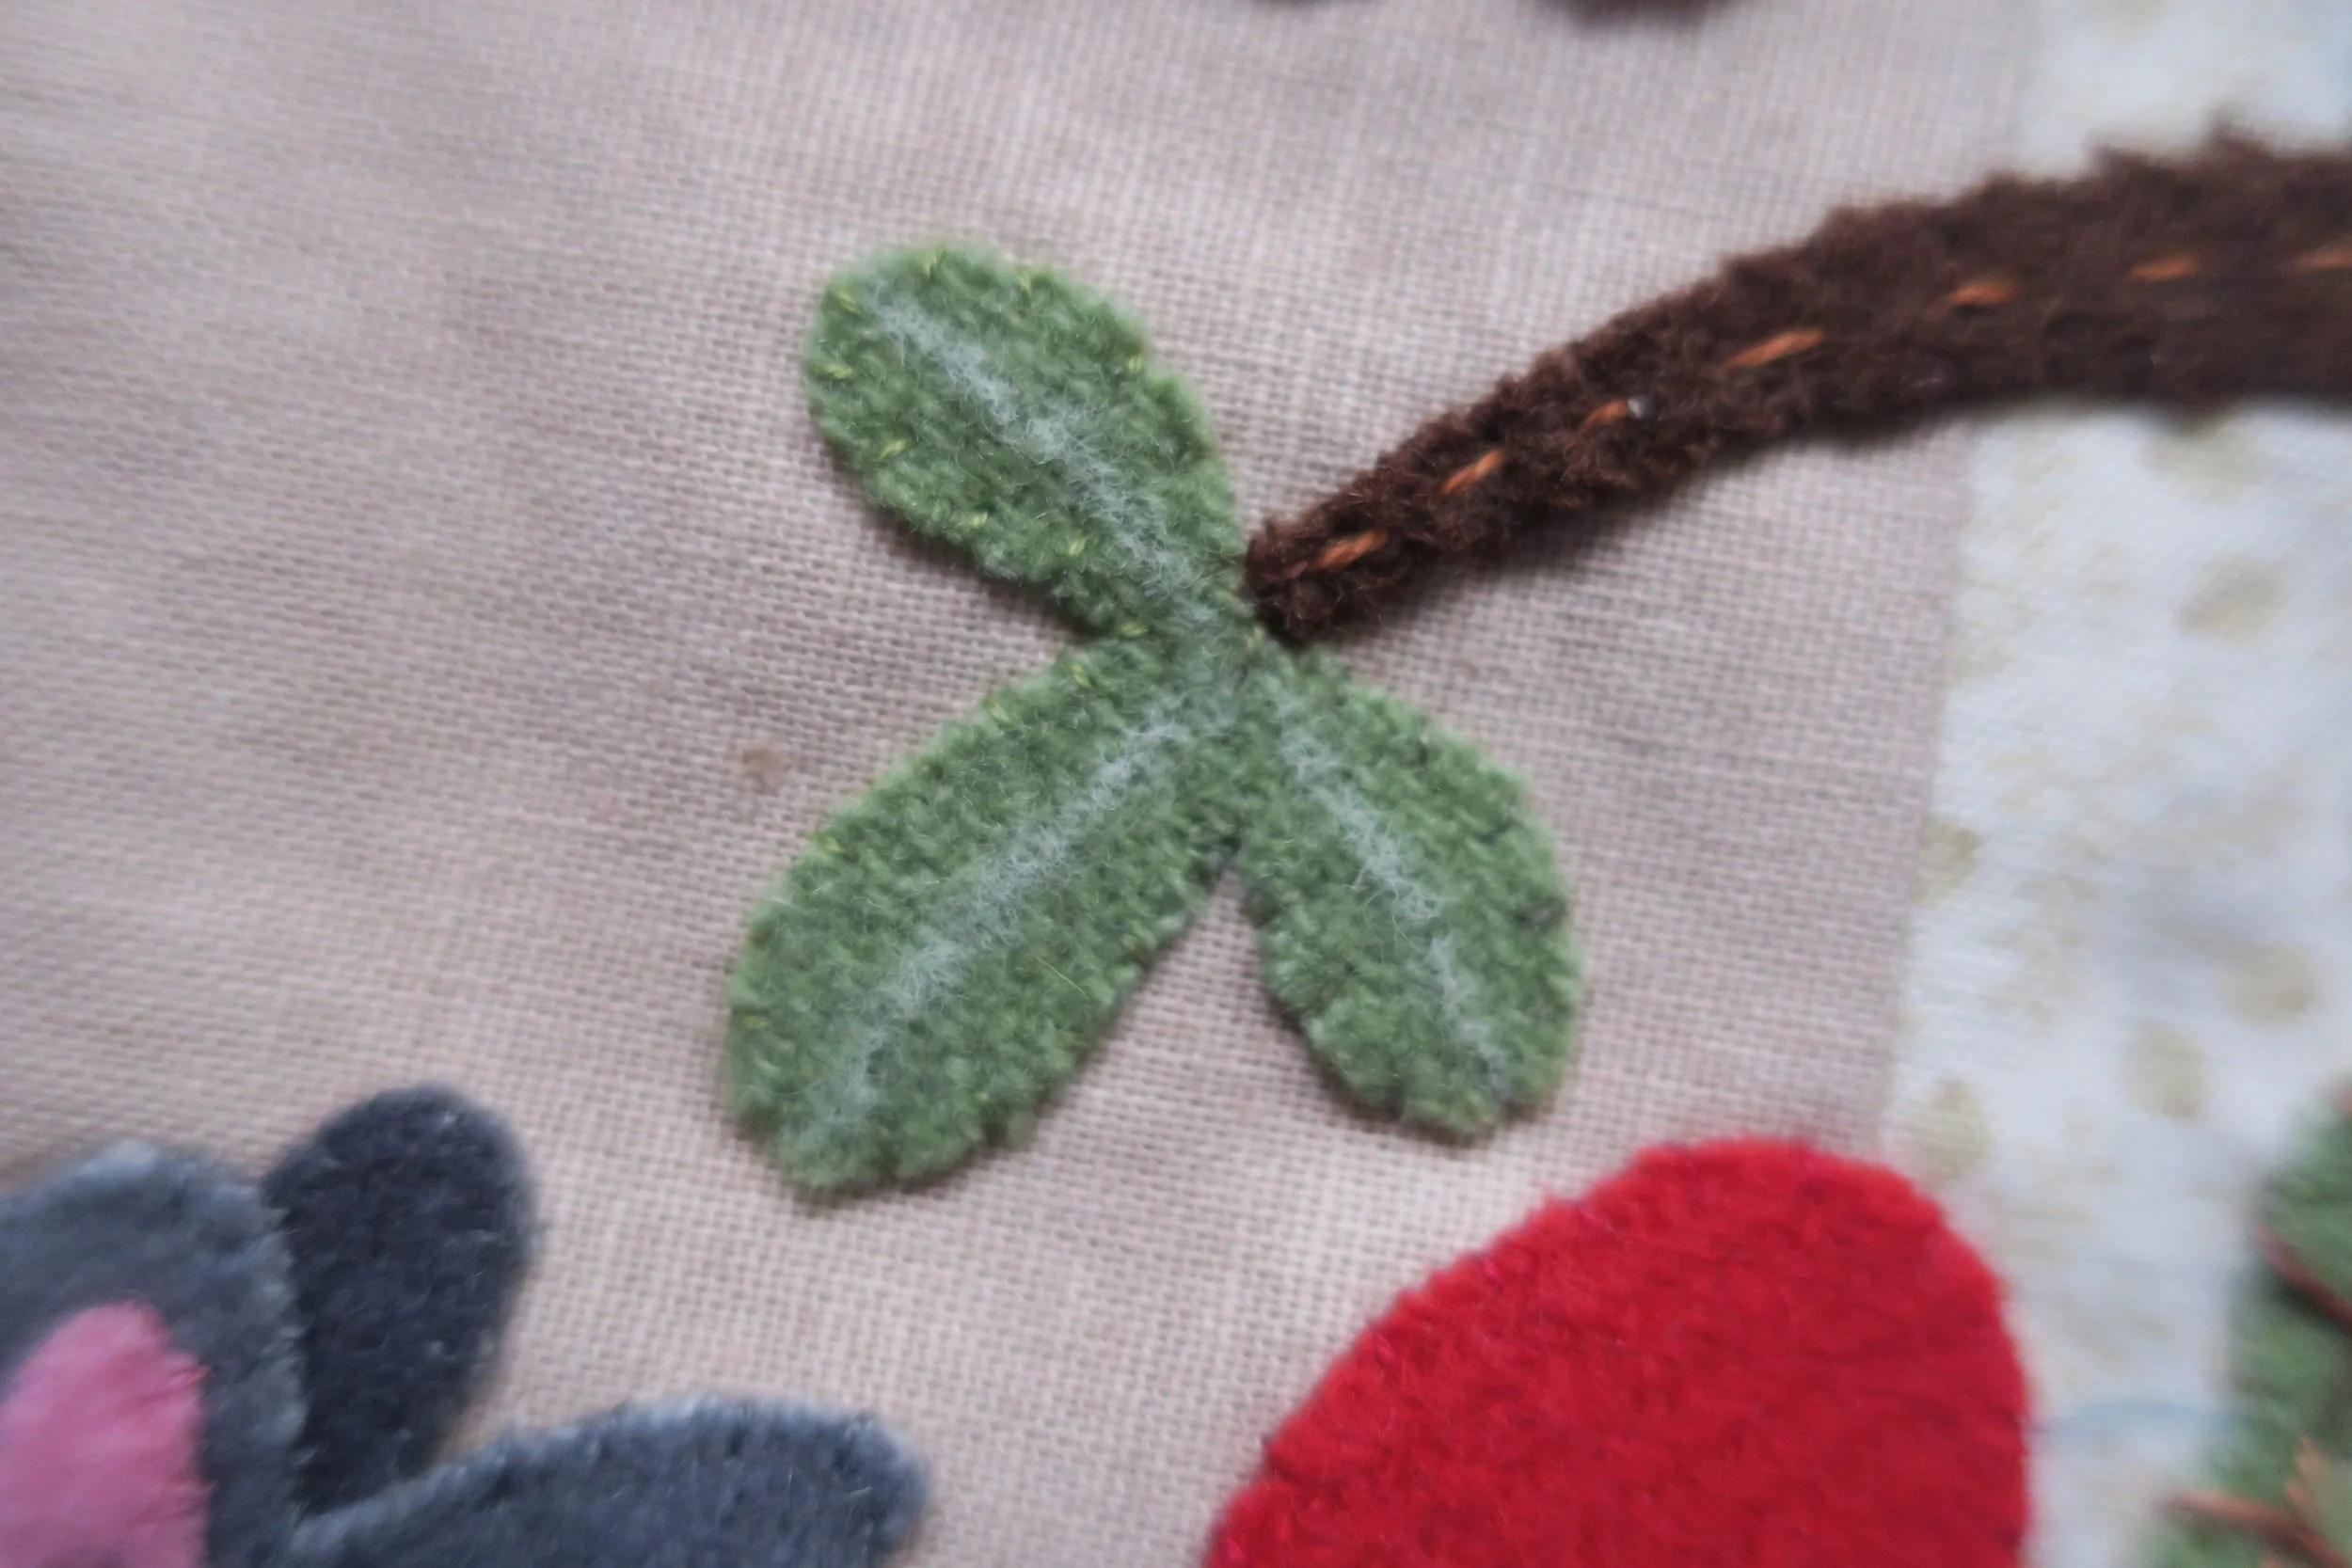
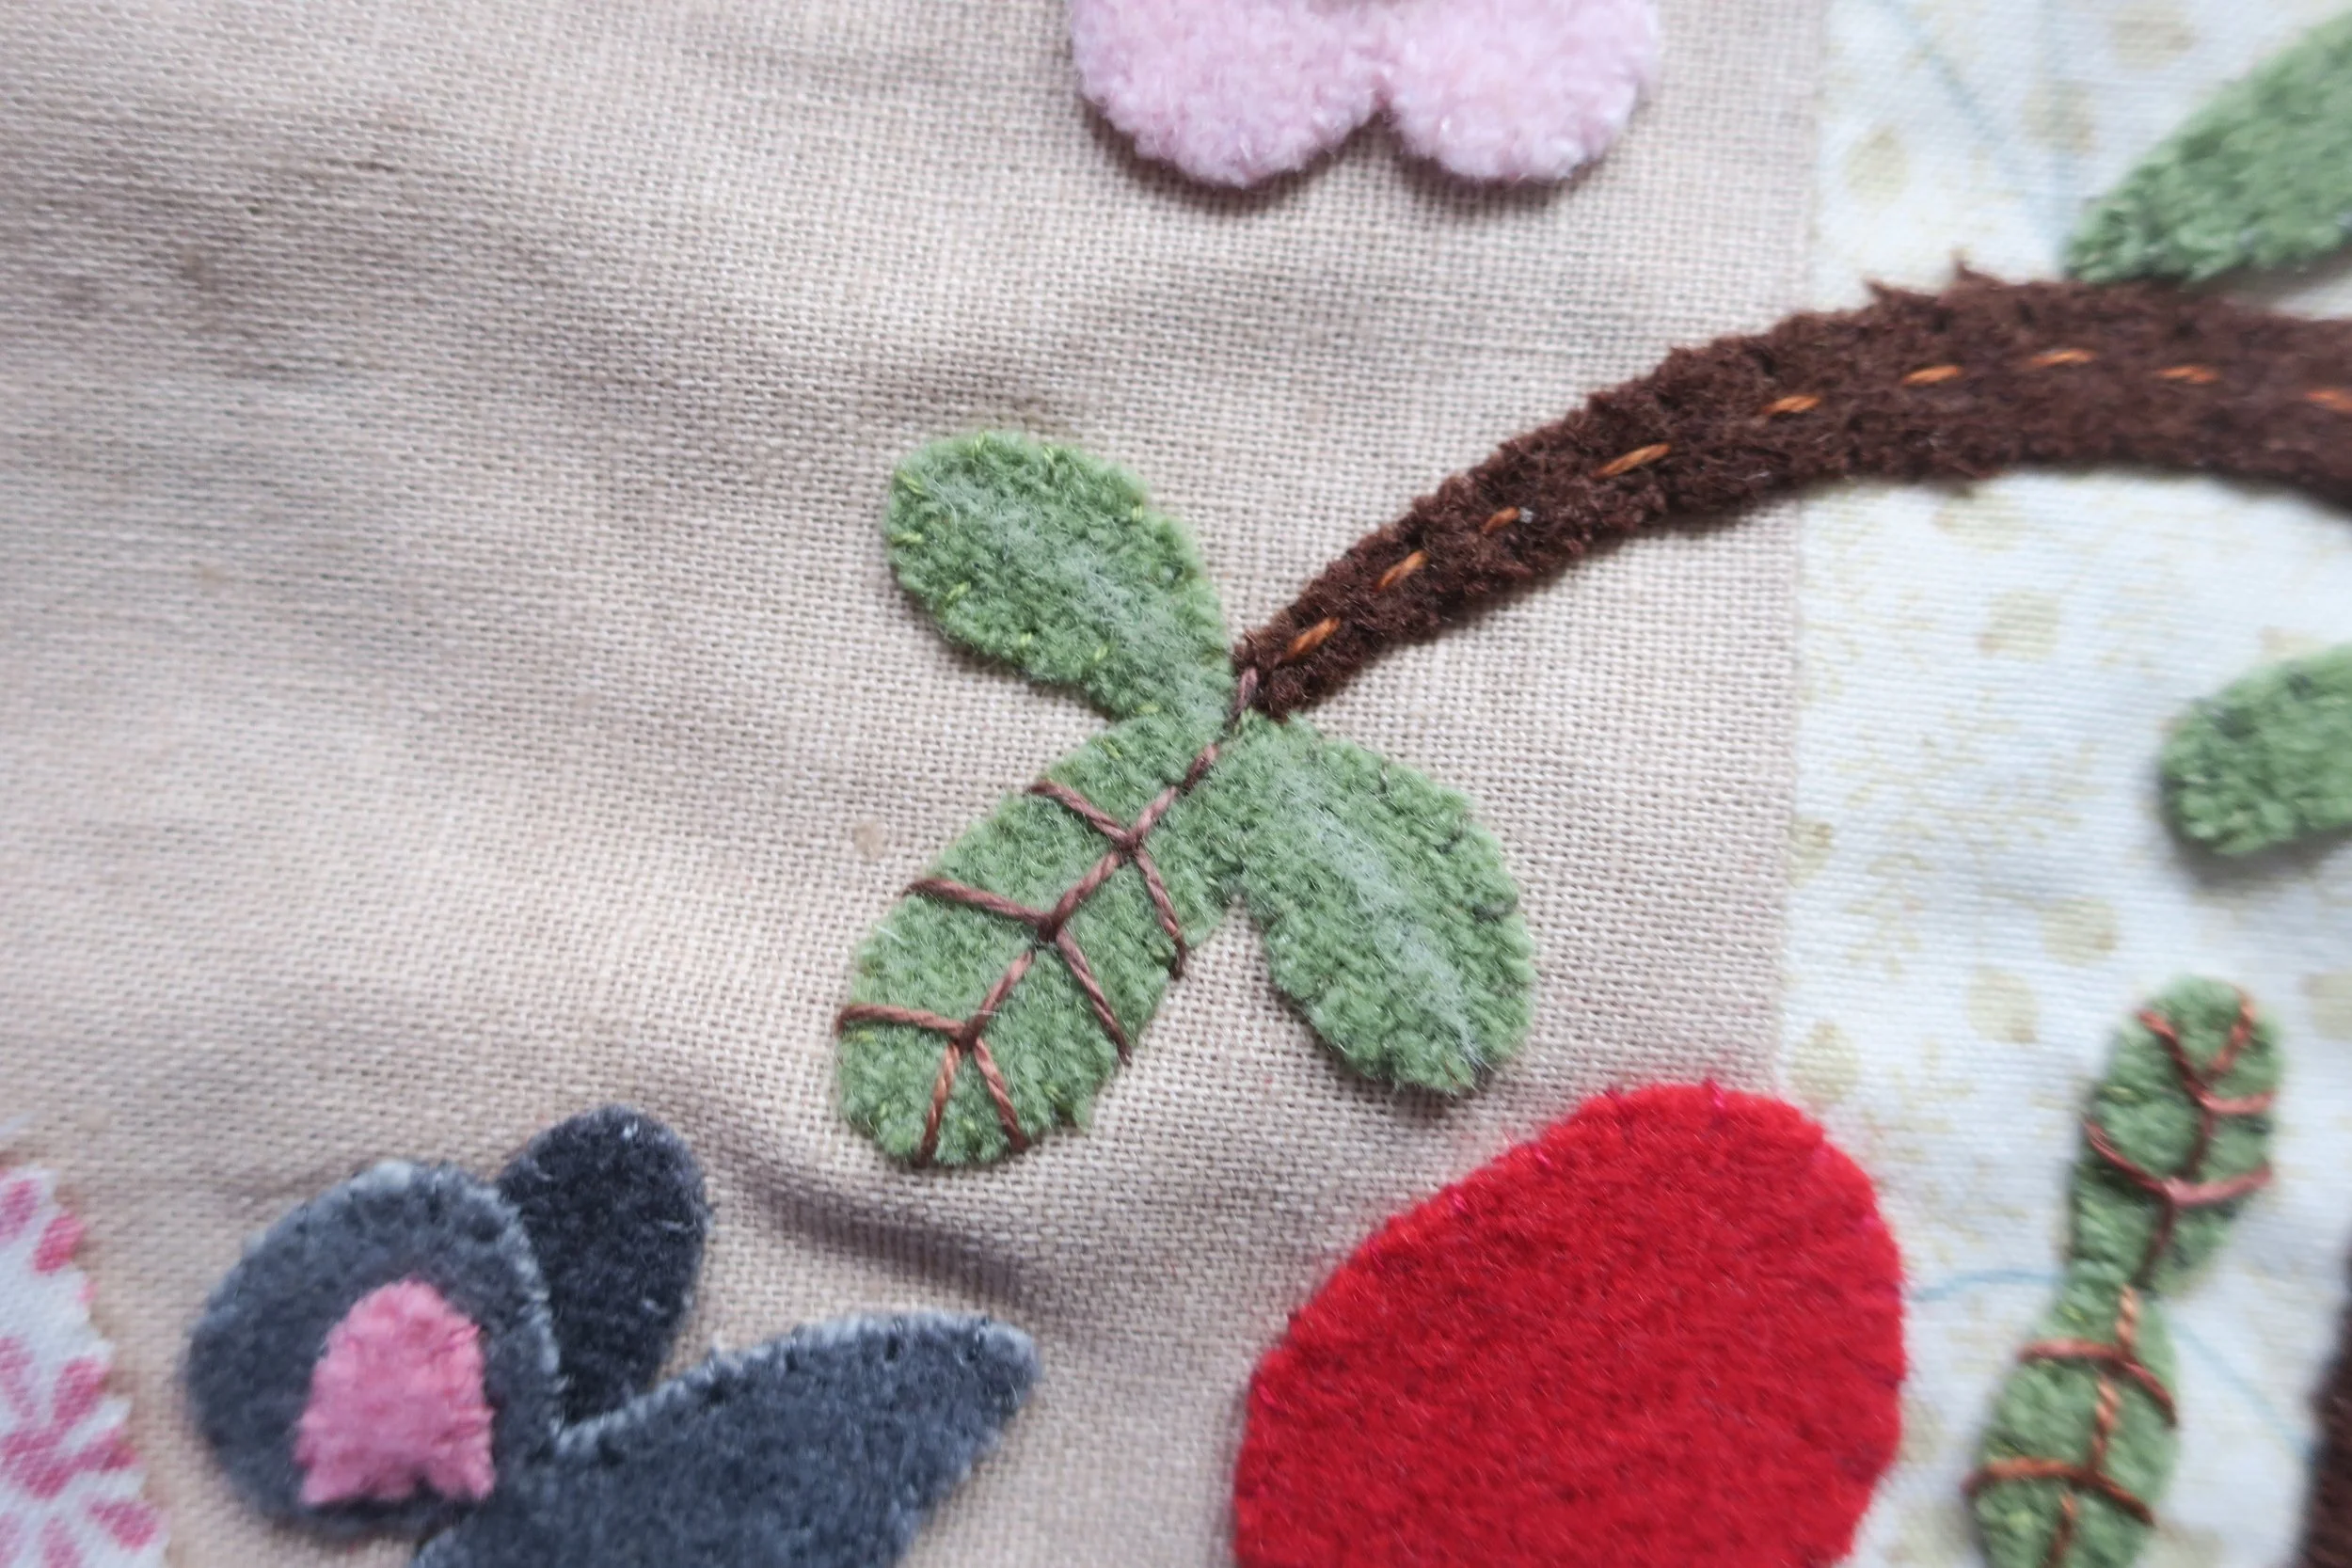
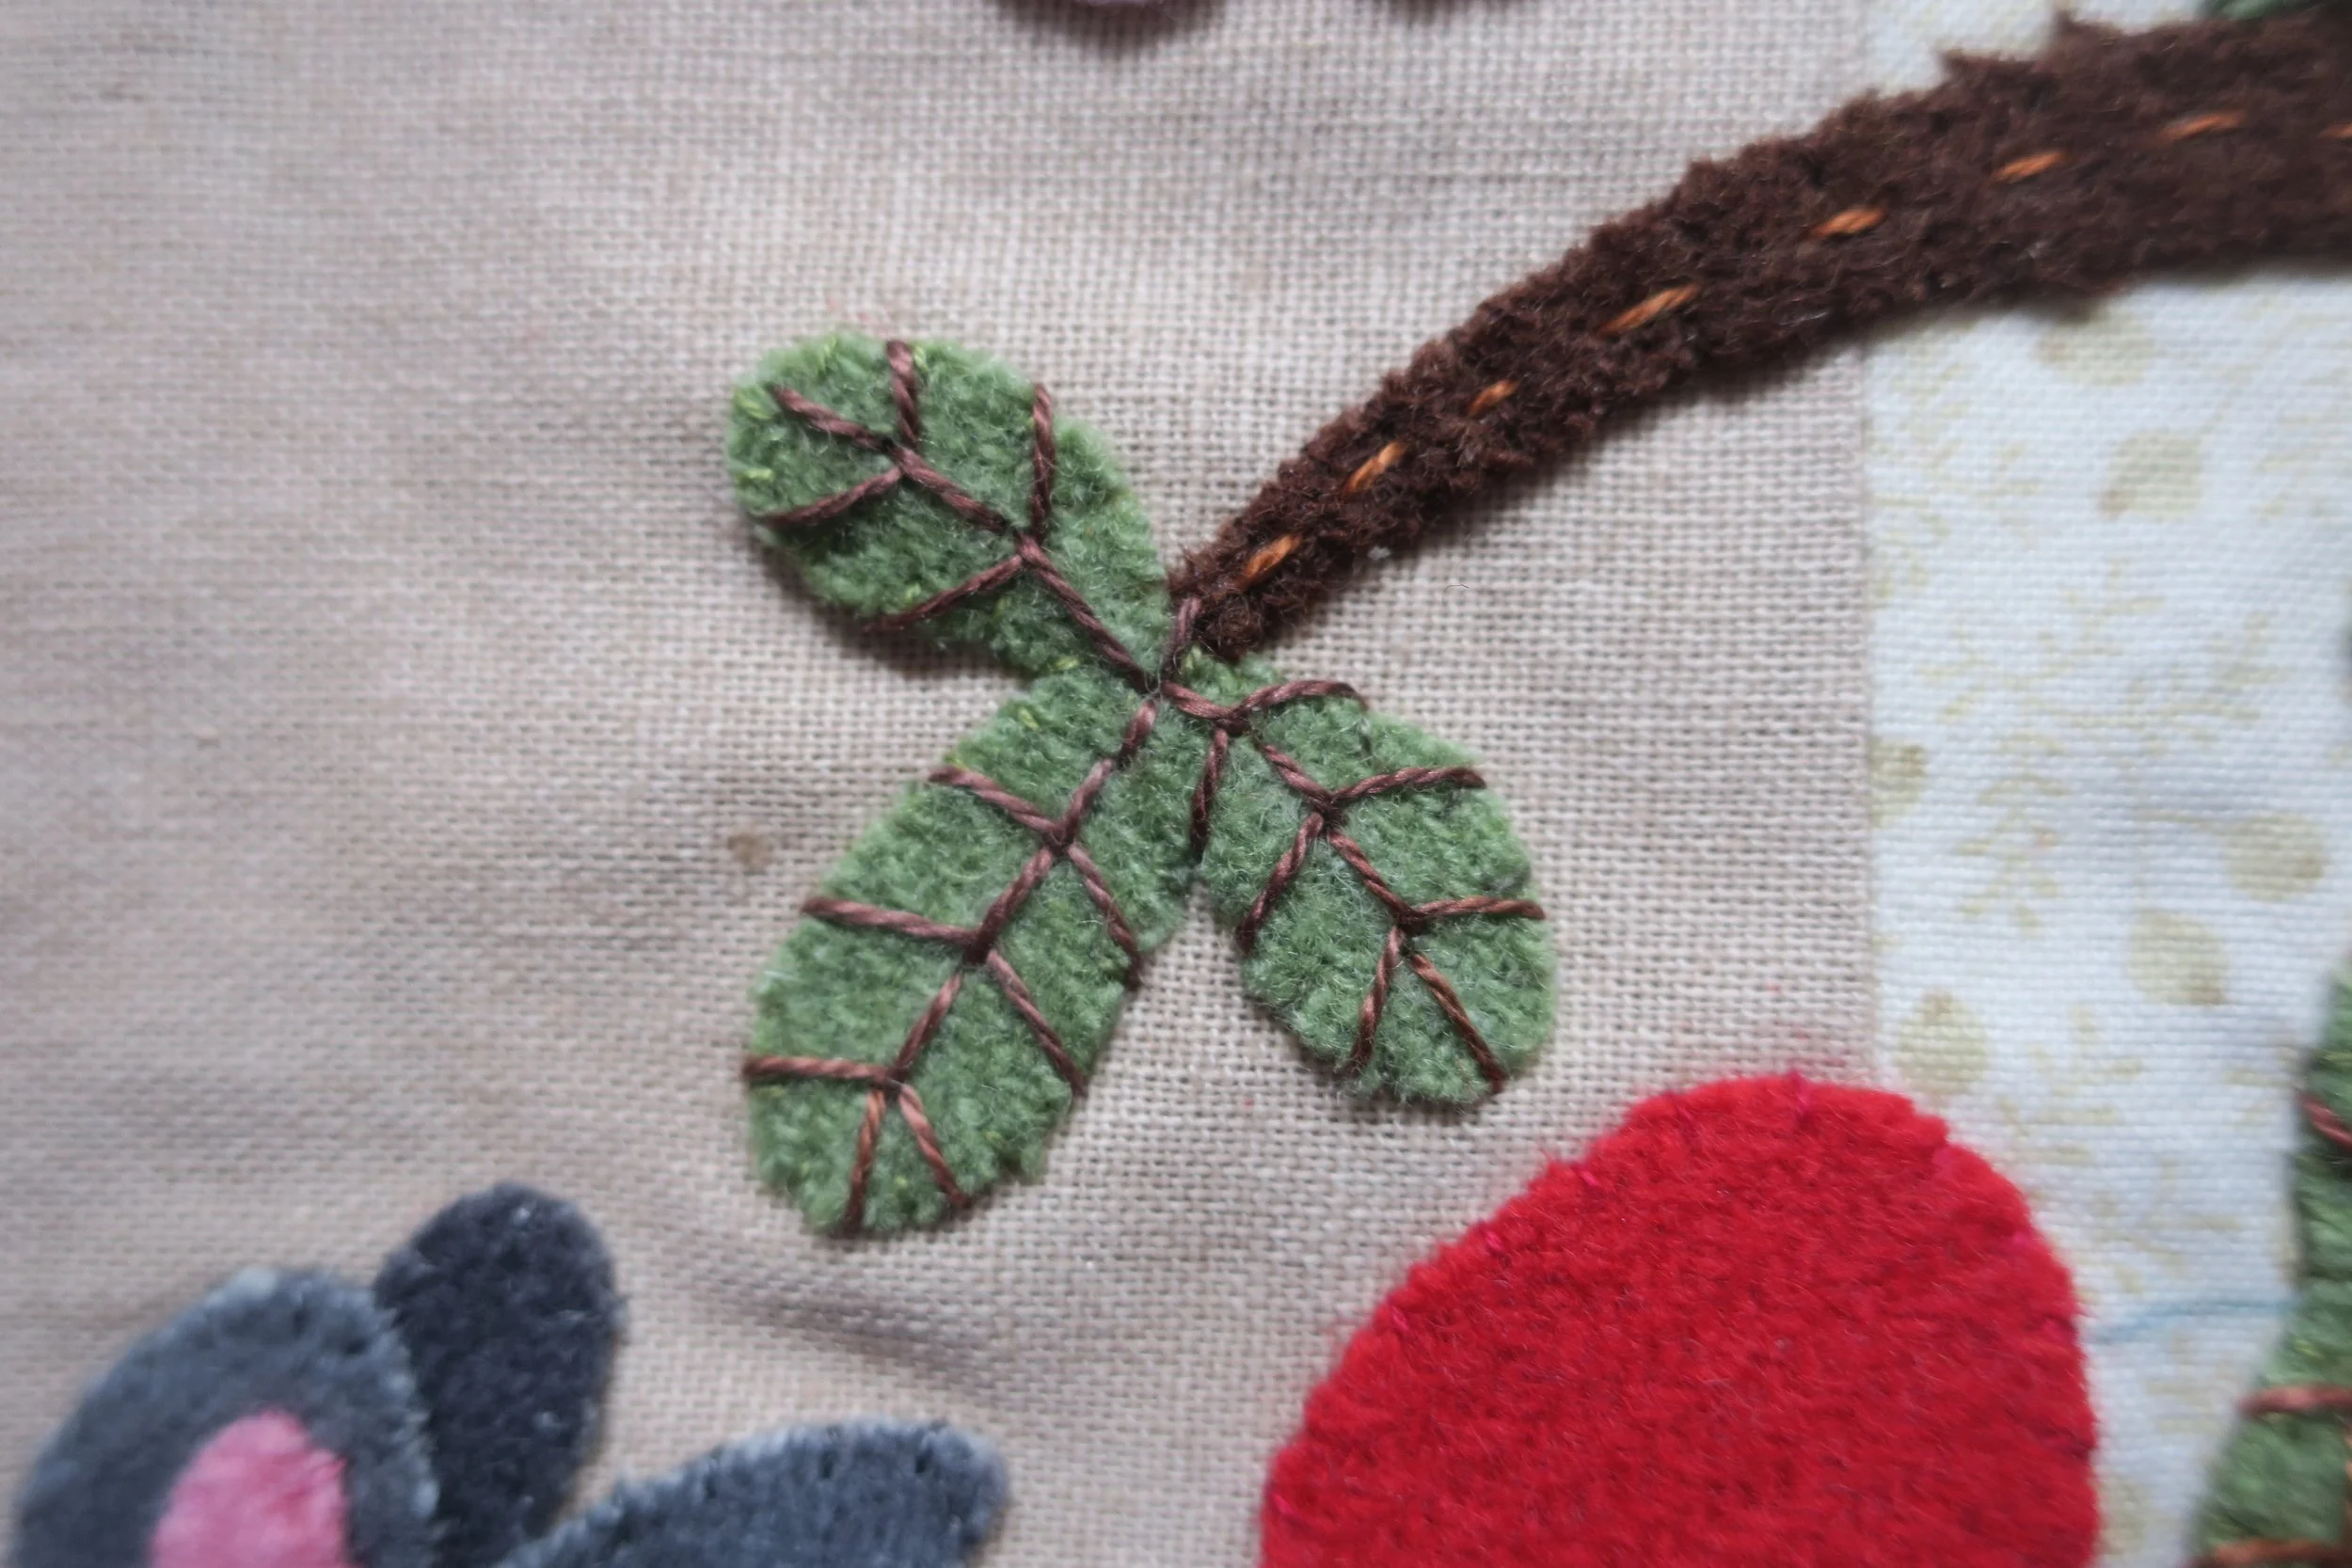
17. Draw guide lines on leaves.
18. Use the same perle cotton used above to stitch a closed fly stitch over the guide lines.
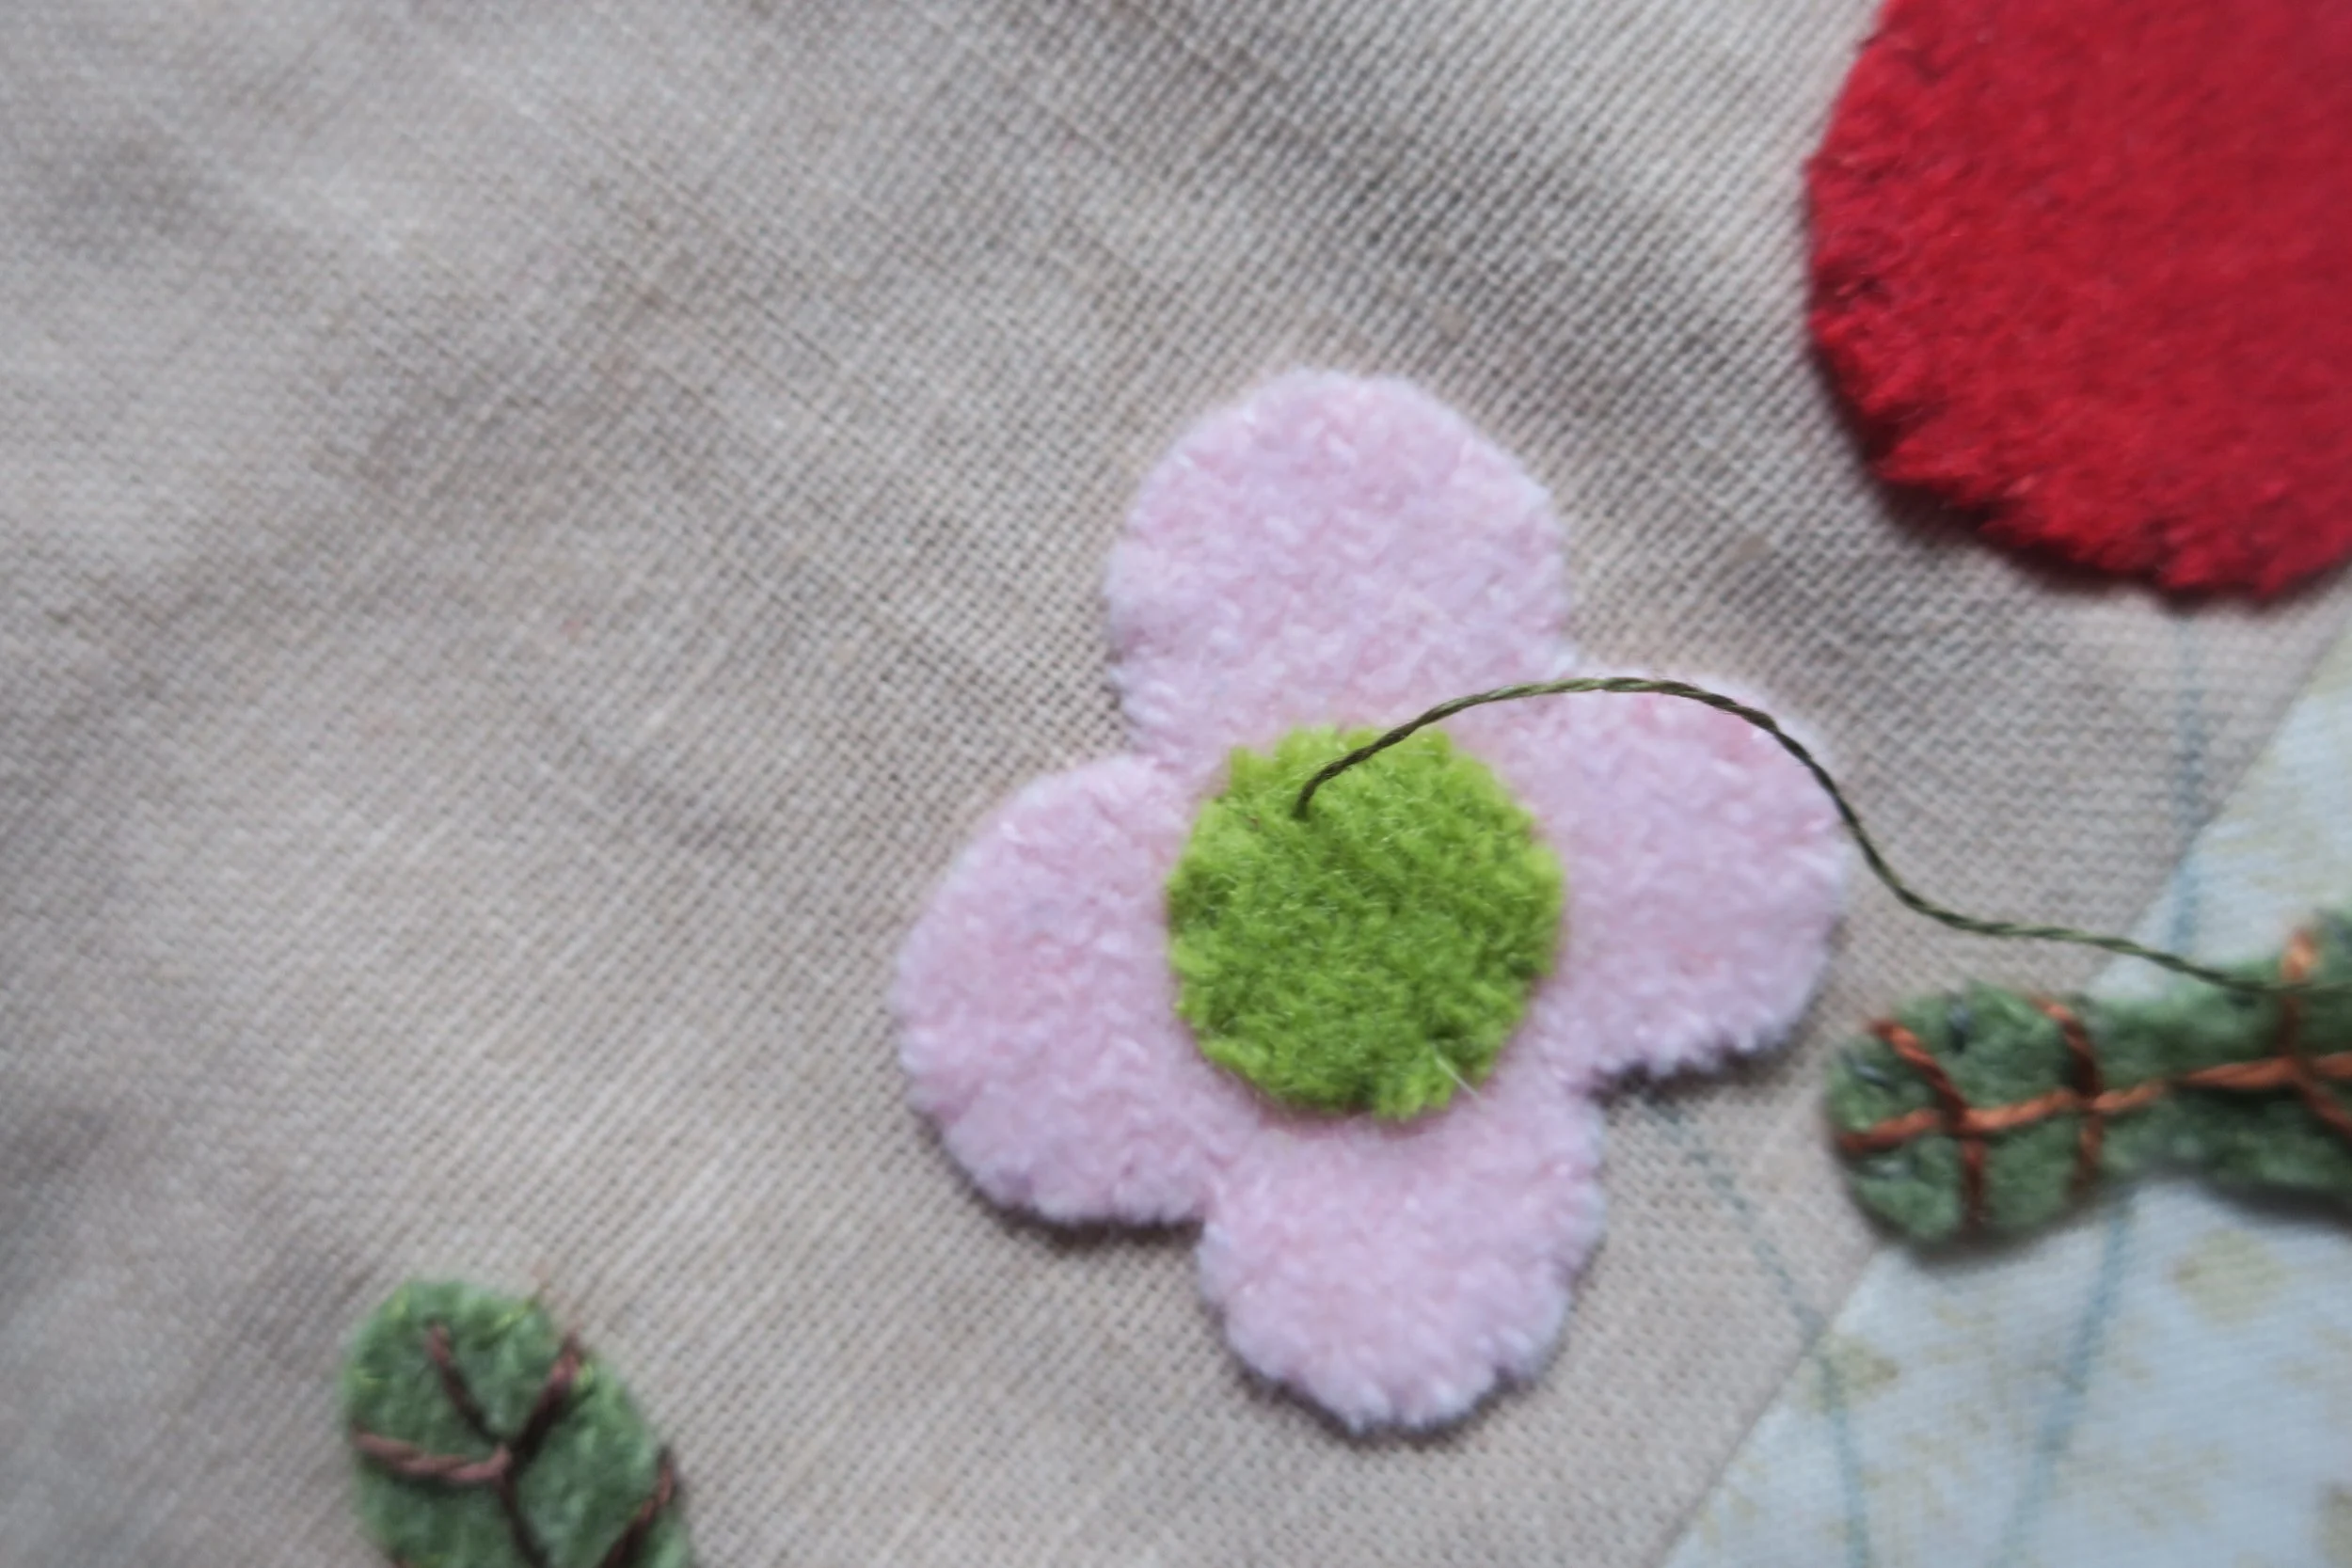
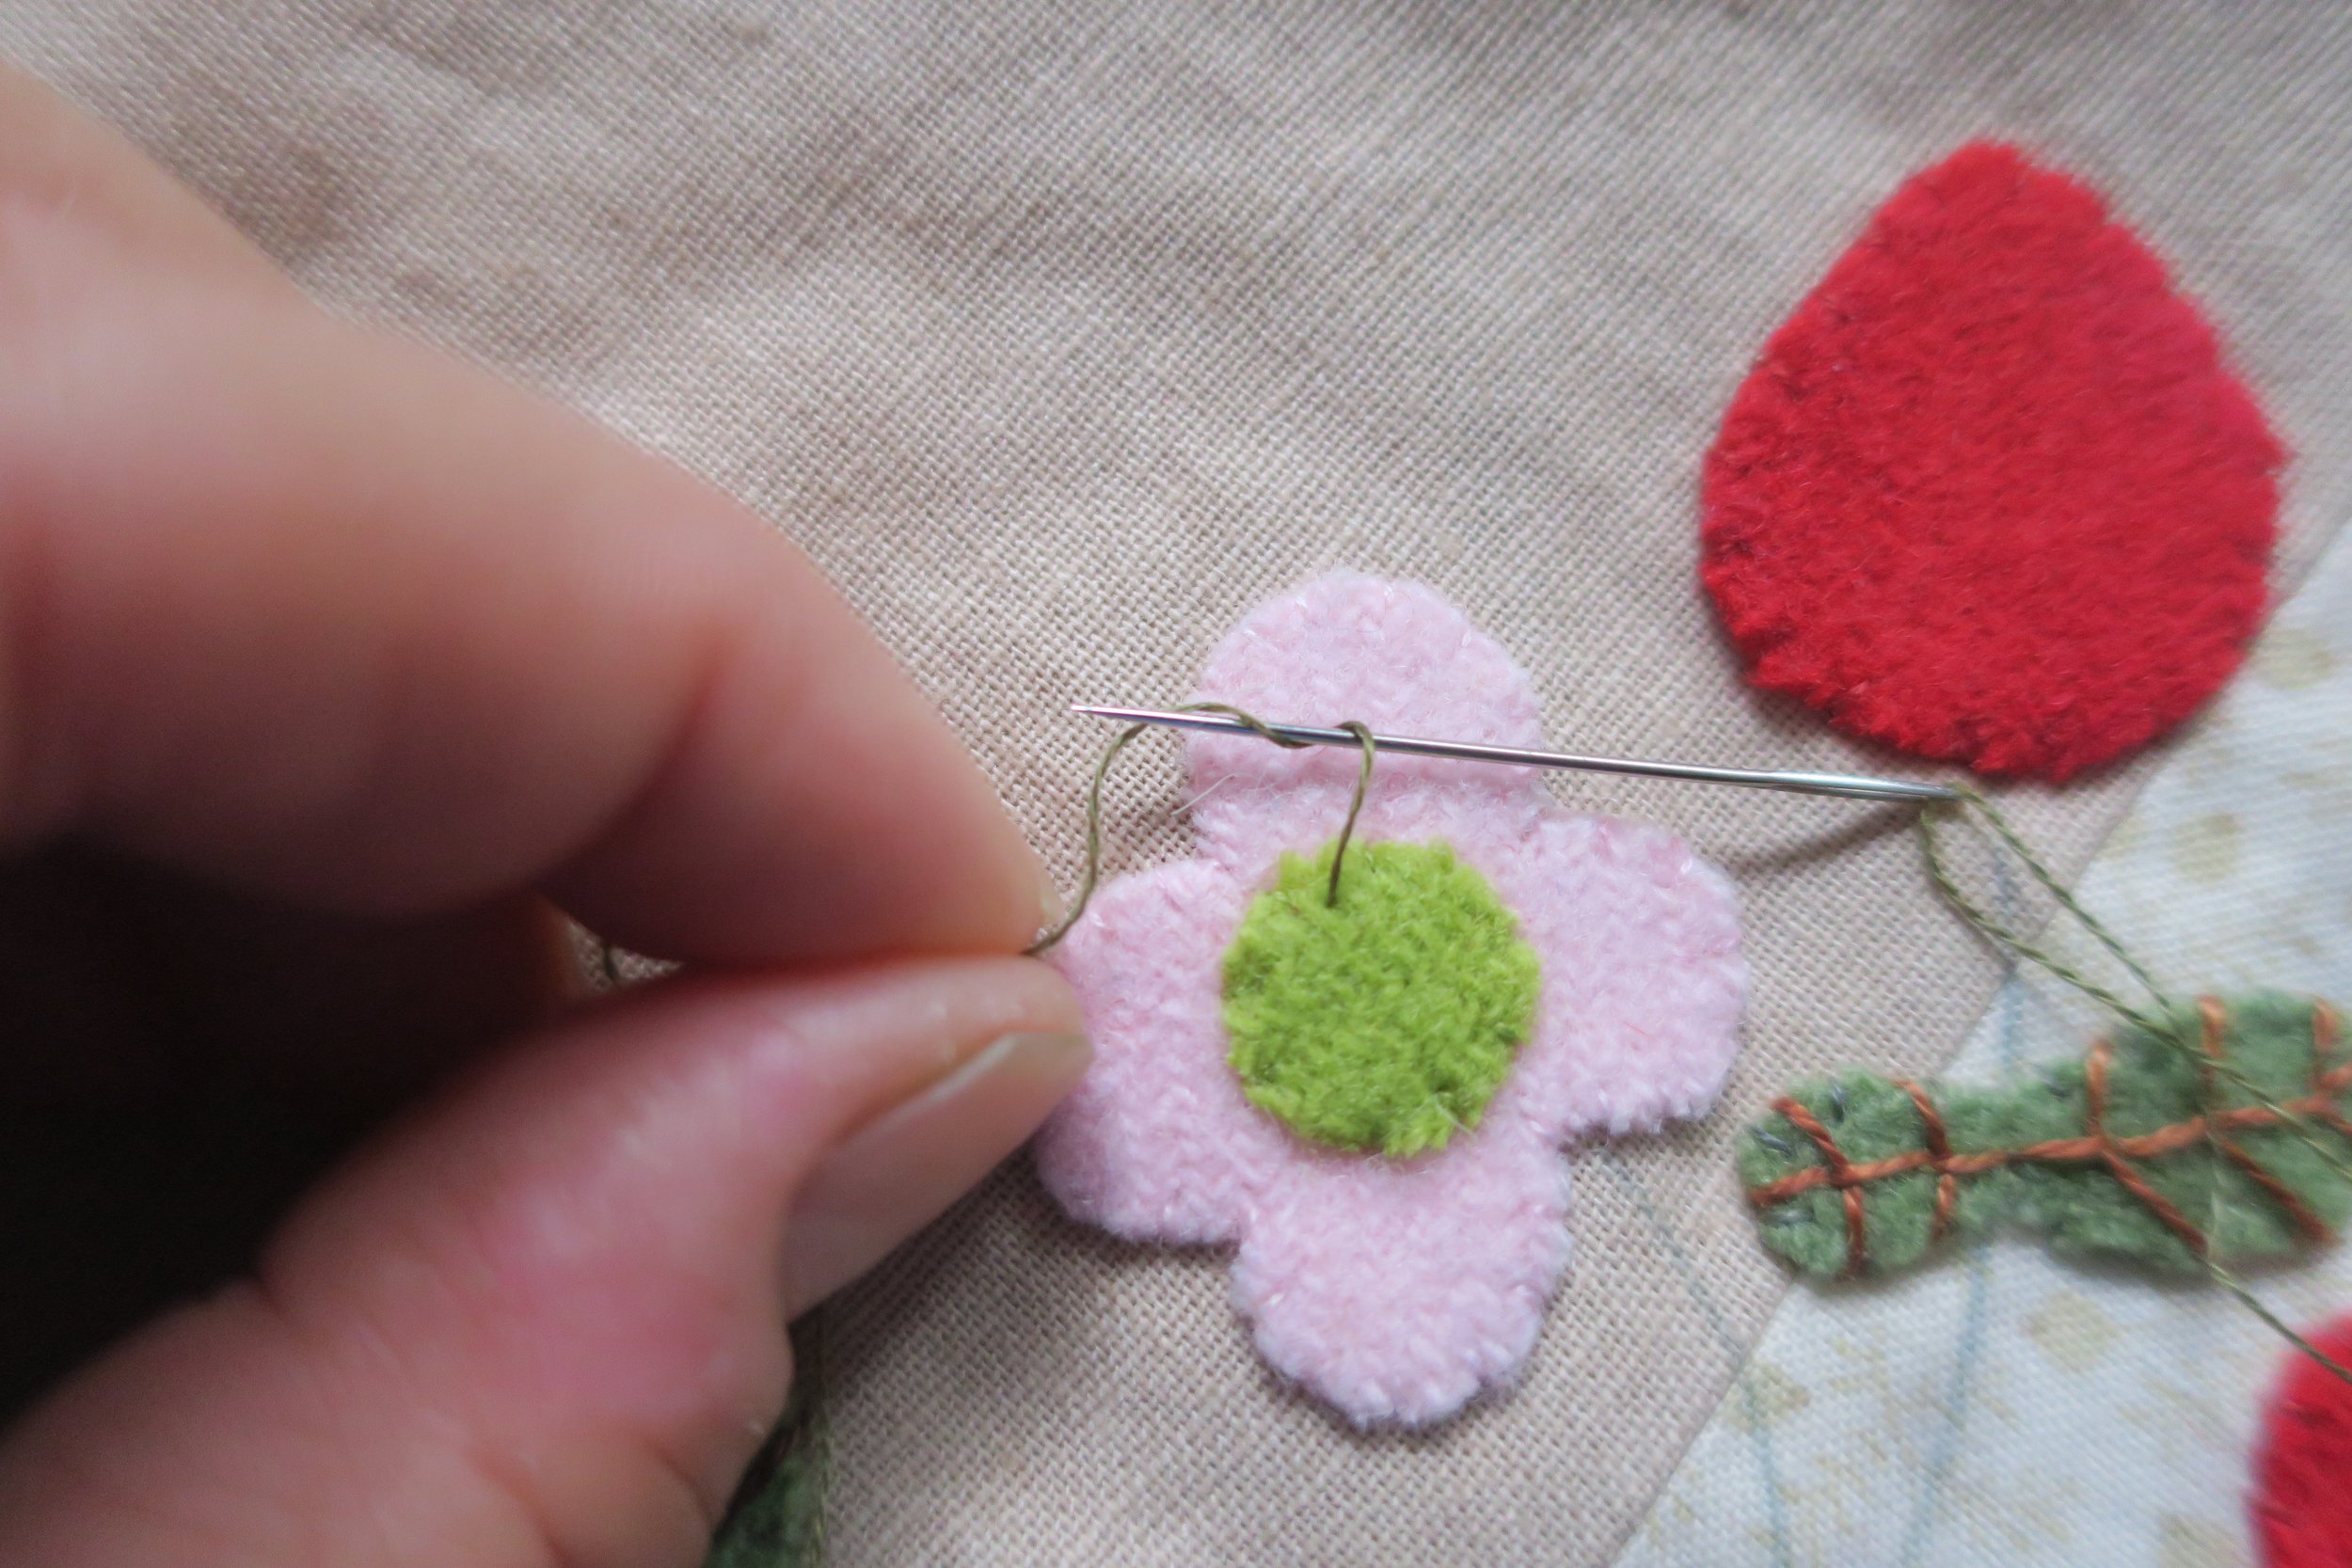
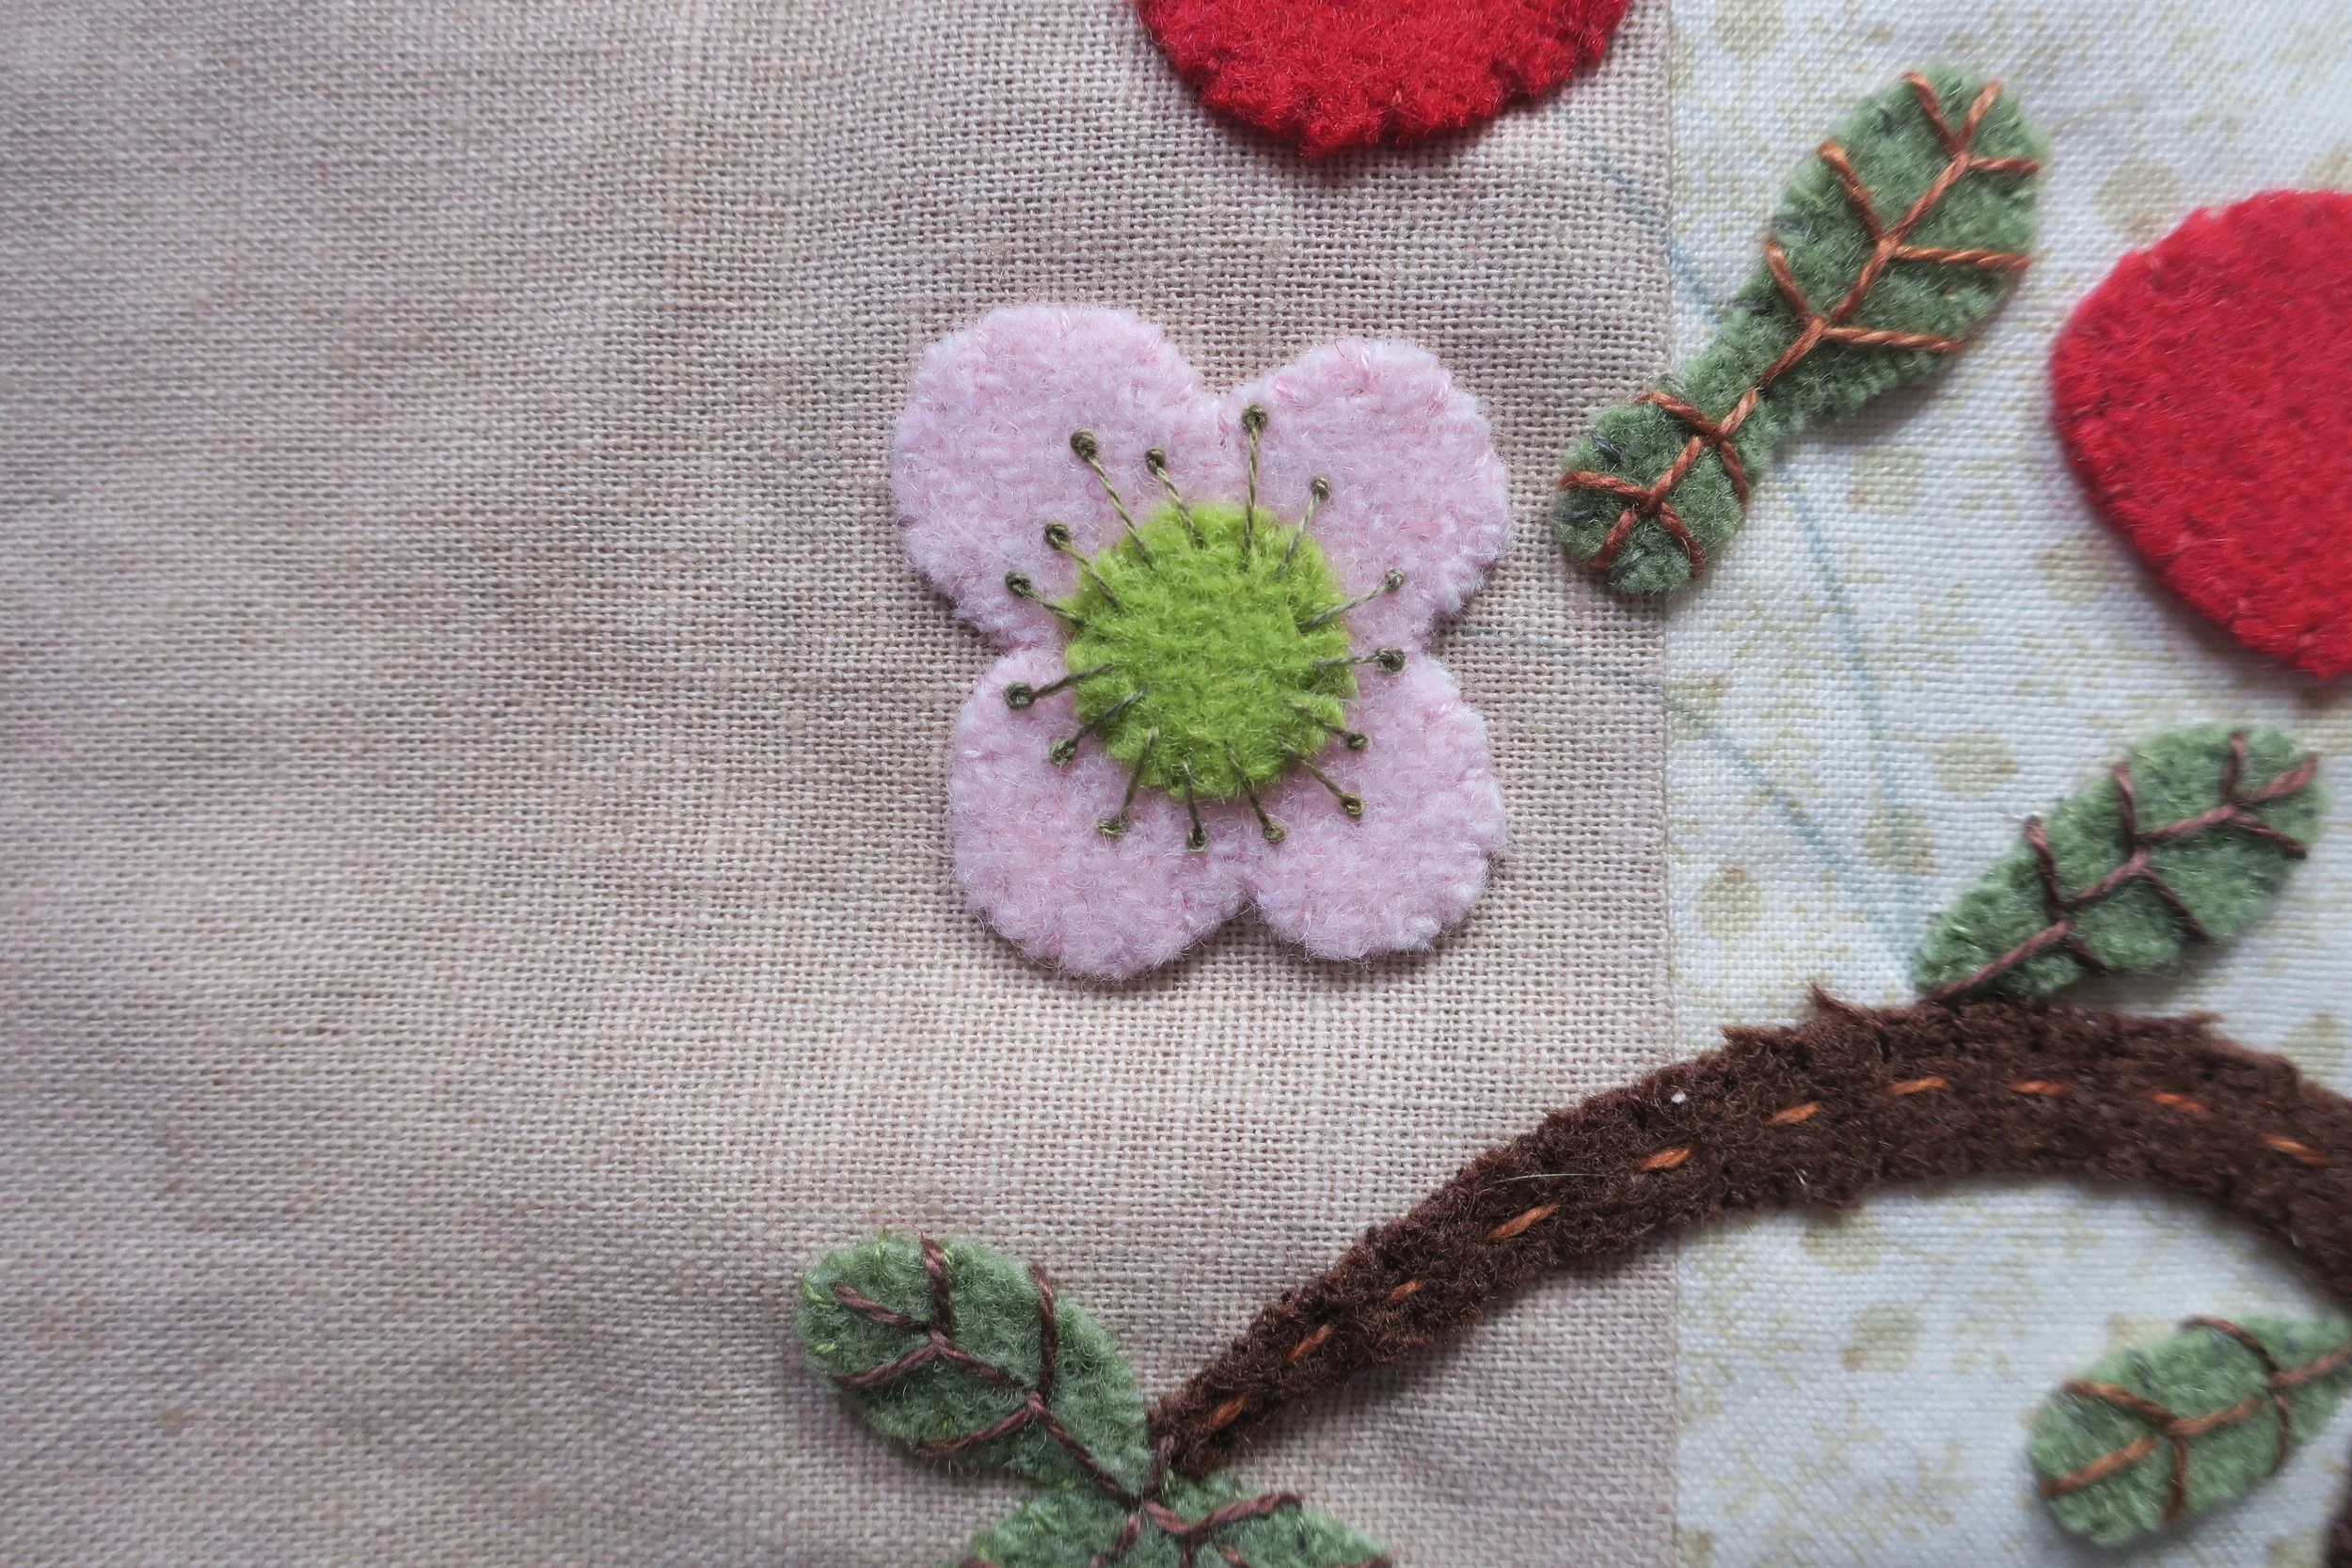
19. Use 1 strand of dark olive green embroidery floss to stitch a series of pistle stitches around each flower center. A pistle stitch is simply a French knot with a long tail (see below).
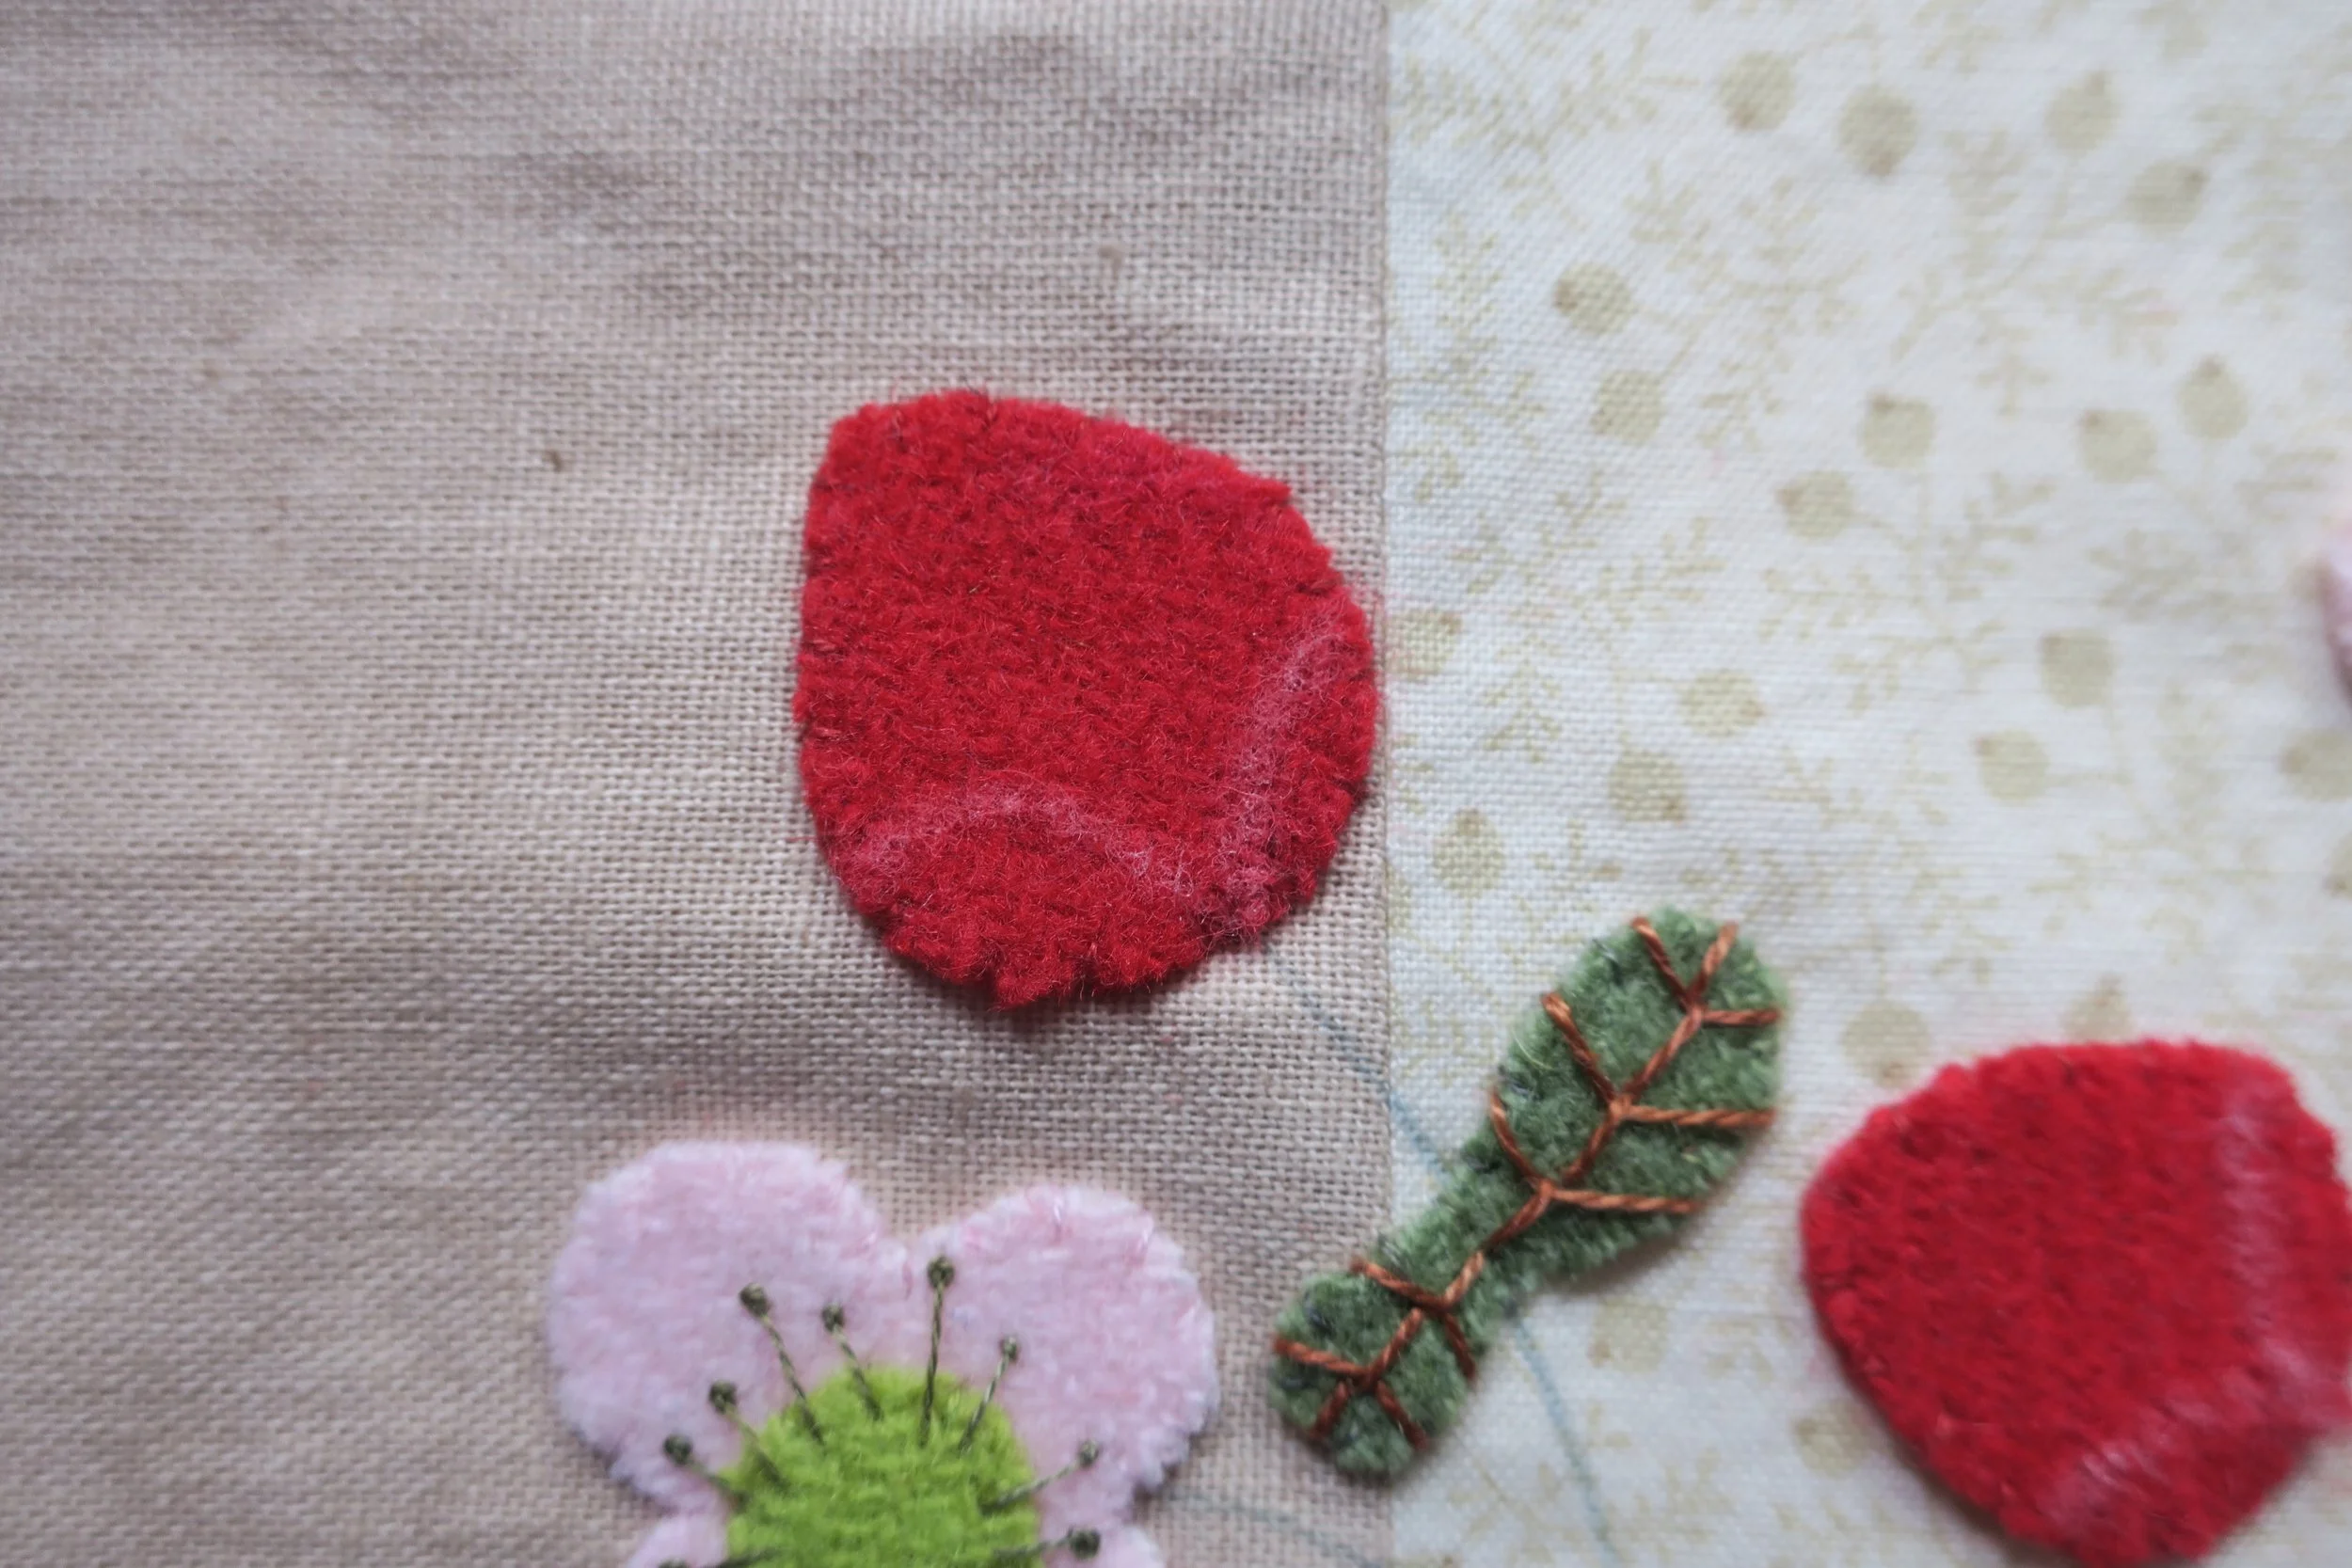
20. Draw guide lines for the cap of each strawberry using the layout as a guide.
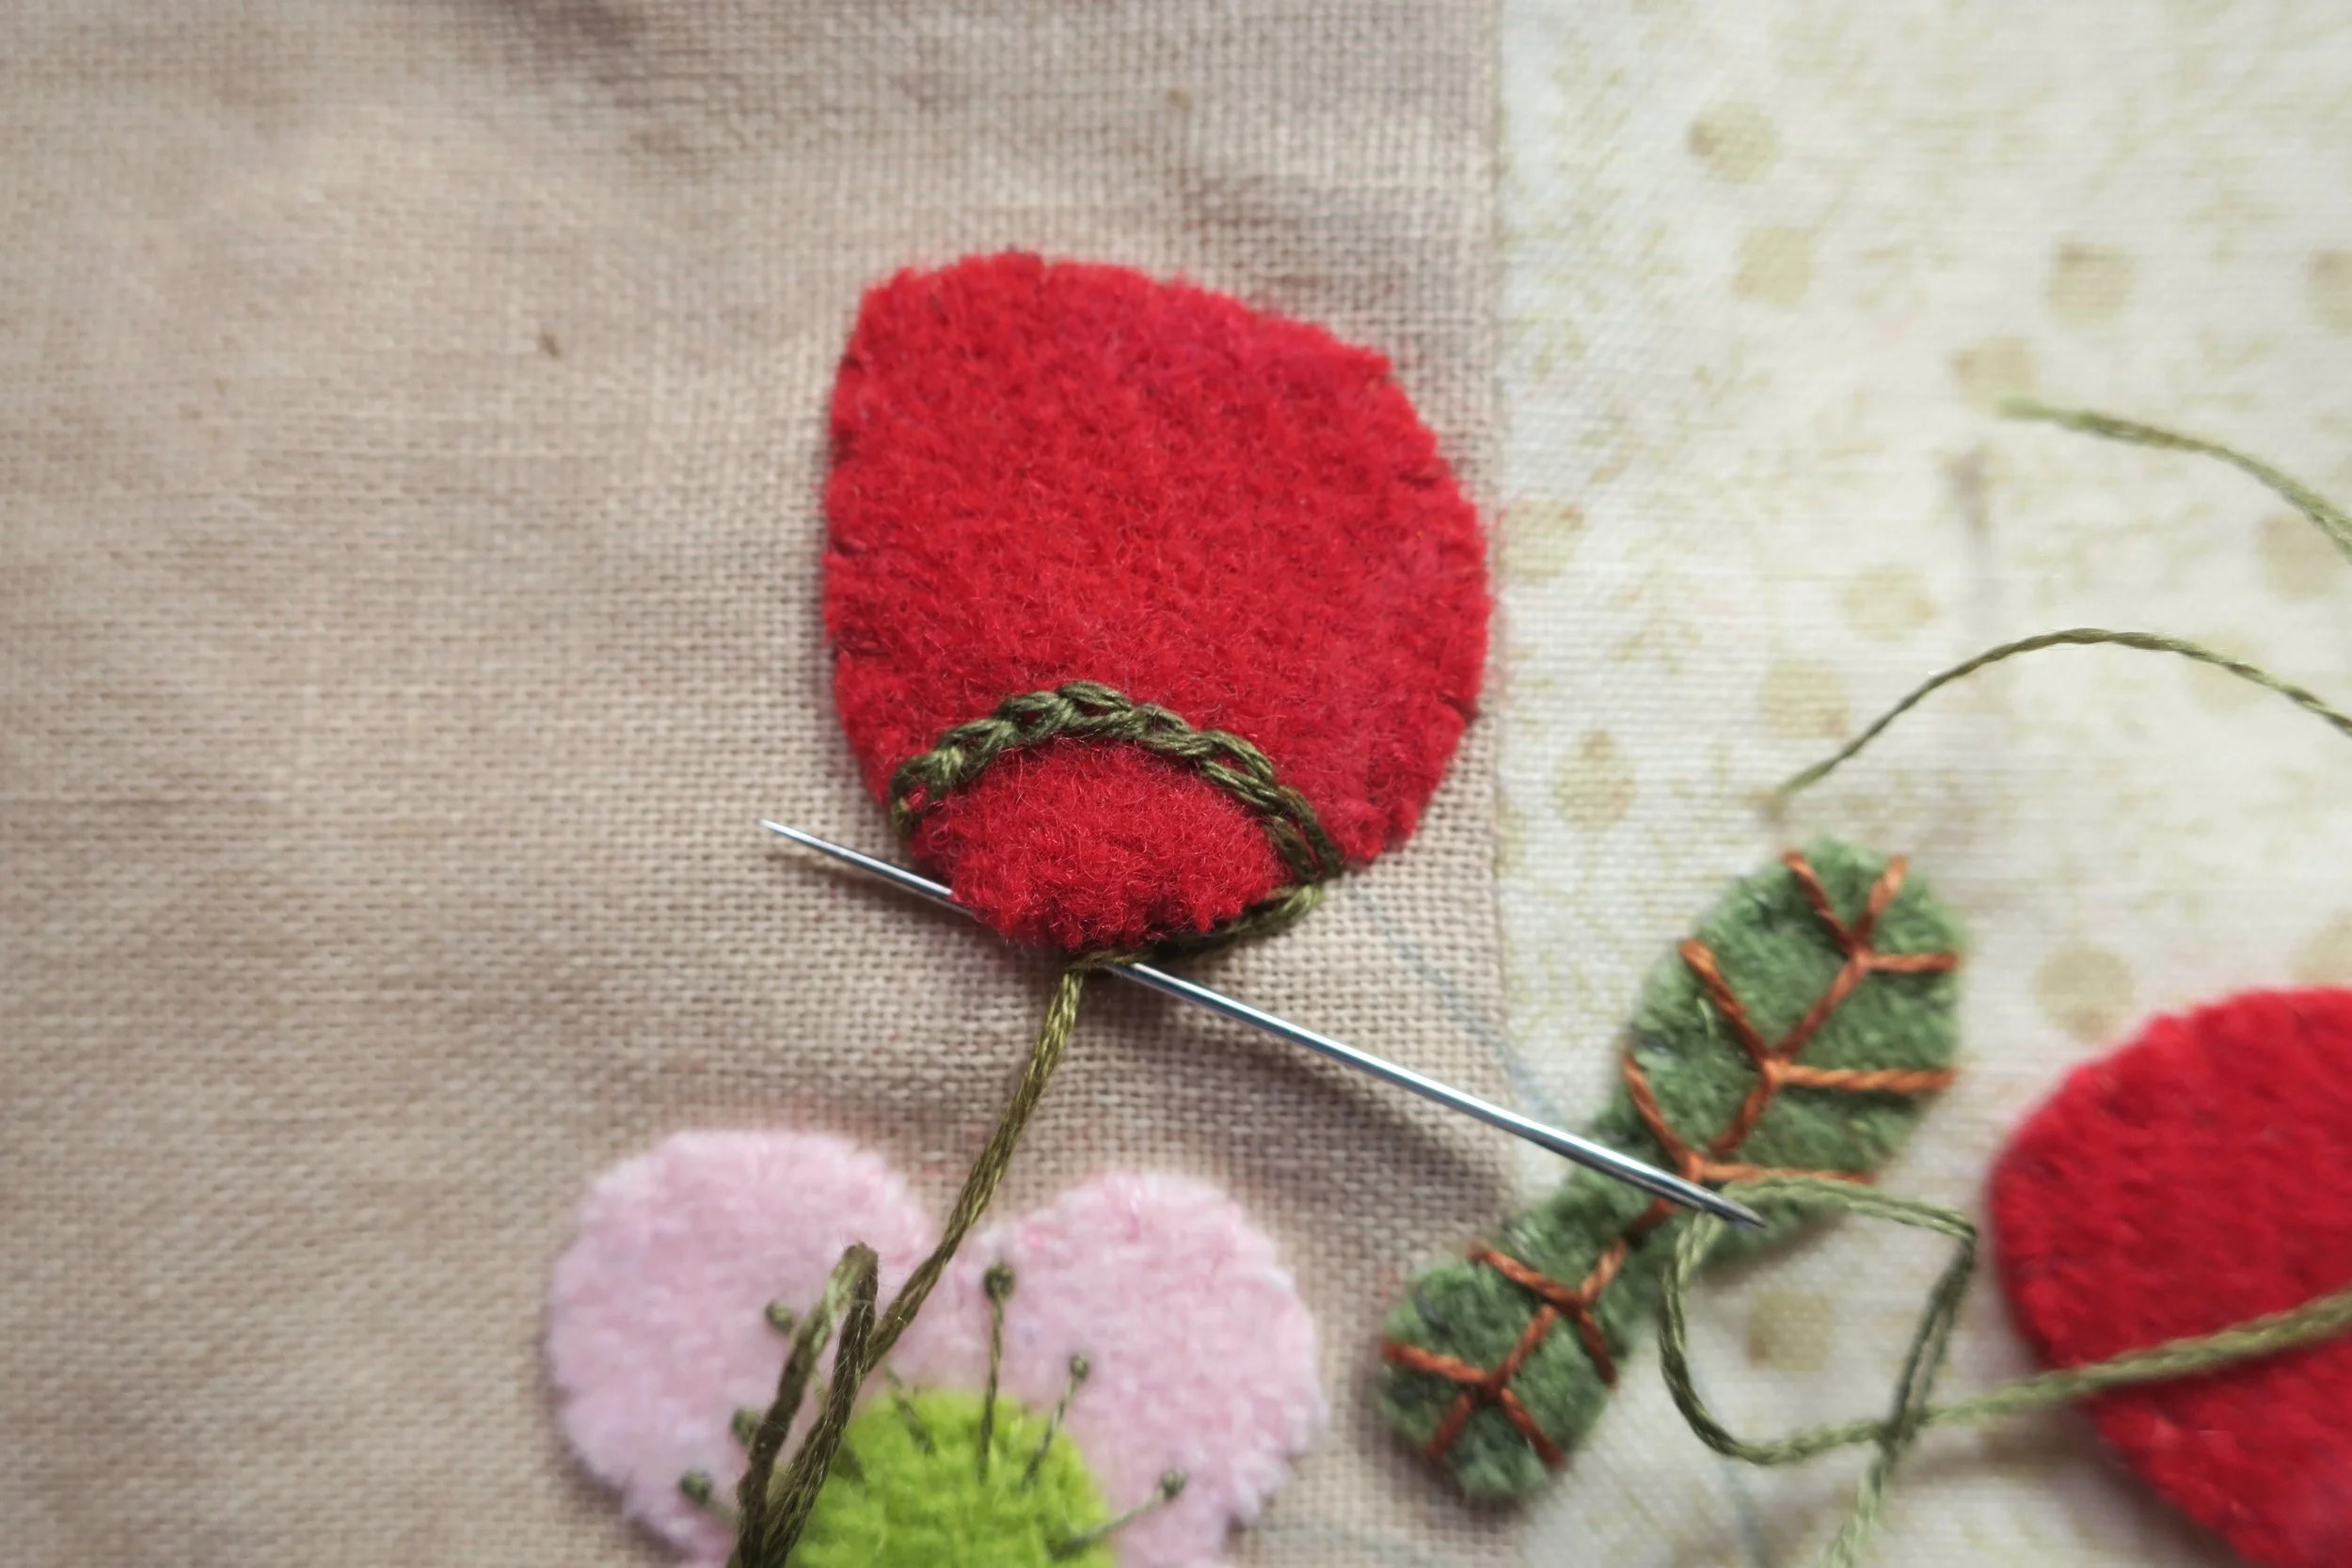
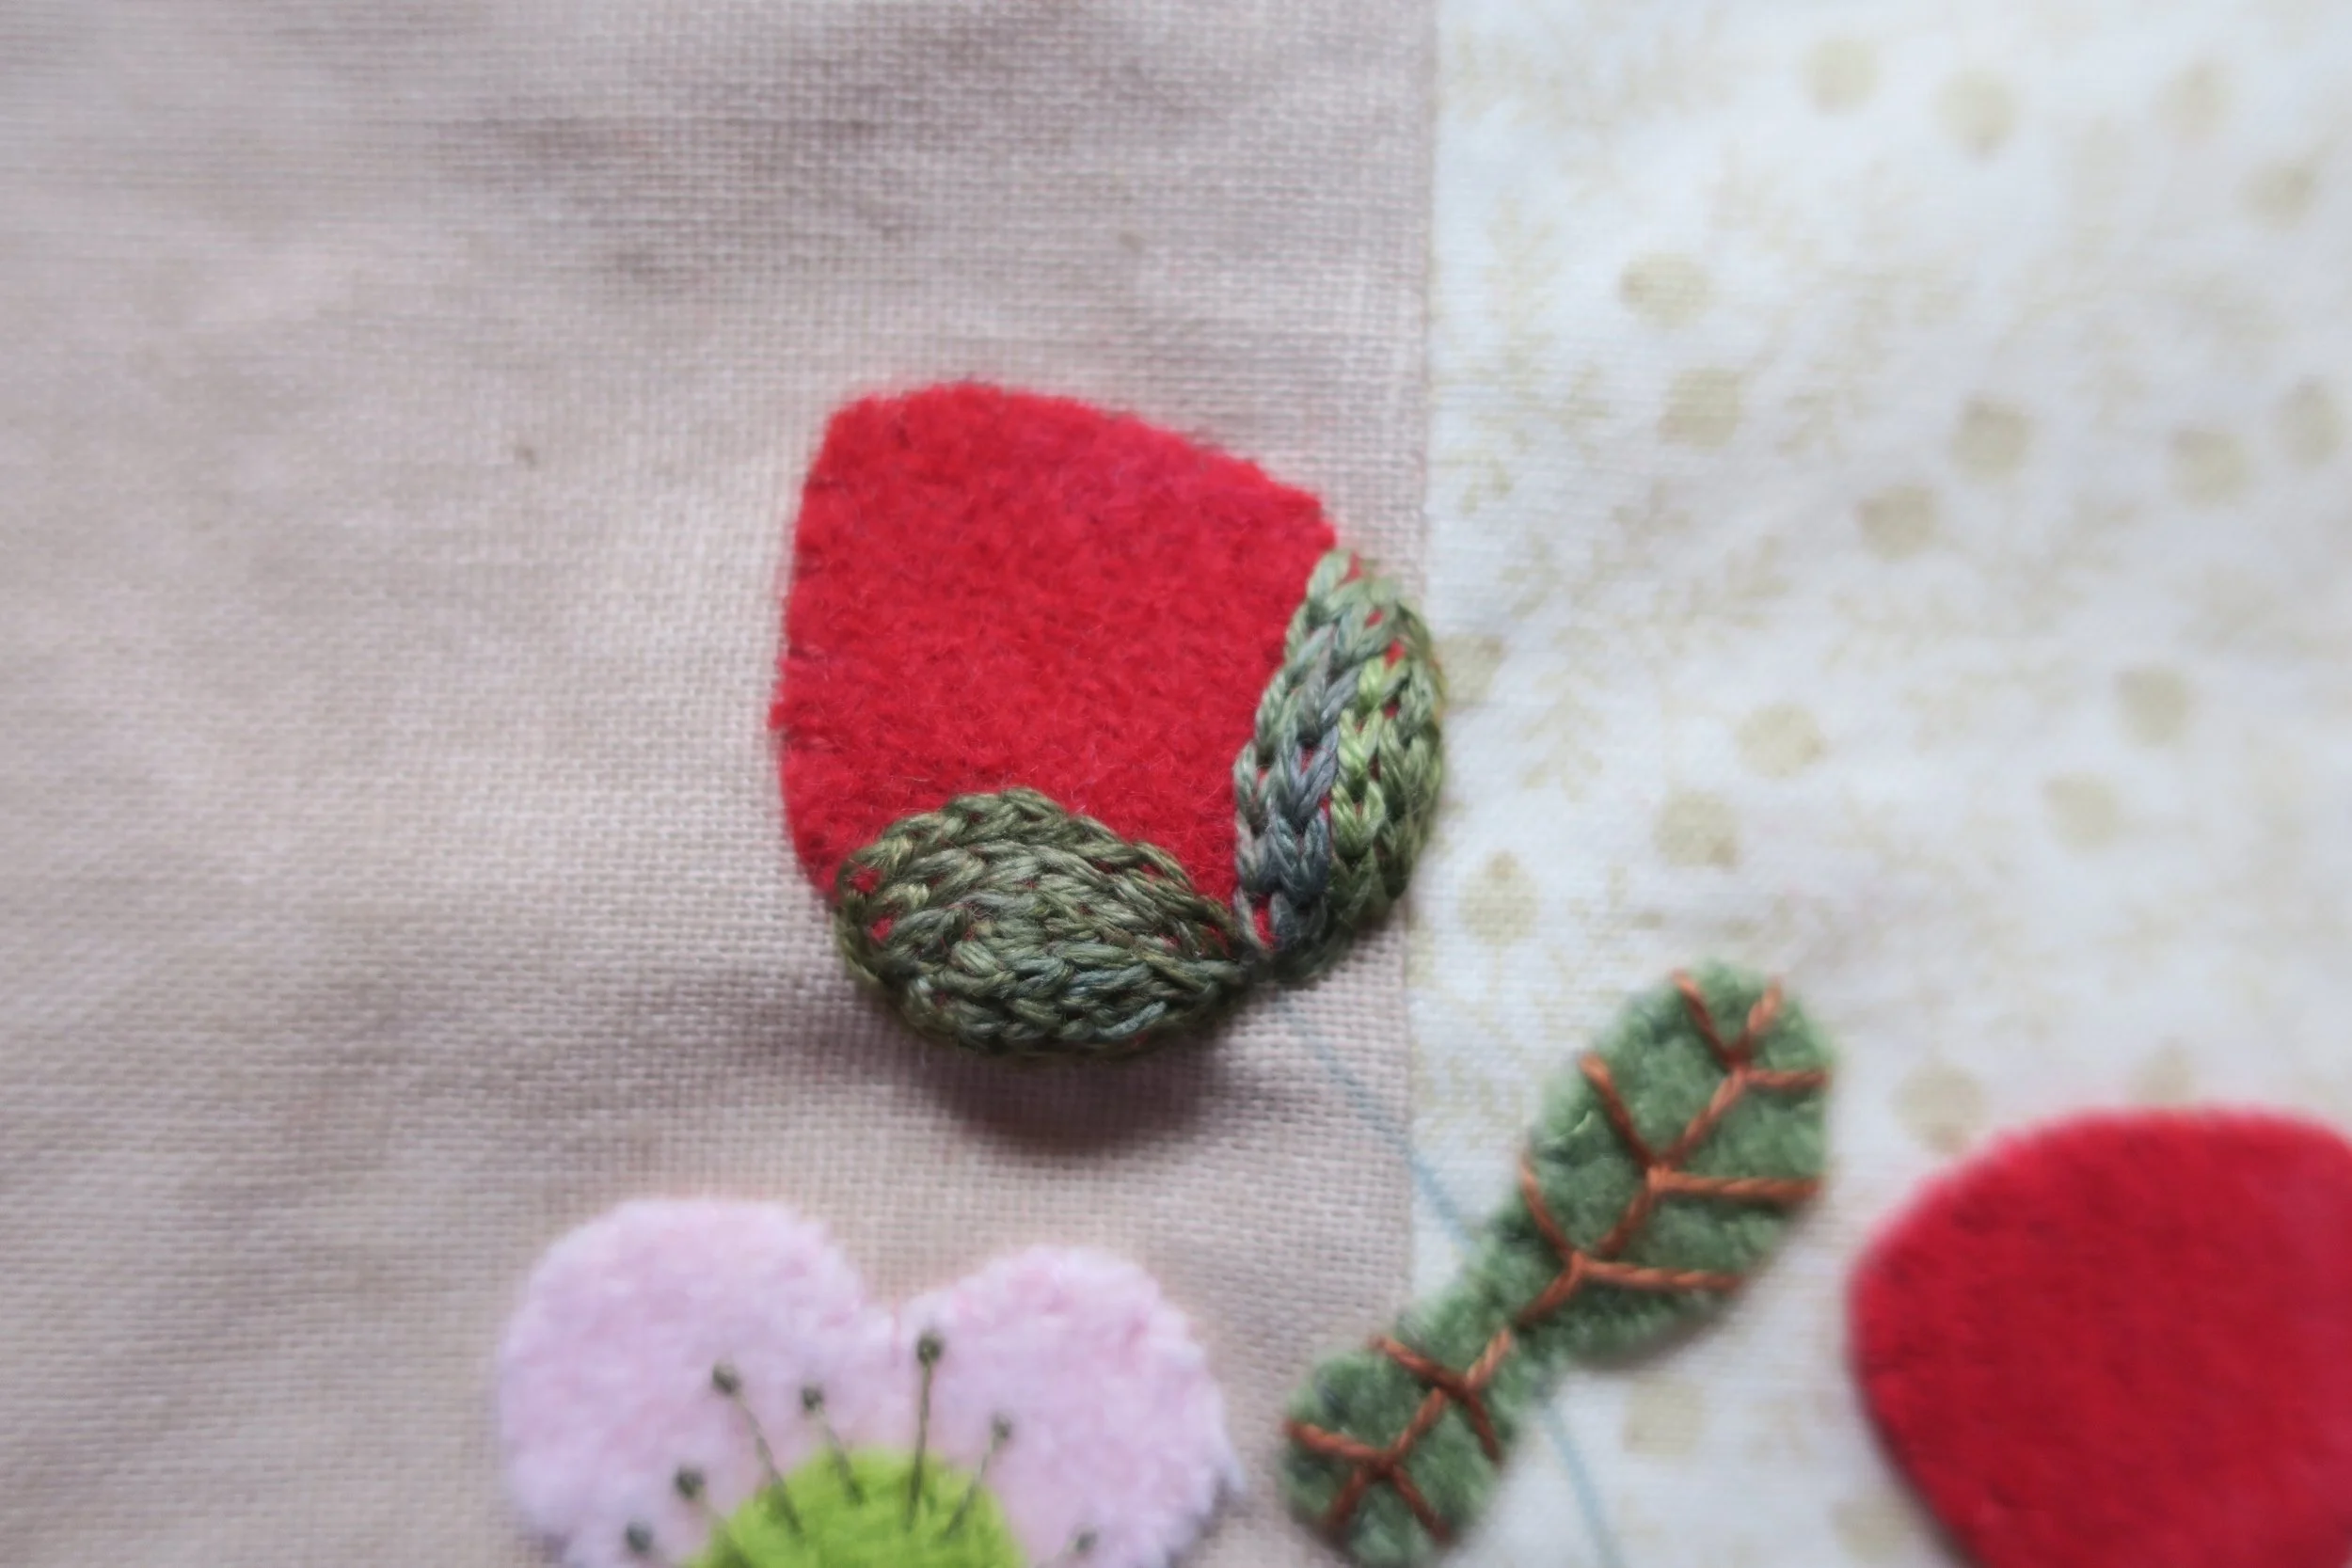
21. Use 2 strands of fern green embroidery floss to chain stitch each cap. Begin by outlining each cap and then fill in.
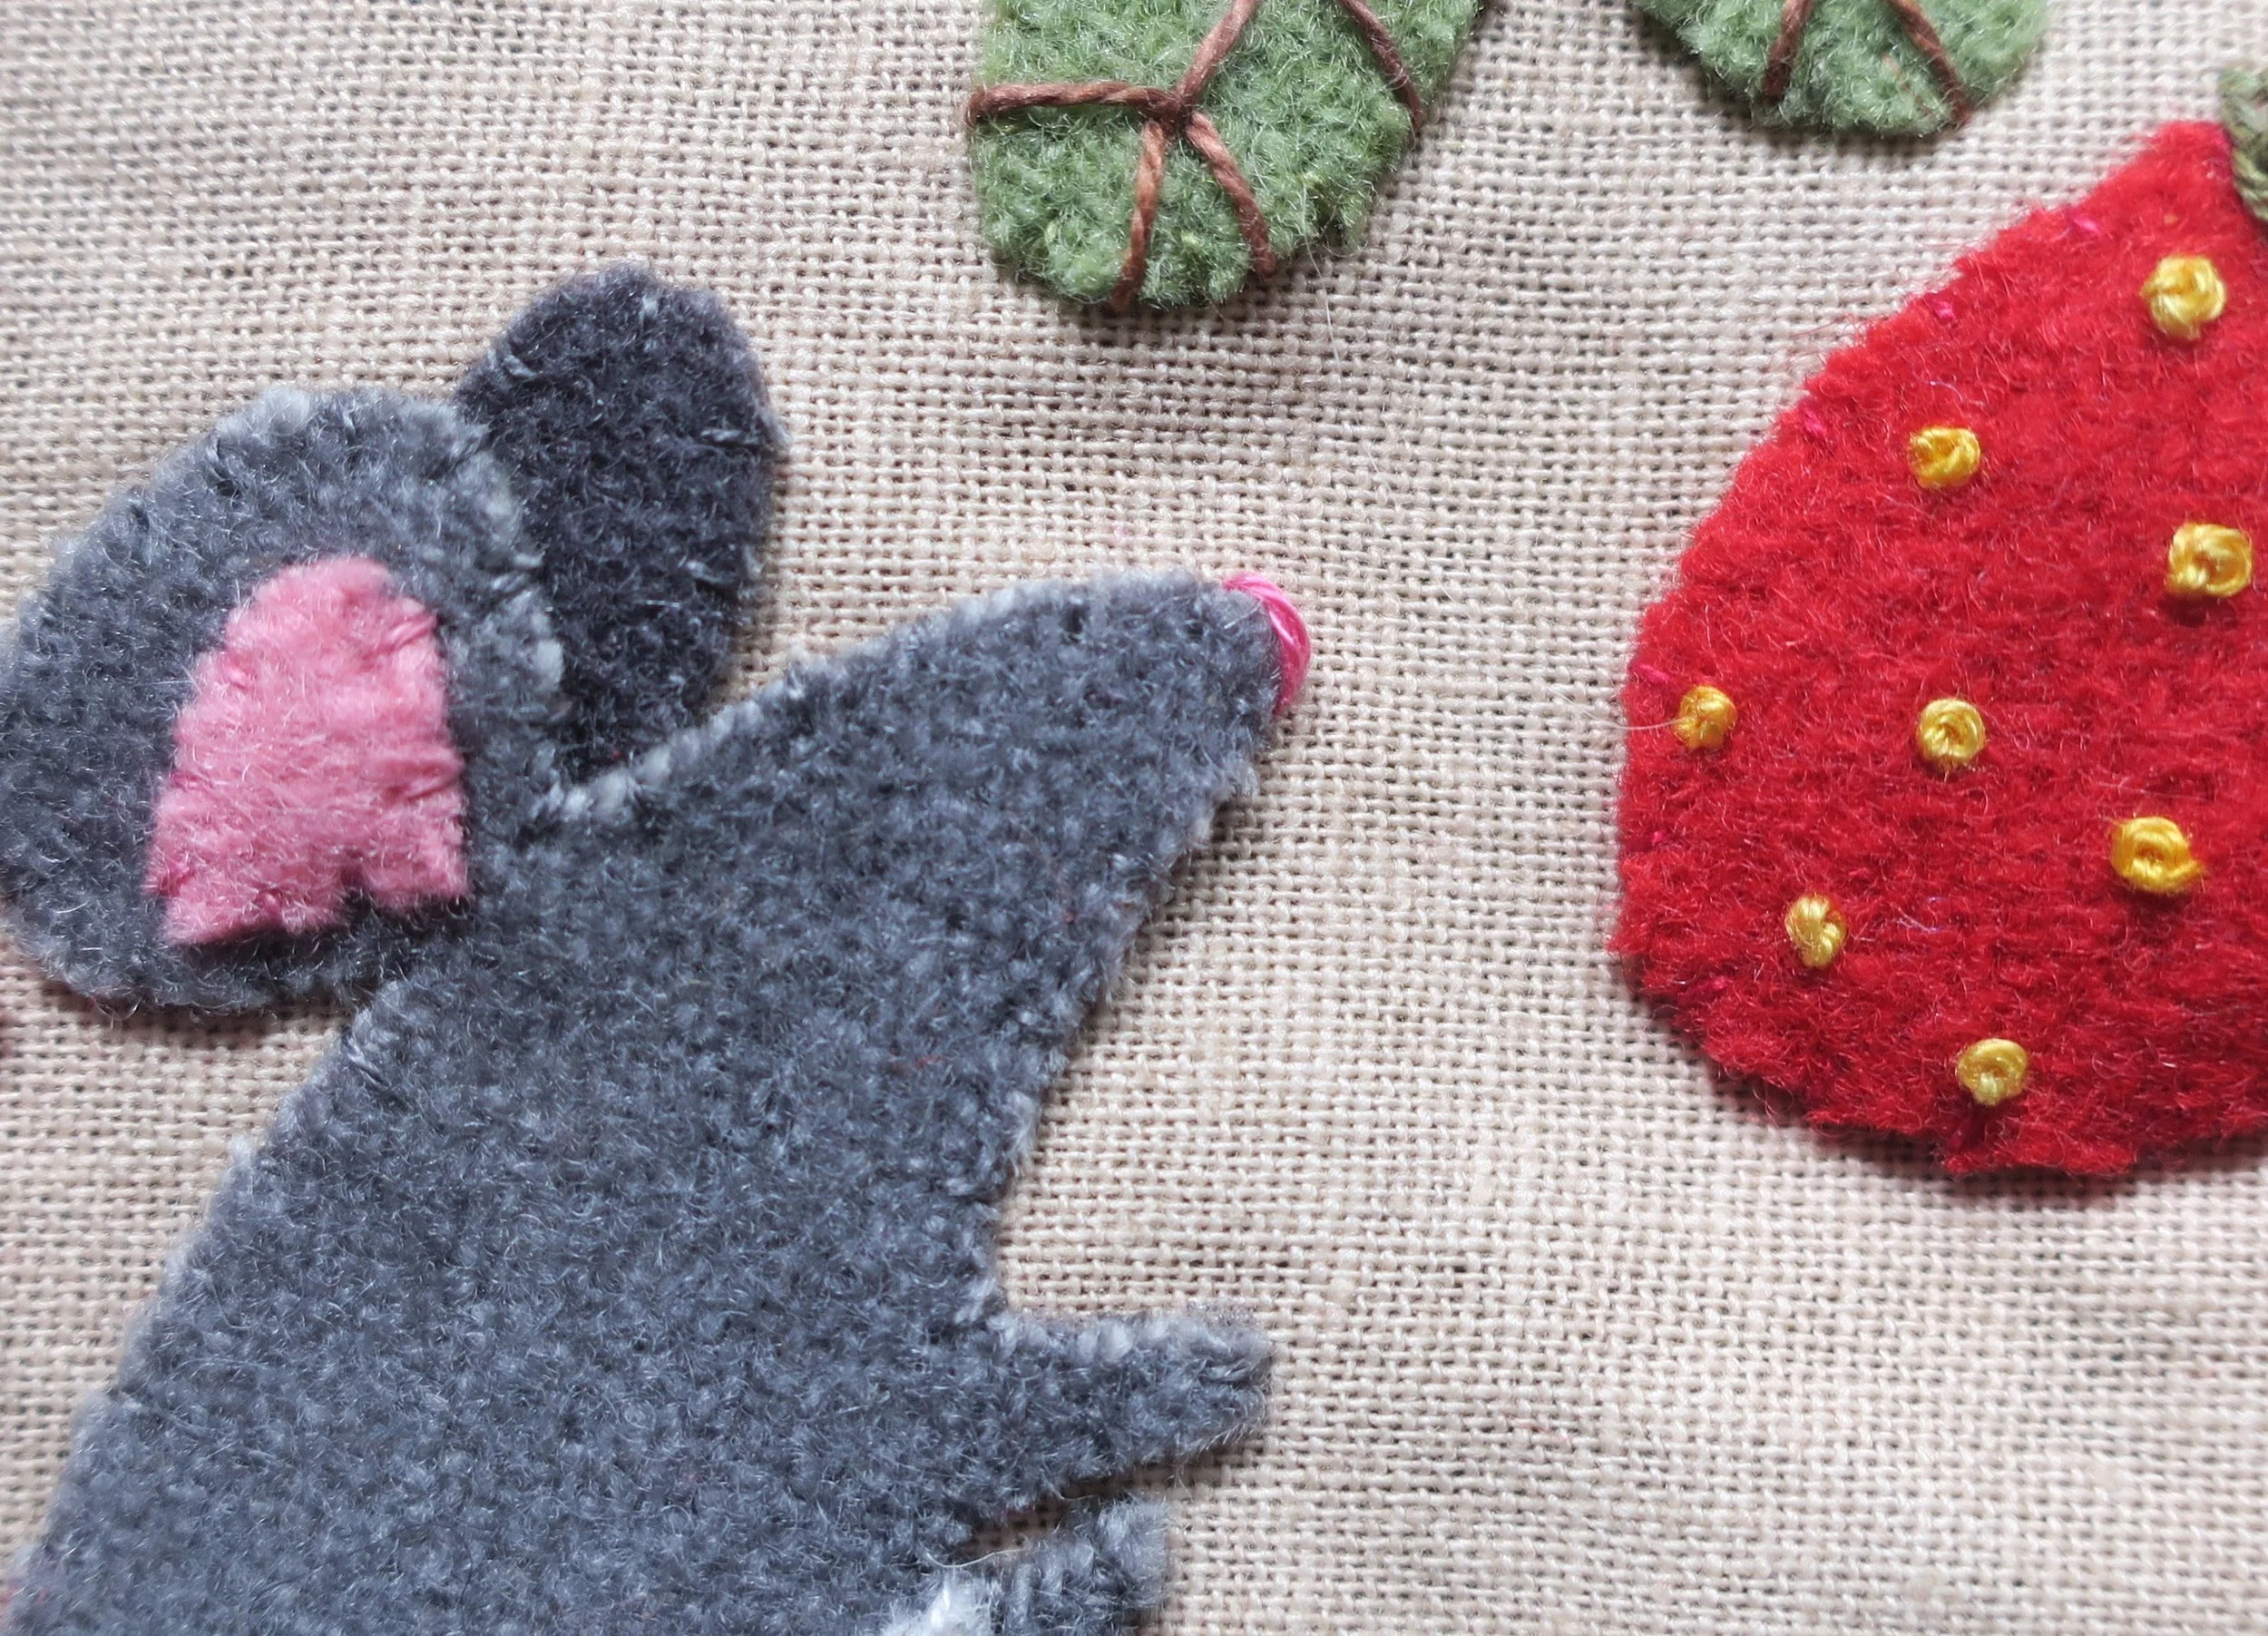
22. Use 2 strands of brass embroidery floss to stitch French knot seeds on each strawberry. Use the layout as a guide.
23. Use 1 strand of fern green perle cotton, size 8 to backstitch the flower and strawberry stems. You will stitch over the leaves.
24. Use 1 strand of moss perle cotton, size 8 to weave through the backstitched stems. This is a single woven backstitch not a double.
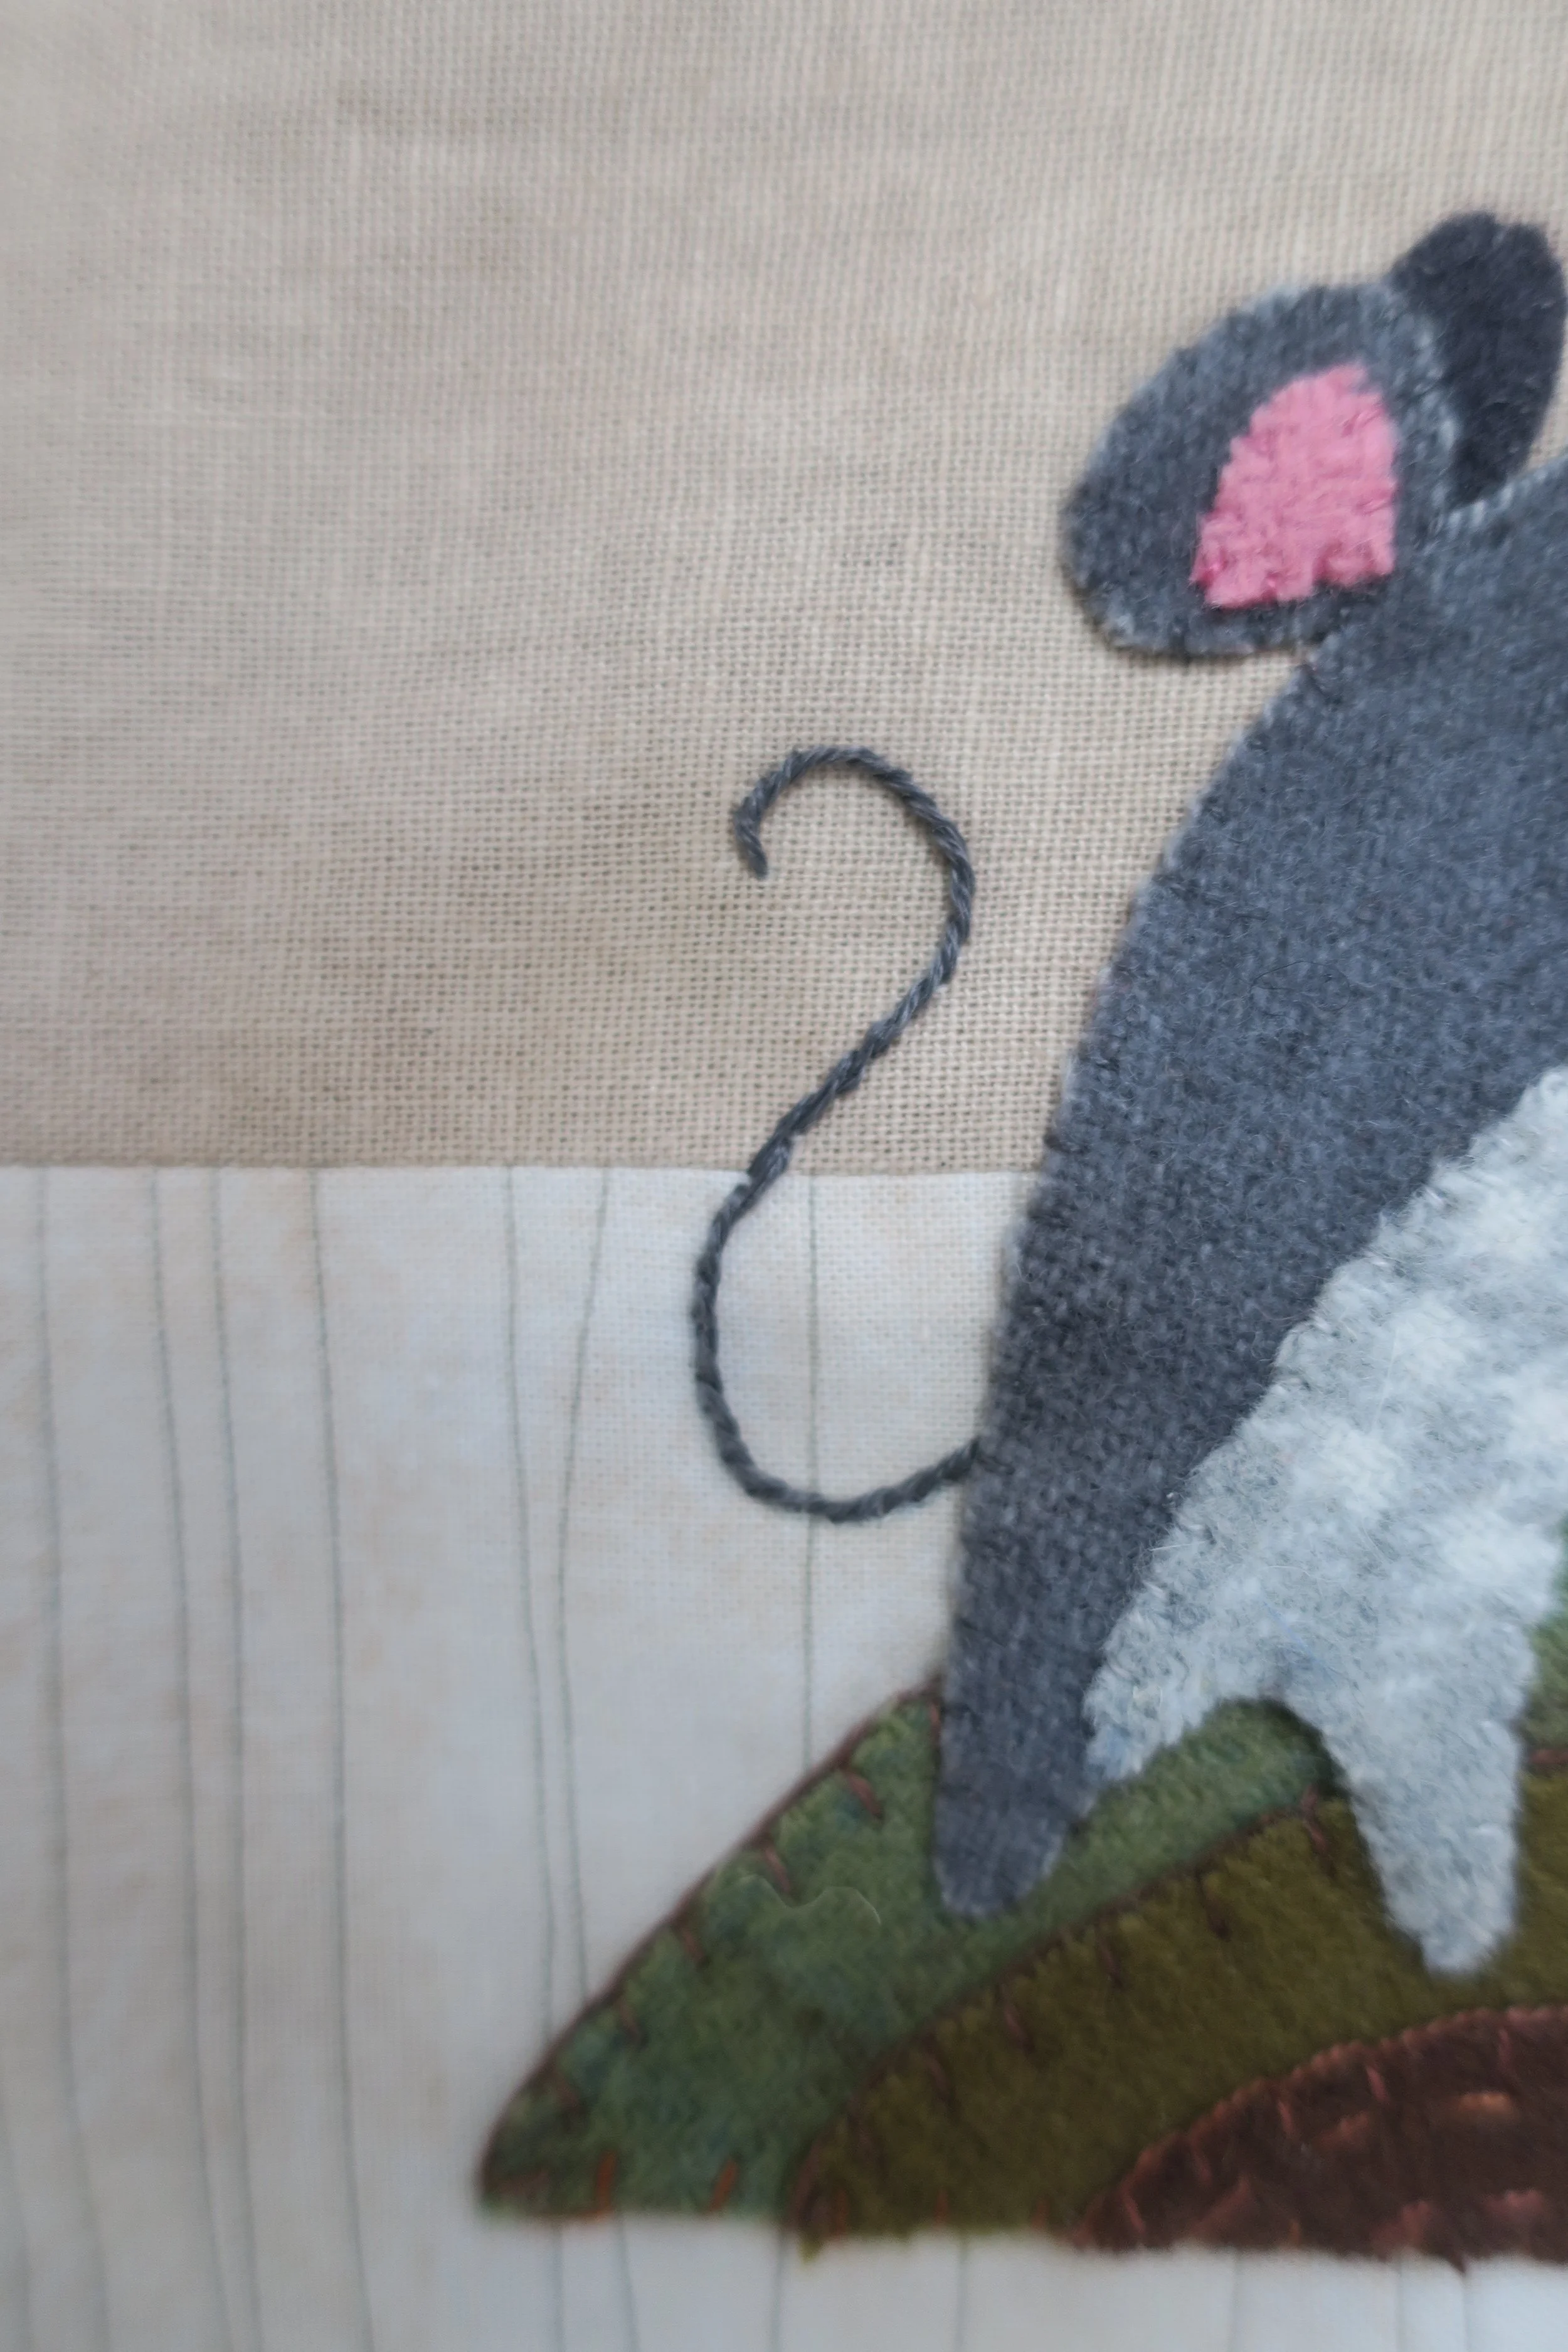
25. Now, let’s work on Phoebe mouse. Begin by using 2 strands of dark gray embroidery floss to stem stitch her tail.
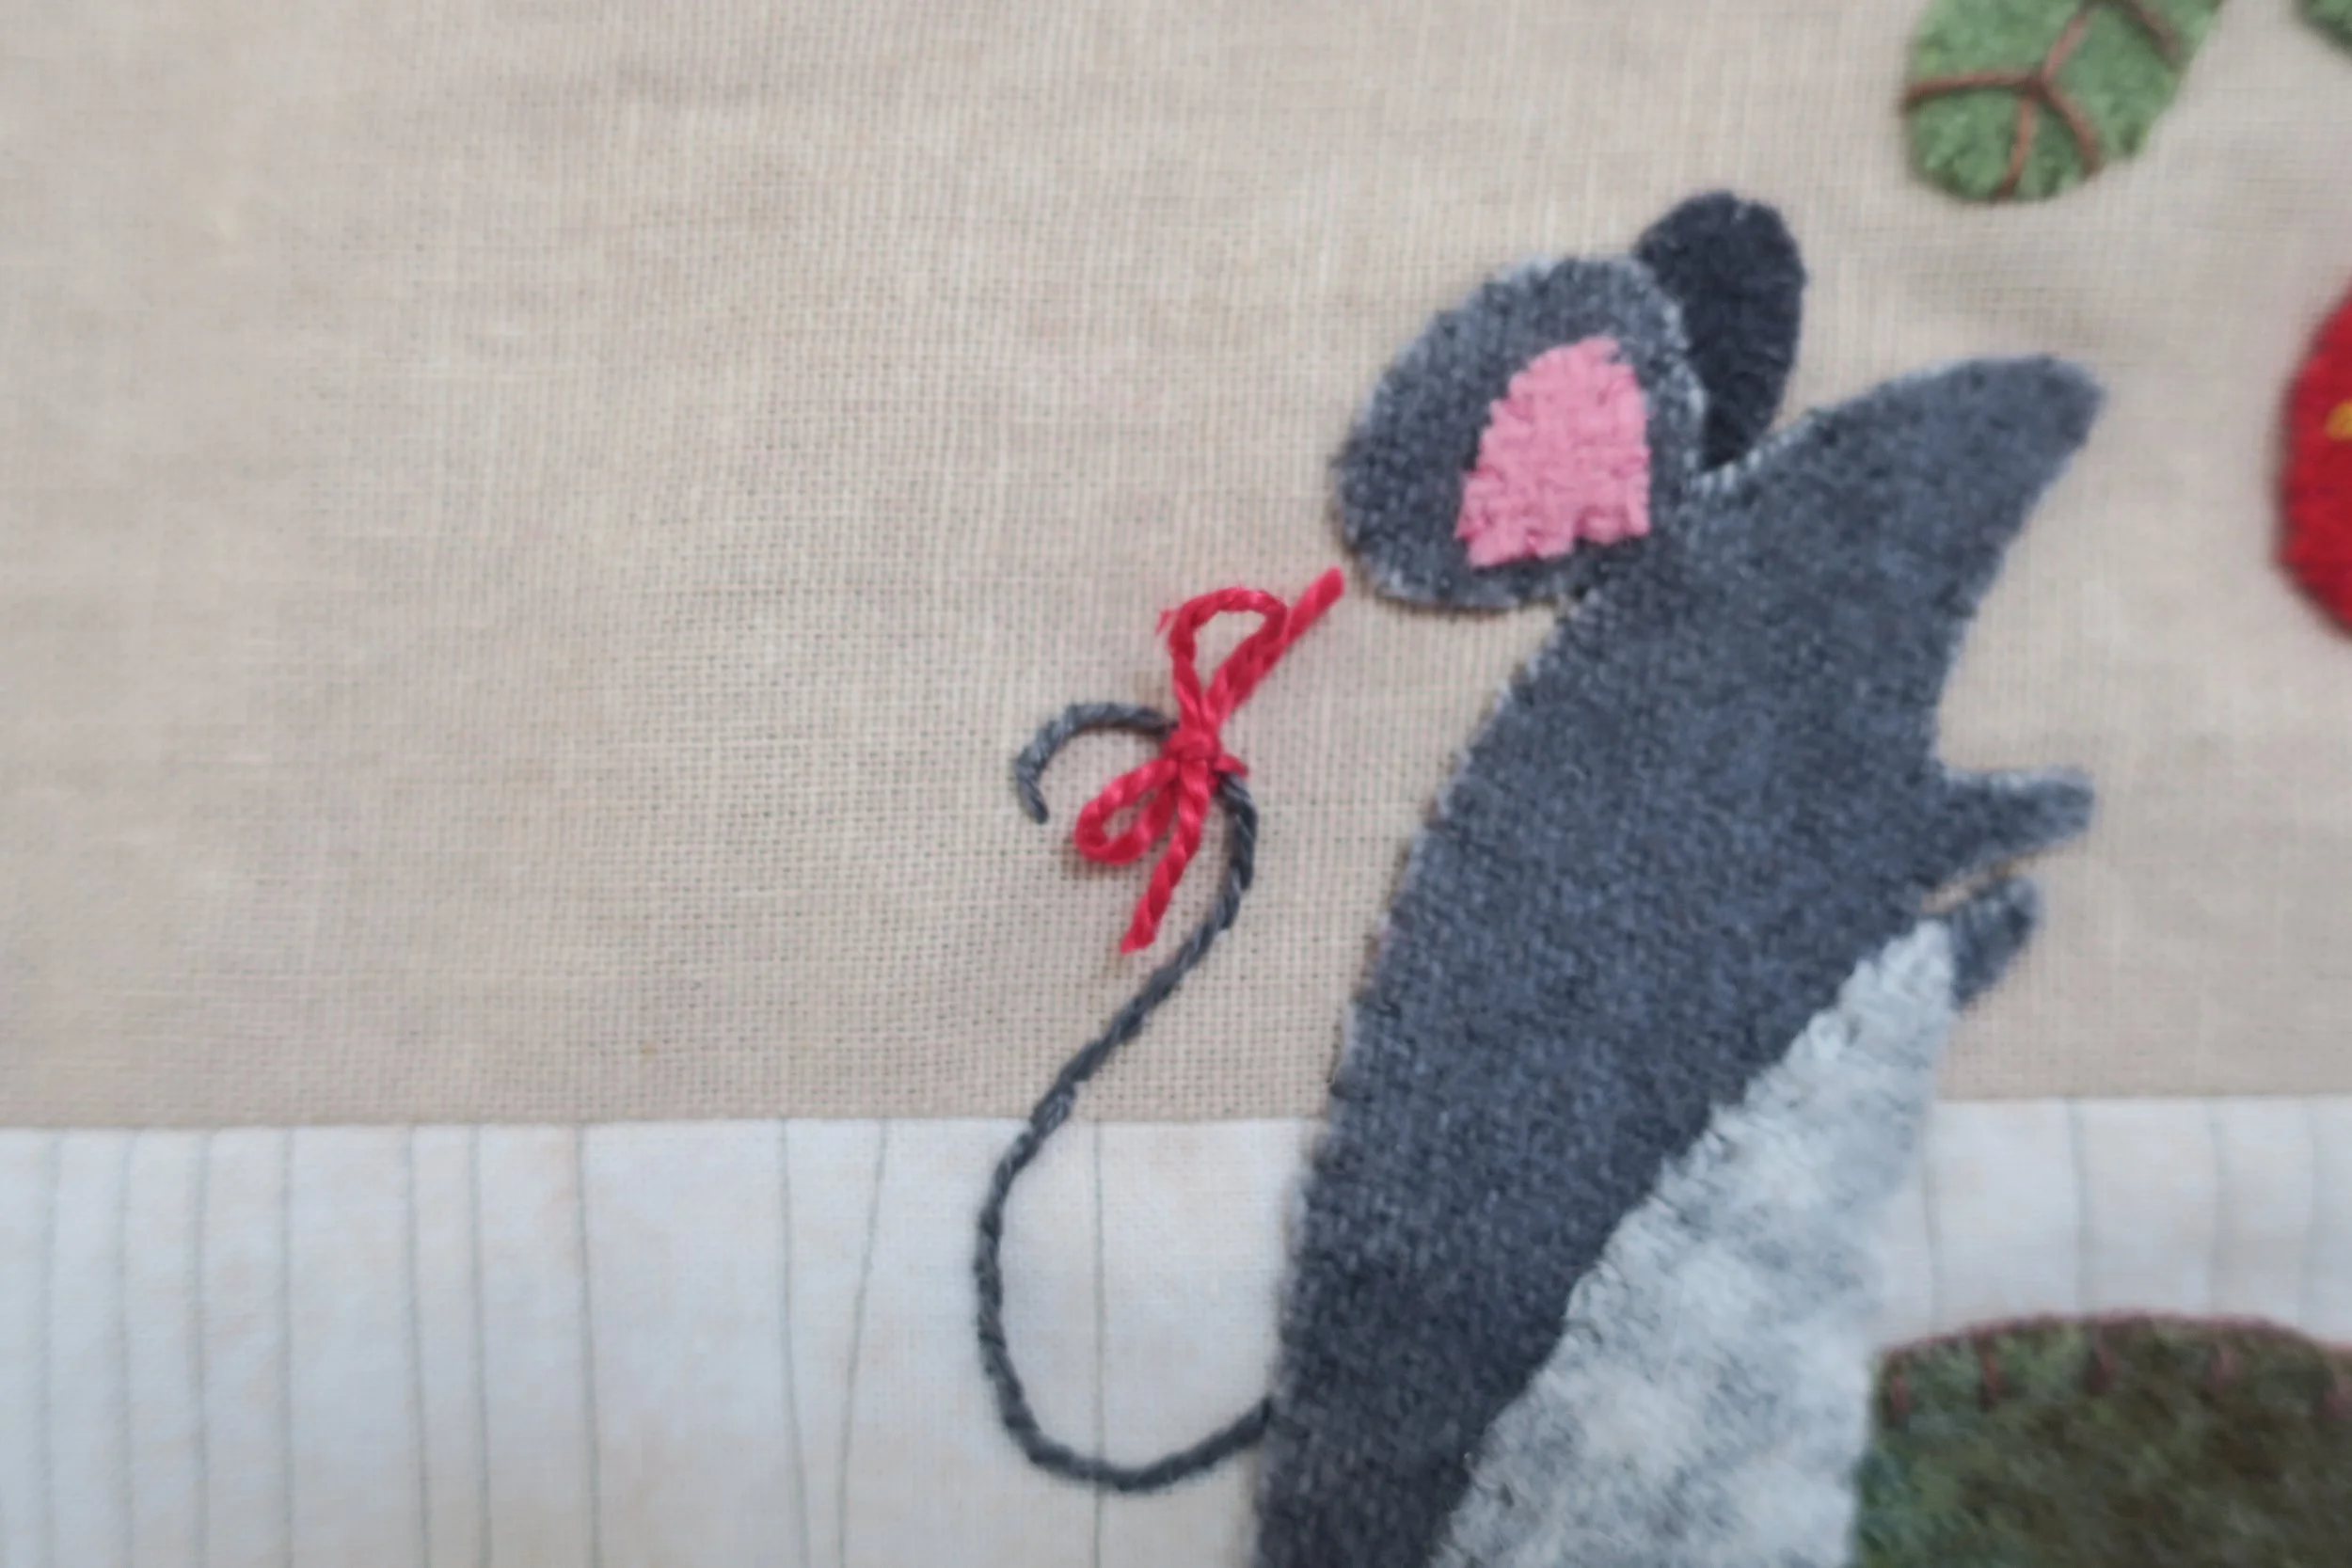
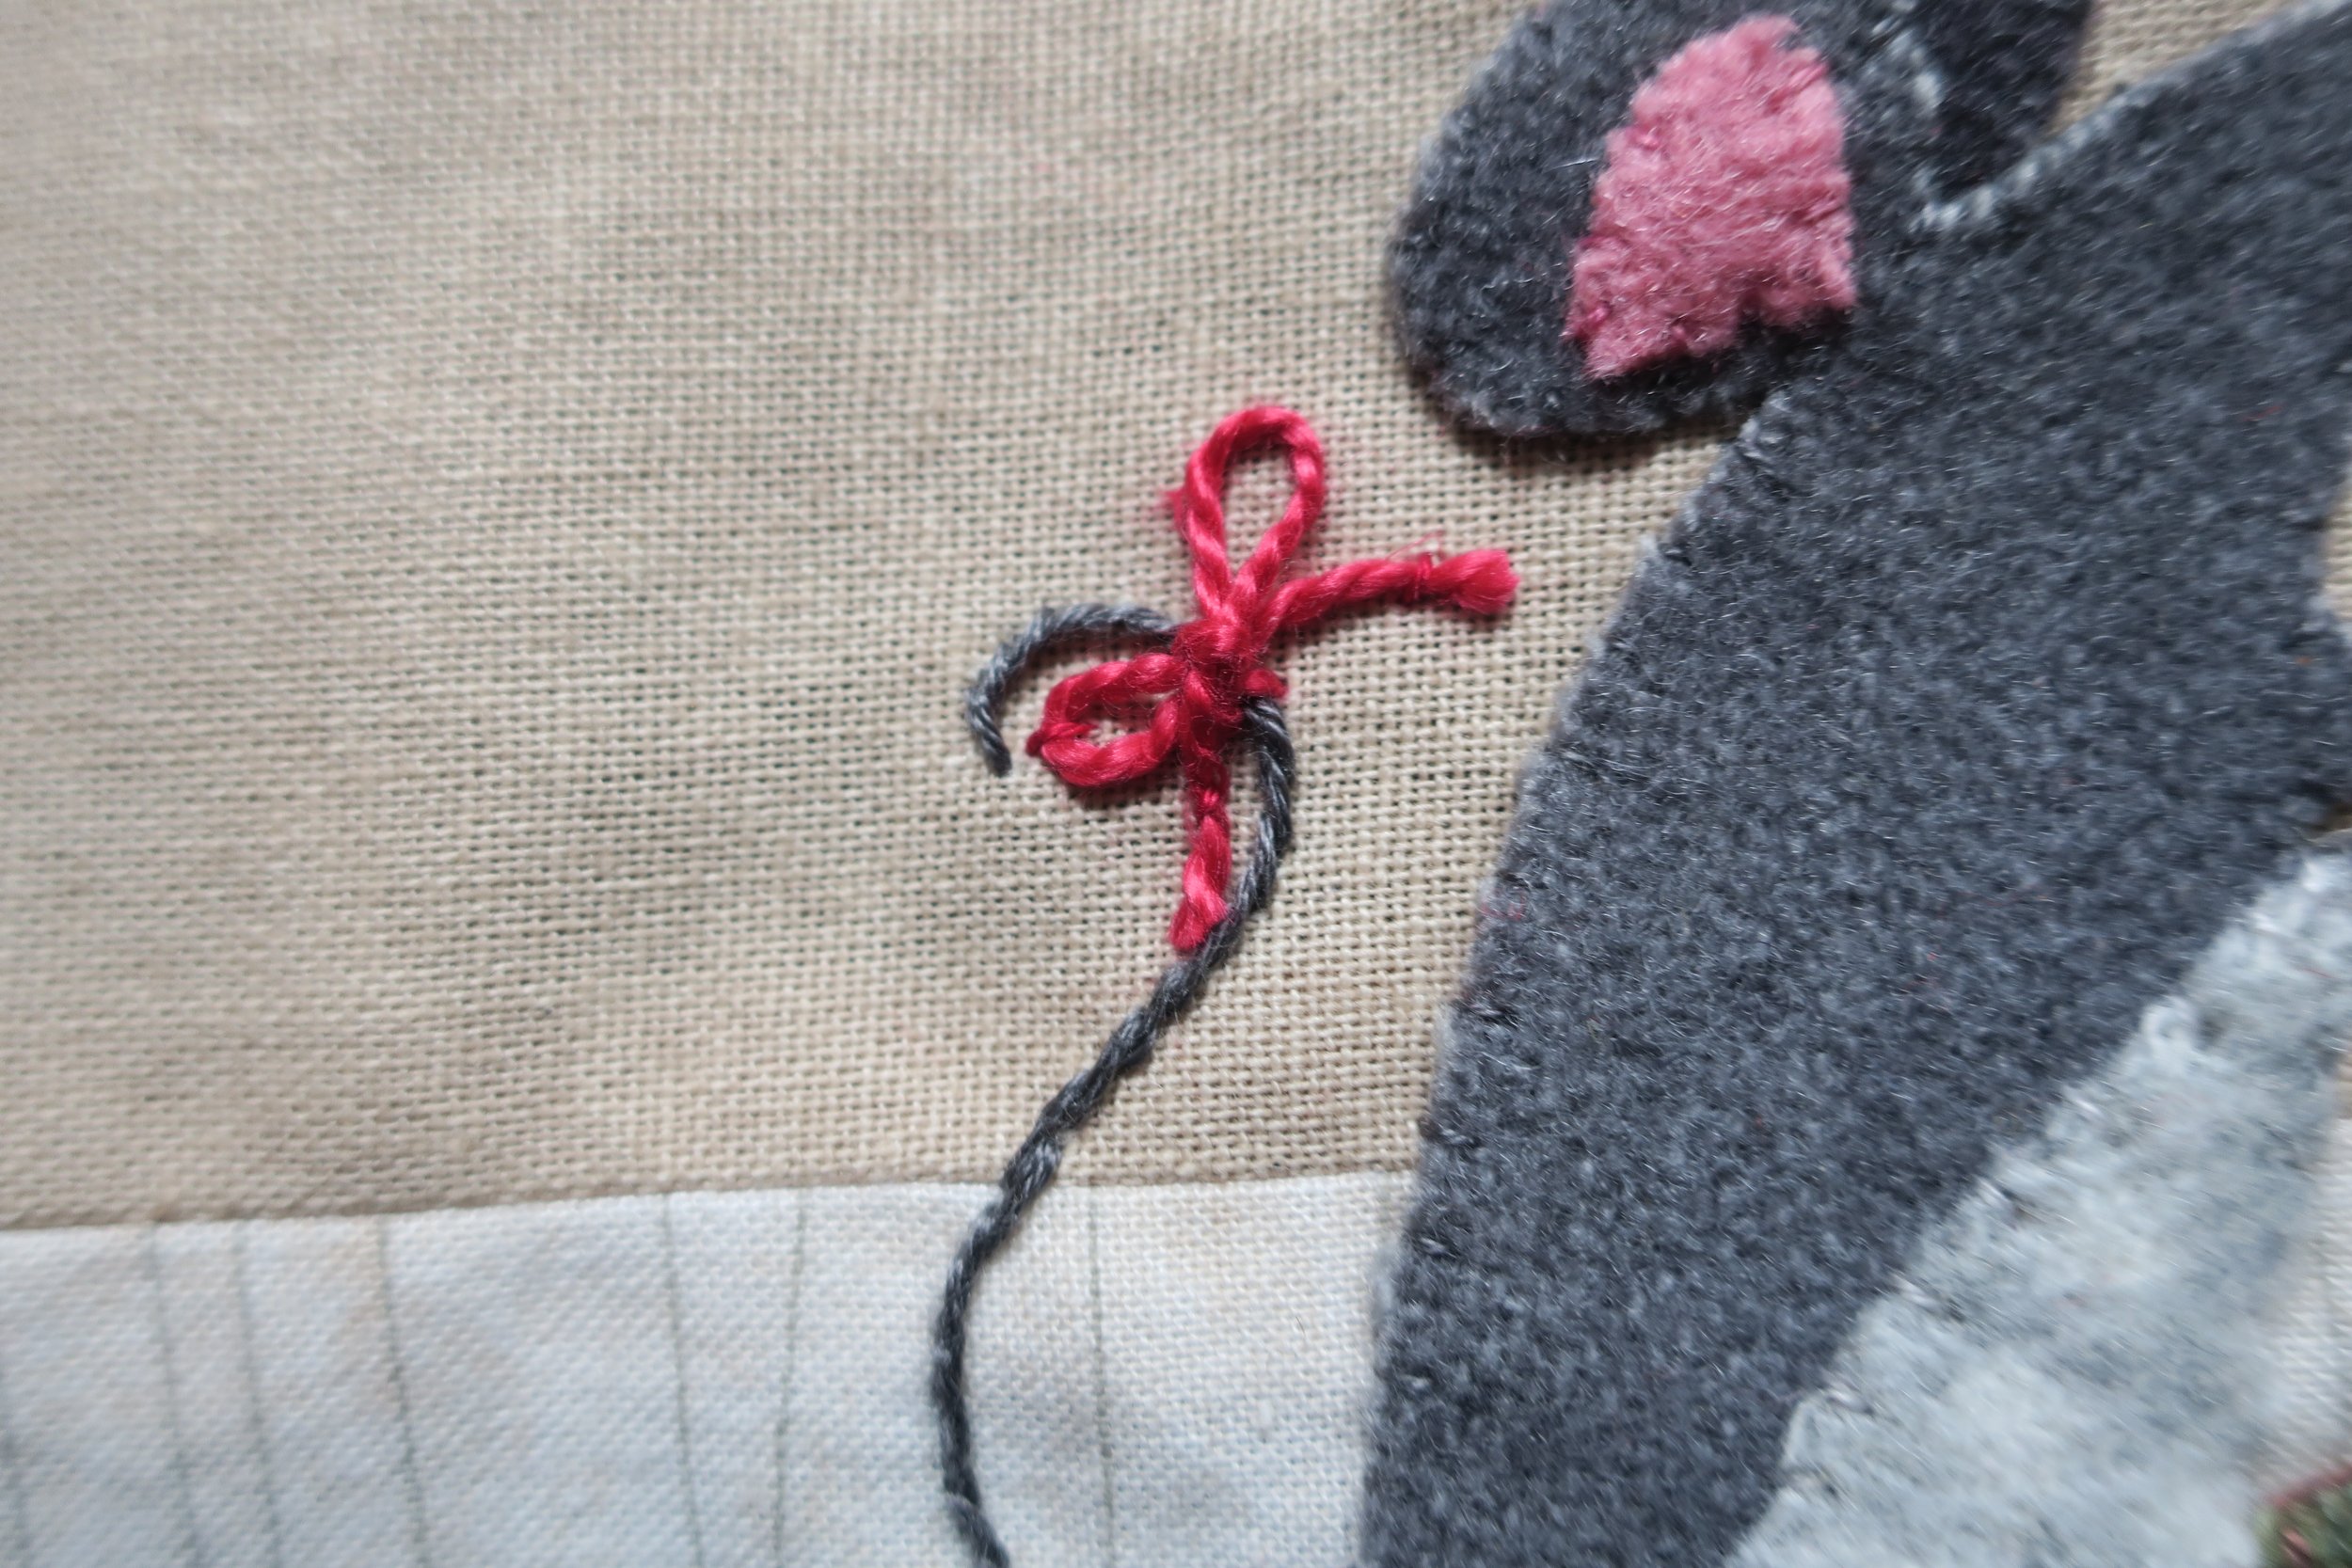
26. Use 1 strand of red perle 5 to make a bow for her tail.
a. Begin by cutting a 5” piece of thread and then threading it through your needle (size 22). Do not knot the end.
b. Insert the needle into the fabric background just to the side of the tail and then bringing it up again on the other side. Pull the needle through being careful to leave a tail on the opposite side. See layout for positioning.
c. Remove the needle from the thread and then center the thread by aligning the two ends.
d. Make a bow like you would for your shoes.
e. Trim the ends of the thread.
f. Use 1 strand of matching colored embroidery floss to make a small tacking stitch onto each lobe of the bow and the two ends.
27. Use 2 strands of pink embroidery floss to satin stitch Phoebe’s nose. You will only need about 3 stitches for this.
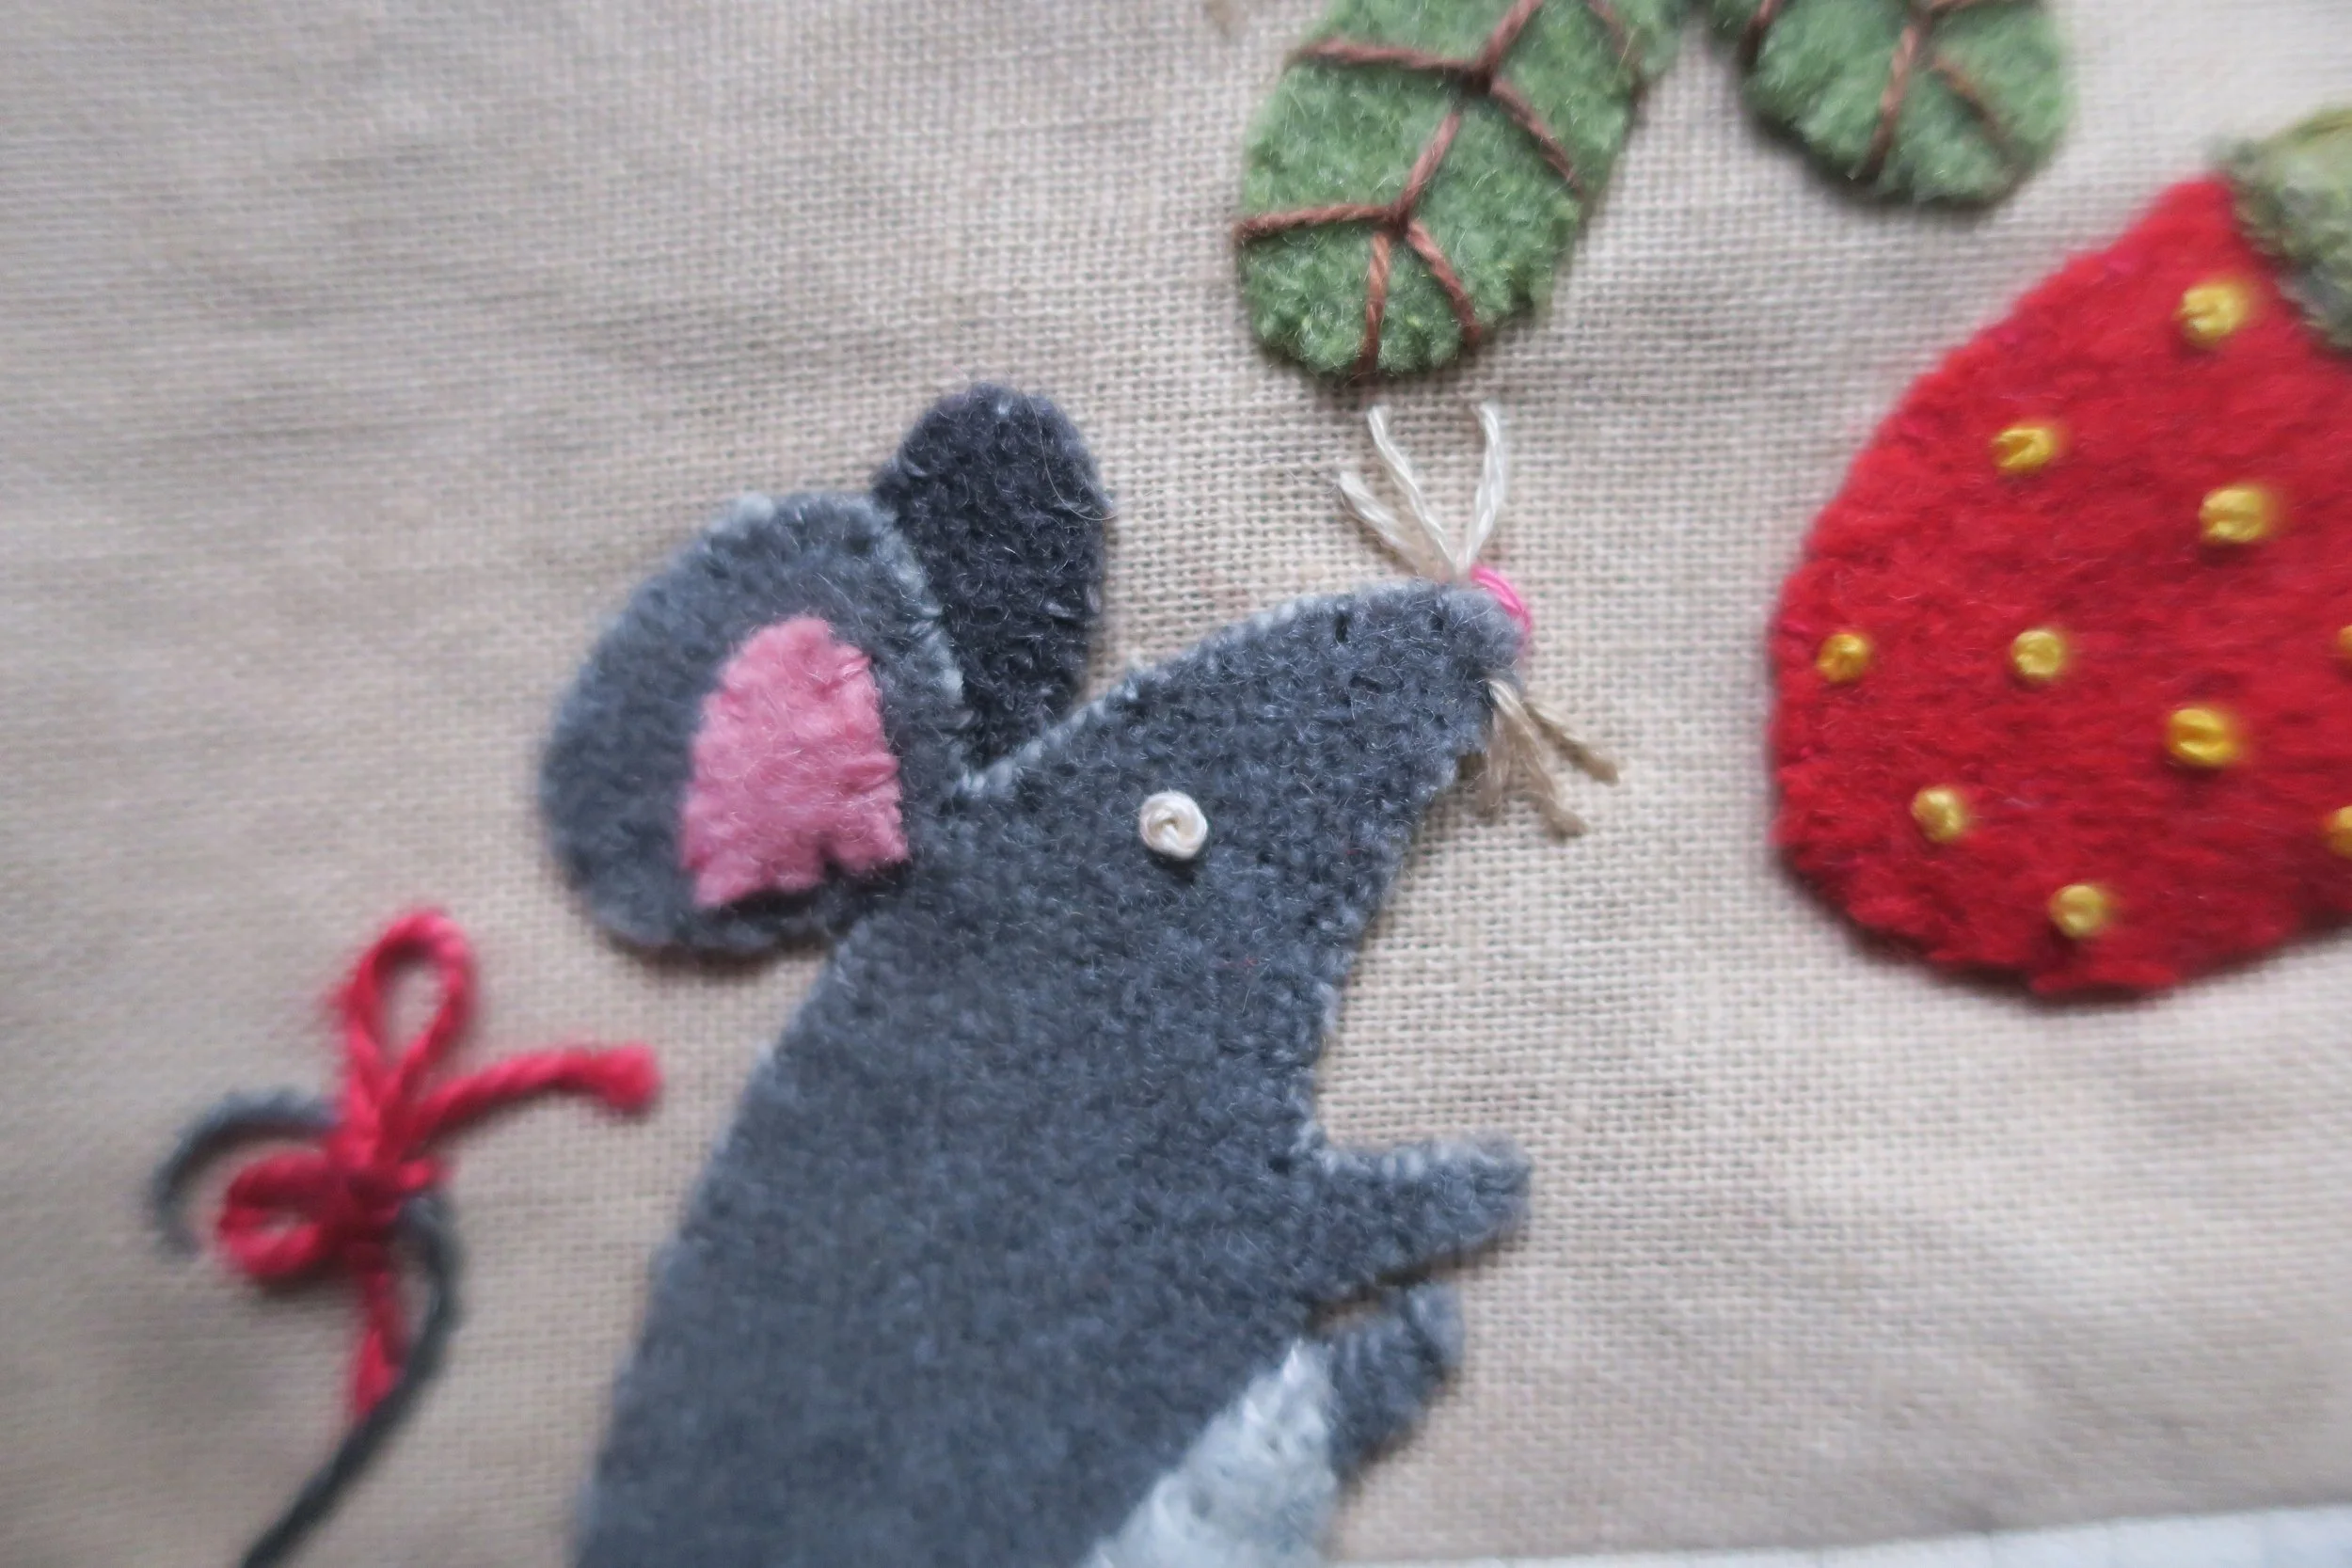
28. Use 2 strands of ecru embroidery floss to make 3 whiskers on each side of Phoebe’s nose. See layout for placement.
29. Use 2 strands of the same floss to make a French knot eye.
30. Use 1 strand of the same floss to stitch 2 small eyelashes on her eye. Use the layout as a guide.
Voila! You are done!

