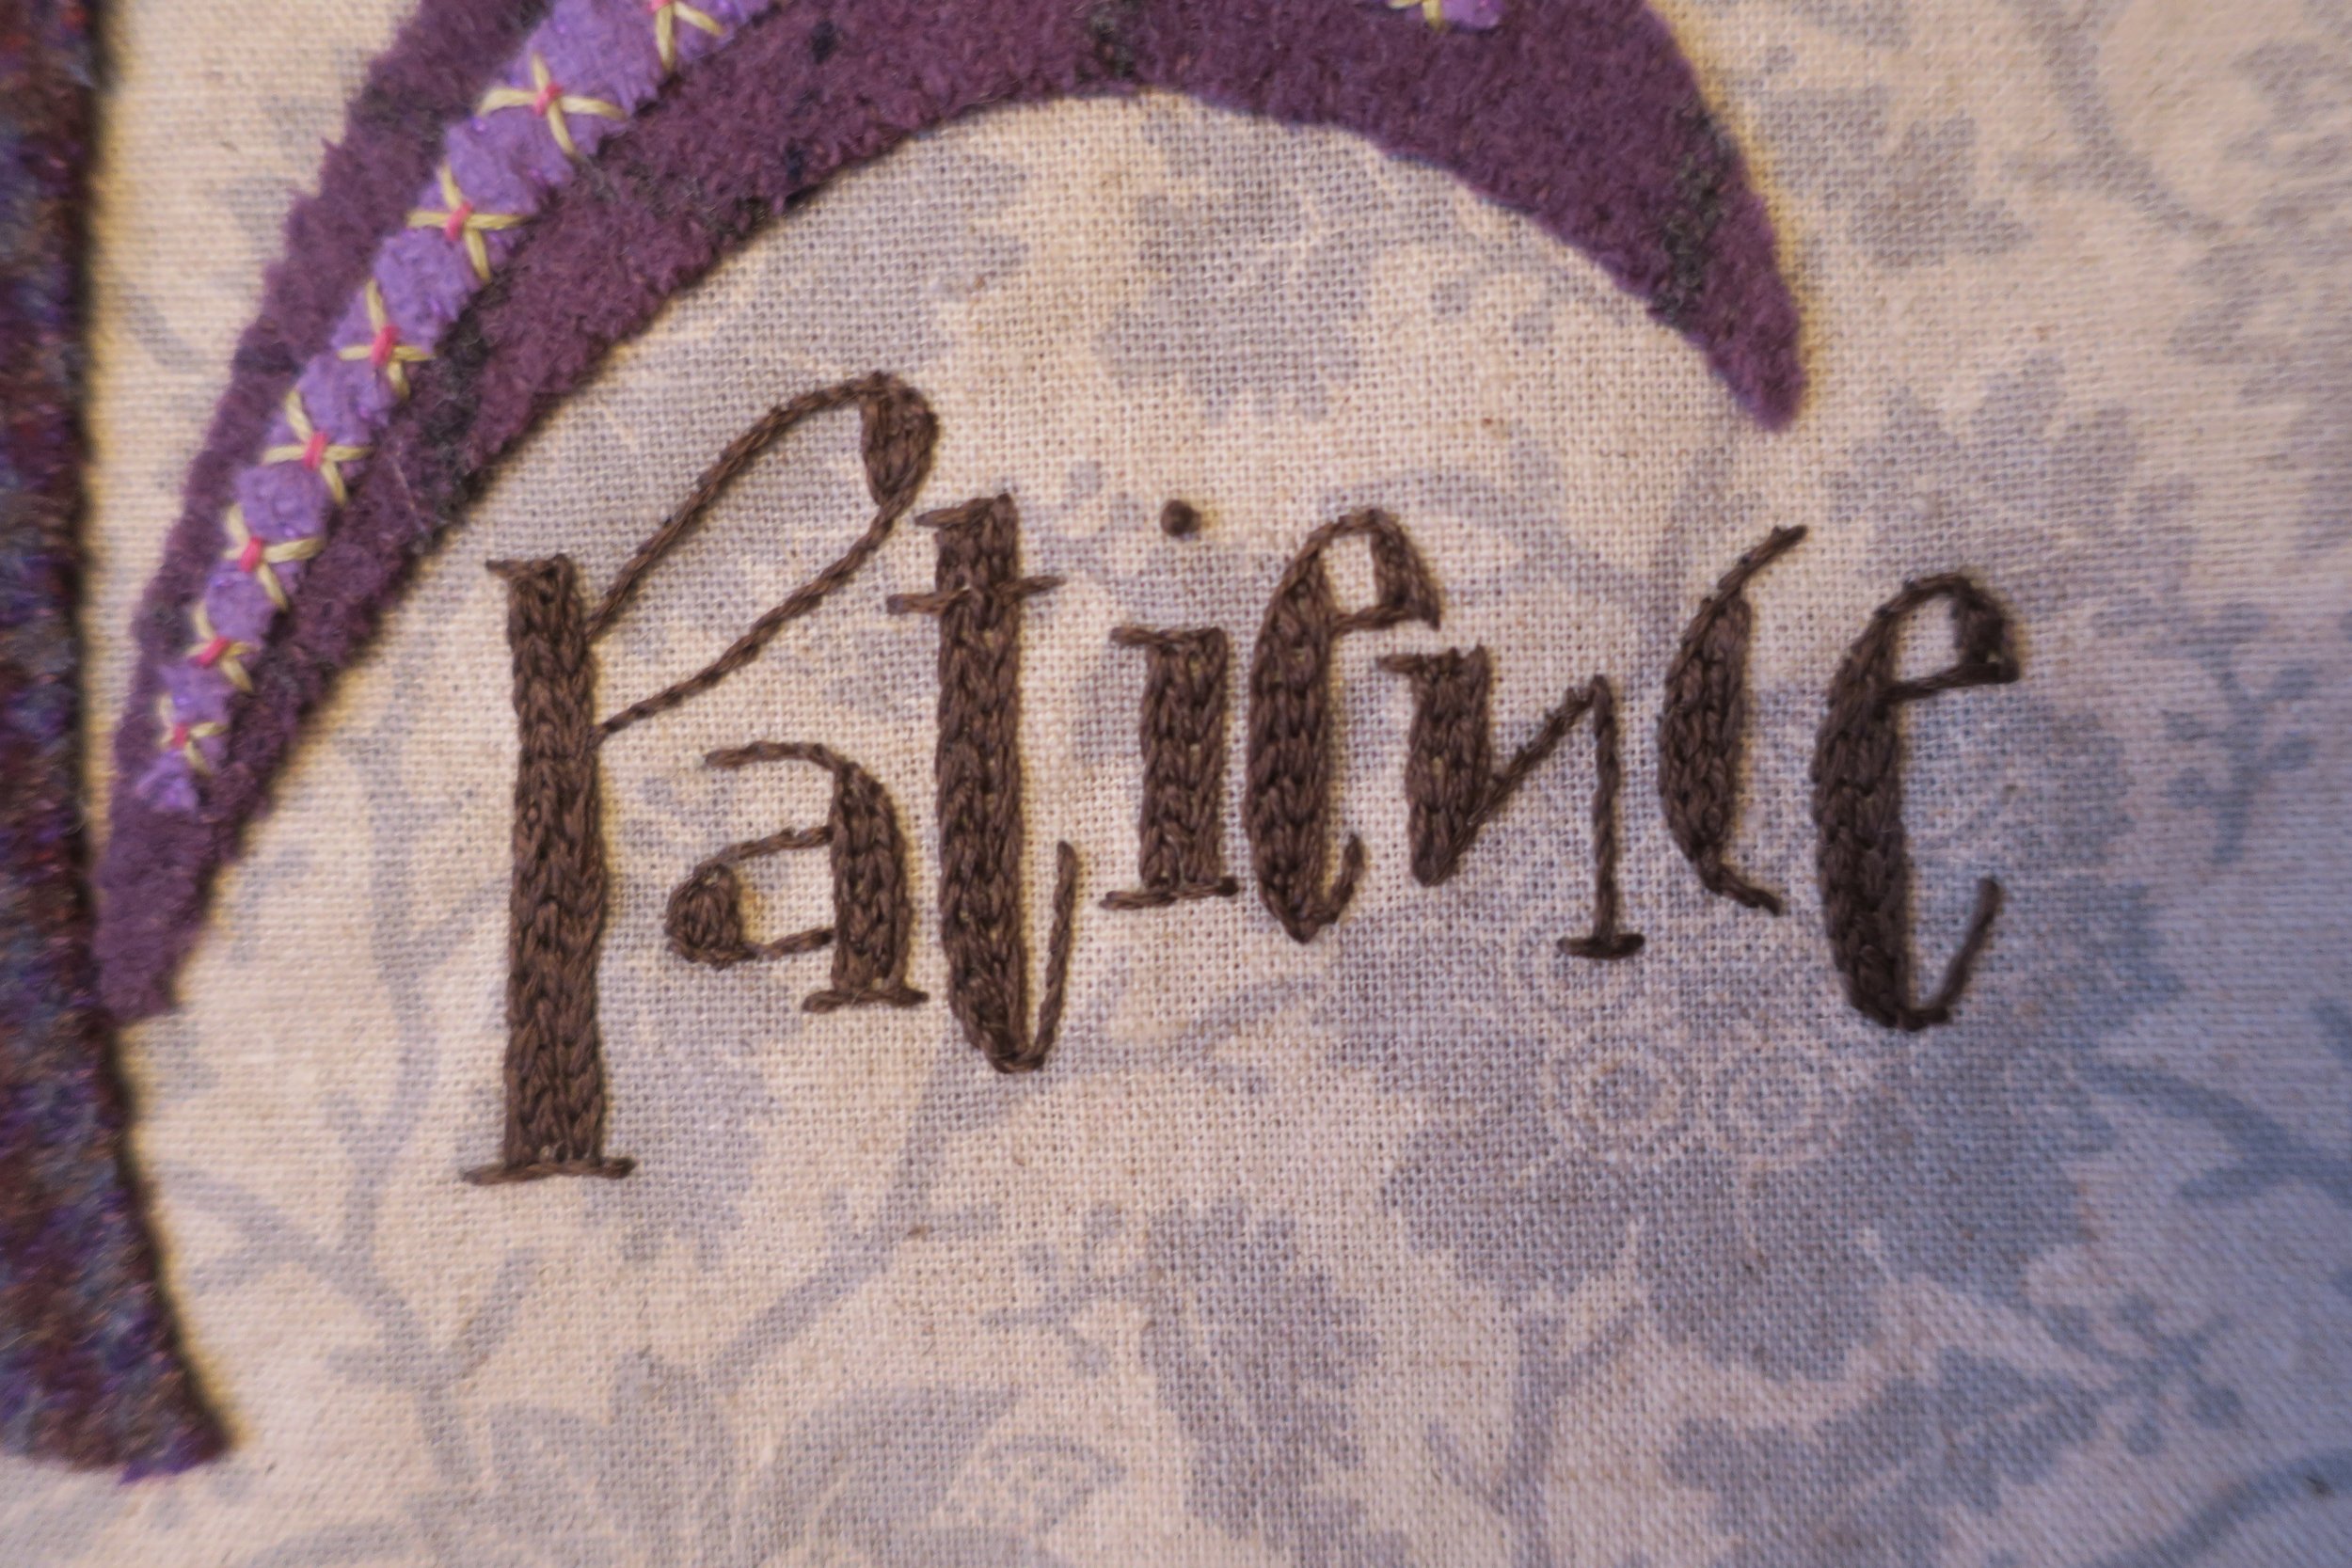
Patience
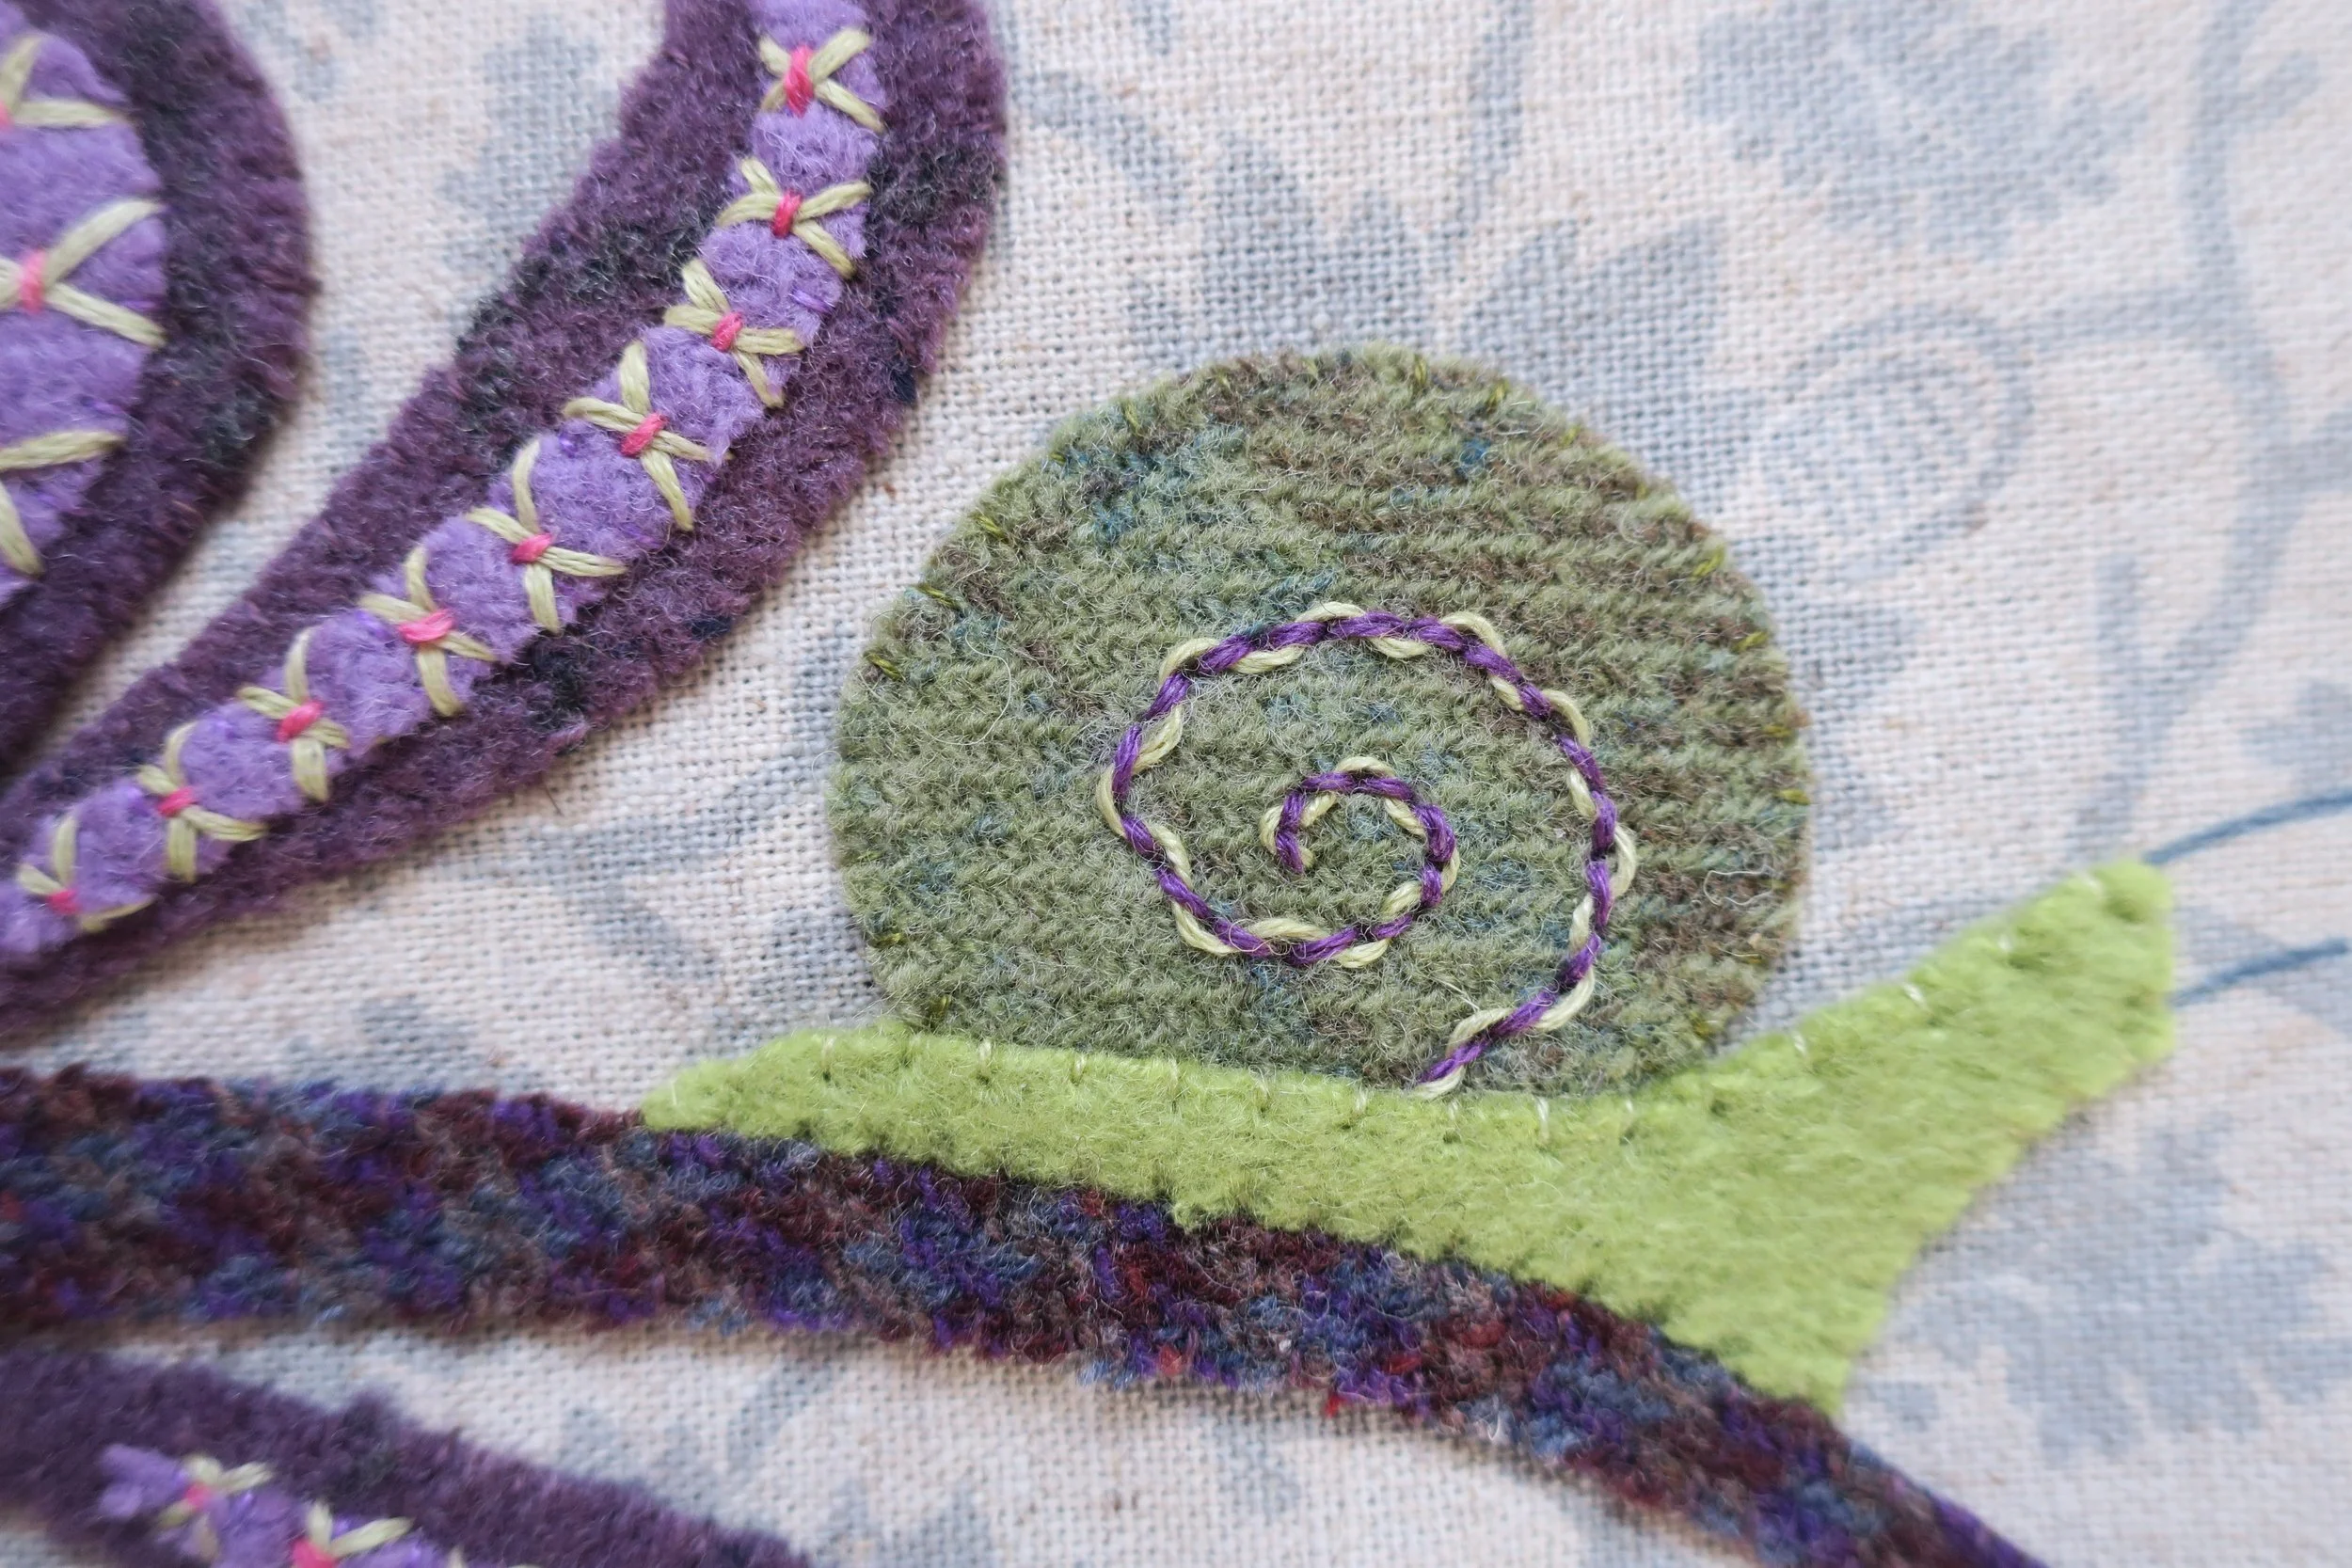
There are days when I find patience in short supply, and I need to step back, take a deep breath, and slow down. Do you ever feel like that? This design came about on one of those days. Patience and perseverance seem to go hand in hand. Like a snail who slowly crawls up to its tasty reward, we too must patiently persevere to achieve our goals.
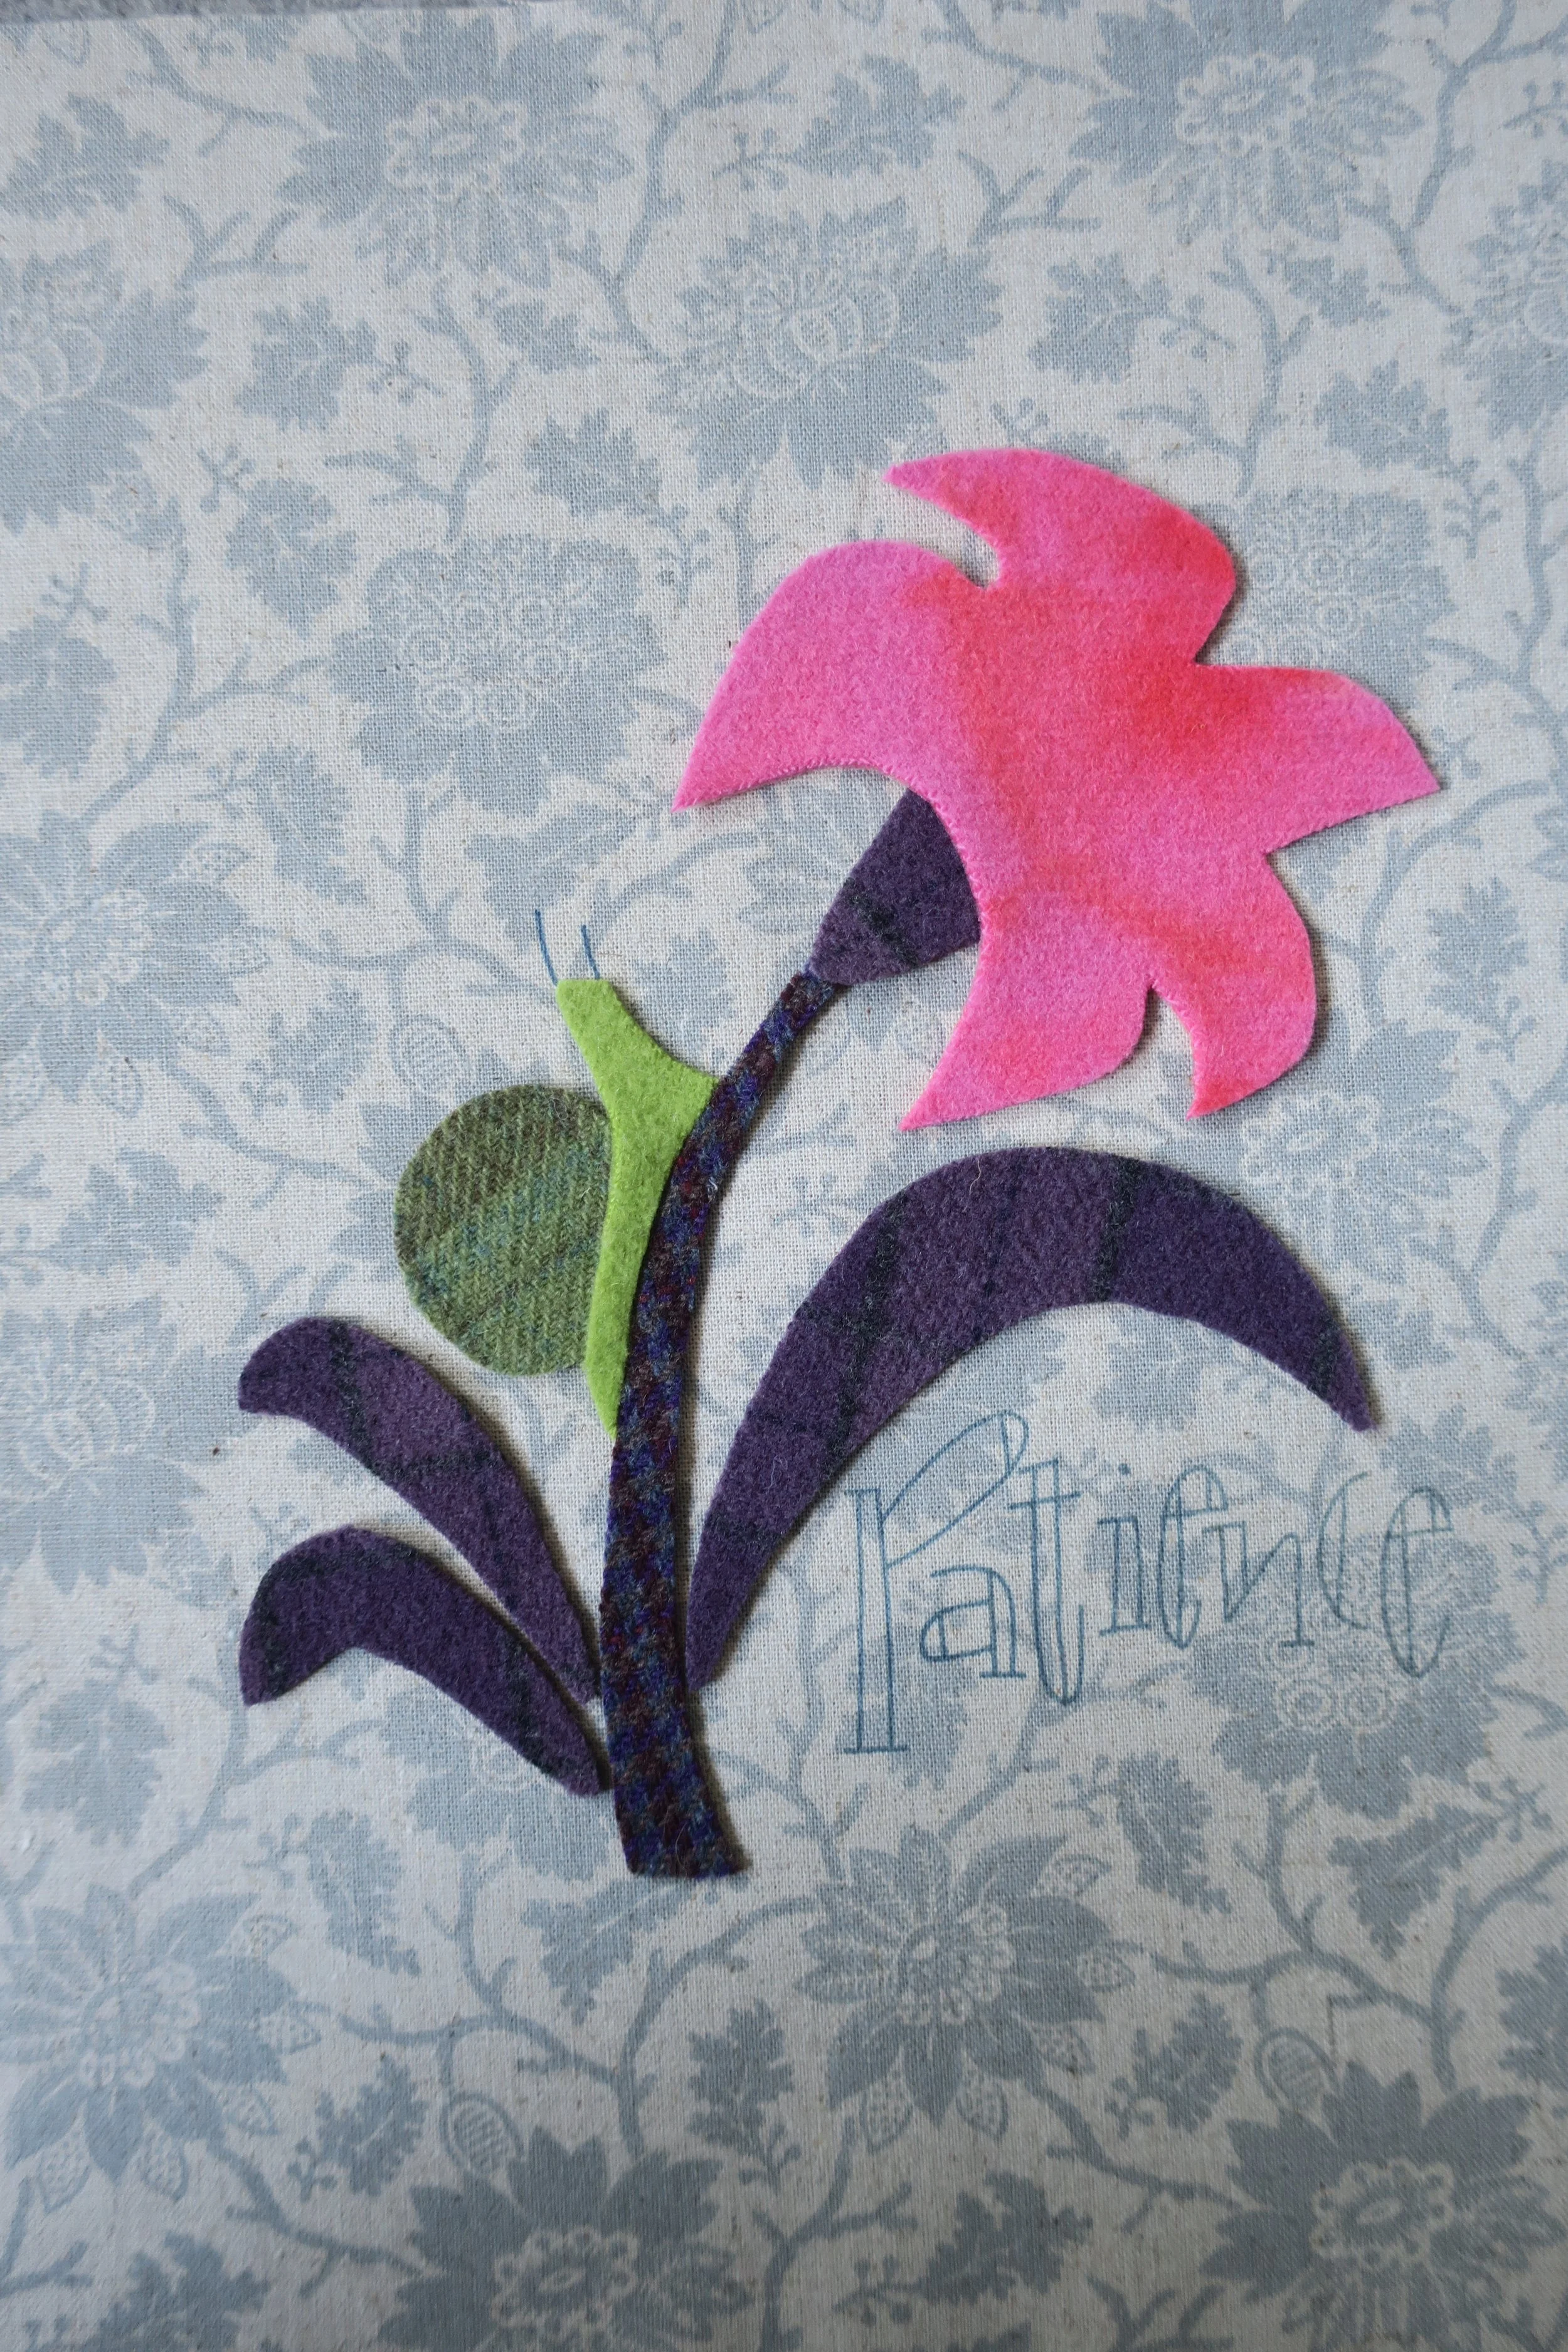
This design measures 7 ½” x 7 ½” (19.05cm x 19.05cm). It is appliqued onto a linen/cotton floral from French General’s La Vie Bohème line – Ciel blue 13900 18L. This fabric has a nice weight to it that works well with wool applique and embroidery. And, of course, my motto has always been “Everything is better with French General.”
Happy Stitching!
Supplies
Butternut Plaid Stitch Guide – This is the same guide I use with all my designs.
Background fabric
12 ½” square Linen cotton blend or mid-weight quilter’s cotton
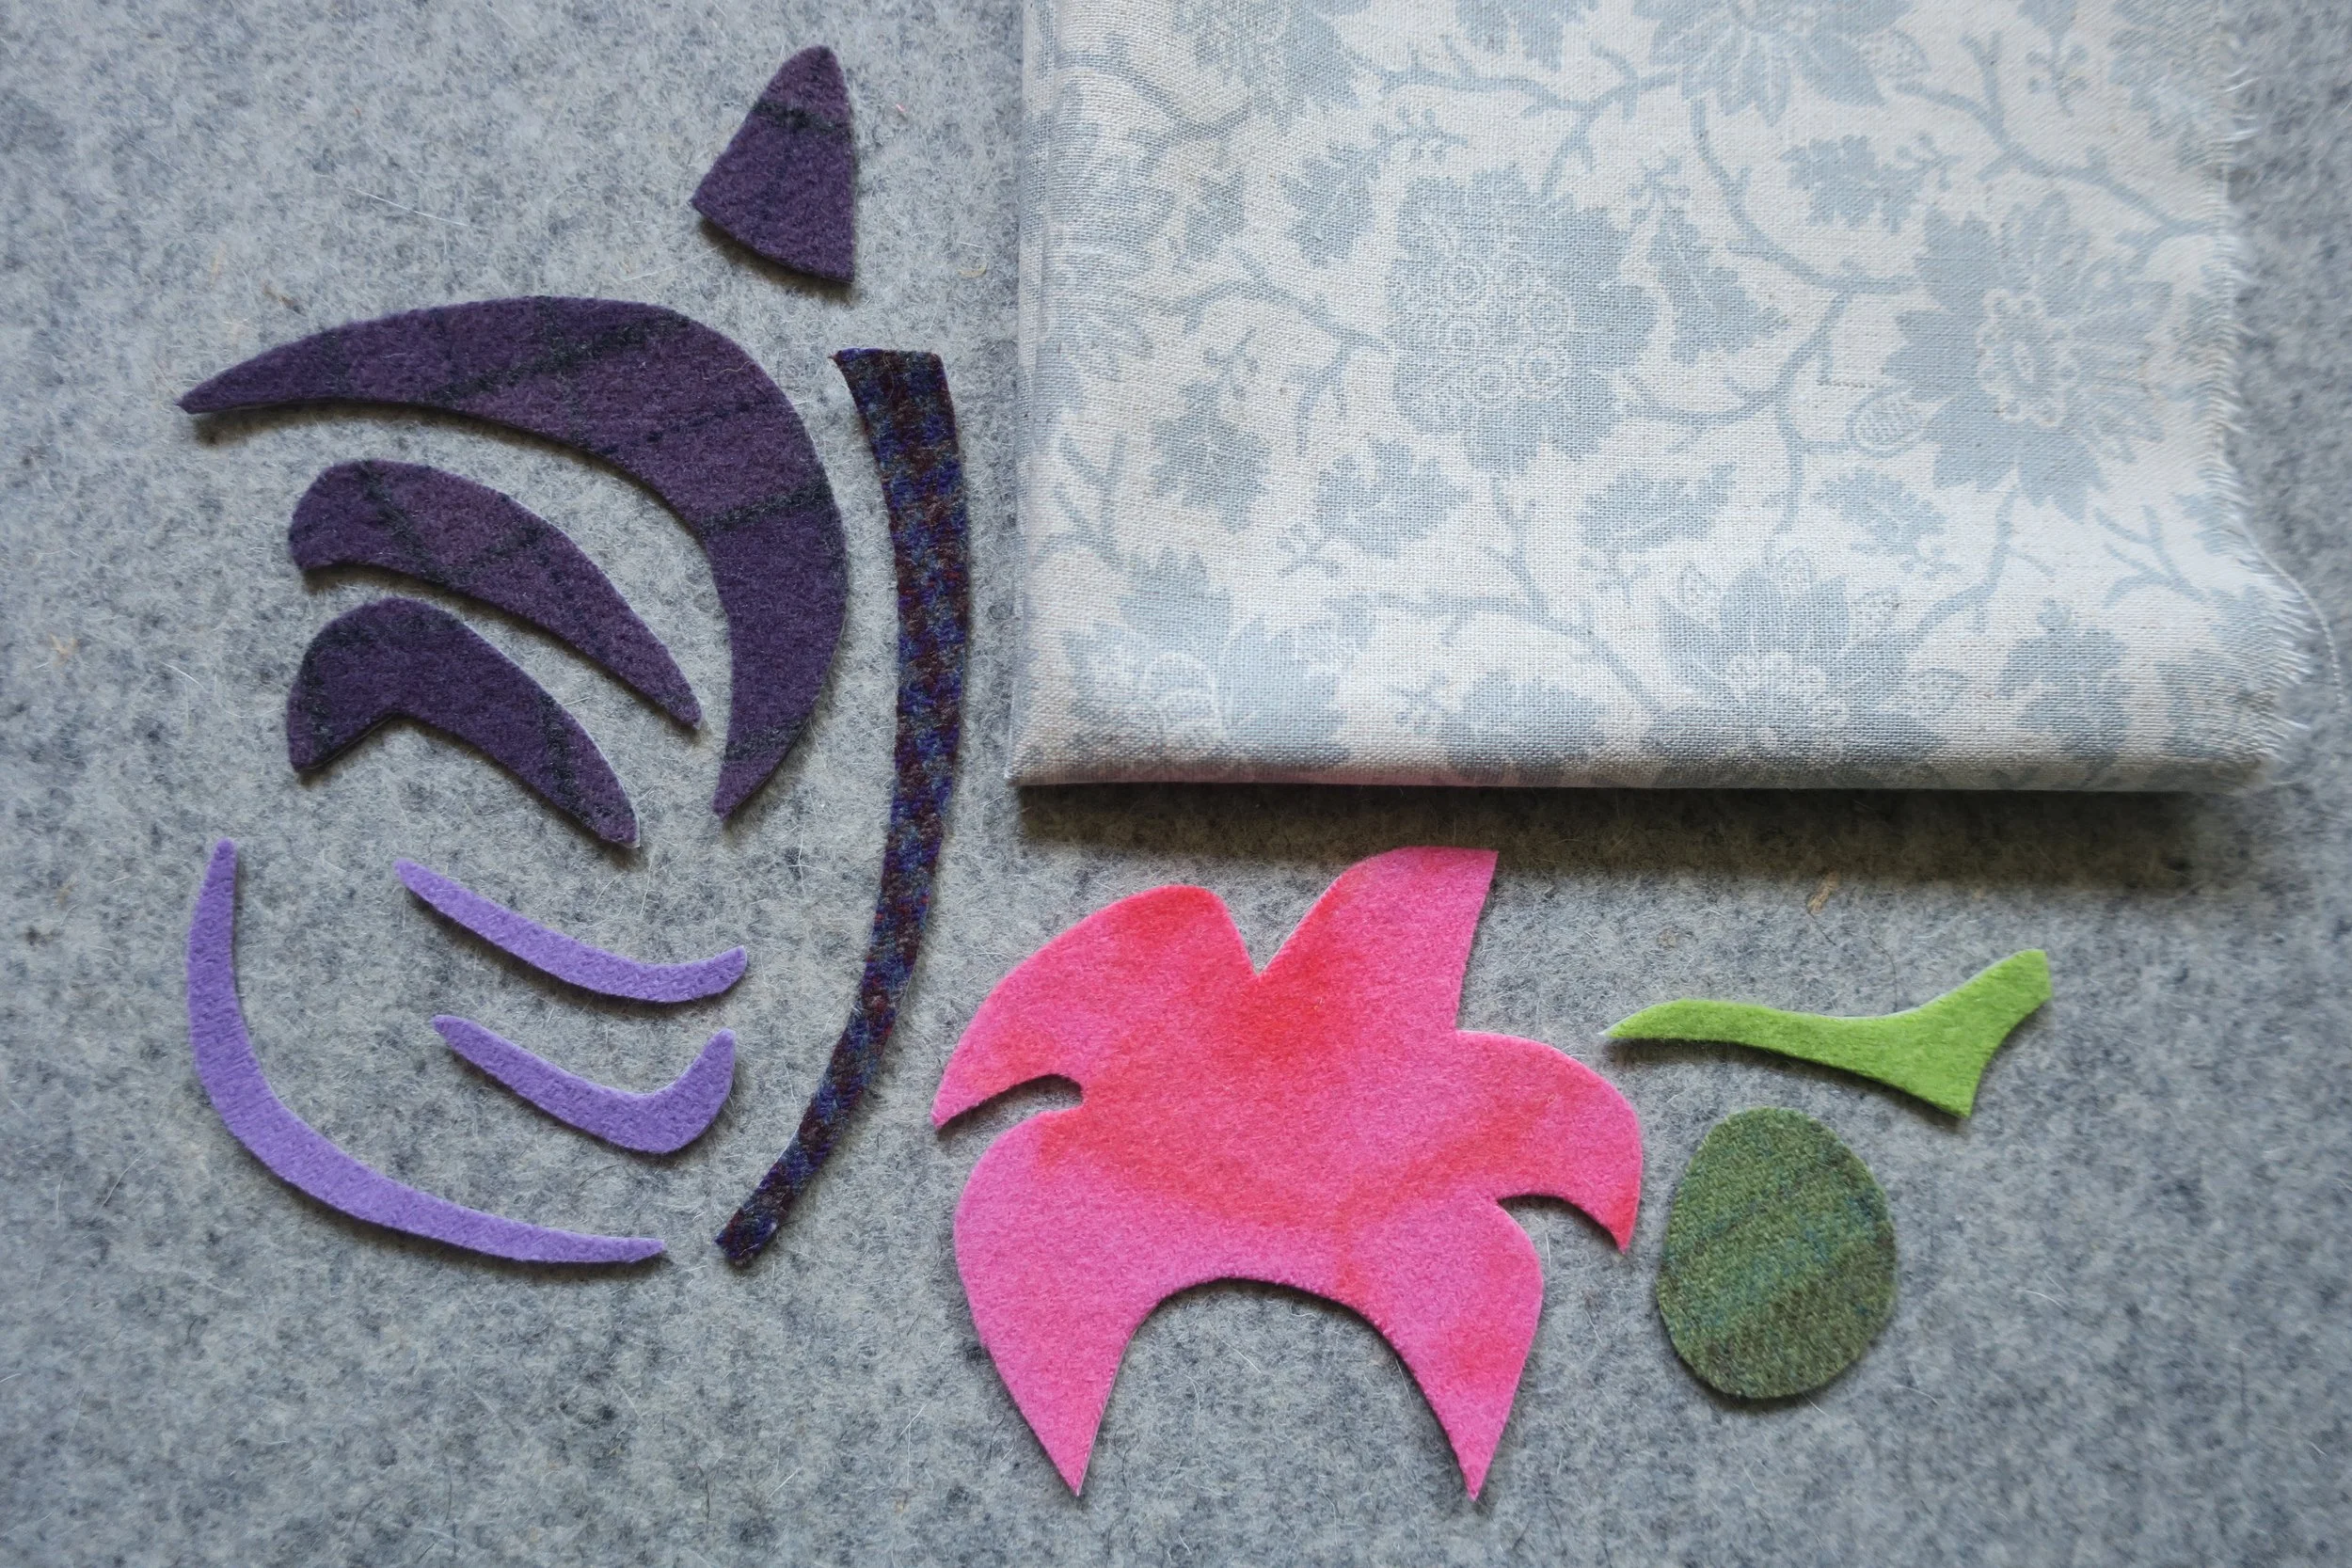
Felted wool or wool felt – Suggested colors
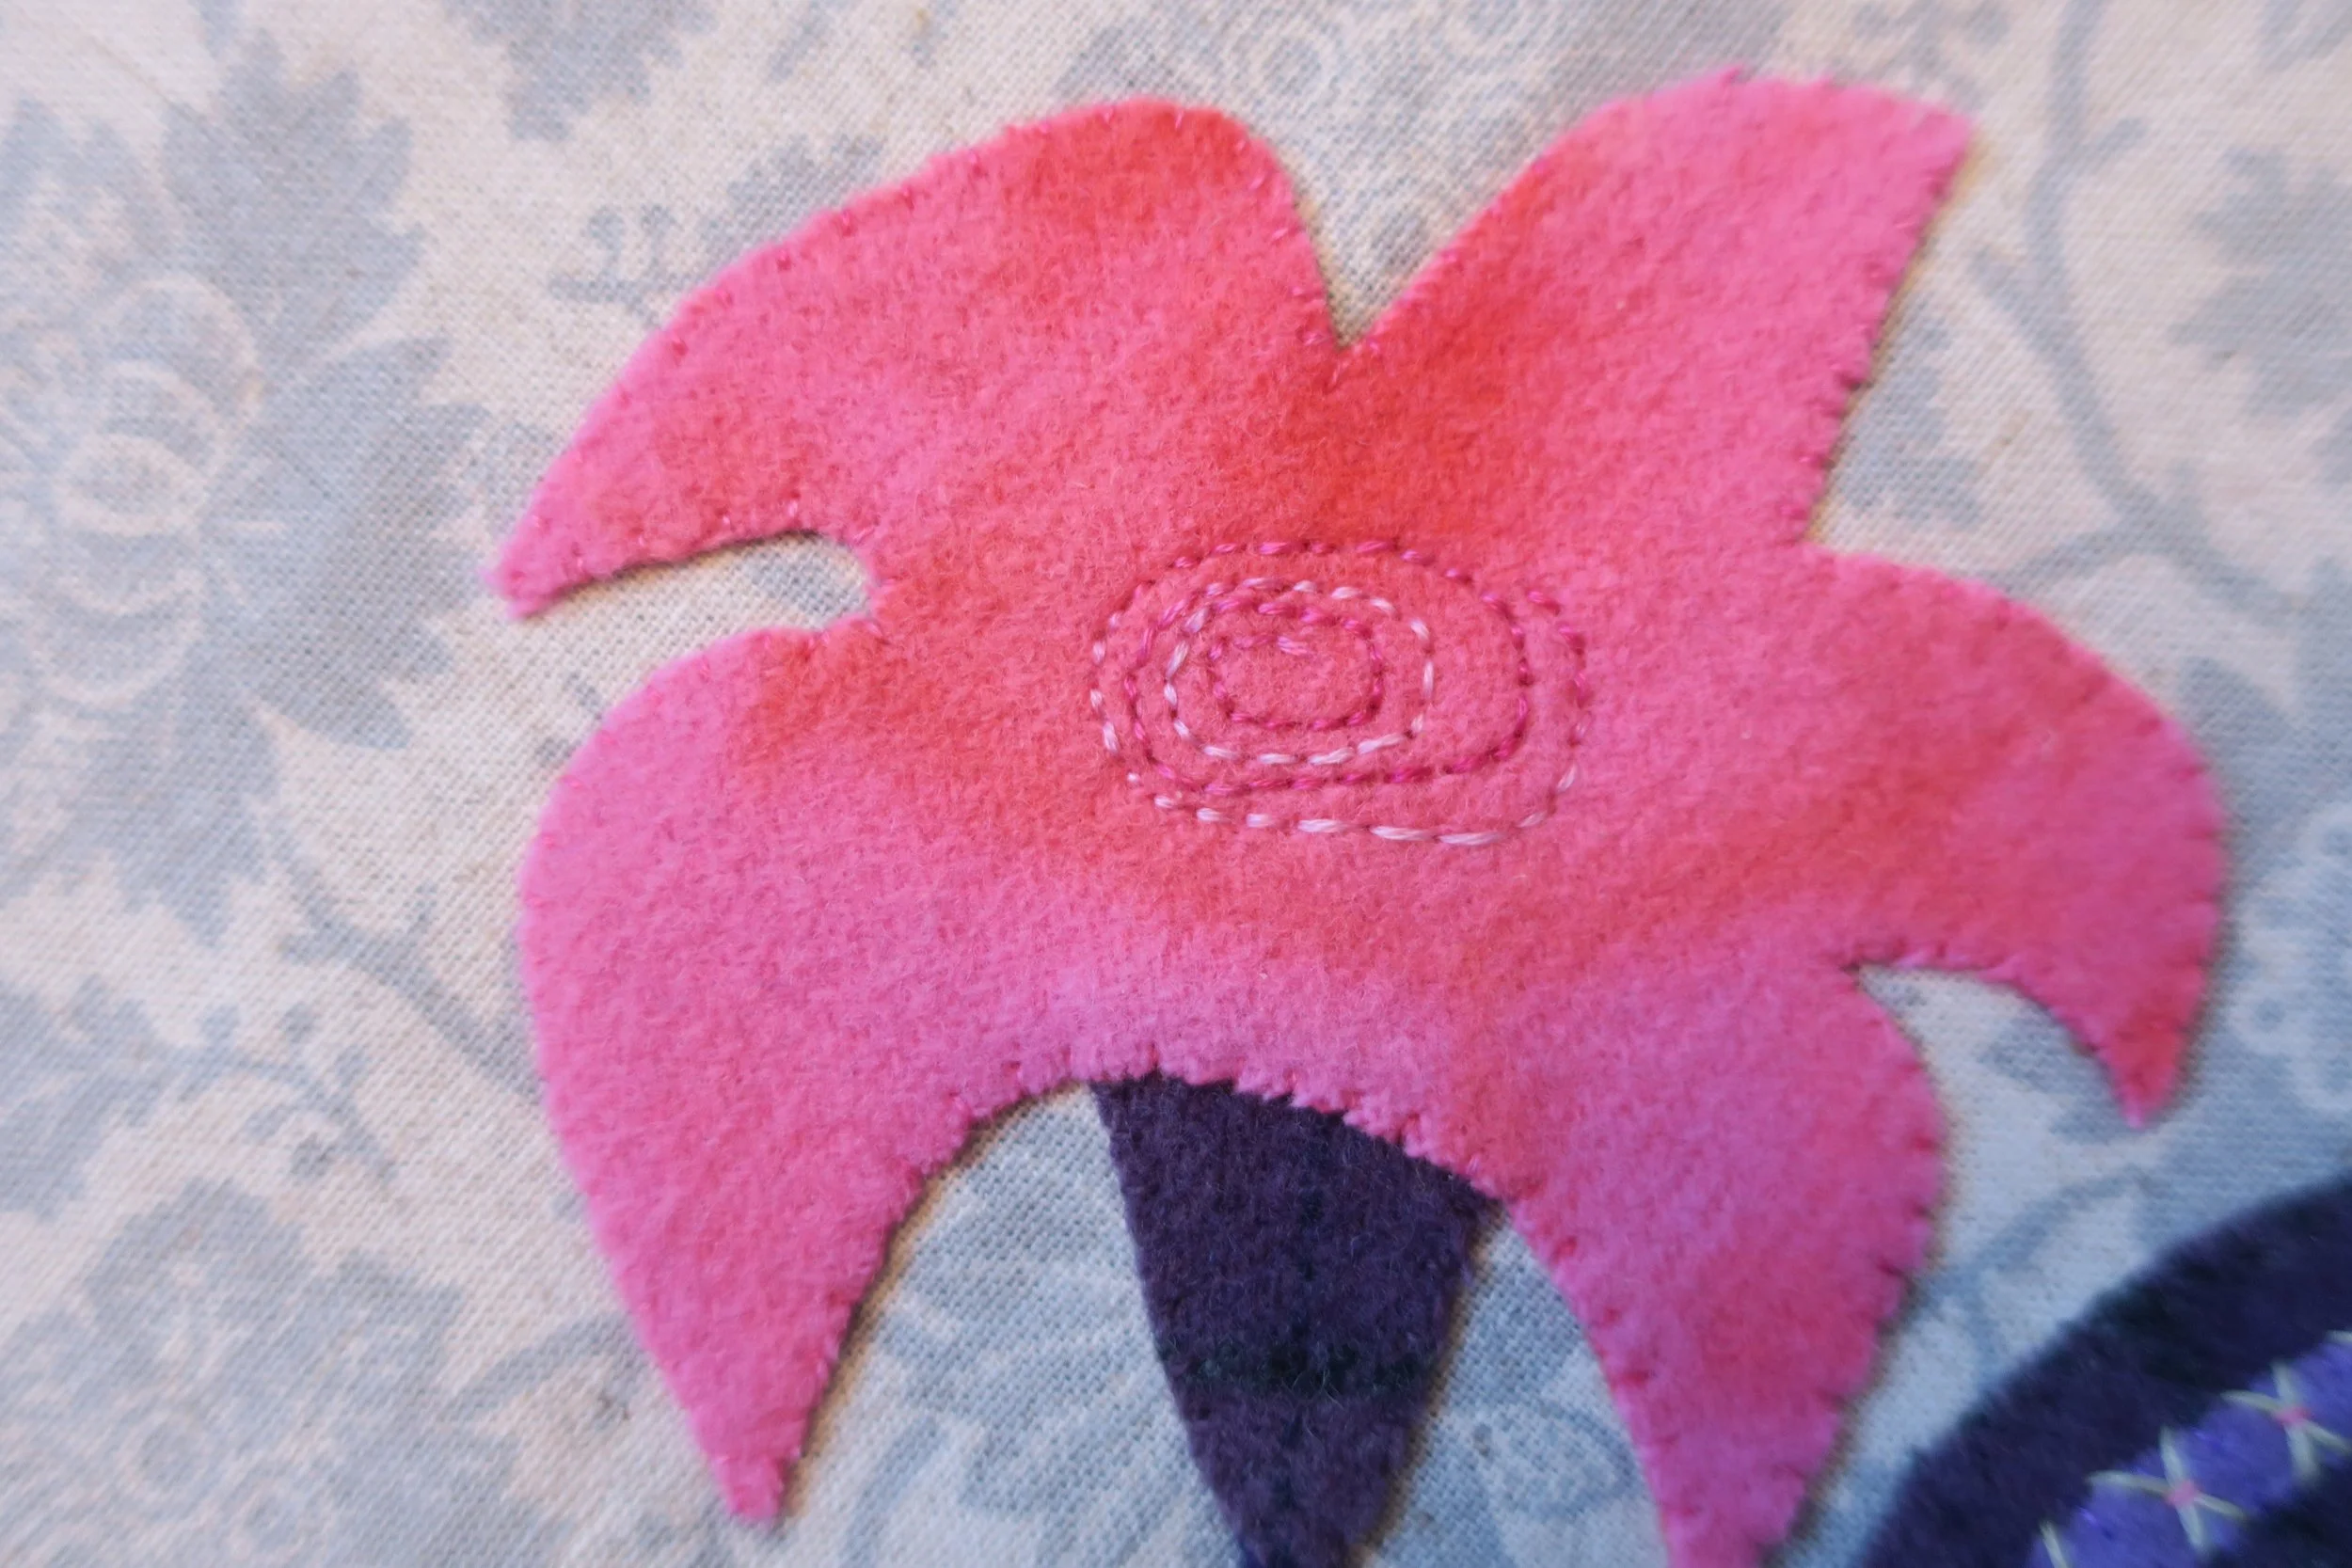
4” x 4 1/2” pink – Flower
3” x 6 ½” purple plaid – leaves and flower receptacle (base)
2” x 5 ½” purple houndstooth – flower stem
2” x 4” lavender – veins of leaves
1 1/2” x 3” light yellow-green – snail body
1 ½” x 2” medium yellow green plaid – snail shell
Thread – Suggested colors
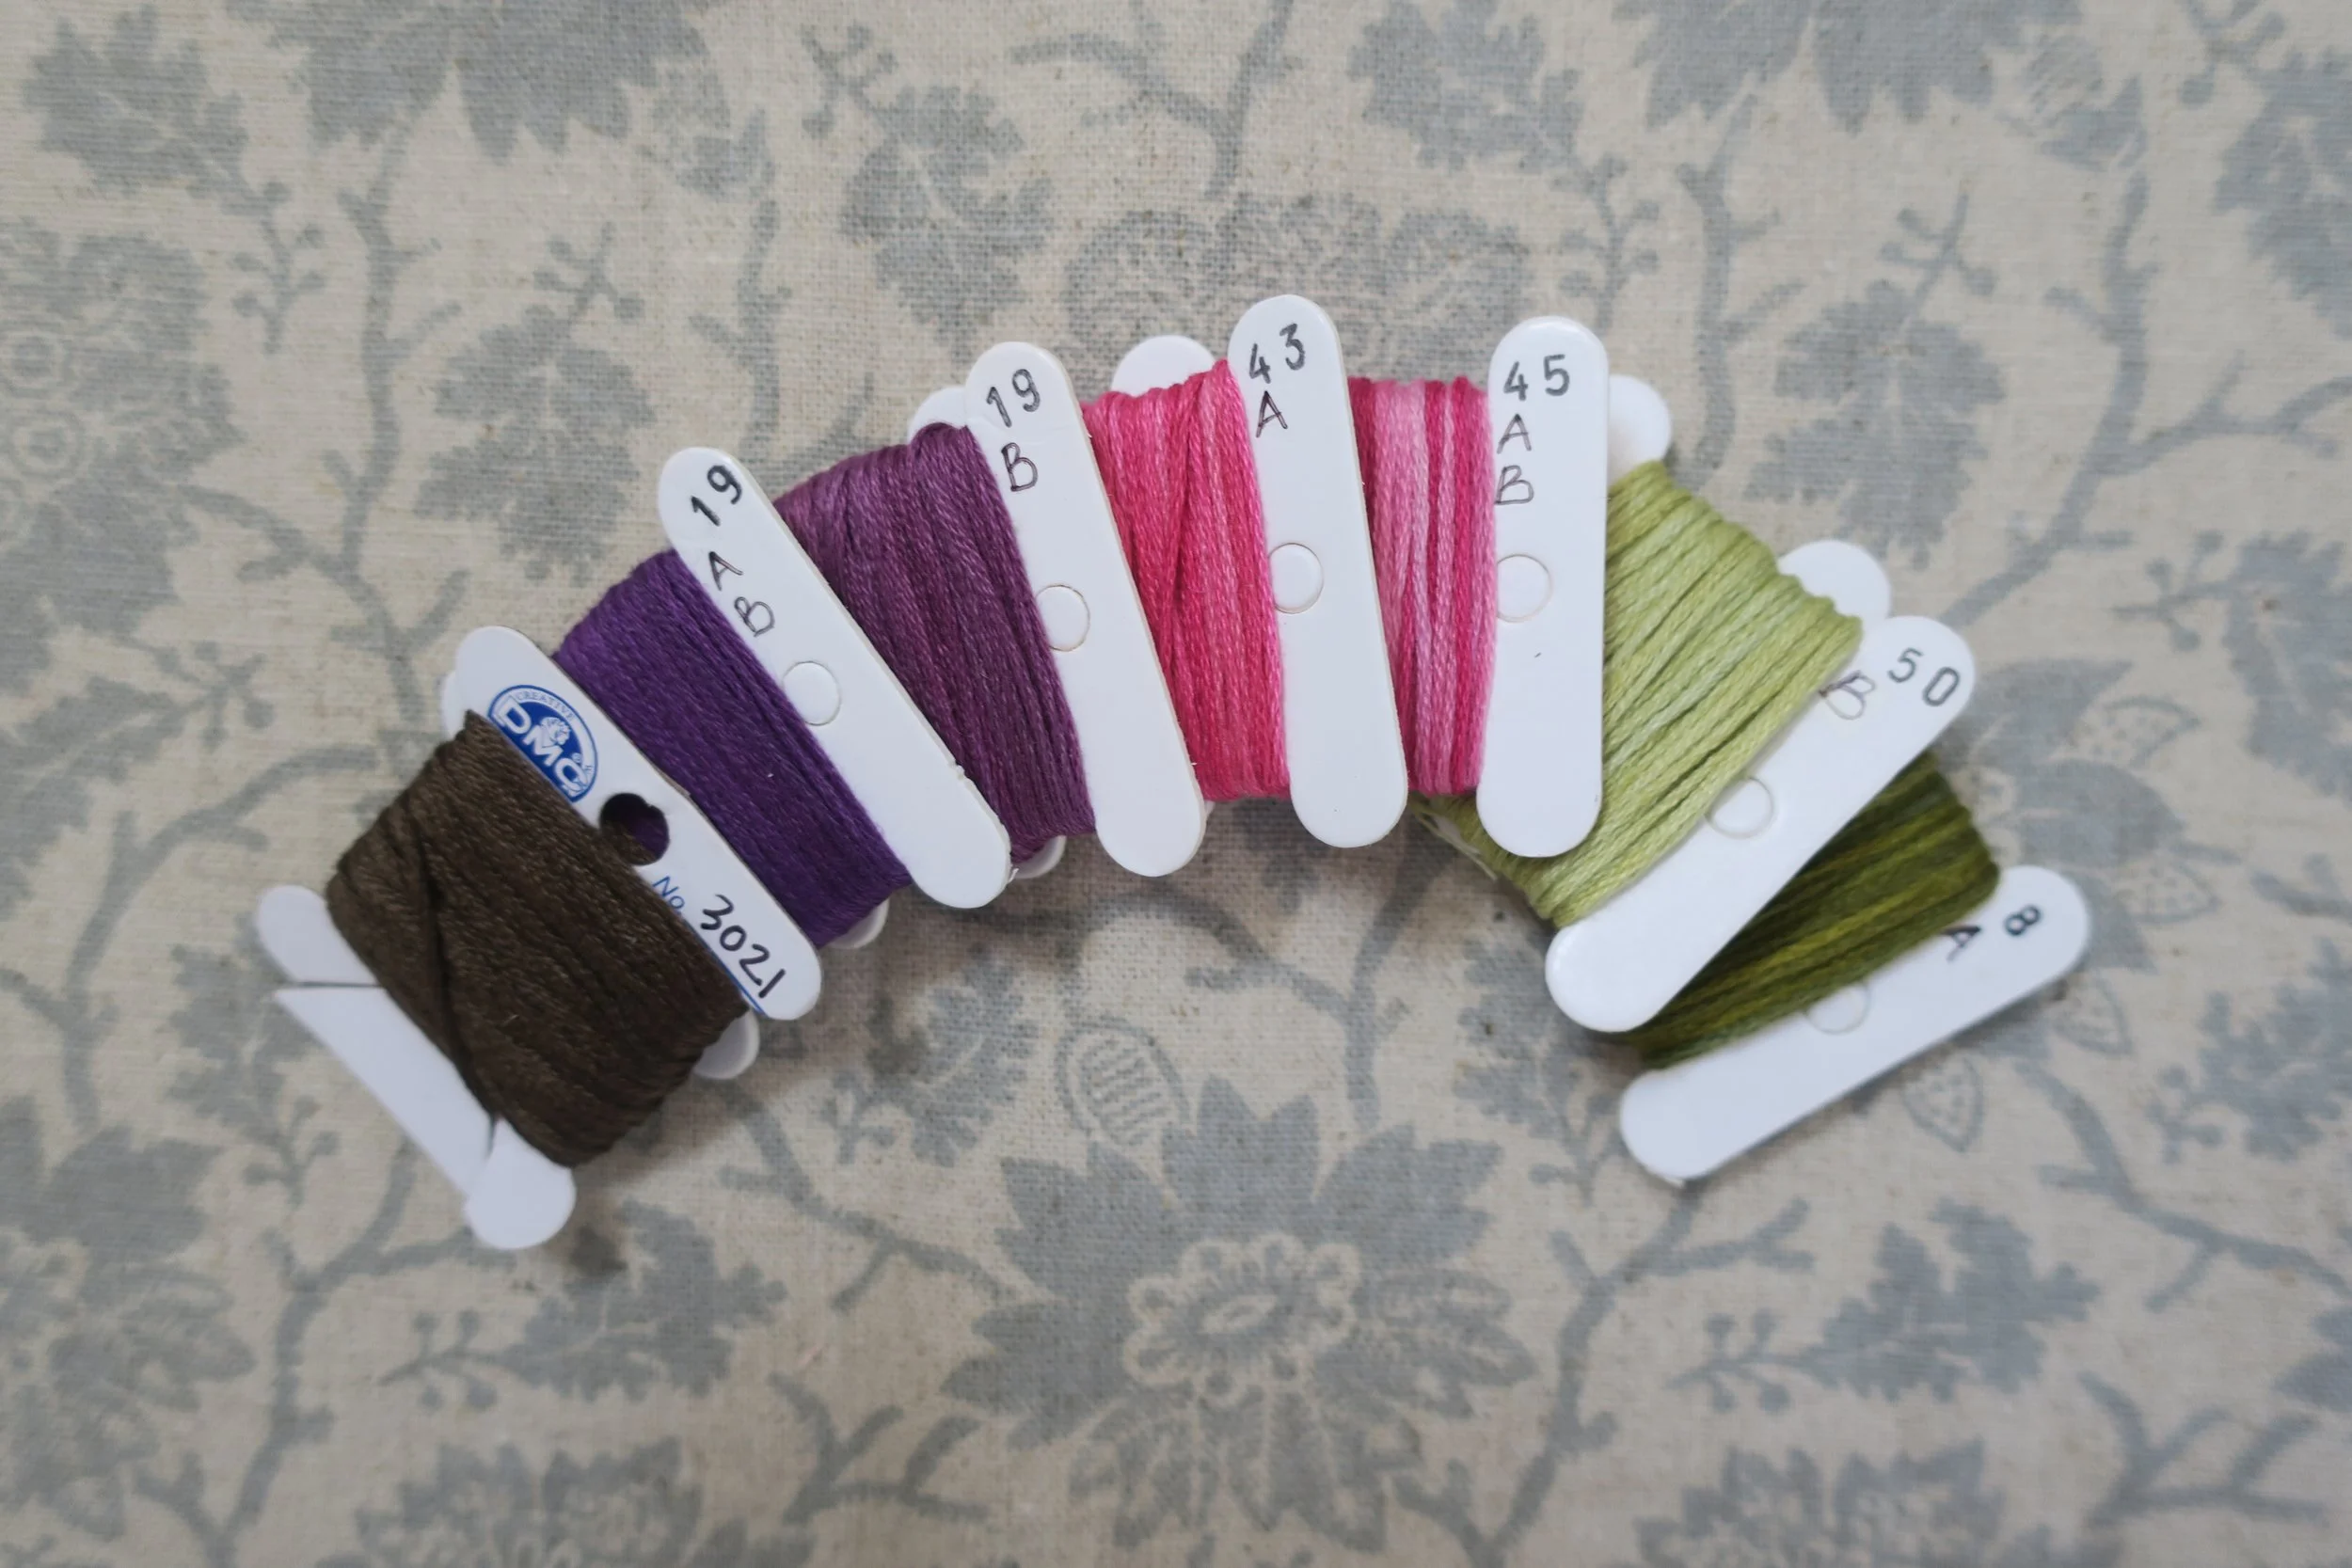
6-strand embroidery floss
Dark brown – lettering (I used DMC 3021)
Dark purple – flower leaves, stem, snail antennae, shell embellishment, and flower anthers (I used House of Embroidery 19AB)
Dark lavender – veins of leaves, shell embellishment (I used House of Embroidery 19B)
Dark fuchsia pink – flower, shell embellishment, and leaf vein embellishment (I used House of Embroidery 43A)
Variegated pink – flower embellishment (I used House of Embroidery 45AB)
Yellow-green – snail body and shell embellishment, leaf vein embellishment (I used House of Embroidery 50B)
Yellow-green medium – snail shell, flower stamens (I used House of Embroidery 8A)
Miscellaneous
Feather-weight fusible web like Softfuse Premium or HeatnBond FeatherLite
Transfer pen (I used Sublime Stitching Fine Line Iron-on Transfer Pen)
Chalk pencil or air-erasable fabric marker (I used Bohin Extra-fine Chalk Pencil and Dritz Fine Point Disappearing Ink)
Chenille needle, size 24
Thread wax (I used Sew Fine Thread Gloss) – This helps keep your multiple strands of floss together and smooth.
Iron
Light Box or bright window
1 sheet of copy paper
Scotch tape
Instructions
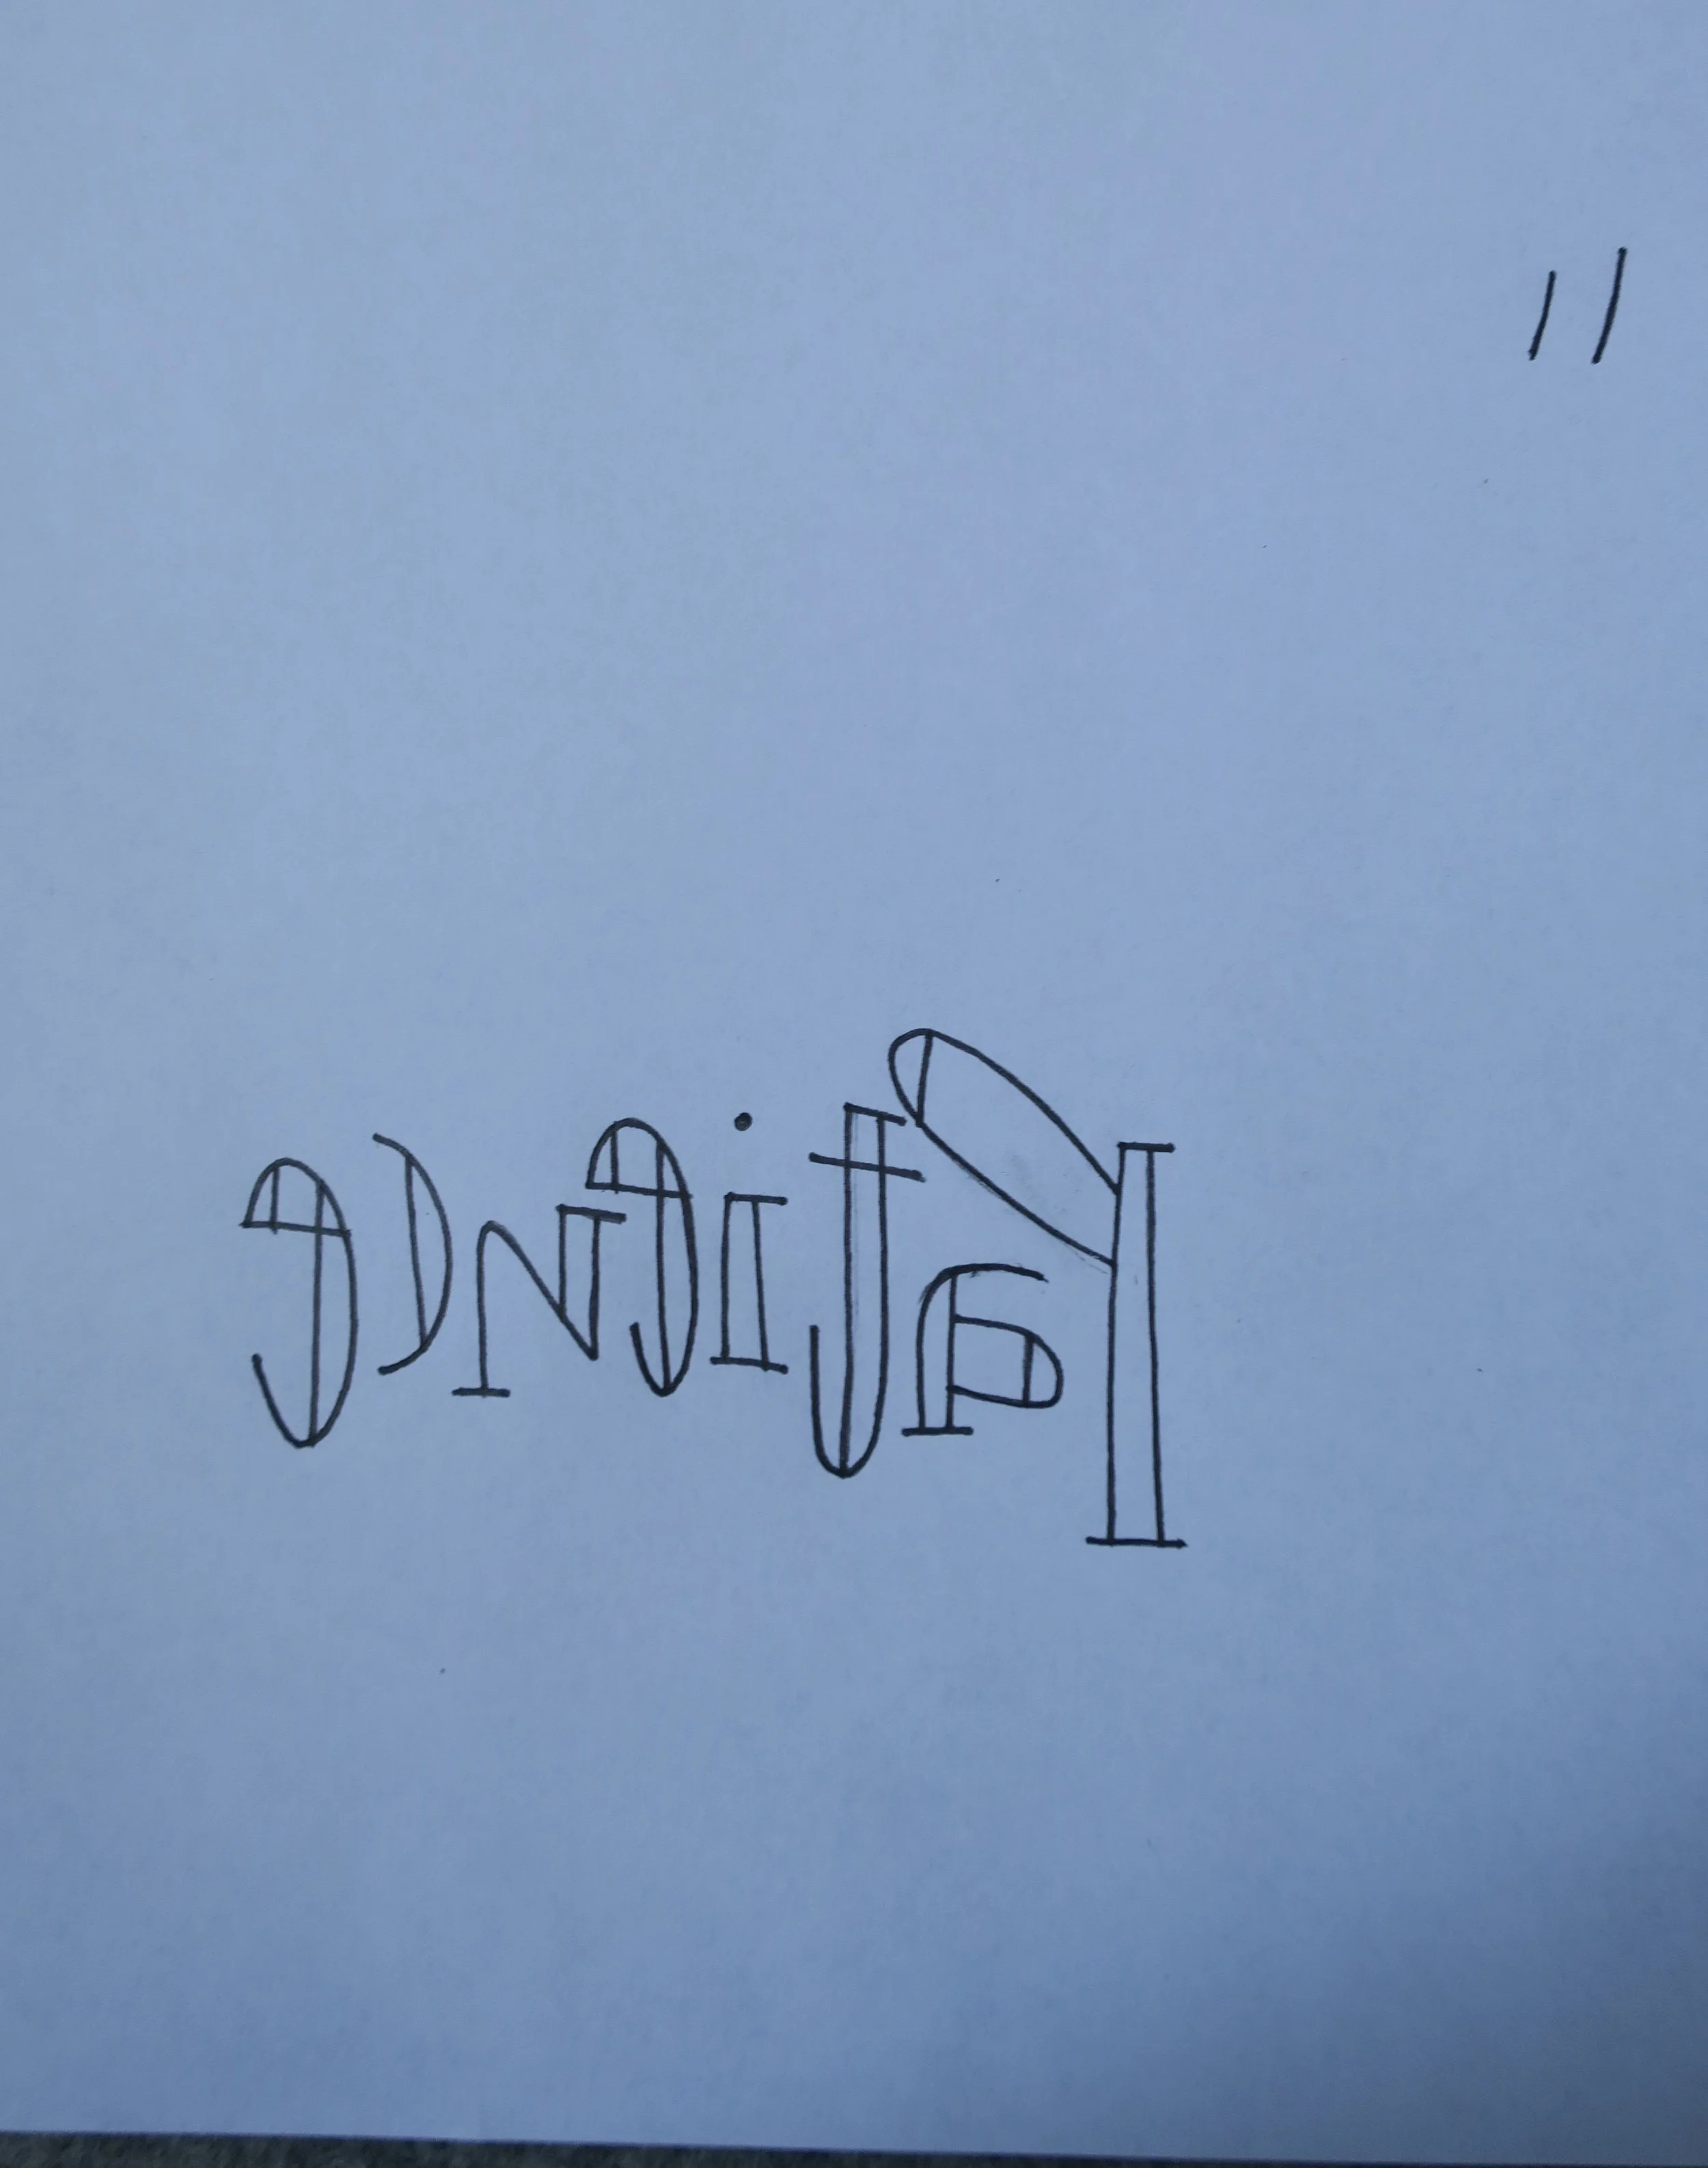
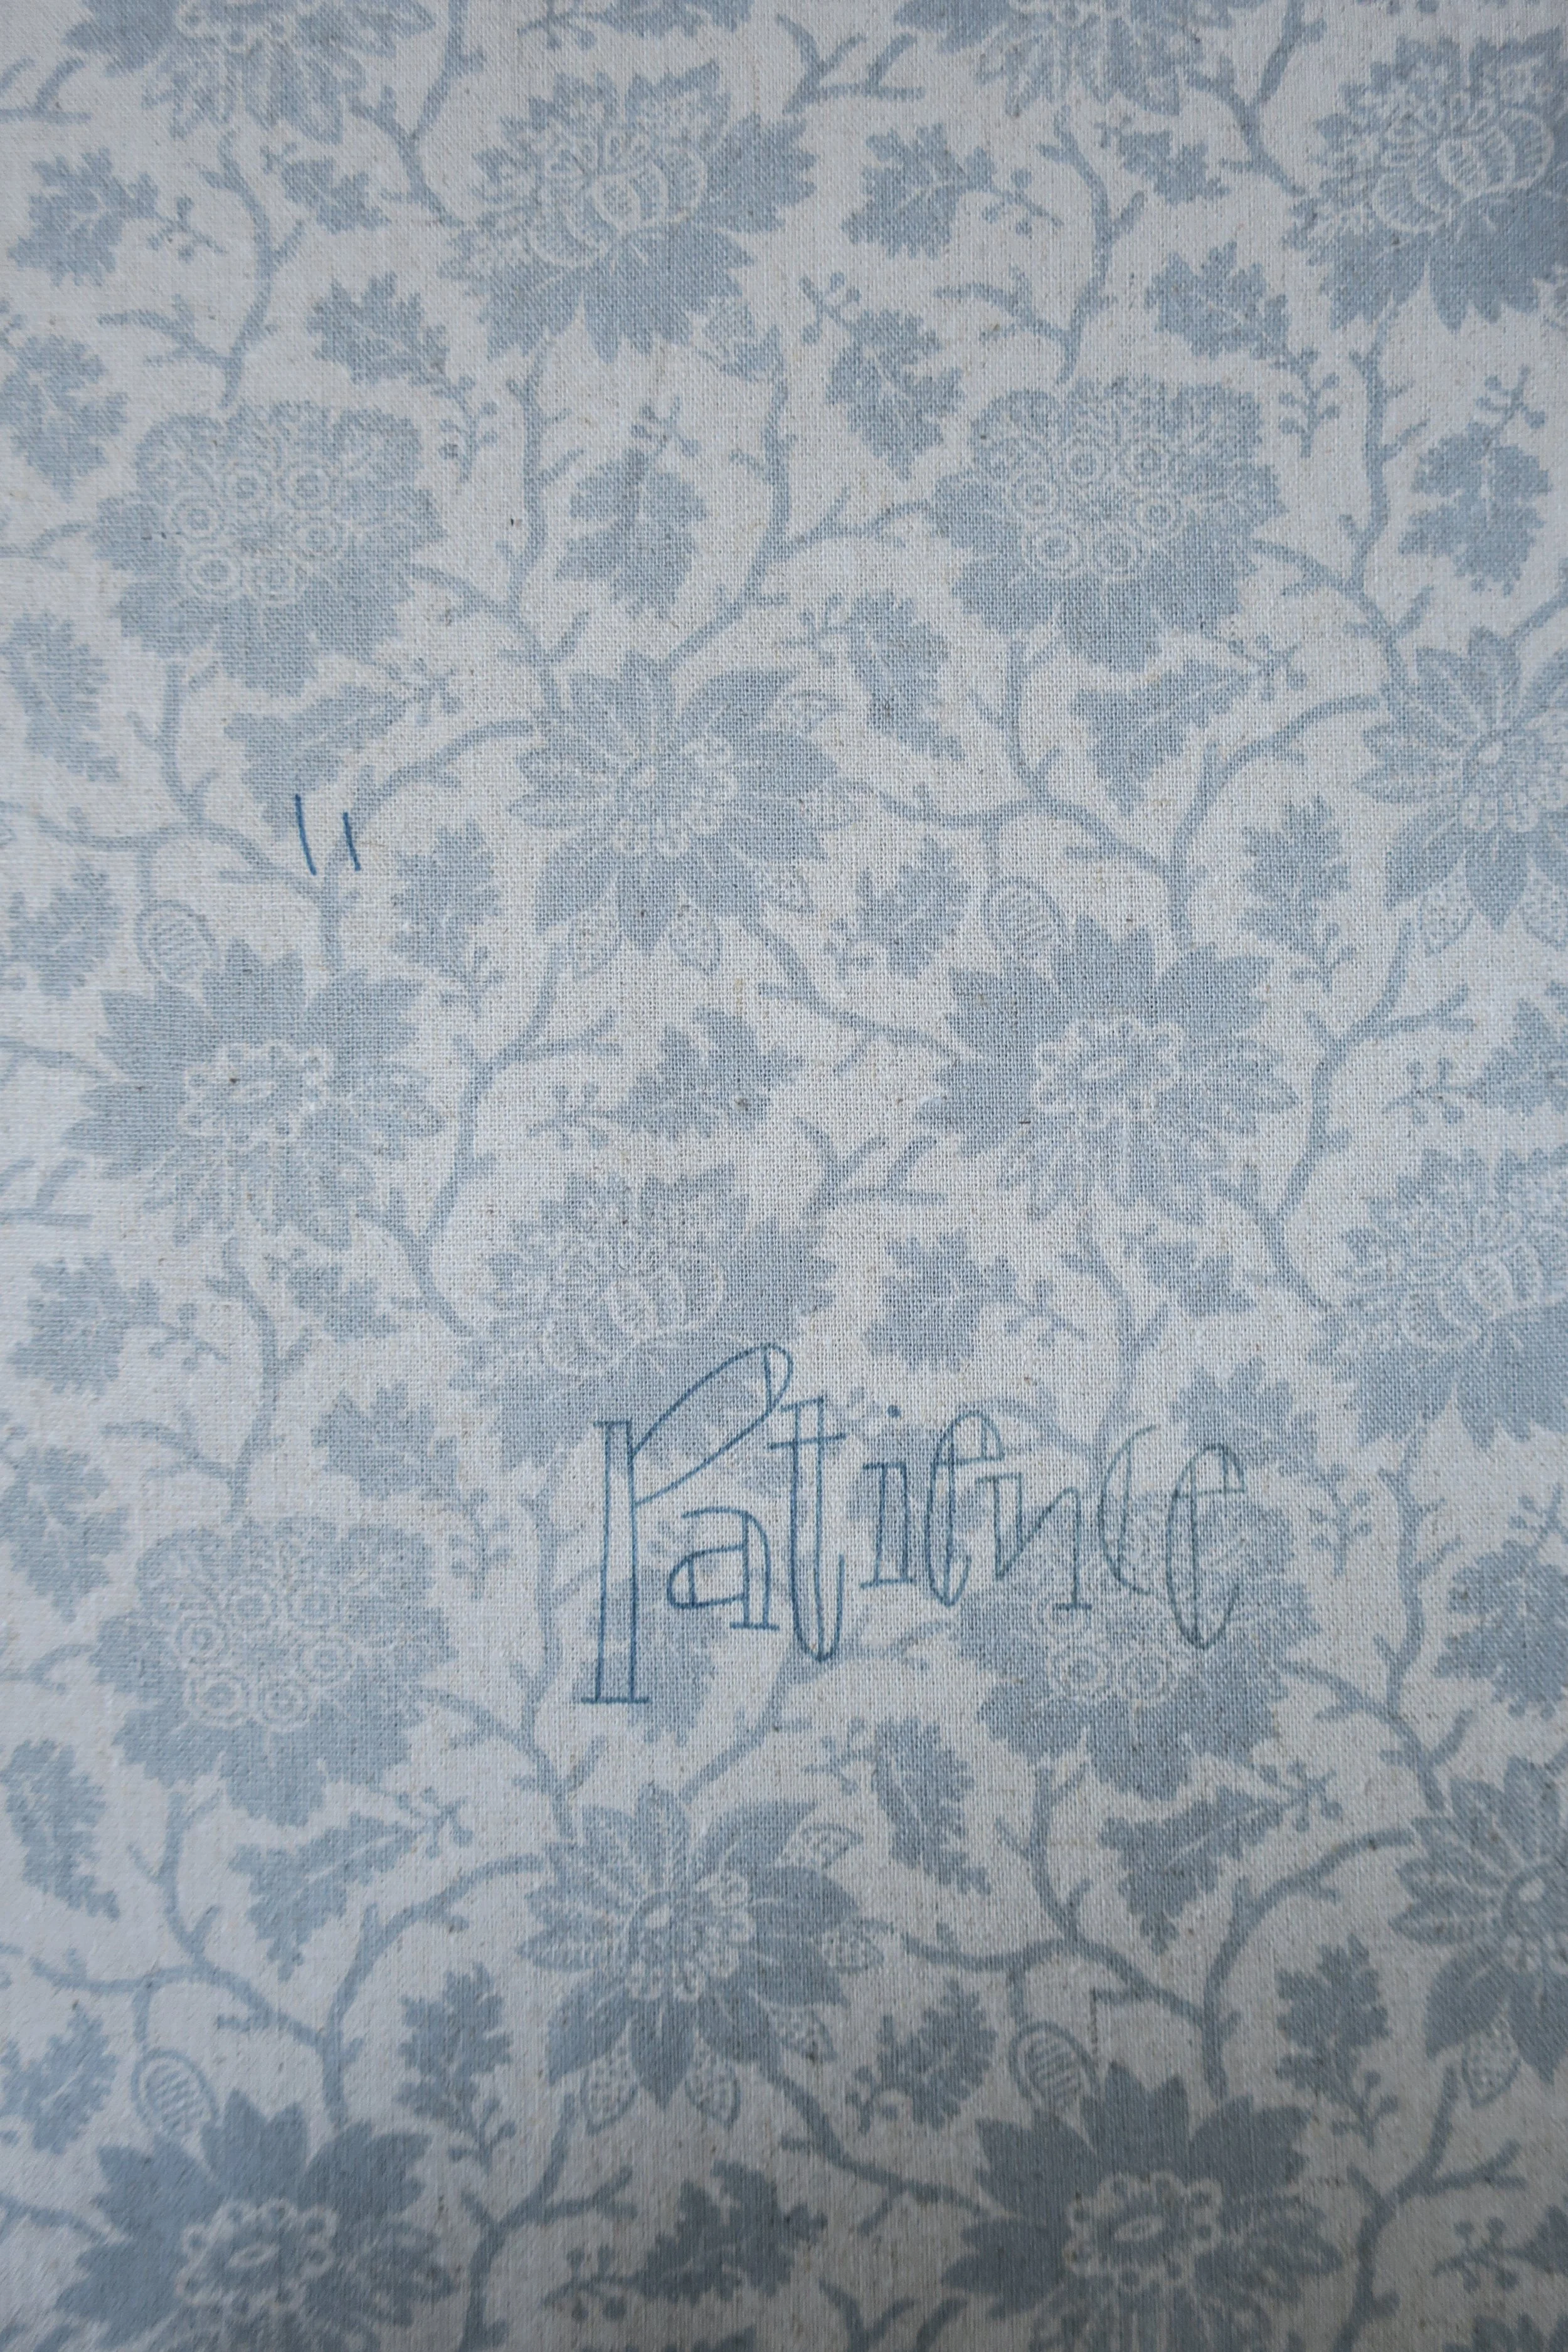
1. Place the Layout face down on your light box and trace the reverse image of the snail’s antennae and the word patience using a transfer pen and copy paper. This will be your transfer paper. Set aside.
2. Trace the pattern pieces onto fusible web and then cut out leaving a small (1/8”) border around each pattern.
3. Fuse patterns to designated wools and then cut out along drawn lines.
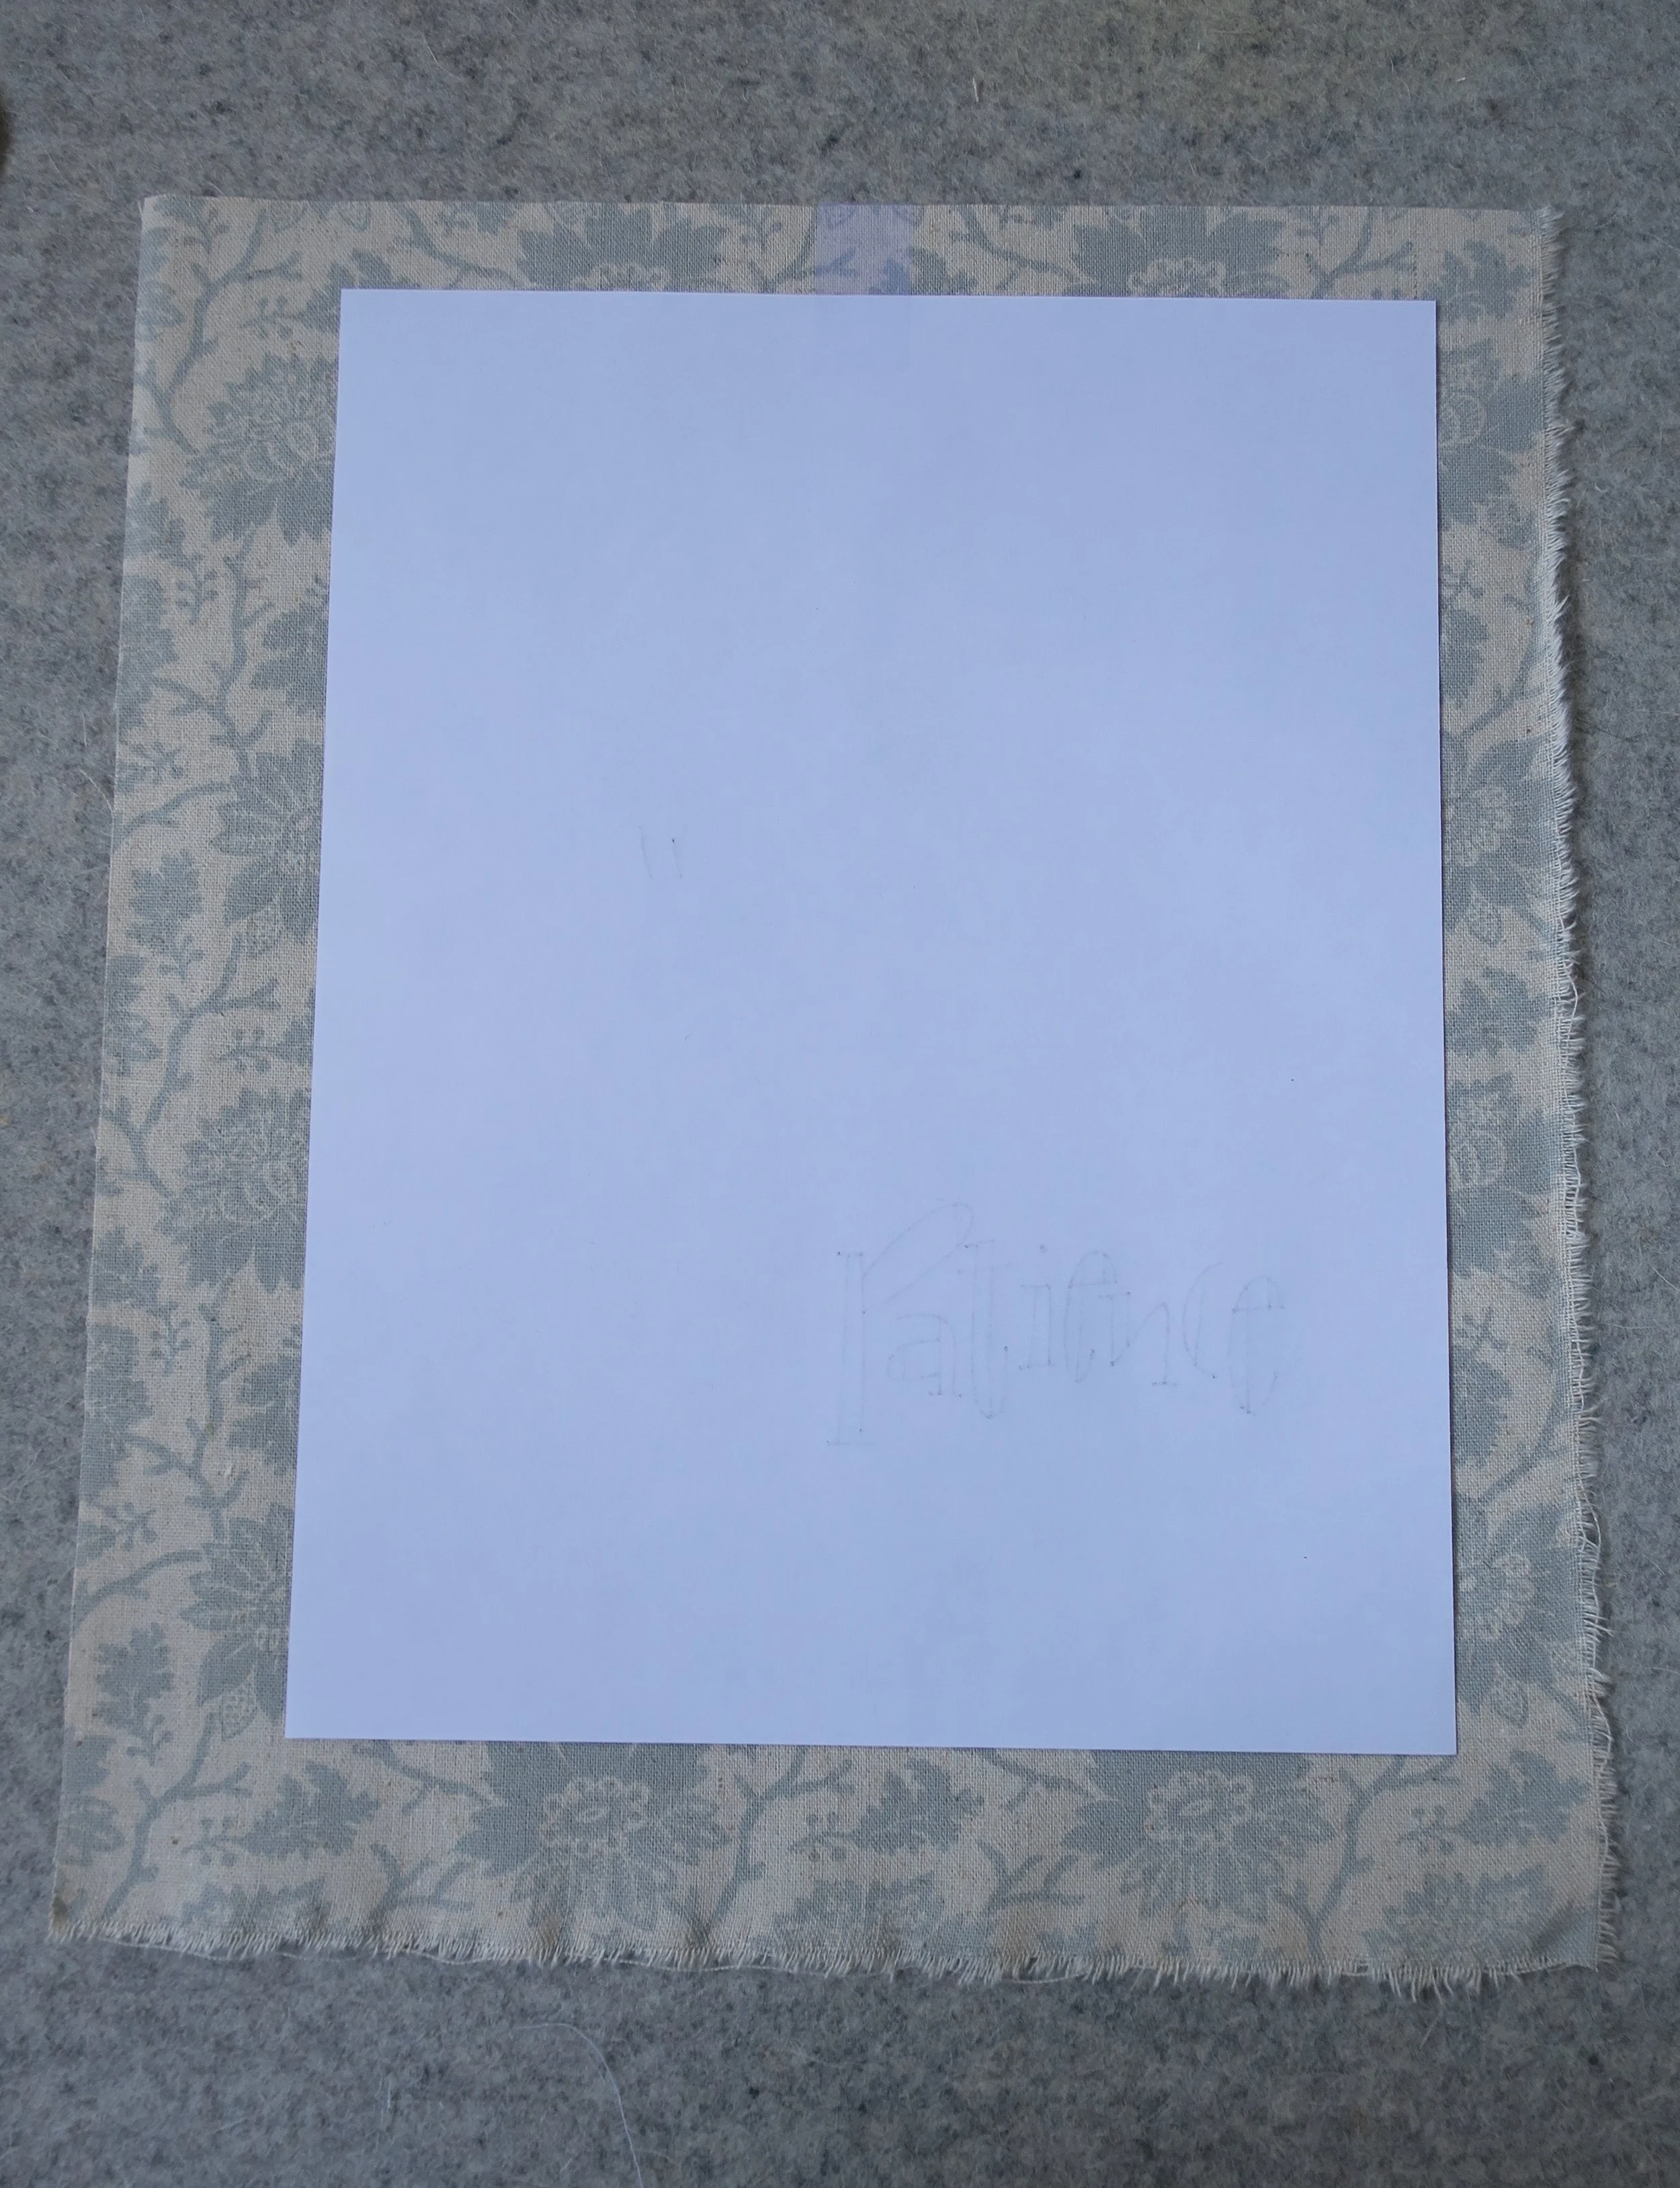
4. Transferring Design to Background
Place background fabric onto pressing surface.
Center transfer paper, facedown, onto the background fabric.
Place a small piece of tape at the top of the transfer paper. This will serve as a hinge. Flip the paper back away from the background fabric.
Using a very hot iron, press the background fabric. This step preheats the fabric.
Quickly and carefully flip the transfer paper back onto the background and then press, holding the iron in place for about 12 seconds, lifting, and then pressing again until the entire surface has been pressed.
Carefully lift up one corner of the paper to check if the design has been successfully transferred. If not, repeat pressing.
Remove transfer paper.
5. Position all pattern pieces except veins of leaves onto the background using the layout and transferred images for orientation. Fuse in place using product instructions.
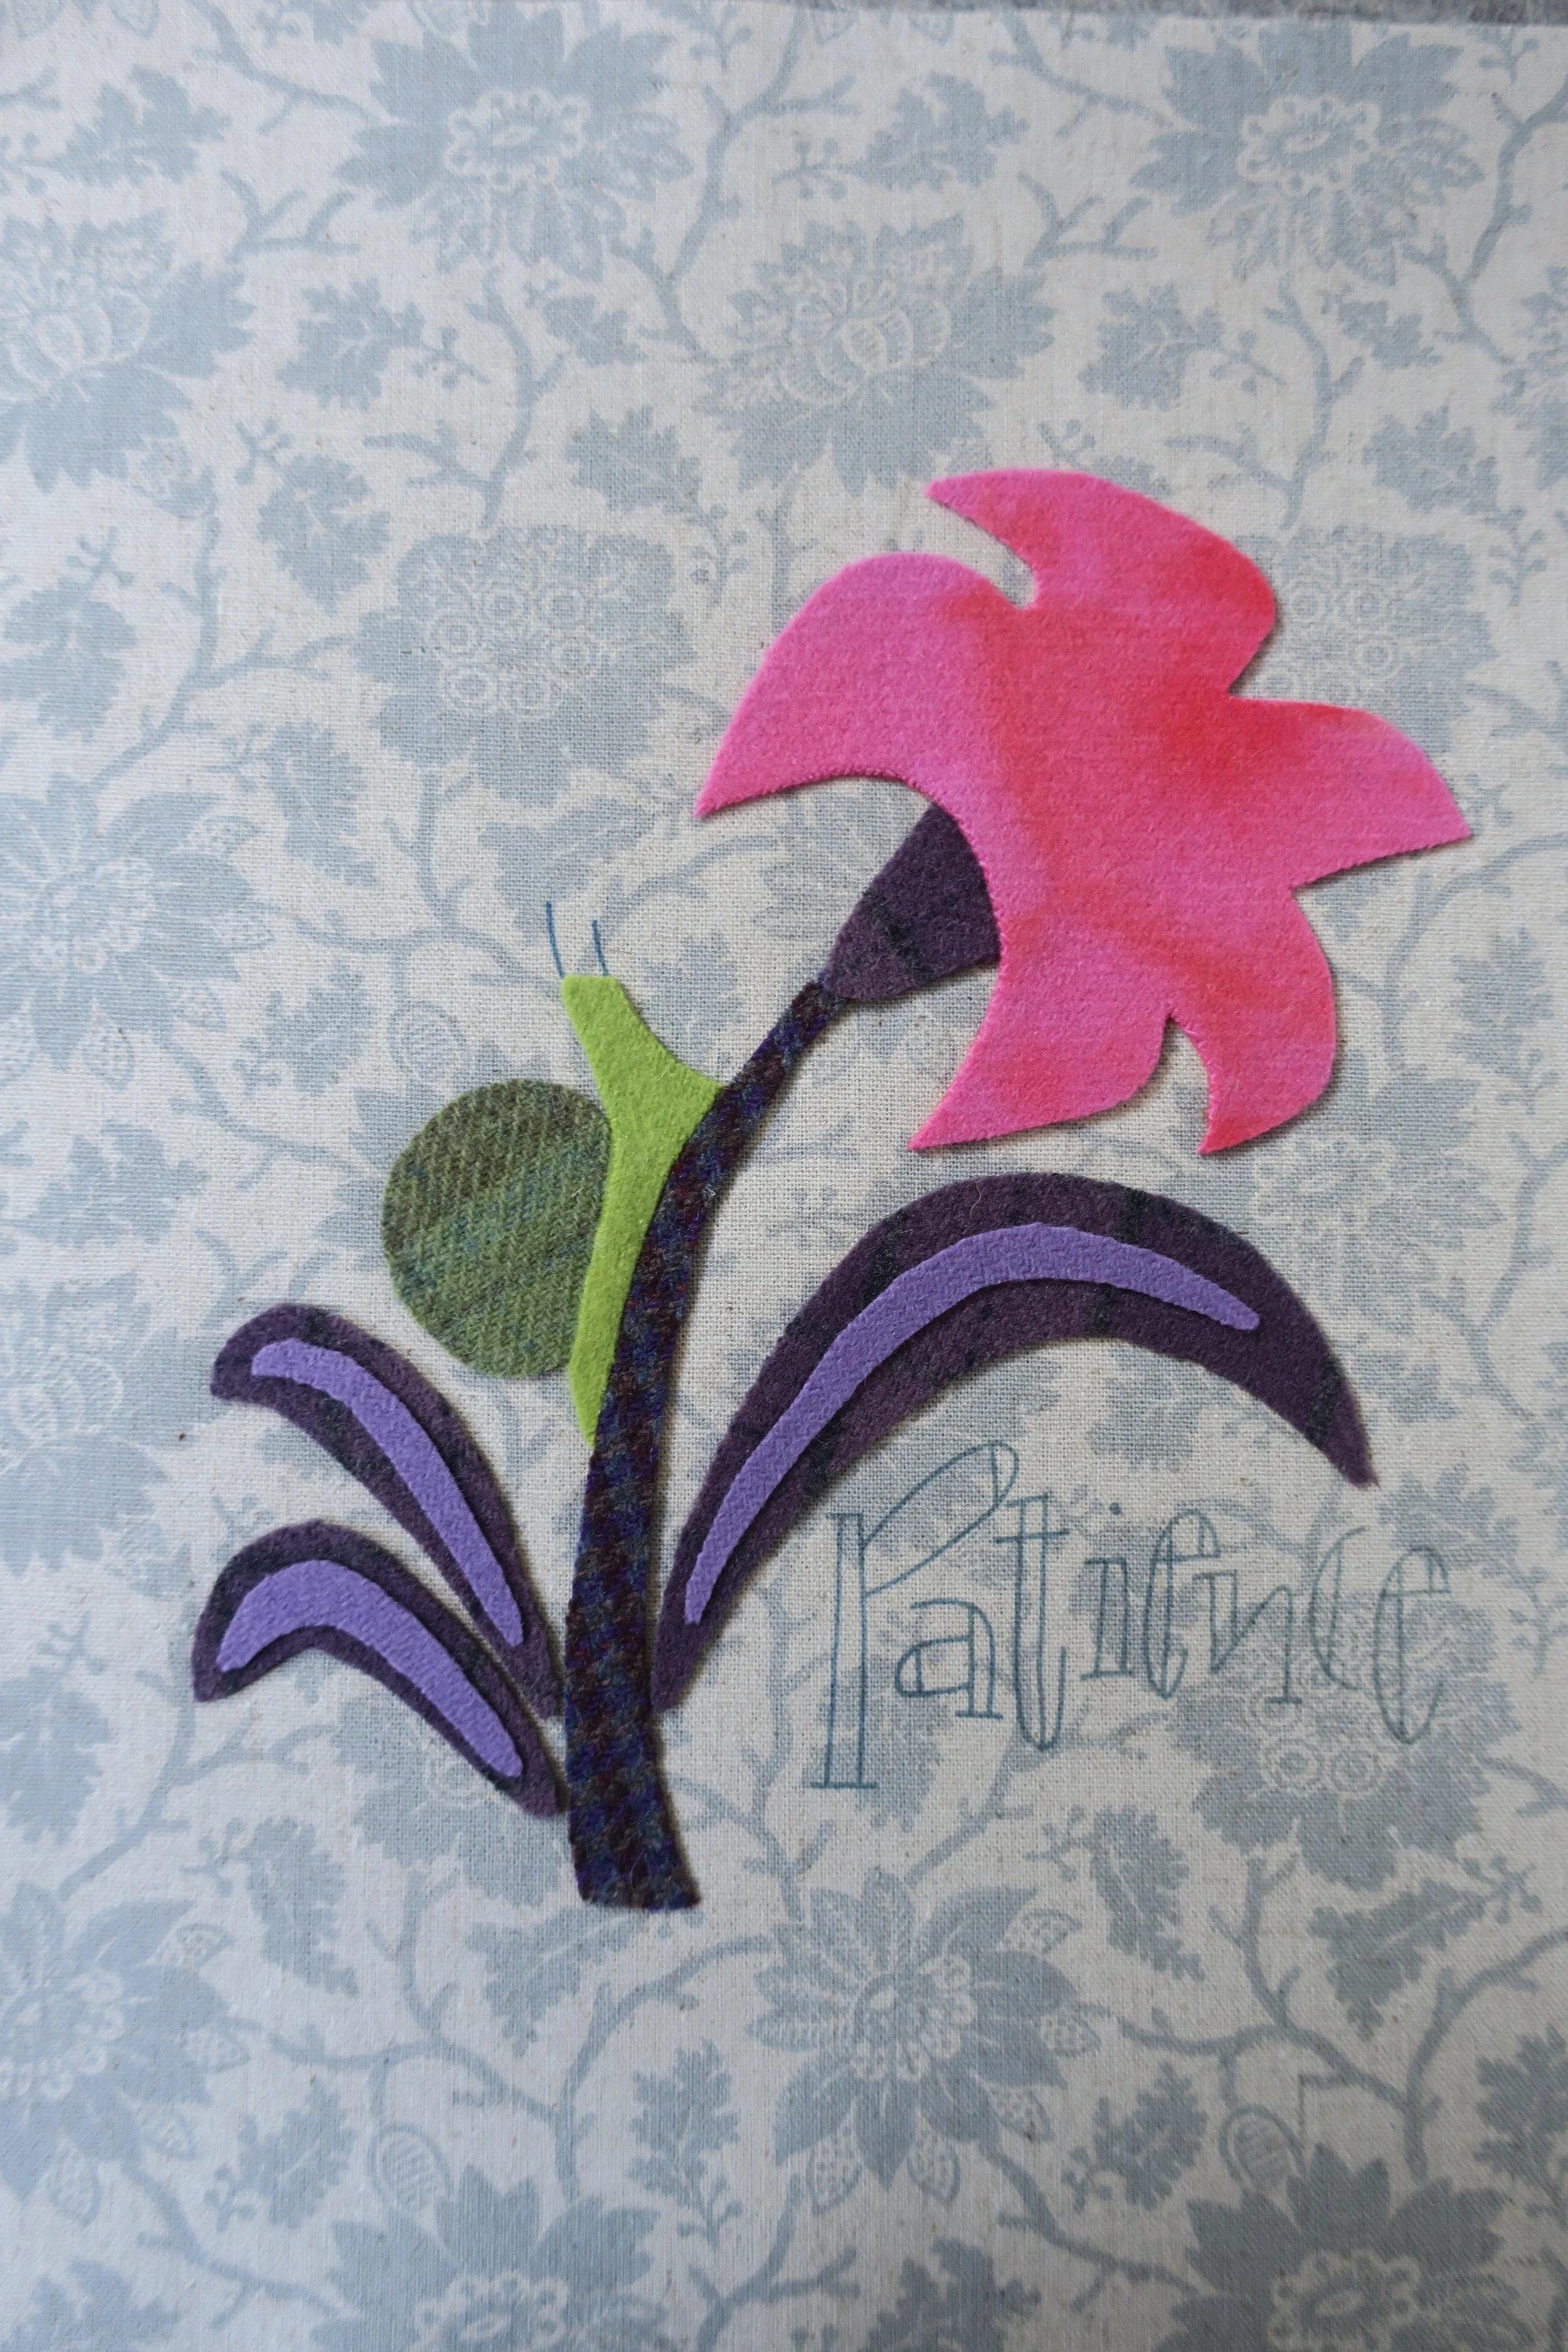
6. Position veins of leaves onto the leaves and then fuse in place.
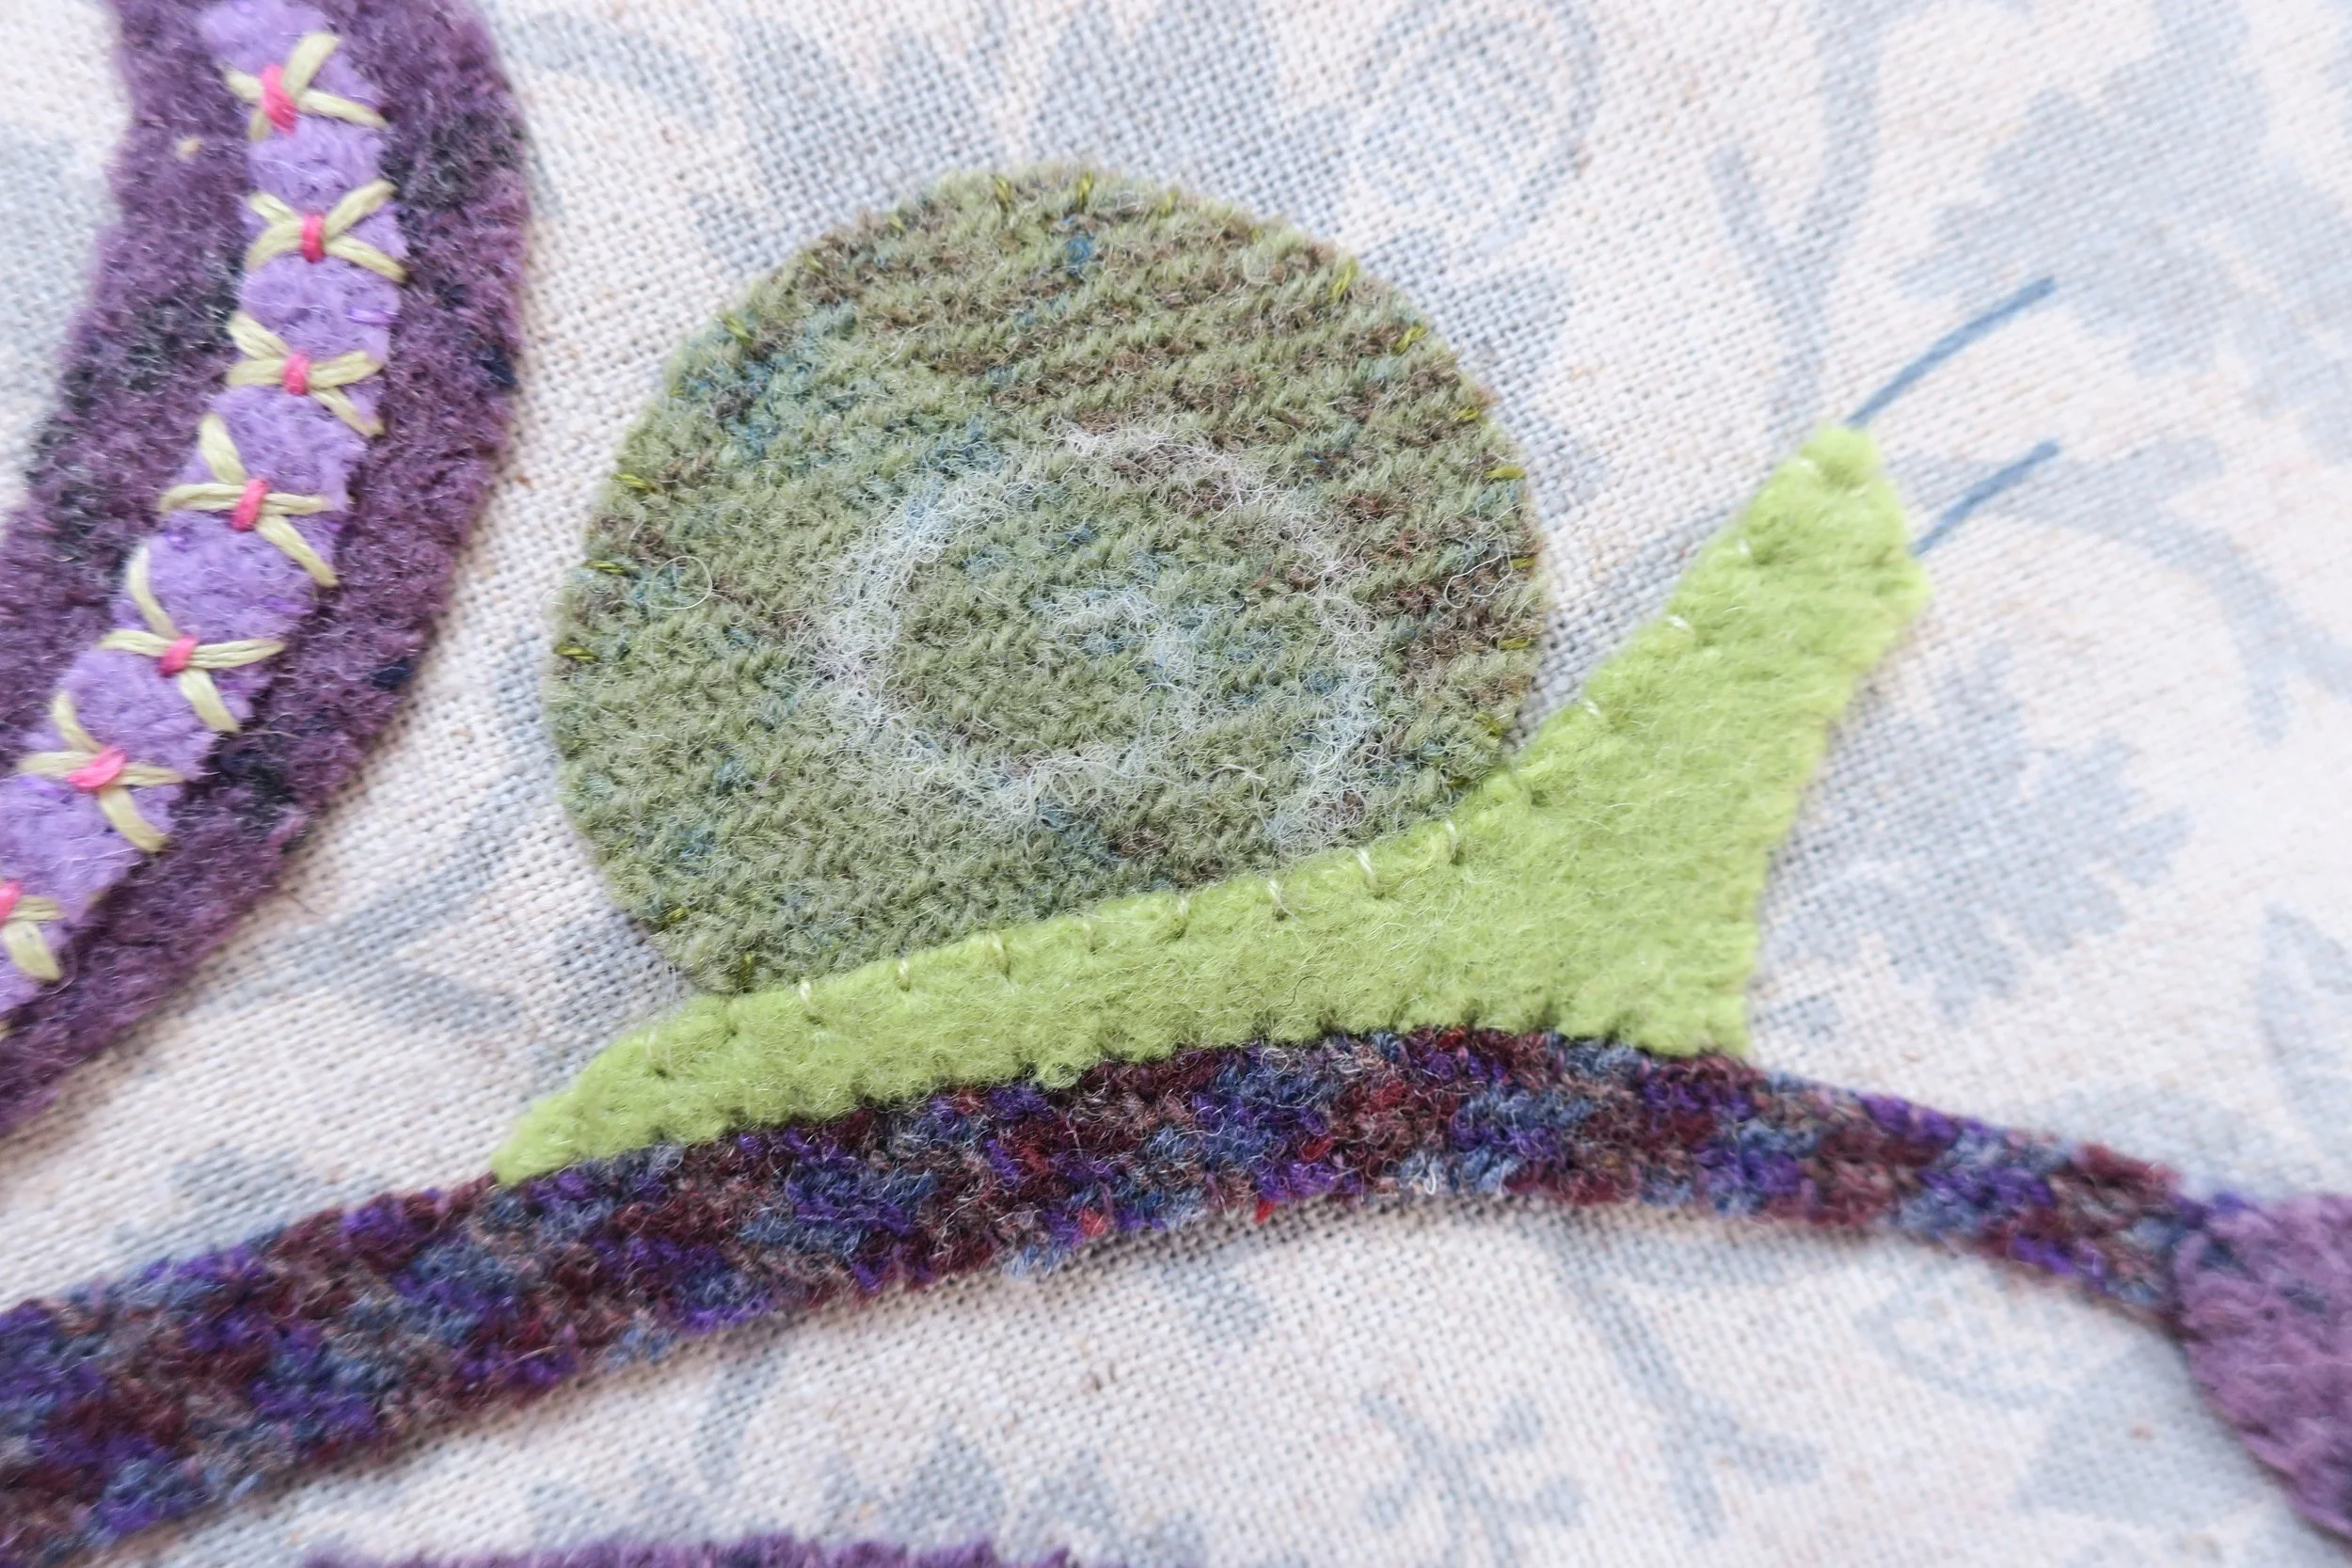
7. Whip stitch all wool pieces in place using 1 strand of matching colored embroidery floss.
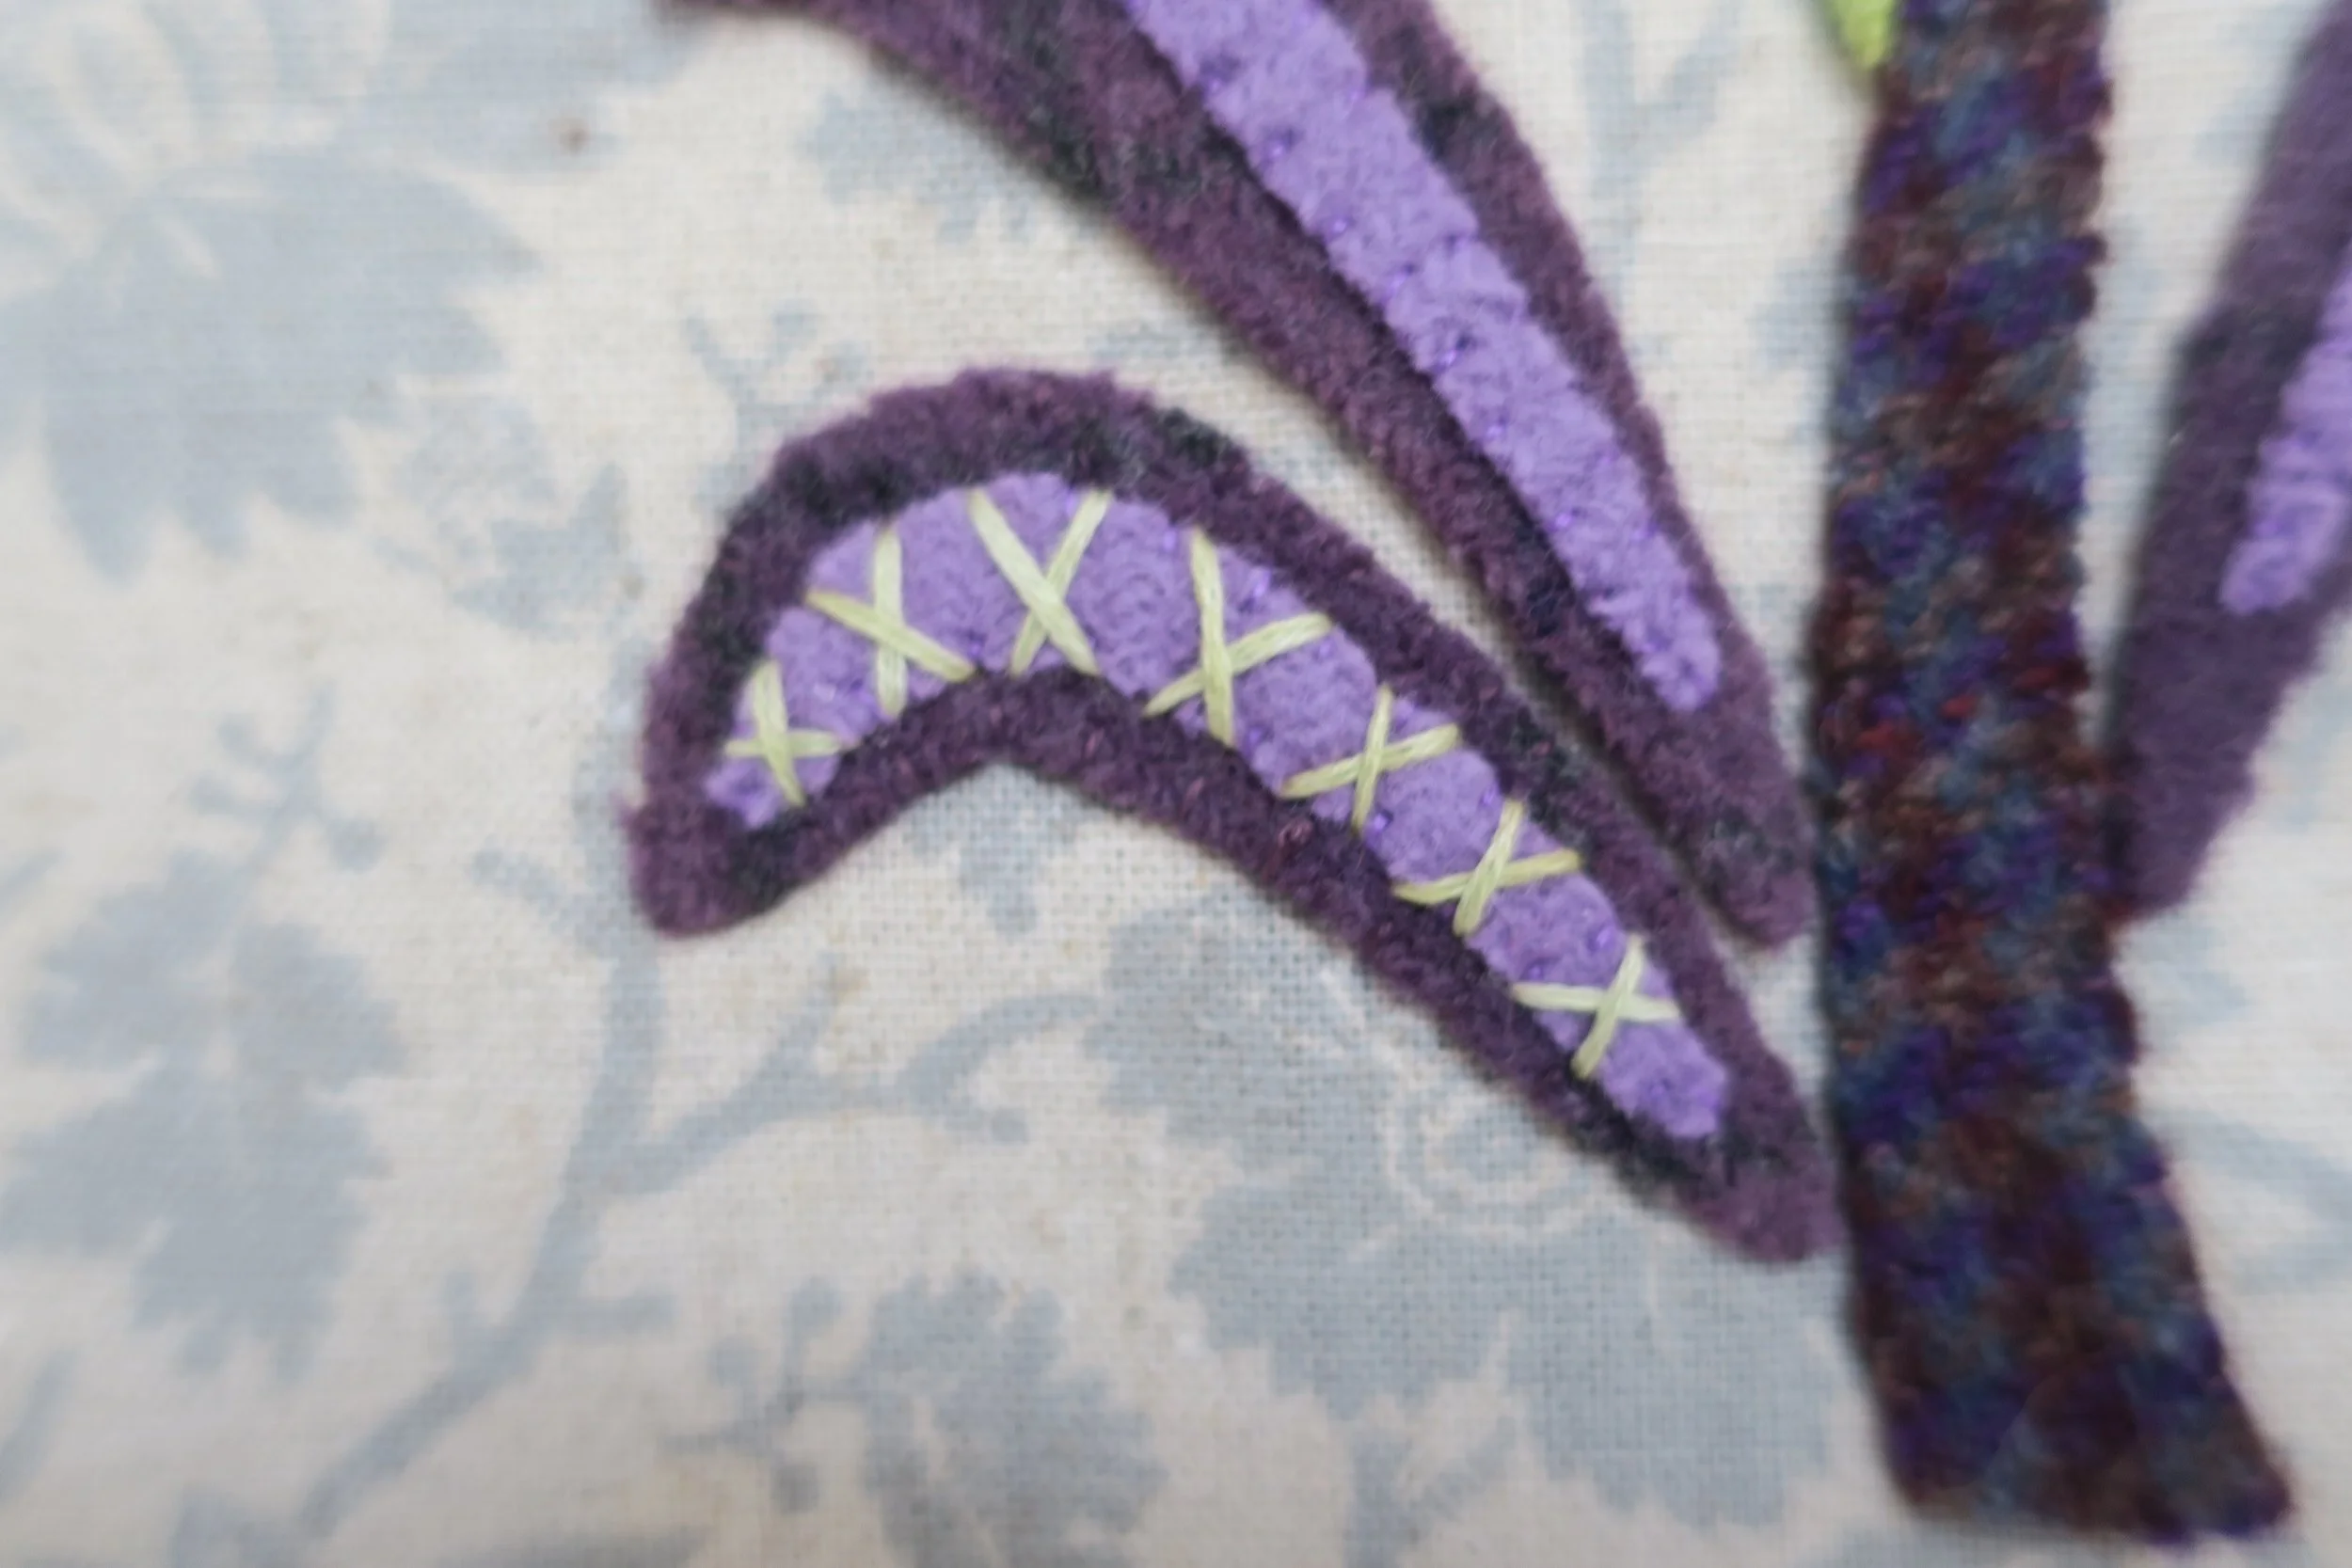
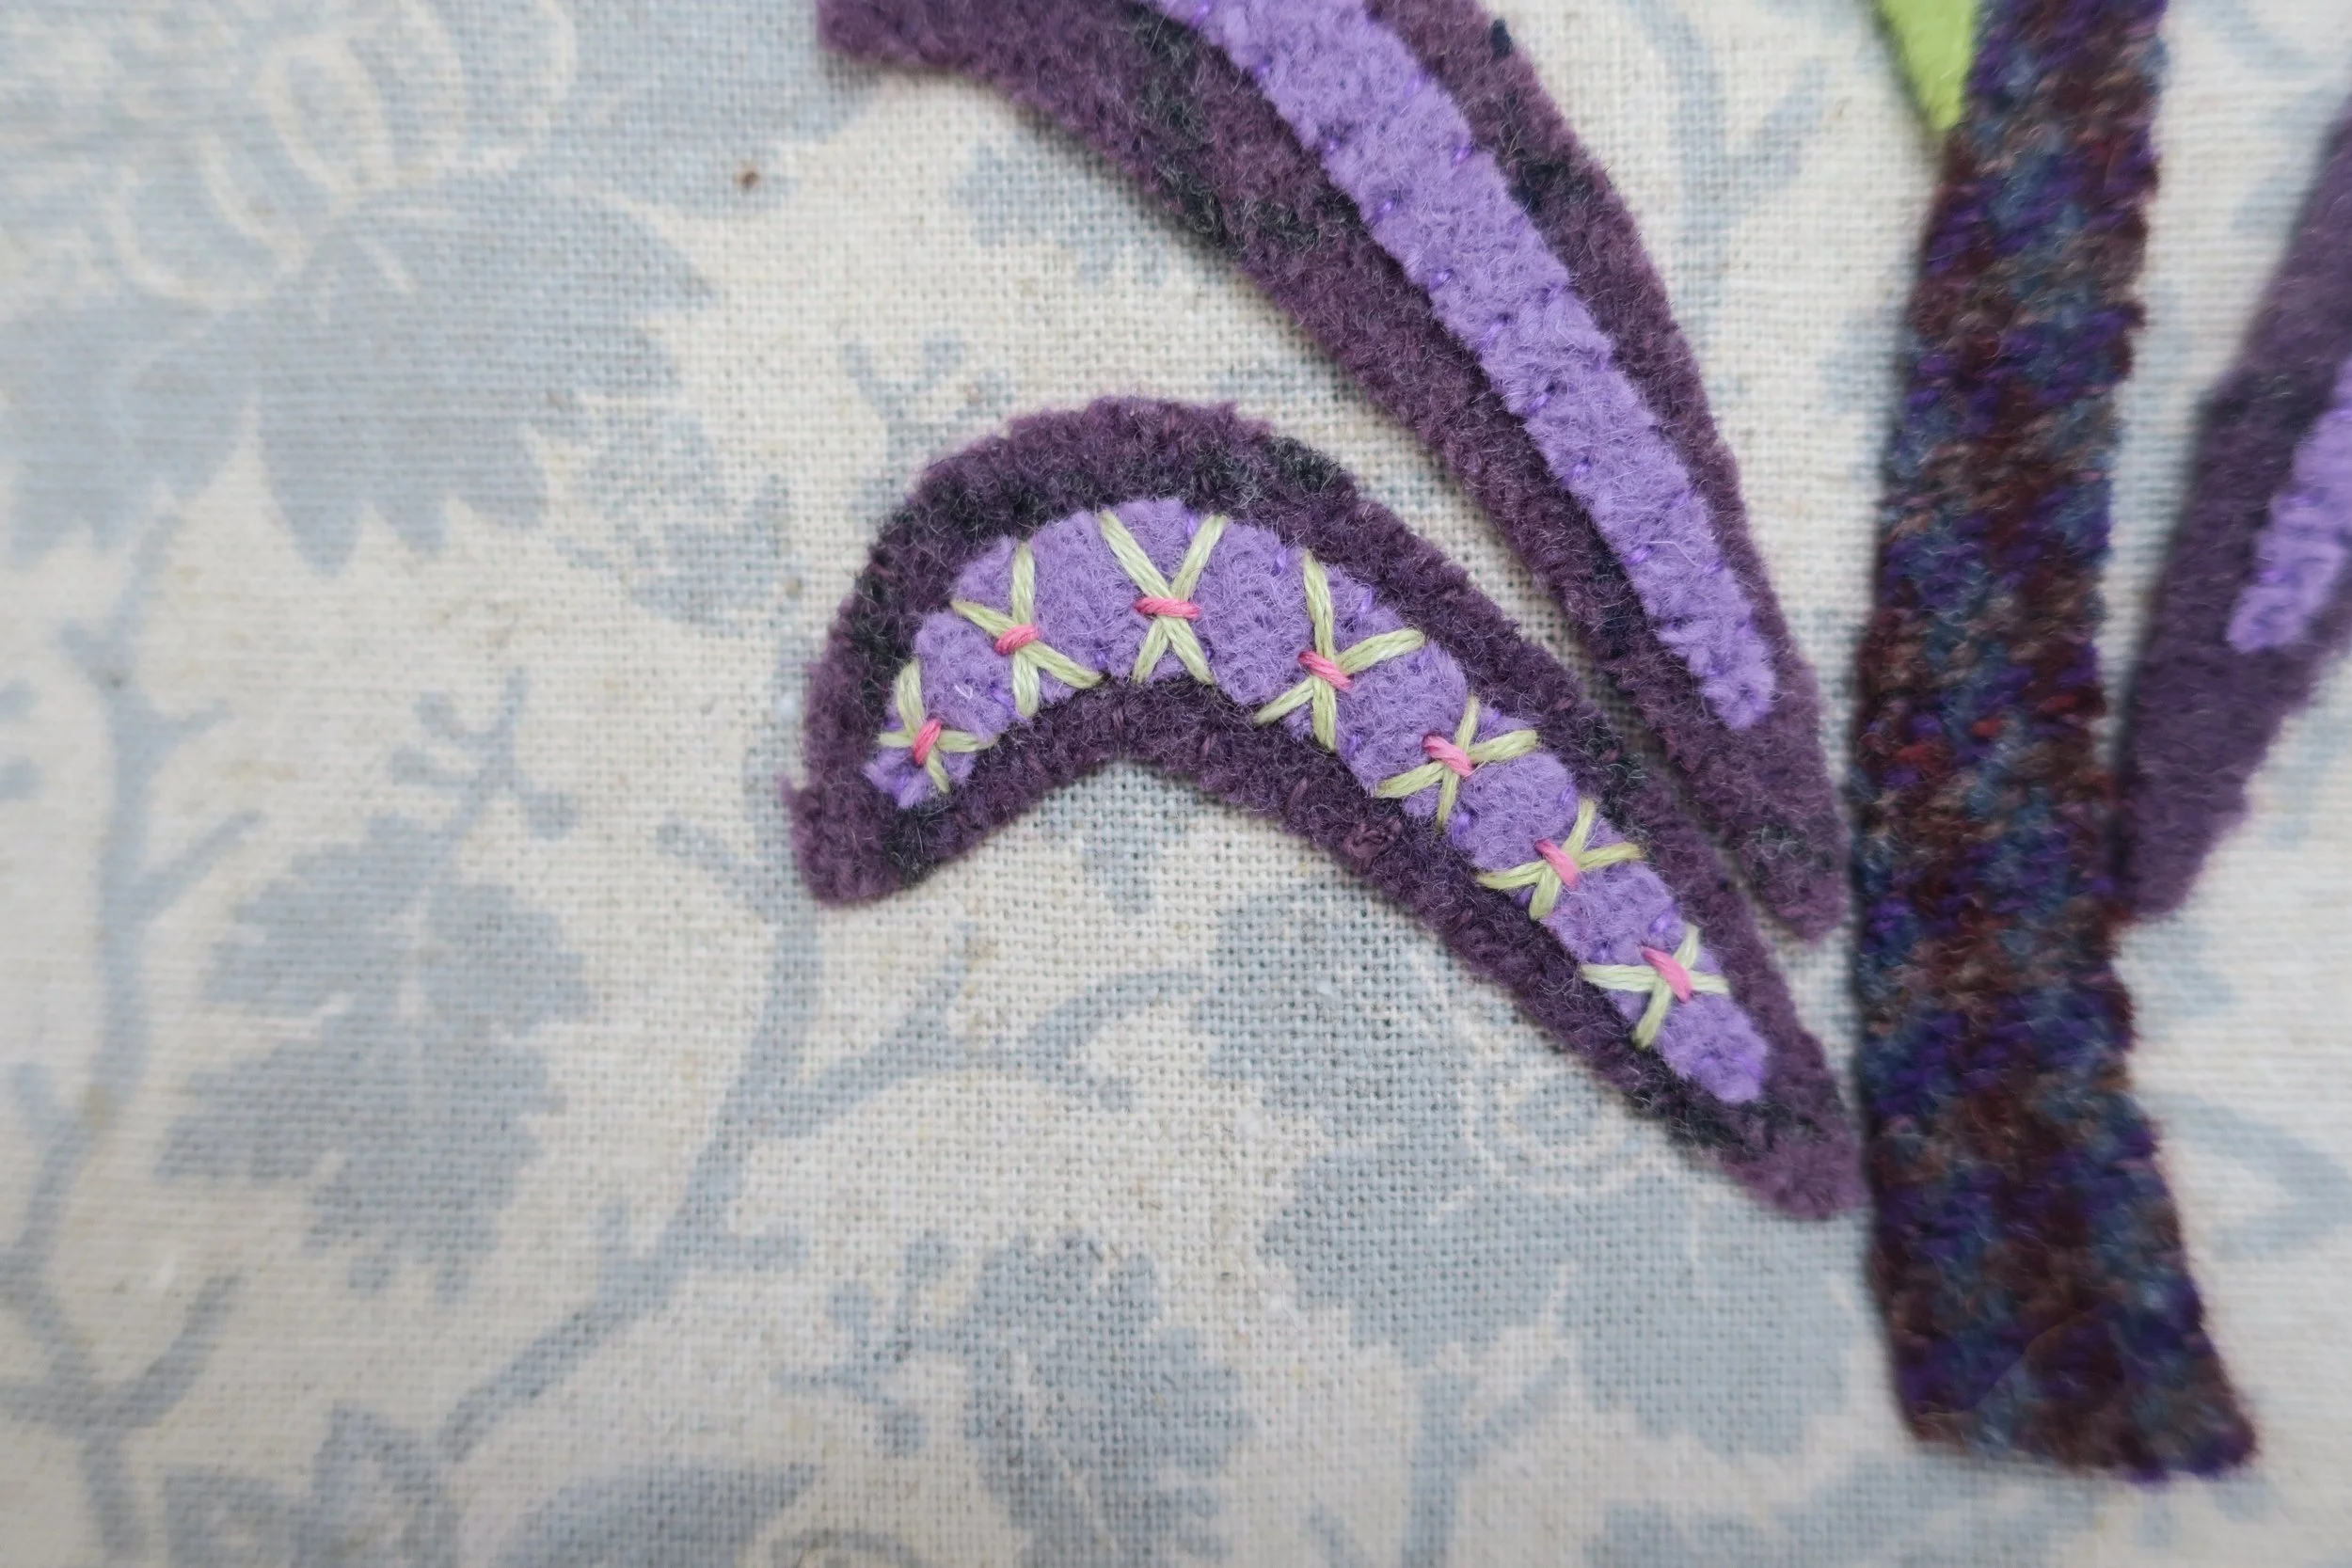
8. Use 3 strands of yellow-green floss to make cross stitches across the length of each of the leaf veins. Use the layout for positioning.
9. Use 3 strands of dark fuchsia floss to make a running stitch that will tack down the intersection of each cross stitch.
10. Use a chalk pencil or fabric marker to draw a spiral in the snail’s shell.
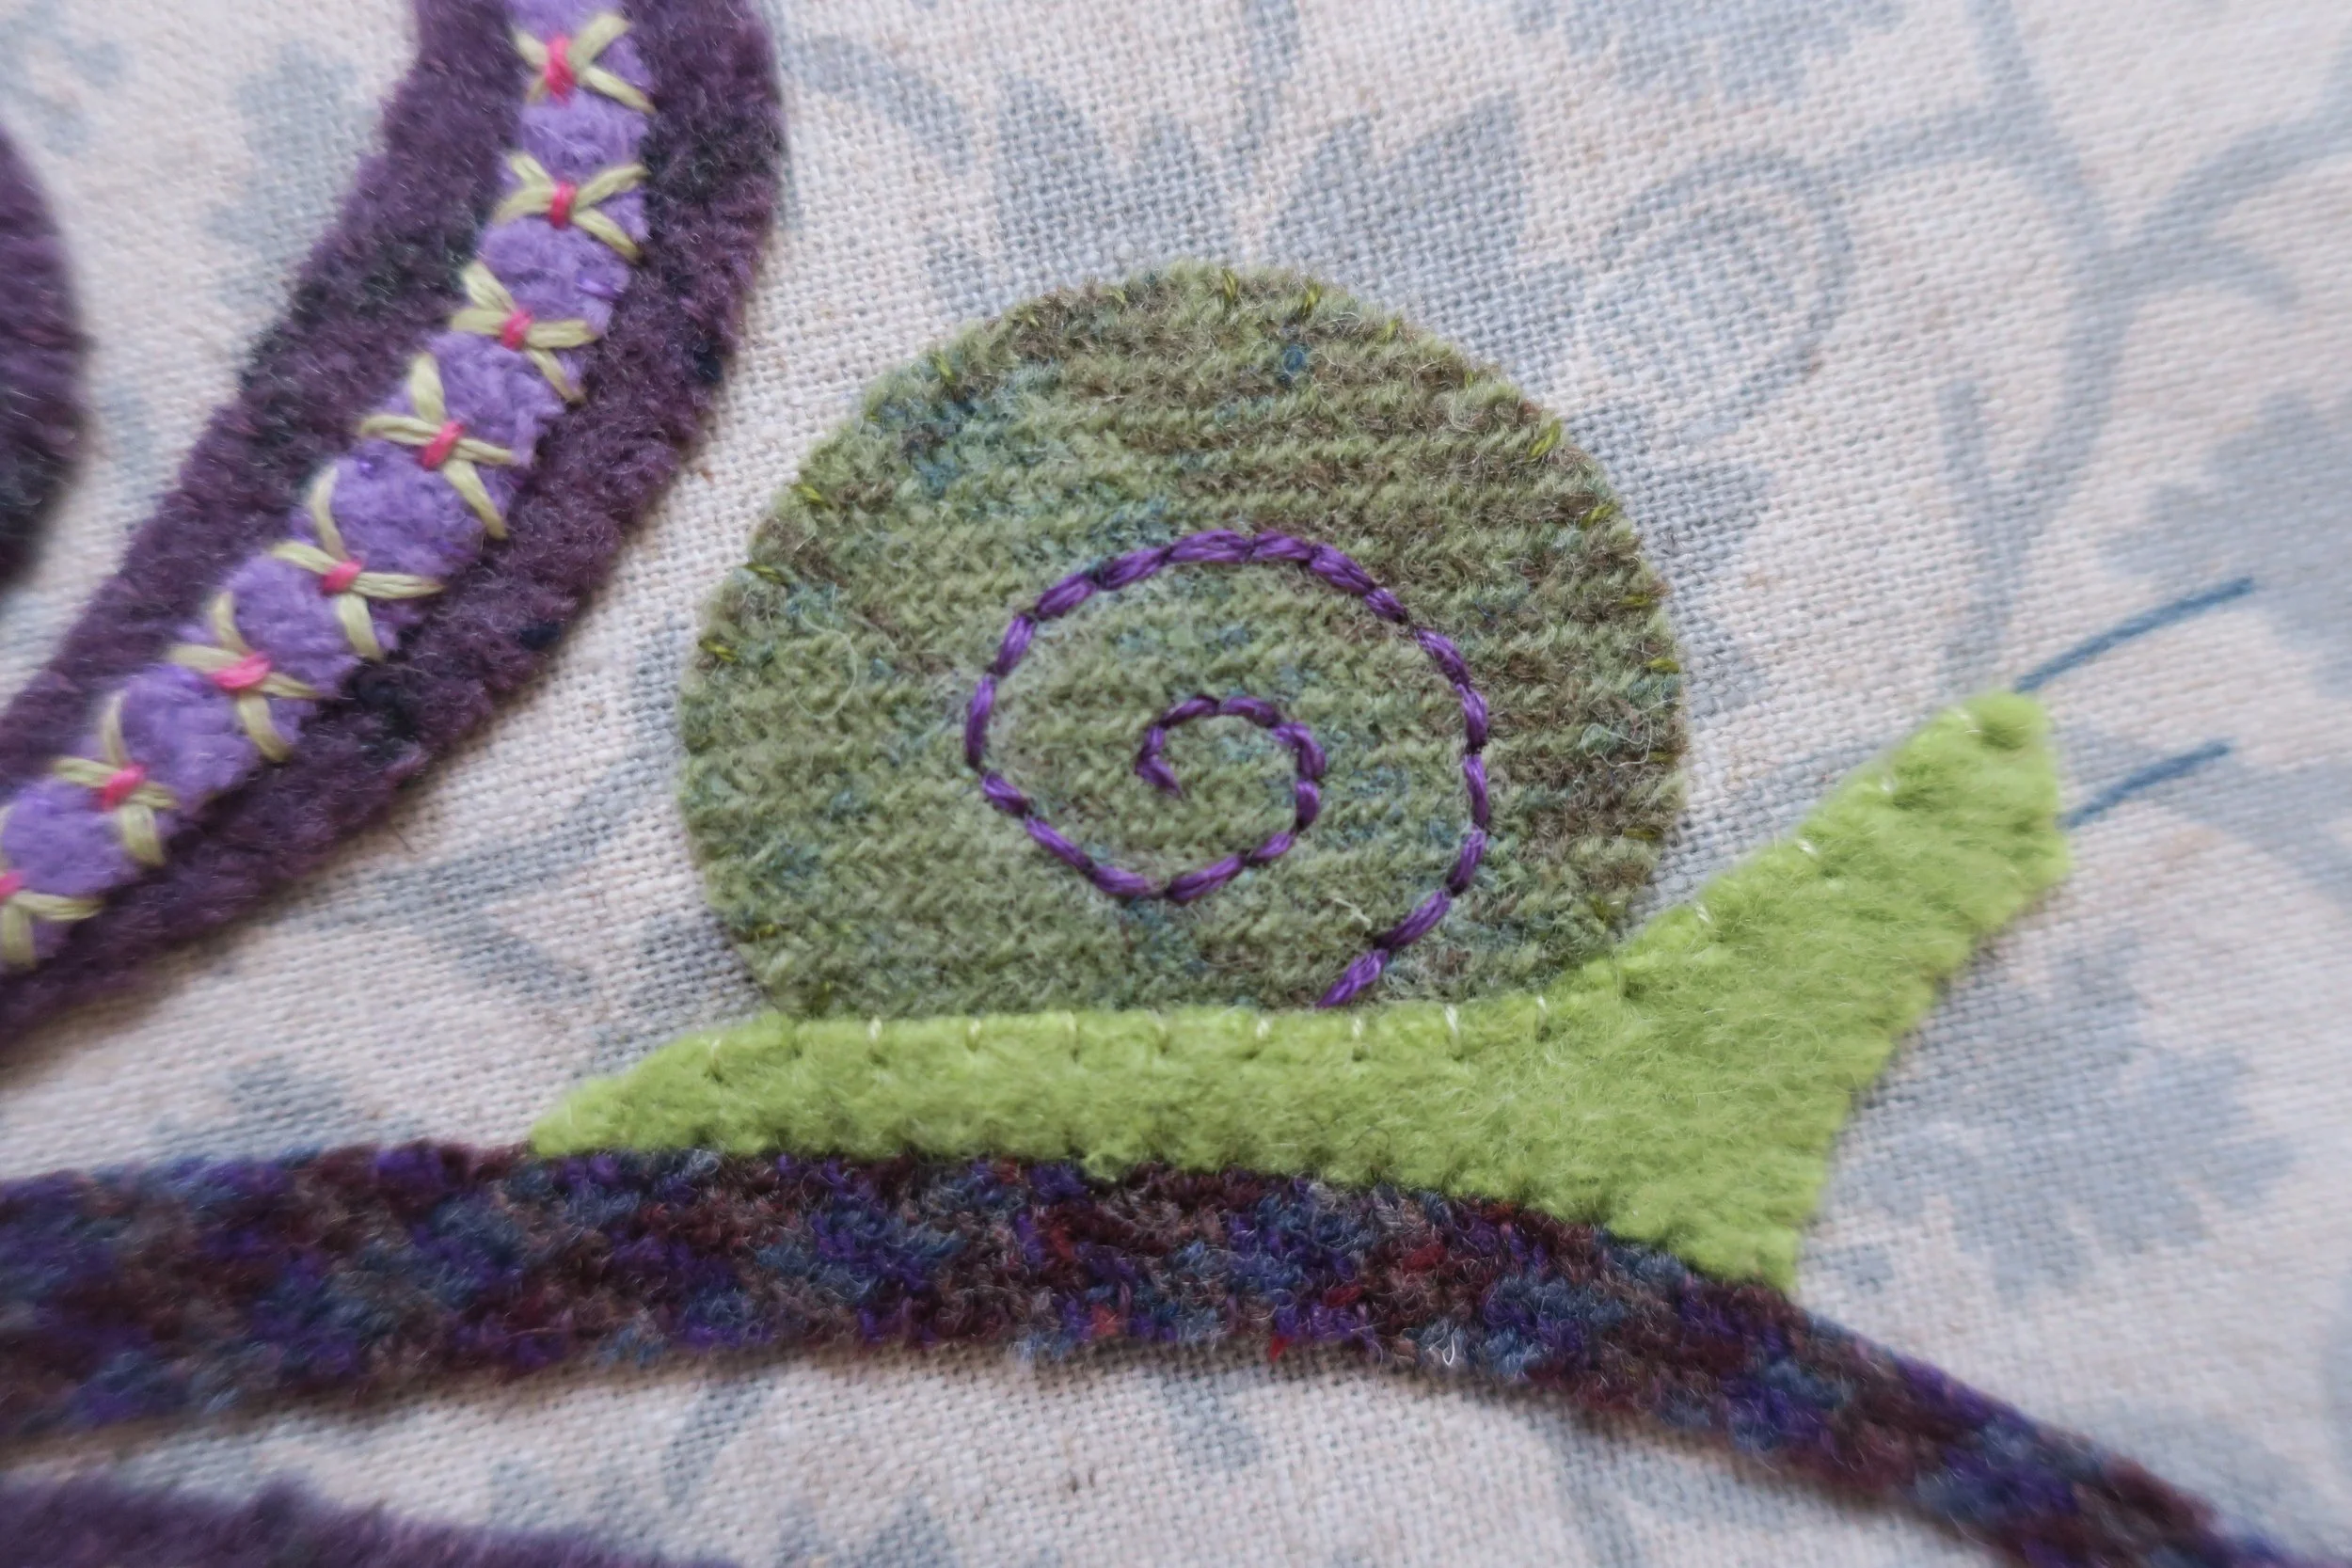
11. Use 3 strands of dark purple floss to back stitch over the drawn line.
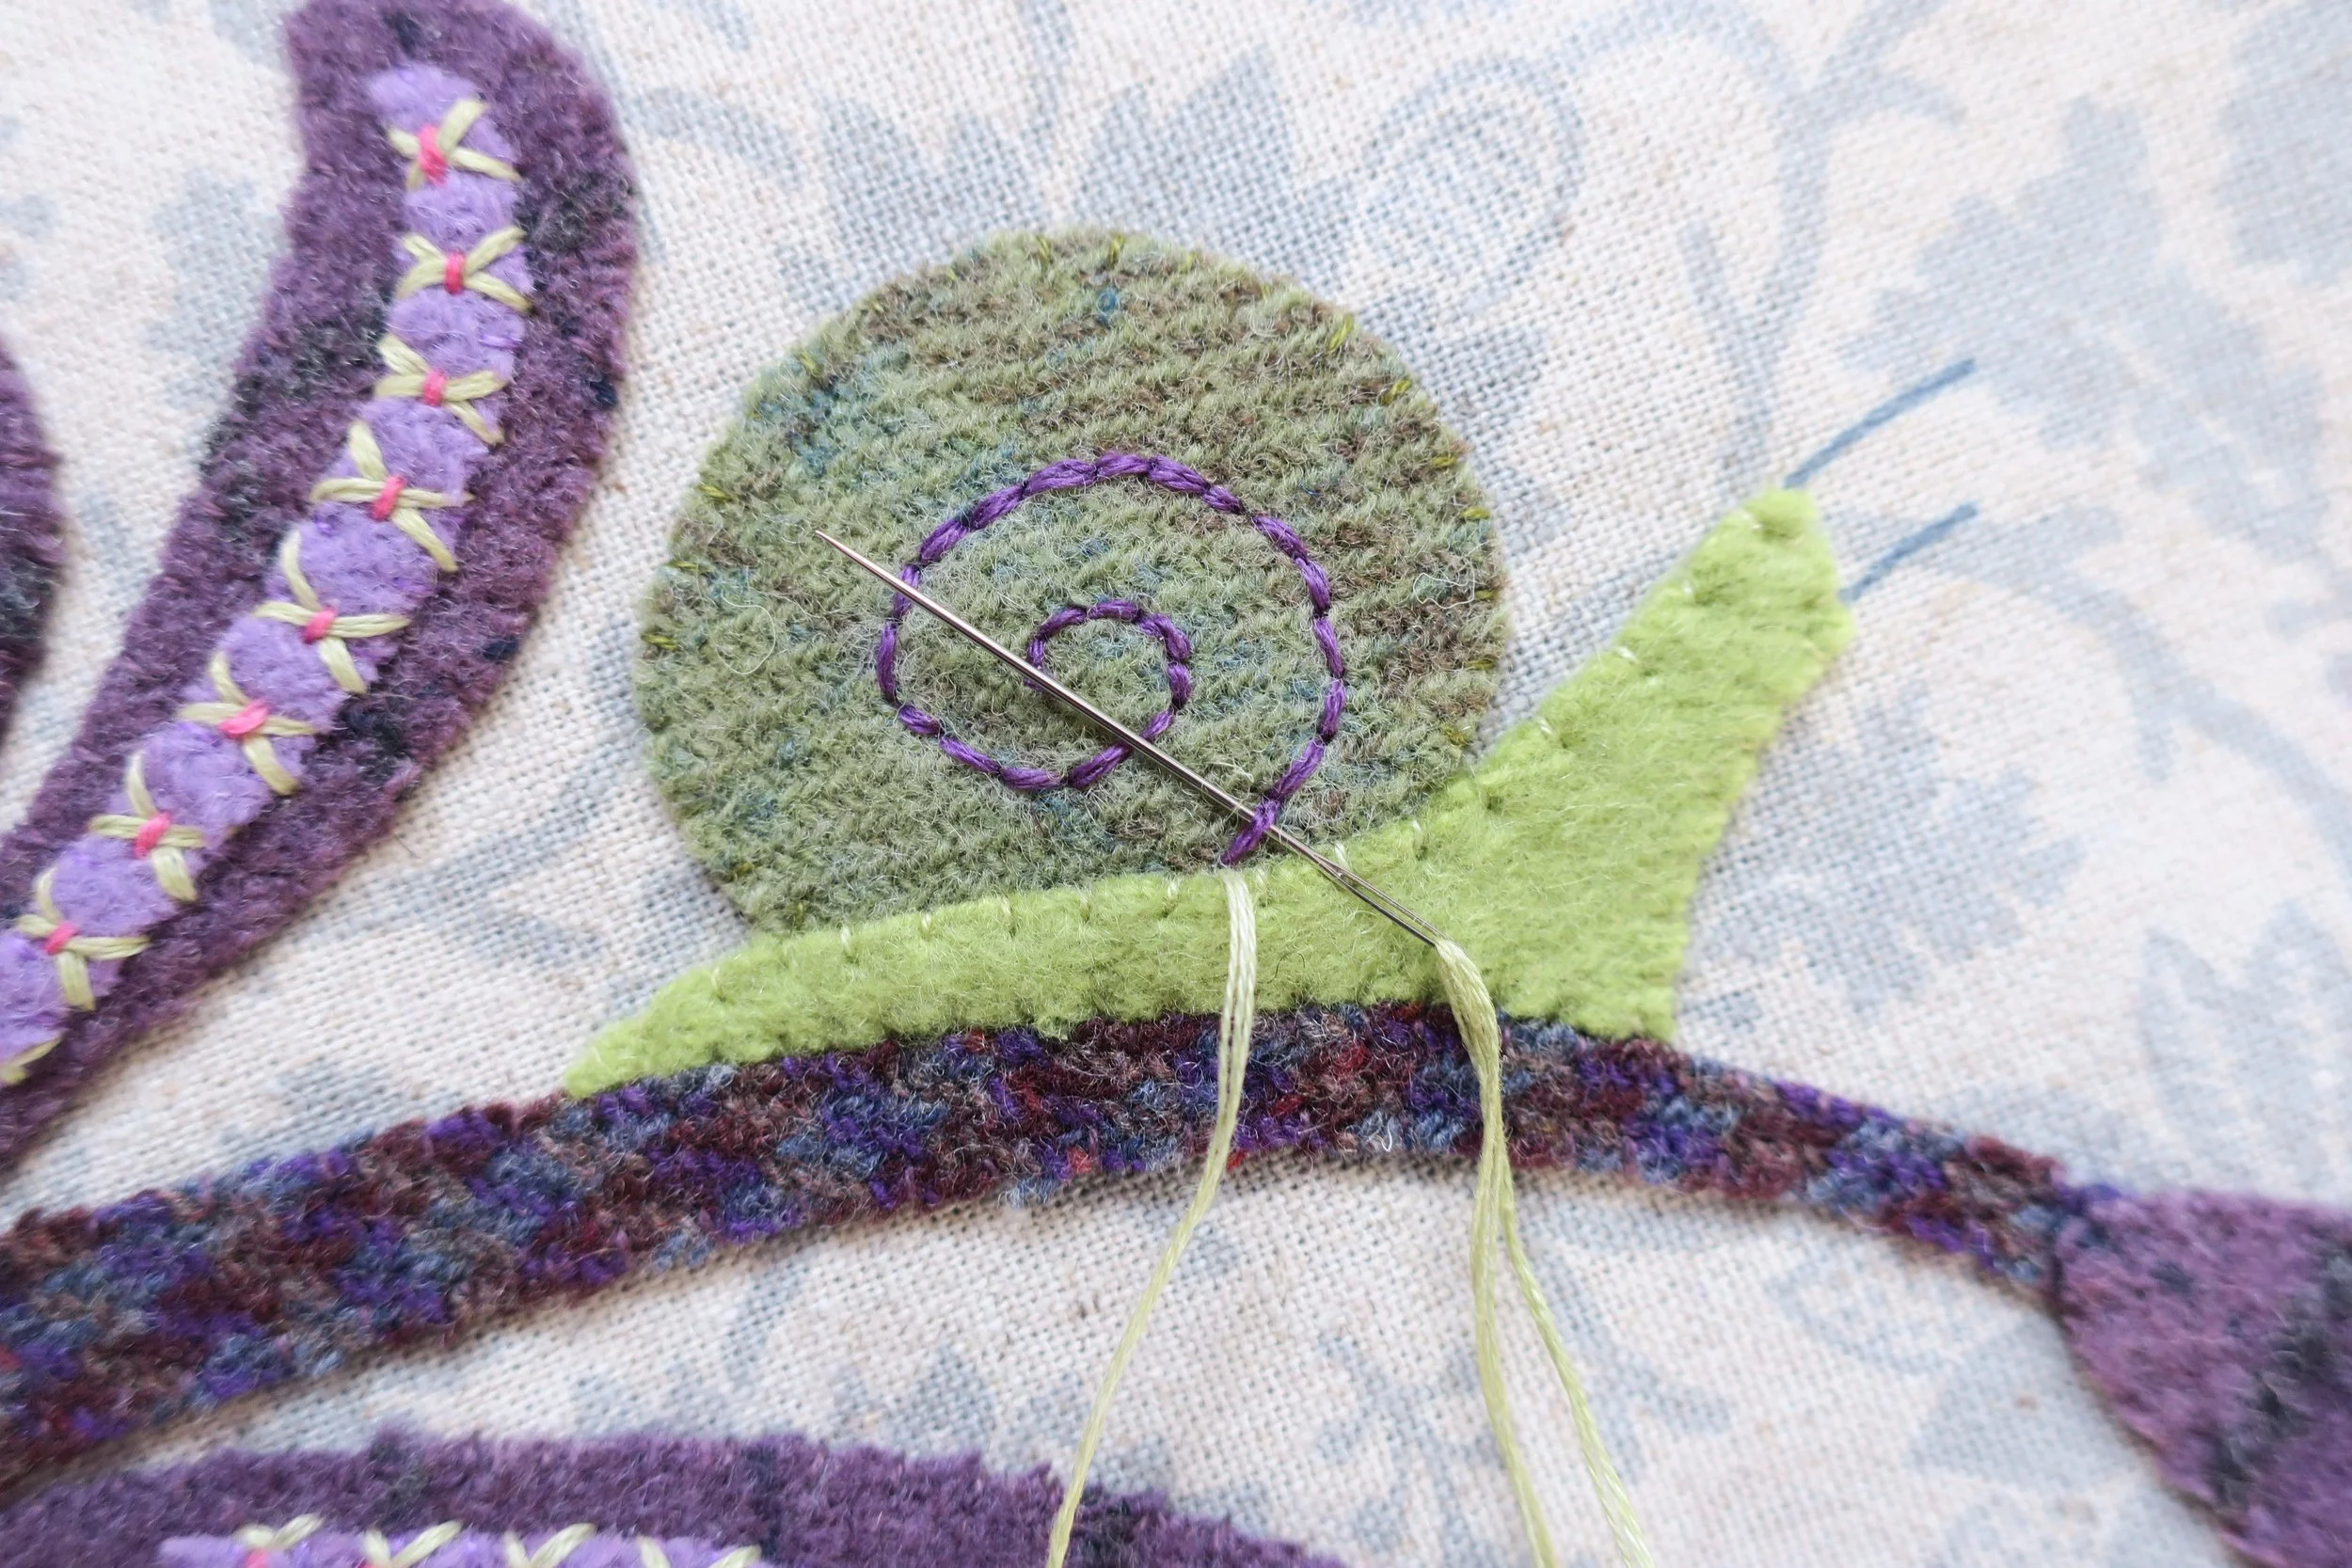
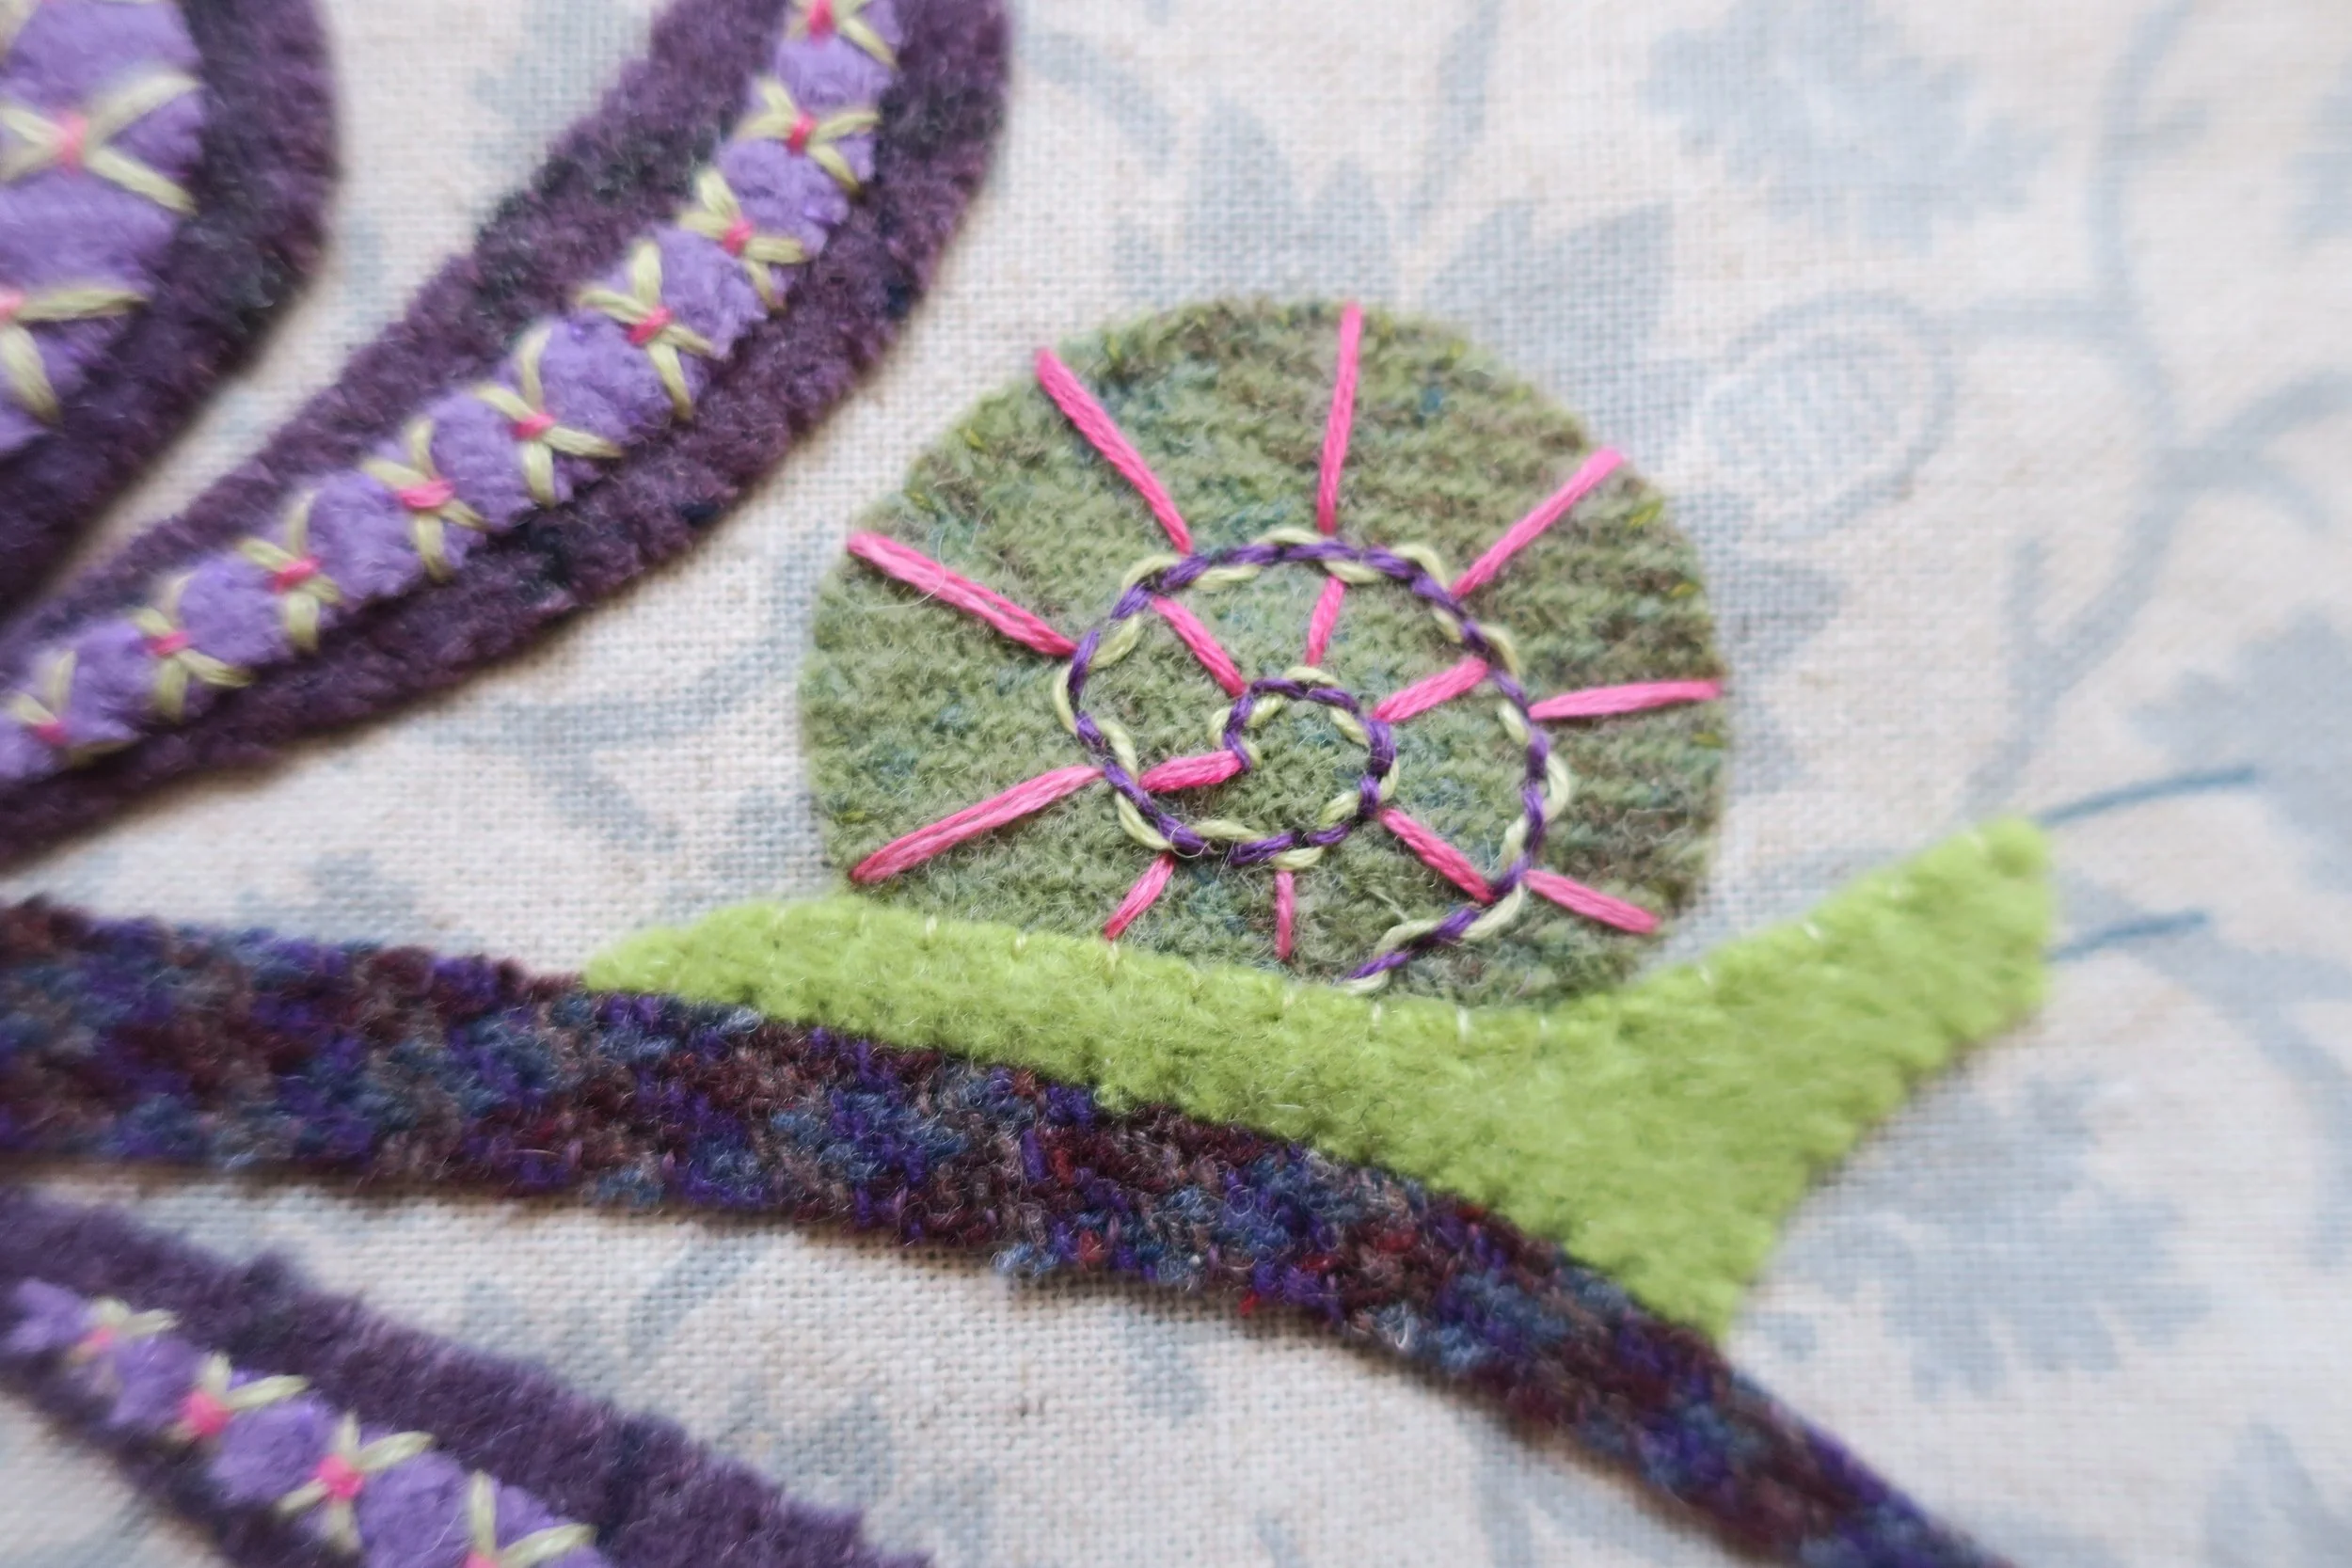
12. Use 3 strands of yellow-green to weave through the back stitch. This is a single woven back stitch.
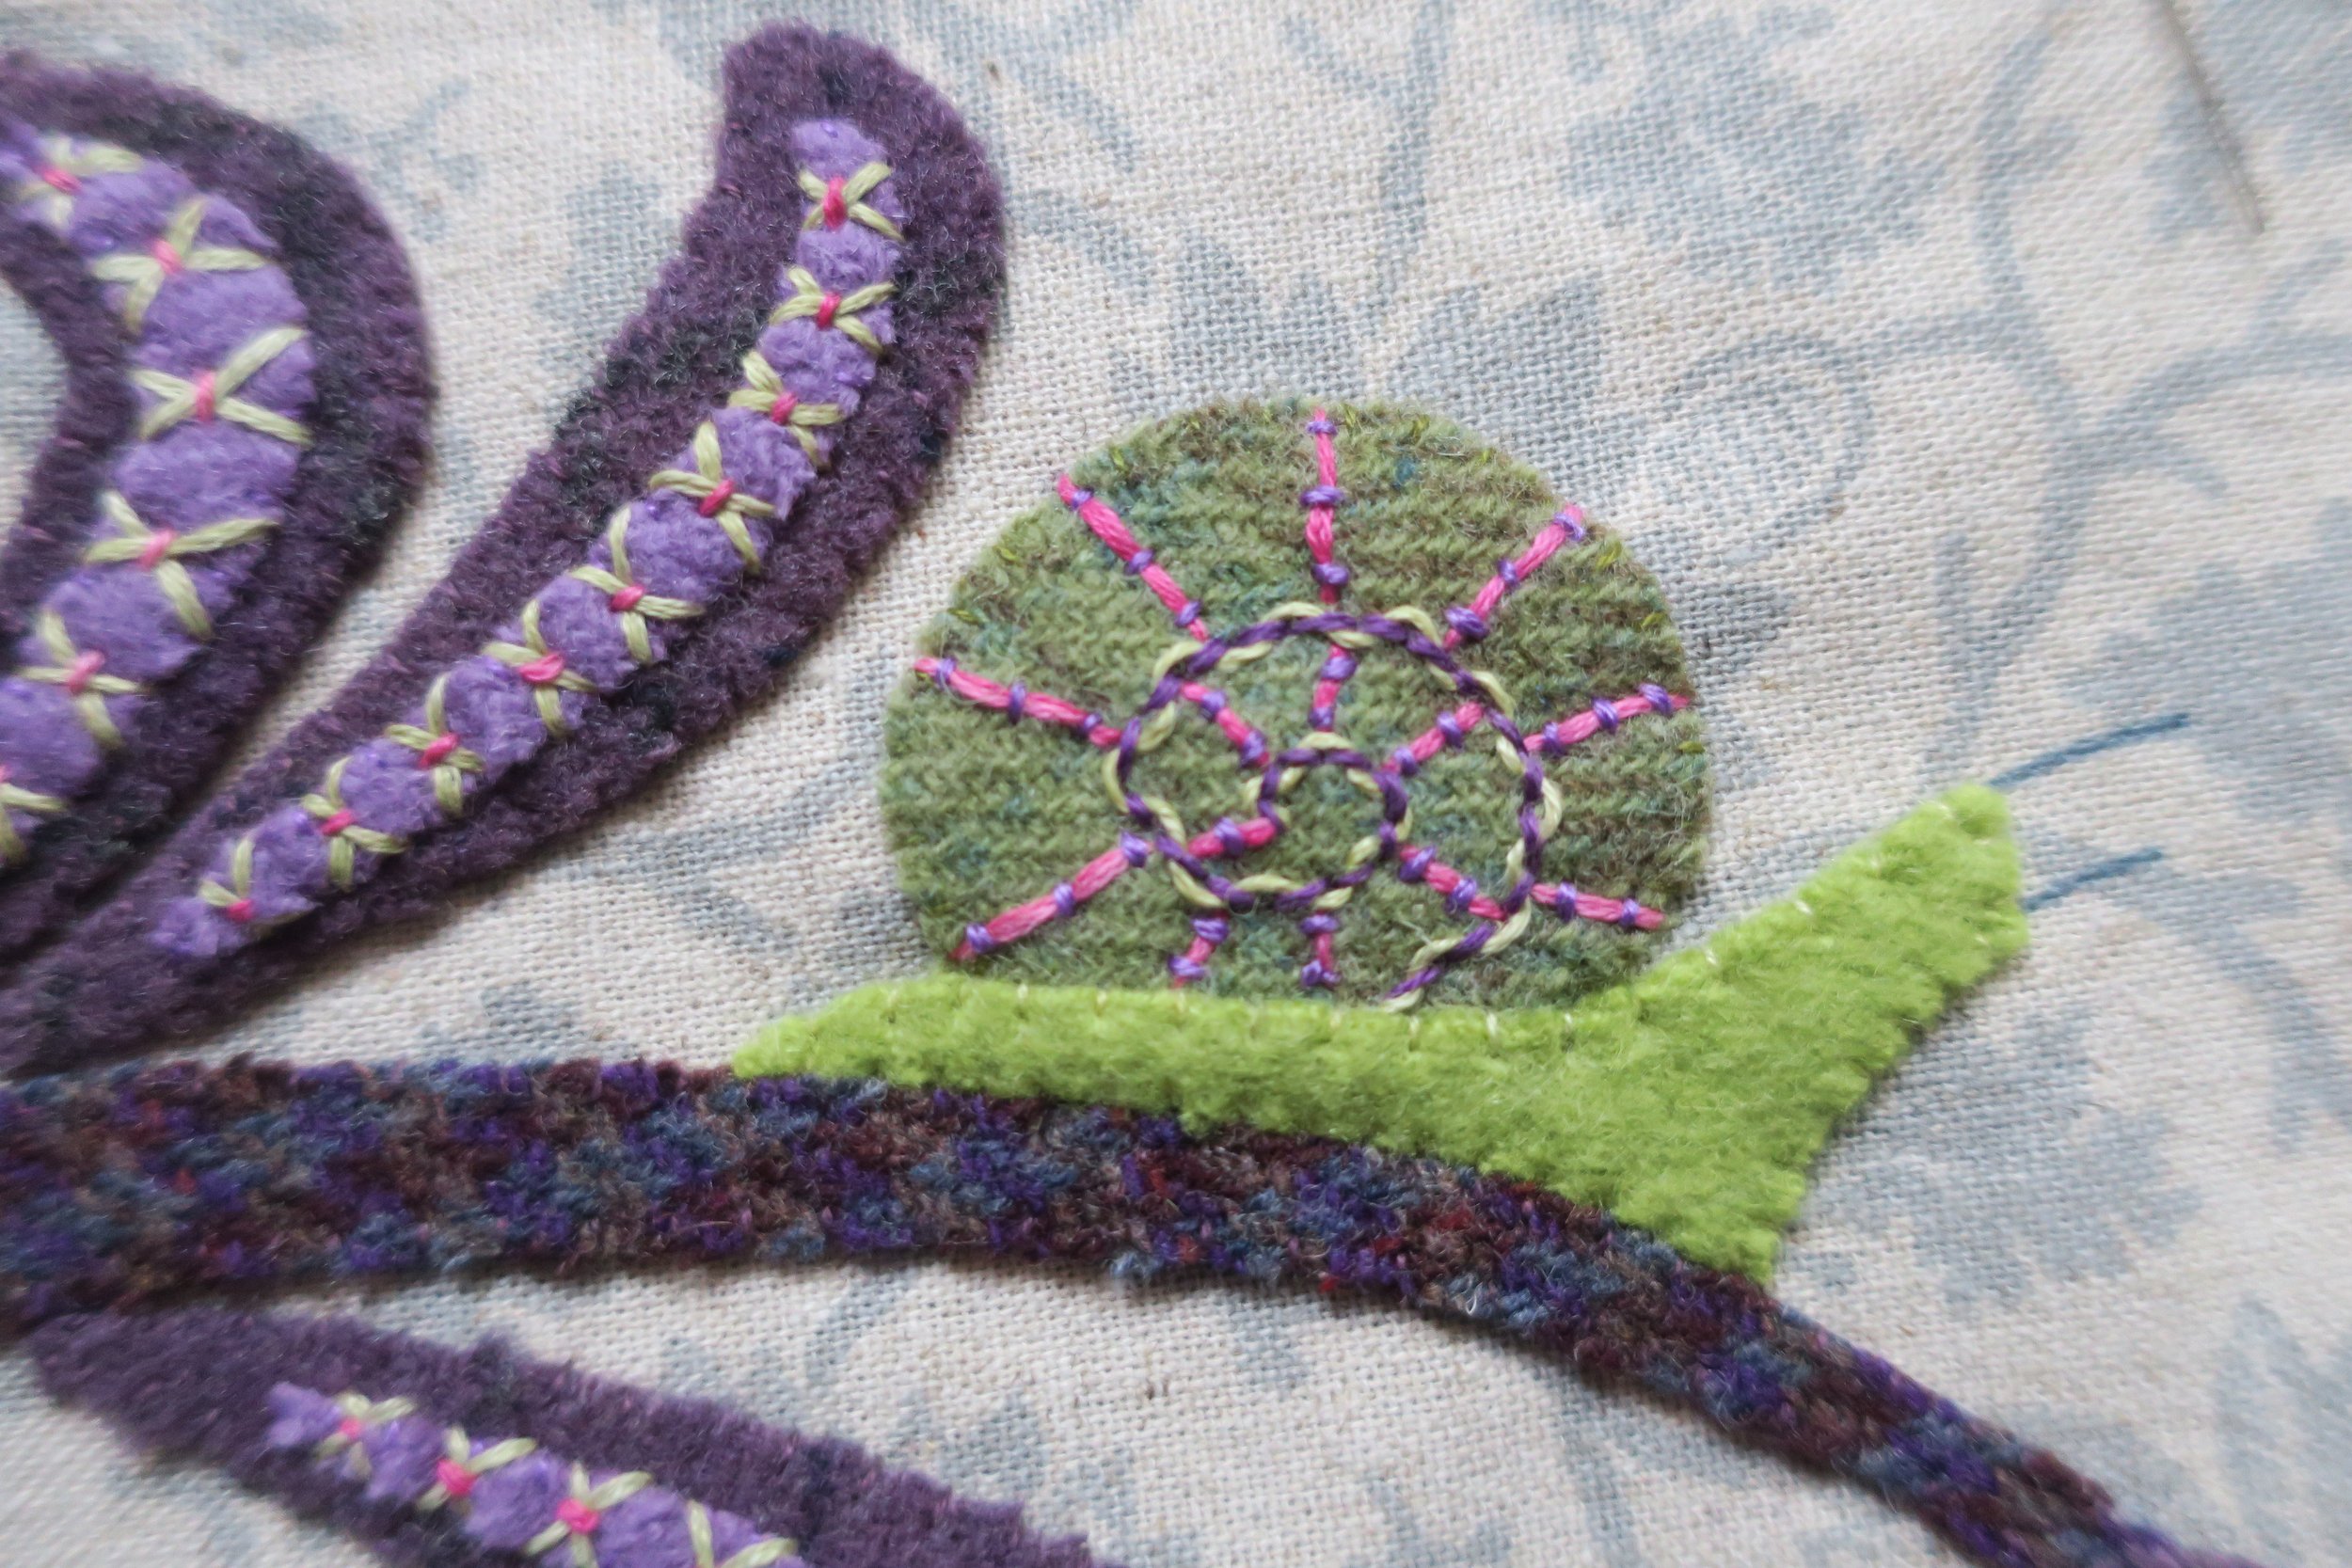
13. Use 3 strands of dark fuchsia floss to make straight stitched stripes around the spiral. See layout.
14. Use 3 strands of lavender floss to couch each of the stripes.
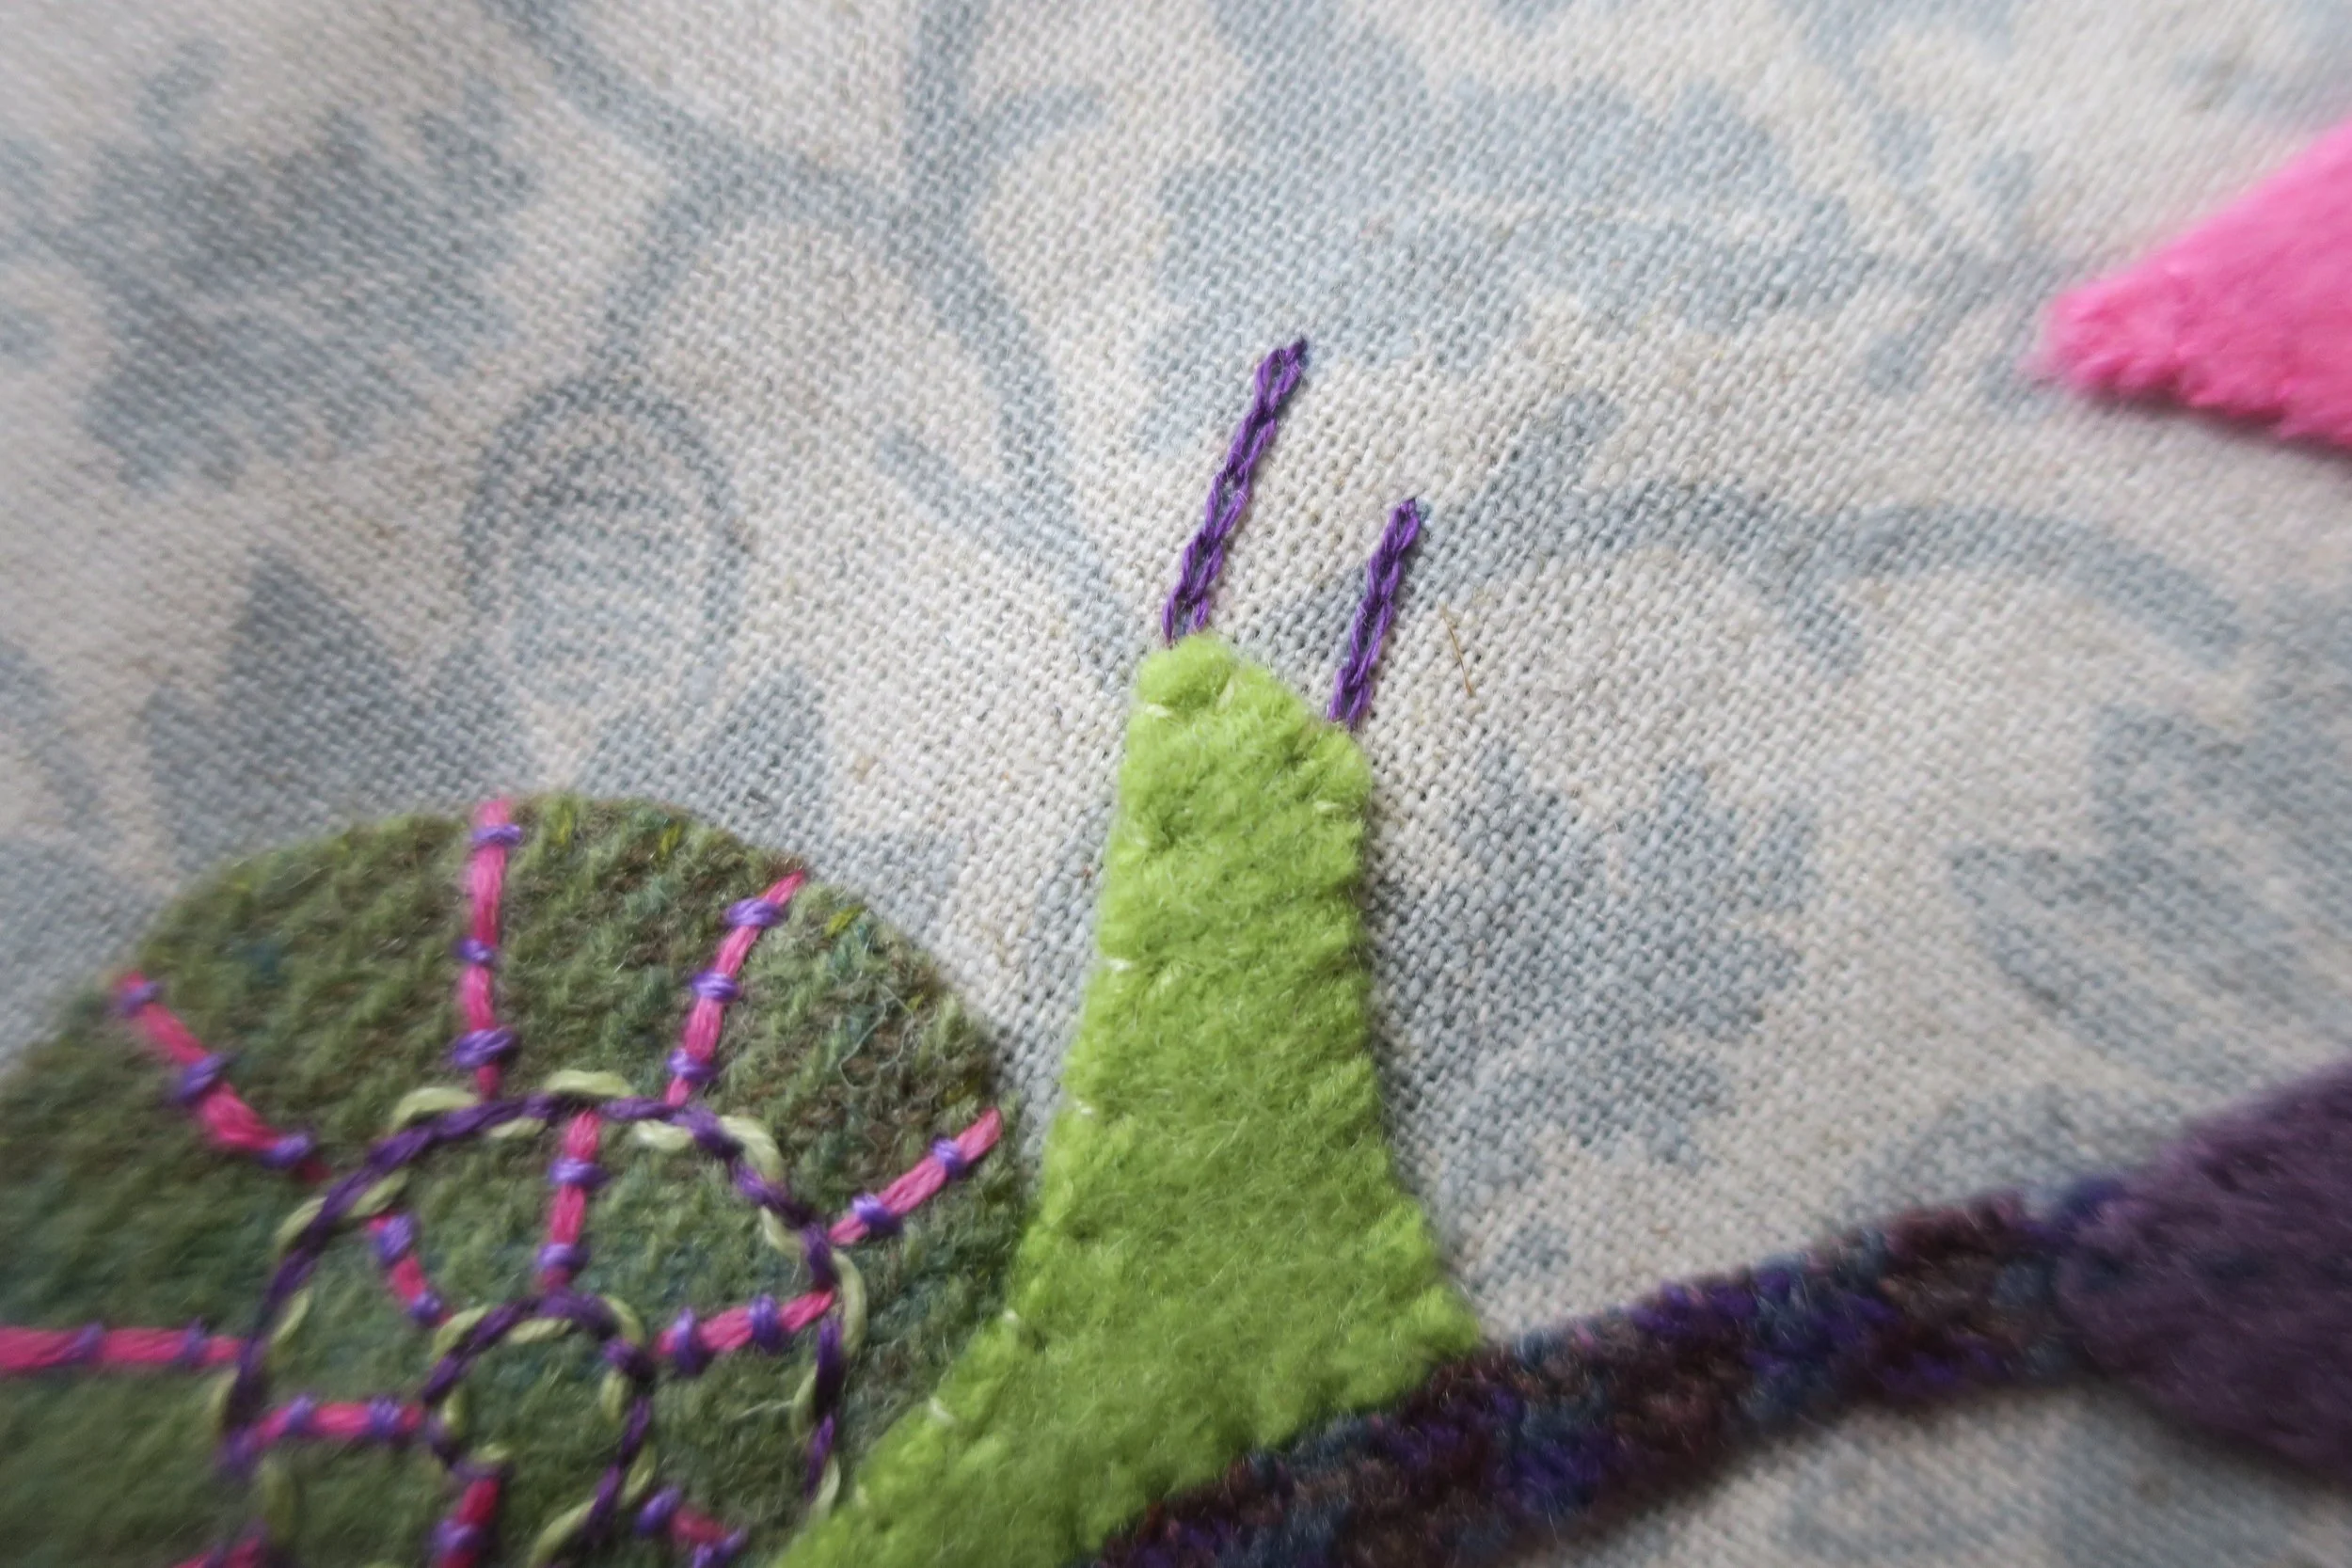
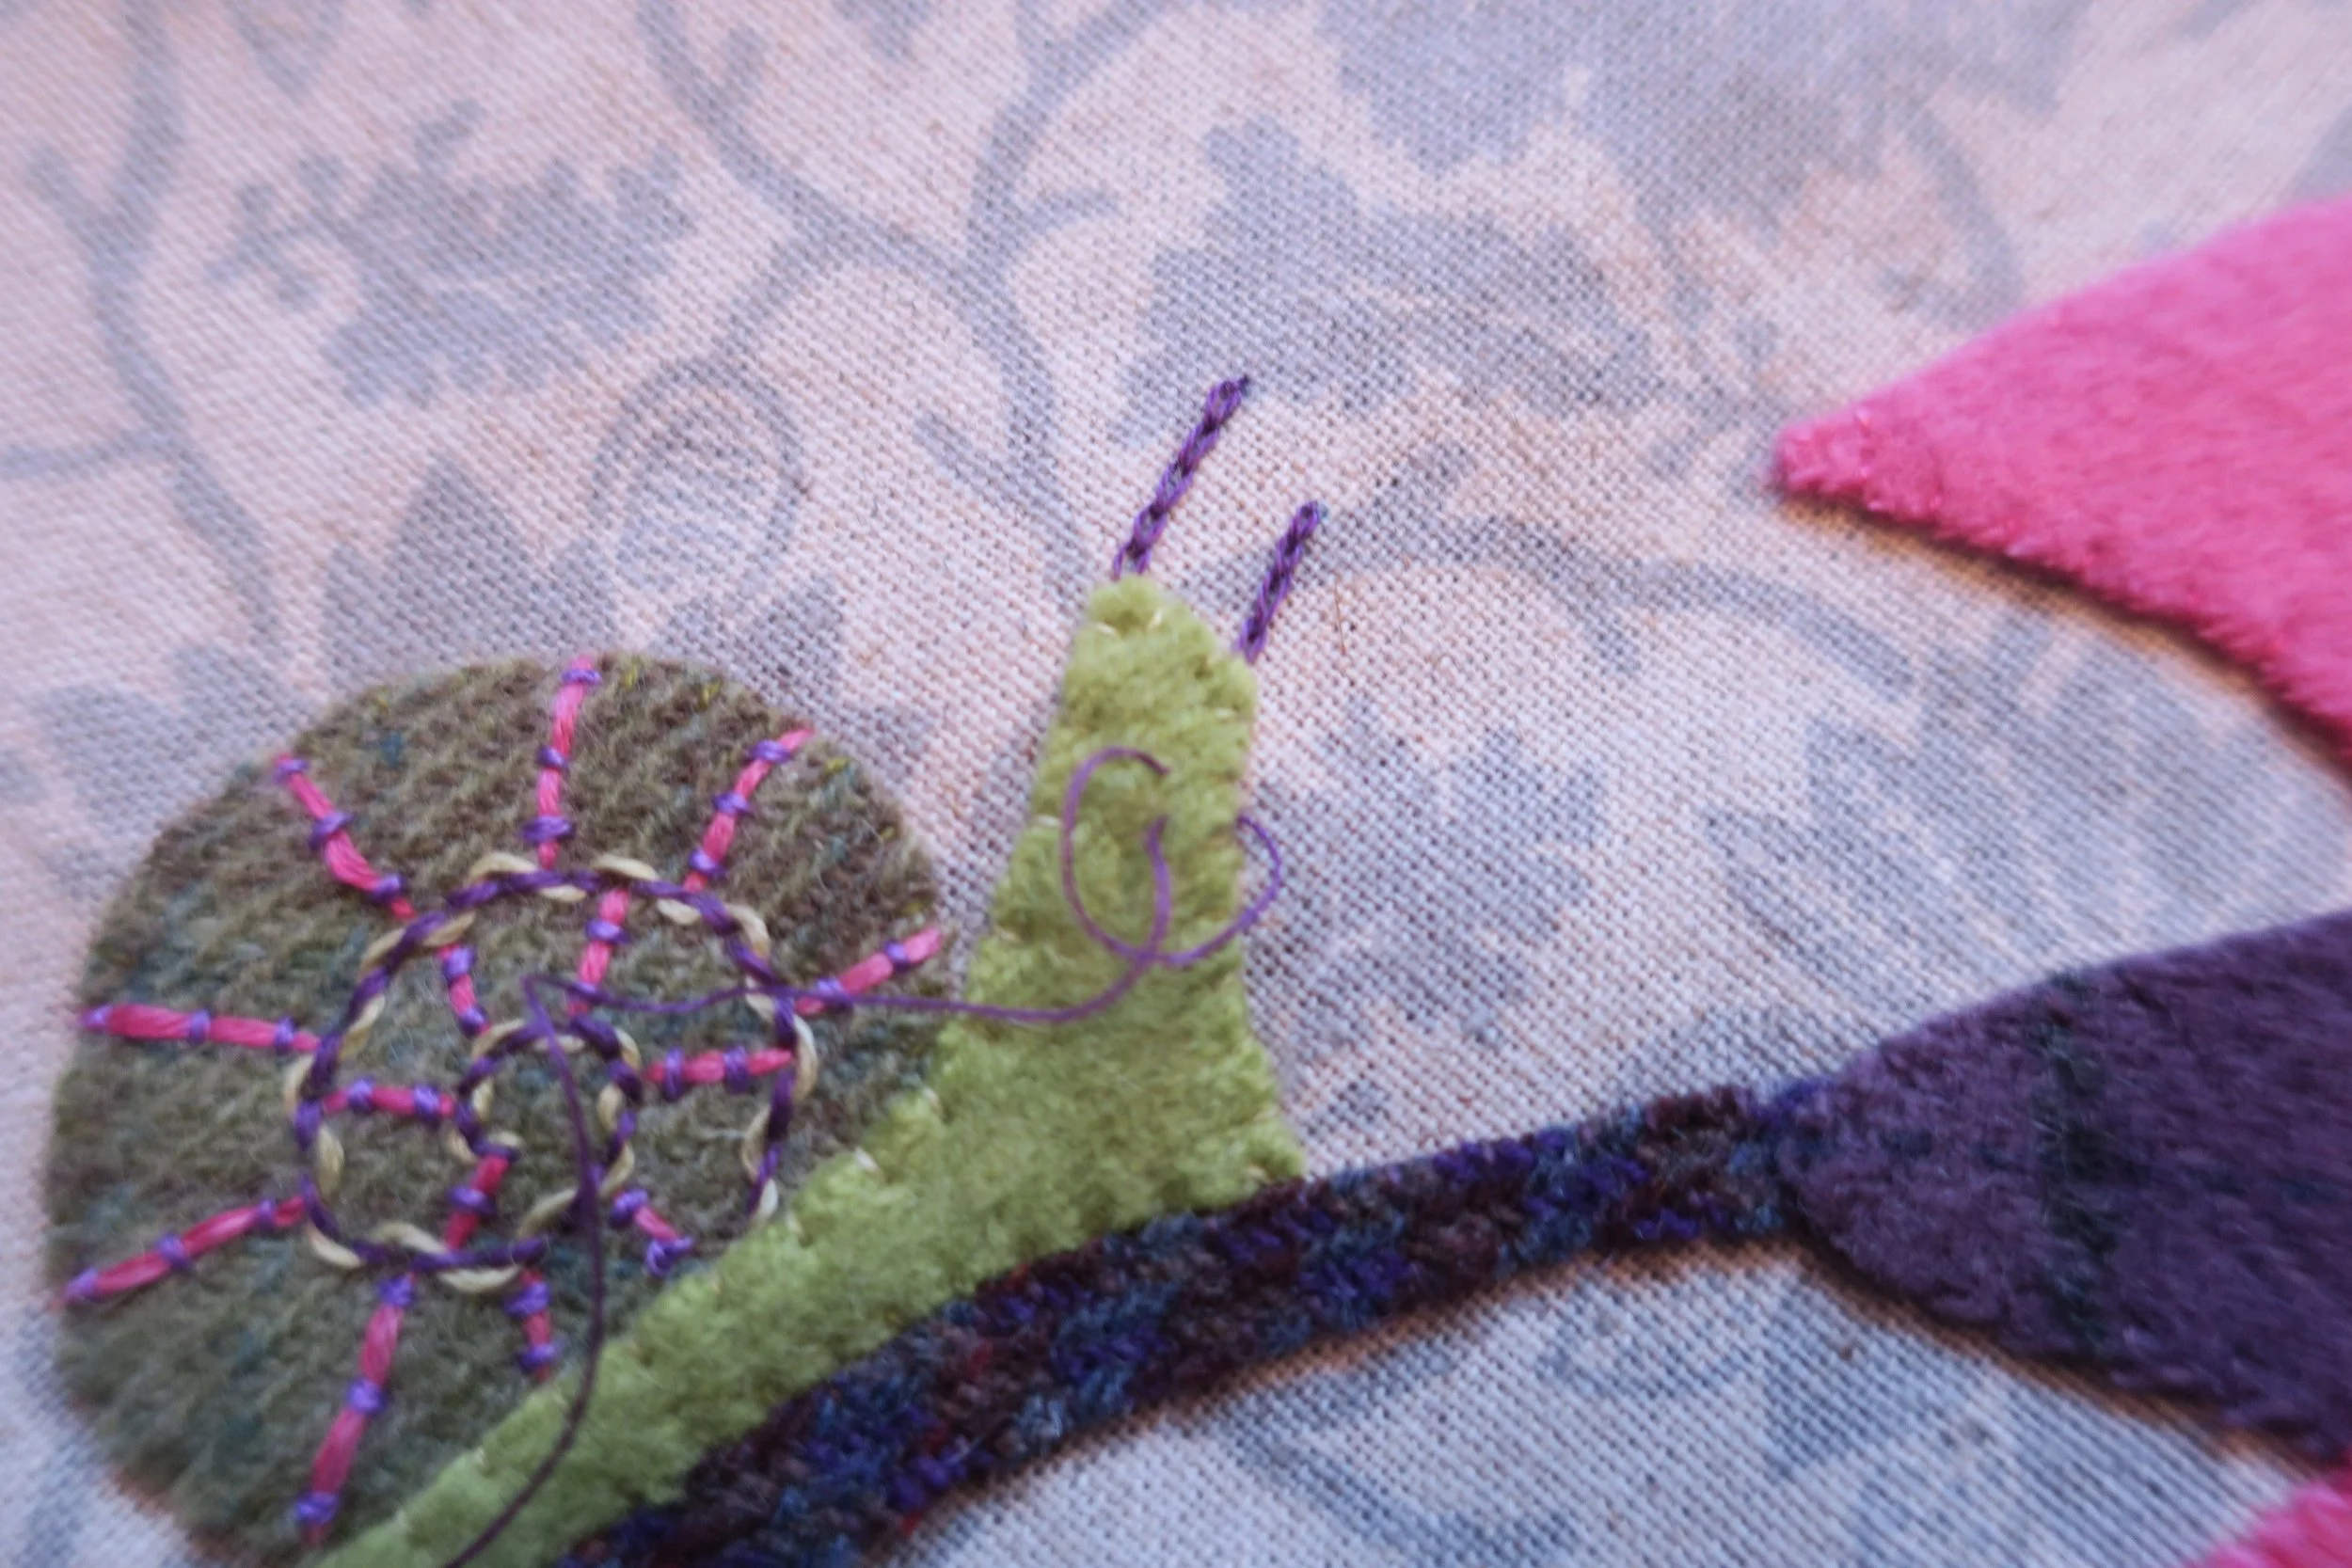
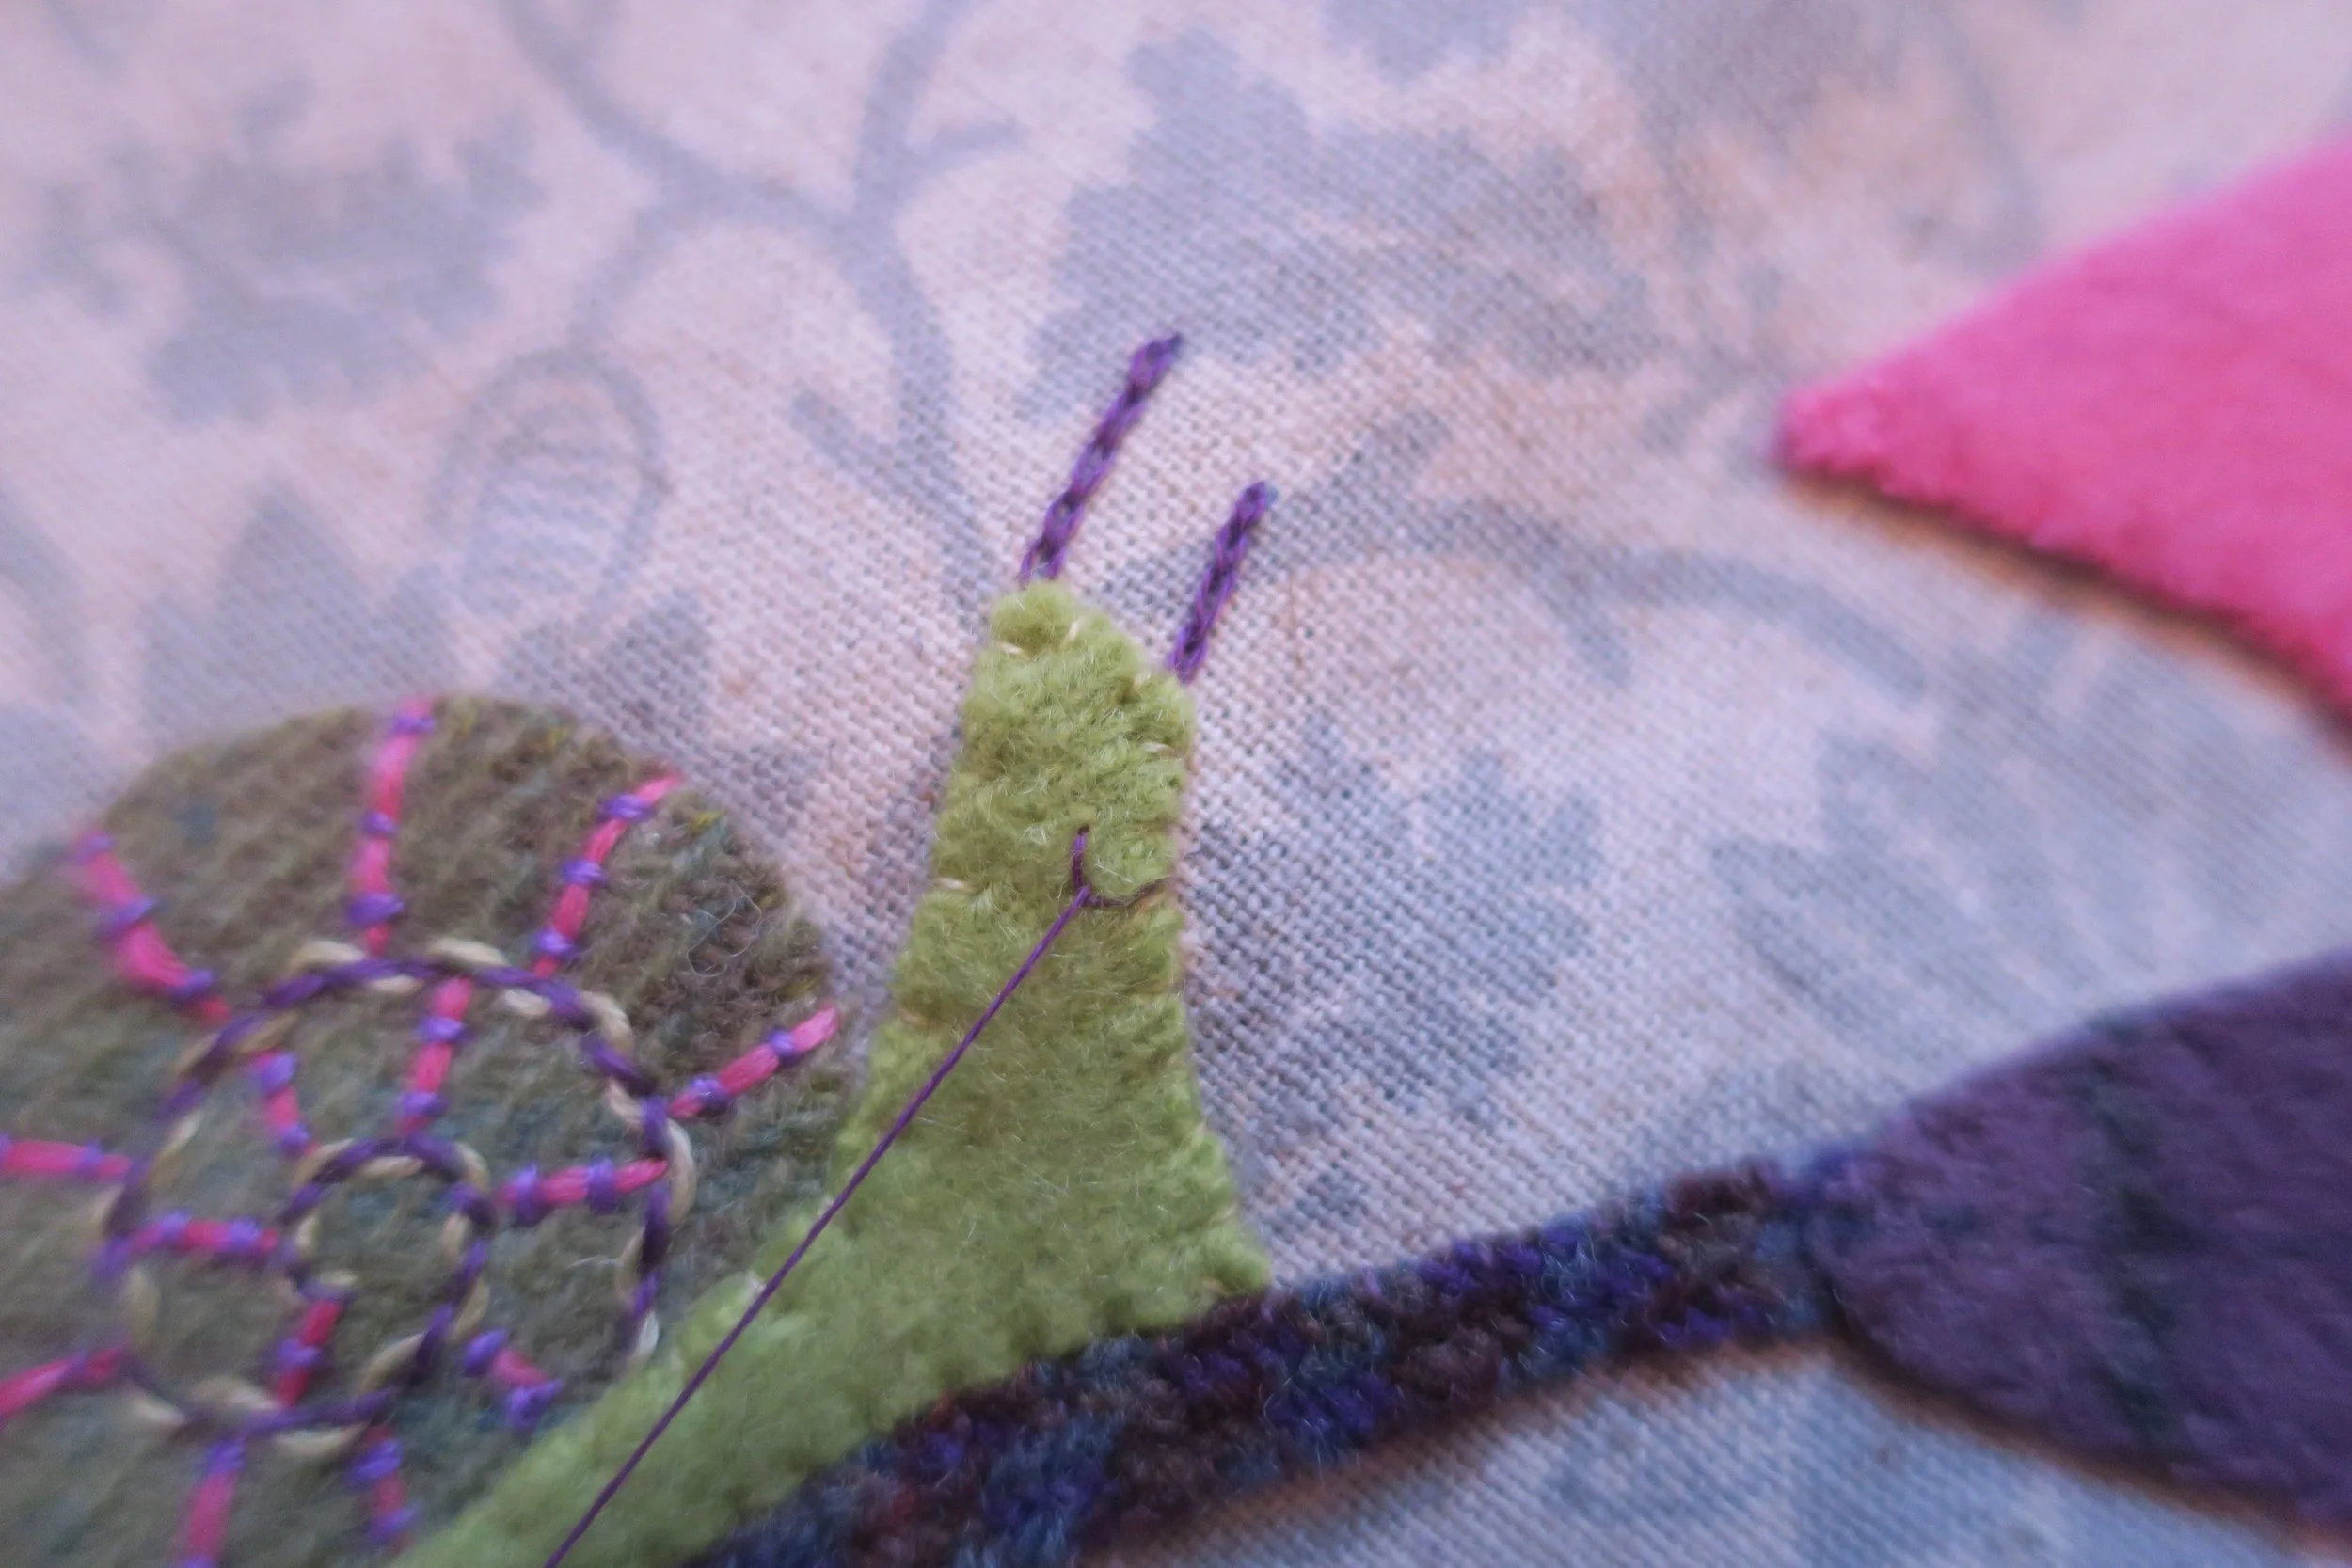
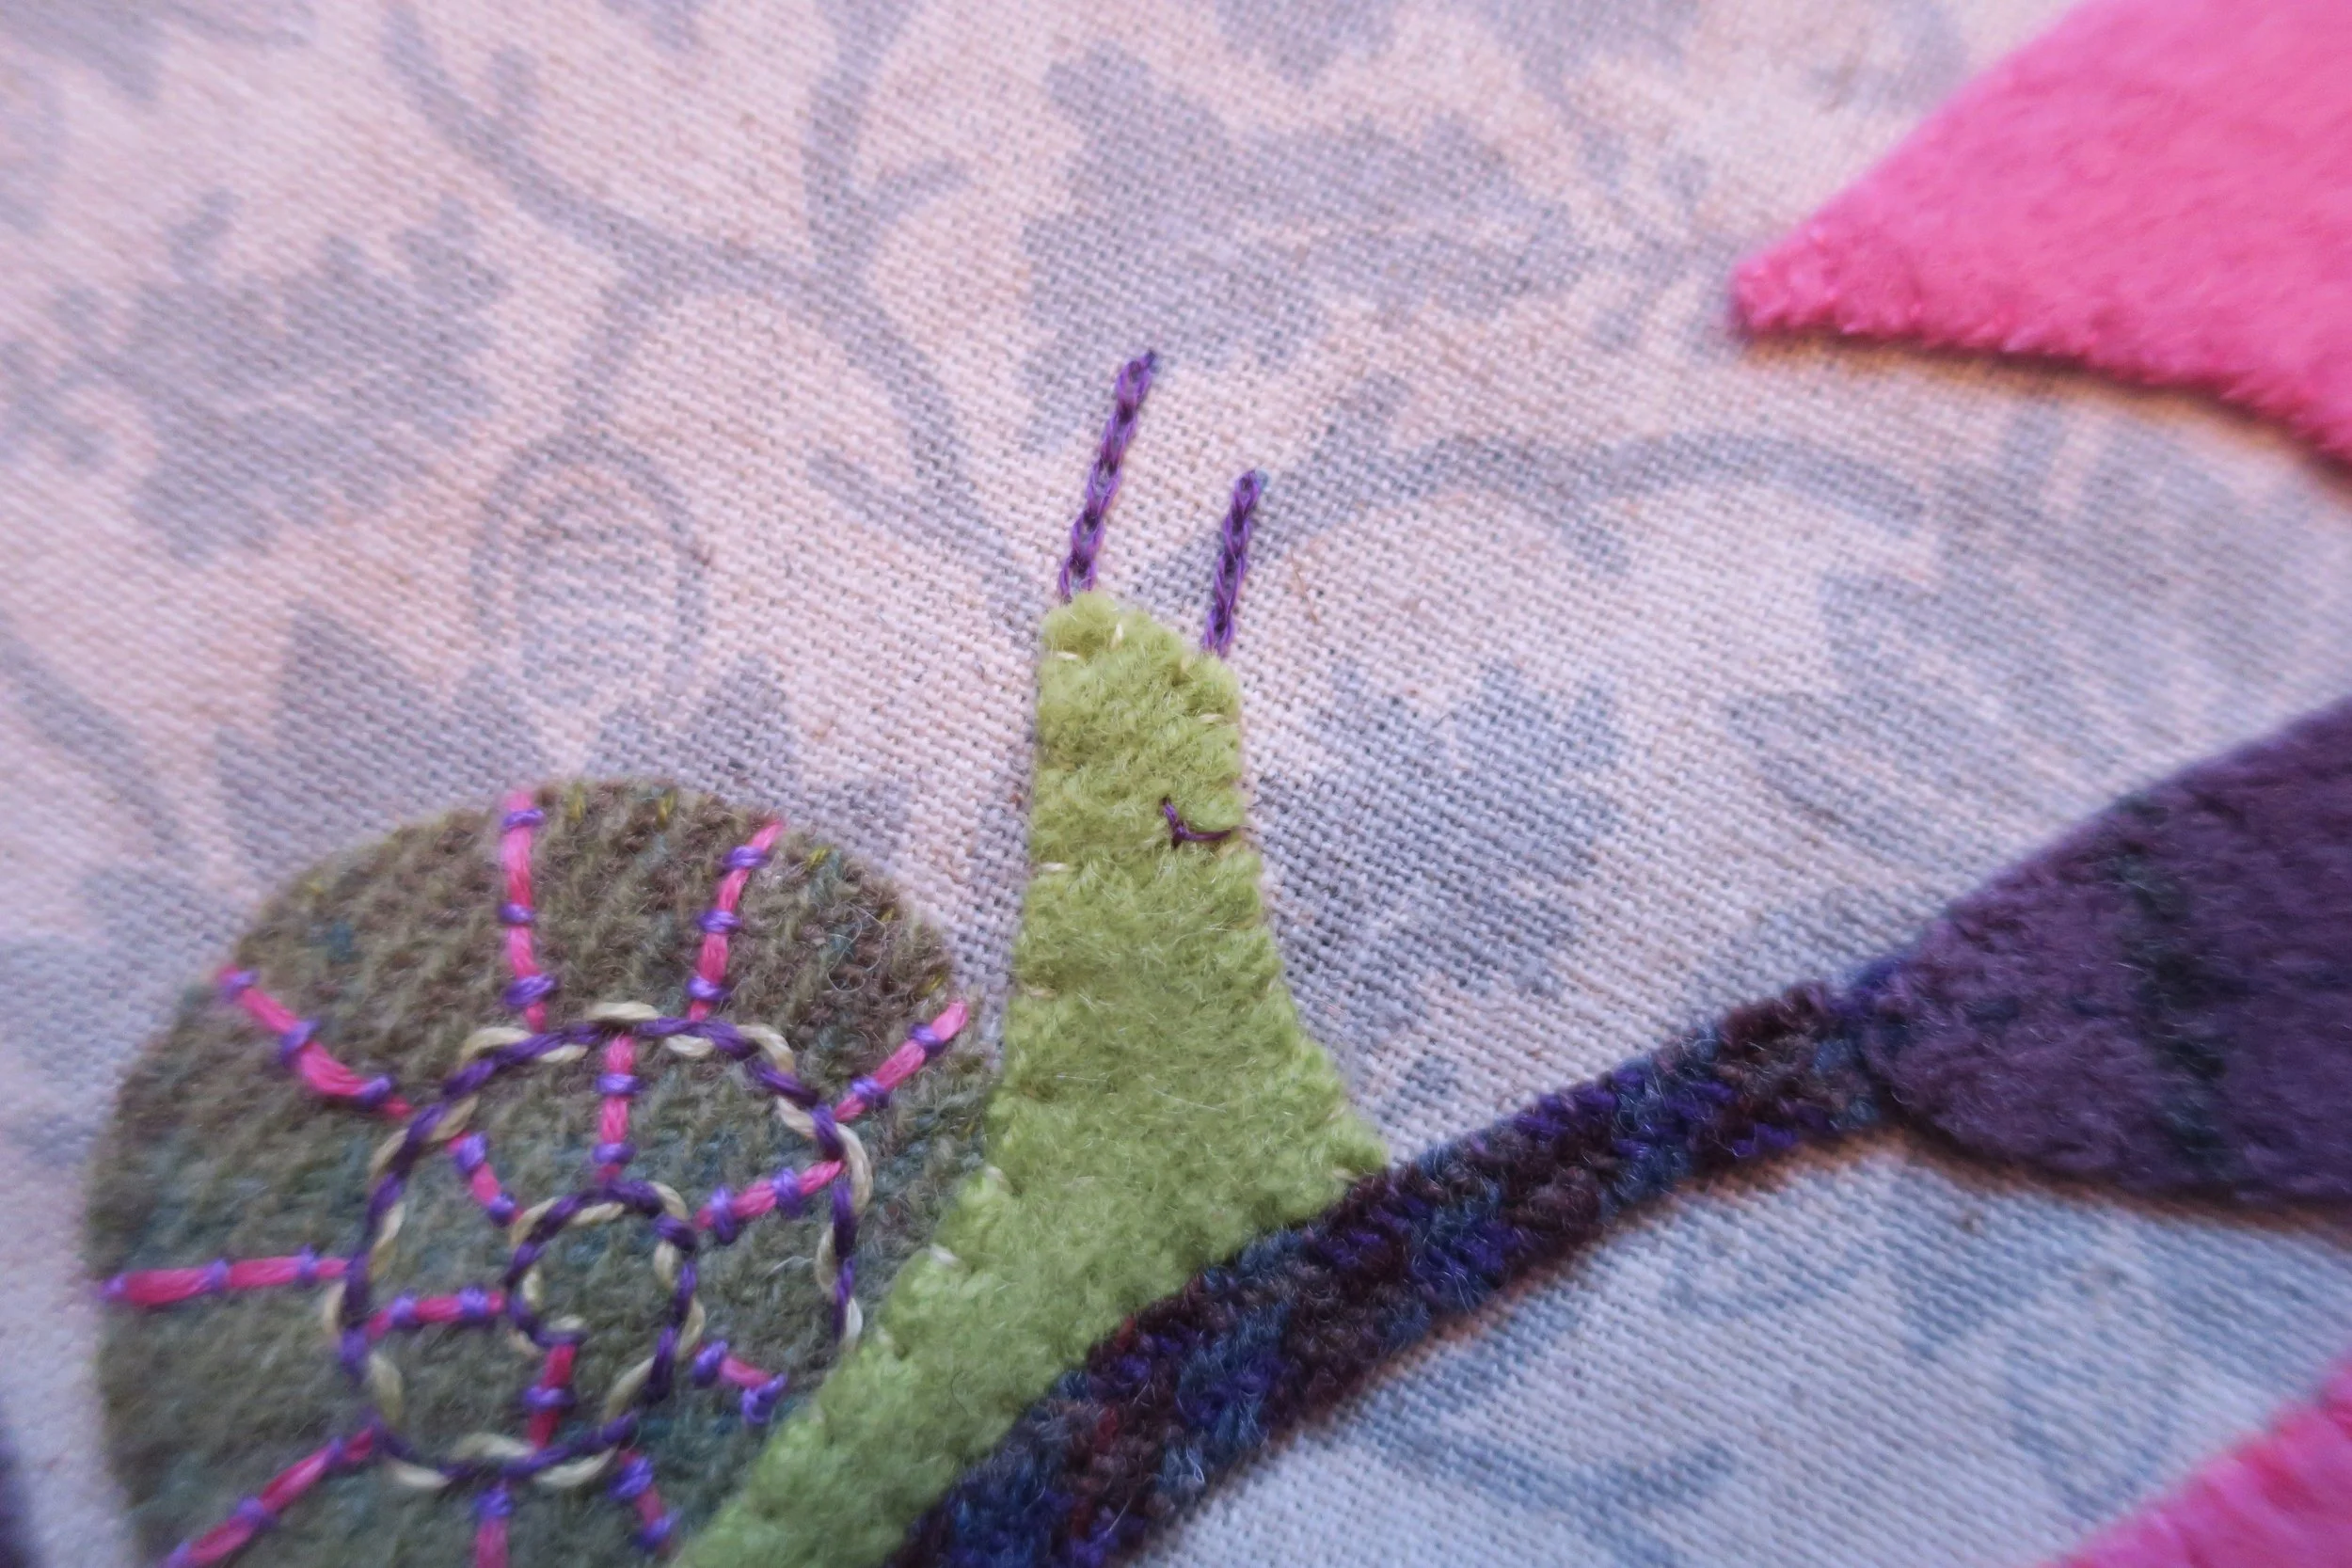
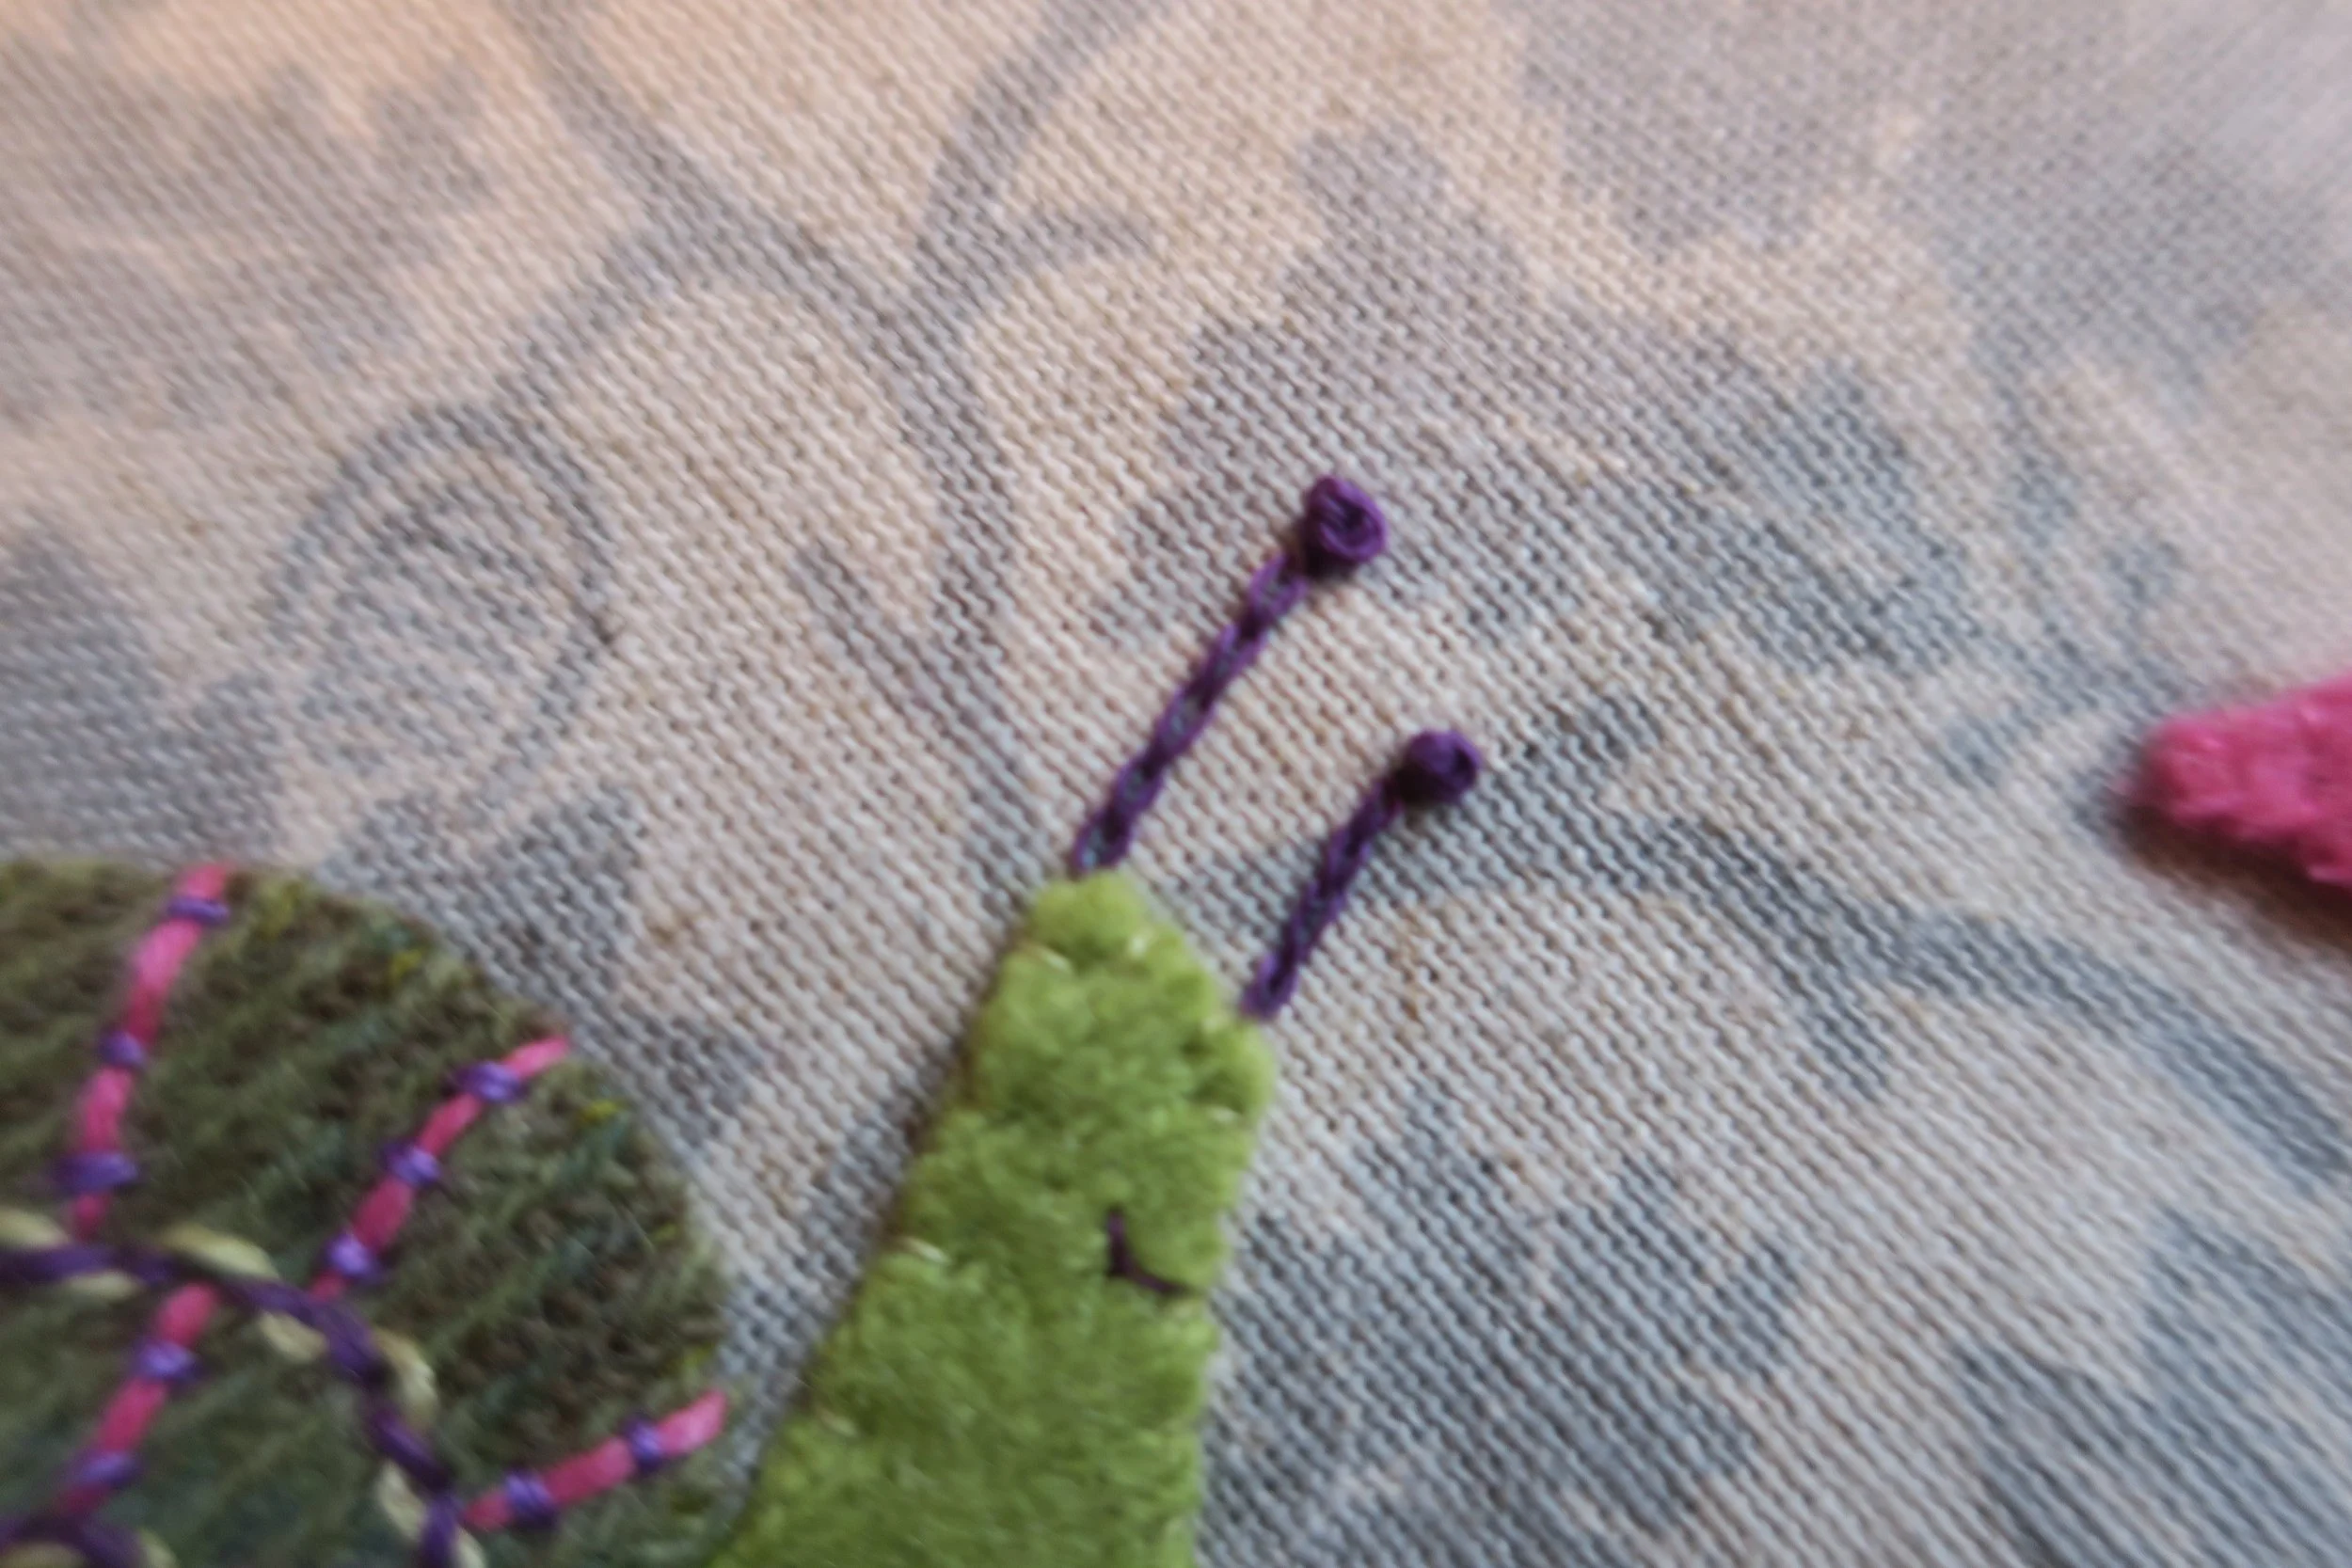
15. Use 1 strand of dark purple floss to chain stitch the snail’s antennae.
16. Use a single strand of the same floss to make a fly stitch mouth.
17. Use 3 strands of the same floss to make a single French knot at the end of each antennae.
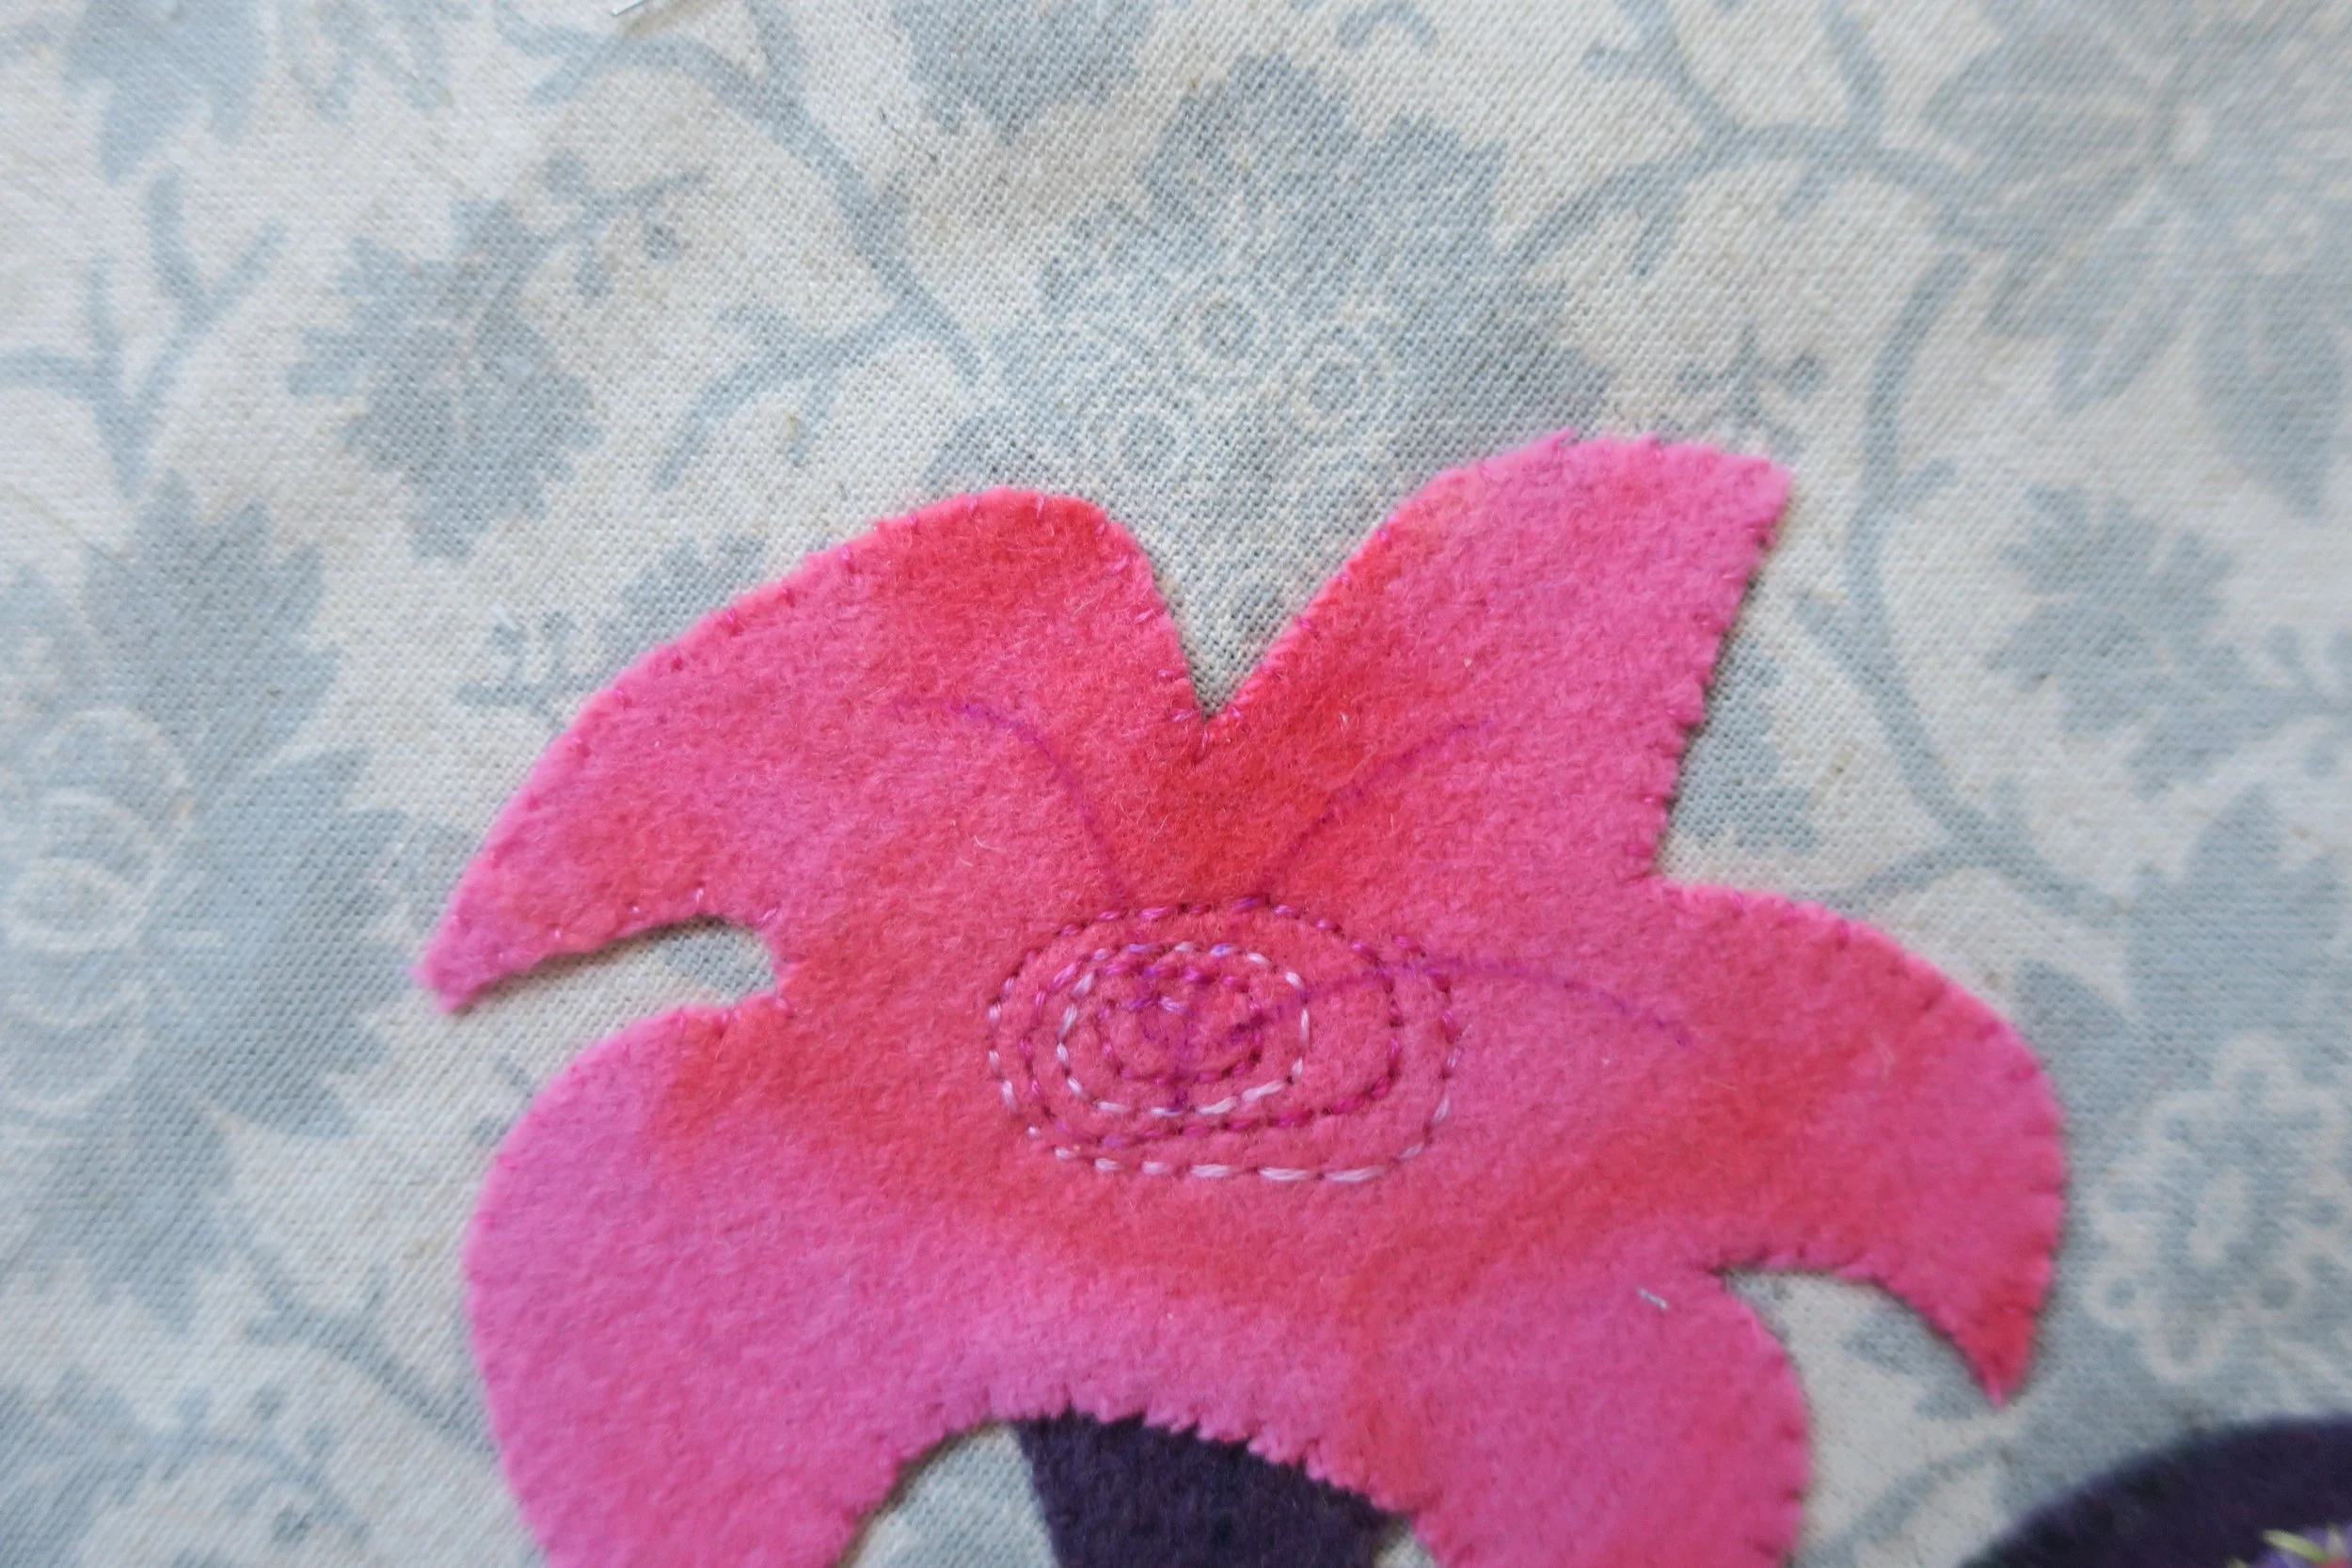
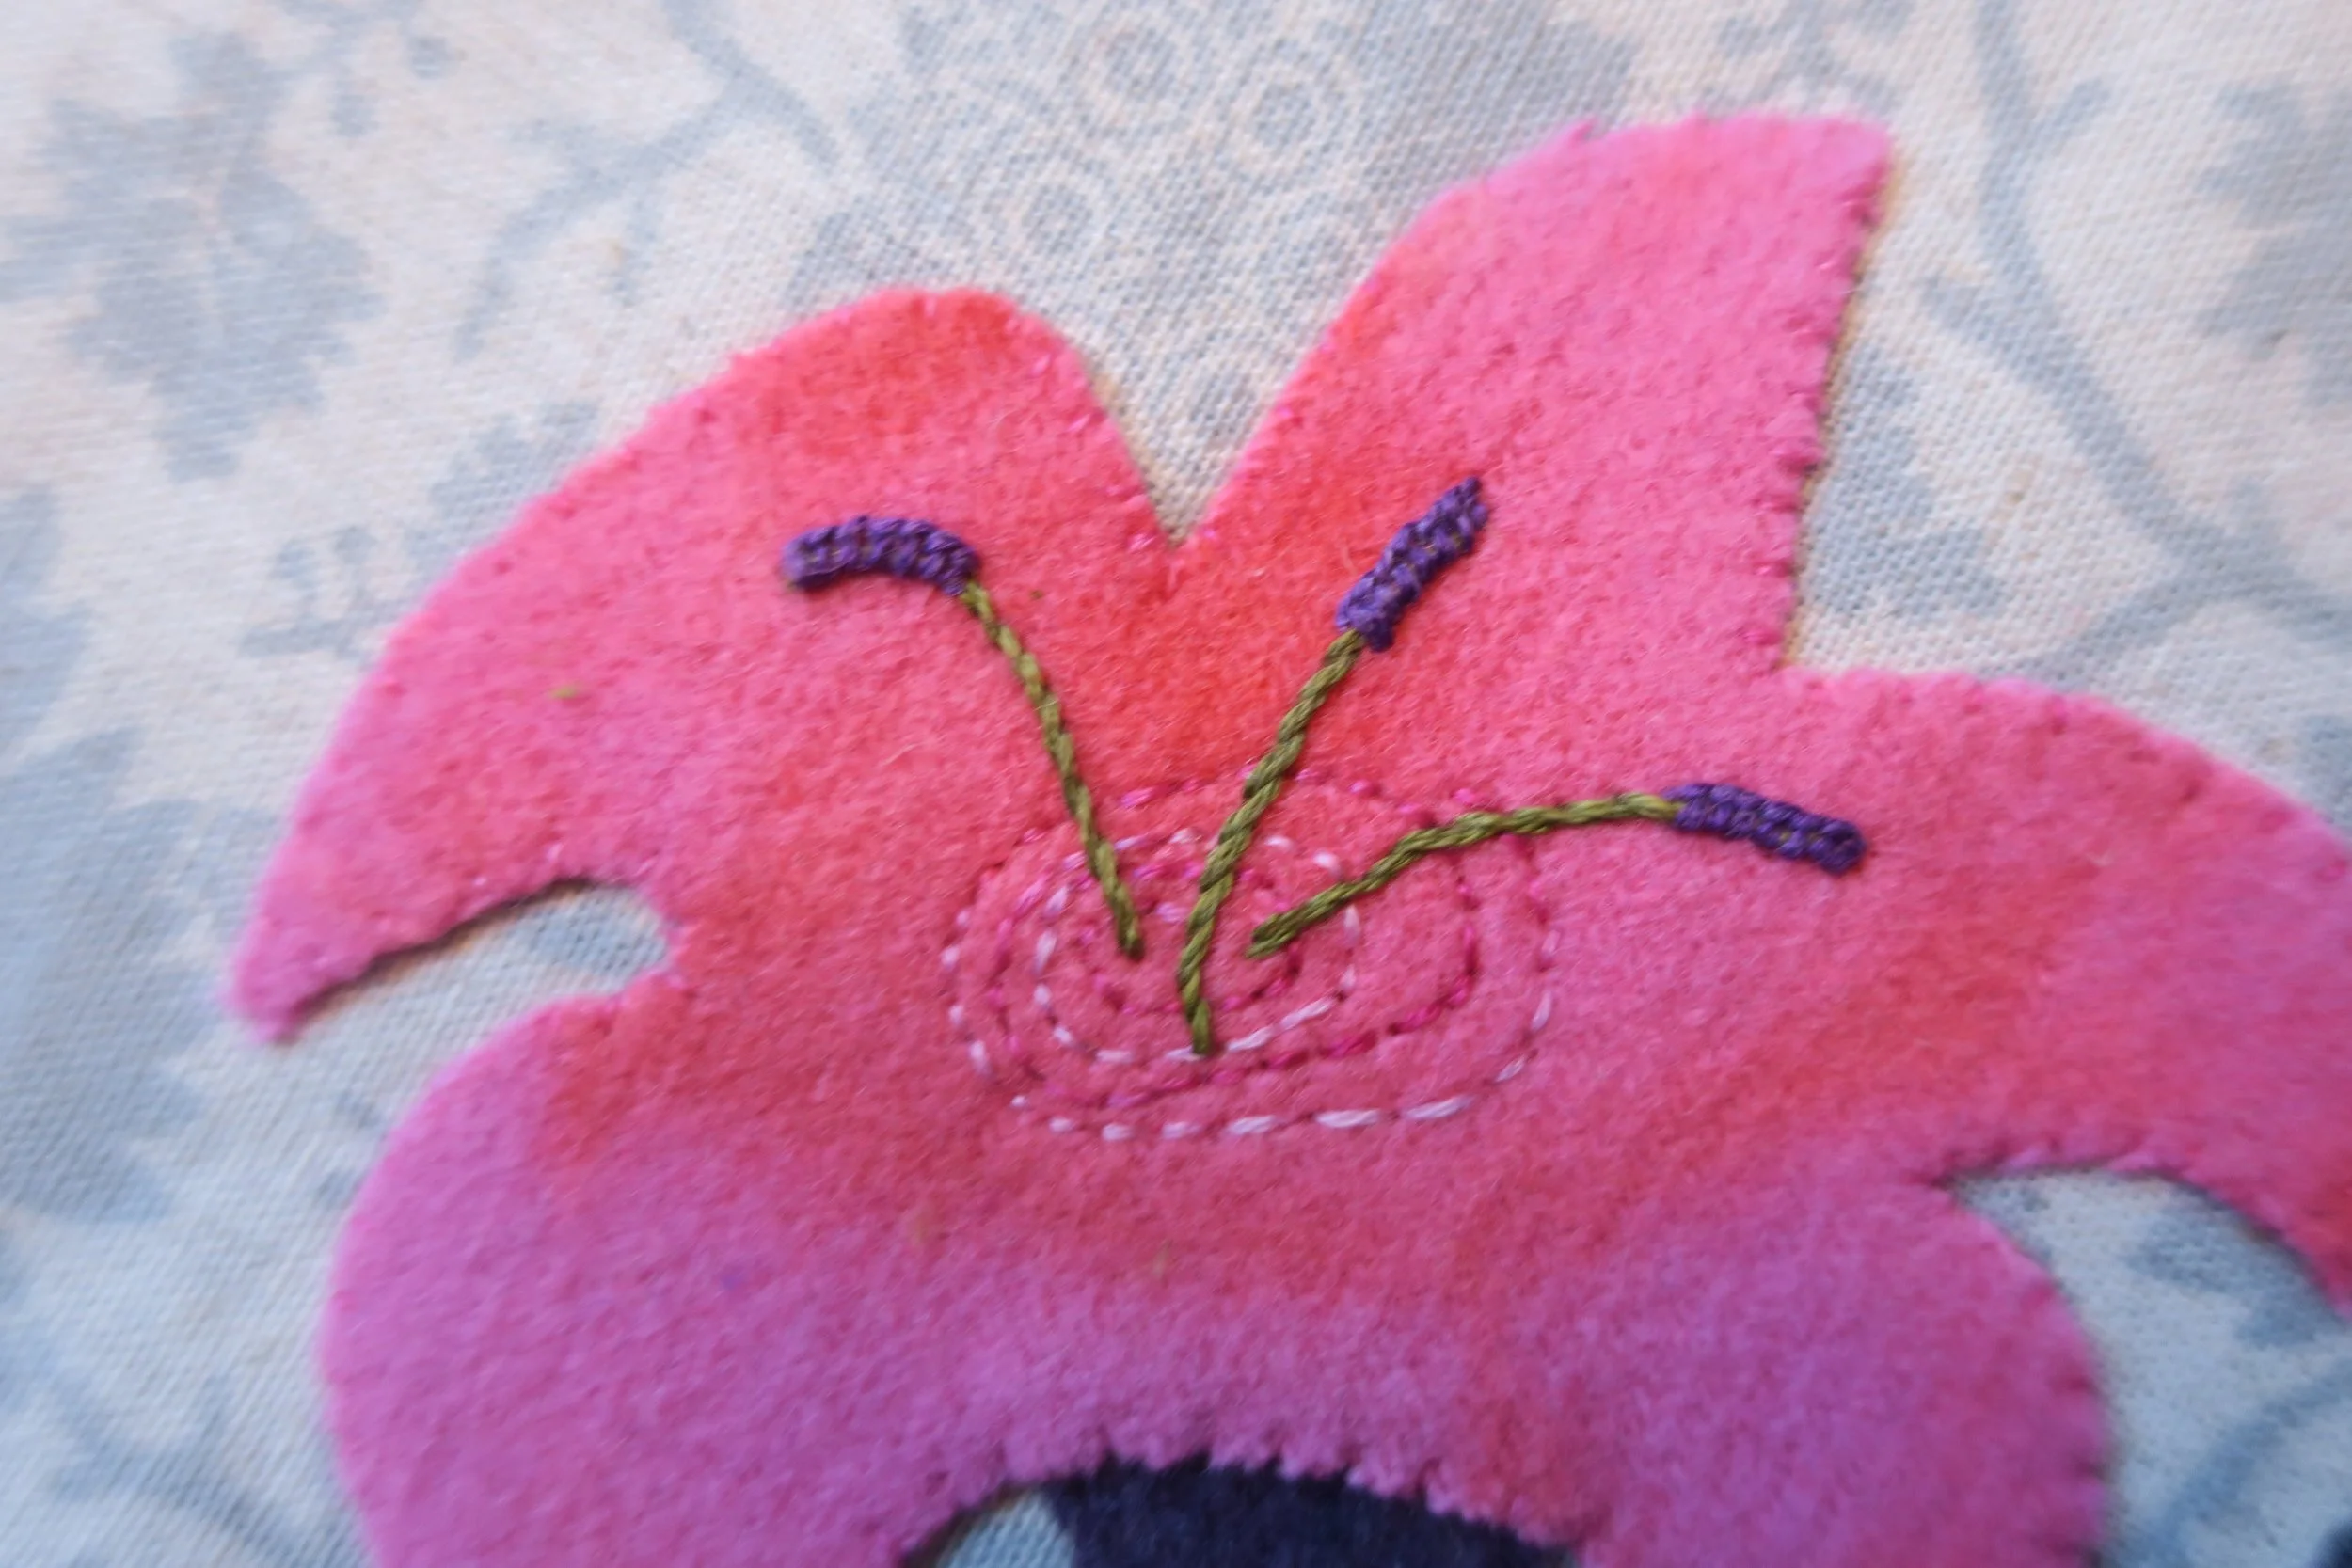
18. Use a chalk pencil or fabric marker to draw a wonky spiral center on the flower. Remember it doesn’t have to be perfect. See Layout.
19. Use 2 strands of variegated pink floss to back stitch over the spiral.
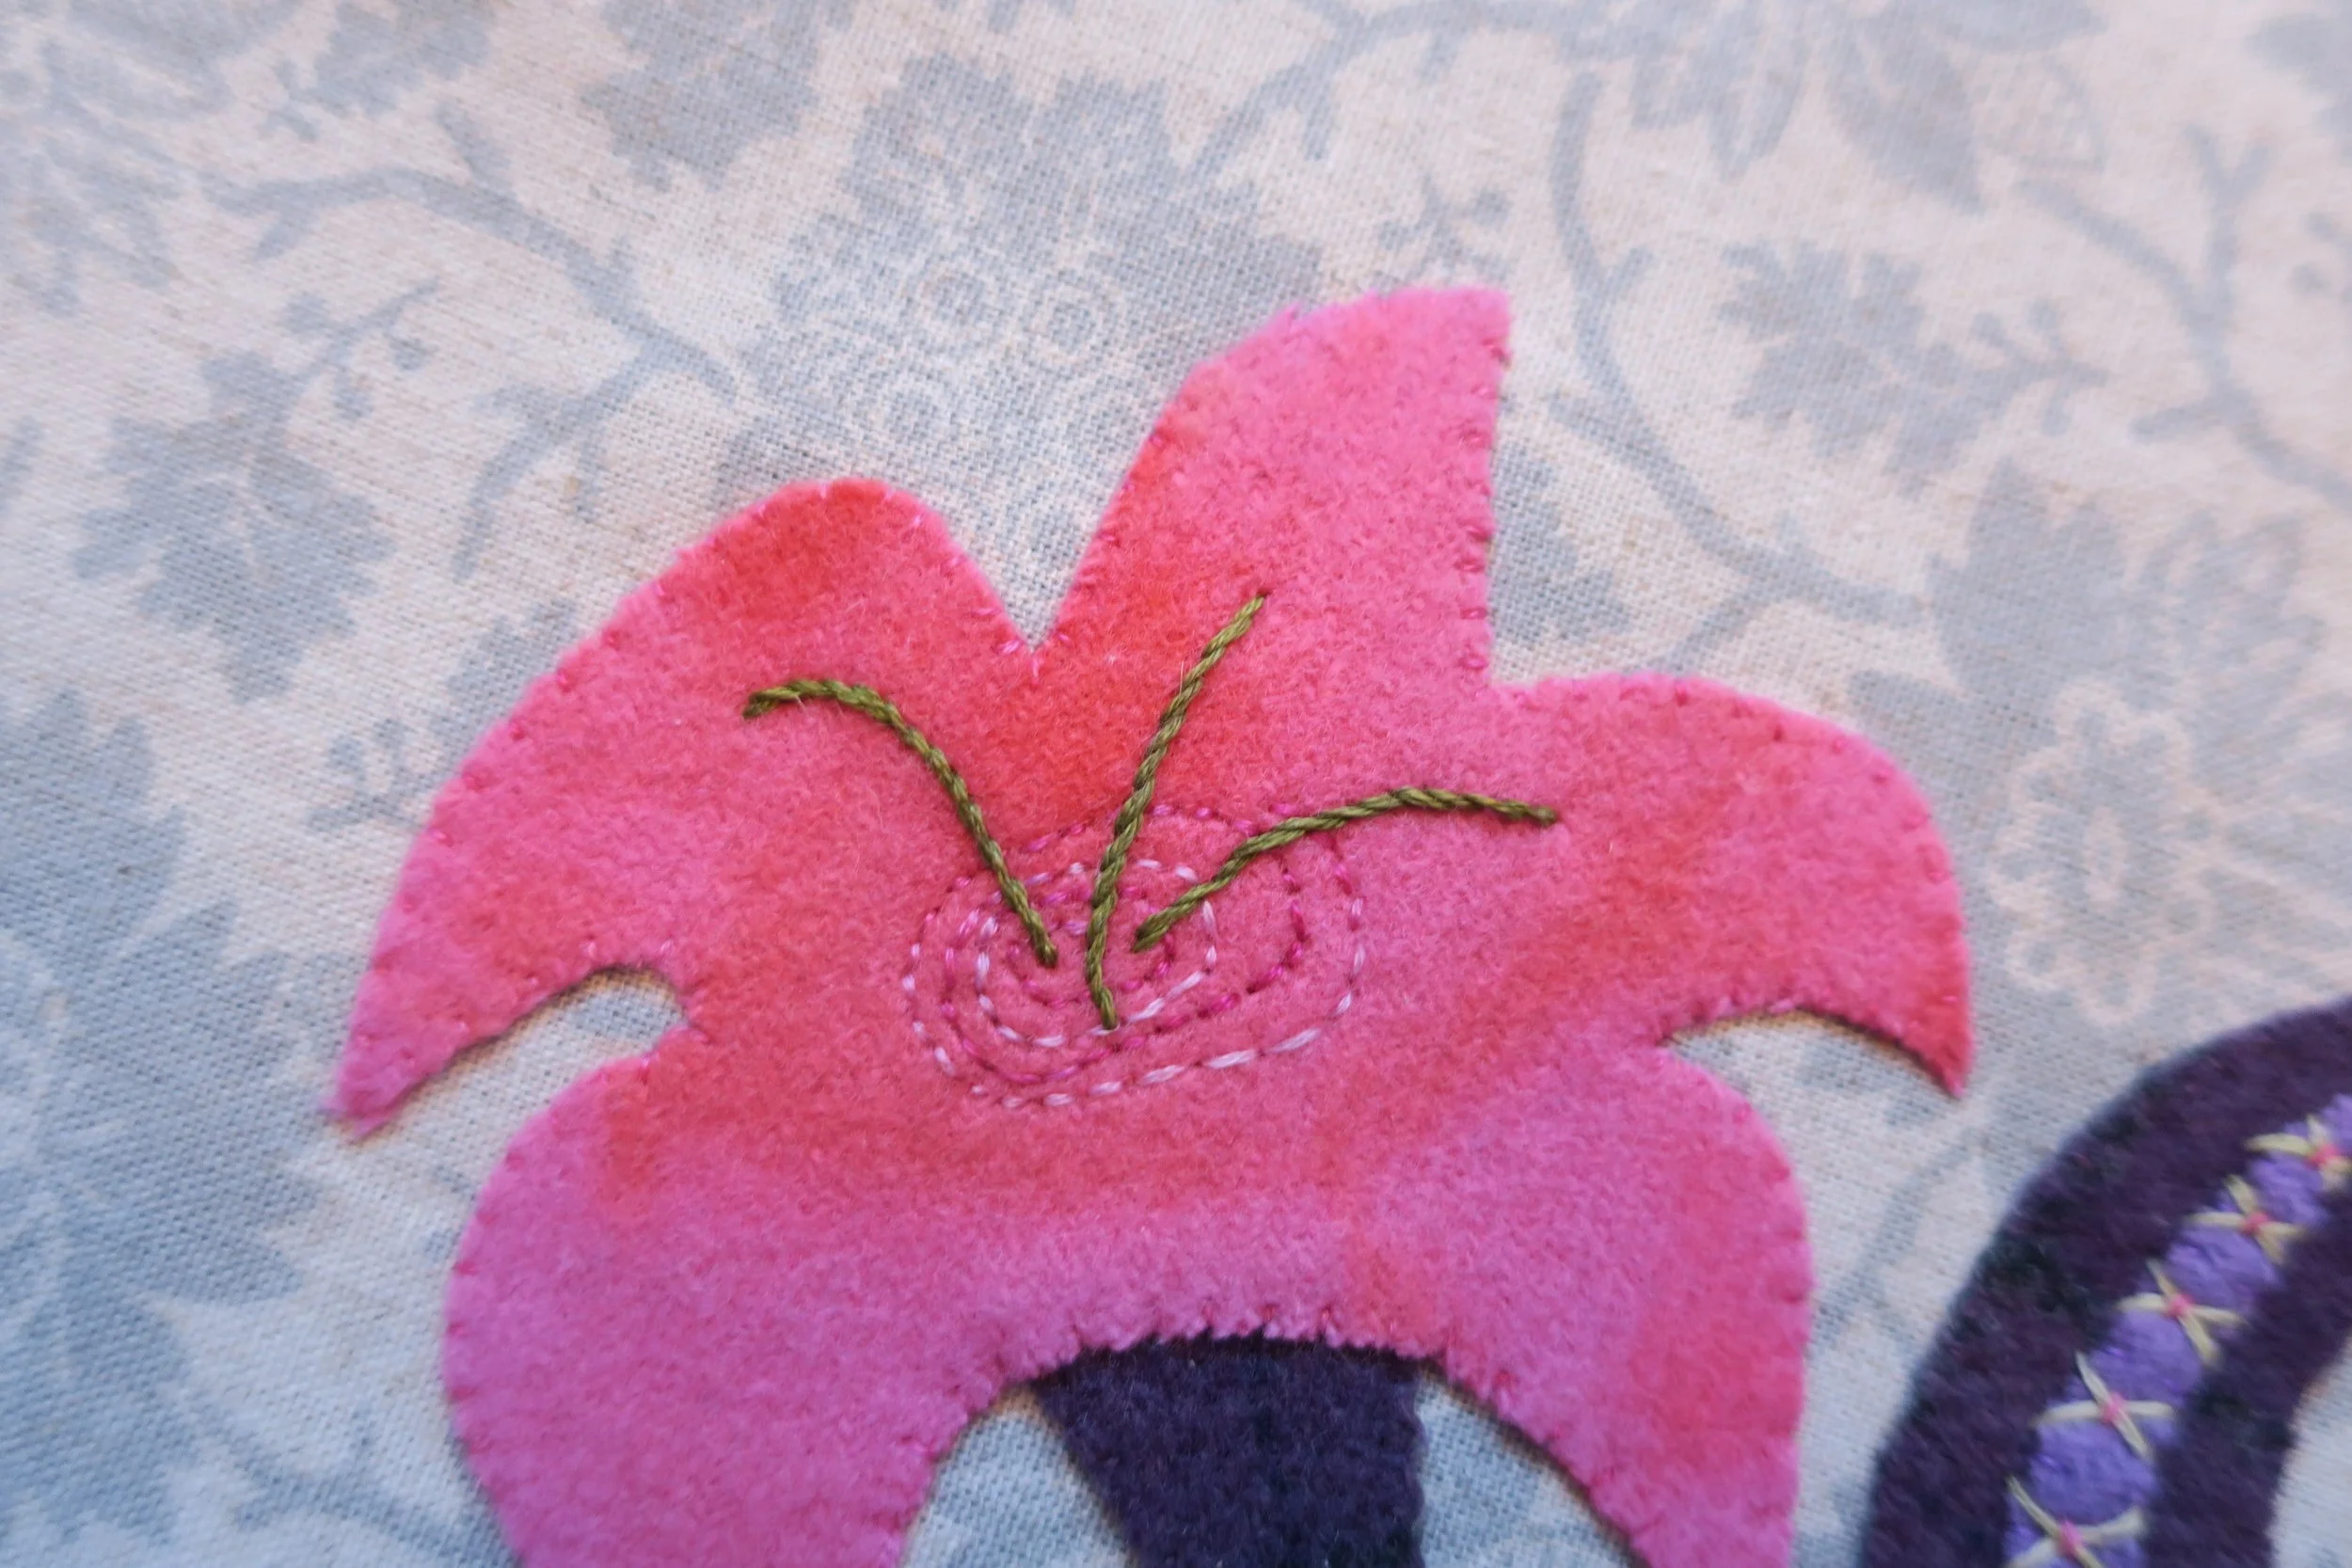
20. Draw the flower stamen using the layout as your guide.
21. Use 3 strands of medium yellow-green to stem stitch over the lines.
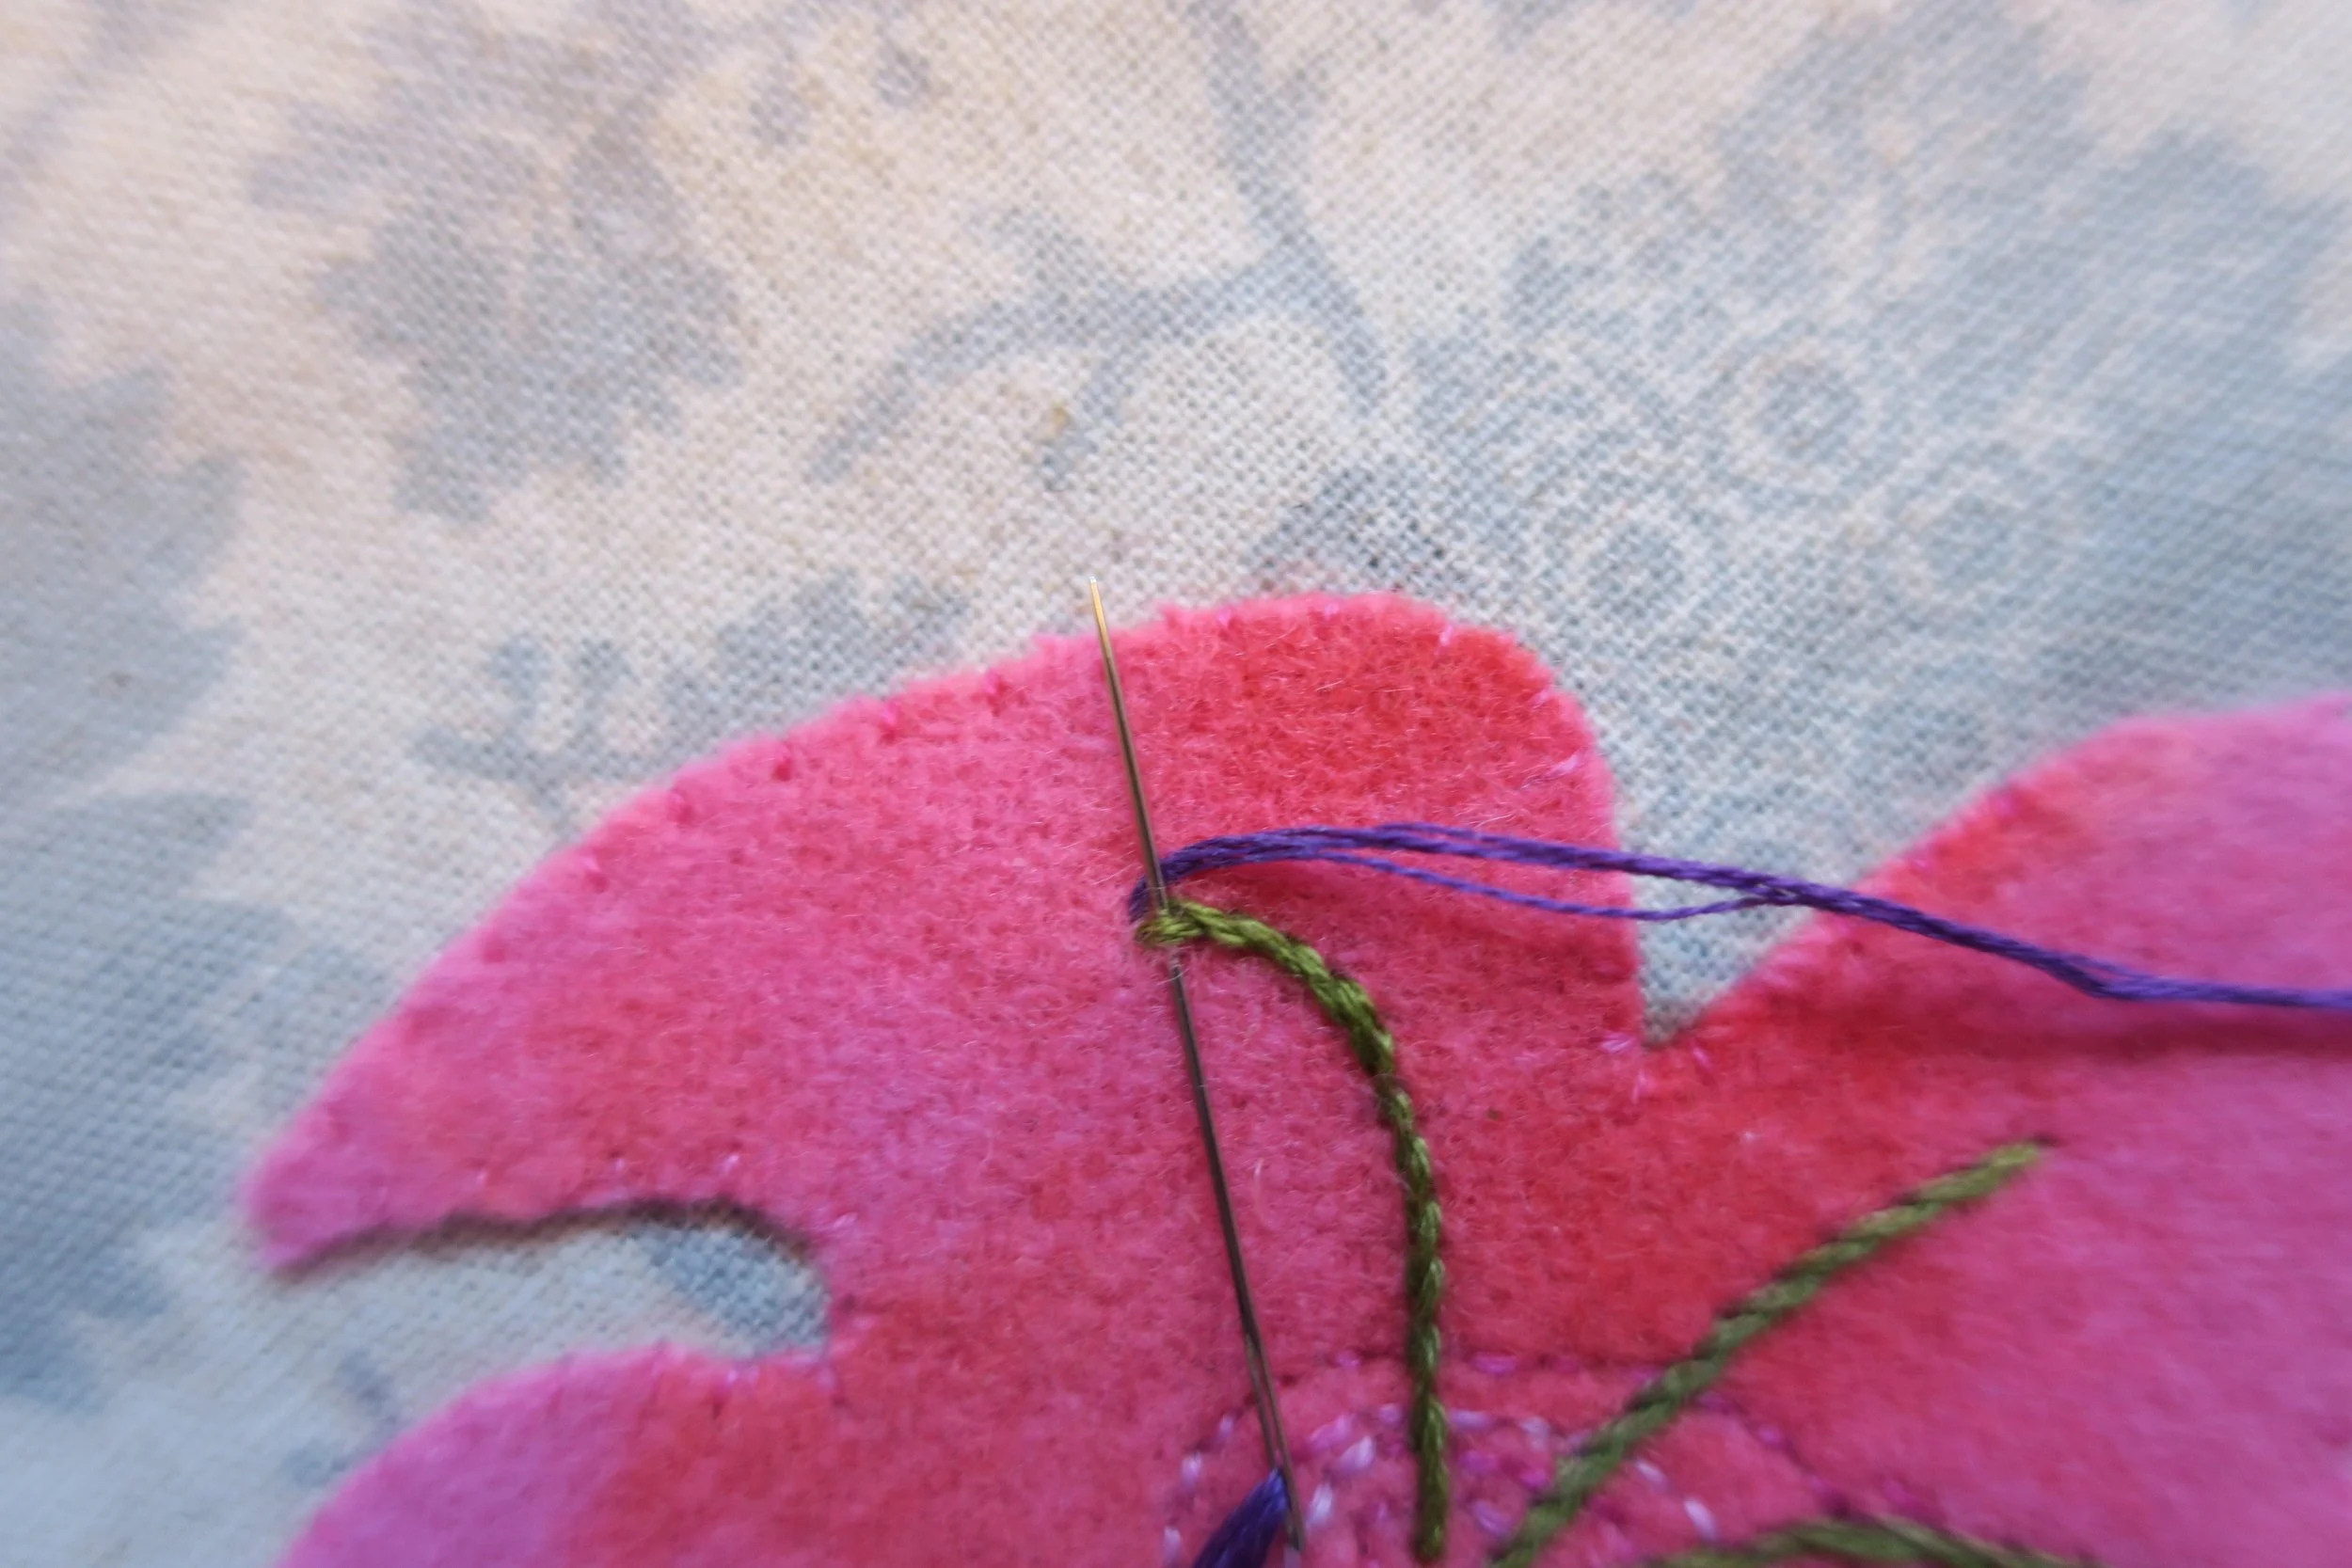
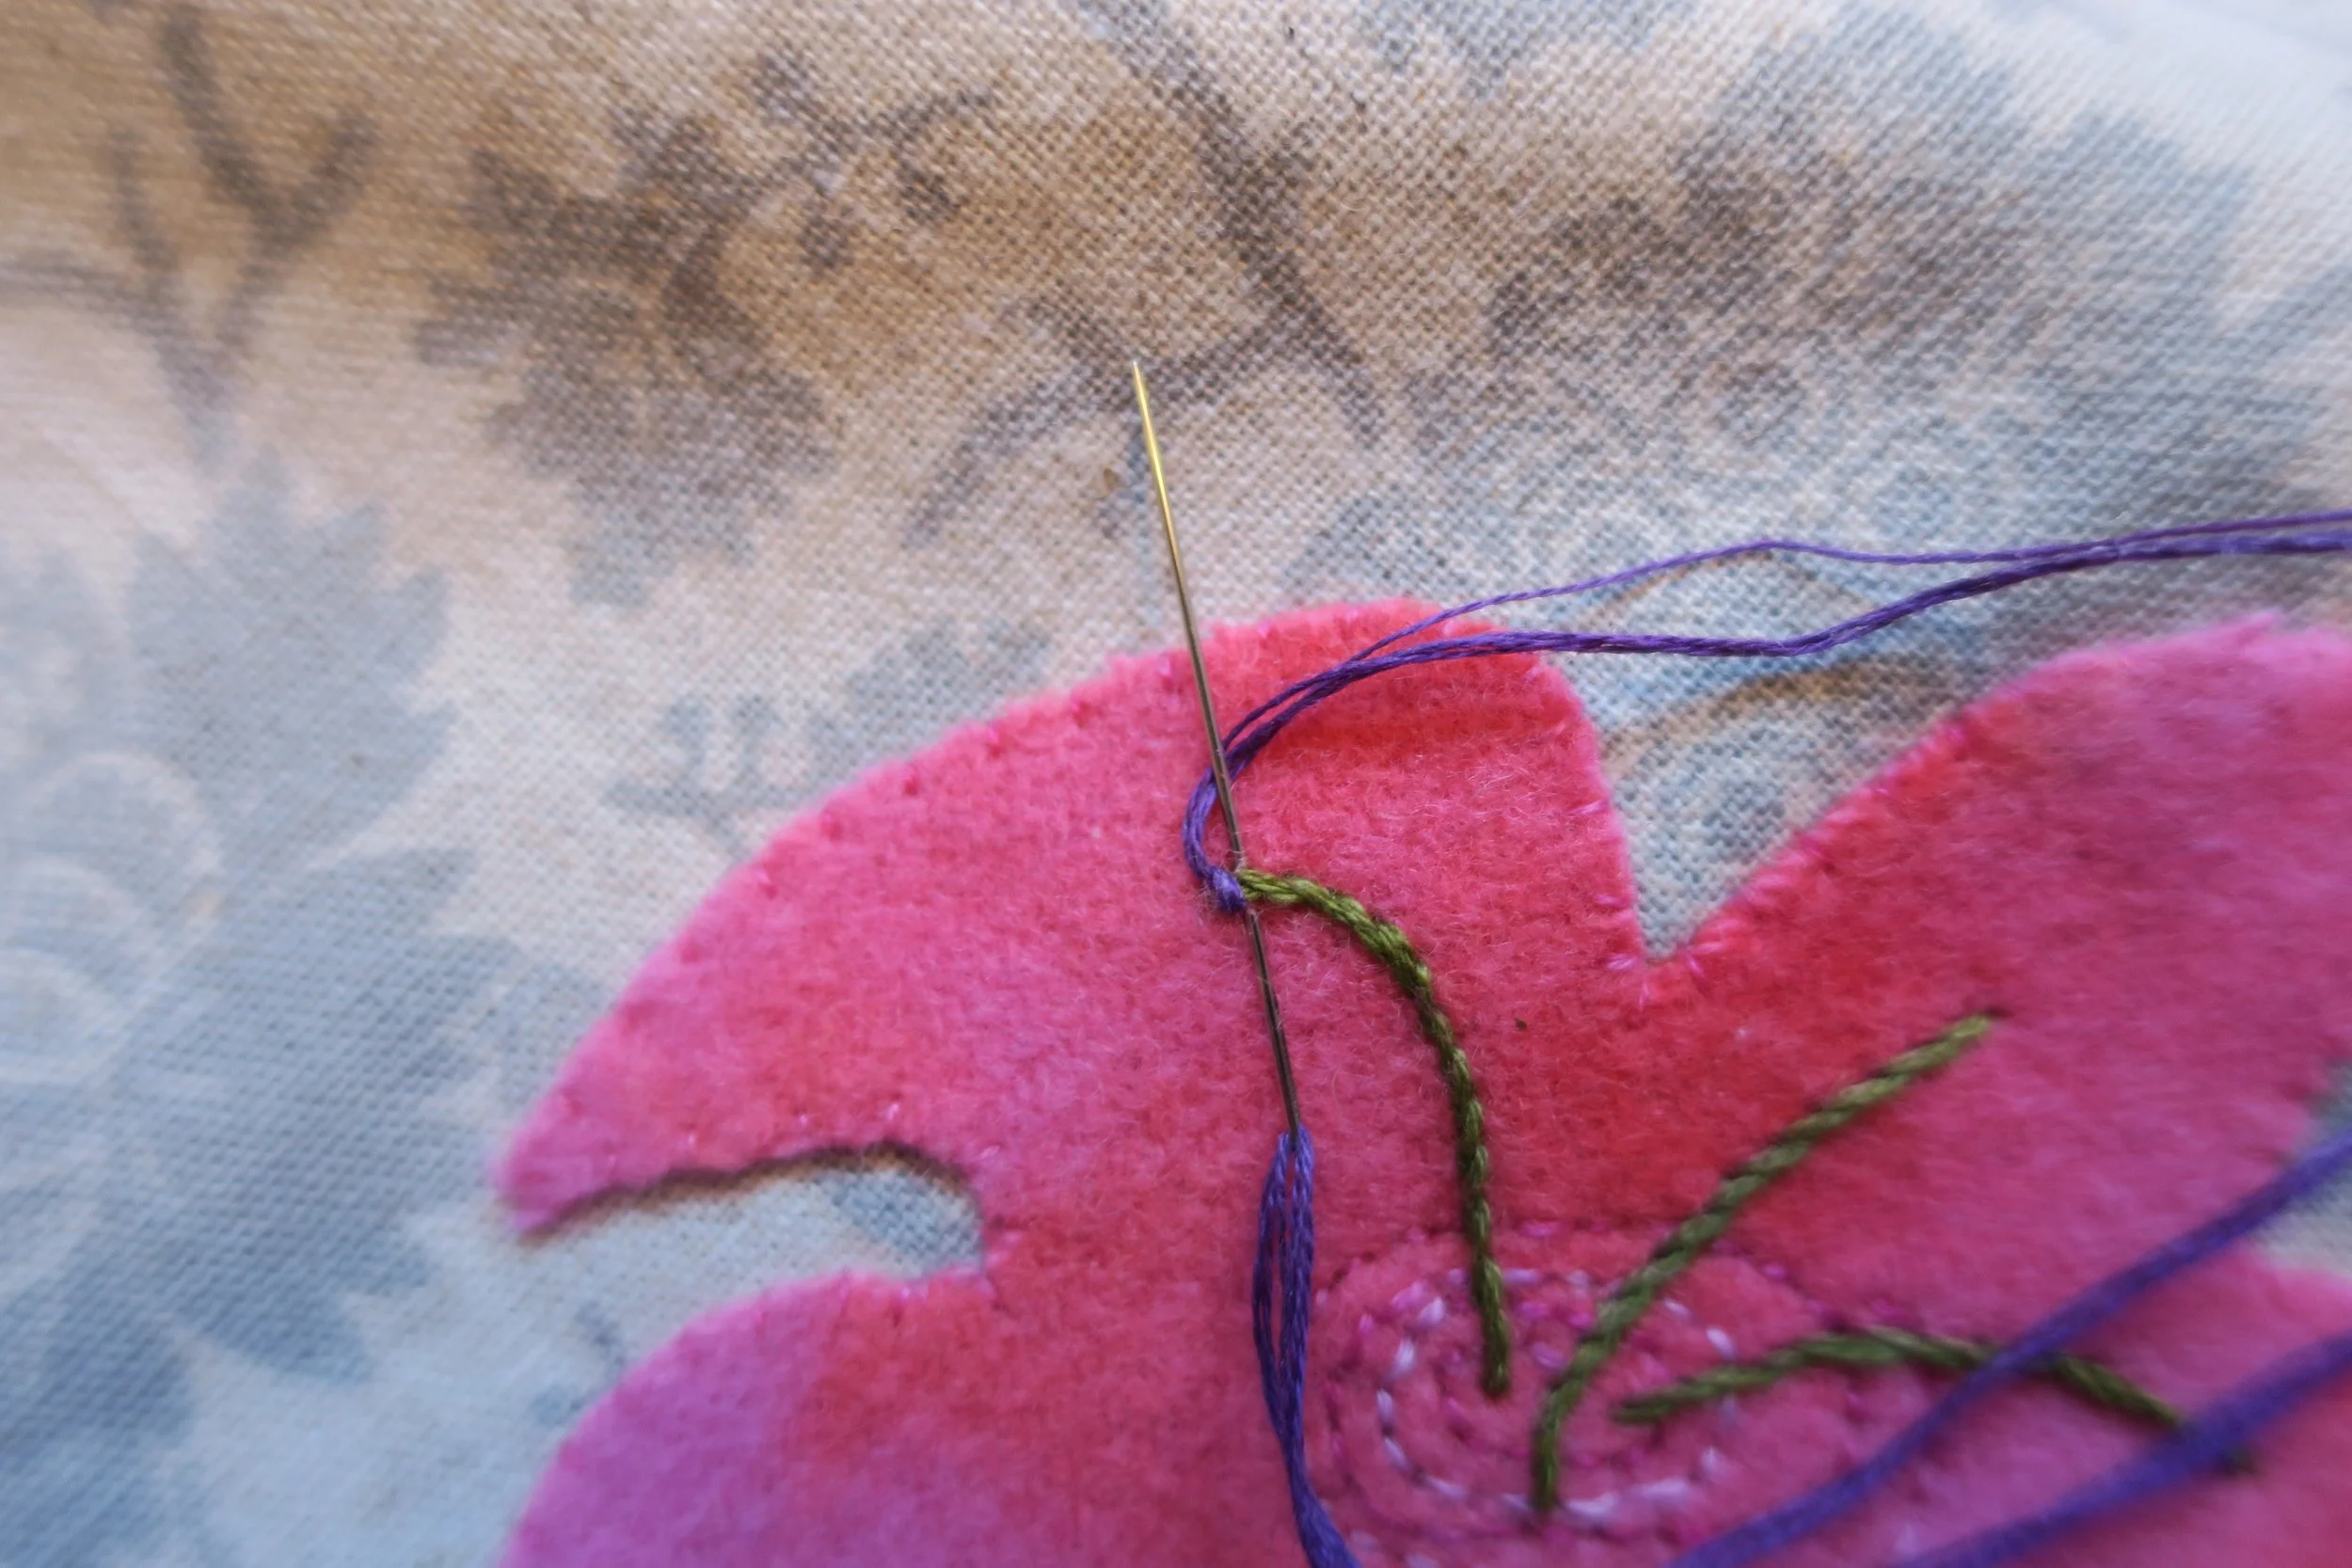
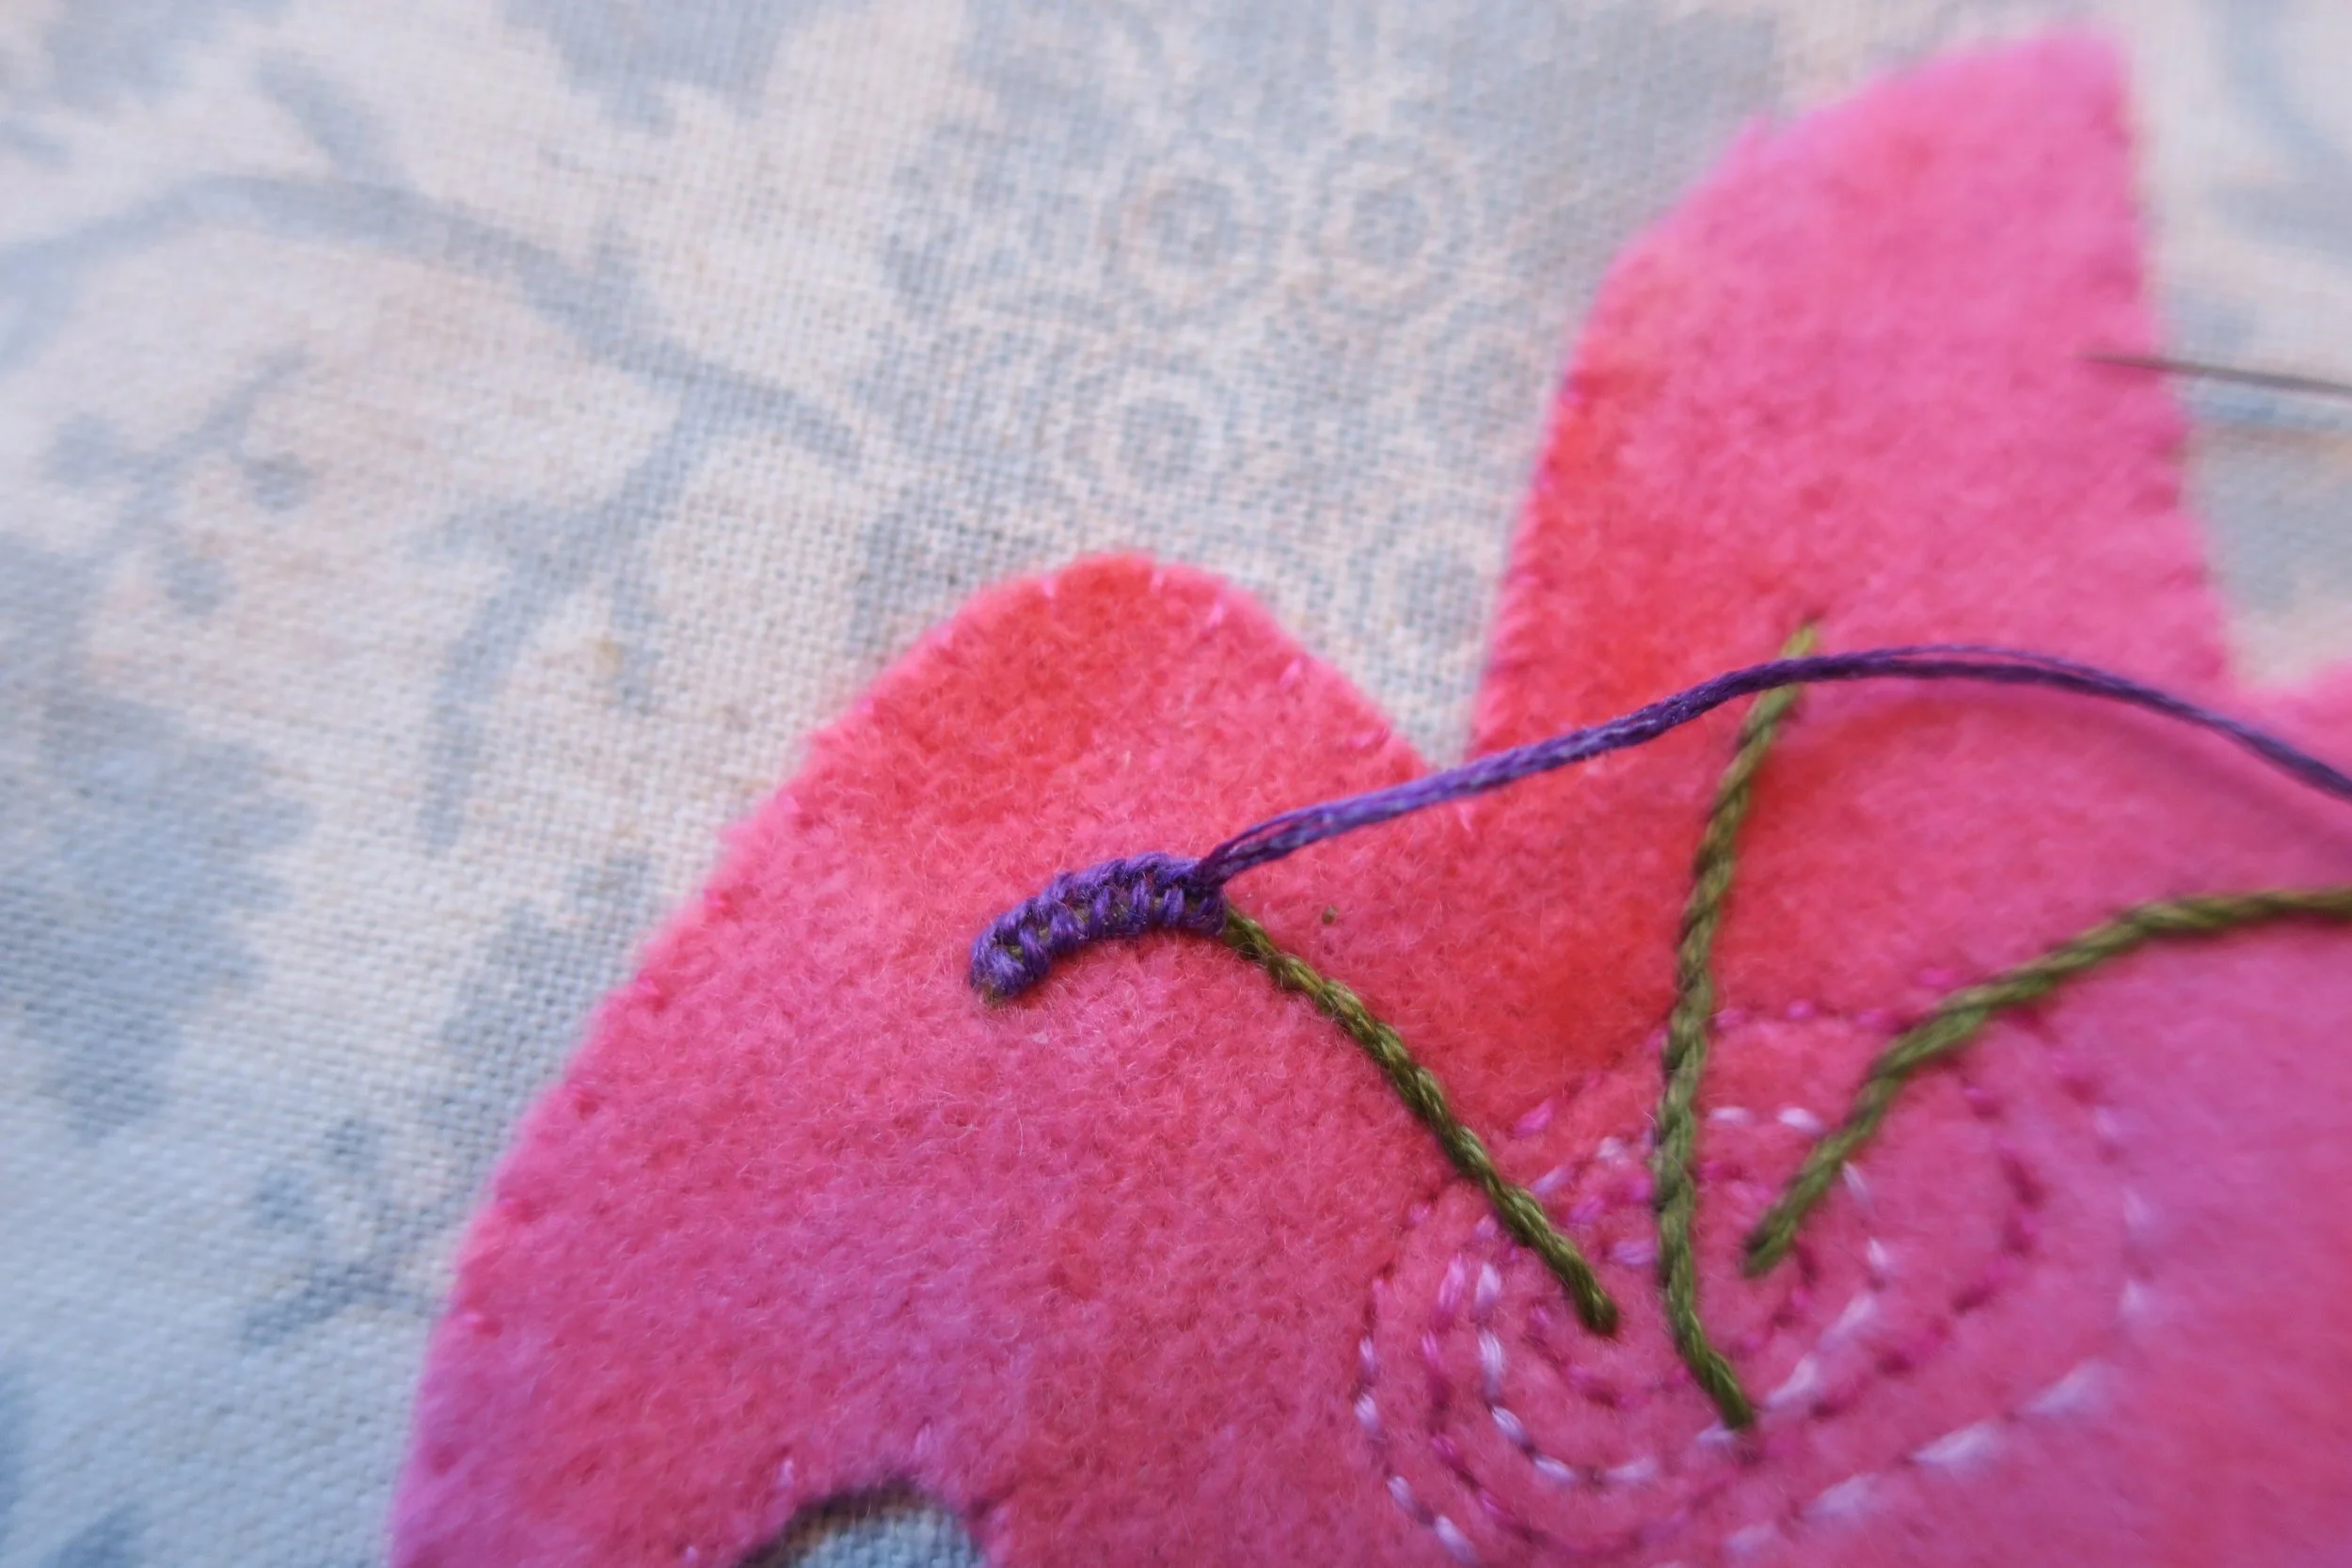
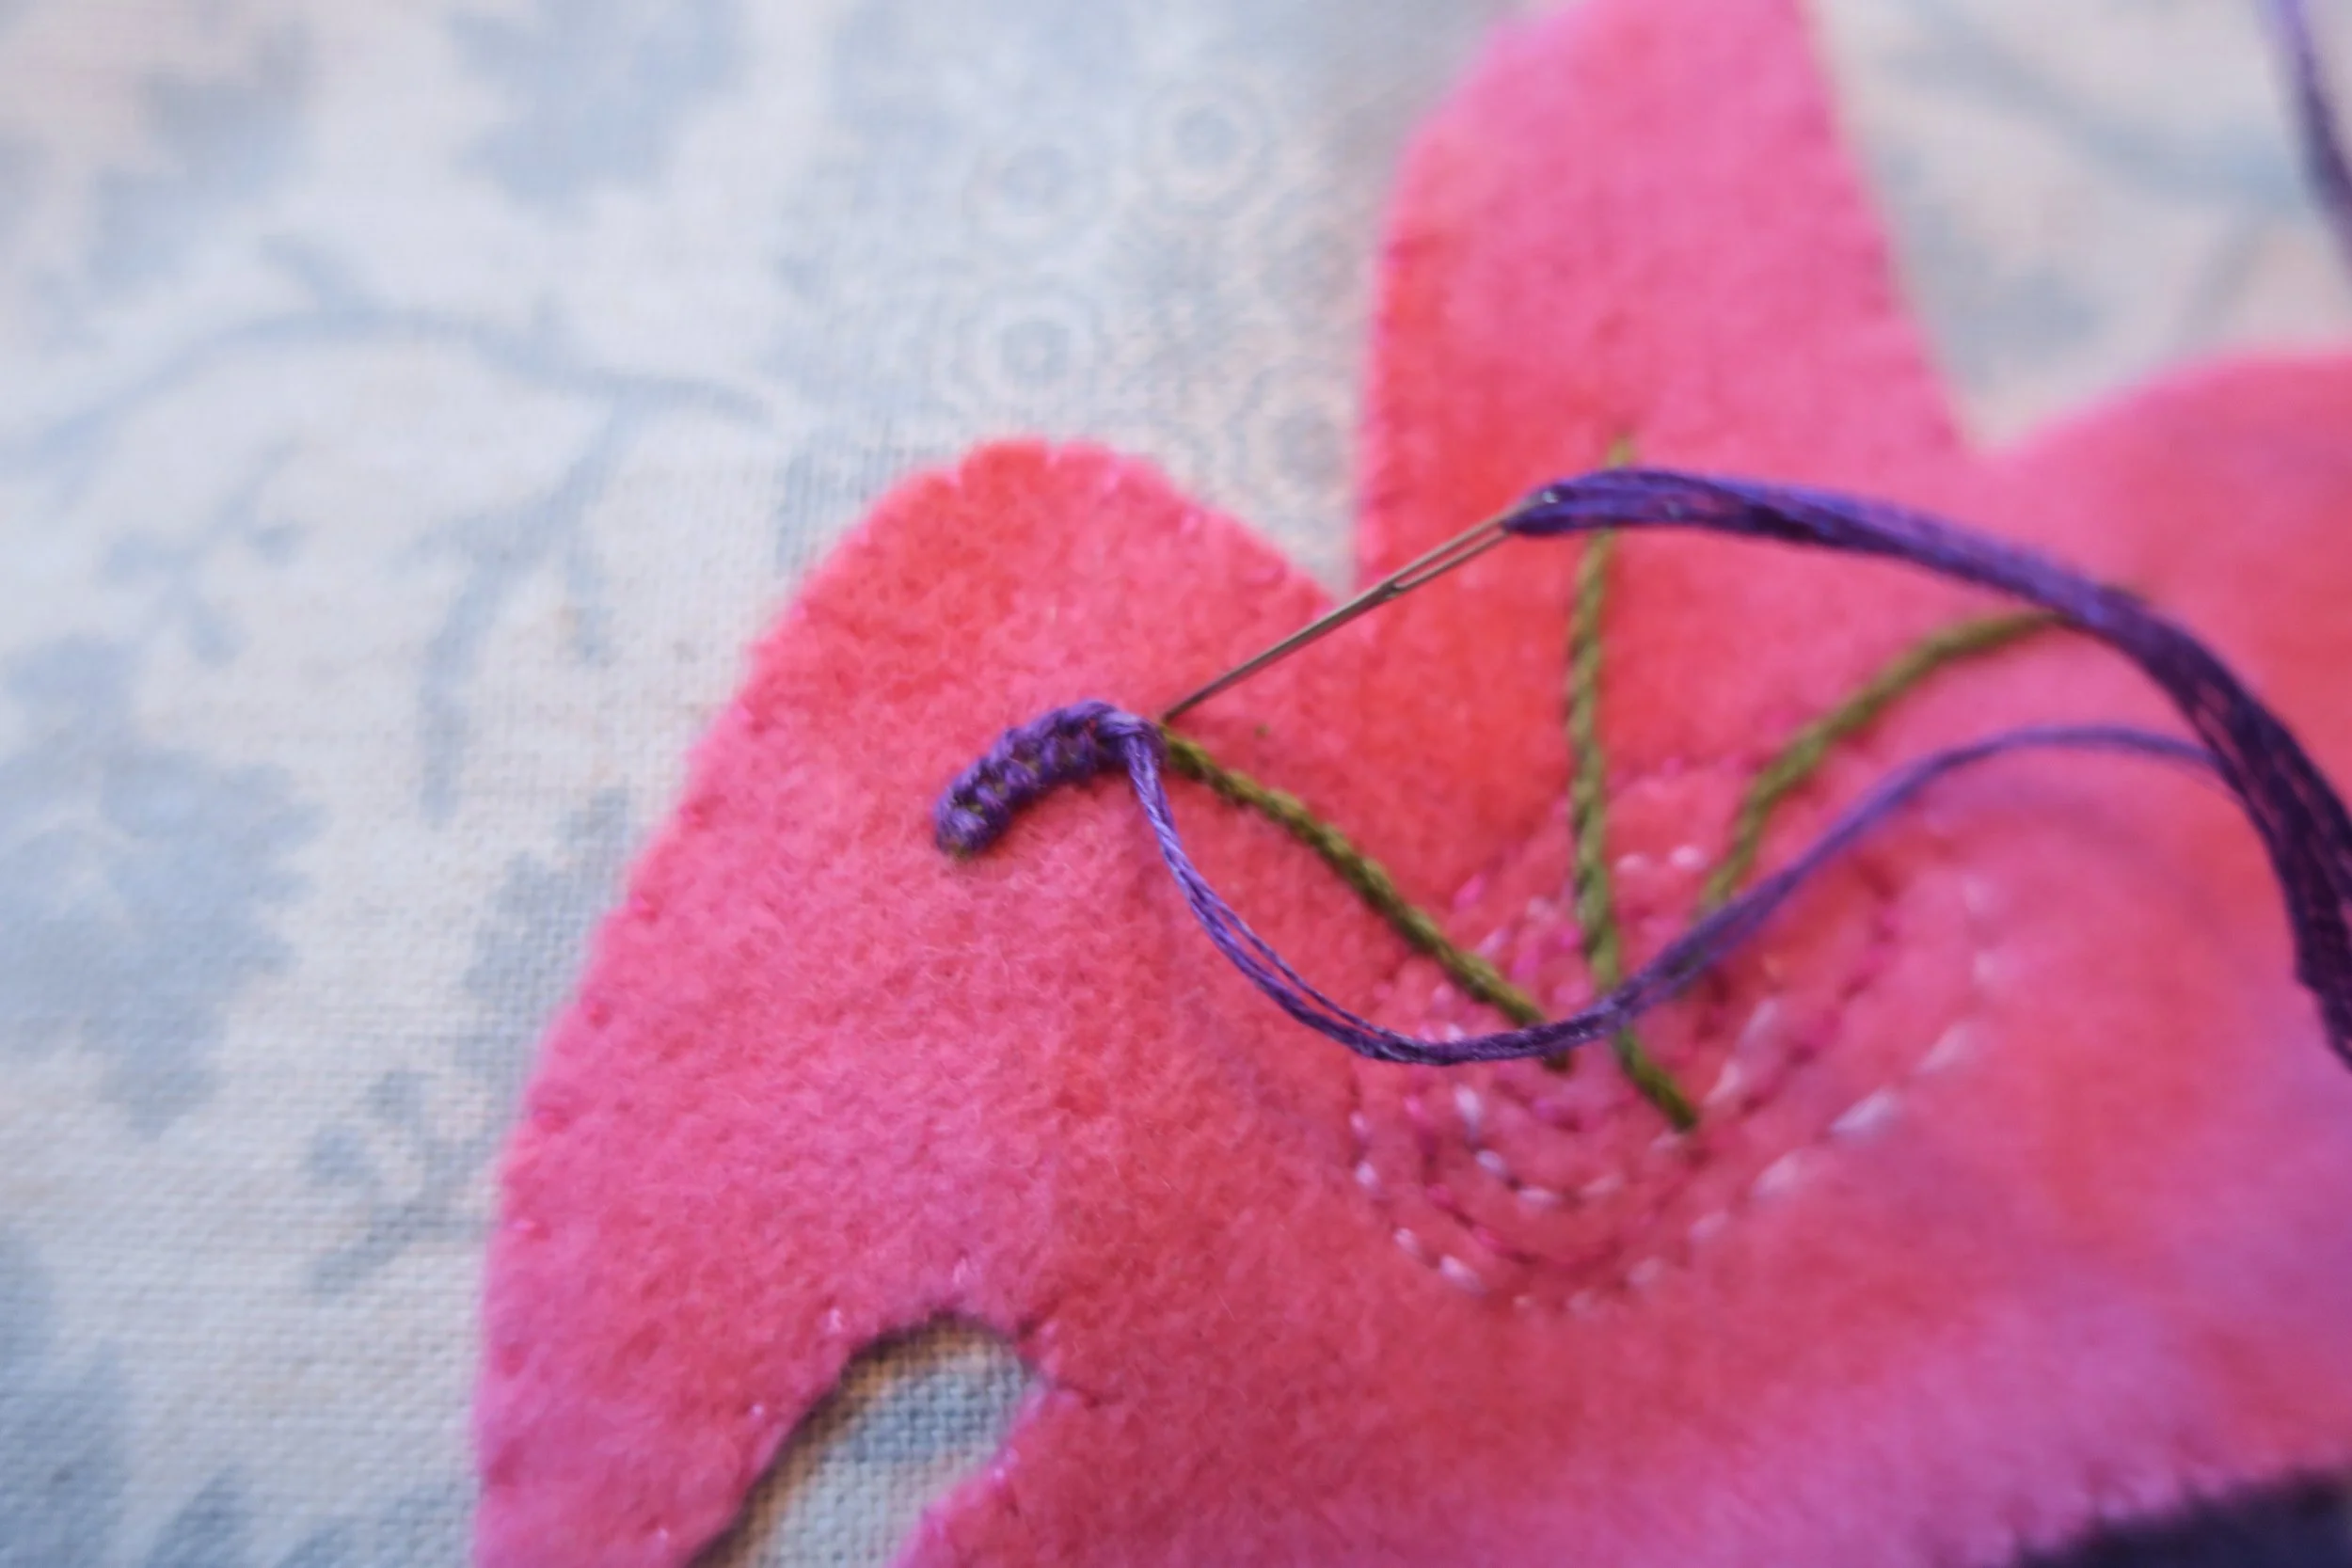
22. Use 2 strands of dark purple floss to blanket stitch the flower anthers.
Begin by bringing the needle and thread up near the end of the last stem stitch and then slide the needle under the last stem stitch of the stamen. Wrap the thread behind the needle and then pull the thread through. This is your first stitch.
Repeat the previous stitch, moving from left to right, for a total of 7 stitches.
Finish the stitch by inserting the needle back through the fabric and knot off.
Repeat for the remaining anthers.
23. Use 2 strands of dark brown floss to stem stitch the outline of each of the letters.
24. Fill the letters in with a chain stitch using 2 strands of the same thread.
Yay! You are done!
This will fit nicely in a 10” square frame or in the center of a quilt block.
Enjoy!


