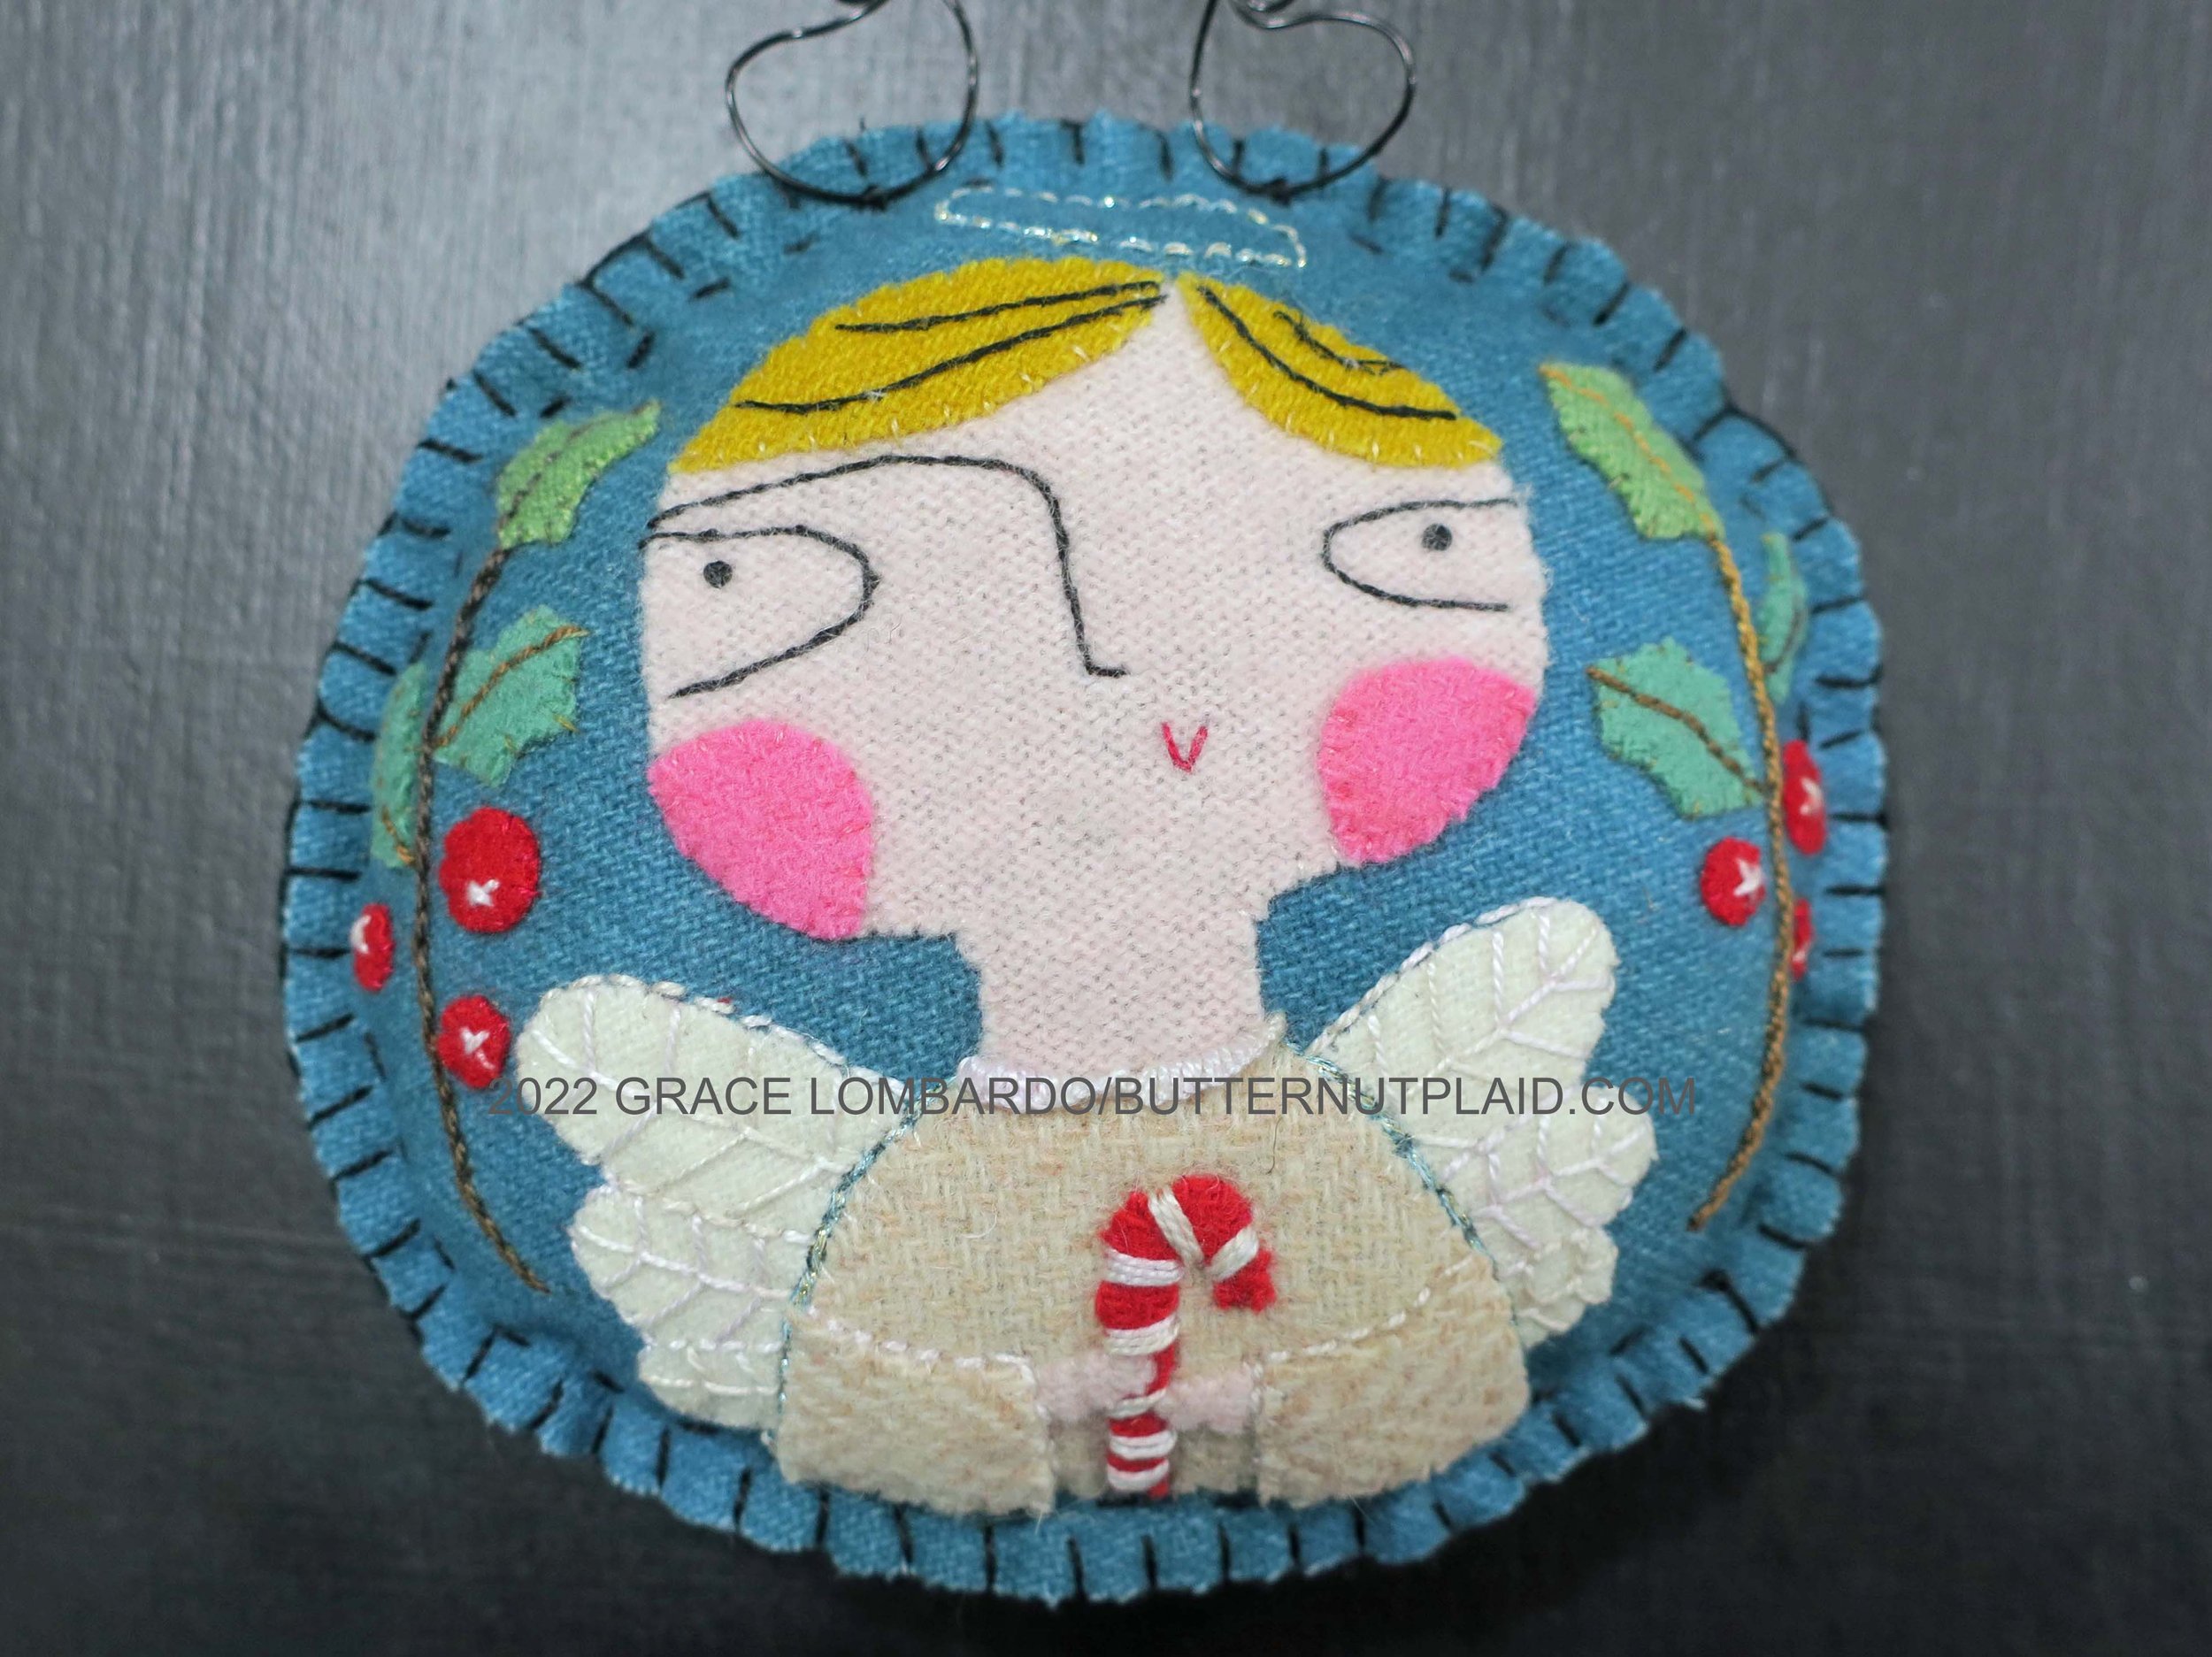
Christmas Angel
It’s time for Christmas ornaments again. Yes, it’s last minute, but I couldn’t let the season pass without an addition to Tis The Season snowman and friends. The trees are from a pattern by Ann Wood Handmade.
I’ve included a new stitch on this project. It’s called a cast-on stitch. The instructions can be found on various sites. My favorite is Mary Corbet’s and a close second is Sara’s Embroidery.
Use the same finishing instructions as those in Tis the Season.
Enjoy!
Supplies
Christmas Angel Layout and Pattern - Download here.
Butternut Plaid stitch guide - Download here.
Felted wool or wool felt
Head - 3 1/2” square of flesh color of your choice
Chest - 3” square beige heather
Wings - 2” x 3” off-white
Cheeks - 1” x 2” pink
Hair - 2” square color of your choice
Leaves 1 & 4 - 1” x 2” yellow green
Leaves 2,3,5 & 6 - 2” square kelly green
Berries and candy cane - 2” square red
Background - 7” x 14” teal blue
Thread
Embroidery floss in colors that match your wool colors.
Embroidery floss - black for facial features
Embroidery floss - gray or beige for dark colored hair detail
Ricky Tims Razzle Dazzle, color #274 - Halo and chest outline ( This is a sparkly polyester thread about the same thickness of a perle cotton, size 8)
Perle cotton, size 8 - variegated brown for the holly stems and veins of leaves (I used Valdani P9)
Perle cotton, size 8 - ecru or variegated off-white ( I used WonderFil EZM1011) - use for wing outline and embellishment, also for the collar of the angel’s gown.
Perle cotton, size 8 - black for finishing
Miscellaneous
Feather weight fusible web - There are several brands available, Softfuse Premium or HeatnBond feather weight are both good choices.
Sulky Sticky Fabri-Solvy - Used to accurately transfer facial and hair detail to wool (You can also just use a fabric marker to draw directly onto your wool using the layout as a guide)
Freezer paper - I buy this at my local grocery store. It's sold in a roll 18" x 33 1/3 yards and made by Reynolds. It’s also sold in 8 1/2” x 11” sheets for quilters by C. Jenkins. The patterns cut from freezer paper can be used multiple times. I have used the same pattern piece at least 6 times.
Air erasable fabric marker - I used Clover 5032 Purple Fine Air Erasable Marker
Chenille needle - size 22 (size 8 thread) and size 24 (floss)
Milliners needle, size 1 - used for the cast-on stitch collar
Small embroidery scissors
Polyester fiberfill
20 gauge black wire - 10" length used for the hanger (I bought mine from JewelrySupply.com
Small wire cutters
Needle nose pliers
Steam iron
Optional lightbox - use this to trace your patterns onto fusible web and to trace your embroidery guide lines onto the Sulky Sticky FabriSolvy
Optional 3/8” and 1/4” circle leather punch - used to make berries ( I used punches from a set of Owden leather punches. The punches make perfect circles in various sizes )
Instructions
Trace all patterns (except background) onto fusible web. Images are already reversed for use with fusible webbing.
Note: If you are using a punch for your berries, there is no need to trace them onto the fusible webbing. Just iron a small piece of webbing onto the red wool and then punch out your berries (I punch from the paper side to get a cleaner punched circle).
Perfect little wool circles!
2. Cut out pattern pieces leaving a small (1/8”) border around each.
3. Fuse pattern pieces onto wool according to manufacturer’s instructions.
4. Cut out wool applique pieces along drawn lines. Set aside until needed.
5. Make a copy of the pattern page 2, and then cut out the background pattern along the drawn line. Note: A freezer paper pattern can be made instead. Trace the background pattern onto freezer paper, and then cut out the pattern leaving a small (1/8”) border.
6. If you are using the plain paper pattern use the following method of cutting the background.
Note: You will be cutting 2 pieces of fabric.
Fold the 7” x 14” background fabric in half.
Pin the pattern to the folded background.
Cut out along outline.
7. Freezer paper method
Cut the background fabric in half to make two 7”x 7” pieces.
Iron the freezer paper pattern onto one of the background pieces.
Cut out the pattern along the traced line. Carefully peel away the freezer paper.
Iron the freezer paper pattern onto the remaining background fabric.
Cut out the pattern.
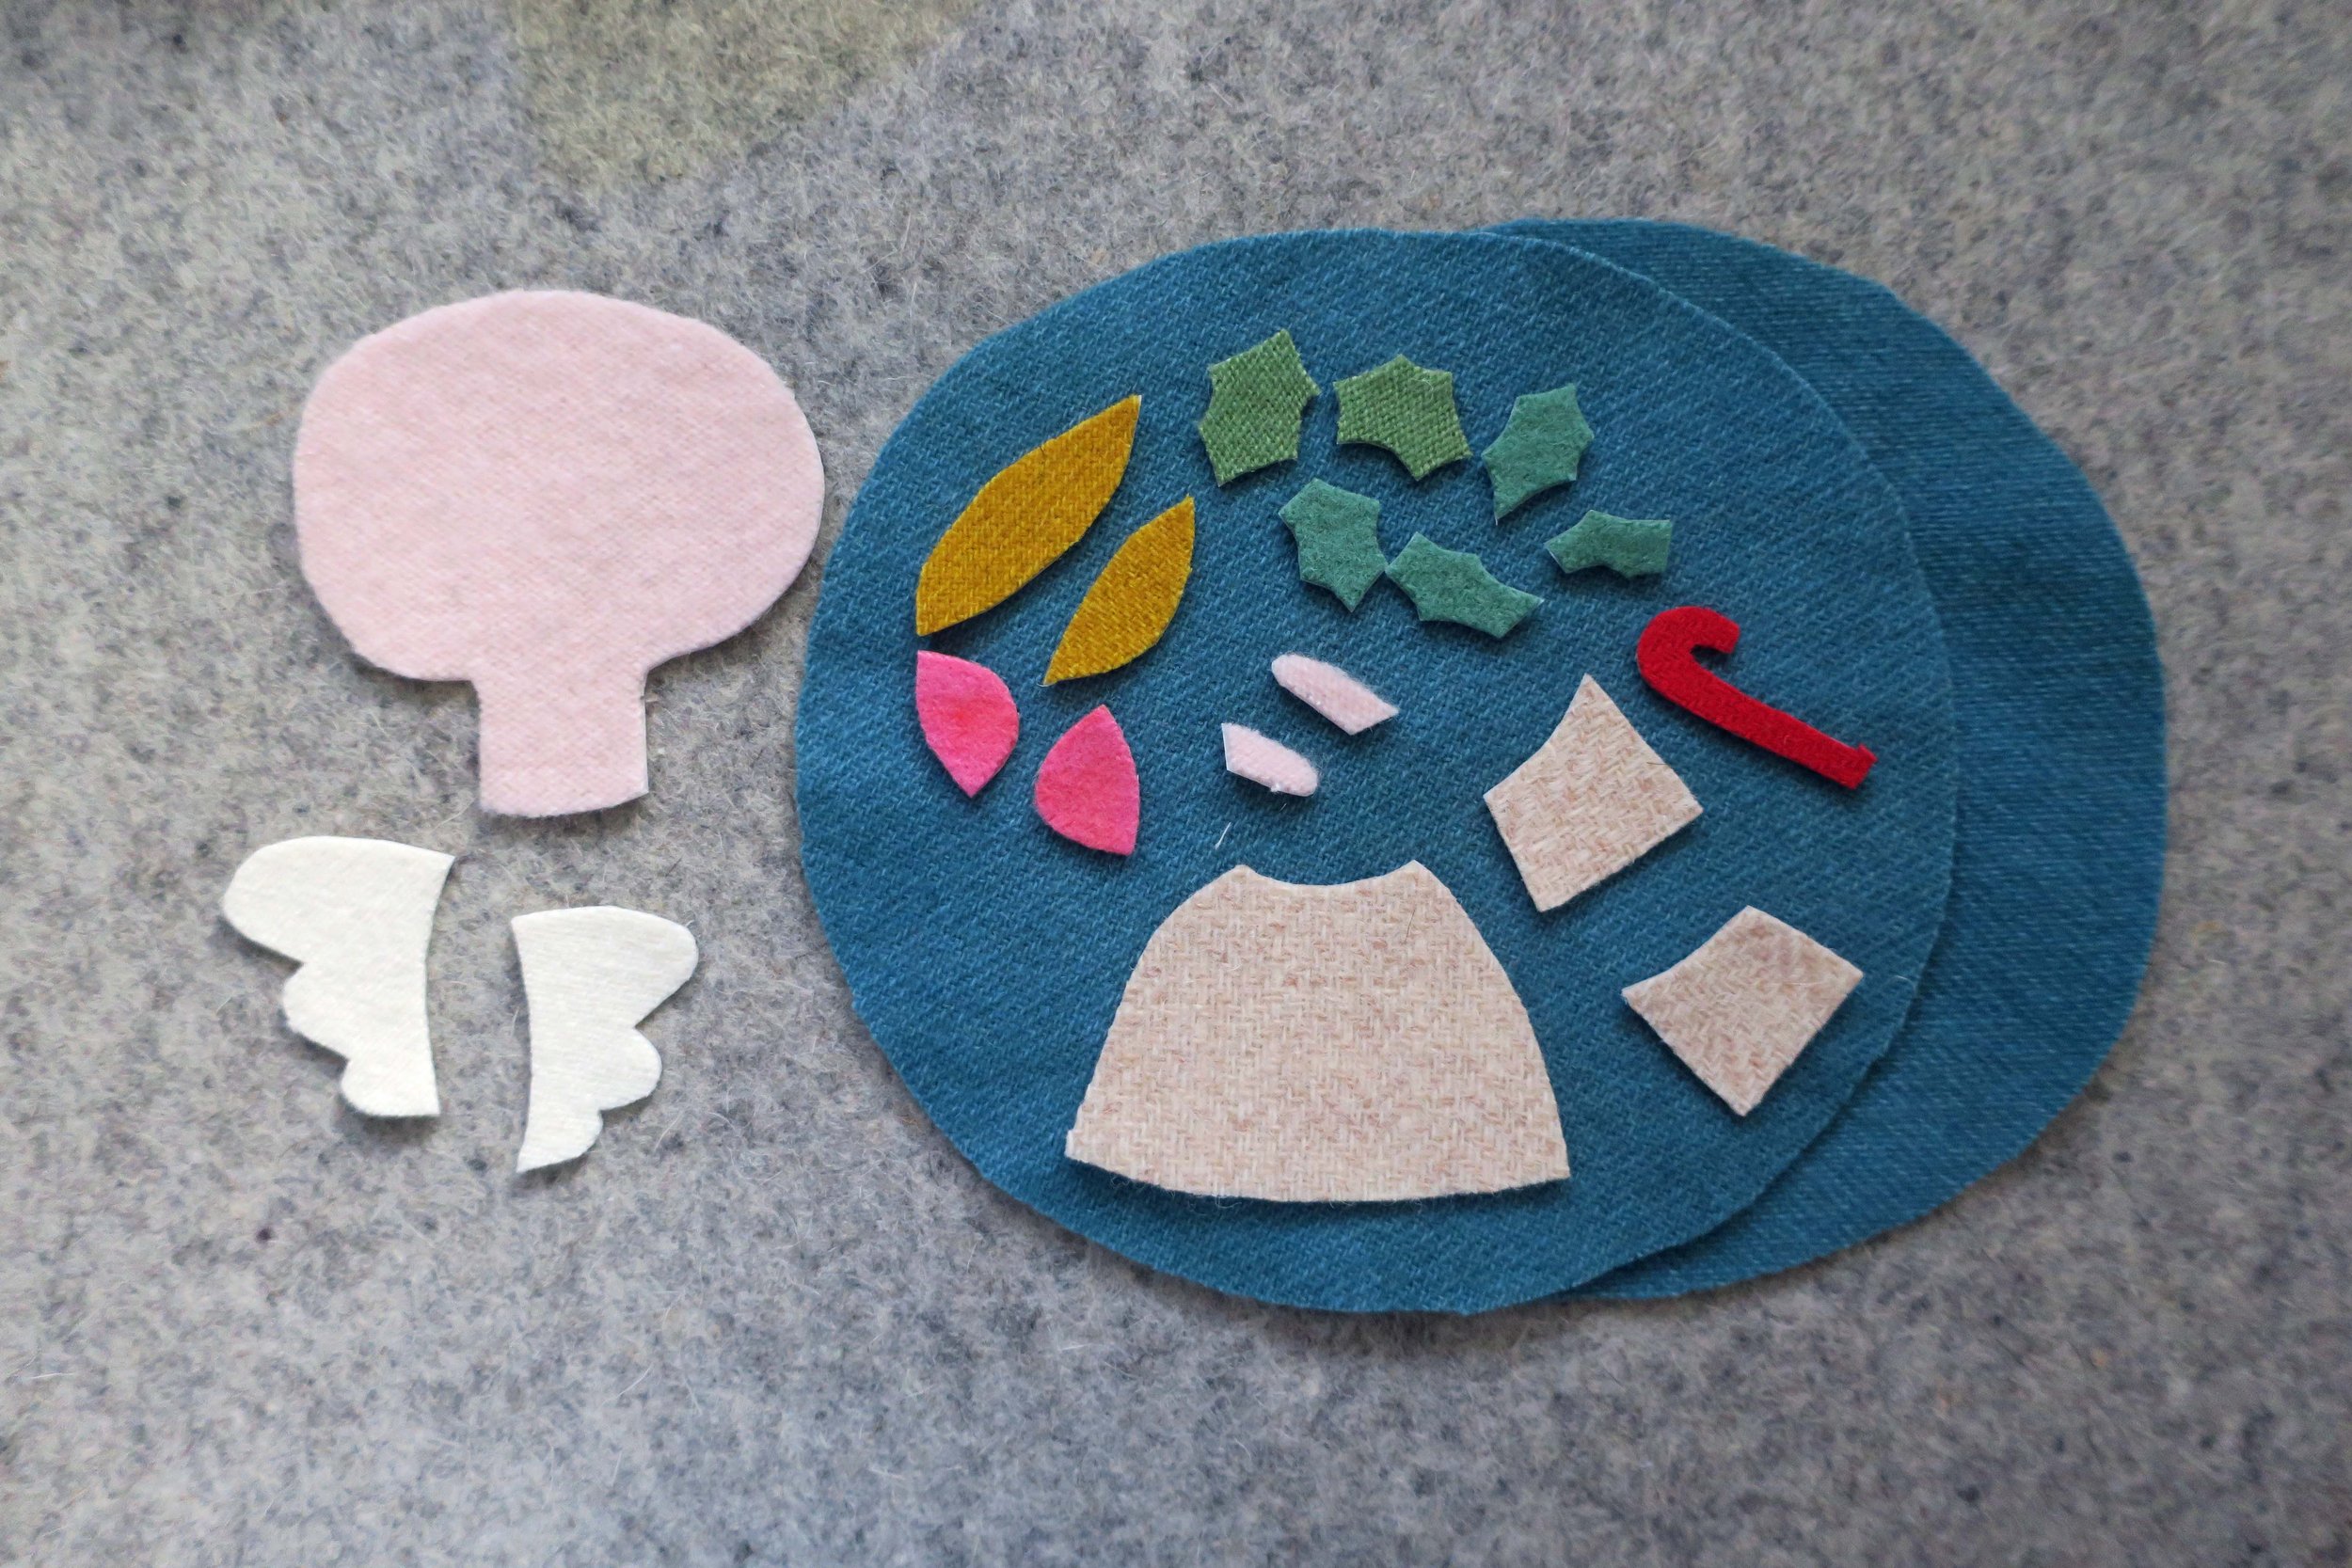
Wool pattern pieces for Christmas angel with front background and backing. Berries have yet to be cut out.
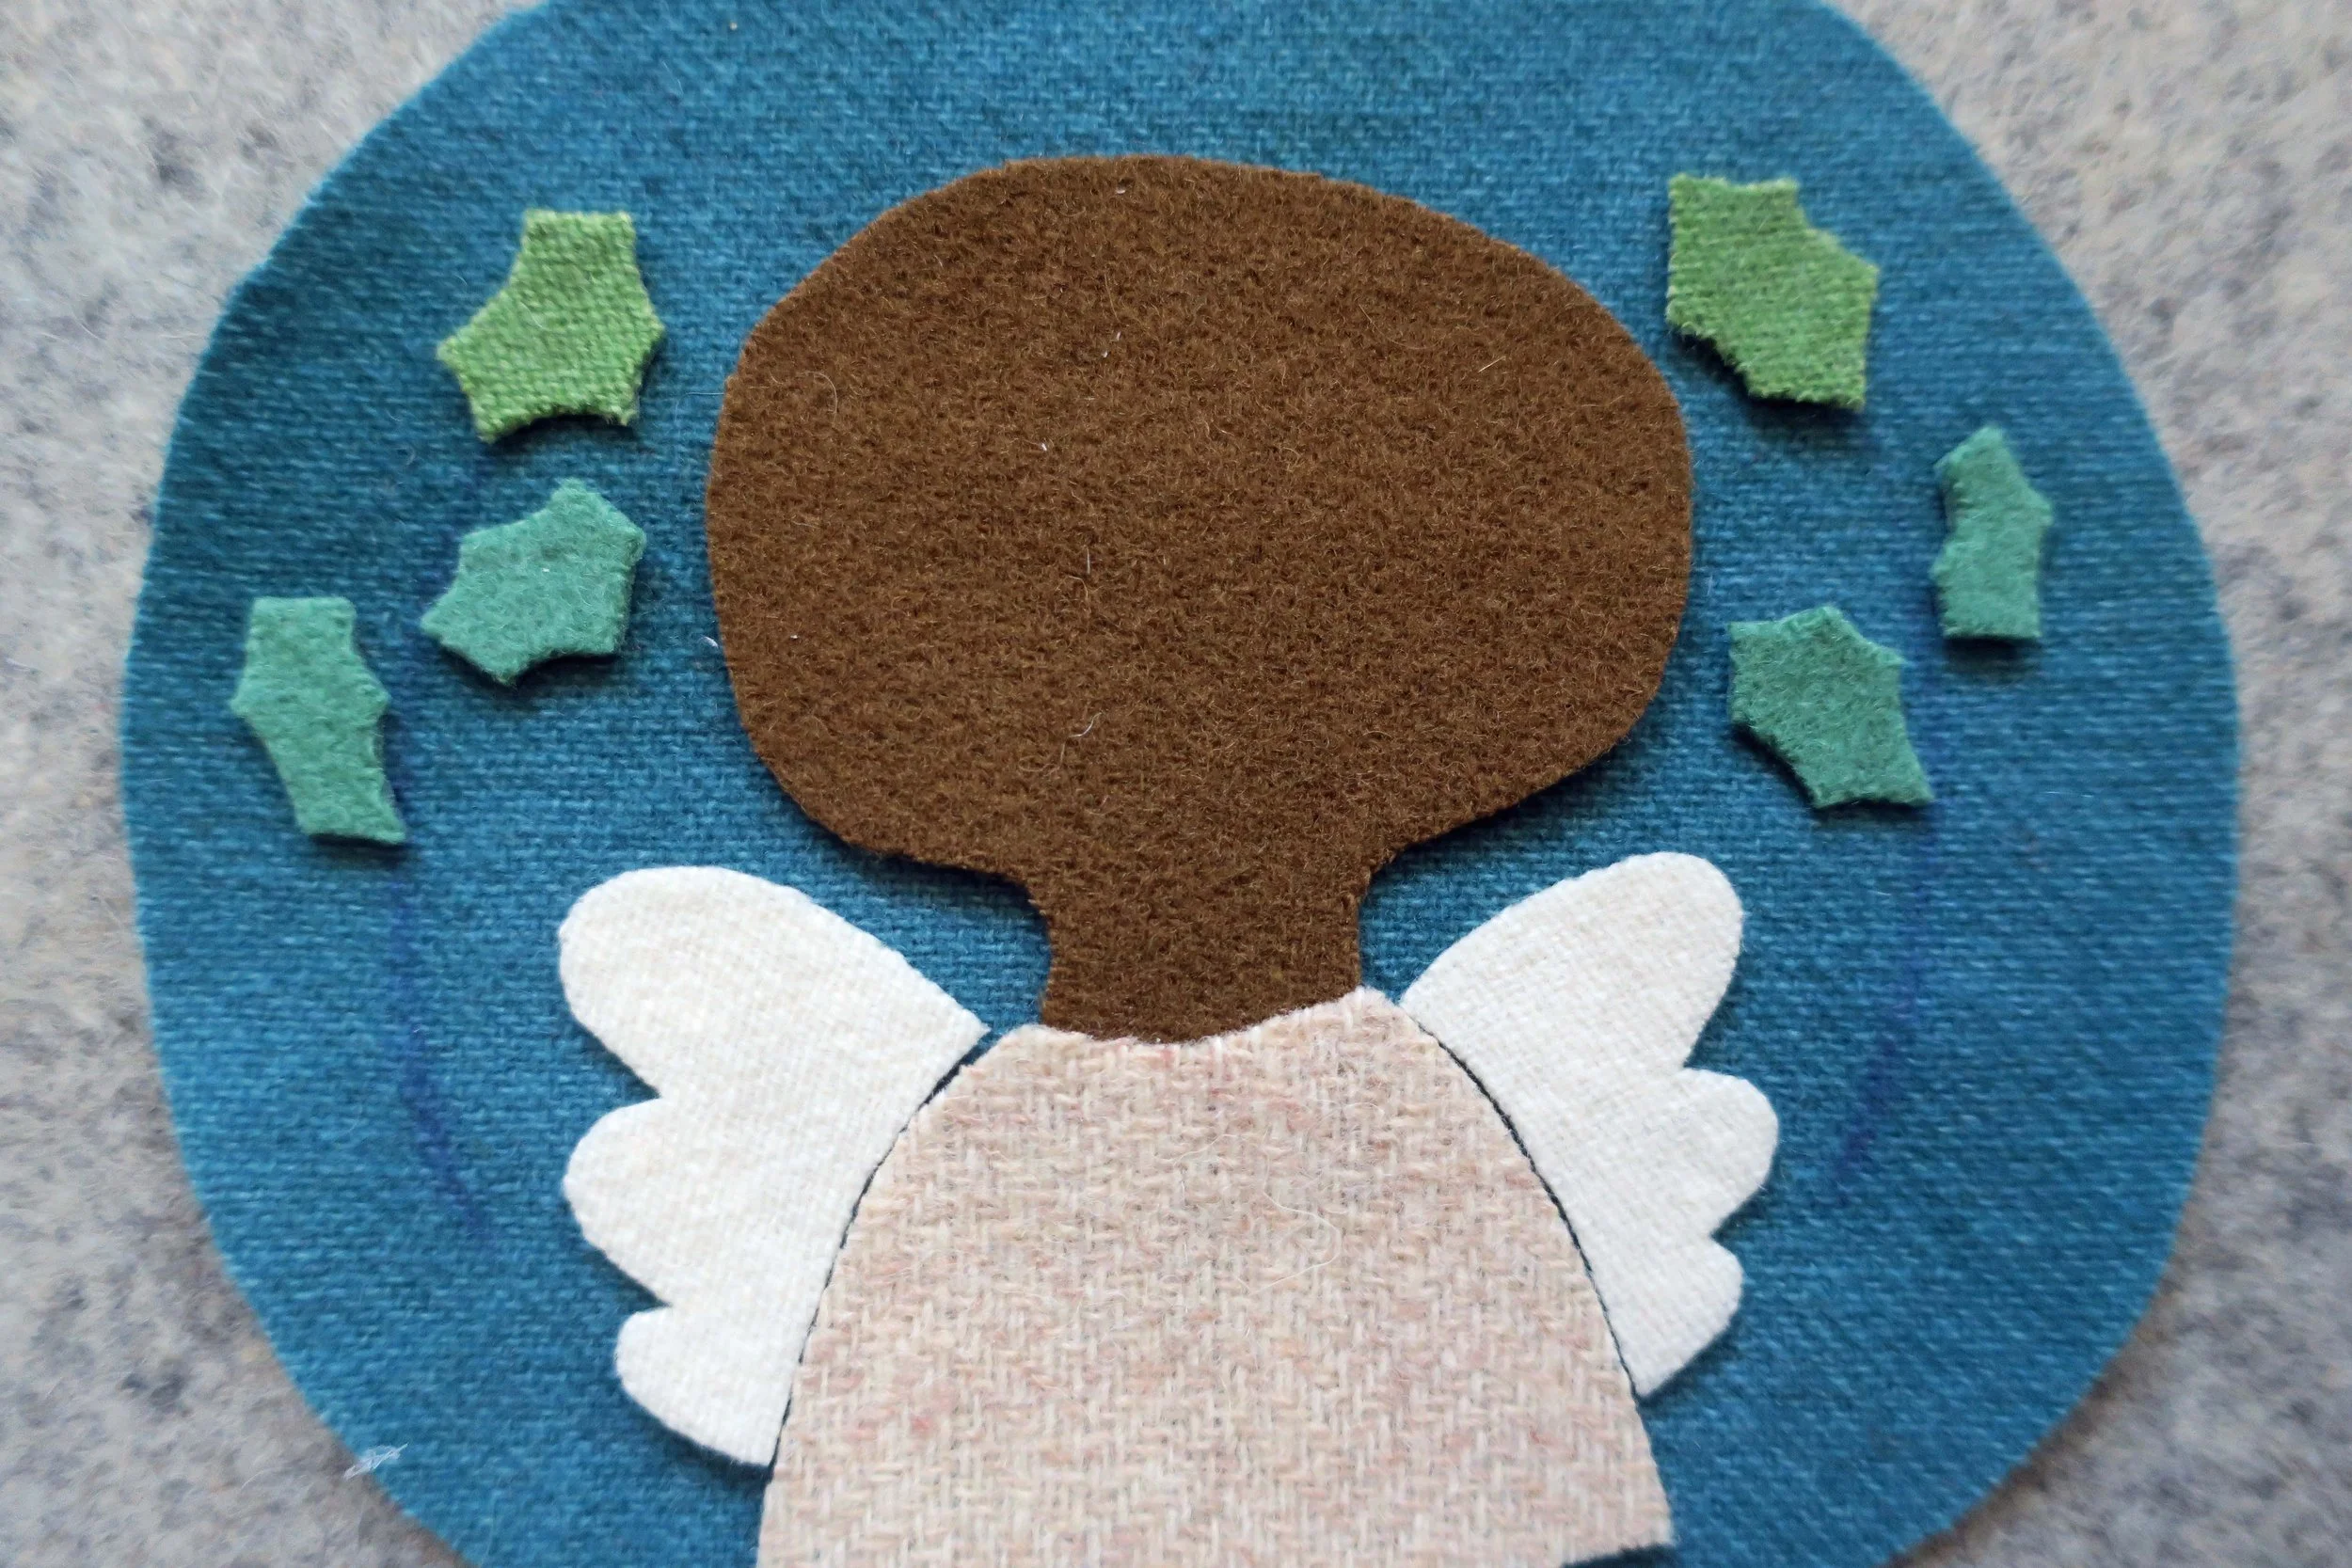
Wool pattern pieces for Christmas angel with background.
8. Position the angel’s head, chest and wings on the background wool. The chest should overlap the neck slightly. Use your iron to fuse the pieces in place.
9. Use a air erasable fabric marker to draw the holly branches using the layout as a guide.
10. Position the leaves on the stems and then fuse in place.
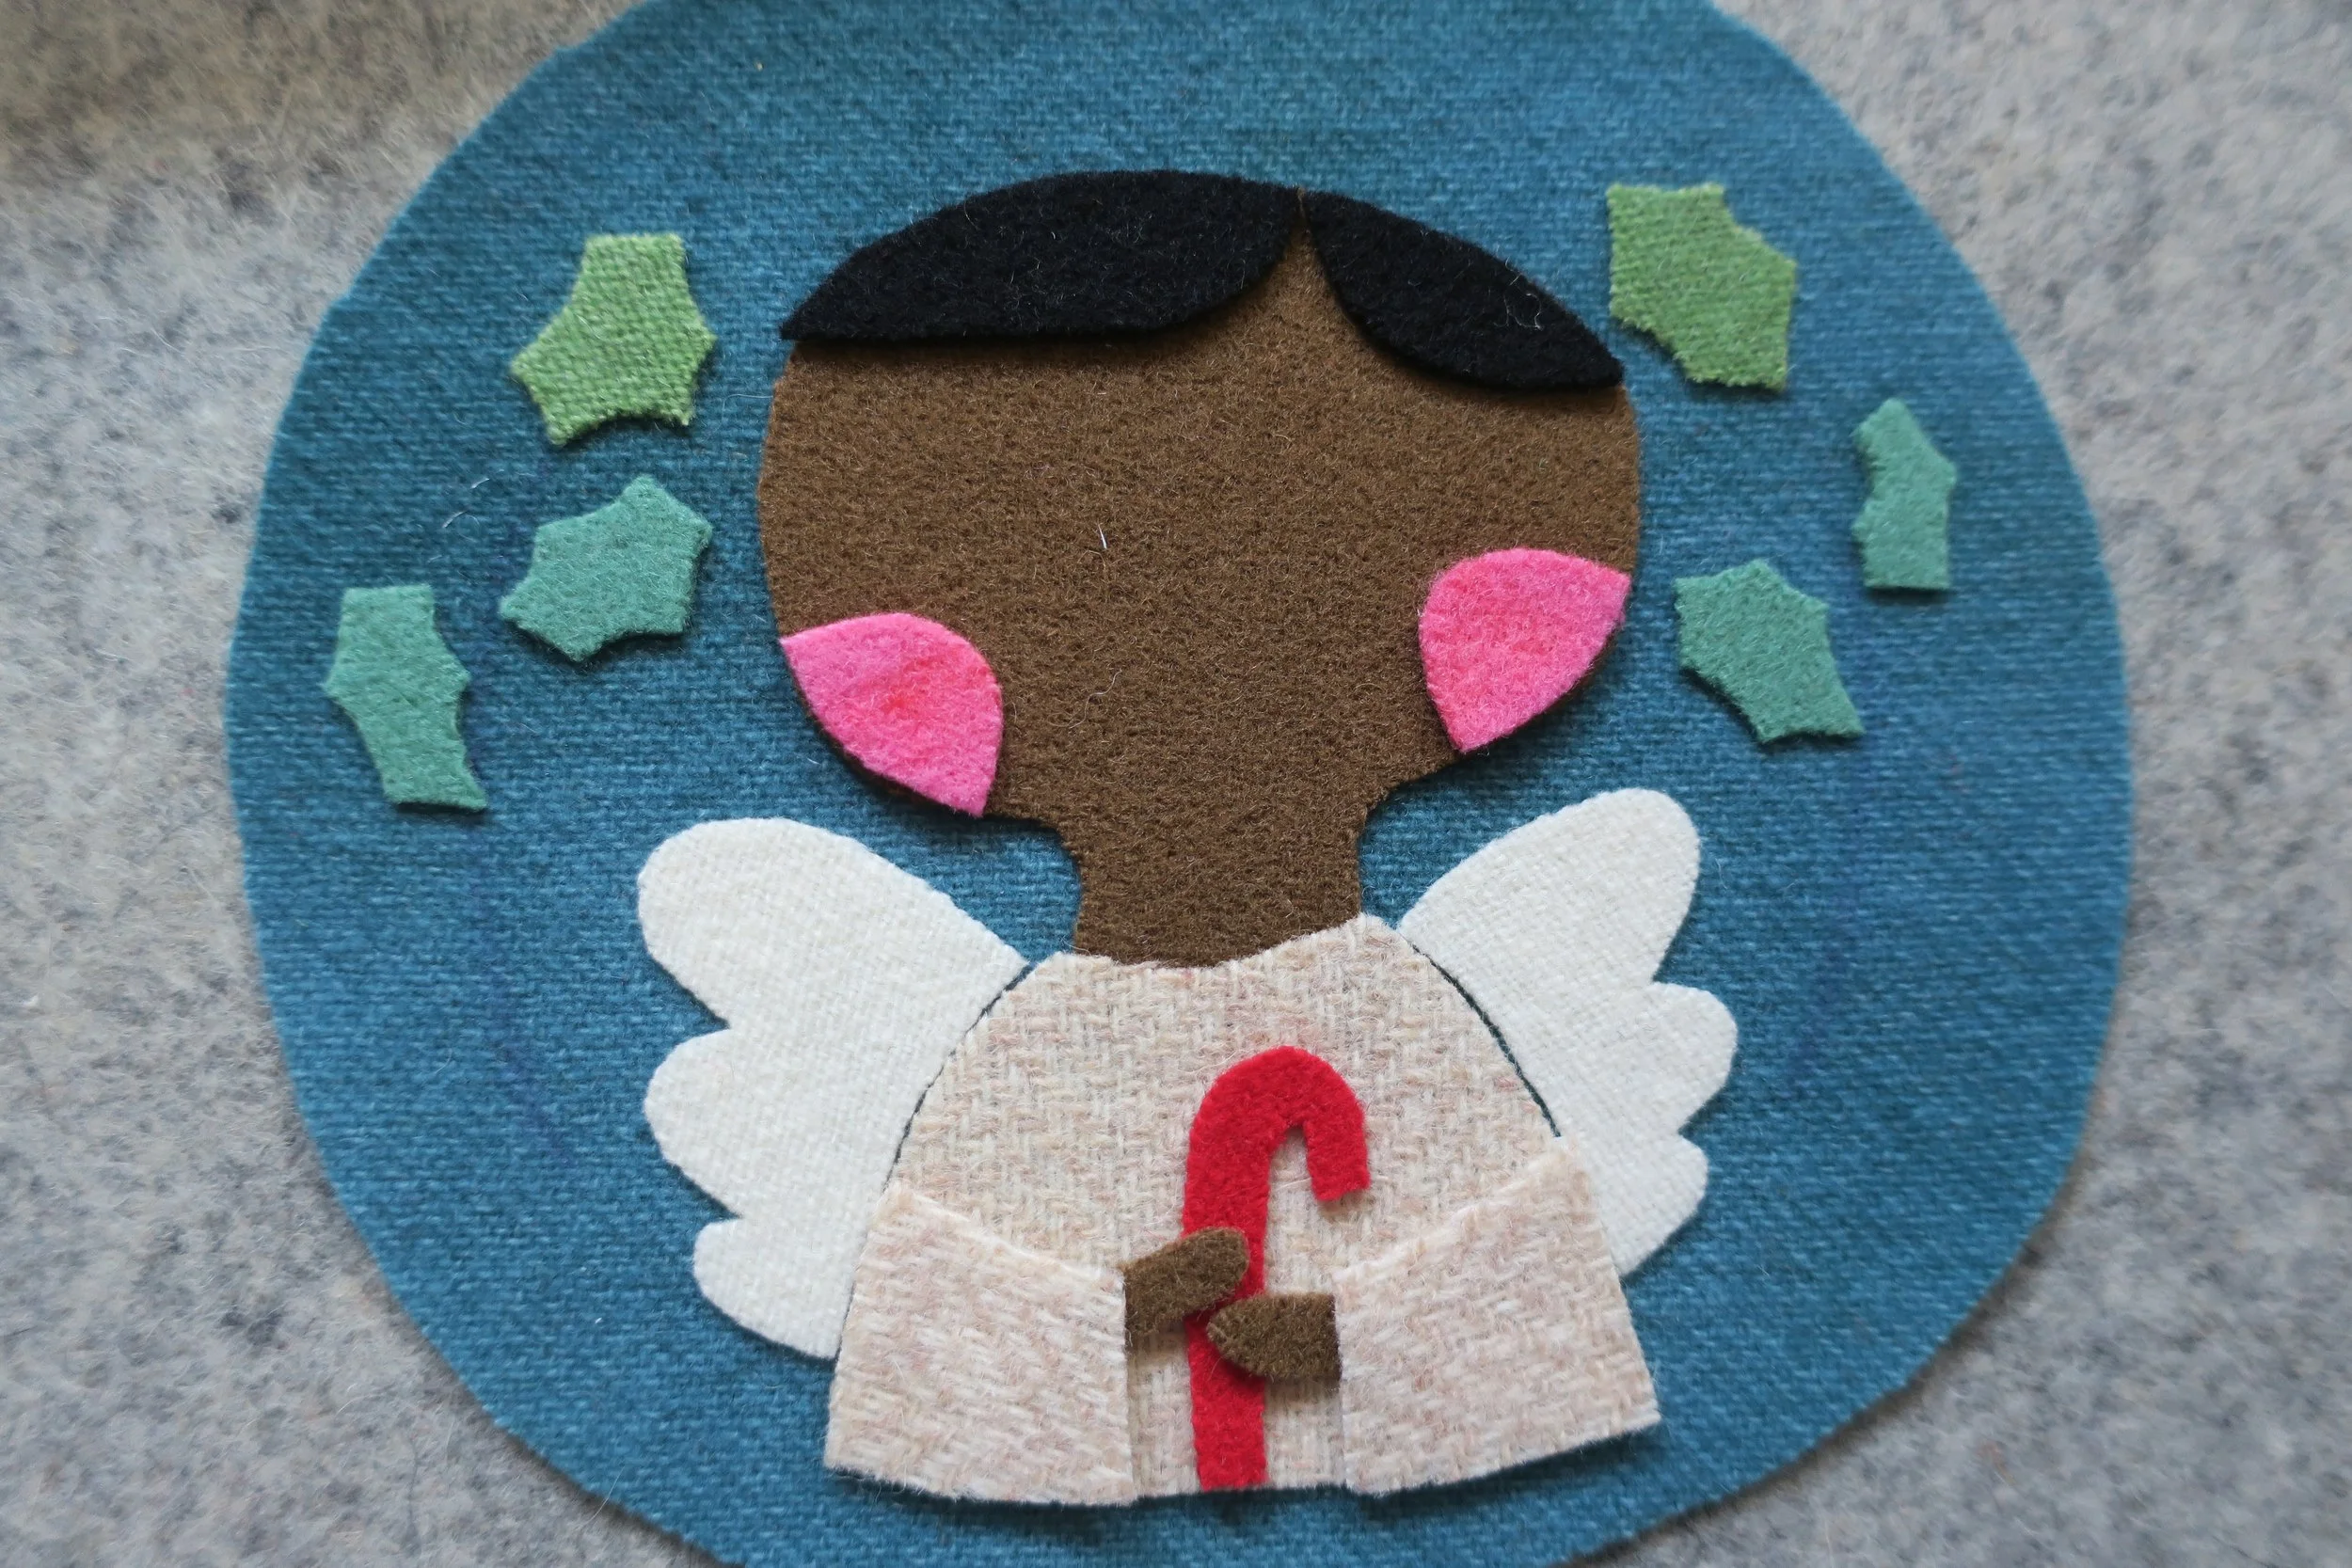
11. Position the sleeves, hands, candy cane, cheeks and hair using the layout as a guide. The sleeves should cover the hands slightly and the candy cane should be tucked under the hands. Correct placement of the cheeks is important. Make sure there is room for the eyes.
12. Fuse in place.
13. Whip stitch all the pattern pieces in place using 1 strand of embroidery floss in colors that match your wool colors. Begin with the smallest pieces first.
14. Draw the veins of each of the leaves using a air erasable marker. Redraw your branch line if it has disappeared.
15. Use 1 strand of brown perle 8 to back stitch the veins of the leaves. Use the same thread to stem stitch the holly branch.
16. Now let’s position those berries! Use the layout as your guide. Fuse in place.
17. Whip stitch the berries in place using thread that matches your wool.
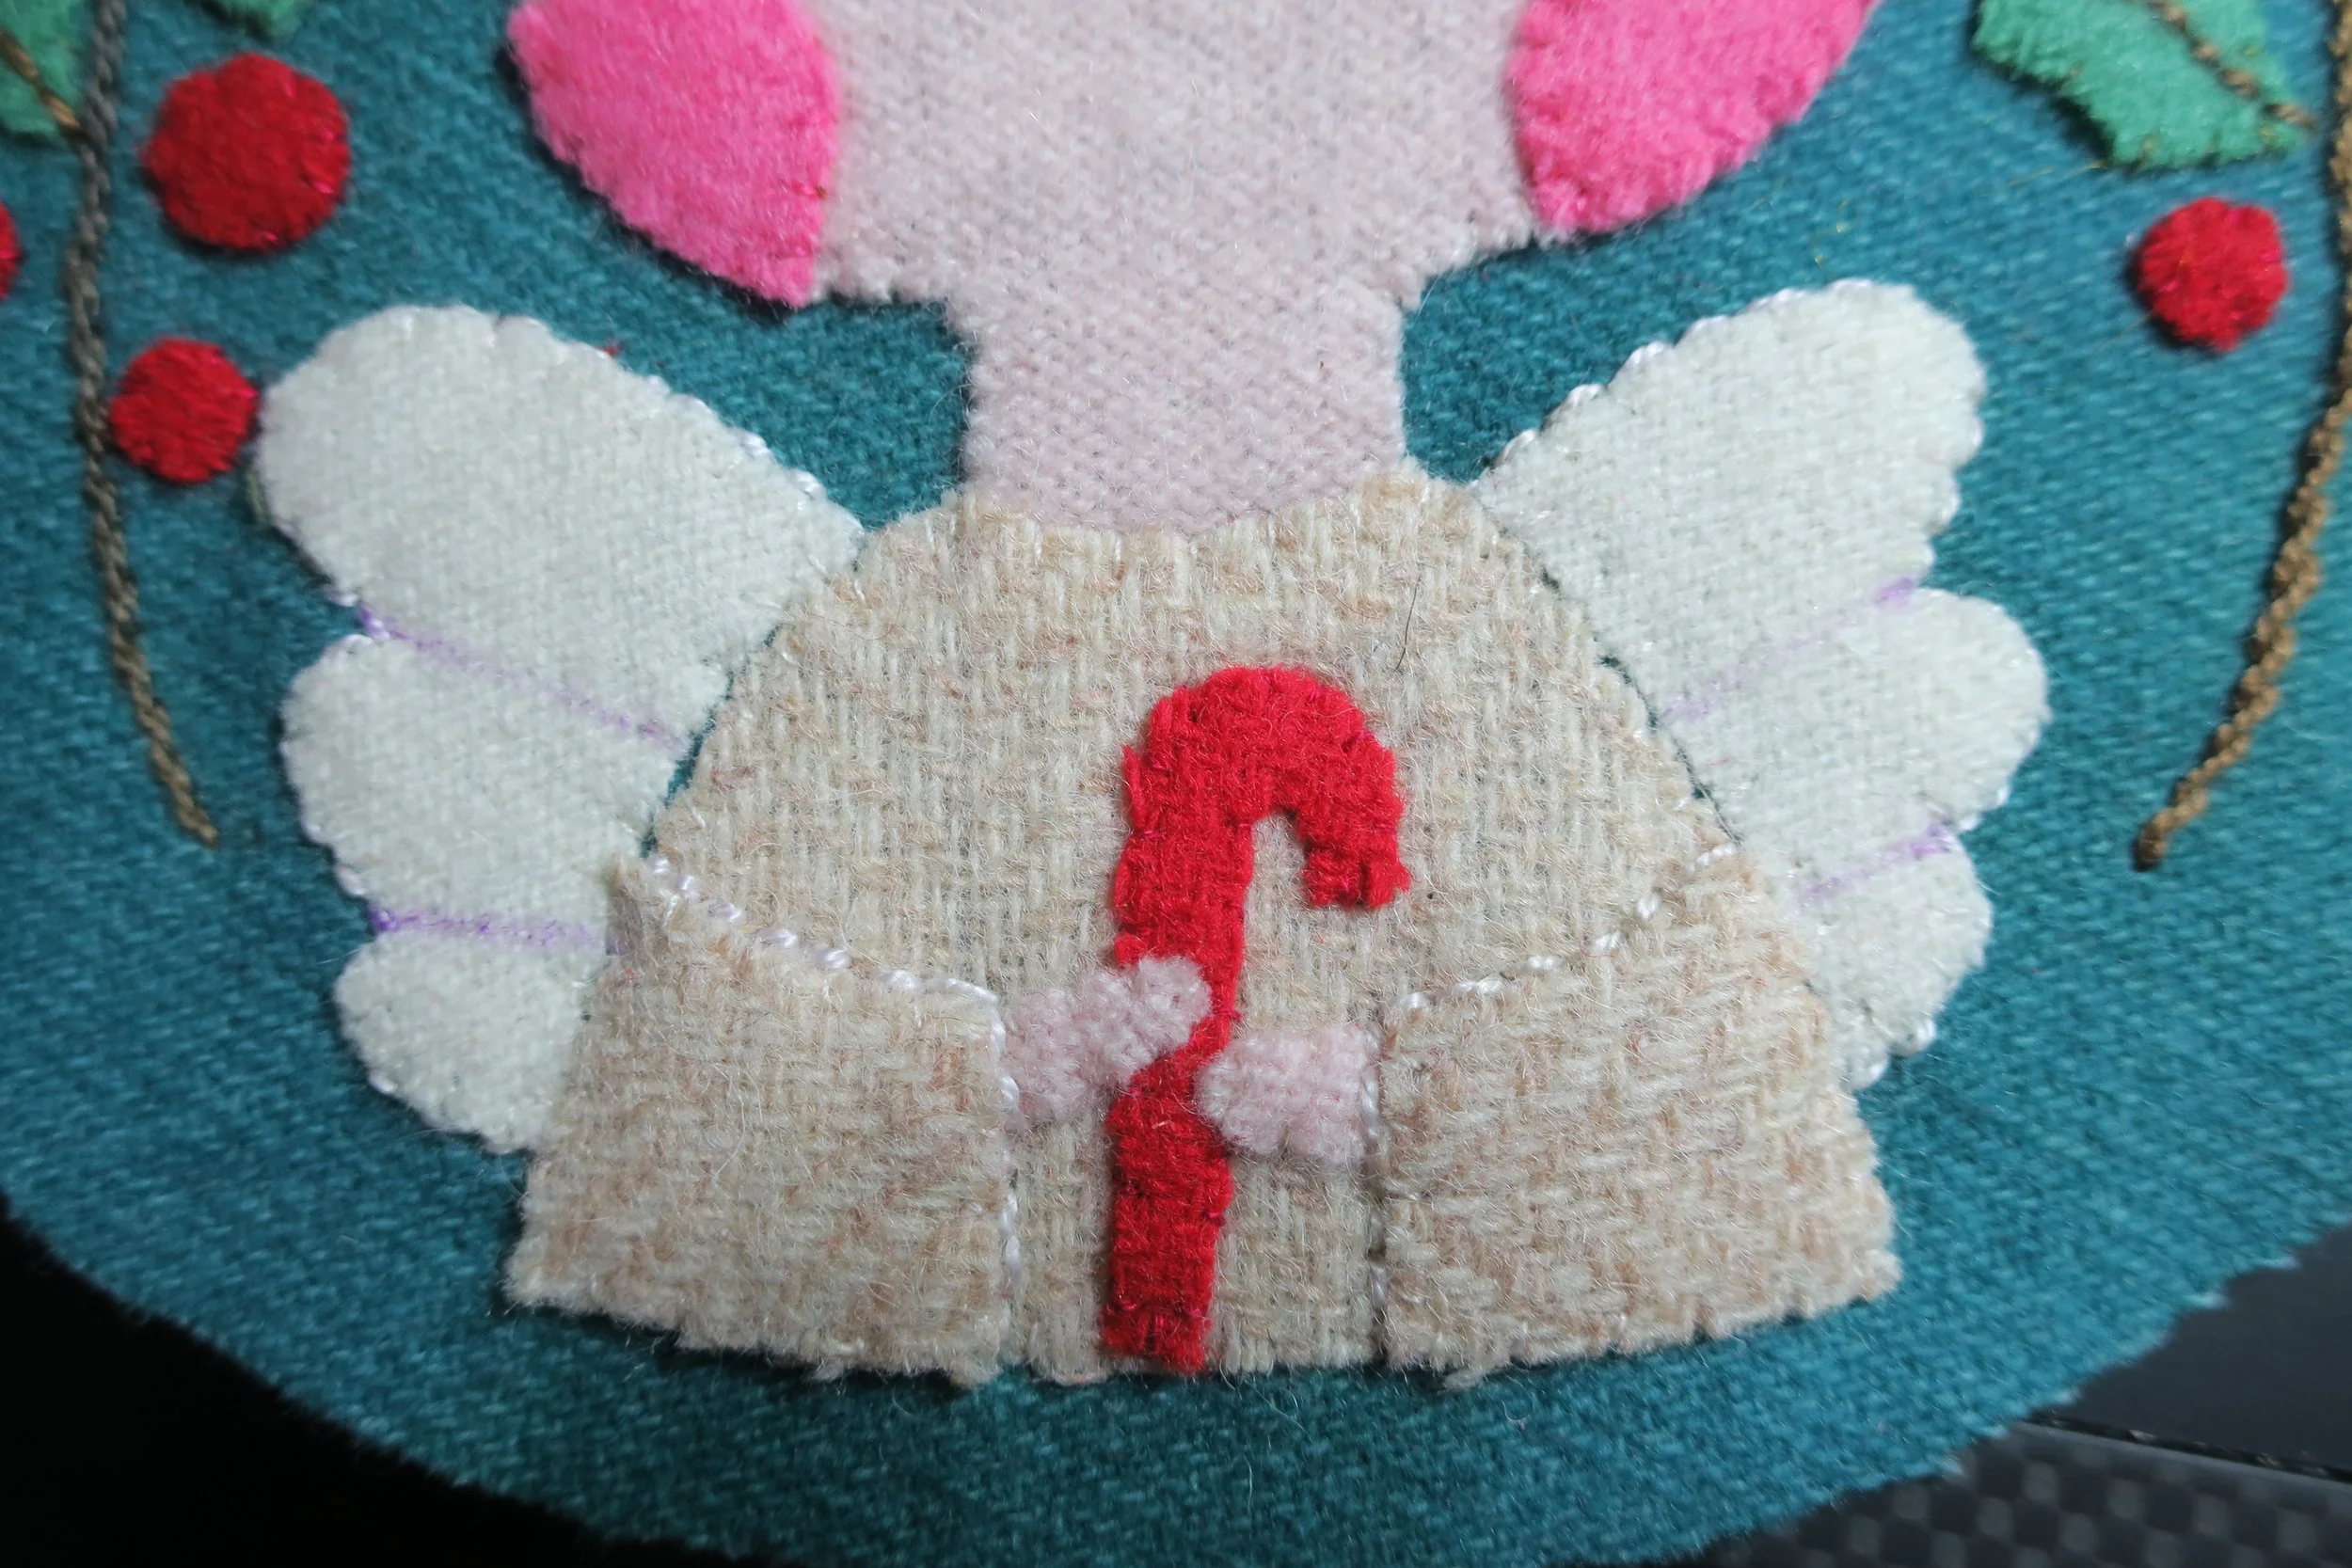
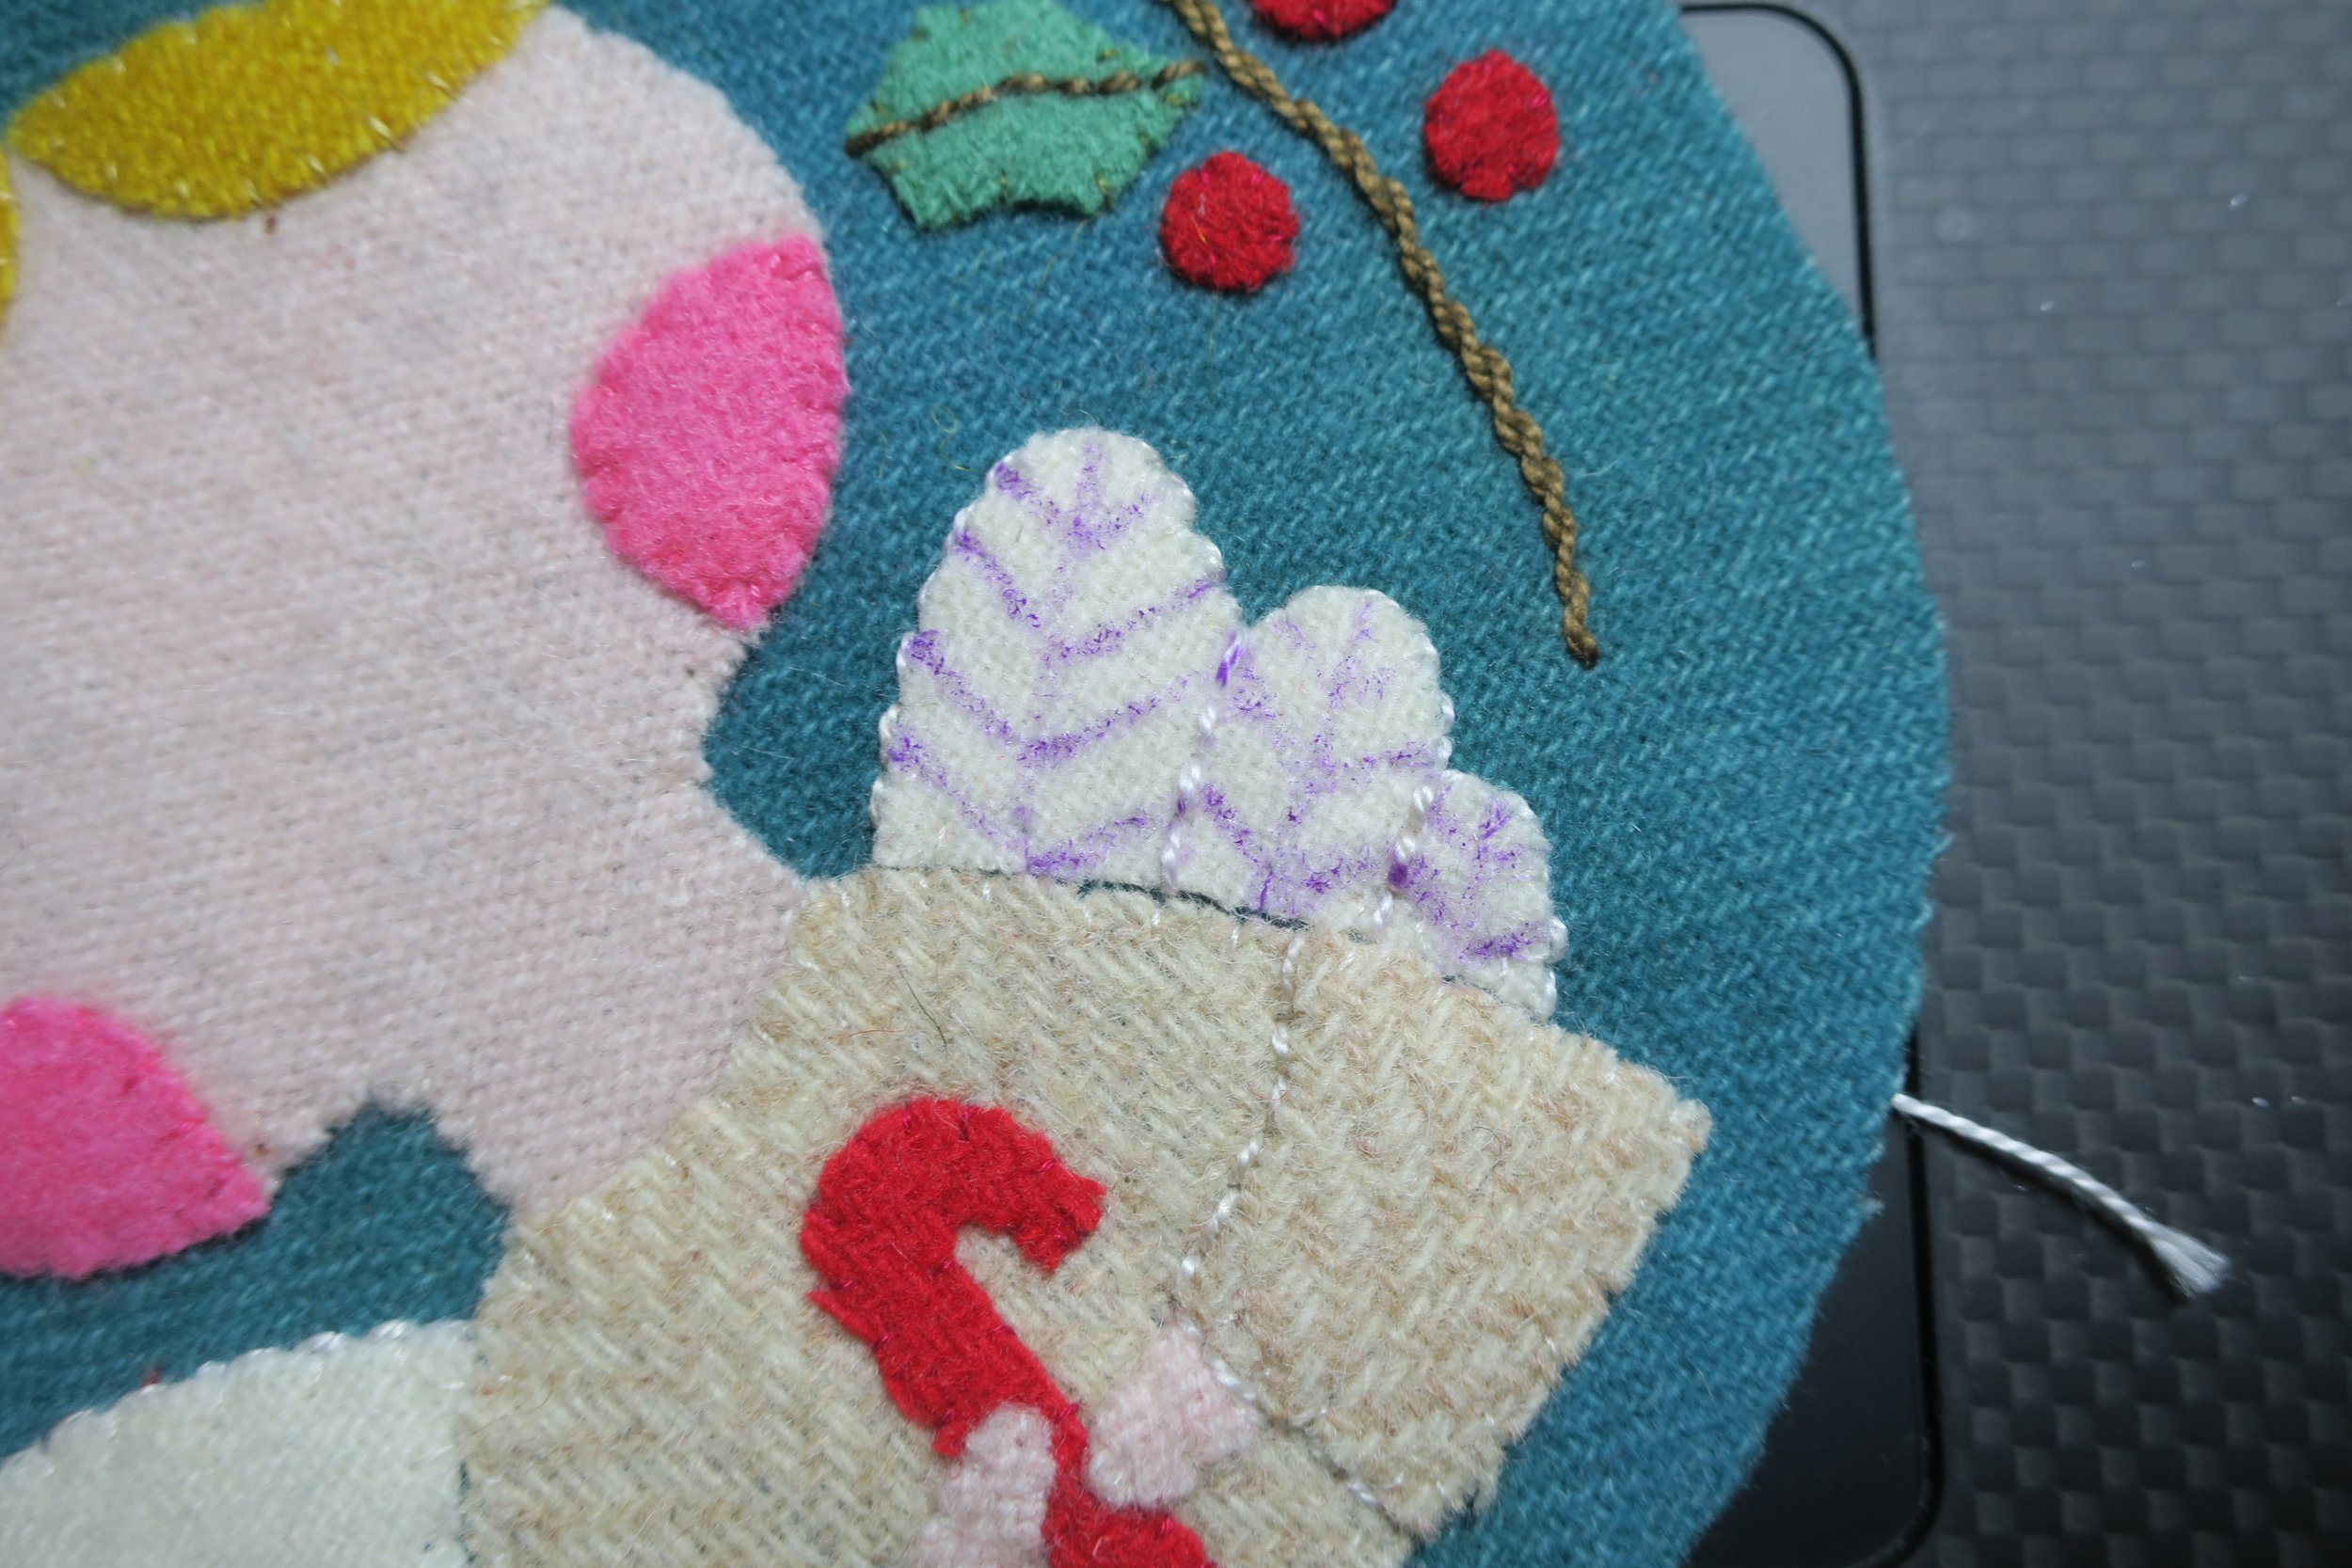
18. Use 1 strand of the variegated cream perle 8 (EZM1011) to back stitch around the wings and top and end of the sleeves.
19. Mark the lines between the feathers on each wing using the layout as a guide.
20. Use 1 strand of the variegated cream perle 8 to back stitch over the drawn lines.
21. Draw the details of each individual feather using the layout as a guide.
22. Use 1 strand of the variegated perle 8 to make a closed fly stitch over the drawn lines.
23. Use 1 strand of the variegated cream perle 8 to make a series of 3 satin stitches on the candy cane to represent stripes.
24. Use 1 strand of the same thread to make a single small x on each berry. Use the layout as a guide.
25. Use the same thread and a milliner’s needle, size 1 to make 2 cast-on stitches to create the collar on the angel’s gown. Use the tutorials noted at the beginning of this post.
26. Use 1 strand of Razzle Dazzle, color #274 to back stitch an outline of each side of the angel’s gown.
27. Now let’s work on the face. Take out a sheet of the Sulky Sticky FabriSolvy and then trace the eye brow, nose, eyes, mouth, and hair detail onto the non paper side of the sheet. Cut out the design leaving about 1/2” border.
28. Remove the paper backing and then positioning it onto the face of the angel. Make sure the eyes are positioned between the cheeks and the hair. Press down to adhere.
29. Use 1 strand of black embroidery floss to stem stitch the eyes, nose and brow.
30. Use 3 strands of the same floss to make French knot in each of the eyes.
31. Use 1 strand of black floss (blond or red hair) or gray floss (for black hair) to stem stitch the strands of hair.
32. Use 1 strand of Razzle Dazzle, color #274 to back stitch the halo.
33. Use small embroidery scissors to remove as much of the Sticky FabriSolvy as you can. I do this so I don’t have to wet my project entirely.
34. Wet a small cloth with warm water and gently dab the areas with the Sticky FabriSolvy. This will dissolve it.
35. After your project has dried, you can start assembly of the ornament. Refer to Tis the Season for instructions on how to sew and stuff the ornament. The hanger instructions can also be found there.
Sara, from my friendship group made these two adorable angels for her daughter and son. I love their checked gowns, and the pigtails and bow on the little girl is brilliant!
Peace to all!


