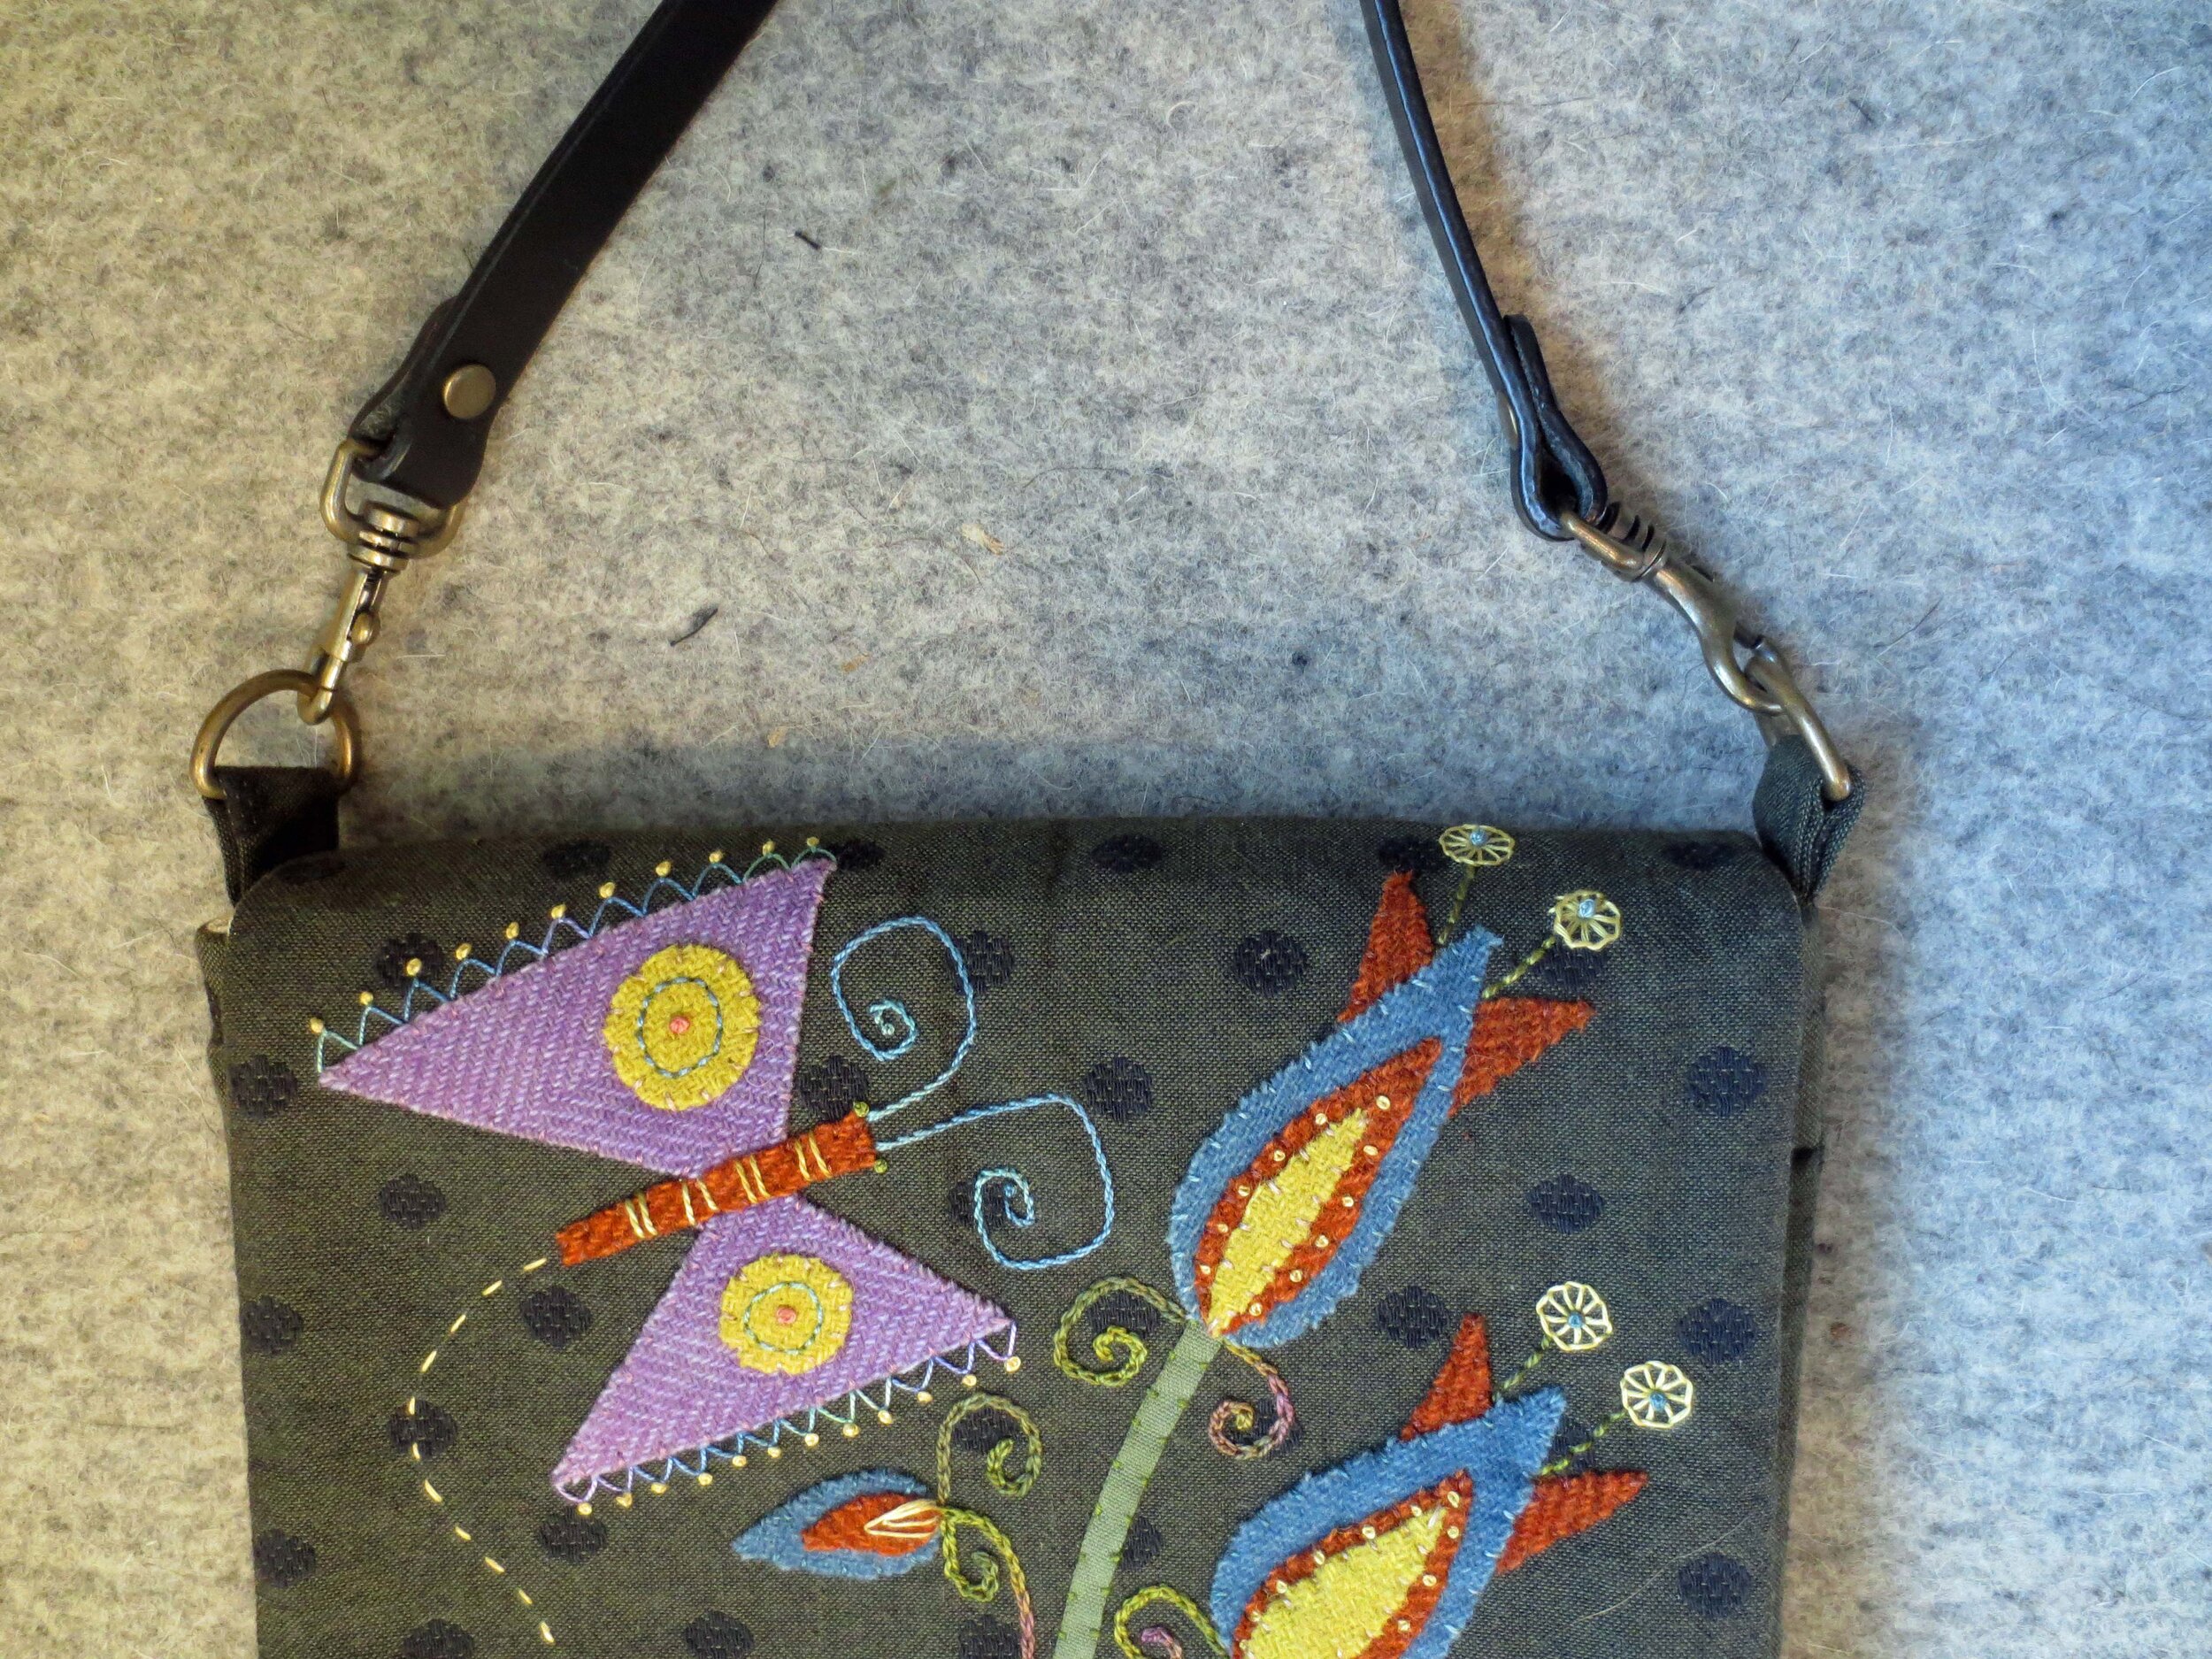
How to Make a Simple Fabric Cross body Bag
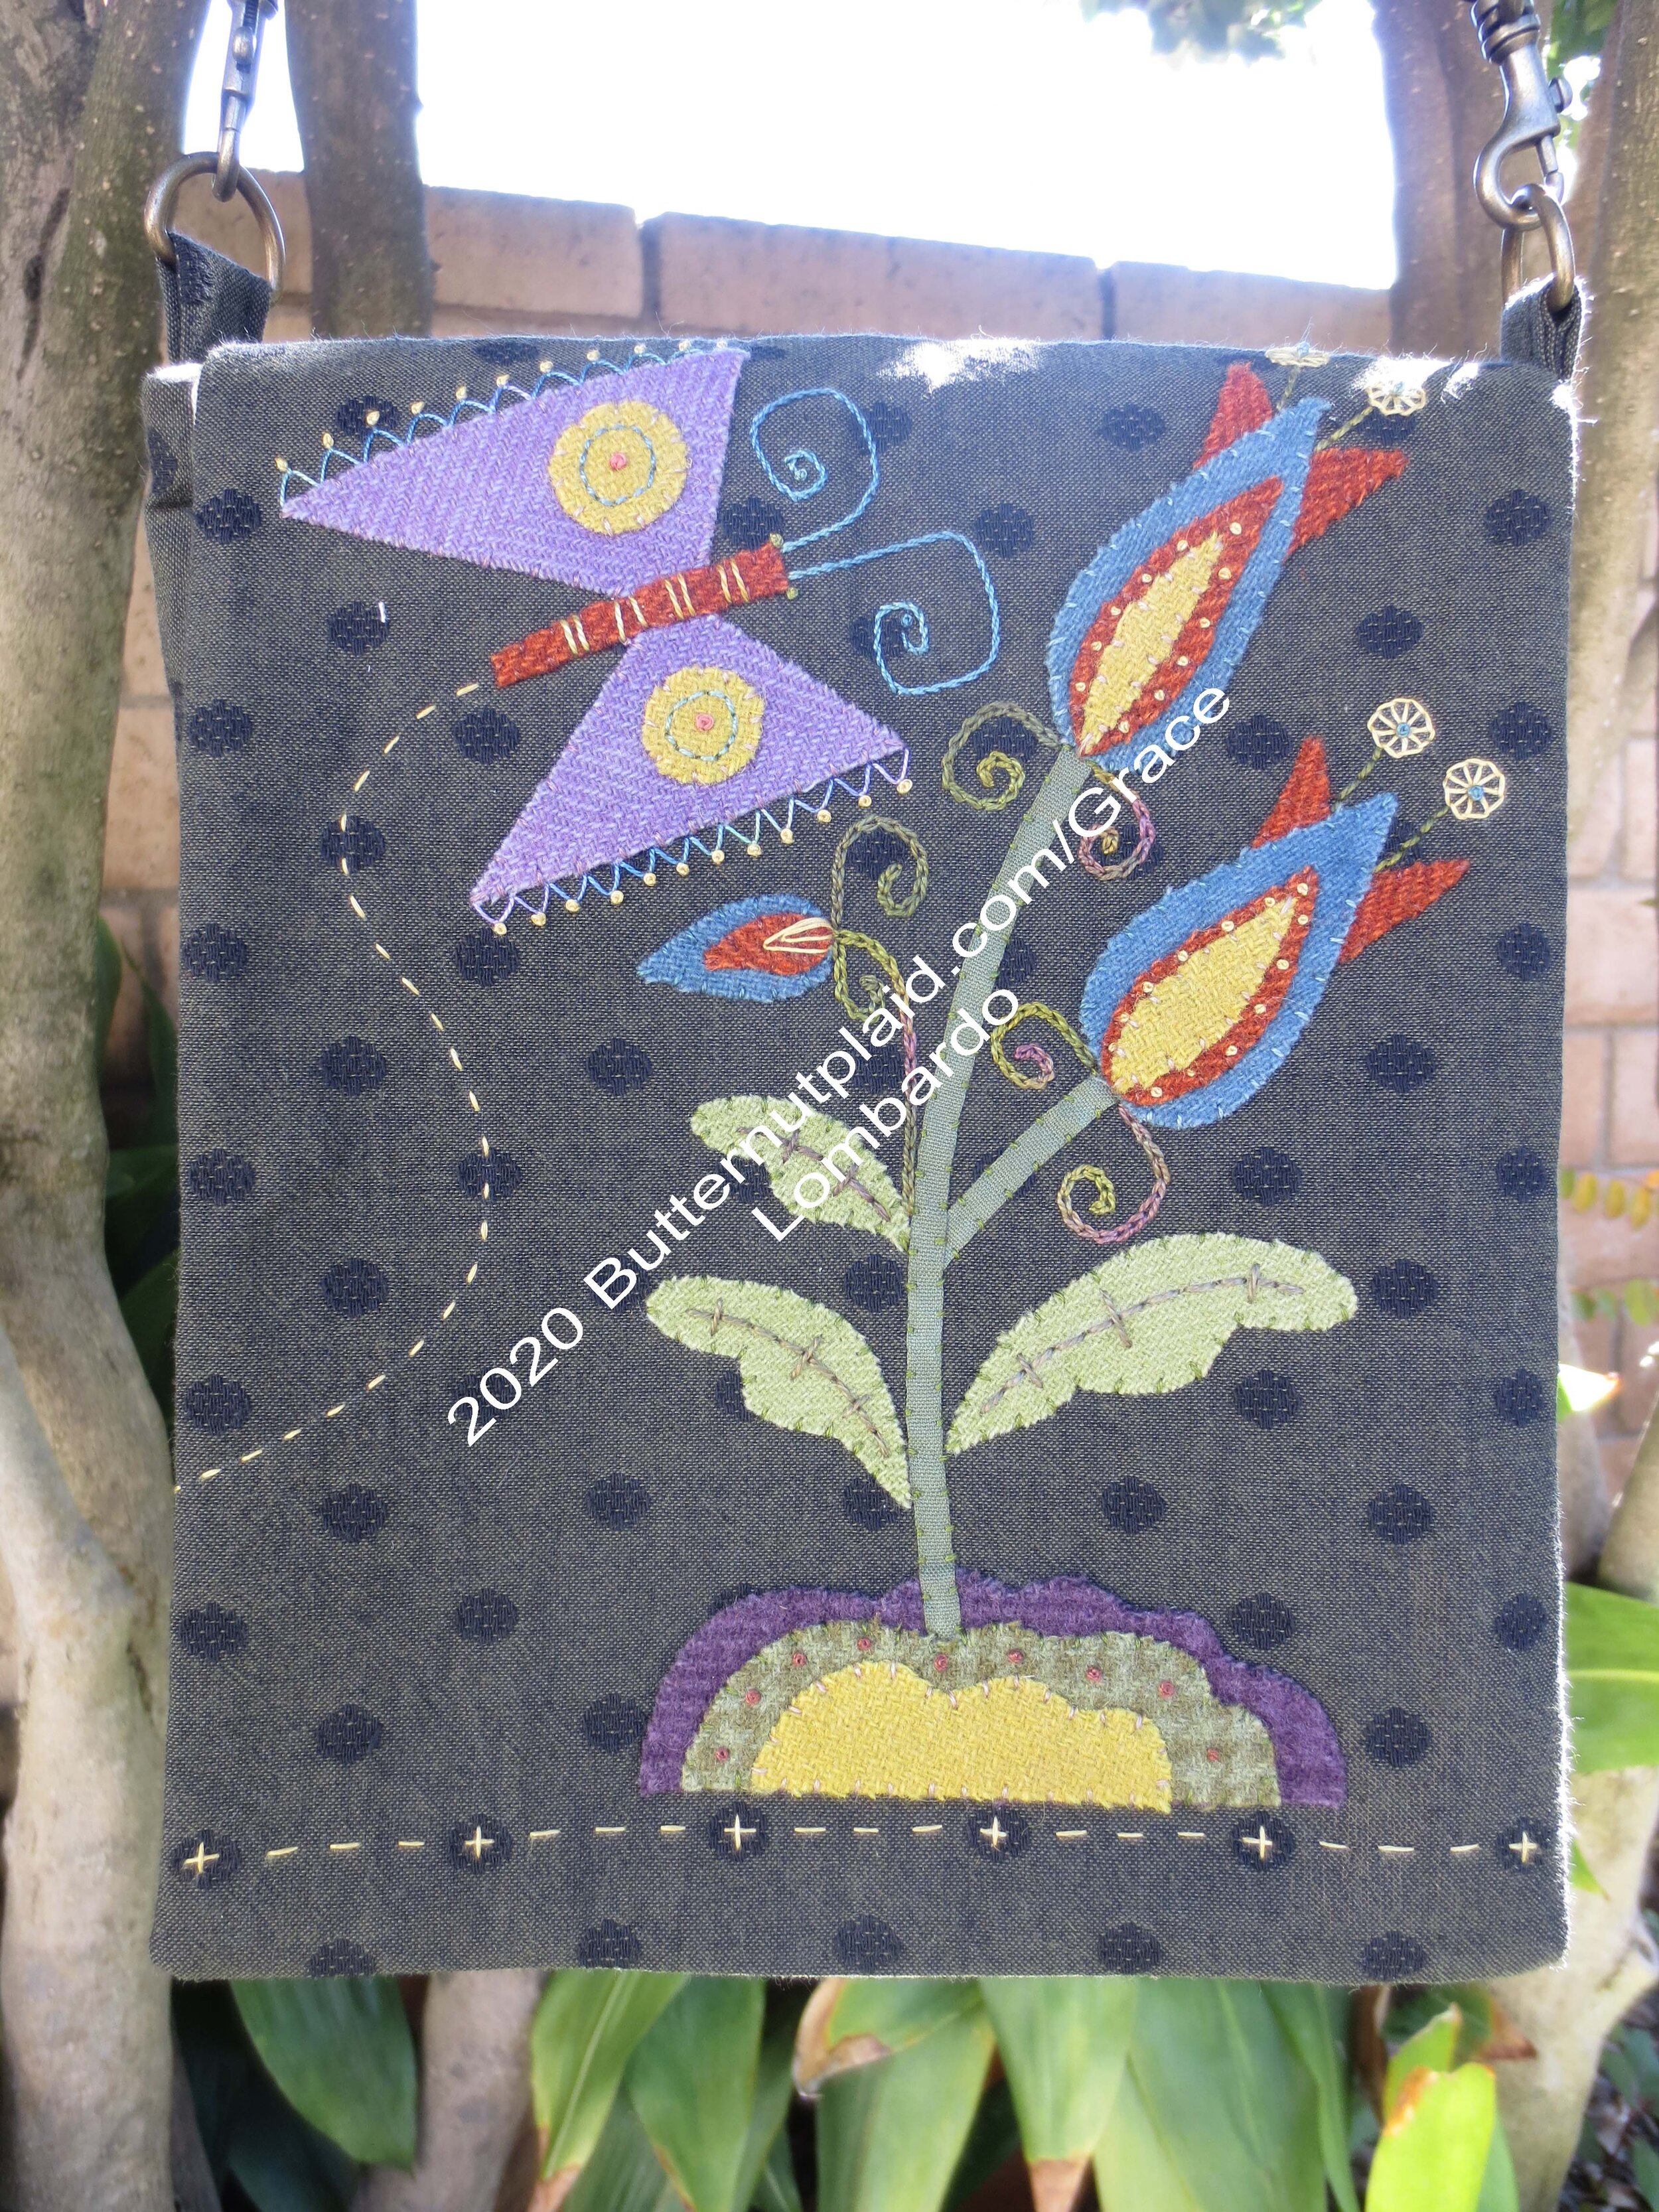
I made this simple bag mainly to have a canvas for some of my wool applique designs. I made one to hold my kindle a few years ago with a simple bird on a persimmon branch. The tabs were sewn in the sides of the bag instead of the top. This lead to some distortion of the top of the bag because the D-rings never sat correctly. Having the tabs extend from the sides instead of the top would have worked if the swivel hooks were larger and hooked directly to the tabs instead of the D-rings. The logical thing to do would have been to reposition the tabs, but I dreaded taking it apart and resewing. I belong to the “Done is better than perfect” club. It wasn’t perfect, but it was completed.
This bag was my first attempt at bag making. It’s a bit moth eaten and in need of some repair.
The next bag I made was slightly larger and I sewed the tabs to the top. I reduced the “Blooming Hearts” pattern to fit on the front and I used a Sulky Blendable to make a simple running stitch design on the background.
I even made one with a pocket applique using my Smiling Cat design. I over-dyed some left over drapery fabric with onion skins for the background.
I know this may be a disappointment for some of you, but this is a tutorial for the bag design only. I have included the layout and pattern for the design I used on the front flap, but I didn’t include detailed instructions for the applique. You can use any design on the front flap. A quilt block would be sweet, or an embroidery design. The only requirement would be that it fit on the background. That means the embroidery or applique design needs to be smaller than 8 ½” x 11”. A quilt block could be inset in the 8 ½” x 11” flap. A row of flying geese or perhaps a wonky log cabin would be fun. The design I’ve included is the maximum size that will fit. It’s 7 ¼” x 8”. The Blooming Hearts design is 4” x 7 ¼”, and the Smiling Cat is 4” x 4”.
Have fun. Be creative. Happy Stitching!
Fabric requirements
Materials needed for simple cross body bag
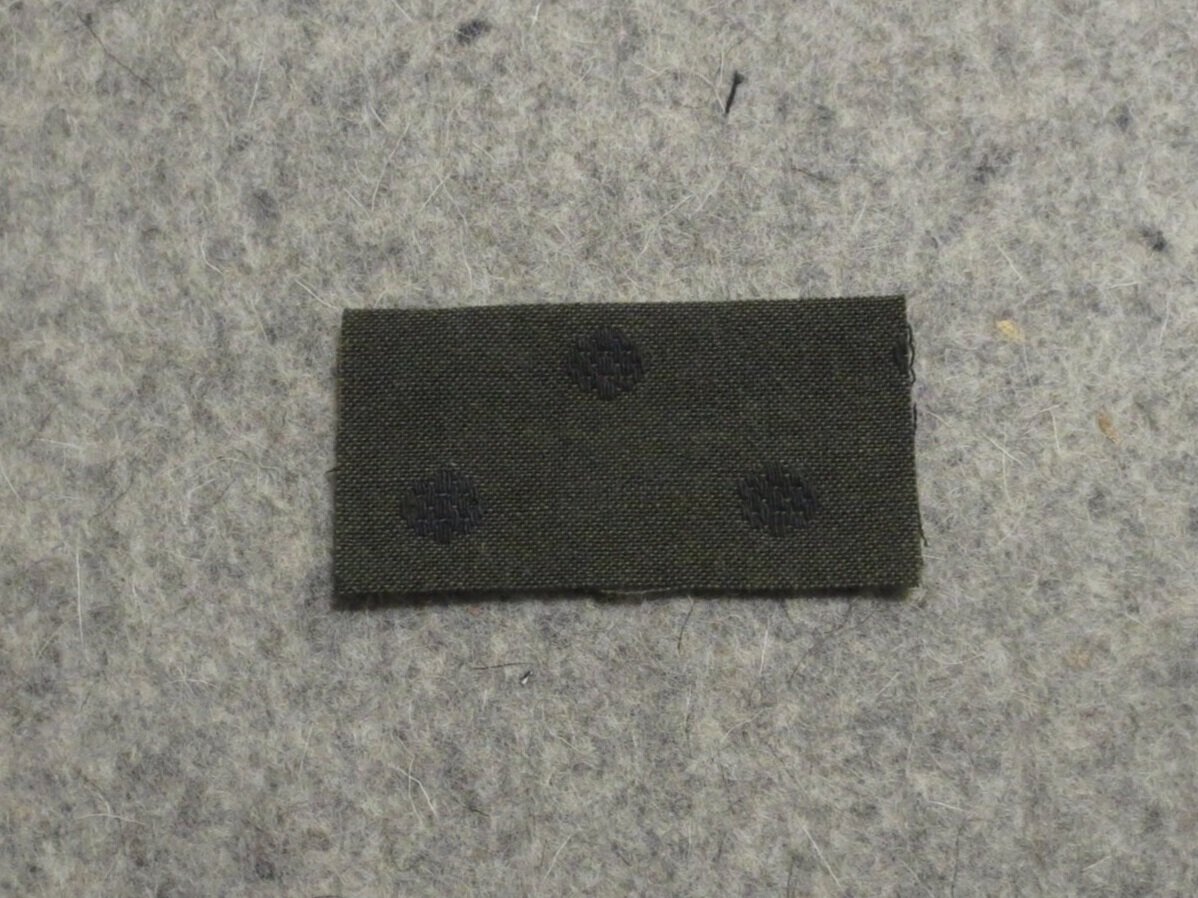
Fabric 1 – I used 1/3 yard (12” x 44”) of a black yarn dyed woven fabric. A quilting cotton, or linen/cotton blend would also work.
Cut
Outside – 10” x 22”
Flap - 8 ½” x 11”
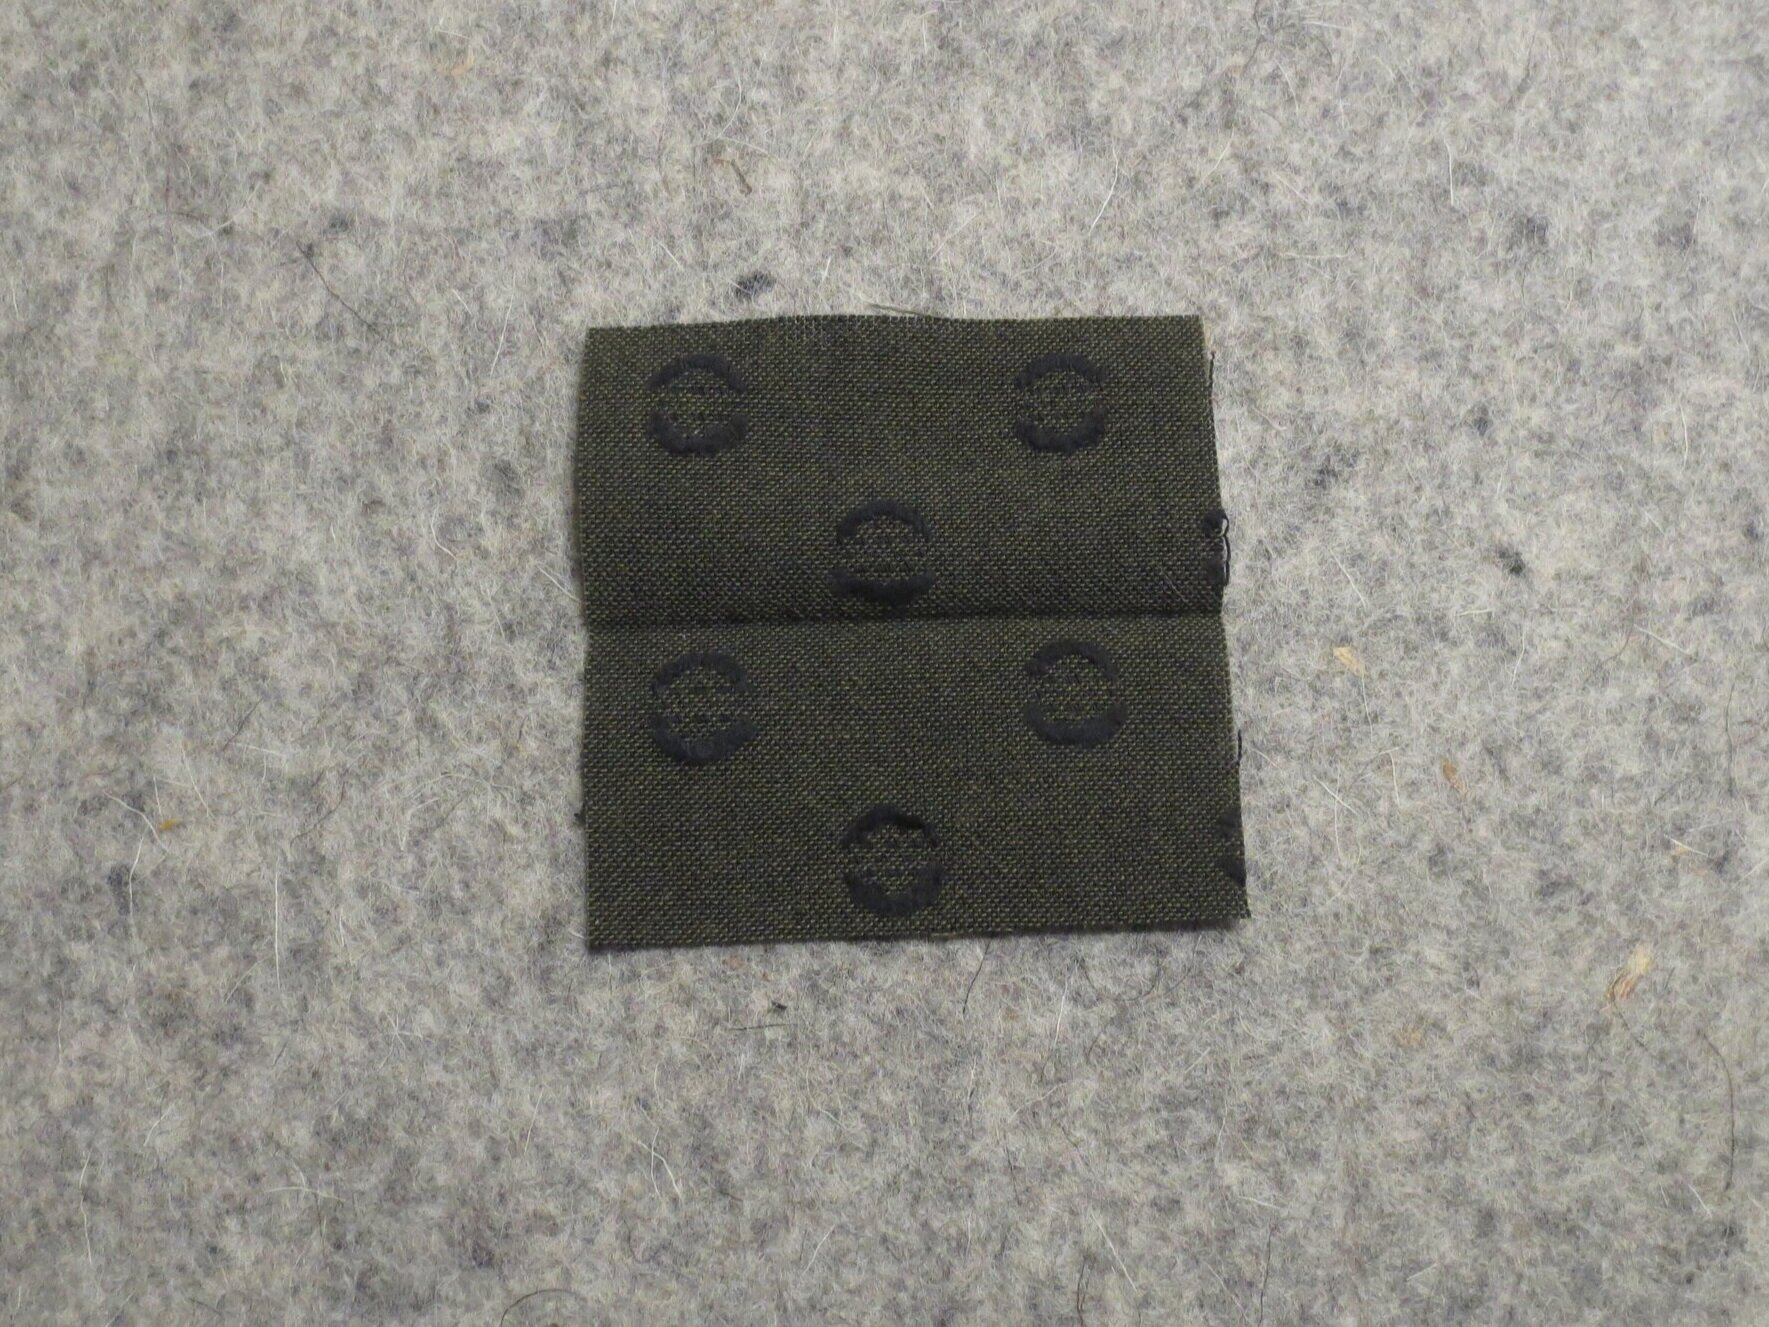
Tabs for strap – 2 ½” x 3”
Fabric 2 – I used 1/3 yard of a mid-weight cotton canvas.
Cut
Lining – two 10” x 11”
Flap lining – 8 ½” x 11
Interior pocket – 8” x 11”
Pellon Craft-fuse 808– This is a heavy-weight fusible interfacing. It’s sold by the yard and is 20” wide. You will need 1 yard. Pellon Shape-flex #sf101 could be used for the flap portion of the purse. It is easier to hand stitch through, but it doesn’t give the purse as much body as #808.
Cut
Outside – 10” x 22”
Flap – 8 ½” x 11”
Pellon 987F Fusible Fleece - 1/2” yard
Cut
Outside – 10” x 22”
Flap – 8 ½” x 11”
Miscellaneous
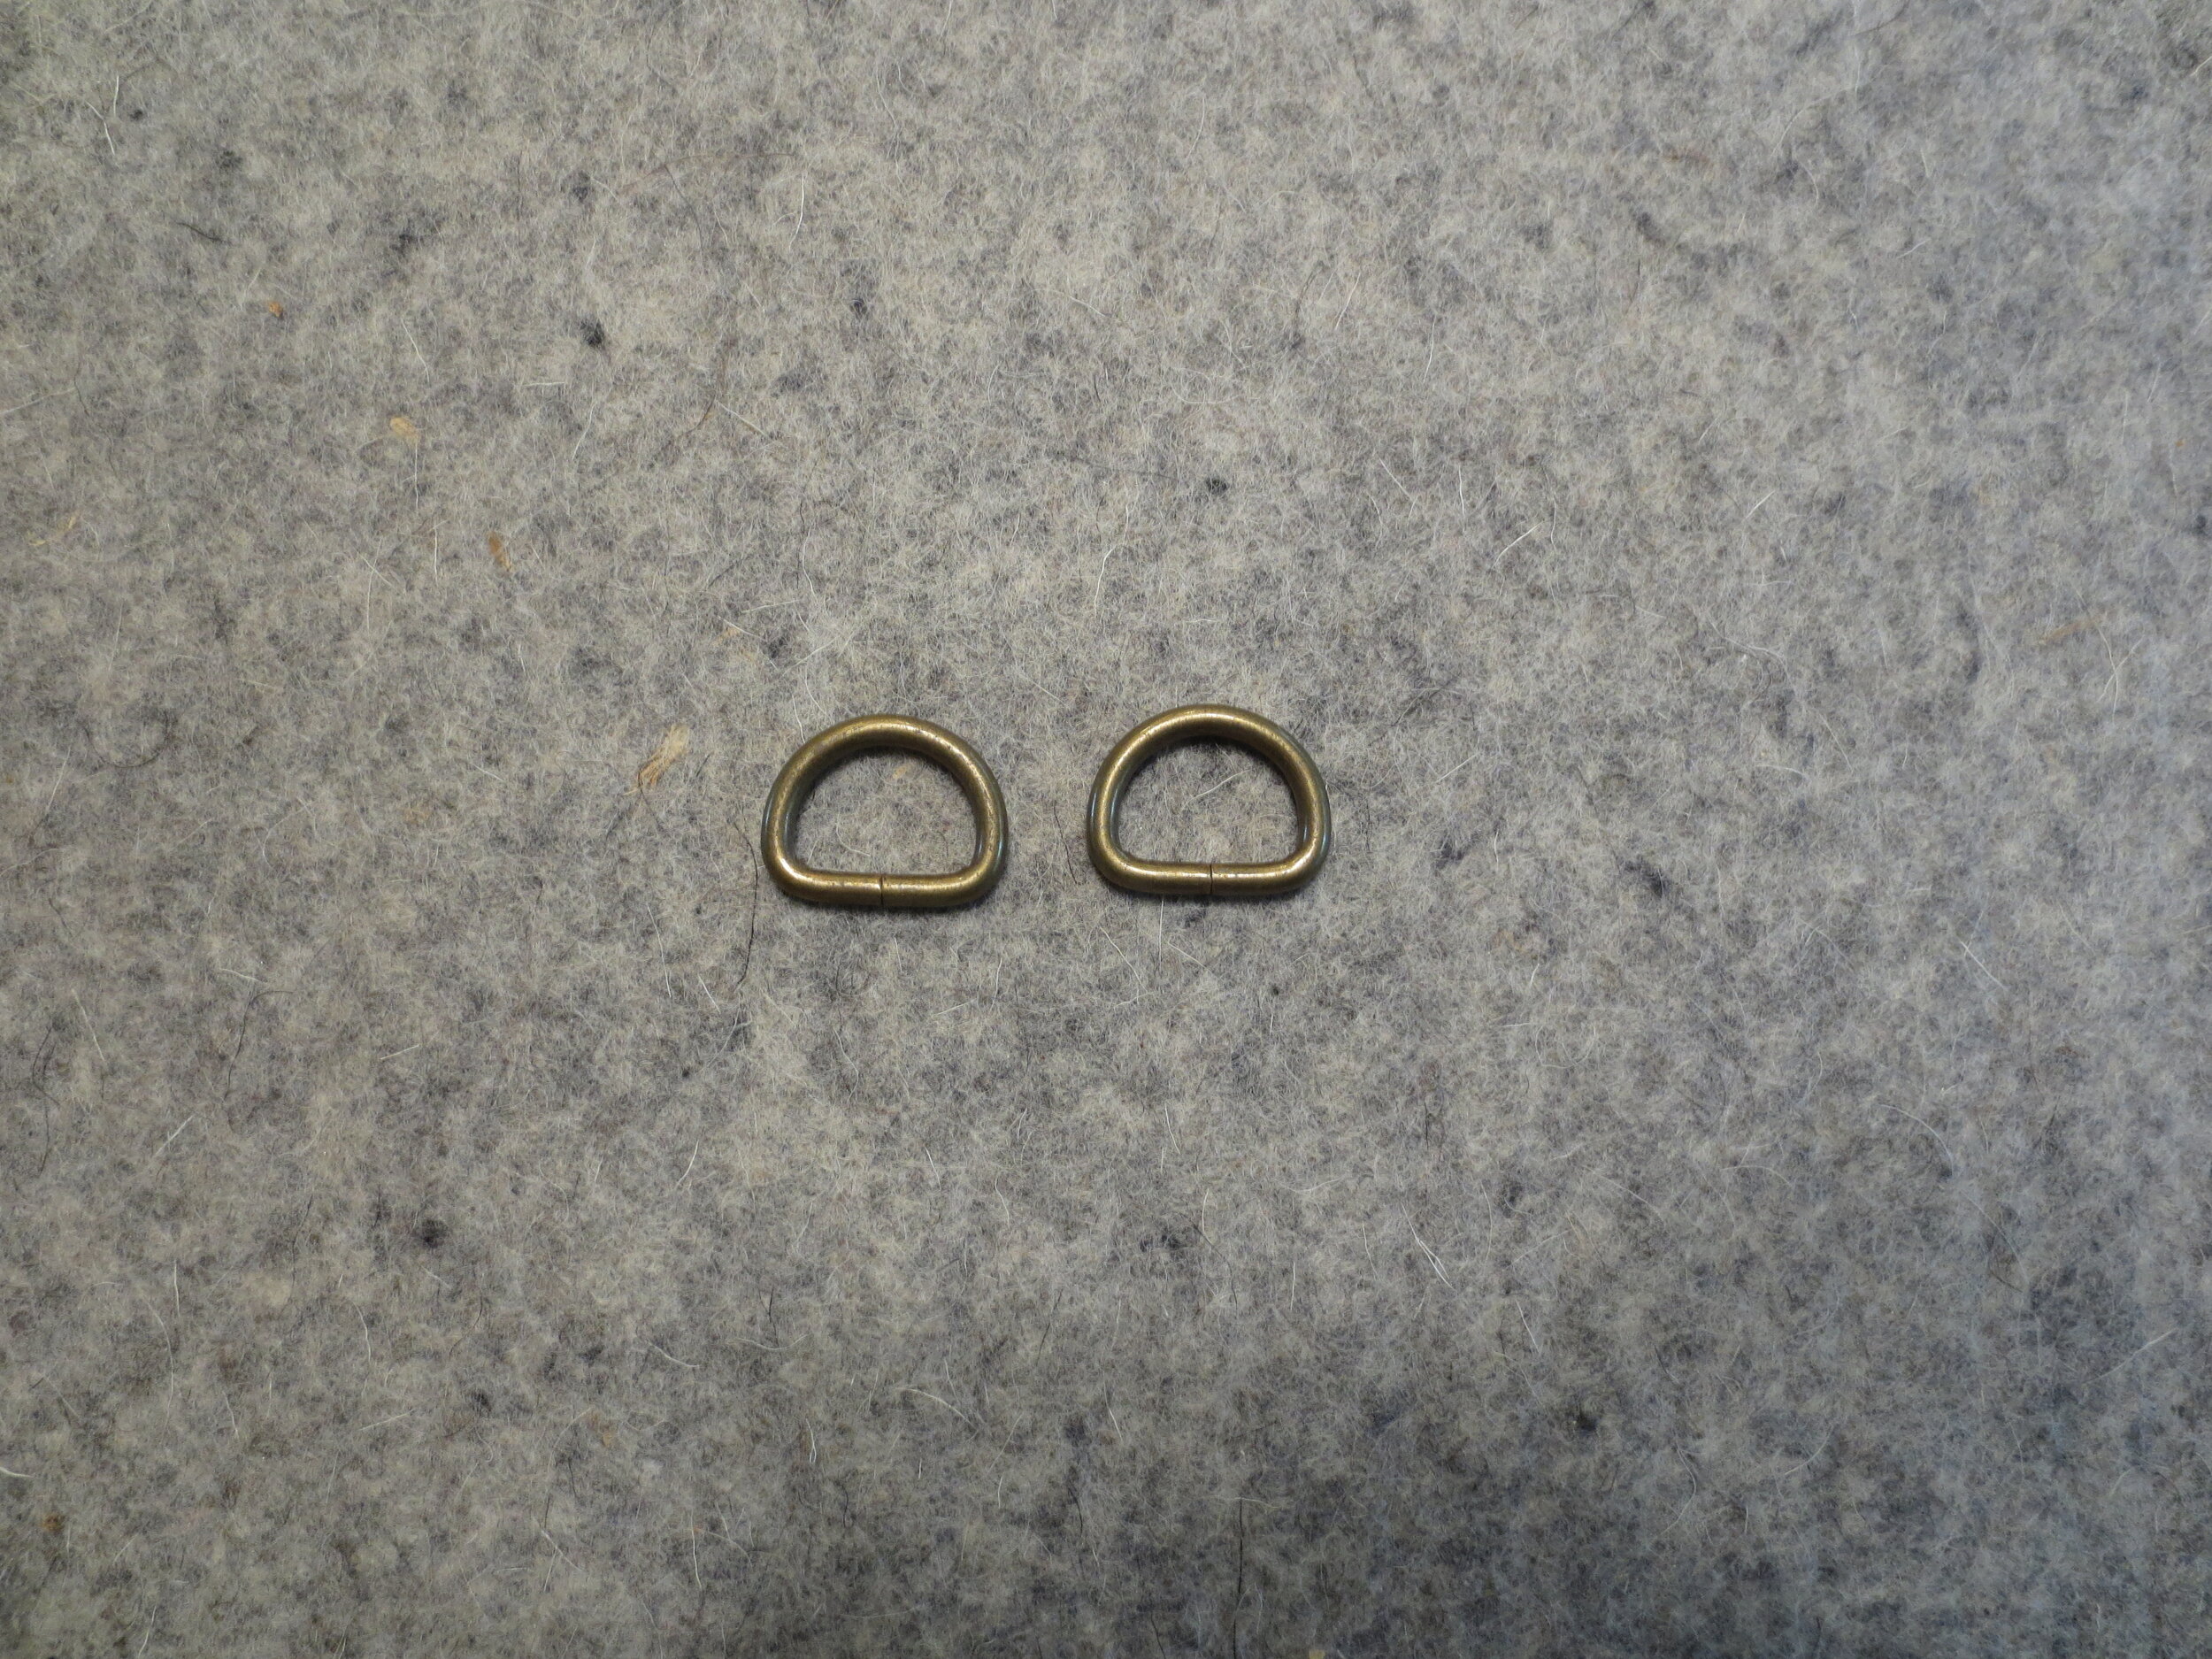
Adjustable leather cross-body purse strap. I purchased mine from byhandsusa.com. It comes with the swivel clasps and D-rings. The strap is ½” wide and 40” – 44” long. The swivel clasps are 1 5/8” long. The matching D-rings are 7/8” wide.
Cross body purse strap from Byhands.com
D-rings that are included with purse strap purchase.
Steam iron
Ruler
Chalk marker
Straight pins
Sewing machine (I found that a walking foot makes stitching through the multiple layers easier)
Sewing thread to match fabric
Instructions
1. Fuse Pellon Craft-fuse to wrong sides of Fabric A outside and Fabric A flap*. The flap can now be appliqued or embroidered. Hint: Position the bottom edge of your applique design about 1” from the bottom of the flap. I positioned mine a little too high on the background because I didn’t take into consideration that I would lose some design area on the top curve of the flap.
*Note: If you are using a quilt design for the flap, construct a finished 8 ½” x 11” block prior to fusing with Craft-fuse.
2. Fuse Pellon fleece to the flap lining.
3. Pin the embellished flap front and flap lining + fleece, right sides together.
Then sew sides and bottom of flap front and lining using a ¼” seam.
Clip bottom corners. Turn right side out. Use the eraser end of a pencil, or a chop stick to push the corners out.
Press from the back using a towel between the ironing board and the flap front if the flap is embroidered. This will prevent your stitches from damage by the iron.
4. Tab Construction
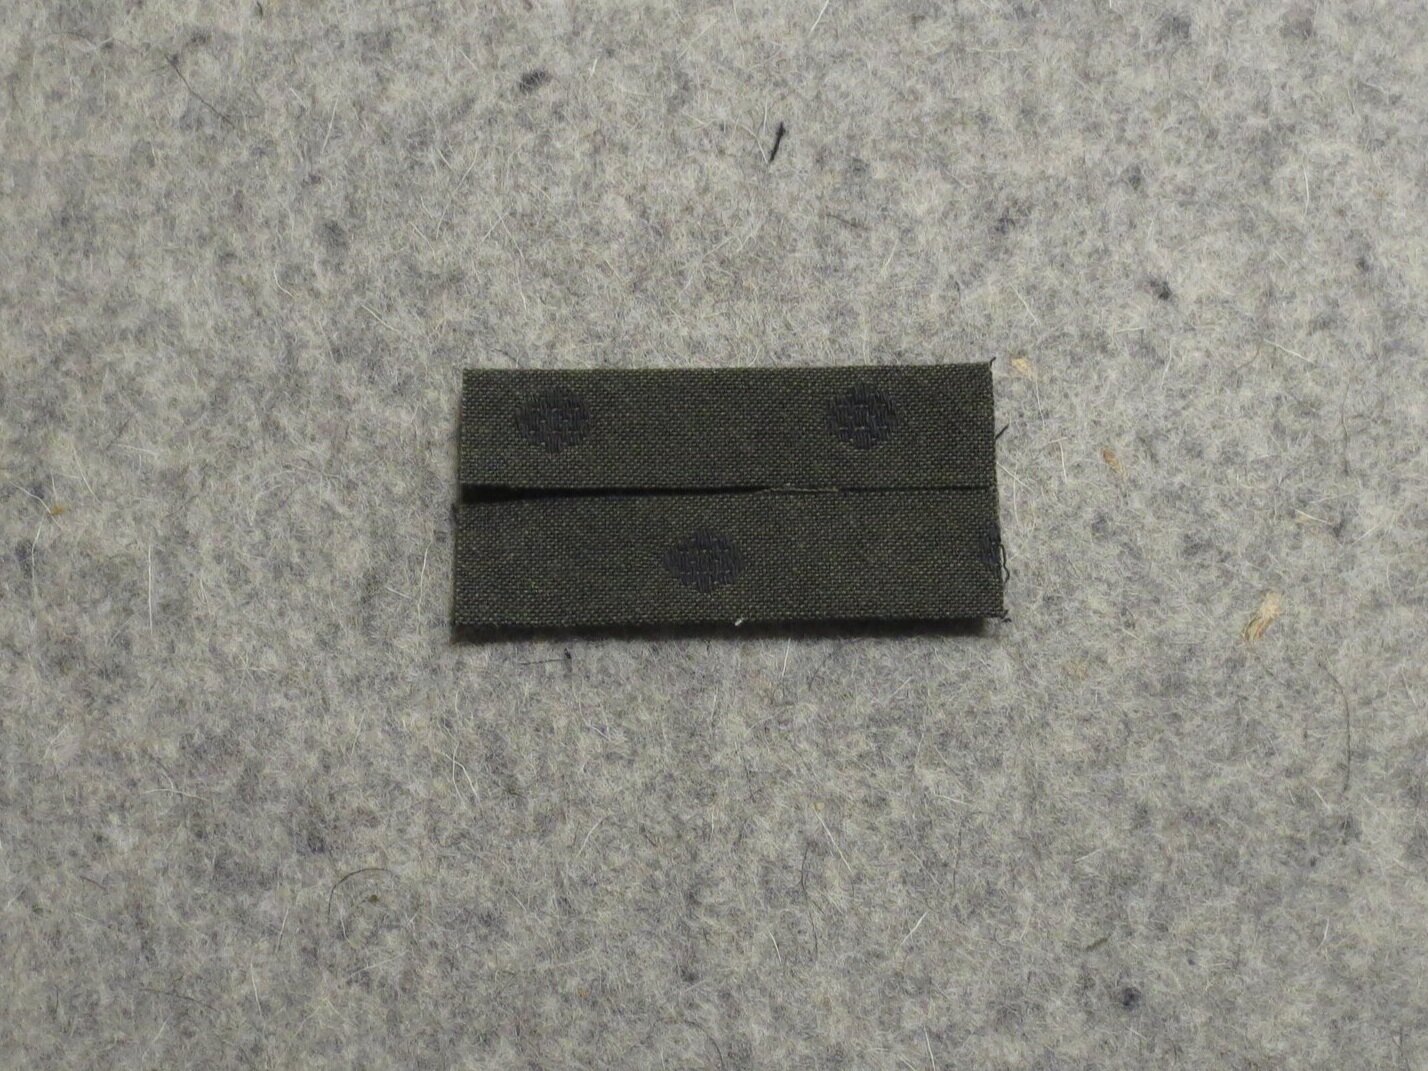
Iron each tab in half lengthwise creating a 1 ½” x 2 ½” piece.
Unfold each tab and fold outer edges toward center fold line. Press. See below.
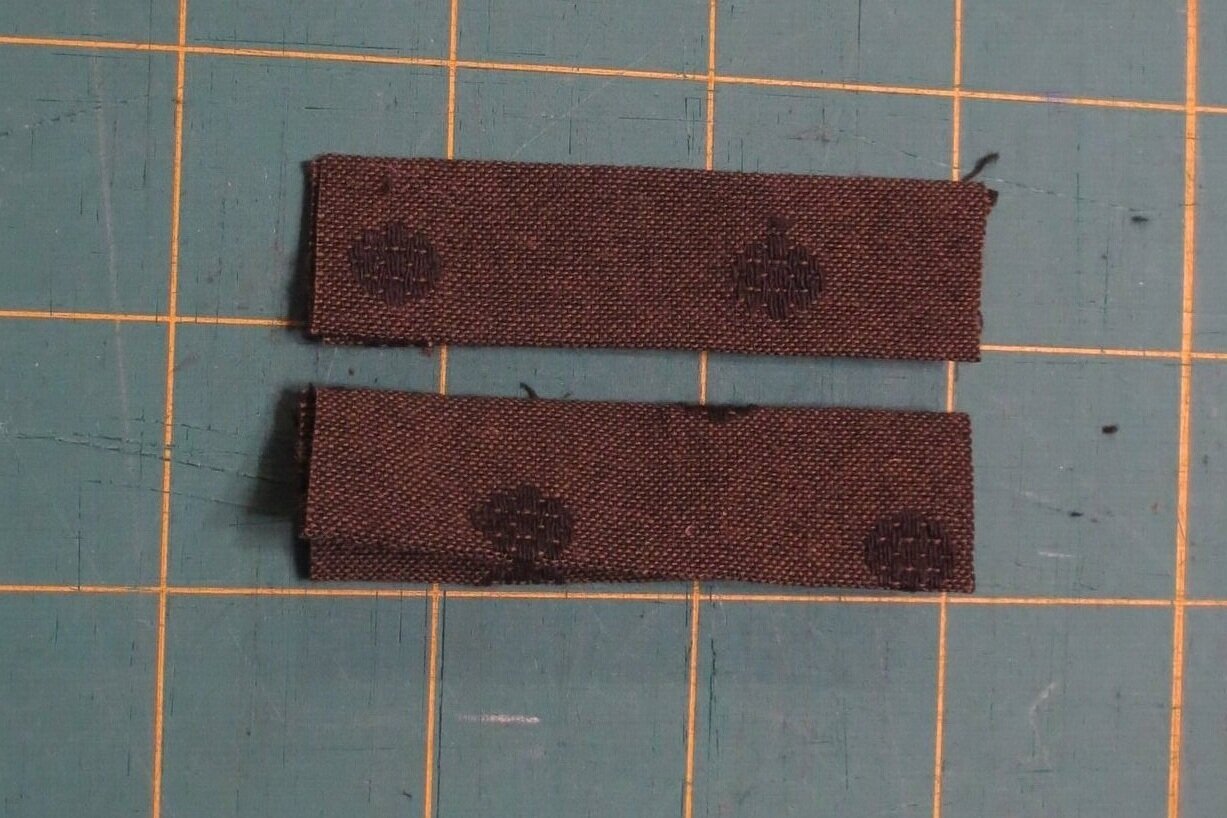
Fold again lengthwise creating a ¾” x 2 ½” piece. Press.
Top stitch 1/8” from open edge of each tab.
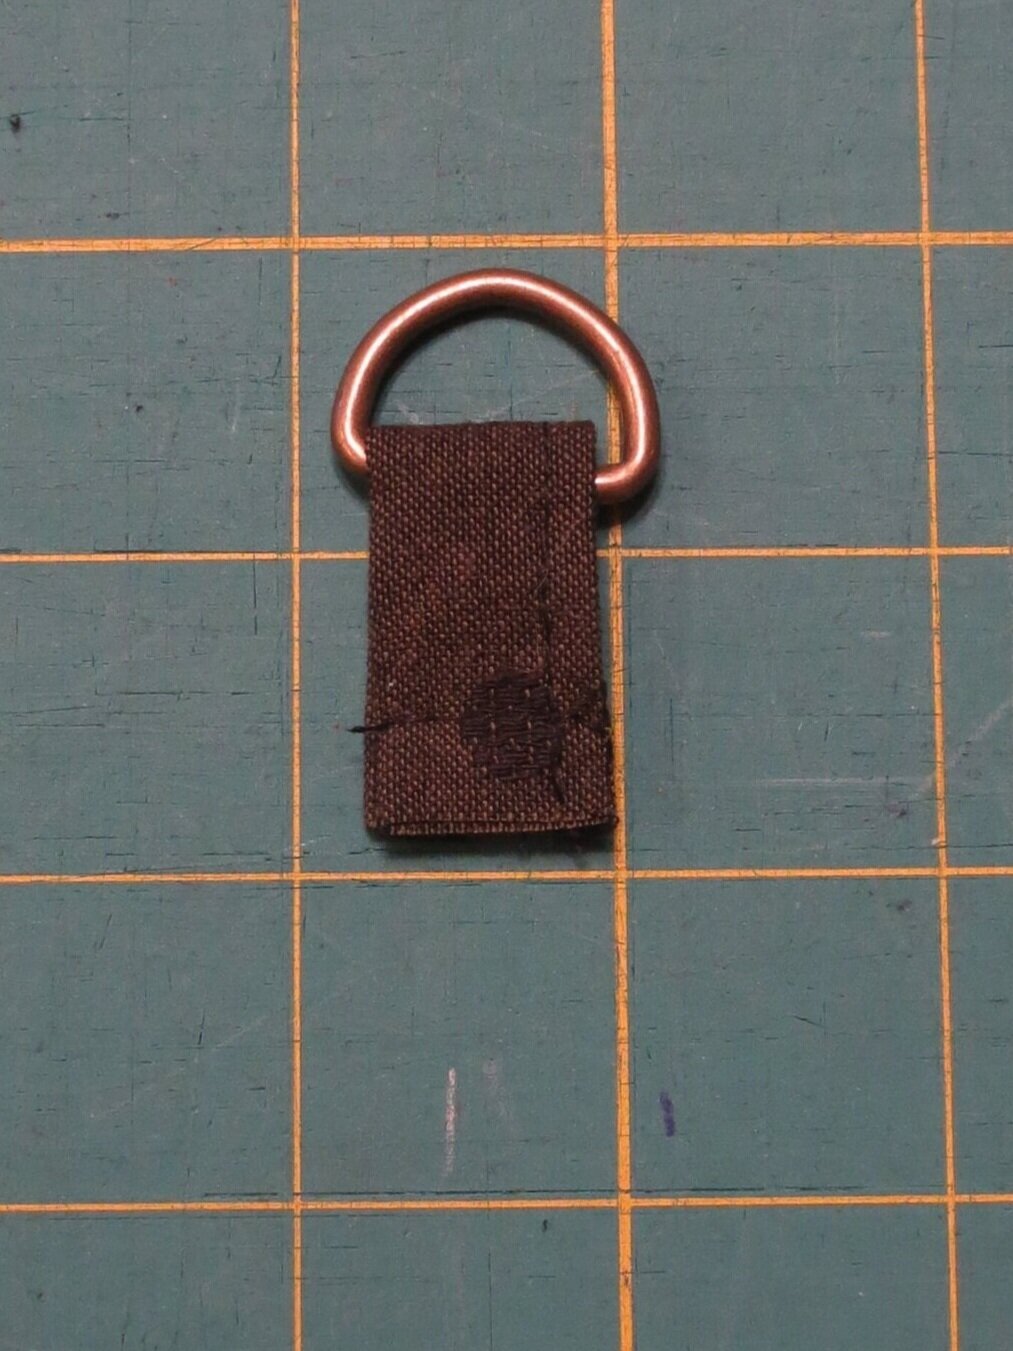
Fold each tab in half around each D-ring. Pin to secure. Sew 1/4 from edge.
Set aside until needed.
5. Making The Bag Body
Fuse the Pellon fusible fleece to the Craft-fuse side of Fabric A outside (fabric + Craft-fuse + fusible fleece). This will be the bag body.
Fold the bag body in half, right sides together, forming a 10” x 11” rectangle. Pin to secure.
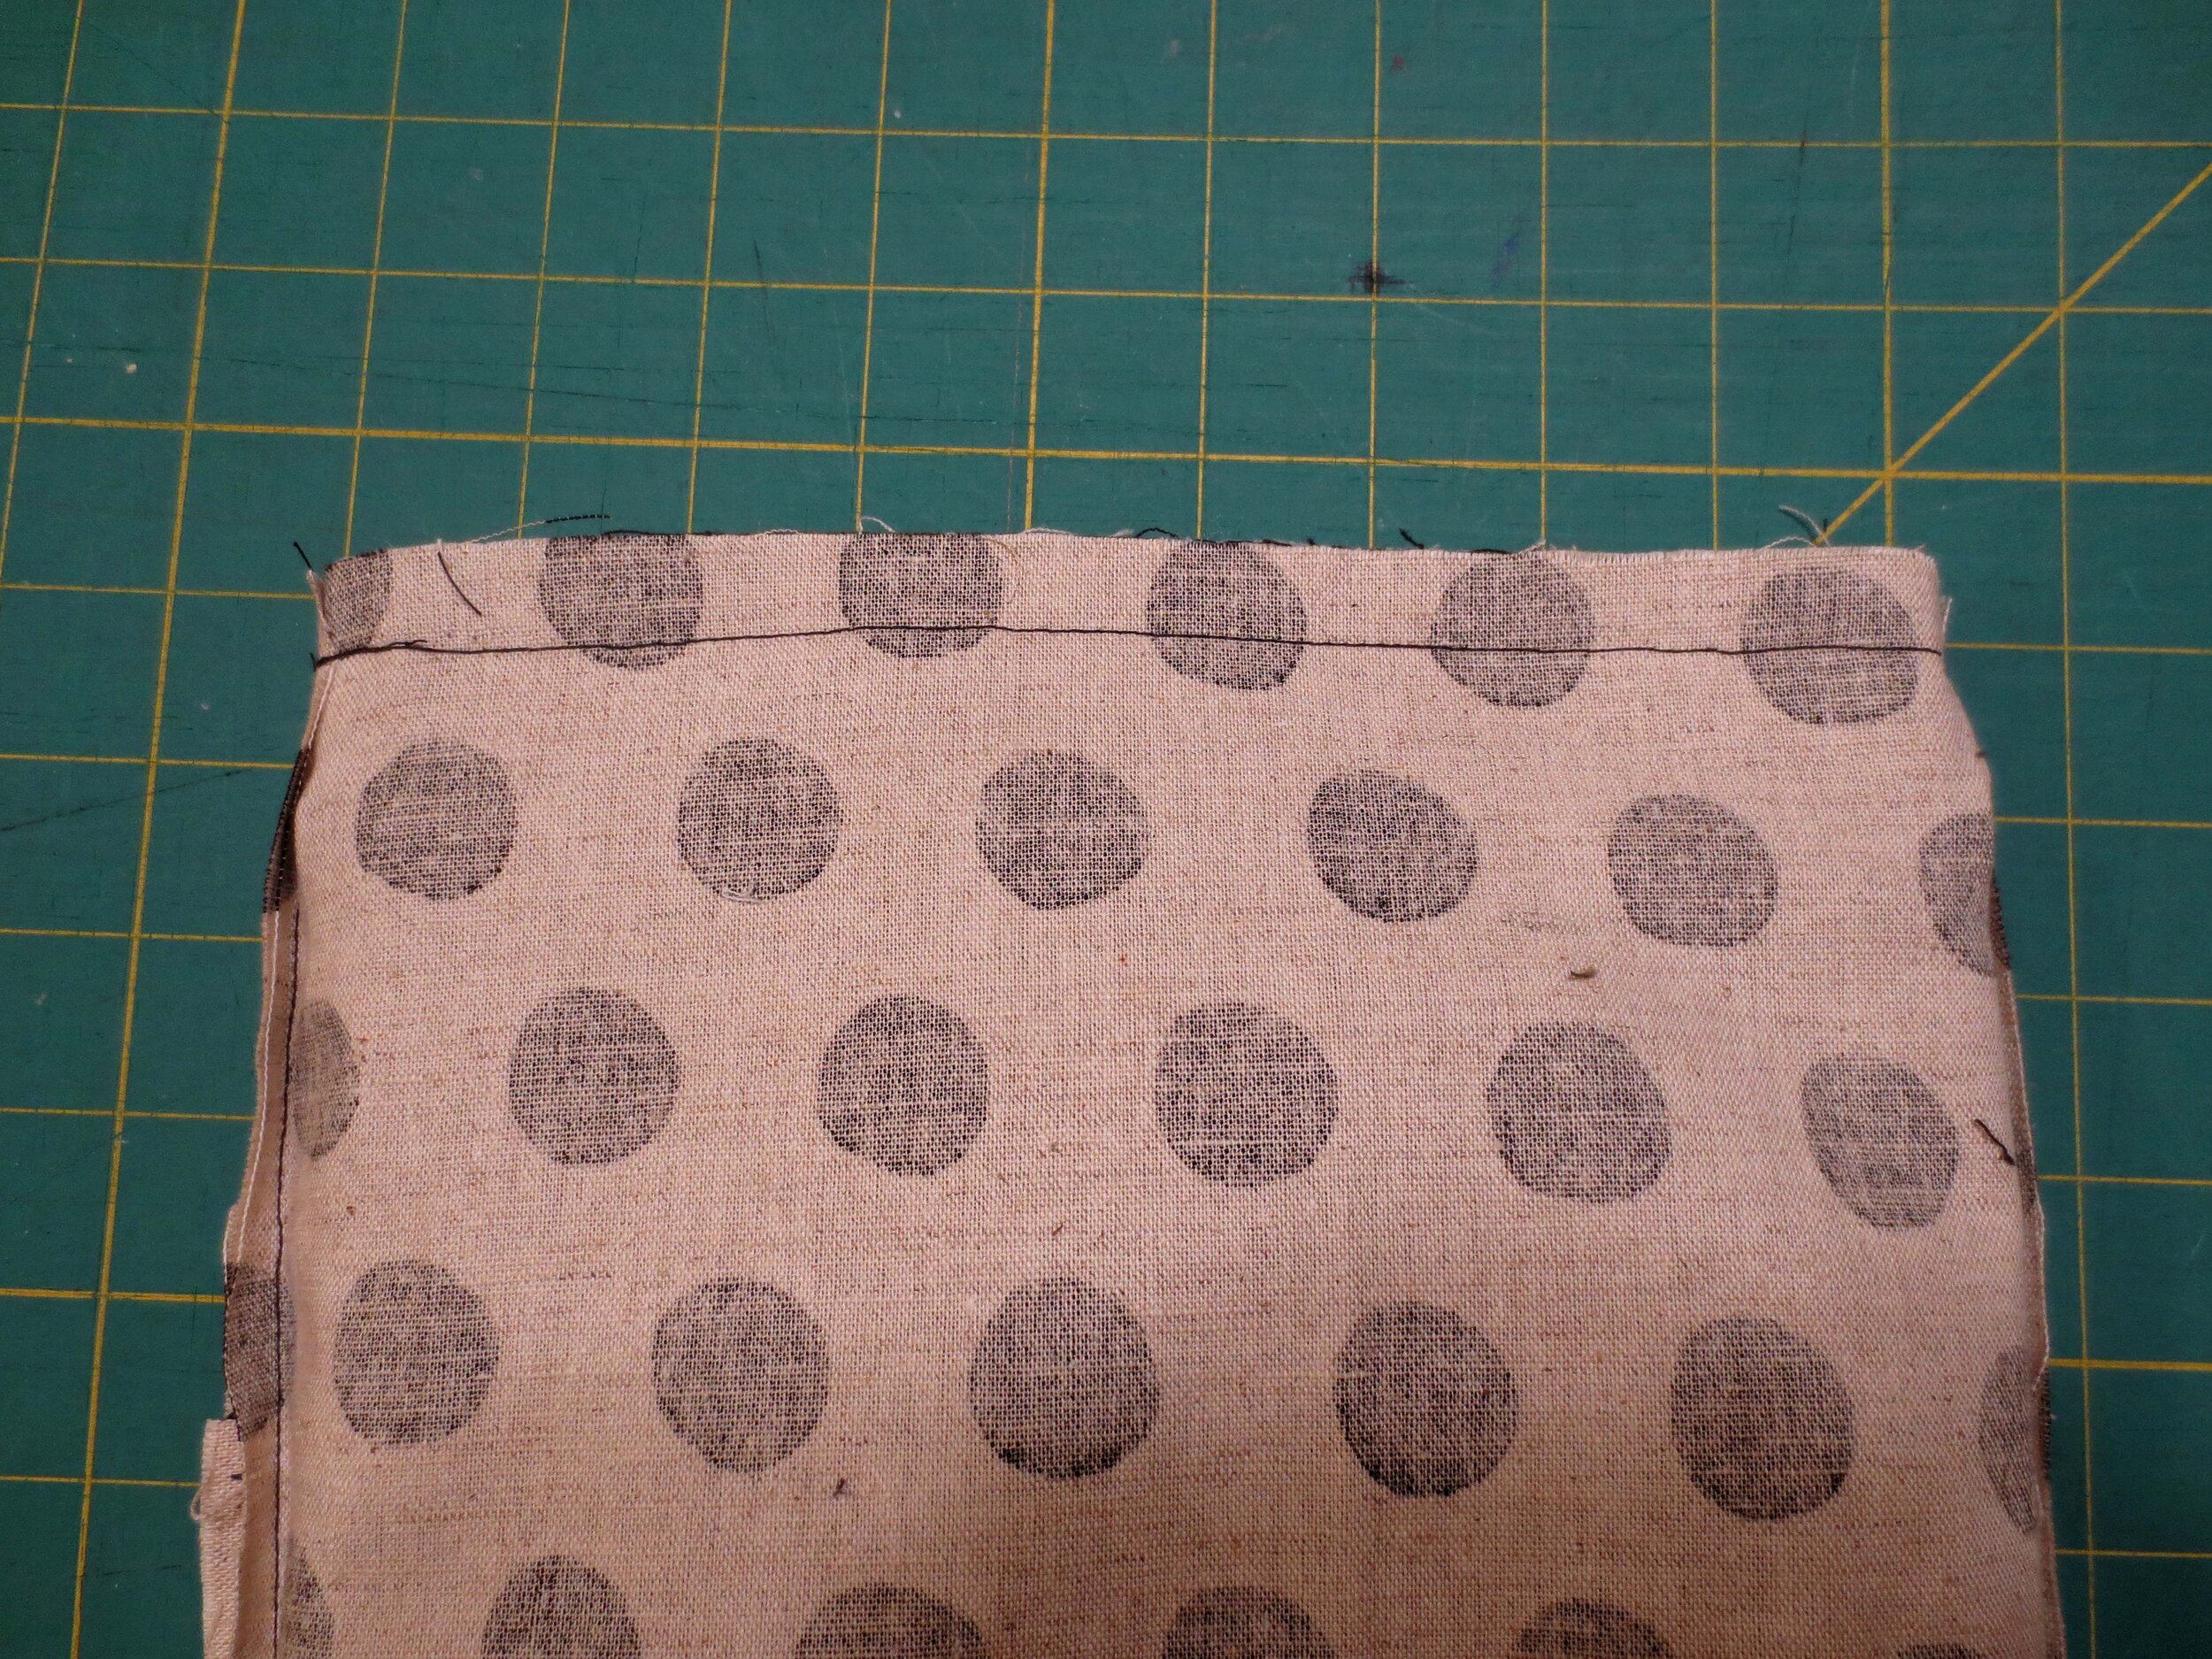
Sew the two sides using 3/8” seams. Press seams open.
Align the two side seams one on top of the other. This will form two triangular points on the bottom of the bag. Gently finger press the points making sure the seams are still aligned. See below.
Measure 1” on each side of the seam at the point, and then draw a line with a chalk pencil. Pin to secure.
Repeat for the opposite seam line.
Sew over chalk lines. Turn bag right side out. I didn’t clip the points off because I thought they would add to the body of the bag.
6. Lining Construction
Fold the pocket fabric in half lengthwise forming a 4” x 11” piece.
Top stitch a line ¼” from the folded edge.
Pin the pocket (folded side facing down) 2 ½” from bottom of one of the lining fabric pieces.
Sew the pocket to the lining fabric using a 1/4” seam. Flip the pocket up toward the top of the lining and then press.
Pin sides of pocket to lining and then sew together using a ¼” seam.
Top stitch along bottom edge approximately 1/8” from seam.
Measure 5” from the side and draw a chalk line bisecting the pocket. Sew over the drawn line making sure to double stitch at the top and bottom. This will form two small pockets.
Place the two pieces of lining fabric right sides together. Sew together along the long sides using 3/8” seams creating a tube. Press seams open. Do not turn right side out.
7. Putting It All Together
Pin tabs to top outside of bag sides, centering along seam lines. The folded loops should be facing down.
Align the top of the flap, lining side up, with the top of the bag body making sure to center the flap between the side seams.
Sew the tabs and flap to the bag body using a seam just slightly wider than a 1/4”. Remove the pins.
Slide the lining fabric tube over the top of the bag body, flap, and tabs, lining up the top of the bag with the top of the lining. Make sure the side seams of the bag and lining are aligned. Pin to secure.
Sew bag body, flap, tabs, and lining together using a 1/2” seam.
Turn lining right side out. Fold under raw edge ½”. Press. Whip stitch or ladder stitch opening closed.
Push the lining fabric inside the purse. Press.
Attach bag strap to D-rings.
Enjoy!

