Winston
I’m trying to stay busy during these unusual times. Our governor has issued a “Stay at Home” order for the entire state because of the Covid-19 virus, so it’s eerily quiet here. Correction, it’s quiet until my corgi, Winston has decided that he needs to sound the alarm that something is going on. He’s a sweetie, but very vocal.
In honor of Winston, I created a little embroidery pattern to keep you busy, and possibly put a smile on your face during these stressful times.
Stay well, and keep on stitching!
Supplies
Winston embroidery pattern reverse image for use with transfer pencil
Butternut Plaid Stitch Guide - You will need this if you aren’t familiar with any any of my tutorials.
The background fabric is Robert Kaufman Essex canvas in Flax. The canvas is a little heavier than the regular weight Essex, so I don’t need to use a backing fabric like Pellon Shape-Flex. Cut an 8” square. Note: You may need to cut a larger piece if you are using an embroidery hoop.
I used one strand of Sulky 12 wt. petites thread. Two strands of embroidery floss can be used in place of the 12 wt. thread.
Suggested colors:
Winston’s body including ears - #712-1056
Winston’s eye, nose, and mouth; flower centers, and bird’s eye - #712-1240
Winston’s chest fur - #712-1071
Bird body, wings, and tail - #712-4055
Bird legs and beak, flower petals - #712-0567
Flower stems and leaves - #712-1156
Chenille needle, size 26 or embroidery needle, size 5 or 7
Straight pins (4)
Transfer pen -optional ( I use Sublime Stitching brand because the fine tip)
.01 Micron pen
Light box- optional
5” square frame
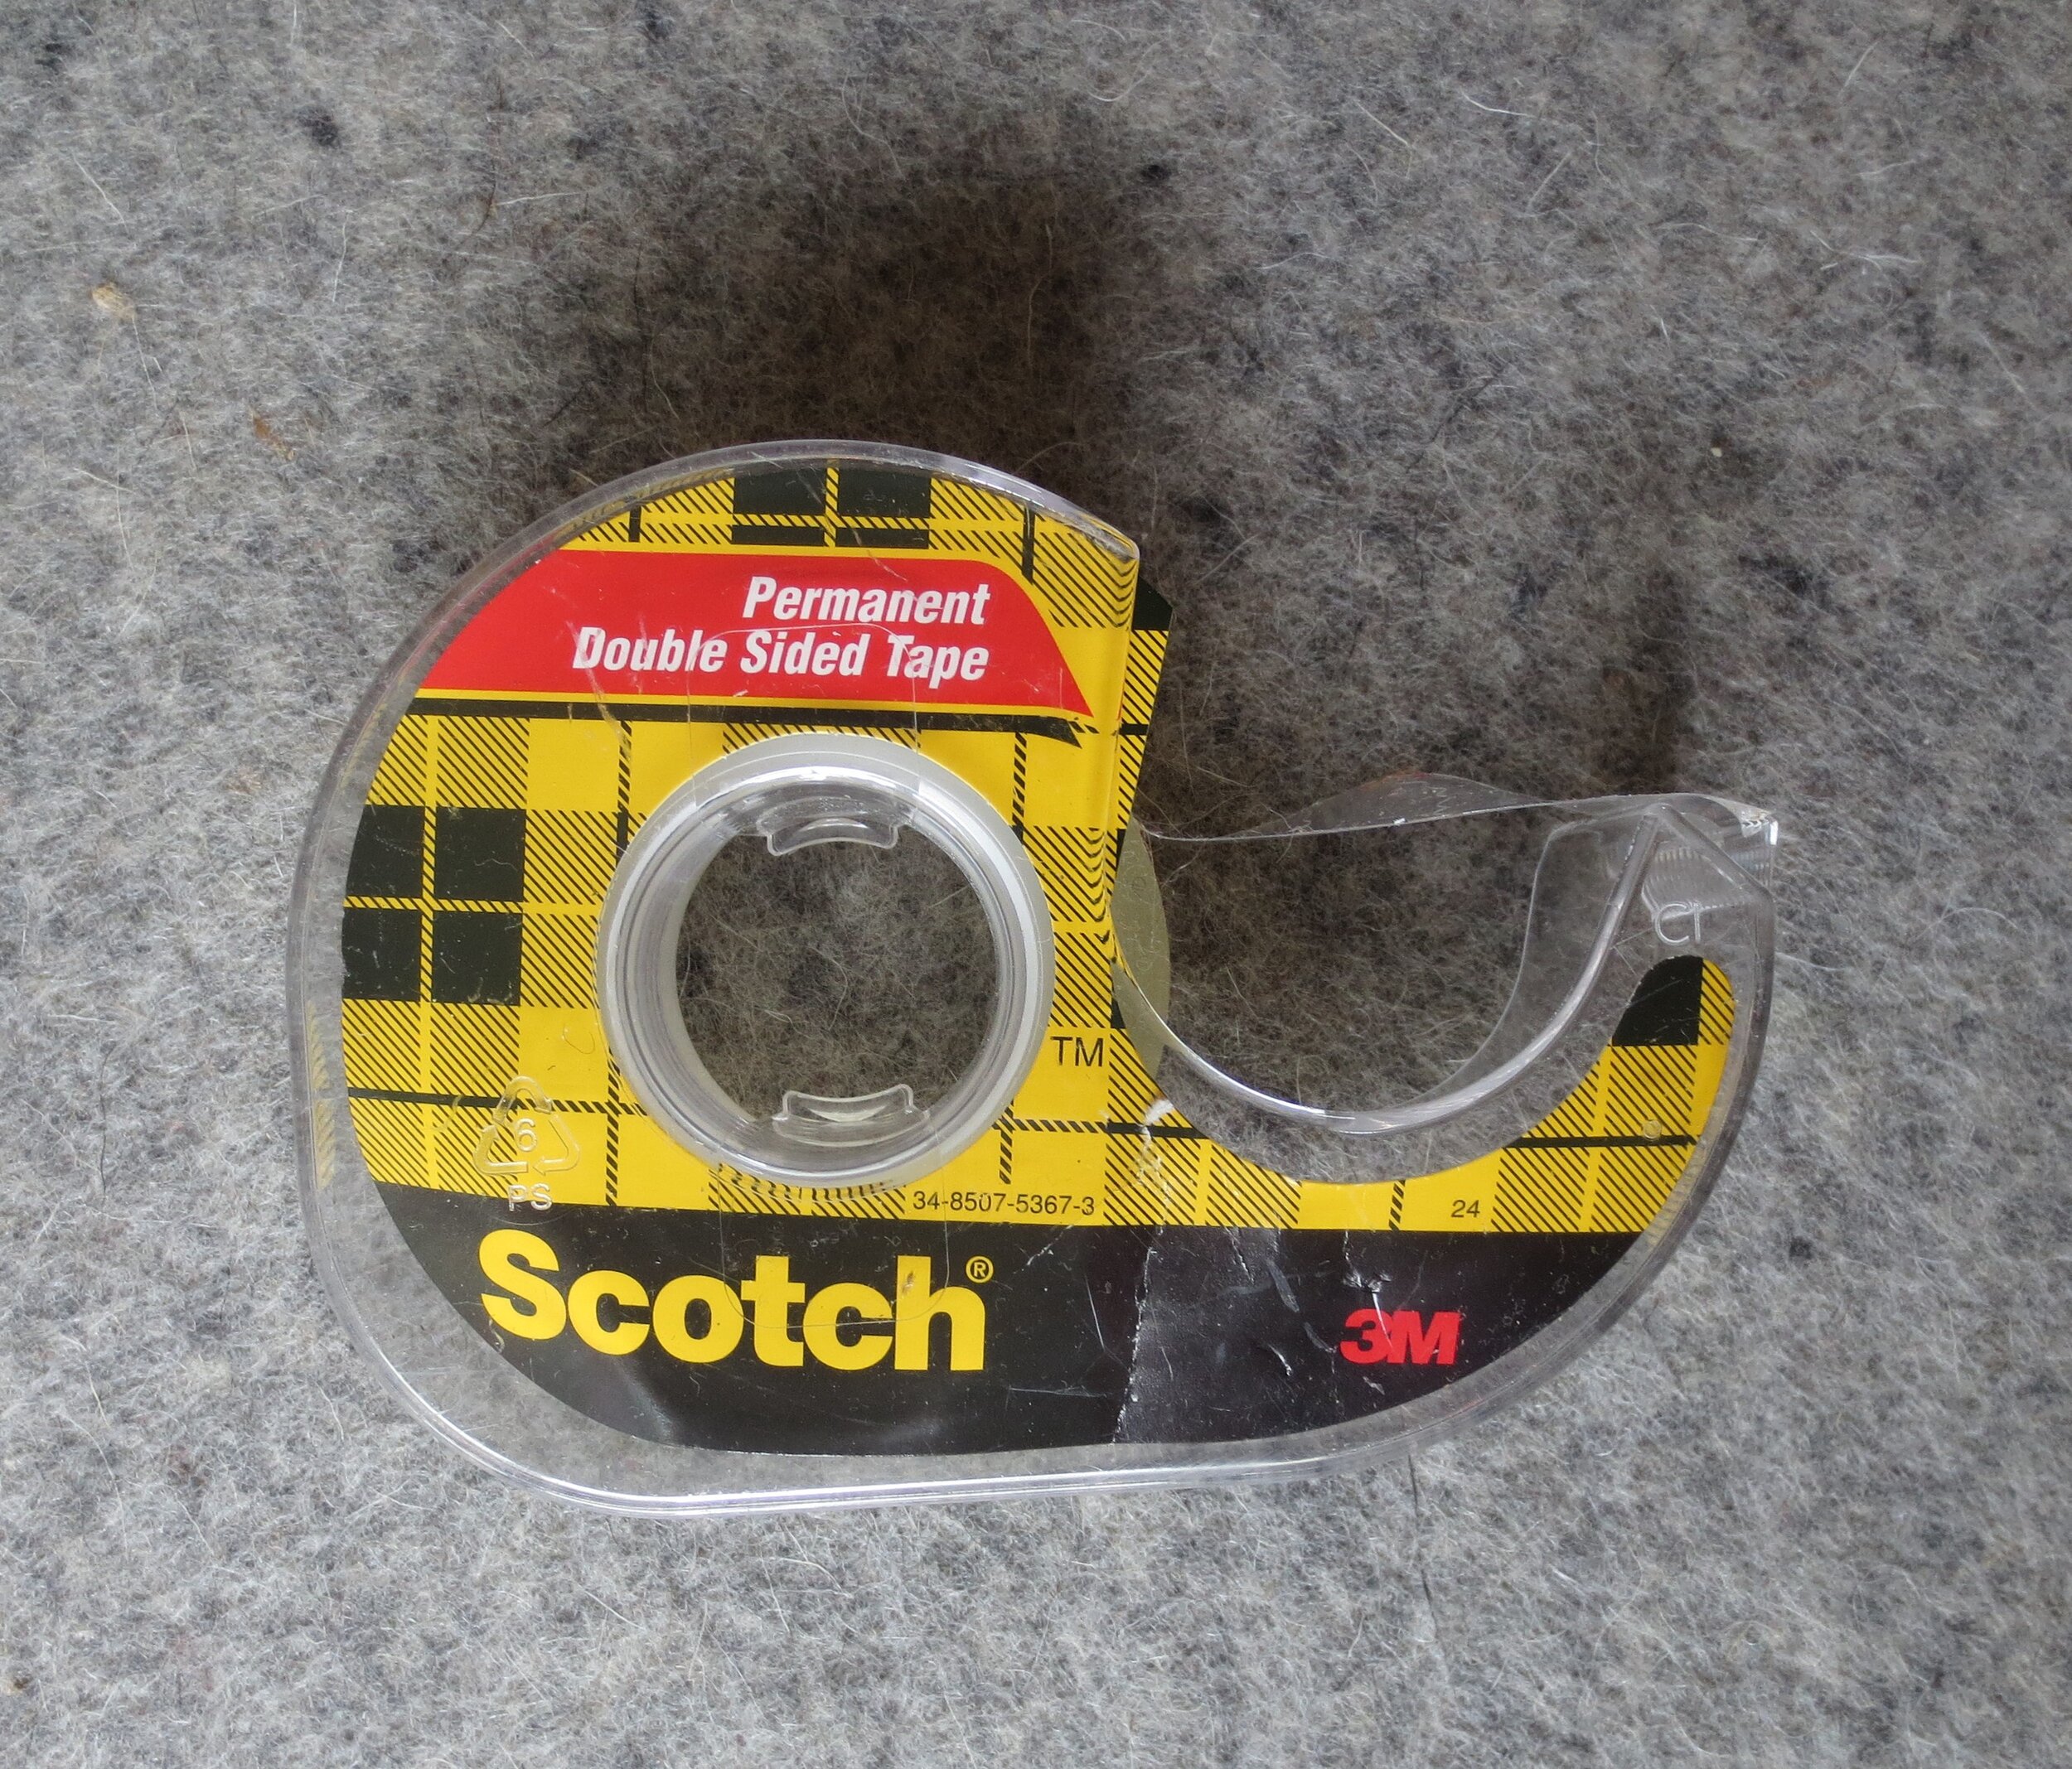
Double stick tape
Heavy cardboard - at least 6” square
X-acto knife
6 1/2” square clear plastic ruler
rotary cutter
Cutting mat
Instructions
Transfer the design to the fabric background using the following options:
Using a light box or bright window, trace the design onto your fabric with a .01 Micron pen.
Using a light box or bright window, trace the reverse image onto a piece of white copy paper with a fabric transfer pen. After transferring, cut out image leaving a 1” border. Place the image face down onto your fabric, and then use an iron (cotton setting) to transfer the image to the fabric. Use manufacturer’s instructions.
Use two strands of floss or one strand of Sulky thread #712-1056 to stem stitch the outline of Winston’s body and ears. My stem stitch is very small (slightly smaller than 1/8”). Some of you may prefer to use a back stitch here, which would be fine.
Use seed stitches to stitch the little dots of shading on the ears, belly, and tail. A seed stitch is a very small (1/16” of less) straight stitch. They are not stitched in the same direction, or spaced equally apart.
Use the same thread to stitch the fur on his rump and back leg.
Use #712-1071 to stitch the chest fur.
Use #712-1240 to satin stitch the nose.
Use the same thread to stem stitch the mouth.
Use the same thread to back stitch the outline of the eye.
Use the same thread to make a french knot eye.
Use the same thread to stem stitch the flower centers.
Use the same thread to make the french knots in the center of each flower.
Use the same thread to make a french knot for the bird’s eye.
Use #712-4055 to stem stitch the outline of the bird’s body, wings, and tail.
Use the same thread to stitch straight stitches over the lines in the tail and wings.
Use the same thread to seed stitch the dots on the body and wings.
Use #712-0567 to stem stitch the bird’s legs.
Use the same thread to stitch a fly stitch over the outline of the beak. Make a smaller fly stitch inside the first fly stitch to fill in the beak.
Use the same thread to stem stitch the flower petals.
Use the same thread to stitch a single fly stitch in each petal of the large flower.
Use #712-1156 to stem stitch the flower stems and leaves.
Use the same thread to stitch closed fly stitch leaf veins.
Place the embroidered project face side down on a fluffy towel on your ironing surface. Press using a dry iron. This will prevent your stitches from being smashed or distorted when you press.
Preparing Your Project For Framing
Using the glass from your frame as a template, cut out a cardboard backing. Since this is a 5” square frame, the cardboard will be approximately 5” square.
2. Place the clear plastic ruler on top of your embroidery, centering the image. Cut your embroidered project to 6 1/2” square. This will allow for a 3/4” wrap around each side of the 5” square cardboard backing.
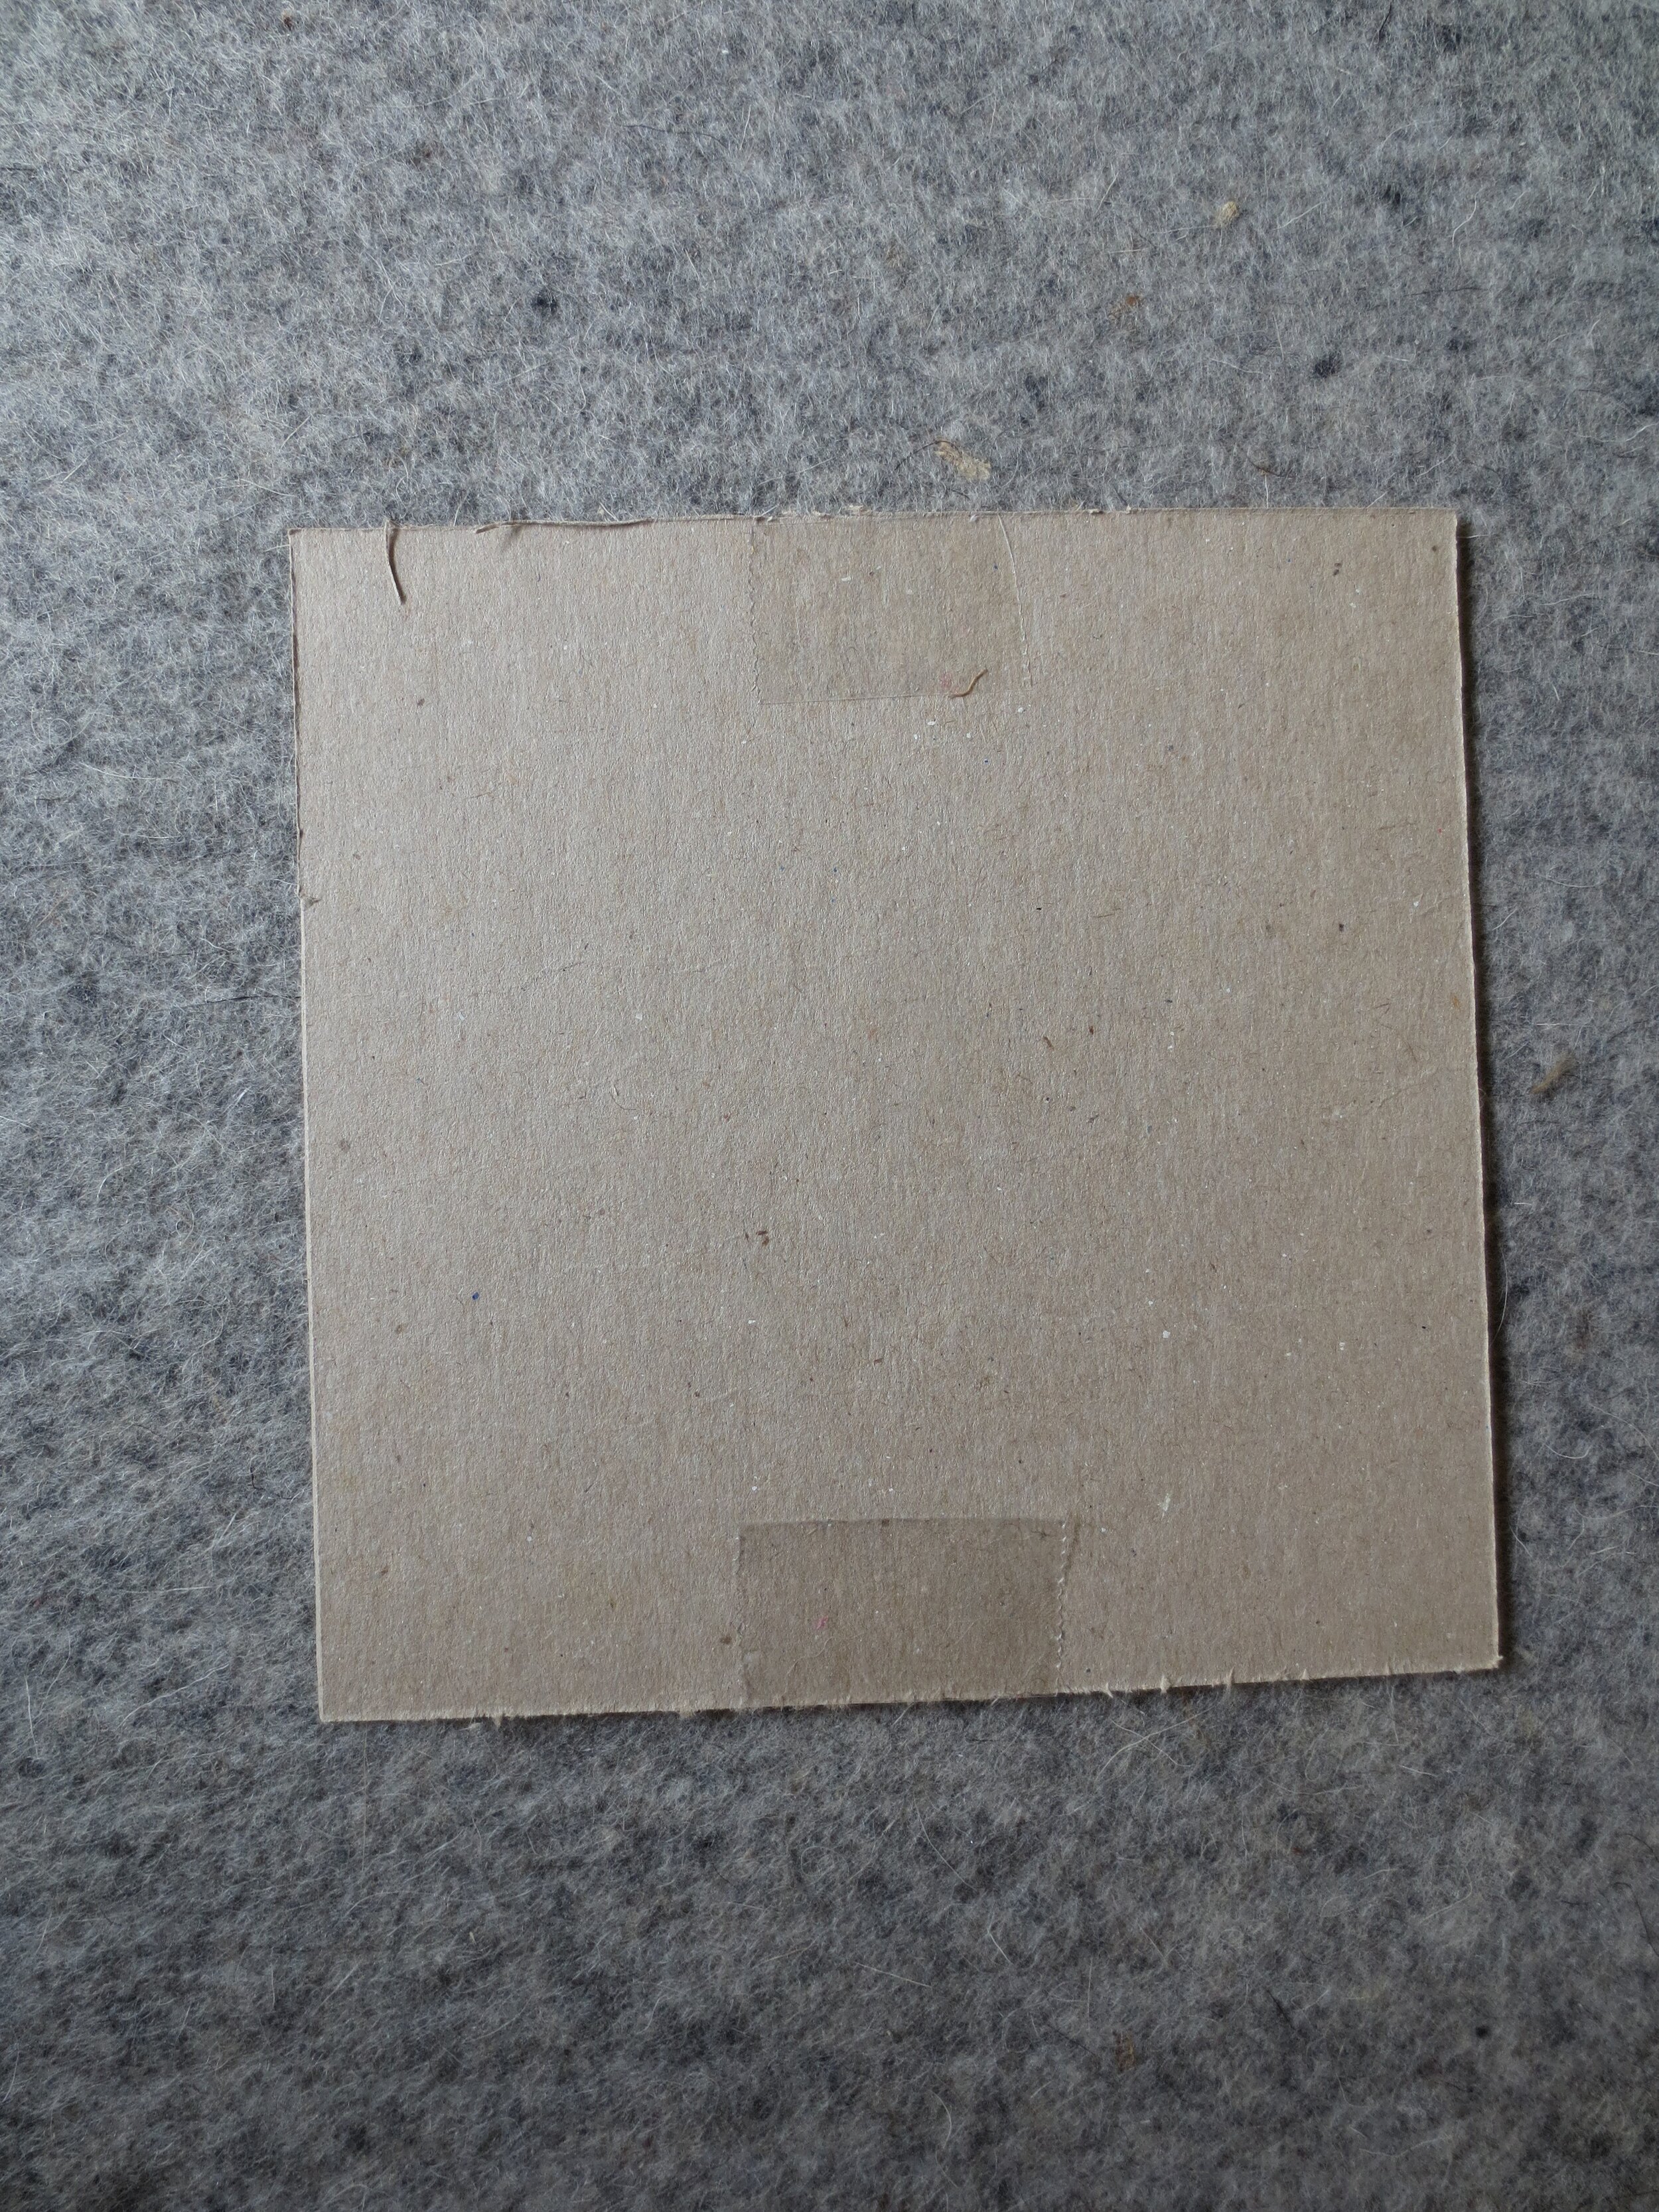
3. Adhere a piece of 1” long double stick tape on top and bottom edge of the cardboard backing.
4. Lay your embroidered piece right side down. Center the cardboard backing onto the fabric.
5. Fold over the top of the fabric and press down onto the double stick tape. Pull the bottom fabric slightly, fold over, and then press it into the double stick tape at the bottom.
6. Place a single 1” piece of double stick tape on each side of the cardboard. Don’t press sides down until after step 7.
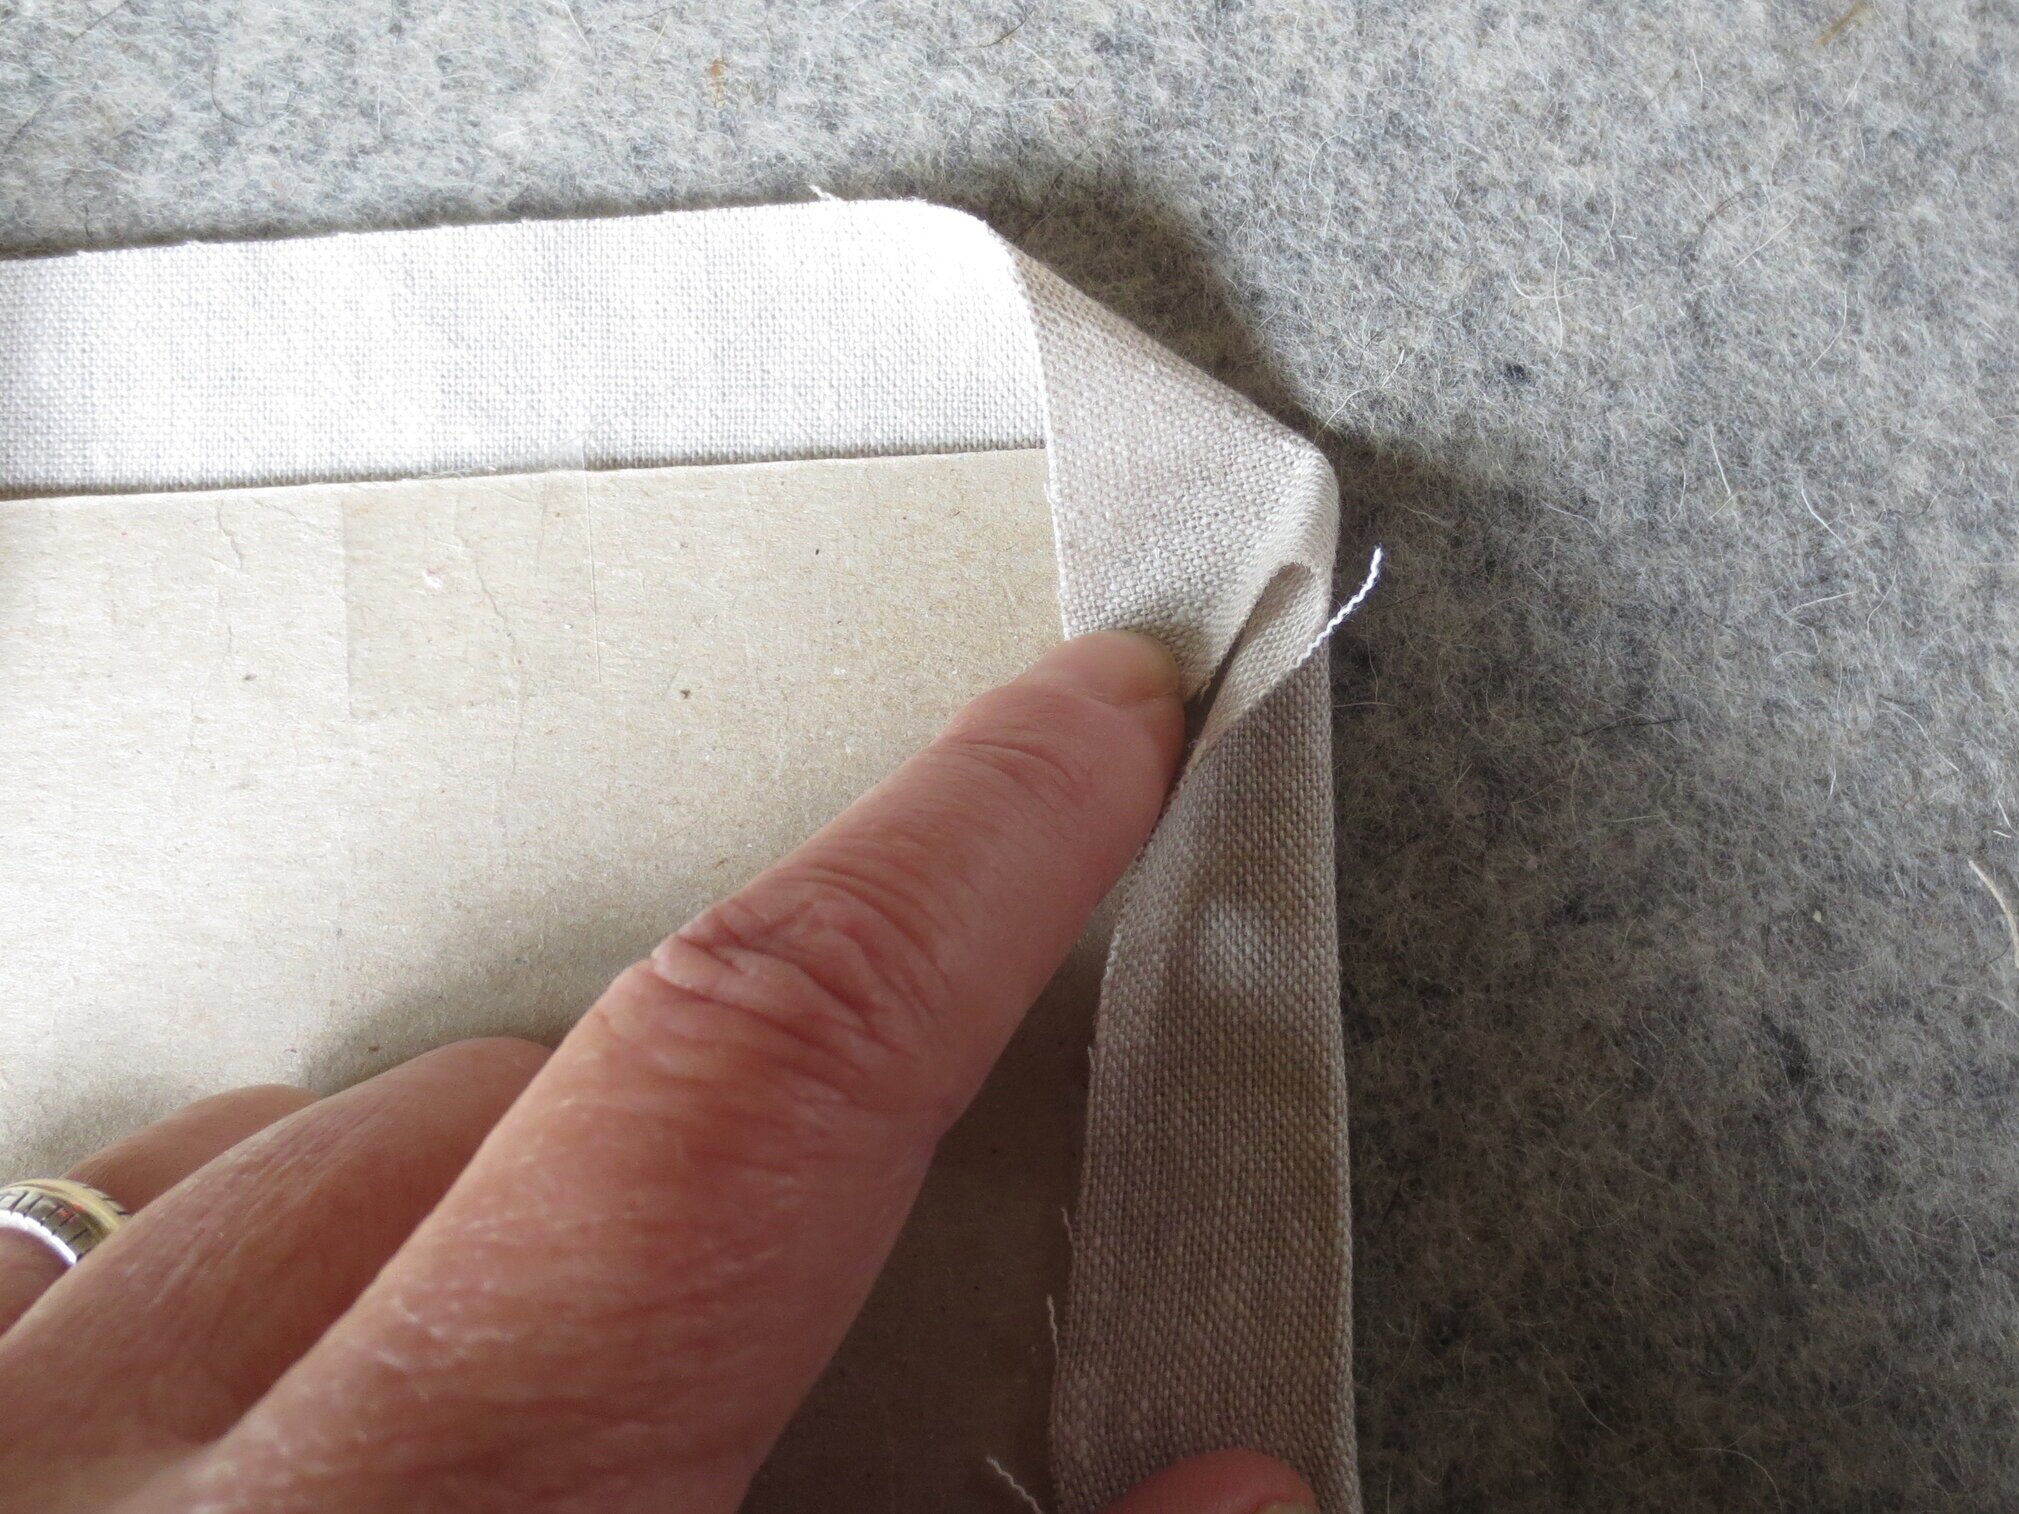
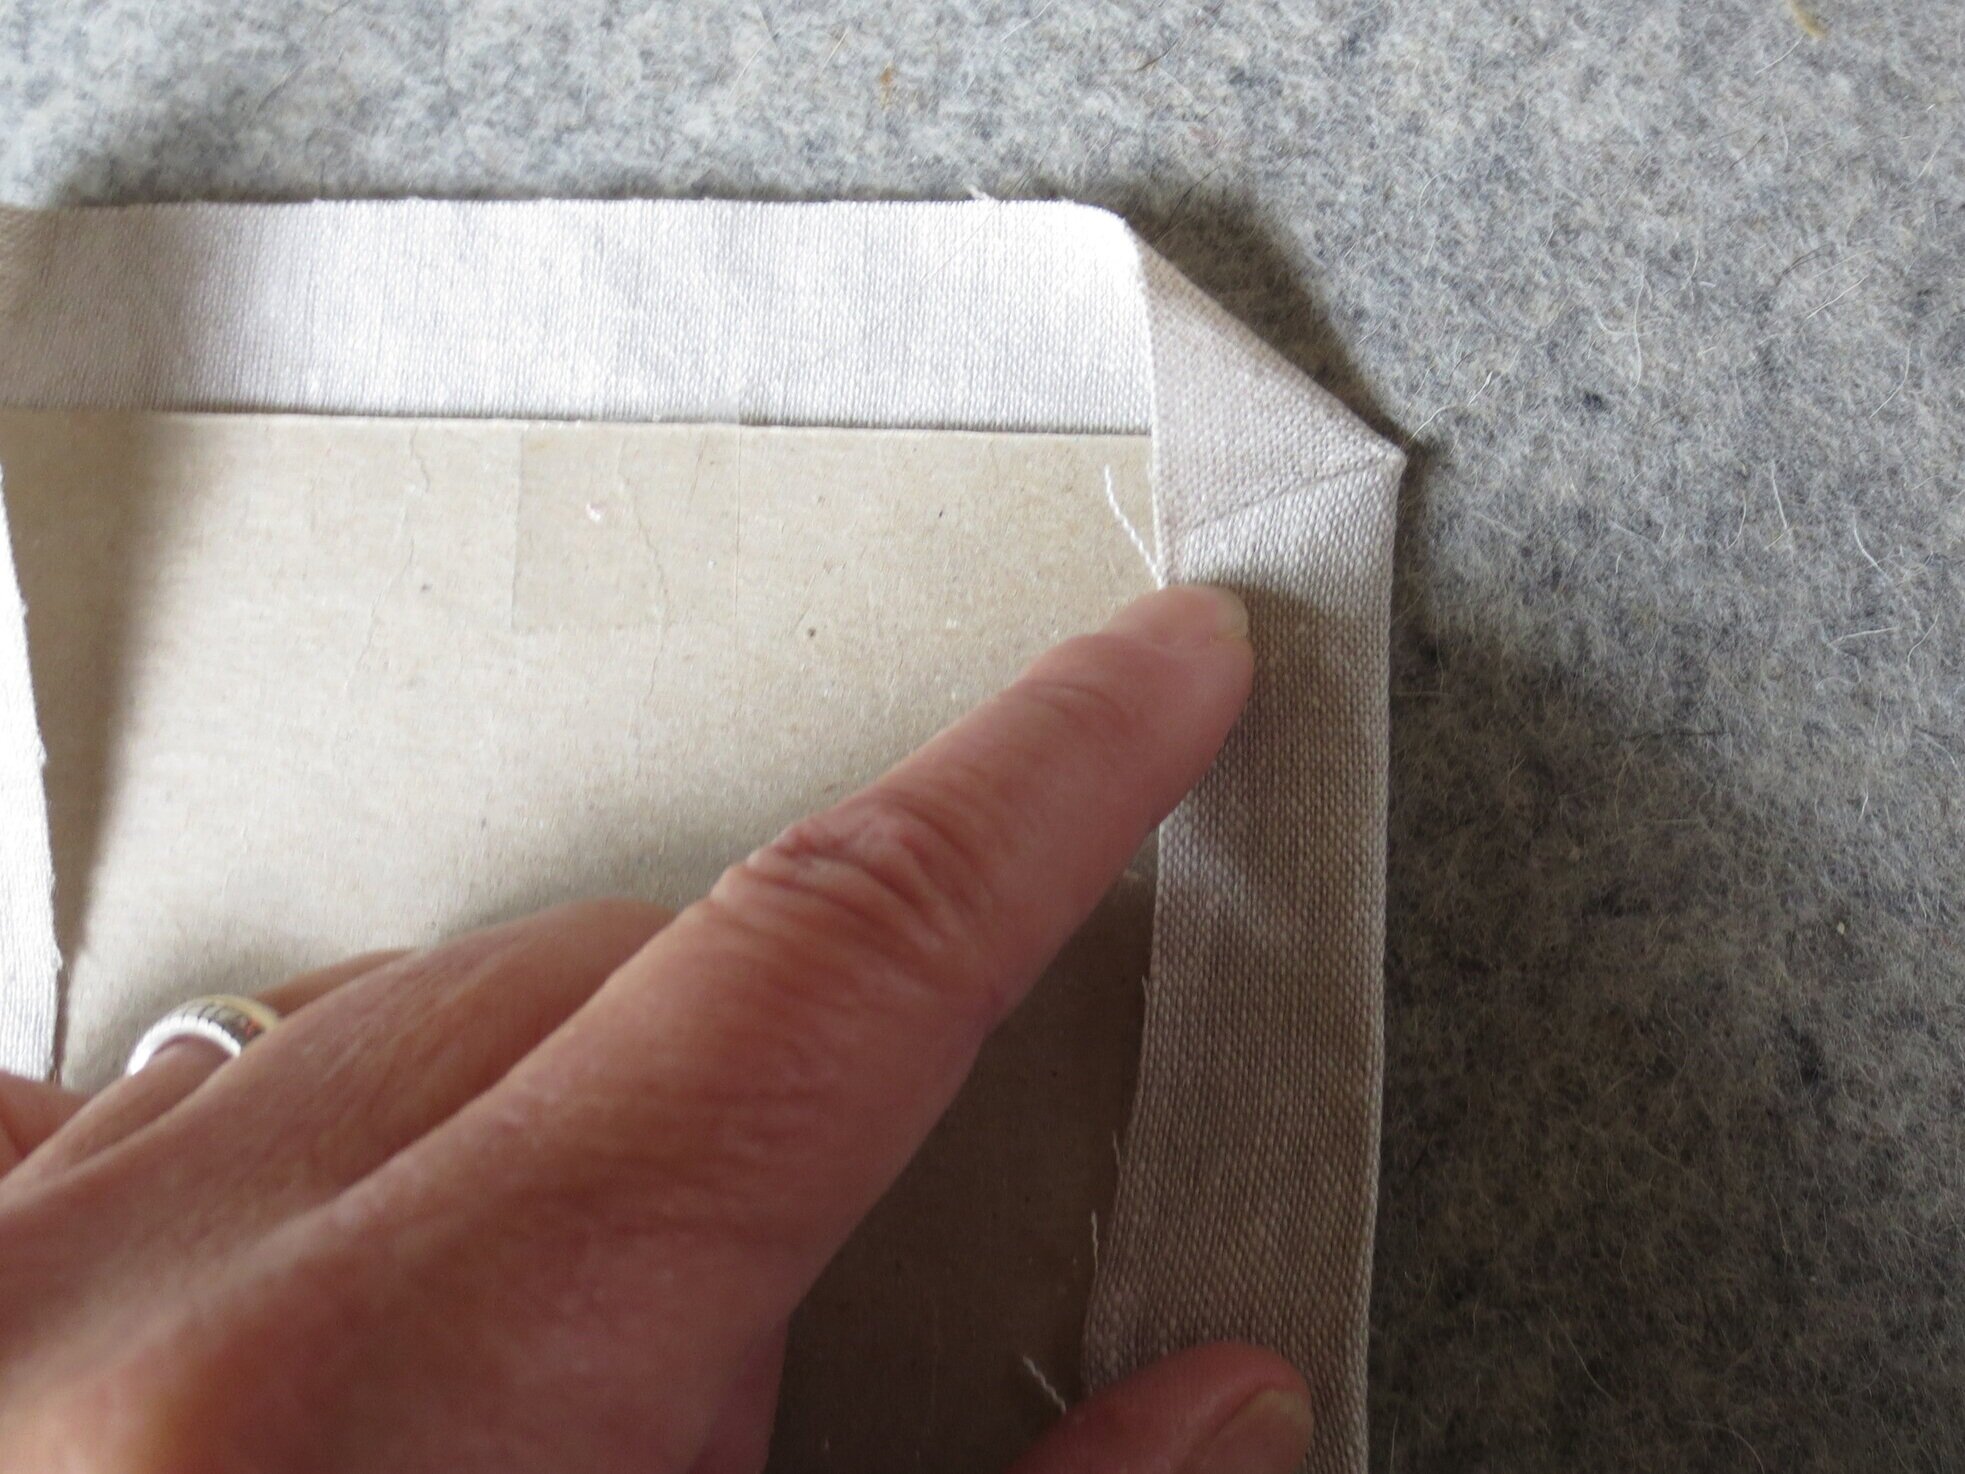
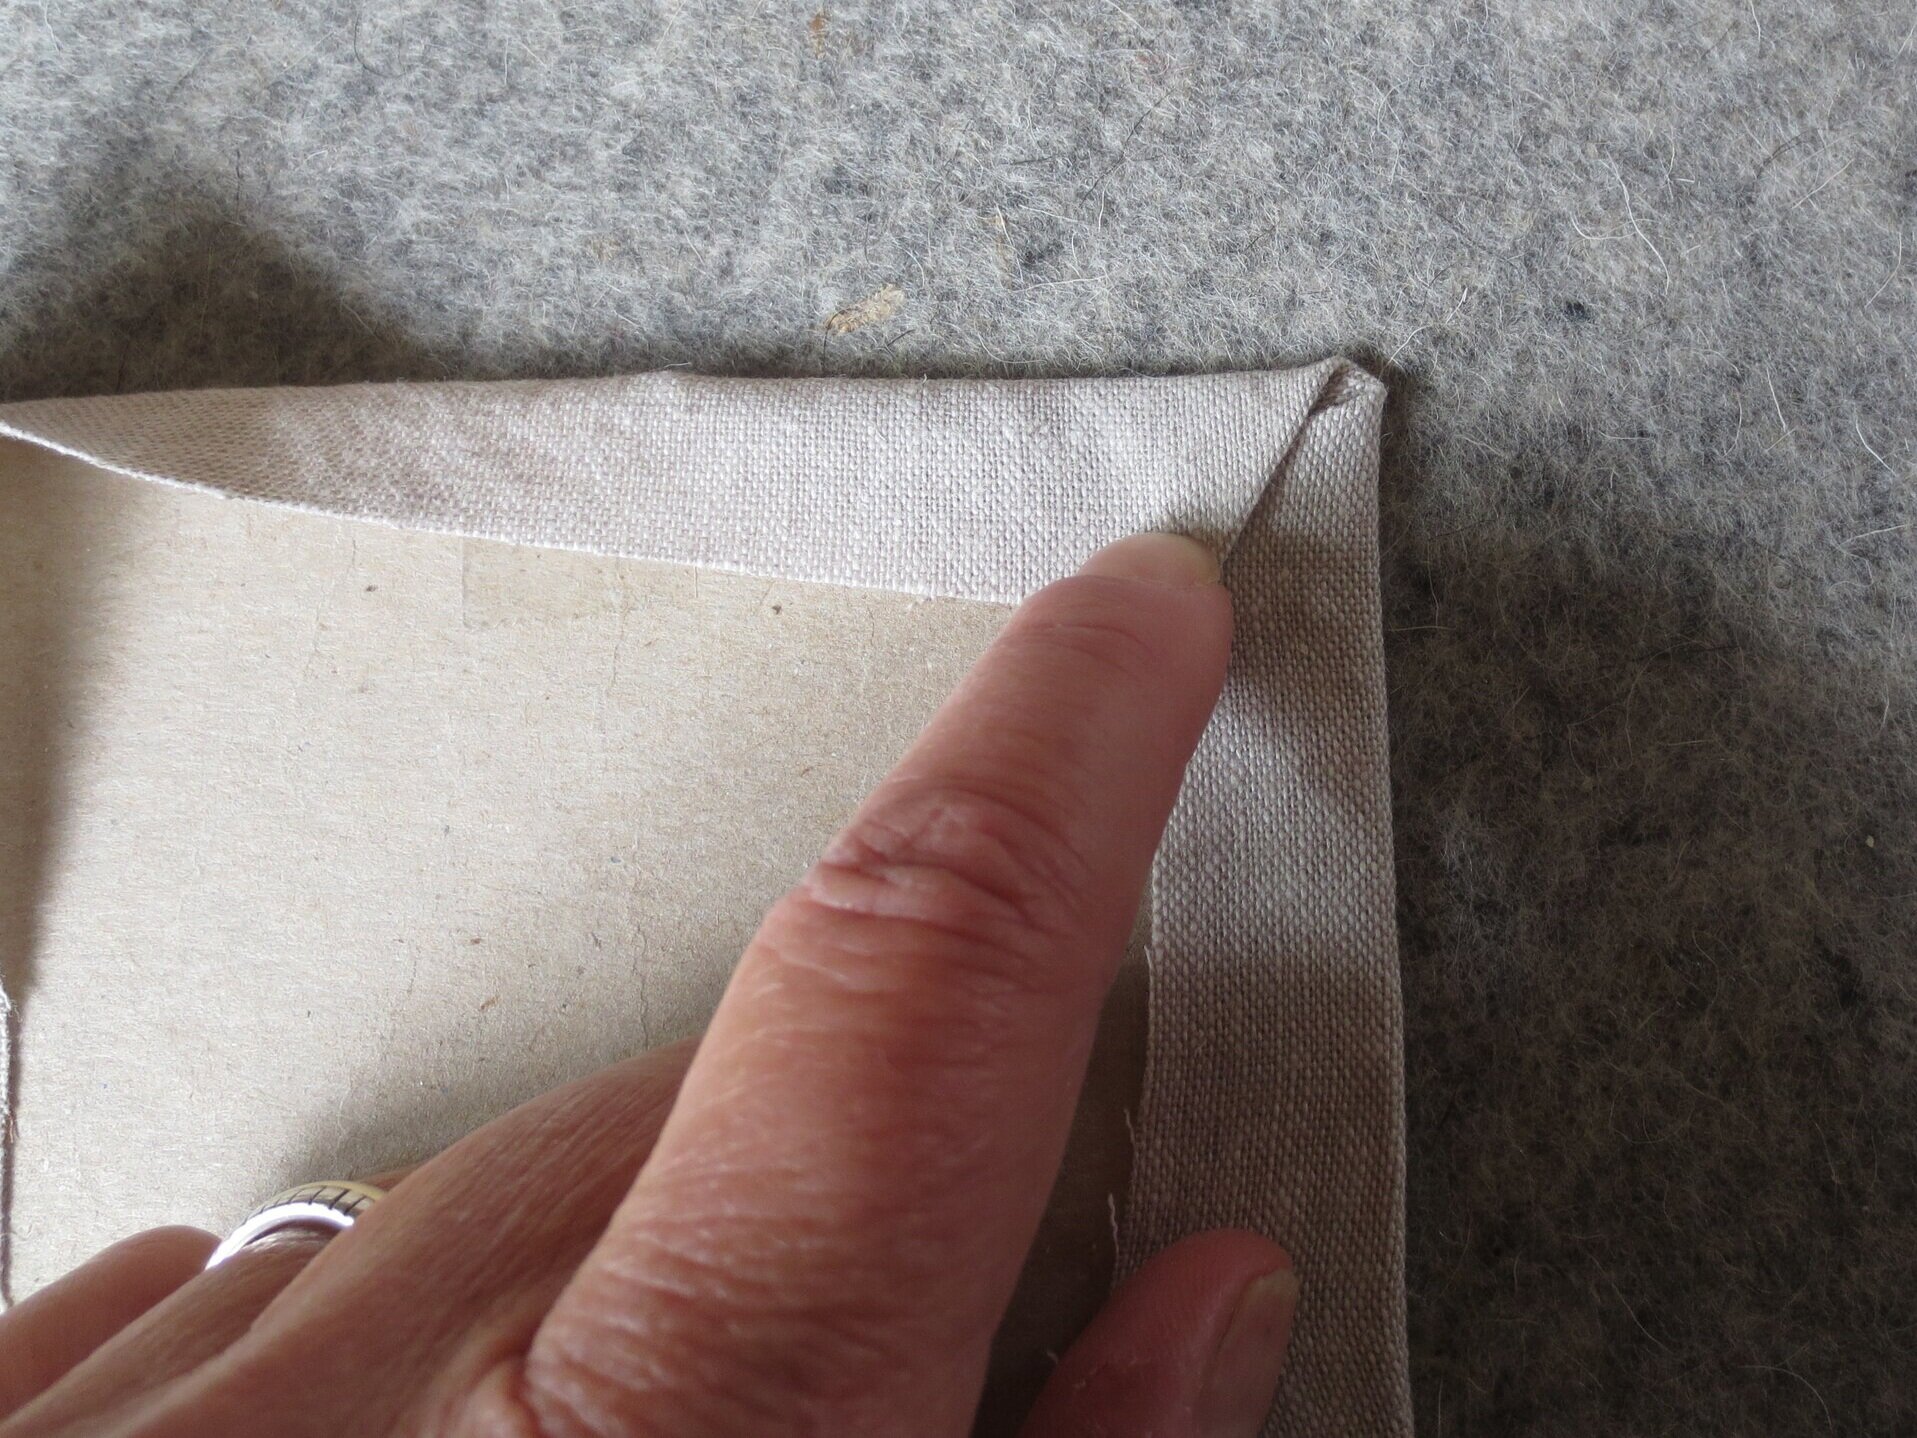
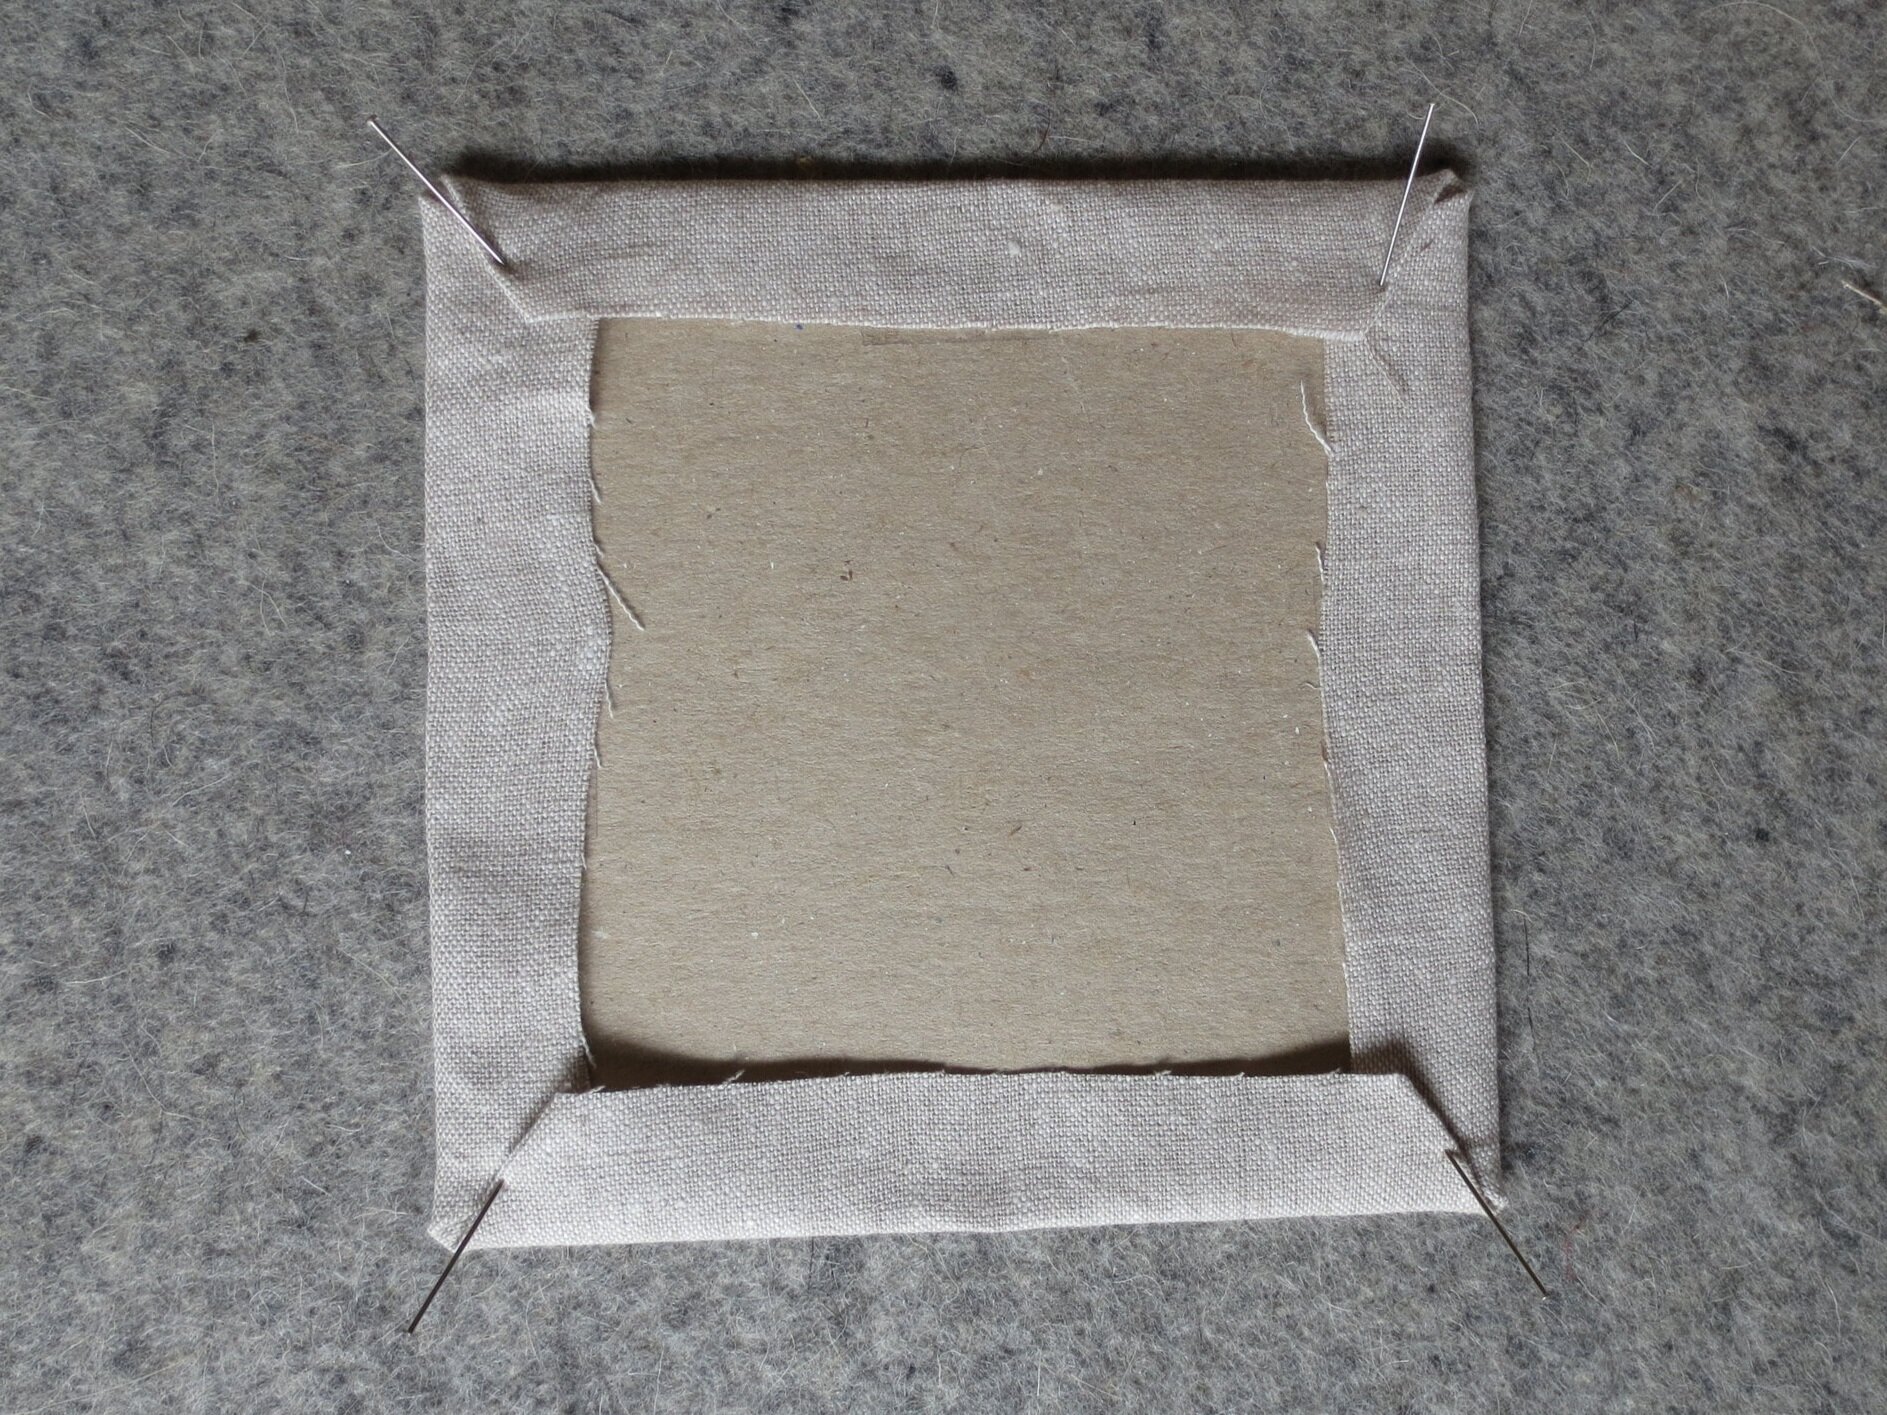
7. Make a hospital fold on each corner of the cardboard. Pin in place.
8. Whip stitch corners using one strand of thread of any color. It won’t show, so color doesn’t matter.
9. Insert the project into the frame.
Bonus design!
This is Winston’s nemesis, Snickers the cat. Before Winston was my dog he was owned by my son’s roommate. As a puppy he was ruled by an older cat named Snickers.
You can download the pattern here.


