Year of the Rabbit
2023 is the Year of the Rabbit according to the Chinese Lunar Calendar. In many Asian countries the rabbit holds special significance. It is a symbol of longevity, peace and prosperity. This year is predicted to be one of hope.
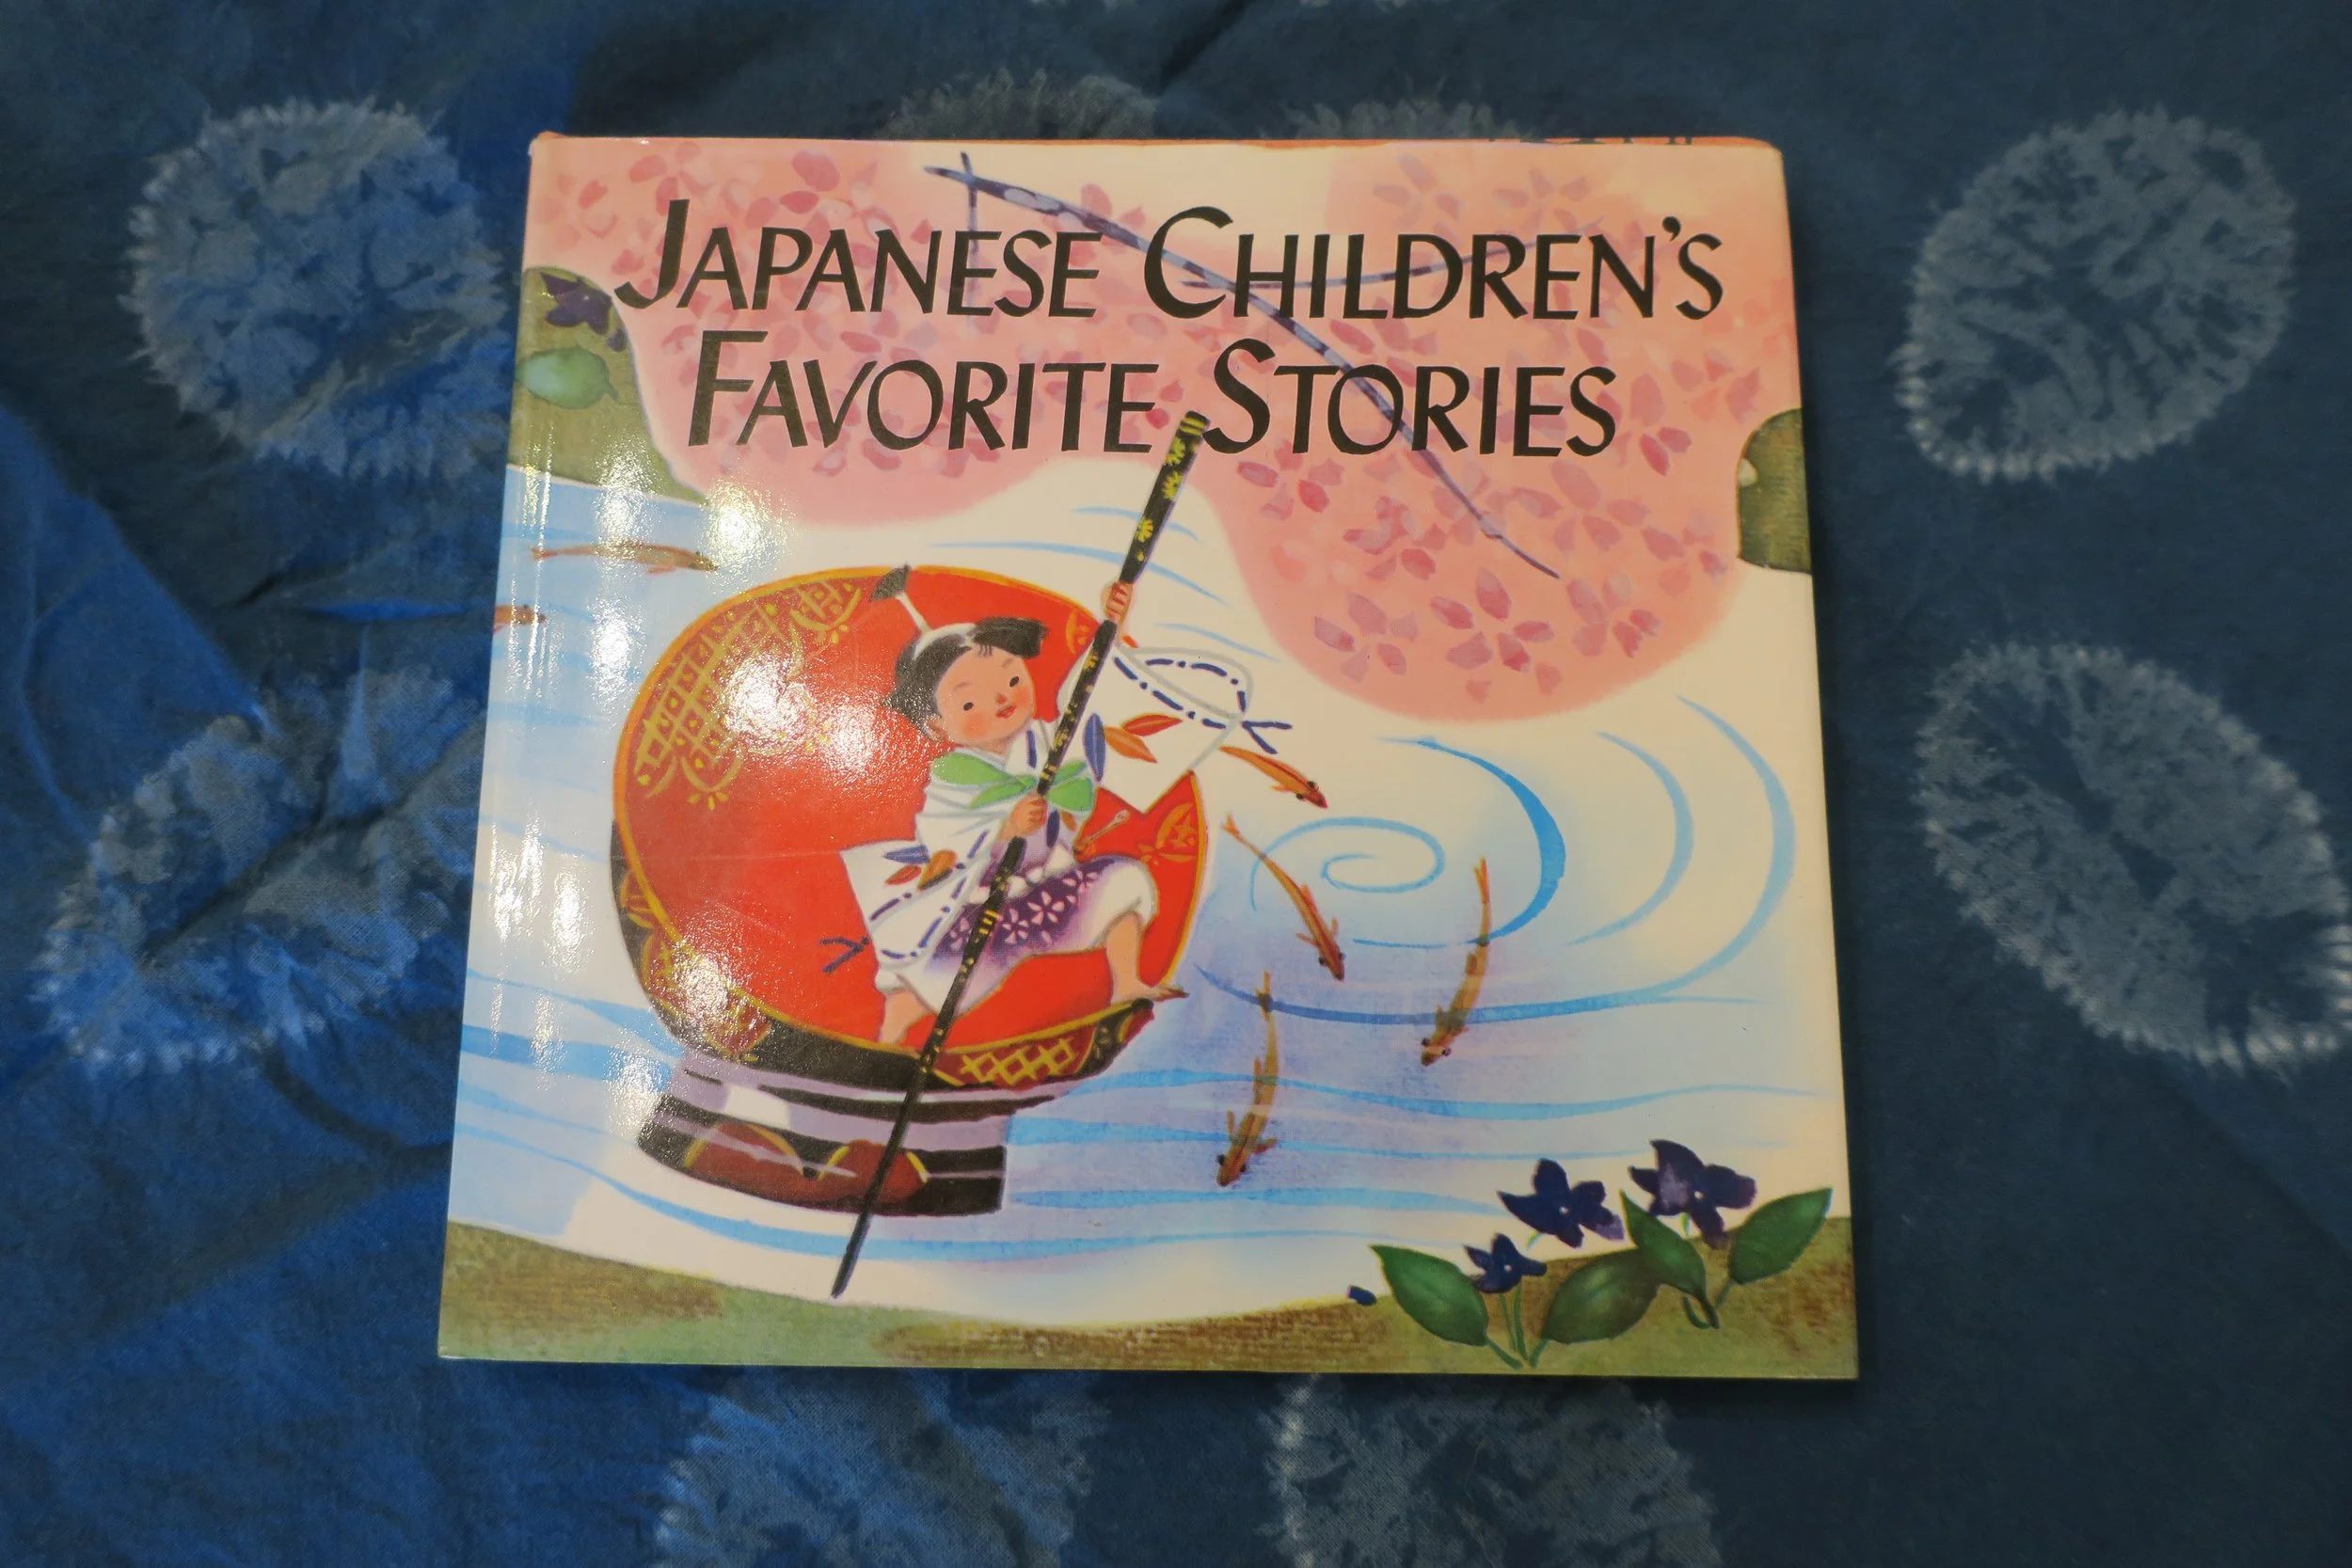
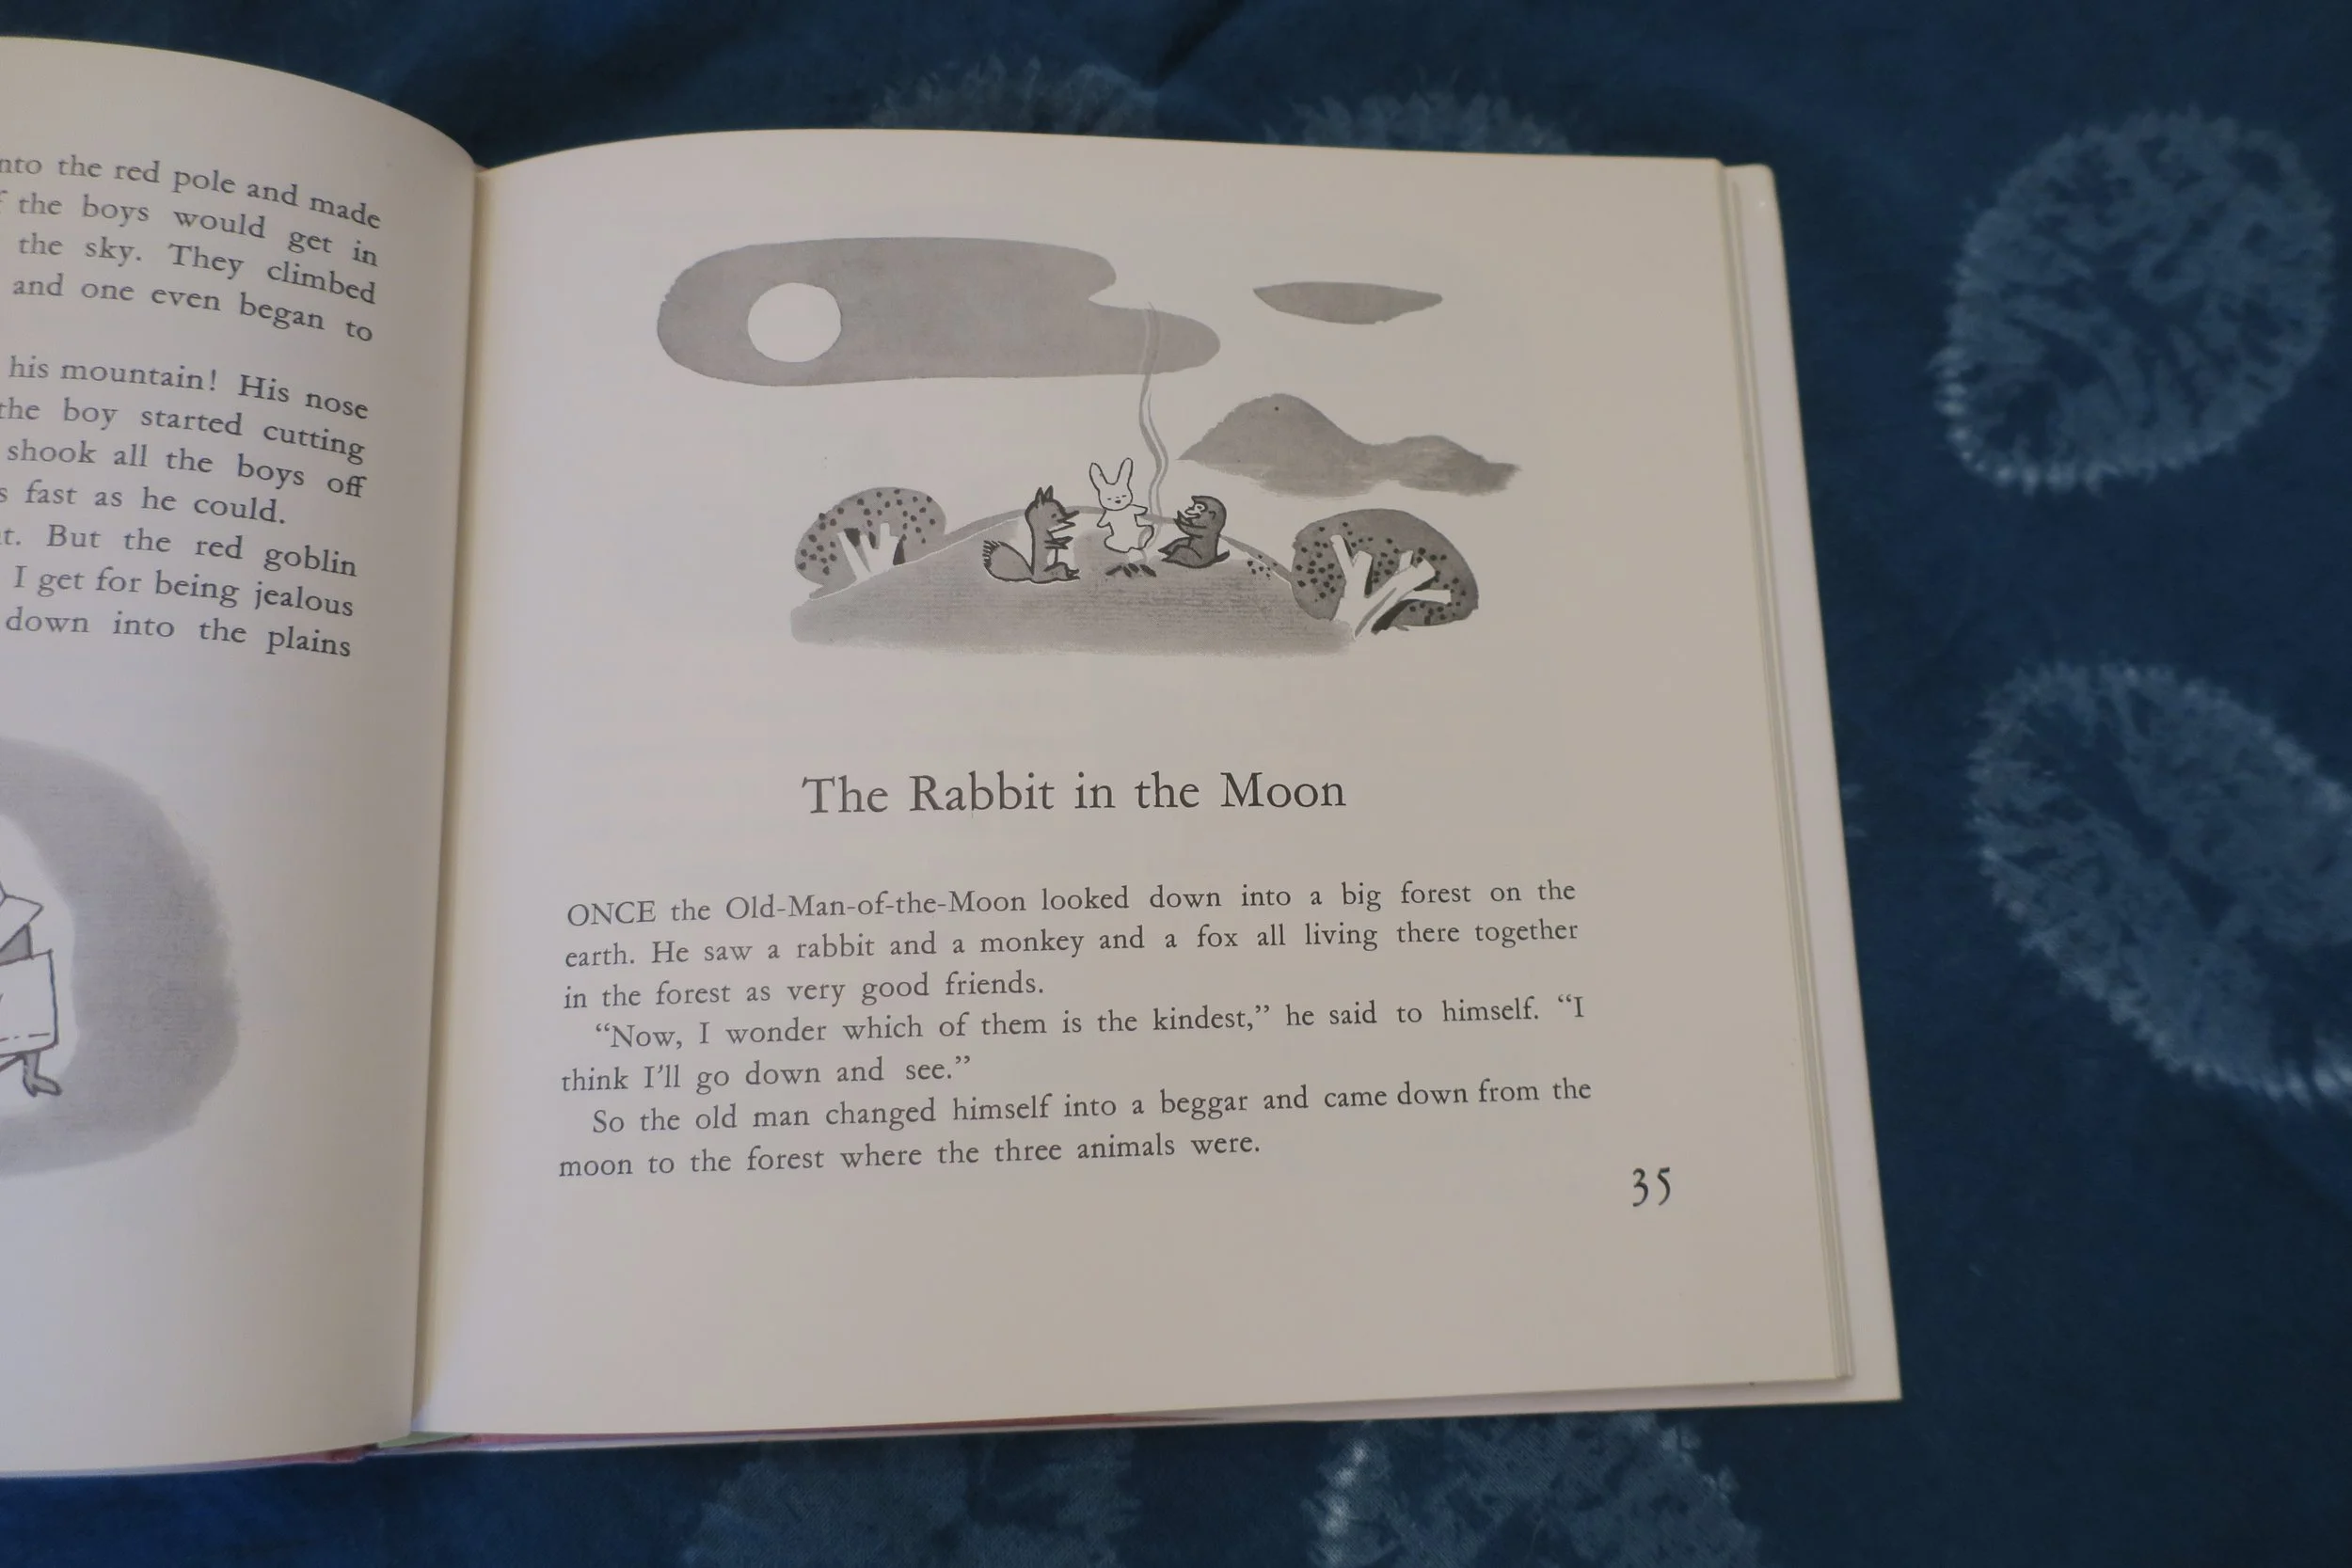
As a child, my Japanese mother would point out the rabbit image in the moon and tell me that the Man in the Moon had rewarded Rabbit for his kindness by taking him back to the moon to live with him. When my children were young, I read them a classic Japanese folklore story about the Rabbit in the Moon.
You can read a version of the story here.
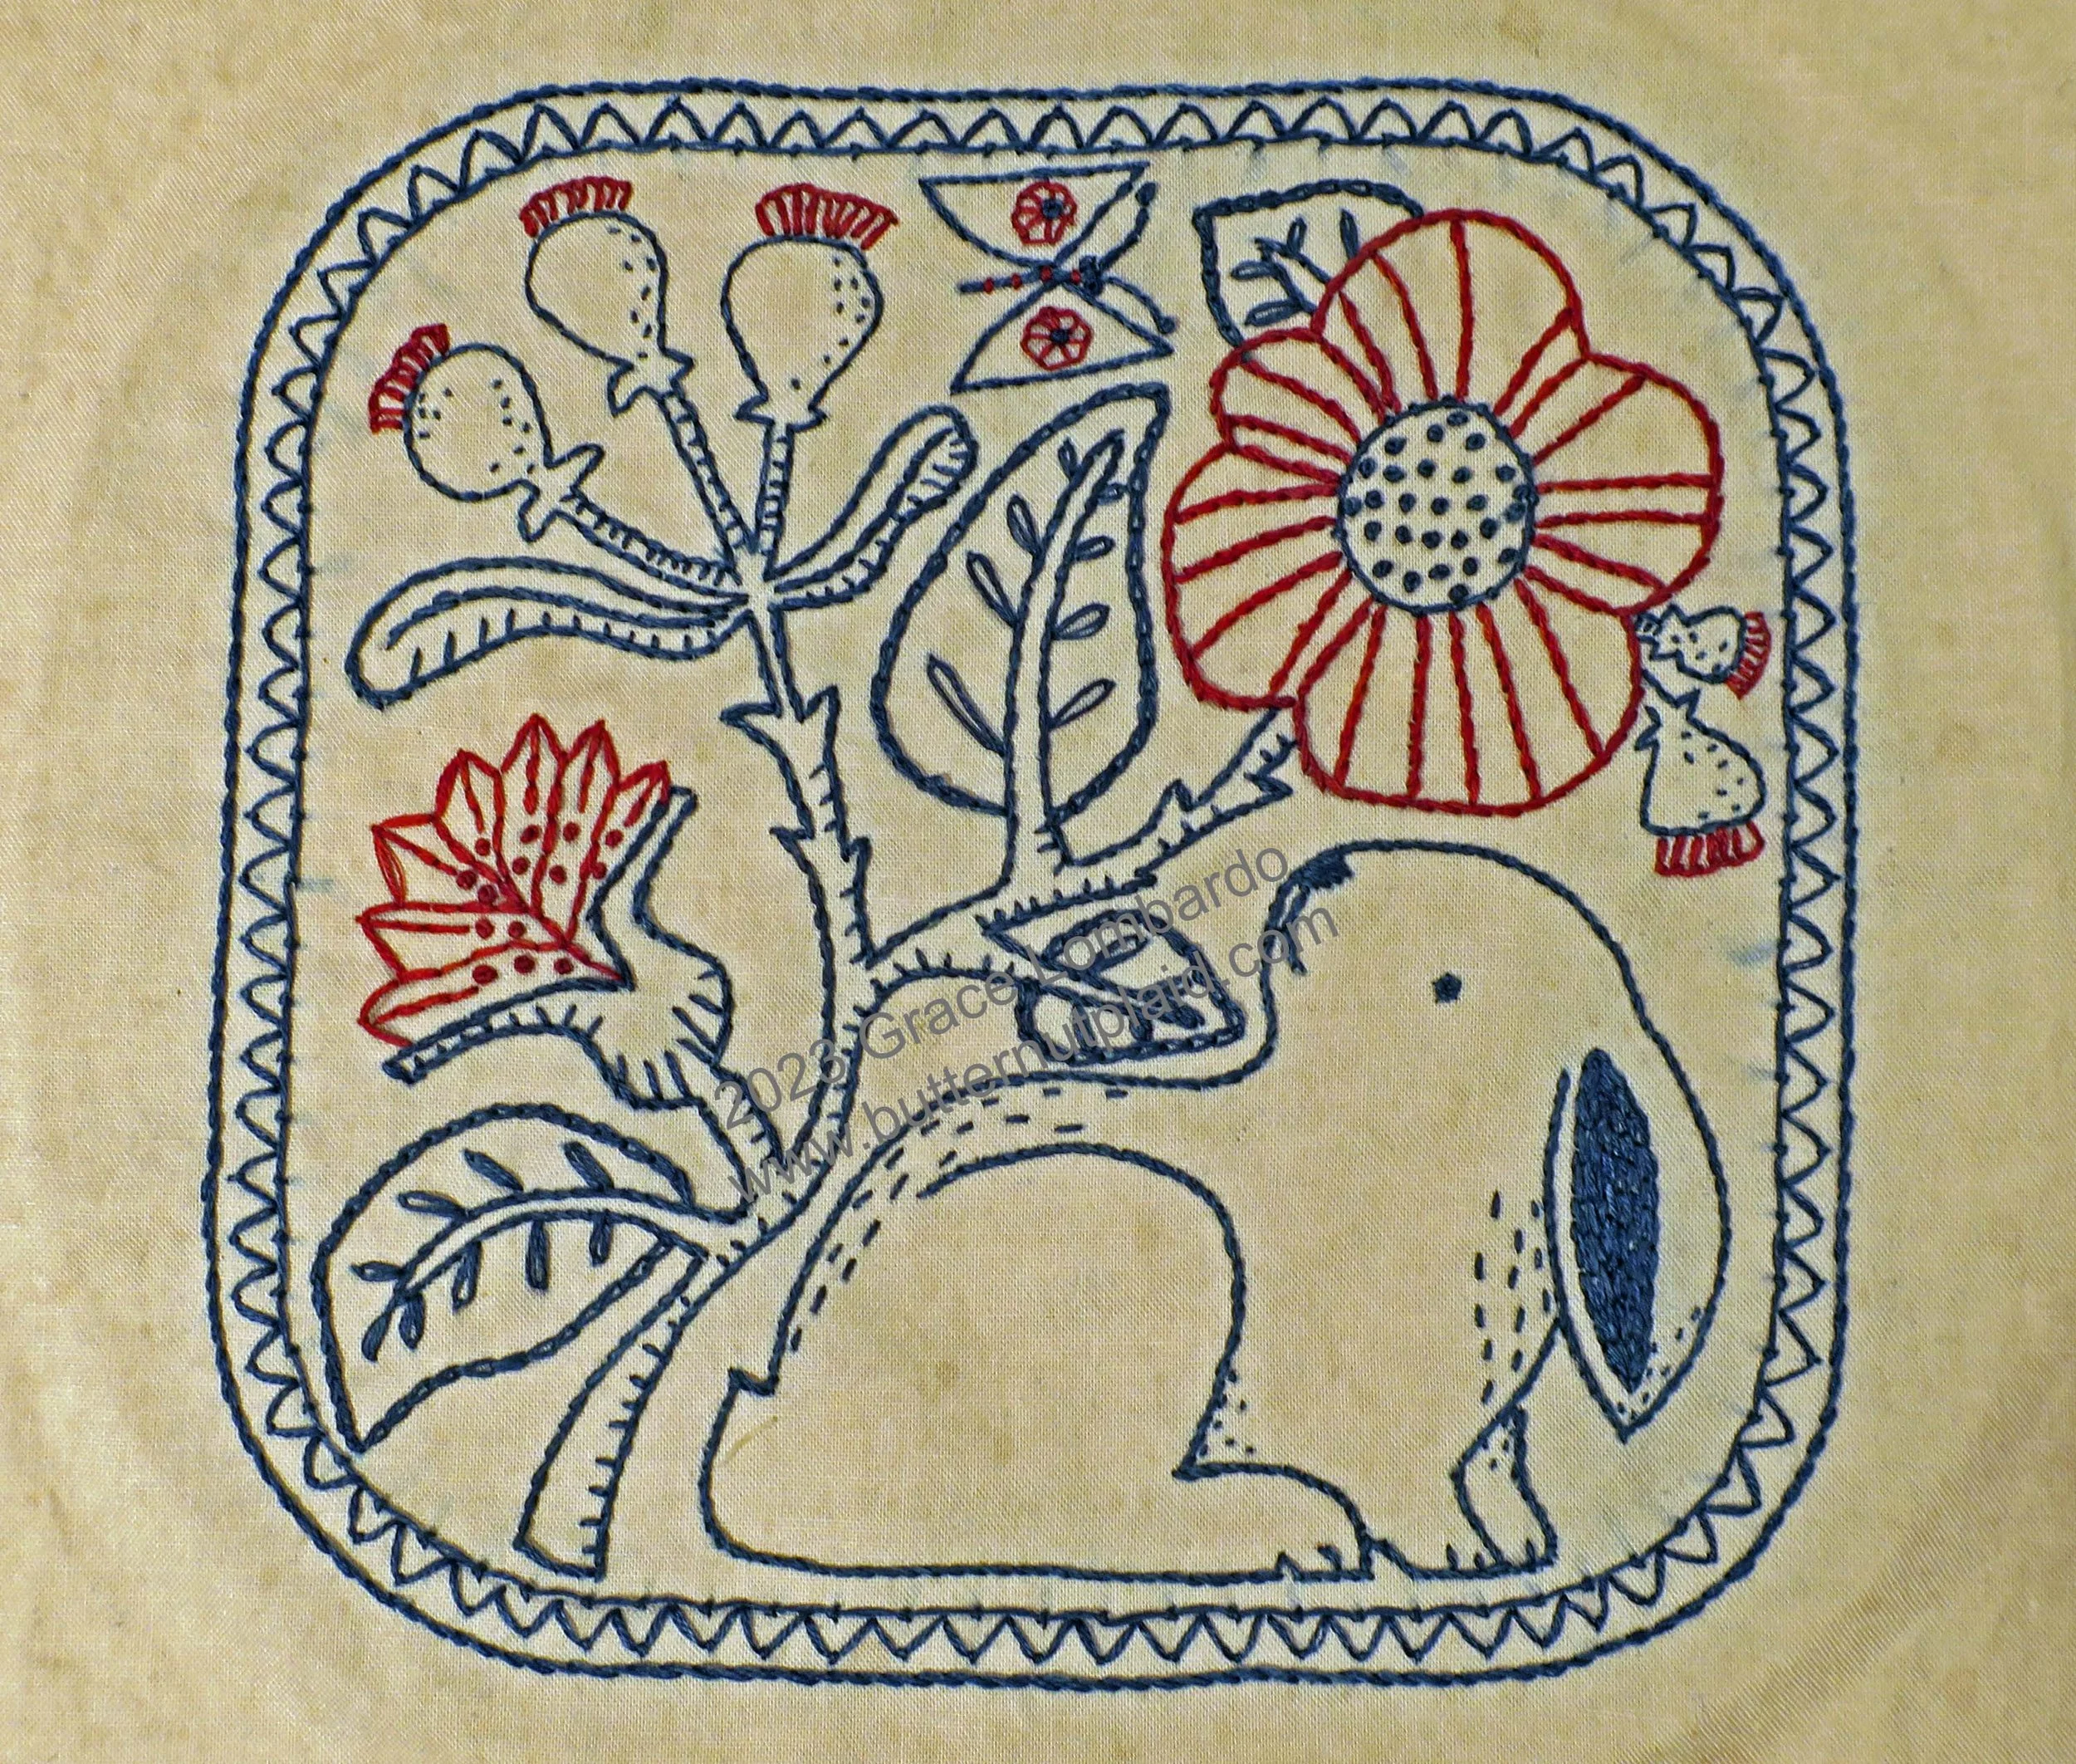
I stitched this design with some of the naturally dyed threads that I dyed this past year. I chose indigo blue, because blue is my favorite color, and madder red, because red is a symbol of good luck, good fortune and prosperity.
Happy Stitching!
You will need:
Supplies
Background fabric – 12” x 12” piece of medium weight fabric (I used Kona cotton that I dyed with a light walnut husk dye, and then overdyed with a walnut husk dye spatter)
Thread - The colors are suggestions. The choice of colors and color combinations is your own.
1 (8 meters)skein of red
2 (8 meter) skeins of blue
Light box or bright window
Transfer pen – I used Sublime Stitching Fine Tip Iron On Transfer pen (You may wish to use another form of transferring your design onto your background fabric)
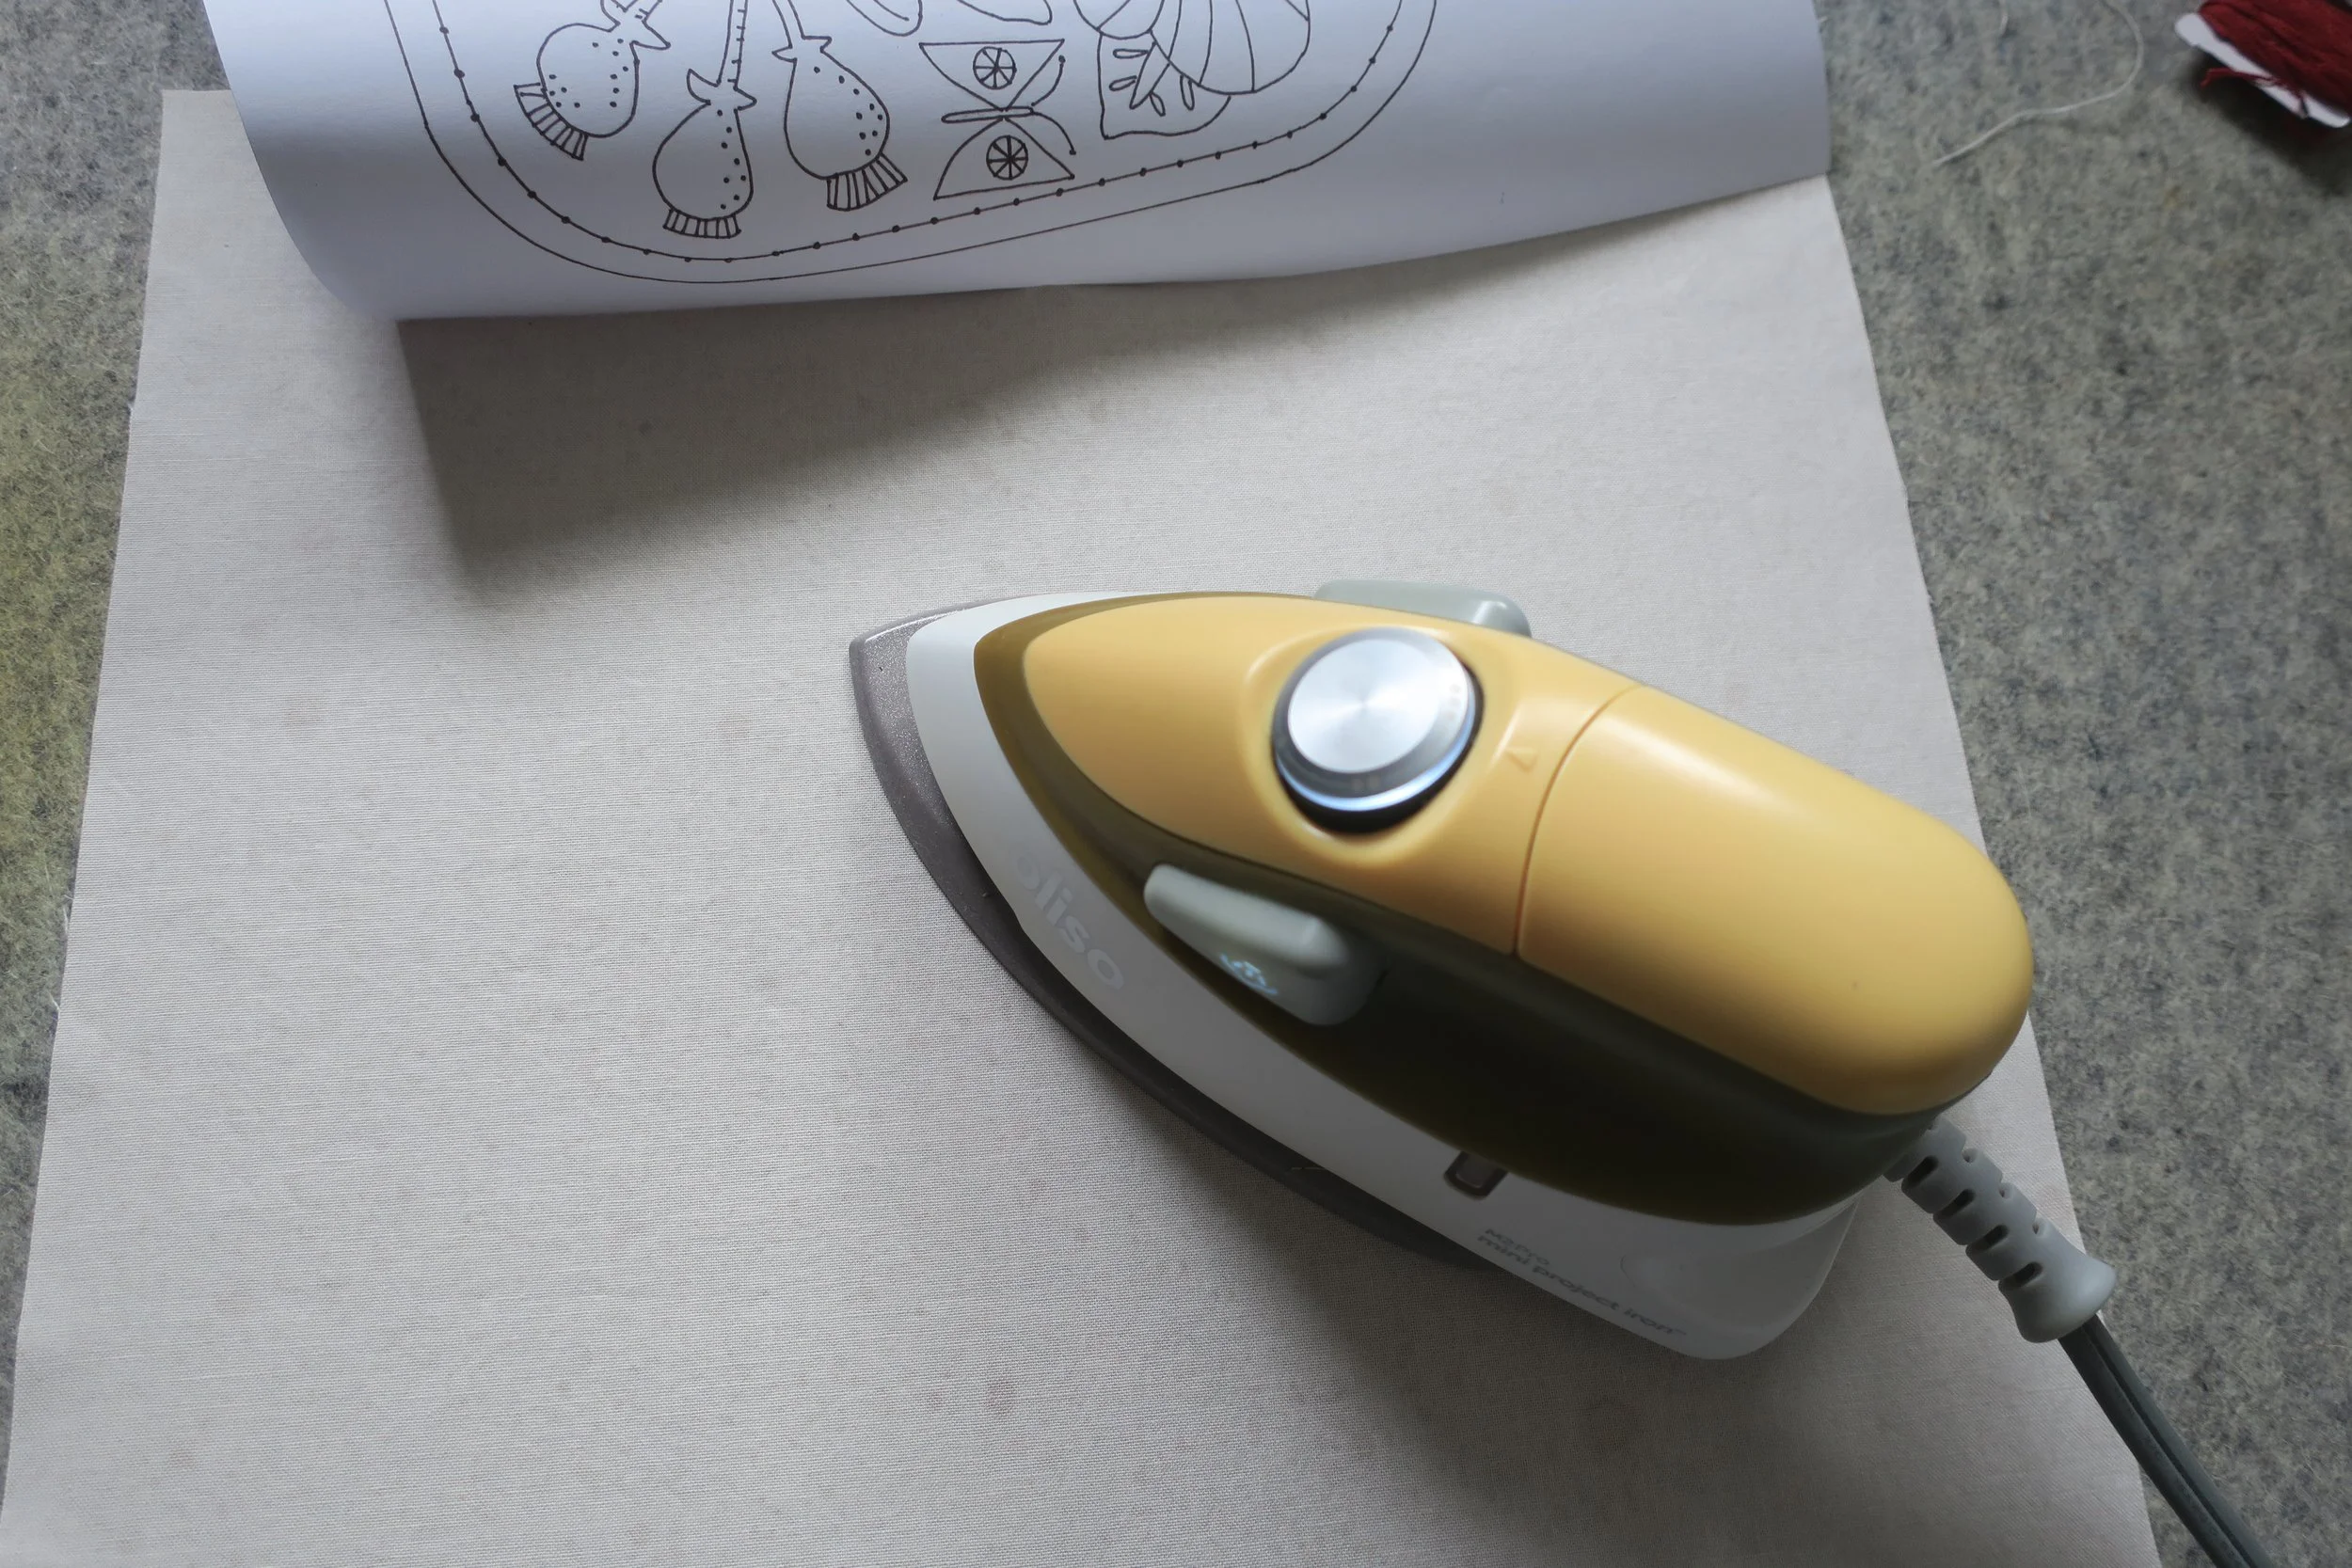
Iron – For use with Iron On Transfer Pen
8” – 10” embroidery hoop
Instructions
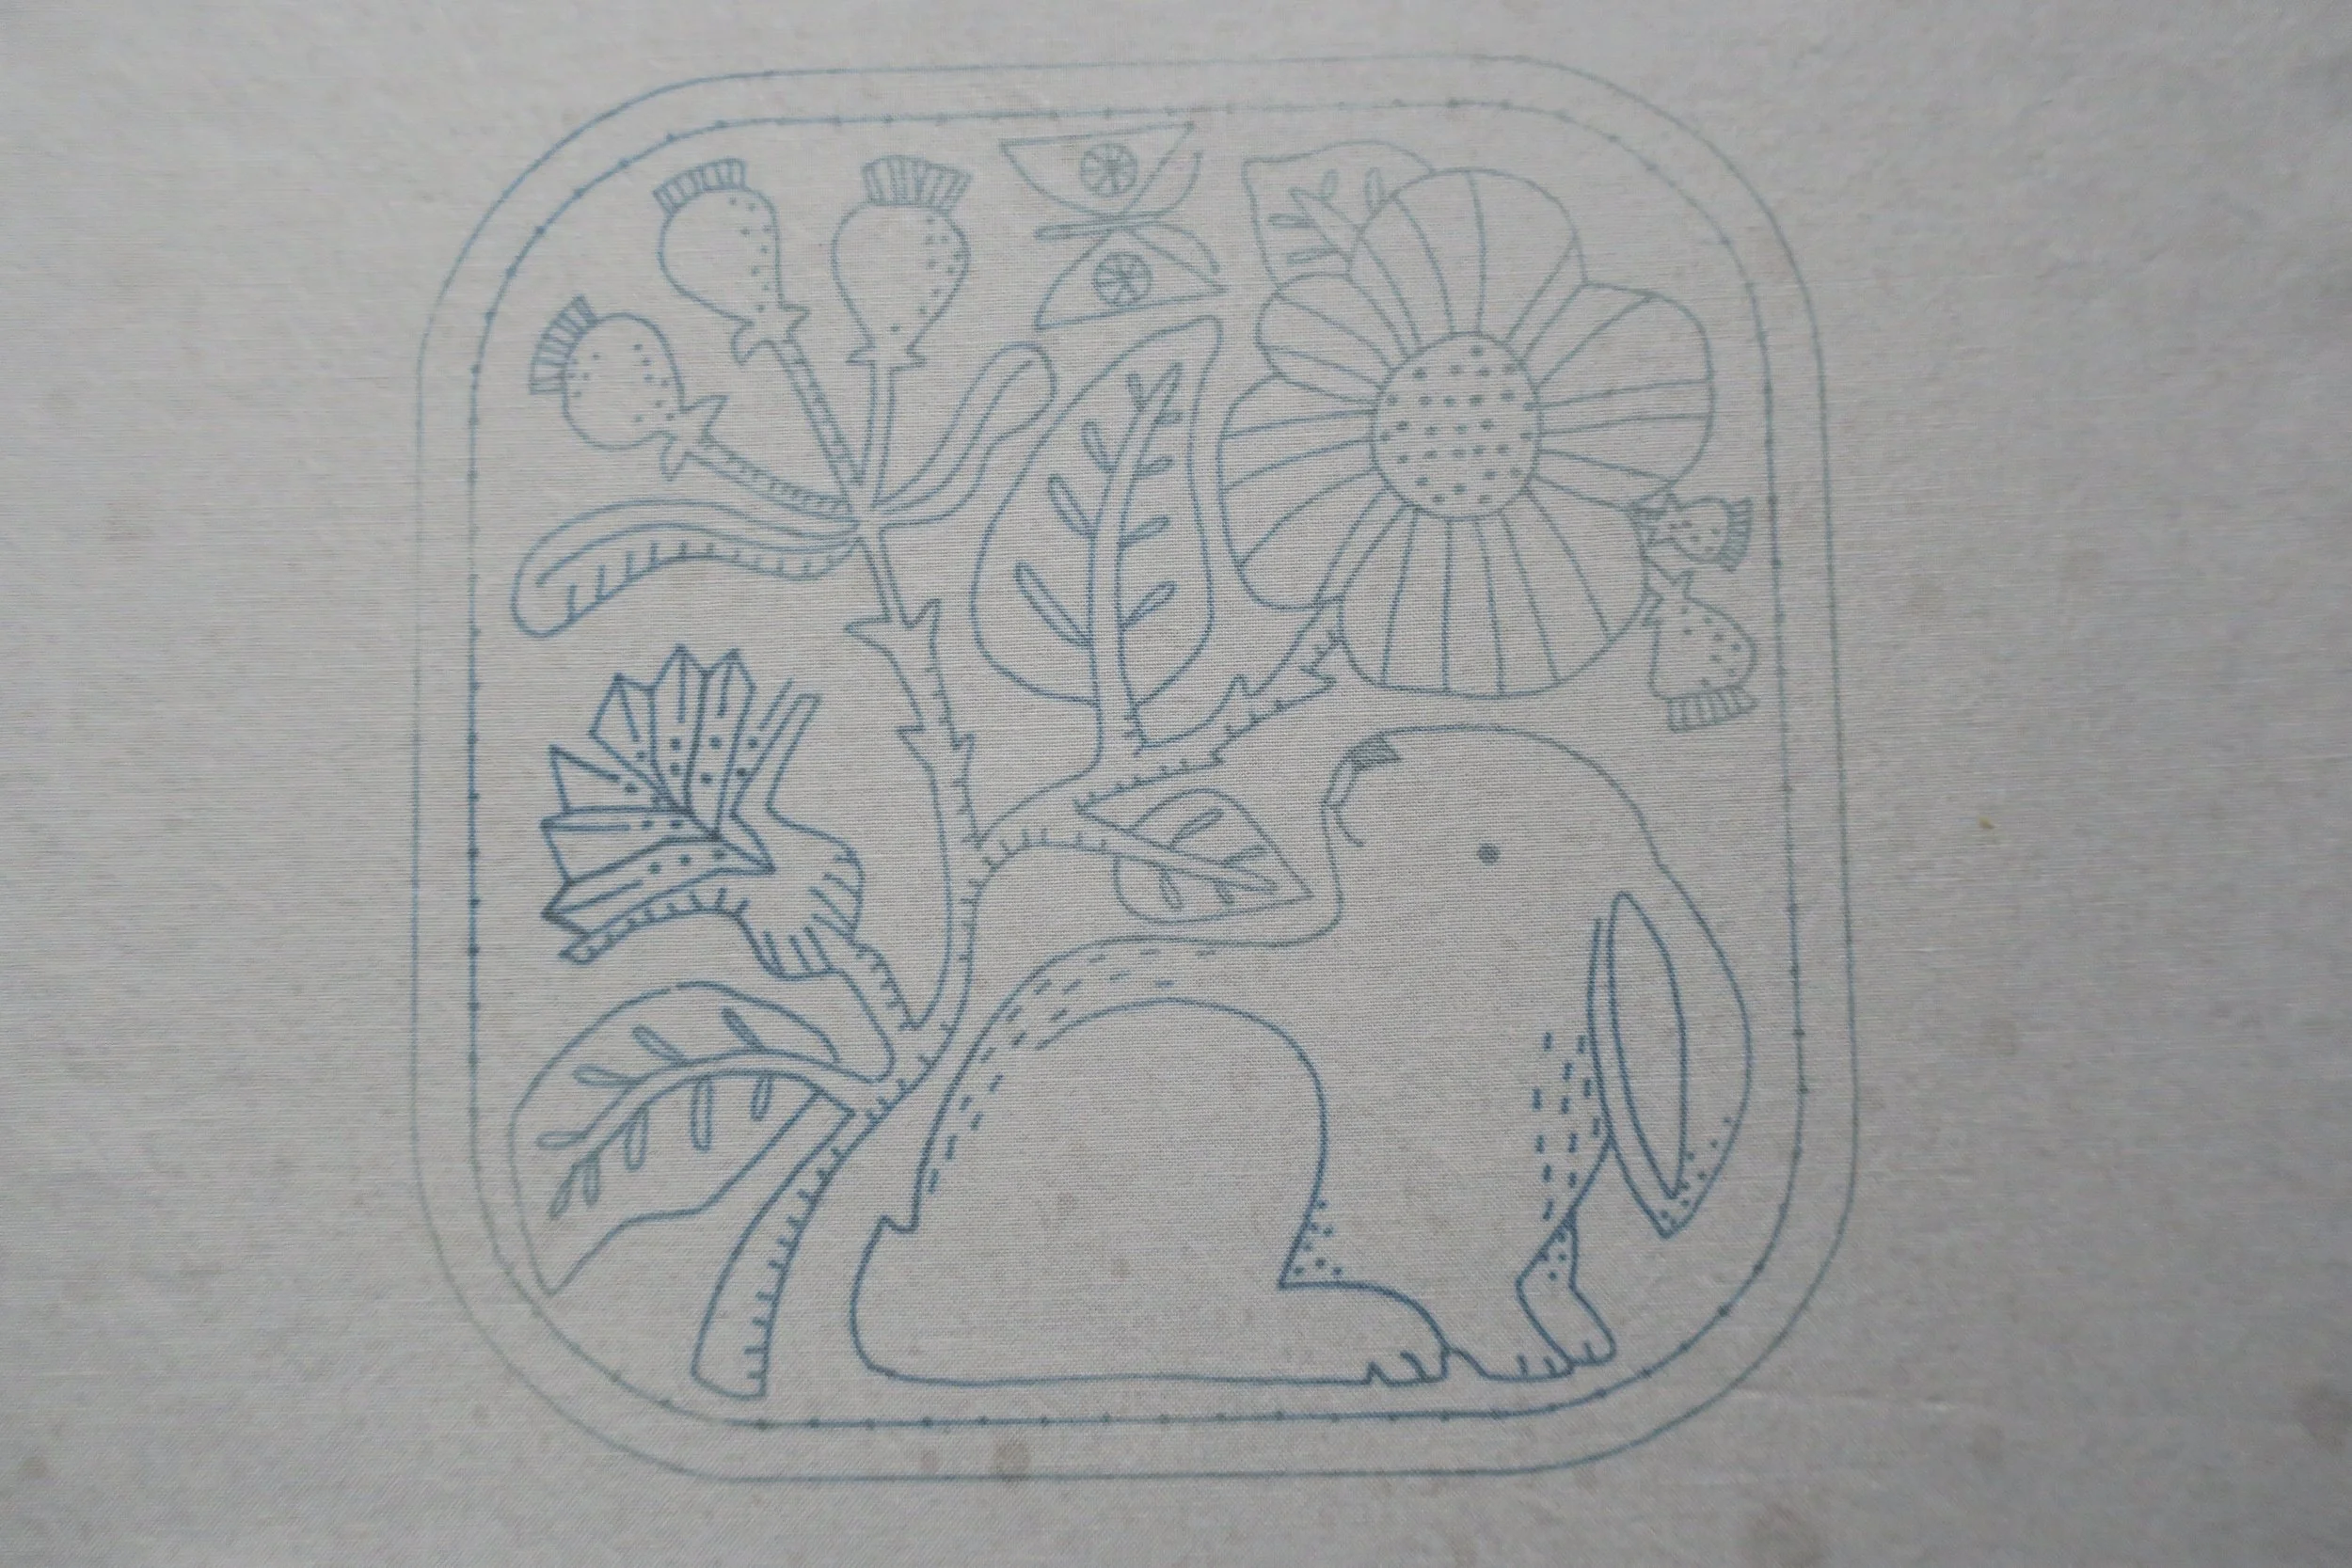
1. Transferring the Design – The following instructions are for an iron-on transfer pen method.
· Use a transfer pen to trace the reverse image (trace from the back or print a mirror image from your printer) onto a piece of printer paper.
· Center your transfer design onto your background fabric and then pin the paper in place using a single straight pin in the center top of your paper. This will create a hinge to allow the transfer paper to be folded away from your fabric while still keeping the design centered.
· Fold the transfer paper up and then press the background fabric with a hot dry iron (cotton/linen setting). The fabric needs to be heated to accept the transfer ink.
· Quickly and carefully, fold the transfer paper back down onto your fabric, and then use a hot iron to press your transfer paper, 15 seconds each press, moving all over the design at least twice. Check the quality of your transfer by gently lifting up one corner of your transfer paper. If the design isn’t dark enough, repeat the 15 second presses. I was able to make 3 transfers with my transfer paper.
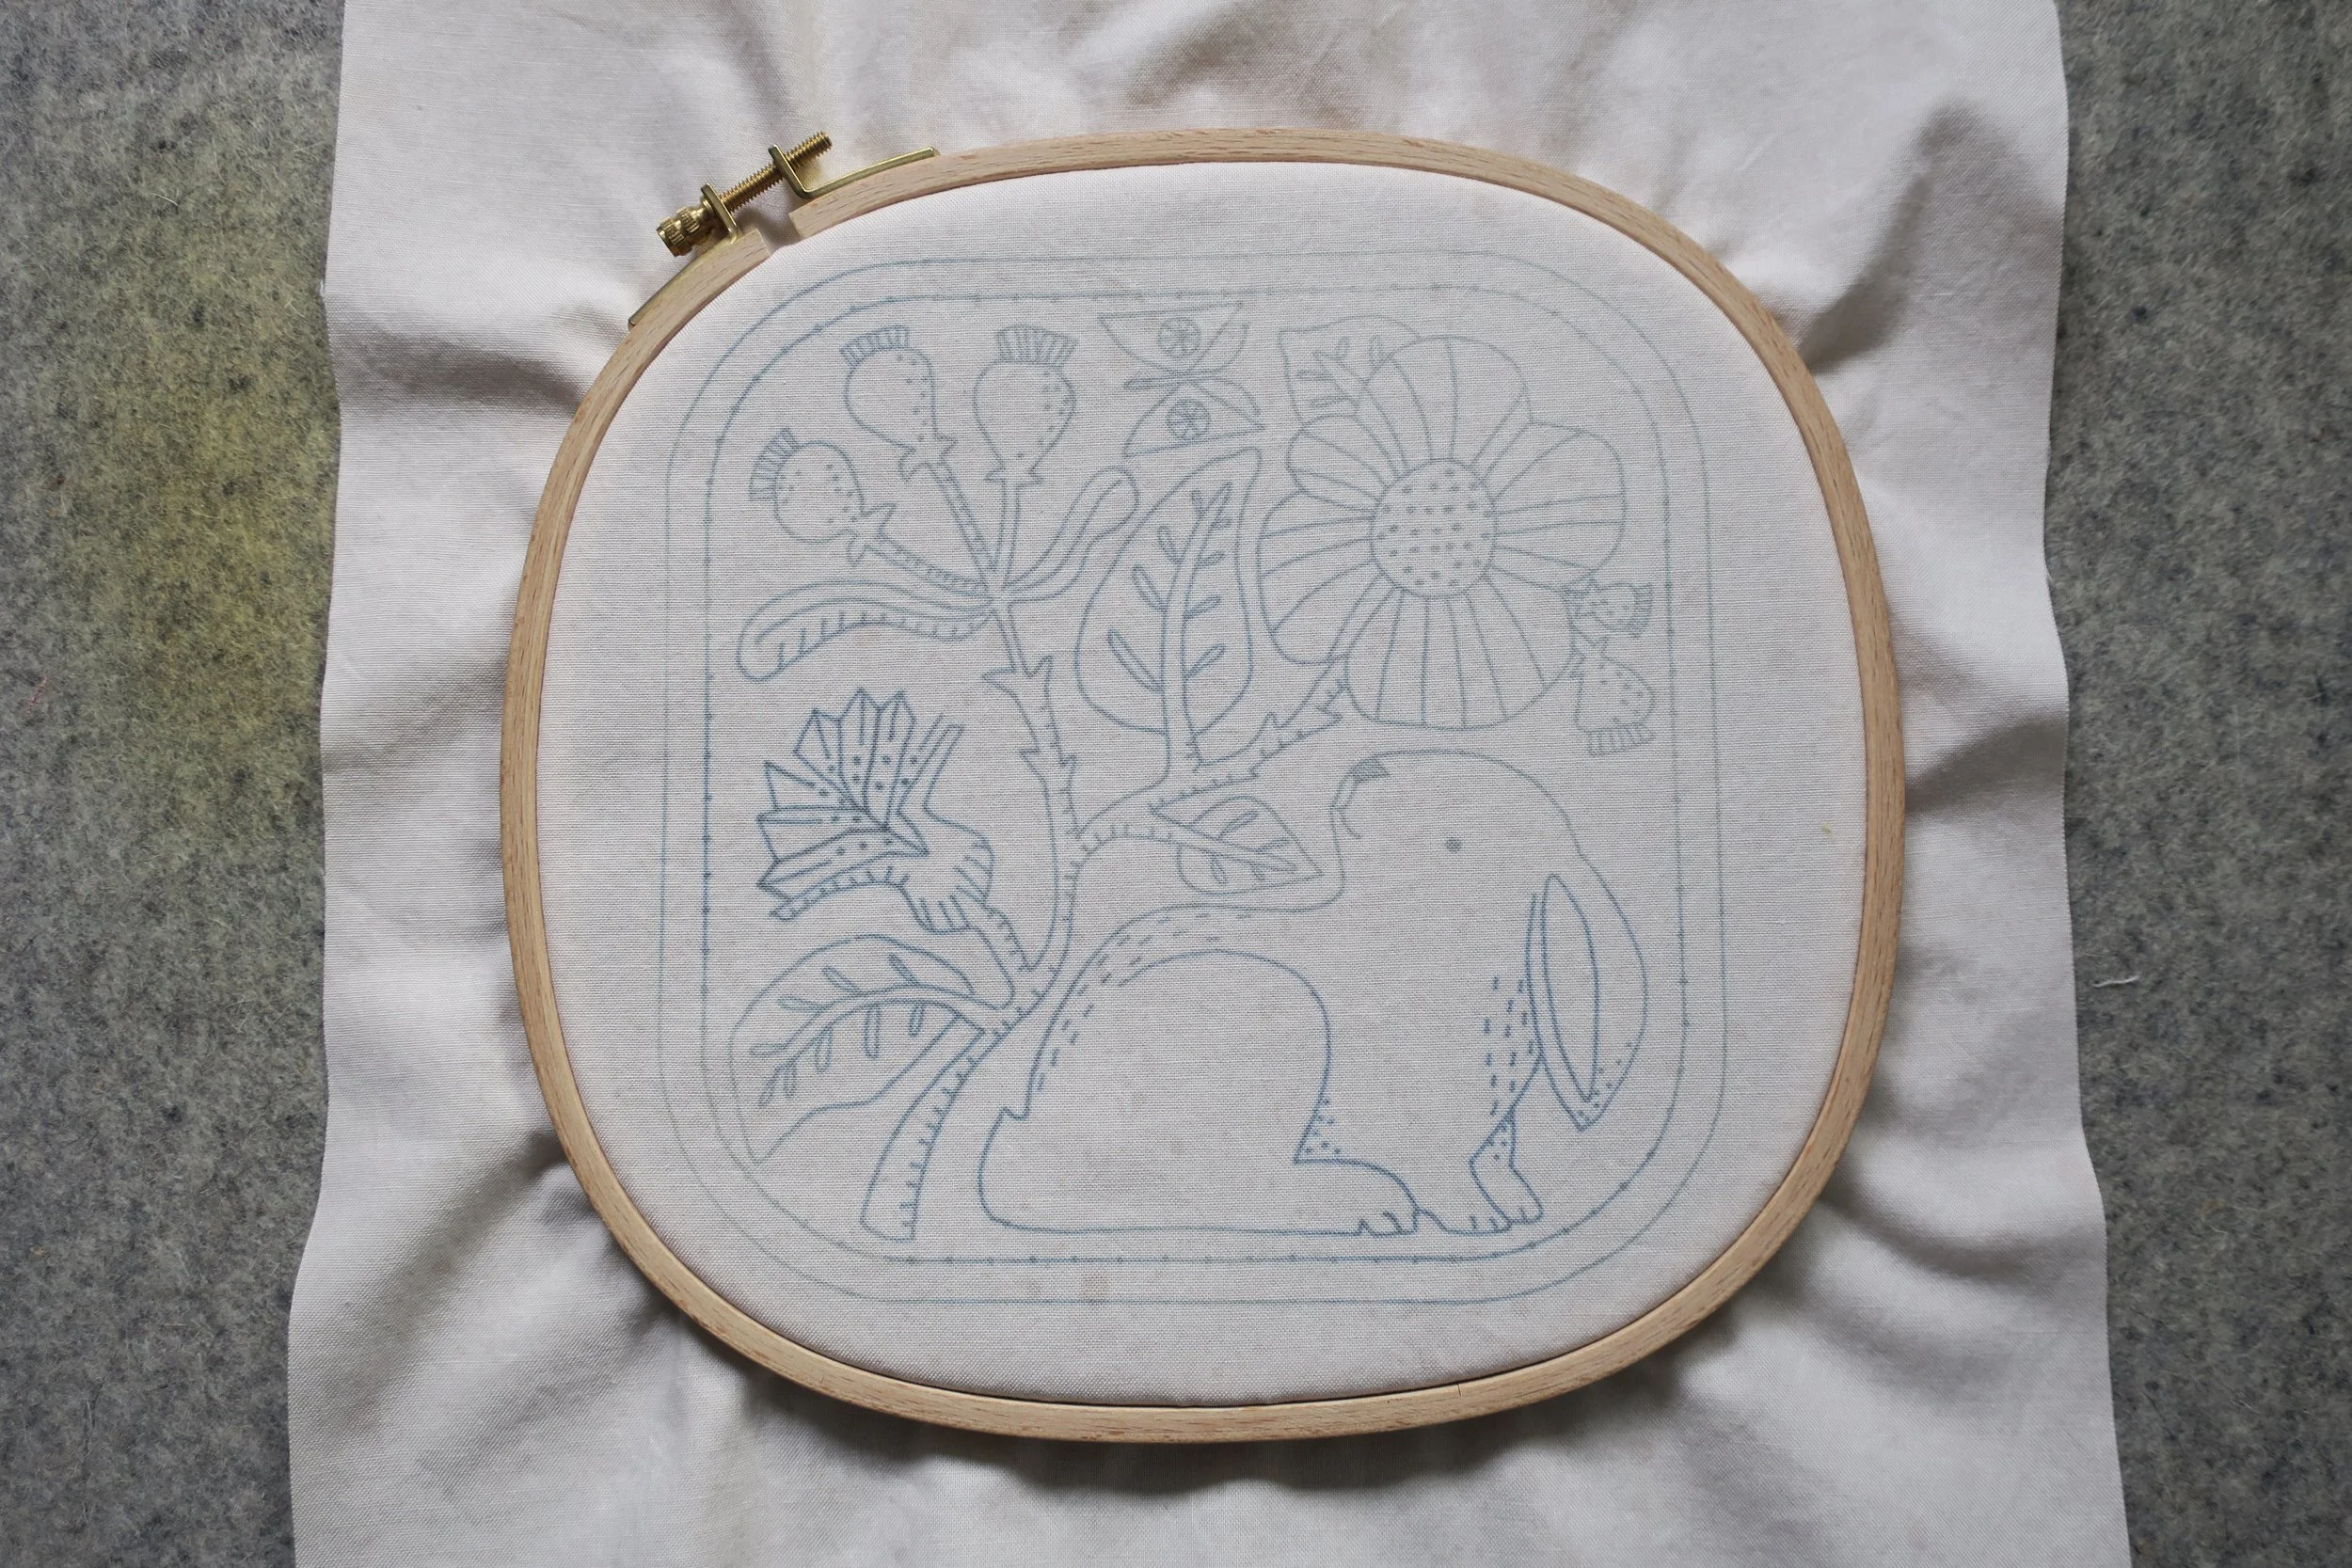
2. Embroidery - I used an 8” embroidery hoop to stitch my design. The image is approximately 7” square.
This is an 8” square Klass & Gessmann hoop available at Sublime Stitching
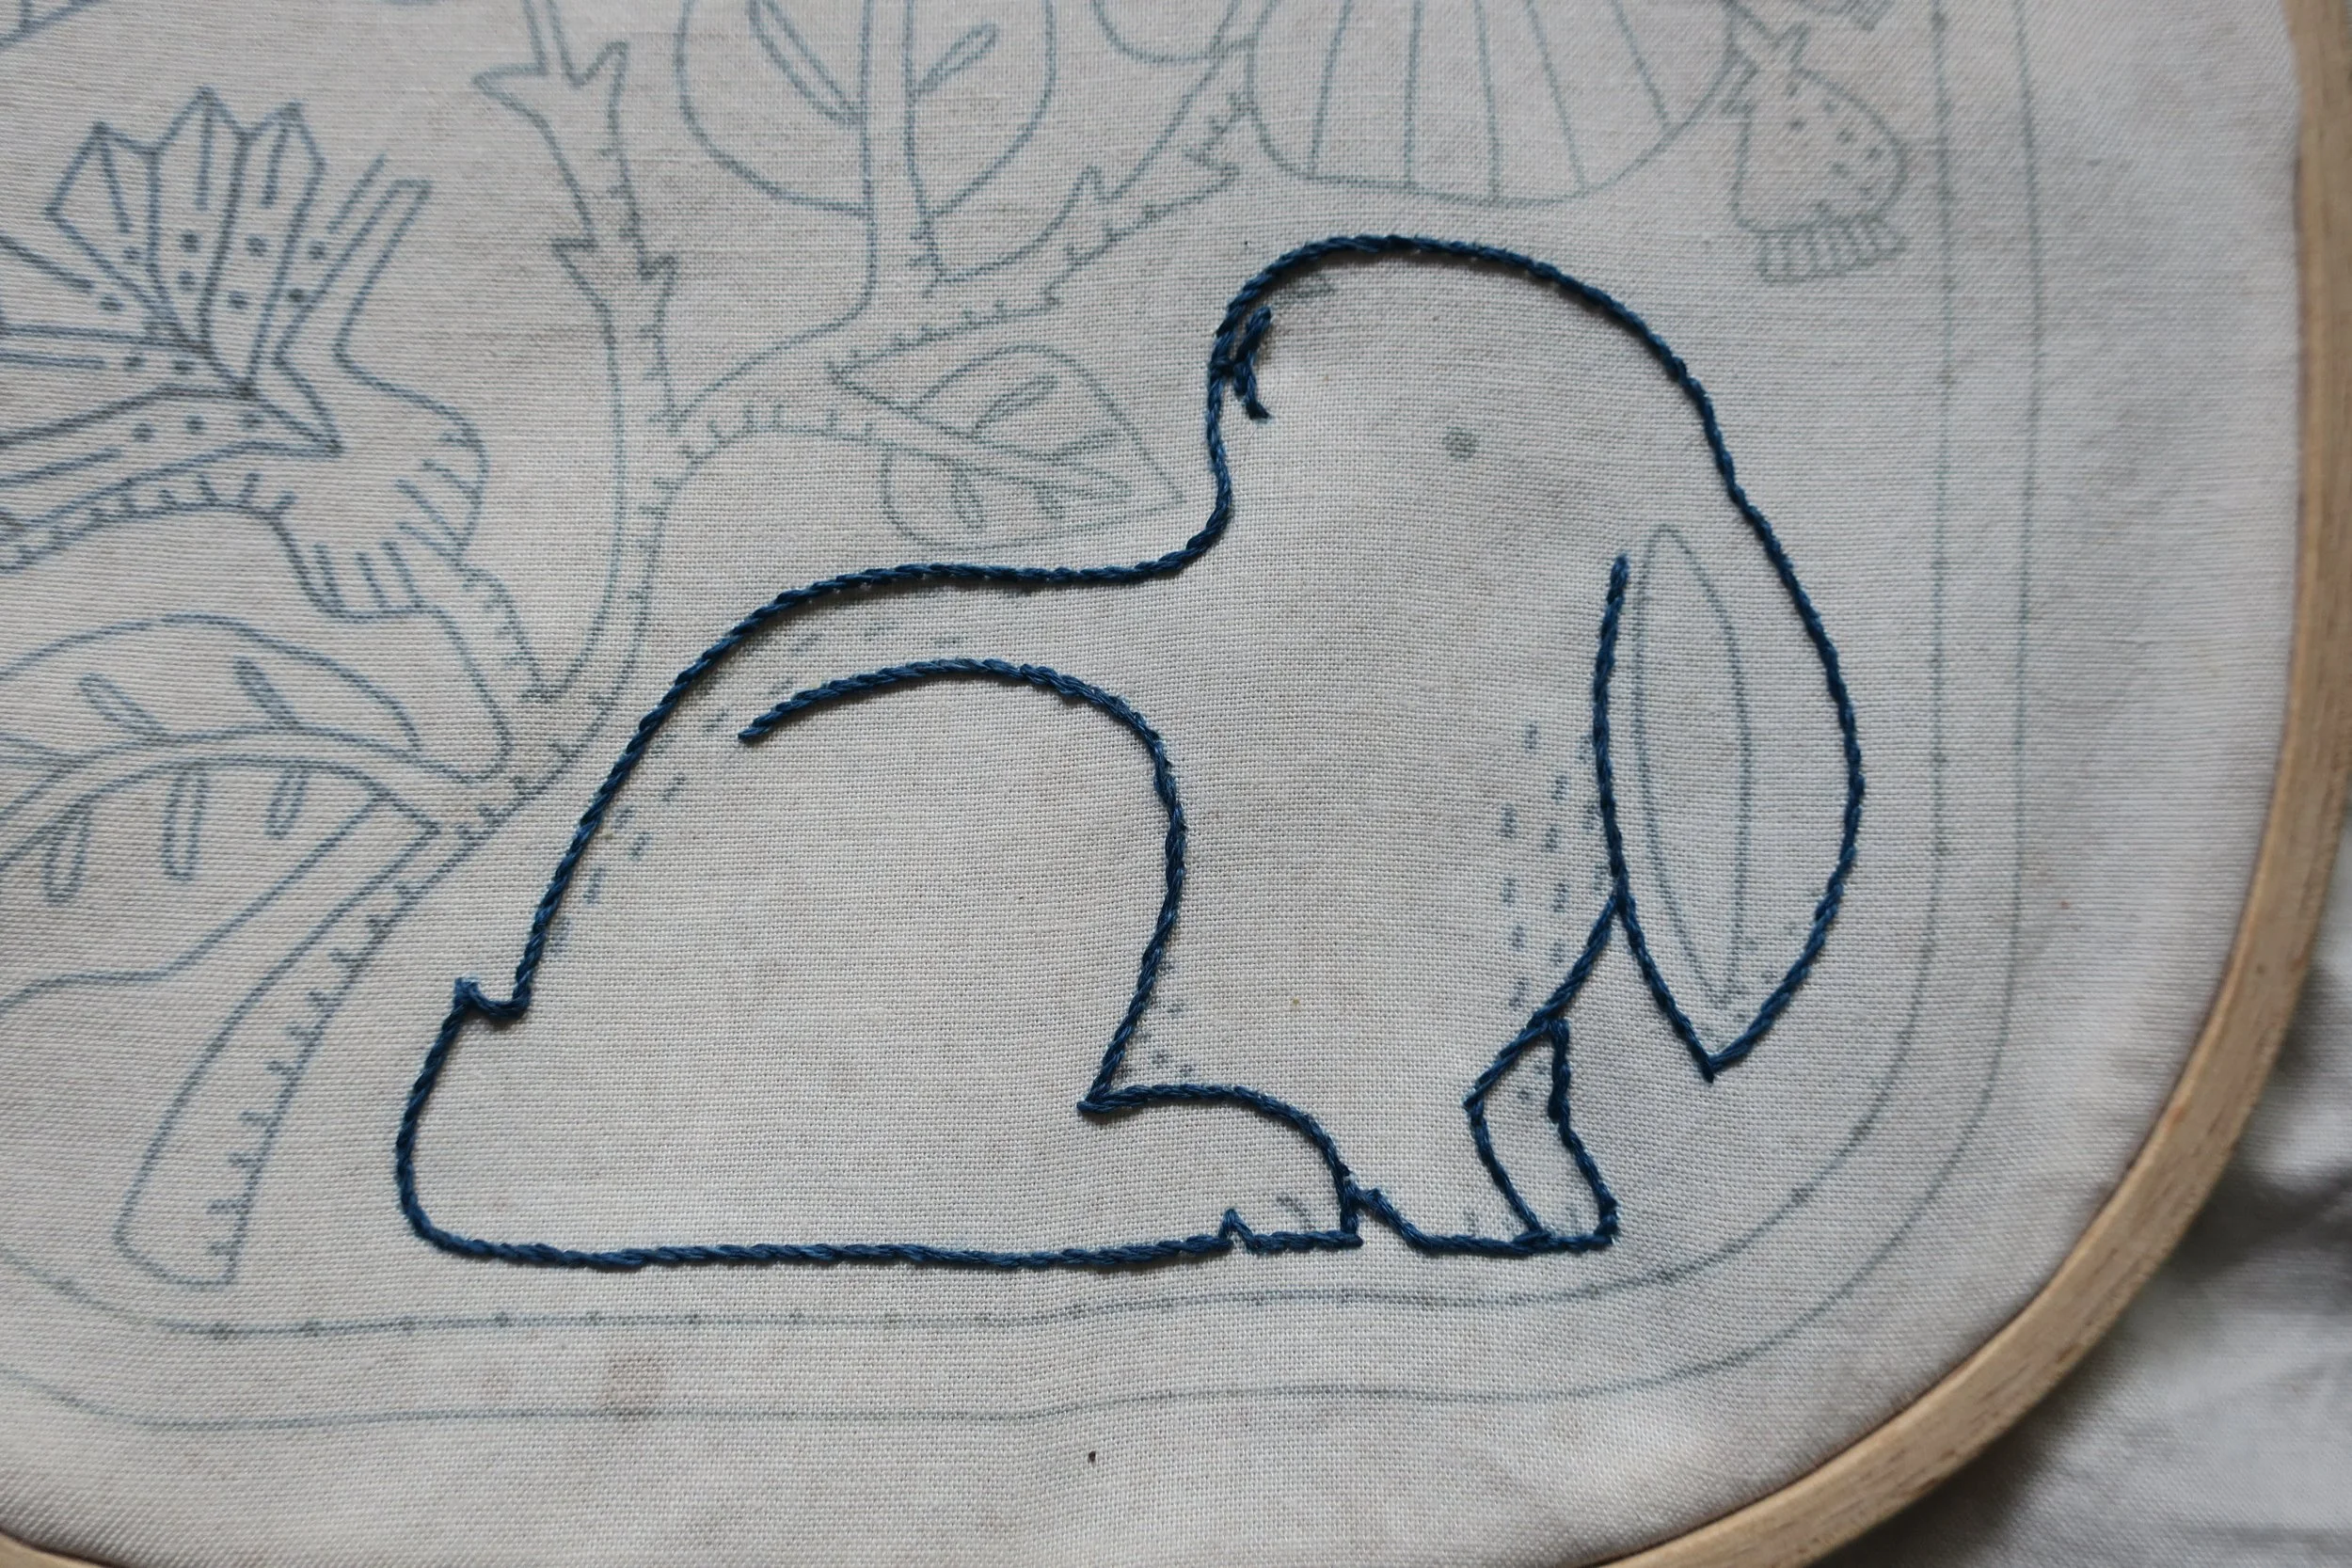
· Rabbit
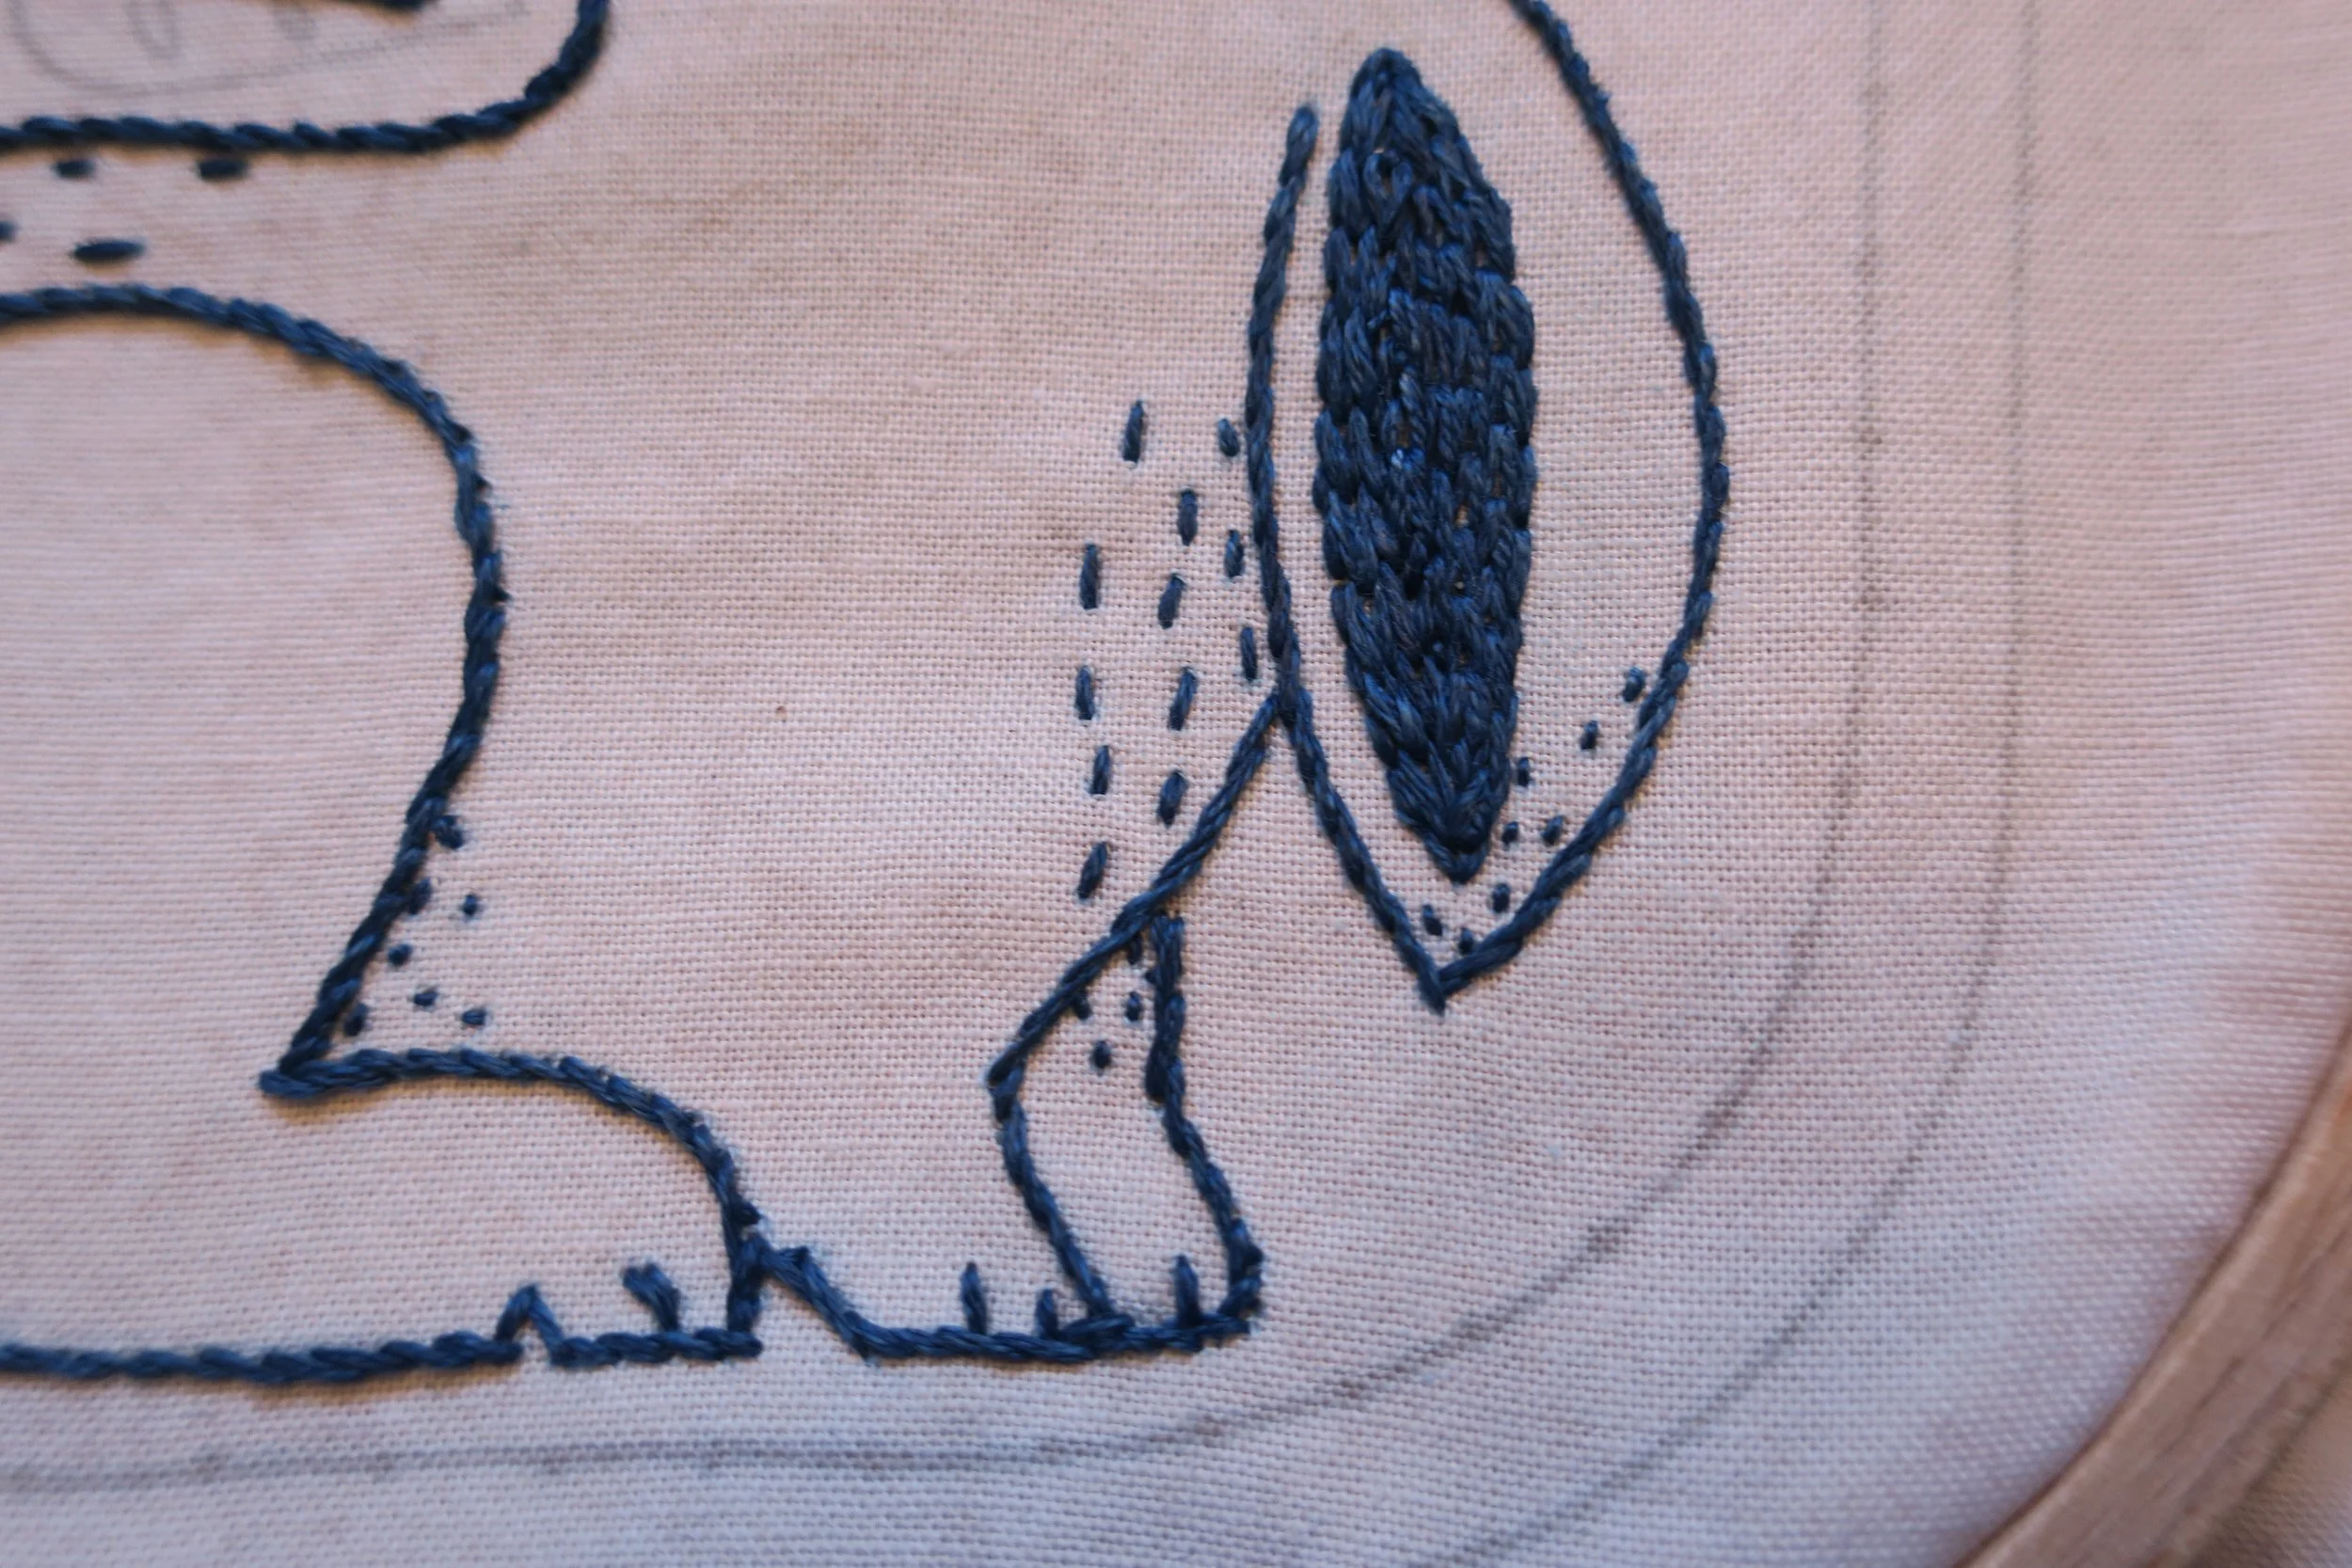
o Use 3 strands of blue embroidery floss to stem stitch the body and mouth.
o Use the same 3-strand thread to satin stitch the nose.
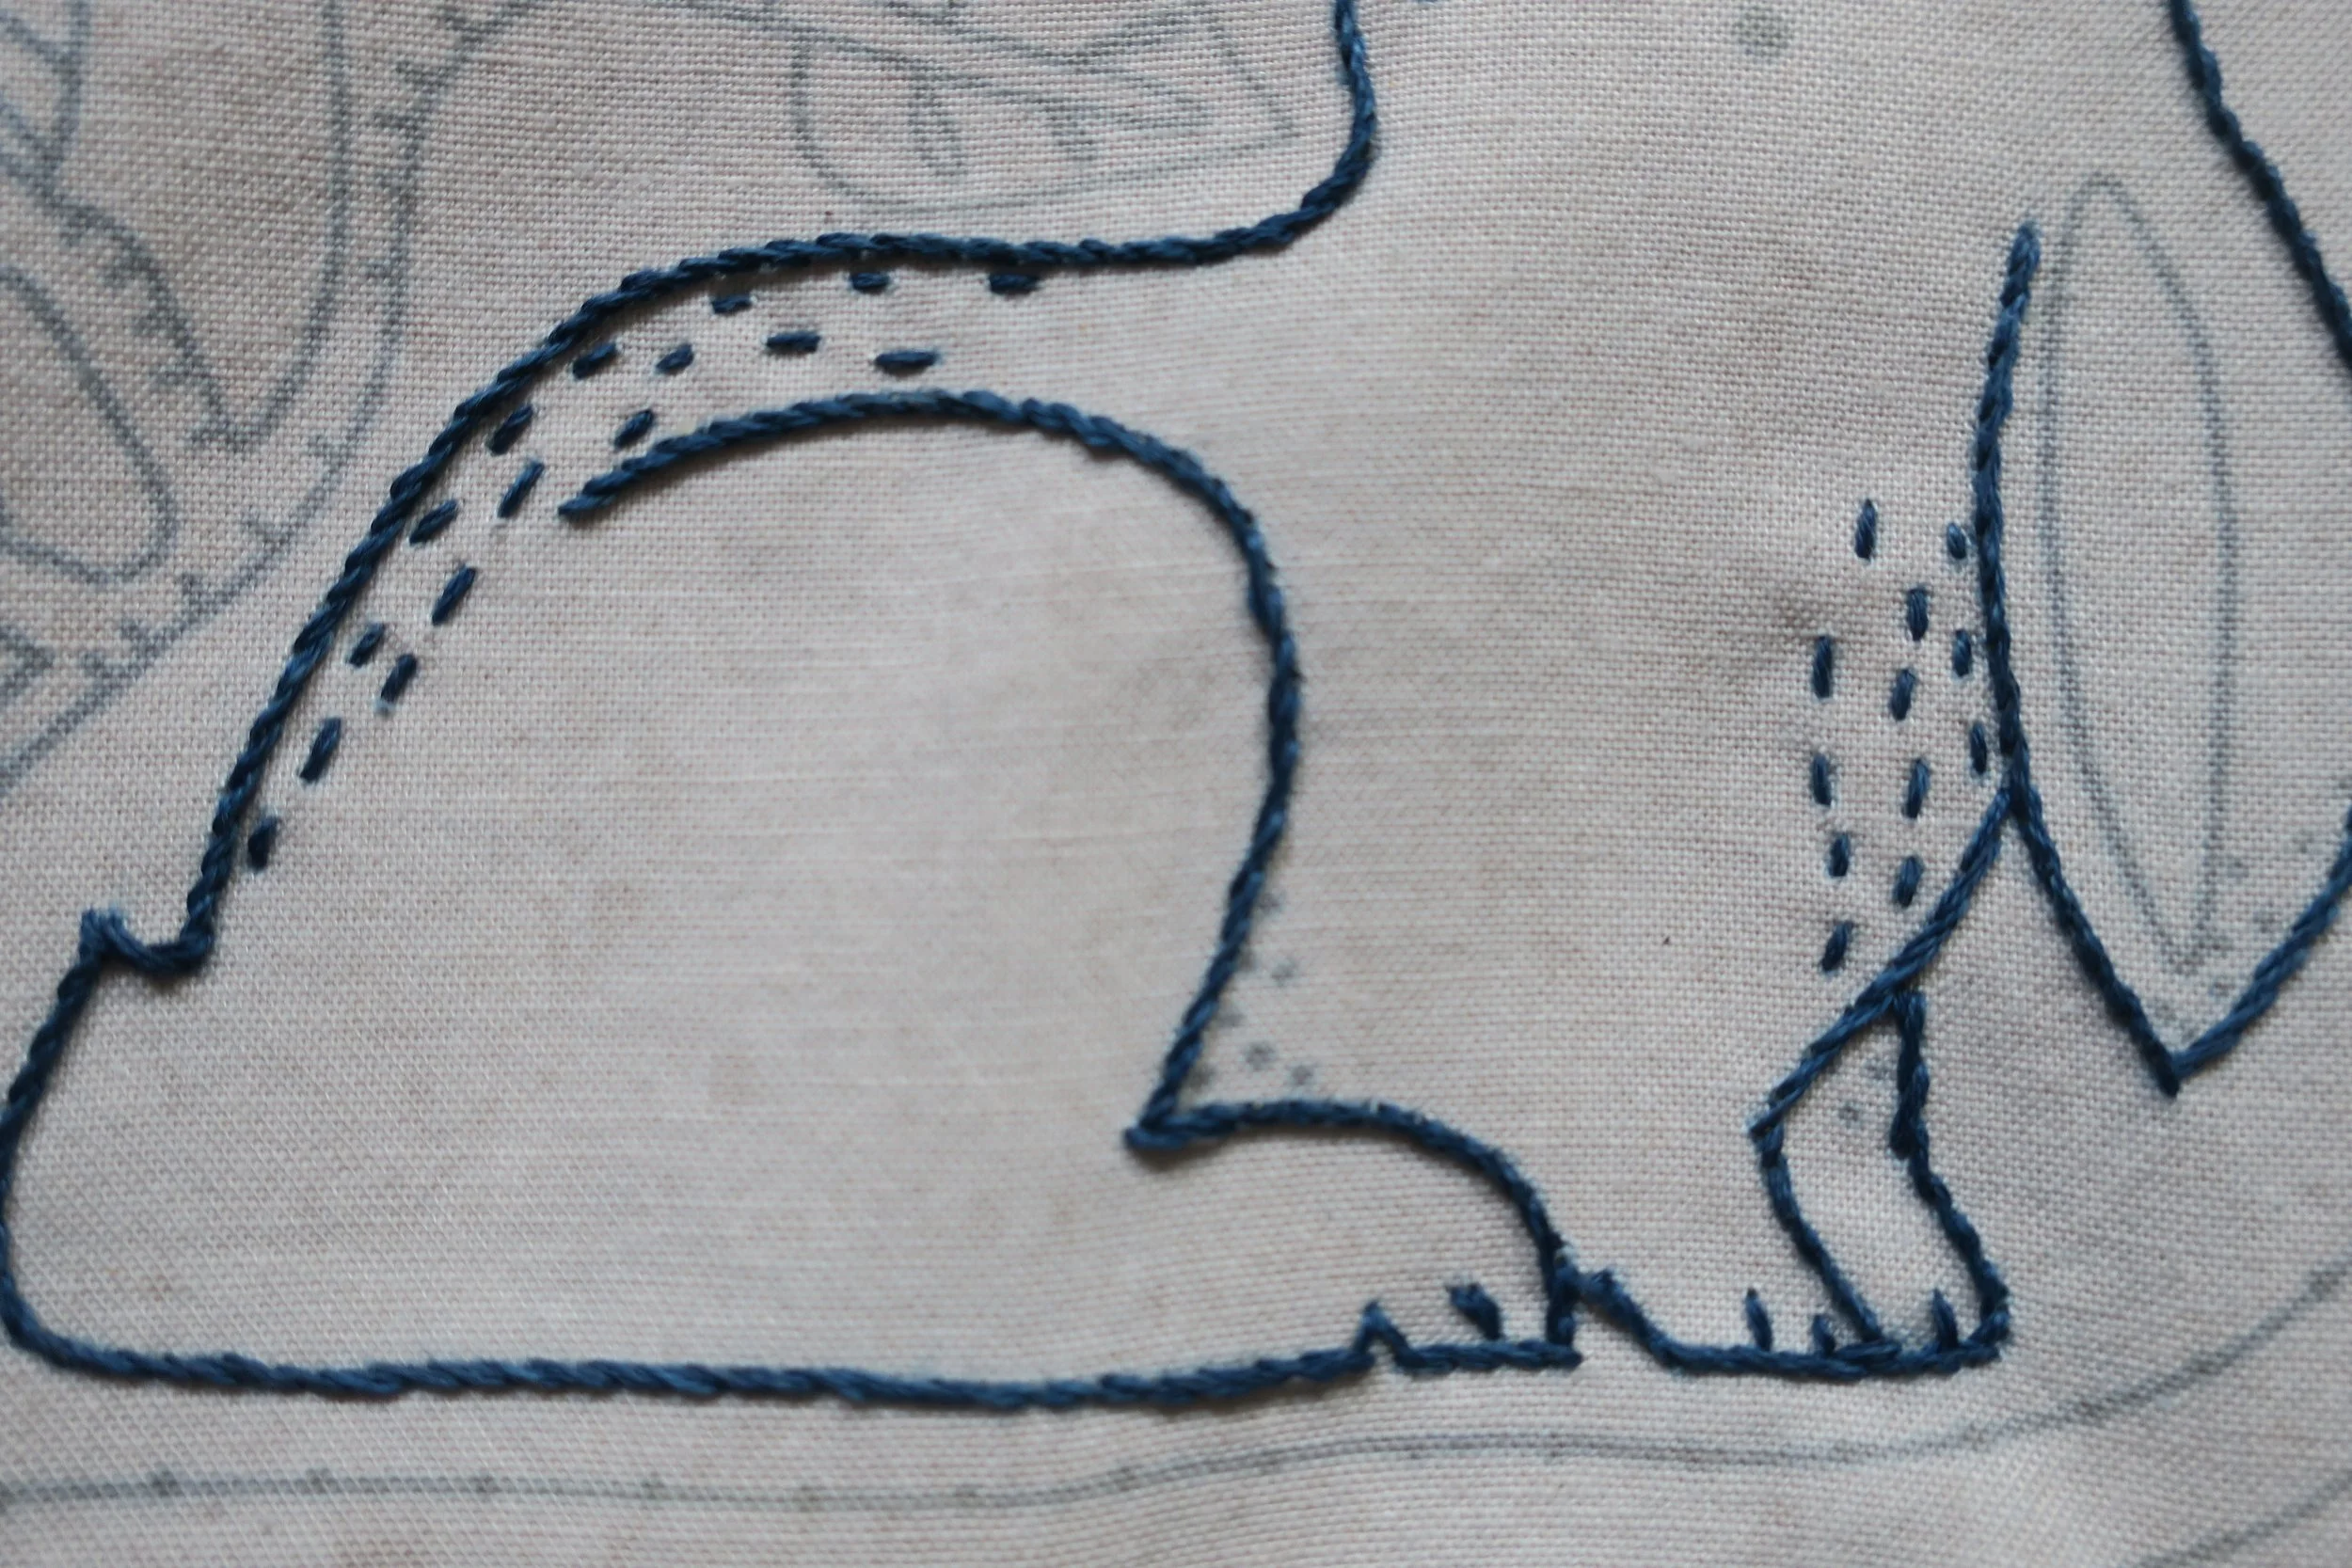
o Use the same 3-strand thread to make a random pattern of running stitches across the back and on the chest.
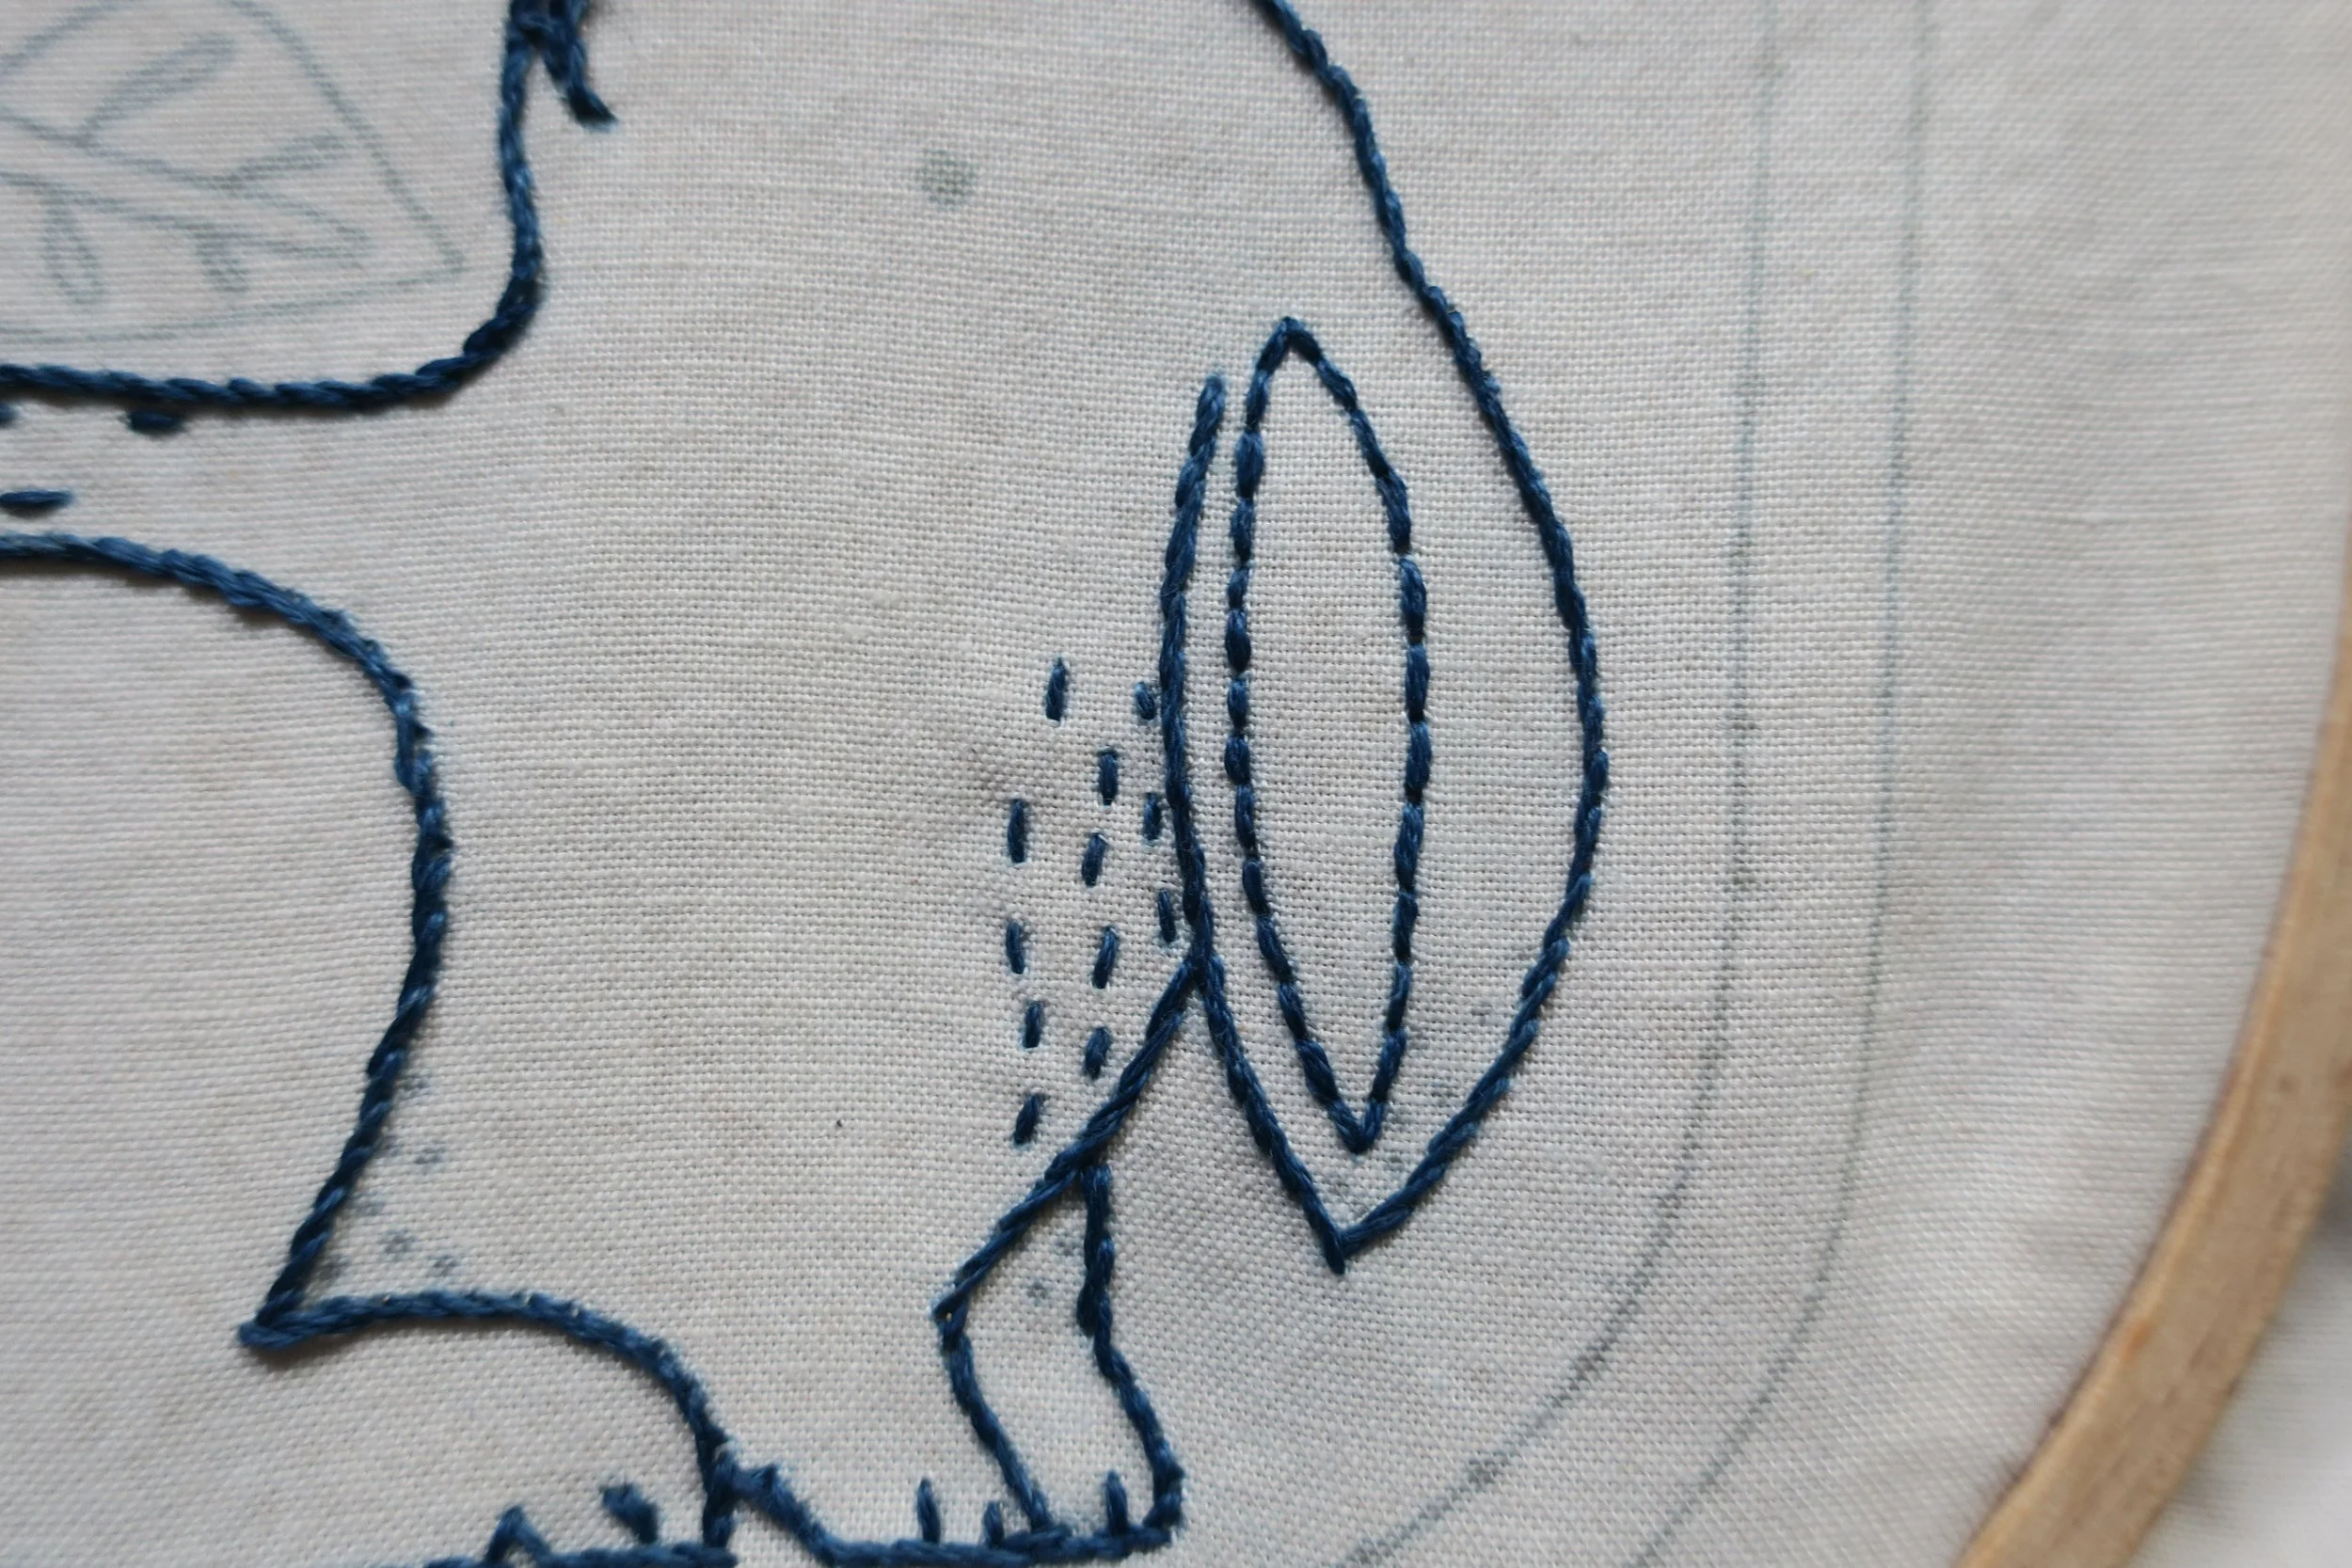
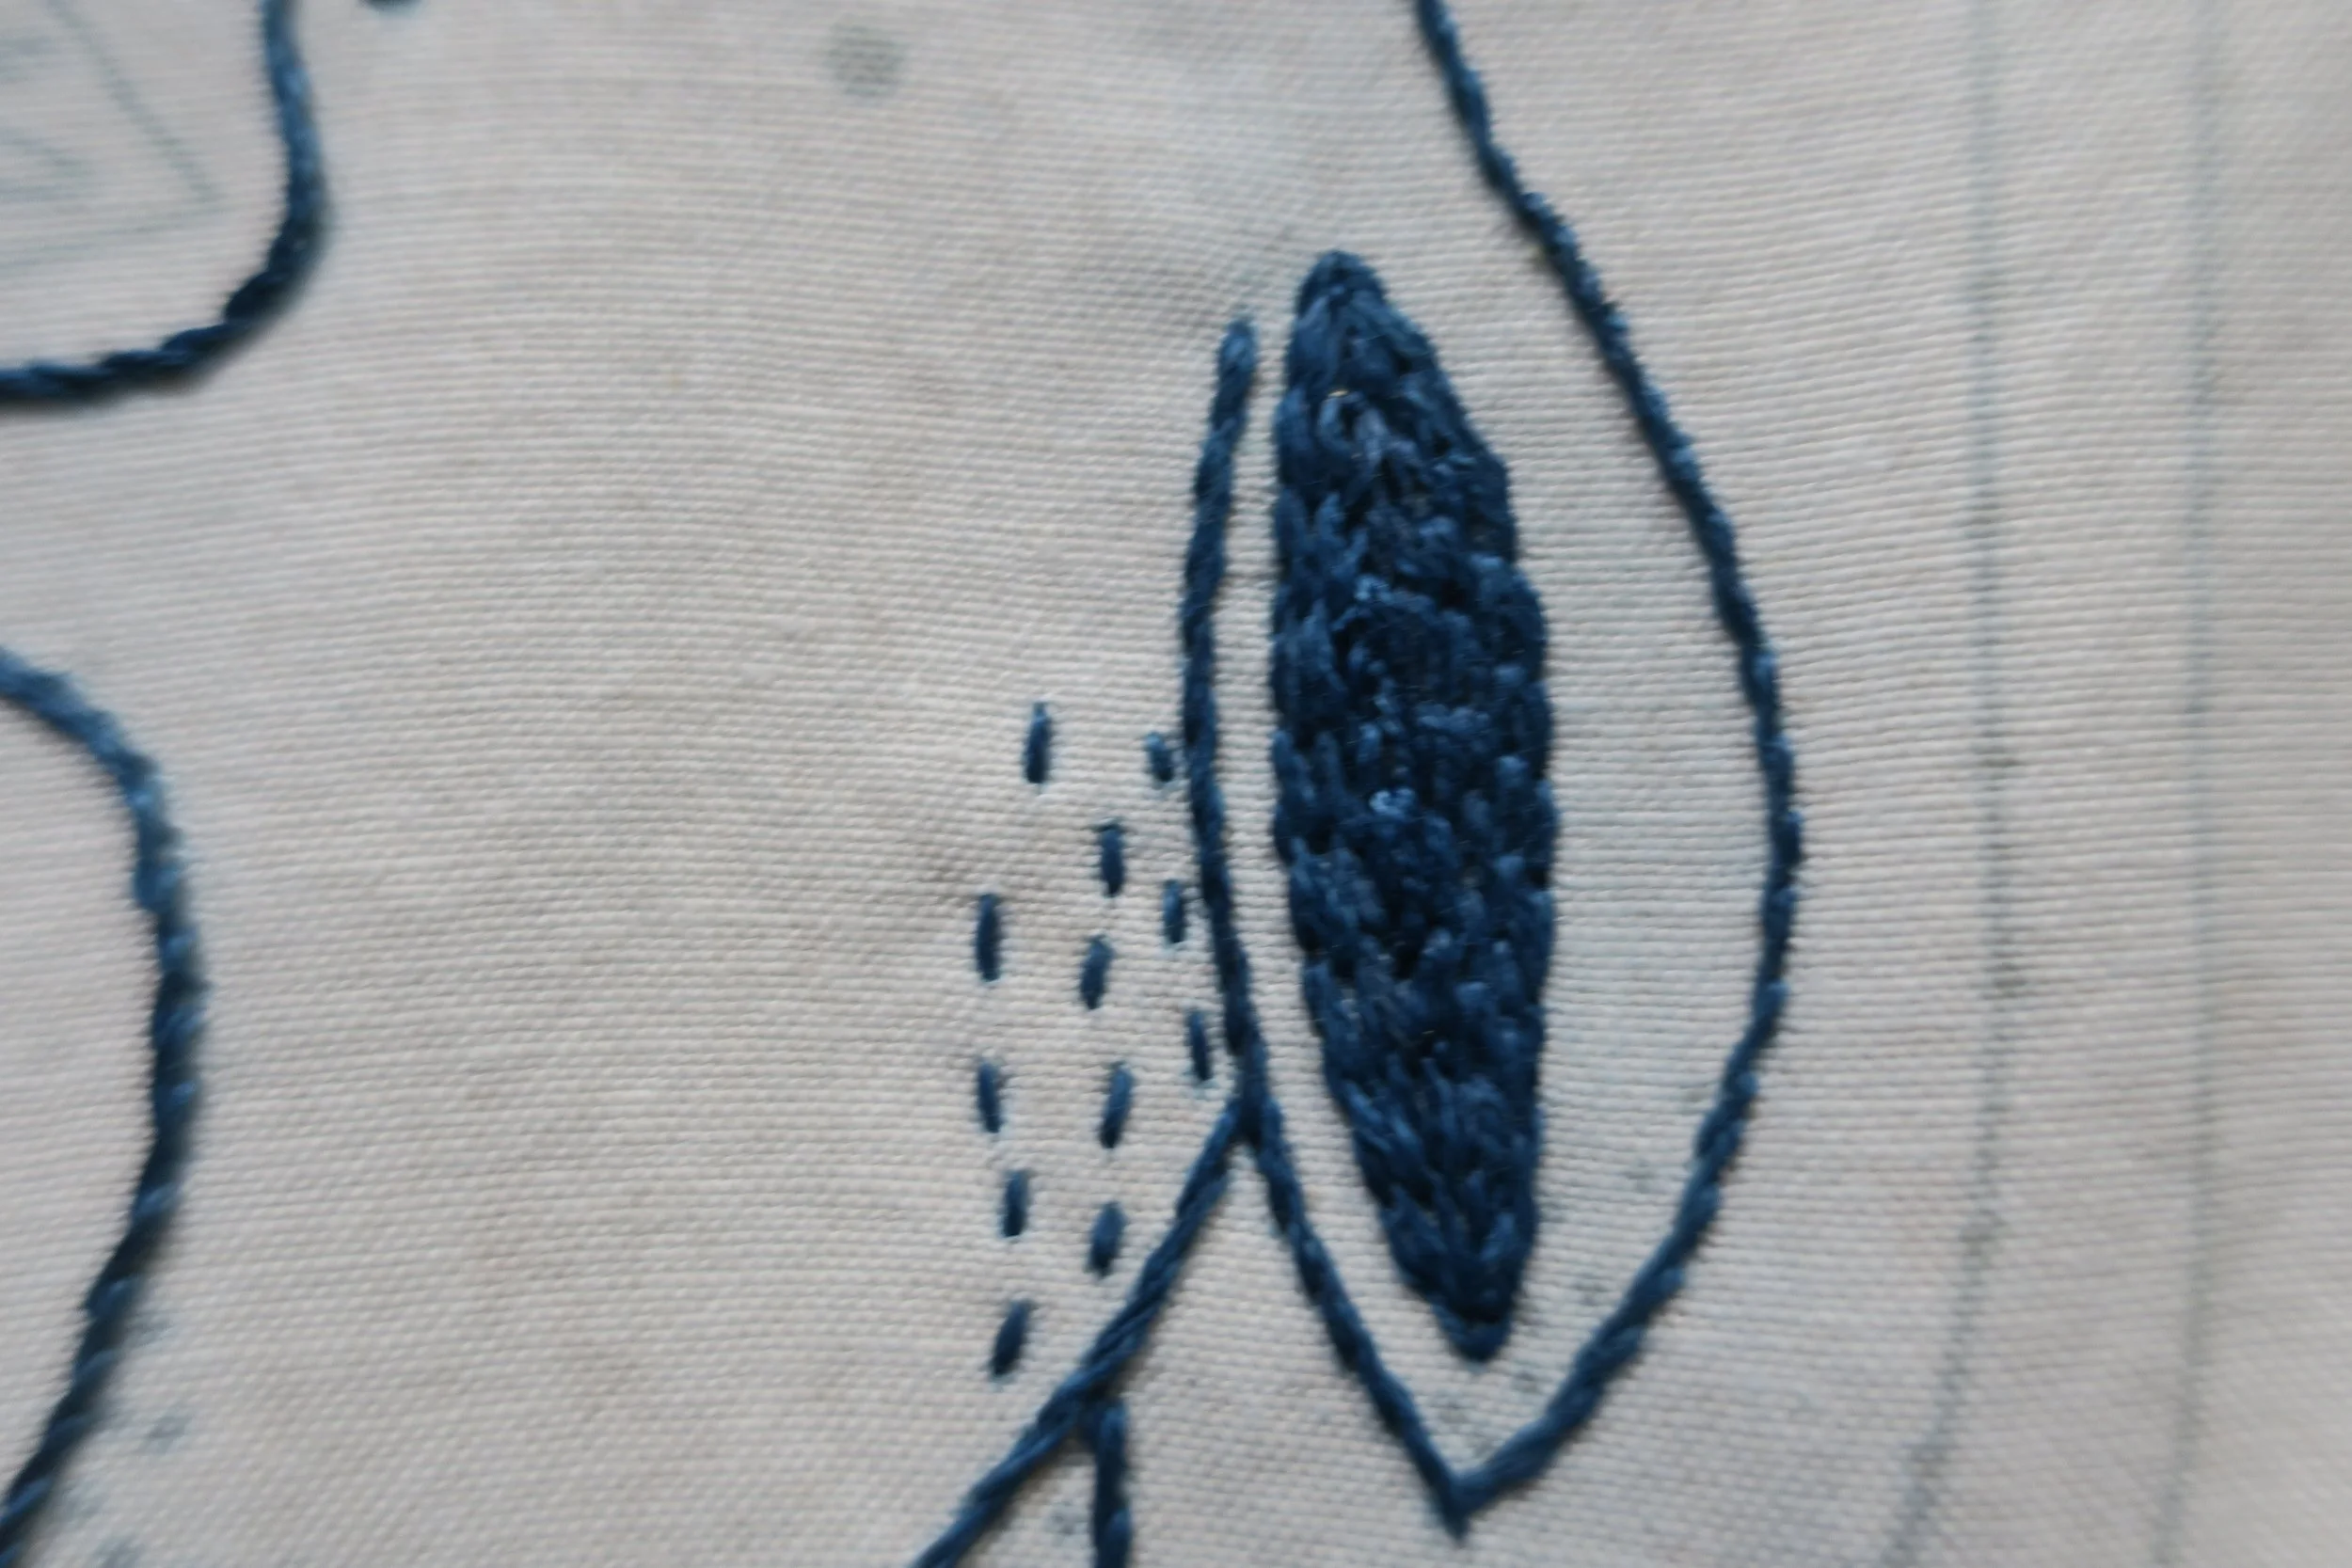
o Use the same 3 strand thread to create a back stitch outline of the inner ear.
o Use 4 strands of floss to chain stitch the filling of the inner ear.
o Use 2 strands of floss to make seed stitches on the ear tip and legs. Seed stitches are tiny stitches covering 1-2 threads of fabric.
o Use 1 strand of blue floss to make a 5-spoke woven wheel over the eye. Begin by bringing your needle up in the center of the eye and make a small straight stitch that ends at the edge of the eye. Repeat 4 more times making a total of 5 radiating spokes of a wheel.
Then bring the needle up again near the center pulling the thread through.
Begin weaving the thread, moving in a counter clockwise direction, alternating over and under the spokes. I began by going over the spoke to the left of my needle, then slid my needle under the next spoke to the left, over the following spoke, under the next, and then over the next bringing me back to the first spoke and completing the first round. Pull the first round of woven threads snug against the center and then make the subsequent 5 rounds looser, so the thread lays flat. You may need to add an additional round to fill in the spokes.
· Flower Stems
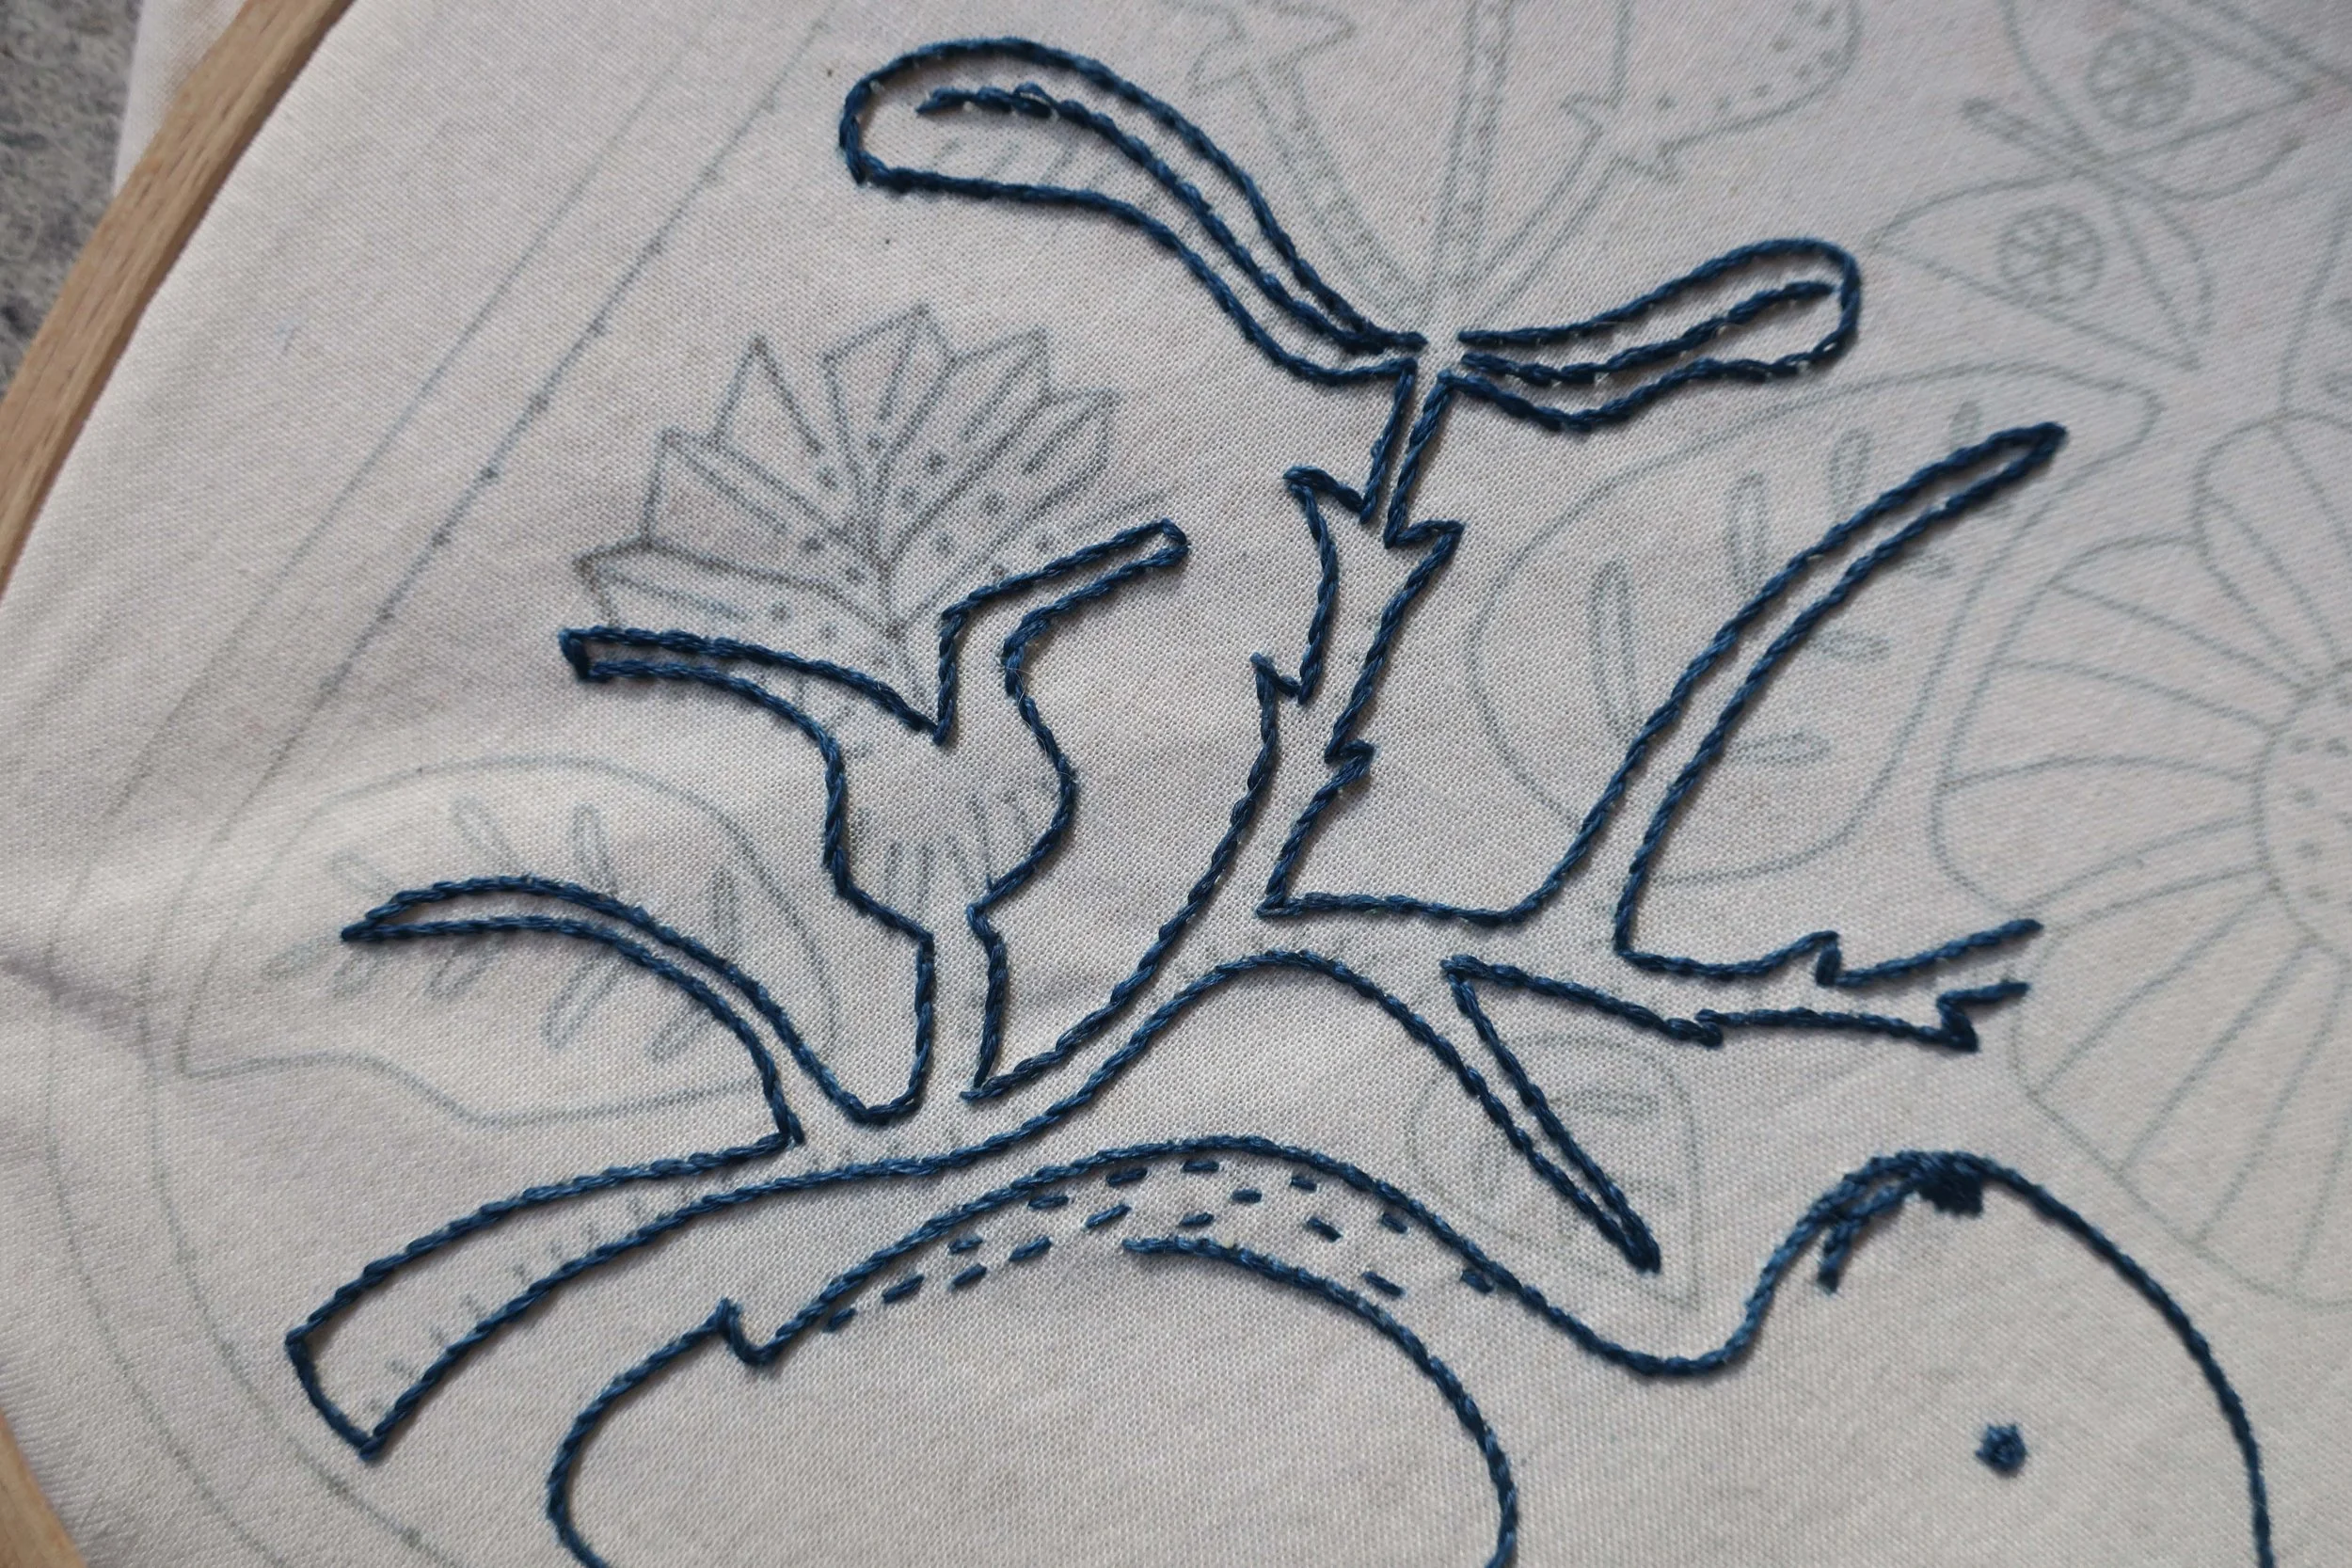
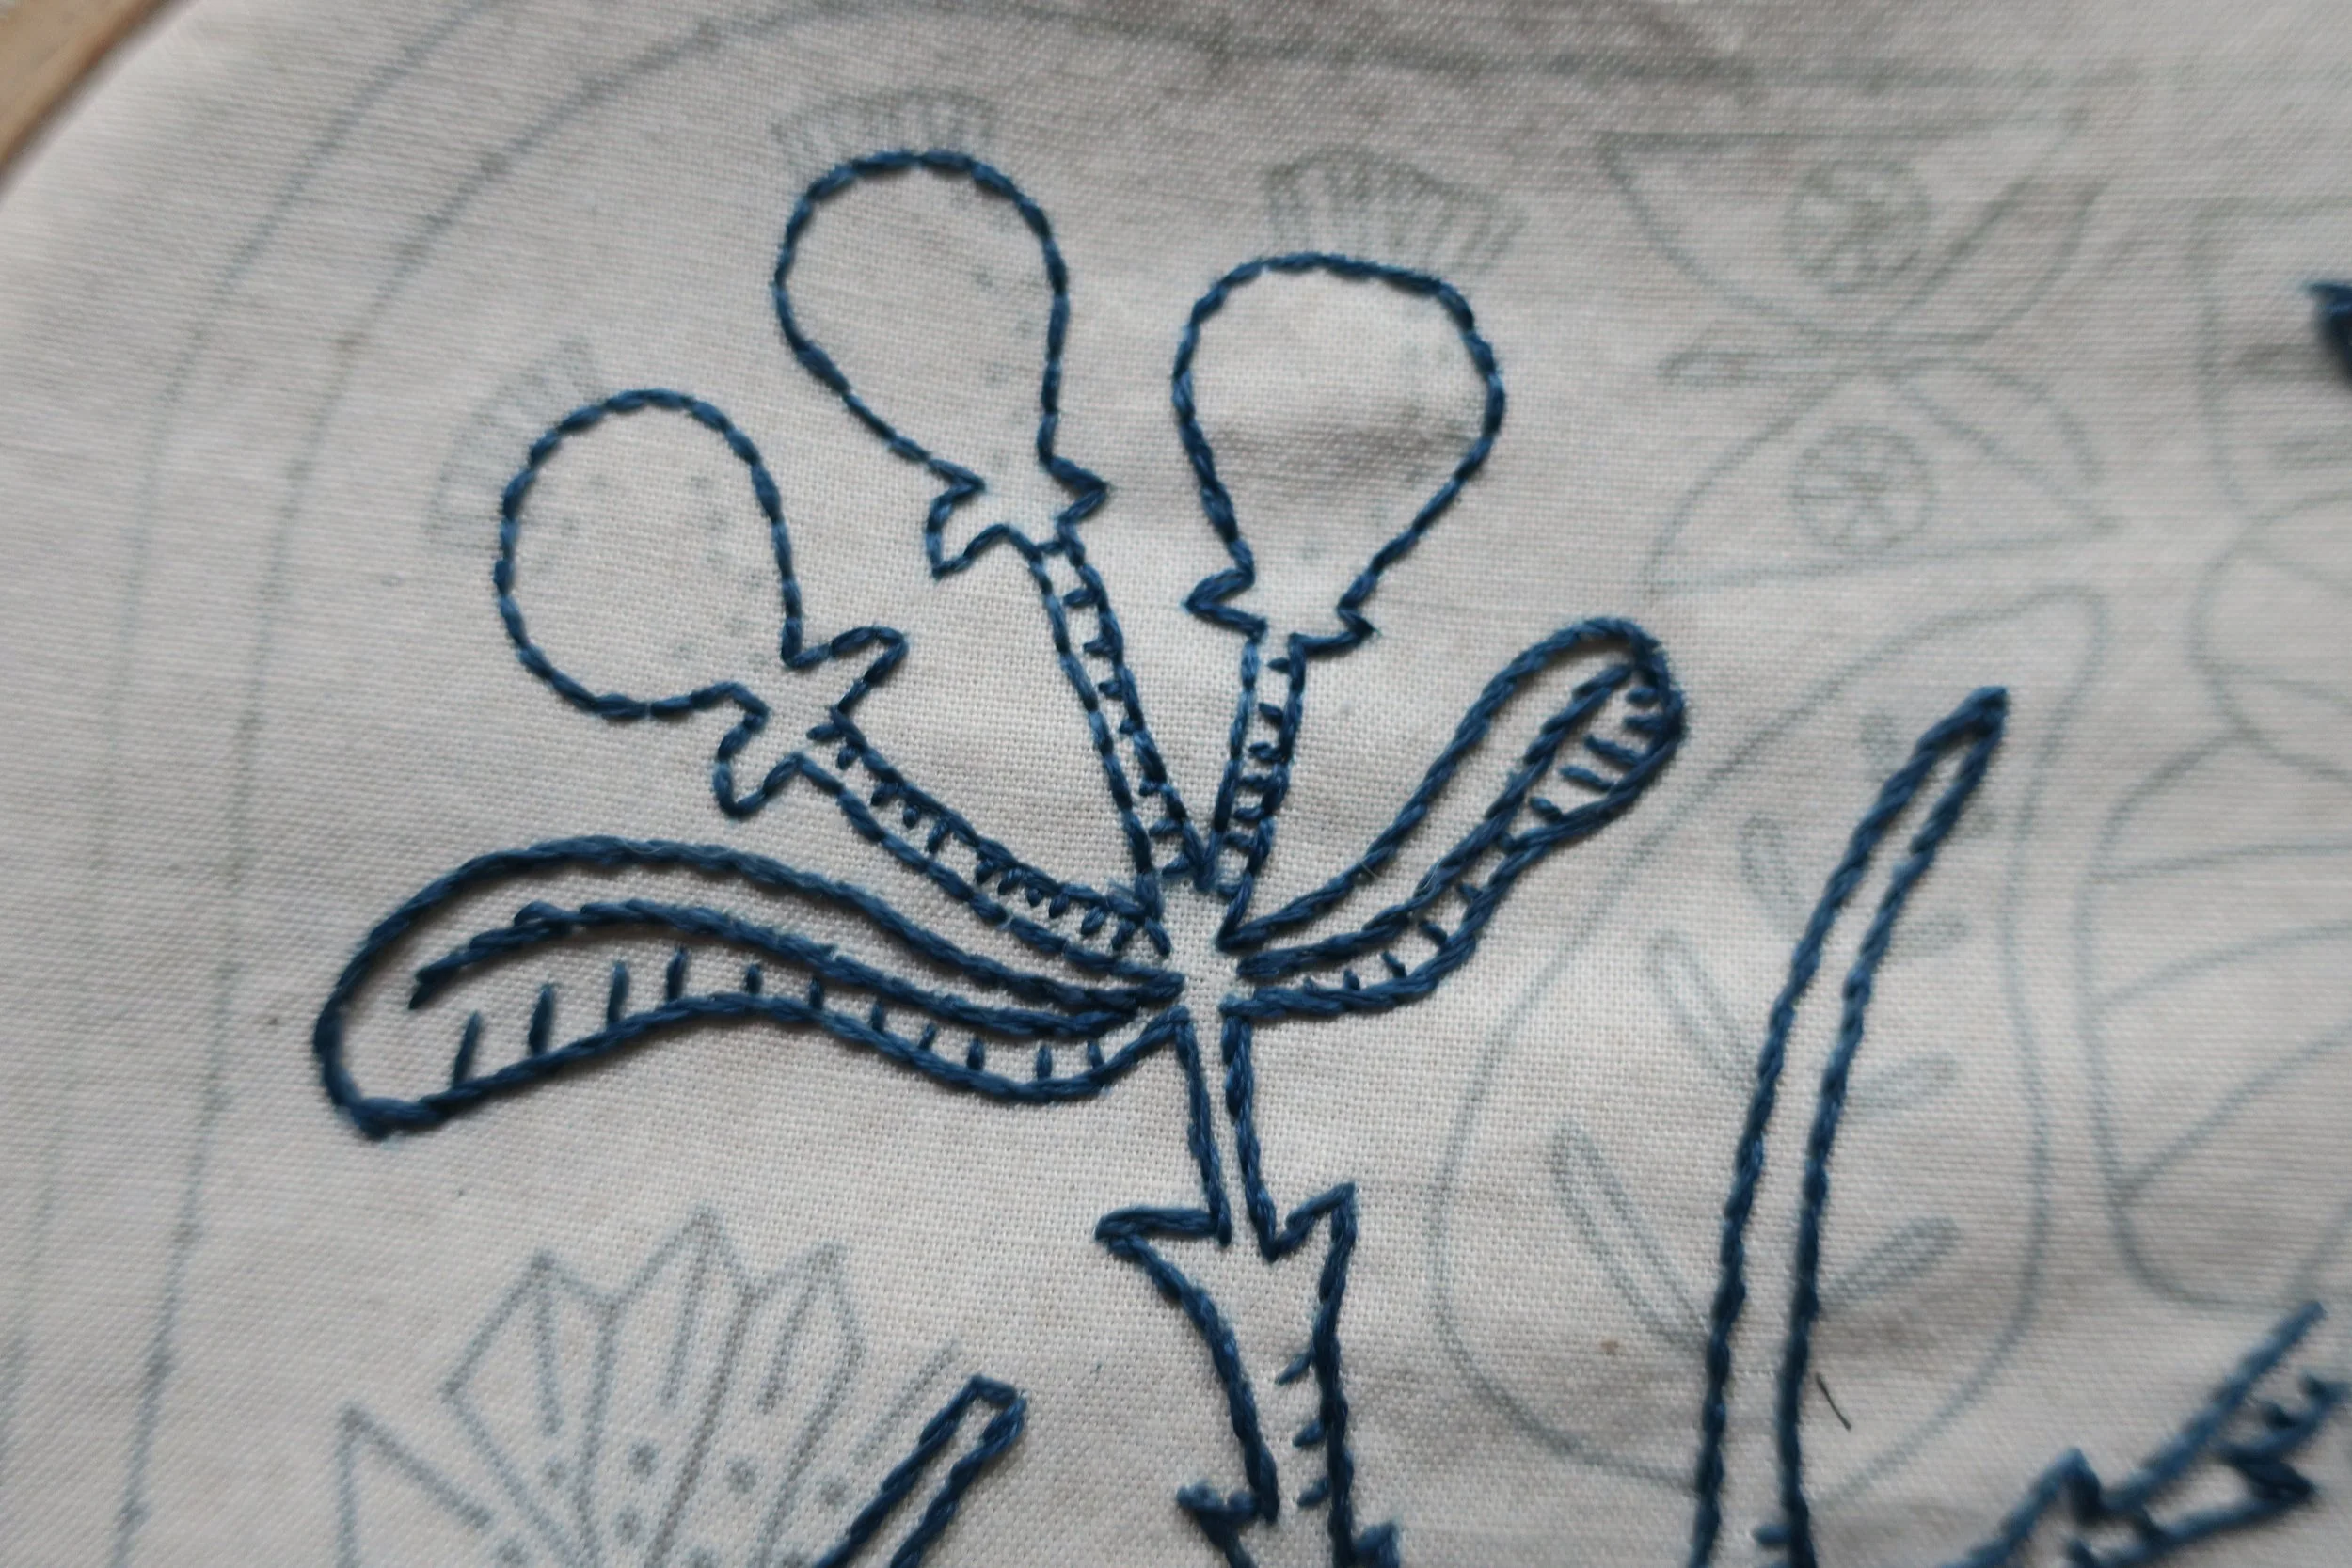
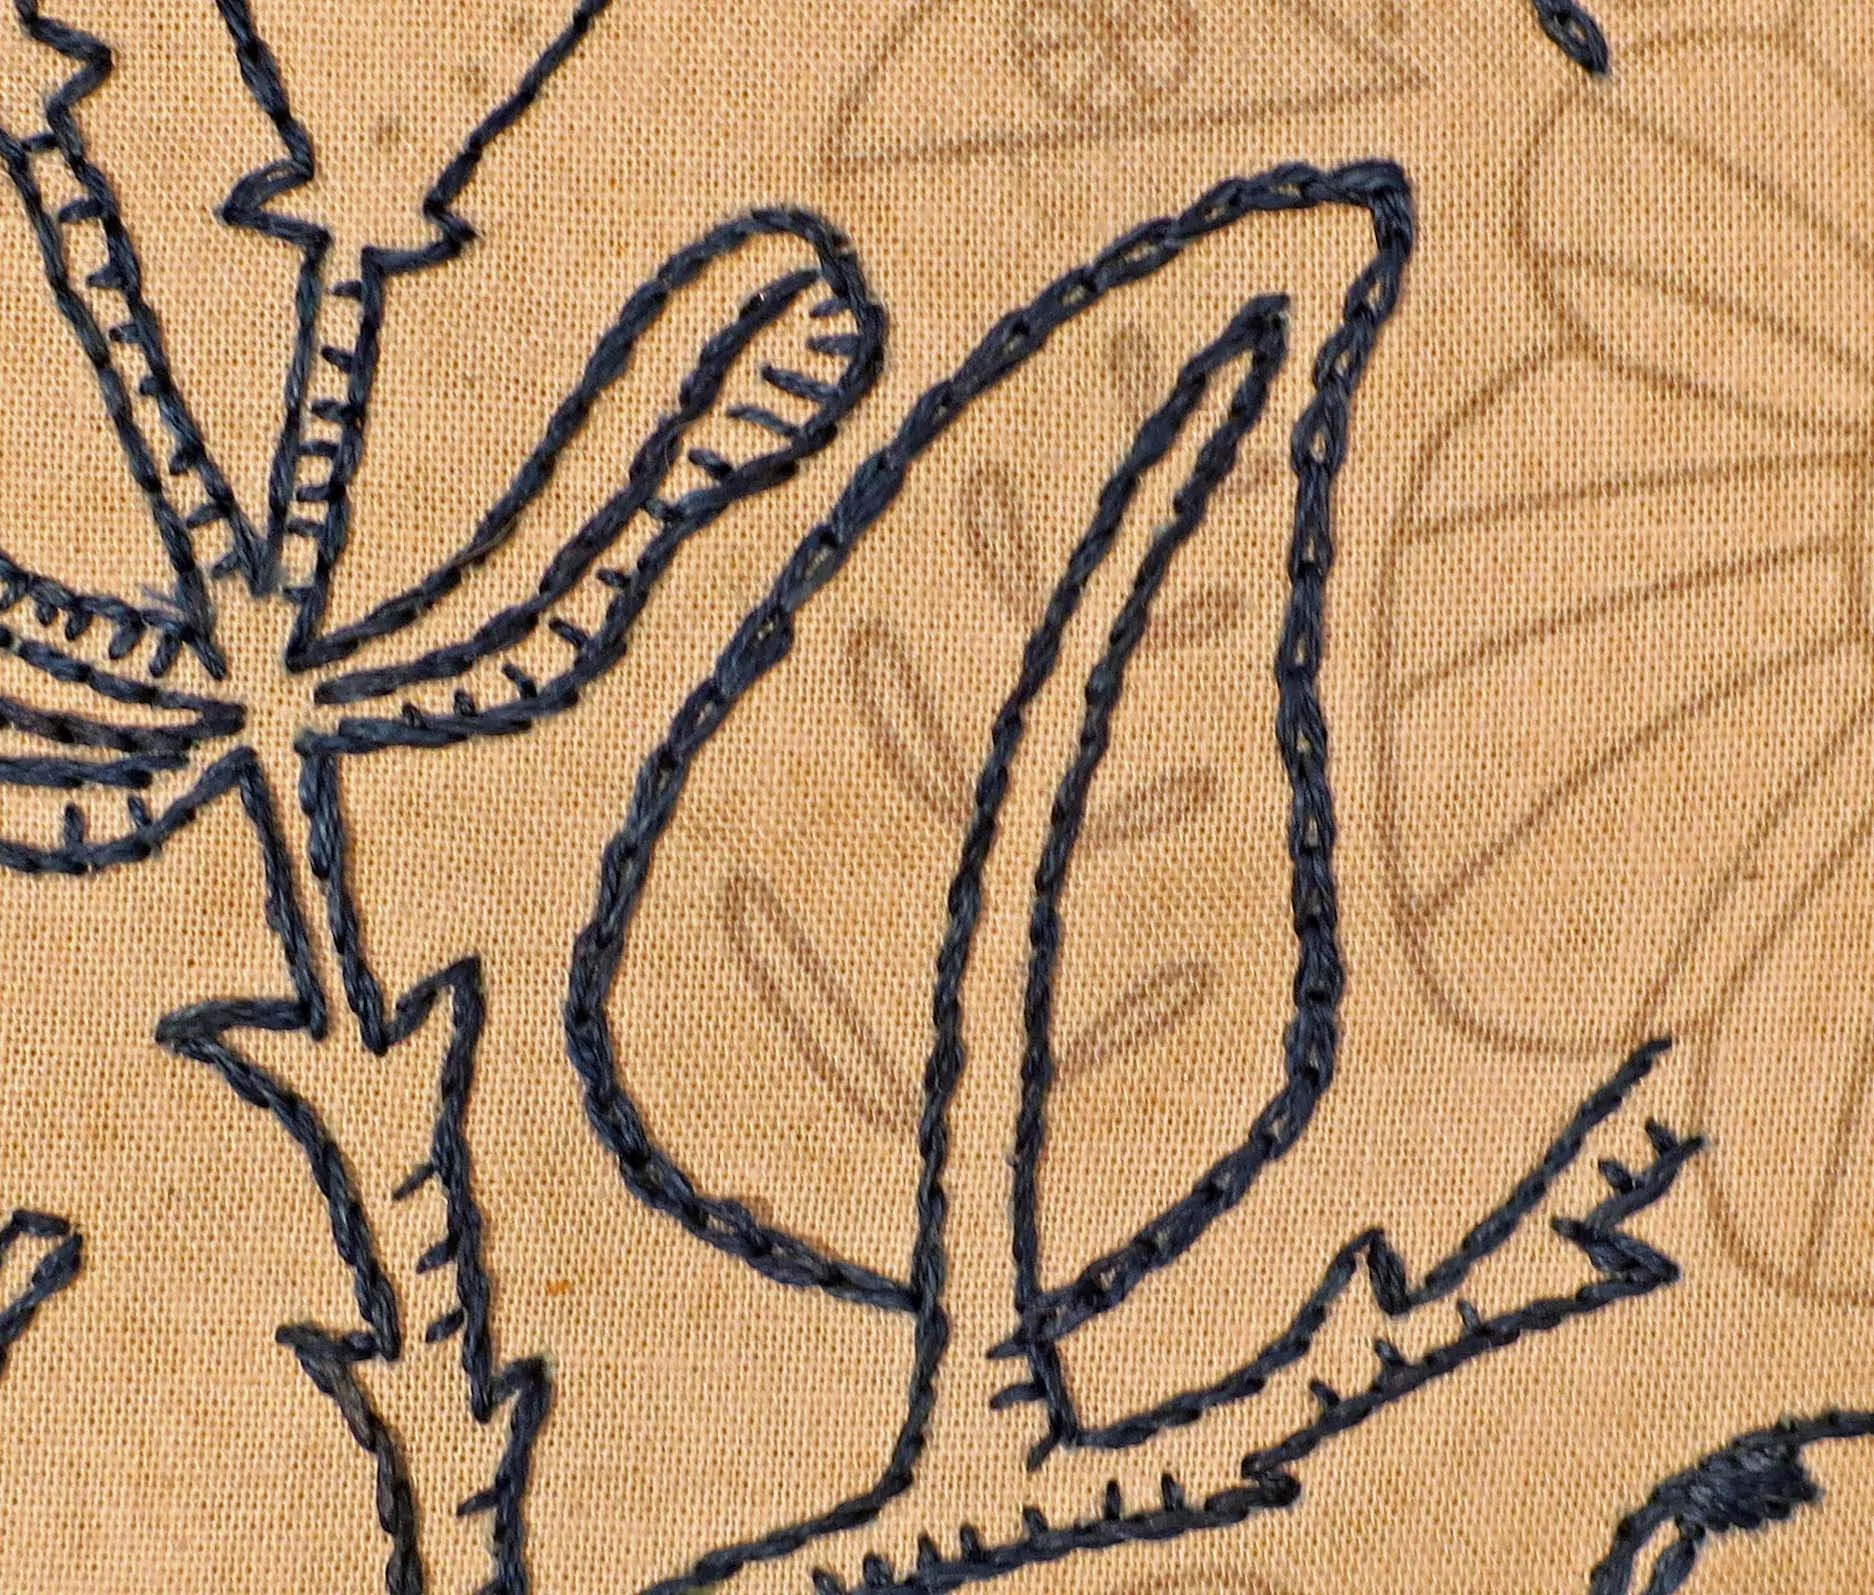
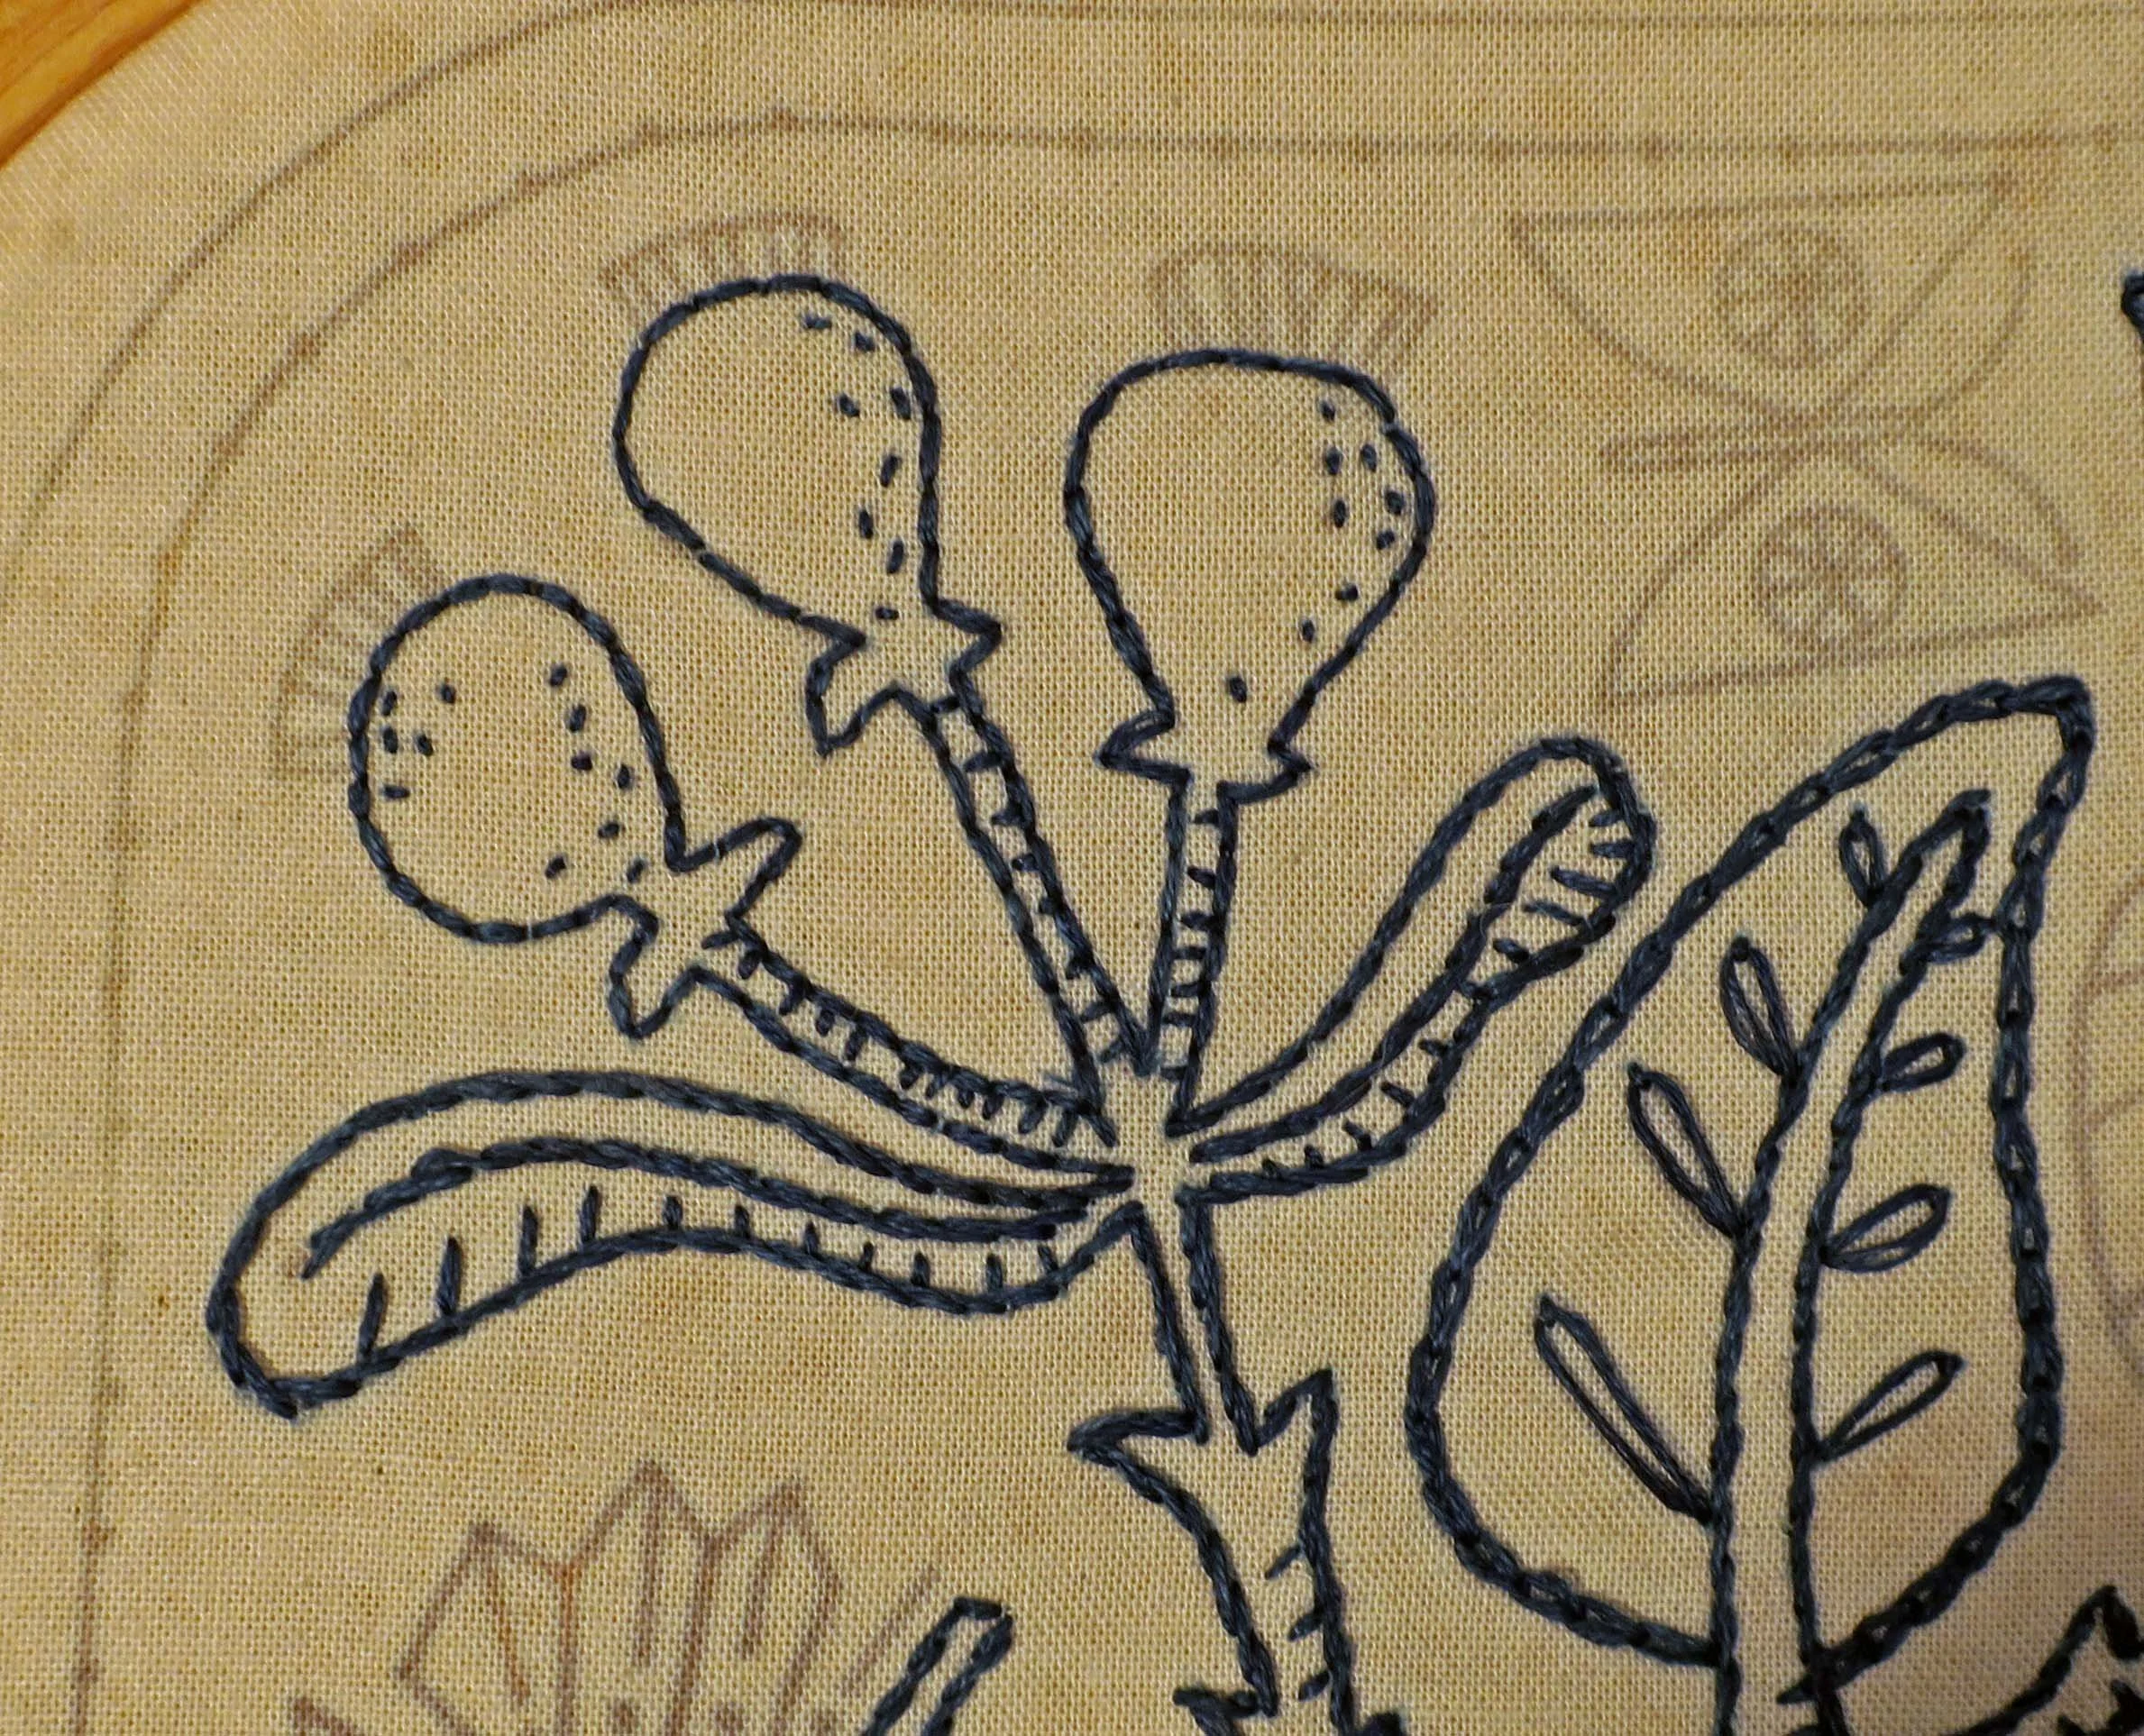
o Use 3 strands of blue floss to stem stitch the flower stem and center leaf veins.
o Use the same thread to stem stitch the elongated leaves and leaf veins.
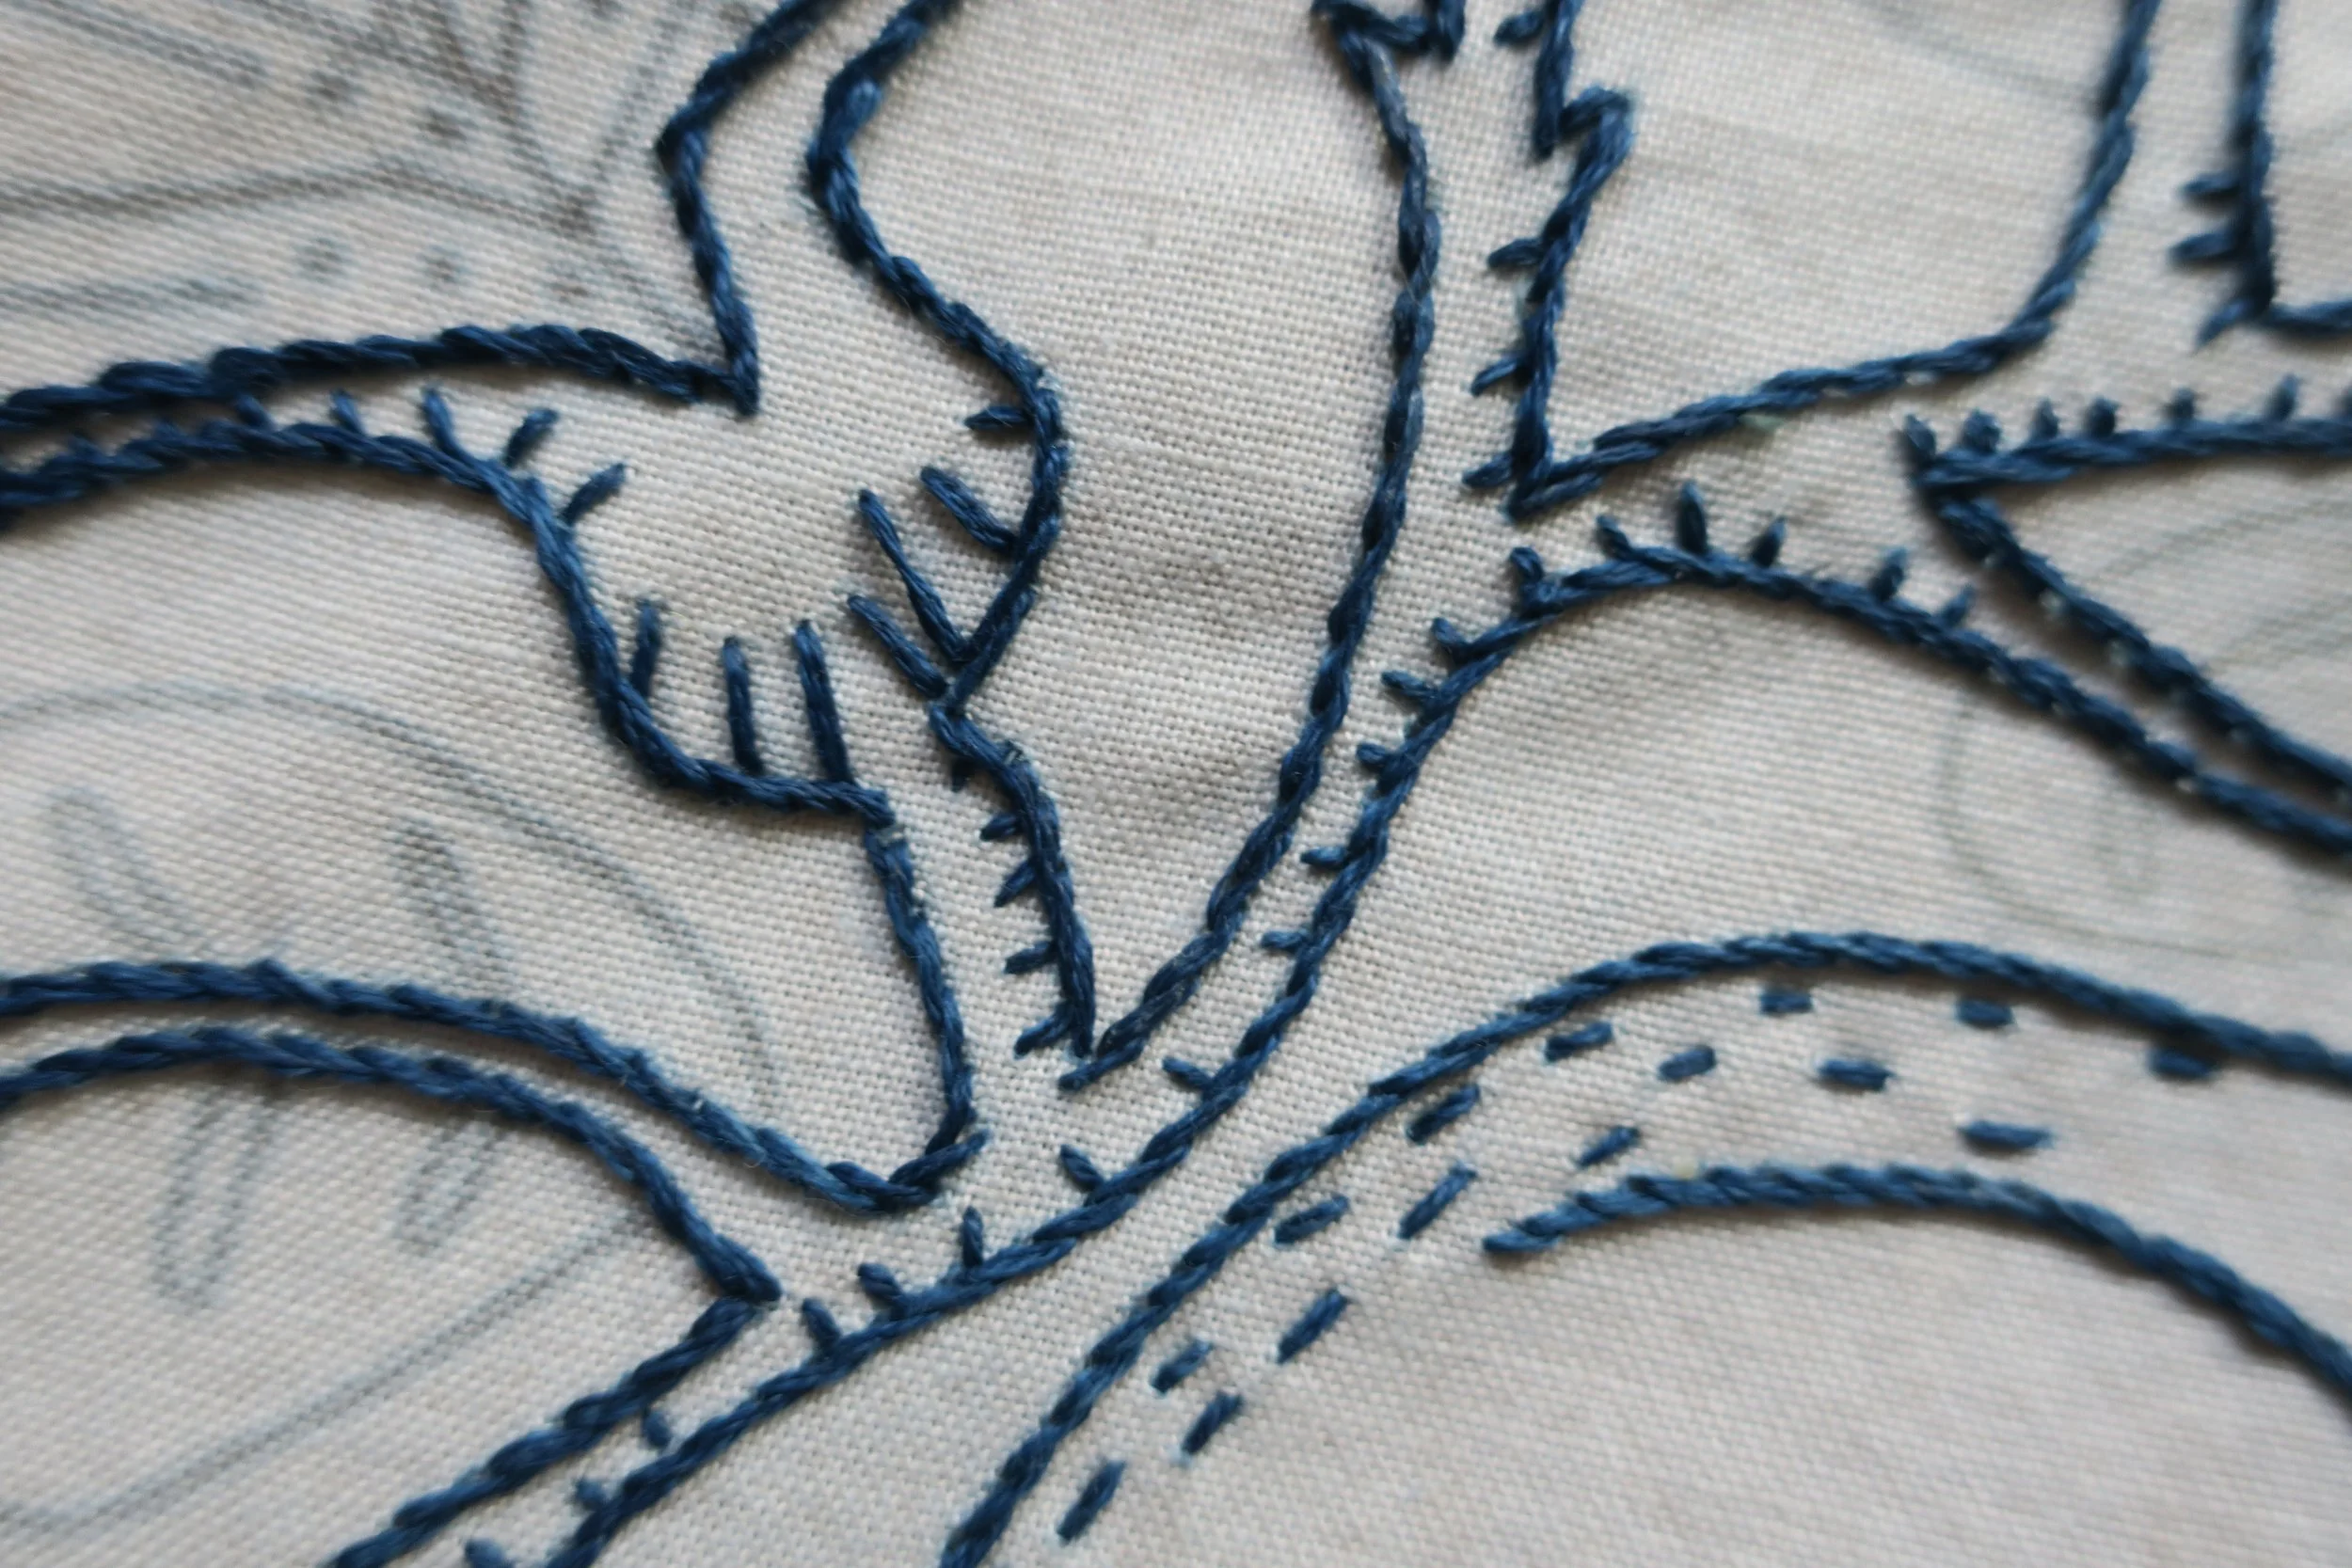
o Use the same thread to make the little straight stitches along the edge of the stem, budding flower, and elongated leaves.
o Use the same thread to backstitch the rose hip stems and bulbs and then make the little straight stitches along the edge of the stems.
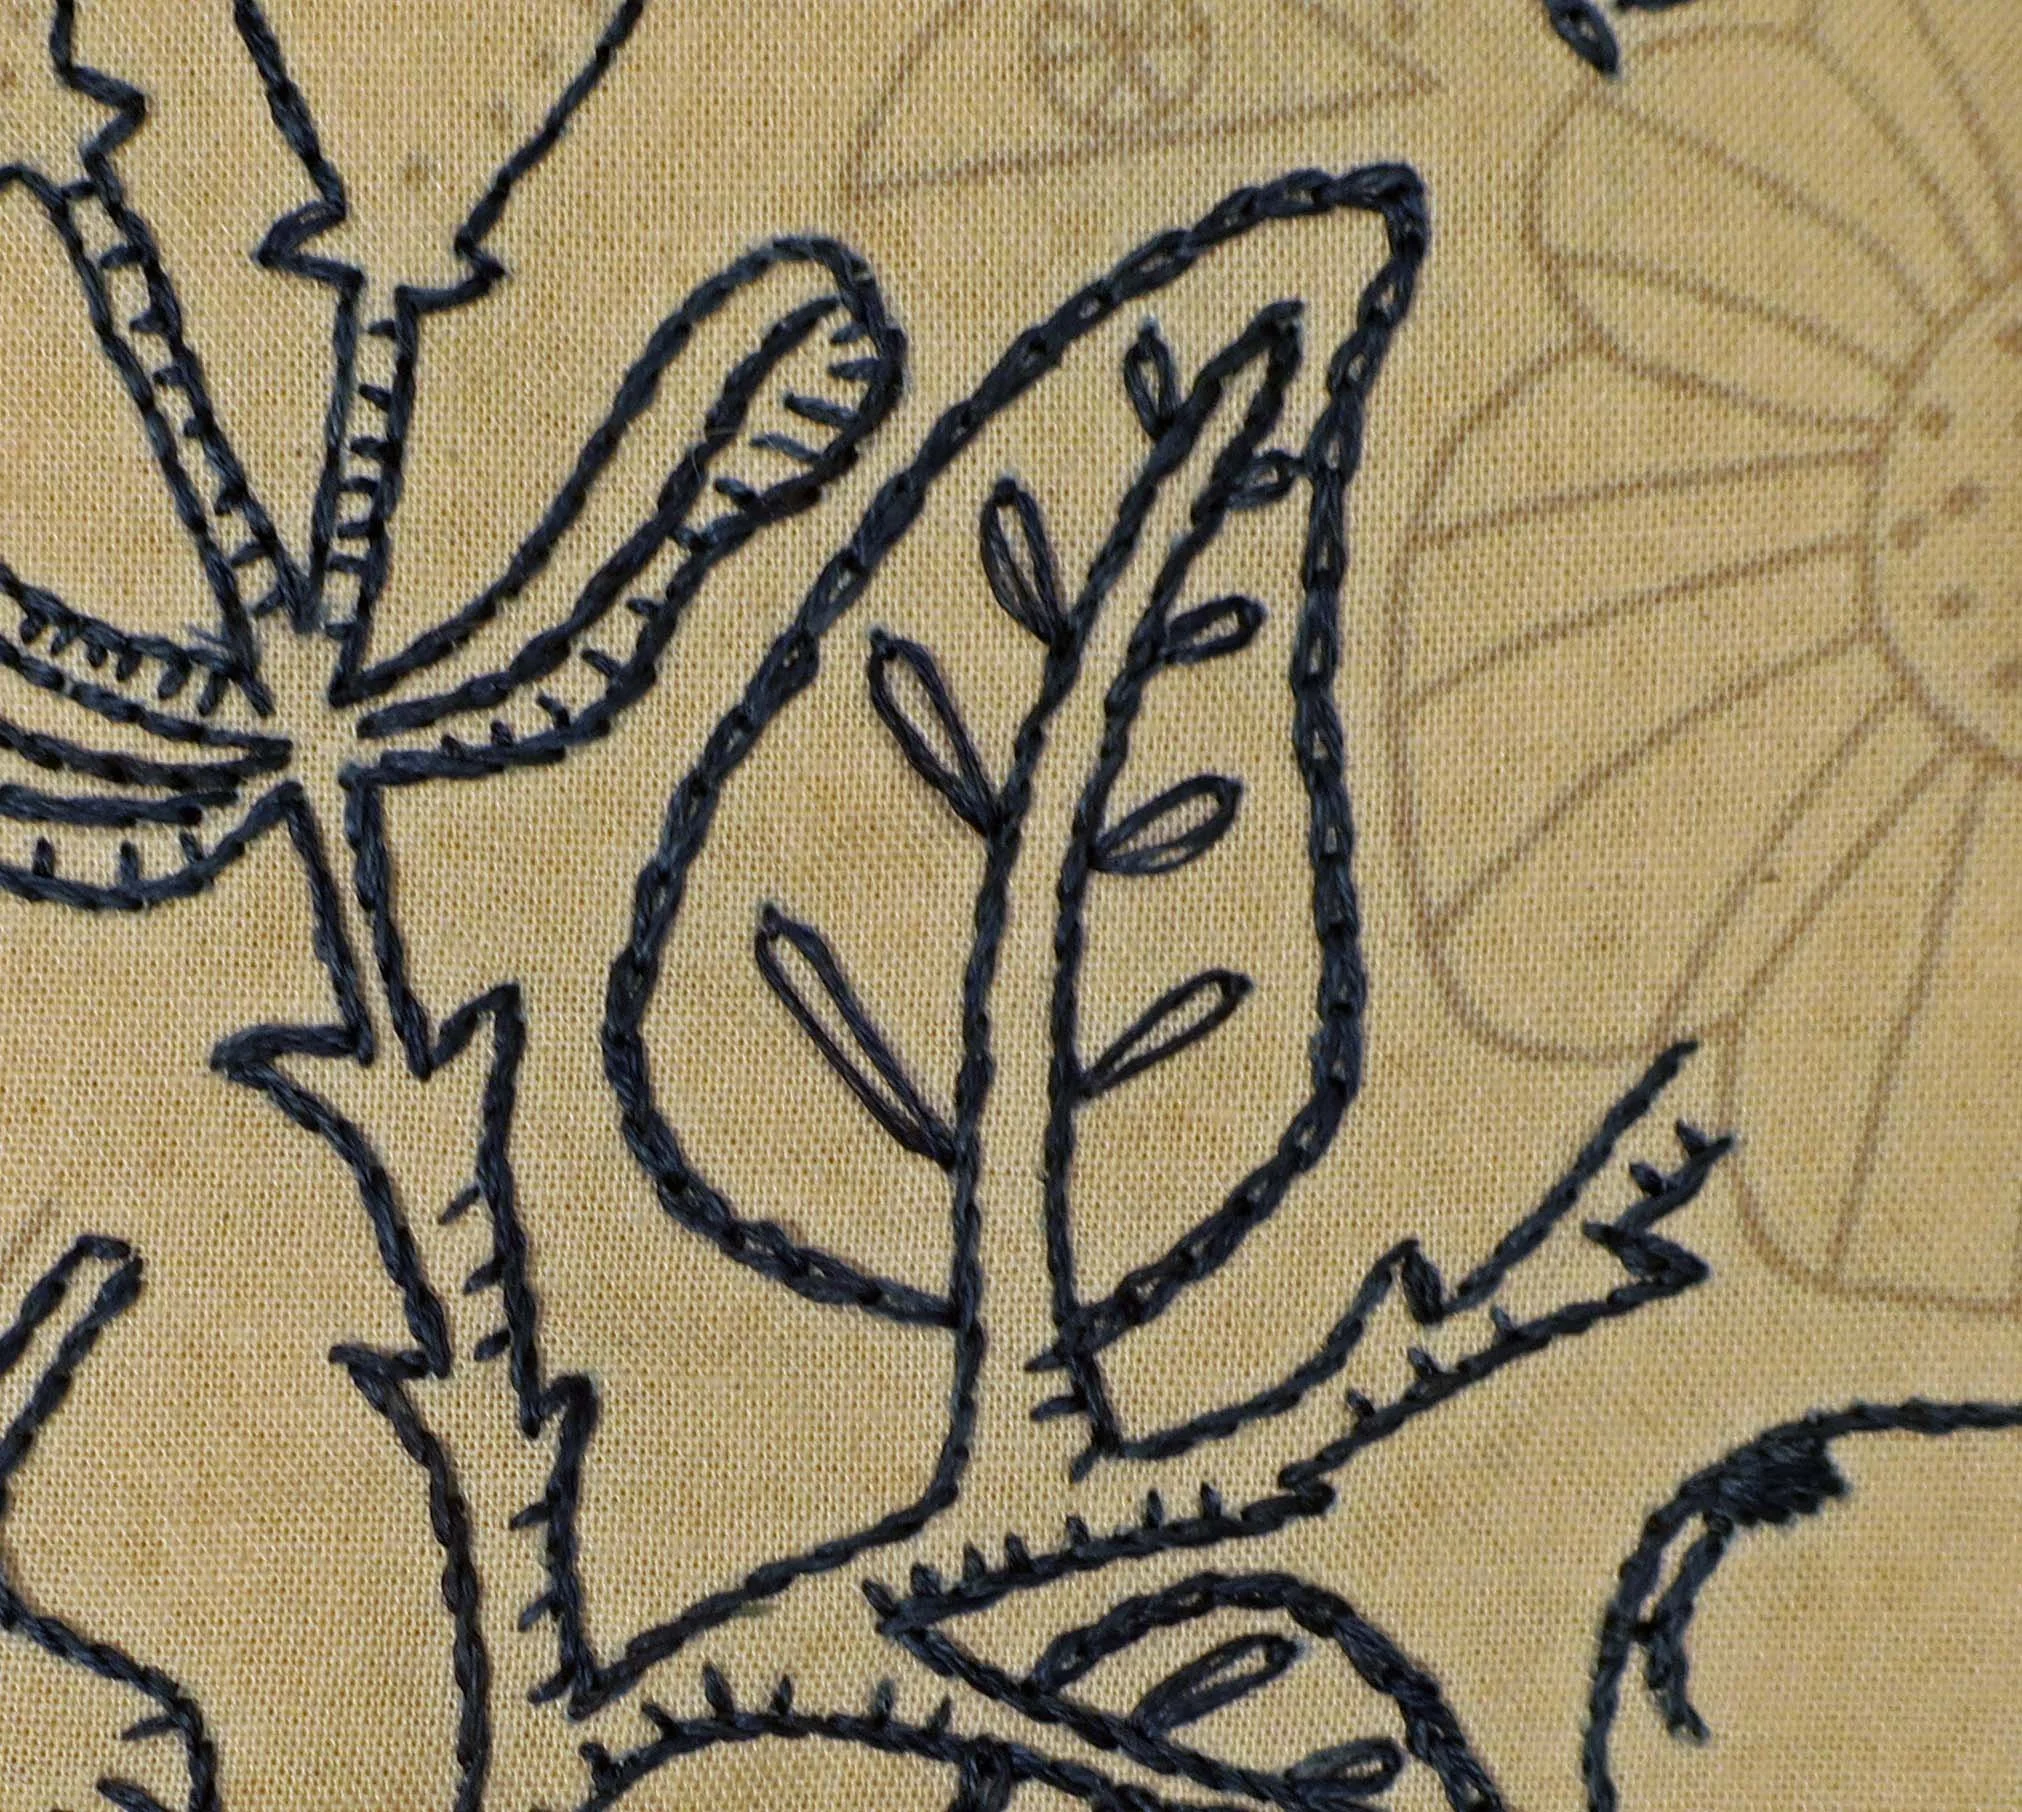
o Use 3 strands of blue floss to chain stitch the outline of the 4 remaining leaves.
o Use the same thread to make detached chain side veins in the 4 leaves.
o Use 2 strands of blue floss to make seed stitches in each of the rose hip bulbs.
· Flowers
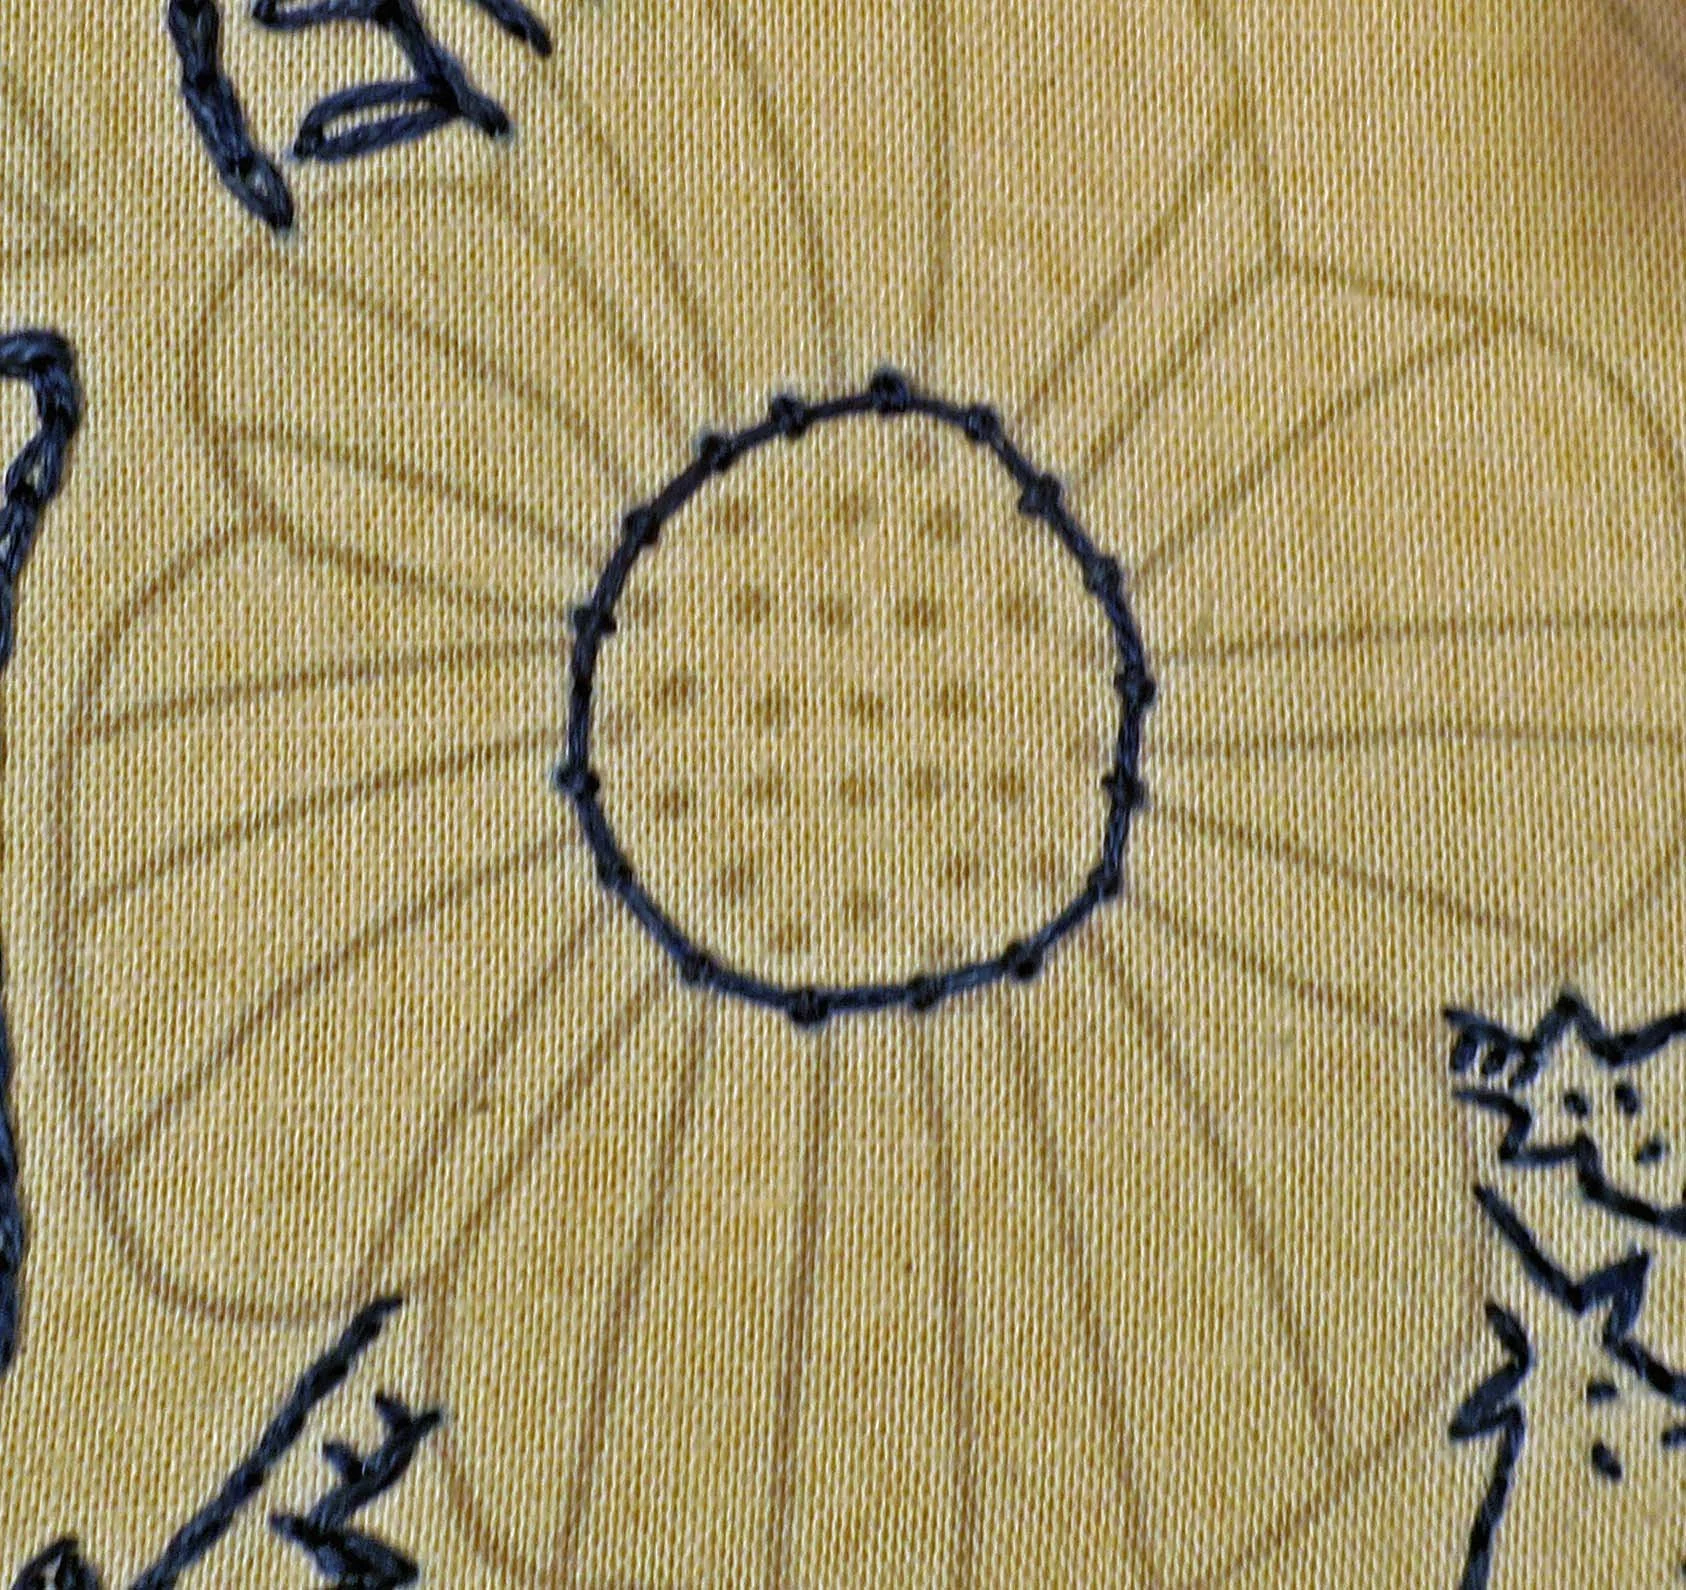
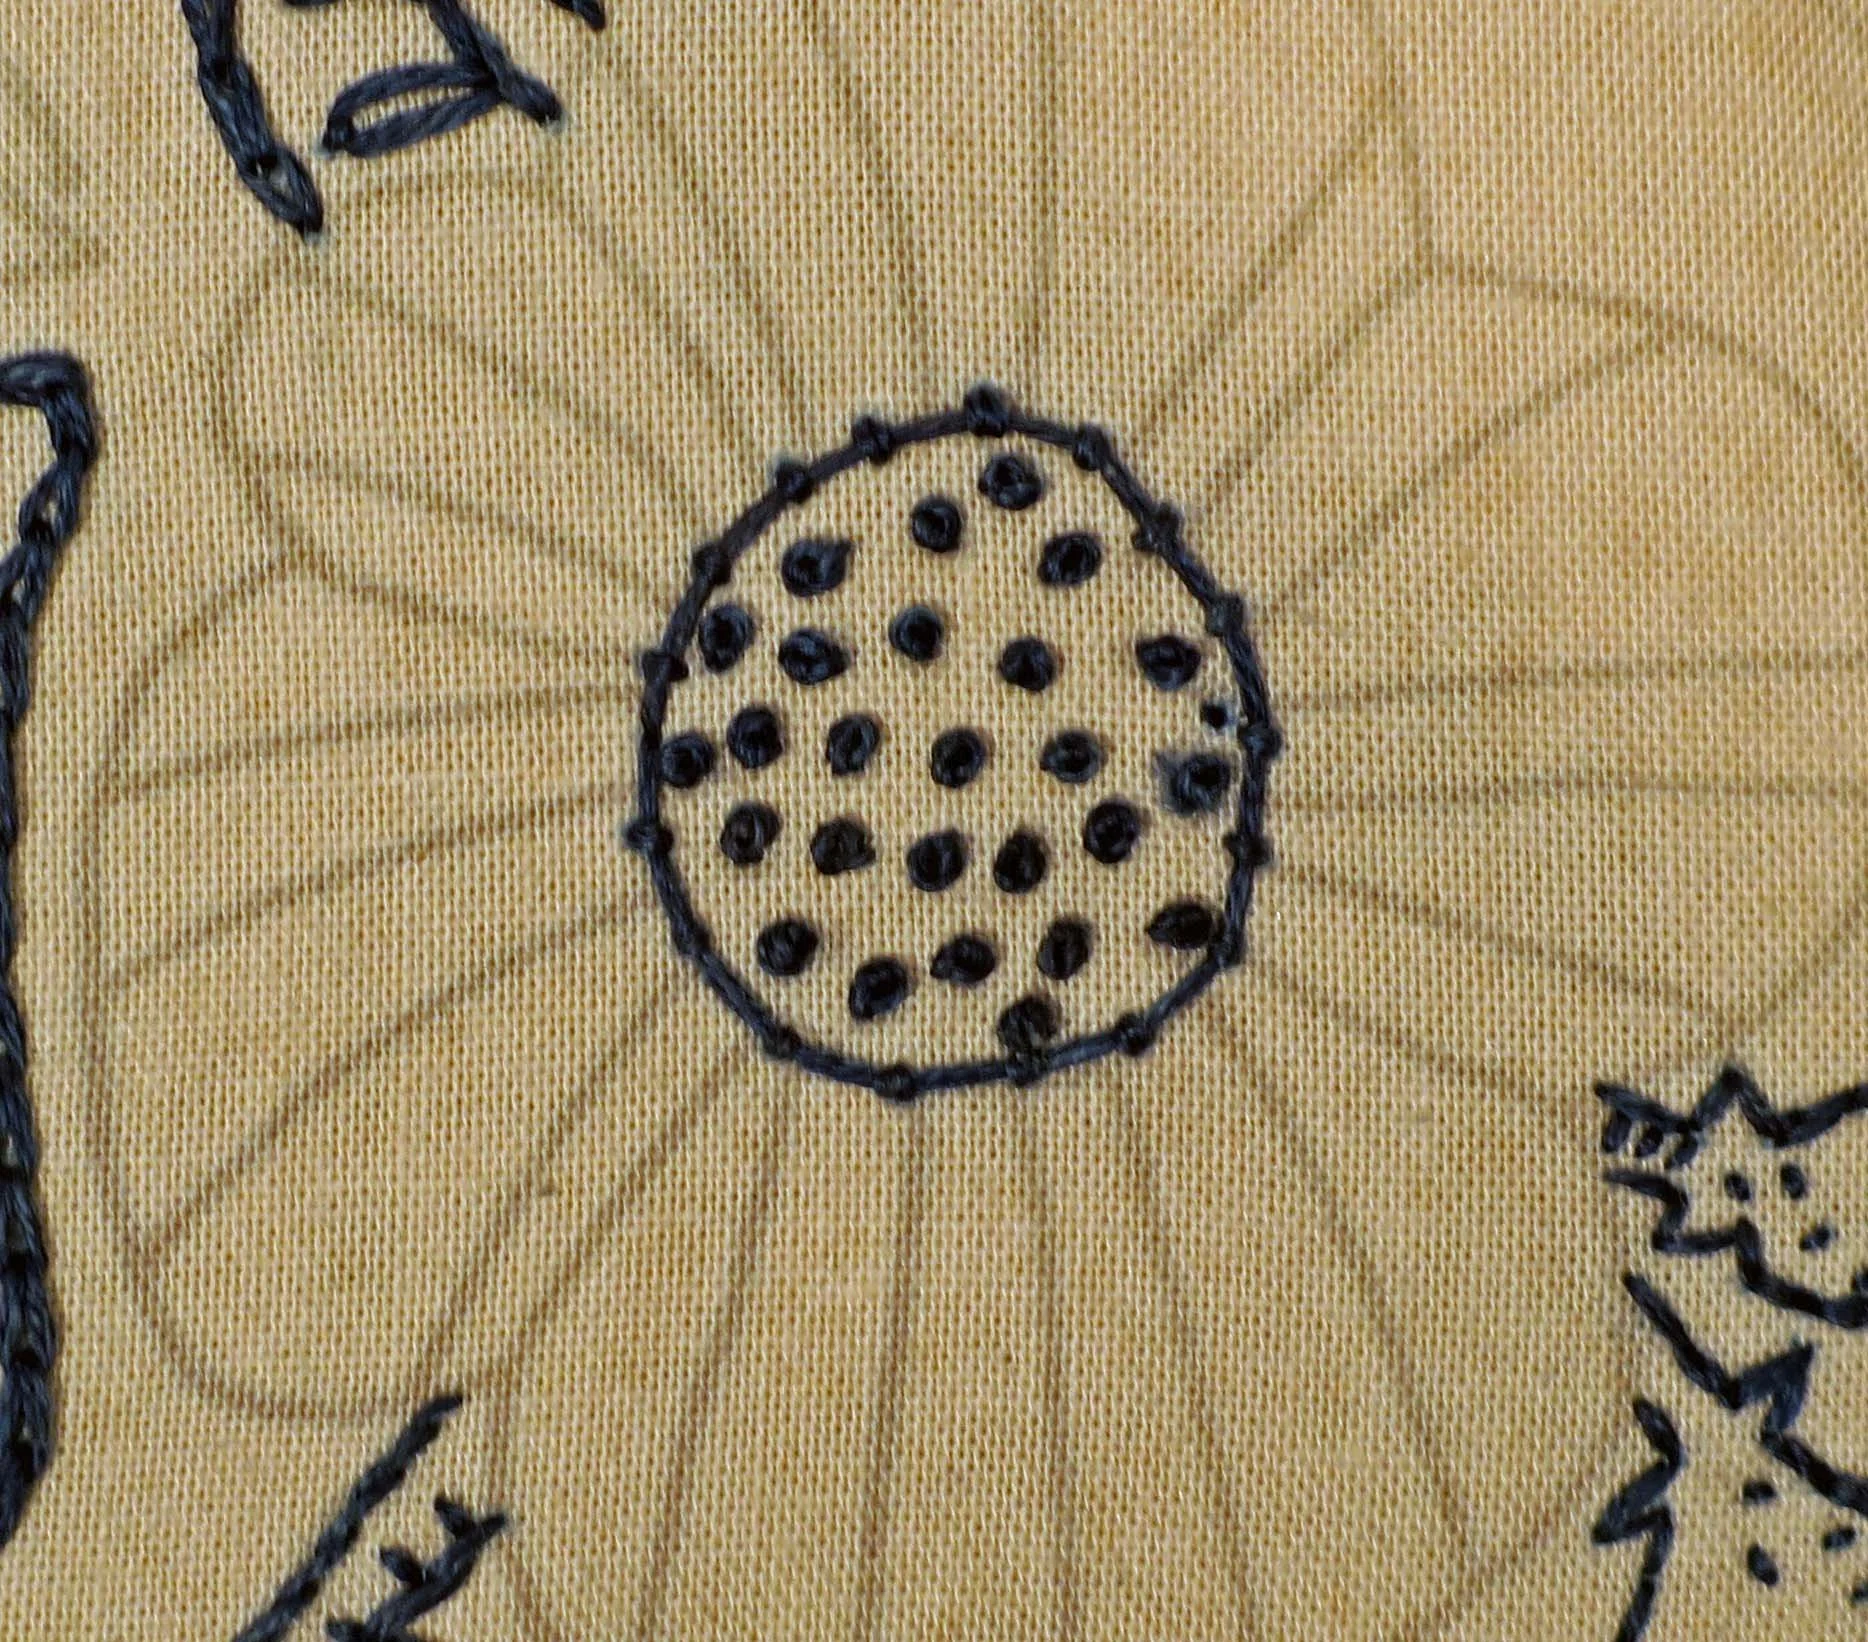
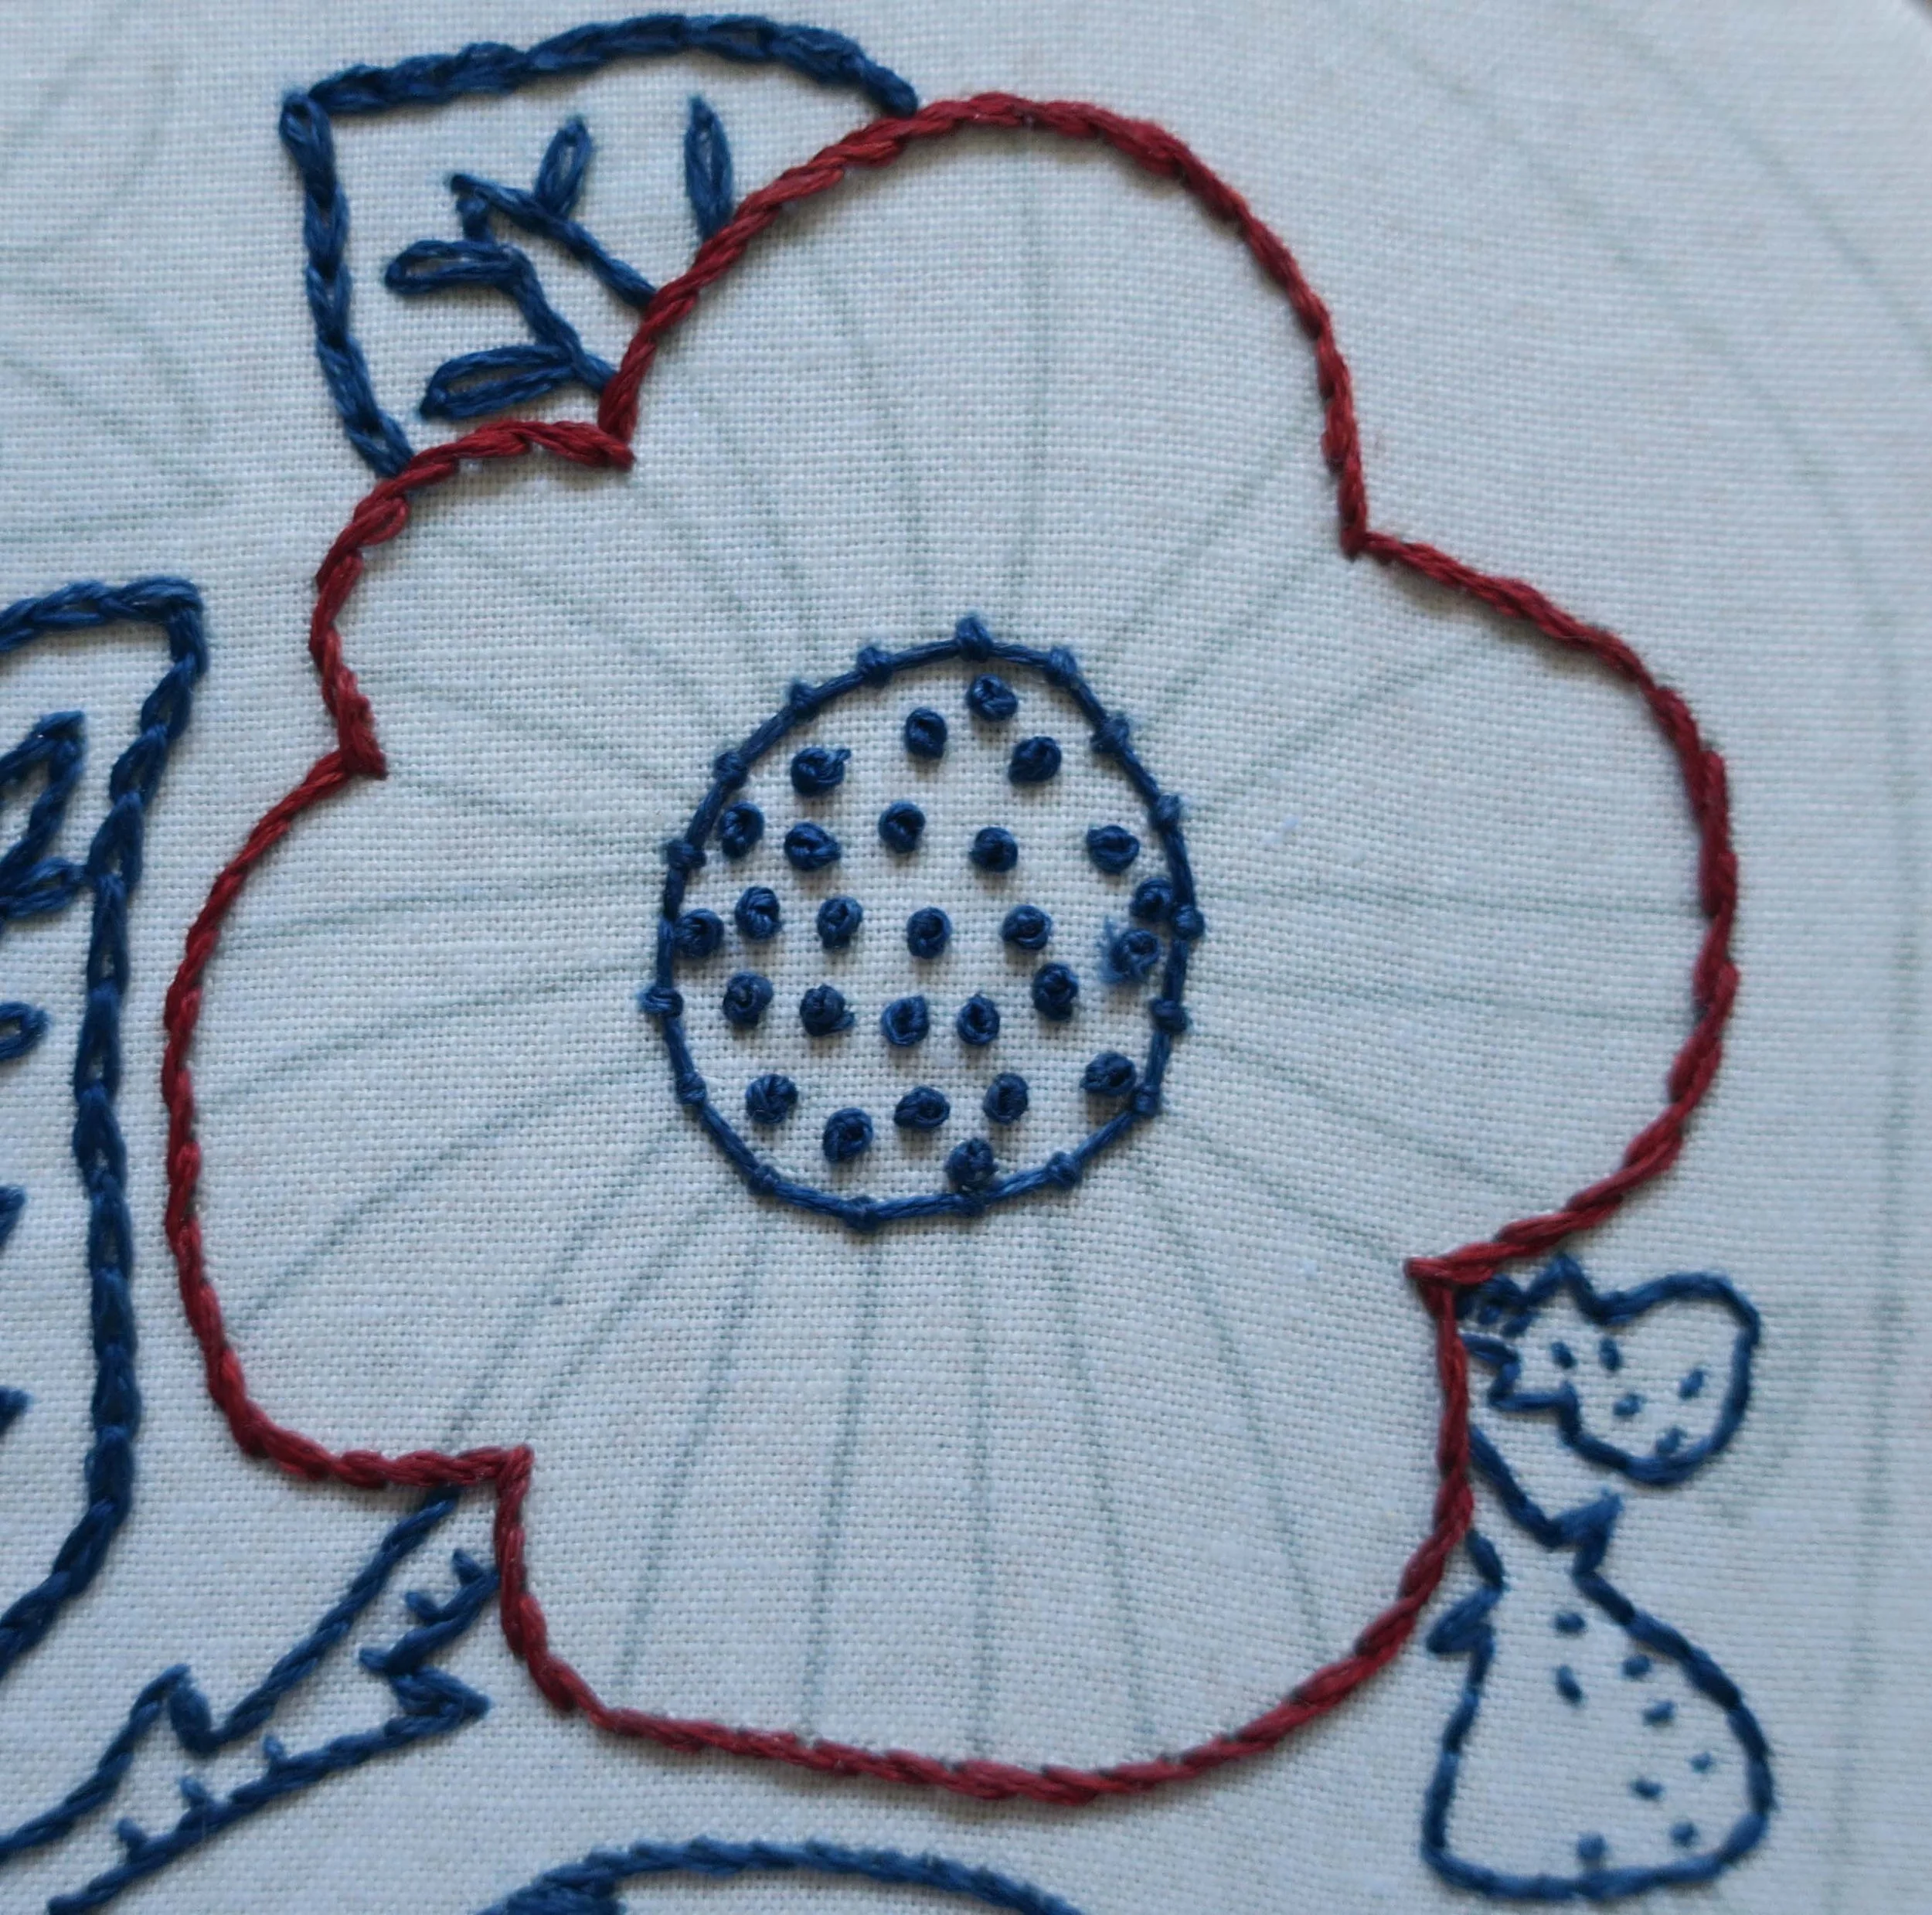
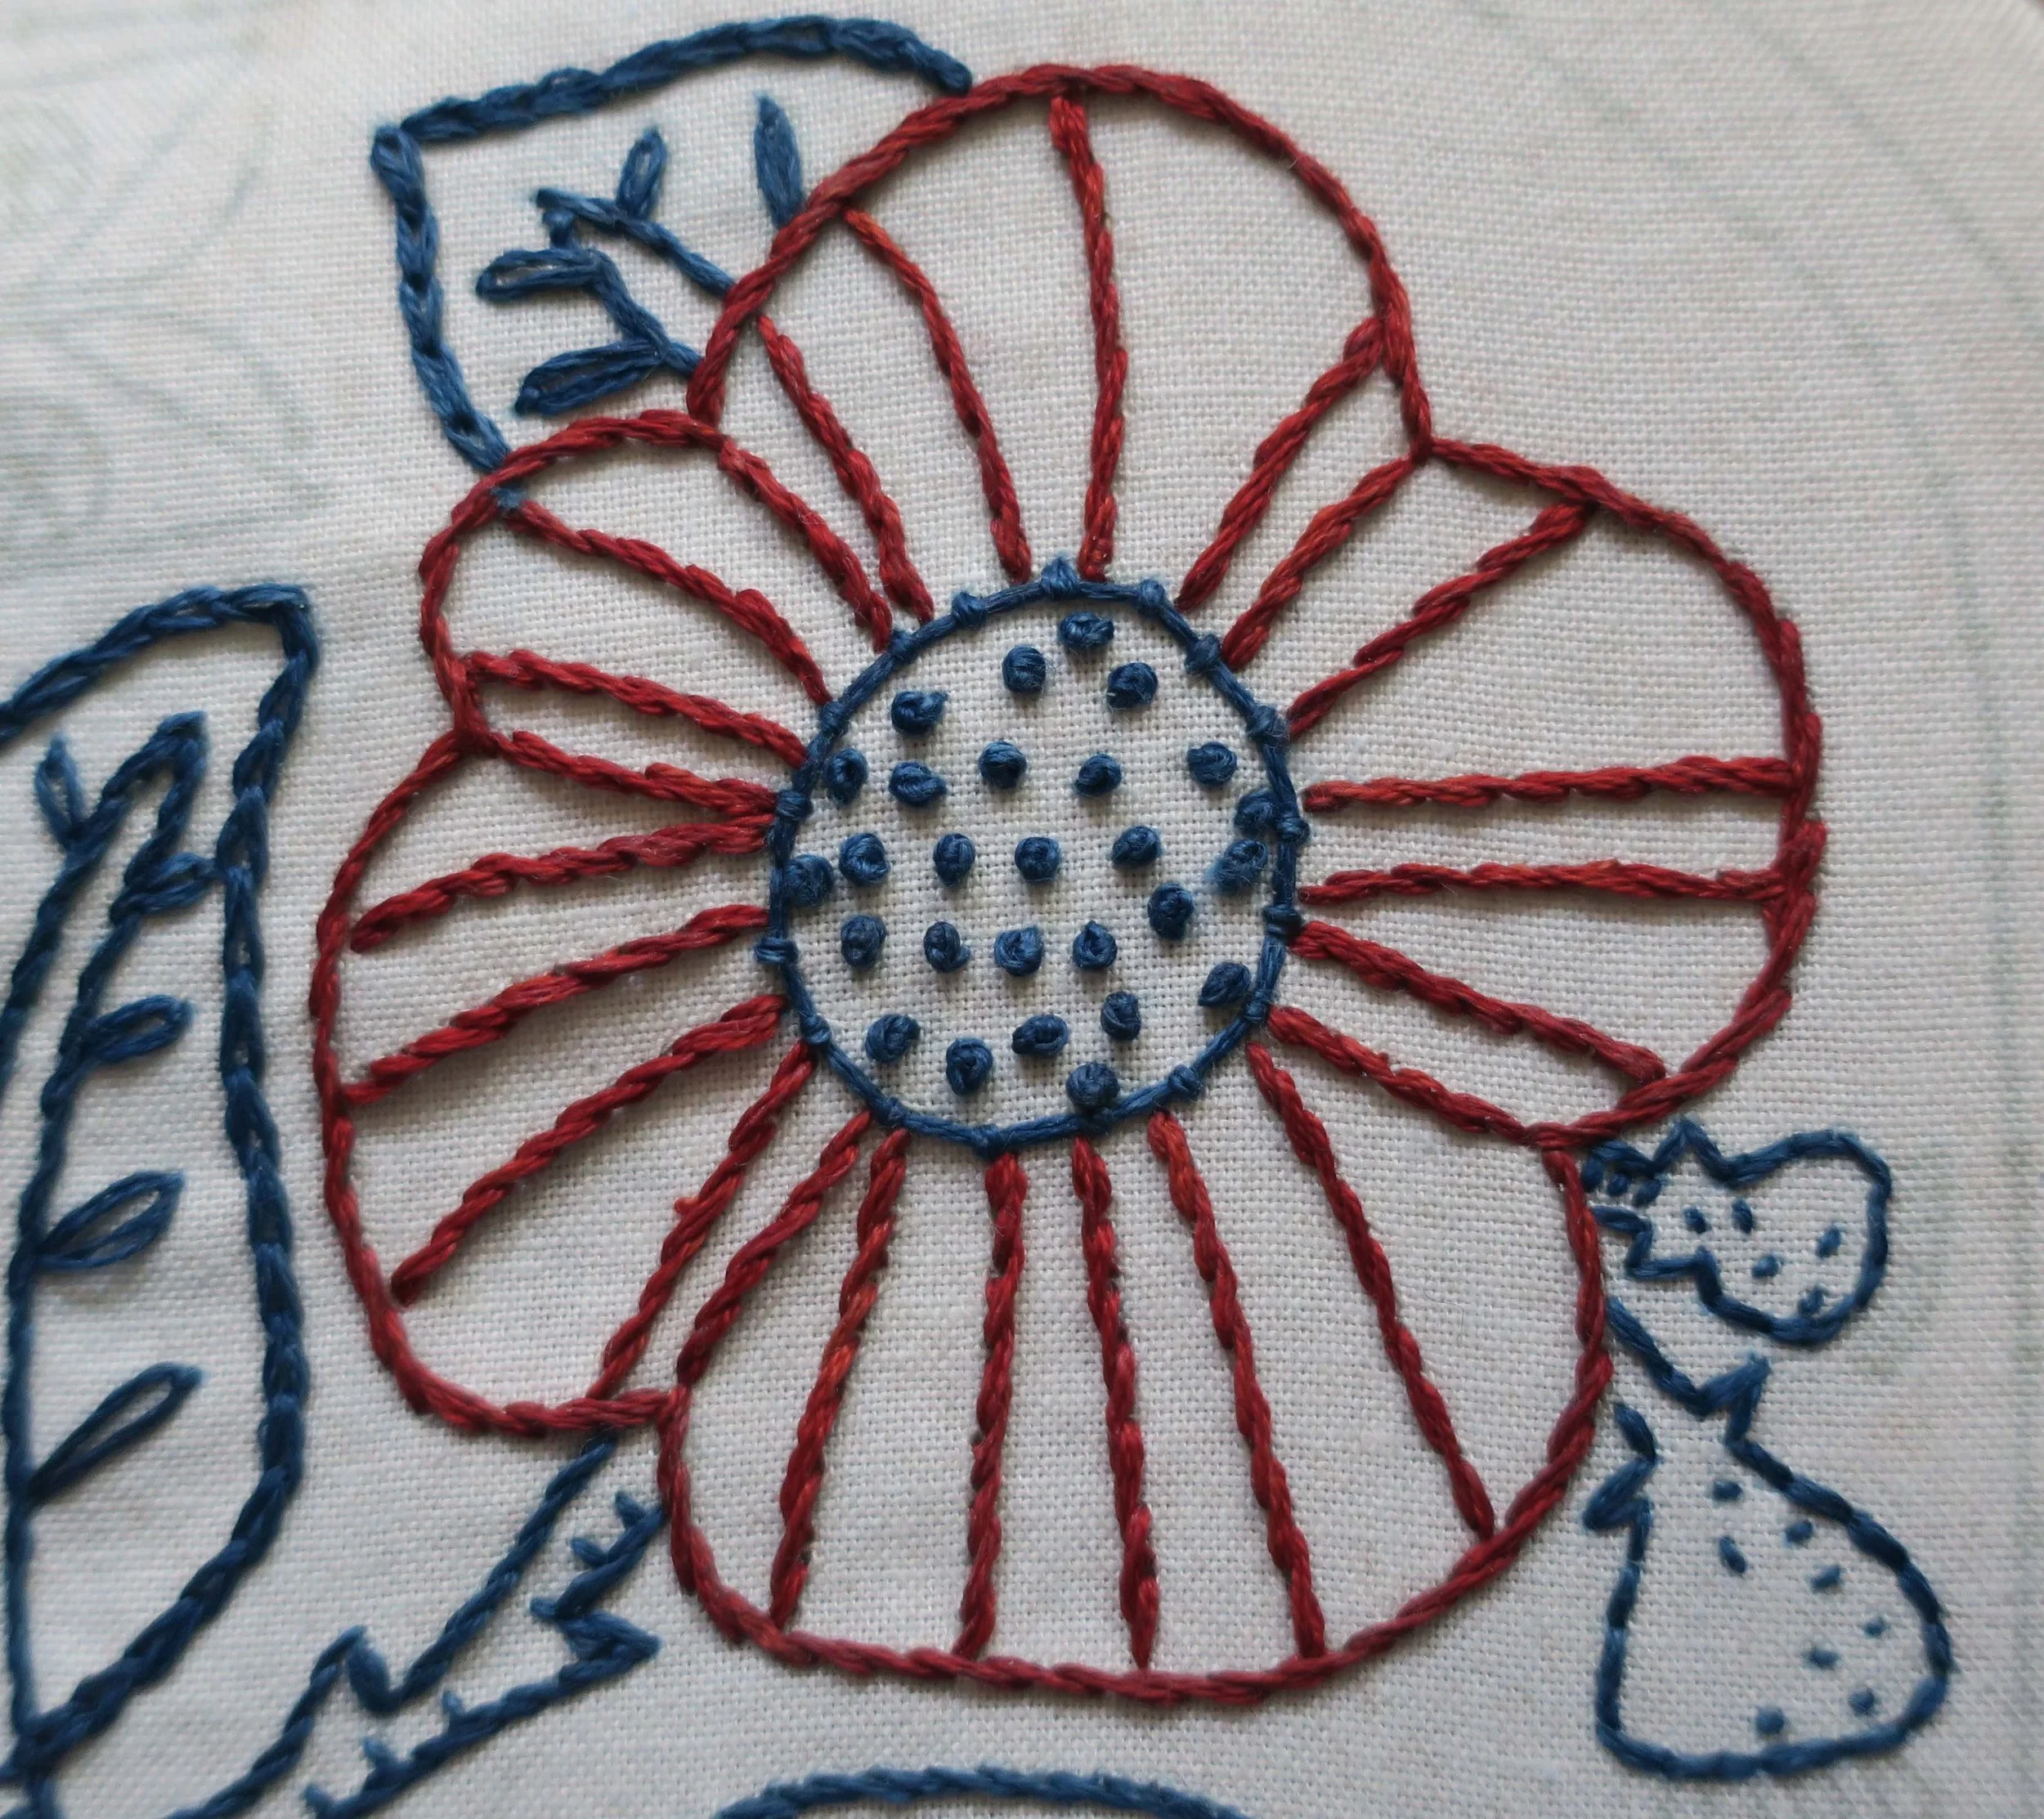
o Use 4 strands of blue floss as the lay down and working thread for a couched stitch outline of the large flower center.
o Use 3 strands of blue floss to make random French knots in the center.
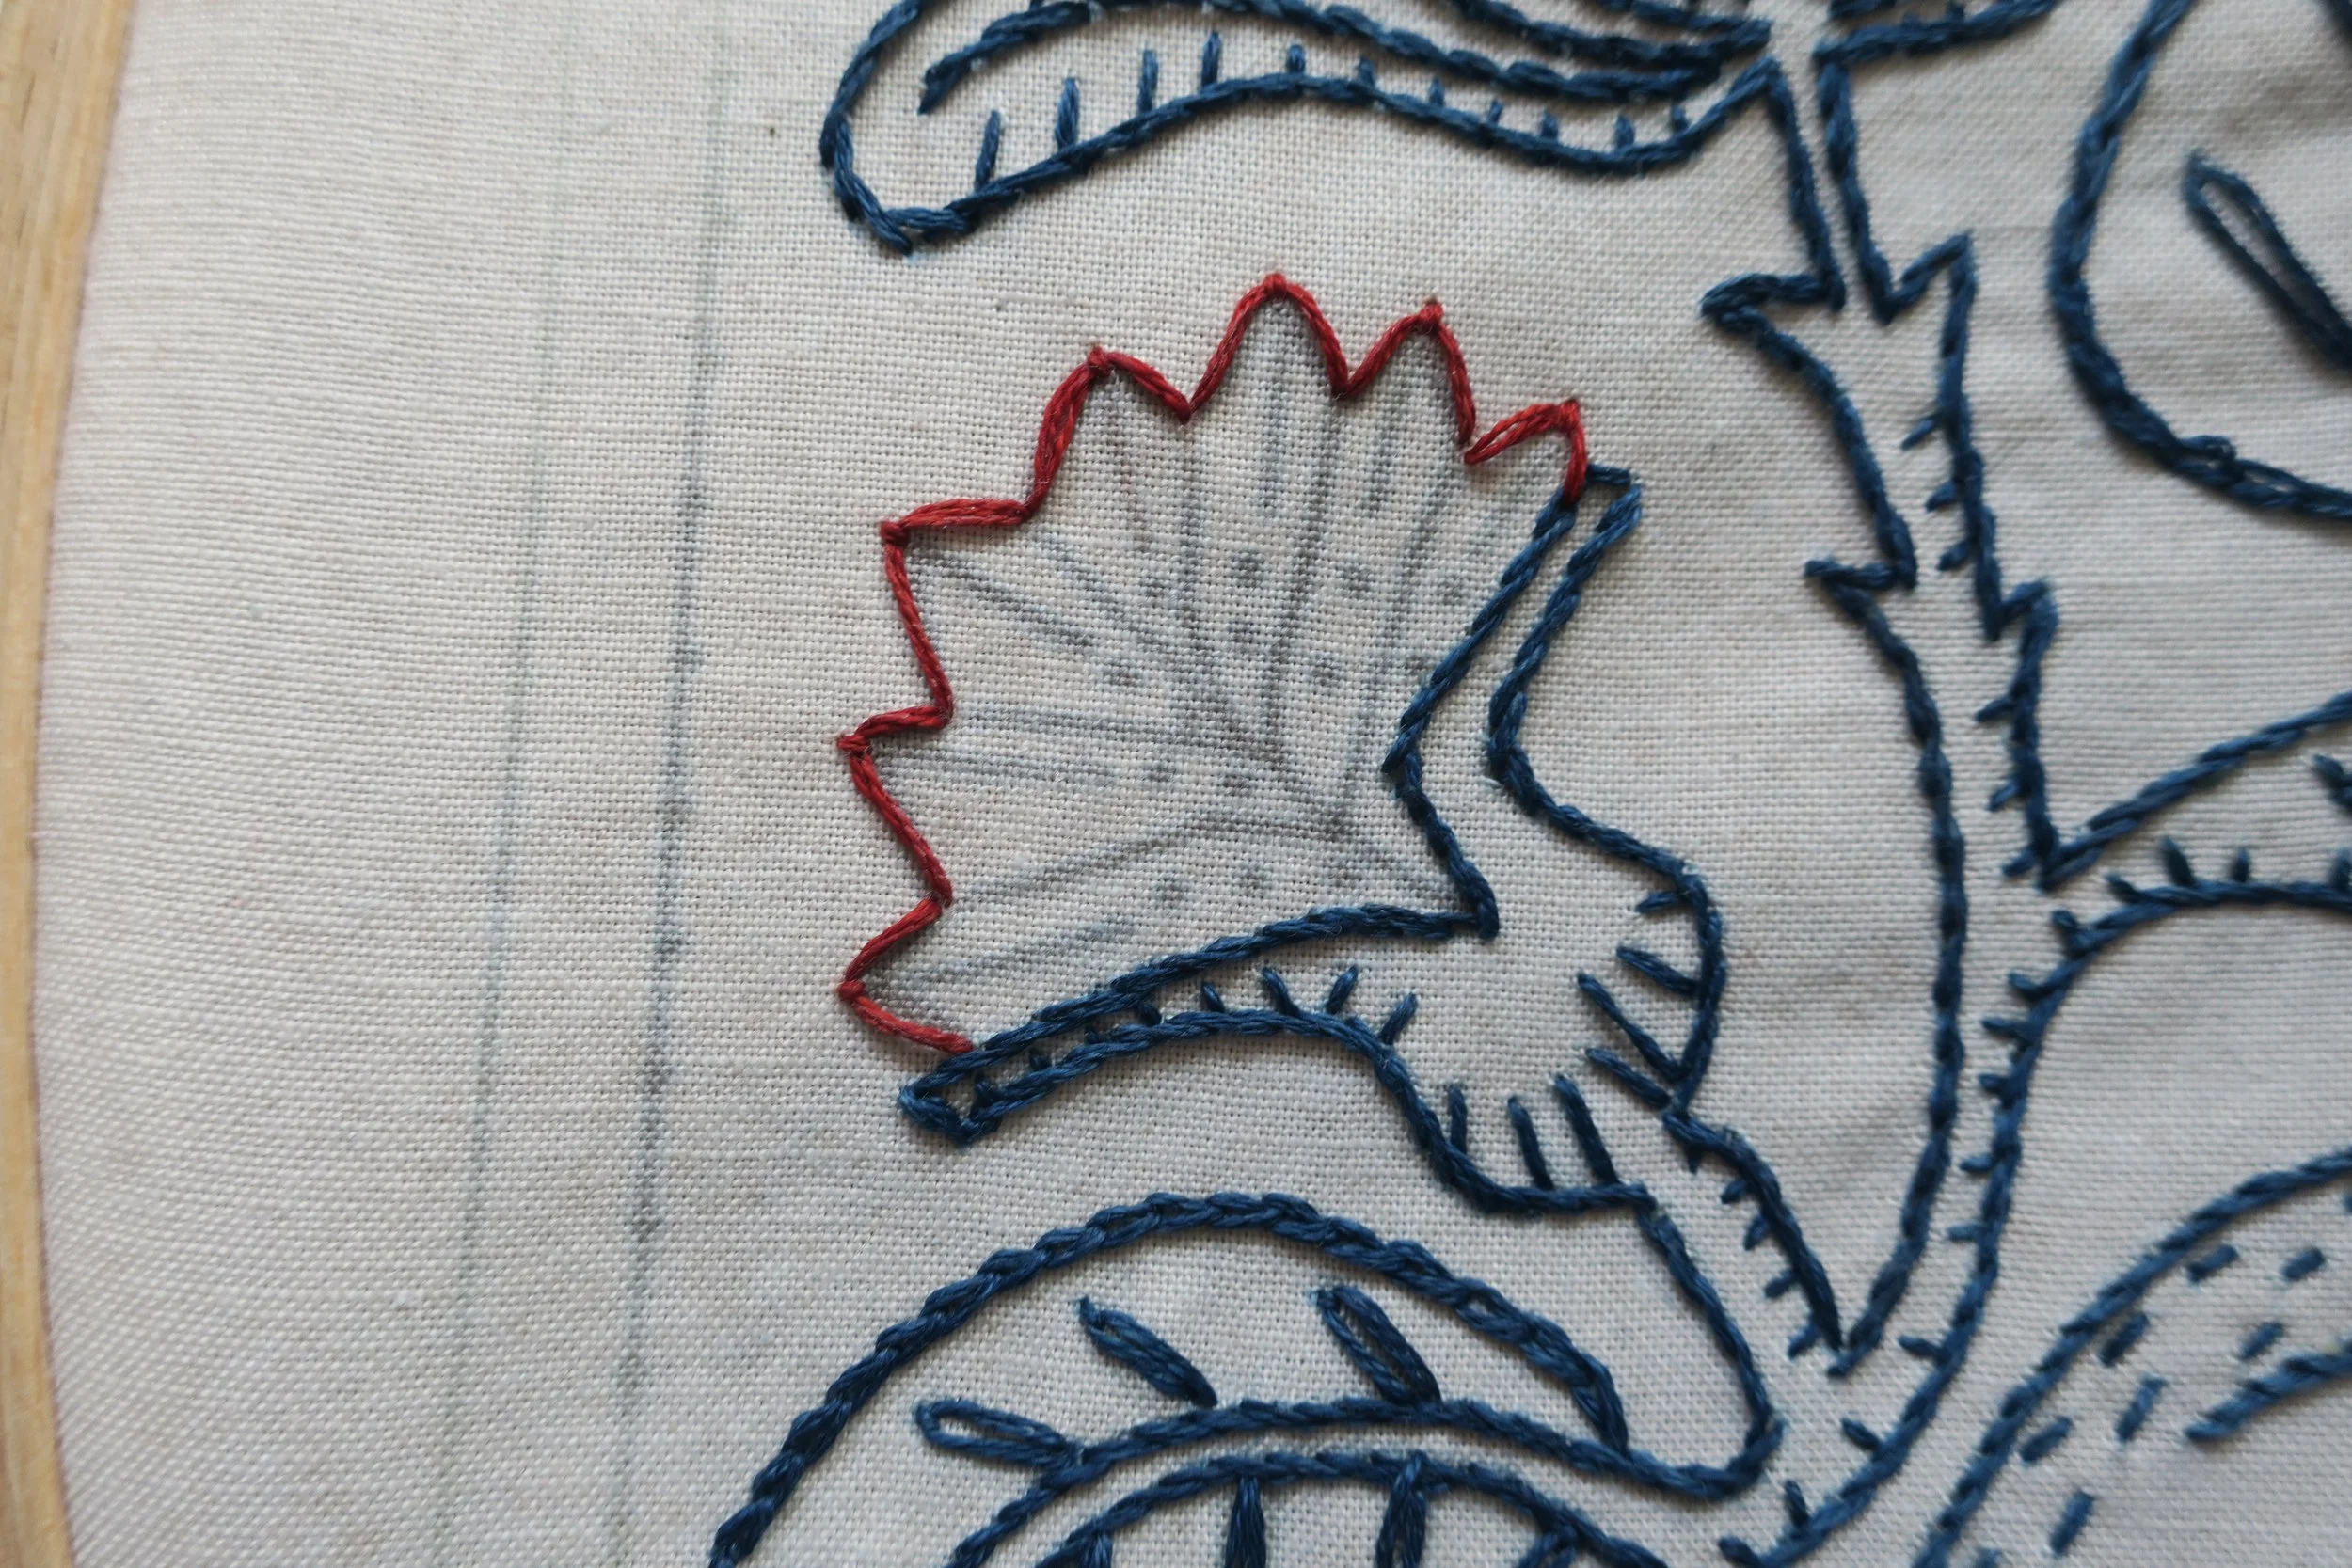
o Use 3 strands of red floss to stem stitch the outline and flower petals of the large flower.
Use the same thread to stem stitch each of the petal lines.
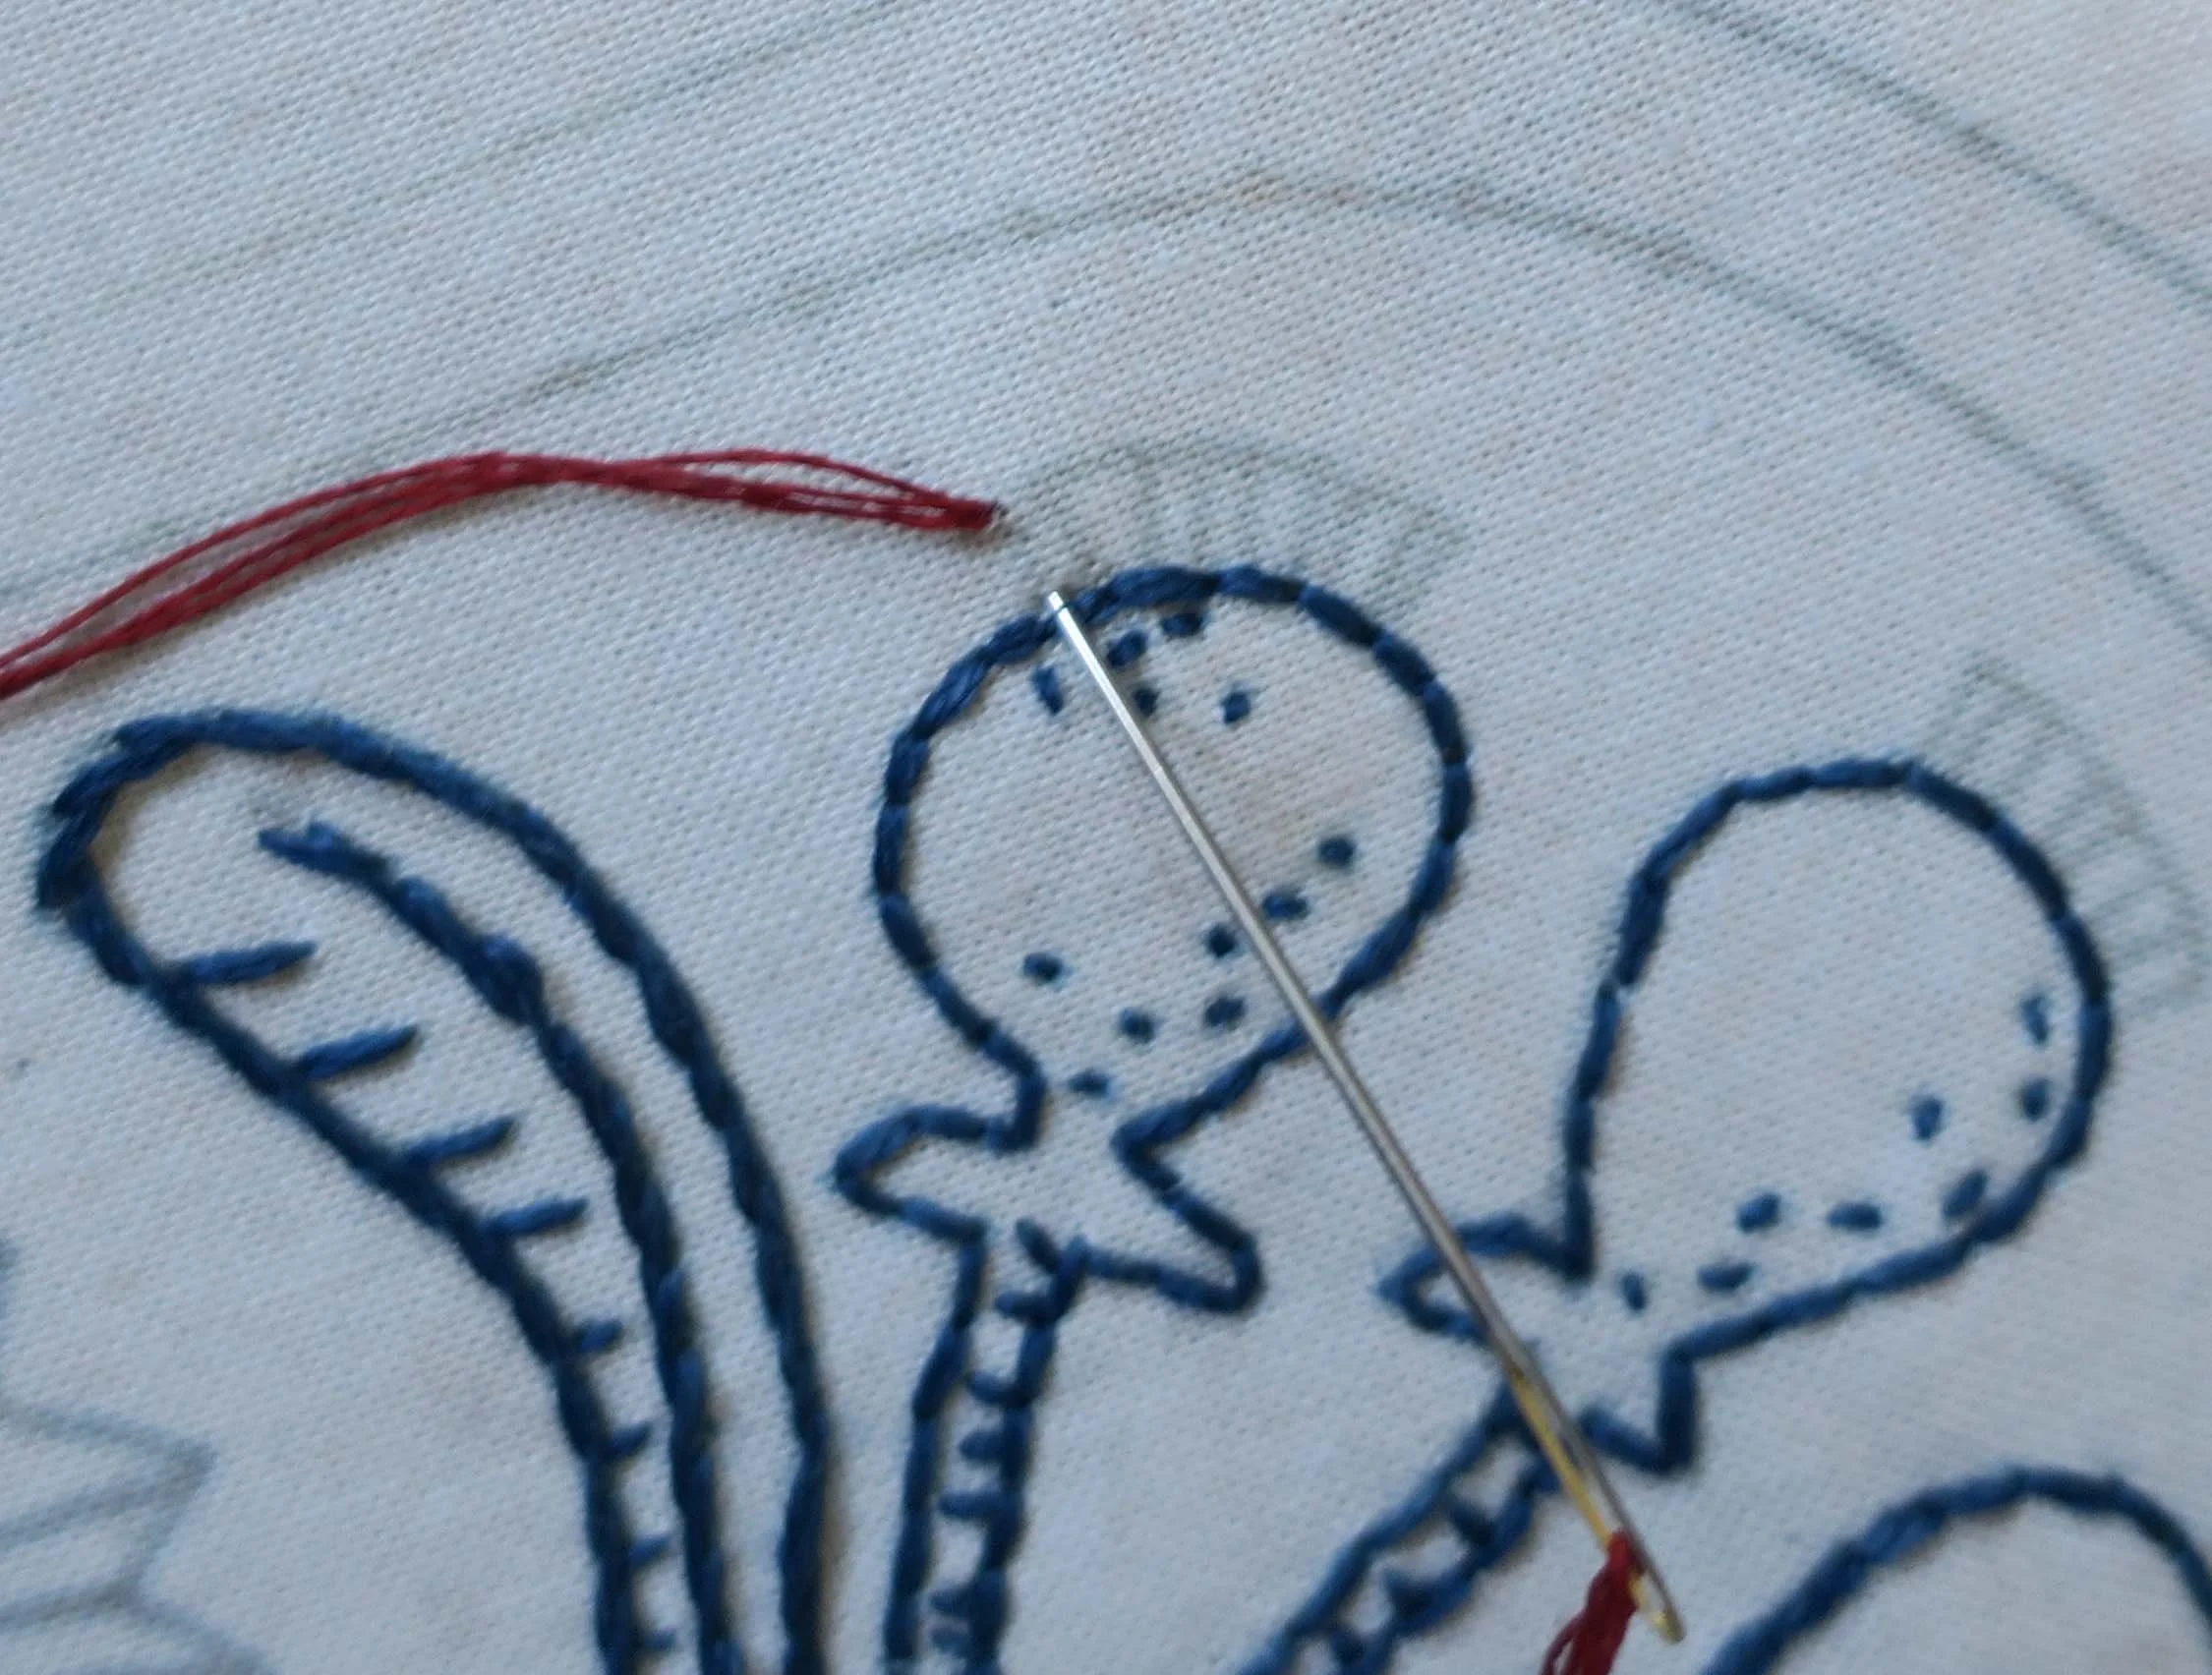
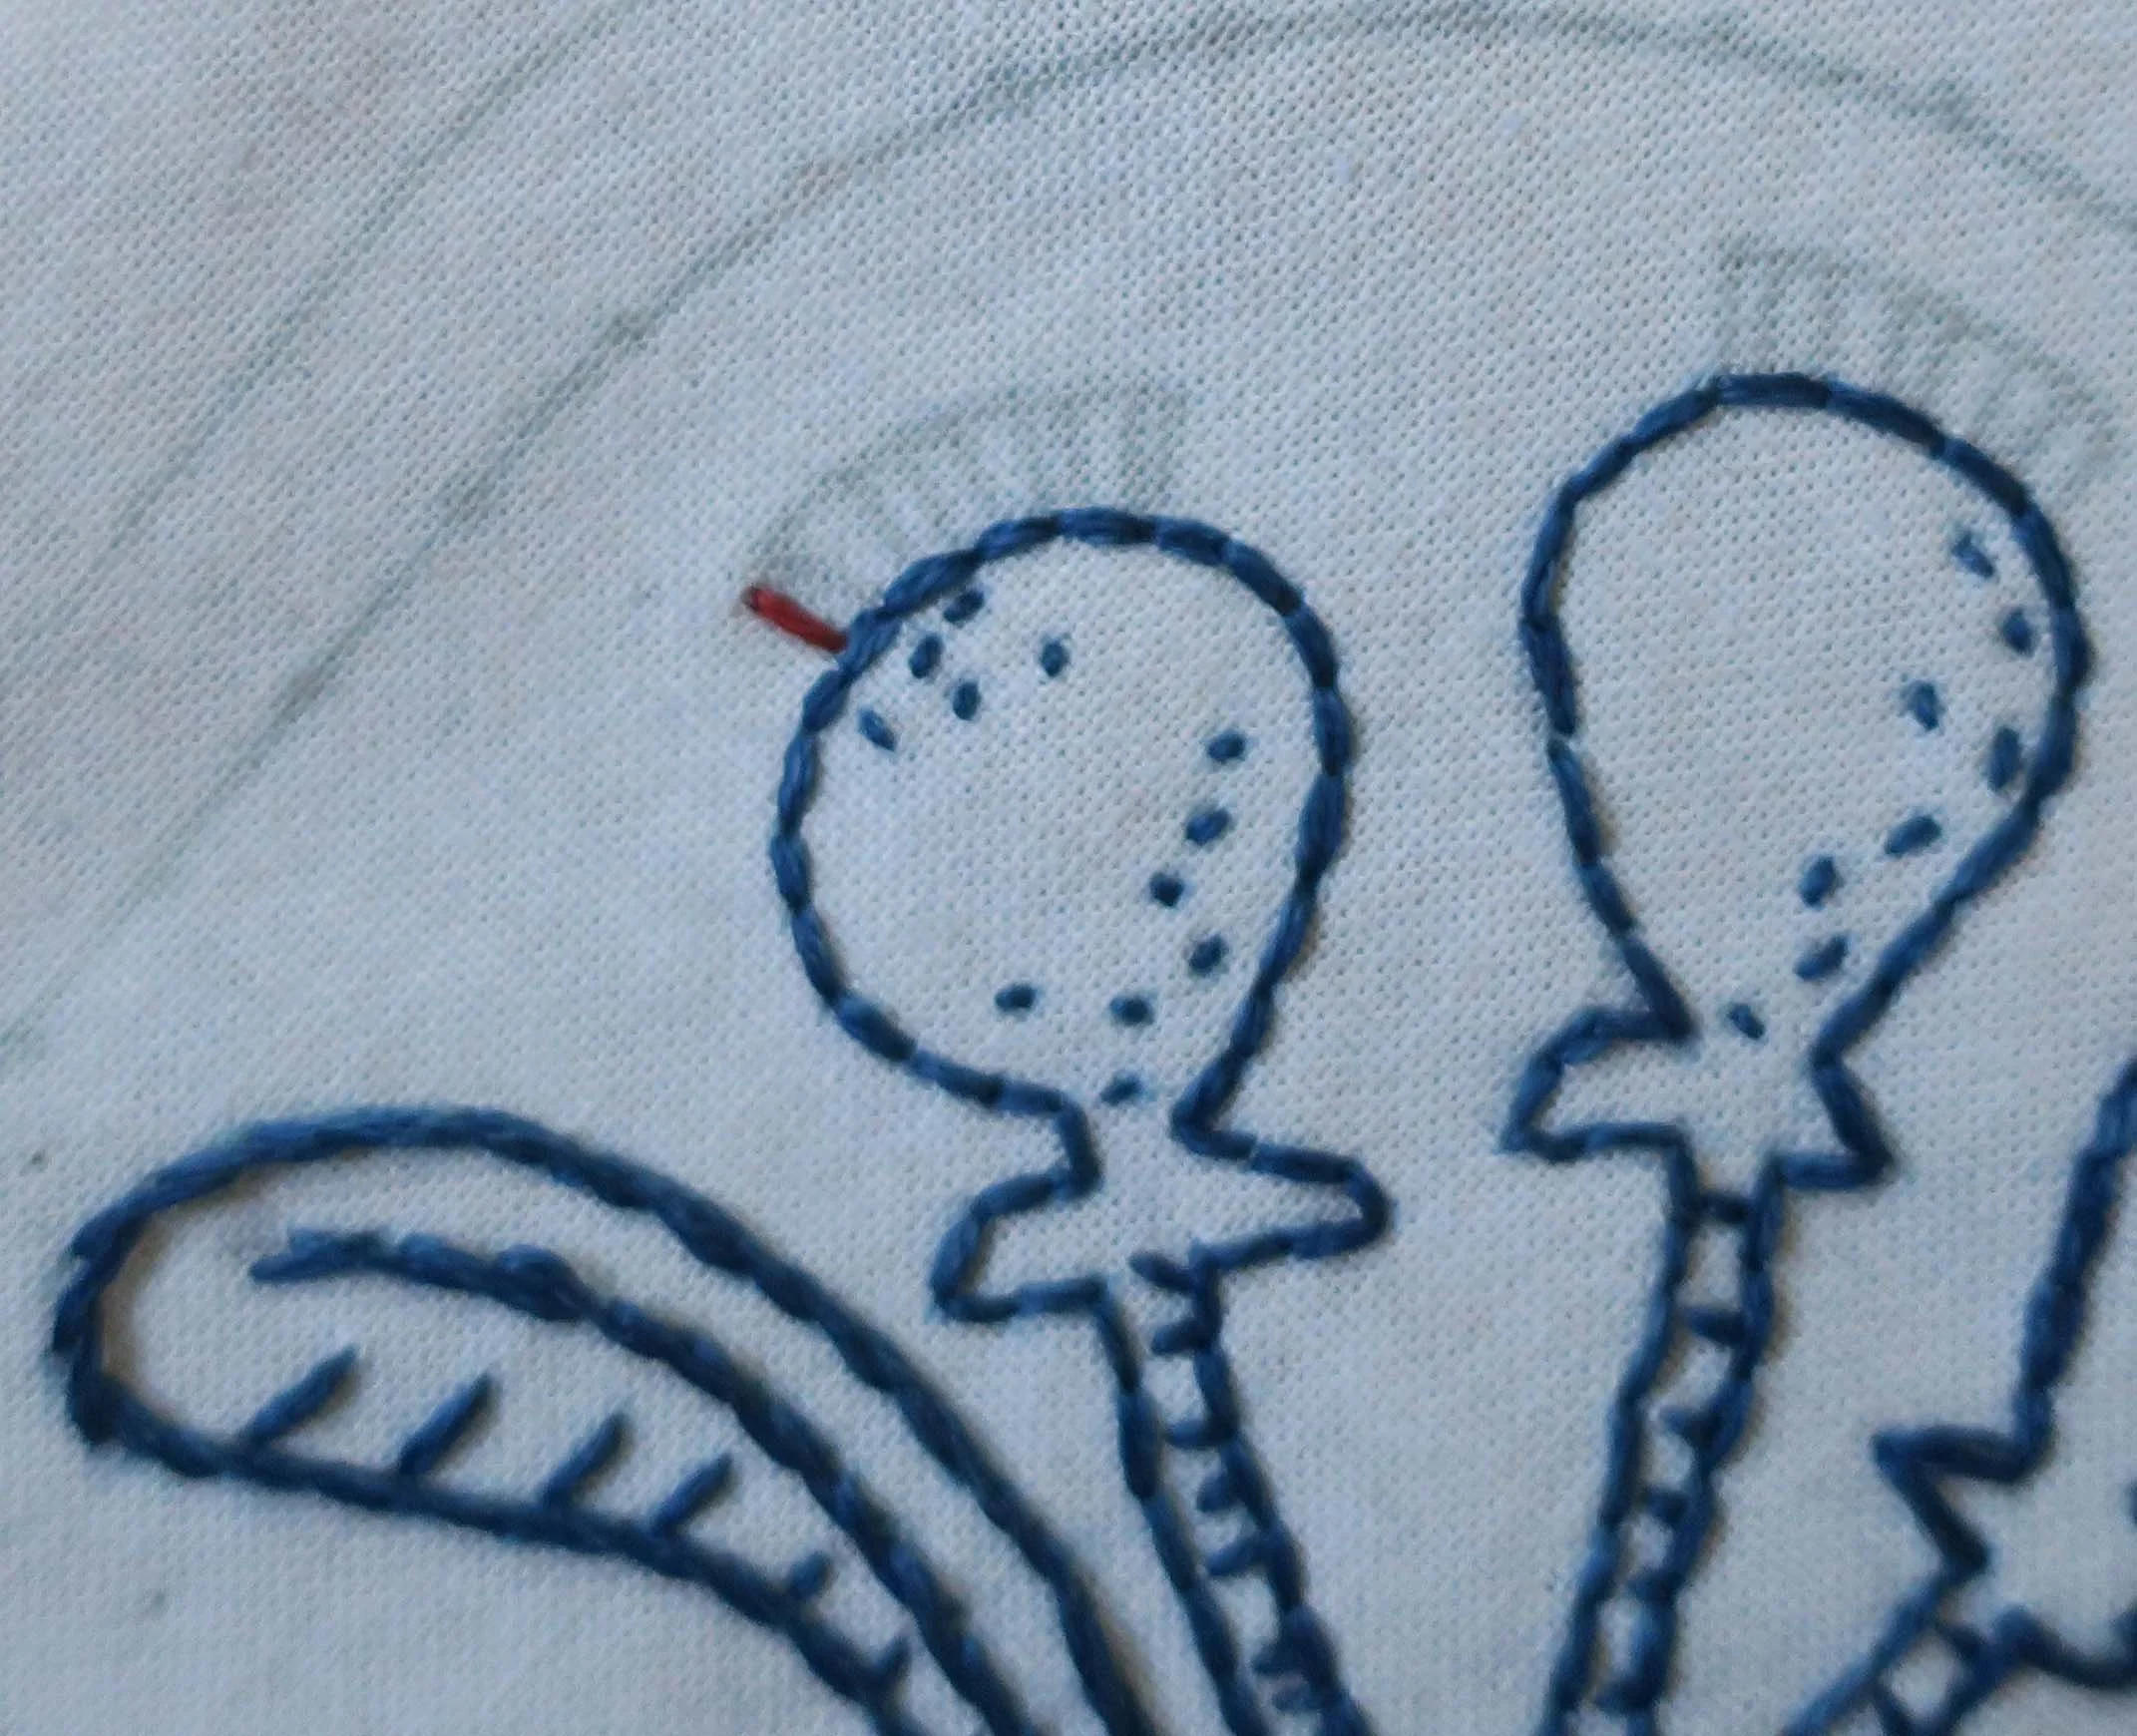
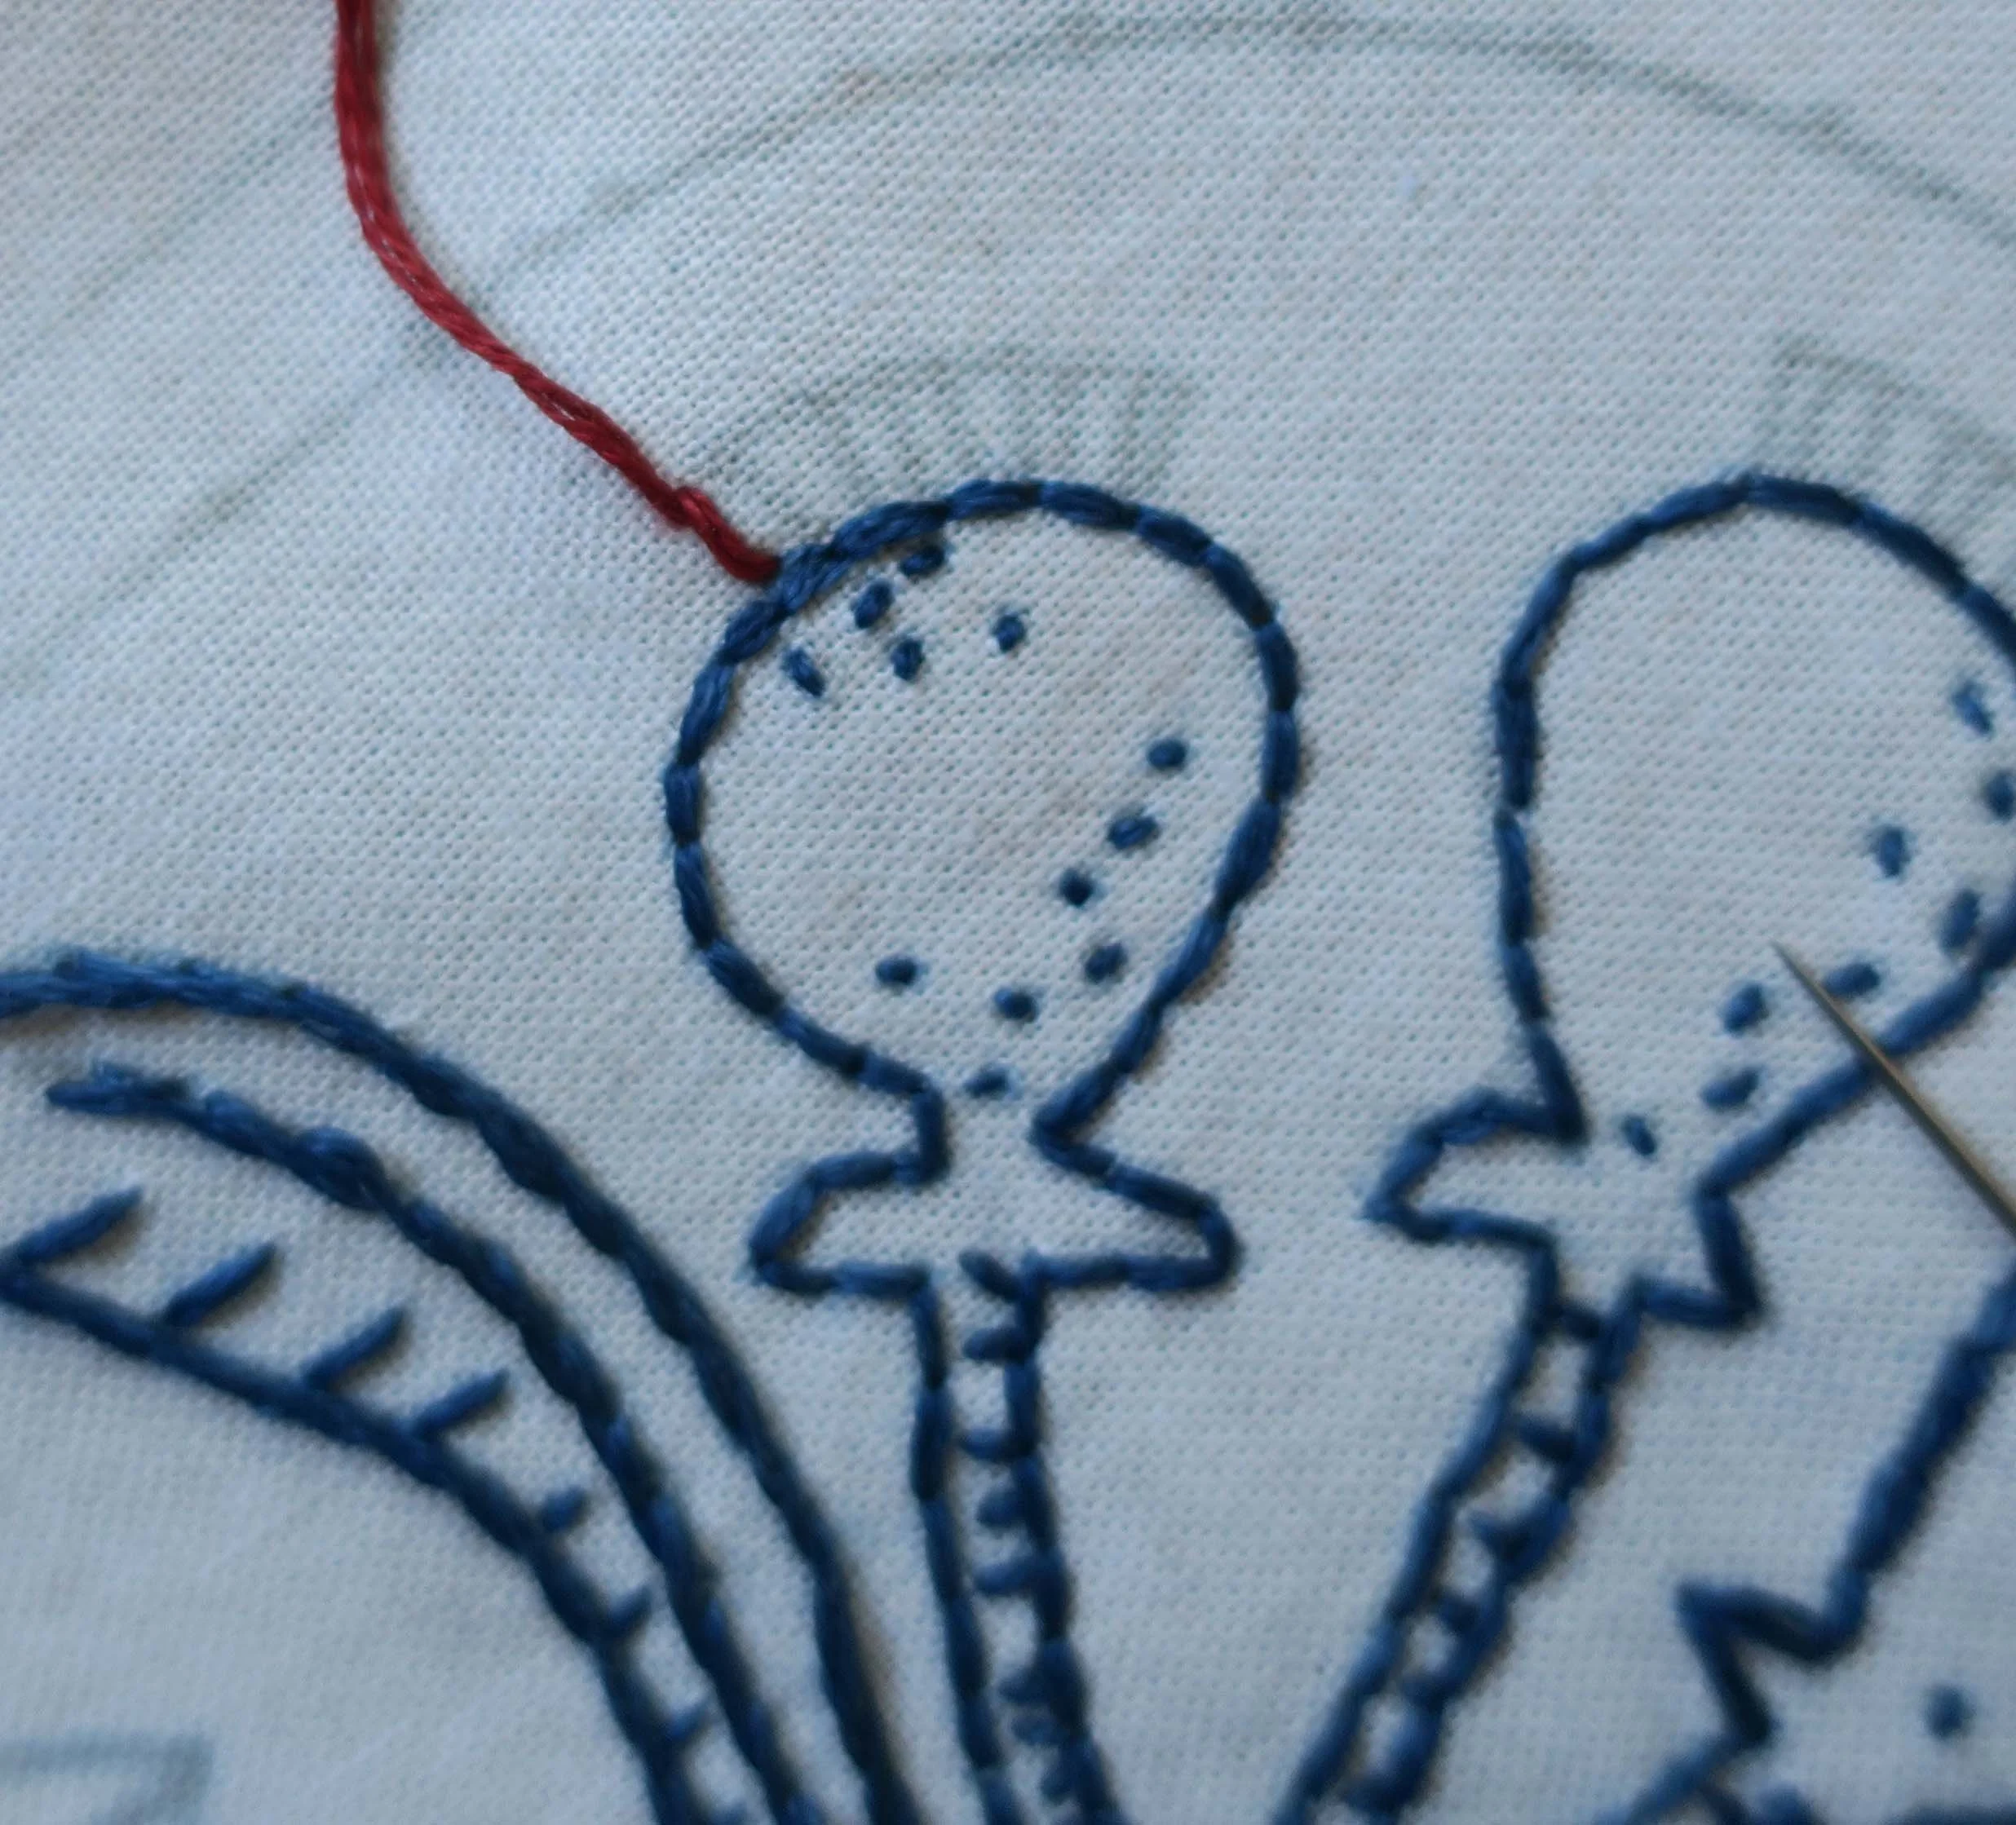
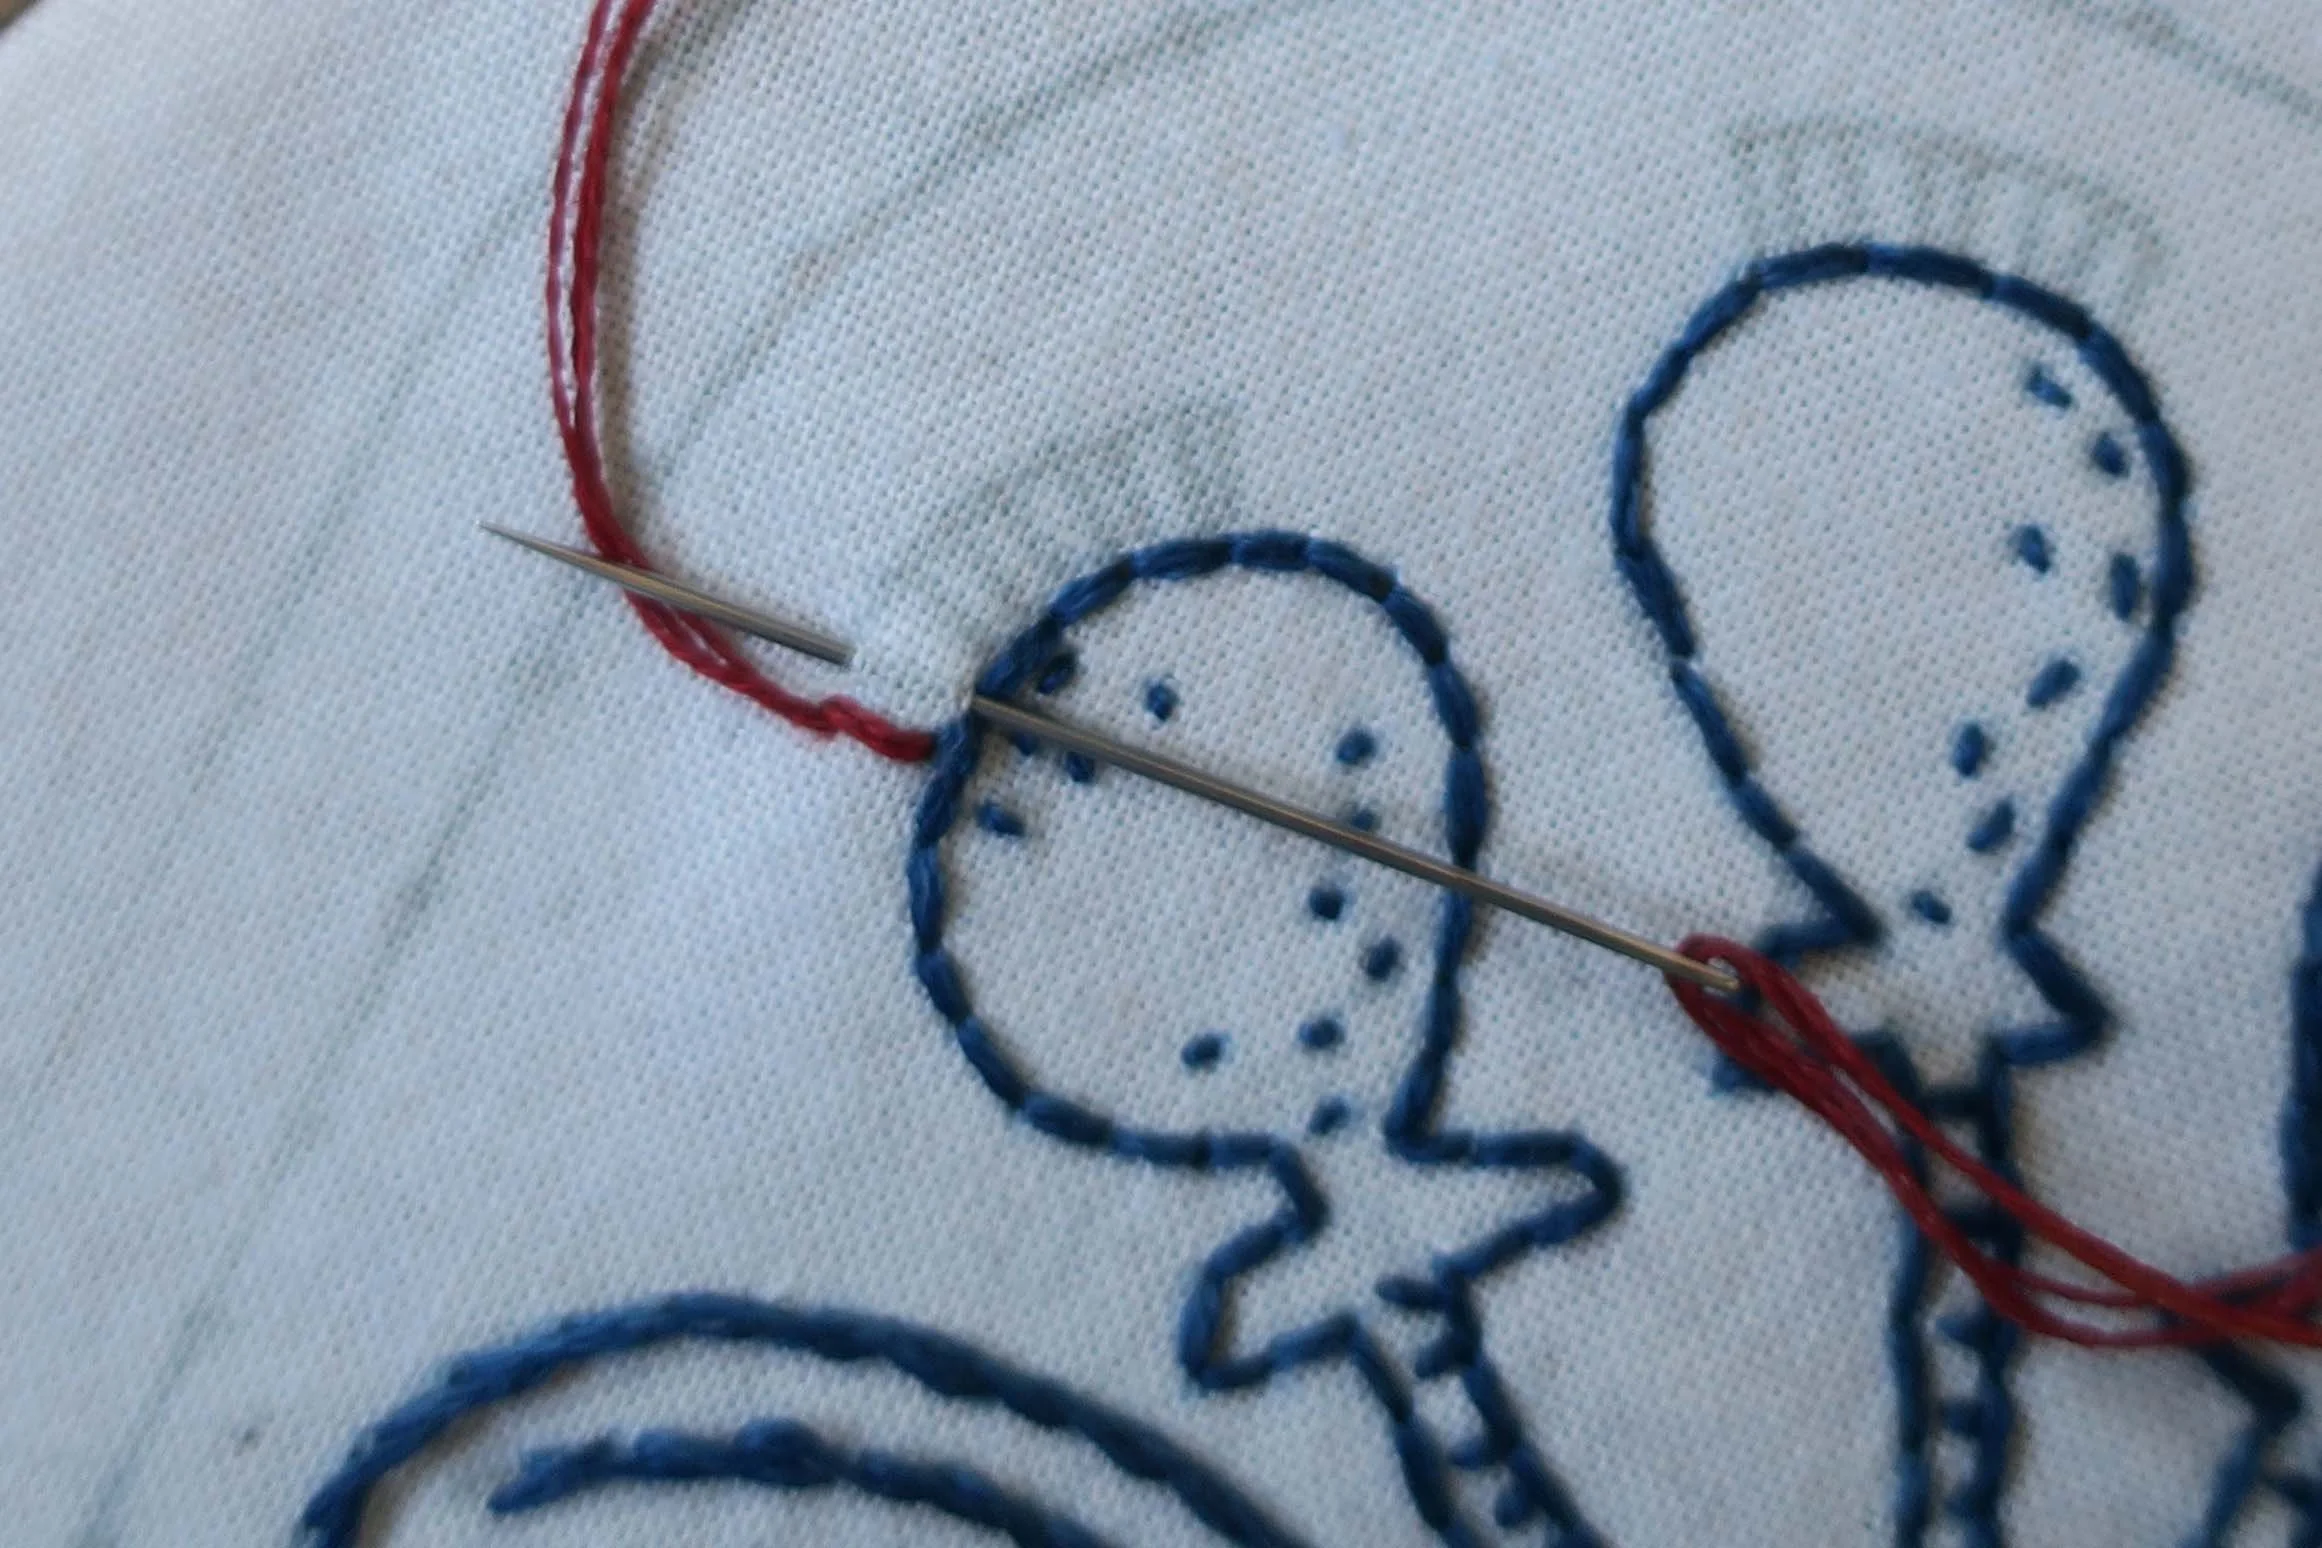
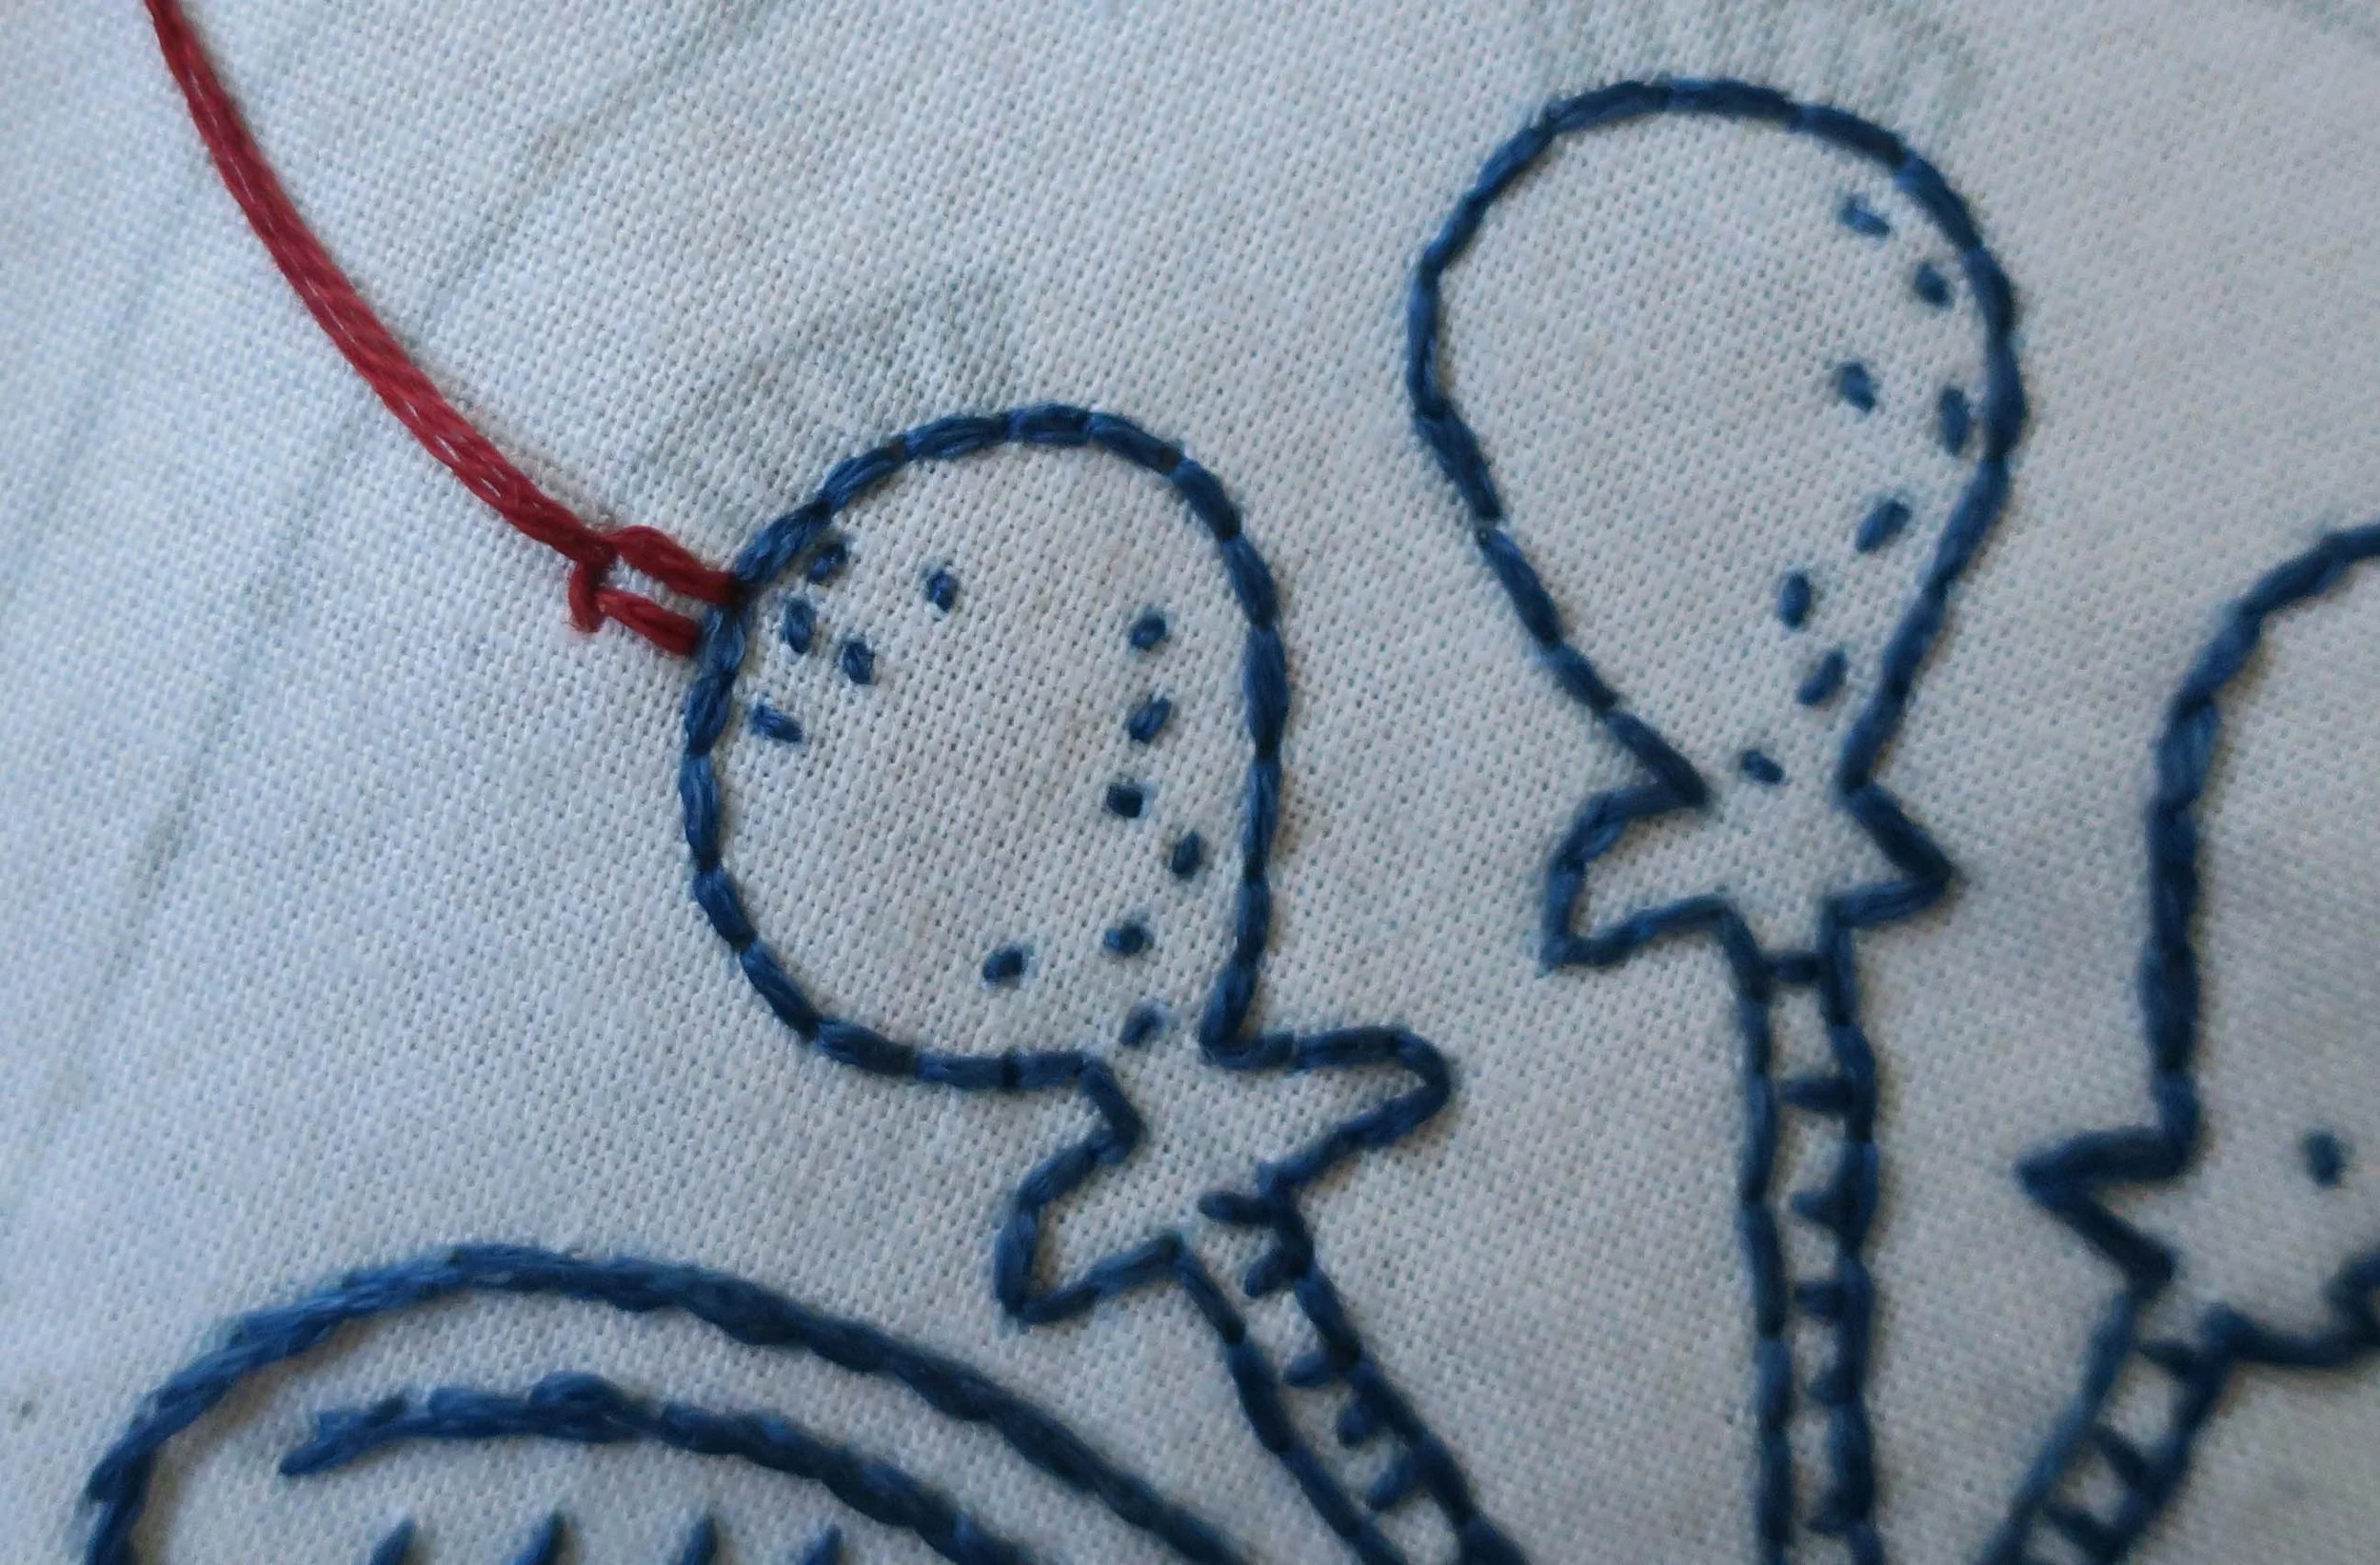
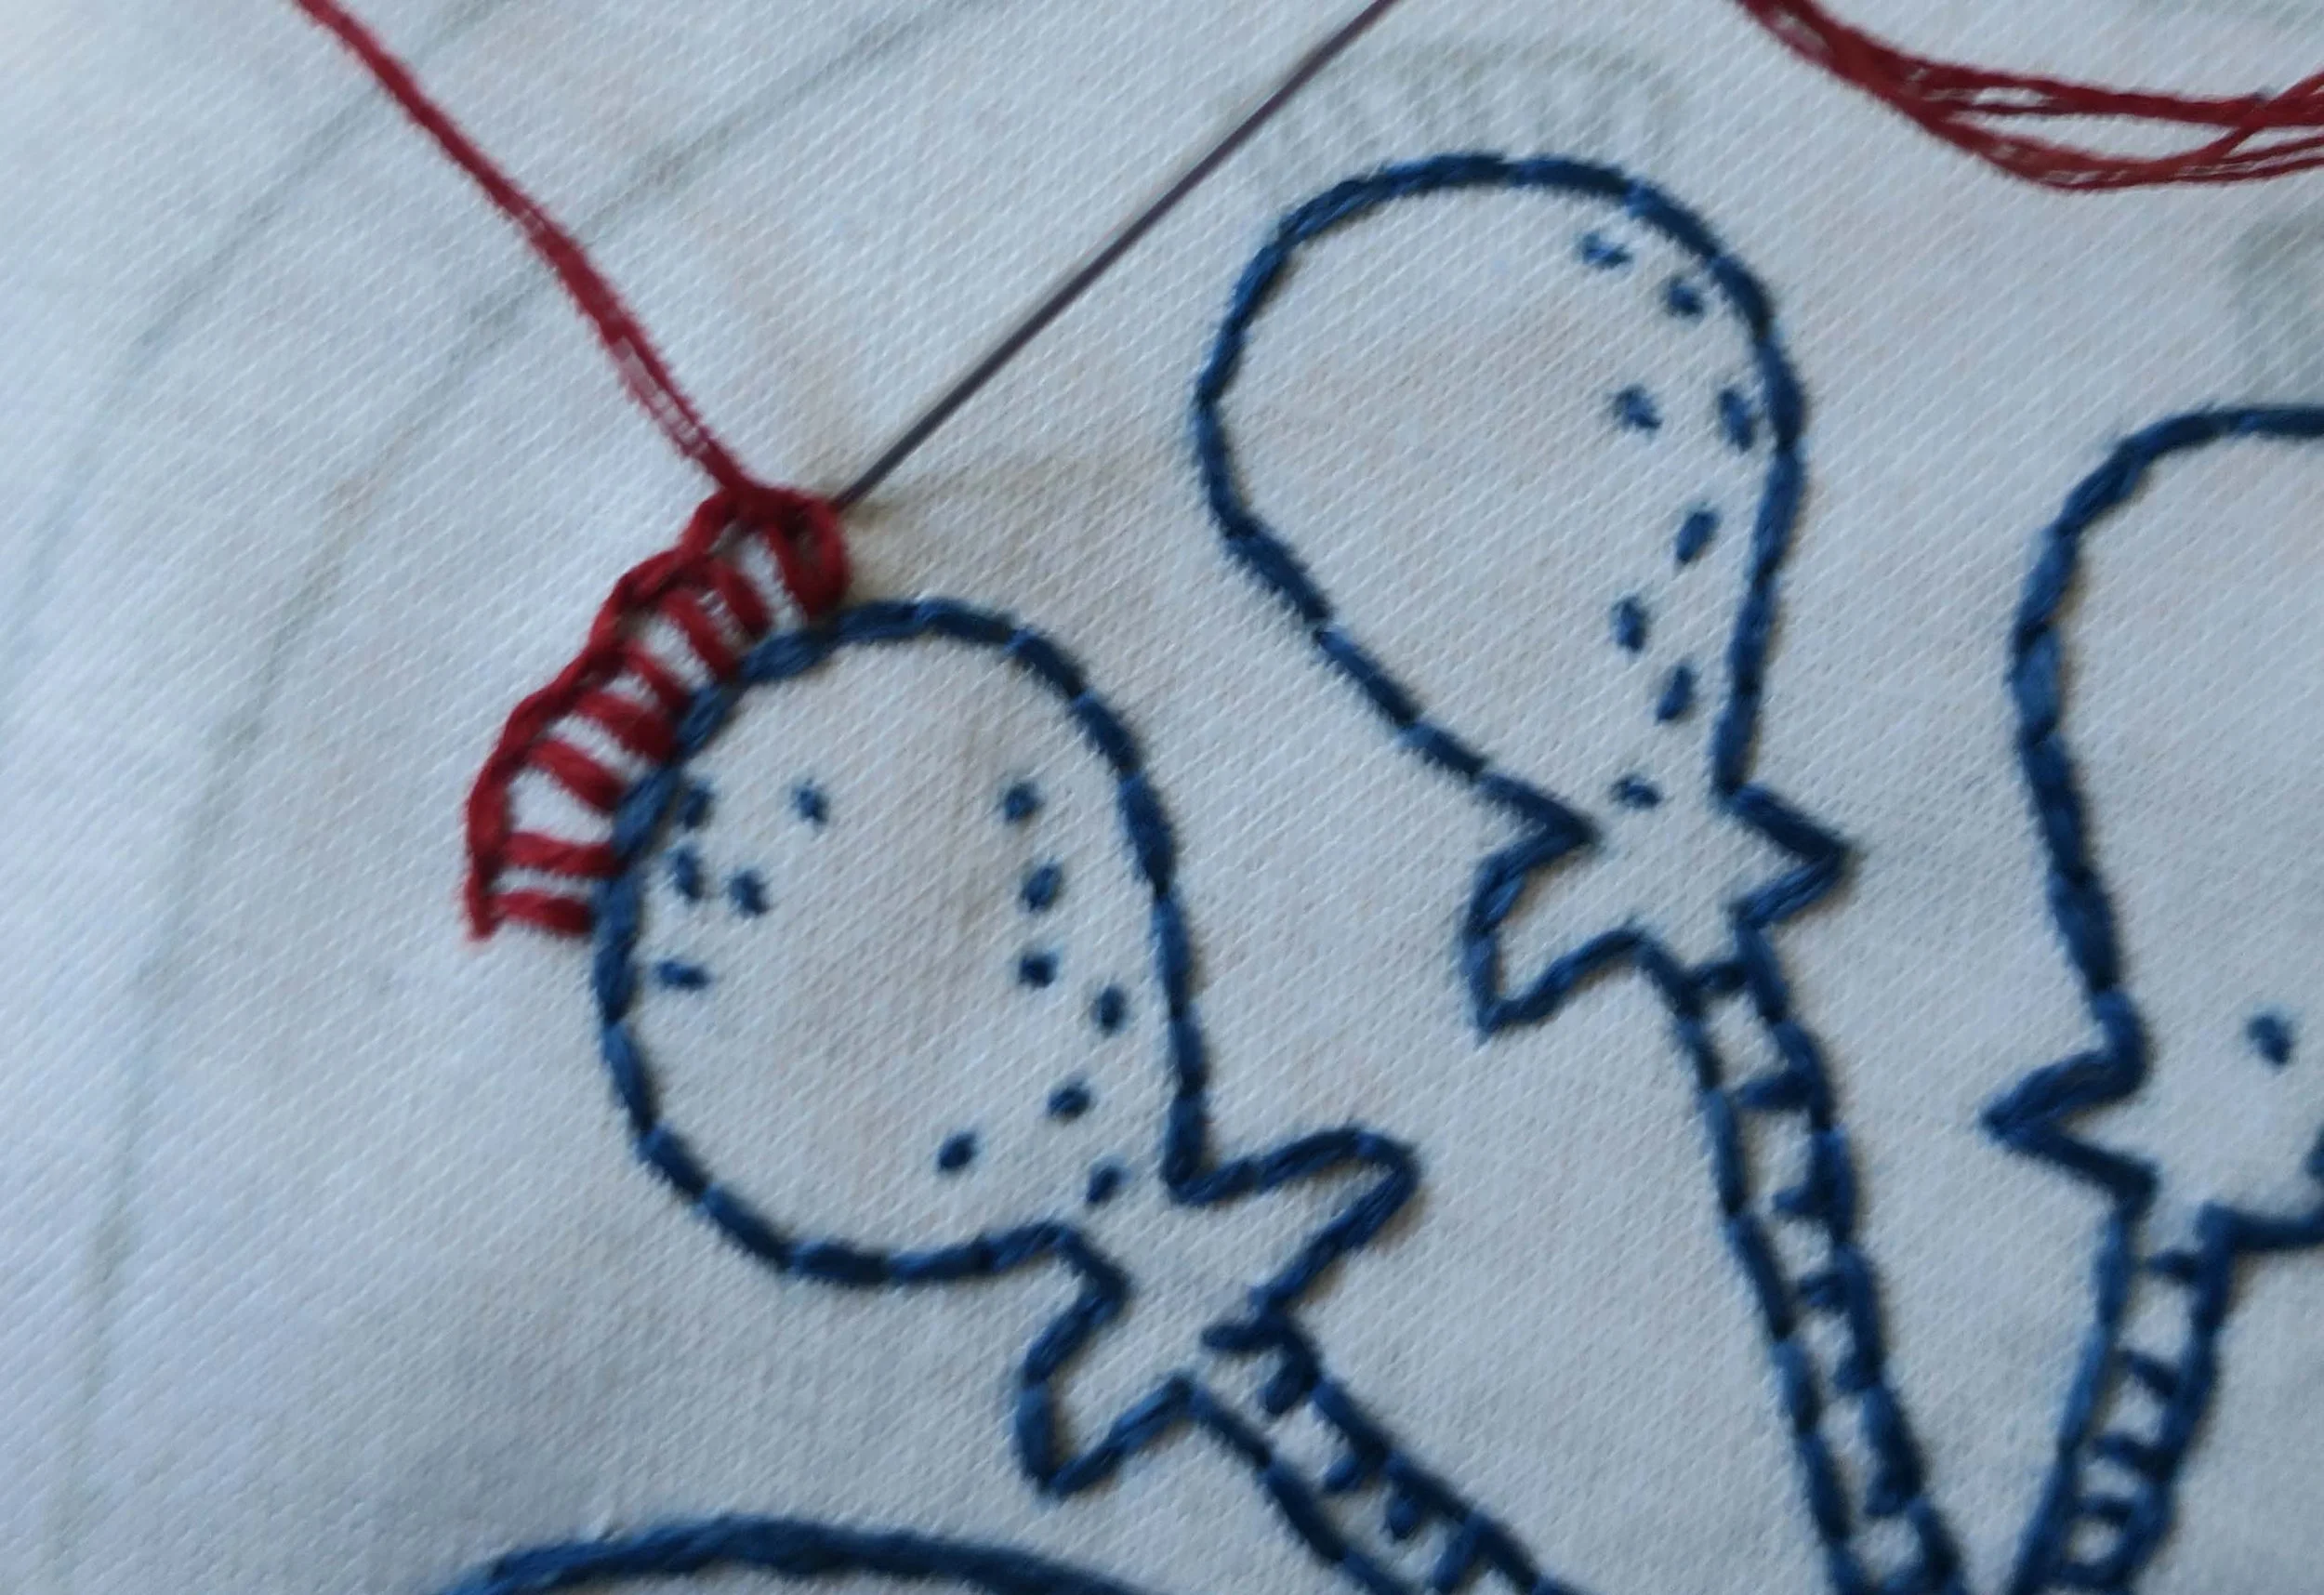
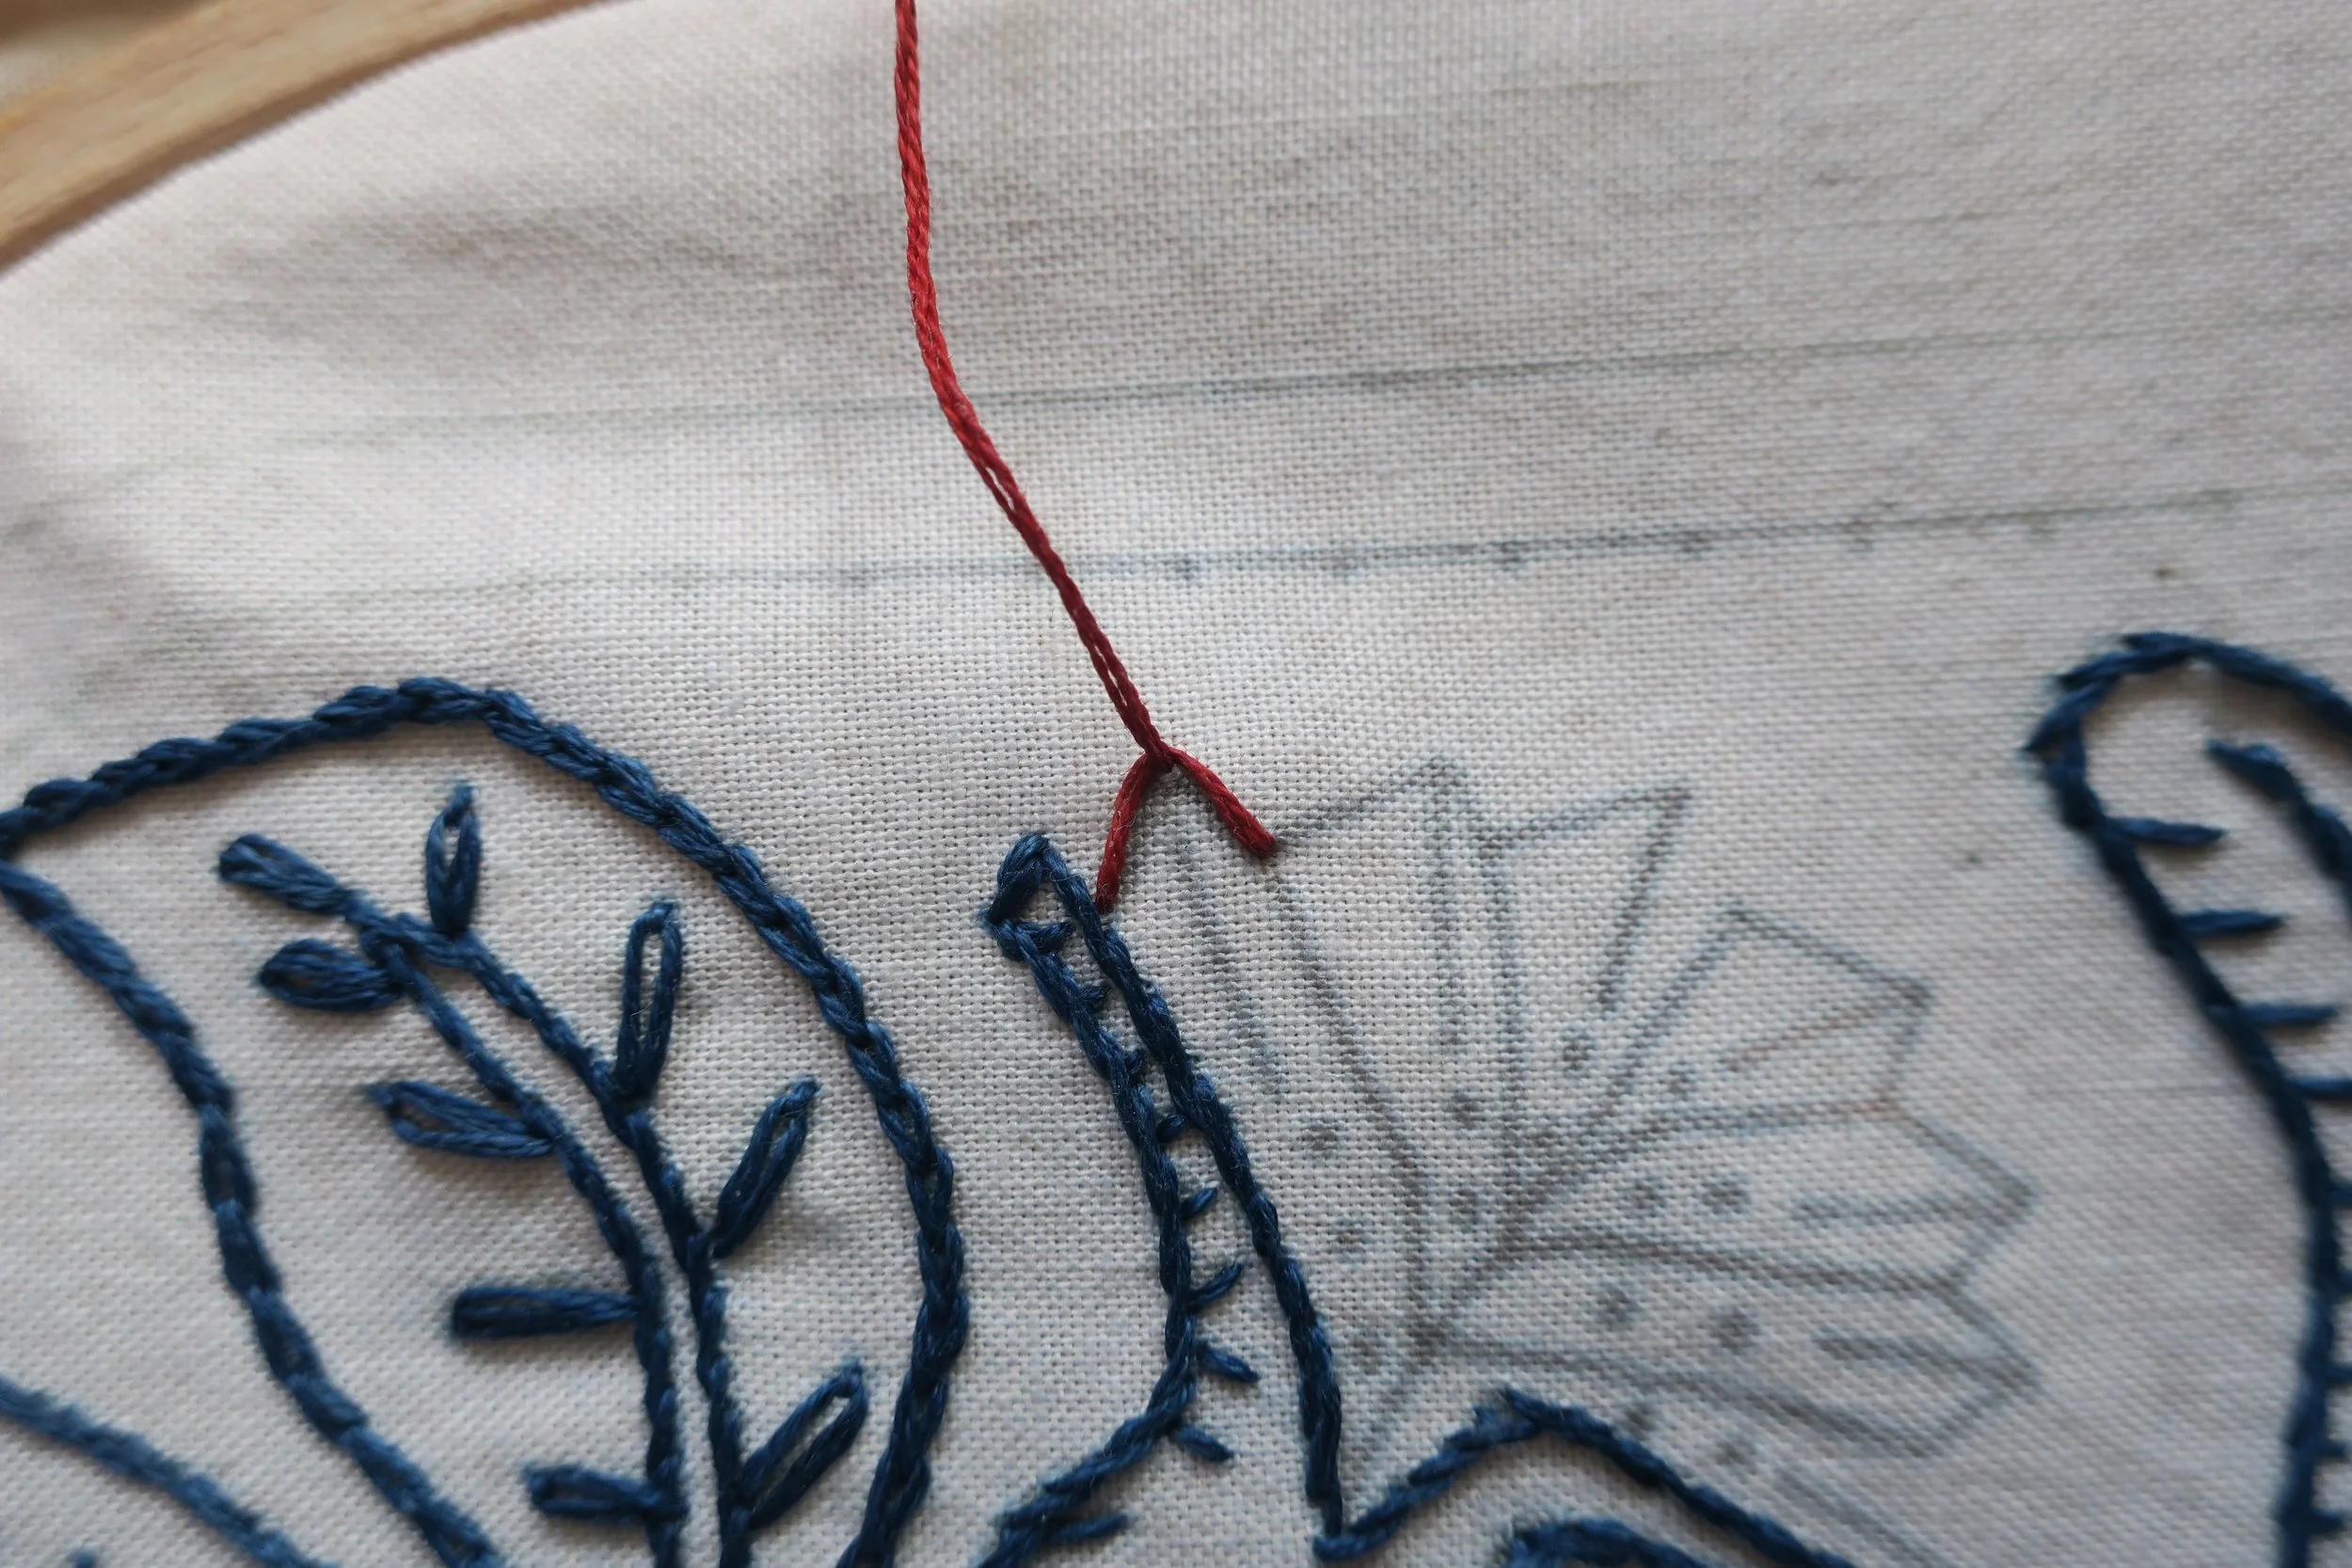
Use the same thread to blanket stitch the large rose hip tips. Use 2 strands for the smaller tips. Begin by bringing the needle up at the upper left corner.
Take the needle down at the base of the line and then up again at the start.
Now begin your blanket stitches.
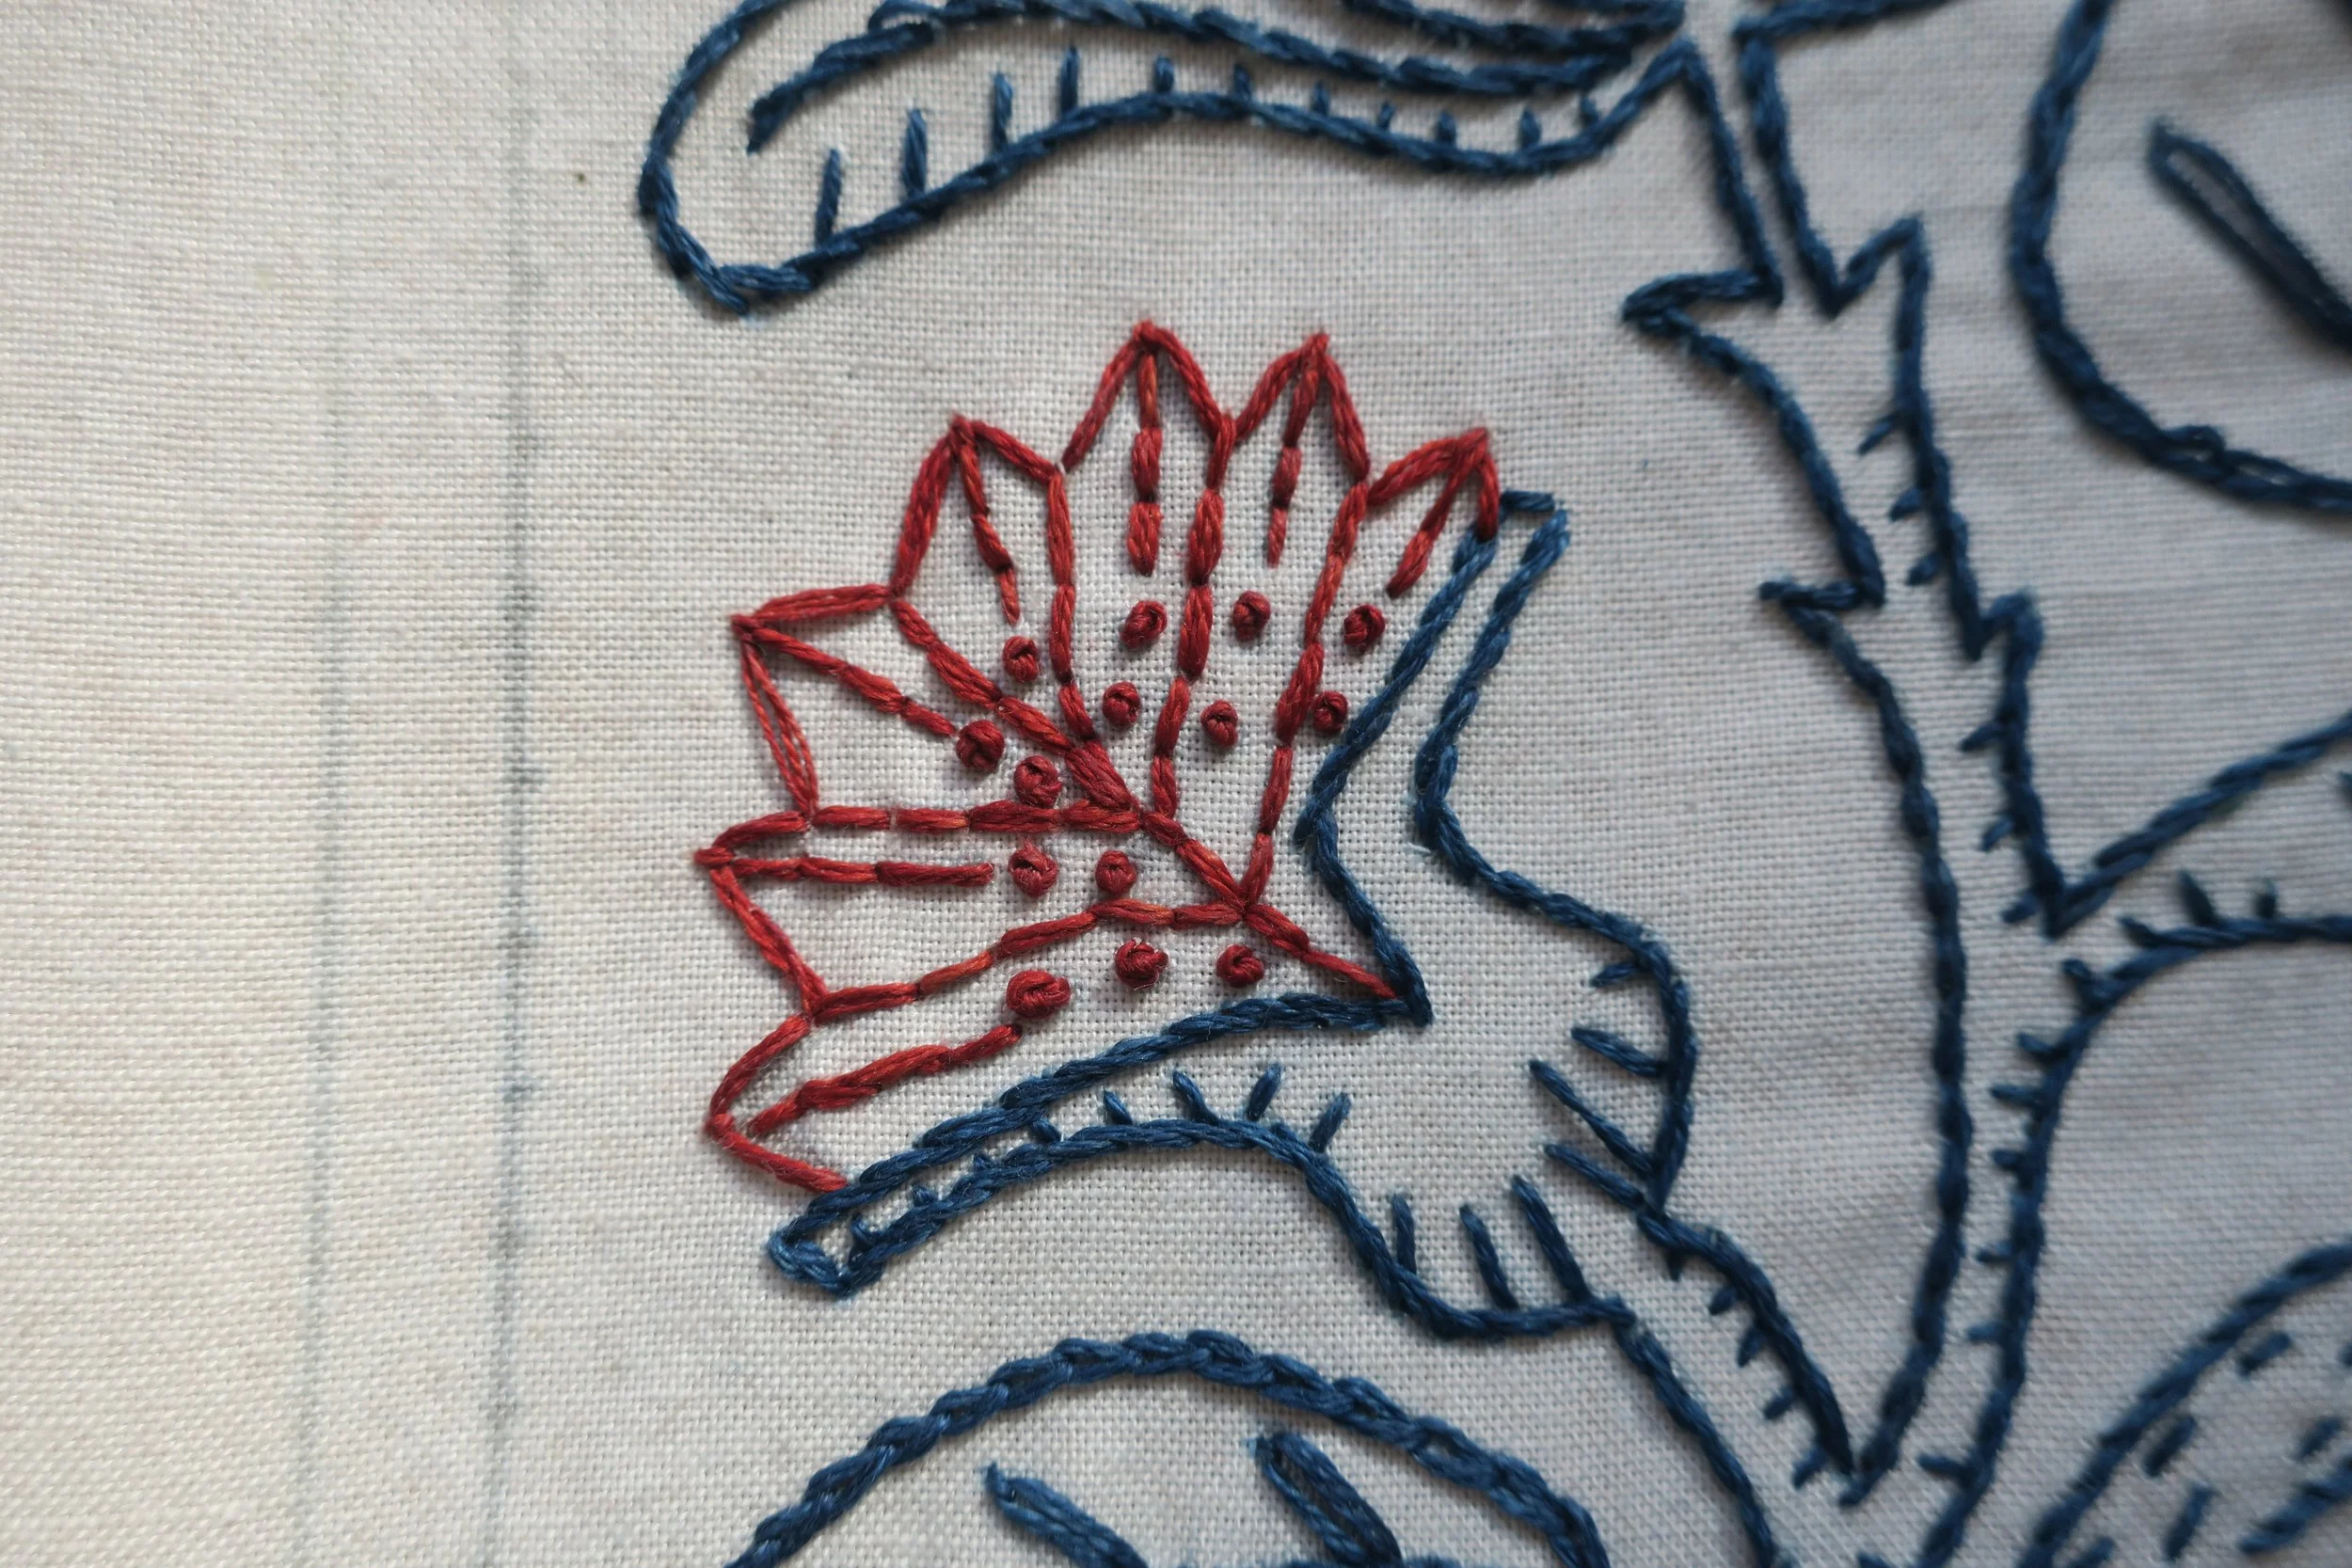
o Use 3 strands of red floss to make a series of fly stitches on the top edge of the flower bud.
o Use the same thread to back stitch the lines on the bud’s flower petals.
o Use the same thread to make French knots on the bud’s flower petals.
· Butterfly
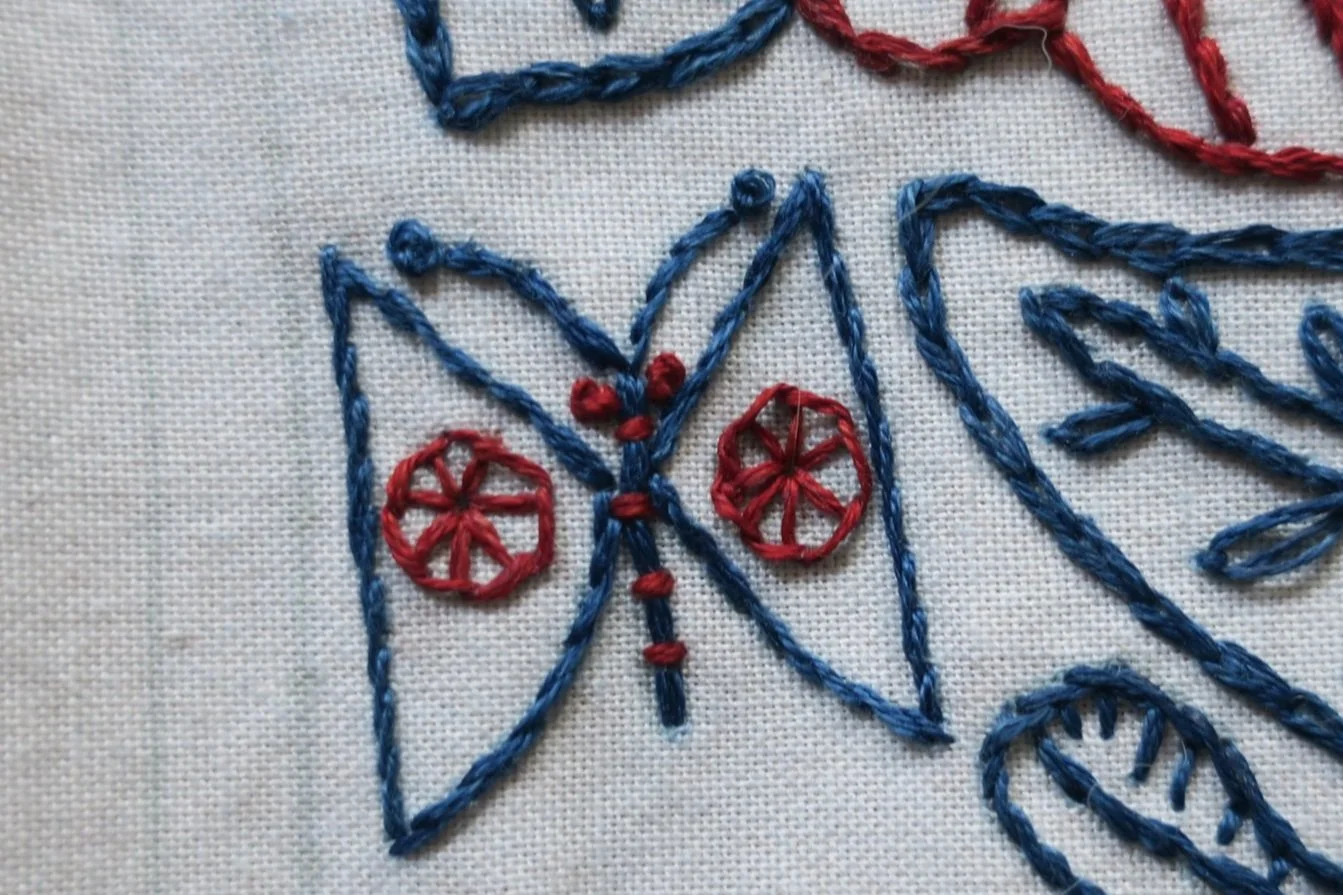
o Use 2 strands of blue floss to stem stitch the wings.
o Use 6 strands of blue floss as the lay down thread and 3 strands of red floss as the working thread to couch the body.
o Use 2 strands of blue floss to stem stitch the antennae.
o Use the same thread to make a single wrap French knot on the ends of the antennae
o Use the same thread to make double wrap French knot eyes. I orginally made the eyes red, but they looked a little too scary, so I changed them to blue.
o Use 2 strands of red thread to create a buttonhole wheel in each wing.
o Use 2 strands of blue floss to make a double wrap French knot in the center of each wheel.
· Outline - I found that I could stitch the border easier by removing my project from the hoop.
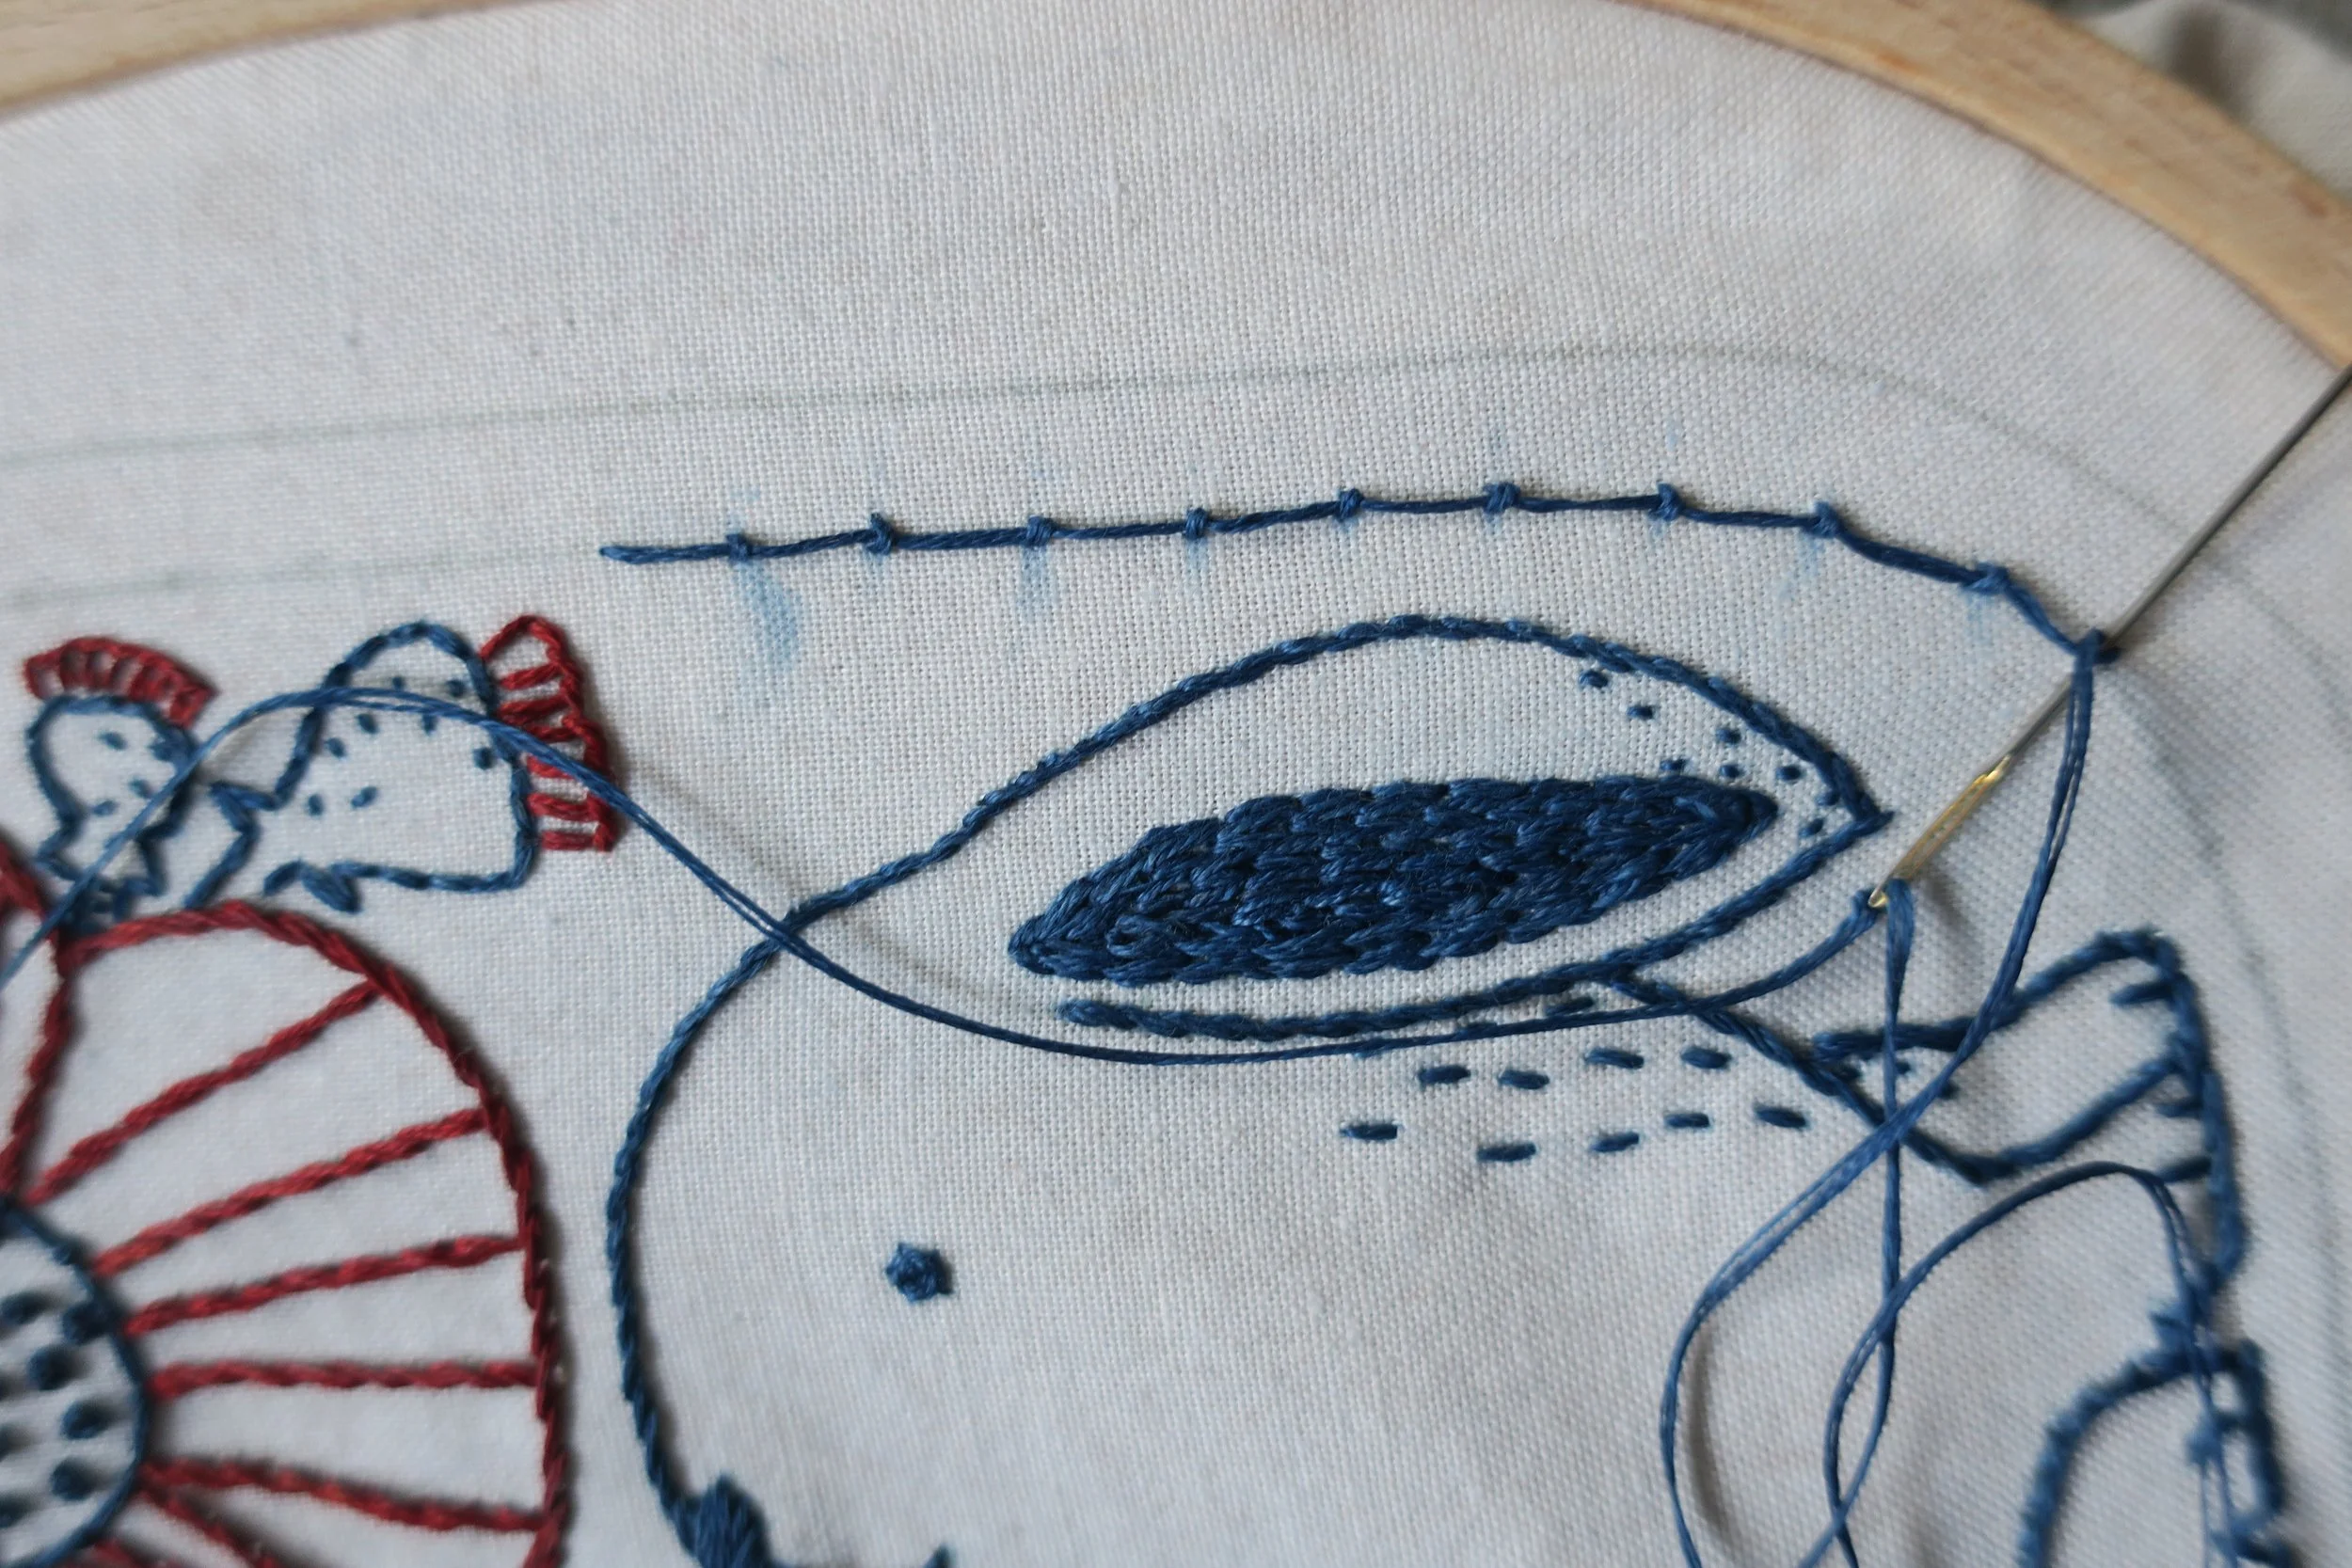
o Use 3 strands of blue floss to make a coral stitch inner border. Use the dots for placement of each knot of the coral stitch. The blue is a result of my idigo dyed thread crocking a bit.
o Use the same thread to make a fly stitch triangle over each knot.
o Use the same thread to stem stitch the outer border.

